Since reflecting after semester one, a key focus for this unit was to test my idea from start to finish so that I could make note of everything I needed to do and not do to get the best result. It also tests each stage technically as a whole, not just each part separately. This means I can correct any potential errors when I make my final pieces.
Below are photos of each stage throughout this process.

Bezel ready to solder

Piece with enamel added

Shown upto the light

Cleaned piece, with scratches showing

Piece after sandblasting

Deep scratches still visible after sandblasting

Cracked glass after sandblasted

Visible solder joints

Piece after being re fired to make glass shiny again

Piece in Platinol Solution

Added pin but scratched platinol off

Protected brooch for creating point

Gap in solder line visible
Key notes I took from this test piece were:
- Use sandpaper to sand cracks to create less sharp points, meaning fewer cracks in the glass.
- Sand to grit 400 or 600, remove all deep scratches before sandblasting, as this won't remove them.
- Make sure cells are filled with enamel so that they are flat to the level of the Brooch.
- Use plastic tweezers with masking tape on when handling the brooch after removing scratches.
- Make sure the solder joint is filled properly.
- Use masking tape pliers when bending the pin in place.
- Copper plate silver solder using steel in pickle

Front of final test piece

Back of final test piece
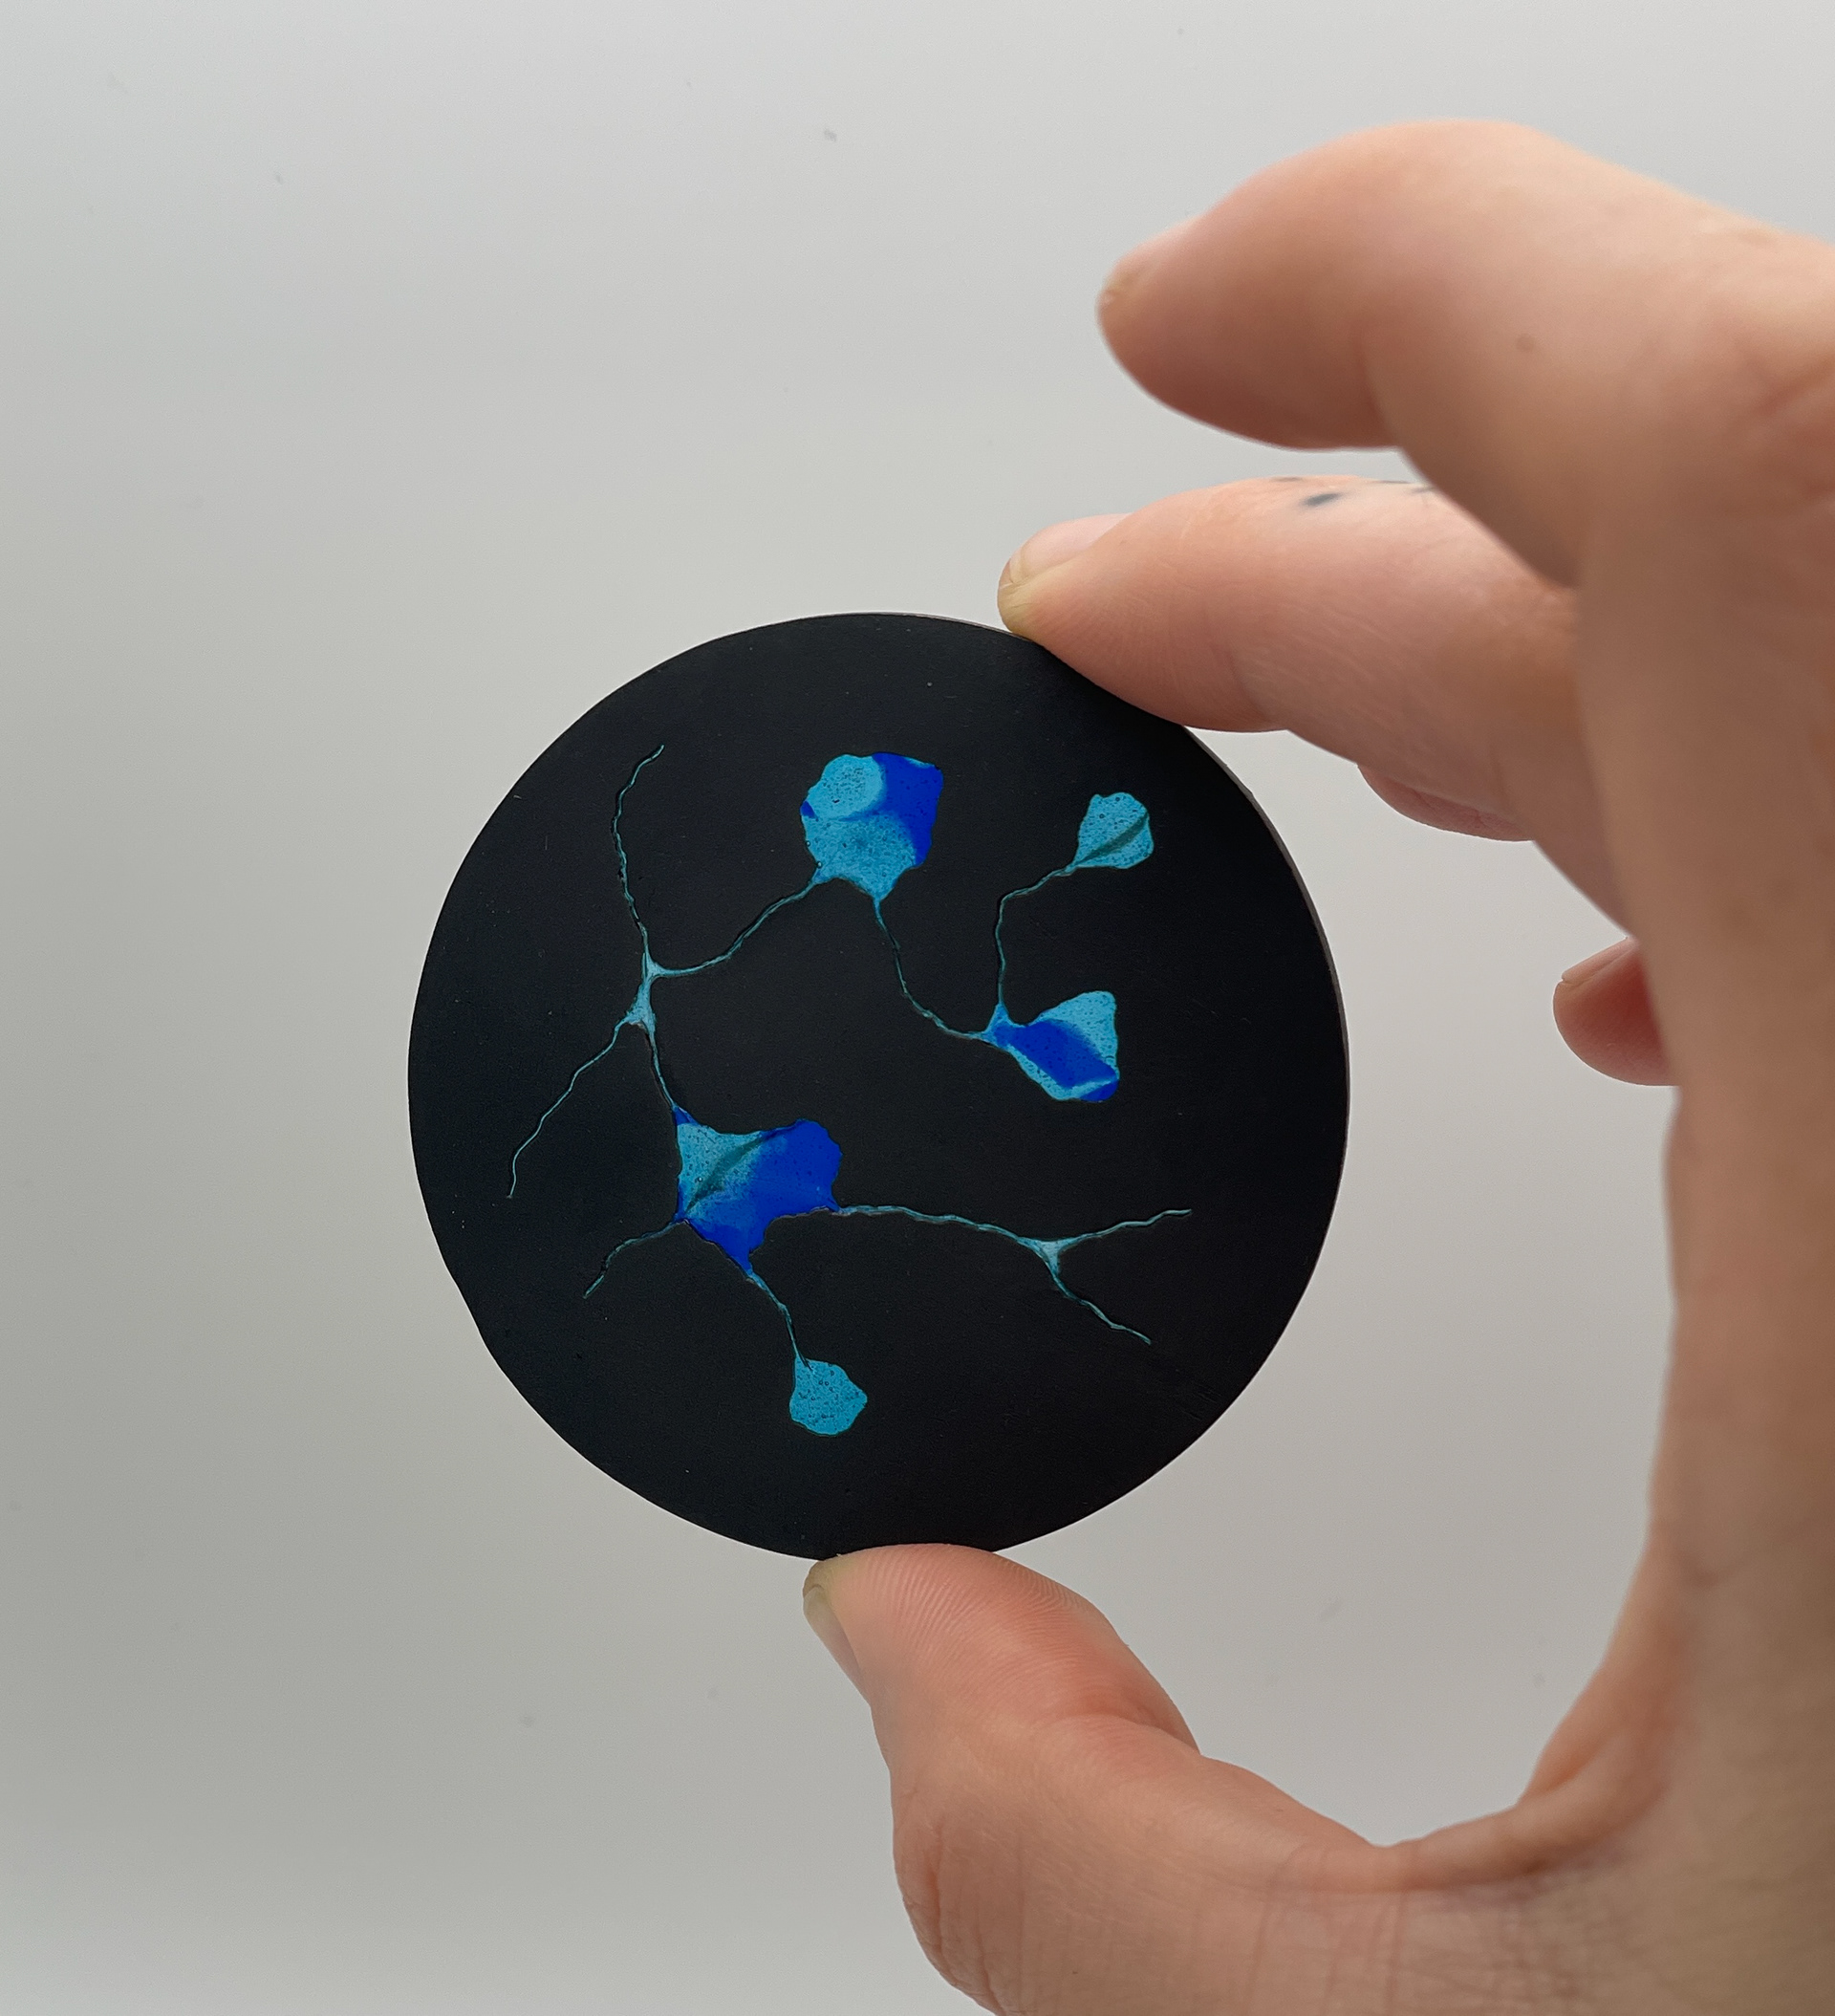
Holding piece upto the light

Back of piece up to the light
Overall, I am happy with this piece, however, there are various parts to it that I will improve and change for my final pieces. This includes making the edges a 90-degree angle, having no scratches or dents in the pieces, making sure solder joints are filled properly, using a steel rod for the pin and making sure the enamel is filled so it is flat with the metal.
Final Curation Ideas
After the practice exhibition, I remembered I had some small spotlights which I used in Semester 1 for the Great Northern exhibition. I experimented with these, testing the distance of the lights from the enamel. I found that having the lights closer to the enamel didn't work, as it created a light which was too strong. The light further away worked better. However, the battery life in these lights doesn't last long enough to use for the degree show. I am going to look for stronger batteries which will last longer, as I think these spotlights could be a good solution to displaying the brooches.
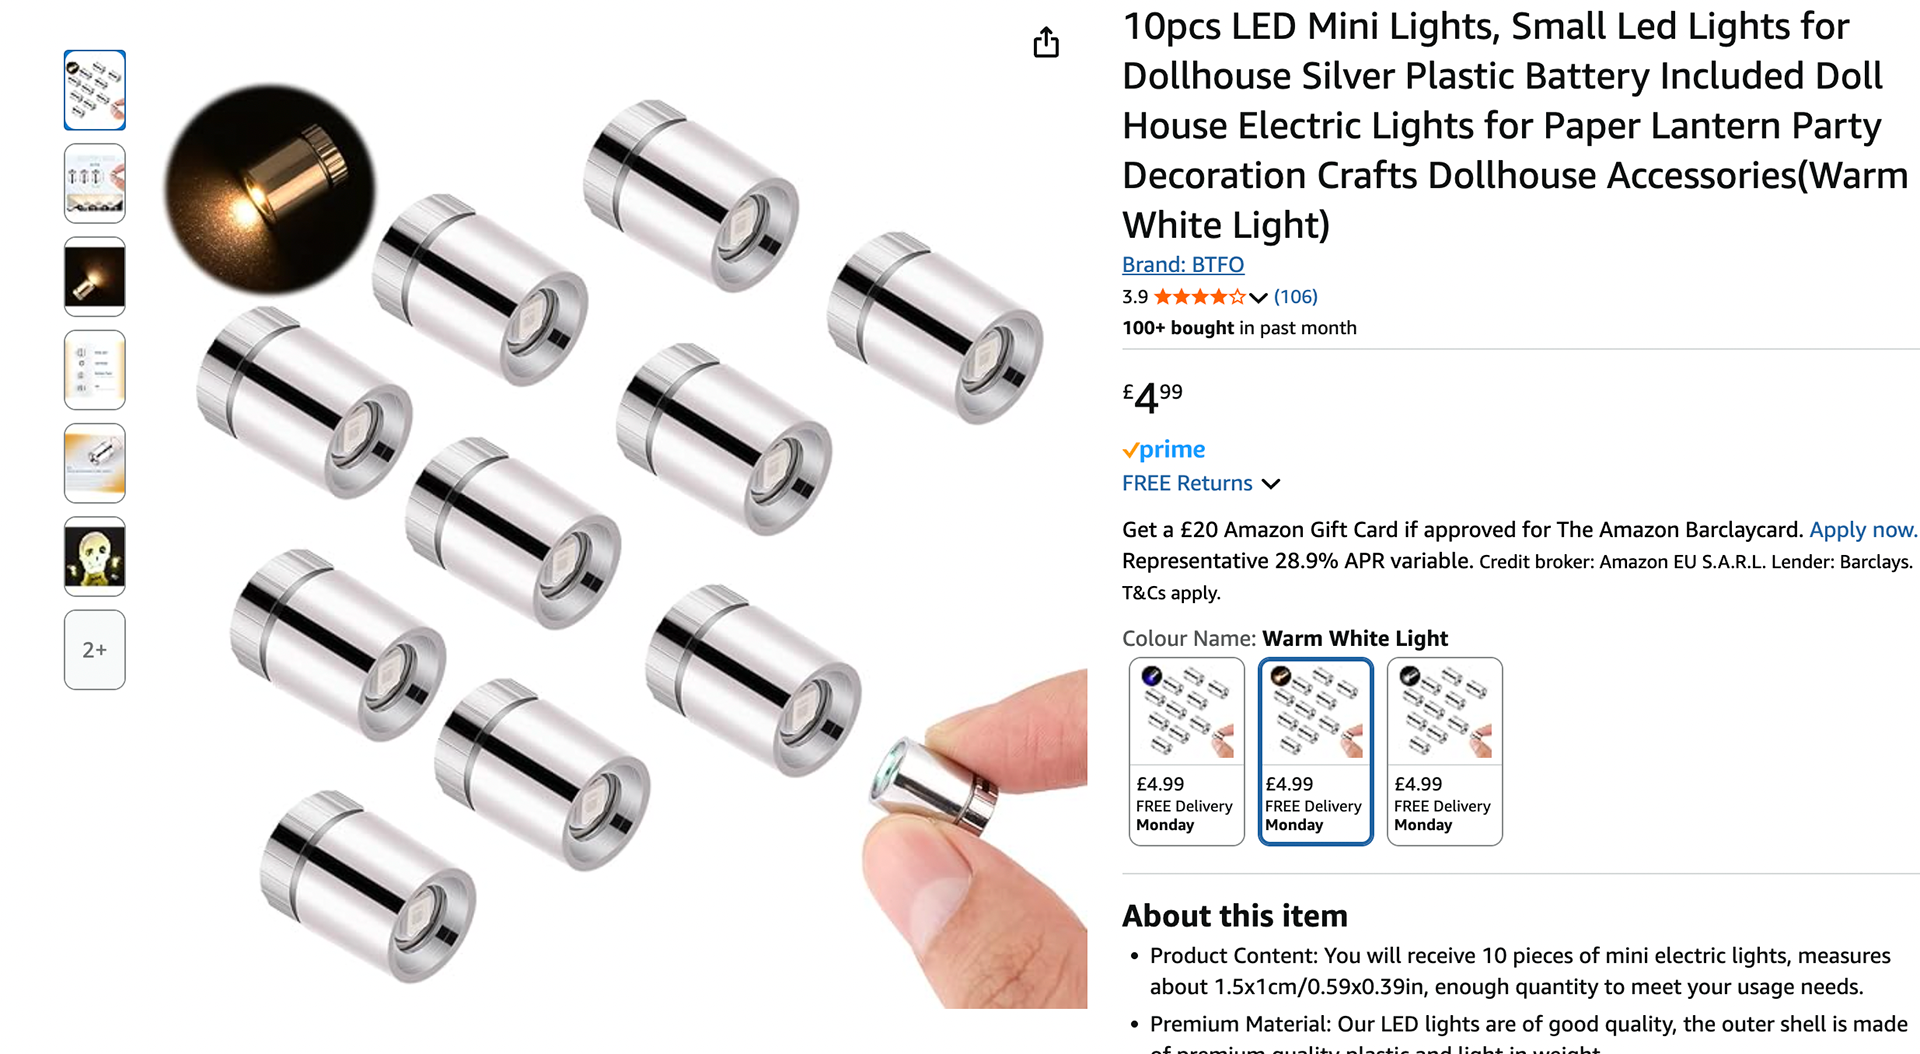
LED Lights I have
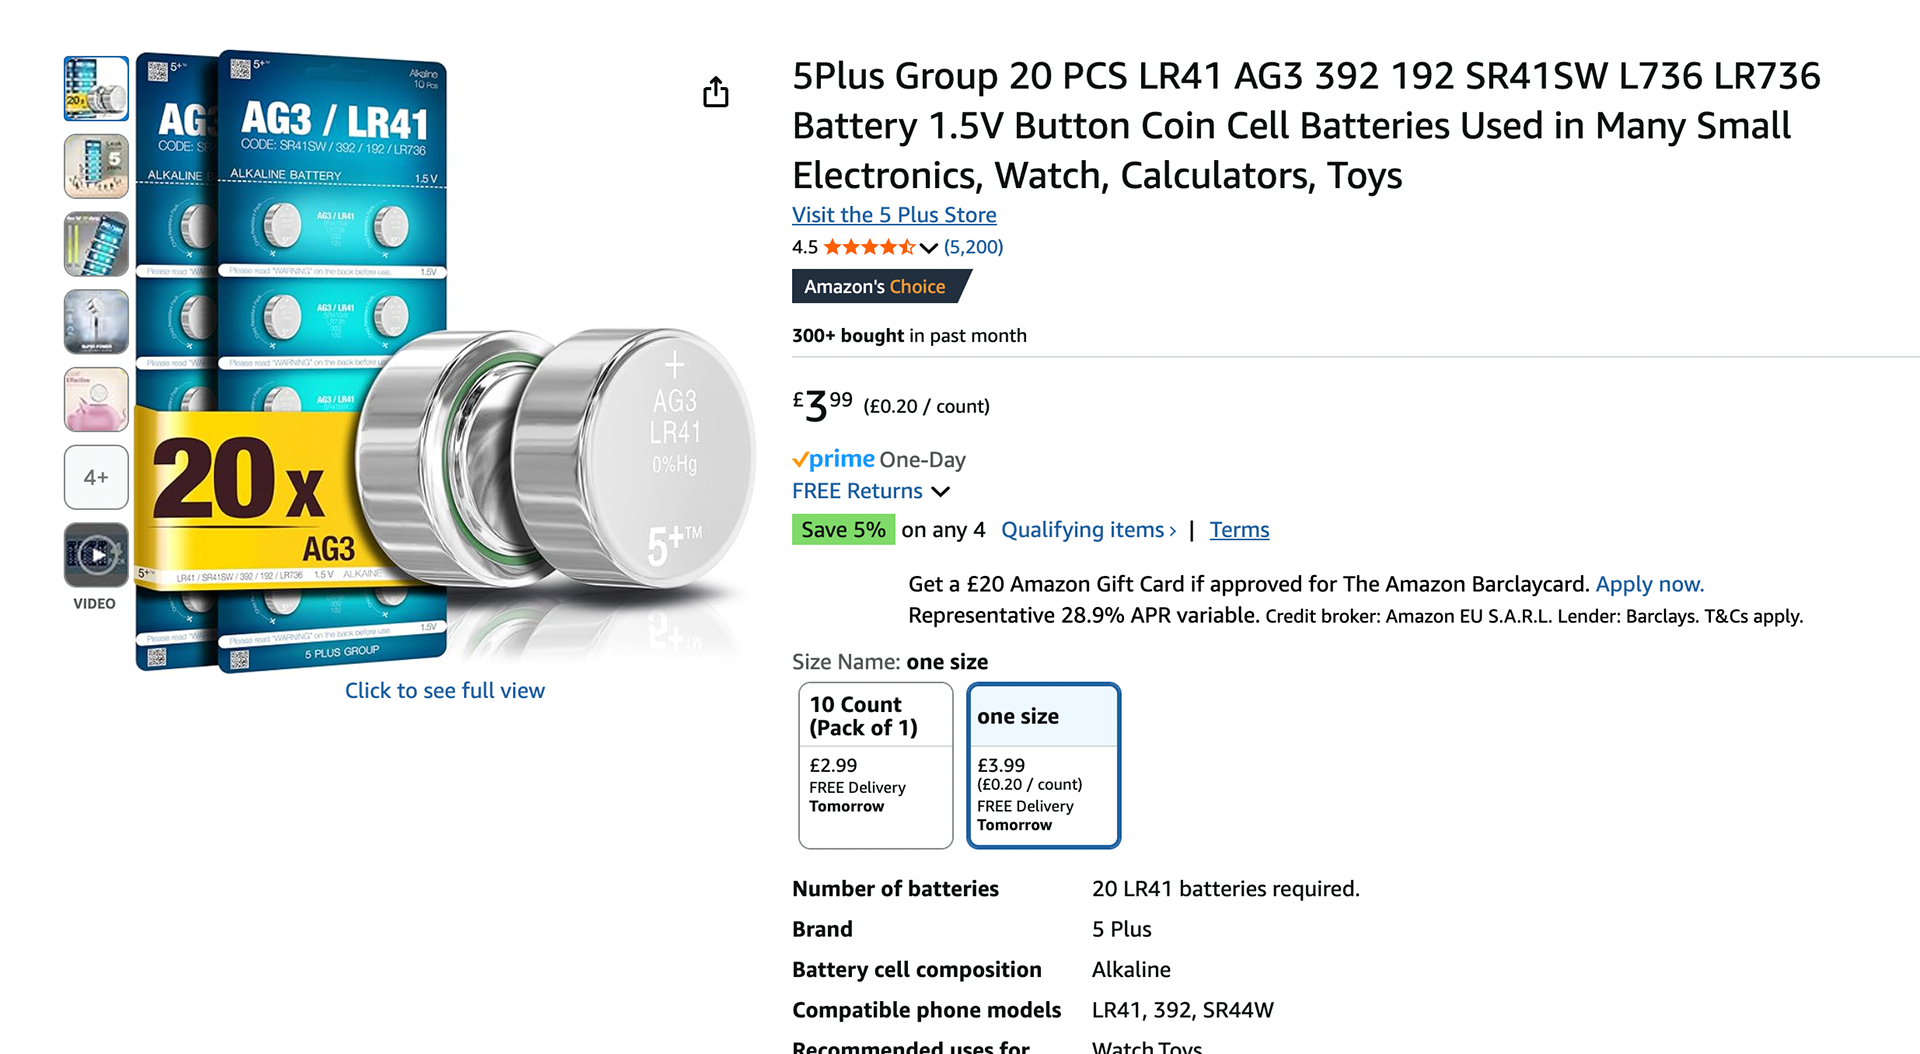
Longer lasting batteries

I need to test battery strengths before the Degree show so that they last throughout. In addition, I considered hiding the lights in square wooden cubes with a hole drilled slightly larger than the battery and painted white to place the battery in so that they are more hidden and less distracting to the pieces themselves. An example sketch is below.
After speaking with Lillie, the measurements for the tabletop I decided for the Degree show curation were 25 x 23 inches. This decision was made based on considering how to display the pieces, either in a row or scattered. Depending on the height of the tables provided by the university, I will make a wooden box to place on top to create the right height for my pieces. This will also be painted white.
Update - Due to two of my pieces being changed to pendants last minute, I am going to rethink how to best display these.