Sandblasting
I recently practised Sandblasting on Copper and Brass sheet metal. I had only sandblasted on glass before this so I wanted to see the finish on metal. This was a quick first set of samples using this technique.

Metaal sheet unformed

Formed and masking tape added

After sandblasting


Un pickled Brass after annealing, forming and then sandblasting


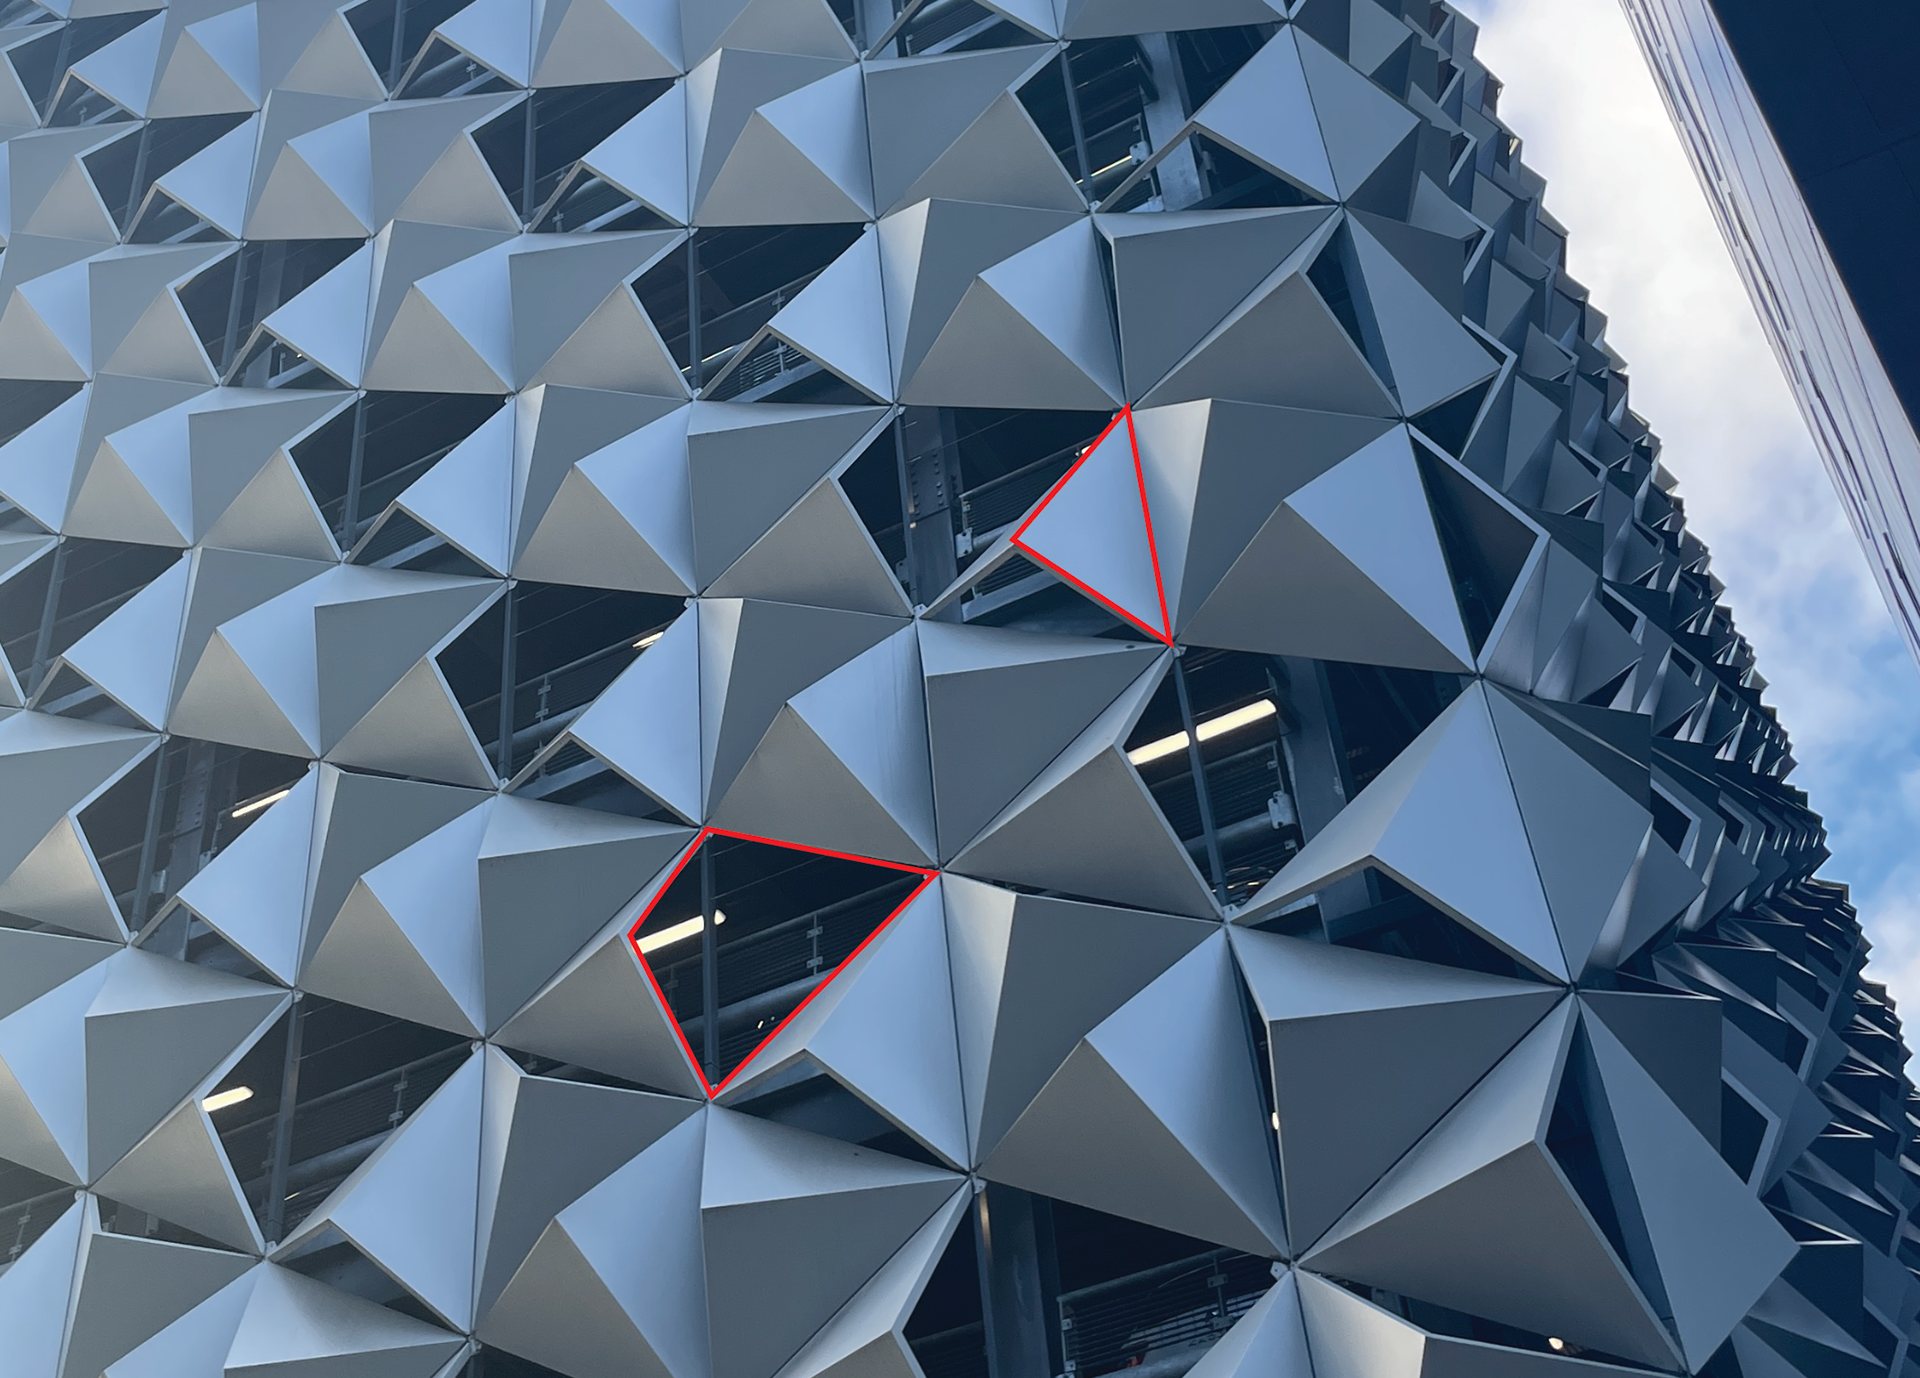
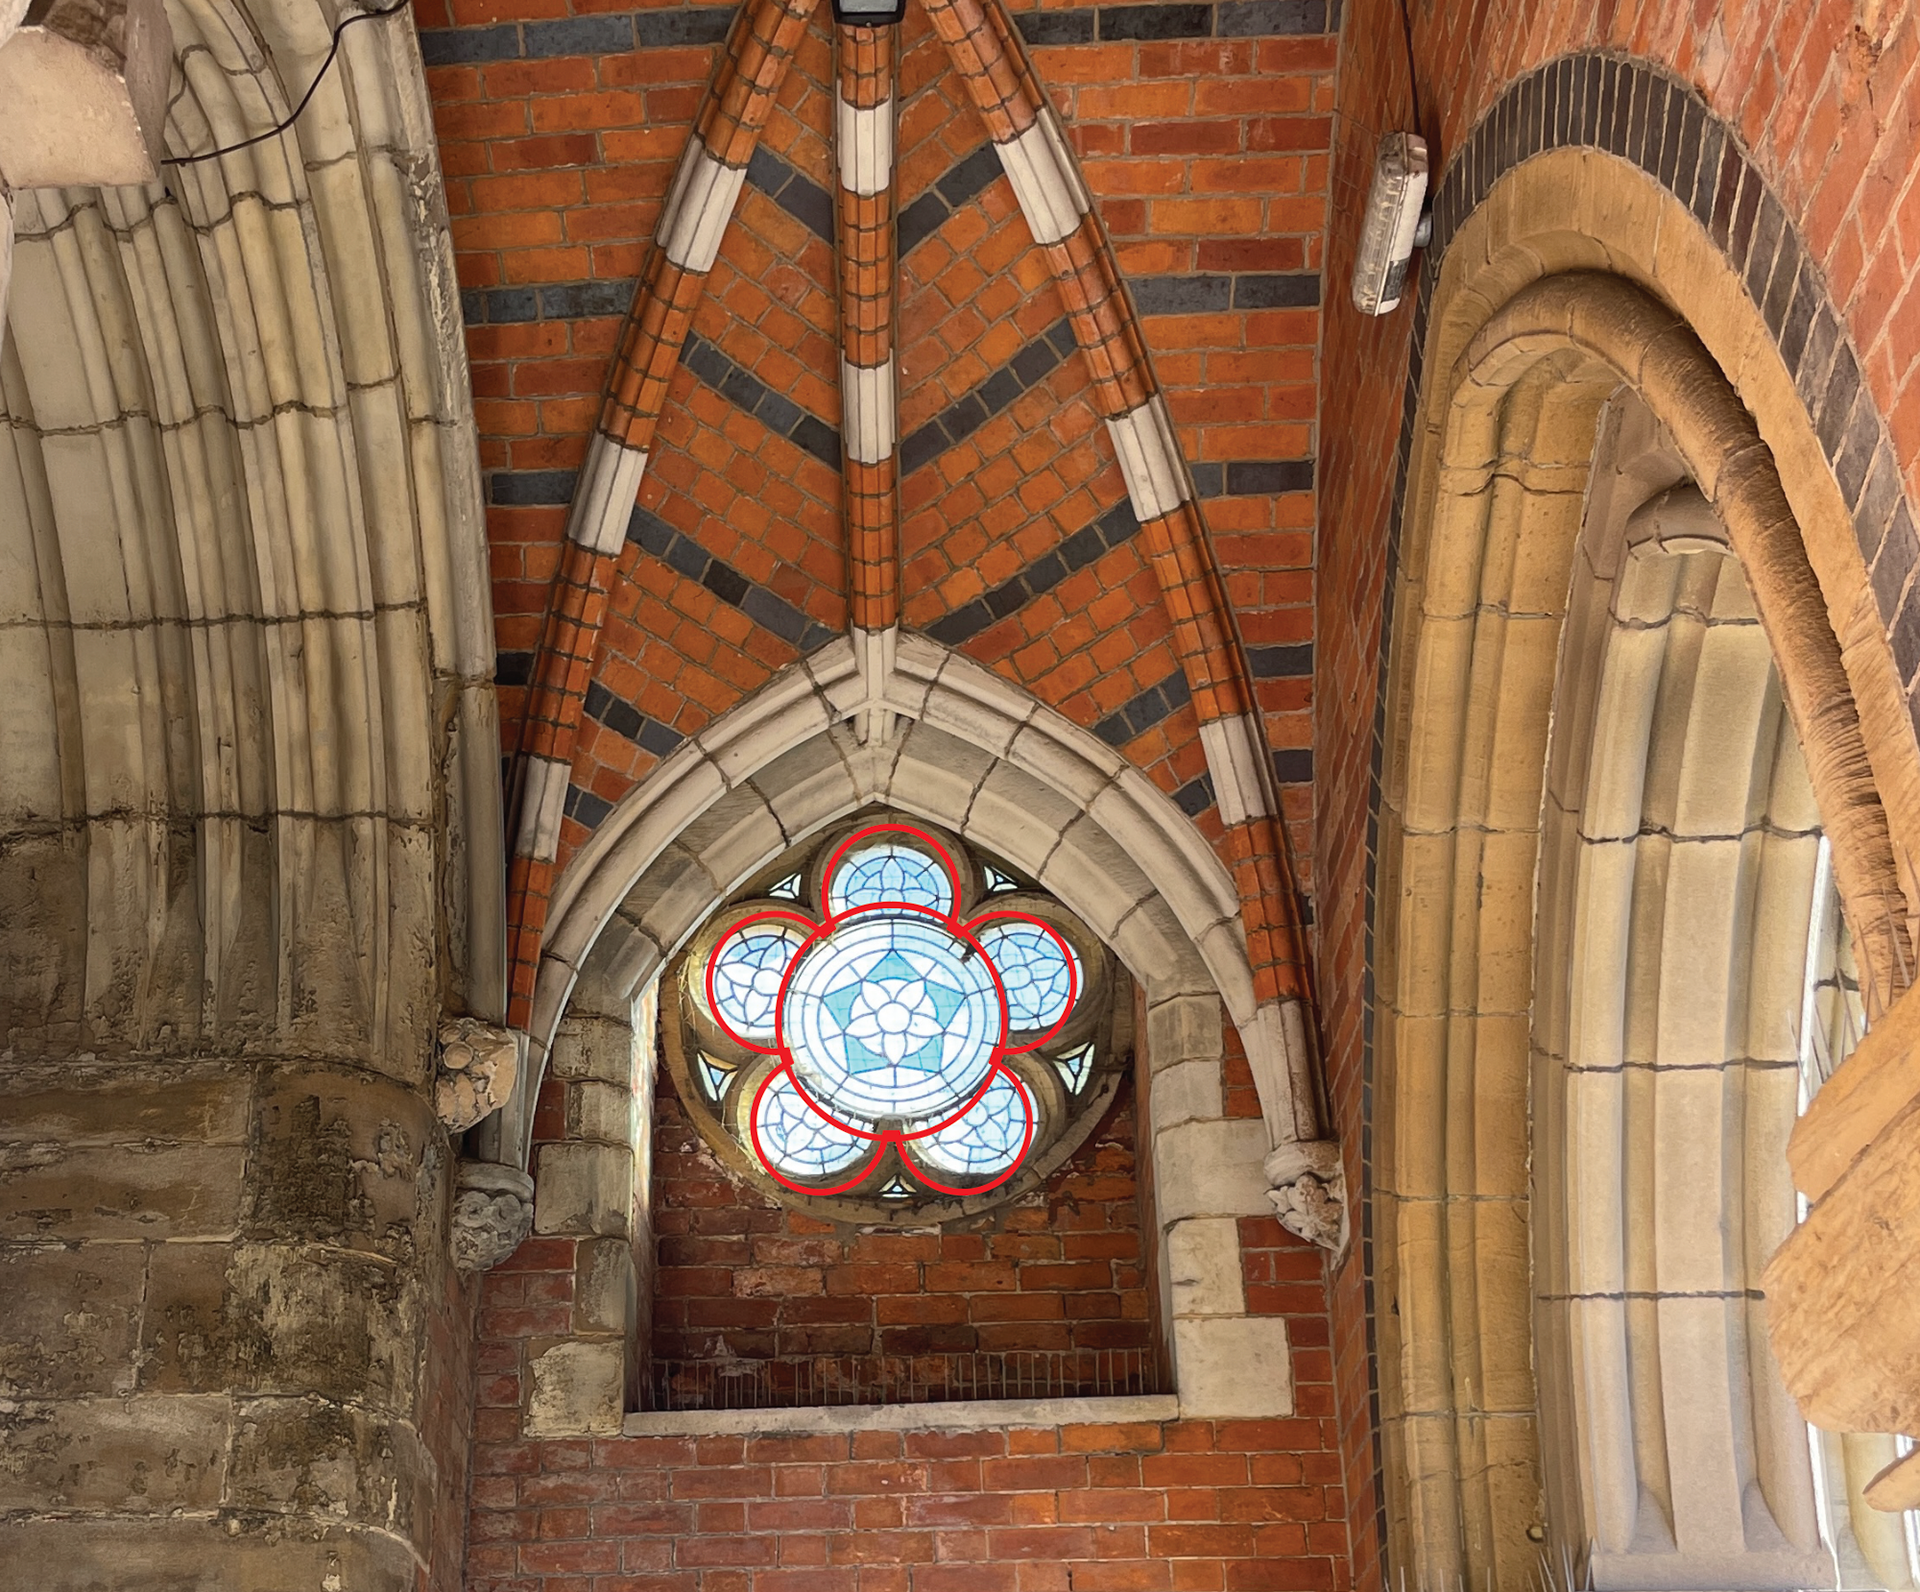
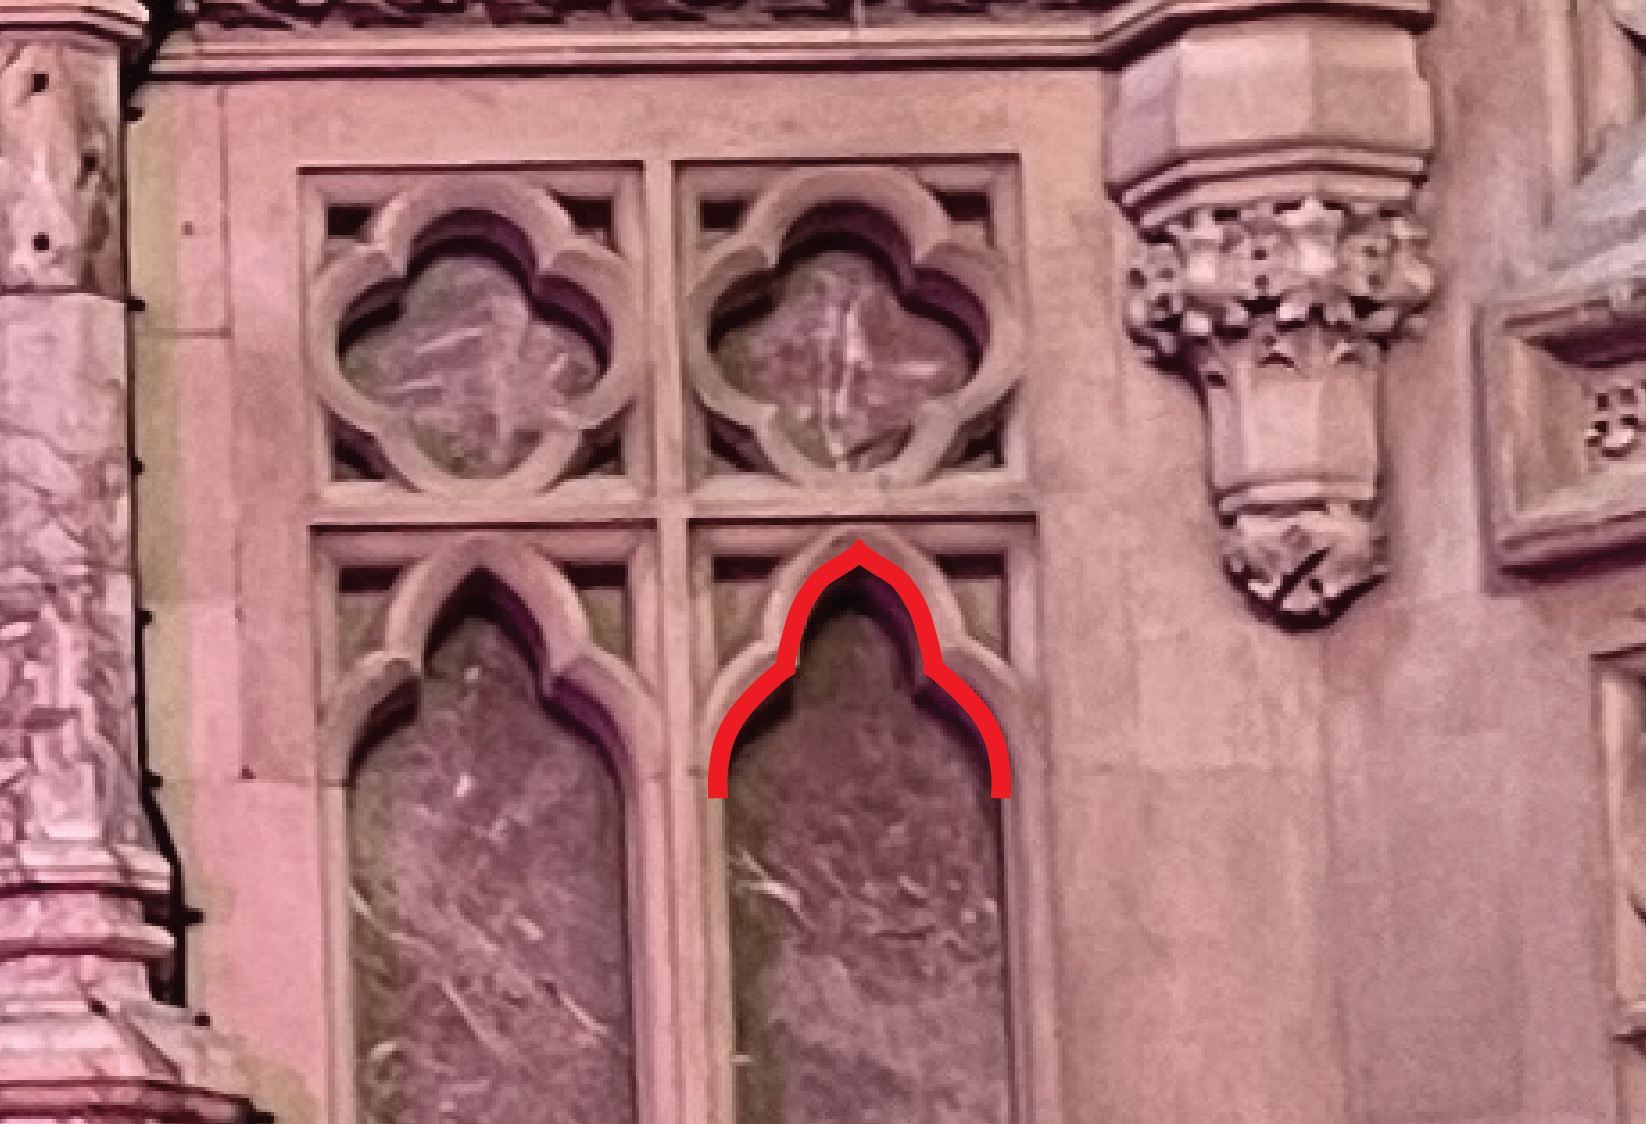
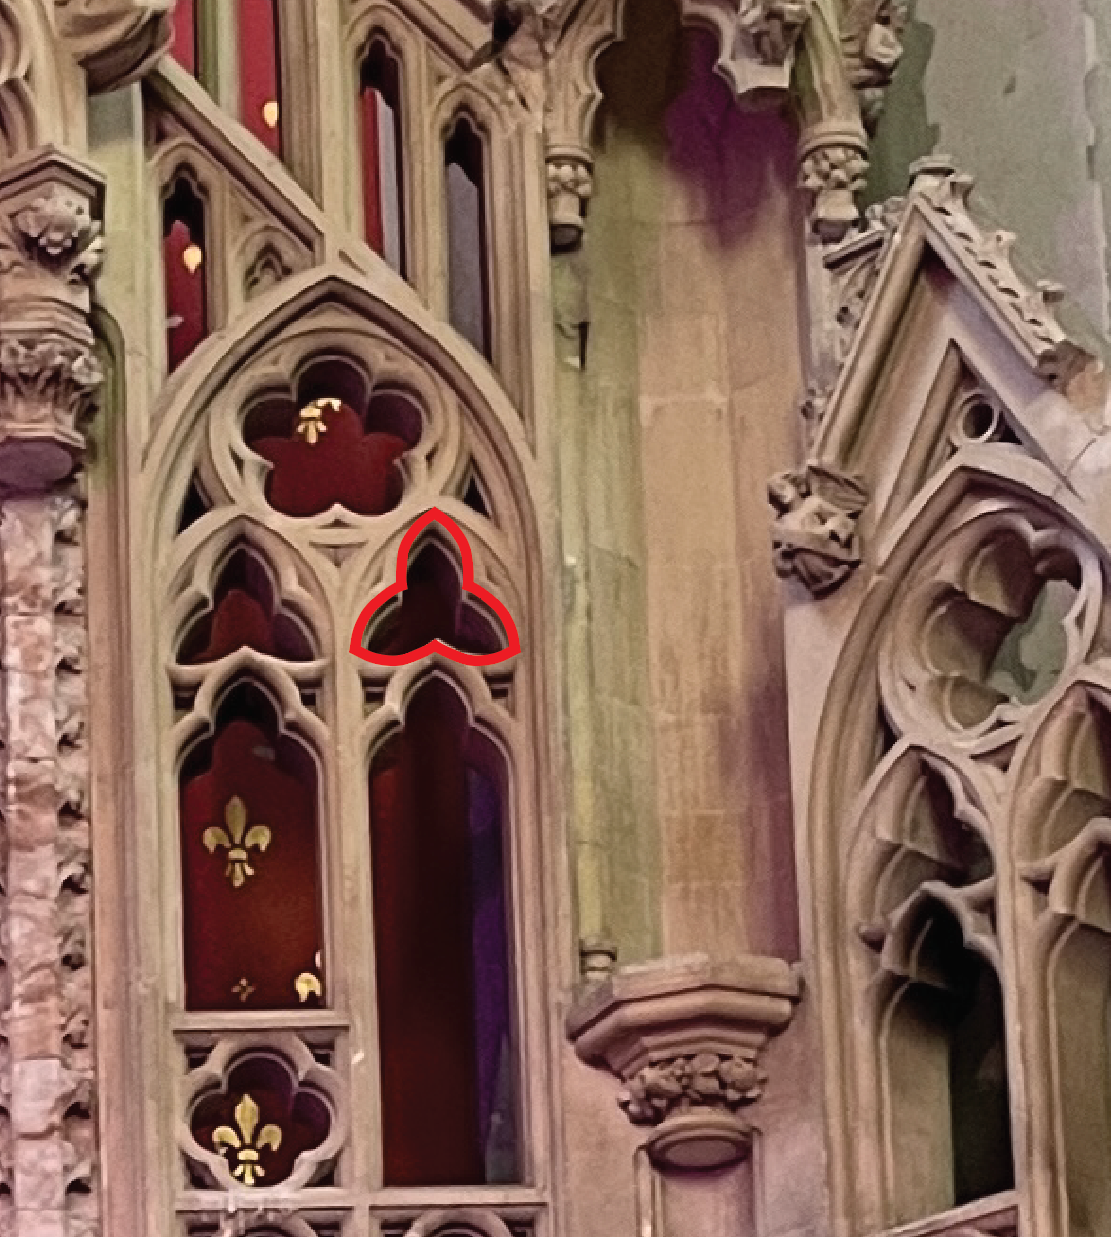
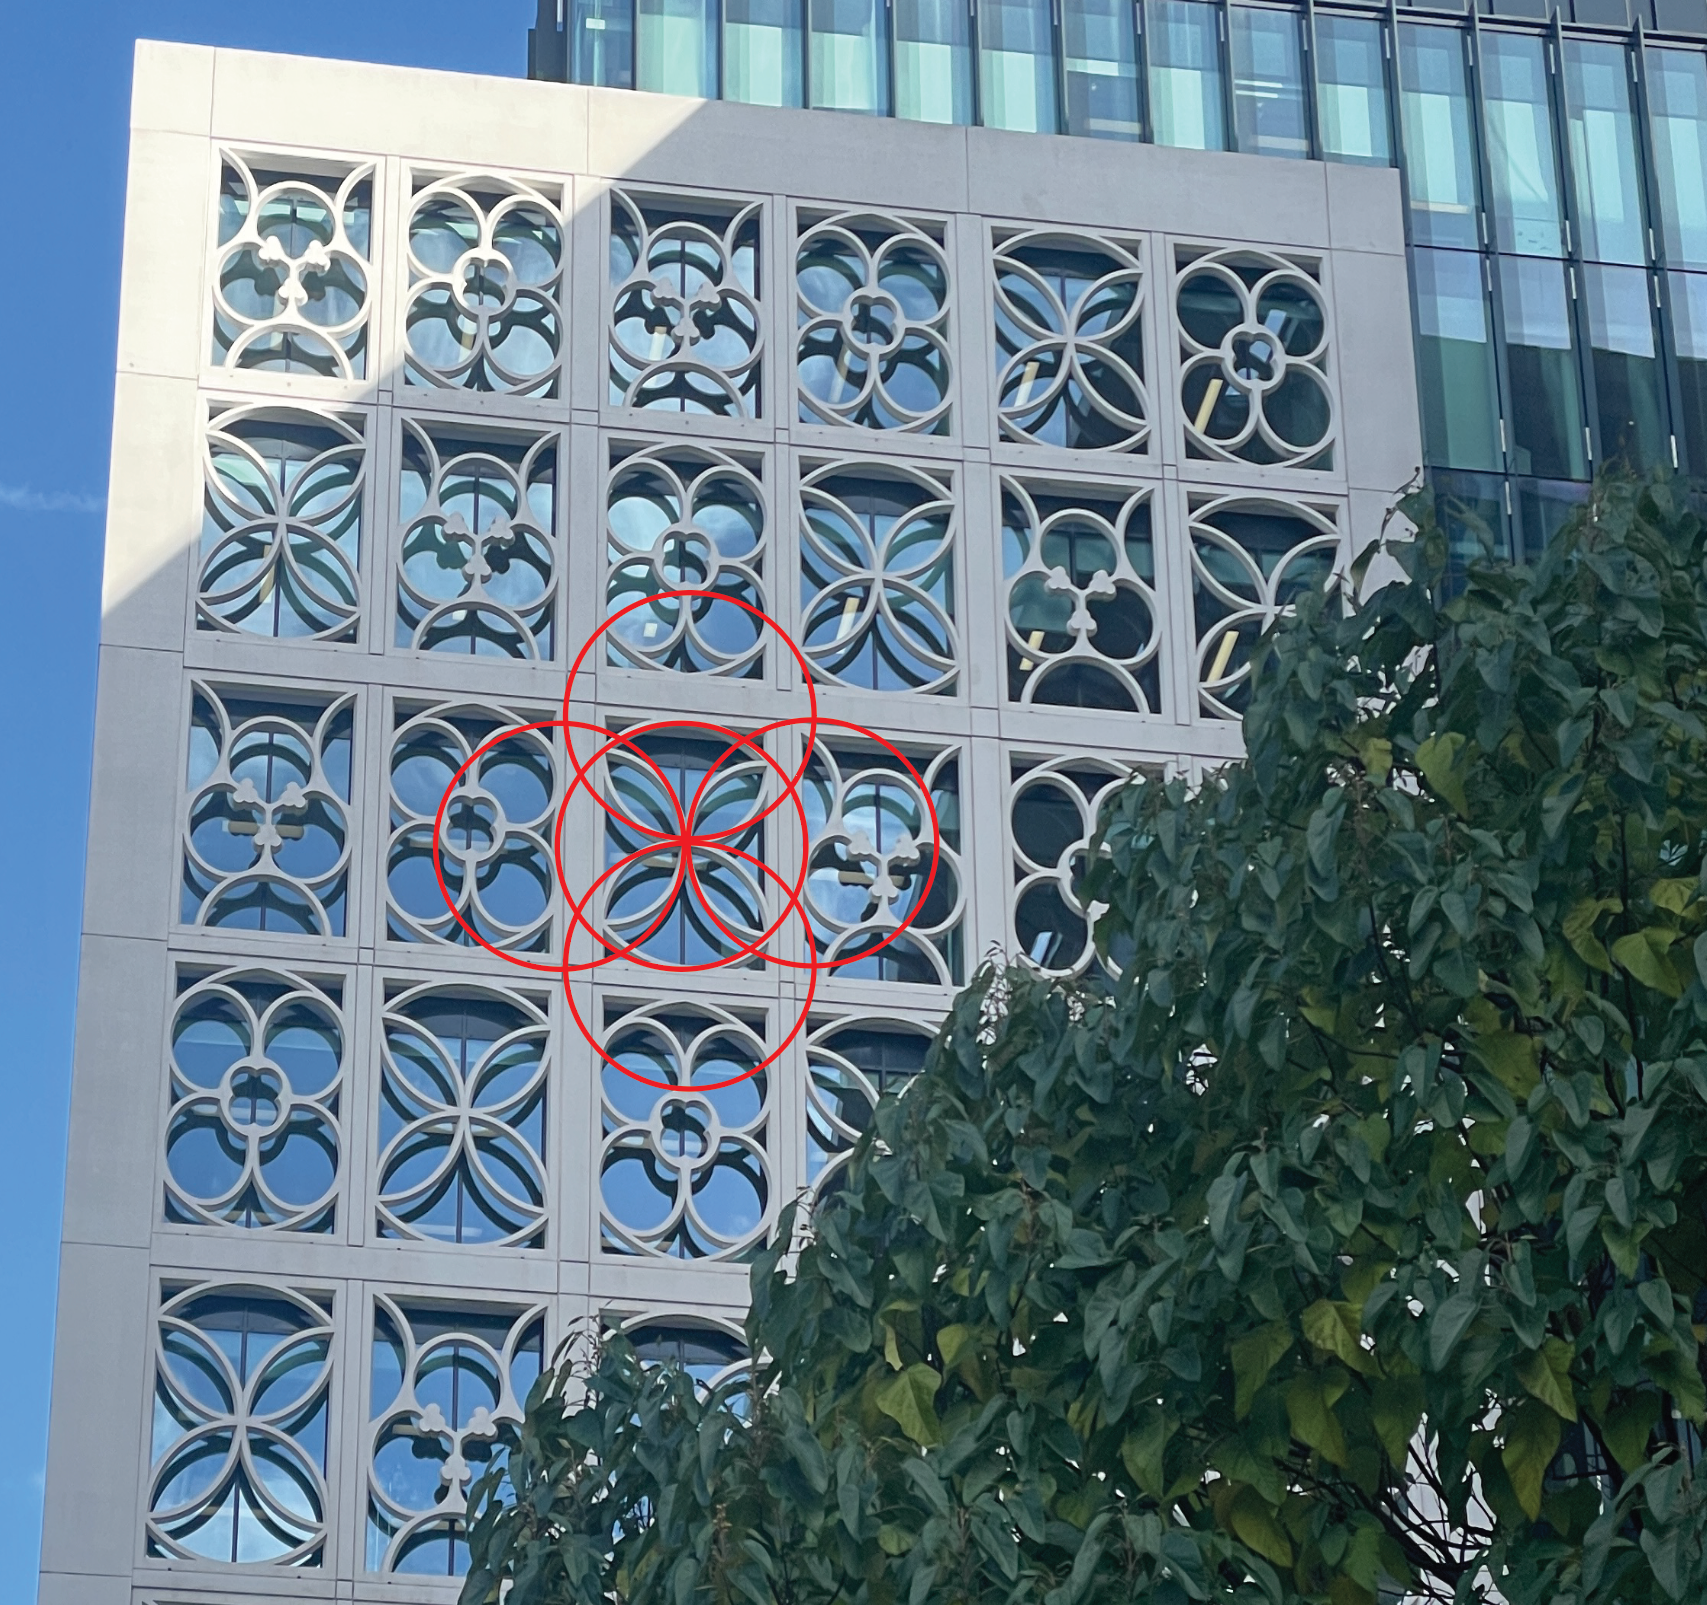
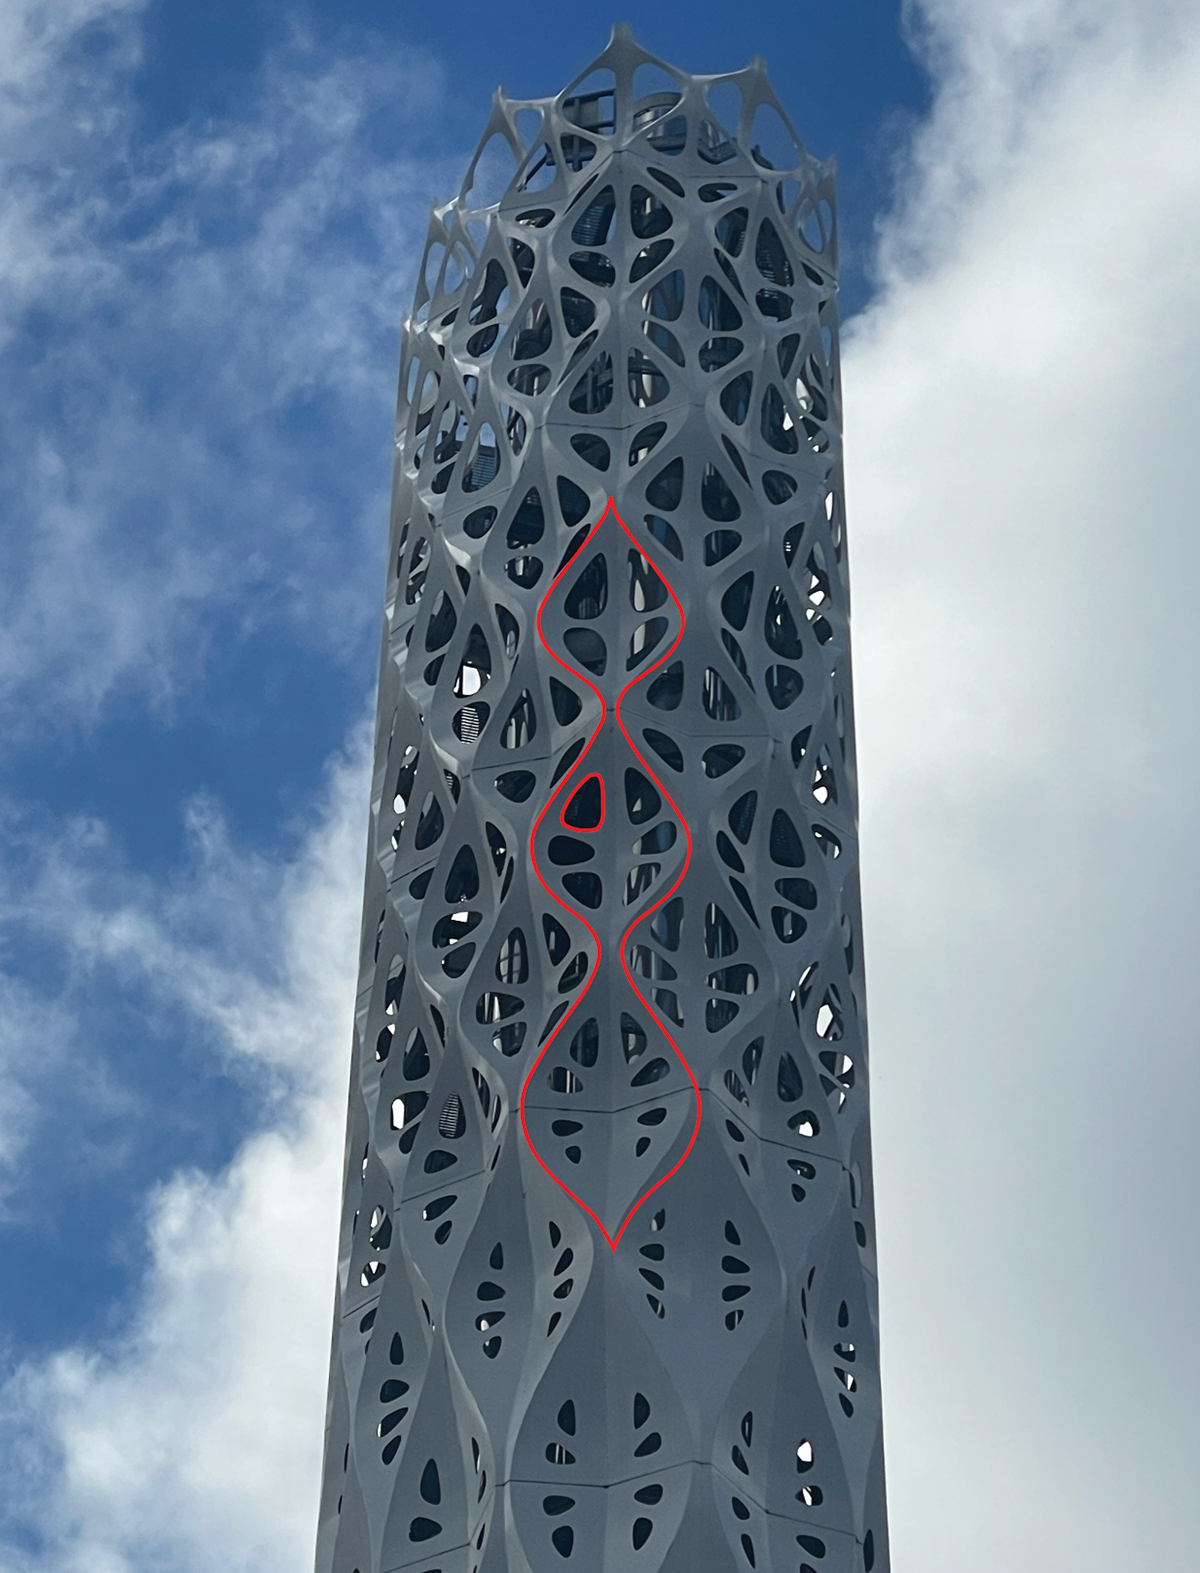
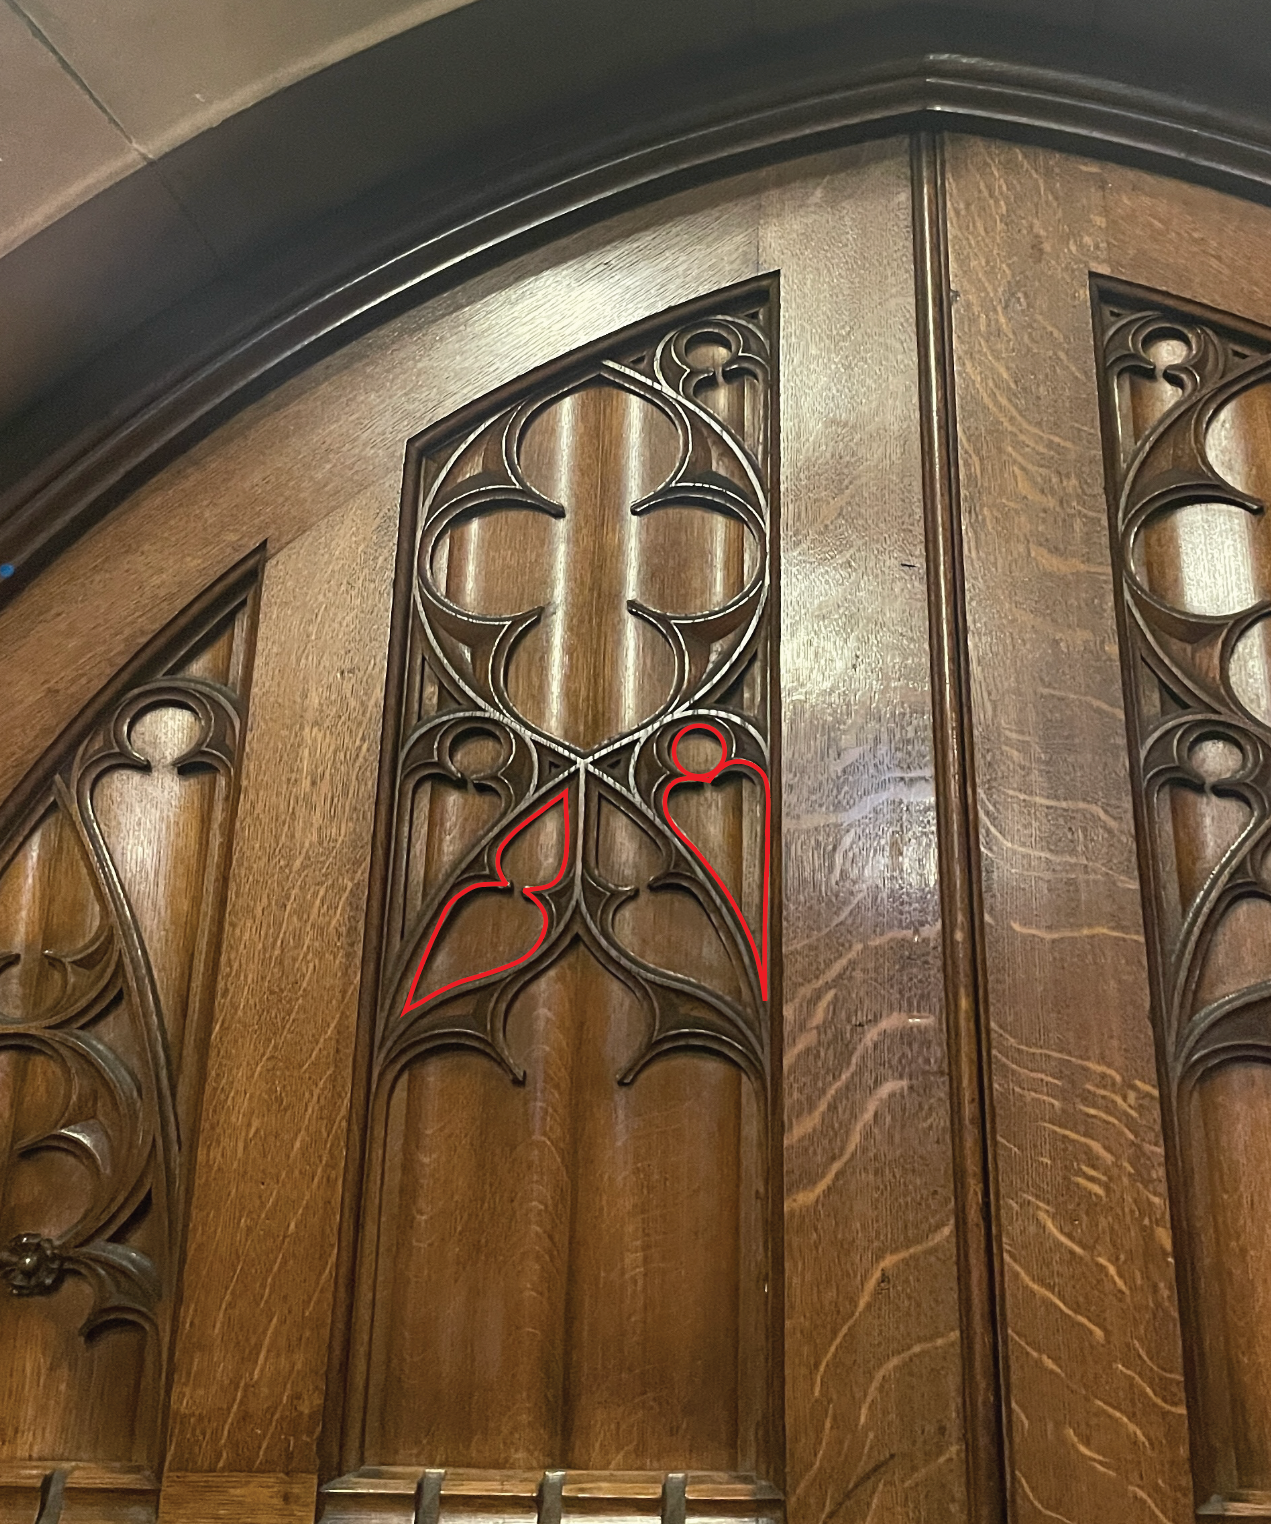
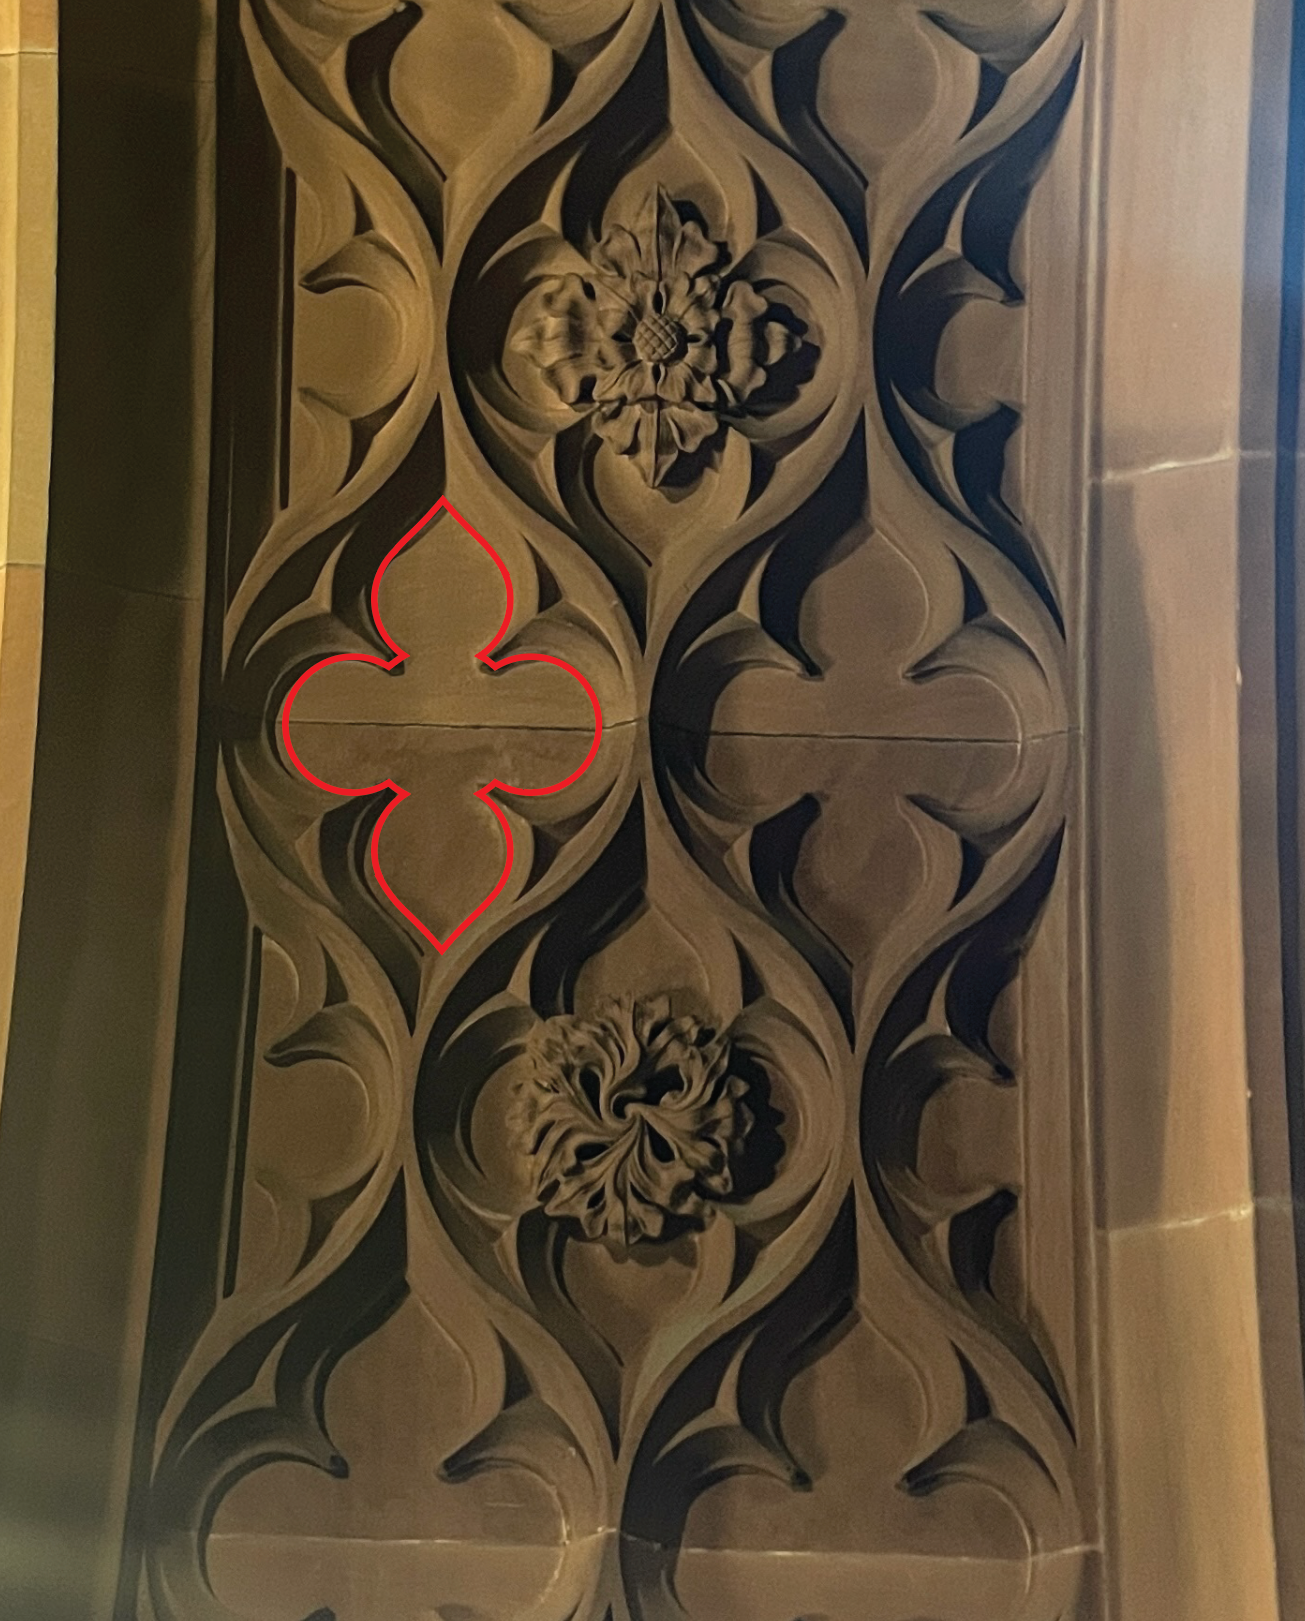
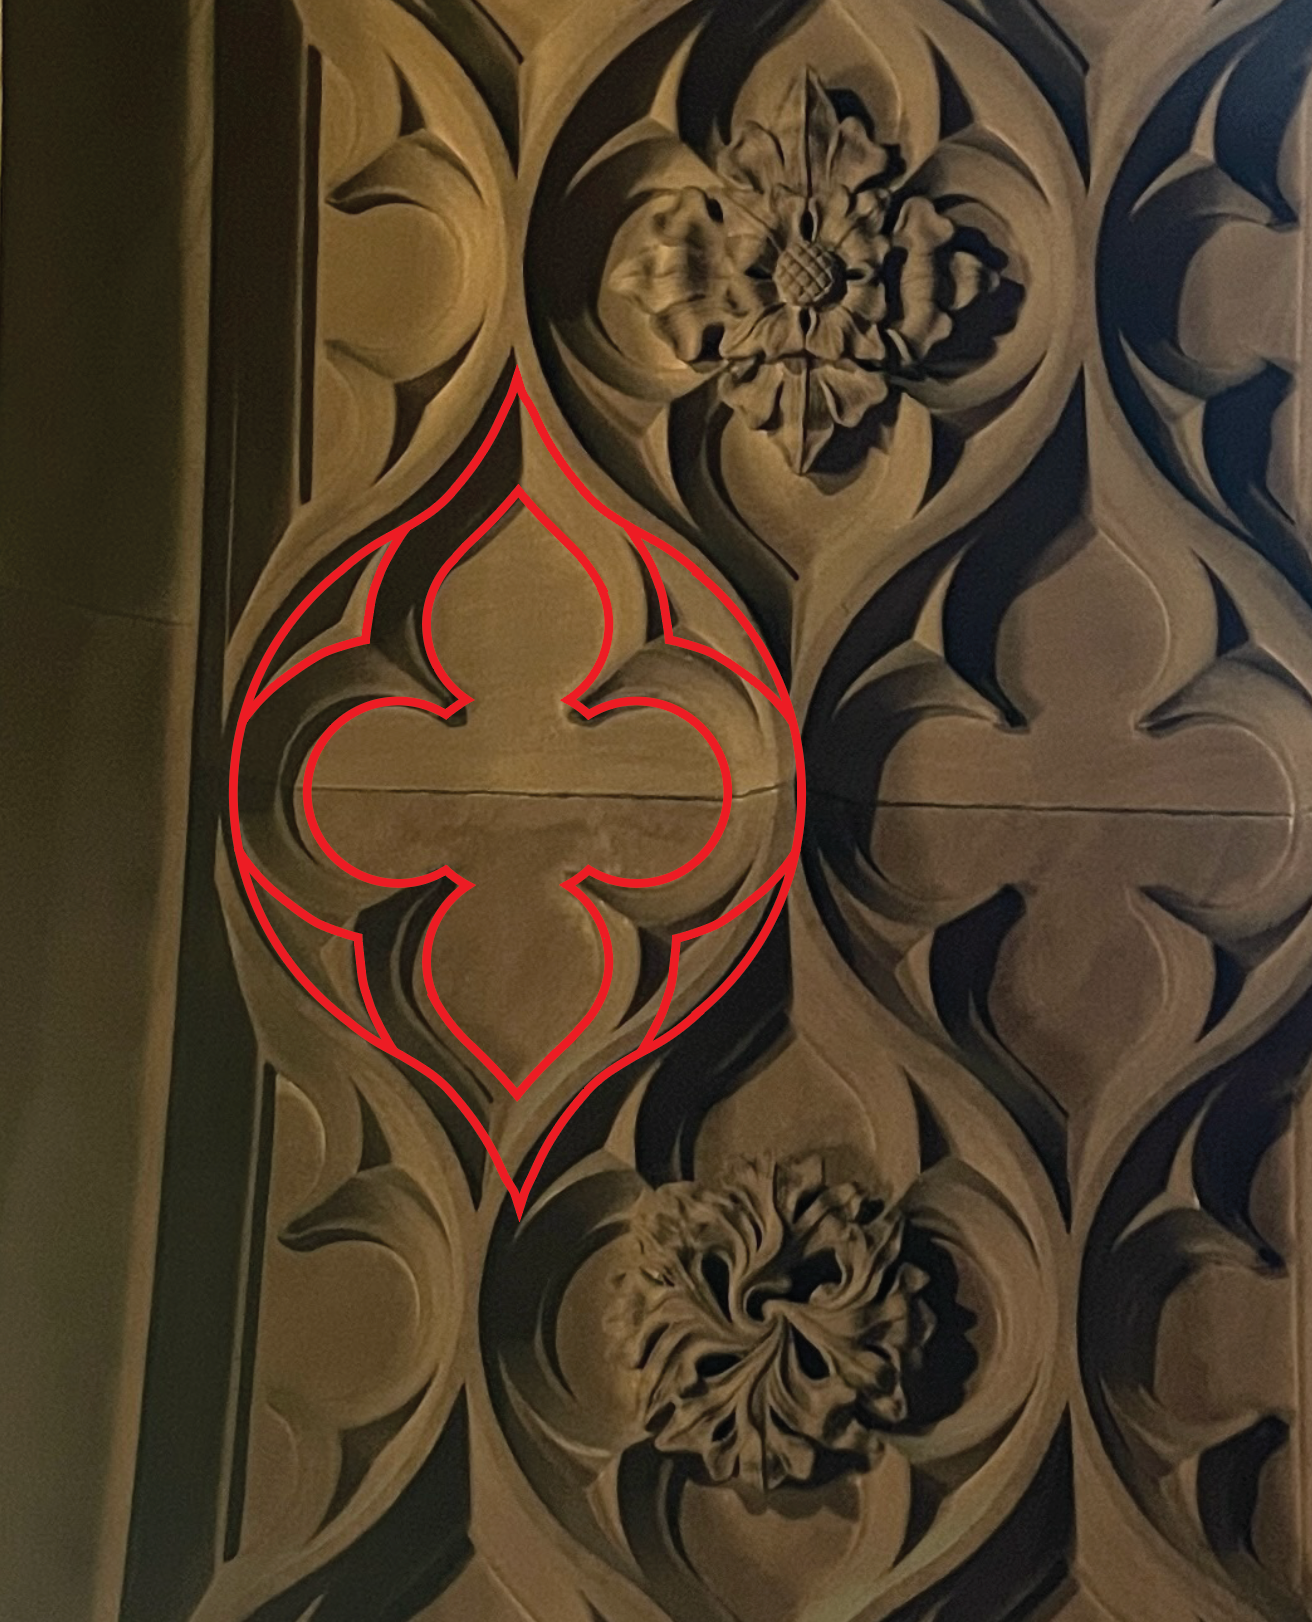
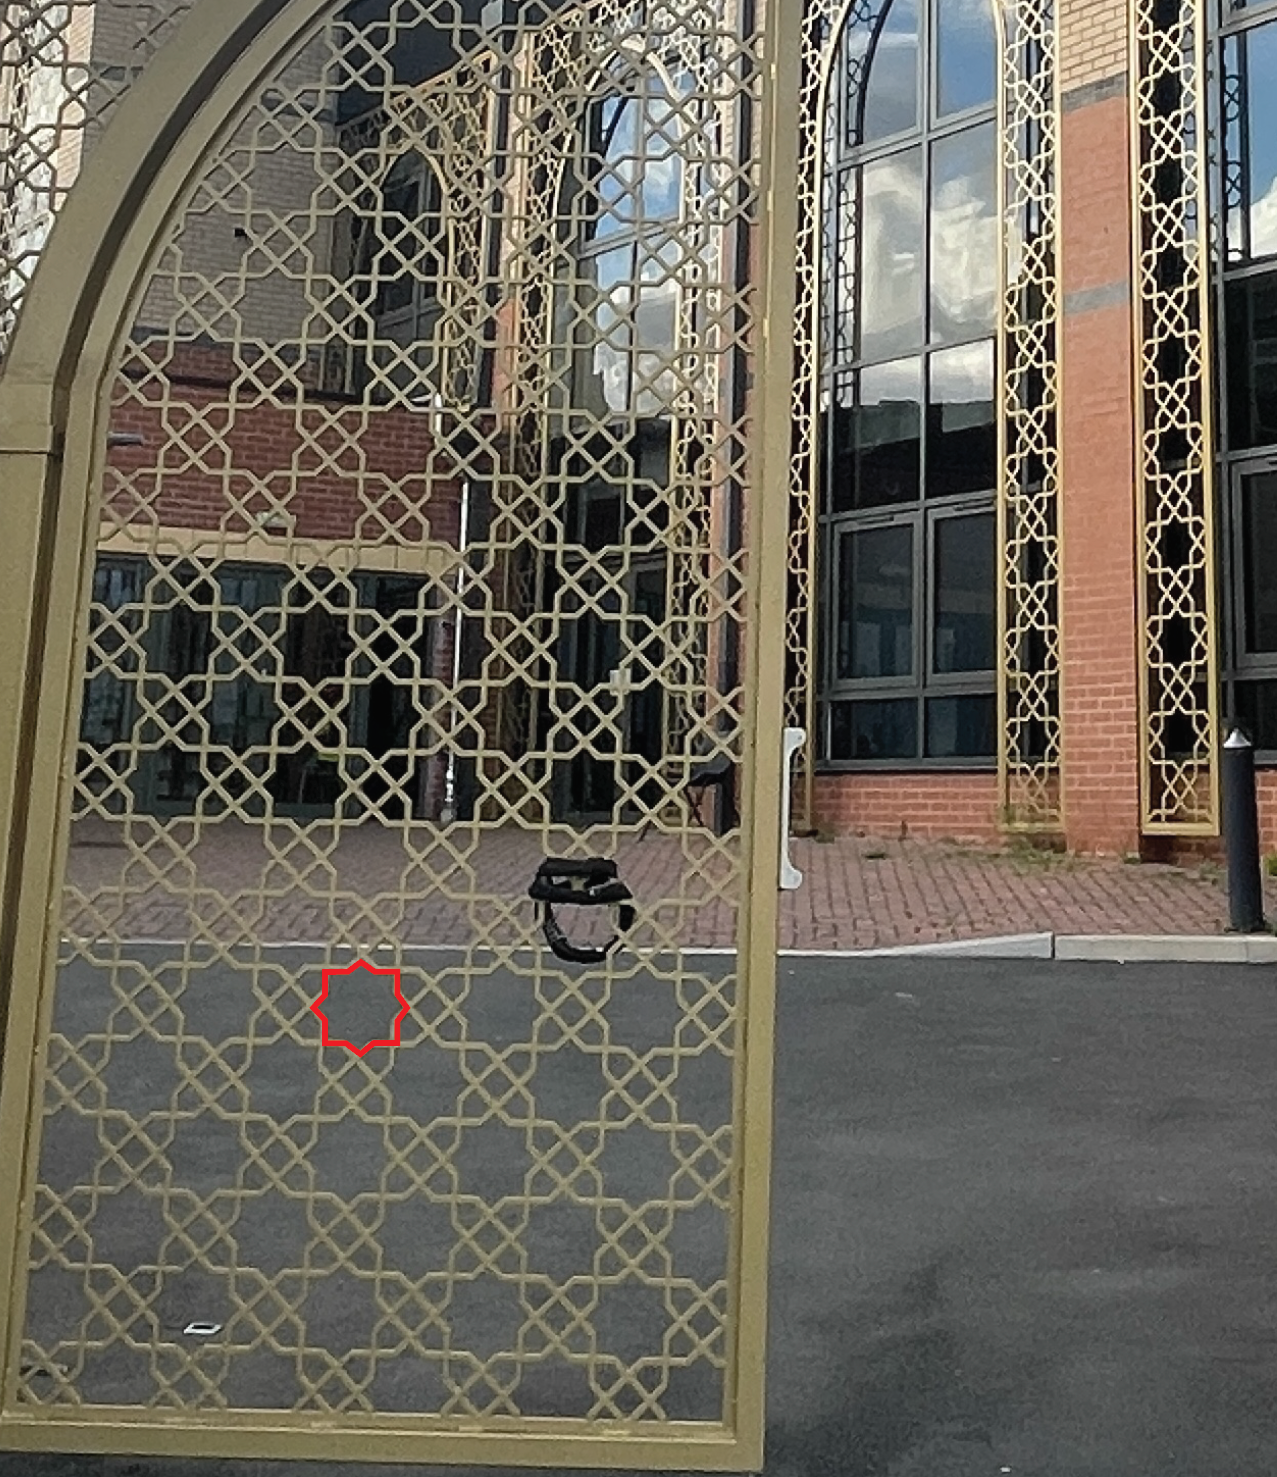
I used influences from the architecture in Gorton Monastery for these sample pieces.

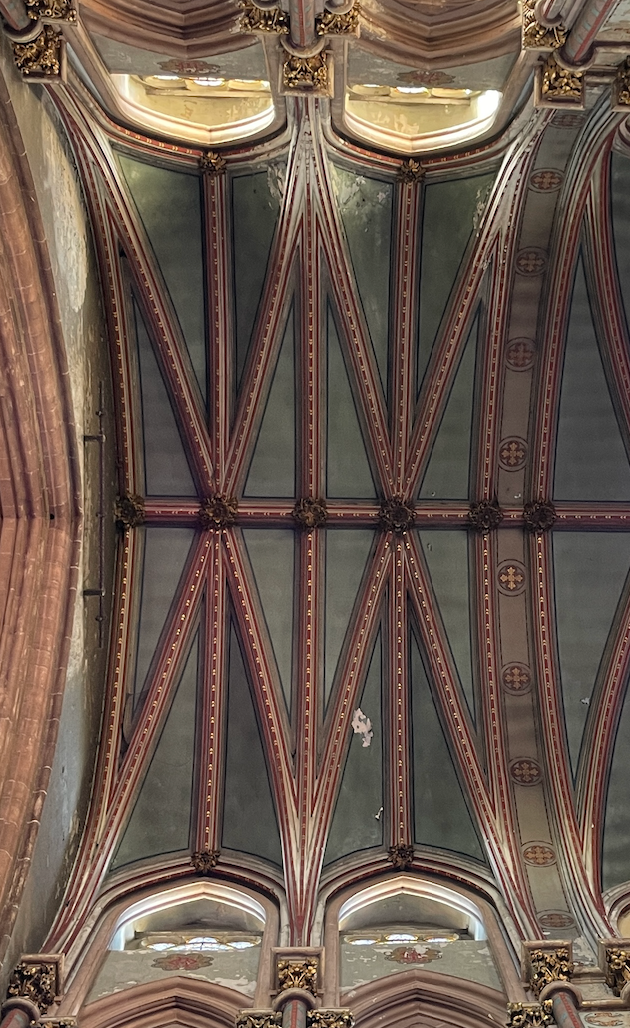
Inside the naive

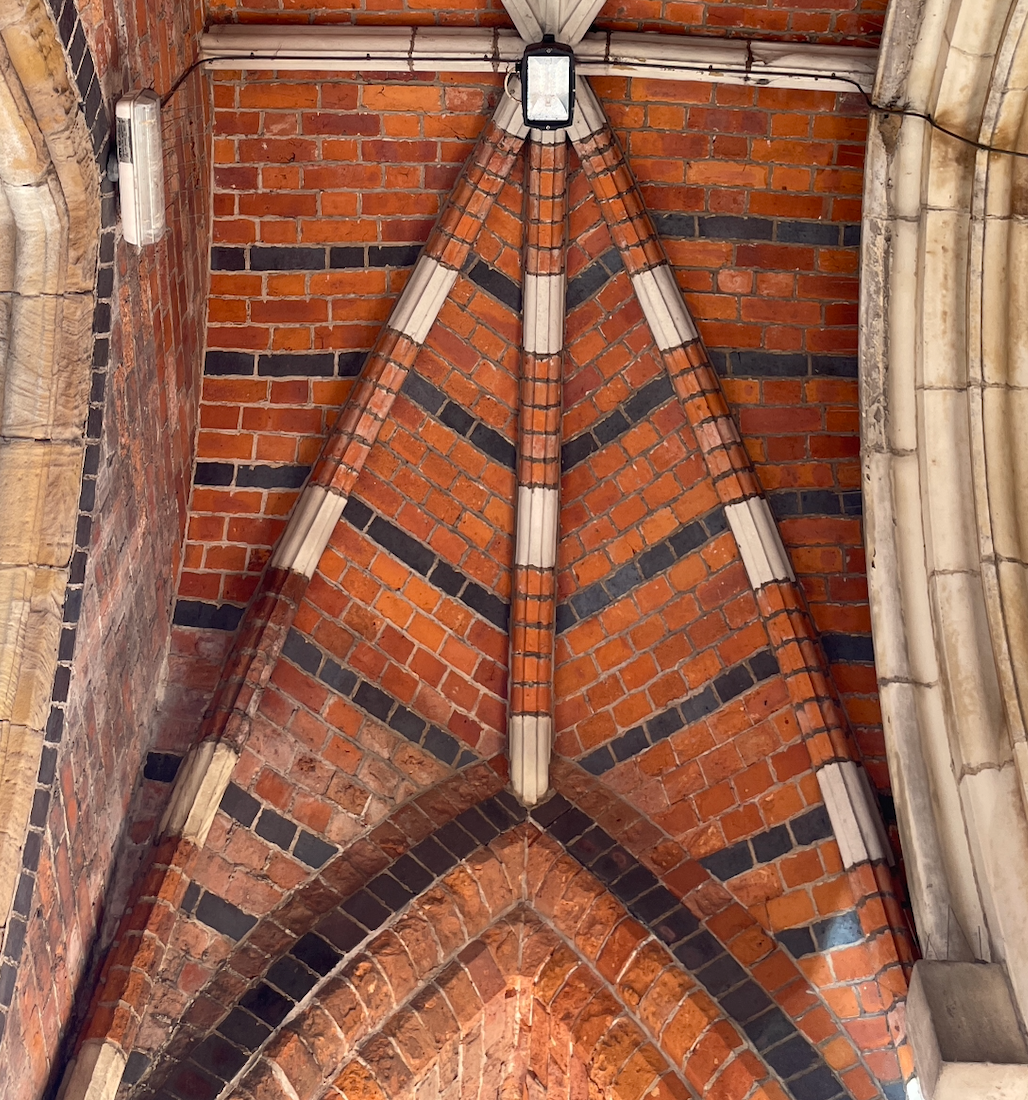
Under the arches at the main entrance
Sandblasting is s technique I tried in the first year I the glass workshop. I had thought about doing this throughout uni but never did. I decided to give it a go and test this on pieces of copper and brass to see the finished effect it would have. I also experimented with testing this on brass that wasn’t pickled after annealing to see if the tarnish would stay or be removed.
Overall, I like the effect sandblasting has however I am not sure if I will incorporate this into my work due to other techniques I want to include and the order in doing these and how that would work. Despite this, it is something I am going to keep in mind for synthesis and resolution.
Tool Making
Throughout my technical research on Filigree, I found that a small mesh sieve is a good tool for sifting the powdered solder onto the metal piece evenly and without excessively applying the solder. These sieves are quite expensive to buy online for what it is, as they are made out of plastic. I used some scrap copper pieces of wire, sheet and pipe from the metal workshop and bought a 15x15cm 200 mesh sheet from eBay to make this tool which will help me when I come to solder some filigree pieces.


Sketches
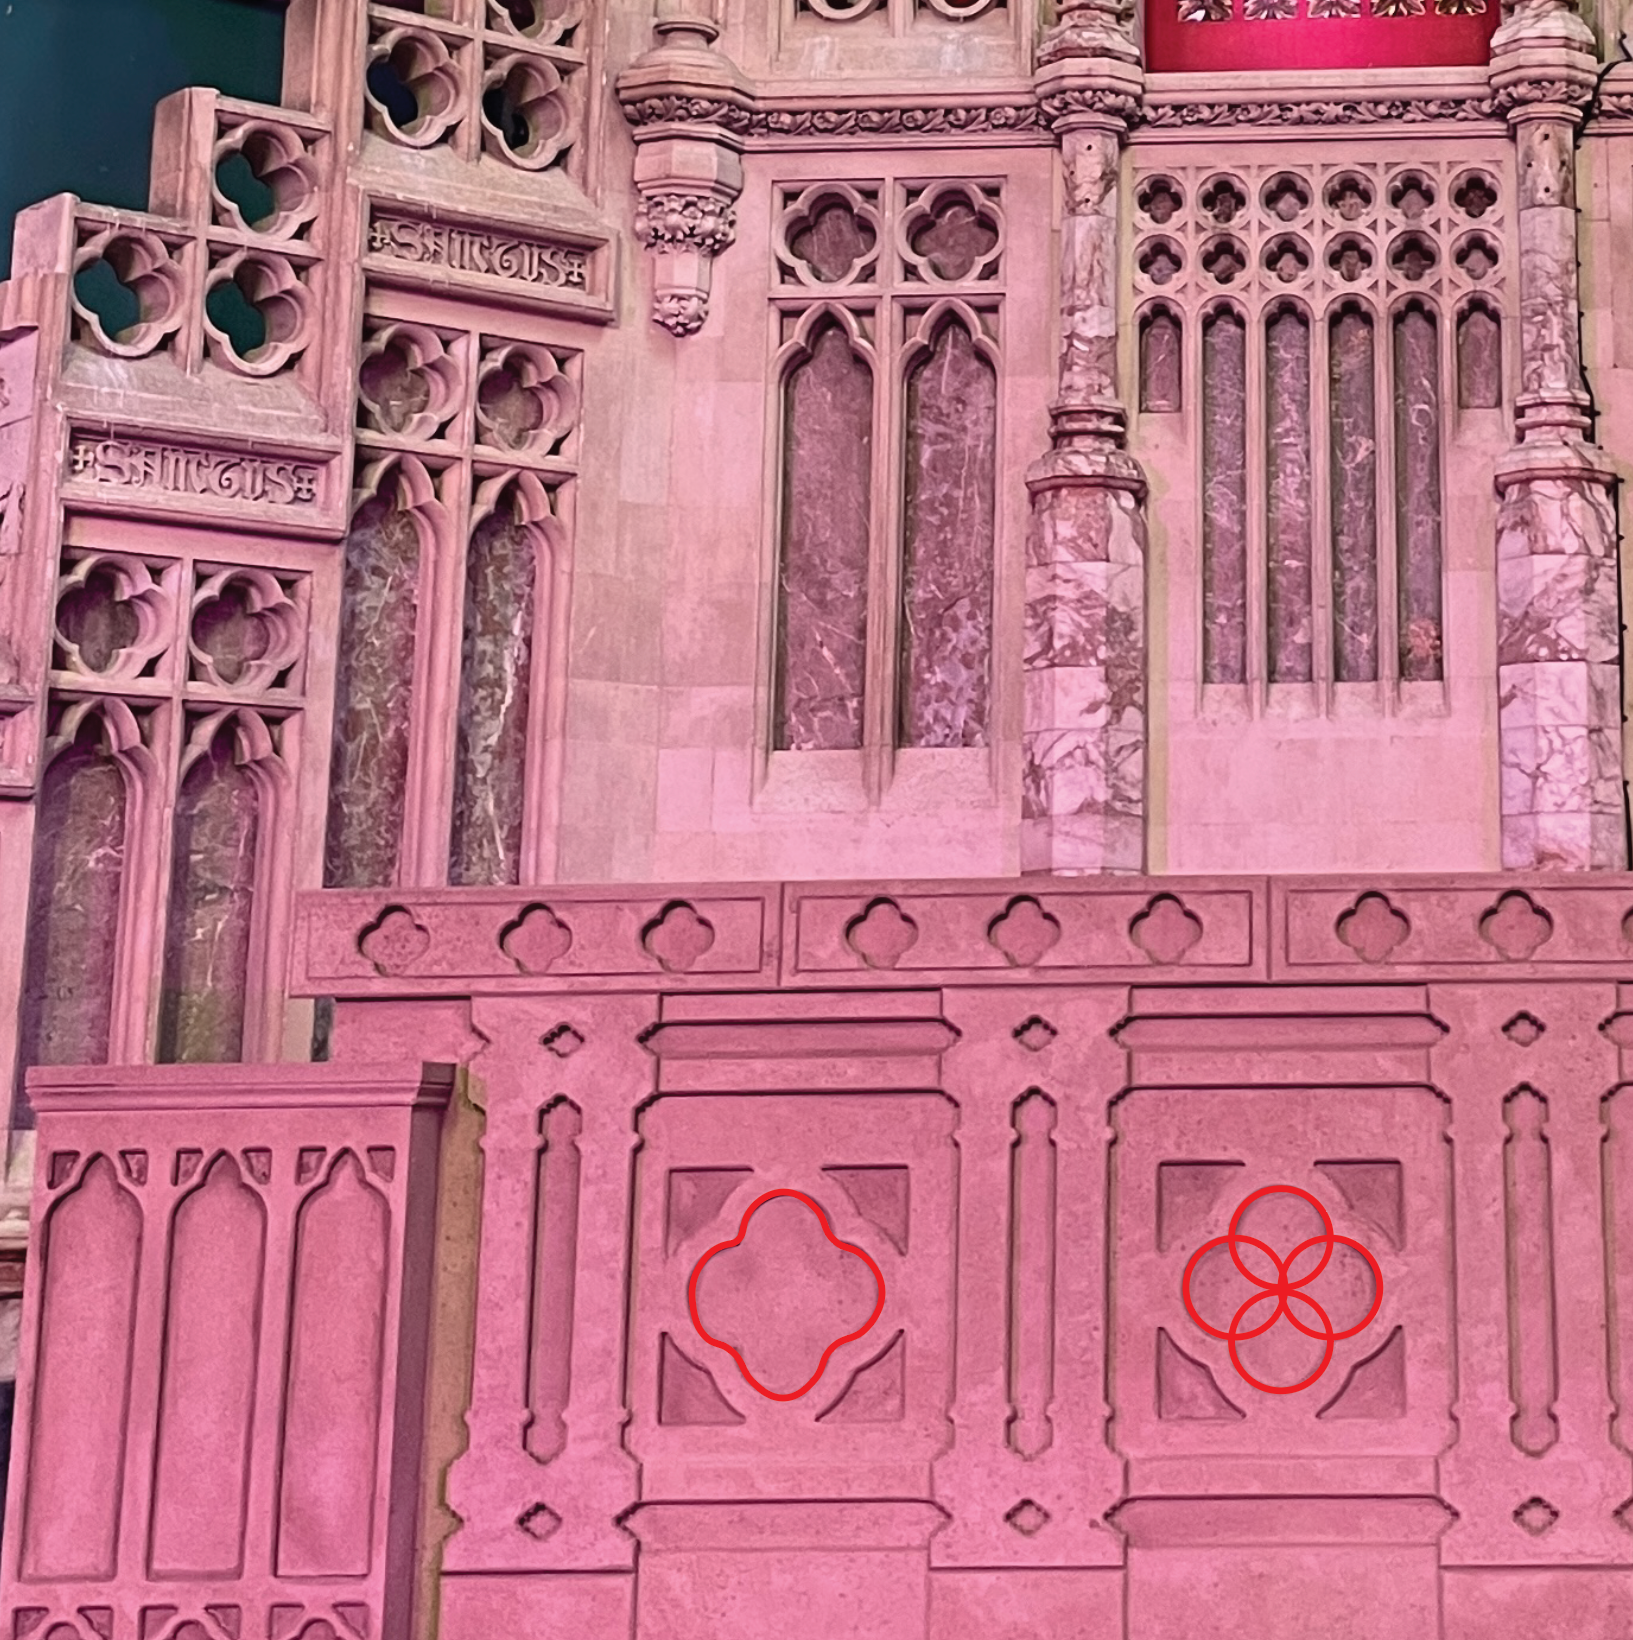
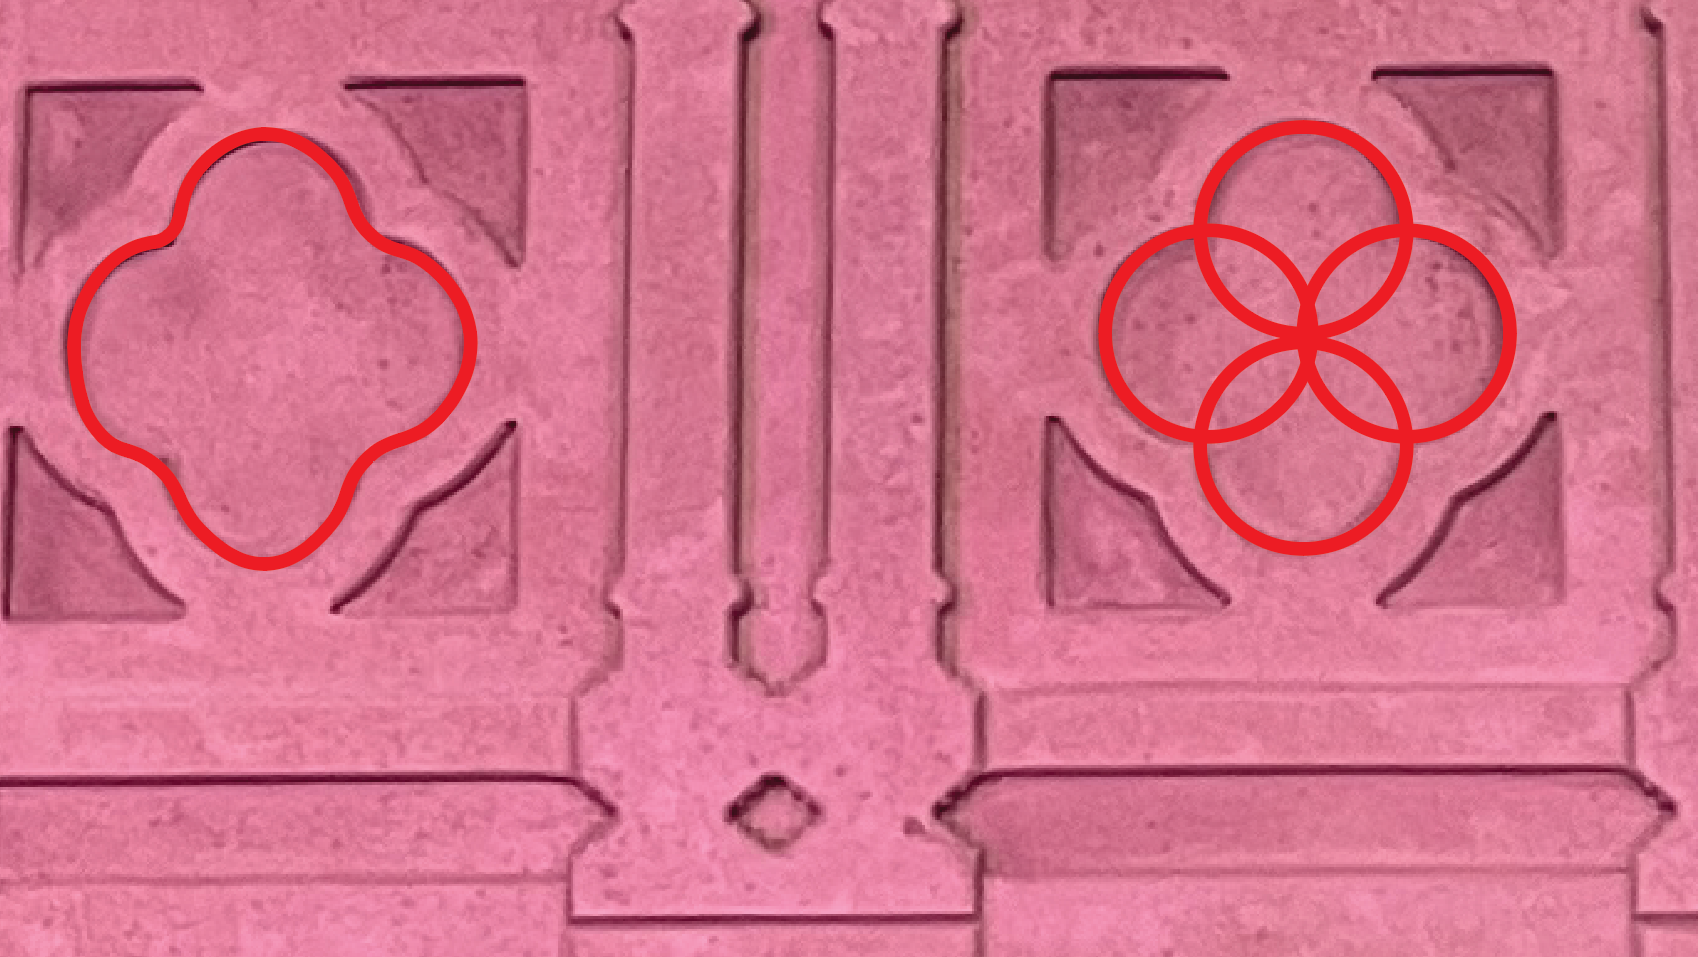
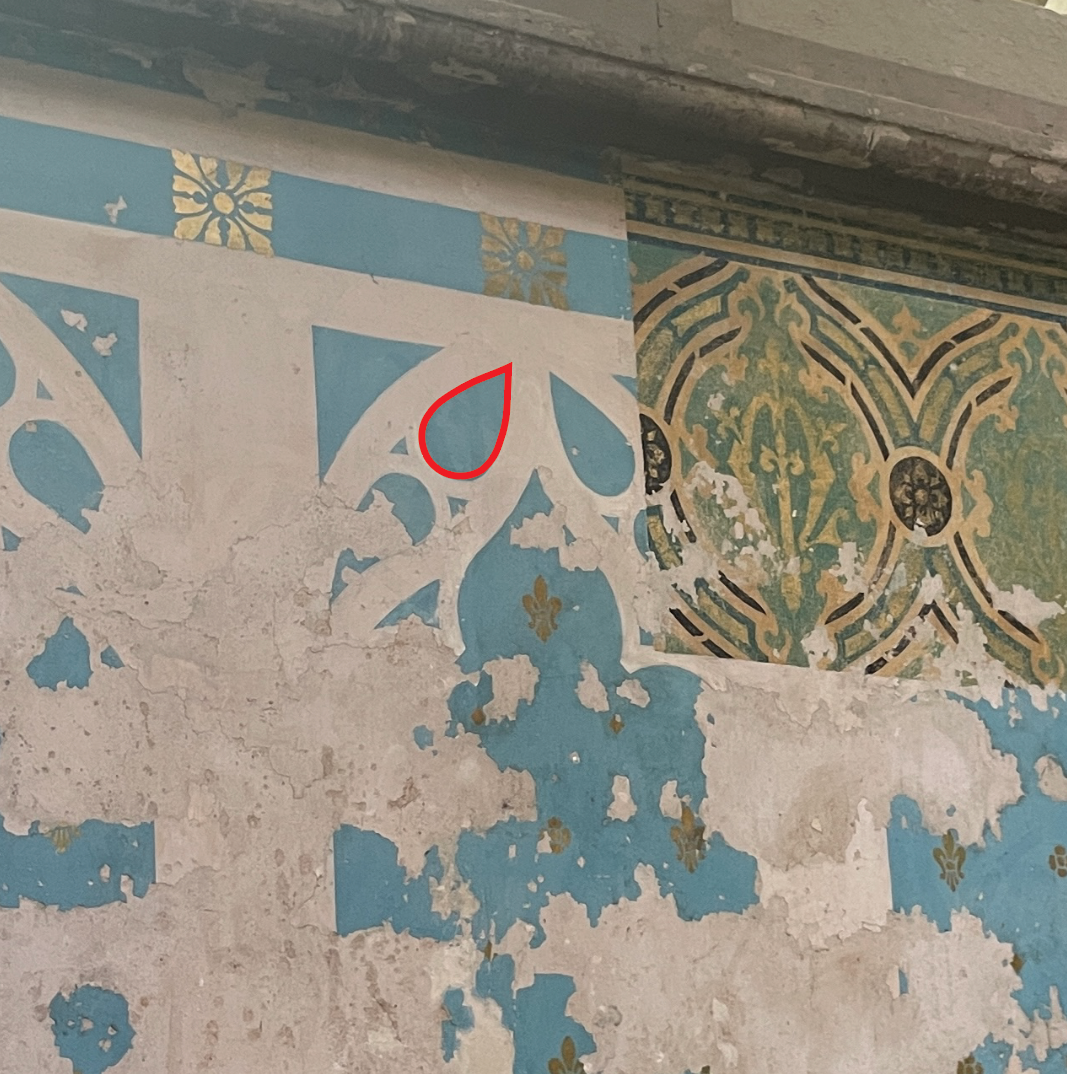
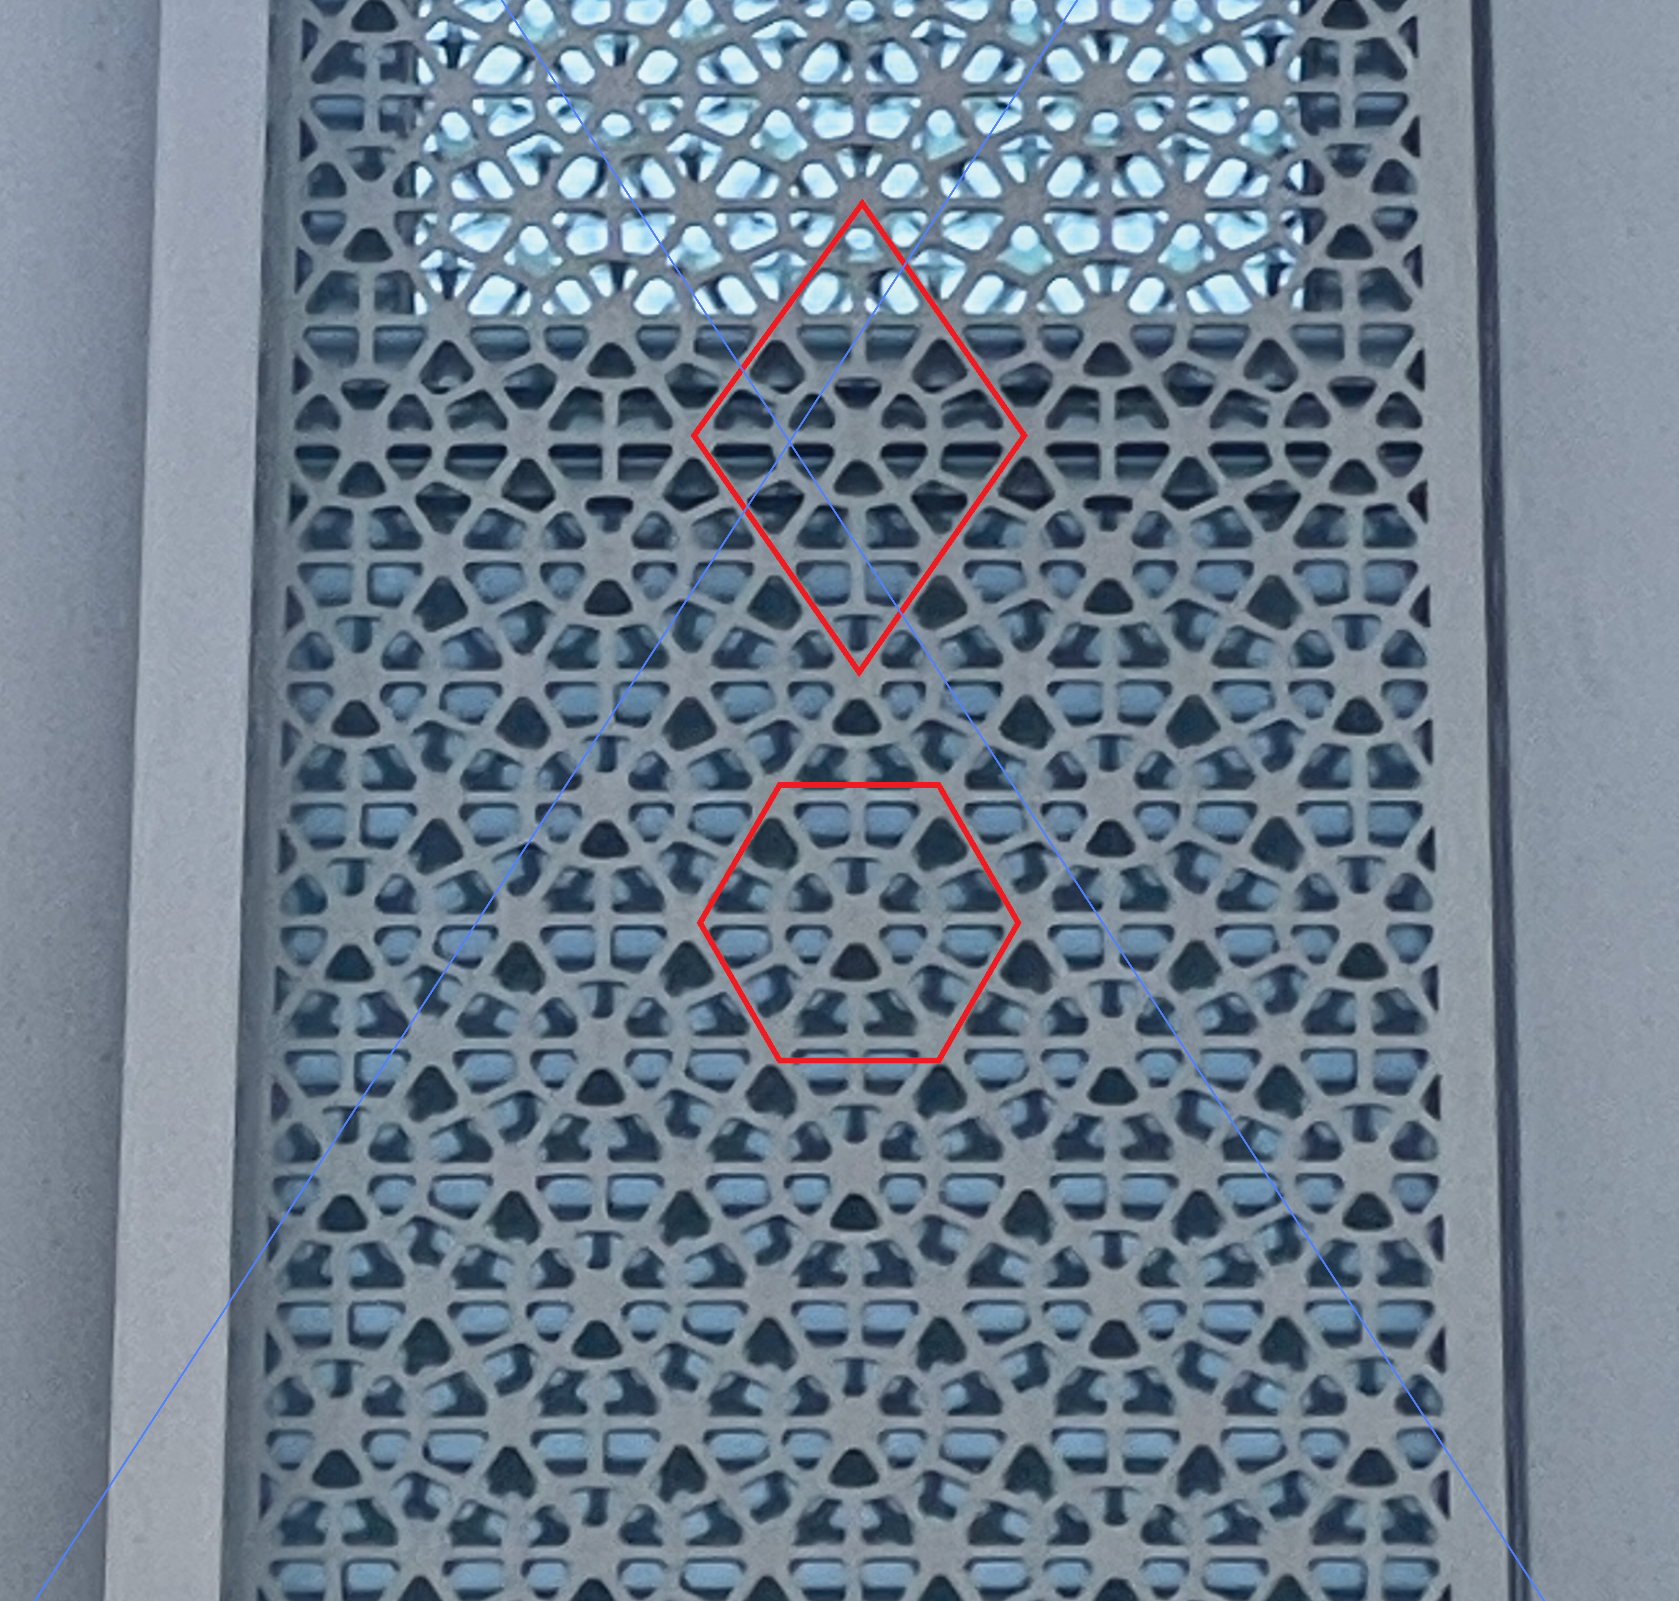
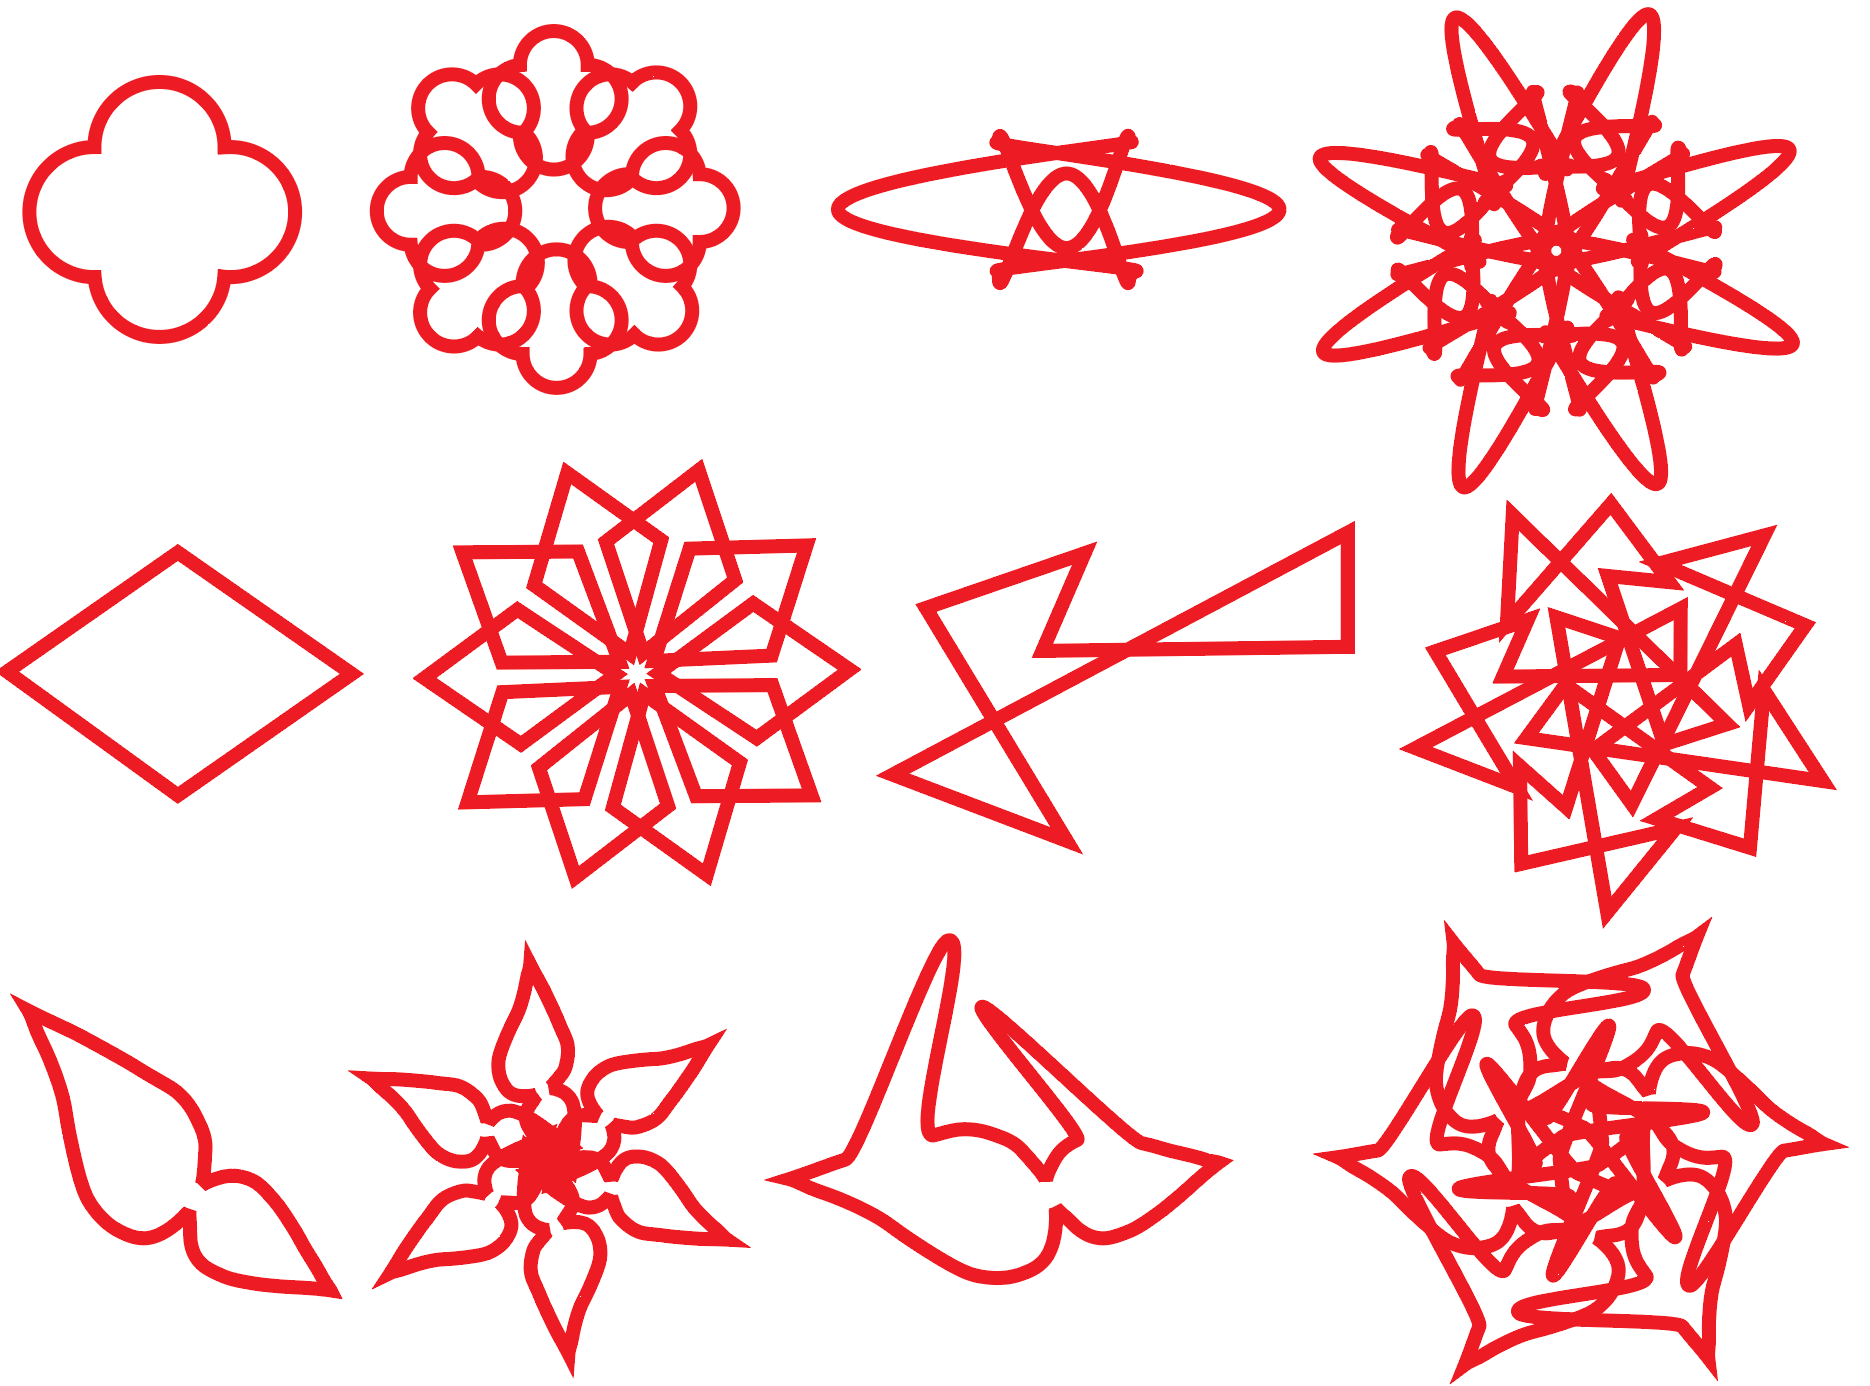
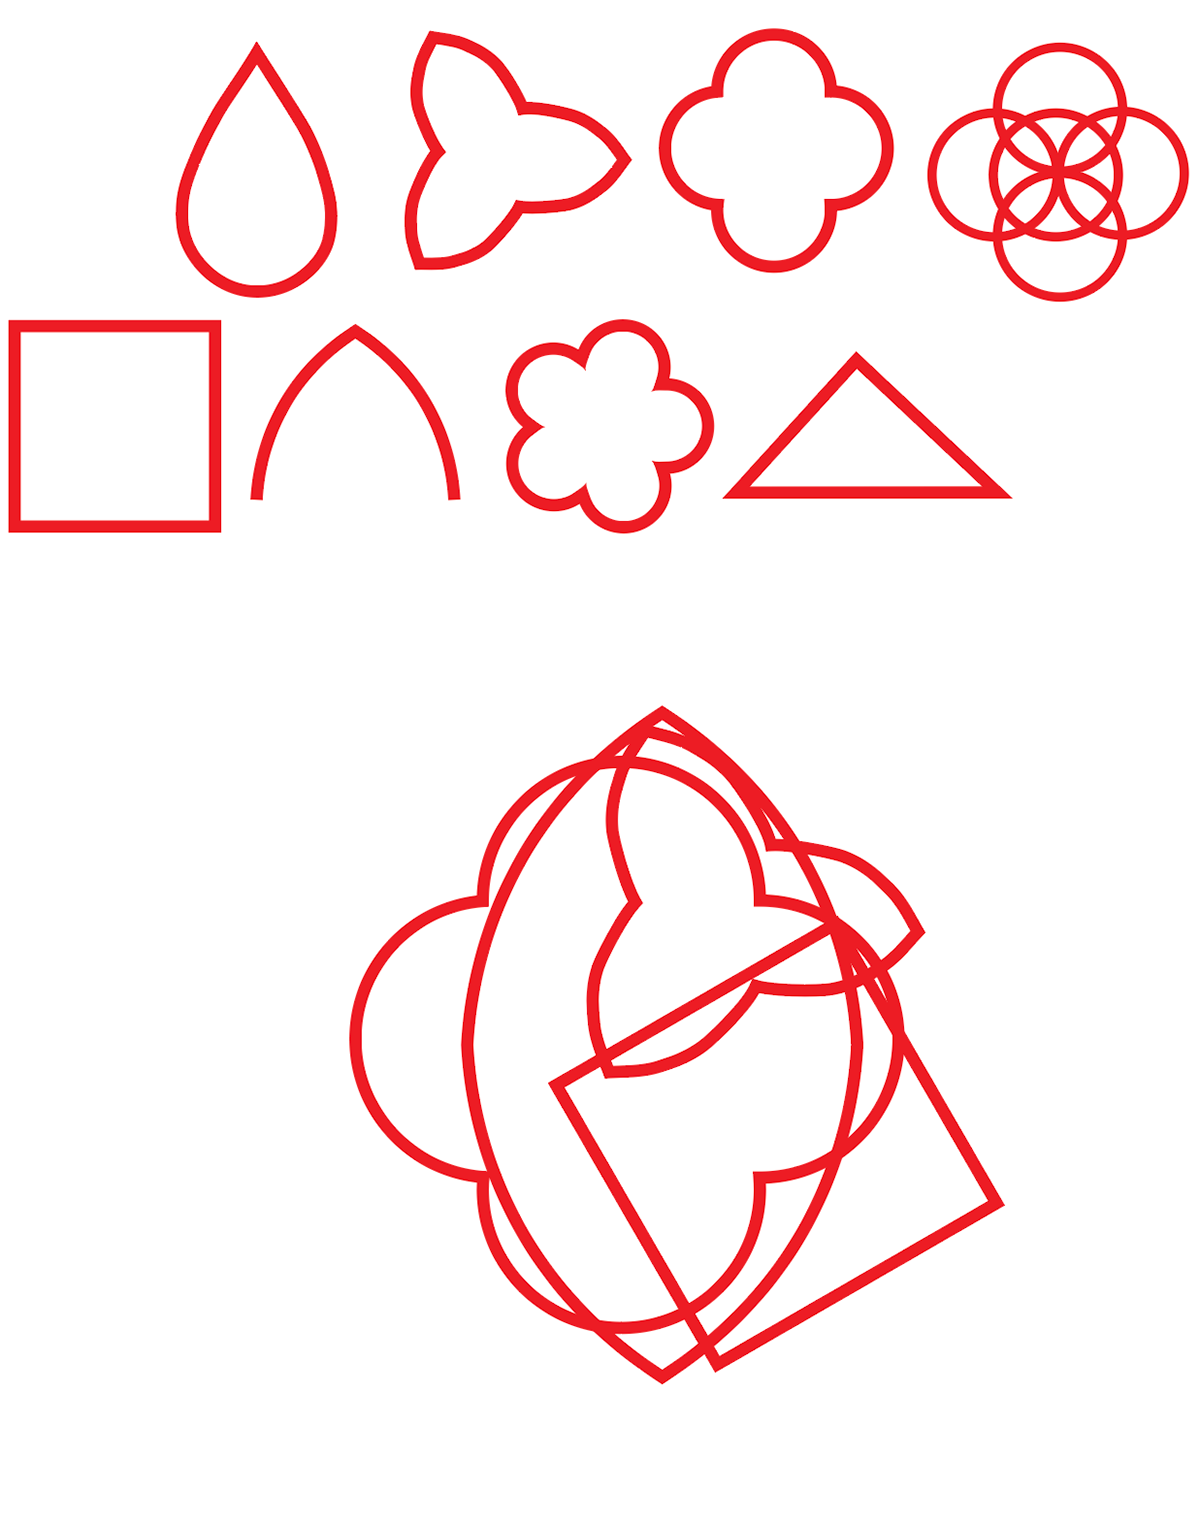
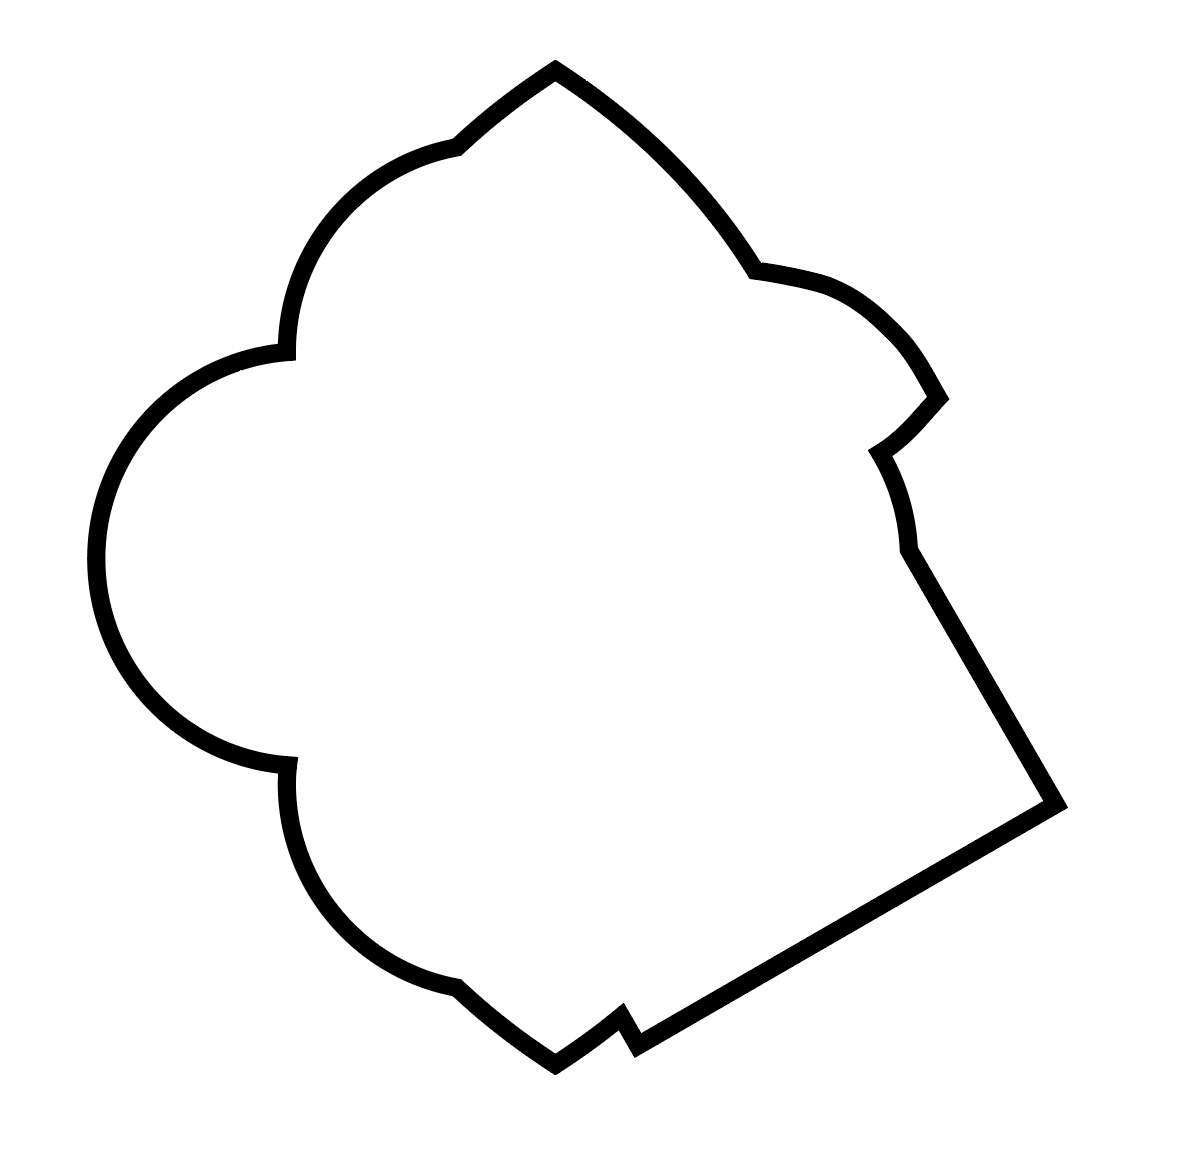
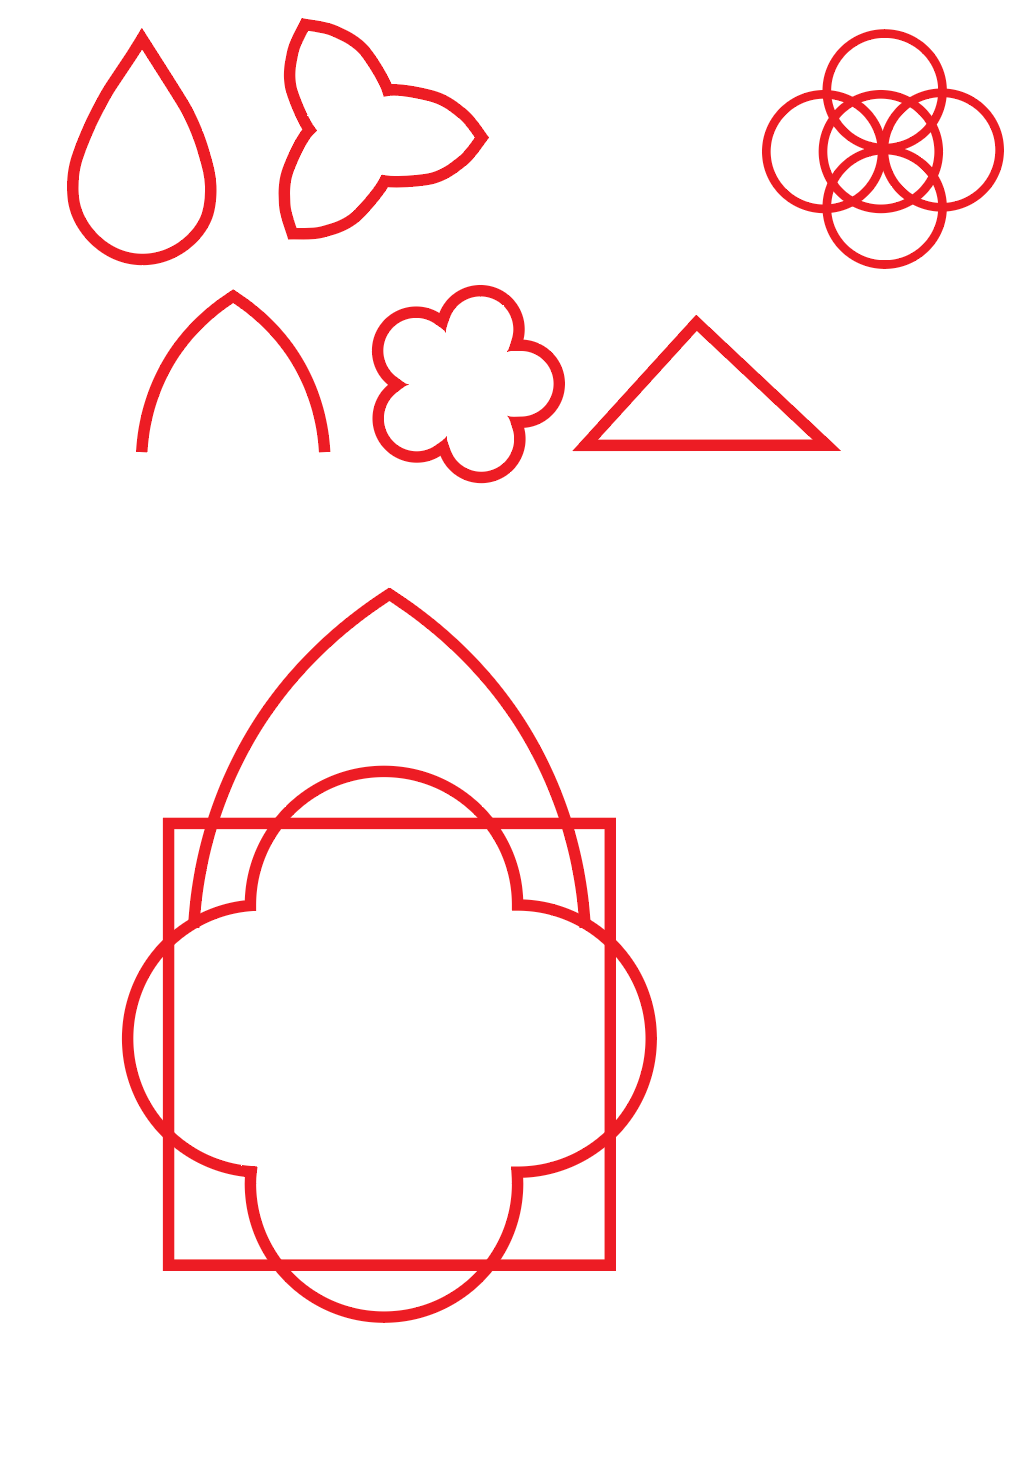
After taking a closer look at the photos of the buildings I took, I noticed individual shapes used within the architecture. Alongside this, since my tour of the monastery, I learnt that a lot of shapes in the architecture have geometrical and numerical meanings. I extracted those shapes using Adobe Illustrator and planned to play around with them to see what I got from them.


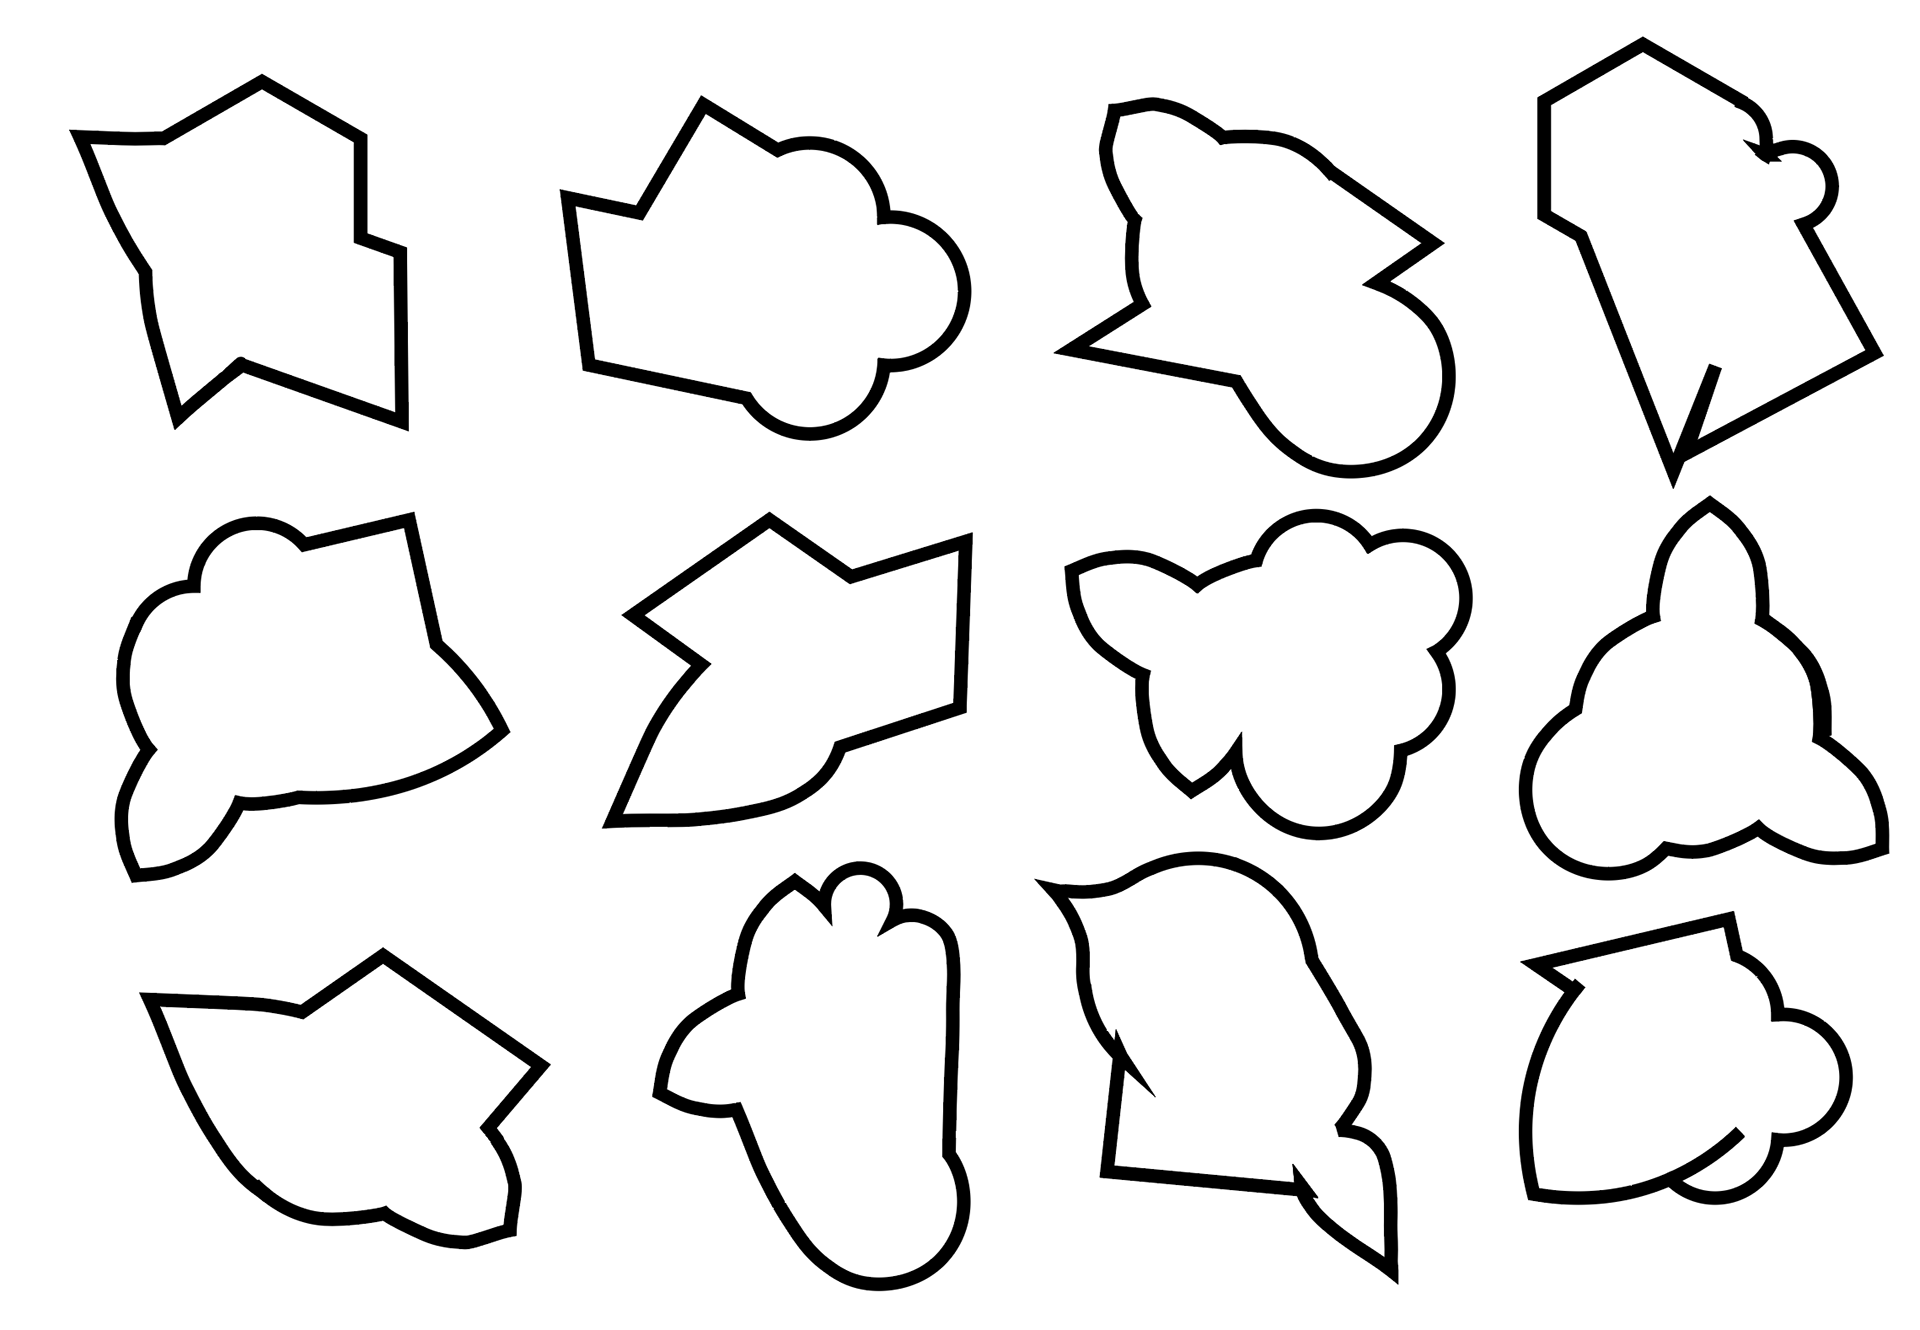
I then took some of the shapes and played around using various tools in Illustrator, such as Repeat, Radial, Grid and Mirror. However, the outcome of these became to complicated and wasnt what I wanted to achive

After this, I decided to play around with overlapping the shapes and erasing the lines which are overlapped using the shape builder tool. I was left with a new shape and experimented with doing this several times.
At this stage, I had decided I wanted to make a brooch. This is due to looking at my great-grandma’s jewellery and the variety of brooches she had. As well as this I like the idea that with a brooch, how the viewer sees it and how the wearer sees it are different perspectives. I found this interesting and wanted to play on this idea for my brooch as a relation to my heritage from what people outside see and what people who know me know.
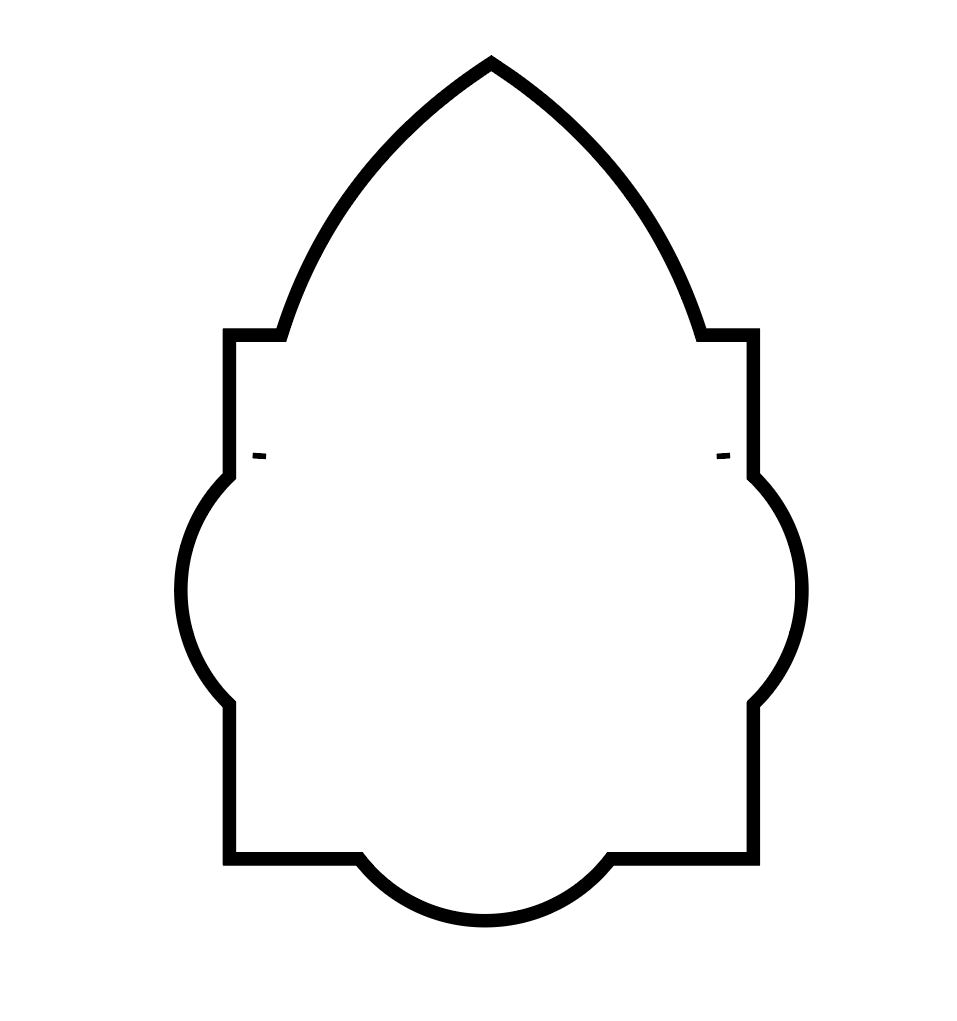


I like this concept of having the new shape I have created as the front of the brooch acting like a shield from the complex but beautiful side of me and how I feel about this. In my friendship group and within my family I am seen as the strong one. From the outside, you see a strong Manchester-born and raised woman but behind this, there is a a woman who has recently discovered her heritage which is beautiful but also complicated with a lot of thoughts and feelings involved.
This idea and narrative is what I want to achieve in my work using both plique a jour and filigree as processes for this.

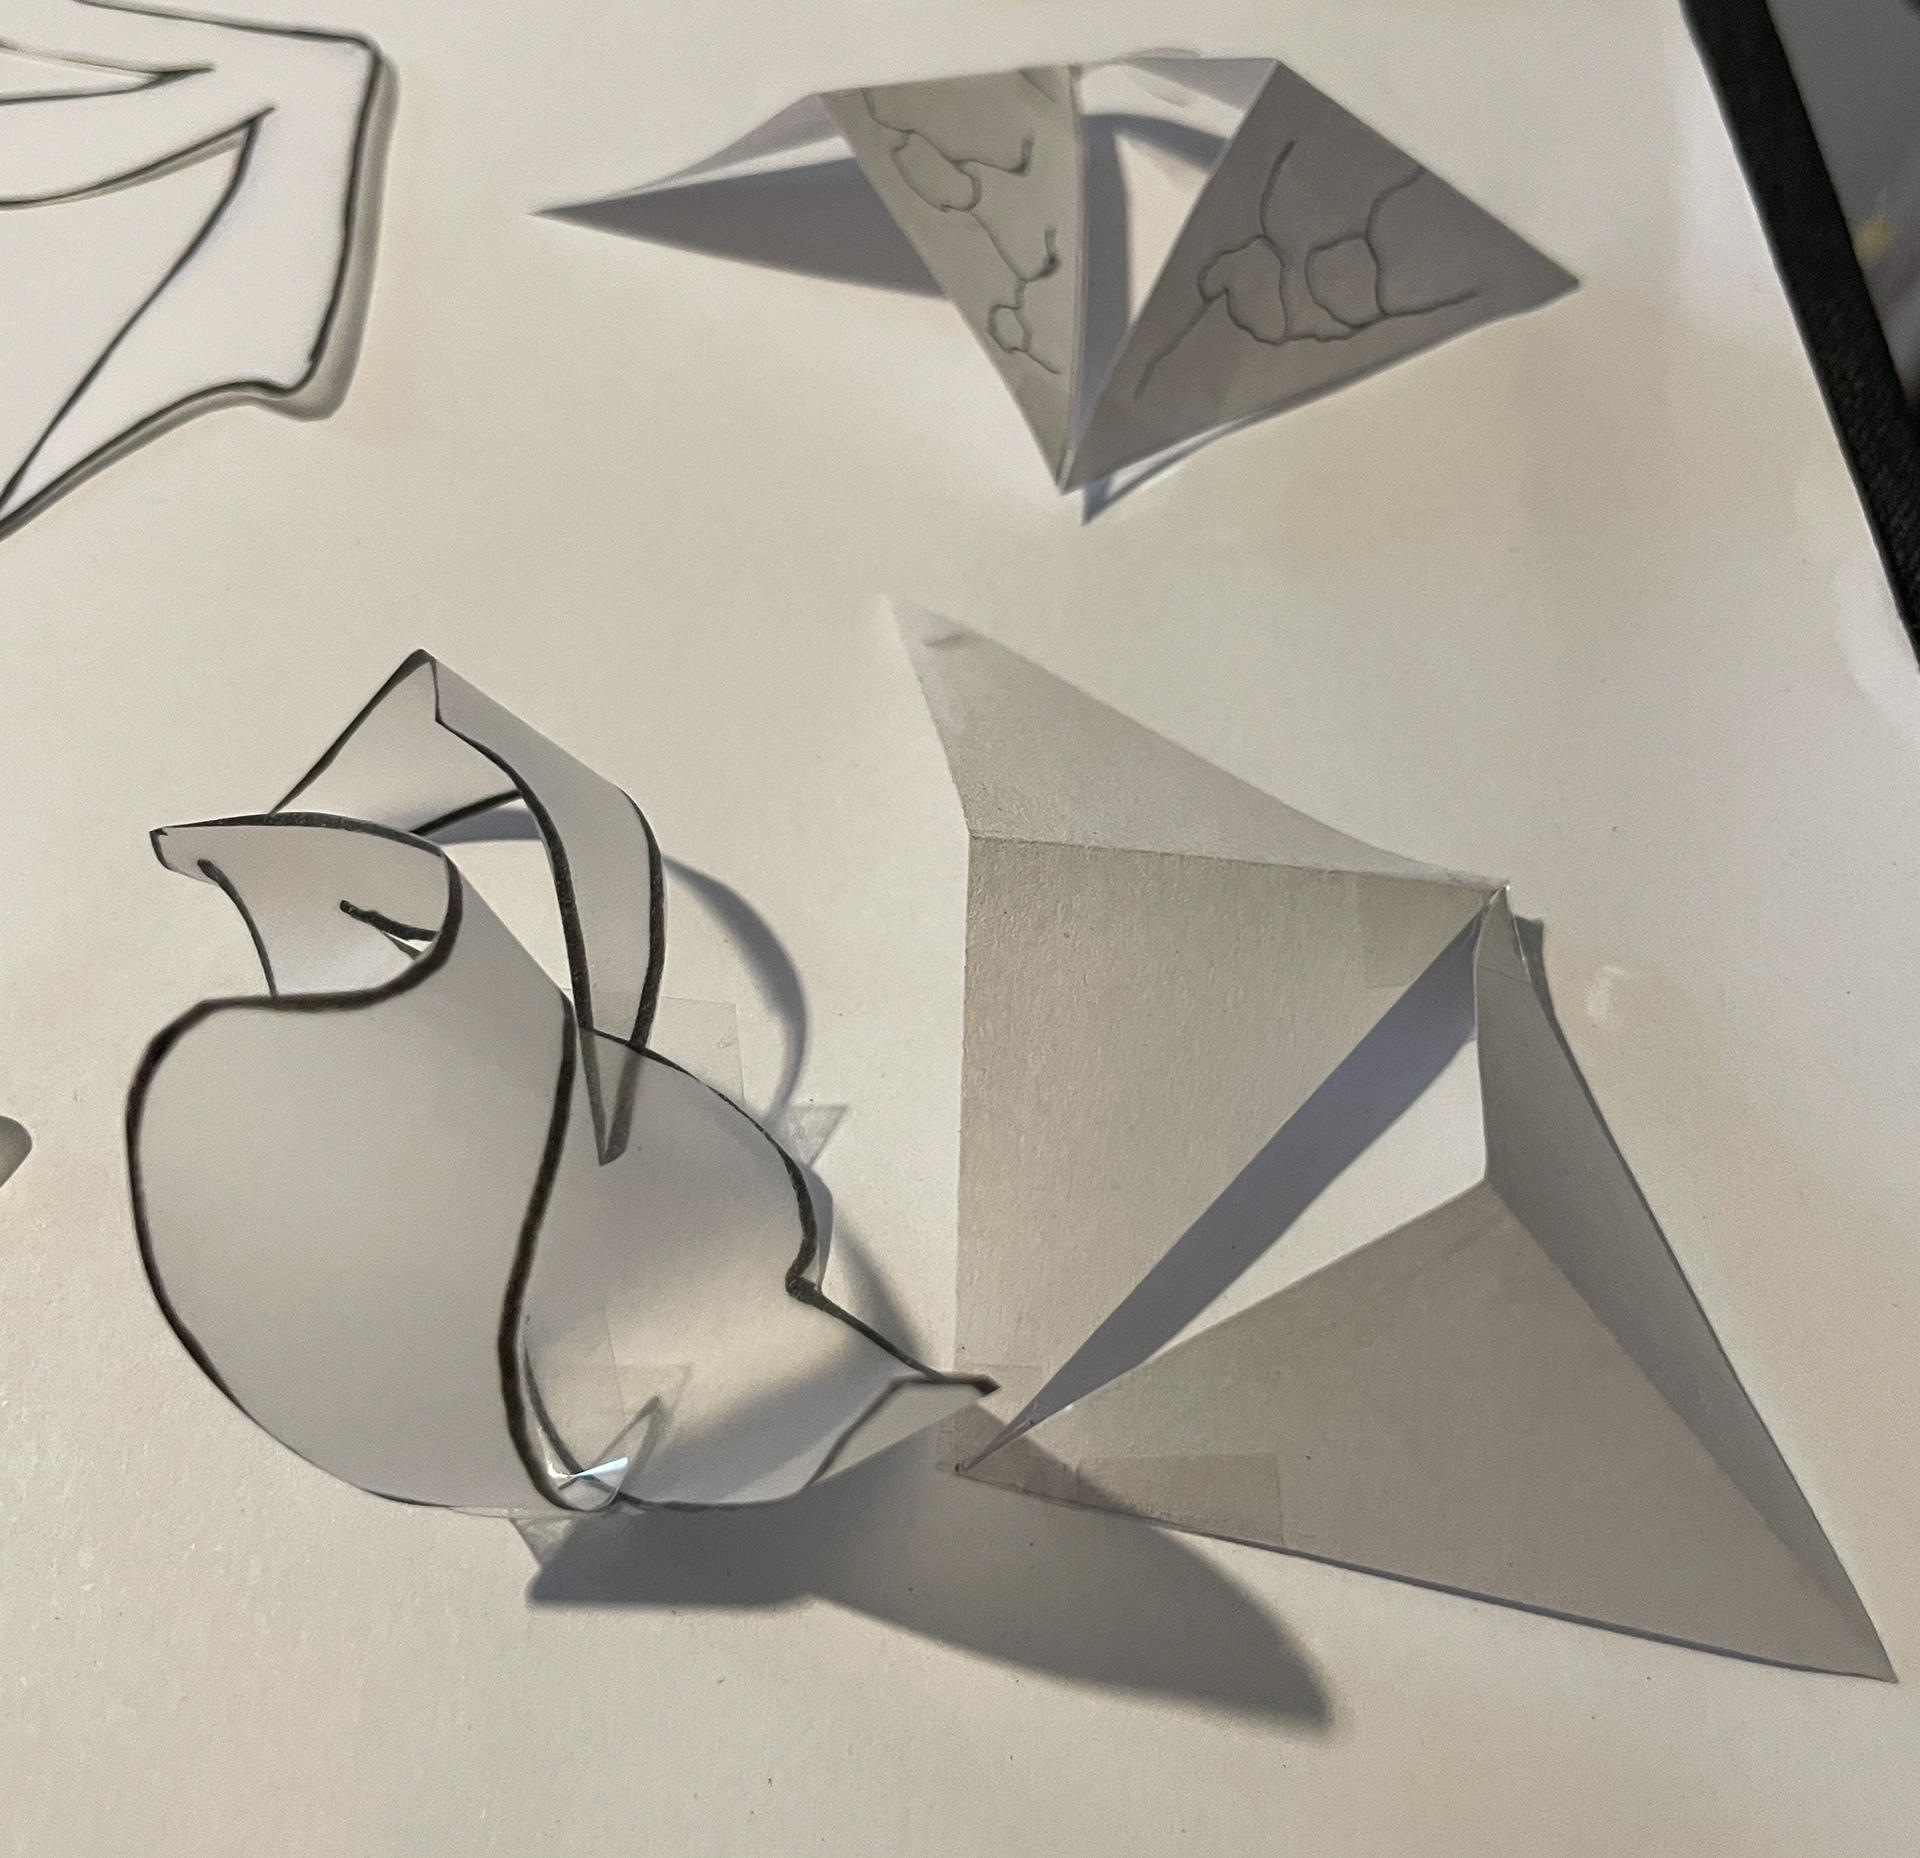
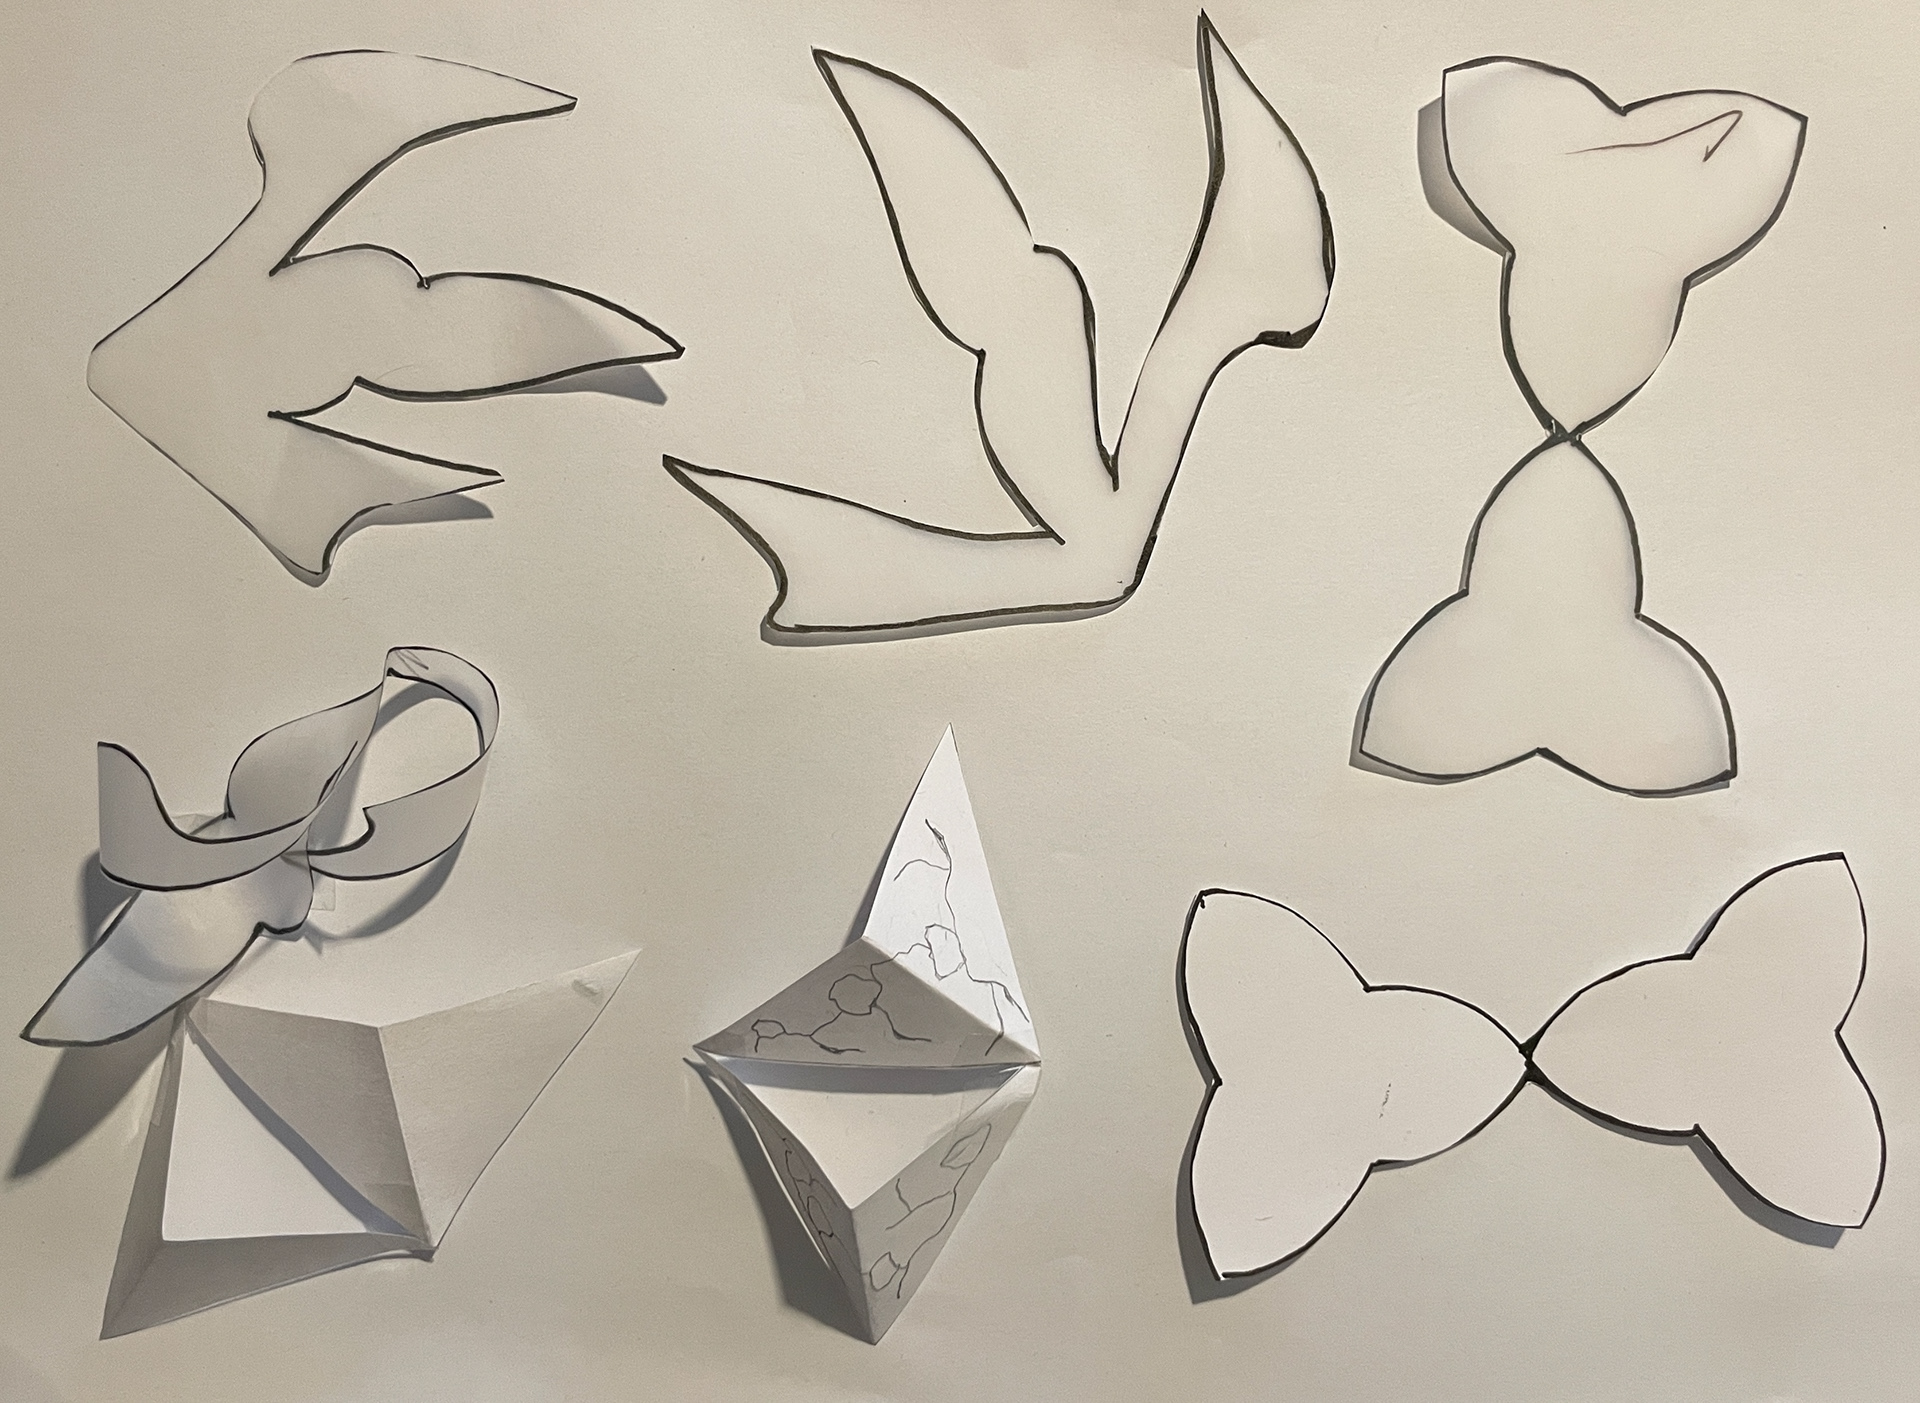
Sketch trying to express feelings

Paper samples


Testing & Samples
I decided to play around with texture for the main piece of my brooch. I cut small squares of copper and experimented with texturing them on a brick I found in the studio at first. This was because I was in uni at the time I decided to do this however I planned to take the metal to my mum’s house where I grew up and use different bricks, rocks and stones around the garden to create the textures. This house has seen three generations of my family live in it and enjoy the garden.


As well as texturing the metal, I decided to play around with sandblasting, rolling and oxidising the metal using a solution. I experimented with doing these processes in various orders to see the differences in the effect it had.


In reflection, on this, I like the texture it created due to it is enough to notice but not too much either as I still want to keep the front of the brooch quite simple. My favourite order of techniques from the sample pieces is the (ADD). Because?
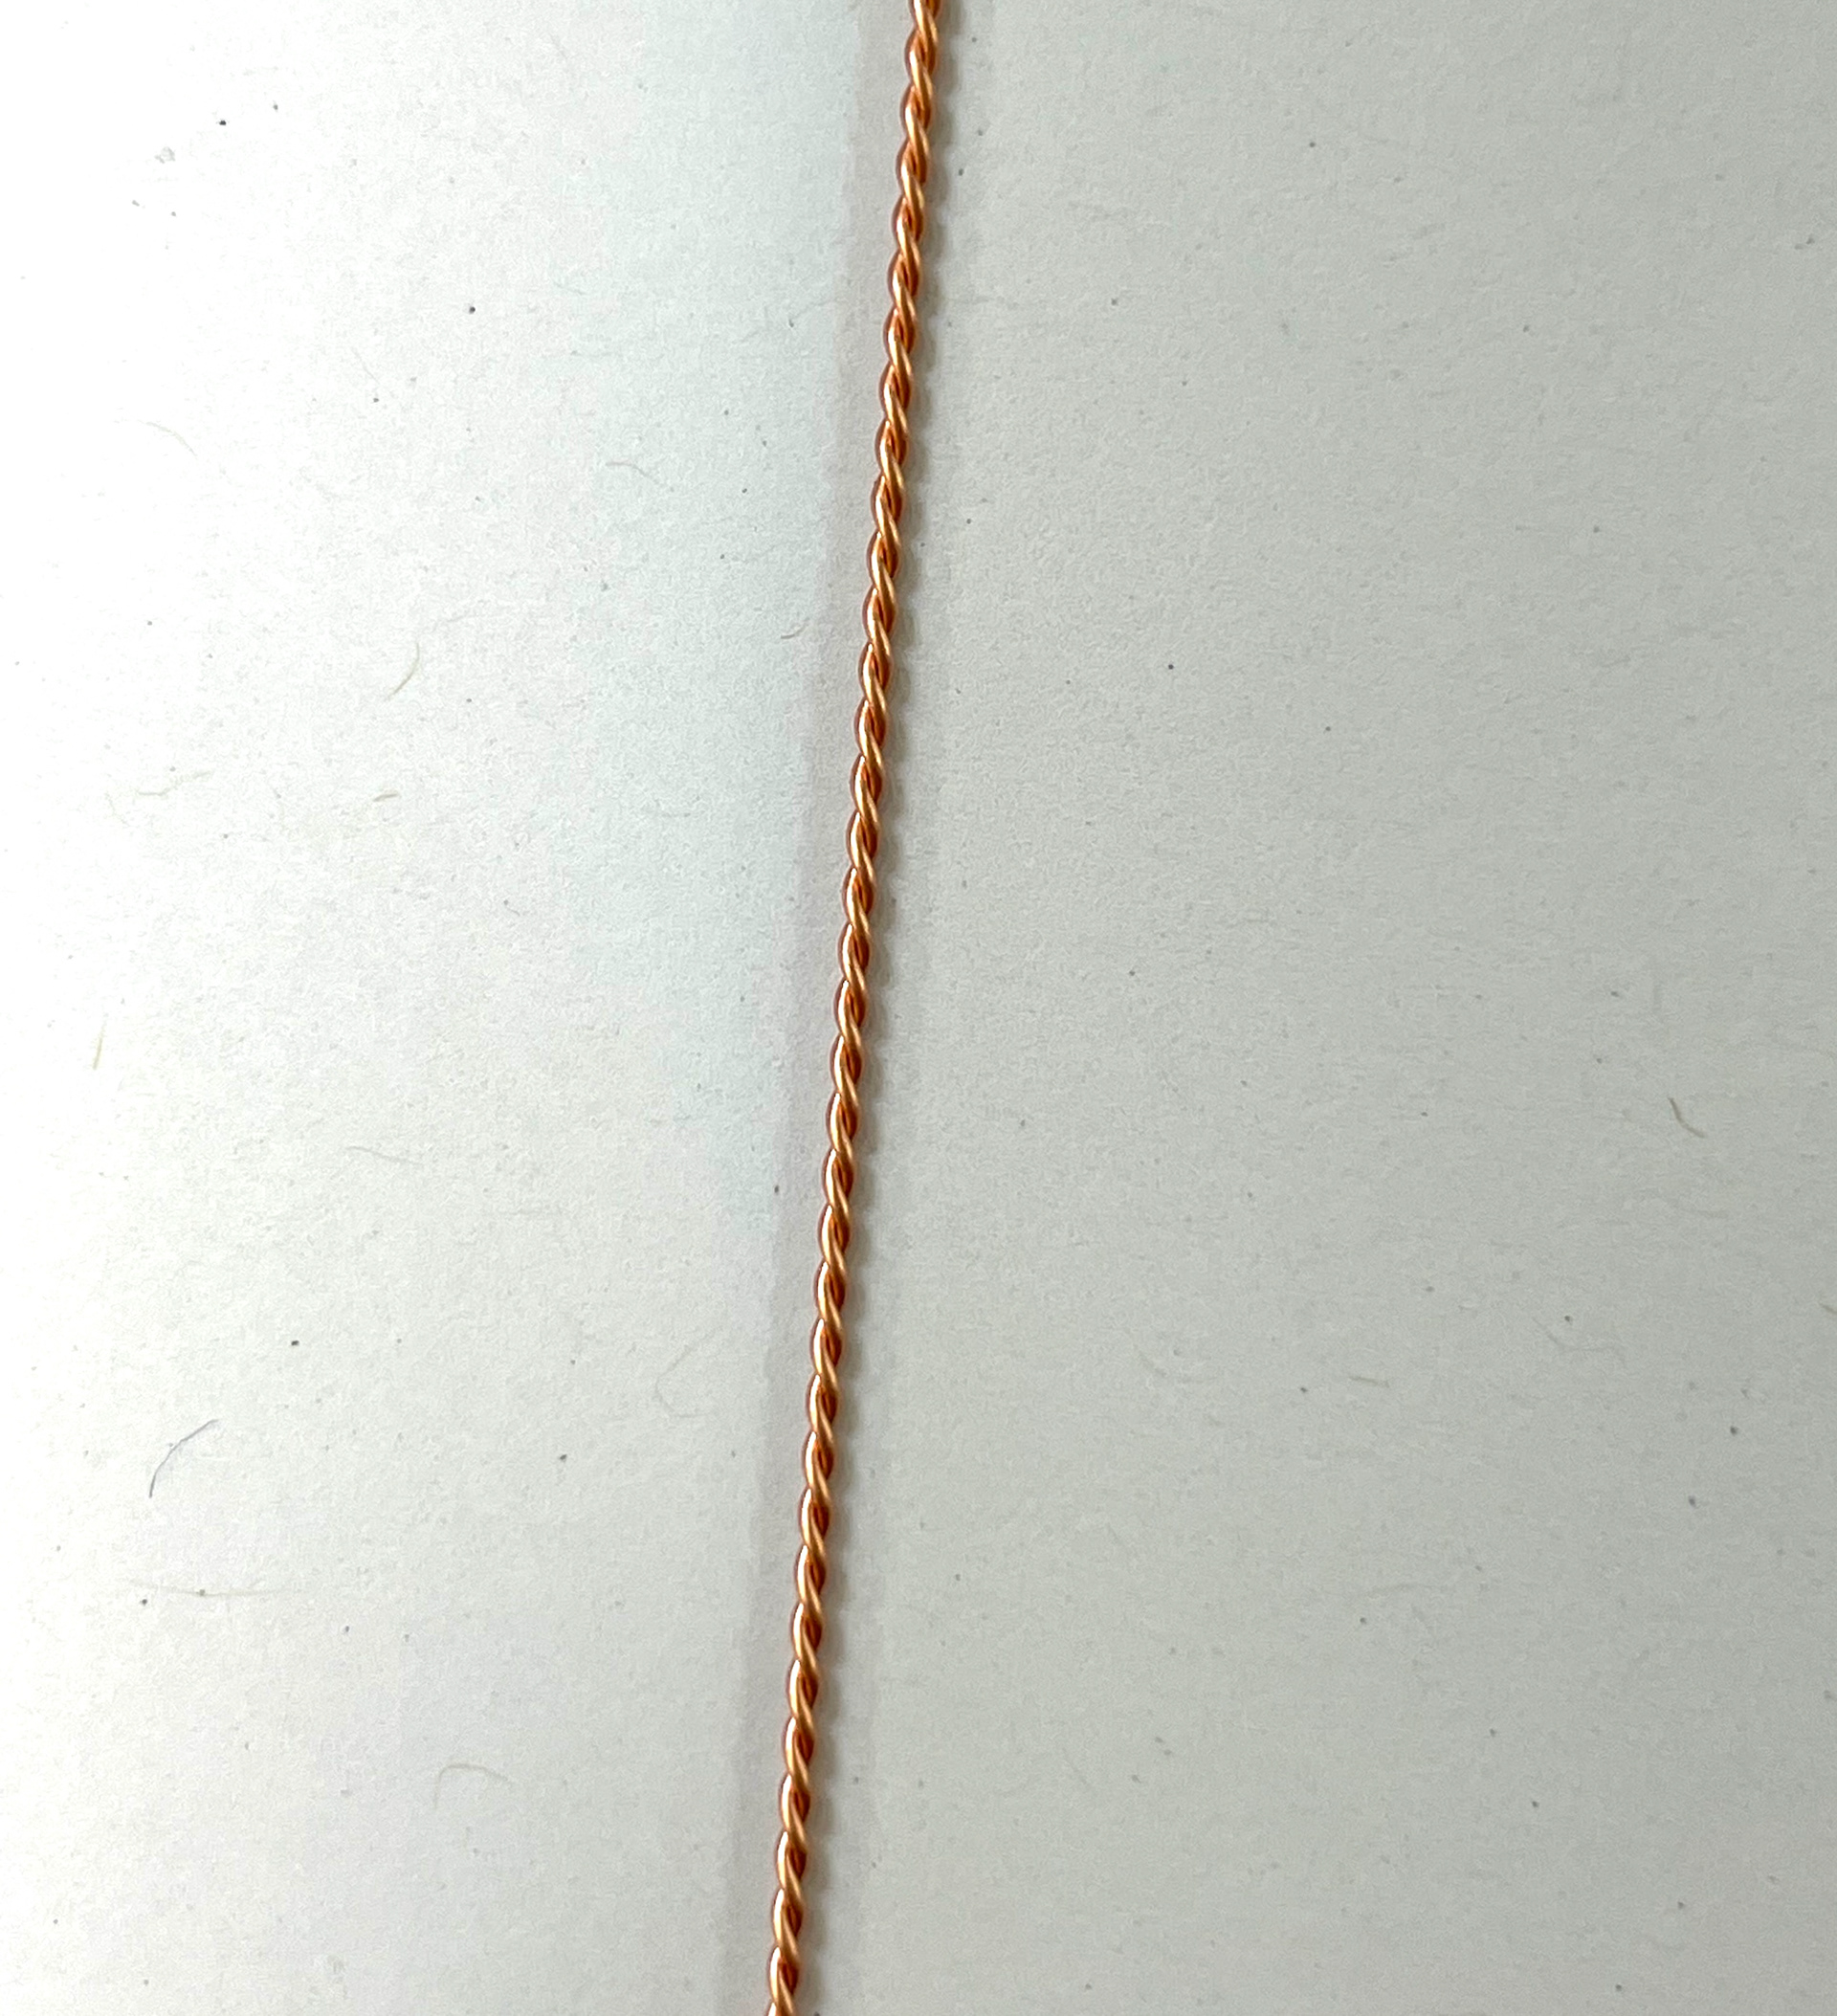
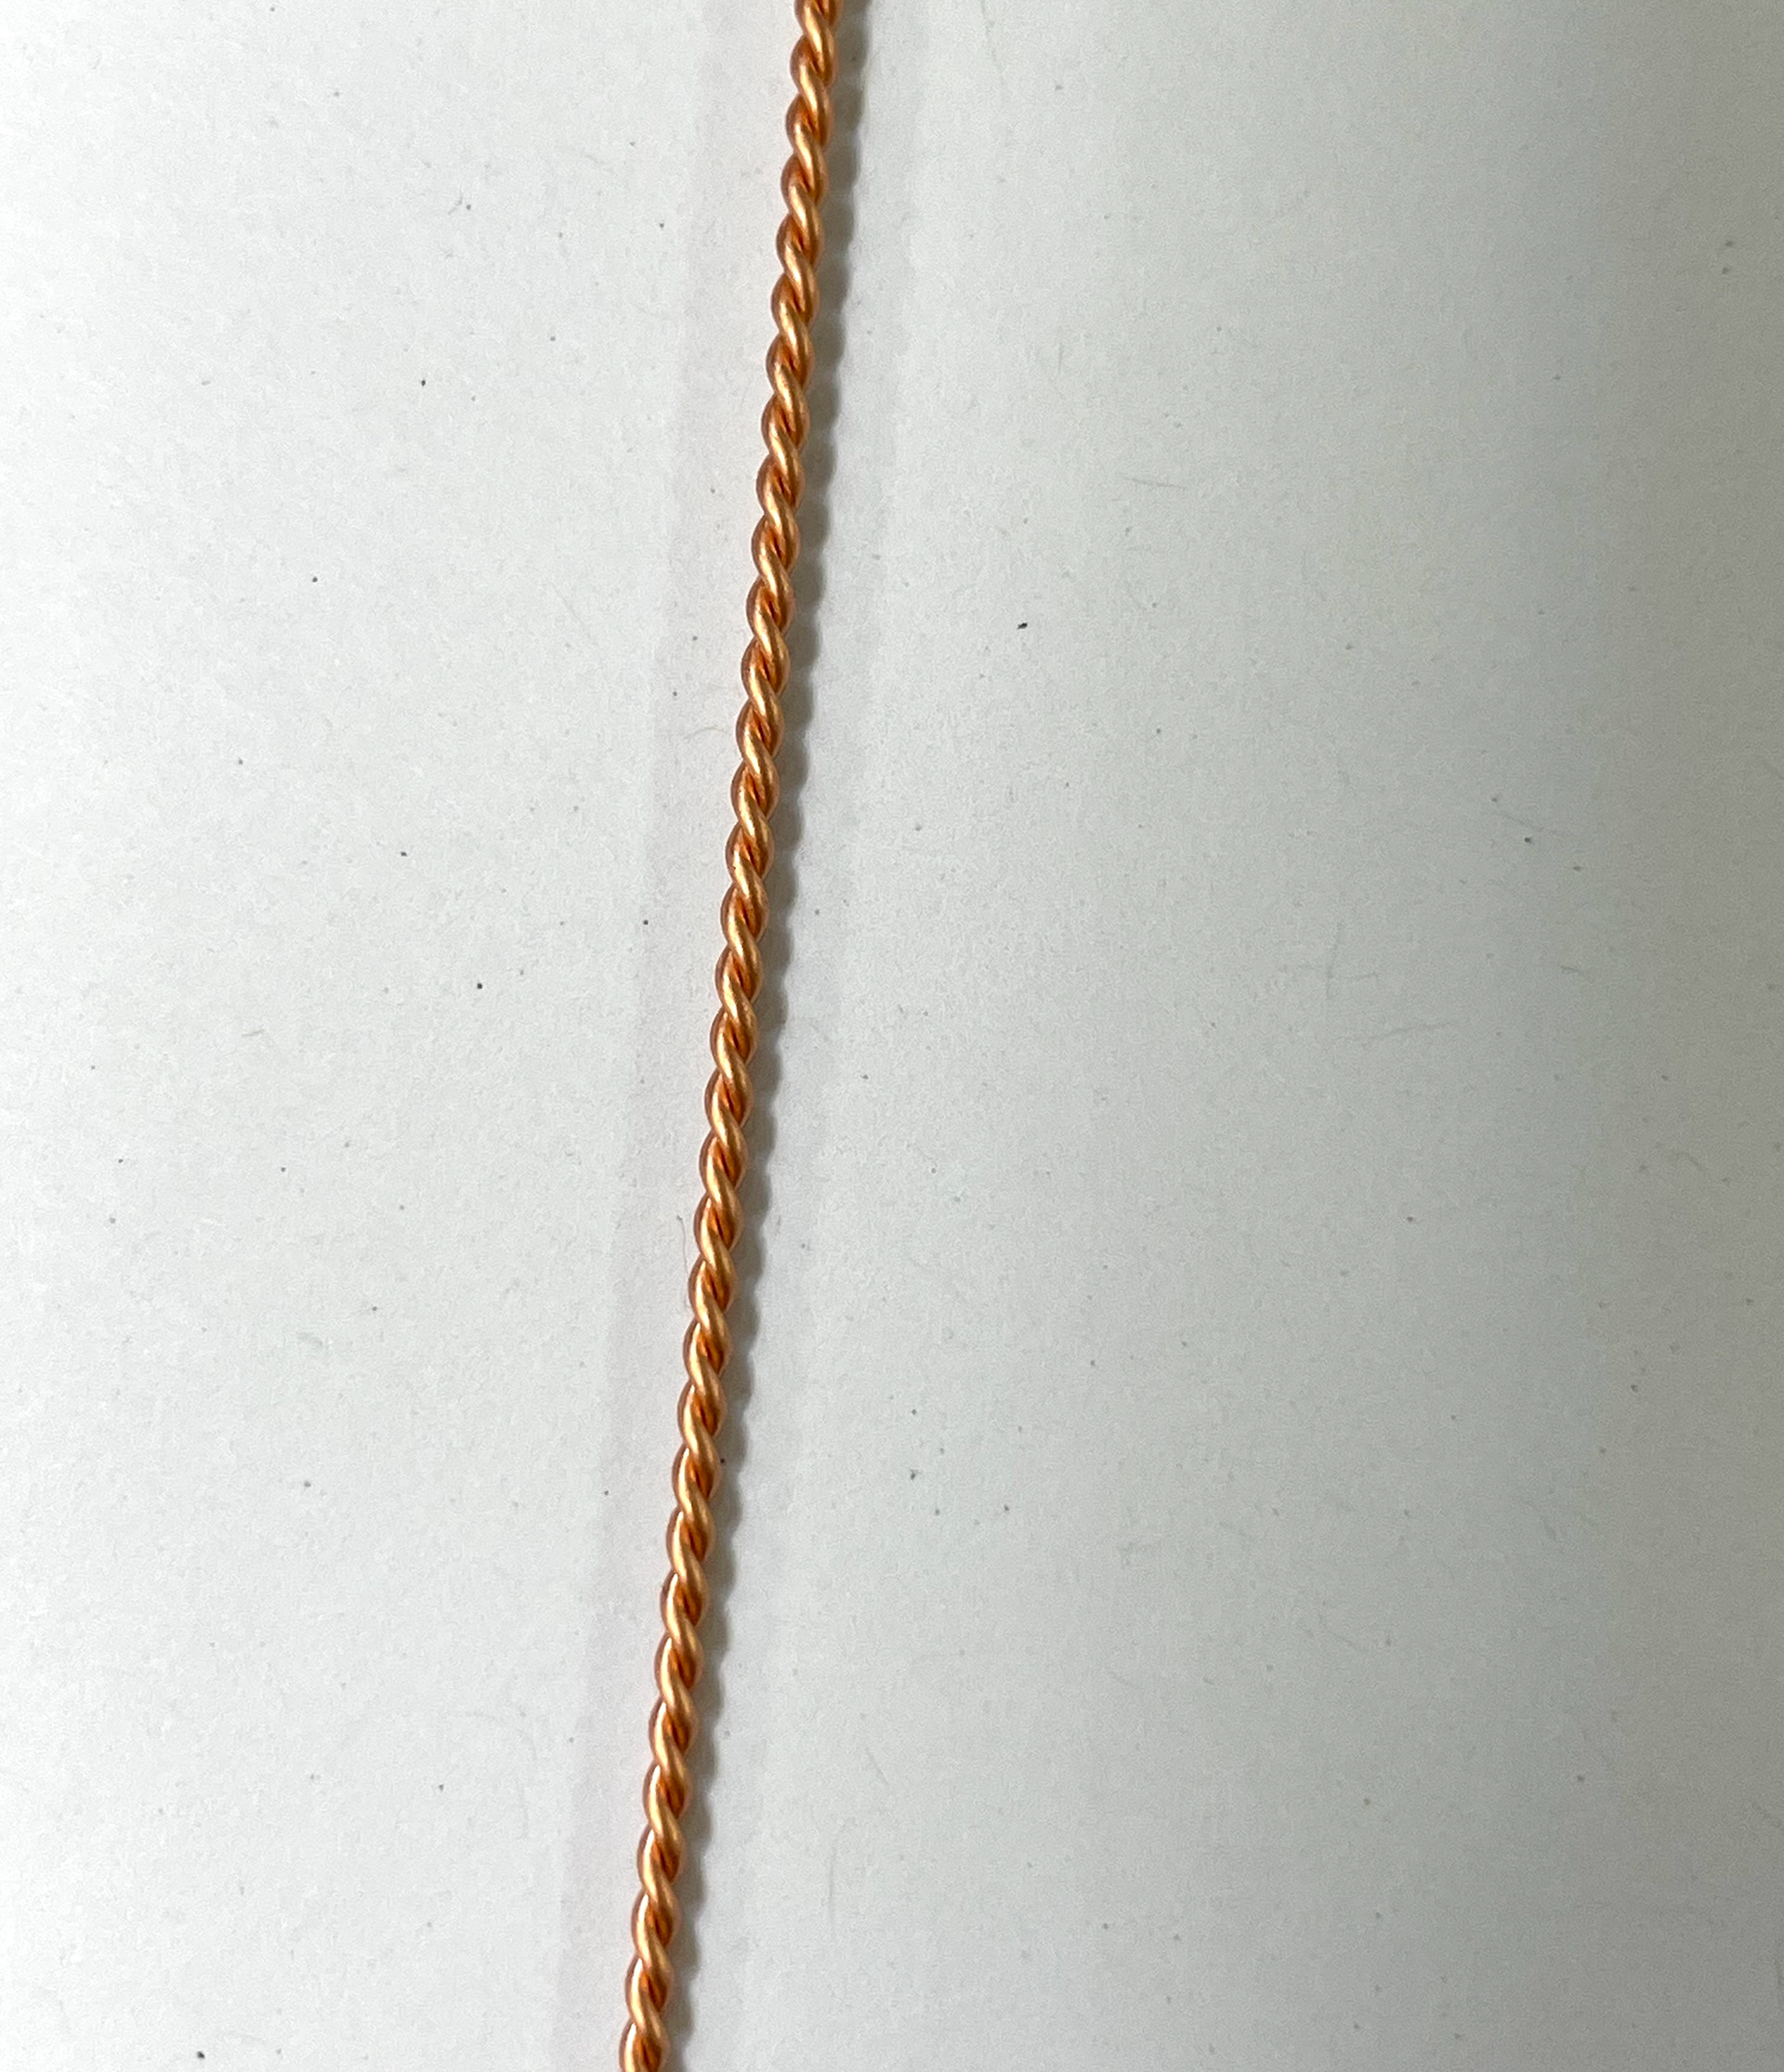
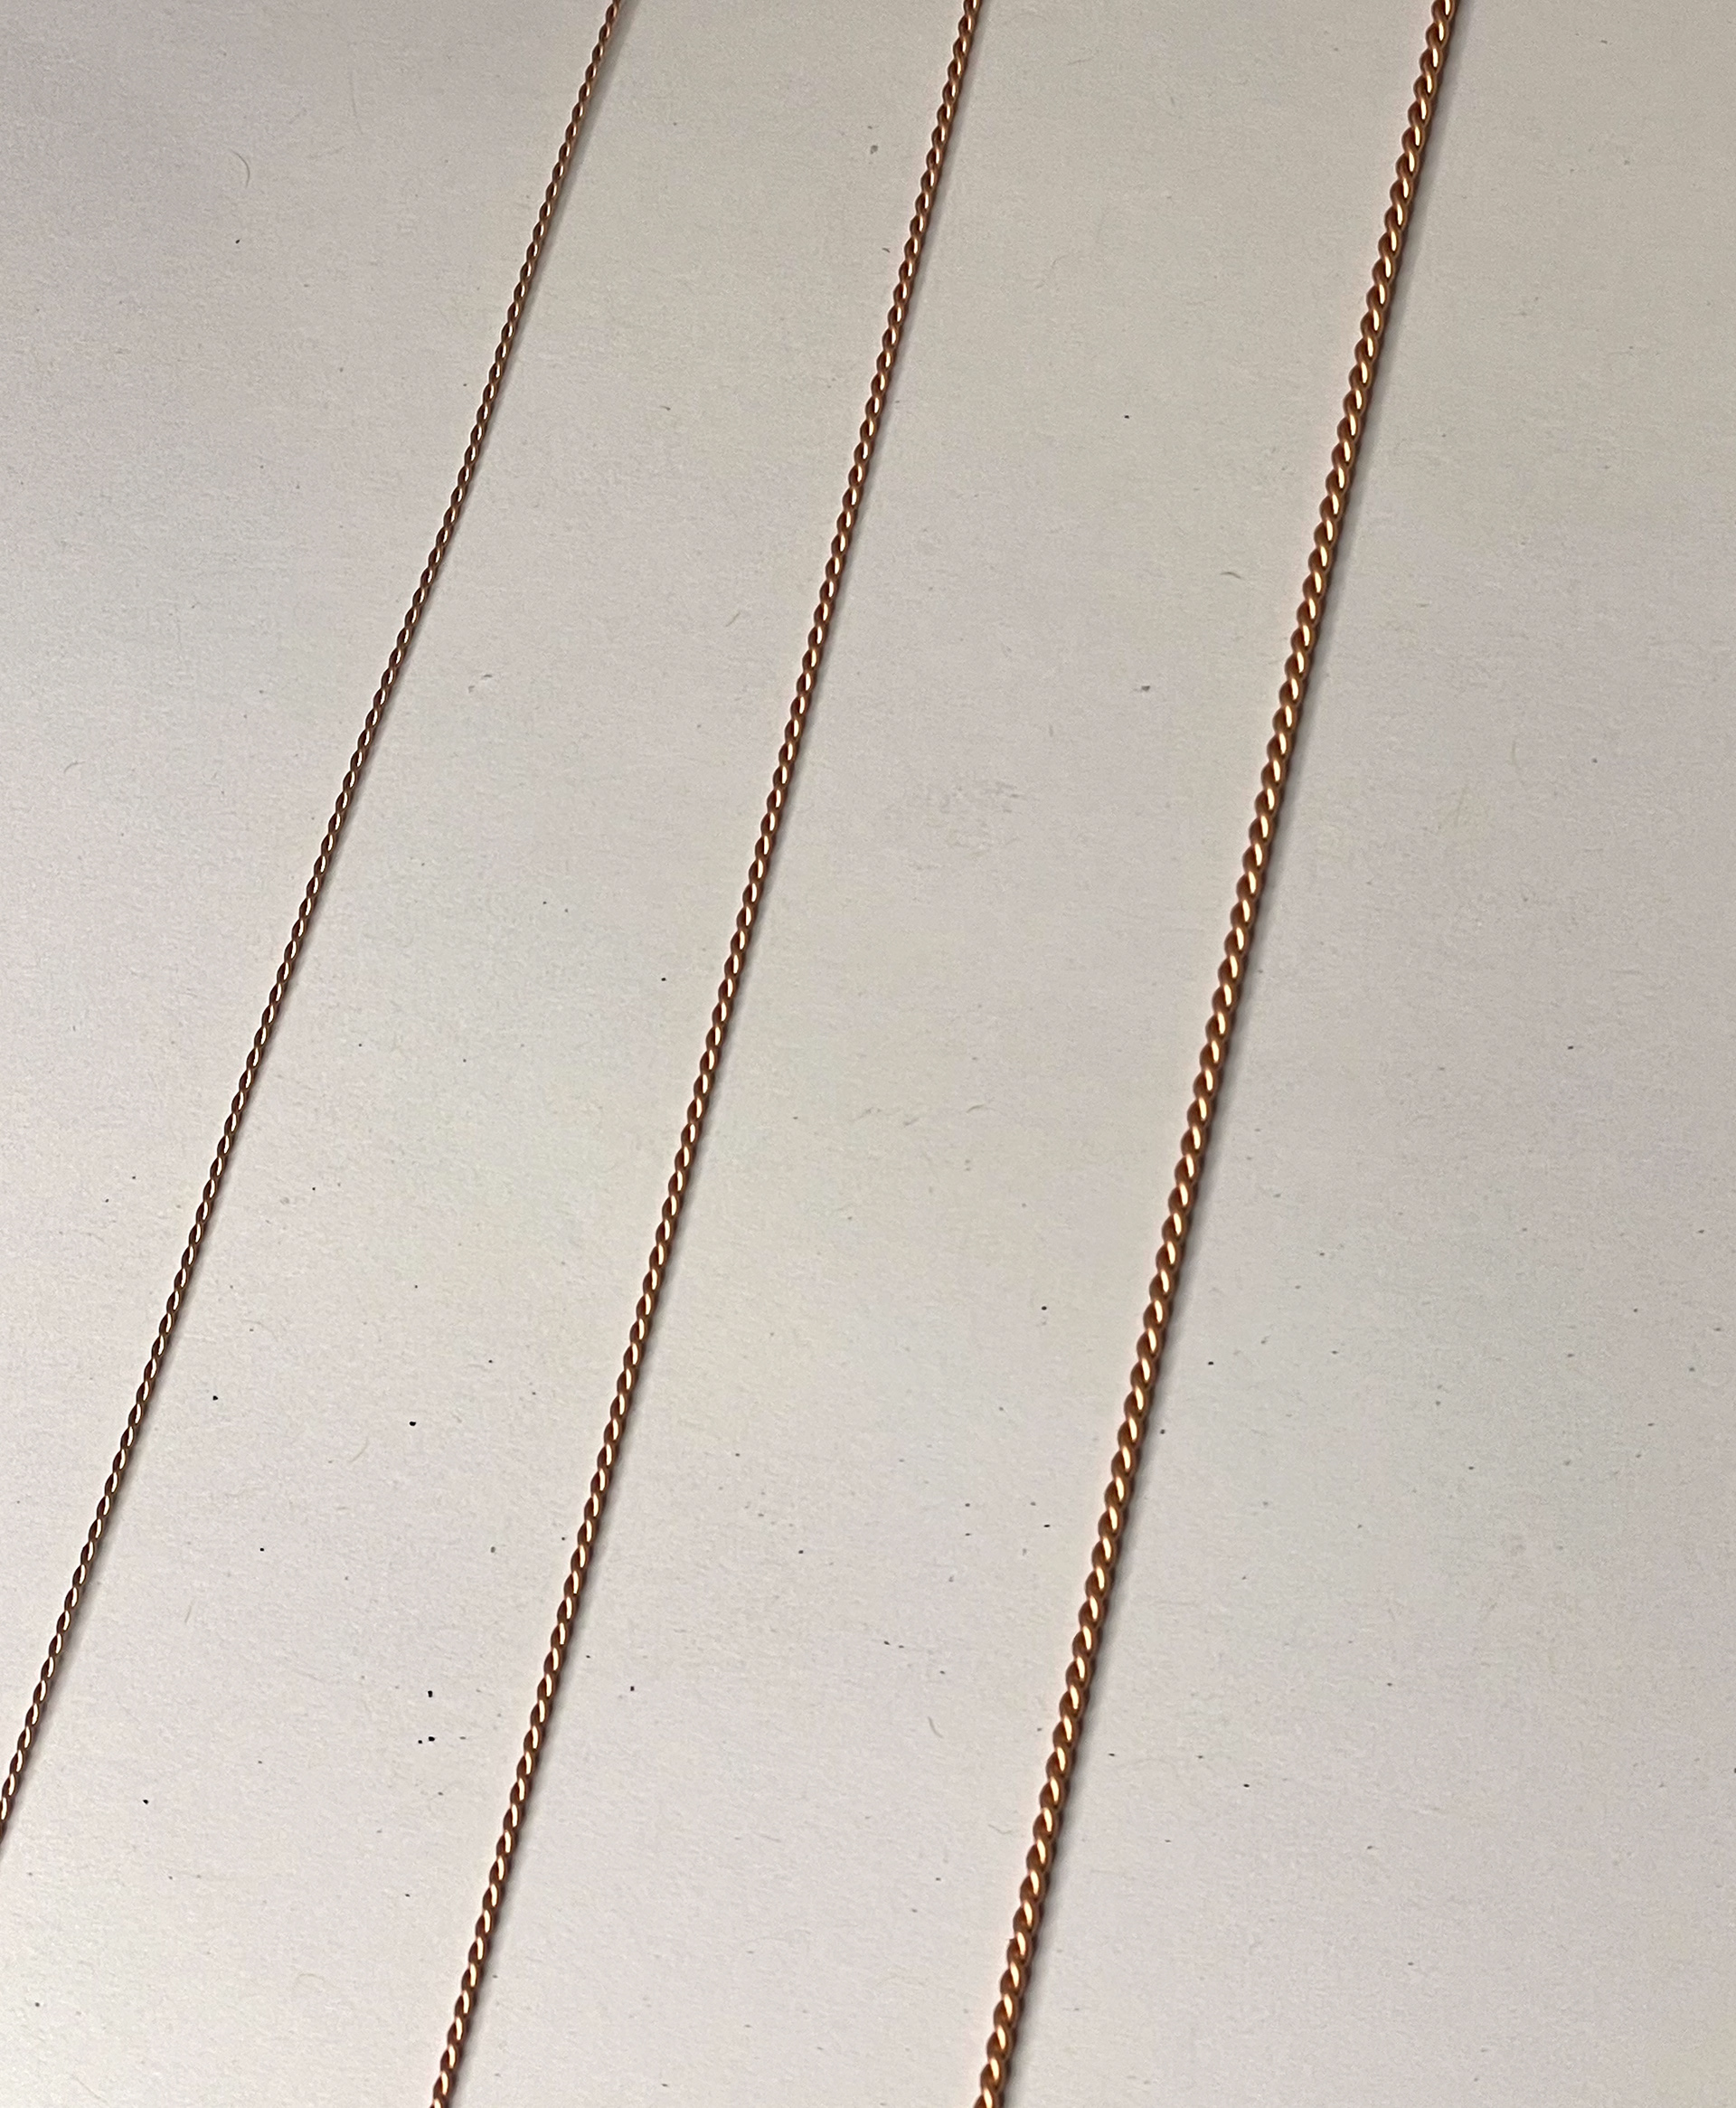
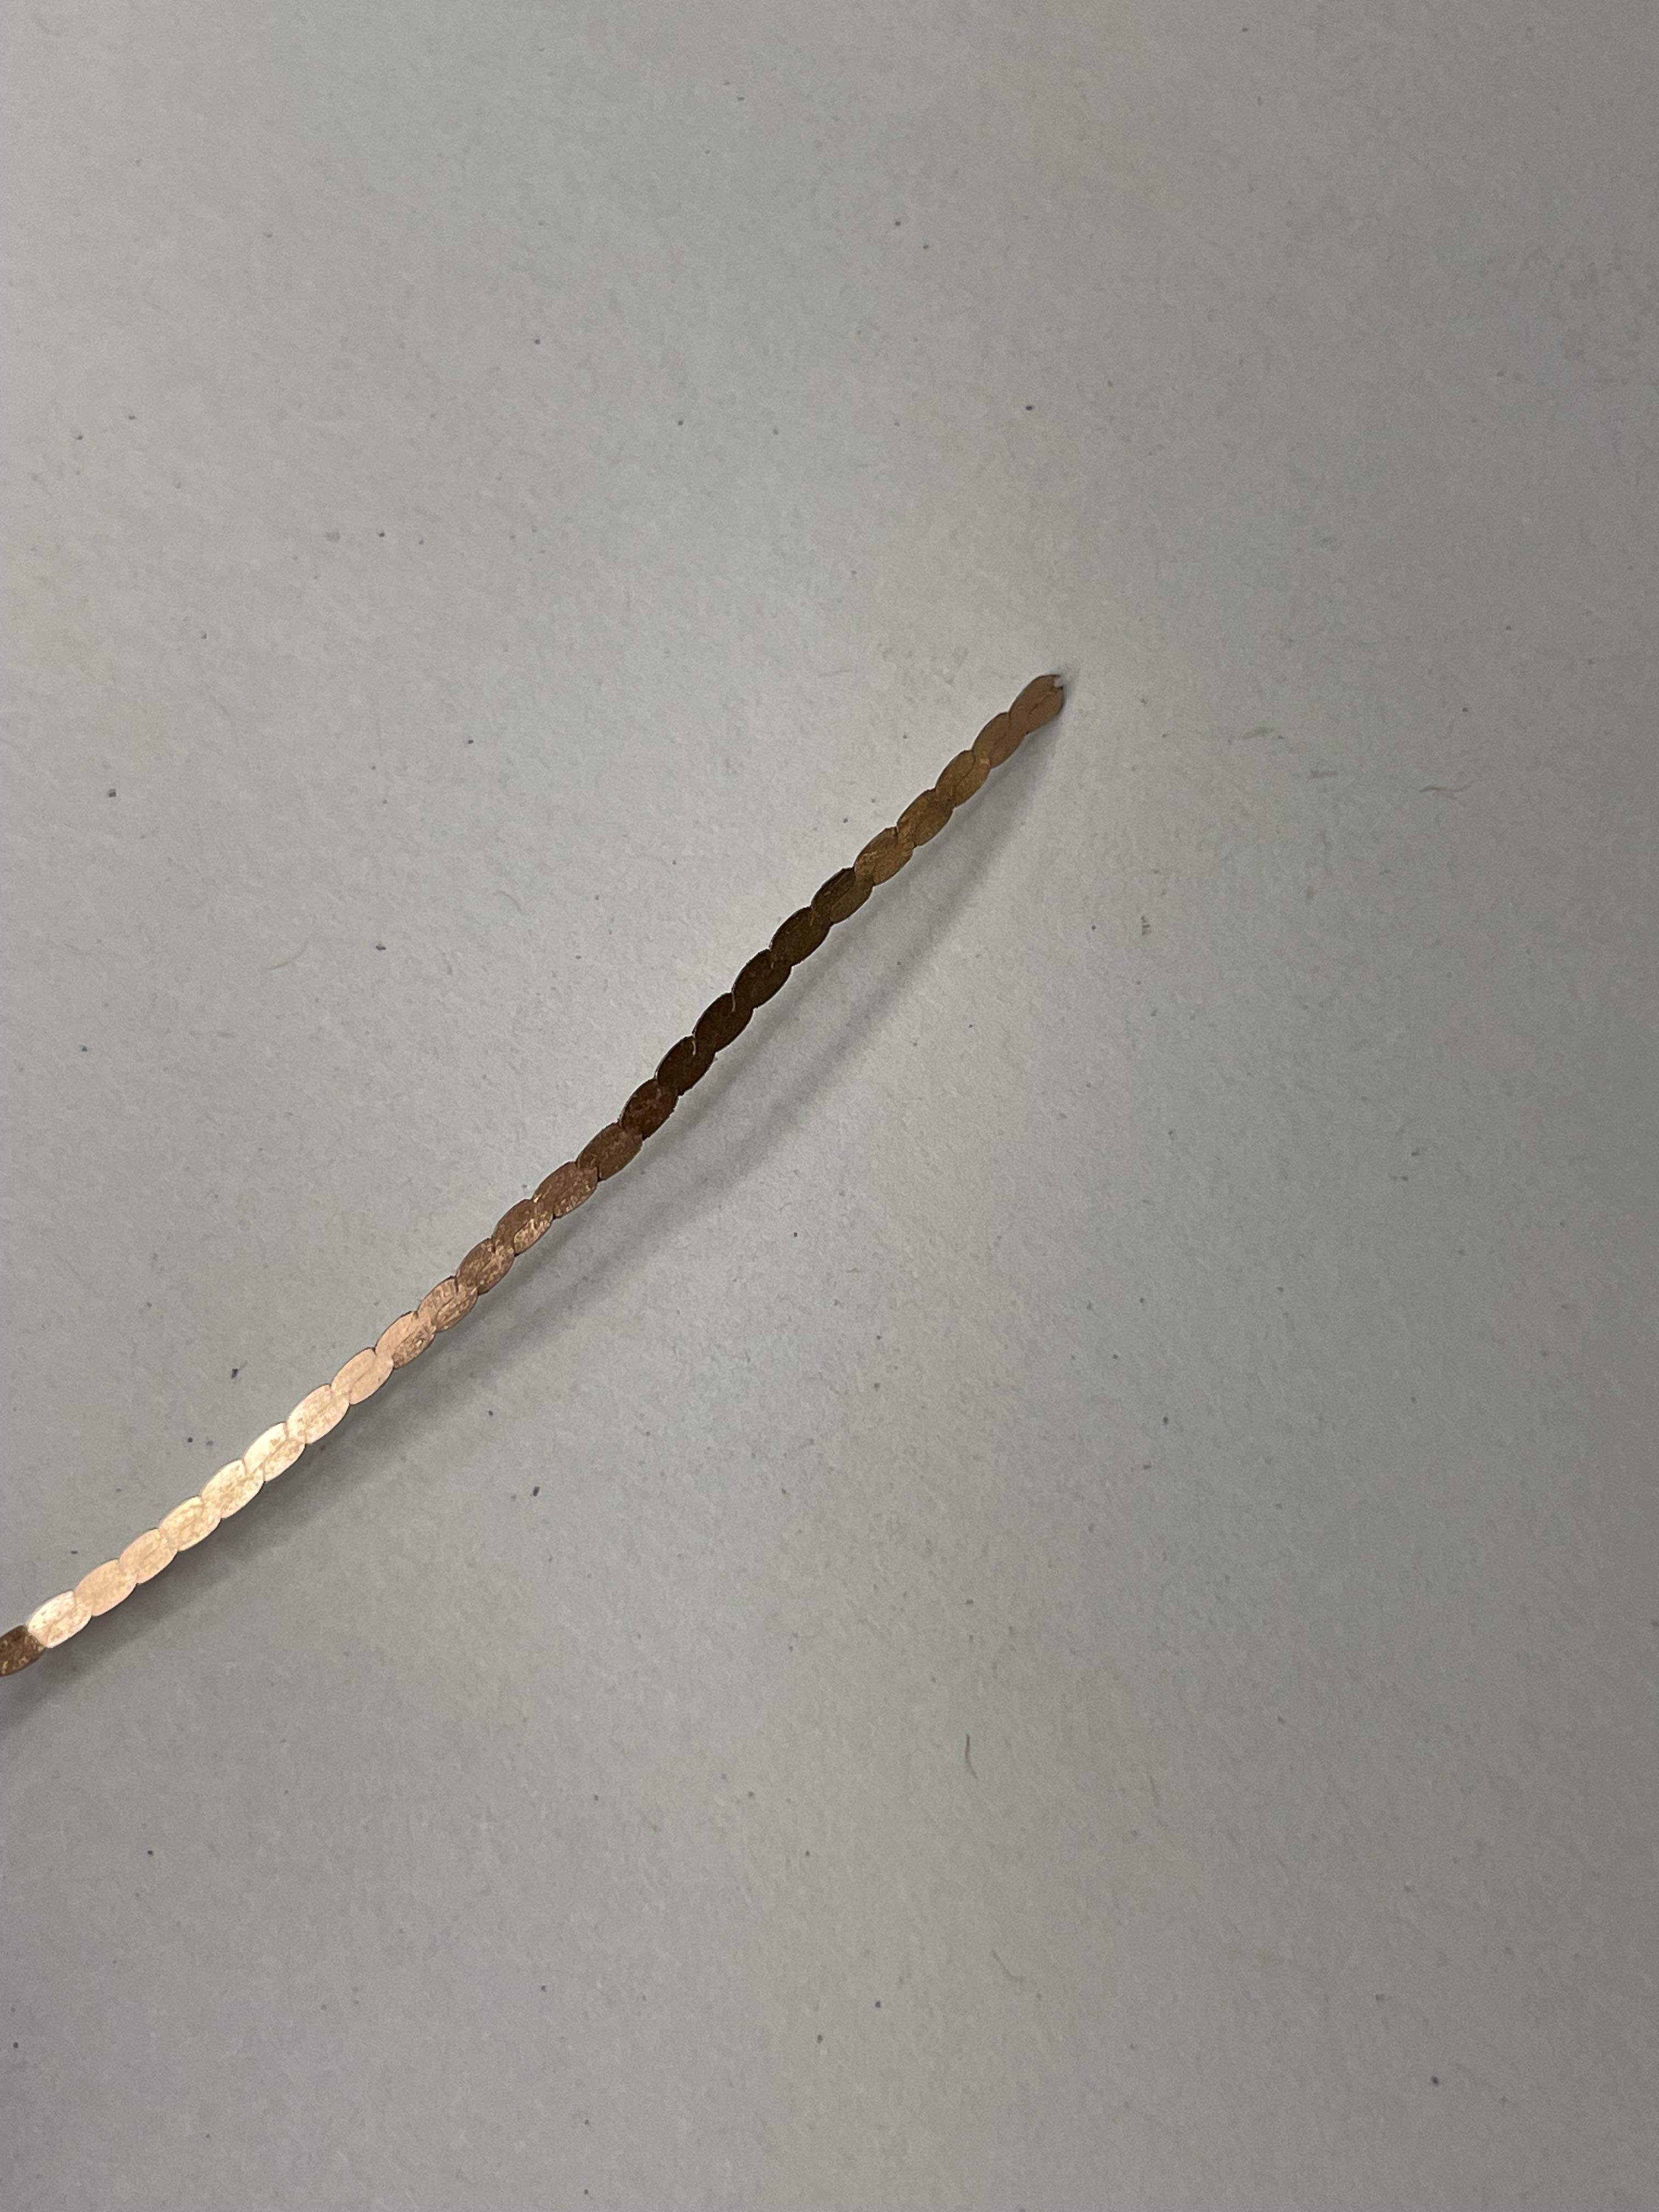
Filigree Wire
To learn to make filigree wire I did some research online. To make the wire you have to twist two pieces of wire together. I did this using wire twisters when first trying. Then roll the wire through a rolling mill to flatten it. I experimented with different wire thicknesses. After doing this I learnt that I need to twist the wire more before flattening which I took note of for the future.
Filigree Samples
A technique I have been interested in is Filigree. I had practised with this technique a little bit over the summer however I wanted to practice more. I wasn’t sure where to start with this in terms of the form. I had seen zig-zag filigree online and liked the geometrical feel this had to it. I bought some cheap paper quilling tools online as throughout my research I heard these are good cheap alternatives to create the zig-zag filigree wire.


I decided to create something simple at first just to get an idea of the technique and how to do it. I started by getting round copper wire and using the rolling mill to make this a square profile. I then shaped the wire and cut it, followed by soldering it together to create the frame. I then used the normal filigree wire alongside the zig-zag wire to fill out the frame. To get the wires to stay in place I must make sure they are the right length and use tension to hold them in place. This is difficult as the wires could fall out of place at any moment. It requires a lot of patience to get them in the right position as you need to be able to pick the piece up without the wires falling out.
After this I used powdered soft solder sifted this on top of the piece and gently heated it to melt the solder, holding the wires in place.
On reflection of this sample piece, I realised how time-consuming this is but also how much I love doing it. As well as I know I need to refine my skills as some of the wires look squashed and not as neat as I would like. Despite this, I think I did a good job at making this once I grasped the idea of using tension in my favour. Going forward I believe practice is what I need to do to get my skills to a better level.
Below is my second attempt at making a filigree piece. I used a shape I took from the buildings of Manchester to use as the frame shape. The filigree inside this was an experimentation of different shapes I can create with the wire in a traditional way to gain practice and knowledge on the technique.


In reflection of this, the solder joints of the frame are messy. To improve this next time I could make a frame by bending the wire however this will restrict the shape I can't create, especially with sharp corners.
After experimenting with the shapes to create the main form for the brooch, I decided to cut this out using a copper sheet and a piercing saw. I then played around with the form using various shaping and forming tools.
Following this I had the idea to cut cracks out into the metal to represent seeing the beautiful side through the harder exterior. I drew various styles onto the metal and cut this out. I then filled this using plique a jour. However, because copper tarnishes and falls into the enamel I tried using a product which protects the copper and stops this. However, this was time-consuming as I had to apply after every layer and wasn't worth the time.


After this, I tested soldering onto the metal after plique a jour. I did this using technoflux to protect the glass from the heat. Unfortunately, I quenched this by accident and the glass fell out anyway. Despite this, the technoflux cracked and separated which unprotected the glass.


Research on brooch pins.


Paper samples.