Site Visits to castlefield viaduct & n.o.m.a
During Unit X we visited two different sites around Manchester, Castlefield Viaduct and N.O.M.A.
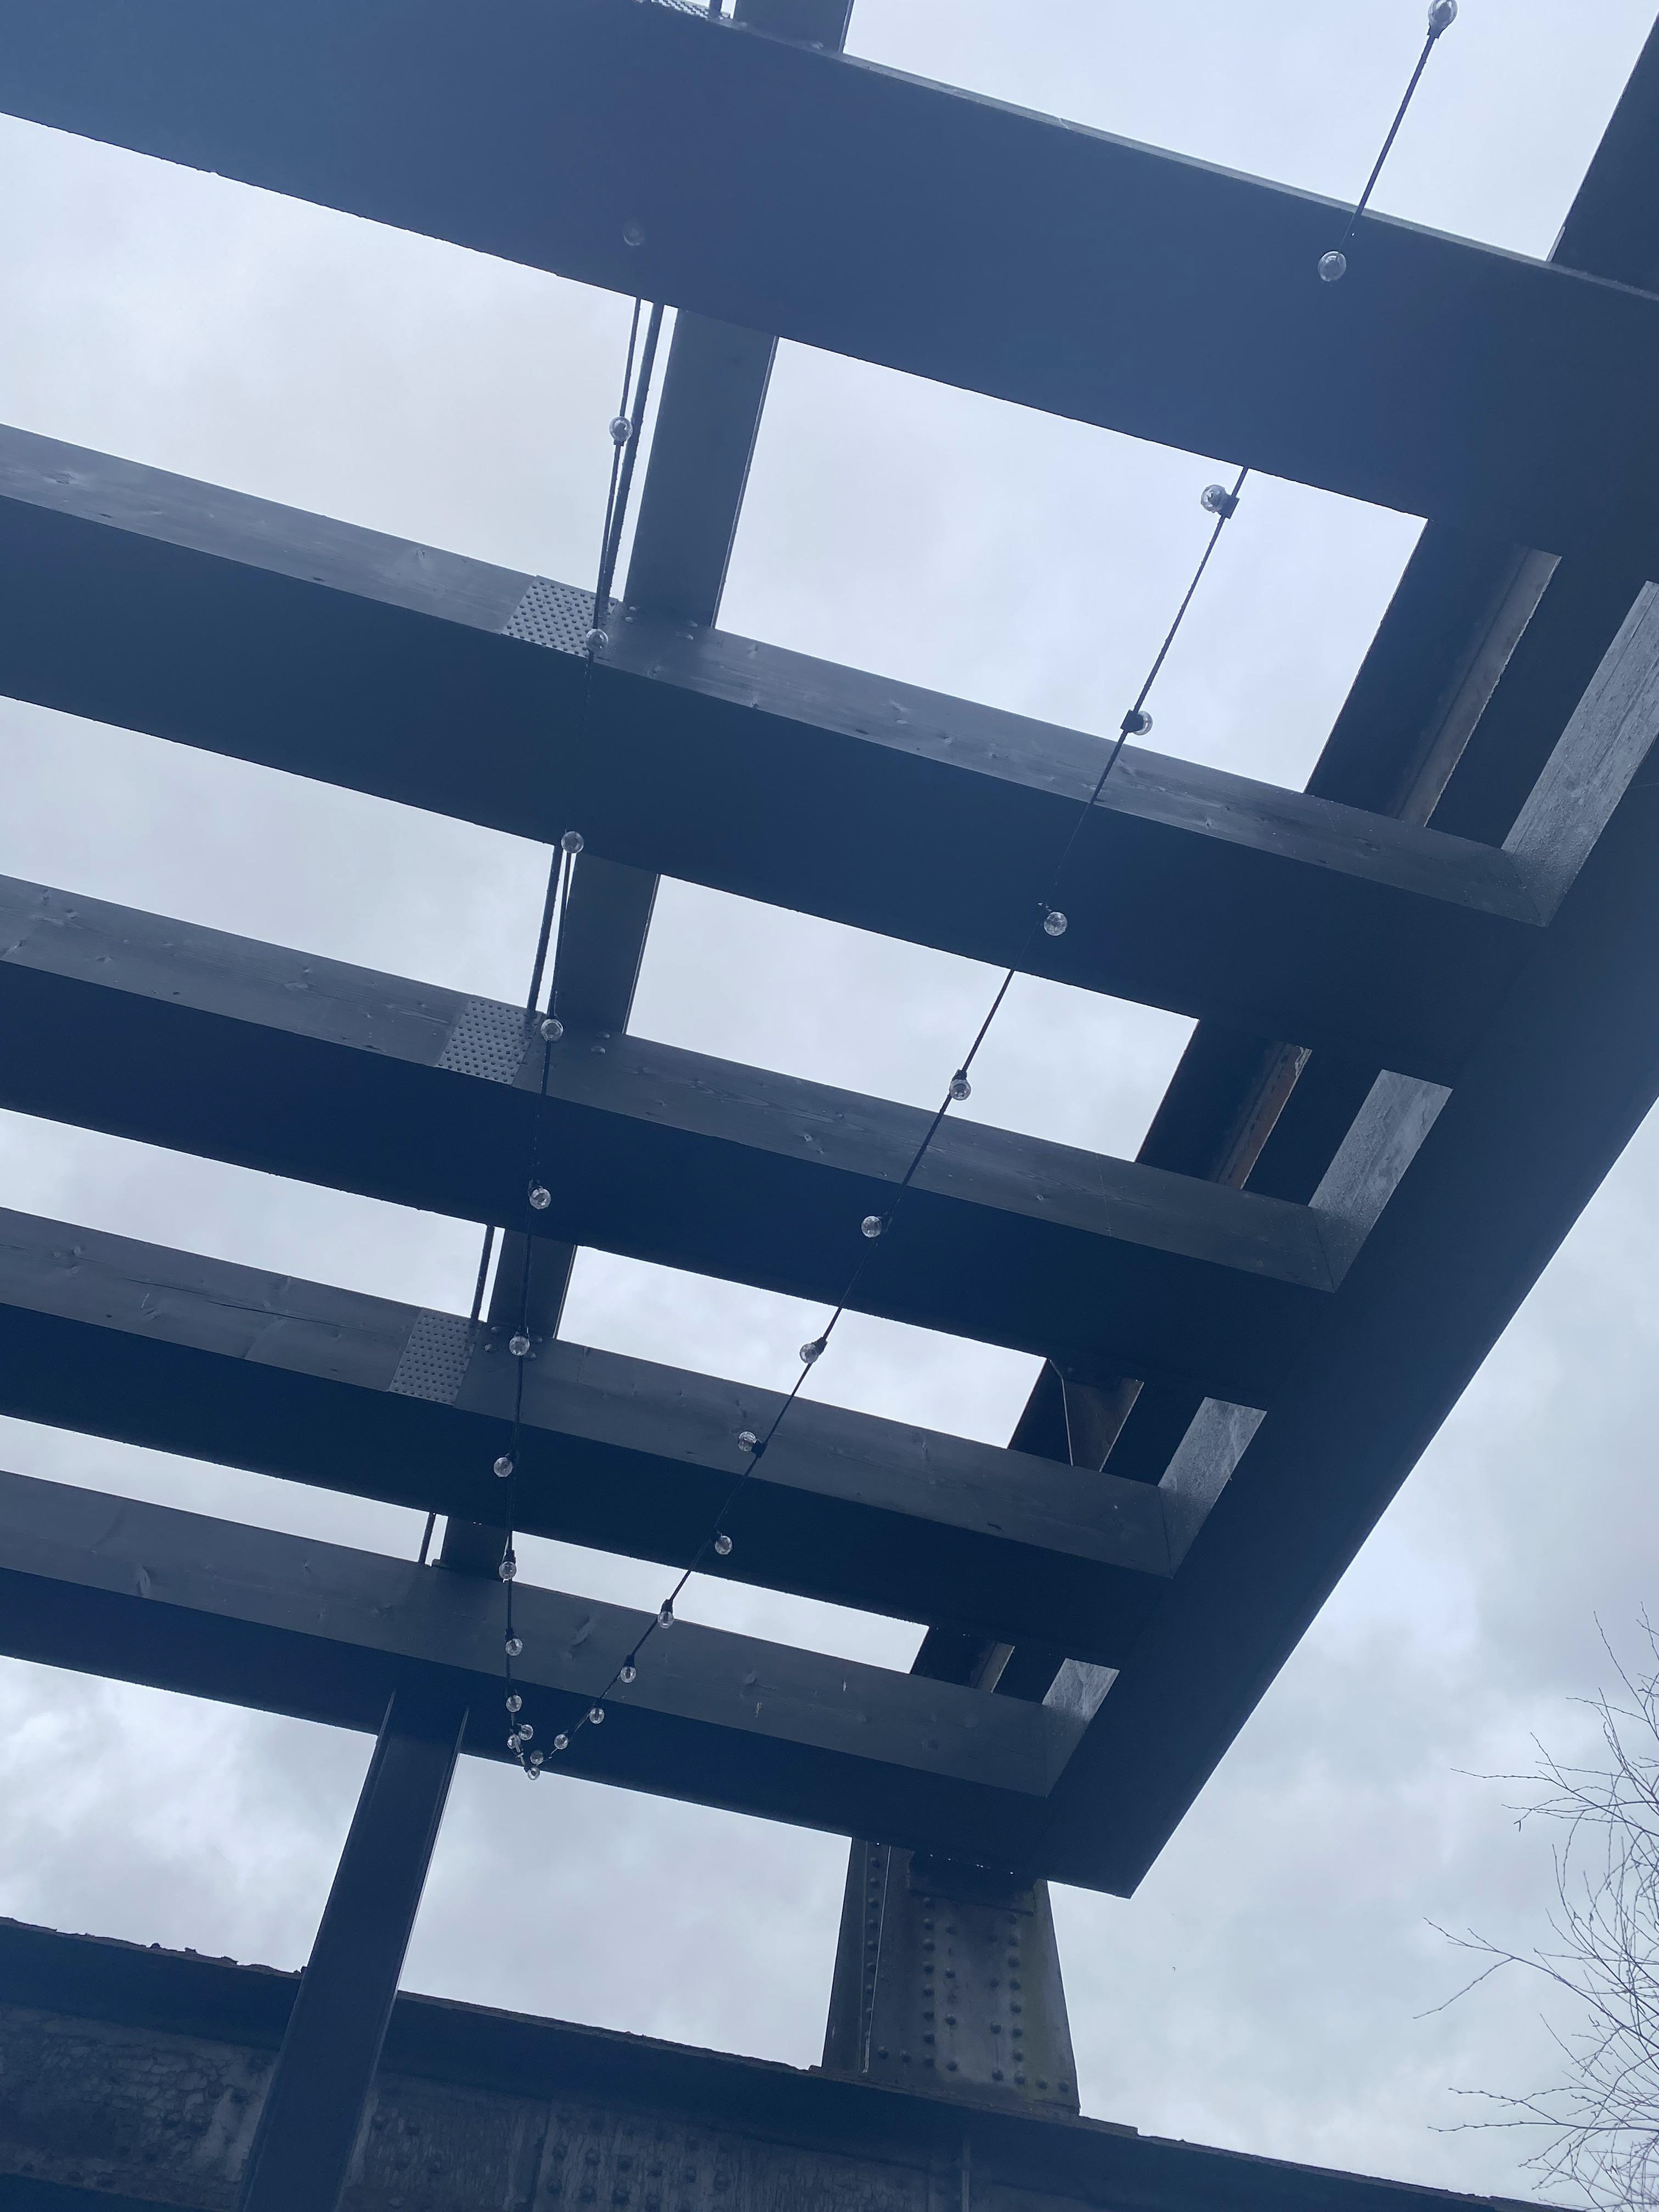
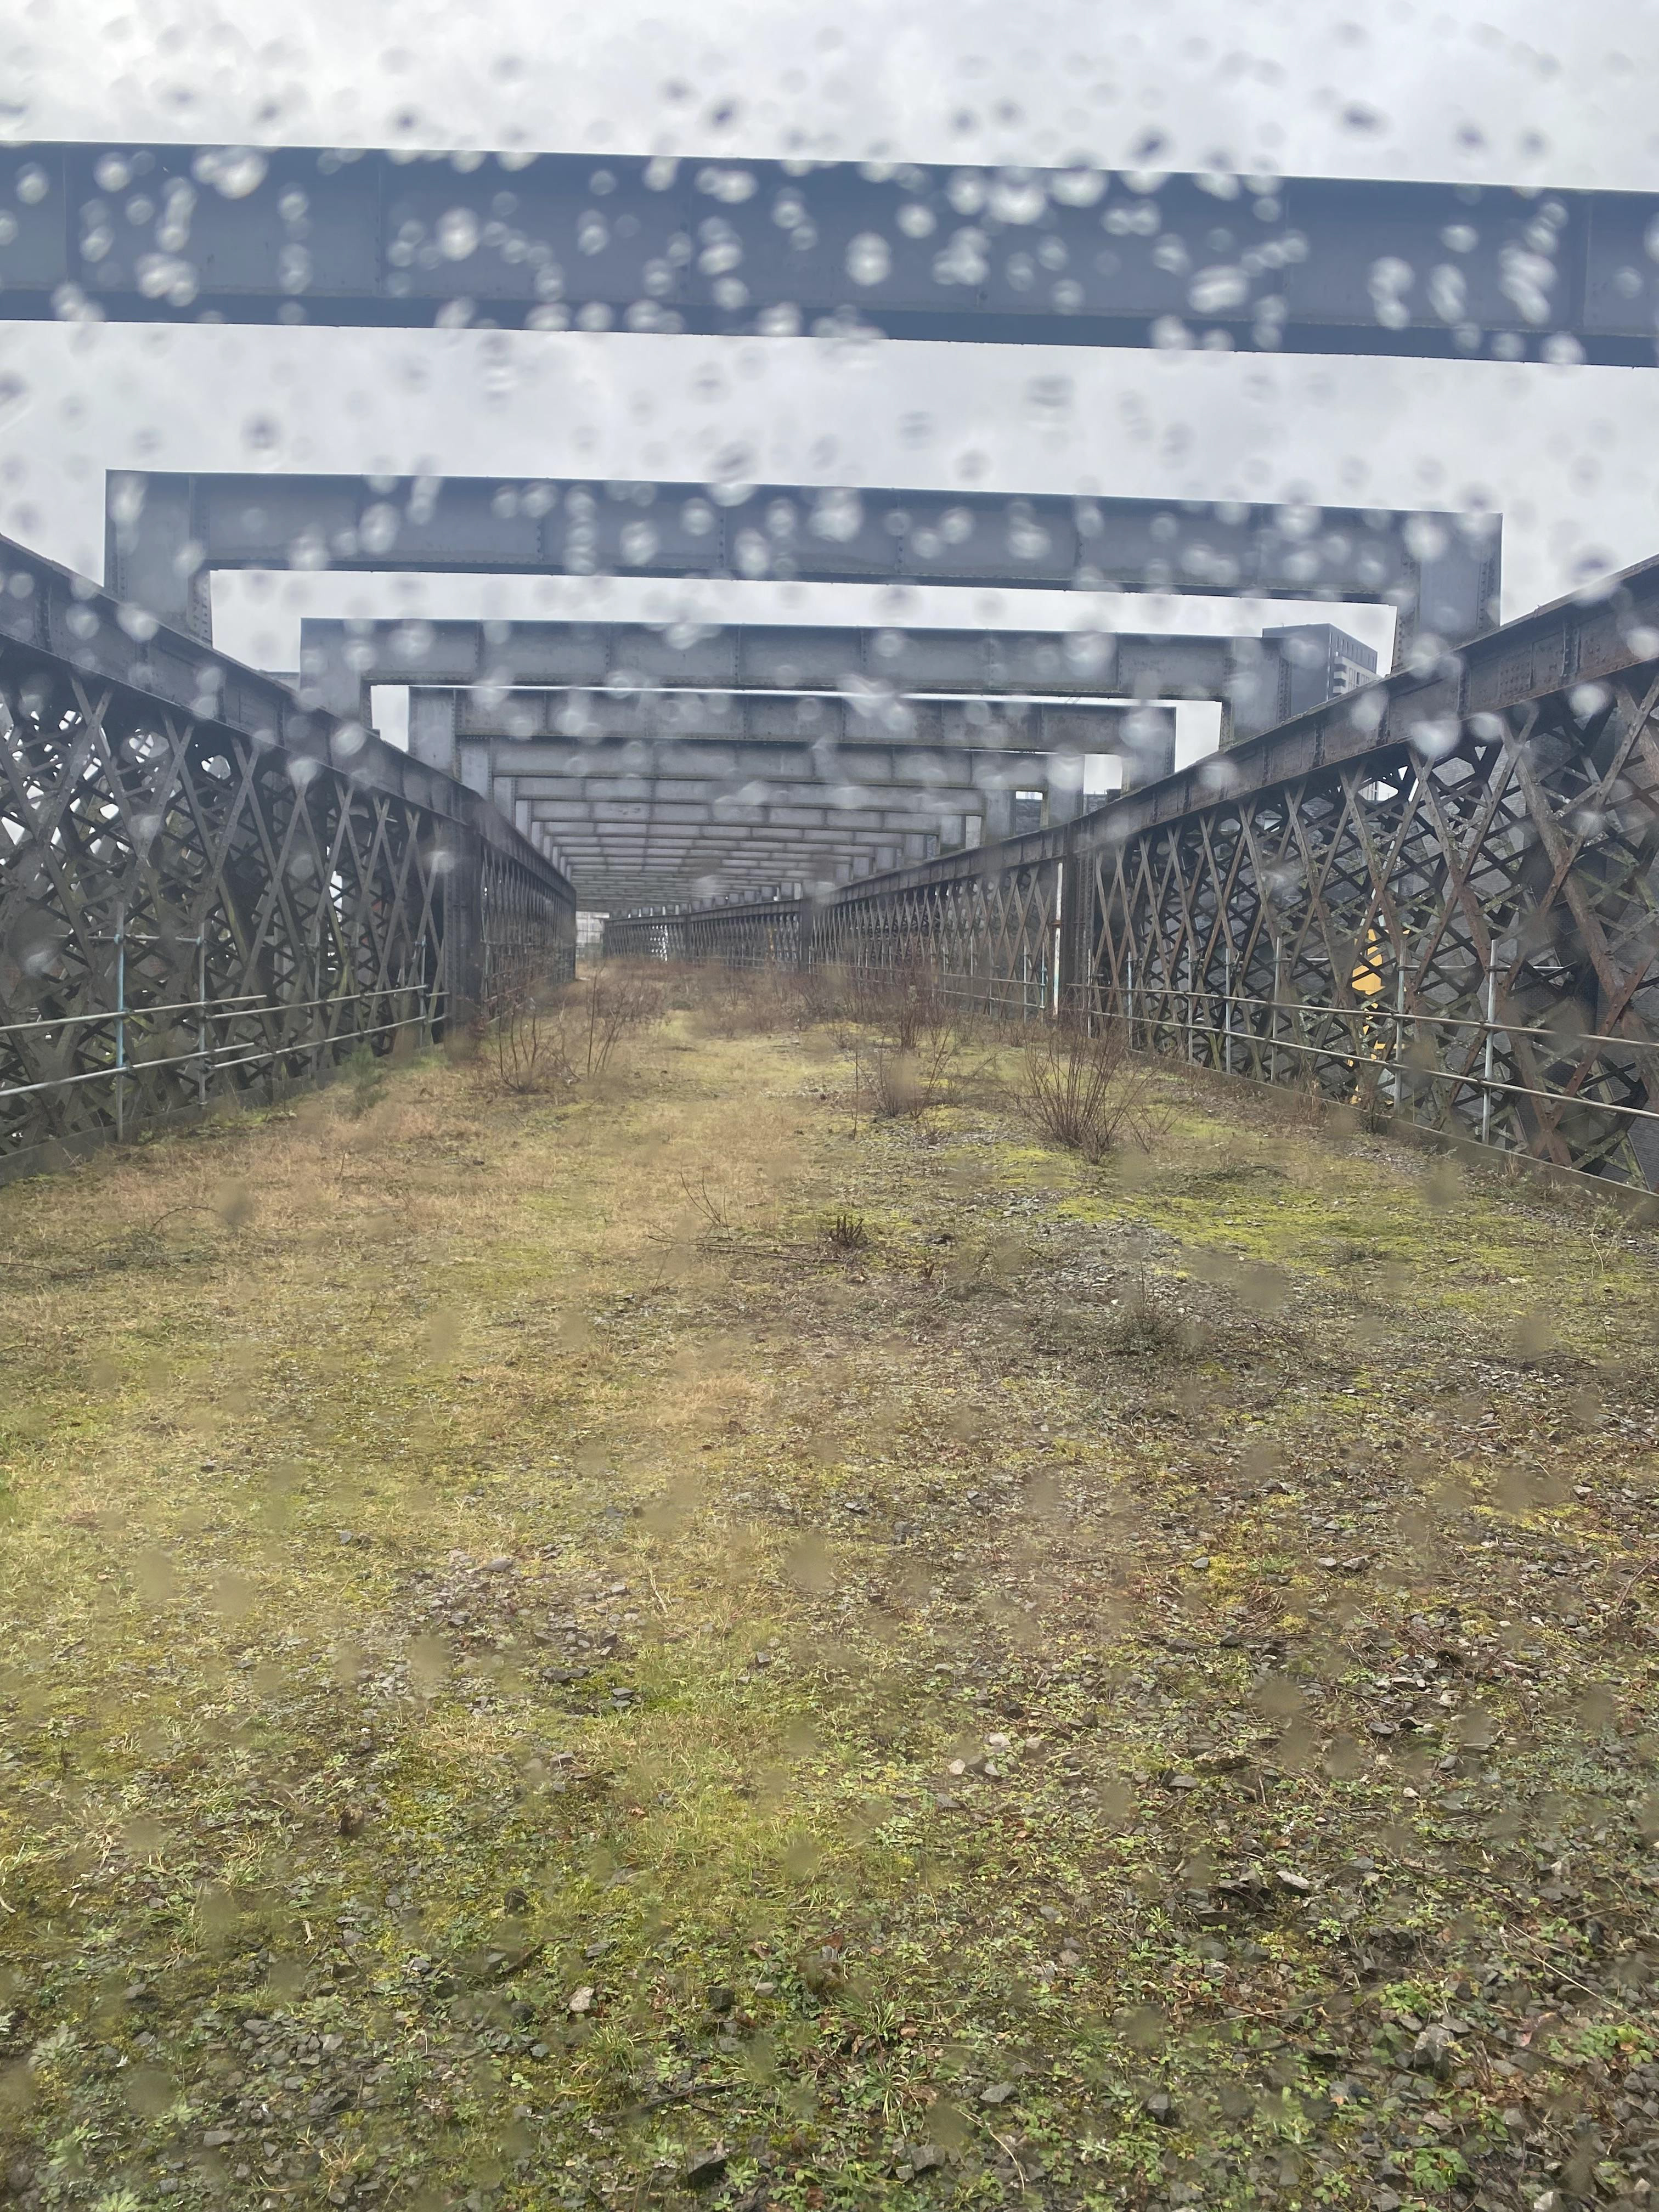
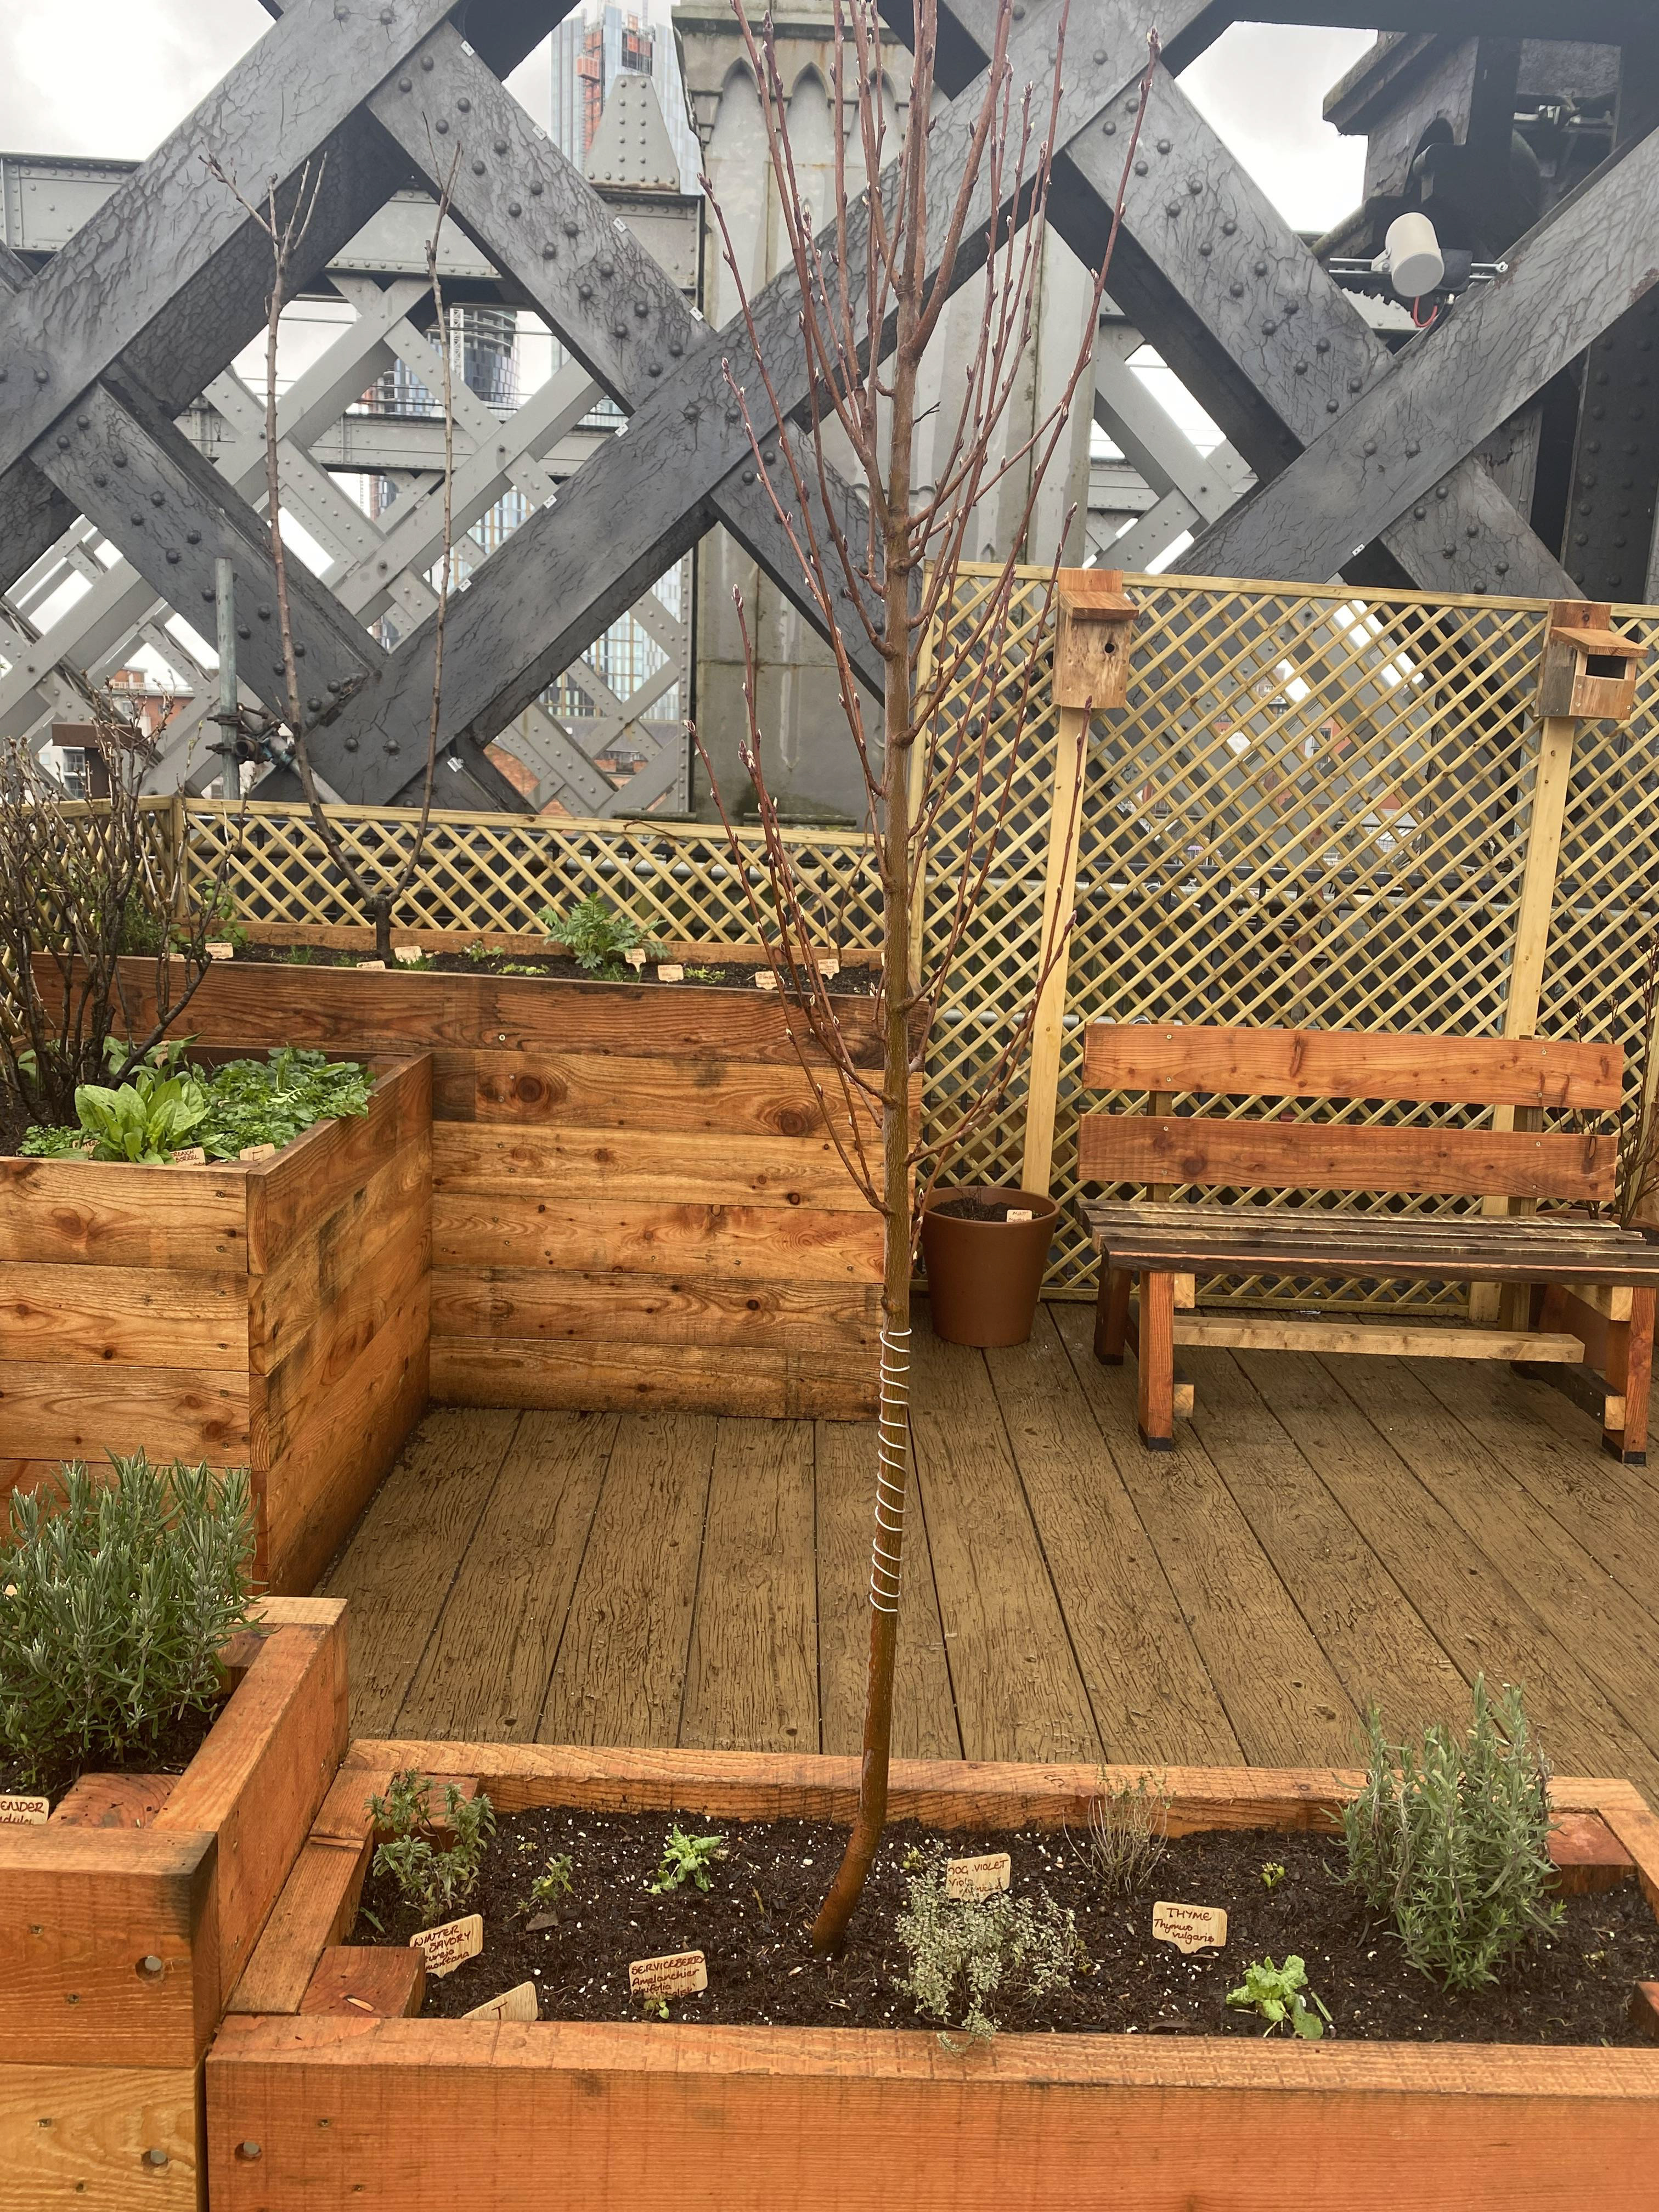
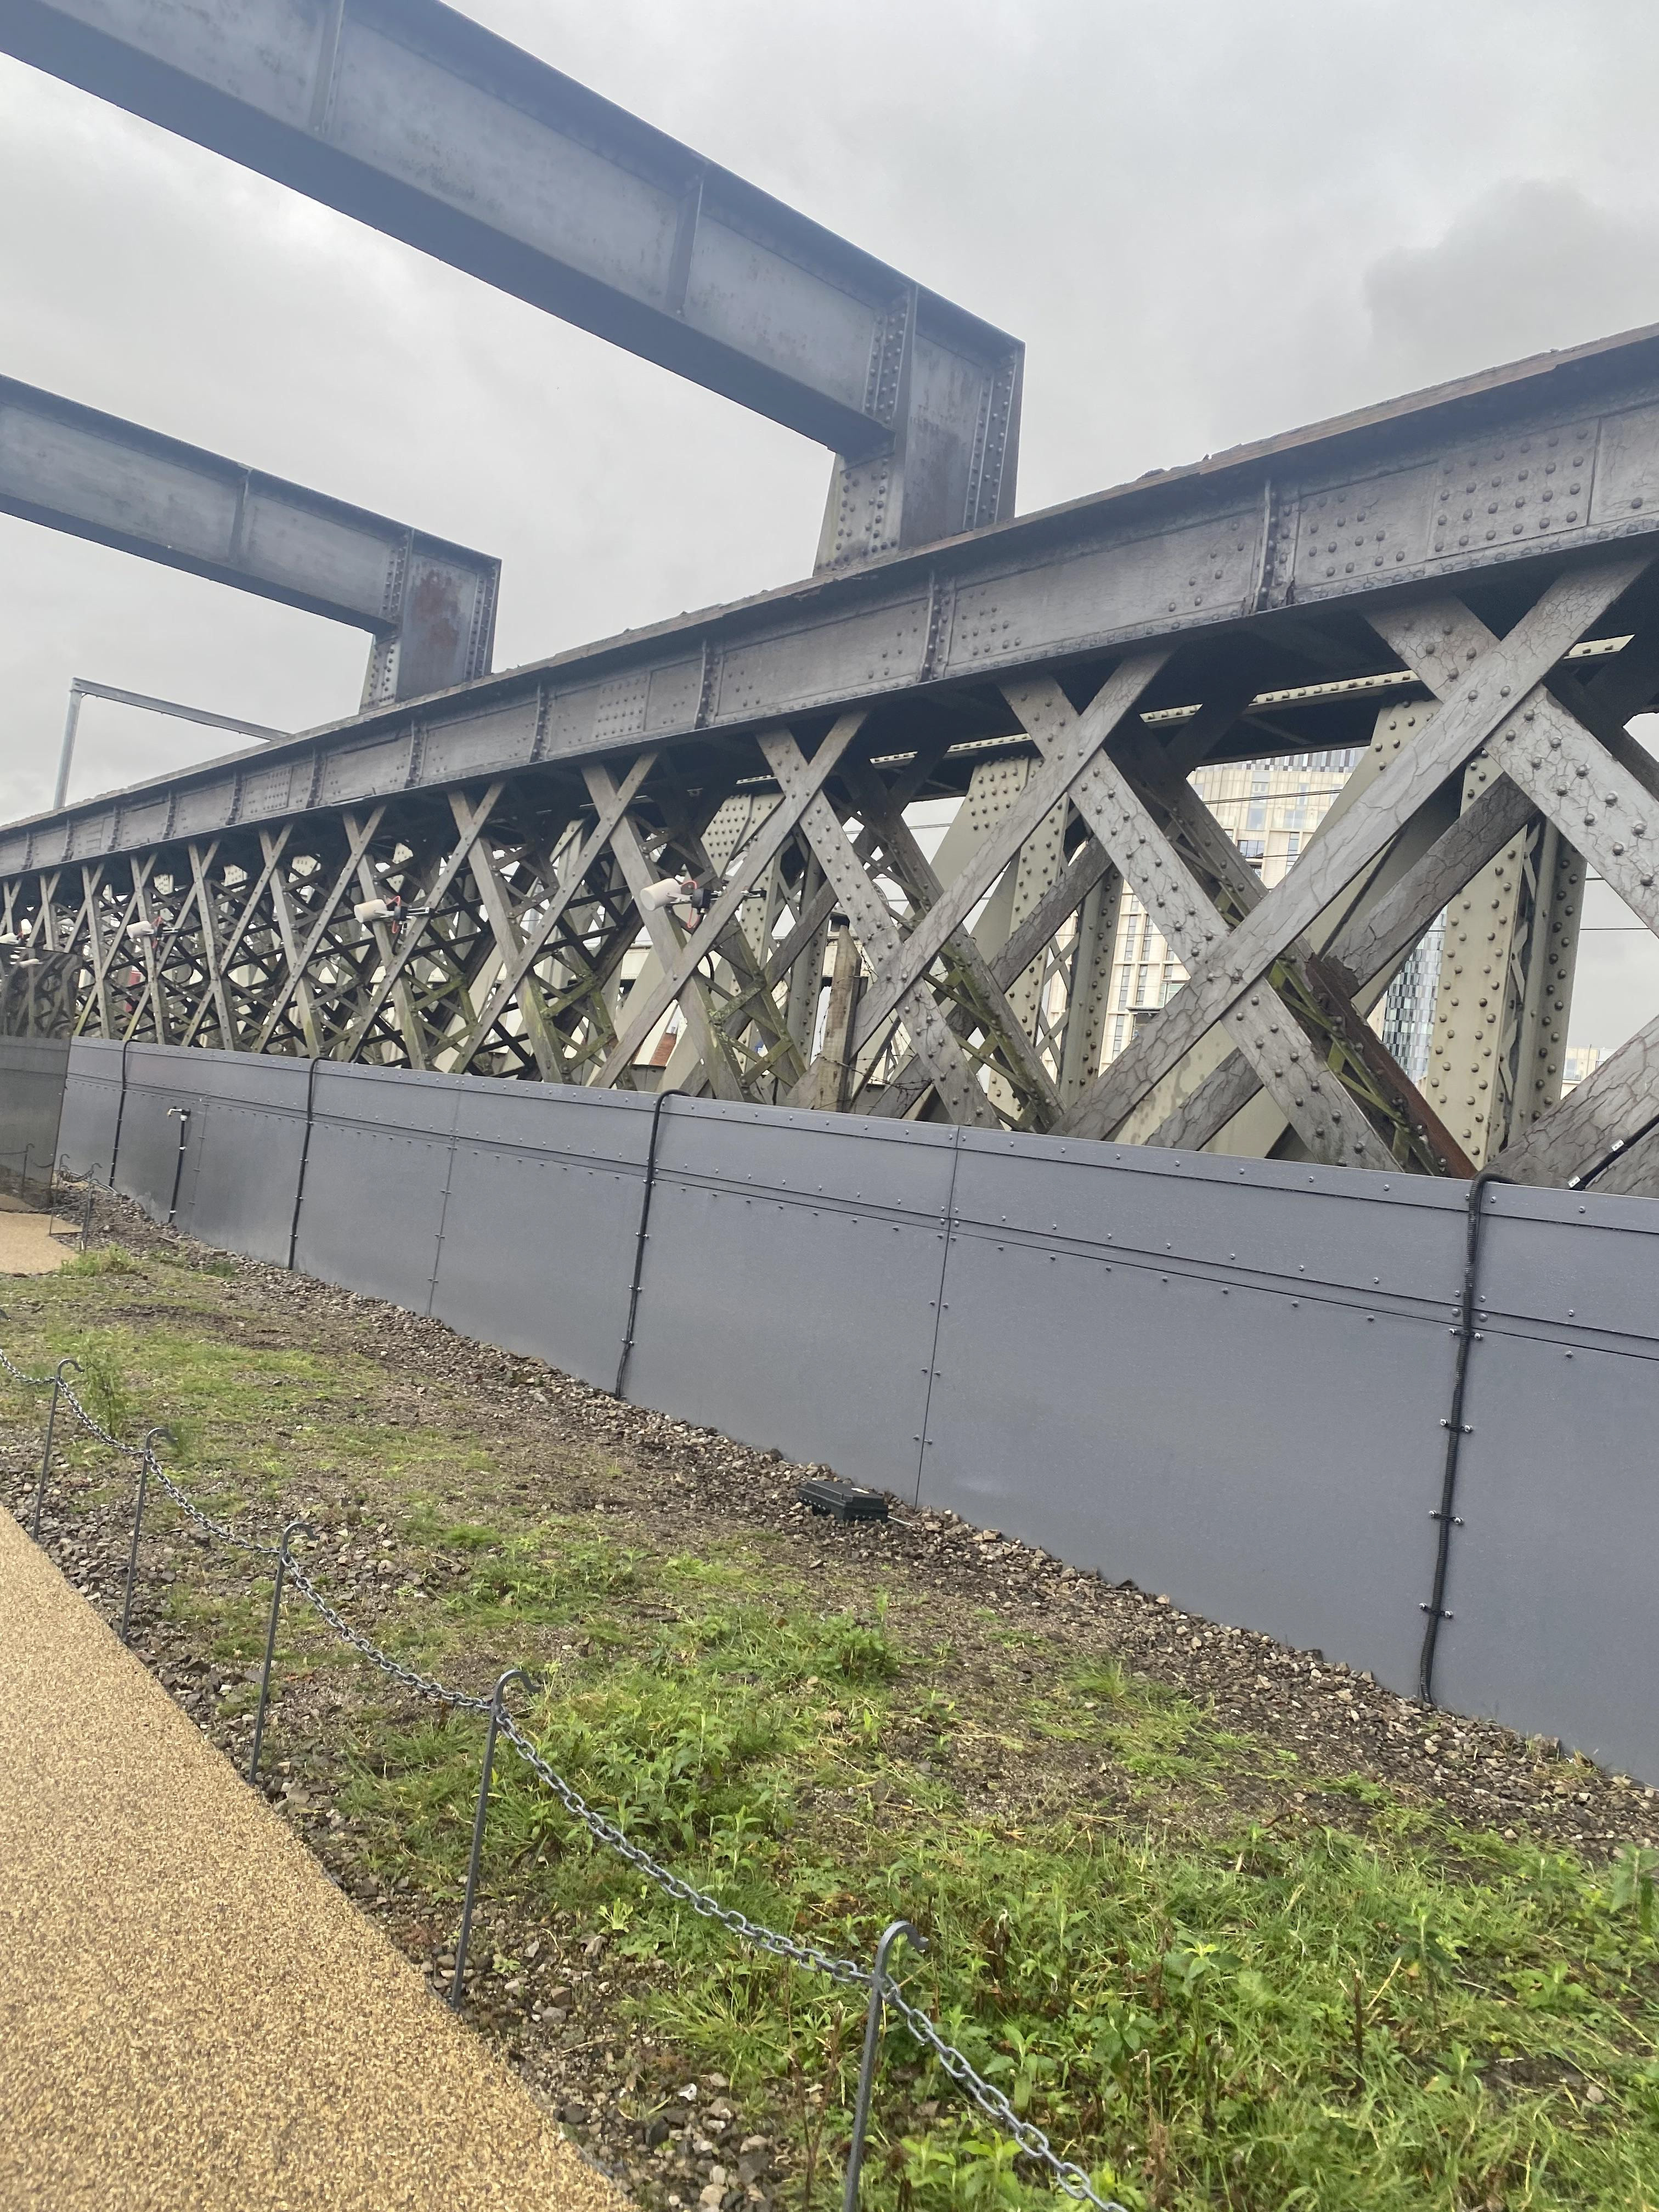
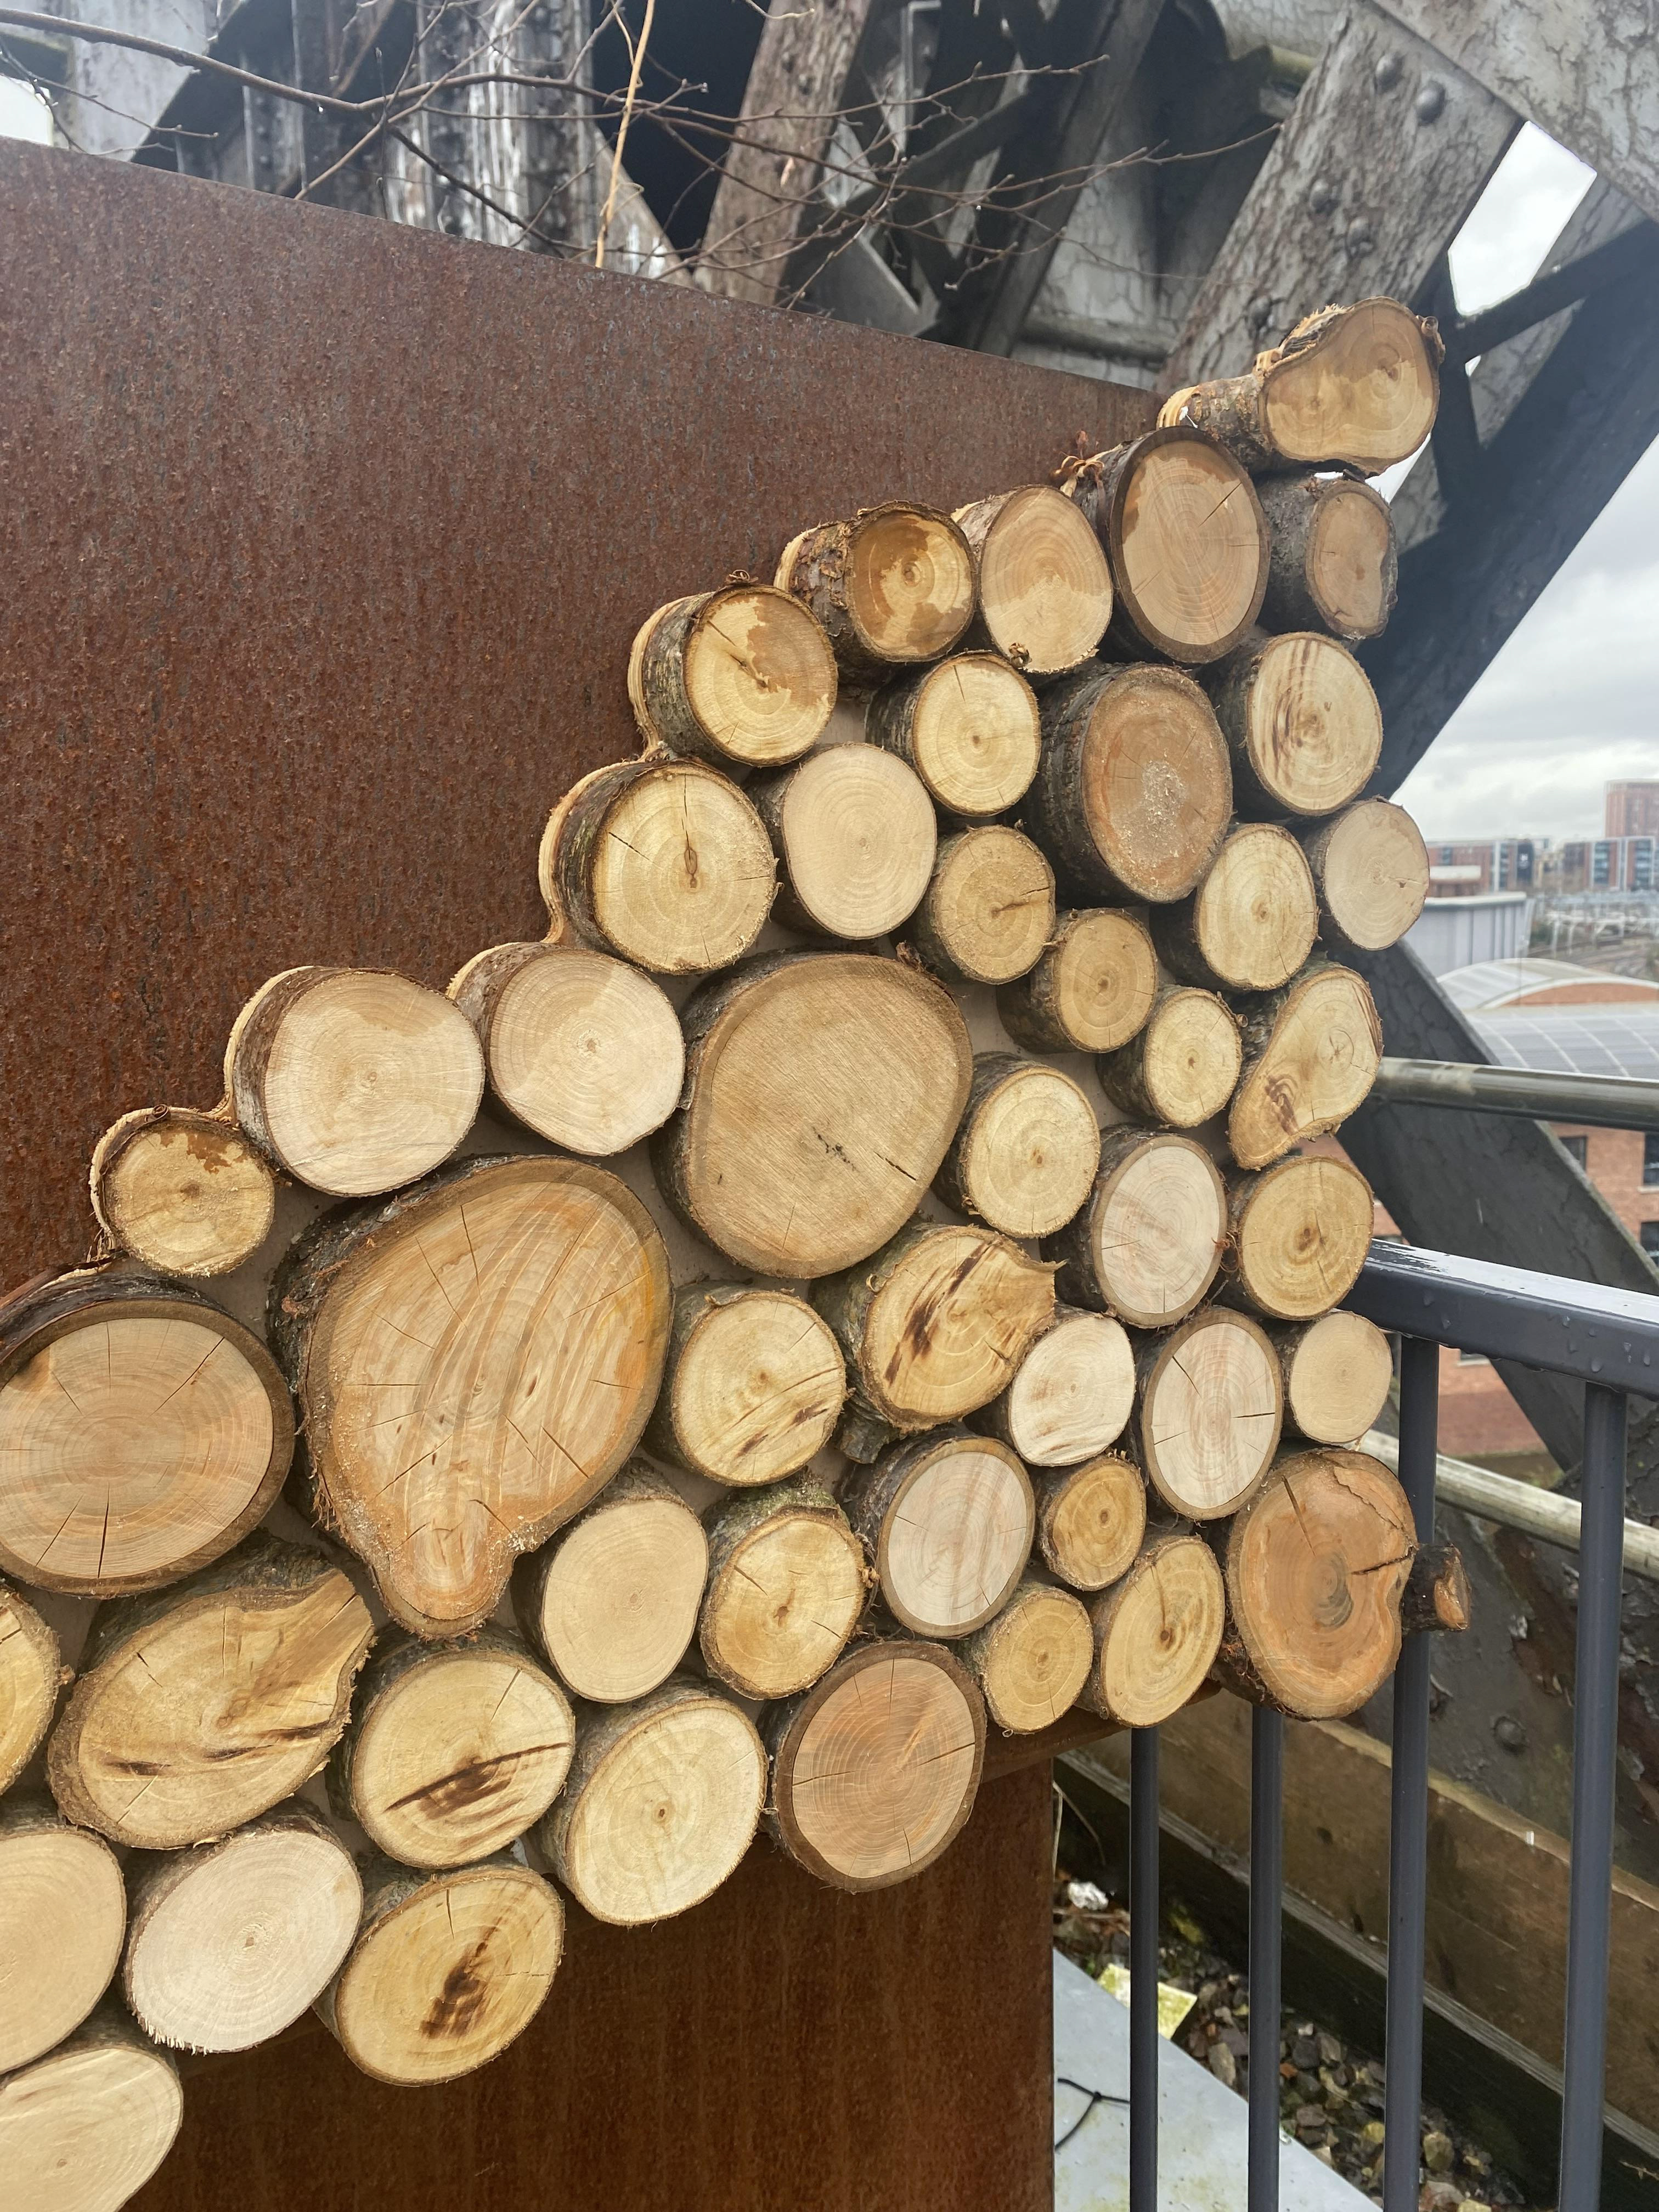
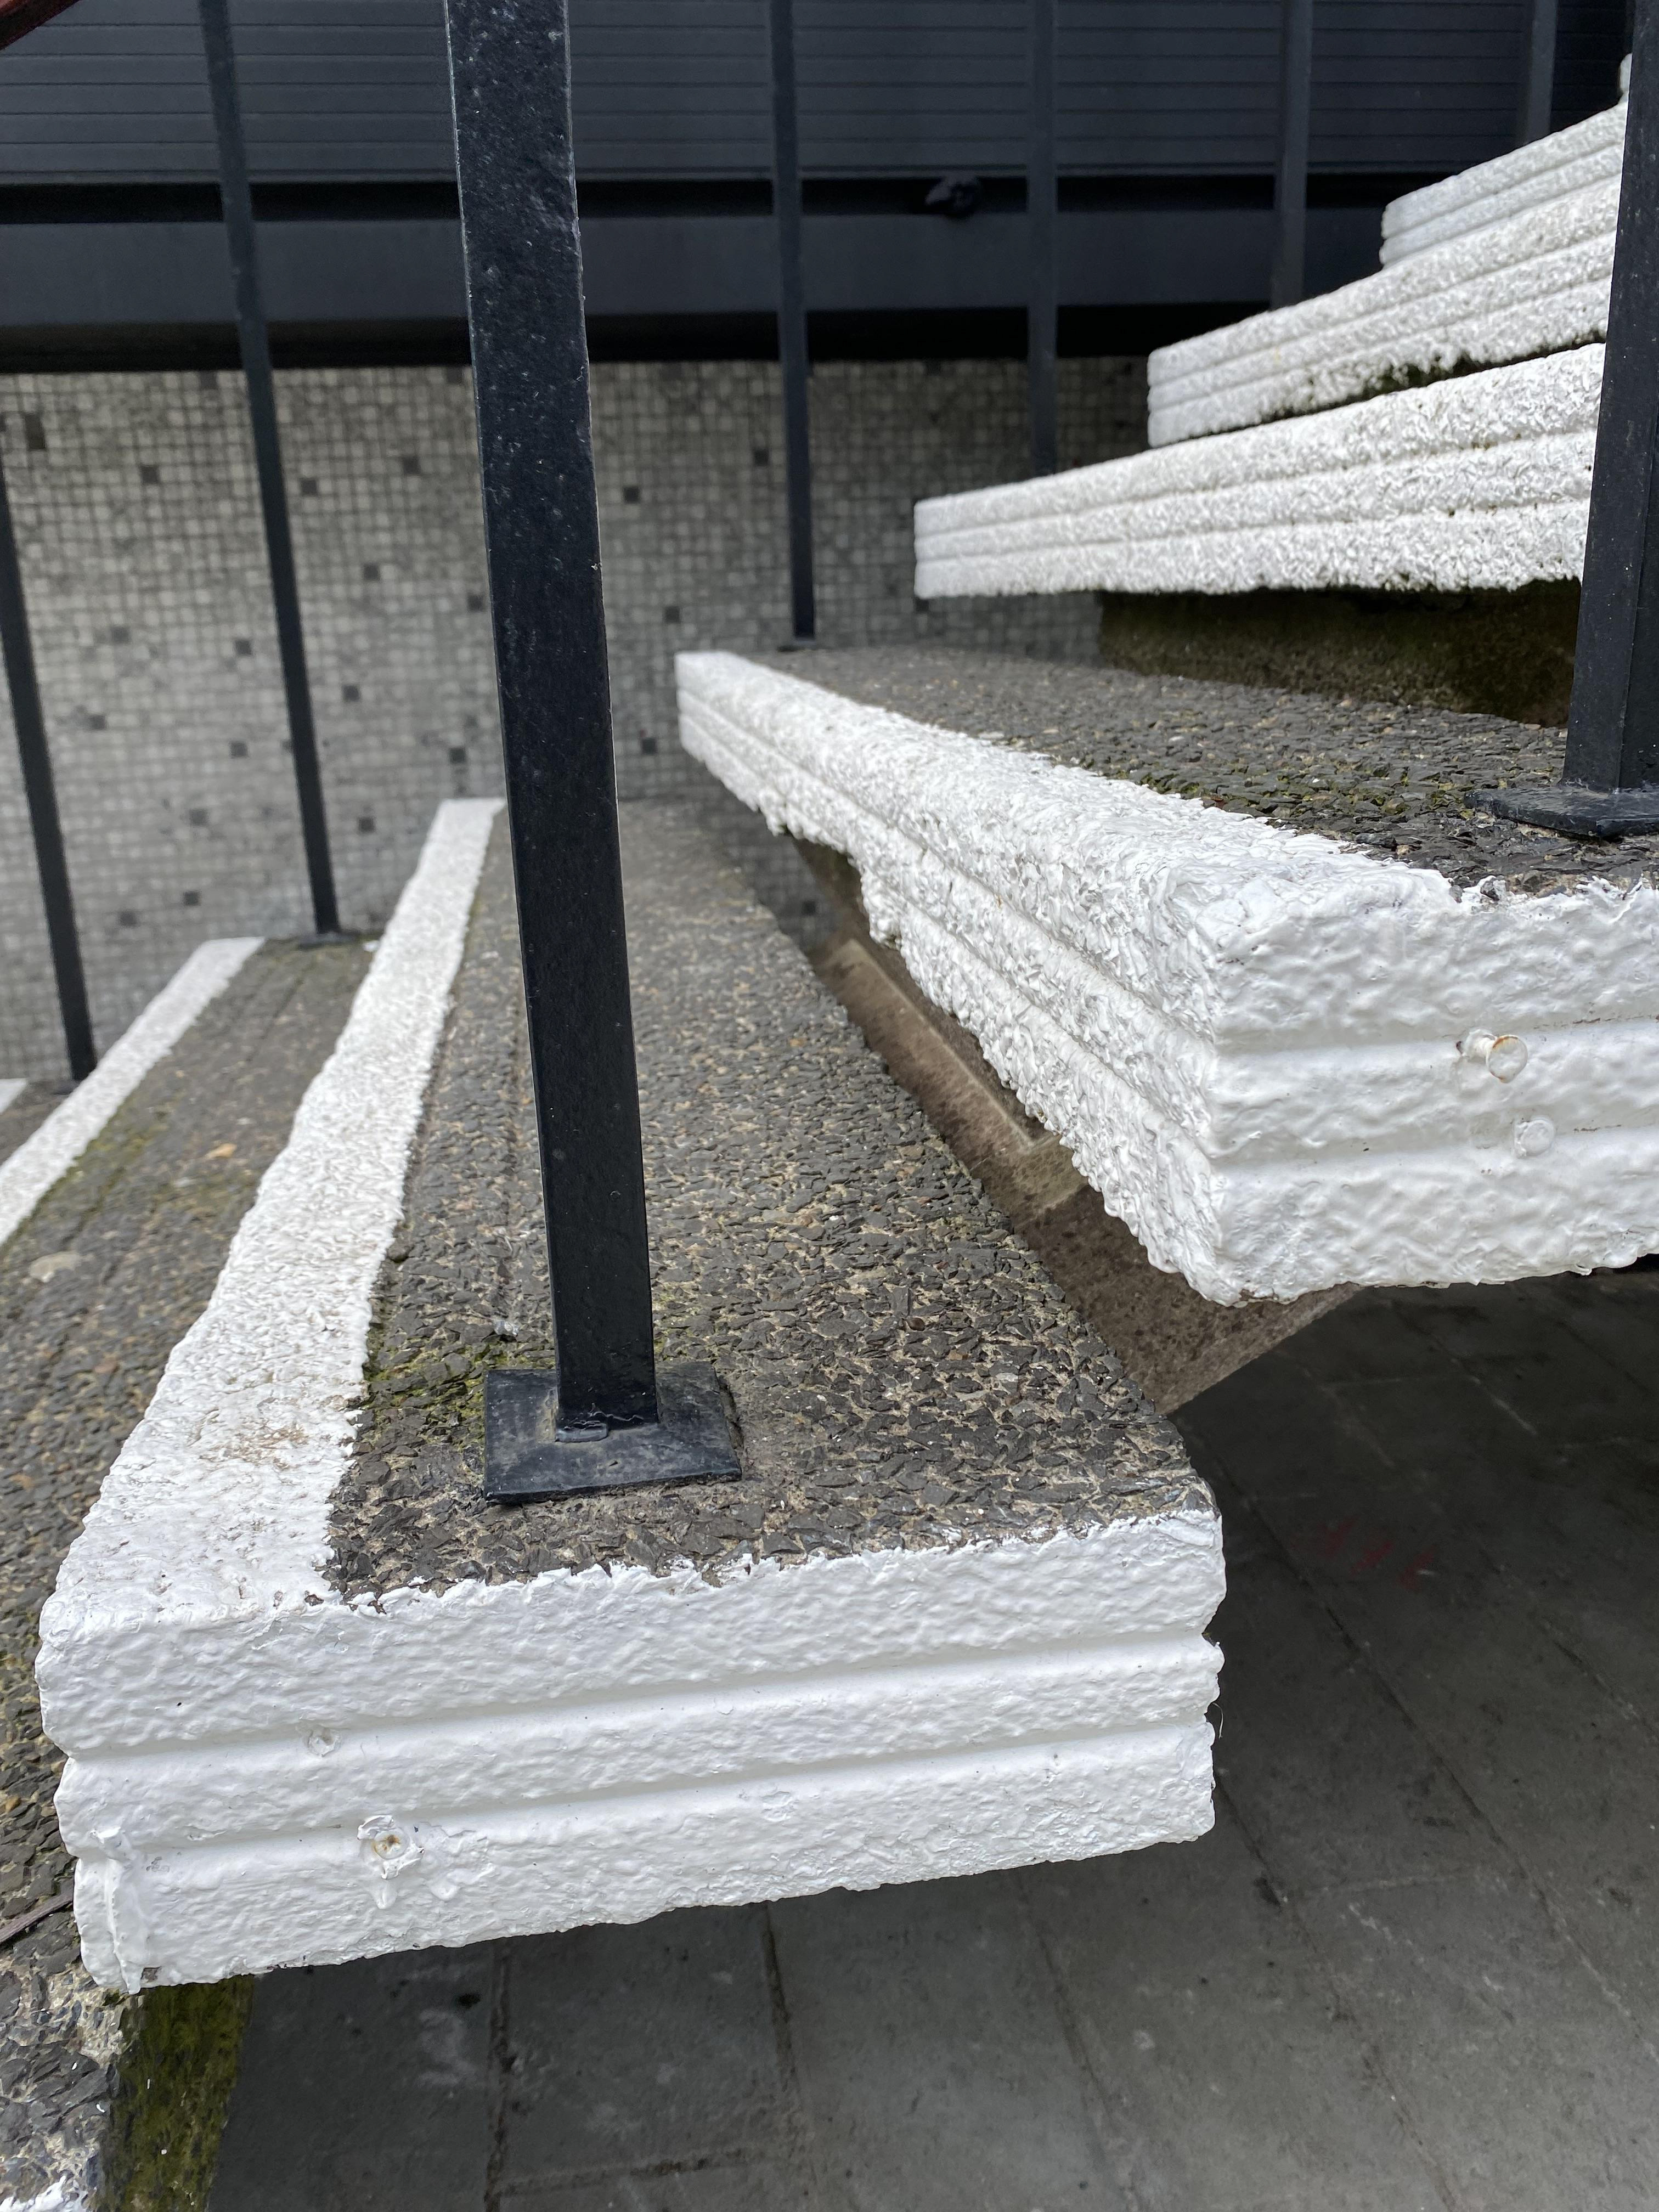
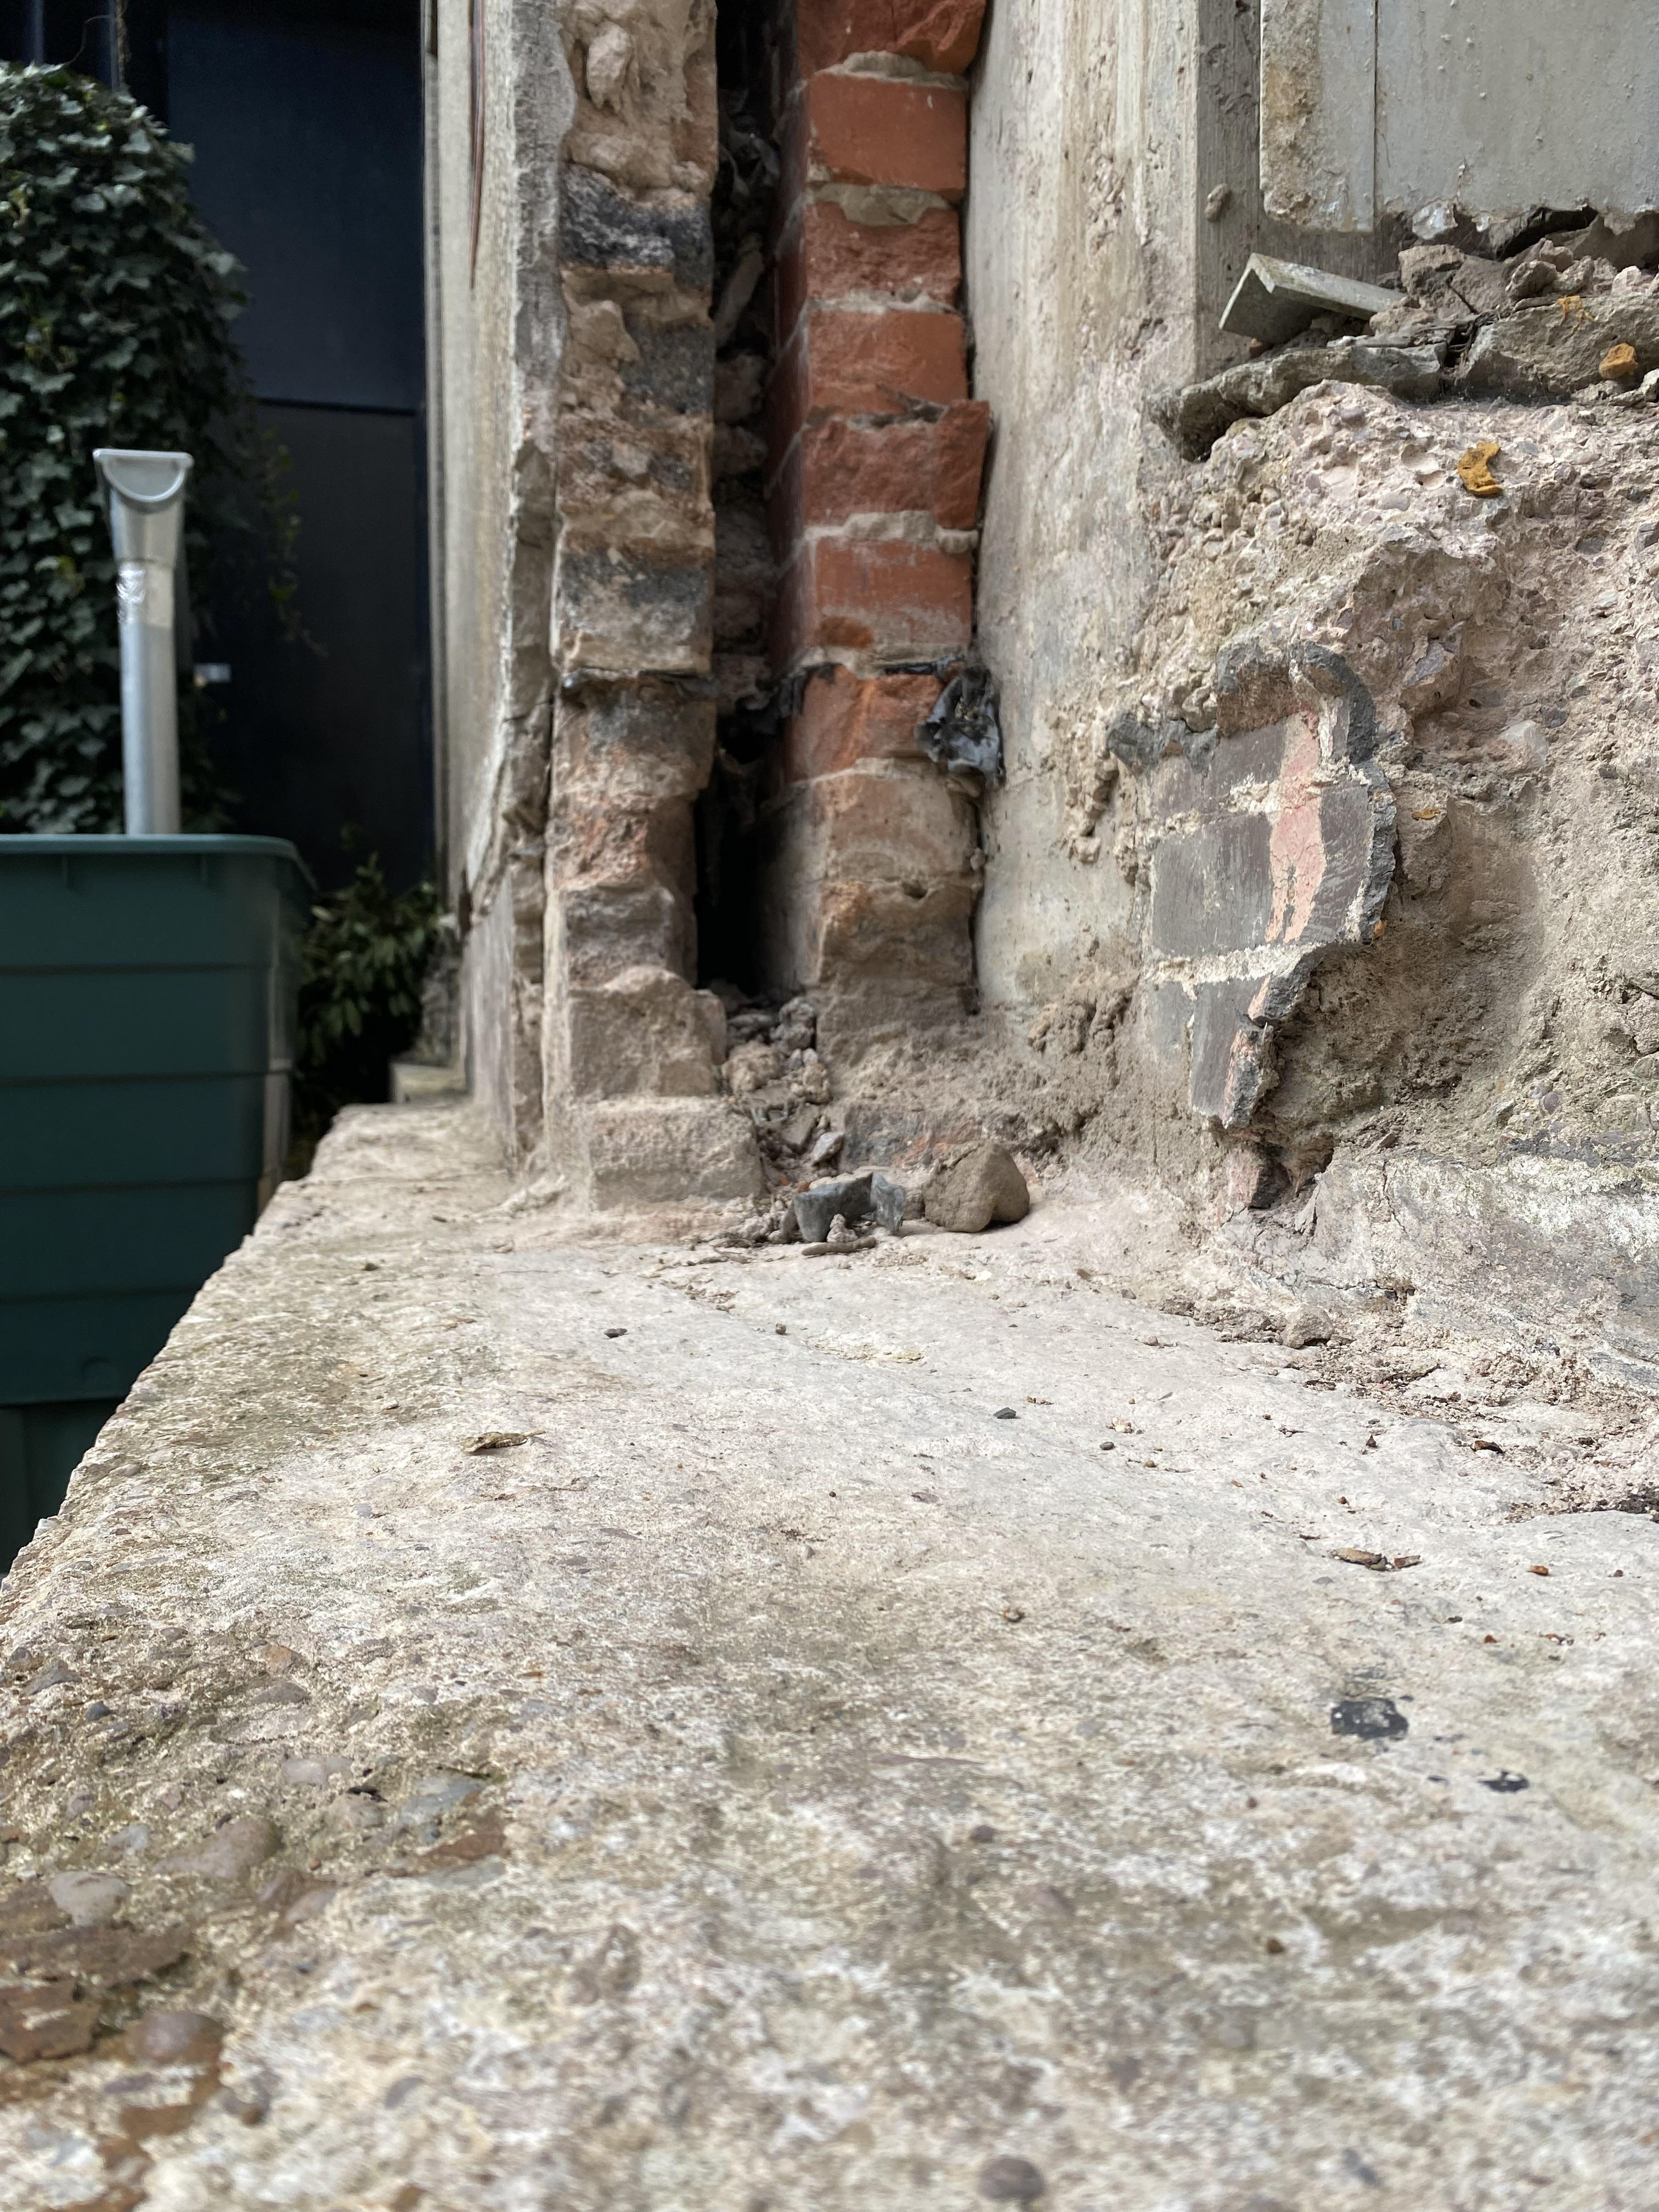
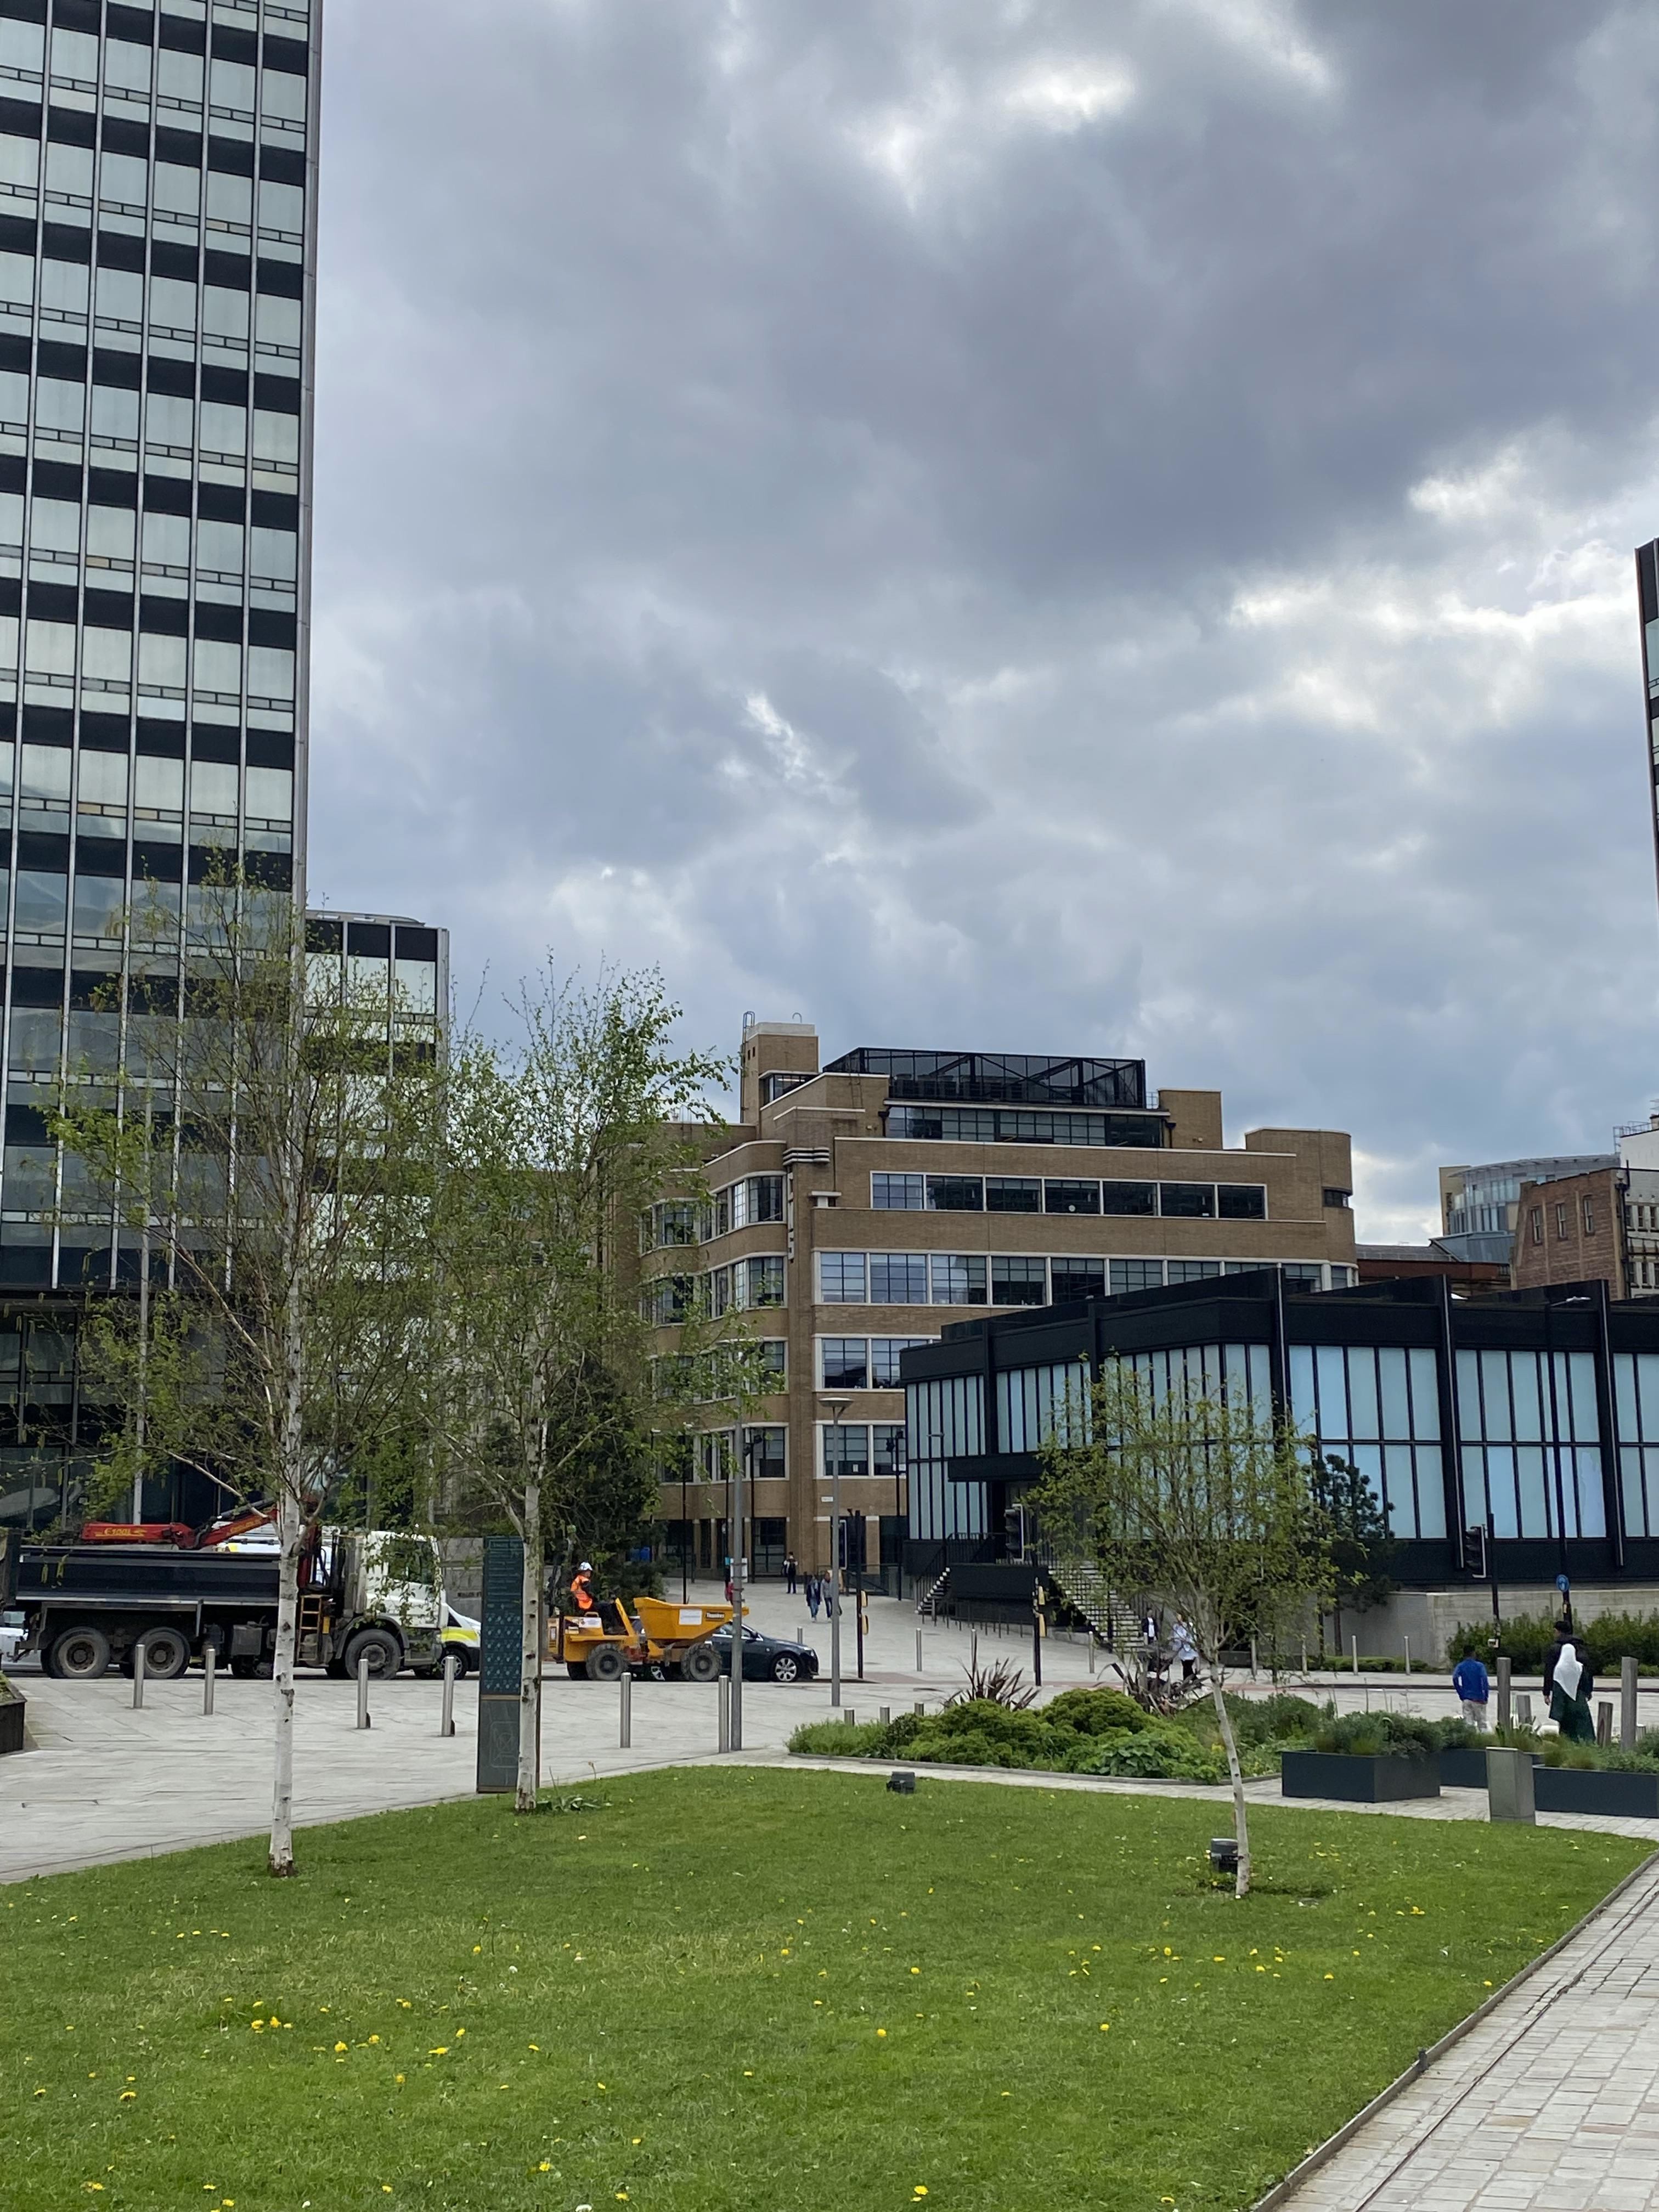
The first visit was to Castlefield where I learnt that the disused viaduct was built in the late 1800's being used for the railway lines in and out of Manchester. The National Trust have started a project turning the old space into a garden, planting different types of greenery and trees on one half of the land, creating a greener space within the city. It was interesting to learn that because of toxins within the ground of the railway they cannot plant directly into this, meaning raised spaces with fresh soil had to be made to do so. Upon visiting I noticed the difference in the mix of urban and natural within the space which is something I was drawn to. This is an aspect I would like to take inspiration from and apply it to my own work in the future.


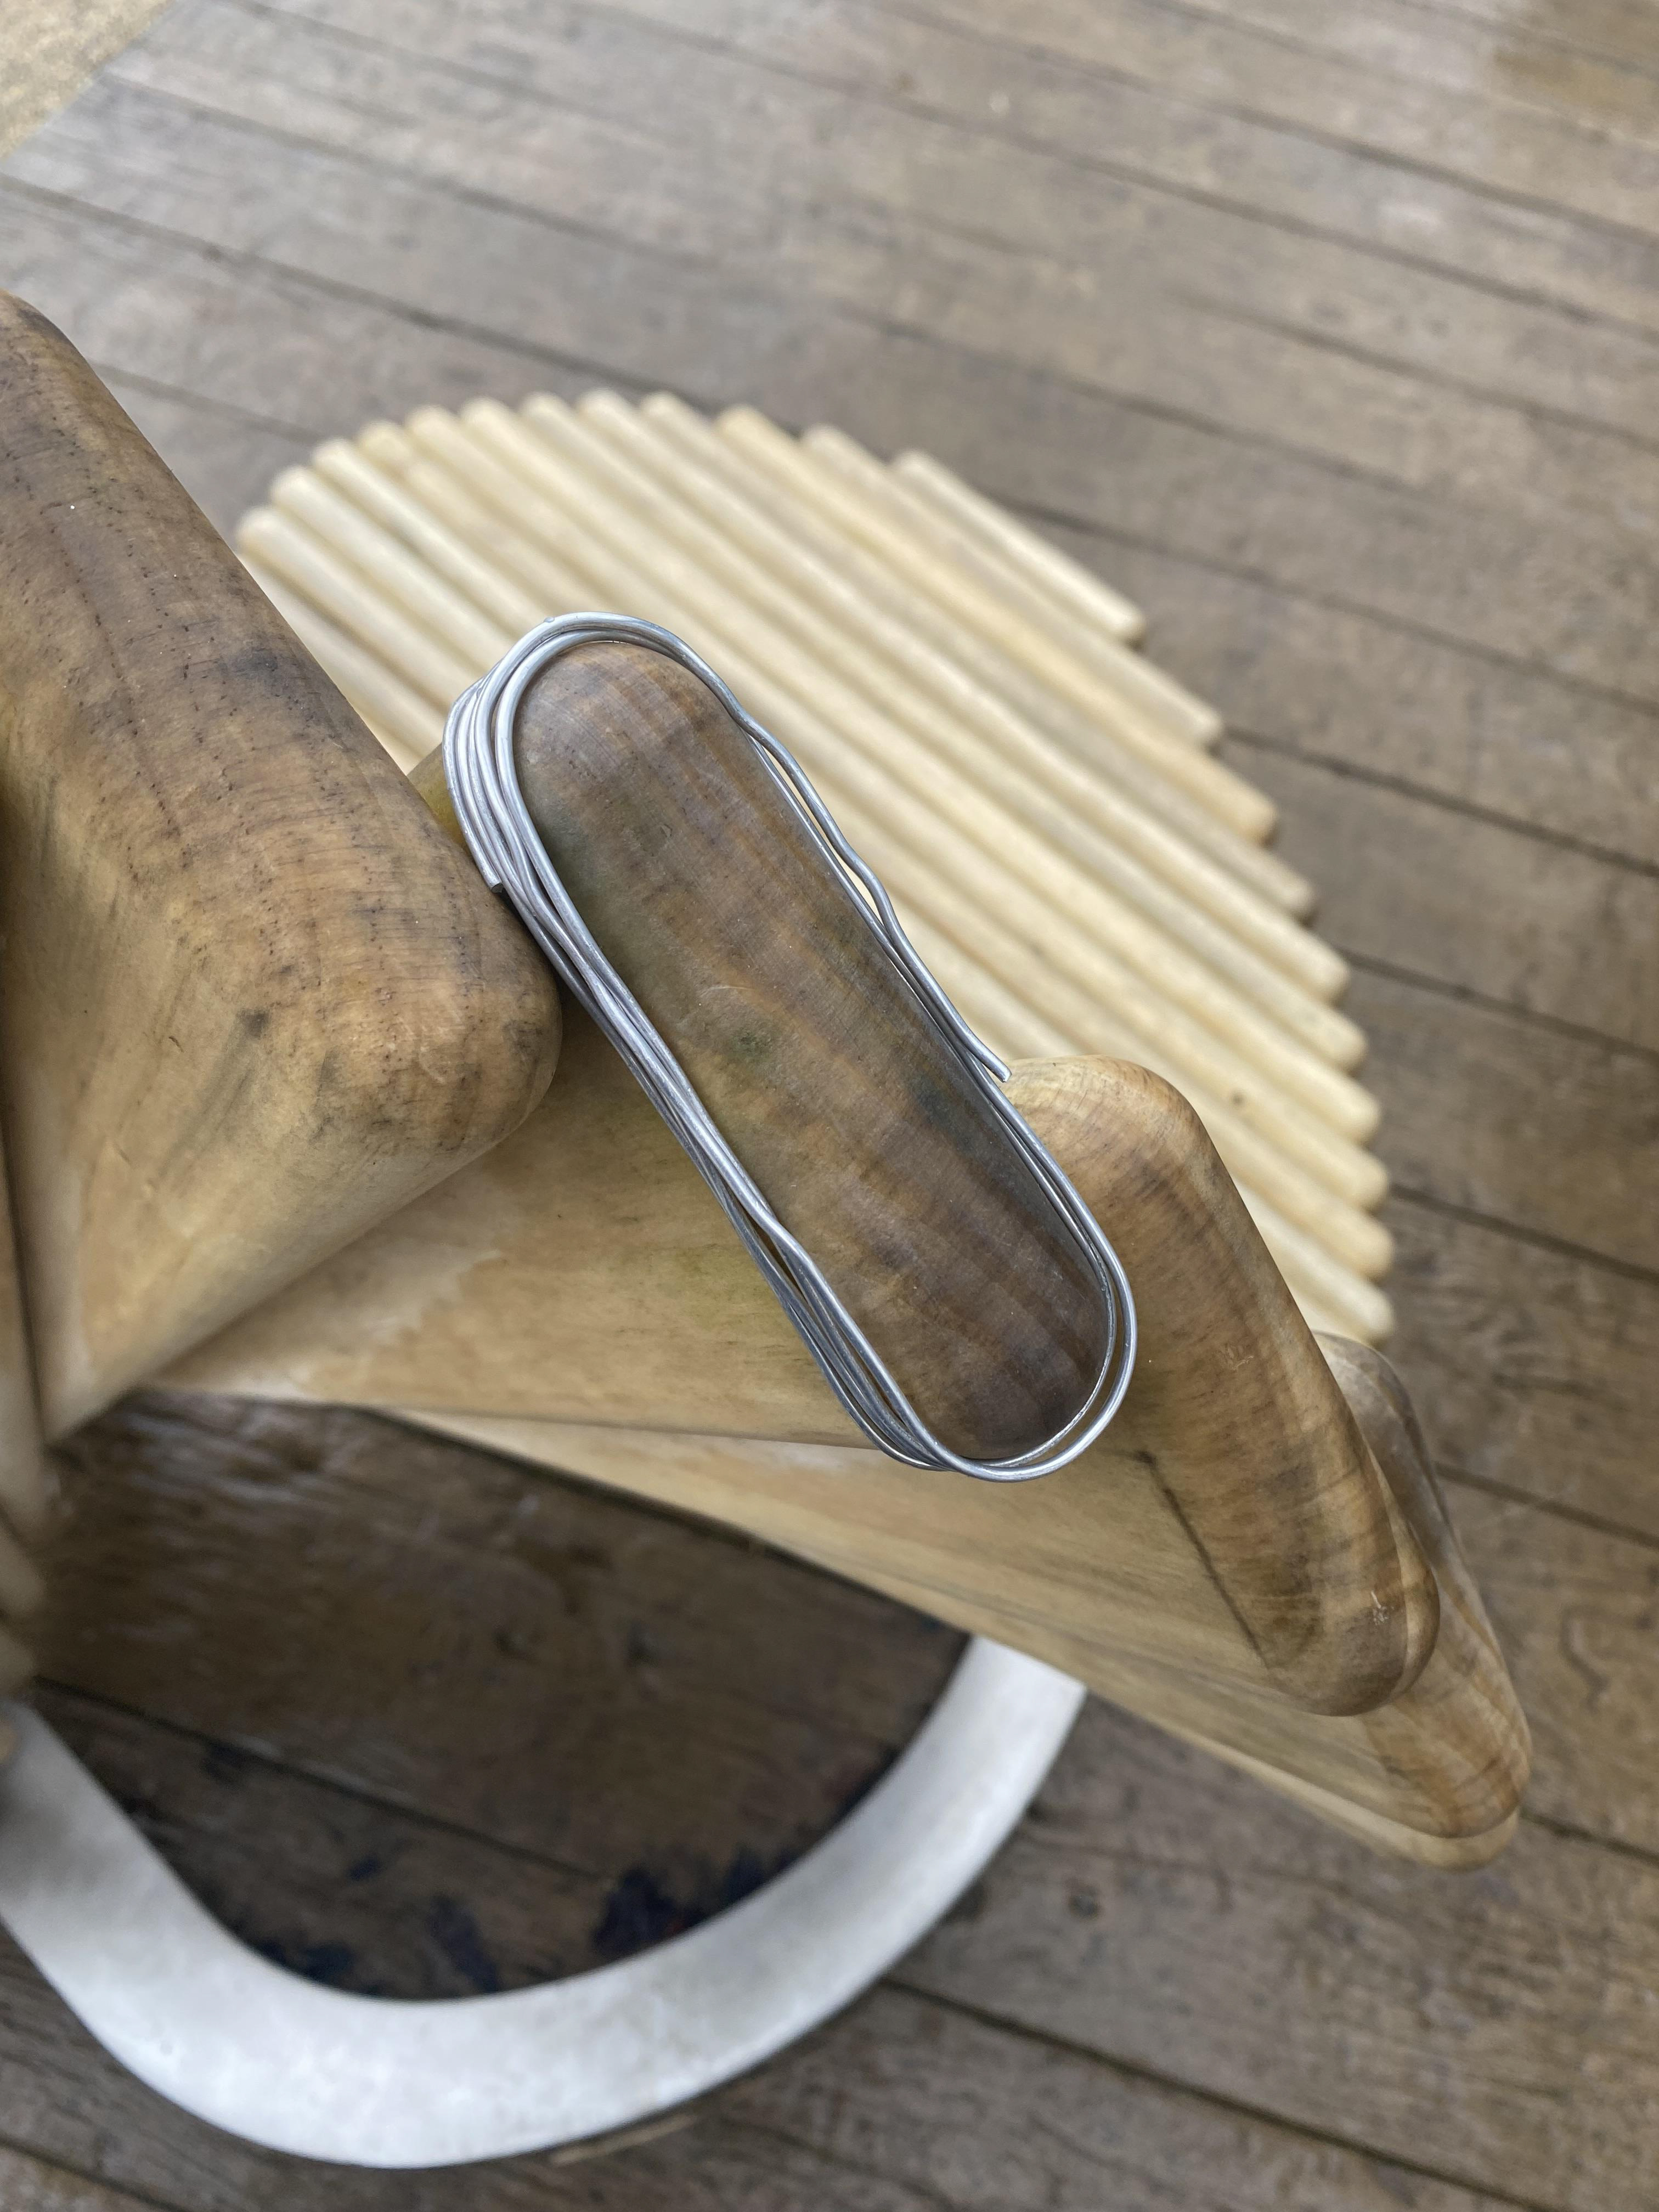
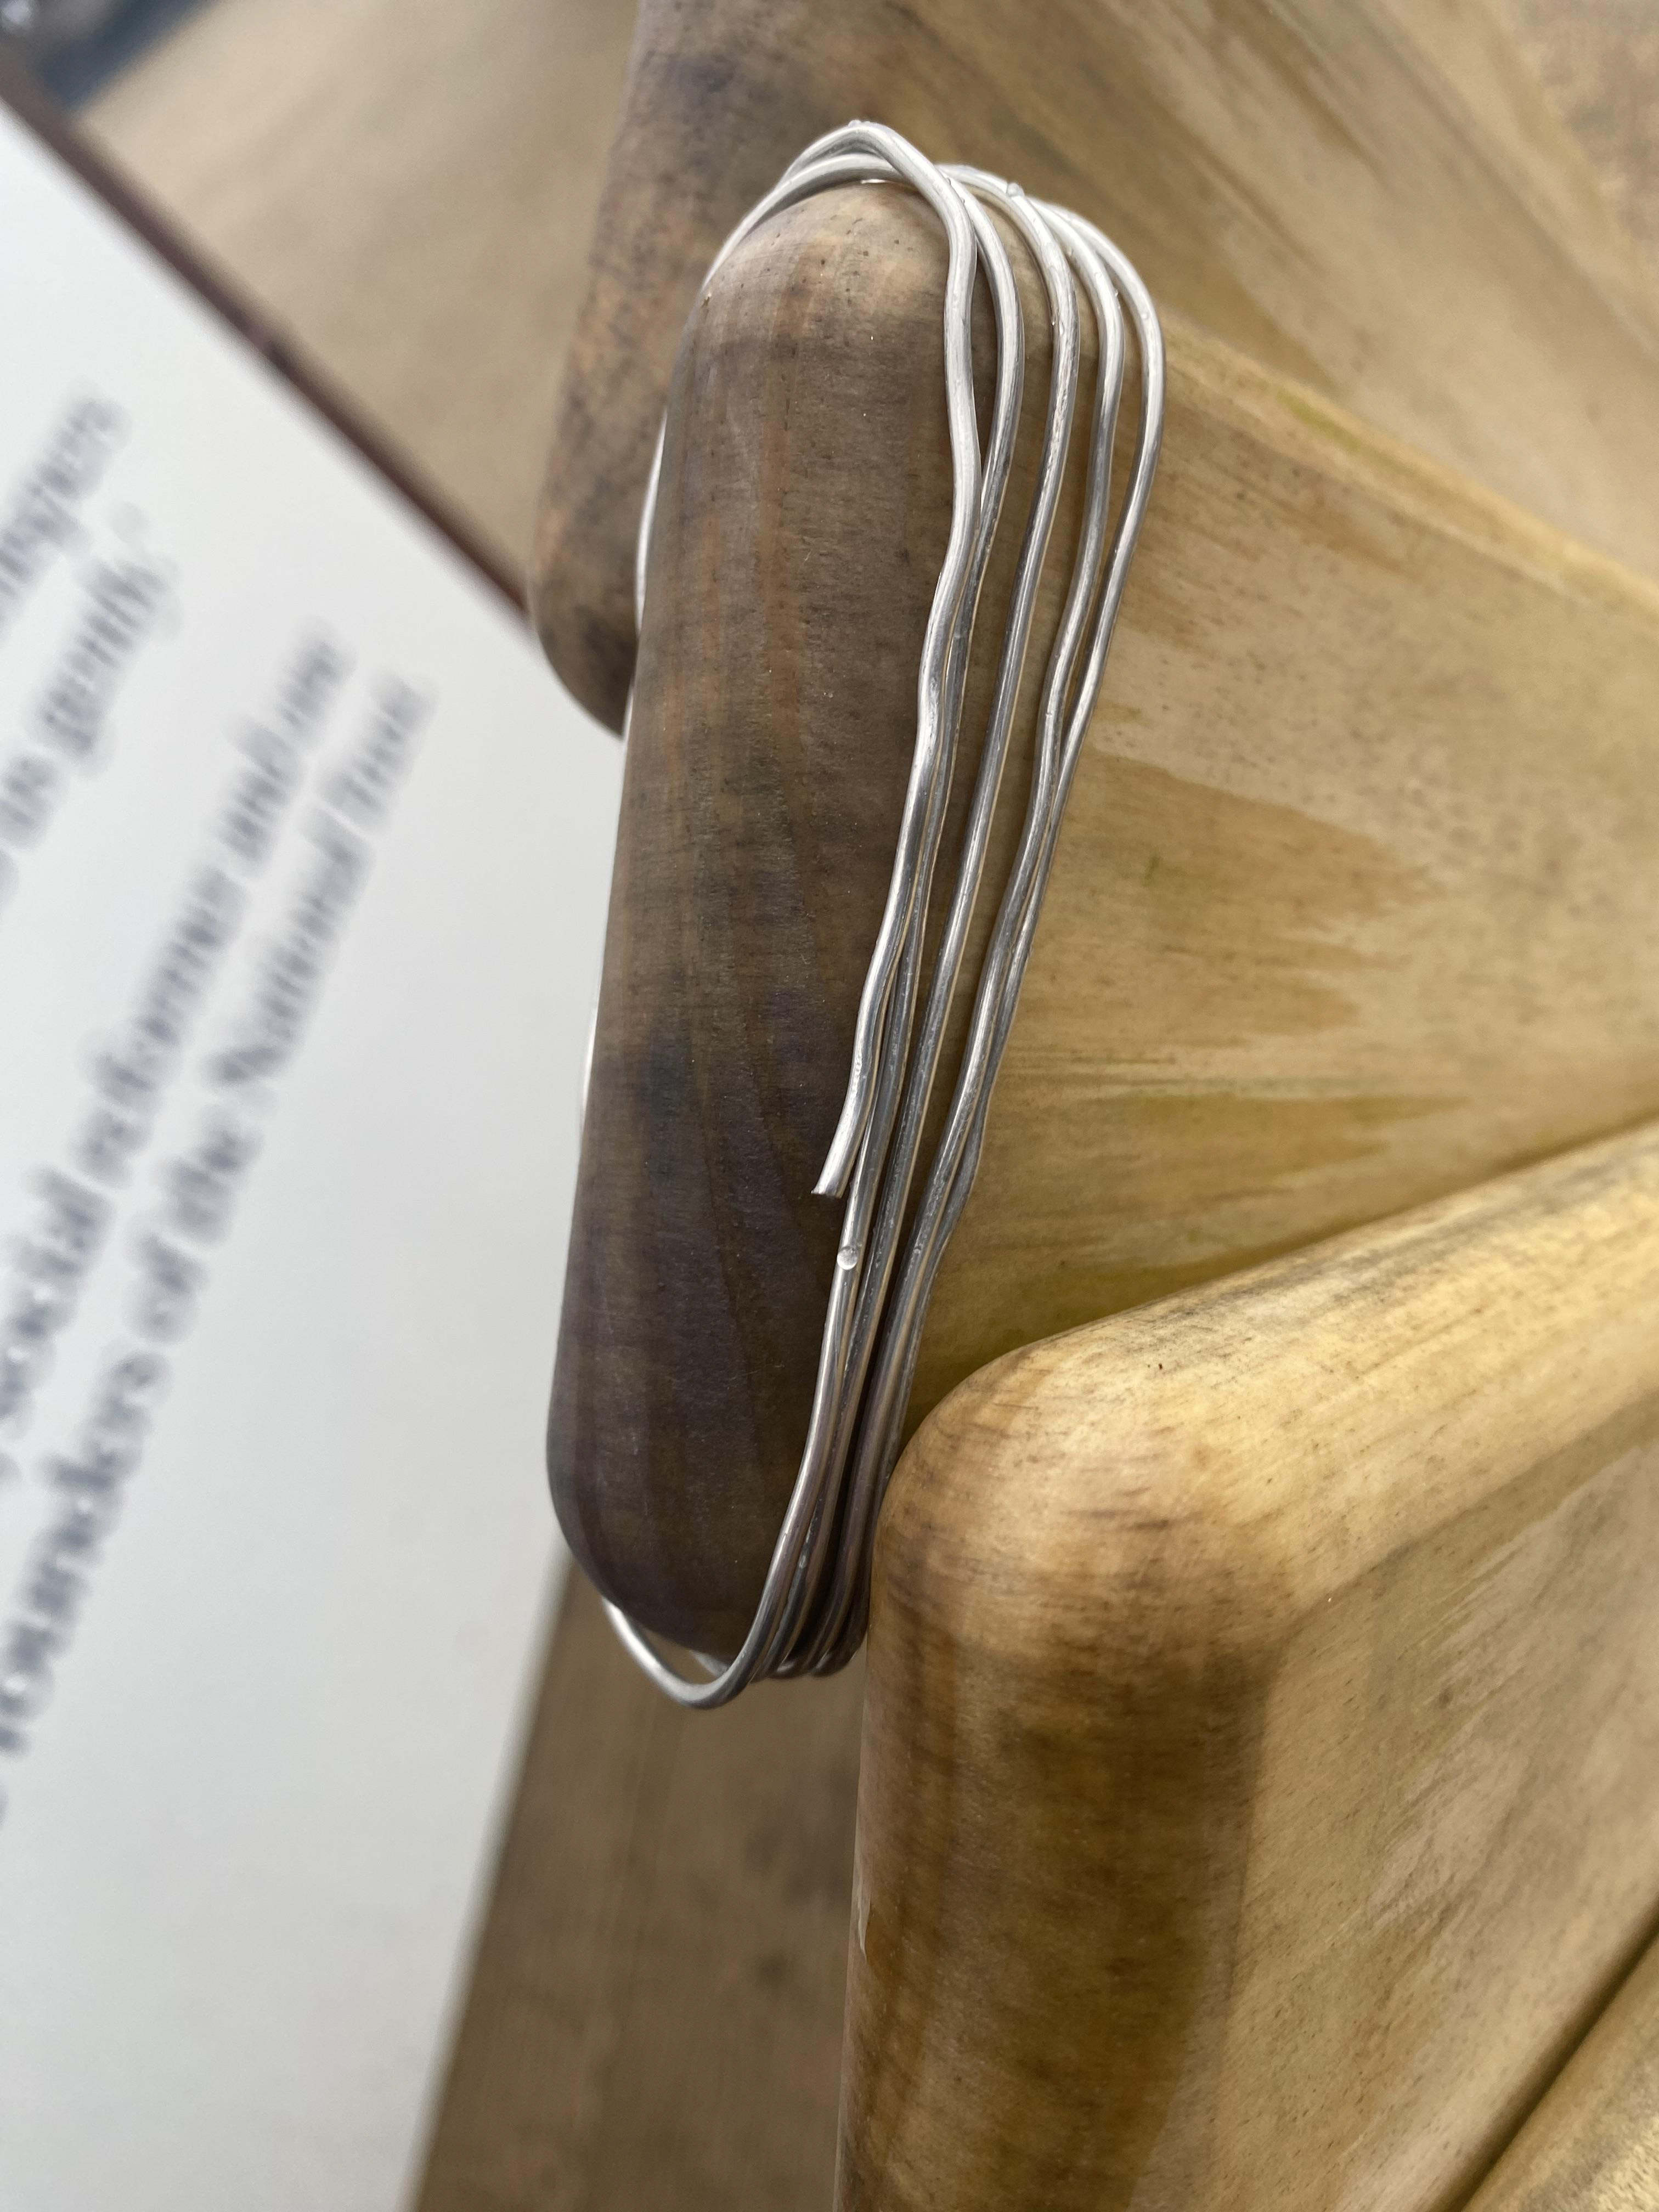
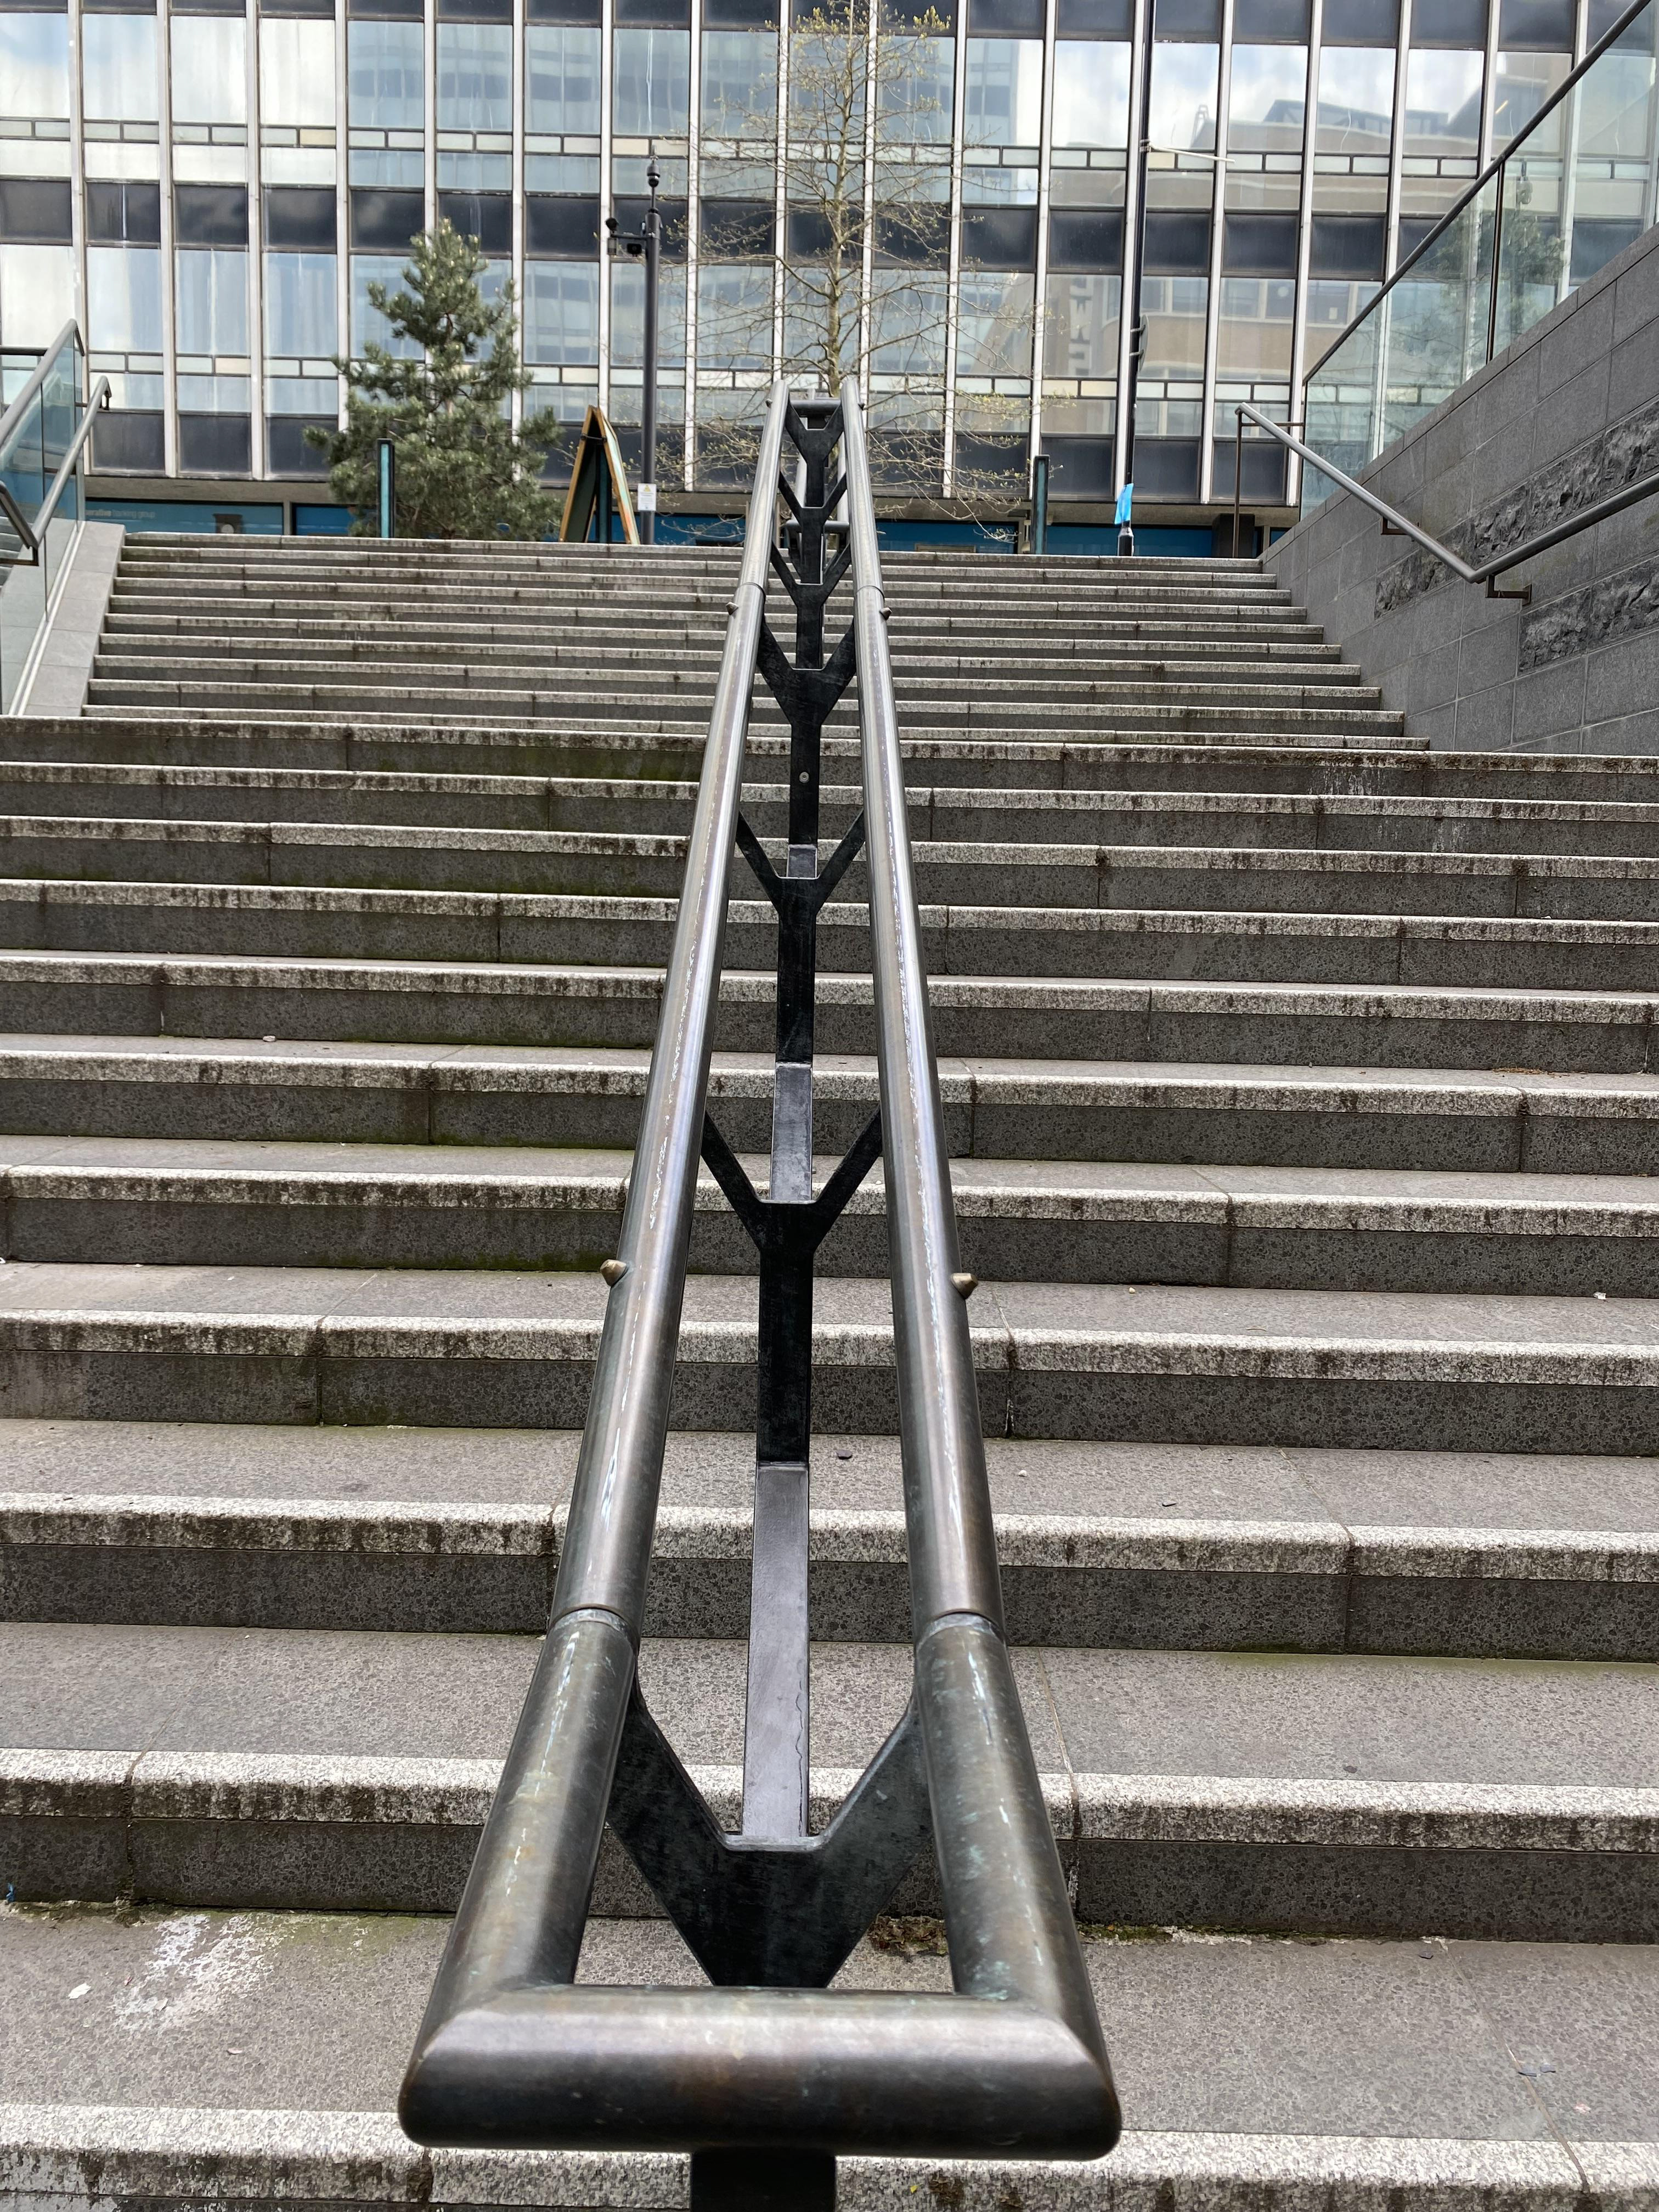
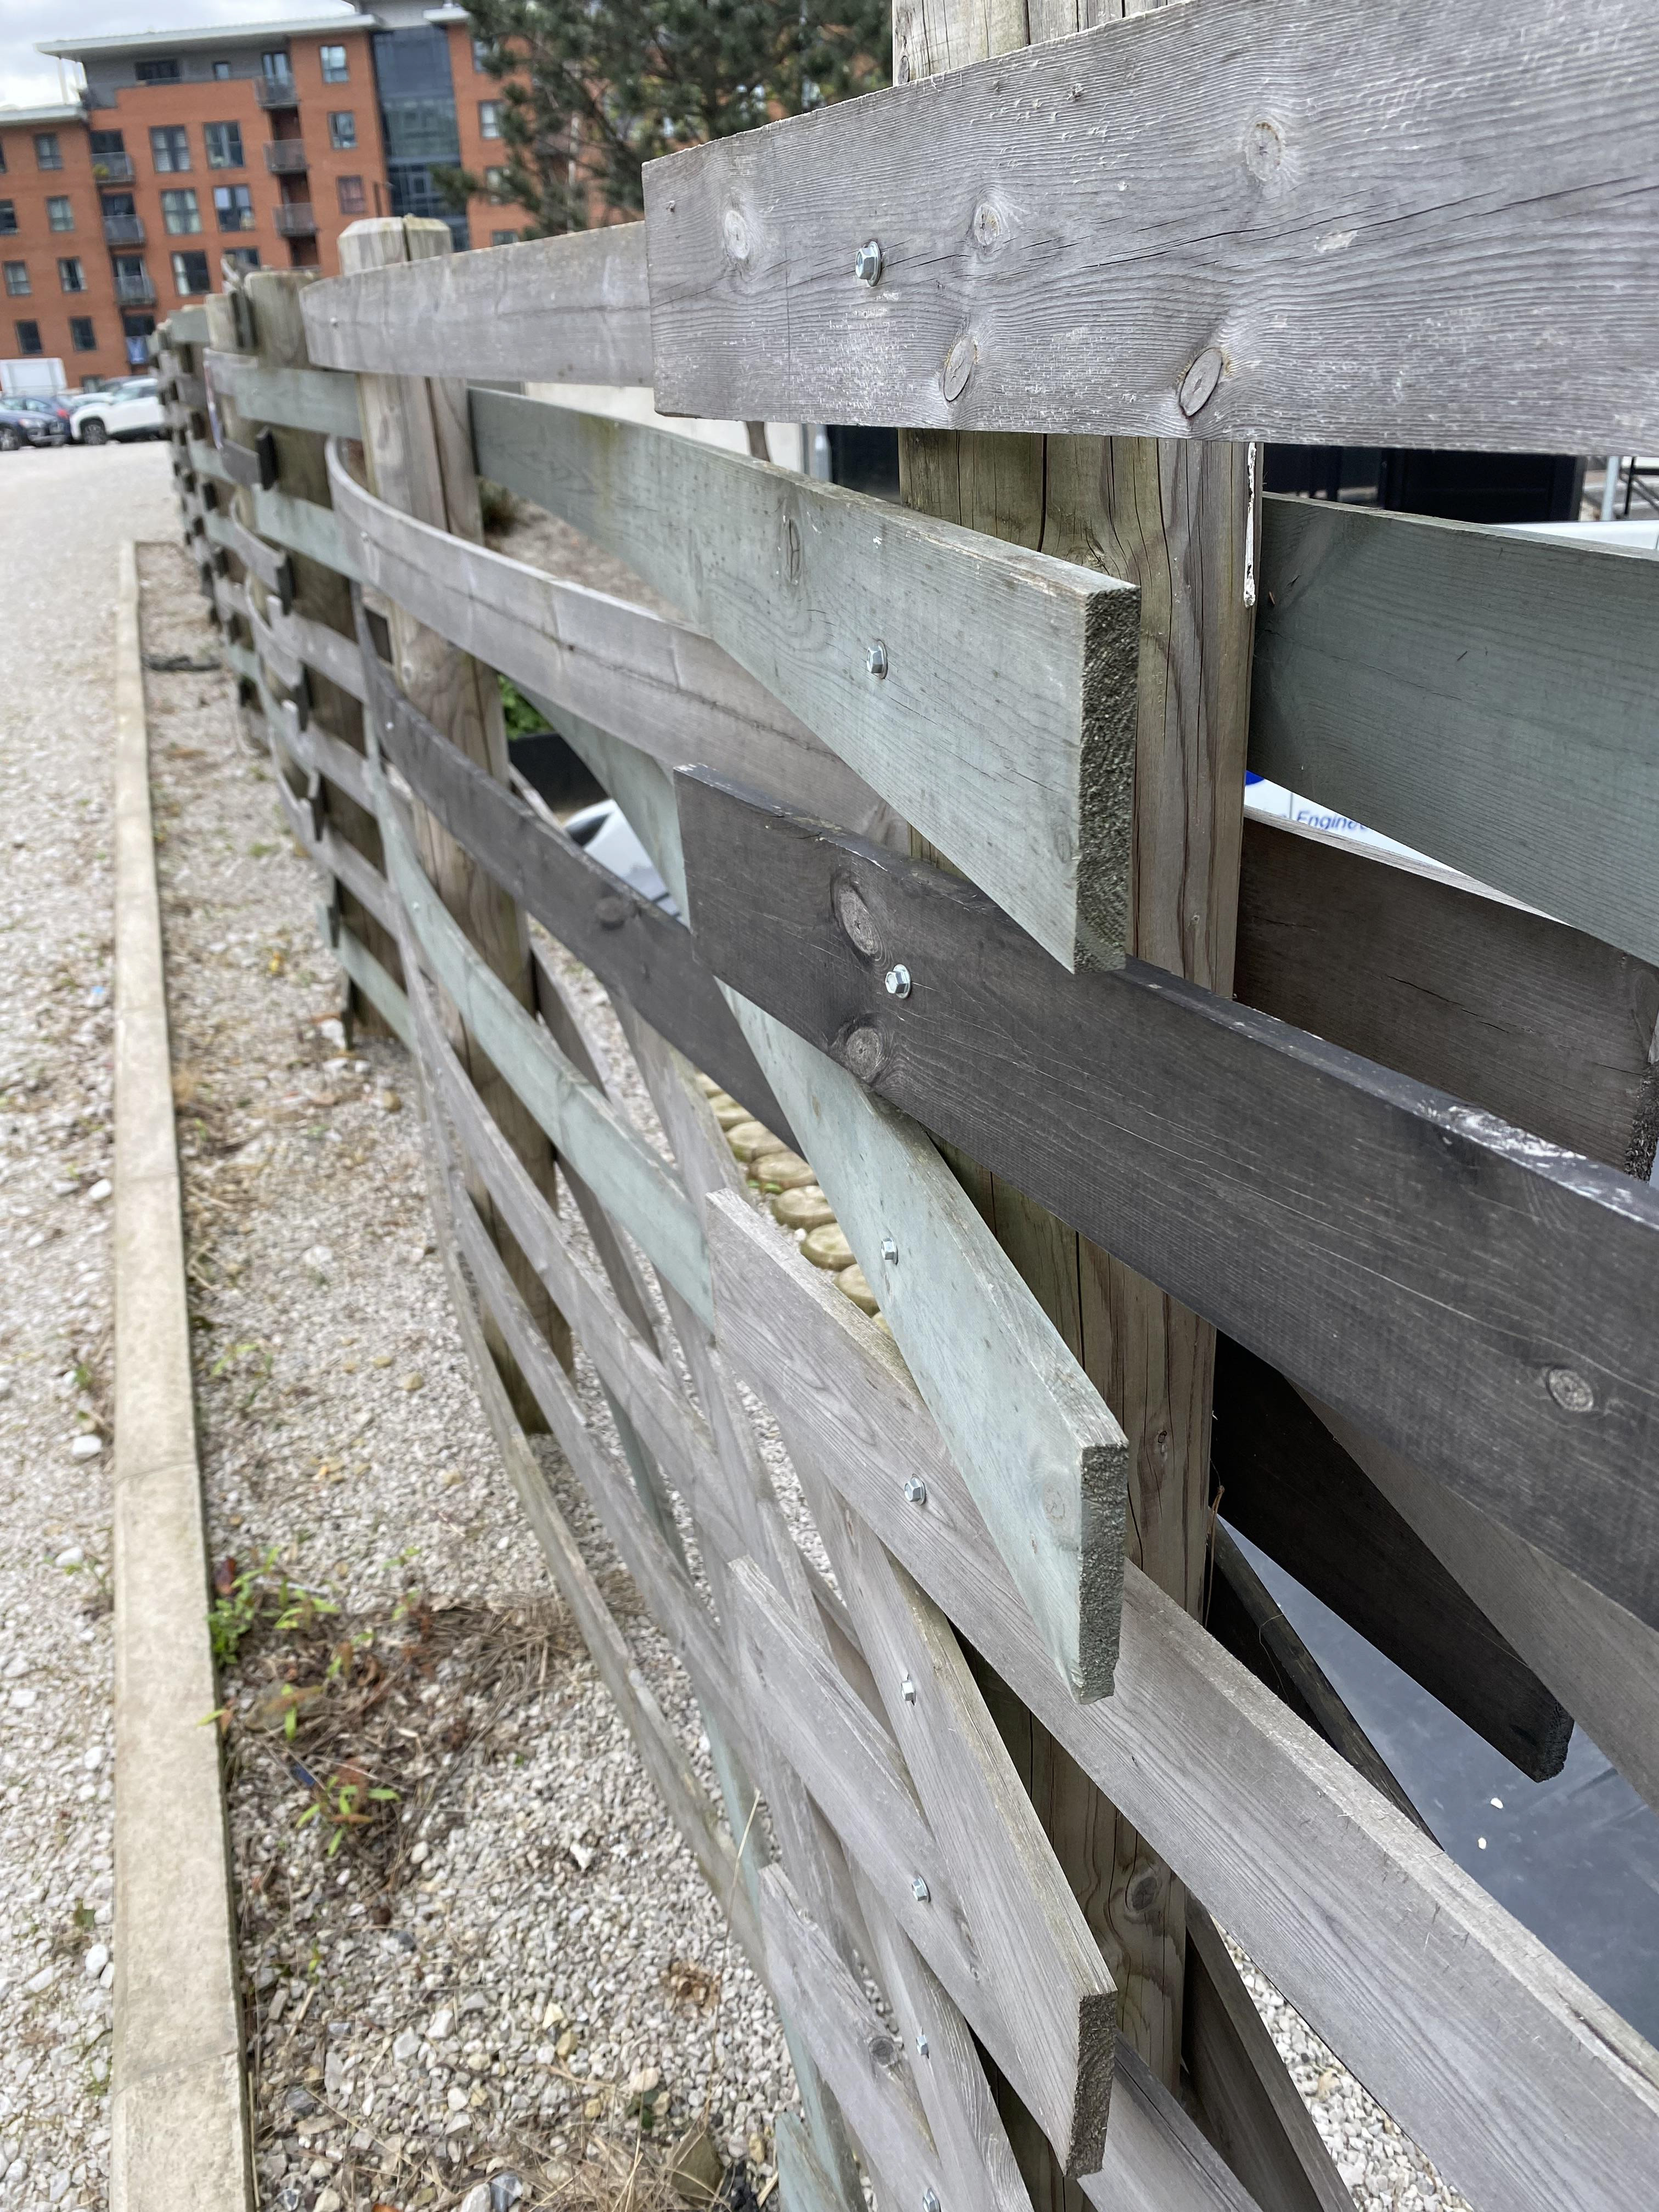
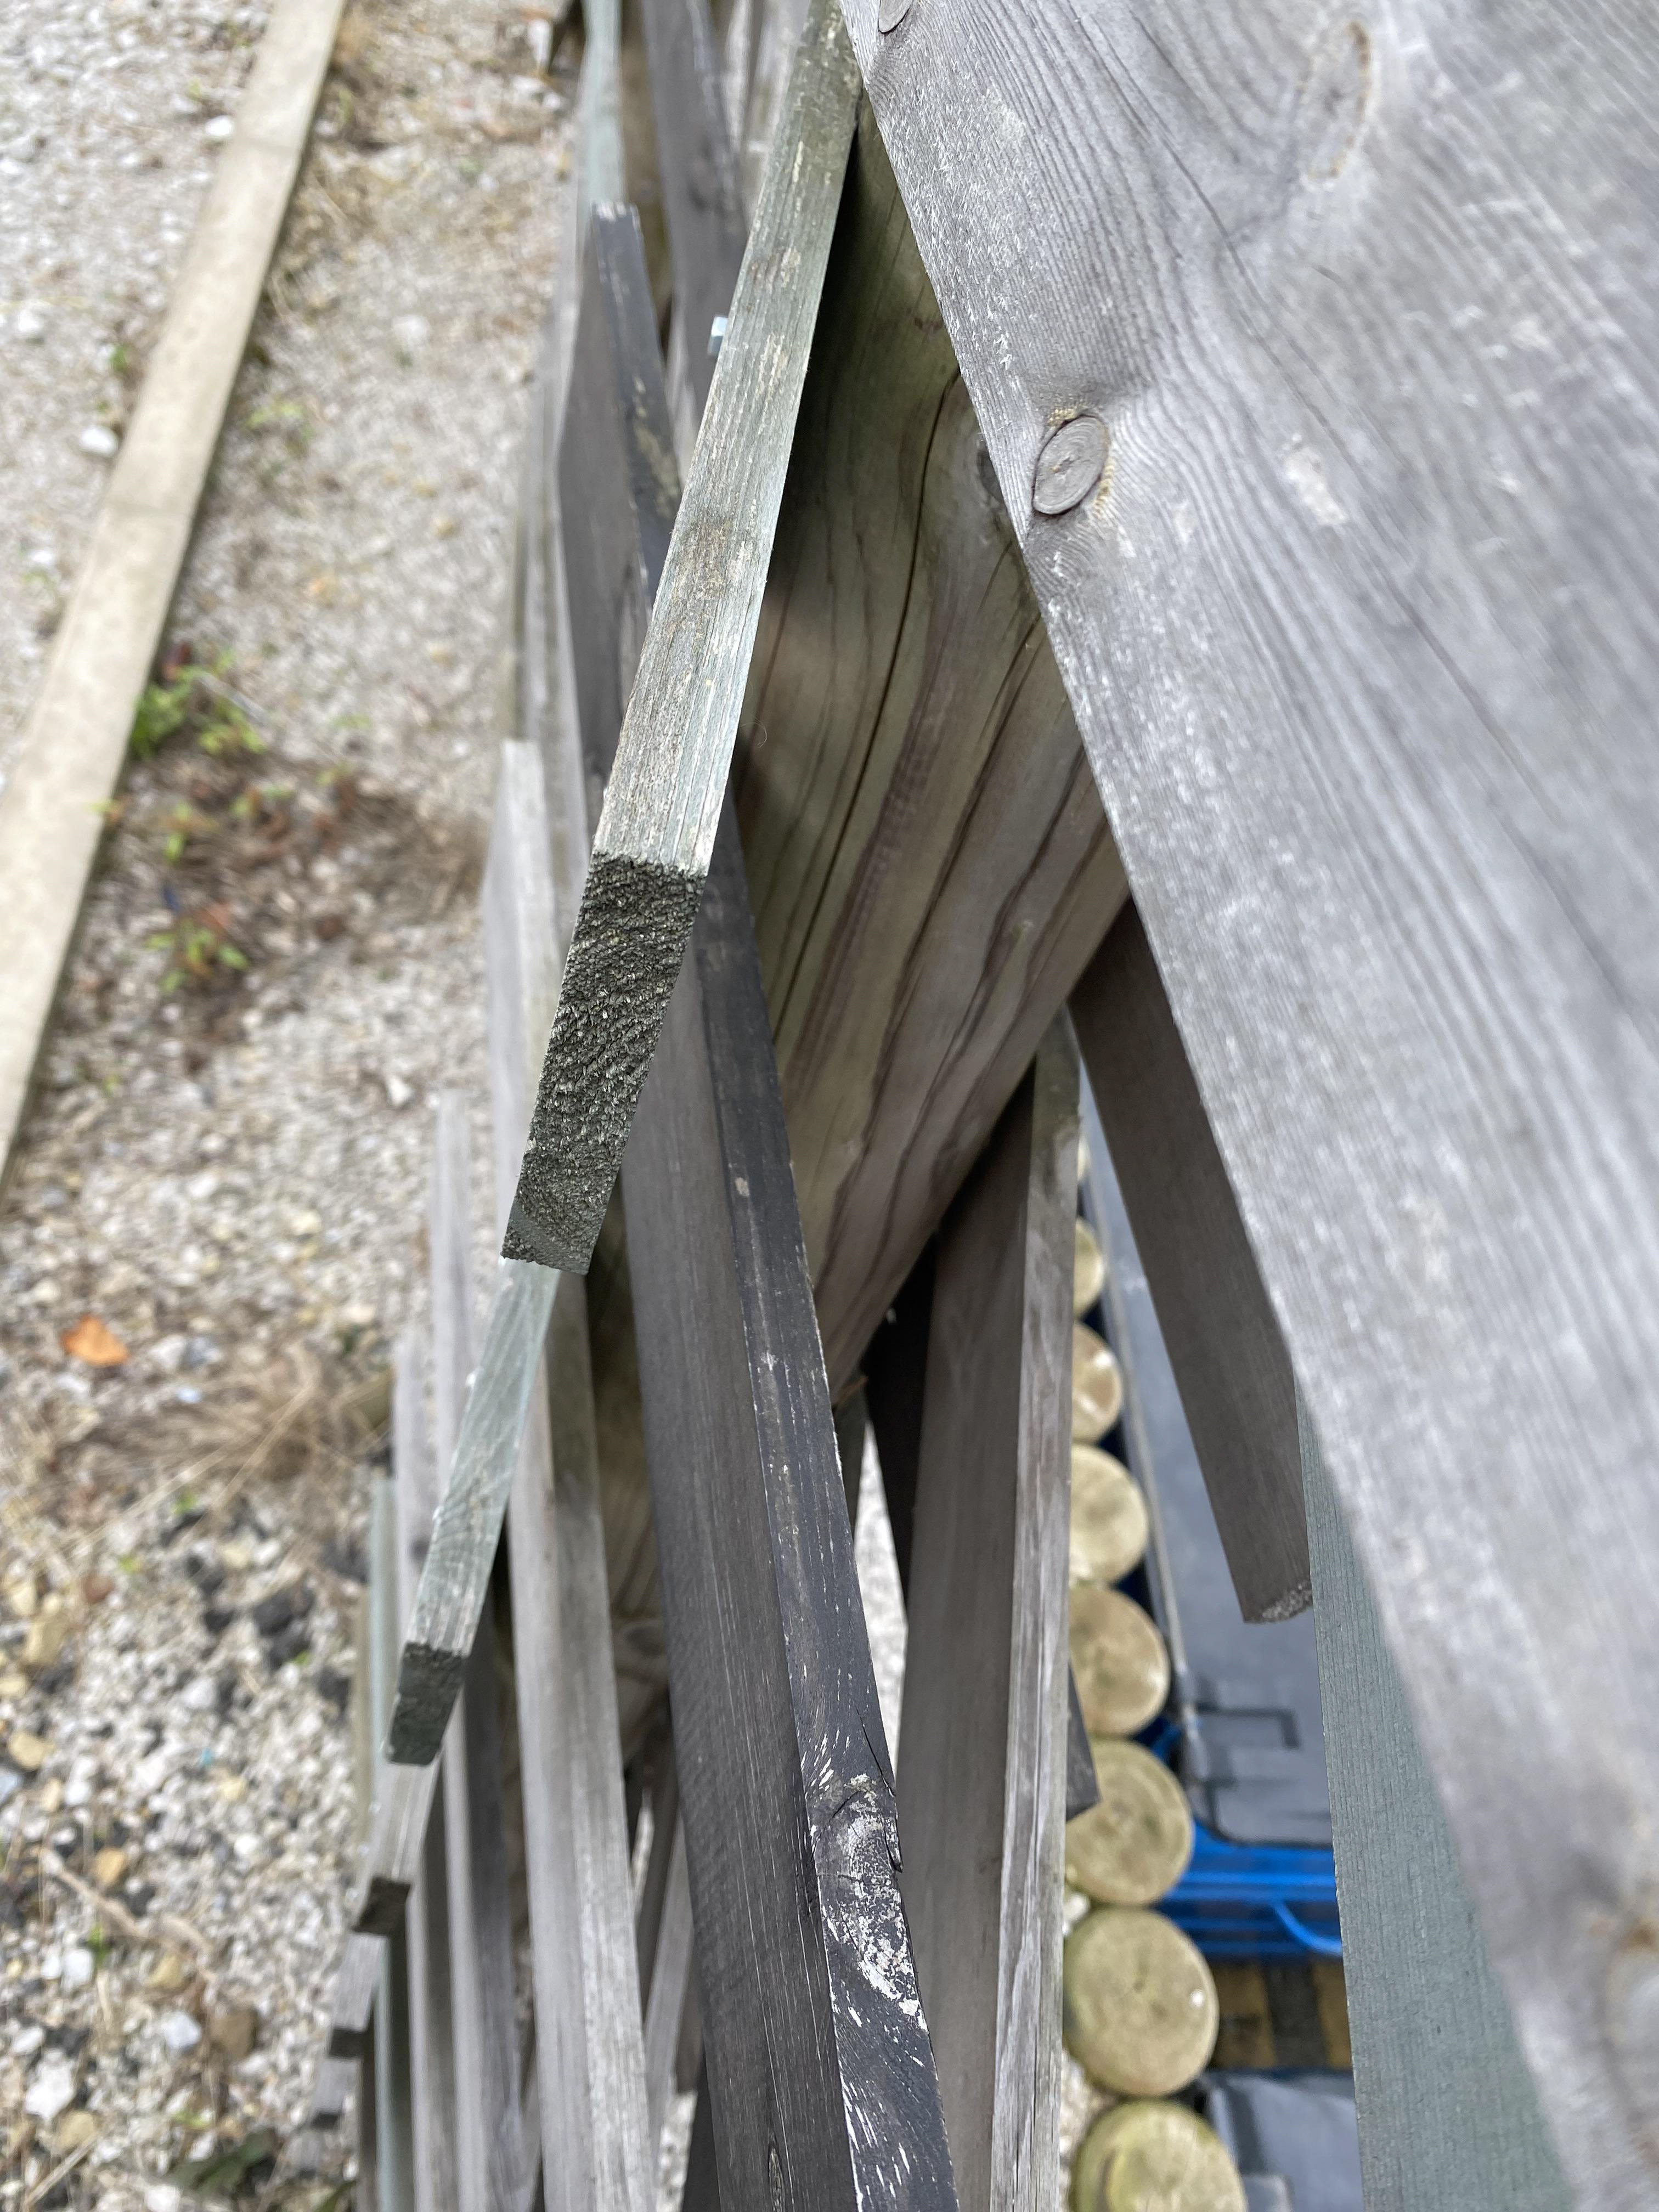
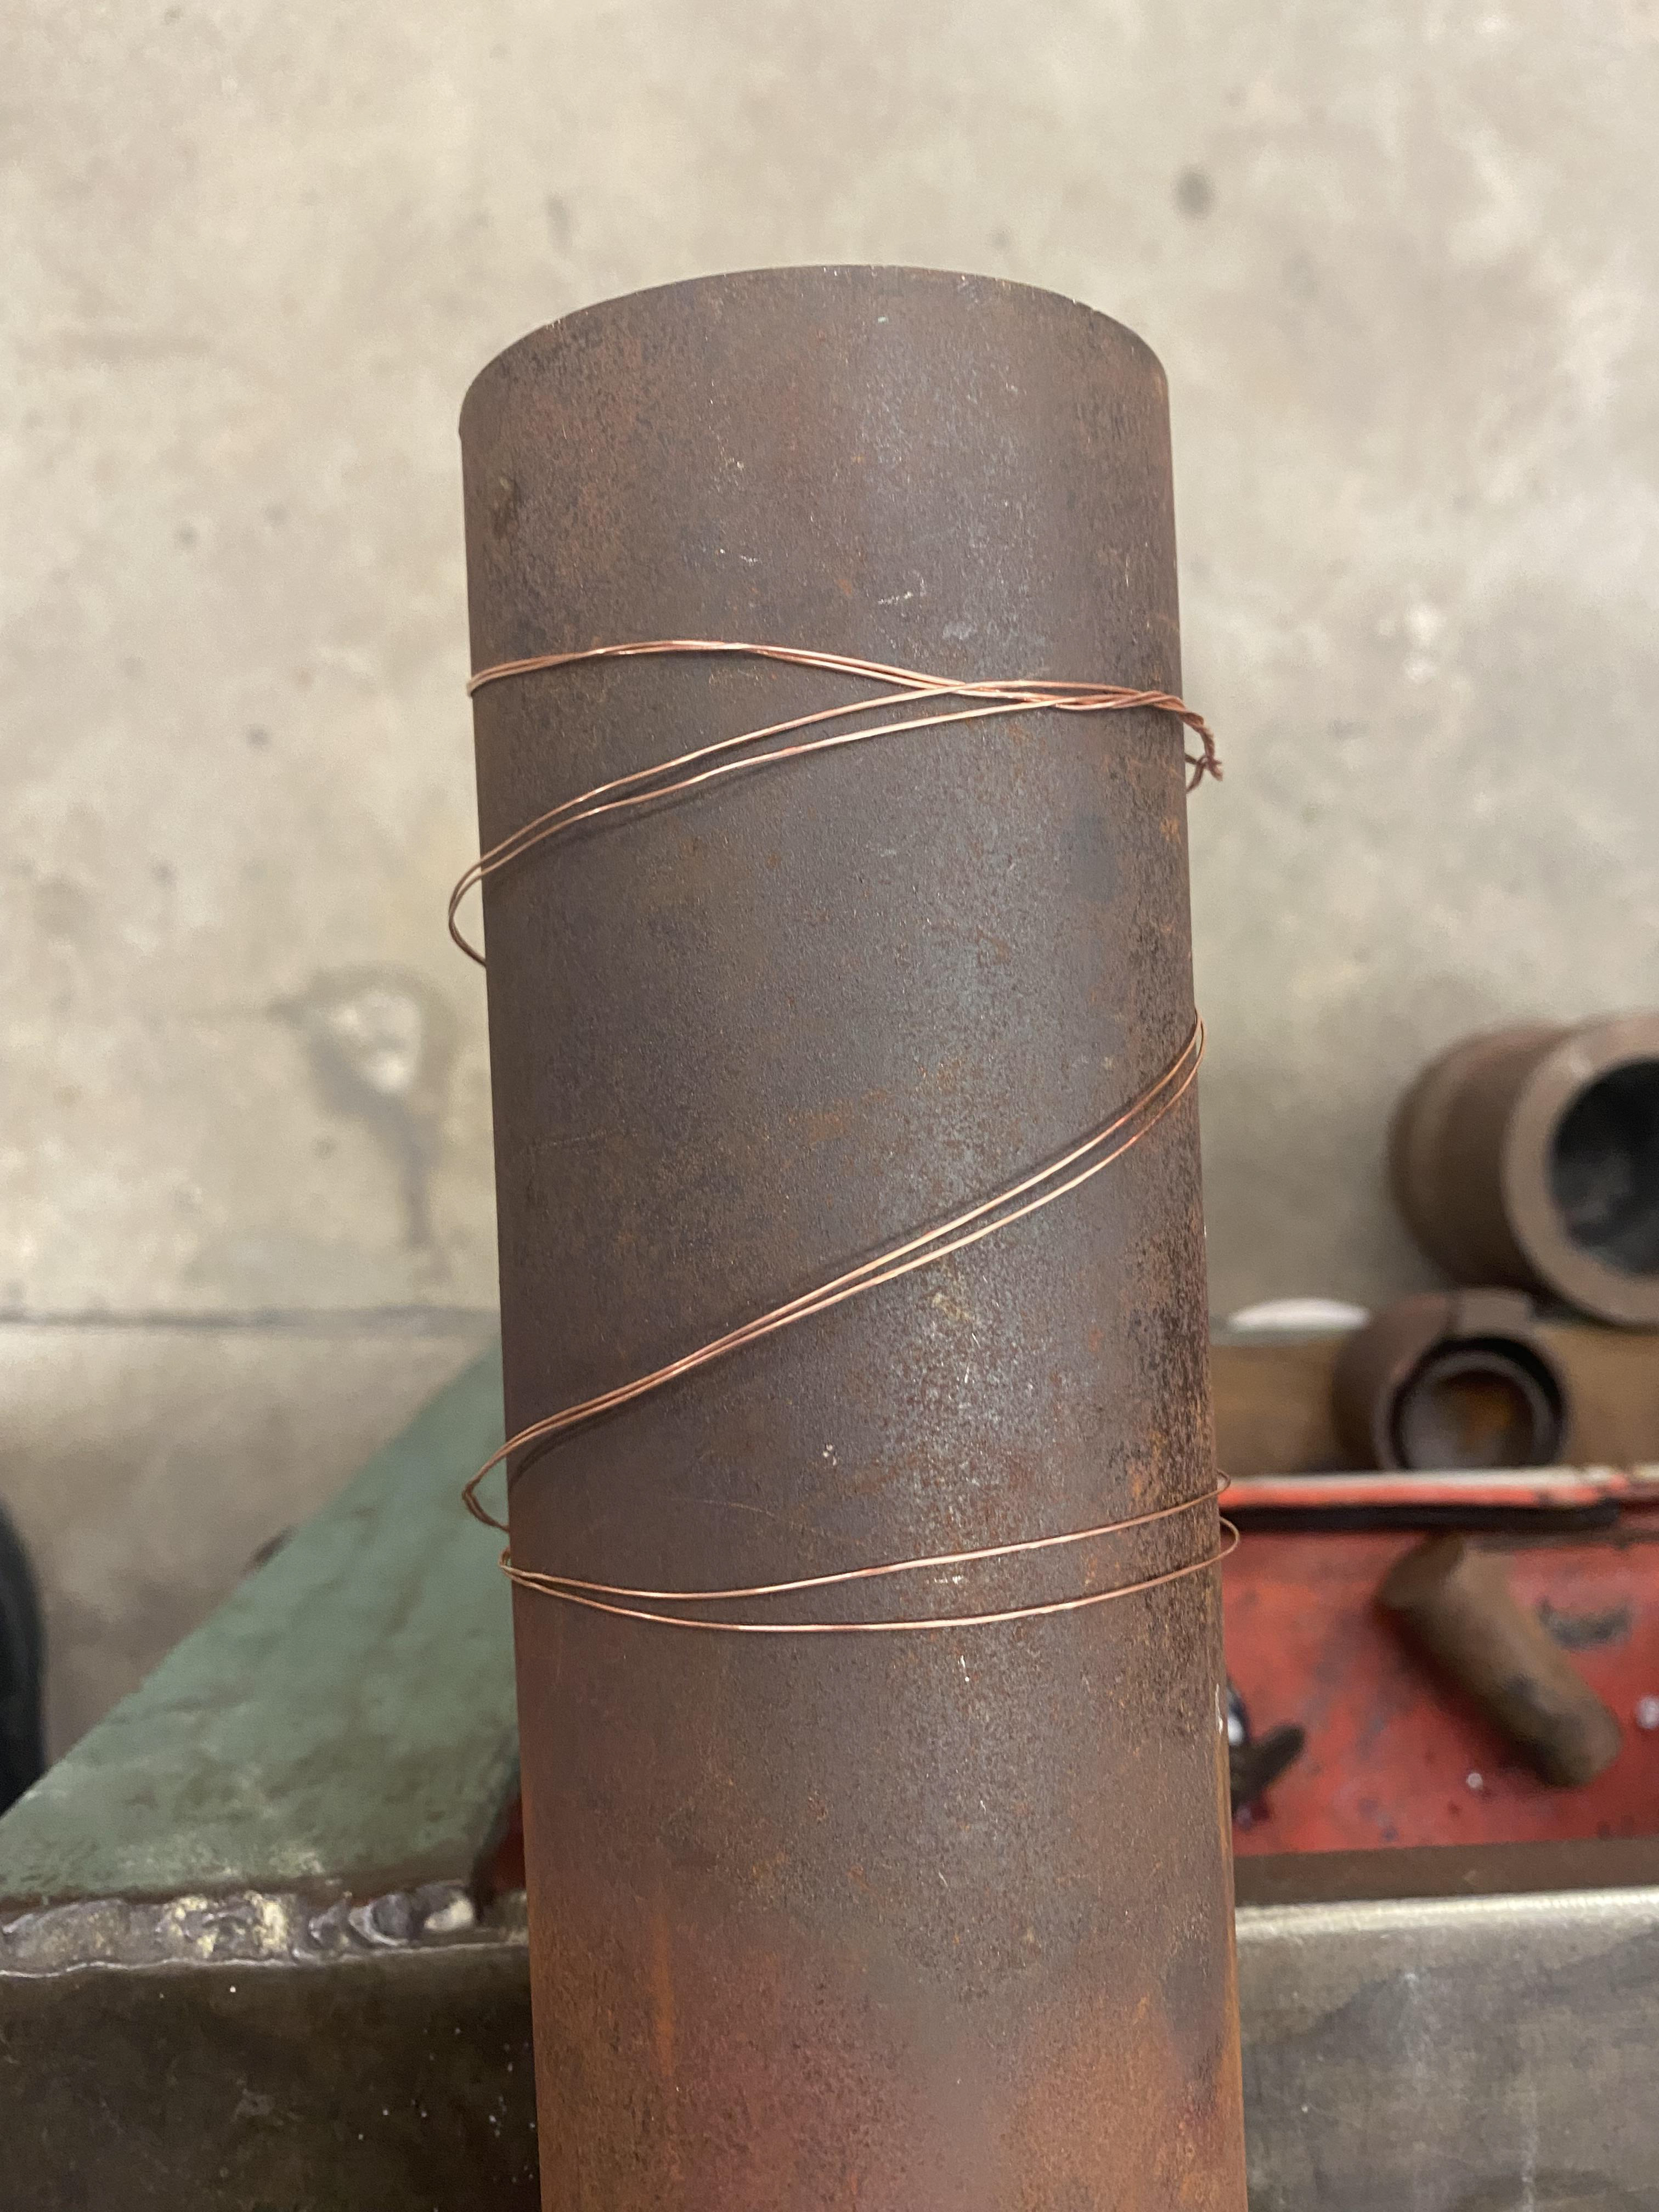
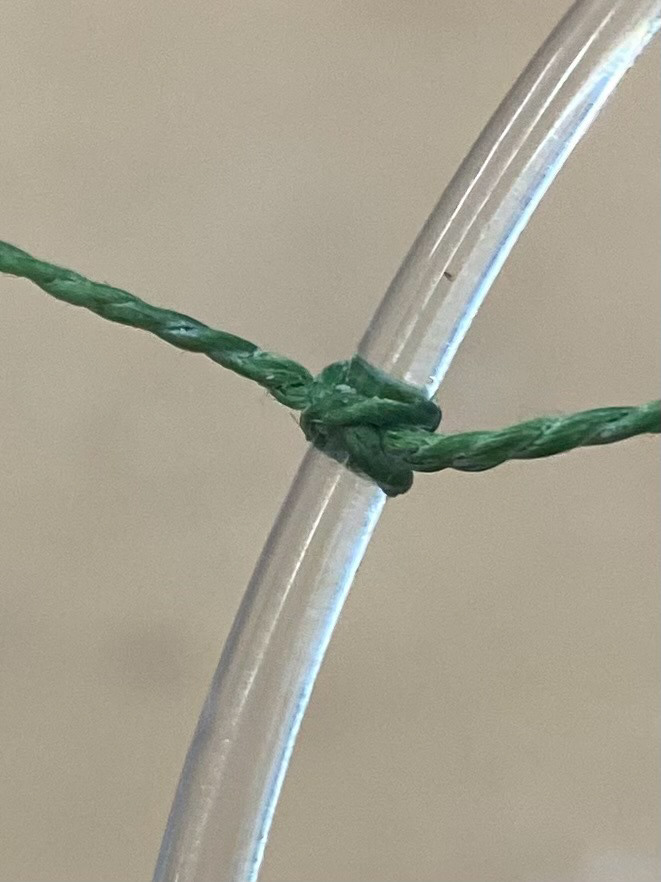
Wire wrapped around infrastructure at Castlefield Viaduct.
Wire tasks completed
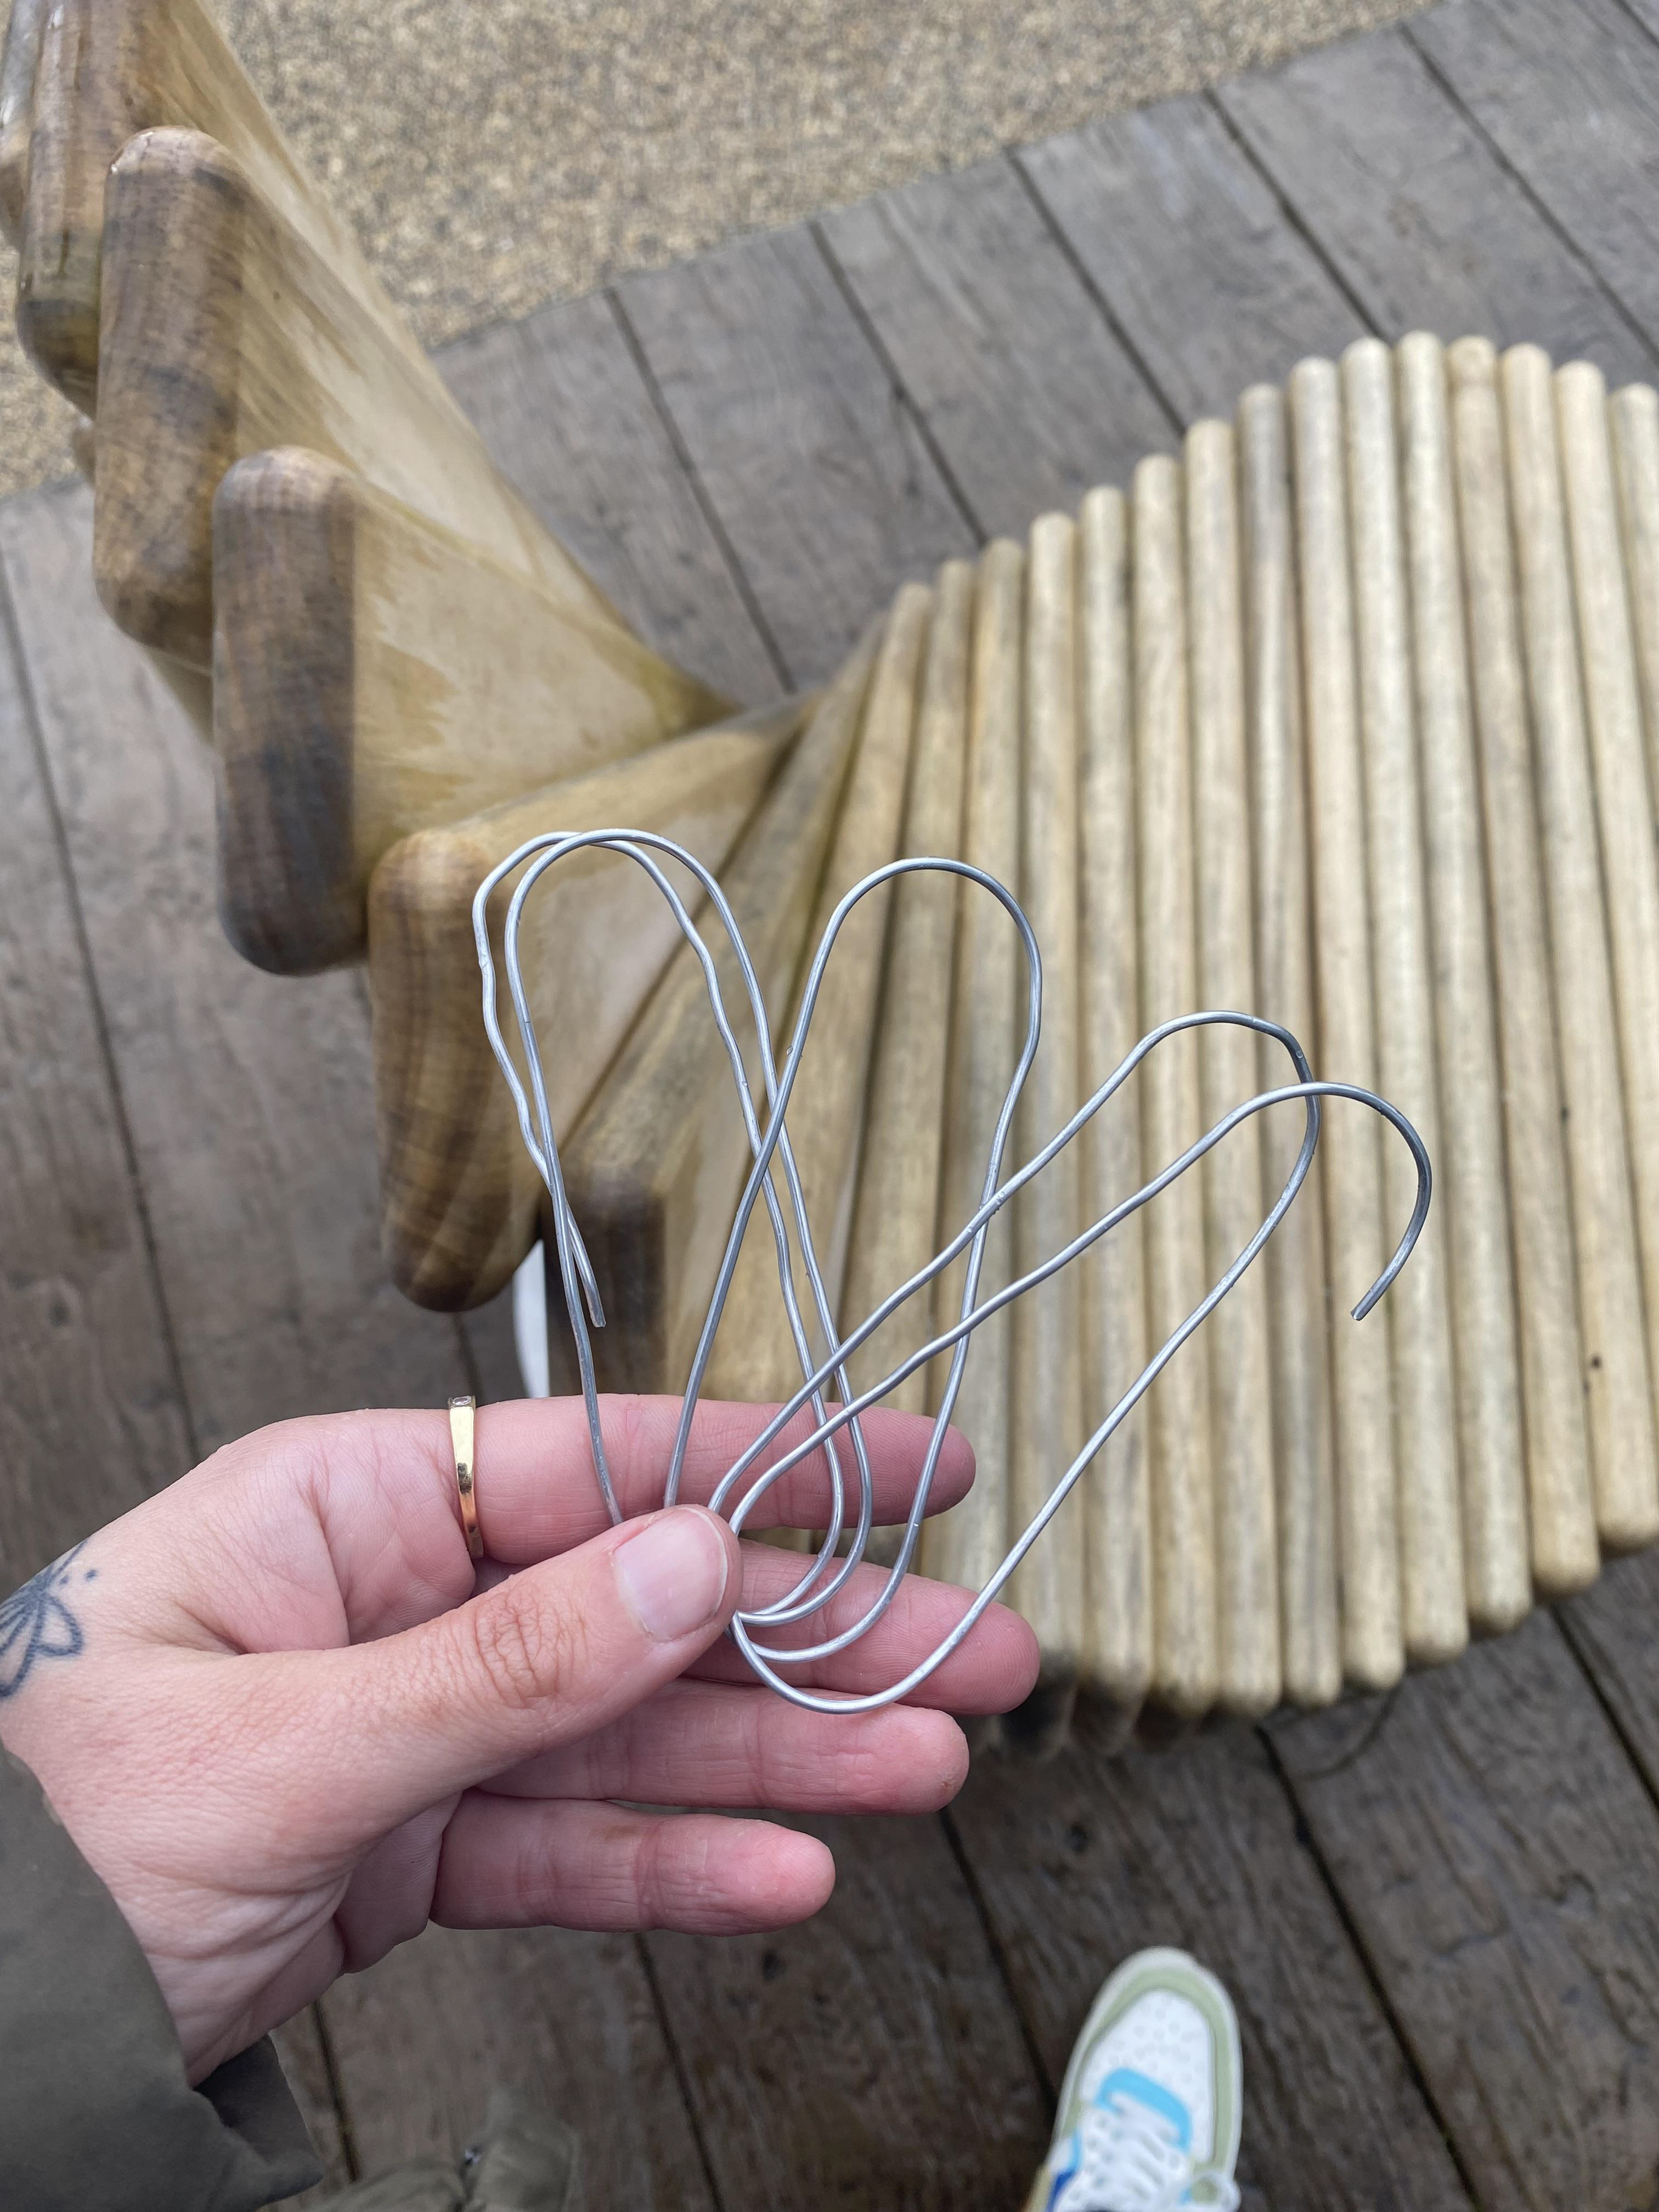
We was given some Aluminium wire whilst at the viaduct to use and bend to retrieve information from around the site. This task was useful in helping to look further into the shapes and lines within the site. However, after reflecting on the visit I decided although I think the work being done is admirable, it wasn’t somewhere I took a great deal of inspiration from to influence my practice.
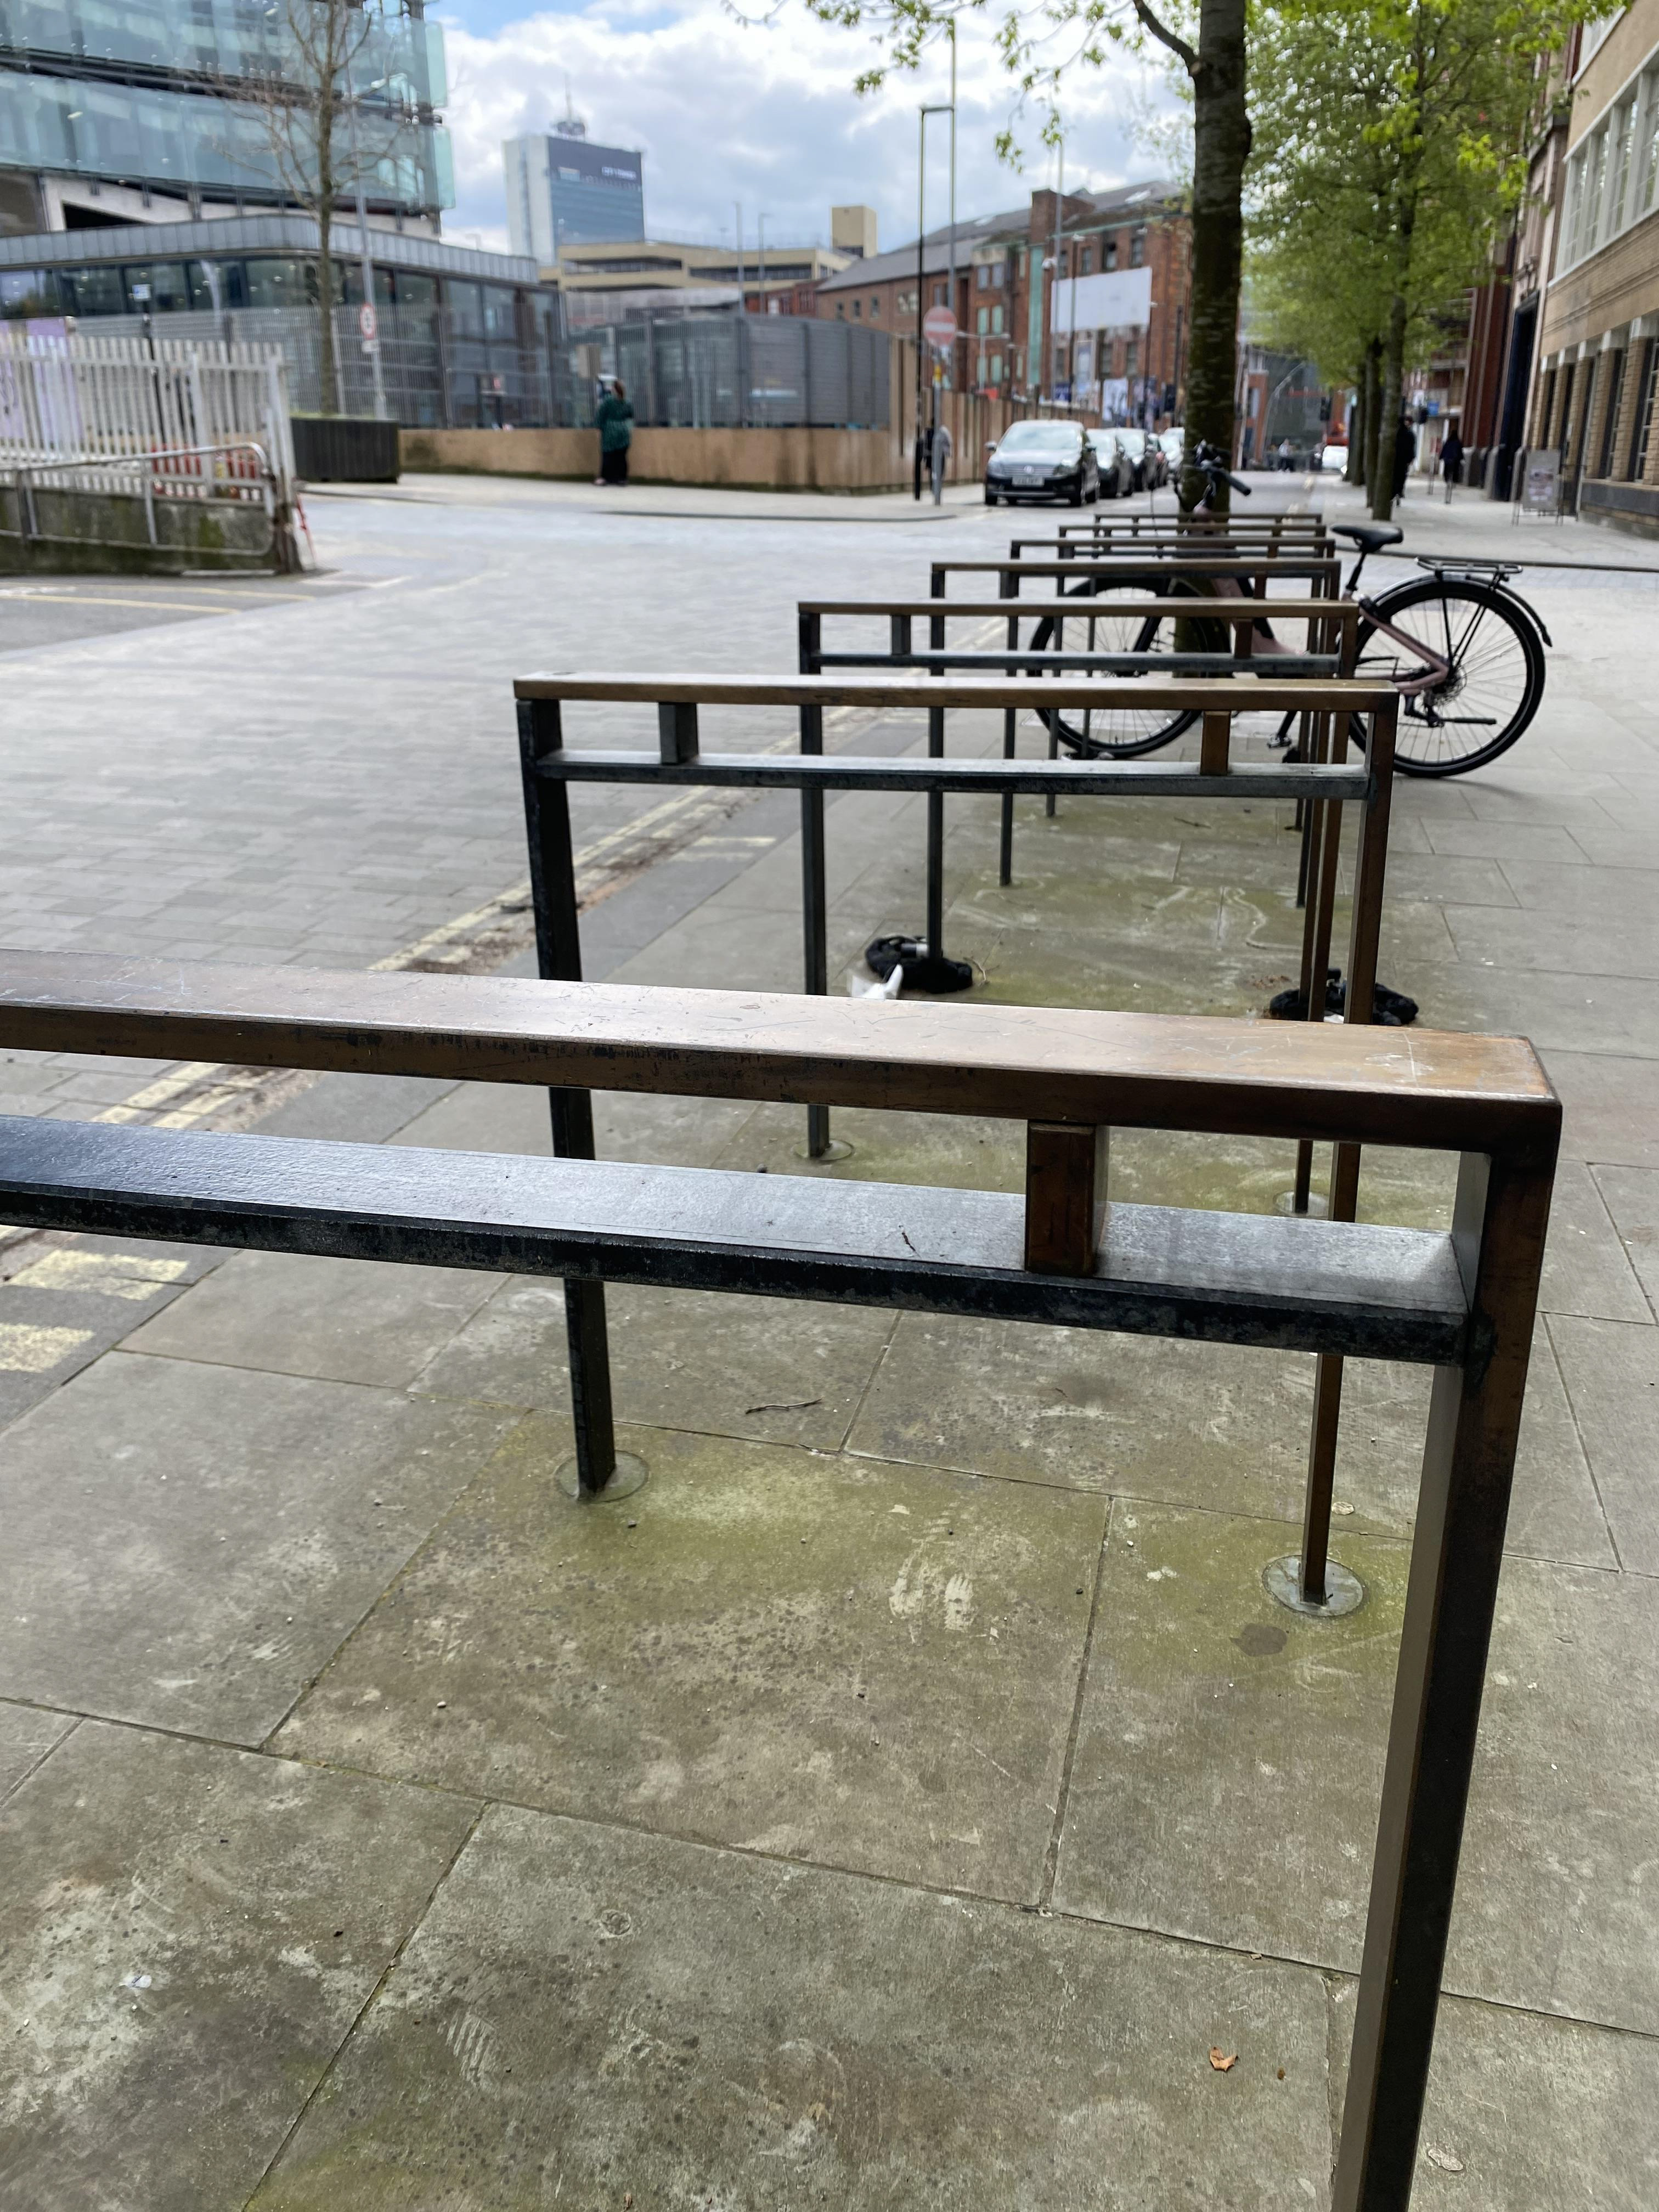
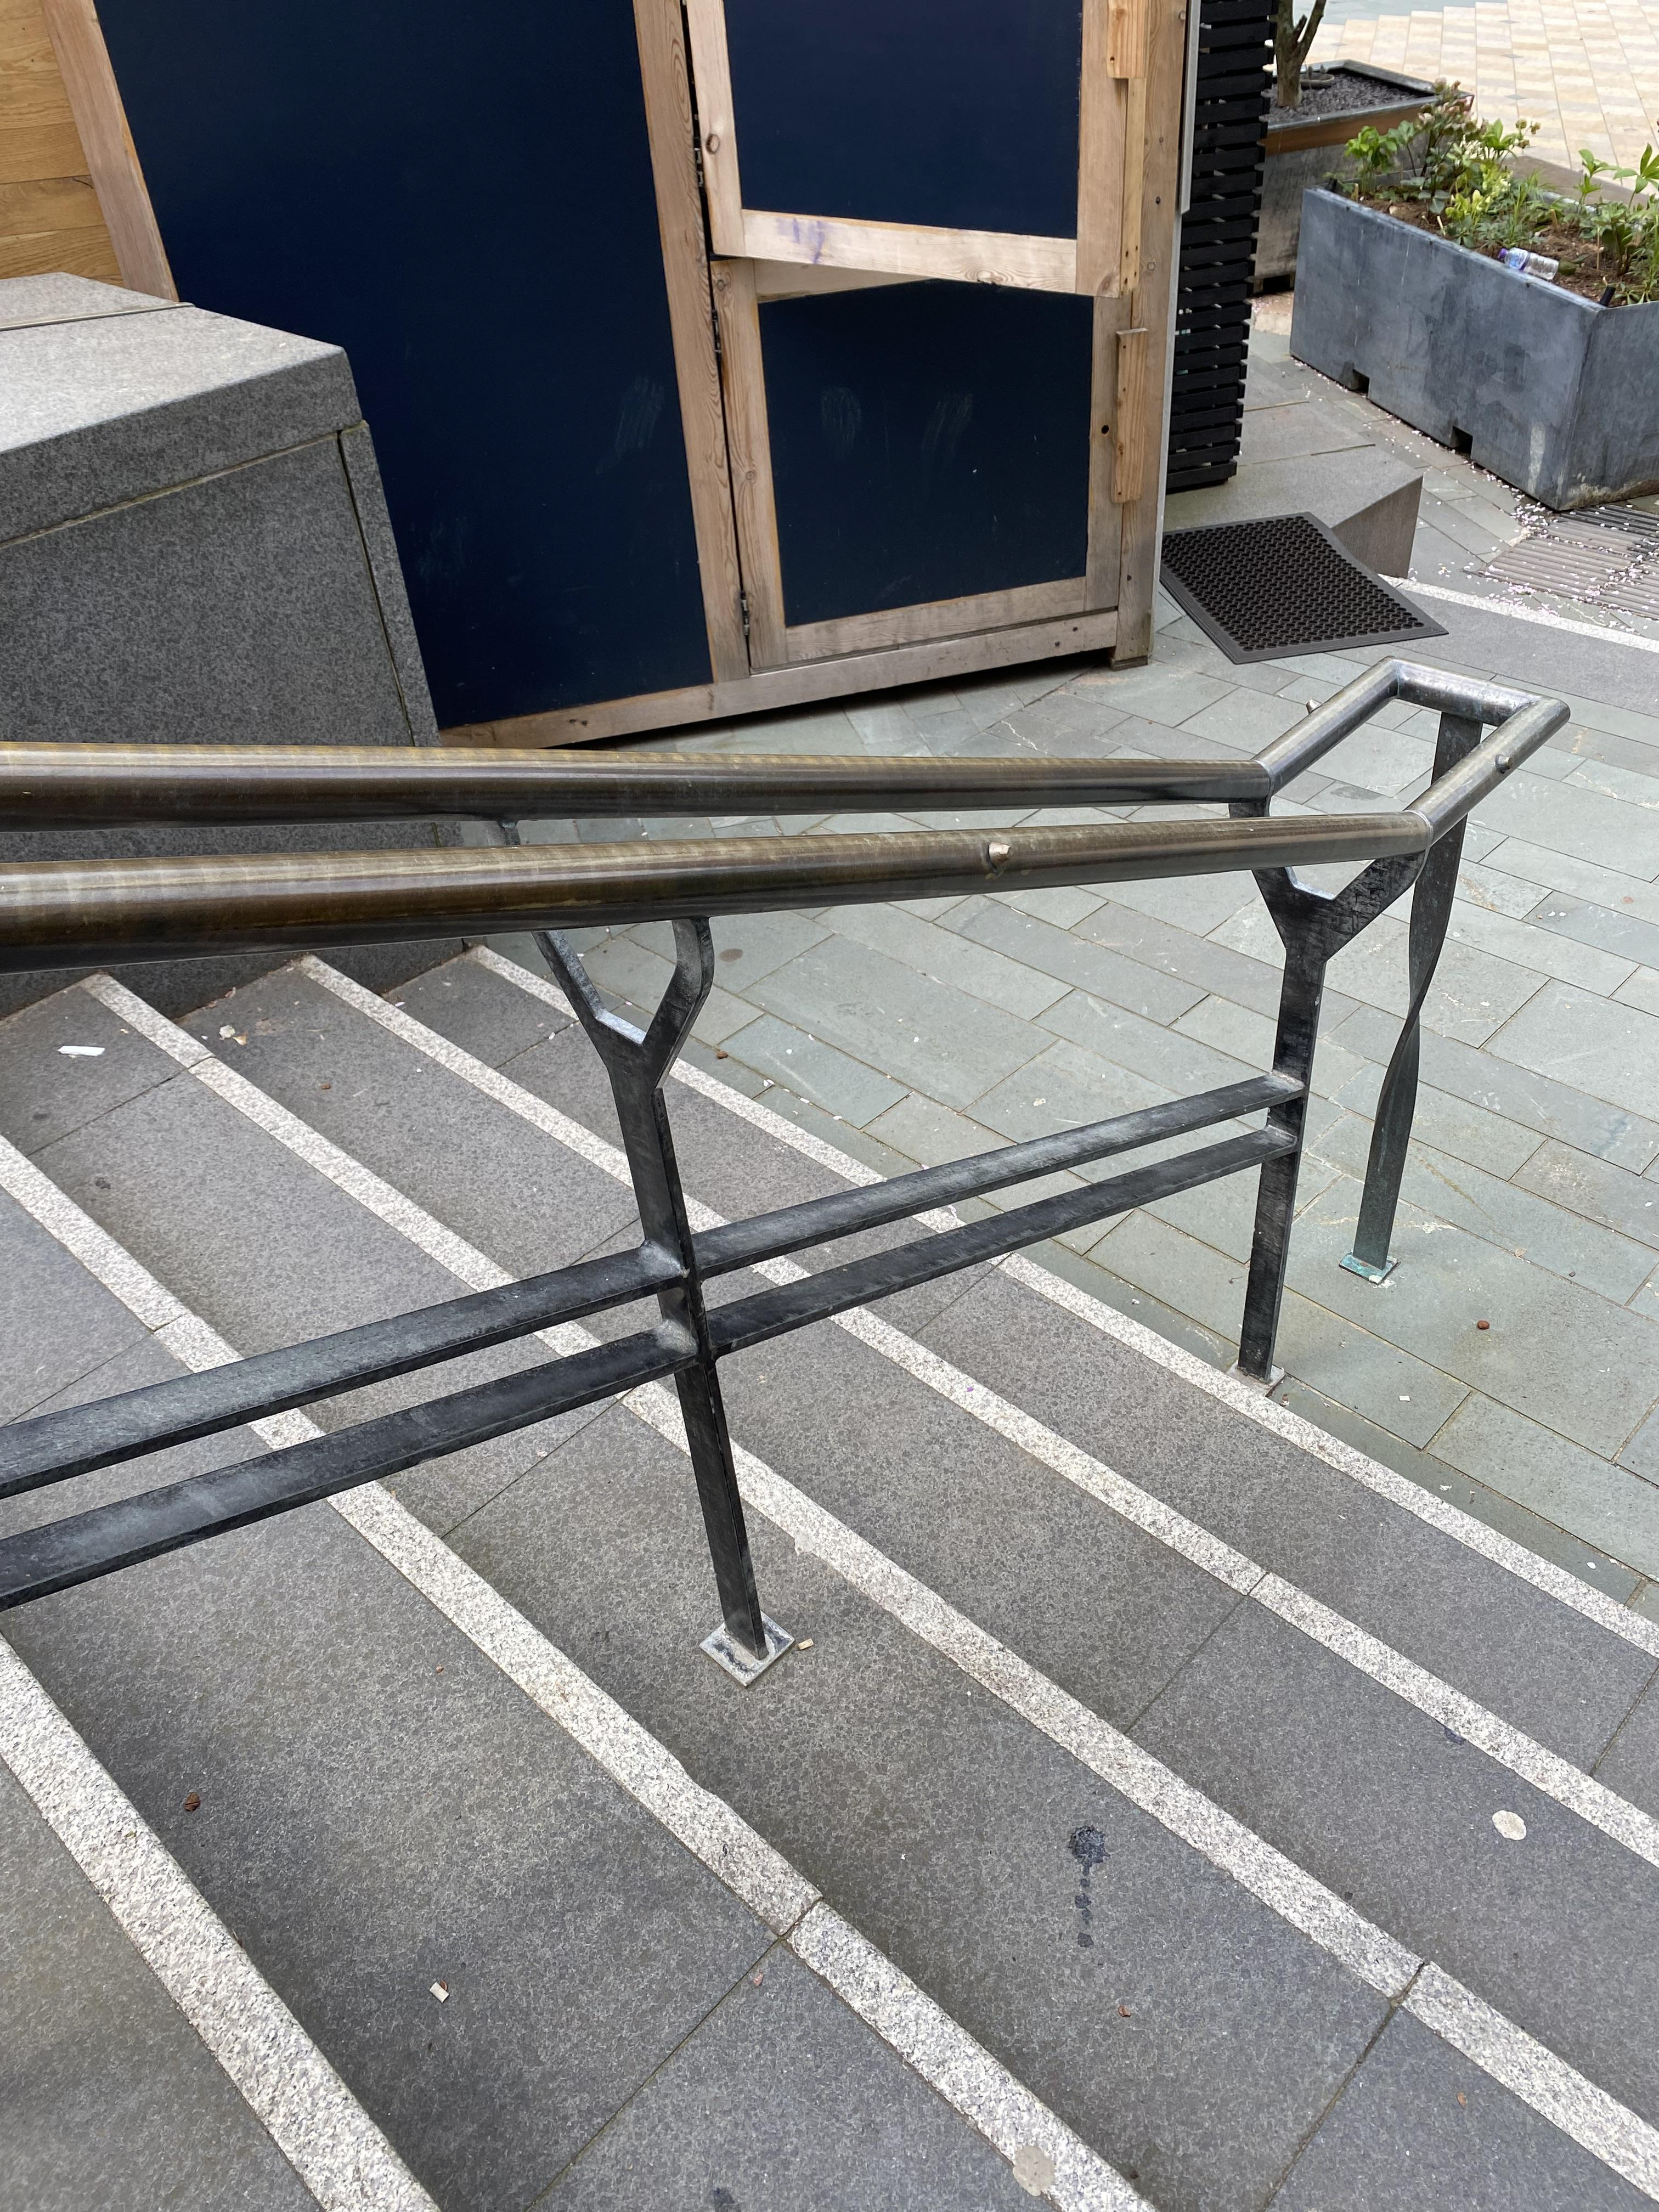
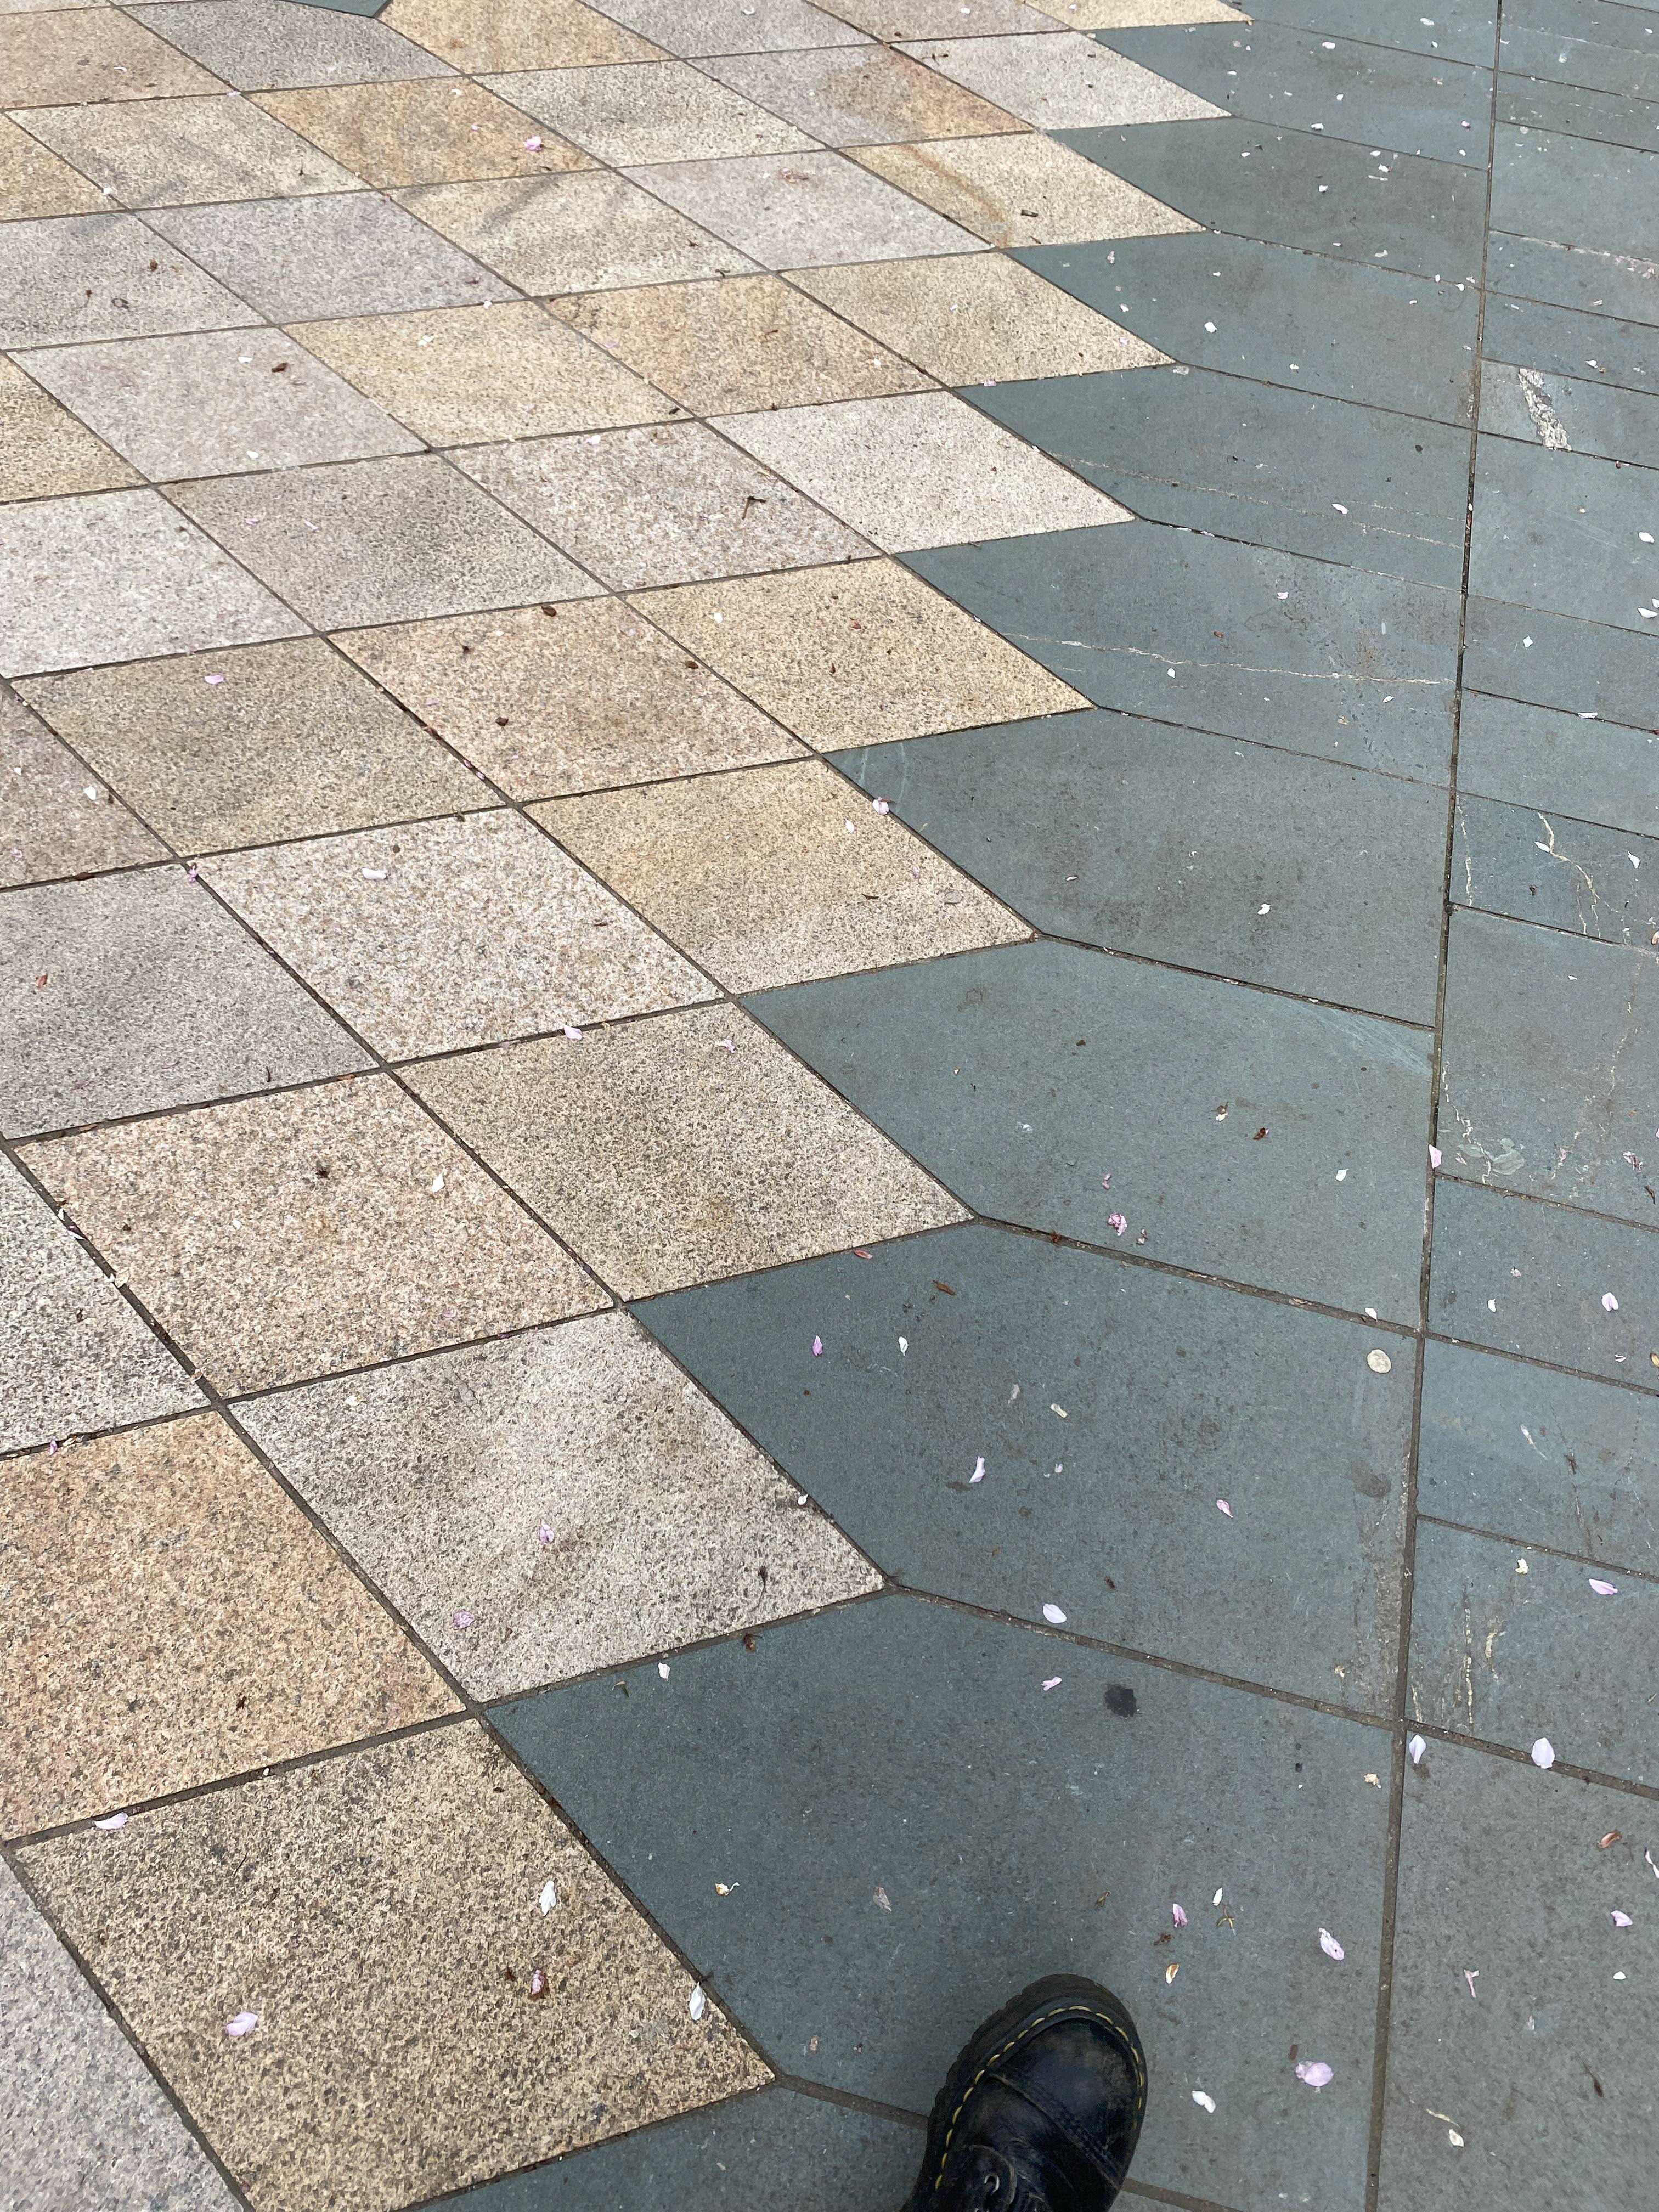
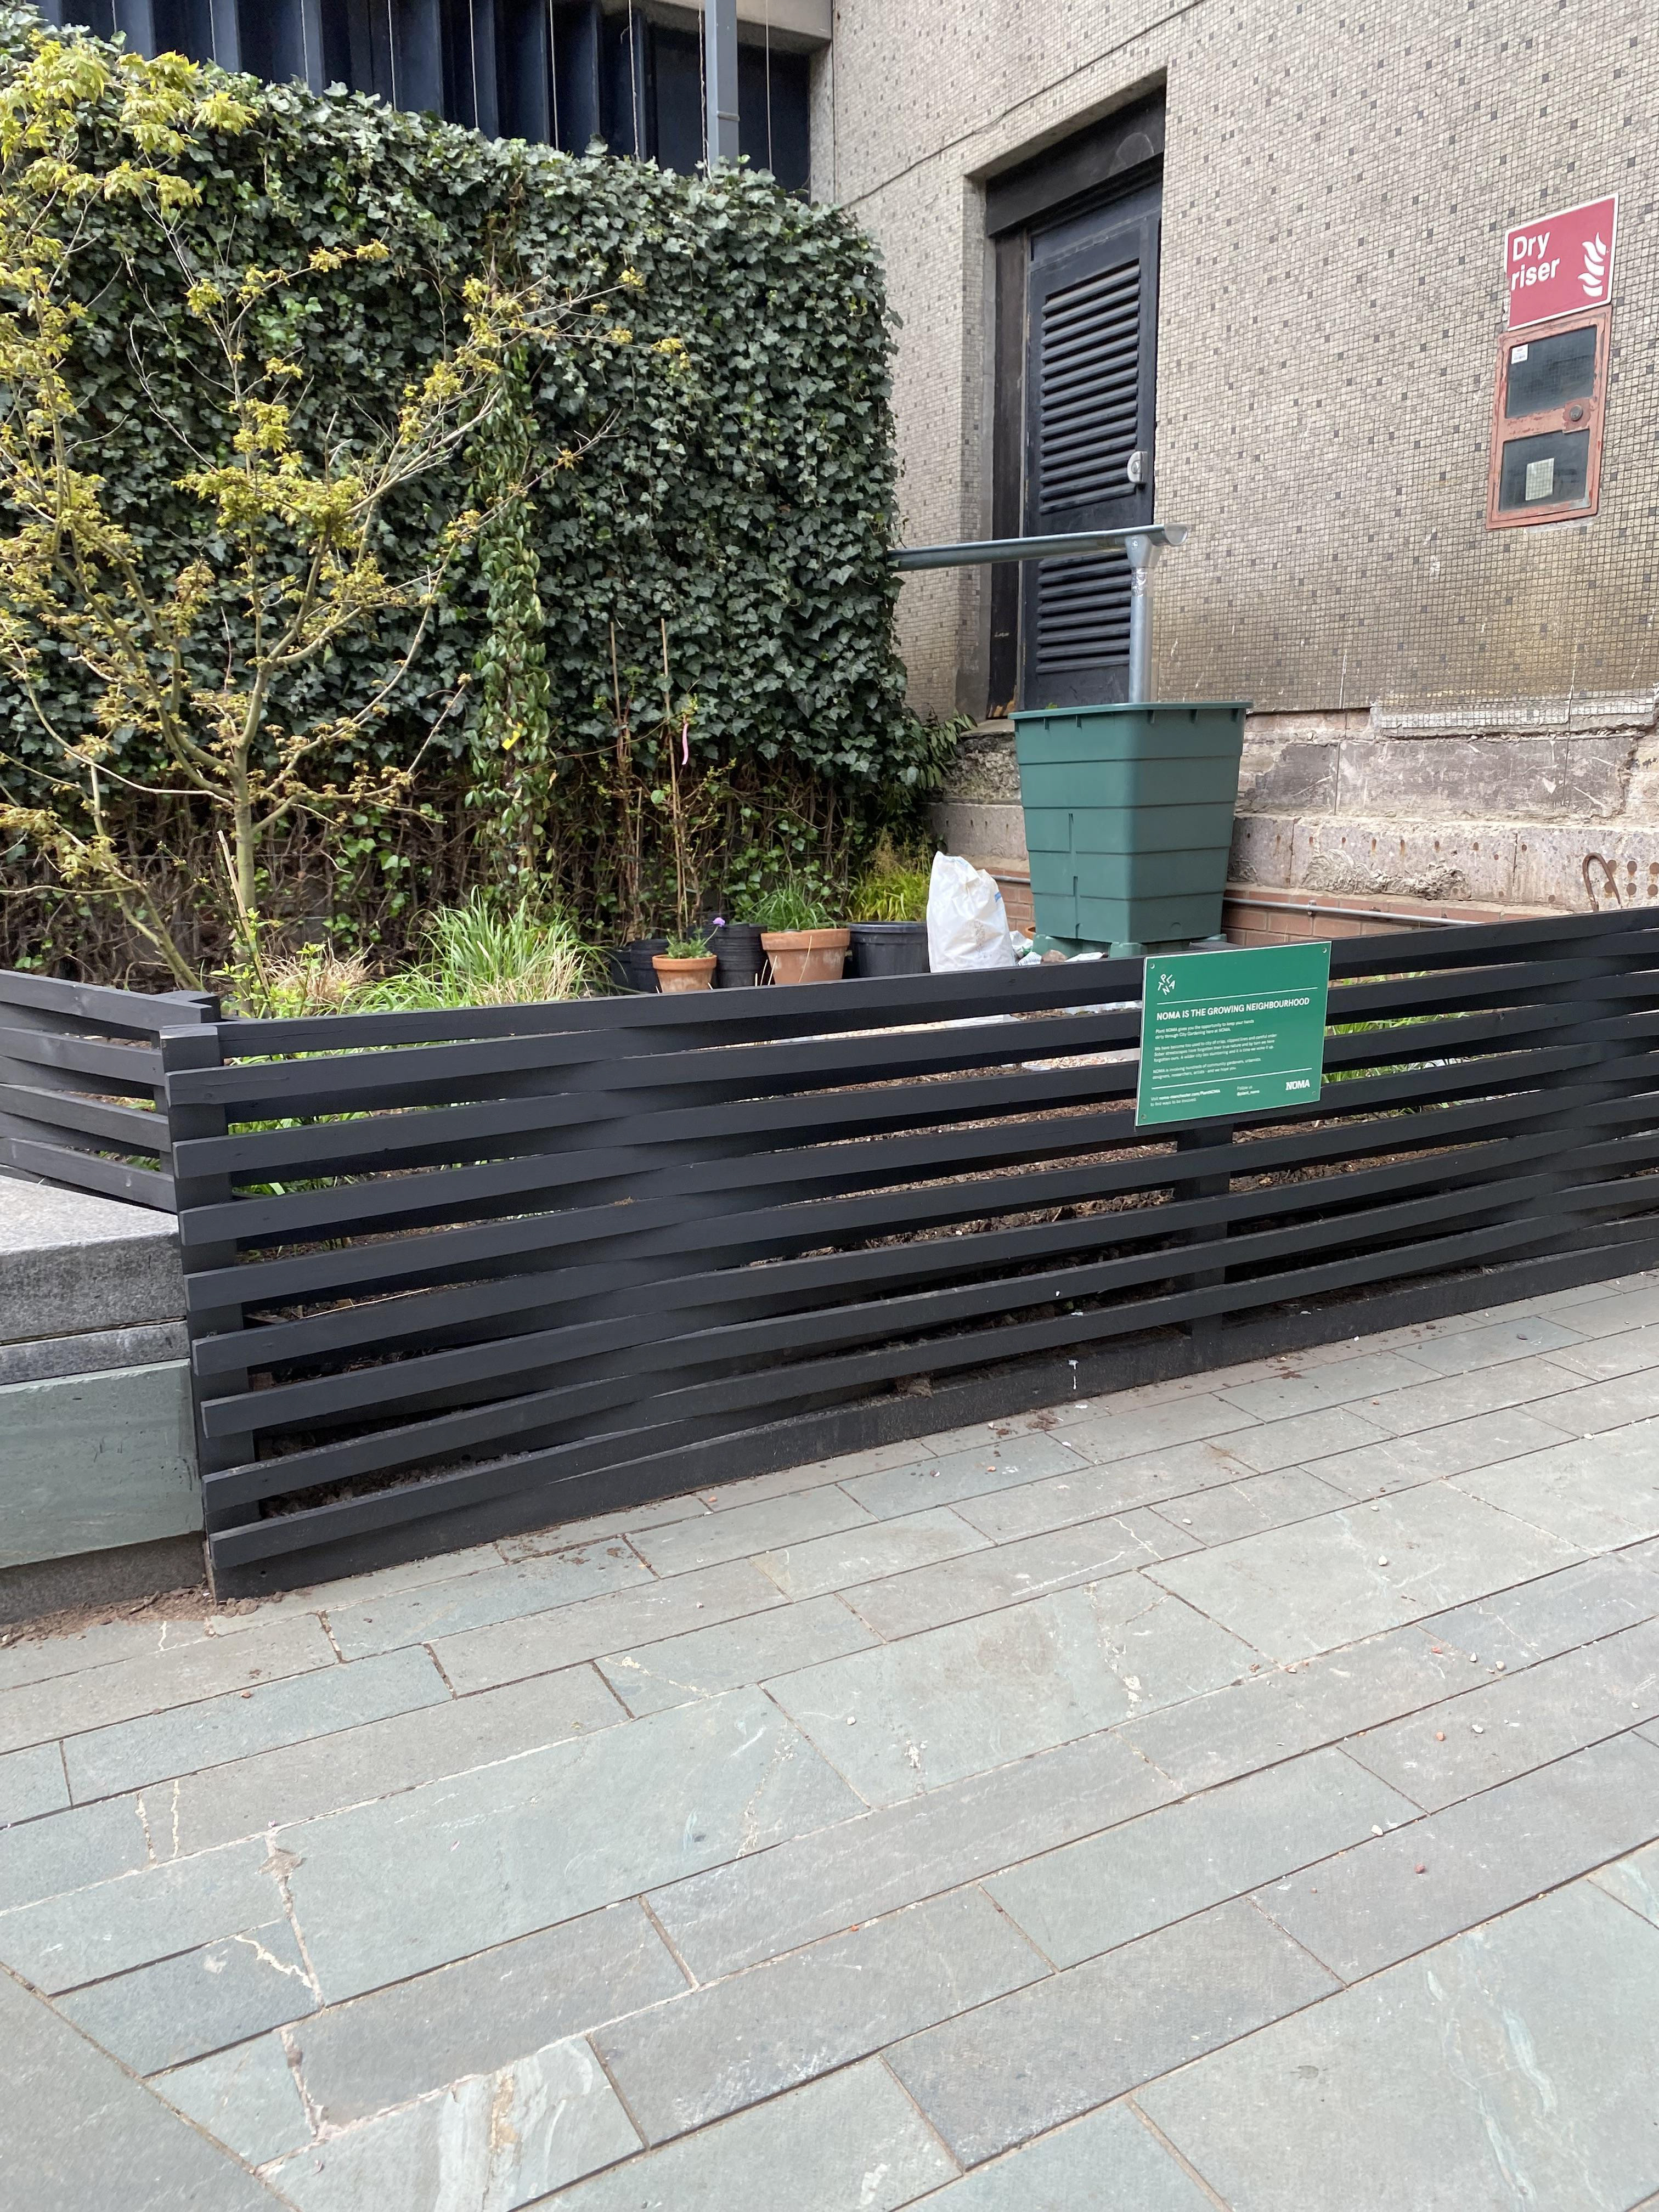
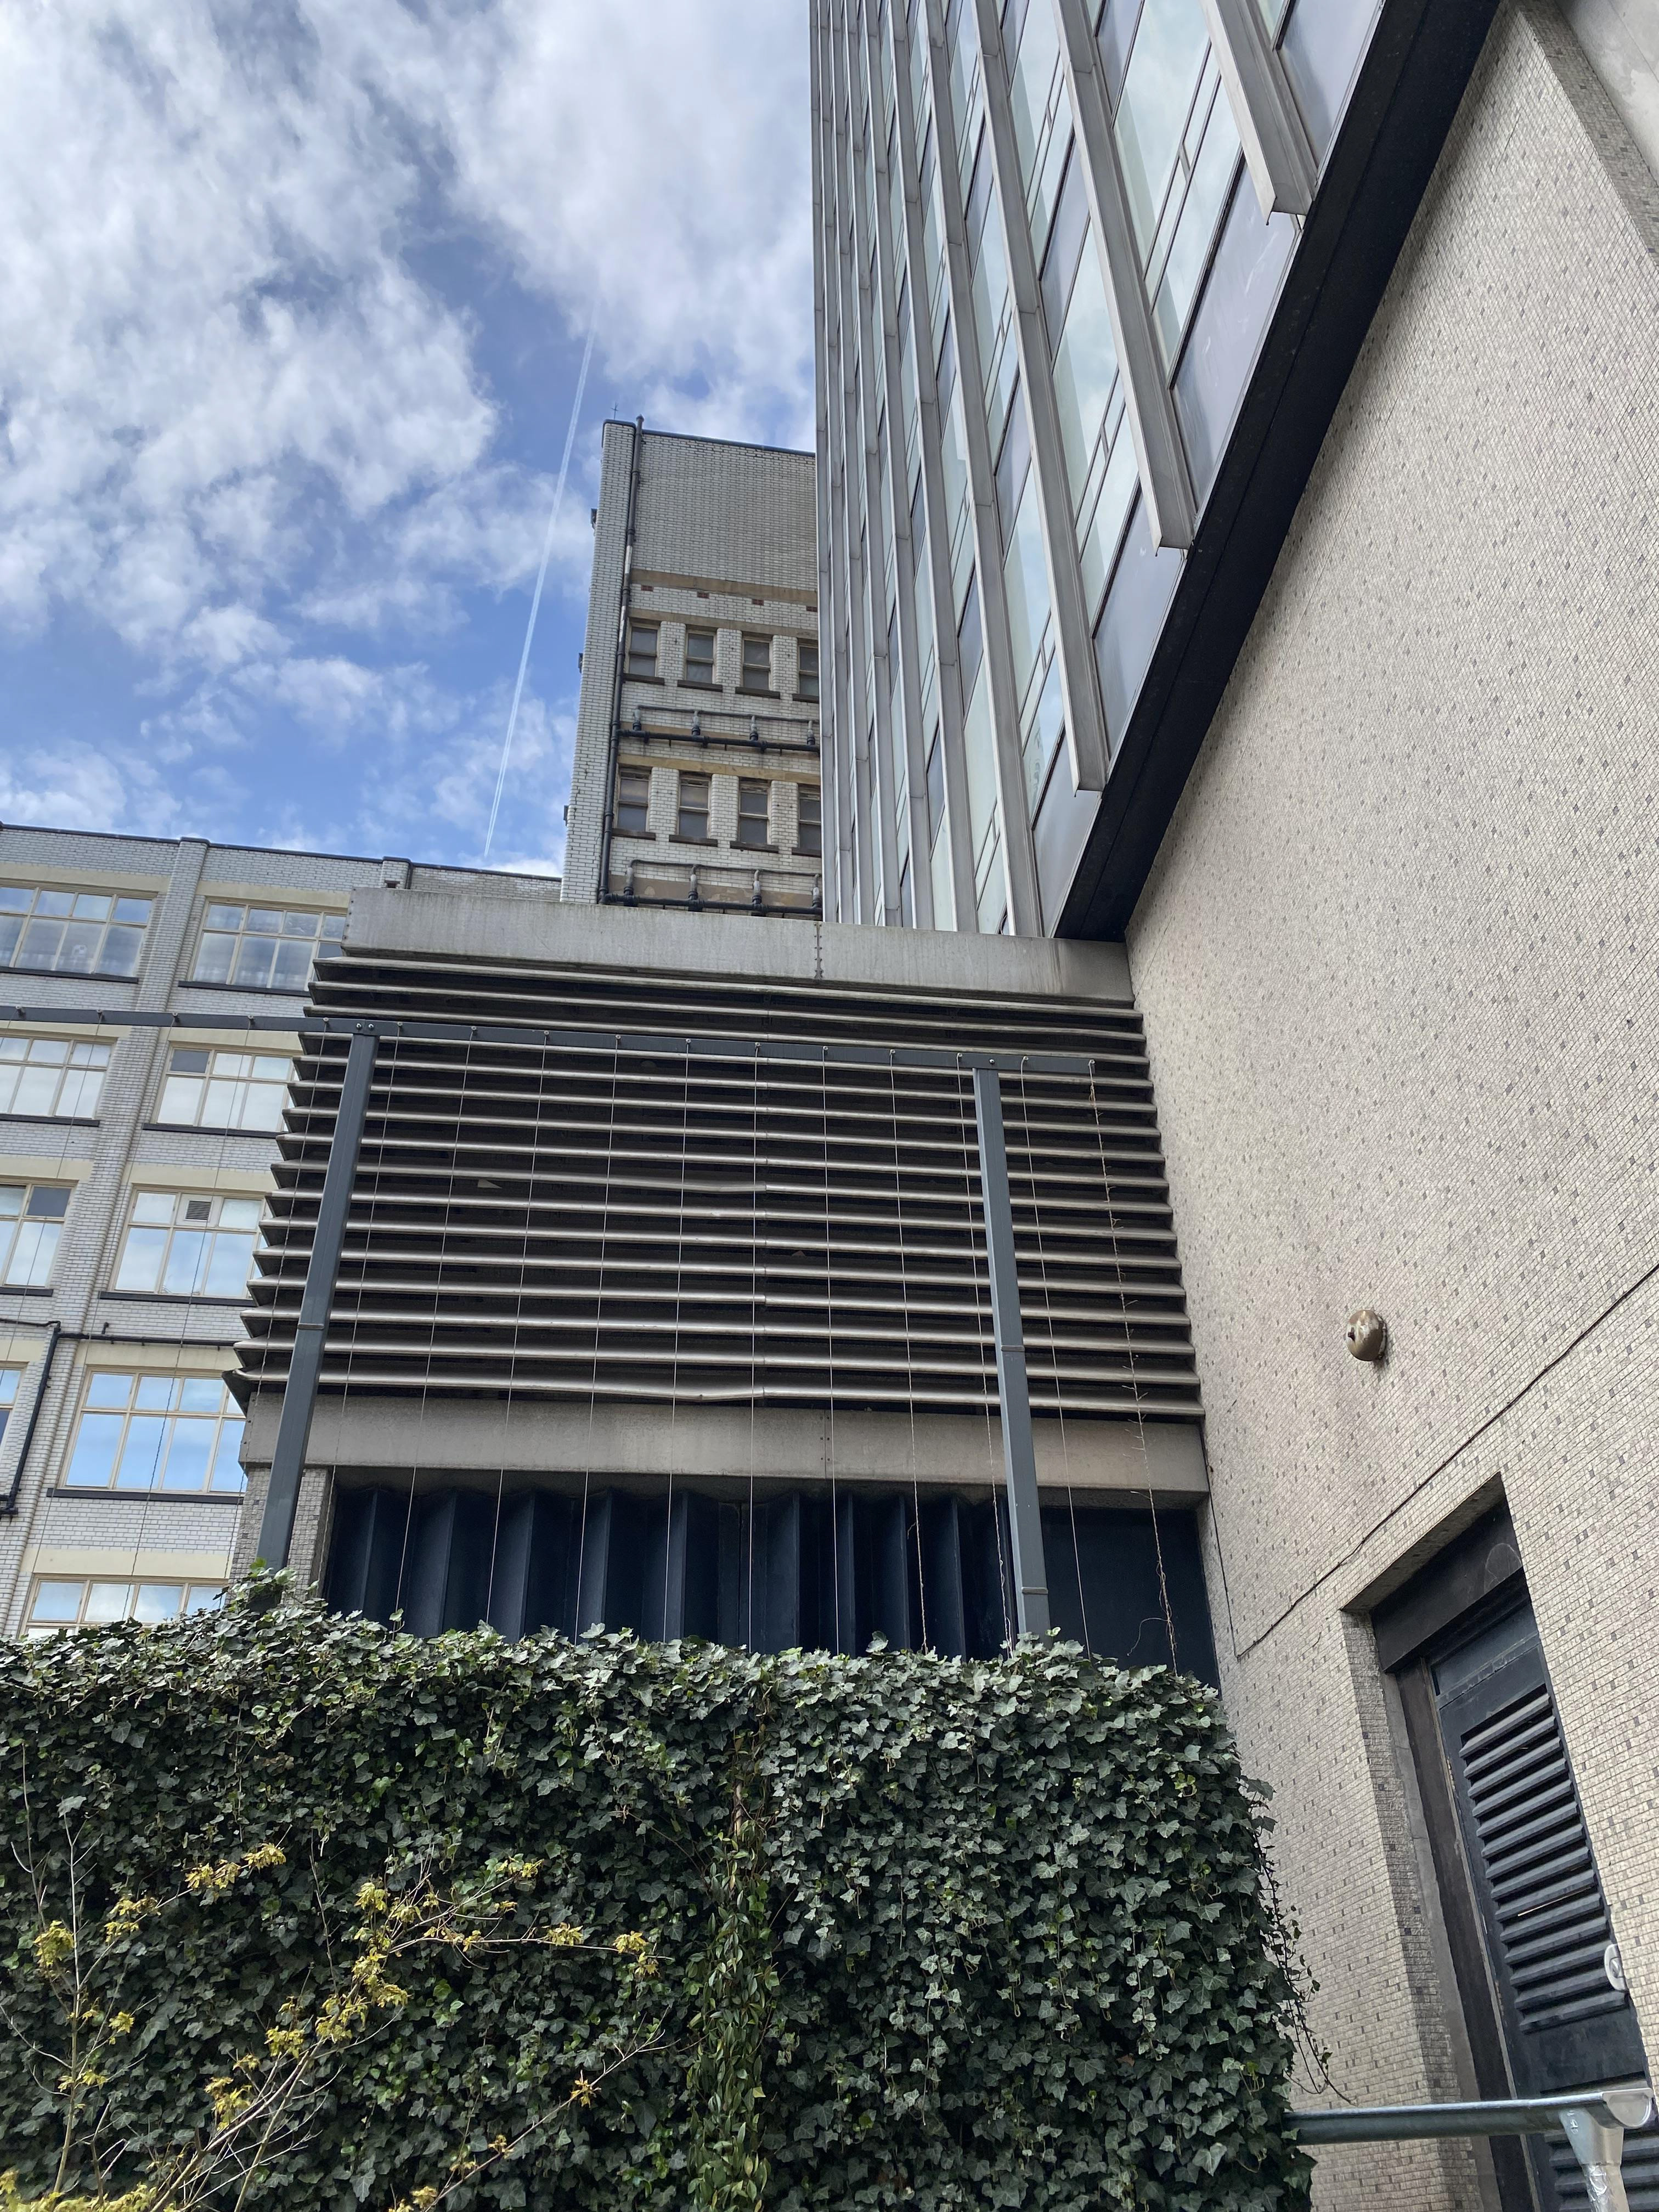
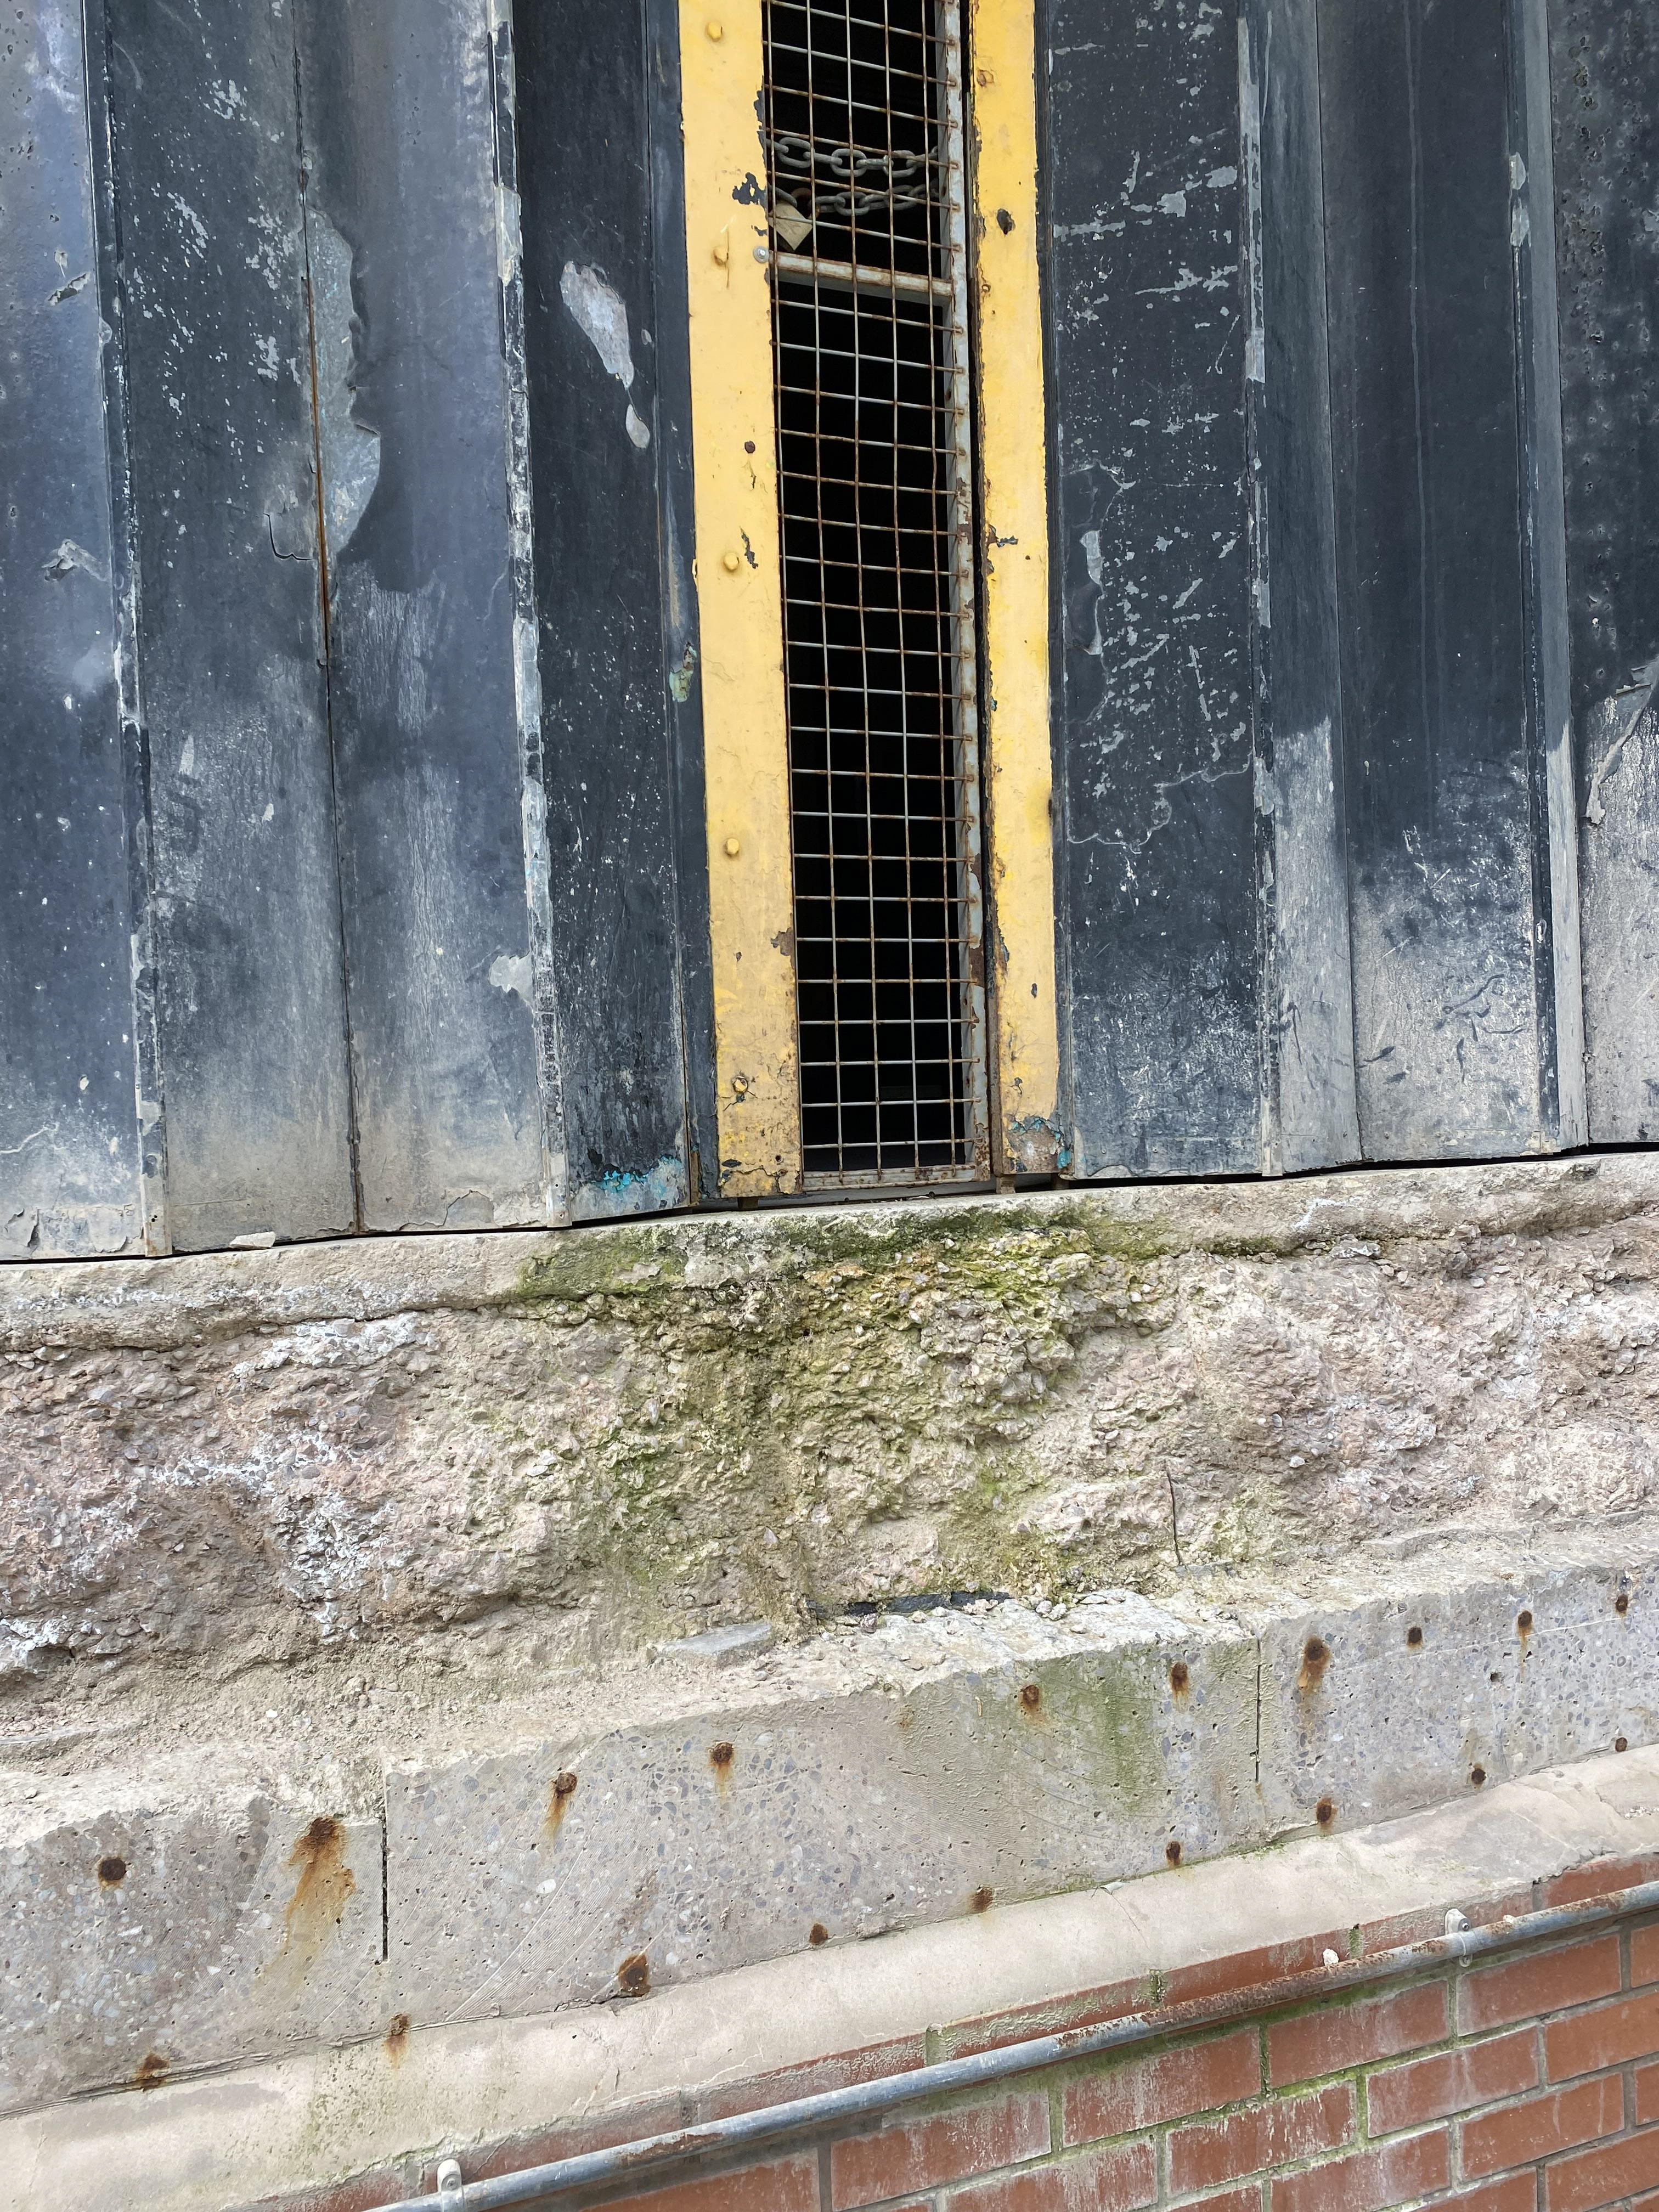
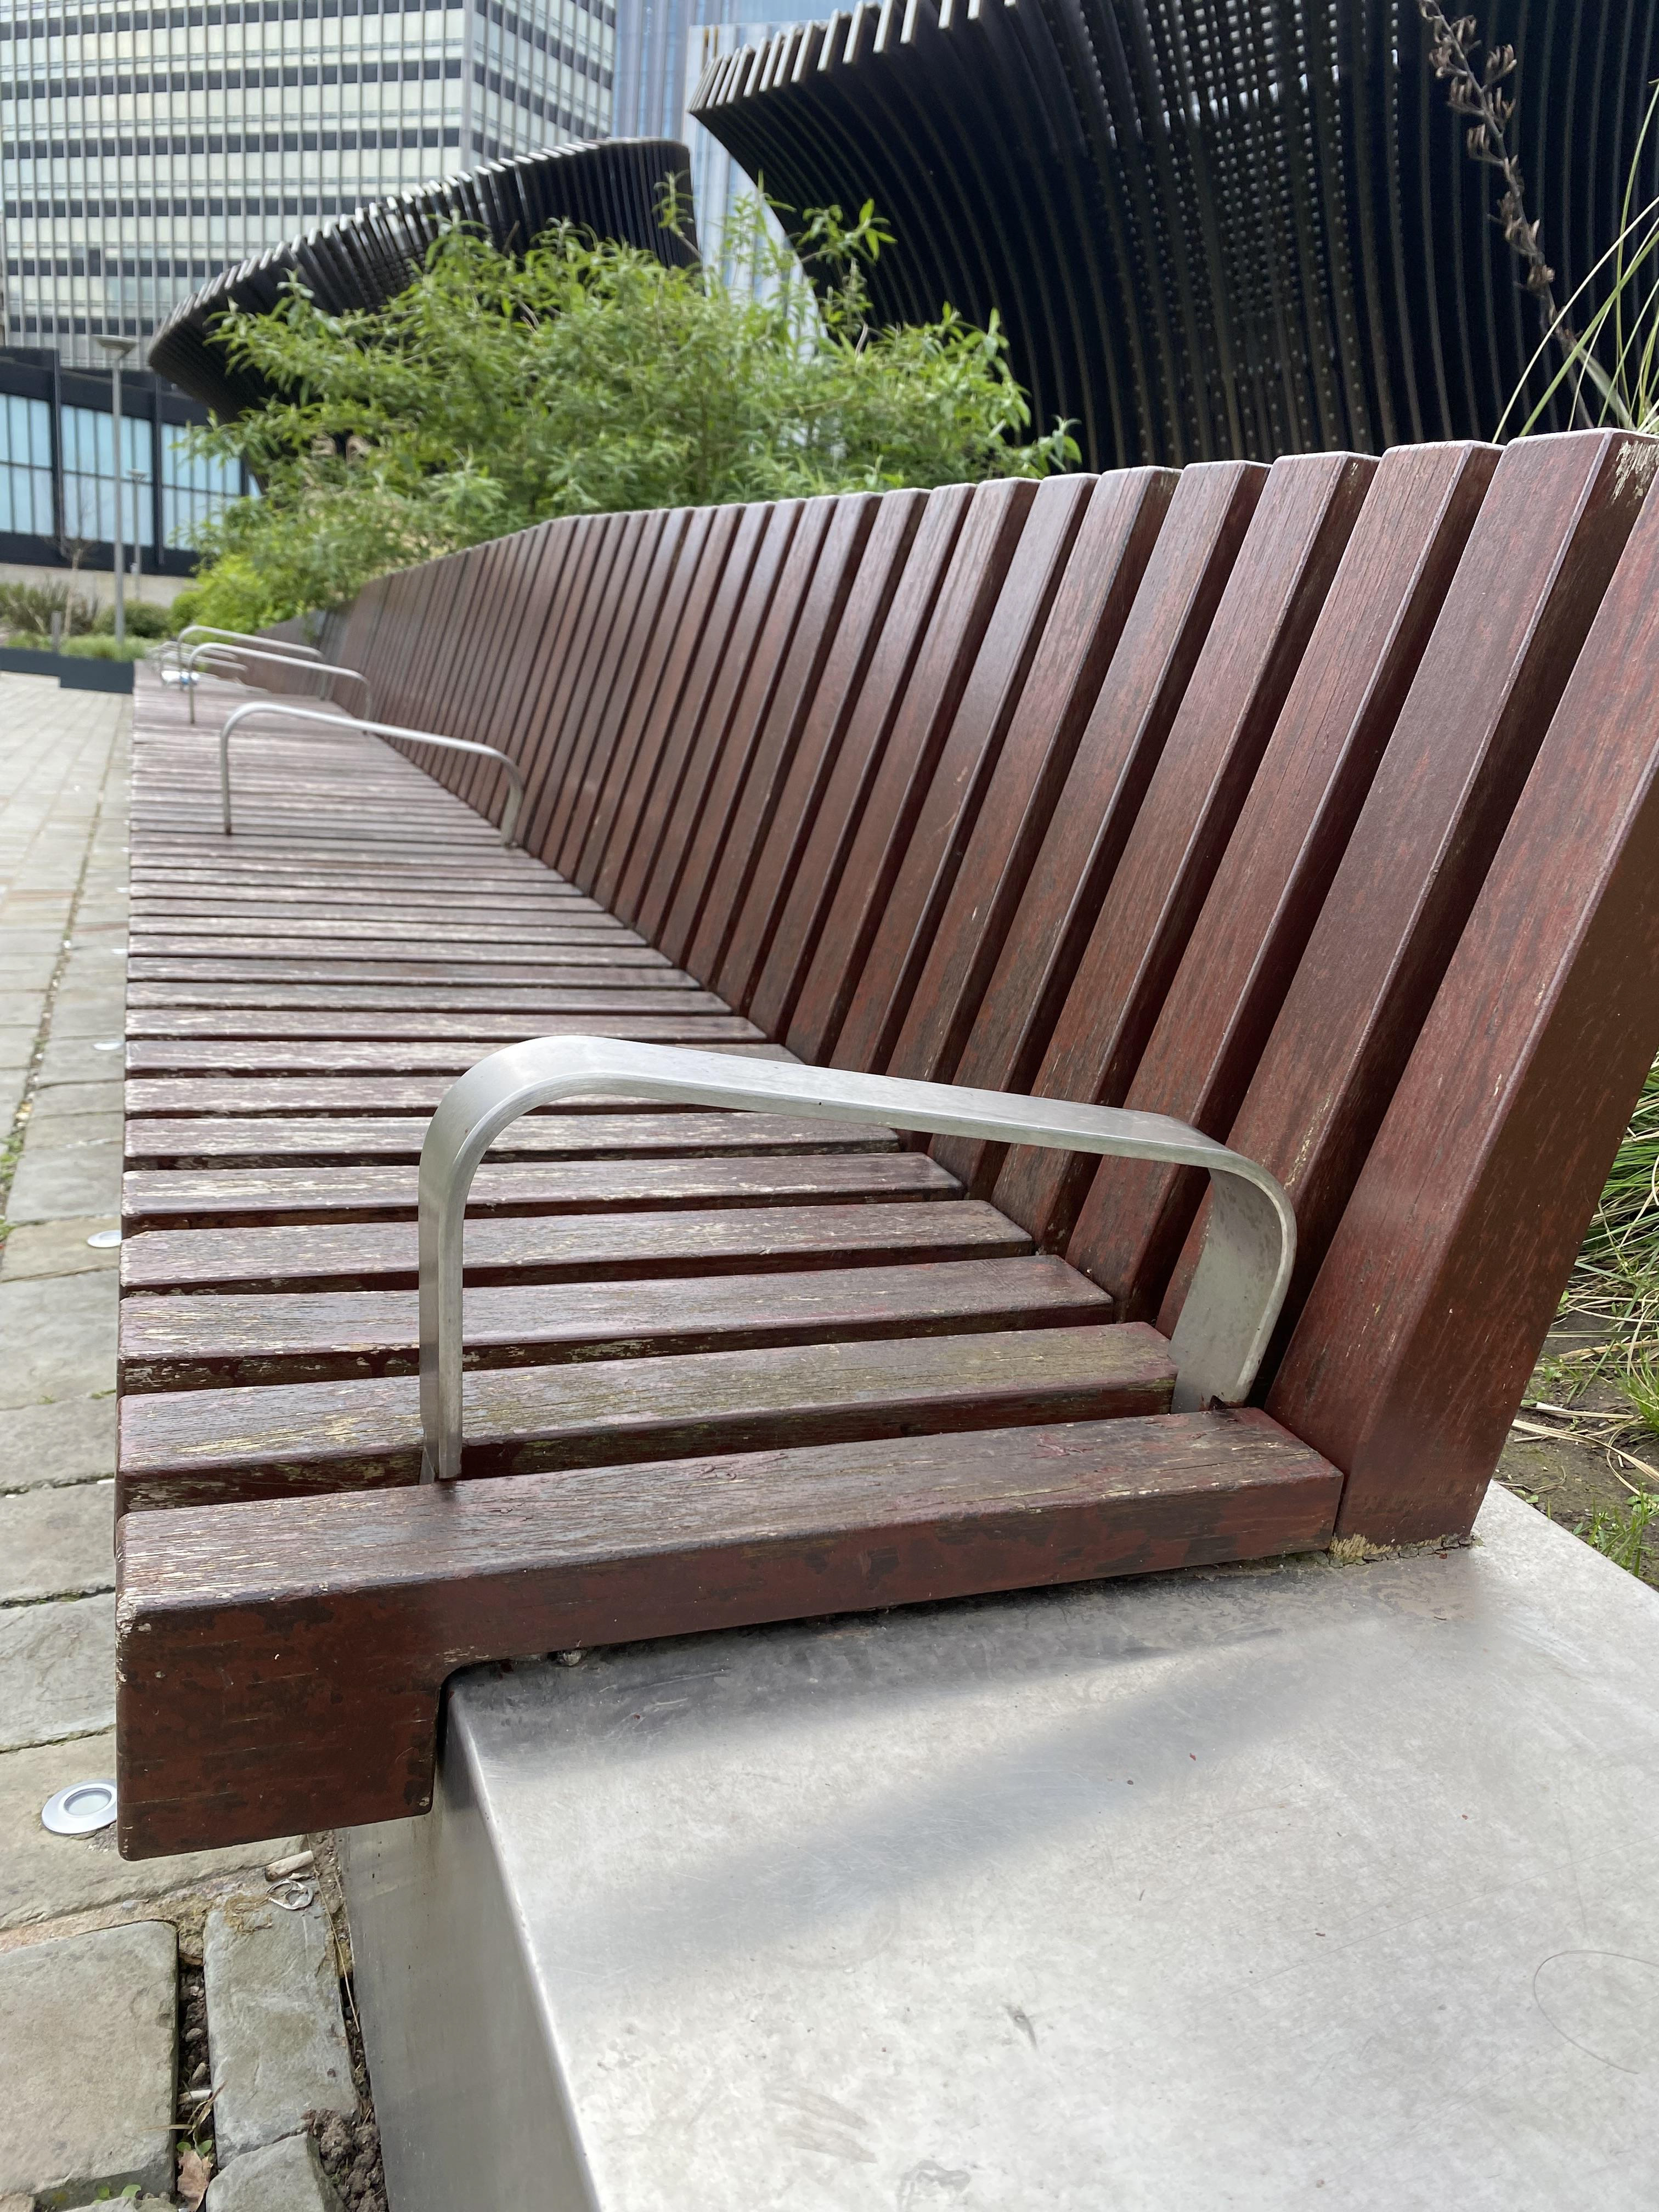
The second site visit was to N.O.M.A in Manchester city centre located near Victoria train station. N.O.M.A is a urban community neighbourhood combining offices, homes, shops, bars, restaurants. Still under development, the site has some buildings which currently are not in use, however they are planning to use them in the future. I noticed within the architecture there is a mix of older buildings and newly built glass ones.
Joe Hartley a previous MMU student and ceramist, is a key part of N.O.M.A's development. He collaborated with us for Unit X and took us on a tour of the site and explained some of what has happened at N.O.M.A and its plans for the future. Much like Castlefield Viaduct, there is a crucial part of N.O.M.A which is a mix of urban and natural structure. I believe it is a new aim for the city, to create greener spaces and reduce the pollution levels. Whilst walking around the site I learnt the site itself is within a boundary and there is many boundaries throughout.


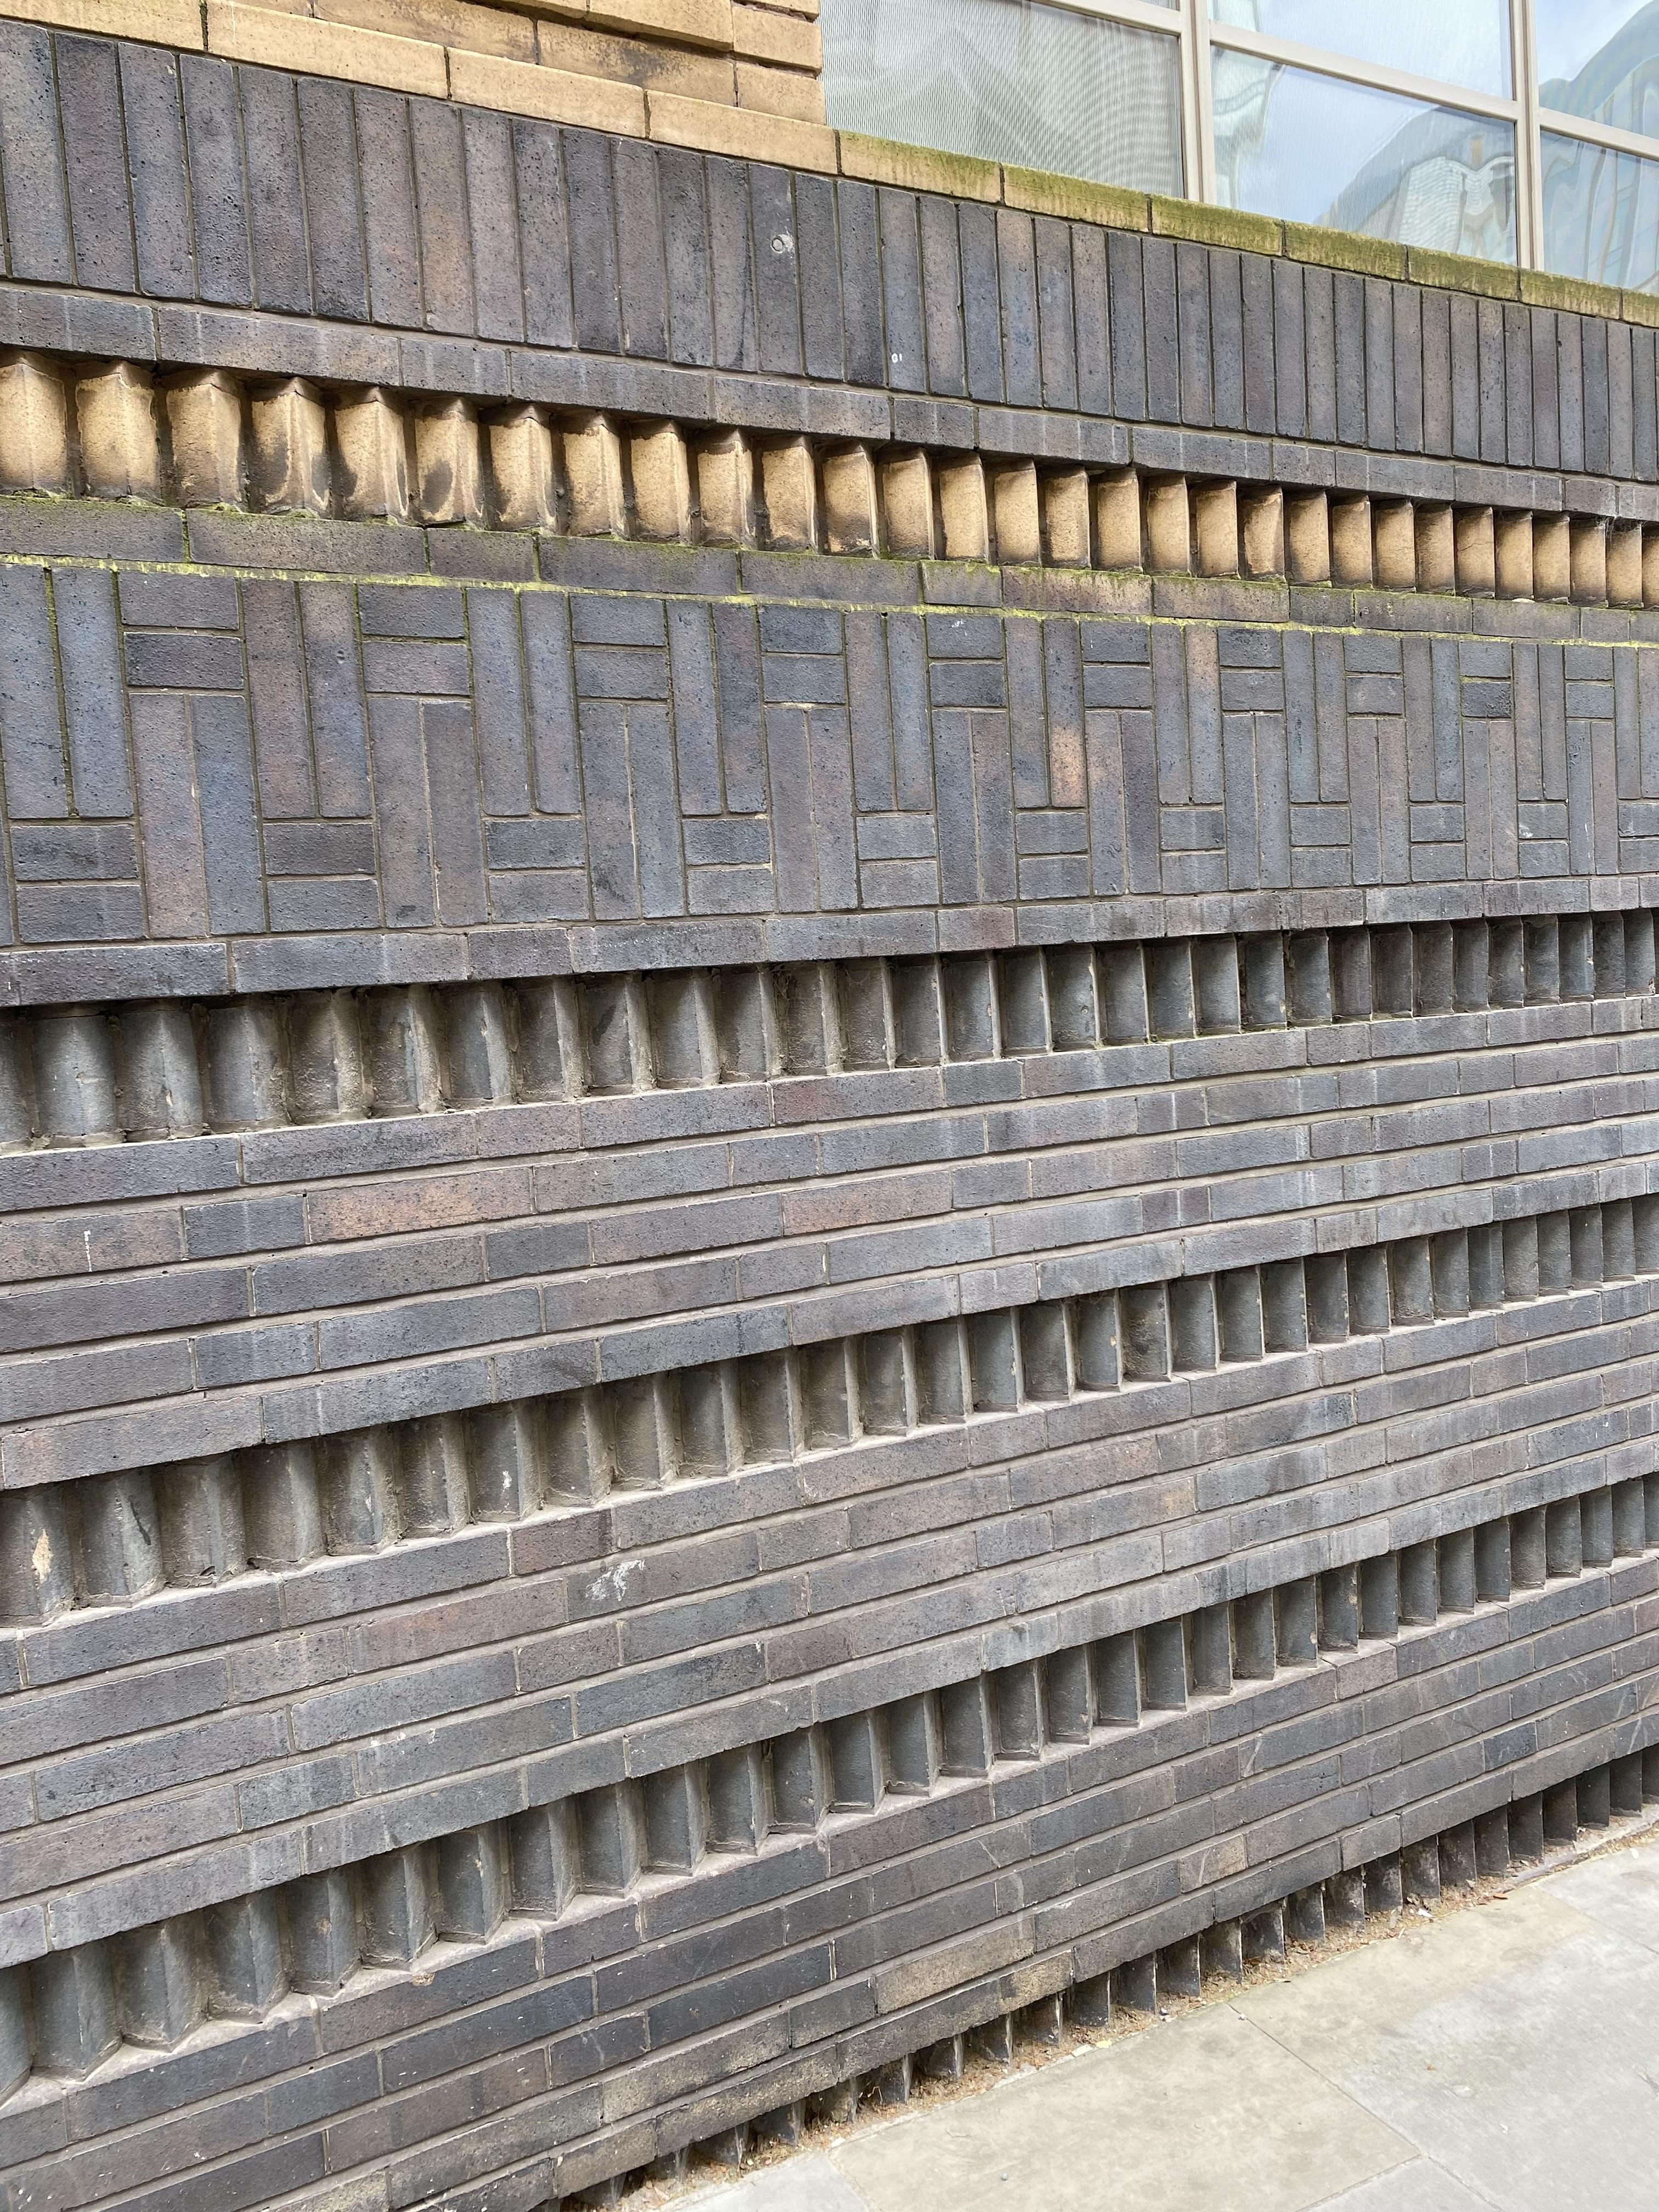
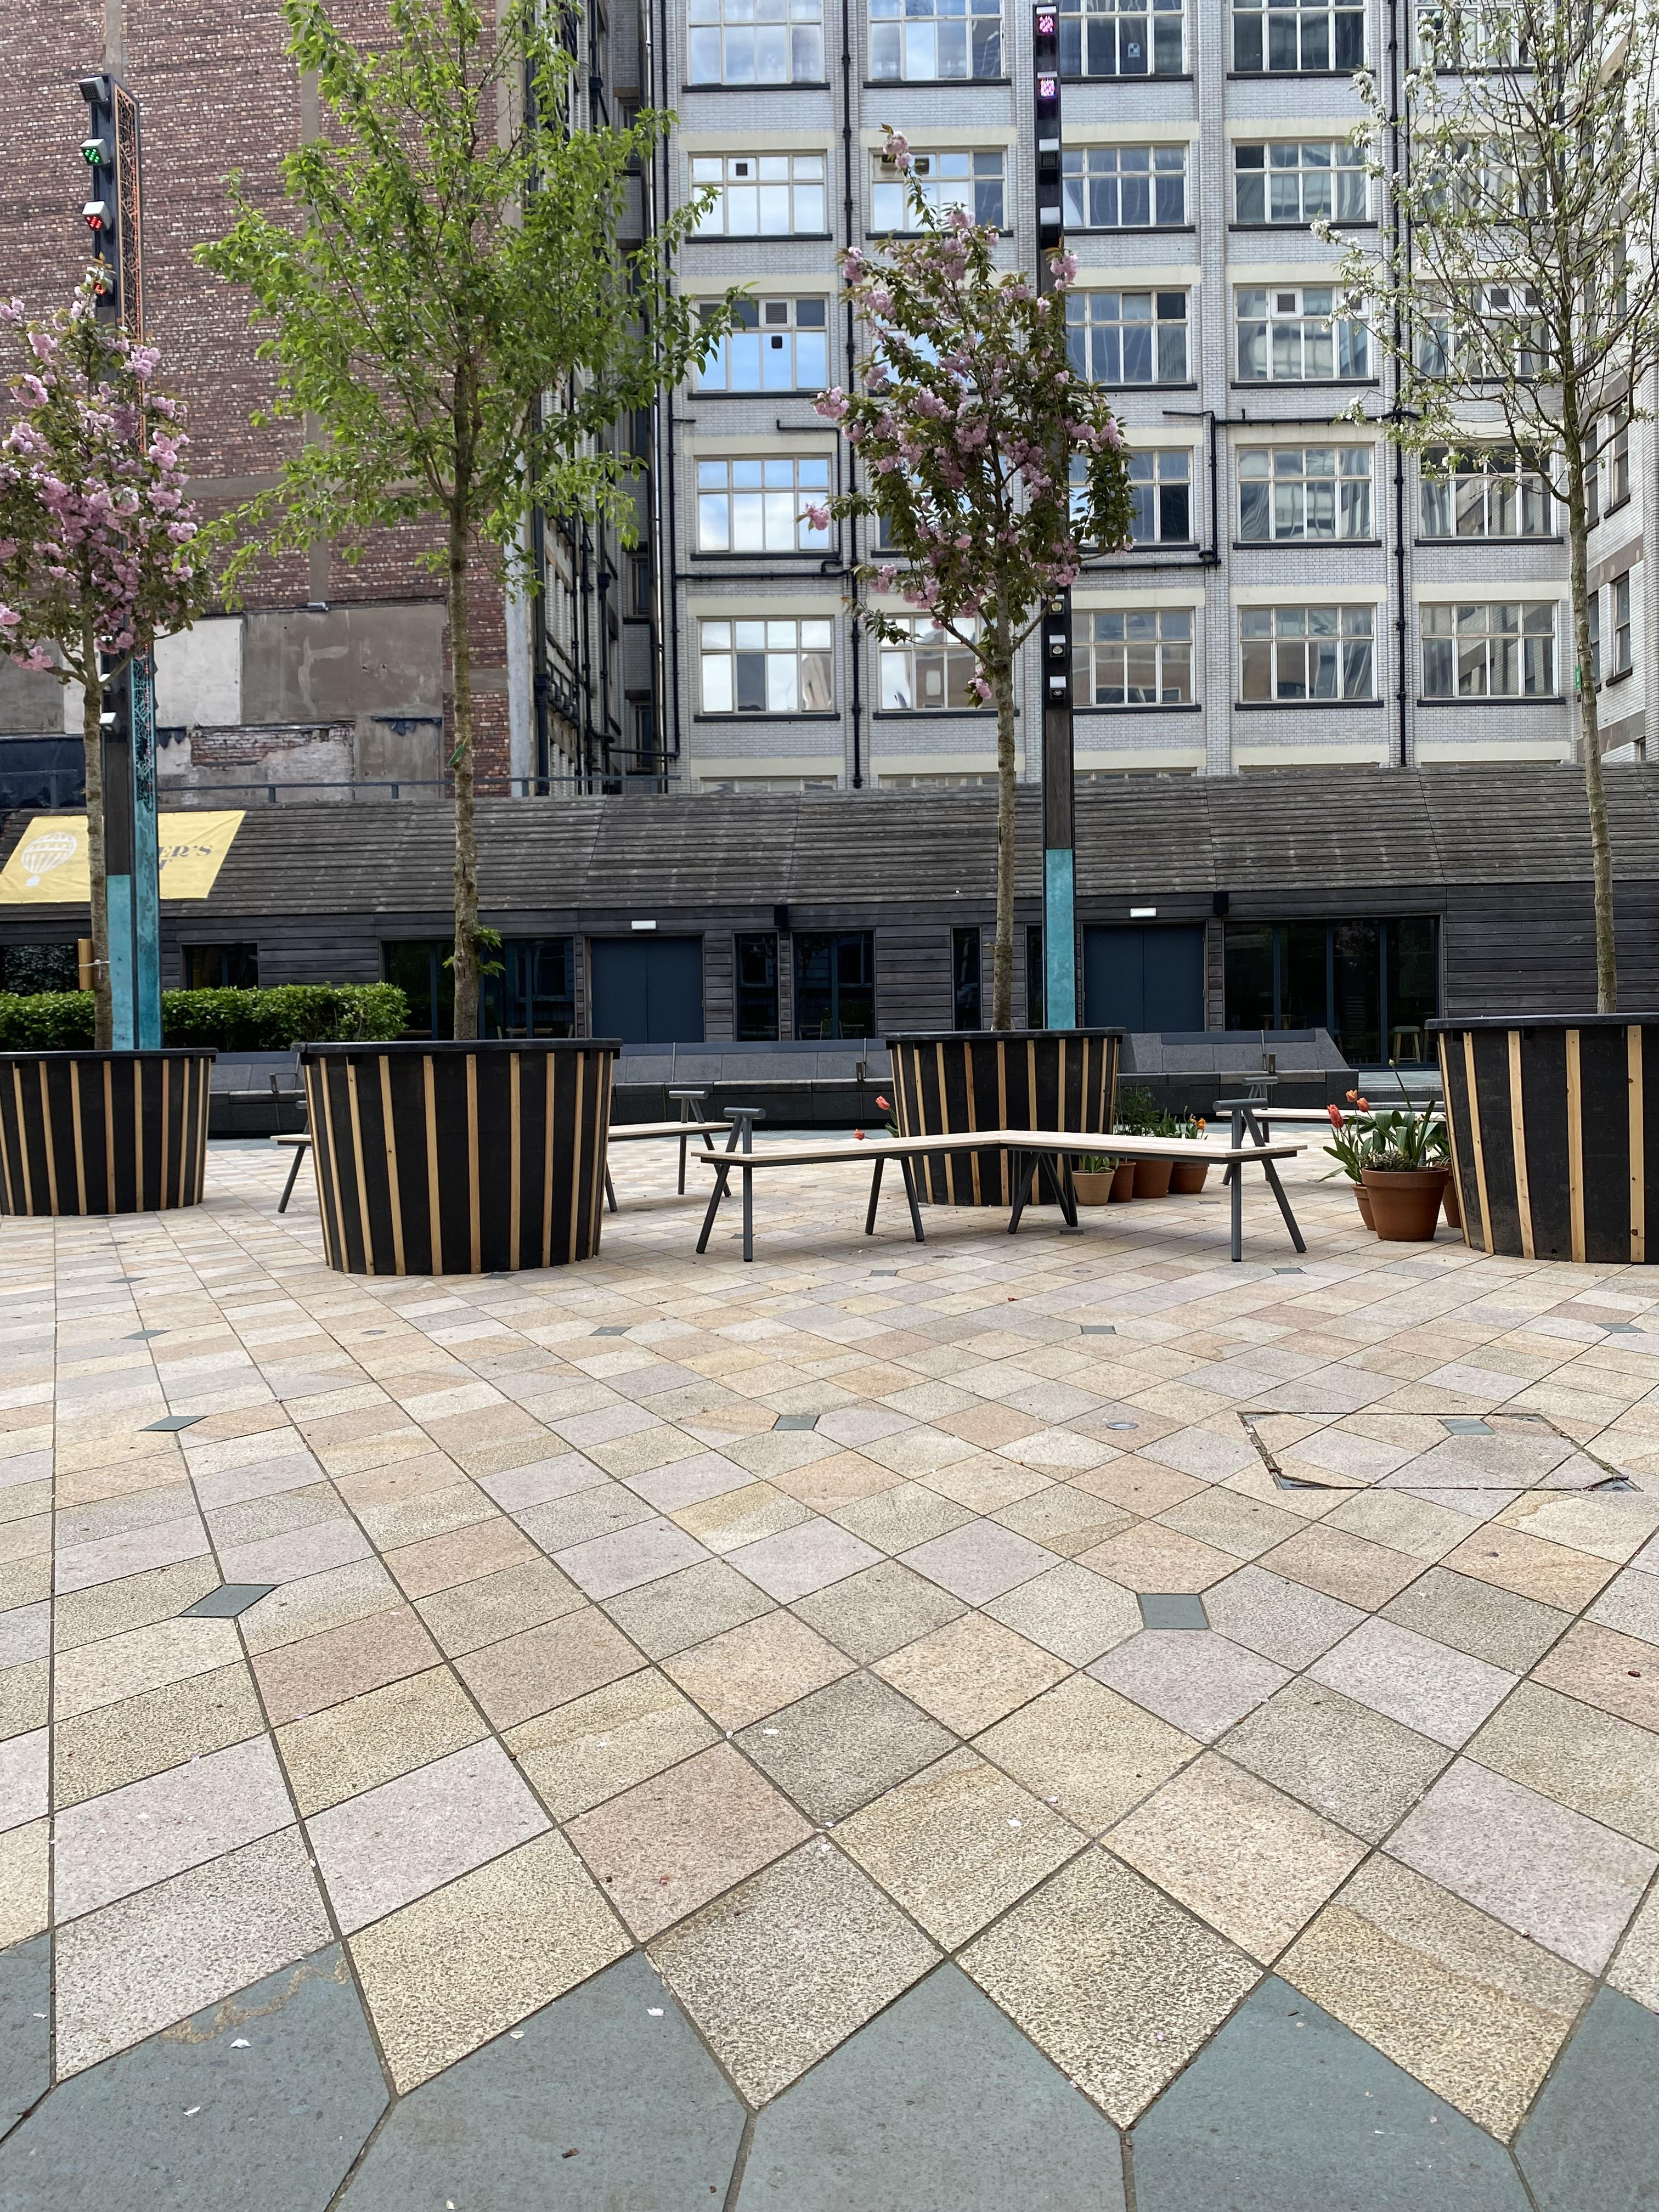
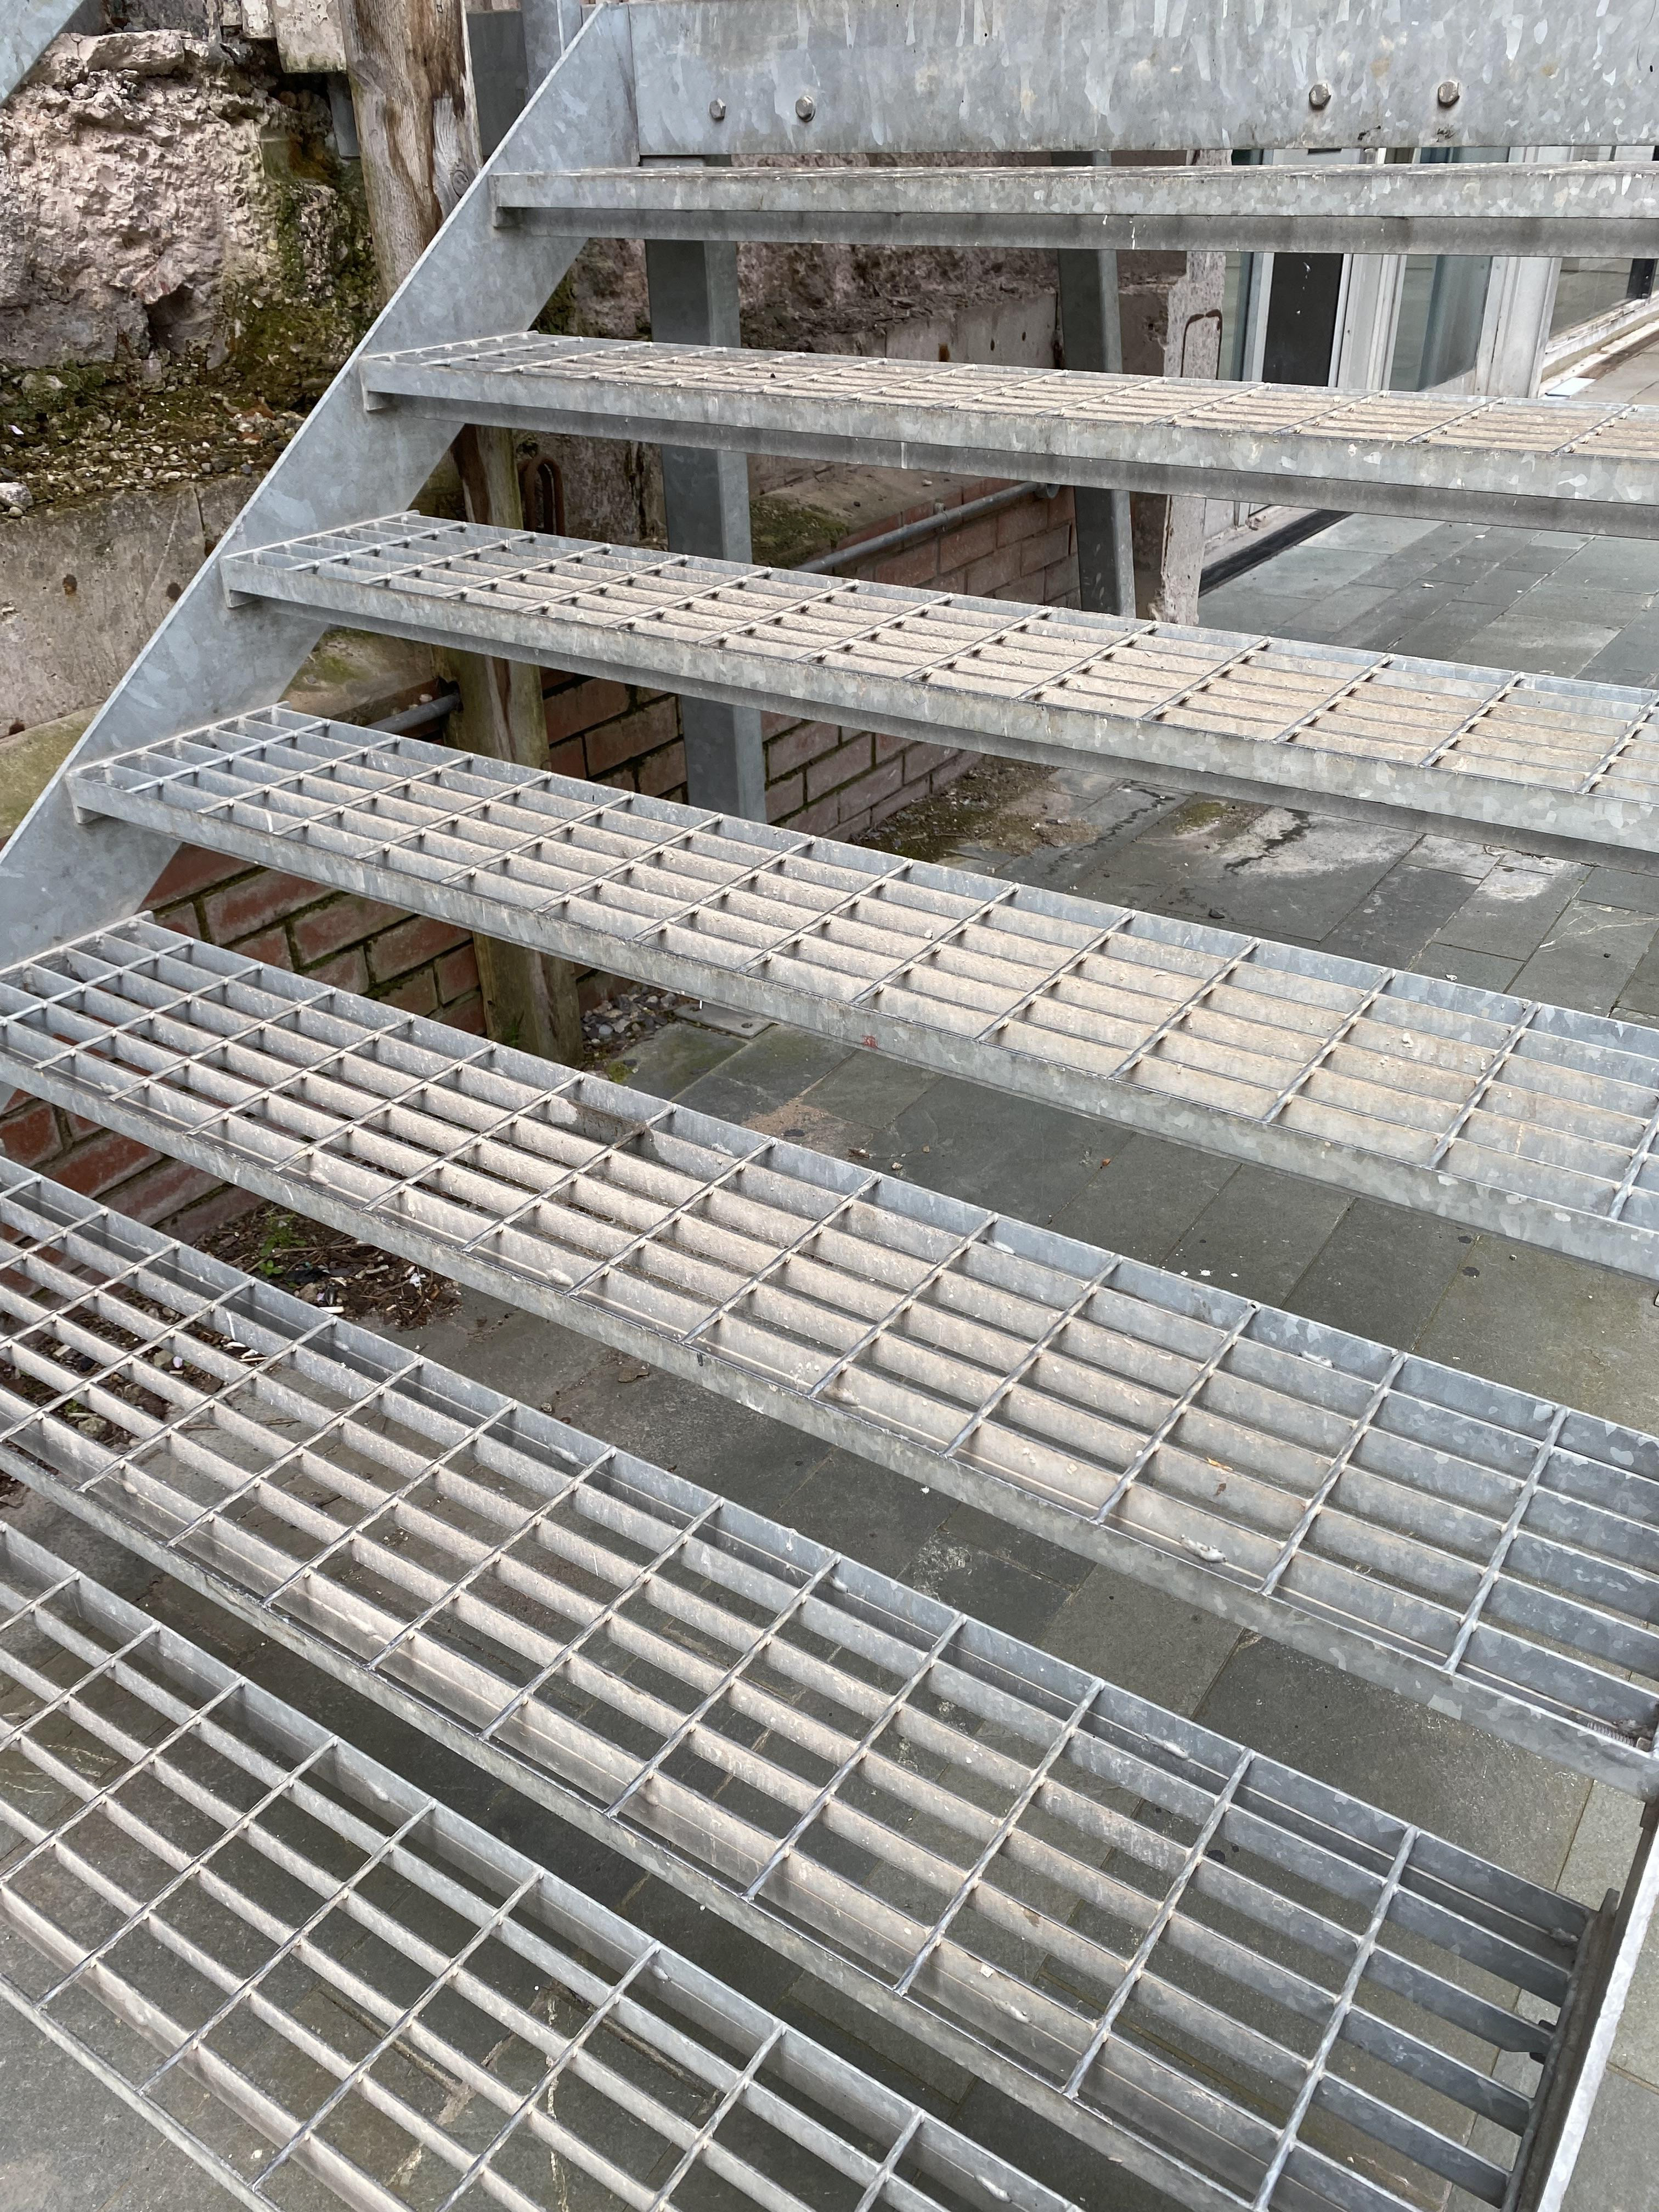
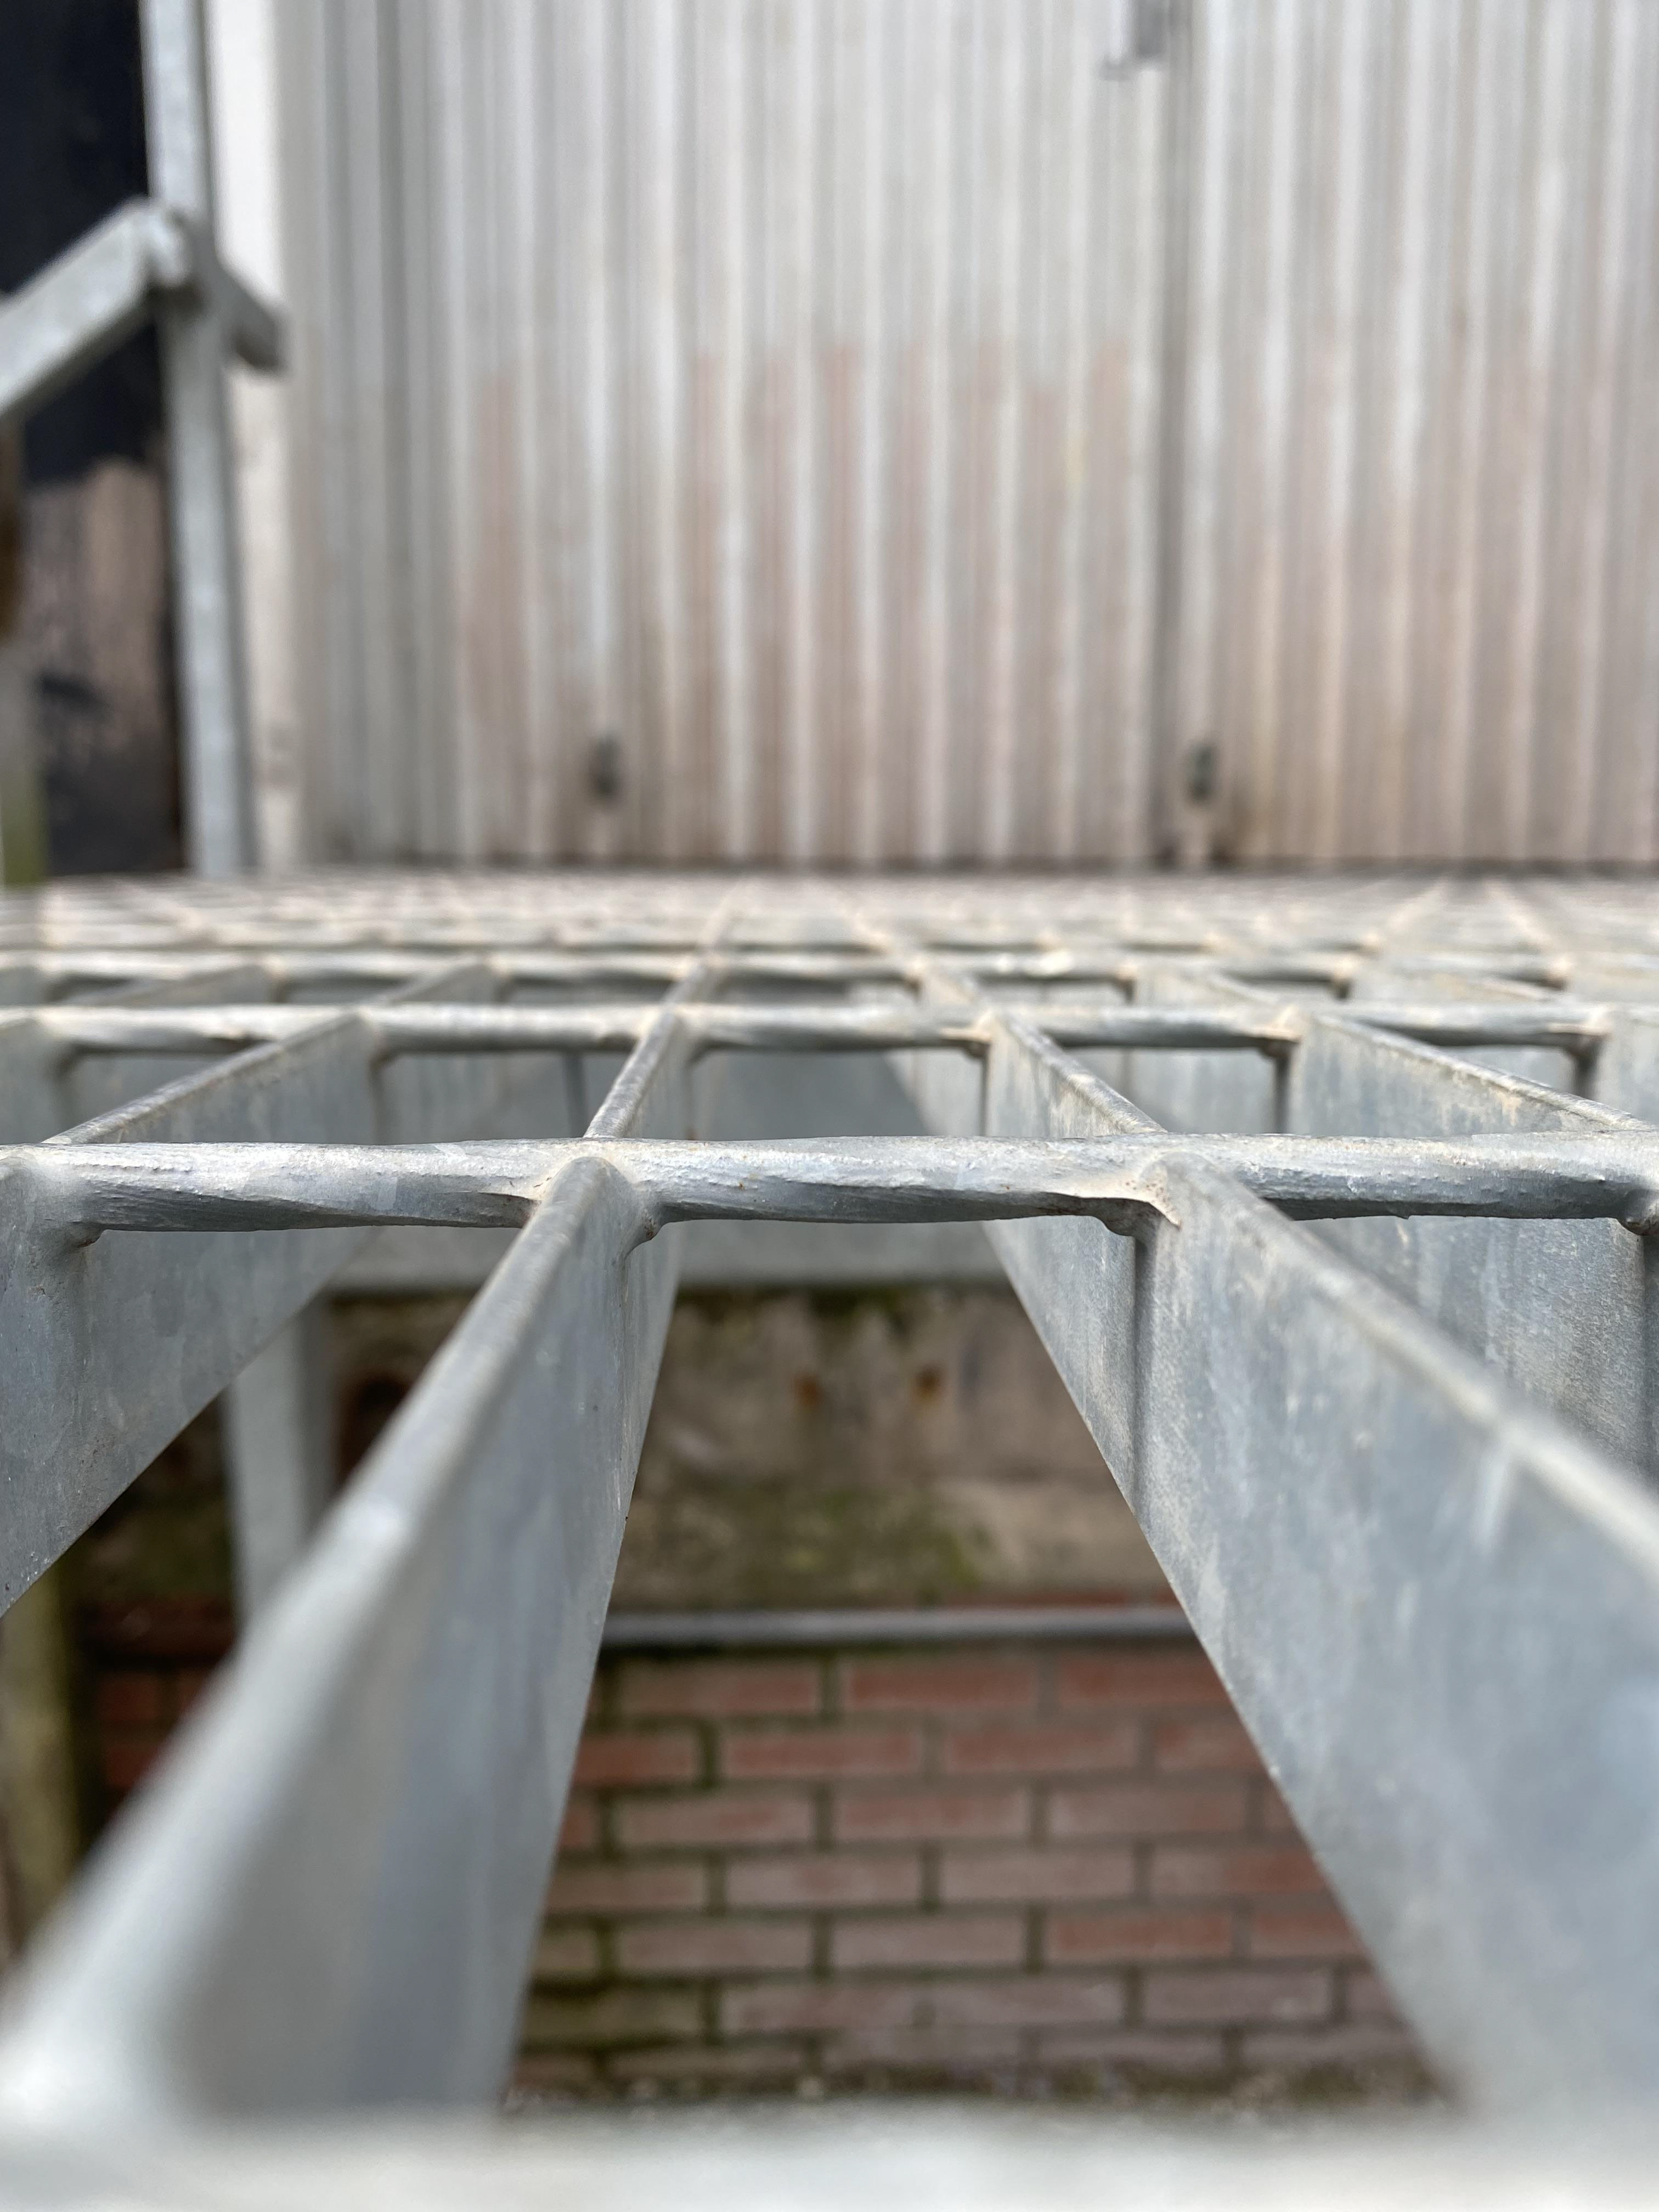
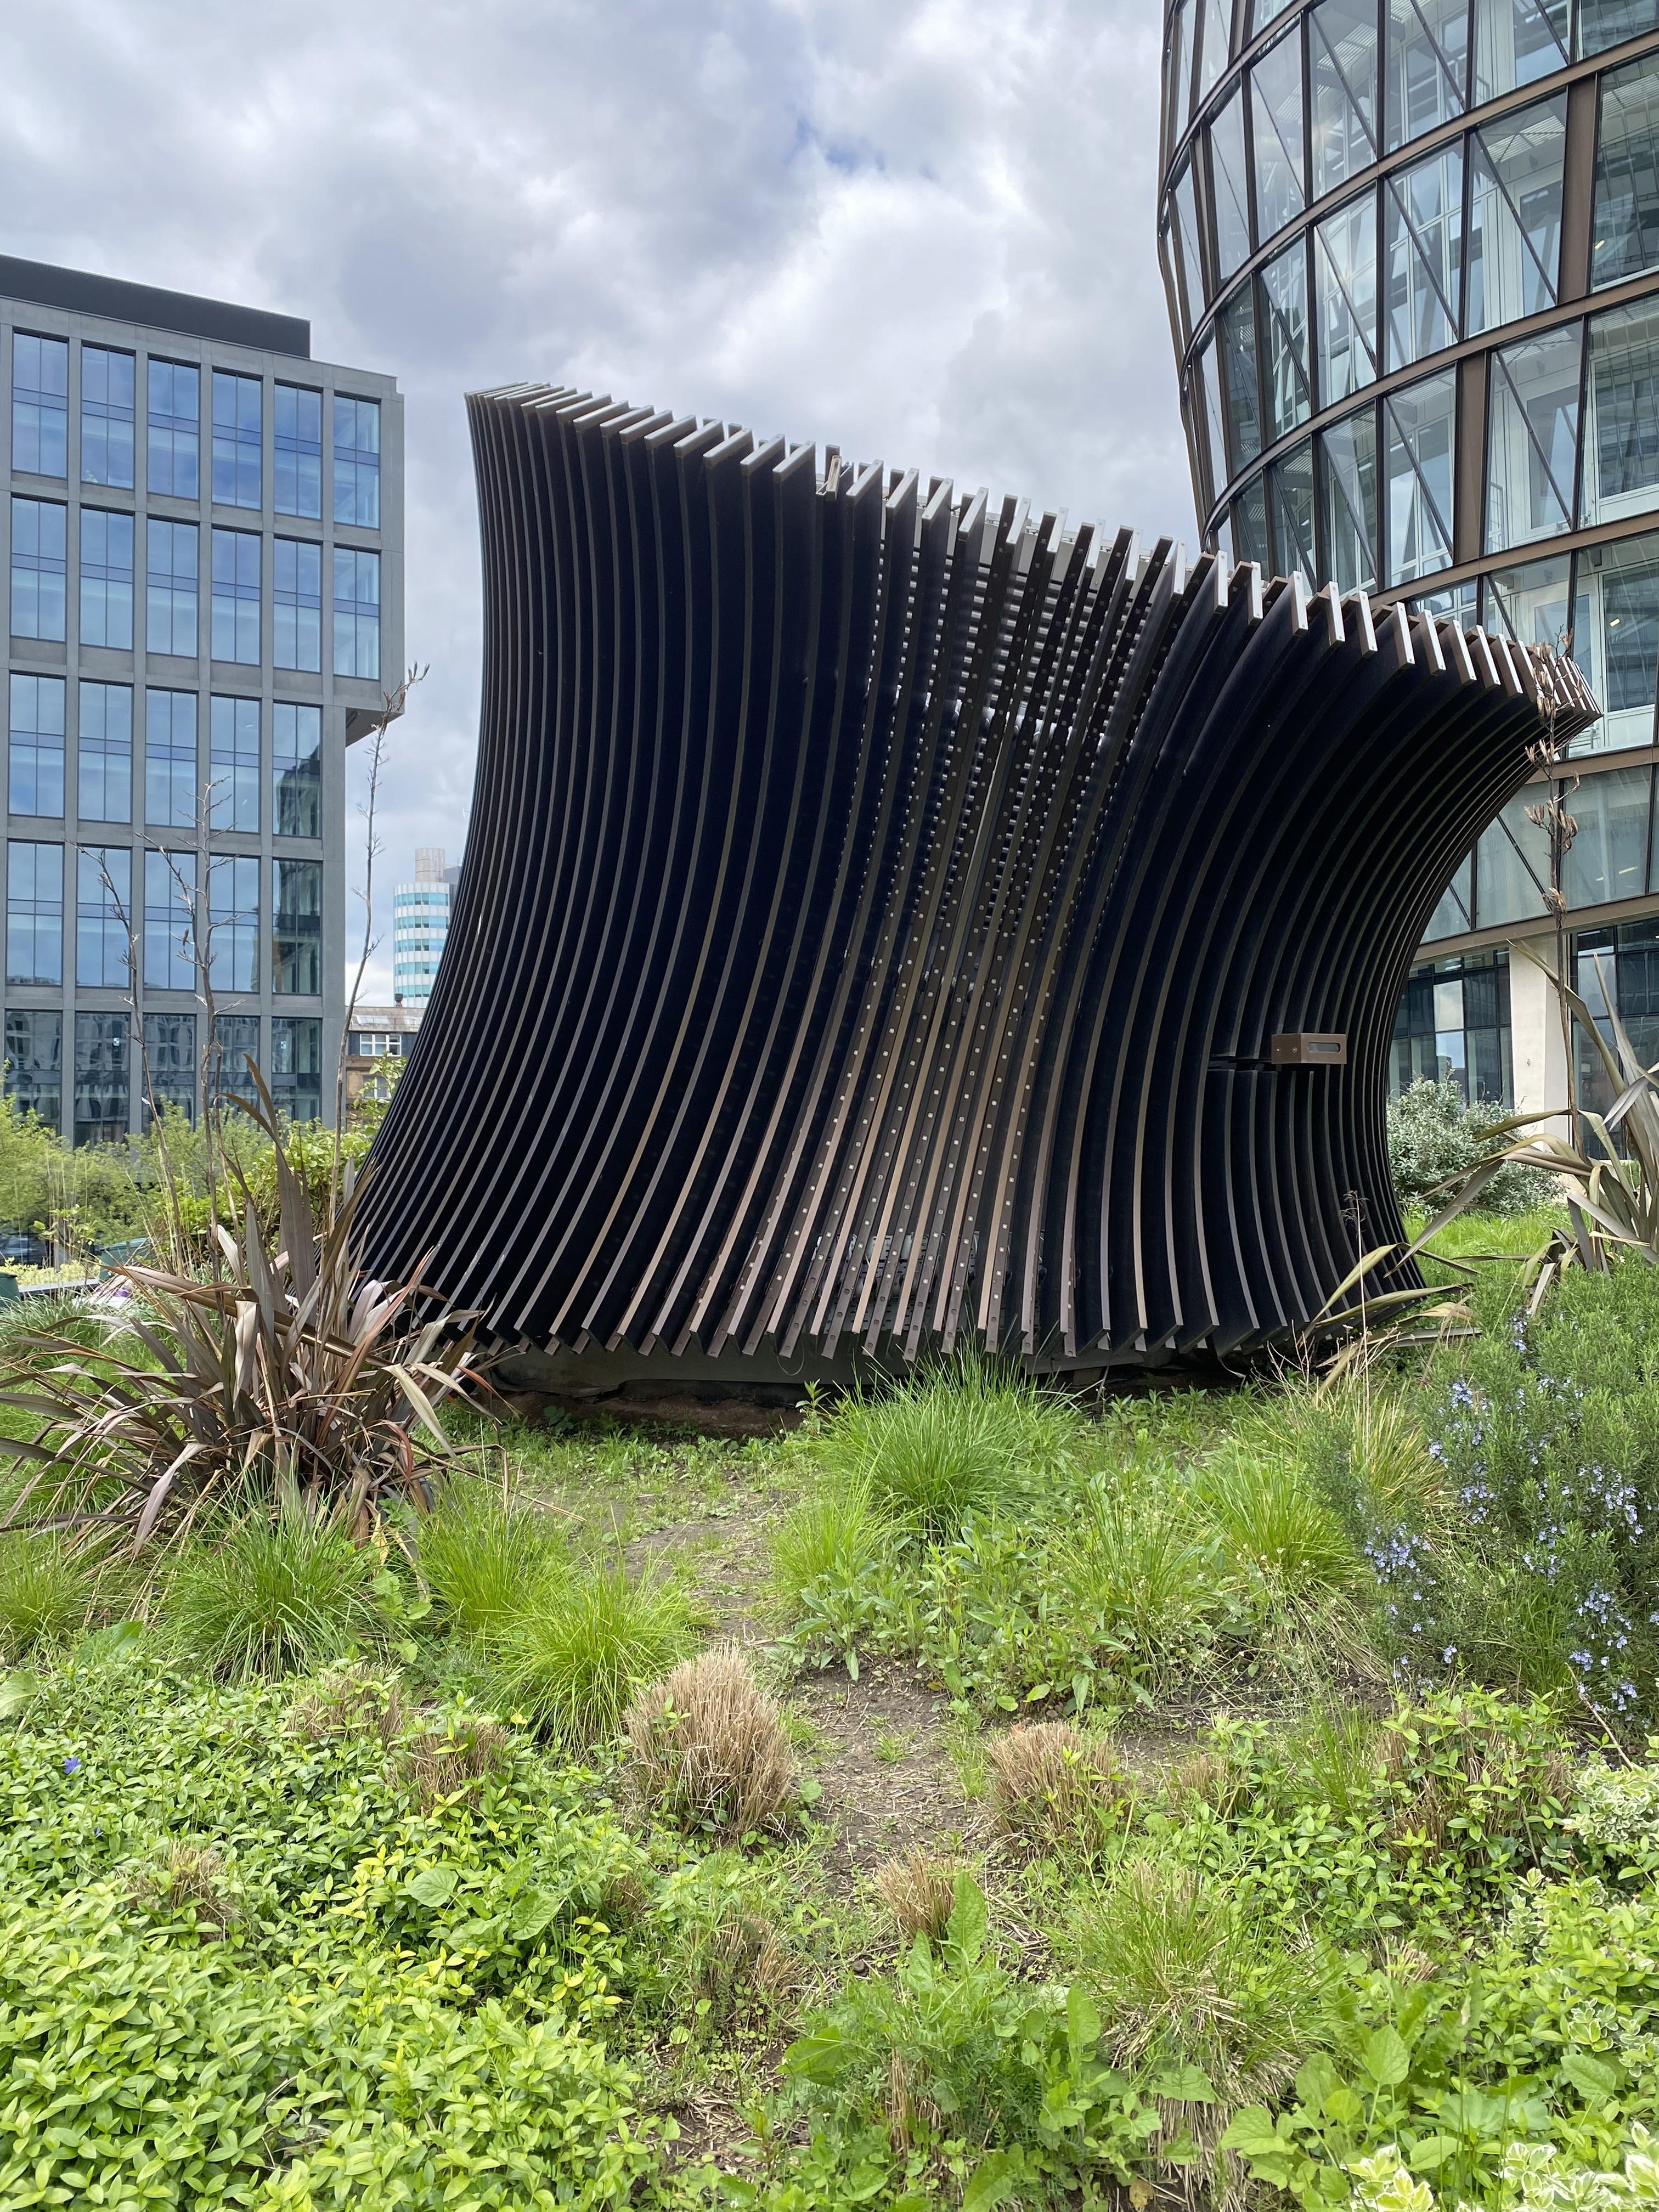
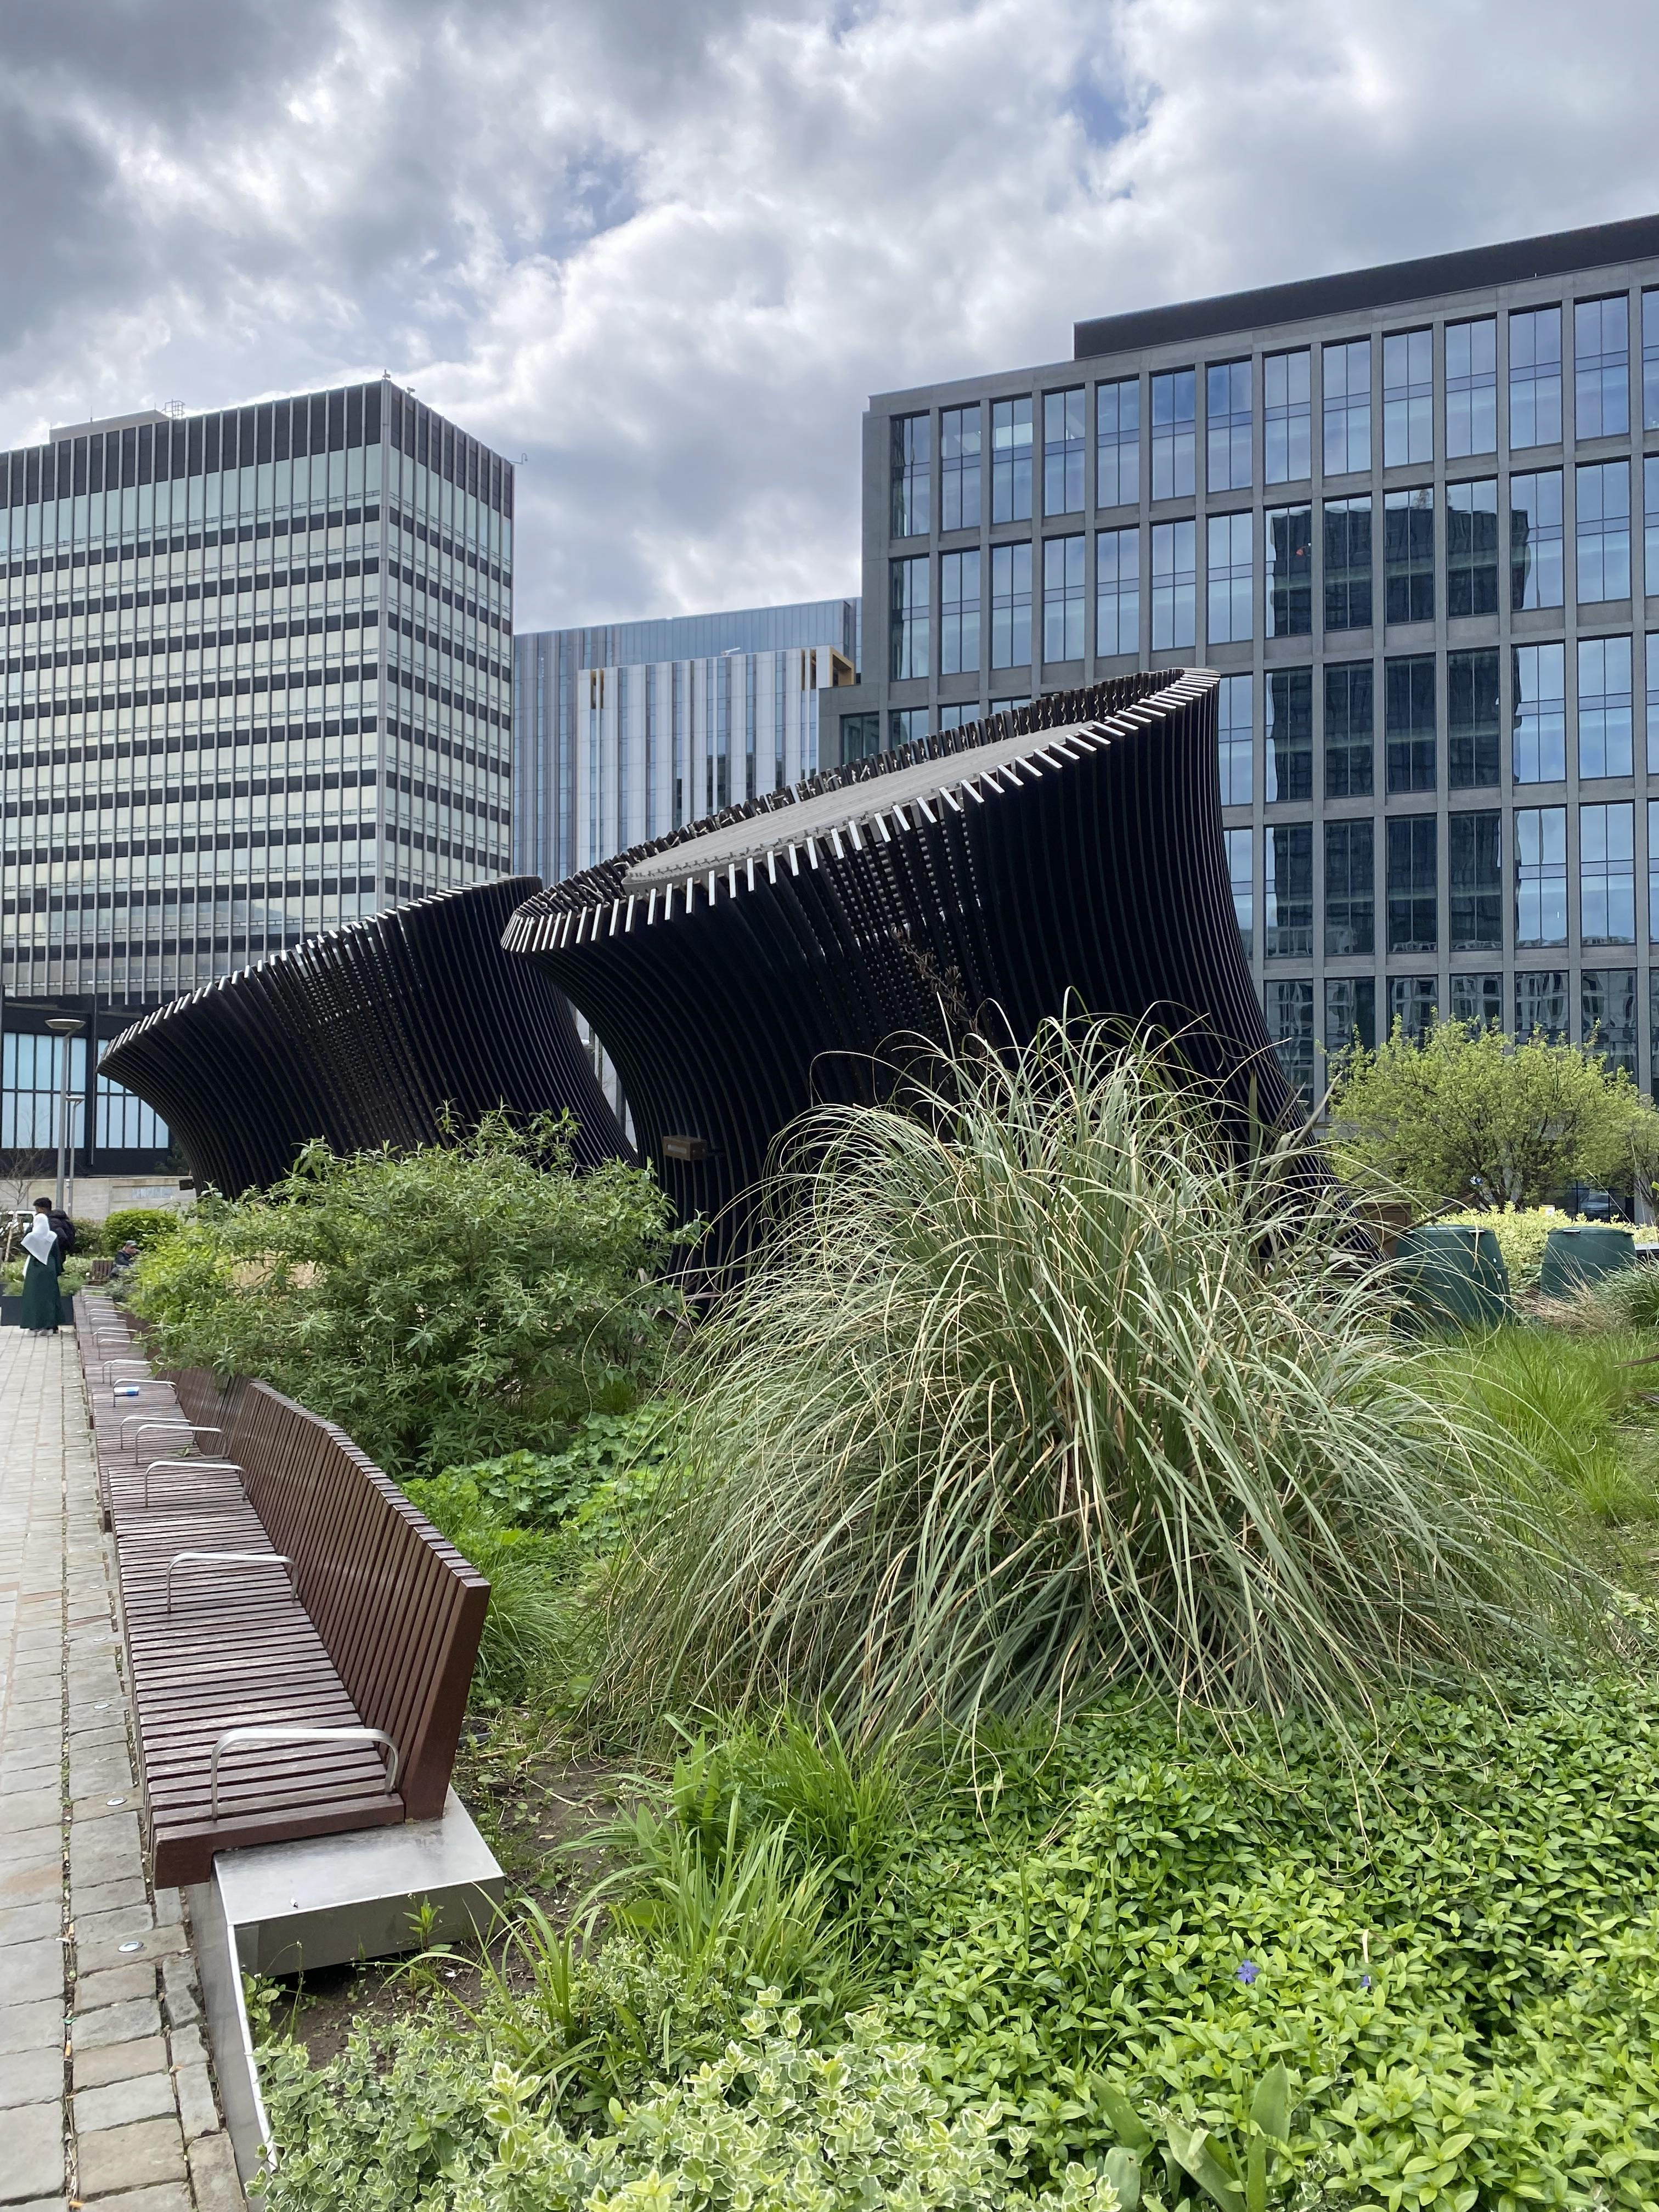
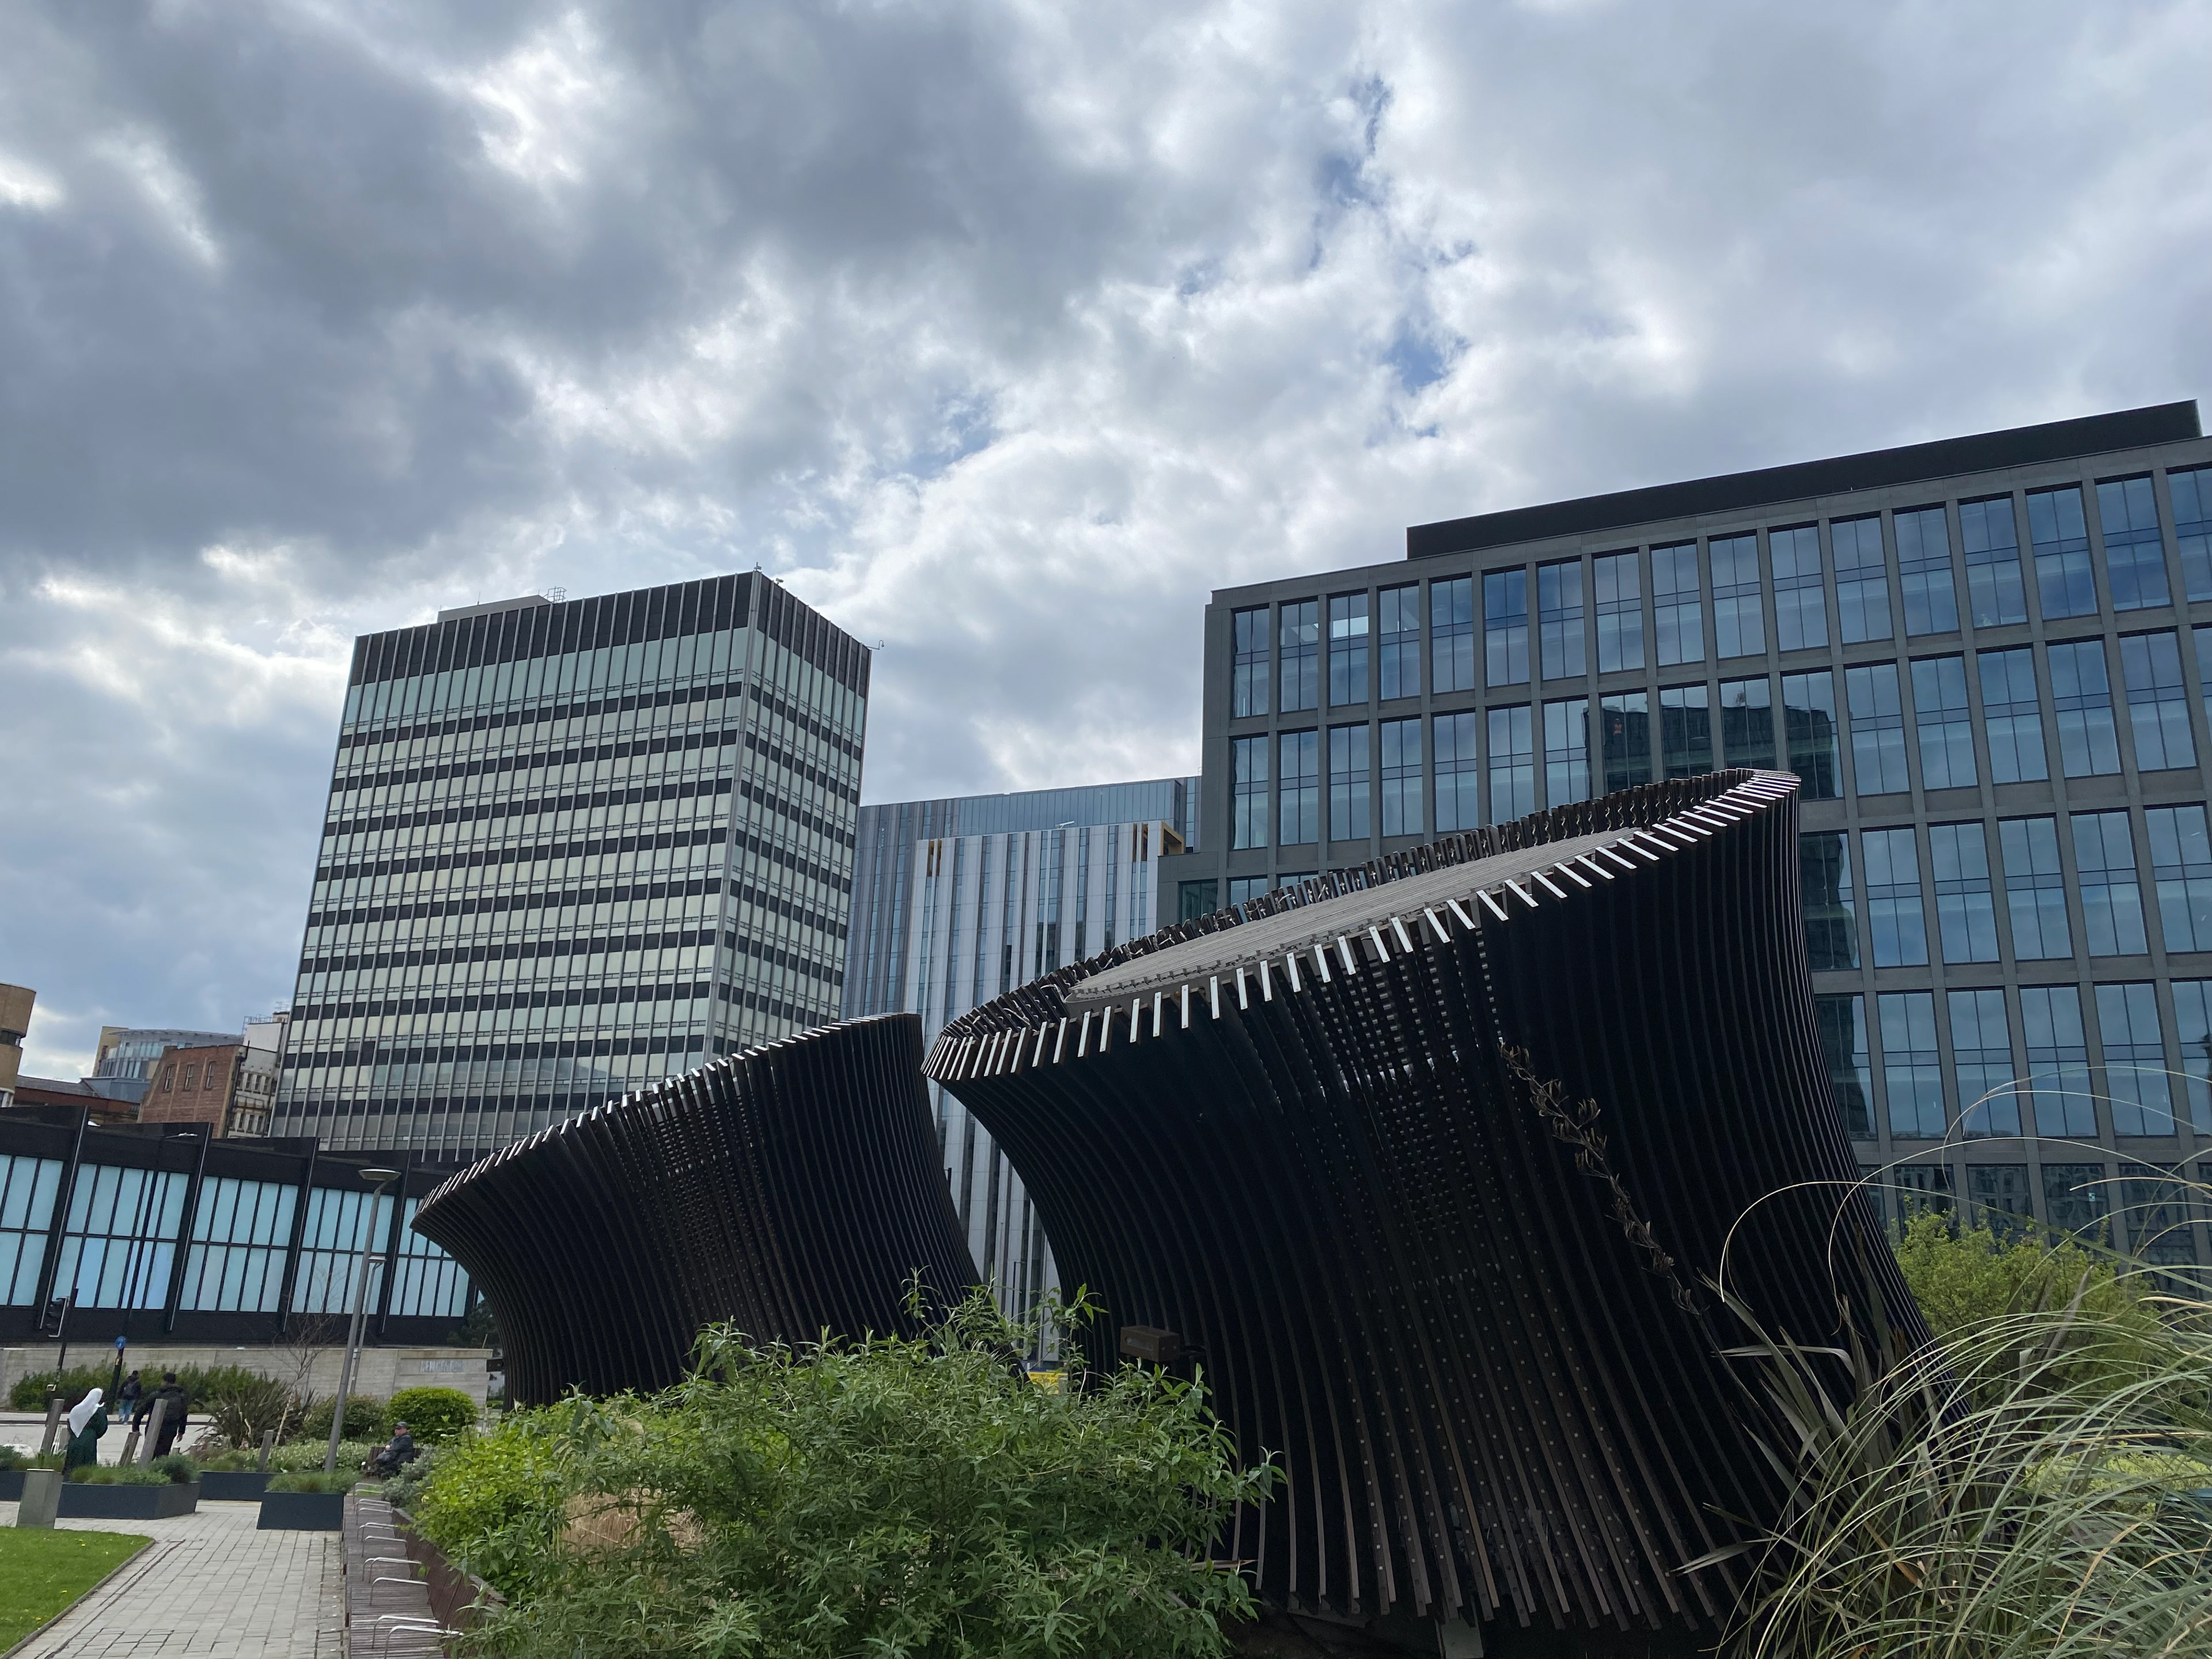
After my visit to N.O.M.A I didn’t see the relevance to the course or where I could take inspiration from to help with creating for Unit X. I found it to be more architectural based rather than to do with craft. I struggled at first with this. After speaking to Joe over the next few weeks in the sessions I started to gain more information on what N.O.M.A is about. I then decided to go on a second visit and take further photos around the site in hope I would find something I would want to base my work off. When I looked back at the photos, I noticed a lot of lines within the patterns in the buildings and structure all around the site. Which can also be seen as multiple boundaries. This is something subconsciously I was drawn to.


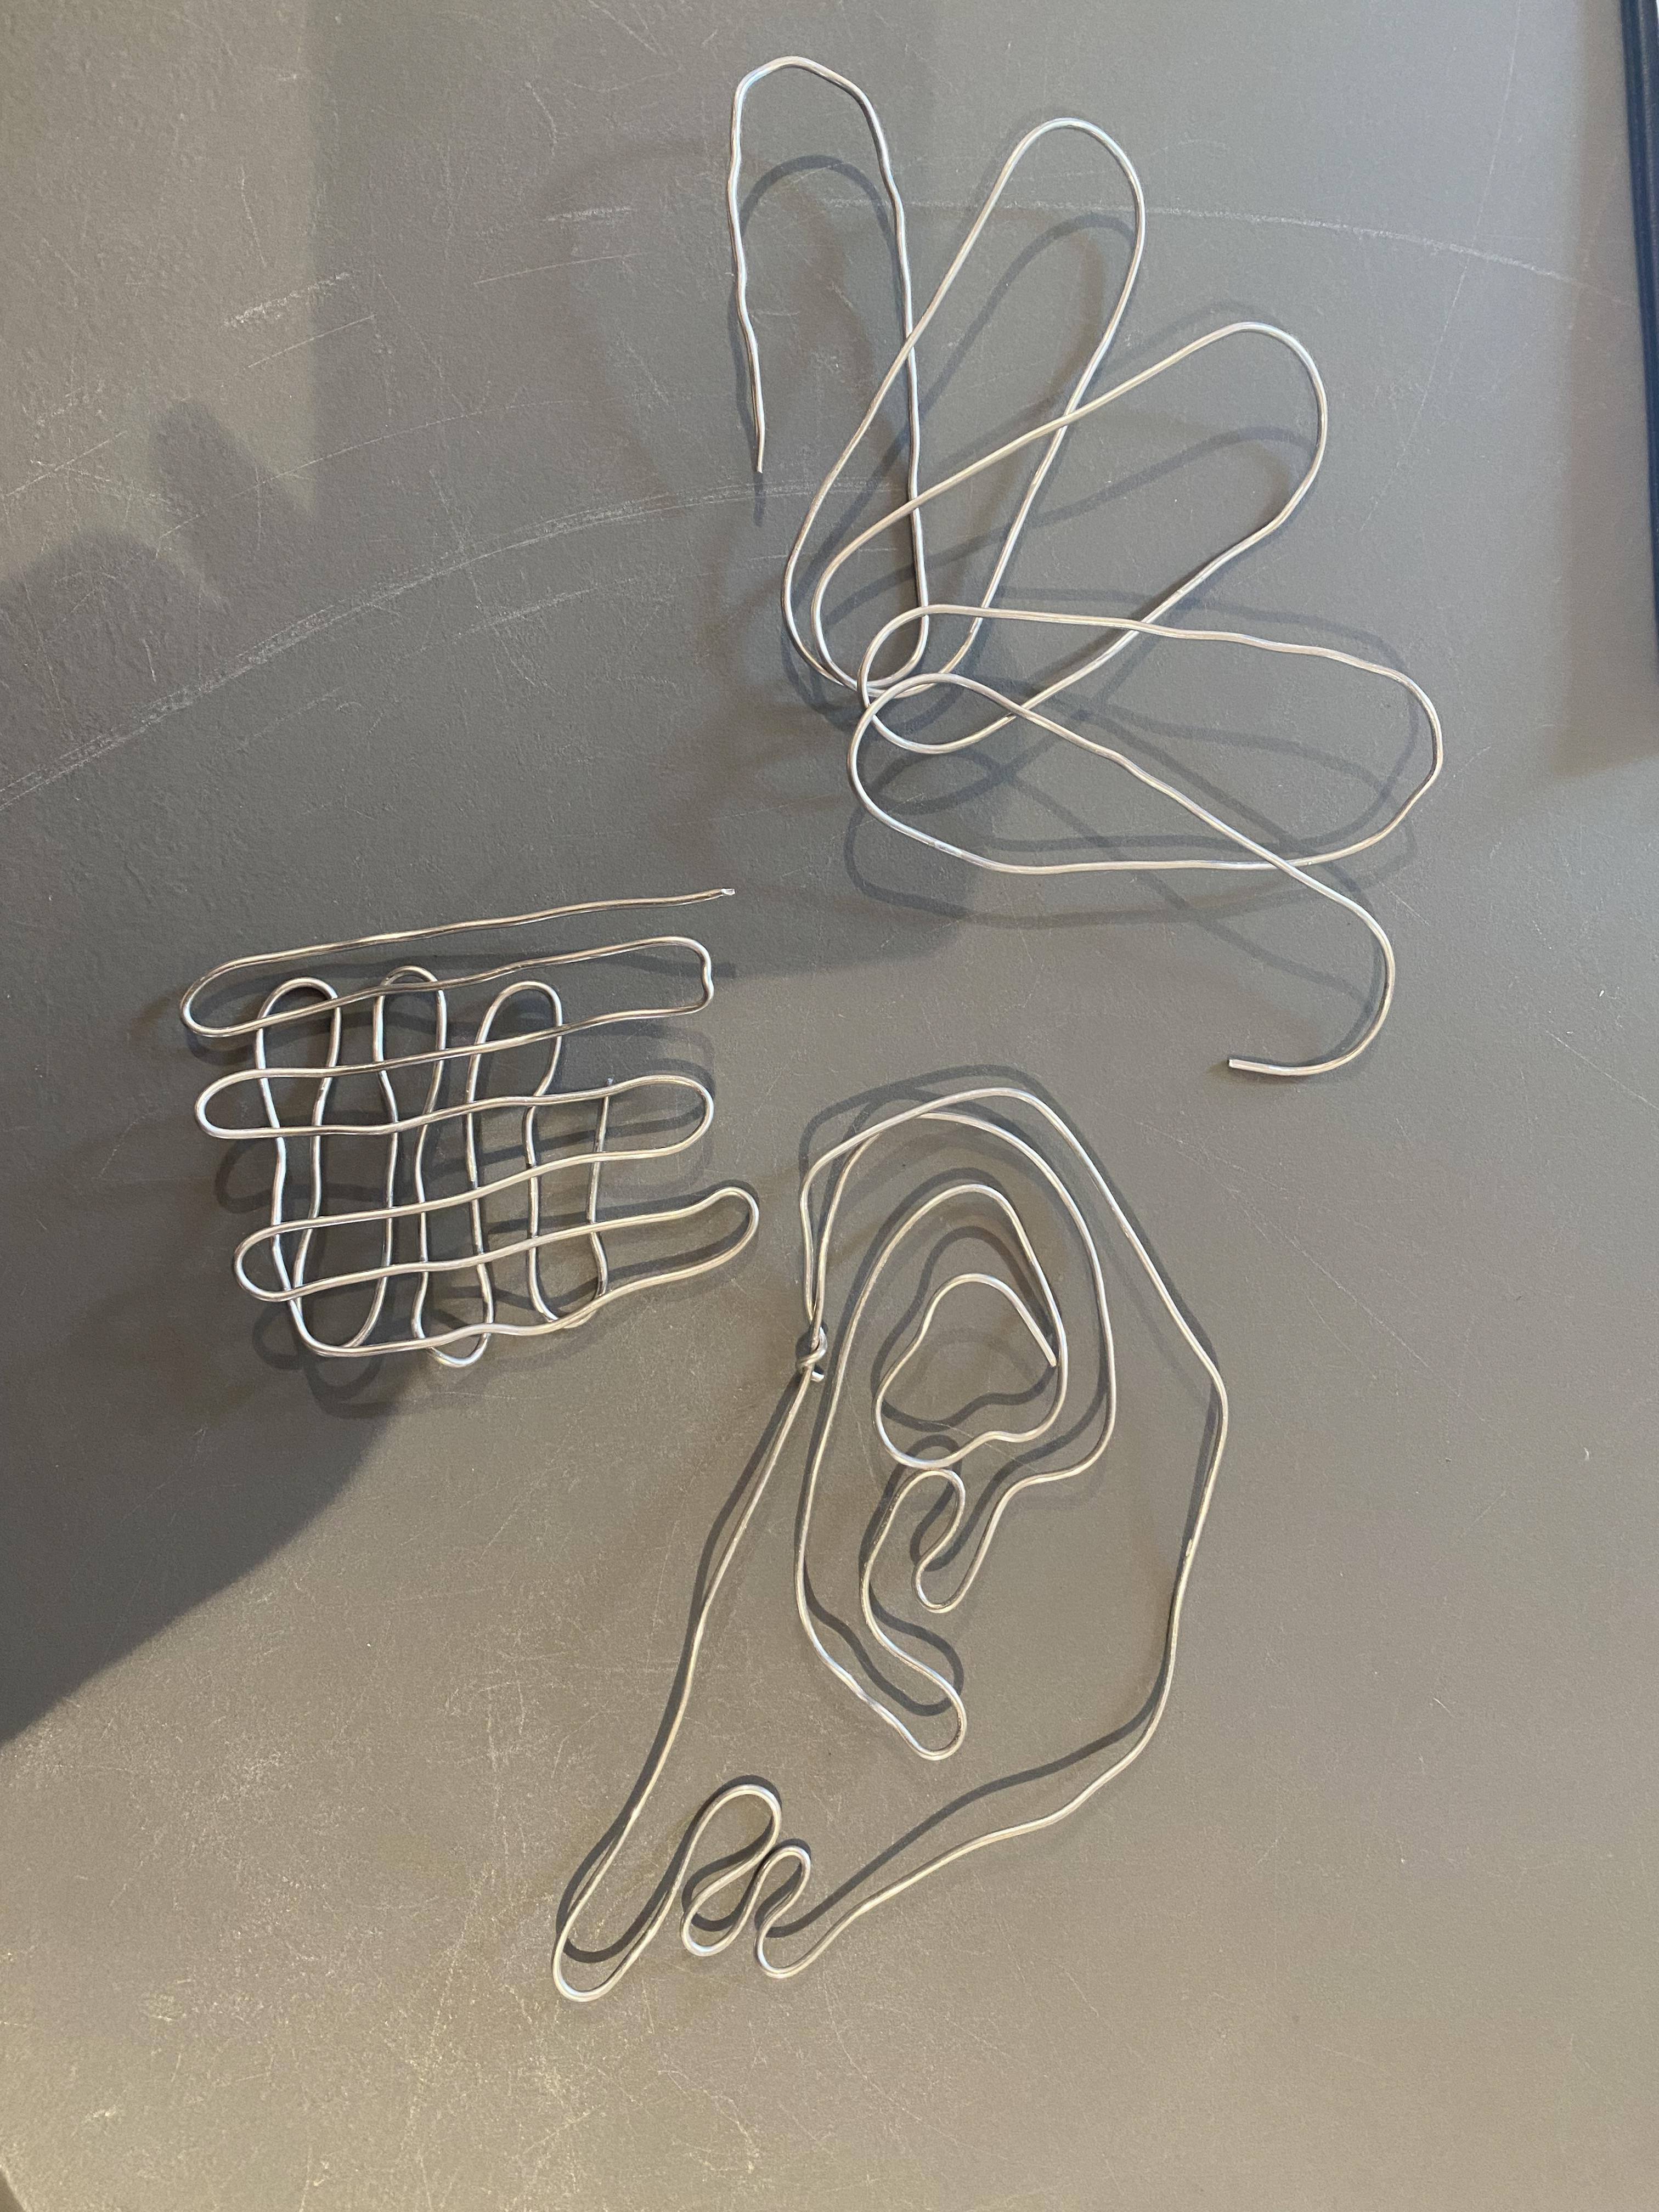
Sketches I drew around Castlefield Viaduct.
Collaborative studio tasks
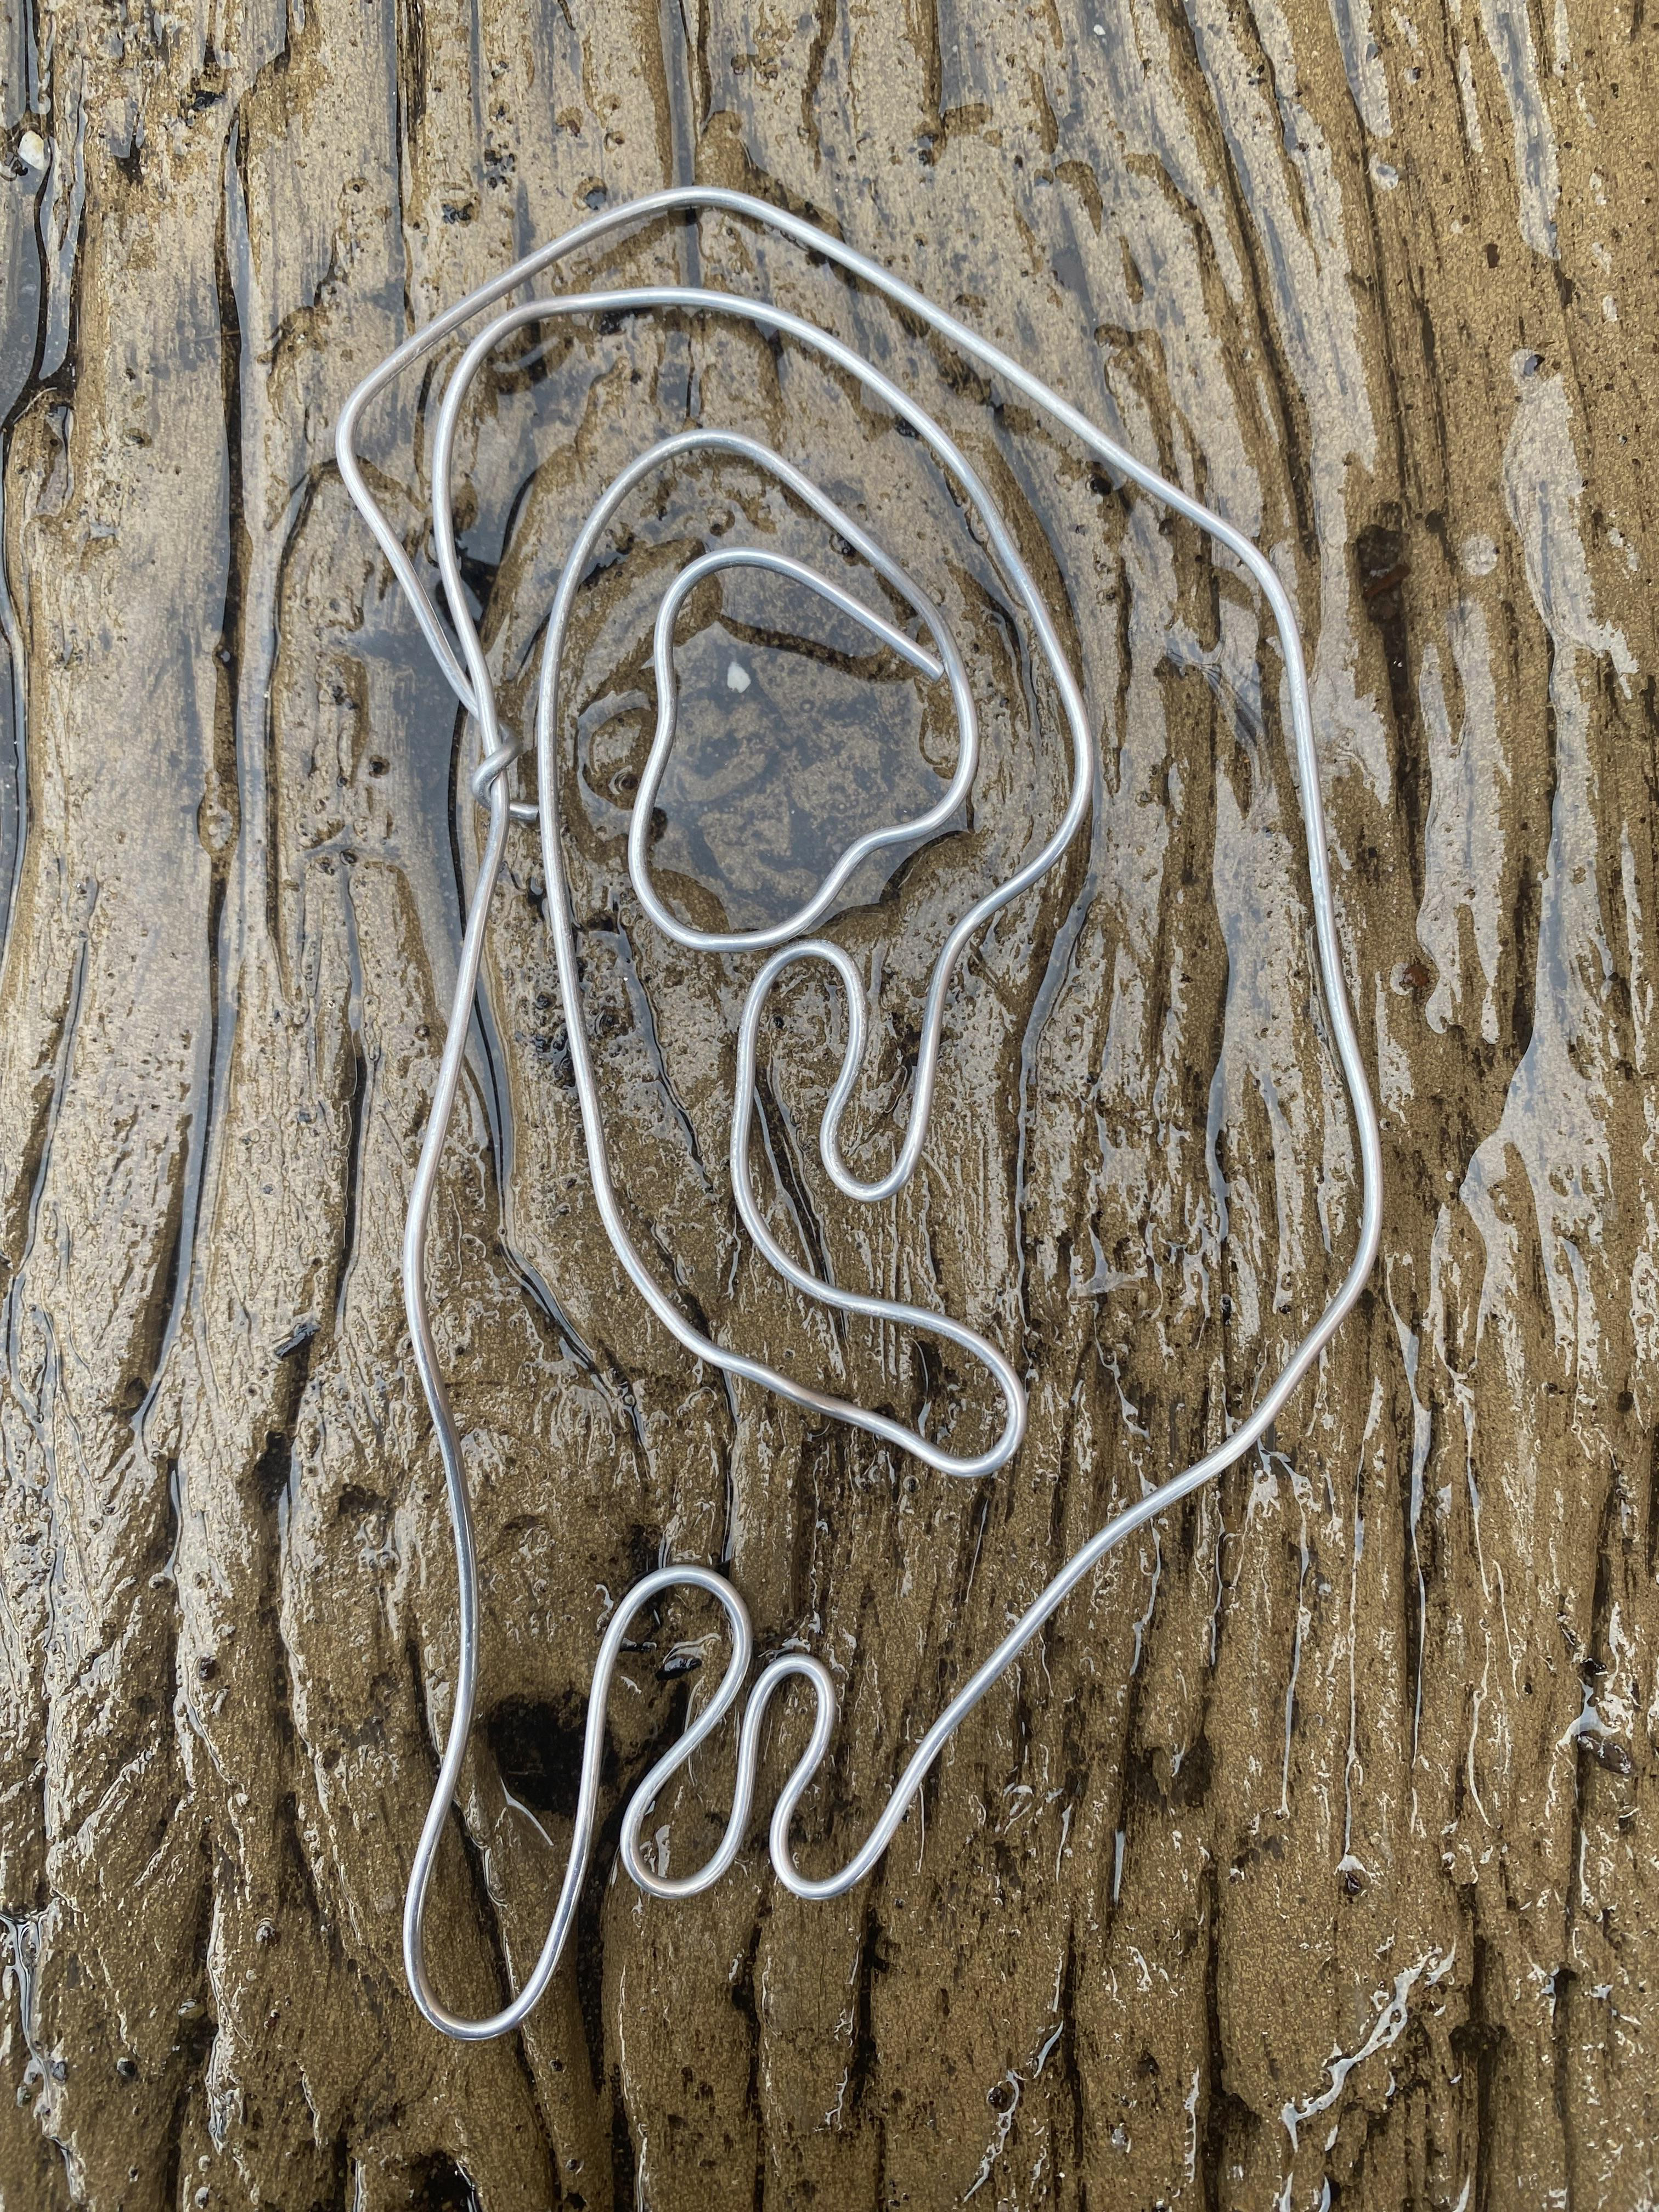
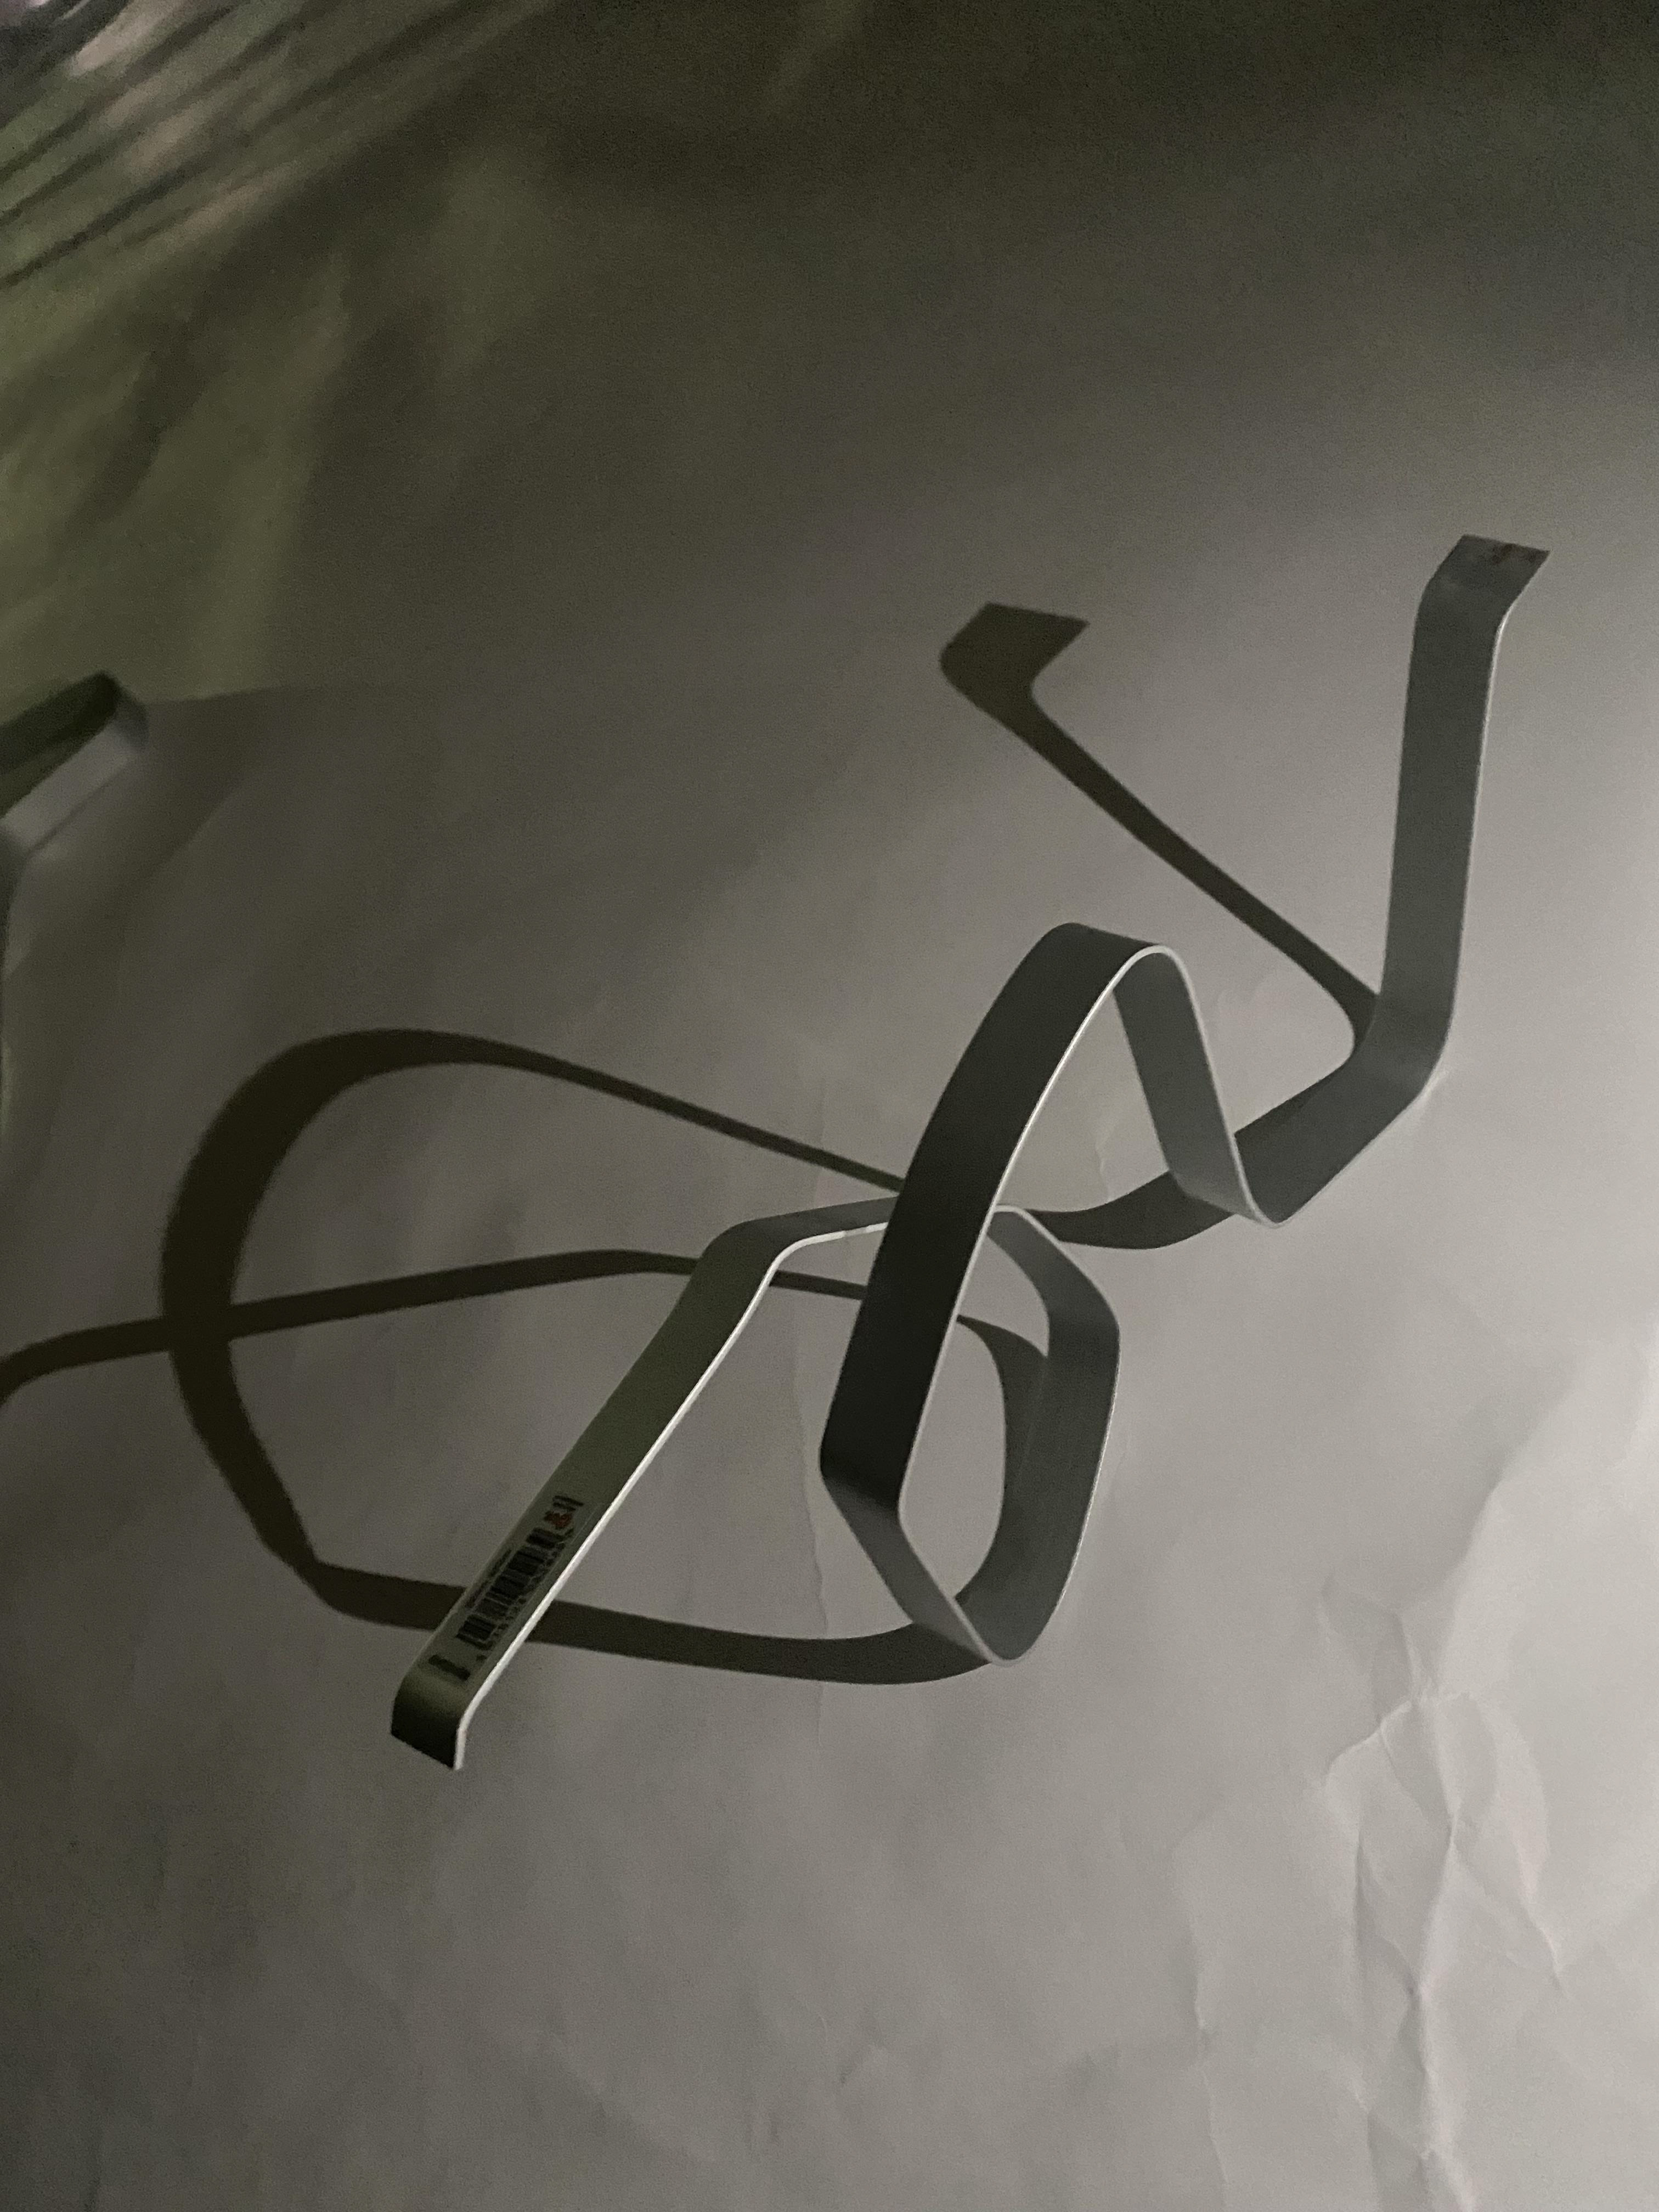
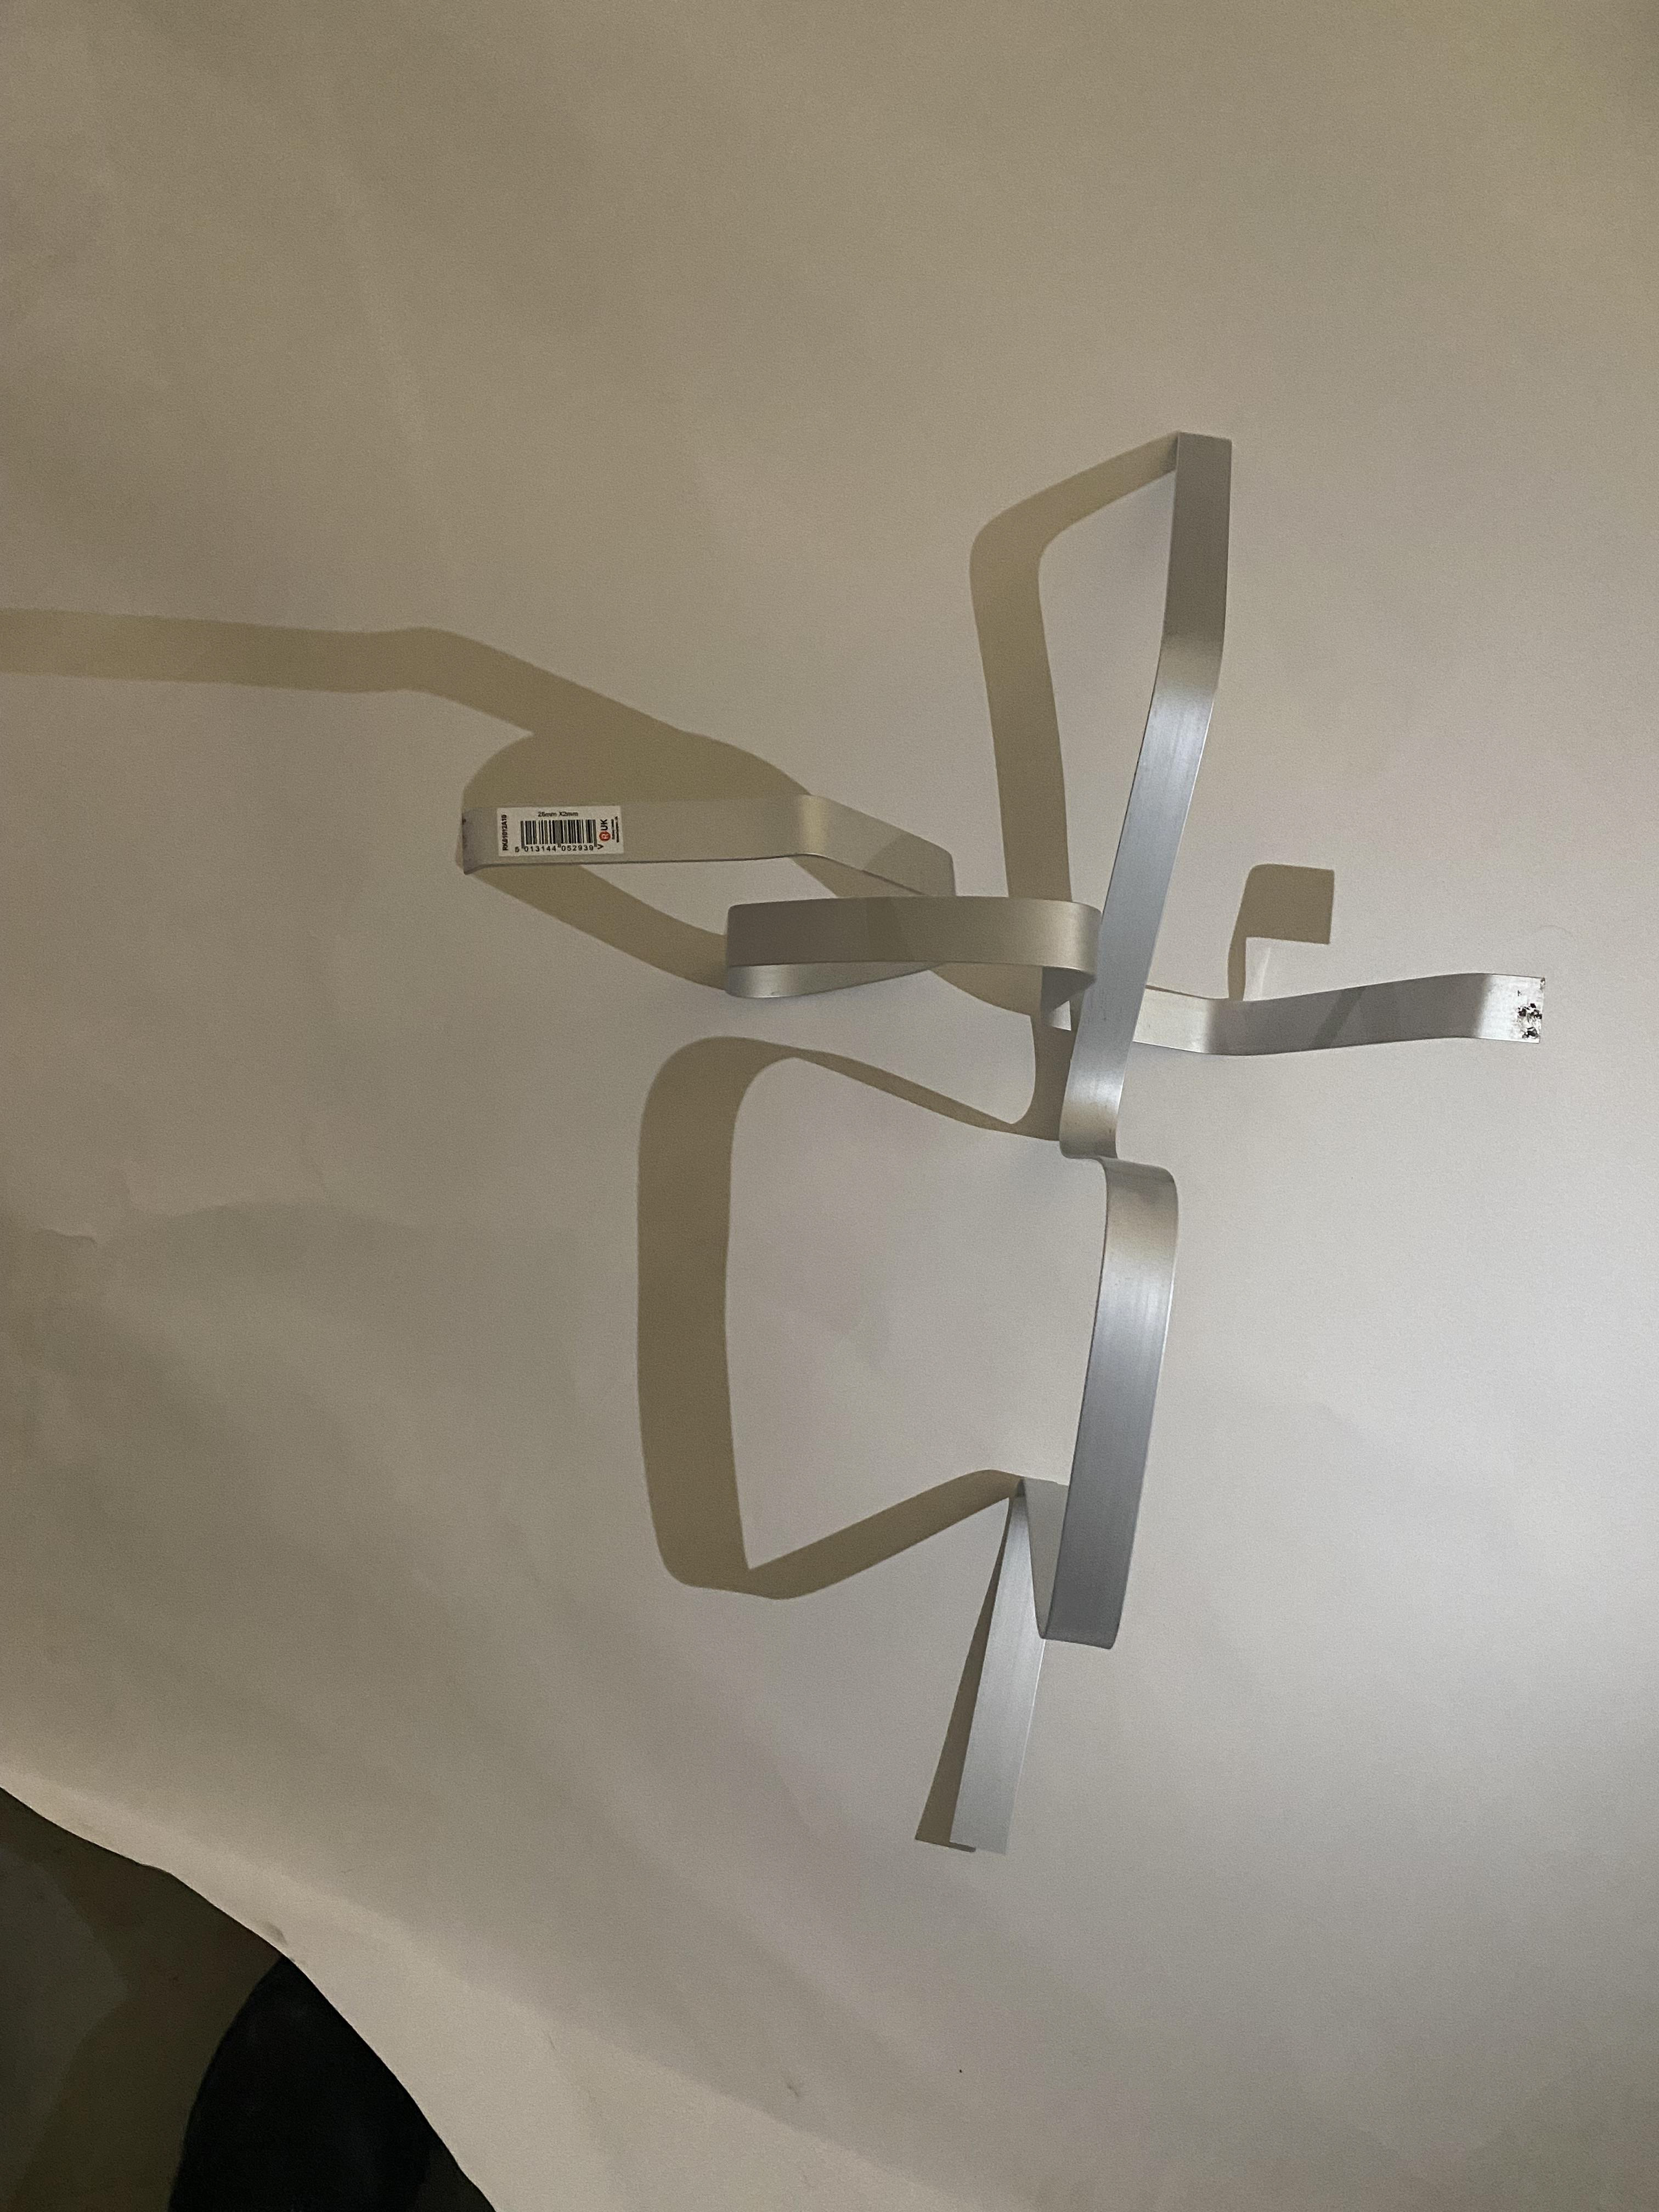
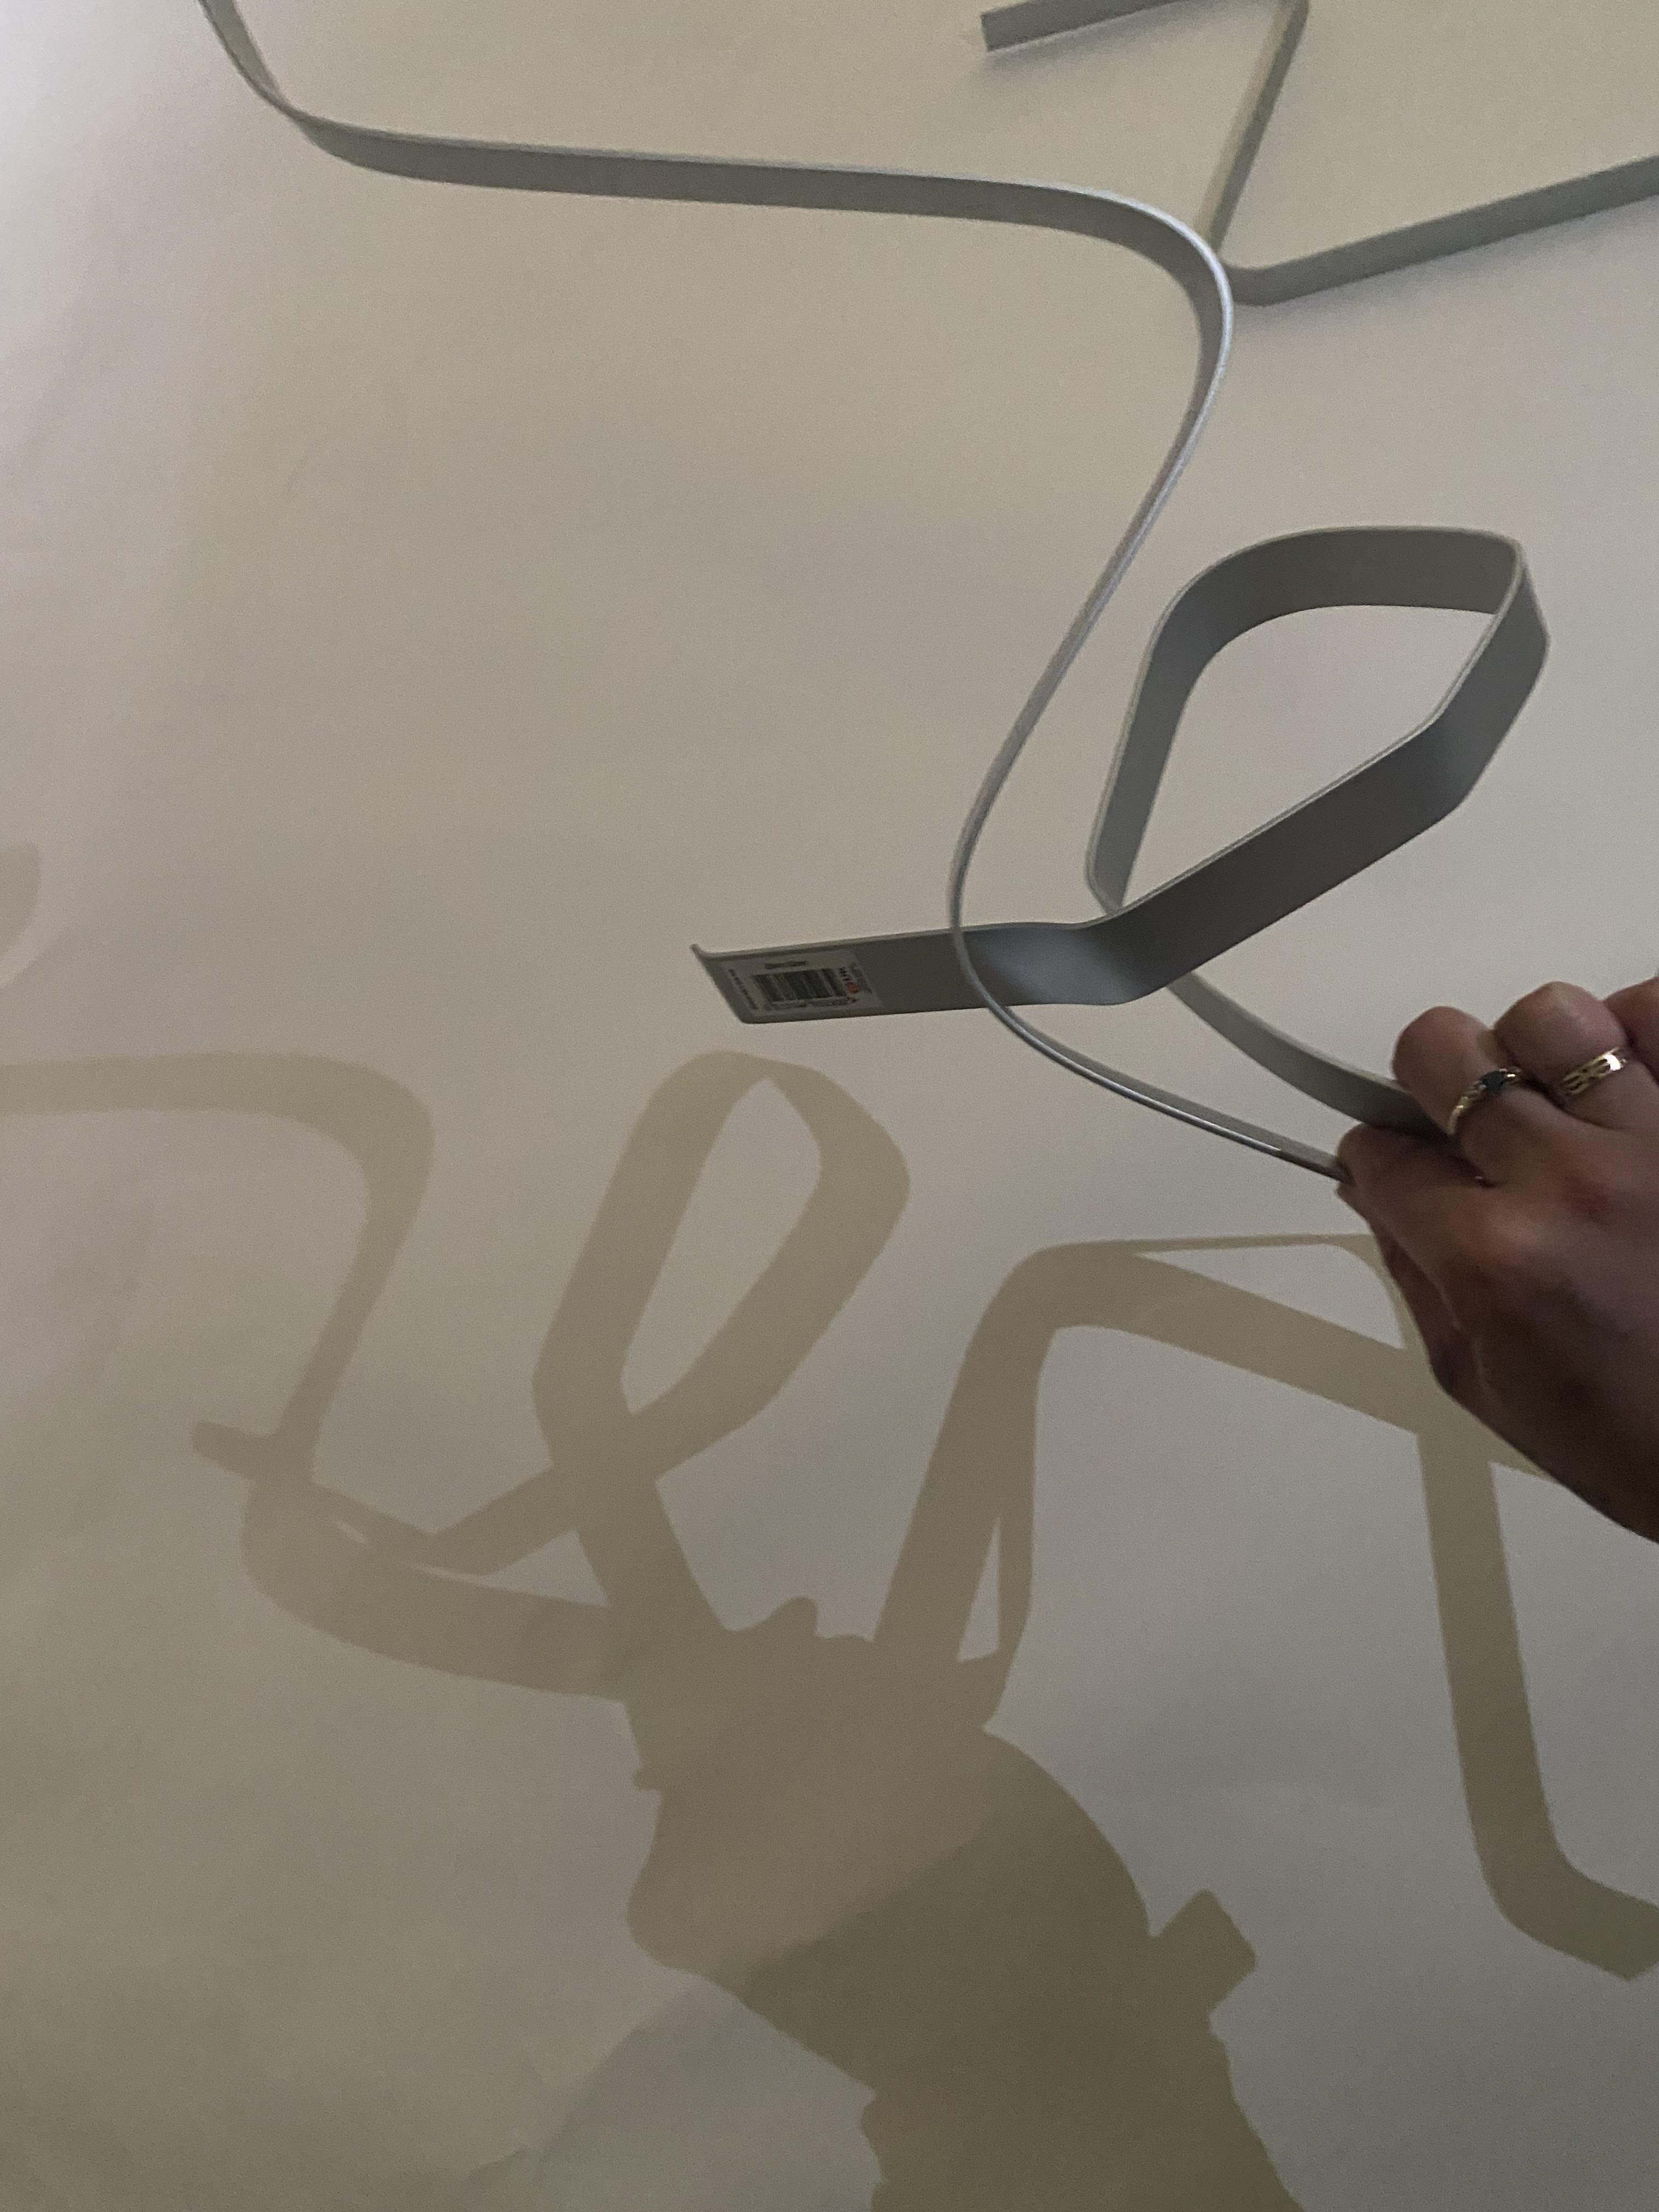
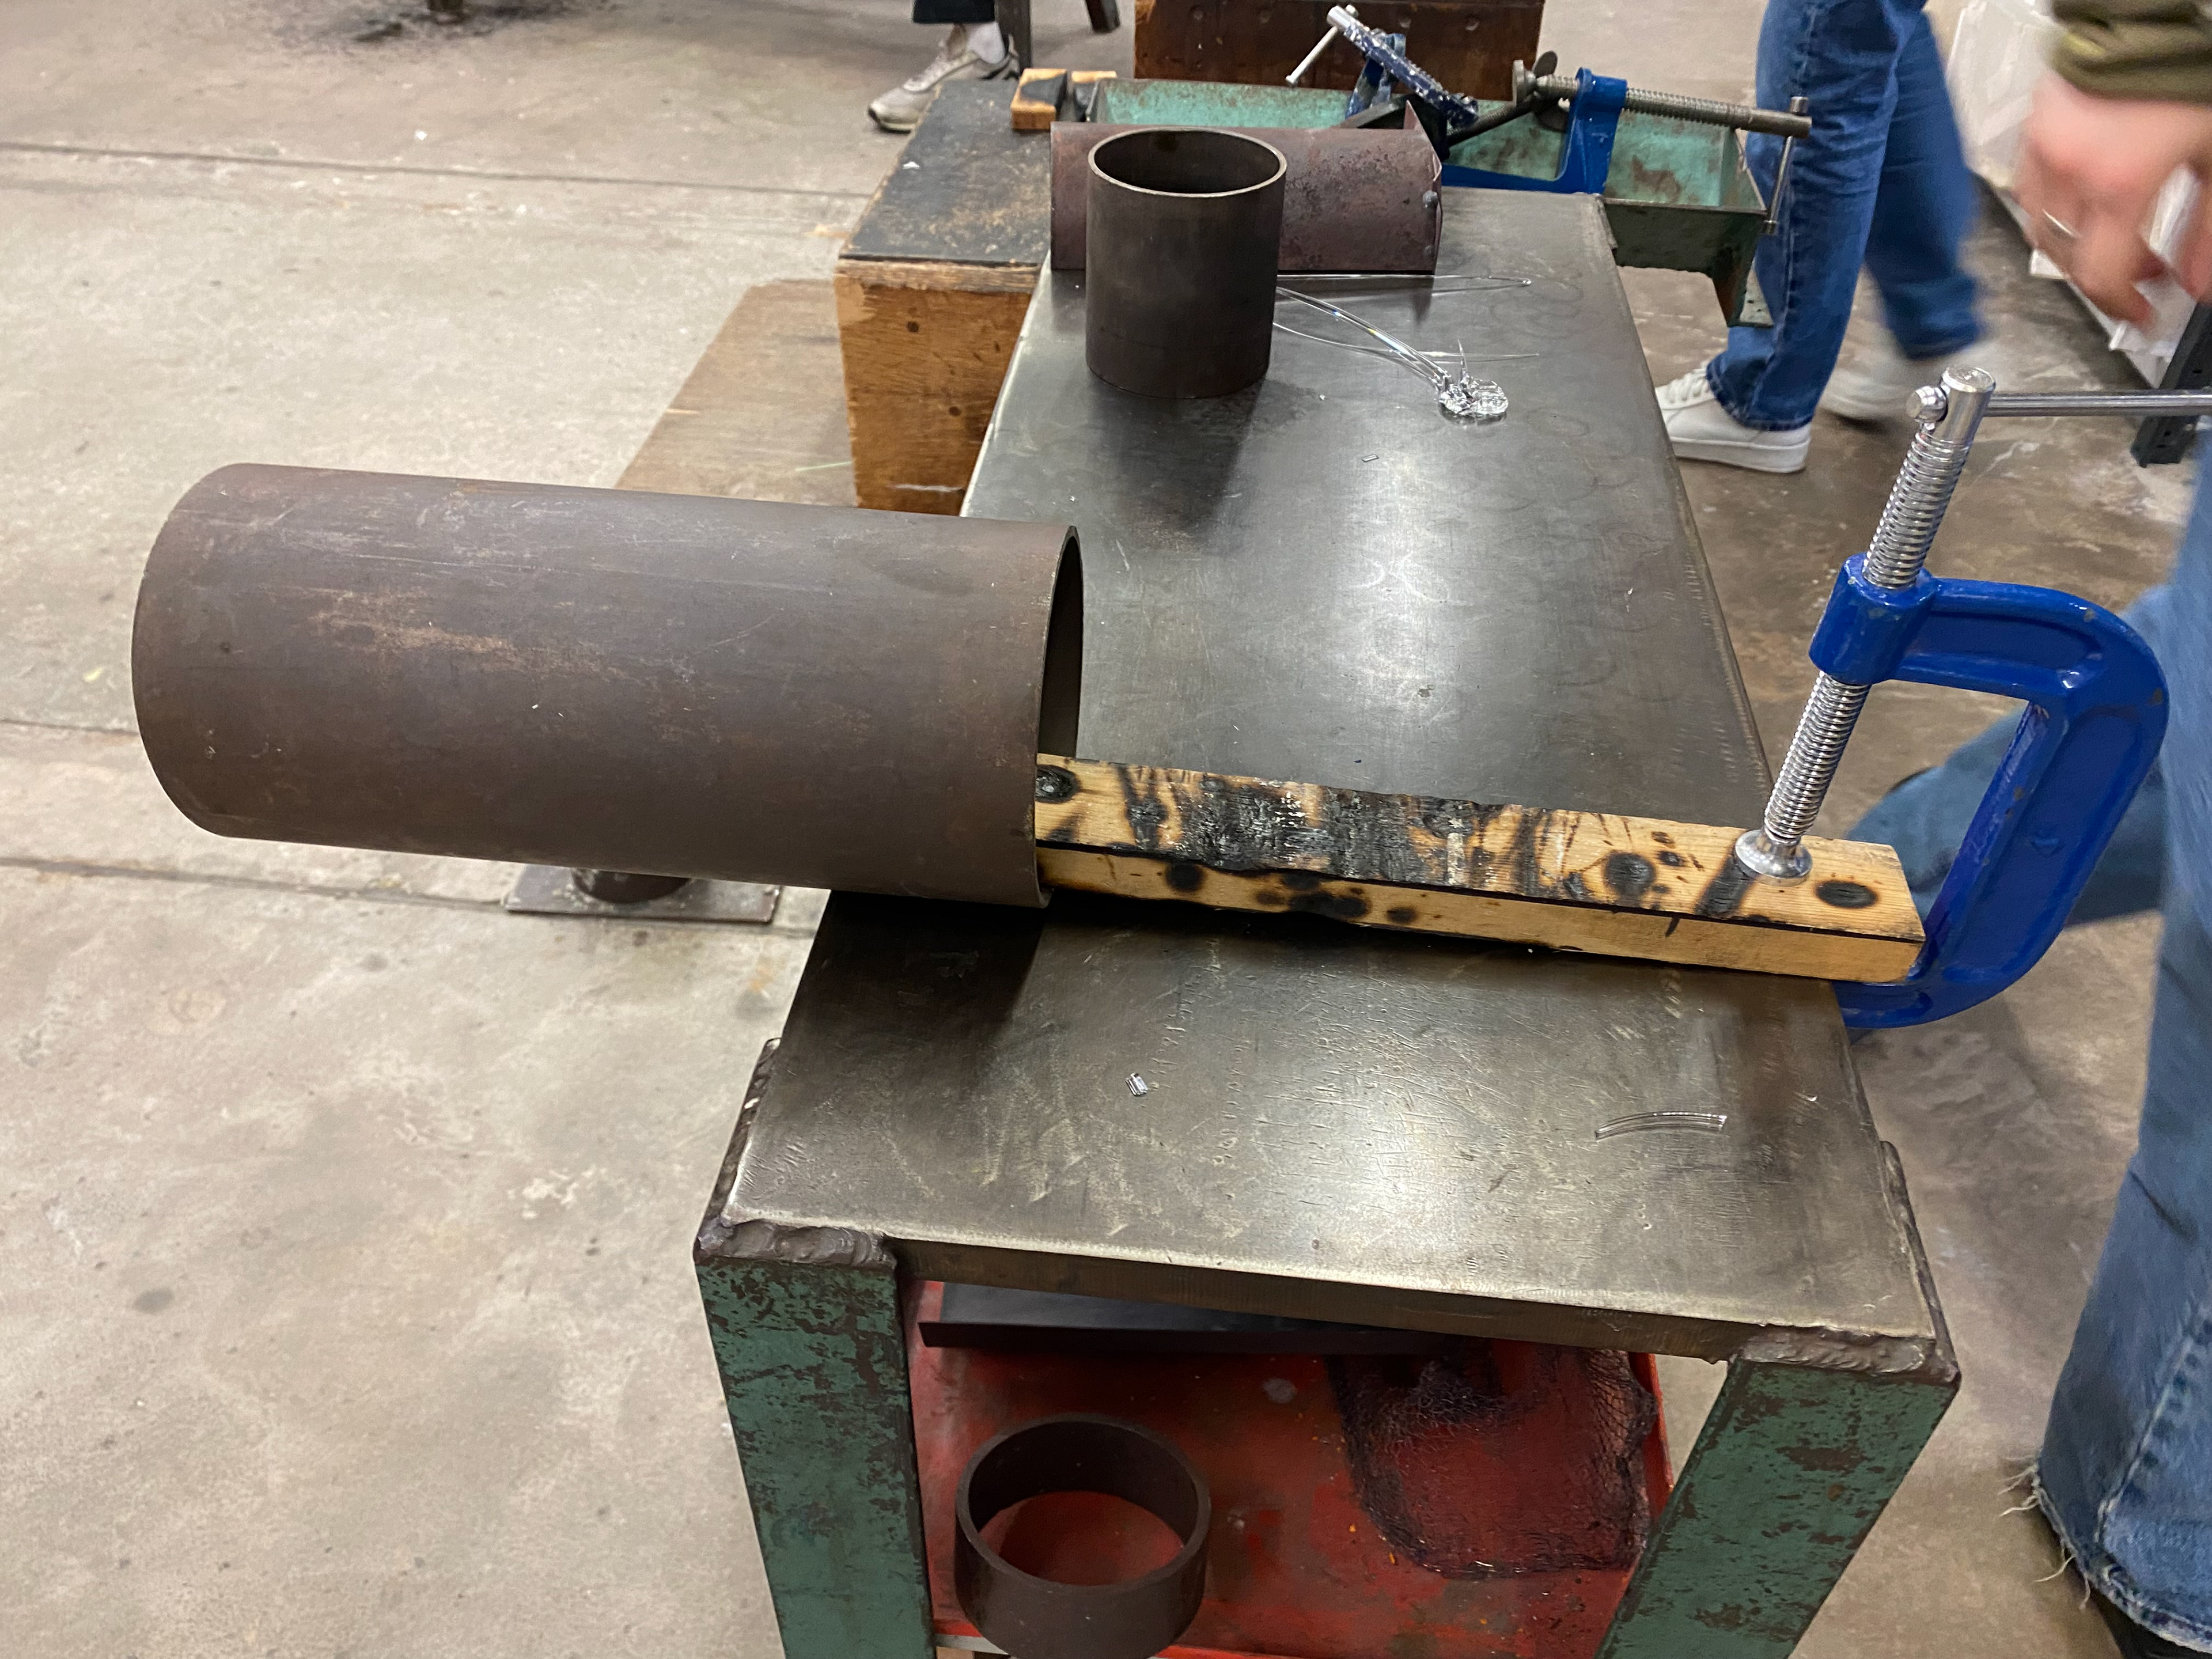
When visiting N.O.M.A we were set a task using a metre long flat strip of Aluminium. The task was to bend/fold this around the infrastructure and retrieve information to use in the afternoon session.
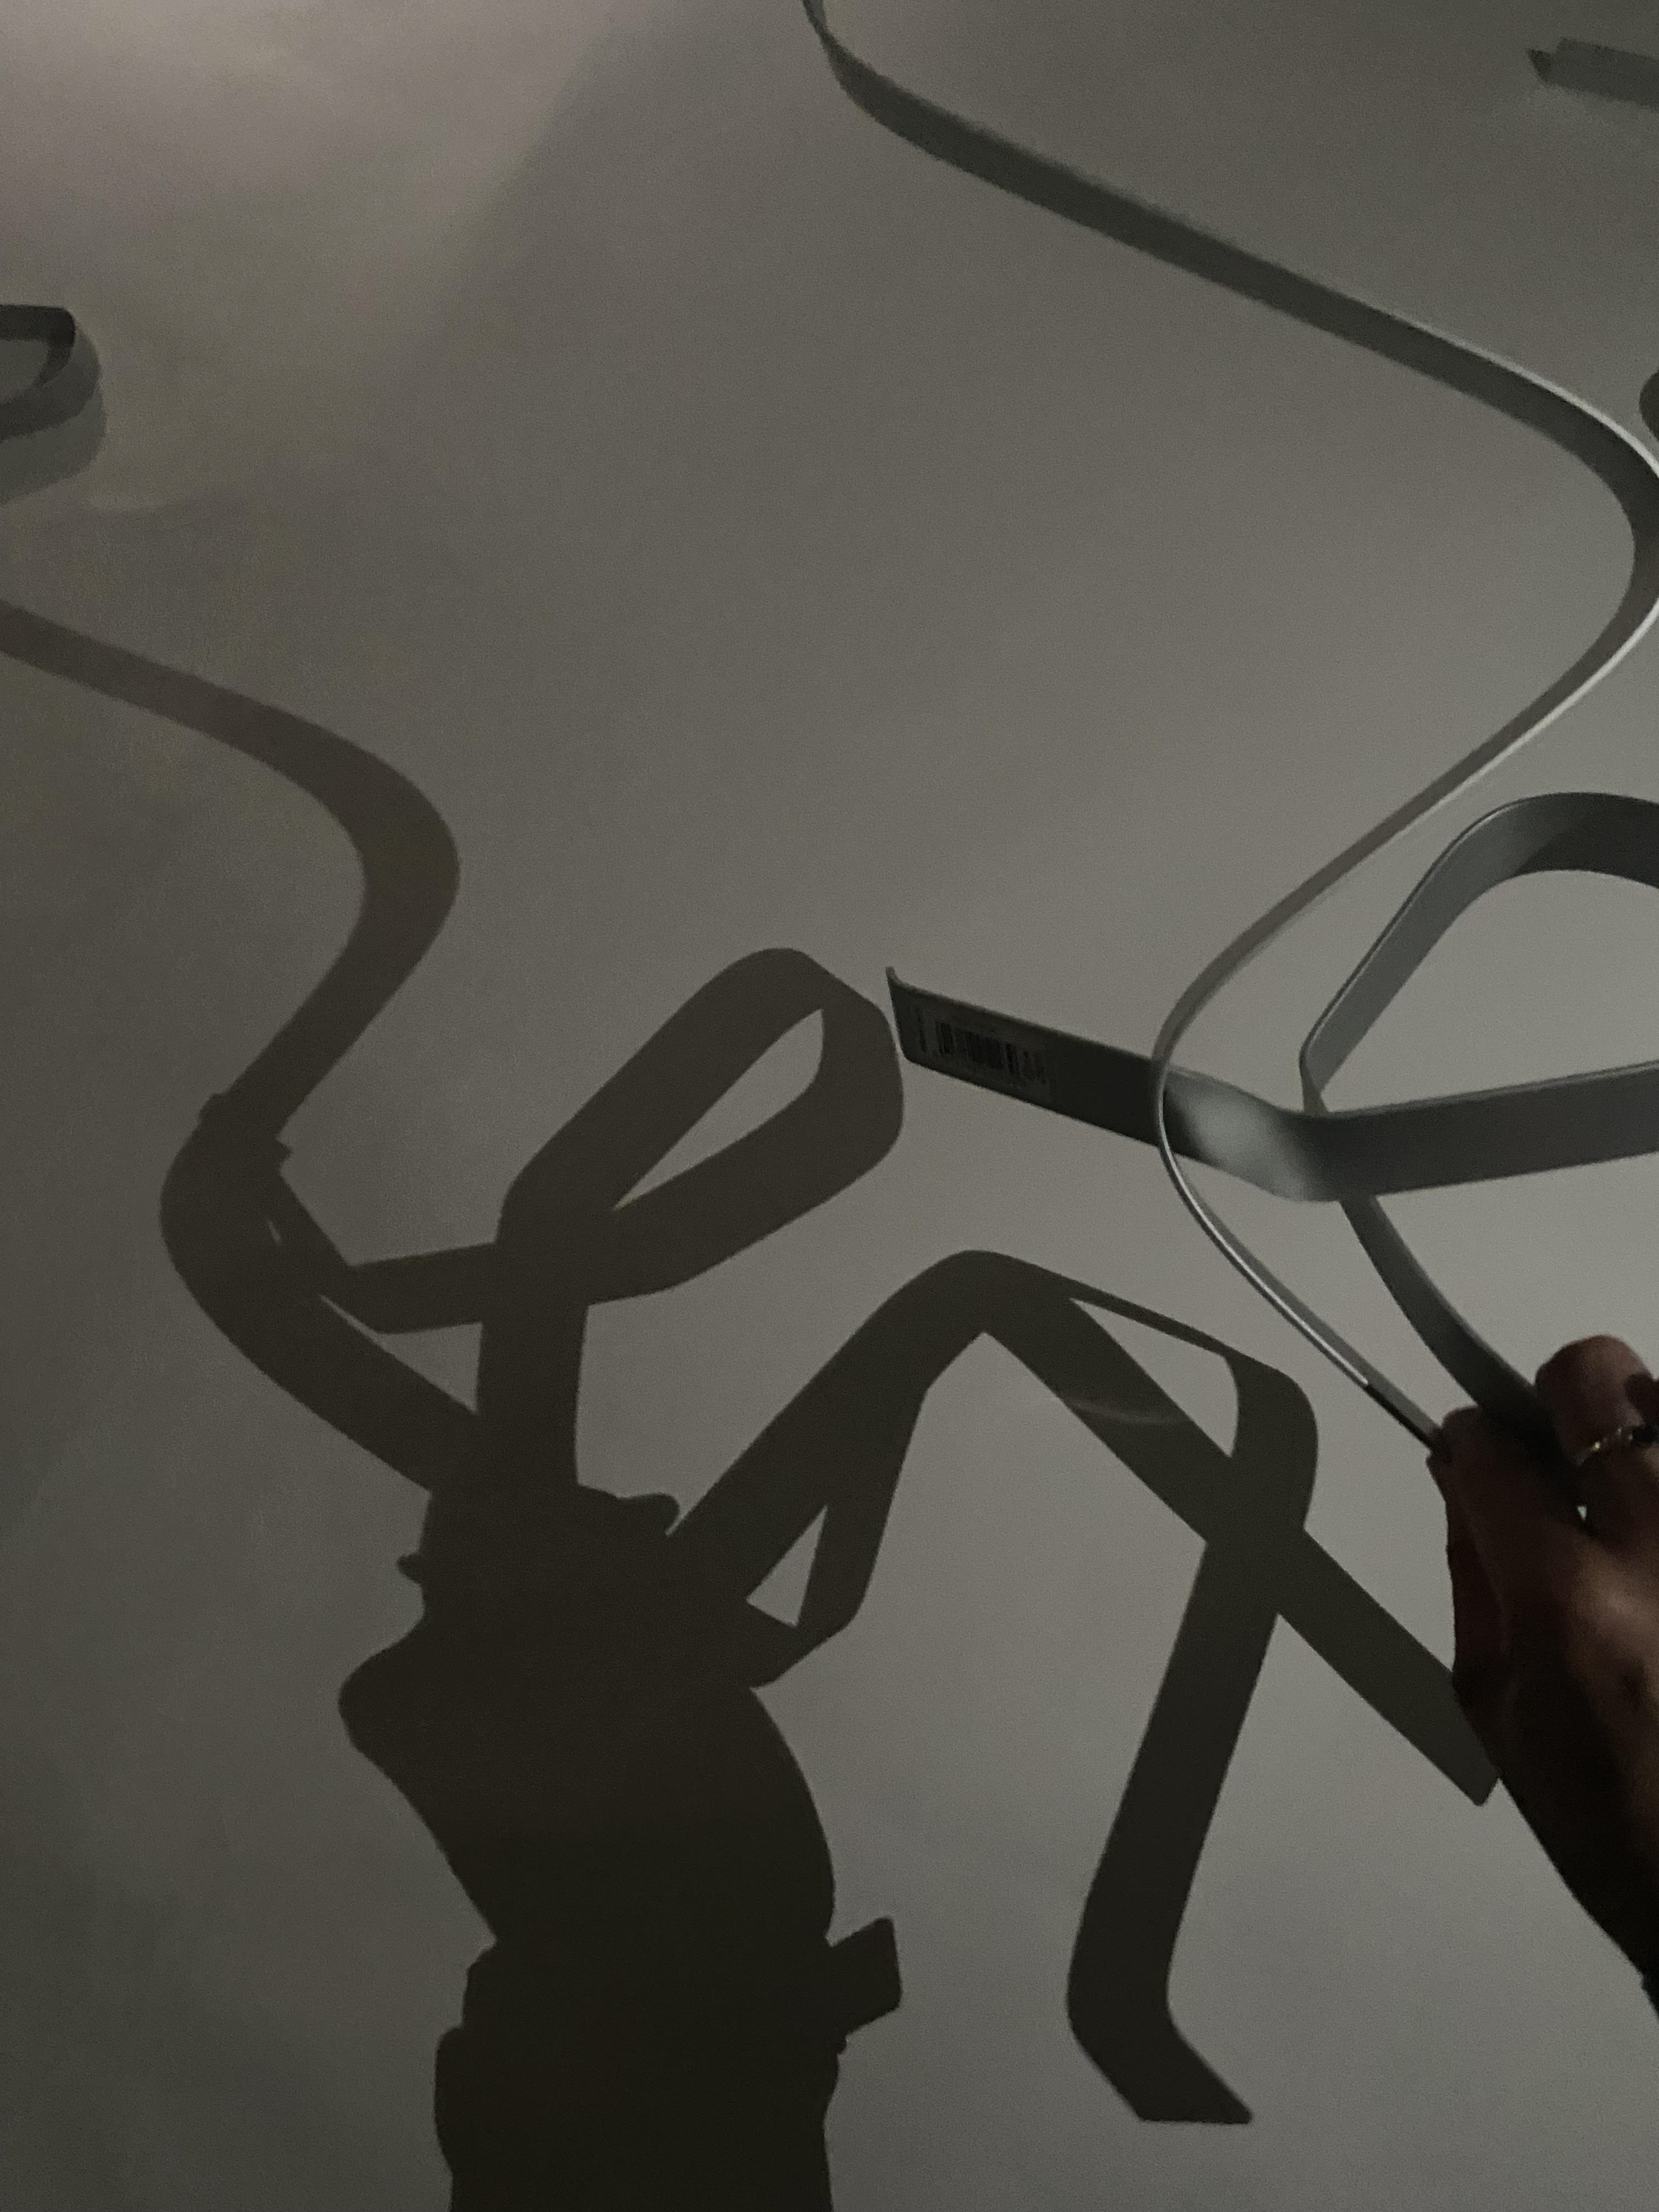
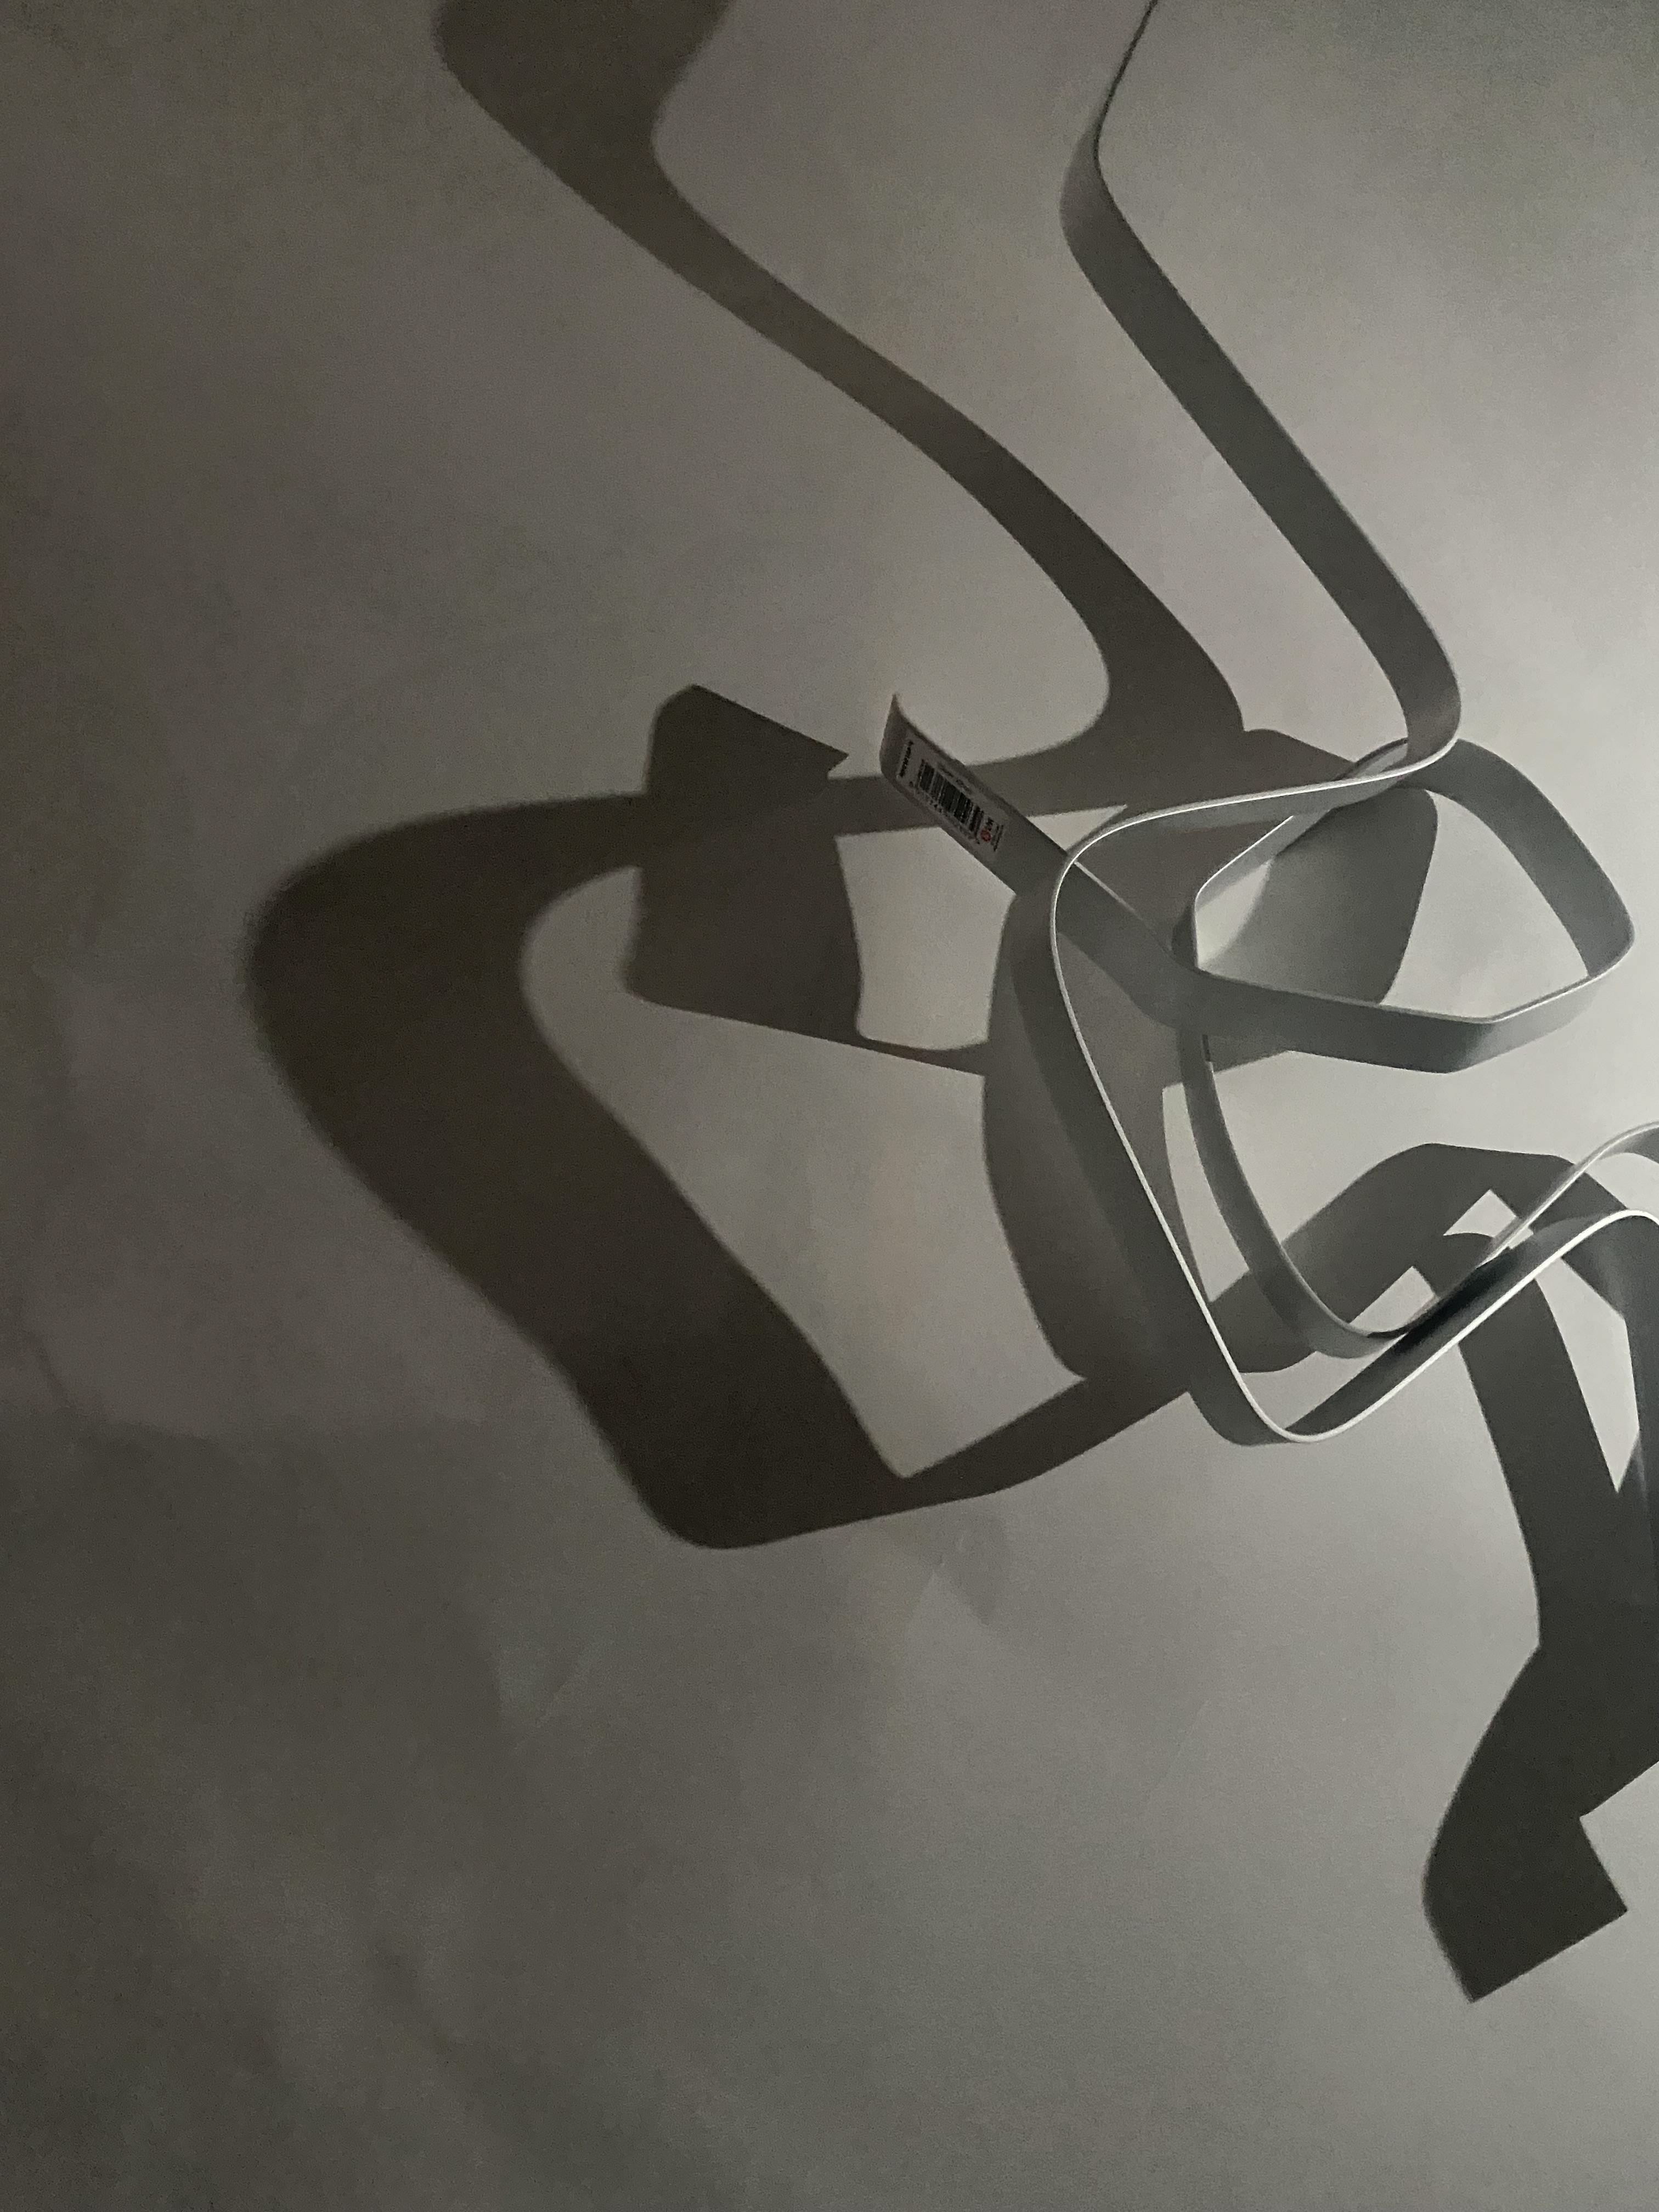
Below are photos taken from the session where we played with light and shadows on a big piece of paper, using the torches on our phones to create the shadows. I enjoyed this task and valued the lines and forms created within the shadows. We then took this one step further using a light box and projecting the shadows onto the white walls of the studio. This was a collaborative task as we combined the different forms each person created with the aluminium strip to create the impressive larger shadows.
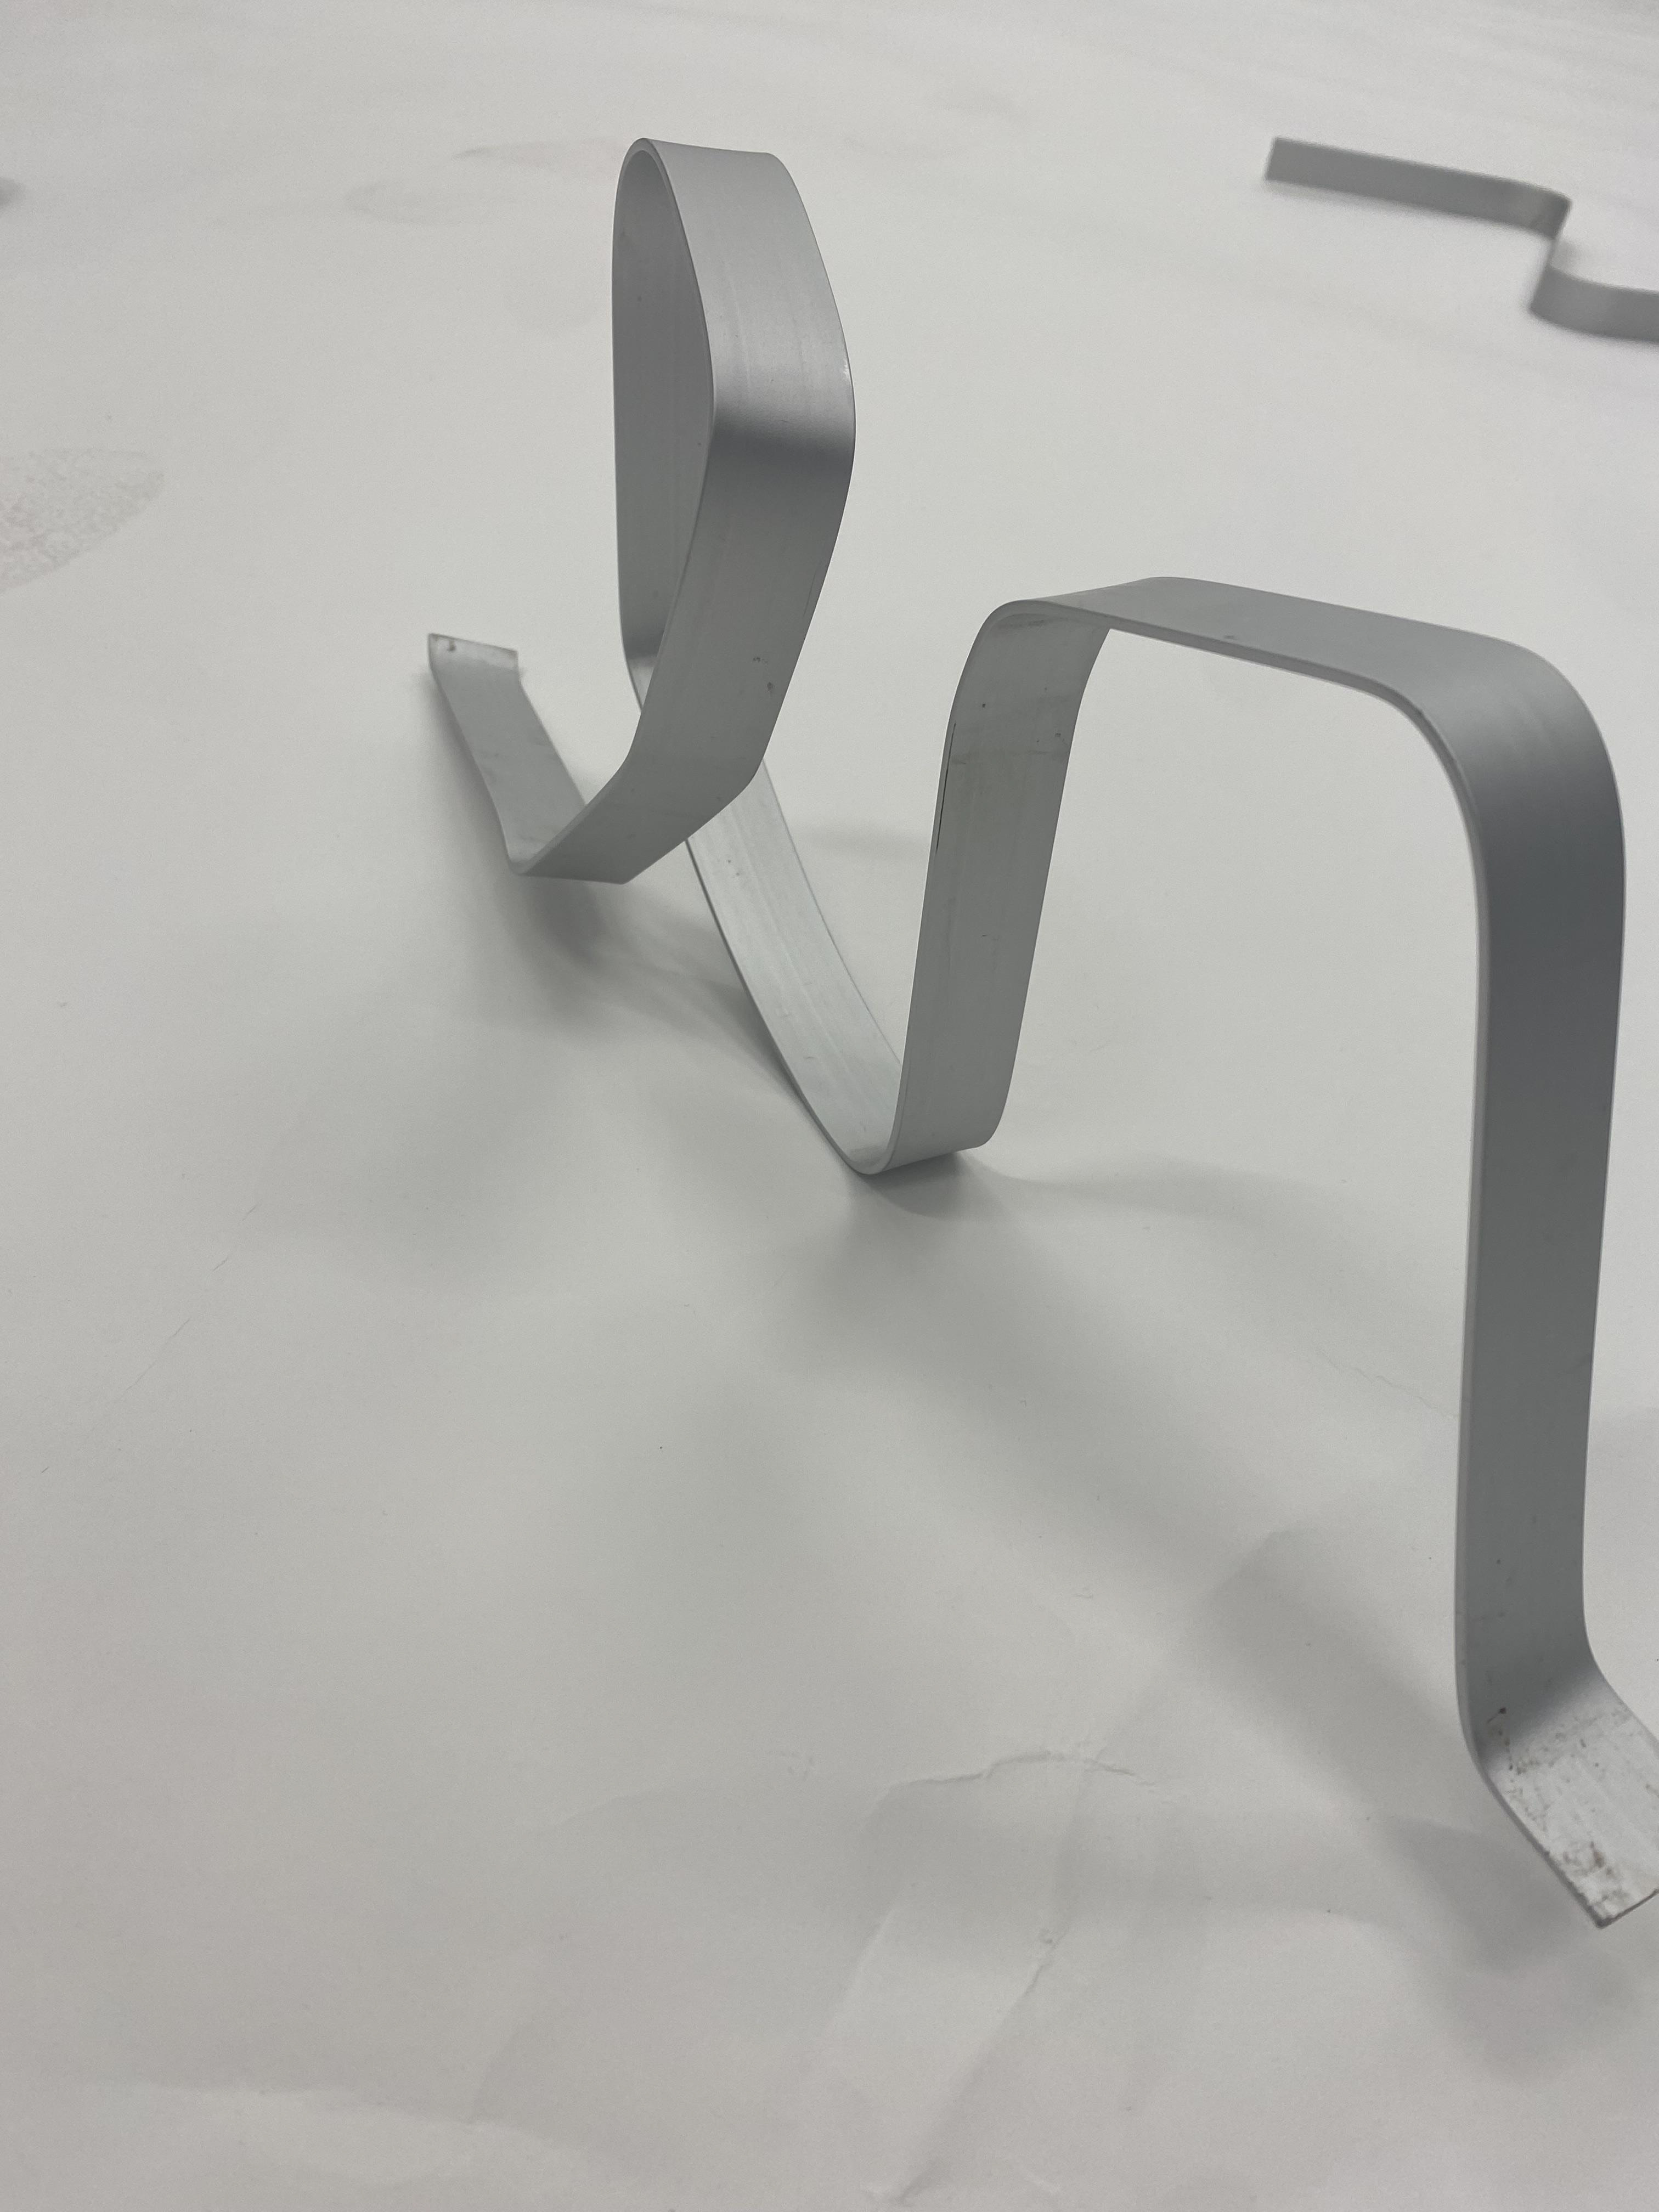
My aluminium strip

Using the light from torches on our phones to create smaller shadows
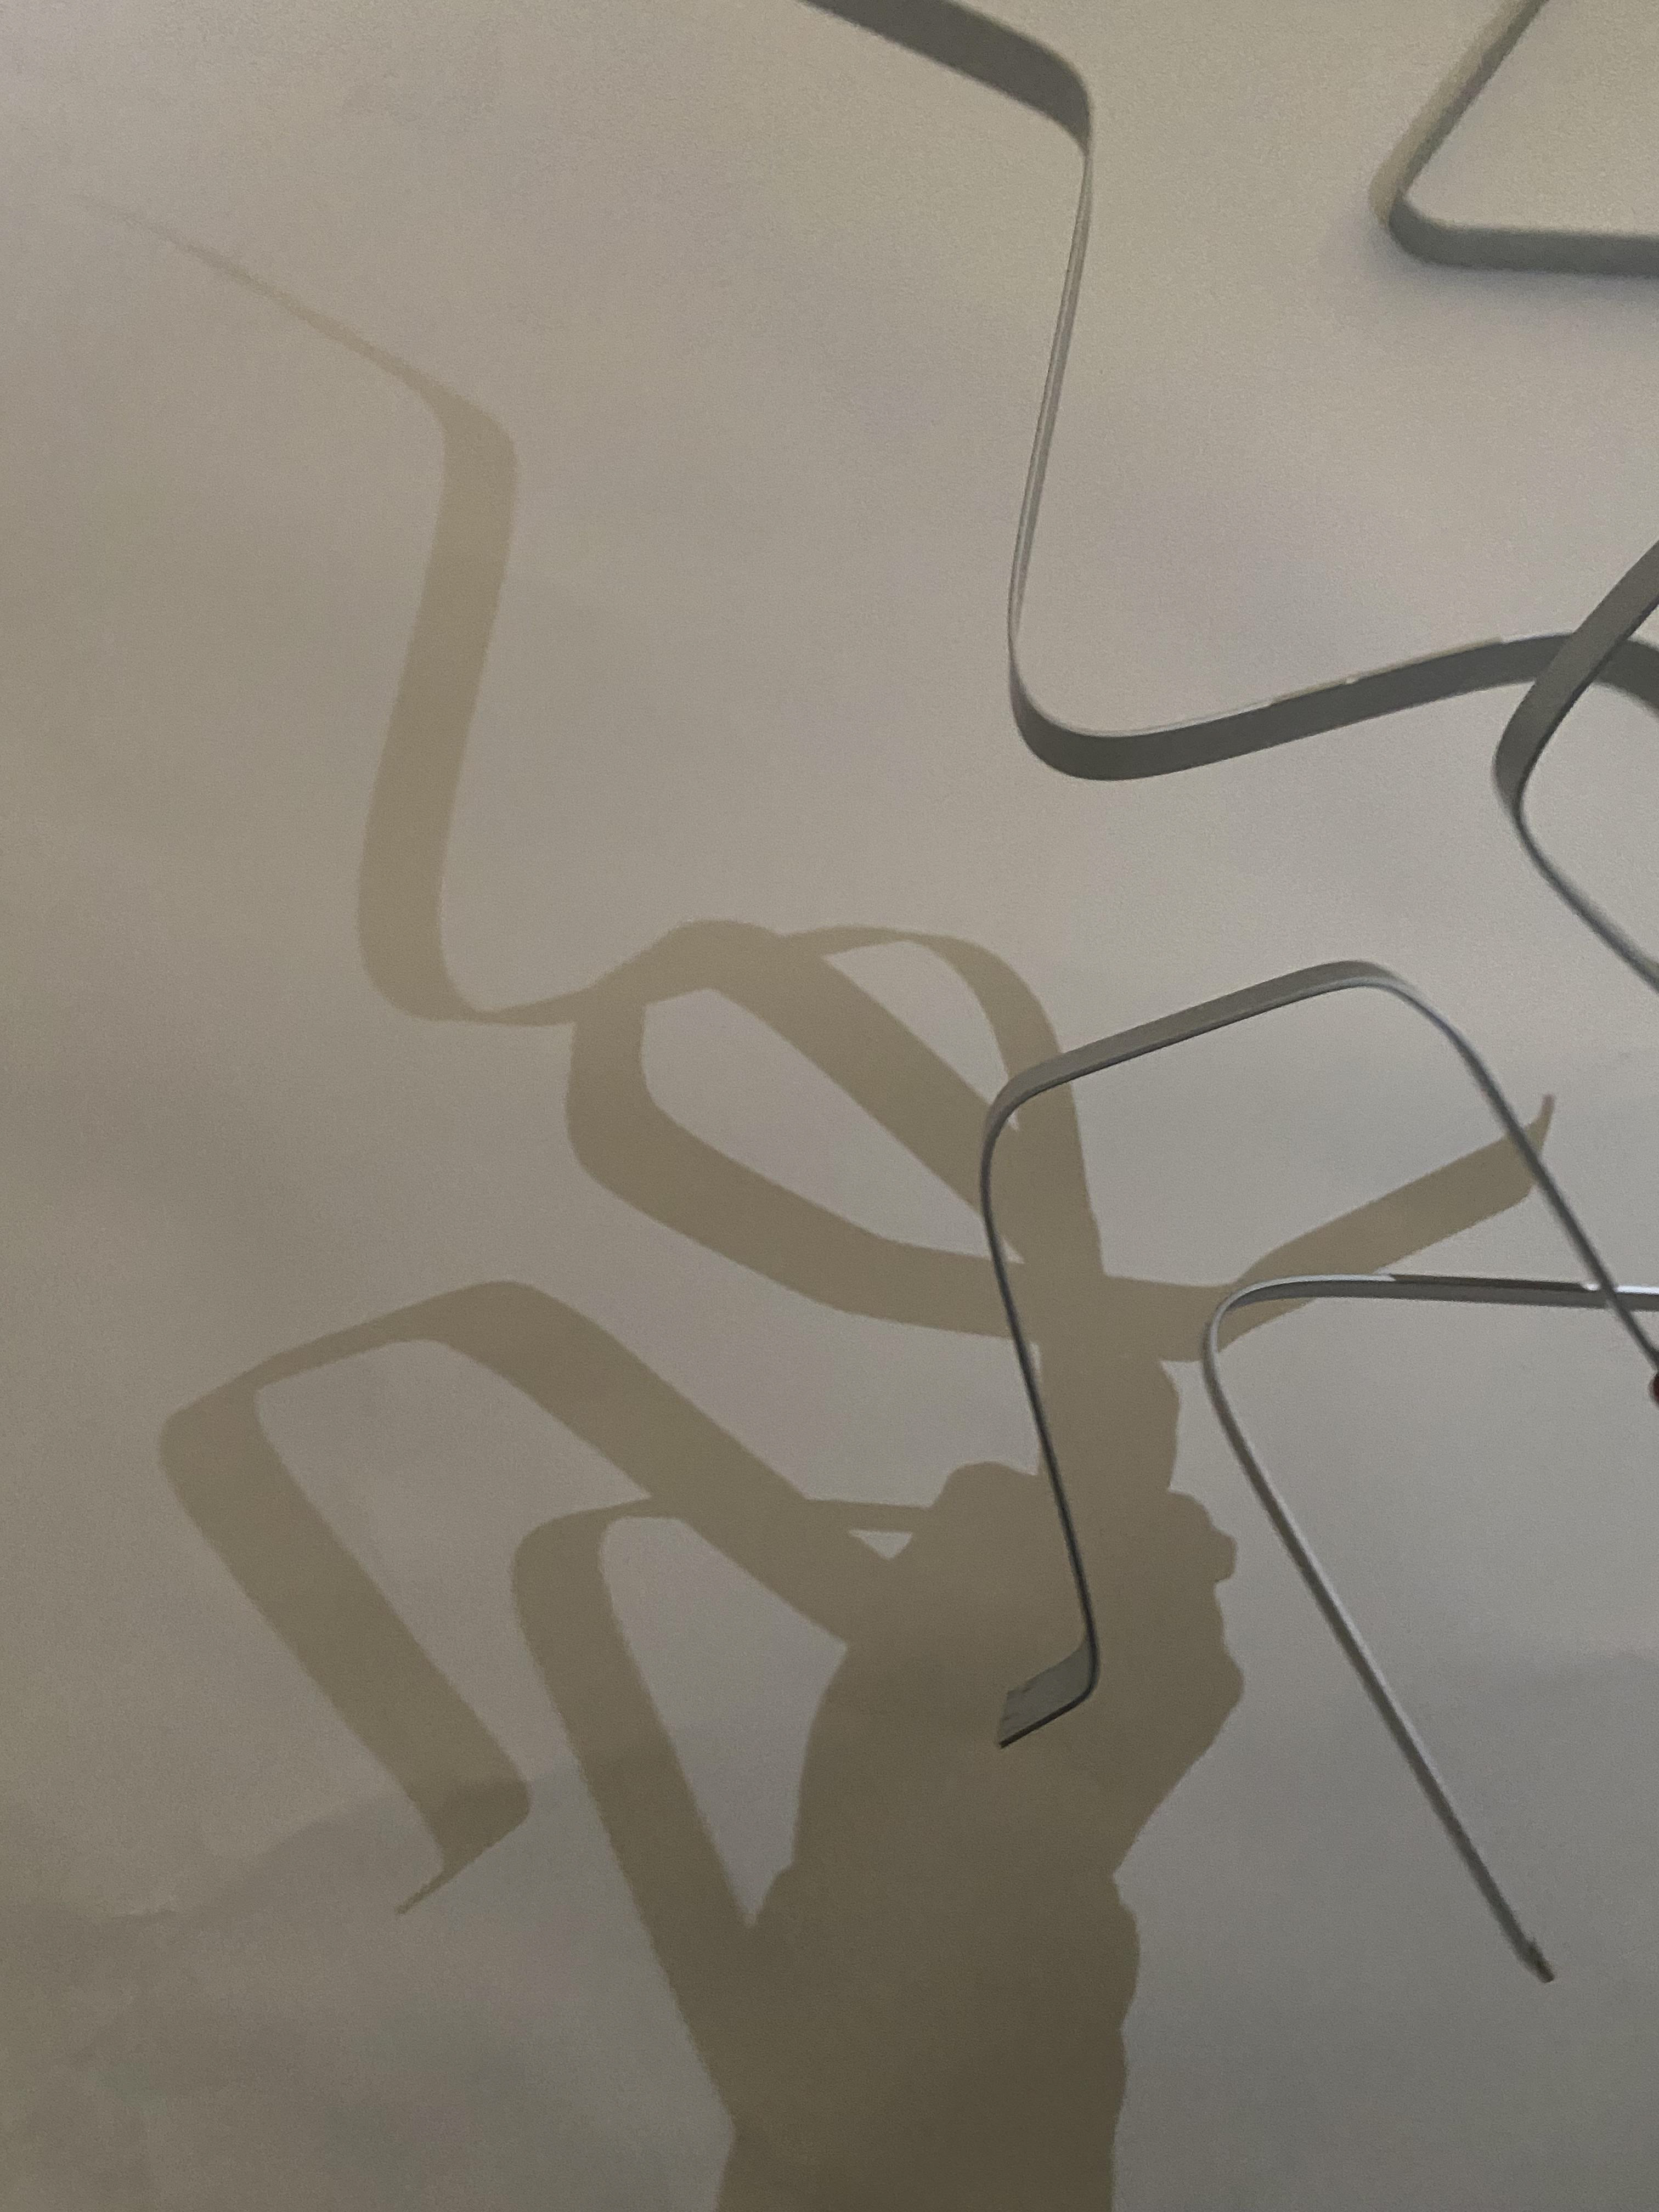
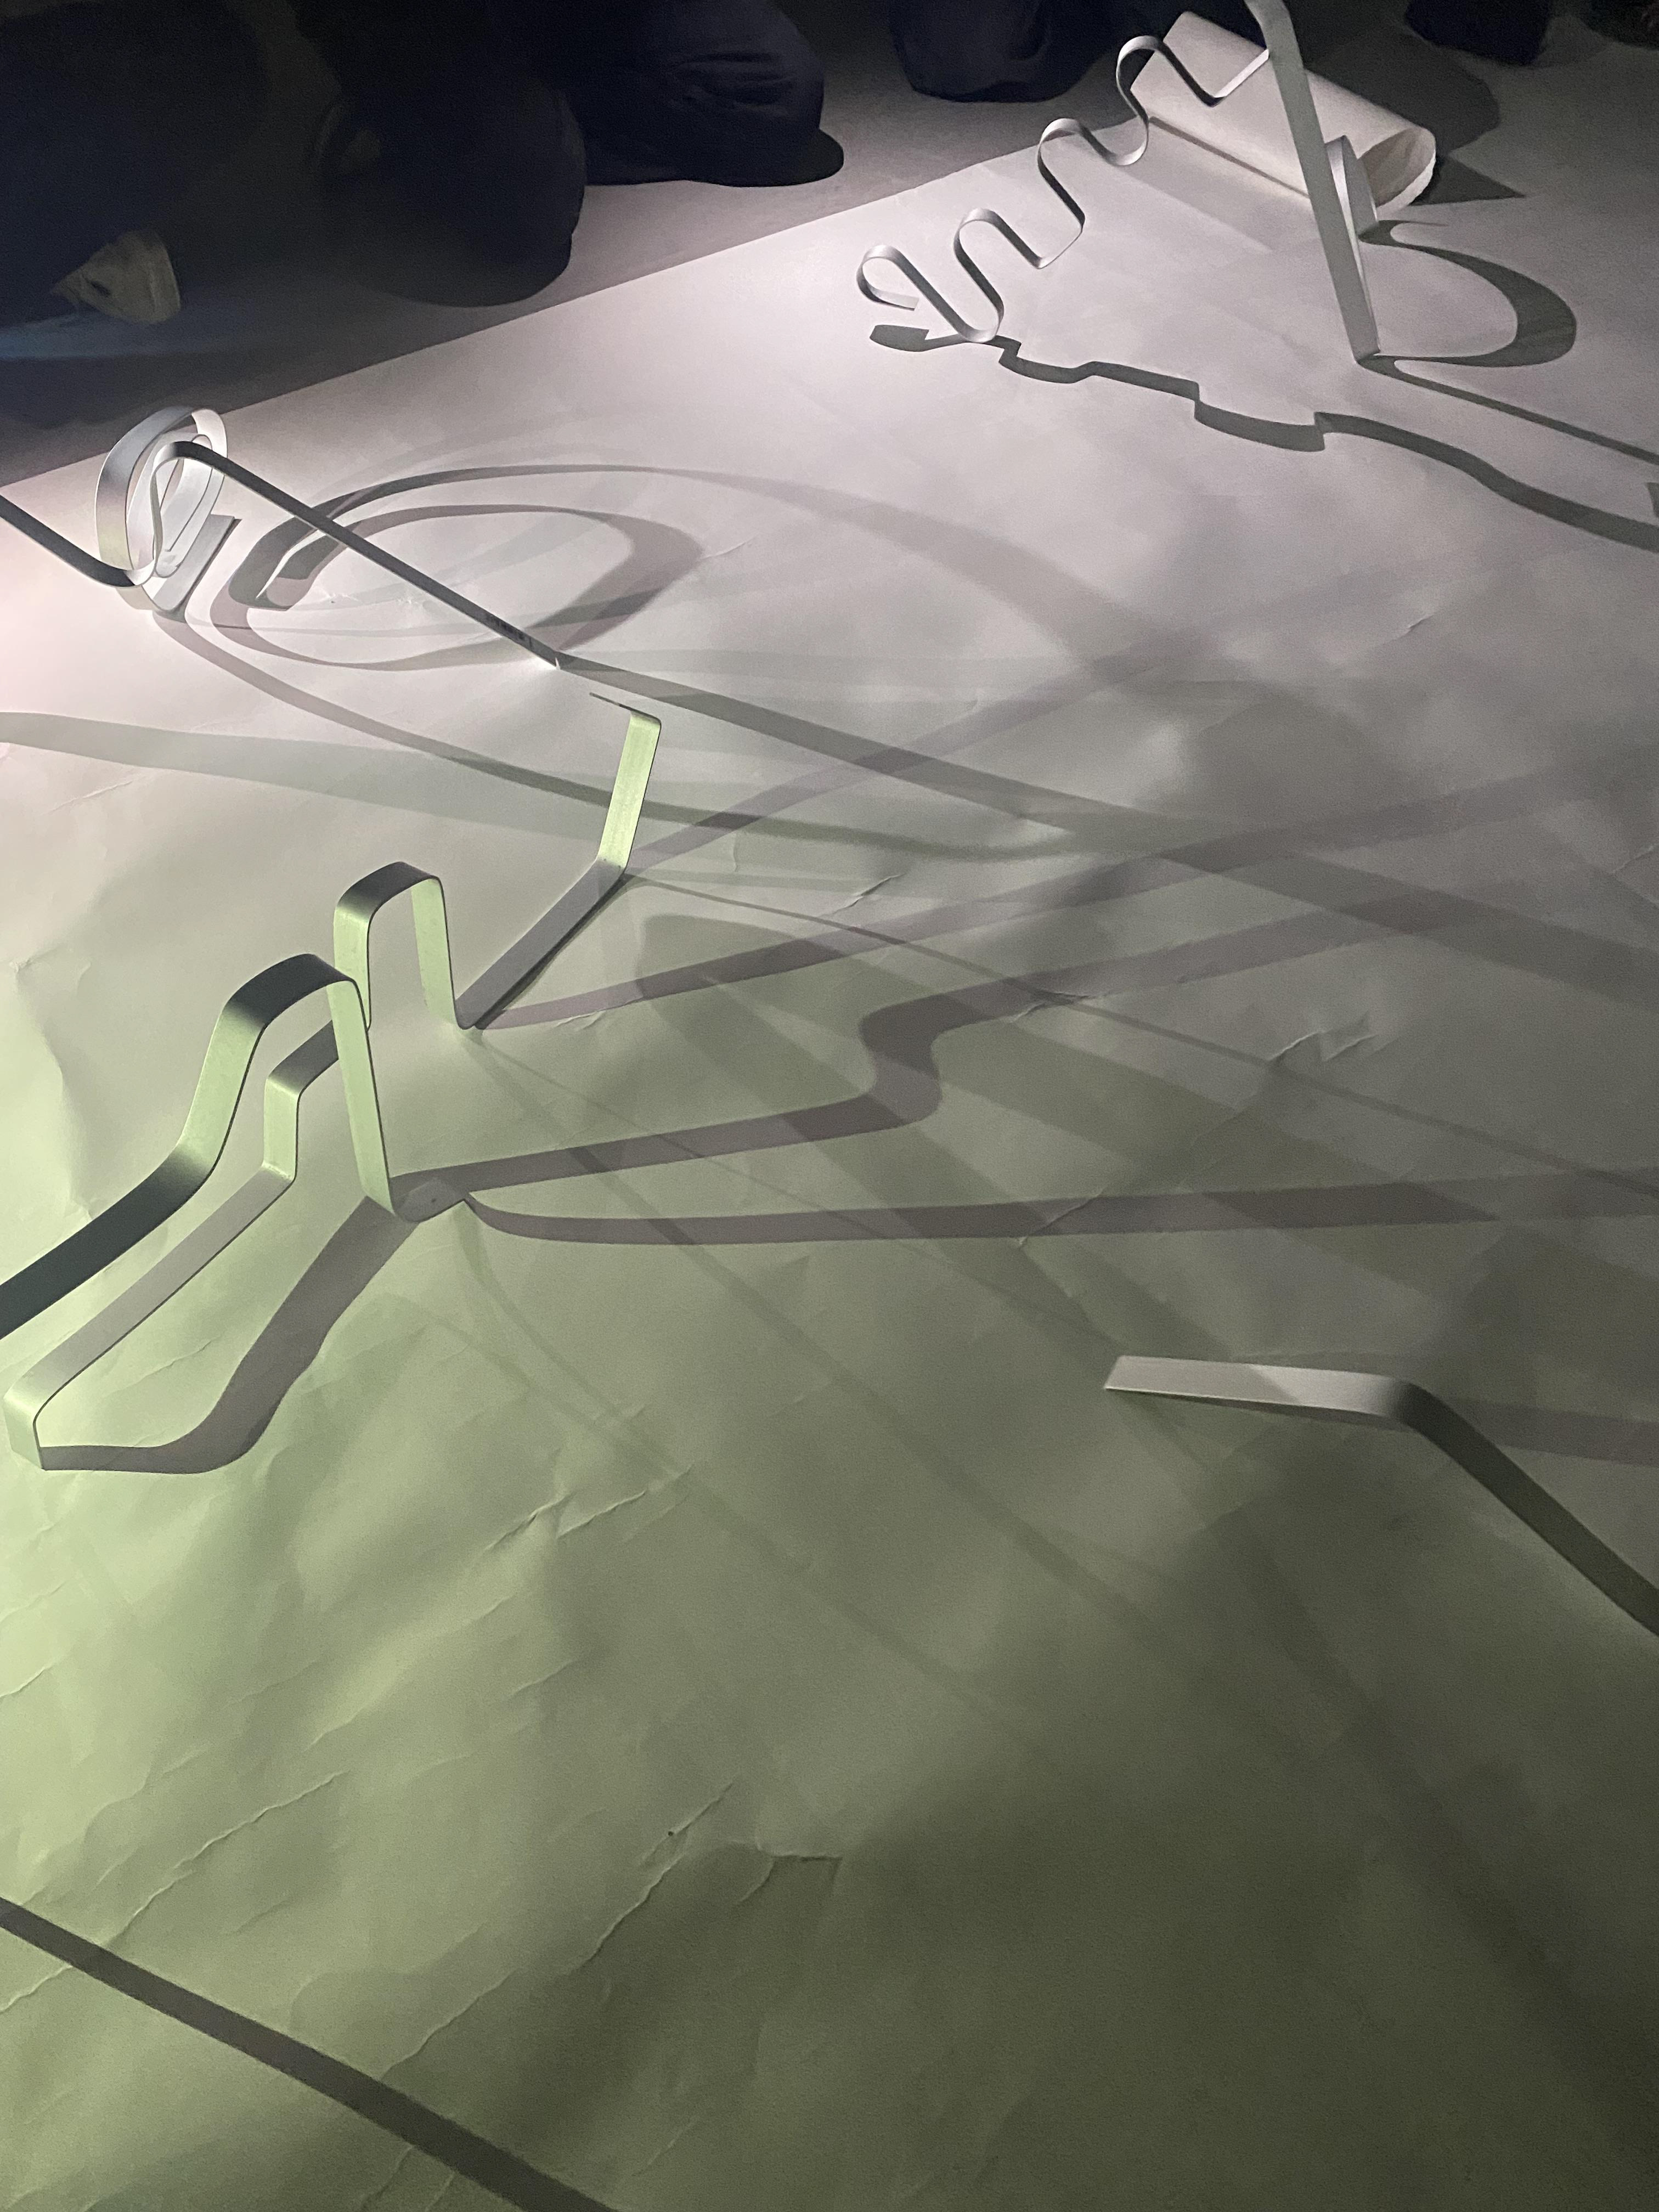
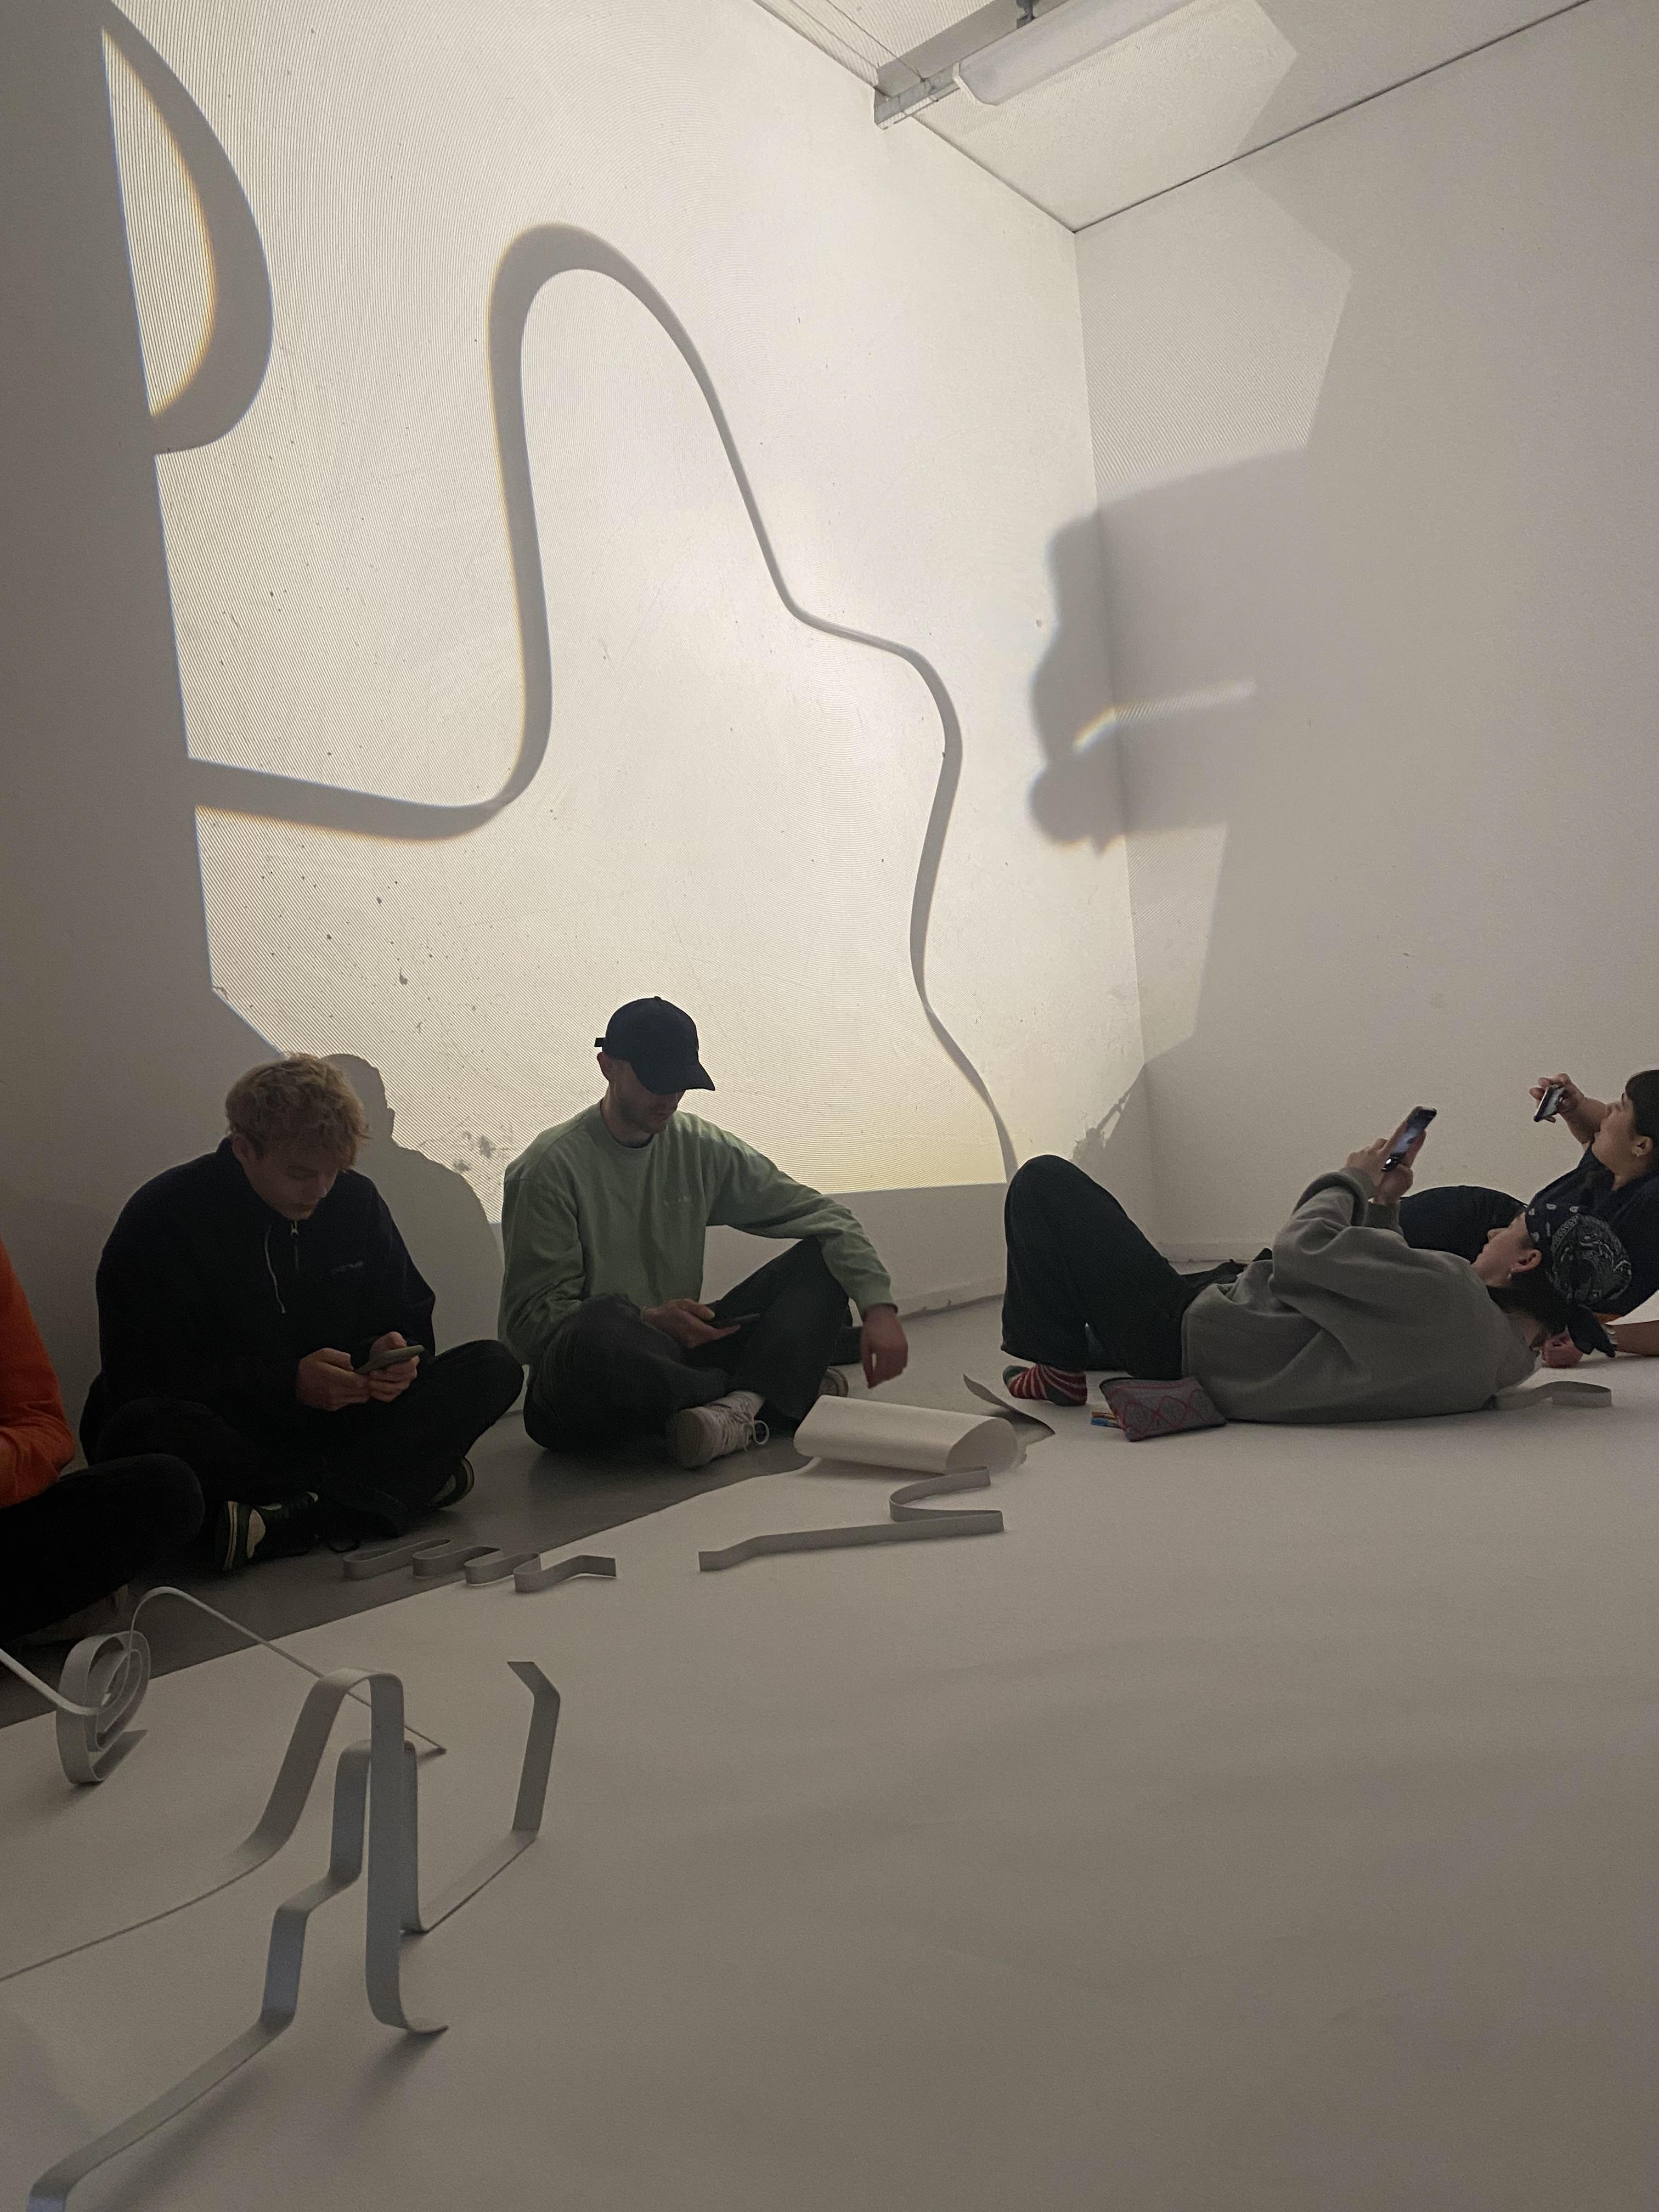
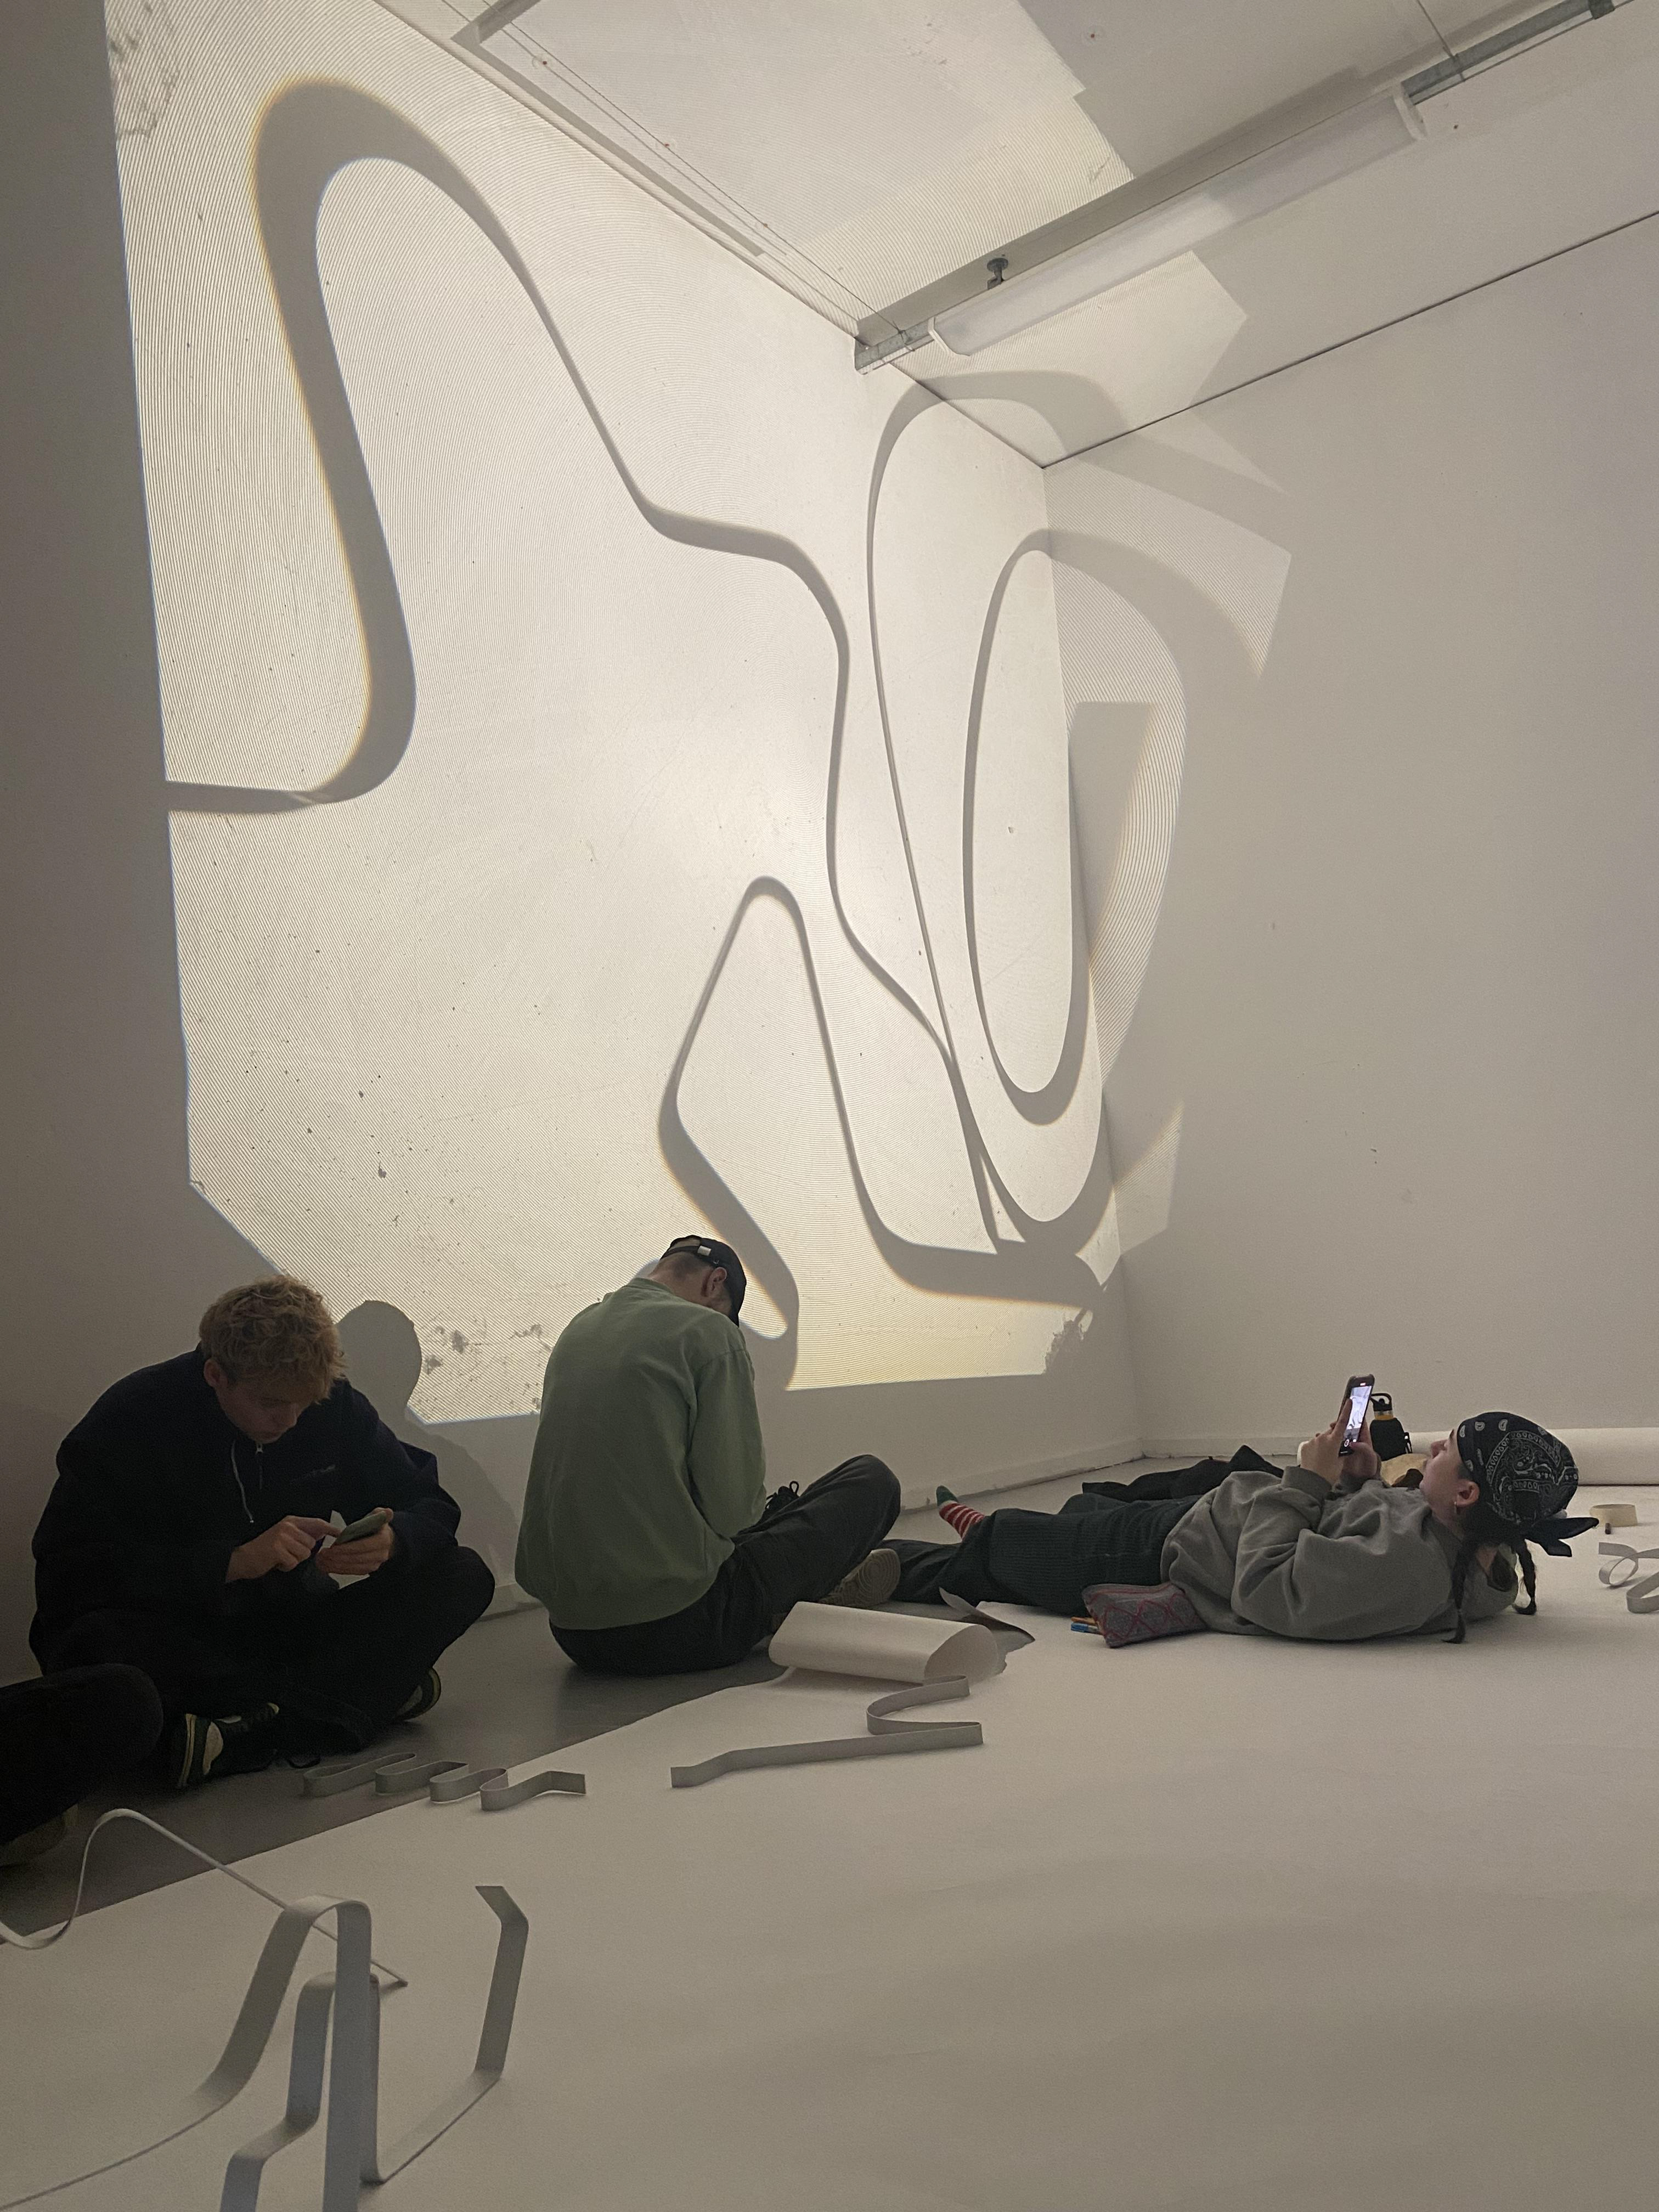
Using the light box to project bigger shadows as a group onto the walls of the studio
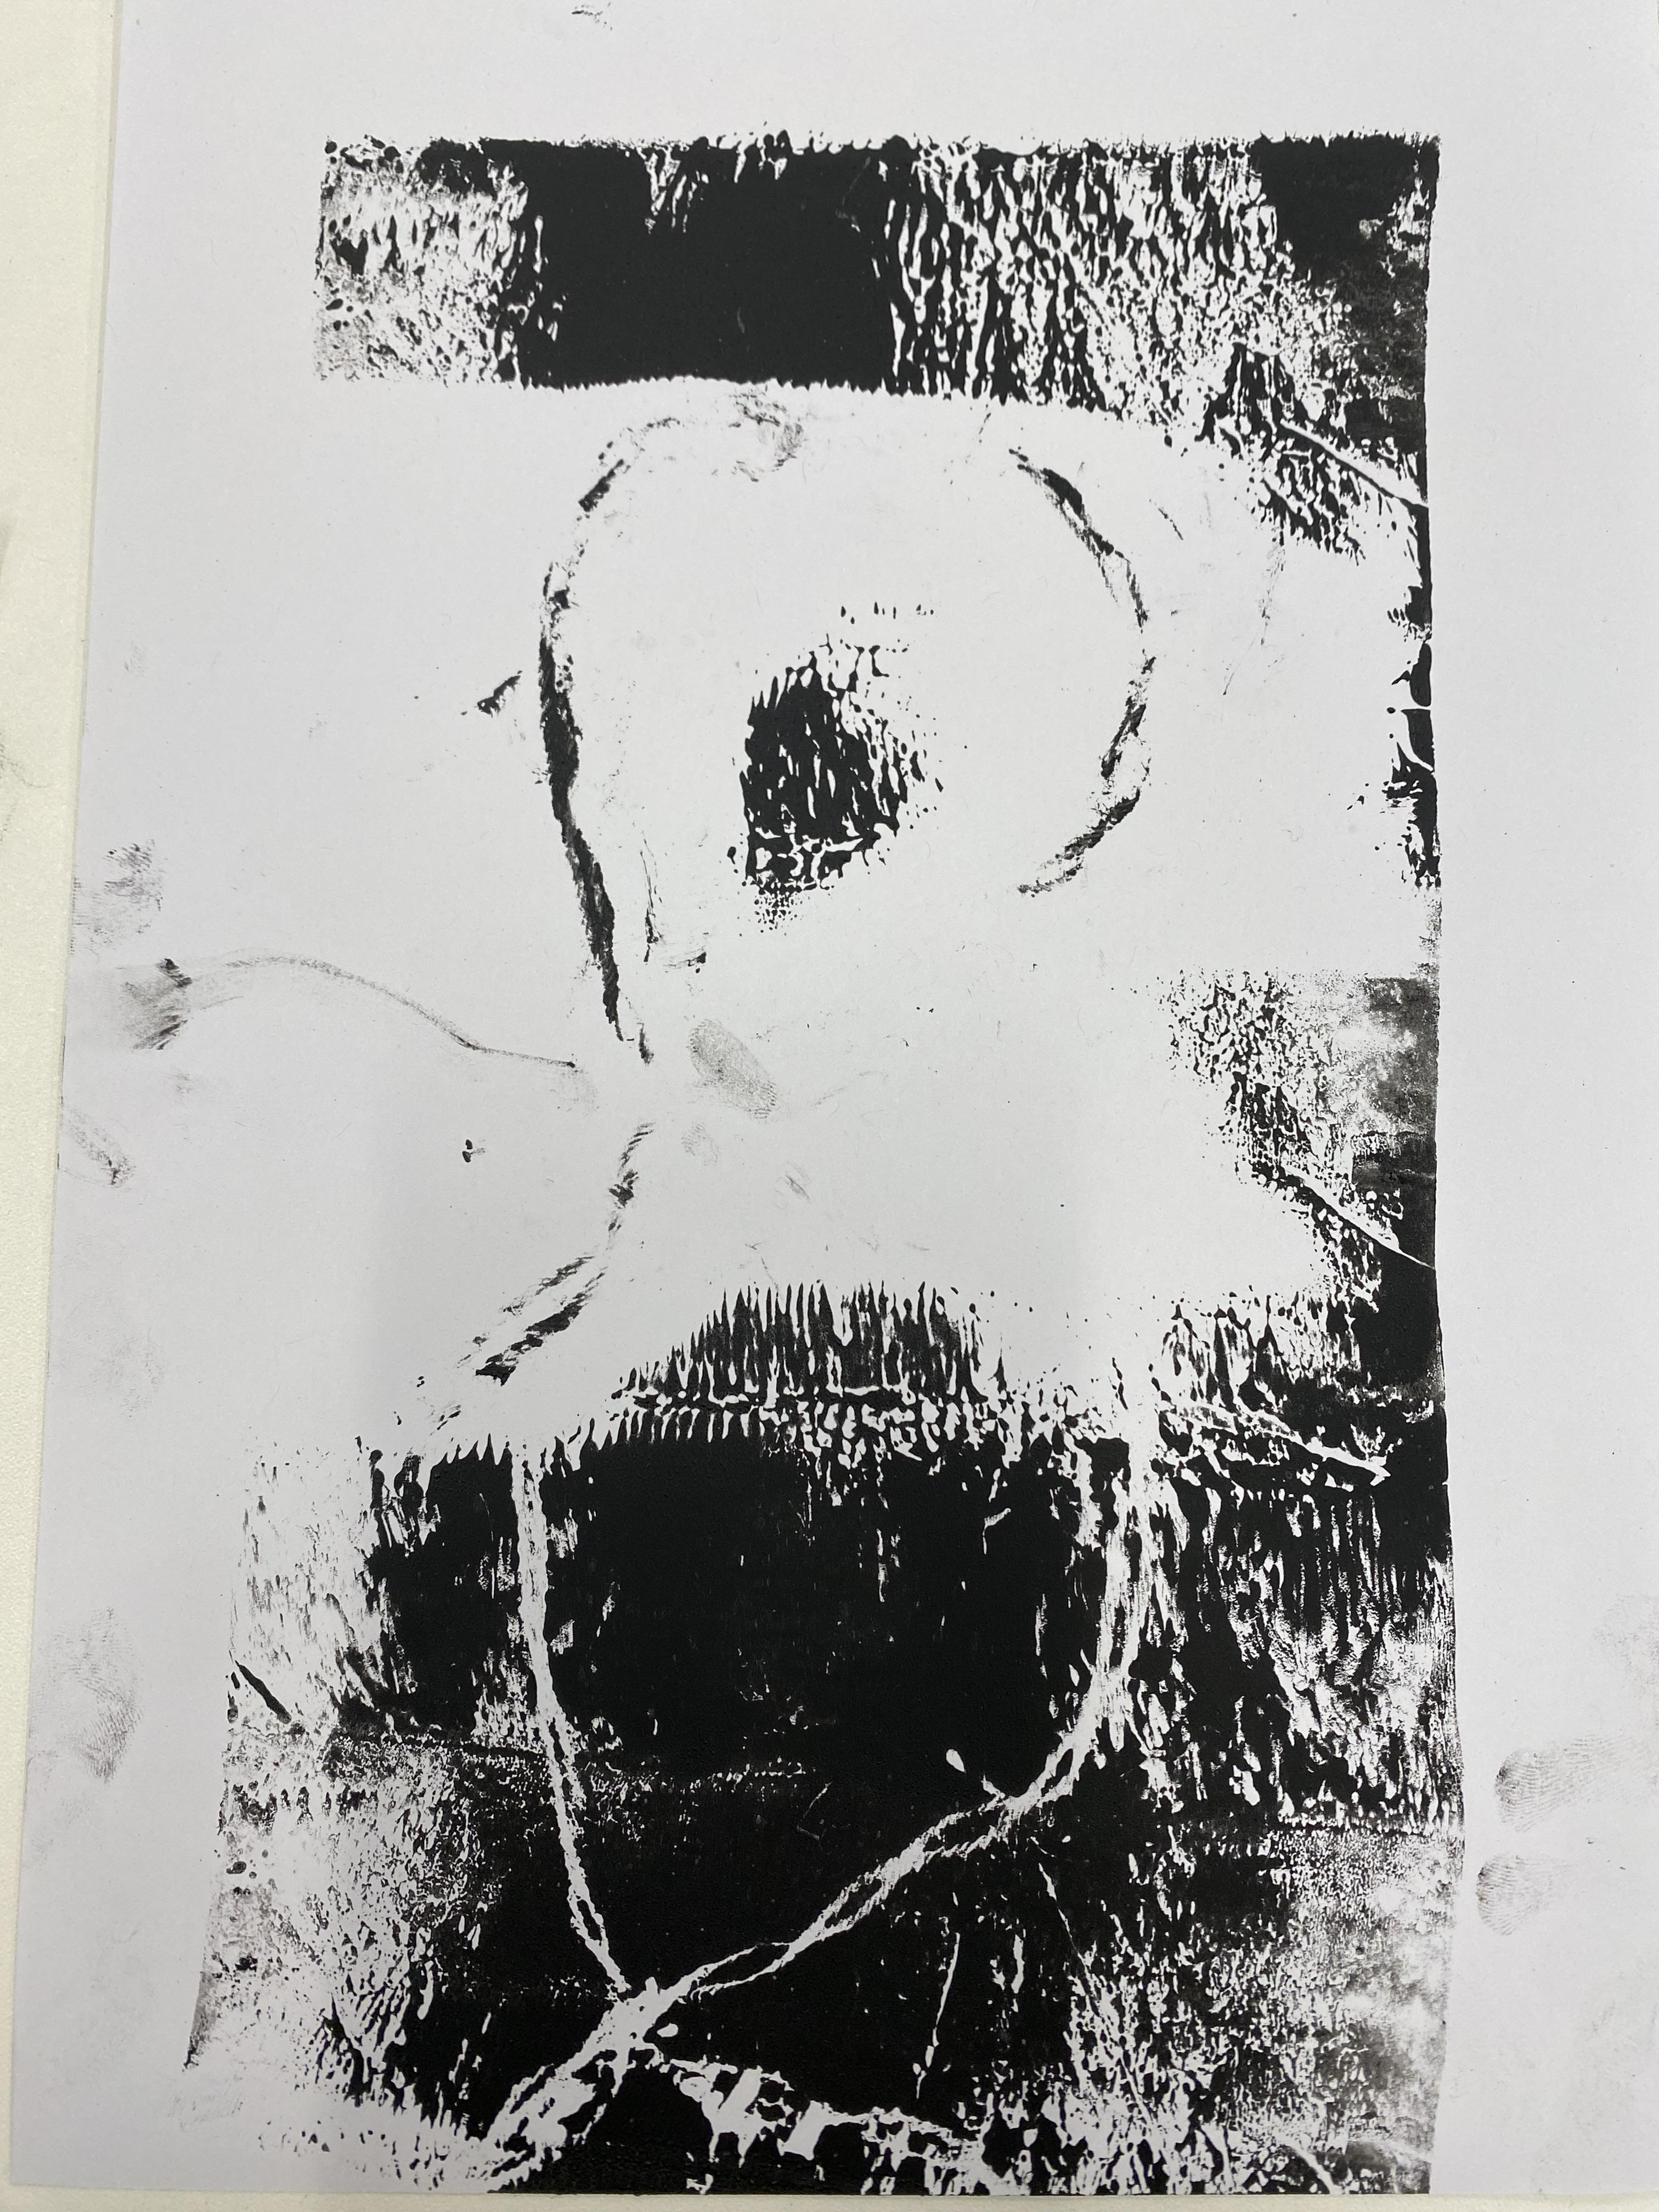
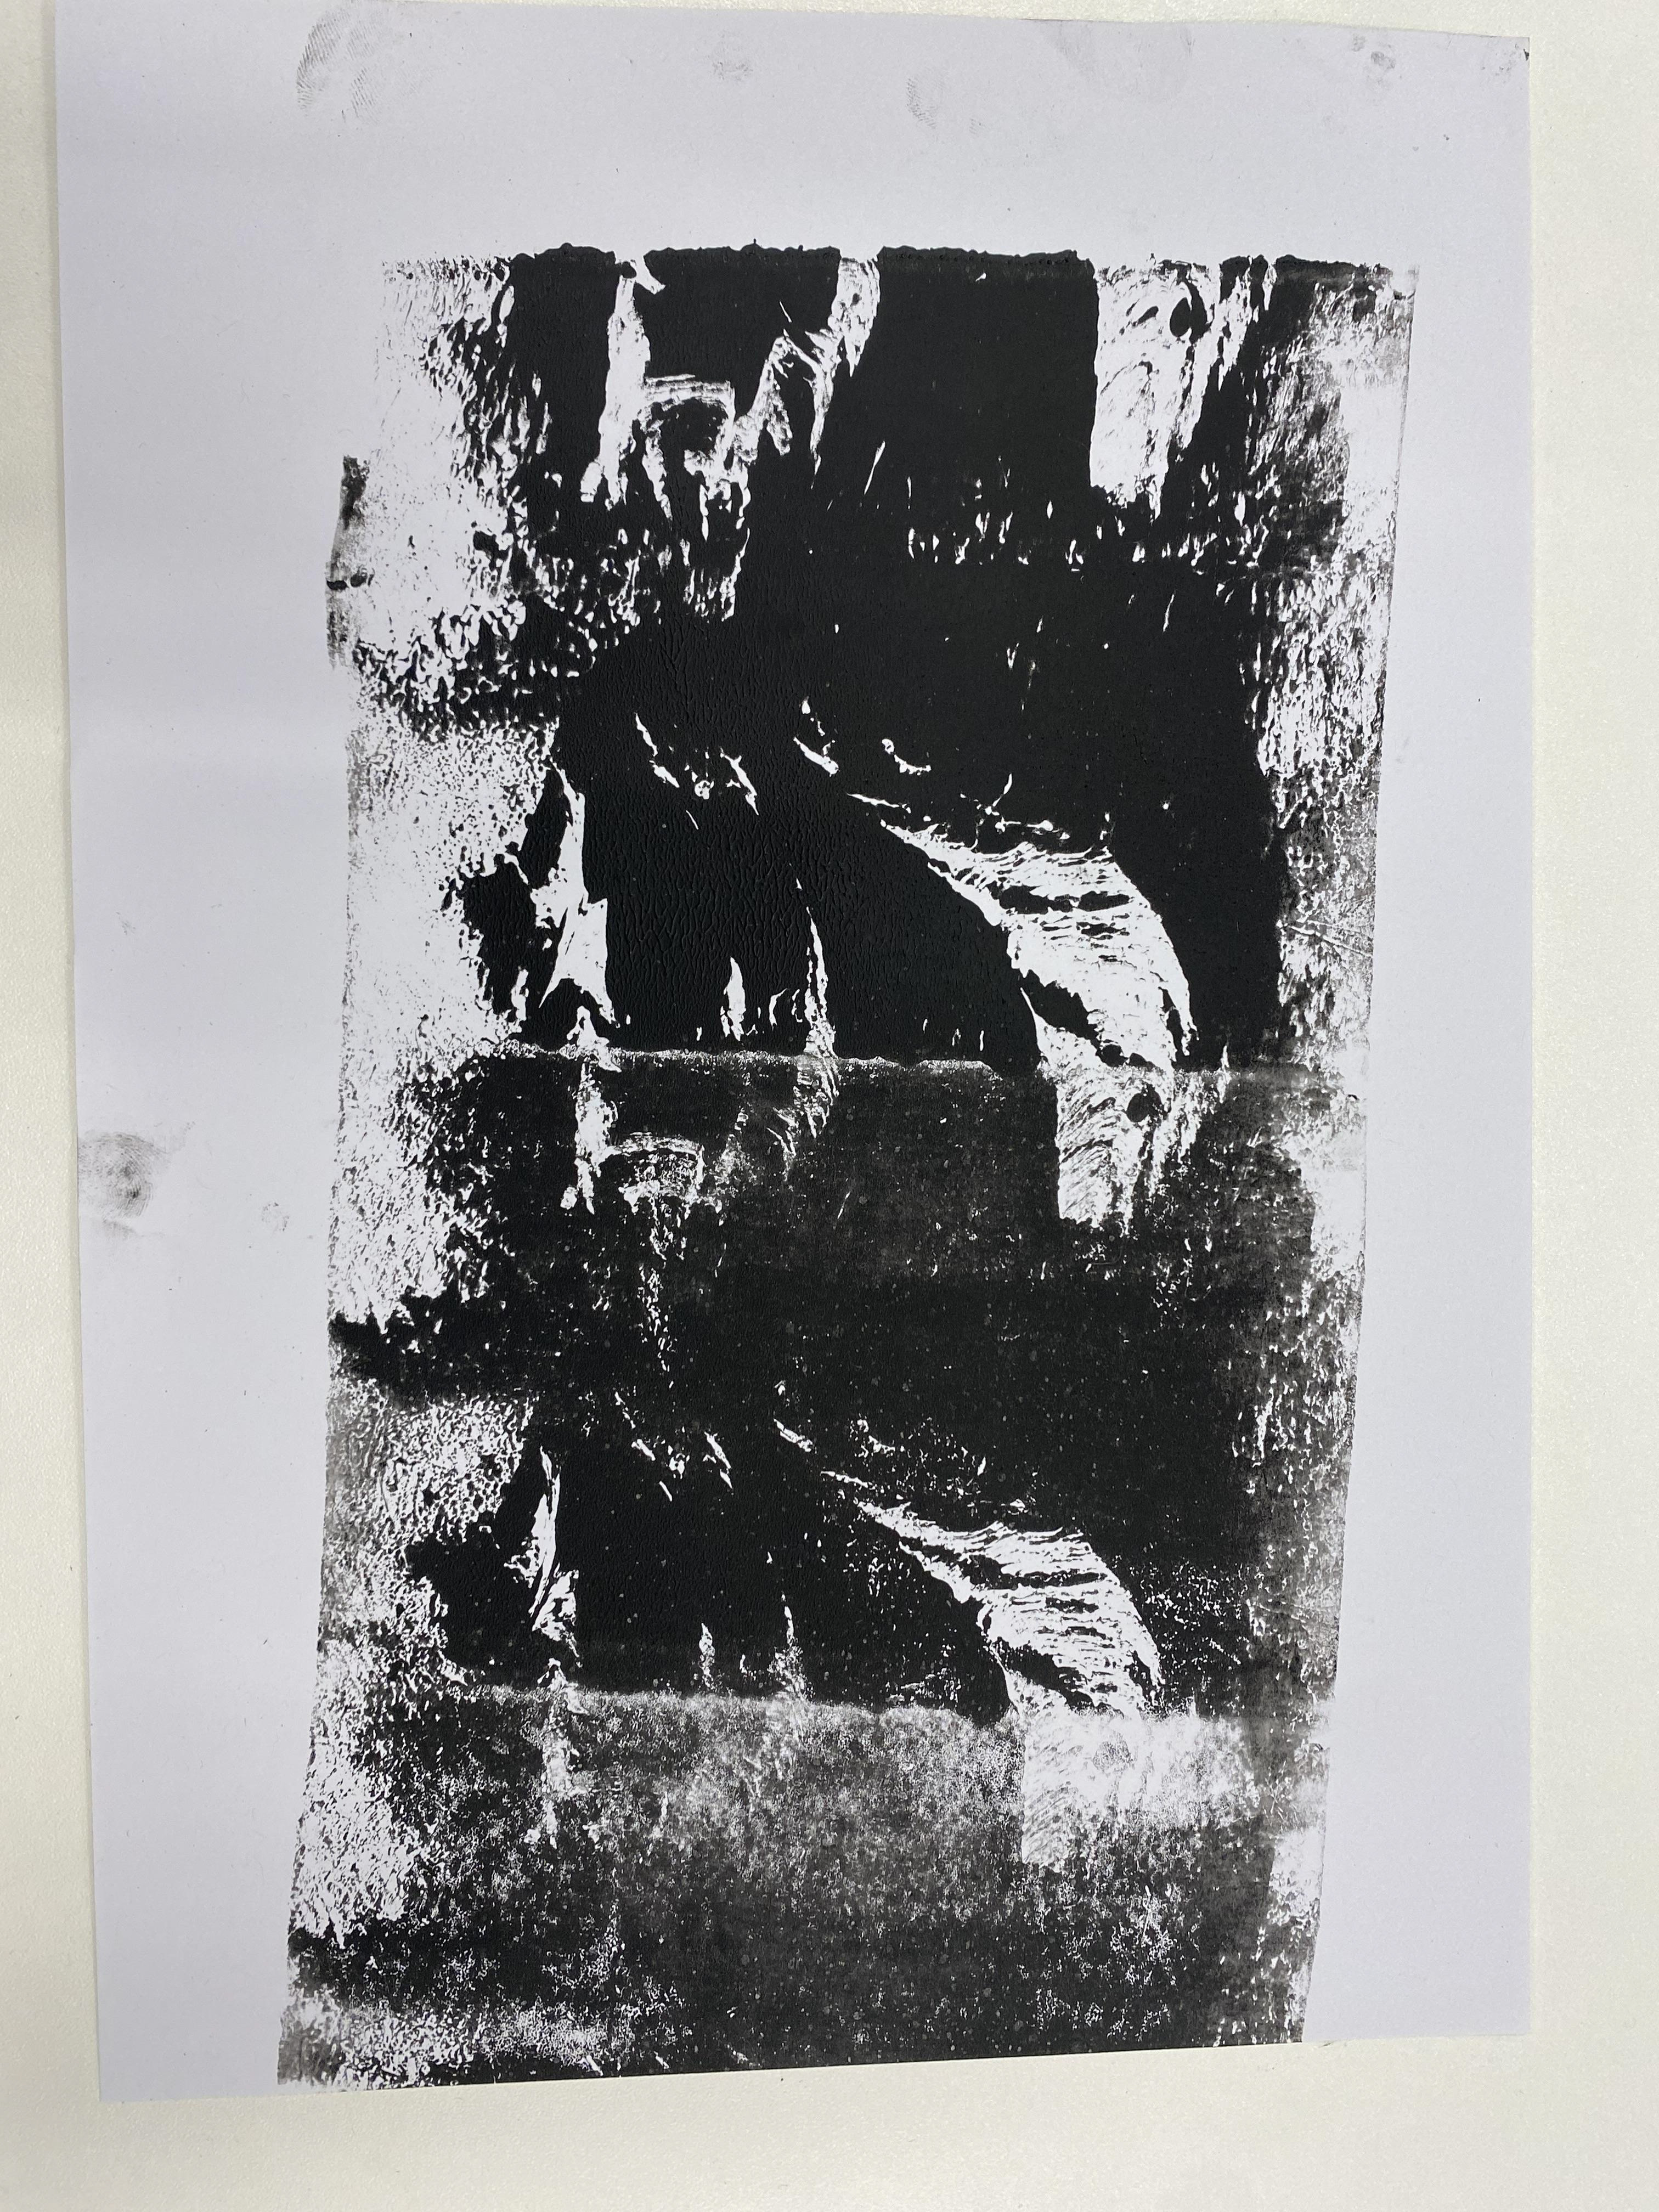
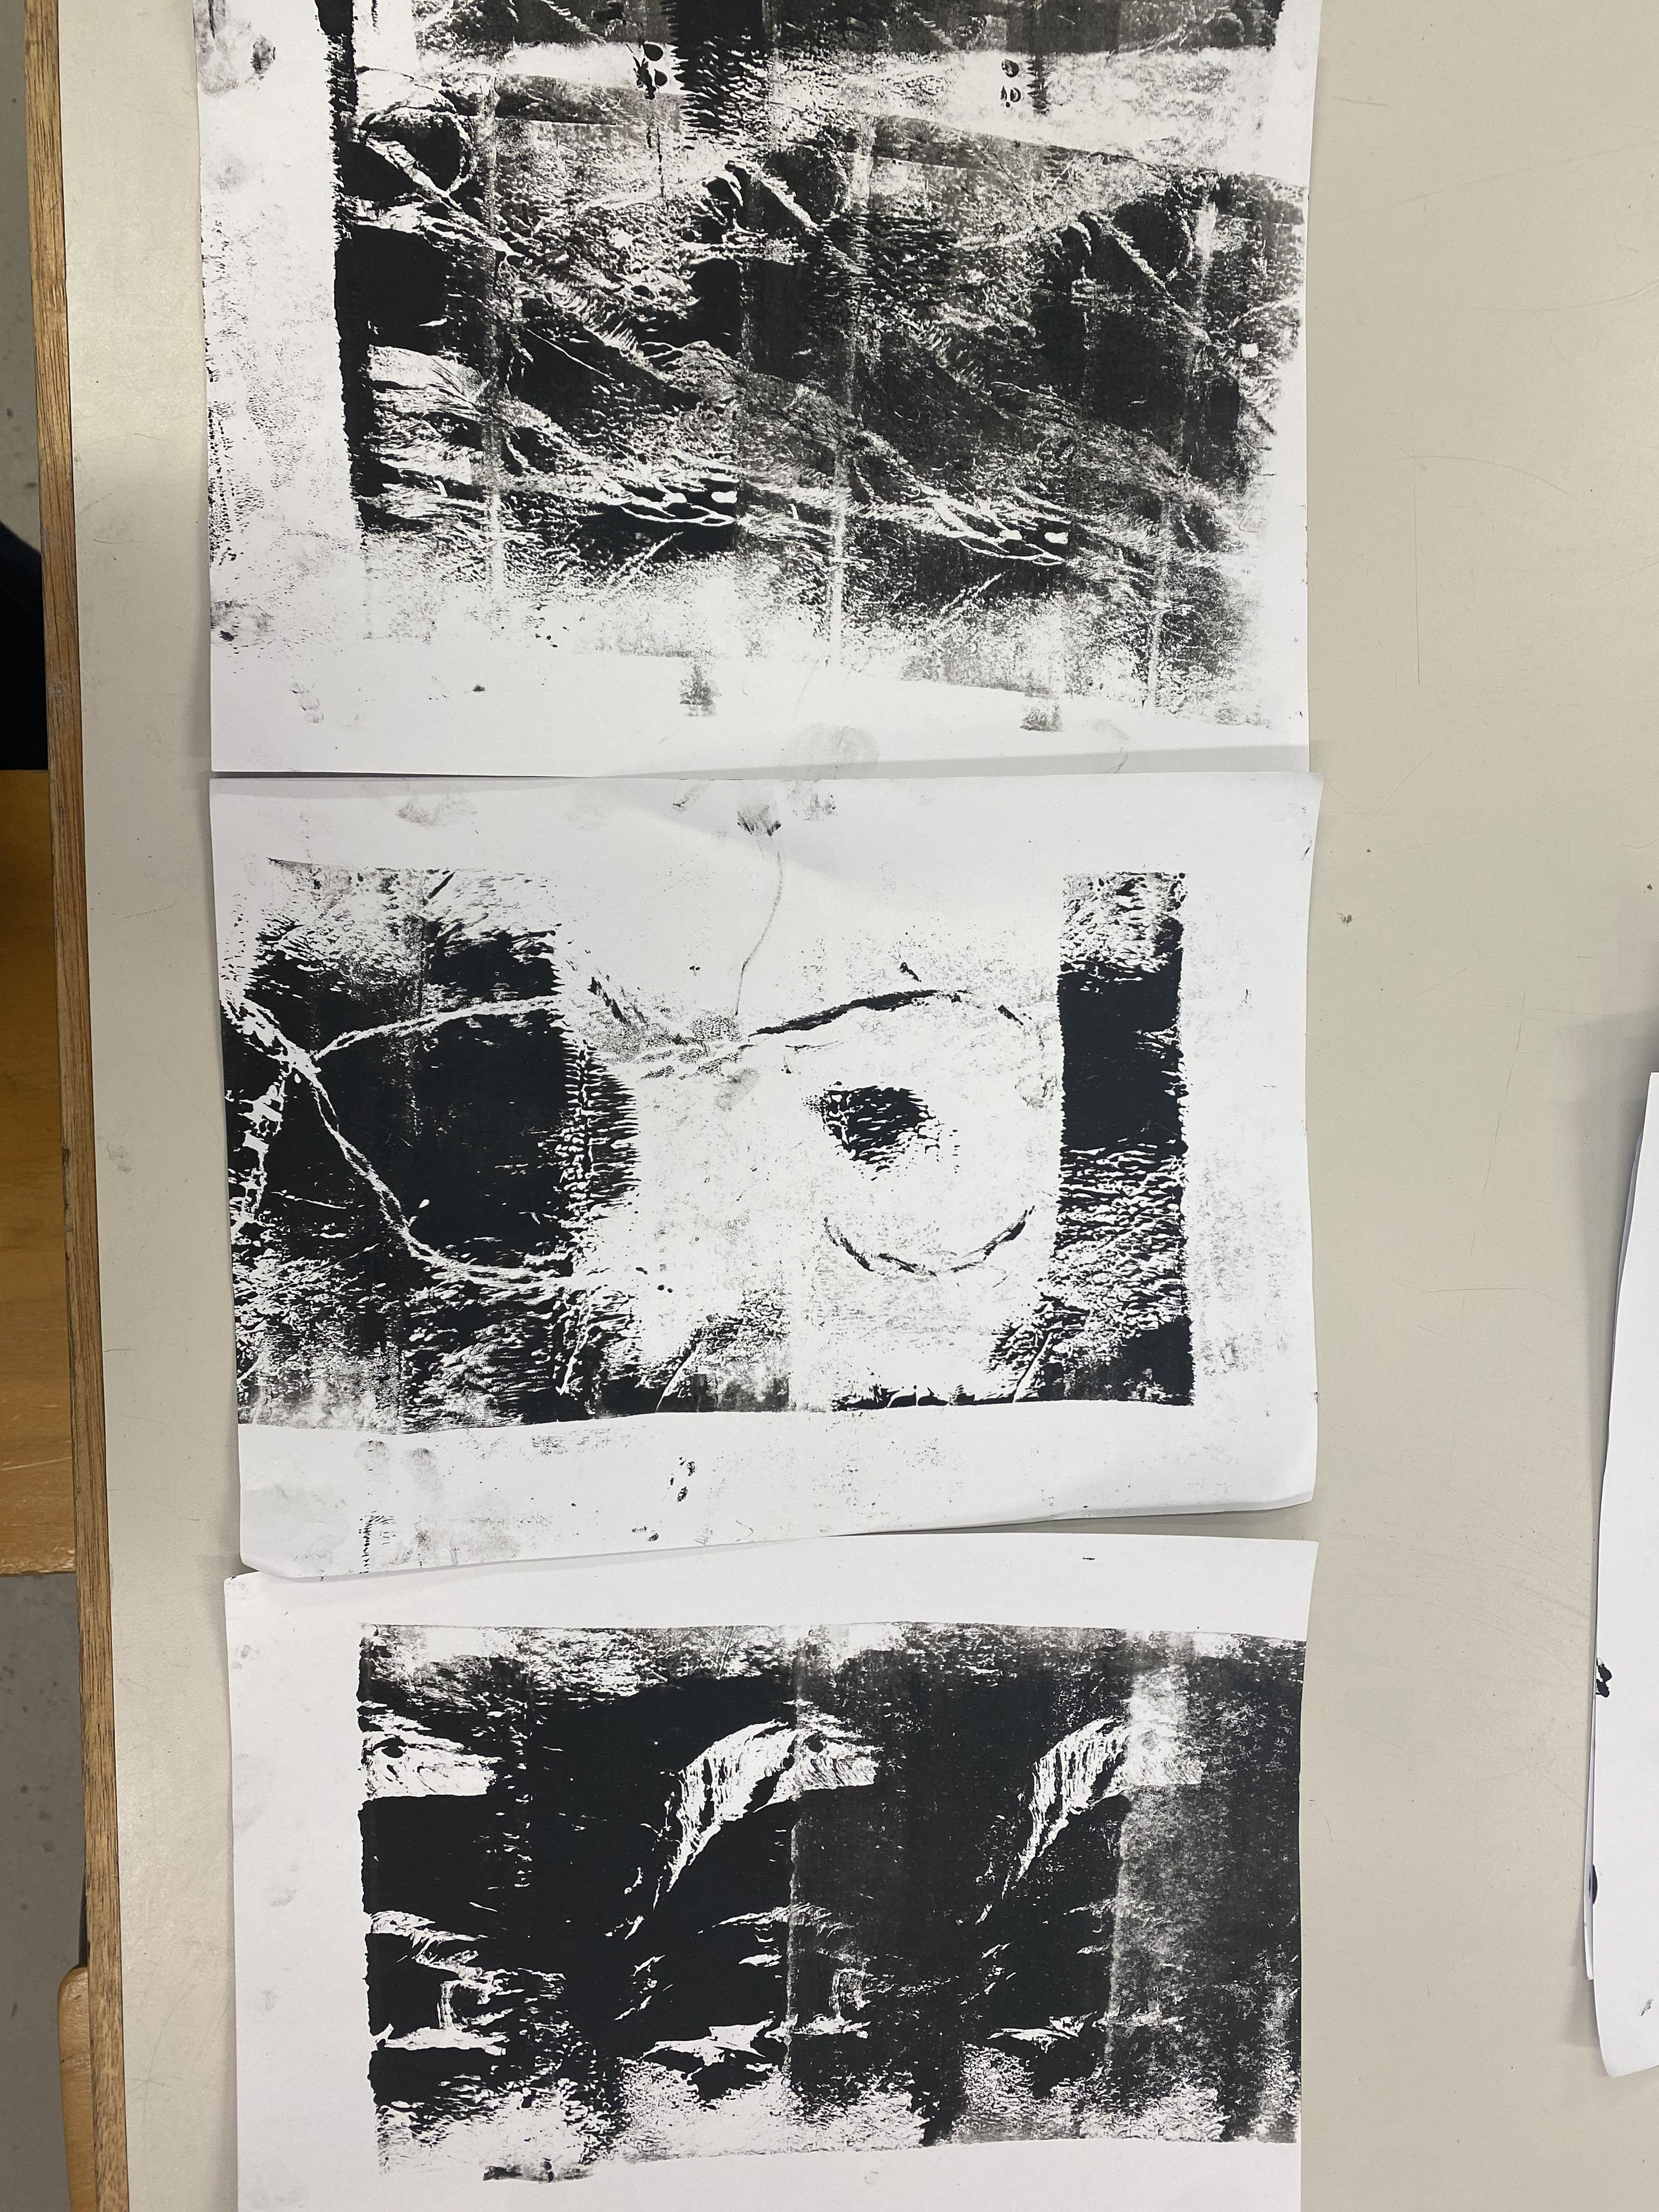
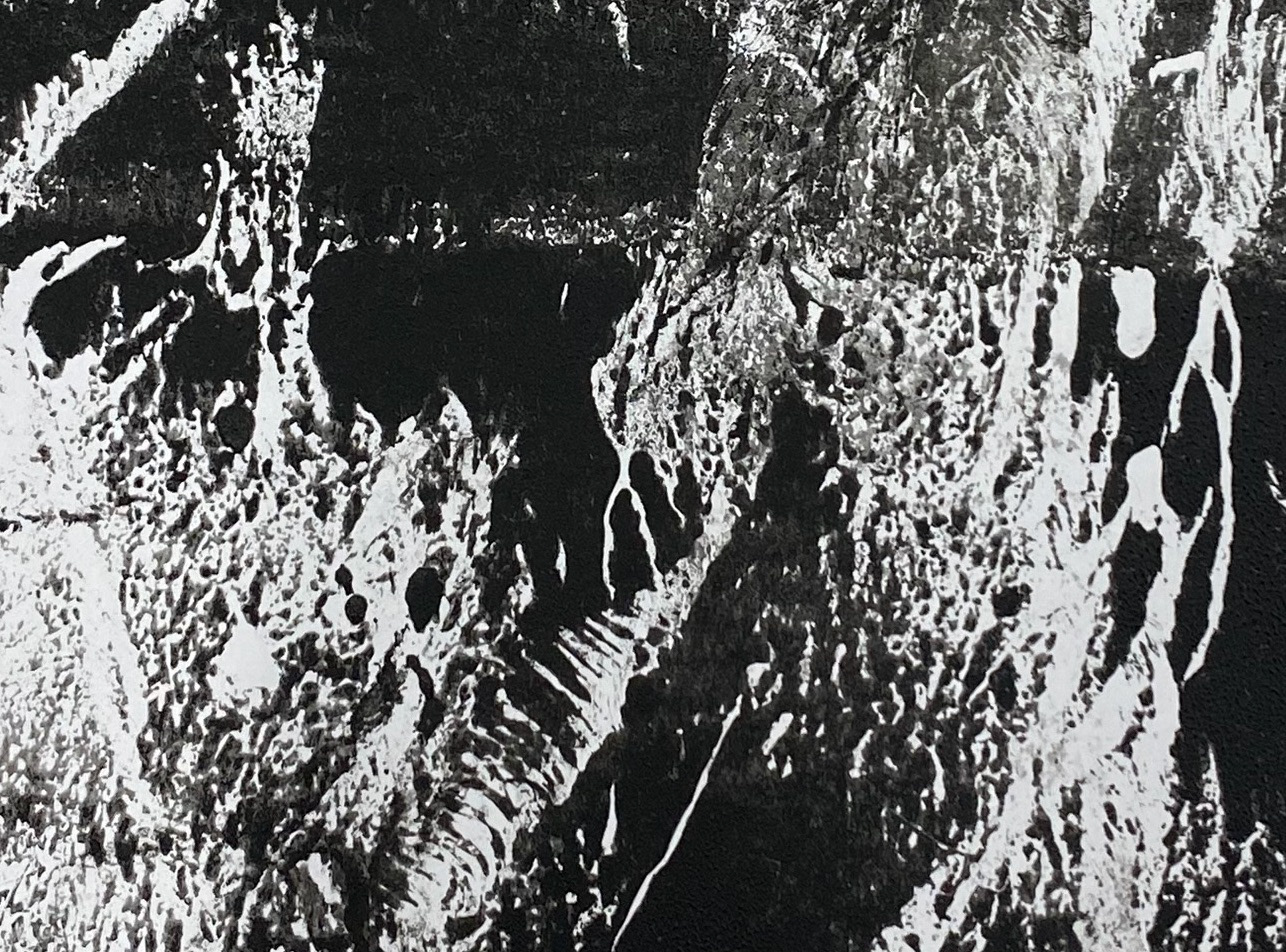
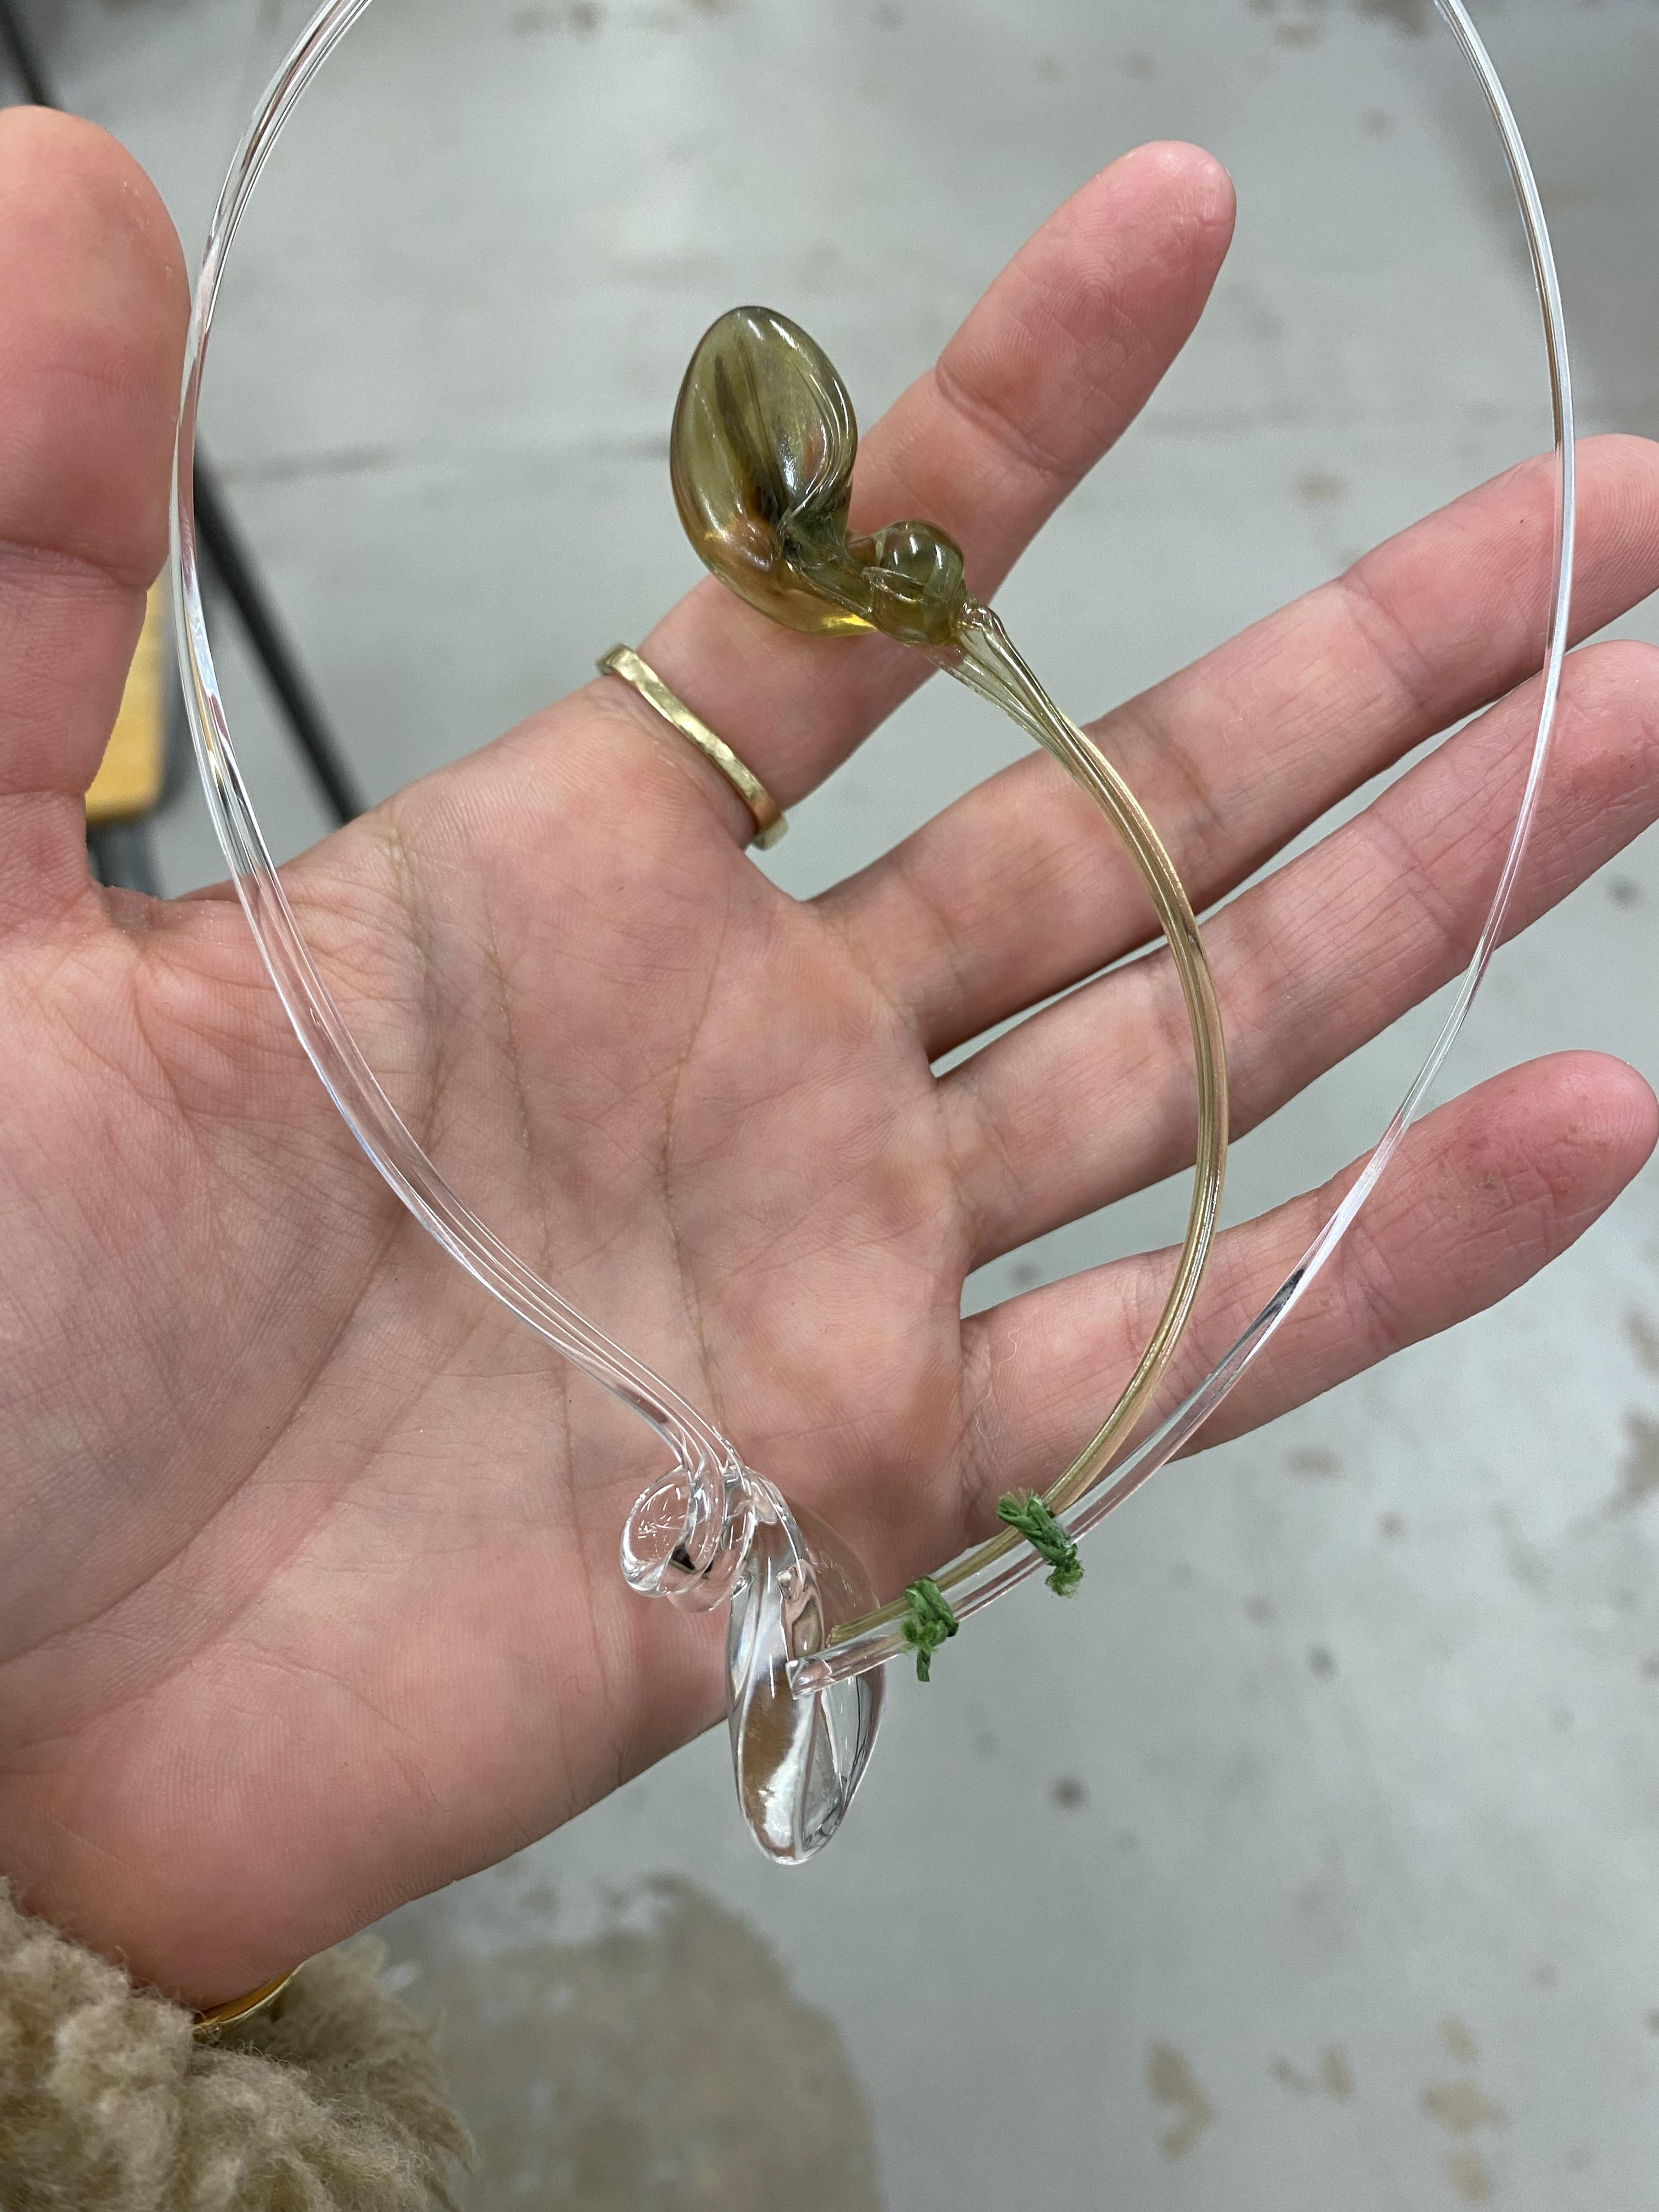
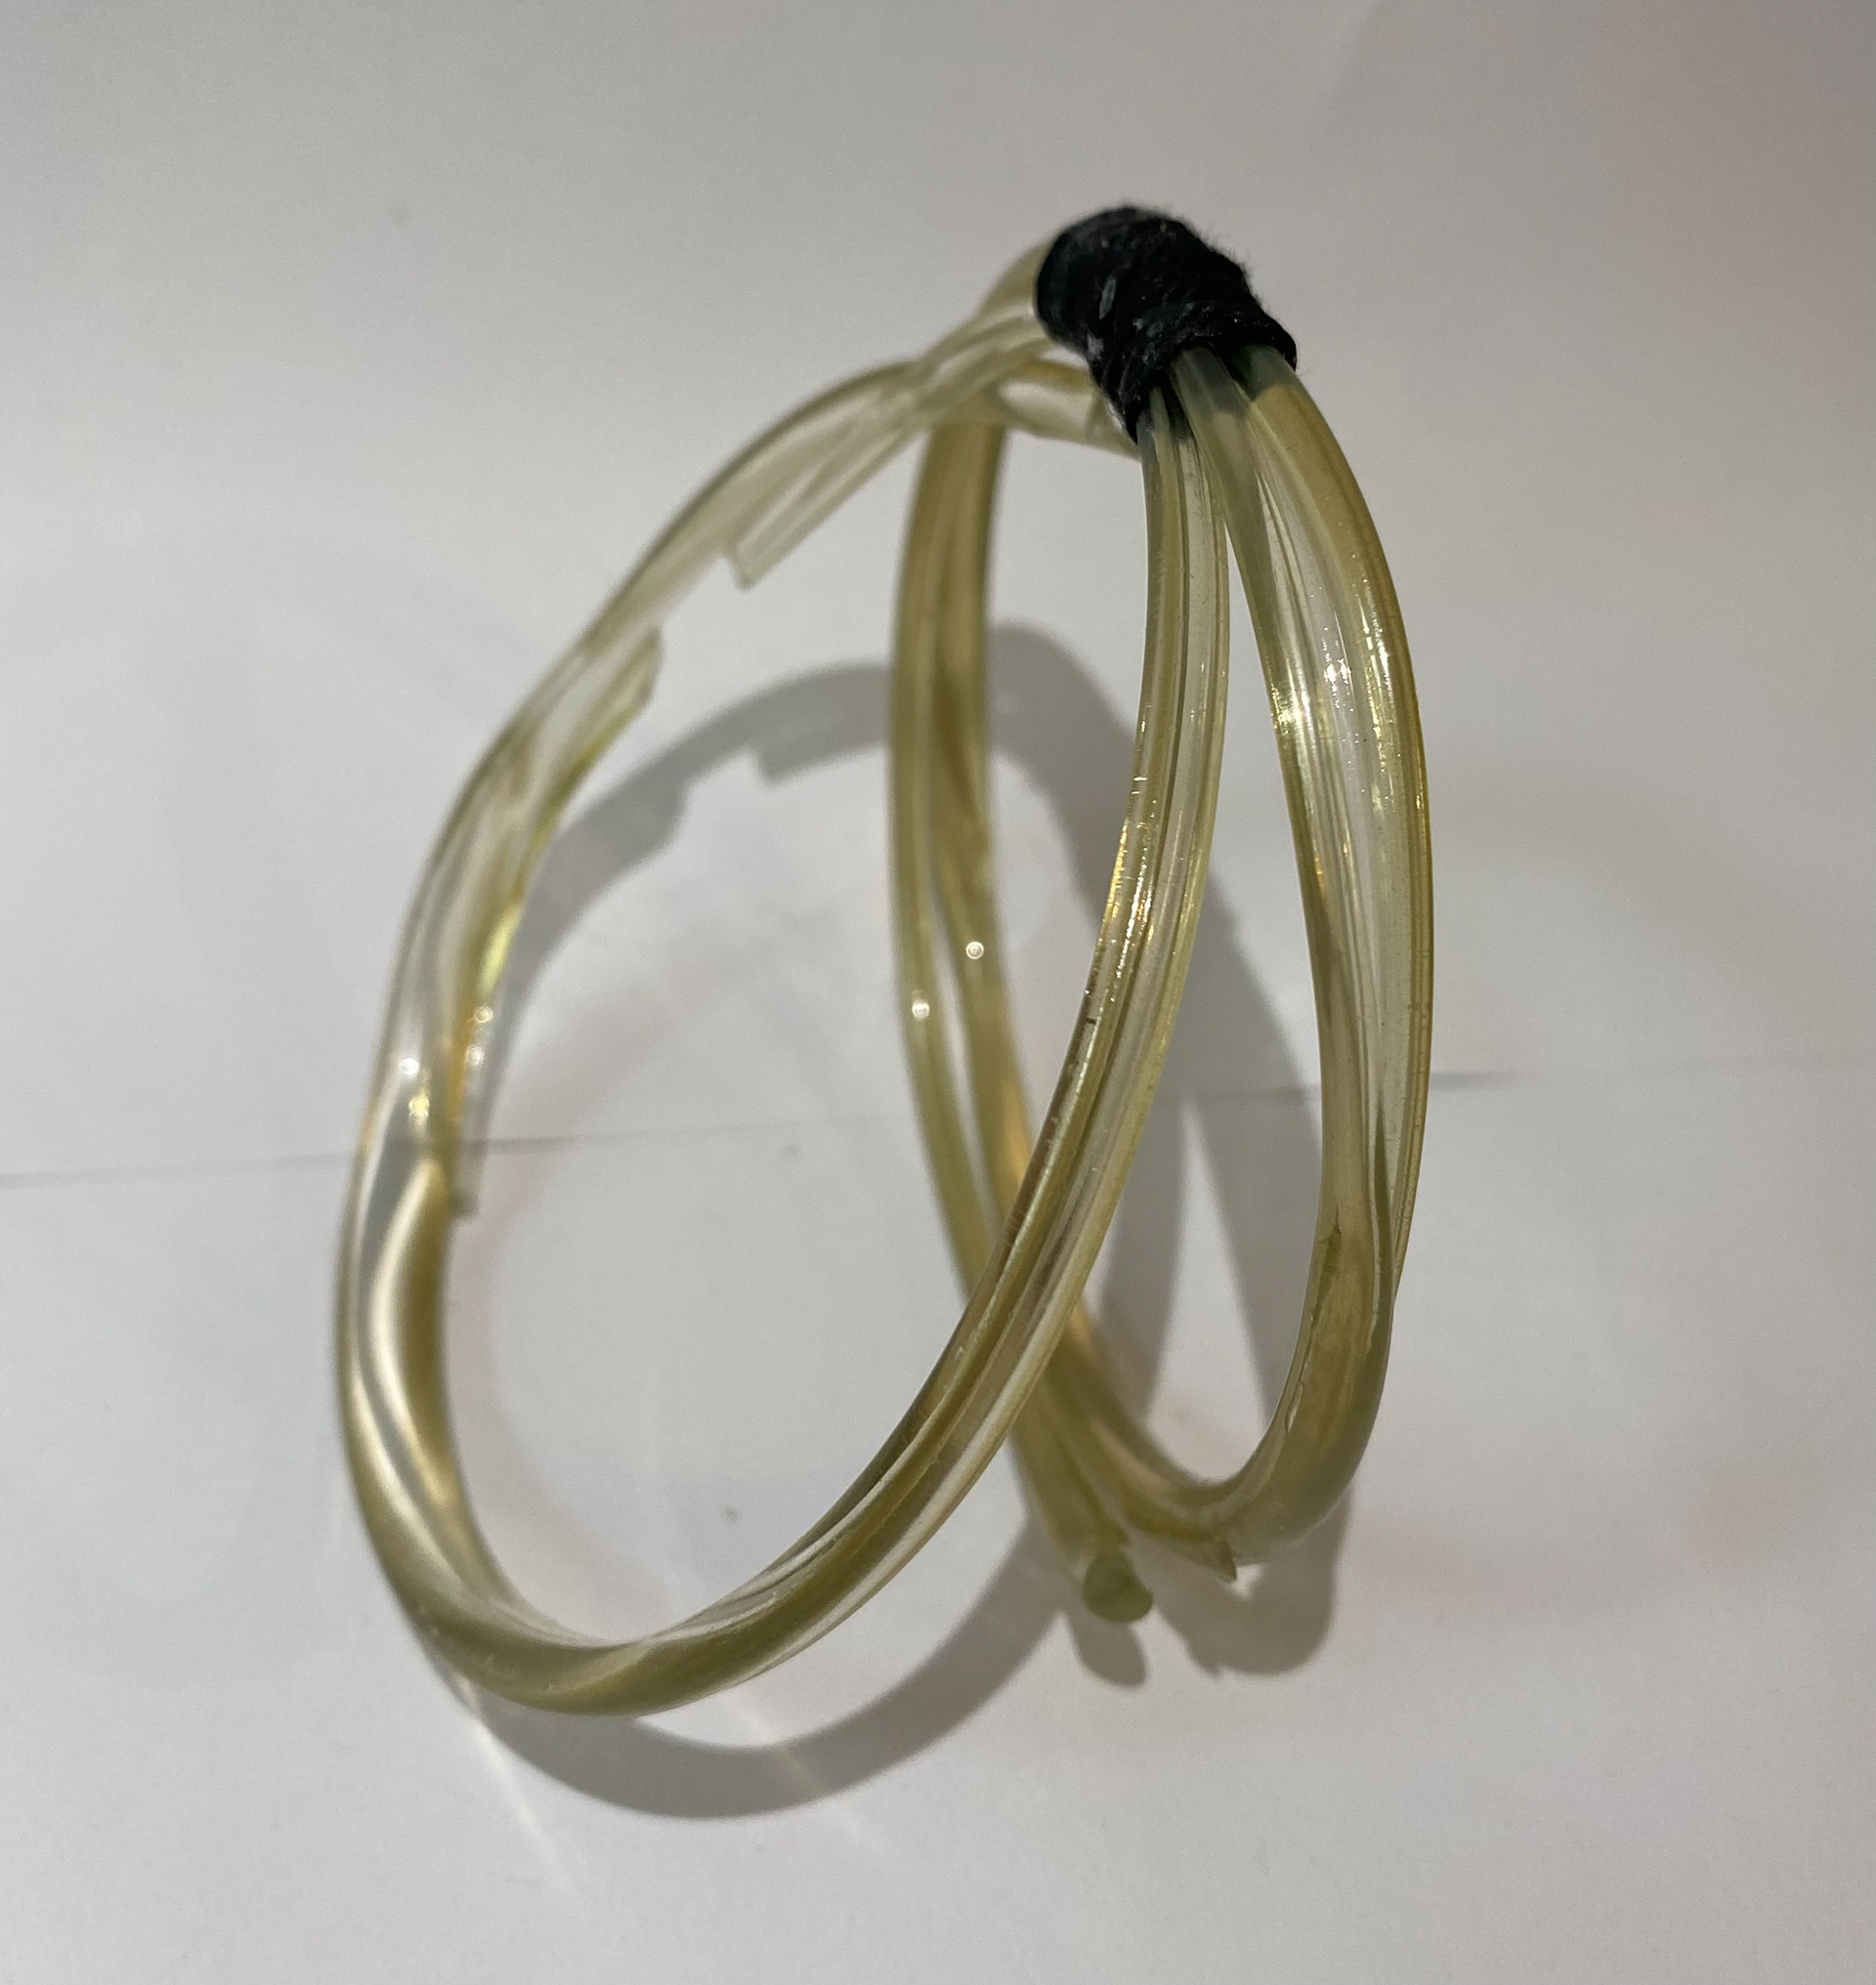
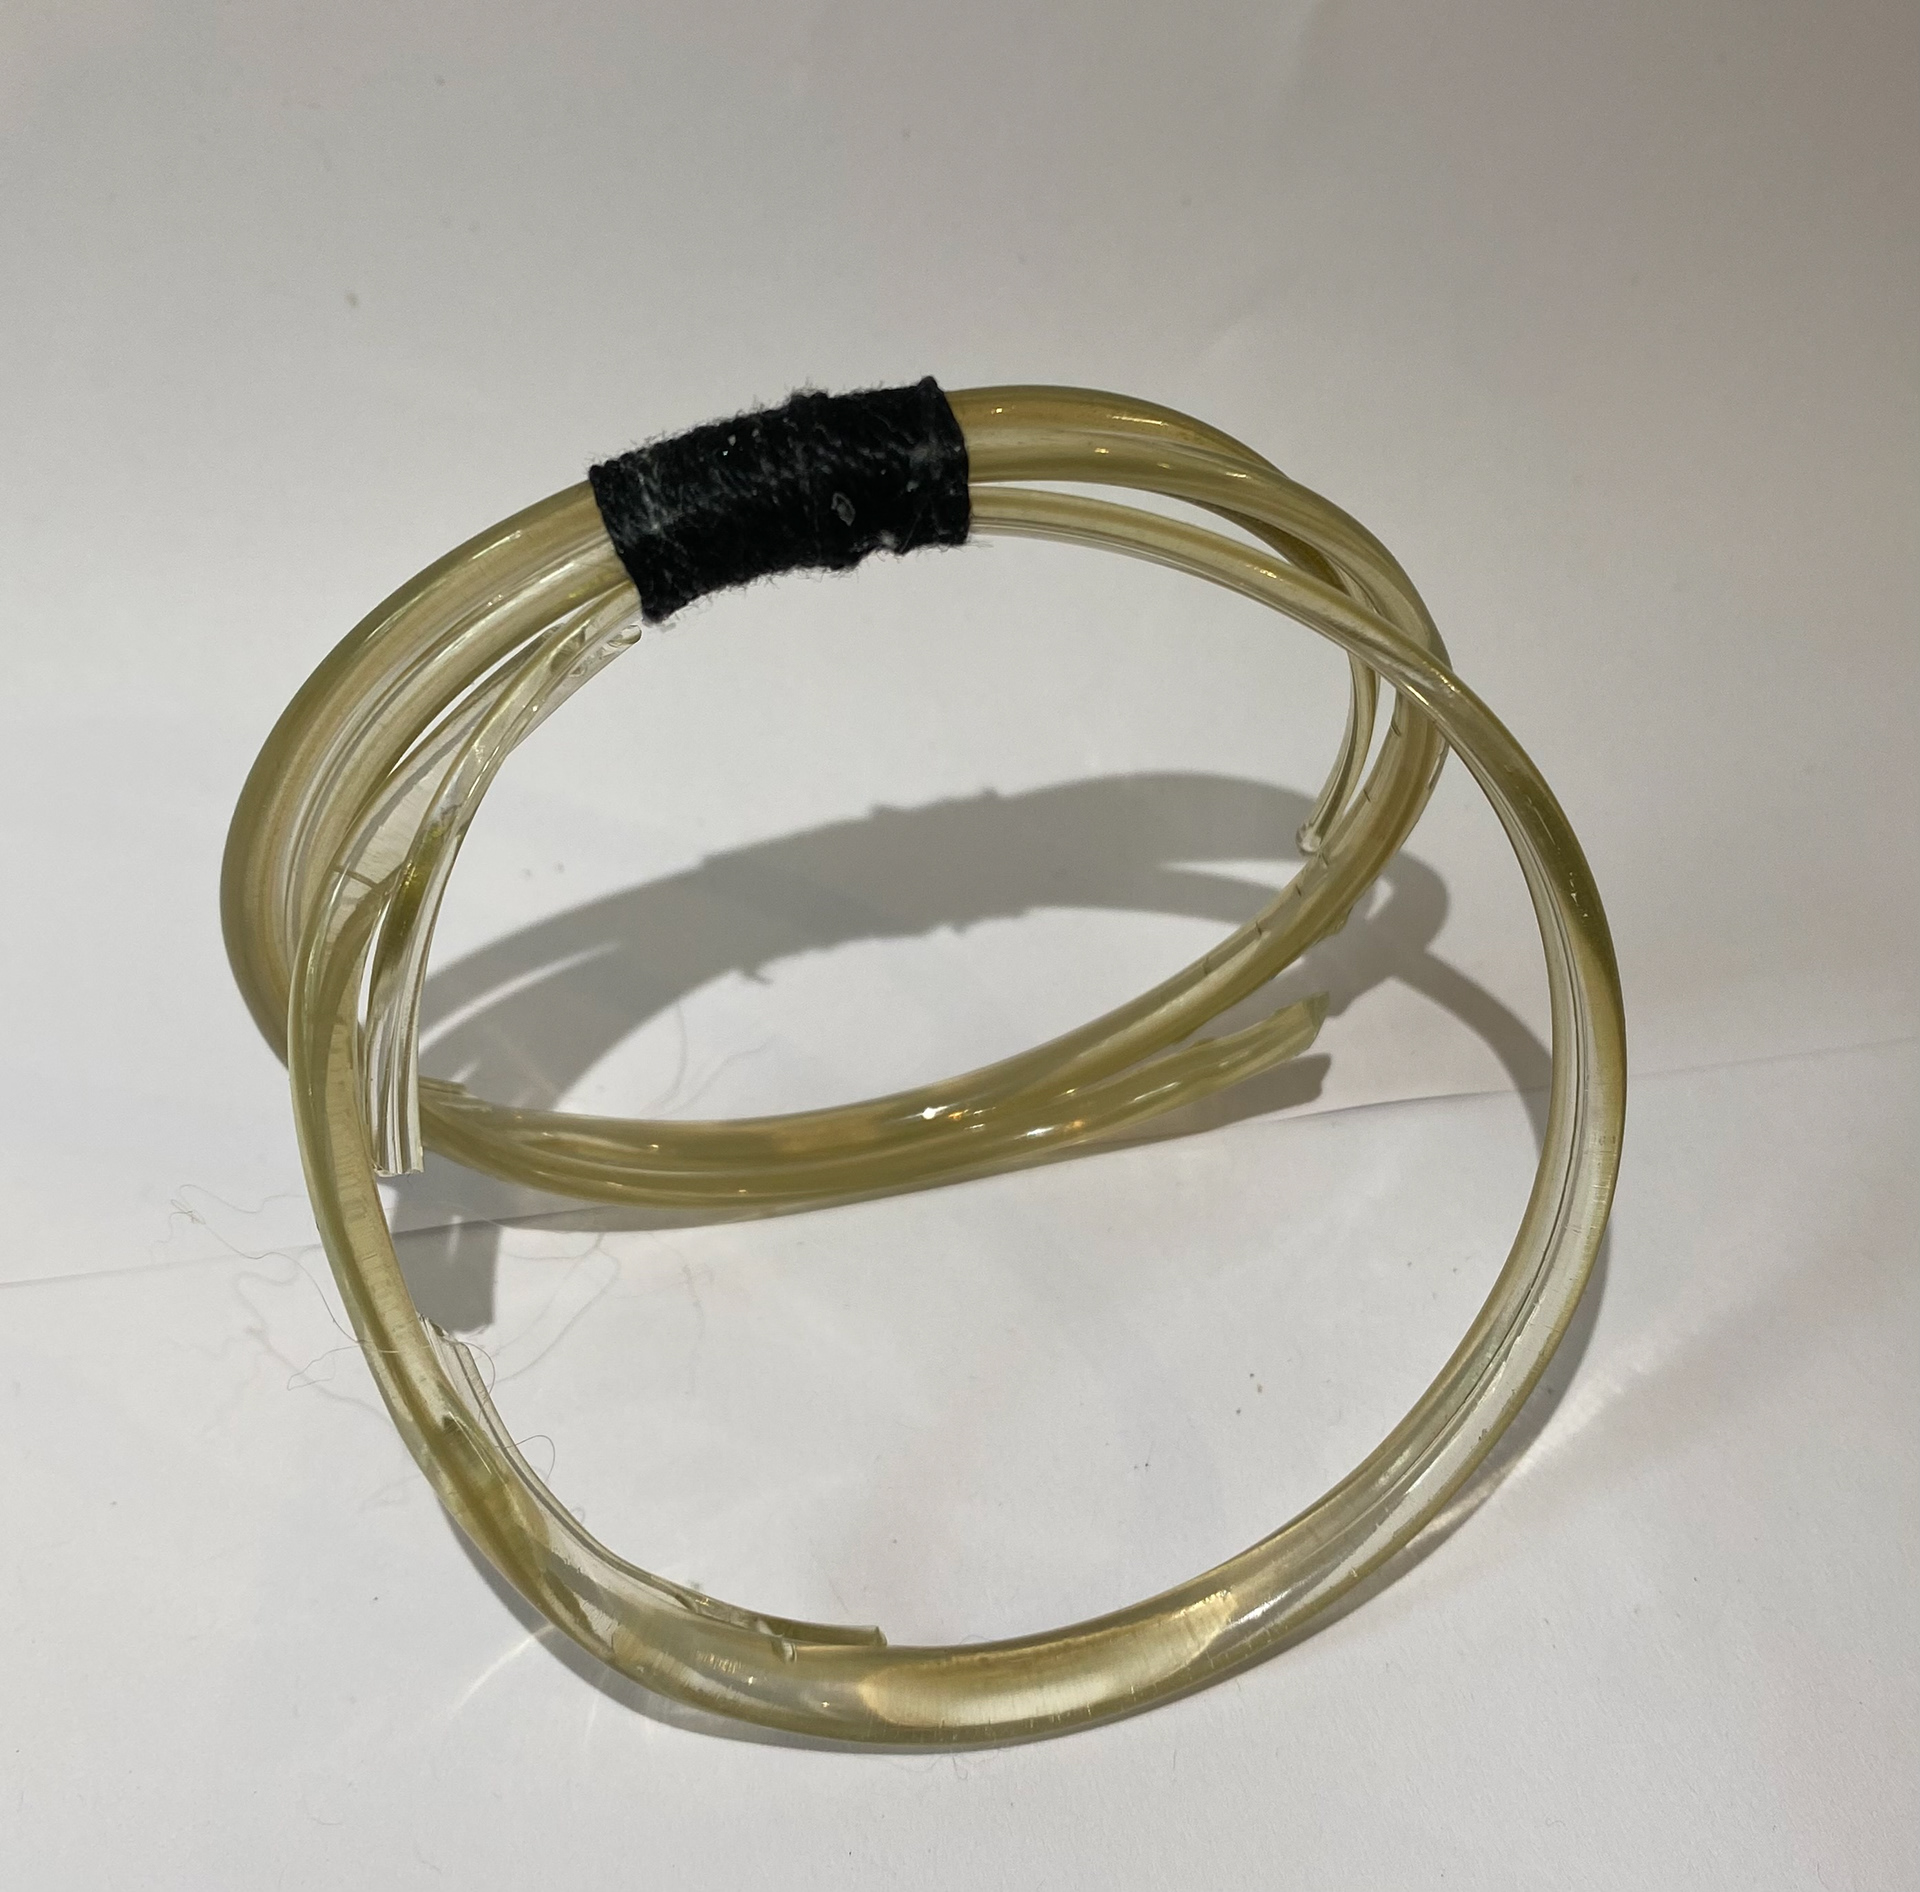
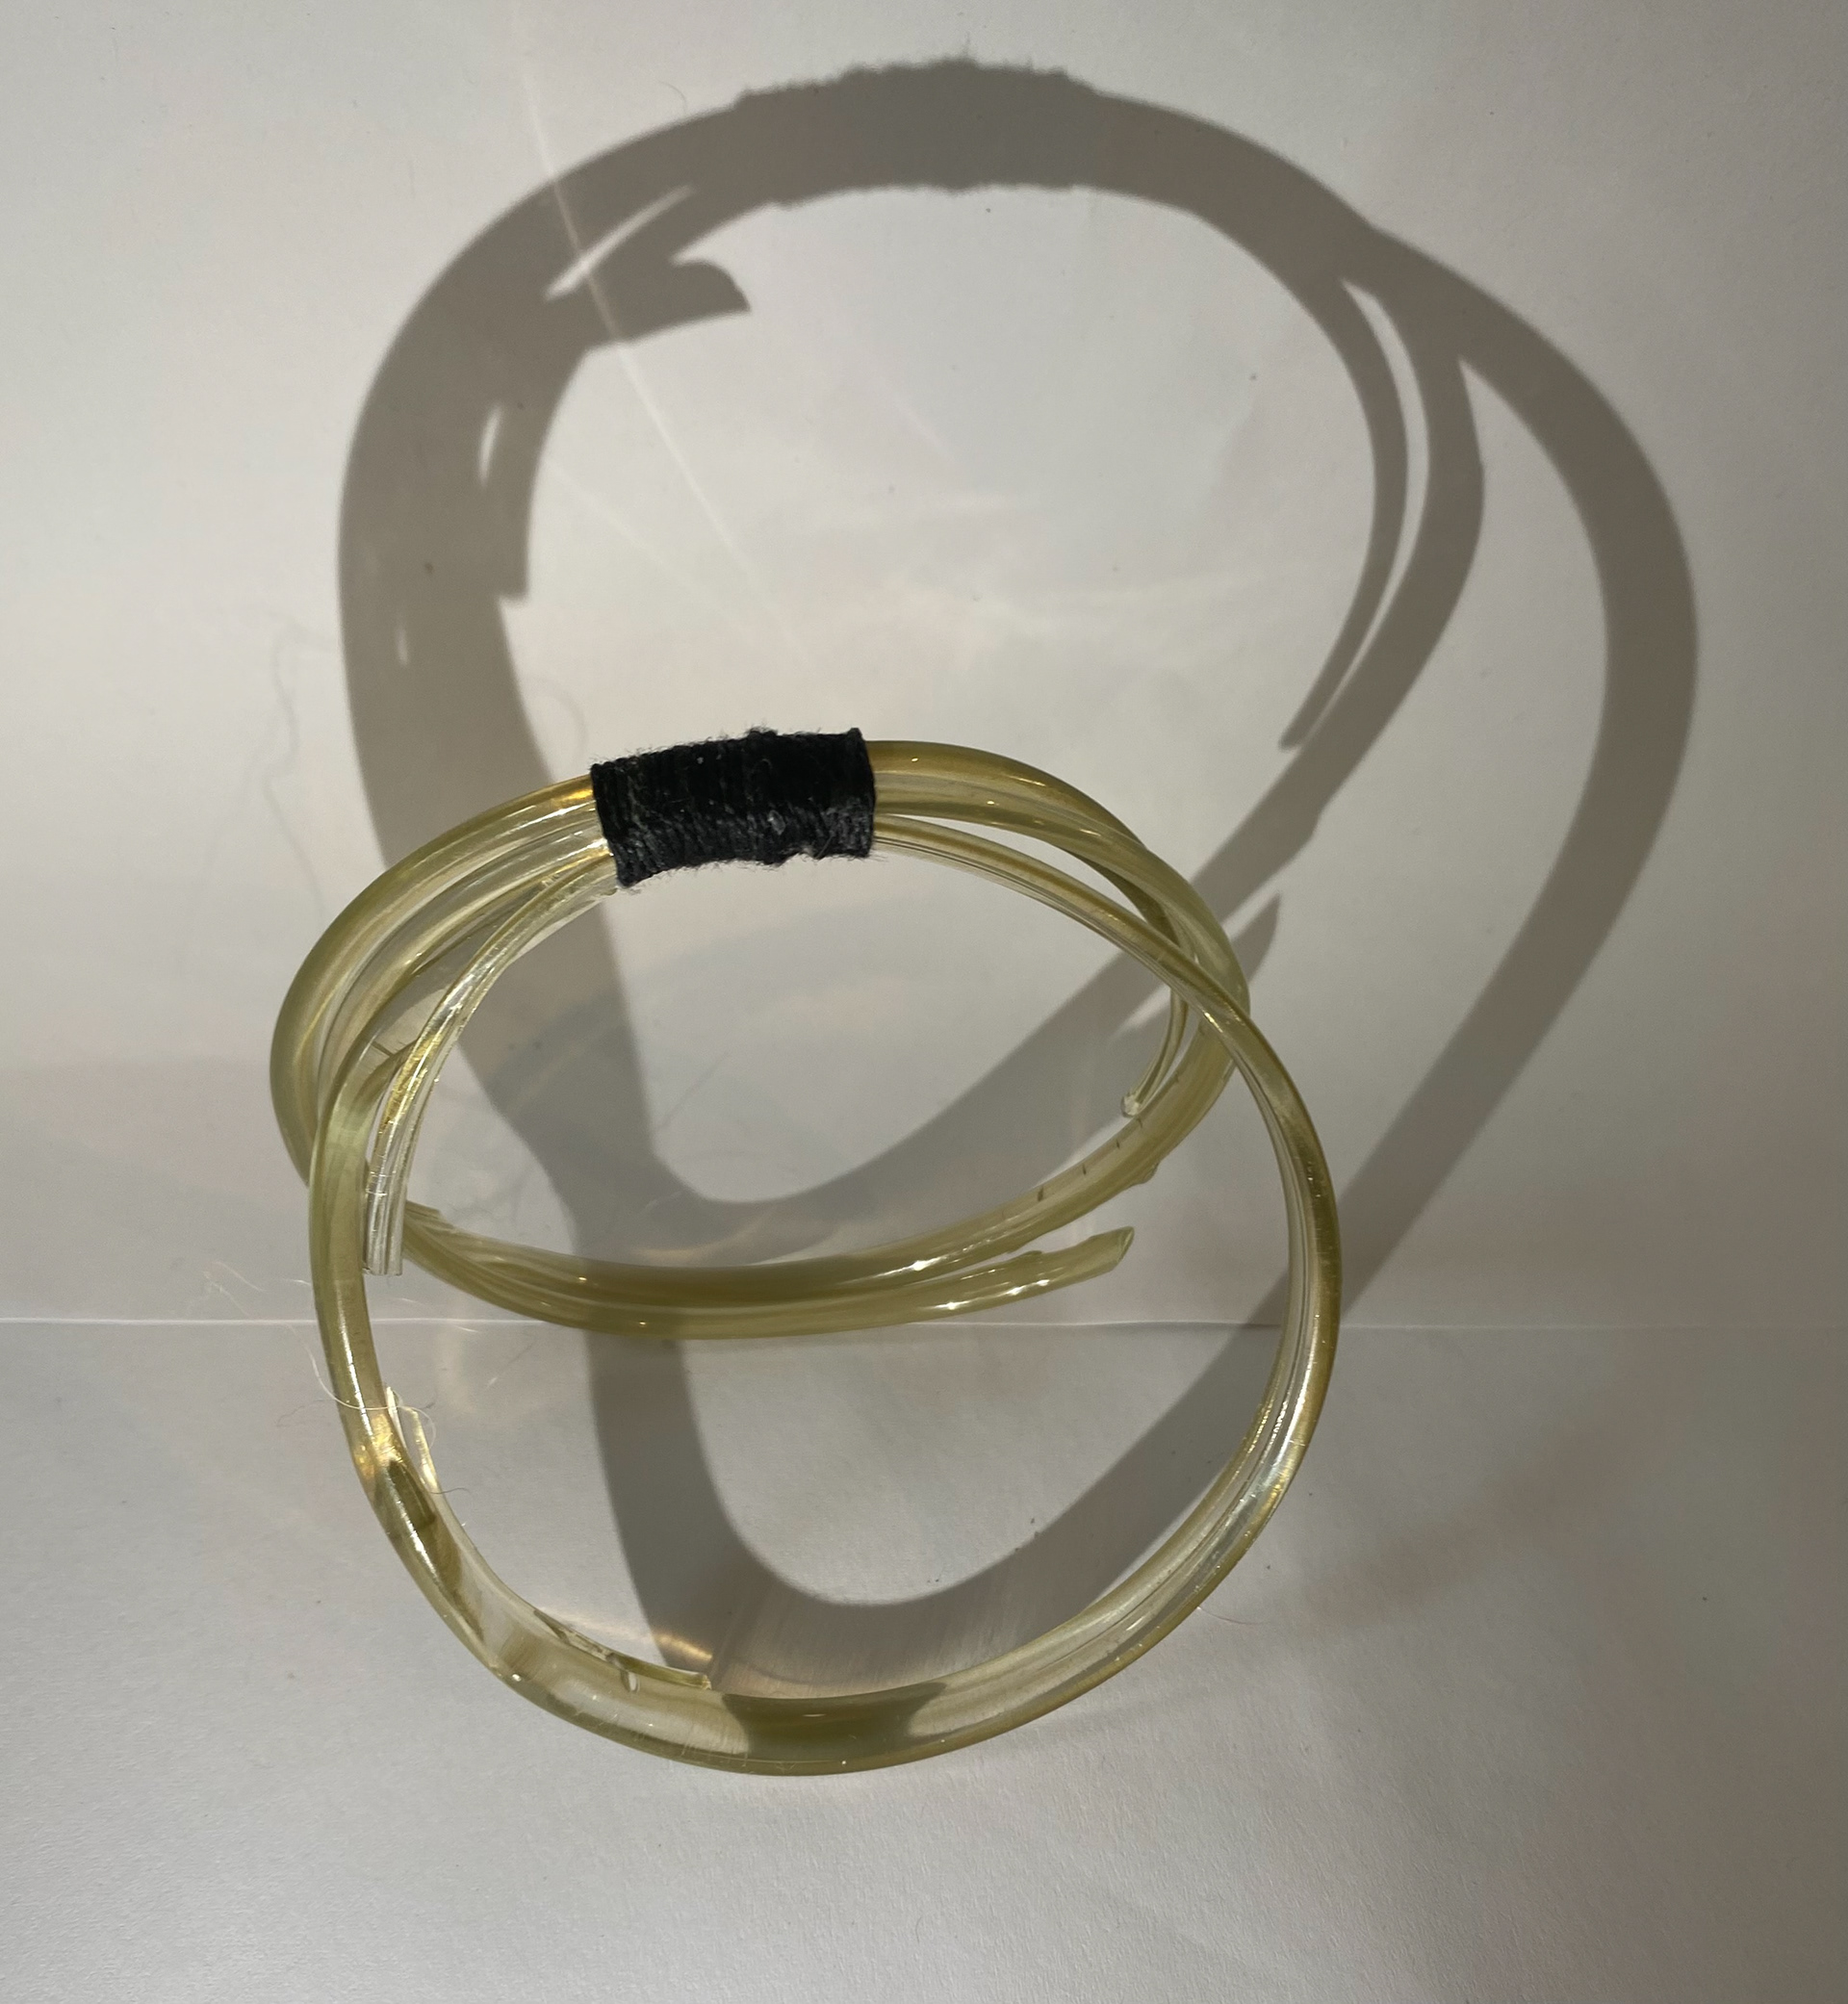
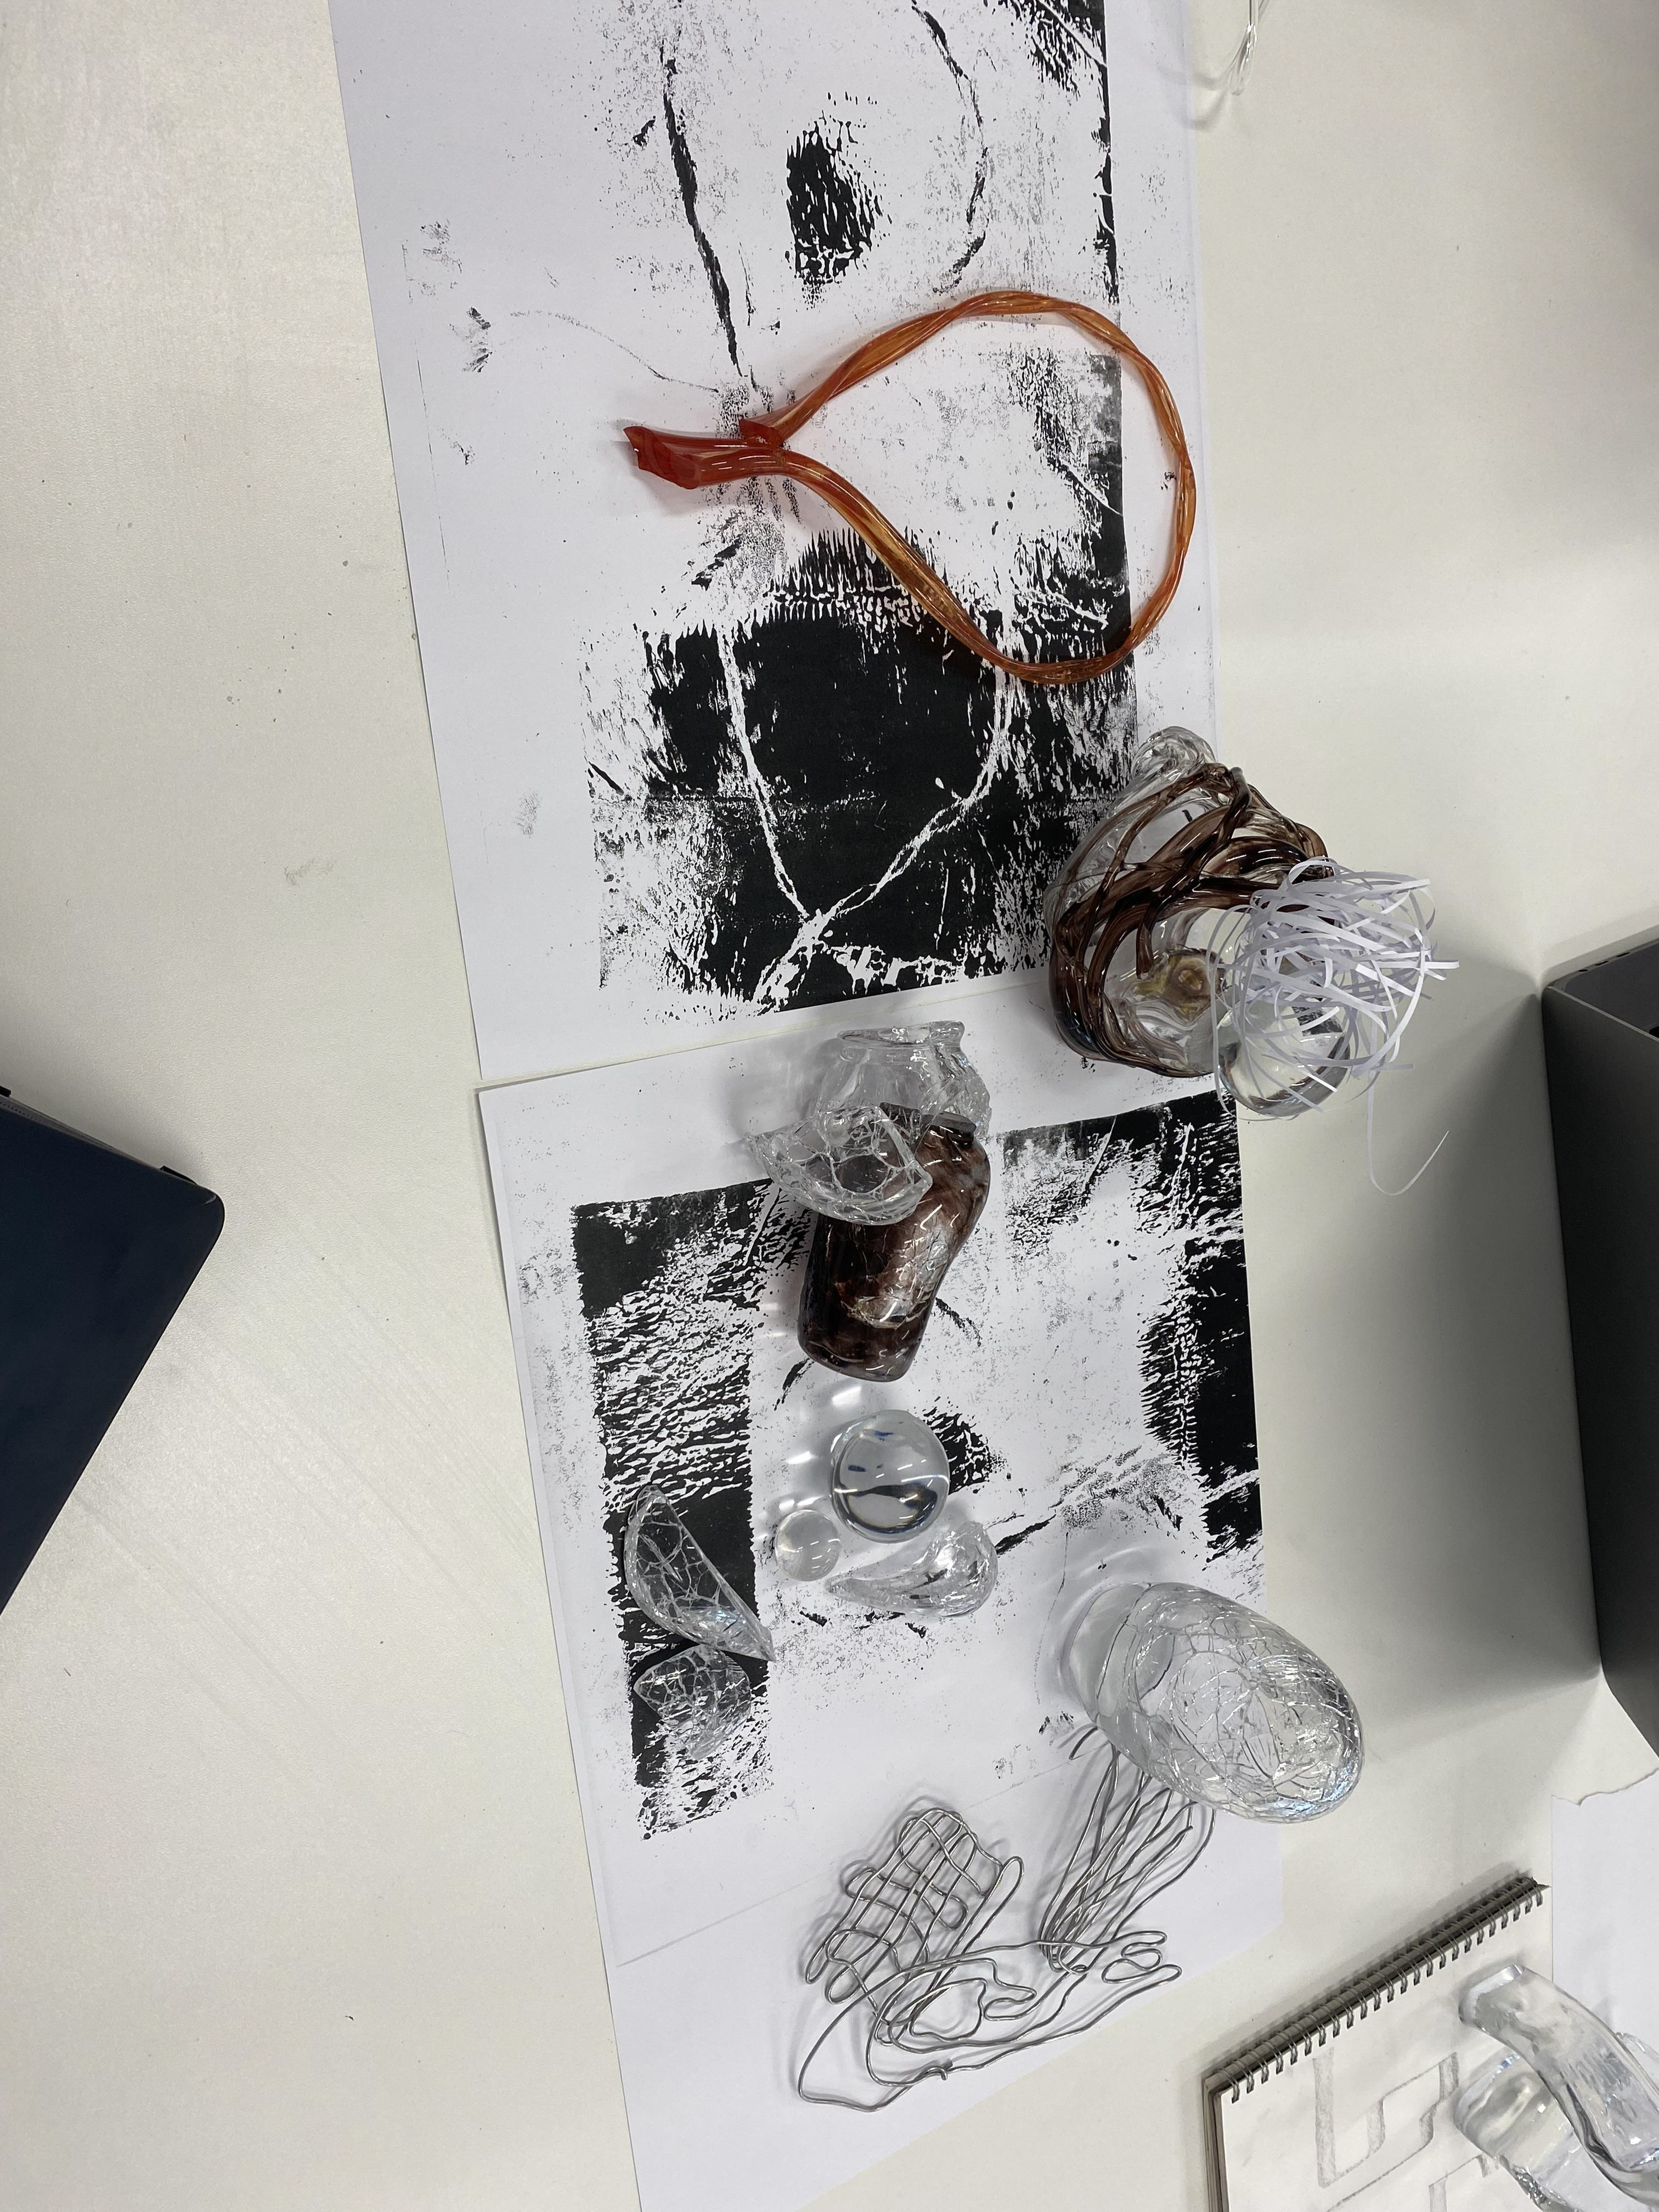
At the beginning of the unit, we were asked to create a measuring tool to take with us to N.O.M.A. I didn’t really understand the exact purpose of this however I did create a twisted glass loop. Our next collaborative task set by our tutor was to use print ink and a roller. At first, I used the measuring tool itself with the ink however that didn’t create anything I was happy with. I then twisted some string much like my measuring tool and rolled over this to create some interesting patterns. I liked the results of this and was particularly interested in the small cracked like textures.
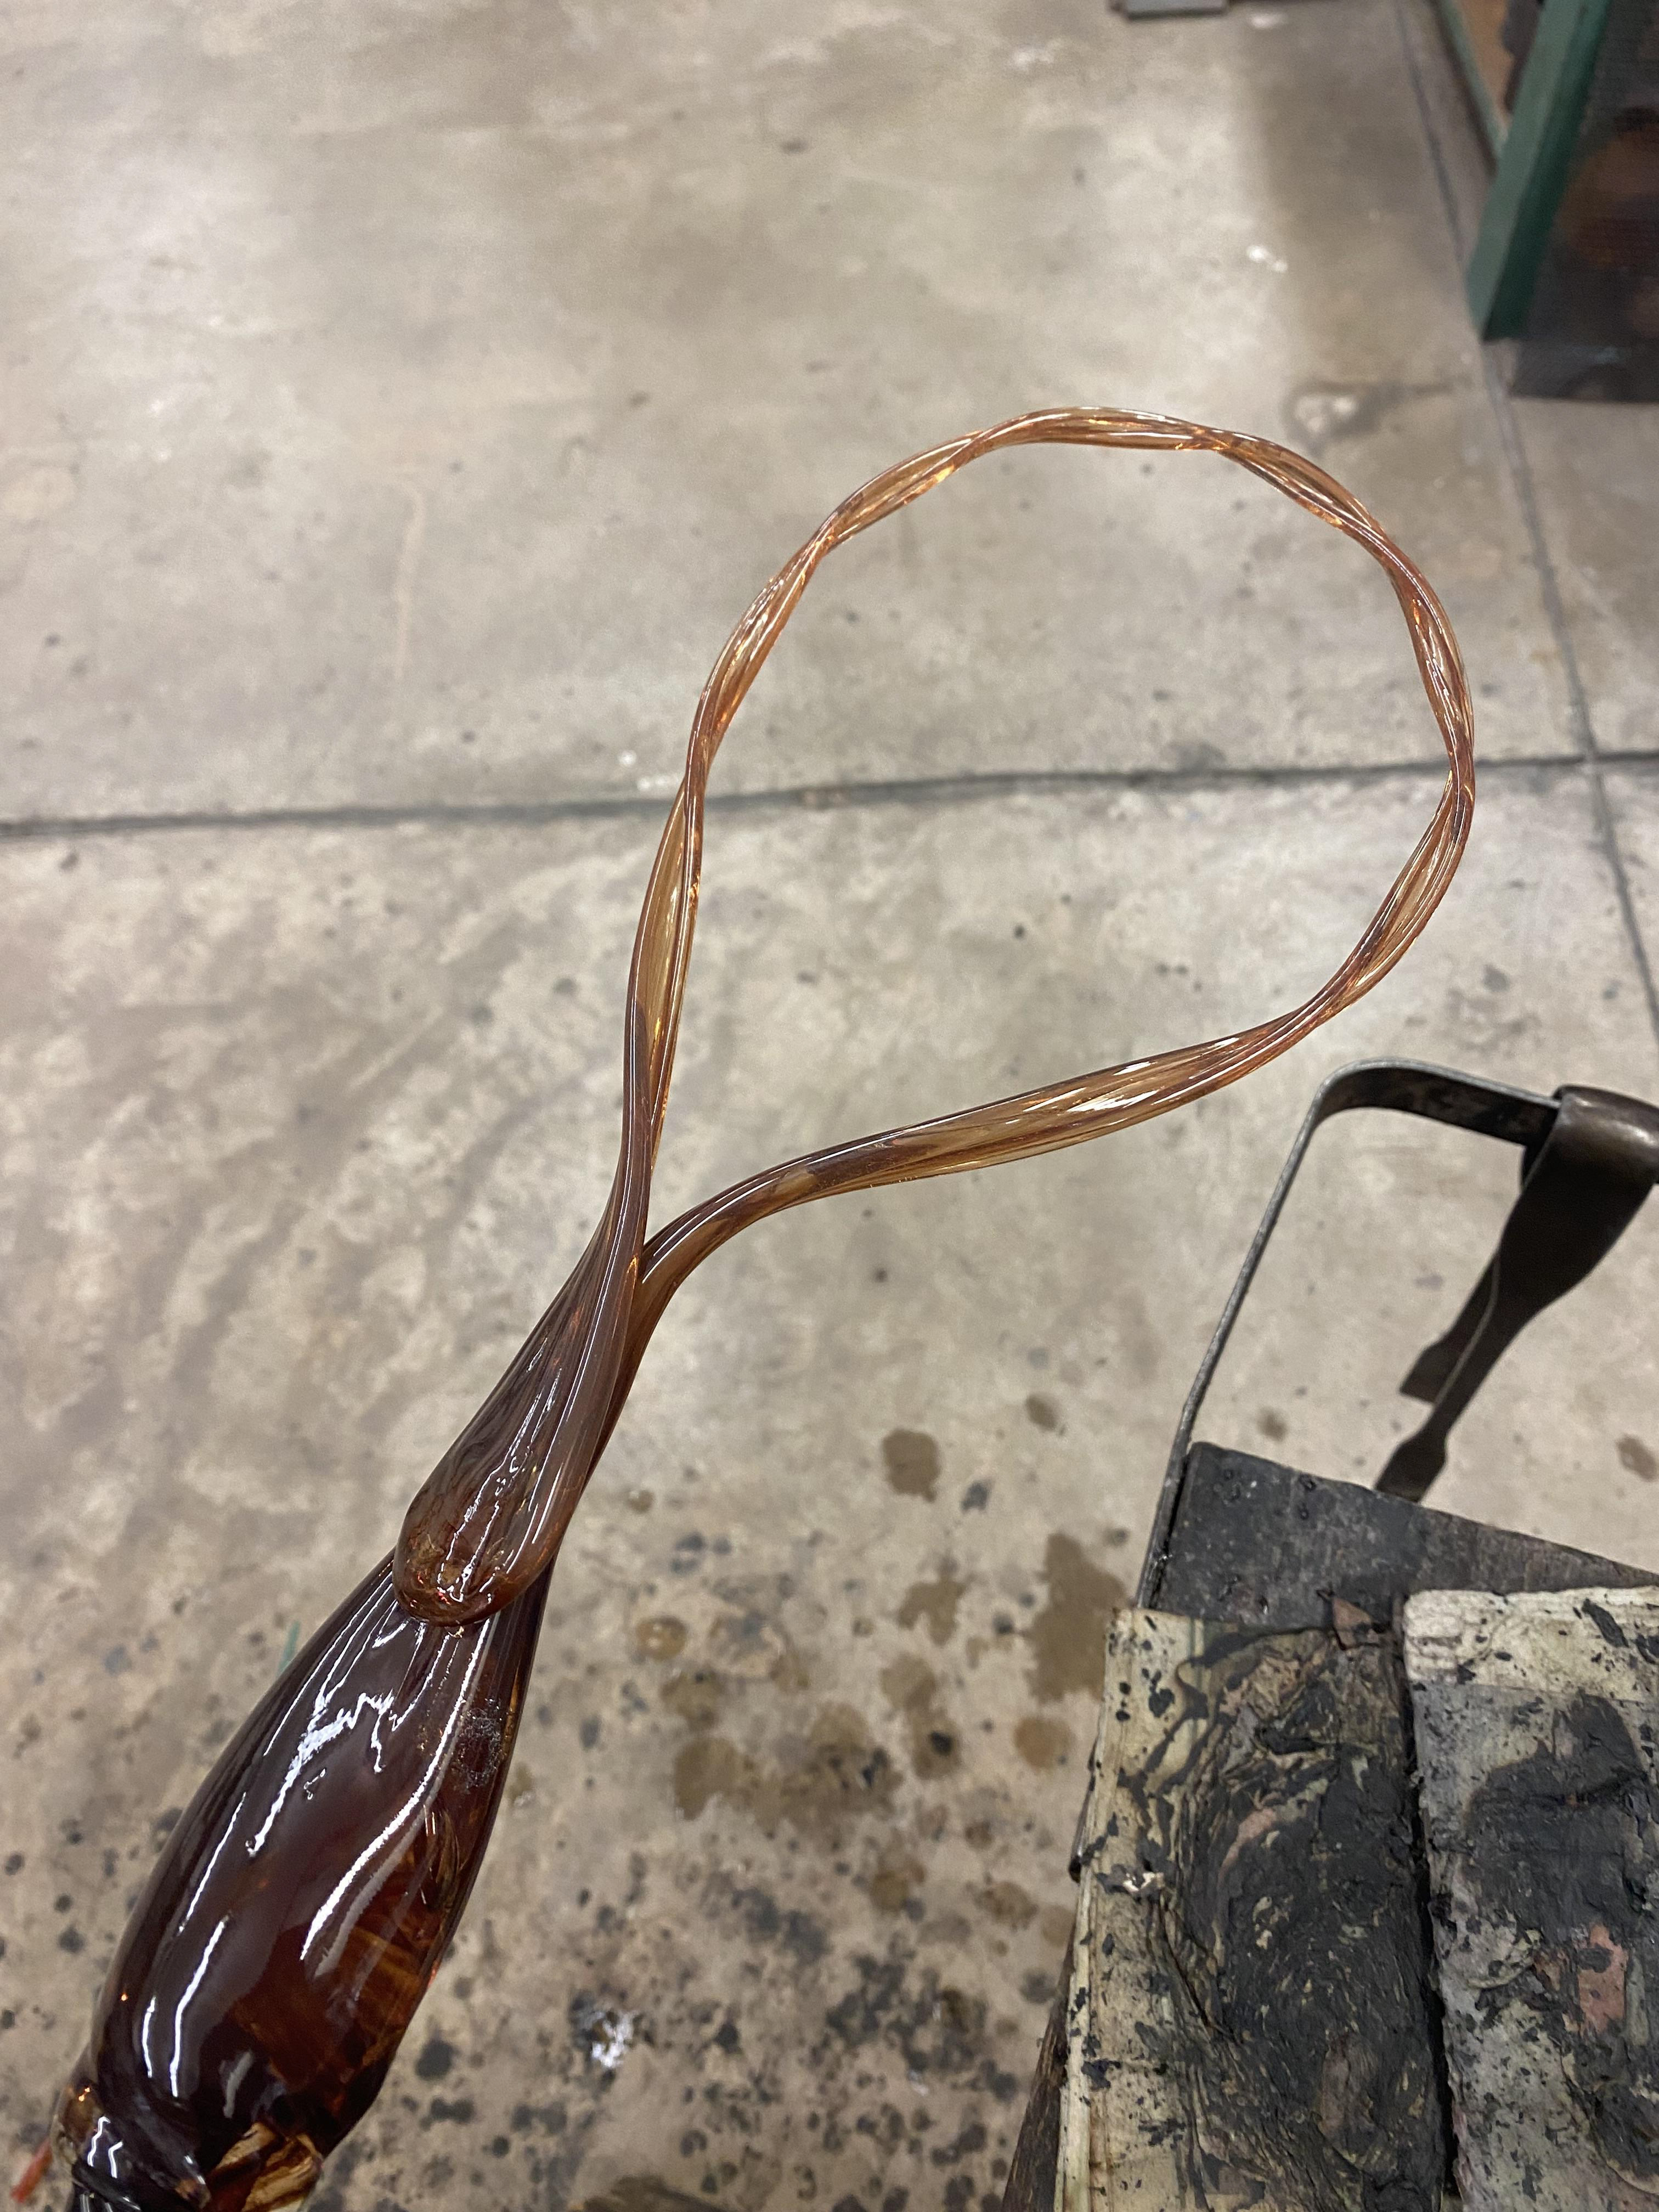
Measuring tool
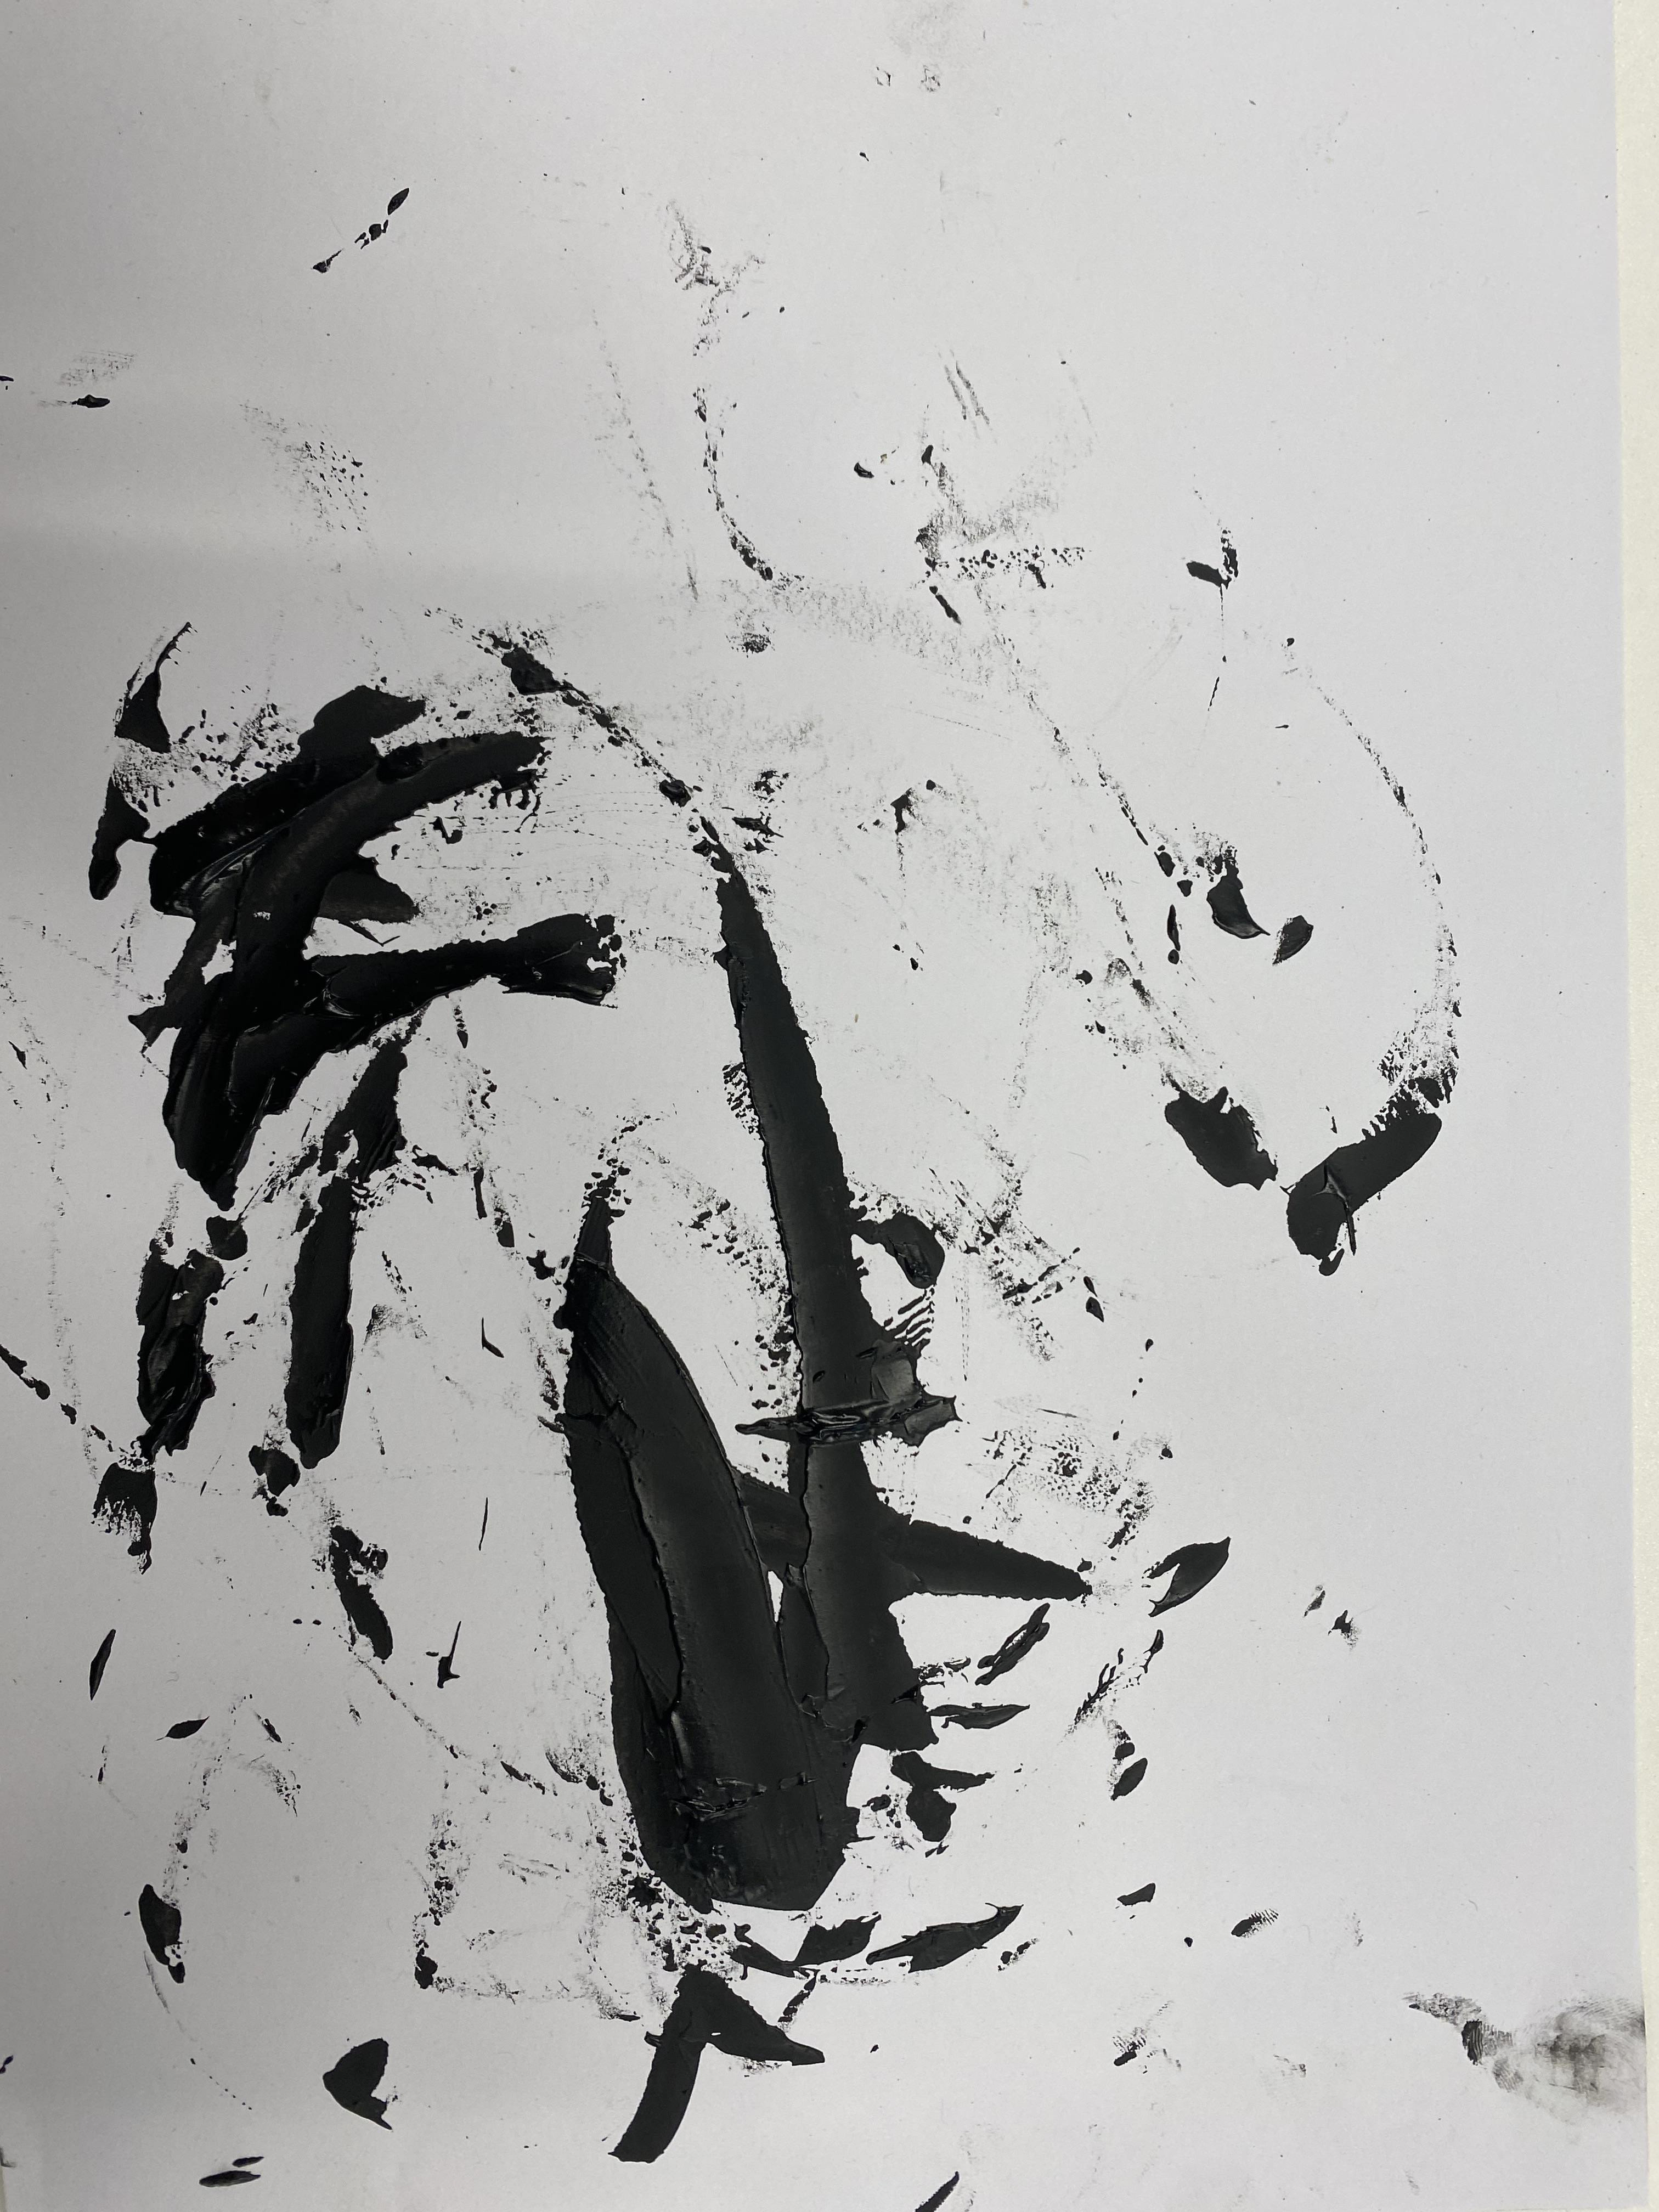
Ink pieces created using measuring tool
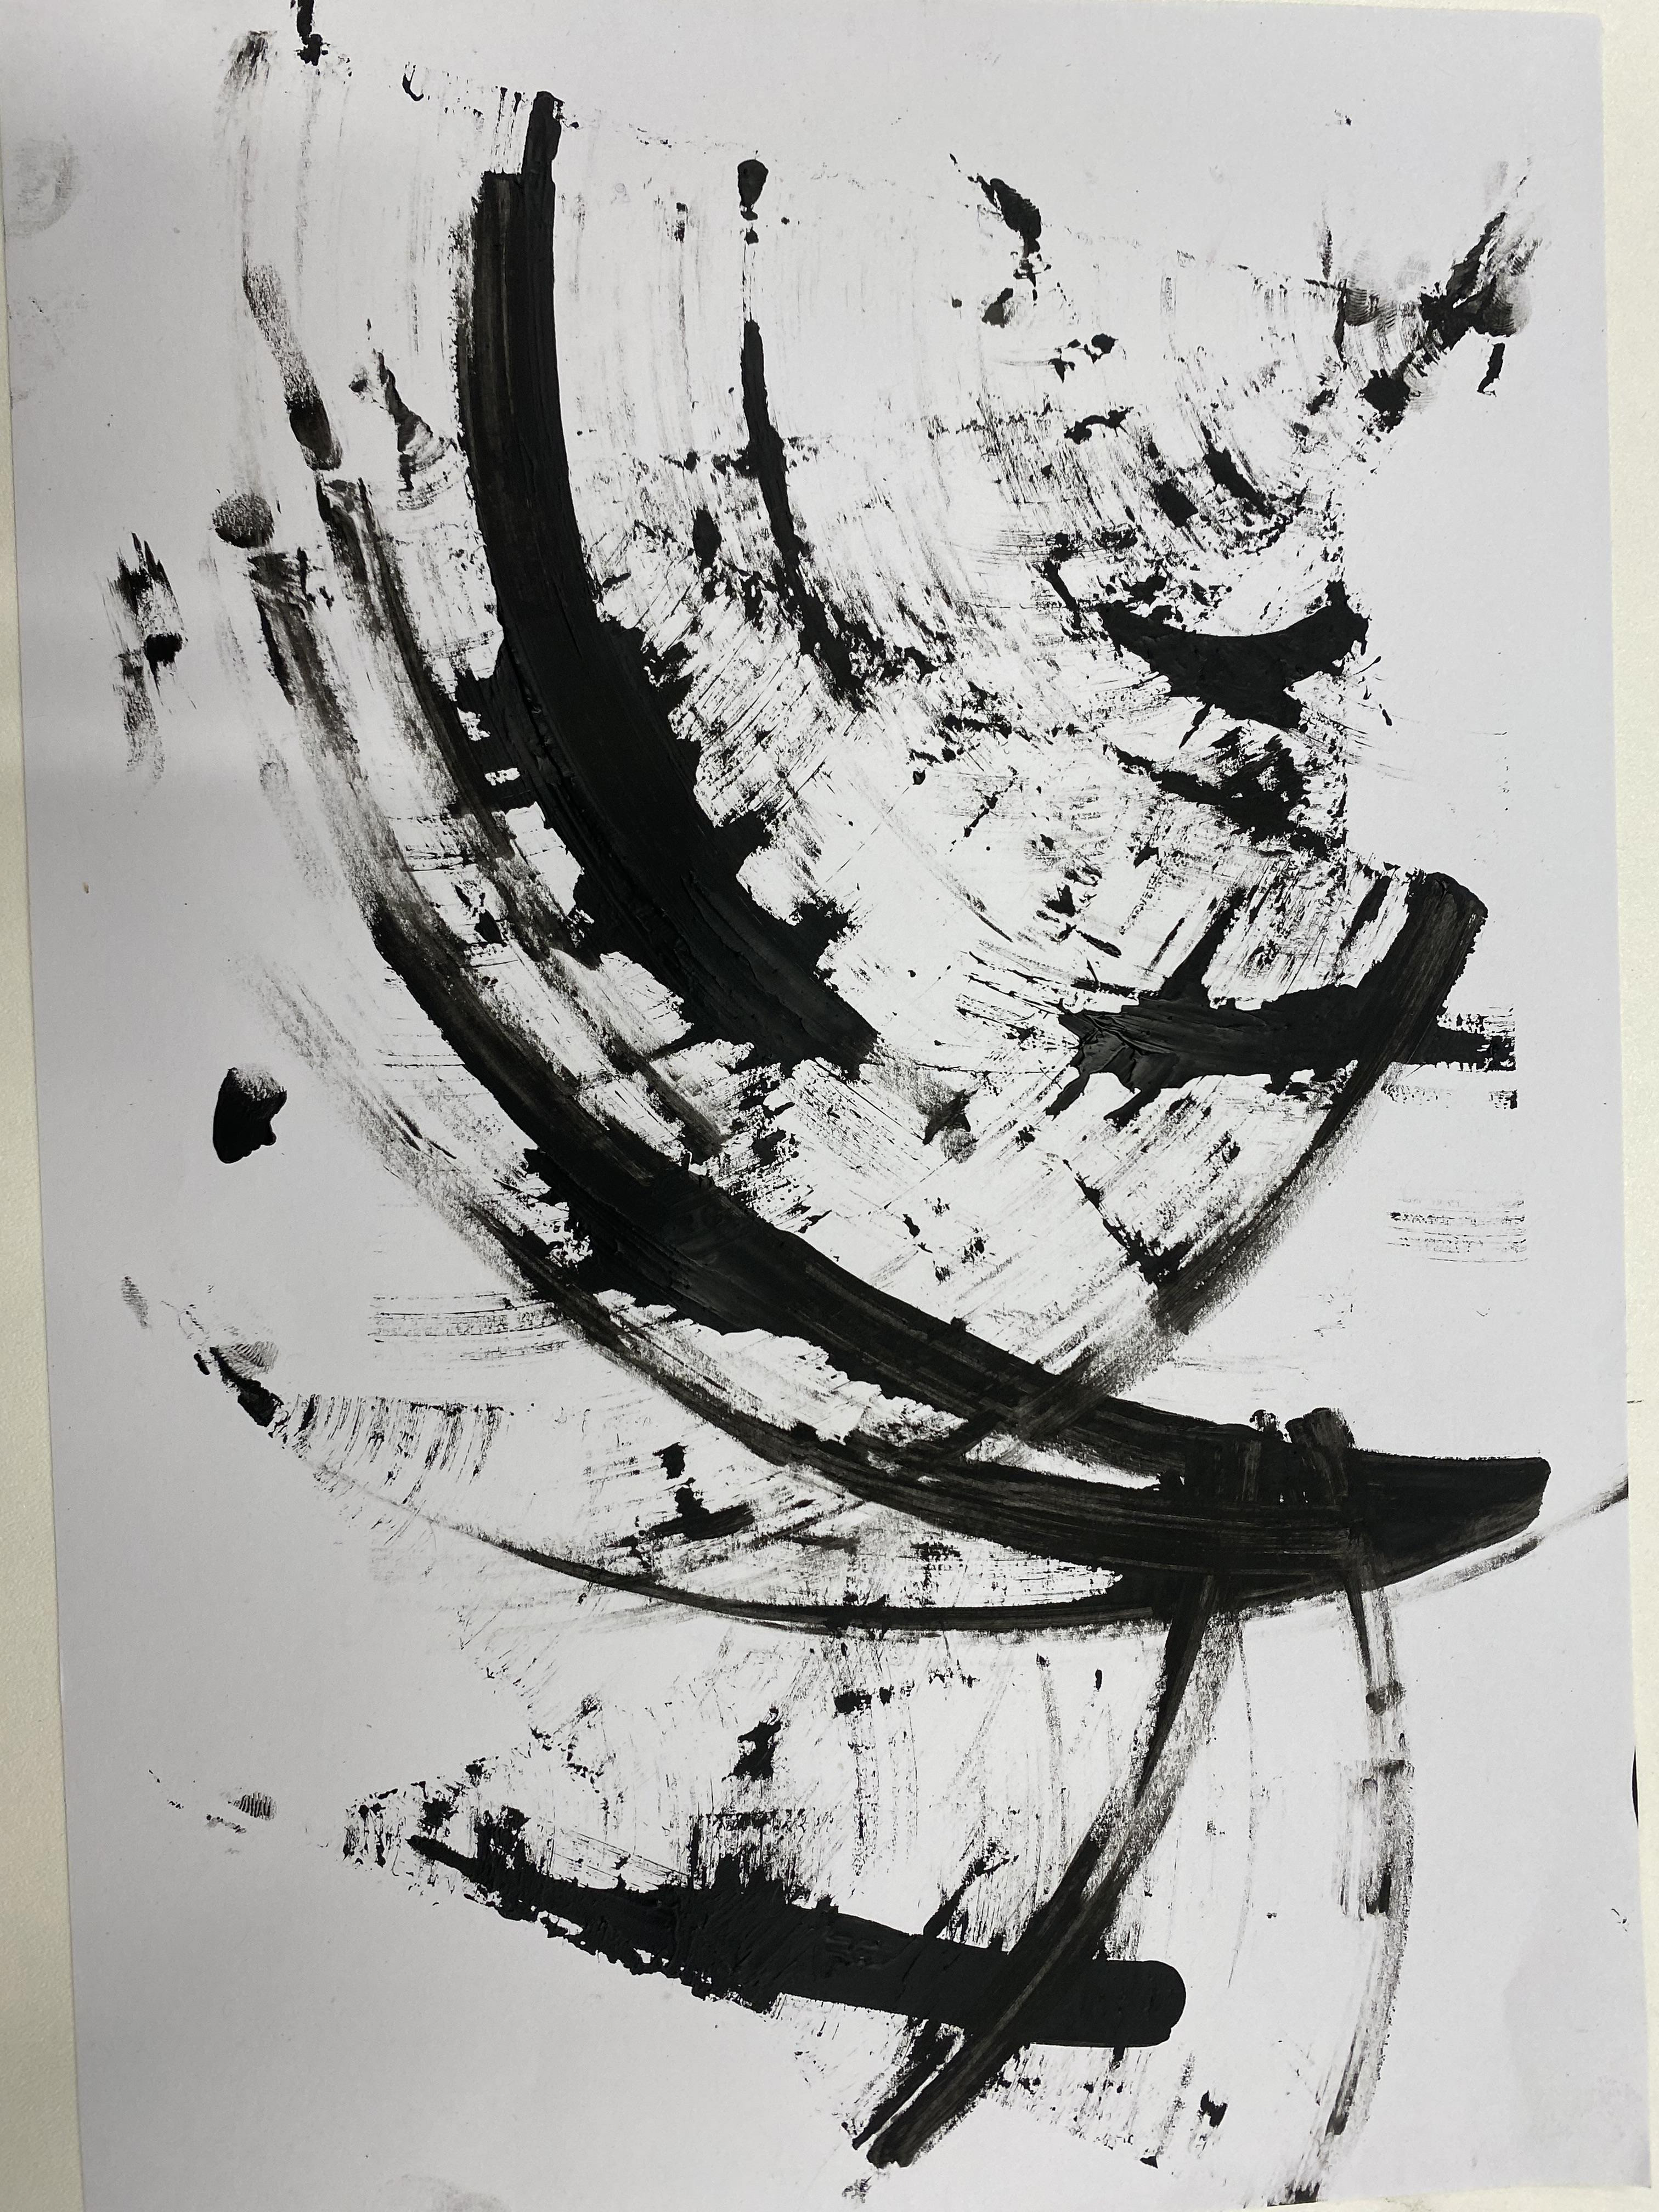
Ink pieces cerated using twisted string
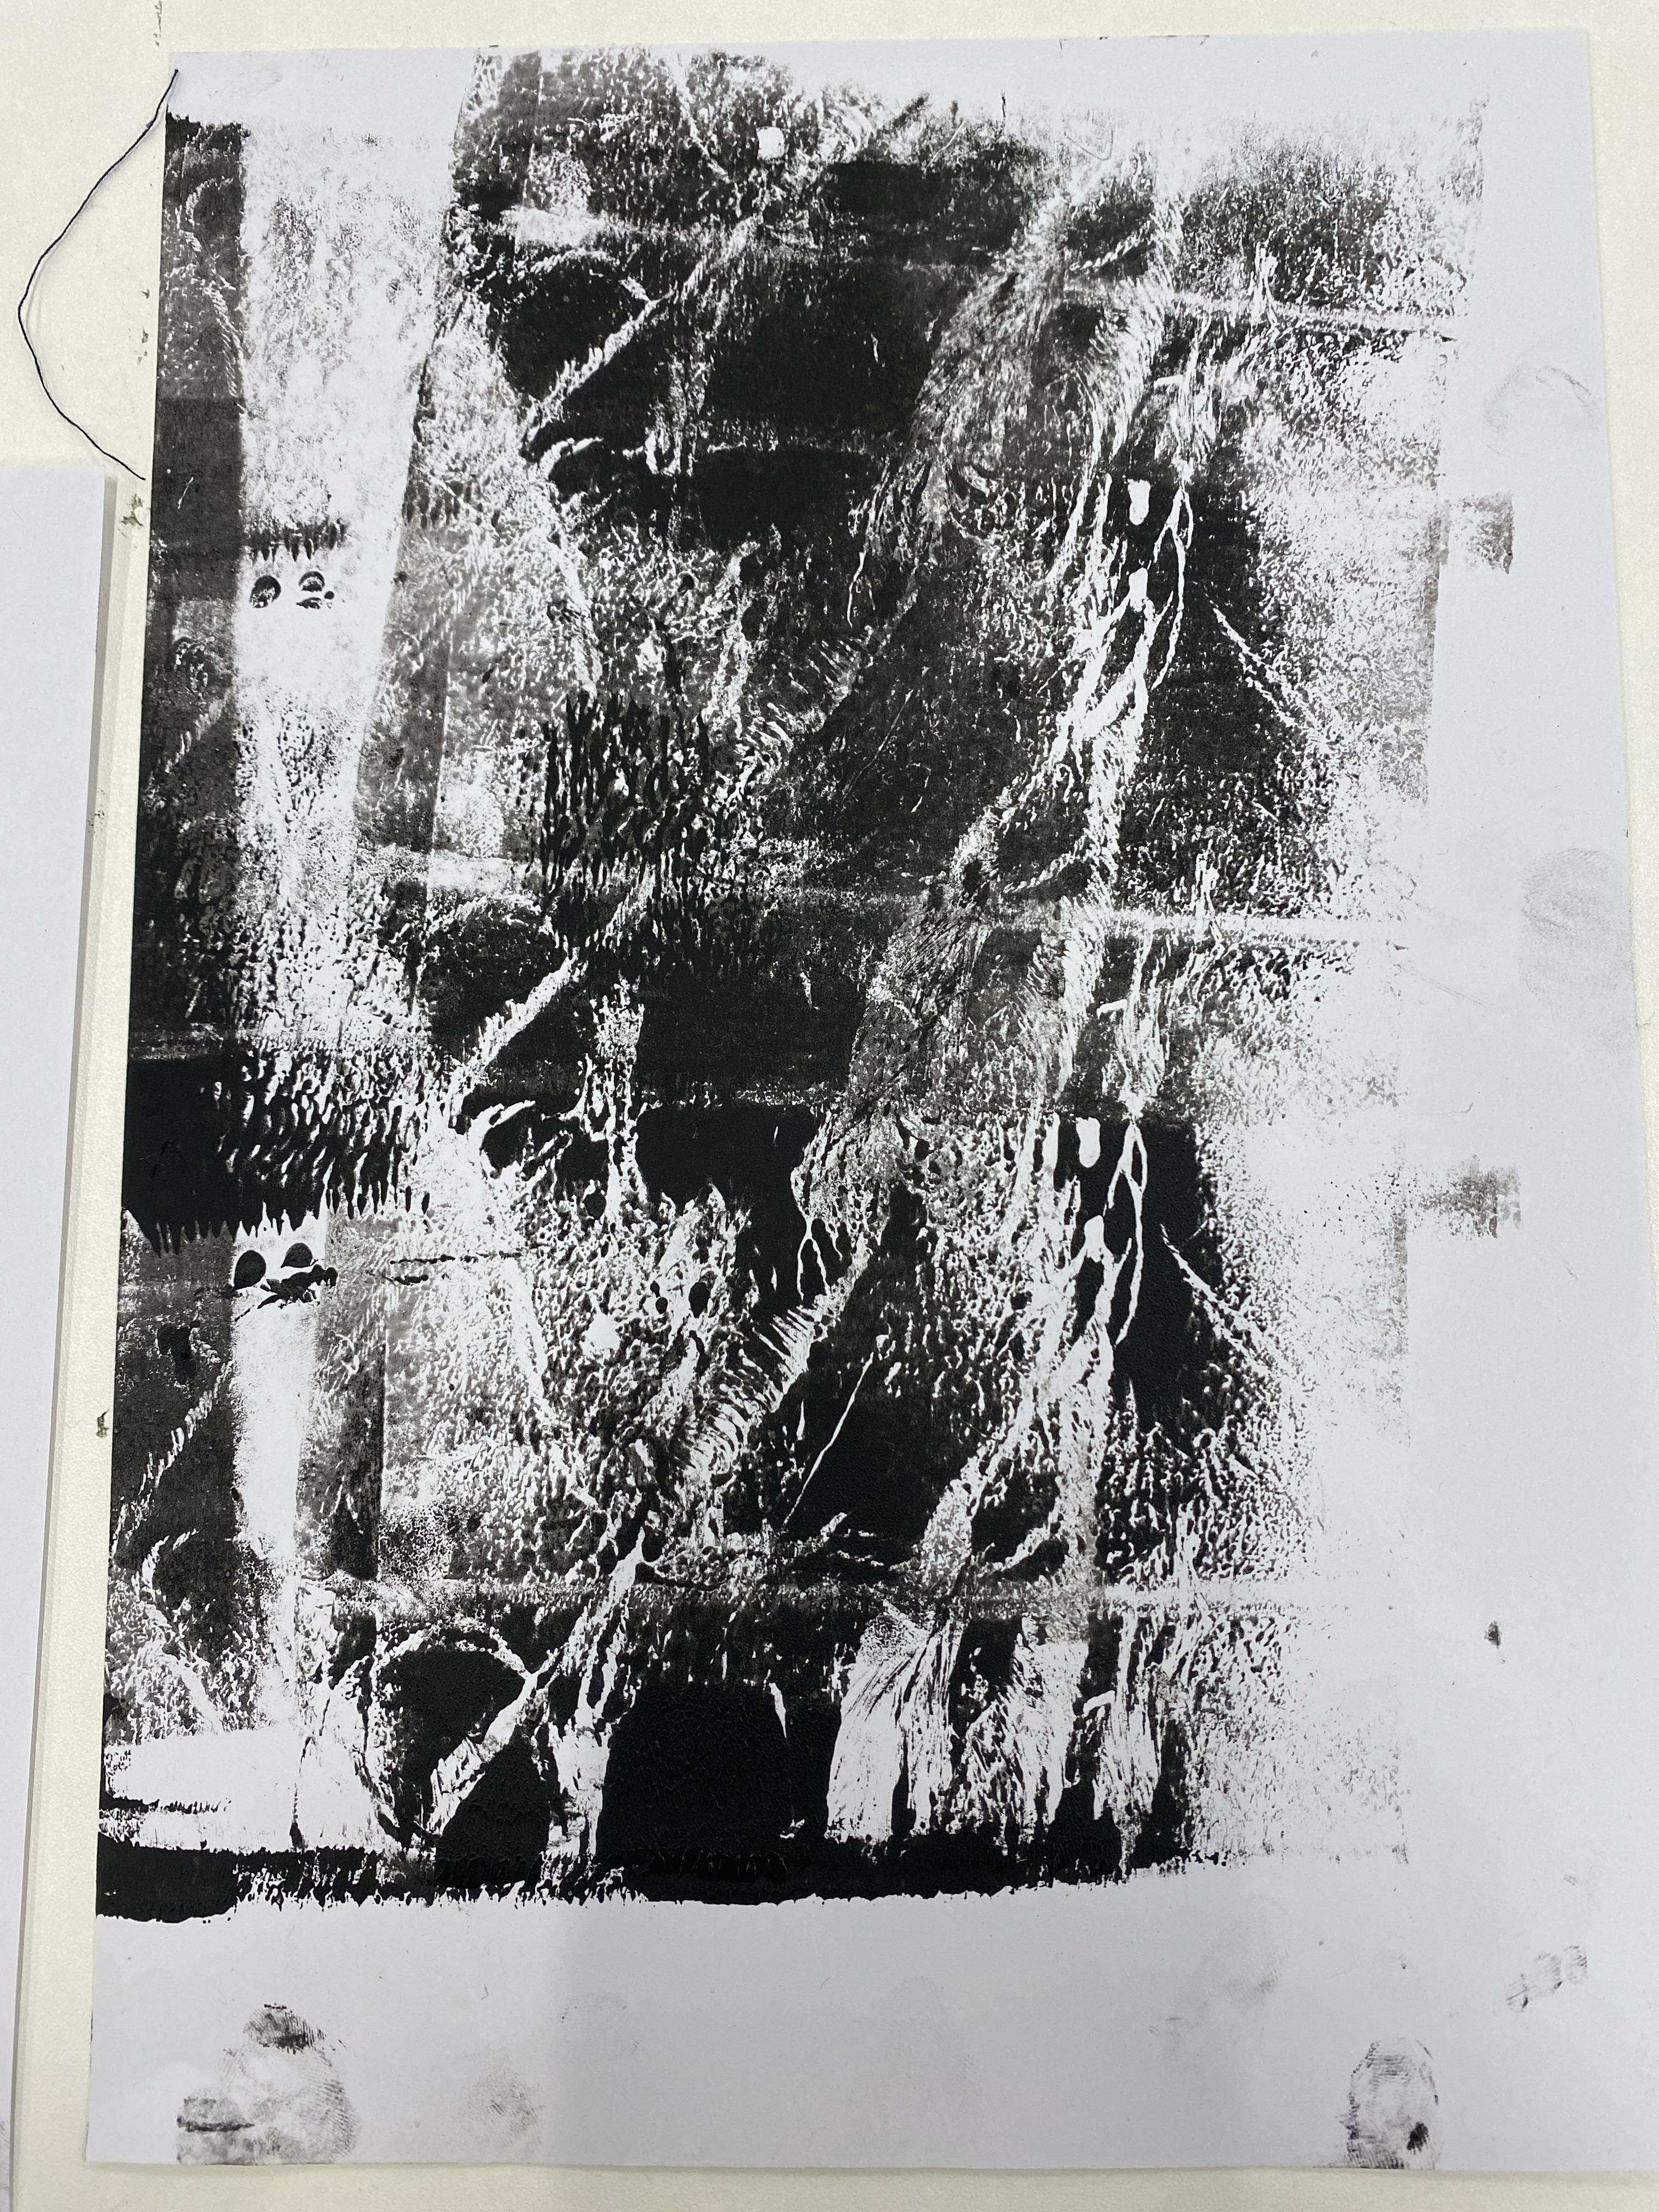
I liked the patterns and cracks created from the ink
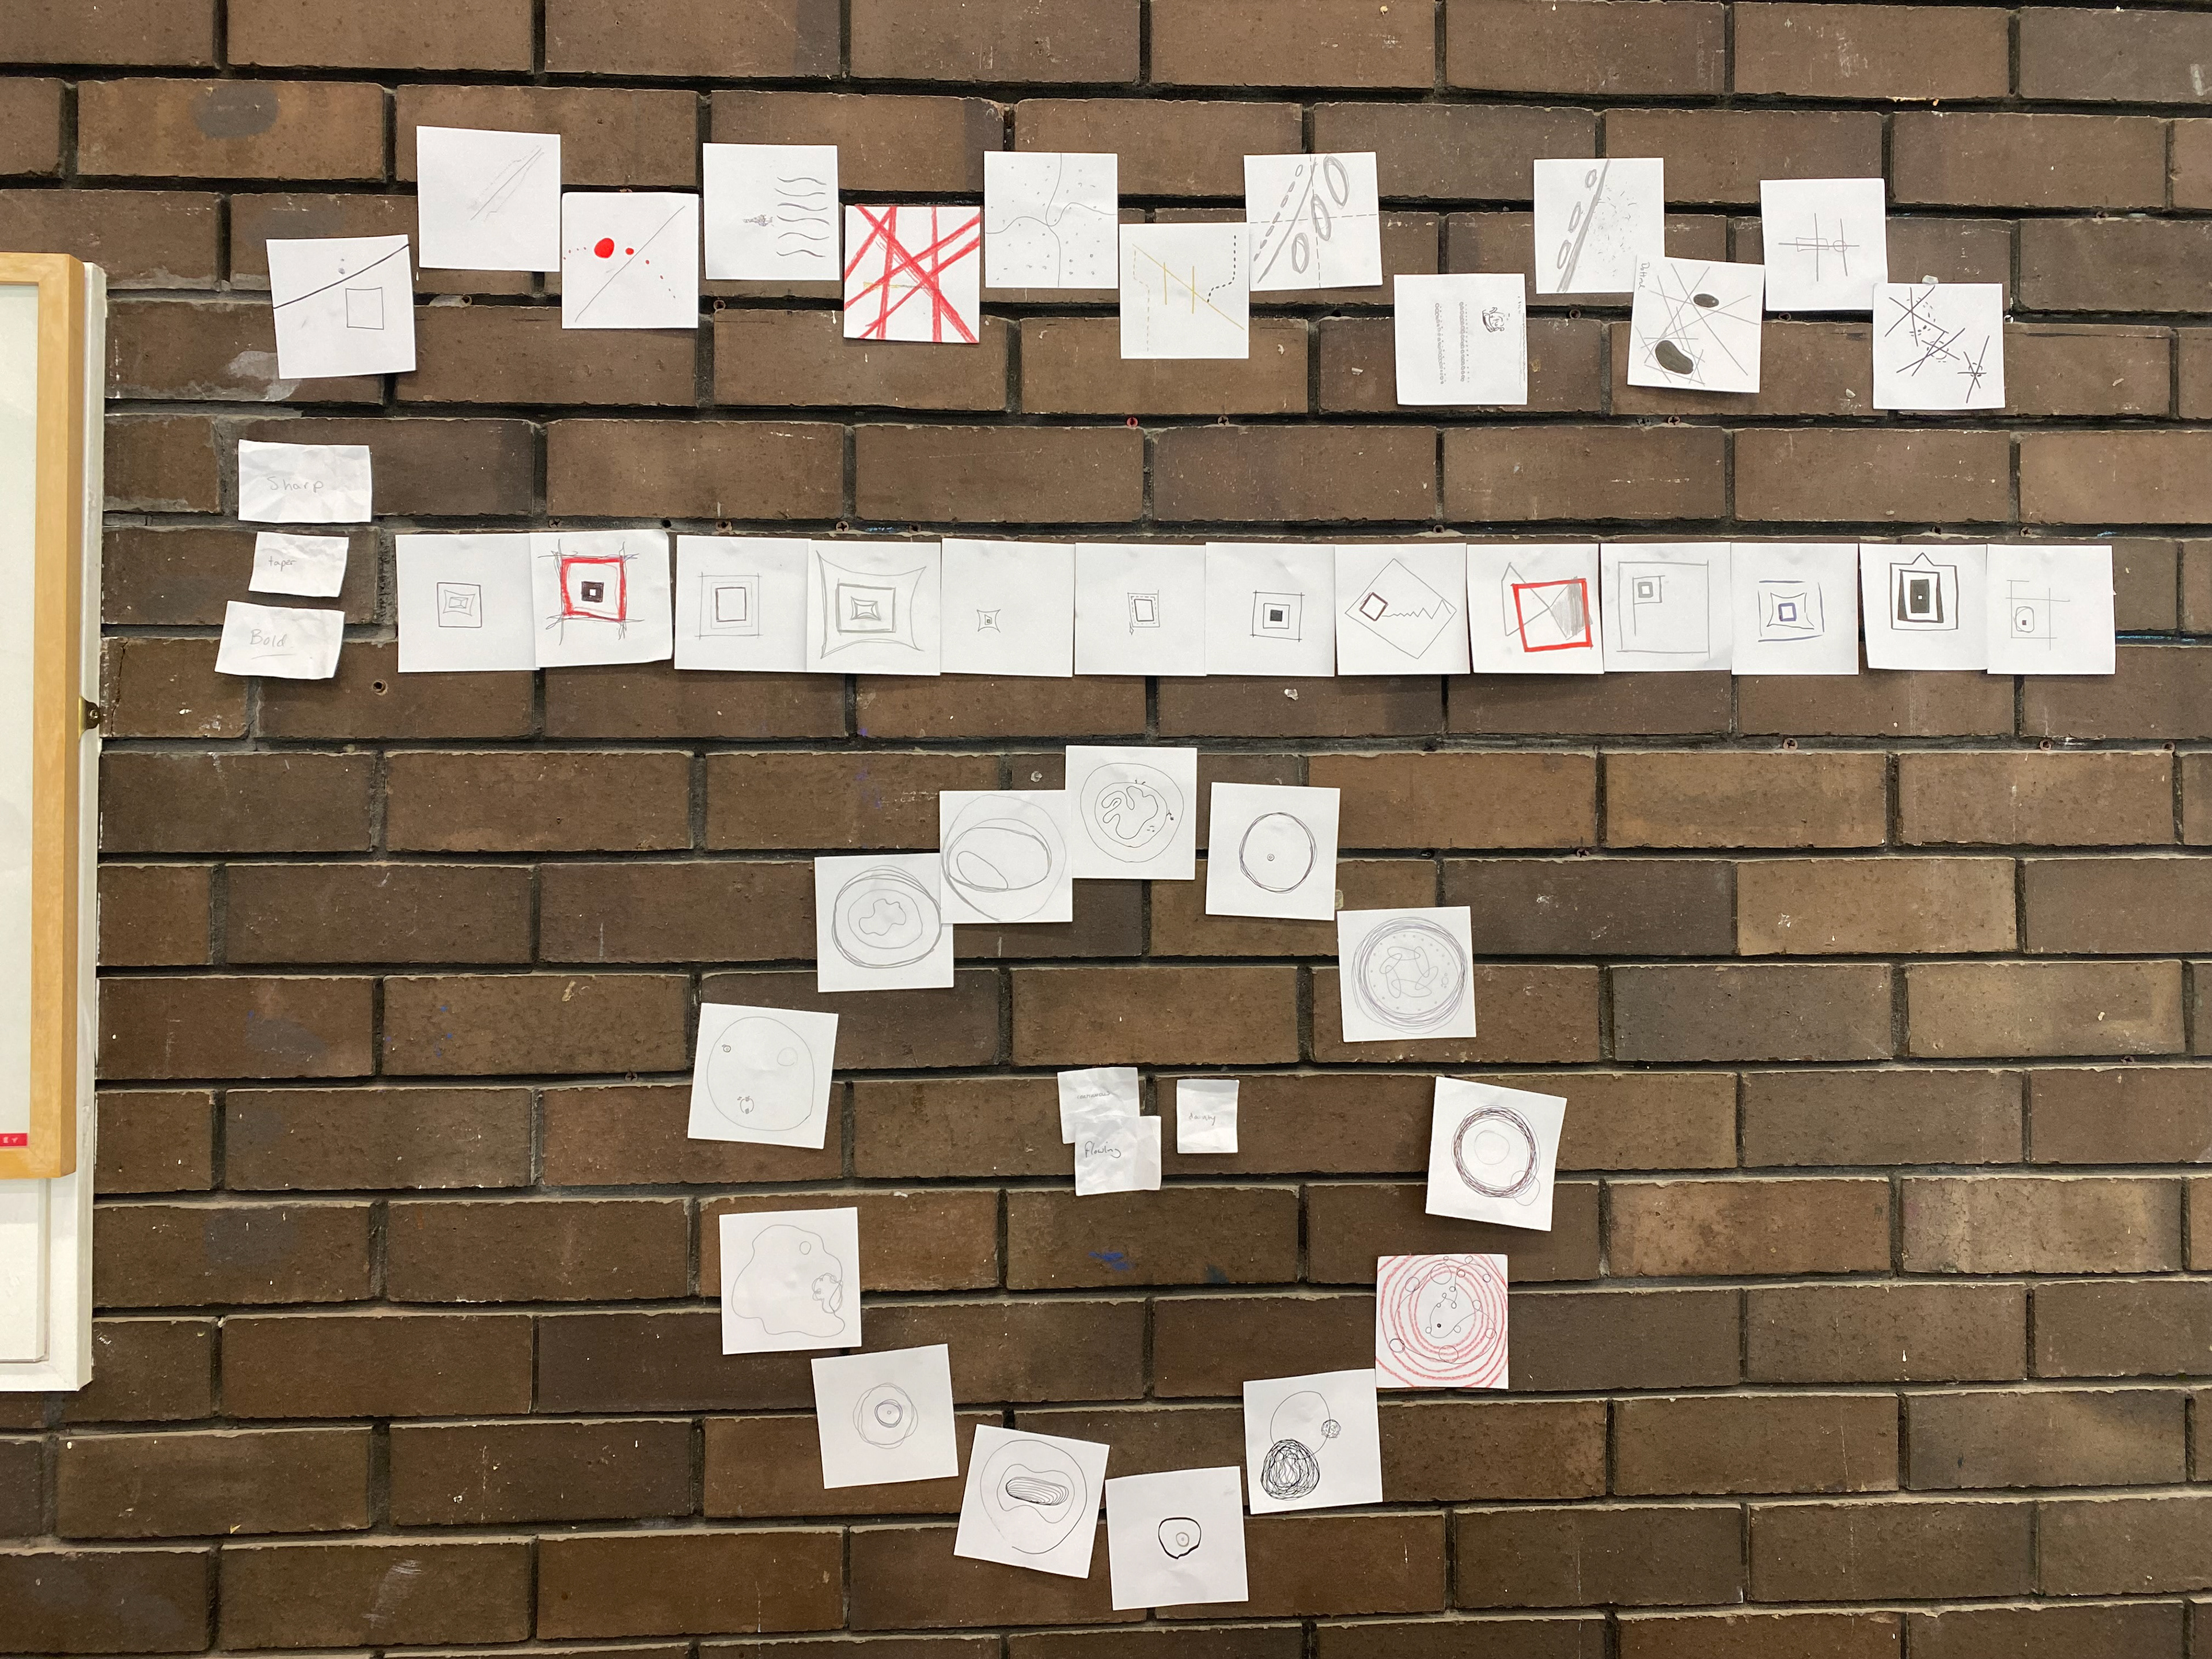
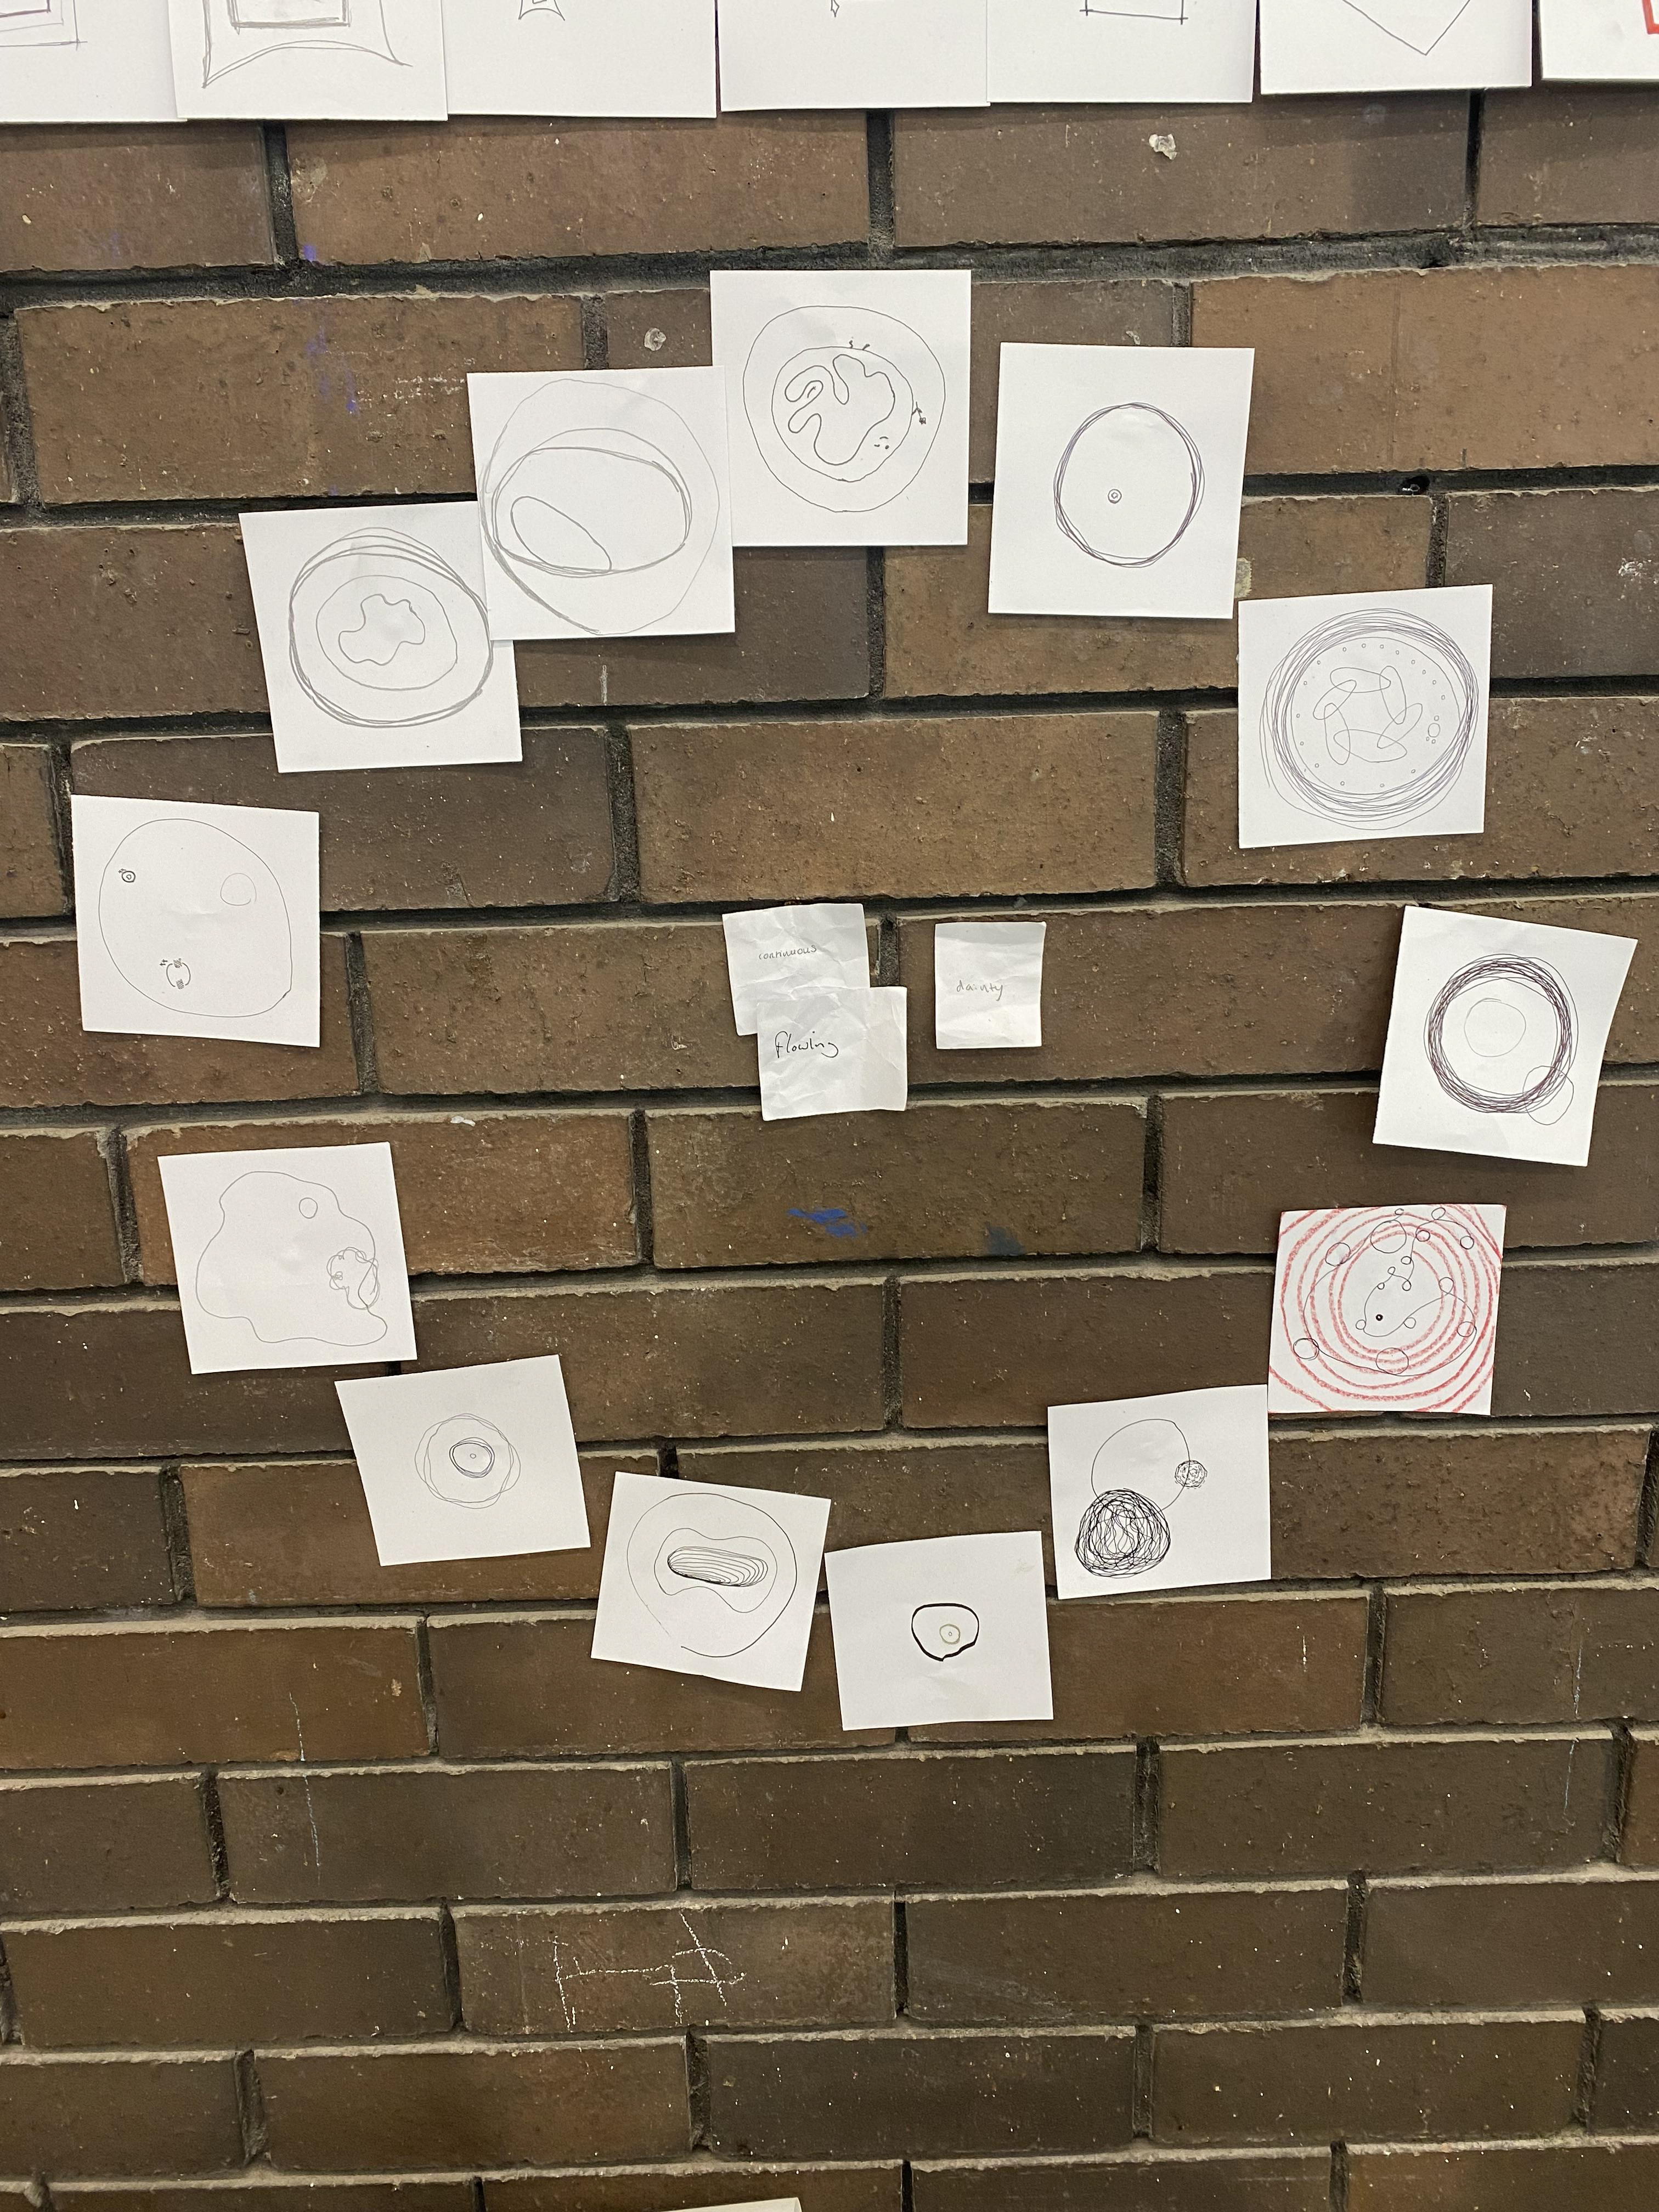
Following this, we were set a series of quick drawing tasks based off words we as a group had previously written down. Using these words, we were set a short time such as 30 seconds to draw the words. Some examples of these are, flowing, dainty, bold, sharp, and continuous. The word continuous stood out to me along with the sketch I did for this. I then took this into the next collaborative tasks where we used paper and scissors to turn the 2D sketches into 3D forms using simple but effective materials.
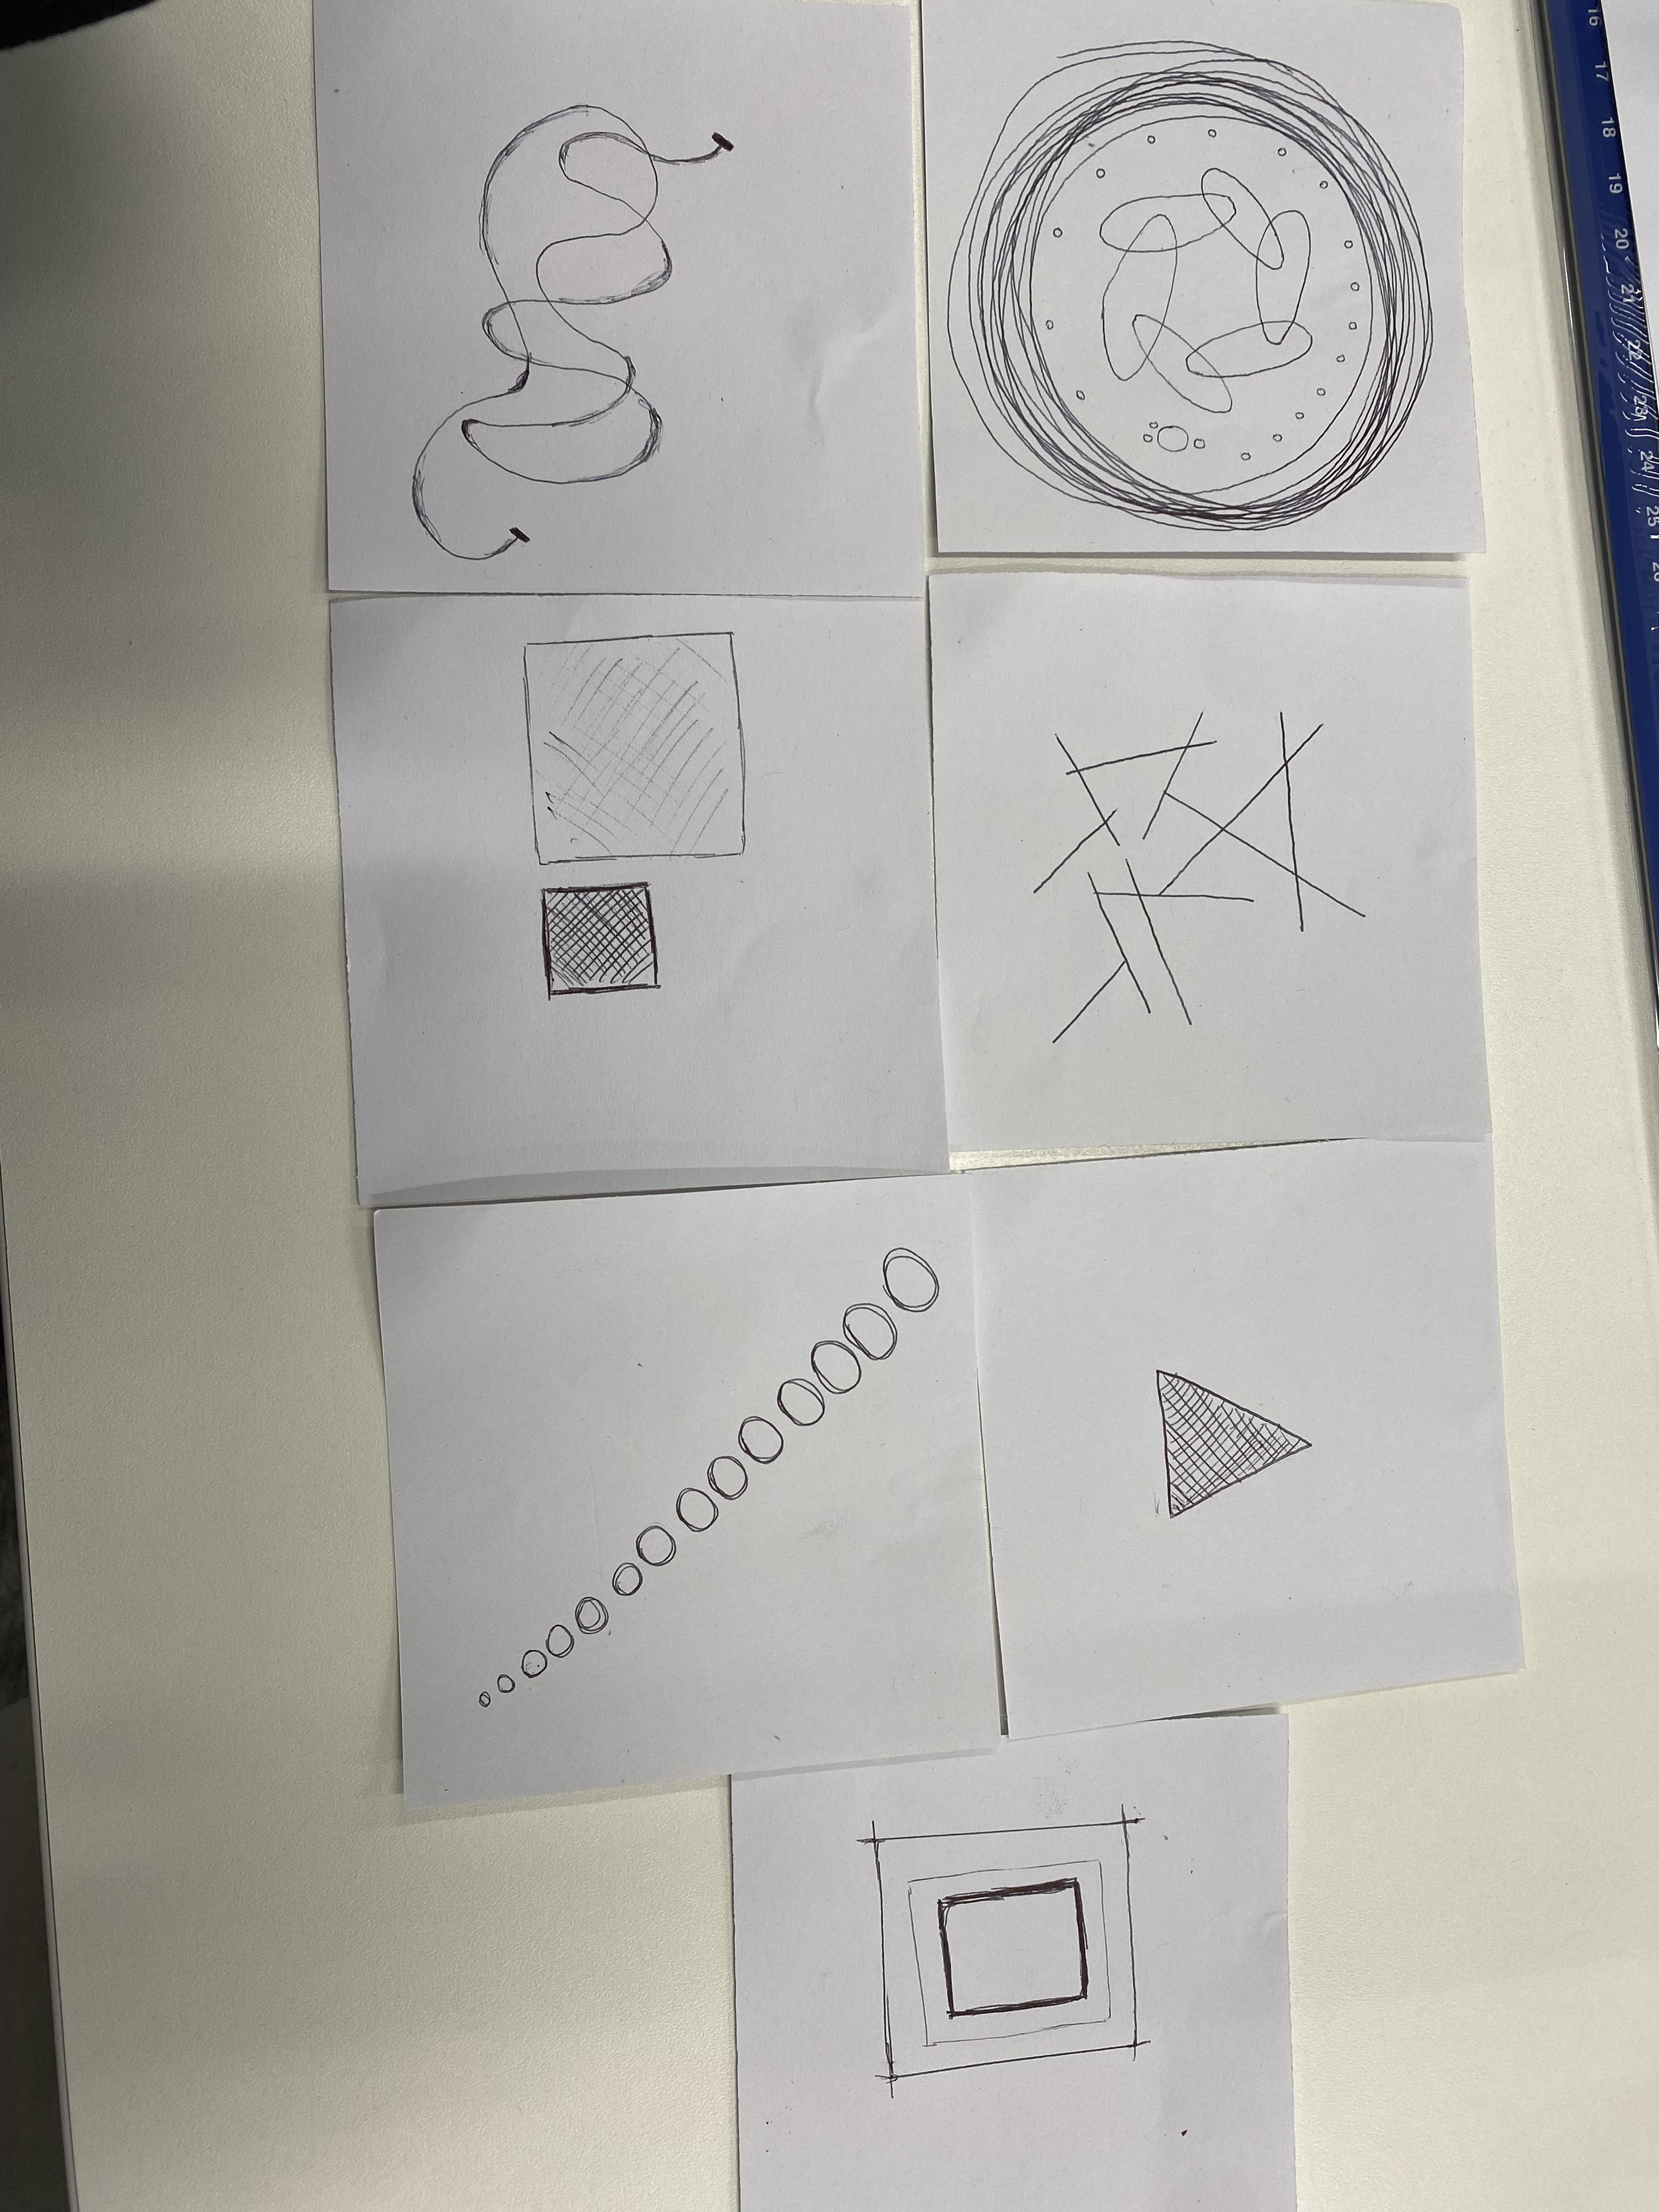
My drawings from the collaborative tasks
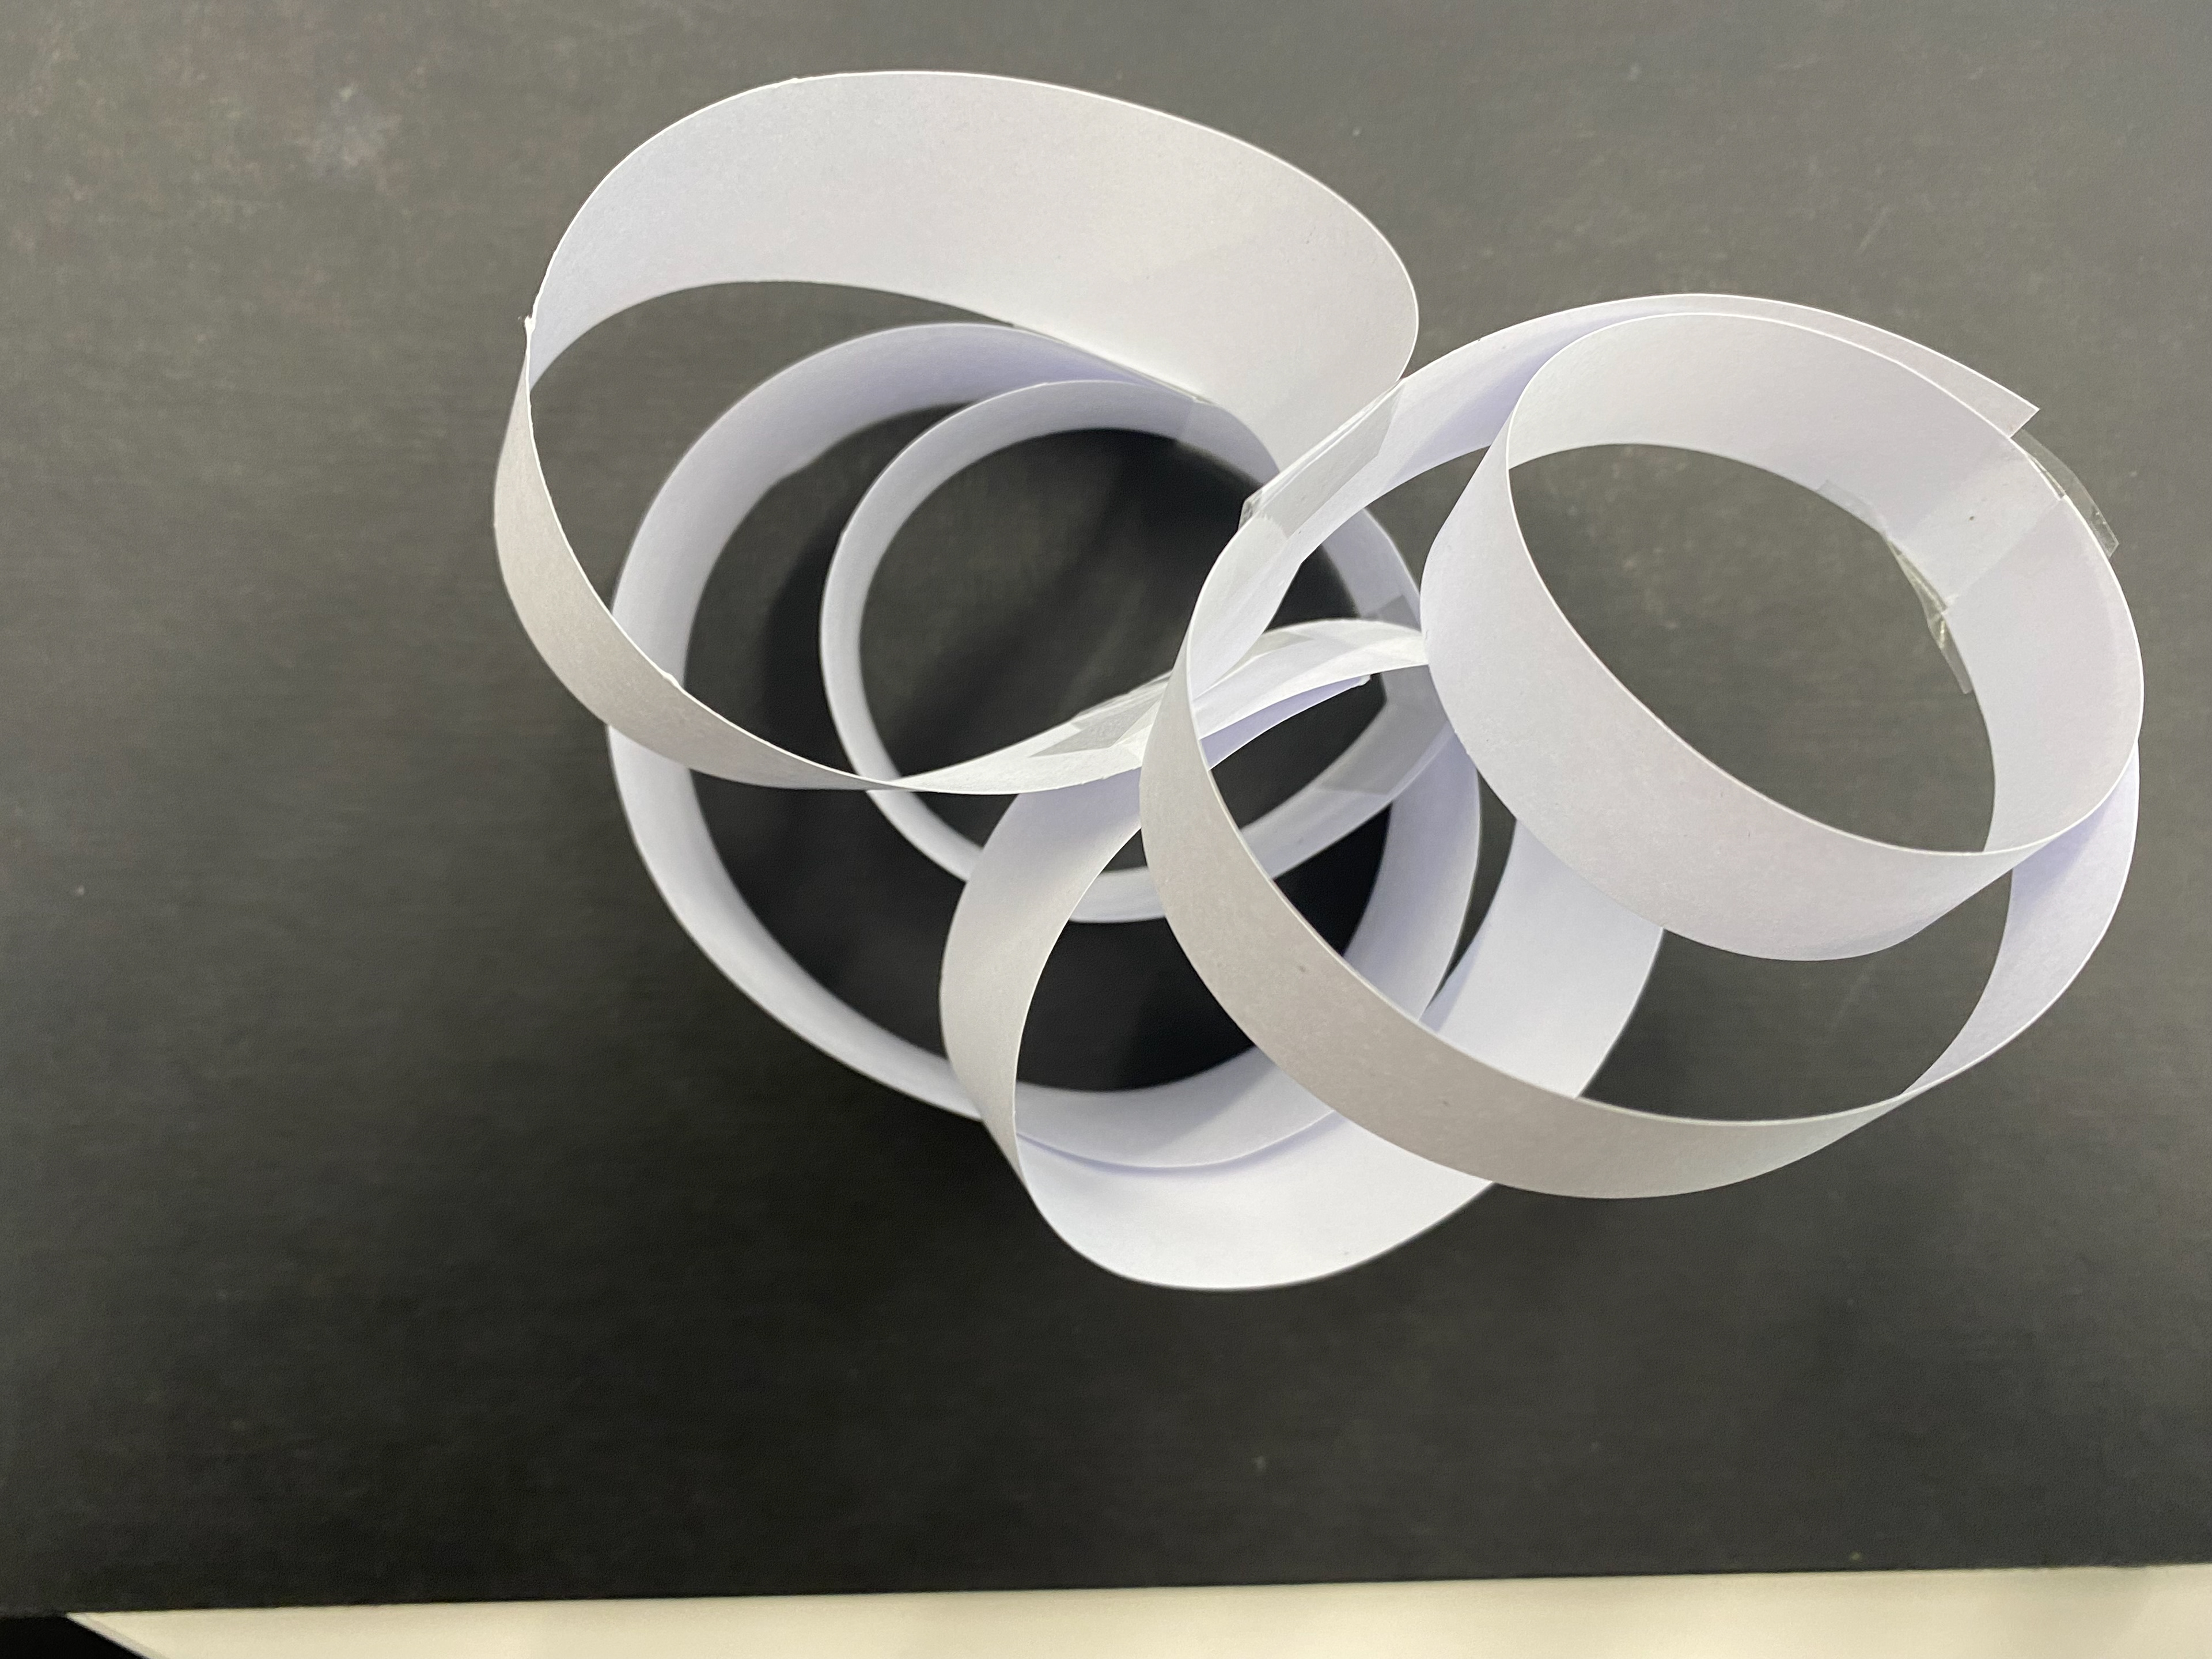
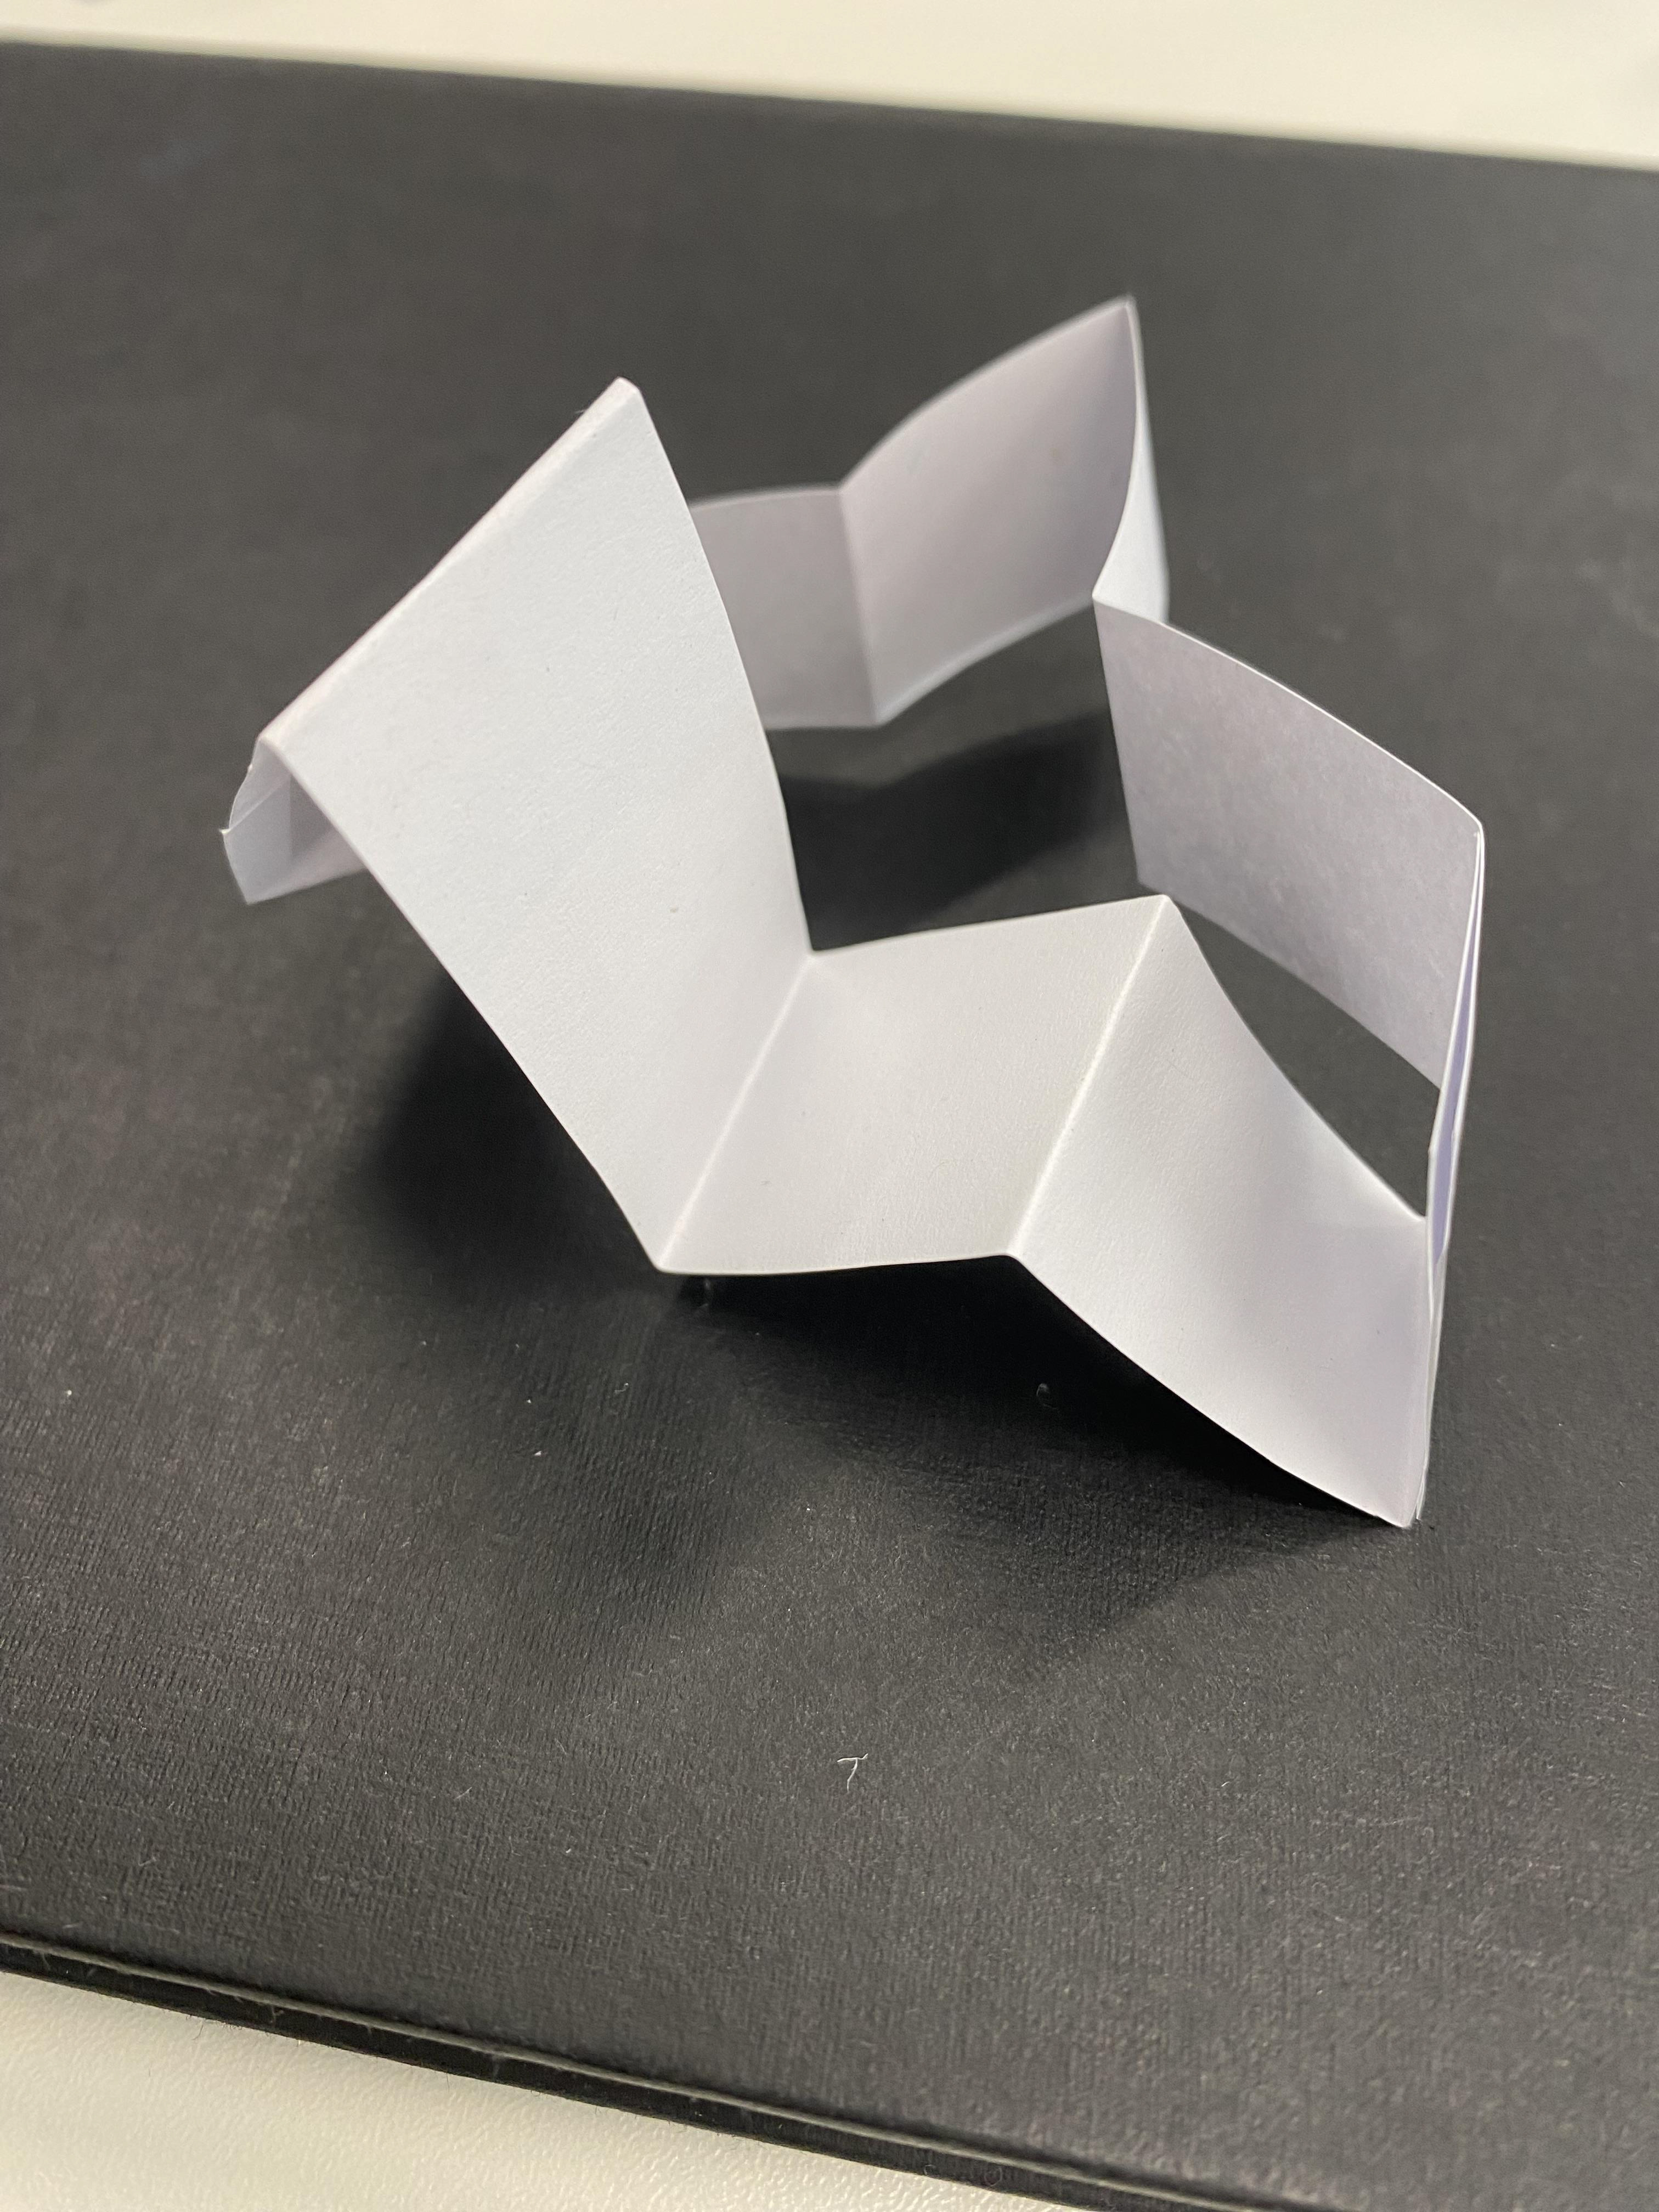
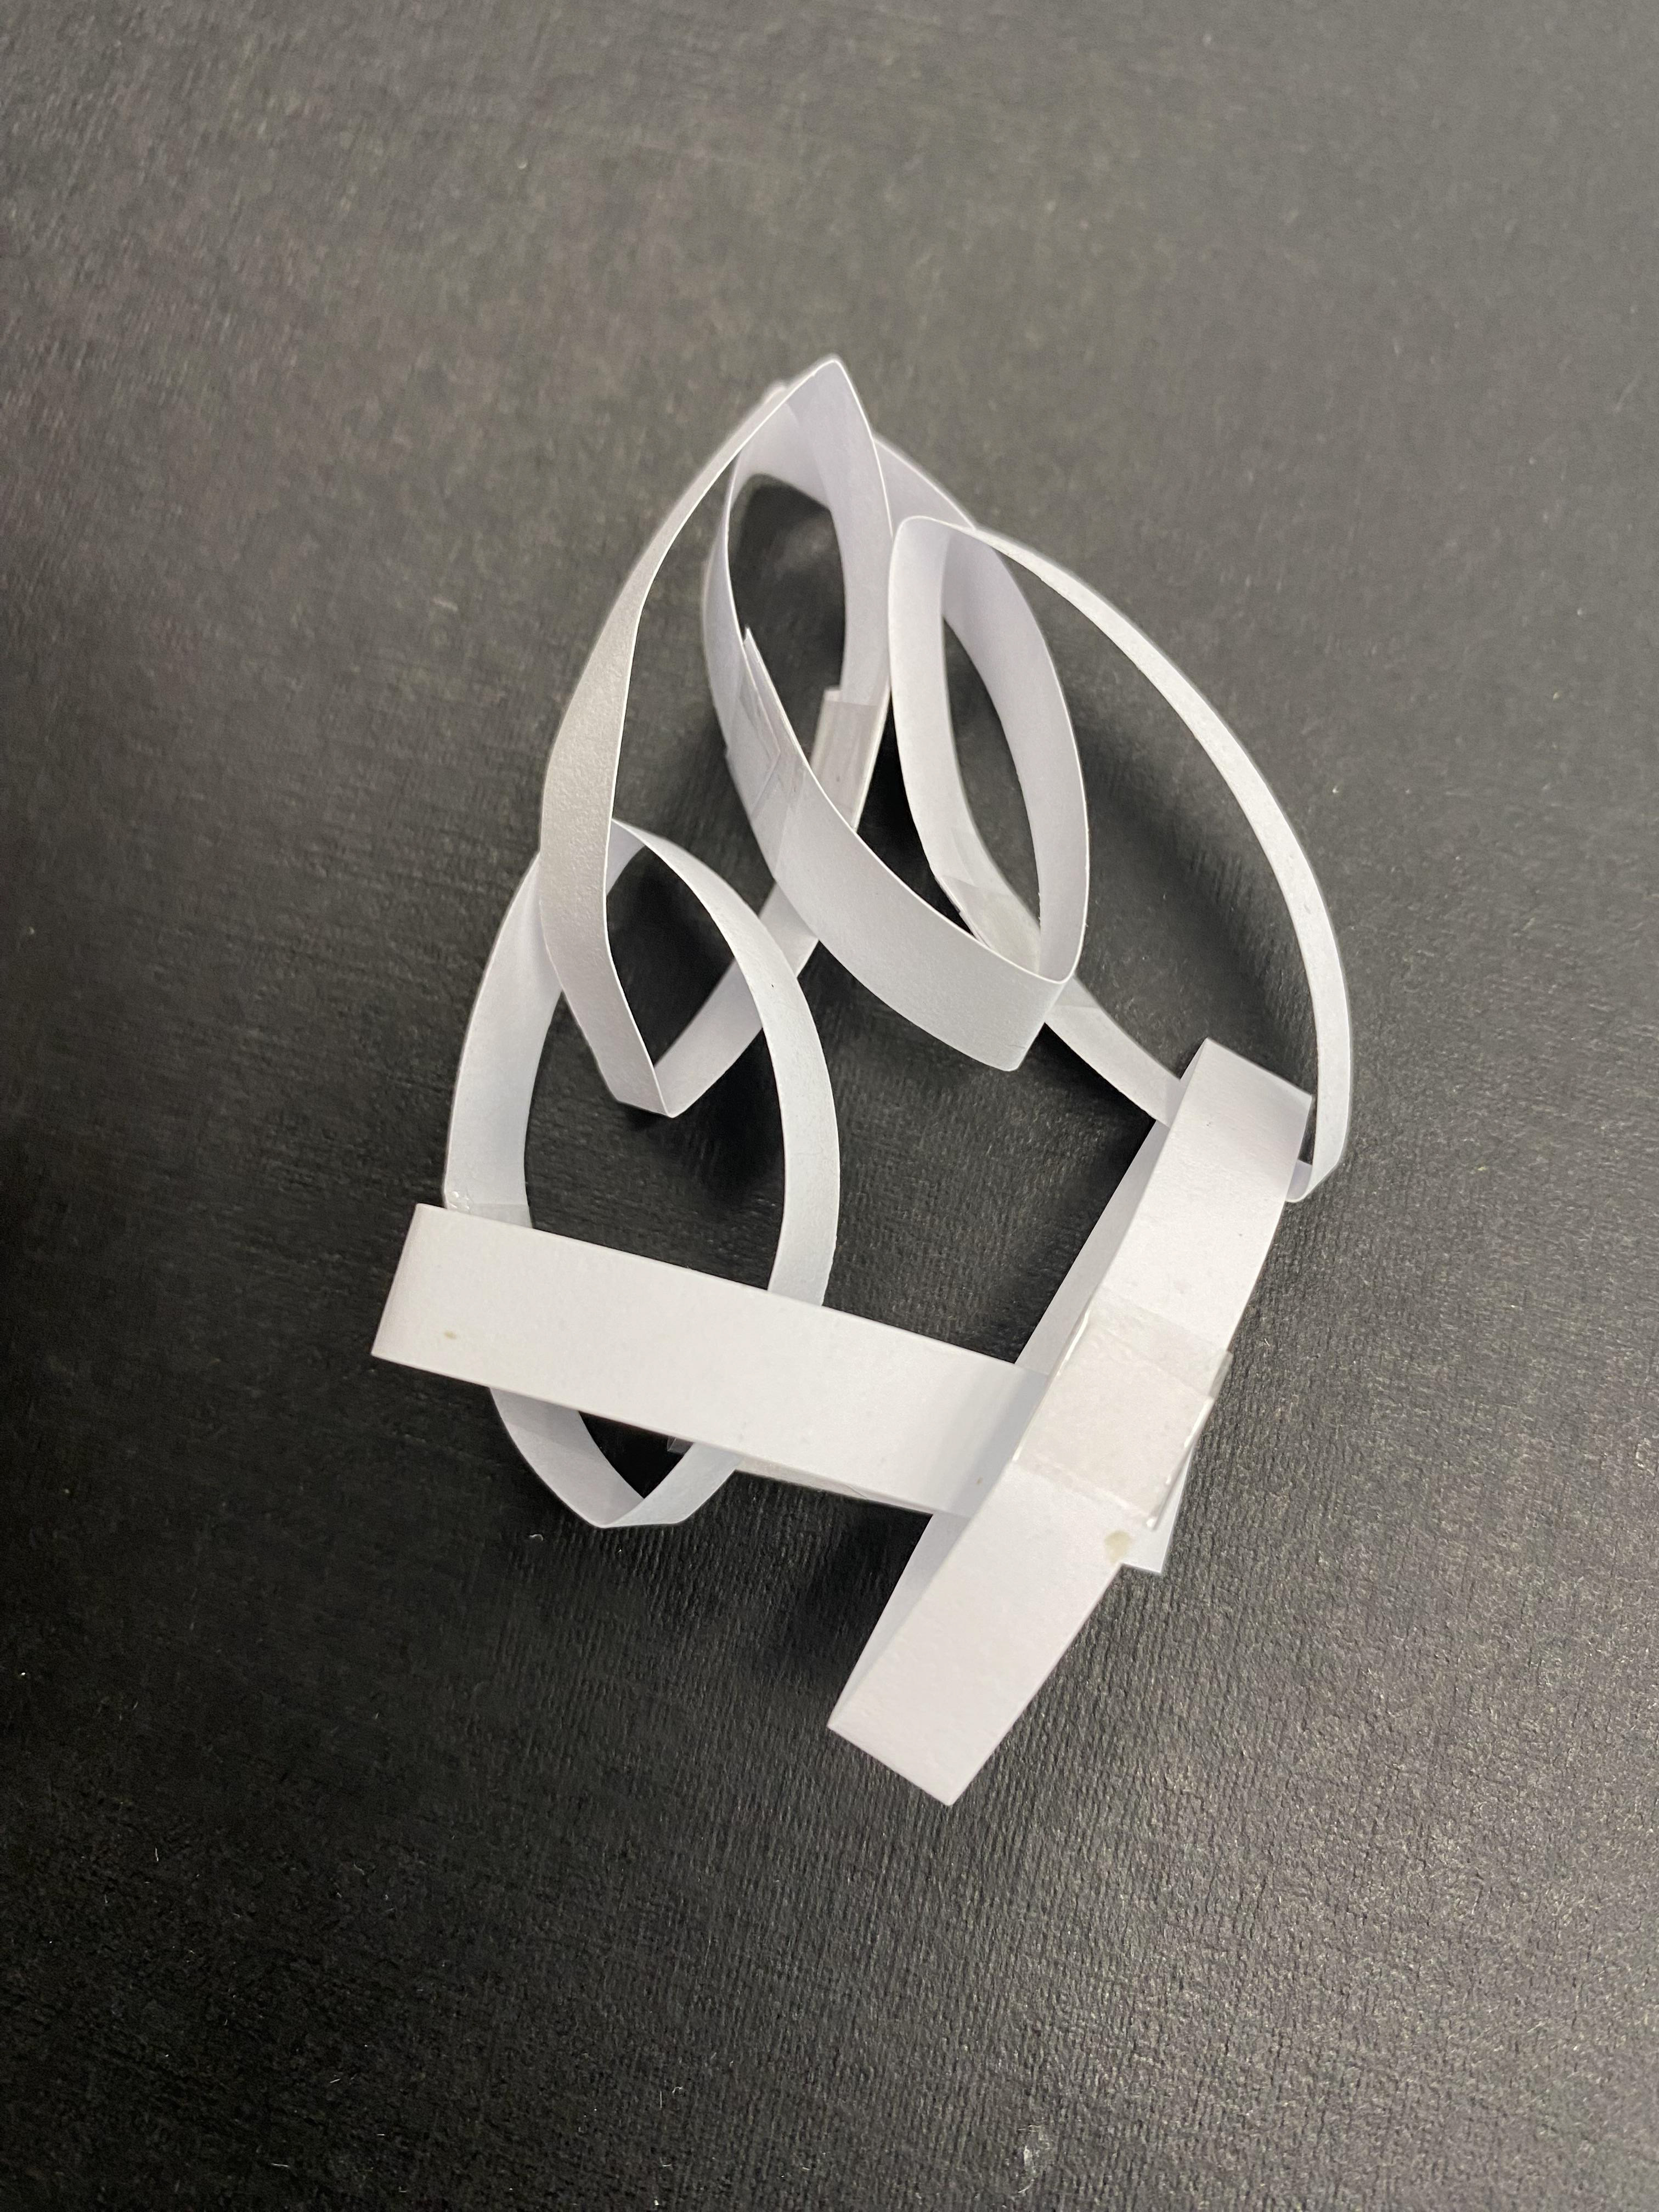
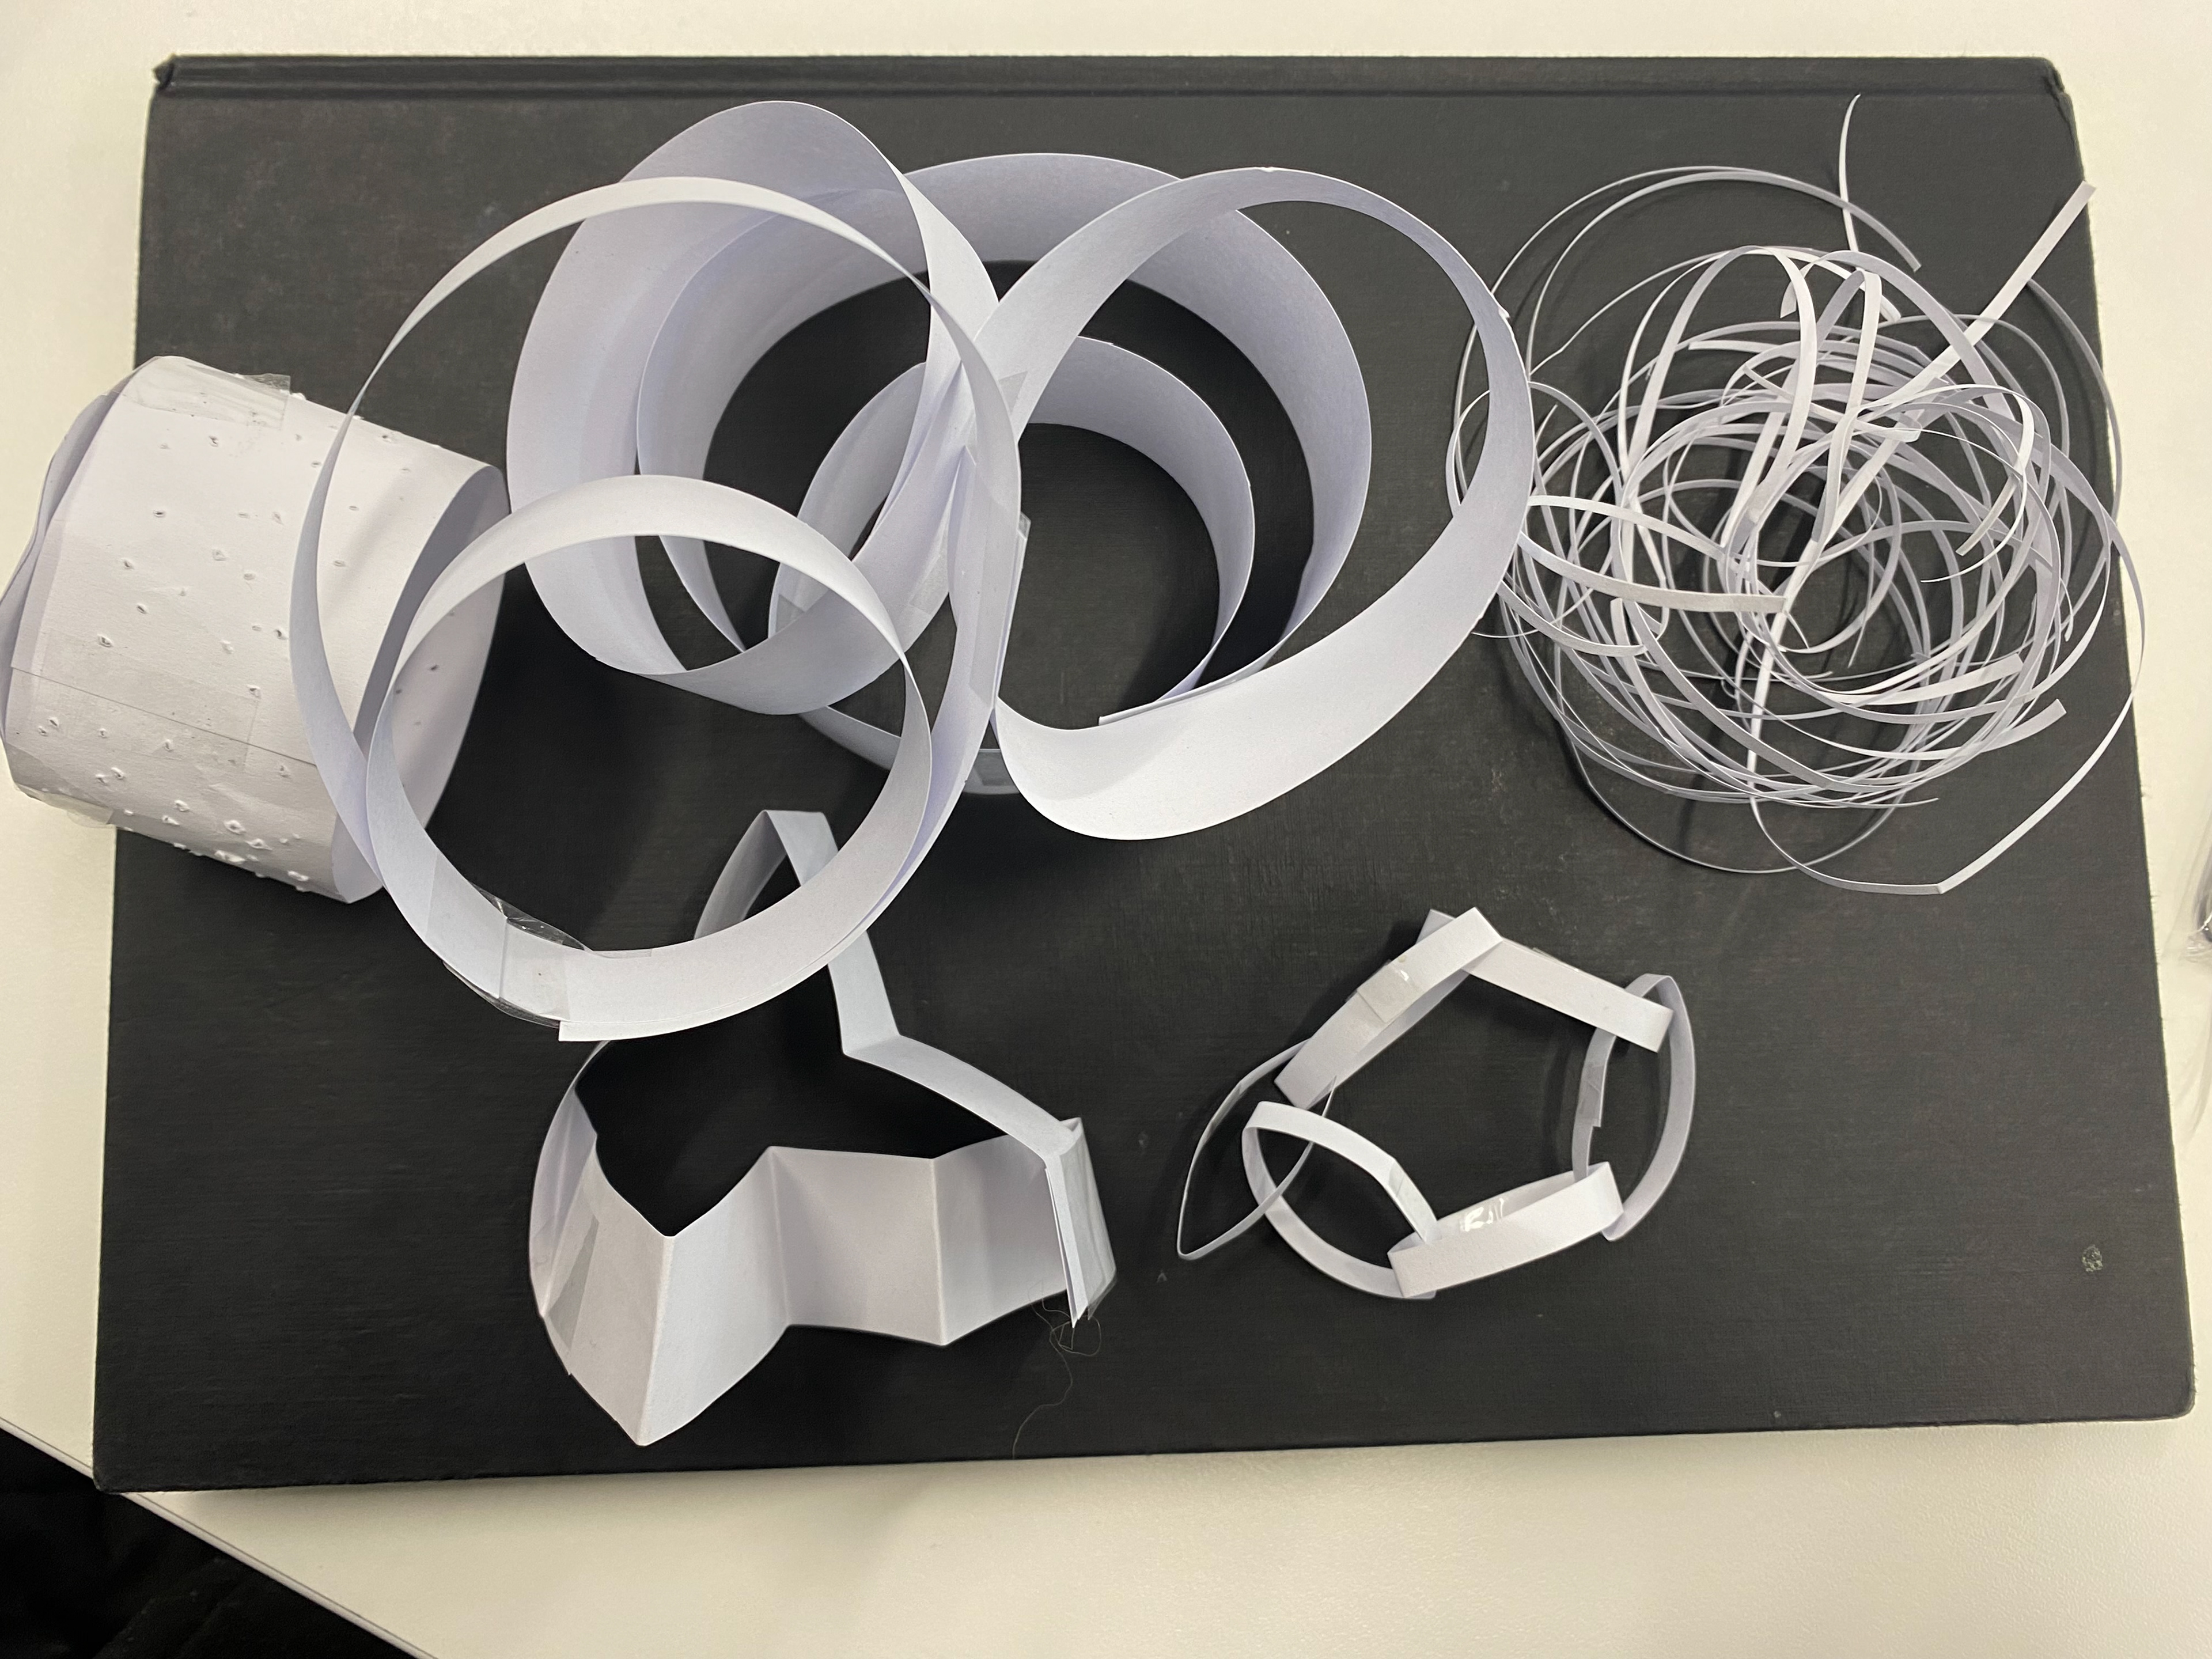
Paper models created in task
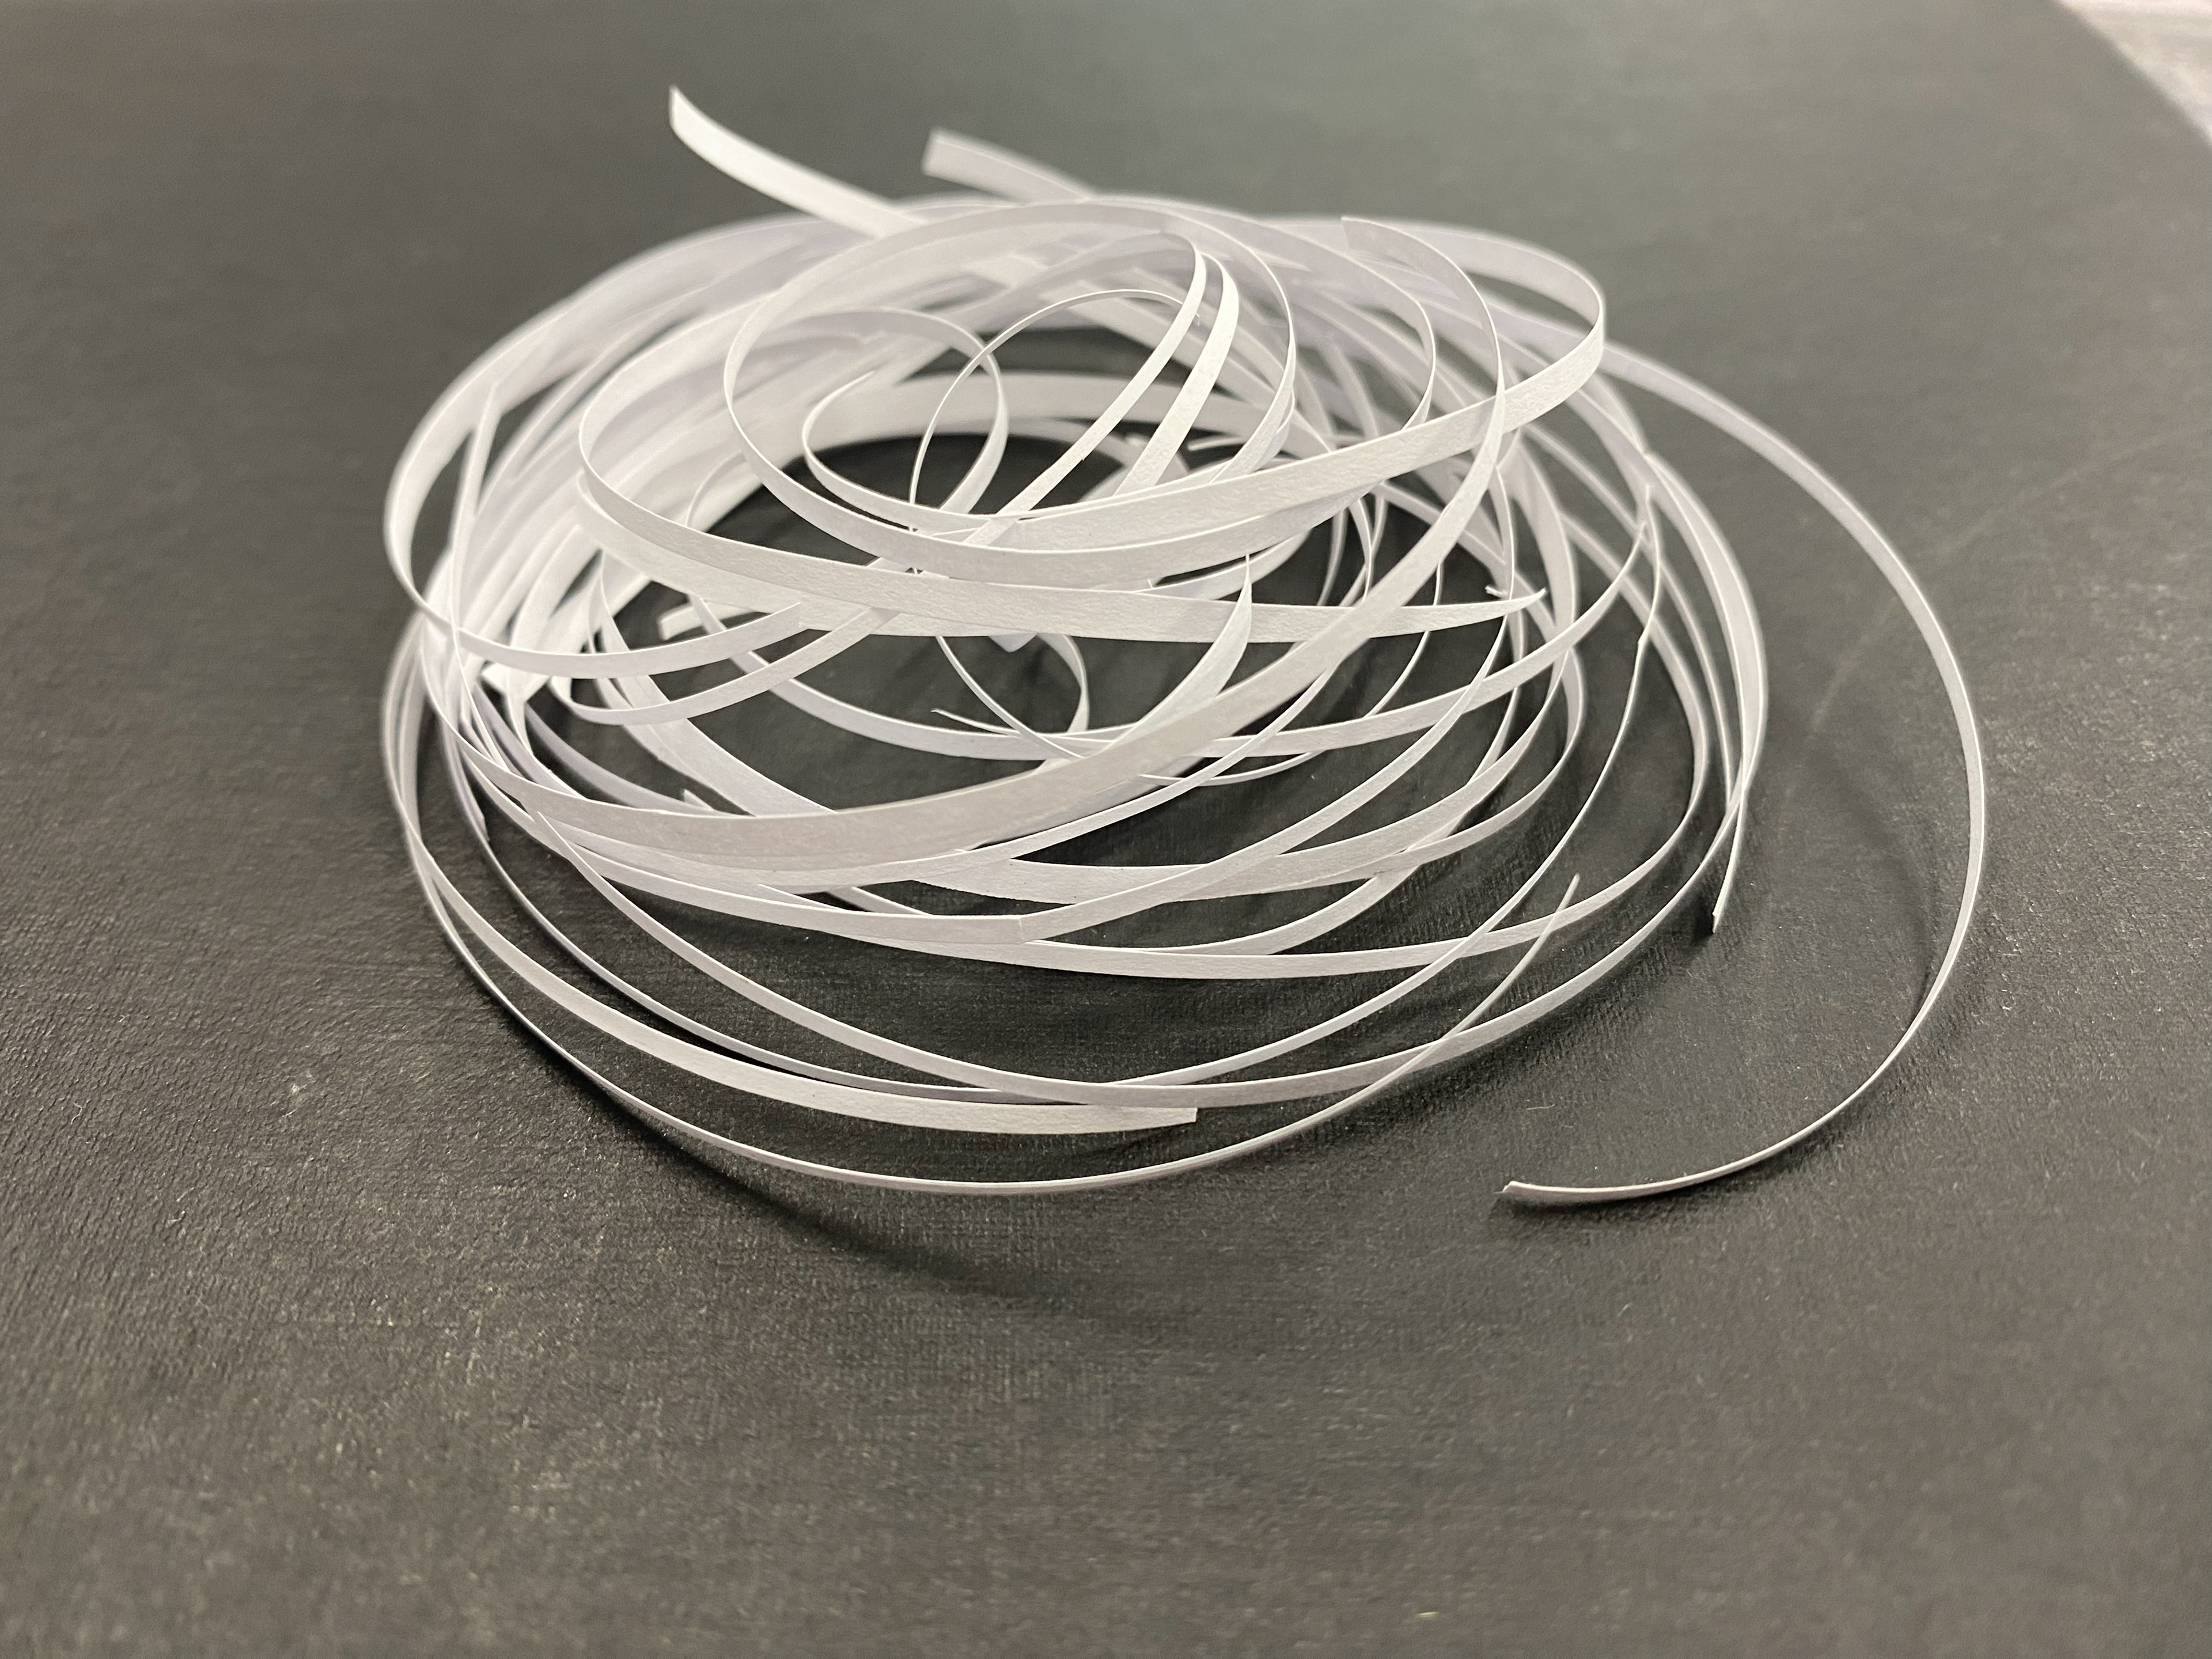
I took influences from the sketches to create the forms out of paper. This was interesting as I soon realised you can do a lot with paper when previously I wouldn’t think of using paper as a material to experiment with. I specifically liked the thin strips of paper I created representing the continuous line drawn in previous tasks. This was something I wanted to play with further.

Thing strips of paper

Drawing task from the word 'continuous'
Artist Research
Allister Malcolm
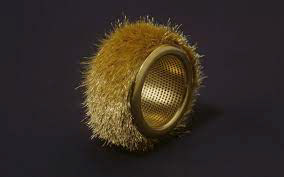
Allister Malcolm is a highly reputable Glass artist and craftsman. Born in Peterborough Allister studied his foundation in Doncaster and his BA in Wolverhampton. He now has his studio at Stourbridge Glass Museum working alongside his team. After years of building up his skills to become a professional glass blower and getting his work seen, he now has some of his pieces in museum collections all over the globe such as in the UK, USA, and Europe.
Allister’s work resonates with me because it was some of the first hand crafted glass I saw in person. Upon visiting the museum before I started my degree, I got the chance to see him and his team practicing their craft. I admired the way they made glass work look easy as well as liking the bold colour choices and textures chosen in his pieces. During the visit my mother bought me a piece of Allister’s work which I loved as a birthday gift which now has a sentimental meaning to it. I like the texture and colour of the gold trails on top of the rich feel of the deep pink on the bottle. Once starting to learn about hot glass I realised this is something I could do myself with practice. I wanted to practice this technique with the trails as I believe it relates to my idea of threads and continuous as you cant see the end.
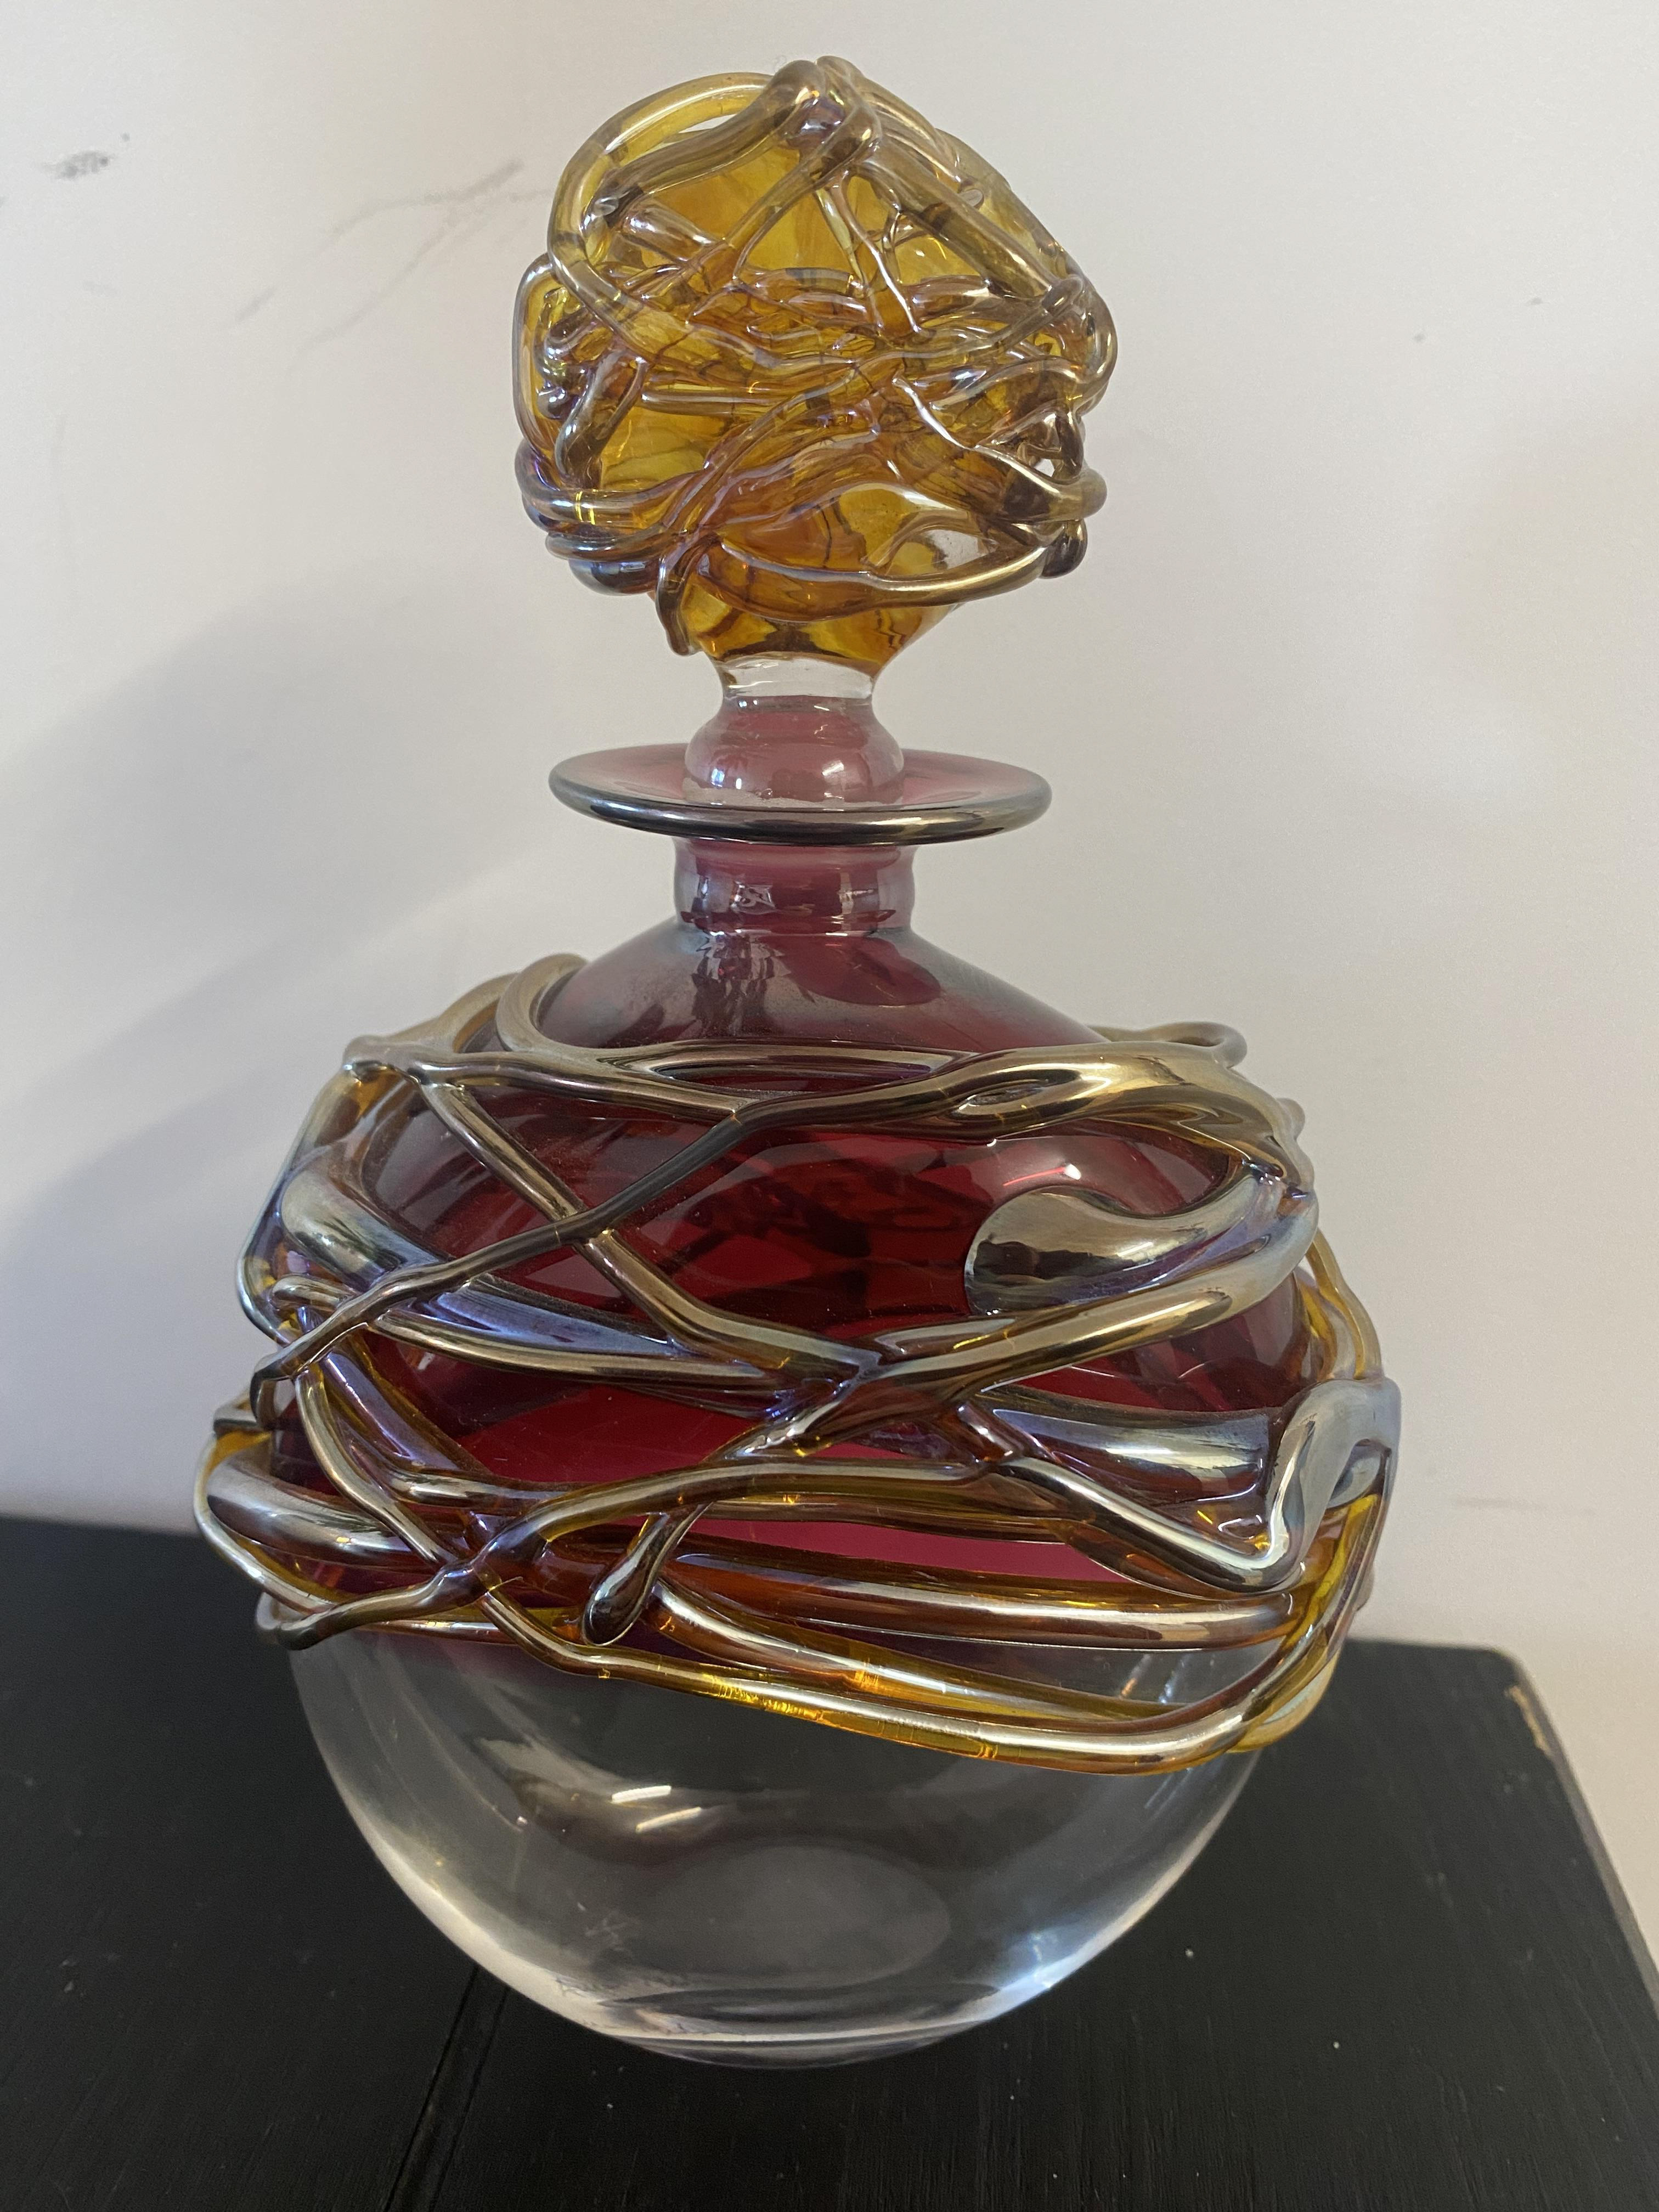
Perfume bottle by Allister Malcolm I was gifted
Louis Thompson
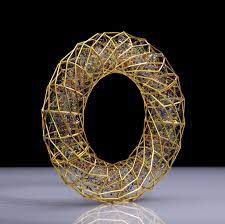
Louis is a glass artist based in London. He has worked with glass for over 30 years creating large scale pieces as well as smaller more intricate pieces. After completing his masters at the Royal College of Art in 2011, he has worked with many other artists, some being in the UK and some in other countries. He has been awarded some very important awards throughout his career and his work has been exhibited significantly all over the world.
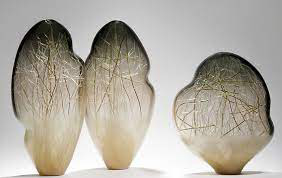
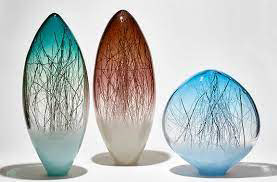
One of his recent collections named Ore Genesis where he collaborated with a artist named Hanne Enemark, impresses me due to the intricate playful glass canes trapped inside the bubble shape forms. This seems like an incredible difficult outcome to accomplish with a great attention to detail needed.
Giovanni Corvaja
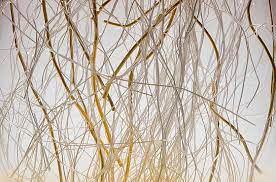
Giovanni is a well-known Italian craftsman and master goldsmith. He is passionate about the research that he puts into his work as this plays a very important part to his process. Throughout his research, around 12 years ago, he evolved his idea from two influences. This led him to his most renowned creation to date is his Golden Fleece Collection. In the 90’s he developed a way in which he could reduce gold and platinum to one fifth of a human hair. Turning hard precious metals into something soft and delicate. This collection has taken him 1300 hours in labour, 28km of nearly invisible self-made gold thread. The bracelet from the collection is made up of 1,241,856 fine gold wires, 4000 platinum granules and weighs 324g. His work has been bought by some of the most impressive museums and collectors in Europe, America, and Australia.
In my opinion his work is remarkable. He hasn’t just created some exceptional jewellery he has also invented a process that has never been done before with precious metals. His commitment to the research and his idea is admirable. Although I hadn’t made my pieces anywhere near as thin as Giovanni has, I took influence from him creating his own wire and turning a strong material into something delicate, similar to what I did with glass.
Material Experiments
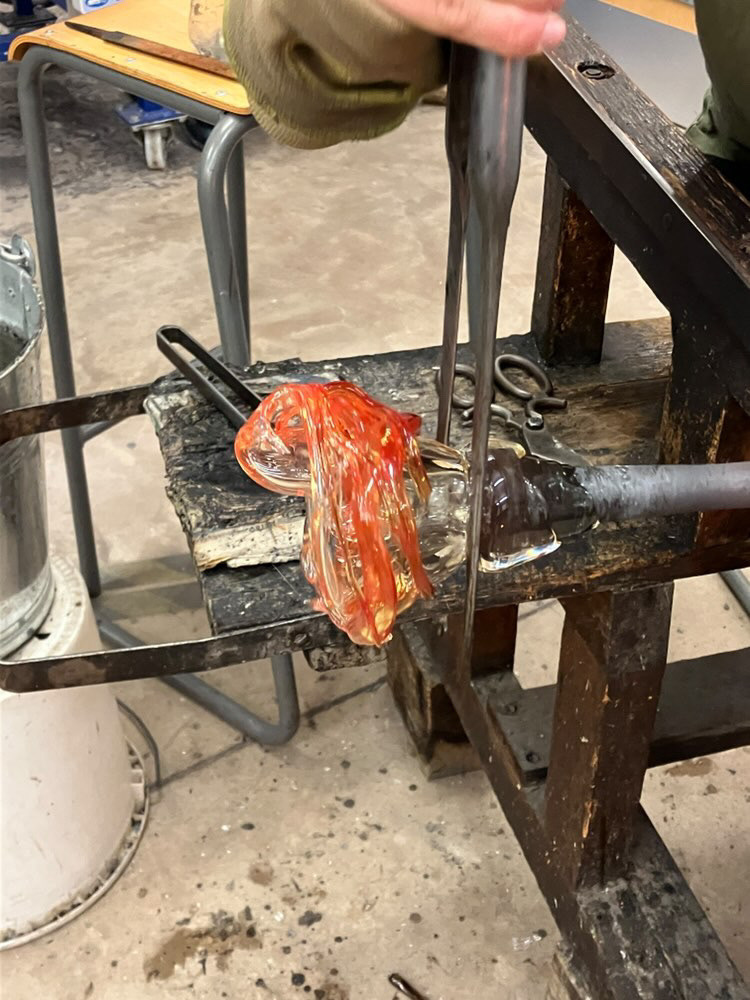
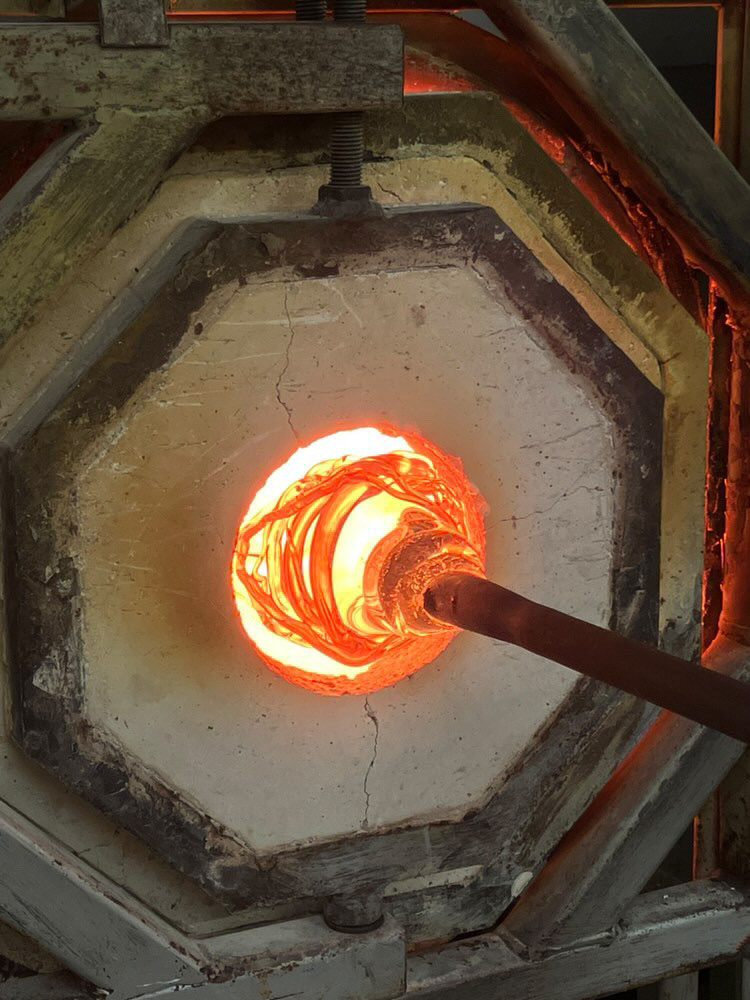
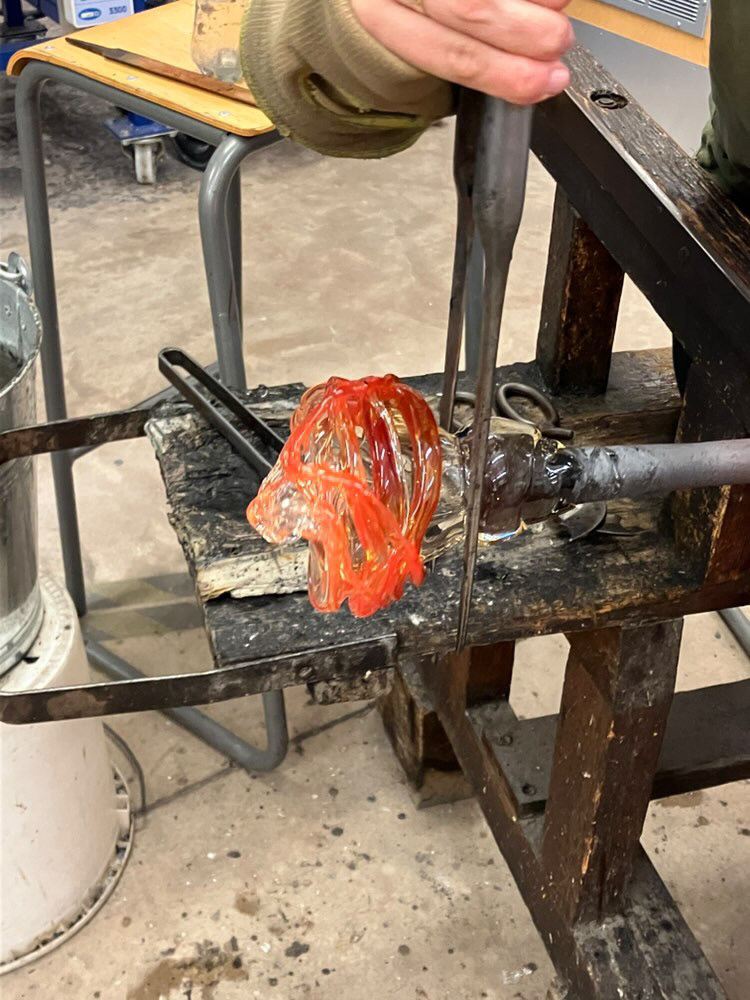
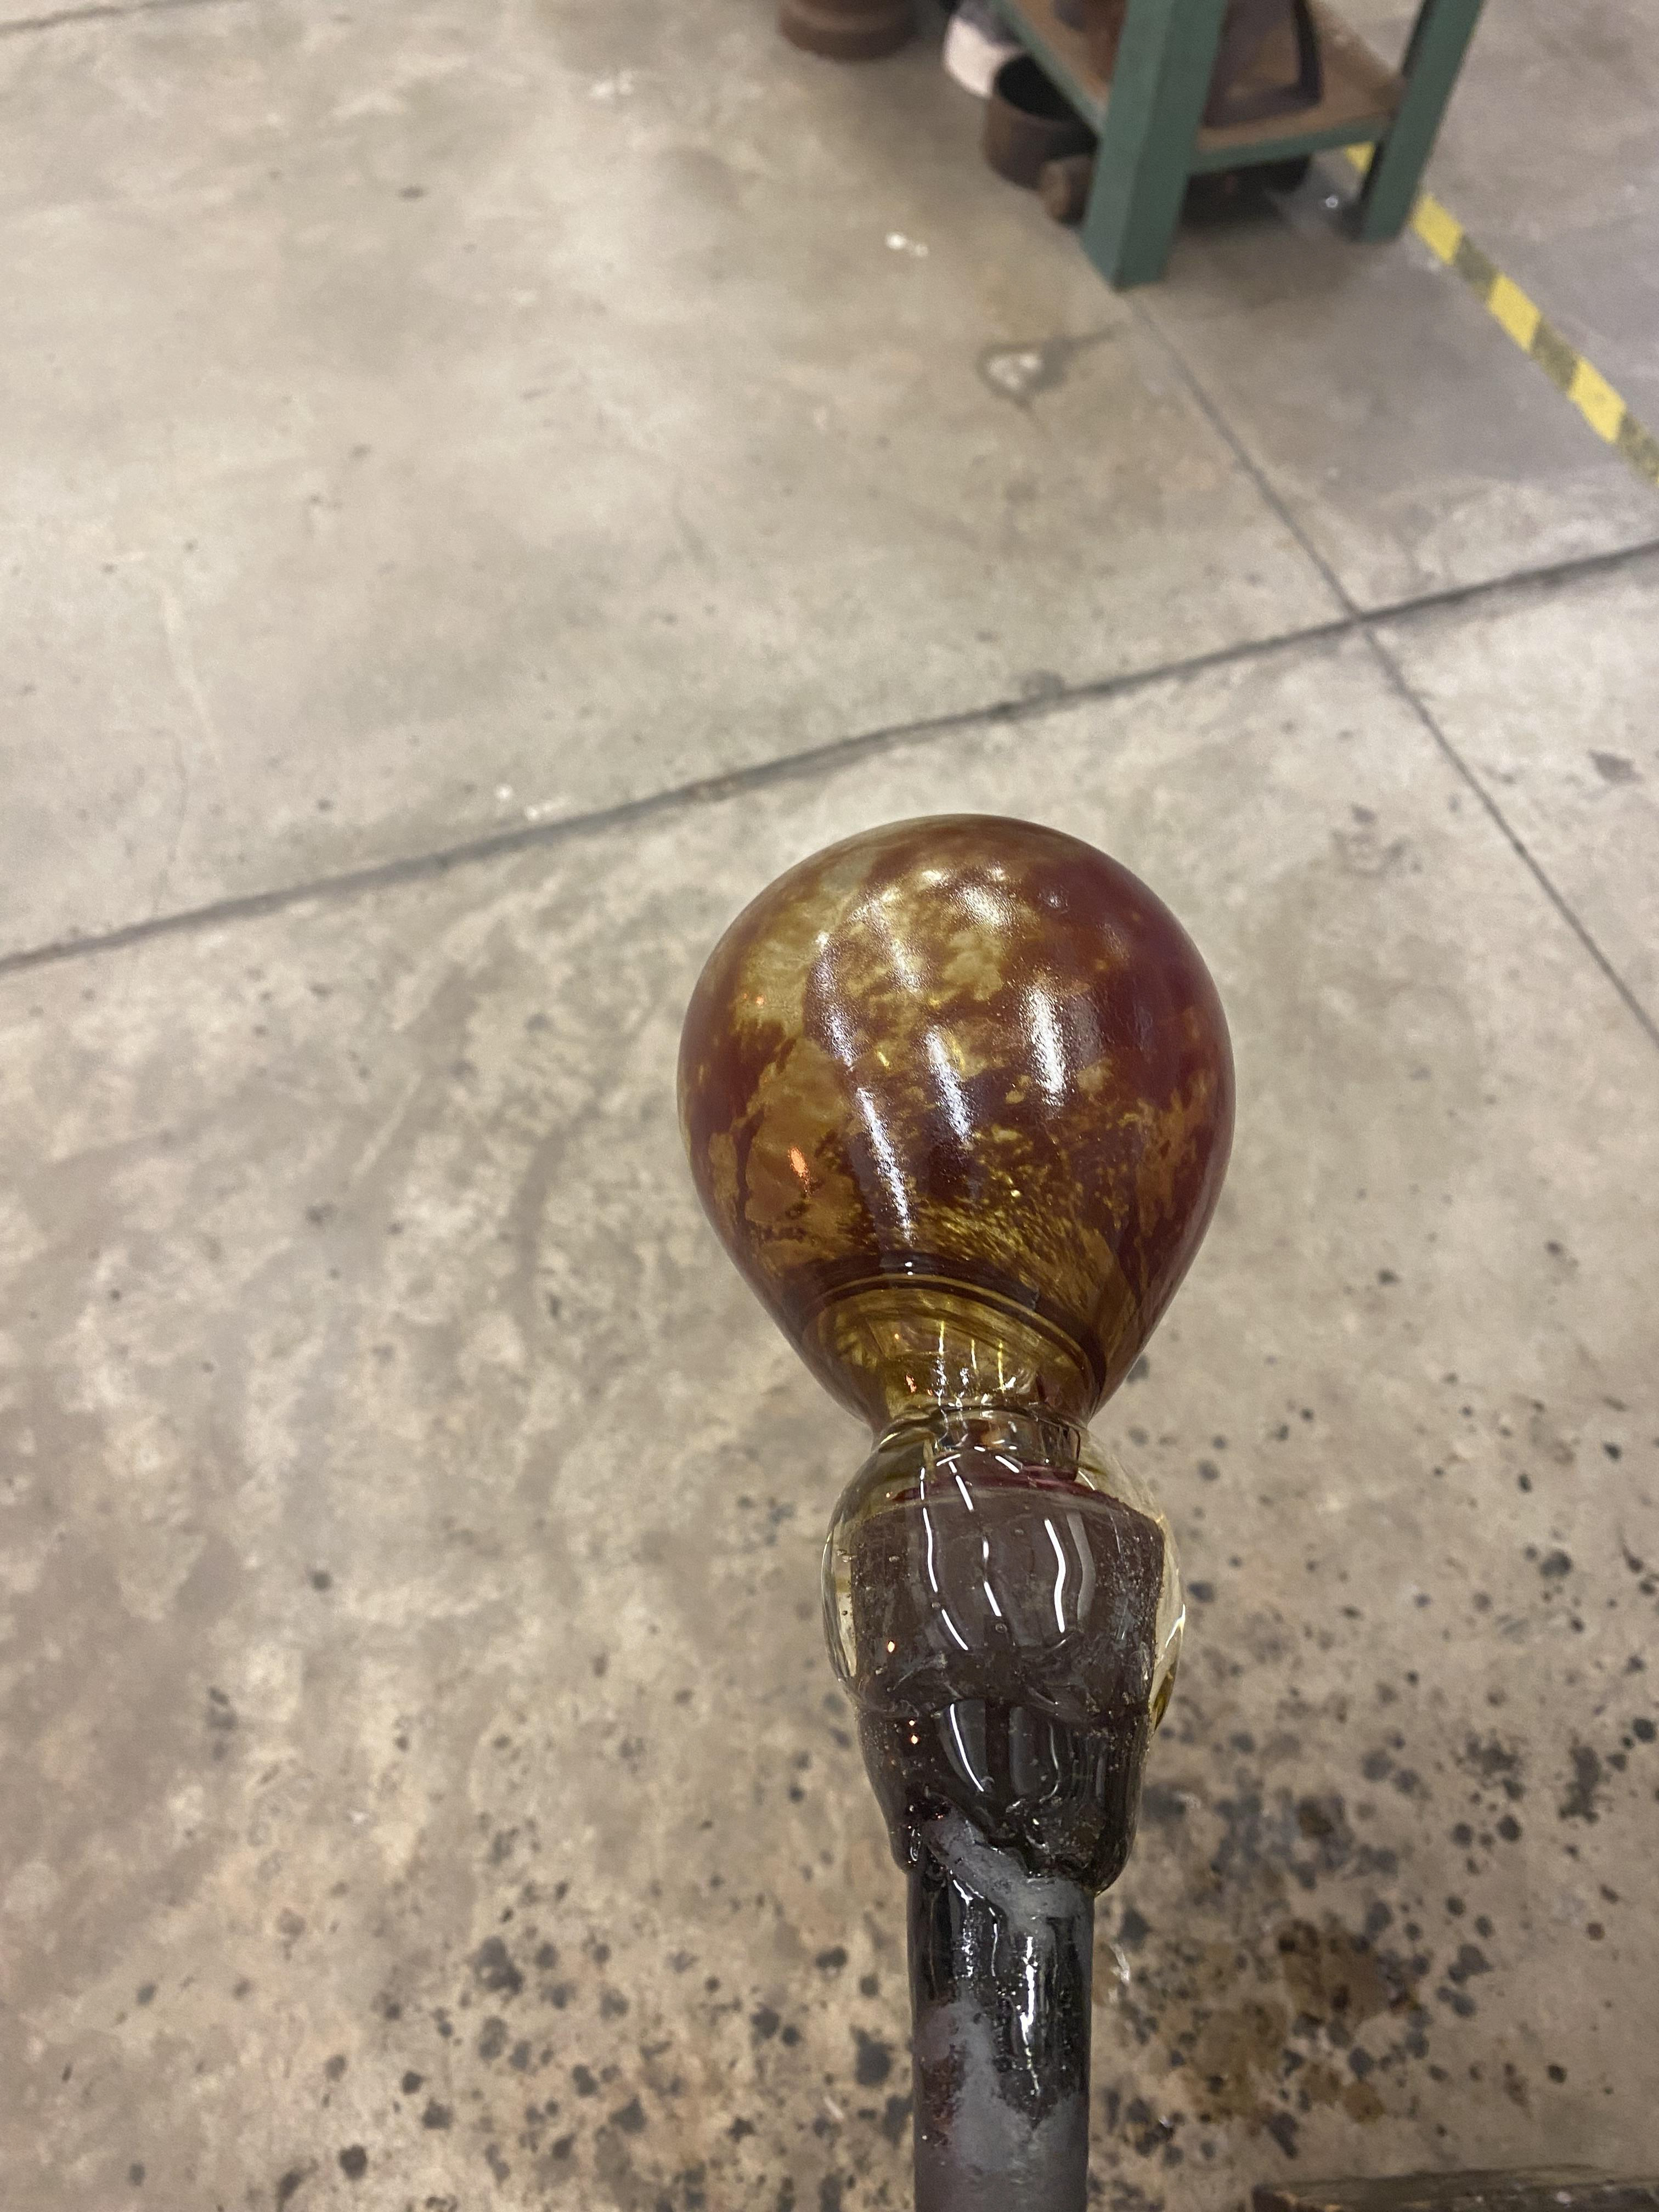
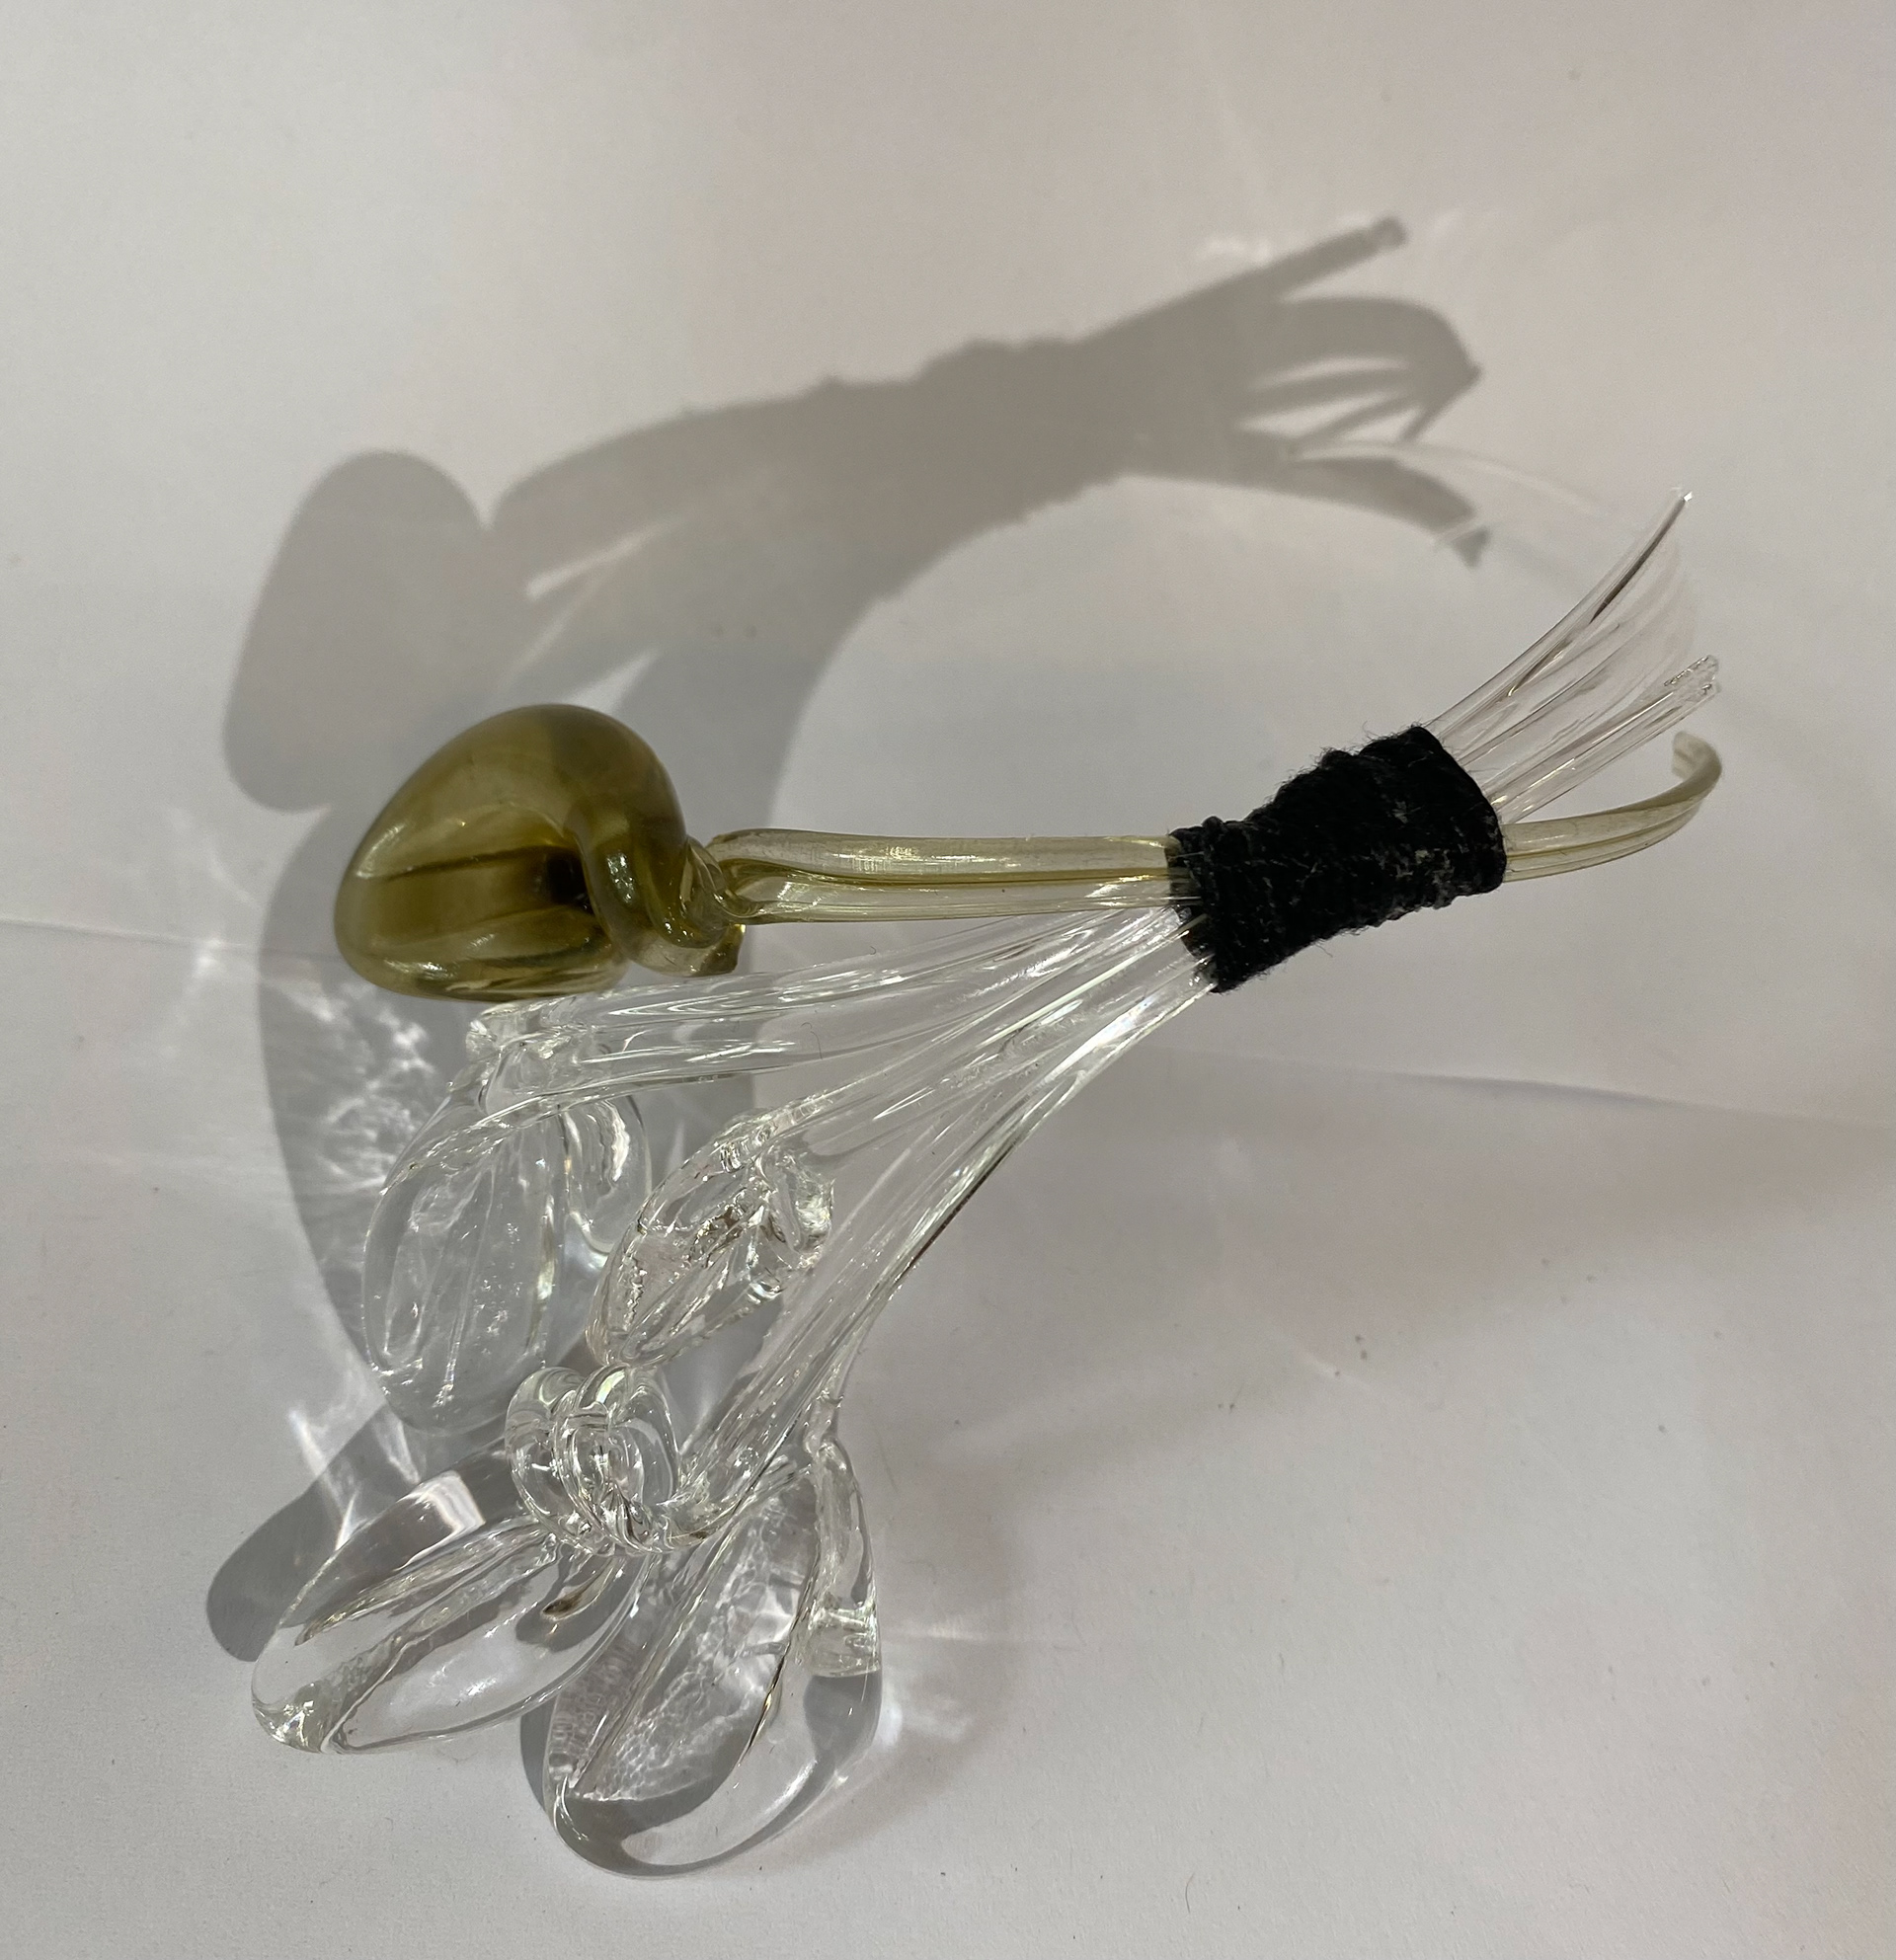
I then took this into the glass workshop. After my research into Allister Malcolm, I decided I wanted to try practice the methods he uses in my own practice. This required teamwork within the workshop as well as guidance from the technicians. I started creating a bubble with clear glass and then took another gather adding coloured powder to this. Whilst I span the iron with the bubble attached at a consistent speed, one partner held the second iron with the coloured glass attached above the bubble. I then pulled the glass to stretch it out and attach it to the bubble. I then continued to spin the bubble so that the stretched glass would wrap around creating a similar effect to which Allister has done but also being in line with my theme of lines and threads.

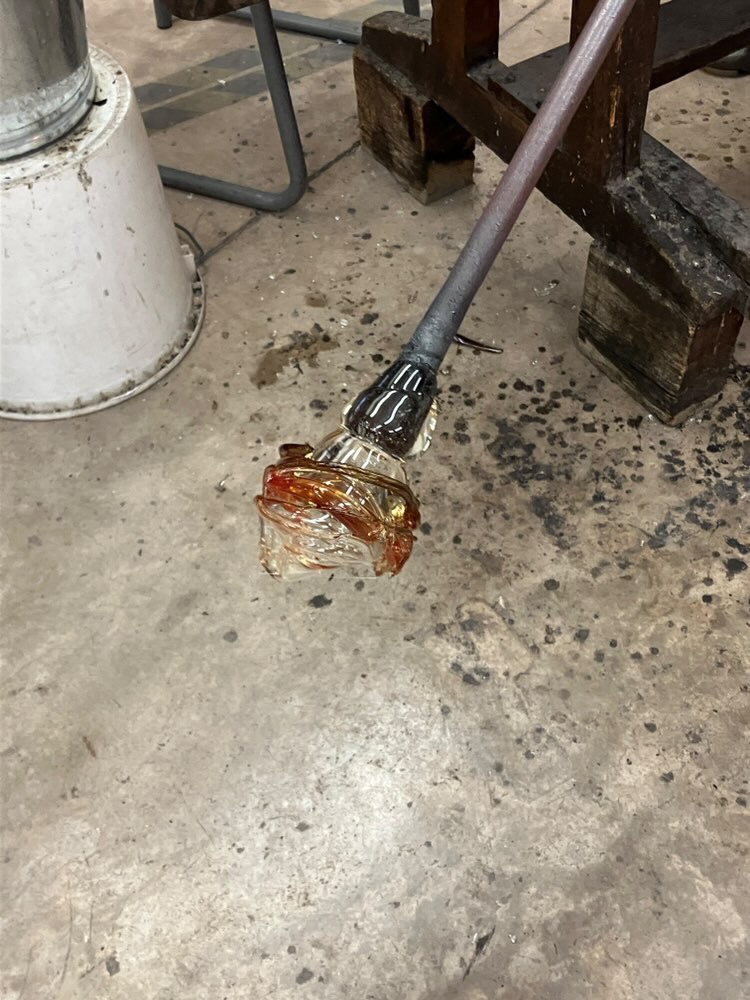
Jacking in the neckline
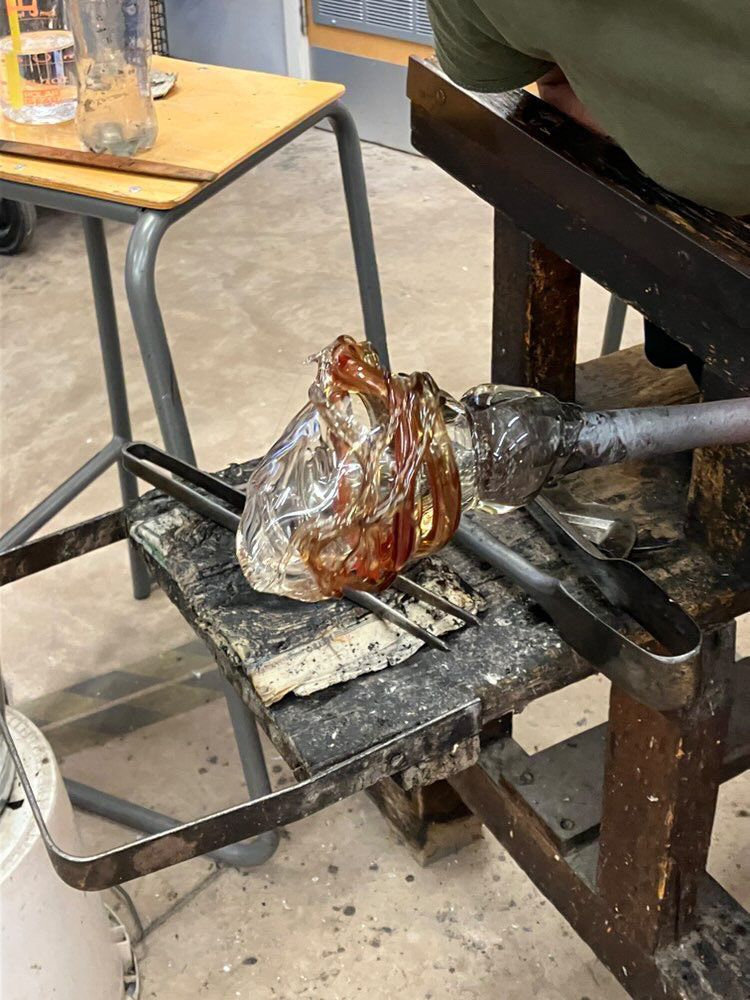
Once the bubble had collapsed
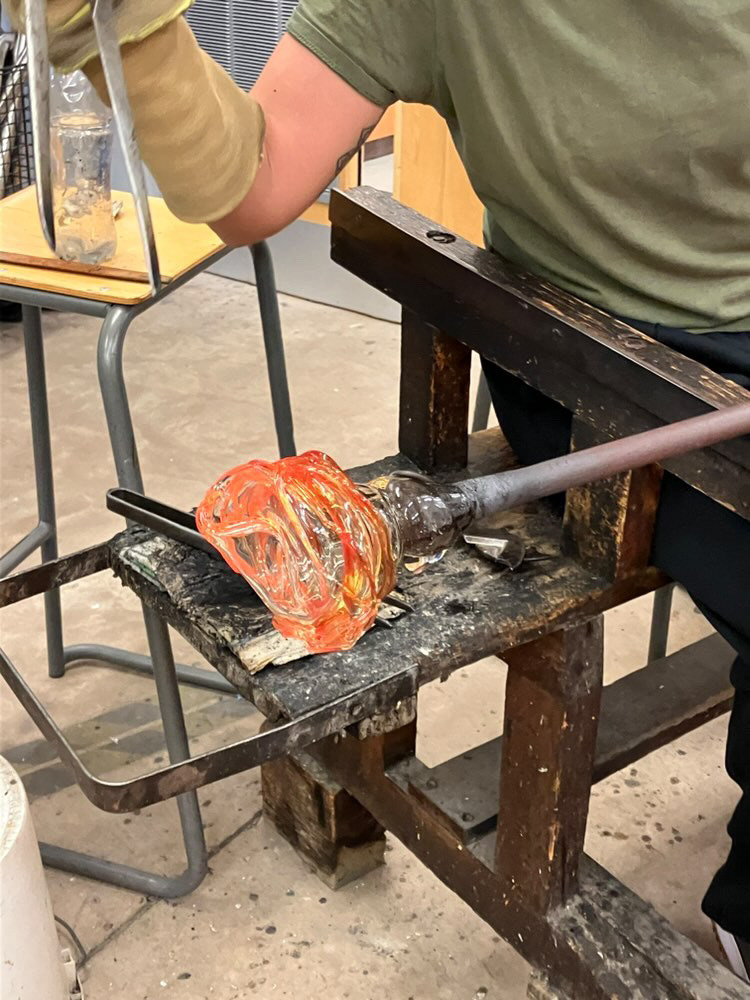
However, when blowing the bubble, I think I blew it too thin as when I started to re heat, it collapsed. If I was to do this again, I would make sure I didn’t blow the glass as thin by being more cautious when blowing and checking it regular. I was happy with how the glass strings turned out however I would like to get them a little thinner by stretching the glass further or gathering less on the iron but for my first attempt it went well. I did gently re blow into the bubble to try expand it again.
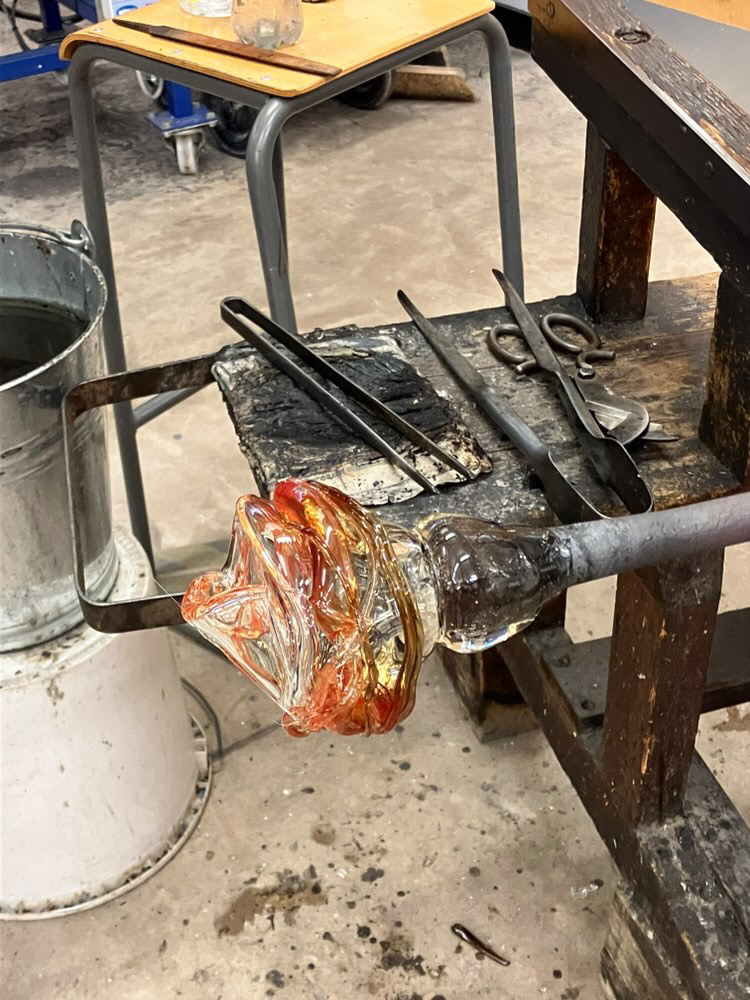
Finished pieces
I didn’t cold work these pieces as they are samples and wasn’t a final piece.
Another method I wanted to try was to create cracks within the glass without shattering it. With help from the technicians, I practiced placing the hot glass into cold water to form the cracks as shown below. This was influenced by the patterns formed when rolling the print ink which I then wanted to bring into a 3D form. I began blowing the bubble and placed it in the water when I brought it back up to temperature.
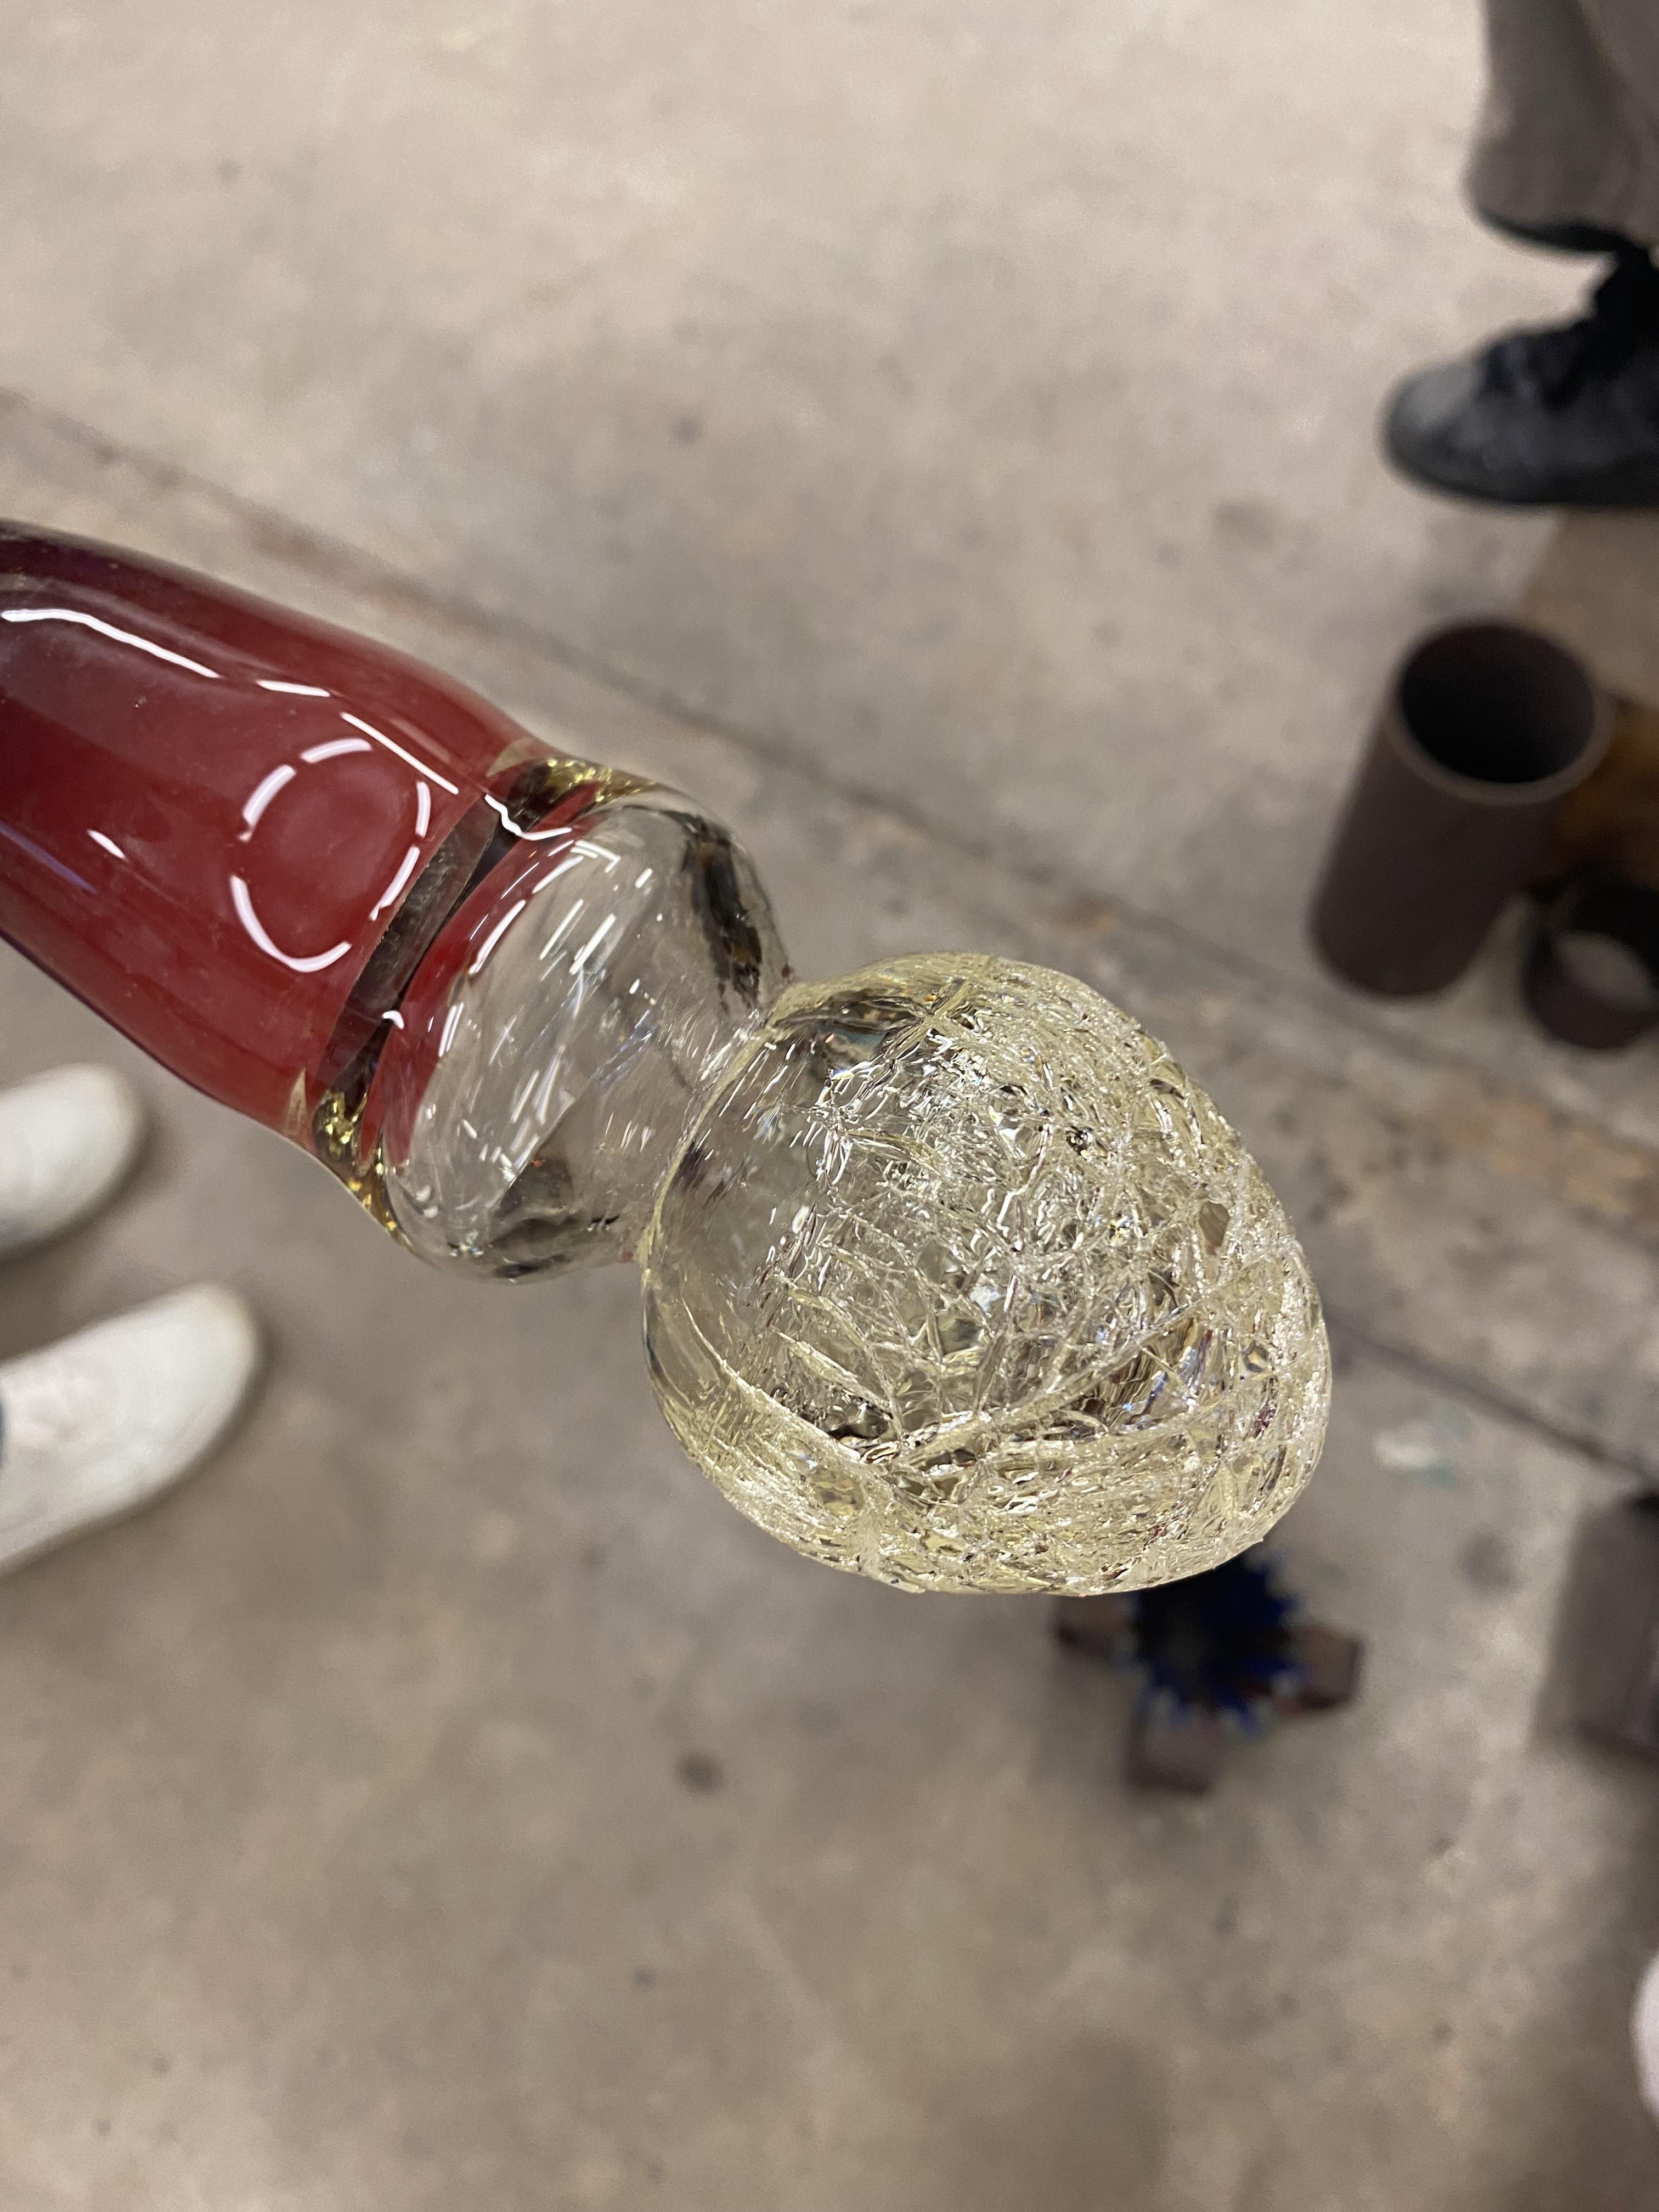
cracked glass bubble
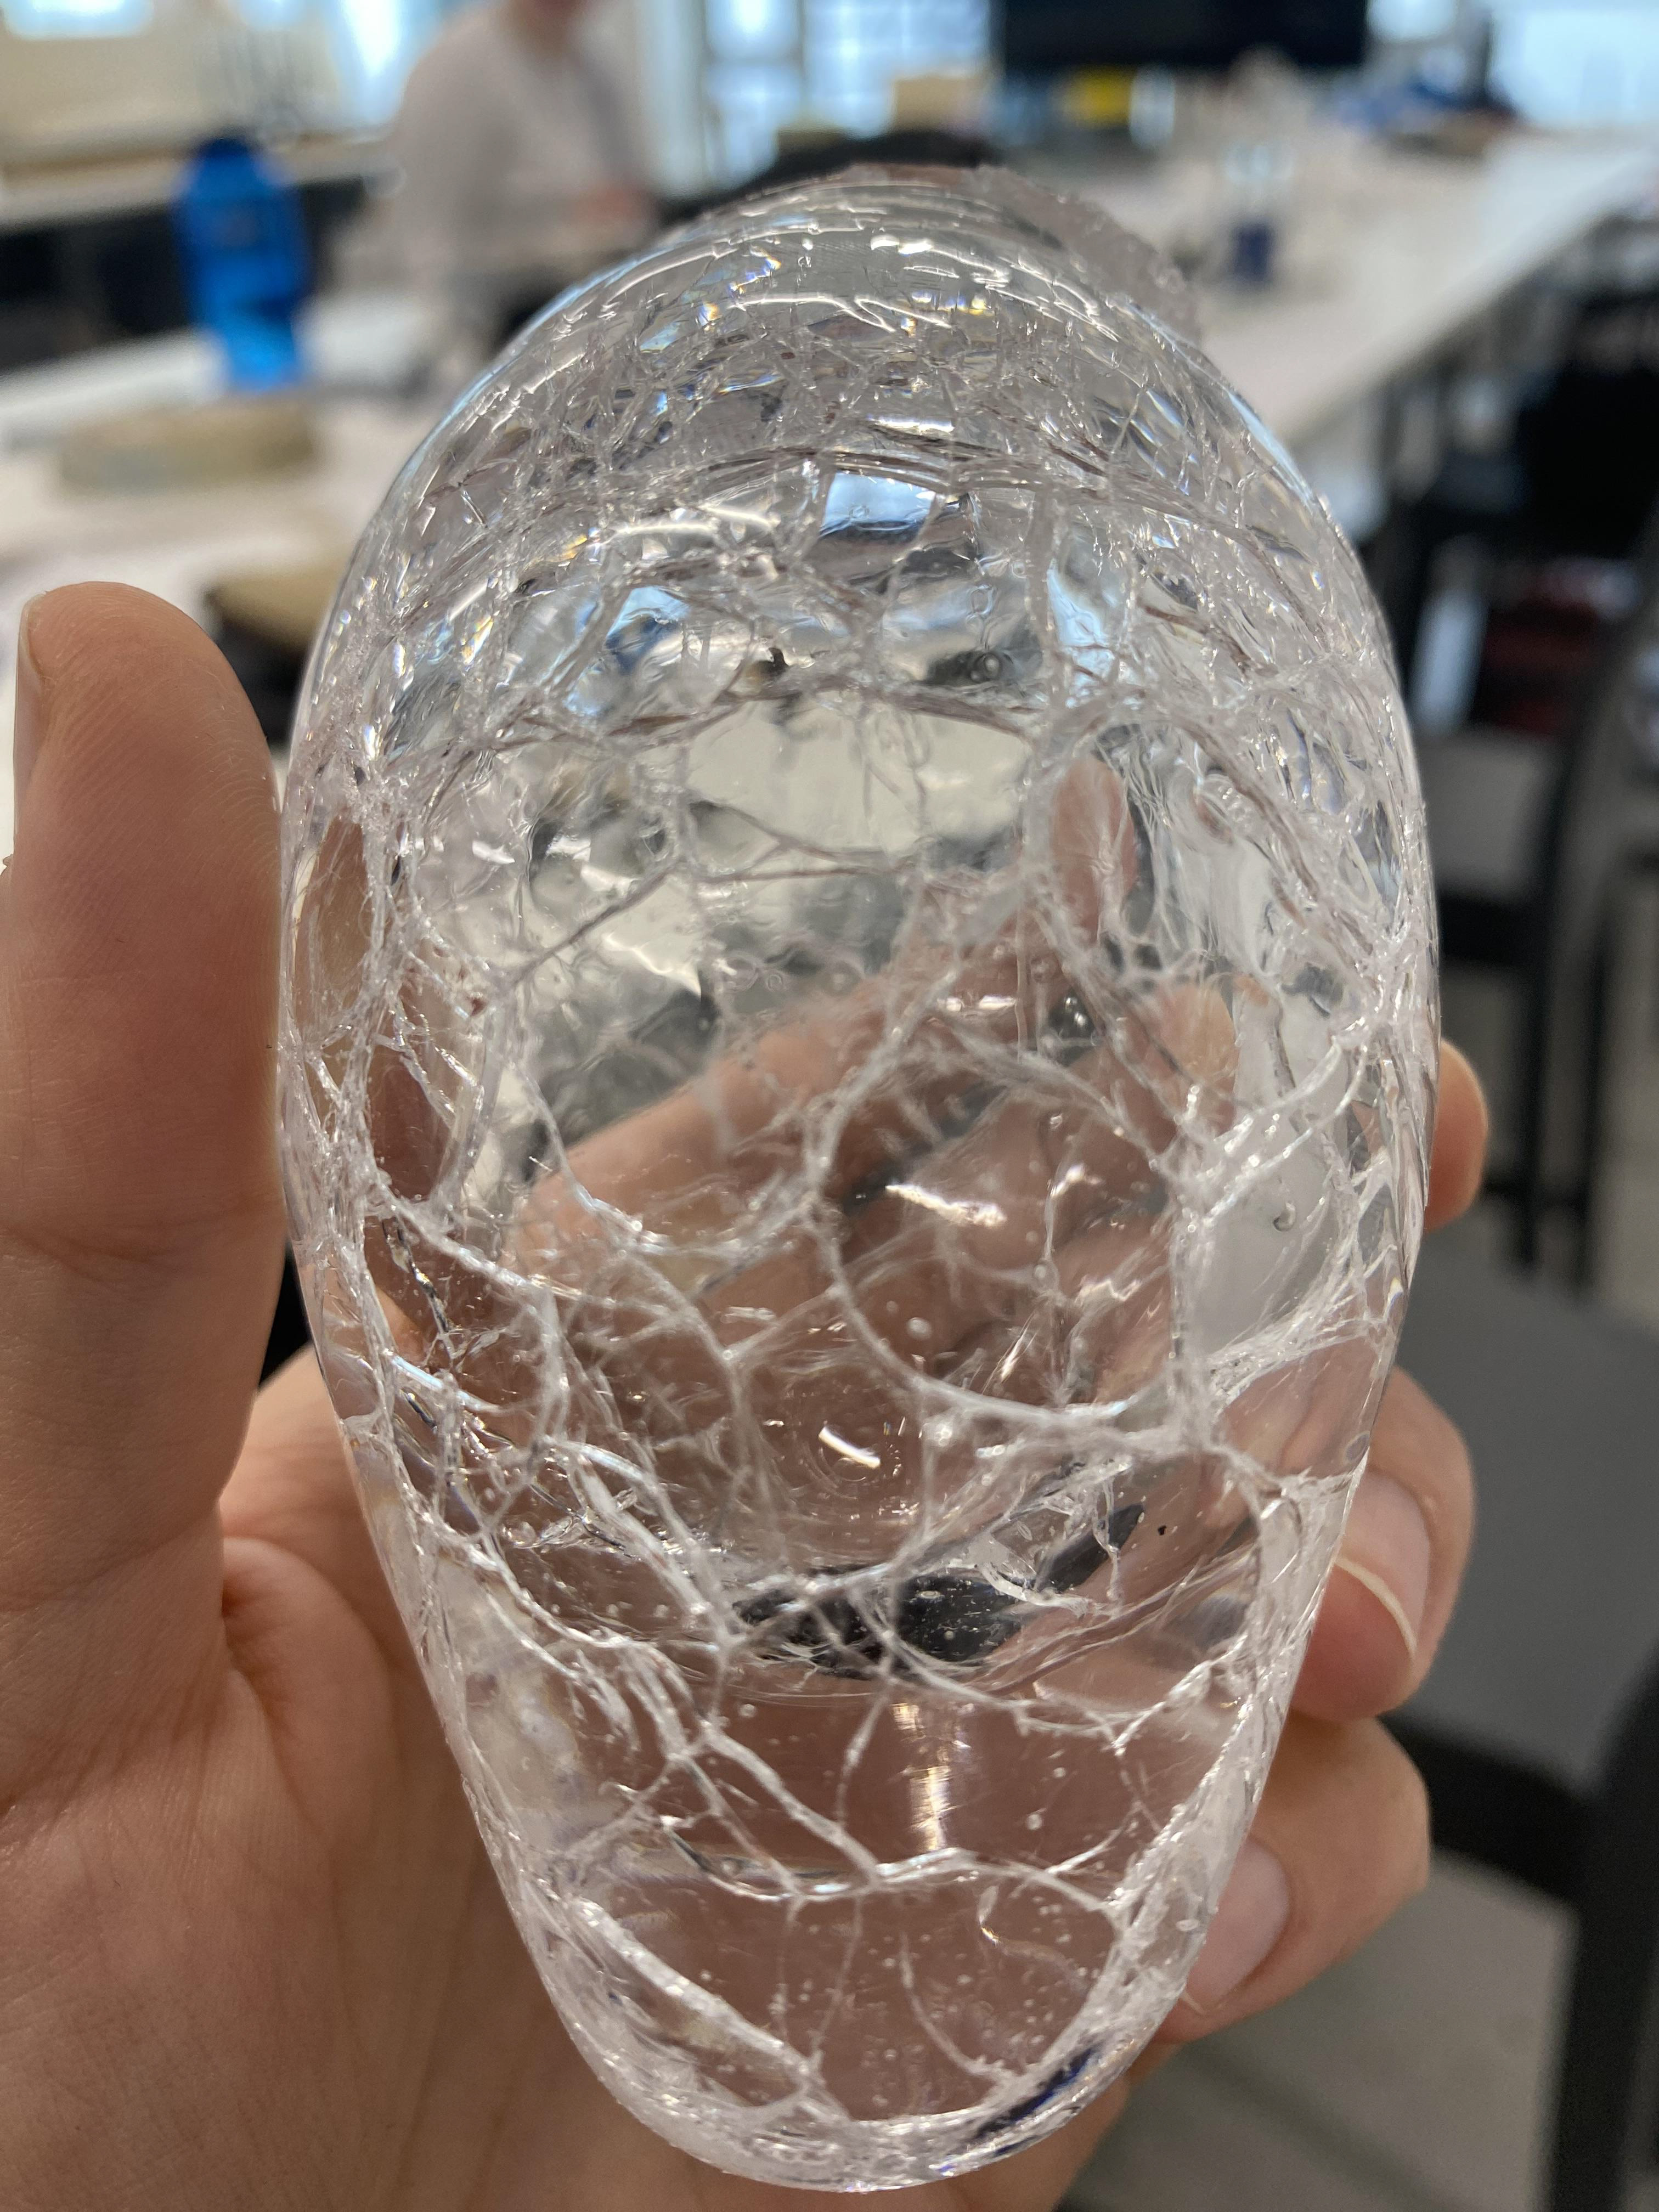
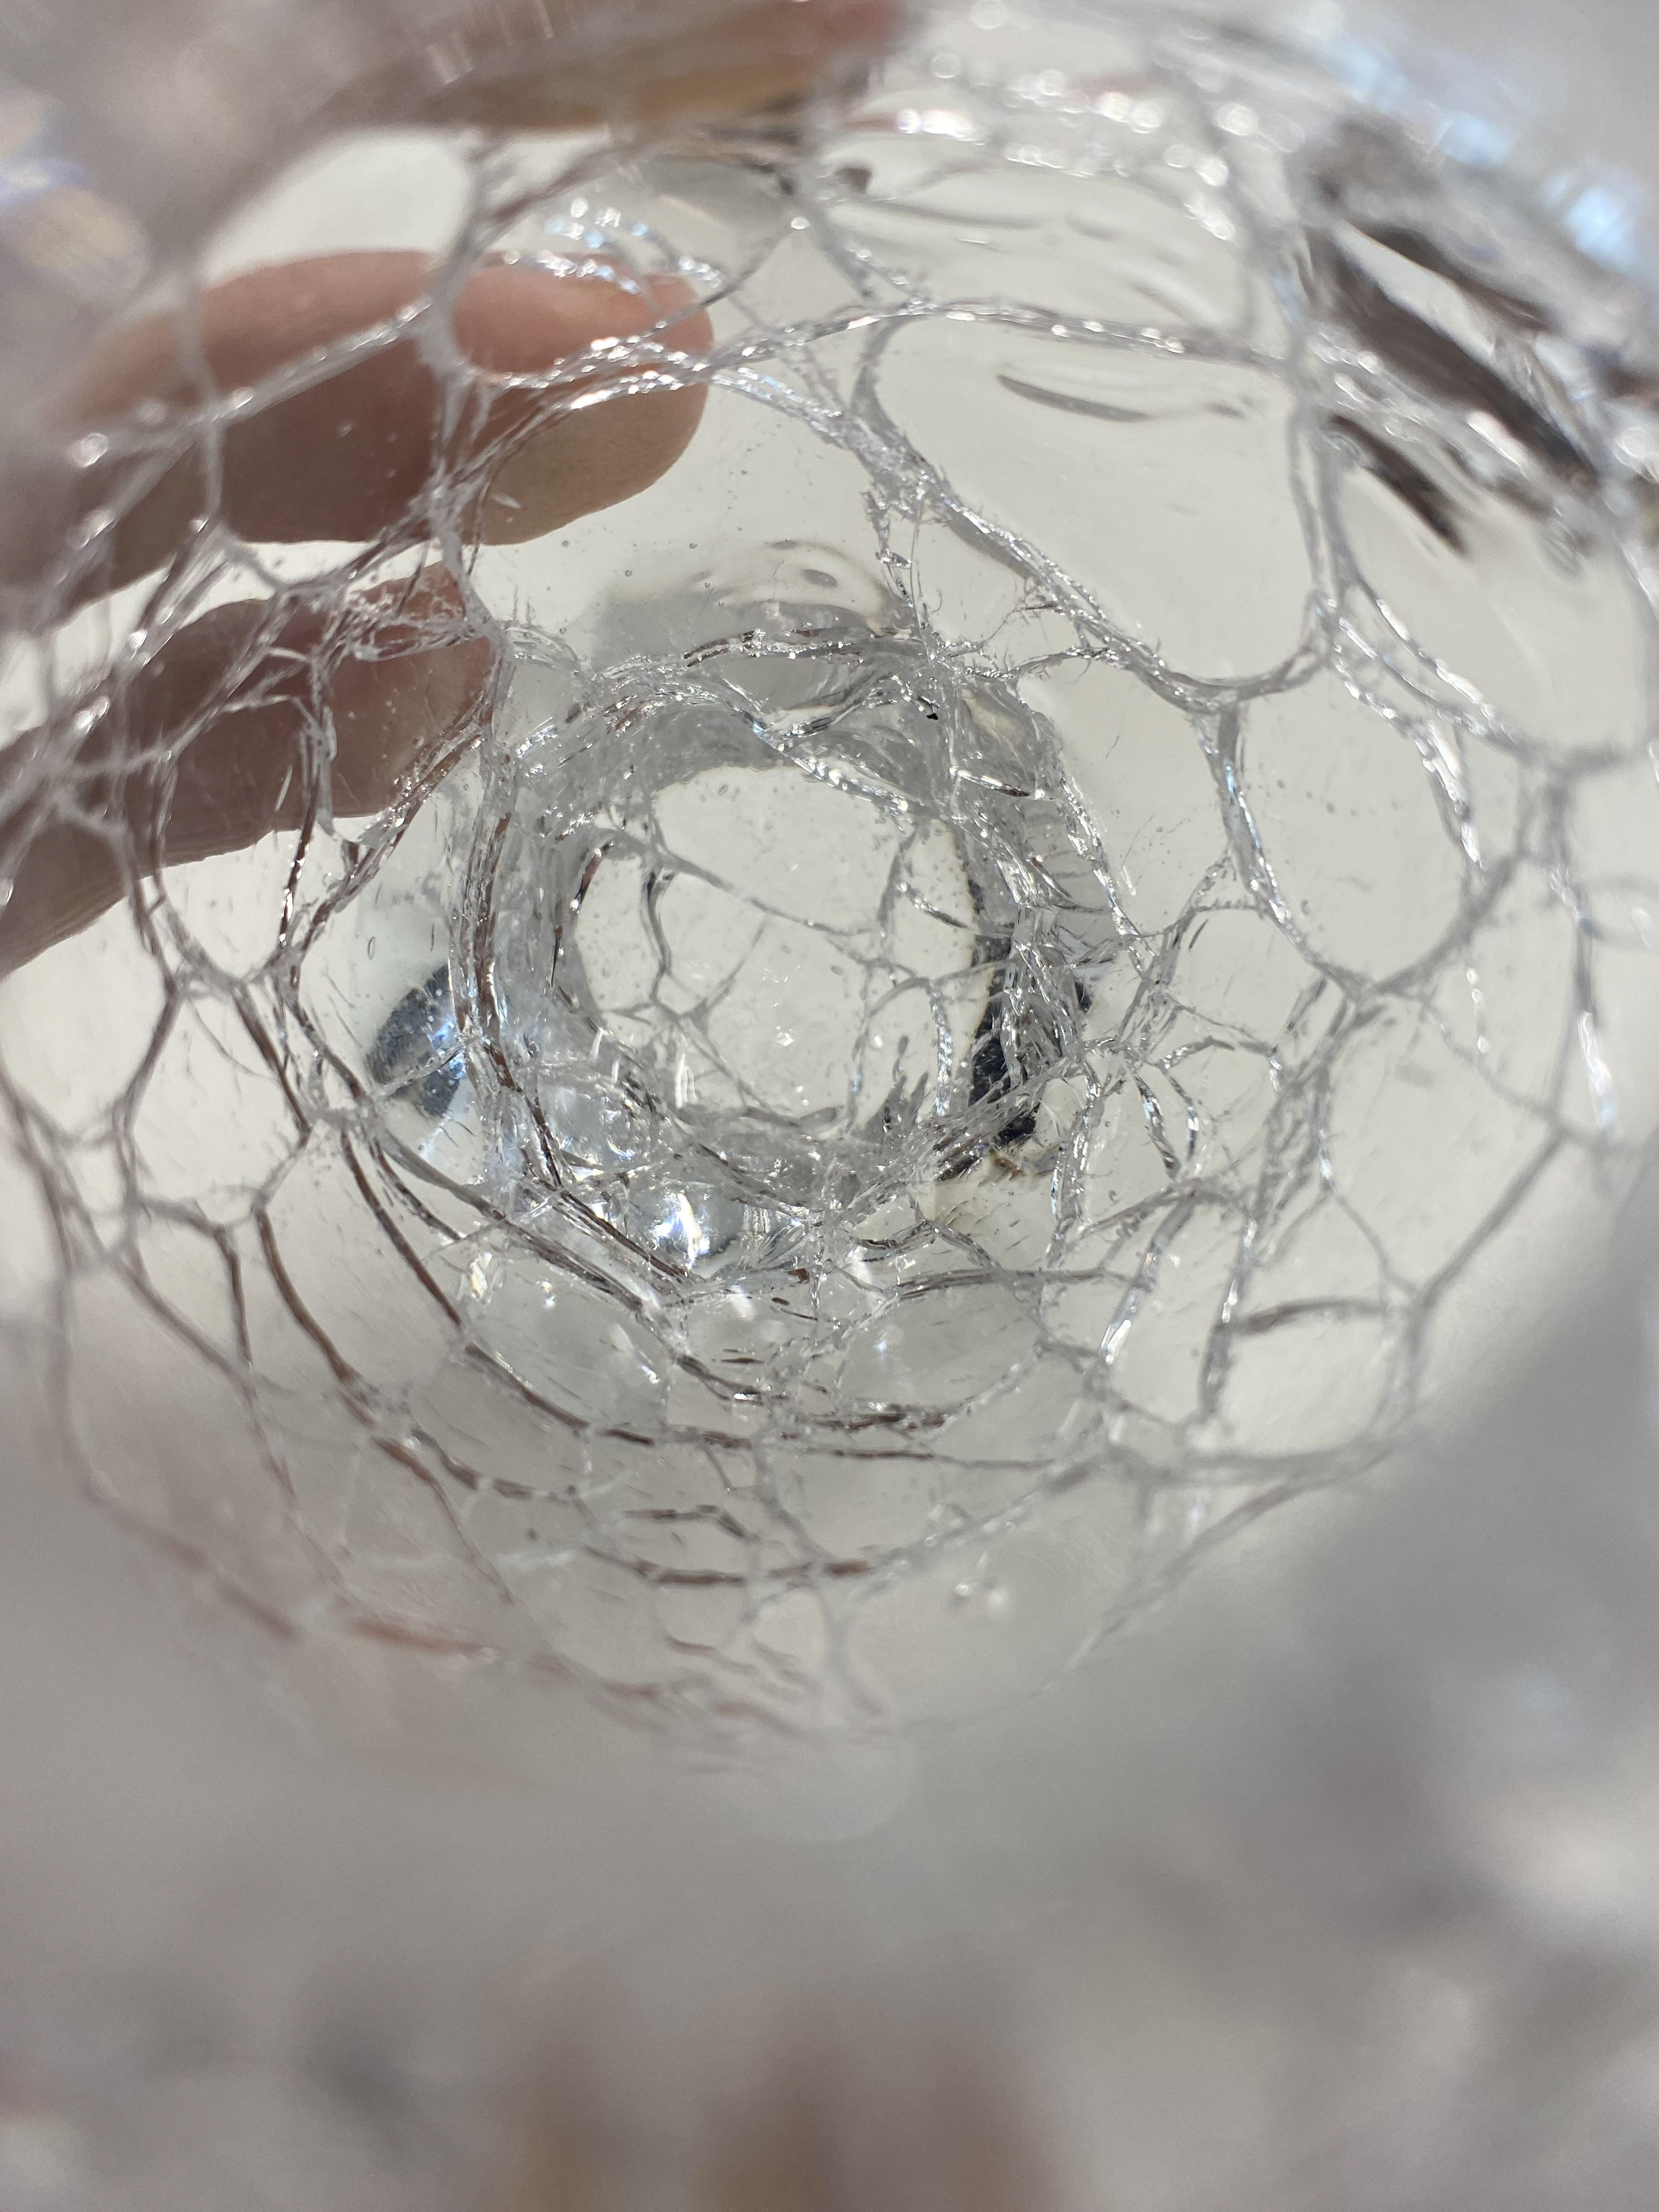
Photo of inside the cracked bubble

Ink pieces that inspired these cracks
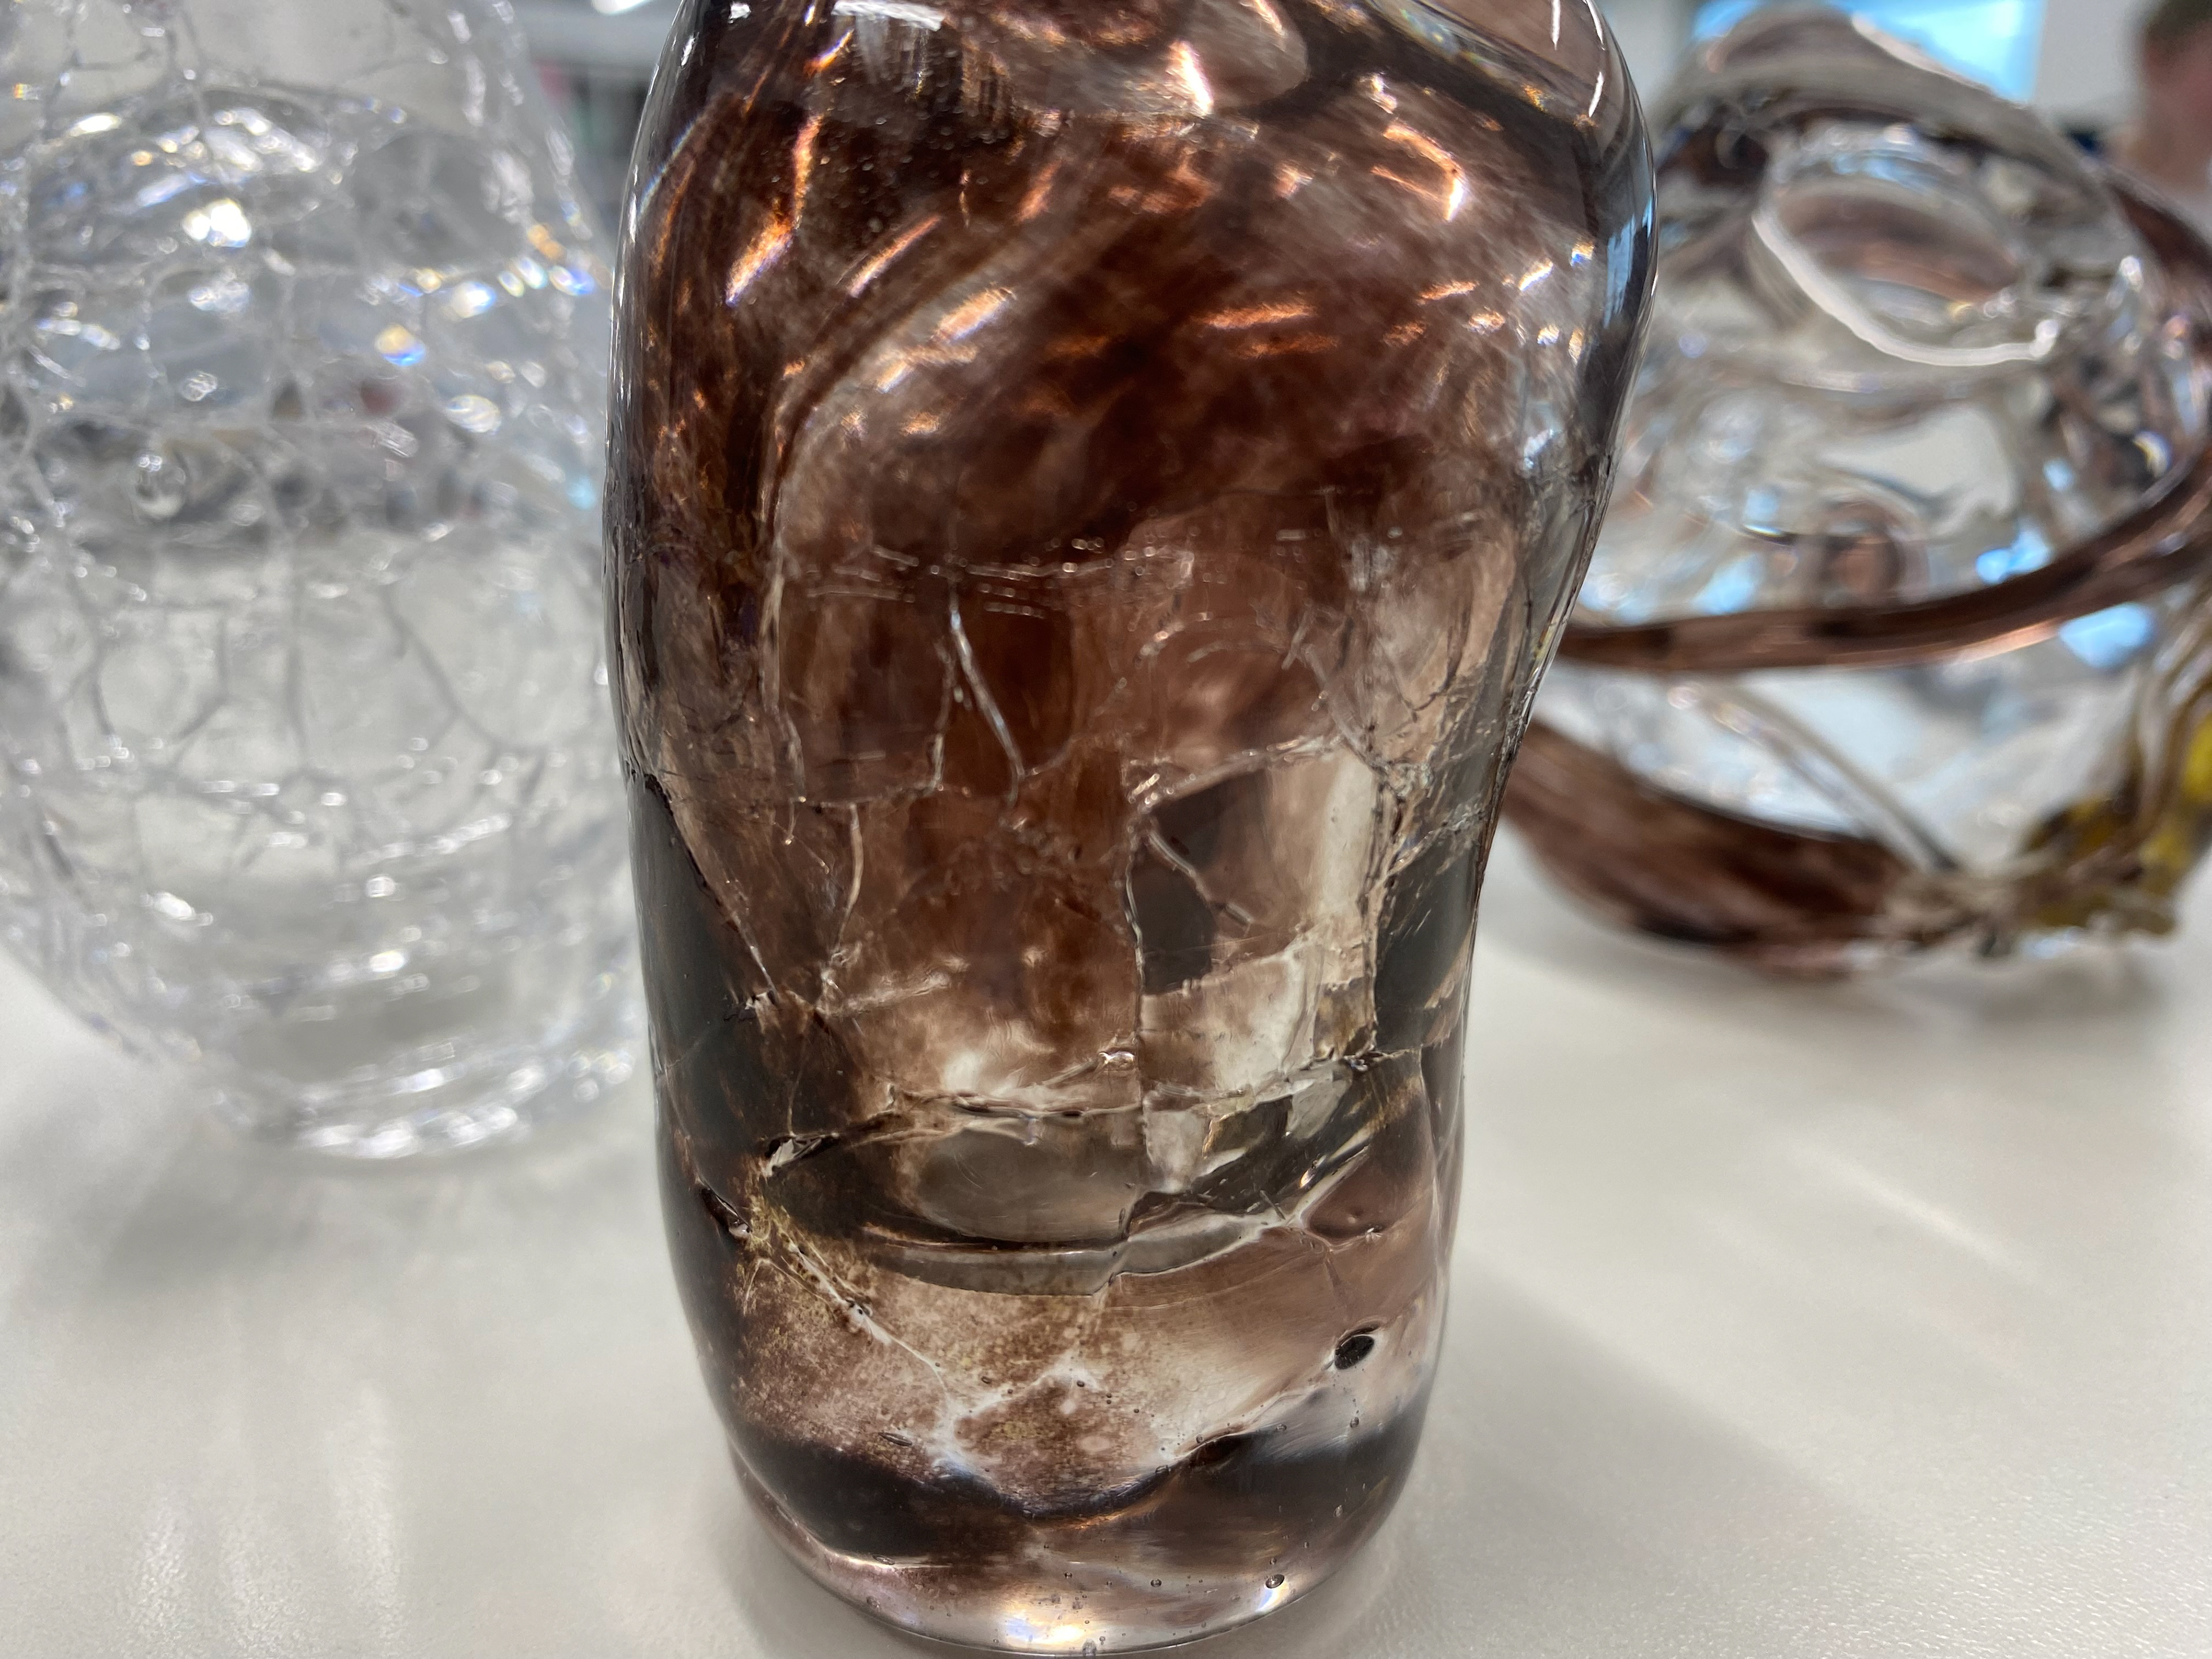
I also tried this with adding colour to the glass however the effects of the cracks wasn't as strong as when I kept the glass clear. To my knowledge, this is because the temperature of the glass was not as hot because I took it through more stages to add the colour. Overall I was happy with the results of this but I preferred the effects of other techniques I had tried.
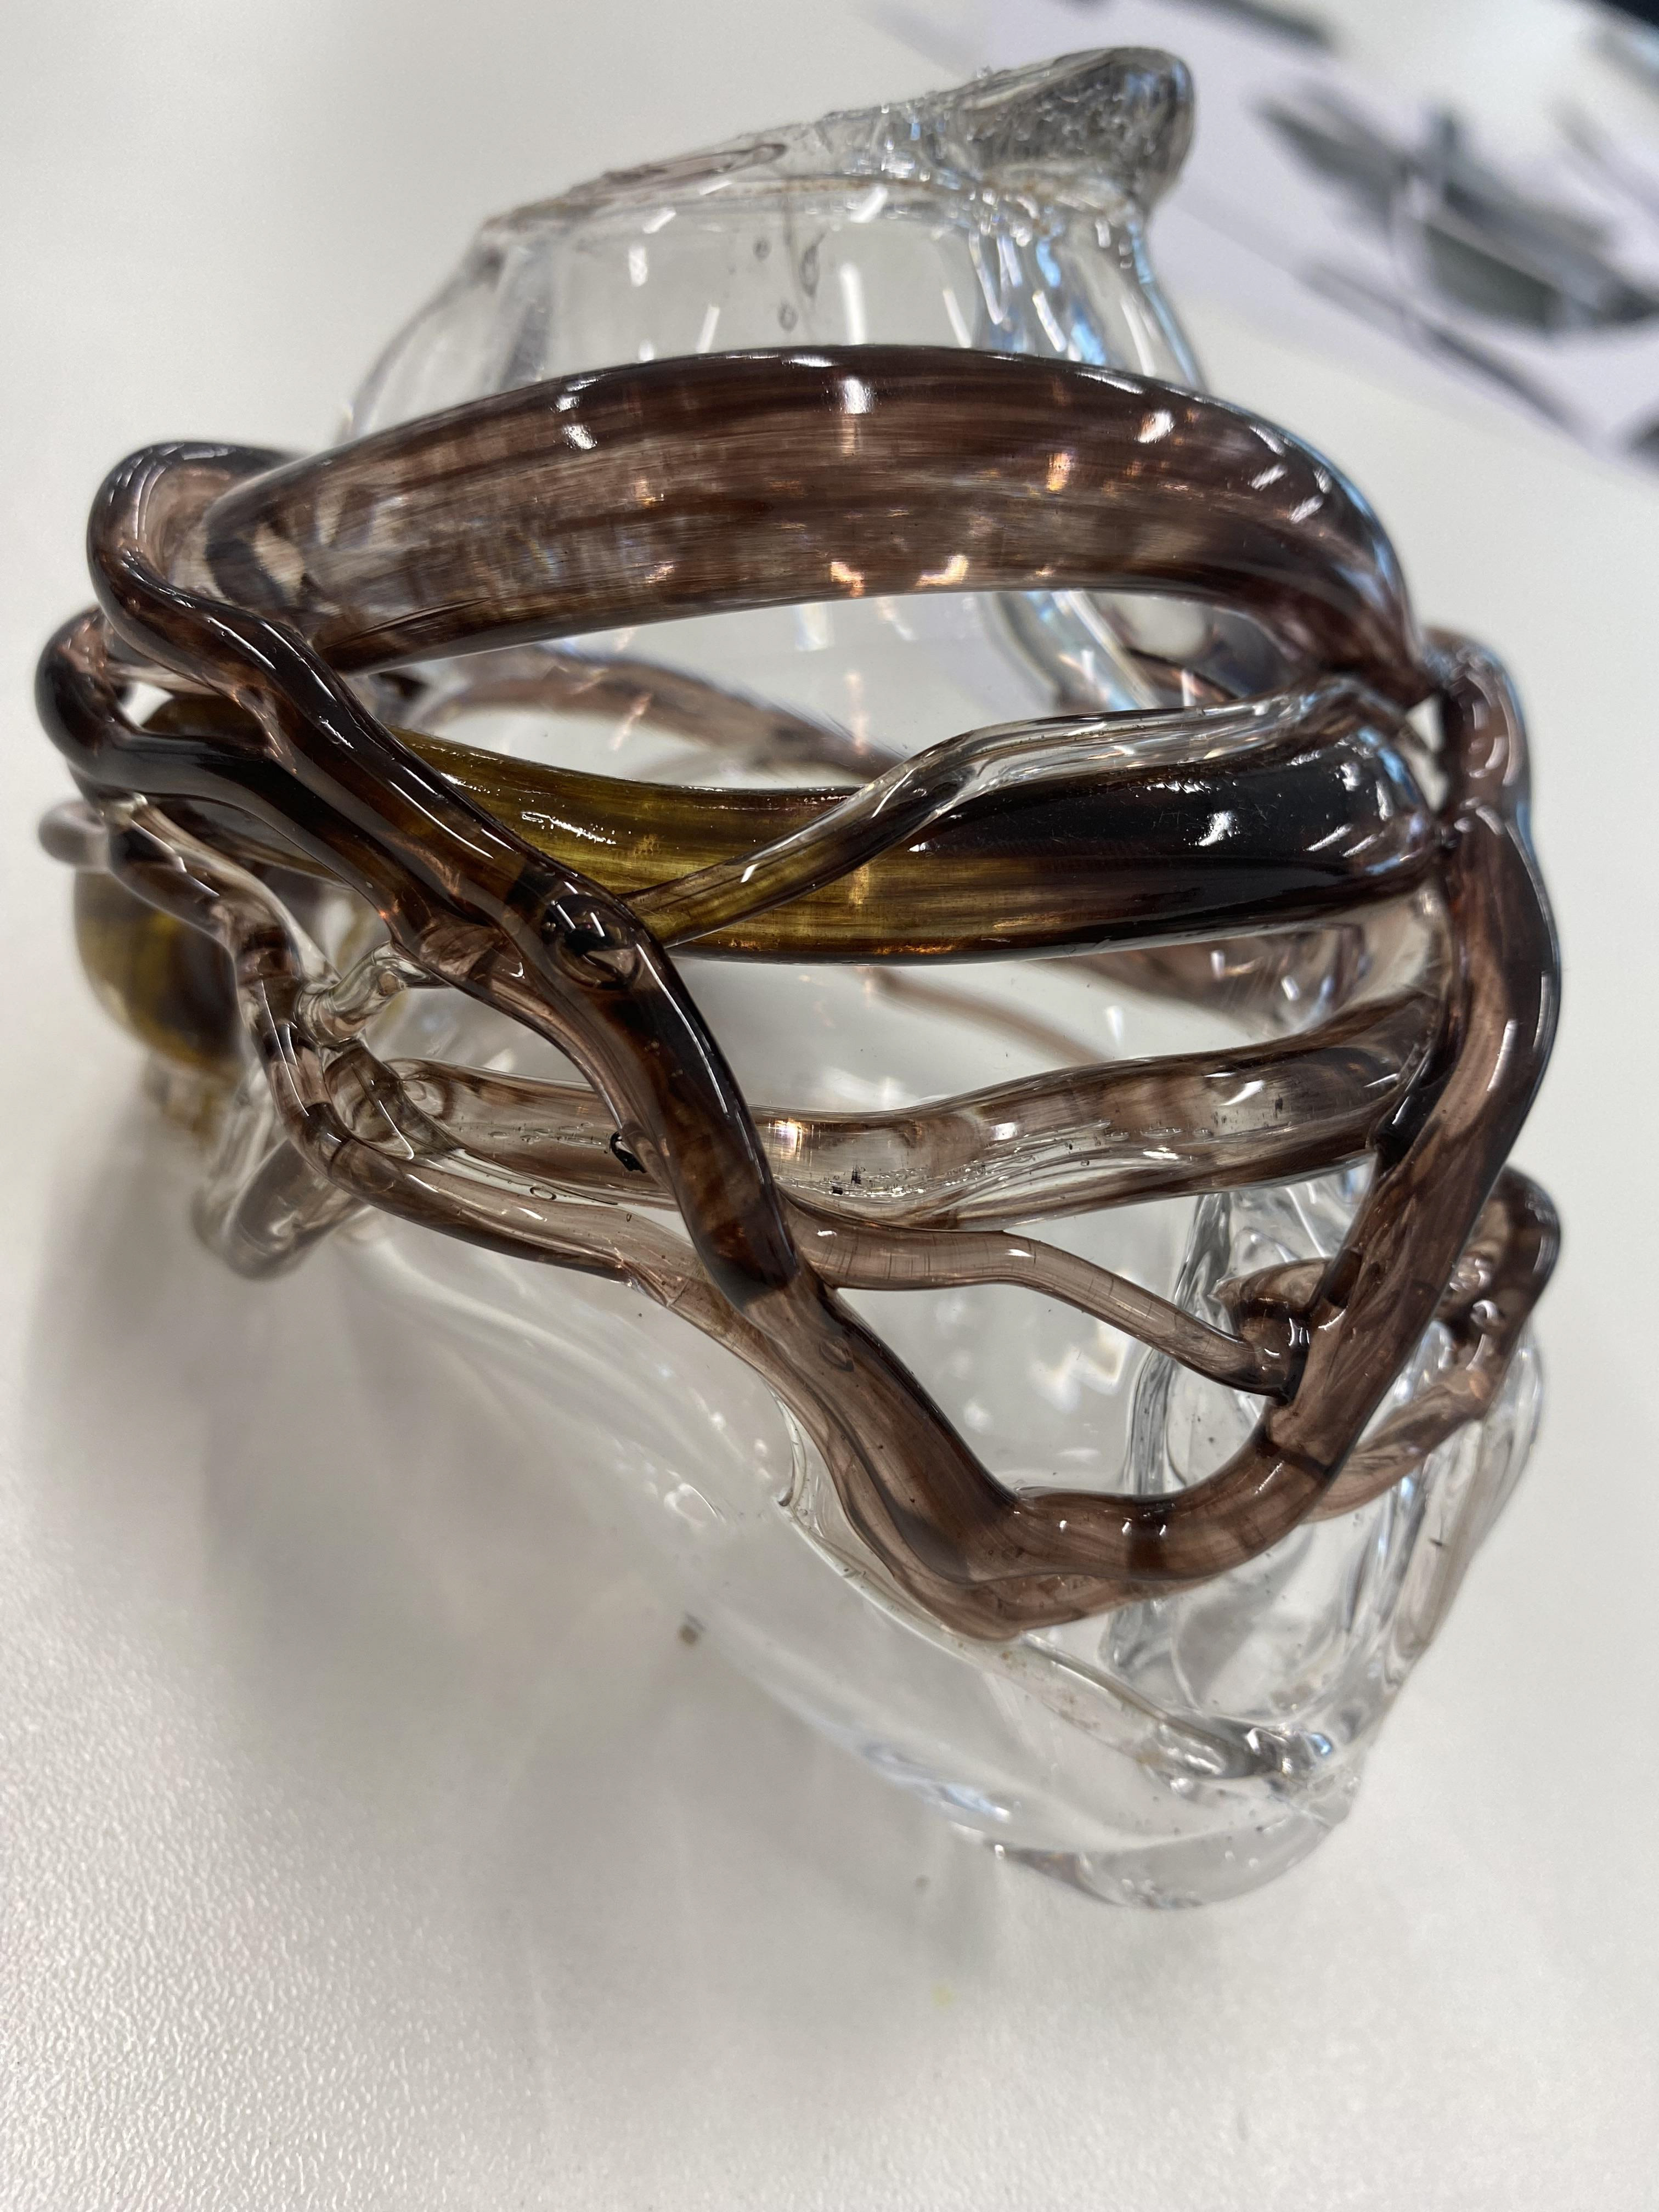
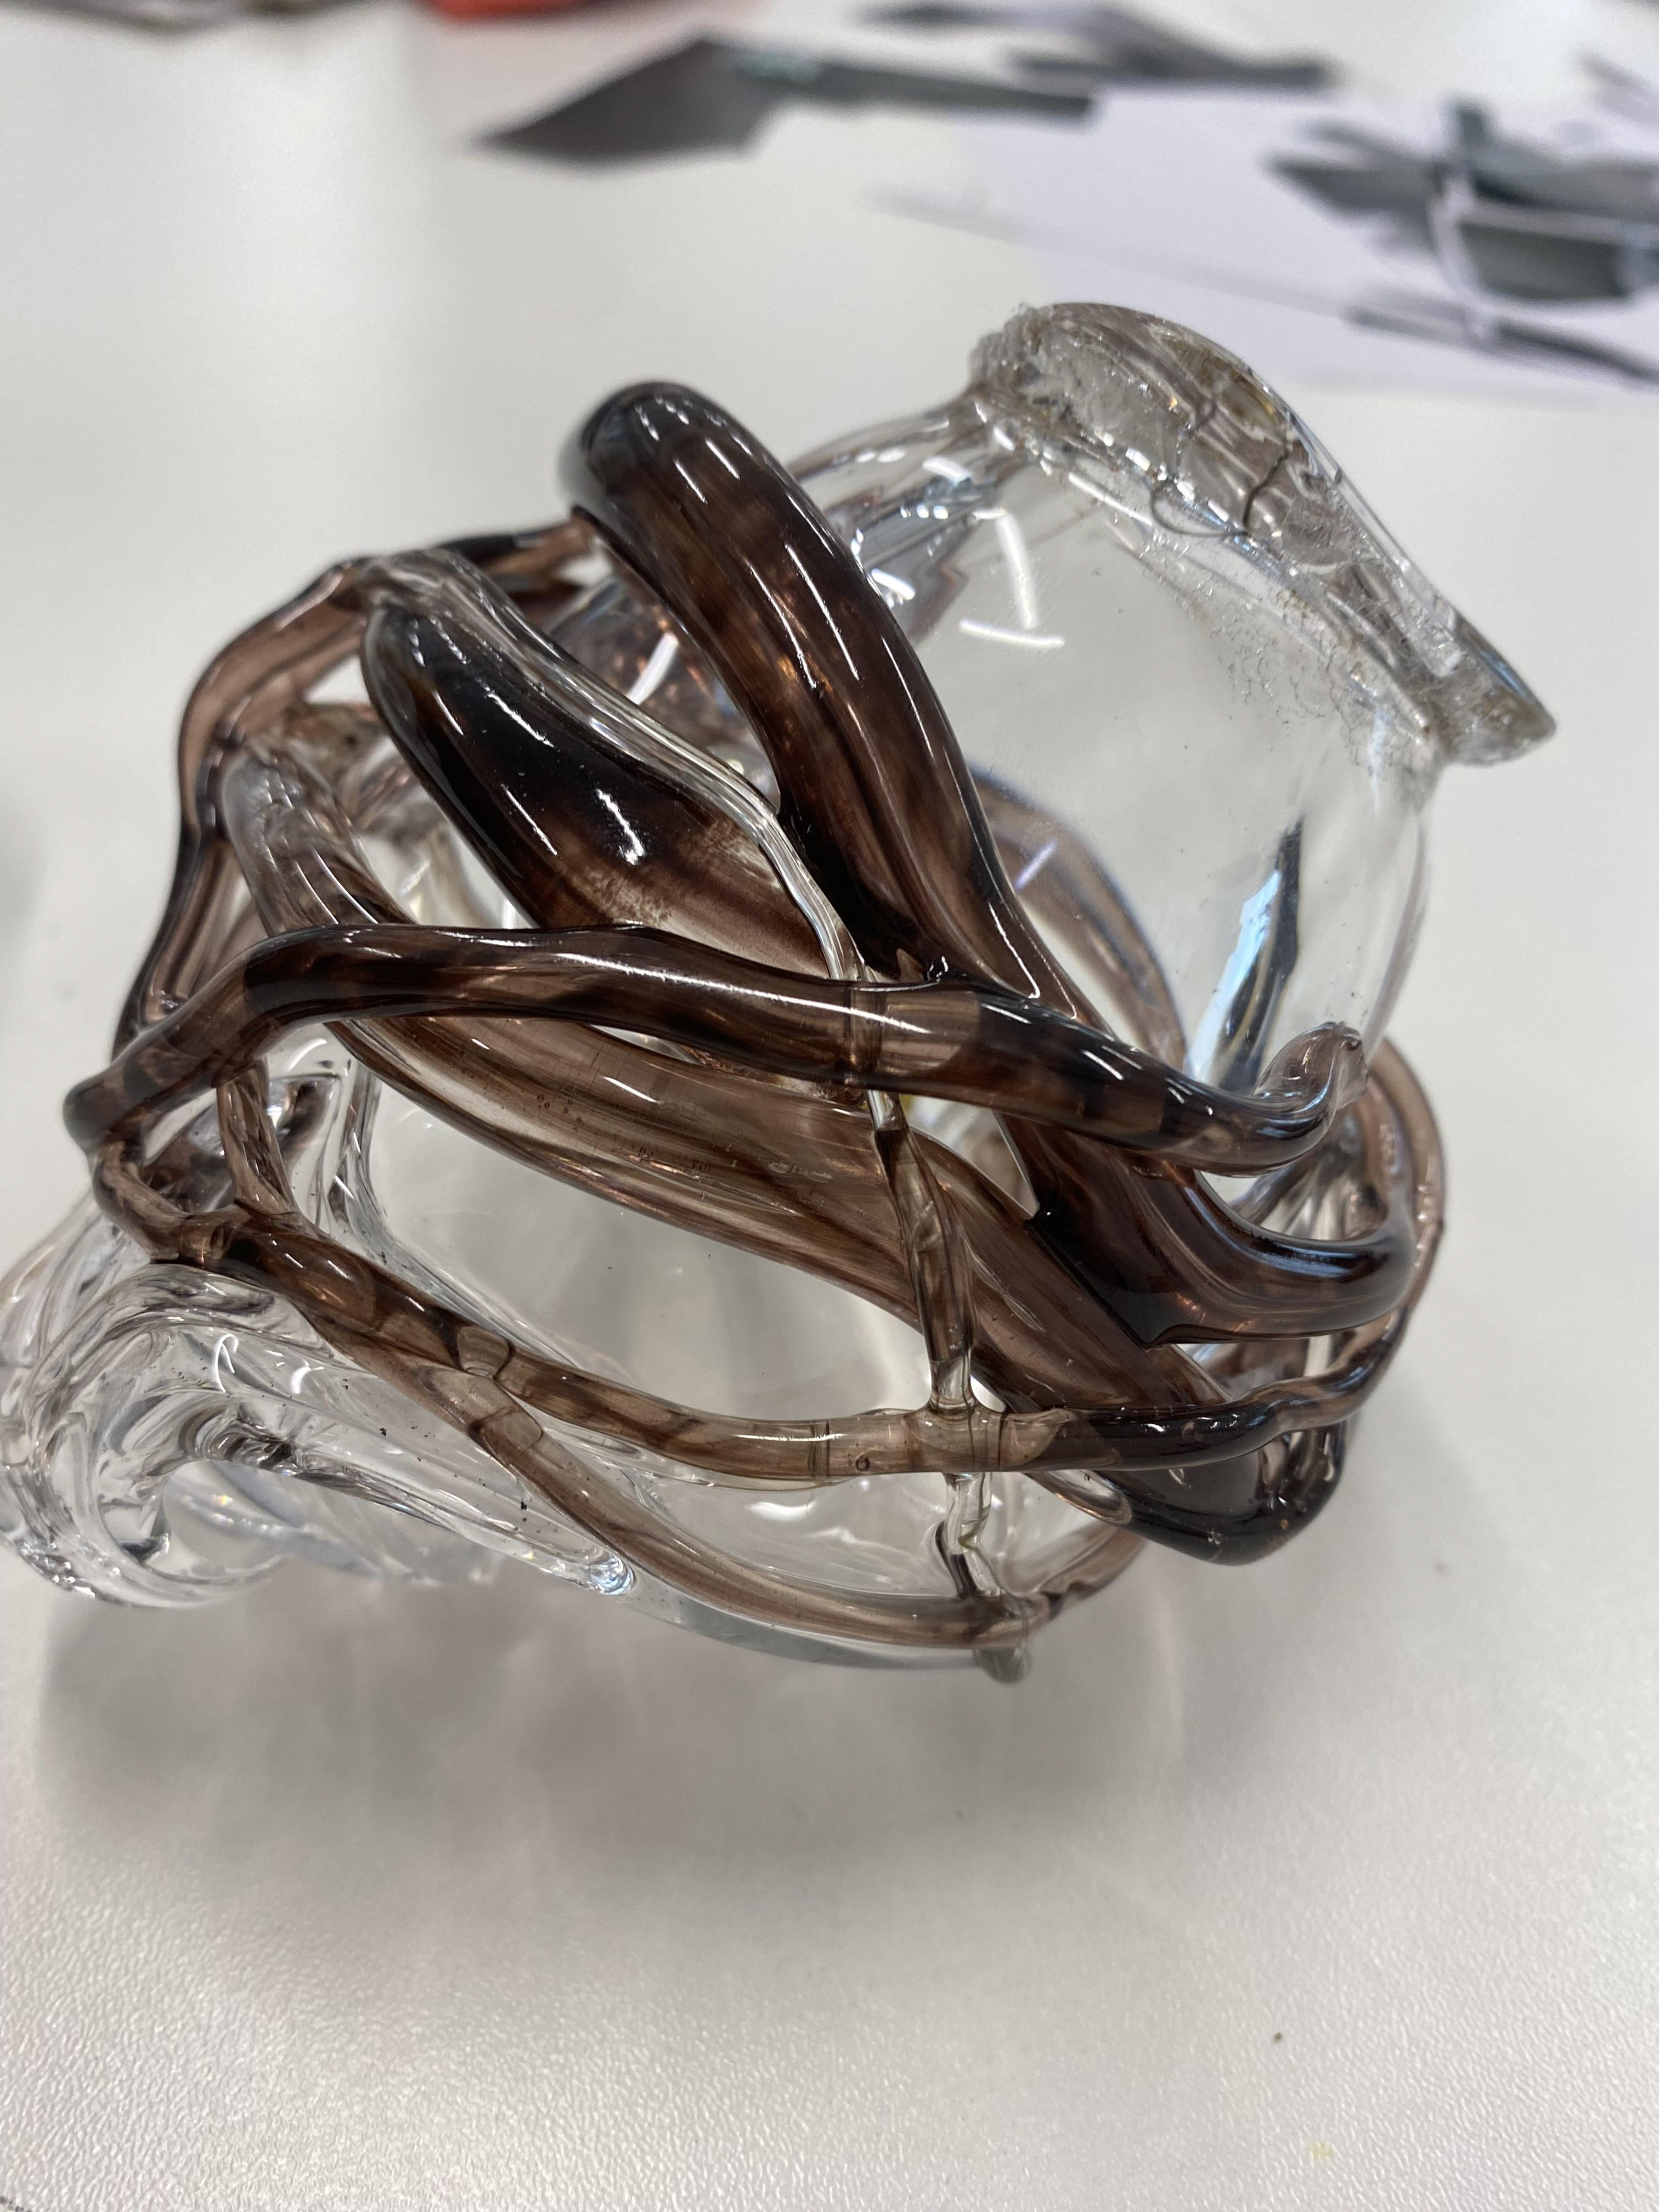
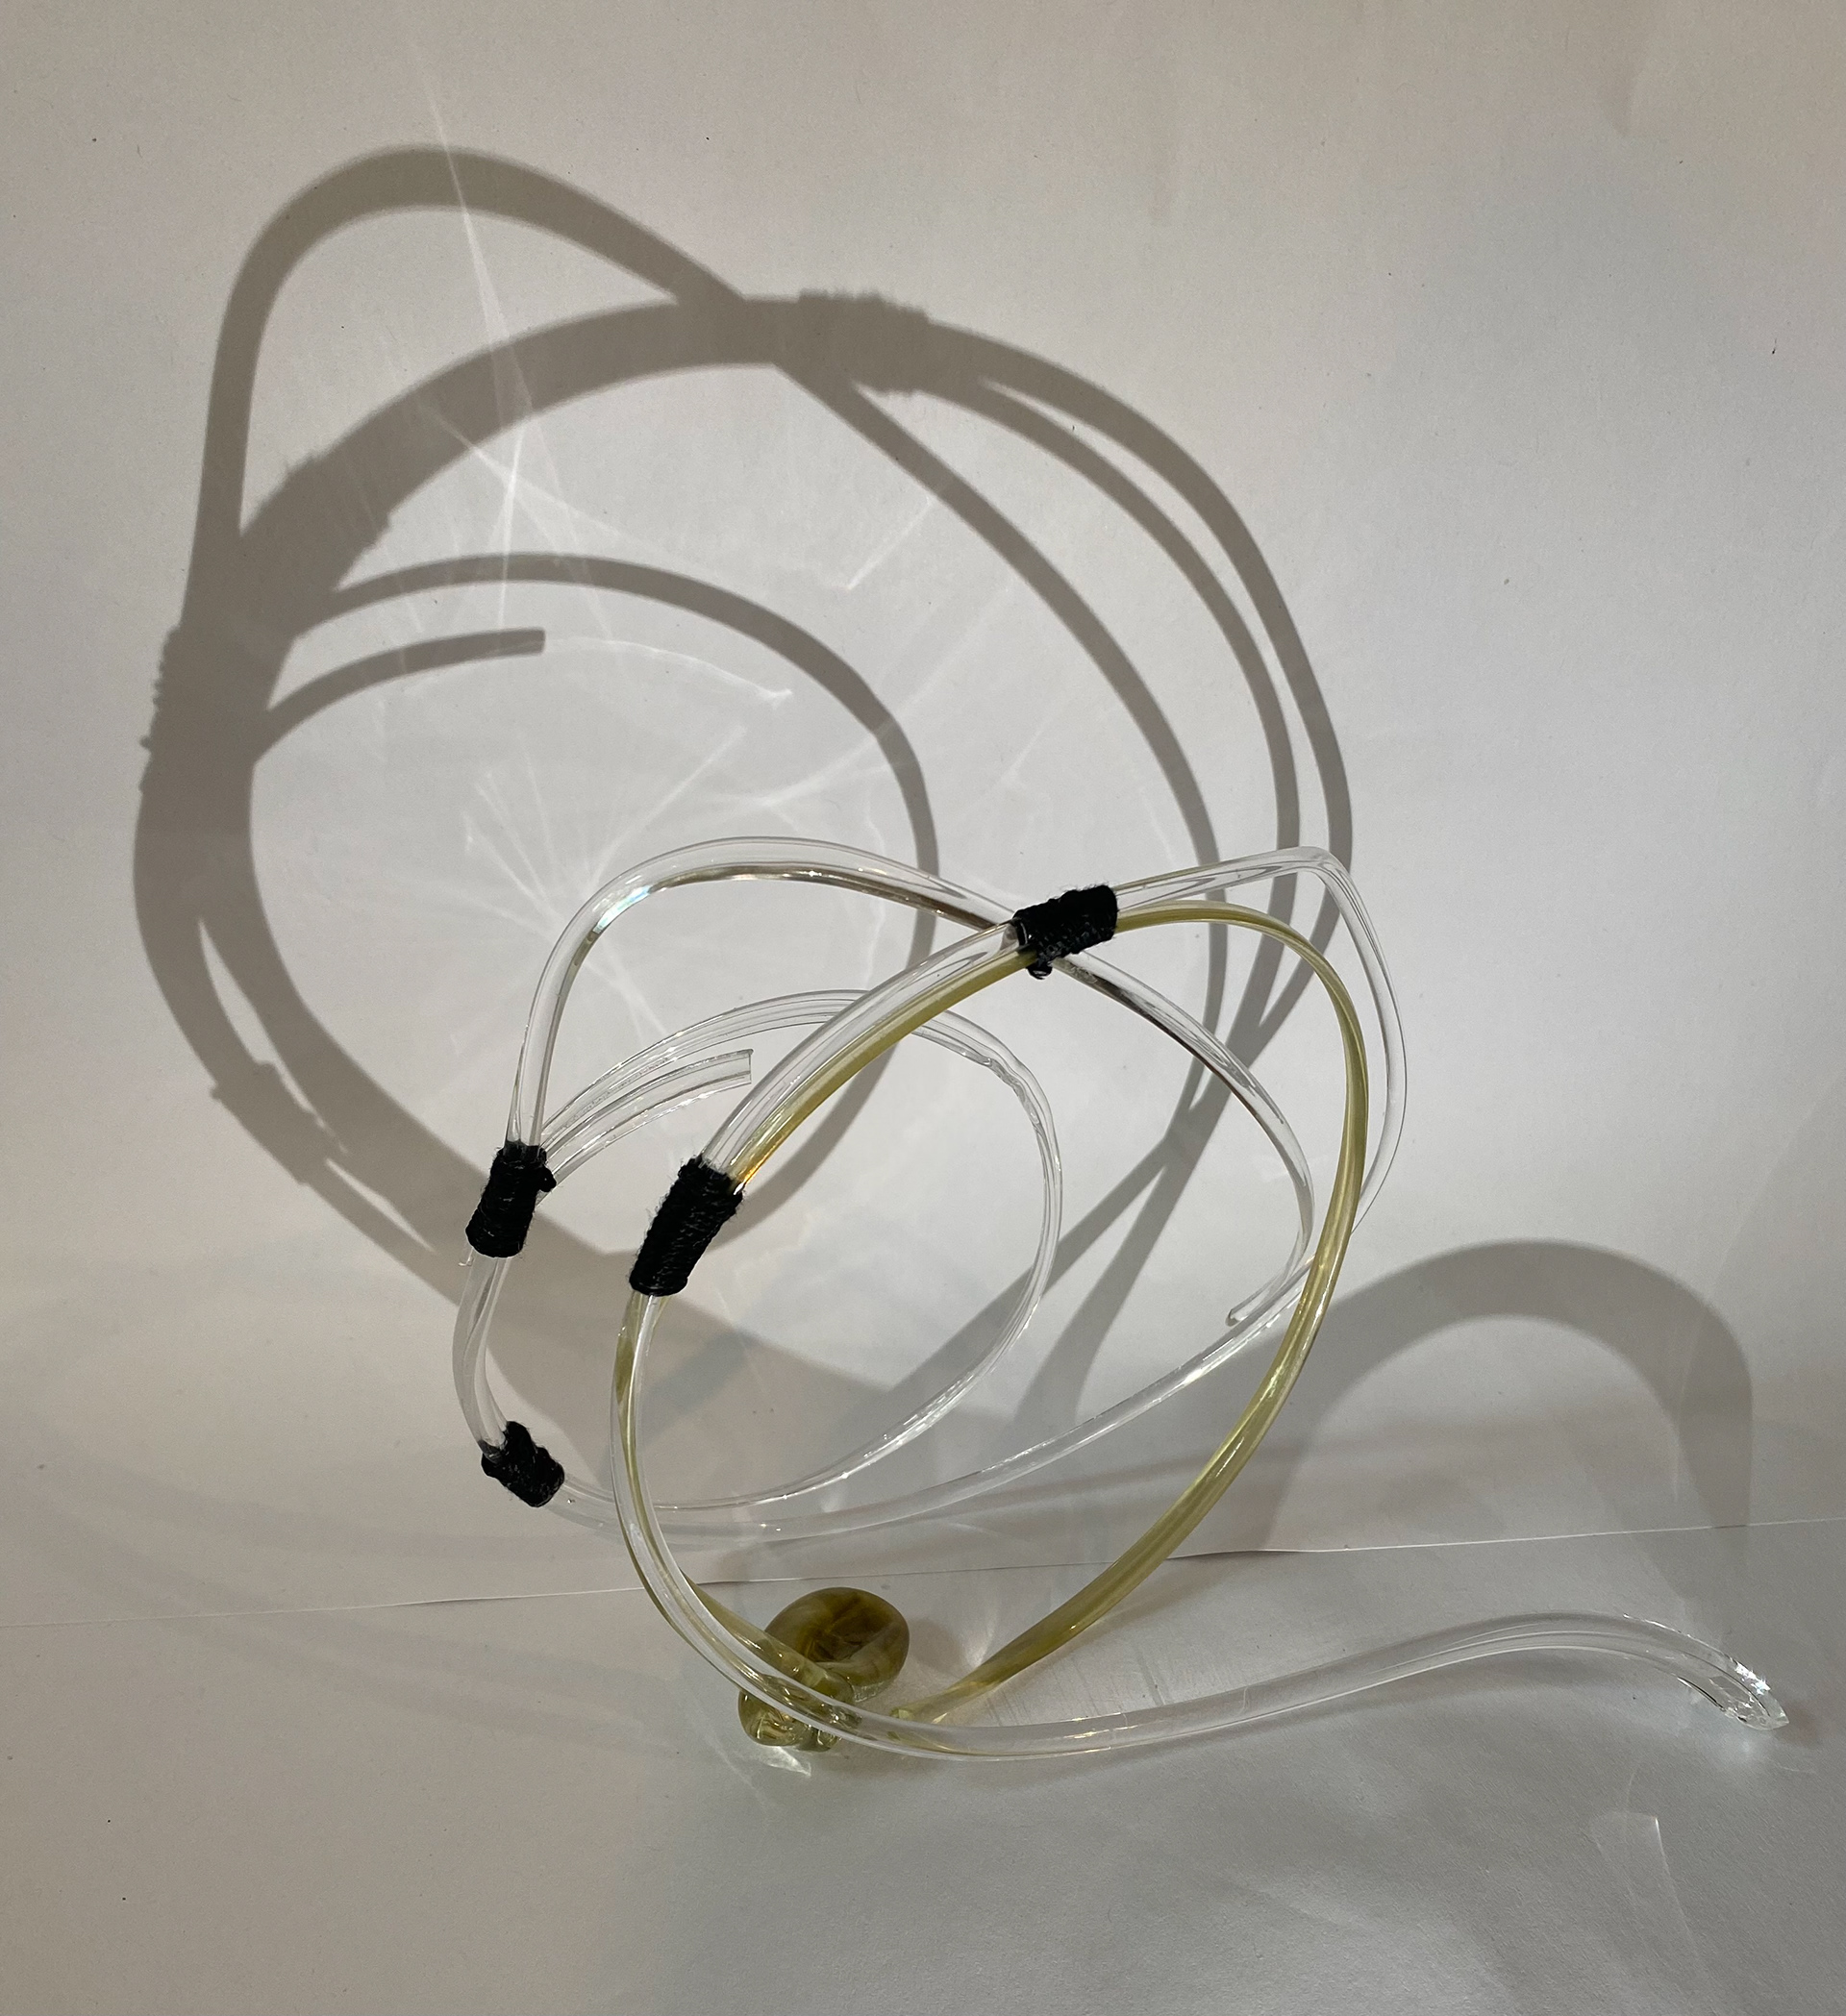
I wanted to re try the technique of wrapping the glass around a bubble, however this time I wanted to add coloured powdered glass to the bubble and keep the 'strings' wrapped around clear. I also wanted to try and get some of the forms thinner. I decided to make the bubble green to relate this to the natural parts of N.O.M.A and Castlefield and the clear glass to represent the more industrial parts such as the glass buildings around the sites.
Bubble with green powder glass added
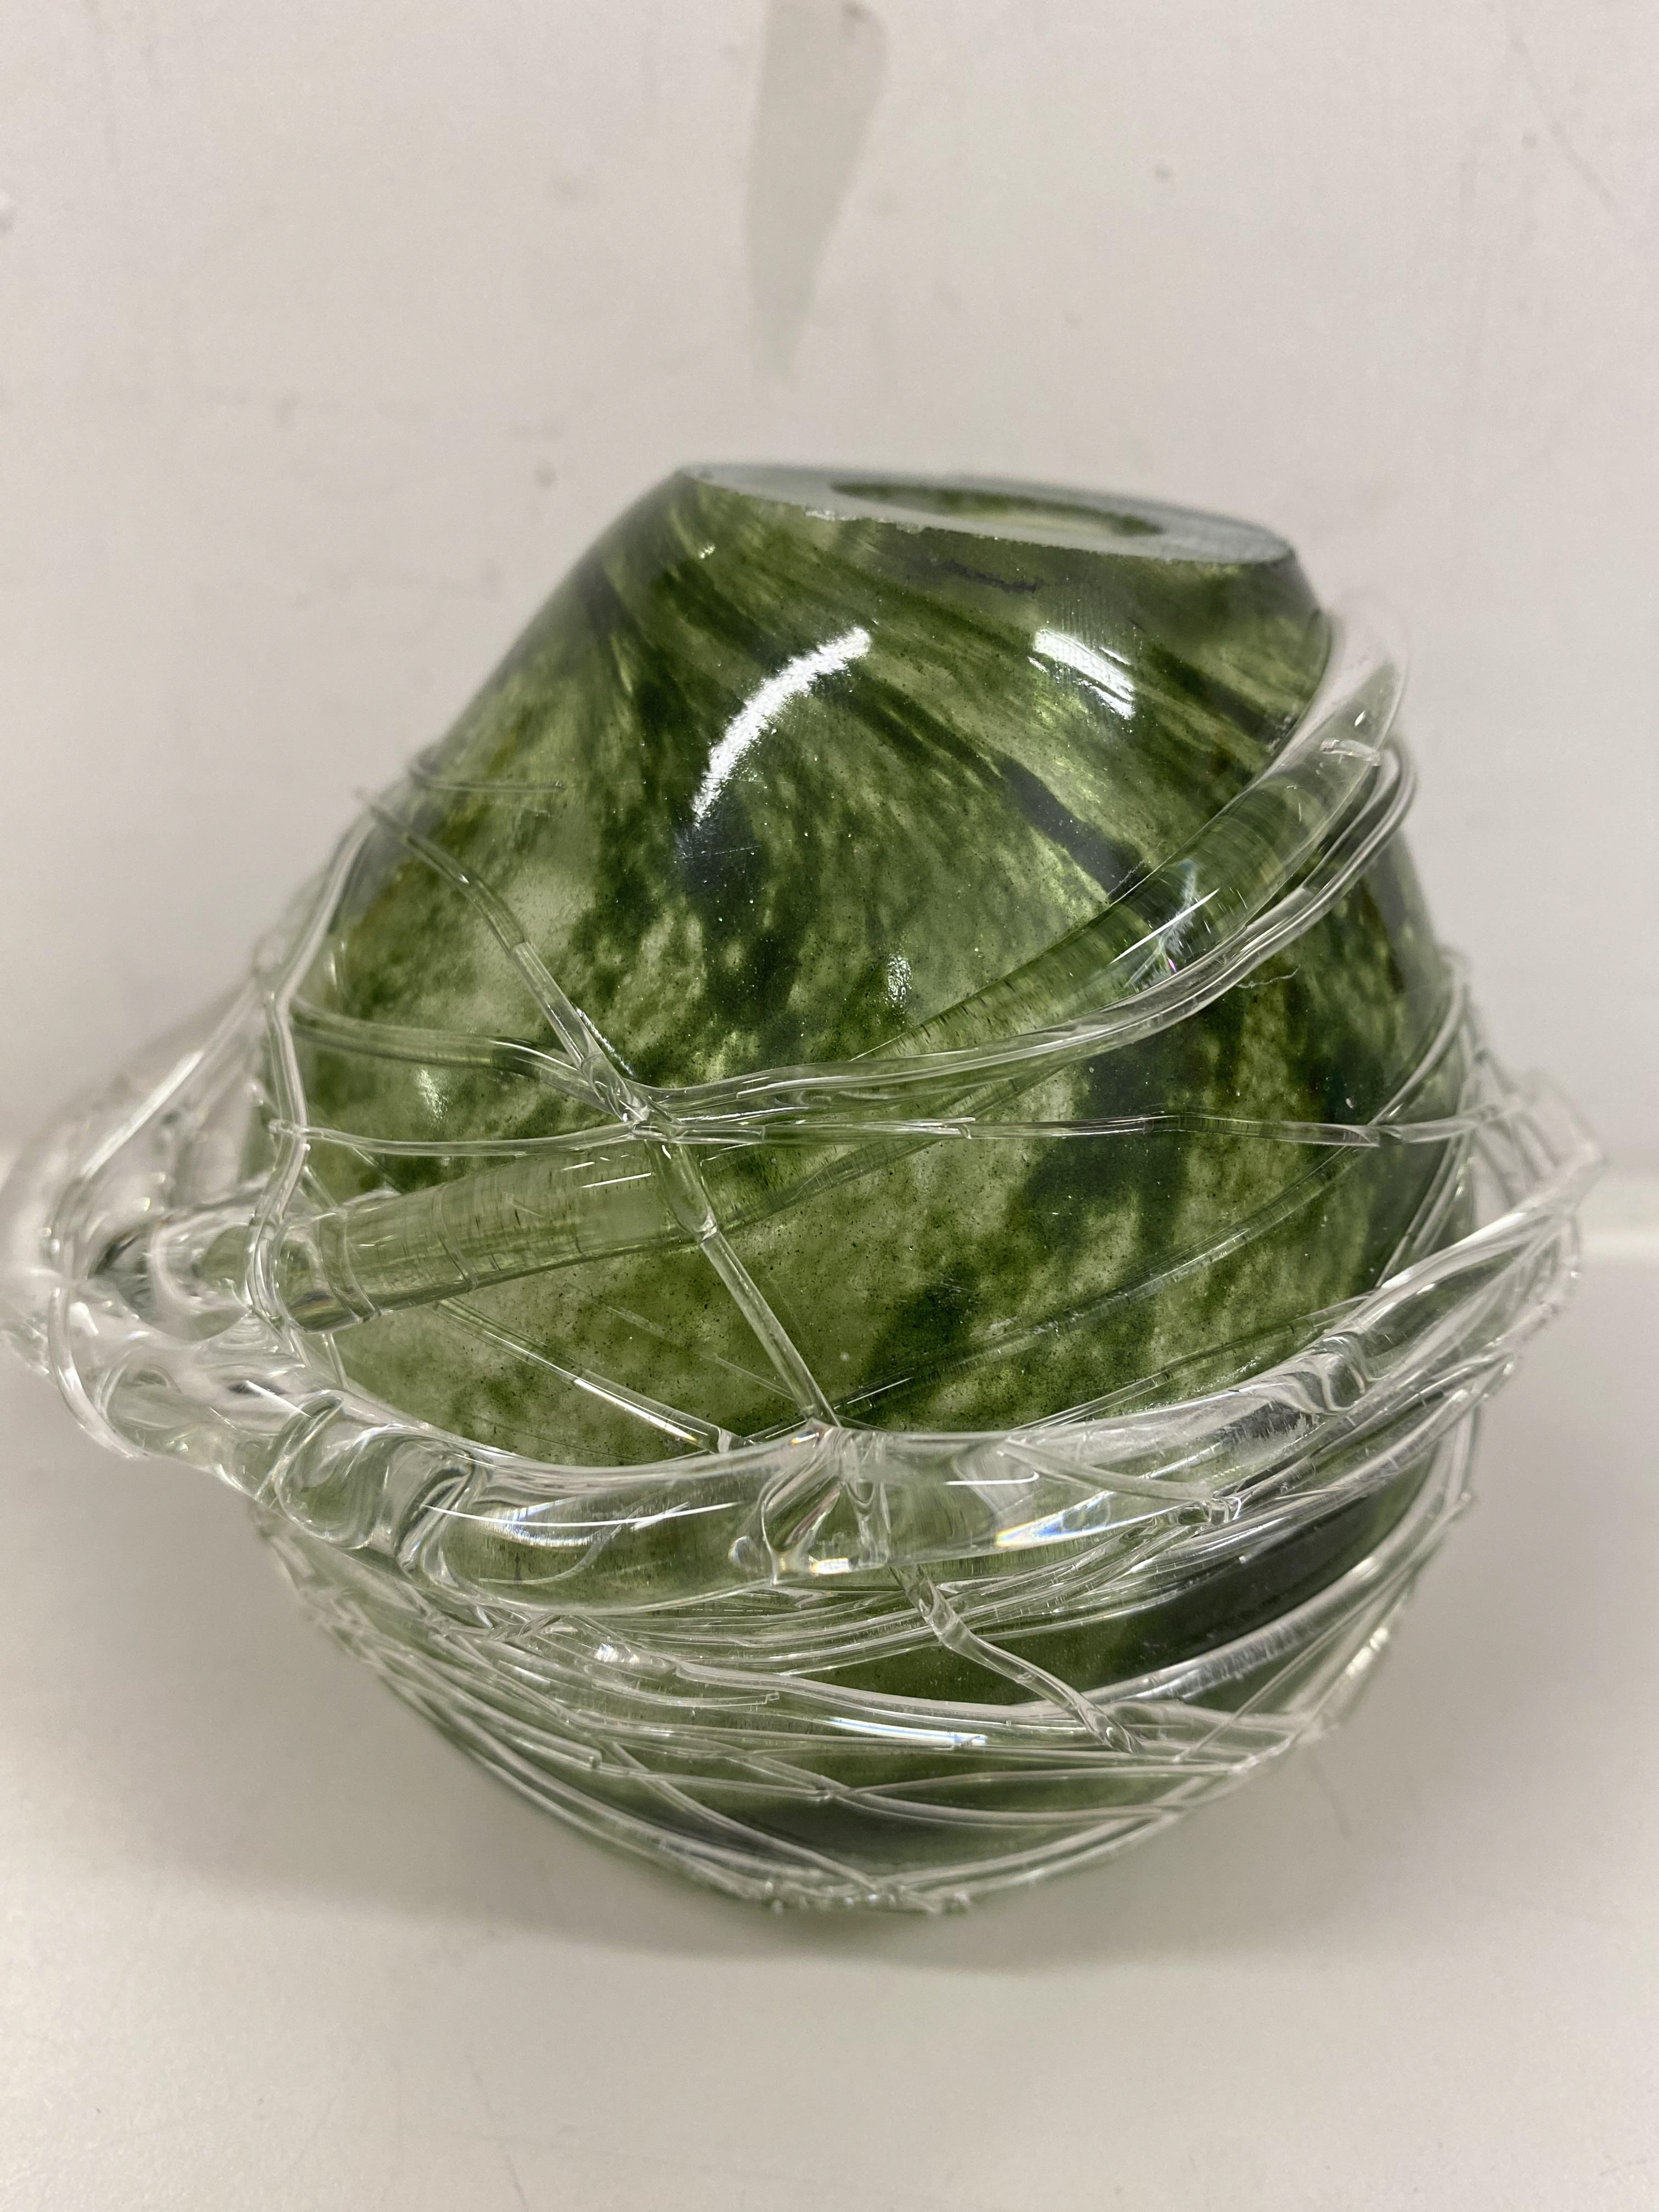
Green bubble with clear glass wrapped around
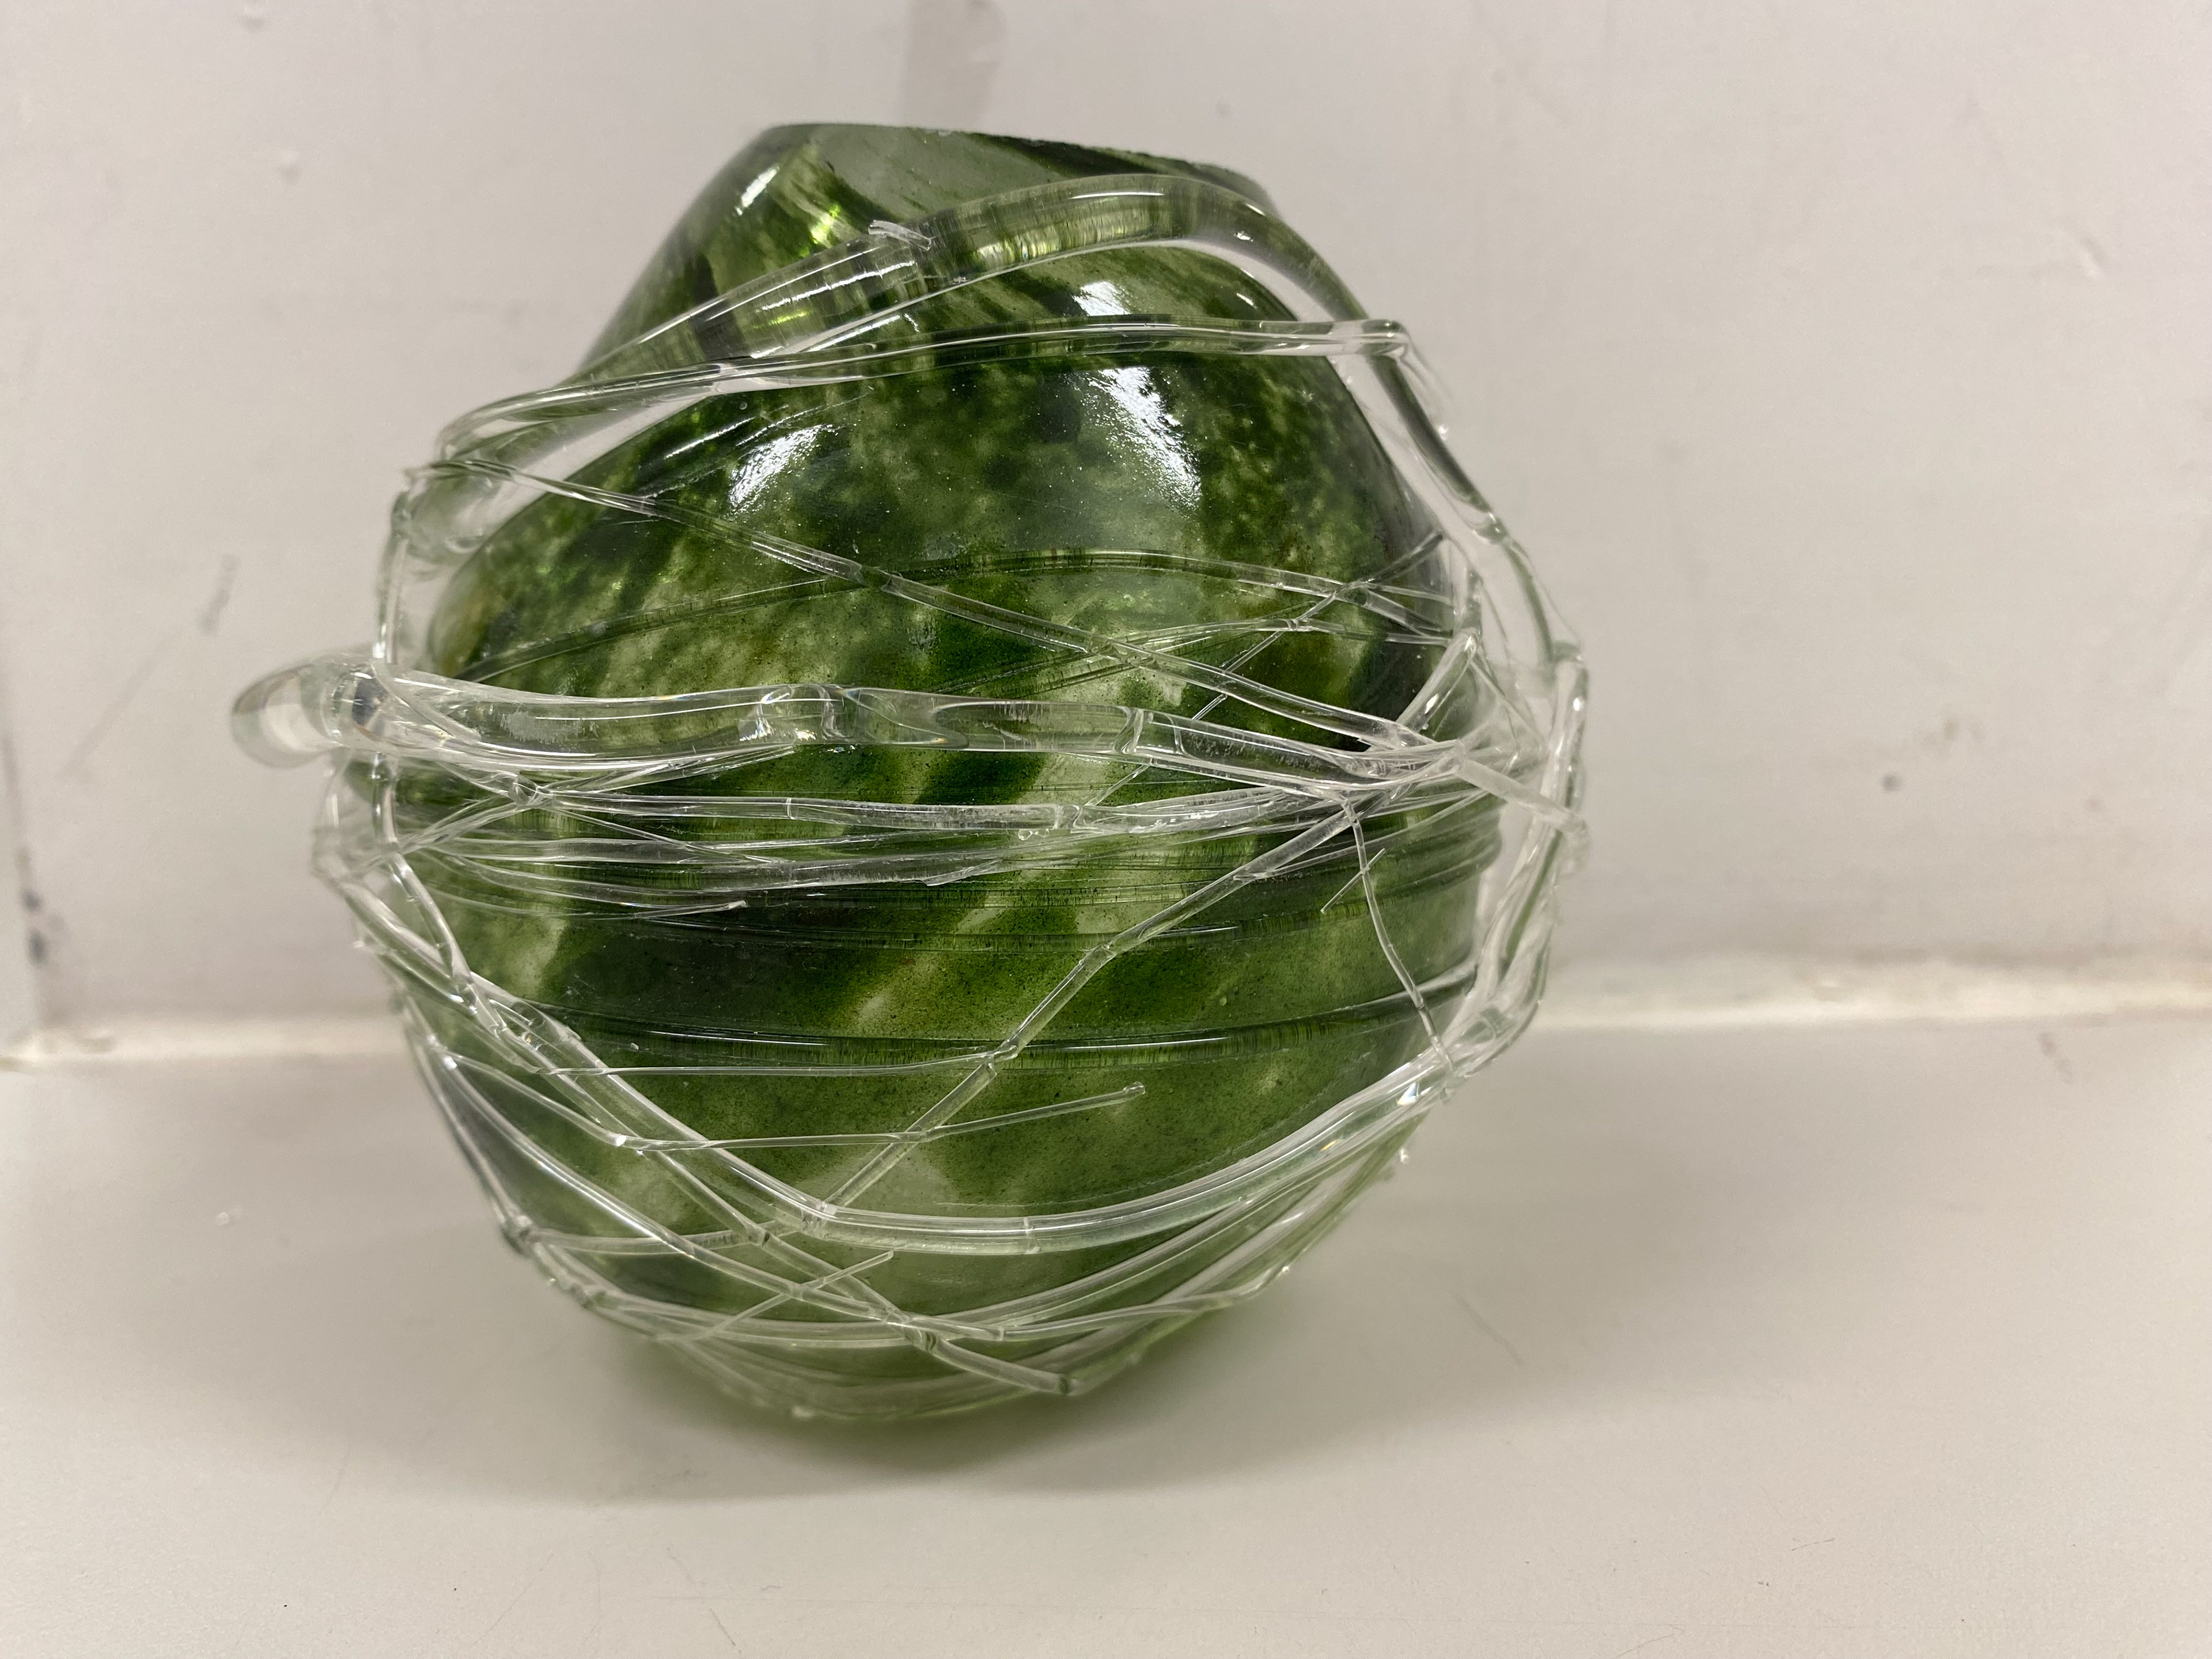
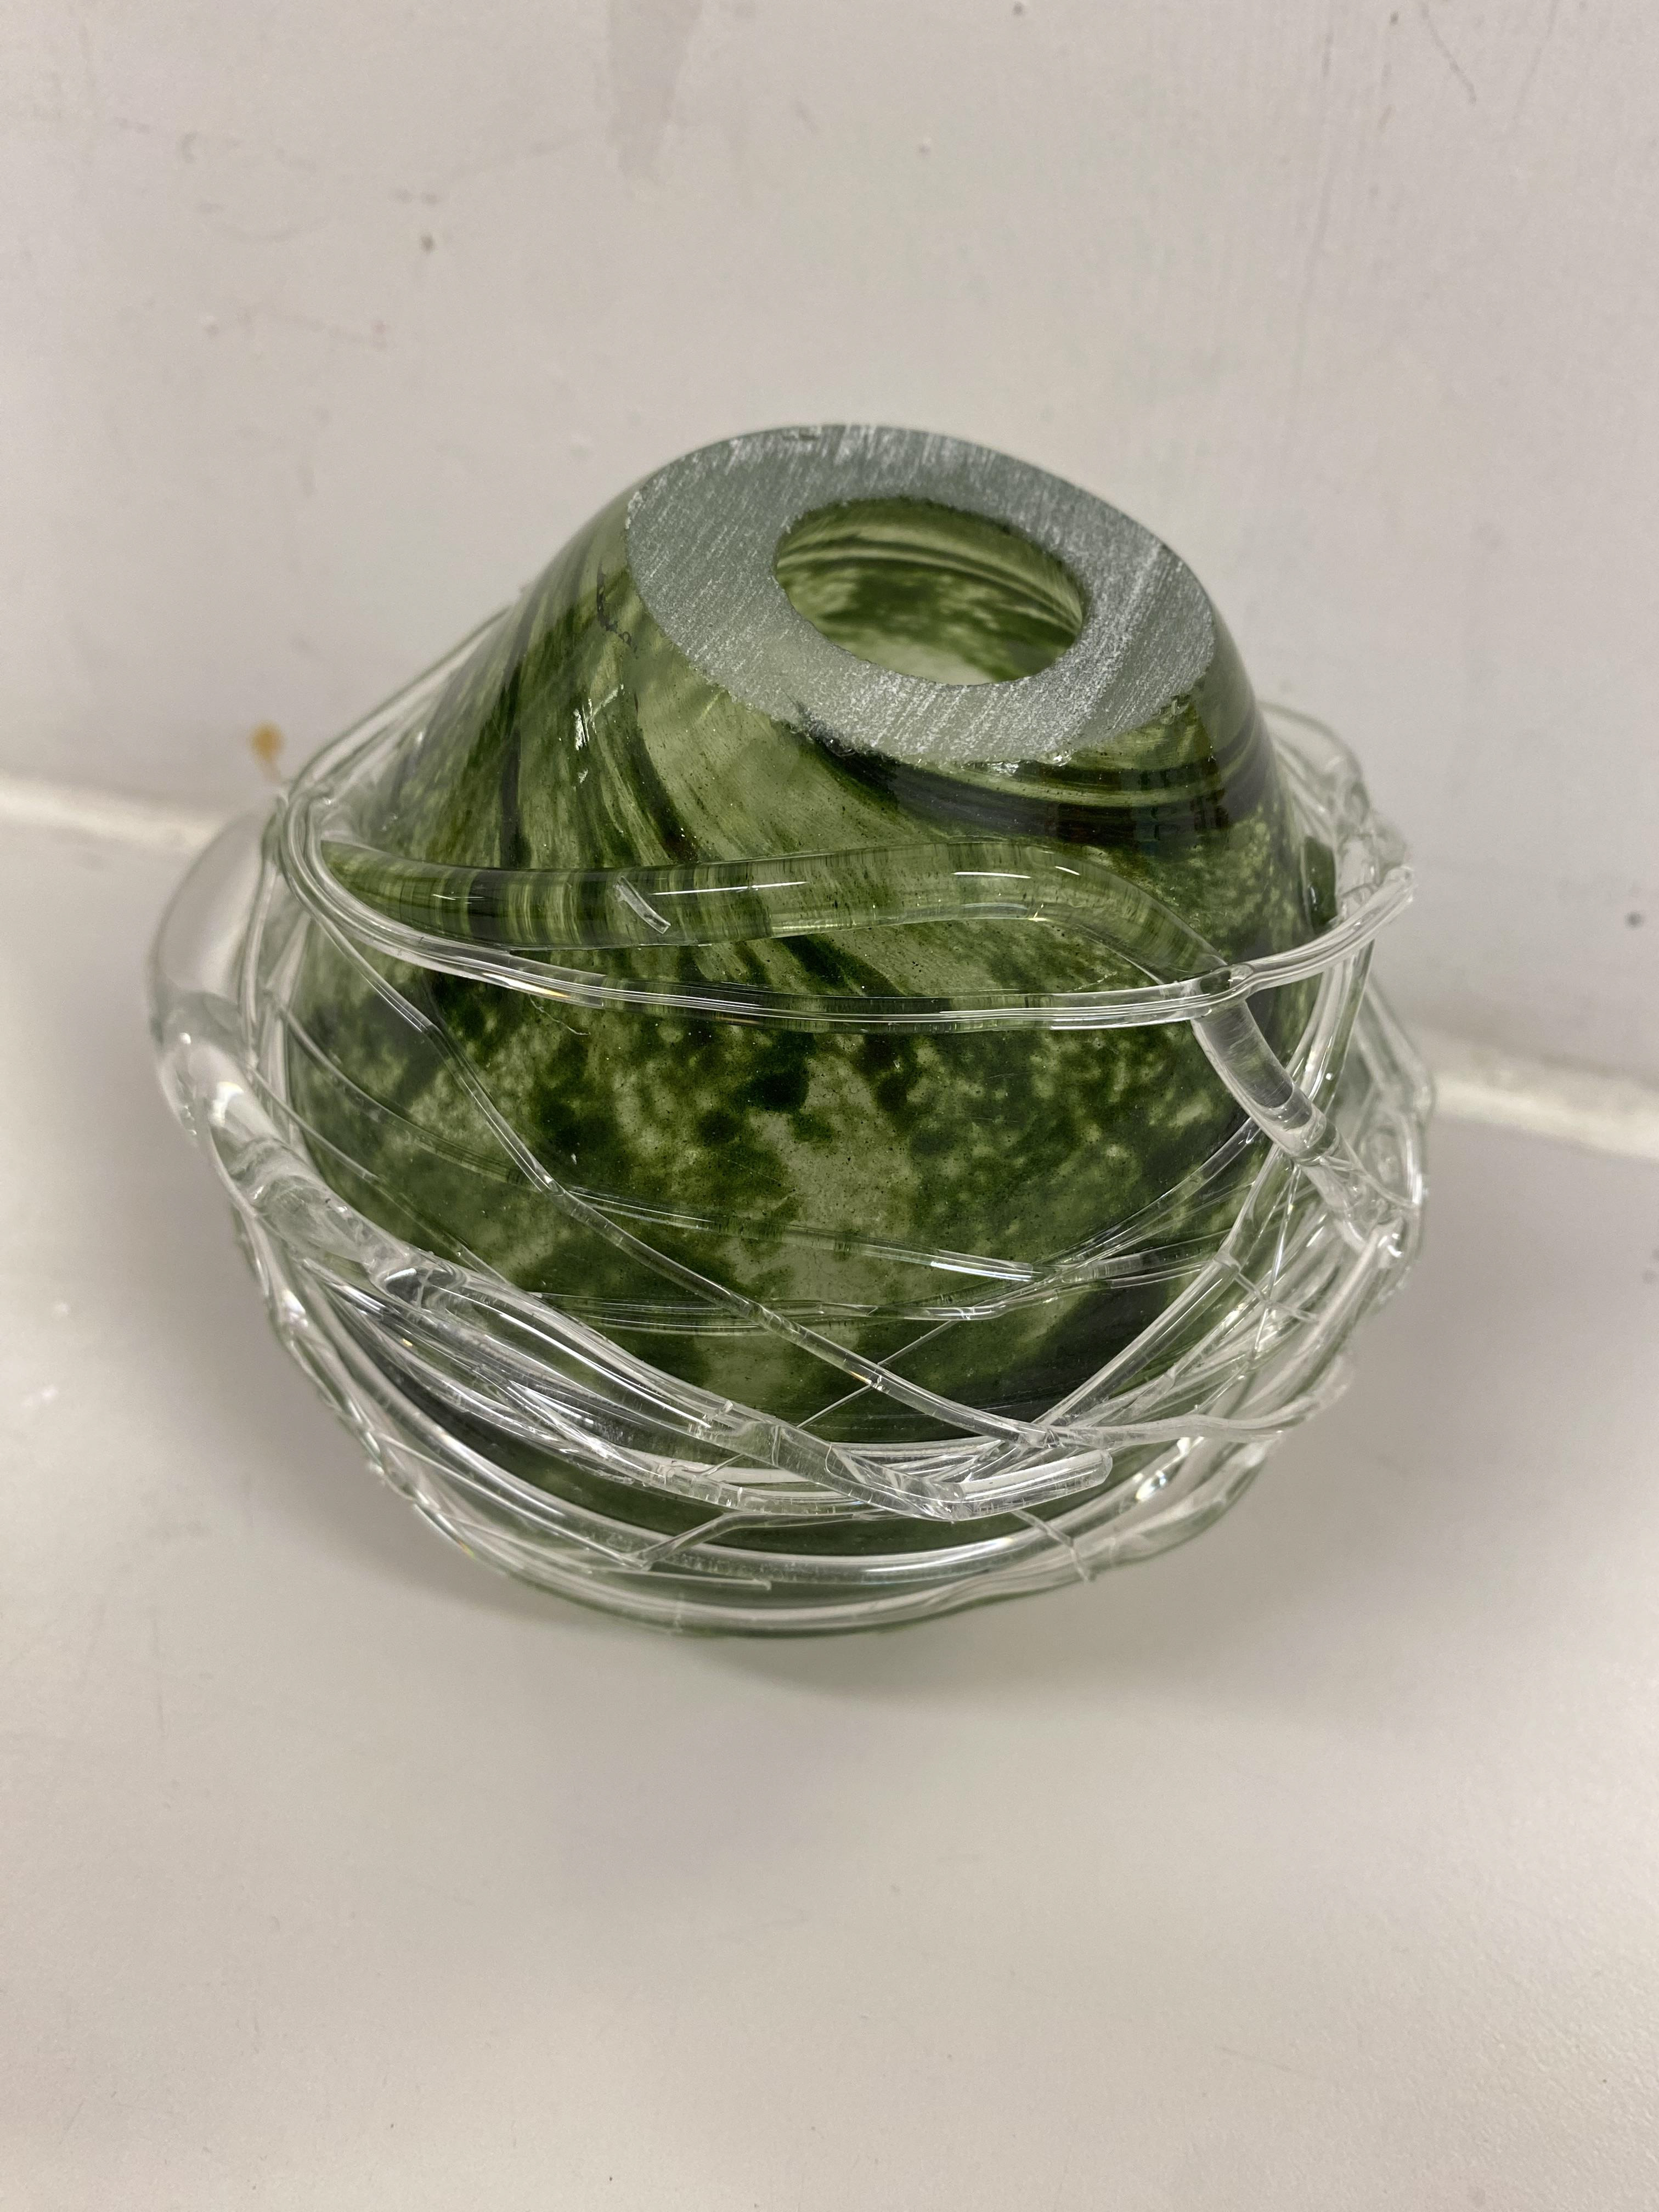
The results of this experiment I was extremely happy with for my level of skill within glass at the early stages of learning about the material. To improve I would try and keep more consistency with the thickness of the 'strings' of glass because in some parts they was particularly thin and once the piece had come out the kiln they easily broke when being handled due to the delicate nature of glass that thin.
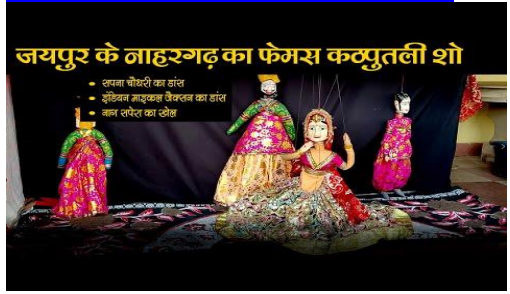
After looking back into my research and material experiments I decided I wanted to expand further on the use of lines as these were prominent when looking at the photos of N.O.M.A. After also collaborating and speaking with the students in India and learning about there relation to the puppeteers, I wanted to incorporate the use of threads. I found that lines, threads and my previous sketch of the word 'continuous' all link to each other and N.O.M.A in addition to the collaboration with students in India.


Sketches developed from drawing task


Sketches of ideas
I took my this to my sketch book and drew up these ideas taking into consideration everything I had learnt in this process so far.
I knew I wanted to create glass strings in a circular form. I used the iron shapes available in the hot shop along with a D clamp and wood and attached it to the bench as shown in the photo below. My idea was to gather the glass on the iron rod and wrap it around the circular shape to form thin spirals. I also tried wrapping copper wire around the iron shape and then wrap the glass around it, so that the glass and copper attached. However this didn't work because the glass cooled to quick for the copper wire to be able to attach to it. This is because of the thickness of the glass and it coming into contact with the circular iron mould meant it cooled down to quick.
Iron shape set up to using a D clamp
Copper wire
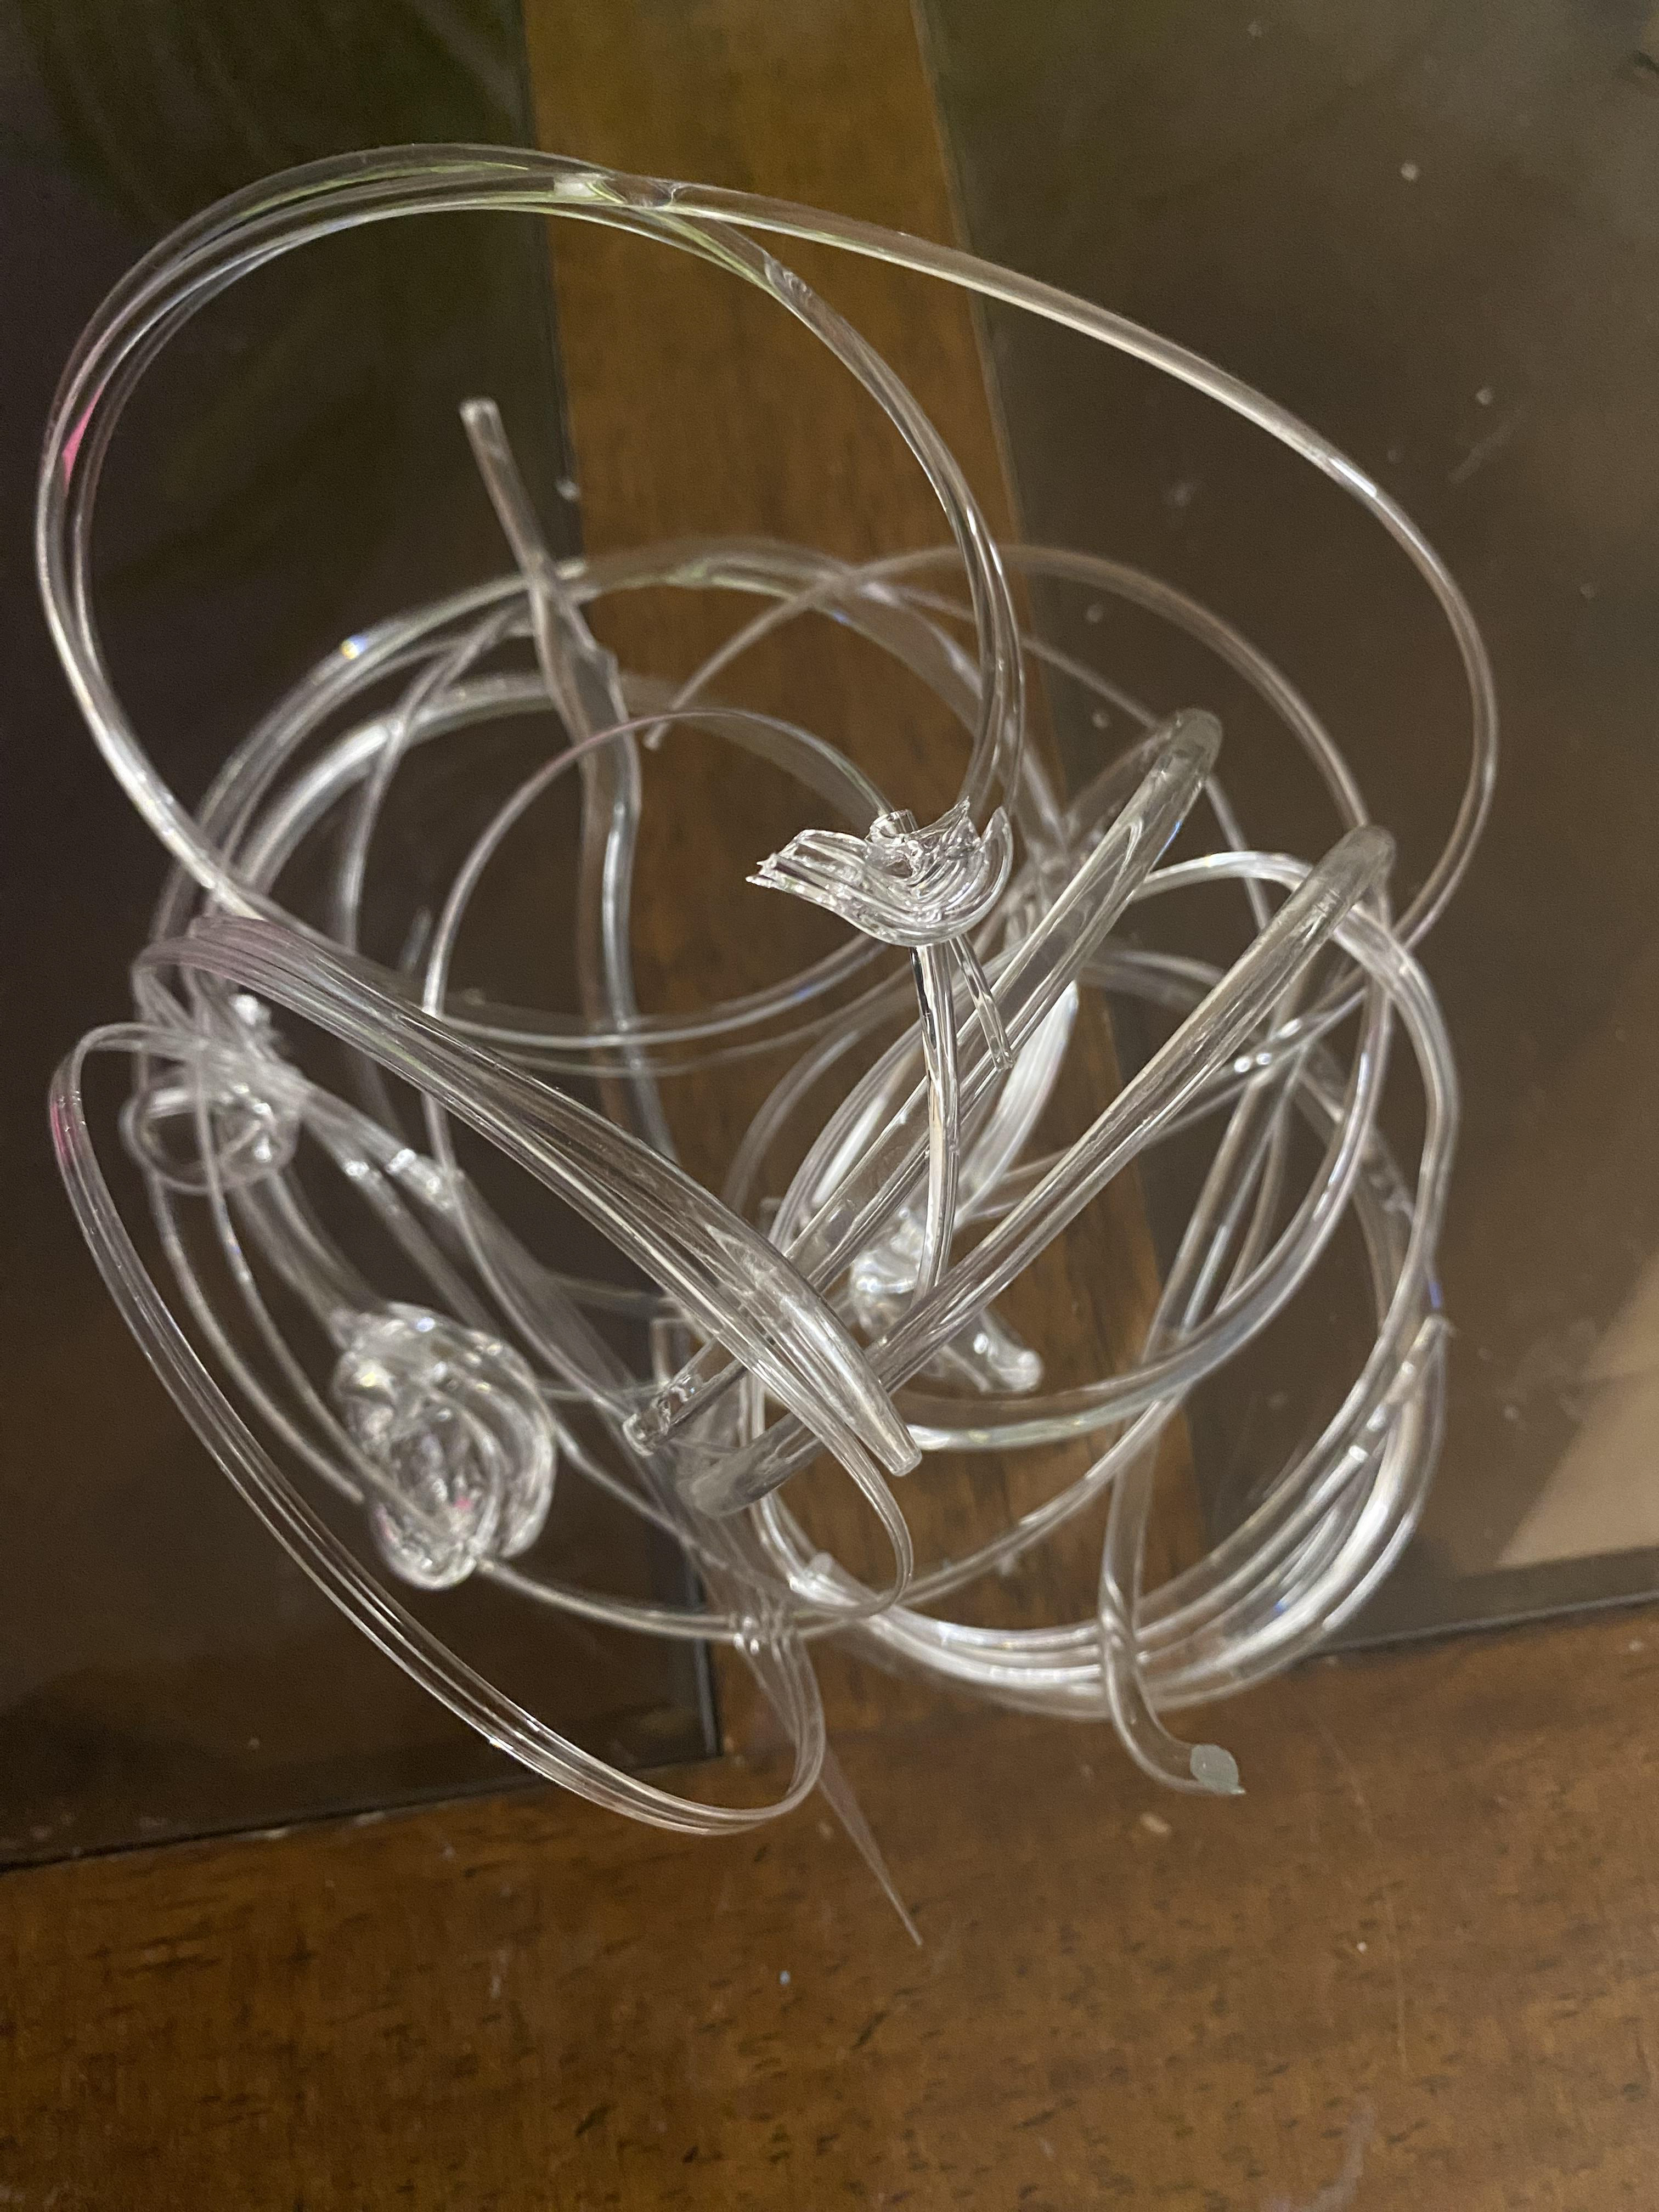
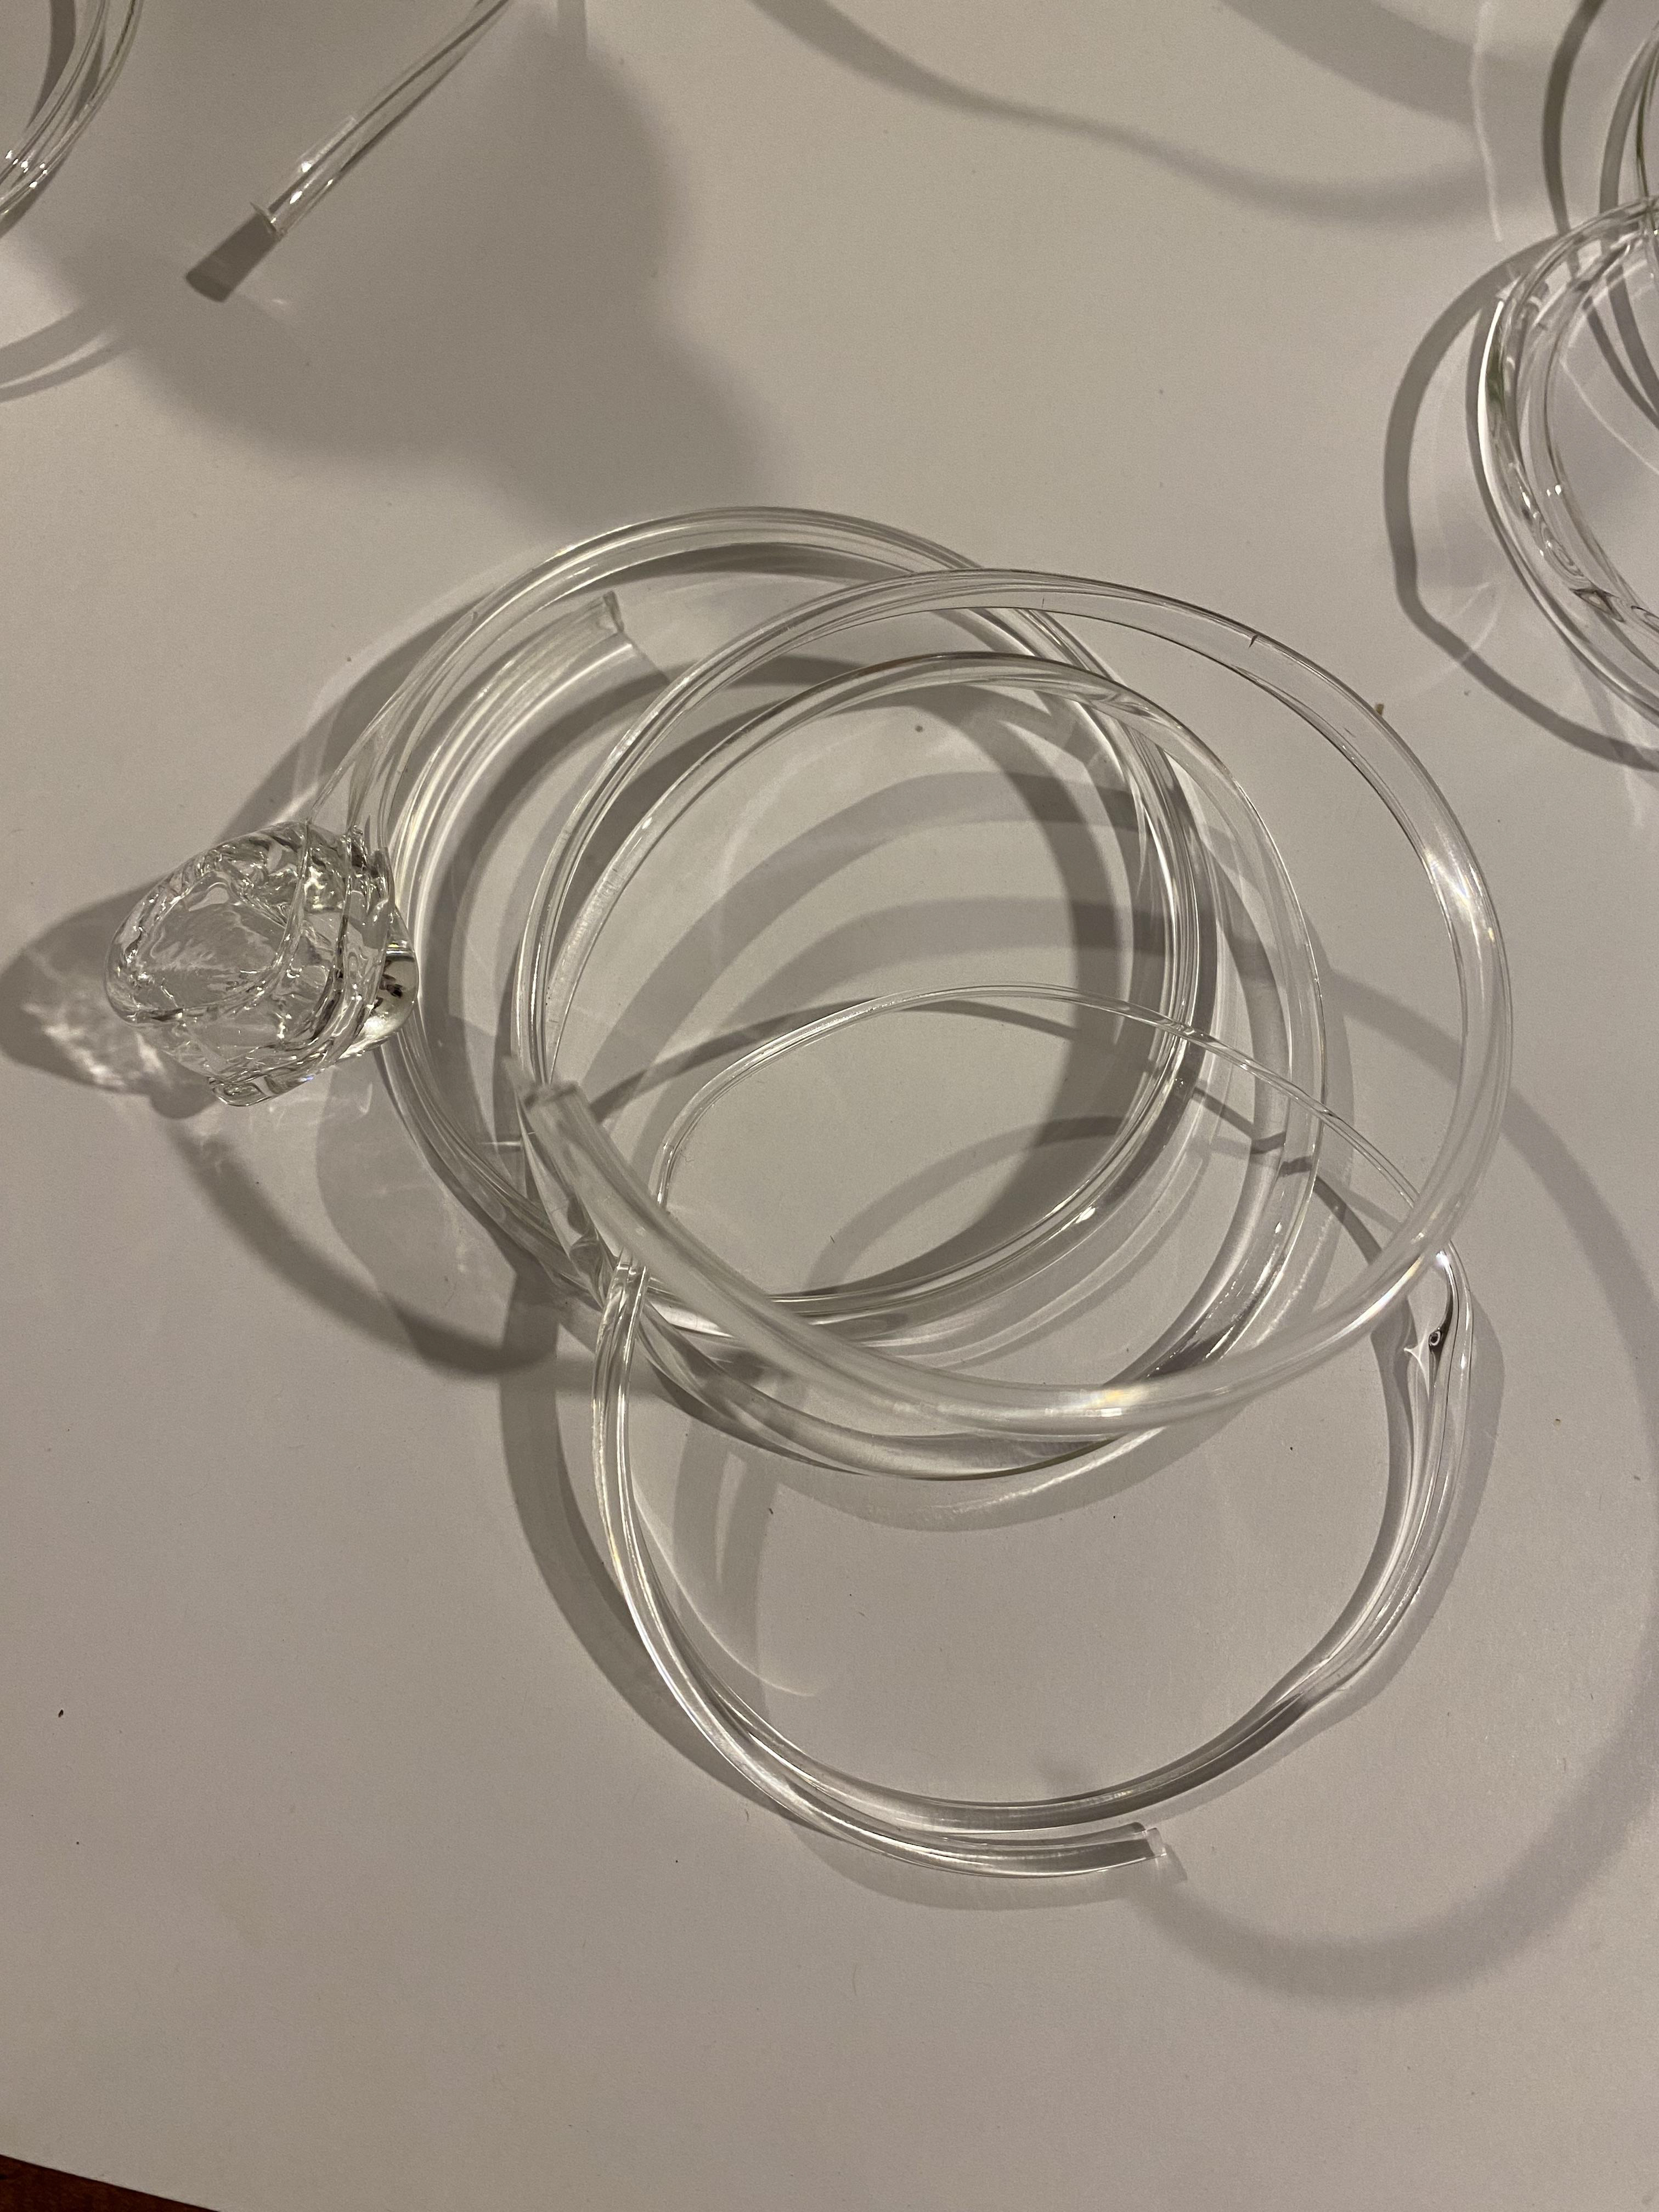
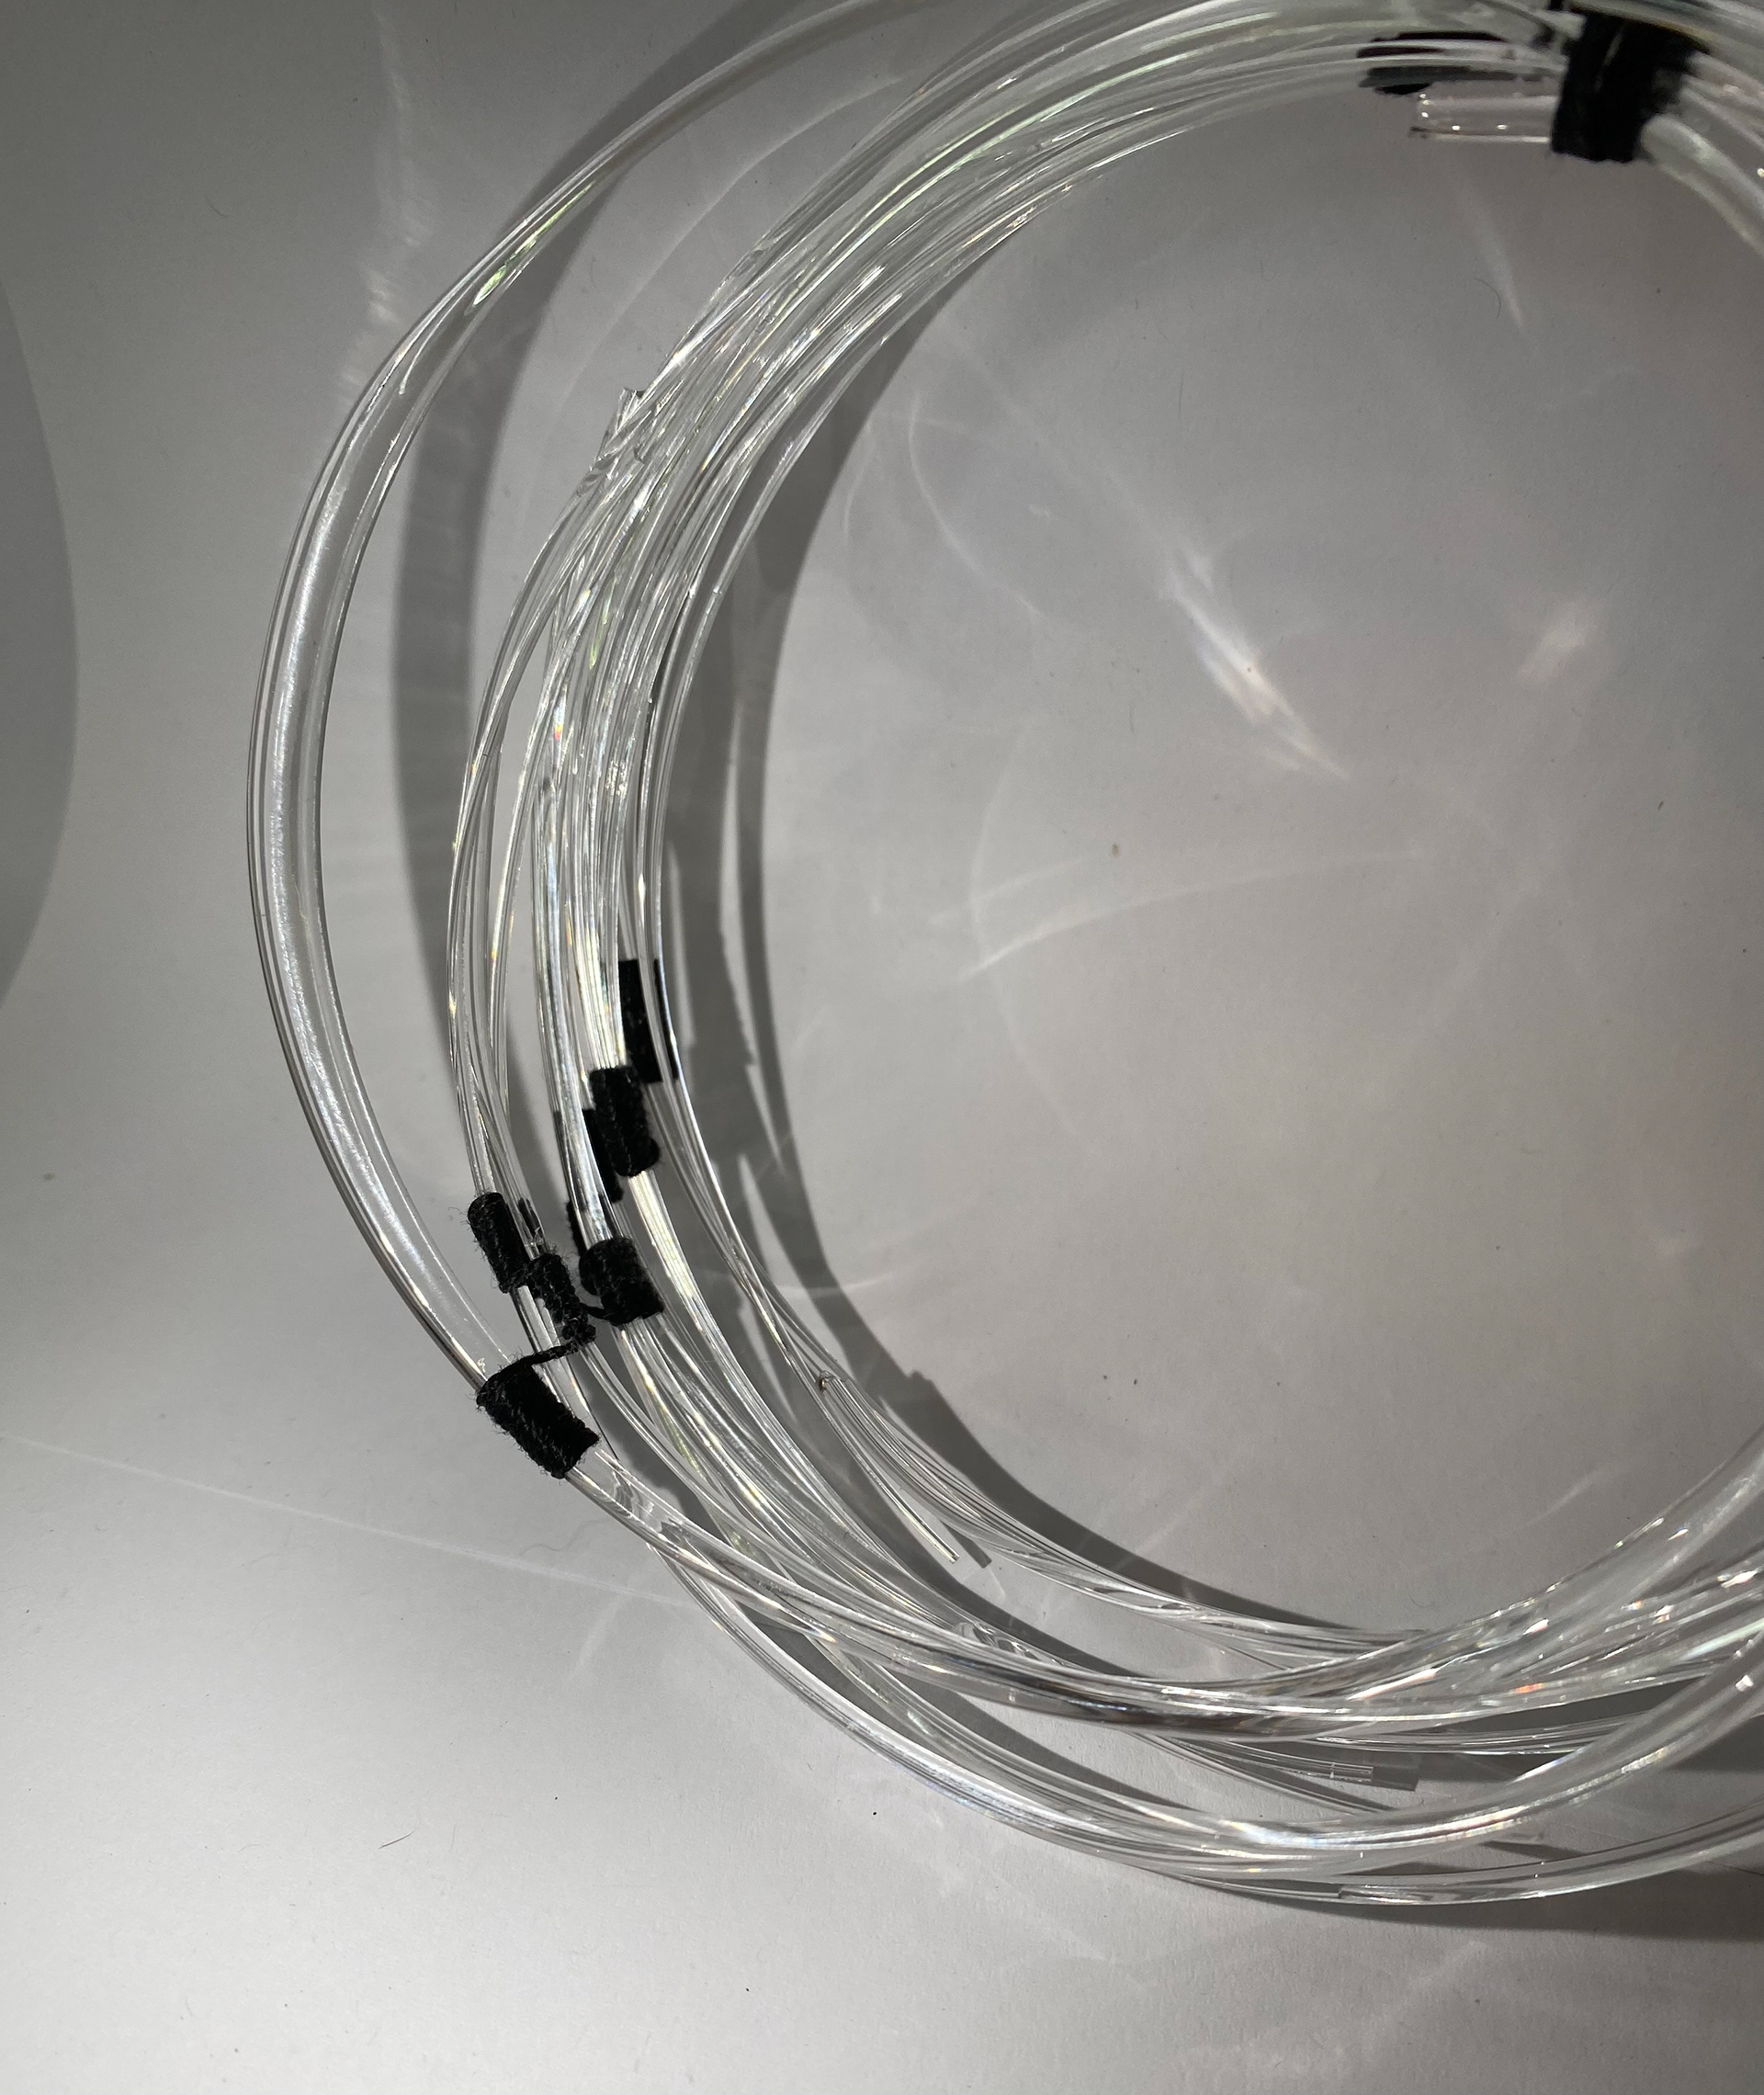
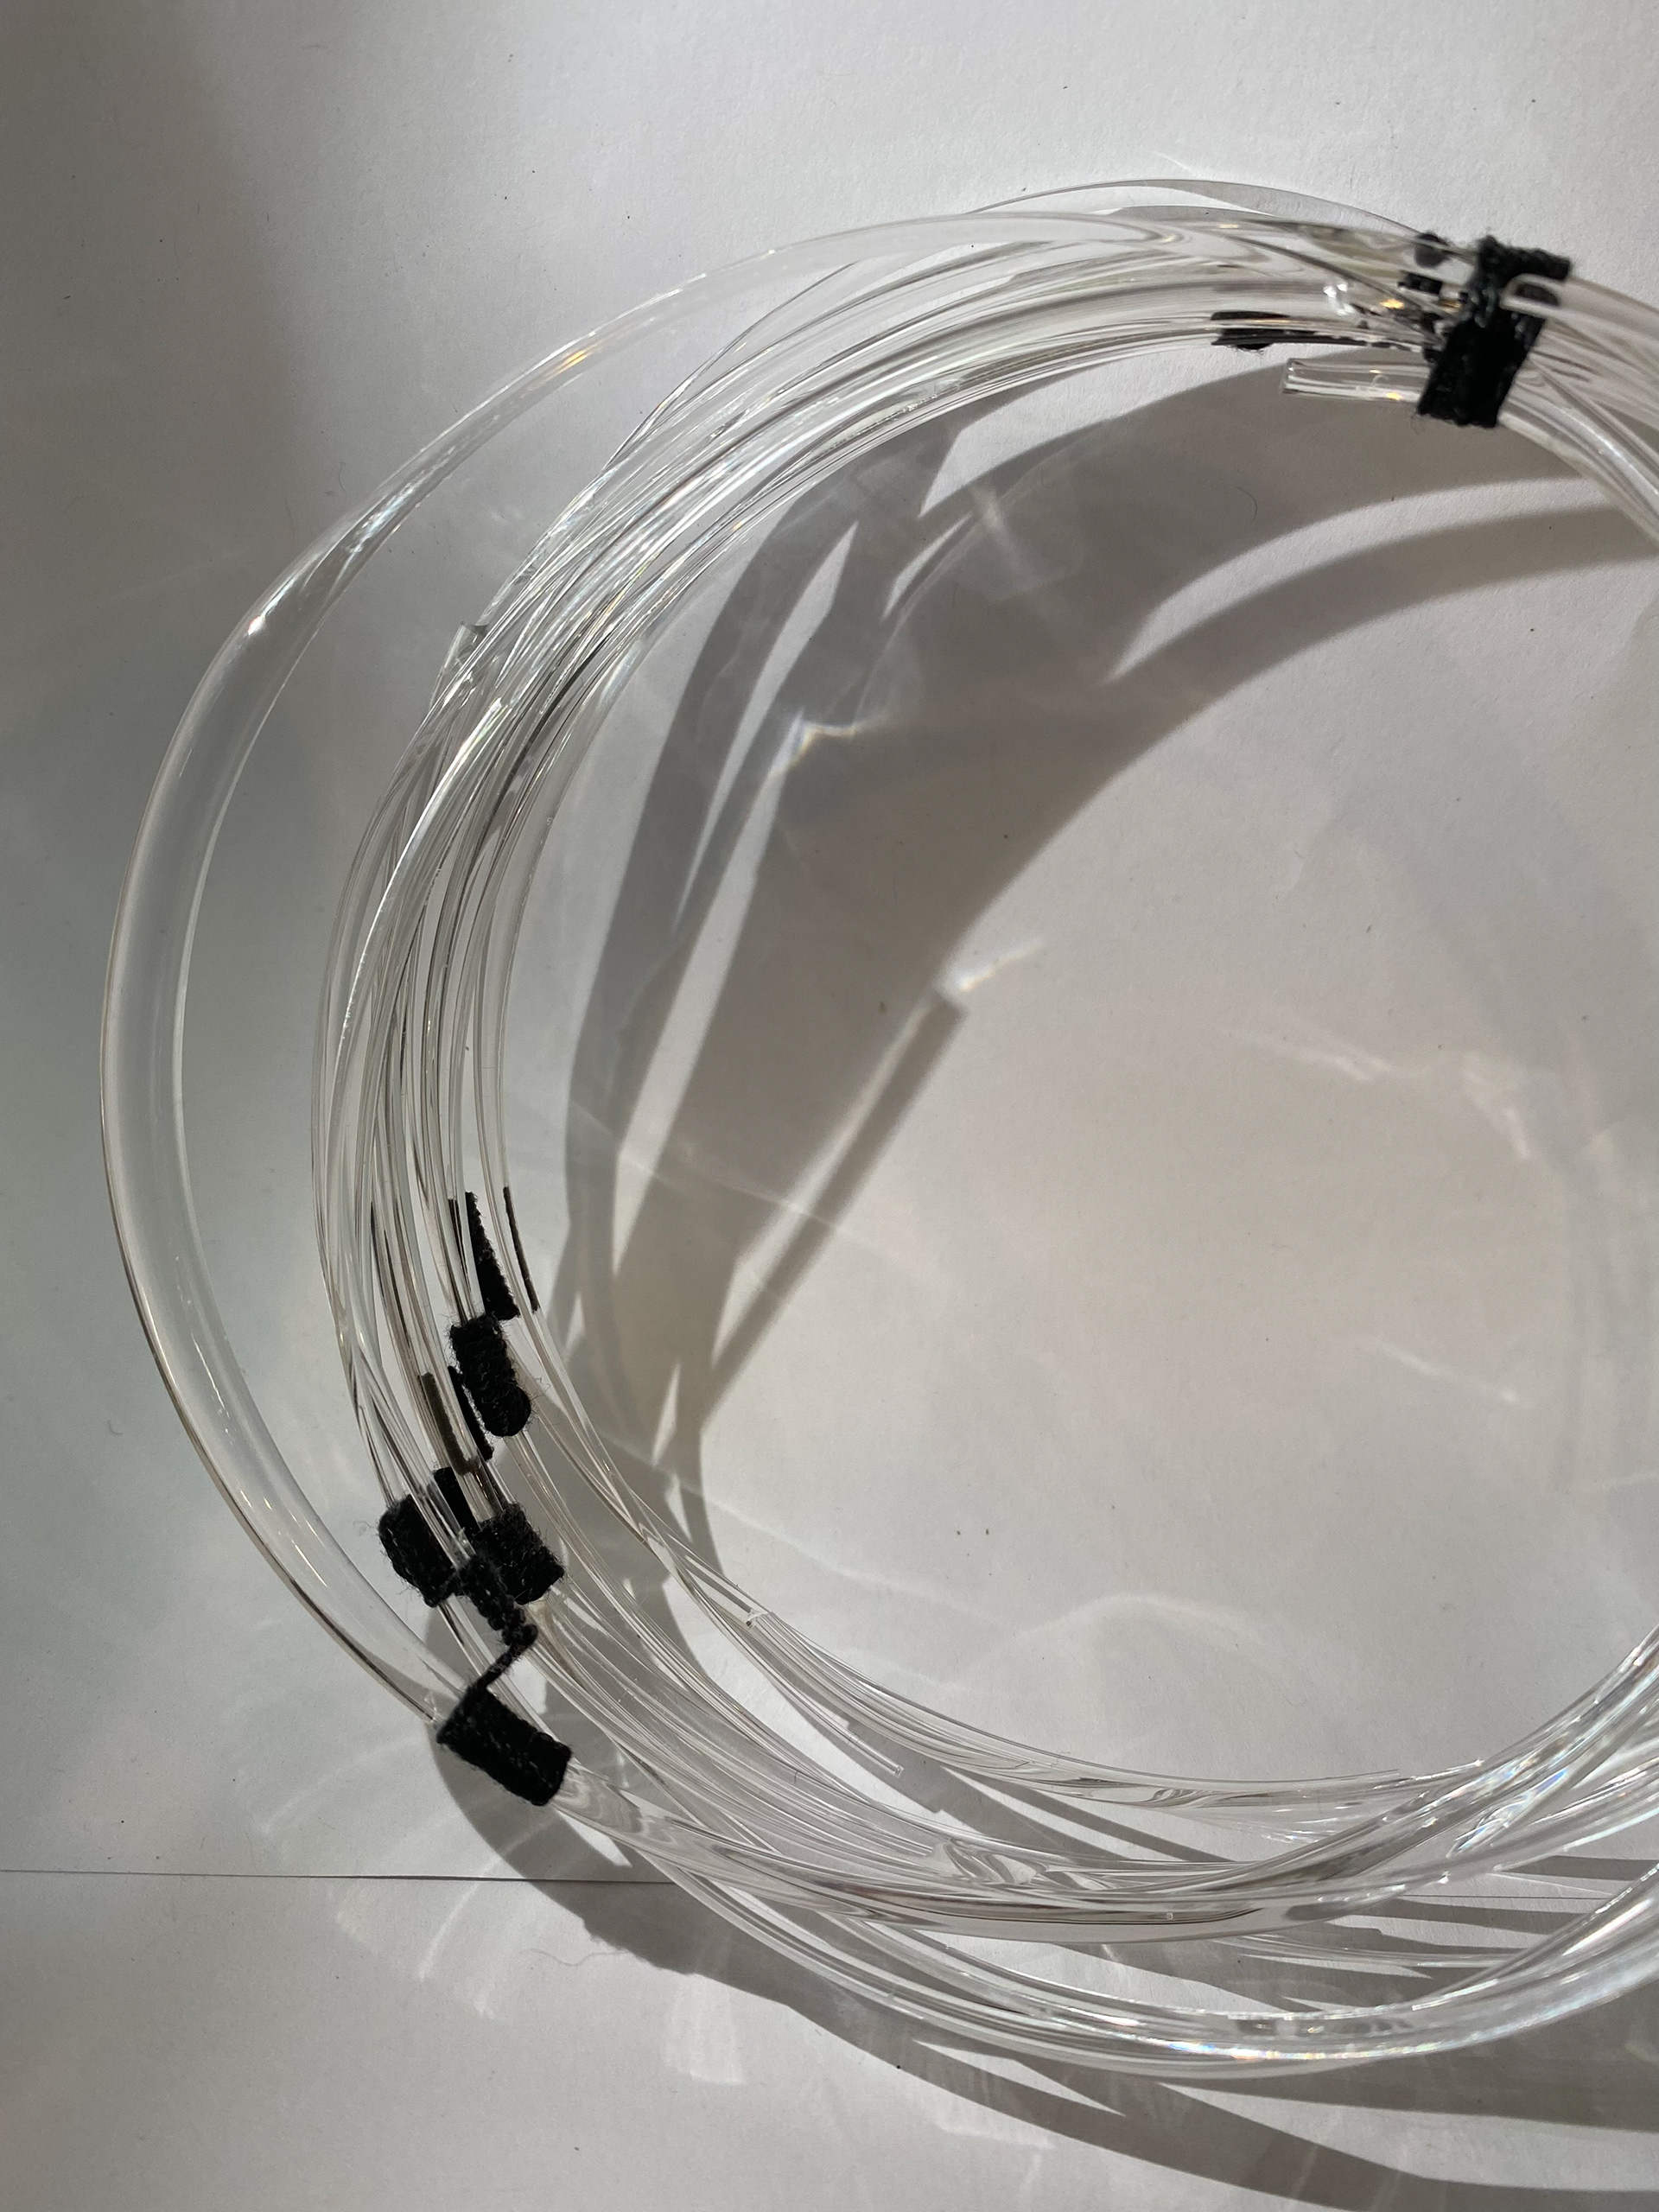
First attempt at glass strings
However I did succeed in creating the glass strings with the help of my peers and some practice with the method and what worked best.
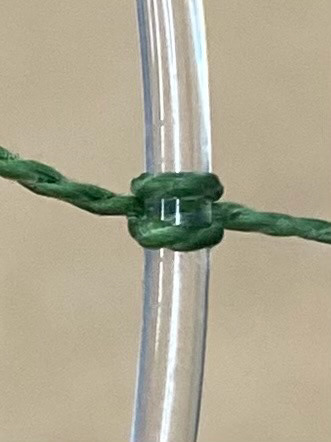
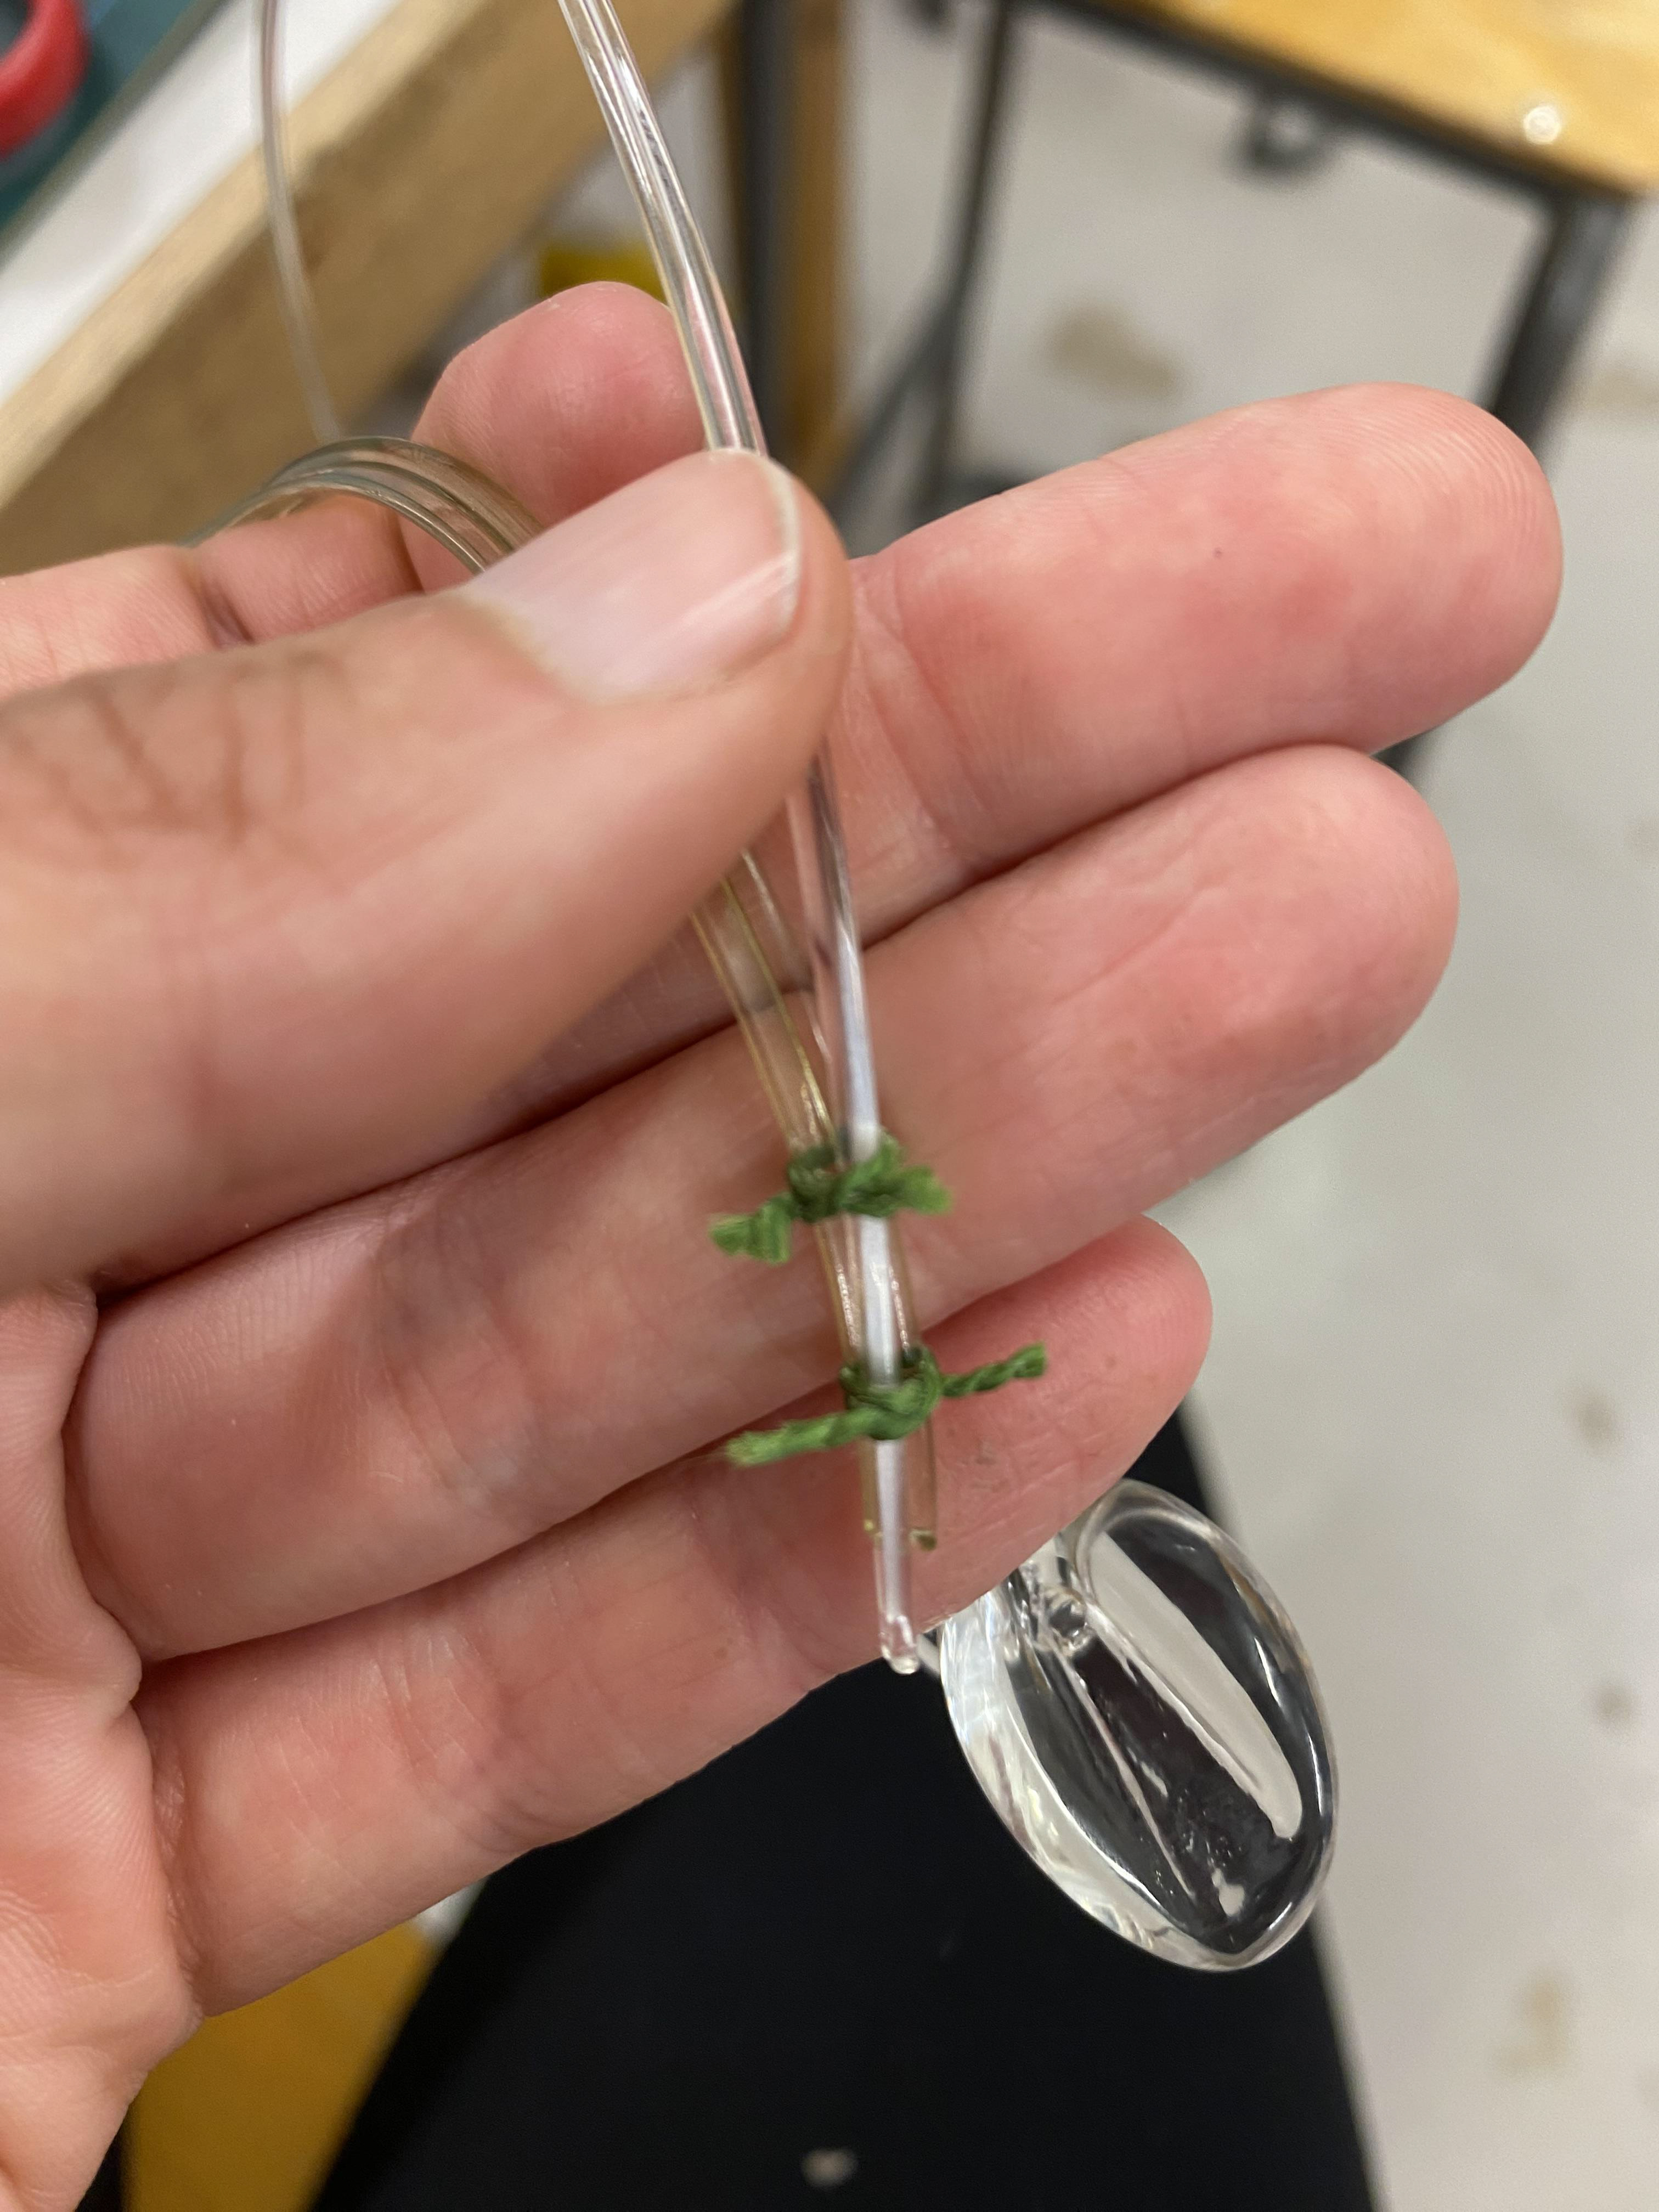
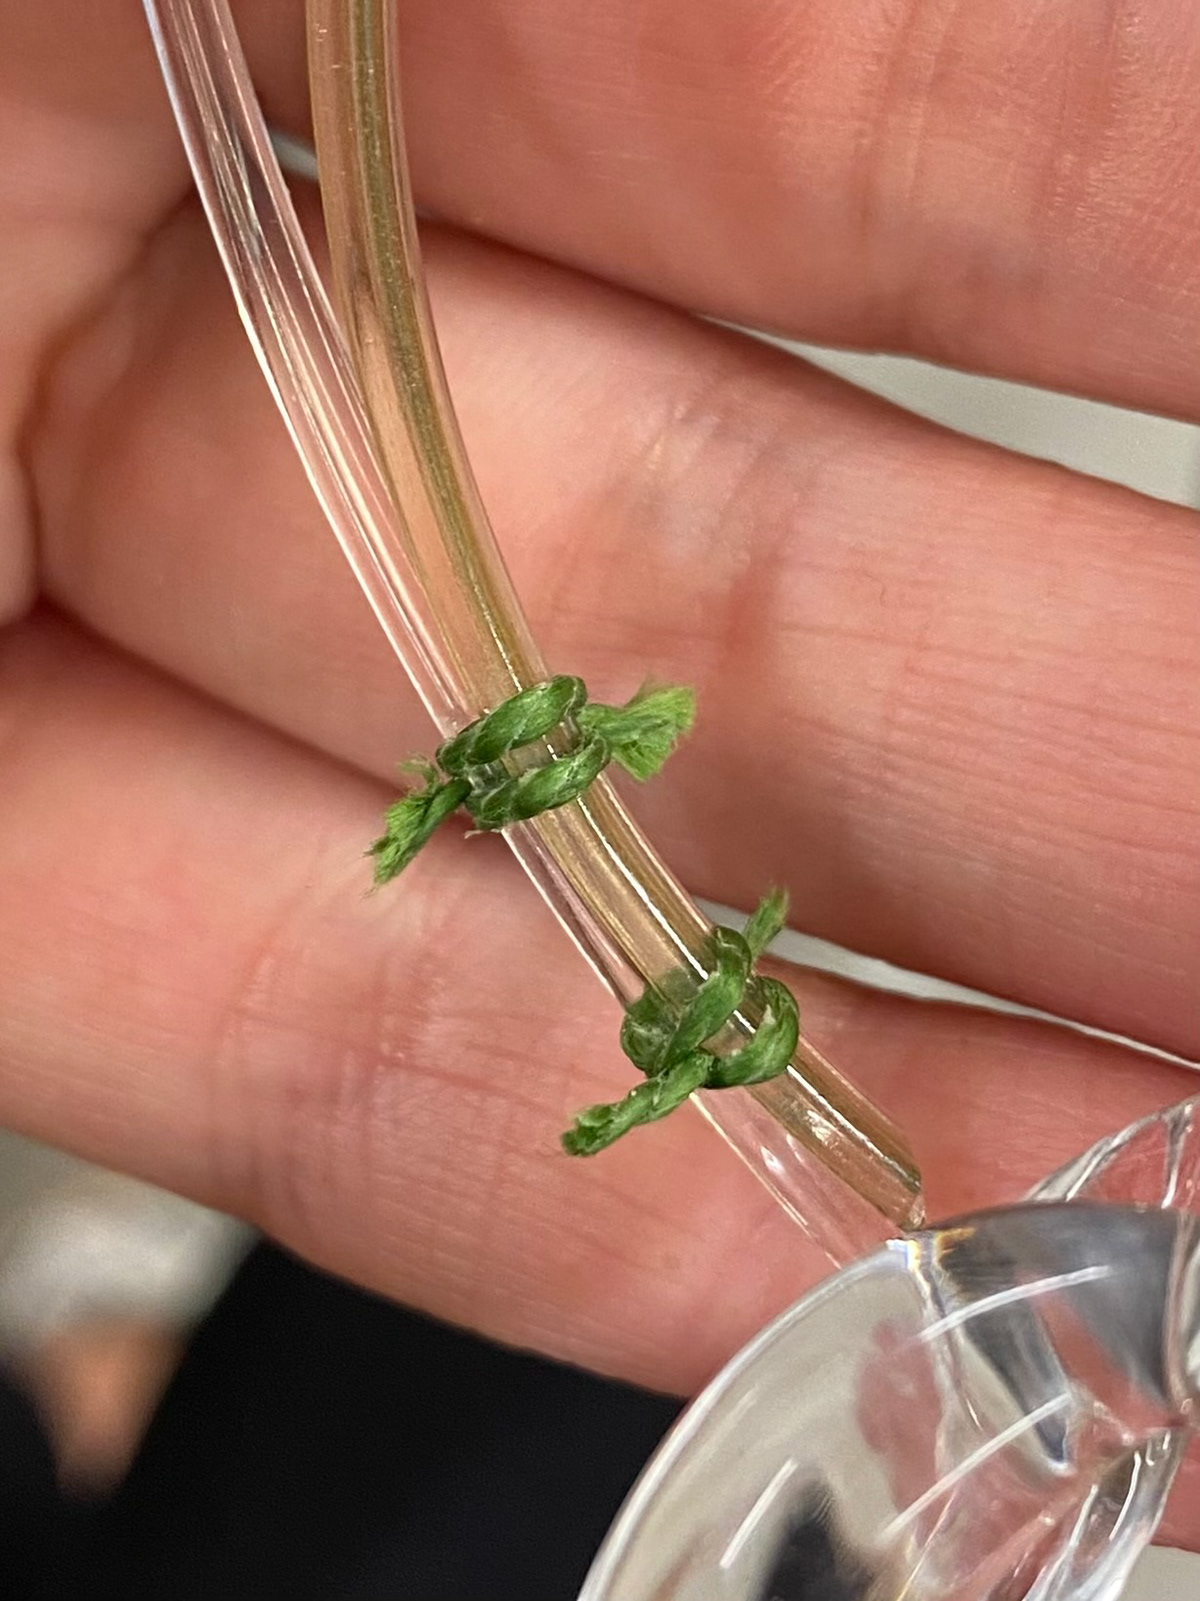
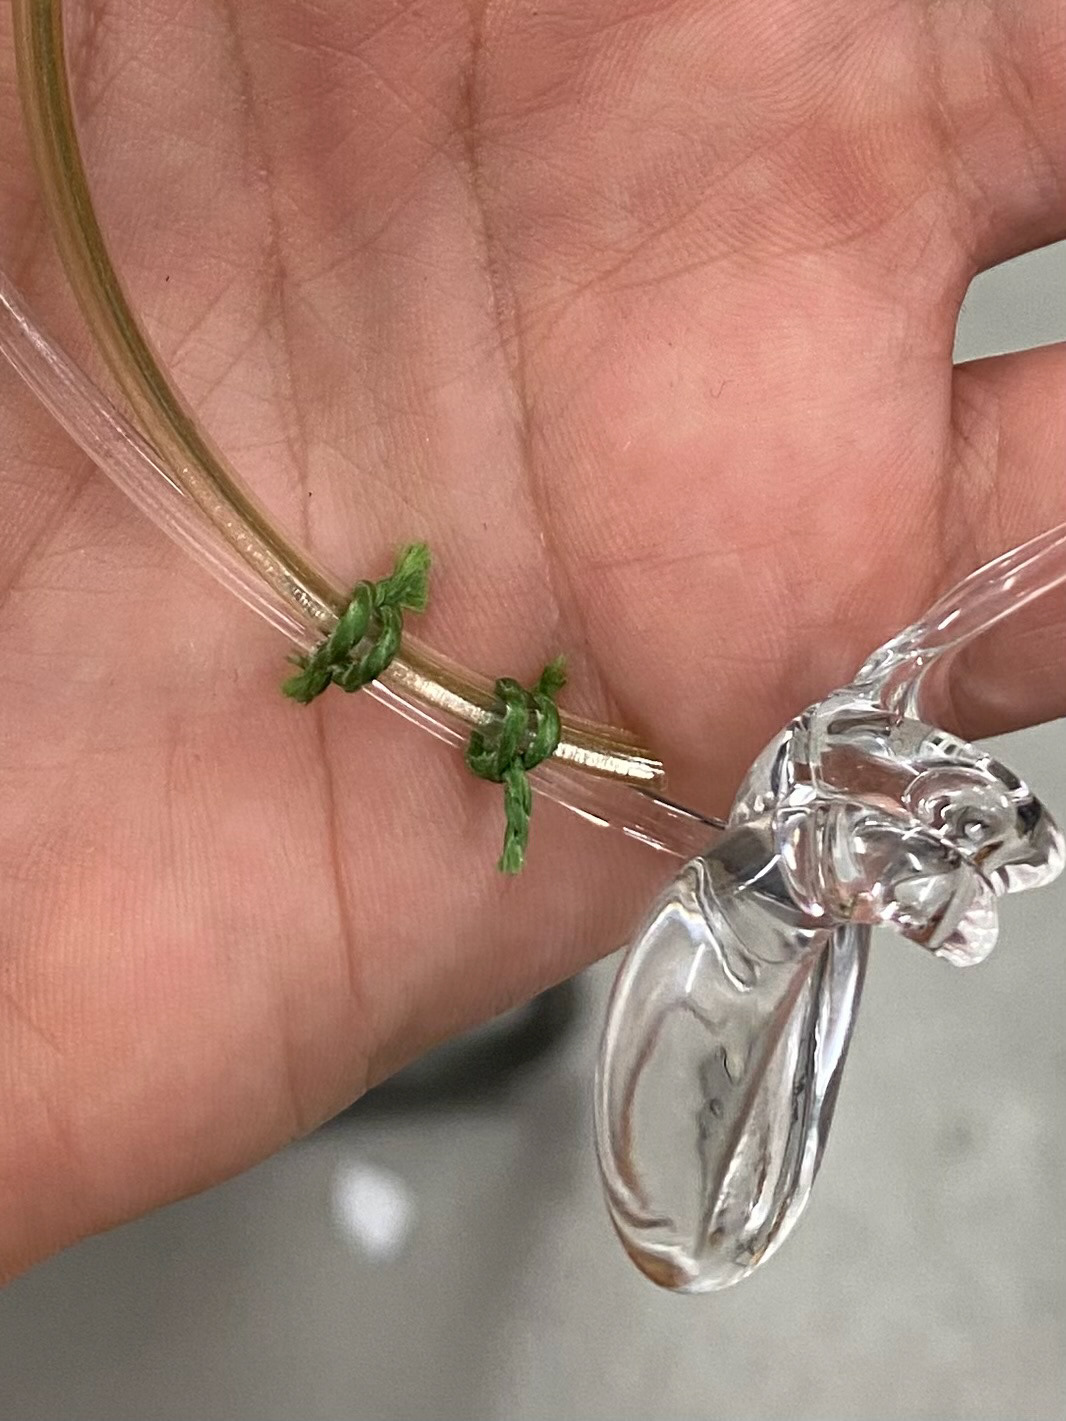
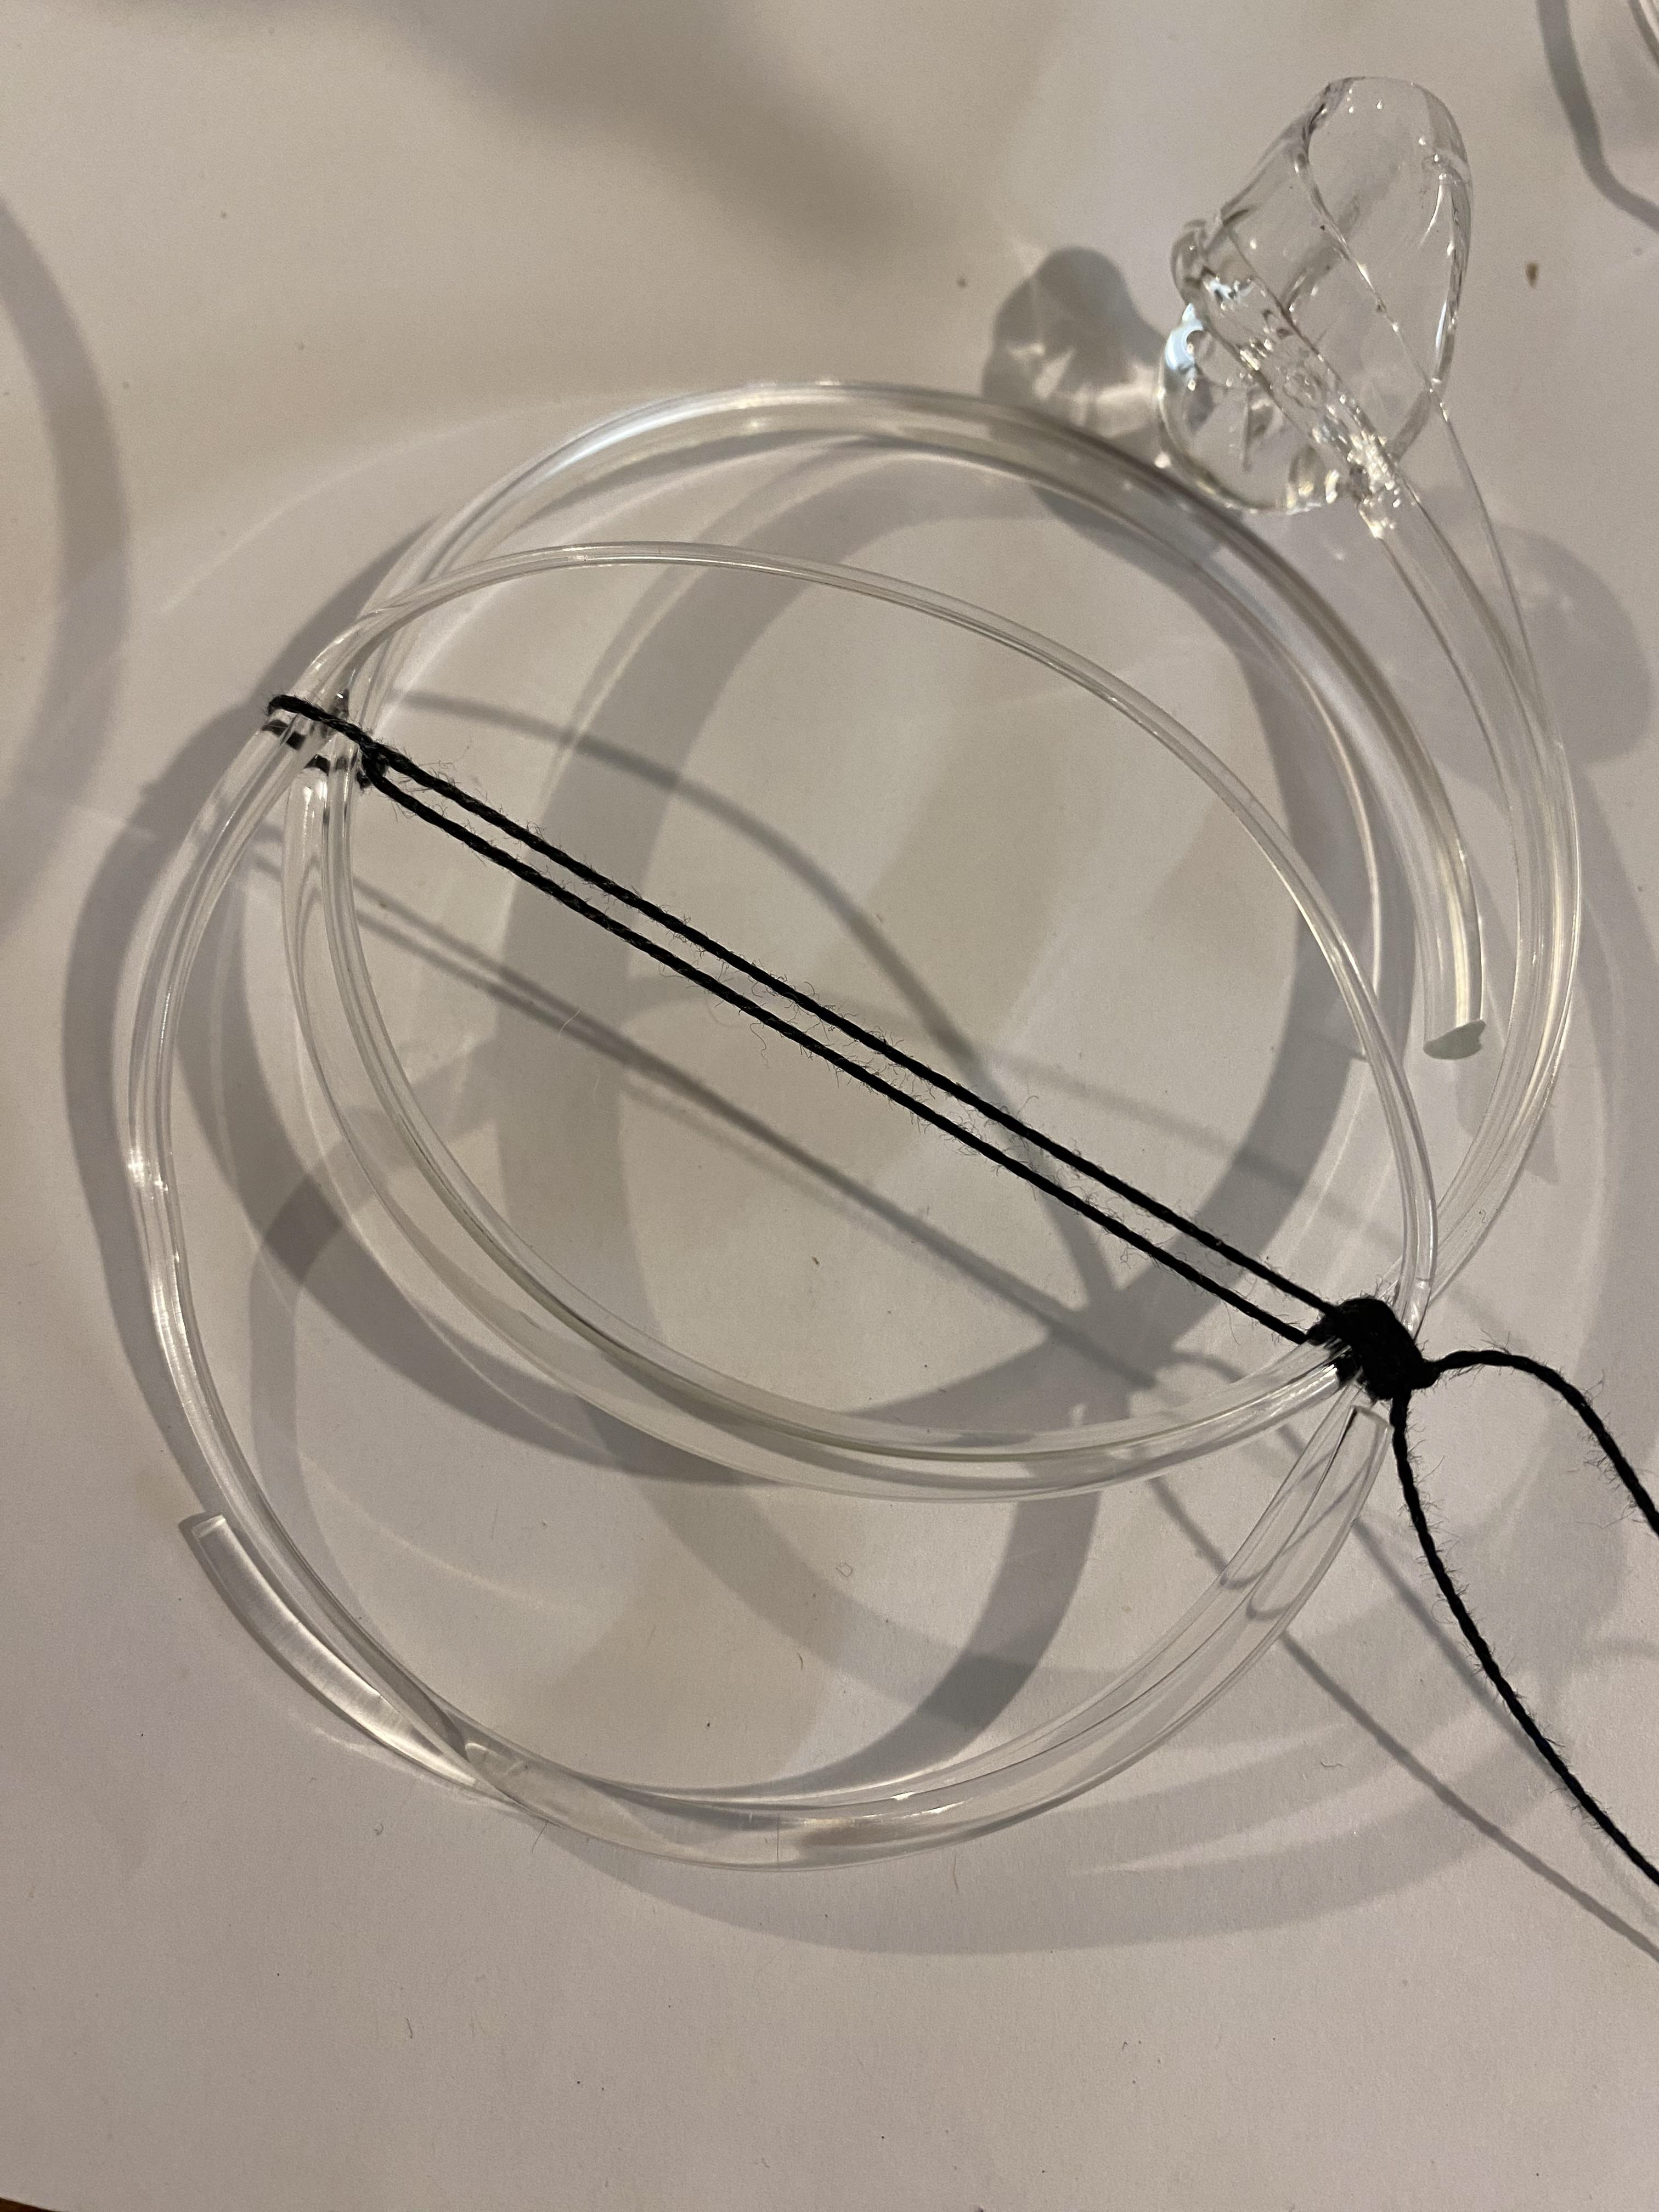
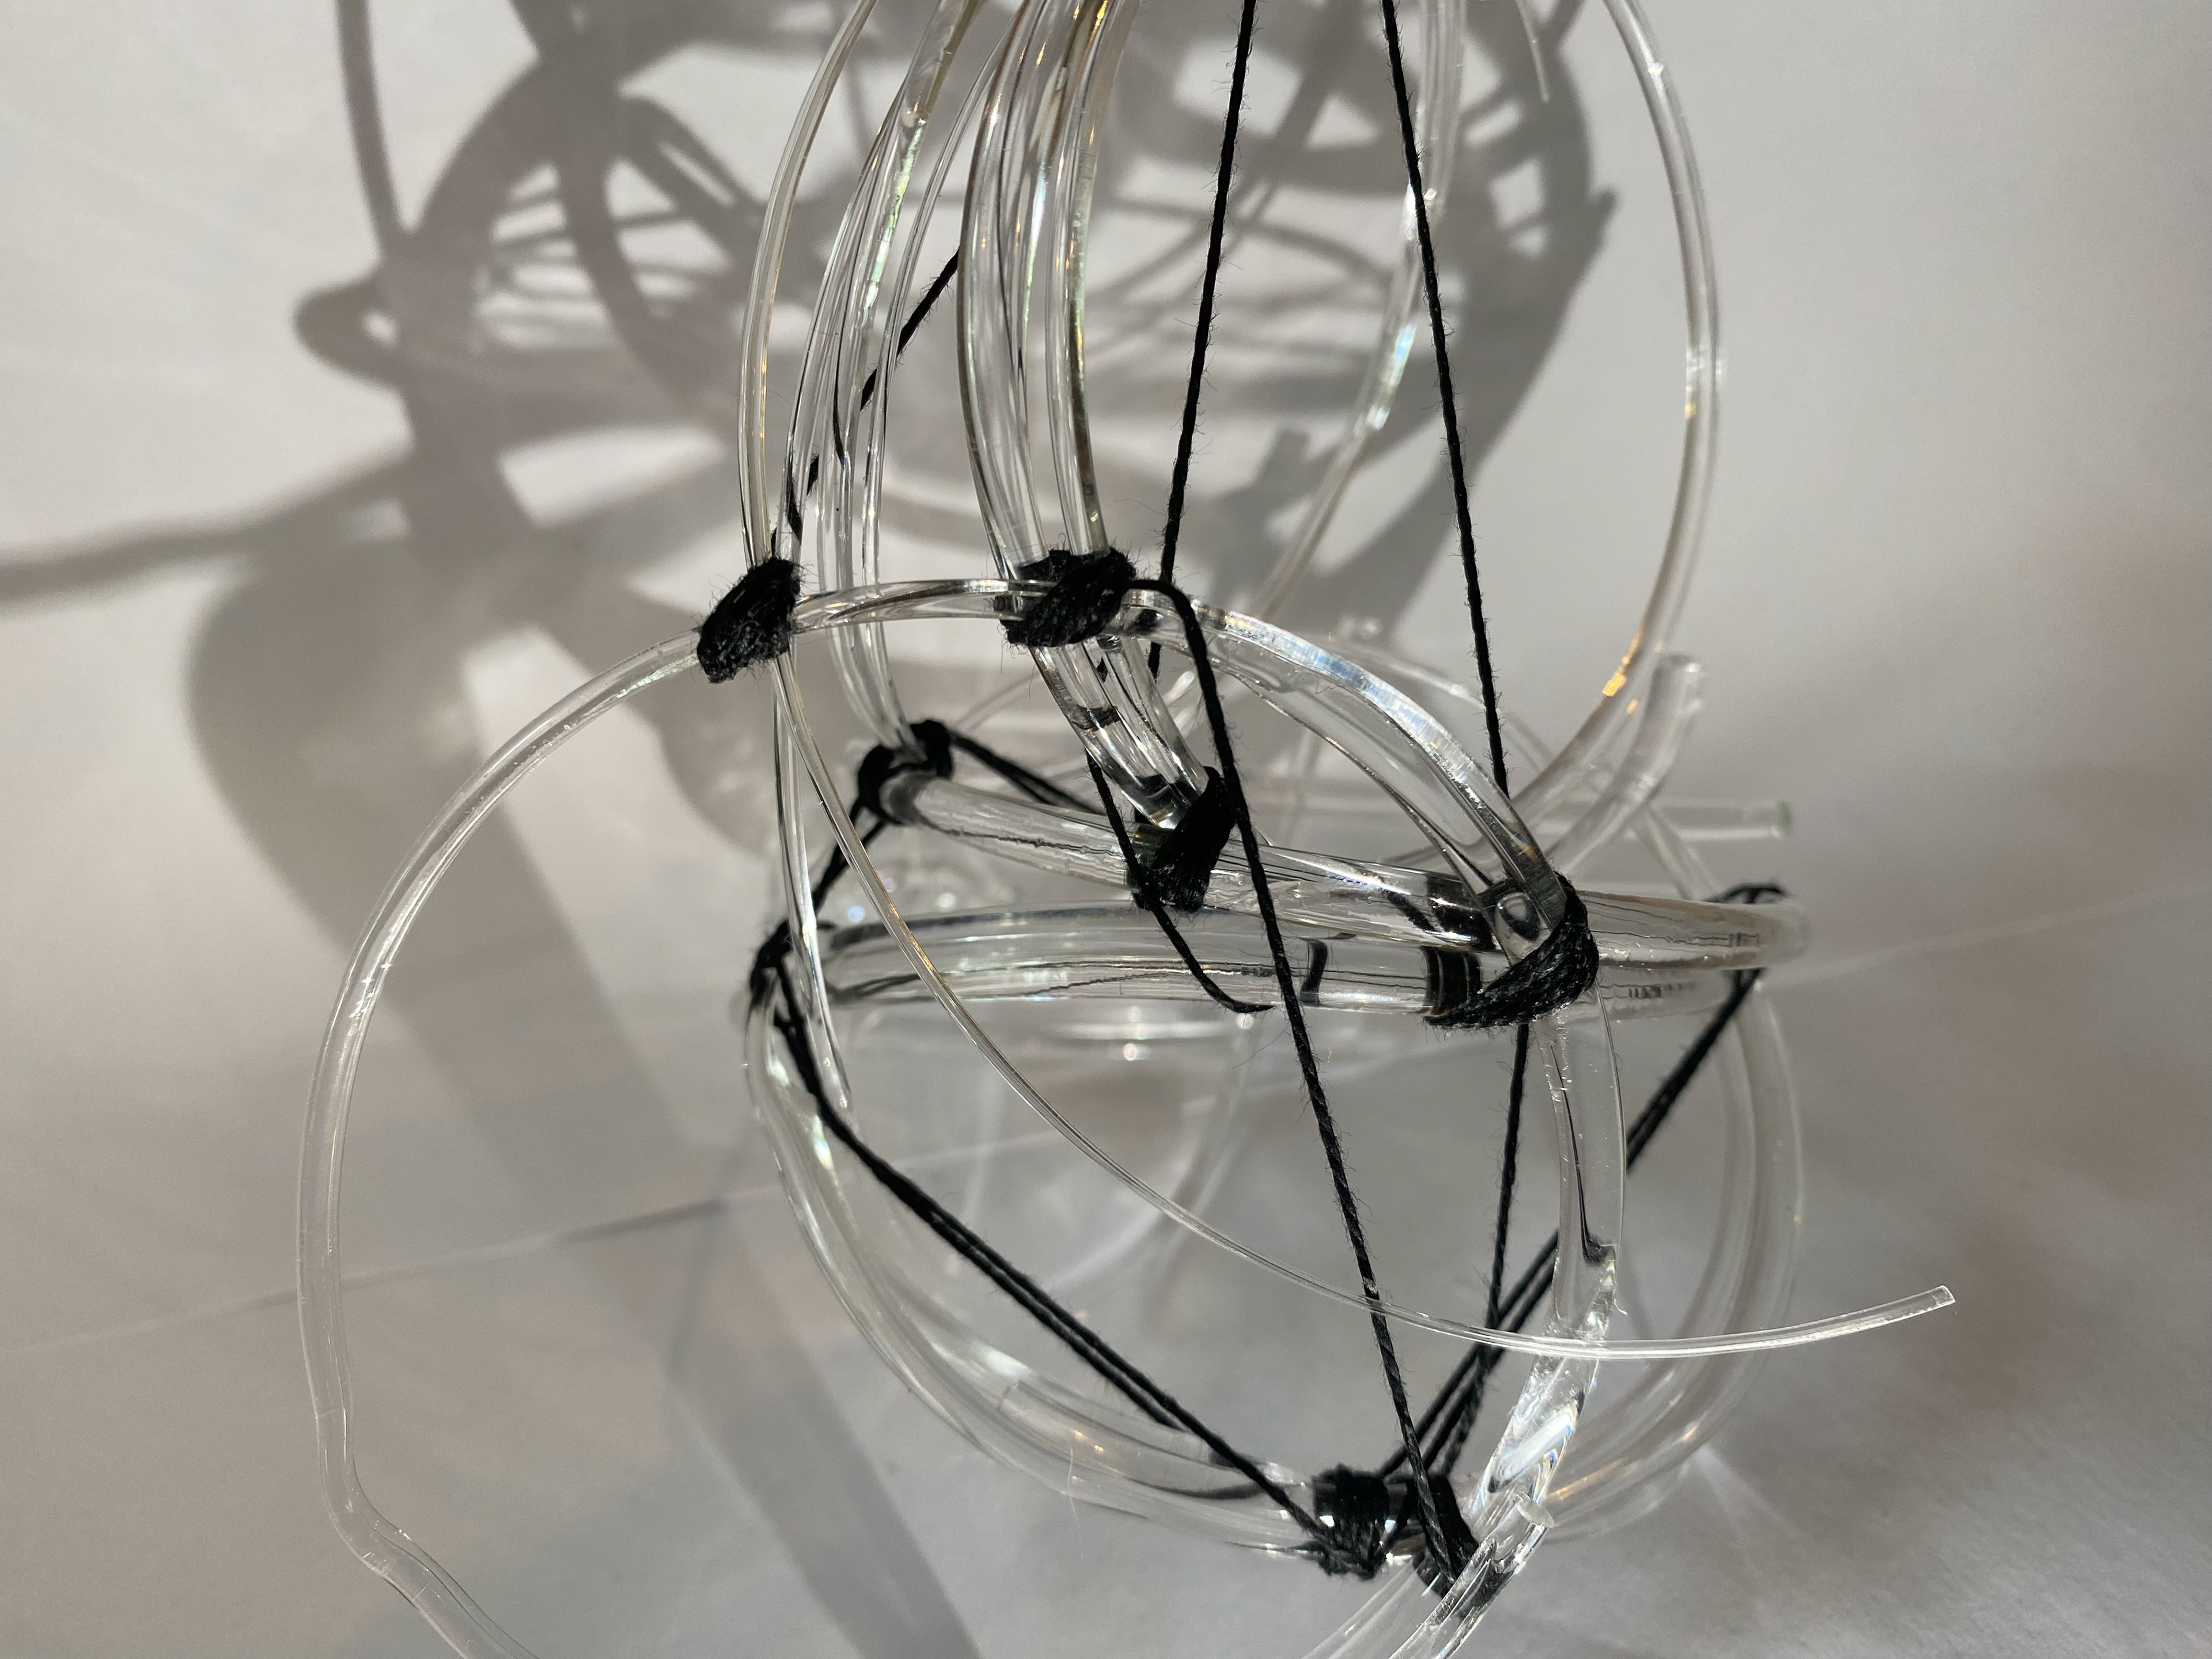
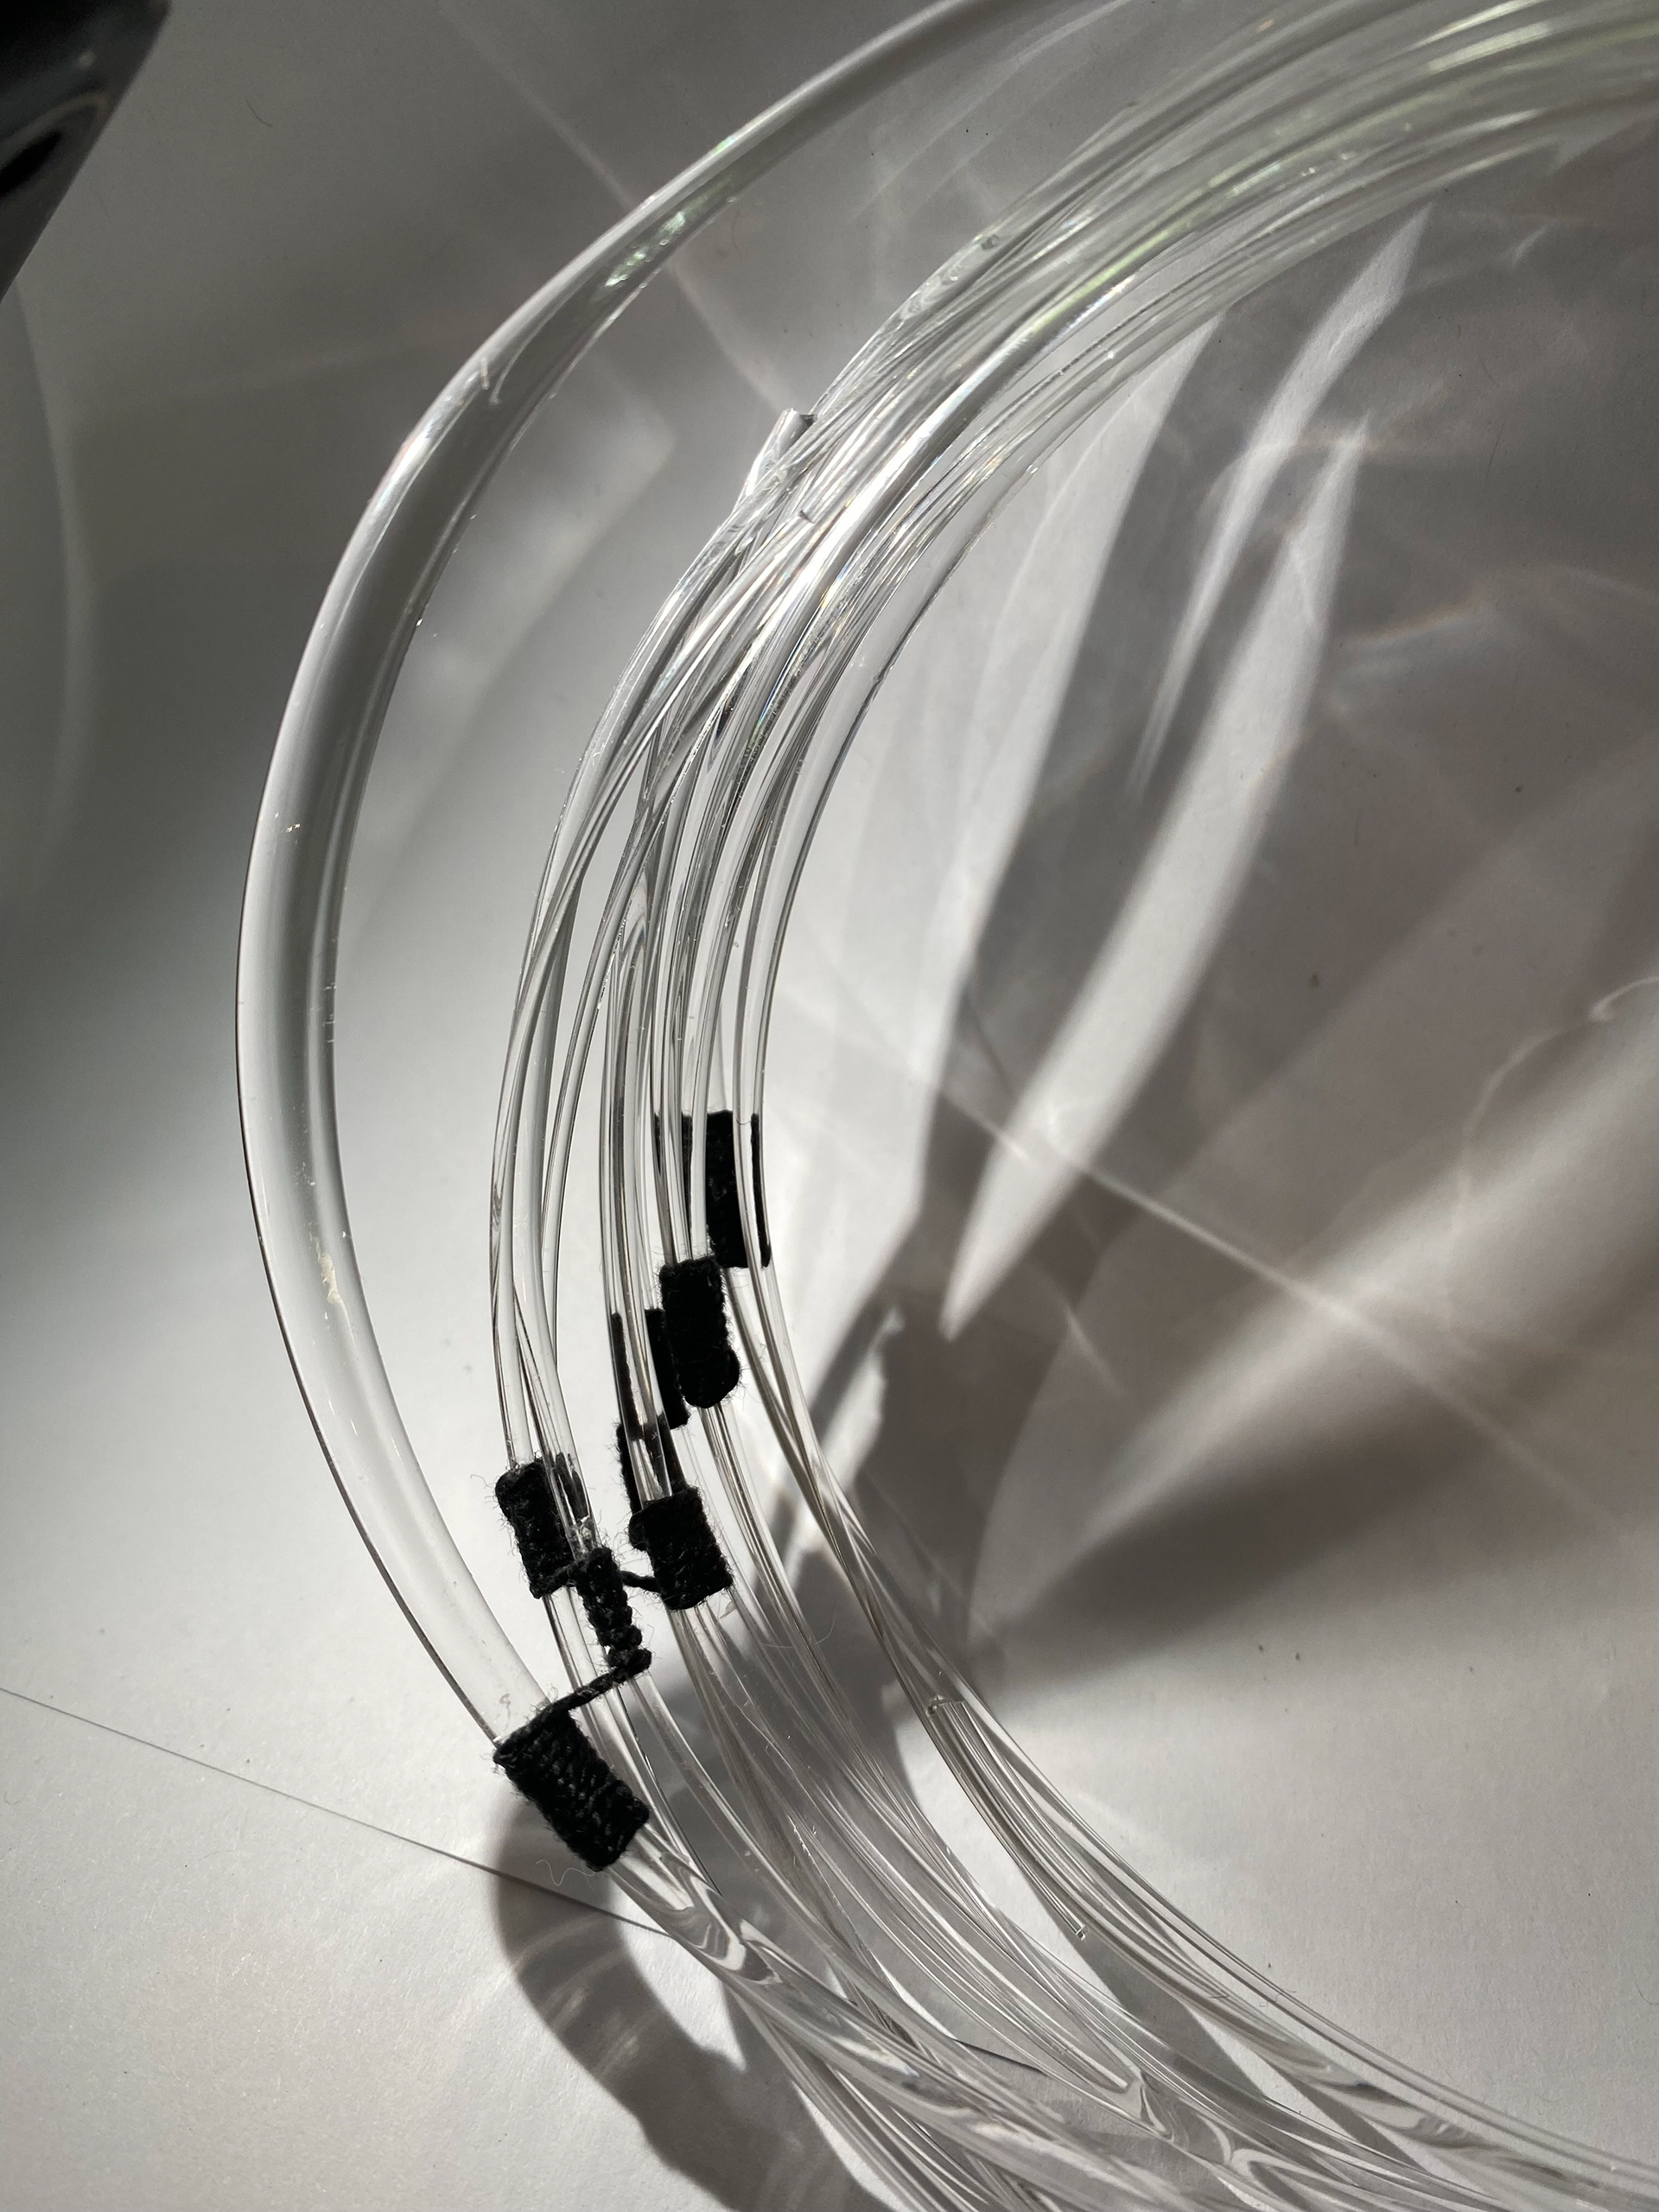
I then started to think about joining the glass pieces together. I decided to use thread for this to keep in line with the use of materials that puppeteers use. To make this easier to handle and work with, I ran the thread through beeswax to make it stiffer. At first I did some research on different types of knots to attach them and keep a structure throughout my pieces. I come across a type of knot called a Constrictor knot which is what I have created below. I also chose the colour green to reflect the natural influences. However, I found I didn't like that you could see the end of the string from the knots. As swell as this, they didn't hold the glass pieces together securely enough.
Constrictor knot
First pieces of practicing attaching the glass using knots
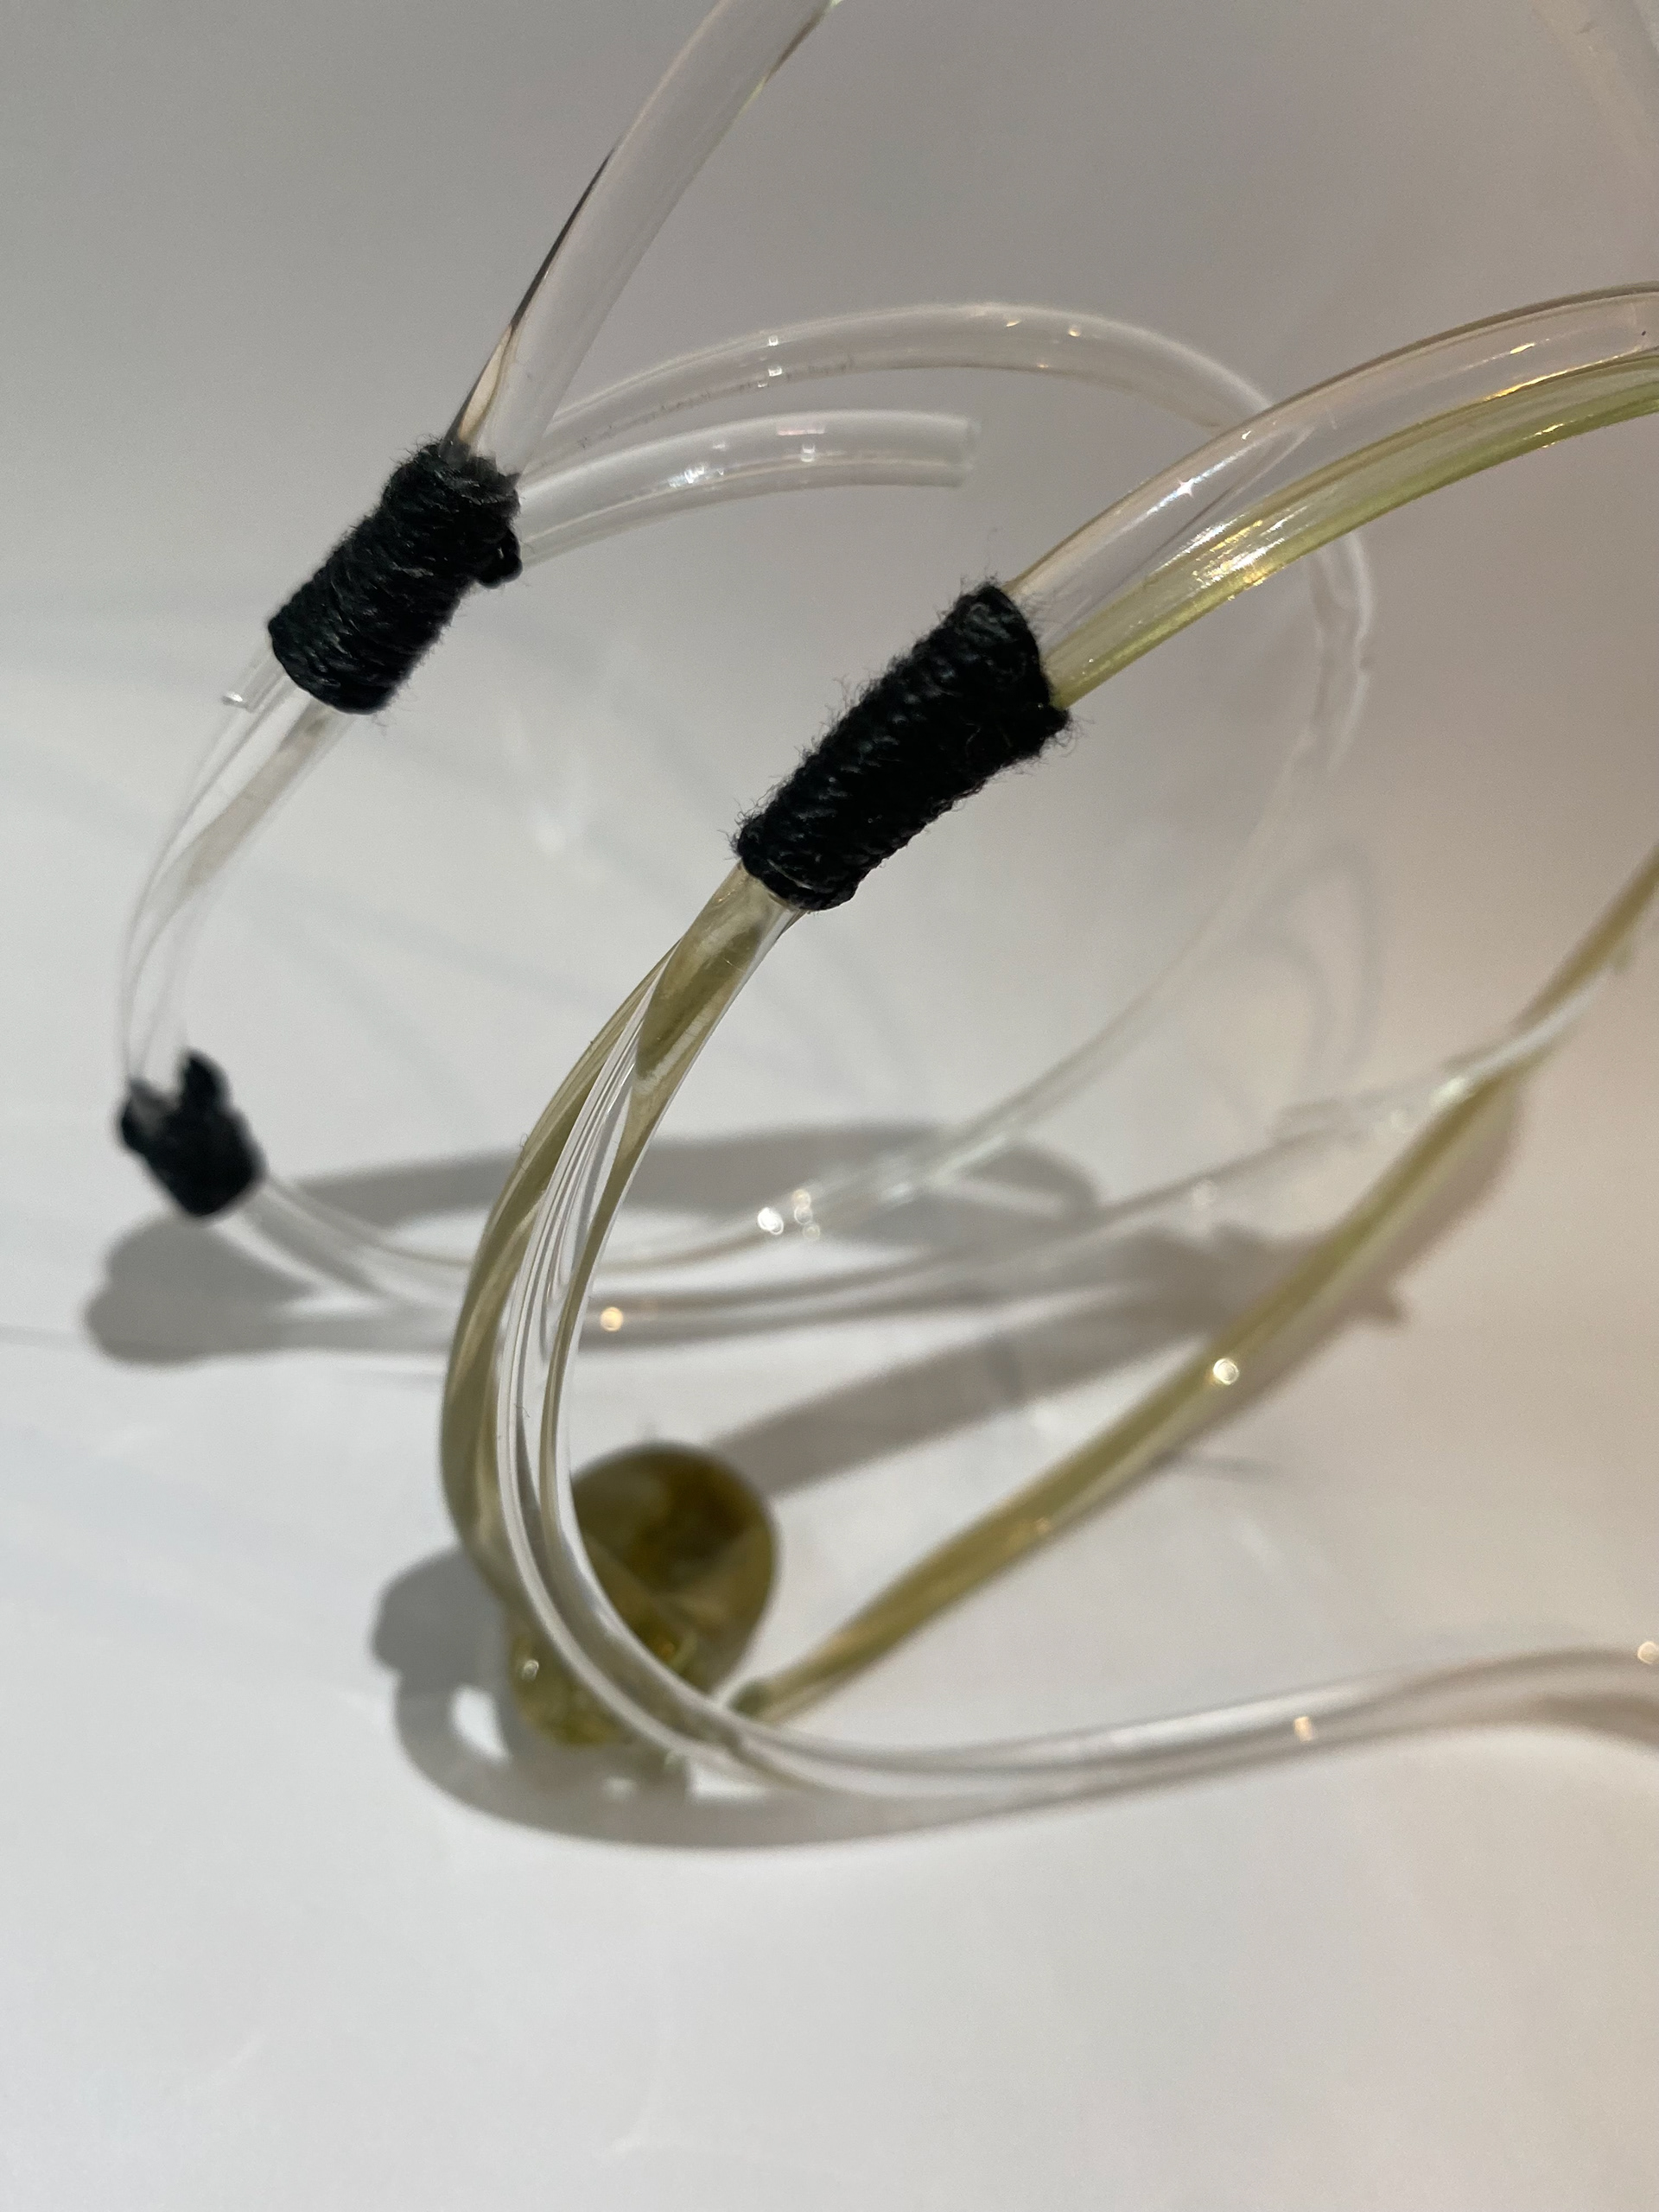
To over come this, I decided to try wrapping the thread around the pieces as shown below and tucking the ends in, making sure i wrapped it firmly so keep the thread secure. I changed to black thread and preferred the contrast with the clear glass. However, I then noticed the beeswax was visible on the thread because of it being black. To solve this I ran a hot iron plate over the thread to melt the wax into the thread.
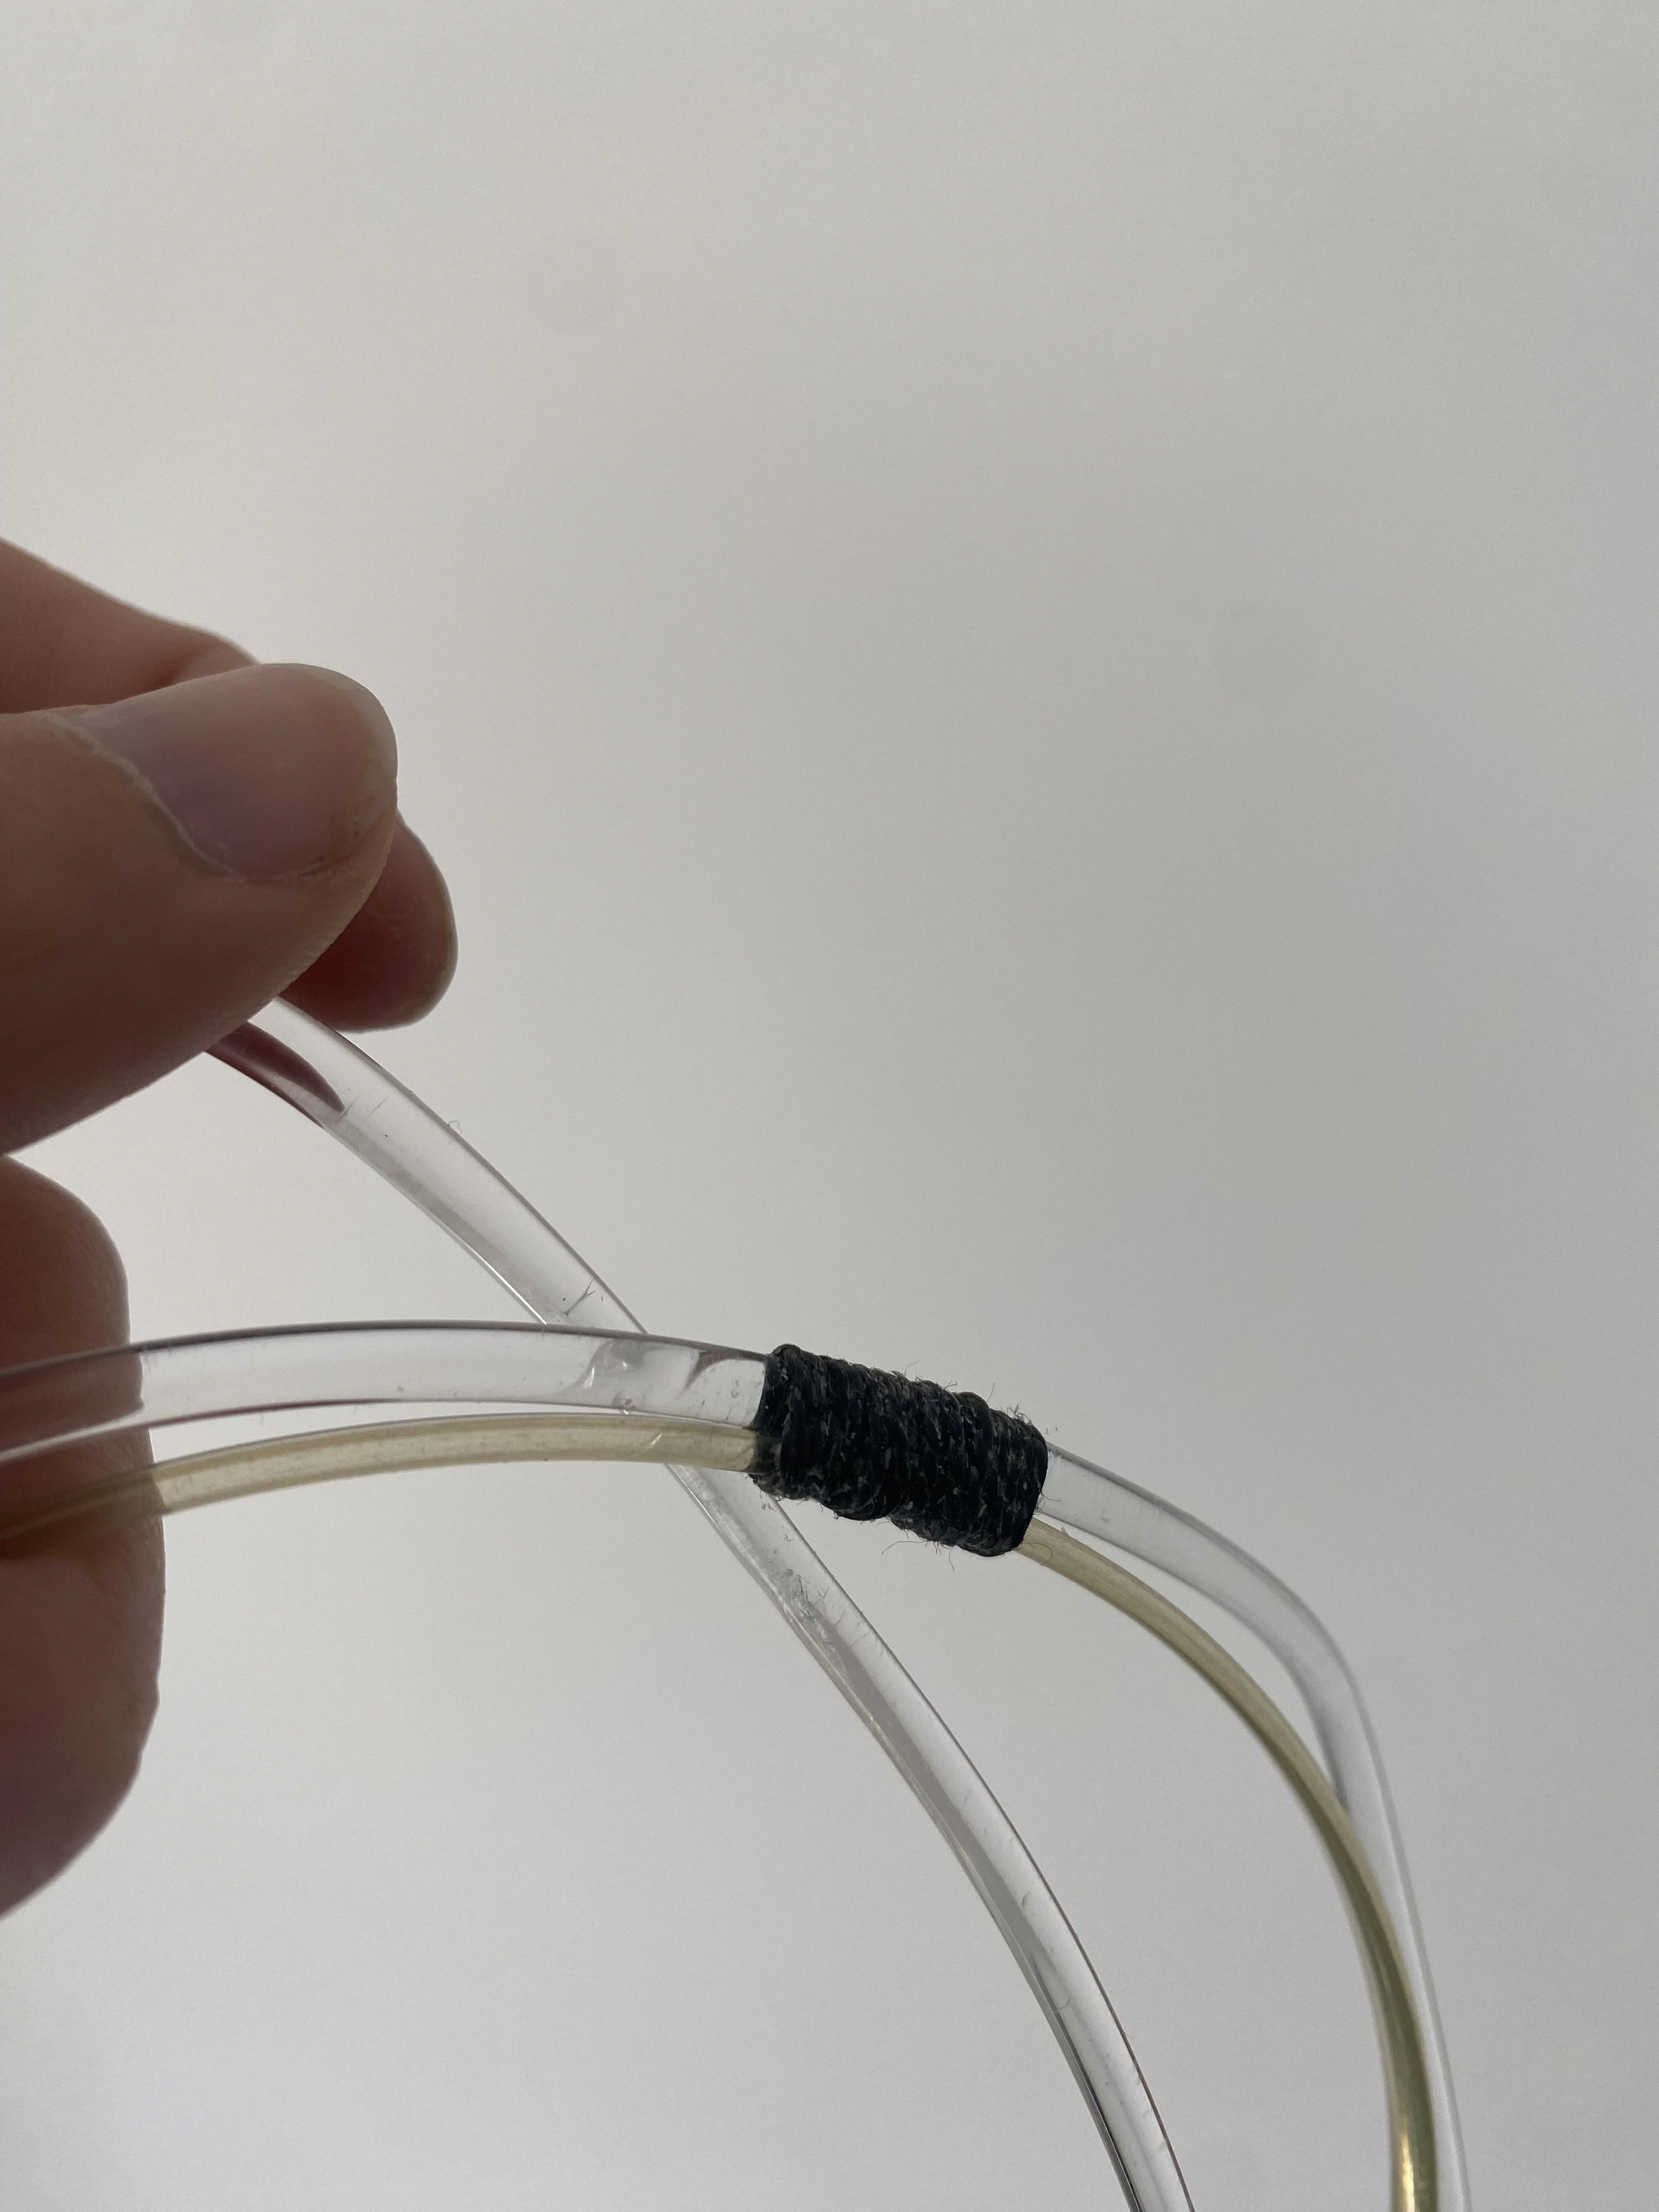
Wrapped black thread
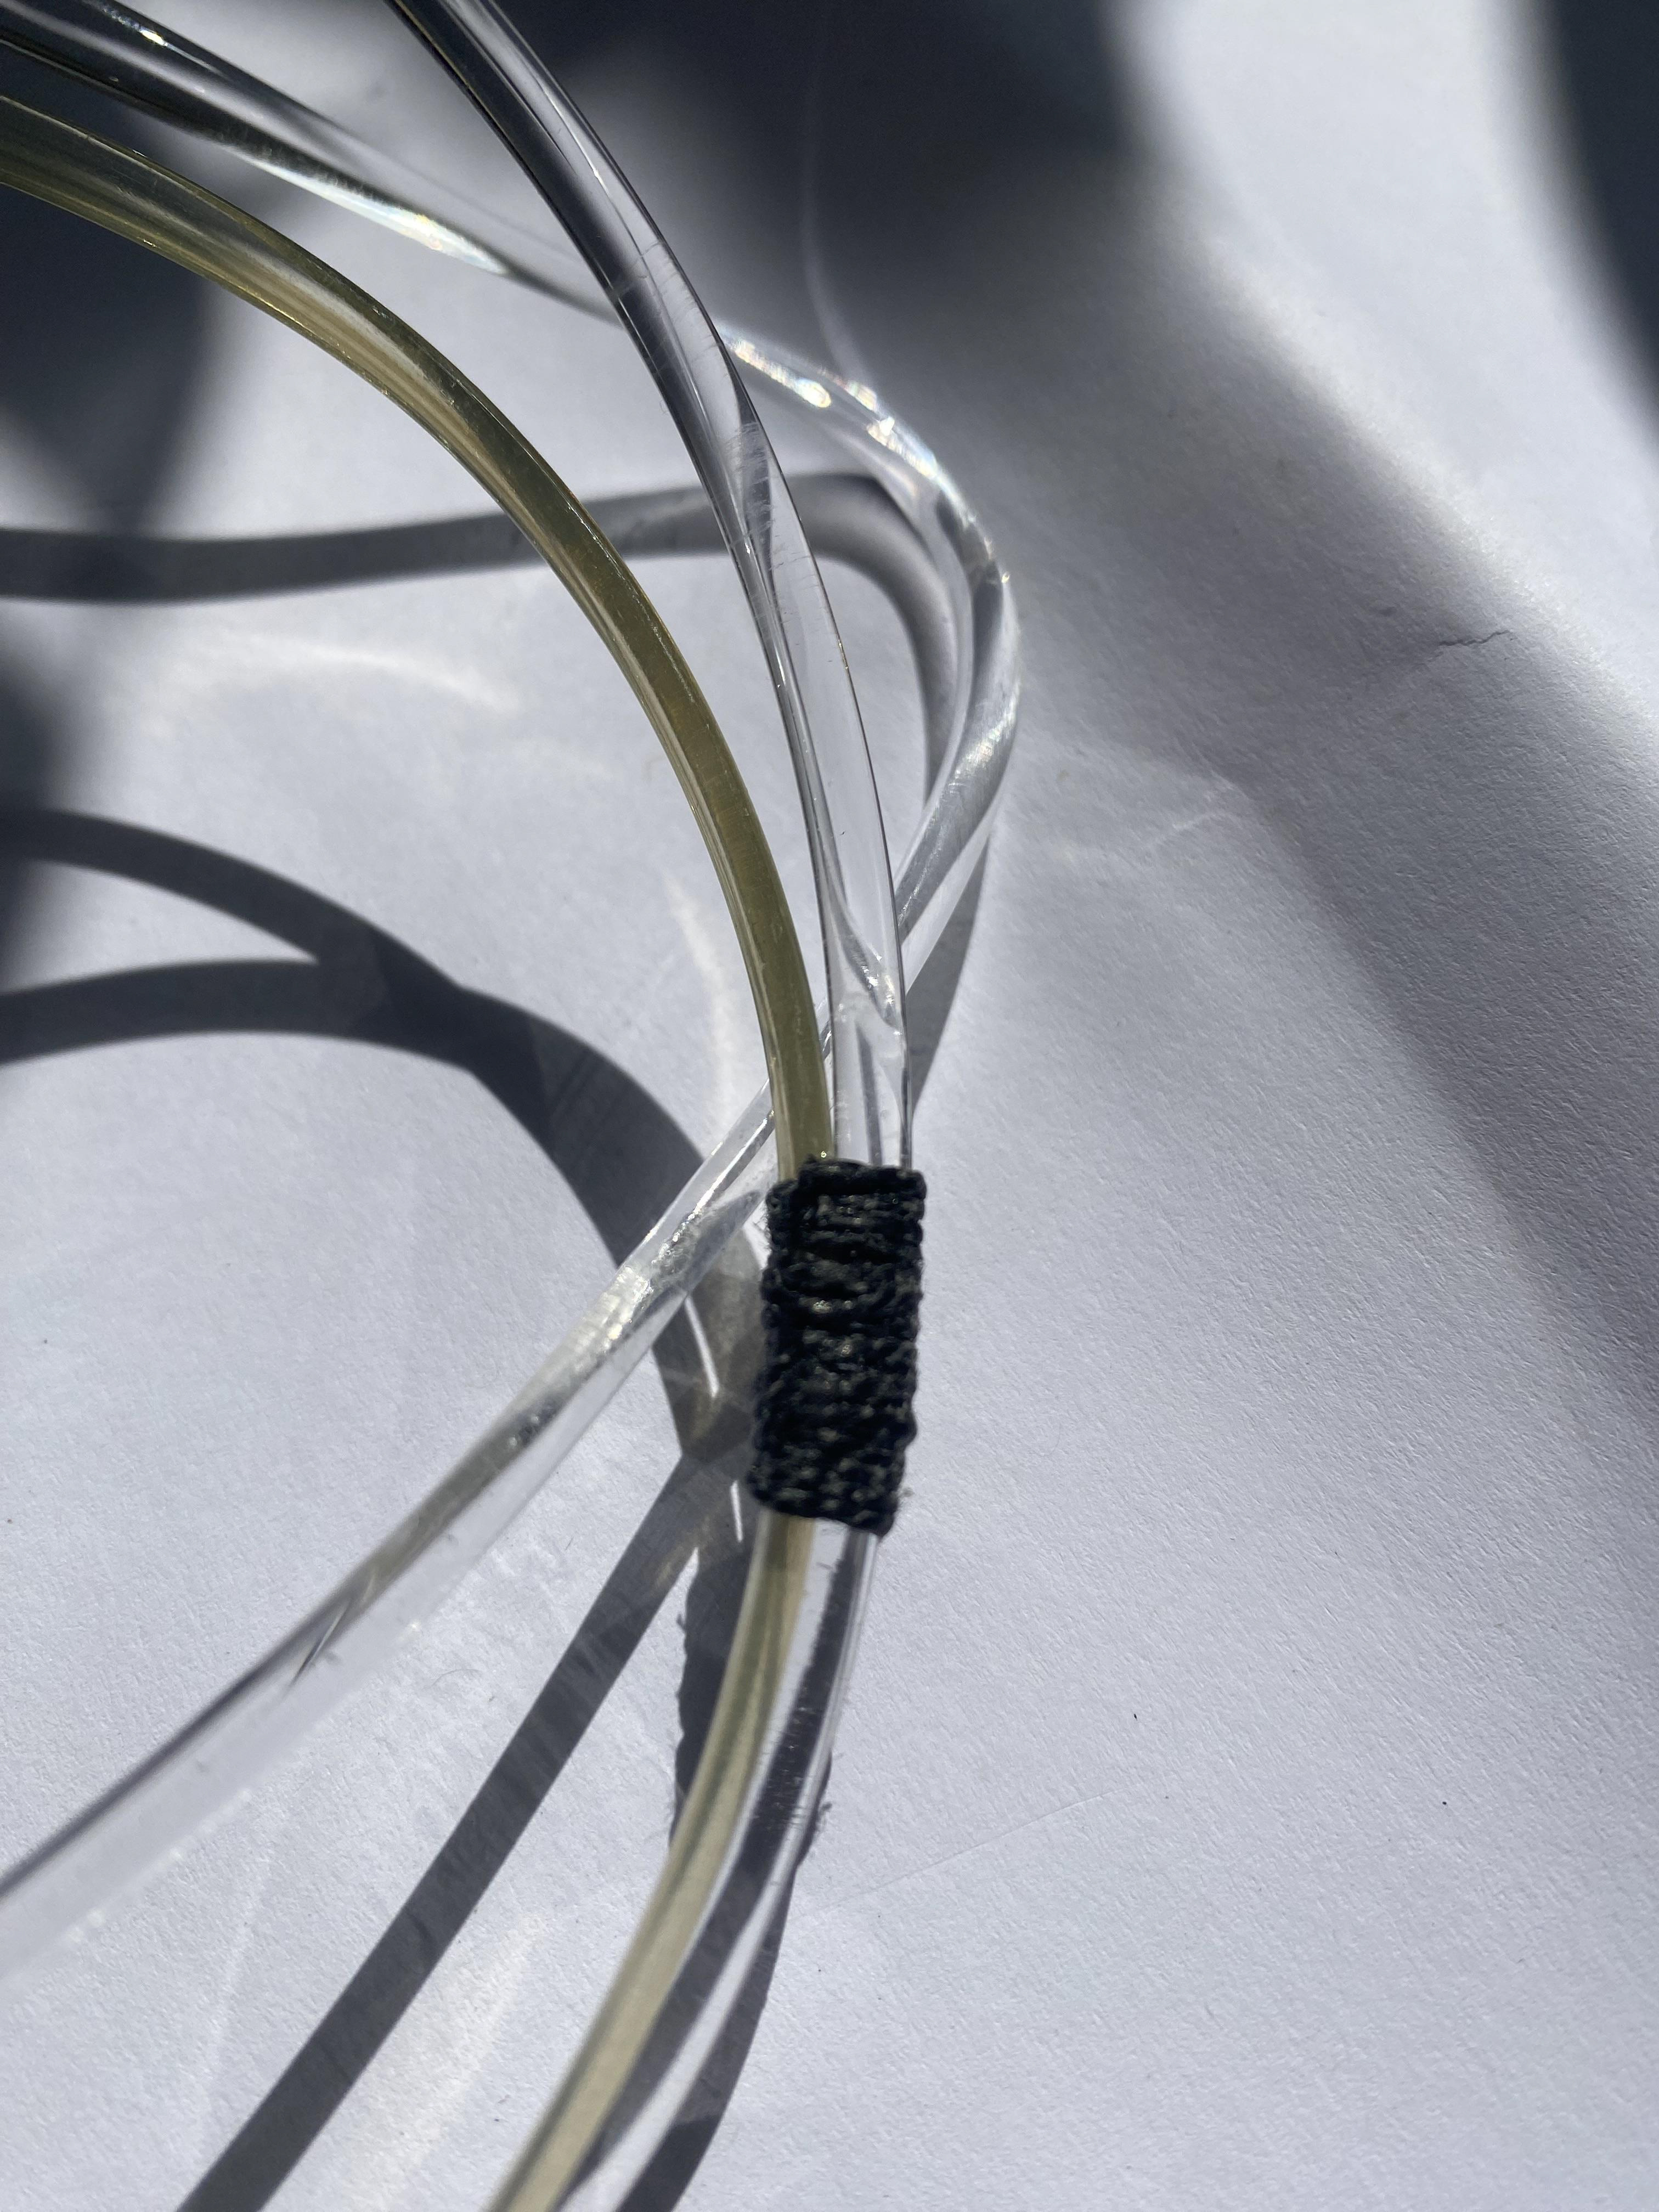
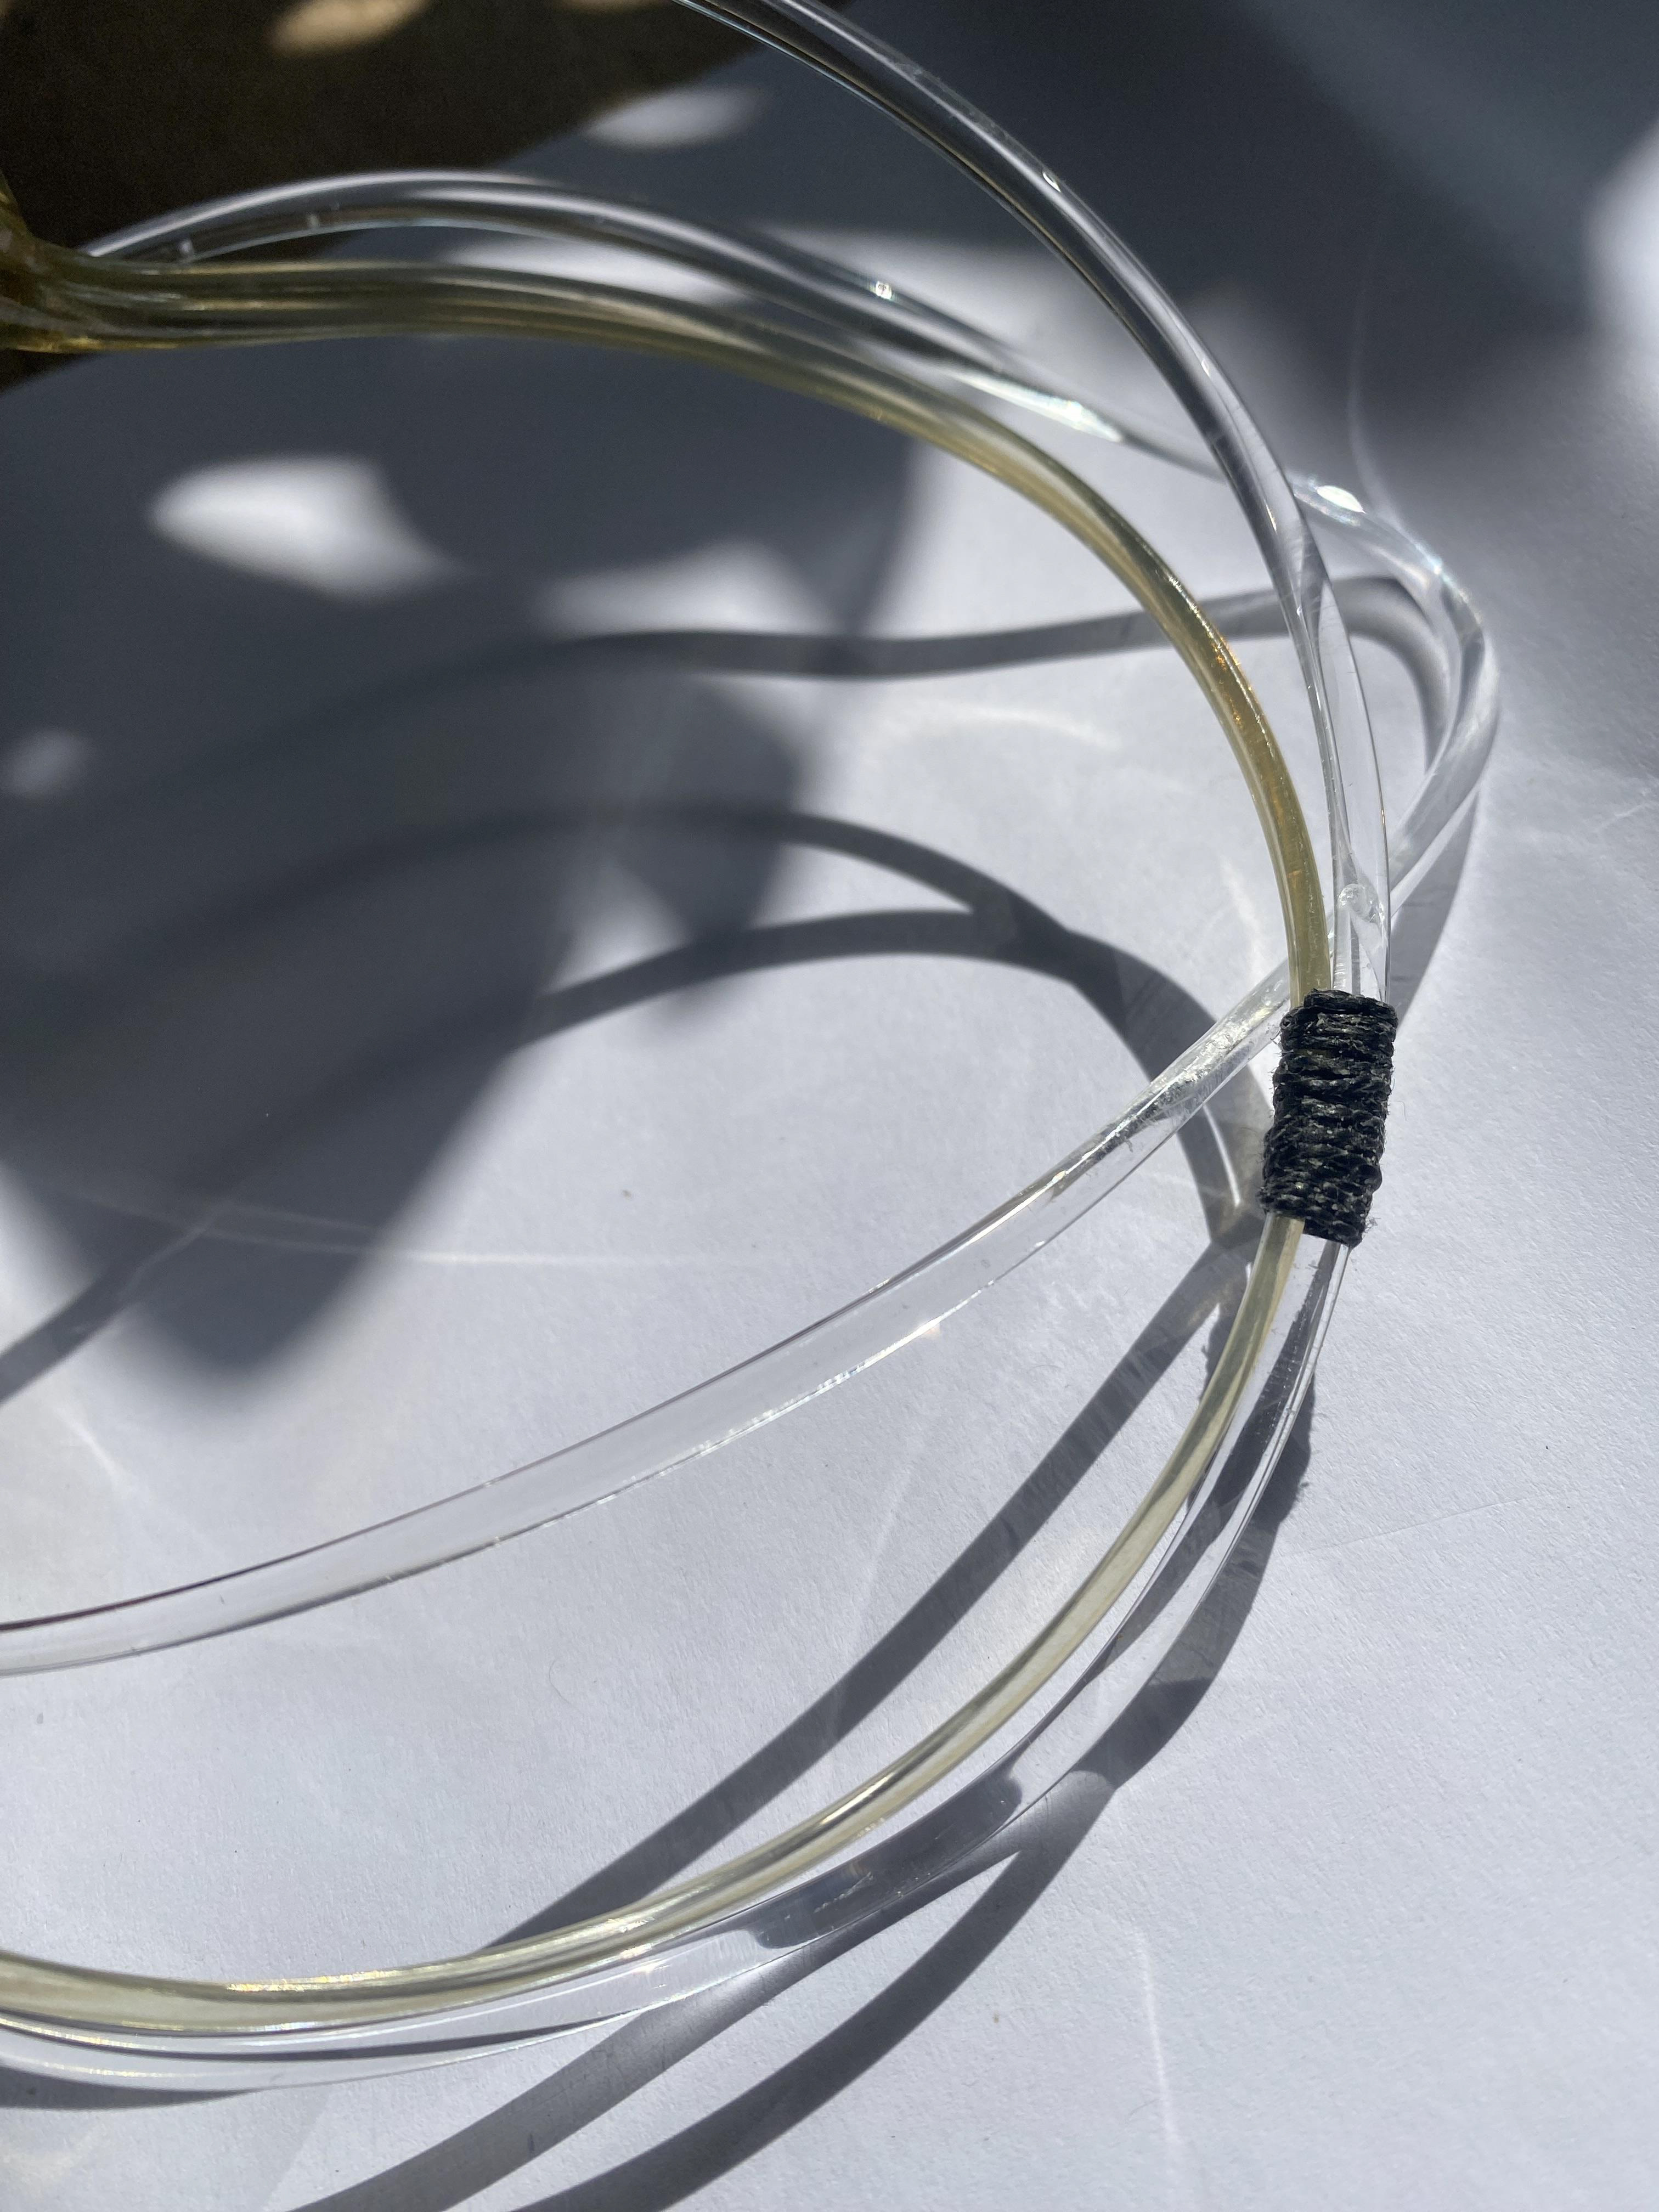
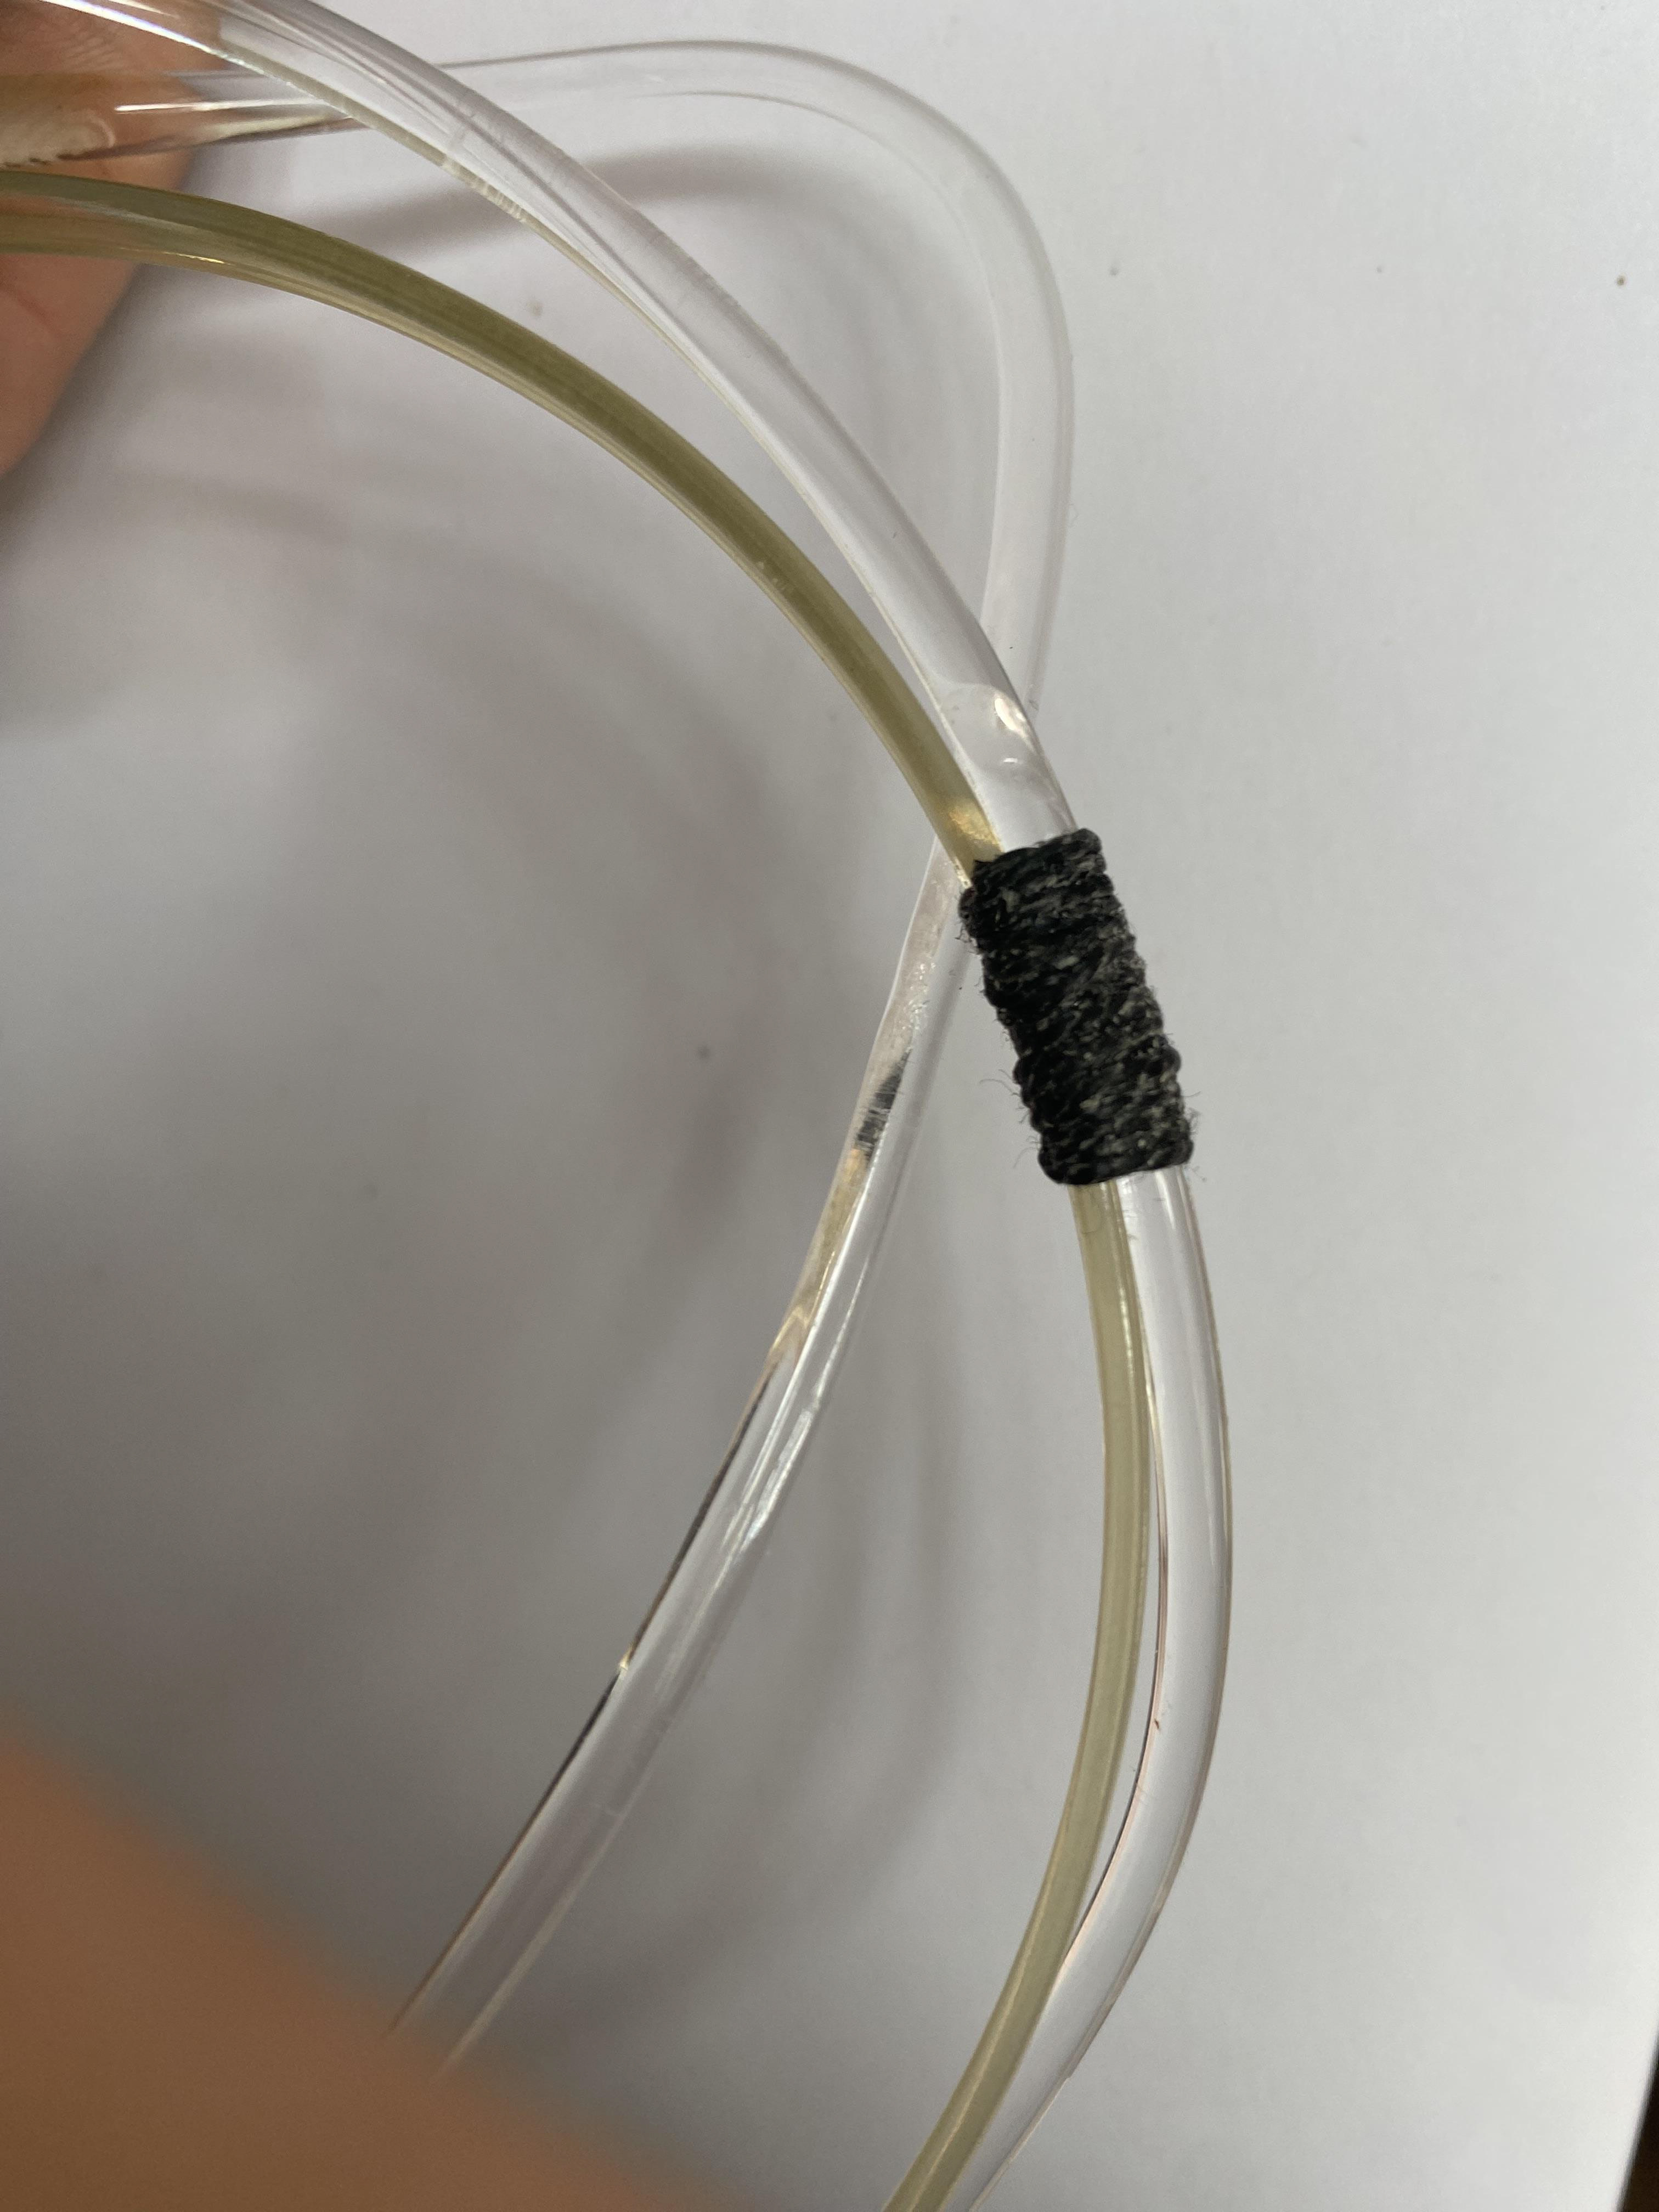
Black thread before I melted the wax
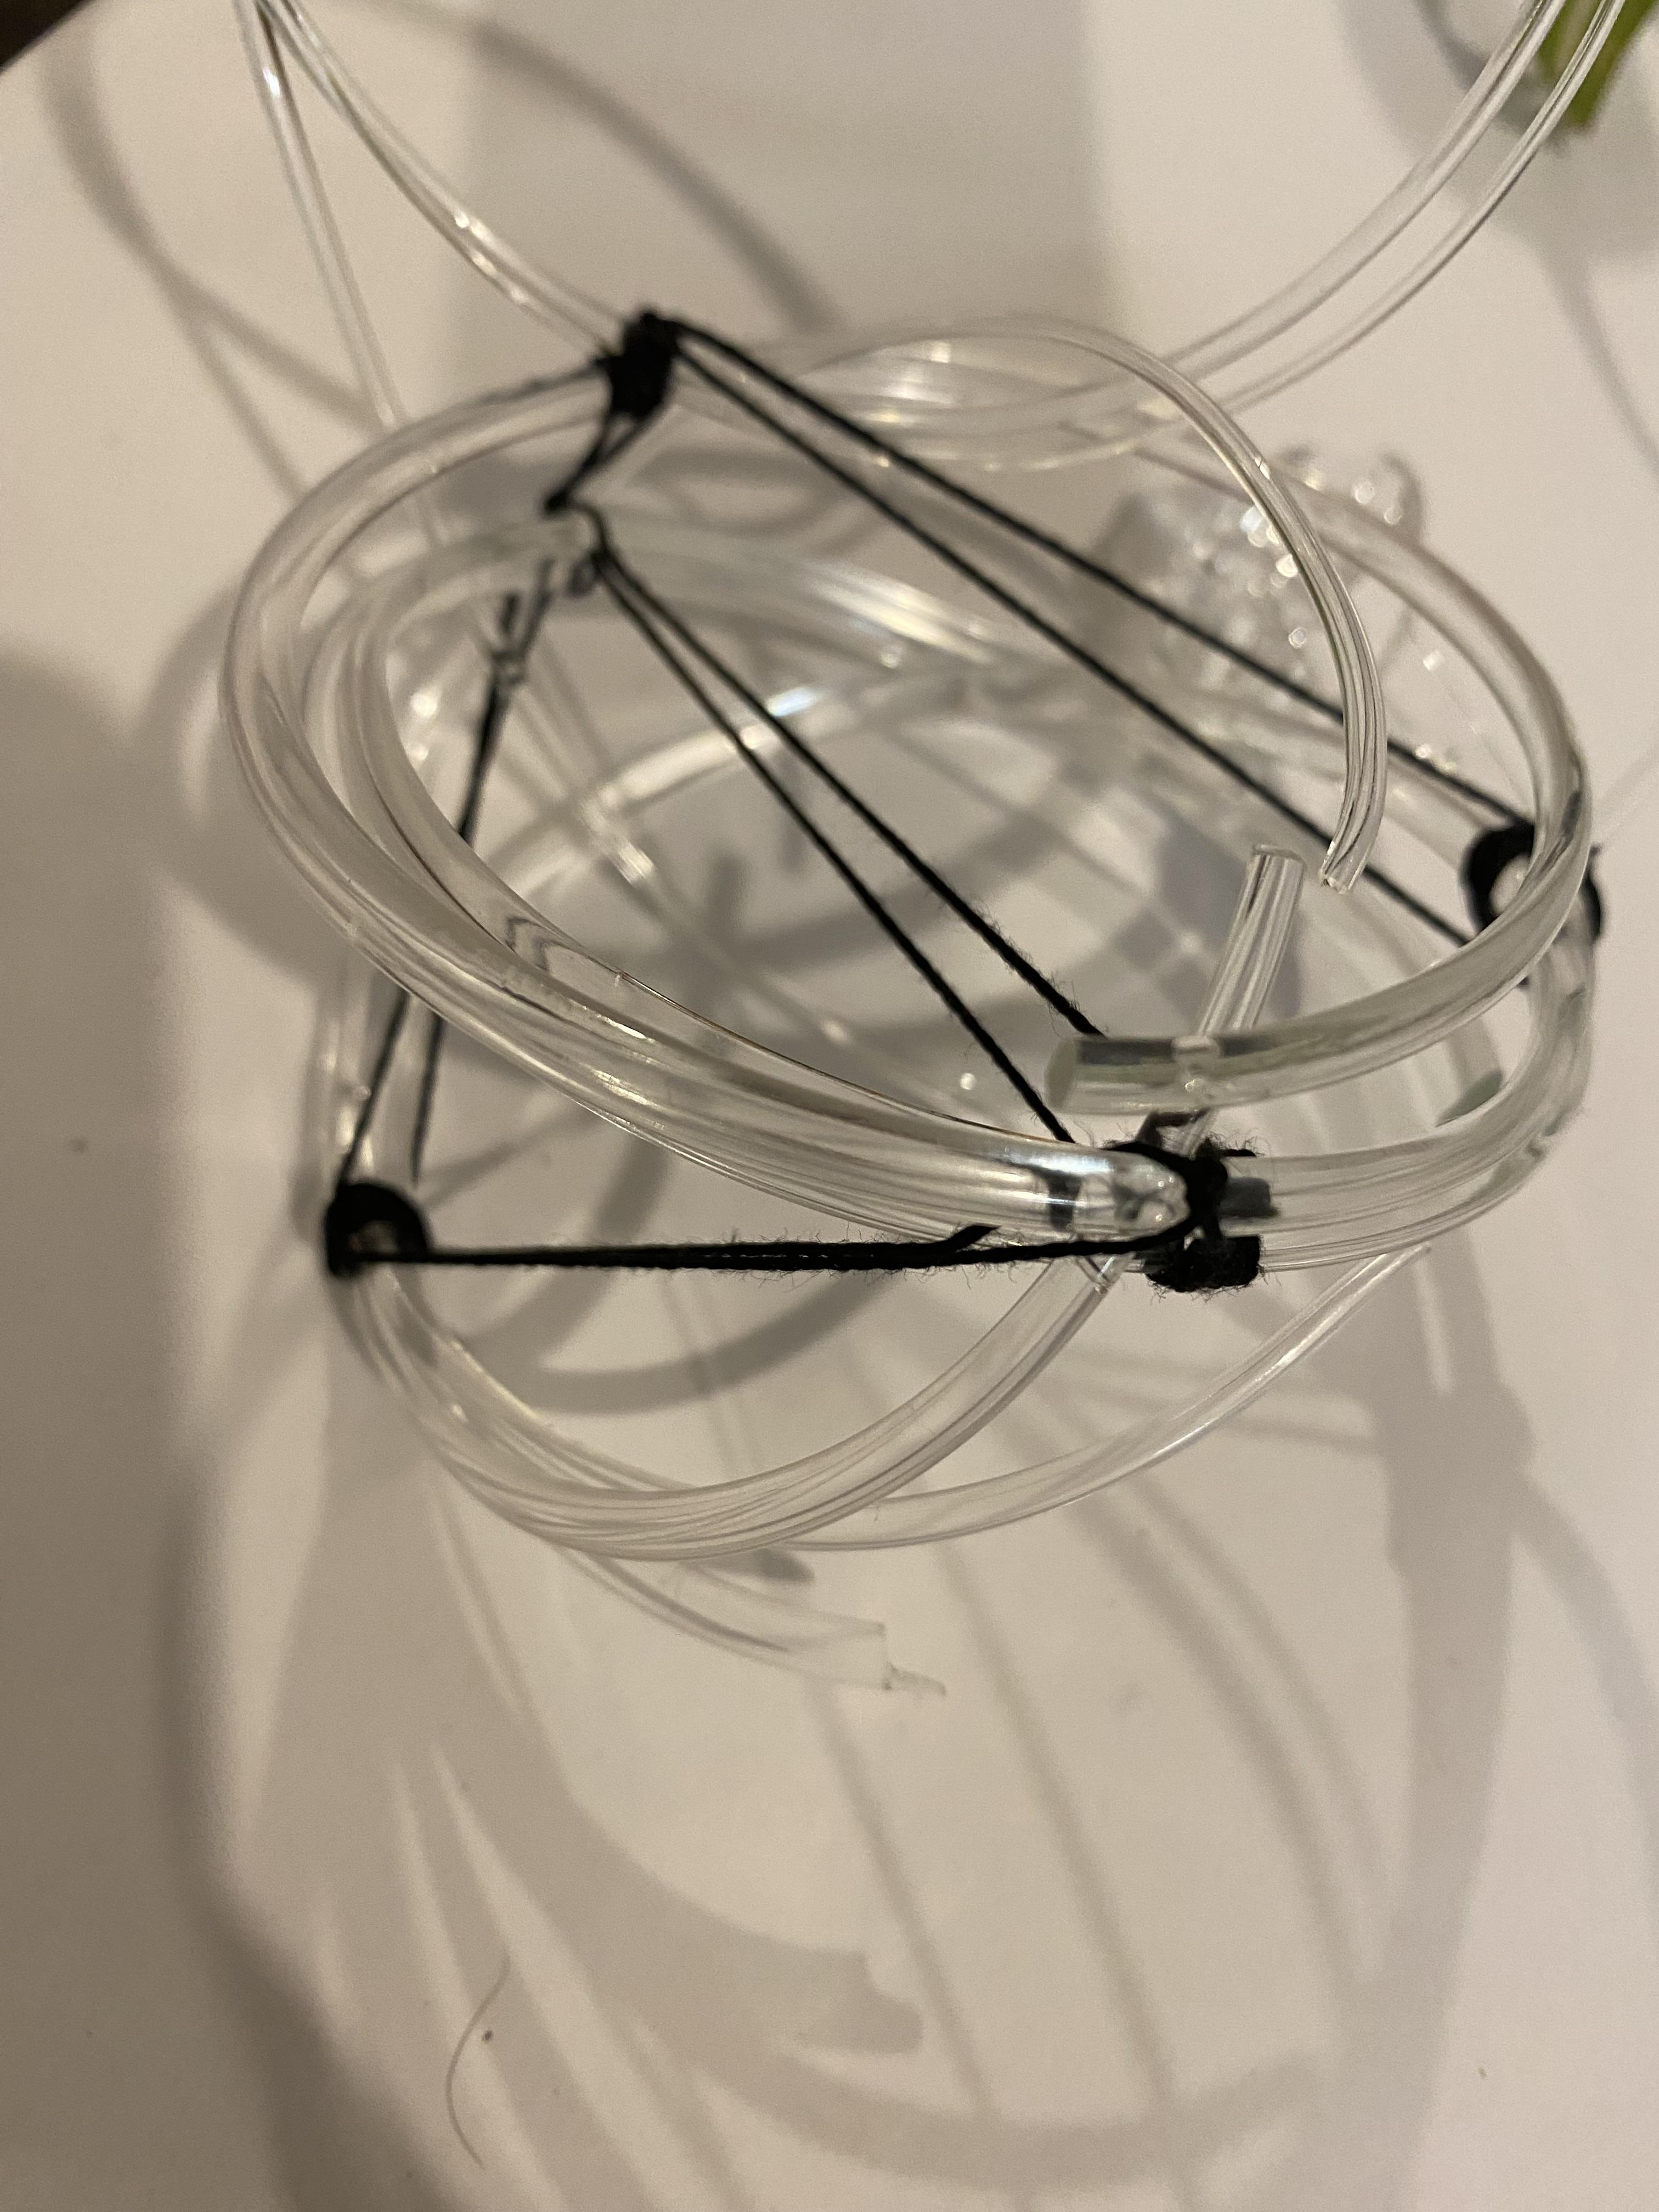
Once I overcome these slight problems I decided I wanted to stick with this method of attaching the glass and creating 3D forms. I took this one step further thinking of the word continuous and used one piece of long thread to attach the glass in different areas as shown below where you can see the thread going from one attachment point to another. I used this method with some pieces as well as individual connection points on other pieces.
Exploring different arrangements
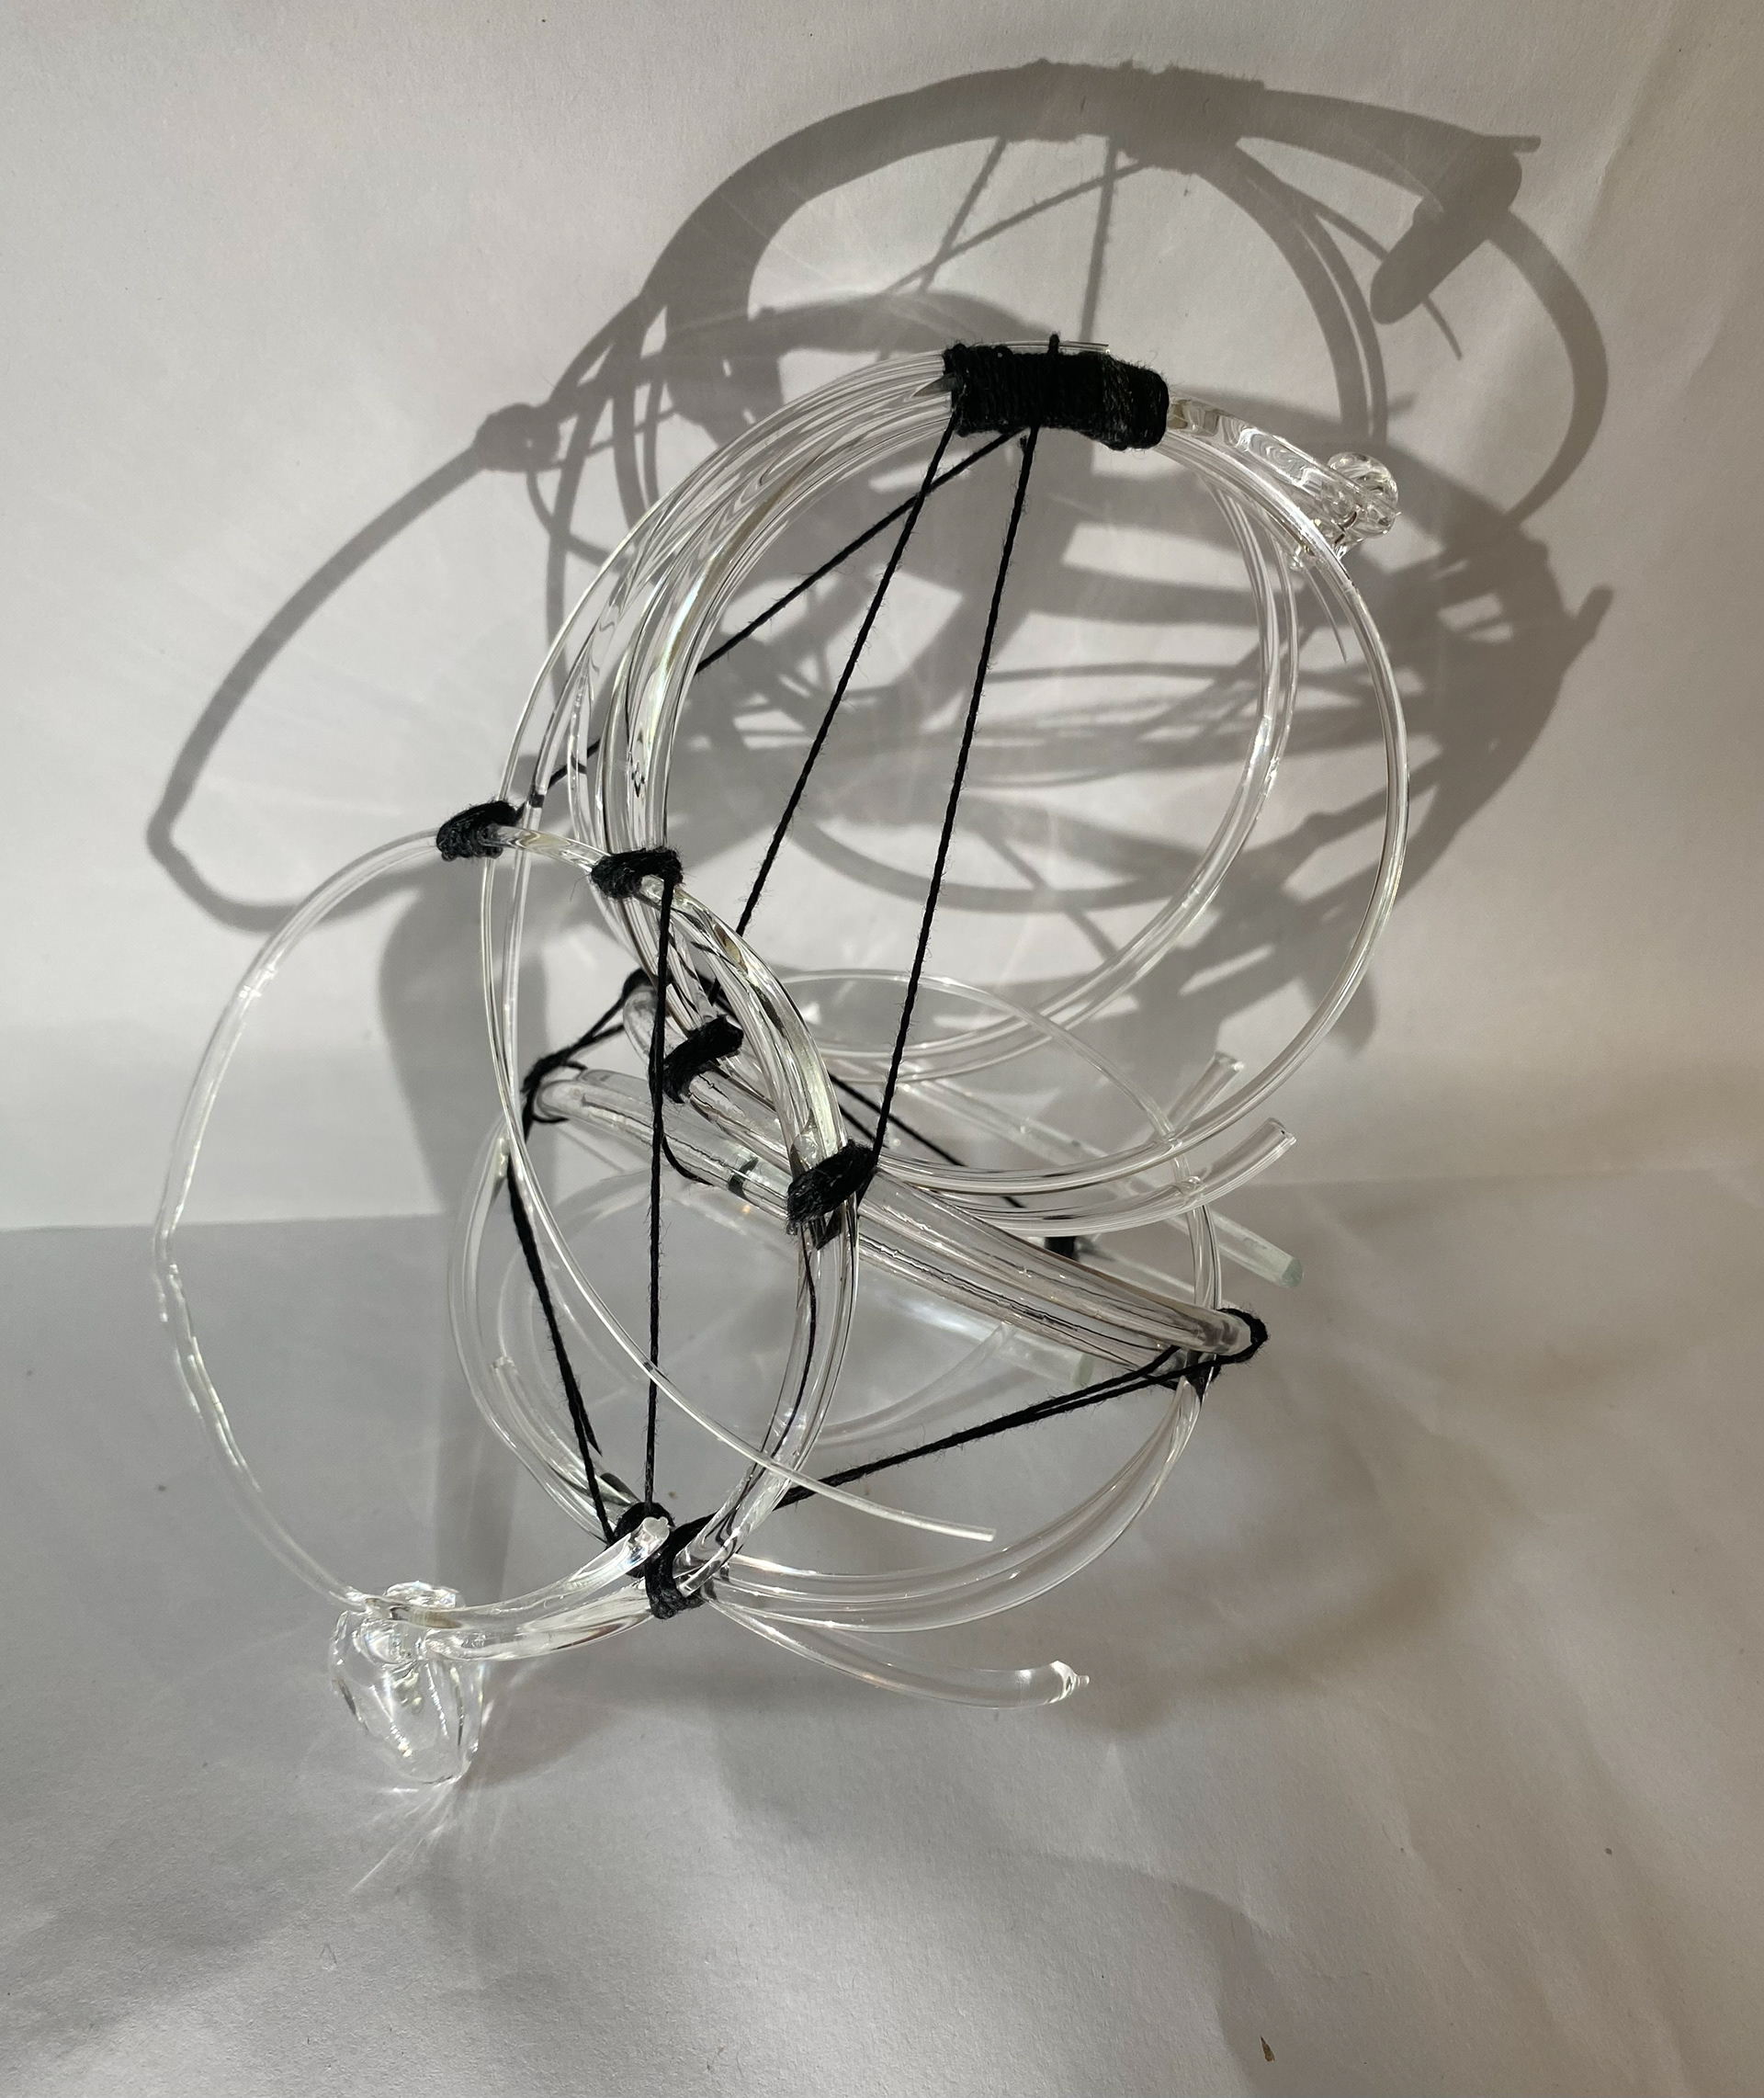
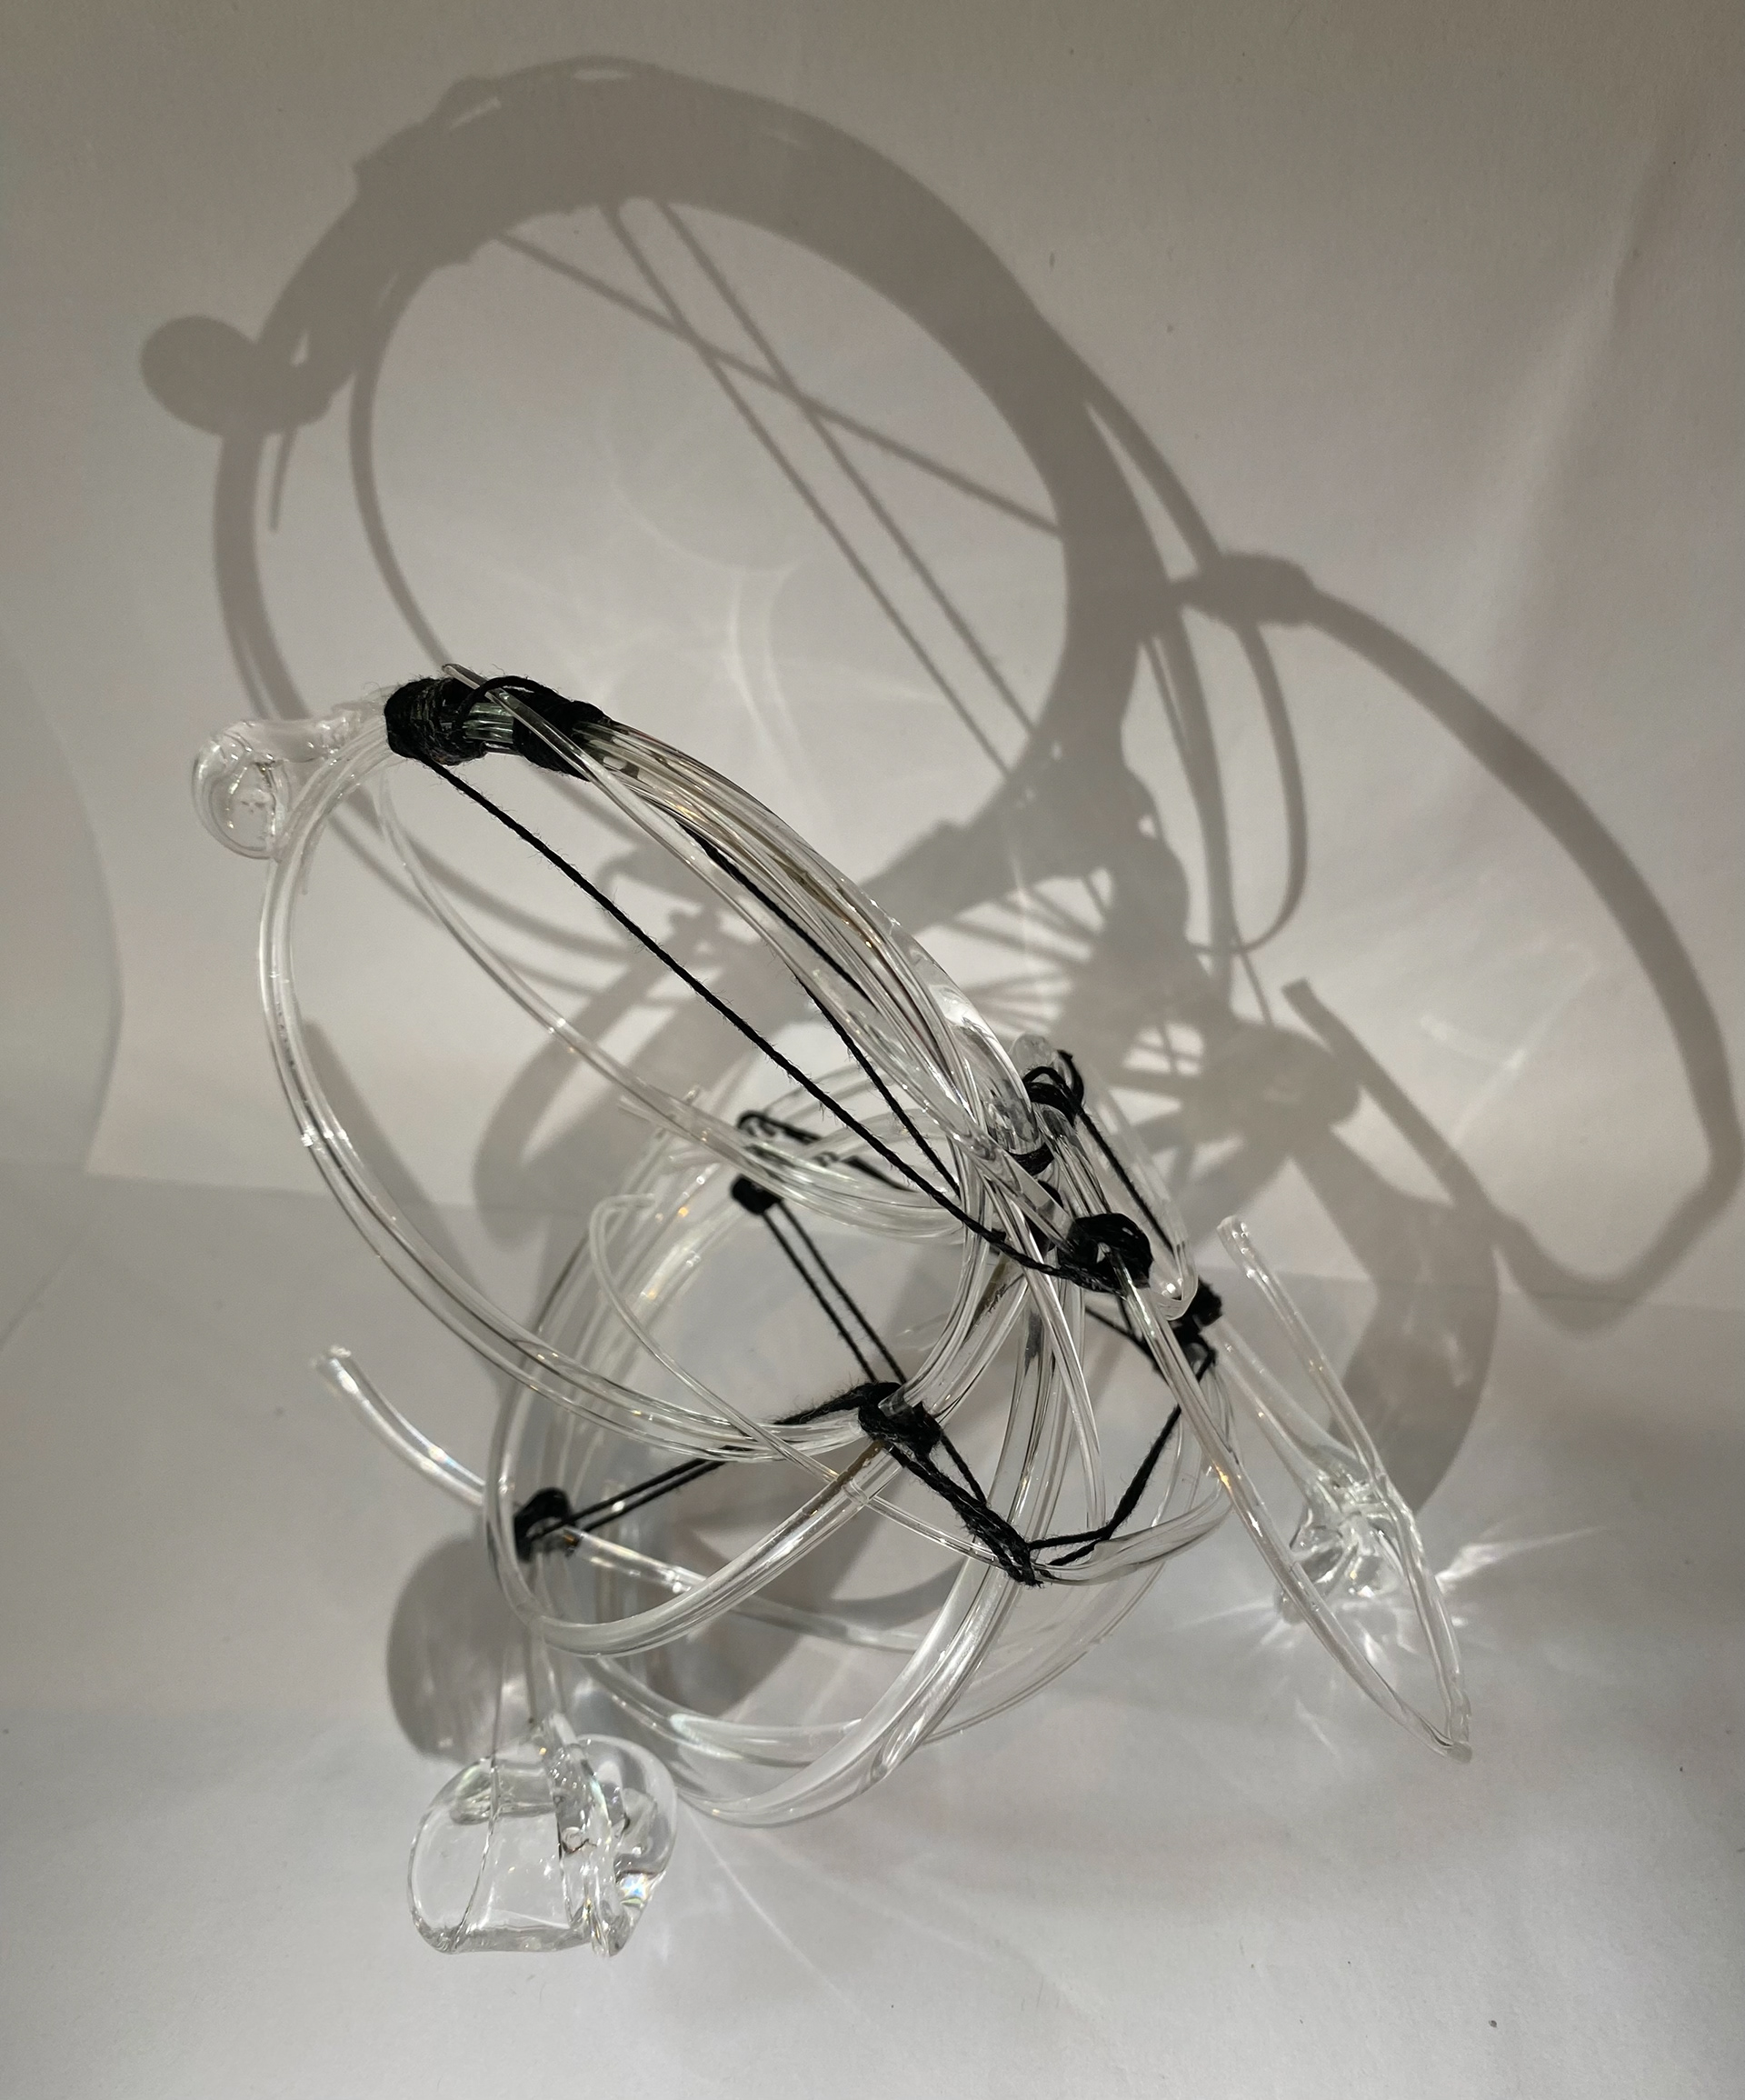
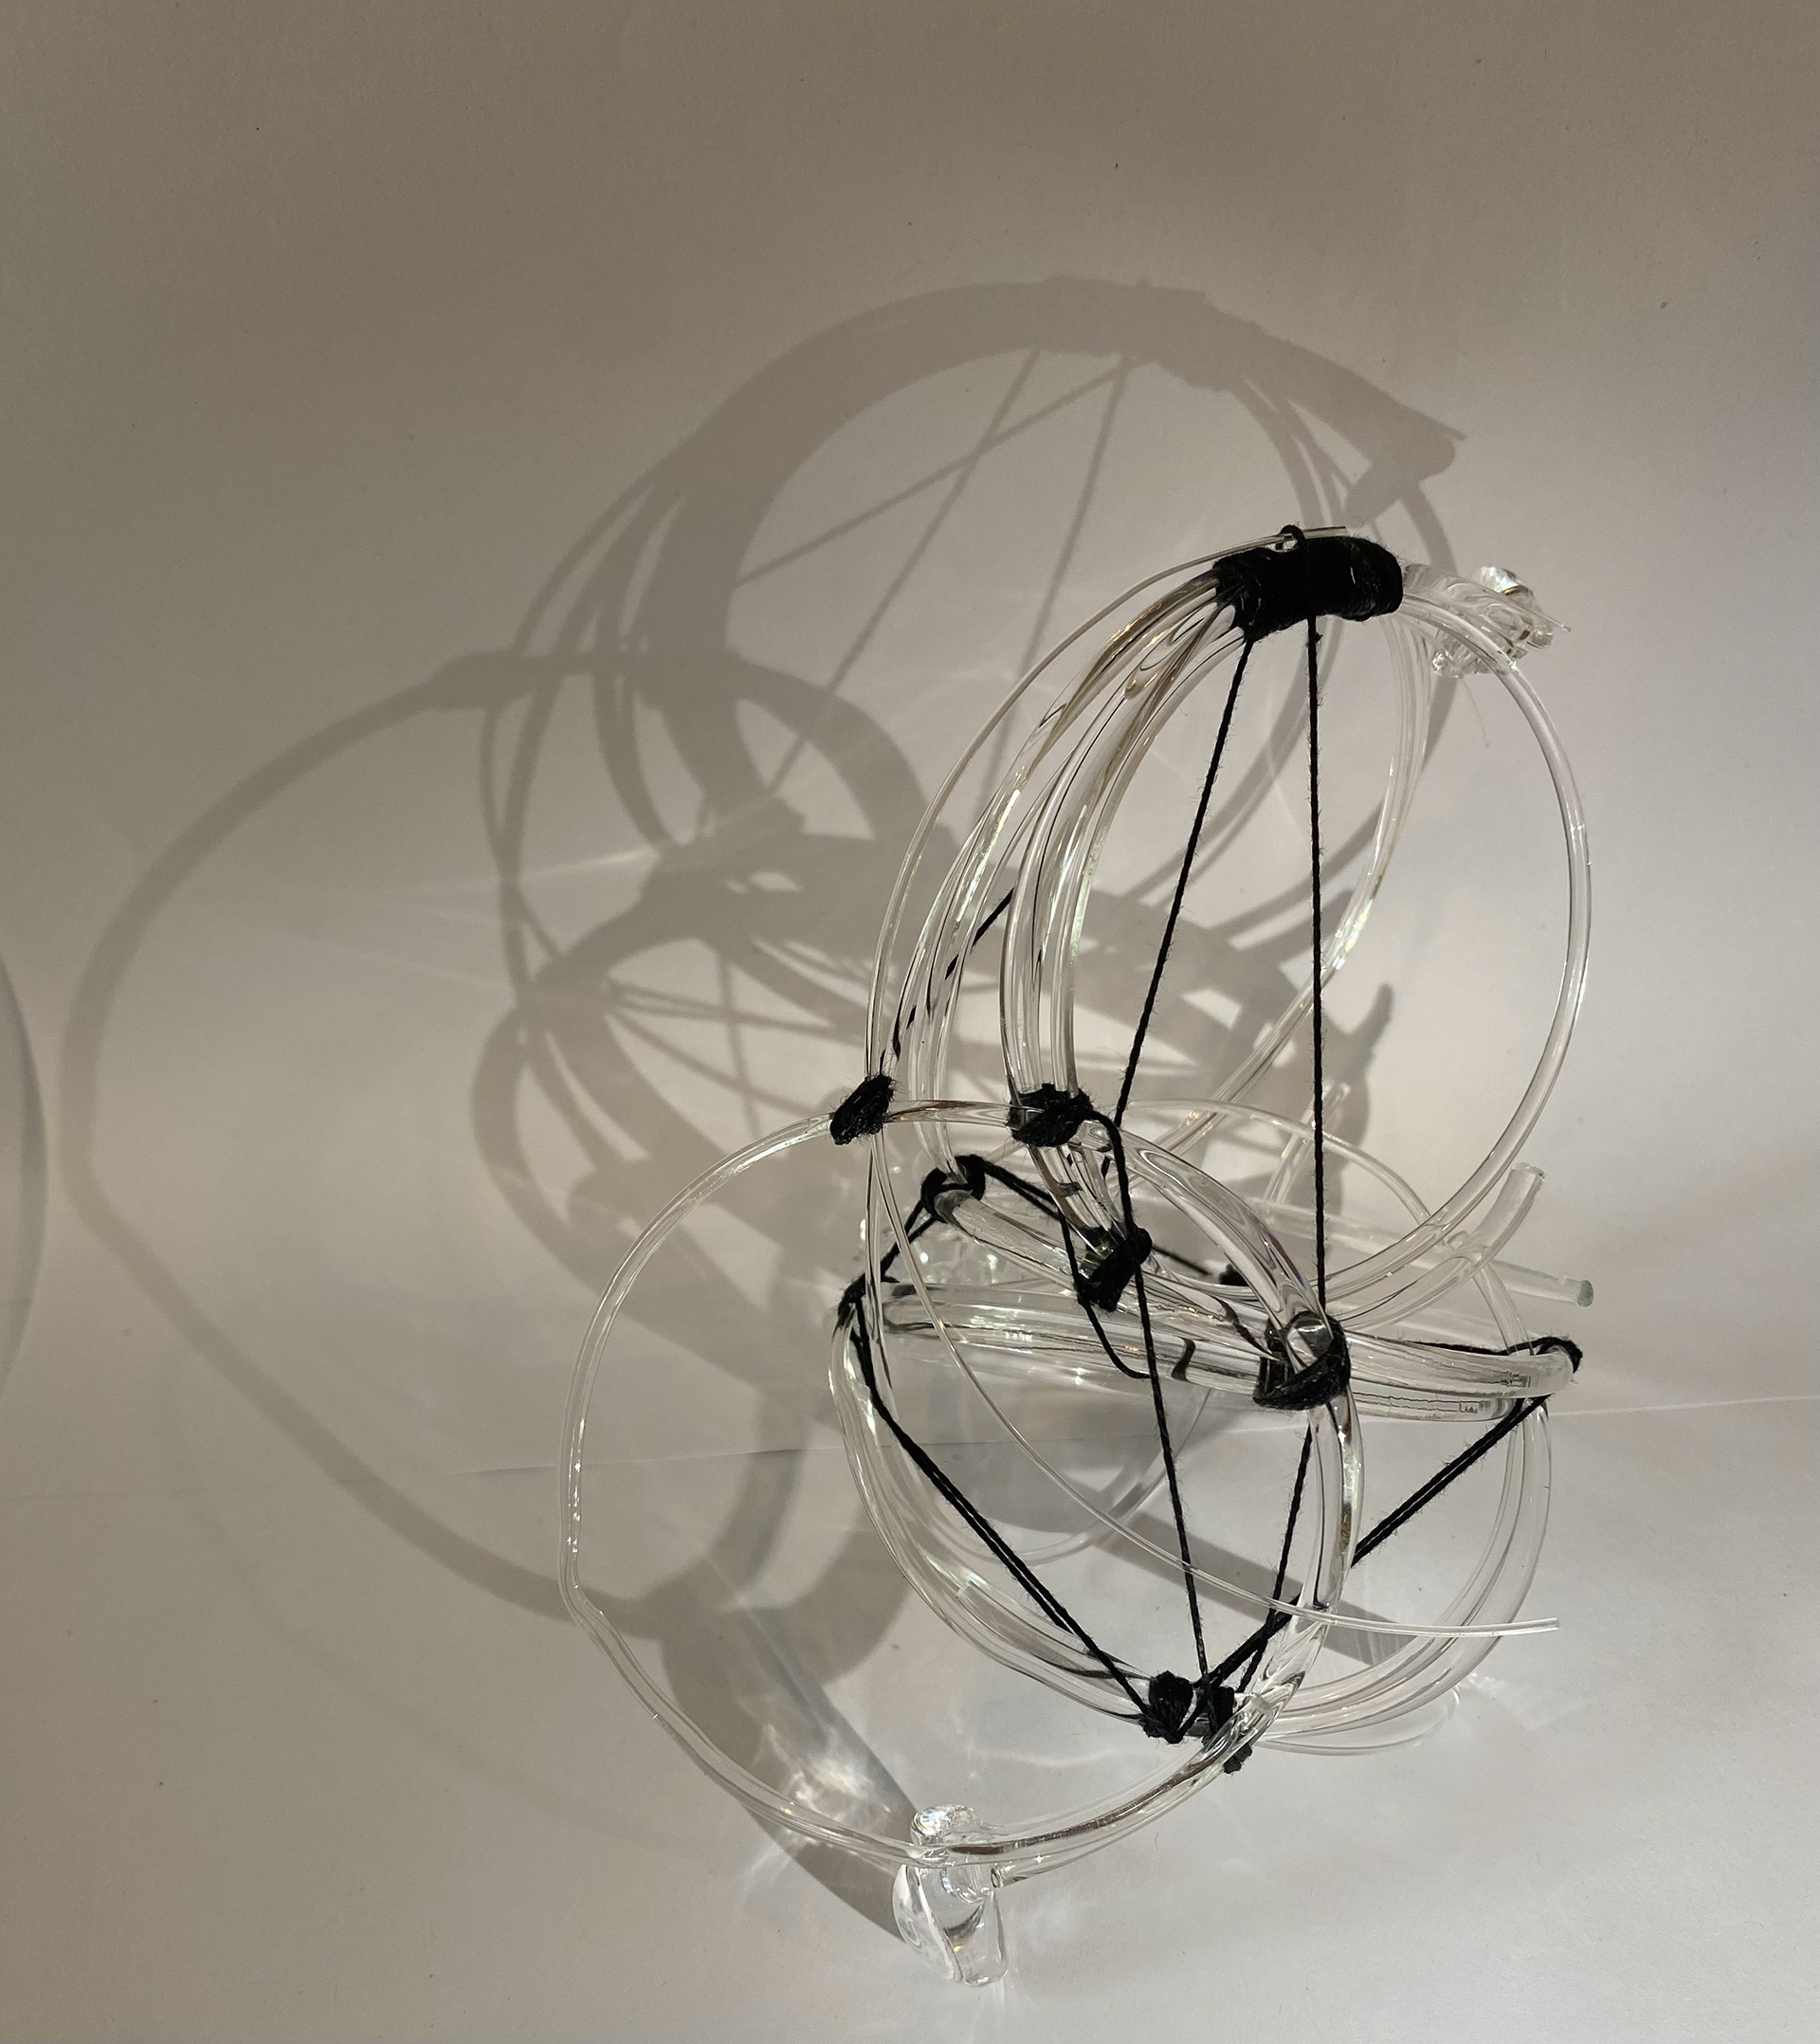
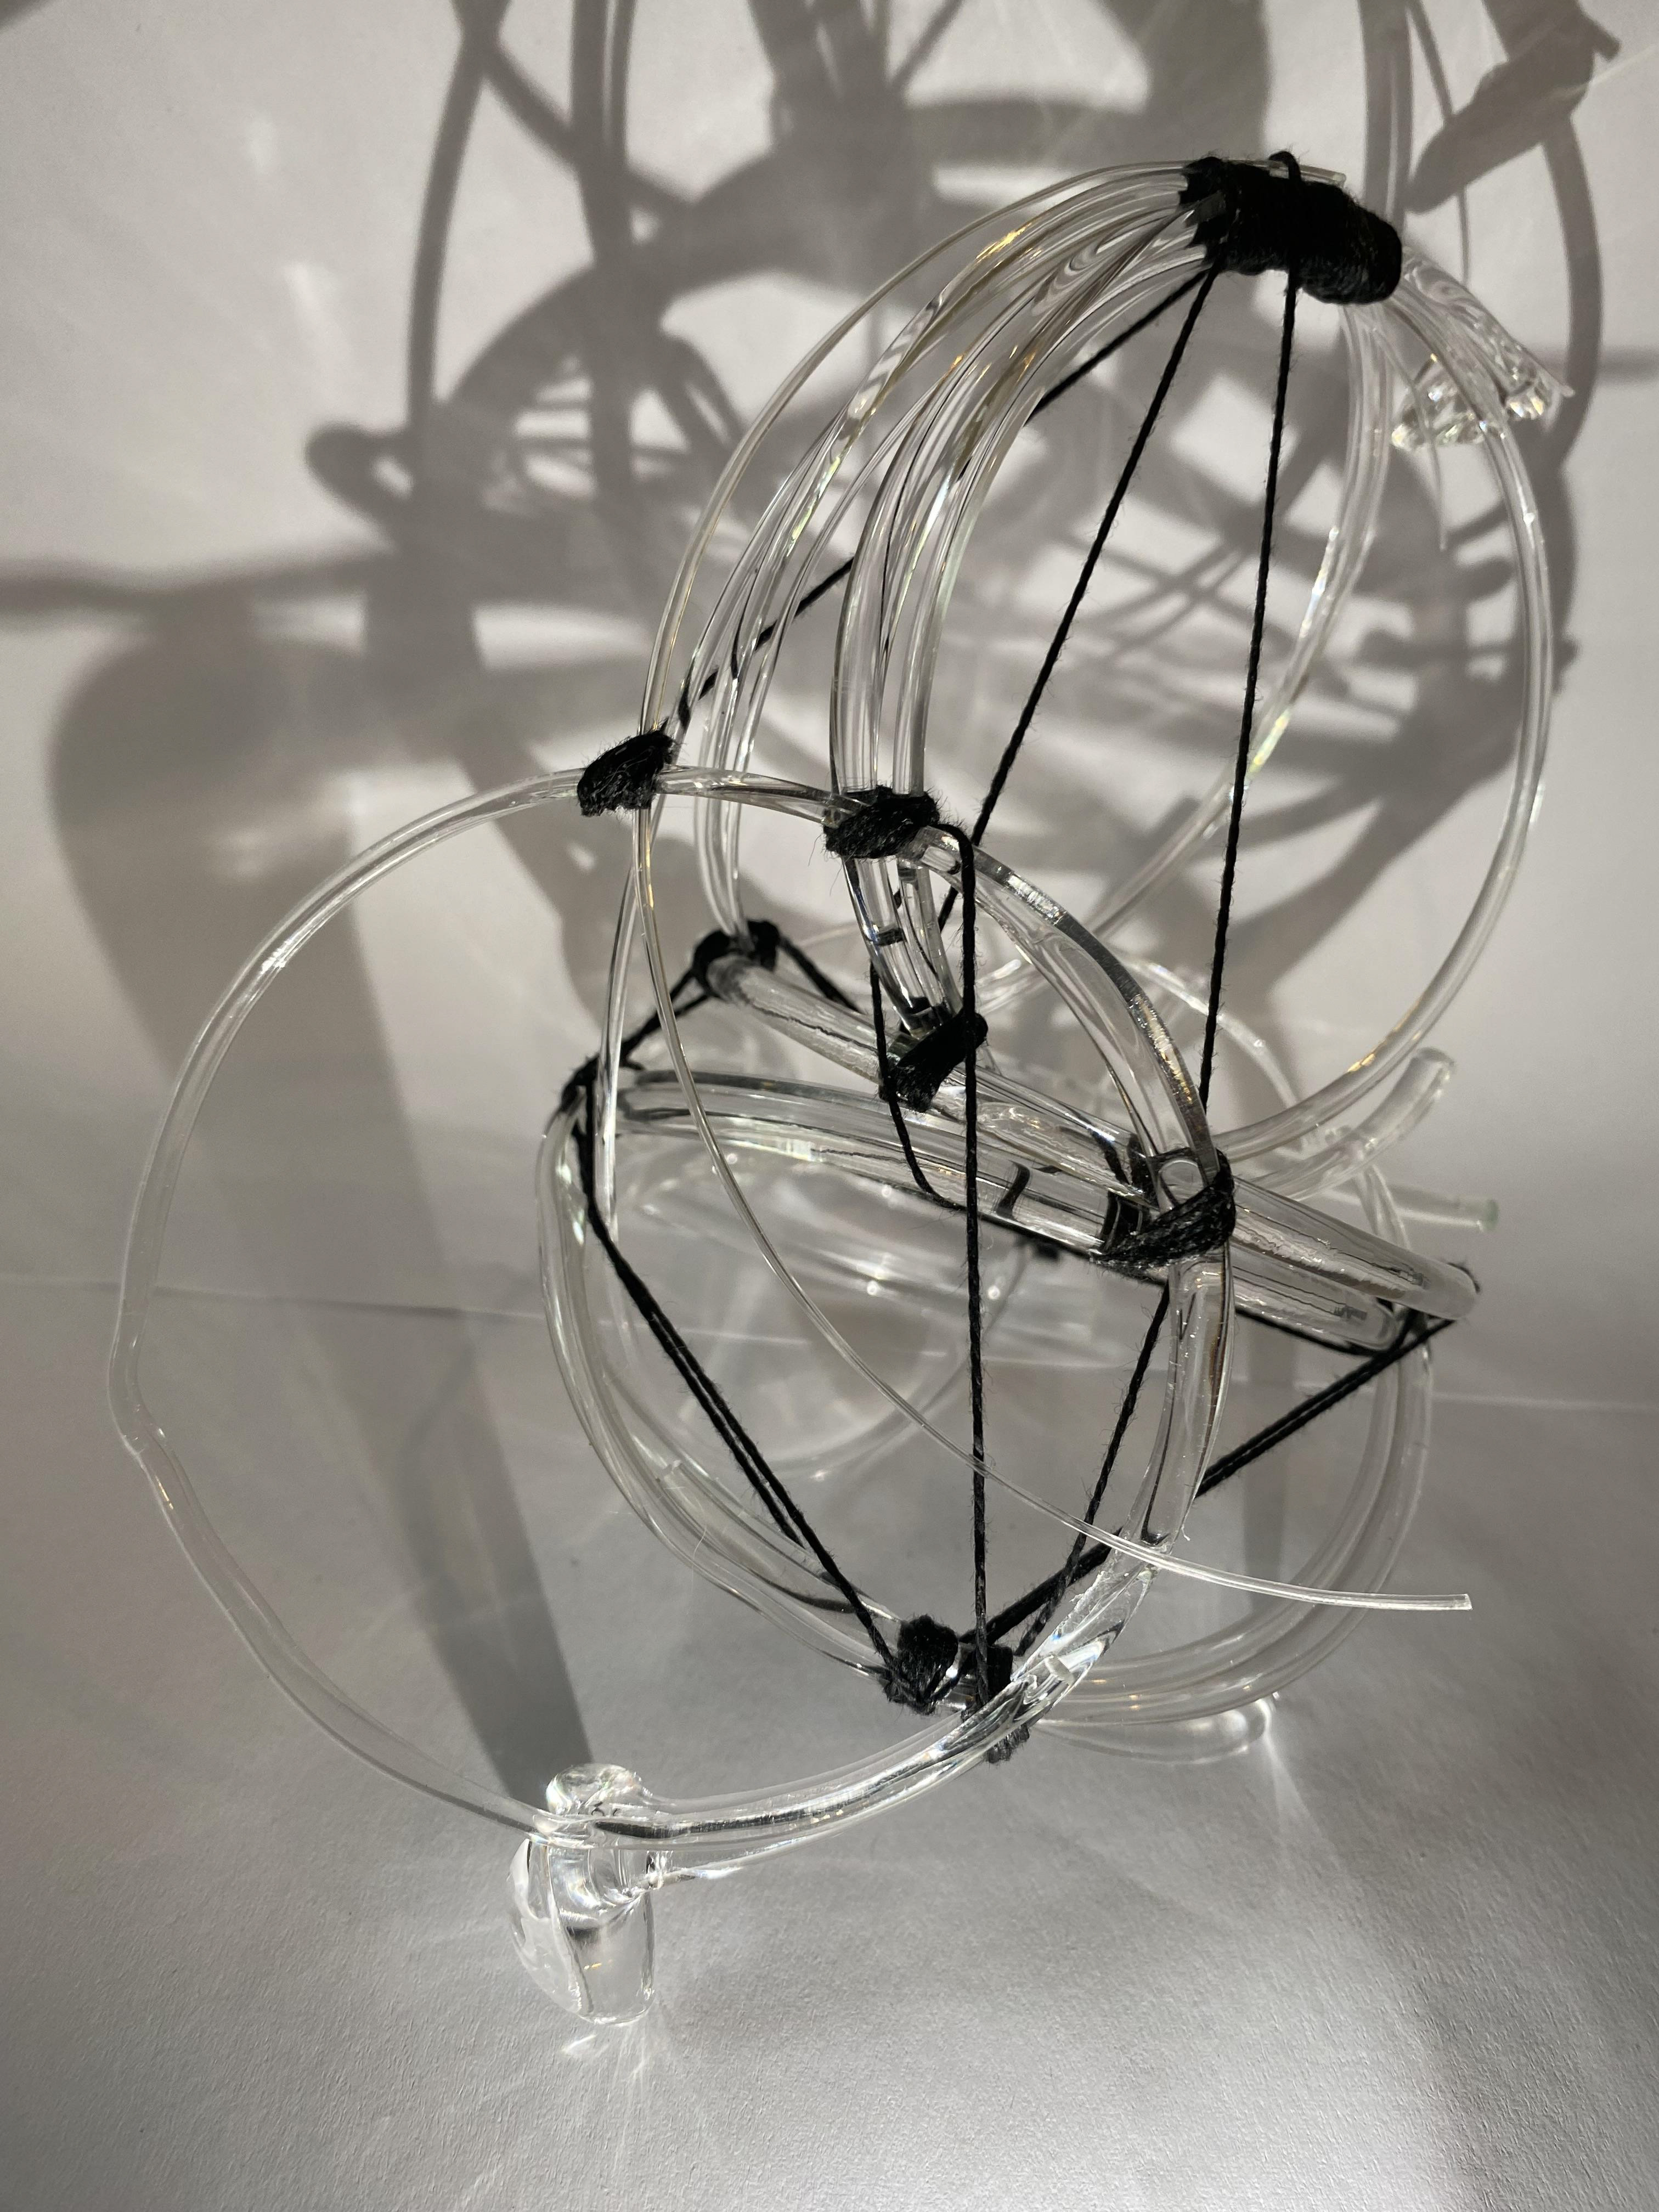
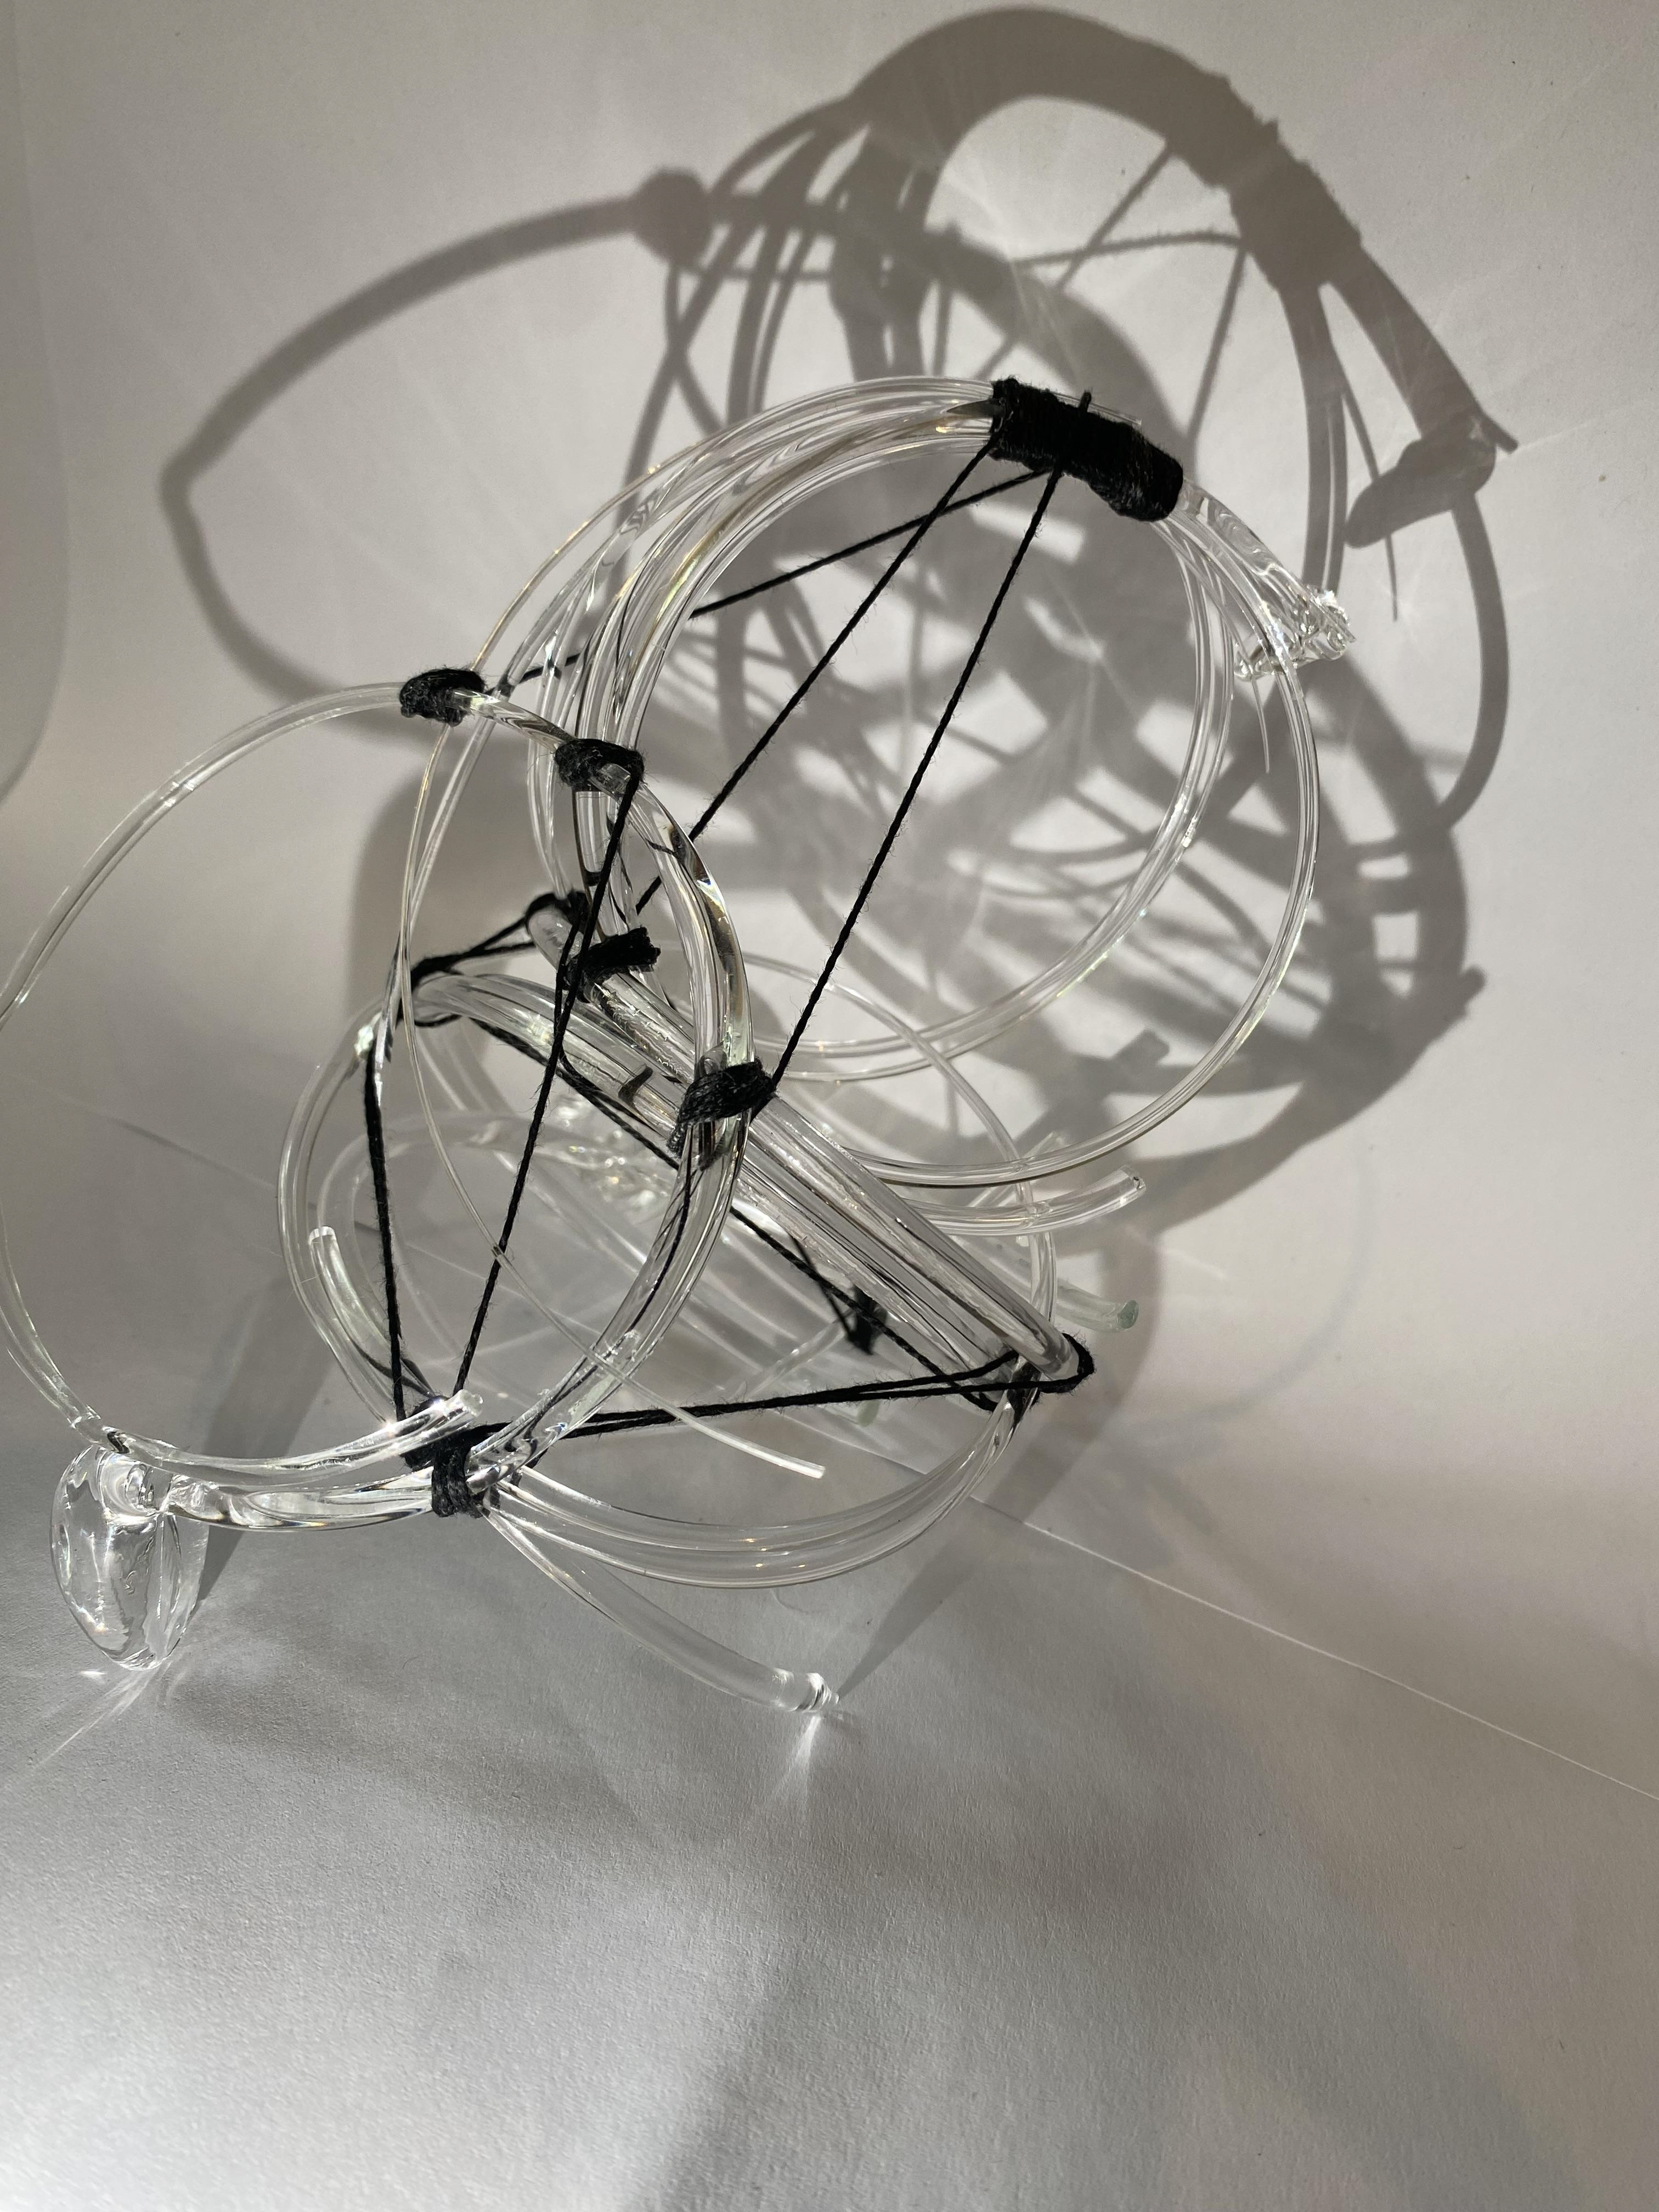
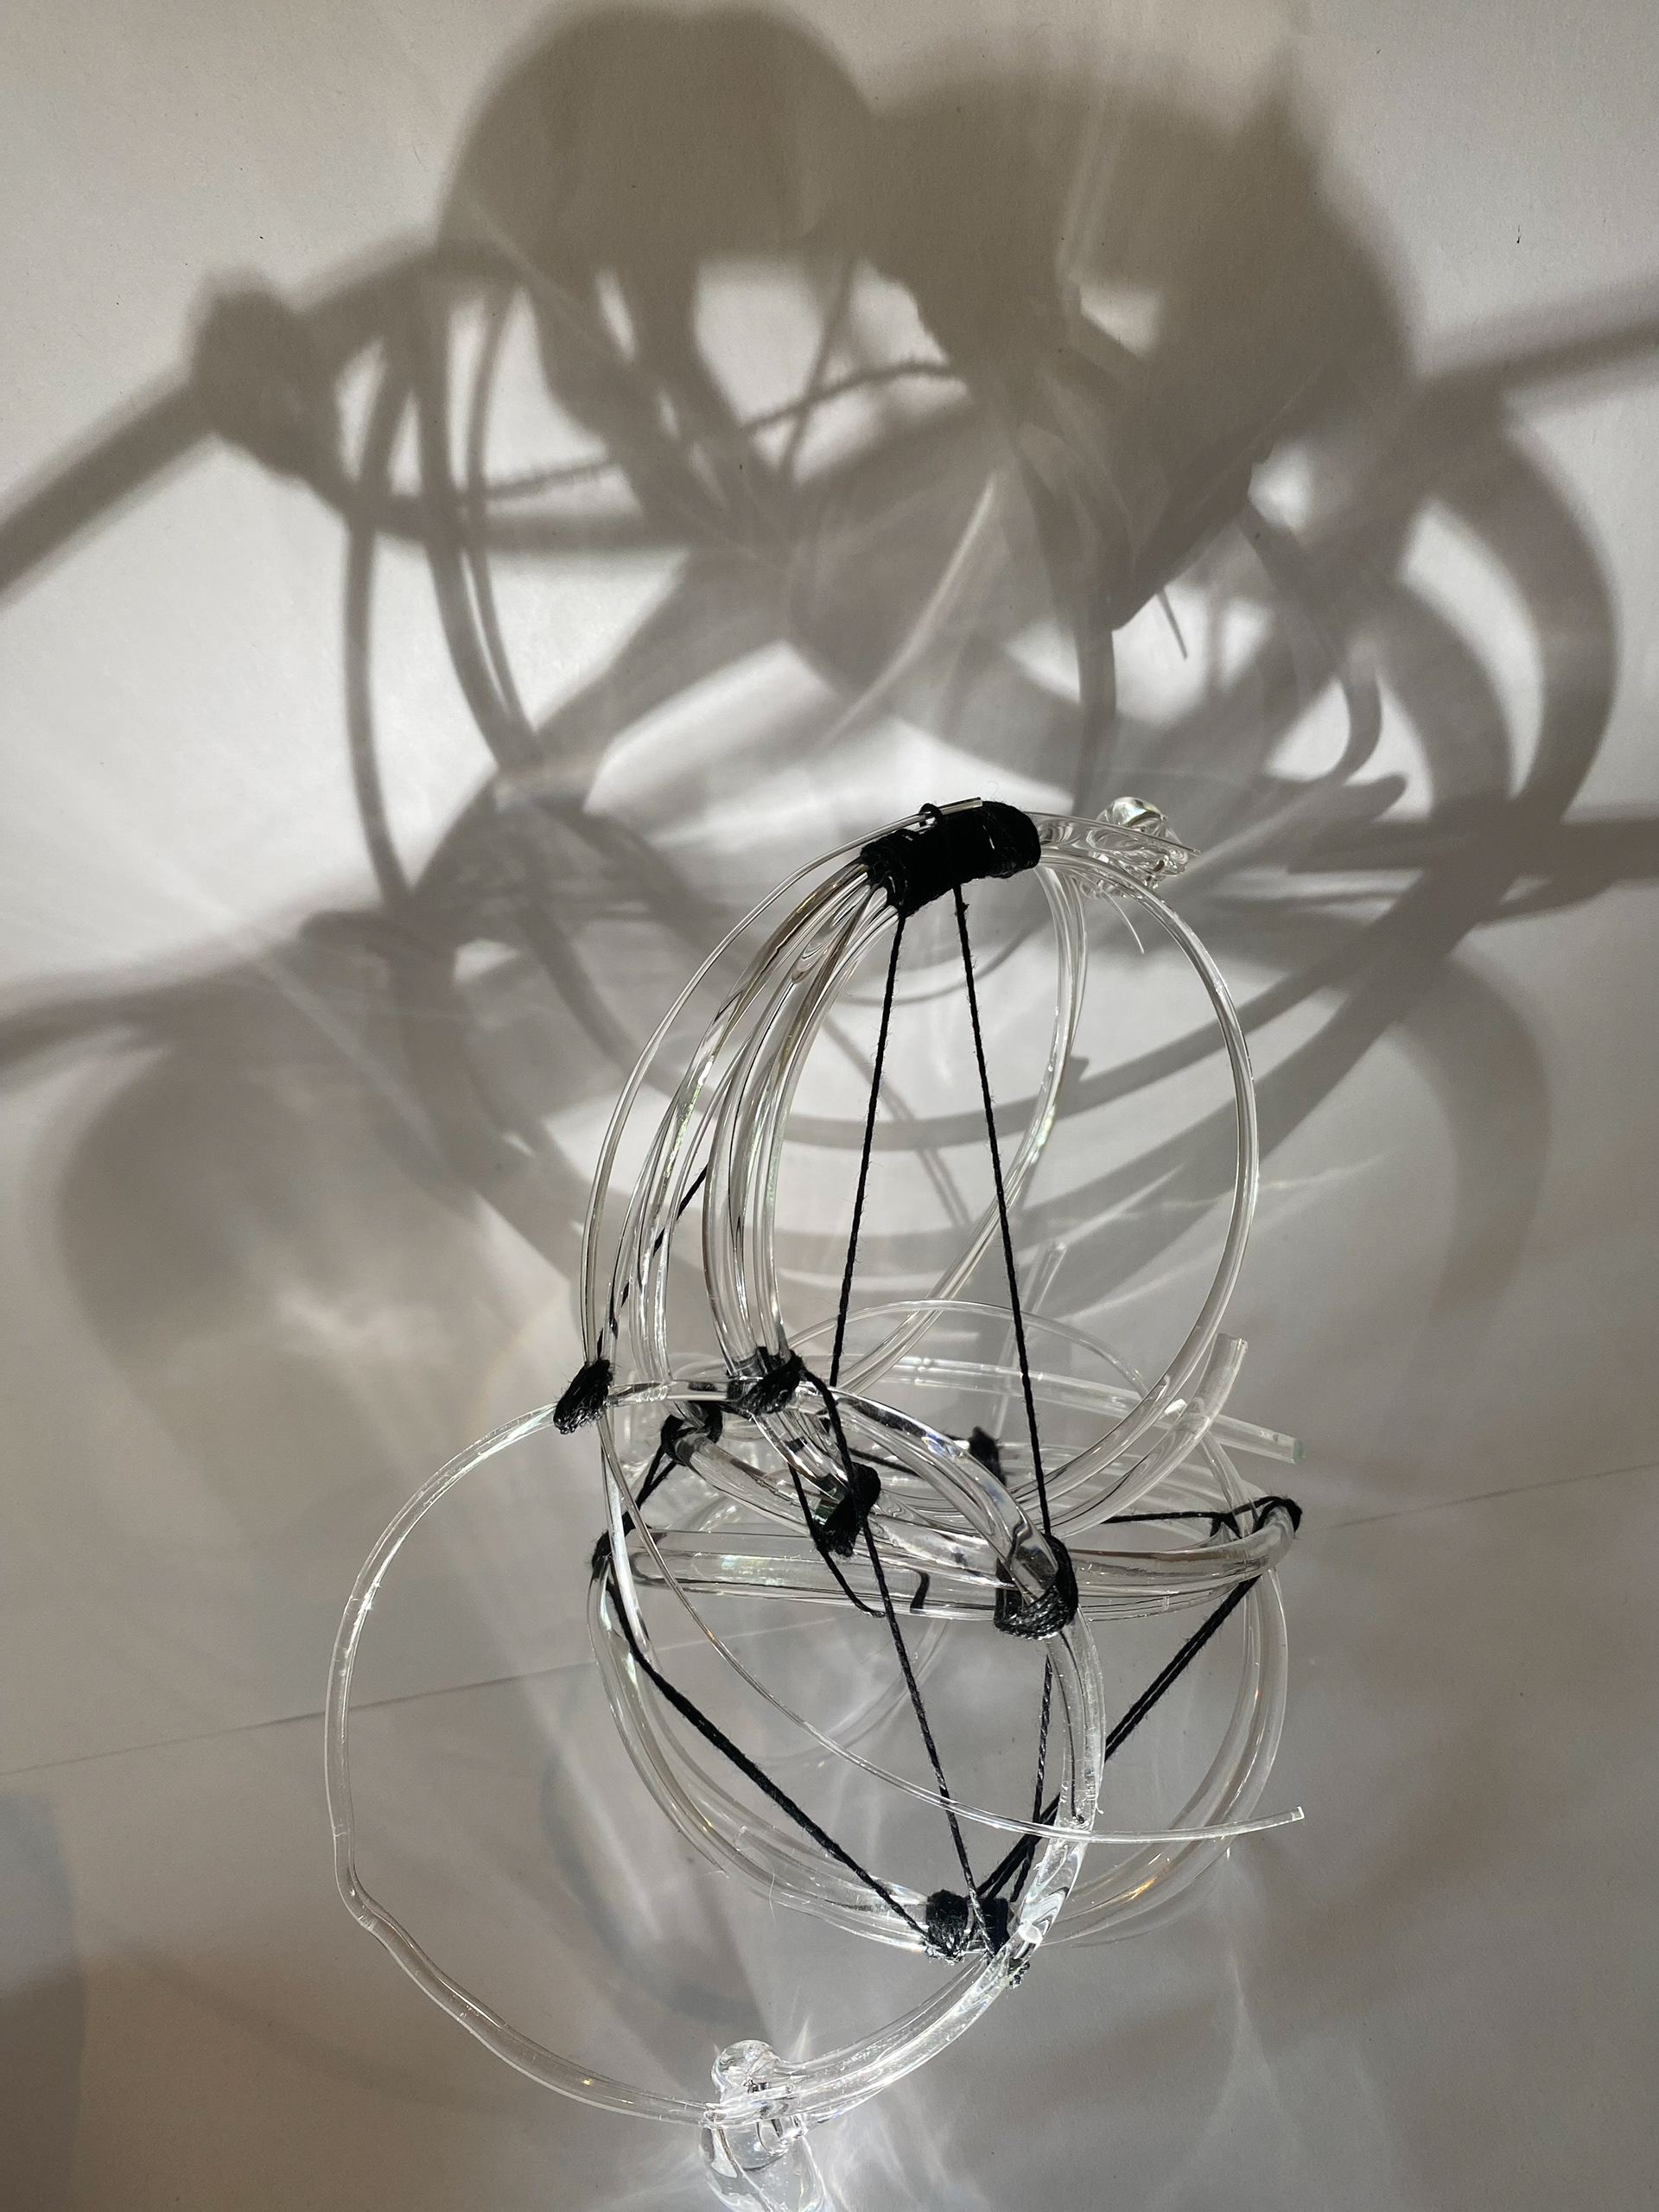
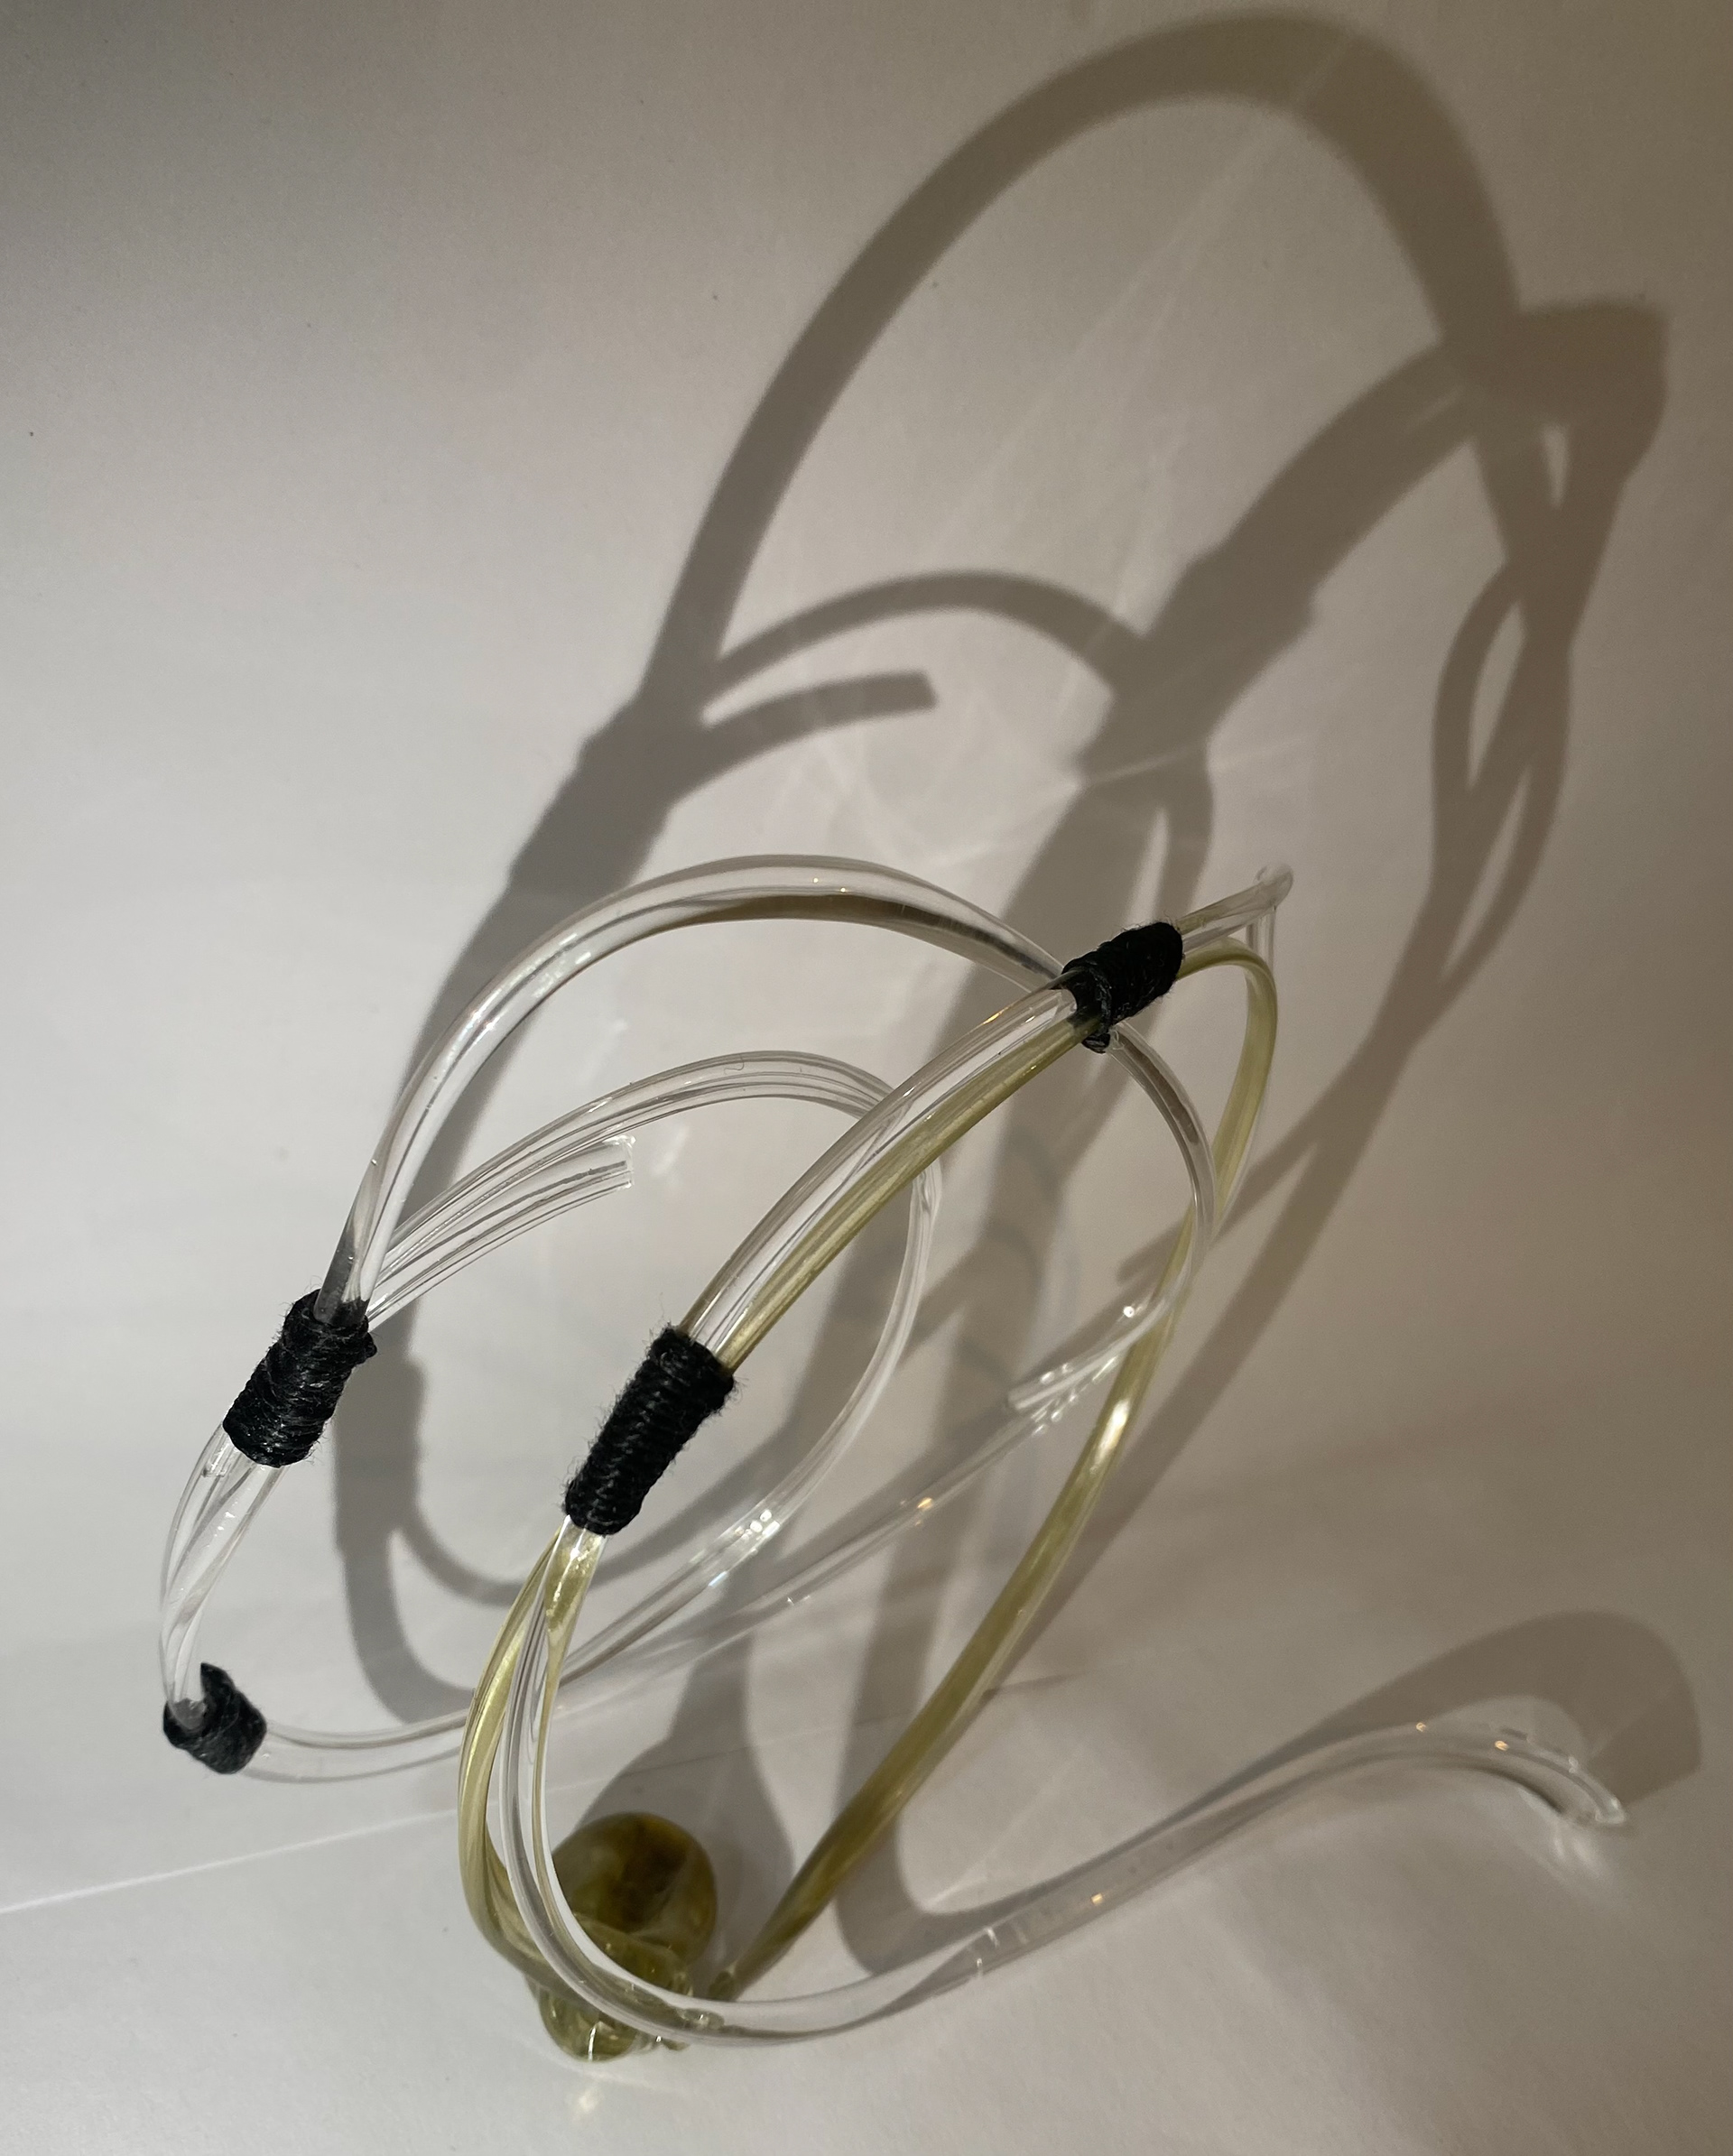
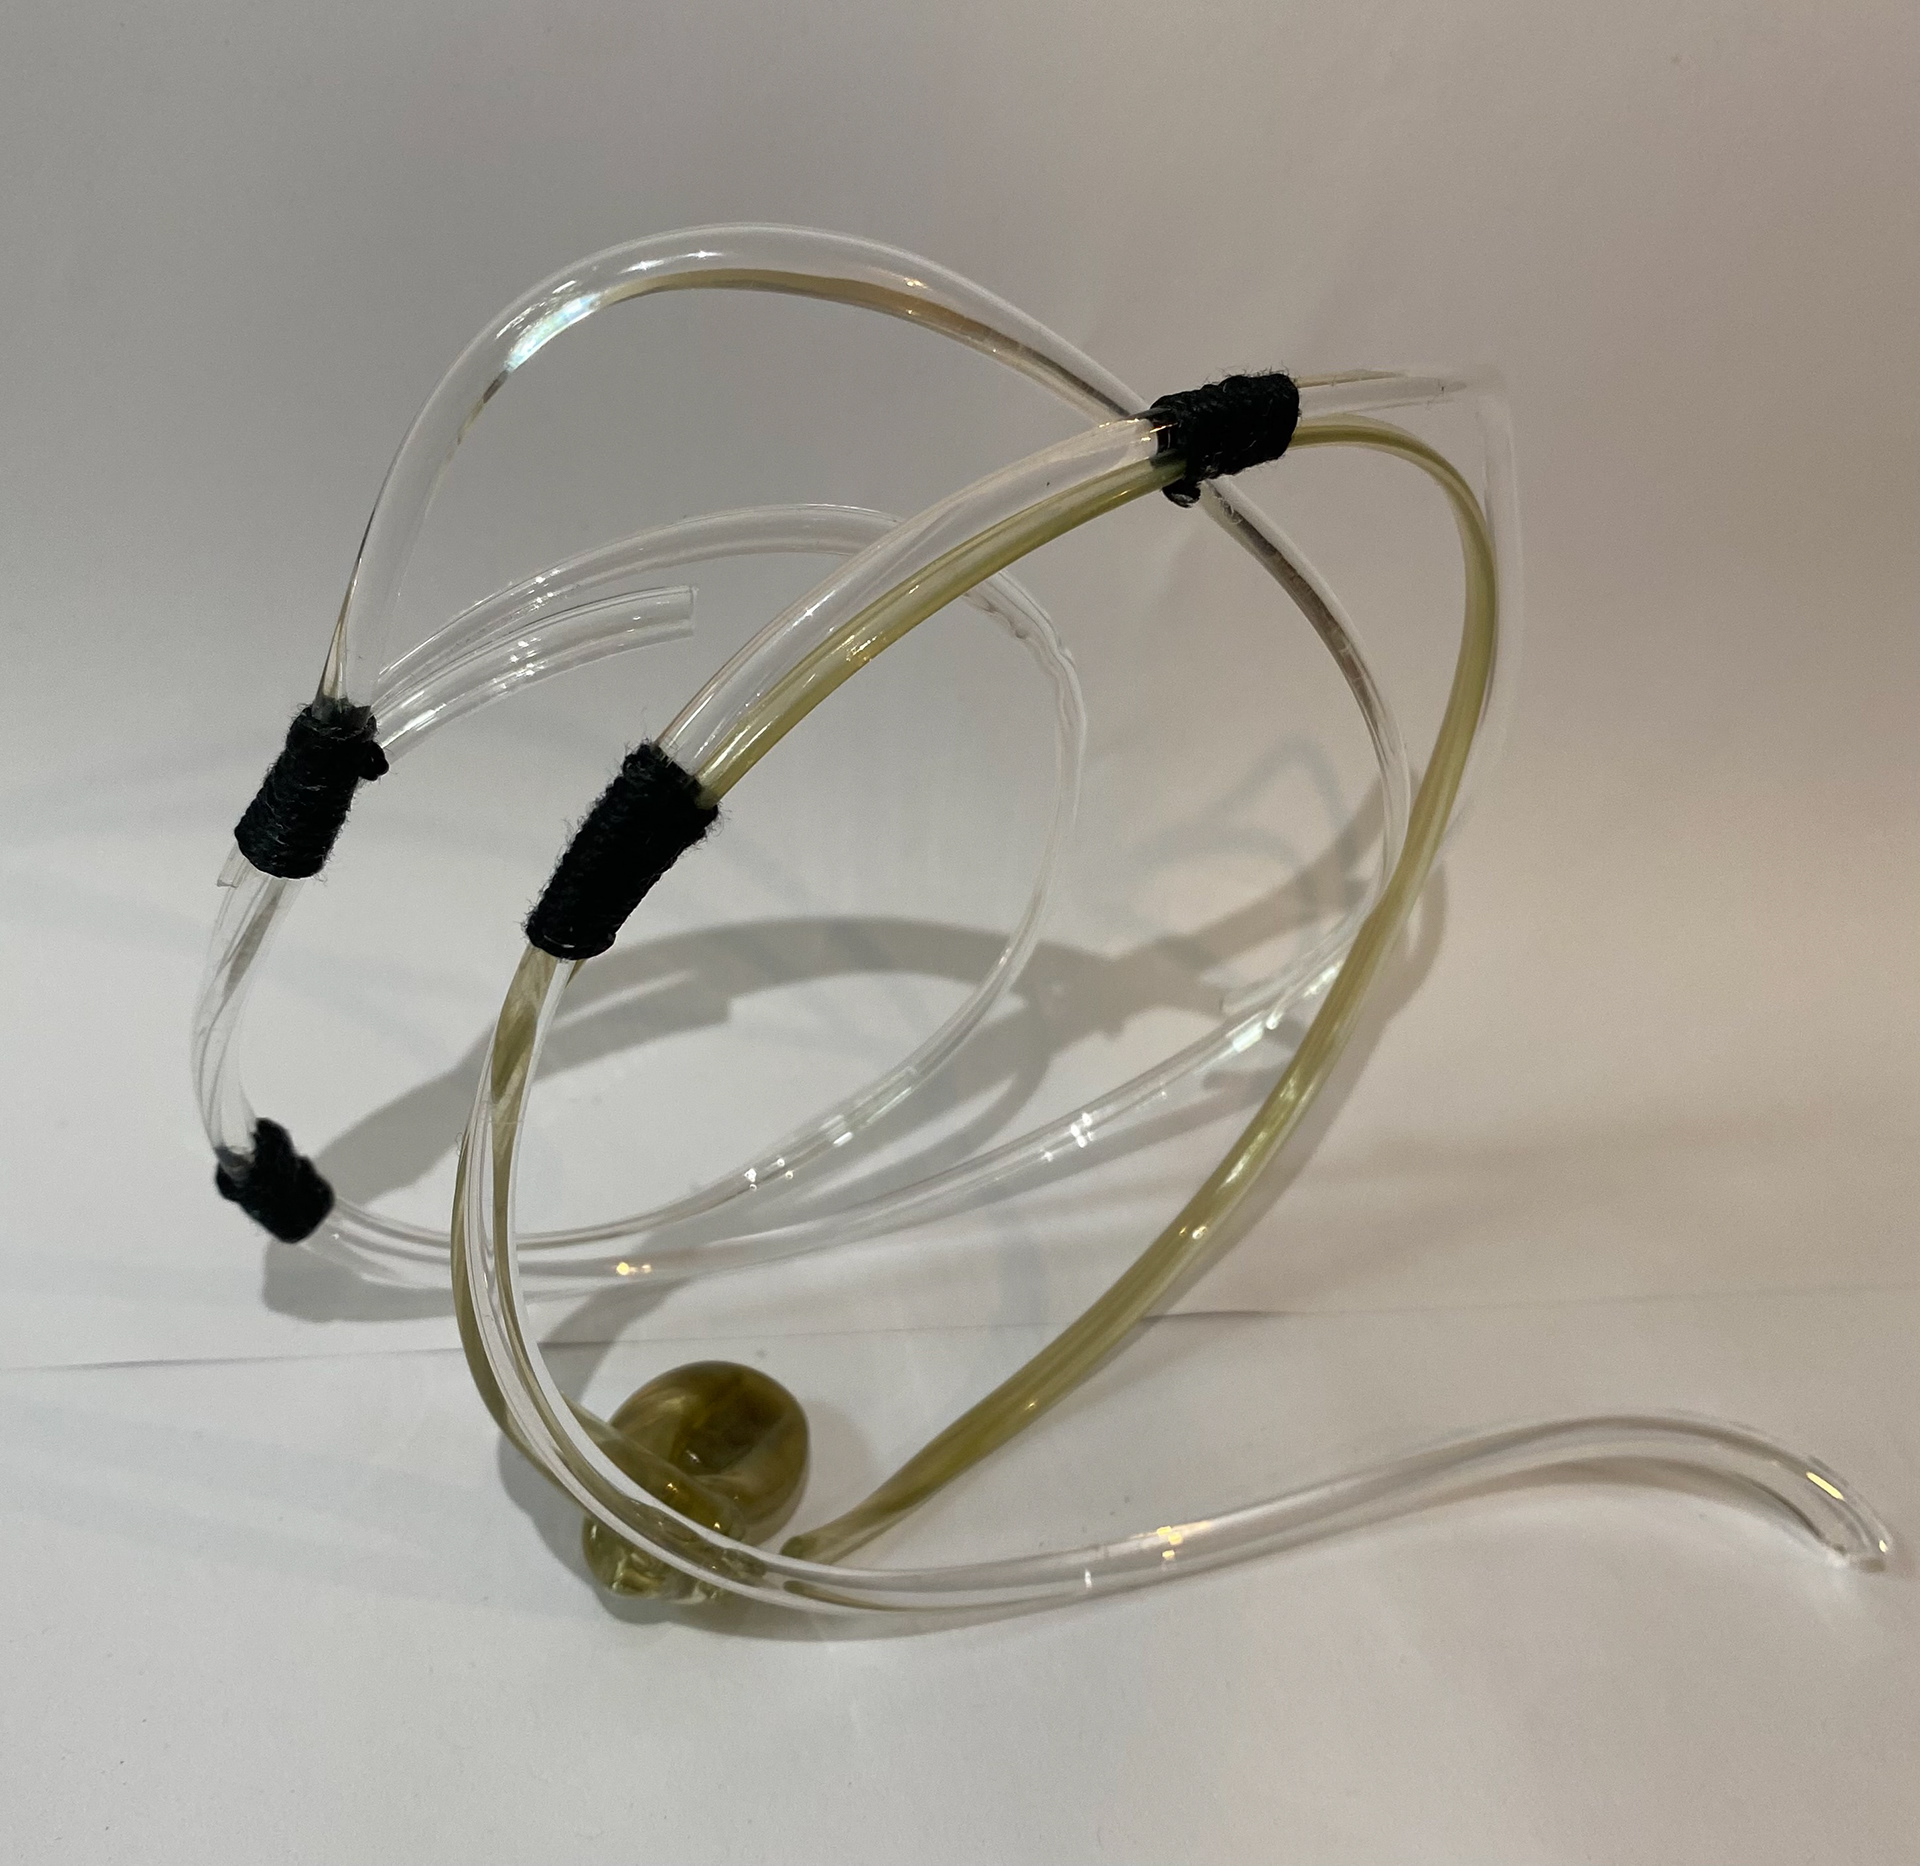
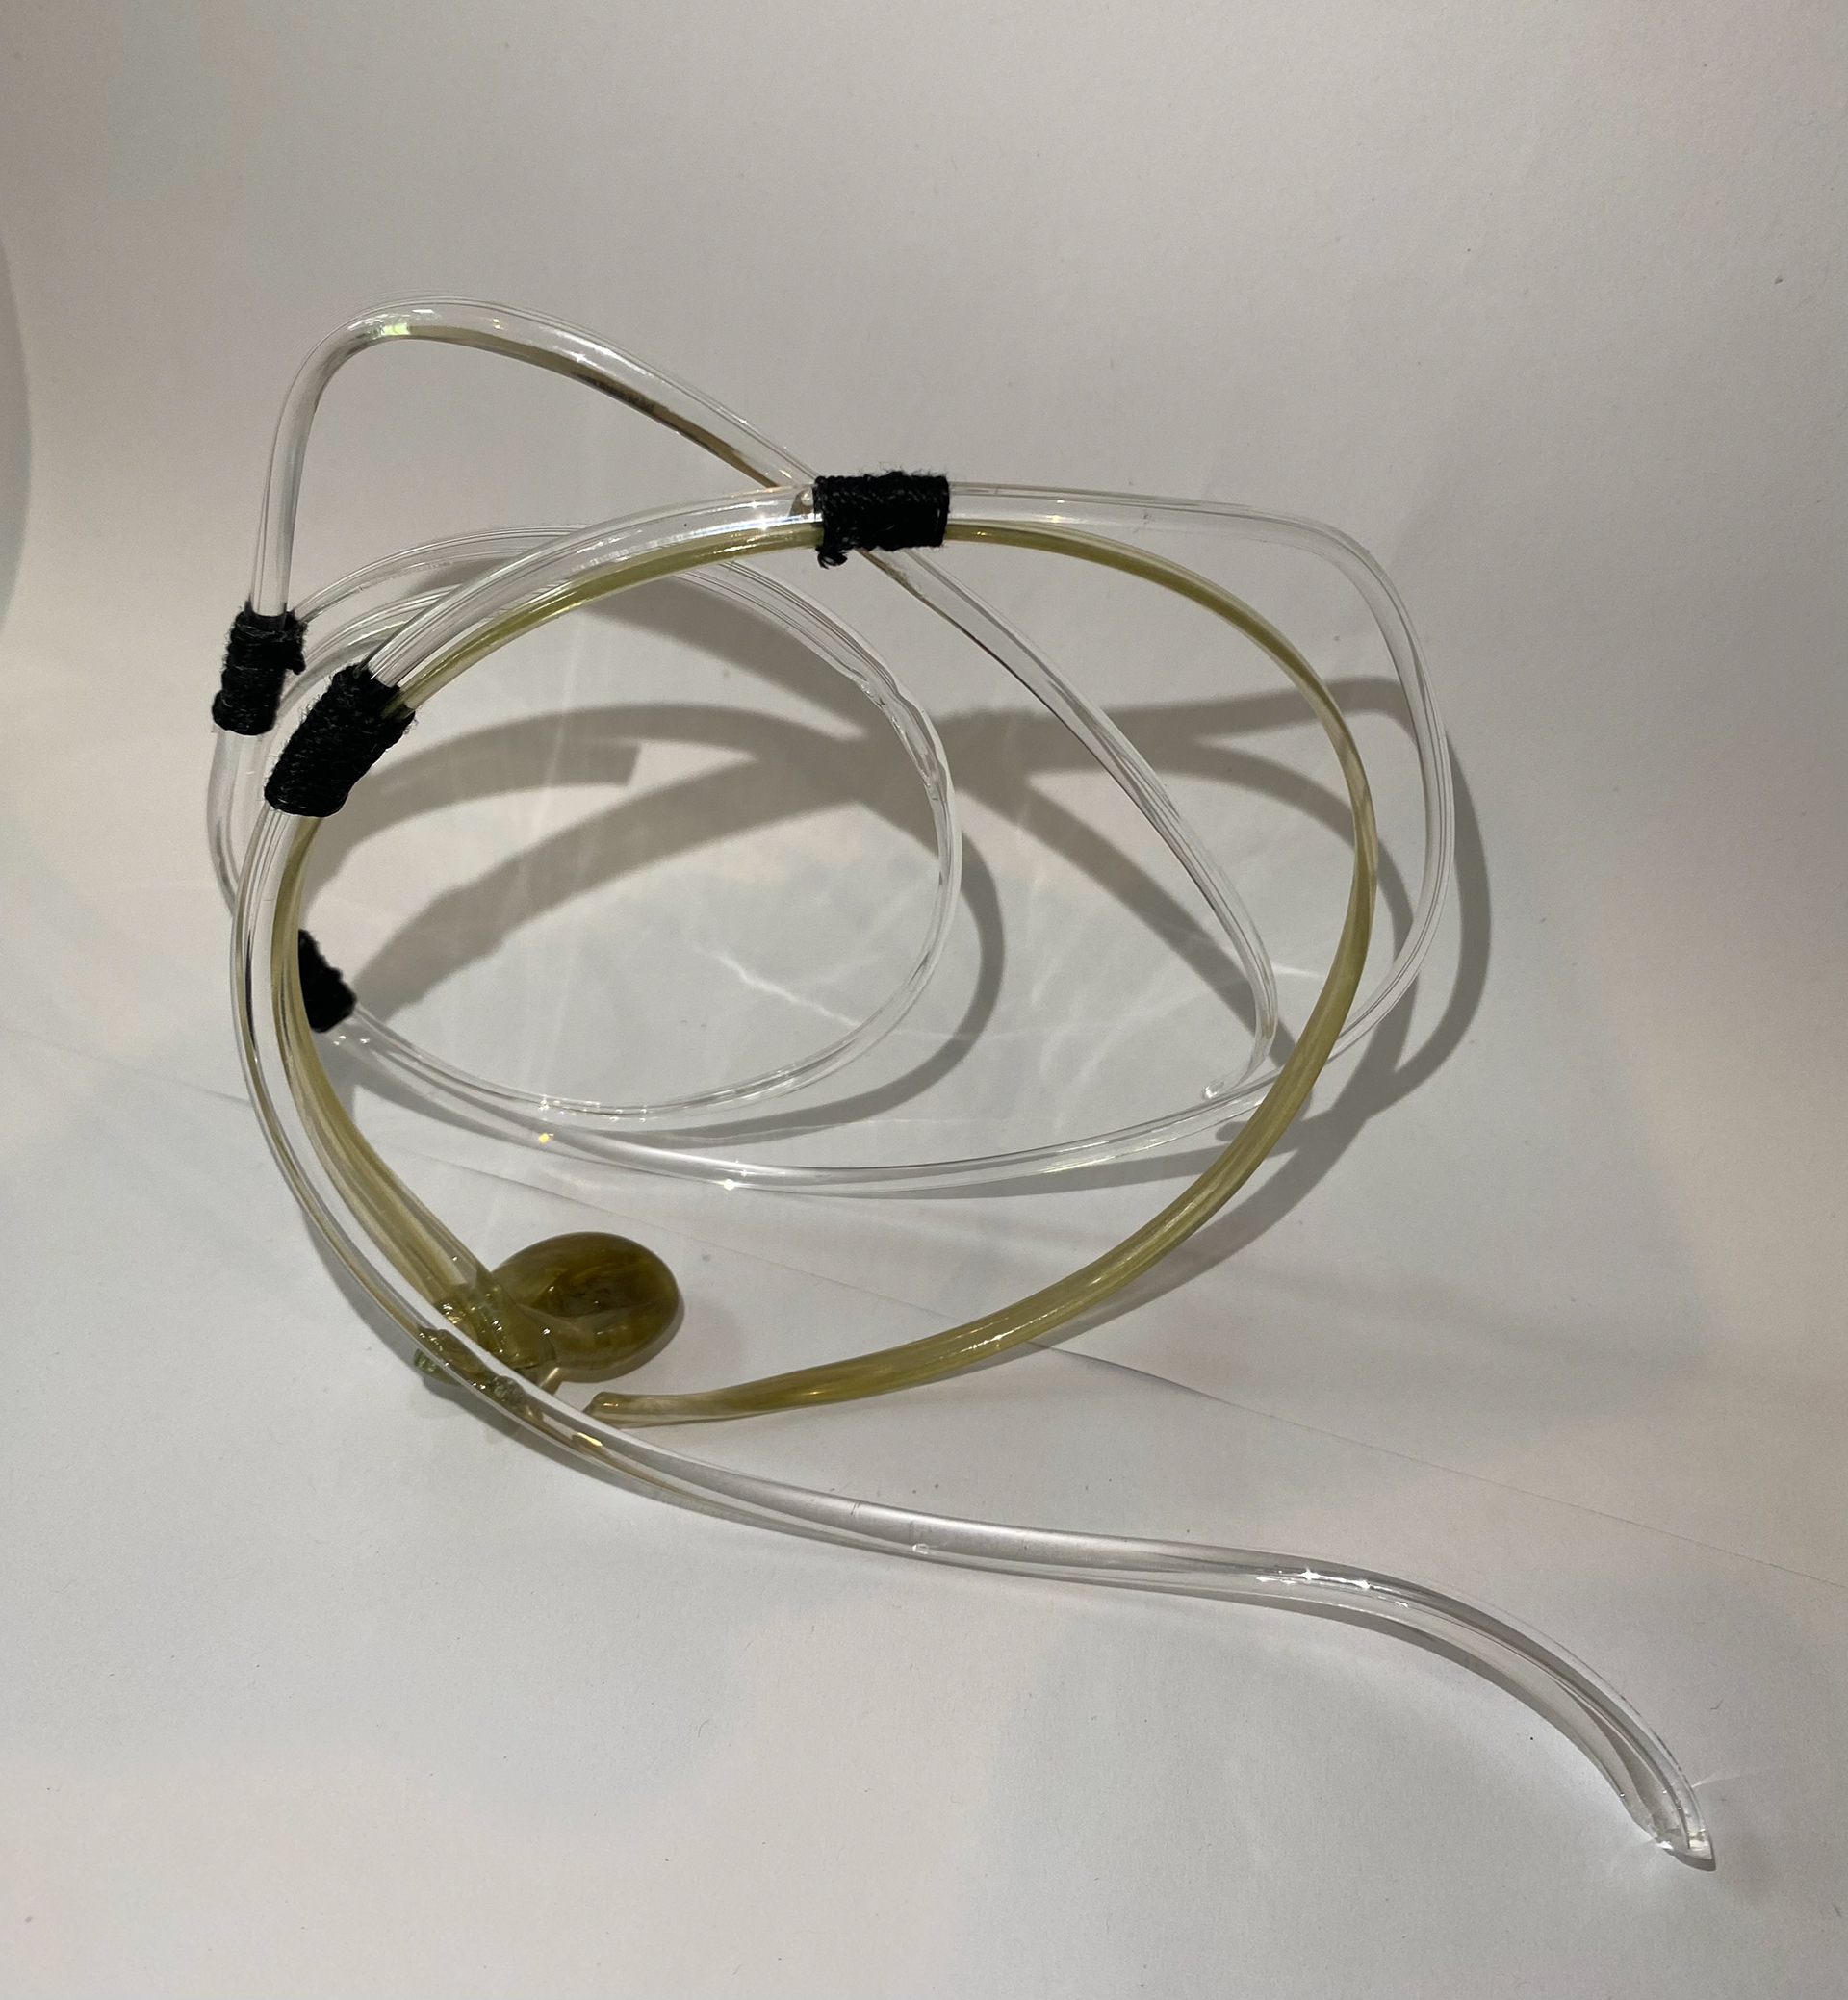
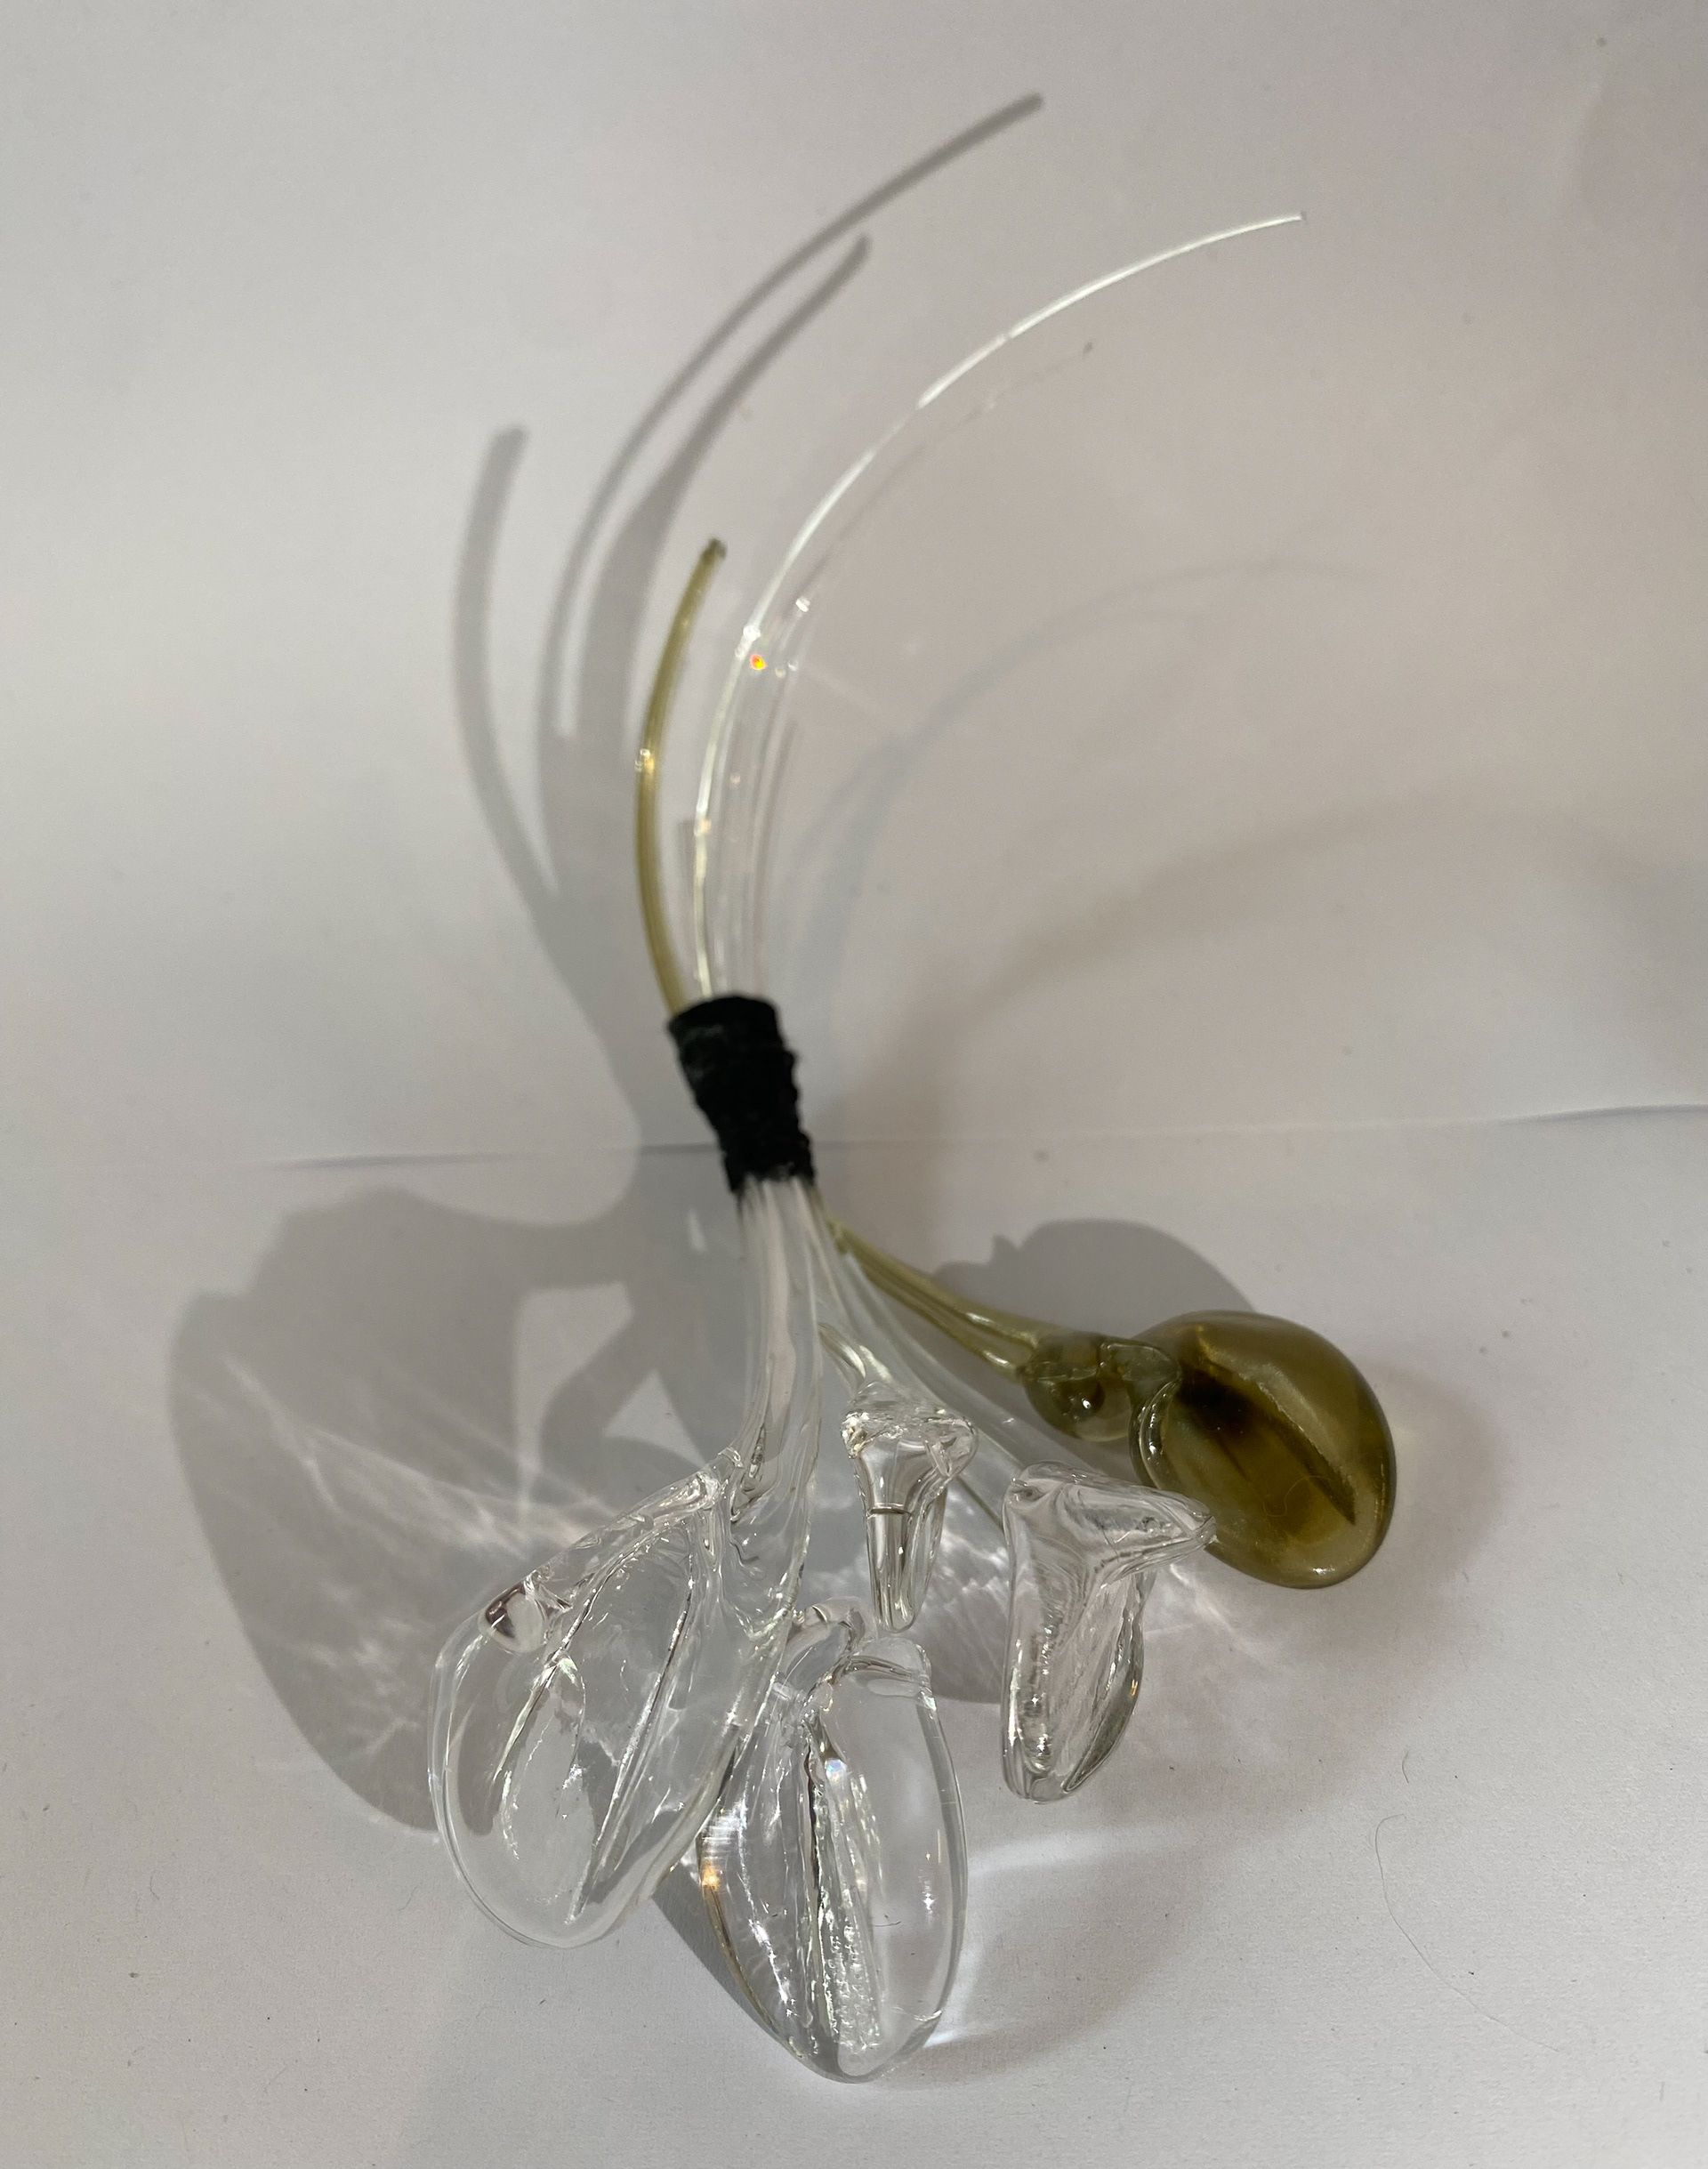
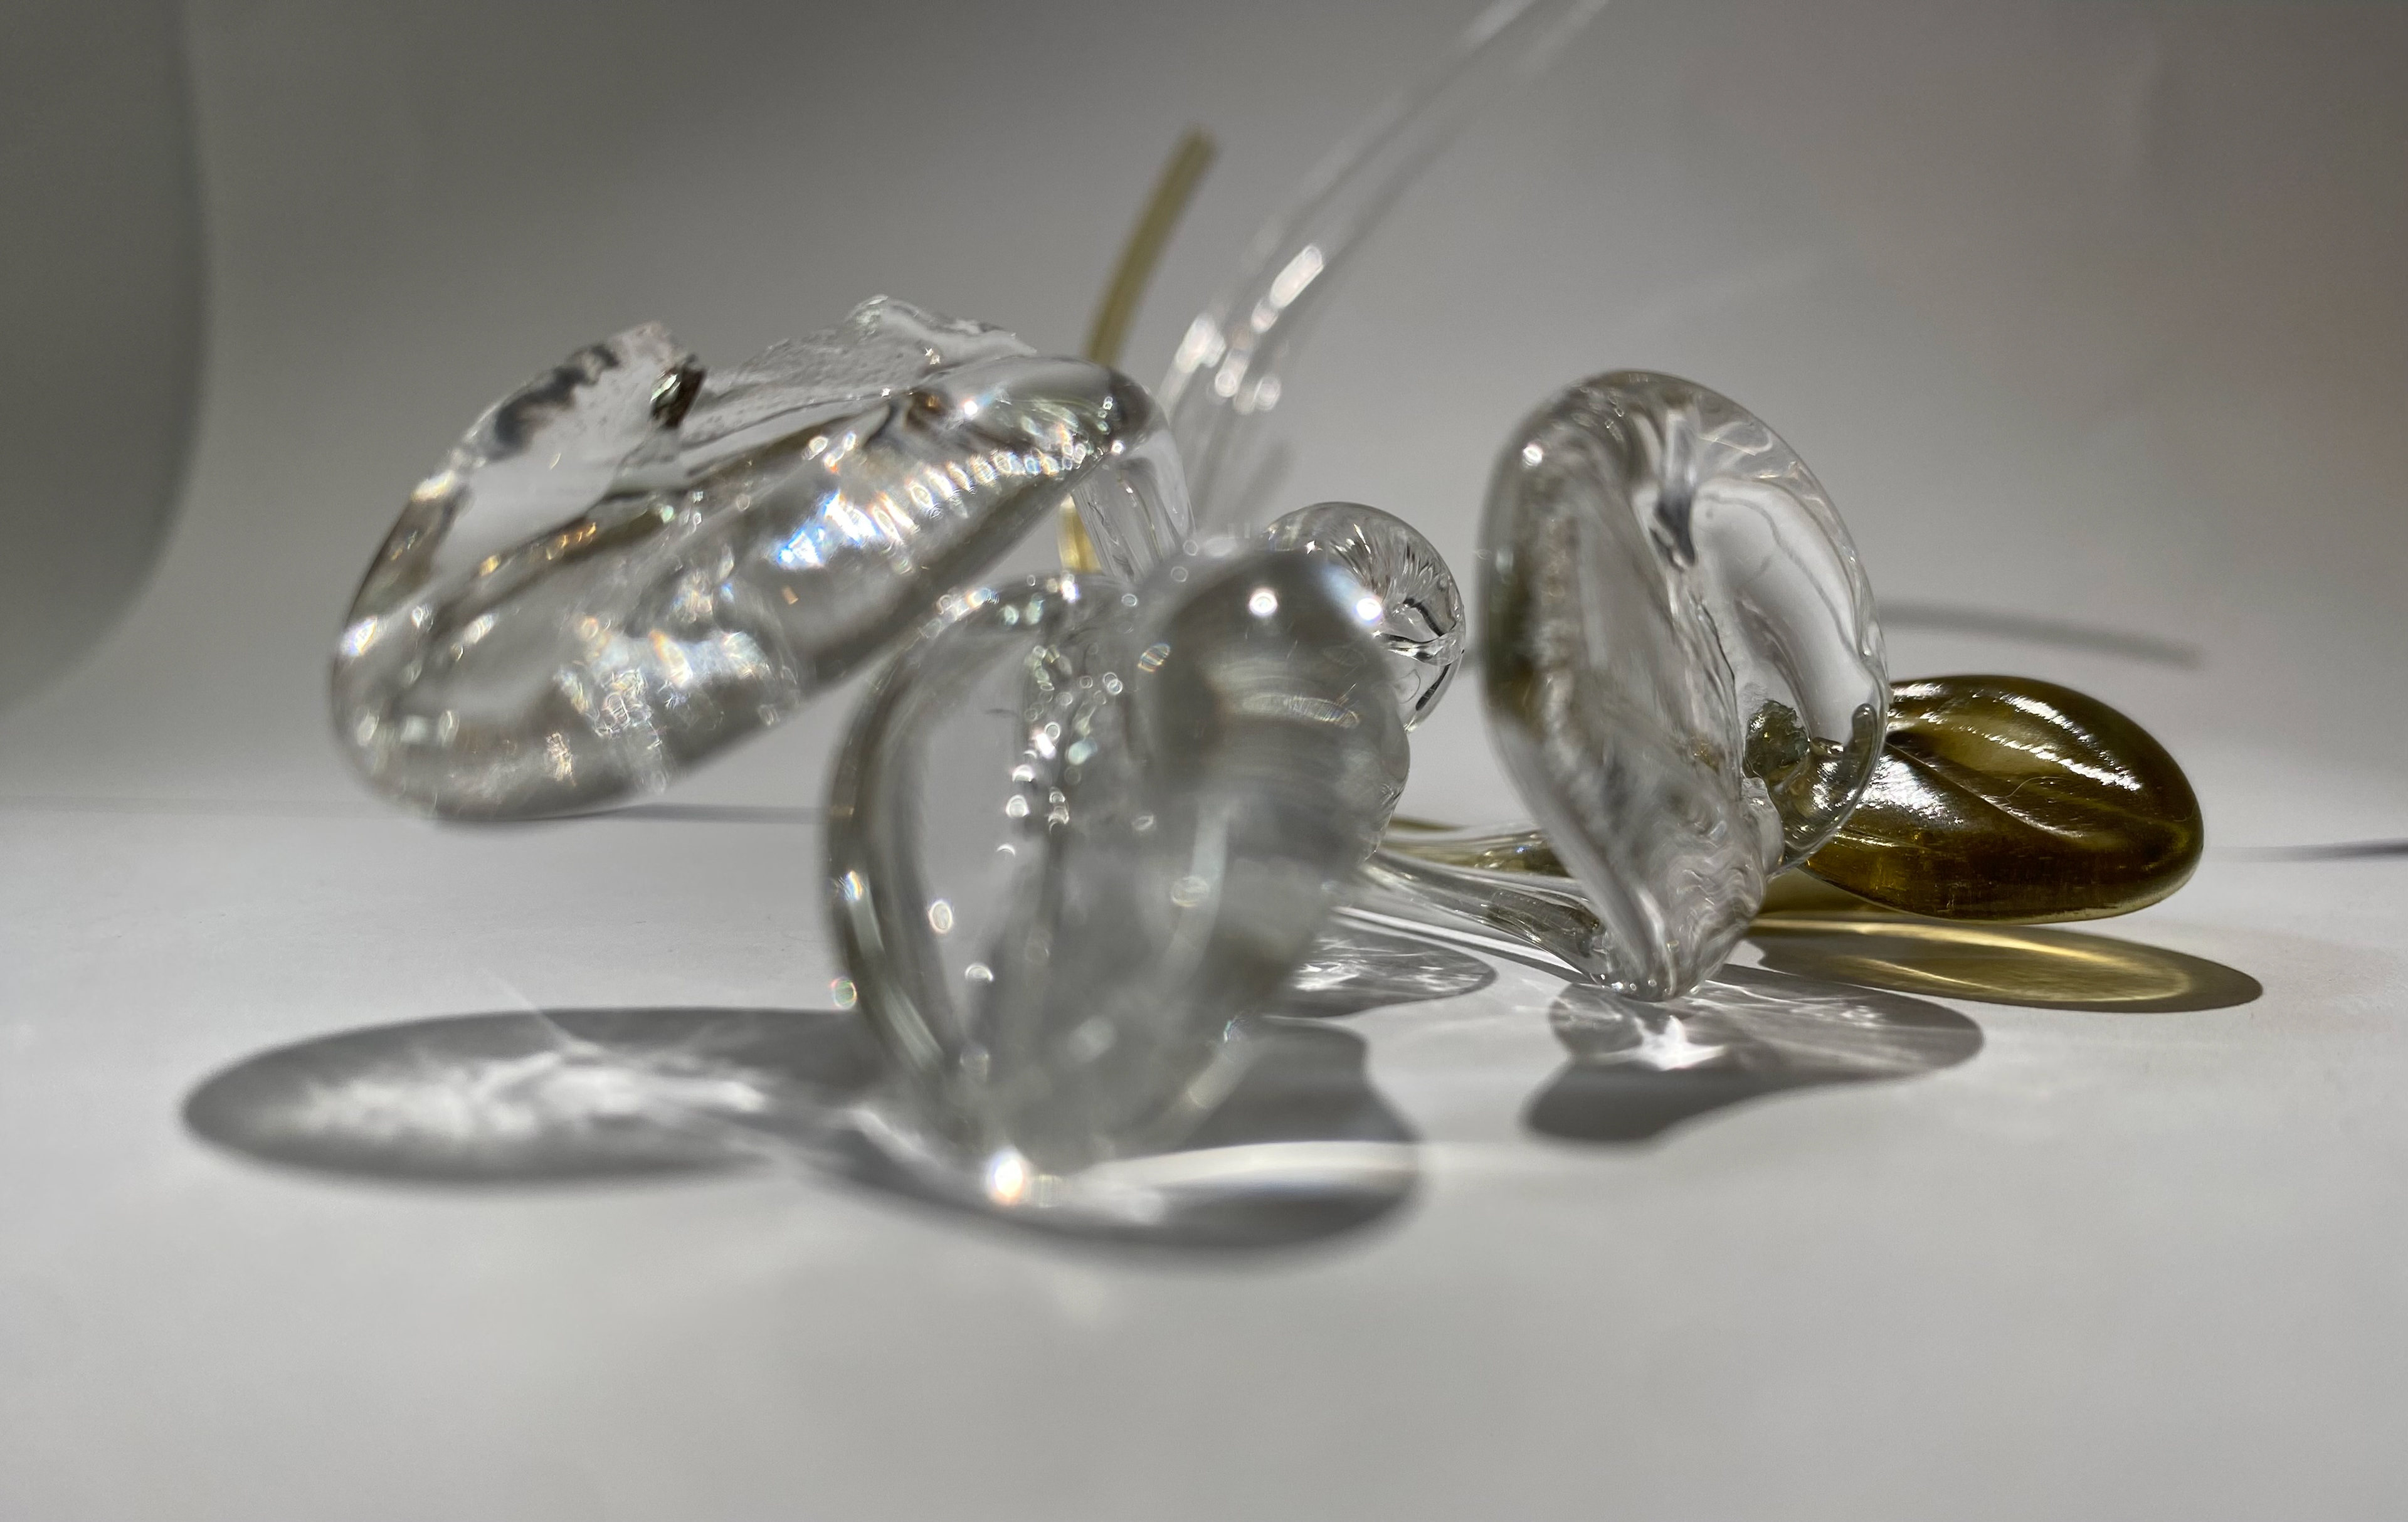
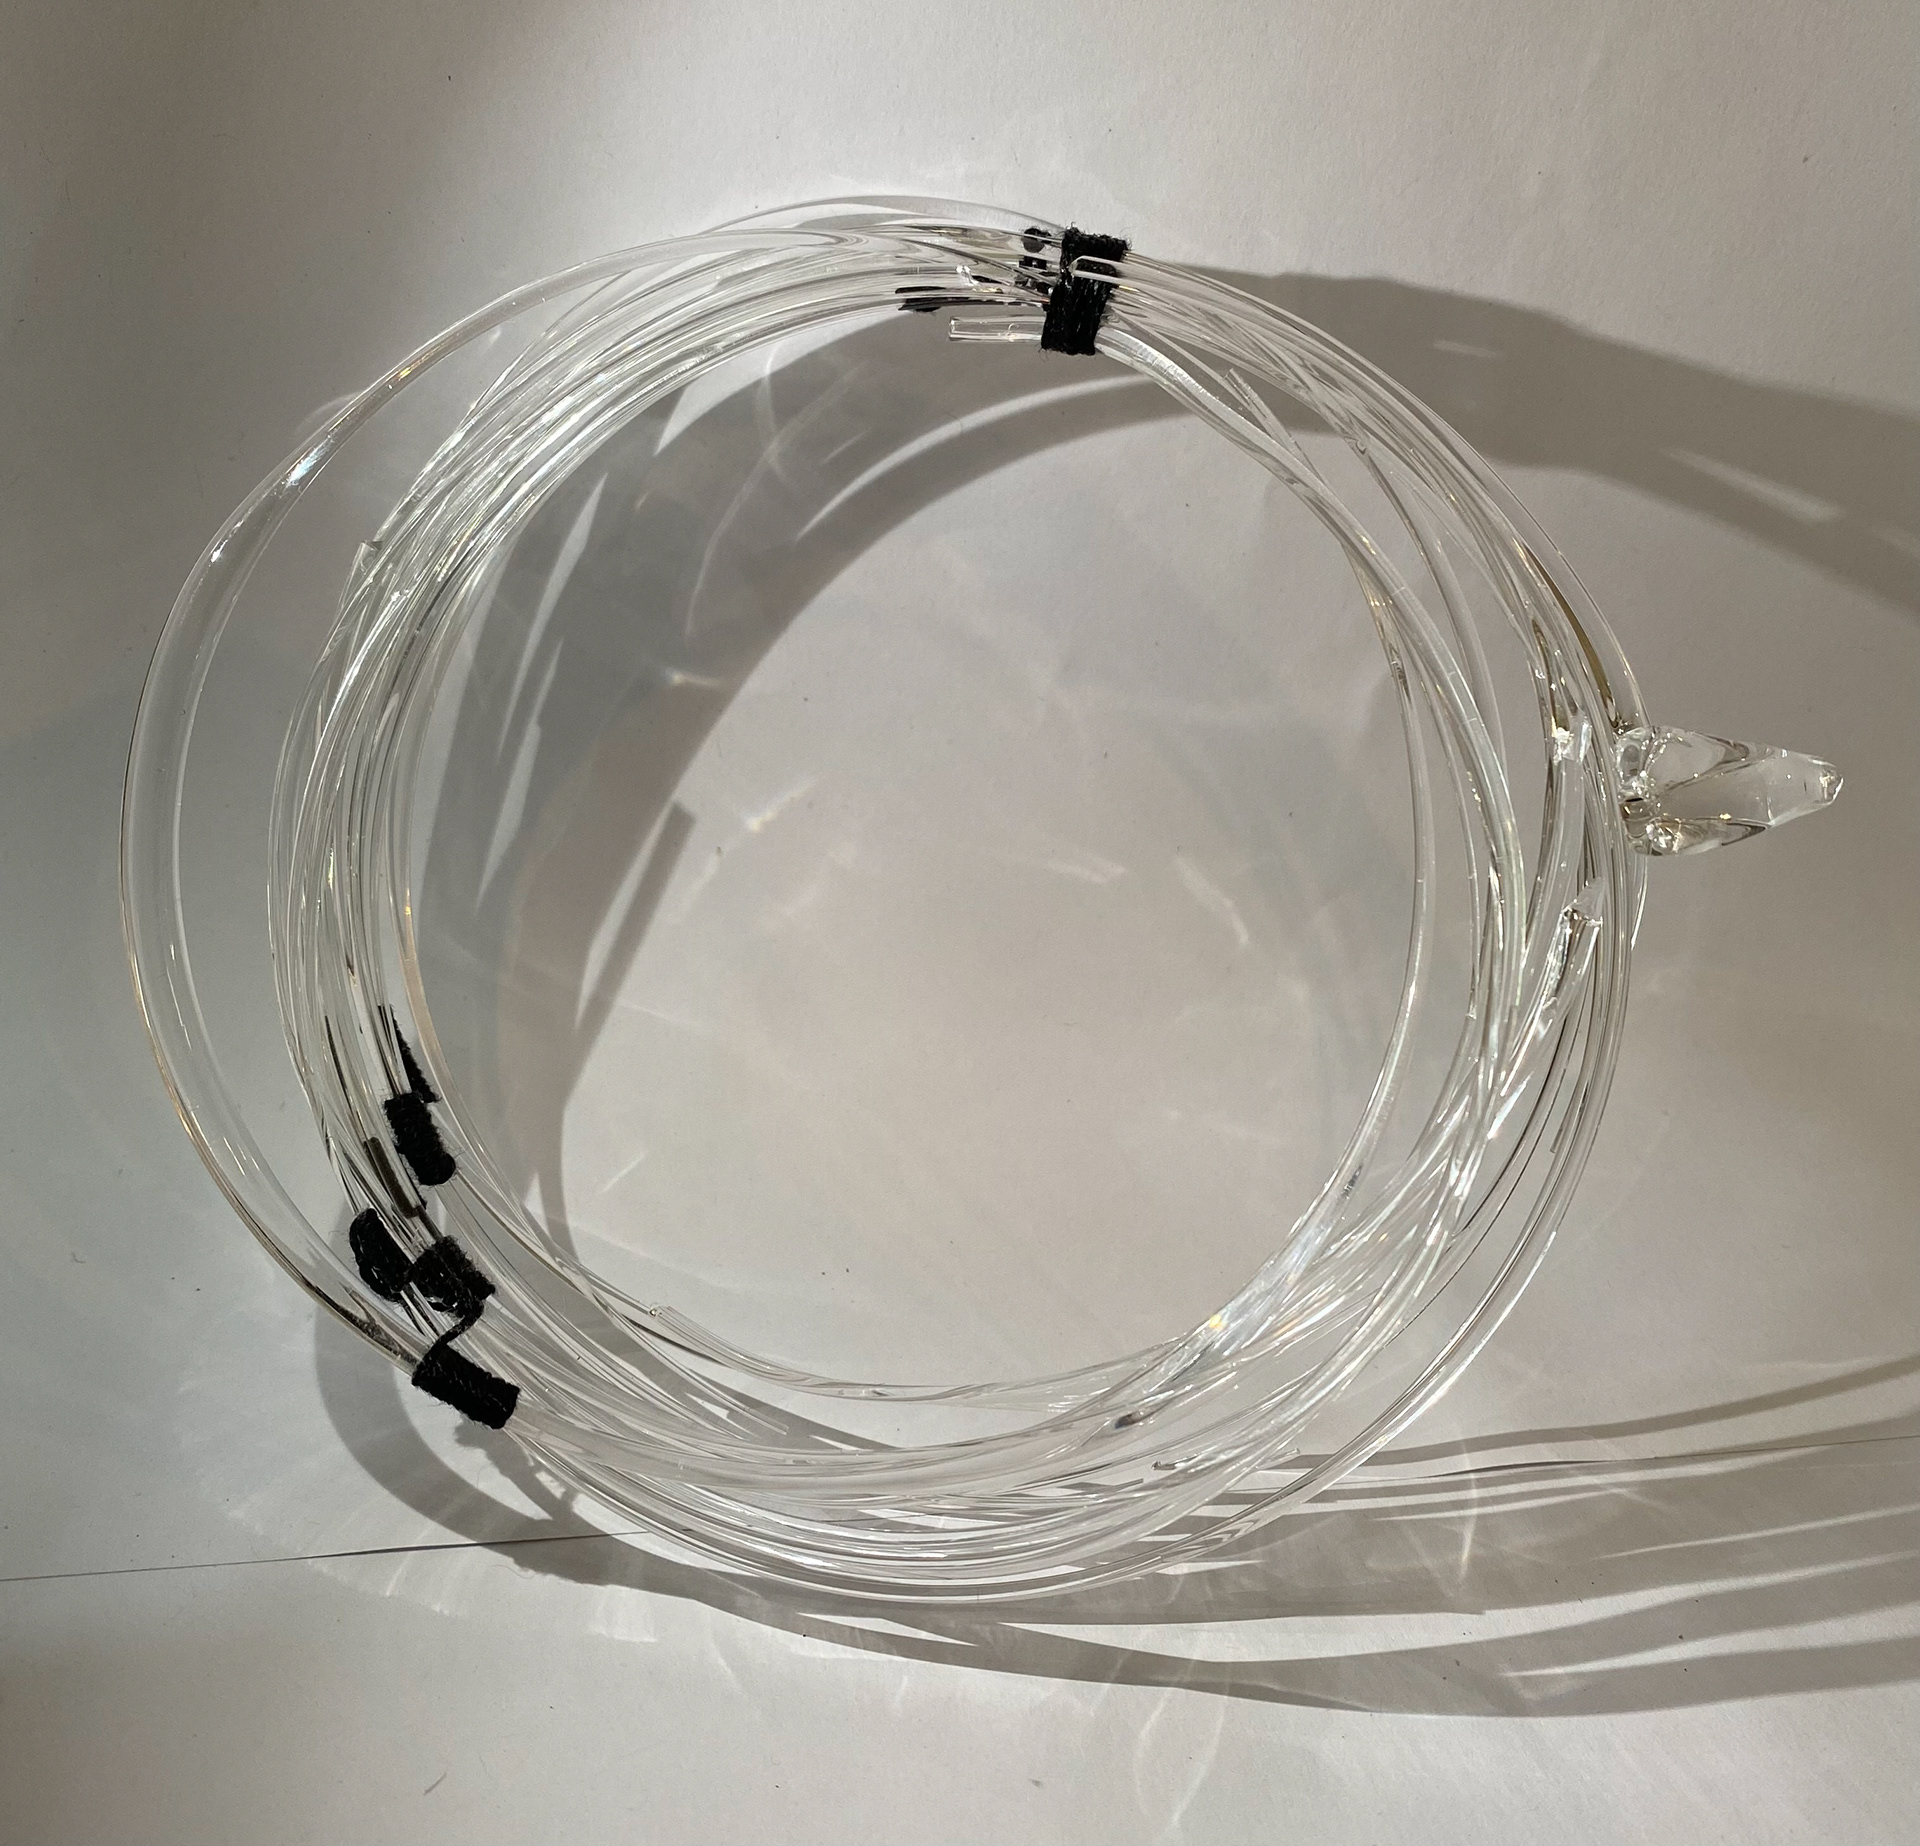
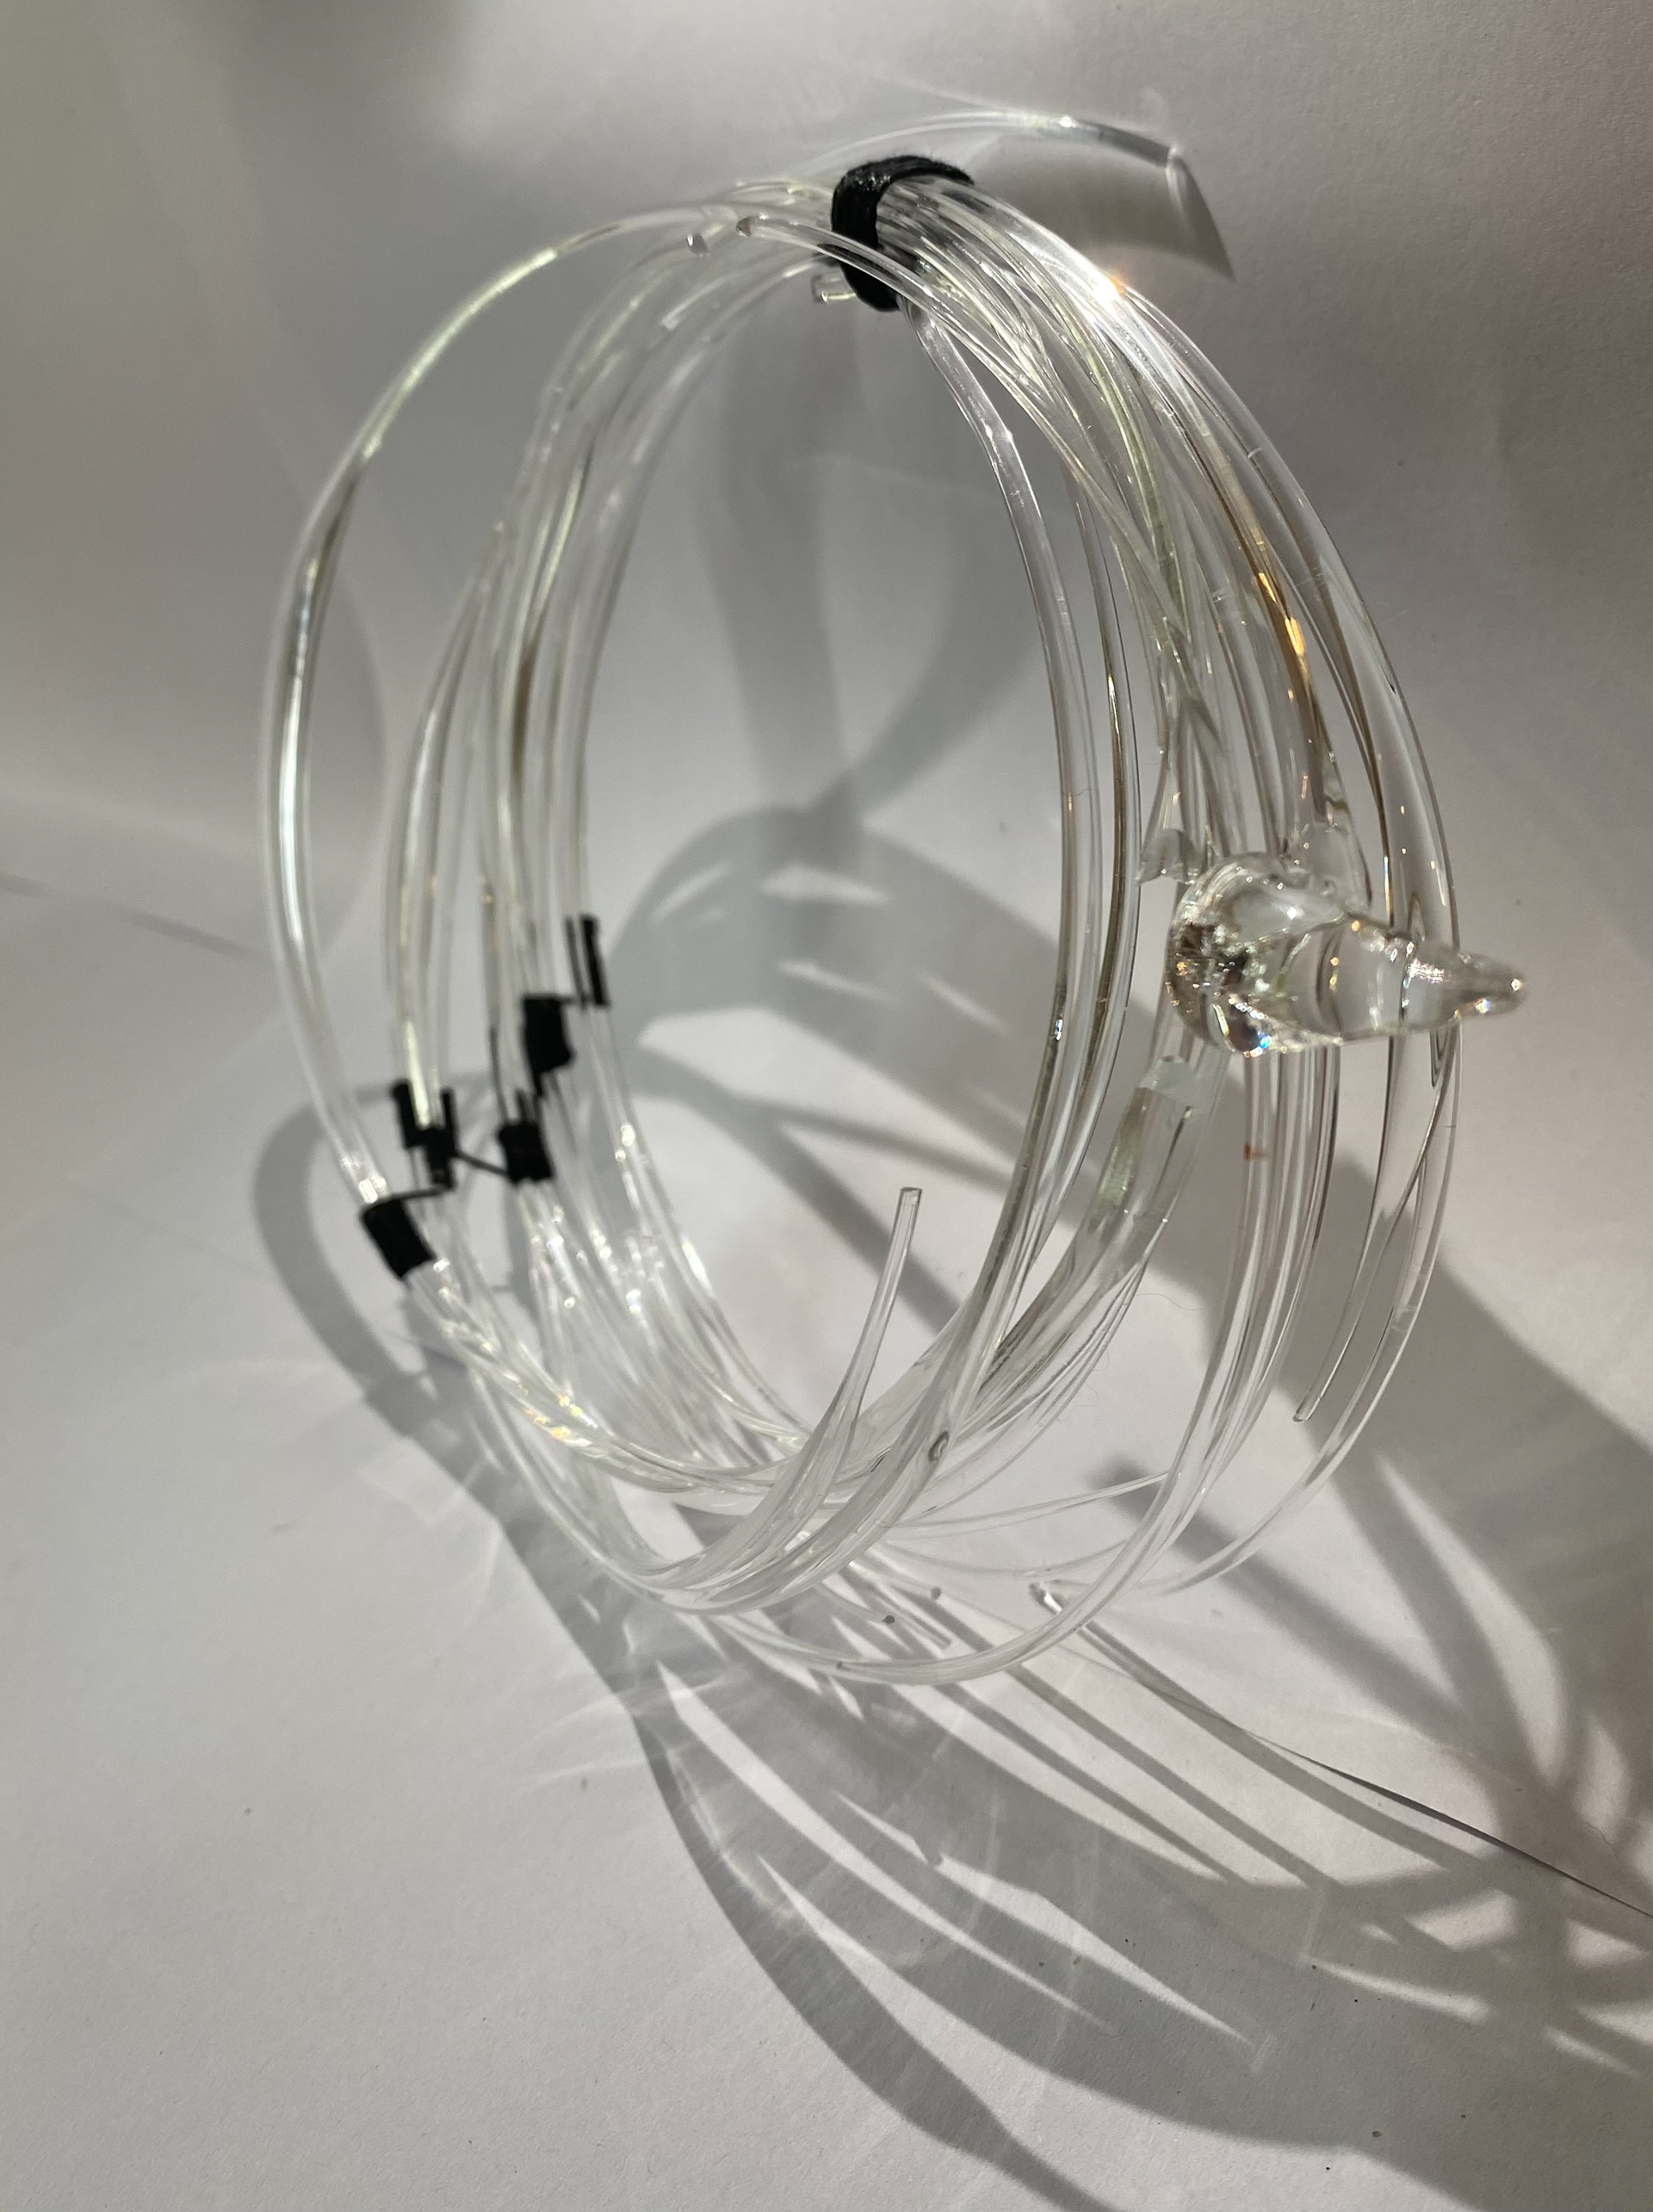
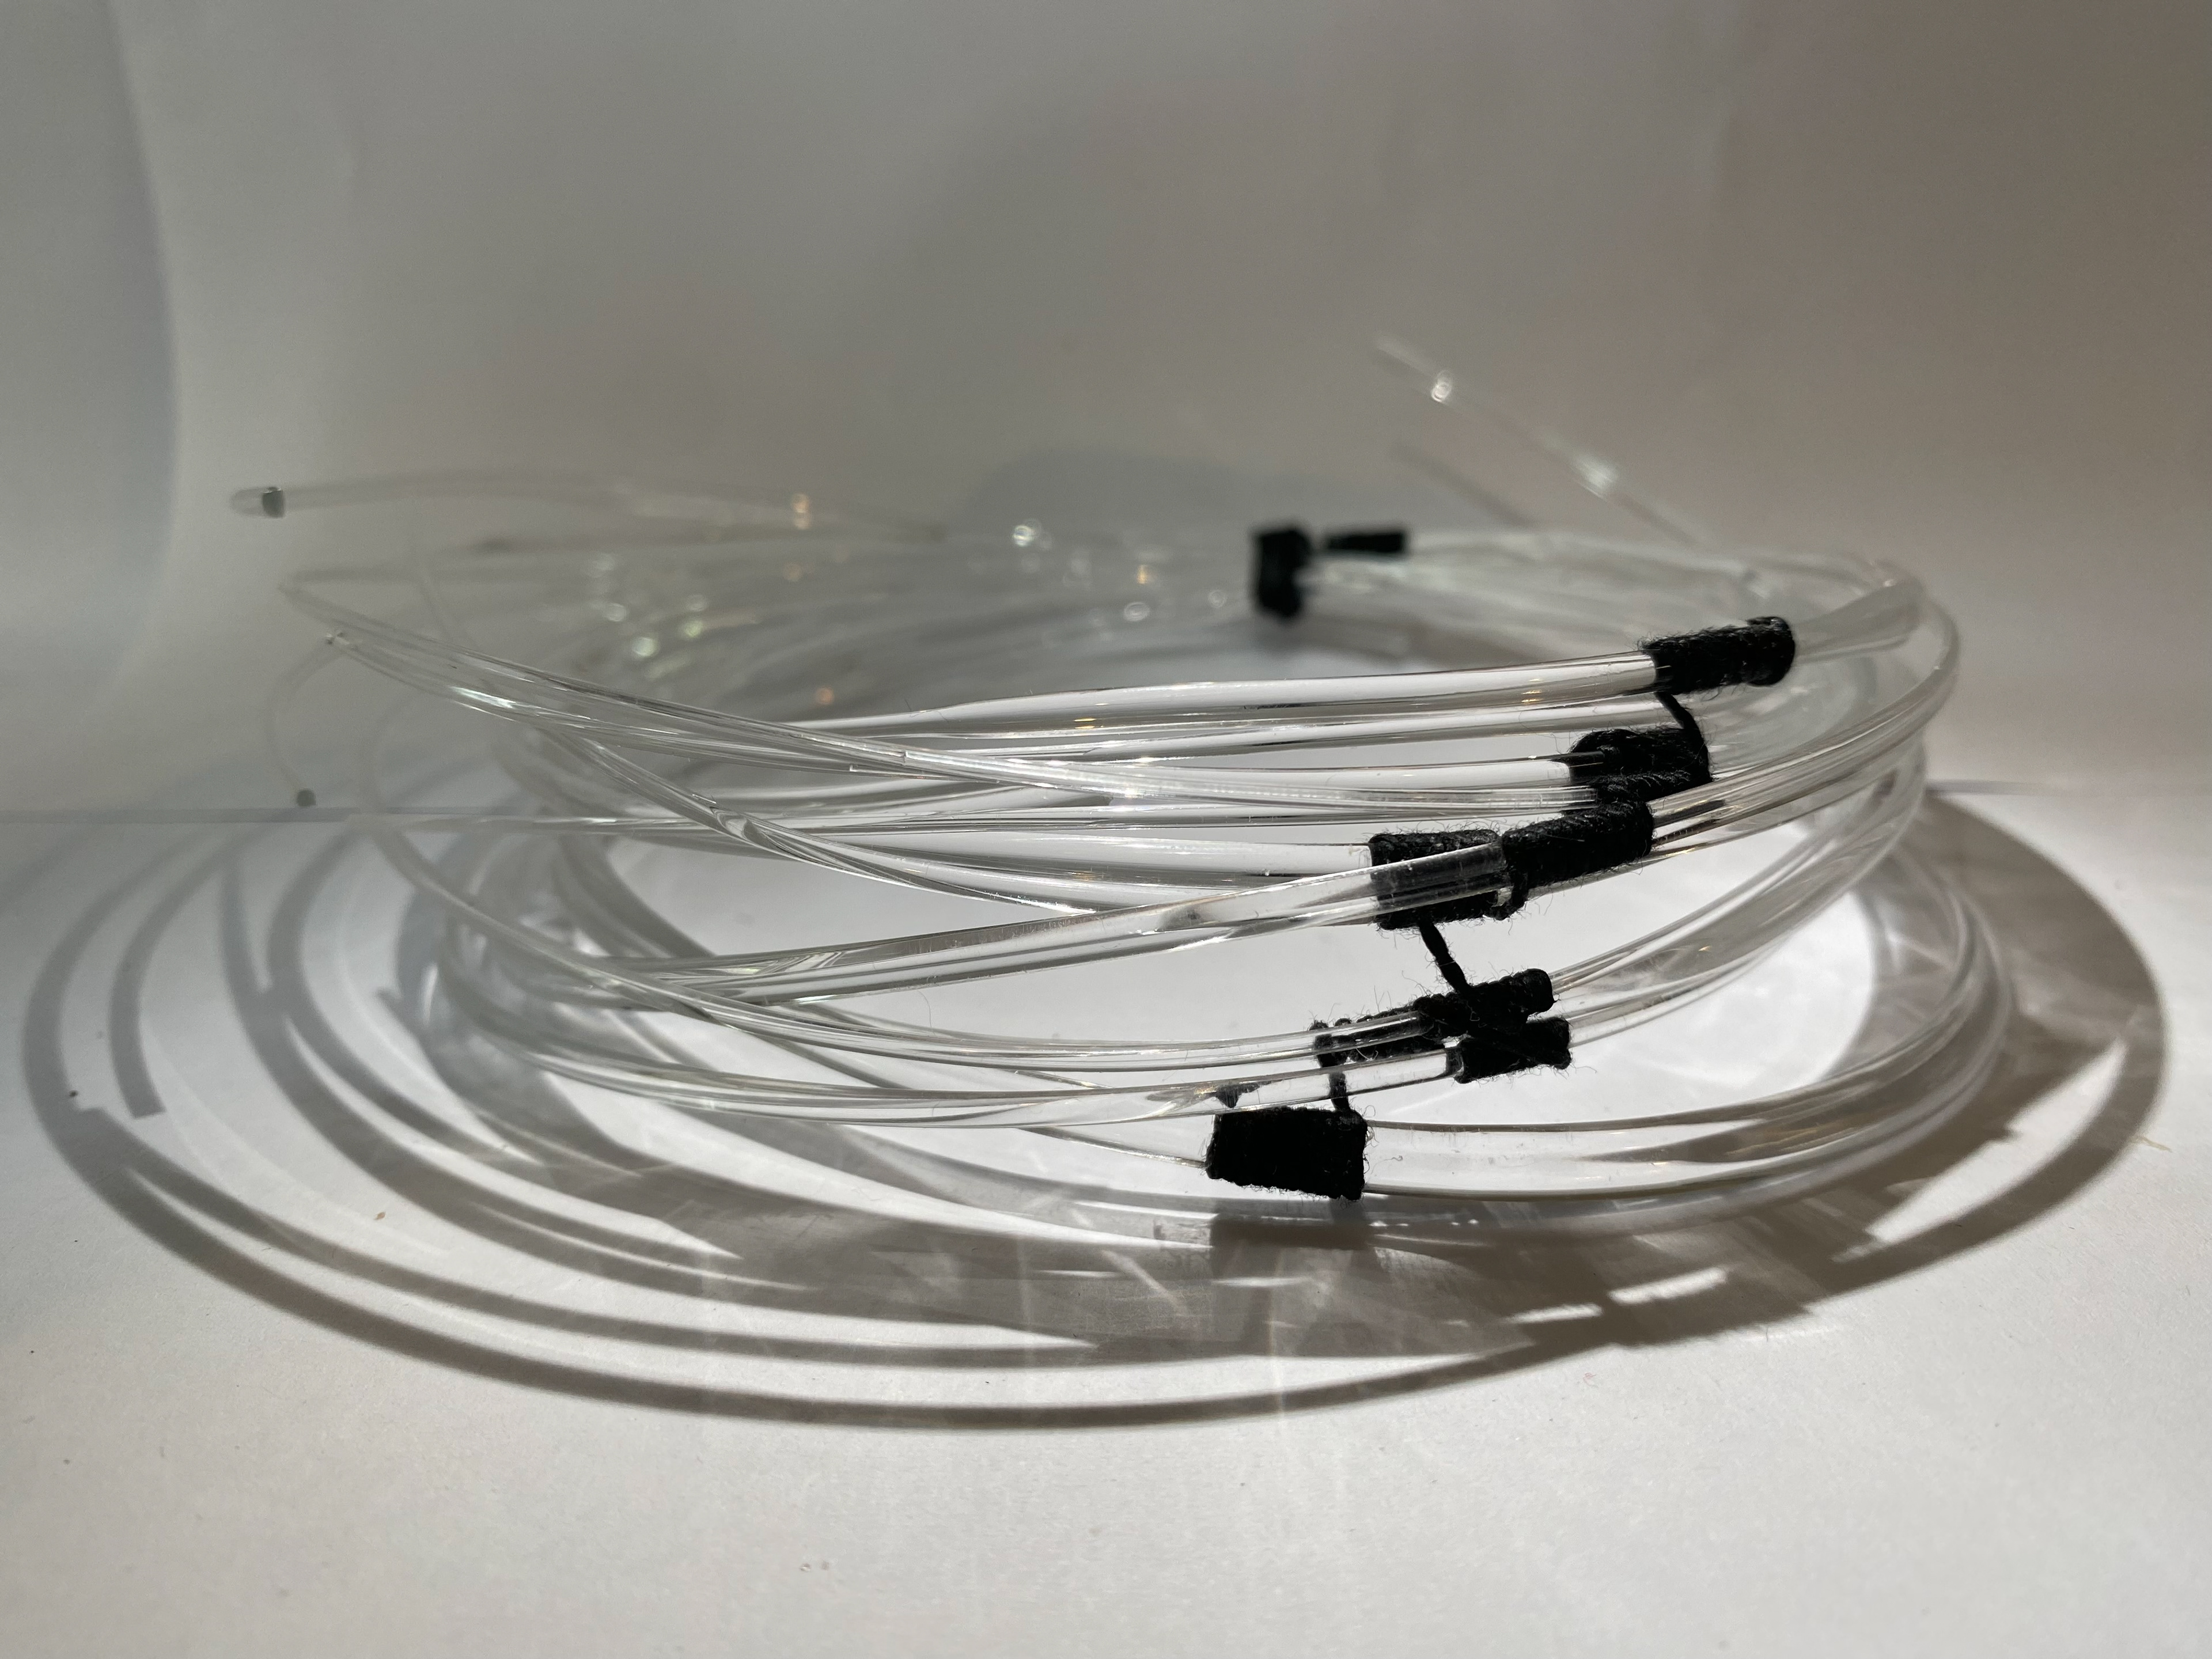
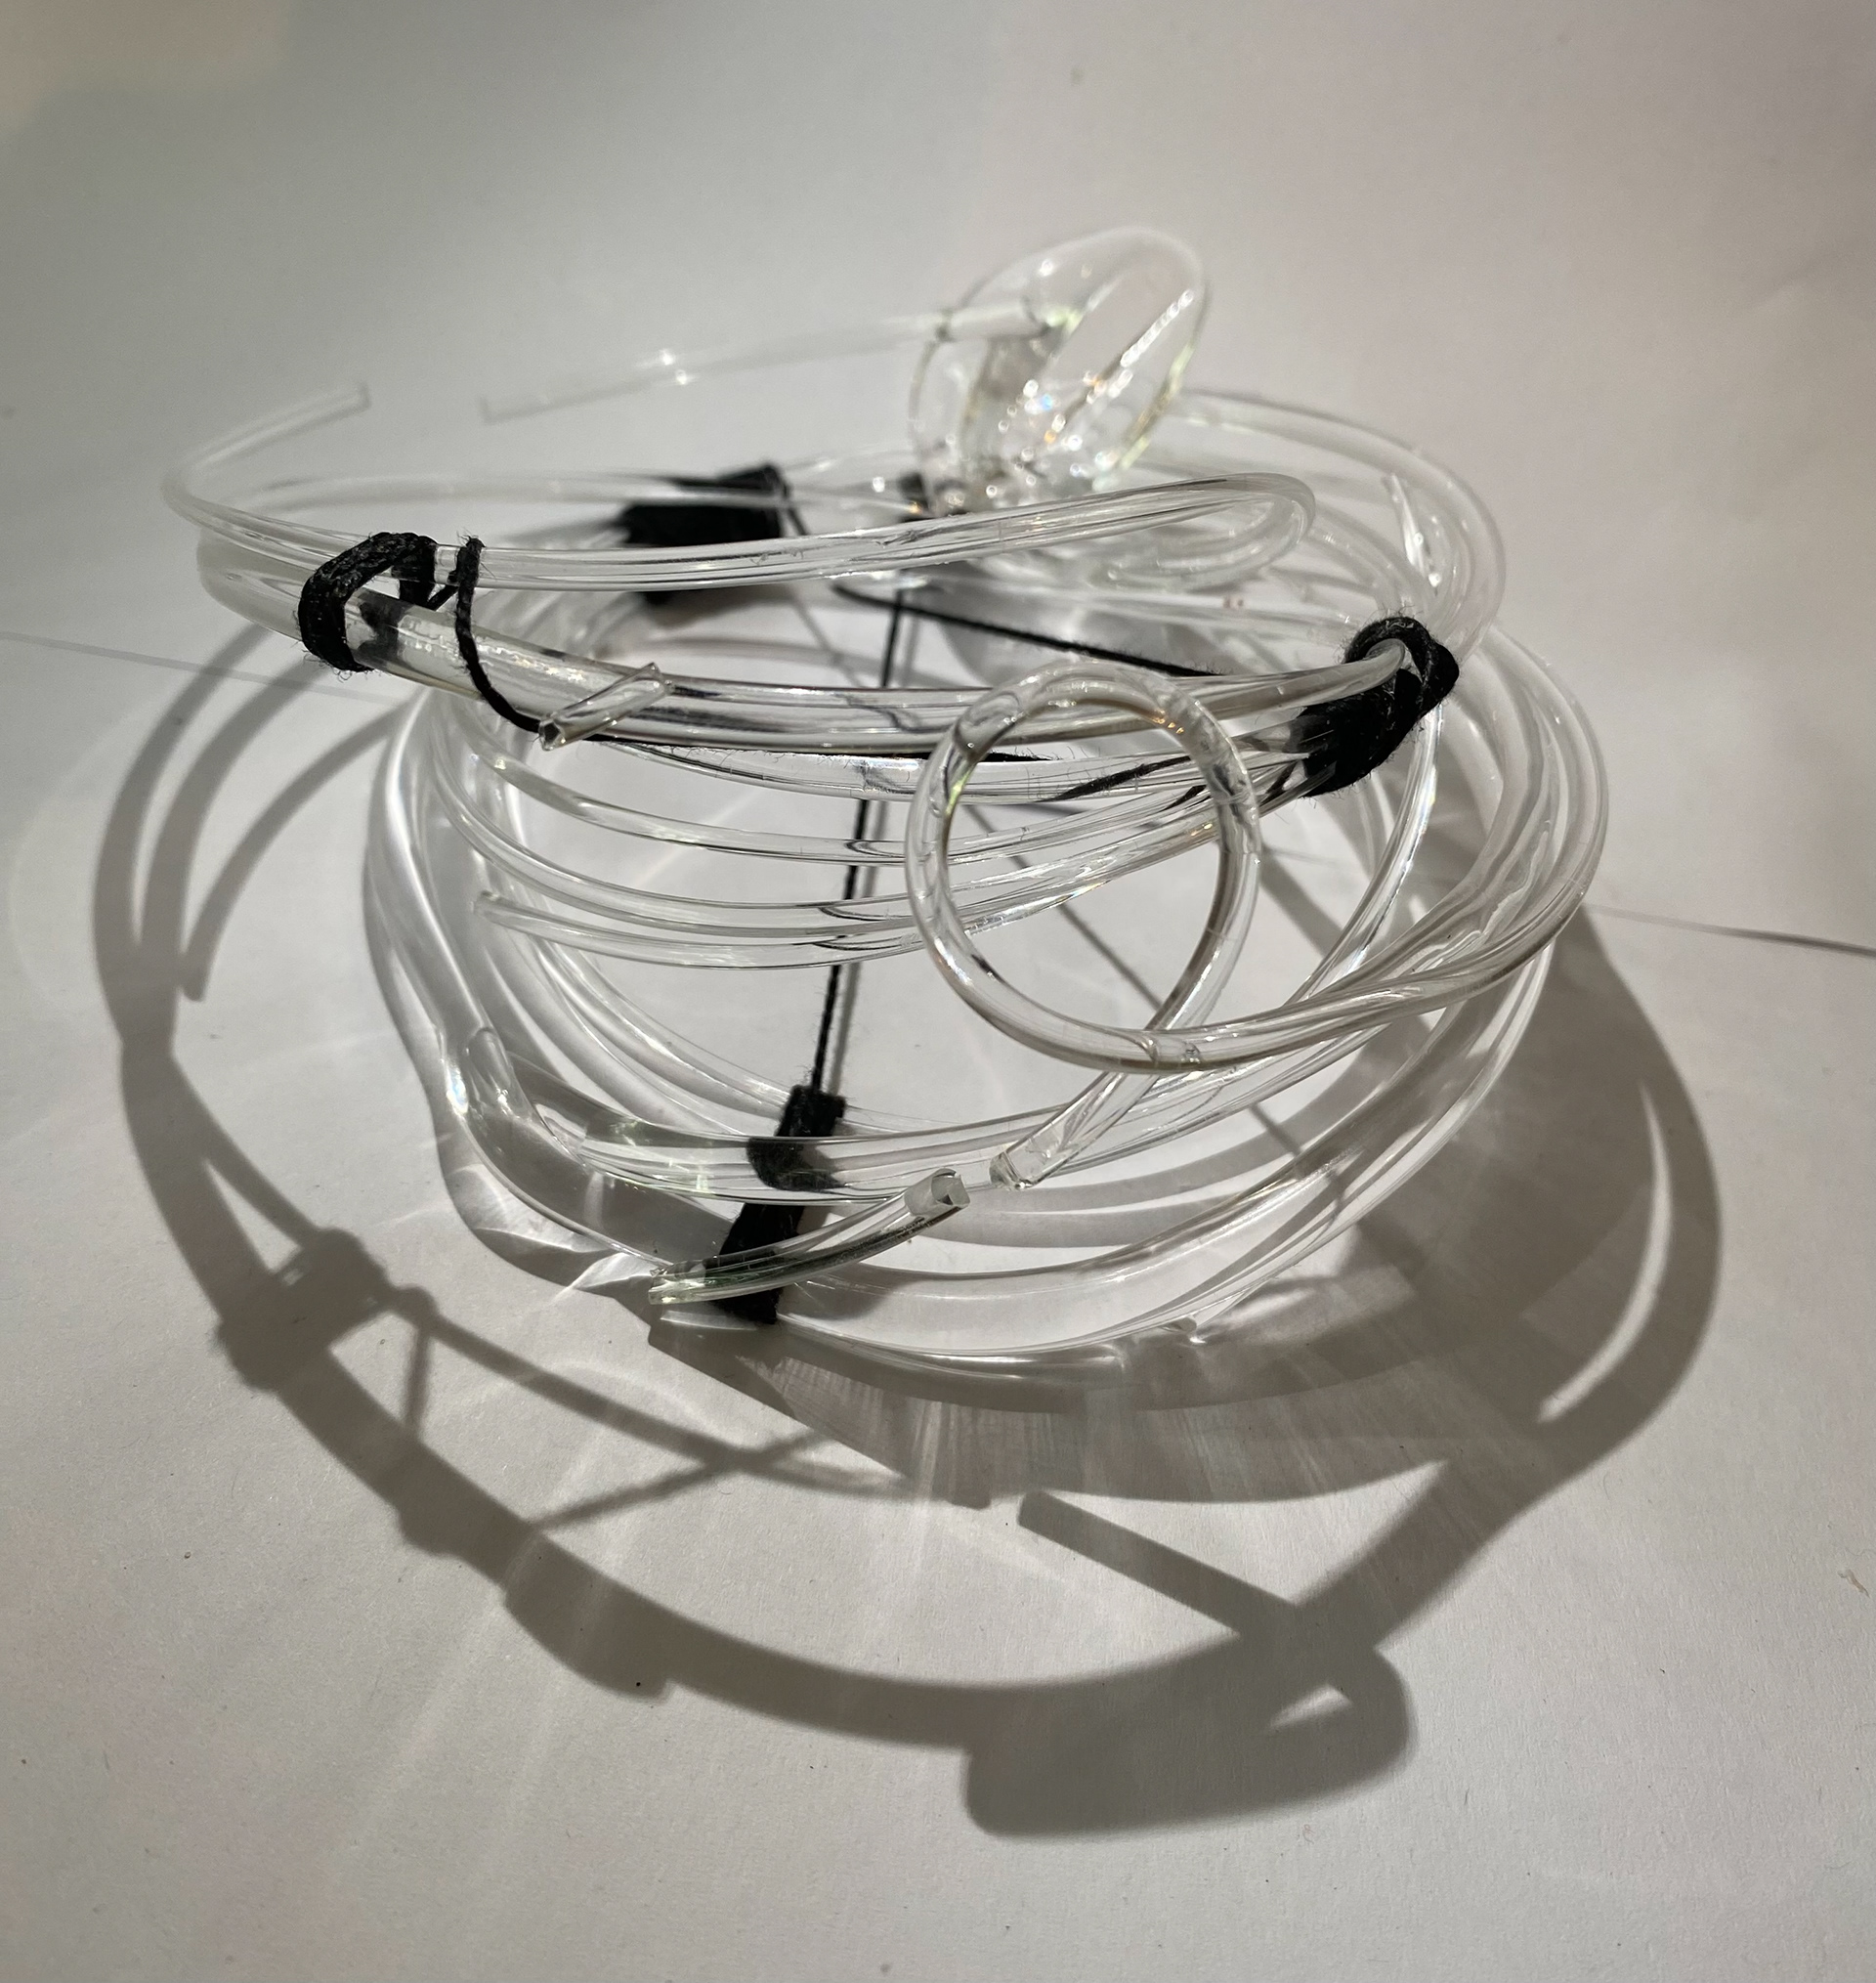
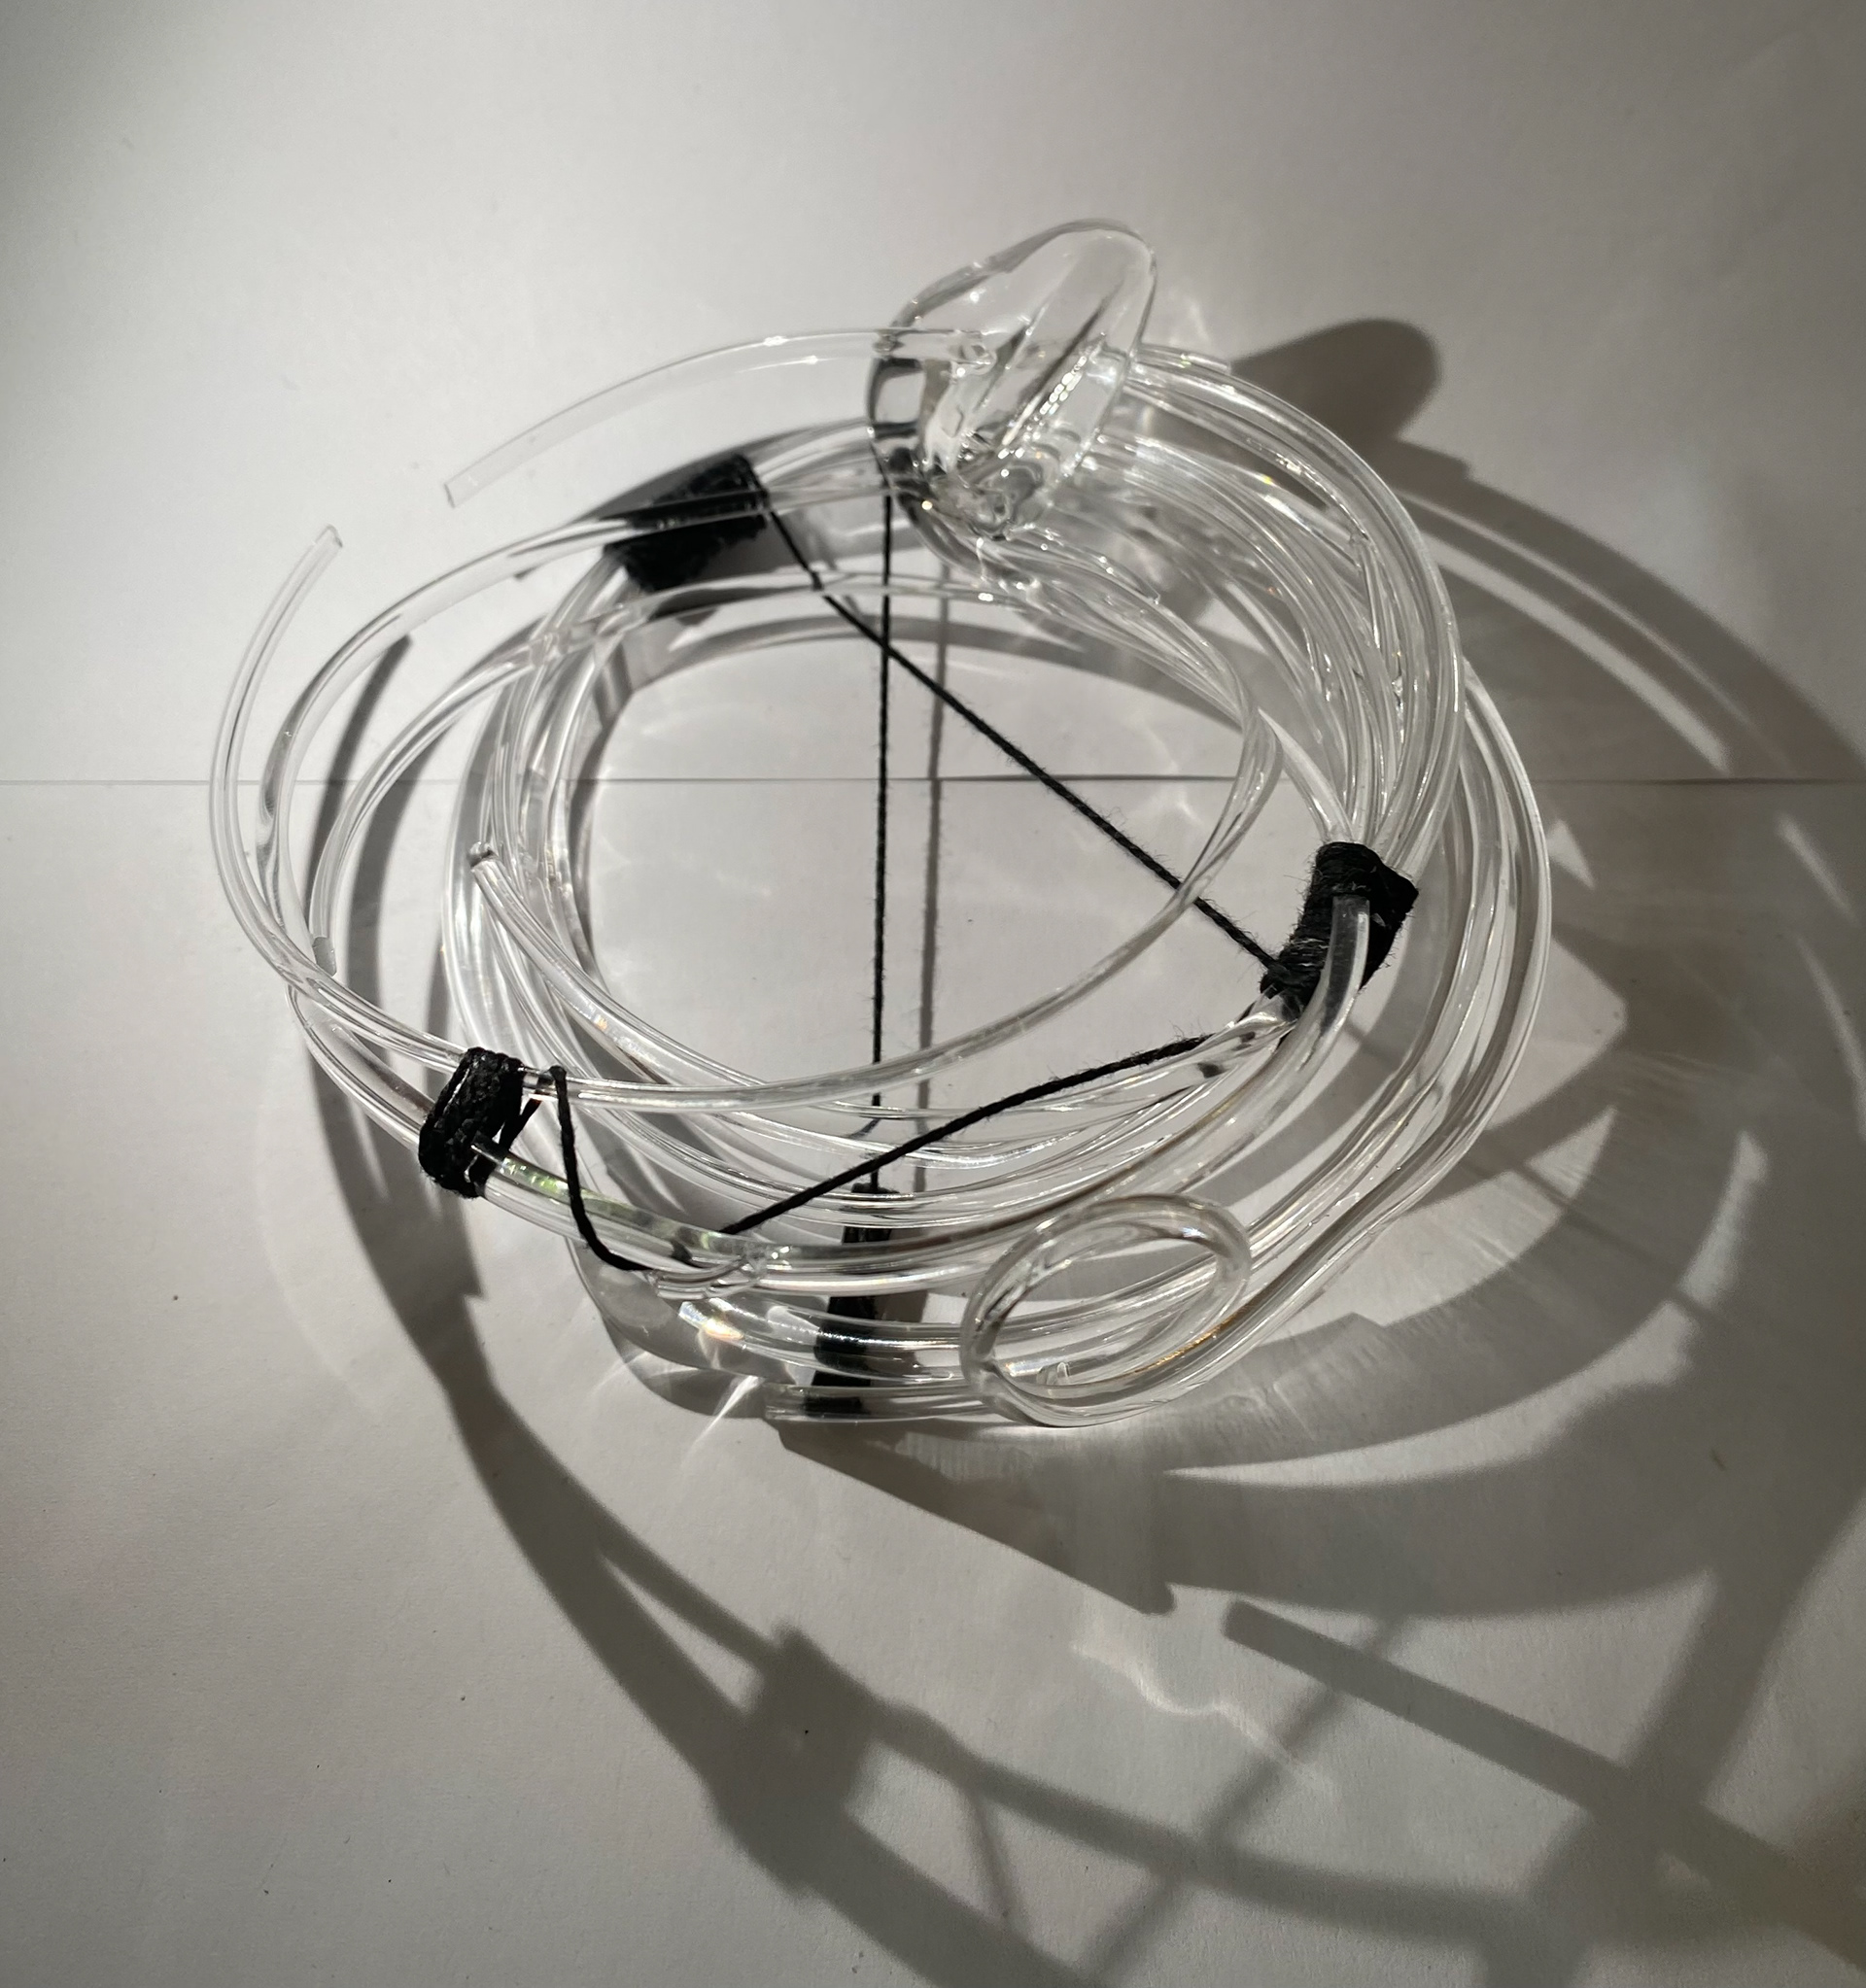
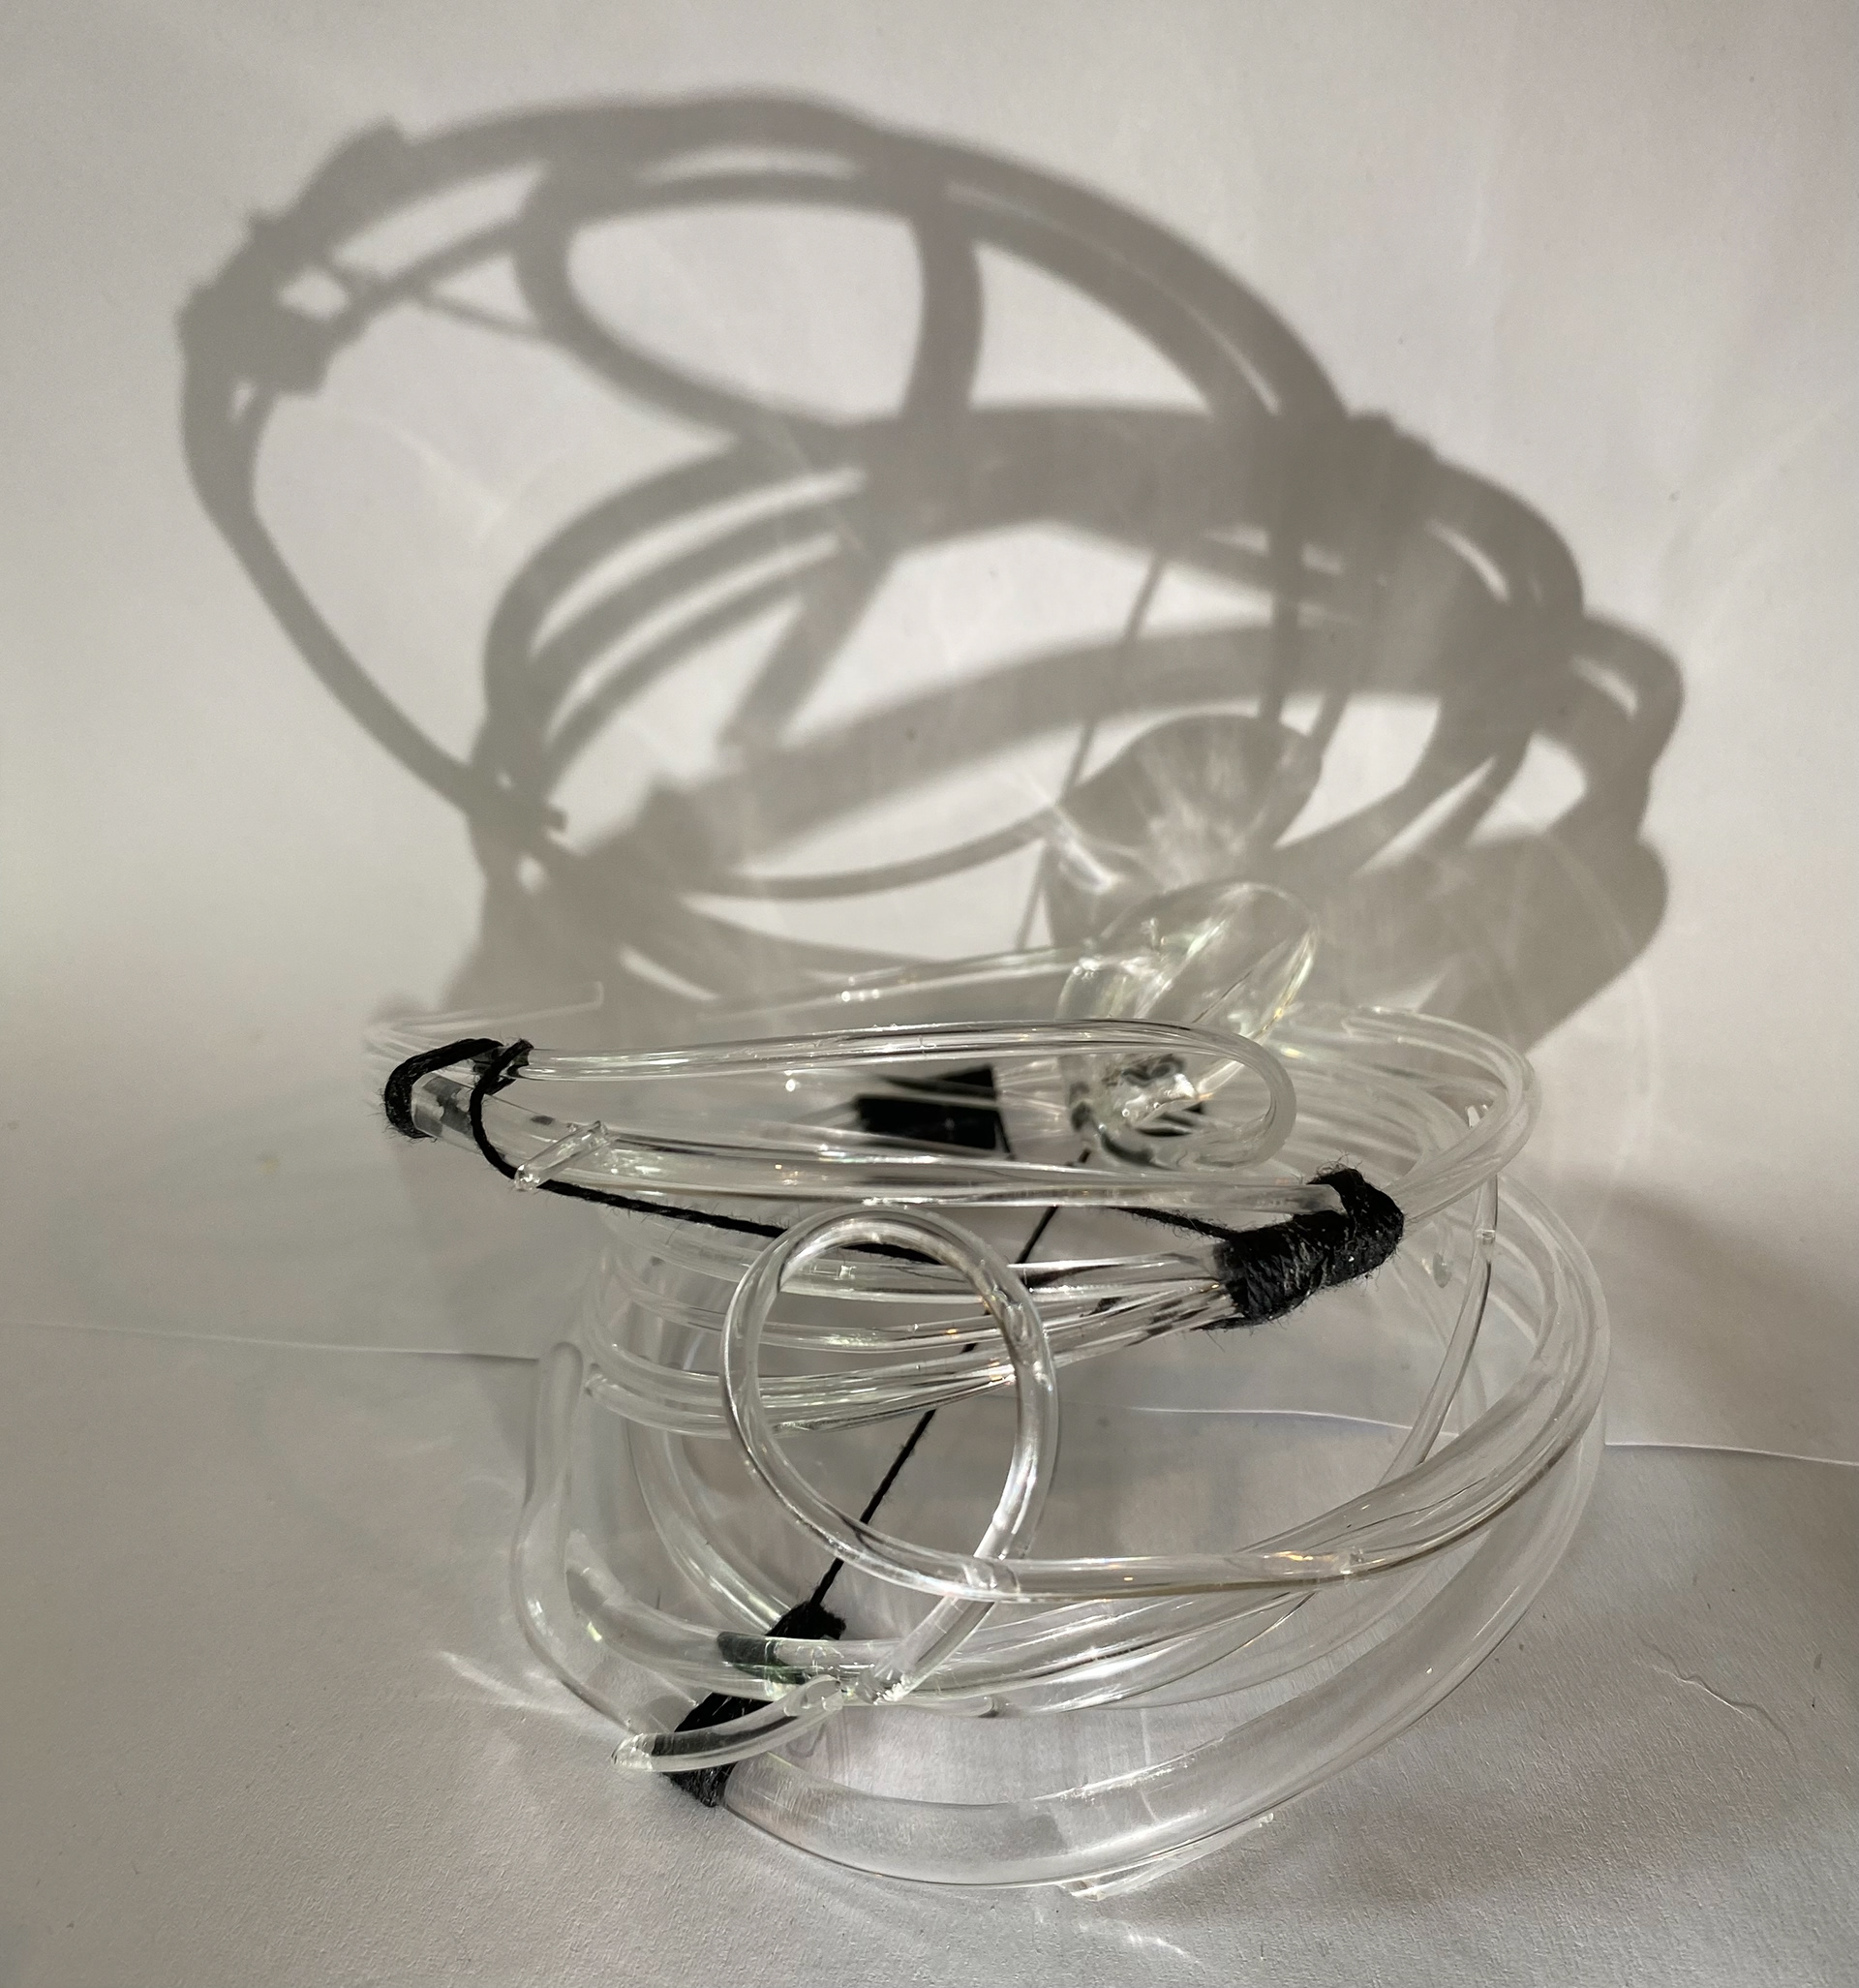
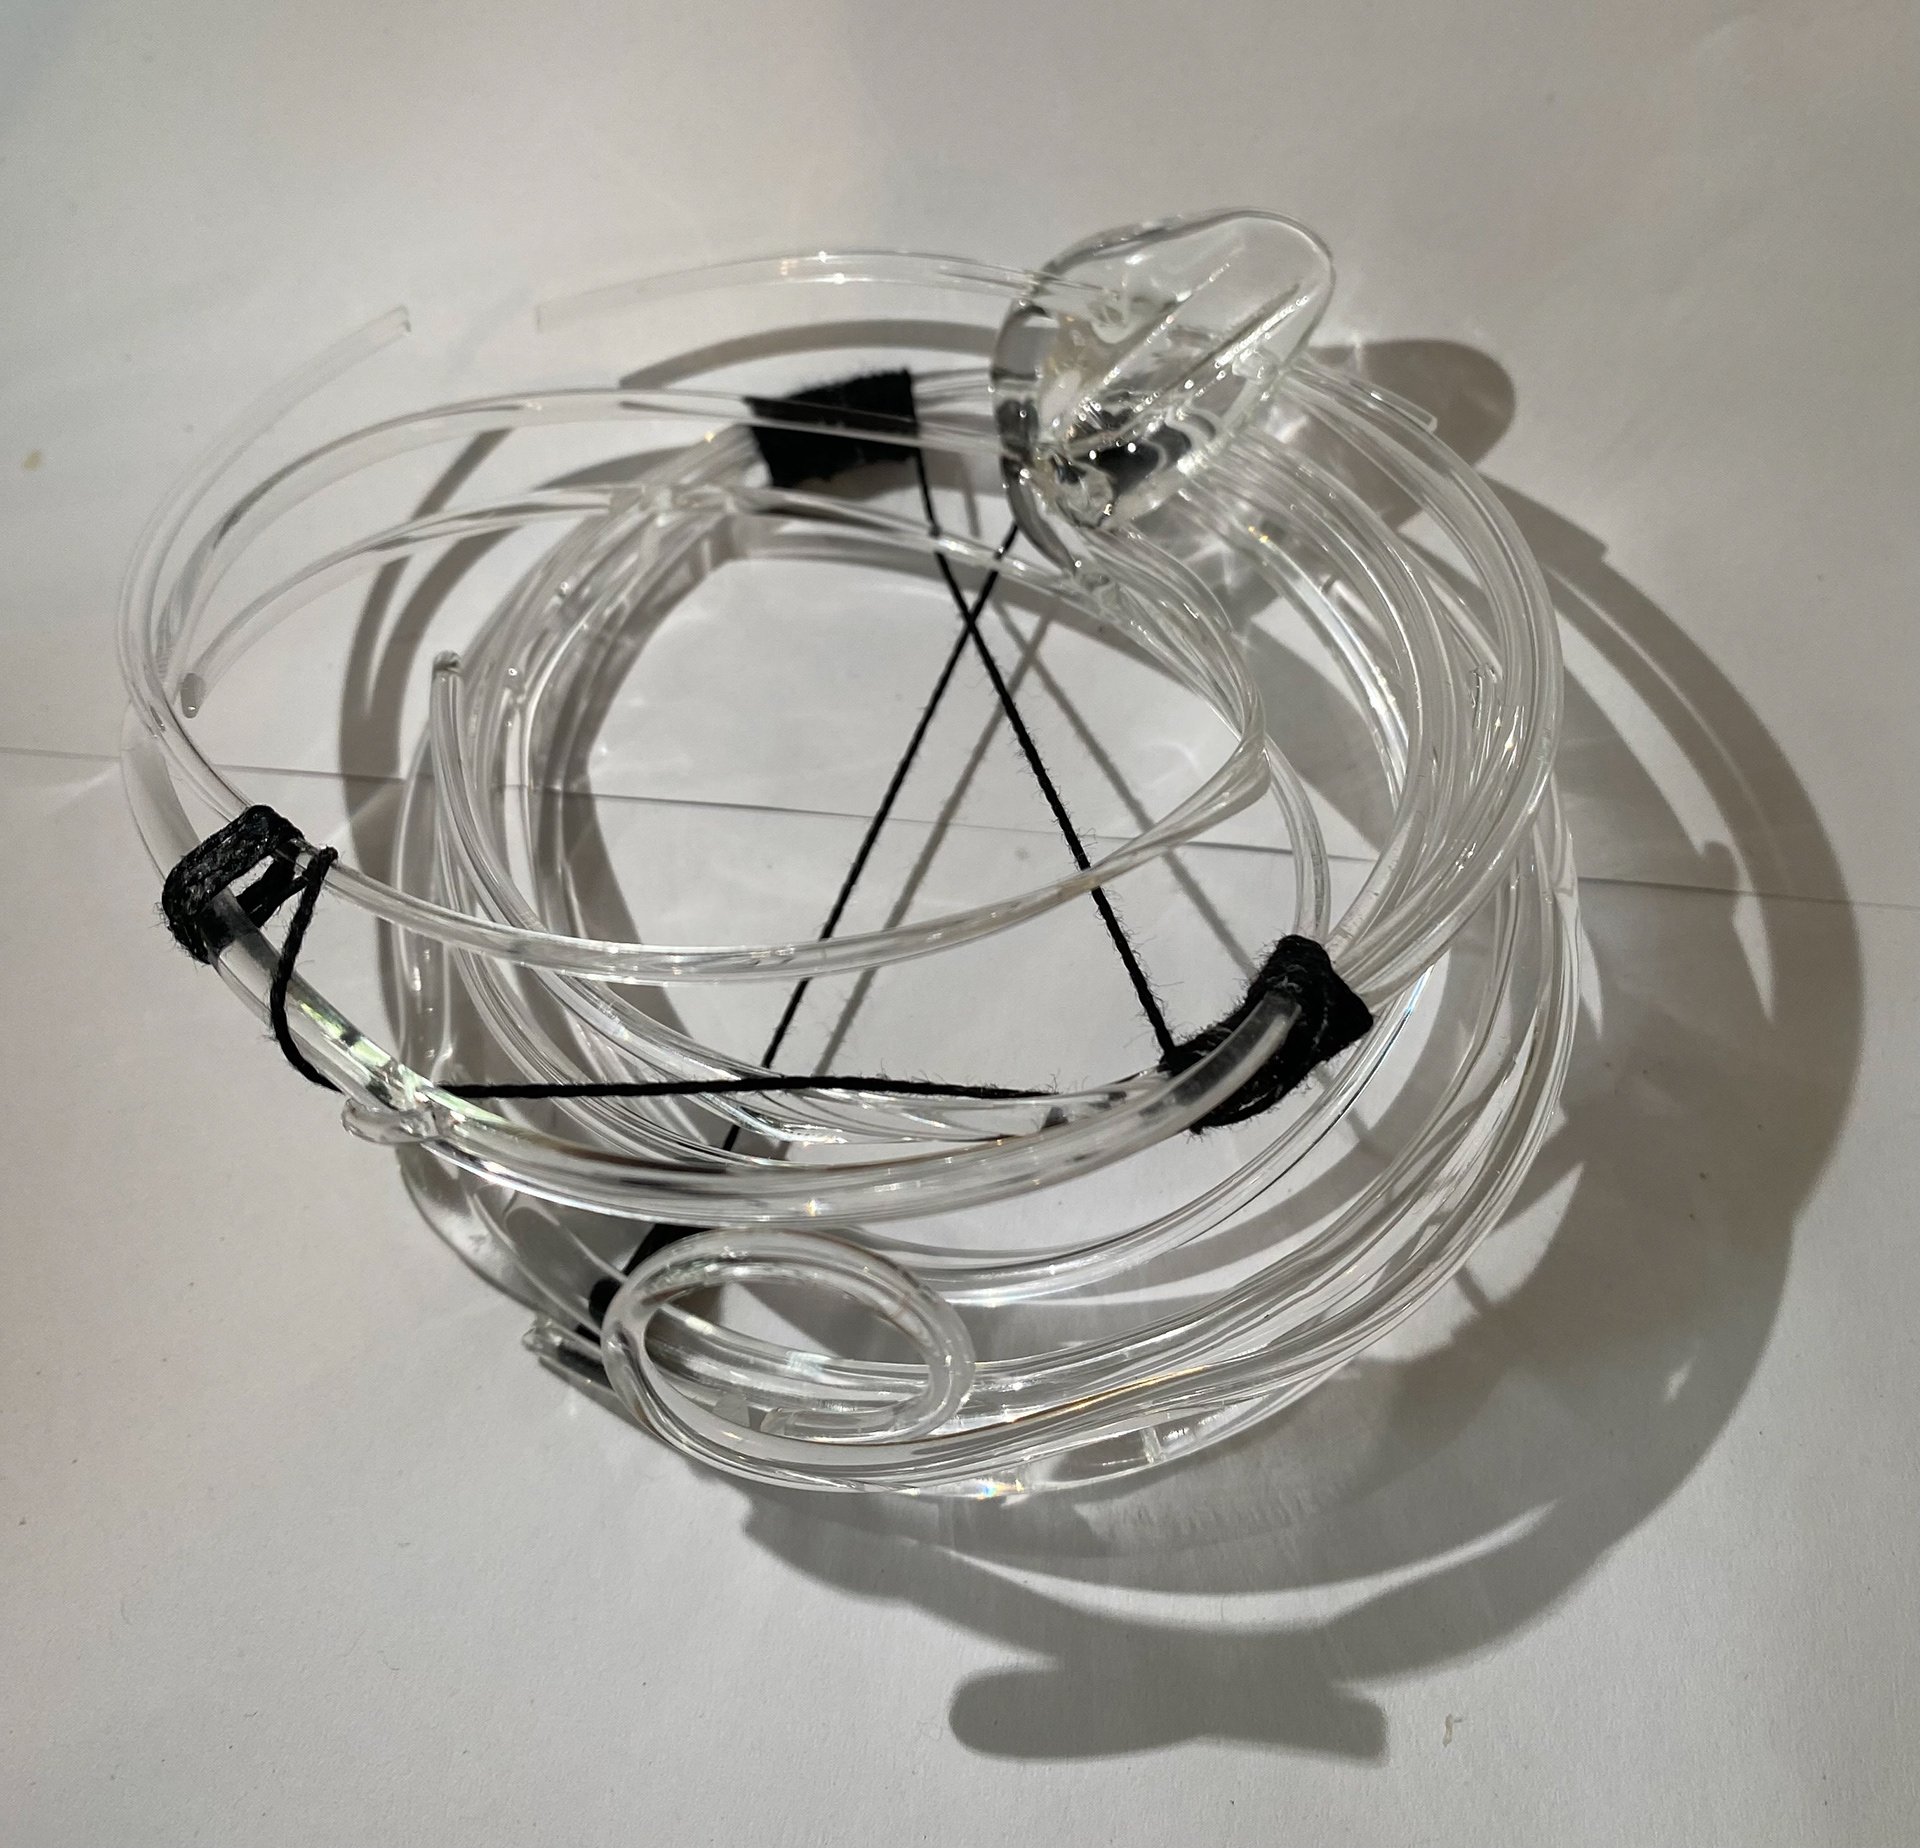
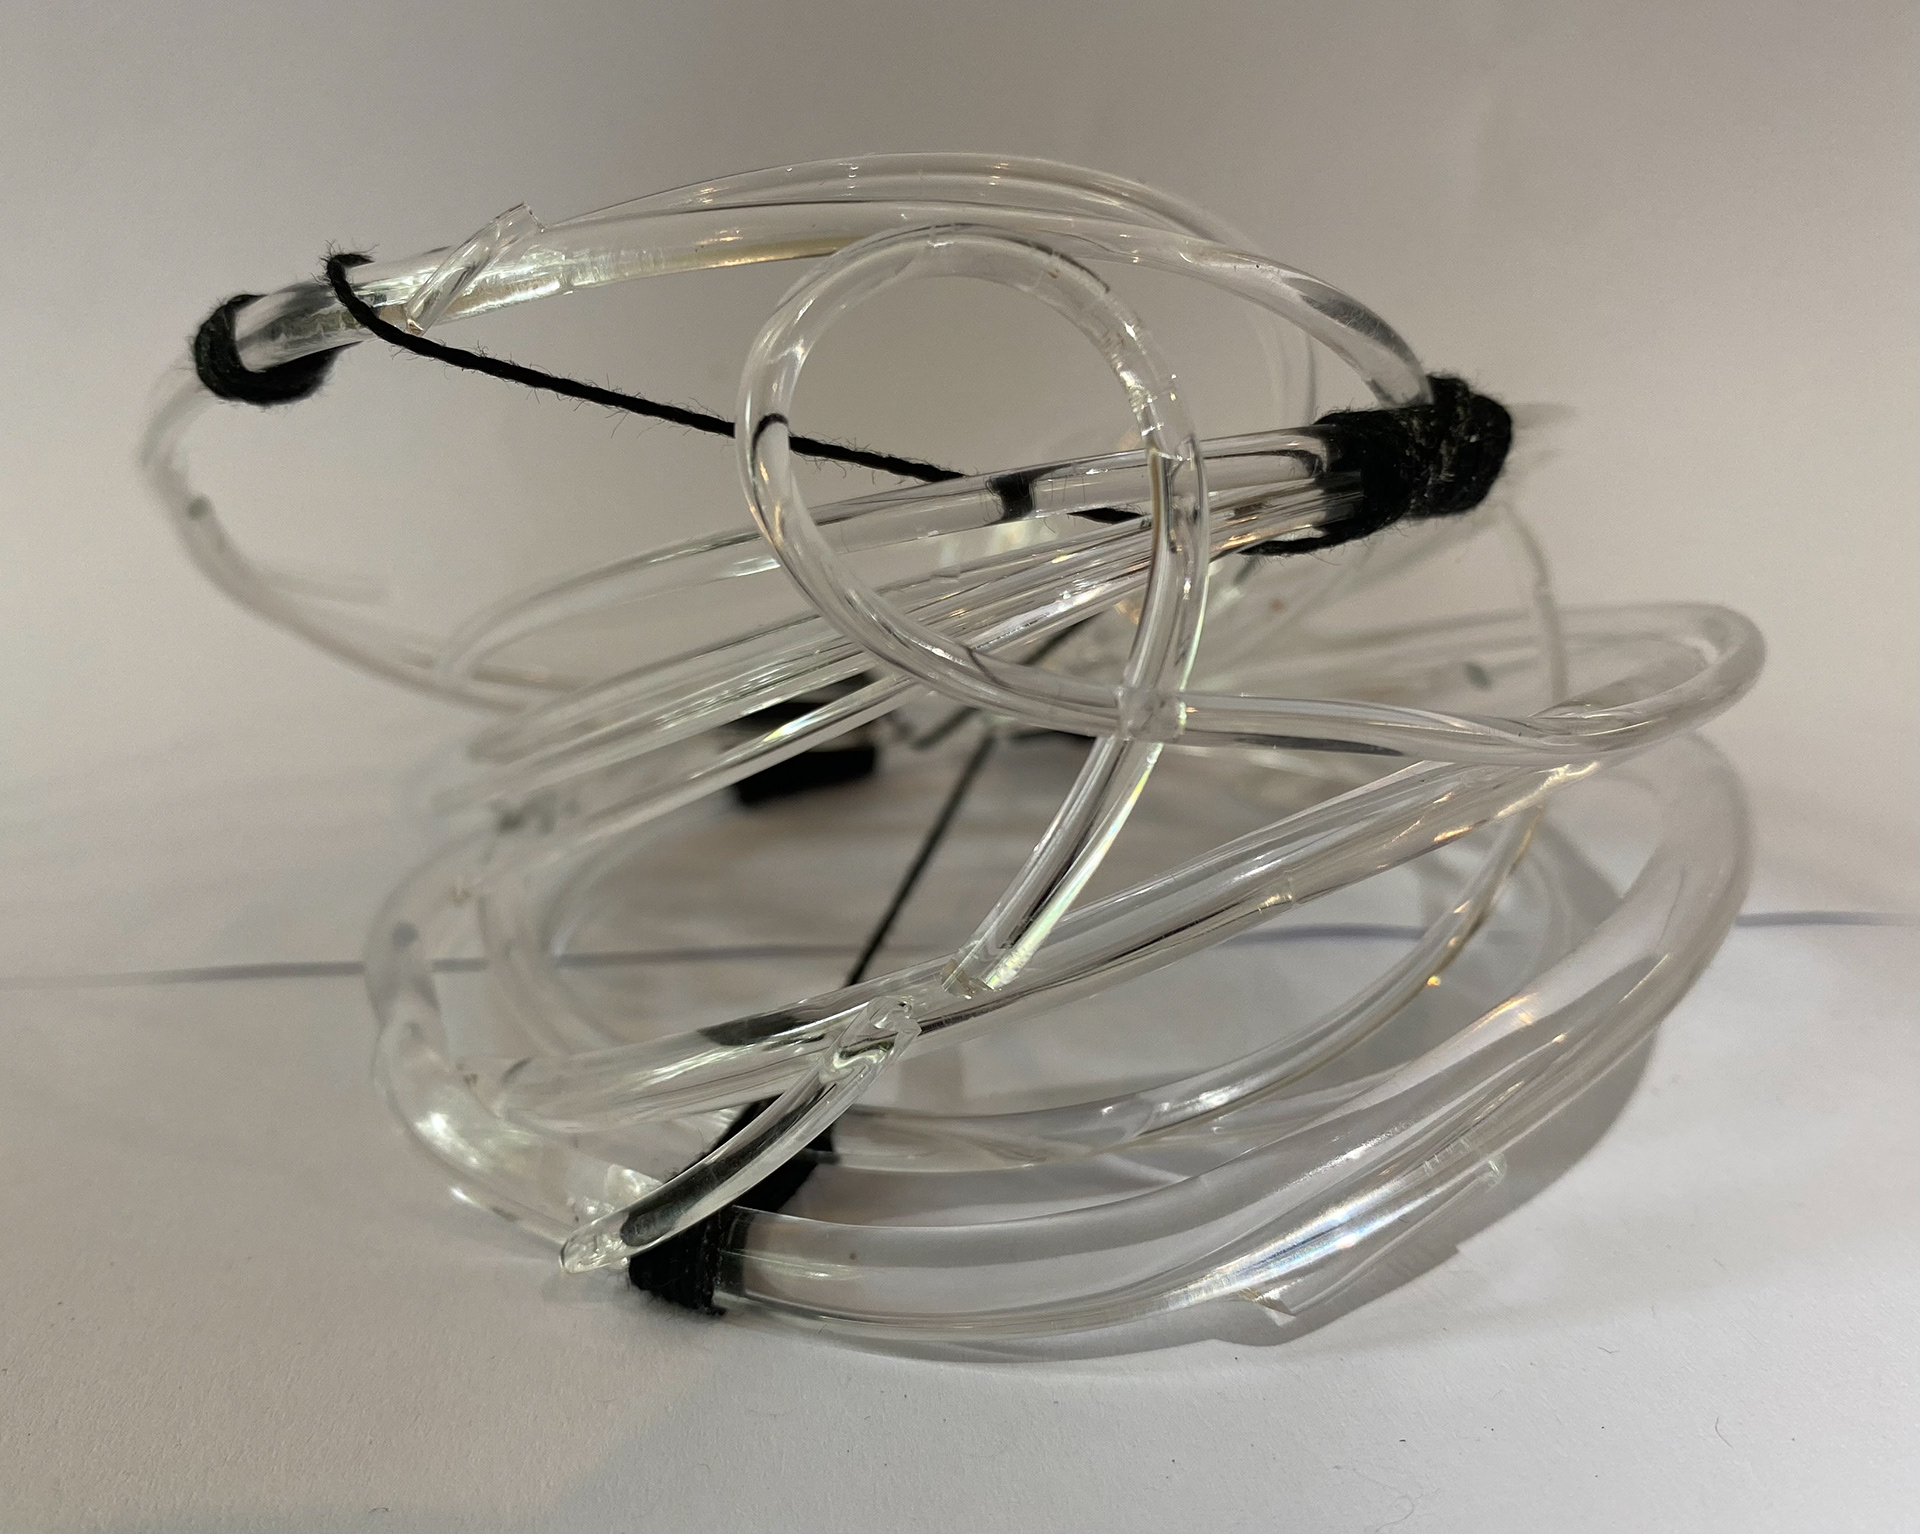
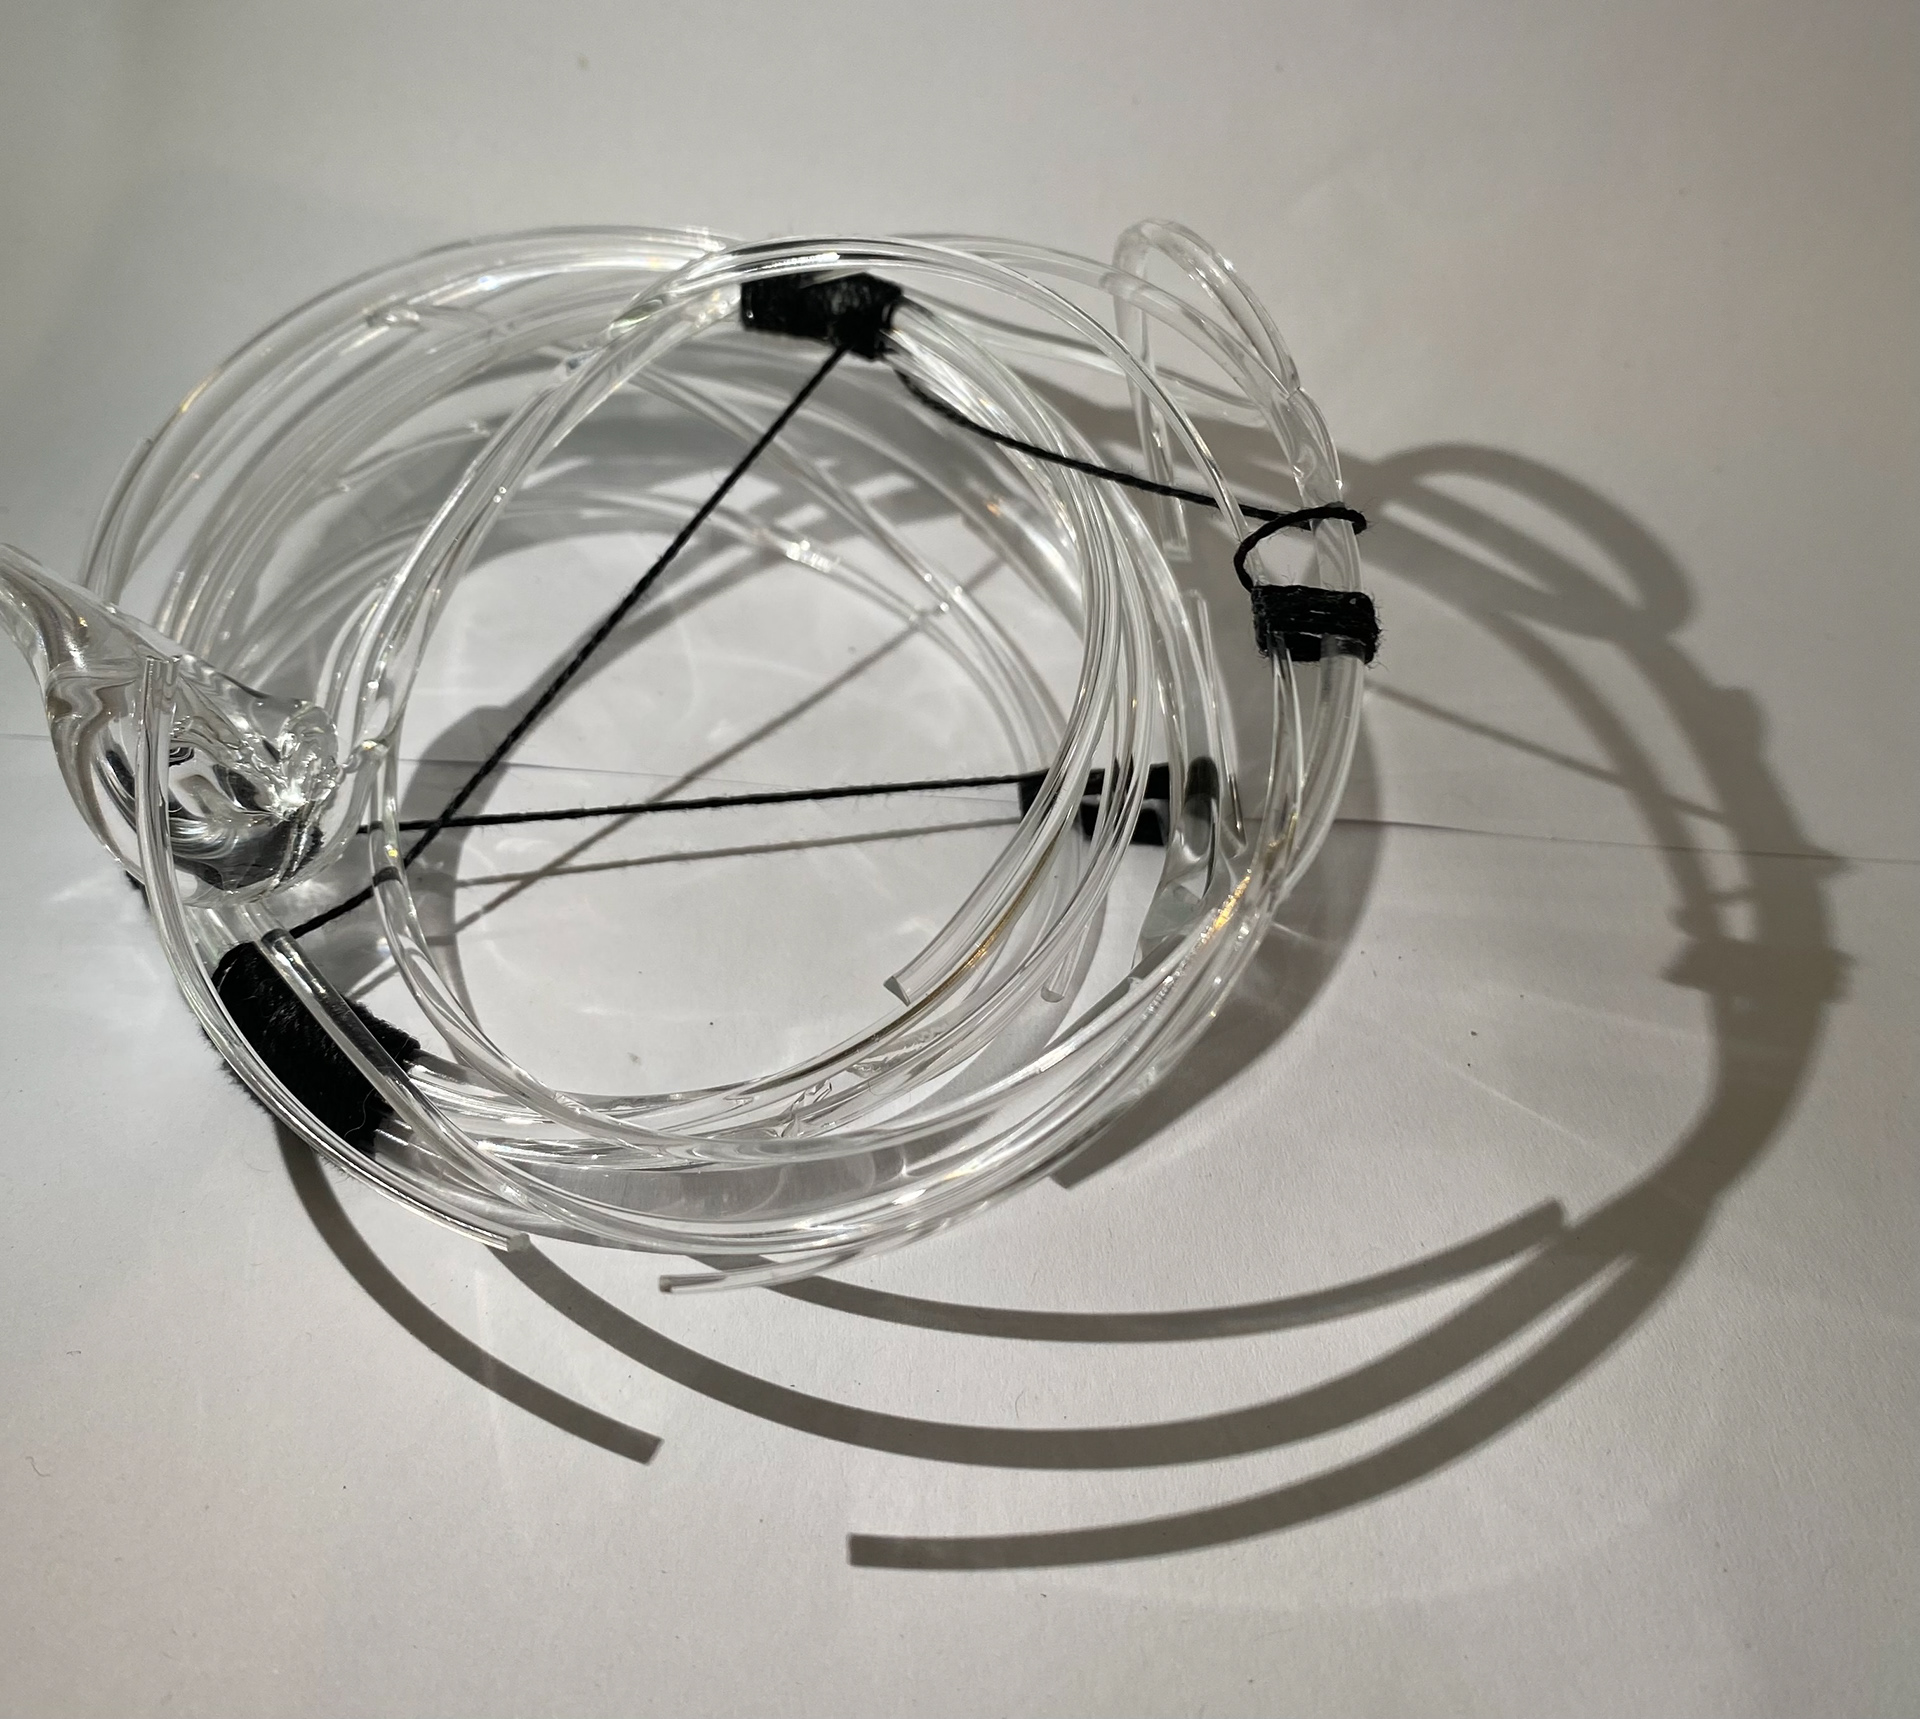
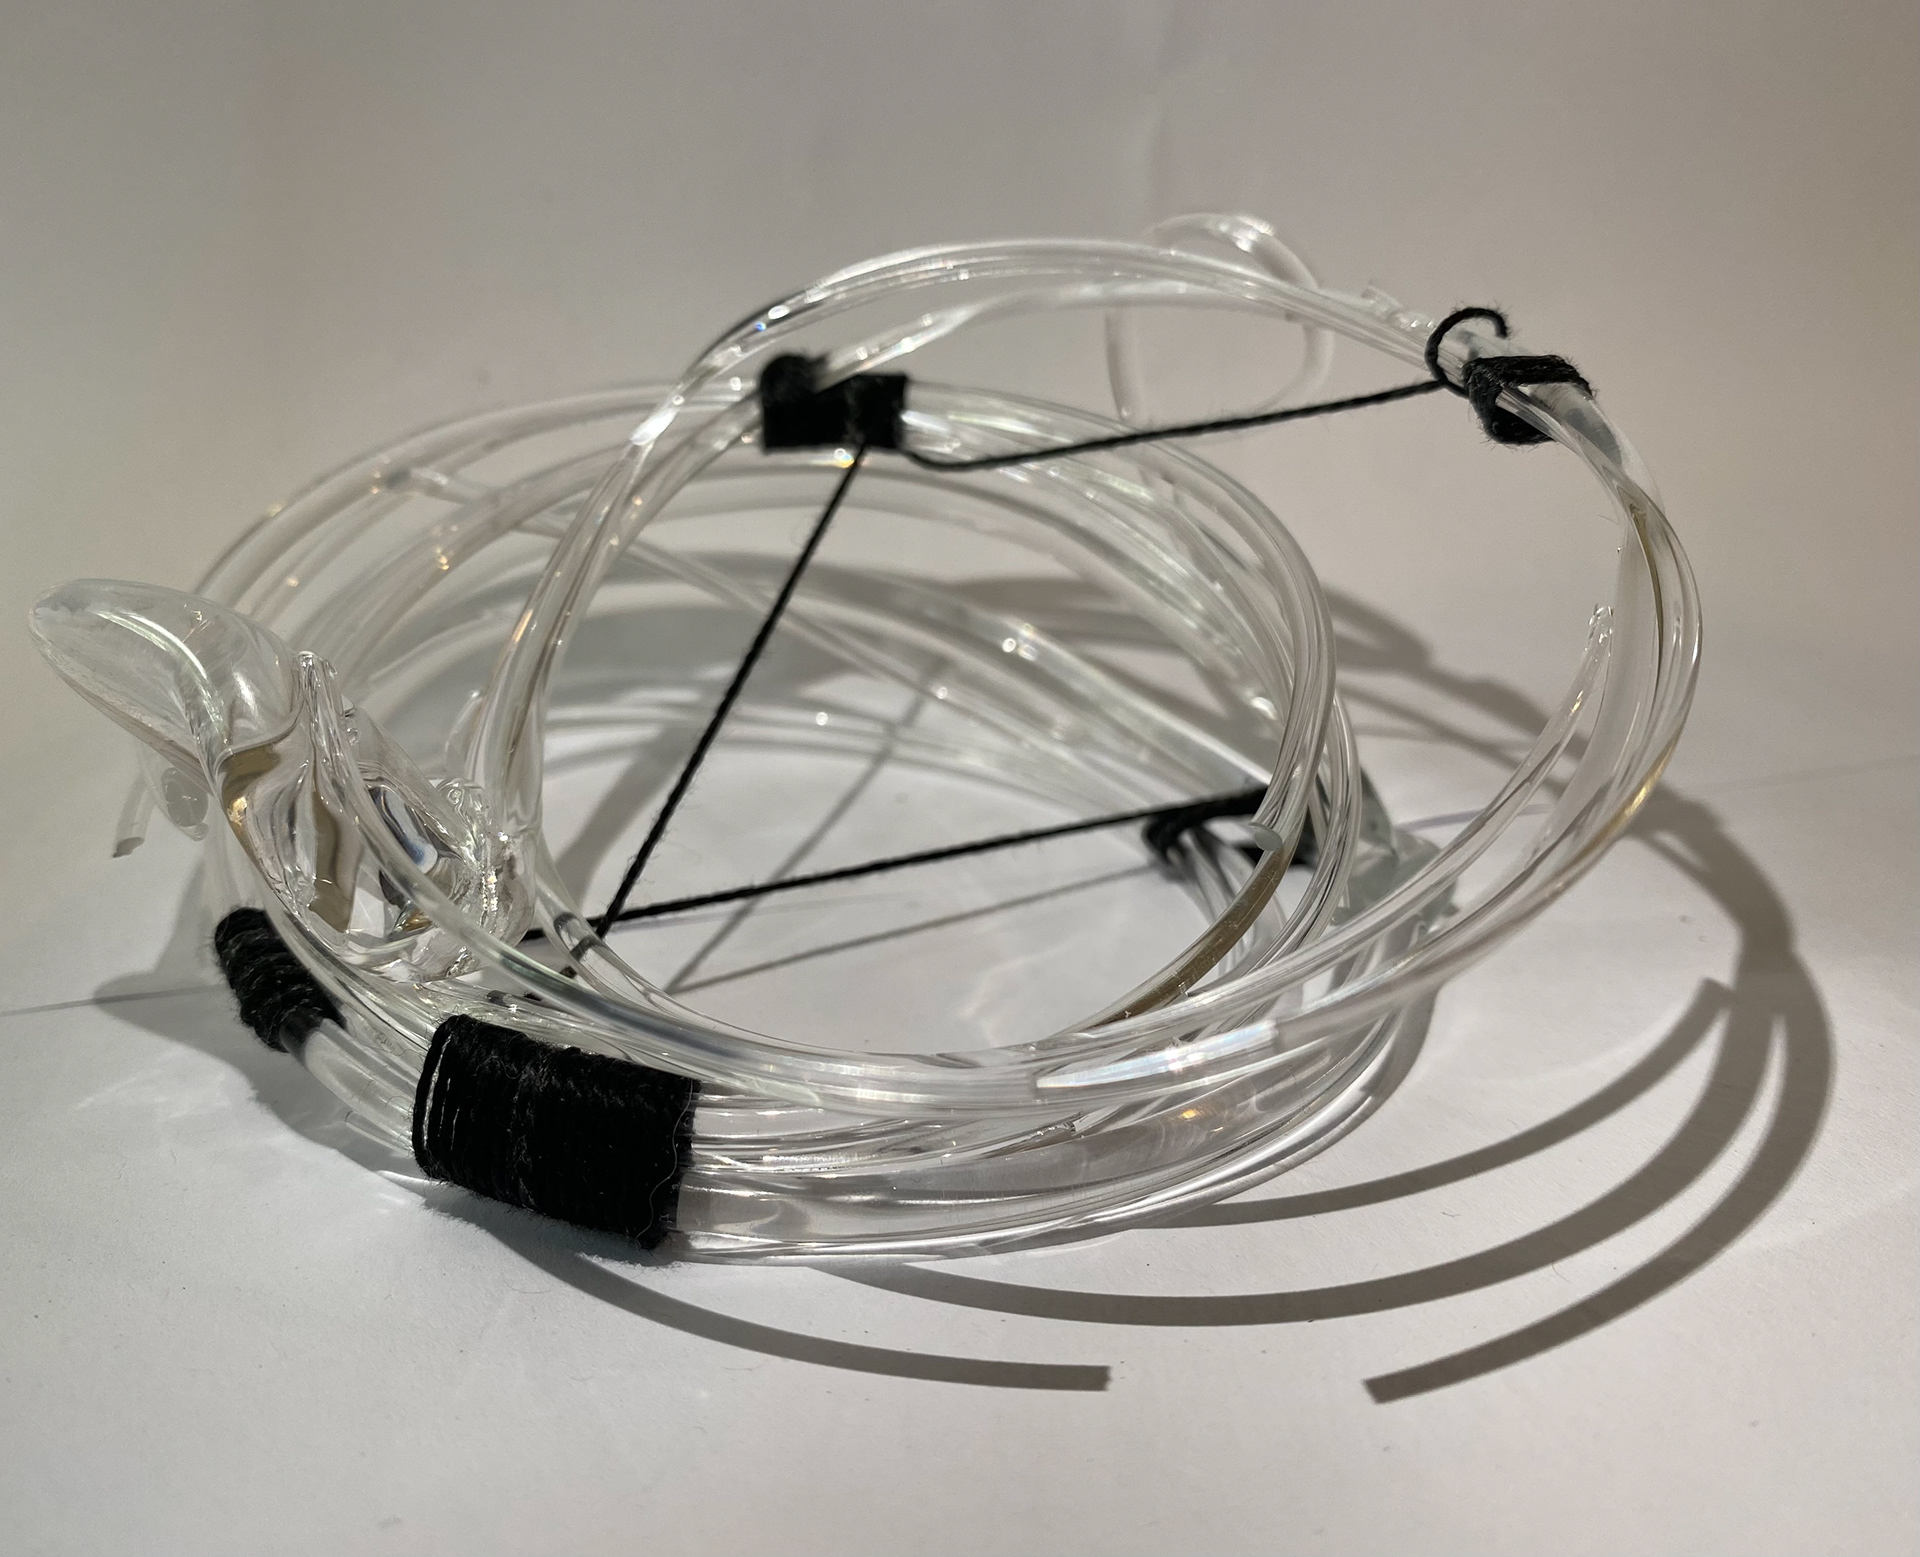
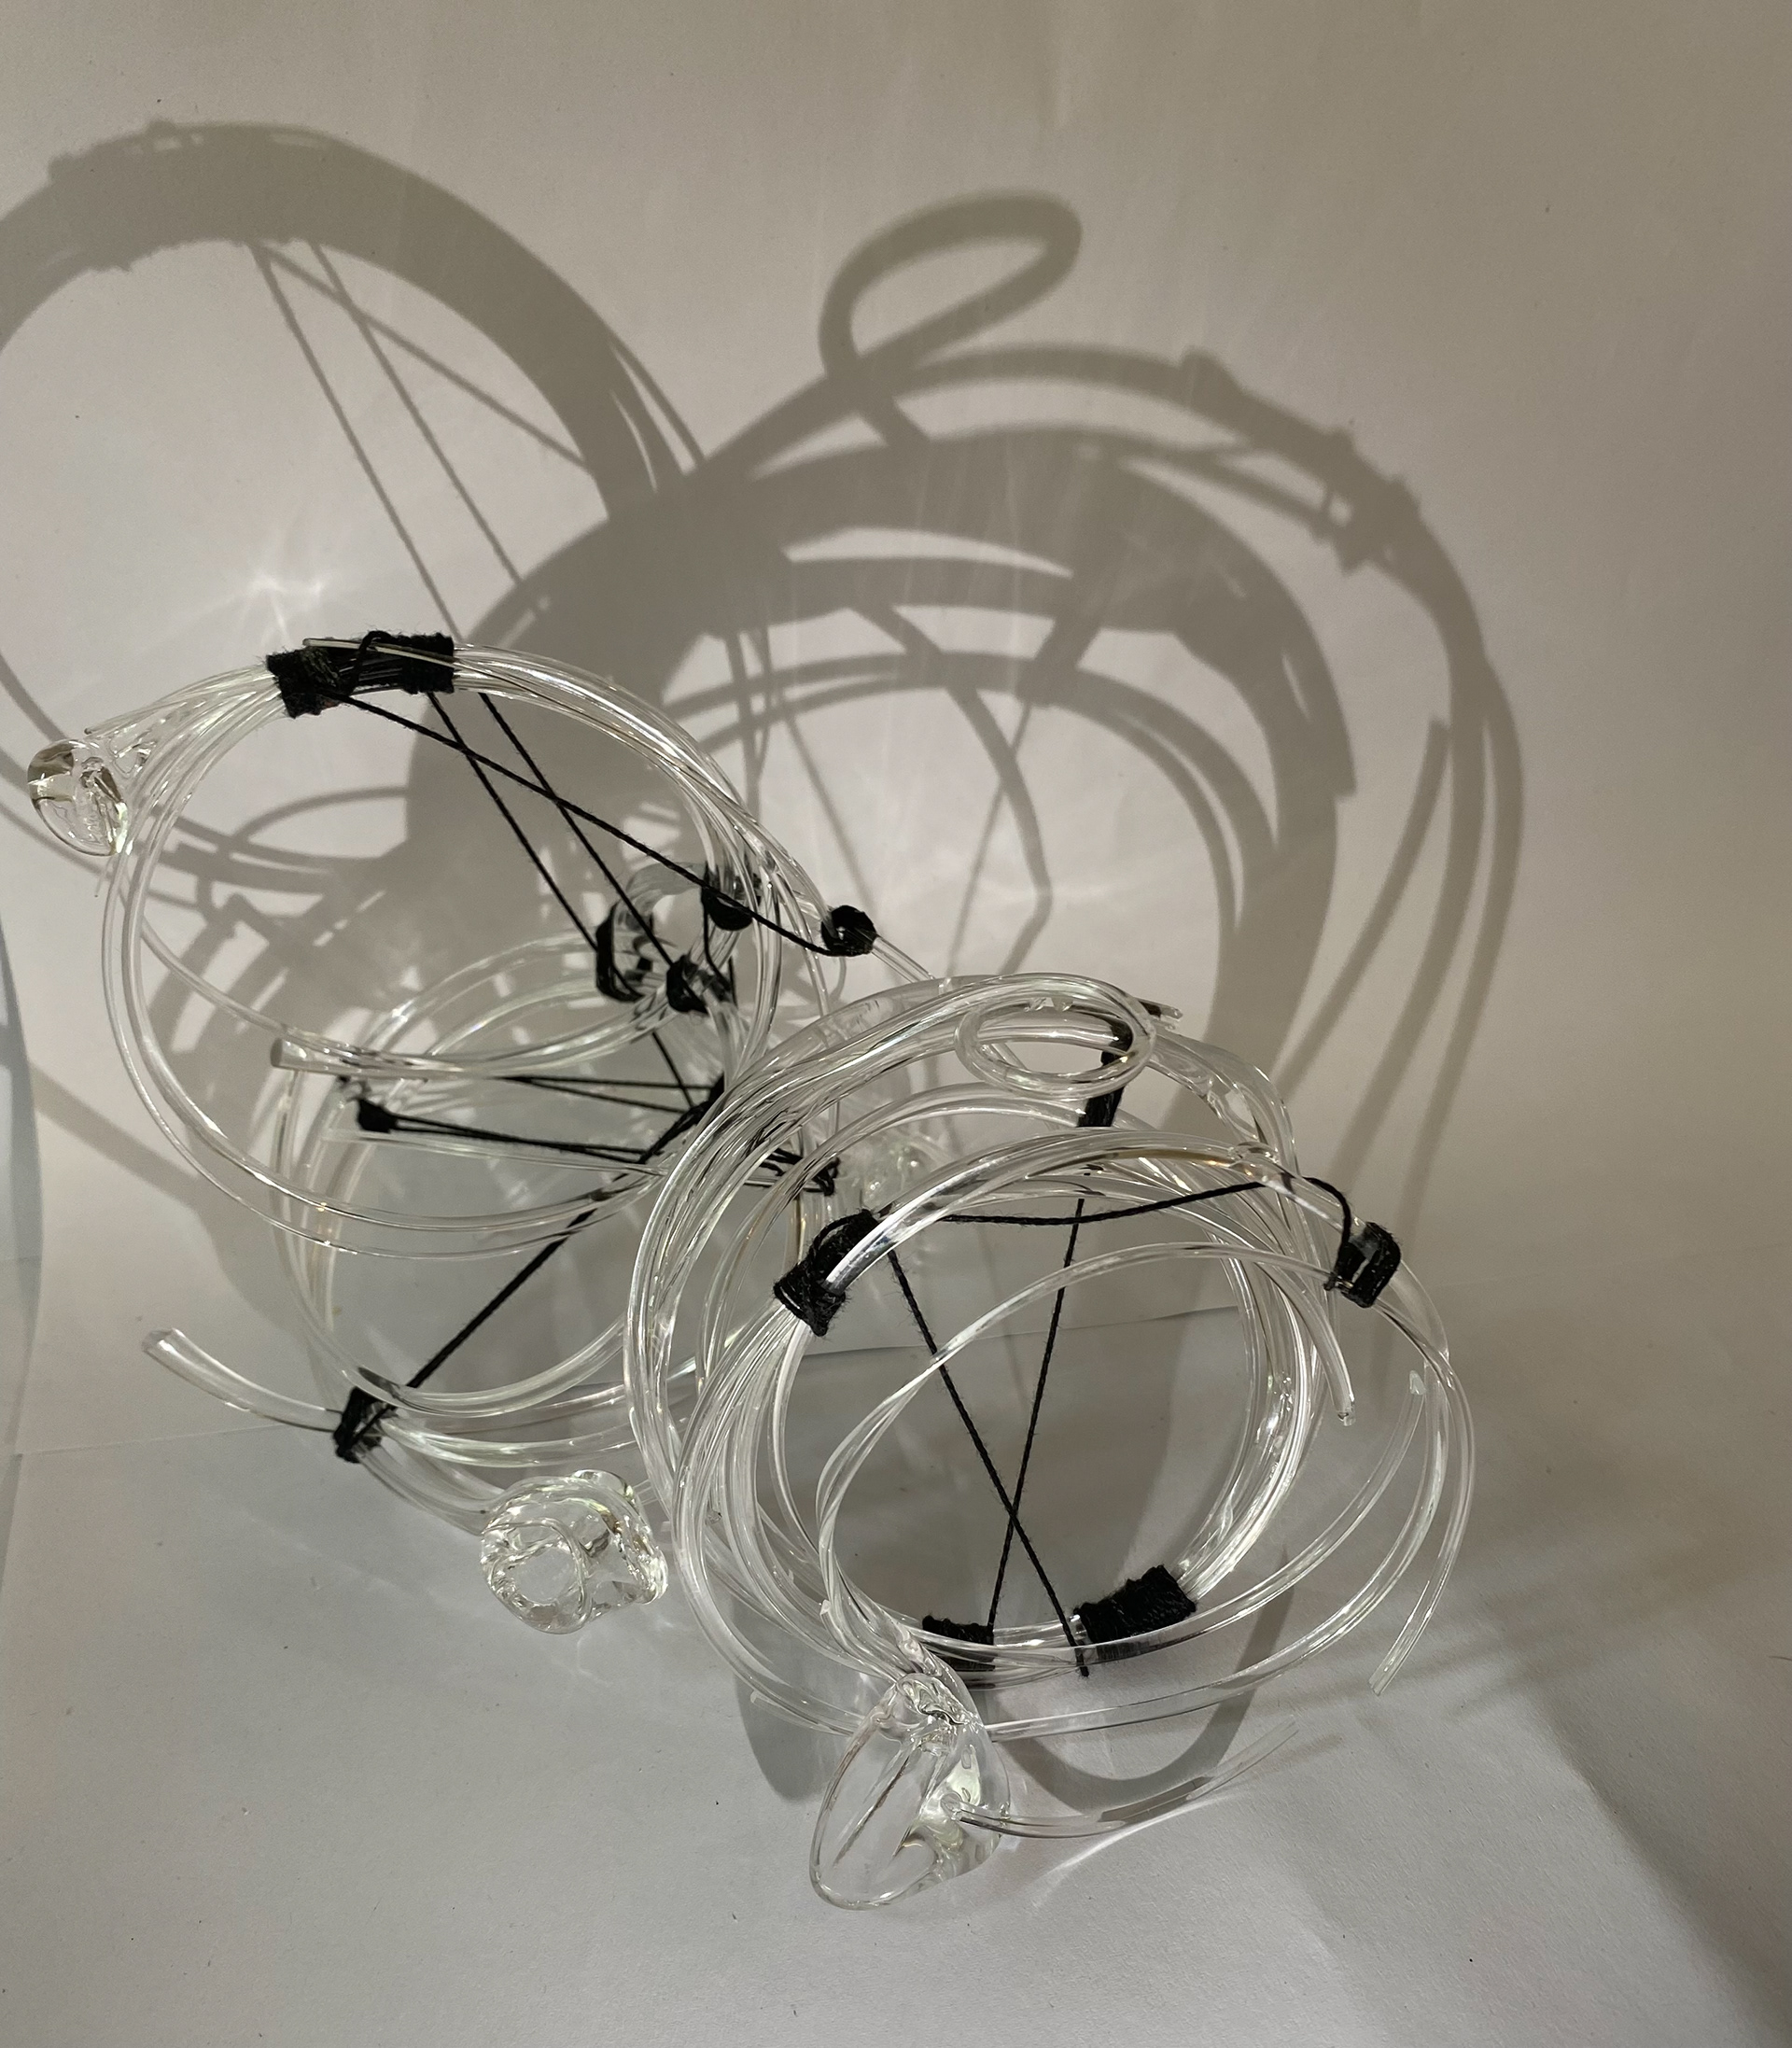
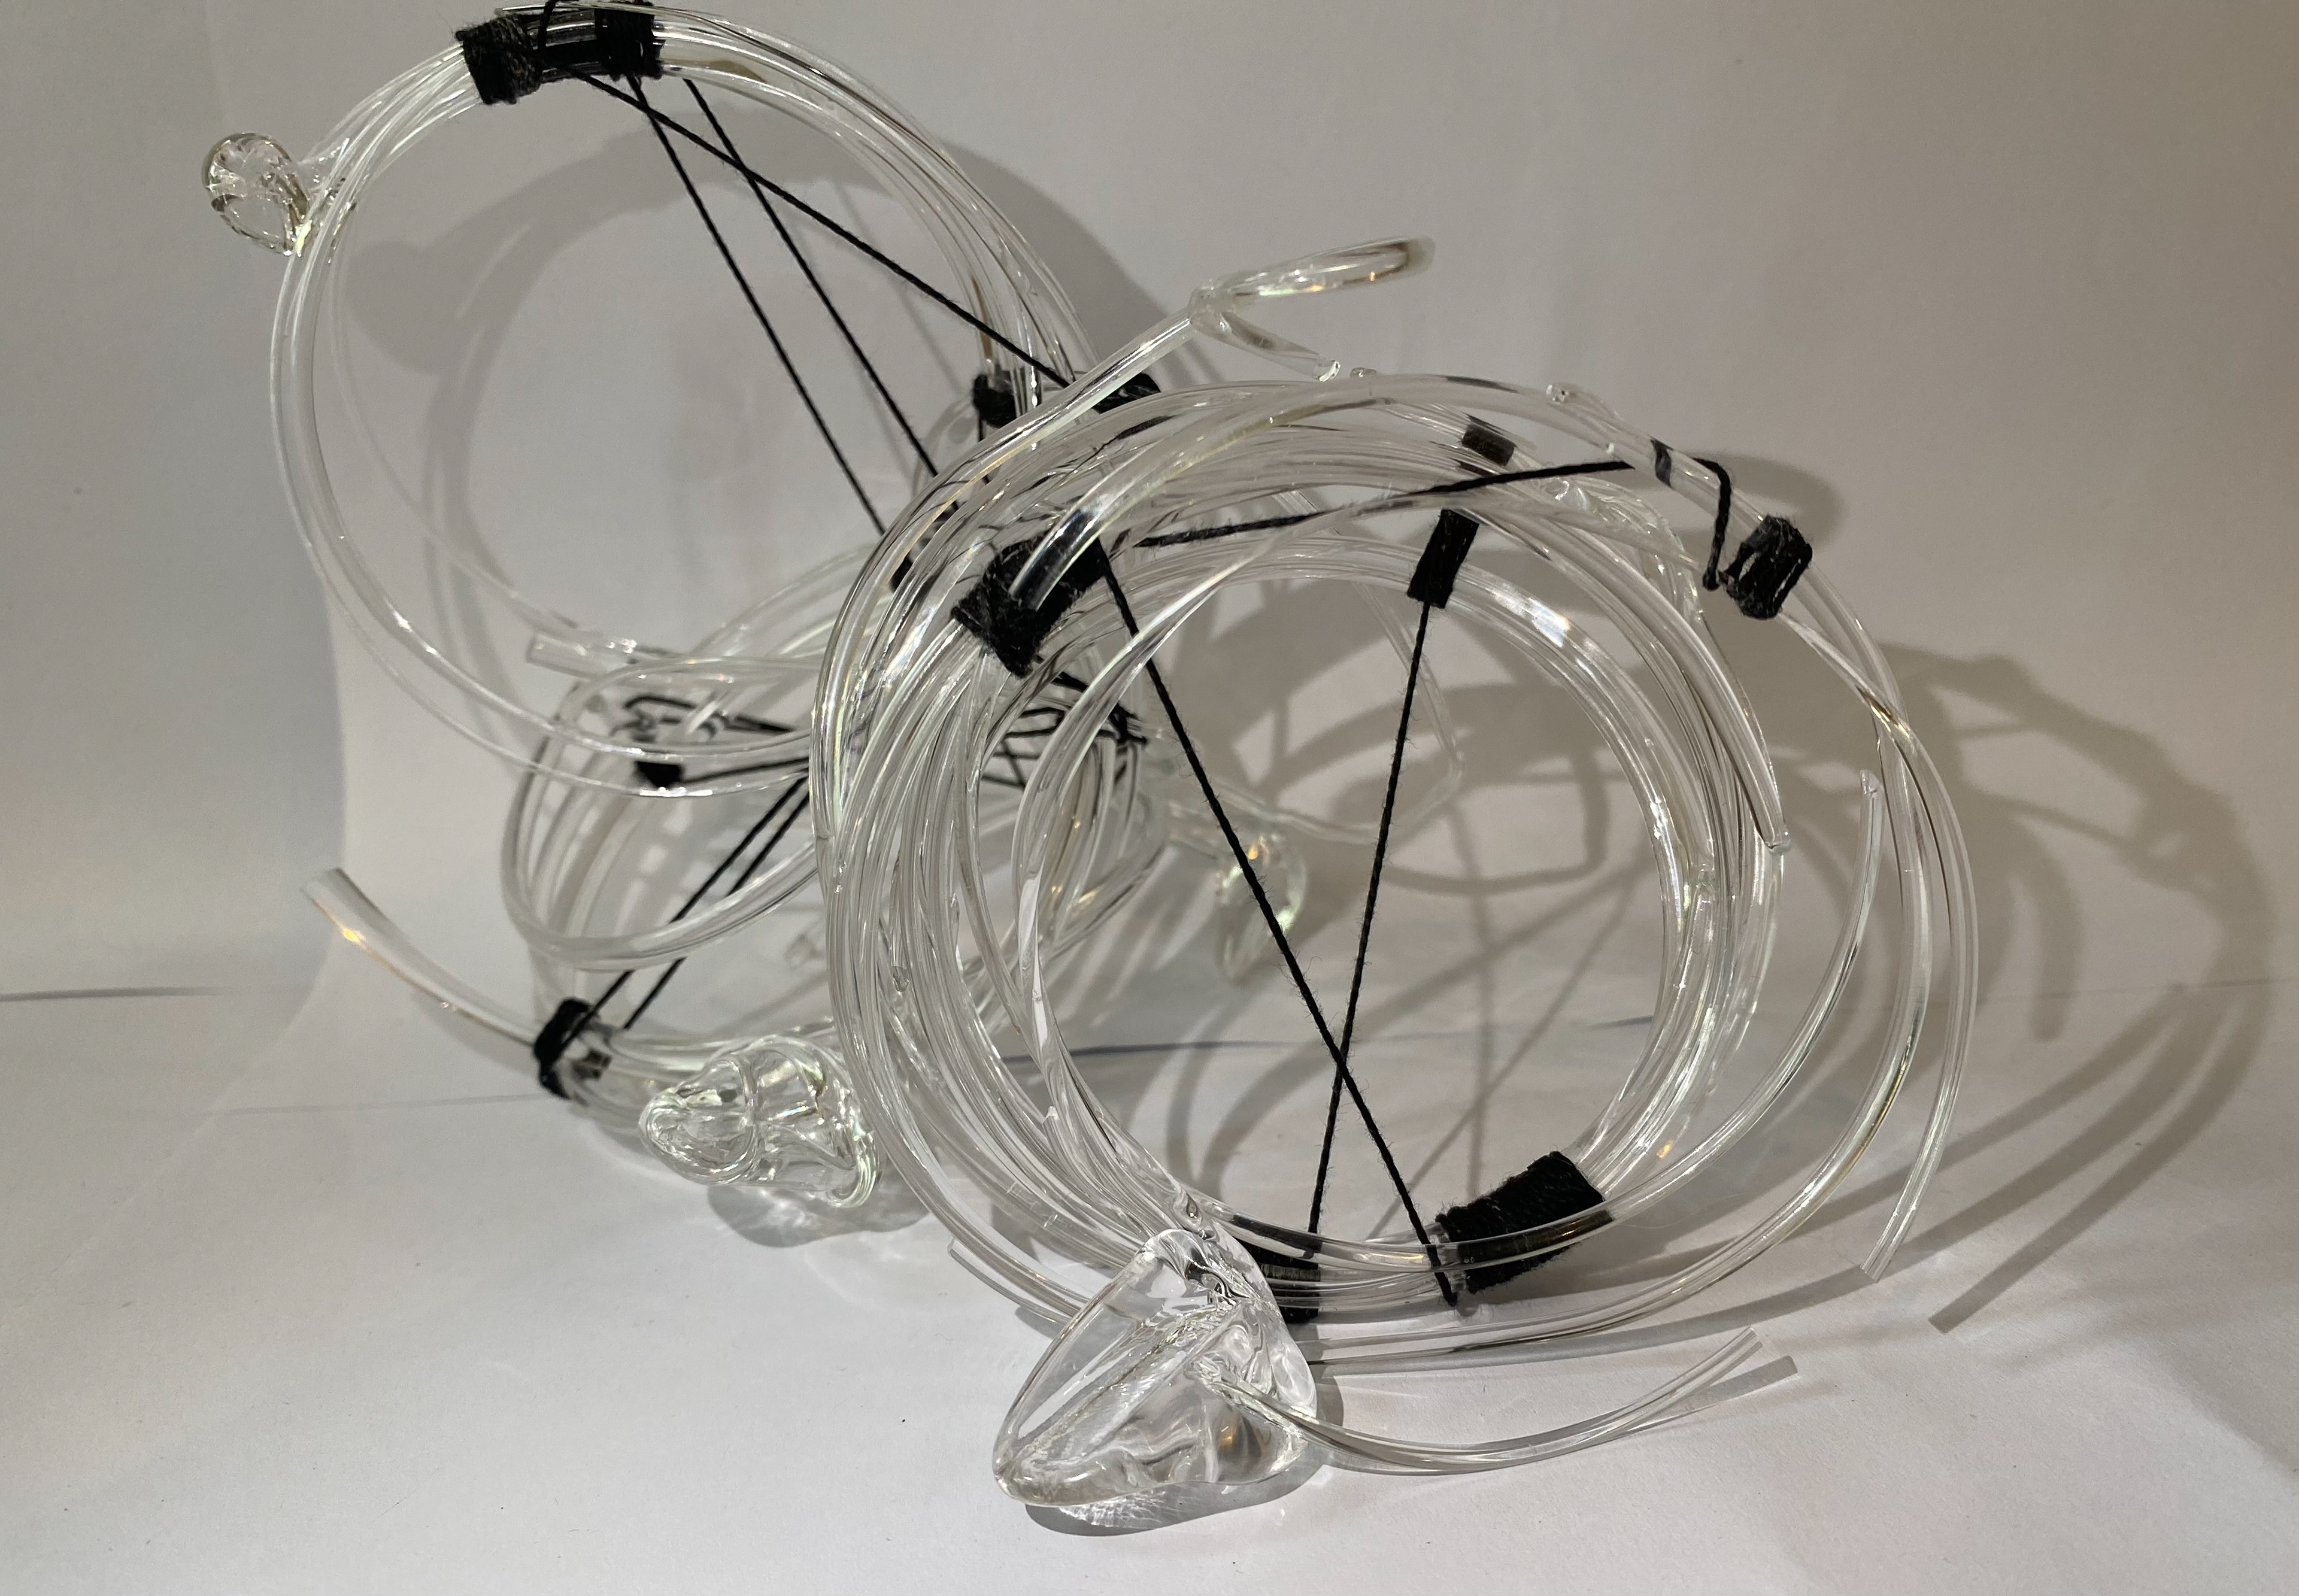
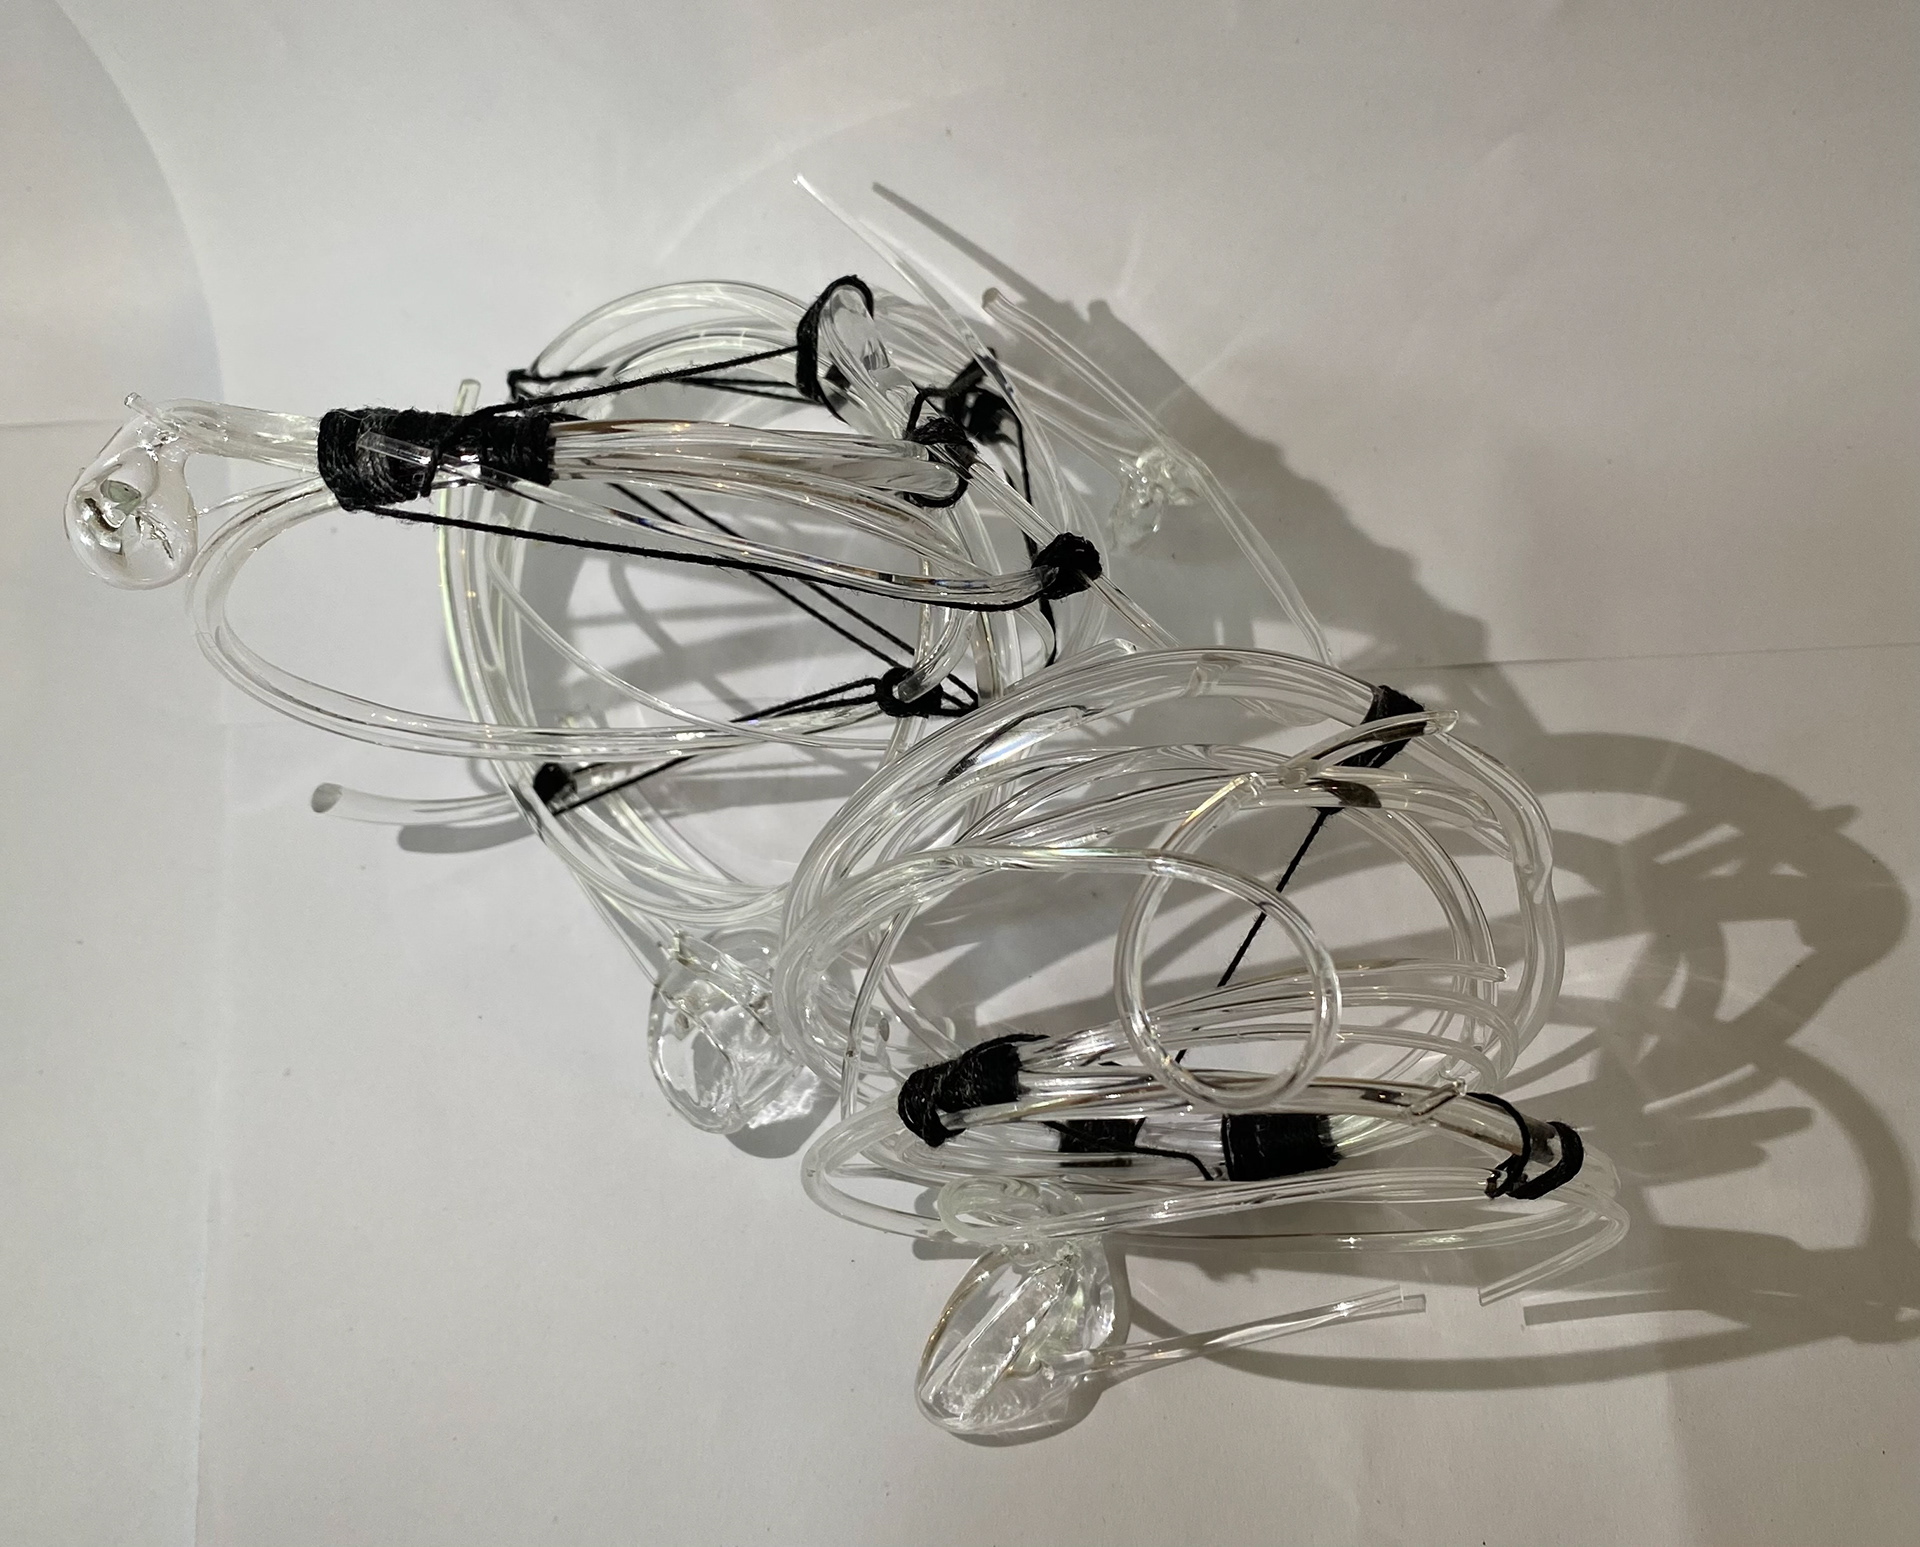
This is the final collection of pieces I created. When making the glass strands I pinched the glass on the iron rod with tweezers to stretch it out. I found beauty within these parts even though originally they wasn't something I considered using. I liked how the light reflects through the shape of the pieces made from pinching and decided to incorporate them into my final pieces. Reflecting on these, the glass was hard to handle as the piece's were very fragile and a lot broke during the process of building the pieces, for example if I put to much pressure with the thread when tightening. I do not think there is much to be done to be able to prevent this with what I wanted to do with the glass due to the fragile nature of the material at the thickness I was using it at.
When taking photos of the pieces I noticed the shadows formed and started to play around with this using my torch on my phone much like we did in the tasks set in the weekly sessions.
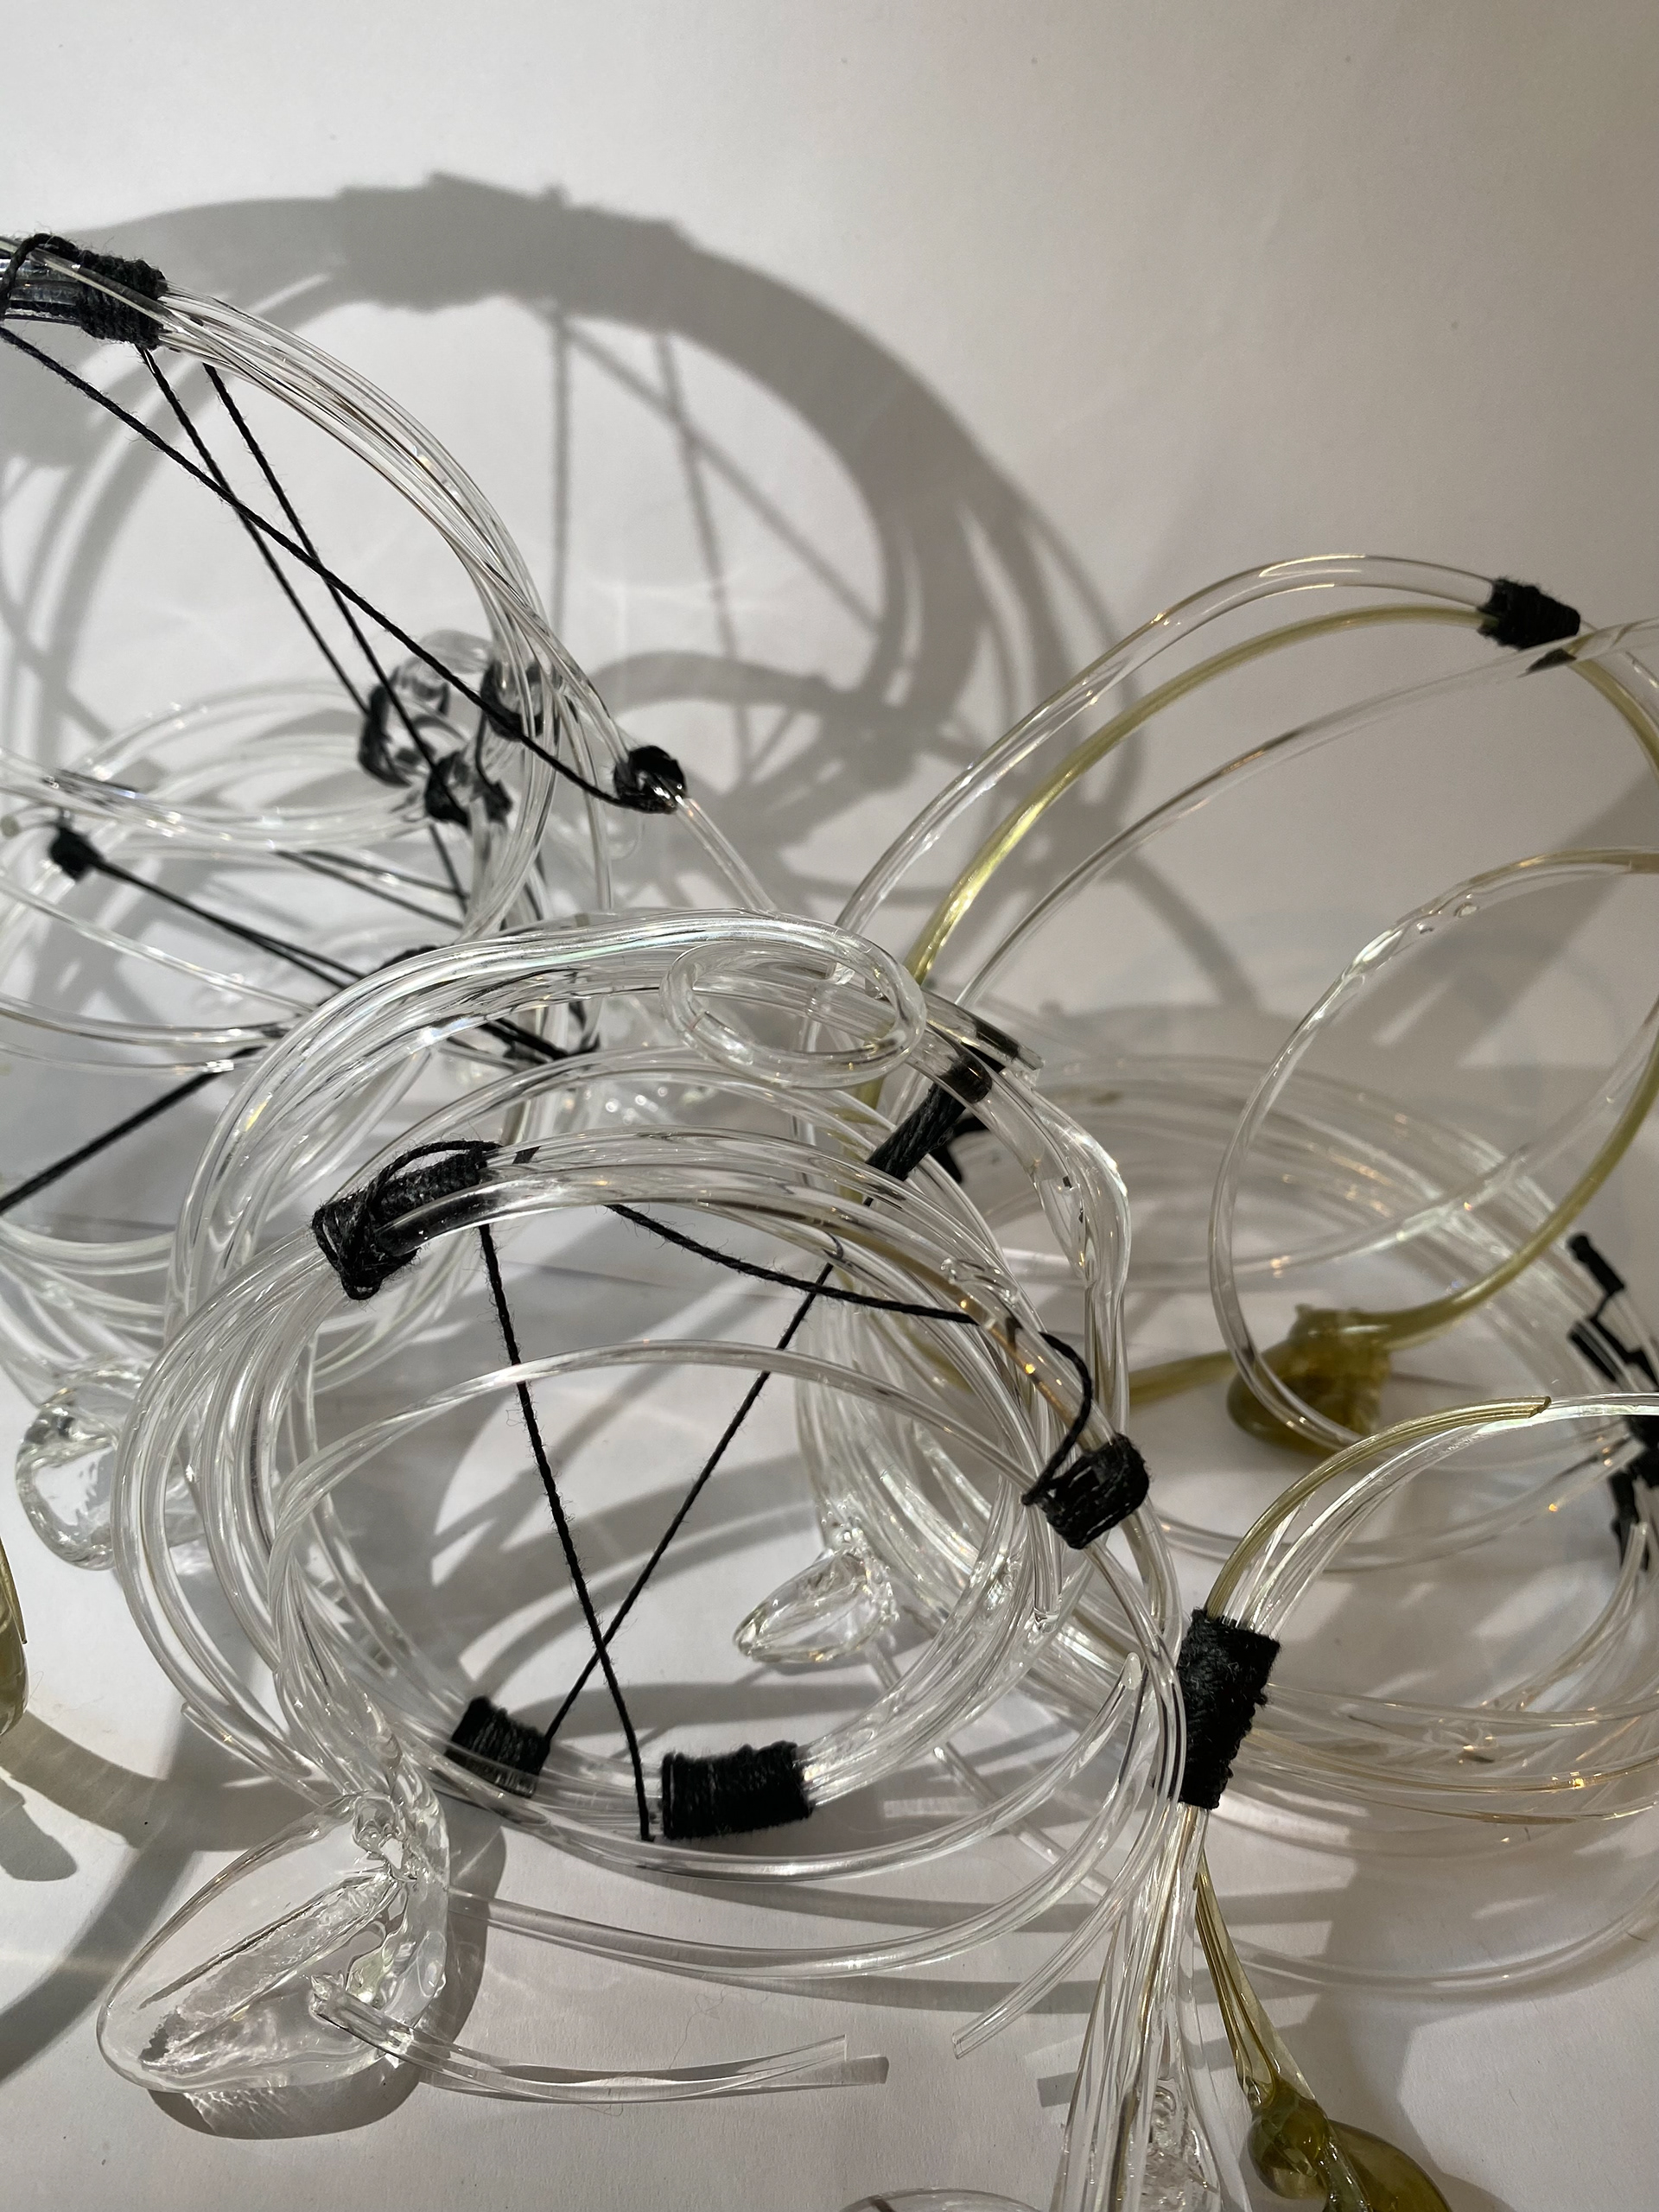
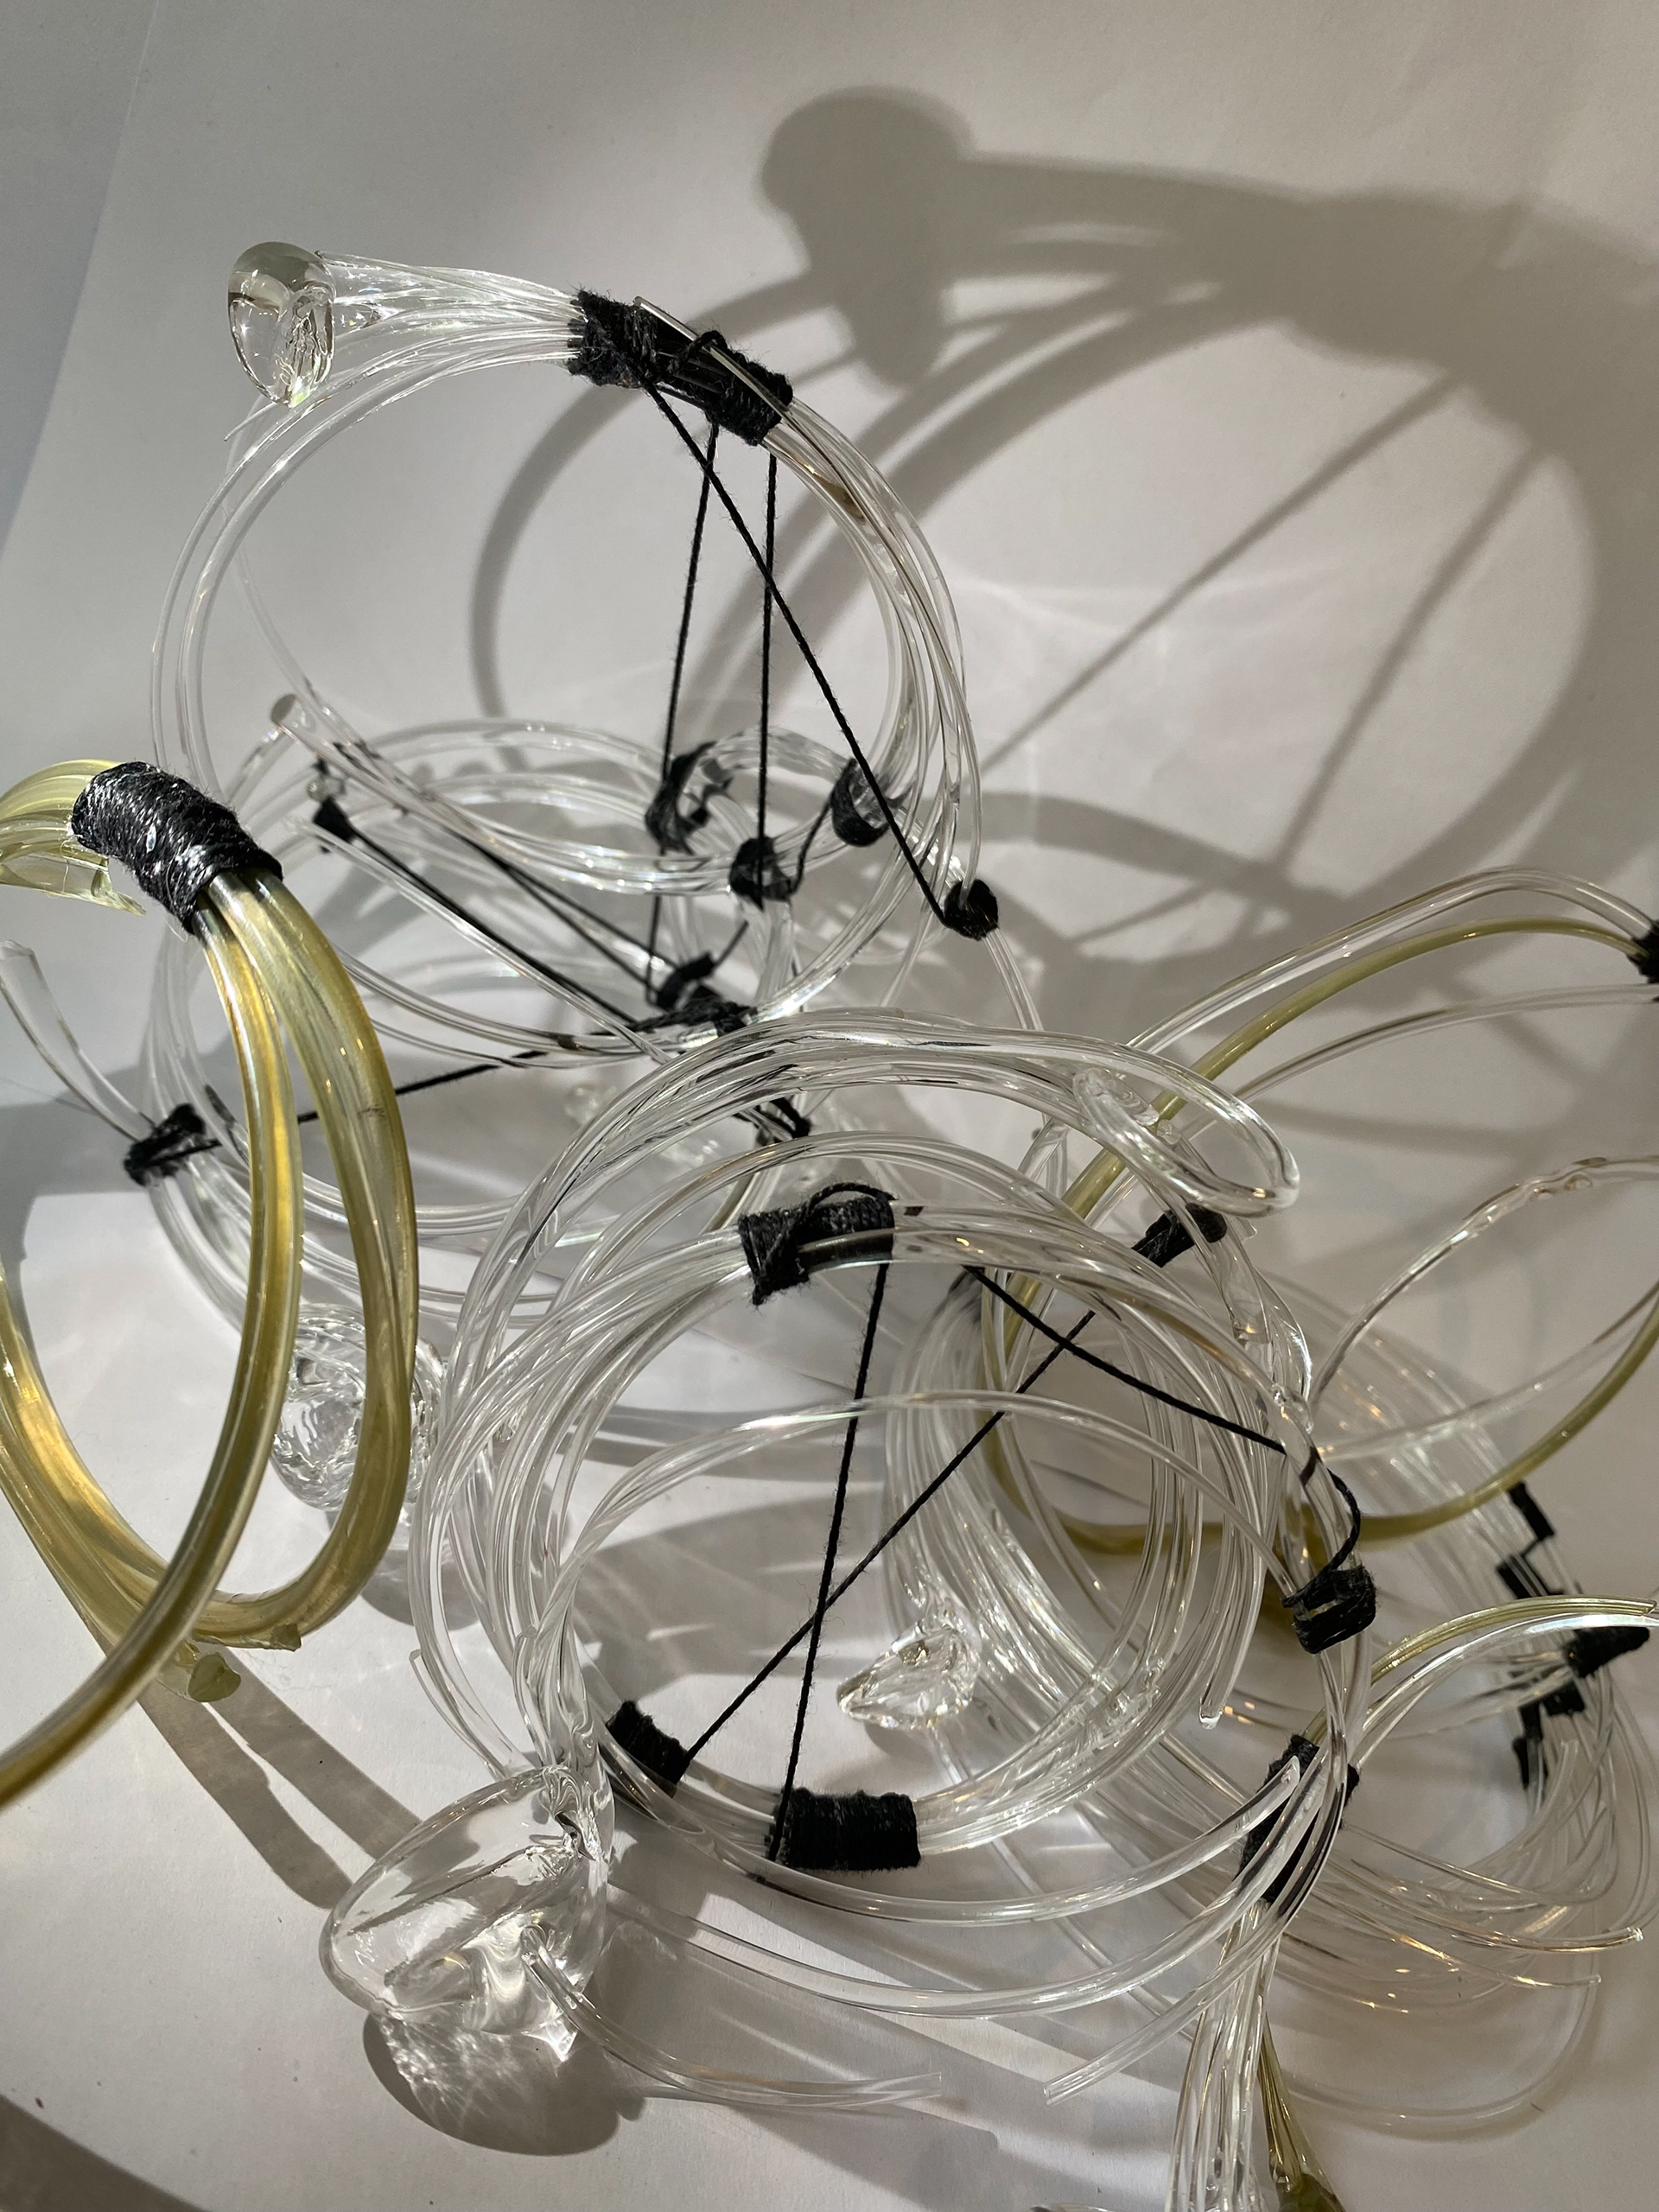
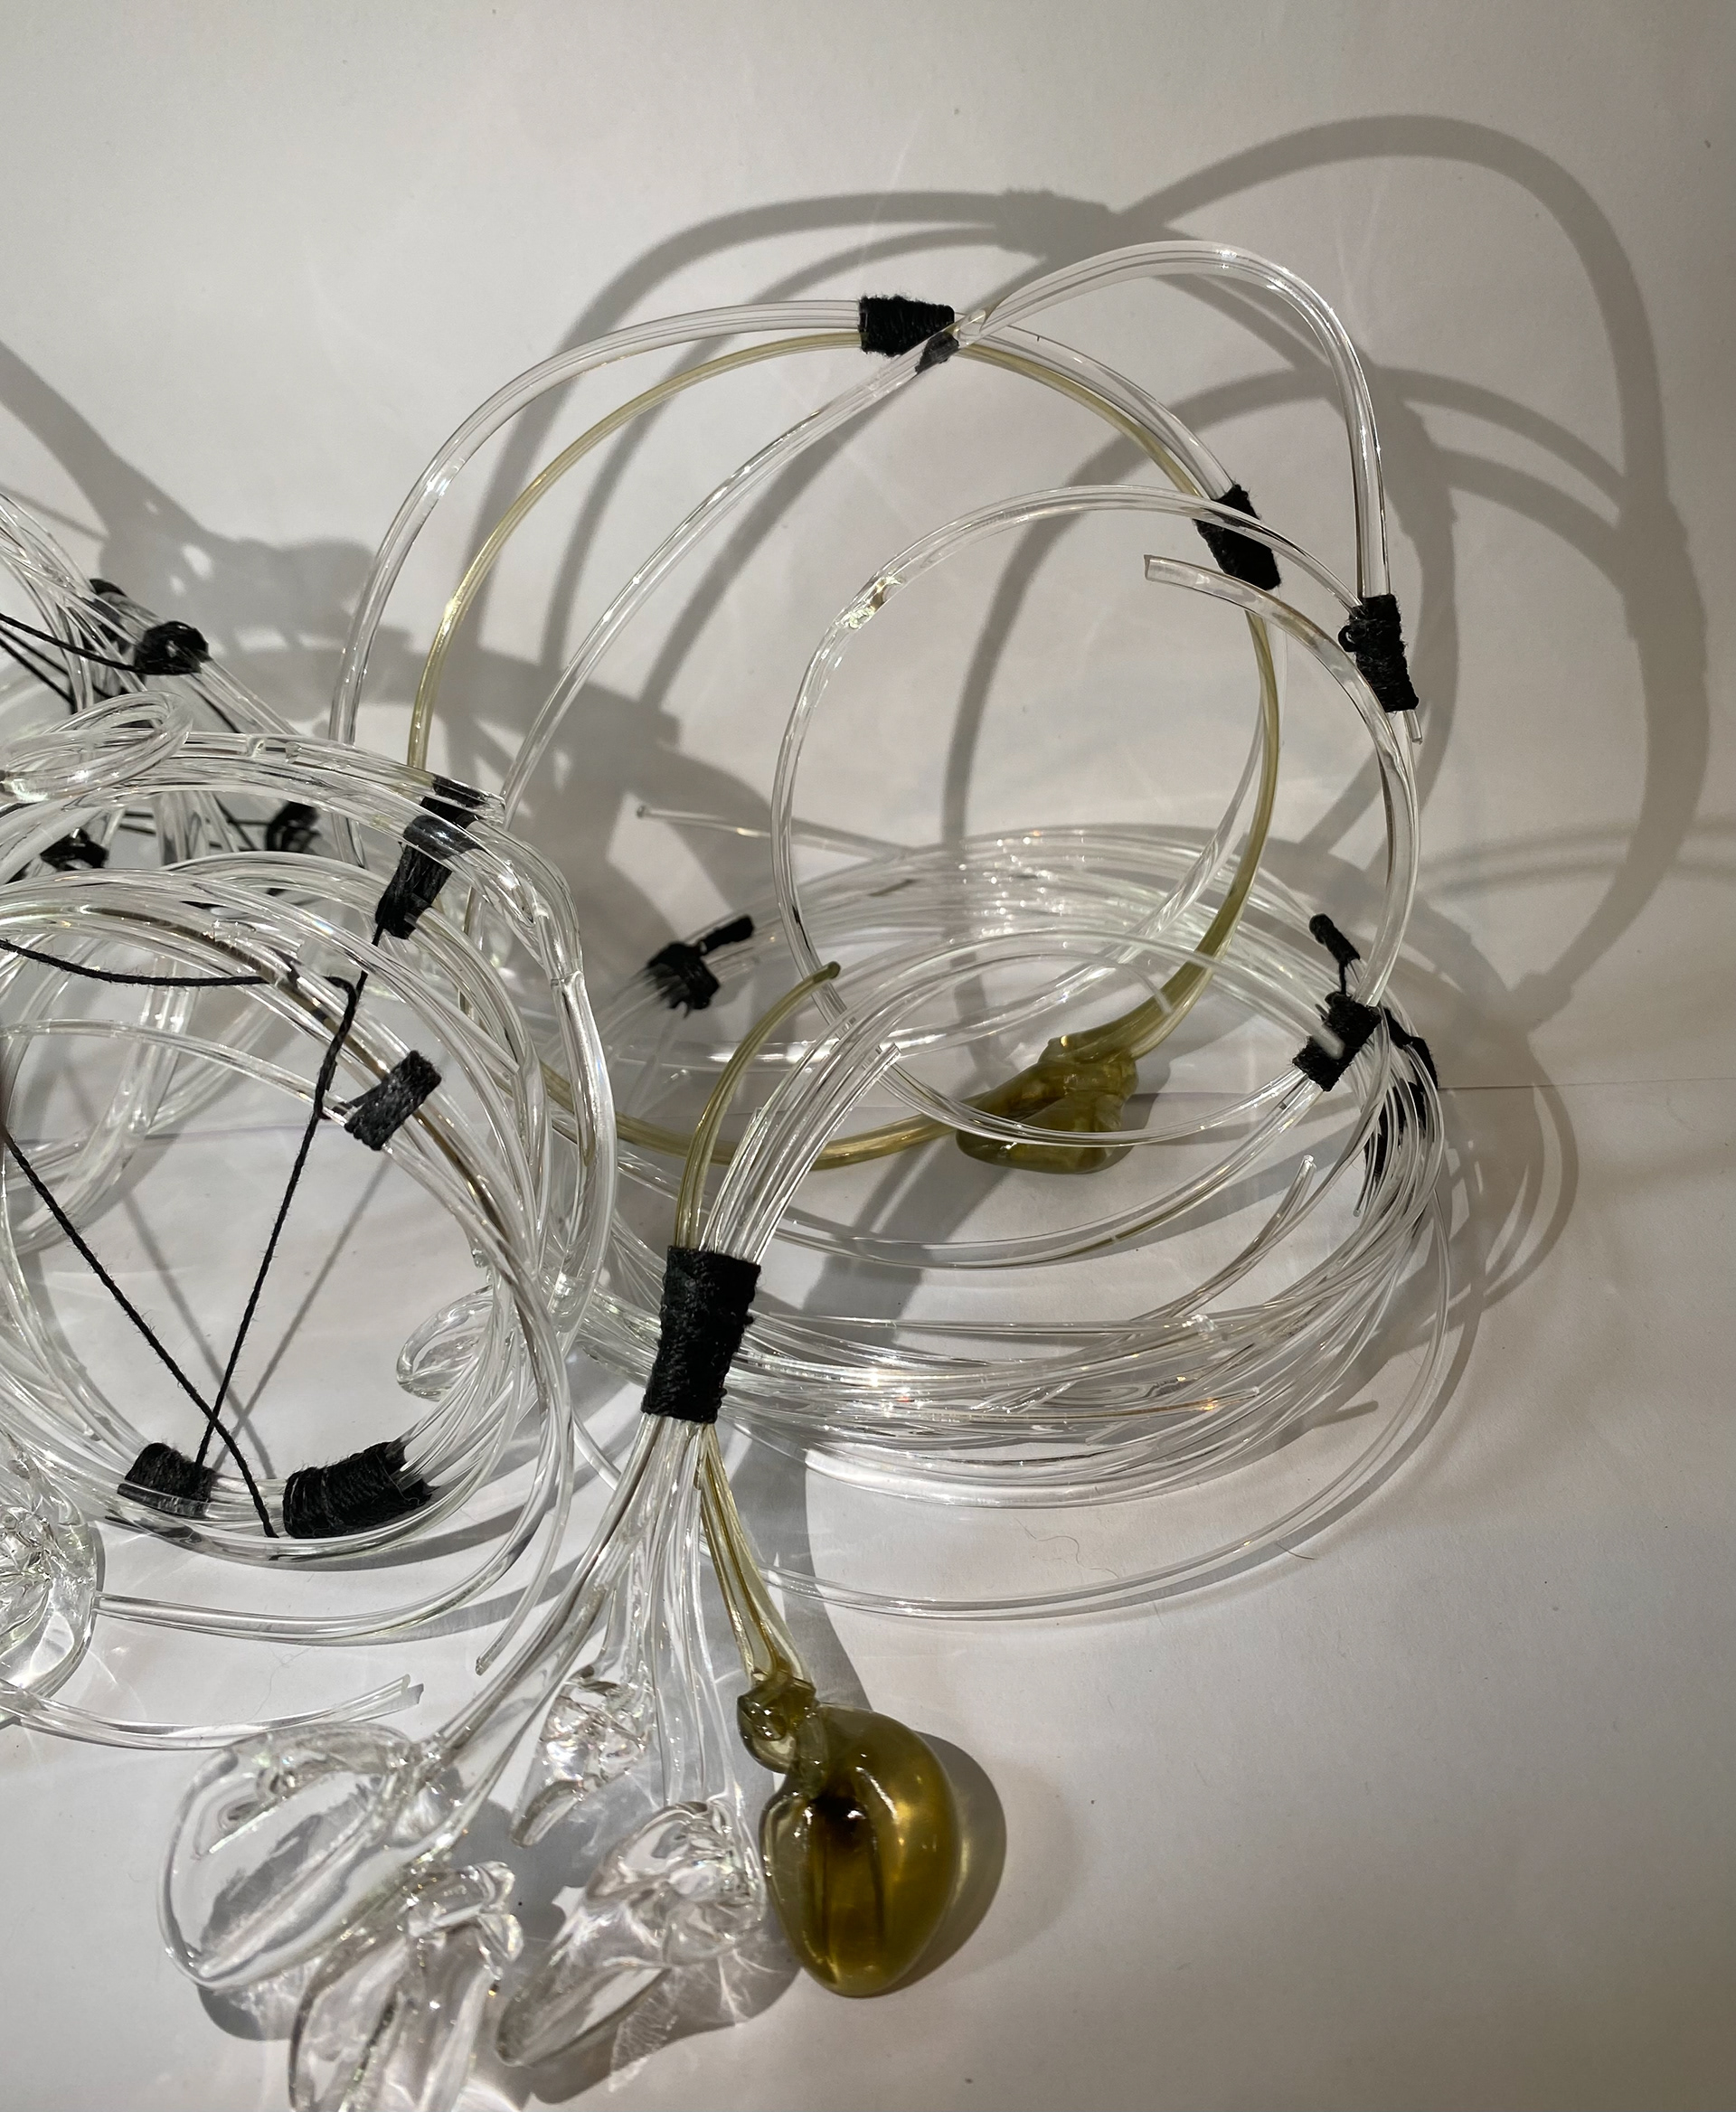
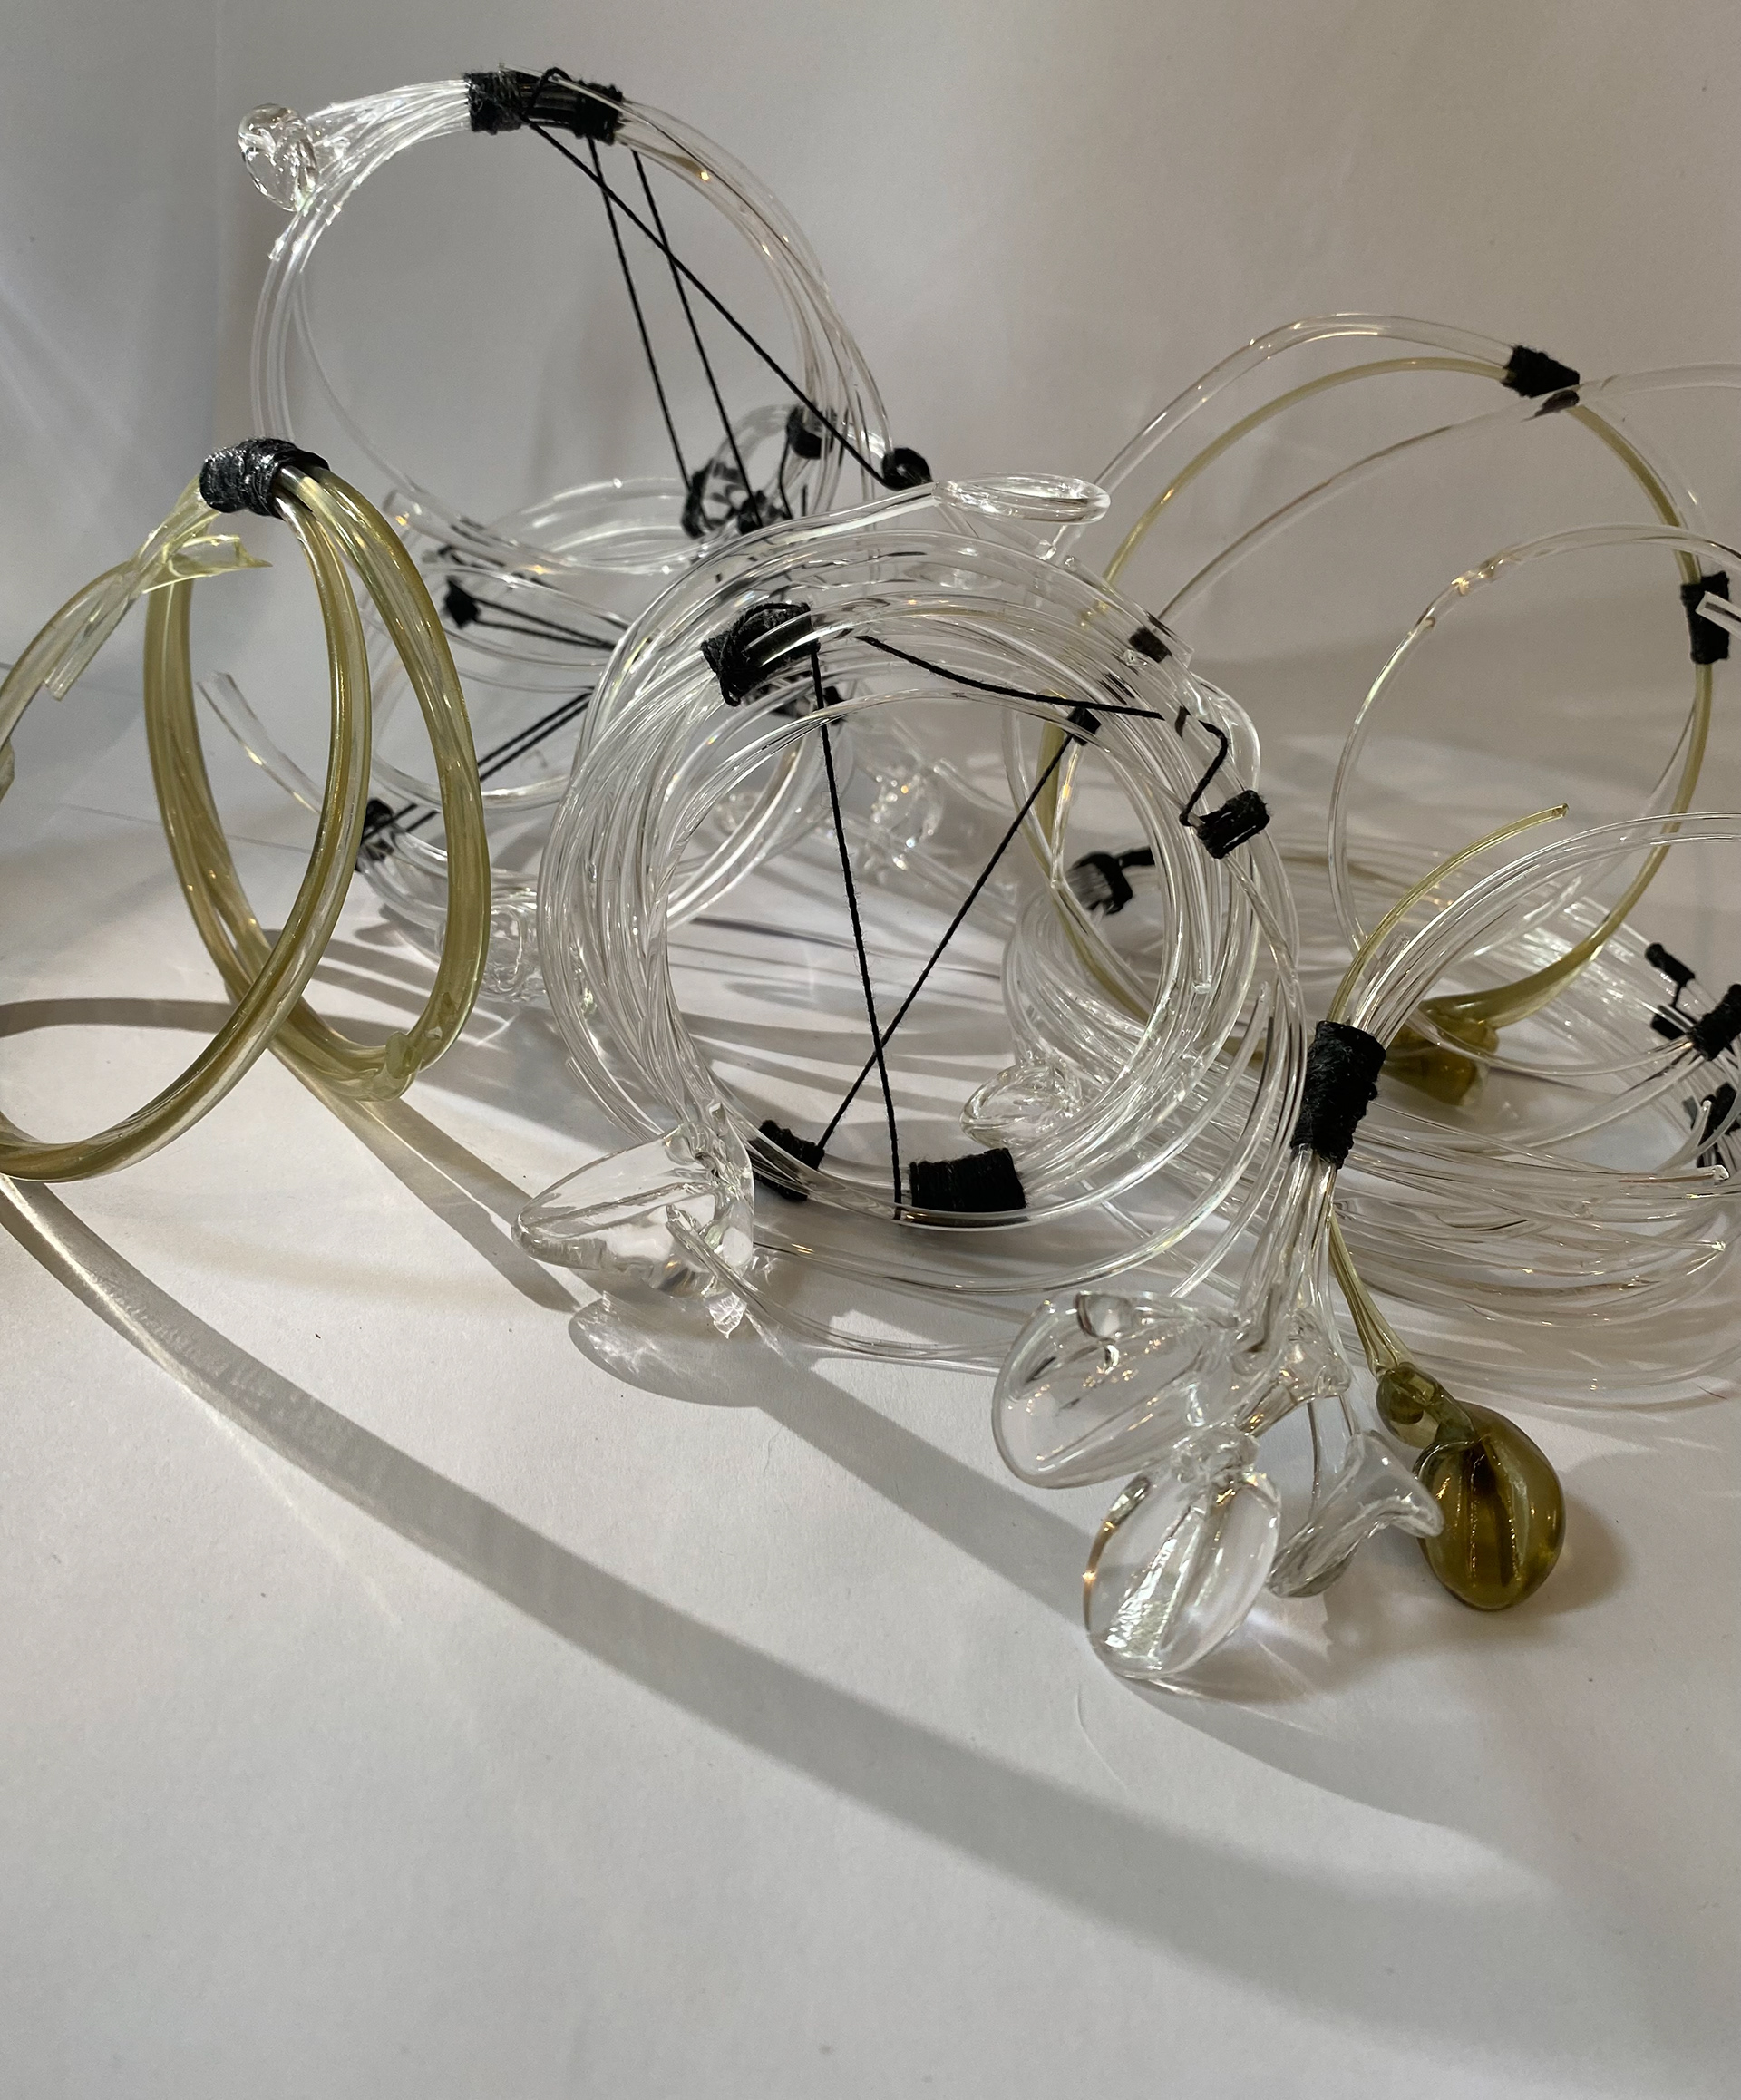
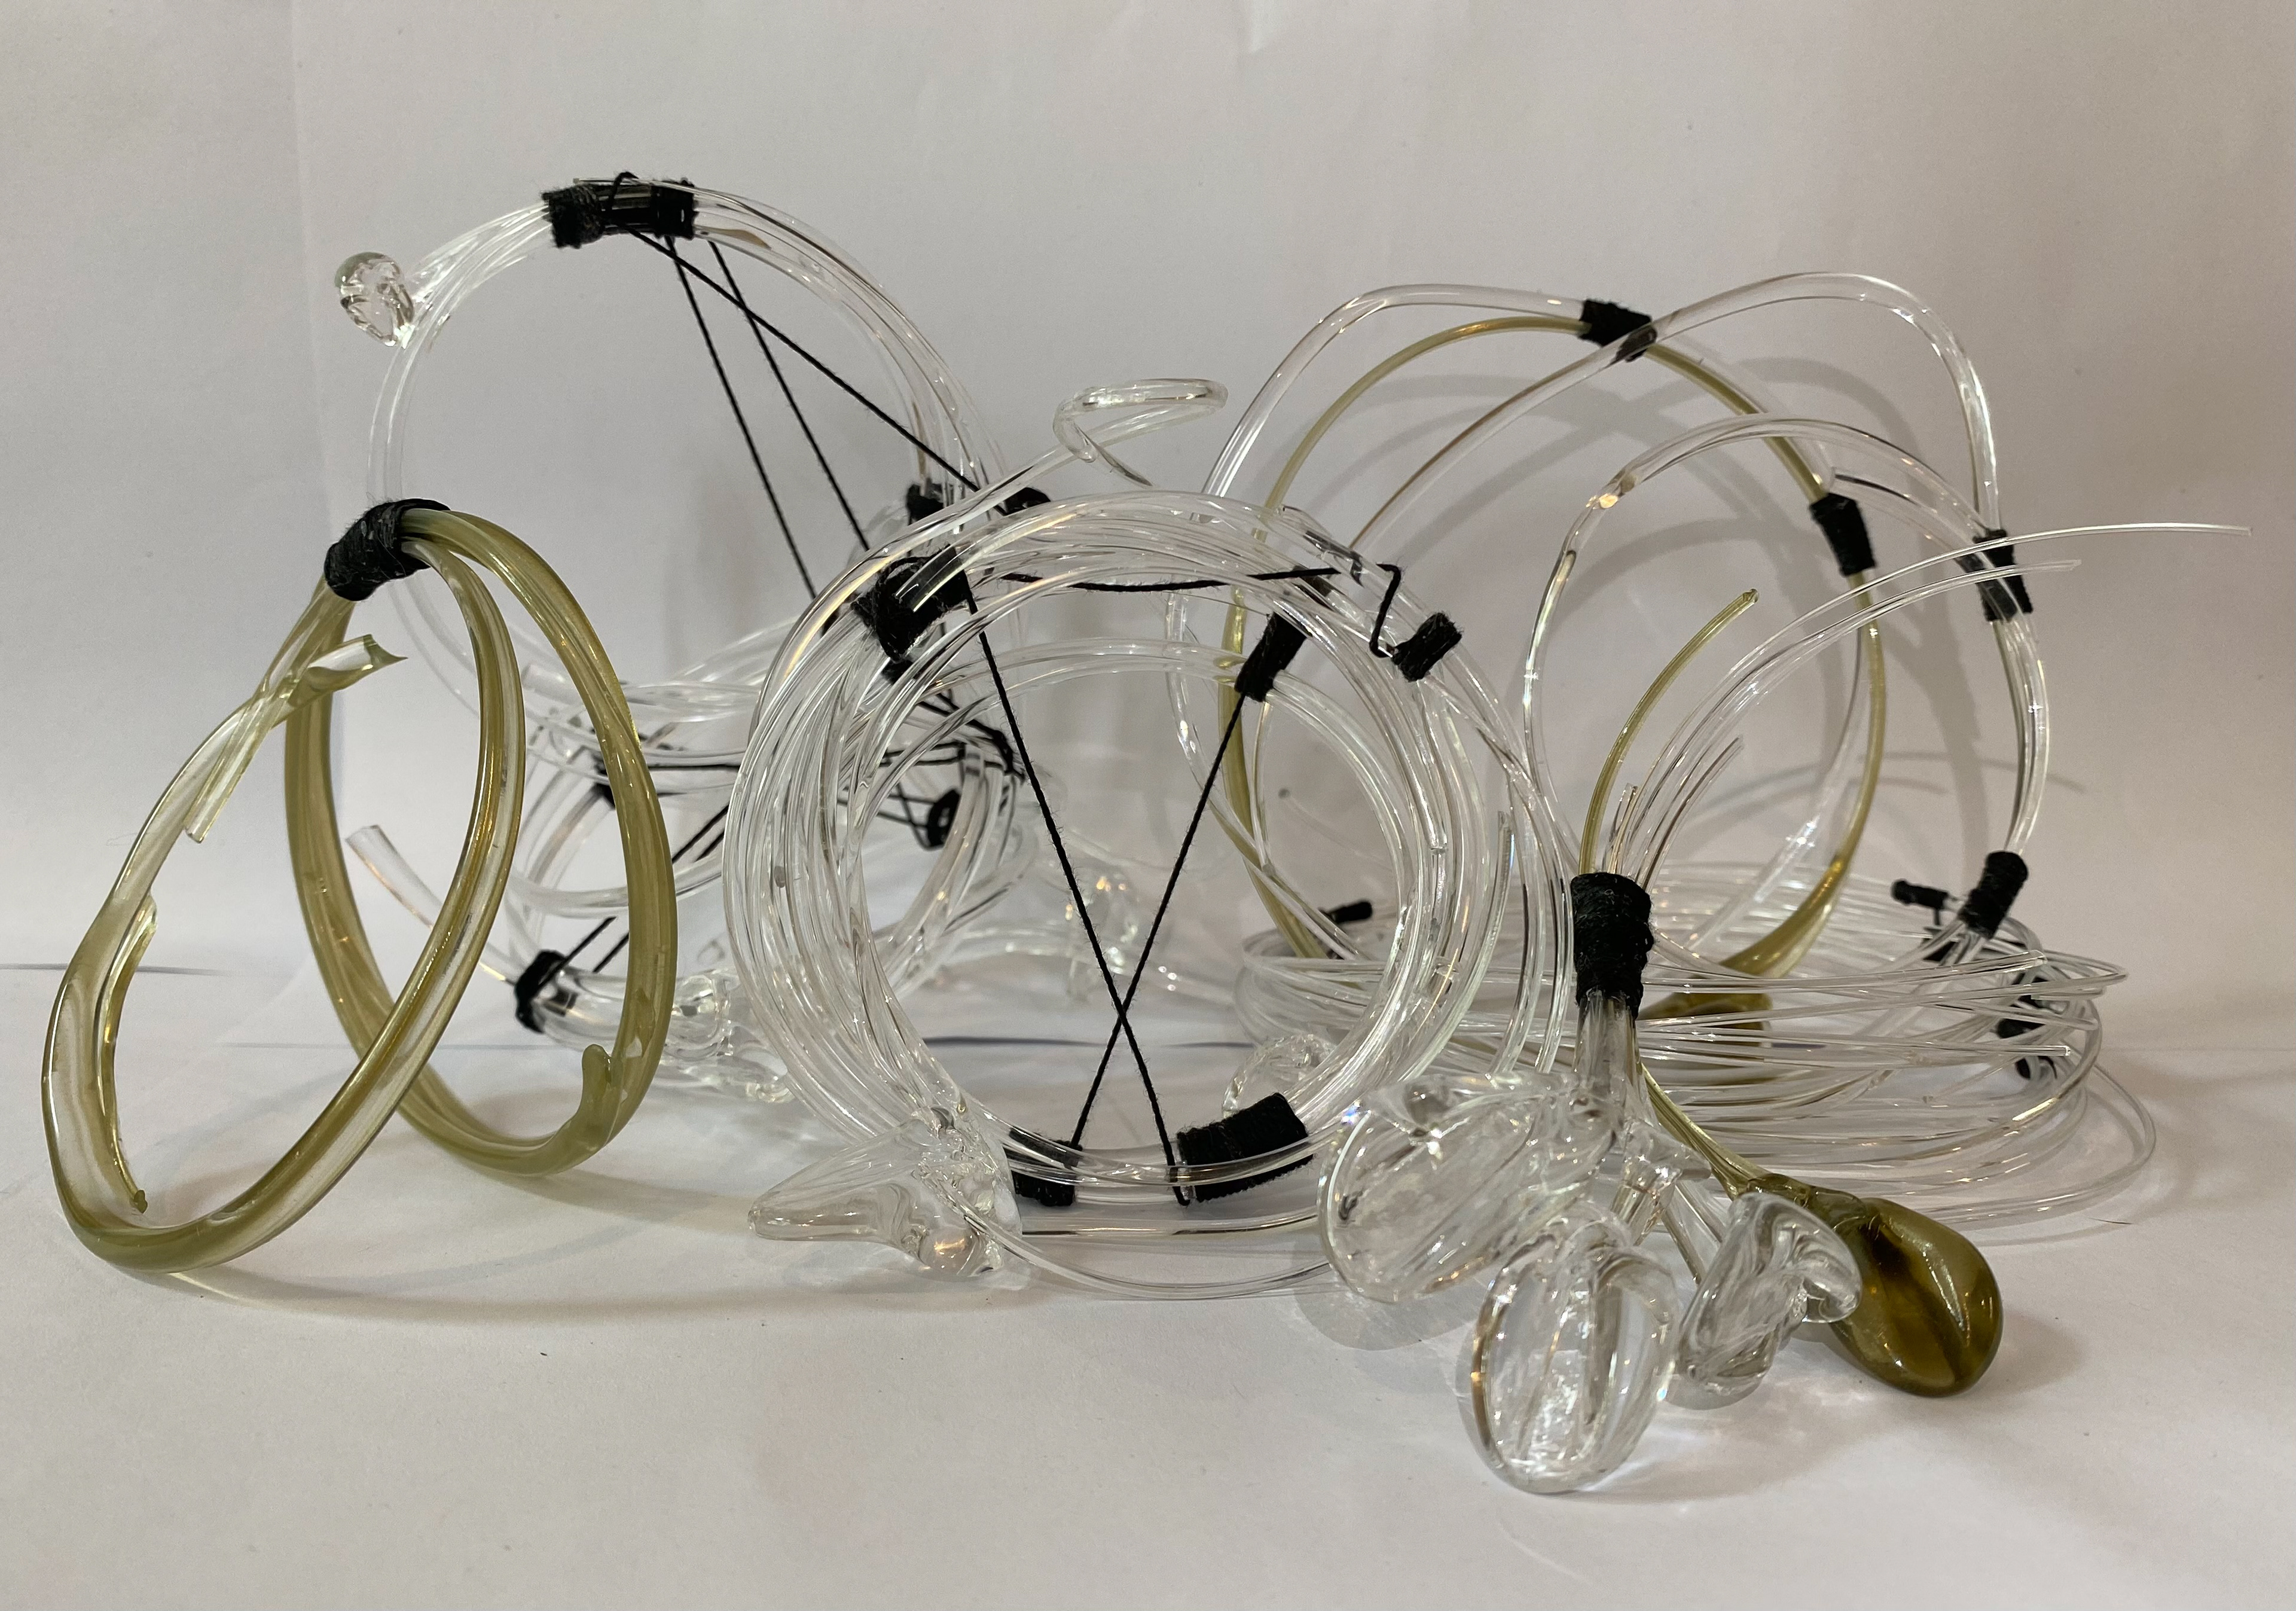
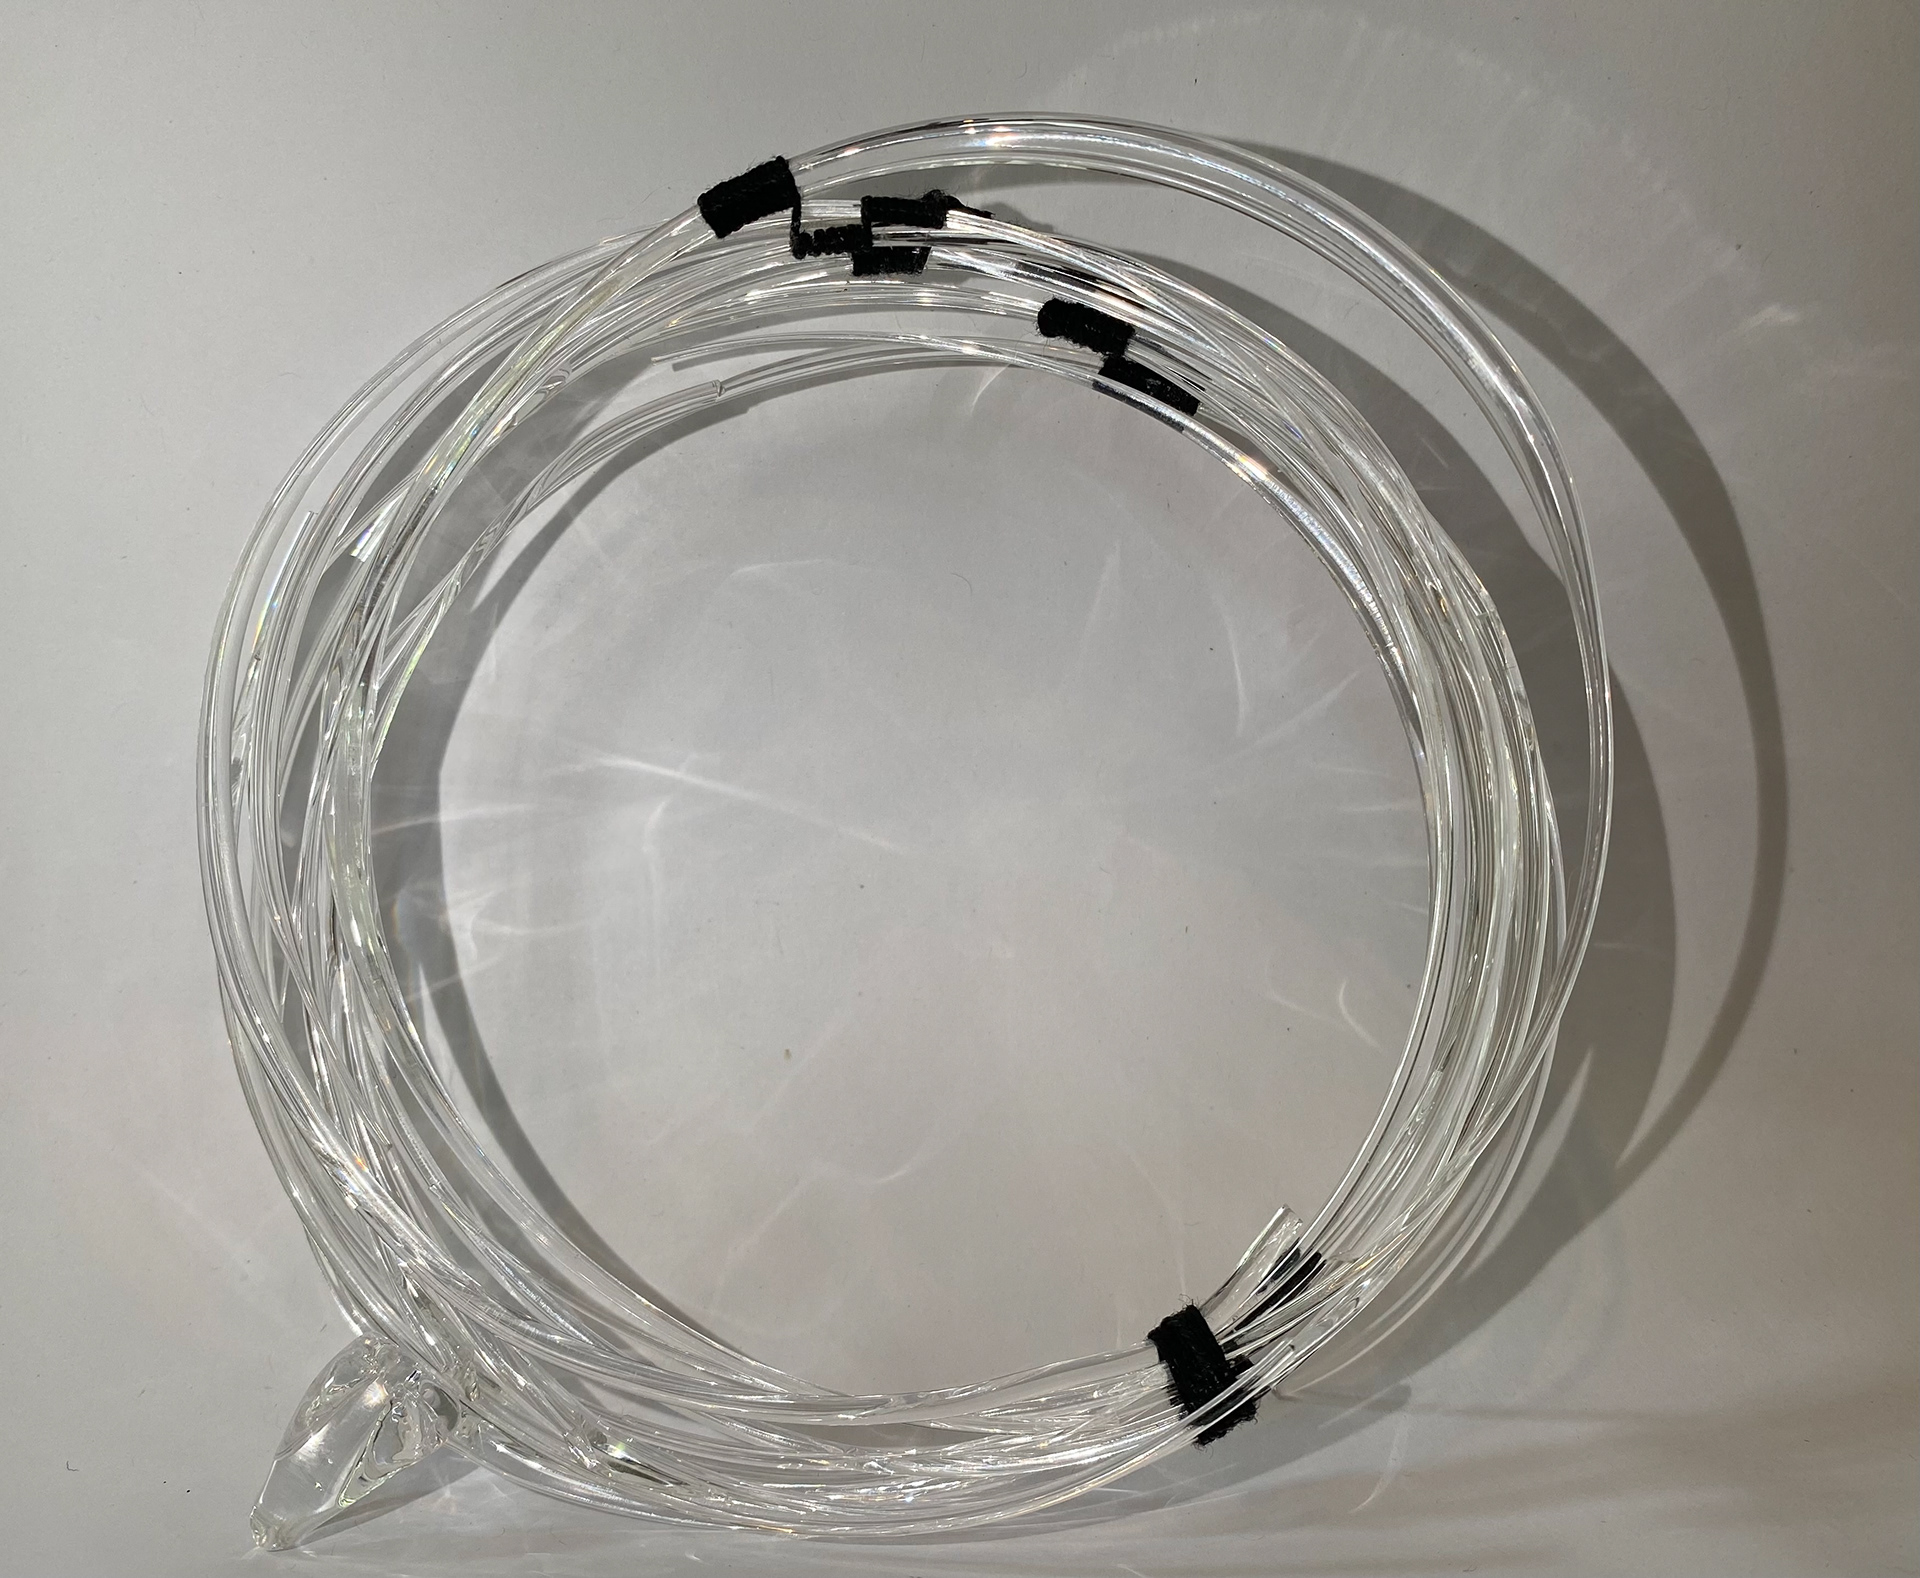
Final pieces altogether
Open studio exhibition & India collaboration

The collaboration with the students in India was a valuable experience for this Unit and towards the degree. It was a great insight into how students in other countries work and there culture and resources available for them compared to what we have at MMU. As well as this, it was useful to have feedback from the students and tutor over there regarding my work to get a perspective from someone outside of my comfort zone.
In addition to this, learning about the puppeteers in India and about the boundary/wall the government have built and grown over time was interesting and opened my mind to what goes on in other countries. Working with the students was rare eye opening experience which I was lucky to be a part of.
The work I chose to display in the open studio exhibition.