Paper Modelling
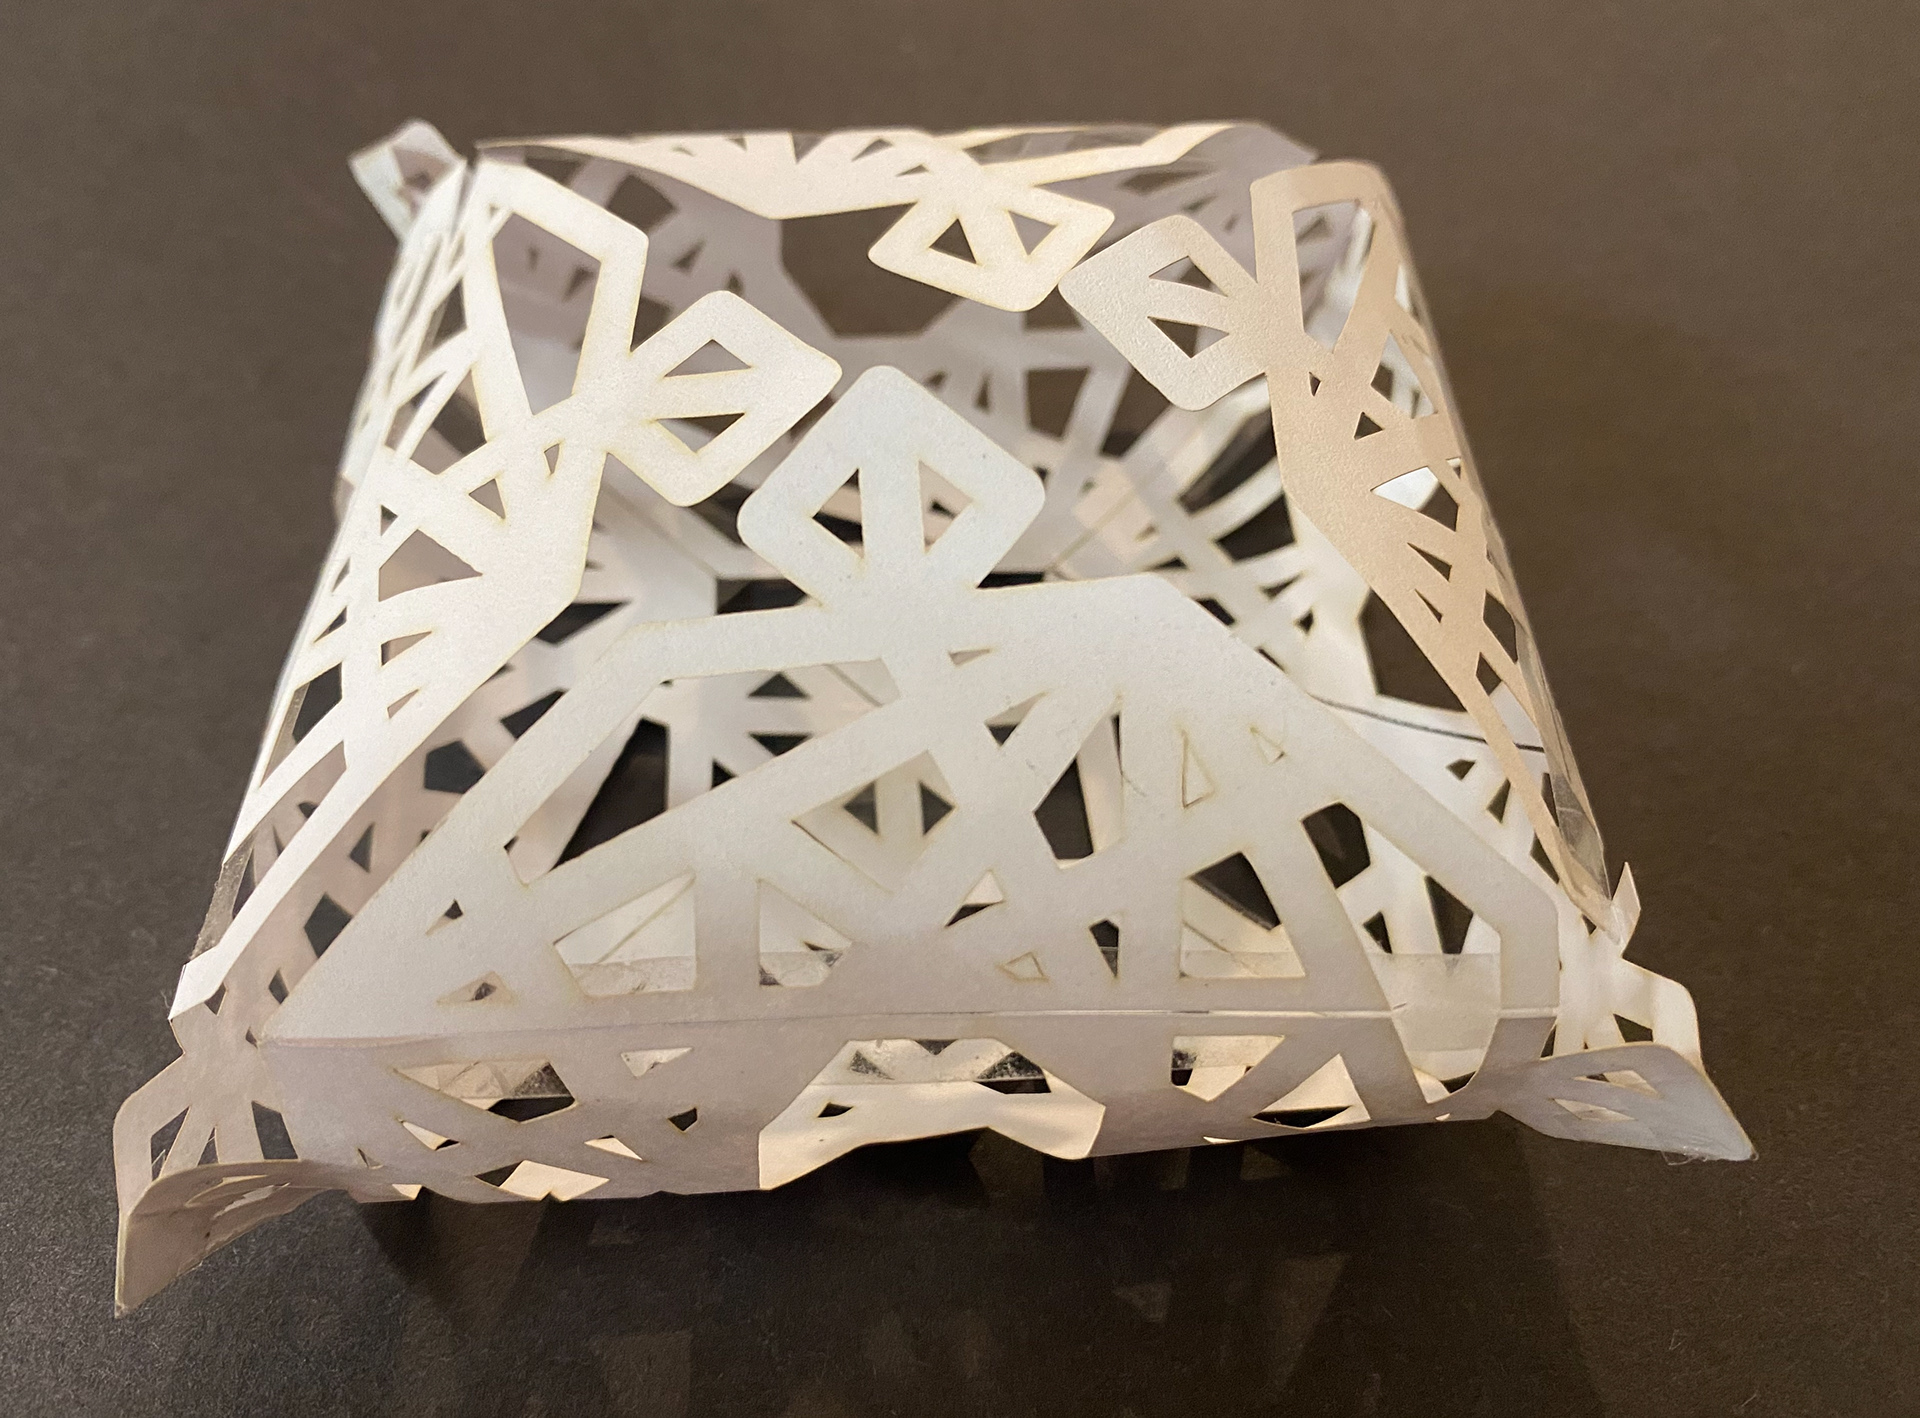
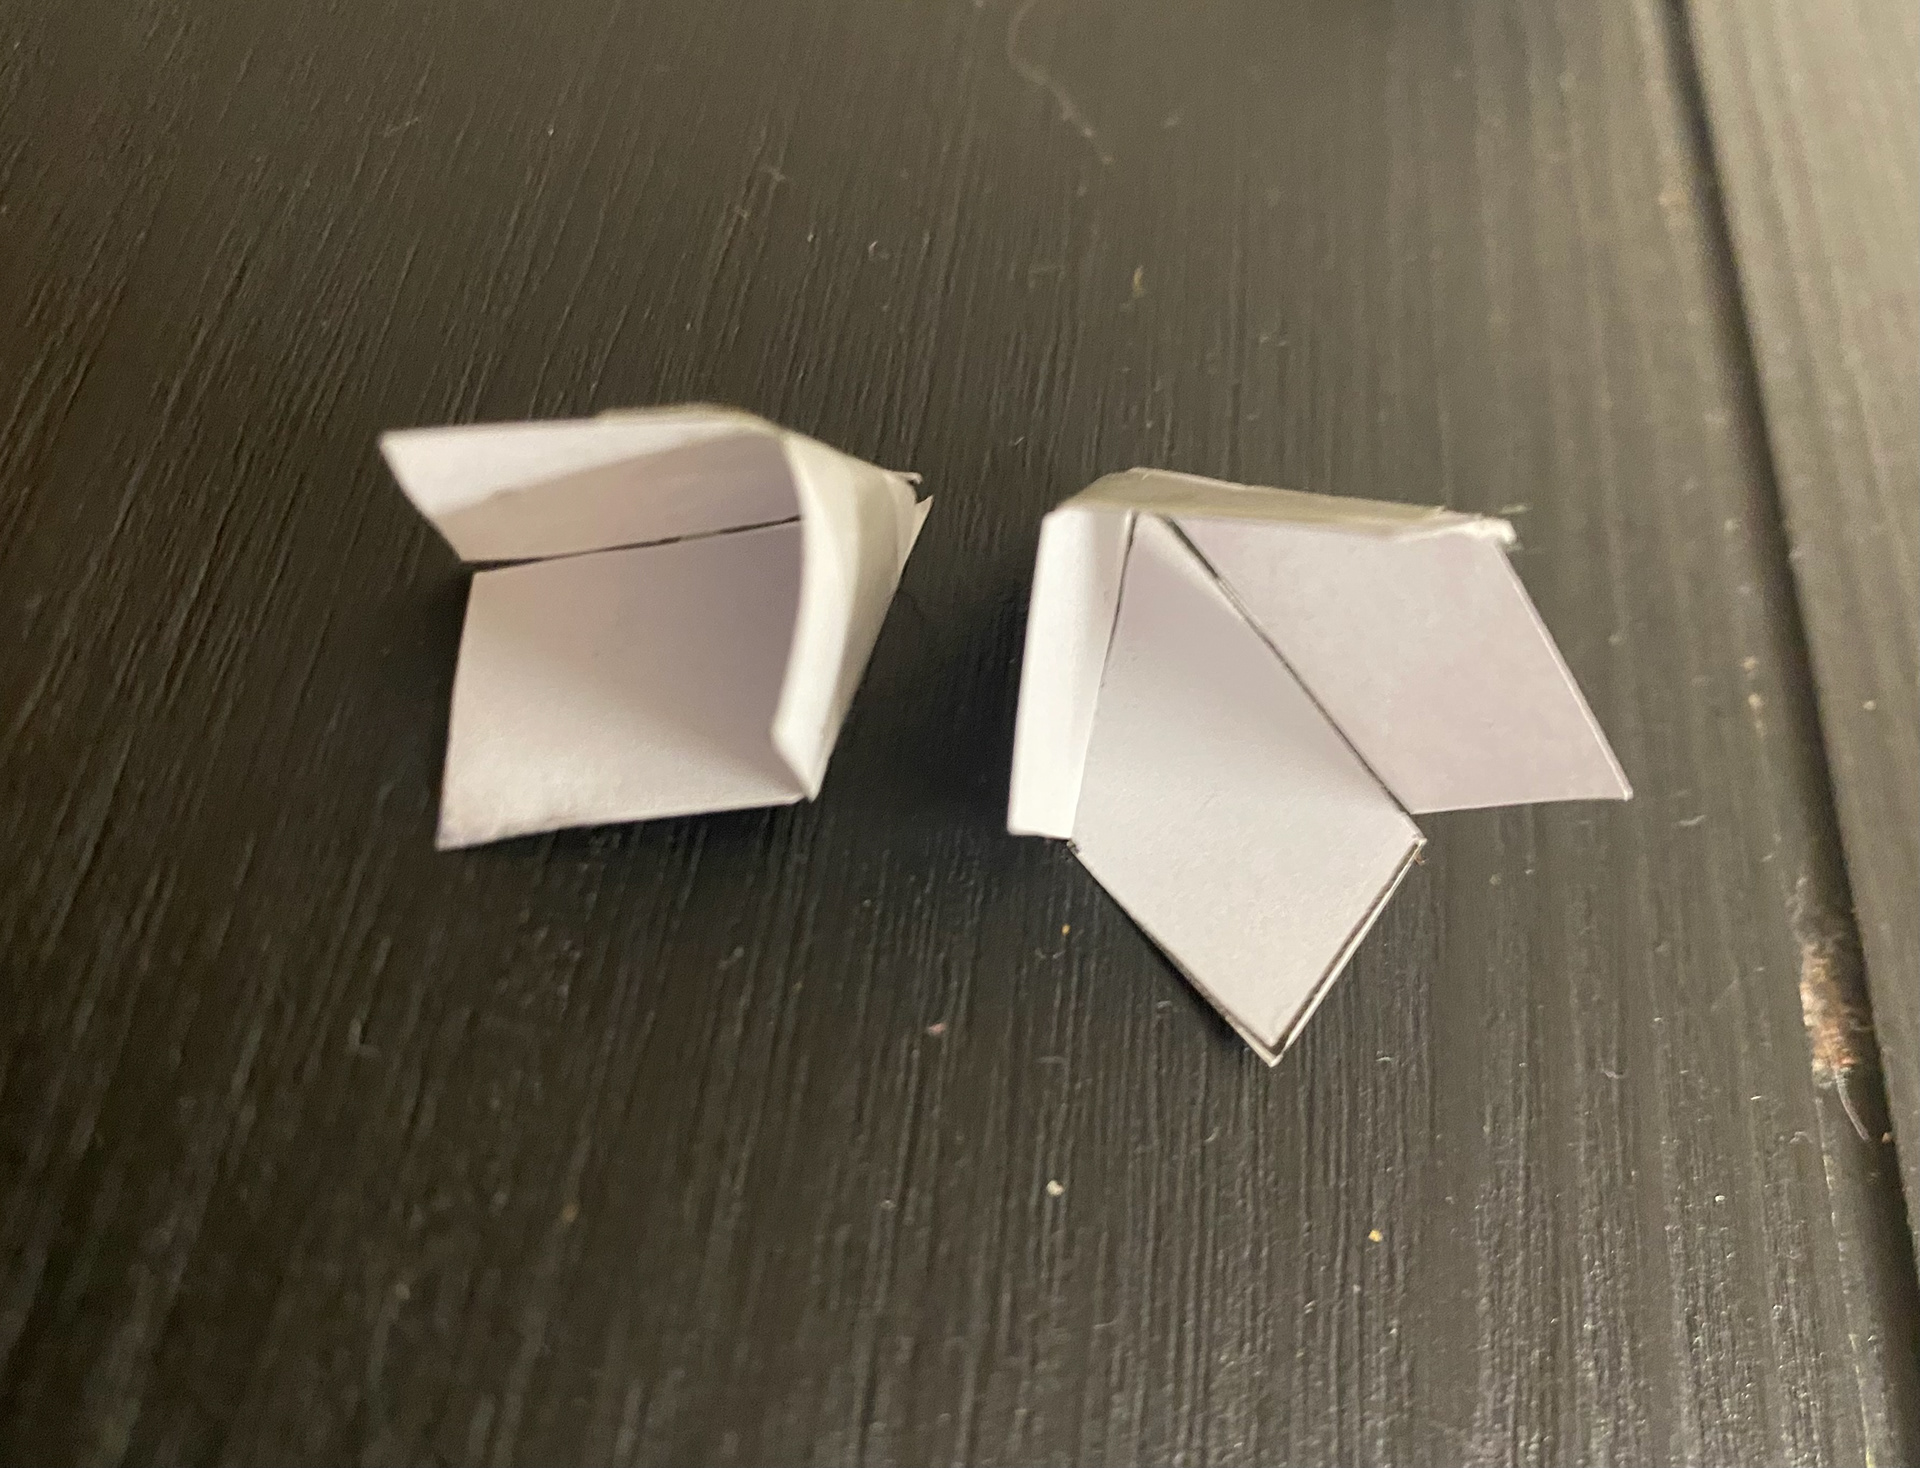
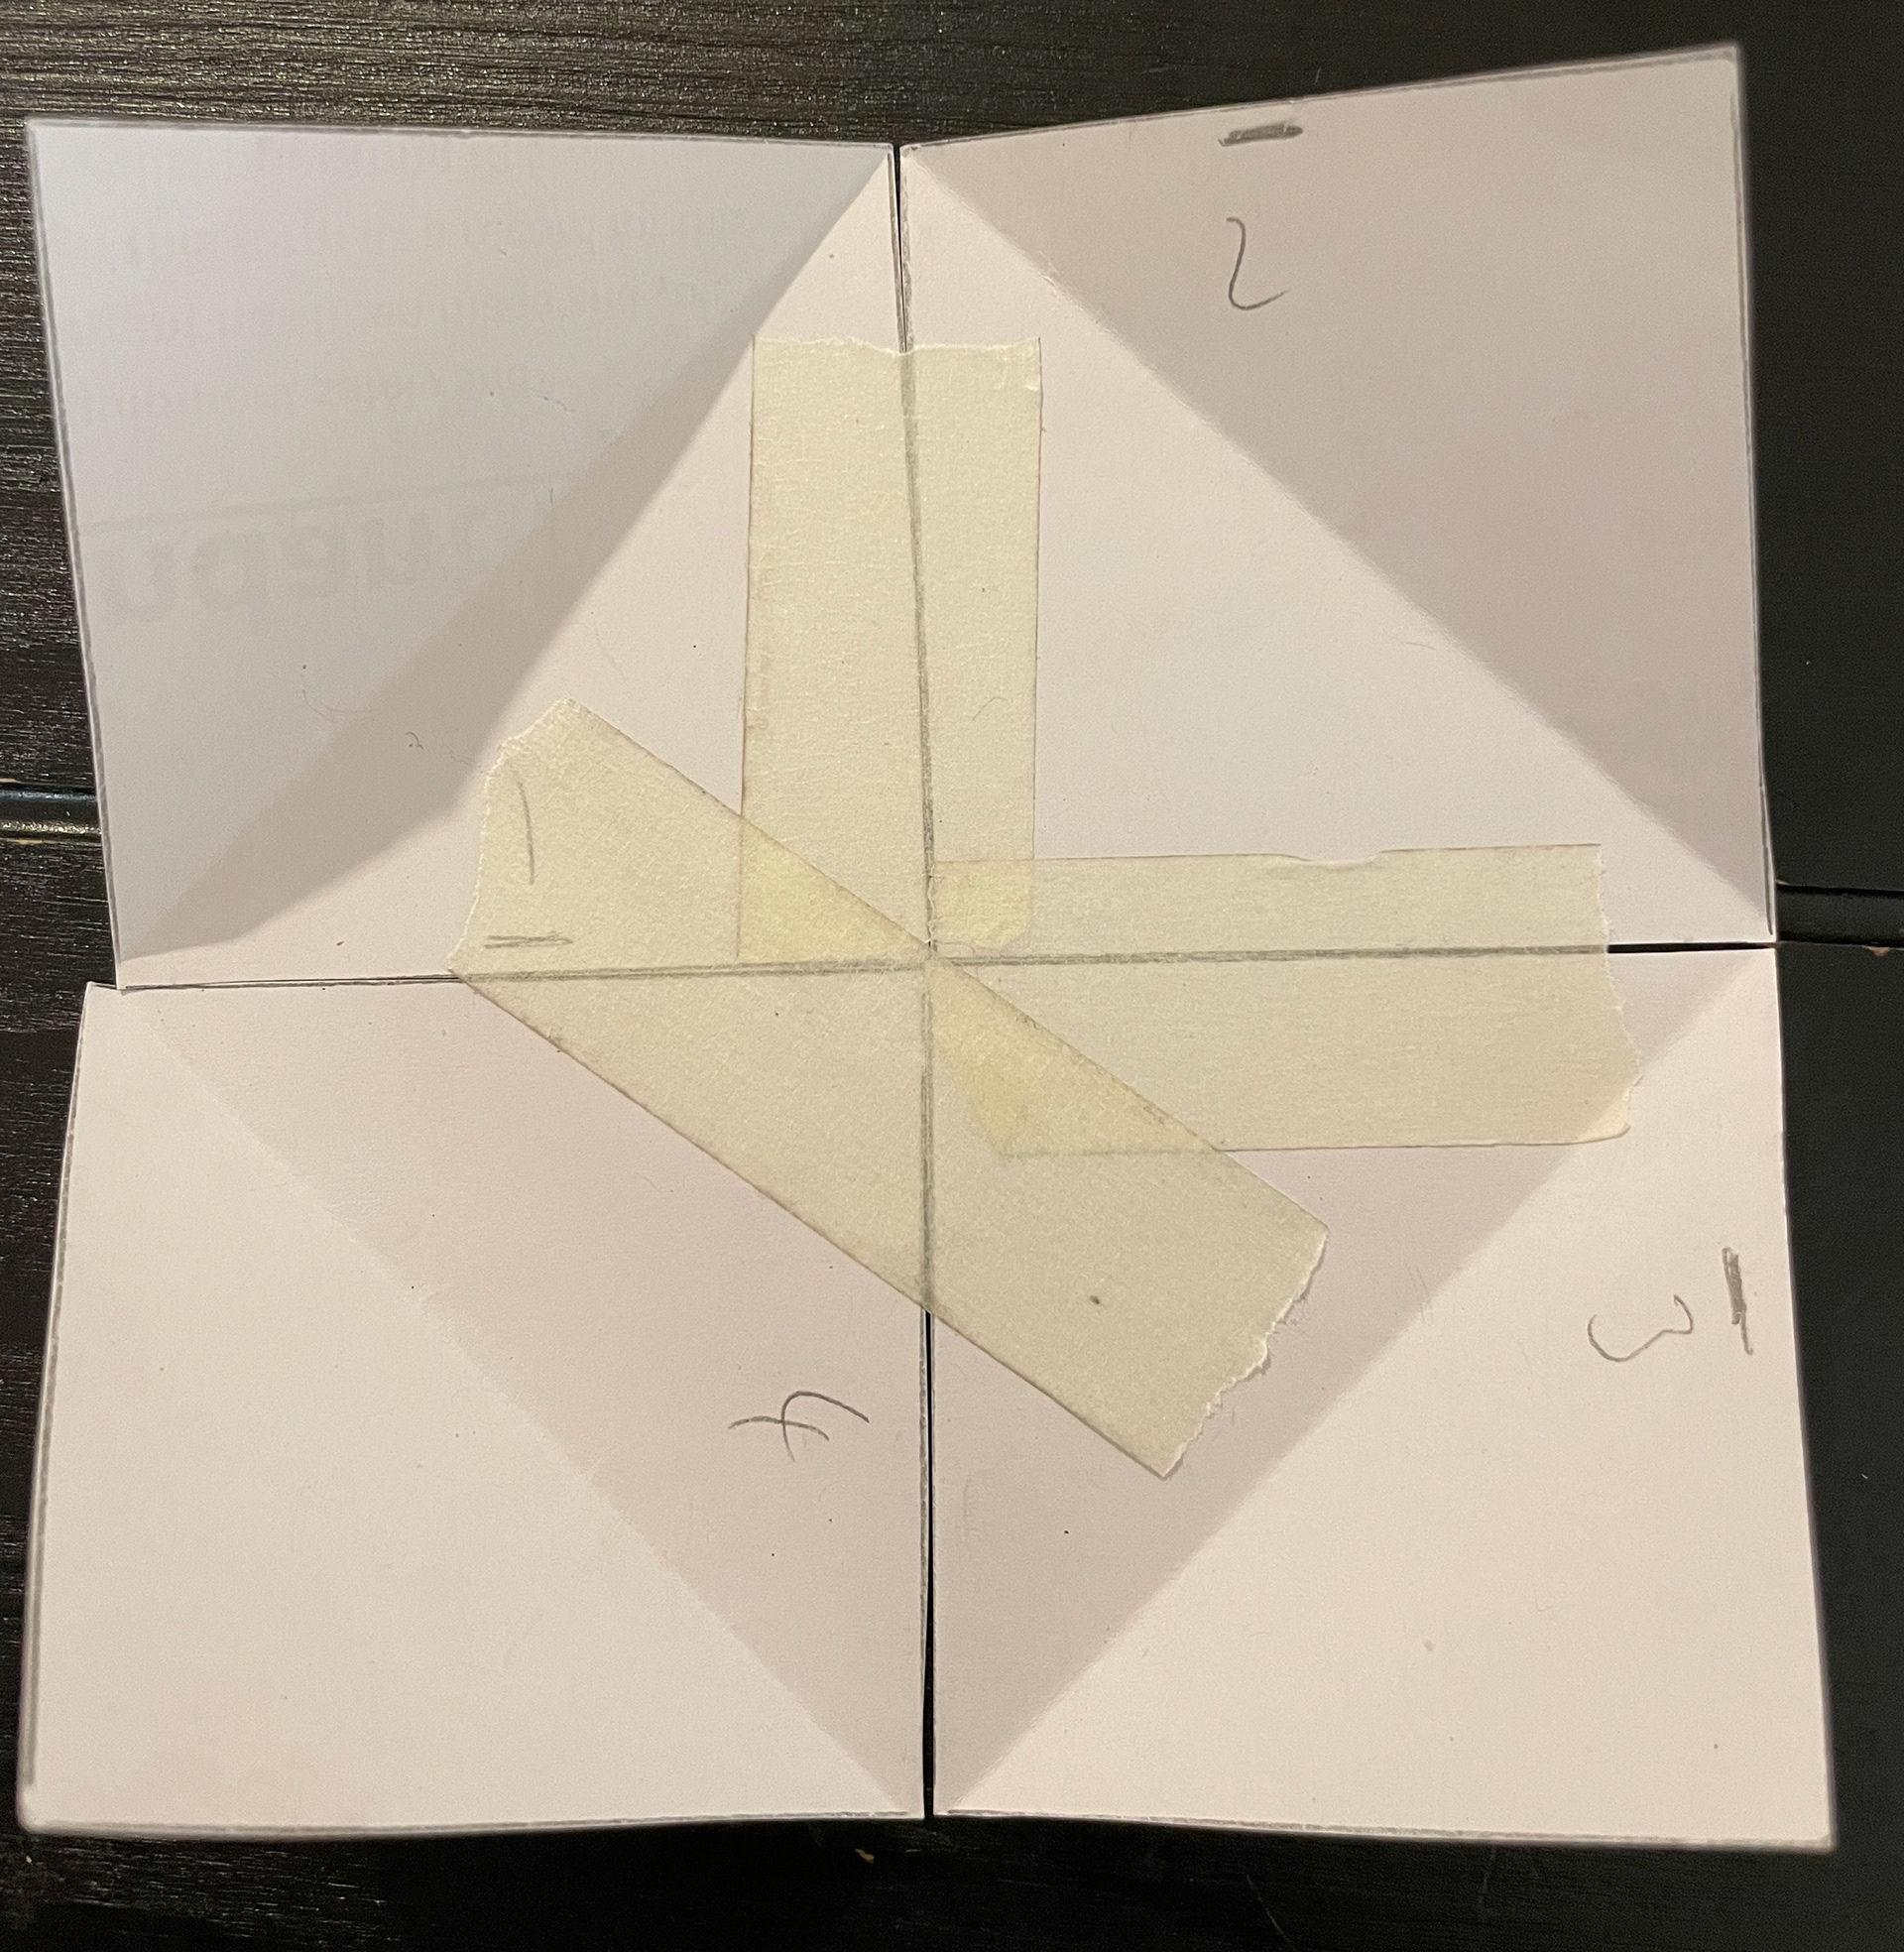
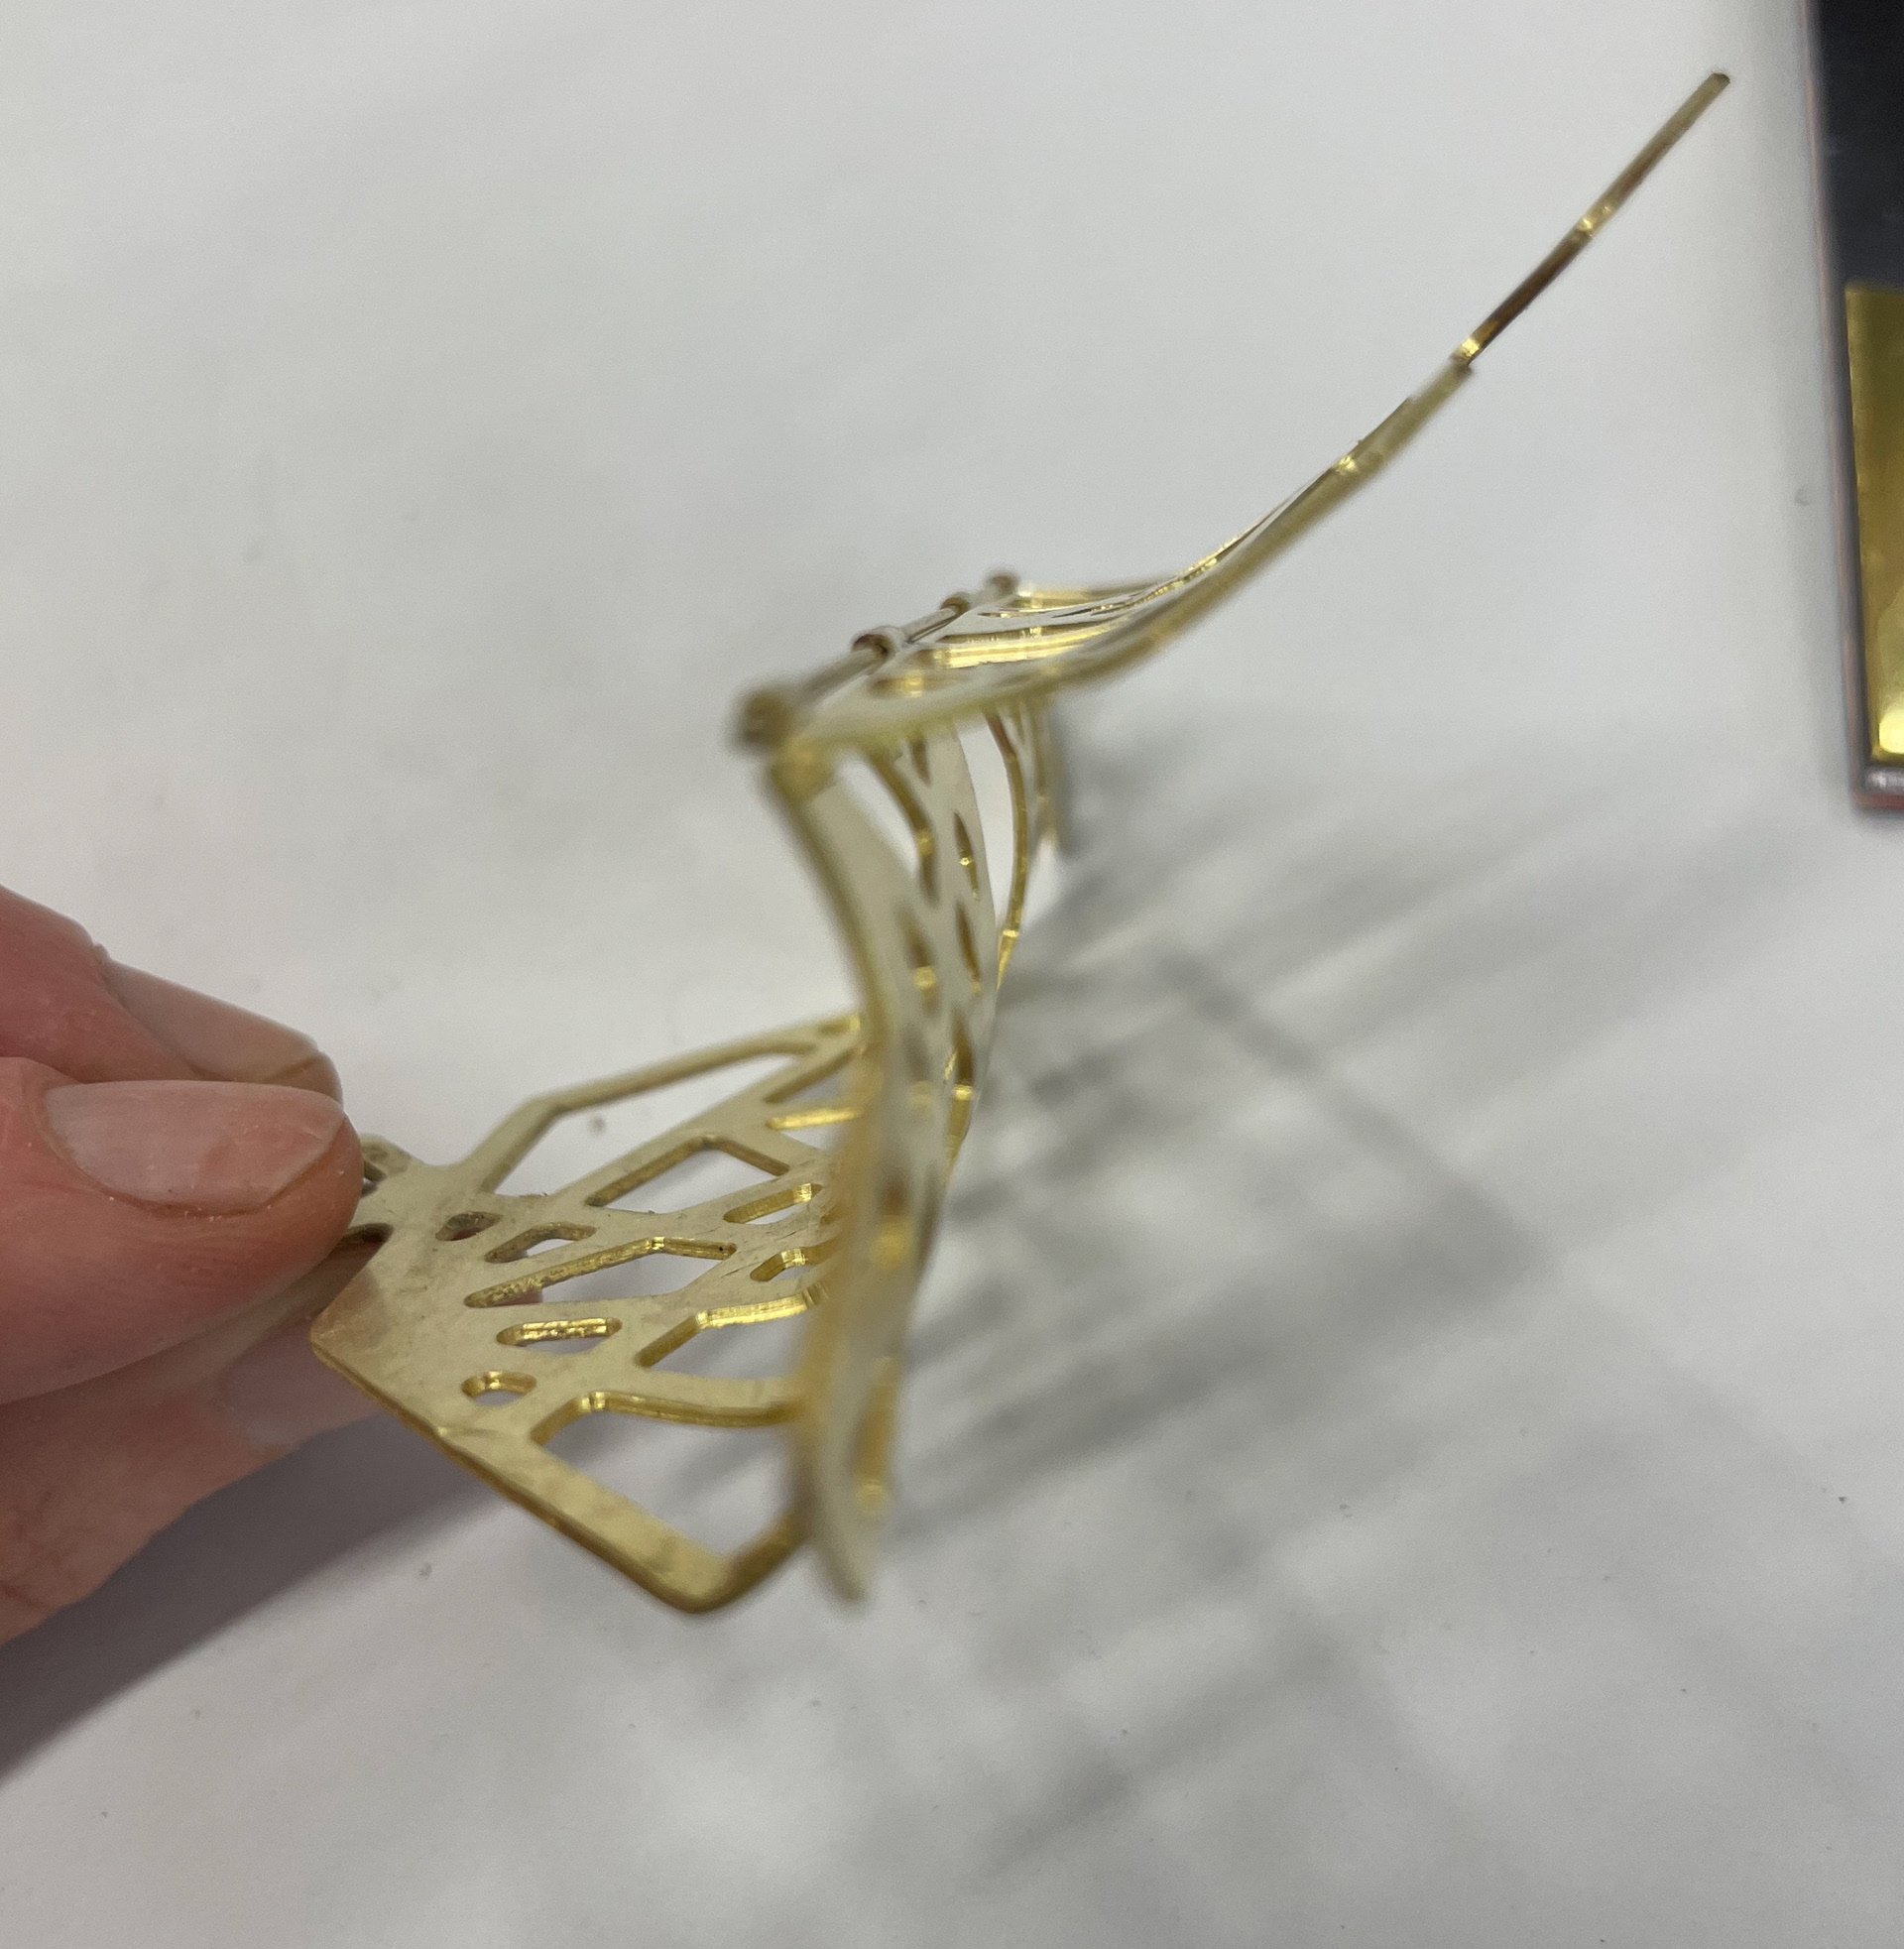
After recapping from Understanding Context 1, I decided to go ahead with creating this geometric box I had previously paper modelled. I am not exactly sure what direction I would like to go with this piece at the moment. I like the way the box moved in a light, flexible manner but to bReRe able to enamel onto the metal I can only use sheet metal of 0.9mm thickness or above due to the metal being able to support the enamel. Because of this, I decided to experiment with hinges and create some more paper models showing different places to potentially add the hinges.
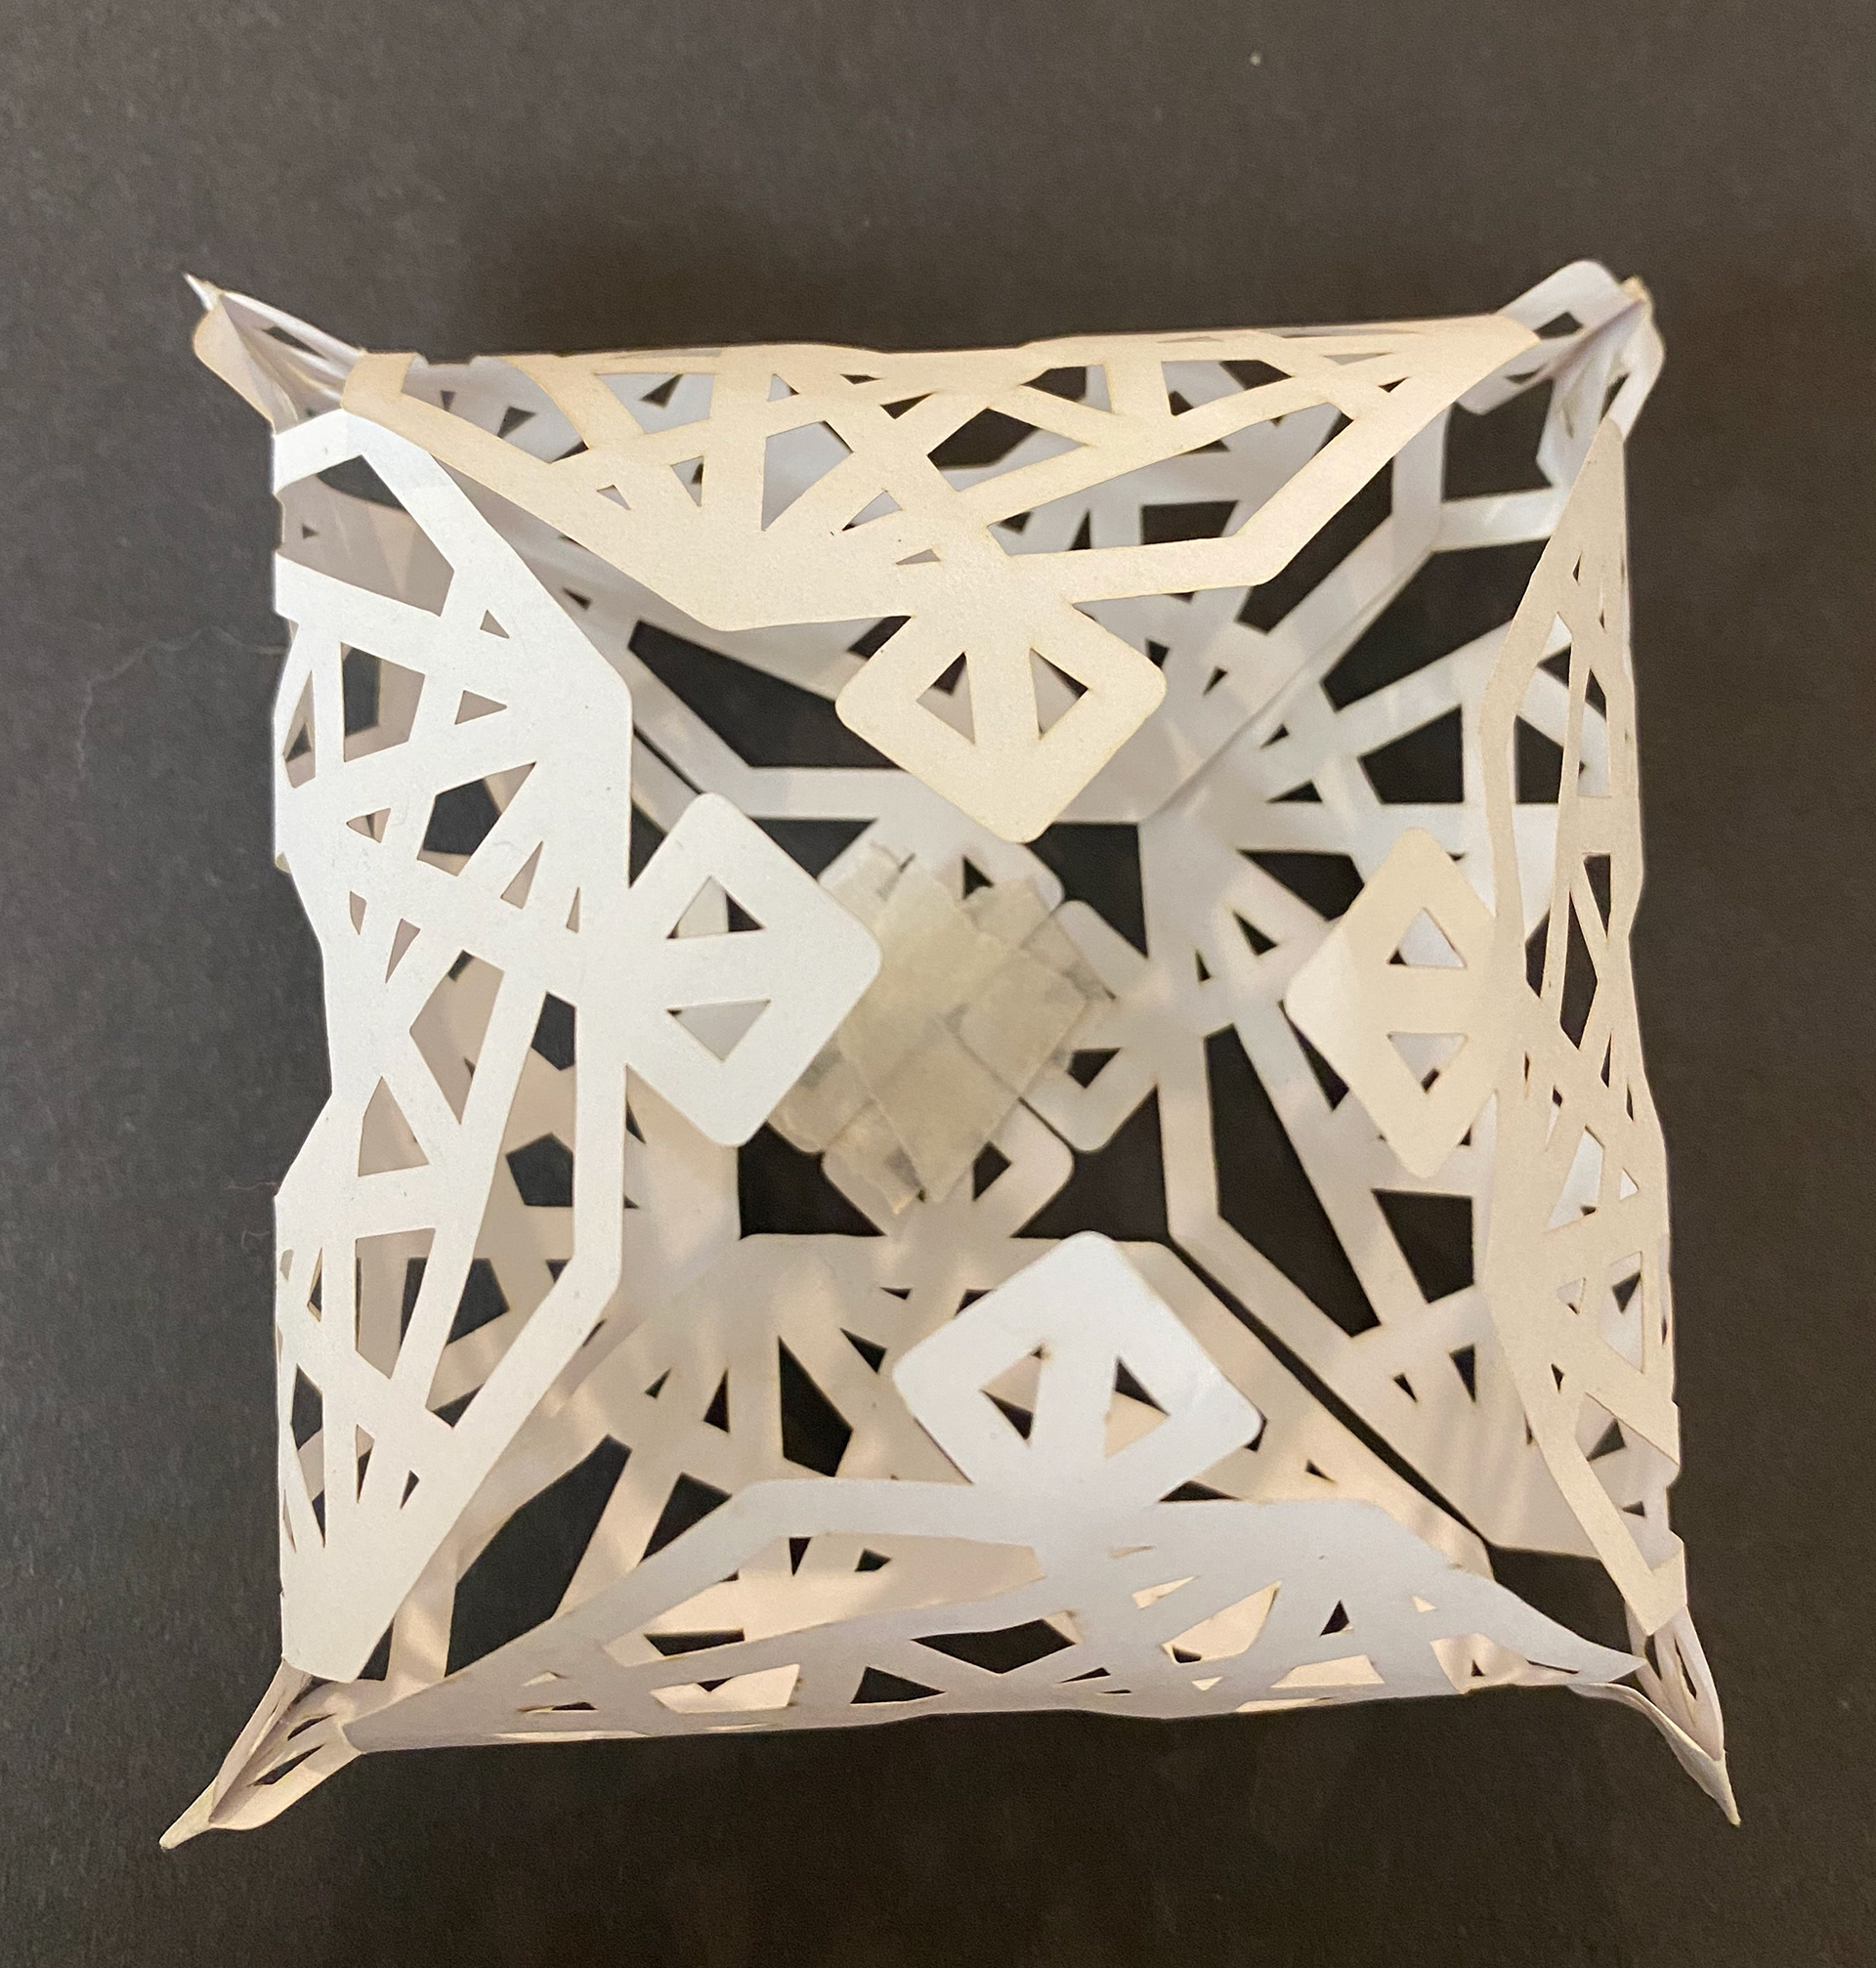
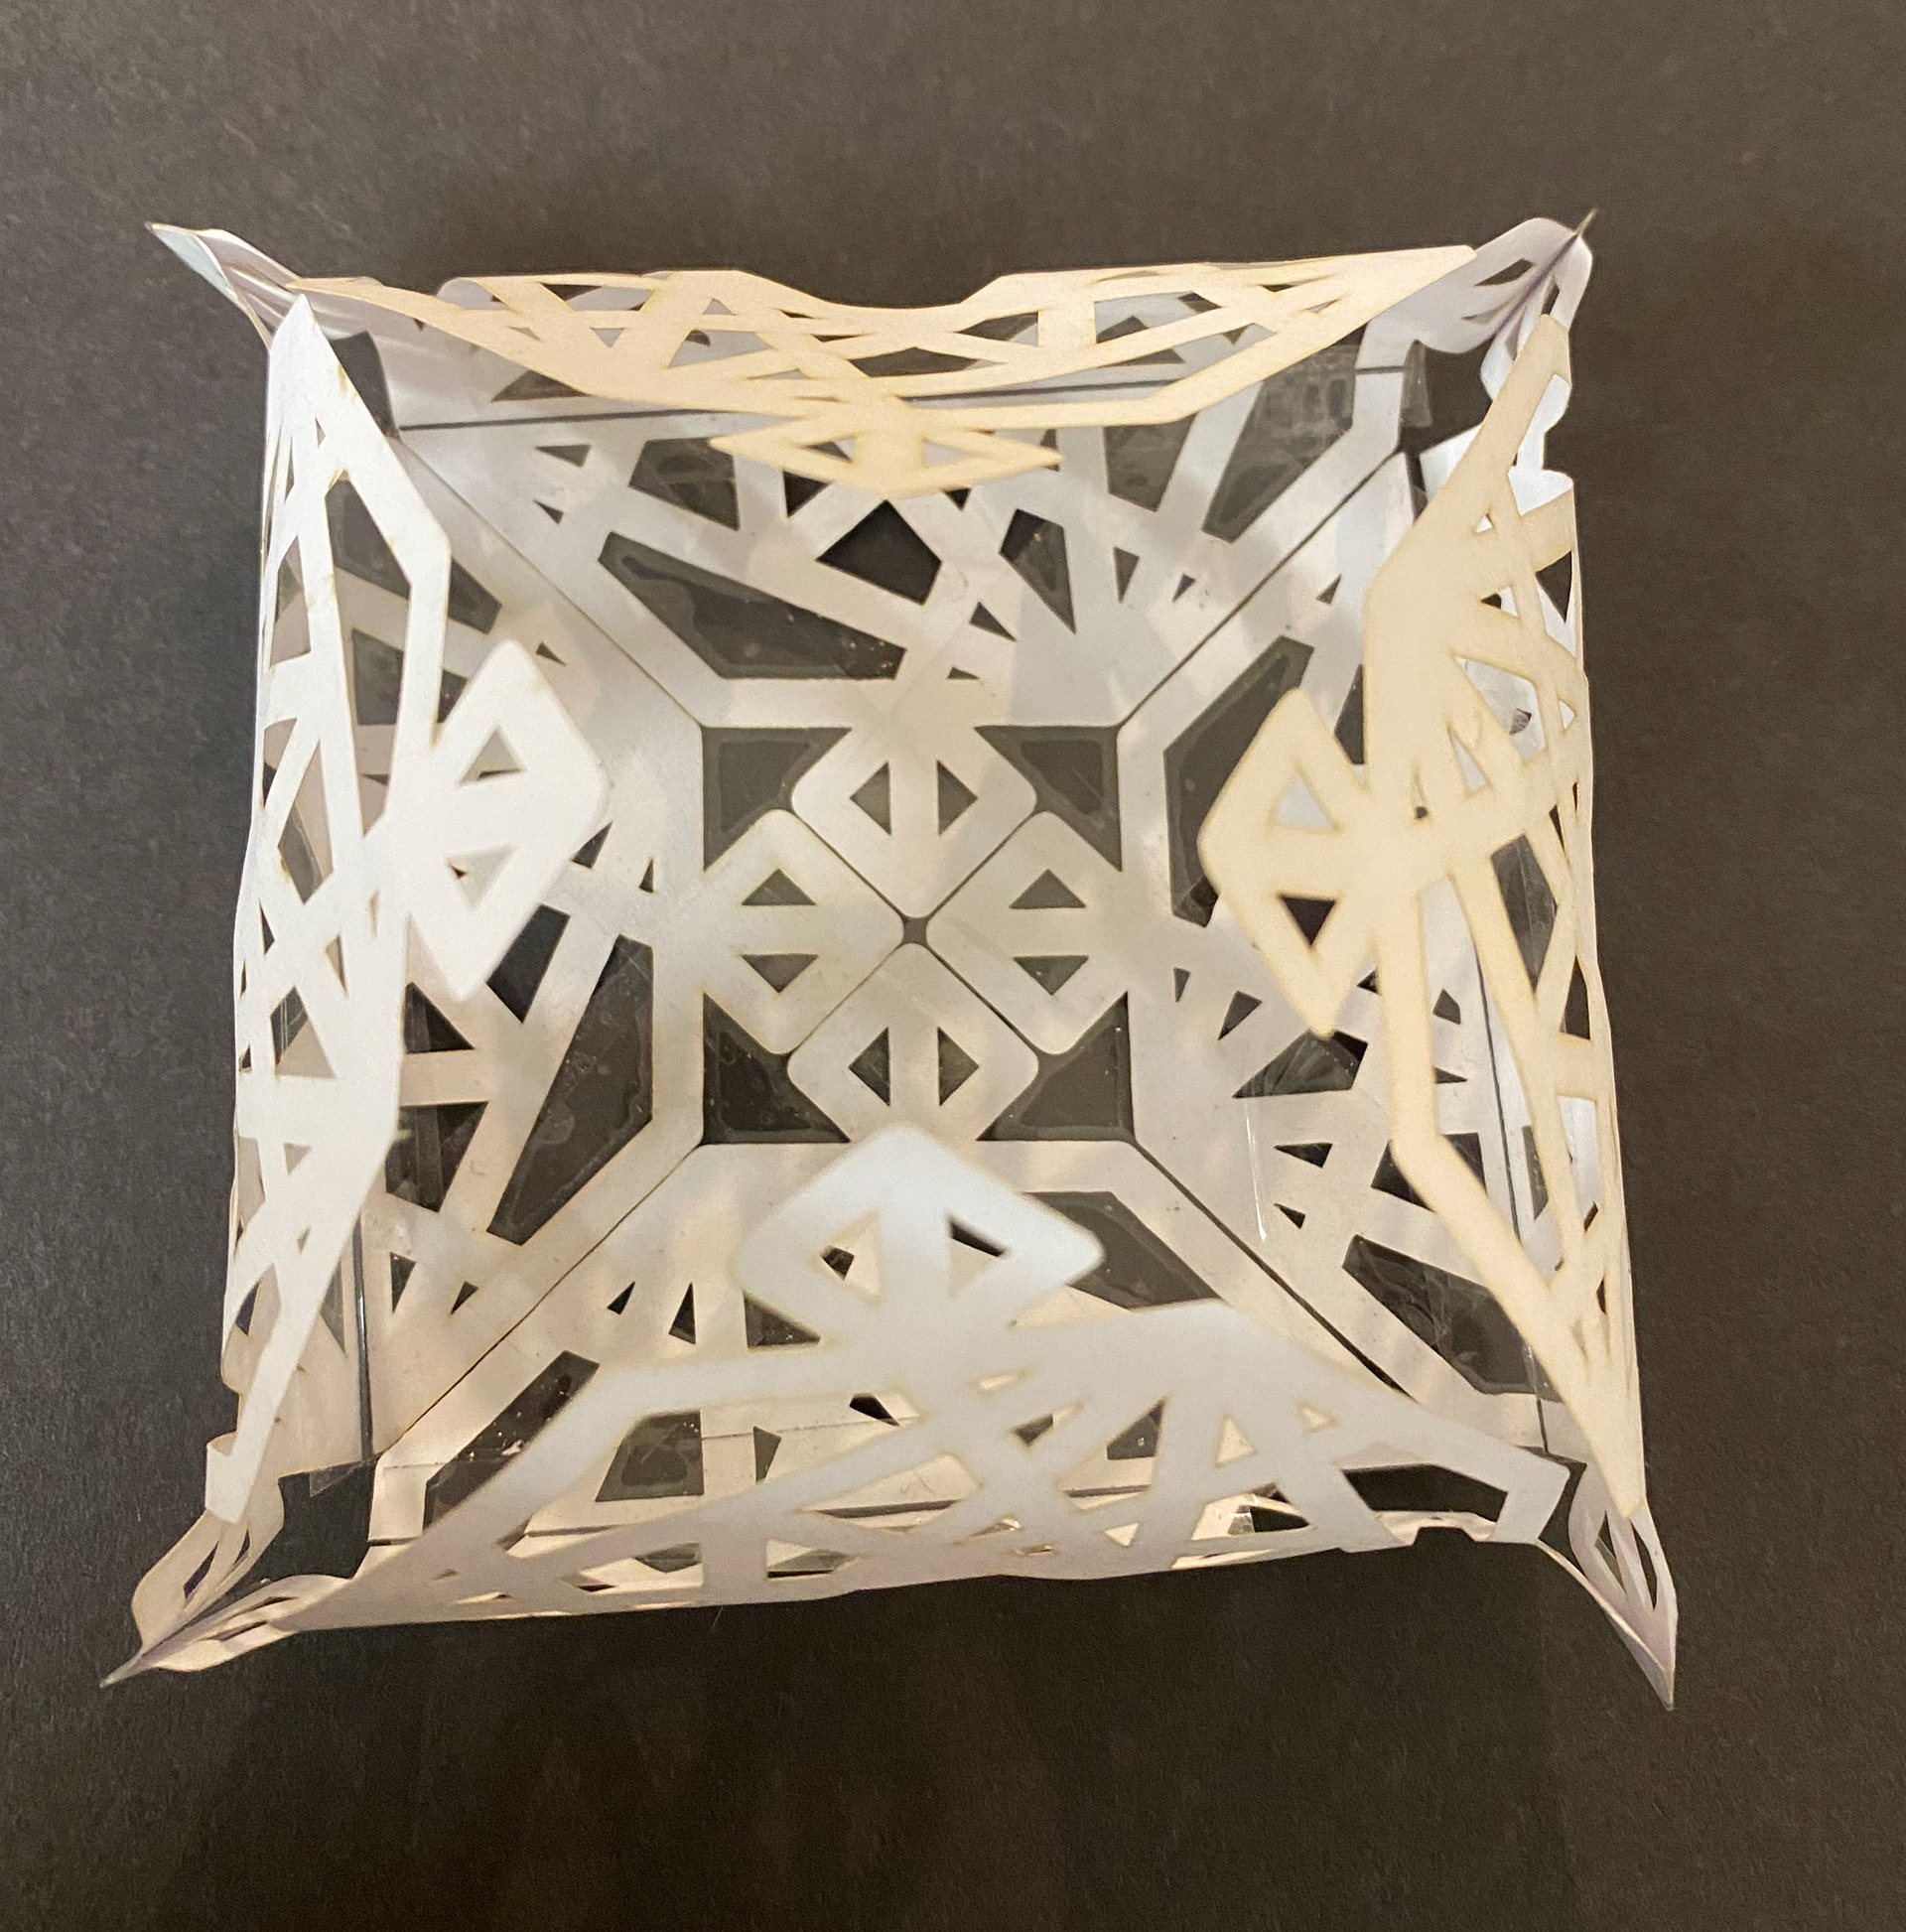
Form from above with no hinges
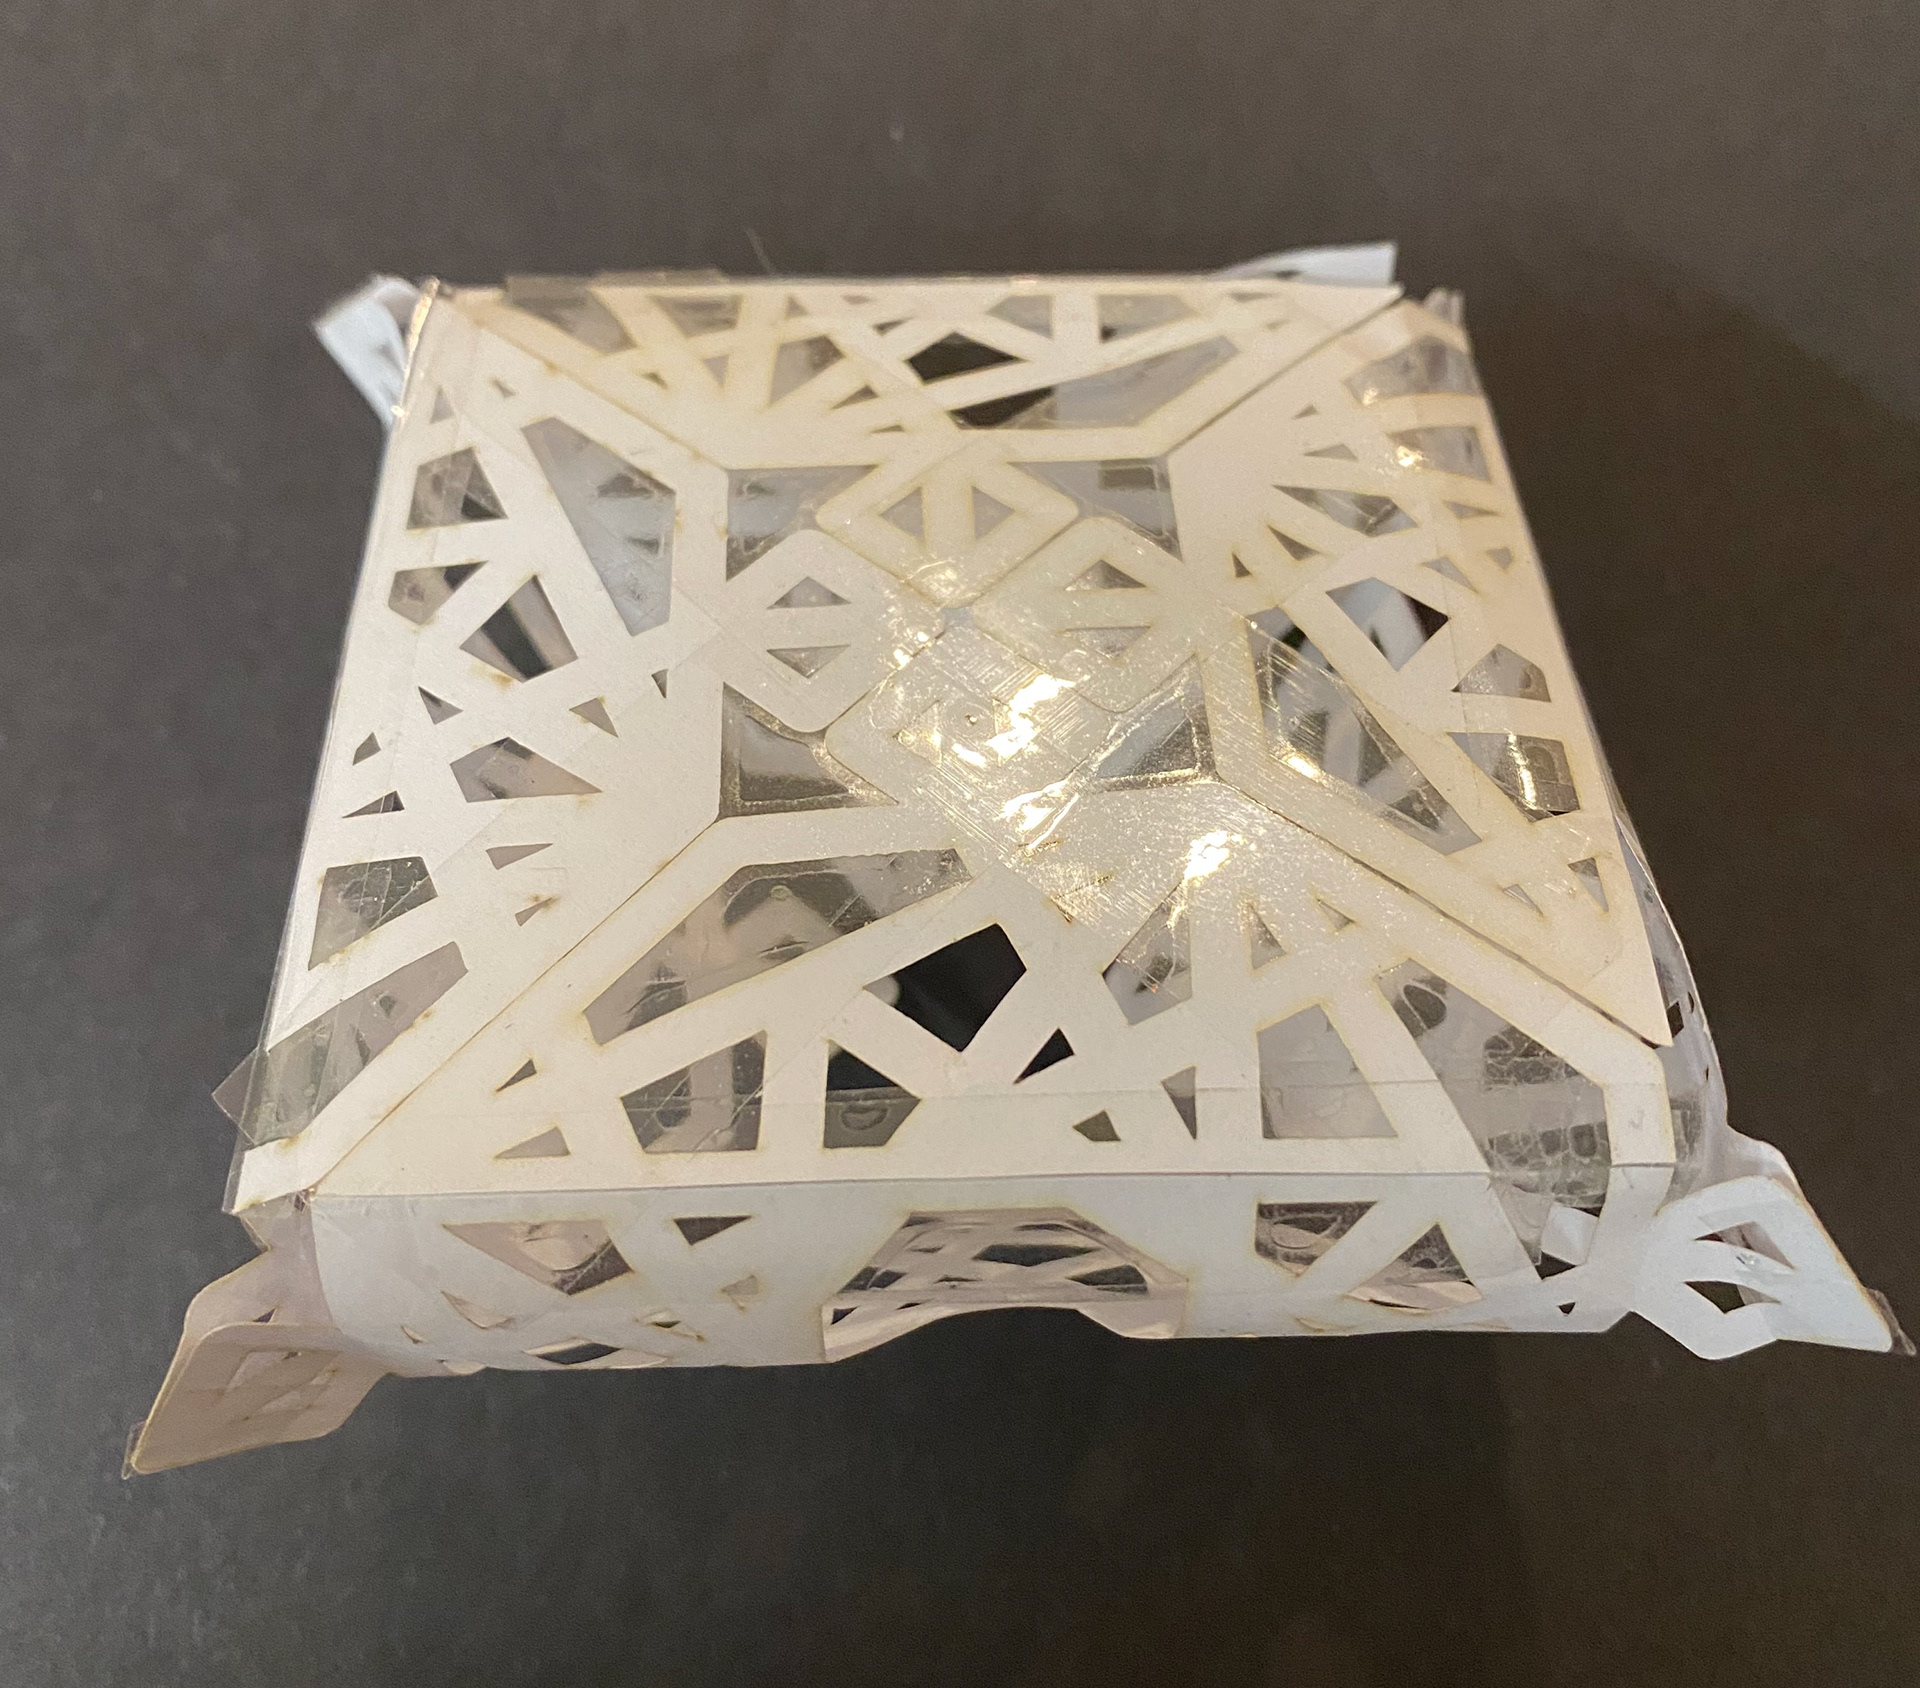
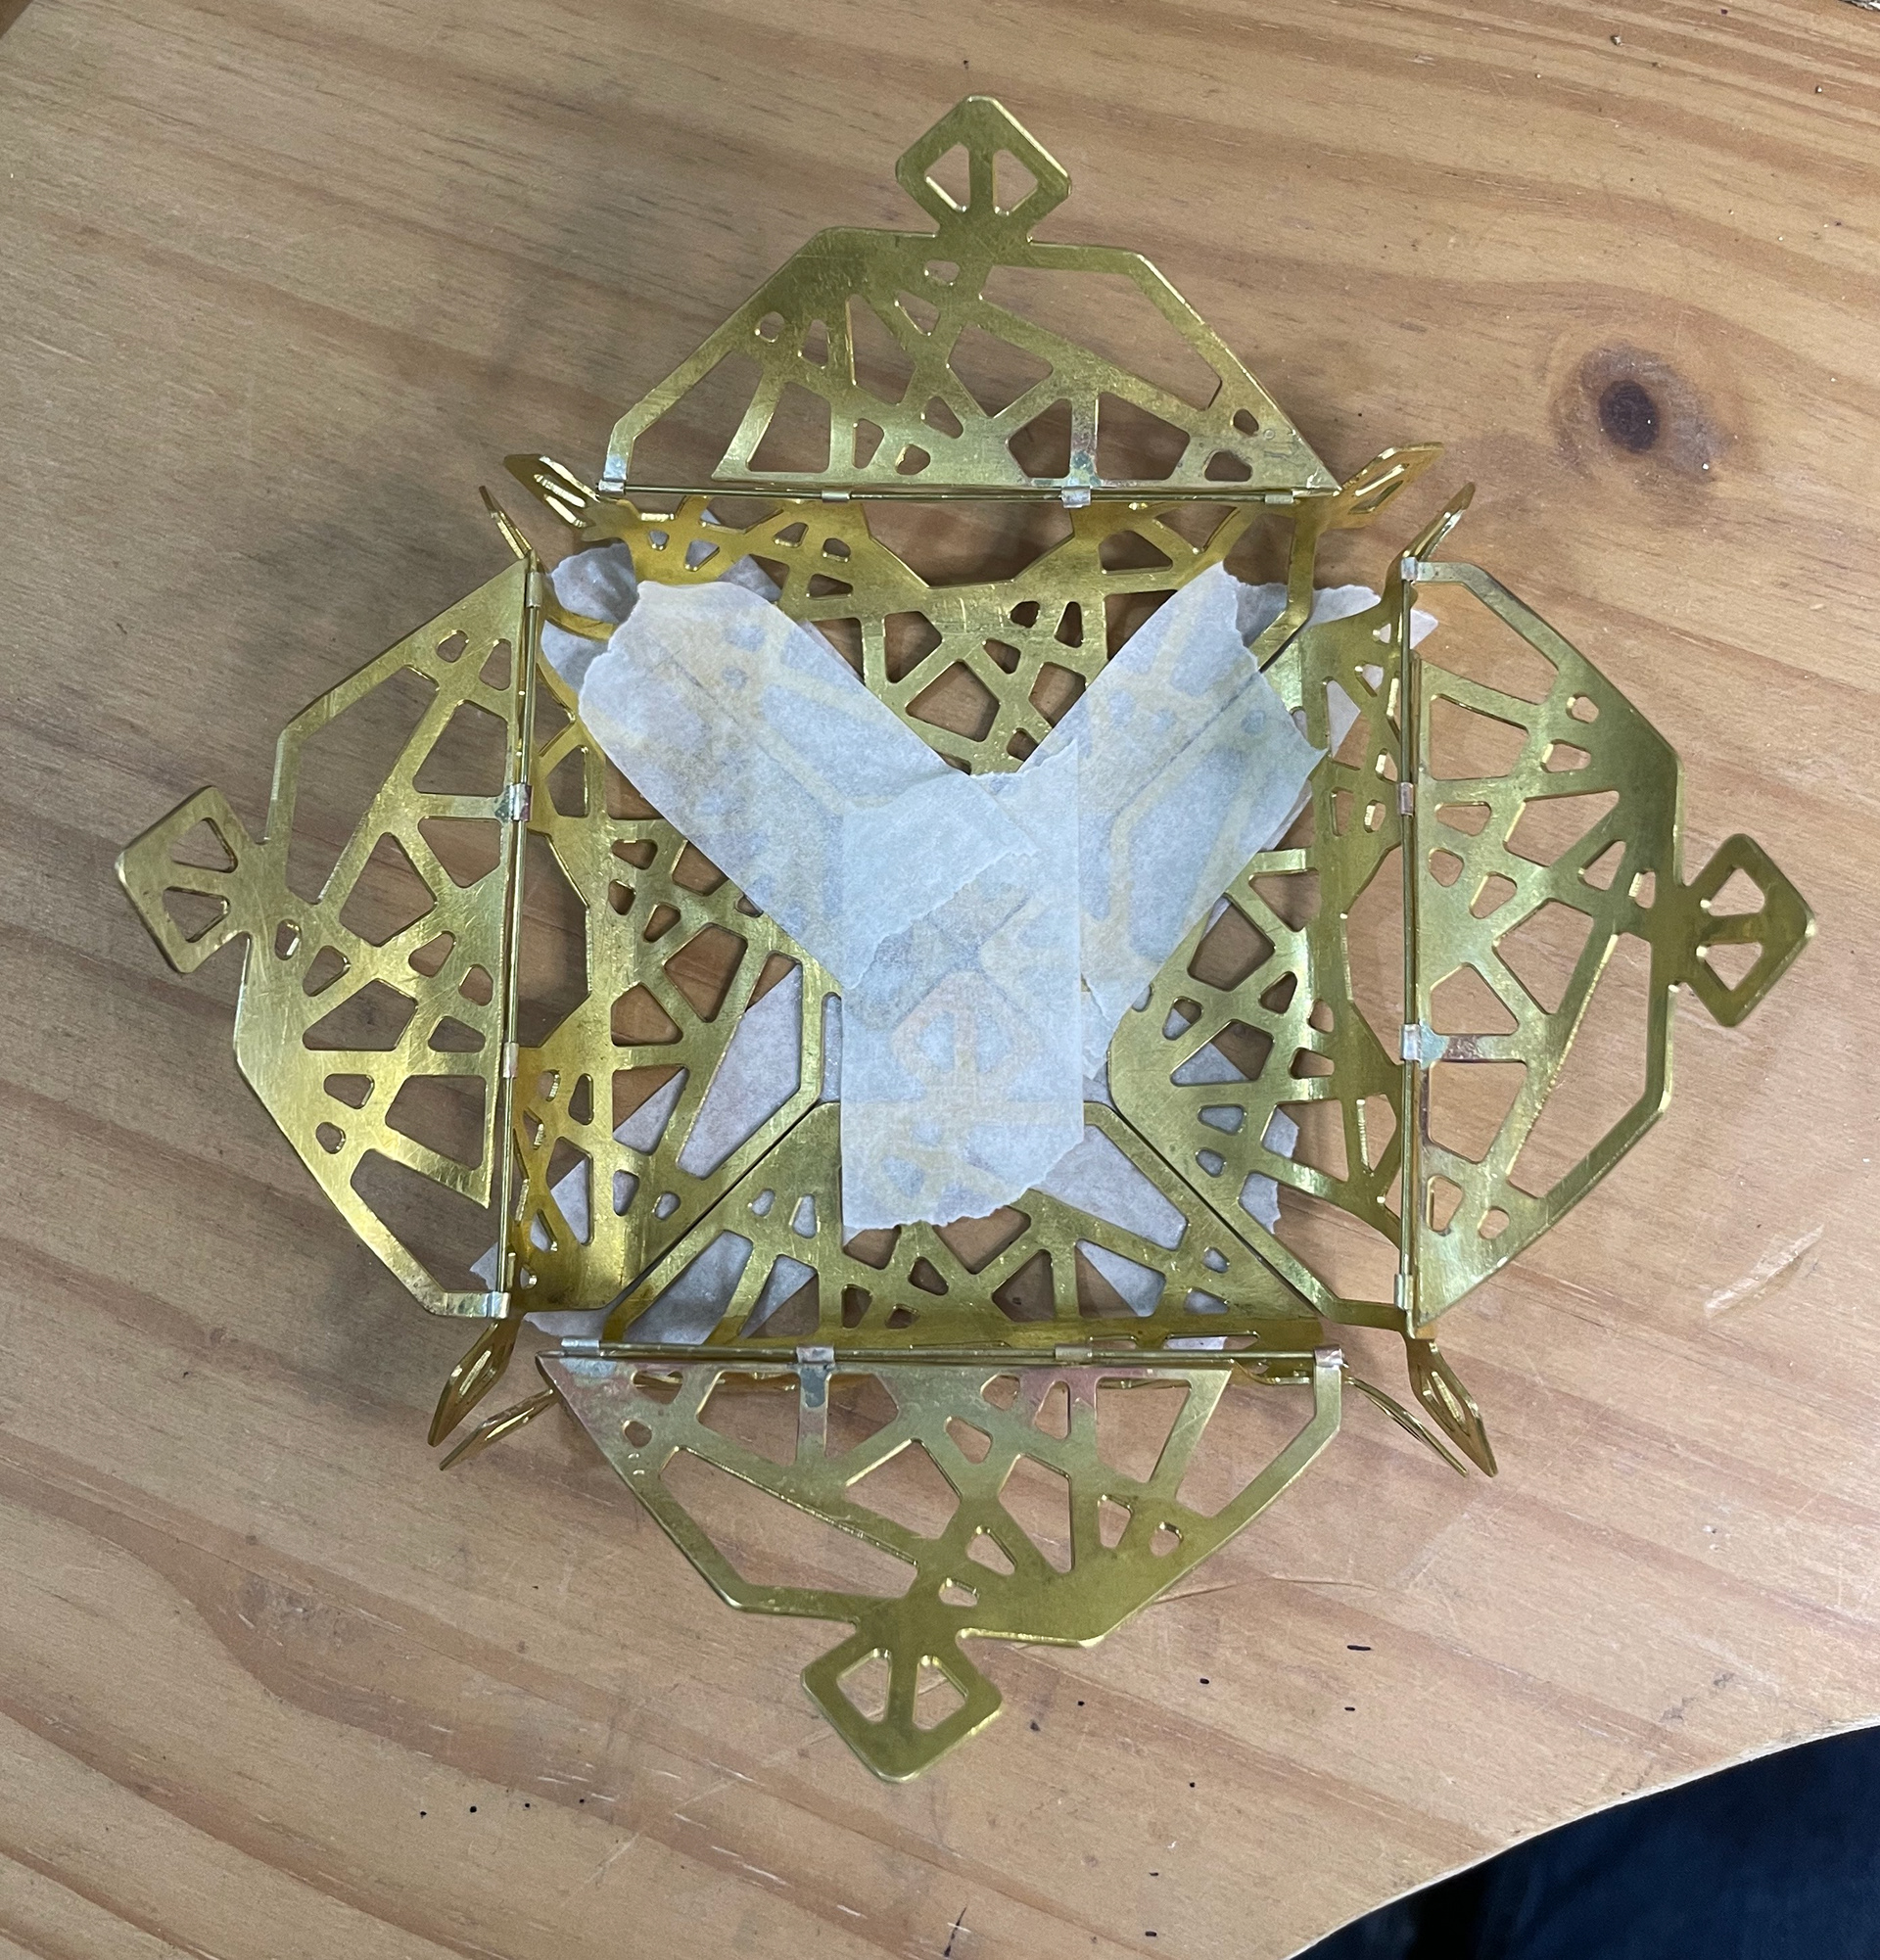
Hinge added at the bottom of the curve
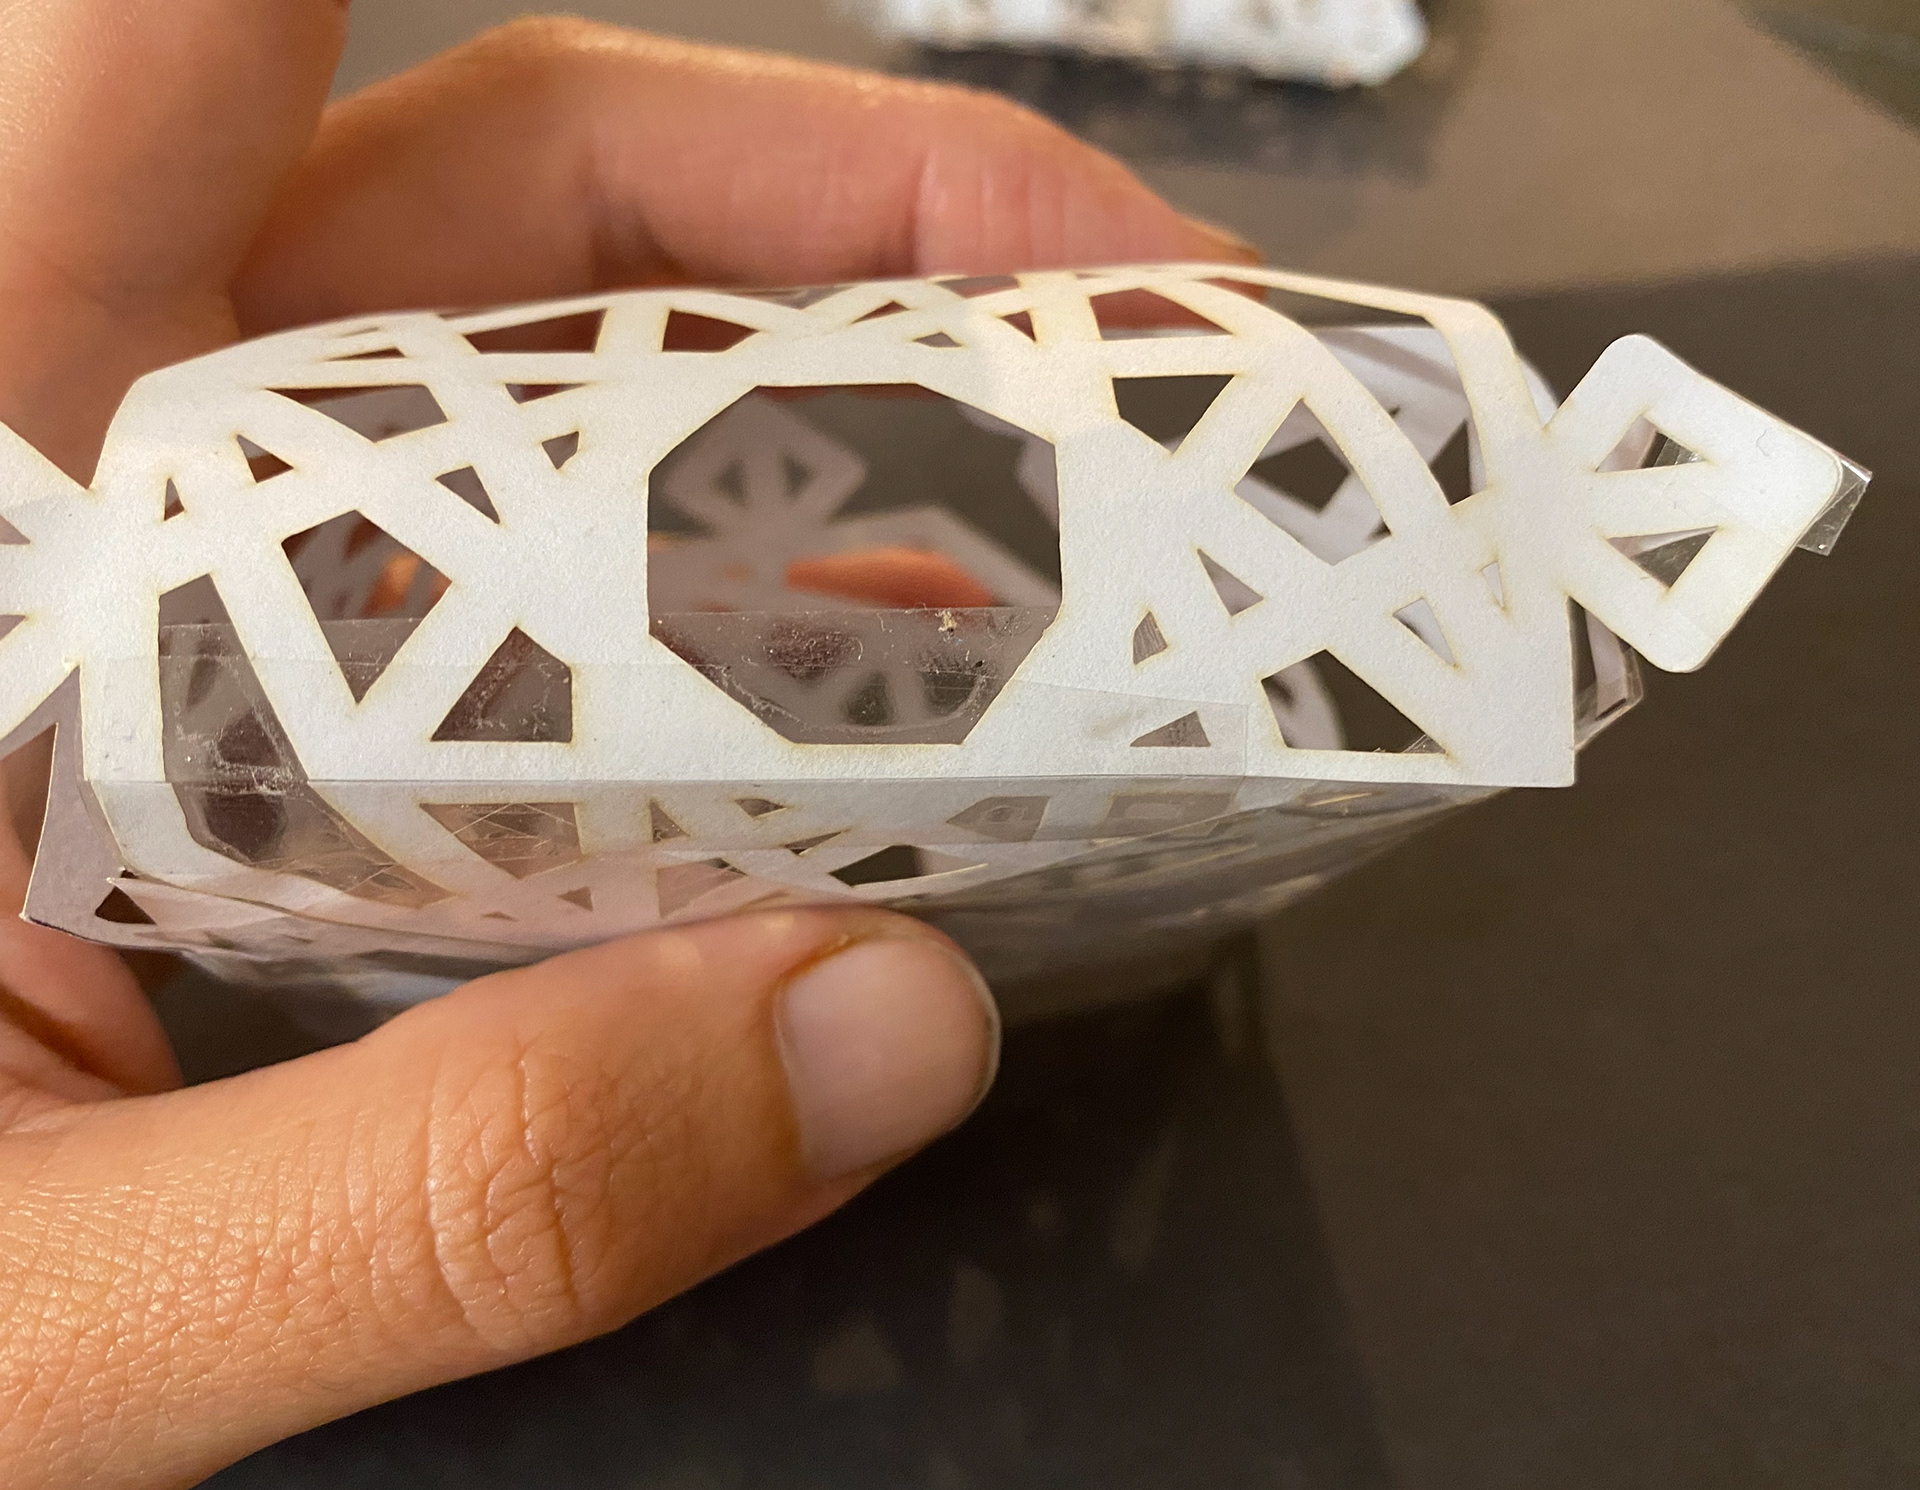
Underneath view of the form with hinge at the bottom
Hinge at bottom
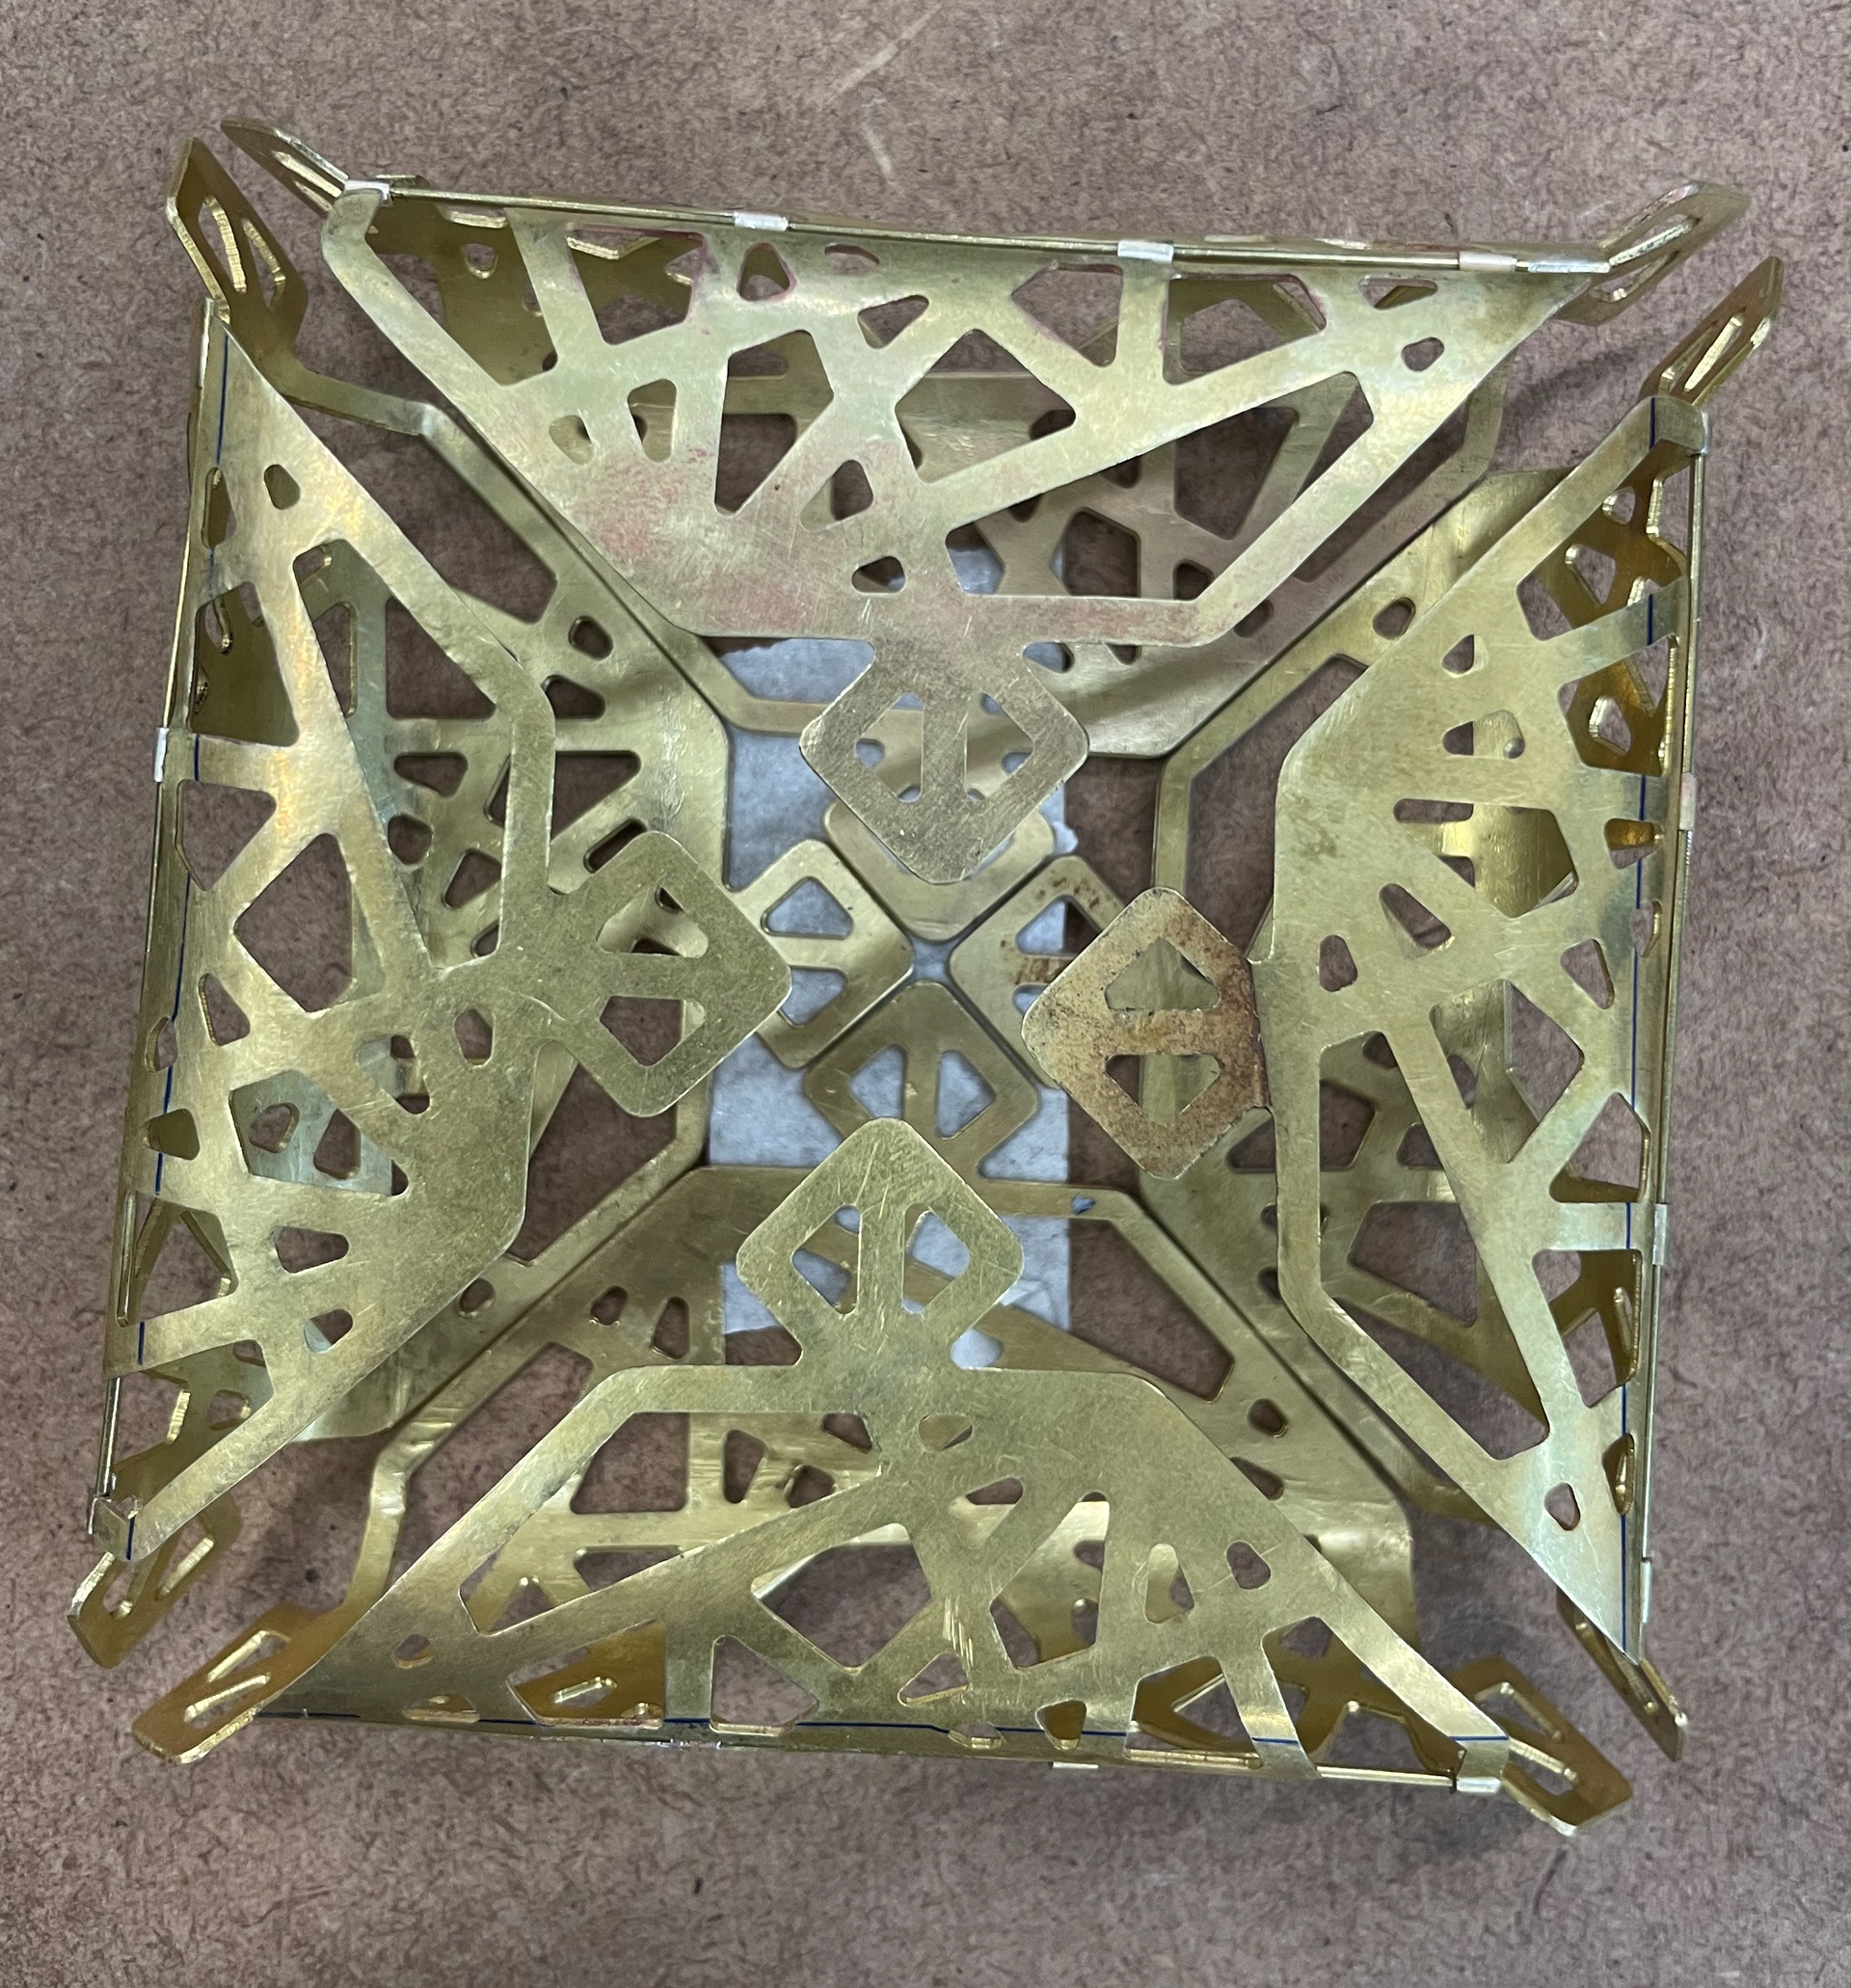
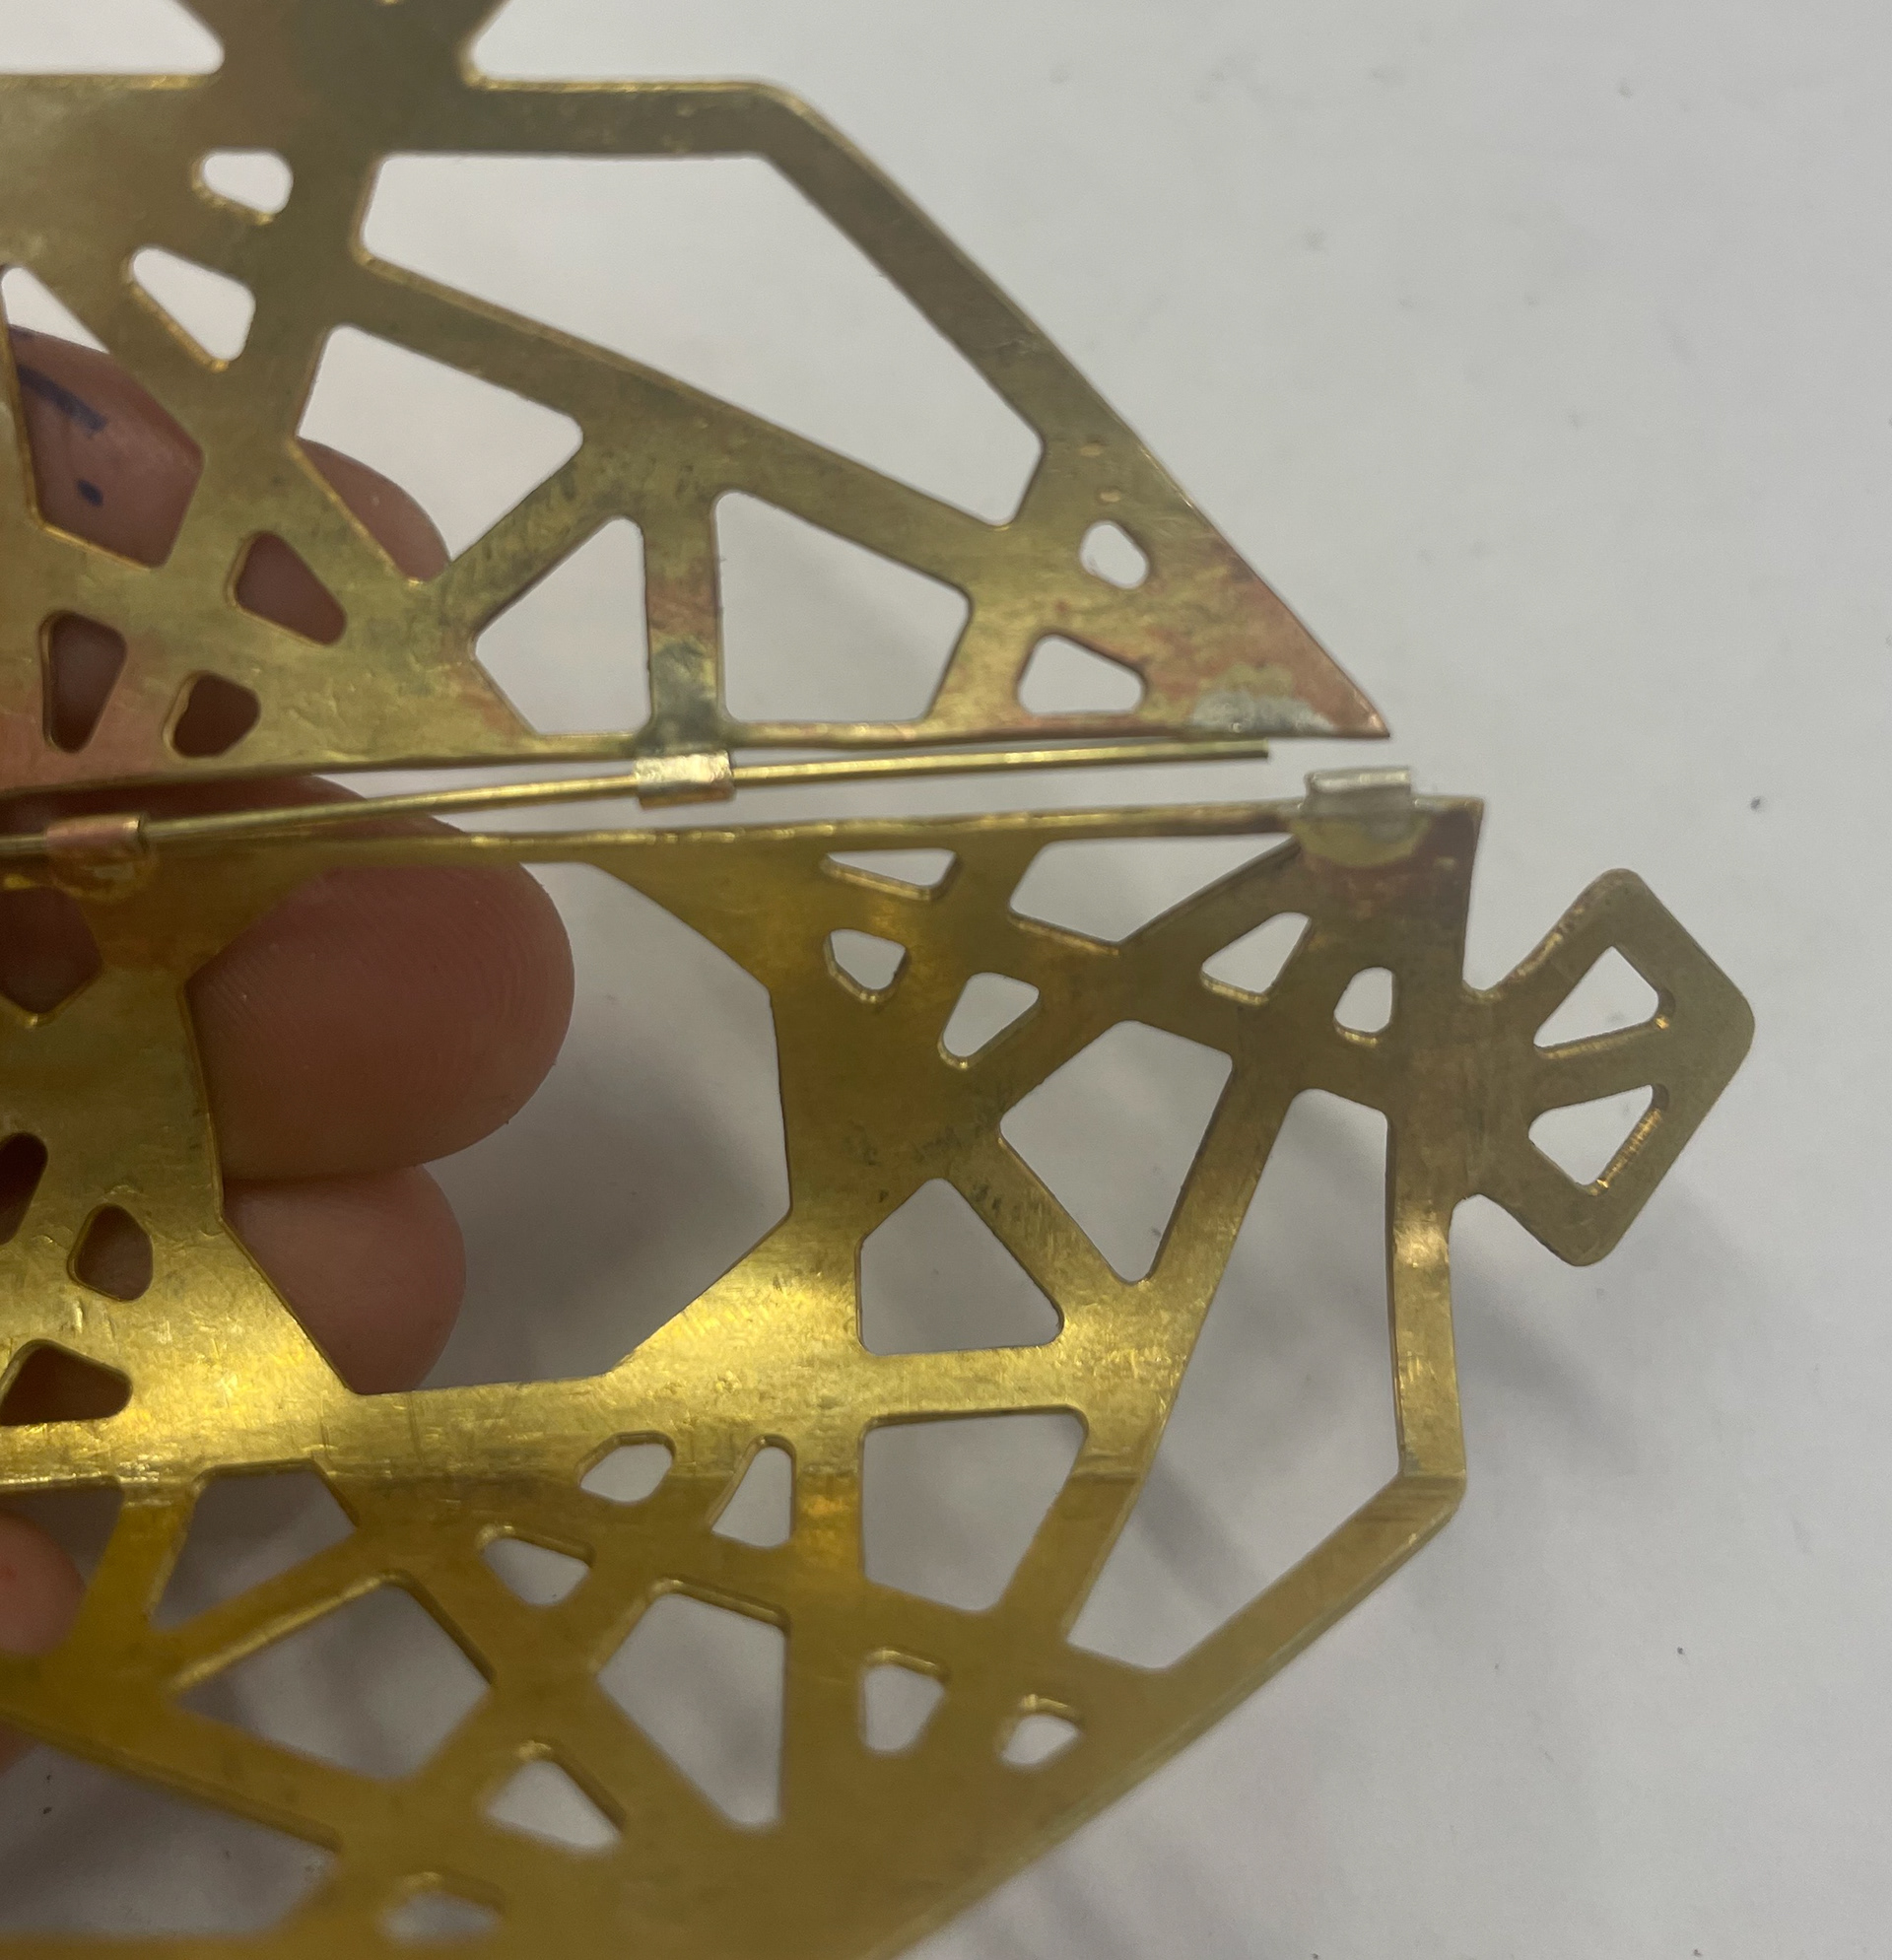
Hinge placed further at the top of the form
After making these paper models I found that the hinge further up the form seems like it would be most suitable due to the open and close movement of the box. However, I am not definite on this at this point as I would like to decide further along in the process when I figure out what I want to achieve.
Technical Research - HiNGES
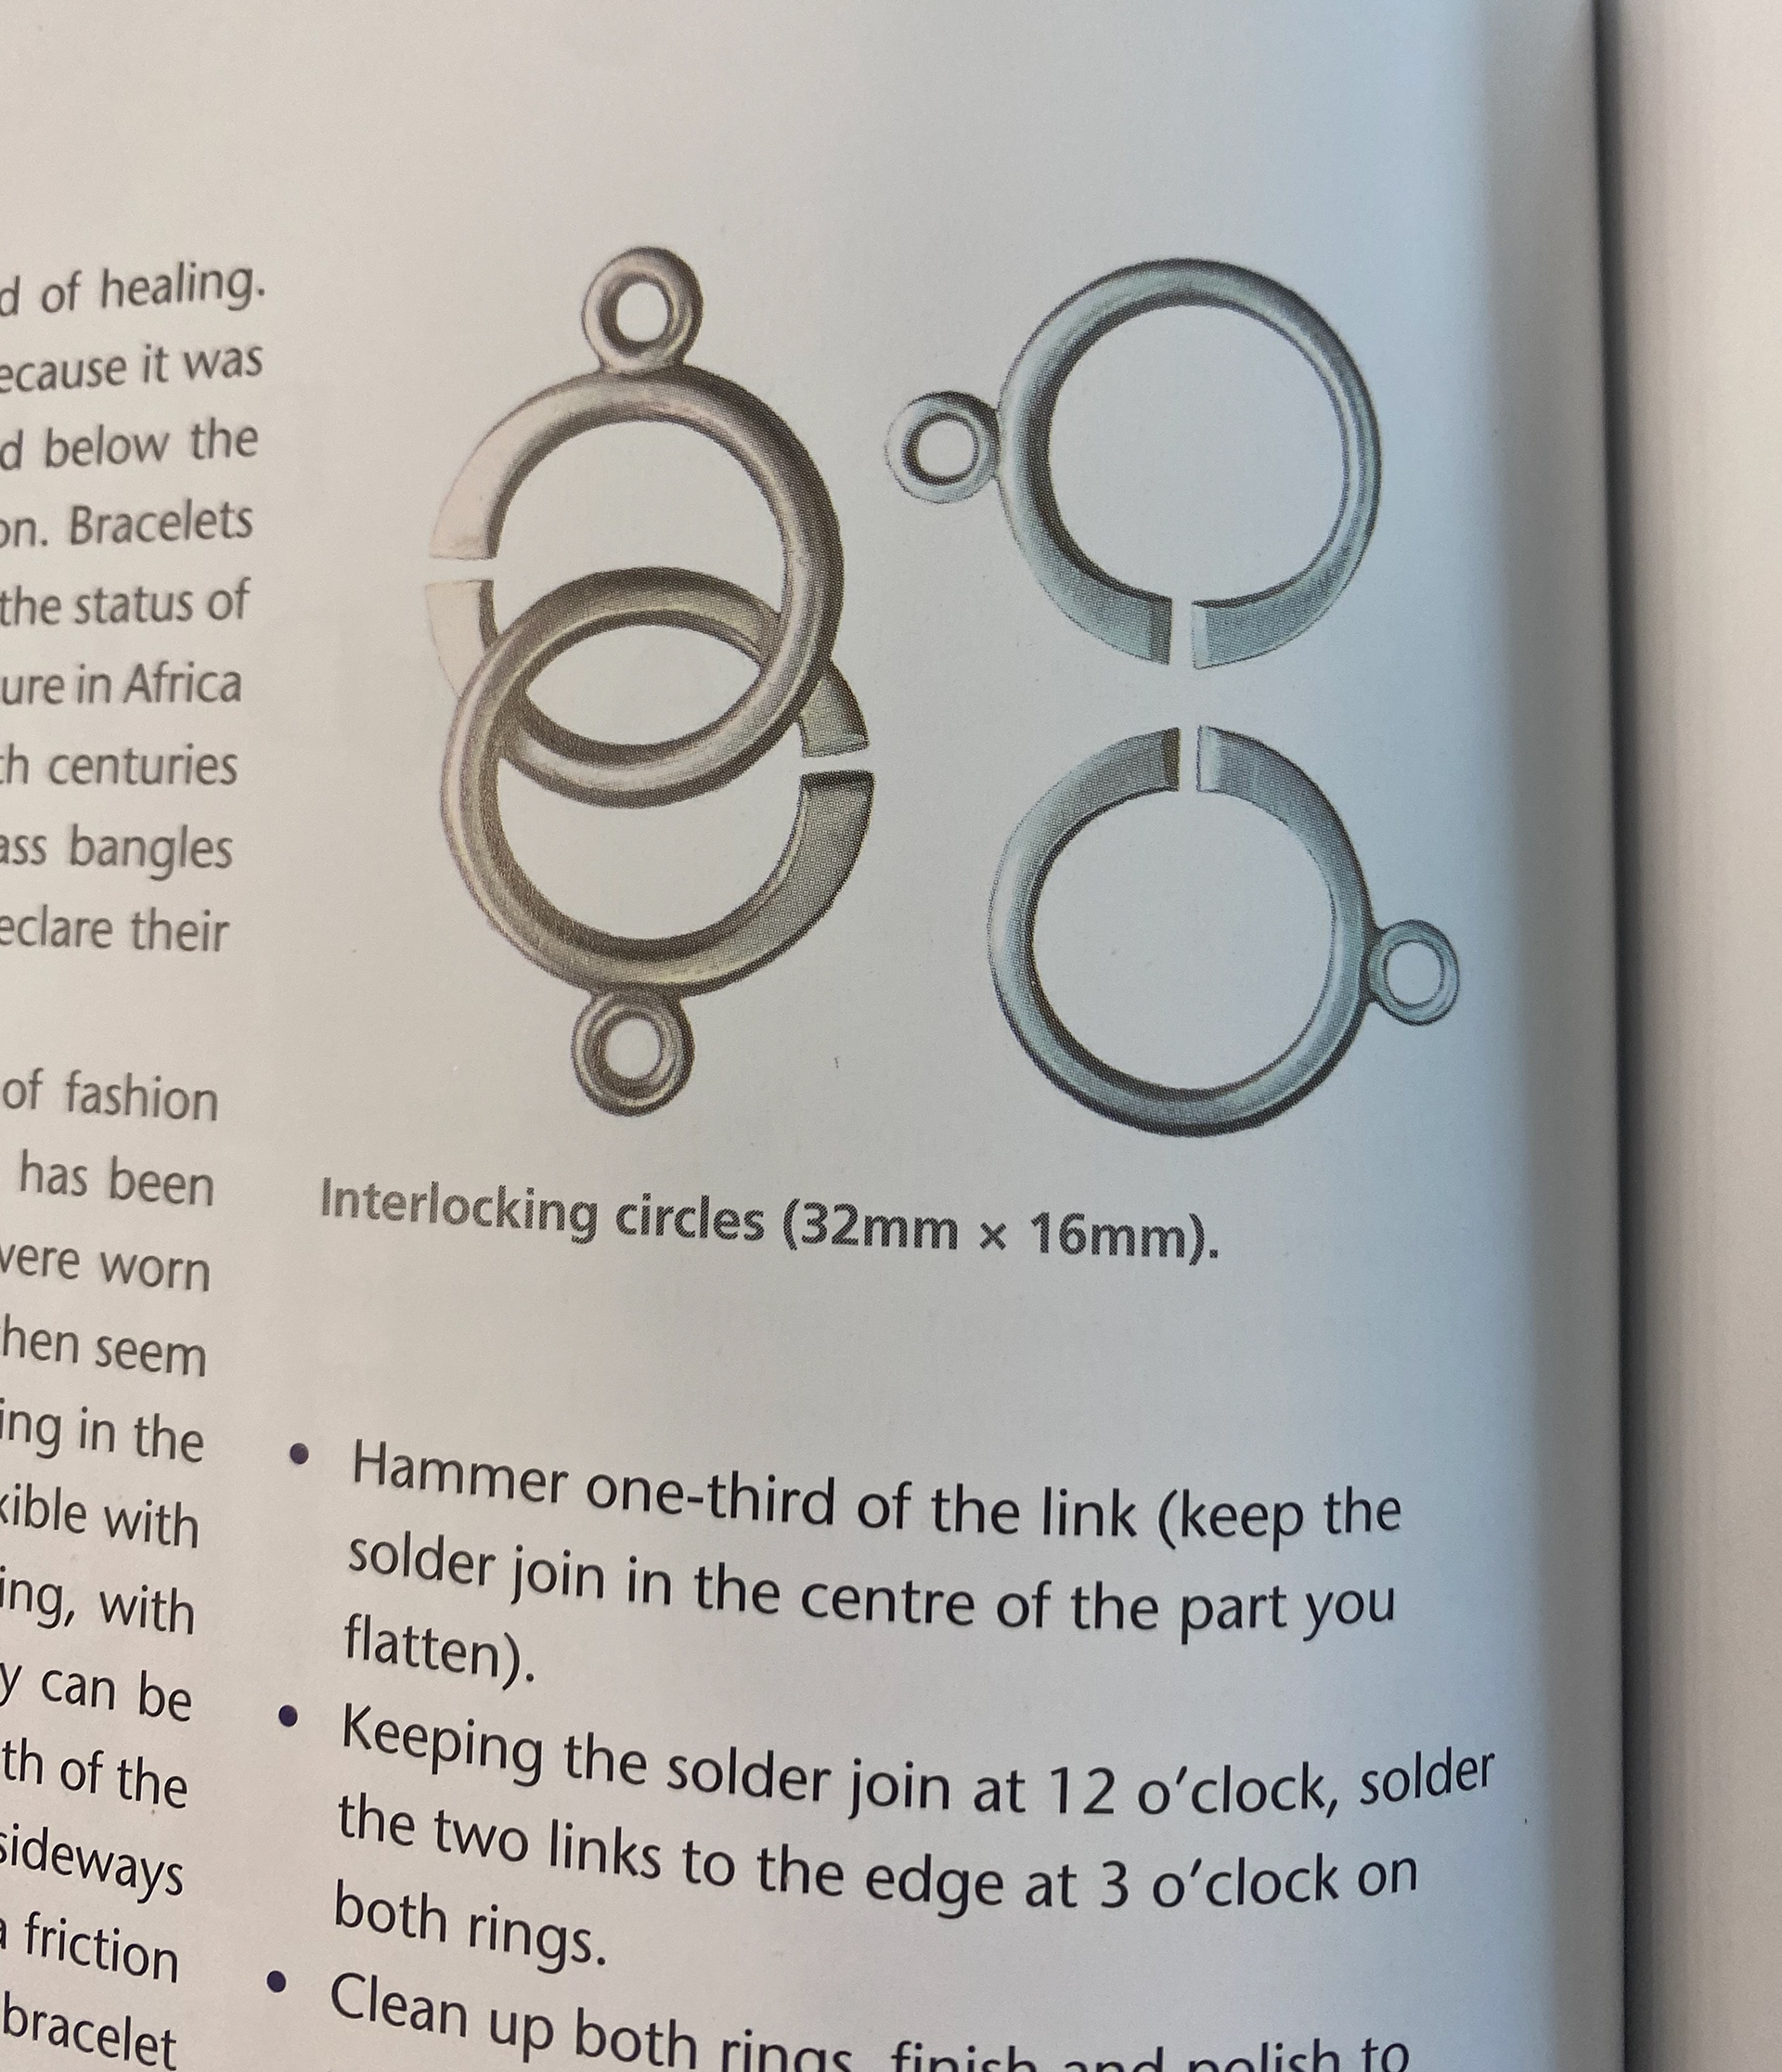
I did some research on different types of hinges such as a Three Butt Hinge and Piano Hinge. I watched some videos of people making them as well as read up on them in jewellery making books. After gaining a better understanding I sketched different possibilities of where I would place some hinges on the piece at various sizes.

Sketches of hinges

Sketches of hinges

Book I used for technical research

Book I used for technical research

Book I used for technical research

Book I used for technical research
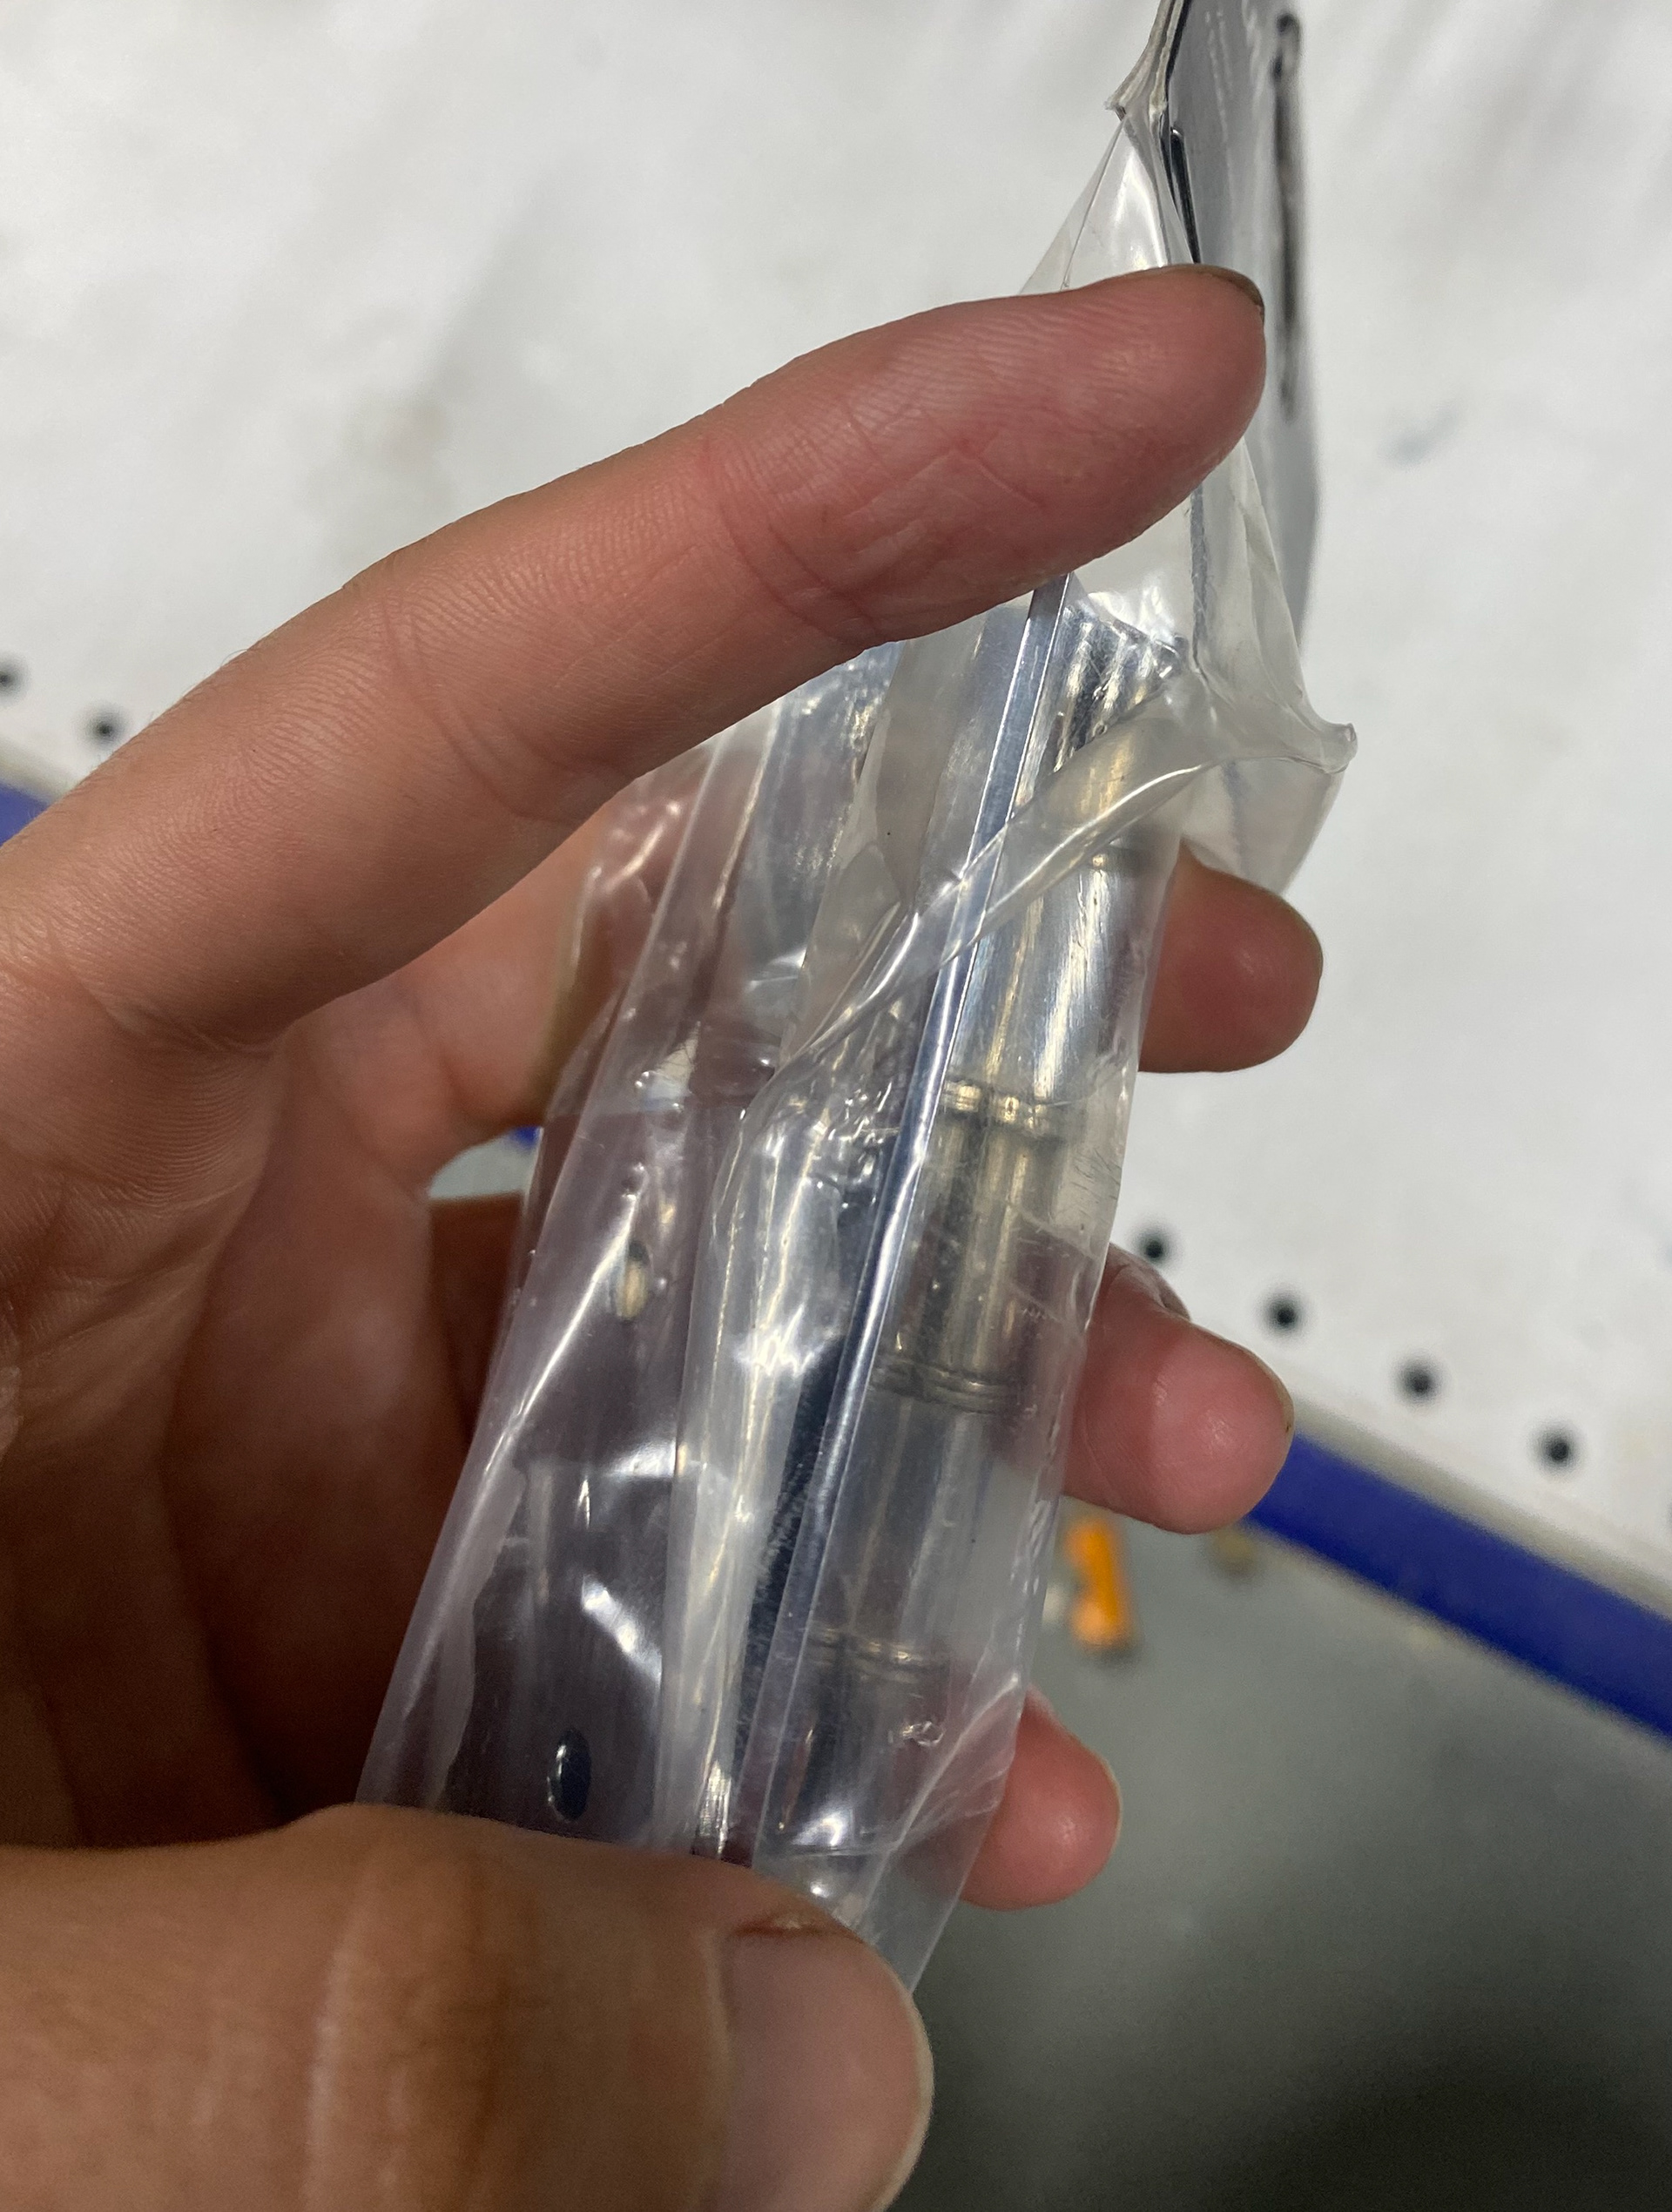
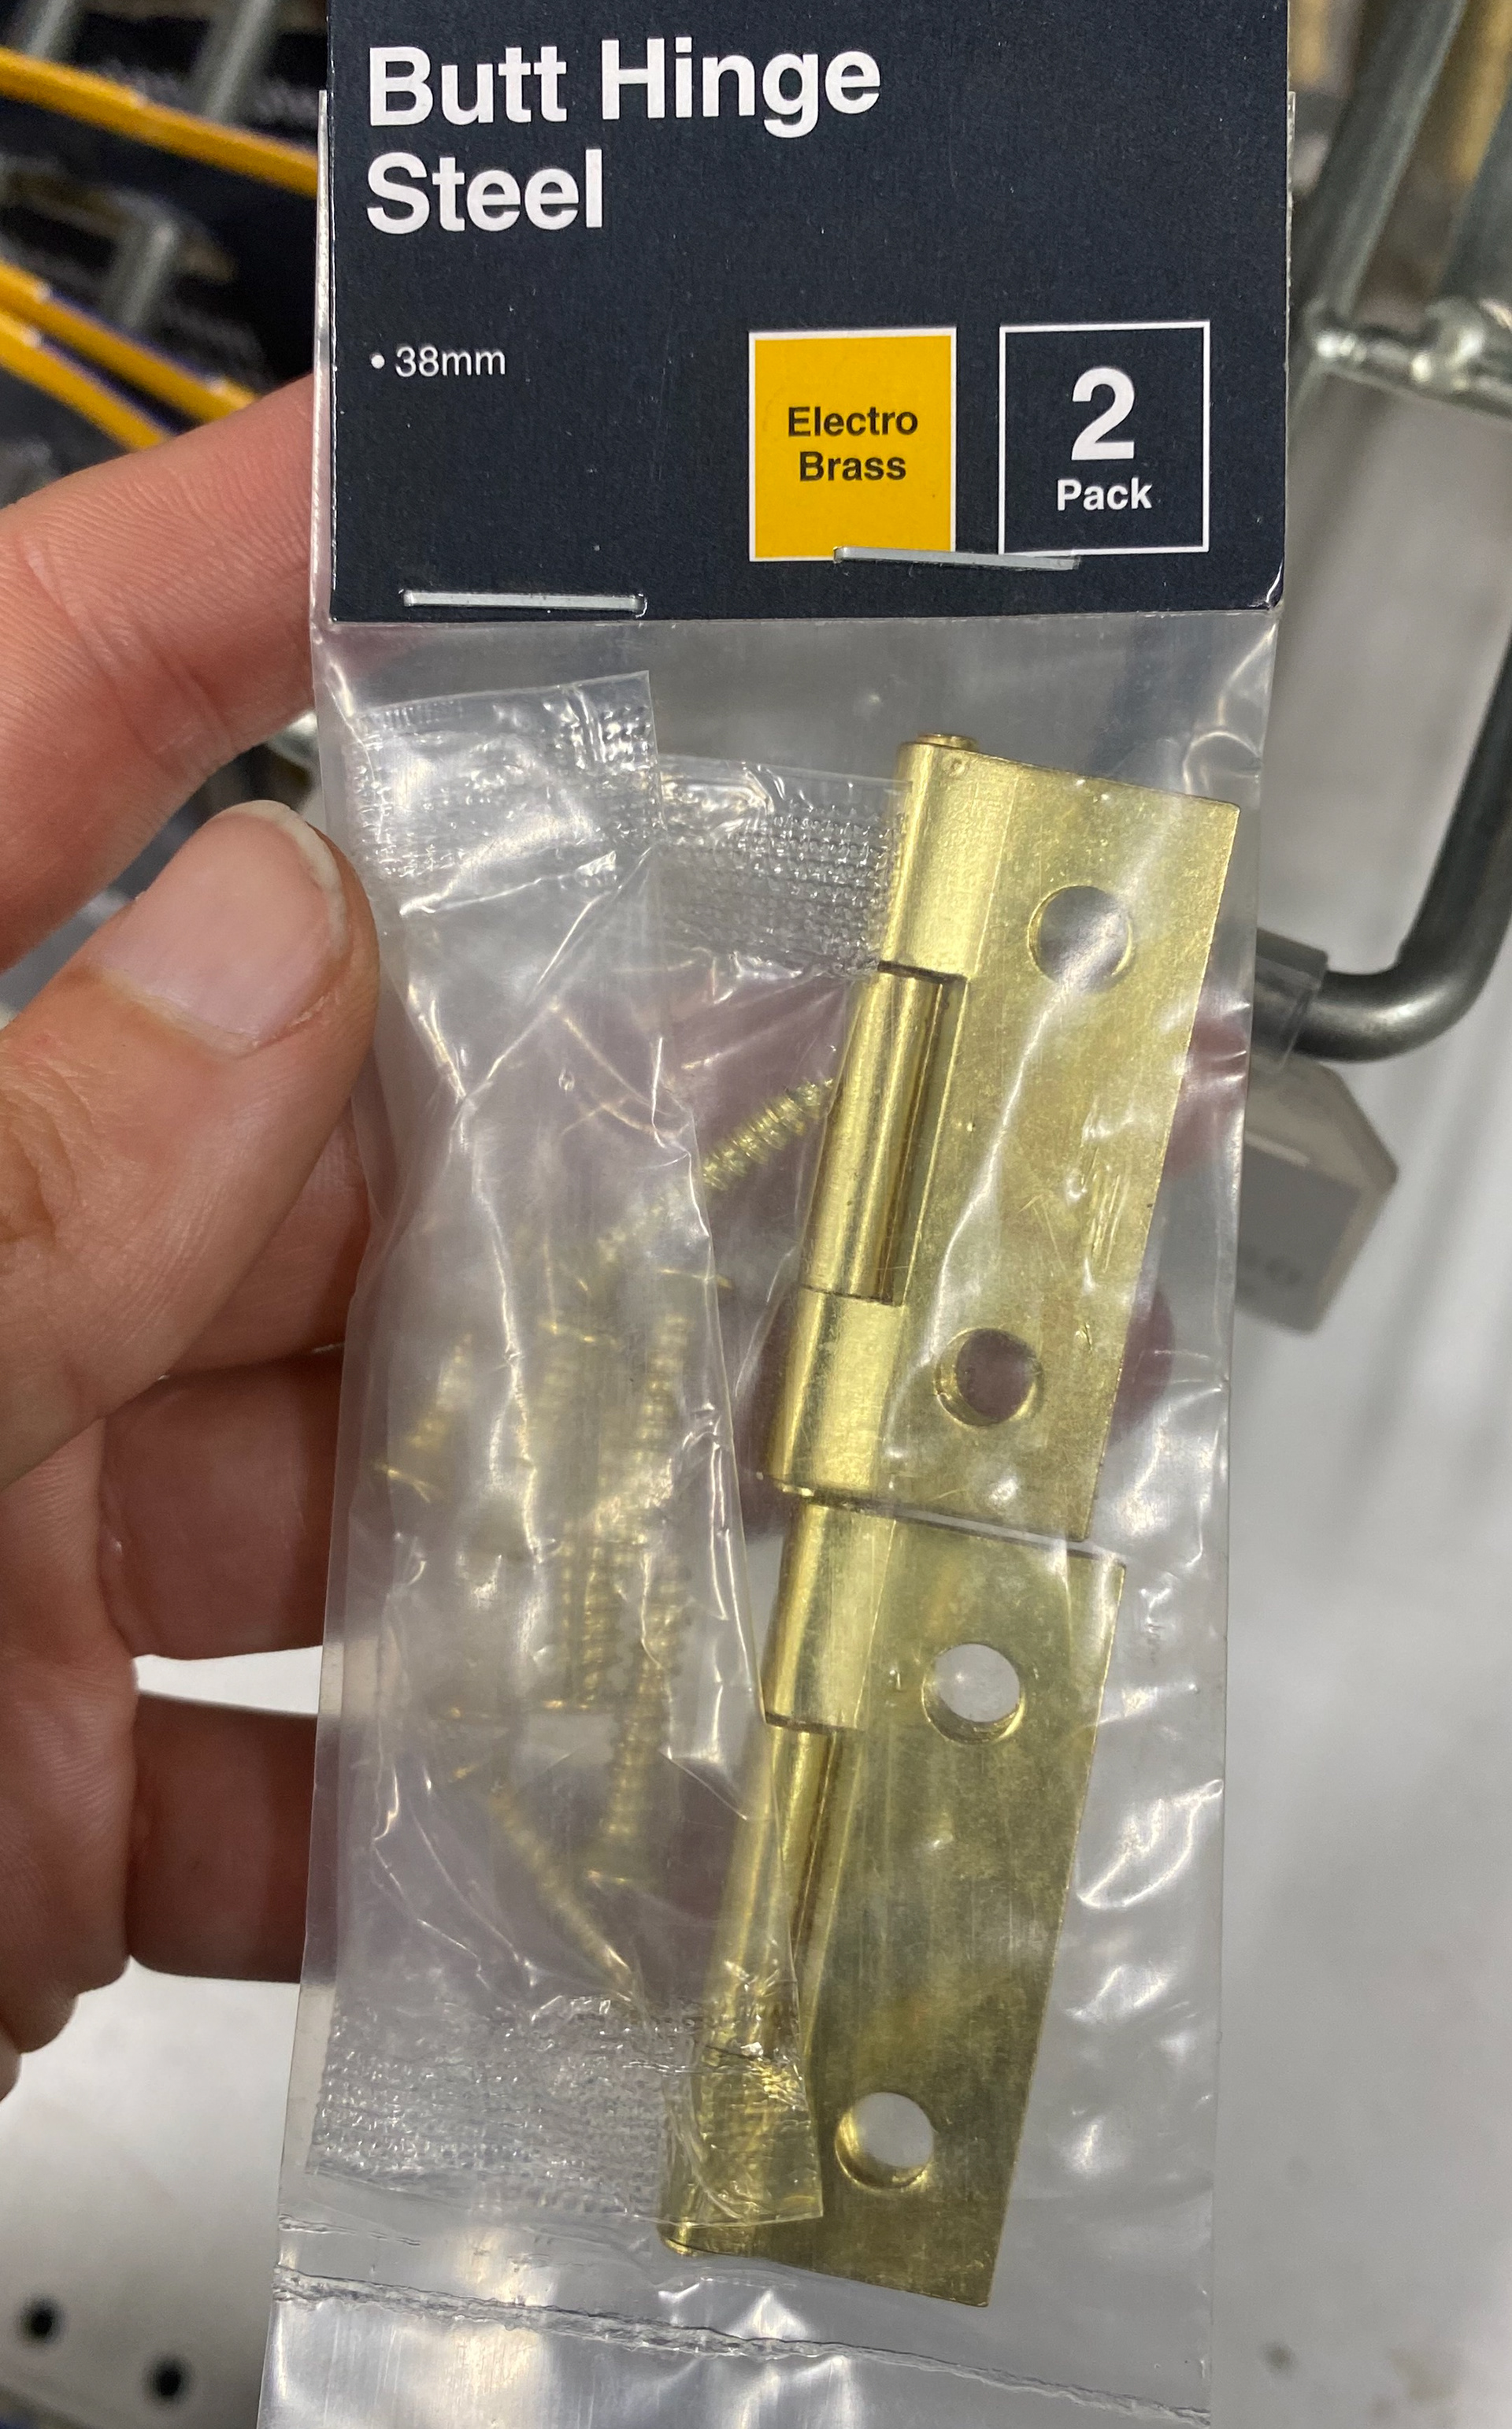
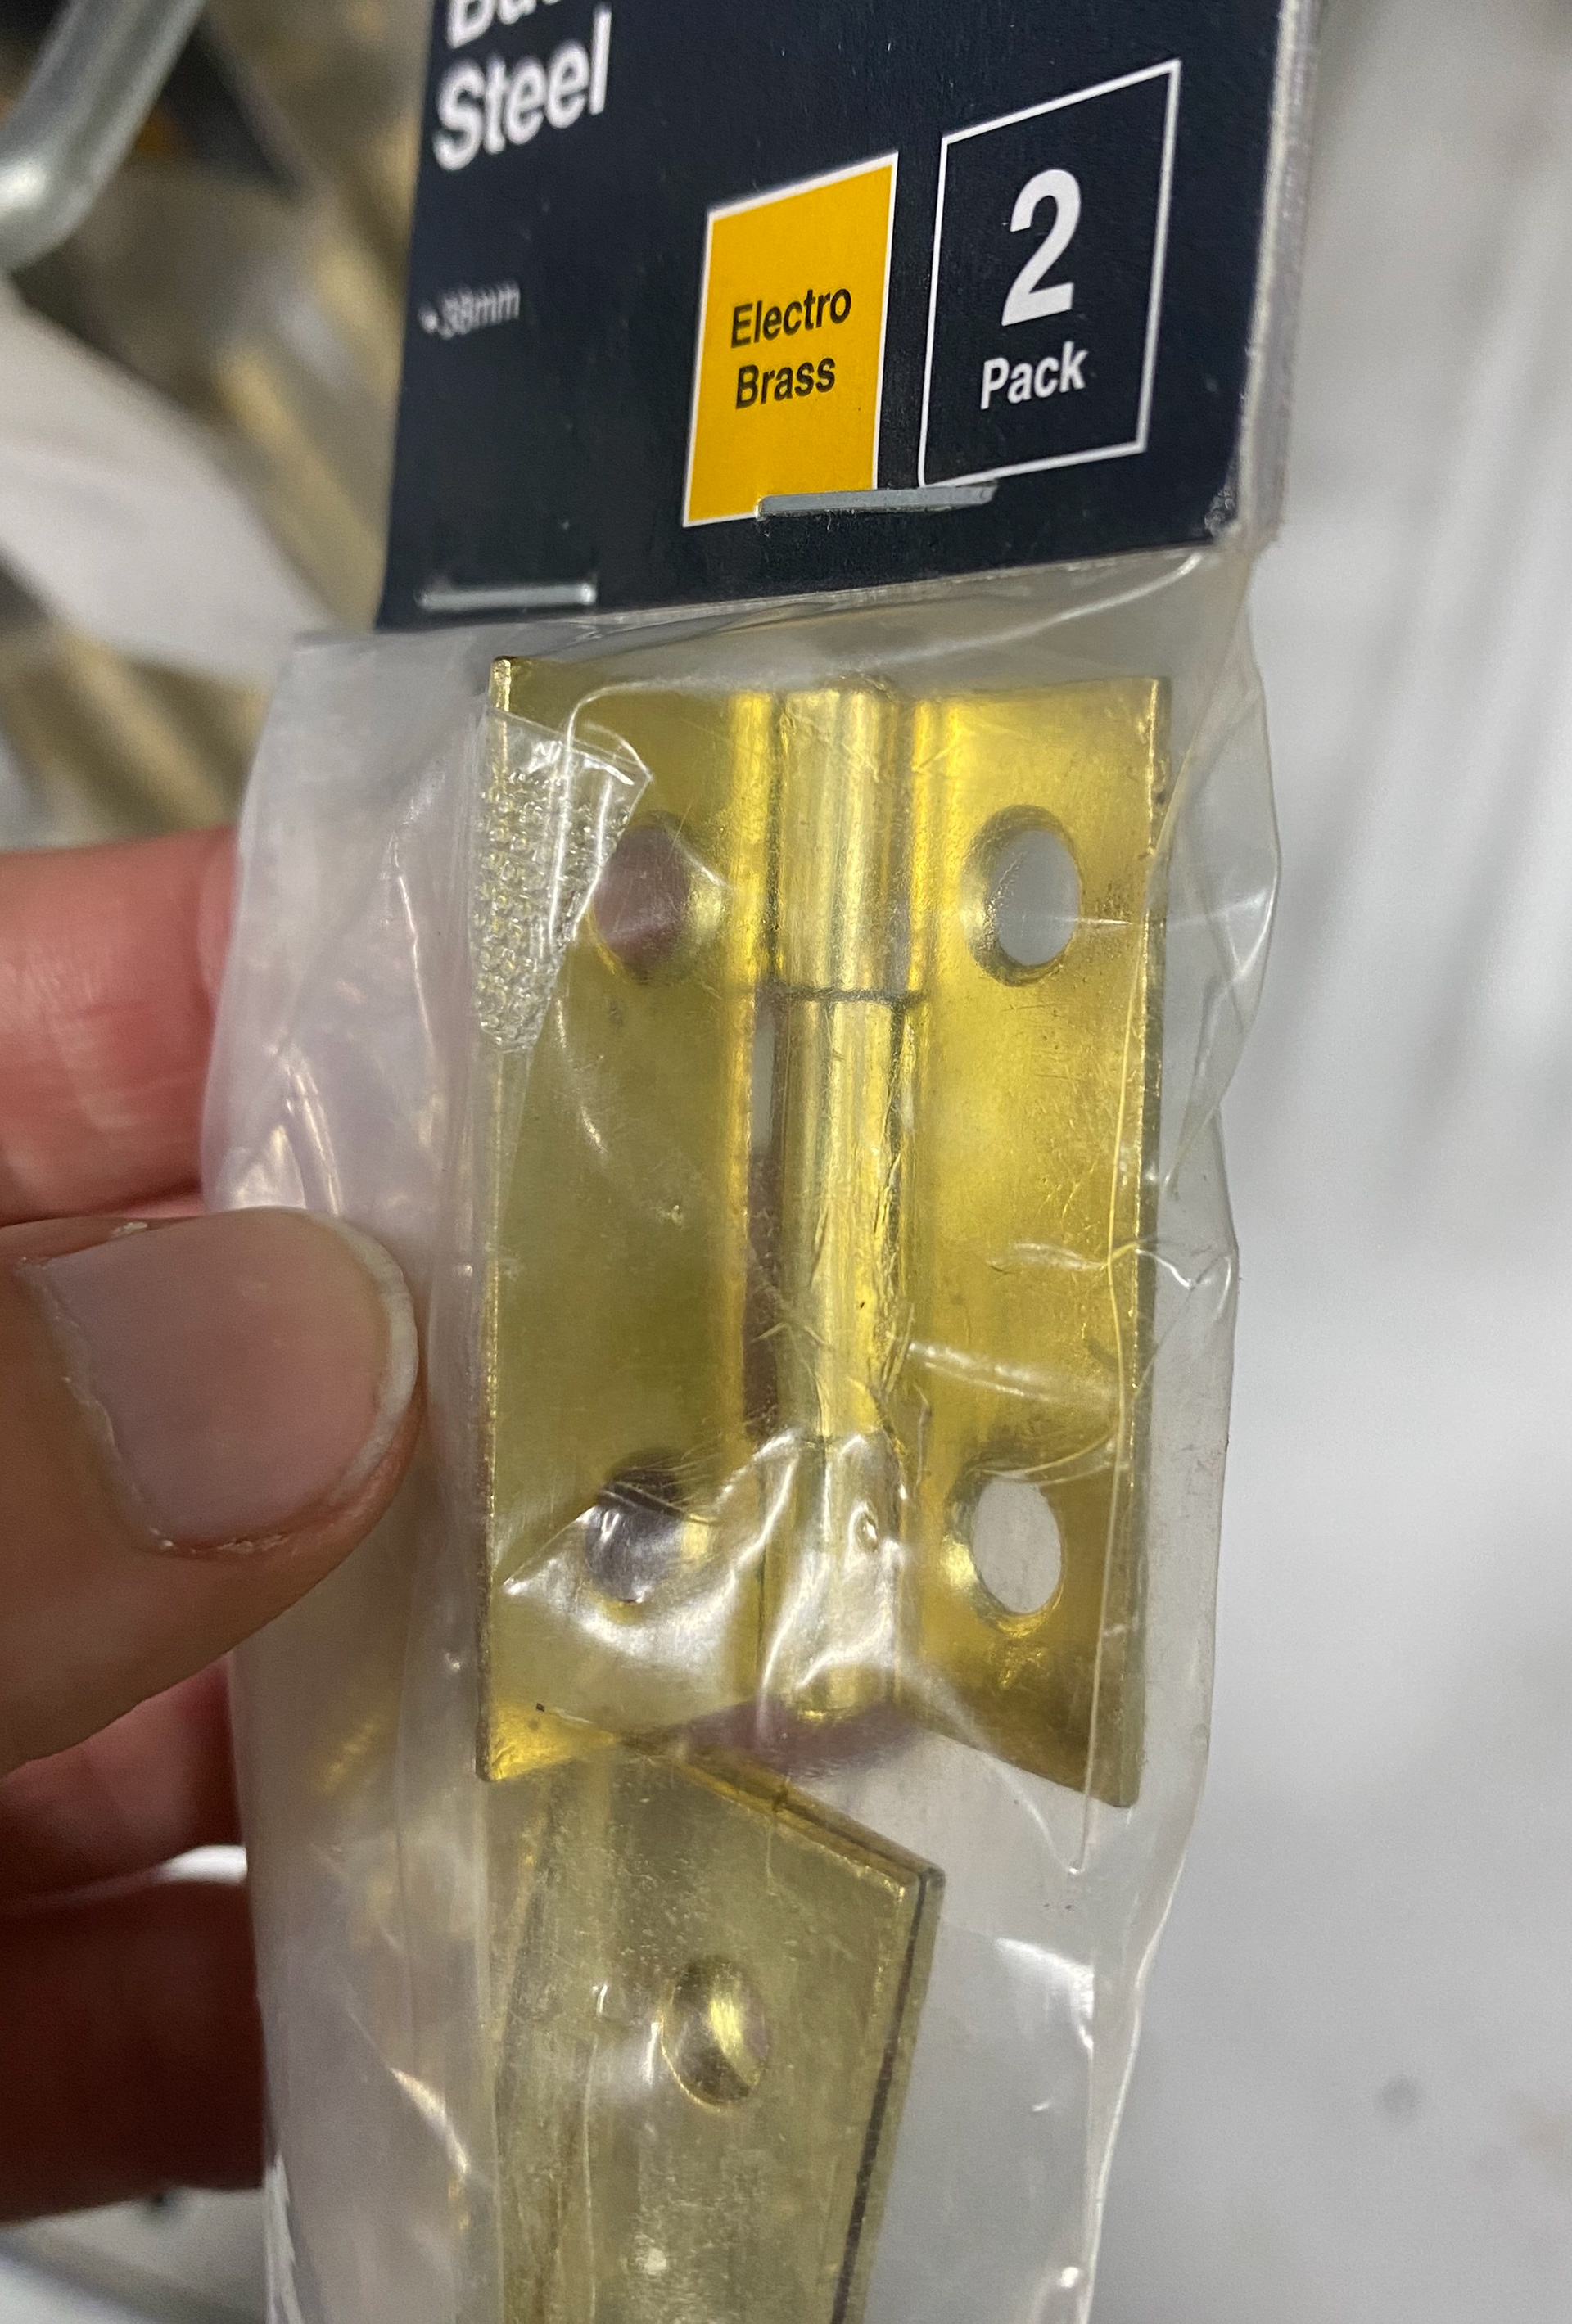
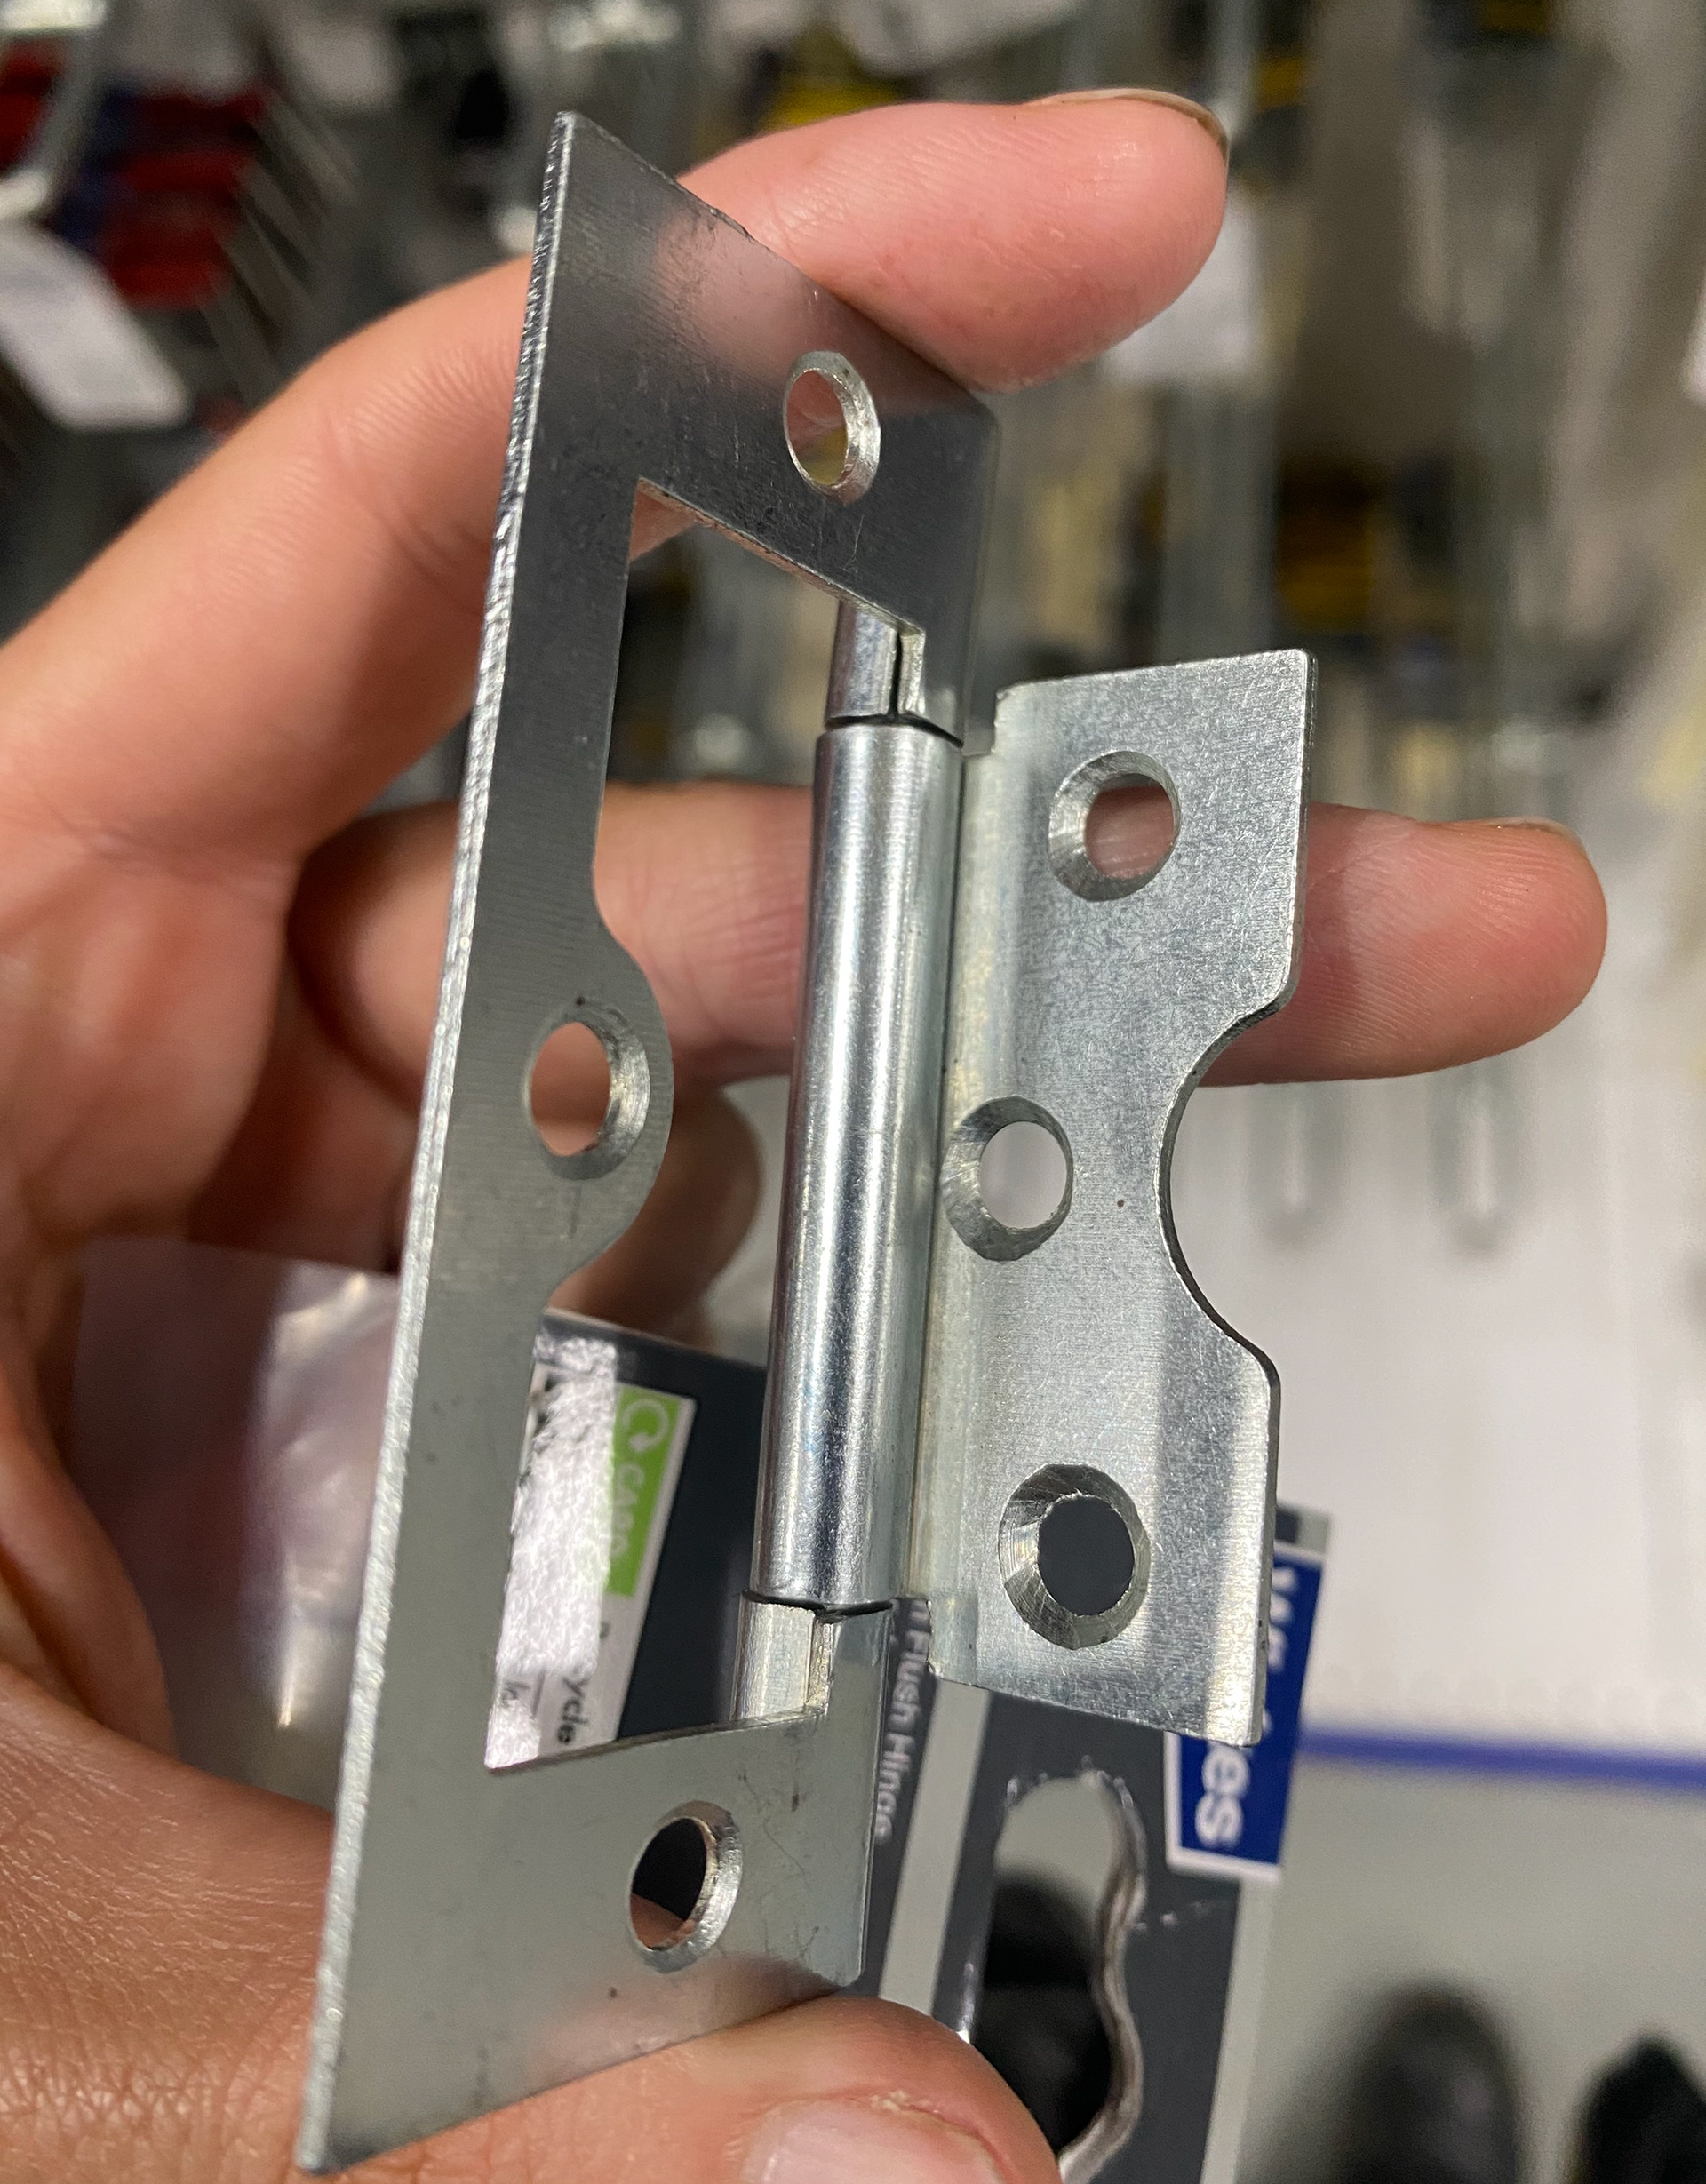
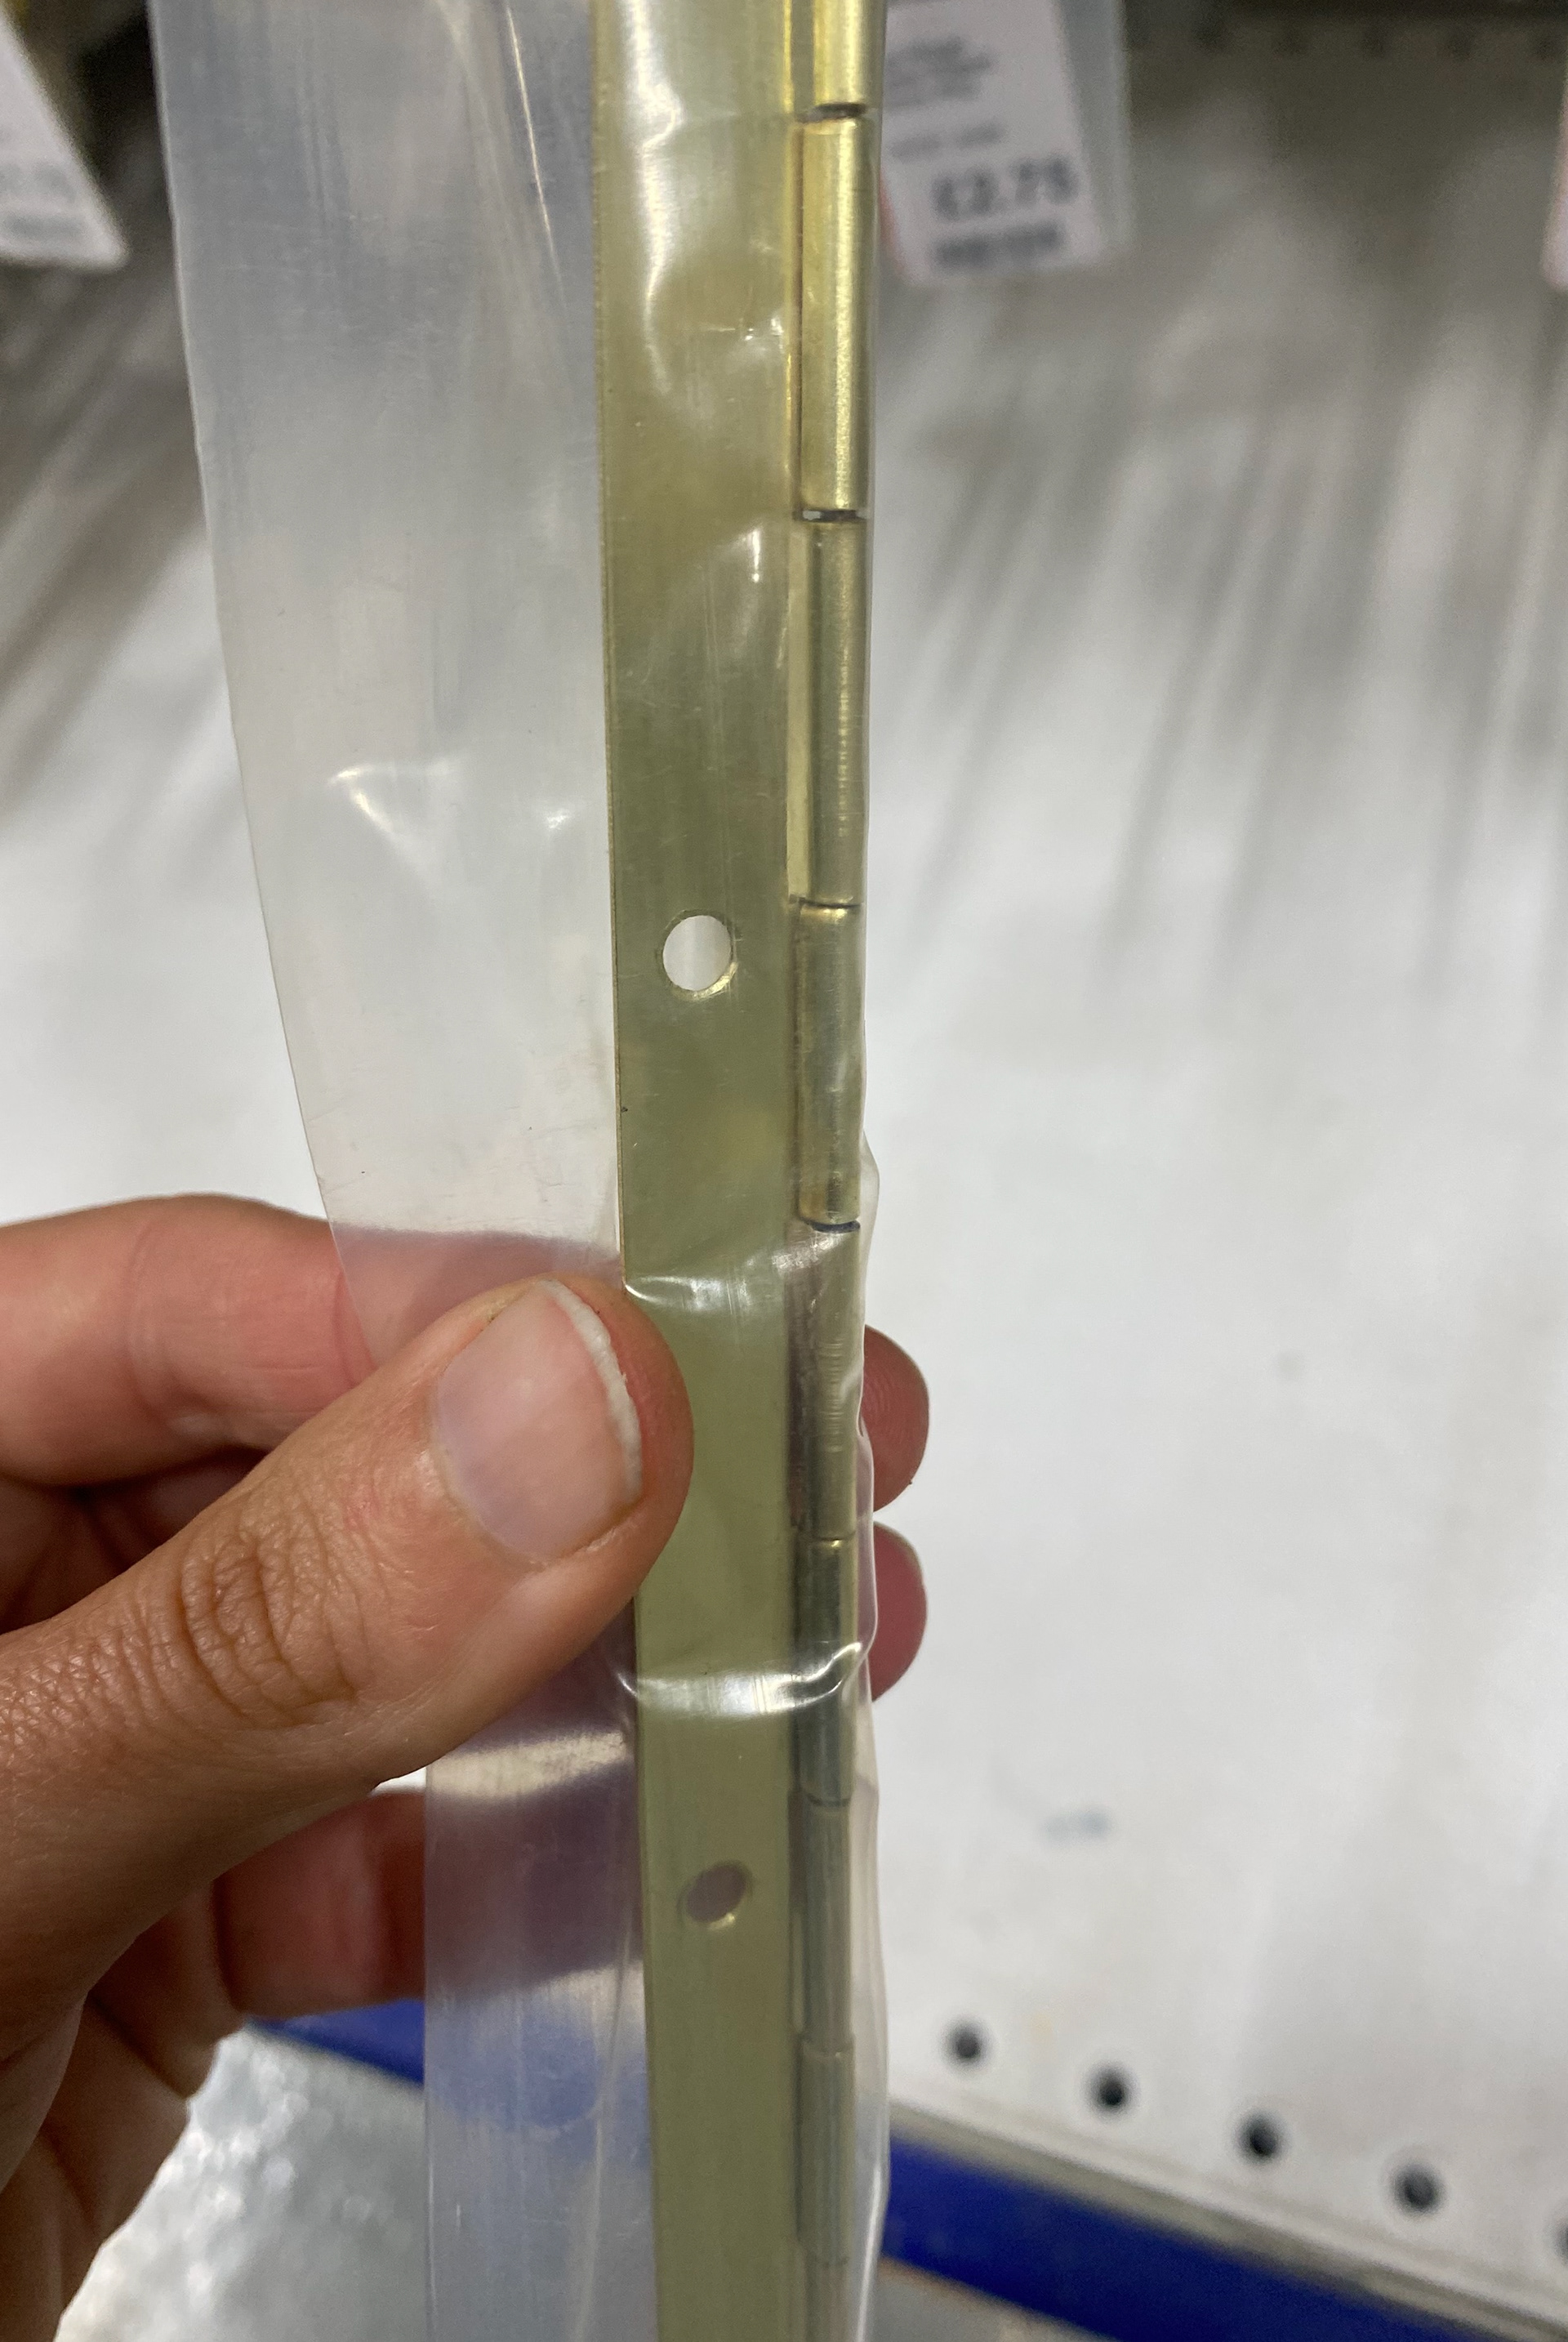
I then conducted further research by going to Wickes and looking at their types of hinges and analysing how they move and how they are designed. In Wickes, I saw various types of hinges including Butt hinges, Piano hinges and Flush hinges. From this research I figured I wanted to use a combination of characteristics from Butt hinges and Piano hinges within my work and to sample these going forward.
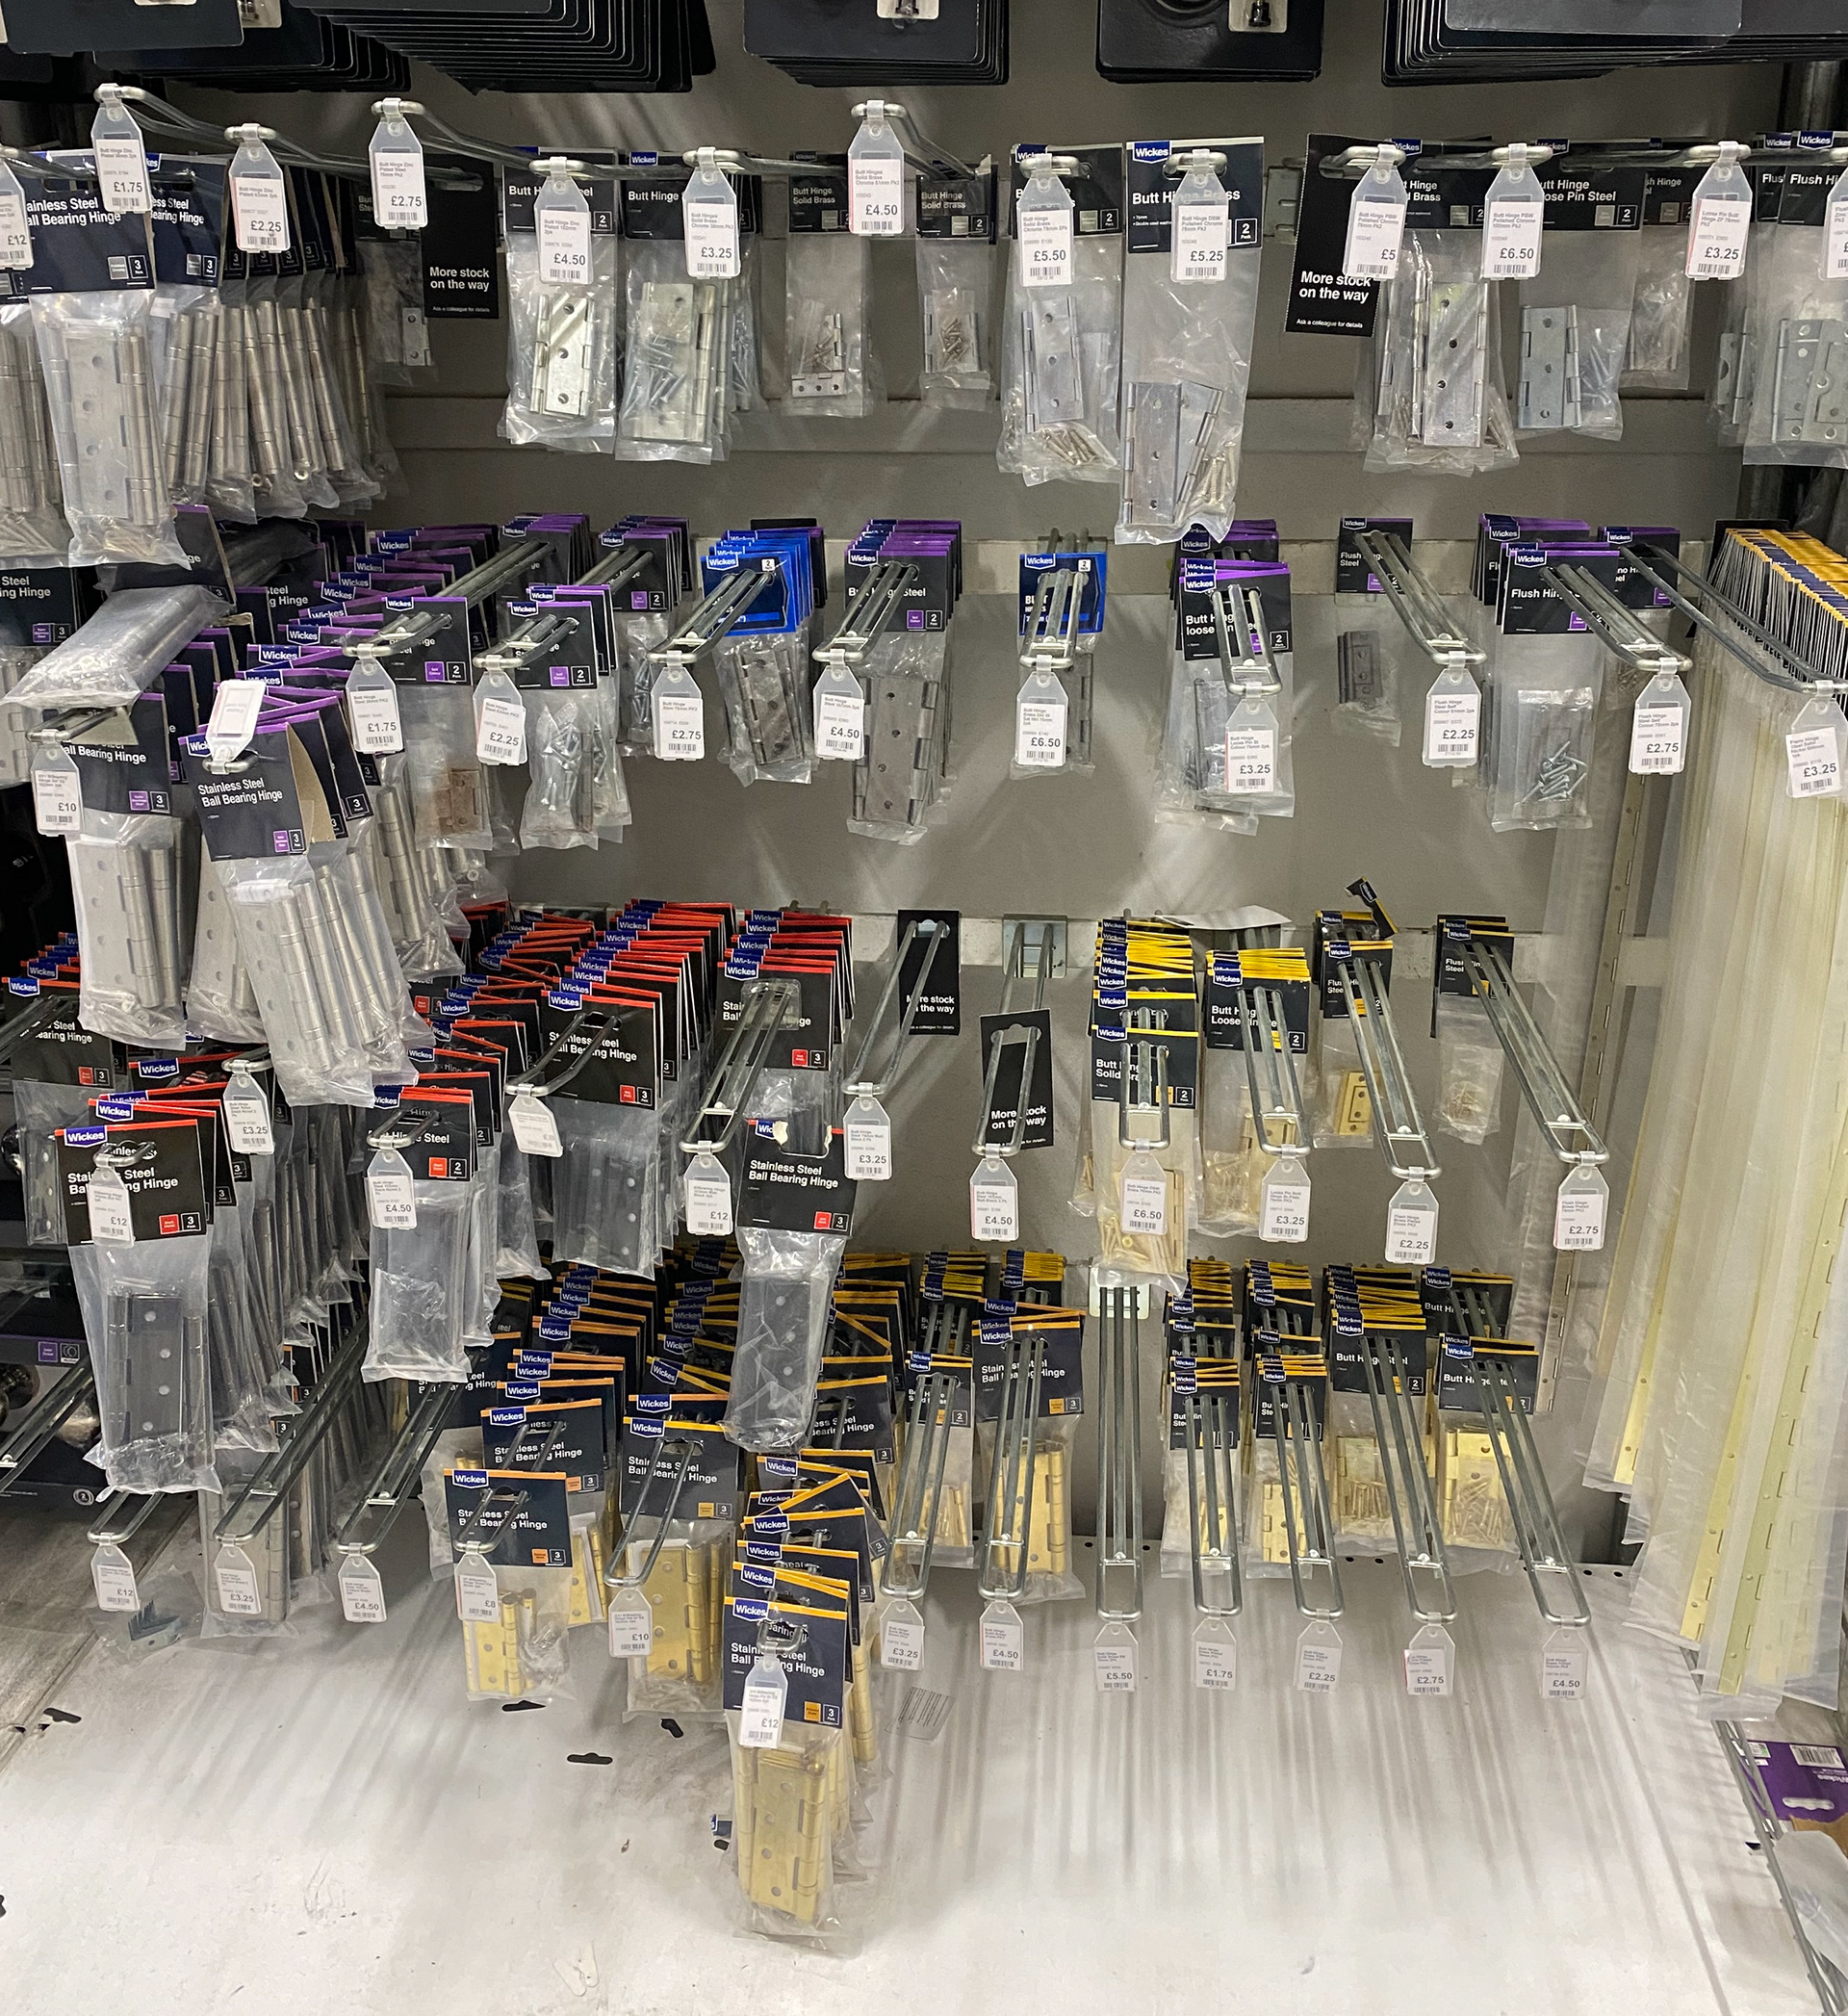
Hinge selection in Wickes
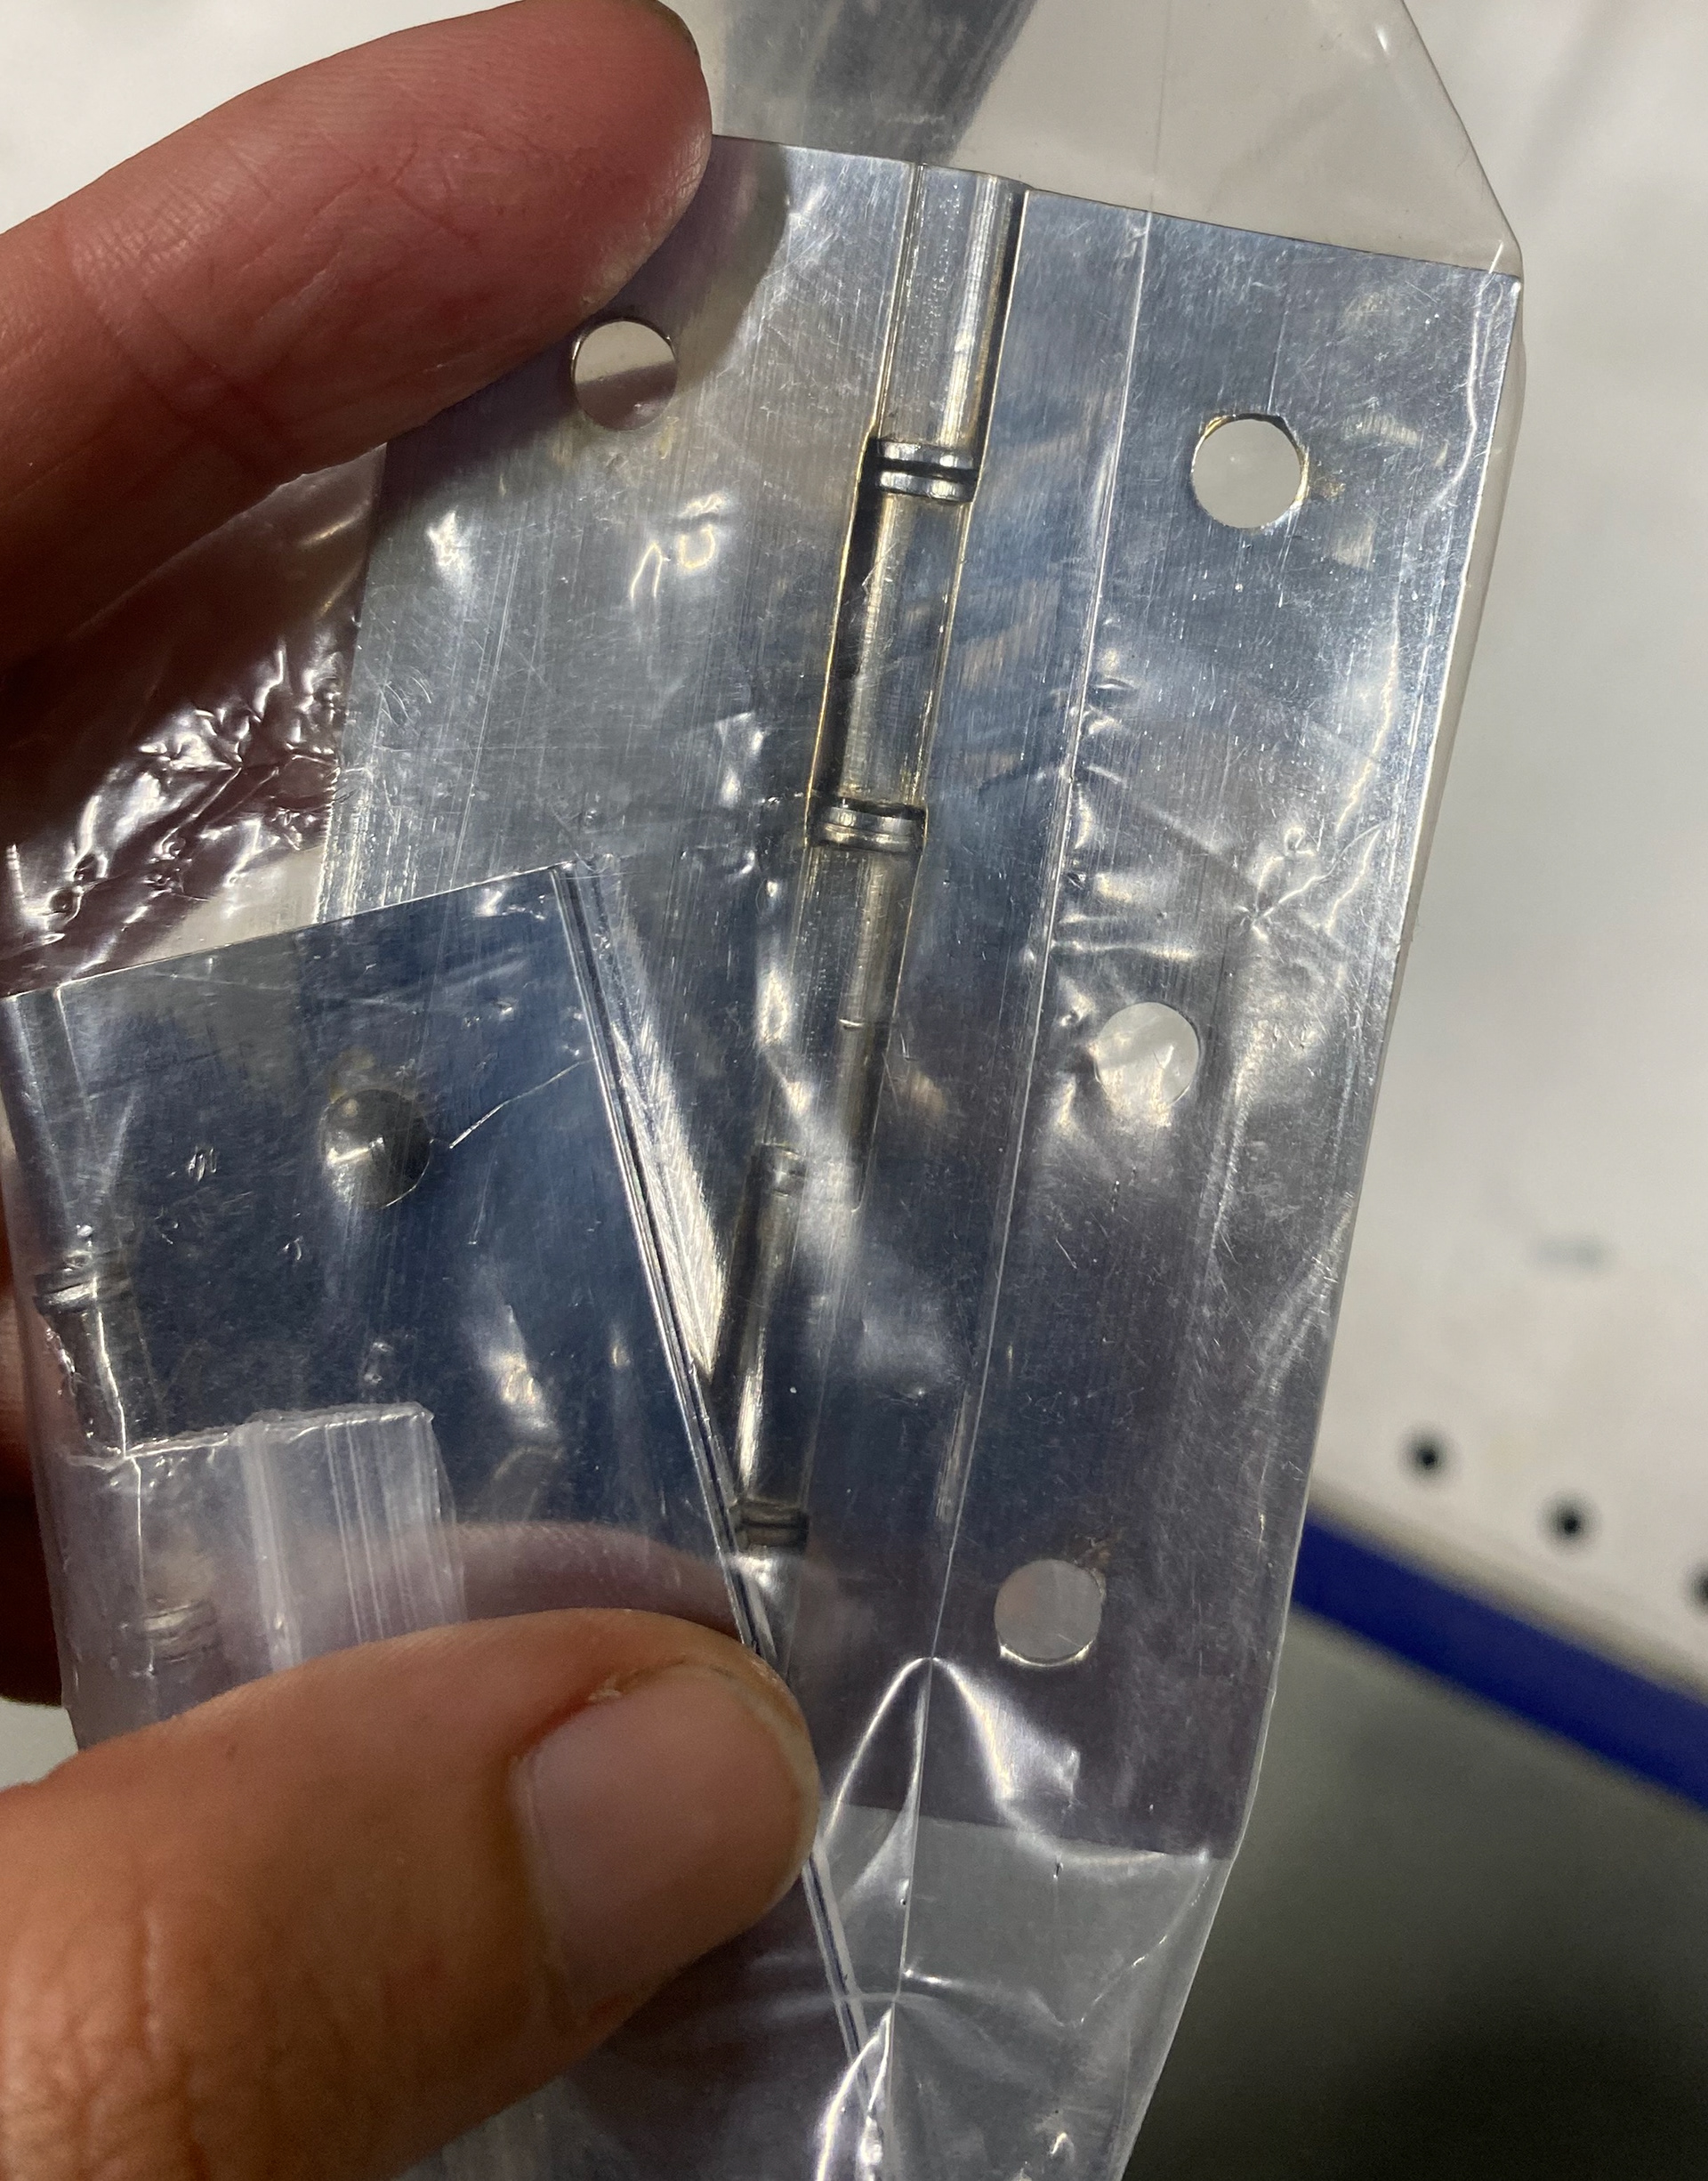
3 Butt Hinge
3 Butt Hinge
3 Butt Hinge
3 Butt Hinge
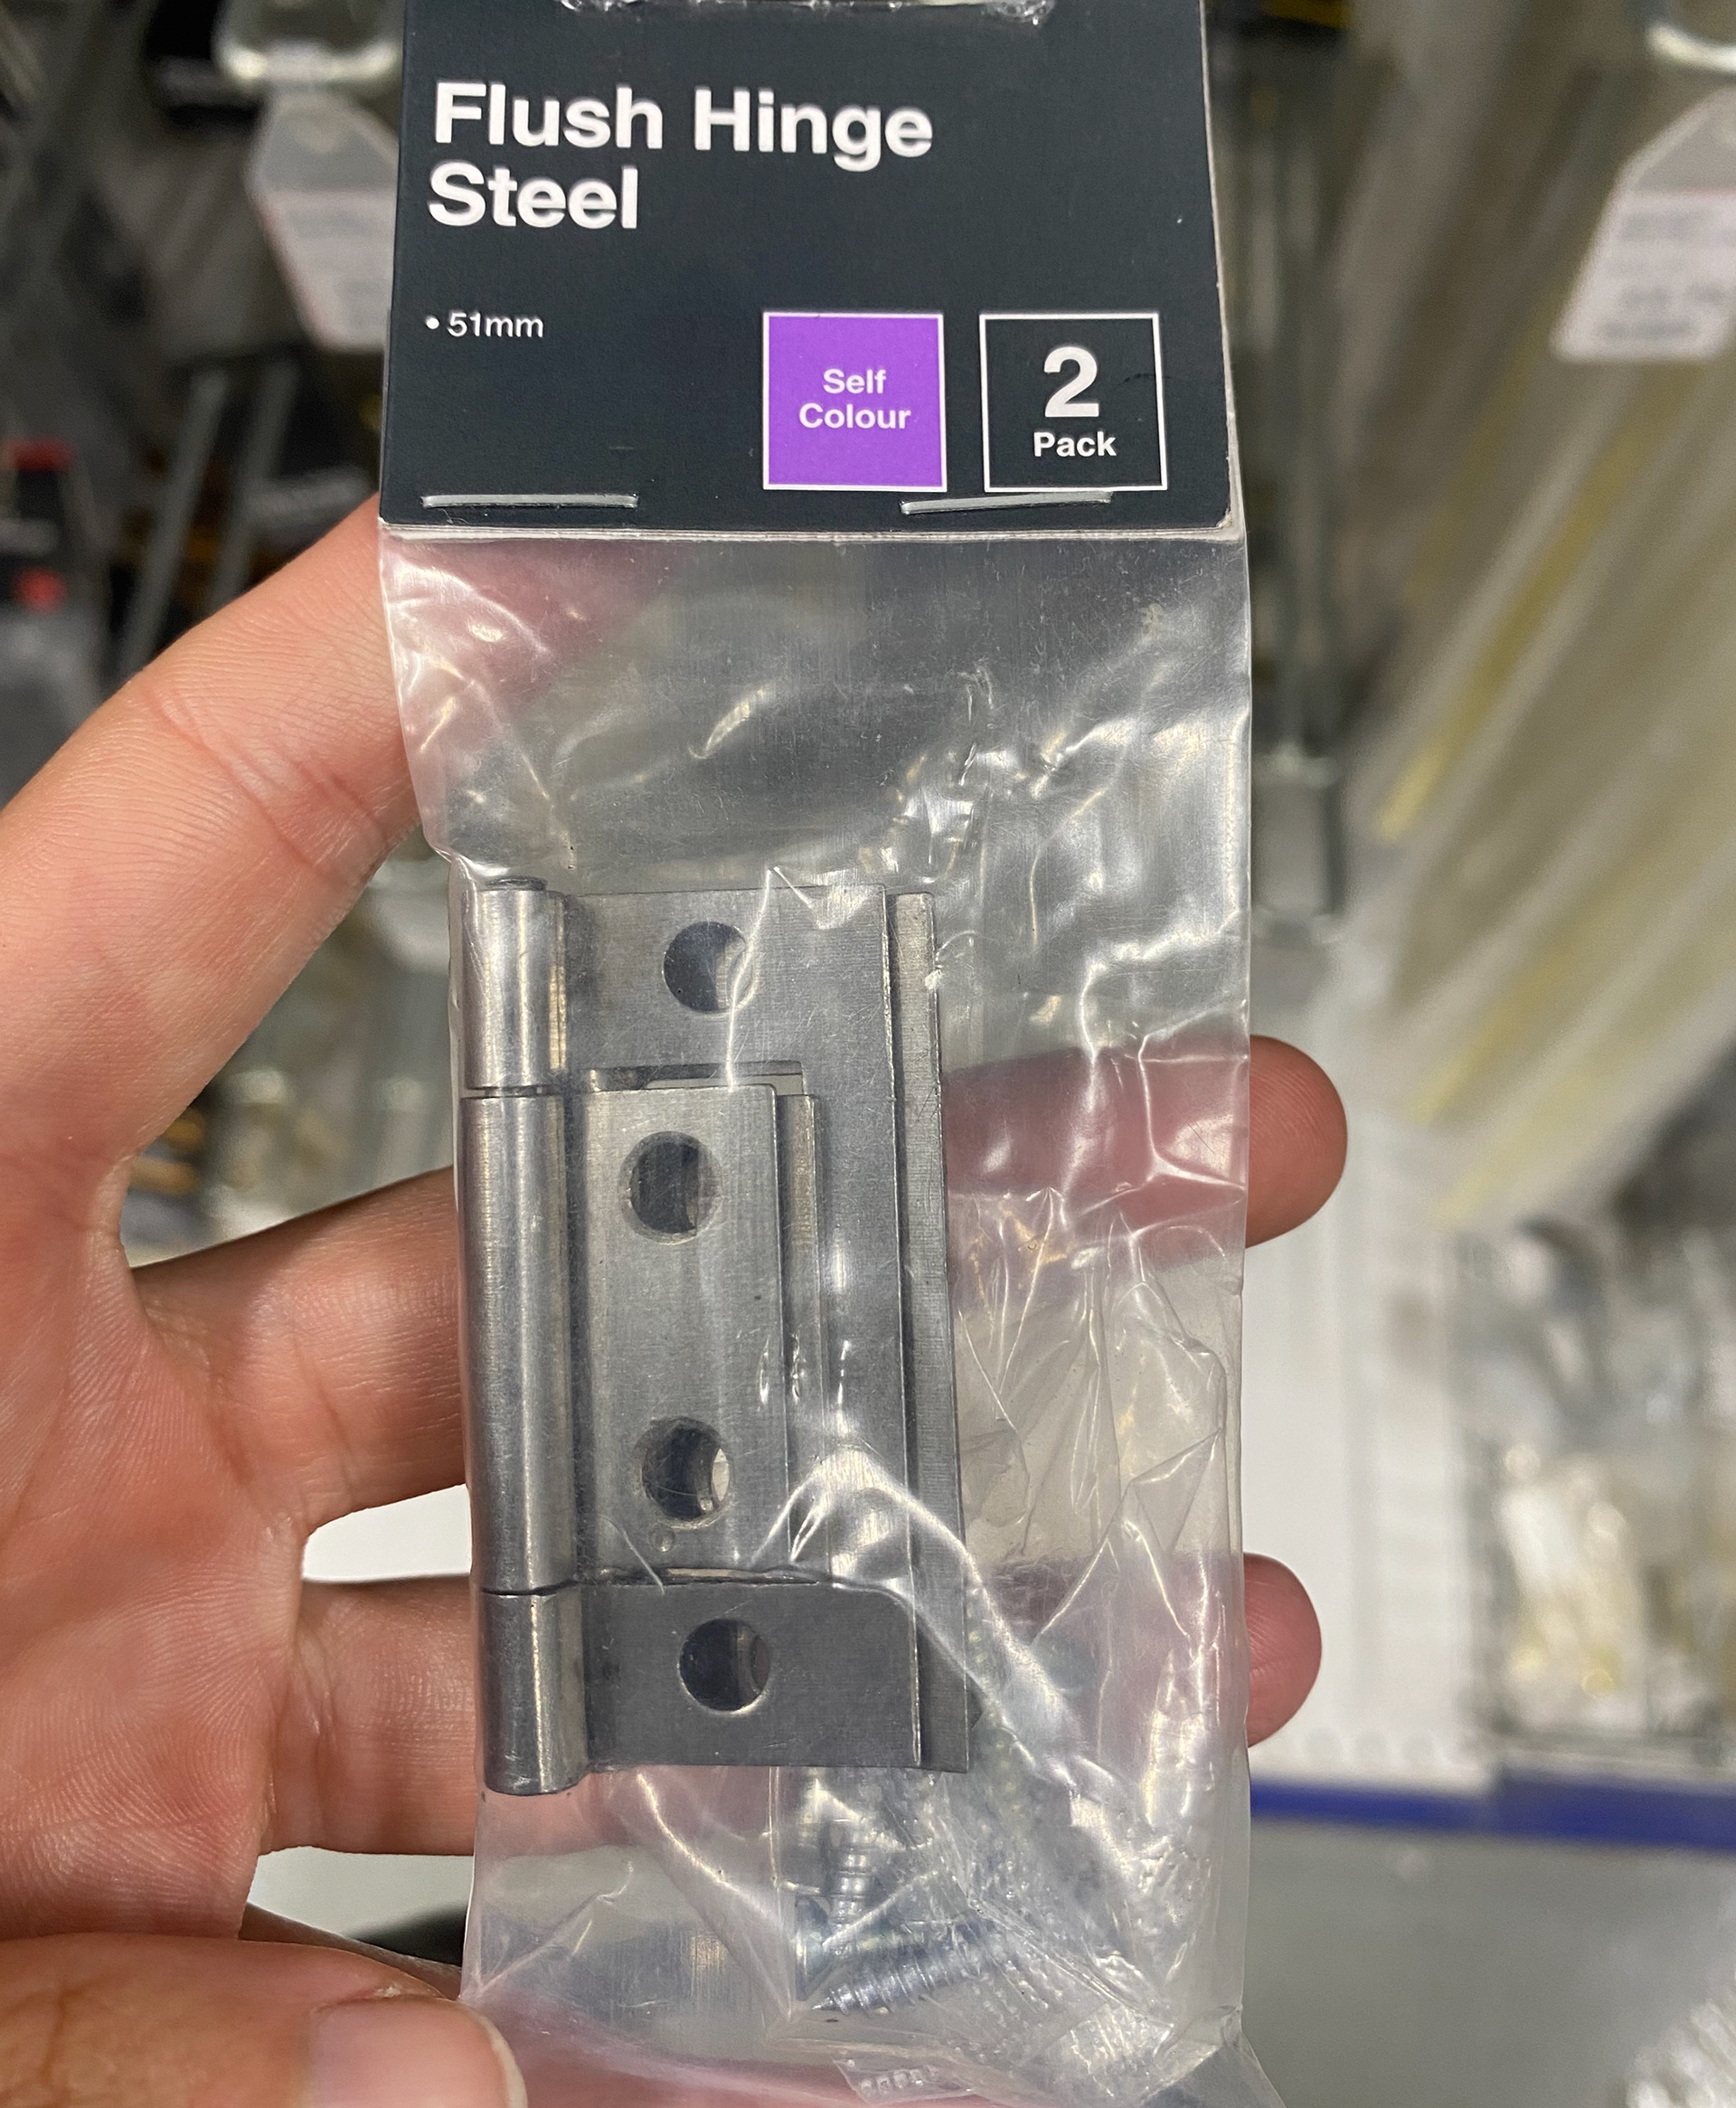
Flush Hinge
Flush Hinge
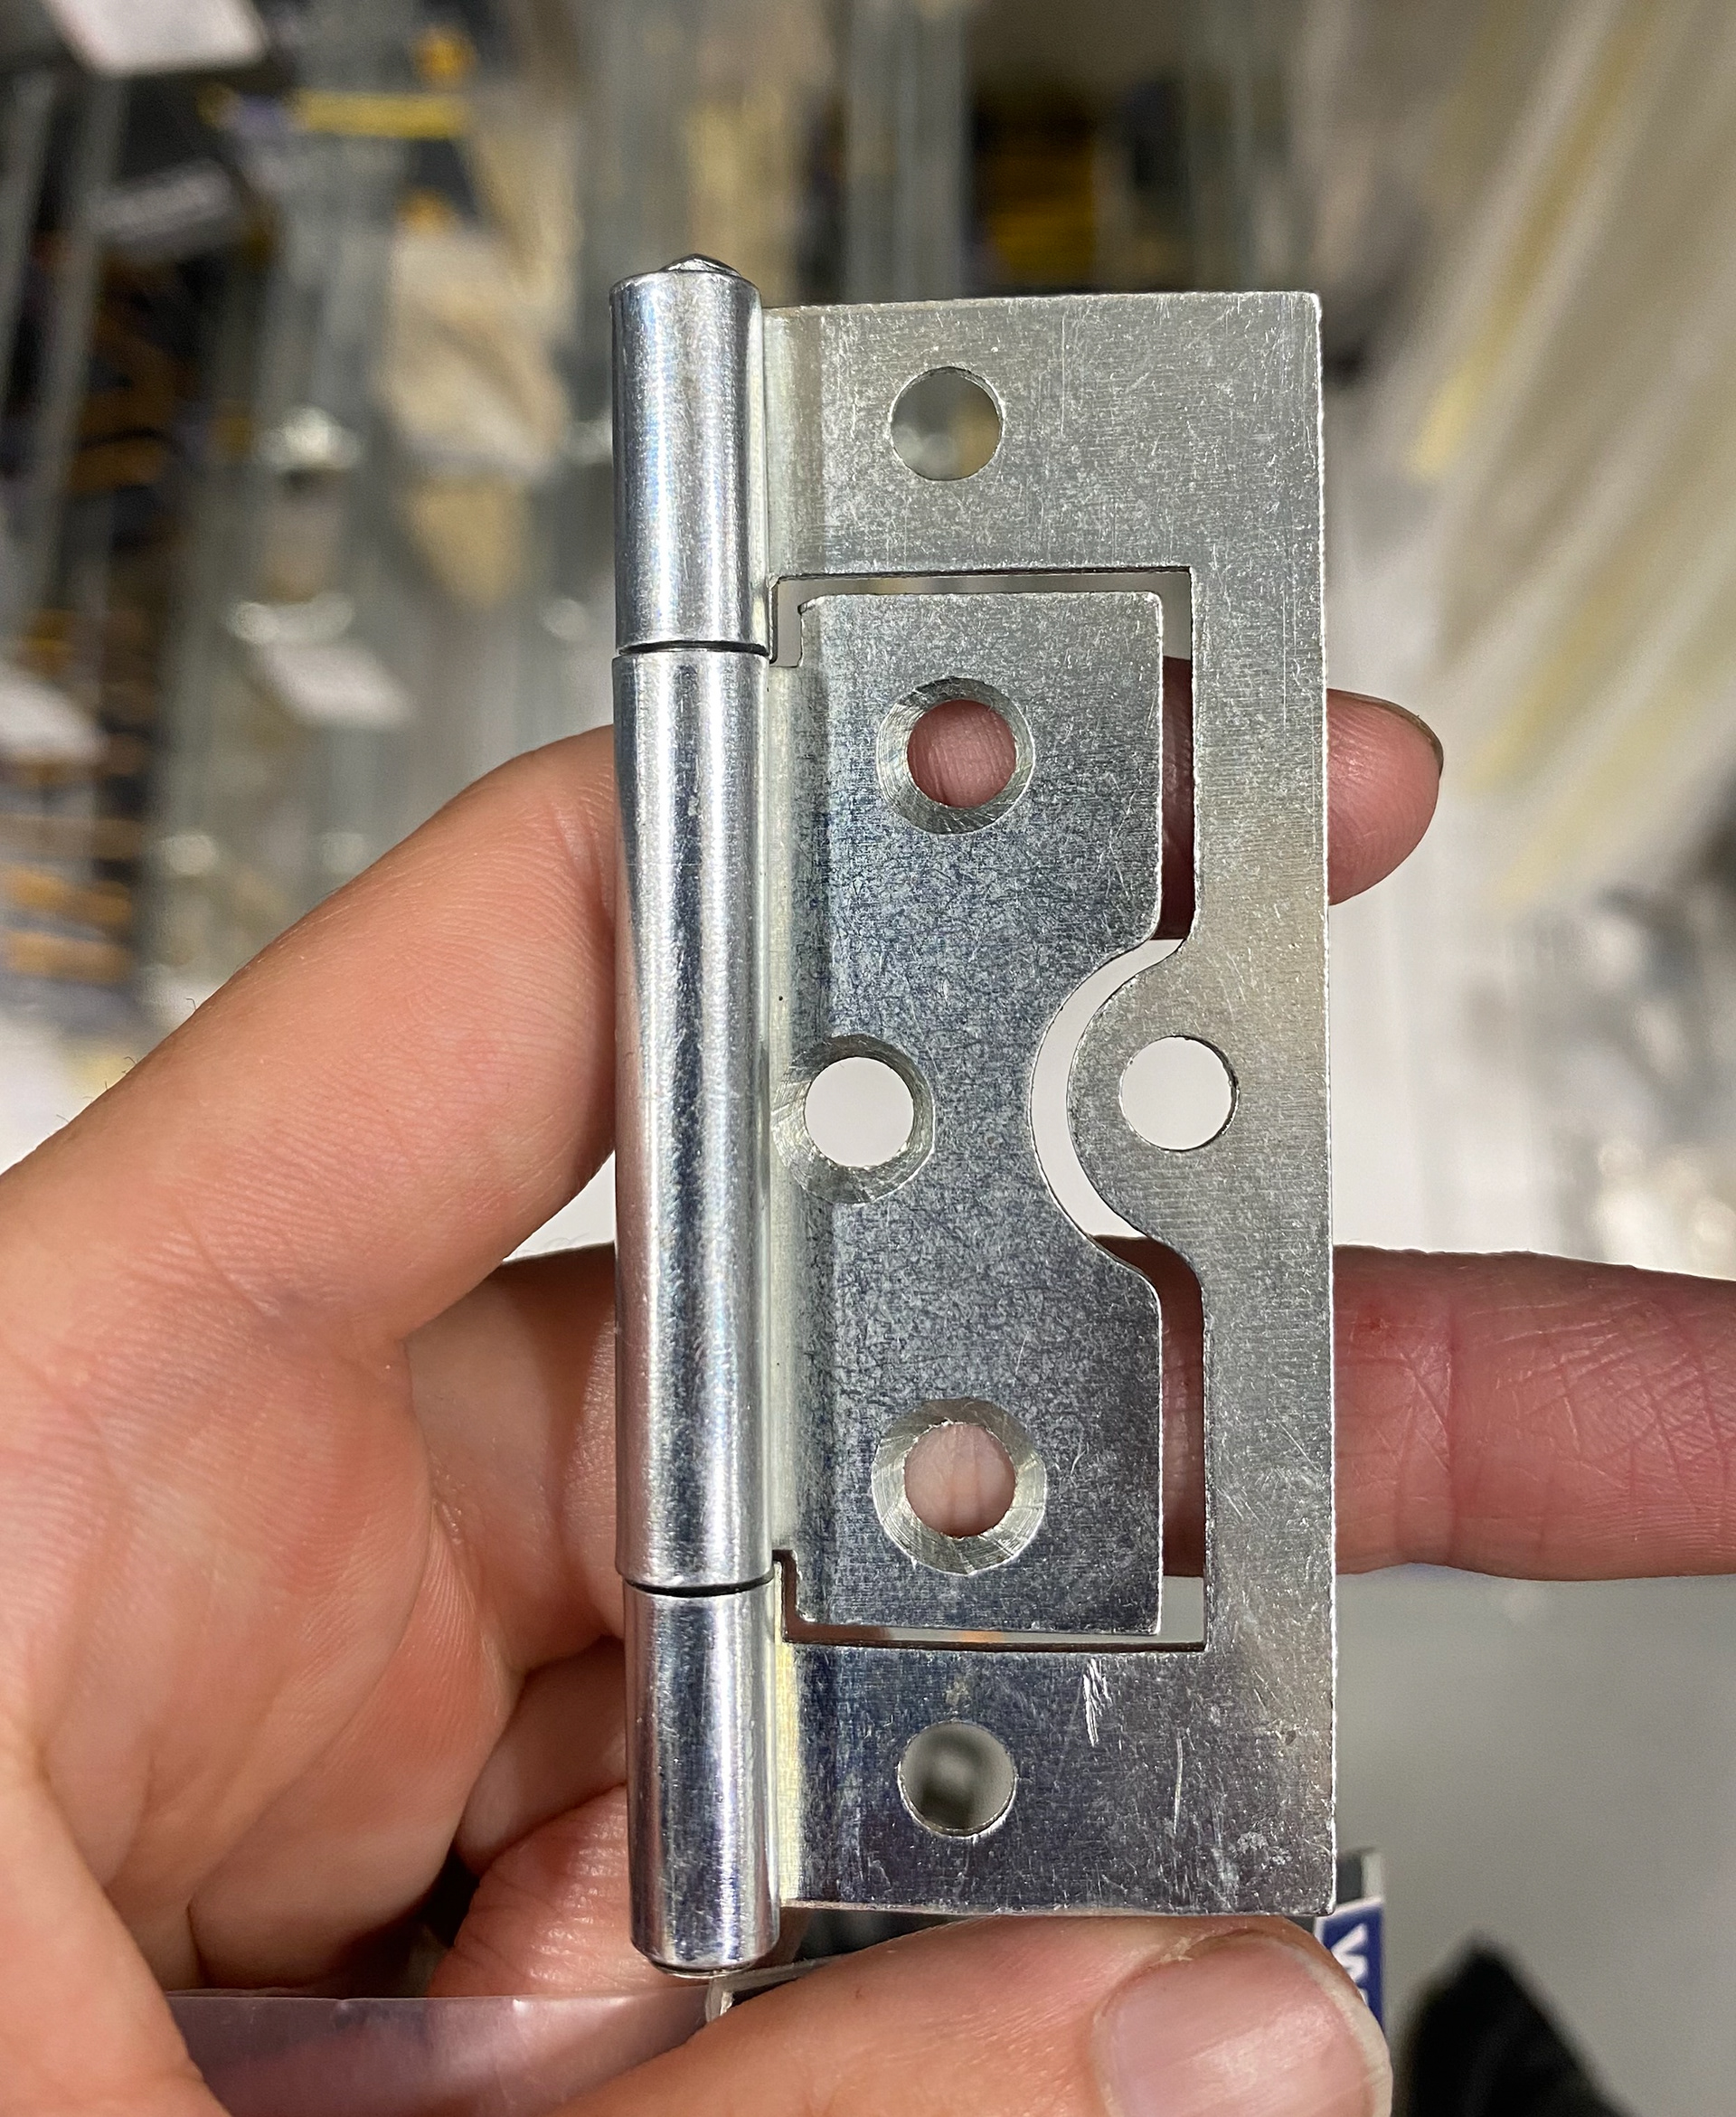
Flush Hinge
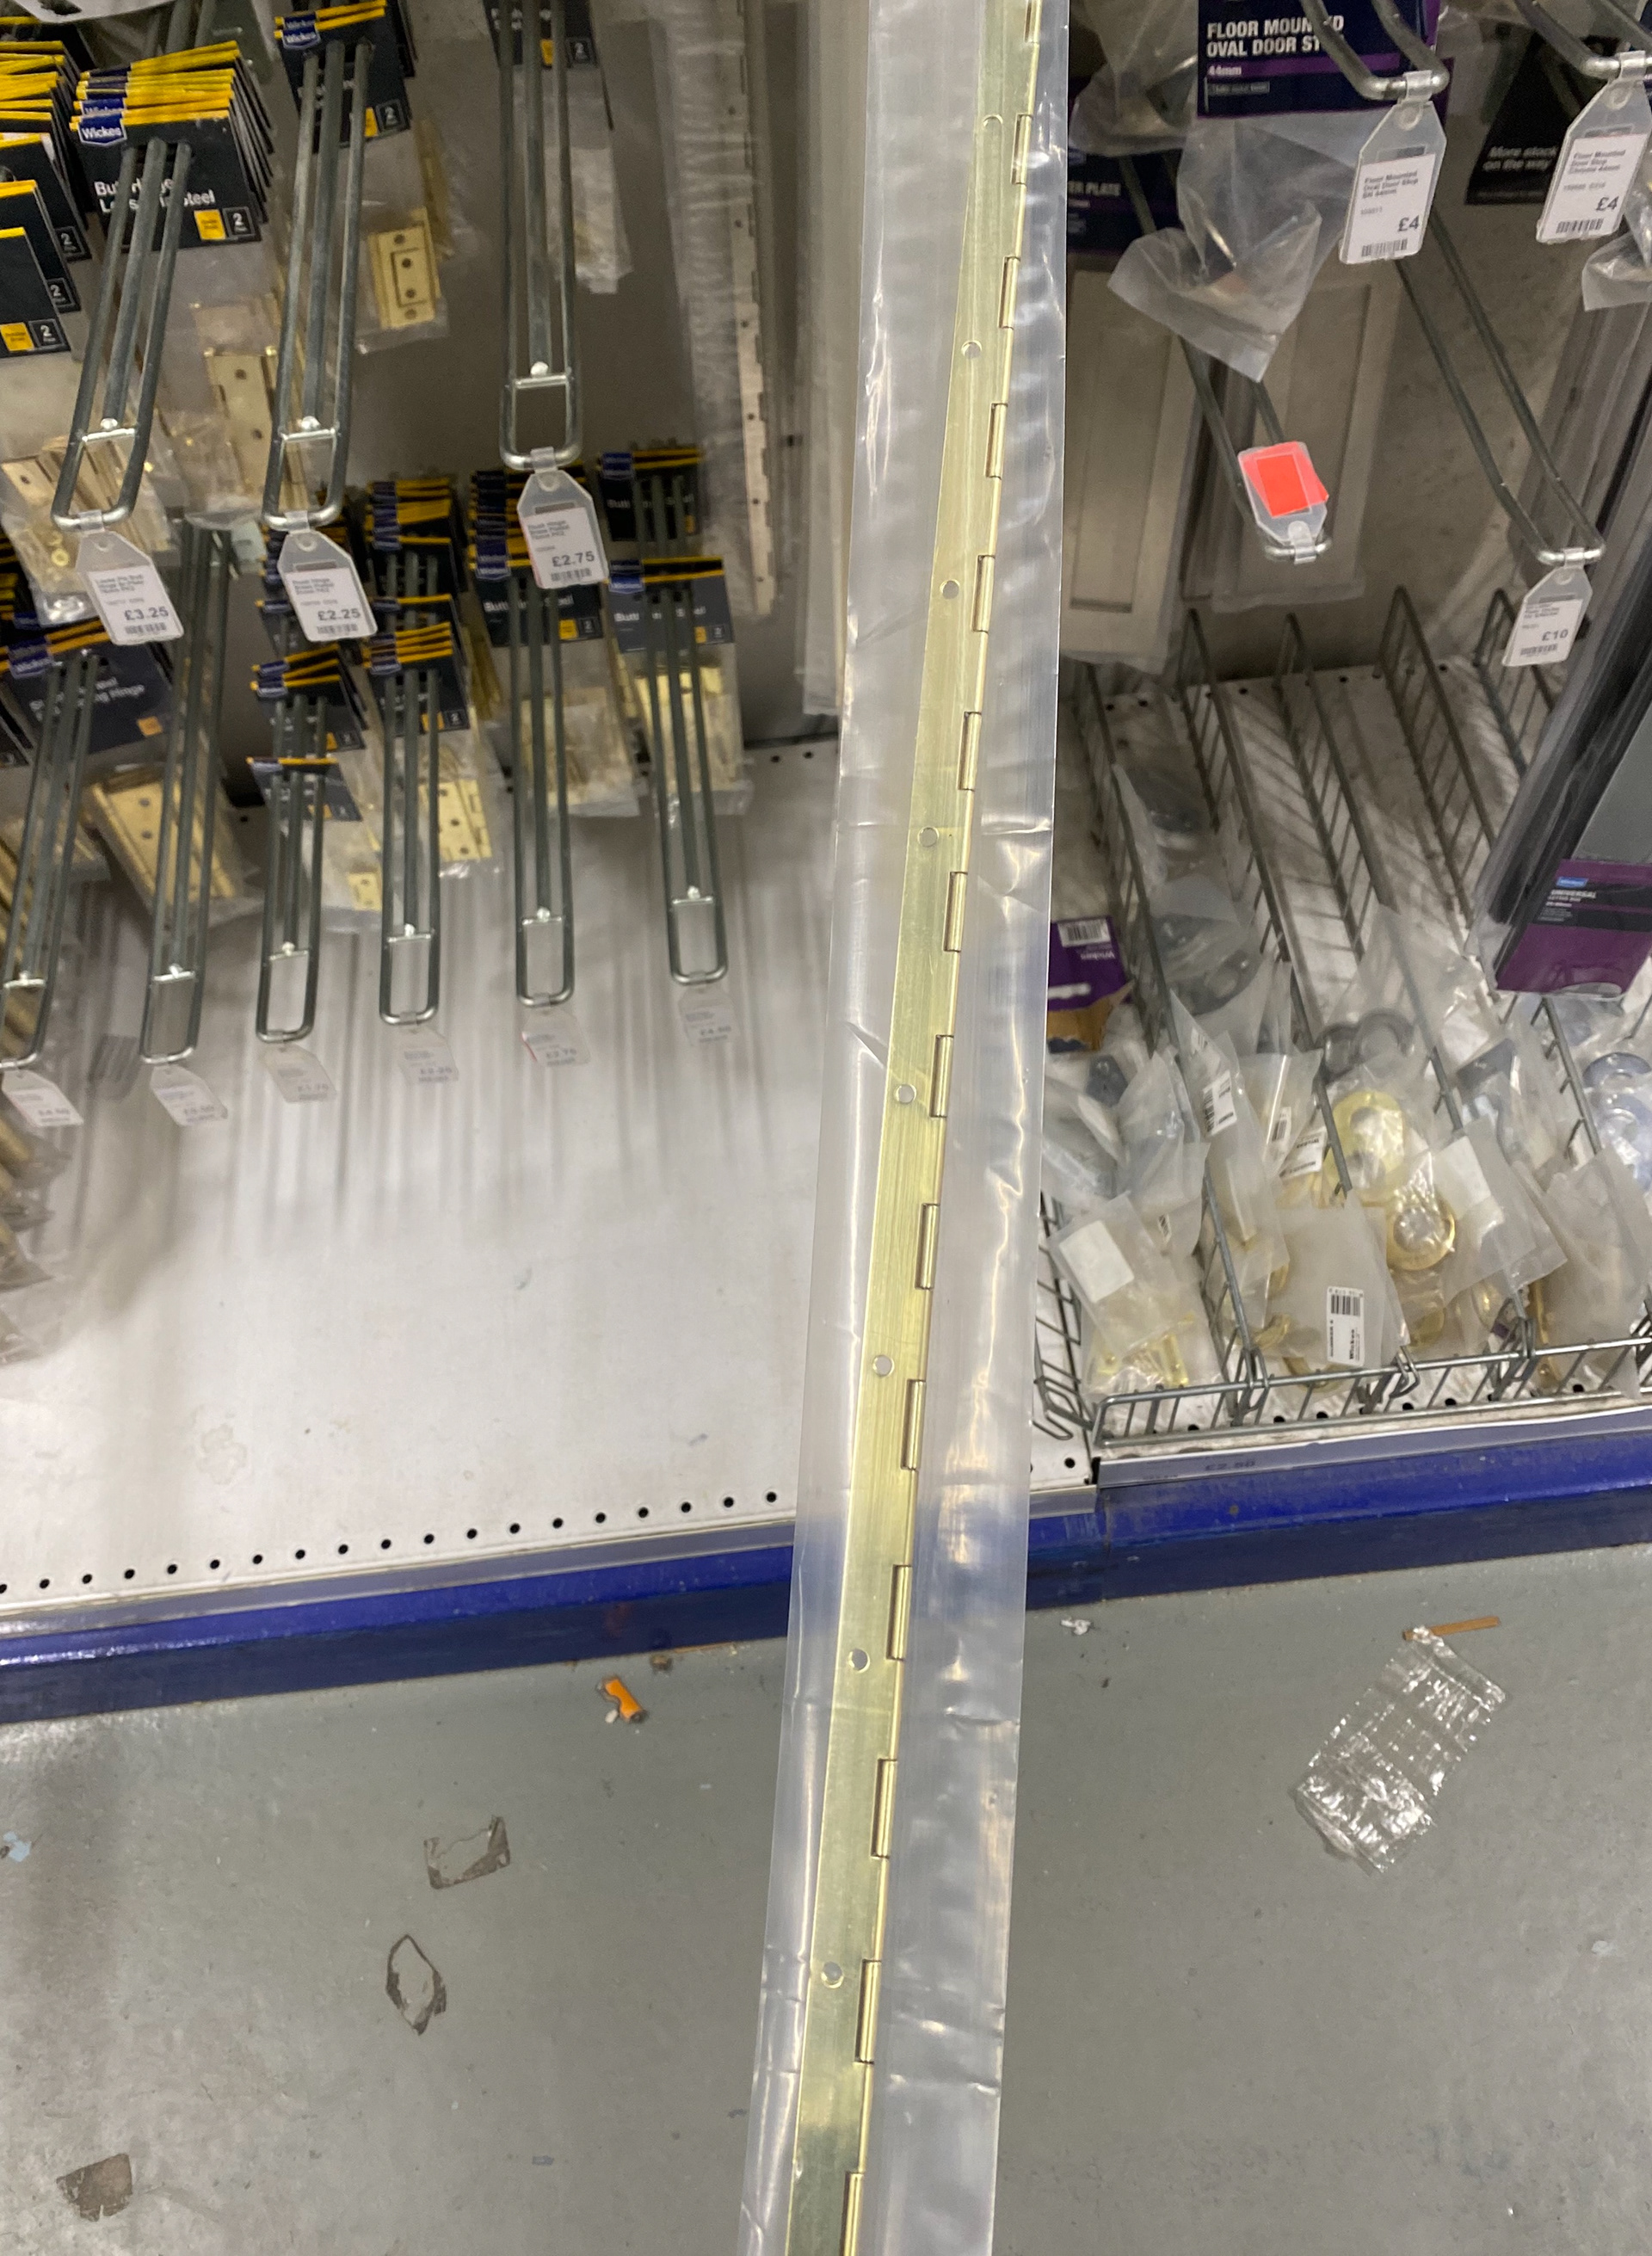
Piano Hinge
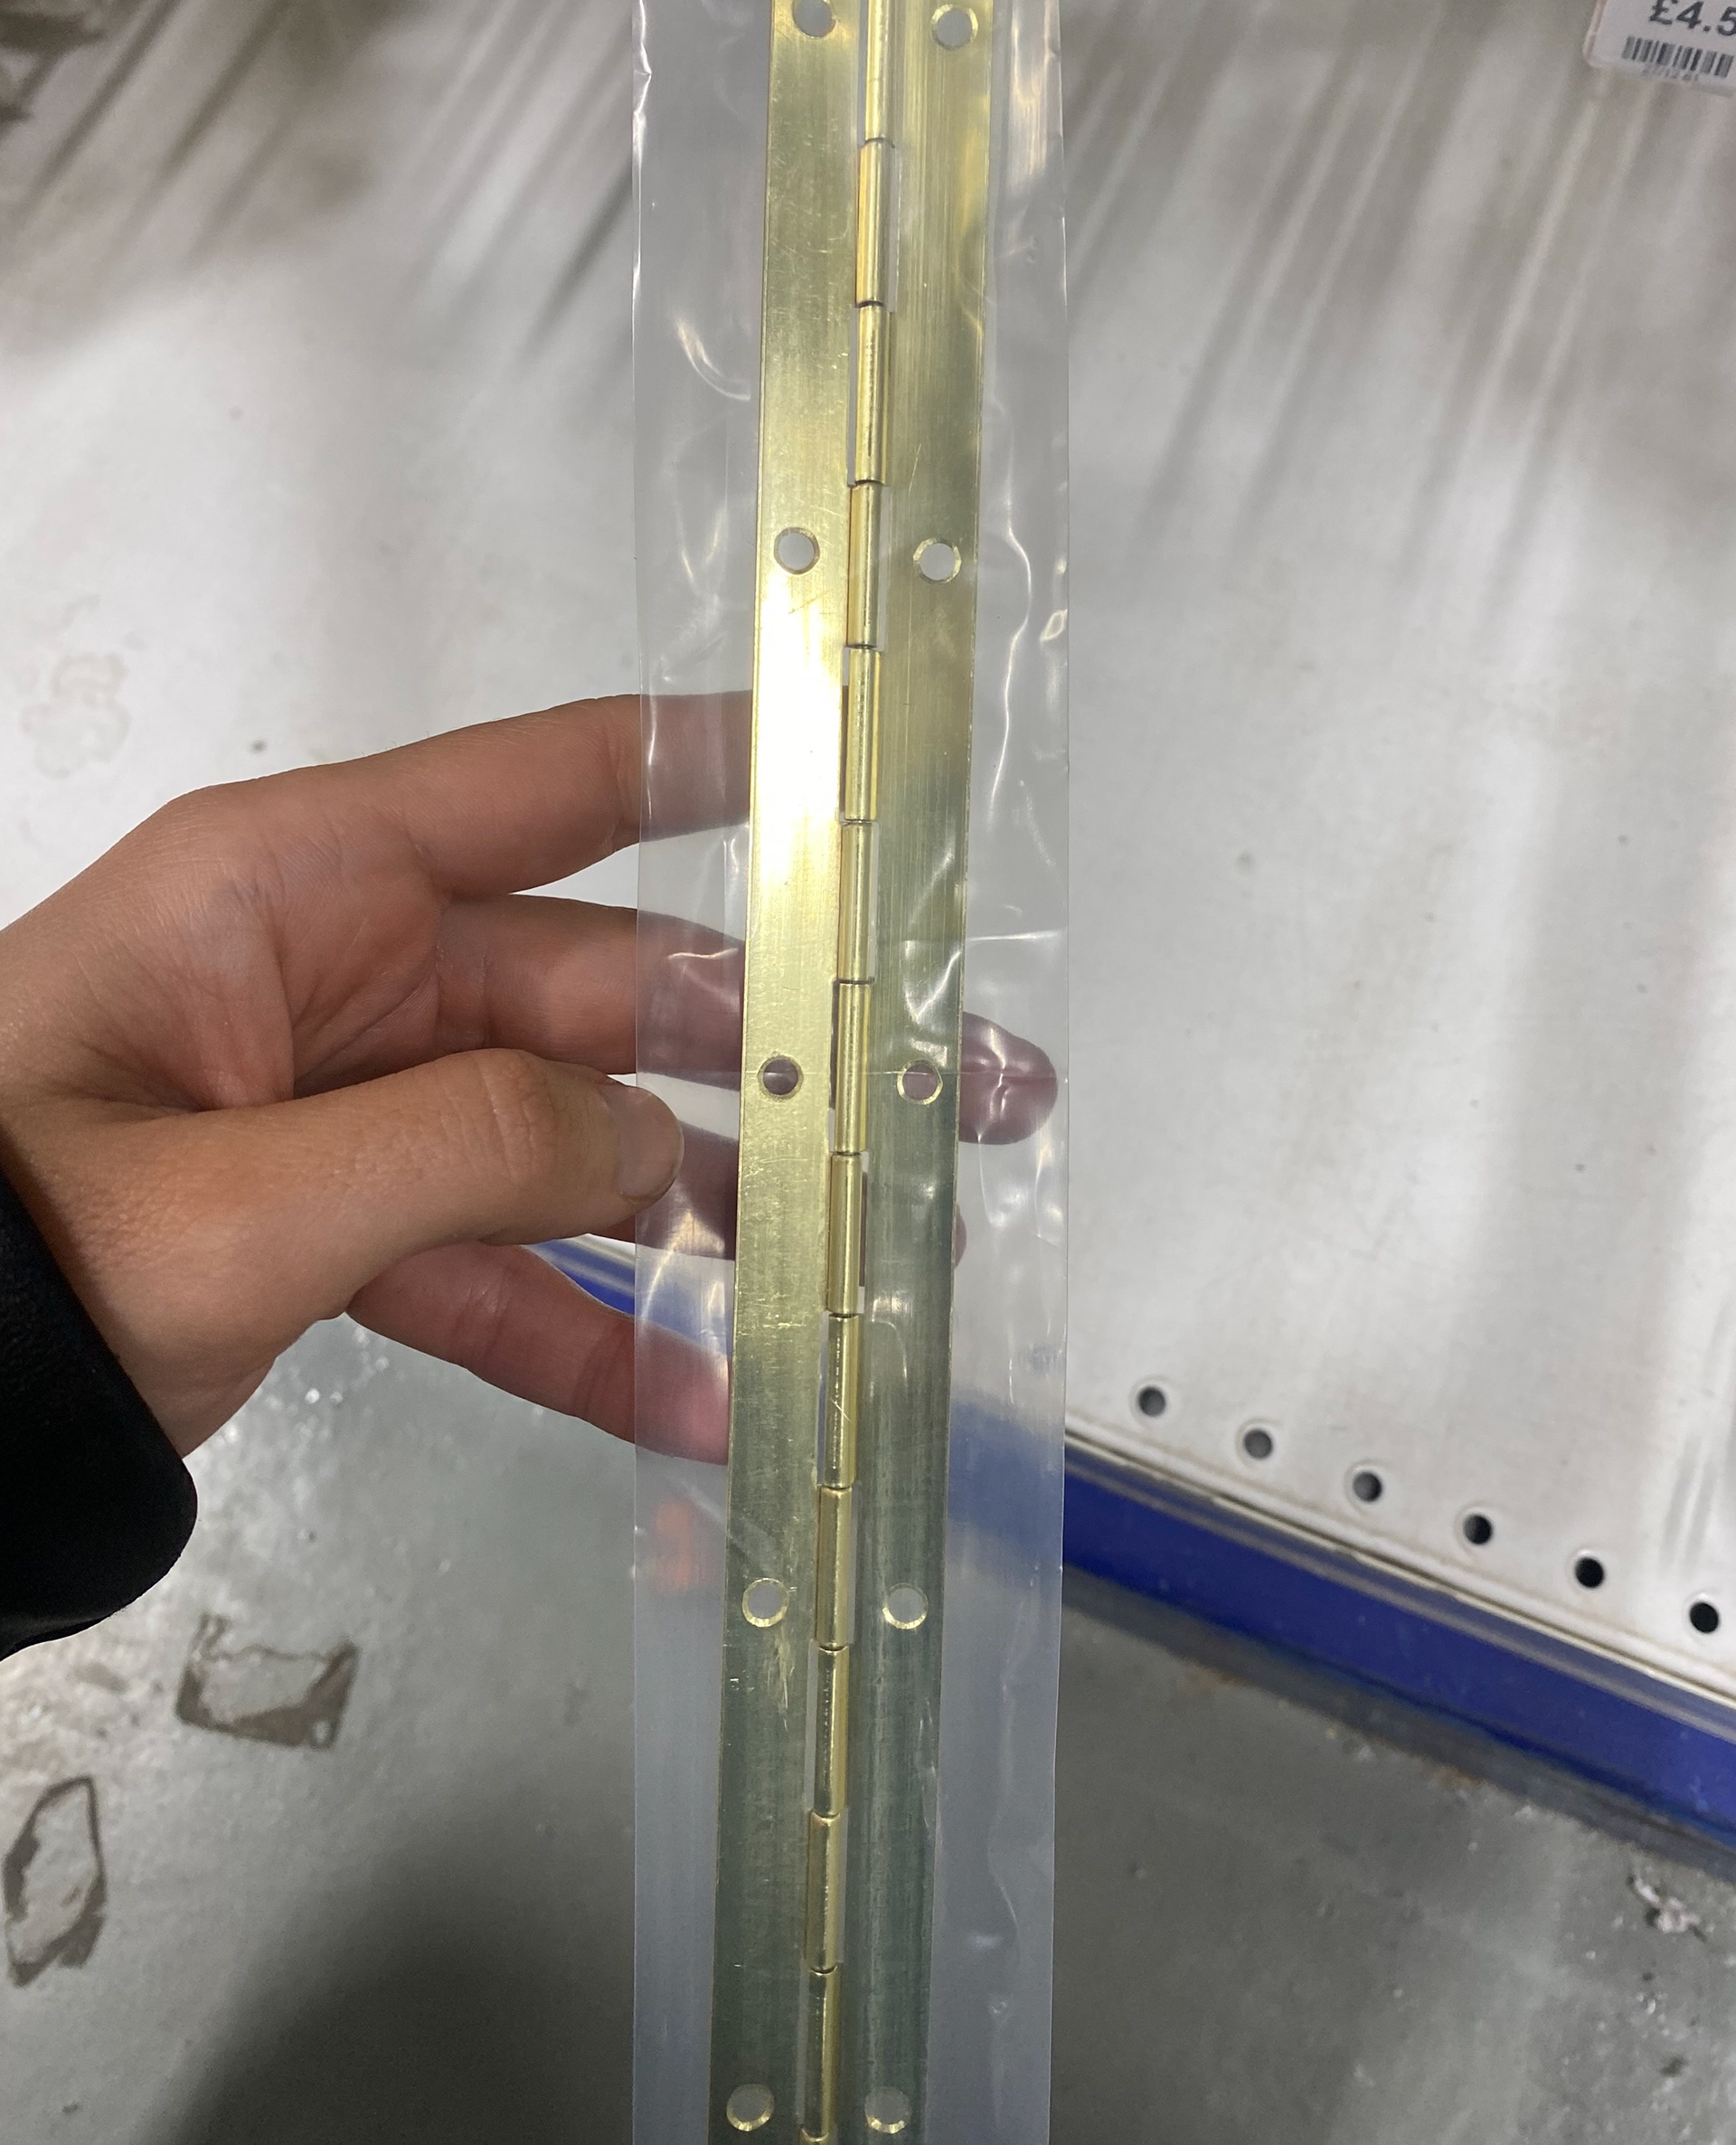
Piano Hinge
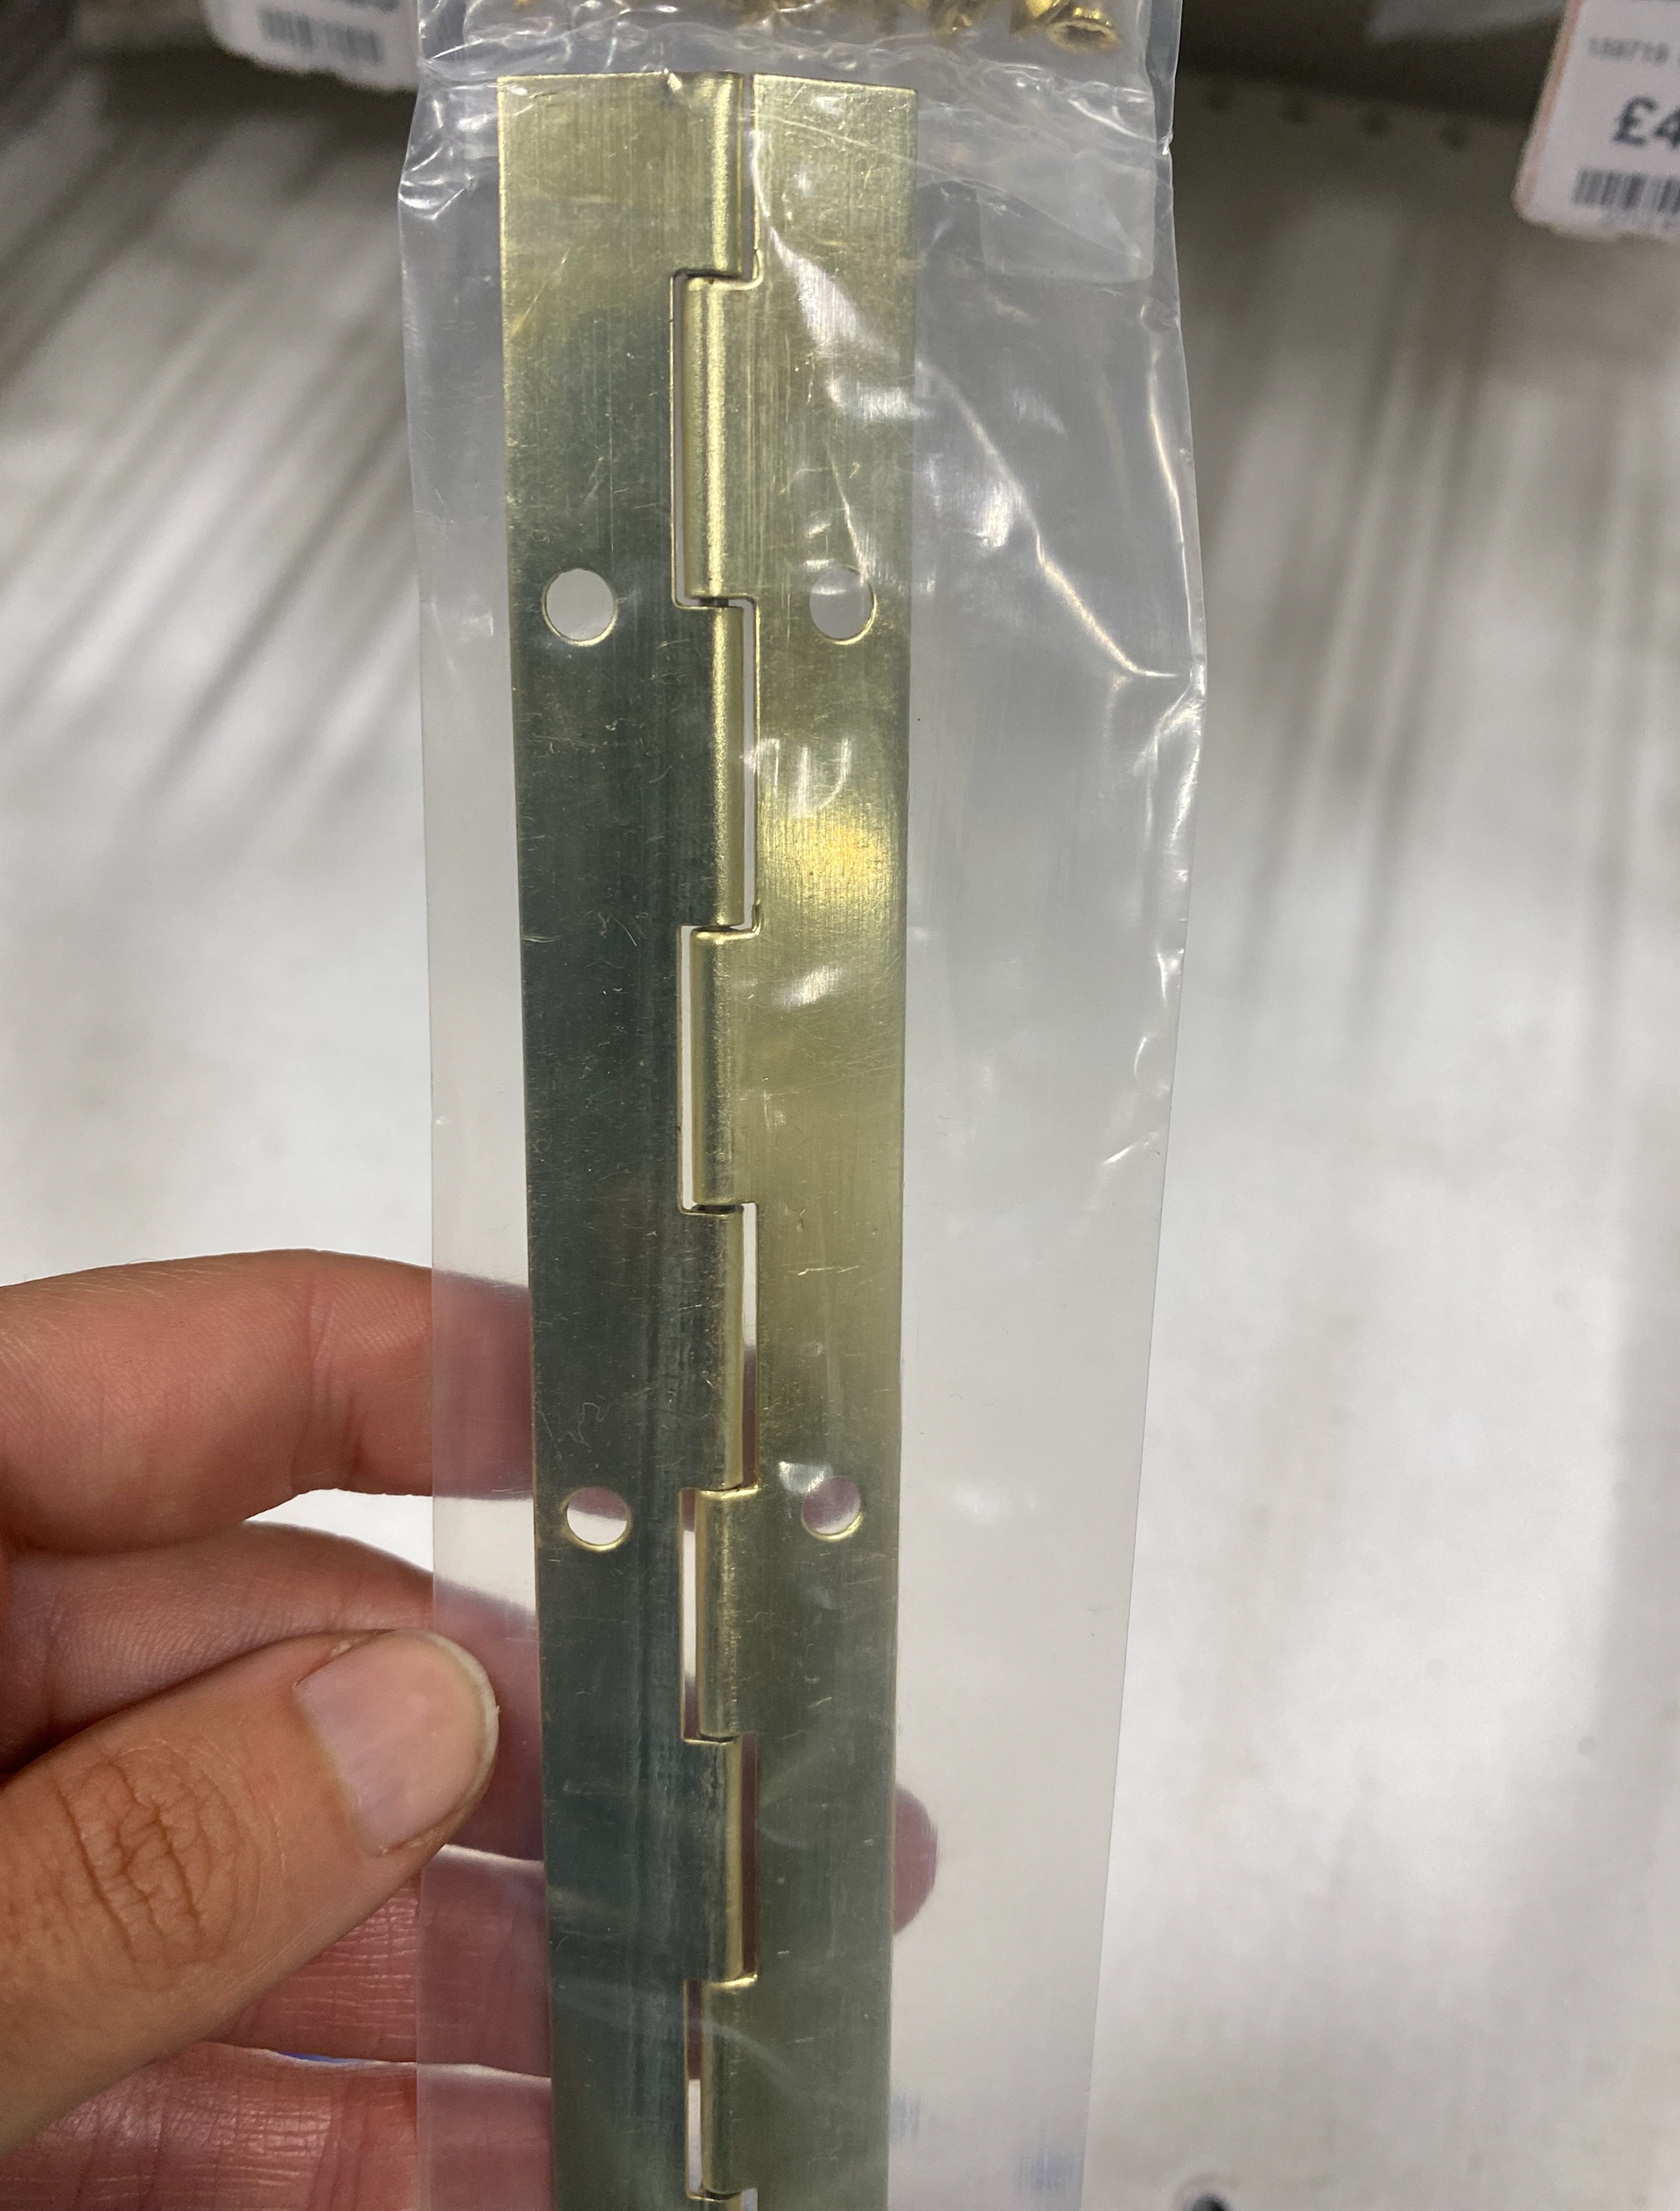
Piano Hinge
Piano Hinge
Sampling/Testing - Hinges
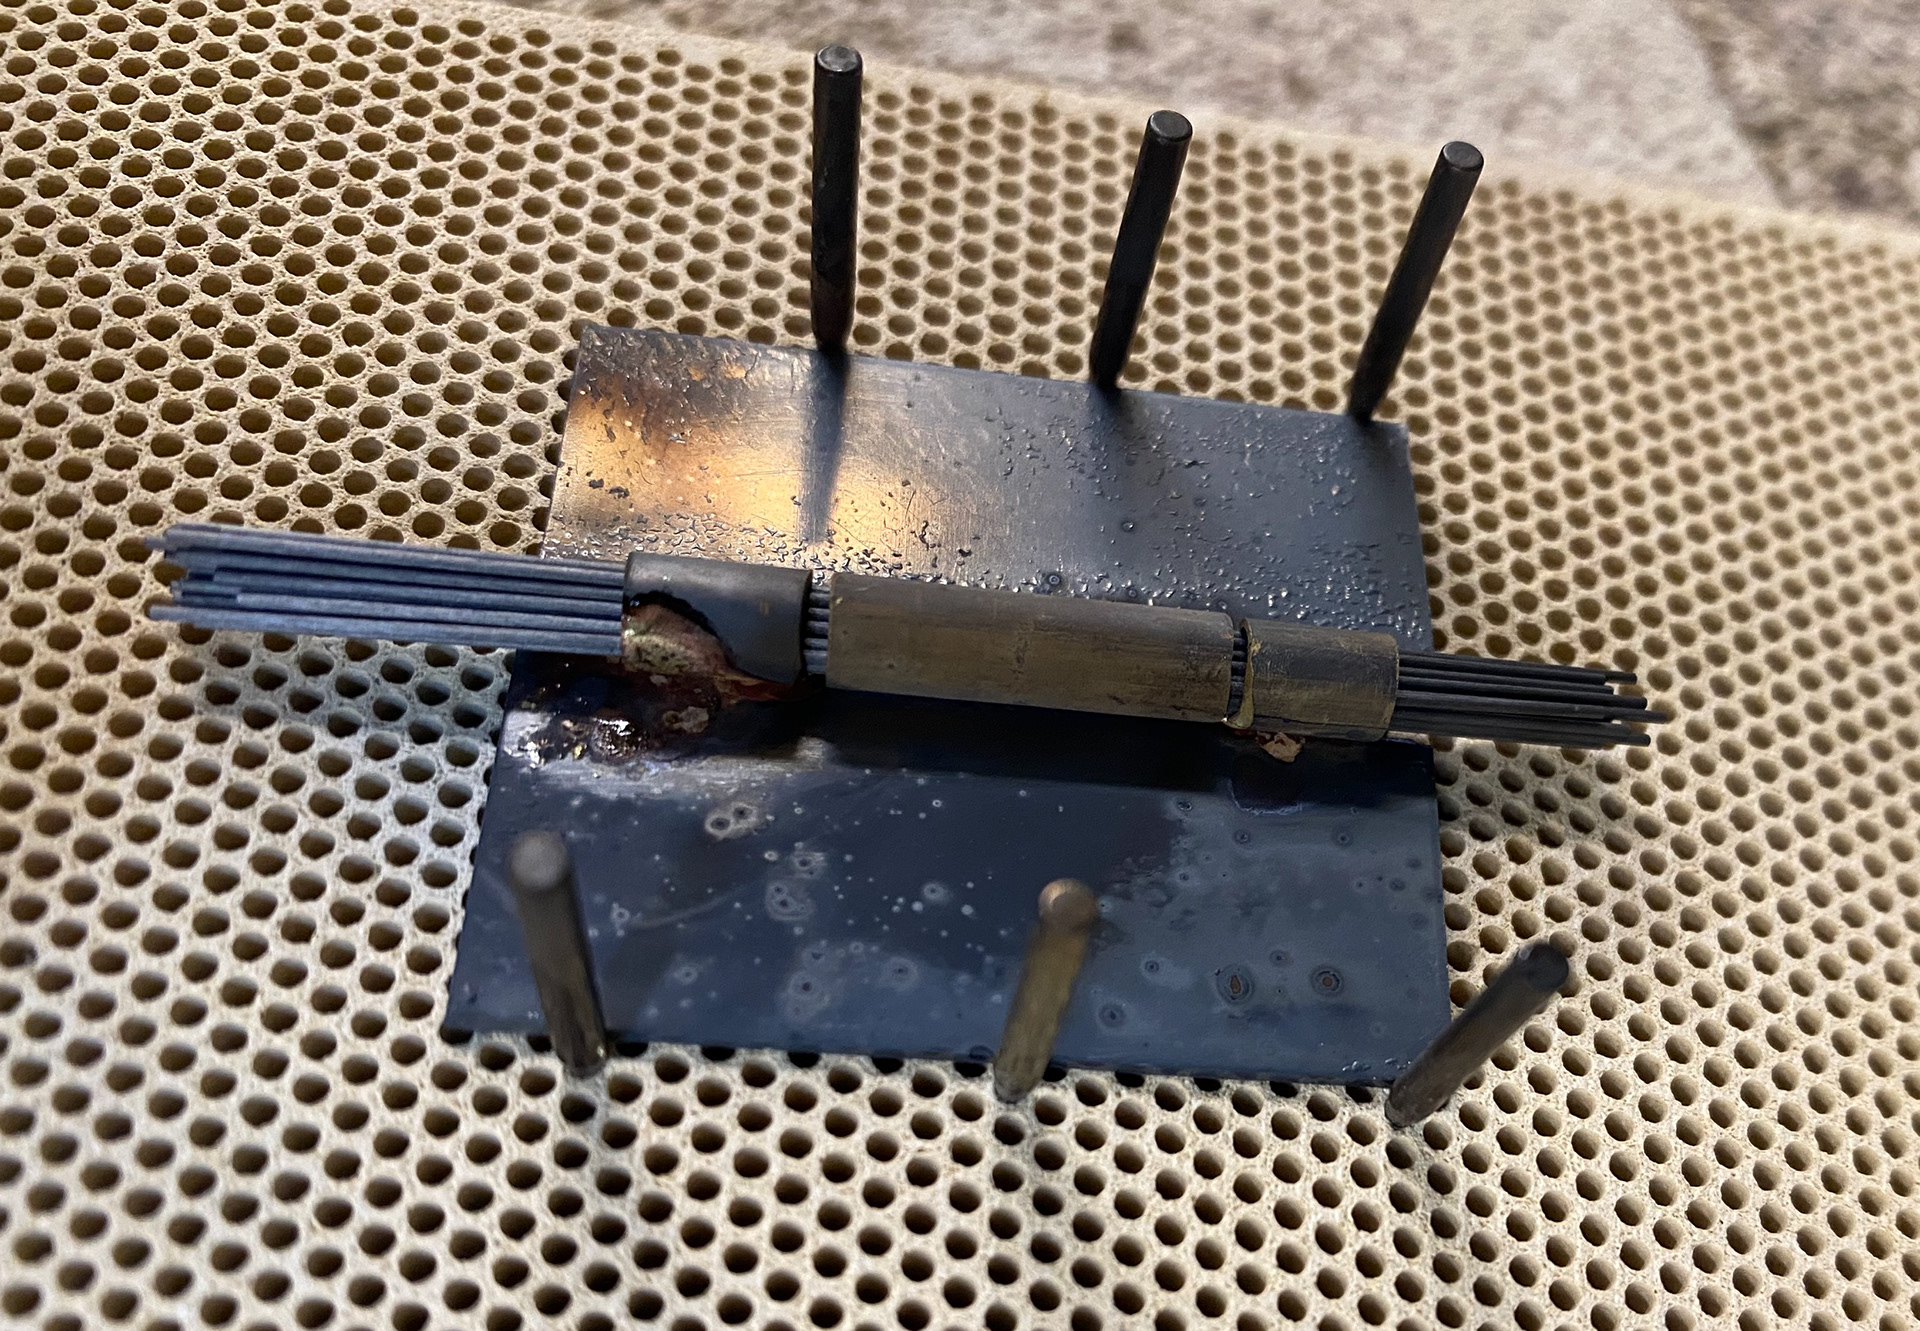
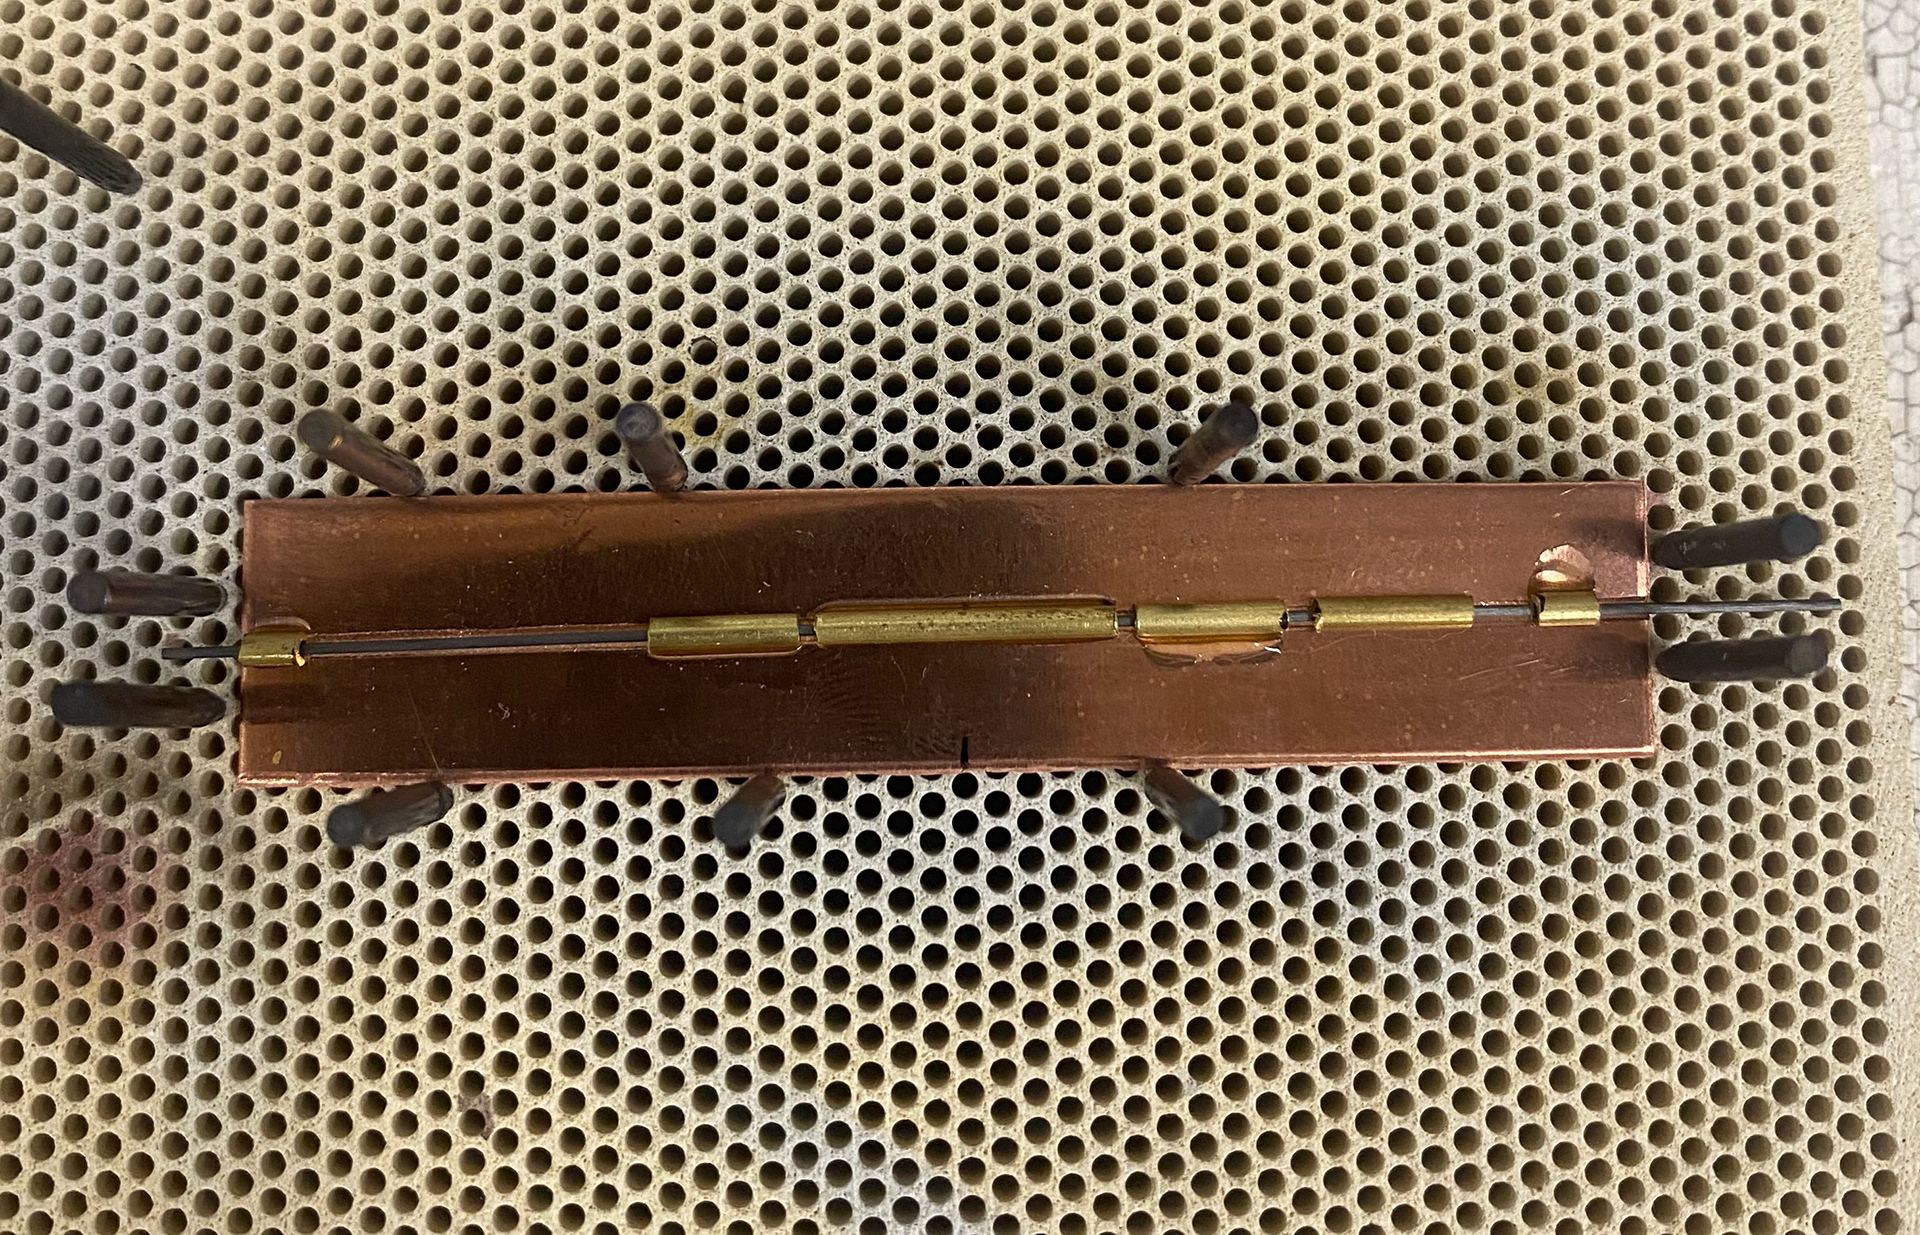
I started my testing by making a simple three Butt Hinge to get the idea of how to make these myself, as I had never made one previous to this. I used a bigger tube at first just to practice with and get the idea, I then used a round needle file to create a groove within the sheet metal so that the hinge moves smoothly. When setting up the pieces to be soldered I used Graphite sticks to hold the tube in place and keep them aligned. When soldering I had to make sure the solder didn't spread onto parts of the tube I didn't want it to go on, otherwise the hinge wouldn't work. I managed to do this successfully, however a part of the tube later came off the sheet metal. I believe this was due to not enough solder.
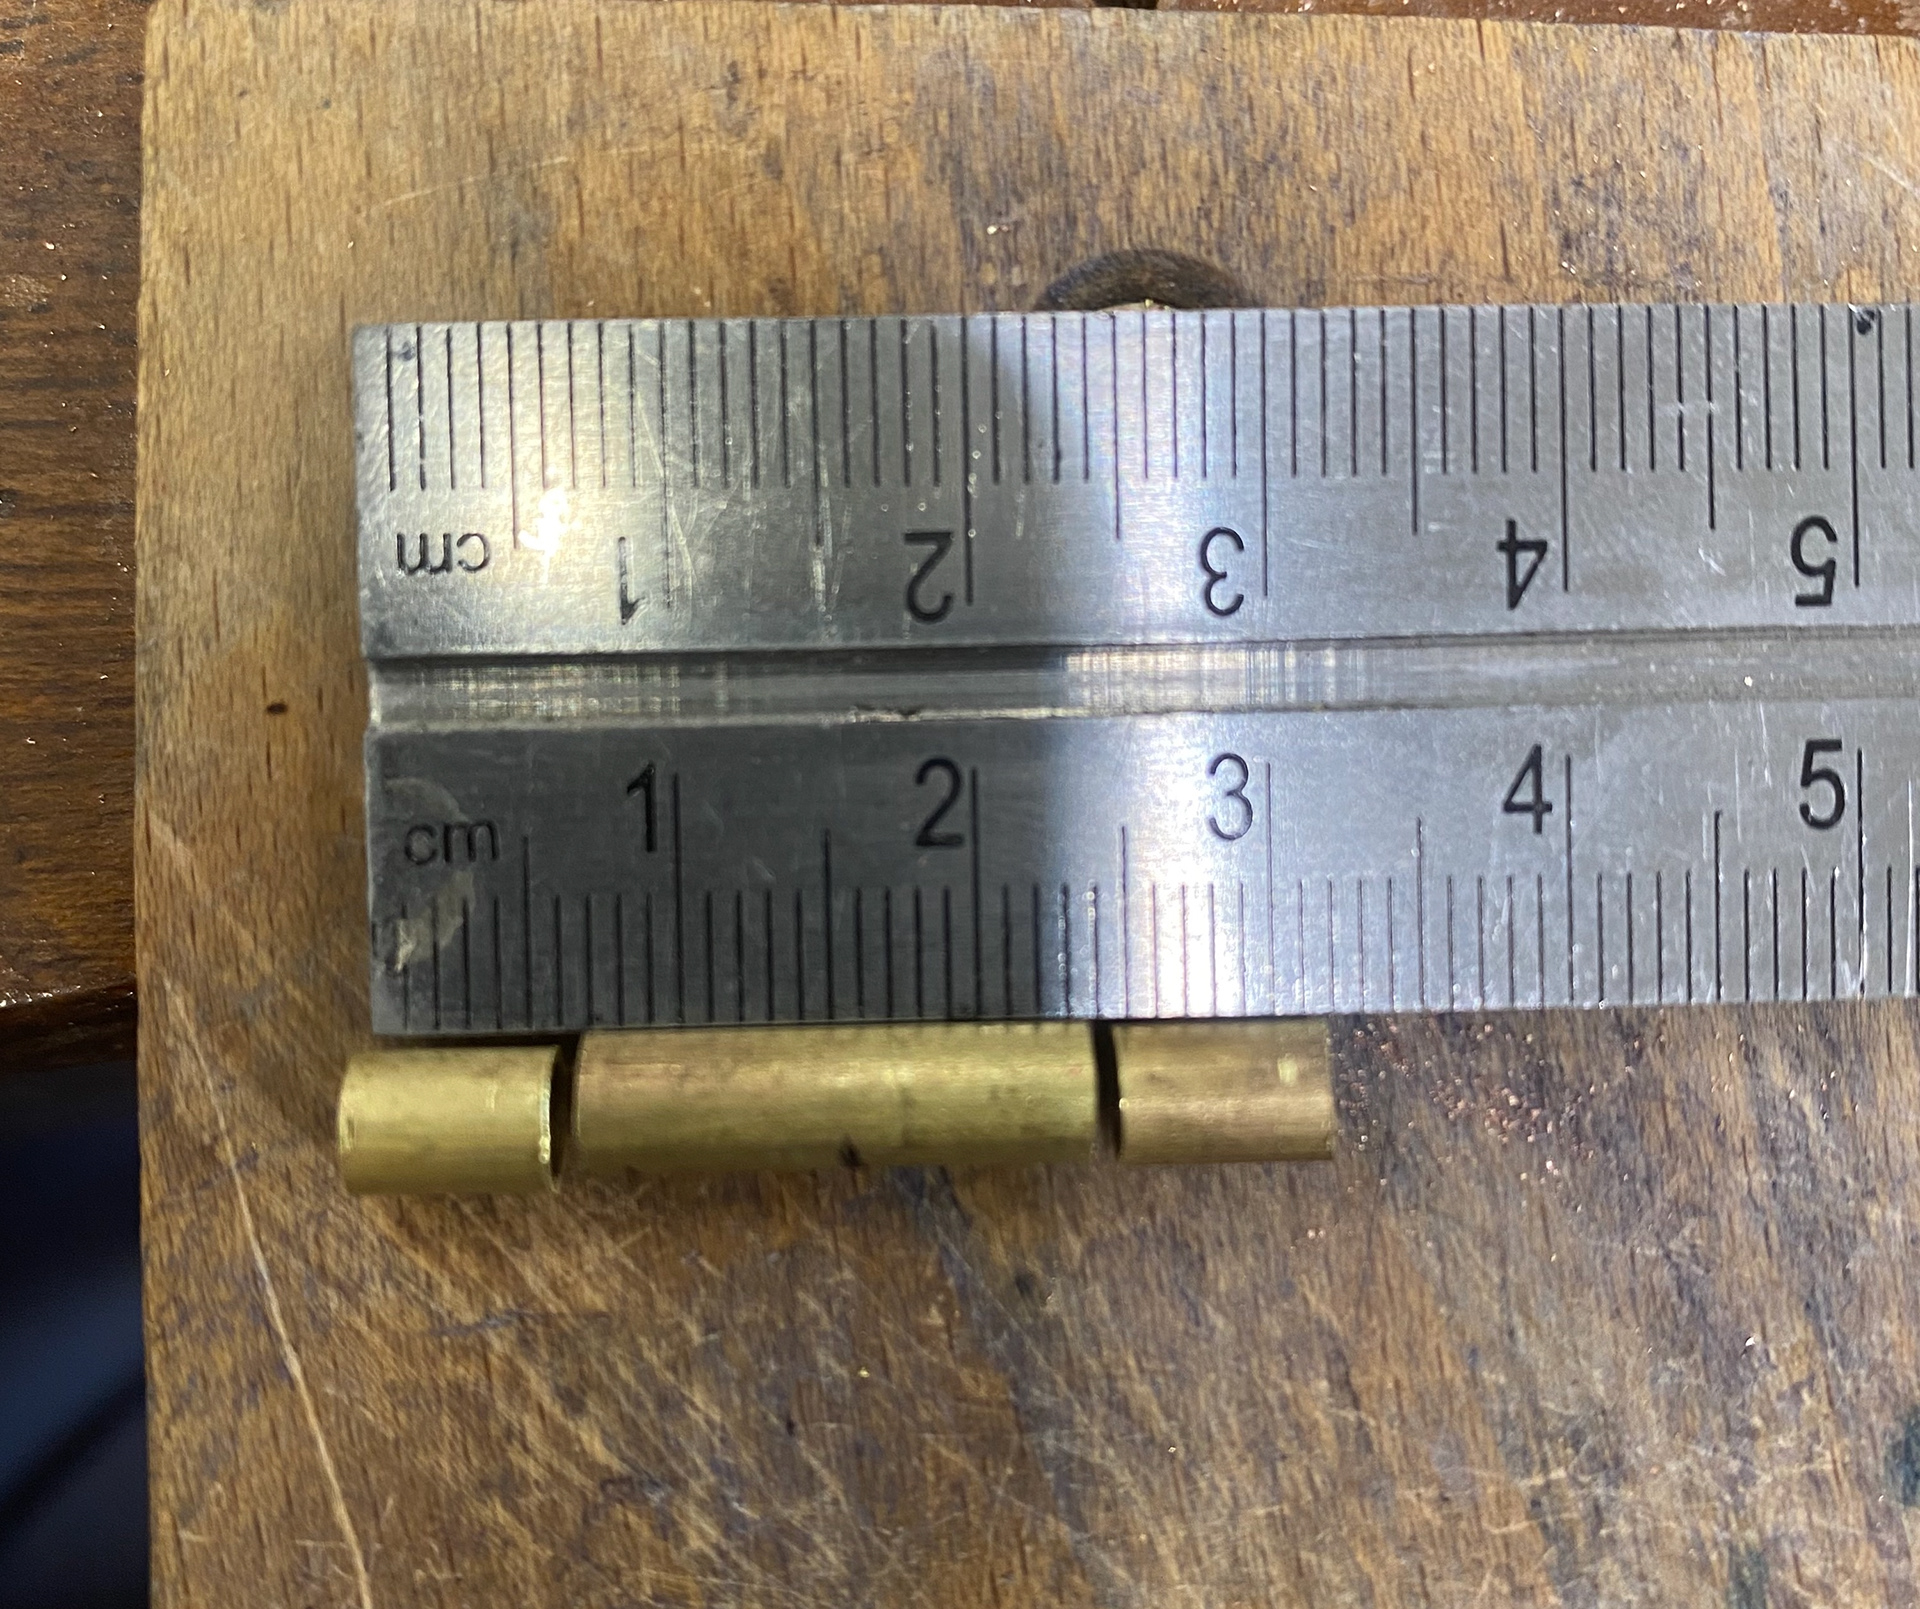
measuring the tube
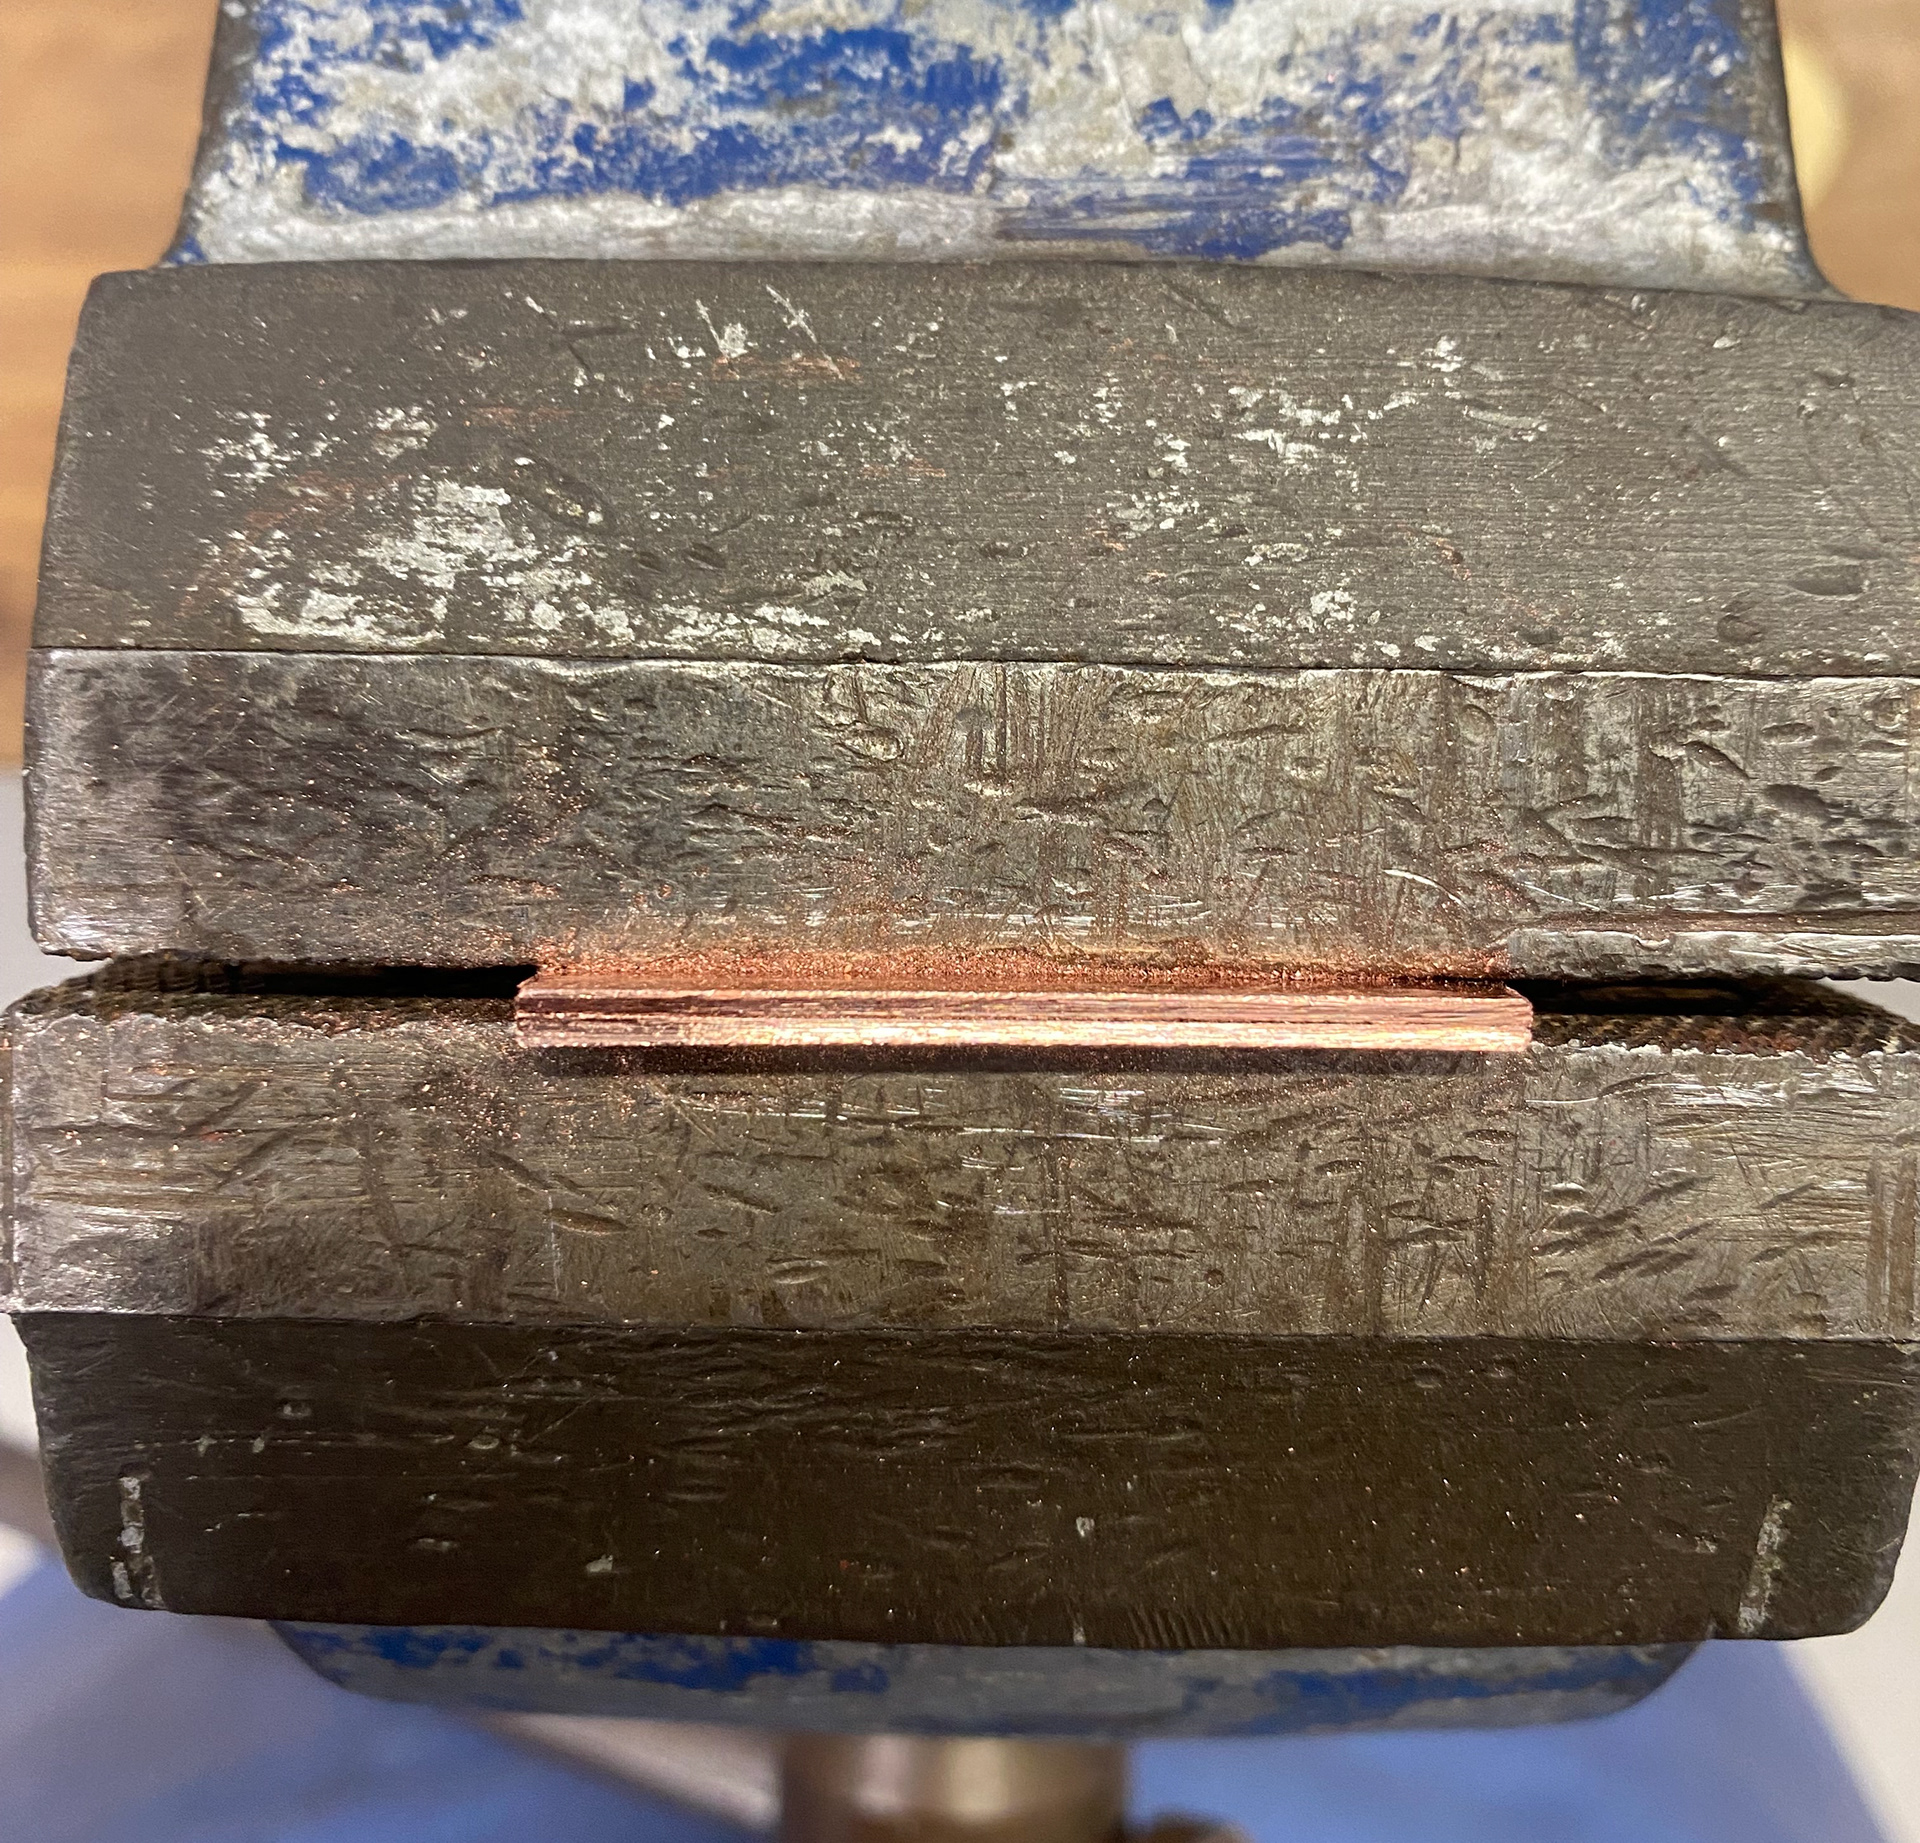
Using the vice to secure the sheet metal

Creating a groove in the edge of the metal

Using graphite to hold the tubes in place ready for soldering
Soldered the smaller sections of tube
All sections of the tube soldered
The tube broke after cleaning up the metal
Making this first hinge, helped me understand the process and precision needed to make these successfully. Evaluating this, I realised that the hinge is a practical technical element and is intended to be used a lot, meaning that it needs to be made durable and strong.
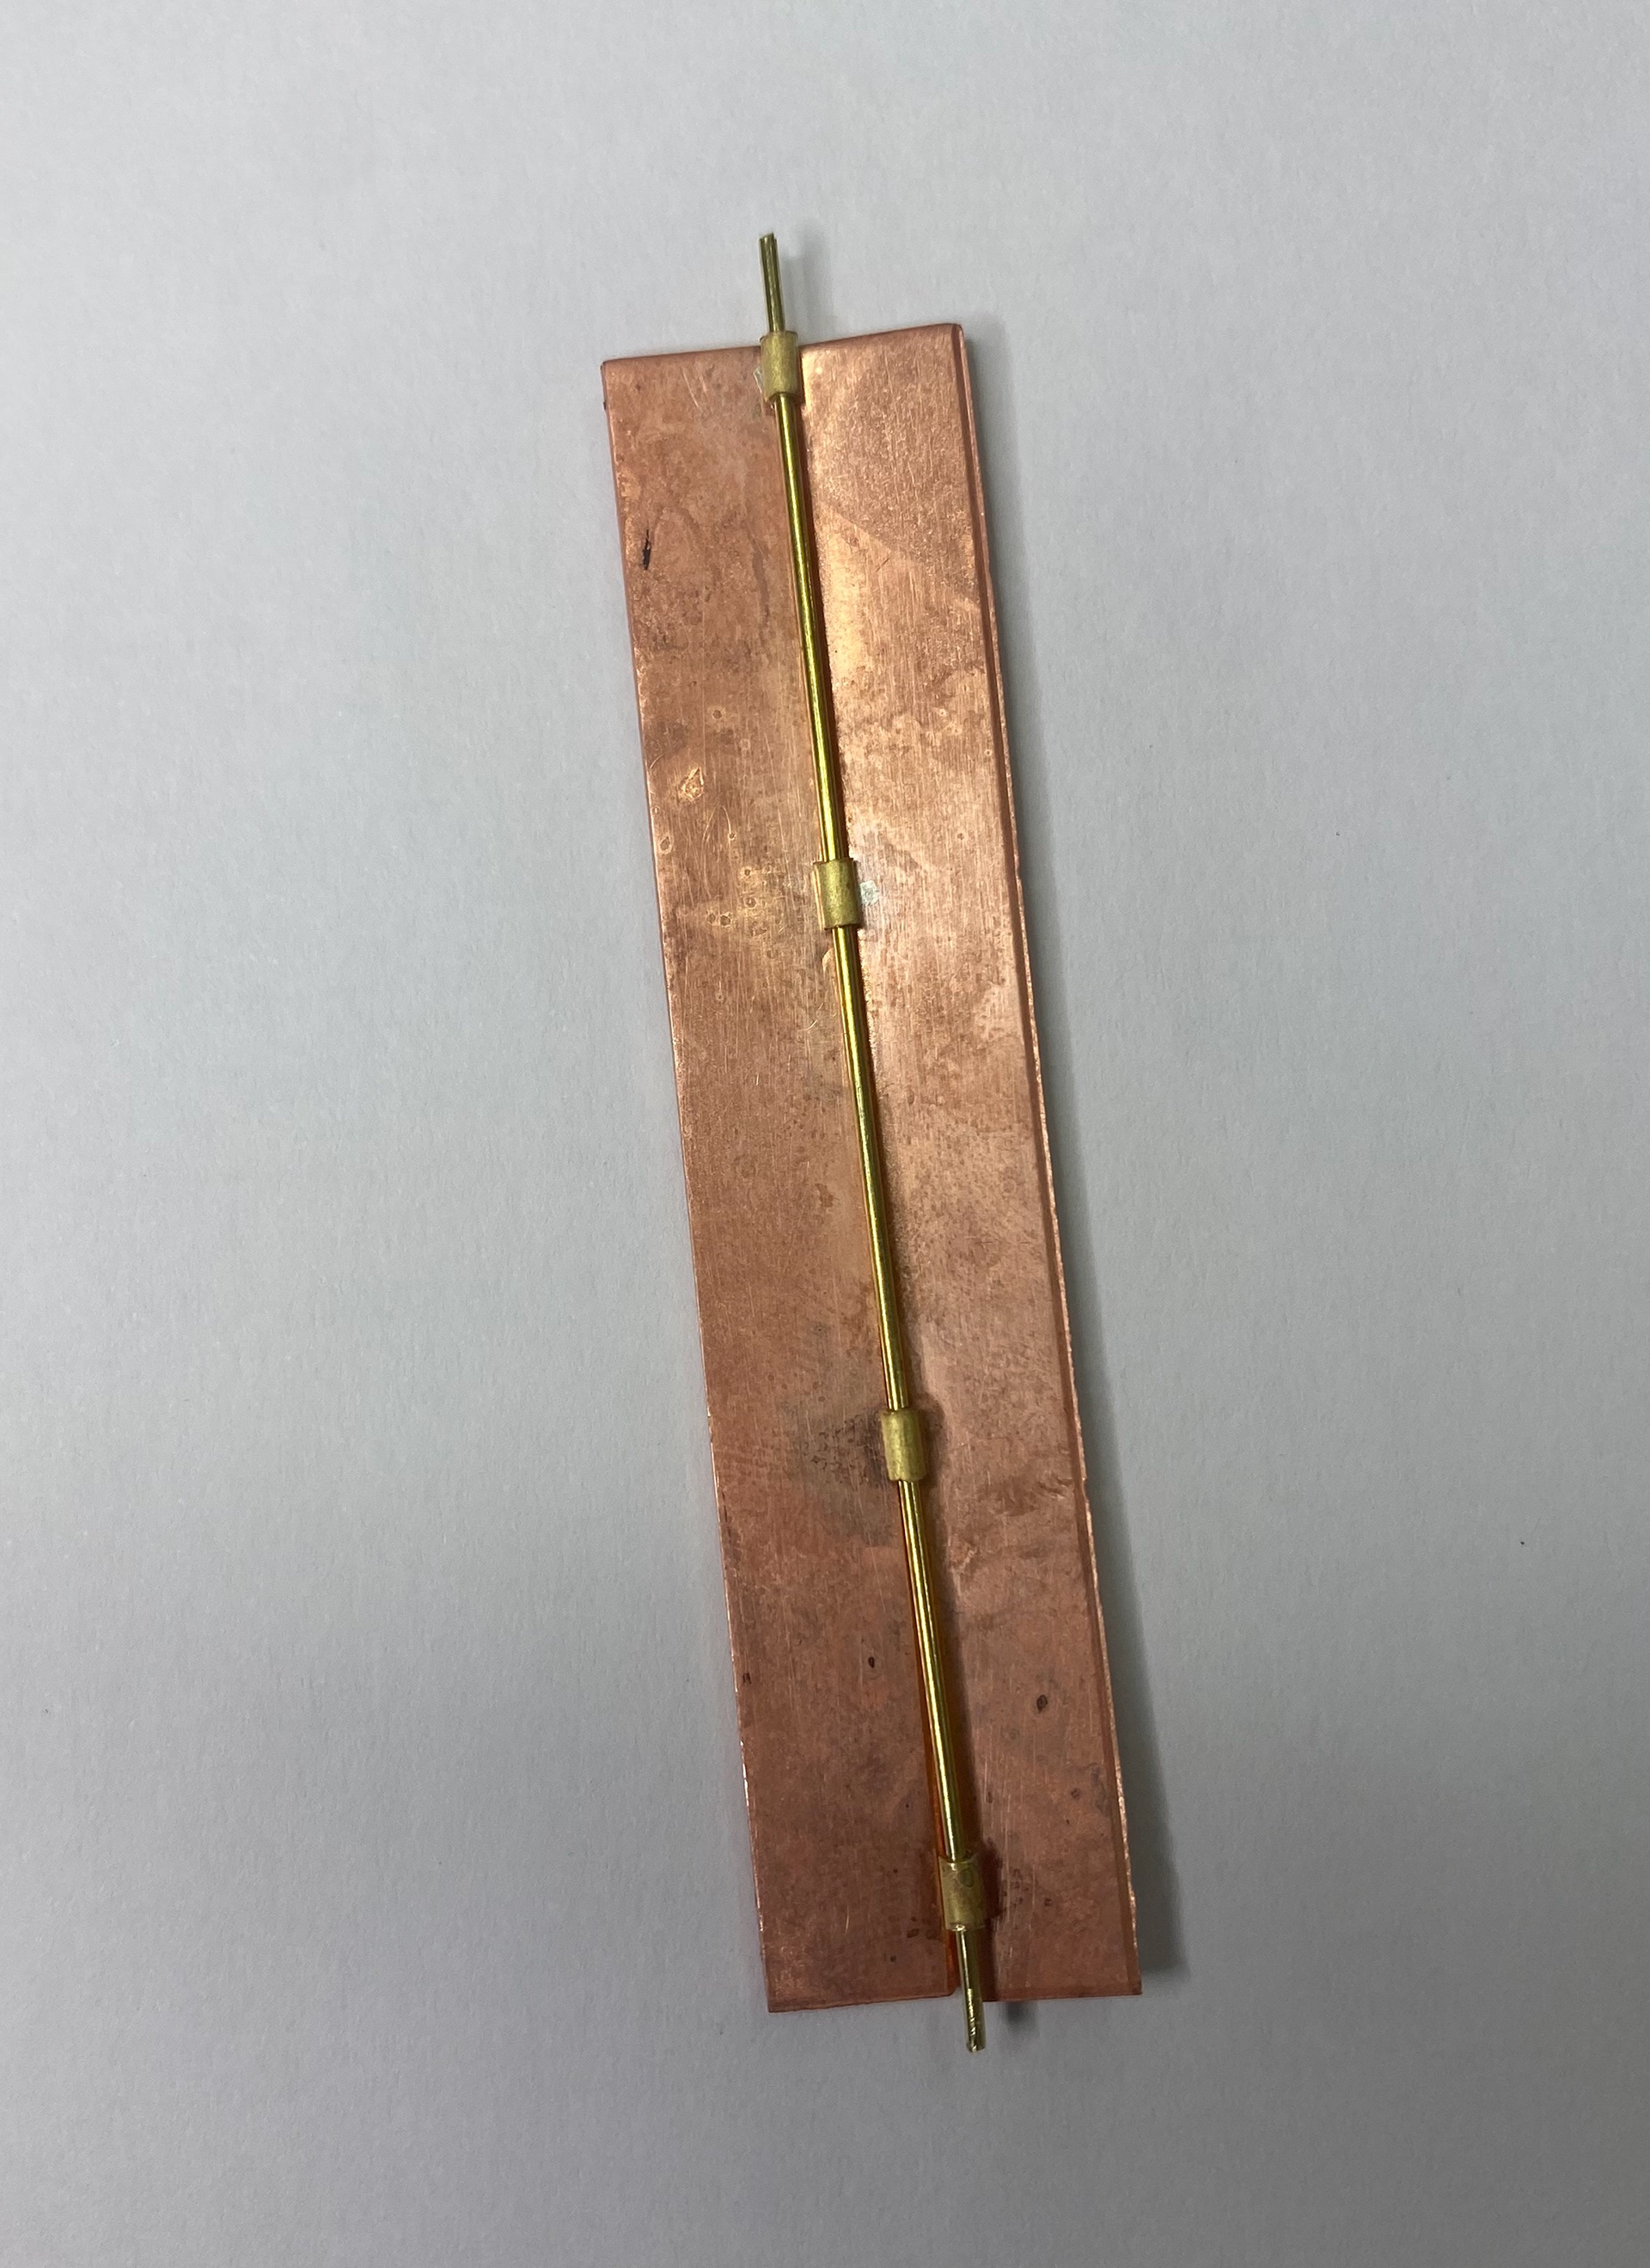
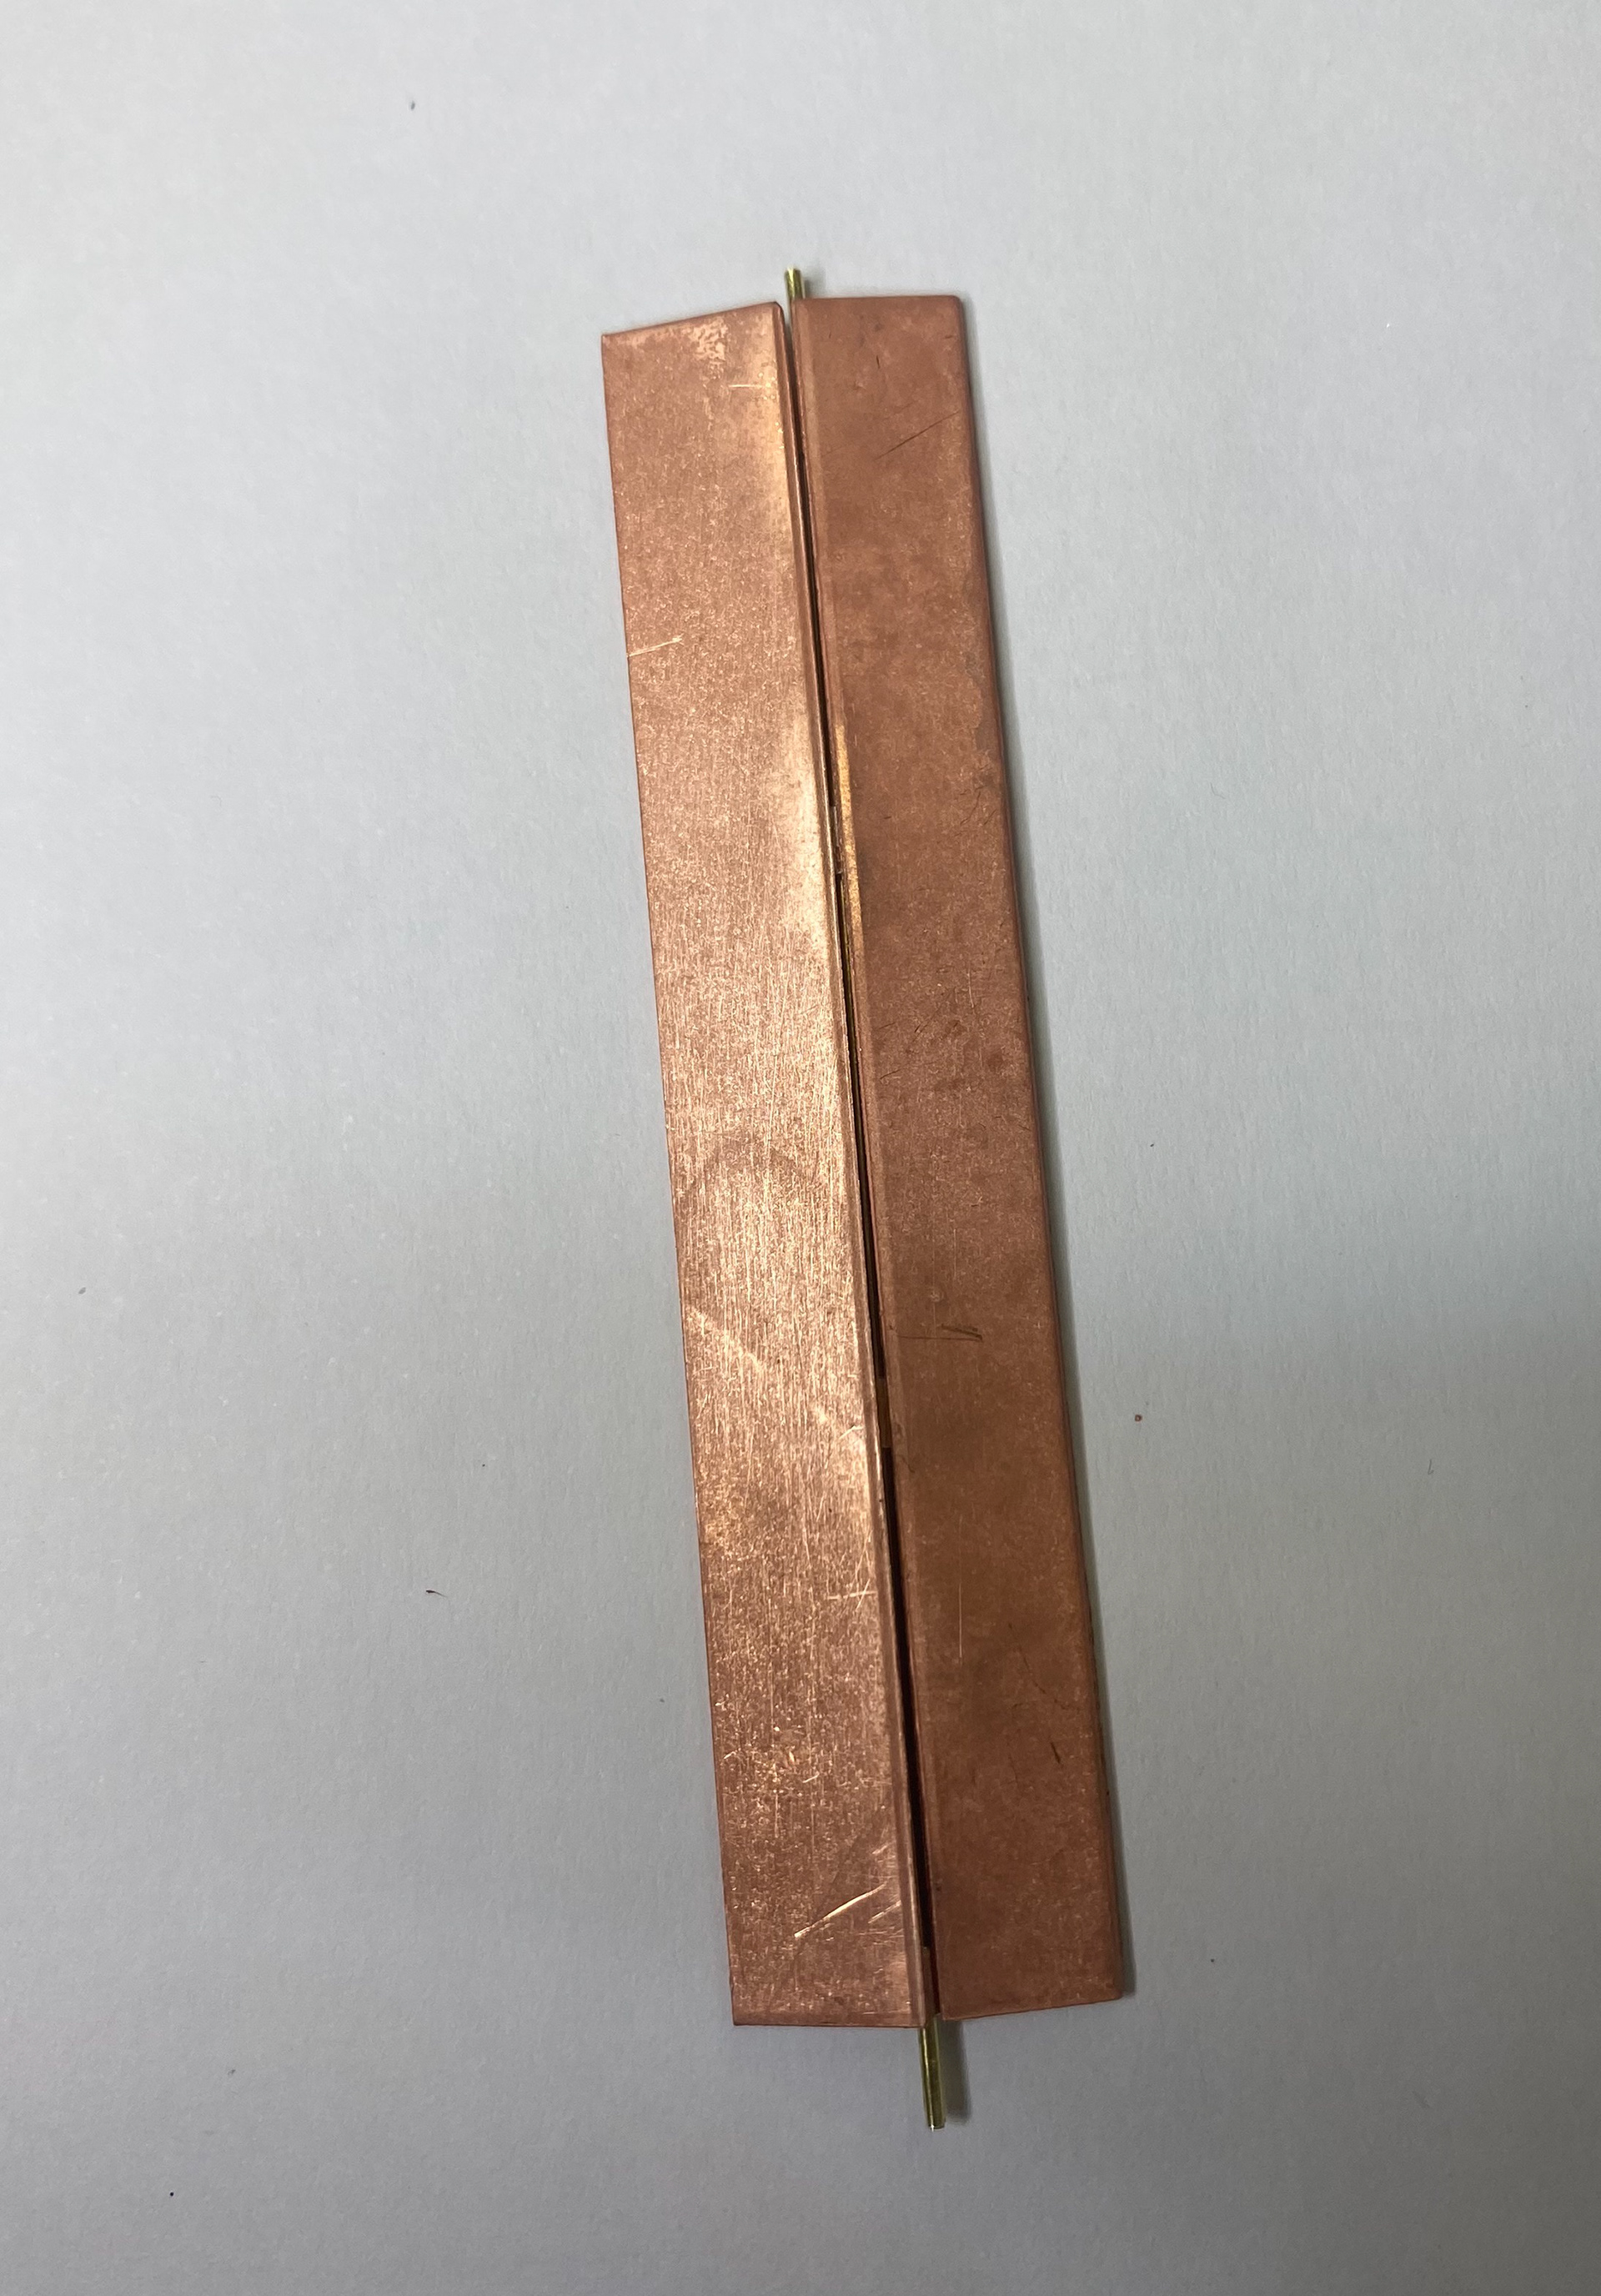
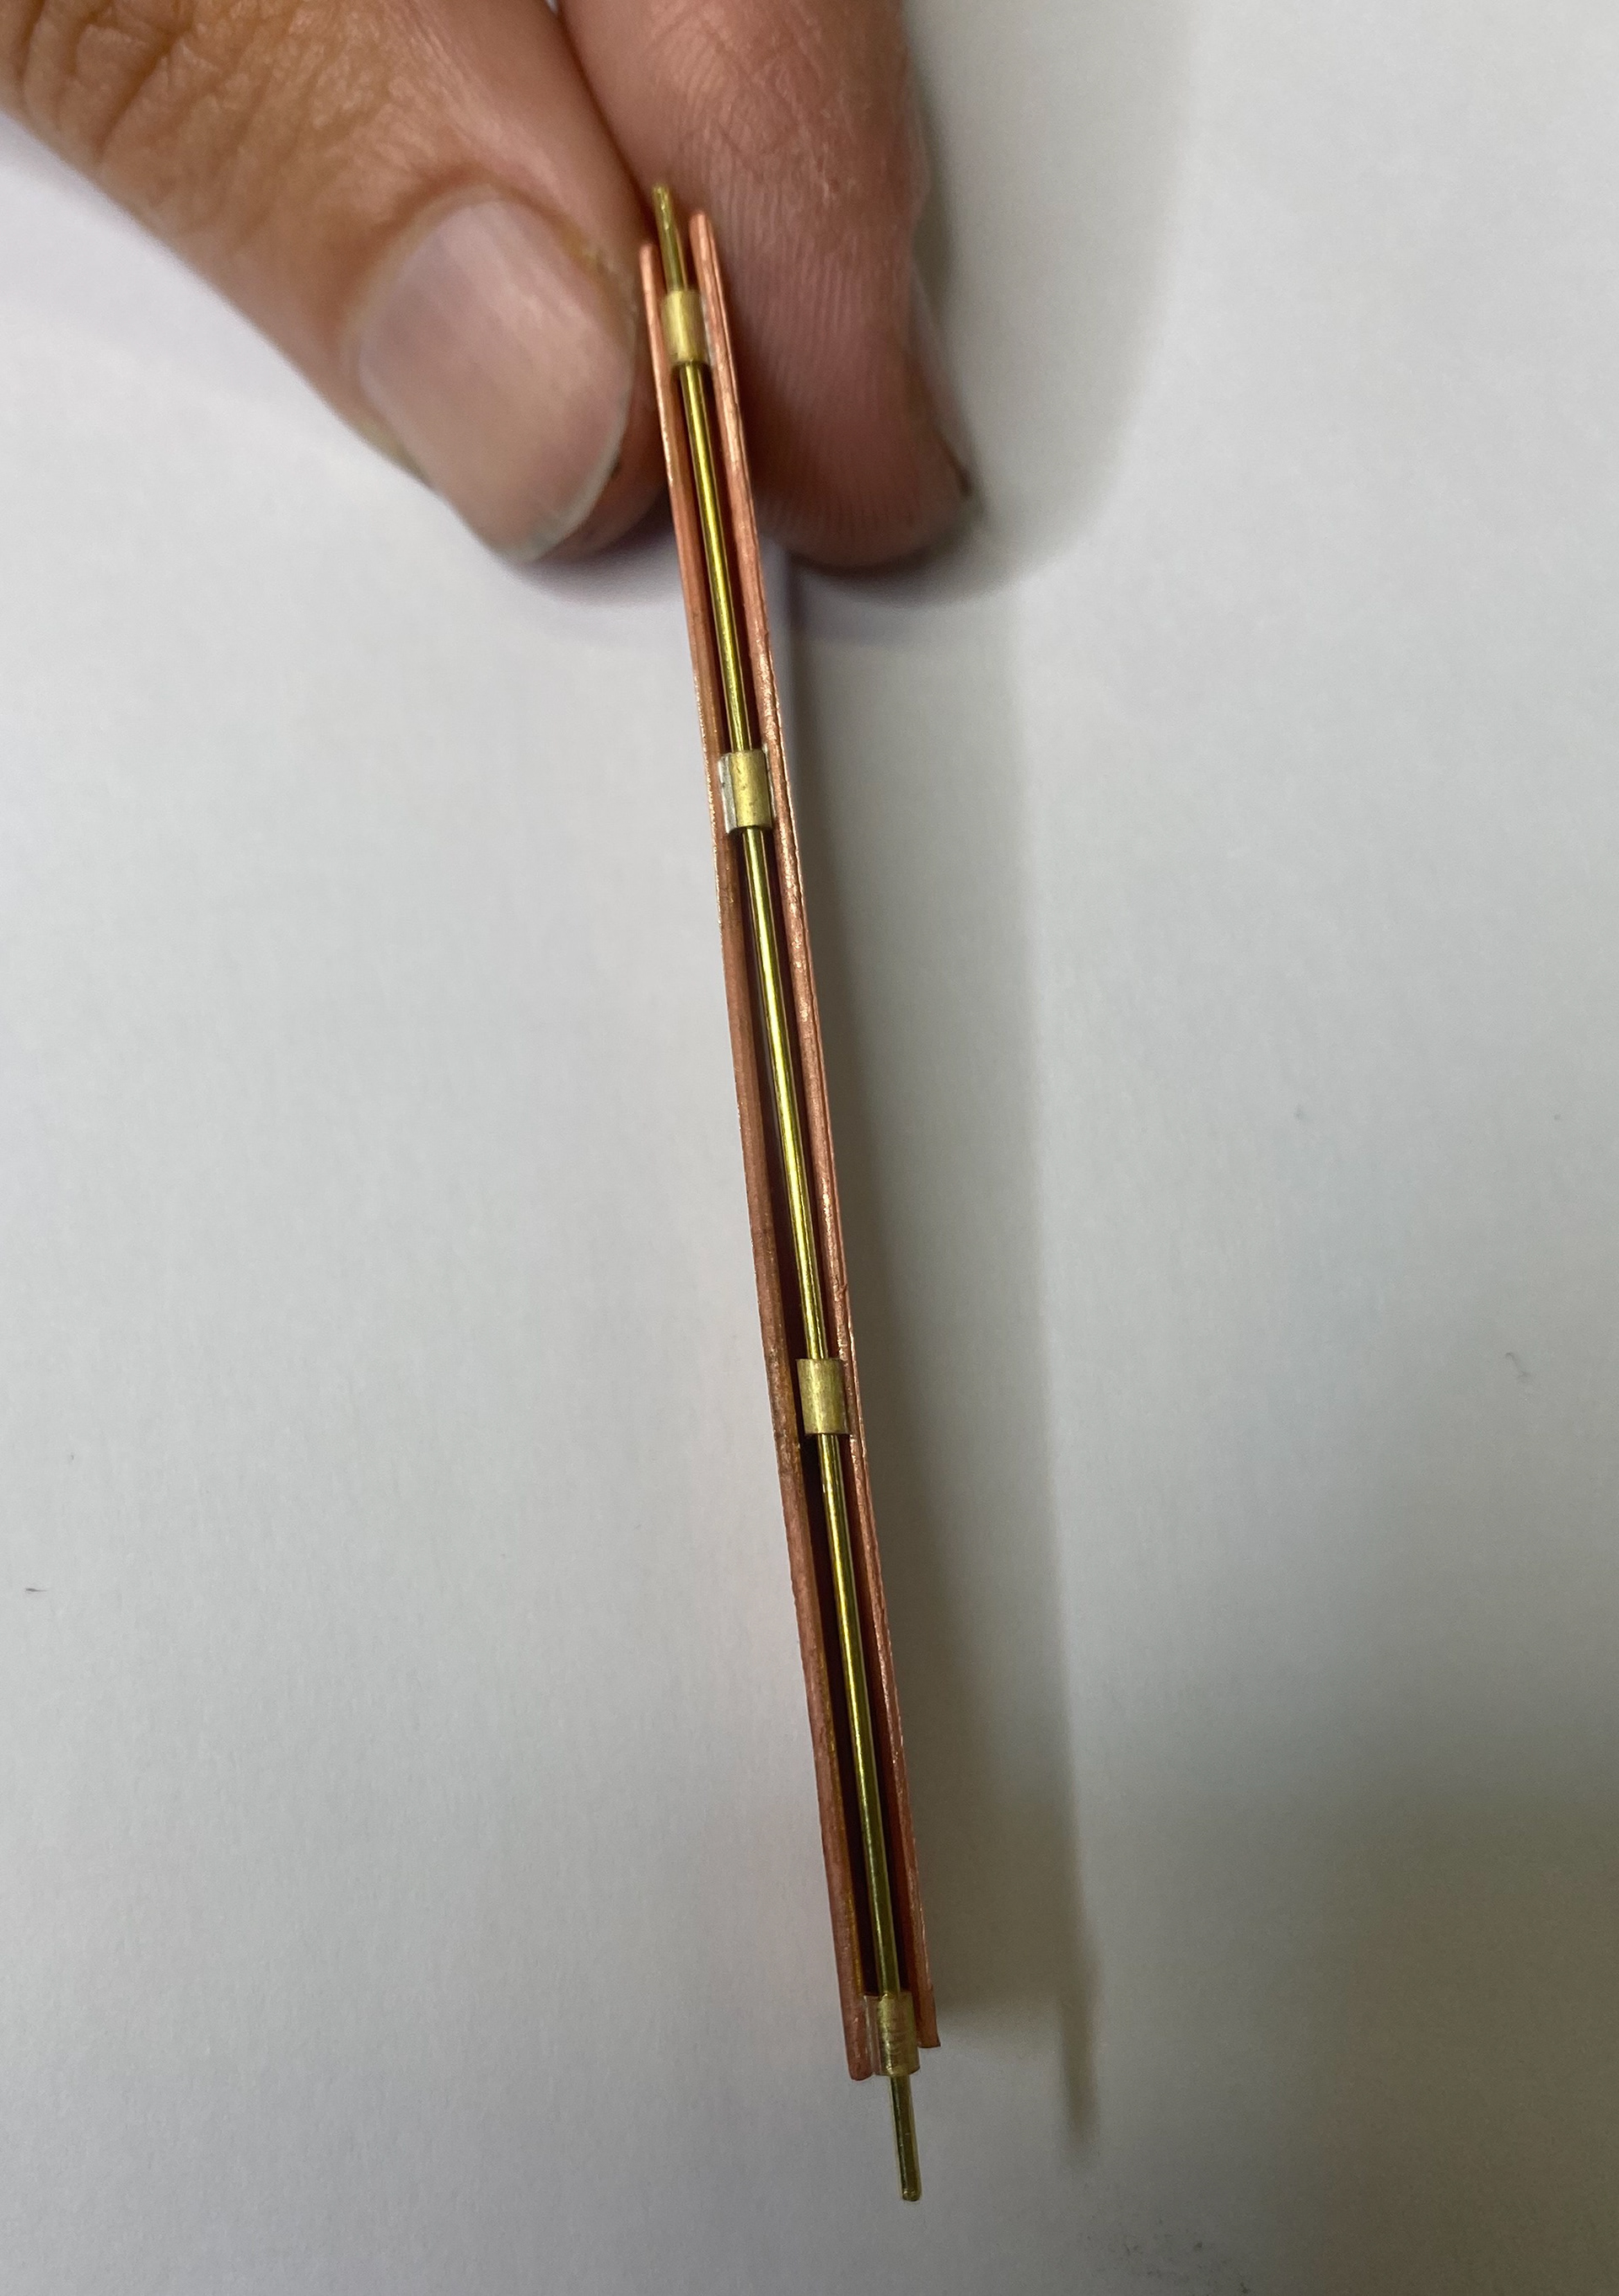
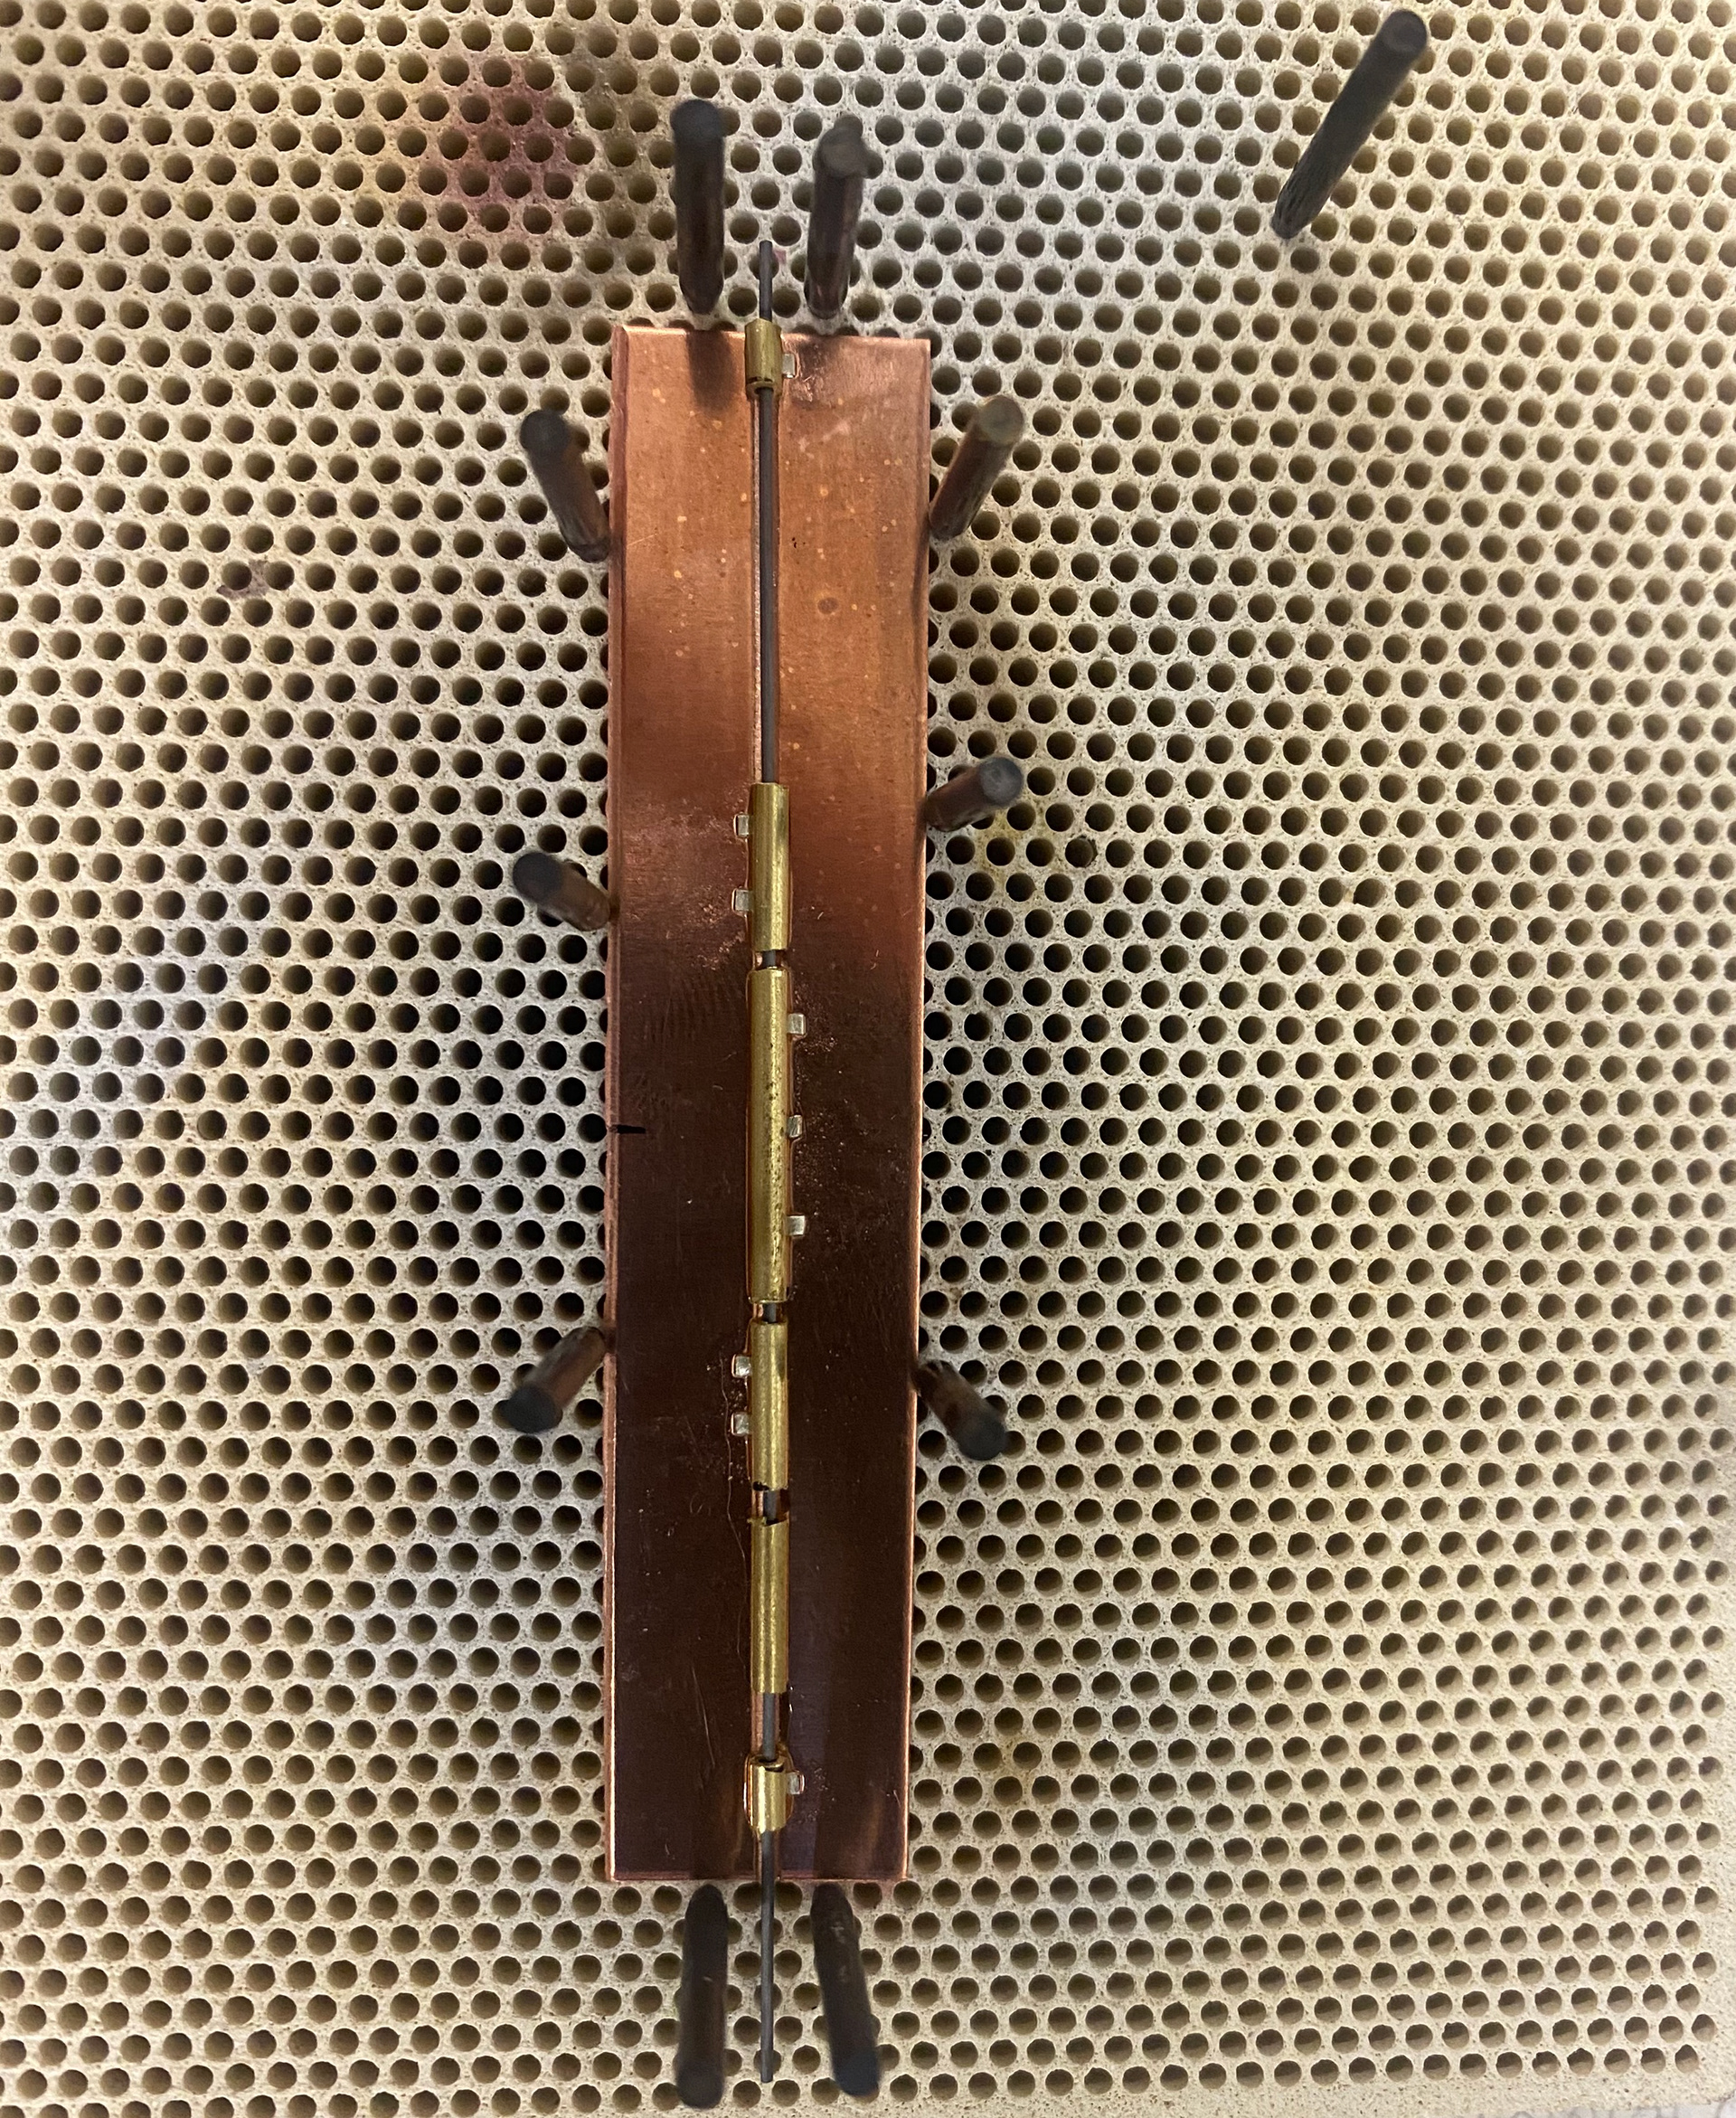
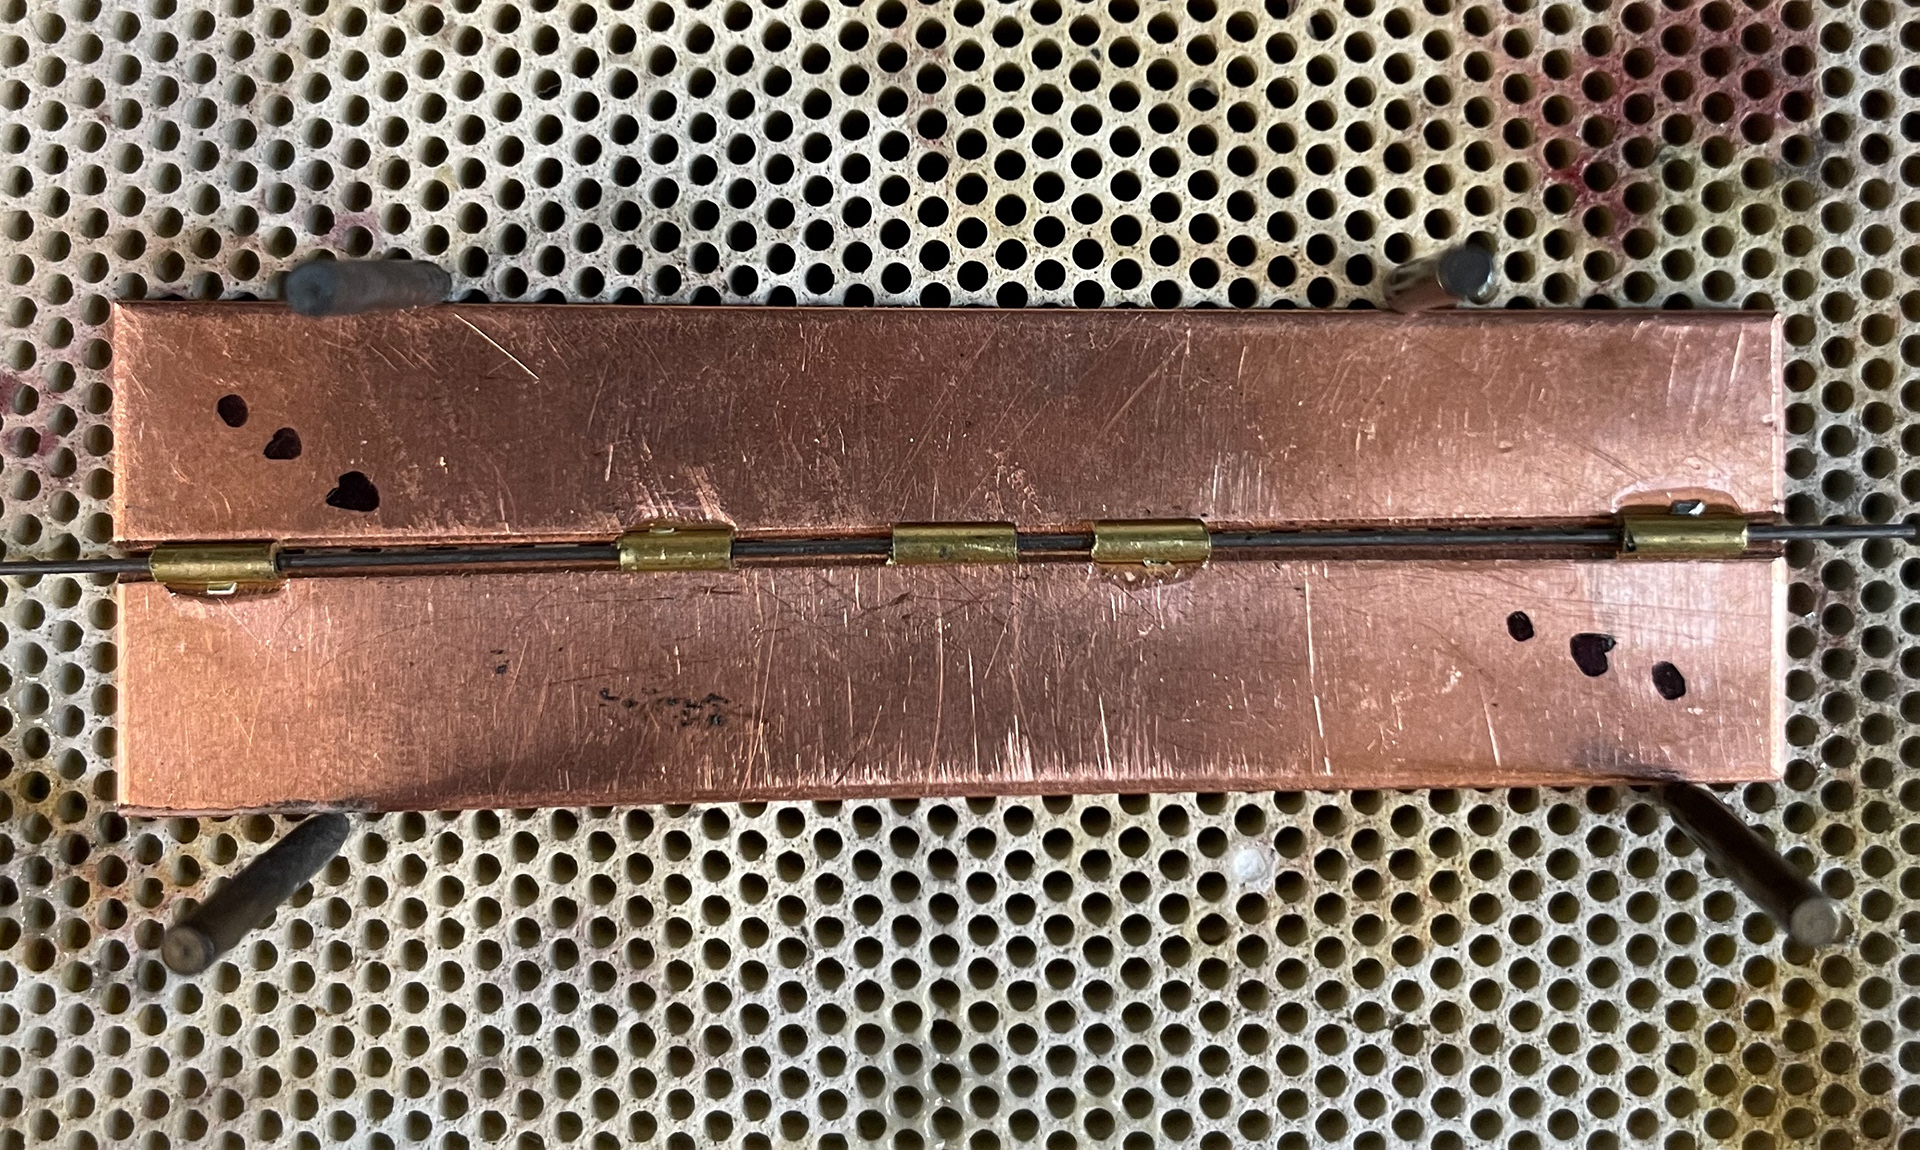
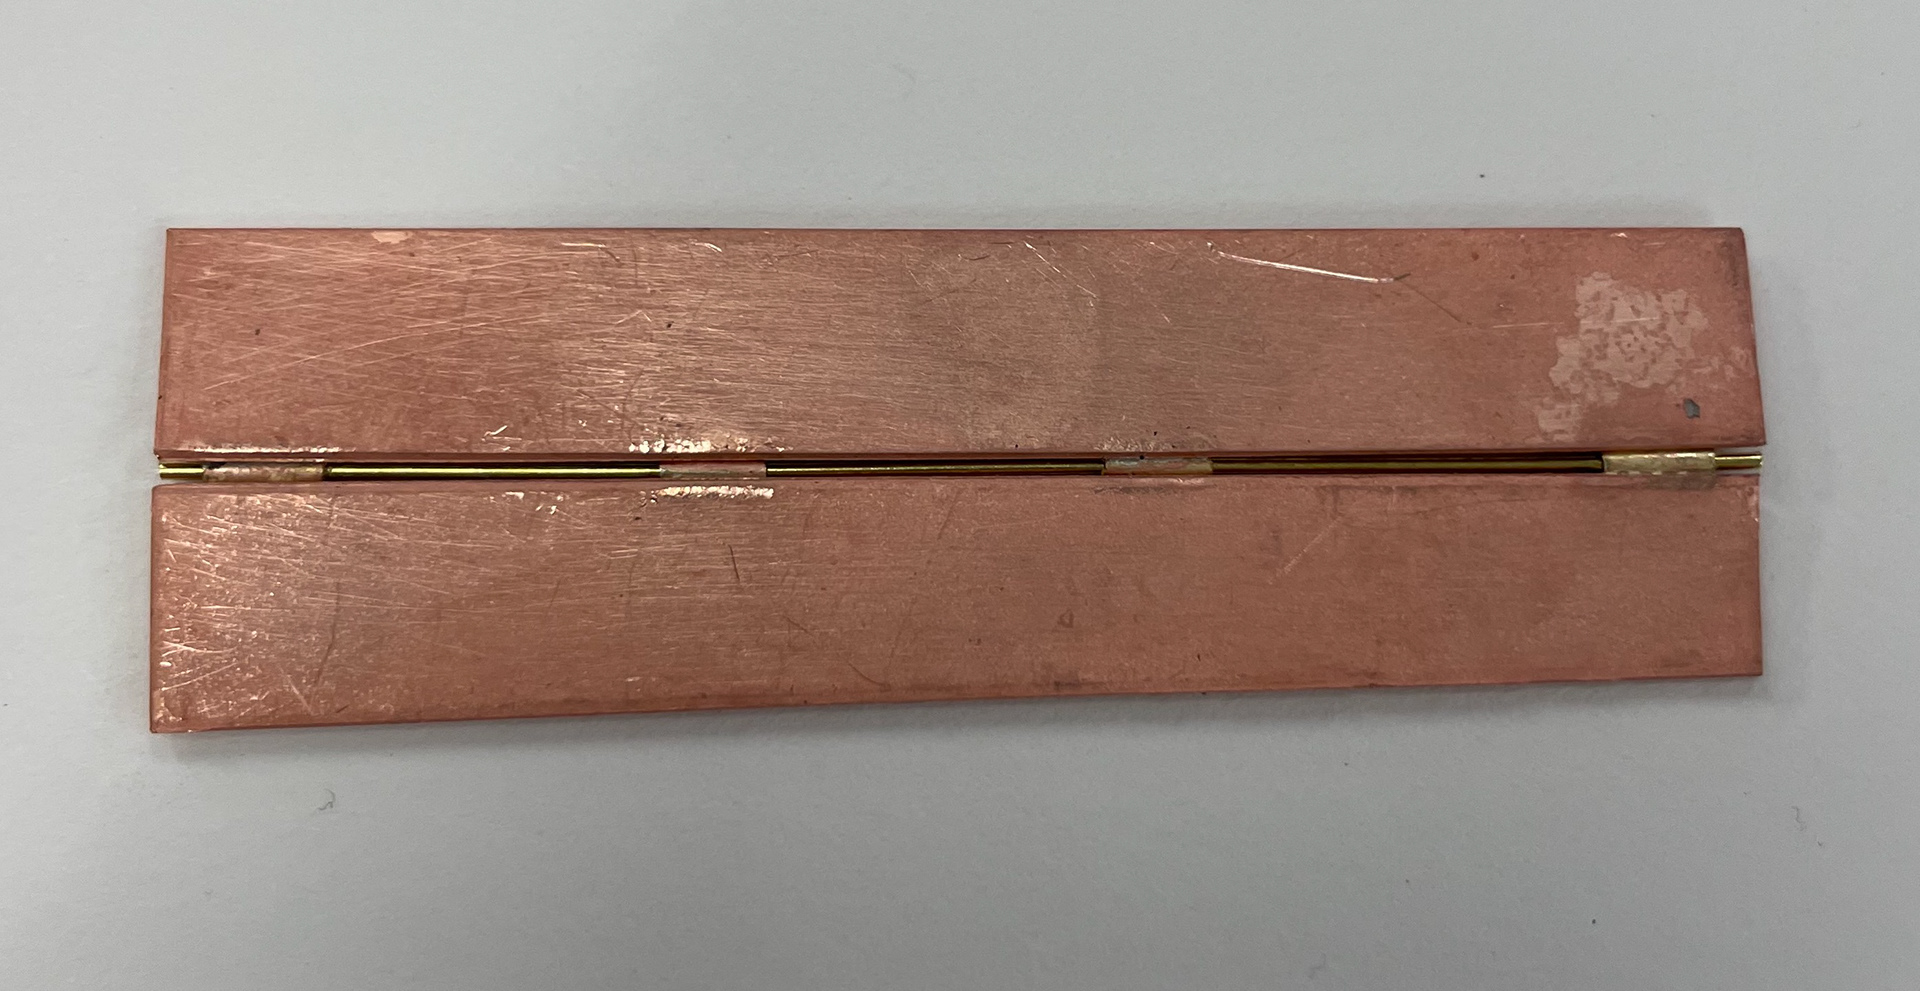
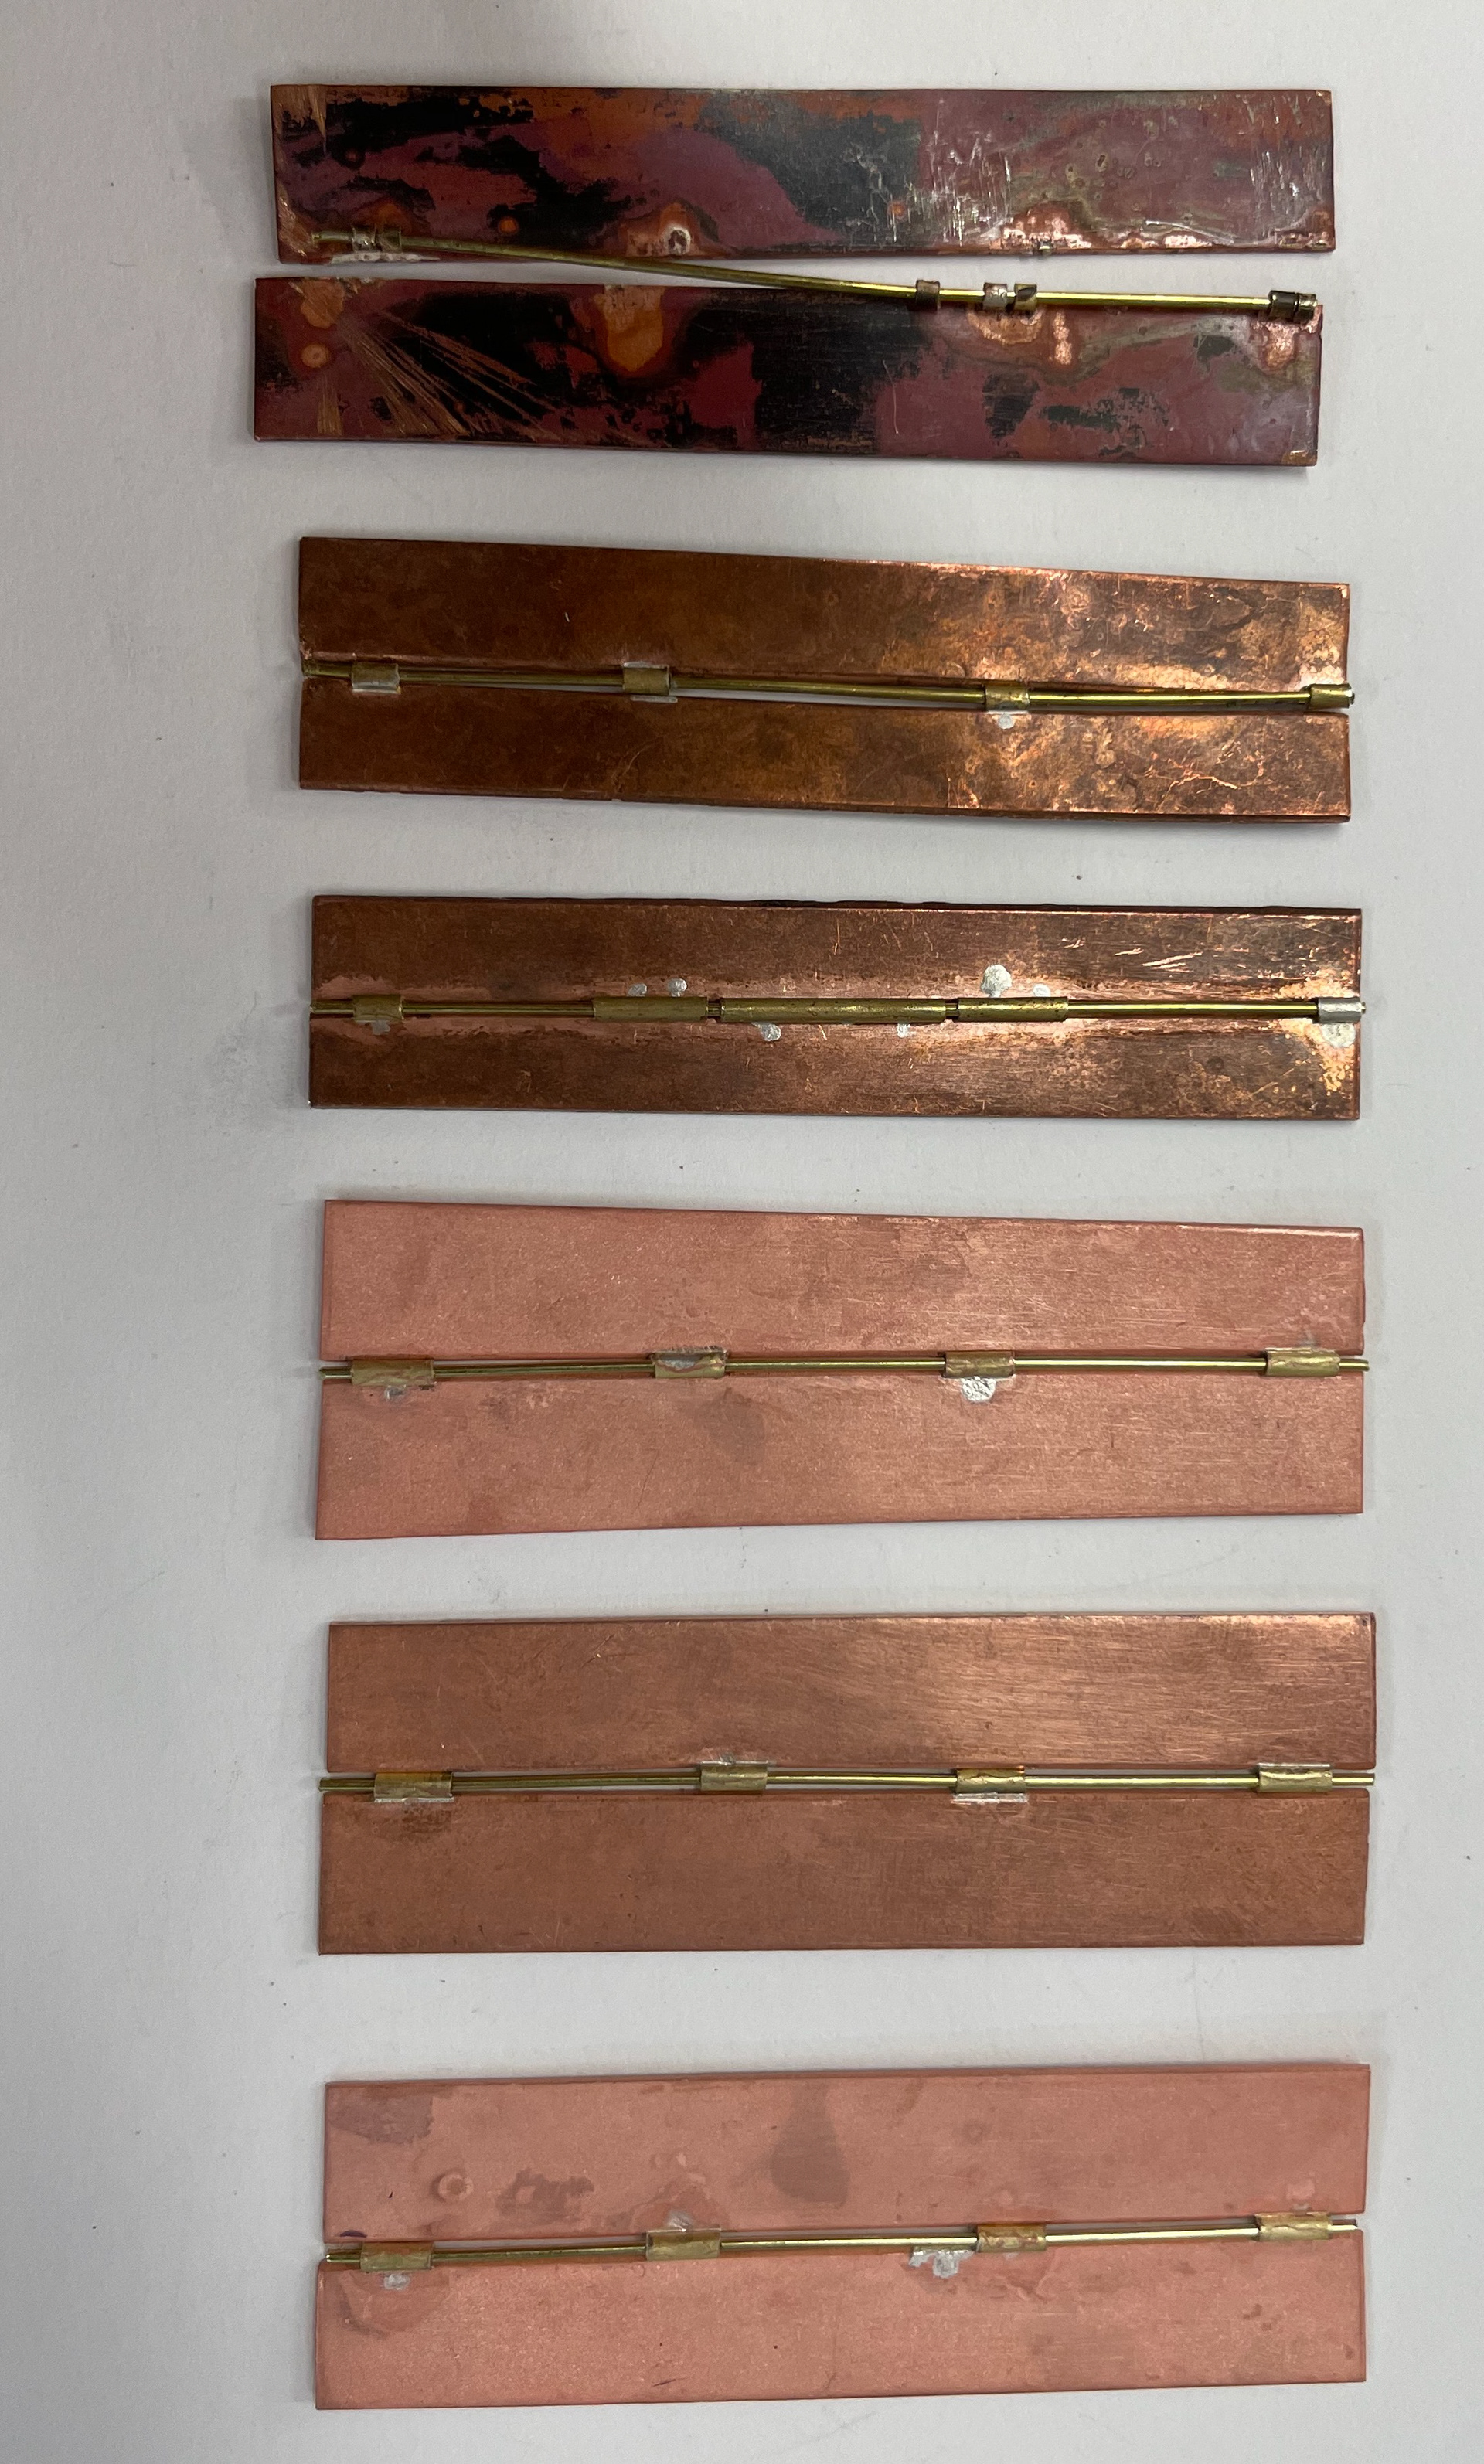
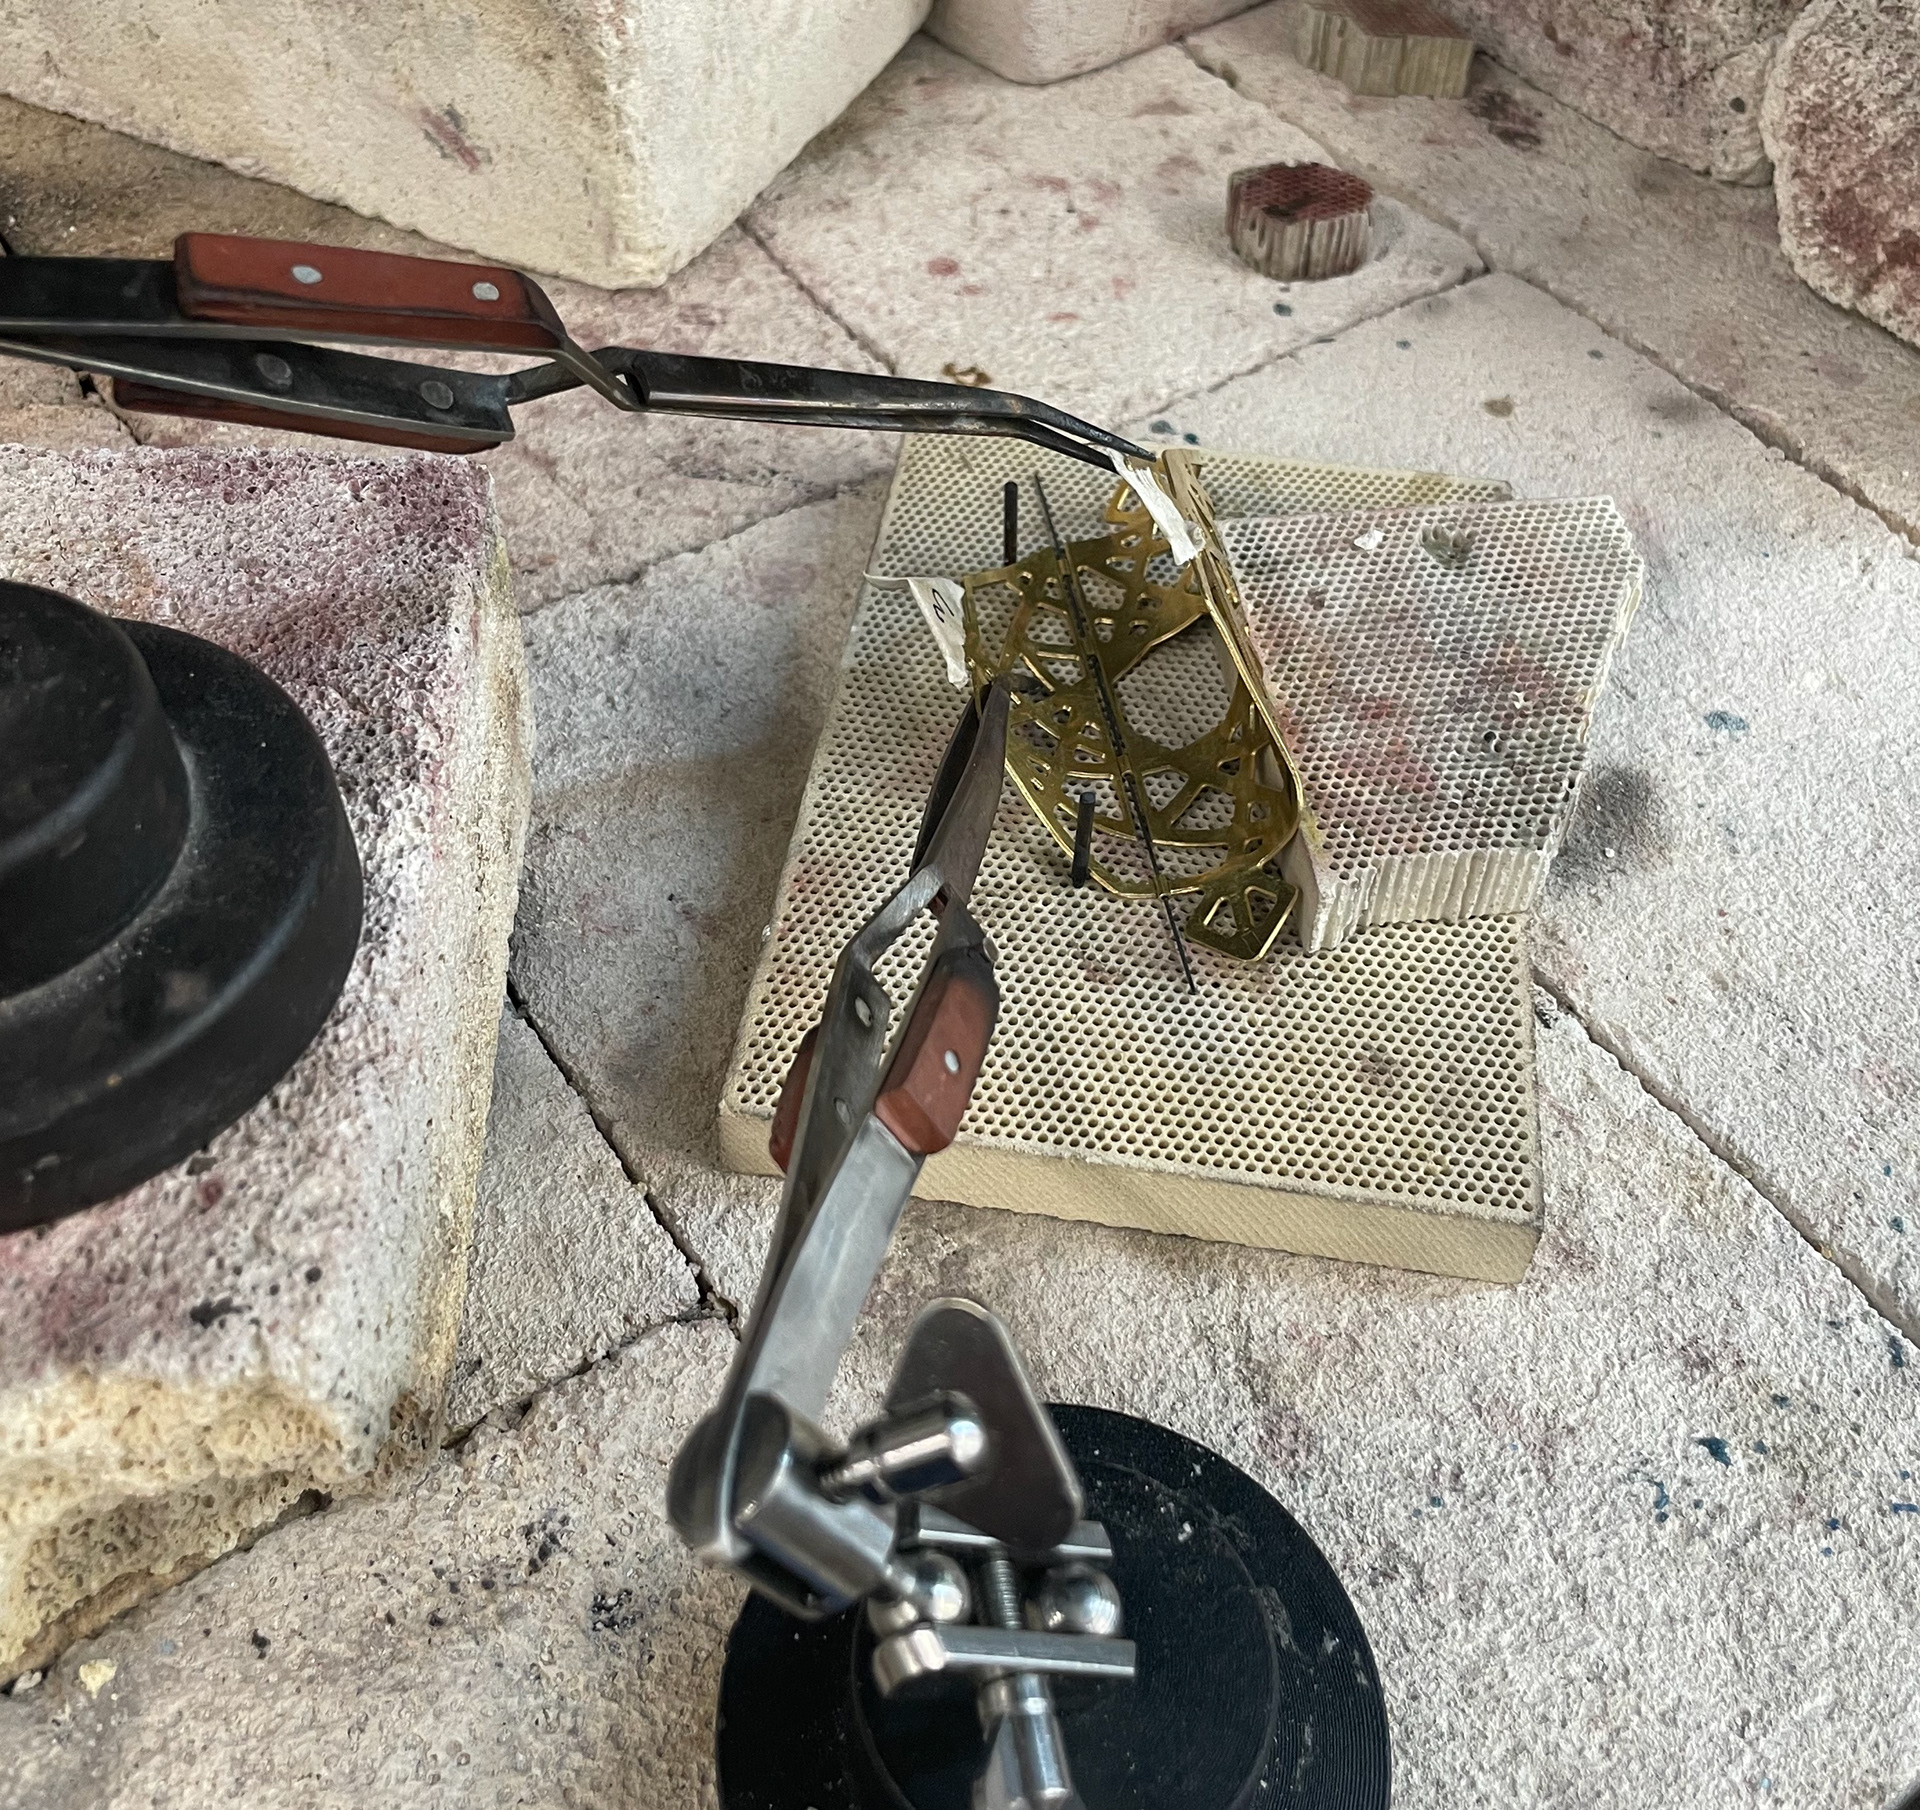
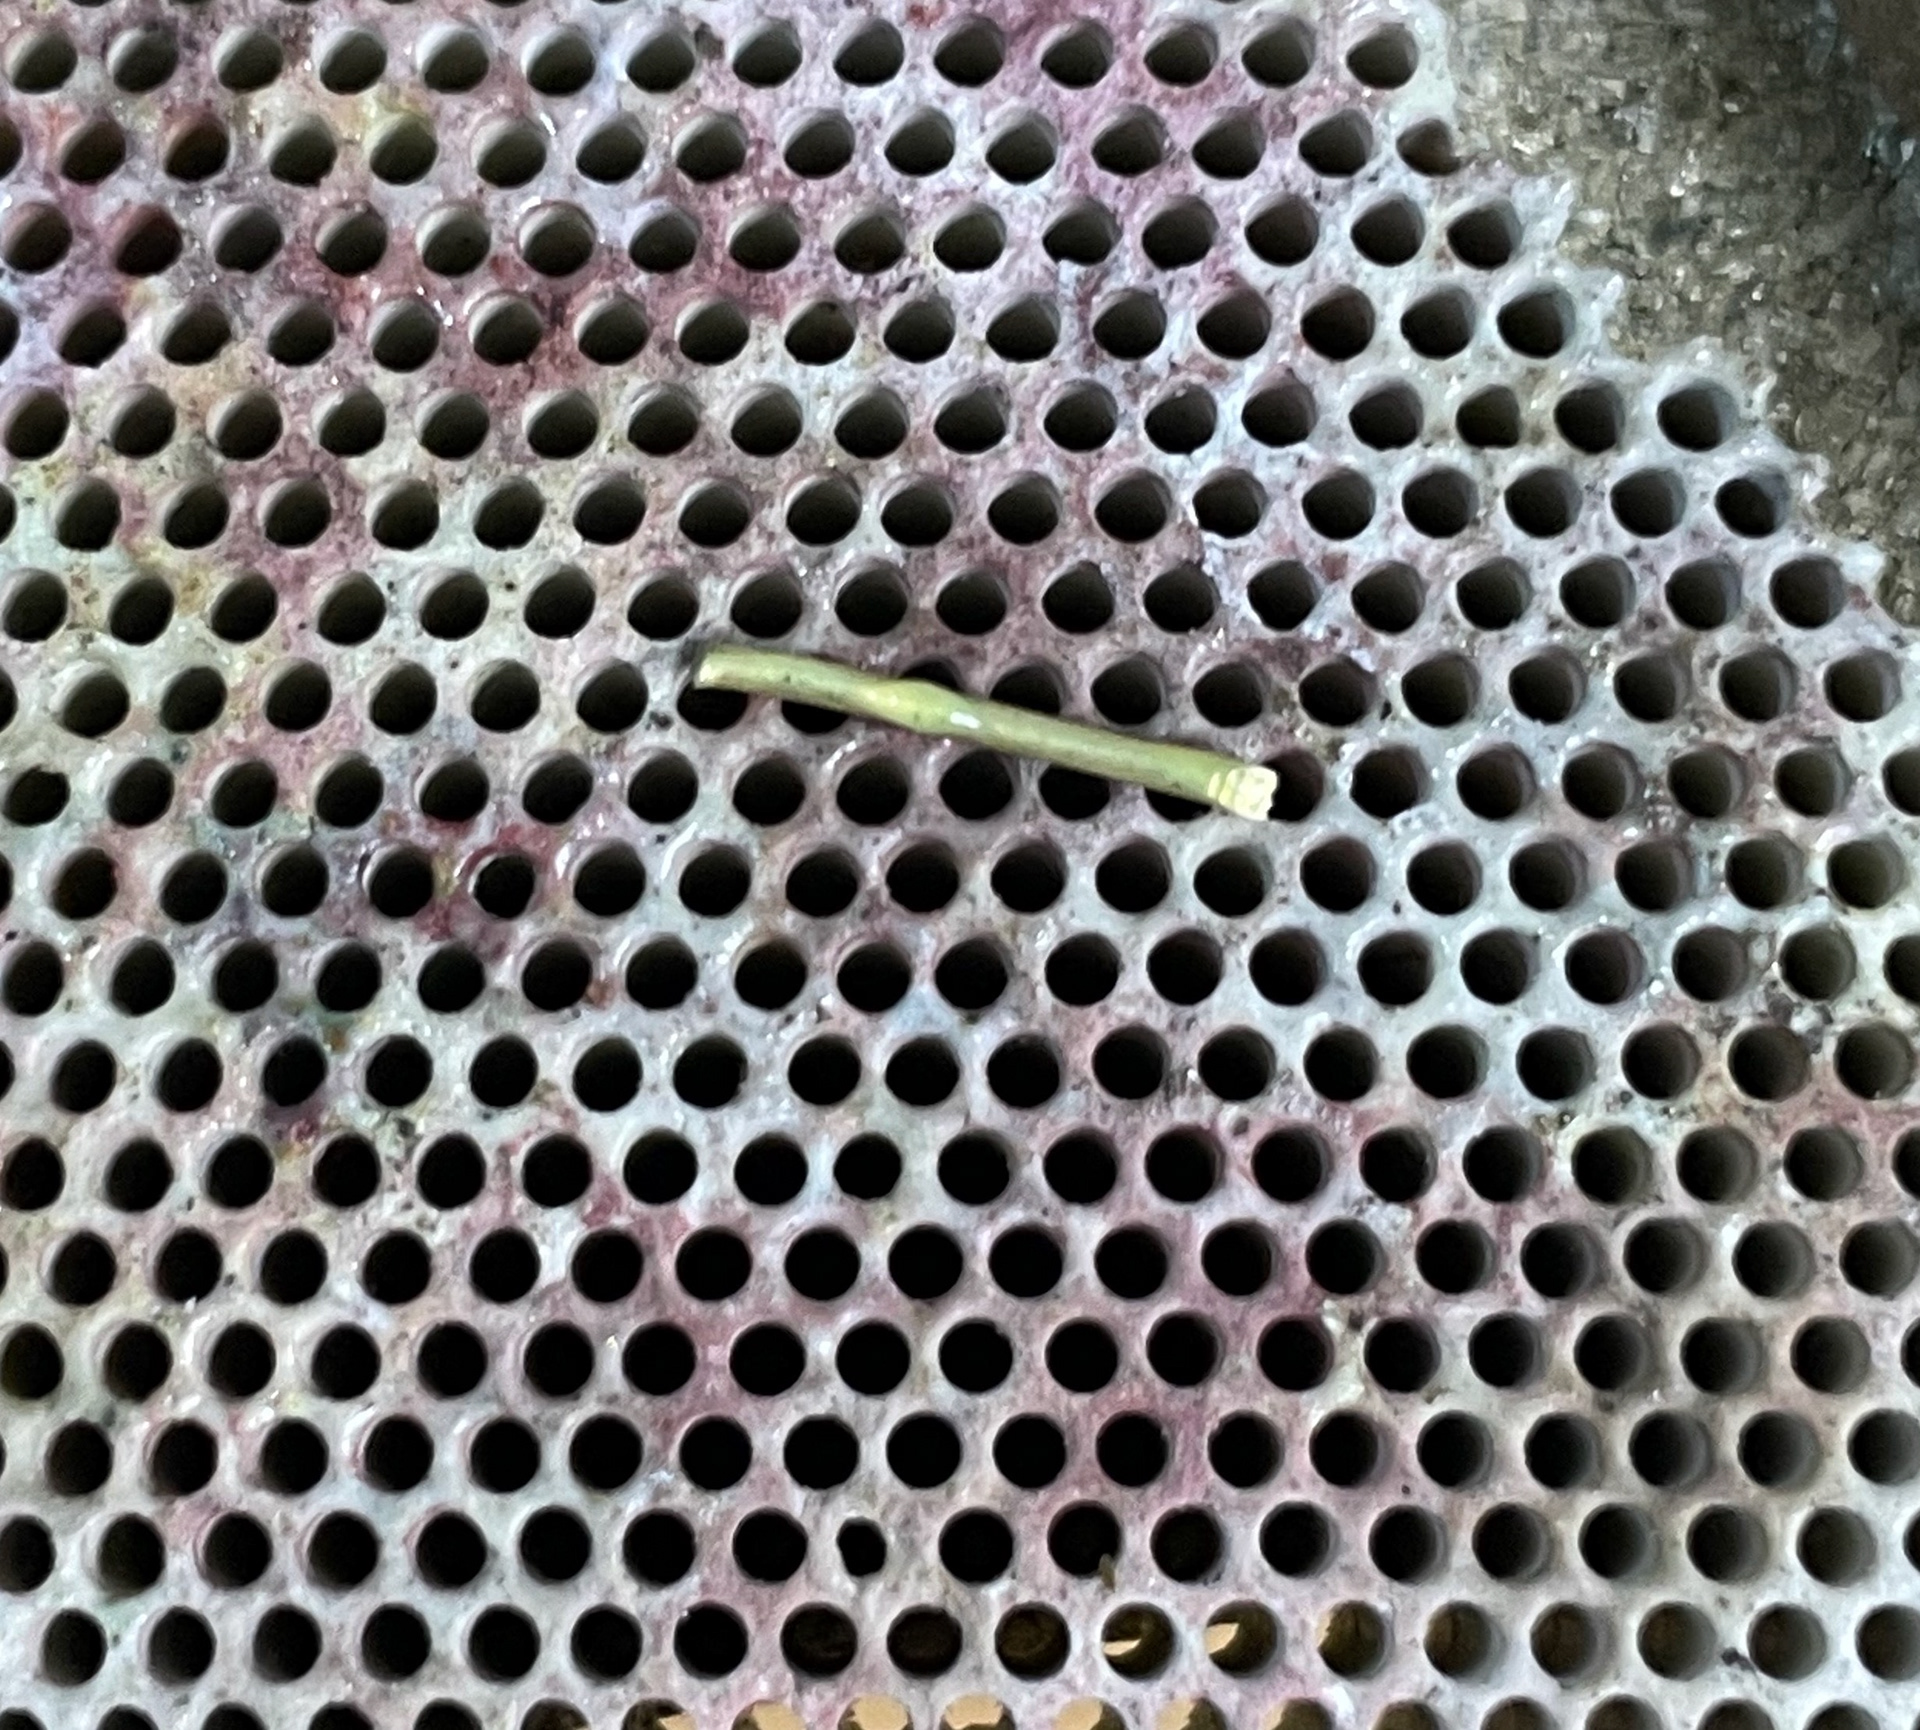
I then attempted to create smaller hinges that would be to the scale I would need for the final object. I used a 1.57mm brass tube for these hinges and a brass rod for the element inside the tube. I found the small rod worked better than the wire, as it is stronger and less likely to bend as the wire does. I cut the tube in 2mm lengths and cut eight of these. I decided to have two notches alternating on each side so that the hinge could move. I again used graphite to hold the tube in place as solder wouldn't join to graphite, but it would join to the rod if I used that to hold the tube in place. I also bevelled the edge of the sheet to allow for movement of the tube.
Sheet metal ready for hinges
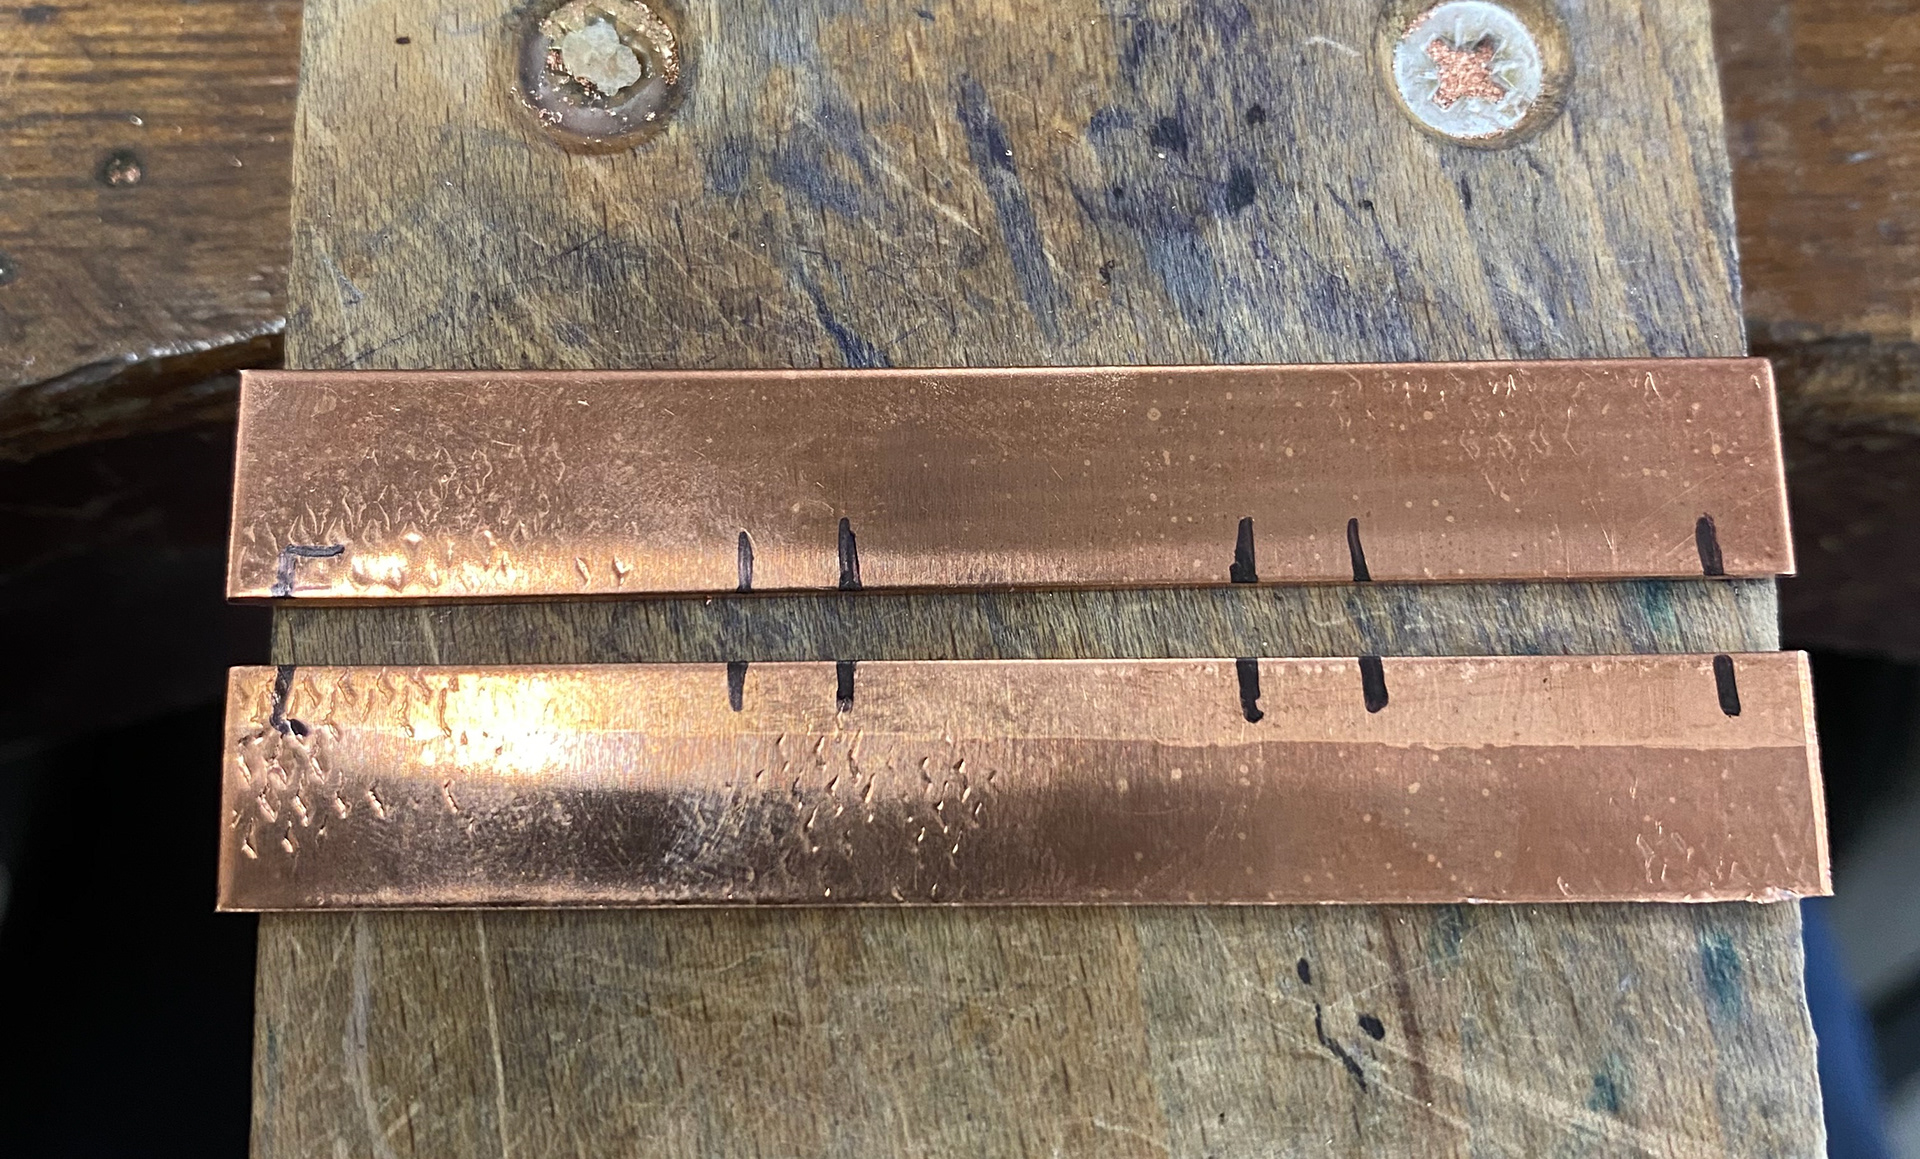
Sharpie marks where I wanted to place the hinges
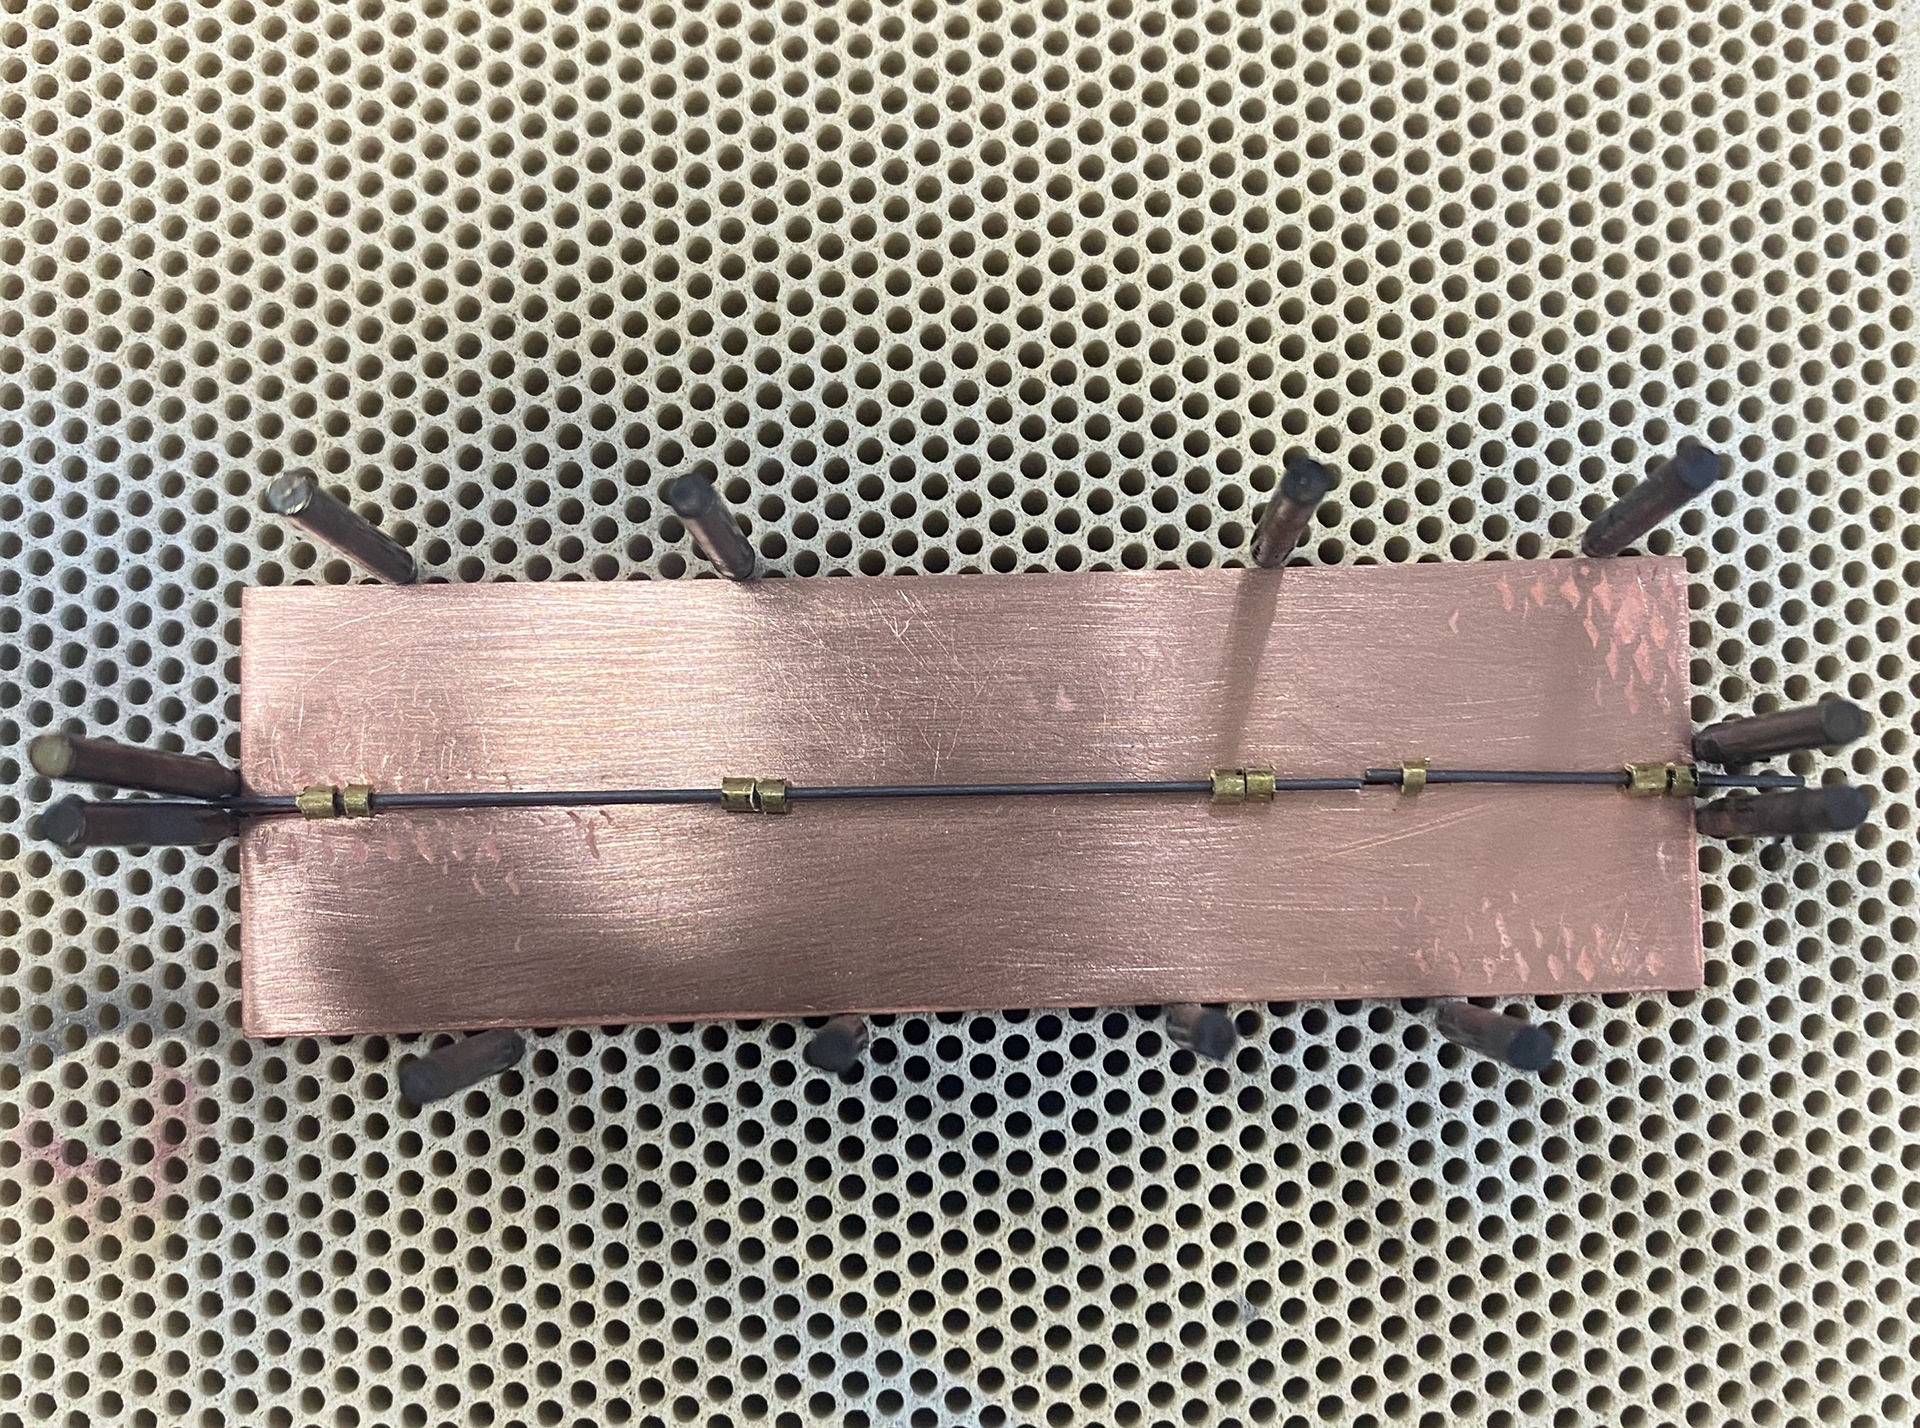
Placing the tube ready to be soldered
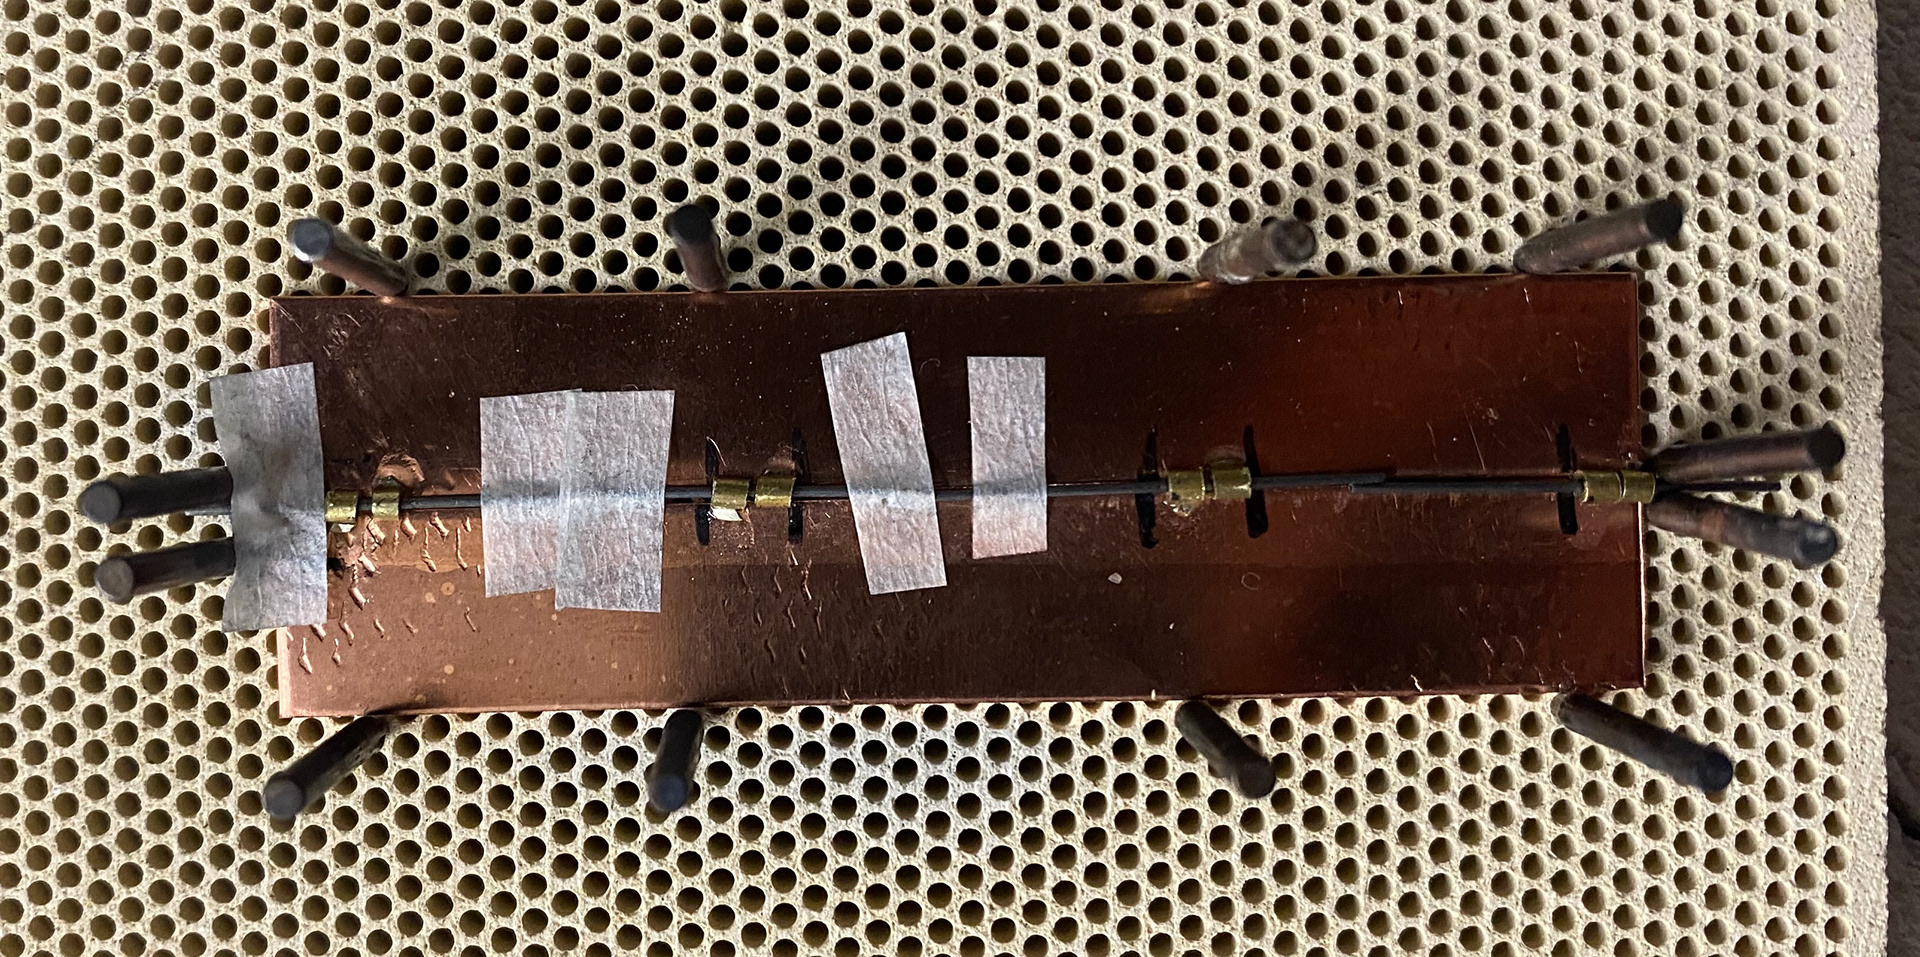
I used asking tape to help hold down the graphite
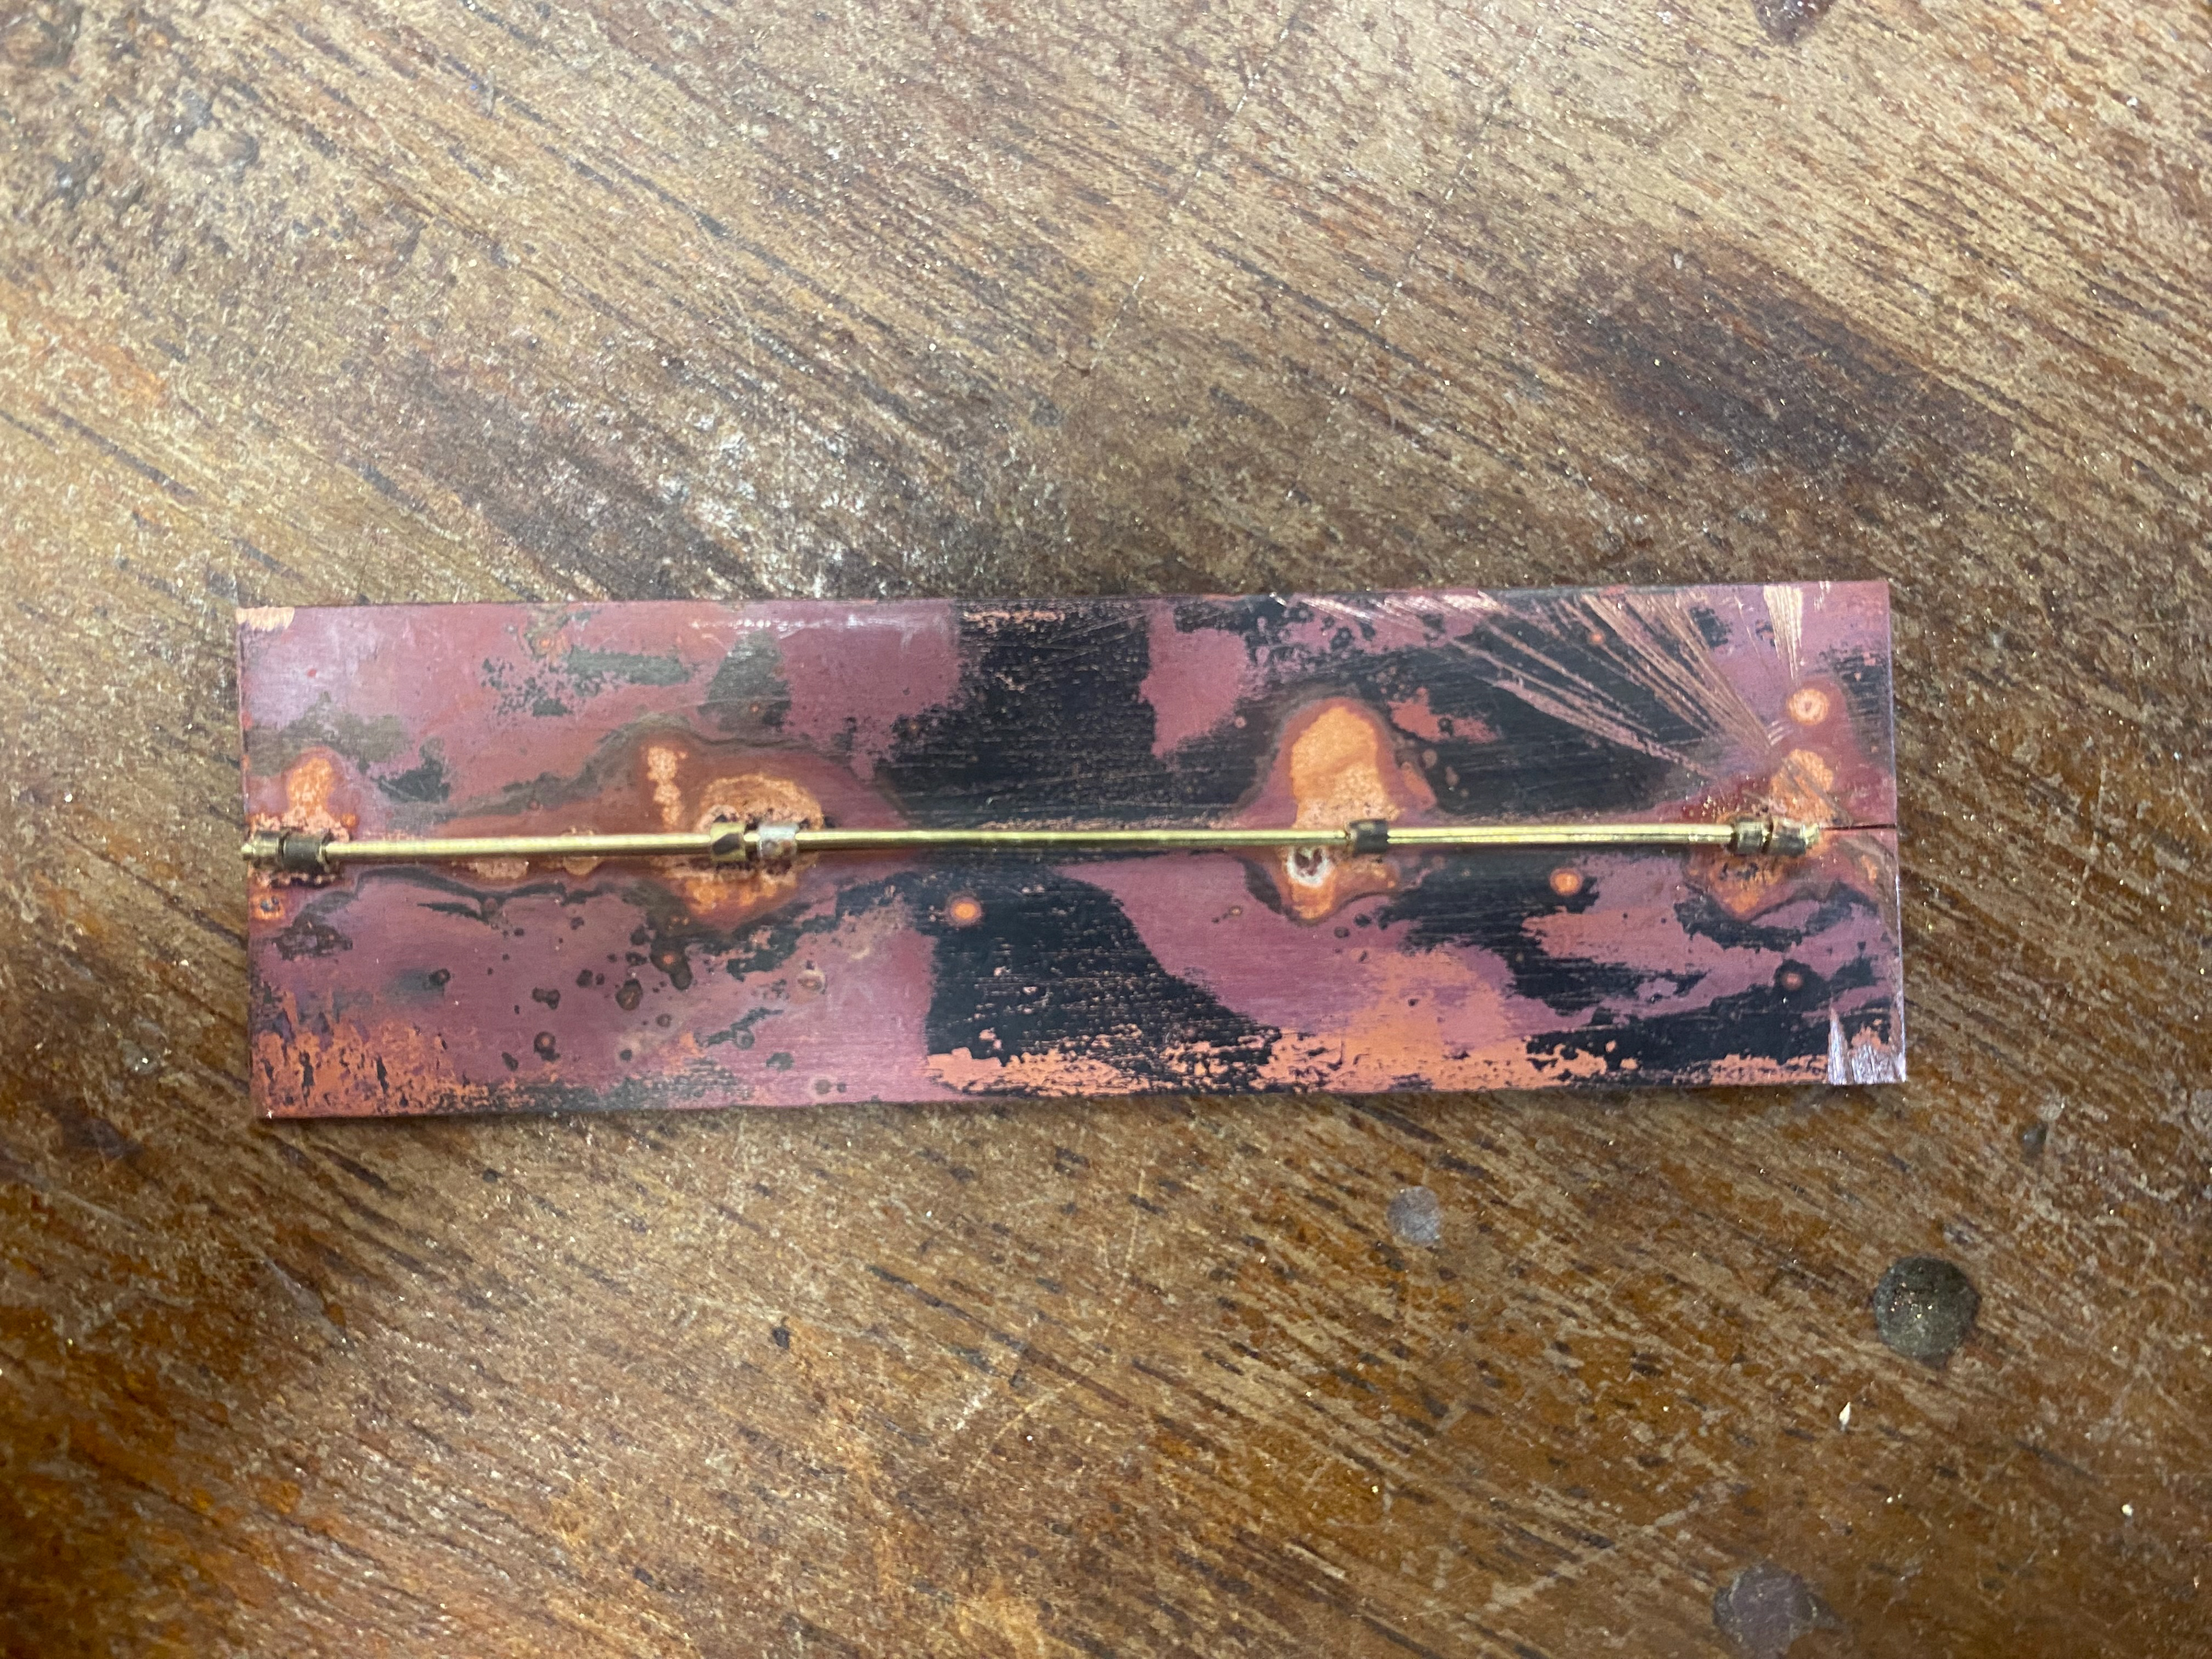
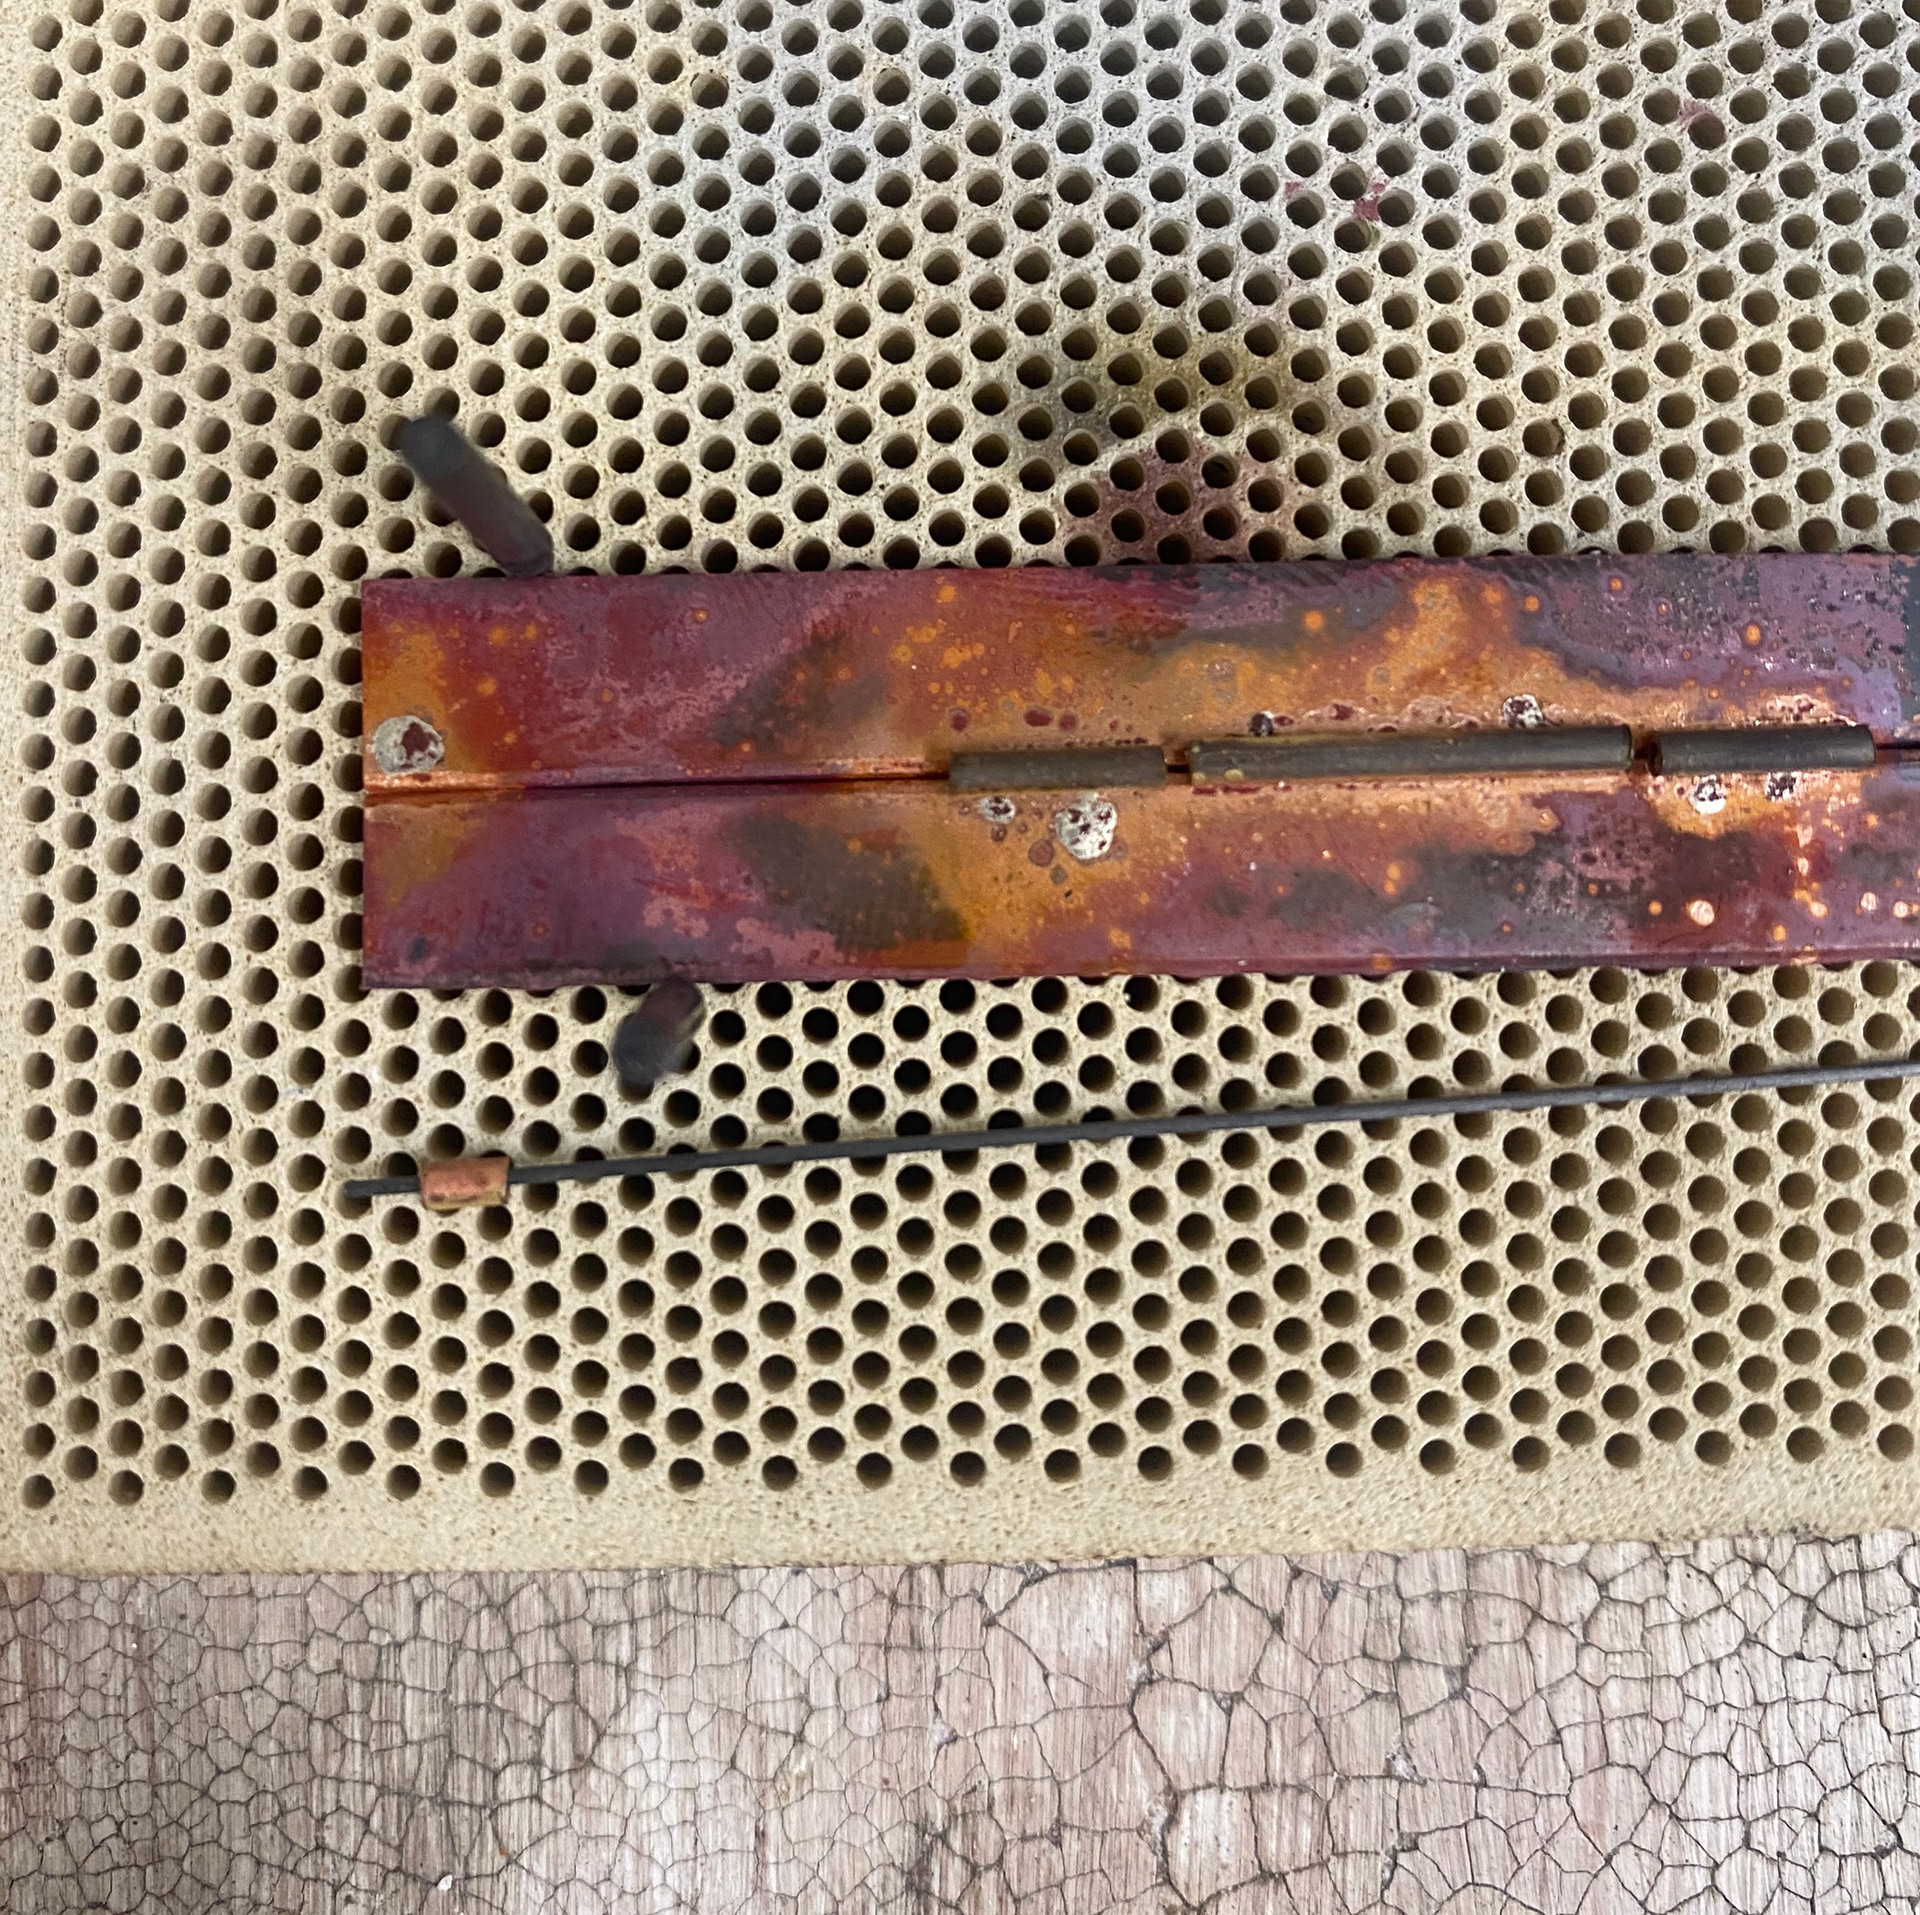
soldered hinge complete
The above sample piece didn't go as planned because a part of the tube came apart, meaning it wasn't soldered enough. In reflection of this, I decided that doing eight 2mm tube pieces was very fiddly to do and hold in place whilst soldering. As well as this, they didn't make the hinge very strong.
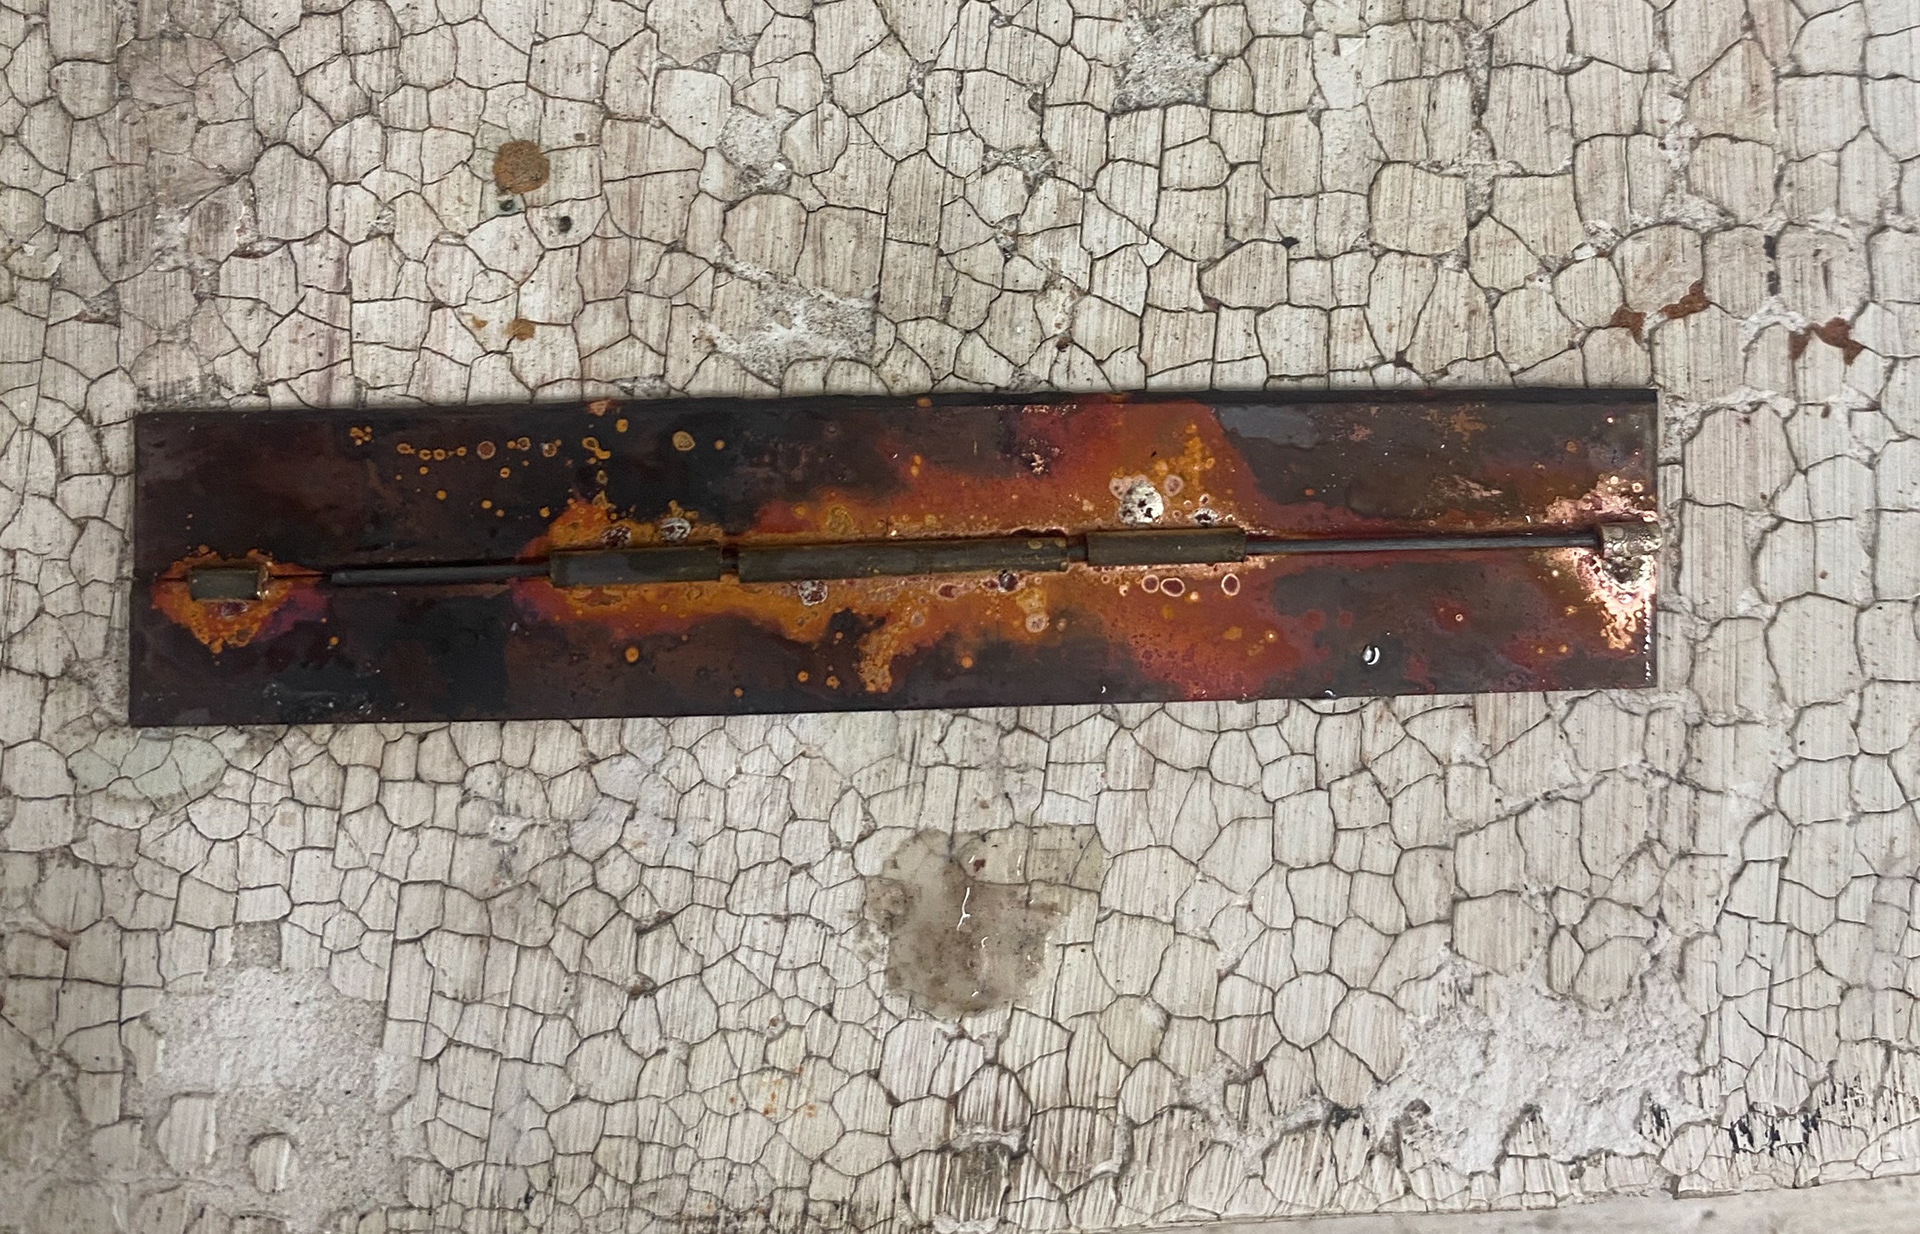
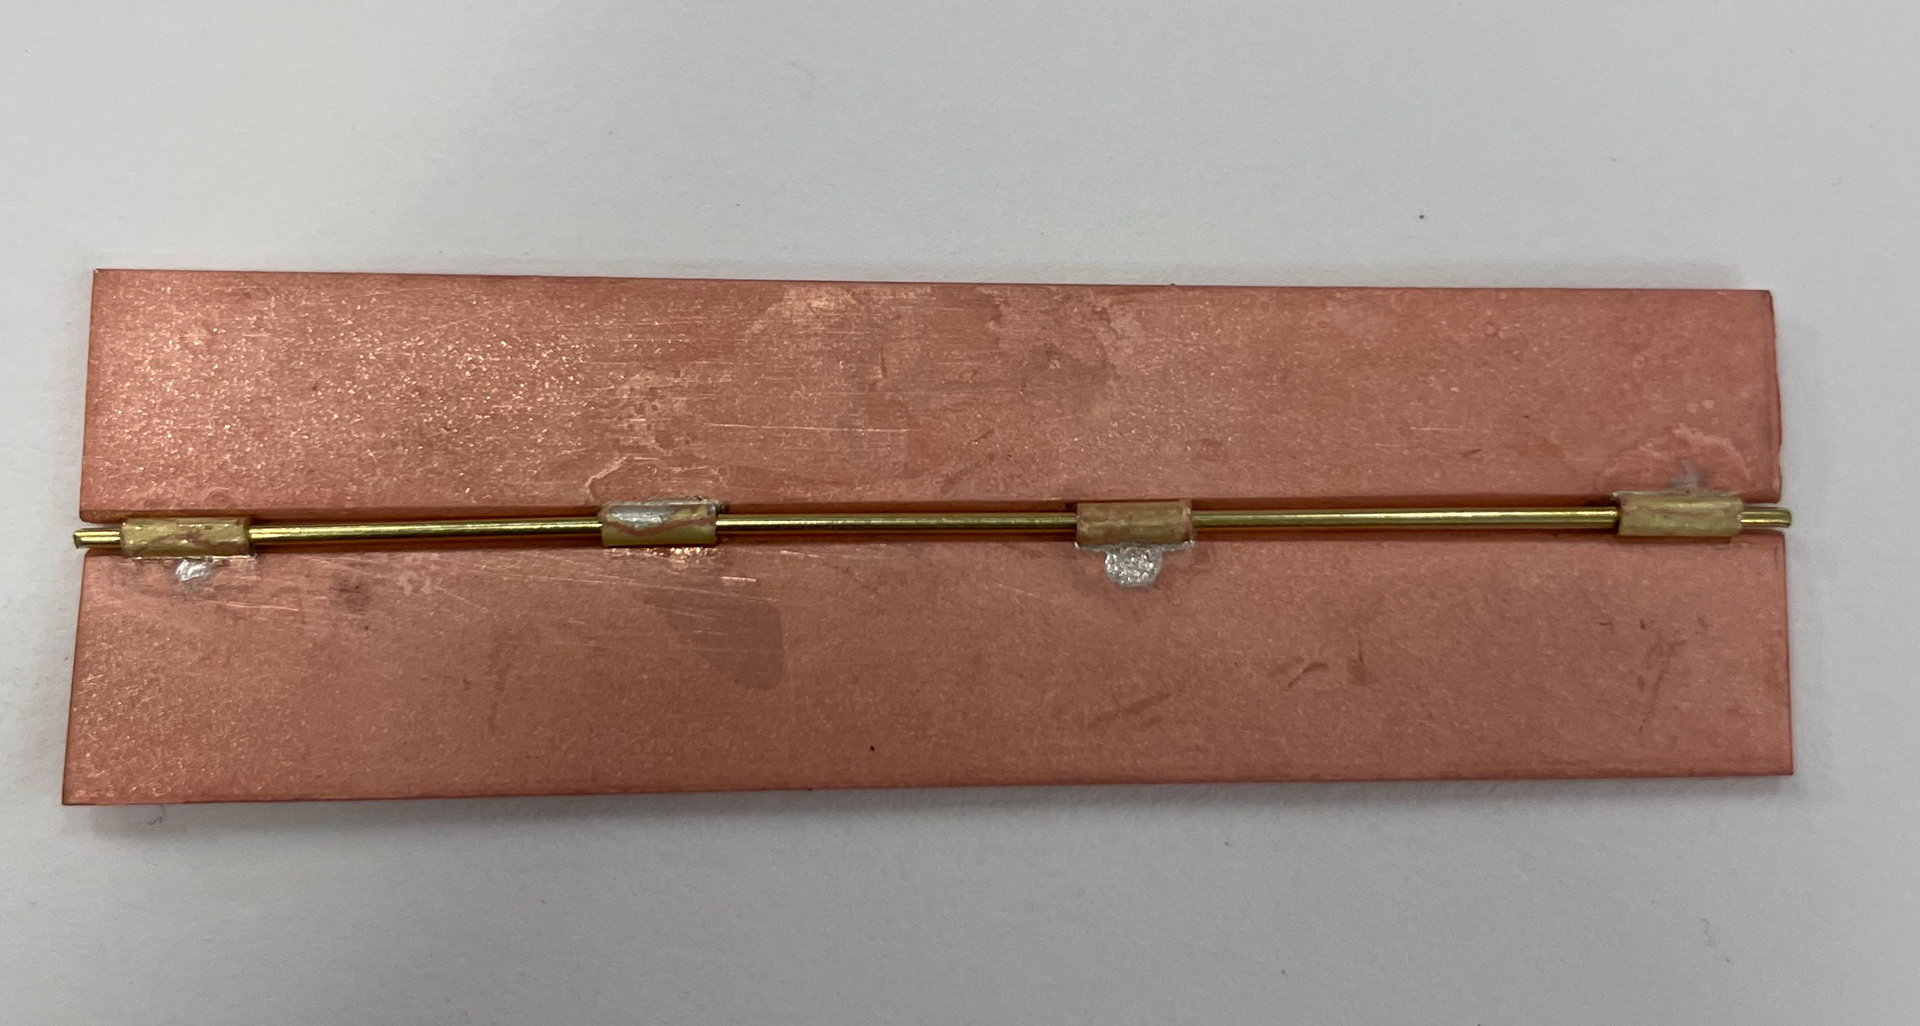
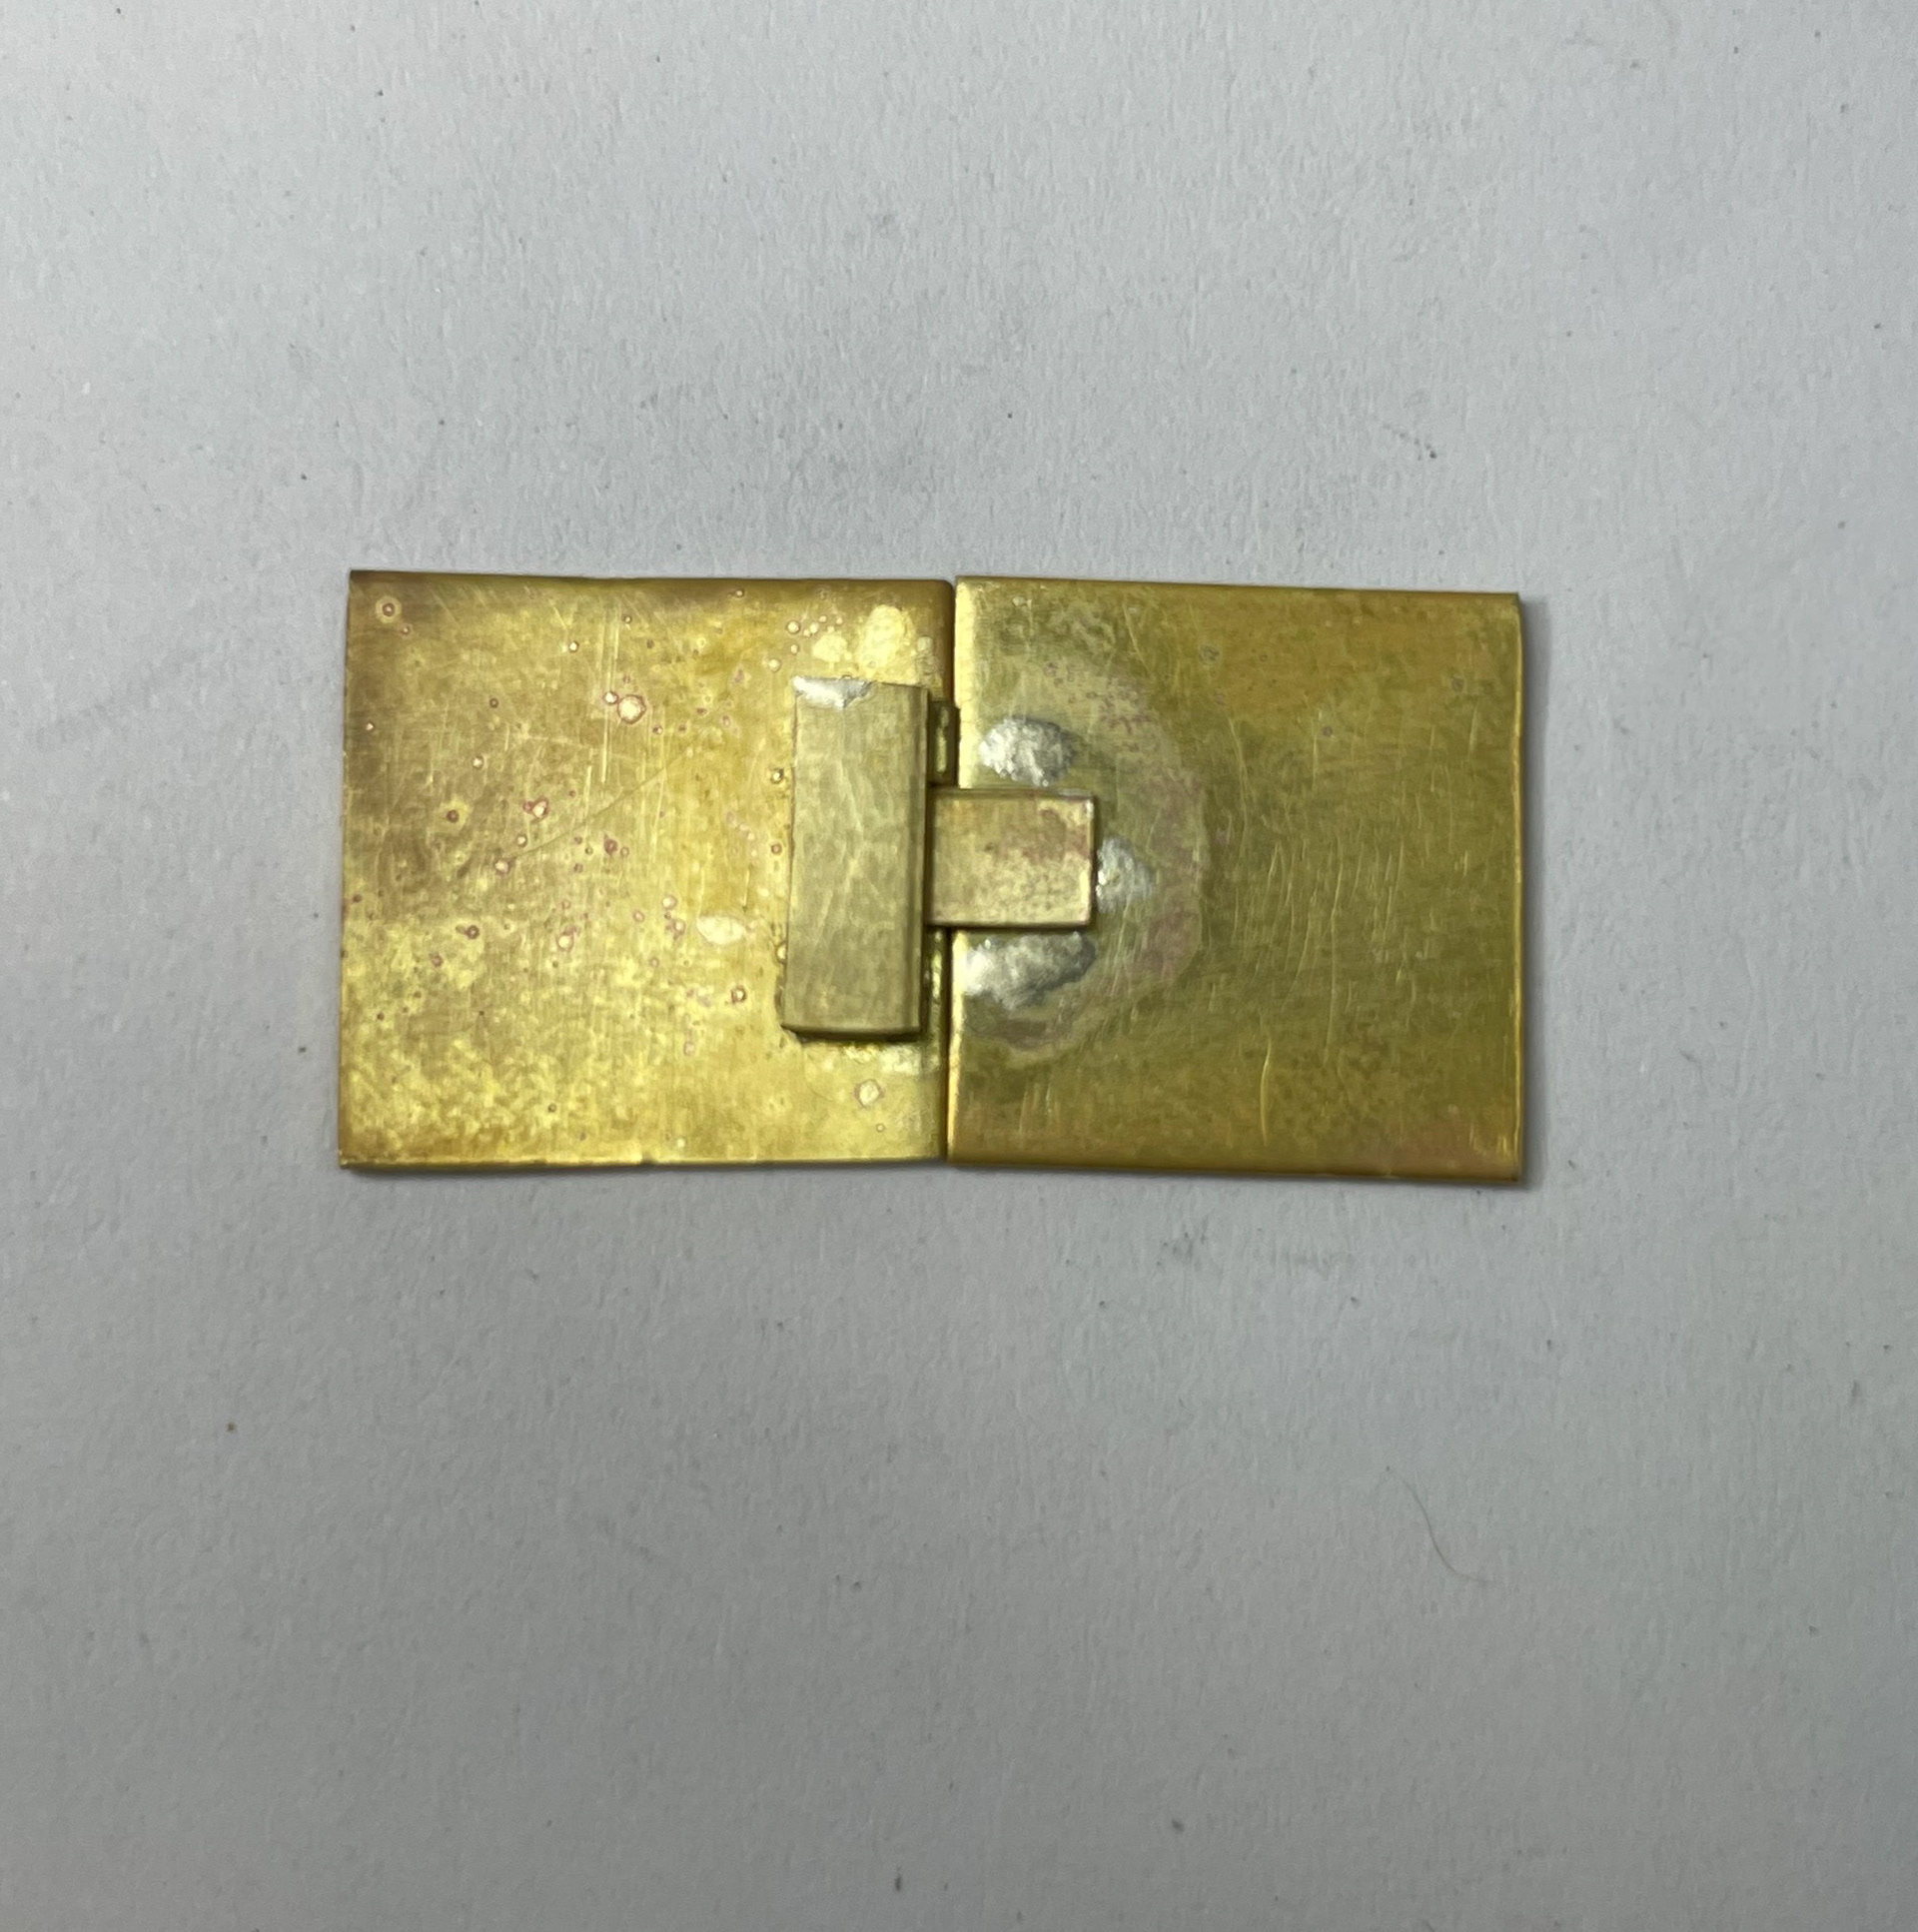
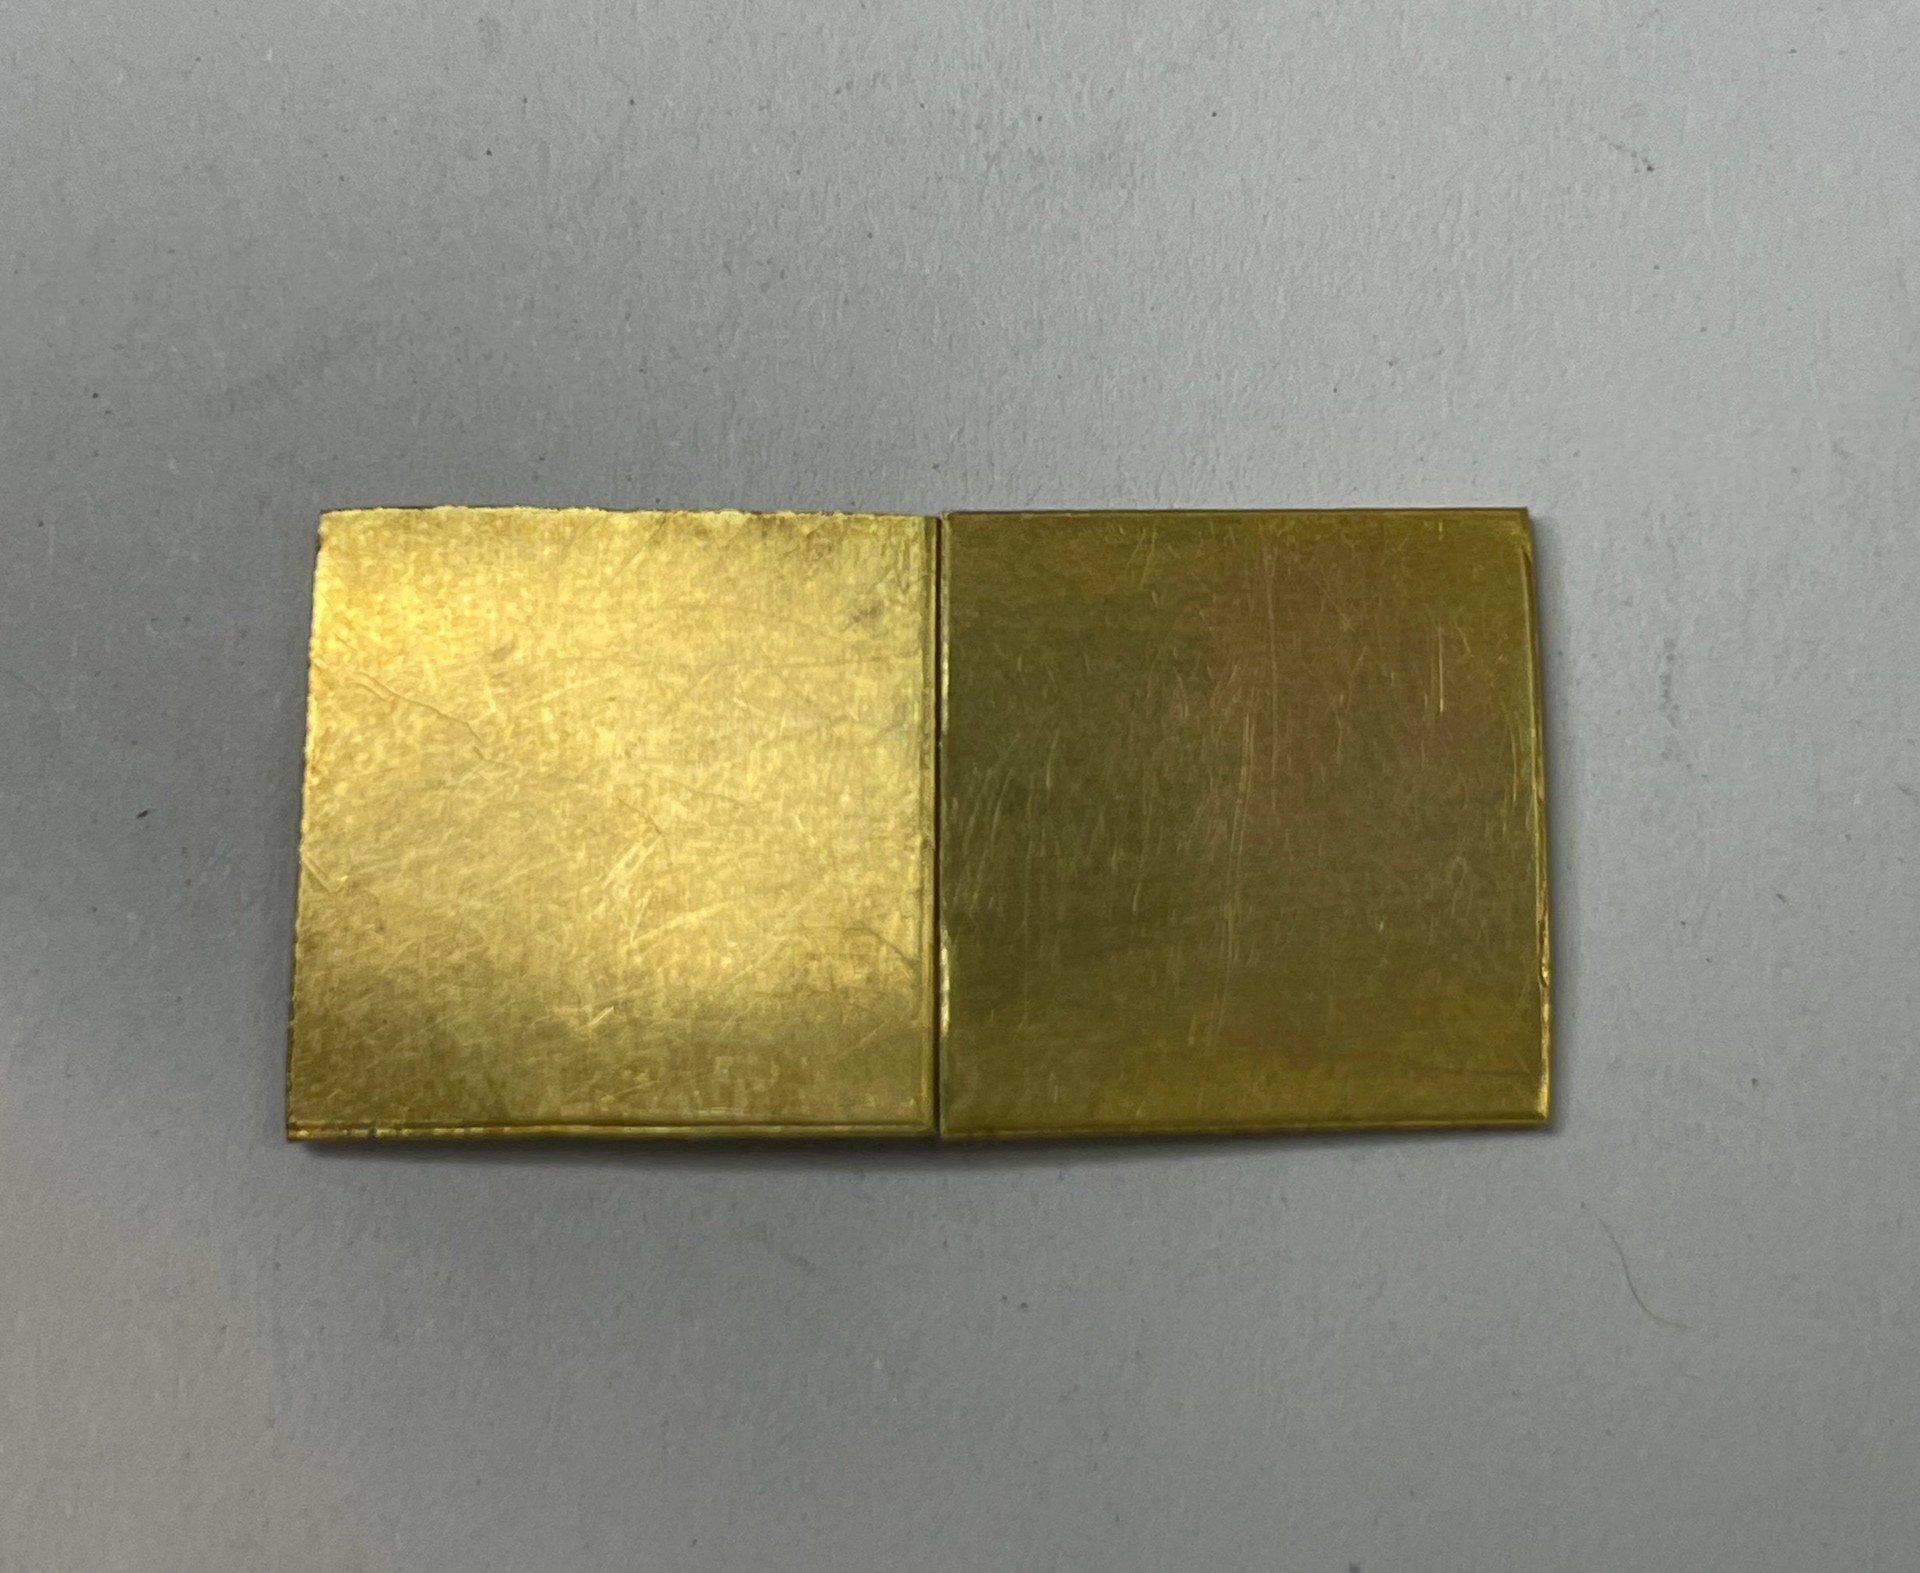
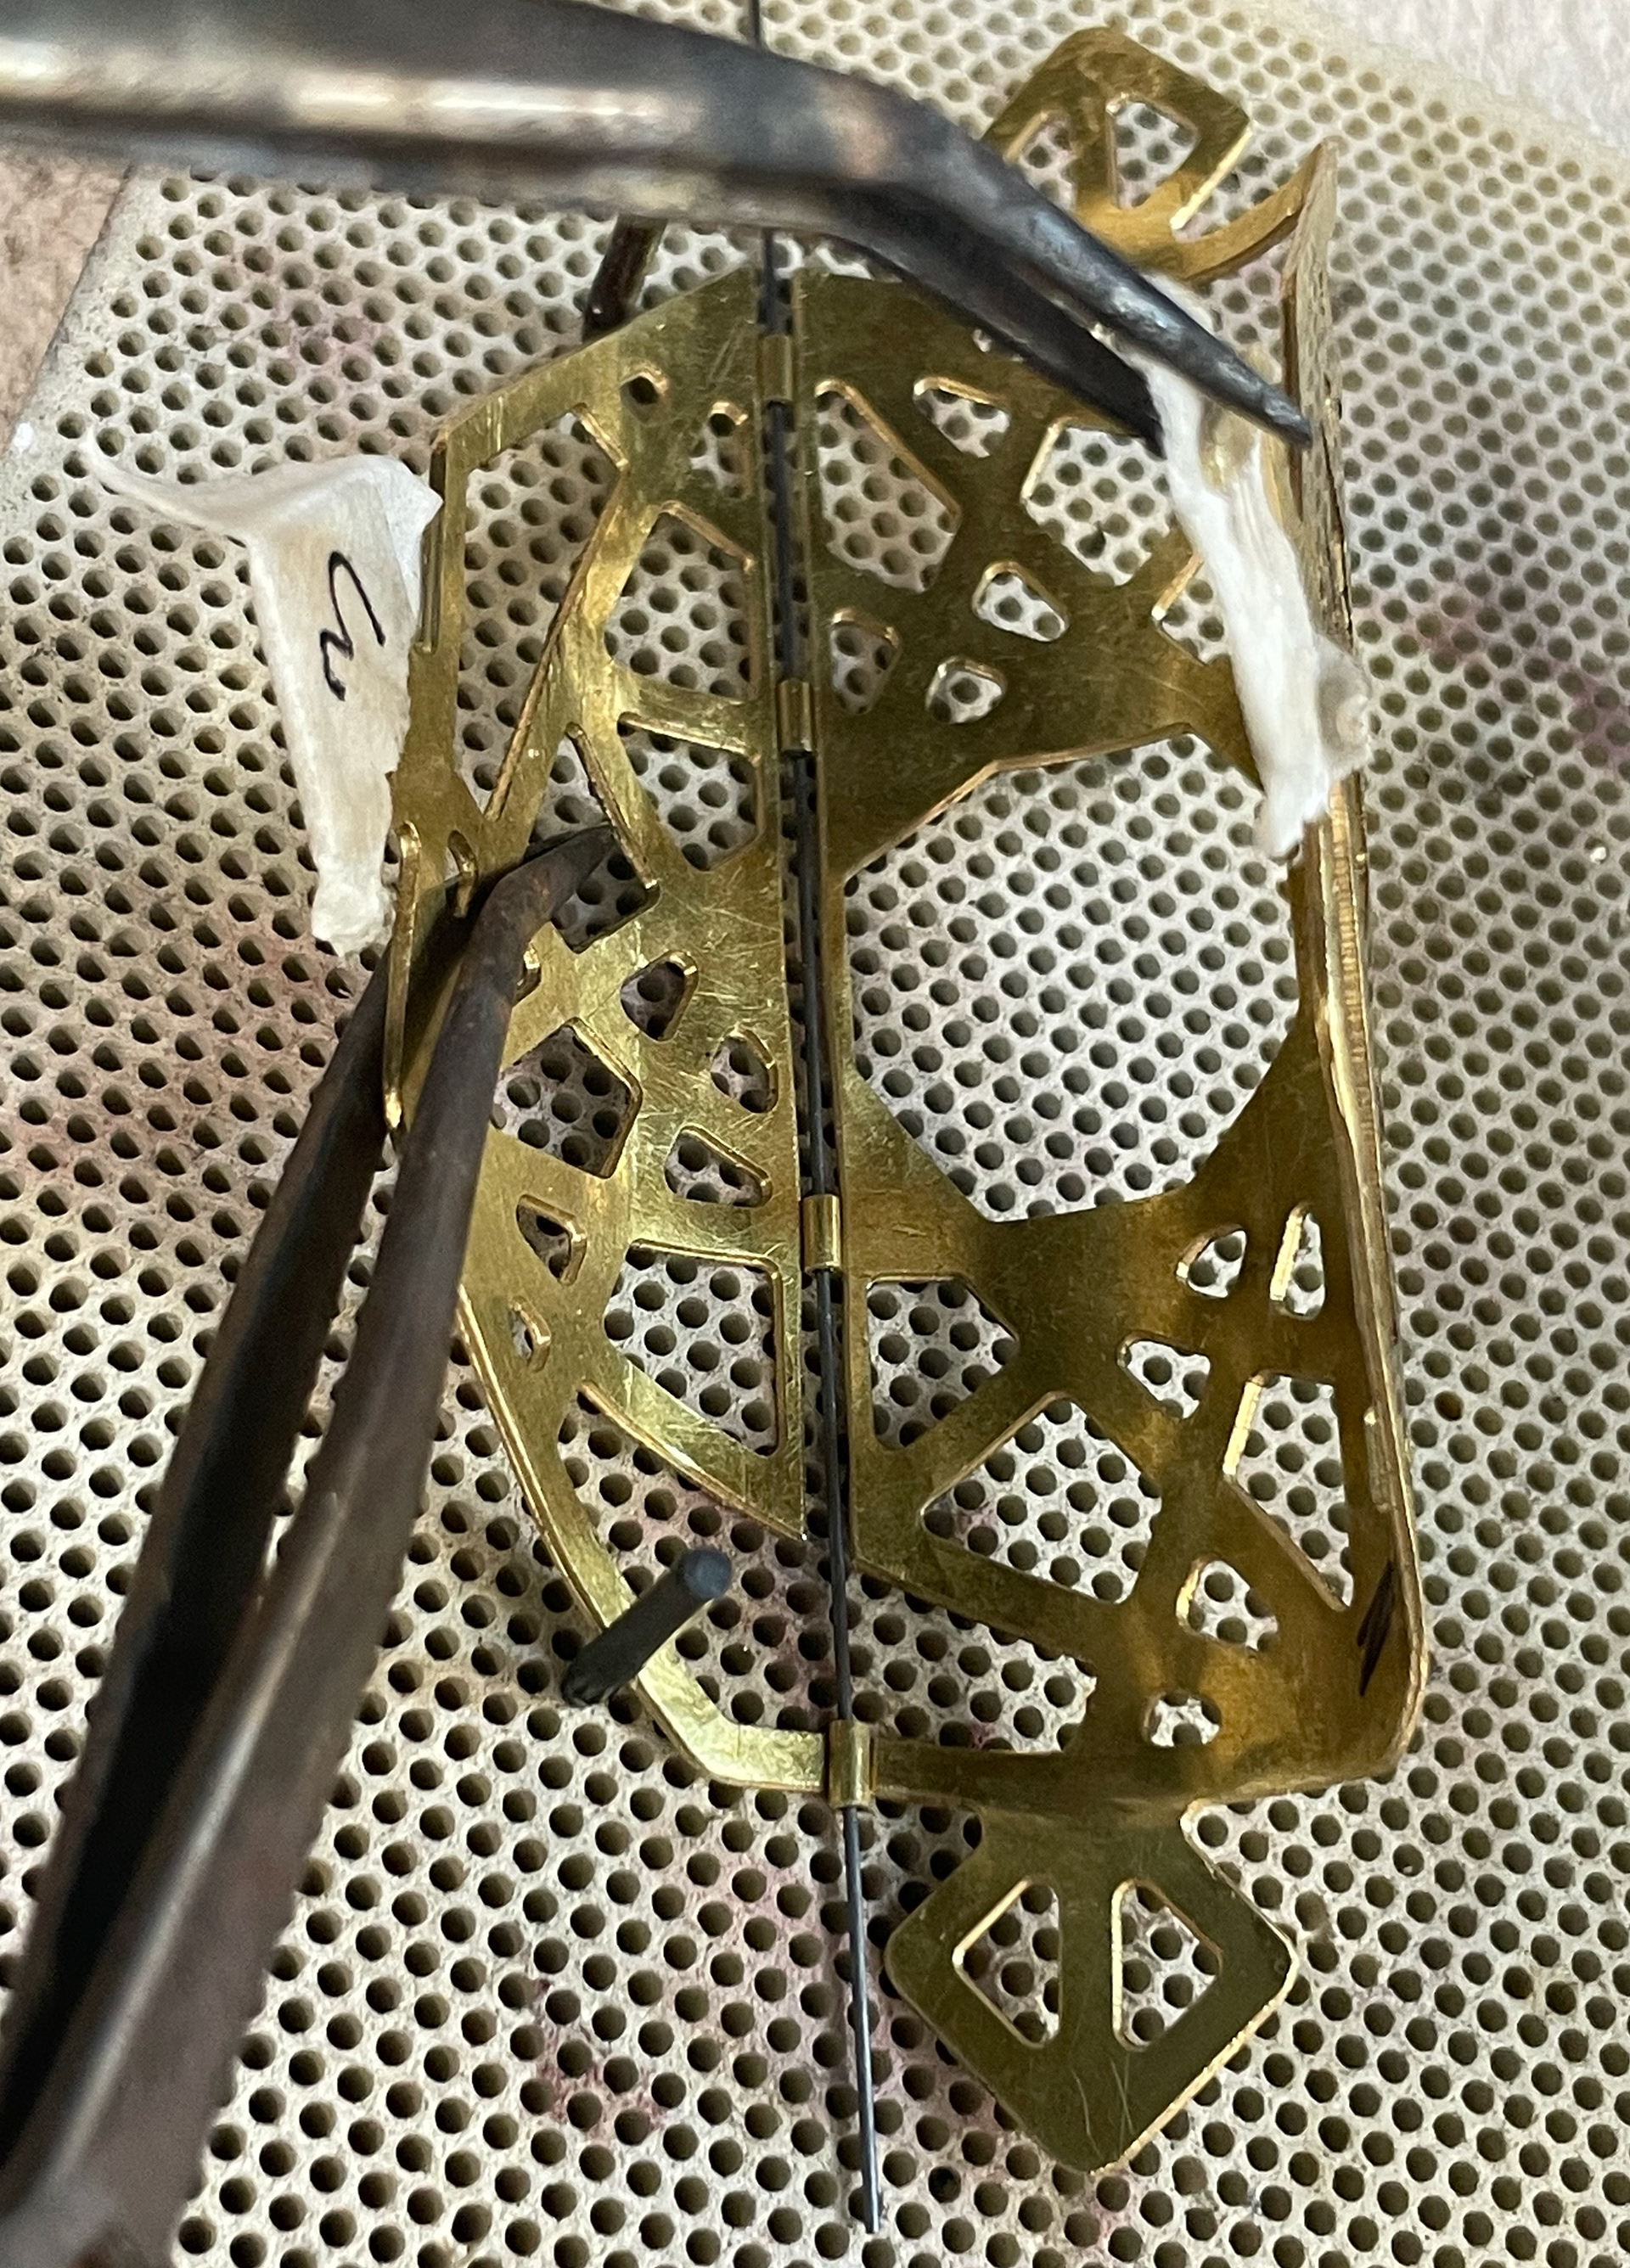
Based on the previous sample I decided to make bigger hinges and fewer of them. I made four 3mm hinges instead. I also bevelled the edges here too. I used a scrap piece of tube to hold the graphite in place as the graphite stick I had wasn't the same length as the sheet metal. This sample was more successful, aligned and soldered better. The back of the hinge the sheet metal is flush and the hinge isn't visible from the outside.
Tube pieces cut into 3mm sections
Bevelled metal ready for the tubes to be put in place and soldered
Tube in place
Graphite sticks in place to hold the tube
Inside of the hinge
Back of the hinge when open
The back of the hinge when shut
Overall this went a lot better and I could see the improvements. However, I still felt the hinge could be stronger, meaning it would be more durable.
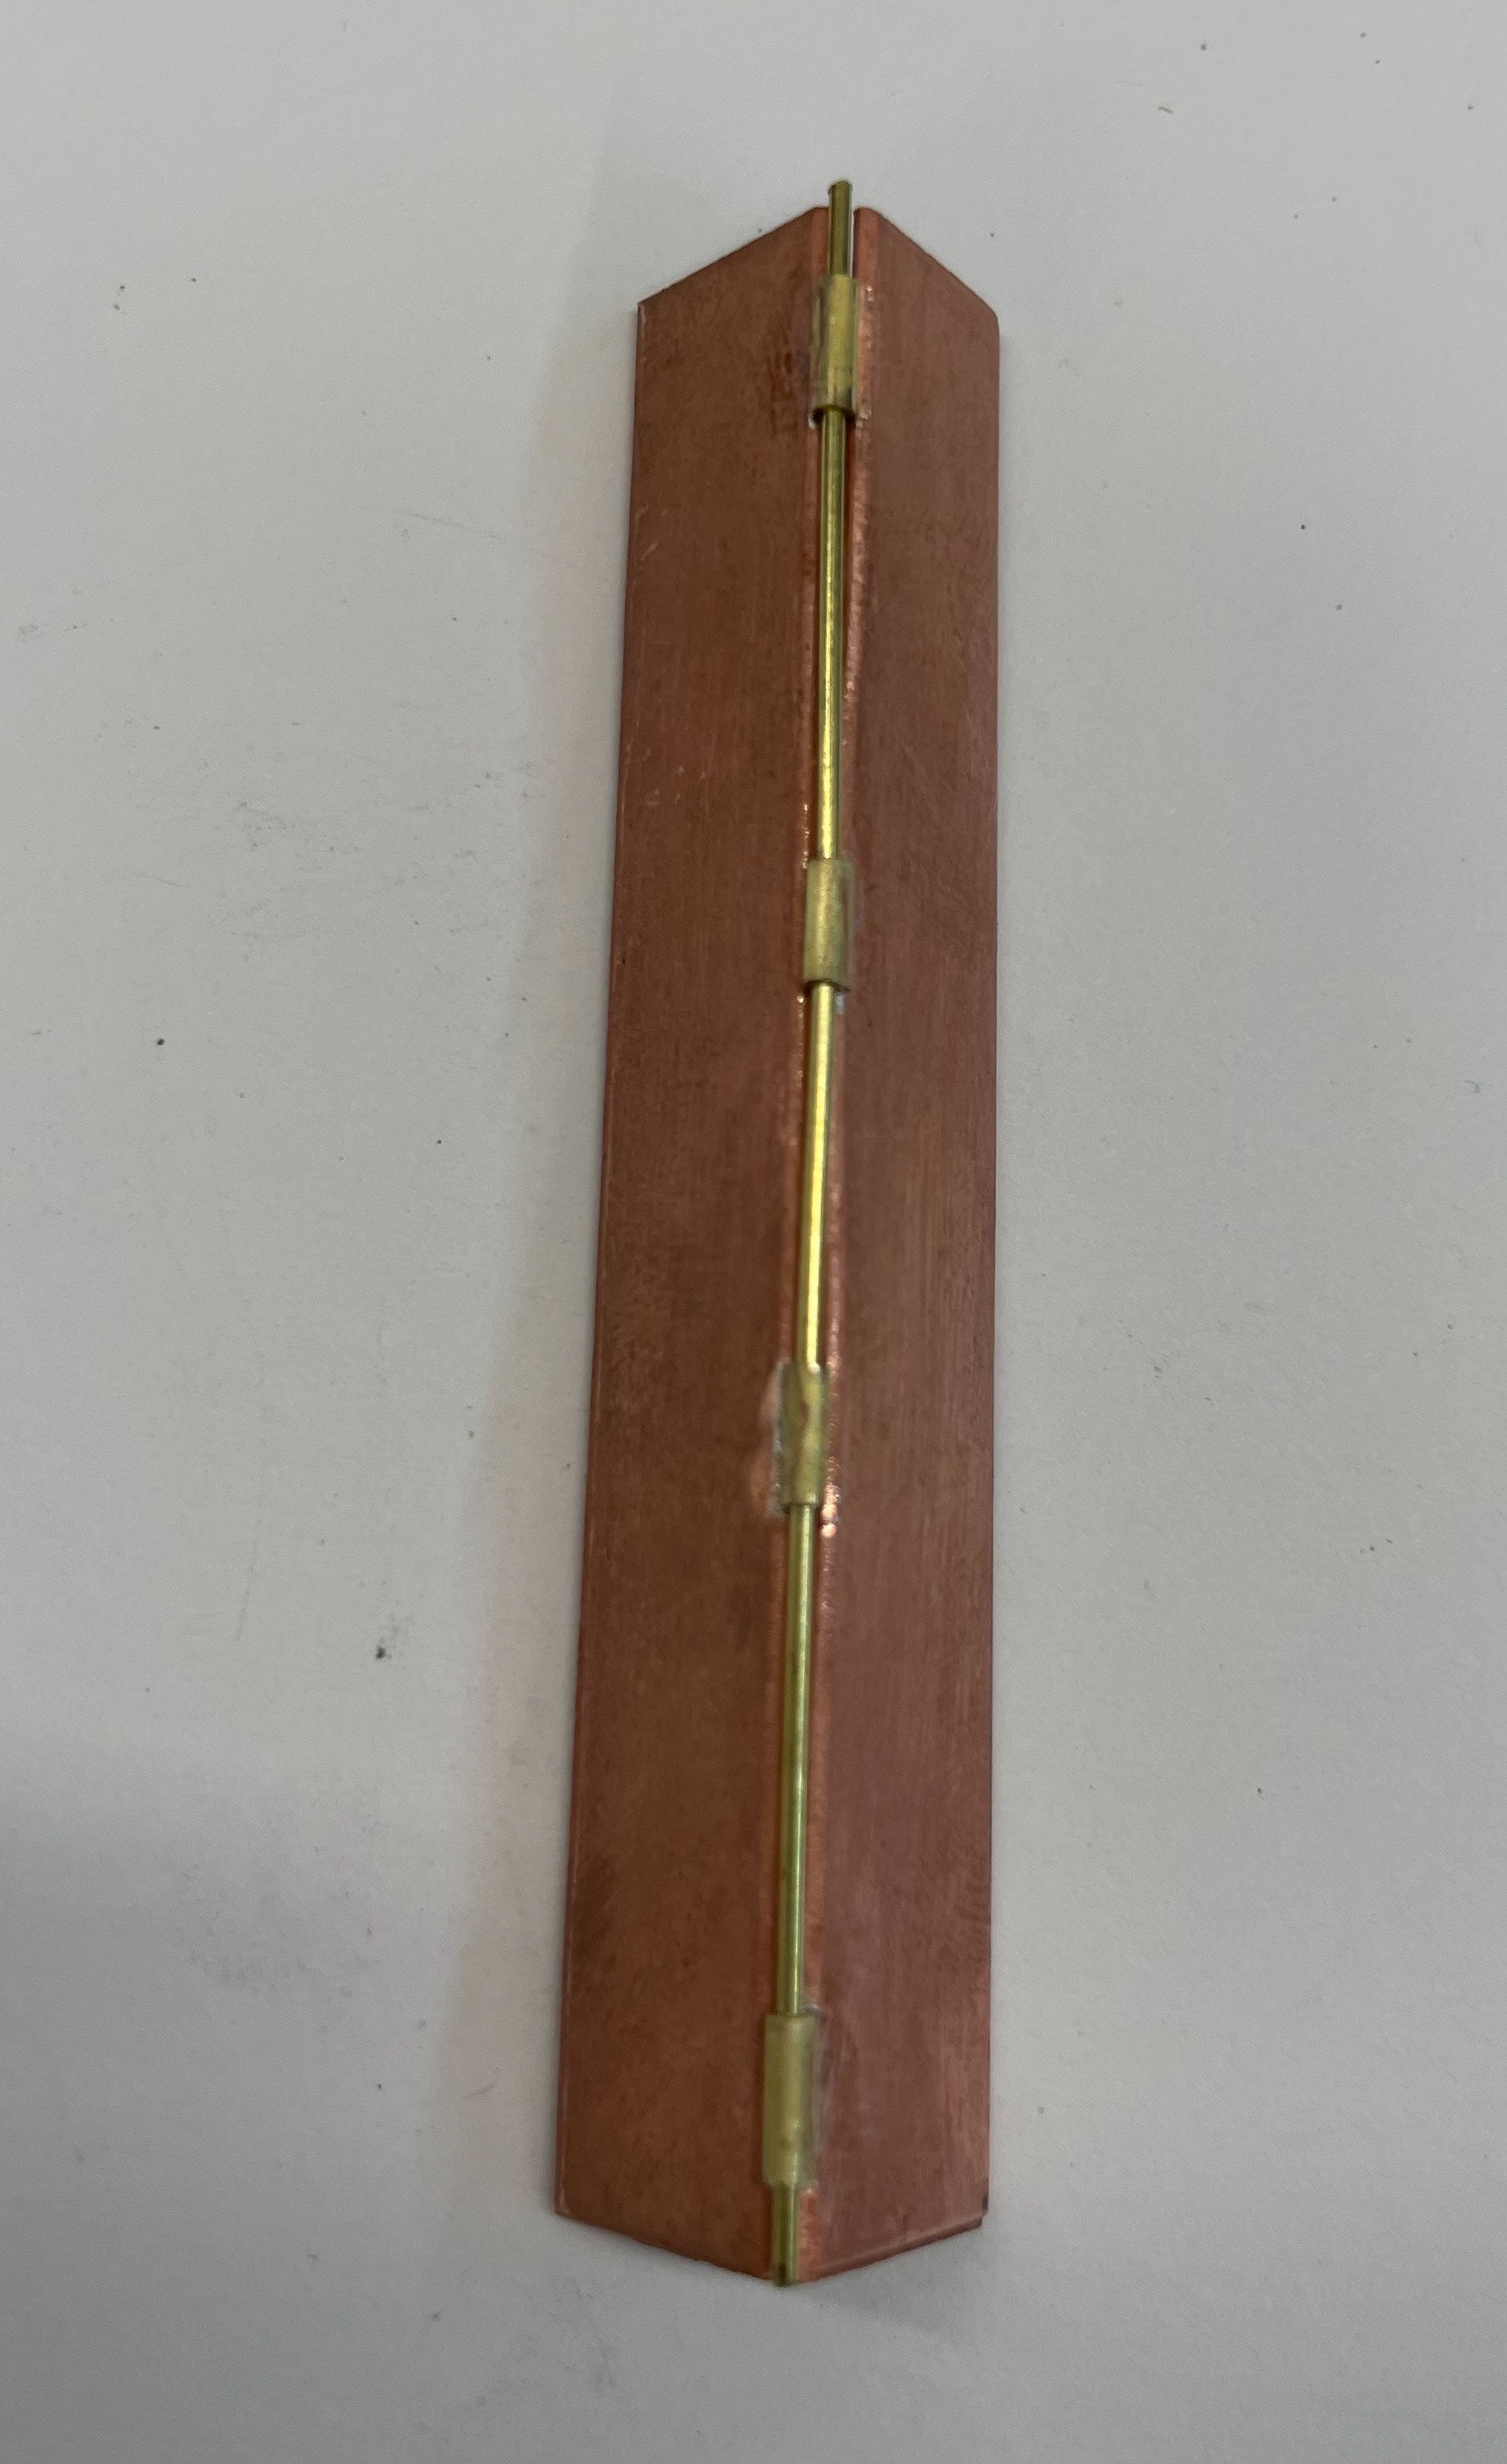
I then wanted to test a hinge with more of a traditional three-butt hinge in the middle with a couple of extra hinges added and then assess the durability and aesthetic of this. I thought about where I would place the hinges based on the design of the pattern it will eventually be on. As you can see one of the pieces of tube didn't solder on the first attempt but I managed to do this successfully after cleaning my metal and trying again.
Tube ready to be soldered with flux on
Solder pieces in place
Soldering went wrong
After being soldered
Pickled hinge
Outside of the hine open

Outside of the hinge closed
Reference of where I placed the hinges based off the design
This hinge also turned out successful and looks quite neat, however I didn't like how many tubes there were from an aesthetic point of view.
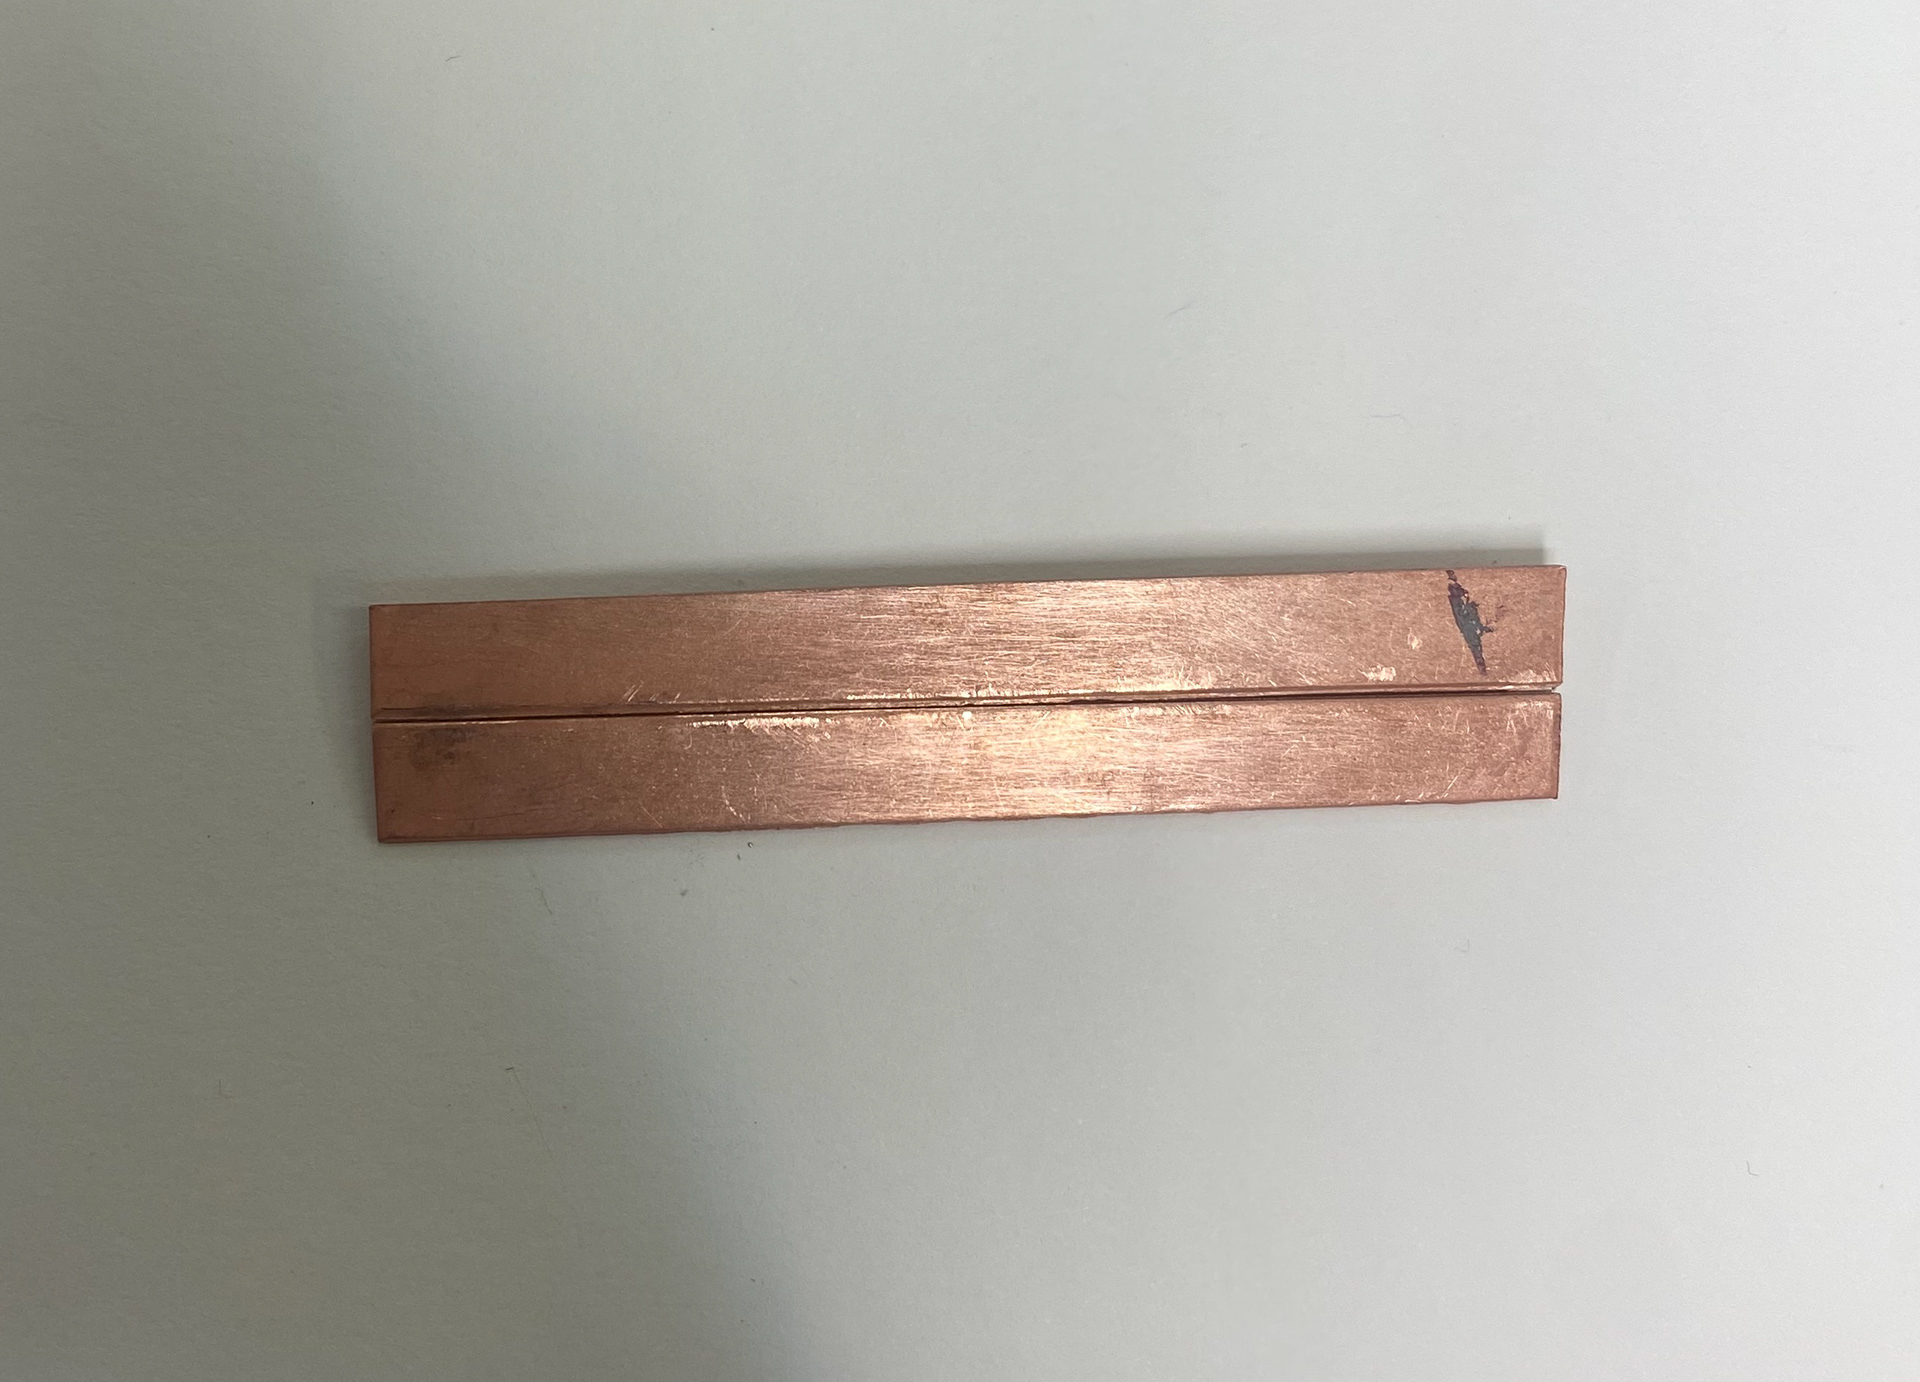
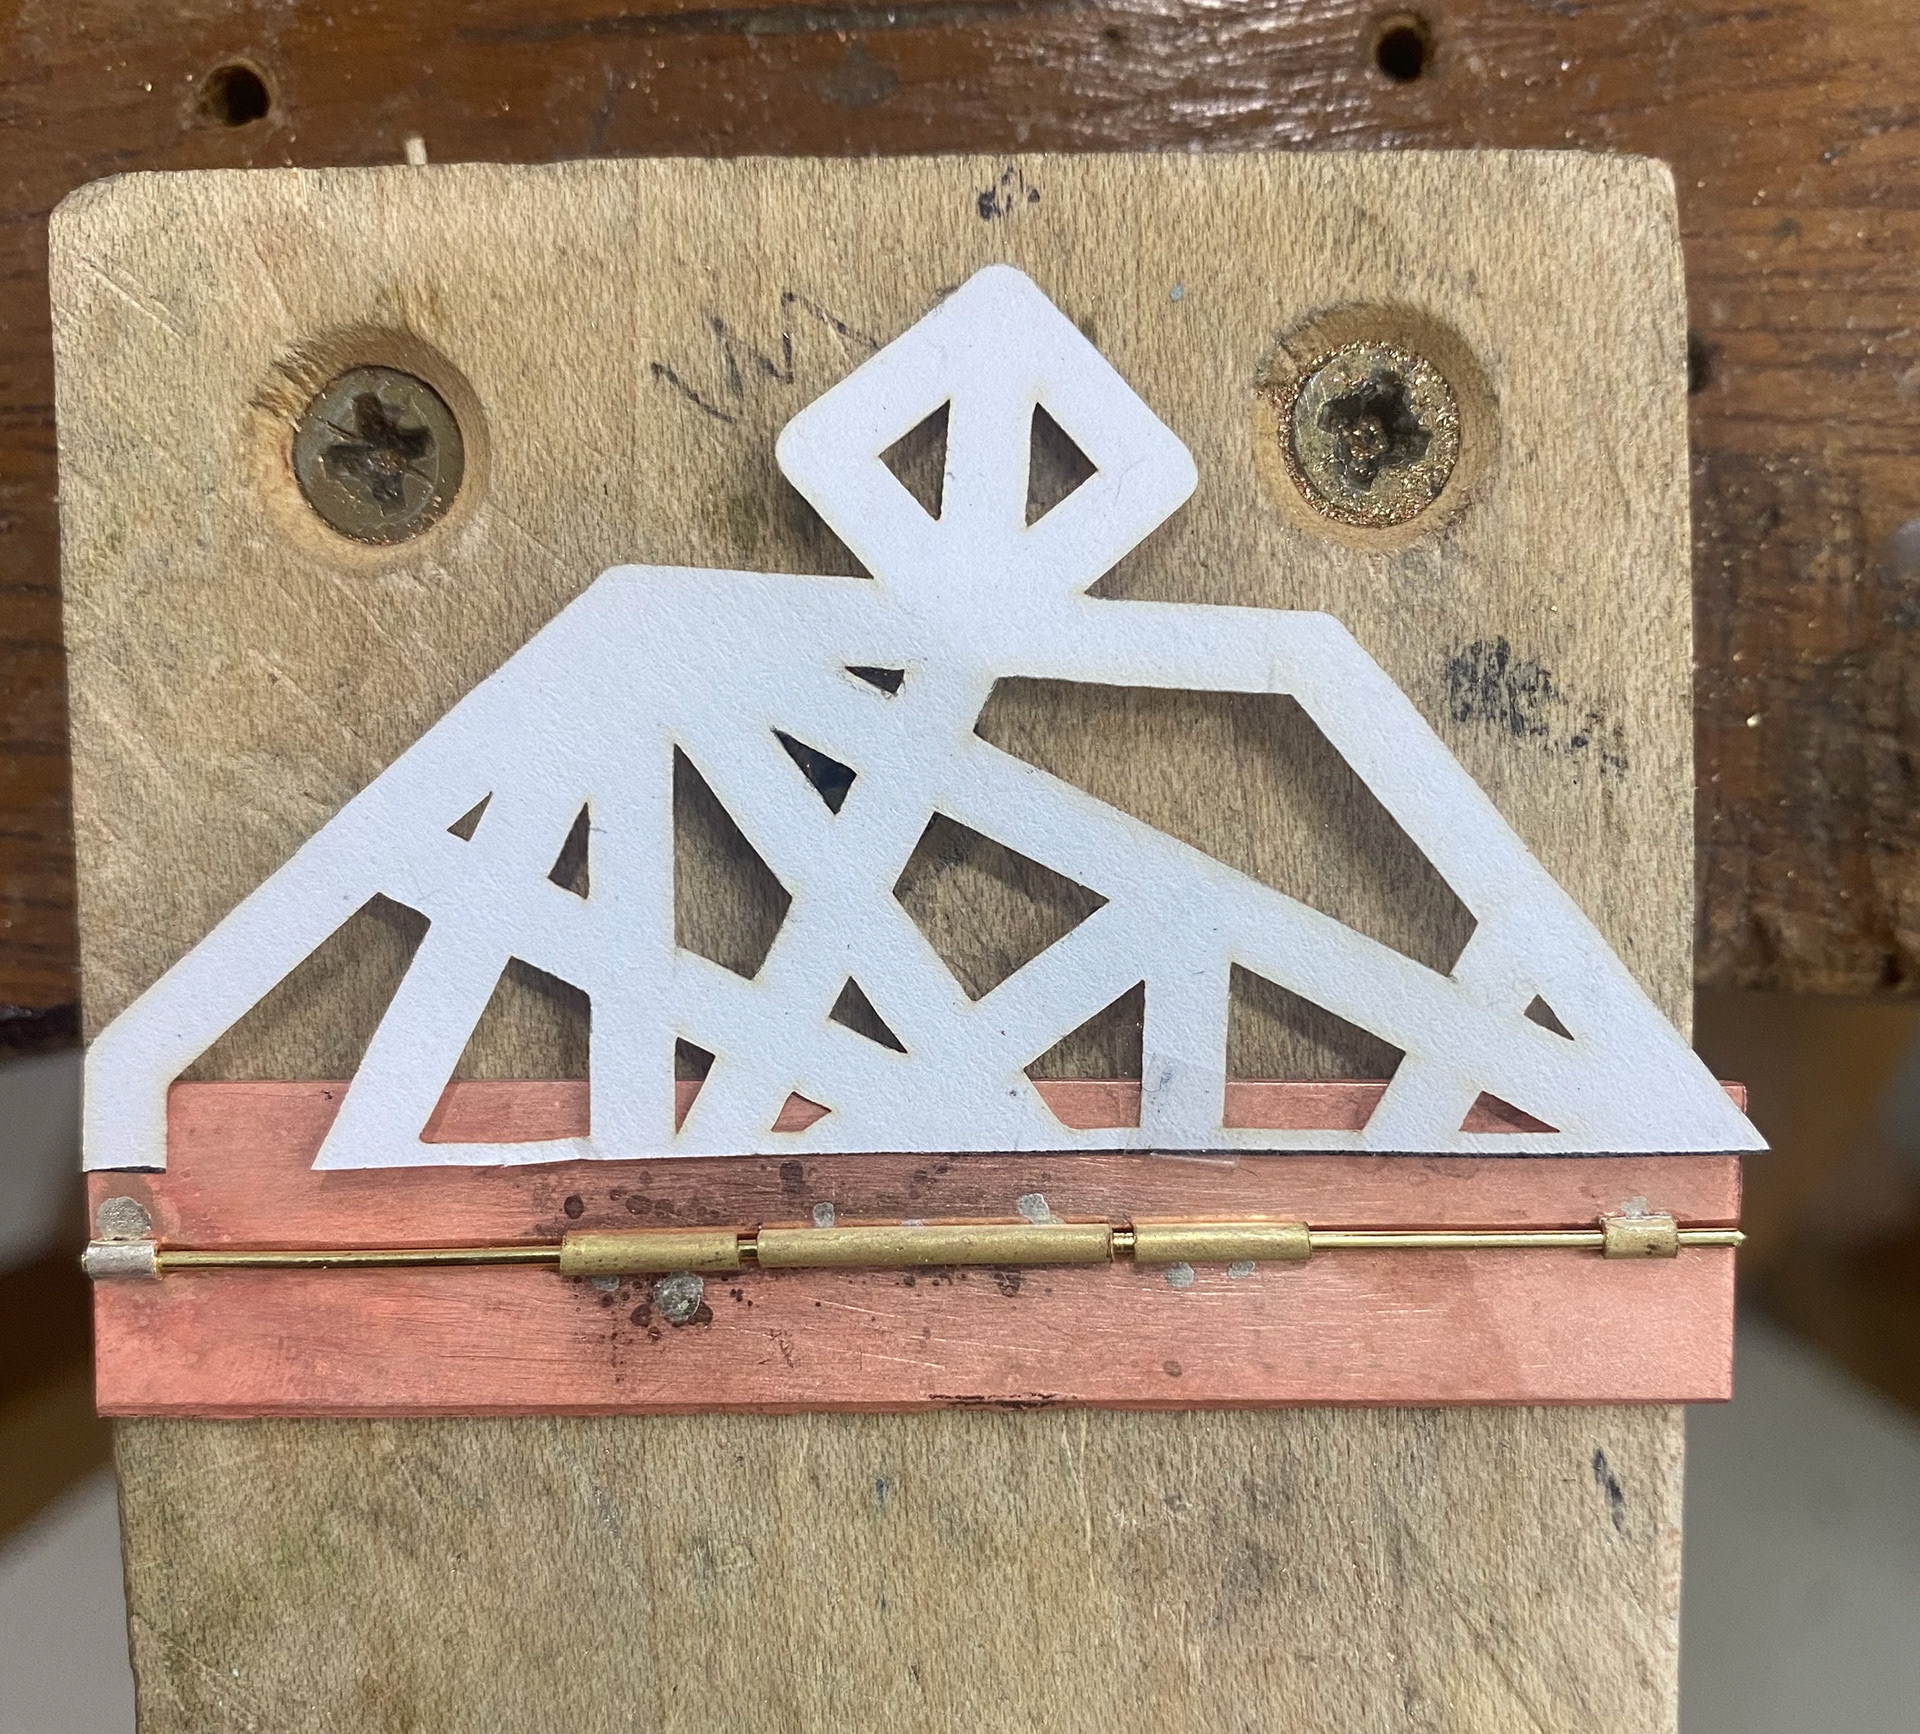
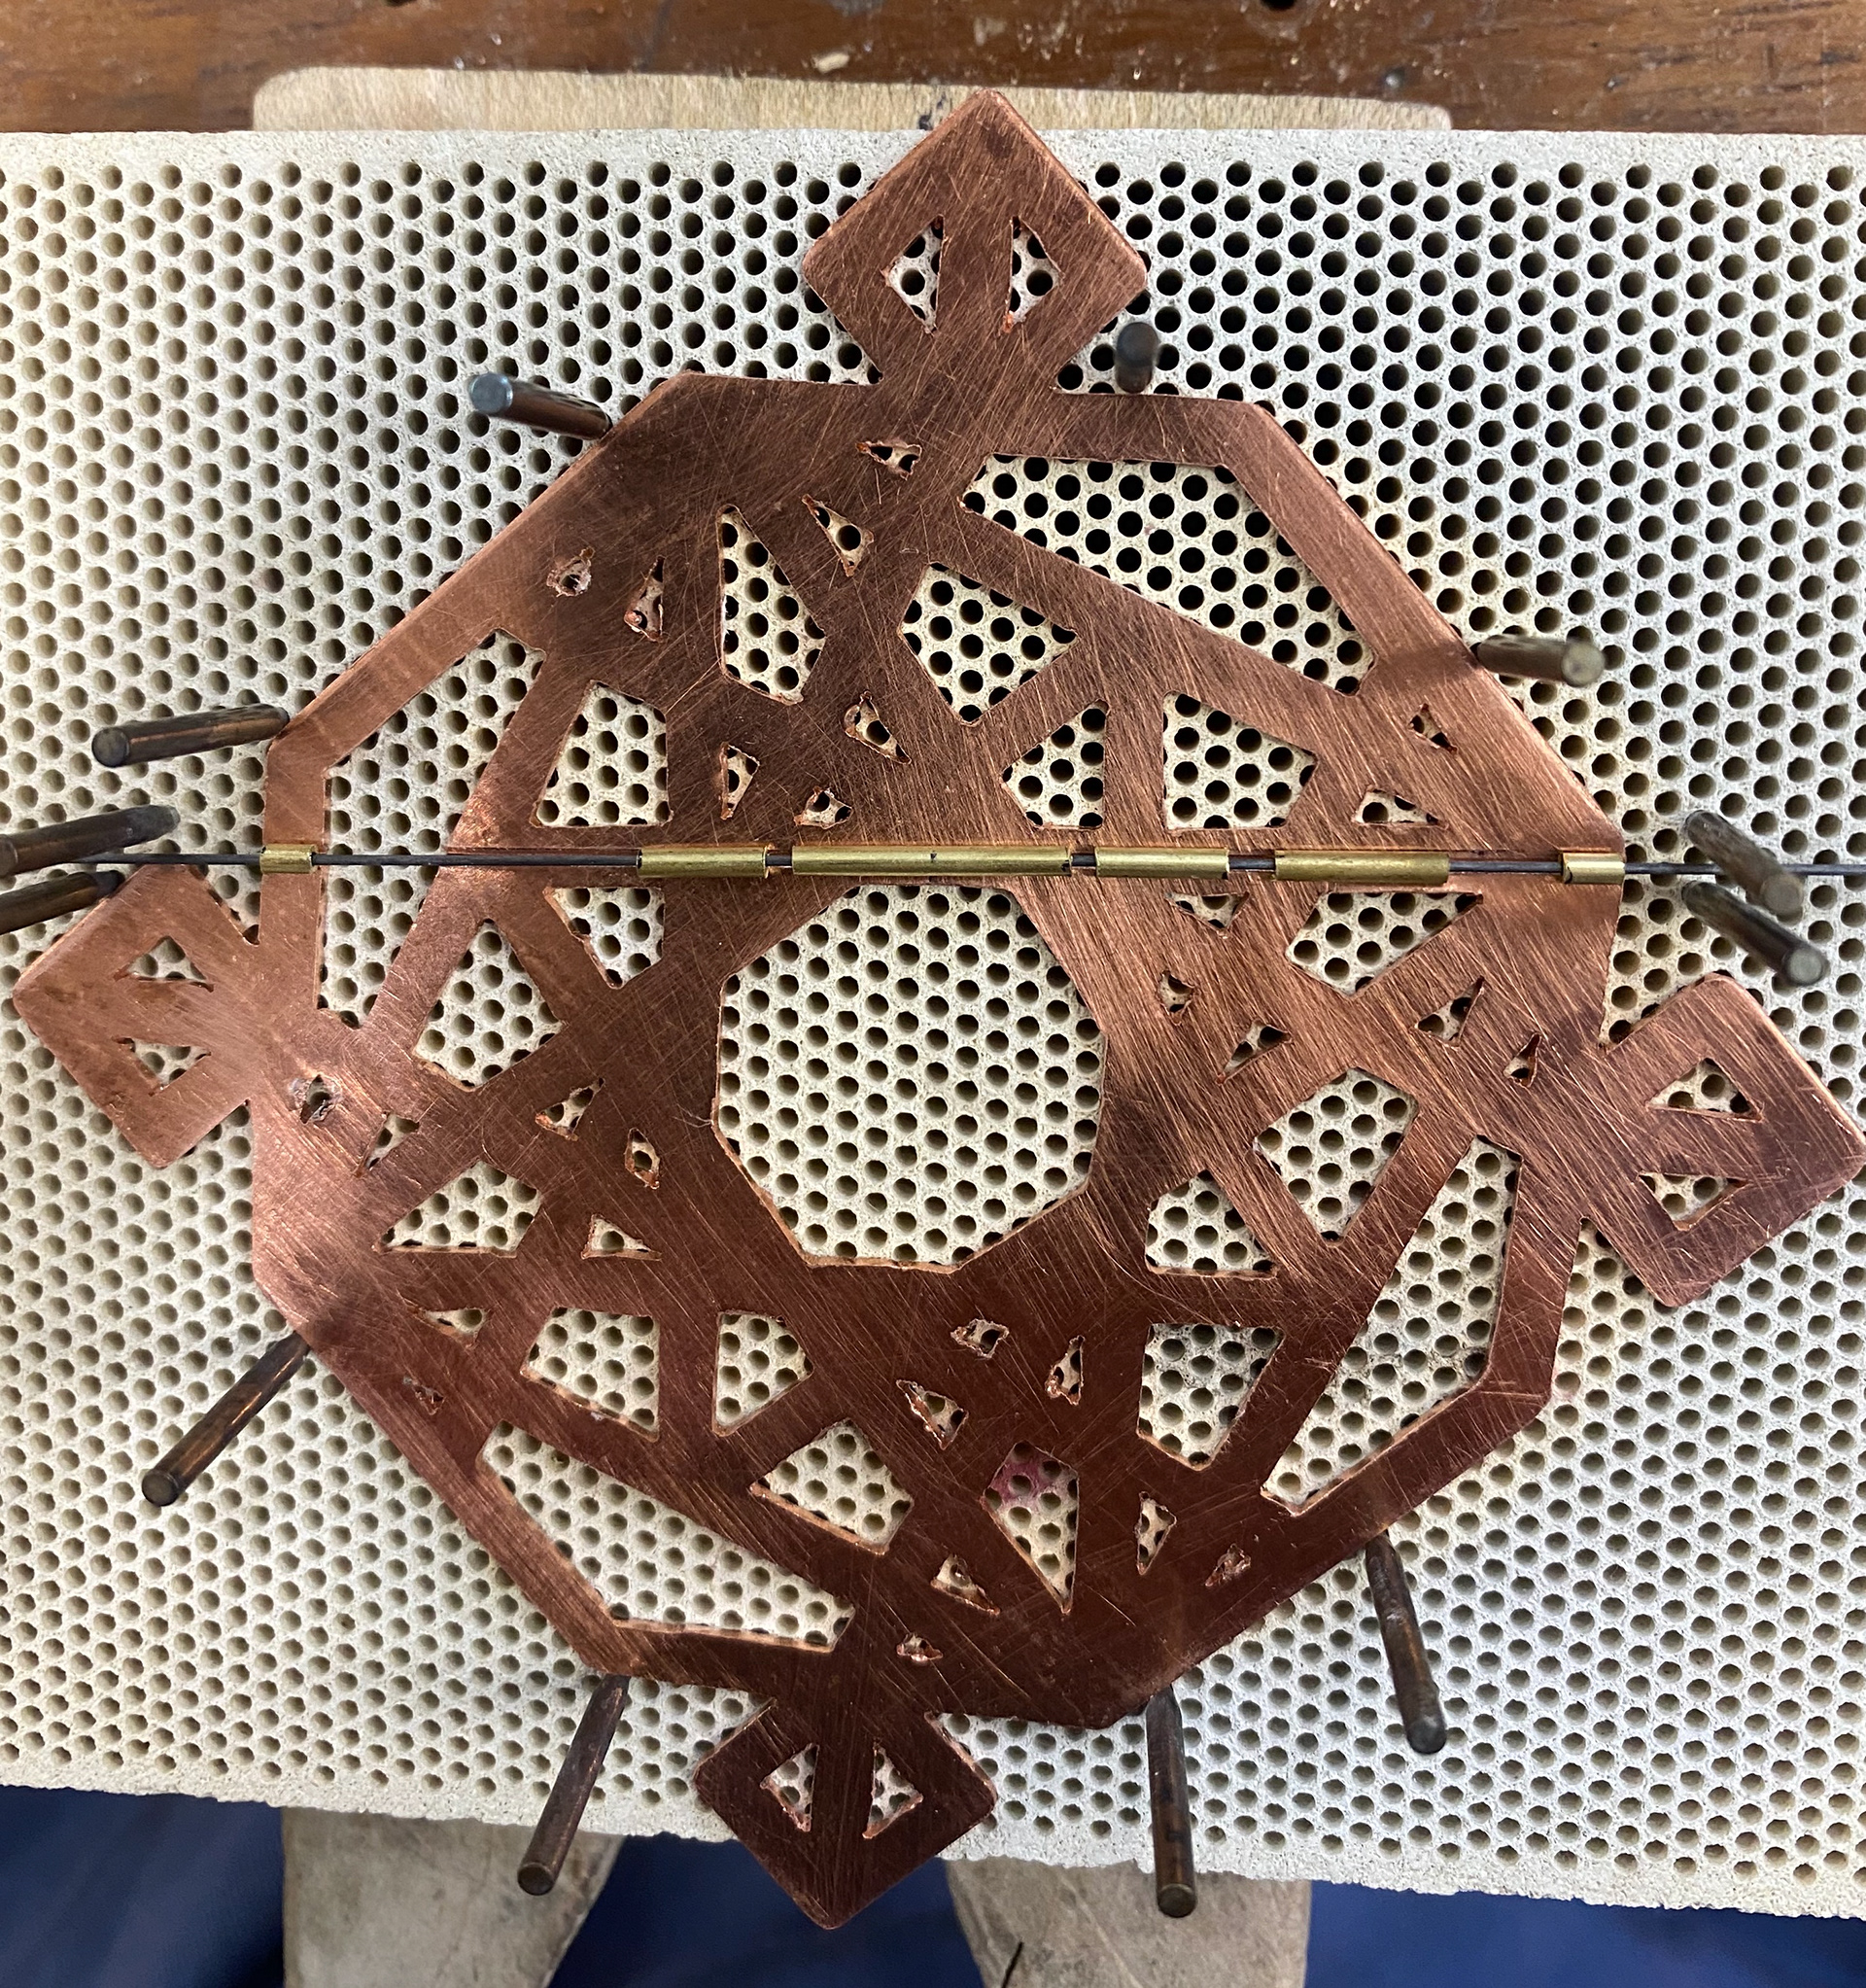
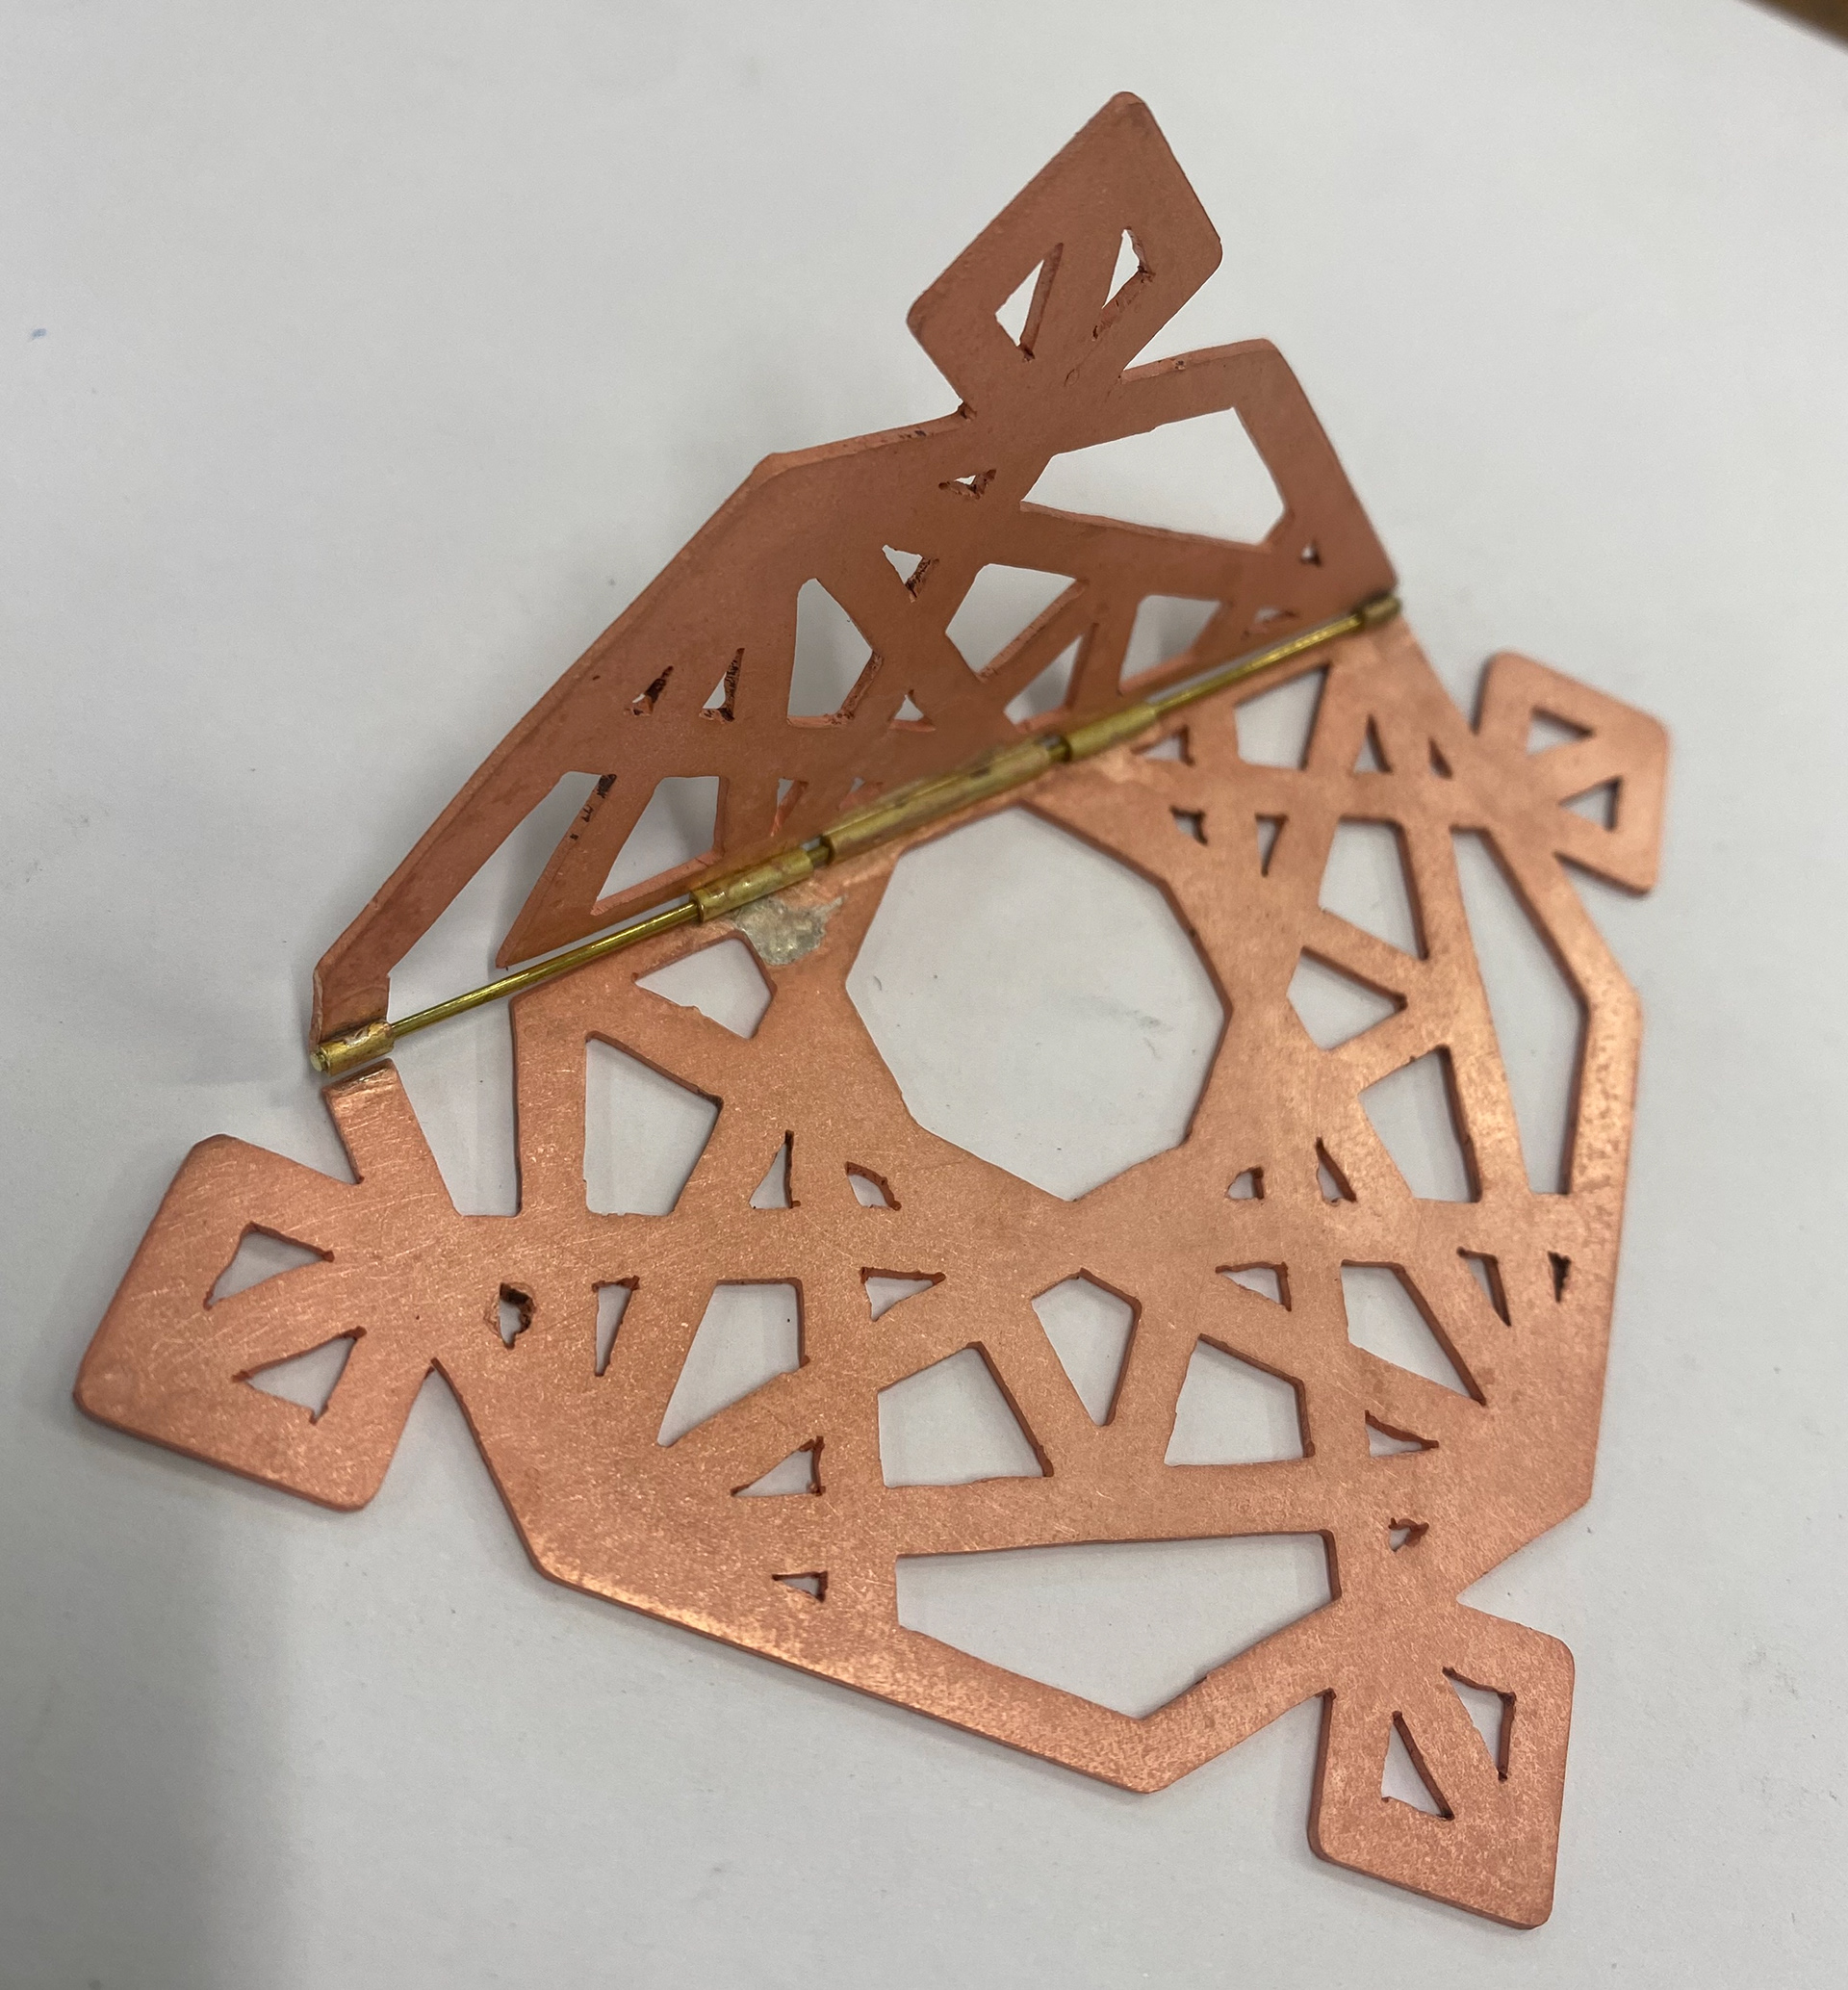
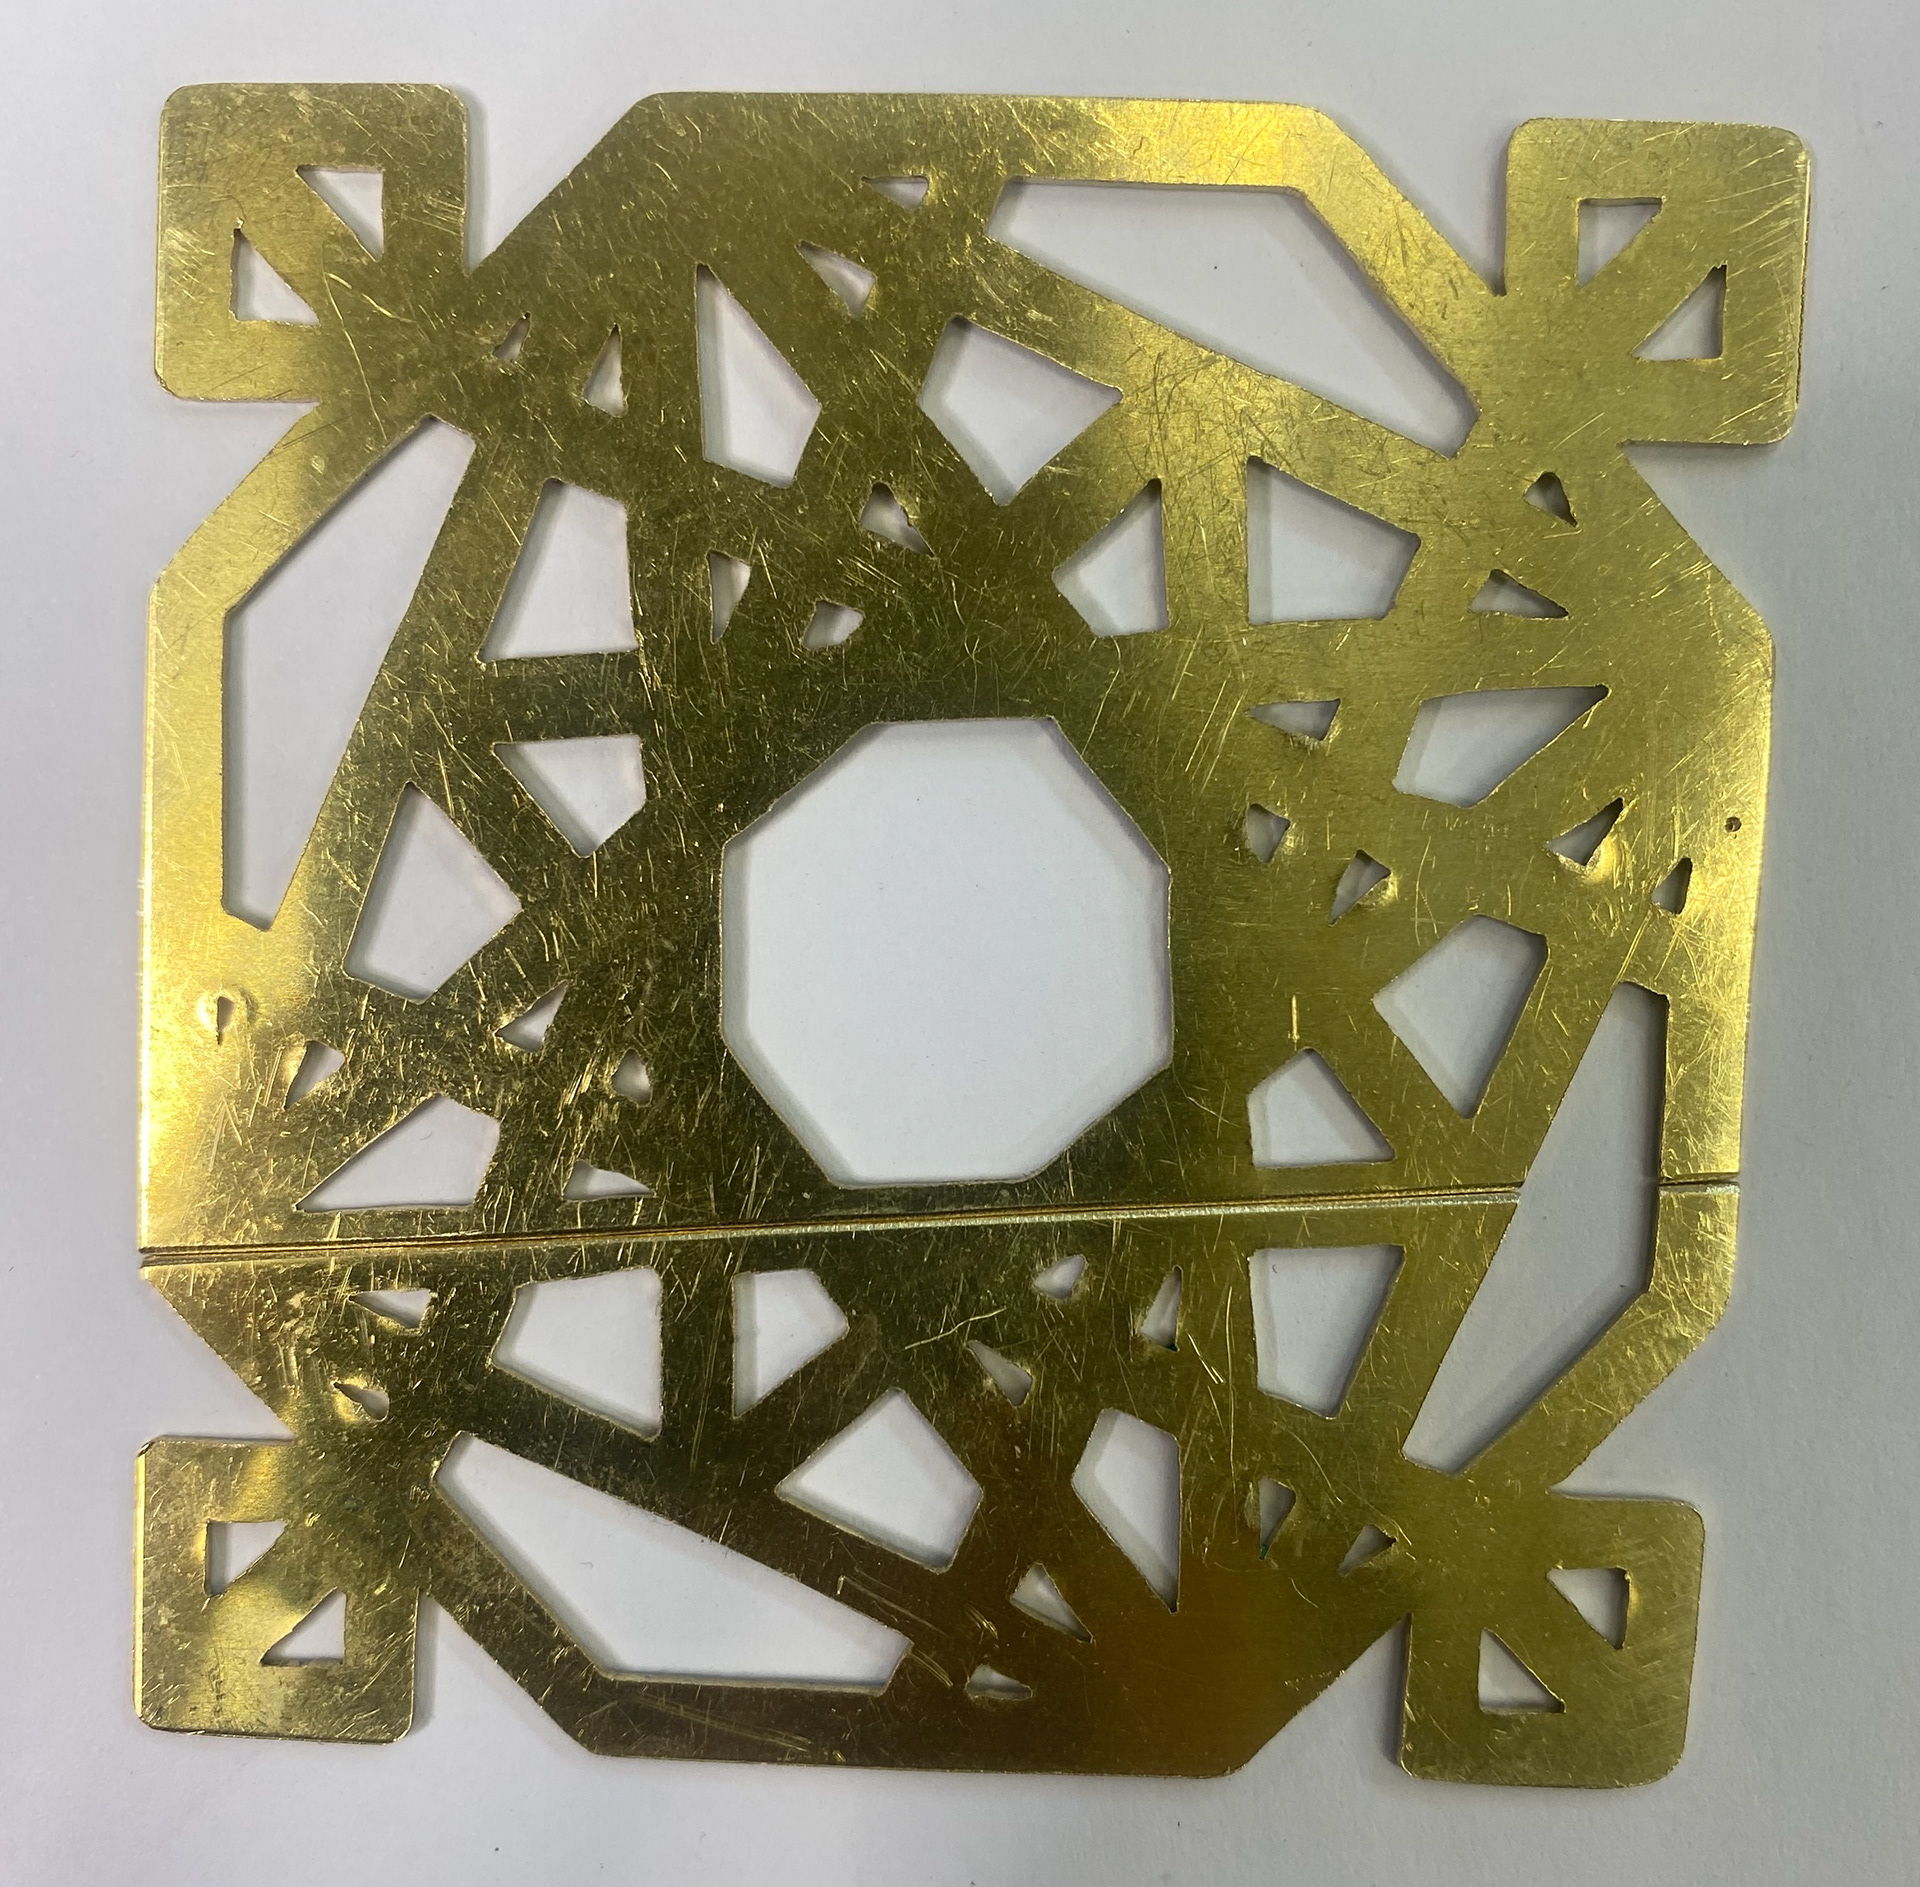
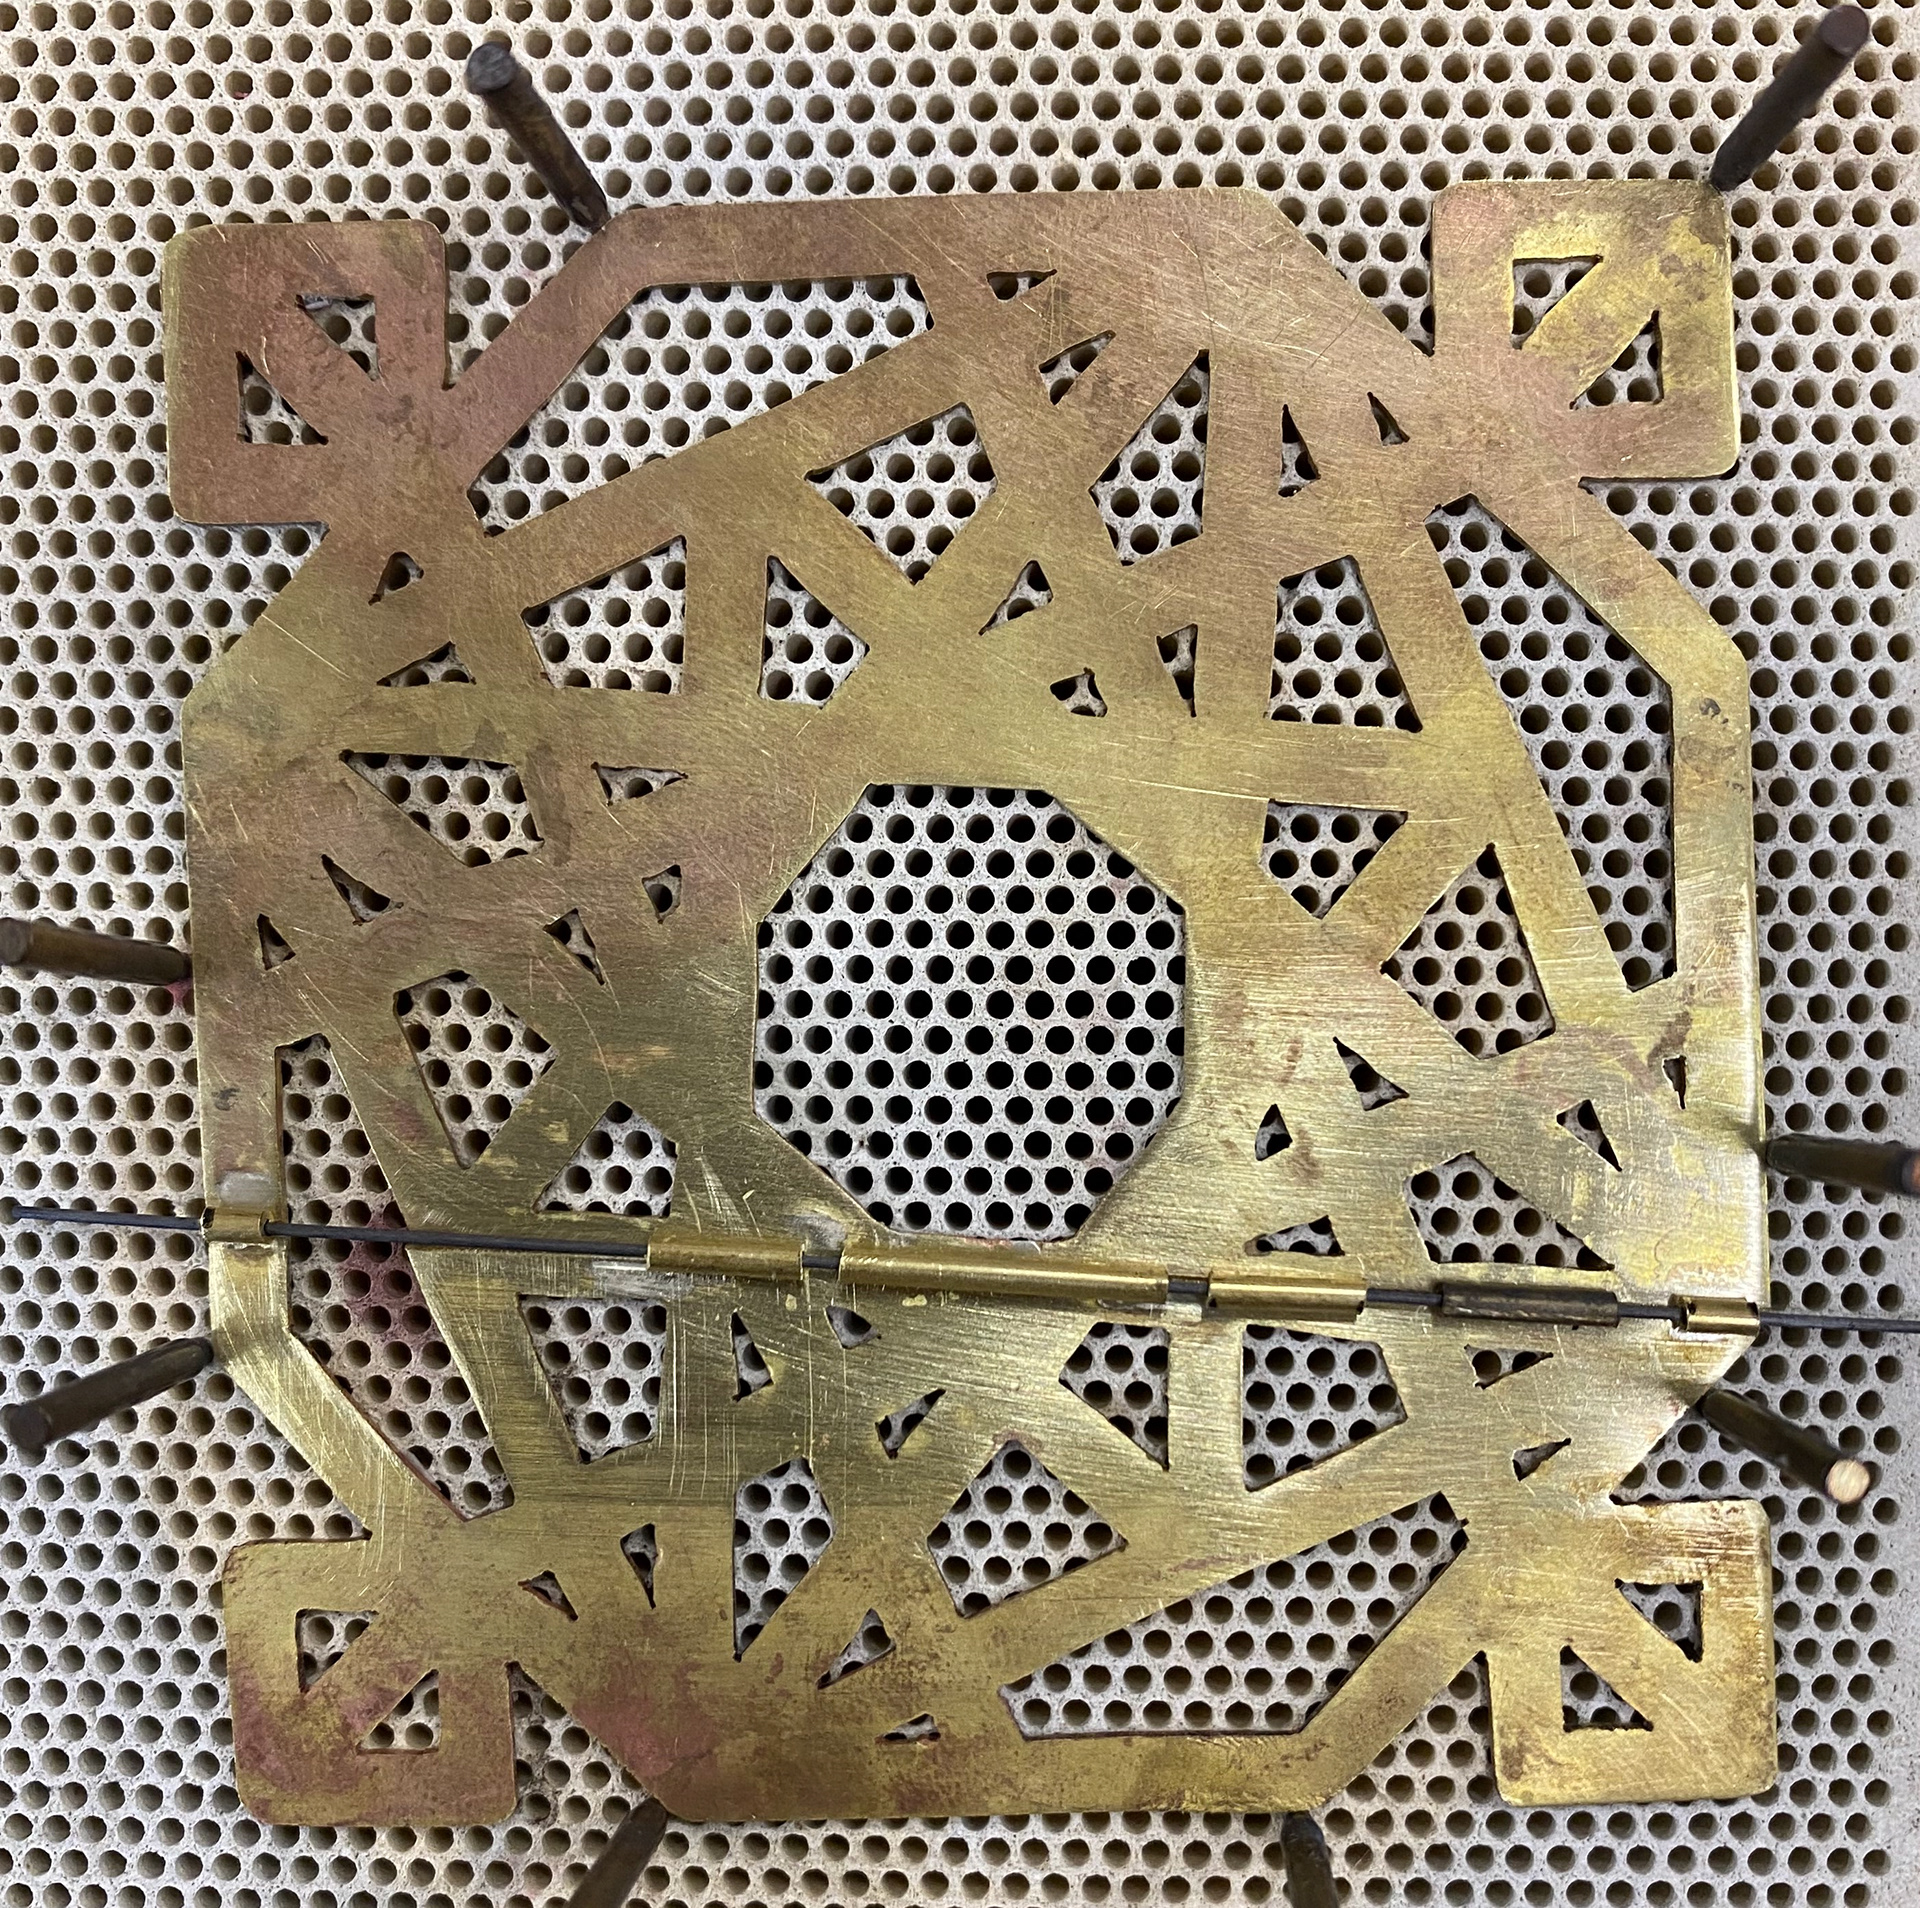
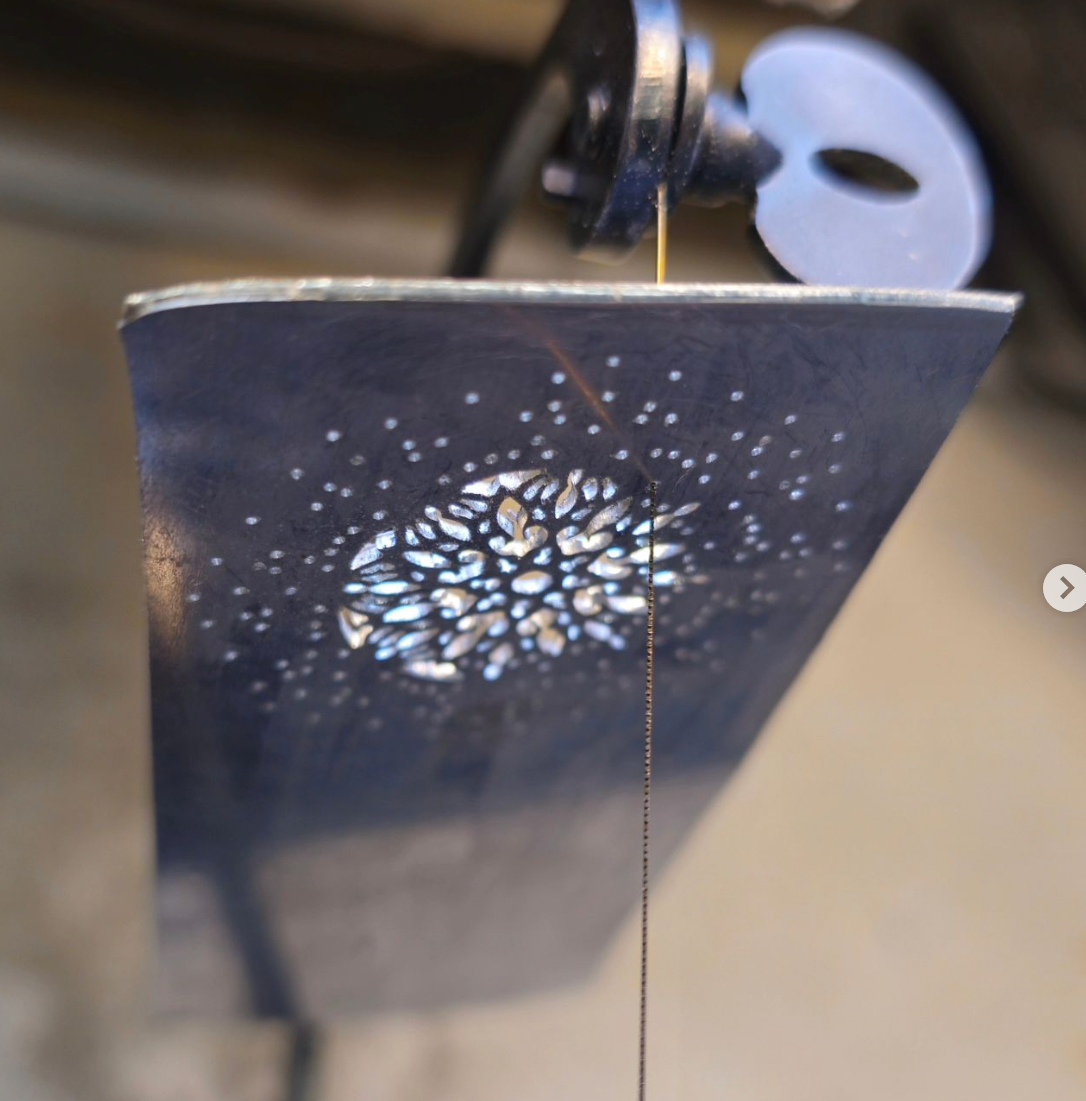
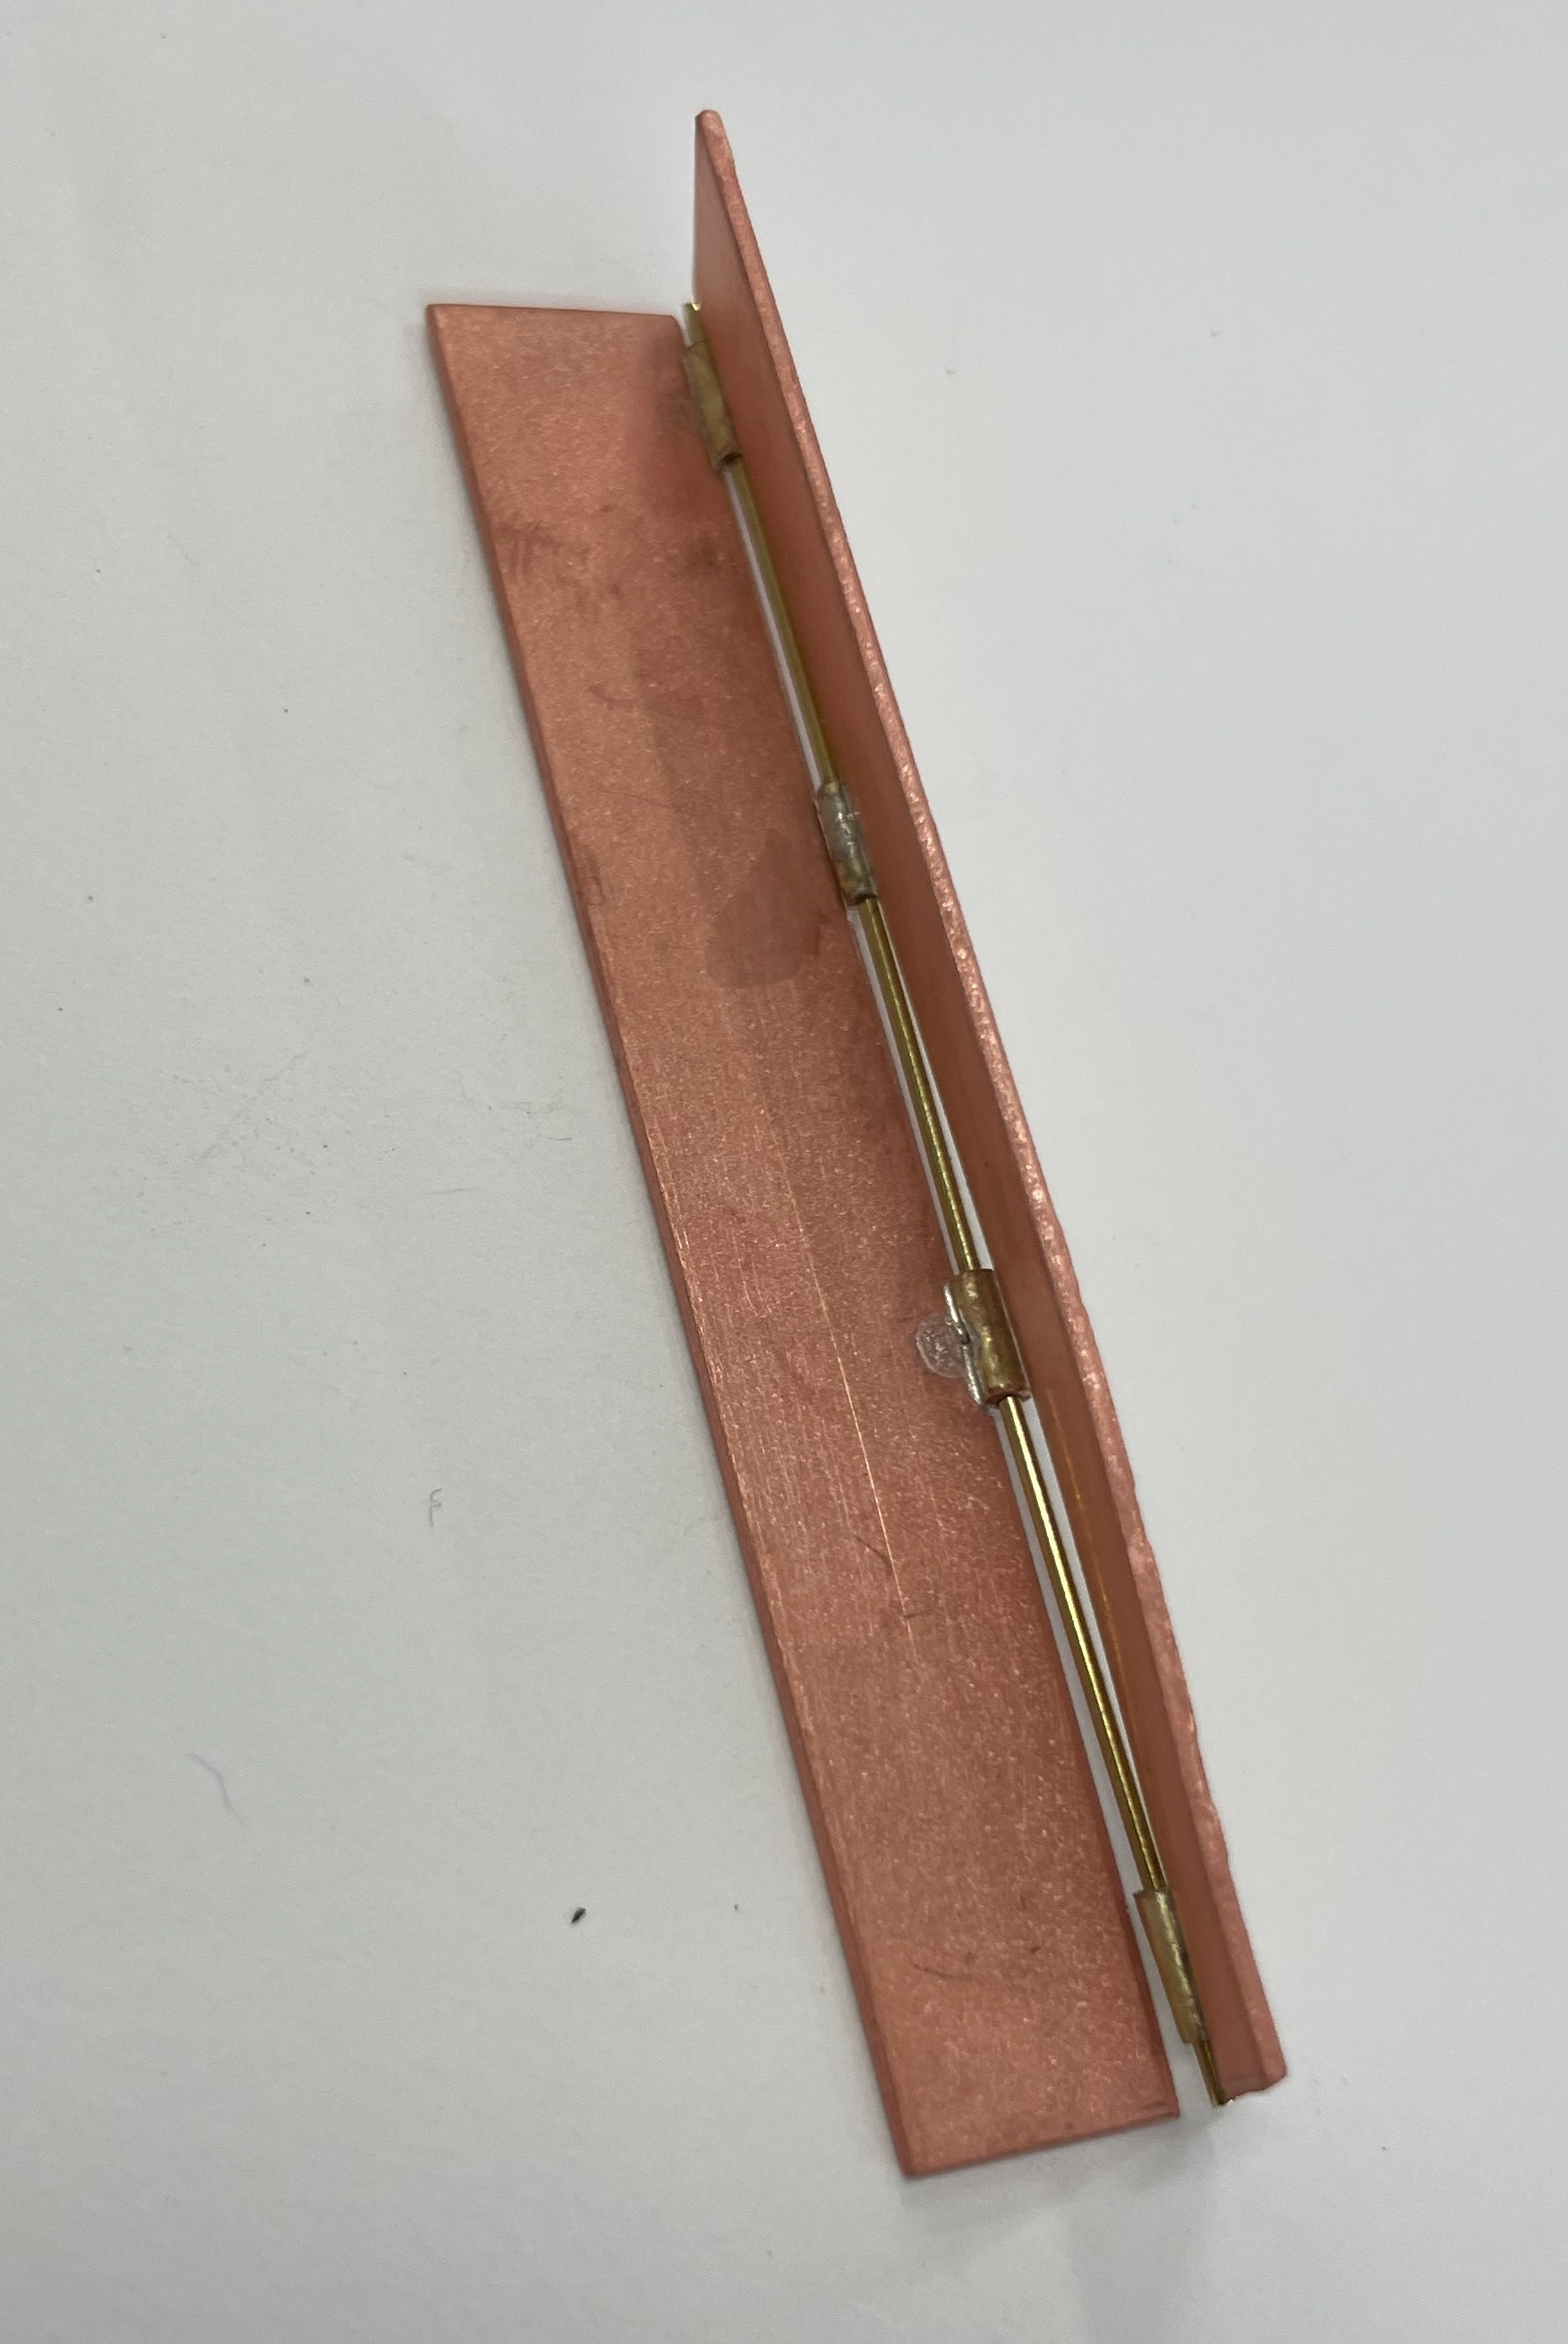
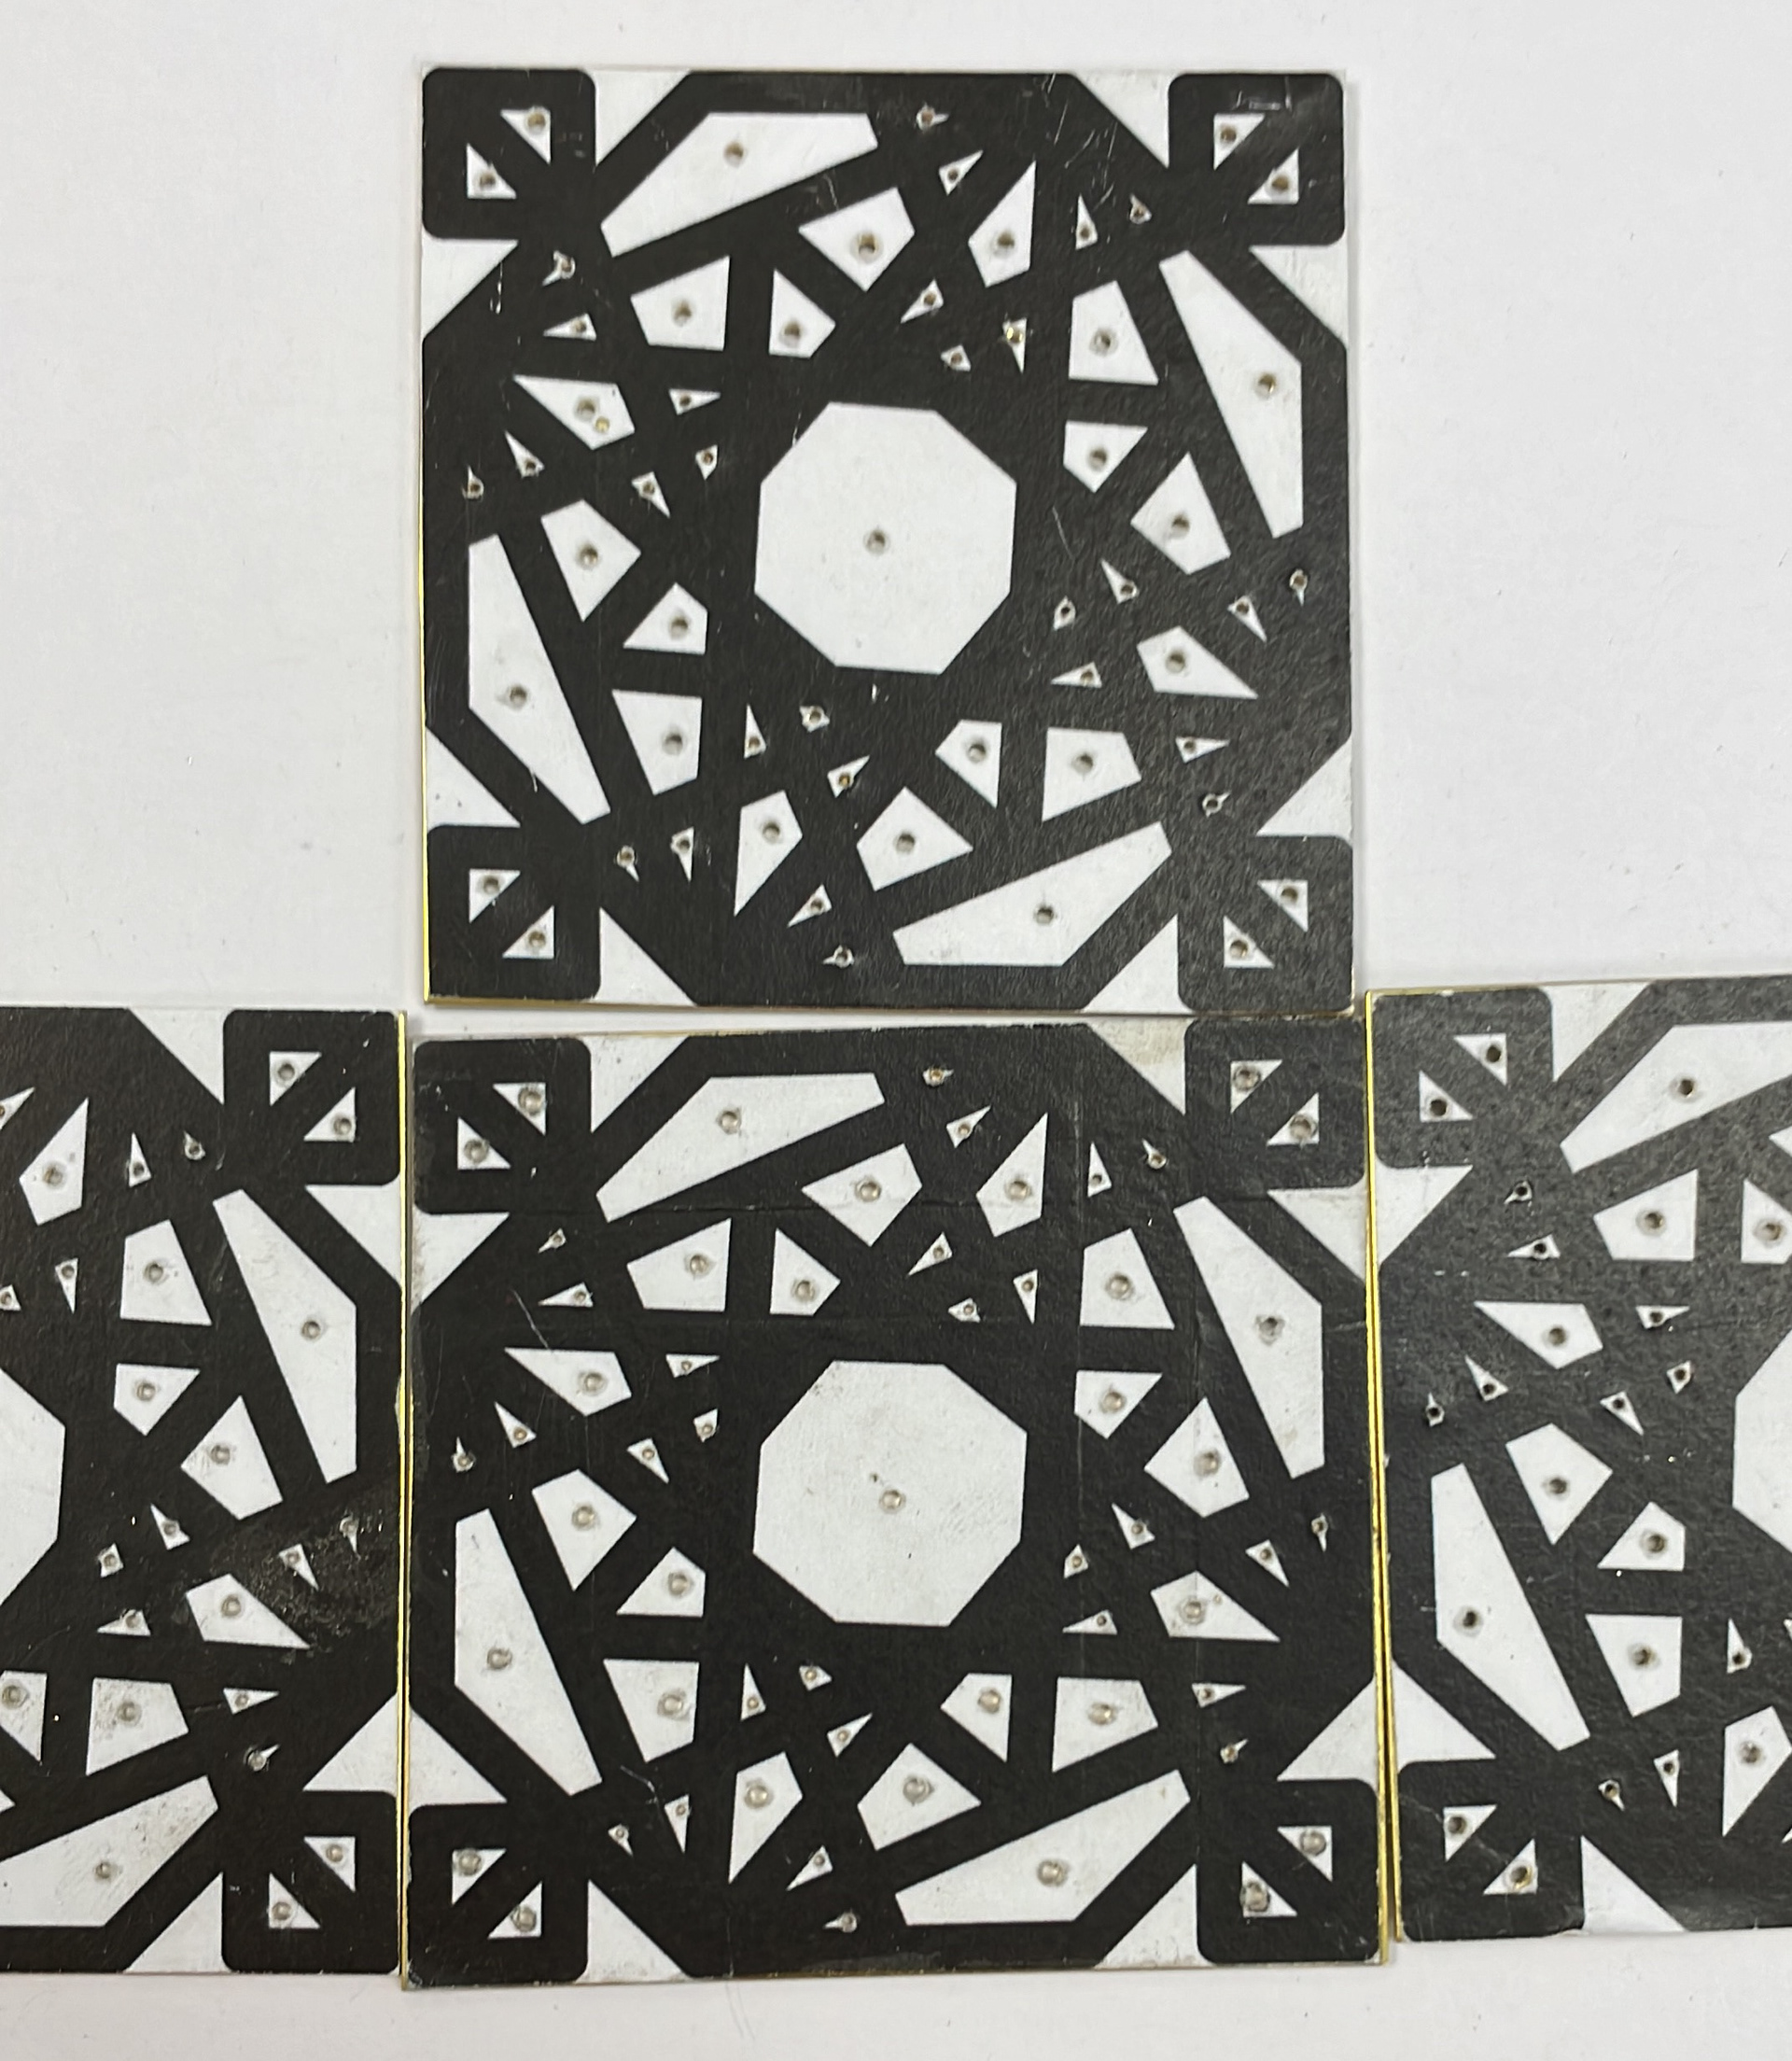
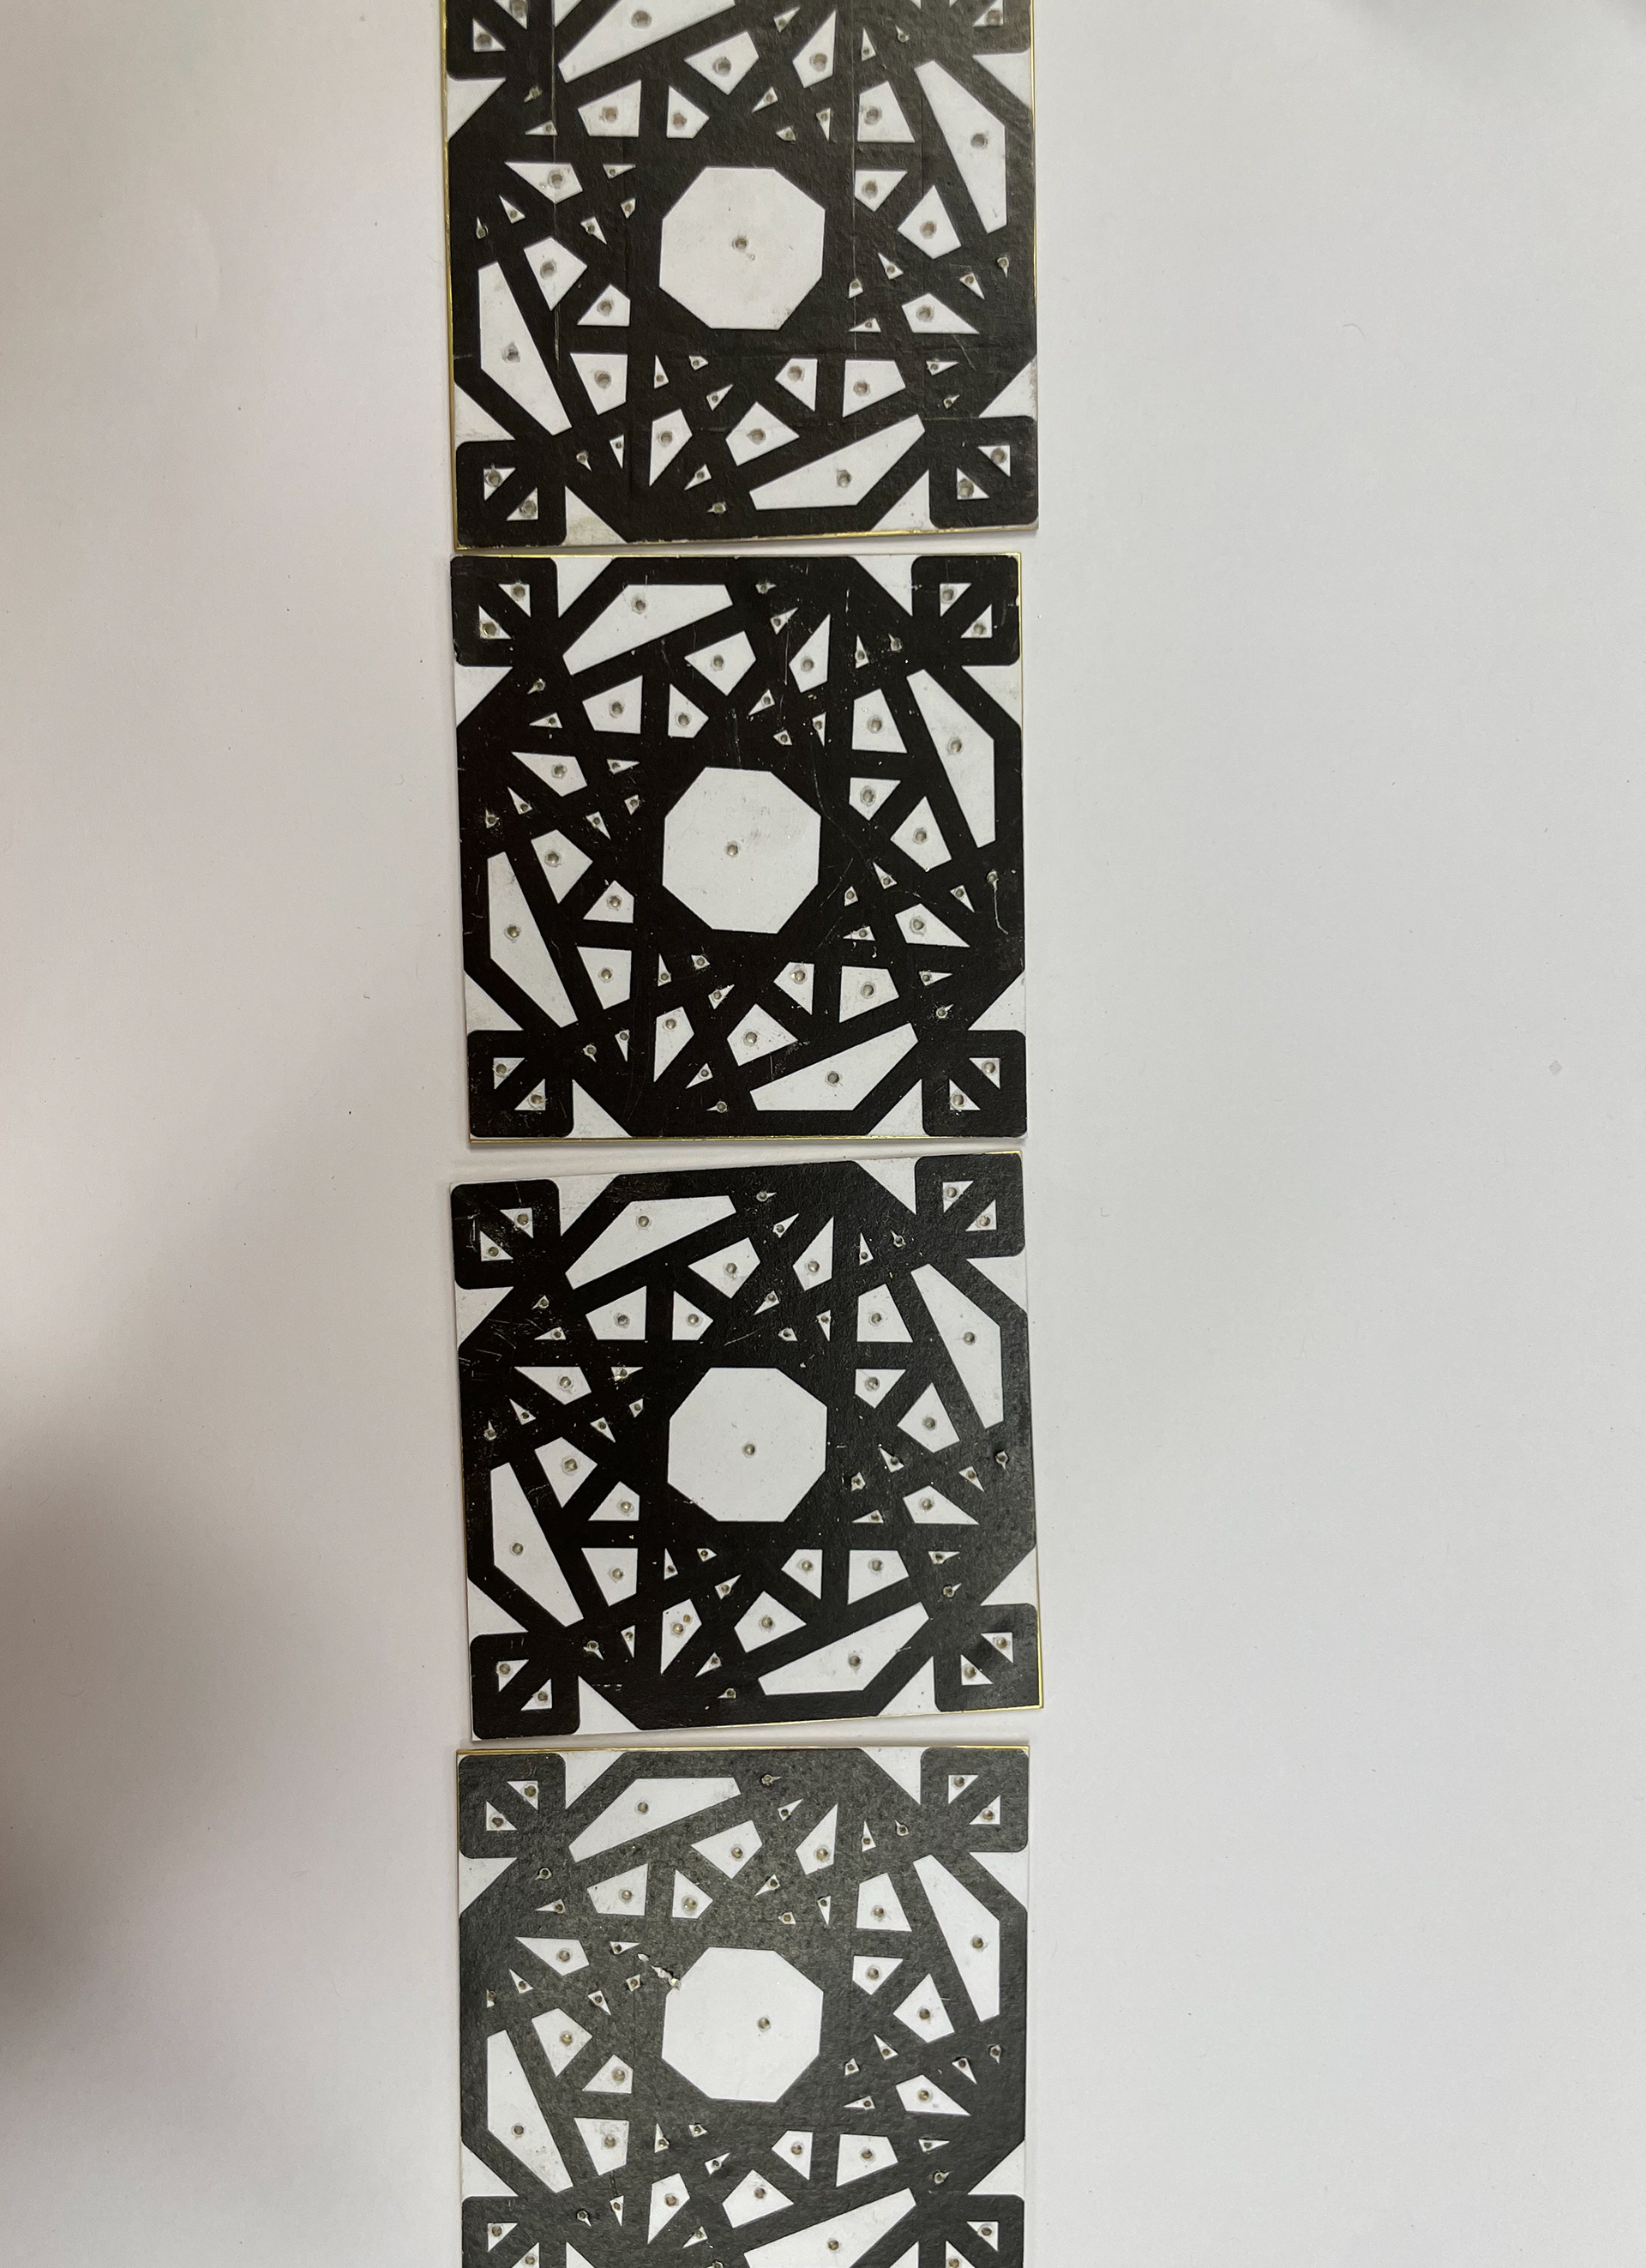
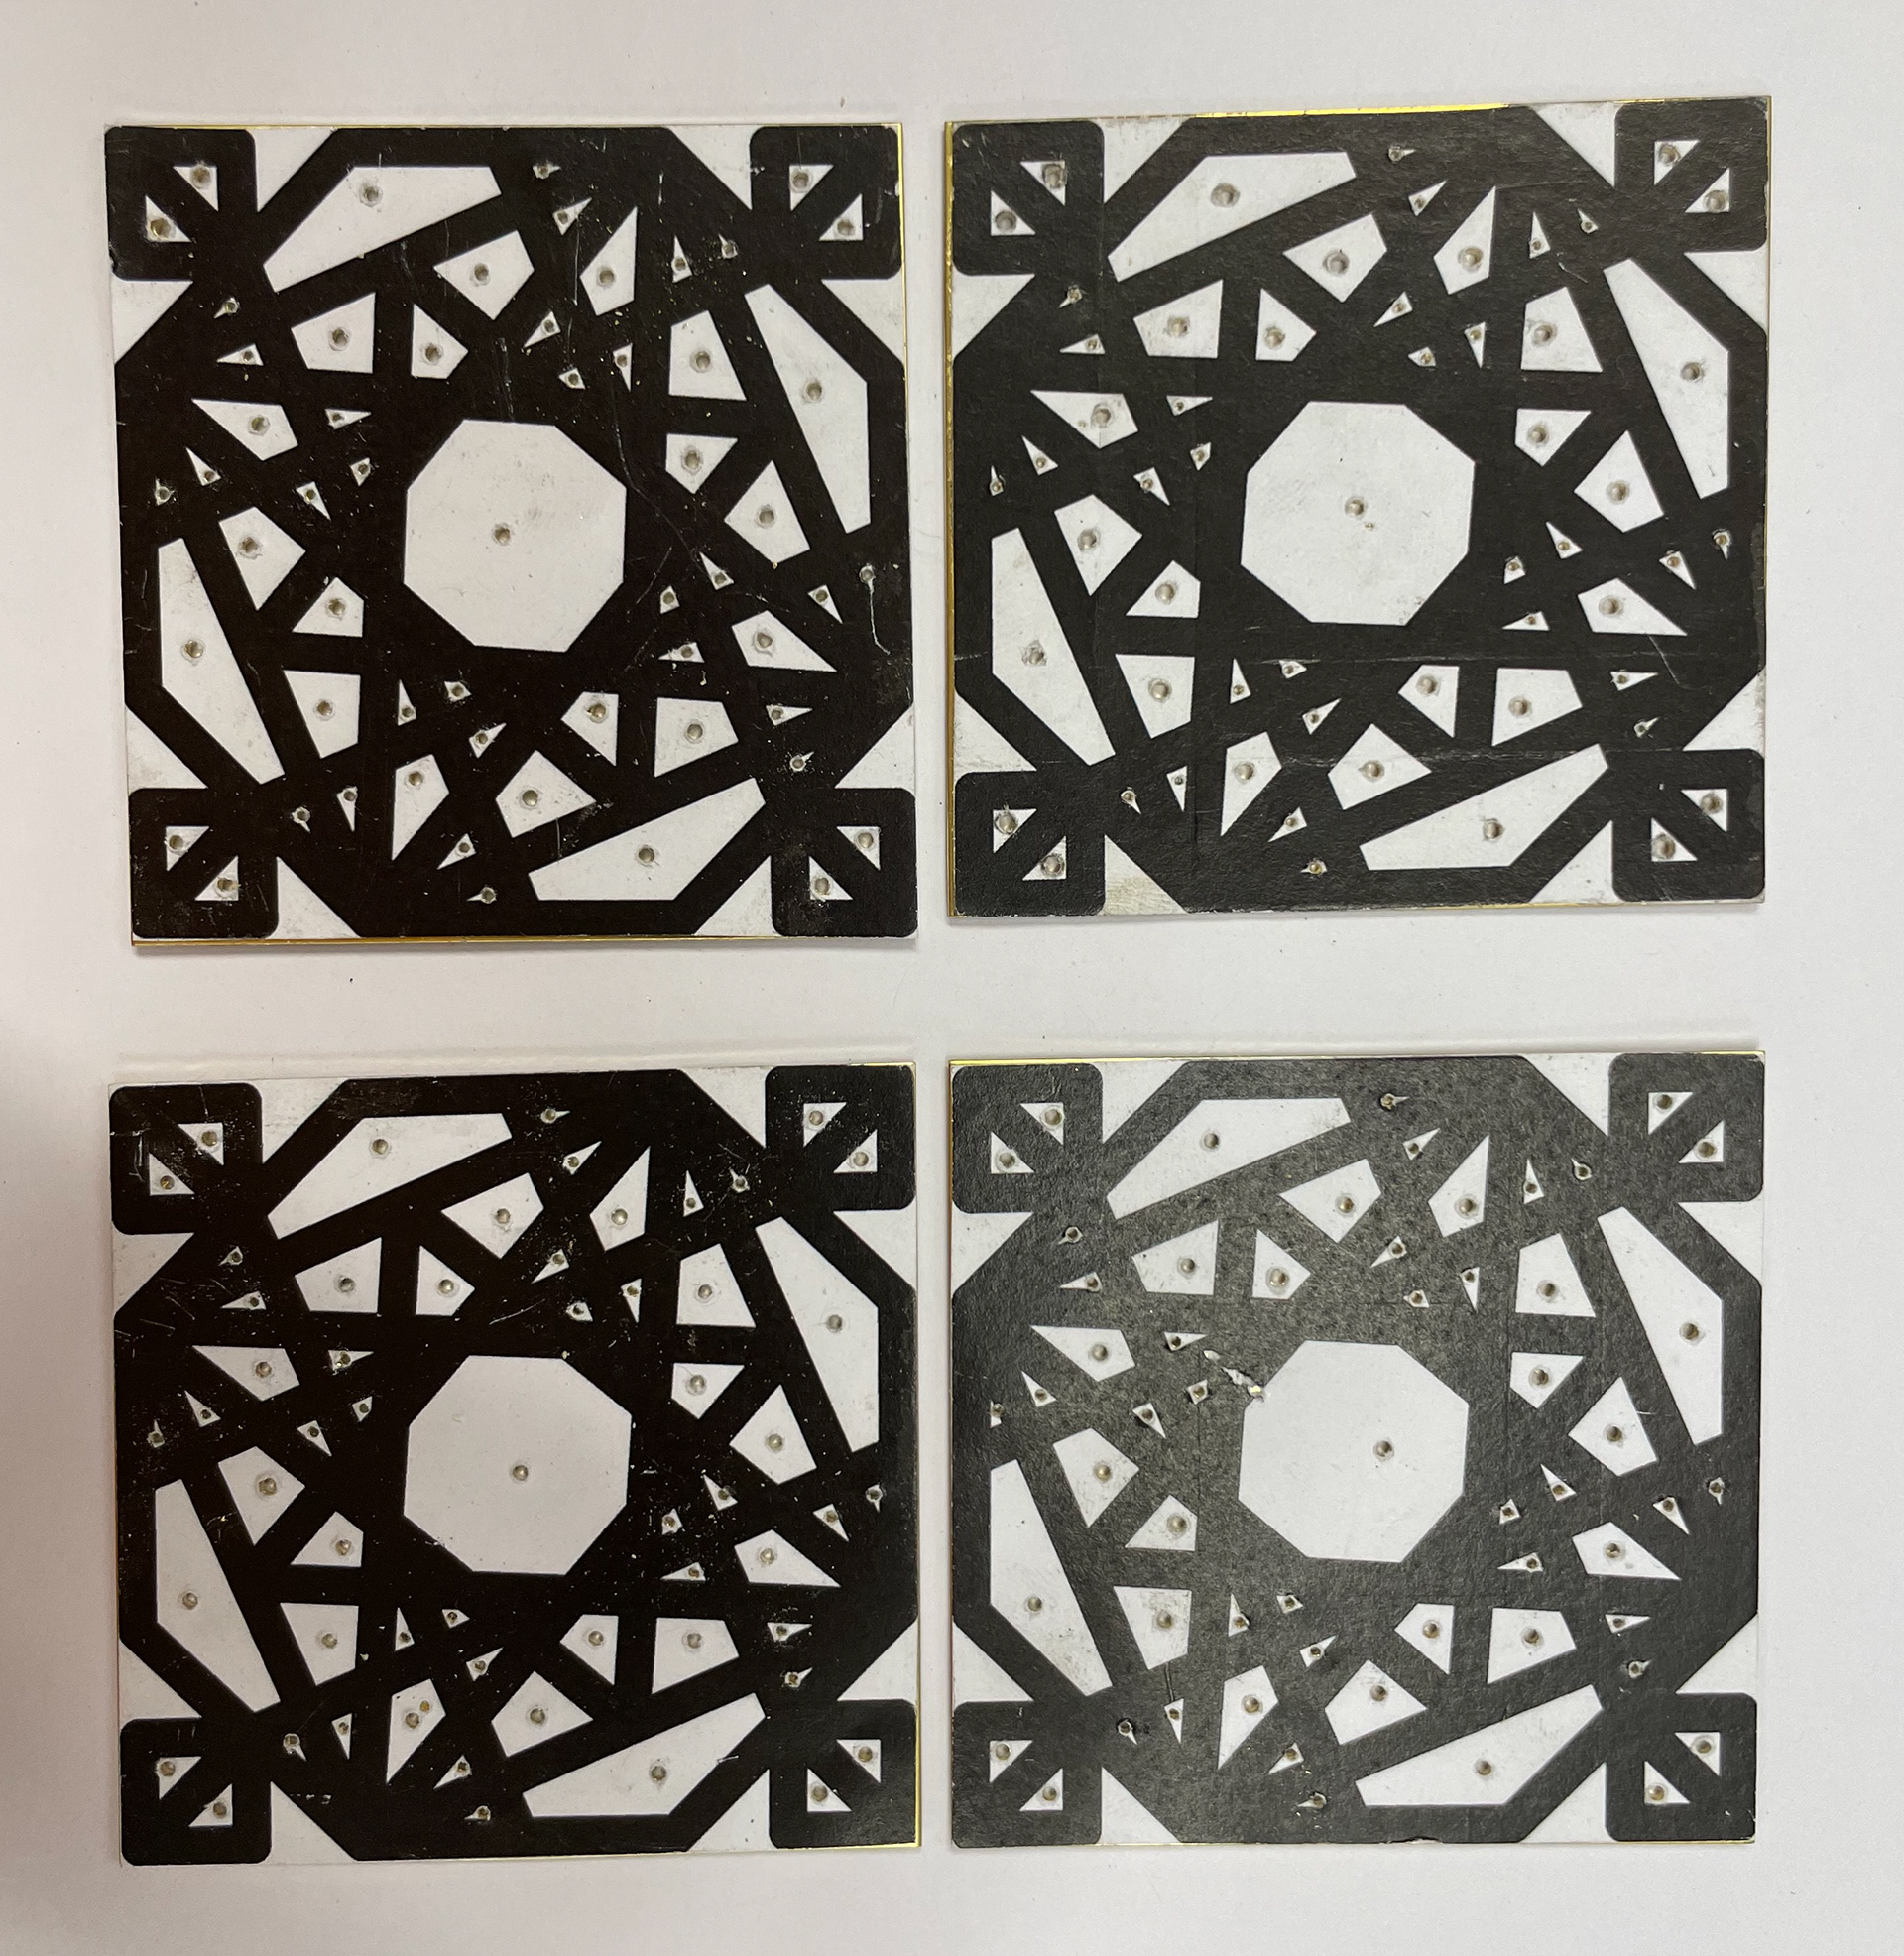
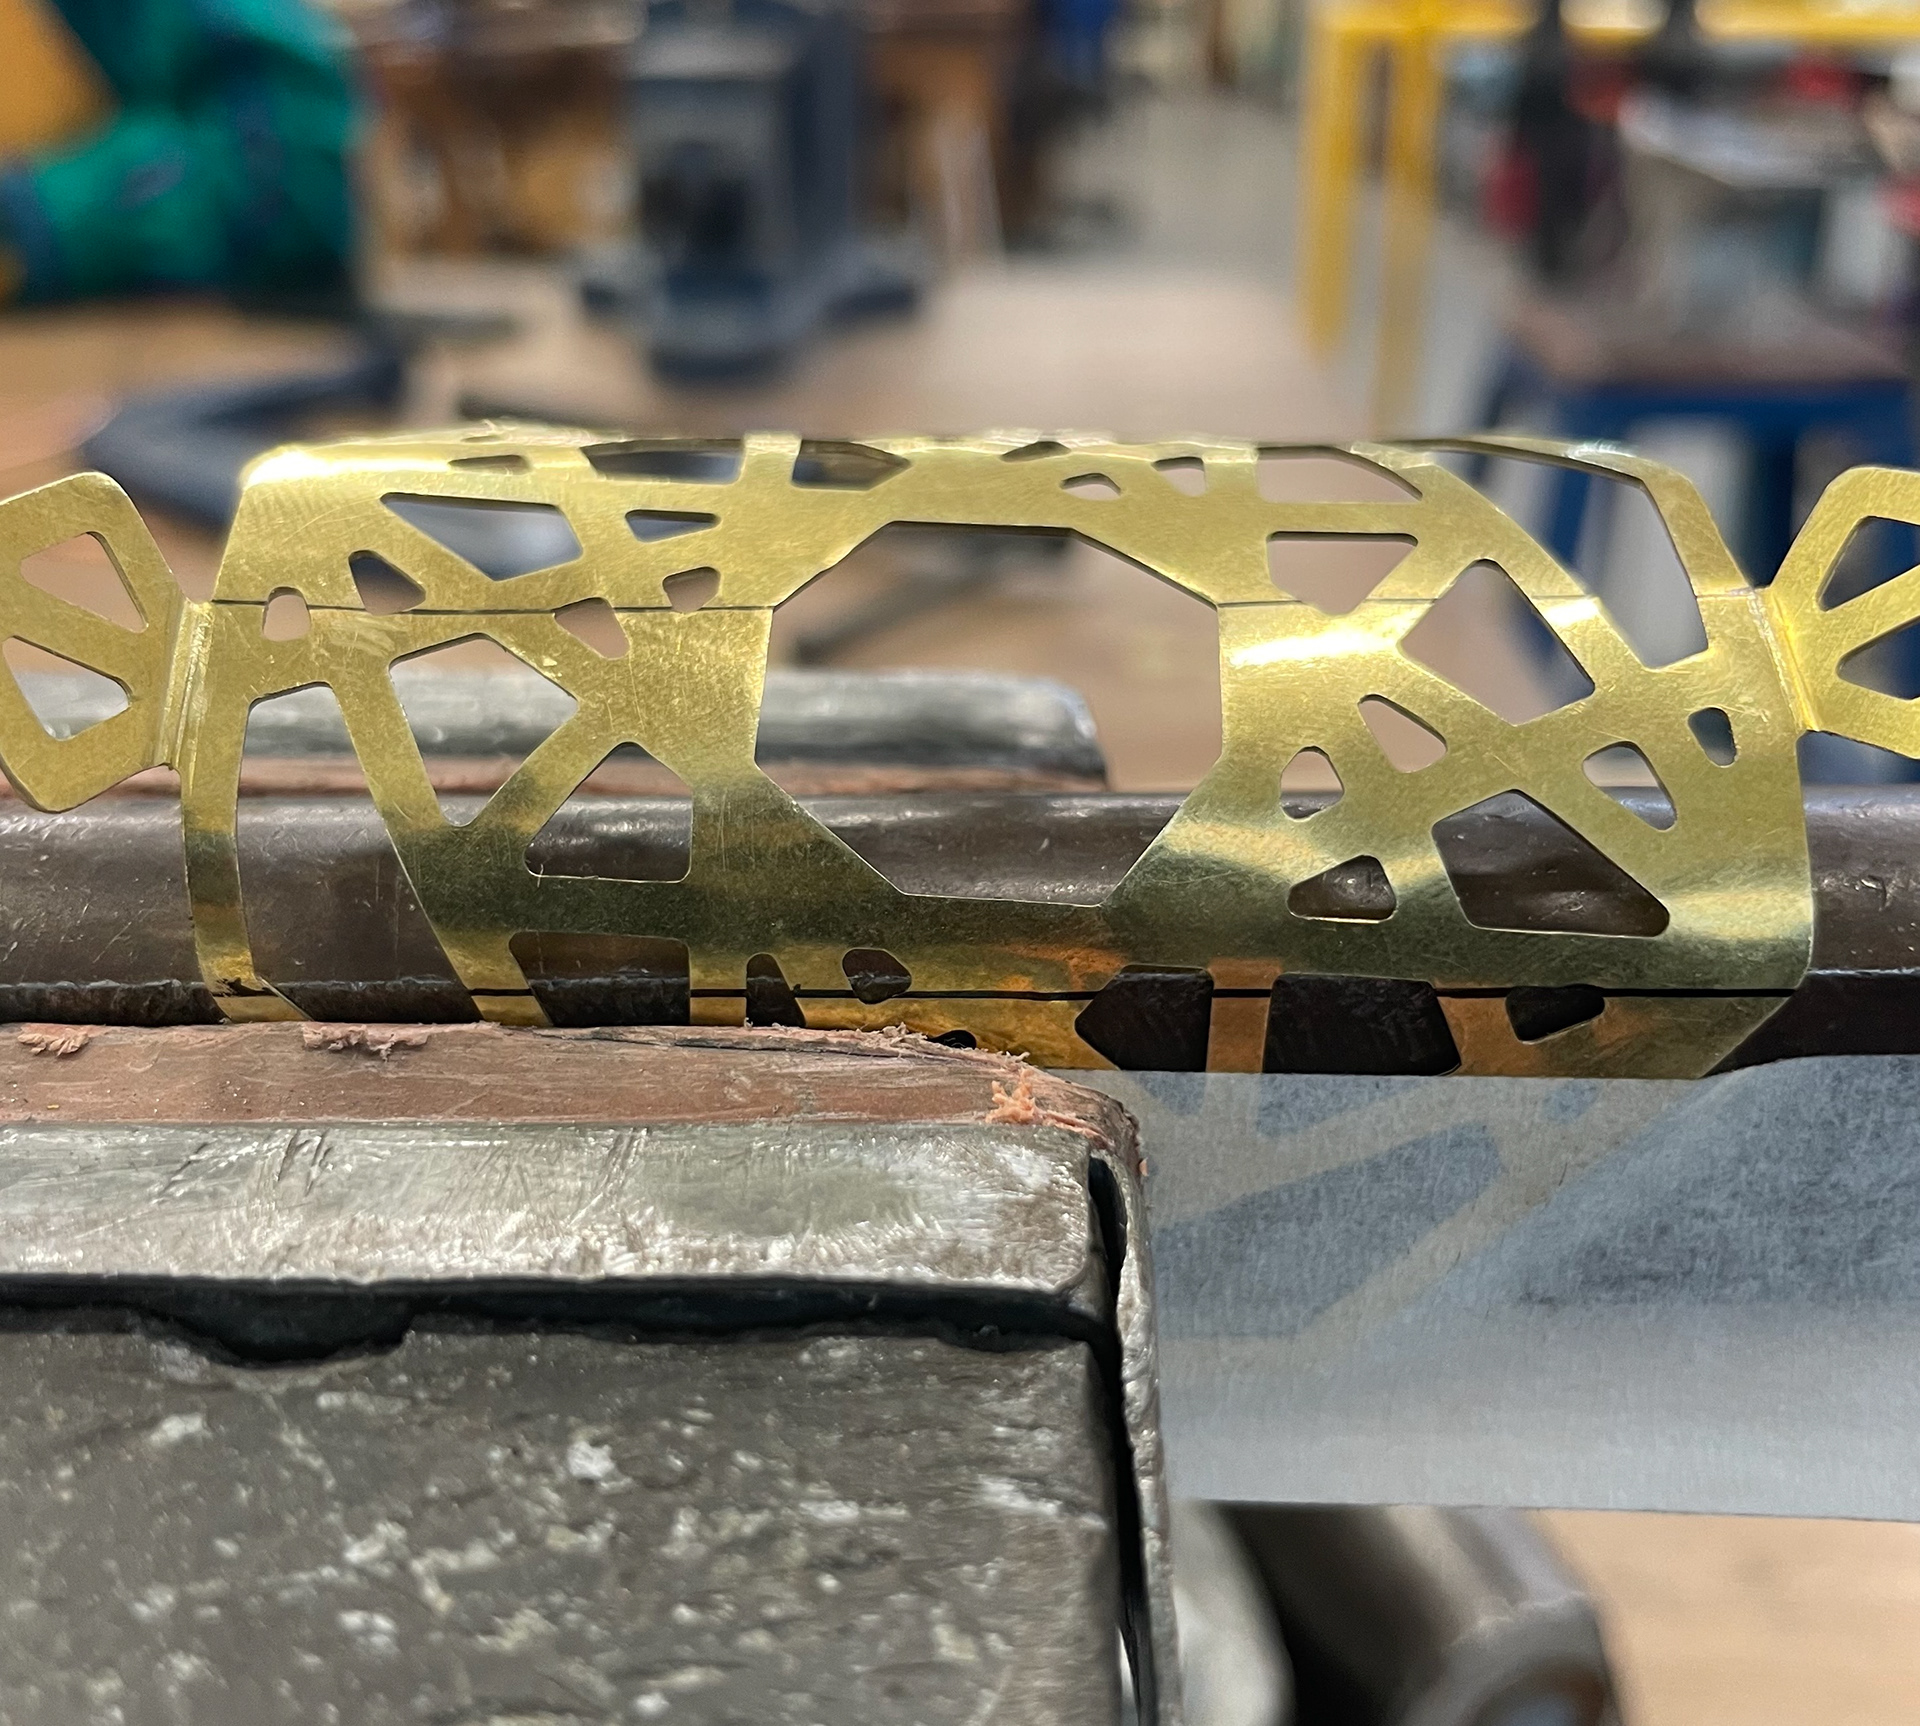
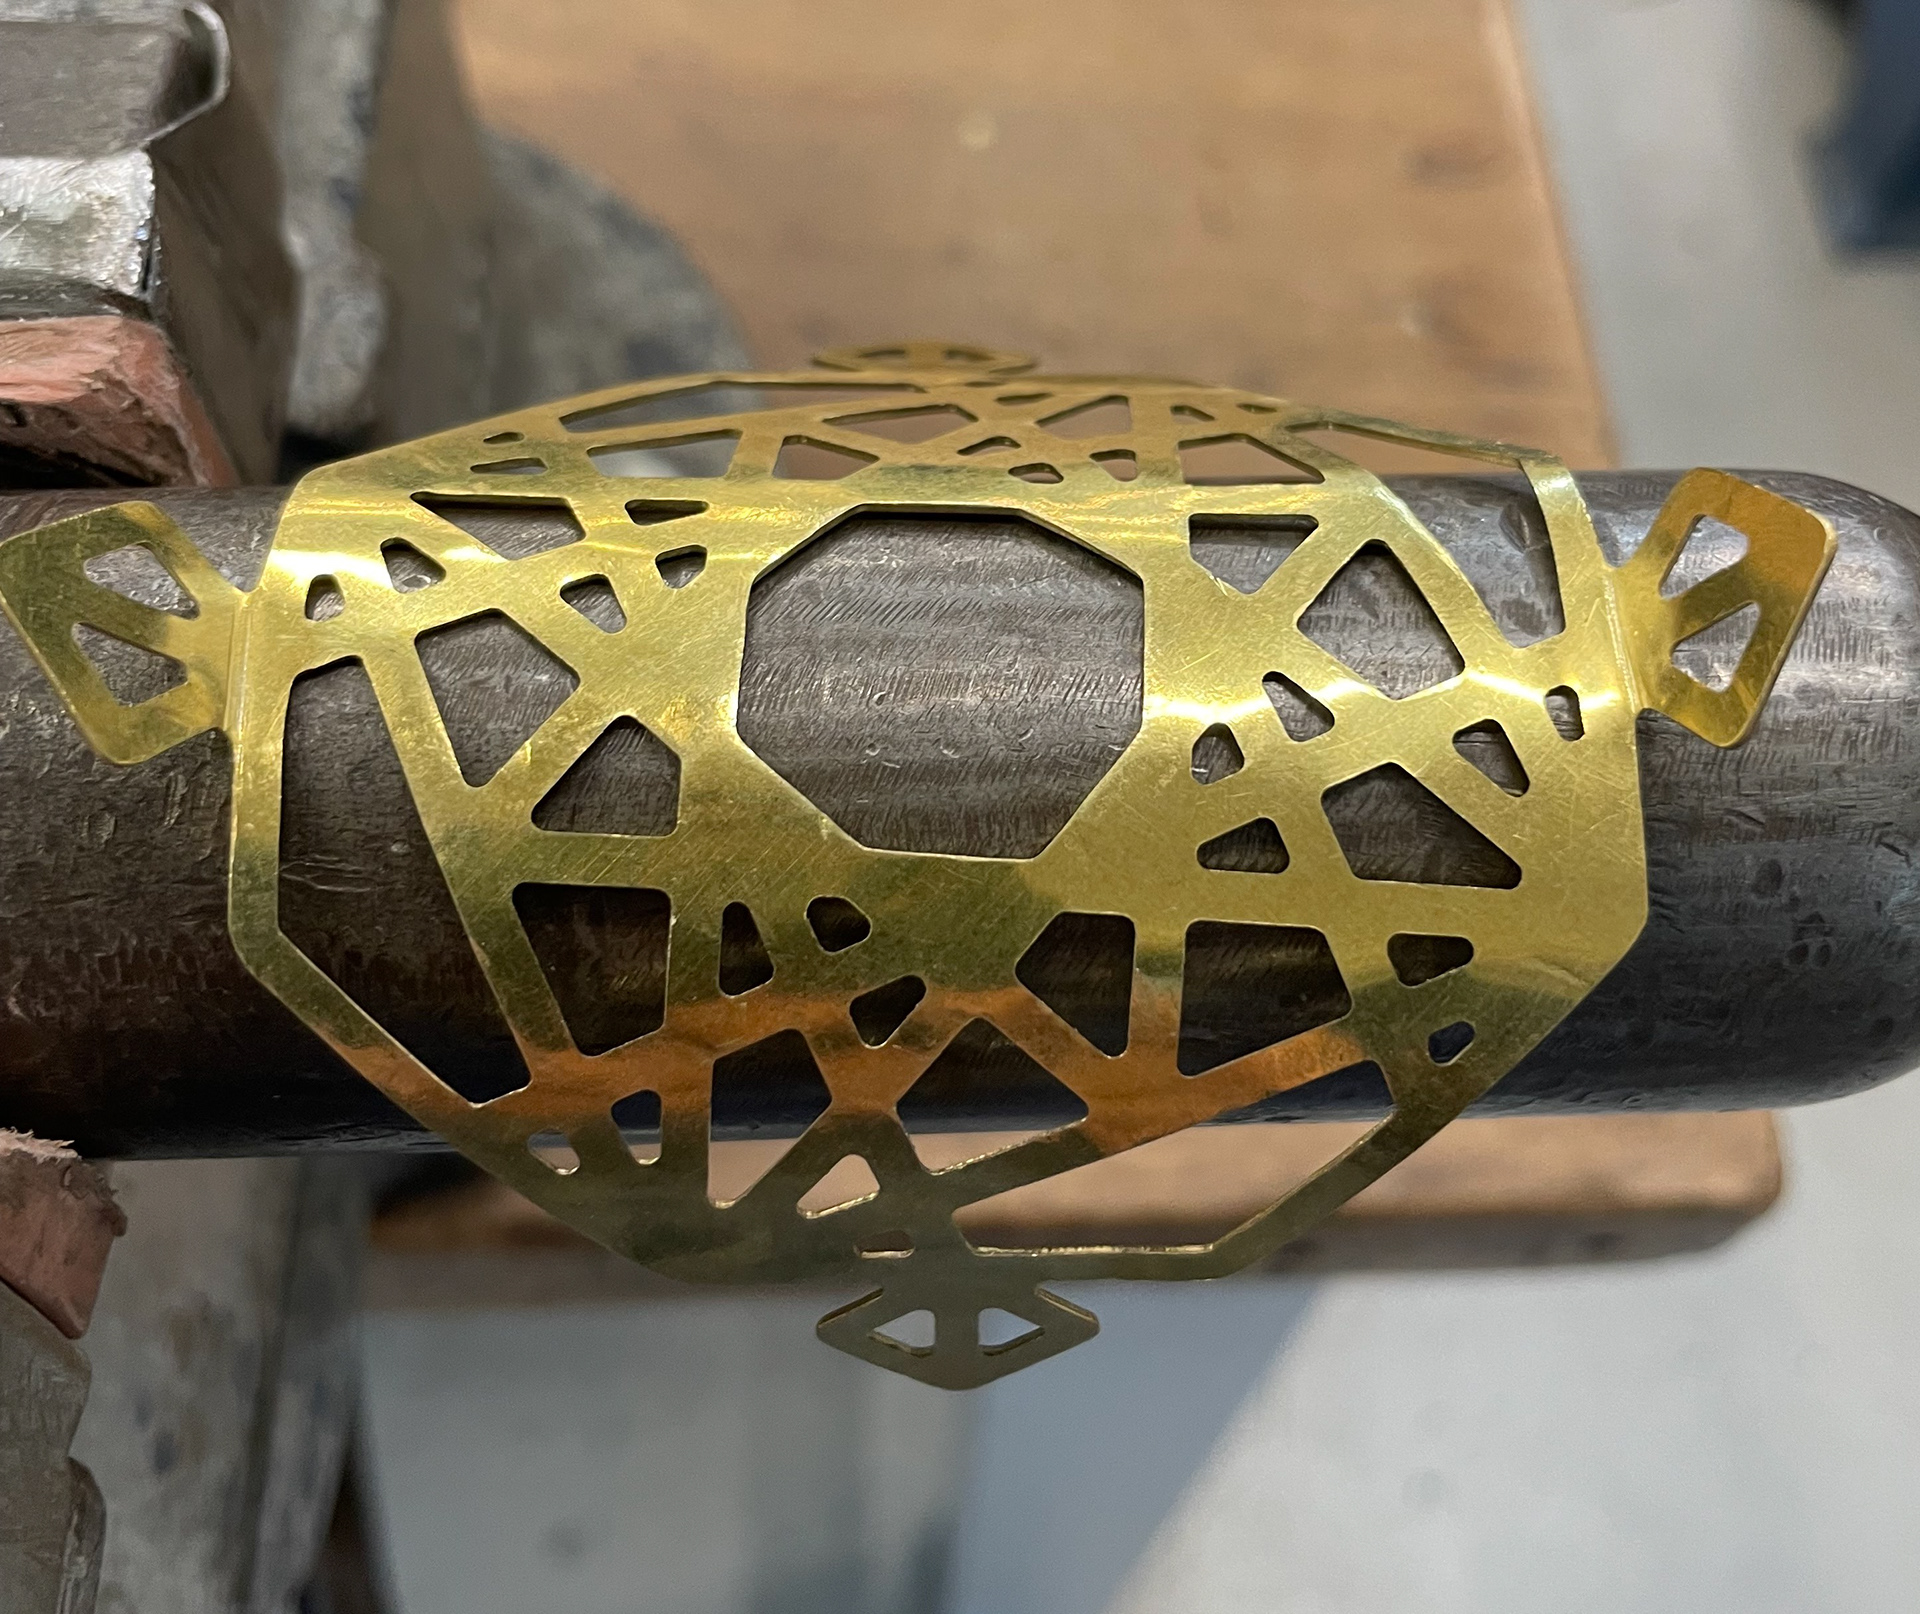
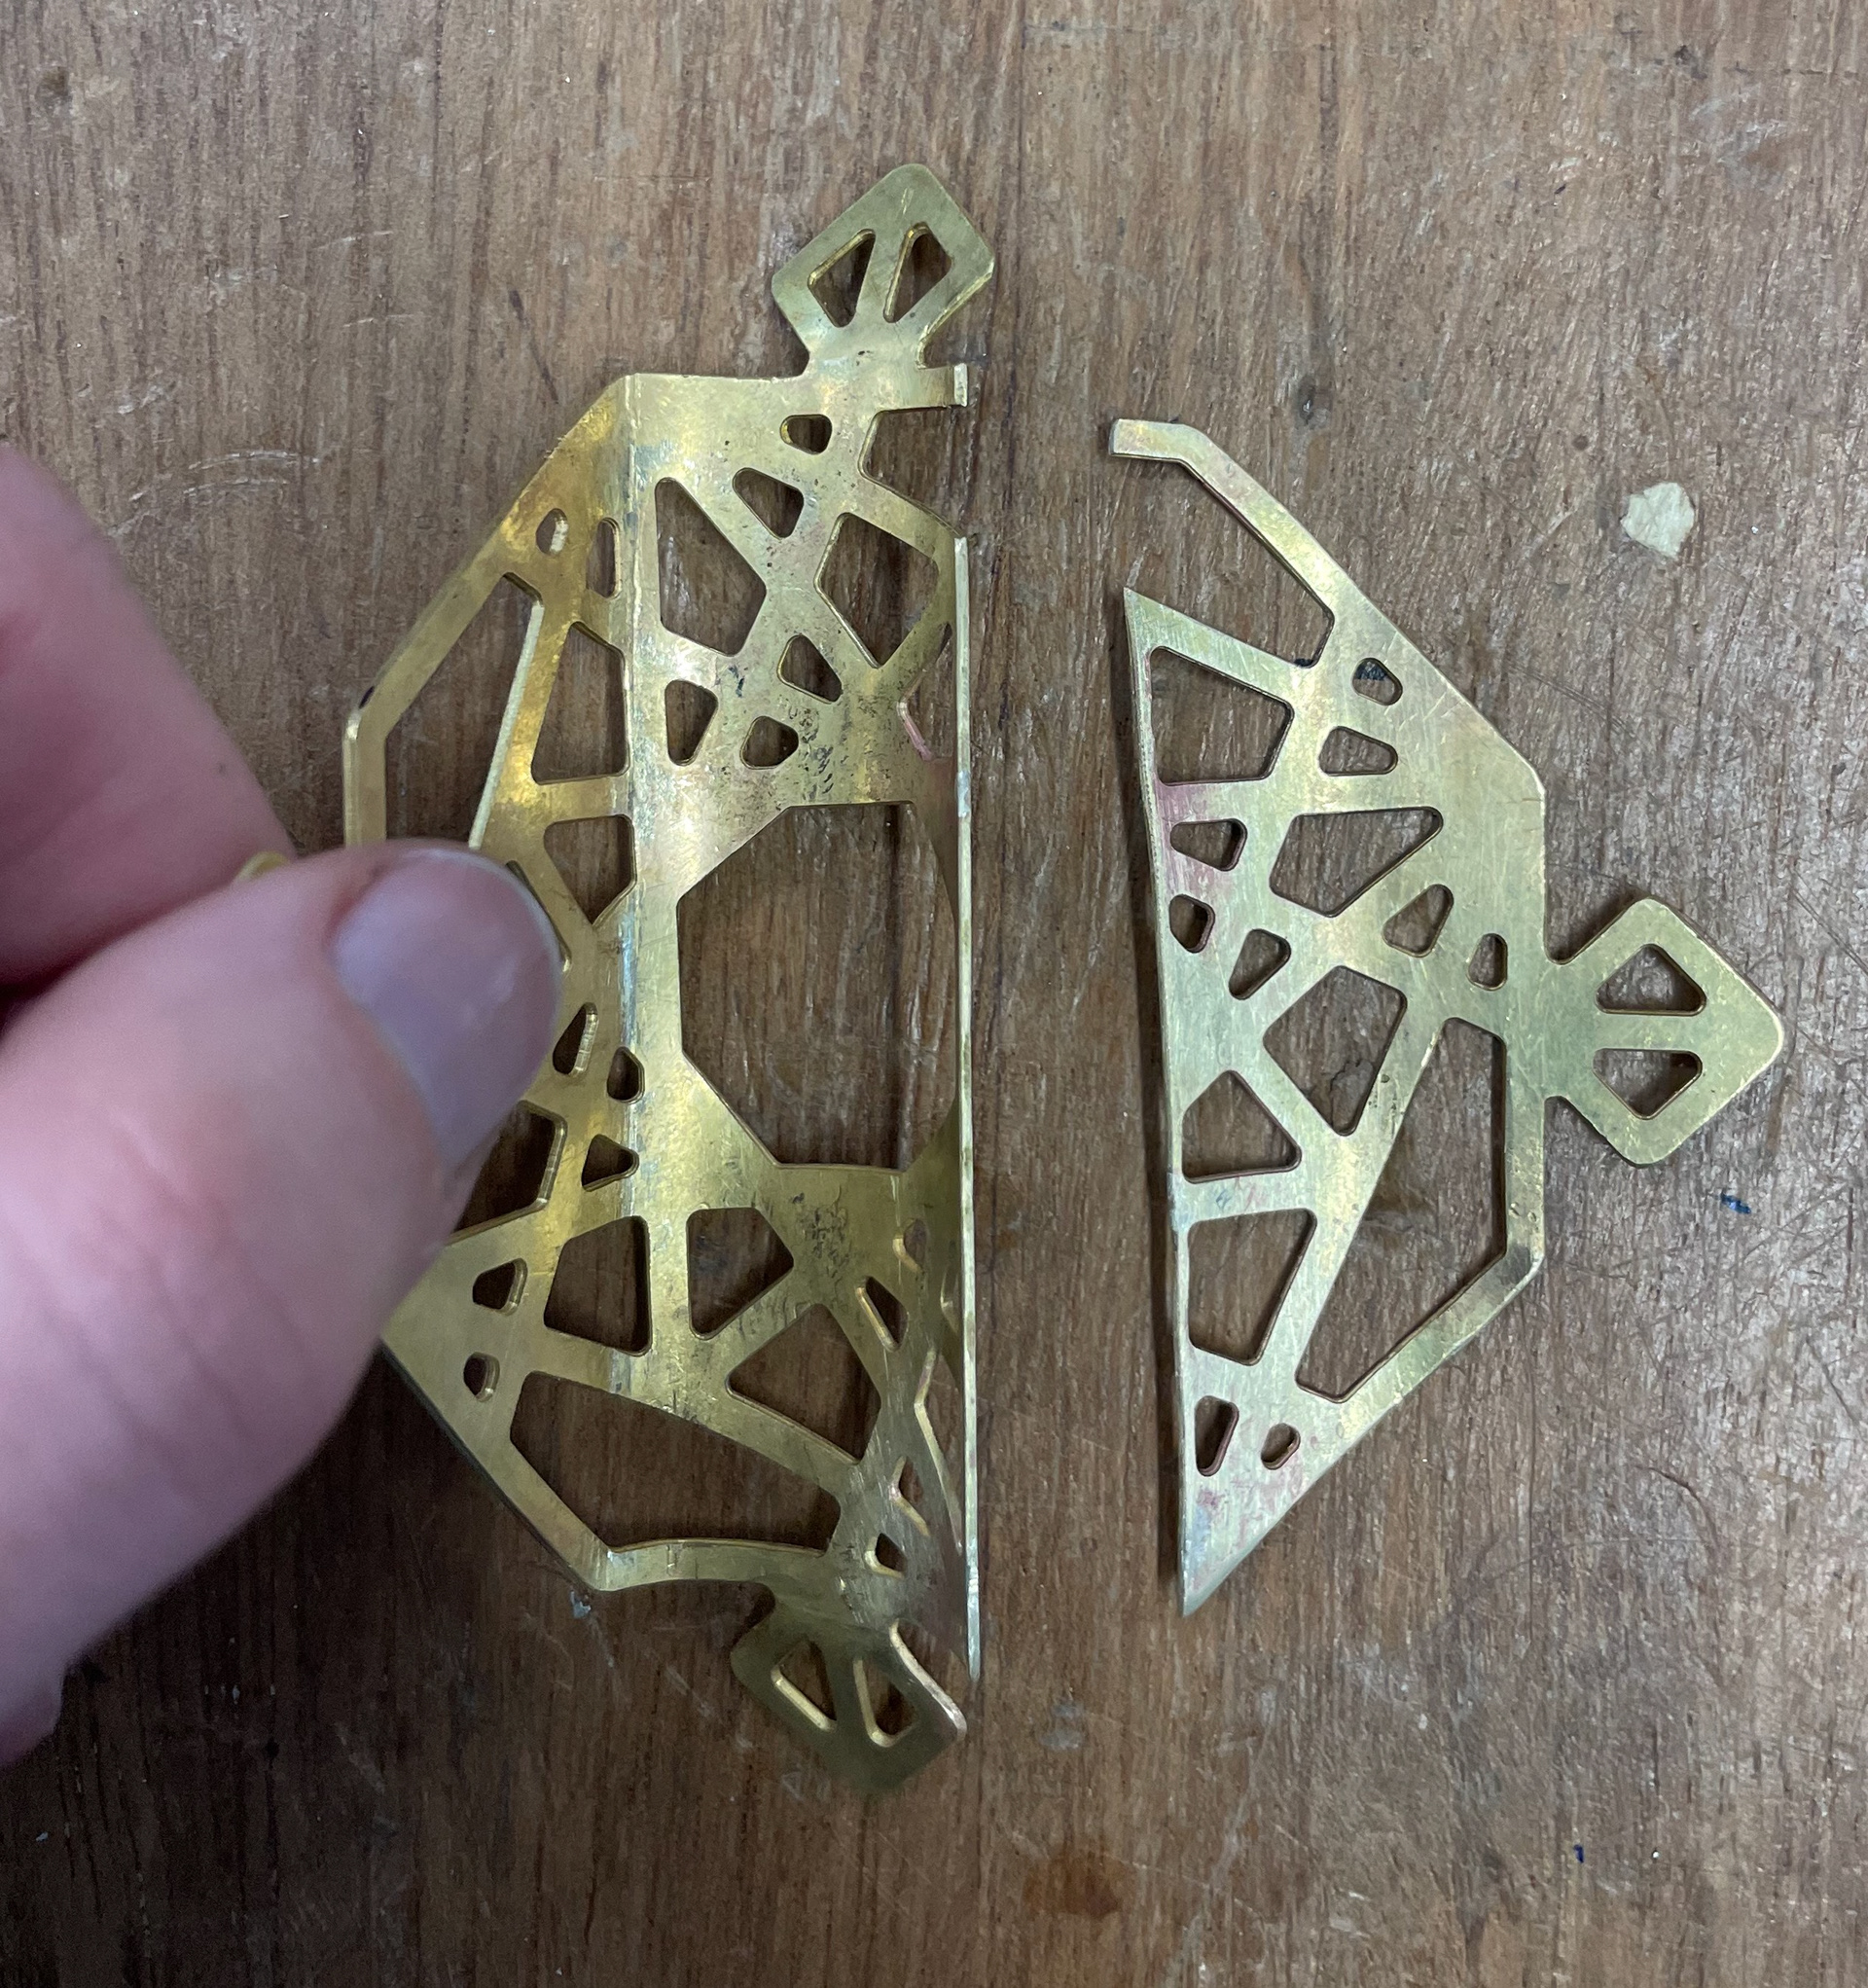
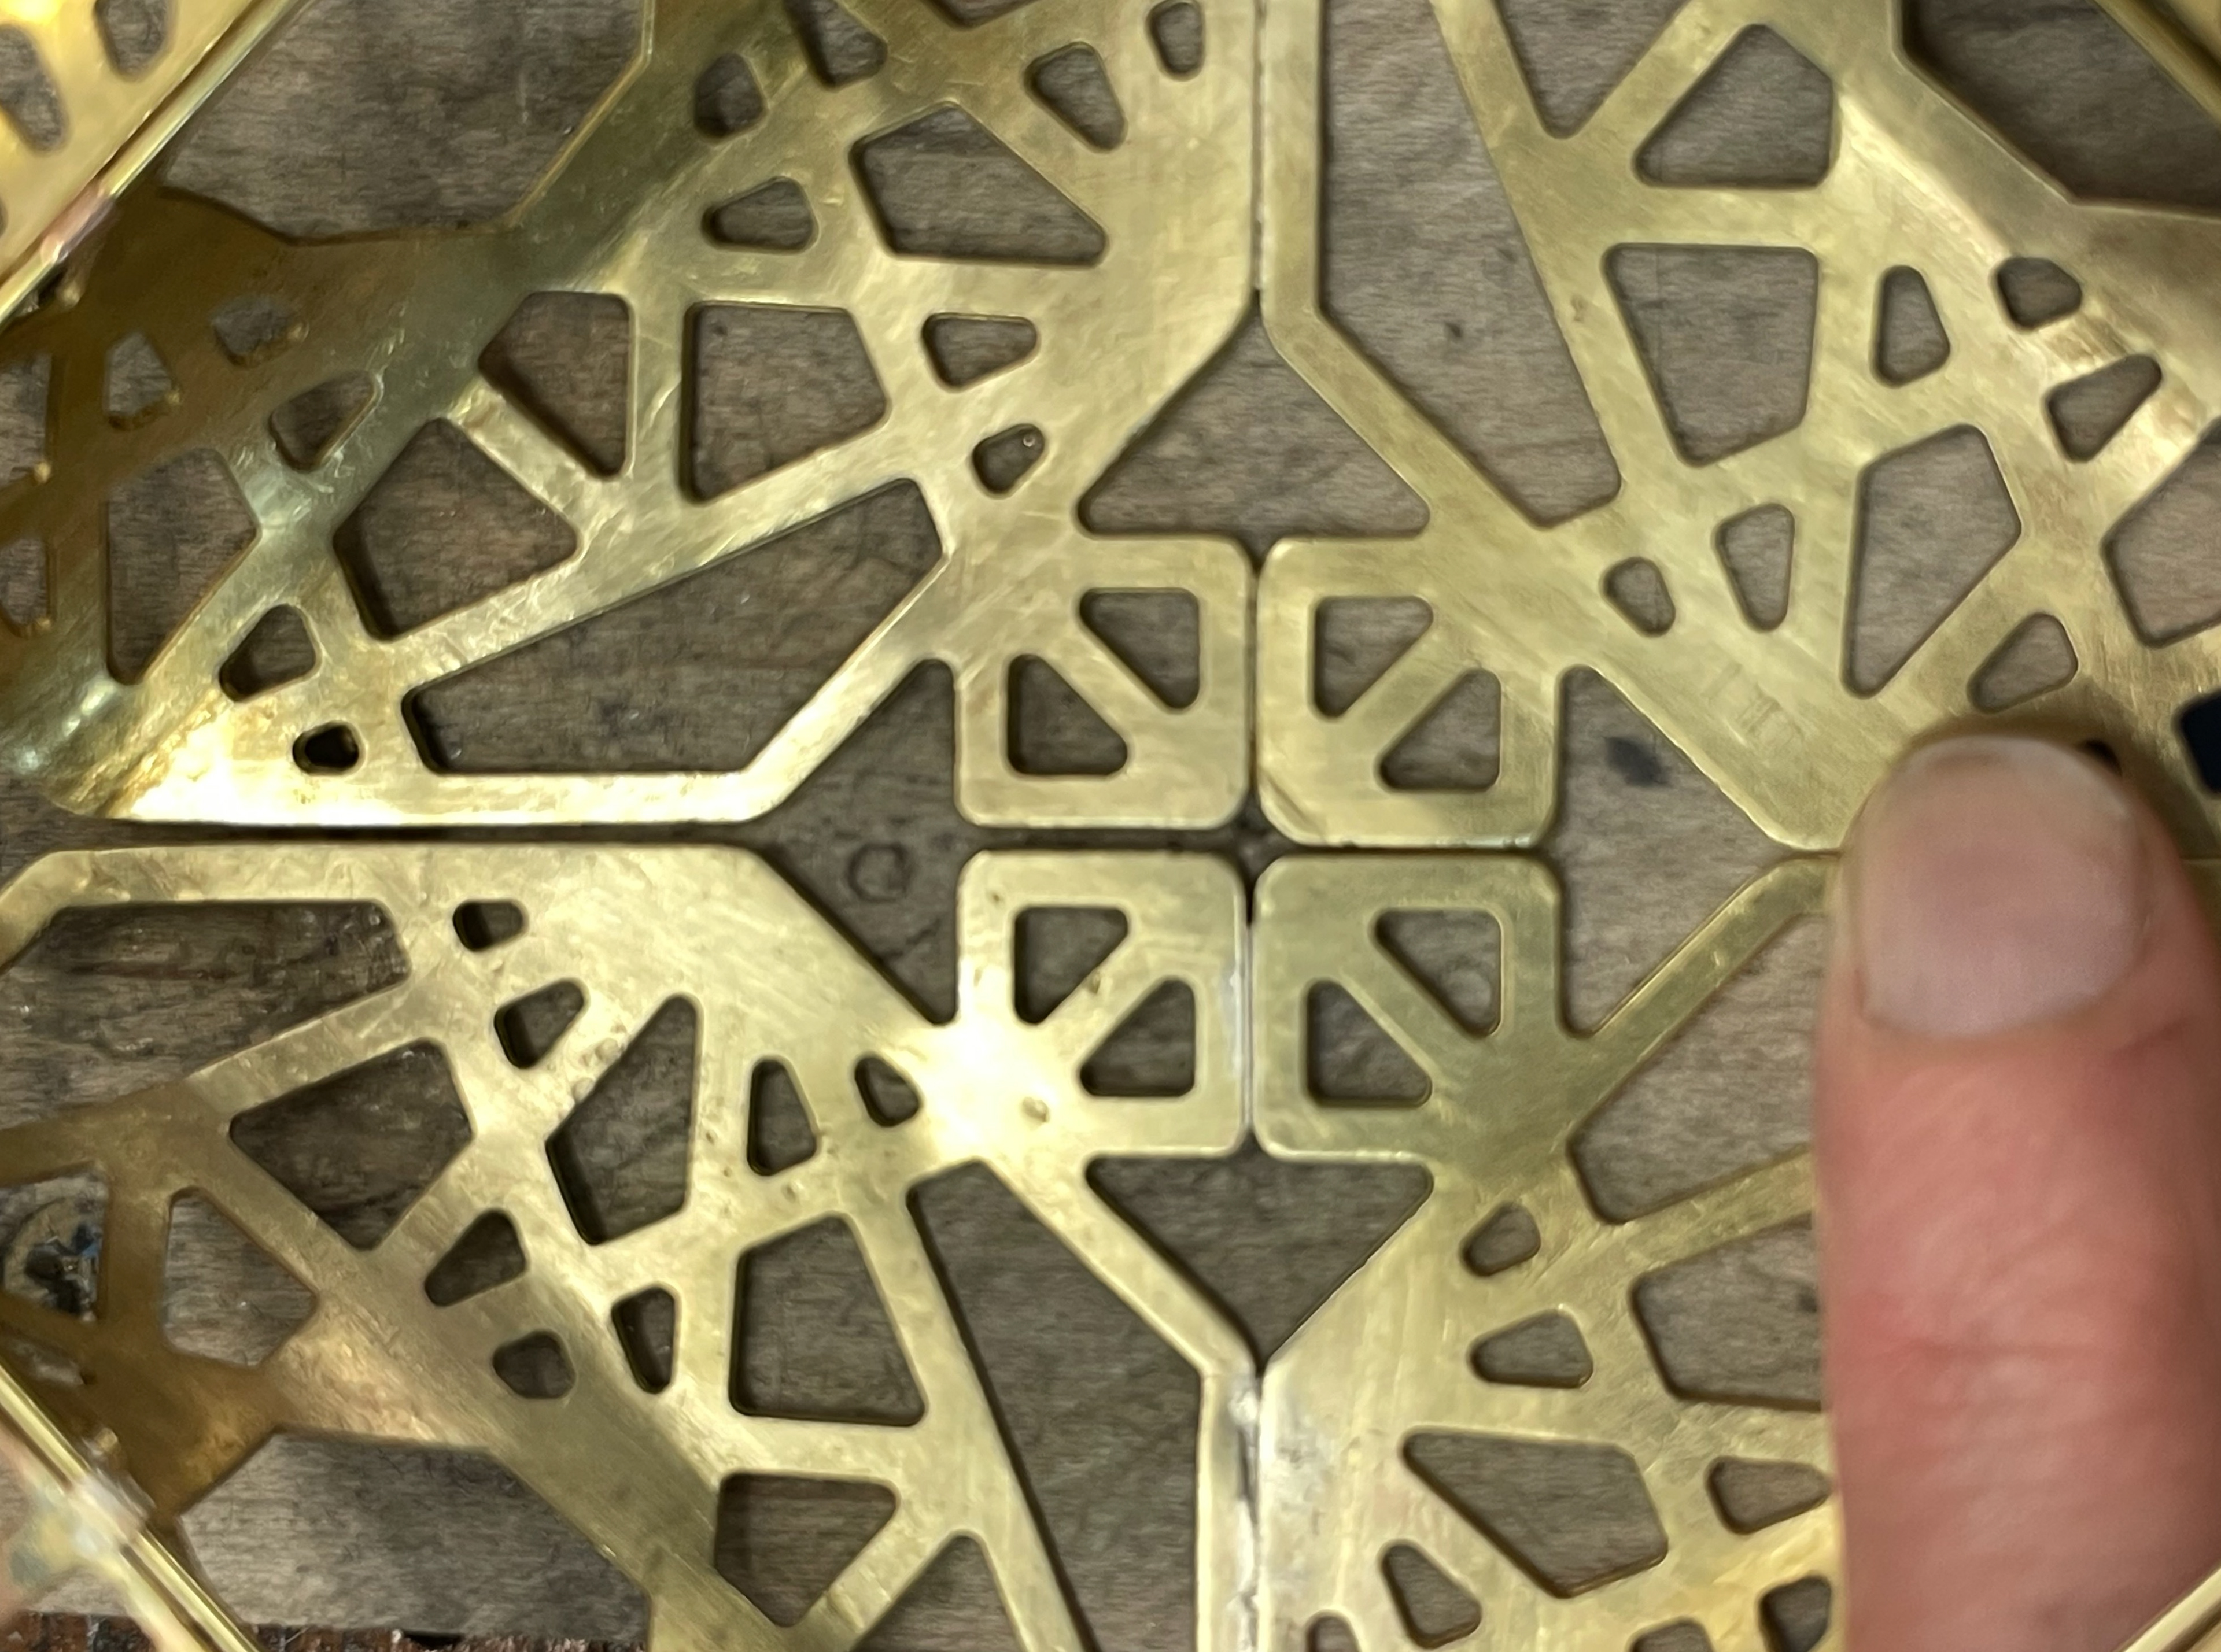
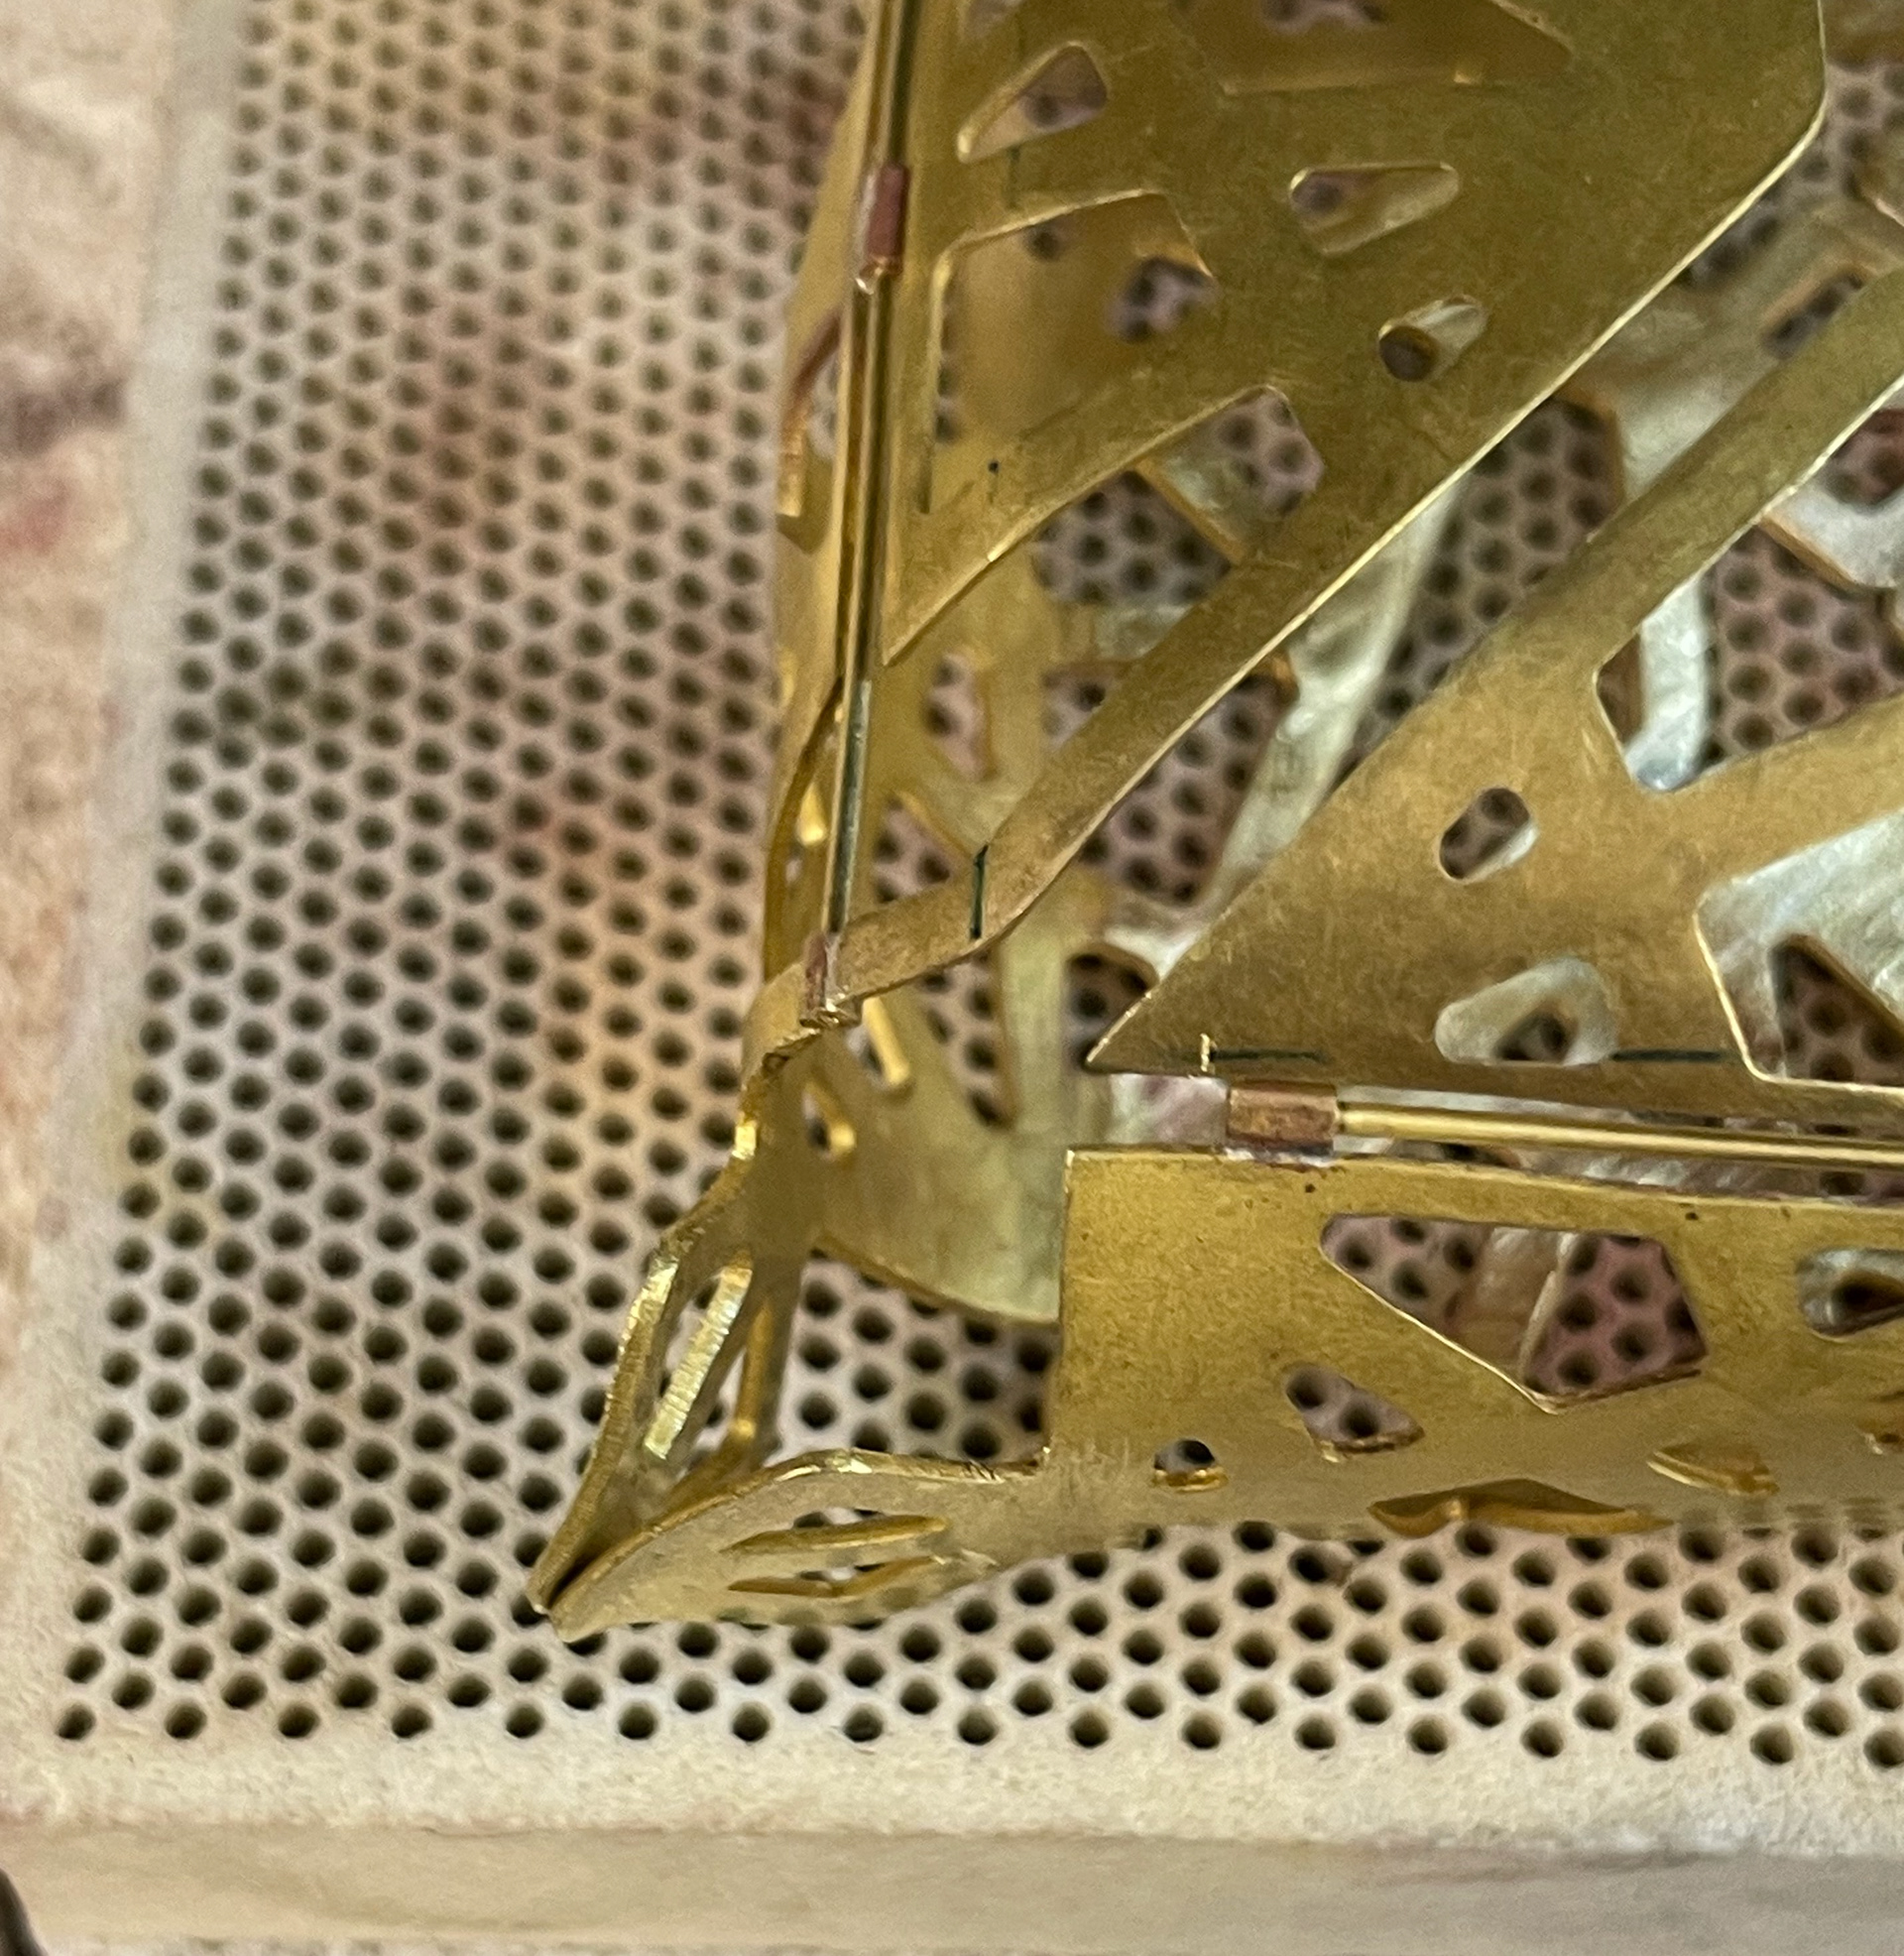
I then wanted to test the hinges on the pattern that they will be on eventually. I used a piercing saw and files to cut out the geometric pattern and used the guillotine to cut the piece on the line going through the pattern as this seemed the most suitable place to attach the hinge.
Hinge ready in place with flux on
Solder put onto the hinge

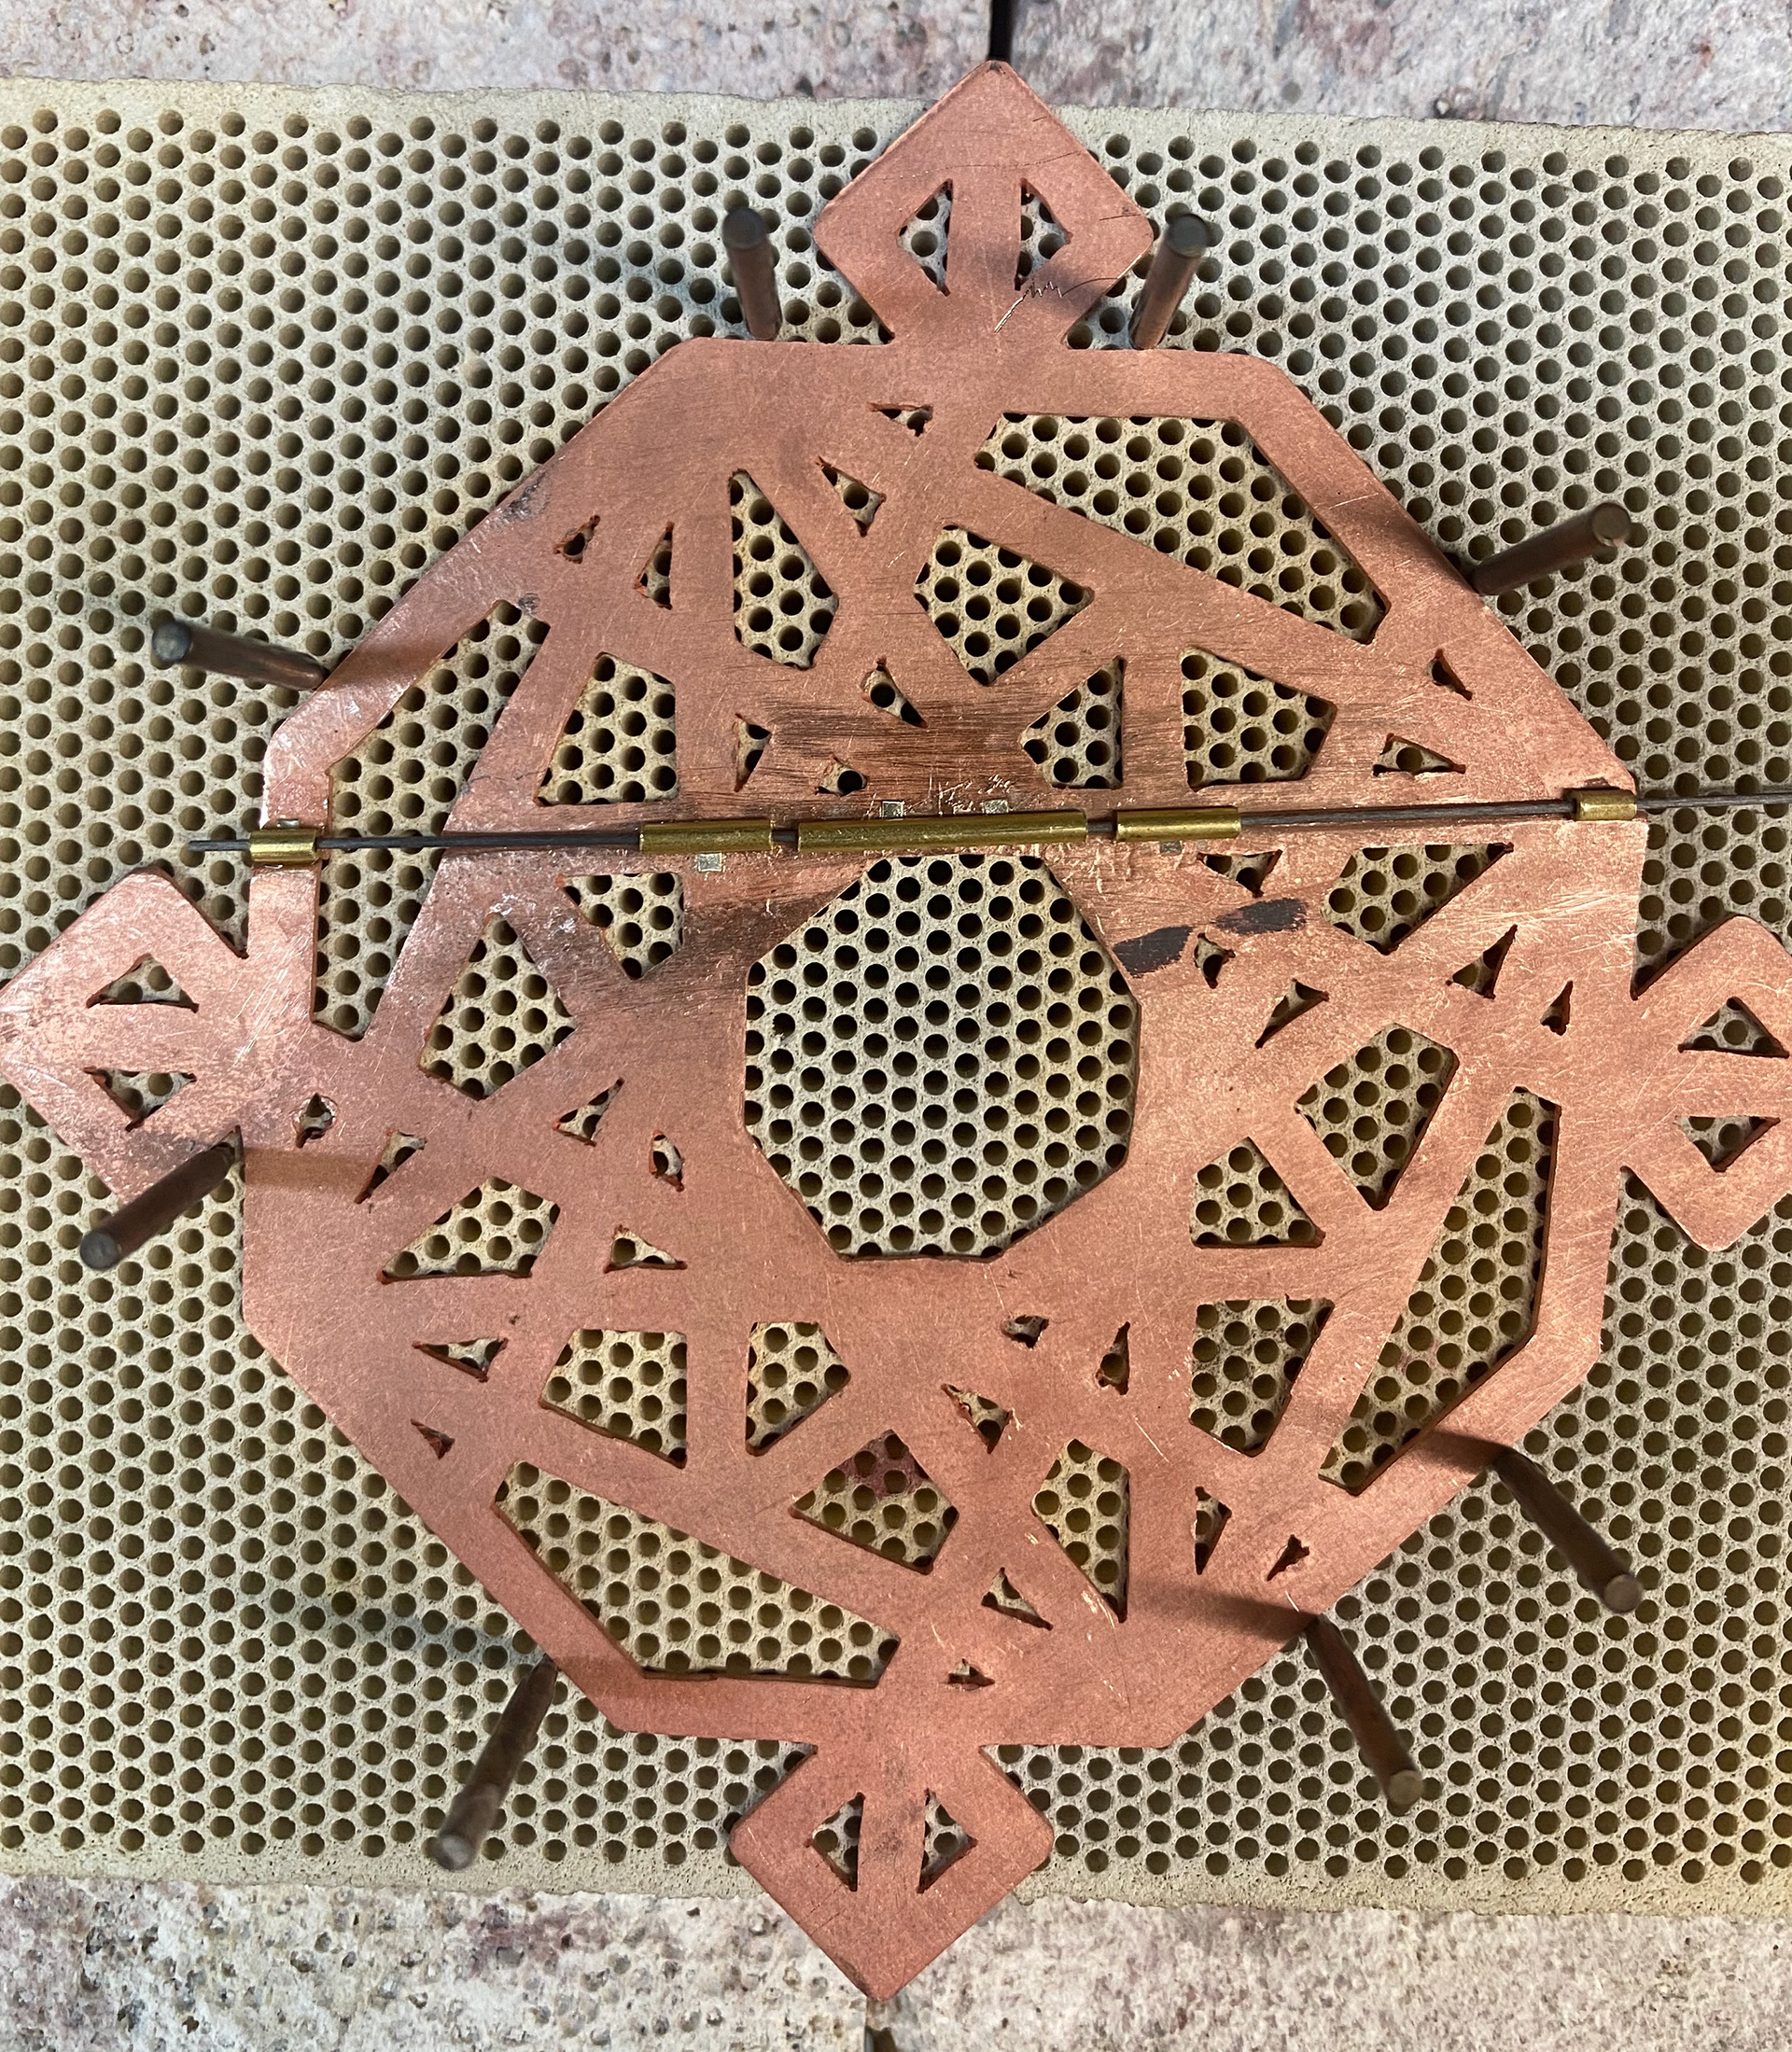
After the heat had been applied and the joints have been soldered
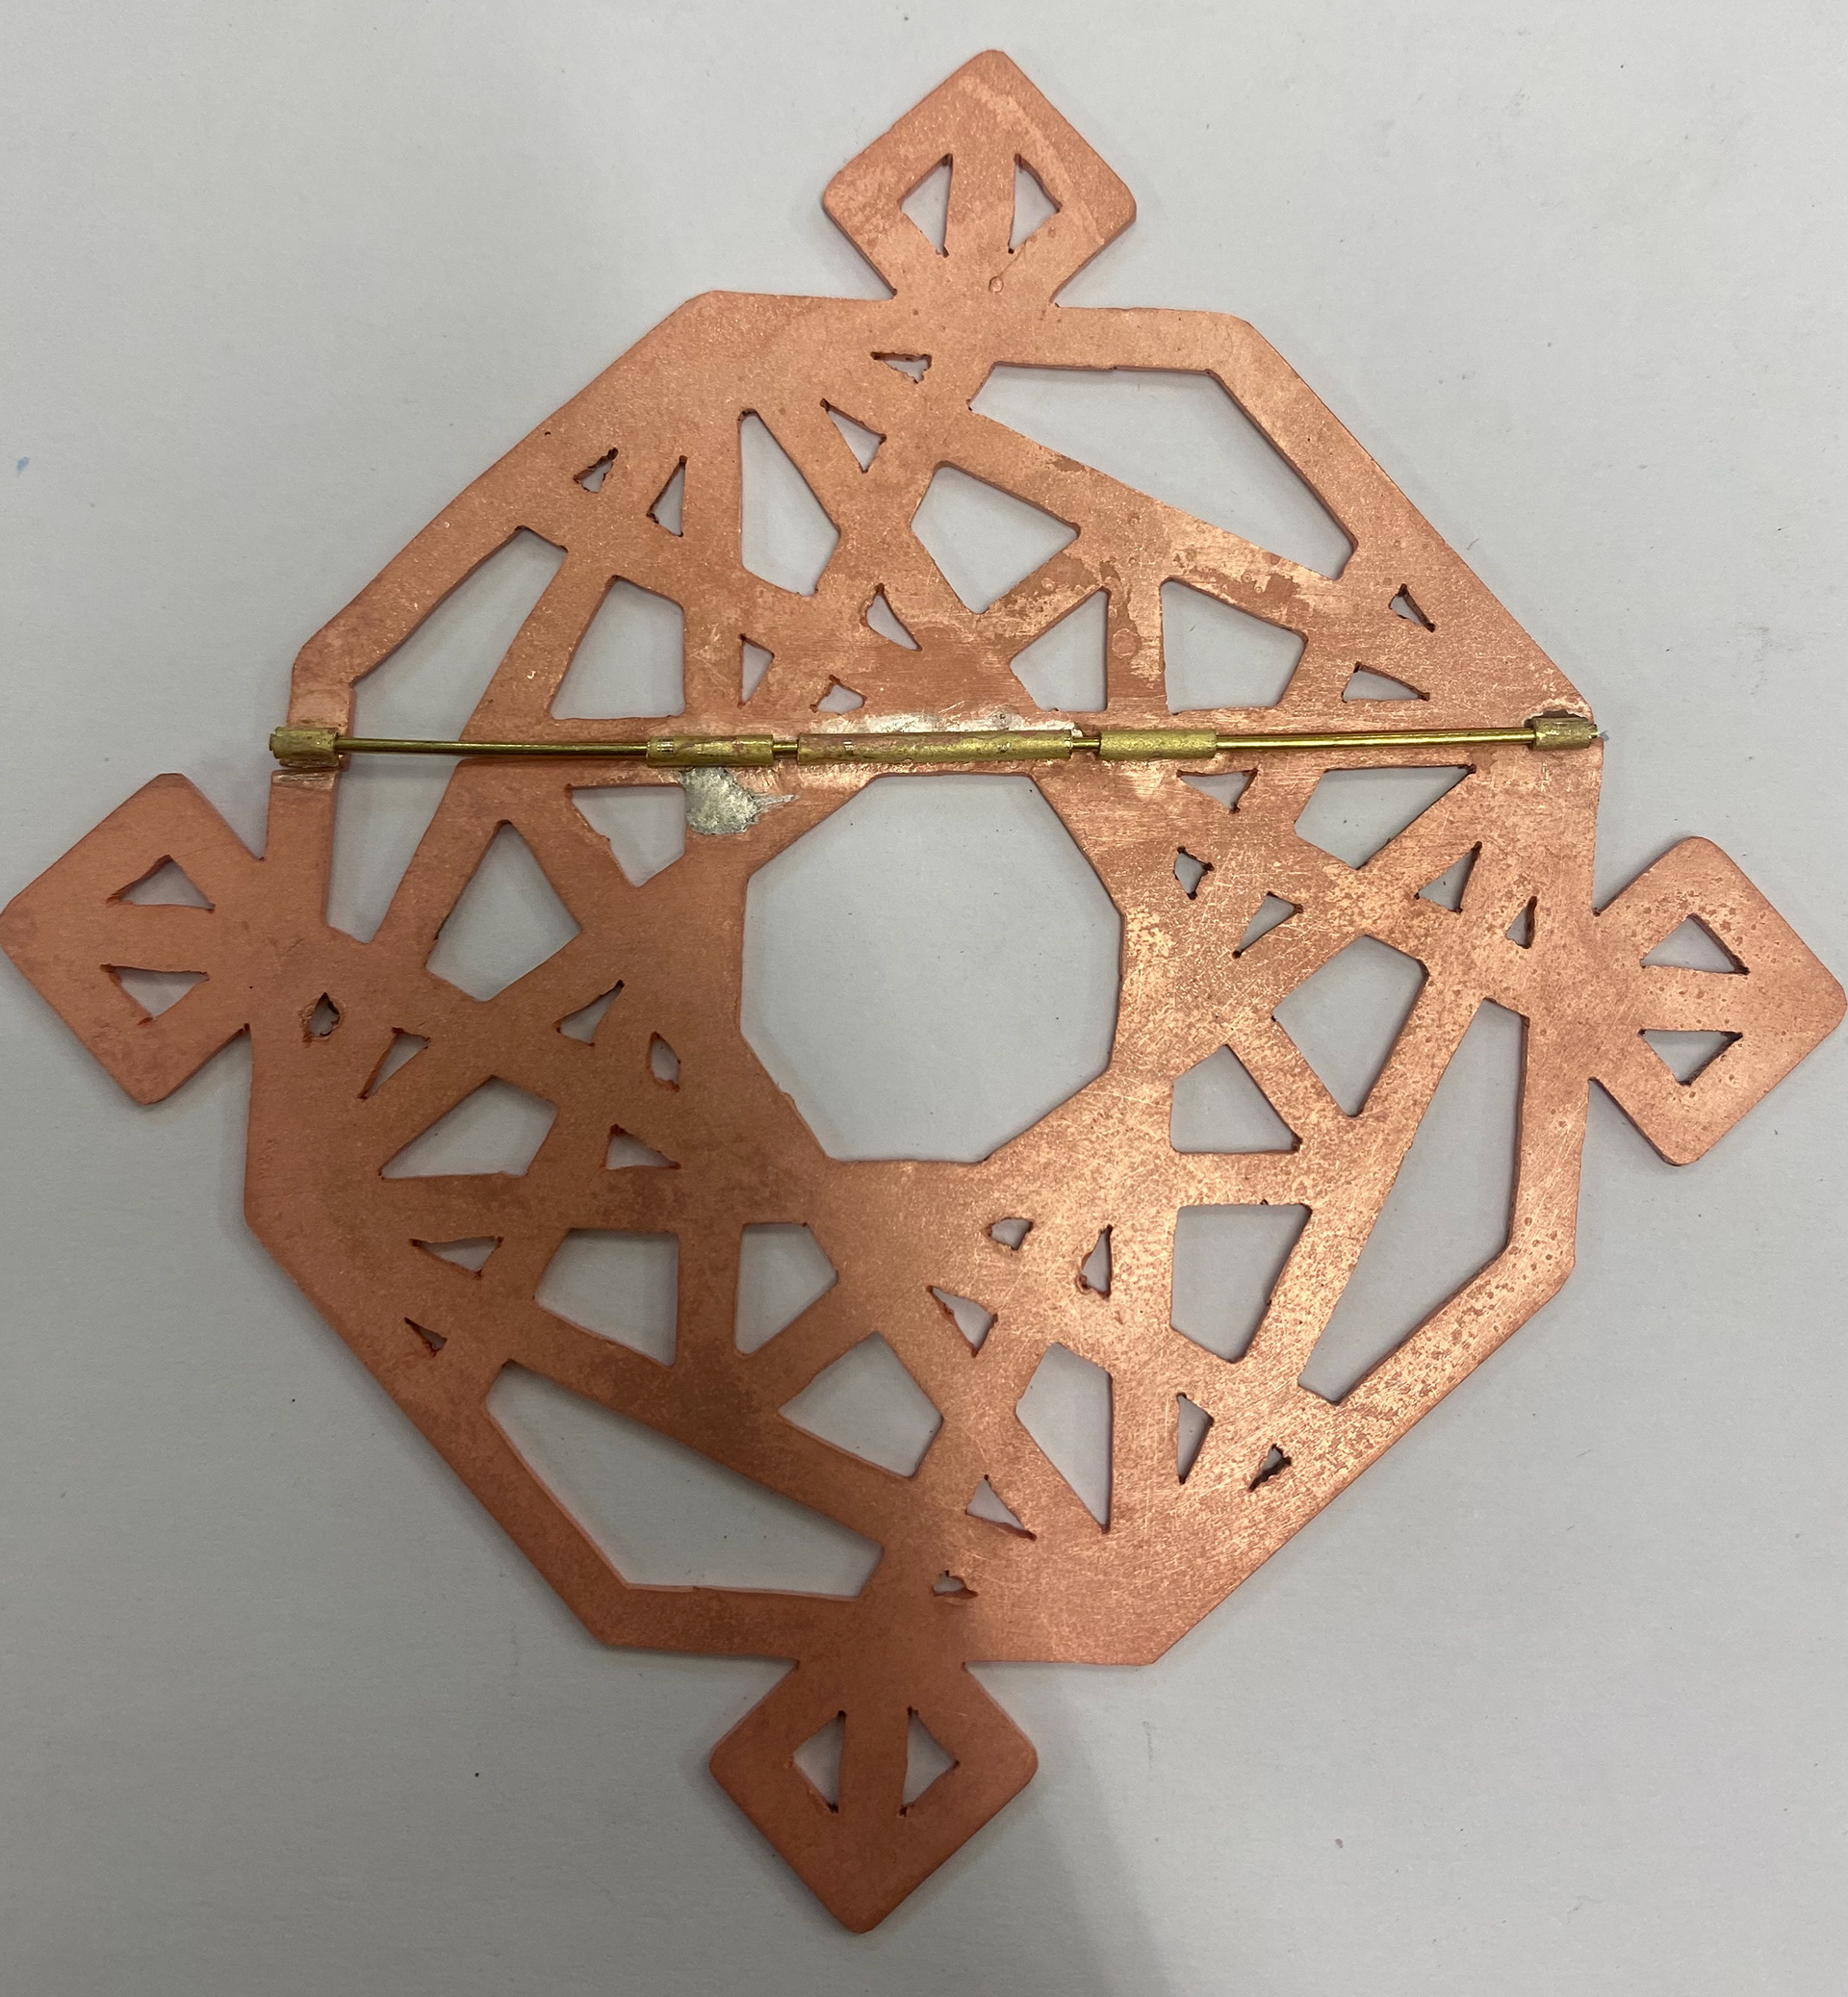
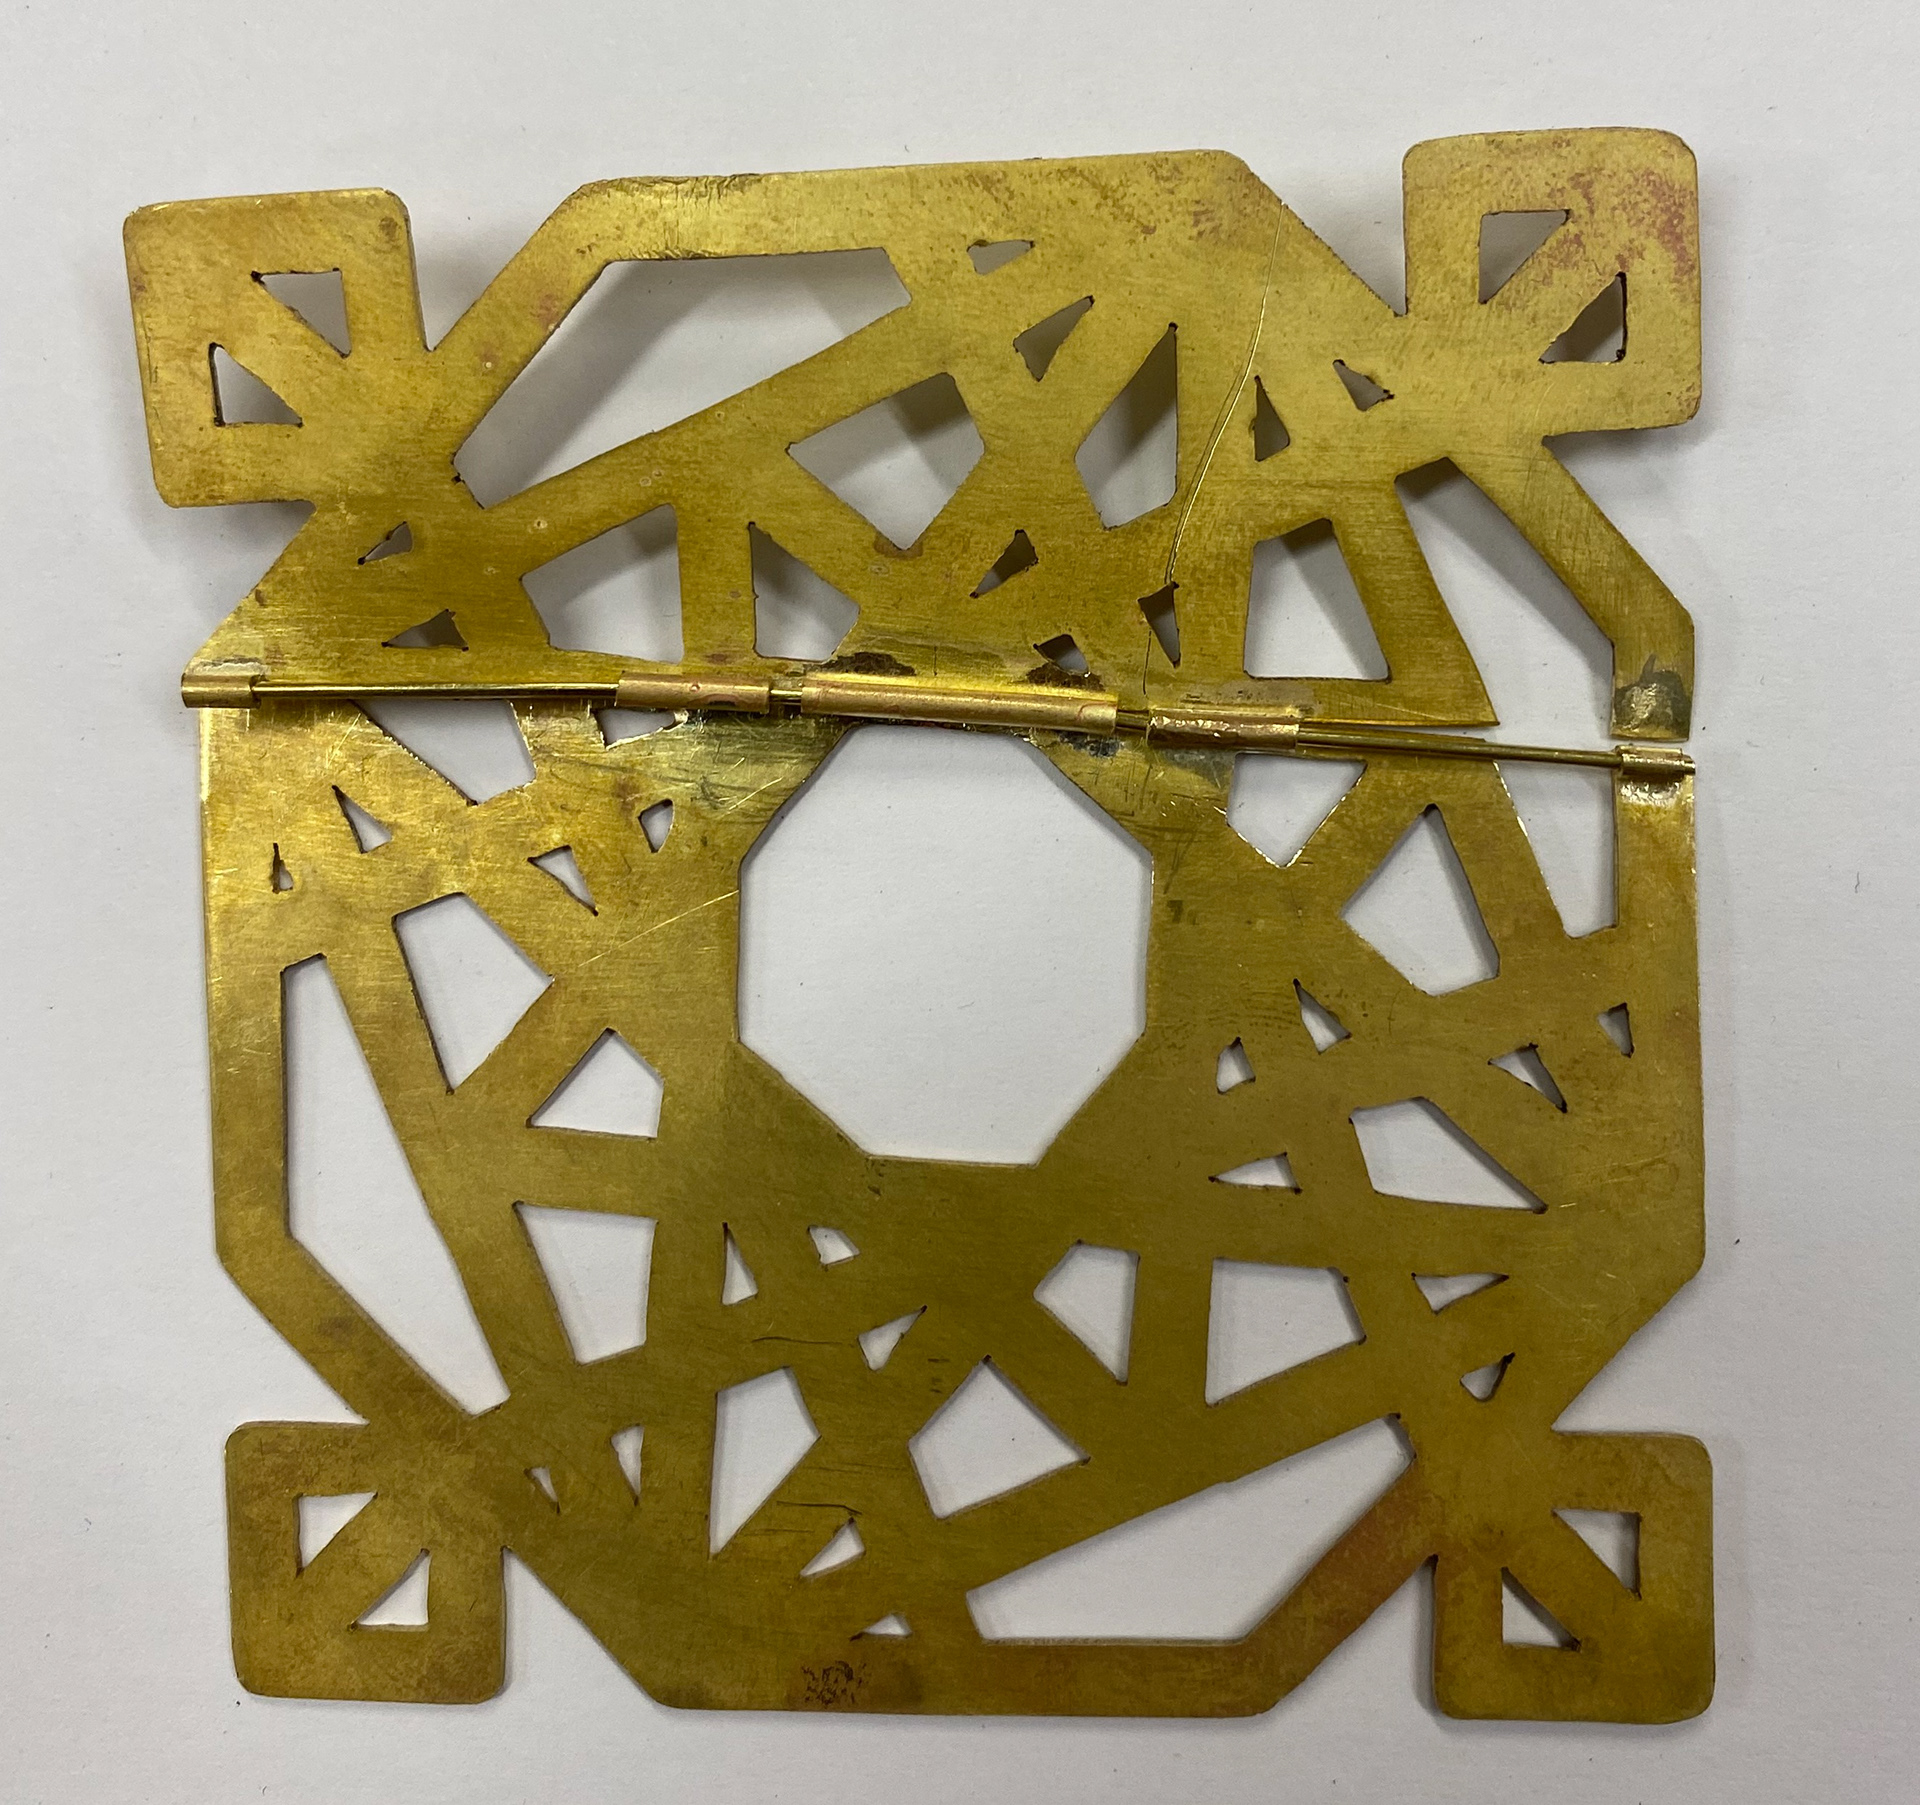
Inside view
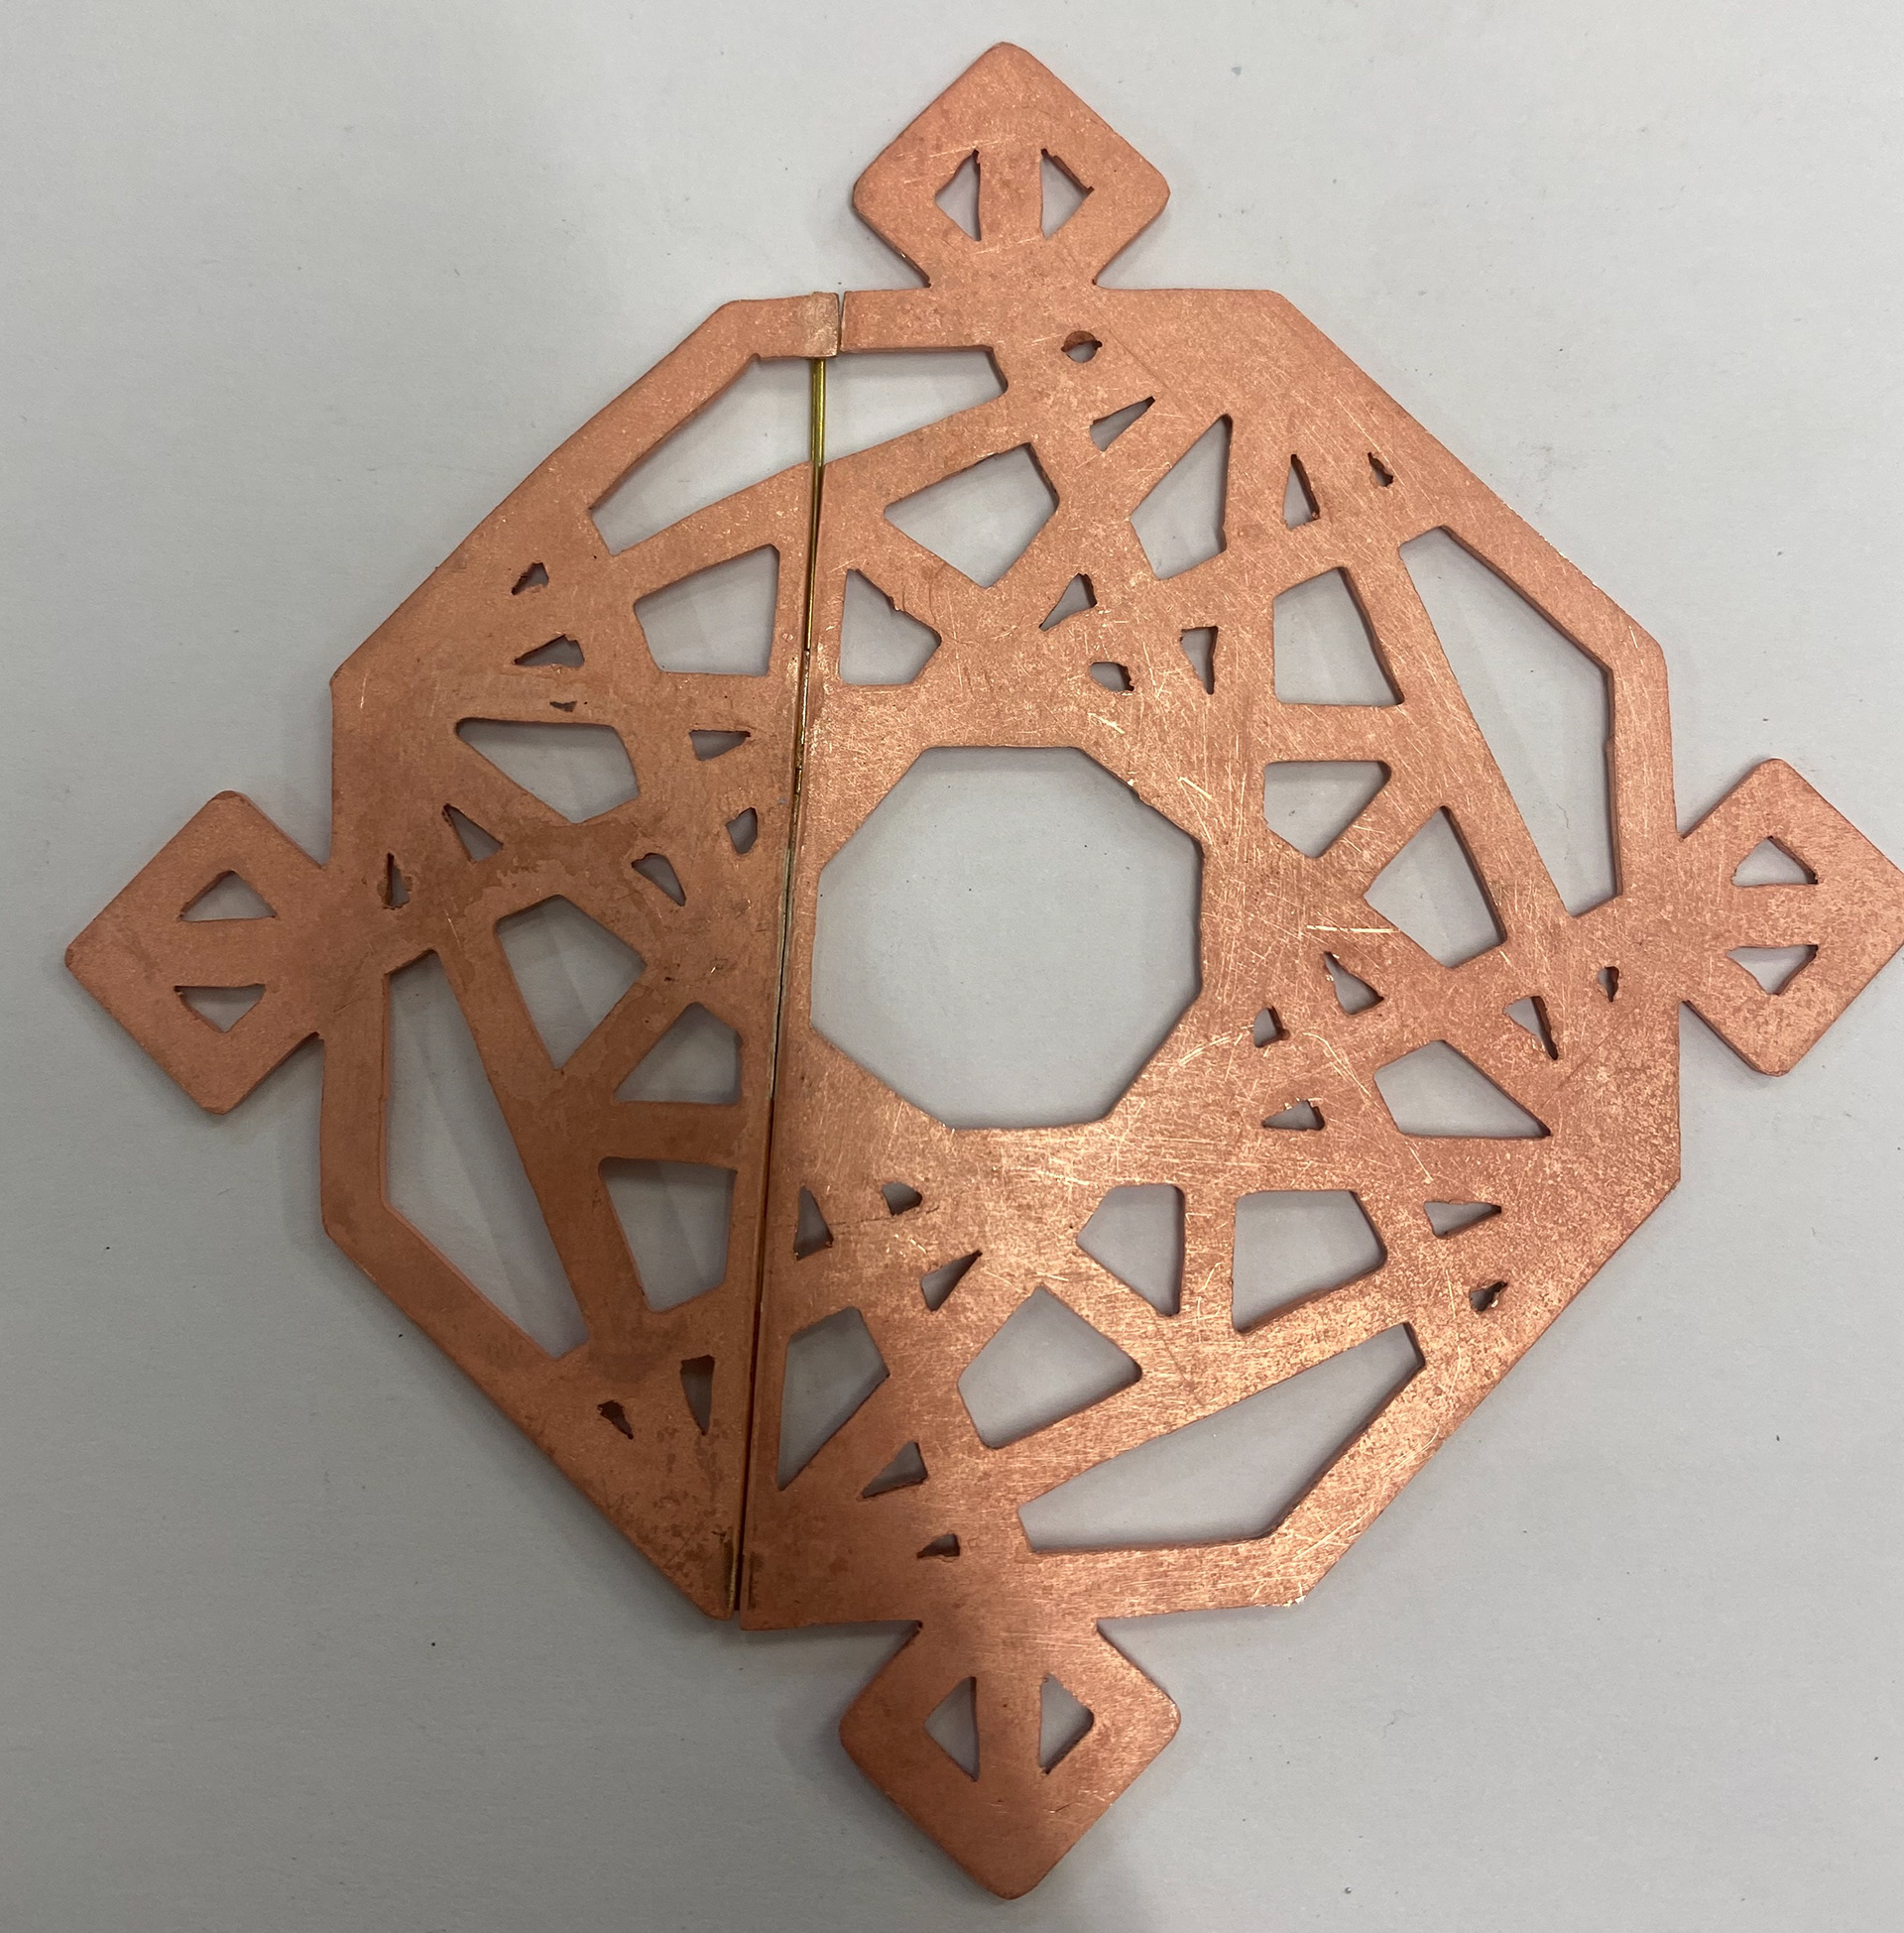
Outside view
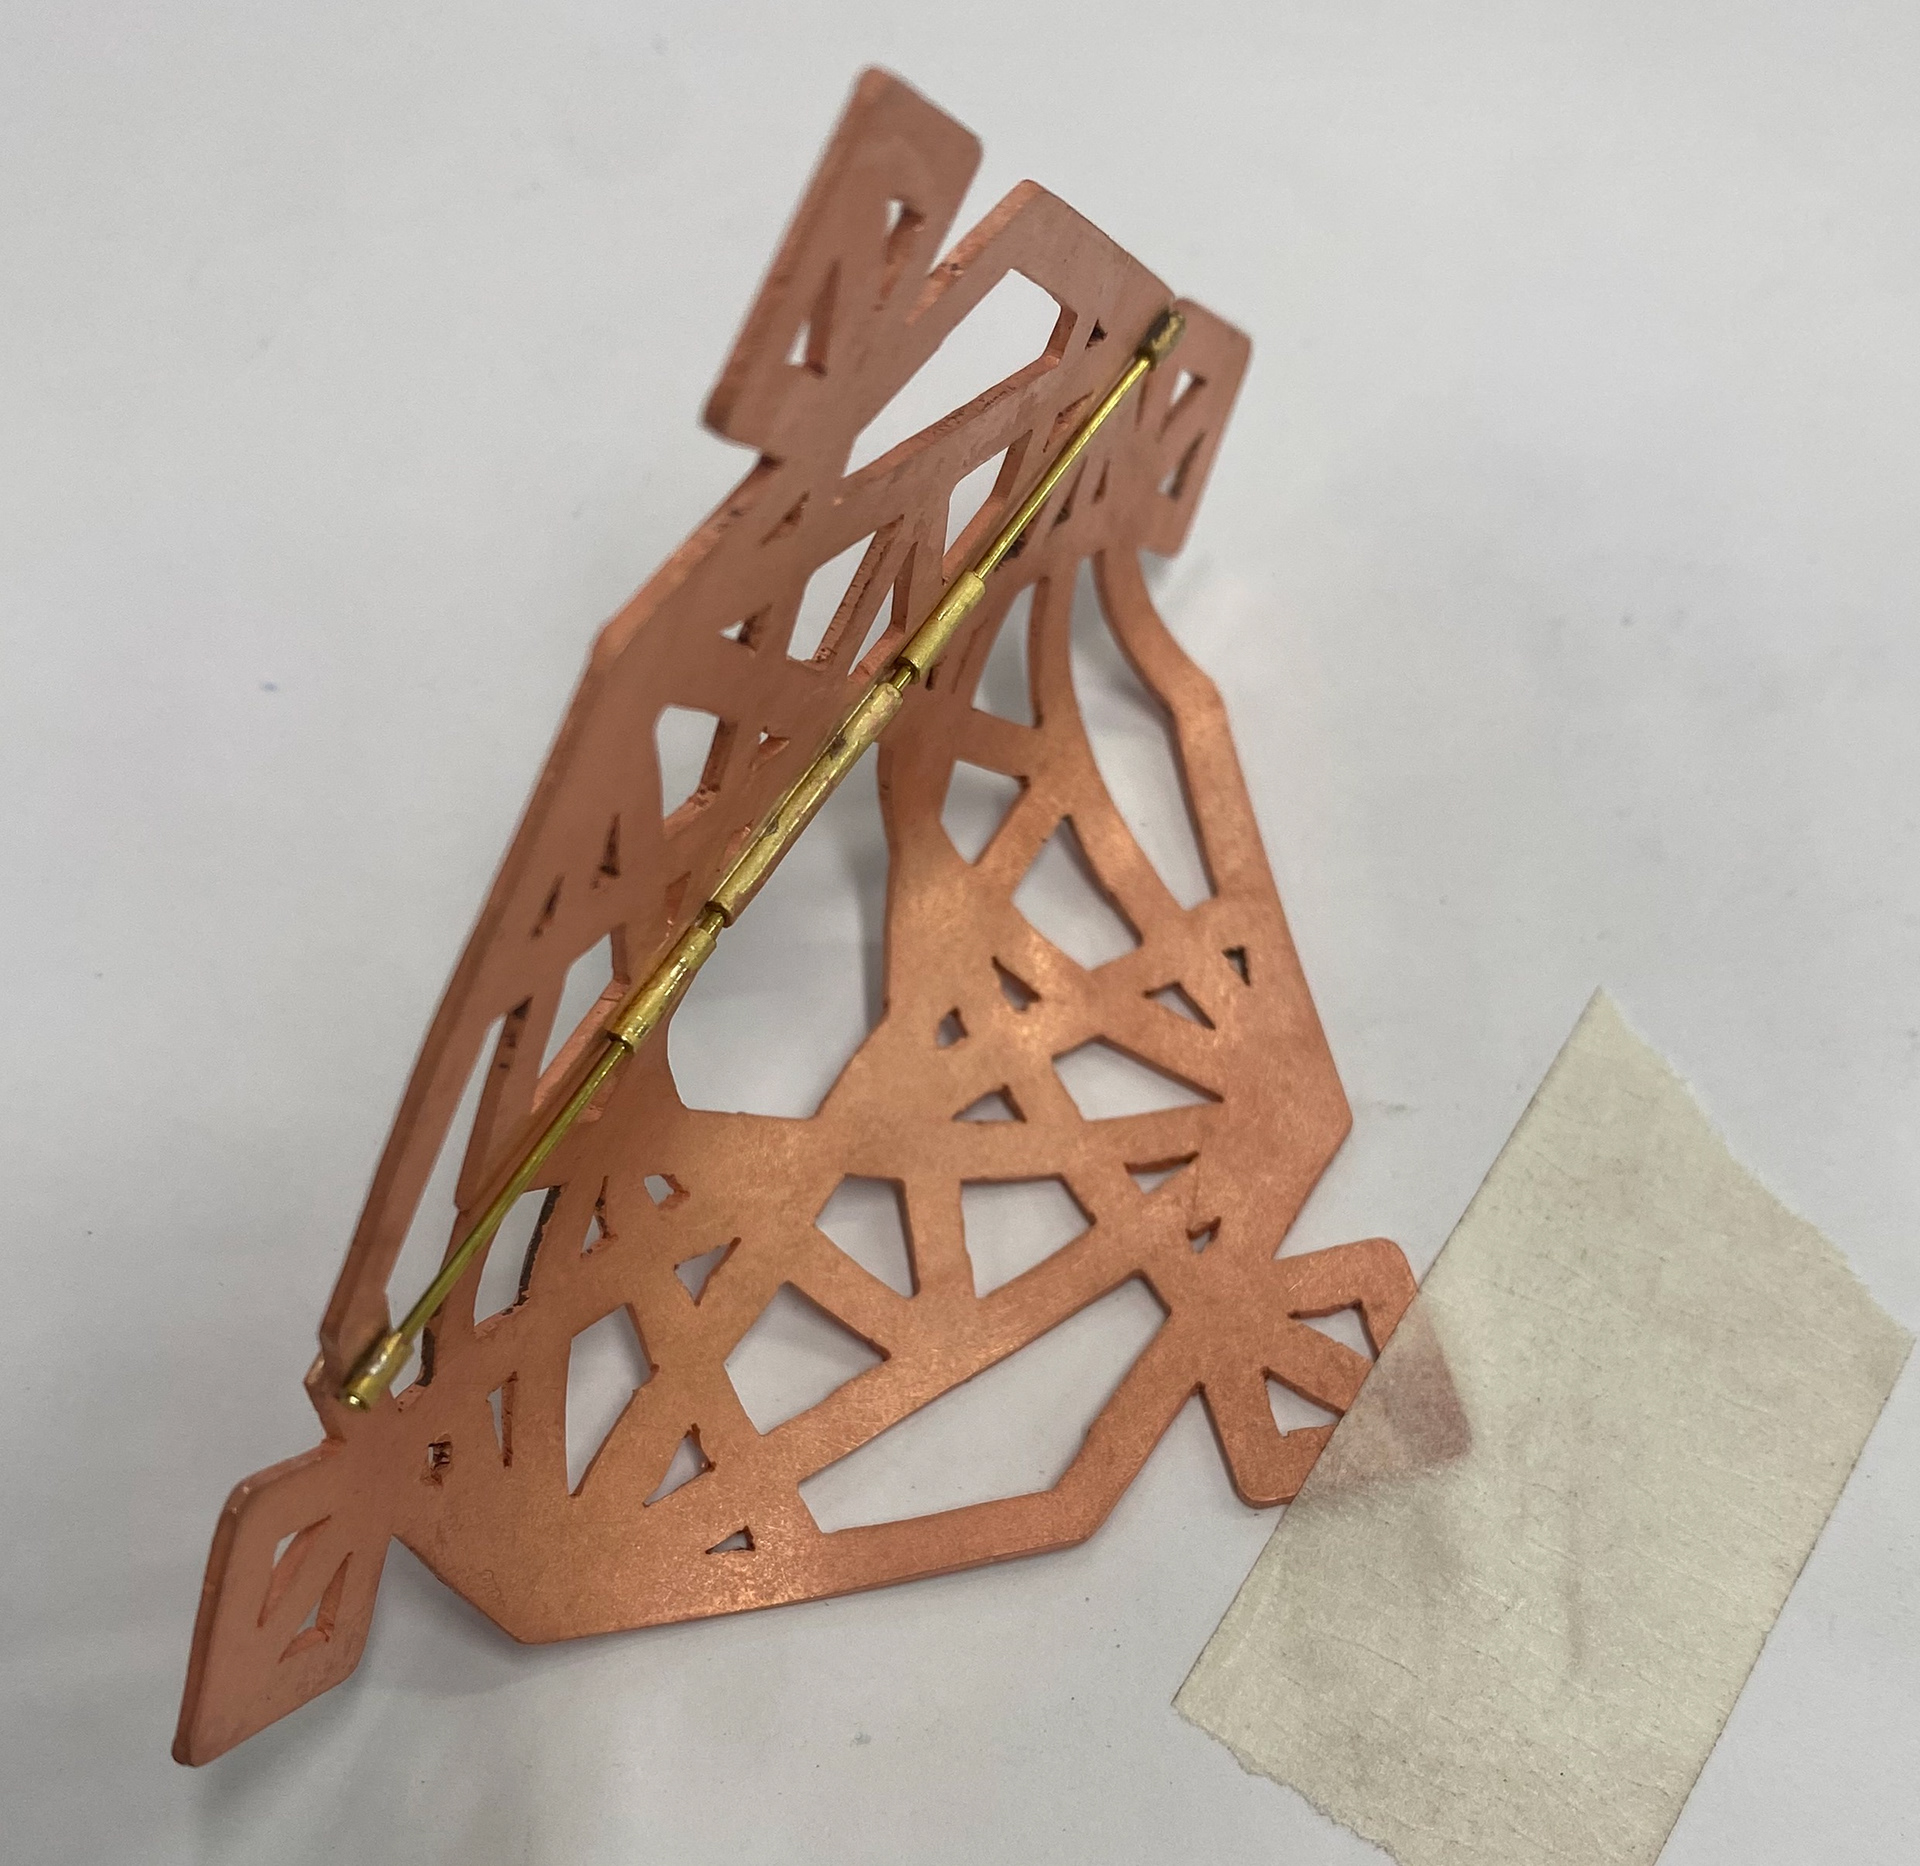
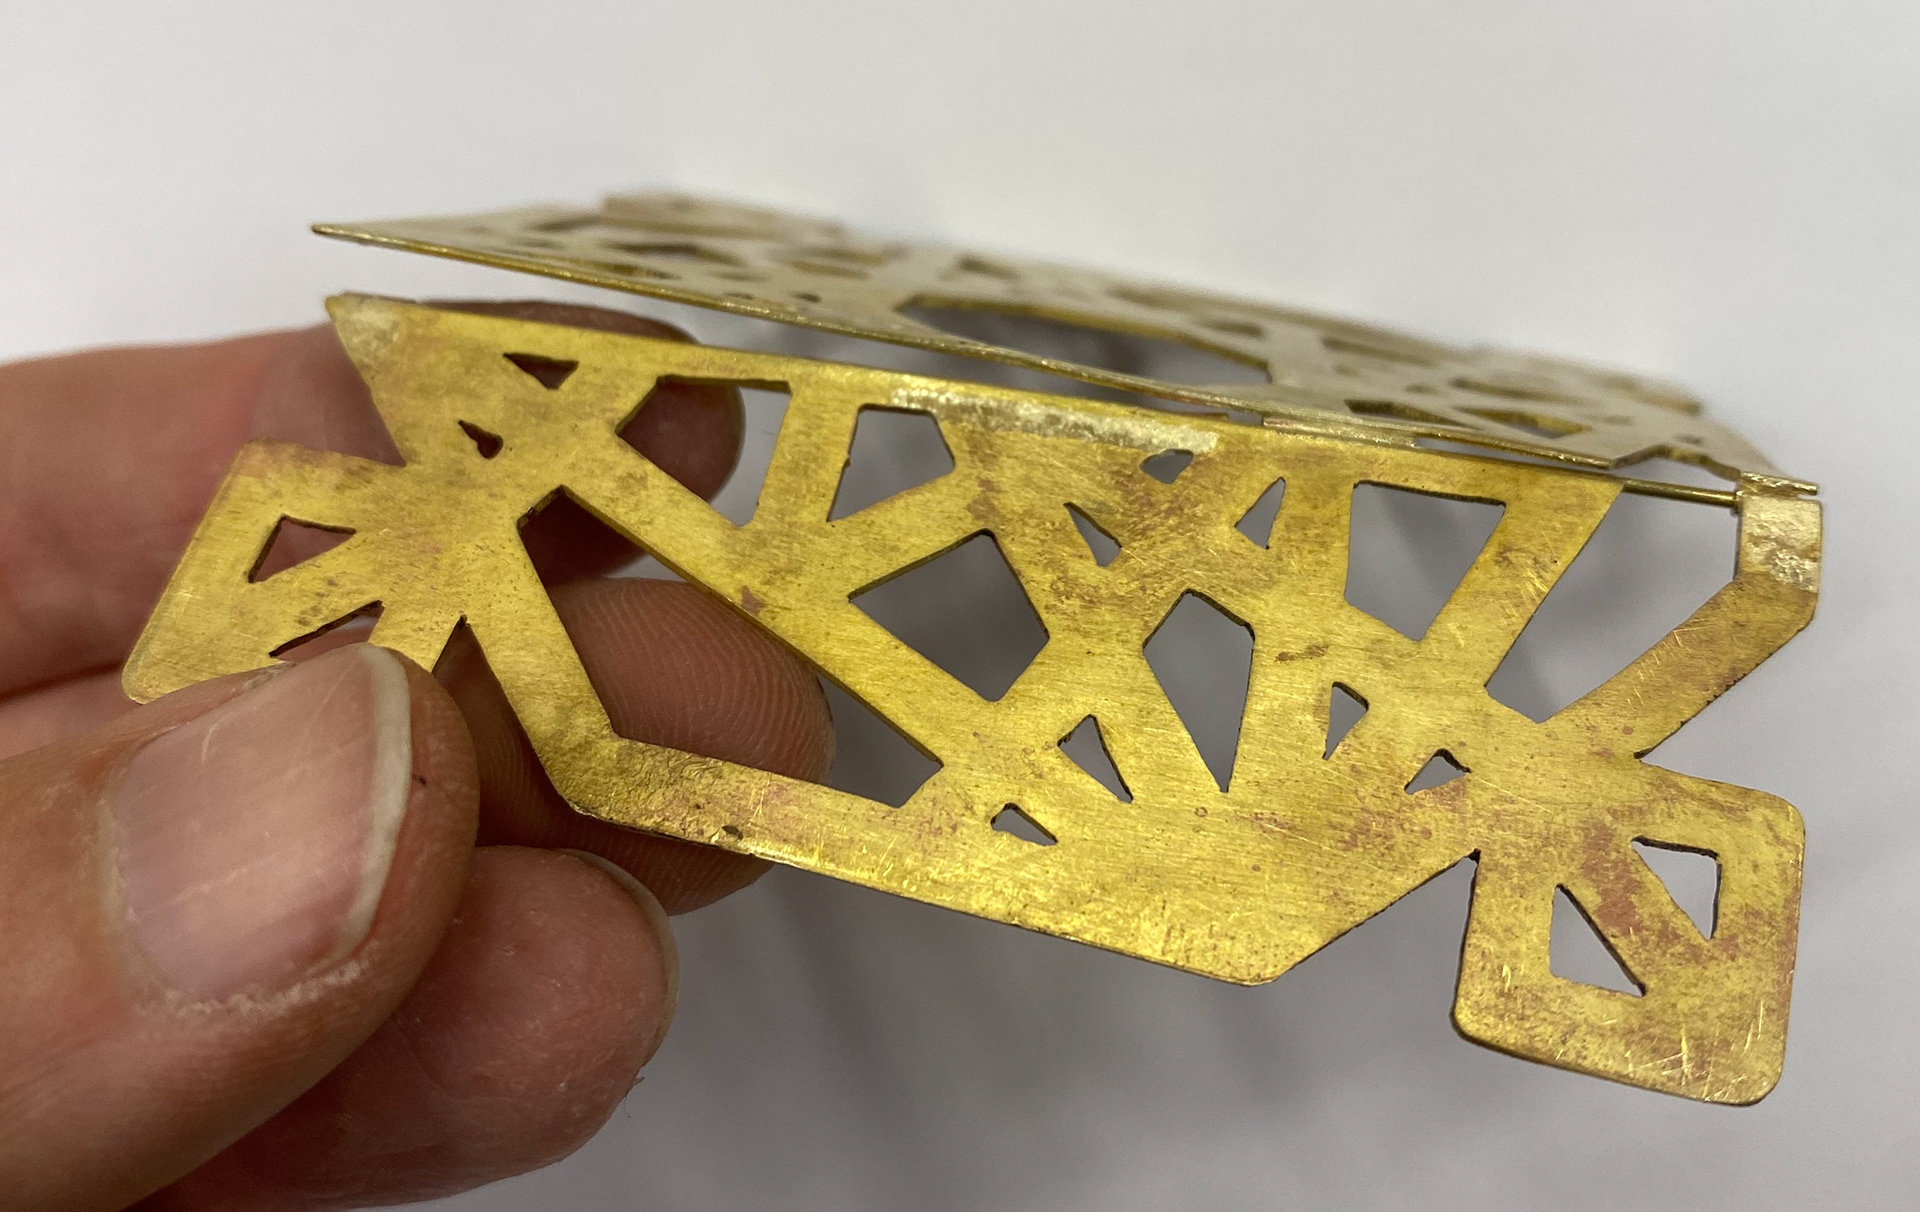
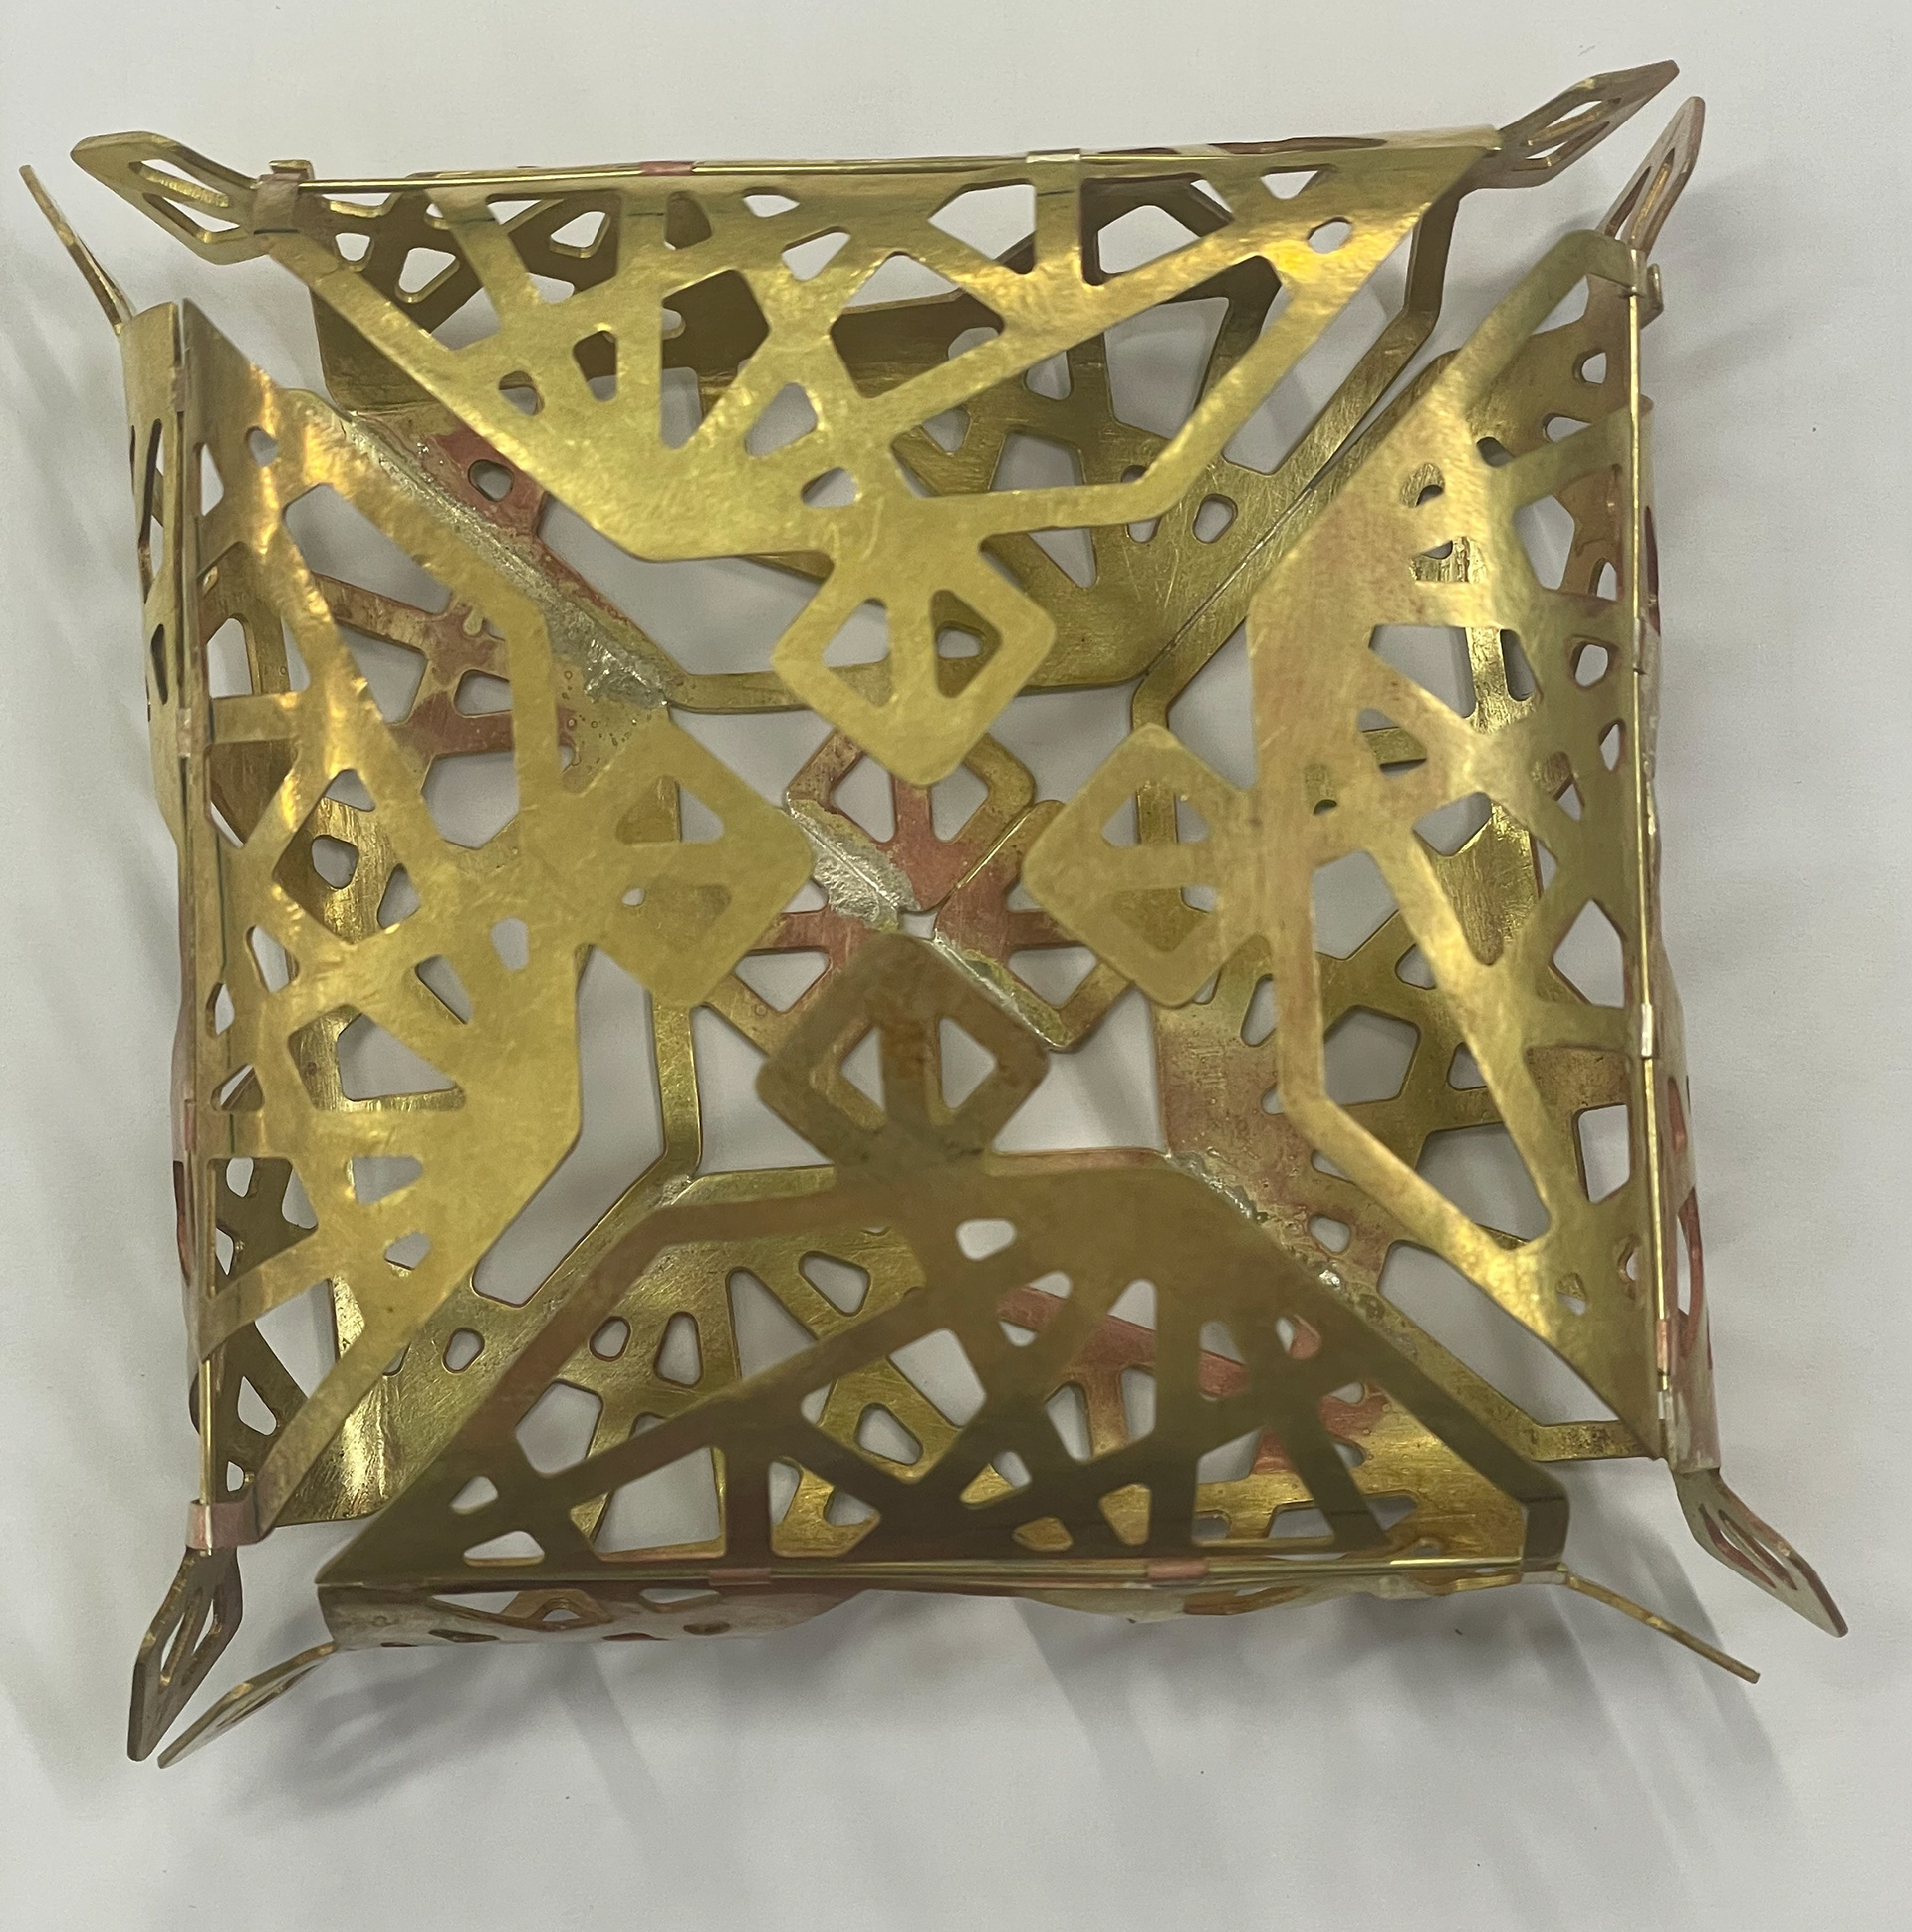
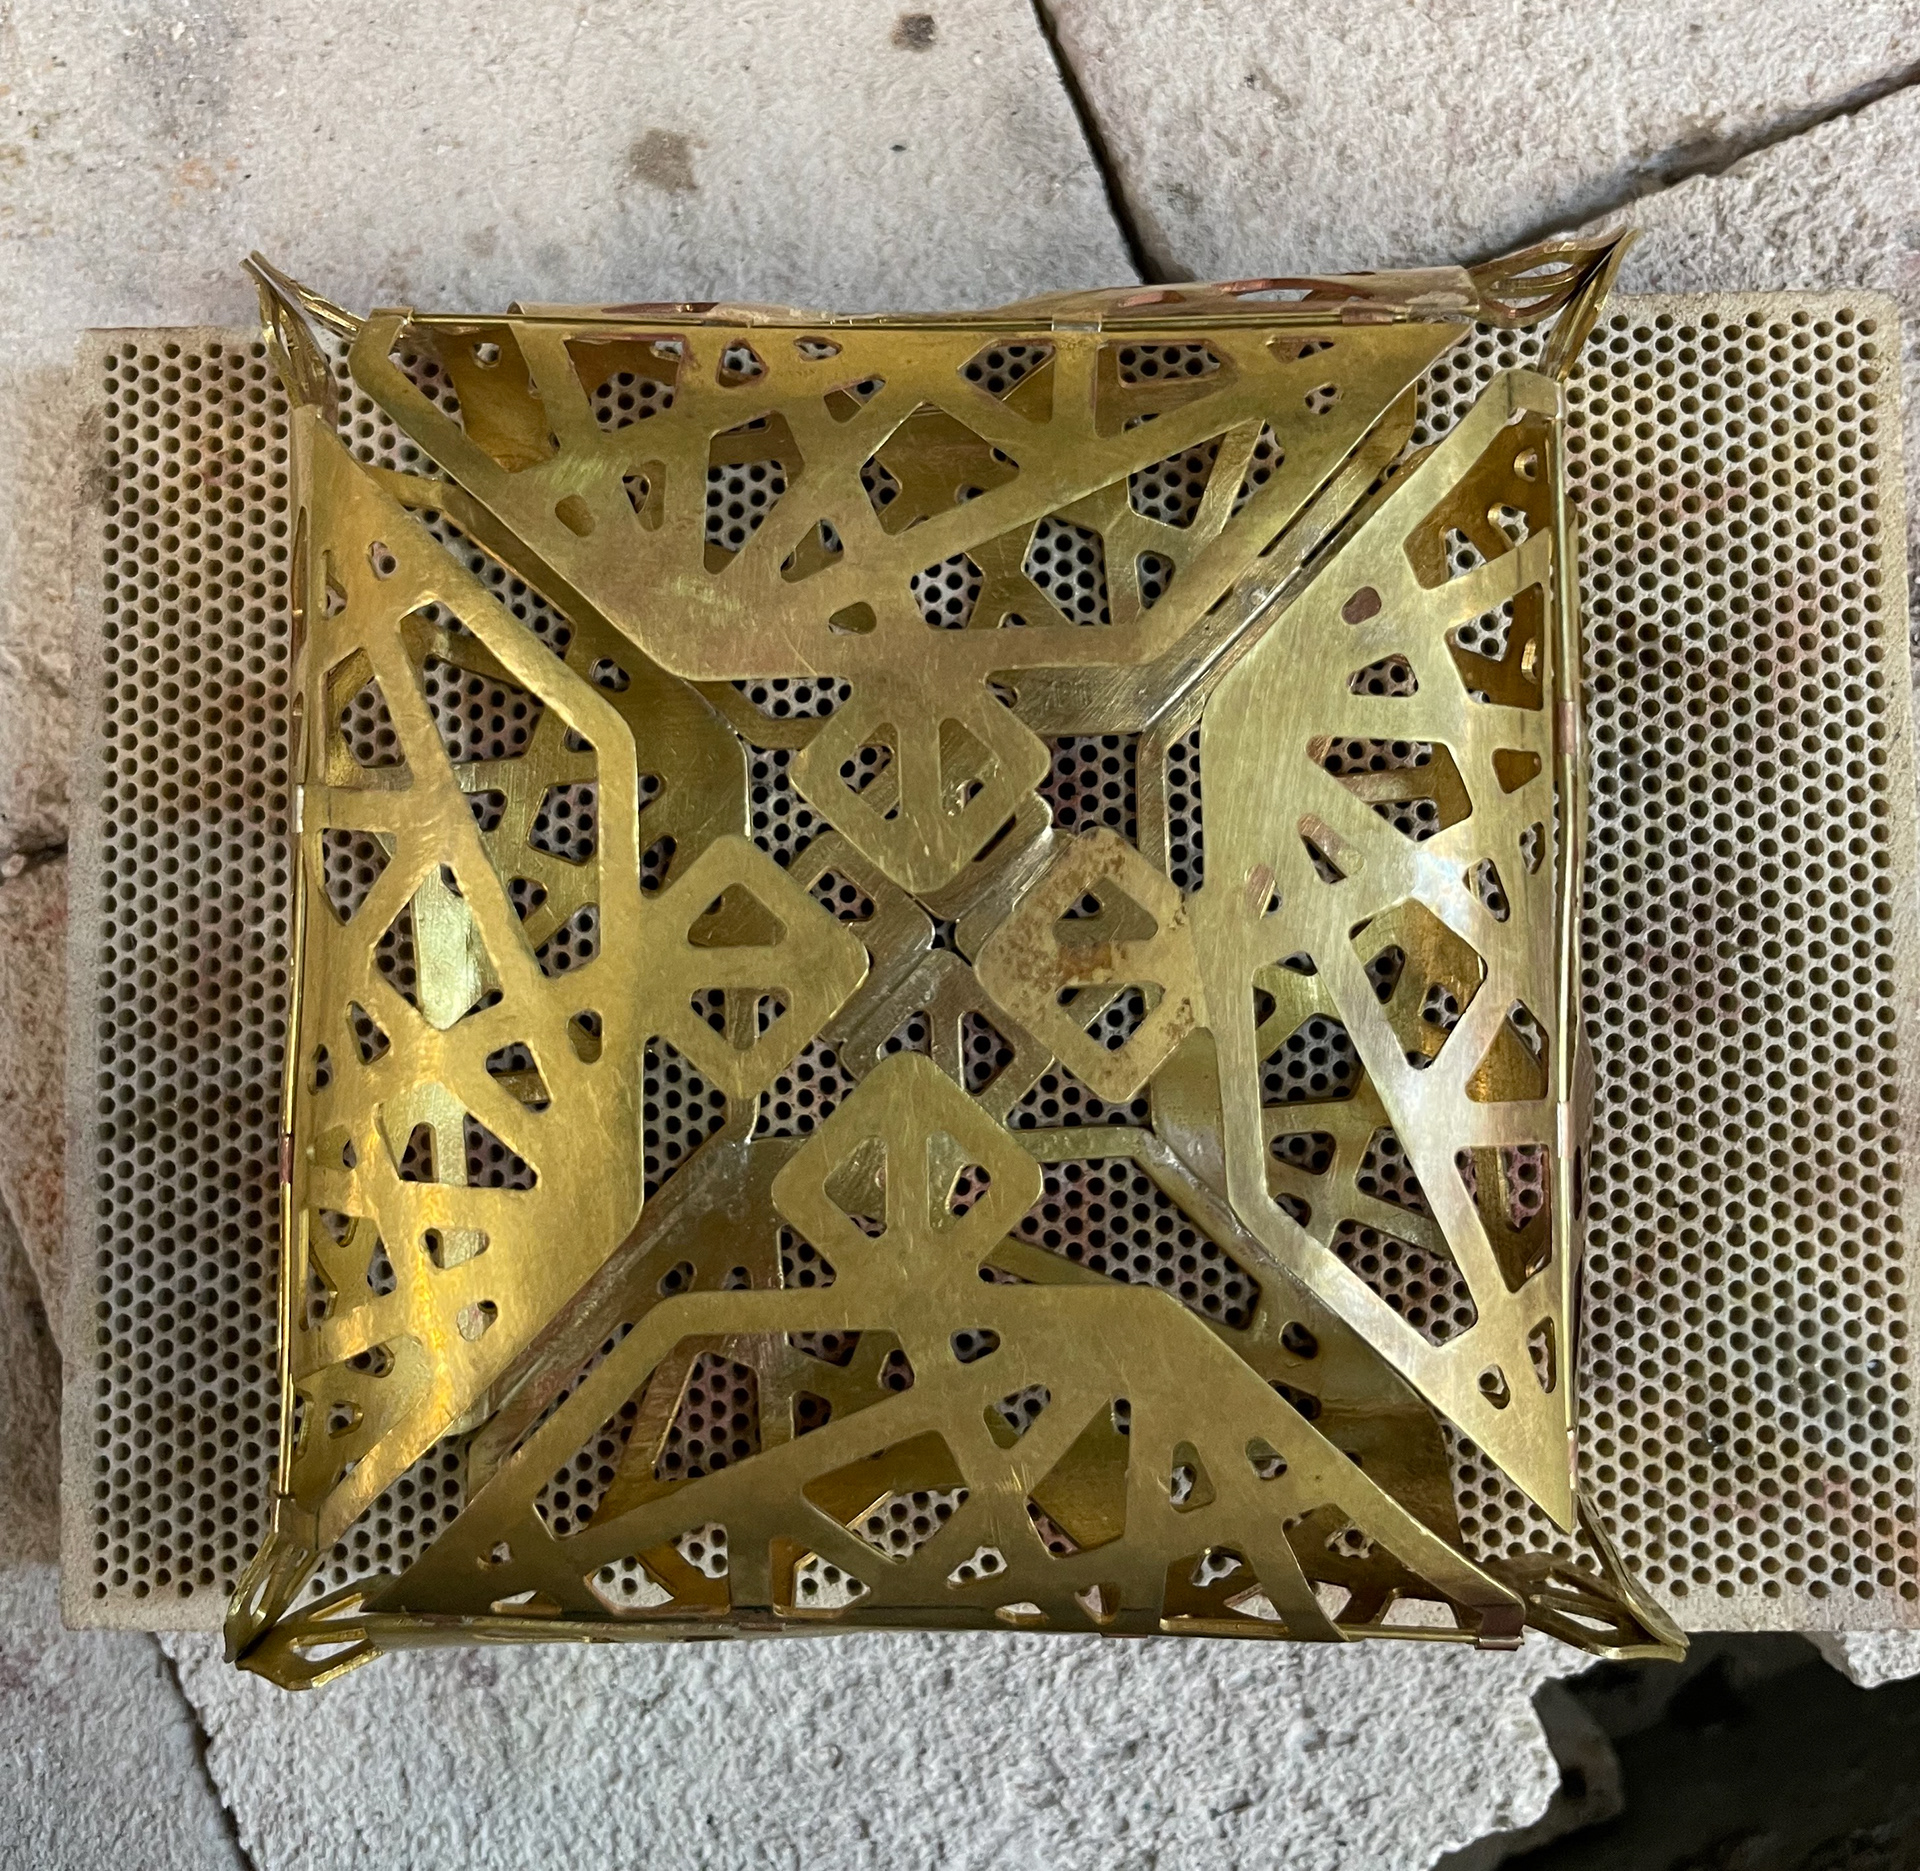
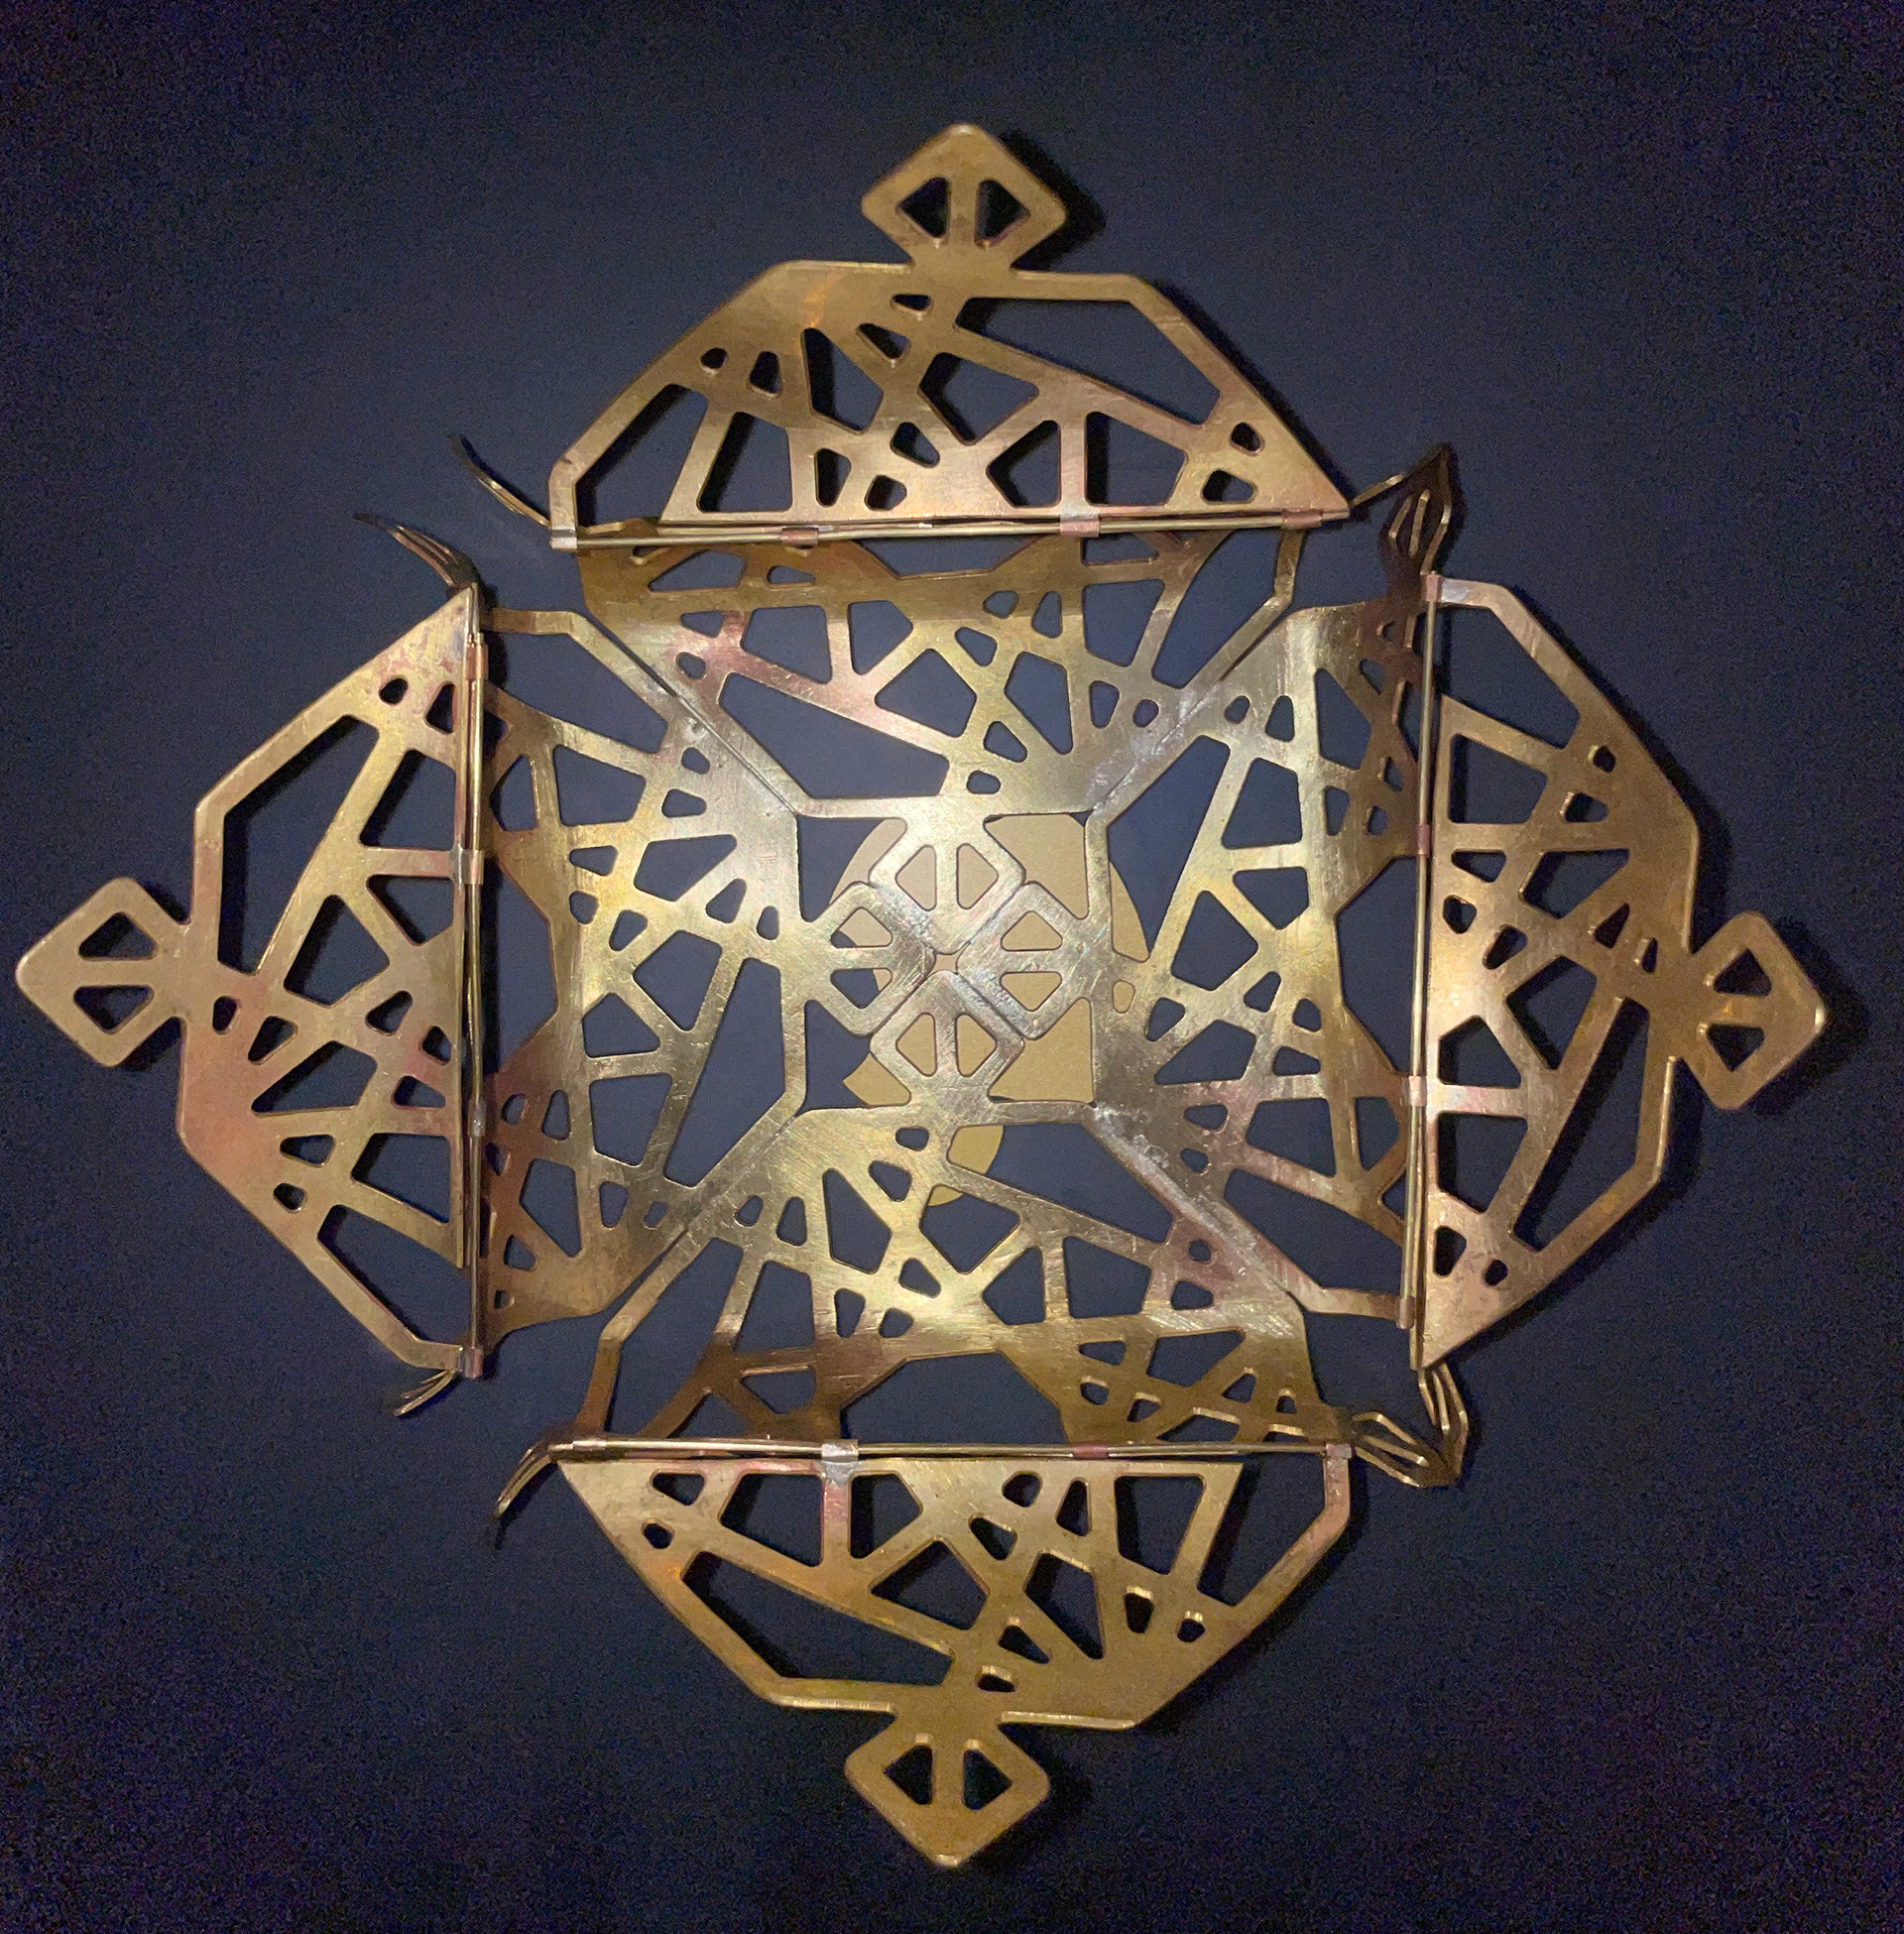
Form once bent at various angels
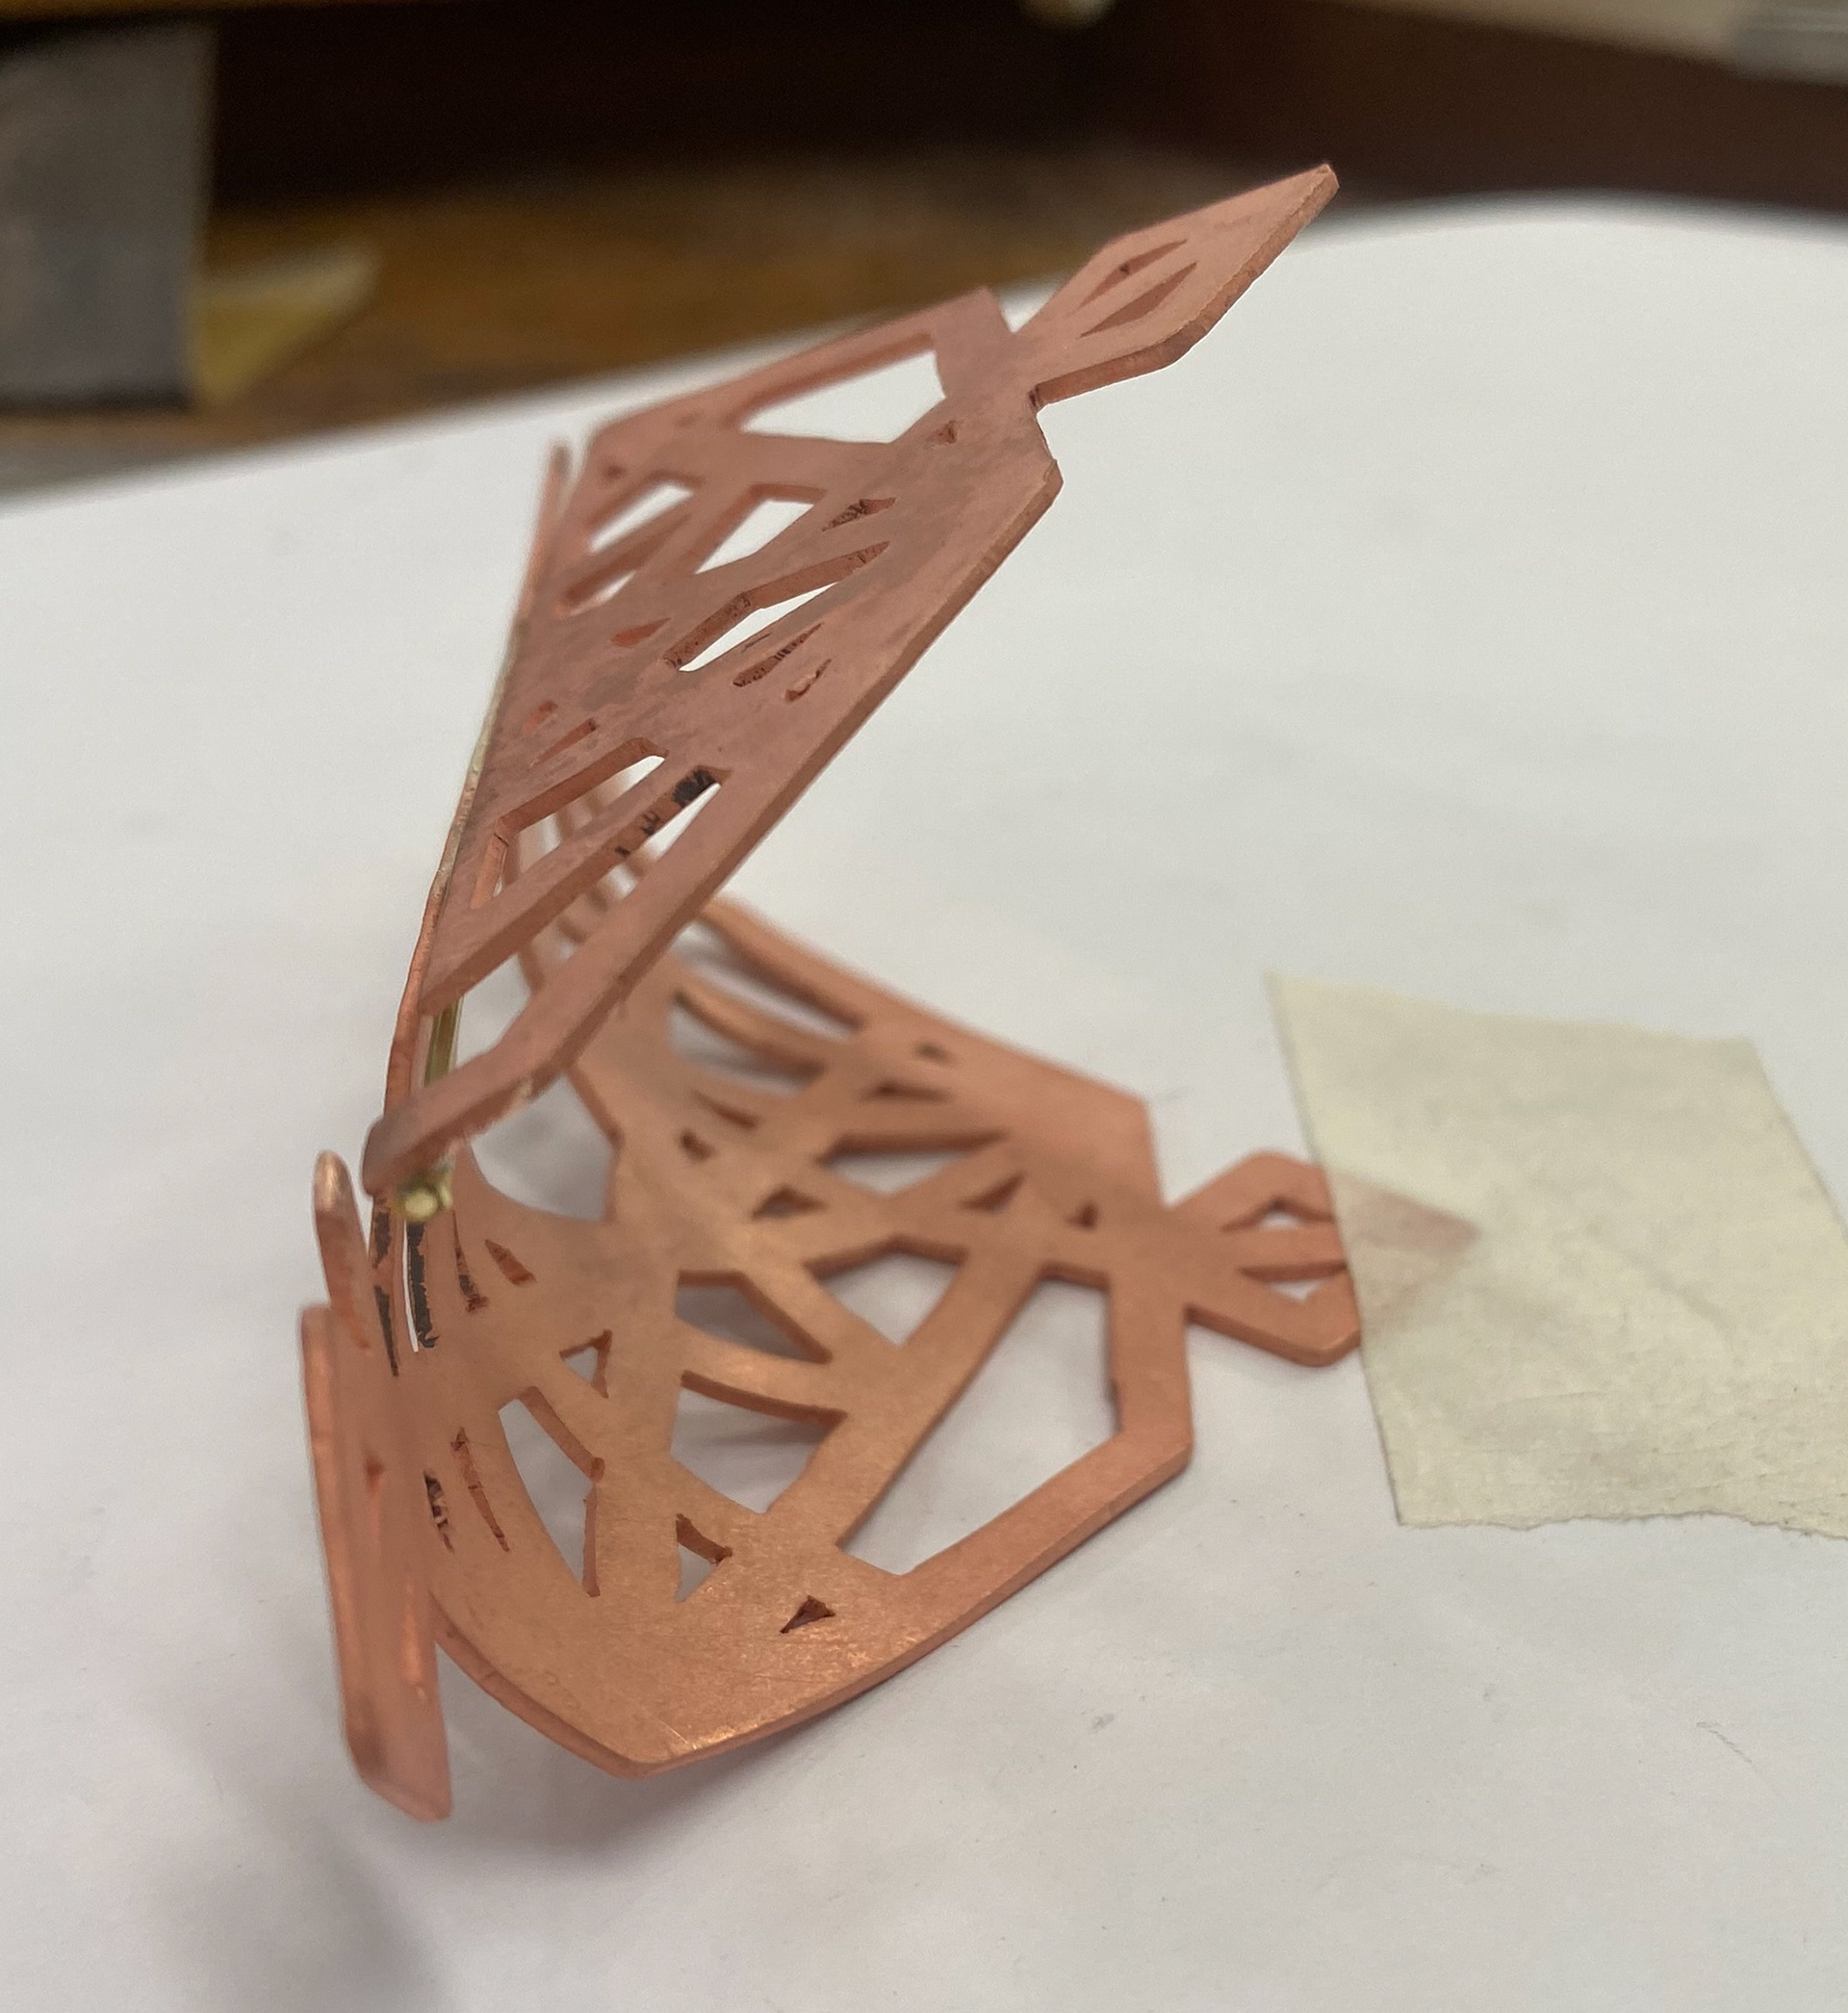
Form once bent at various angels
Form once bent at various angels
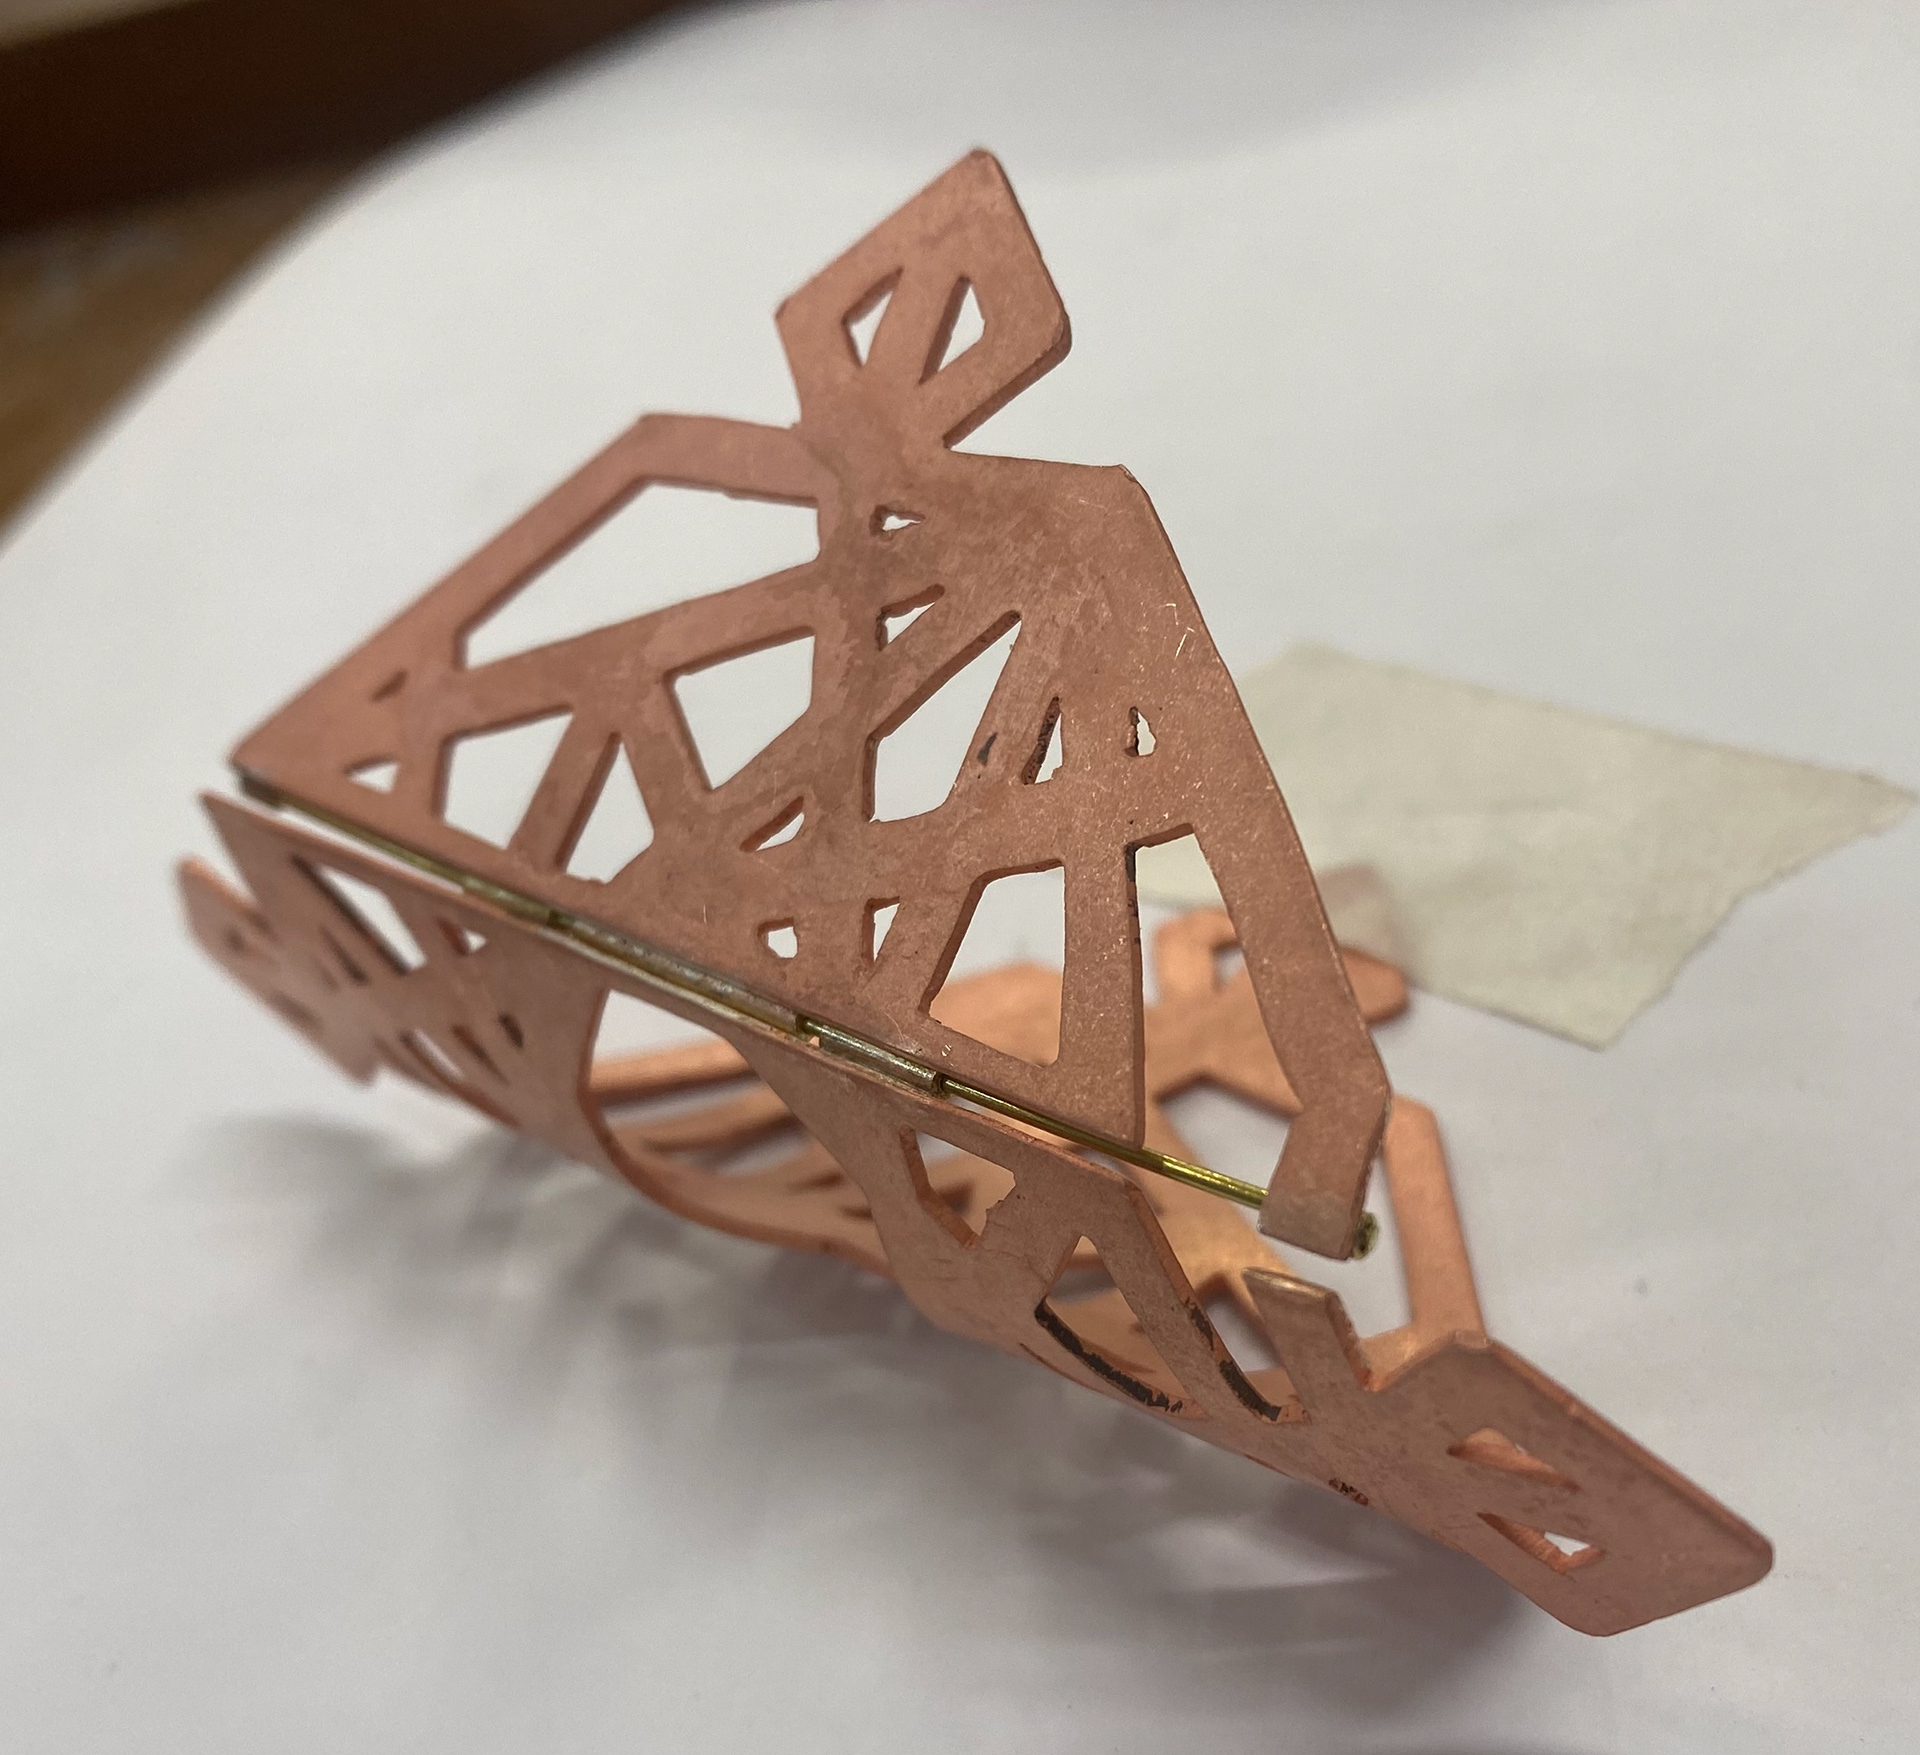
Form once bent at various angels
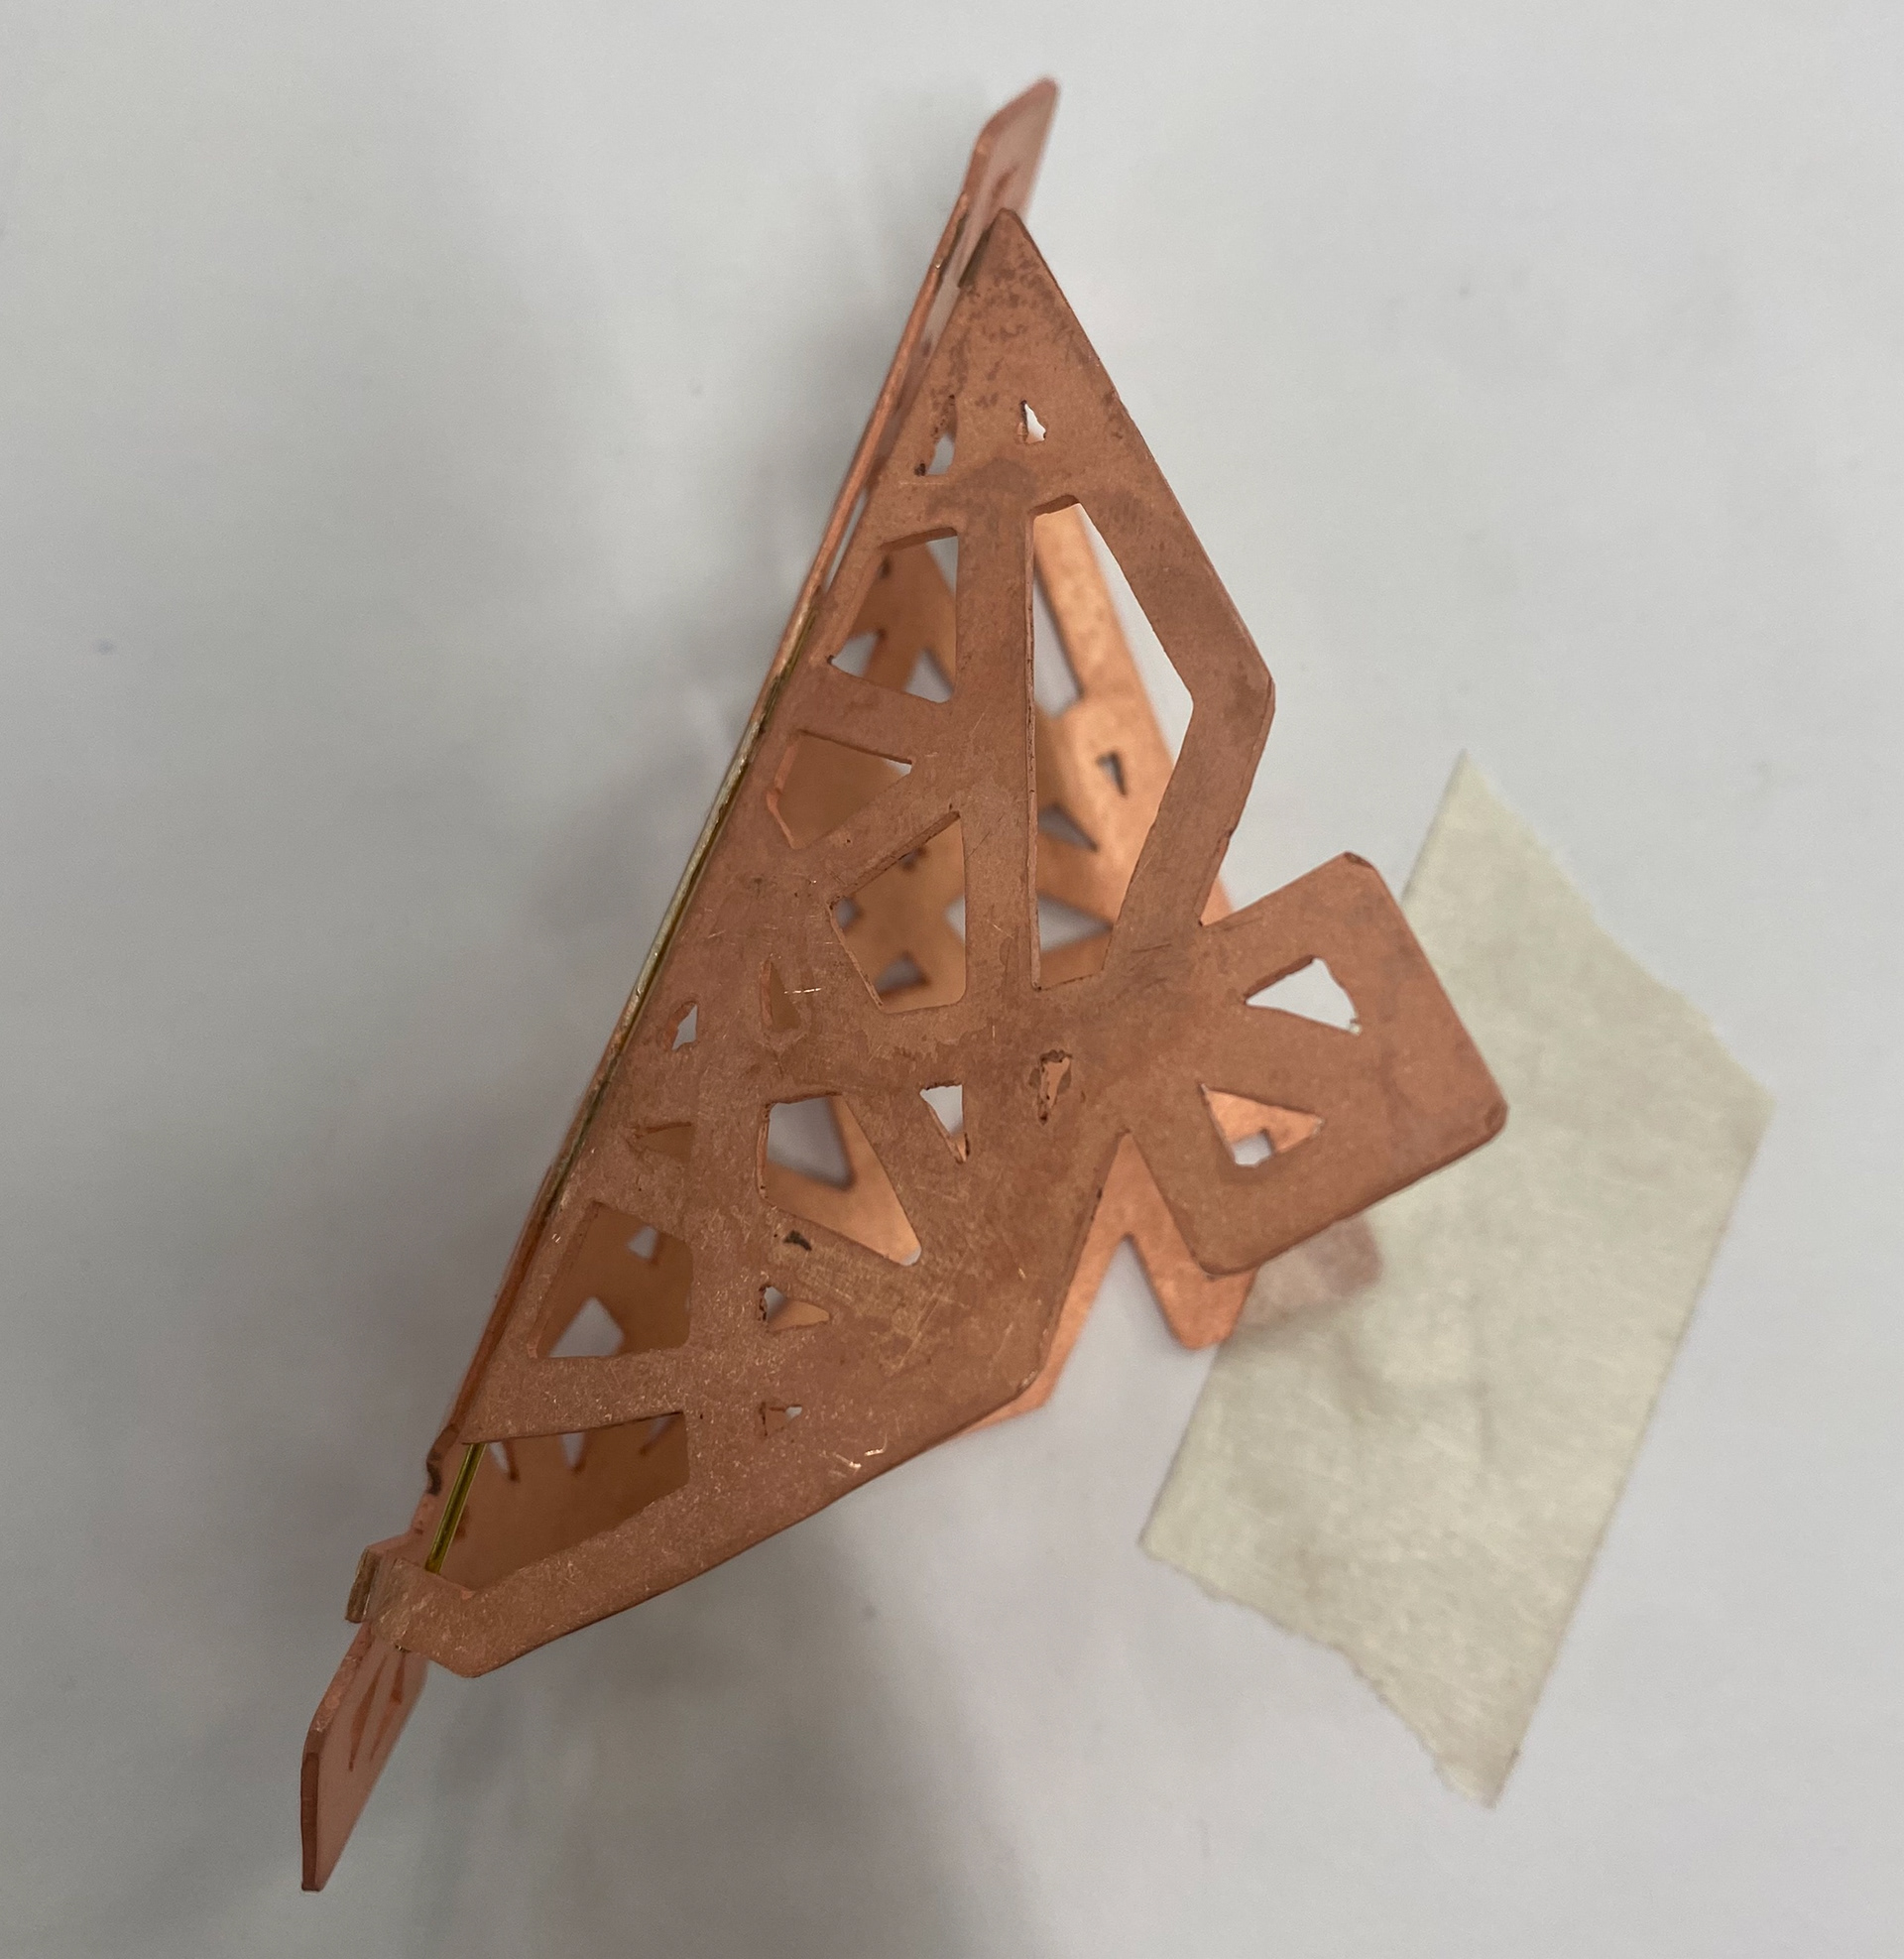
Form once bent at various angels
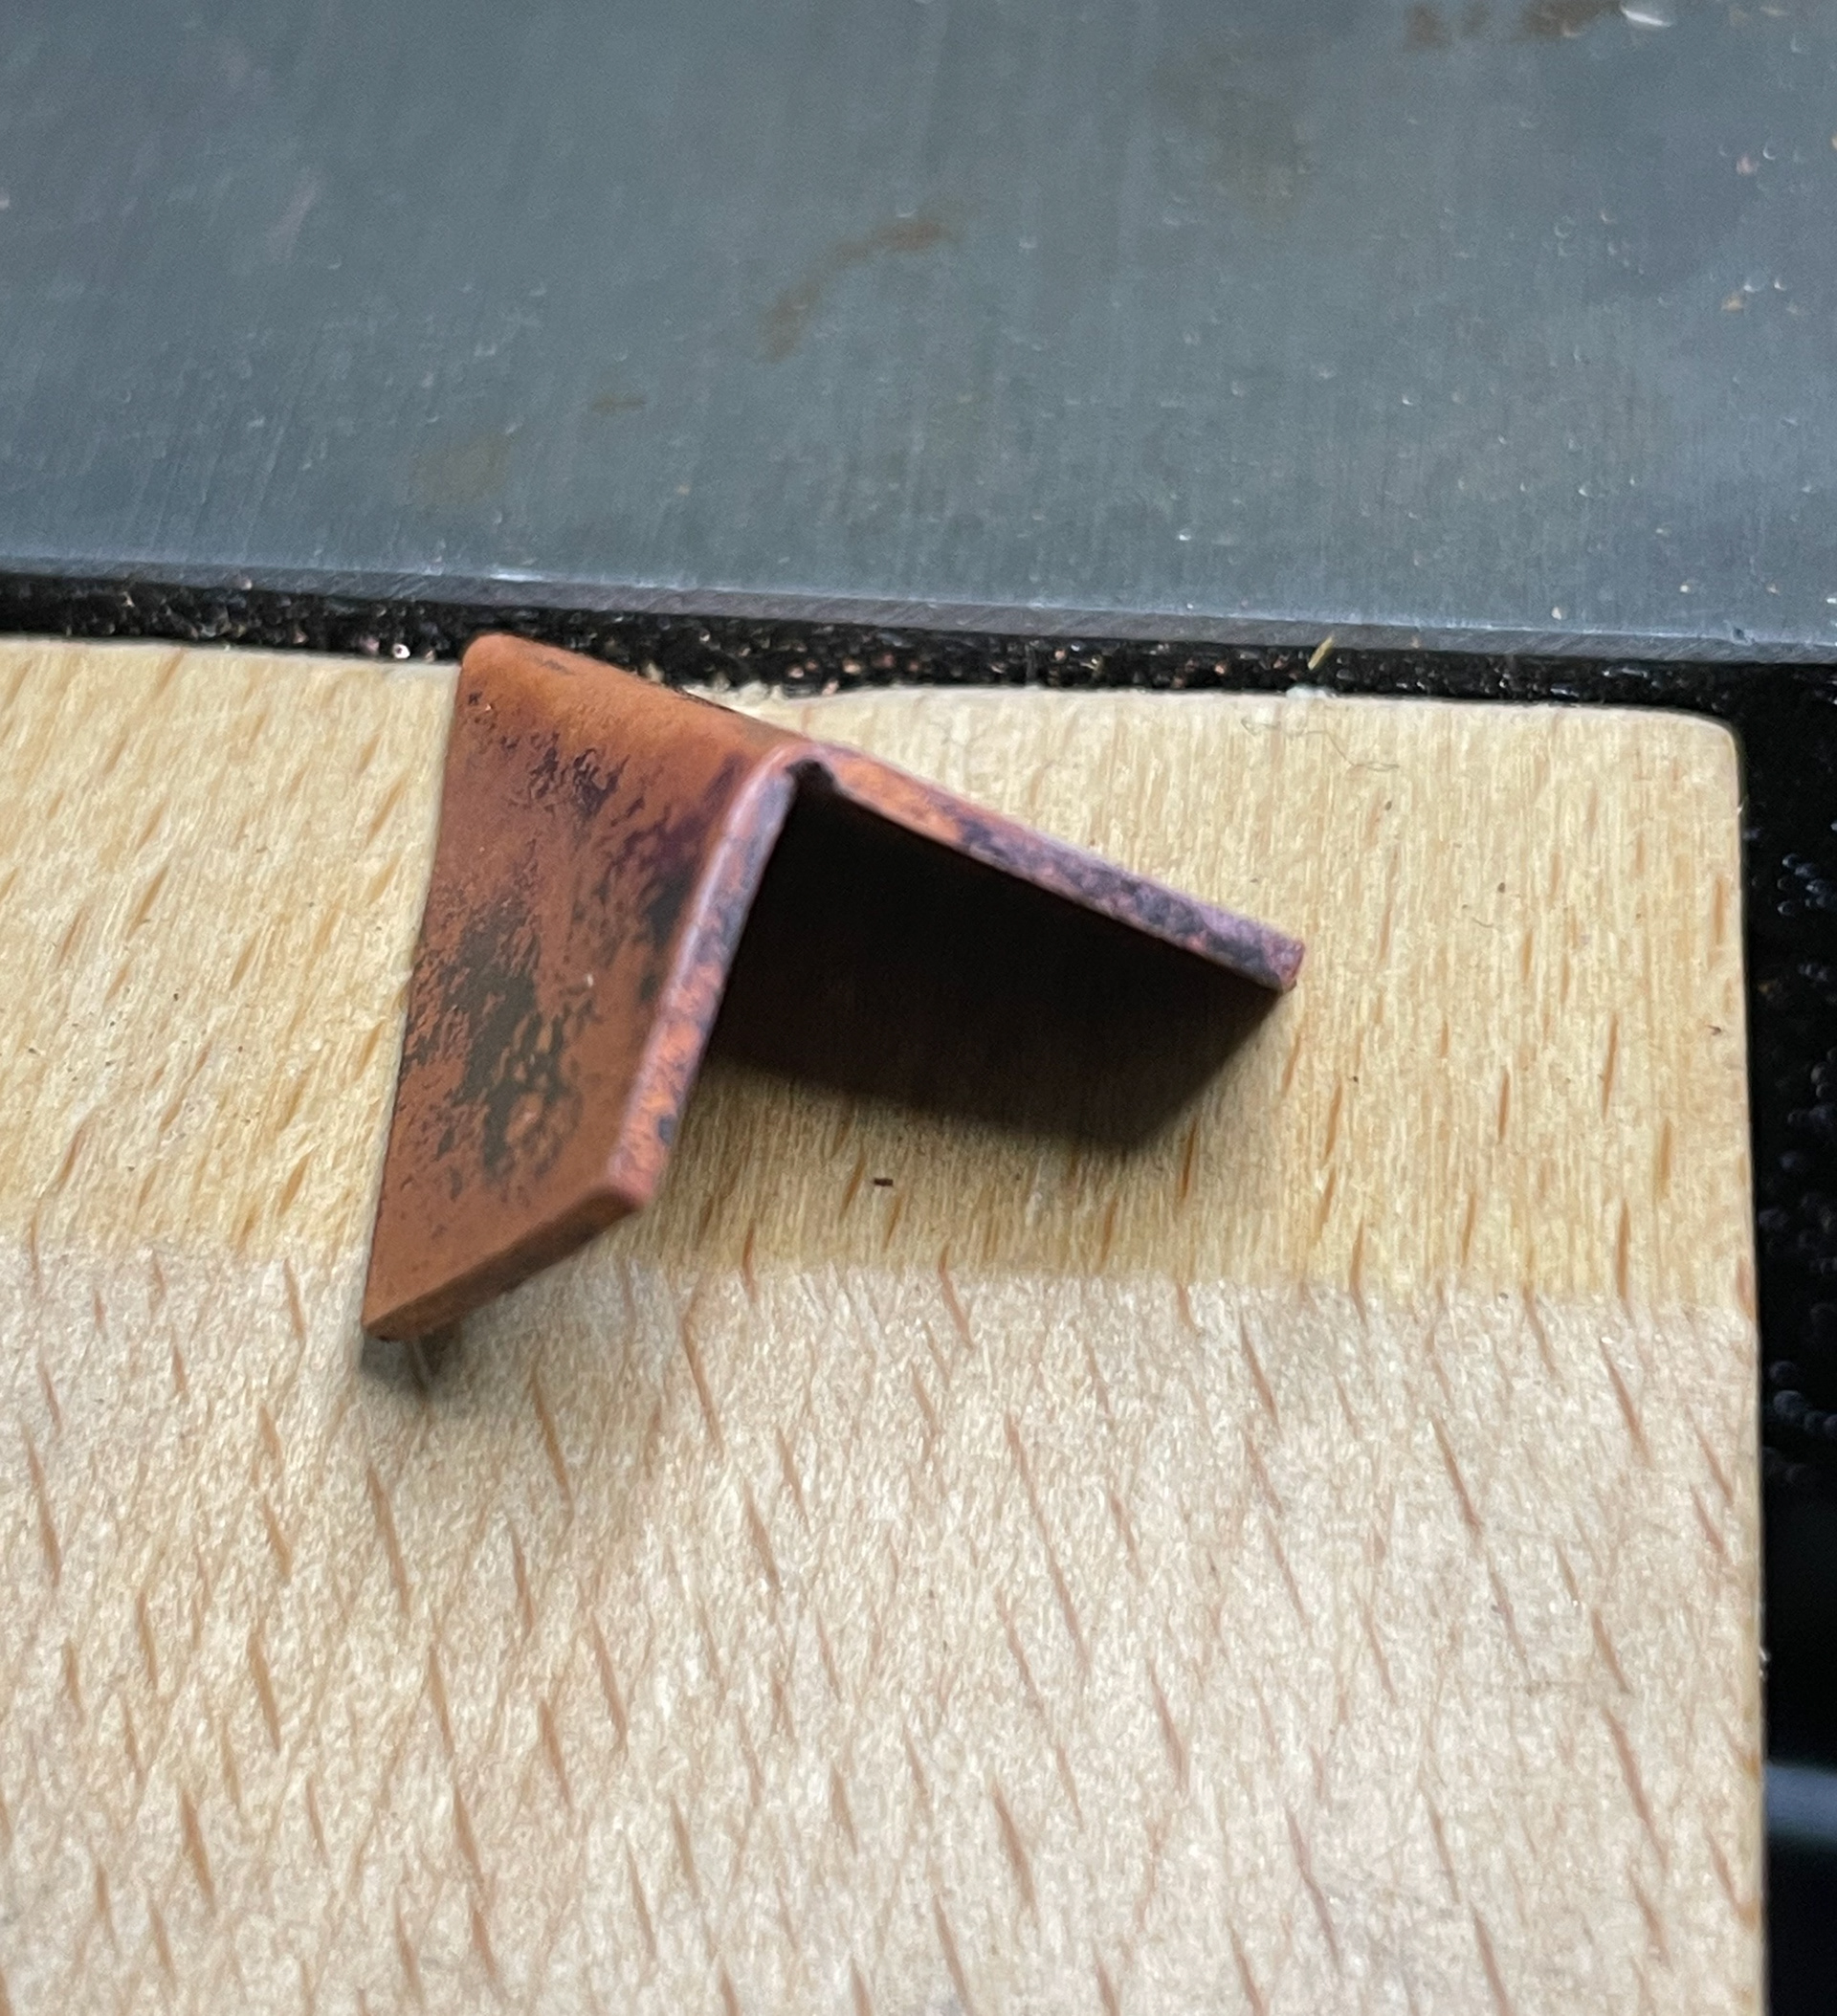
I followed the same process as on the previous sample and it turned out successful. I then bent the annealed Copper around a Stake just using my hands to get a brief idea of how it would look curved. I then went on to practice this again but on Brass, as I knew this was the material I wanted to use for my final piece.
Piercing out the pattern
Cut in half

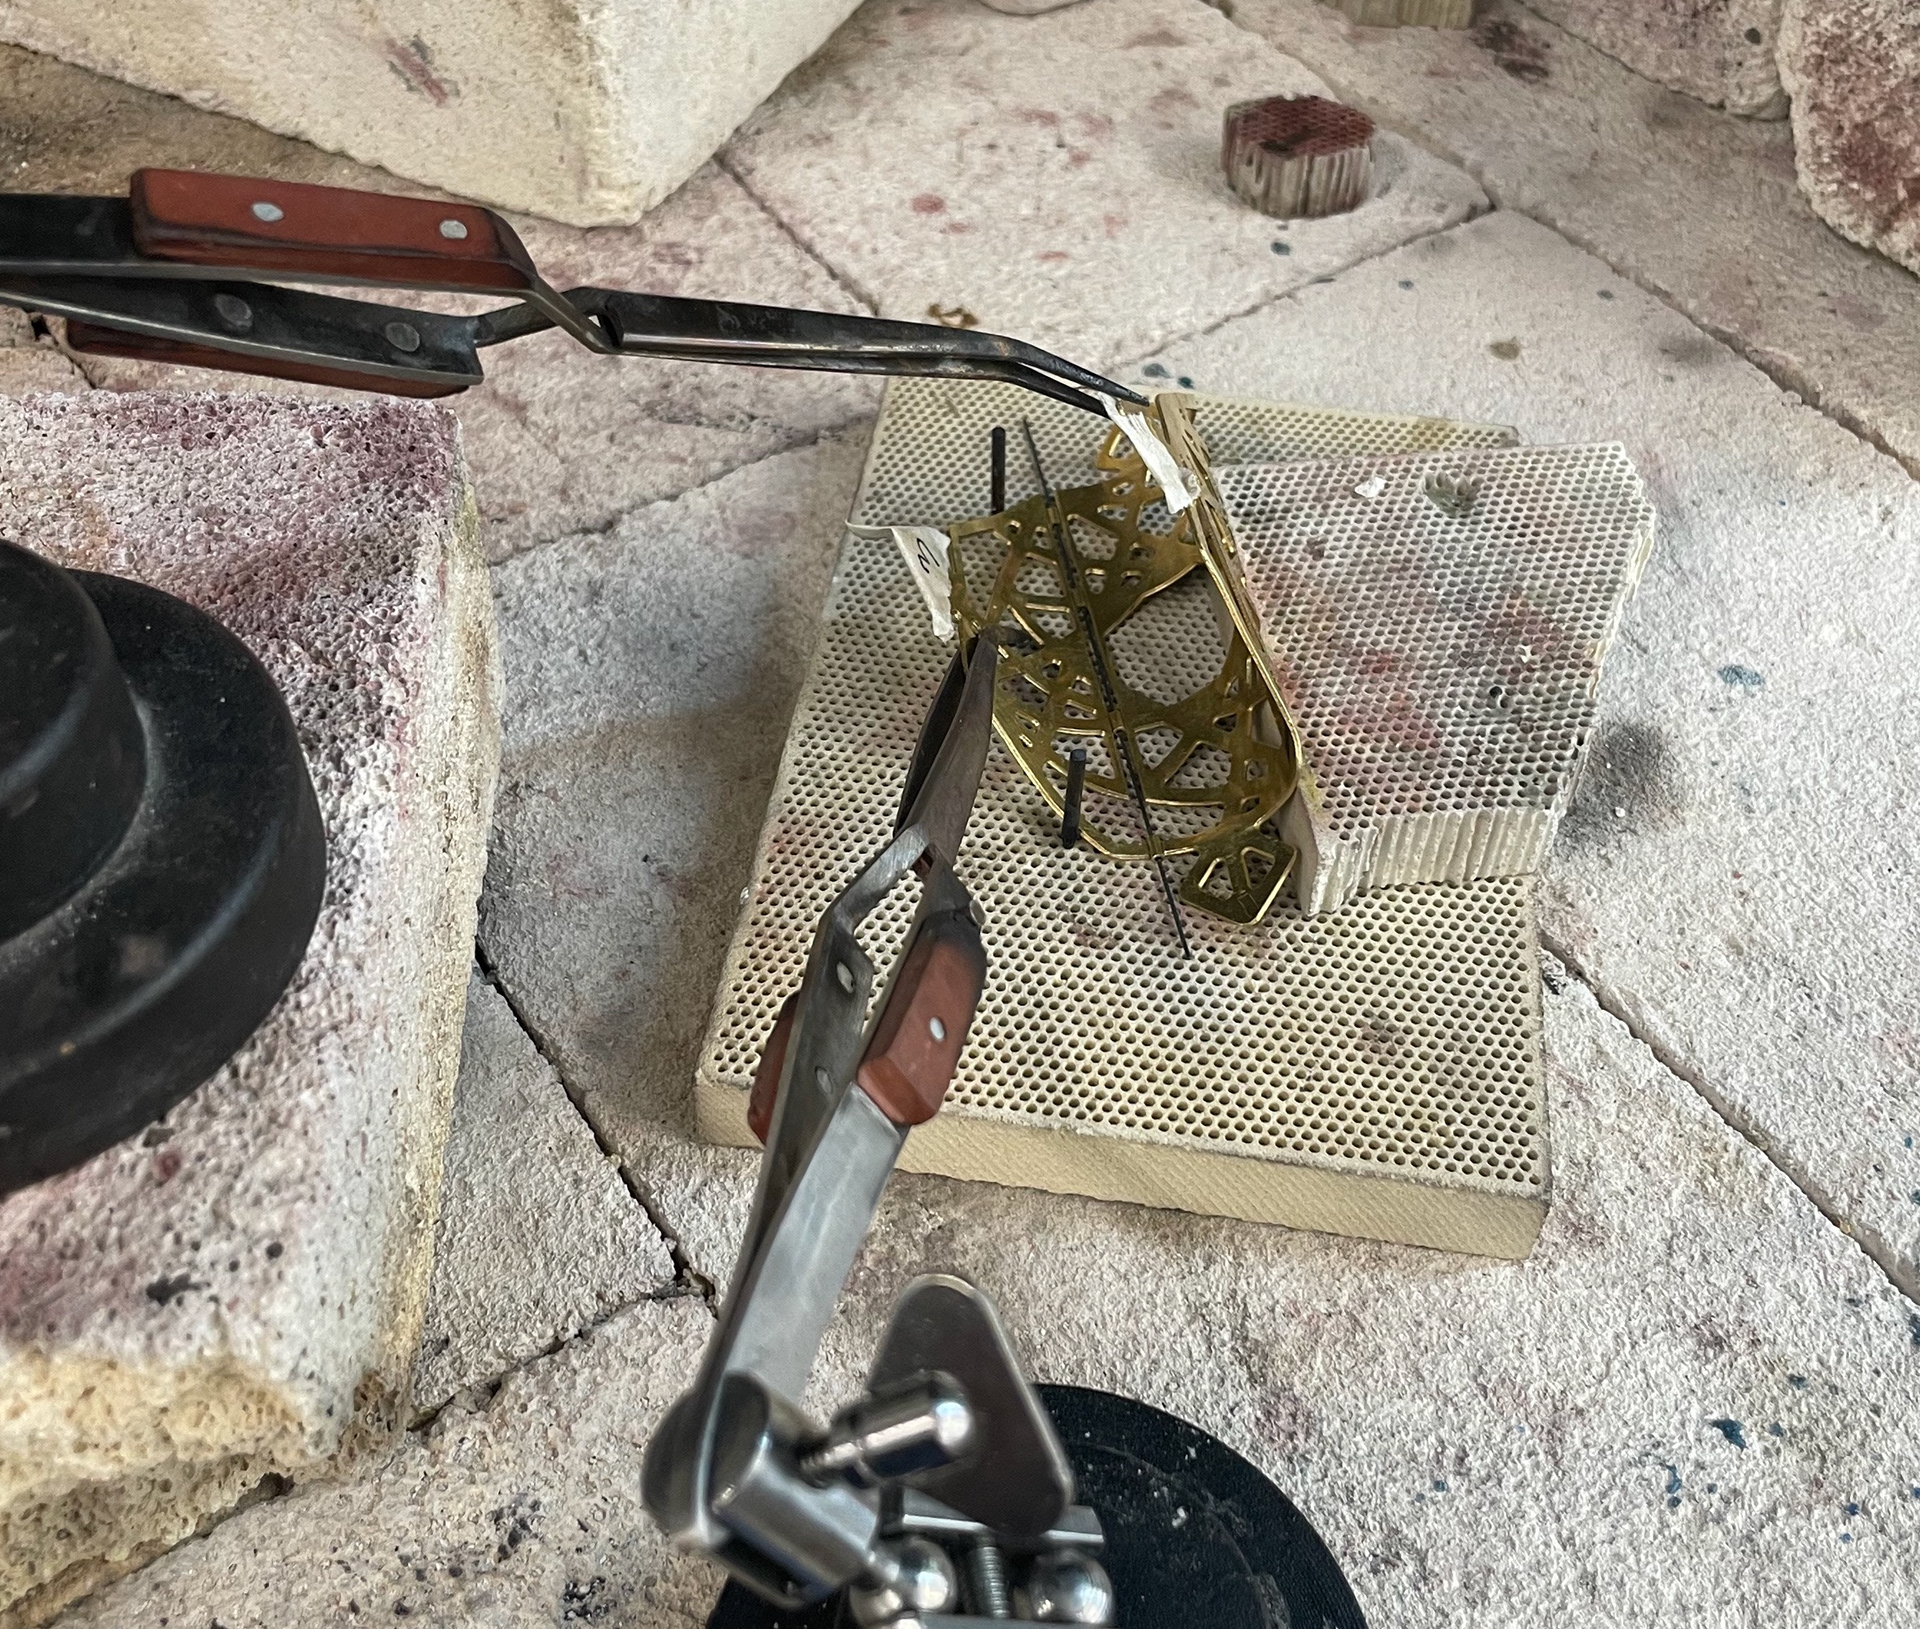
Hinges put in place to solder
After being soldered but the hinges moved out of place
Hinges not alligned
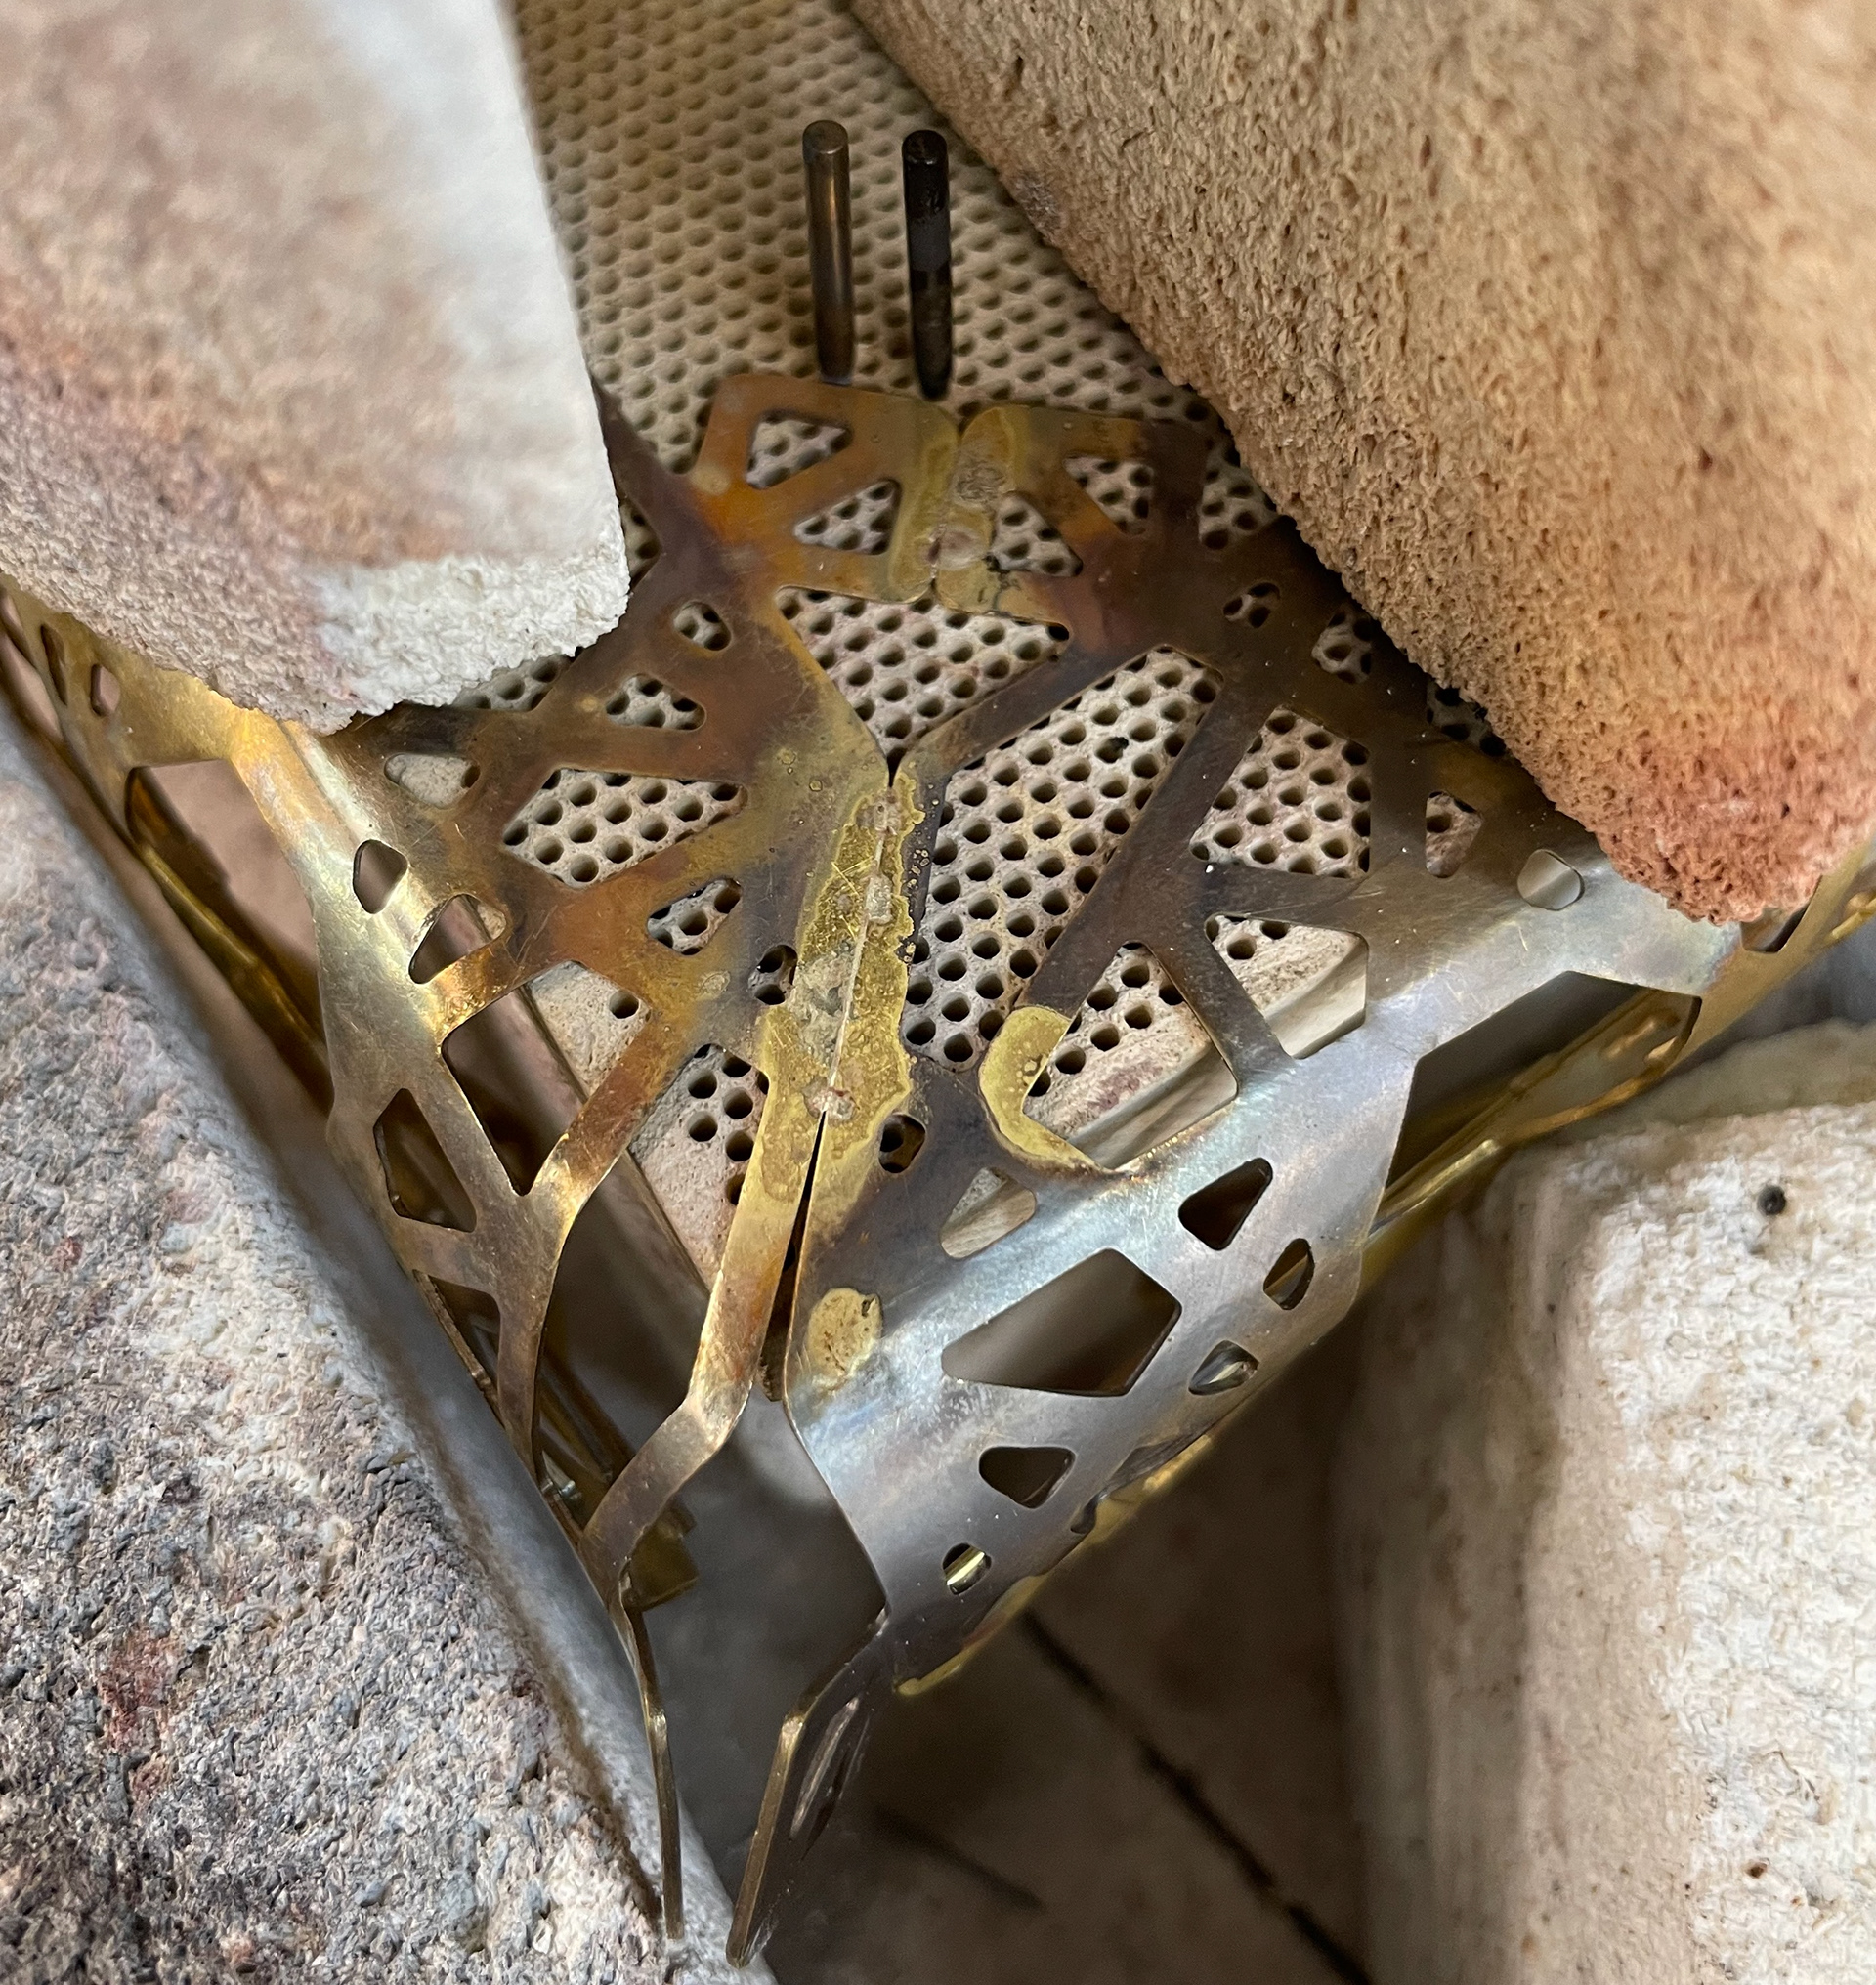
Broken hinge

Broken hinge
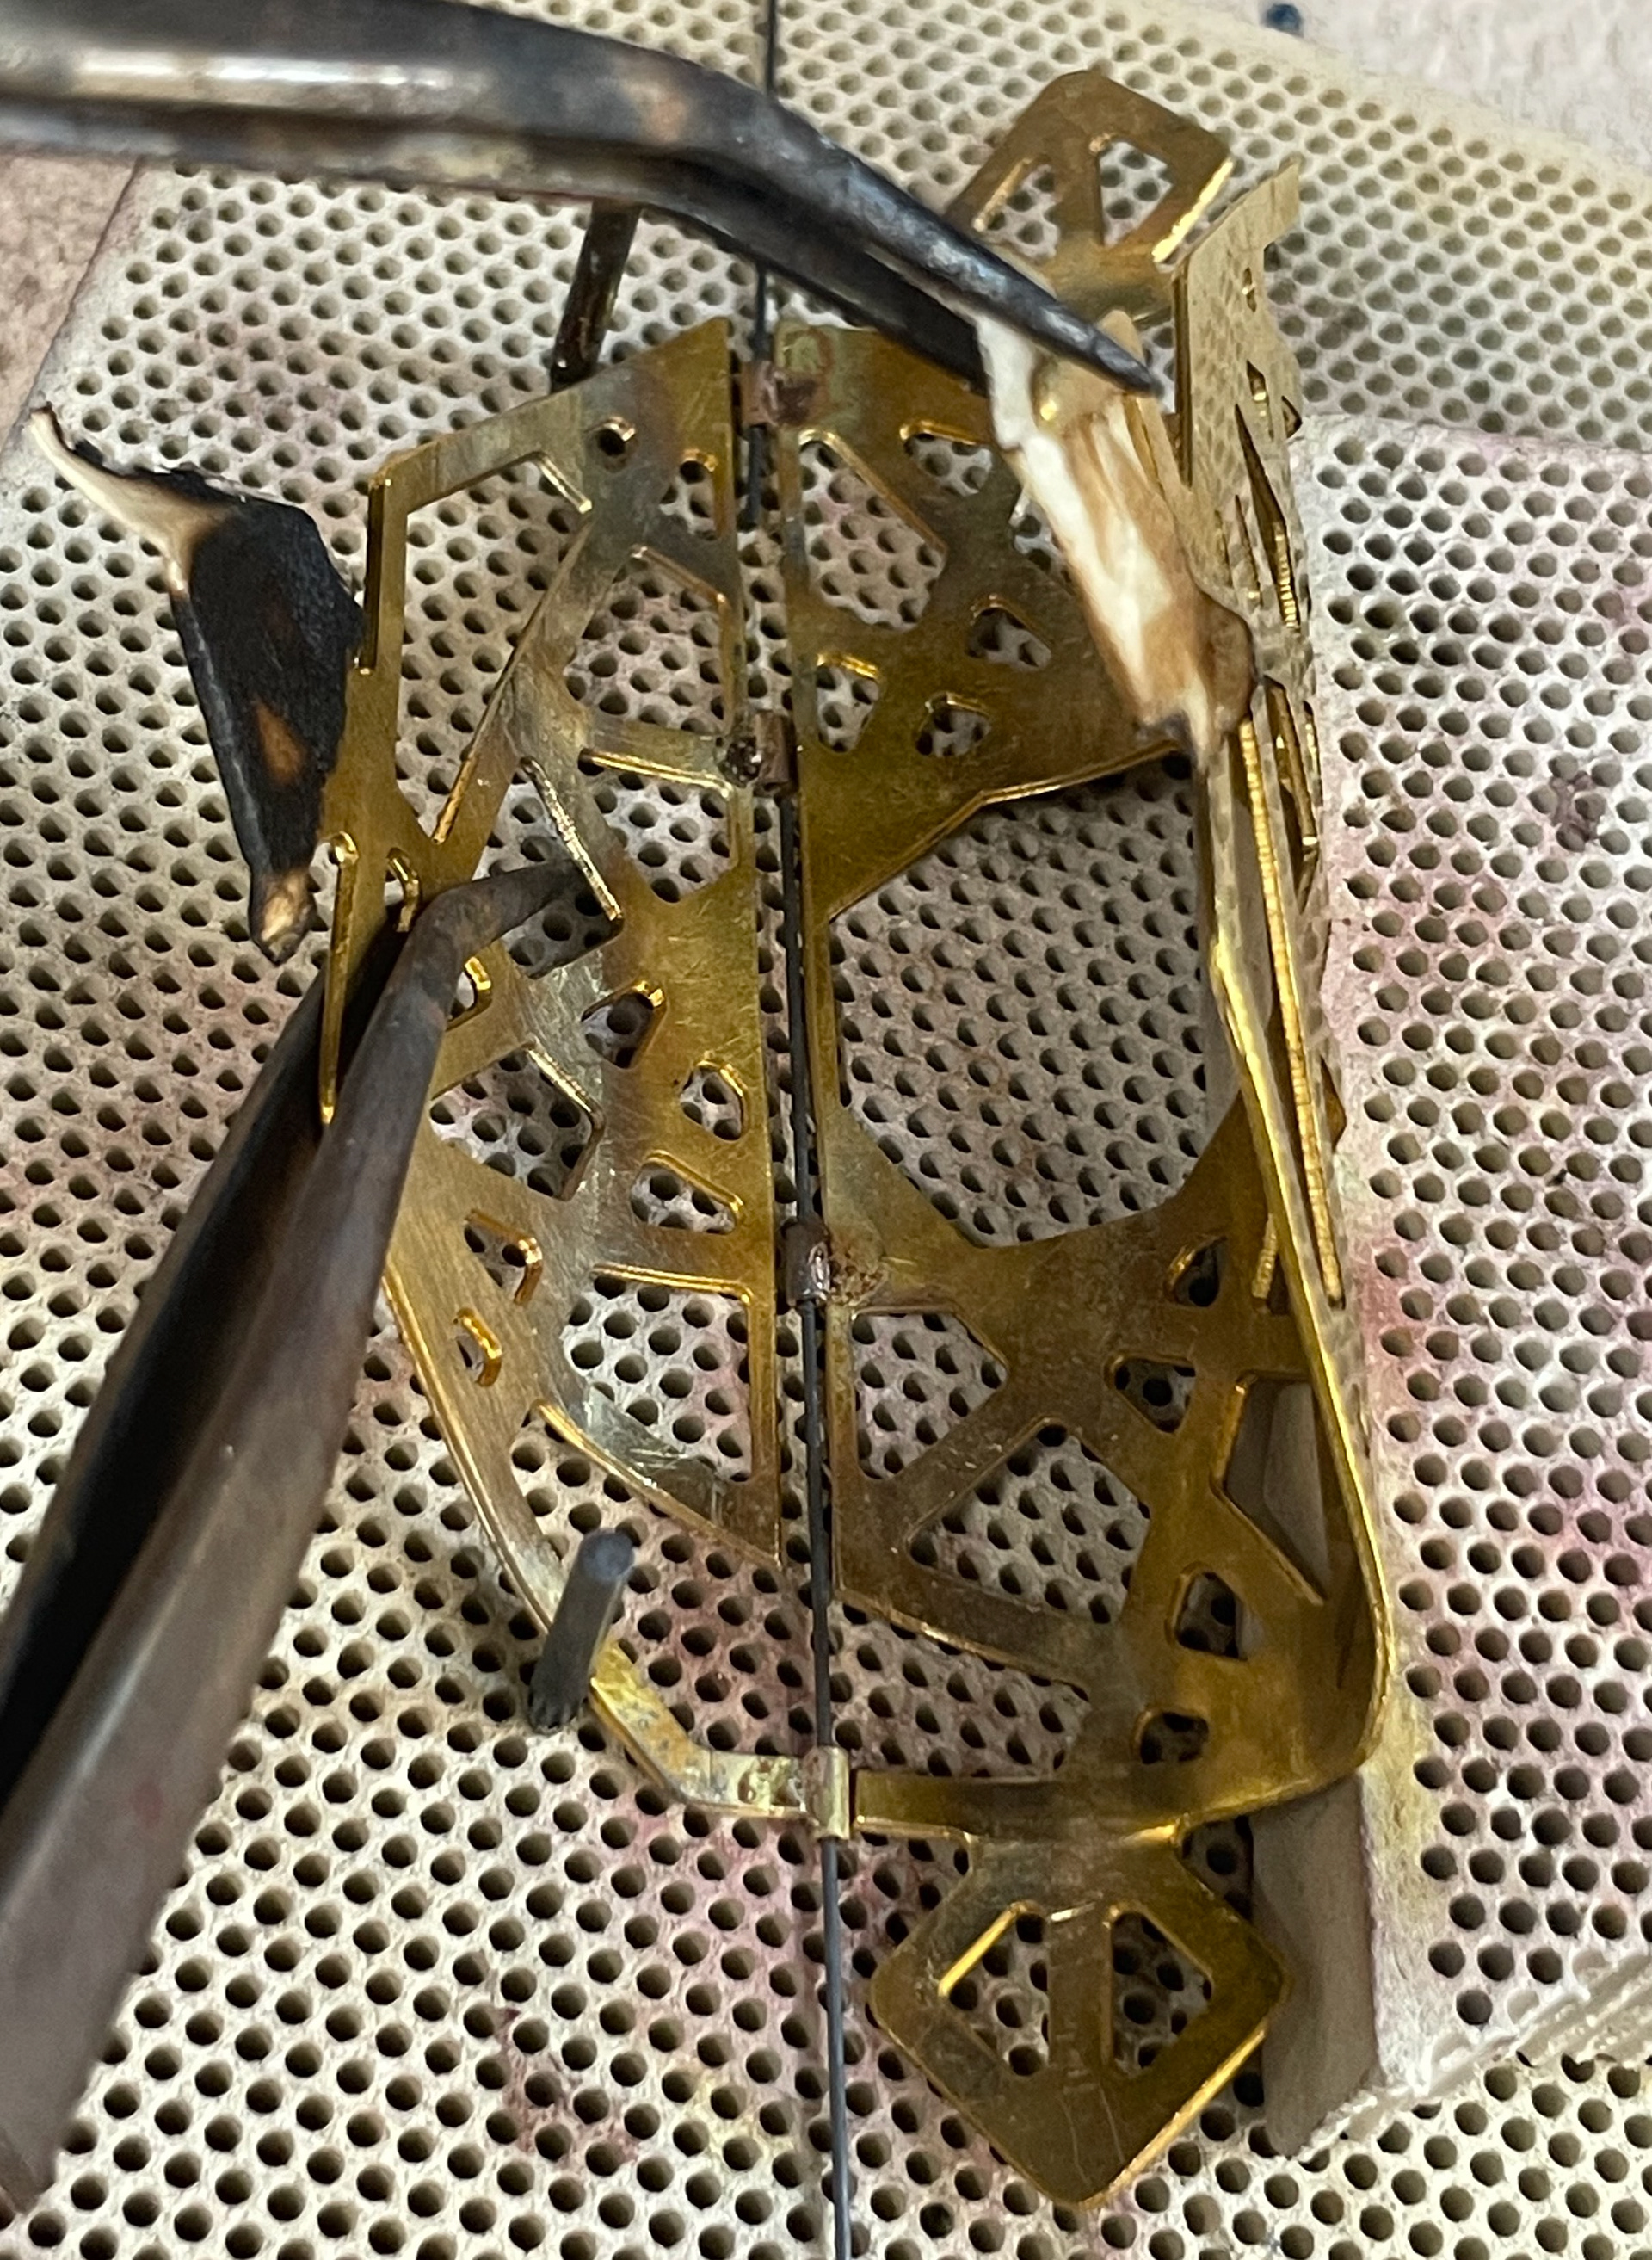
The Brass test piece wasn't as successful as I was having a problem with the joint soldering together. The hinges moved when I was soldering so they weren't aligned as well as not joining properly. I am not sure why they moved but know I need to be more careful when heating the metal going forward and make sure it is clean for soldering.
Sampling/Testing - Enamelling
As a part of my design idea, I wanted to incorporate enamelling. This is because enamelling is a traditional Persian craft technique and a technique I have previously used in other projects. I like pattern and colour and wanted to add an aspect of colour to this piece. The concept I had in mind was to have enamel inside the box so that when you open it you can see the colours. This was to represent the beauty inside the box as a metaphor for finding out my heritage, revealing the beautiful side, and discovering I am half Persian.
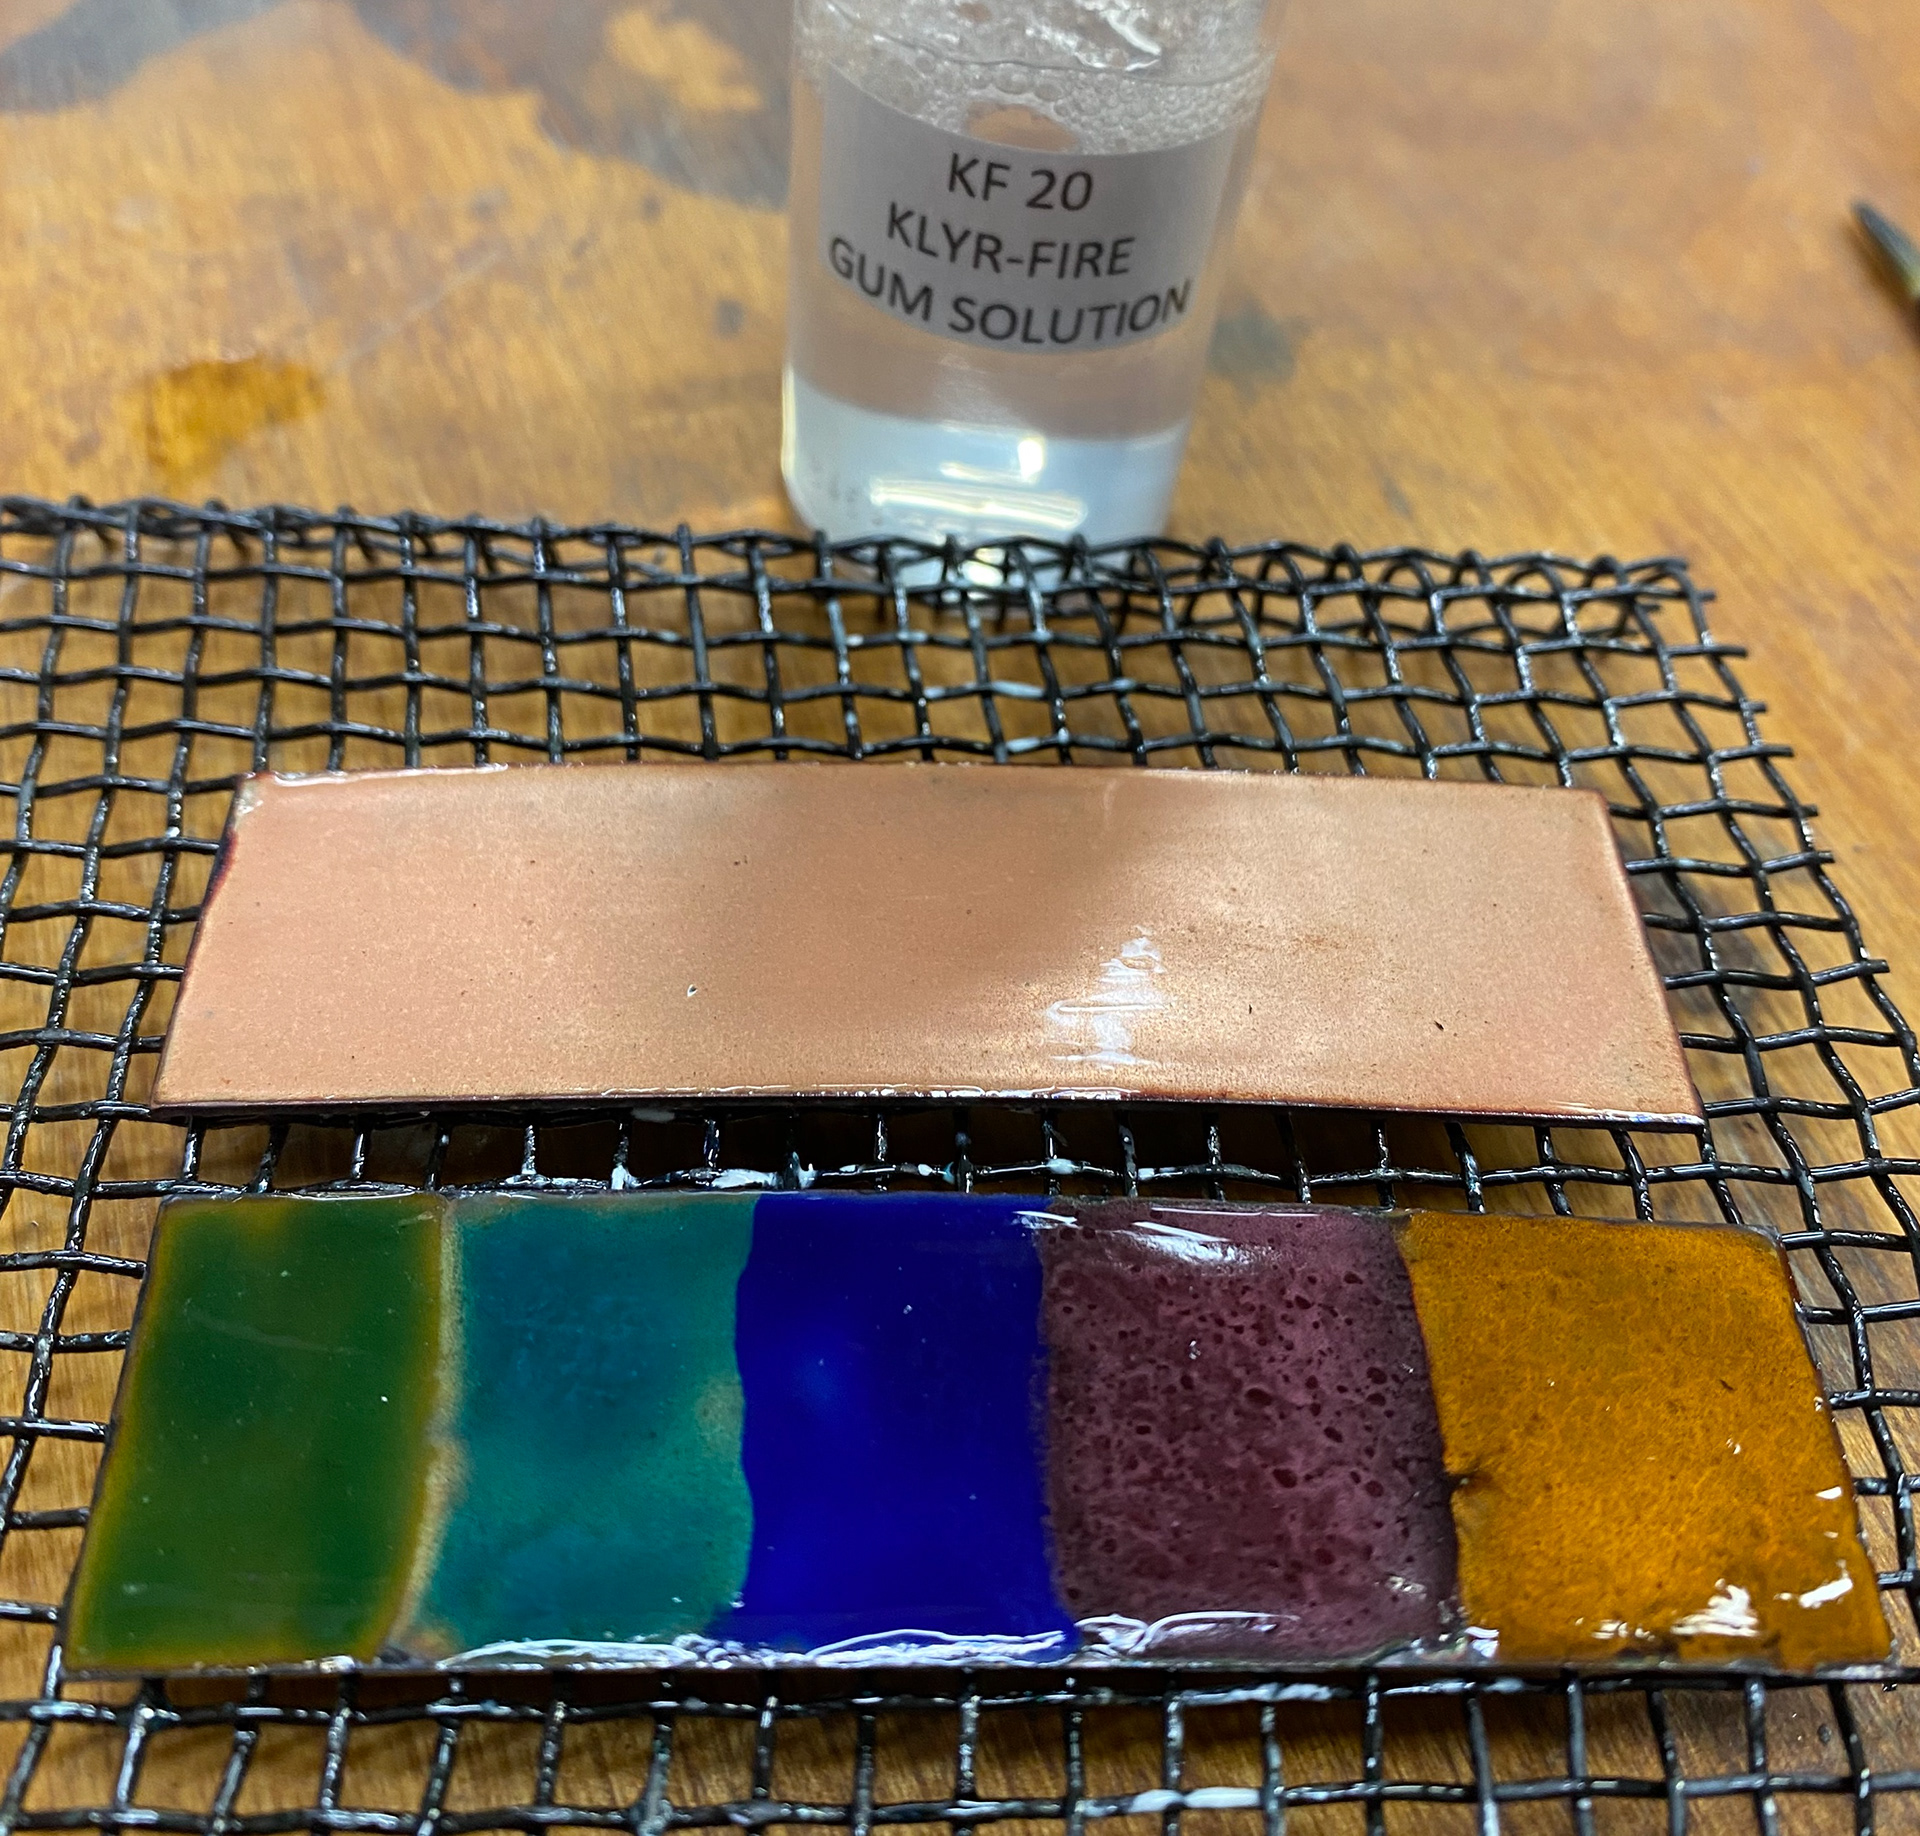
Clear enamel applied
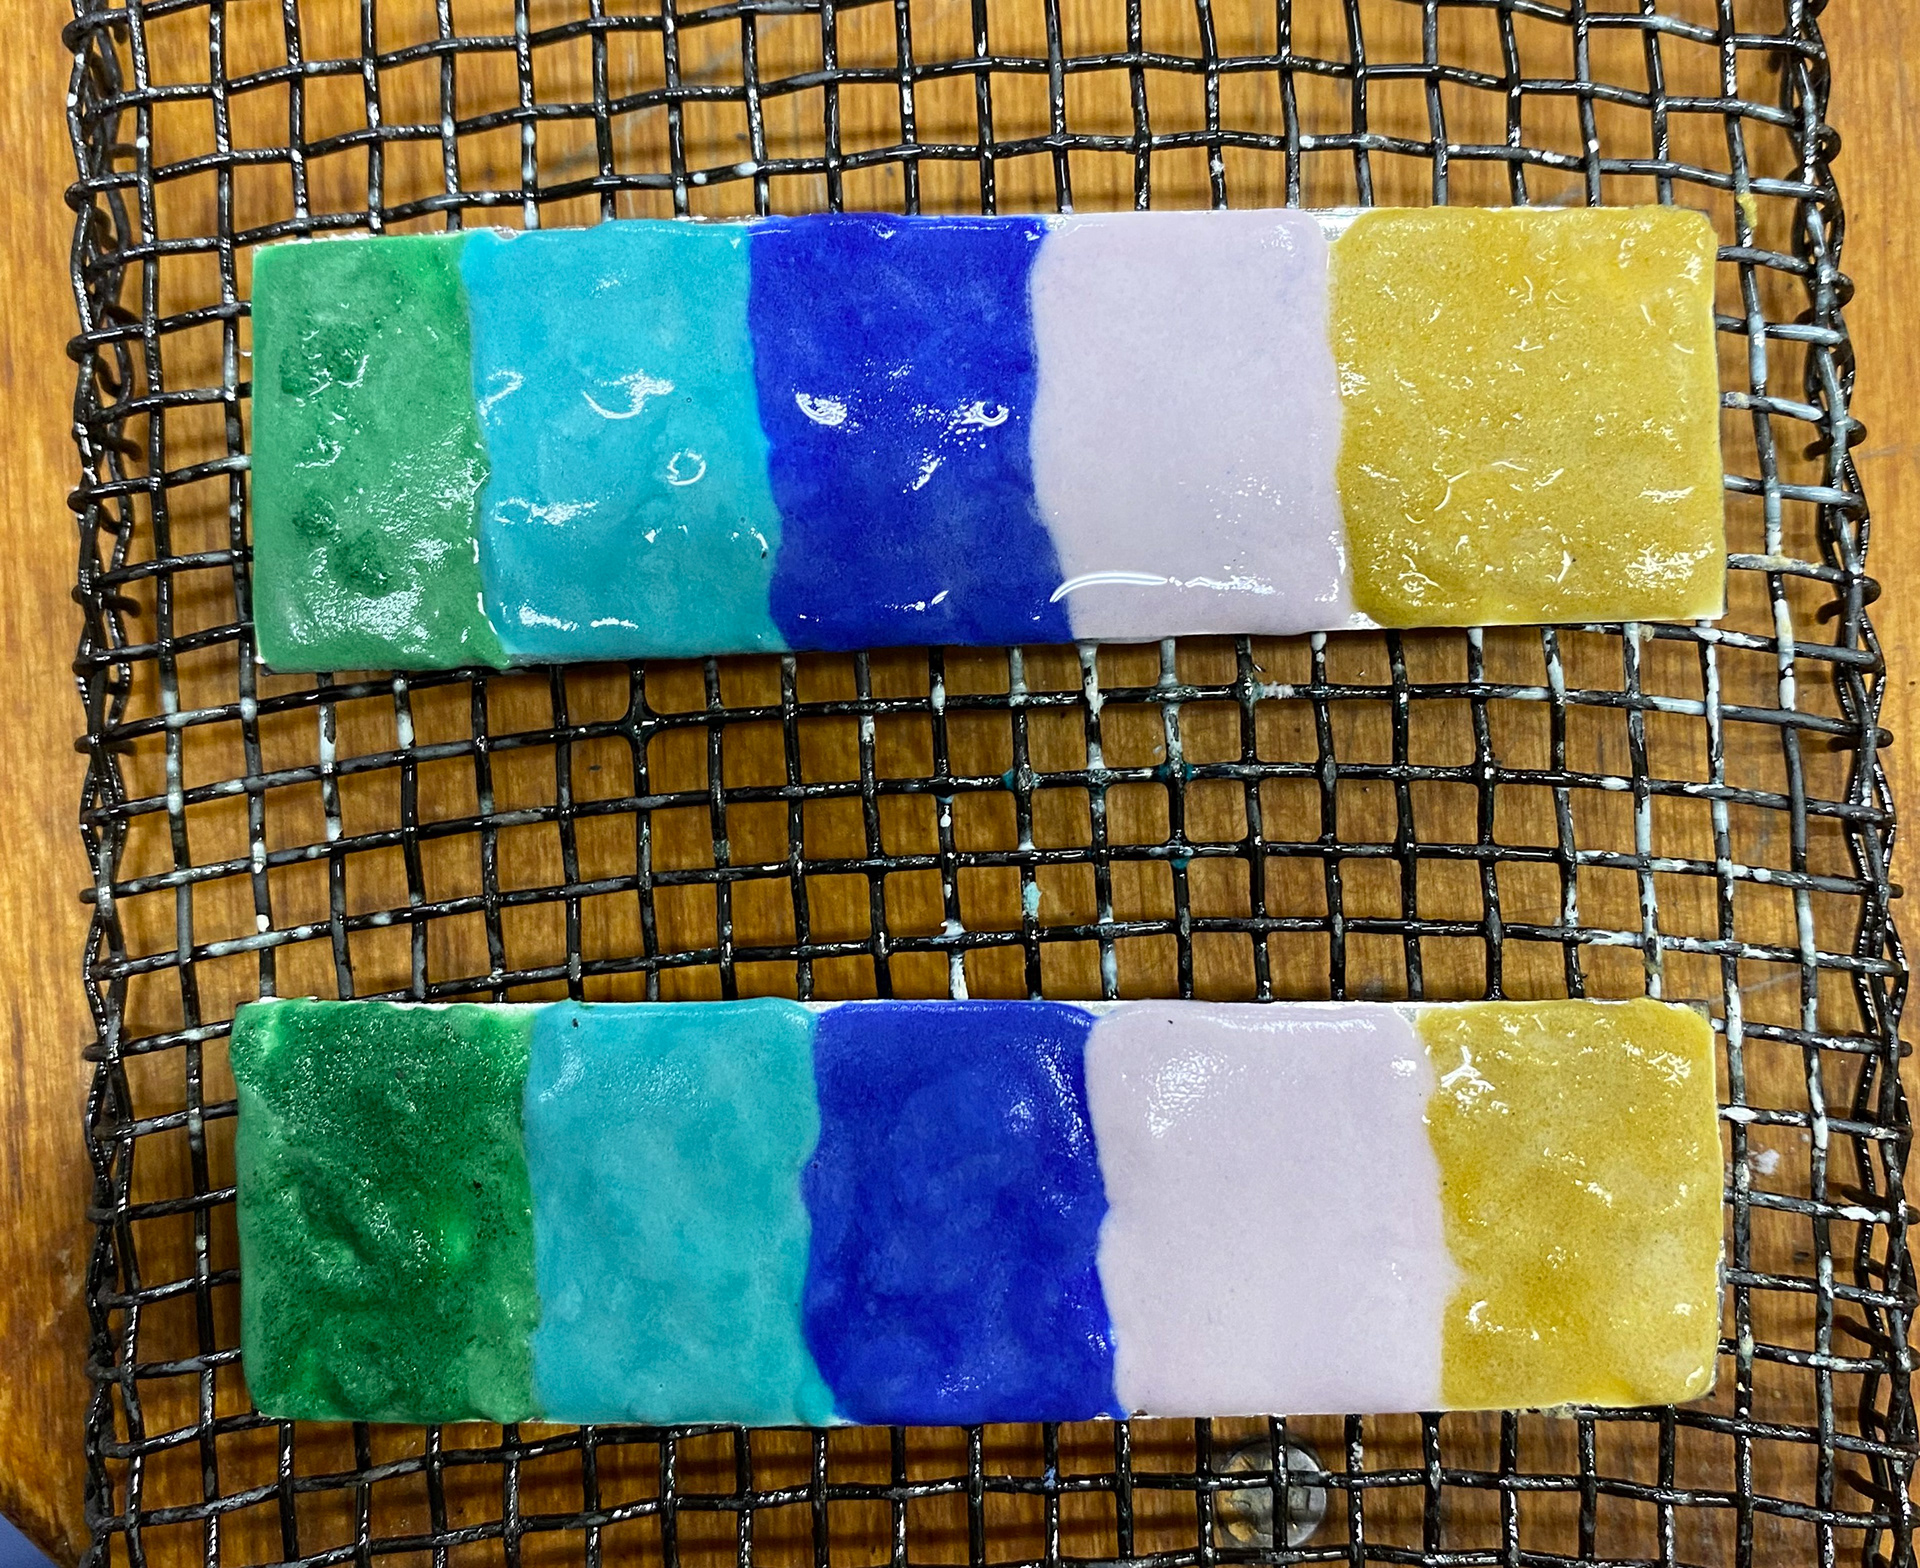
transparent enamel after the foil
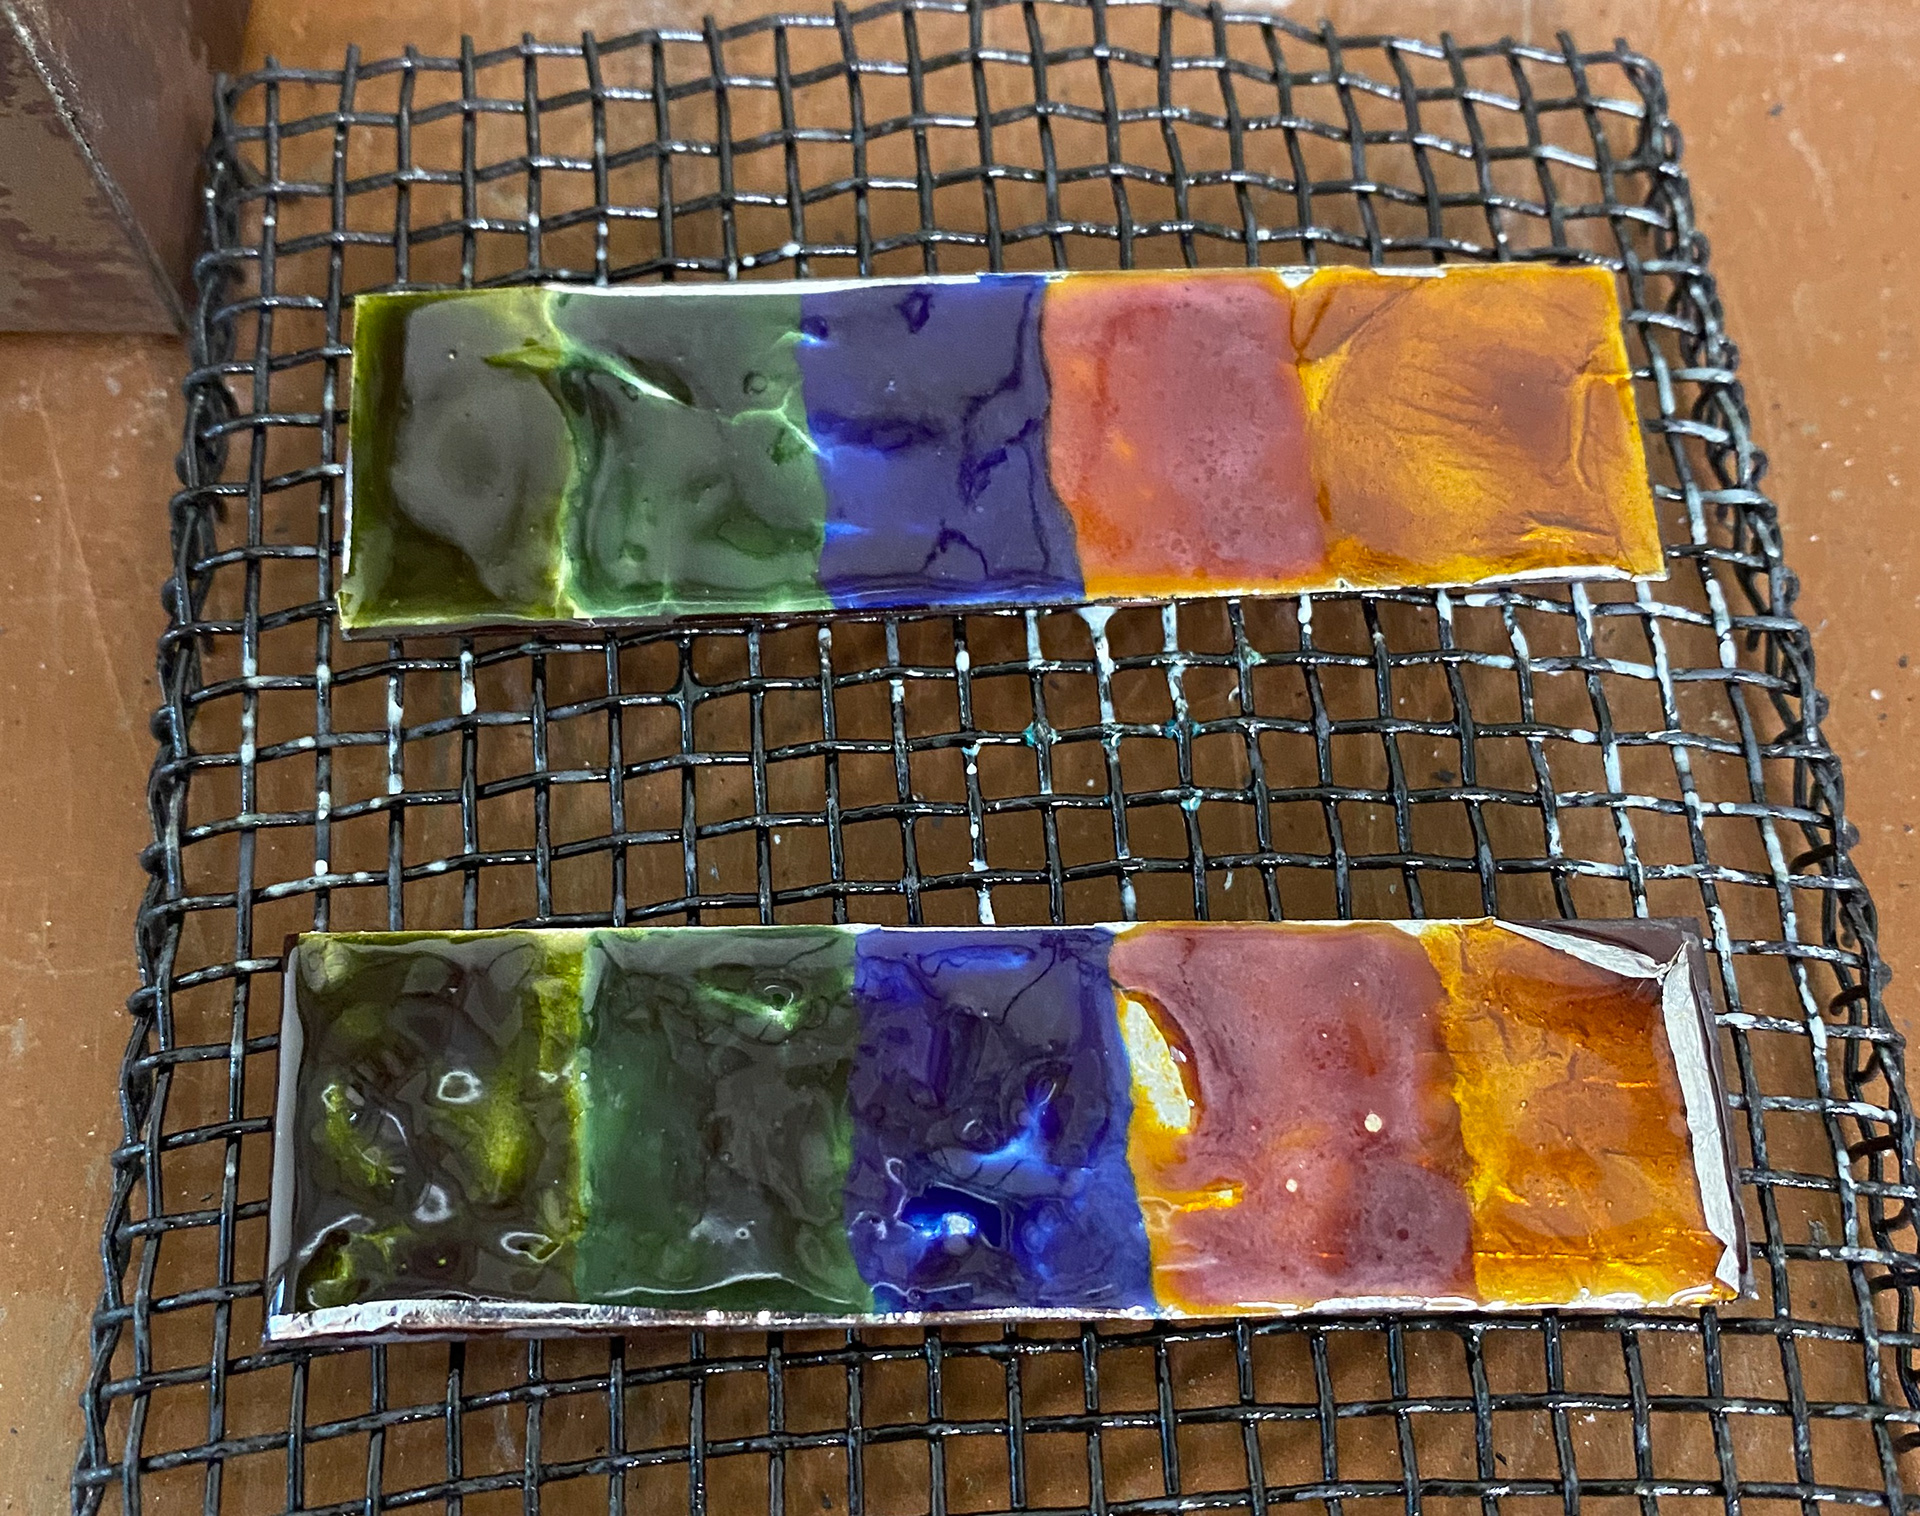
Just out of the kiln
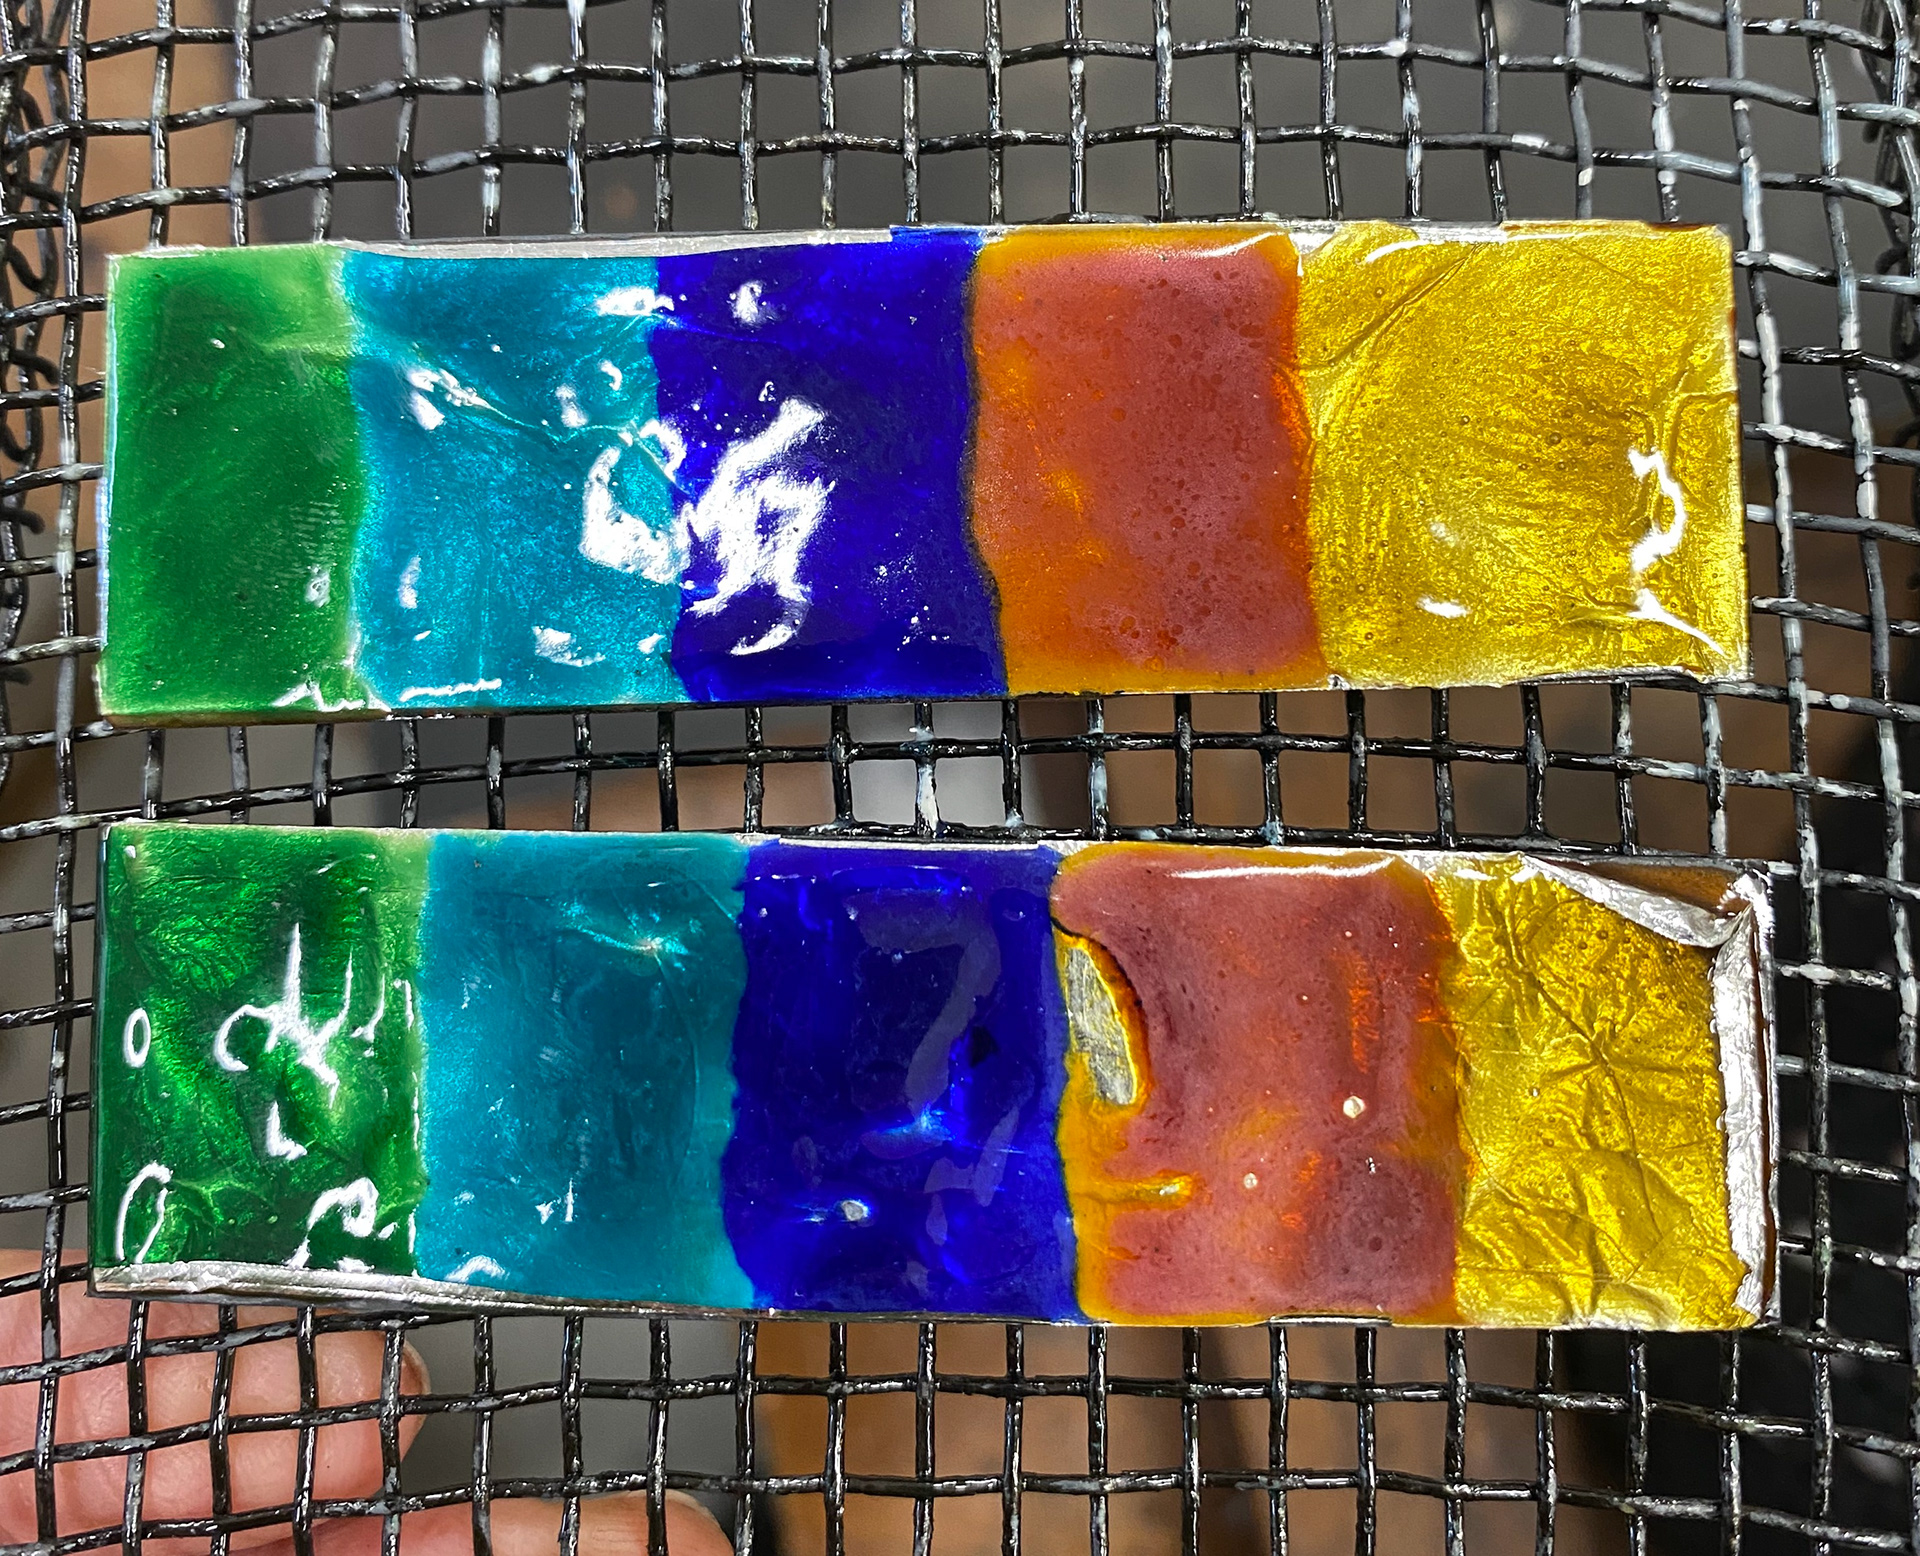
Test pieces once cooled
I wanted to use transparent enamels and to do this on copper I had to put silver foil underneath and set that into clear enamel before applying the transparent colour on top. If you don't add the foil you won't be able to see the colours because the copper oxidises underneath. I used the wet process to apply the enamel. I tested multiple colours to see how they would turn out. I was happy with these test results and preferred the blue and gold colours the most.
Sampling/Testing - Sweat soldering
I decided I wanted to make the box out of Brass as I like that it looks Gold. If I could make it out of Gold I would do that, however that isn't an option. Unfortunately with Brass, you can't enamel onto it. Because of this, I would have to sweat solder Copper onto the Brass to be able to then enamel onto the Copper. I did some technical research about this. I tested a few different ways to do this as noted in my notes to see the outcome.

Notes on different sweat solder techniques

Sweat solder technical drawing
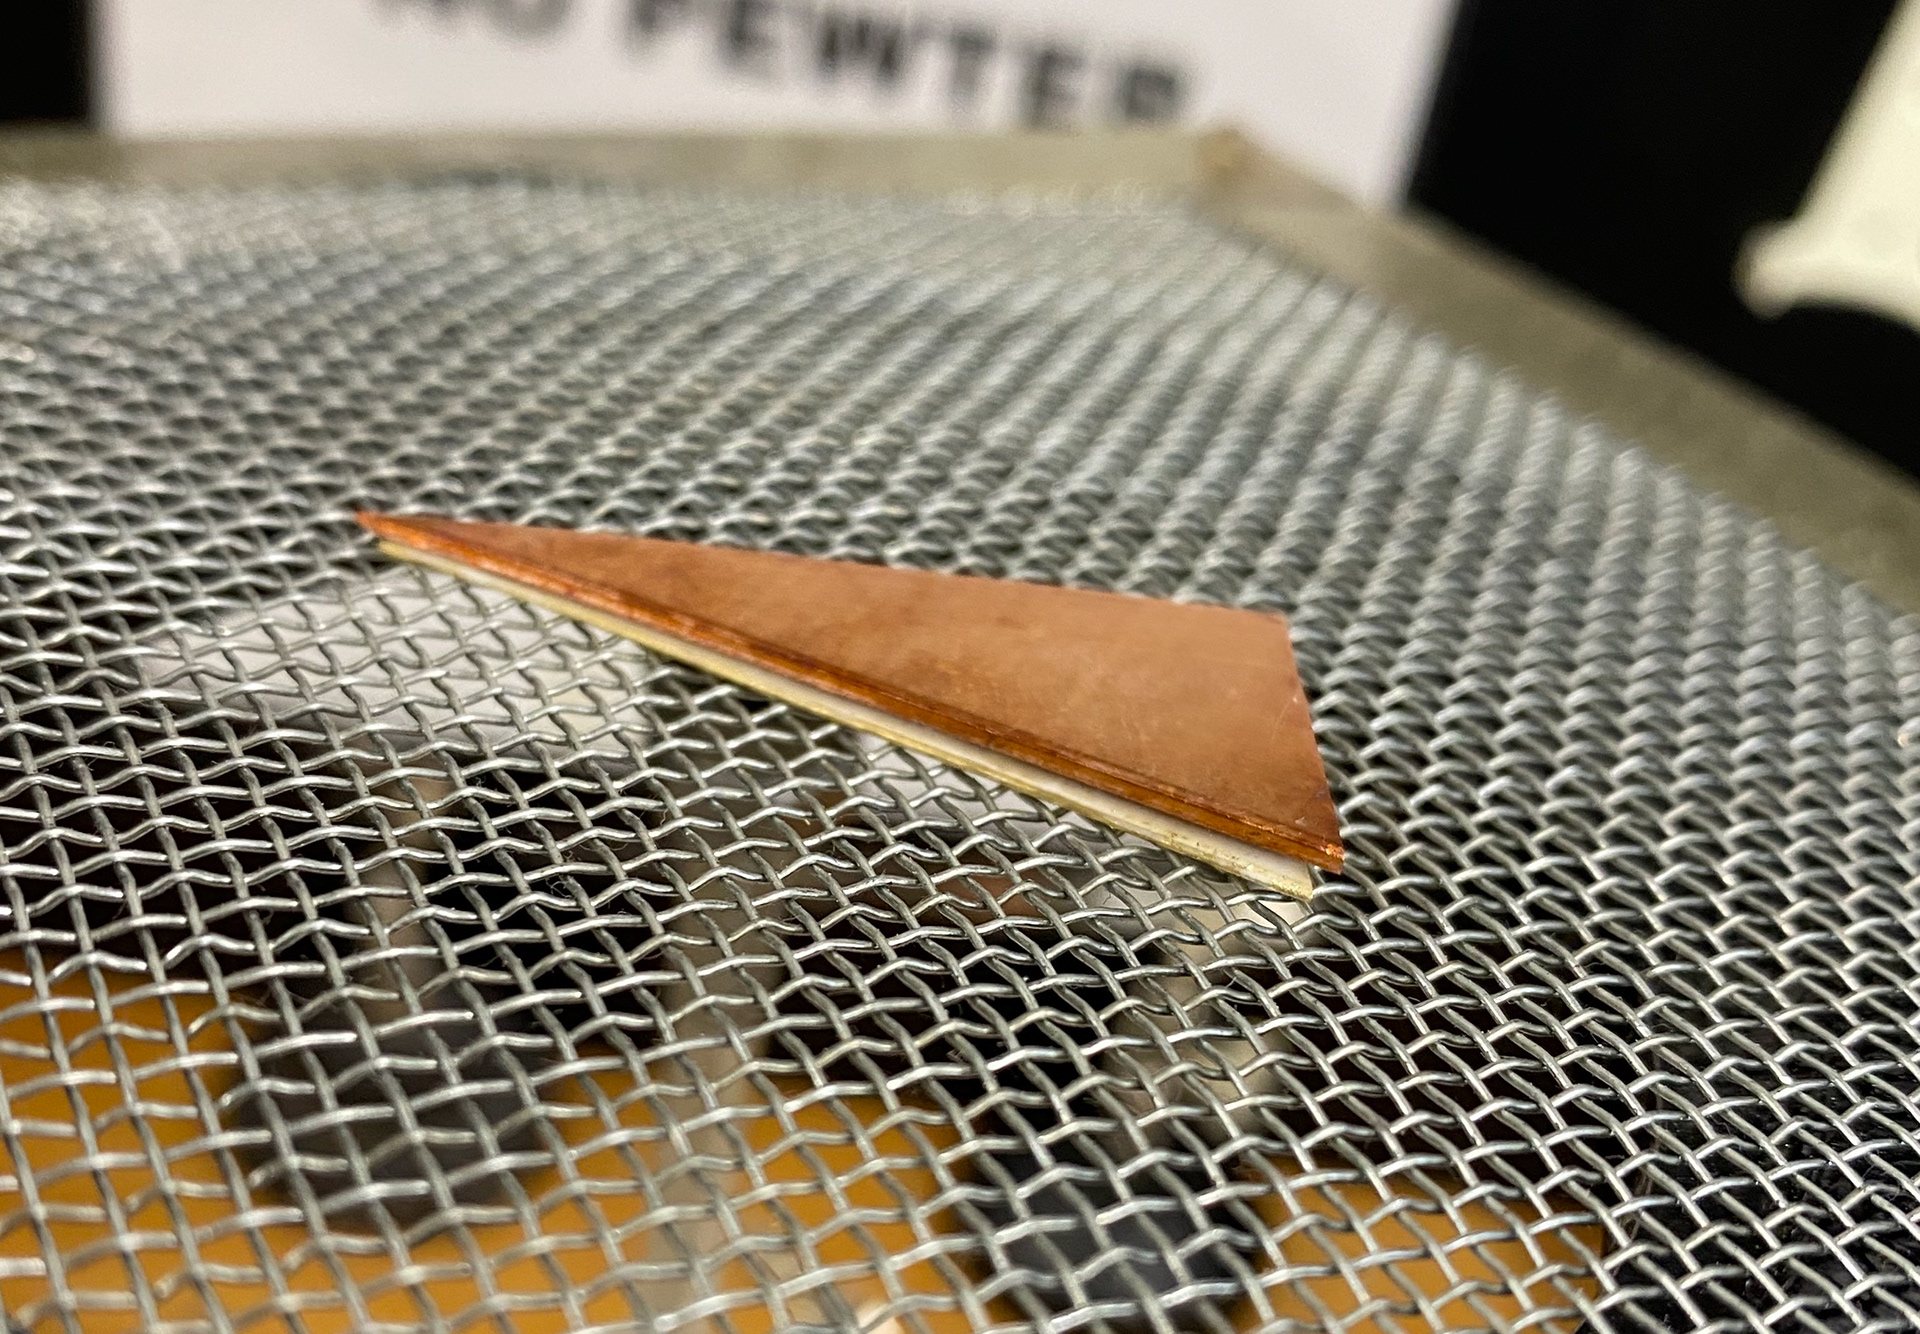
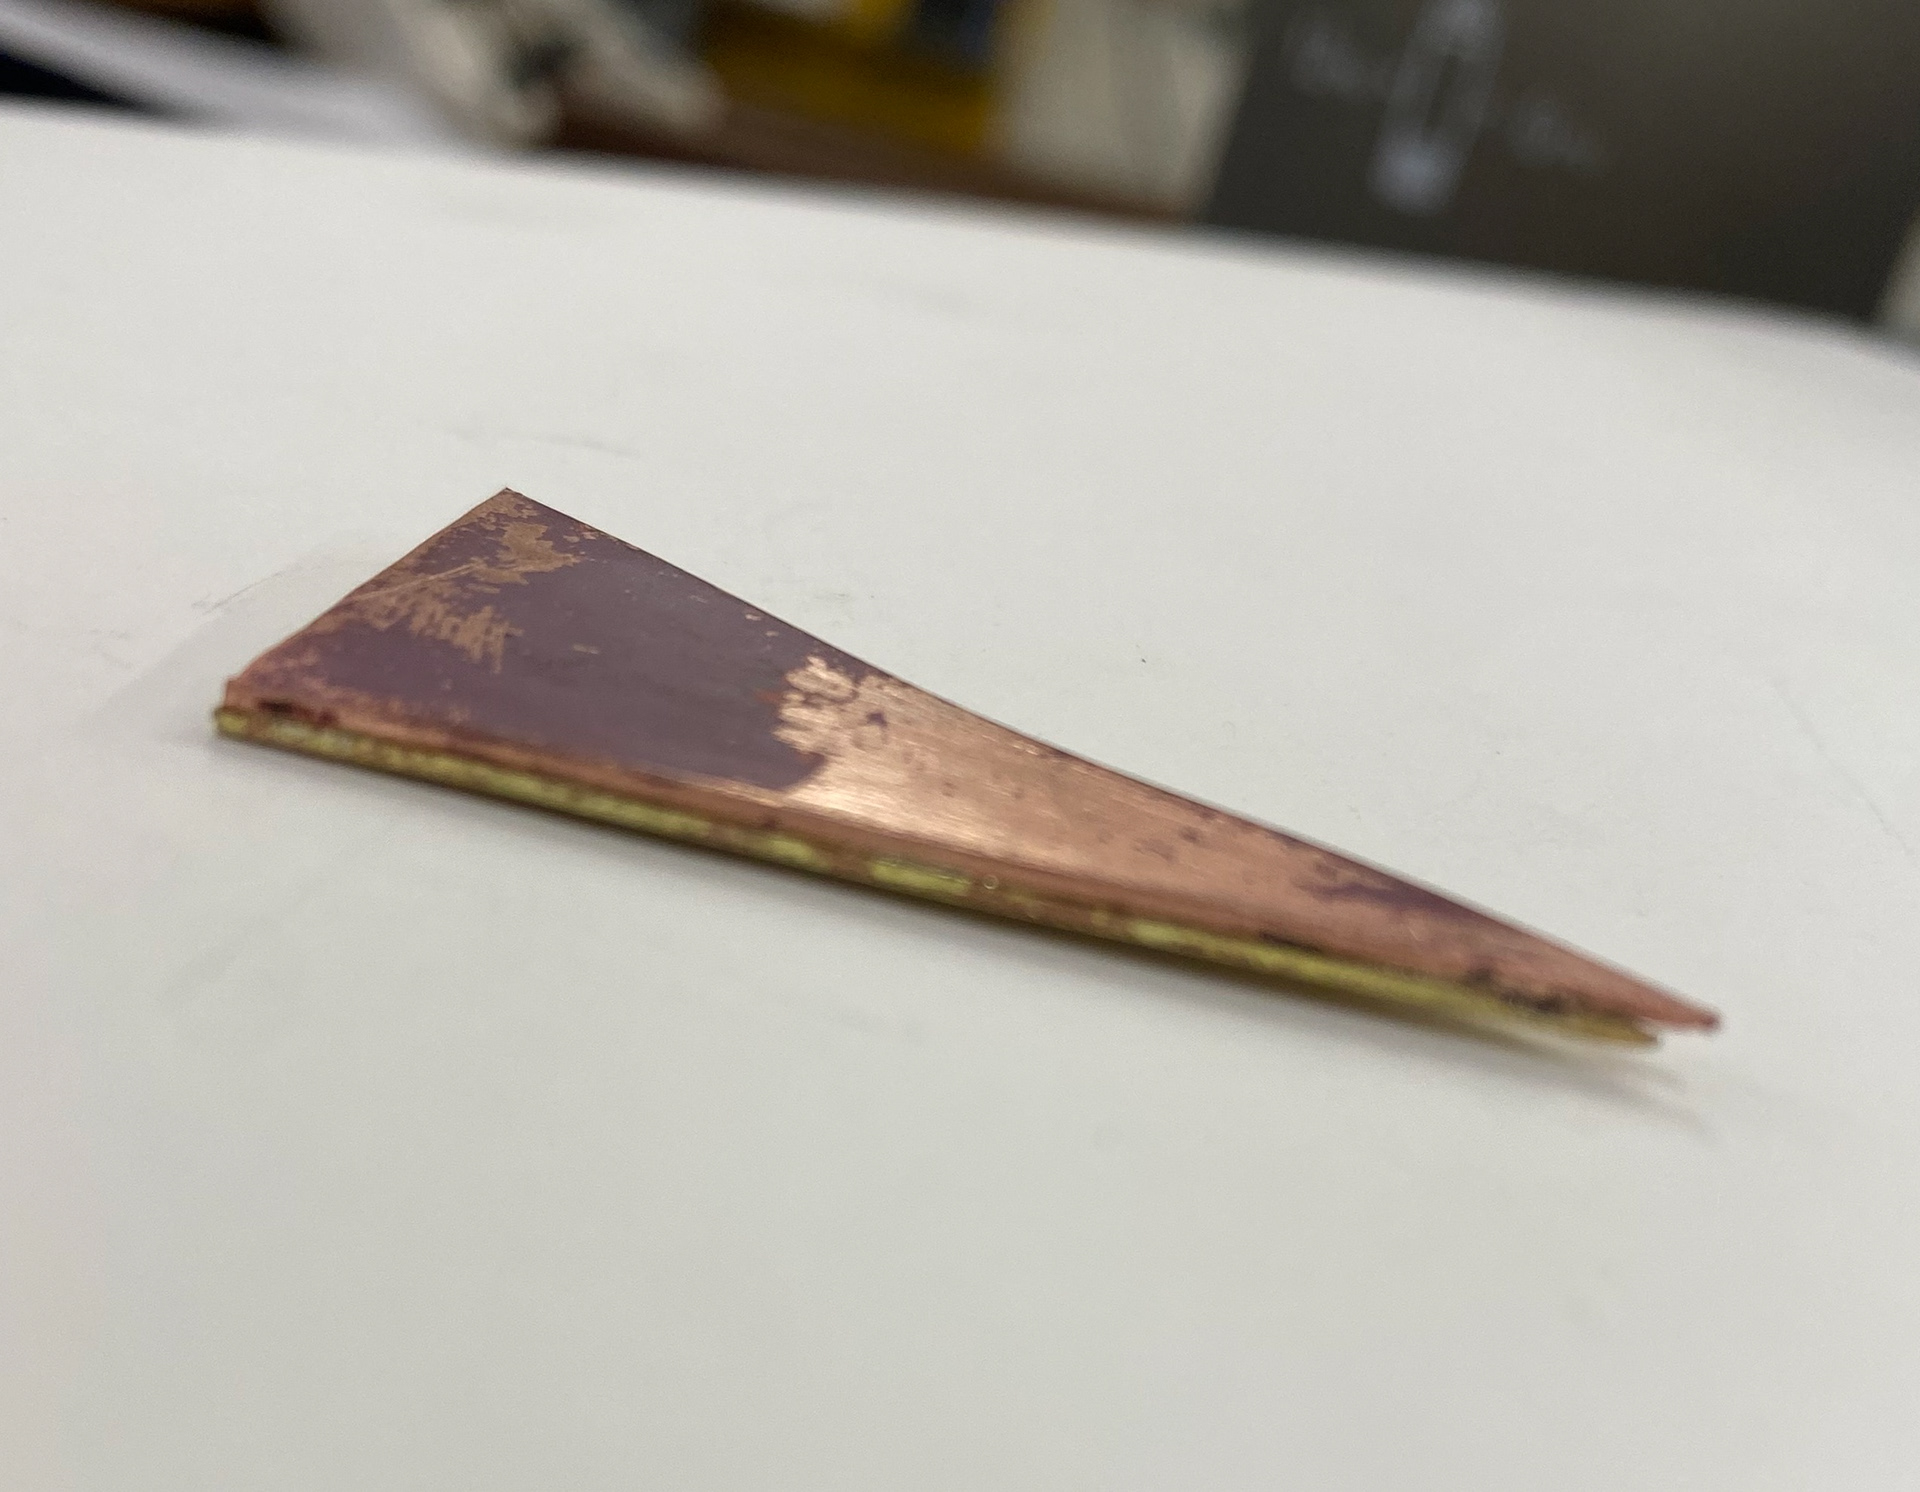
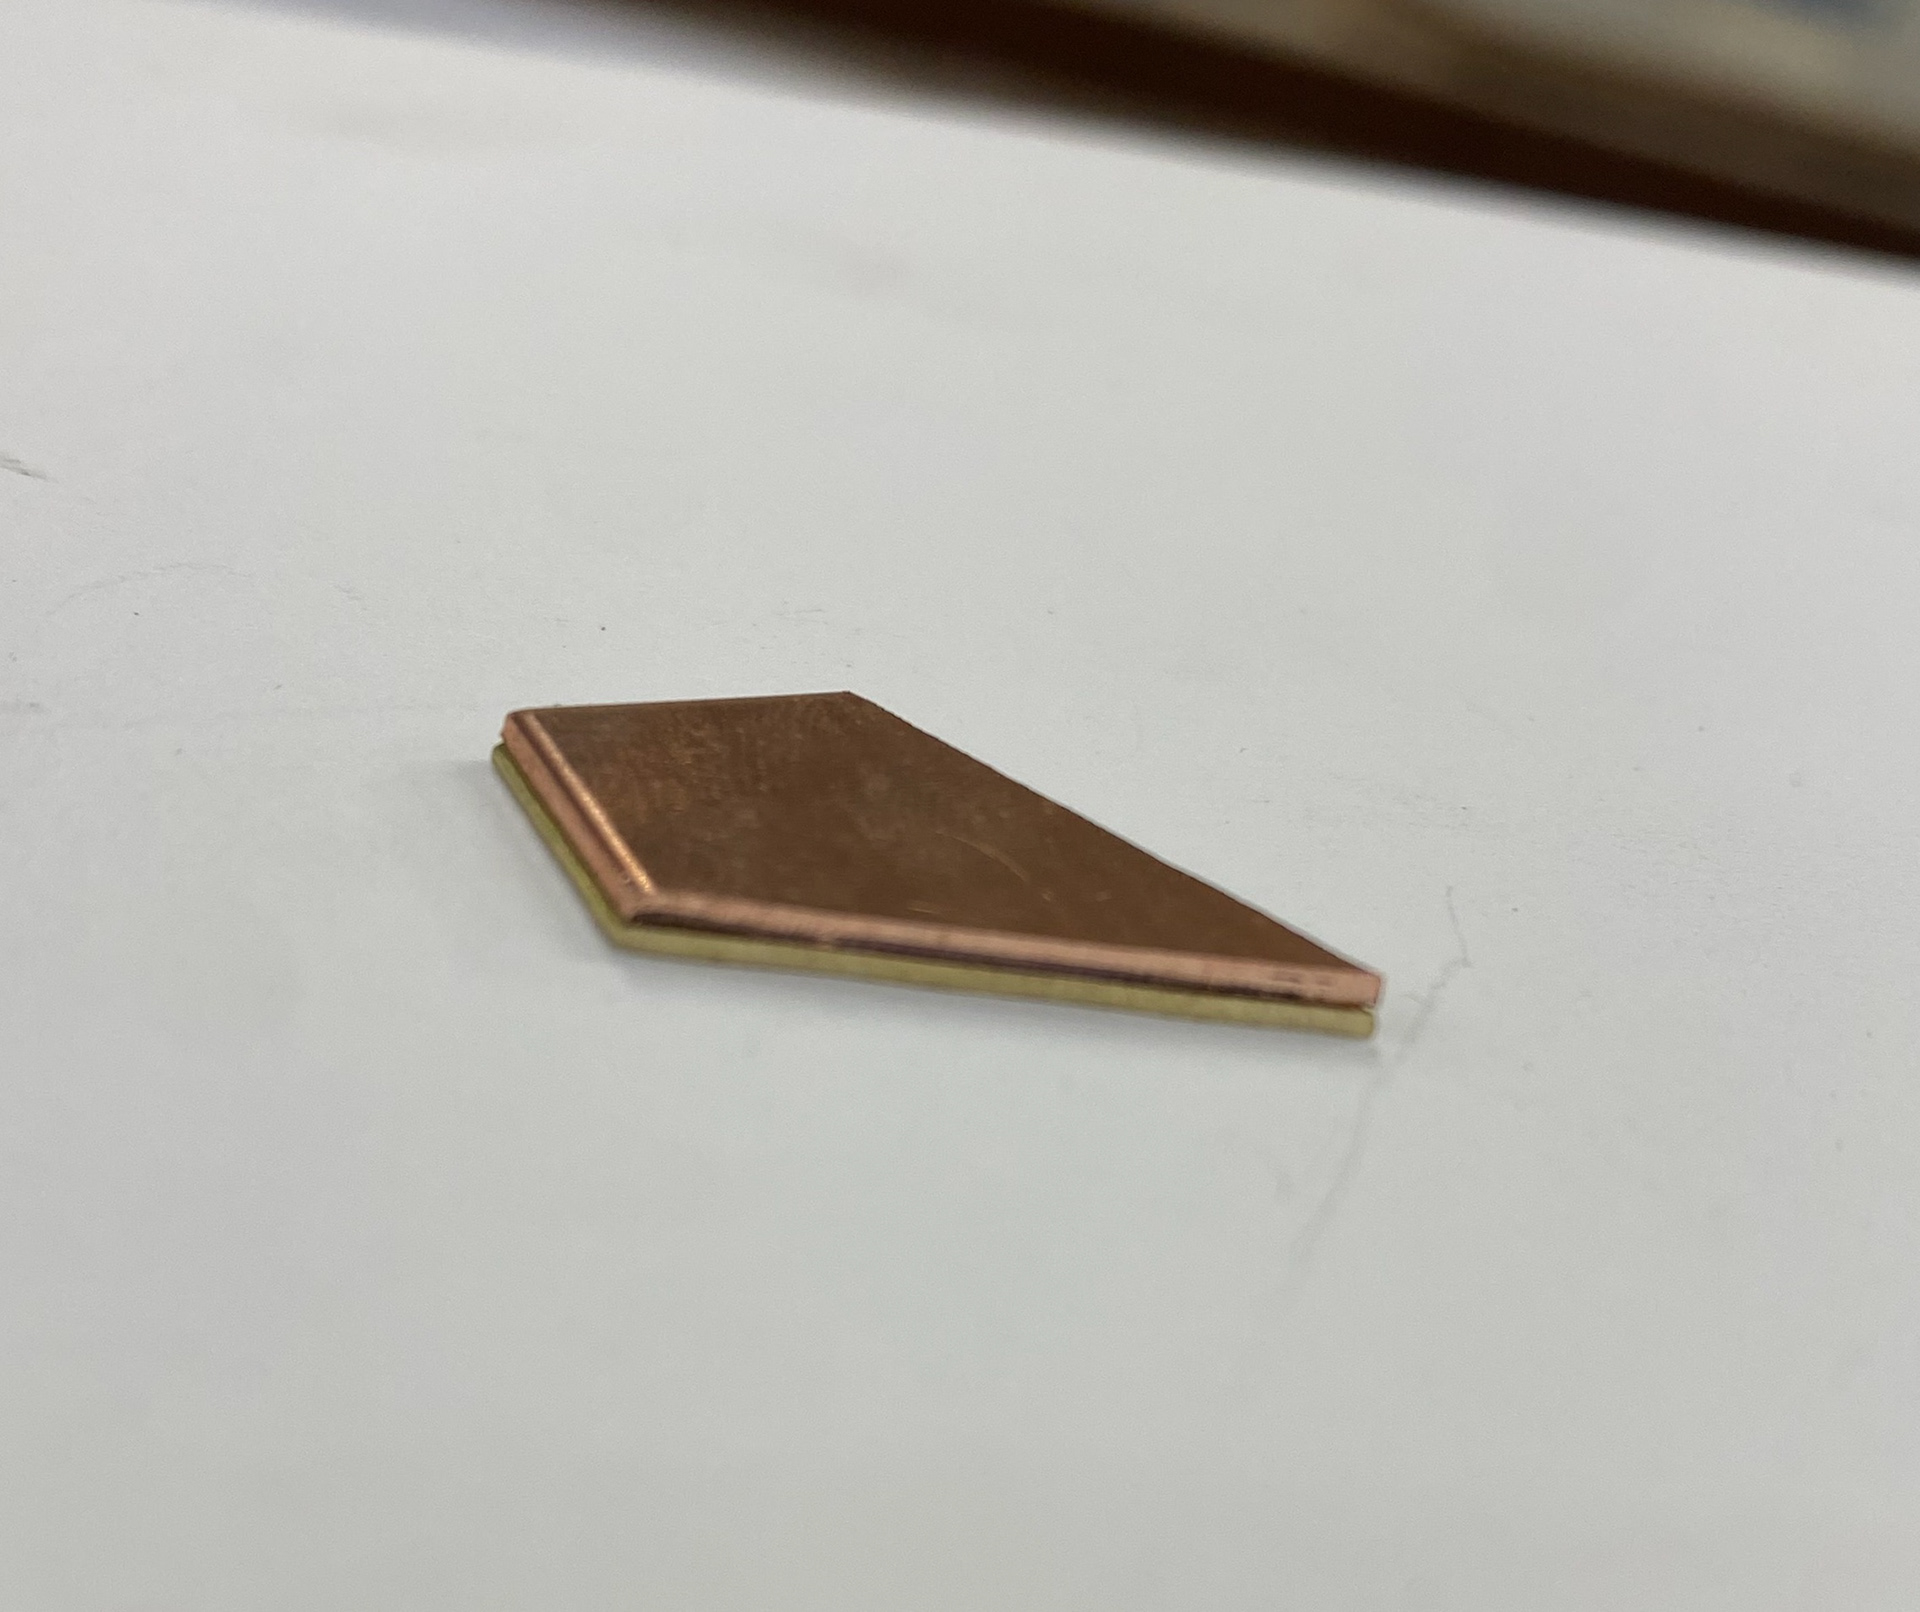
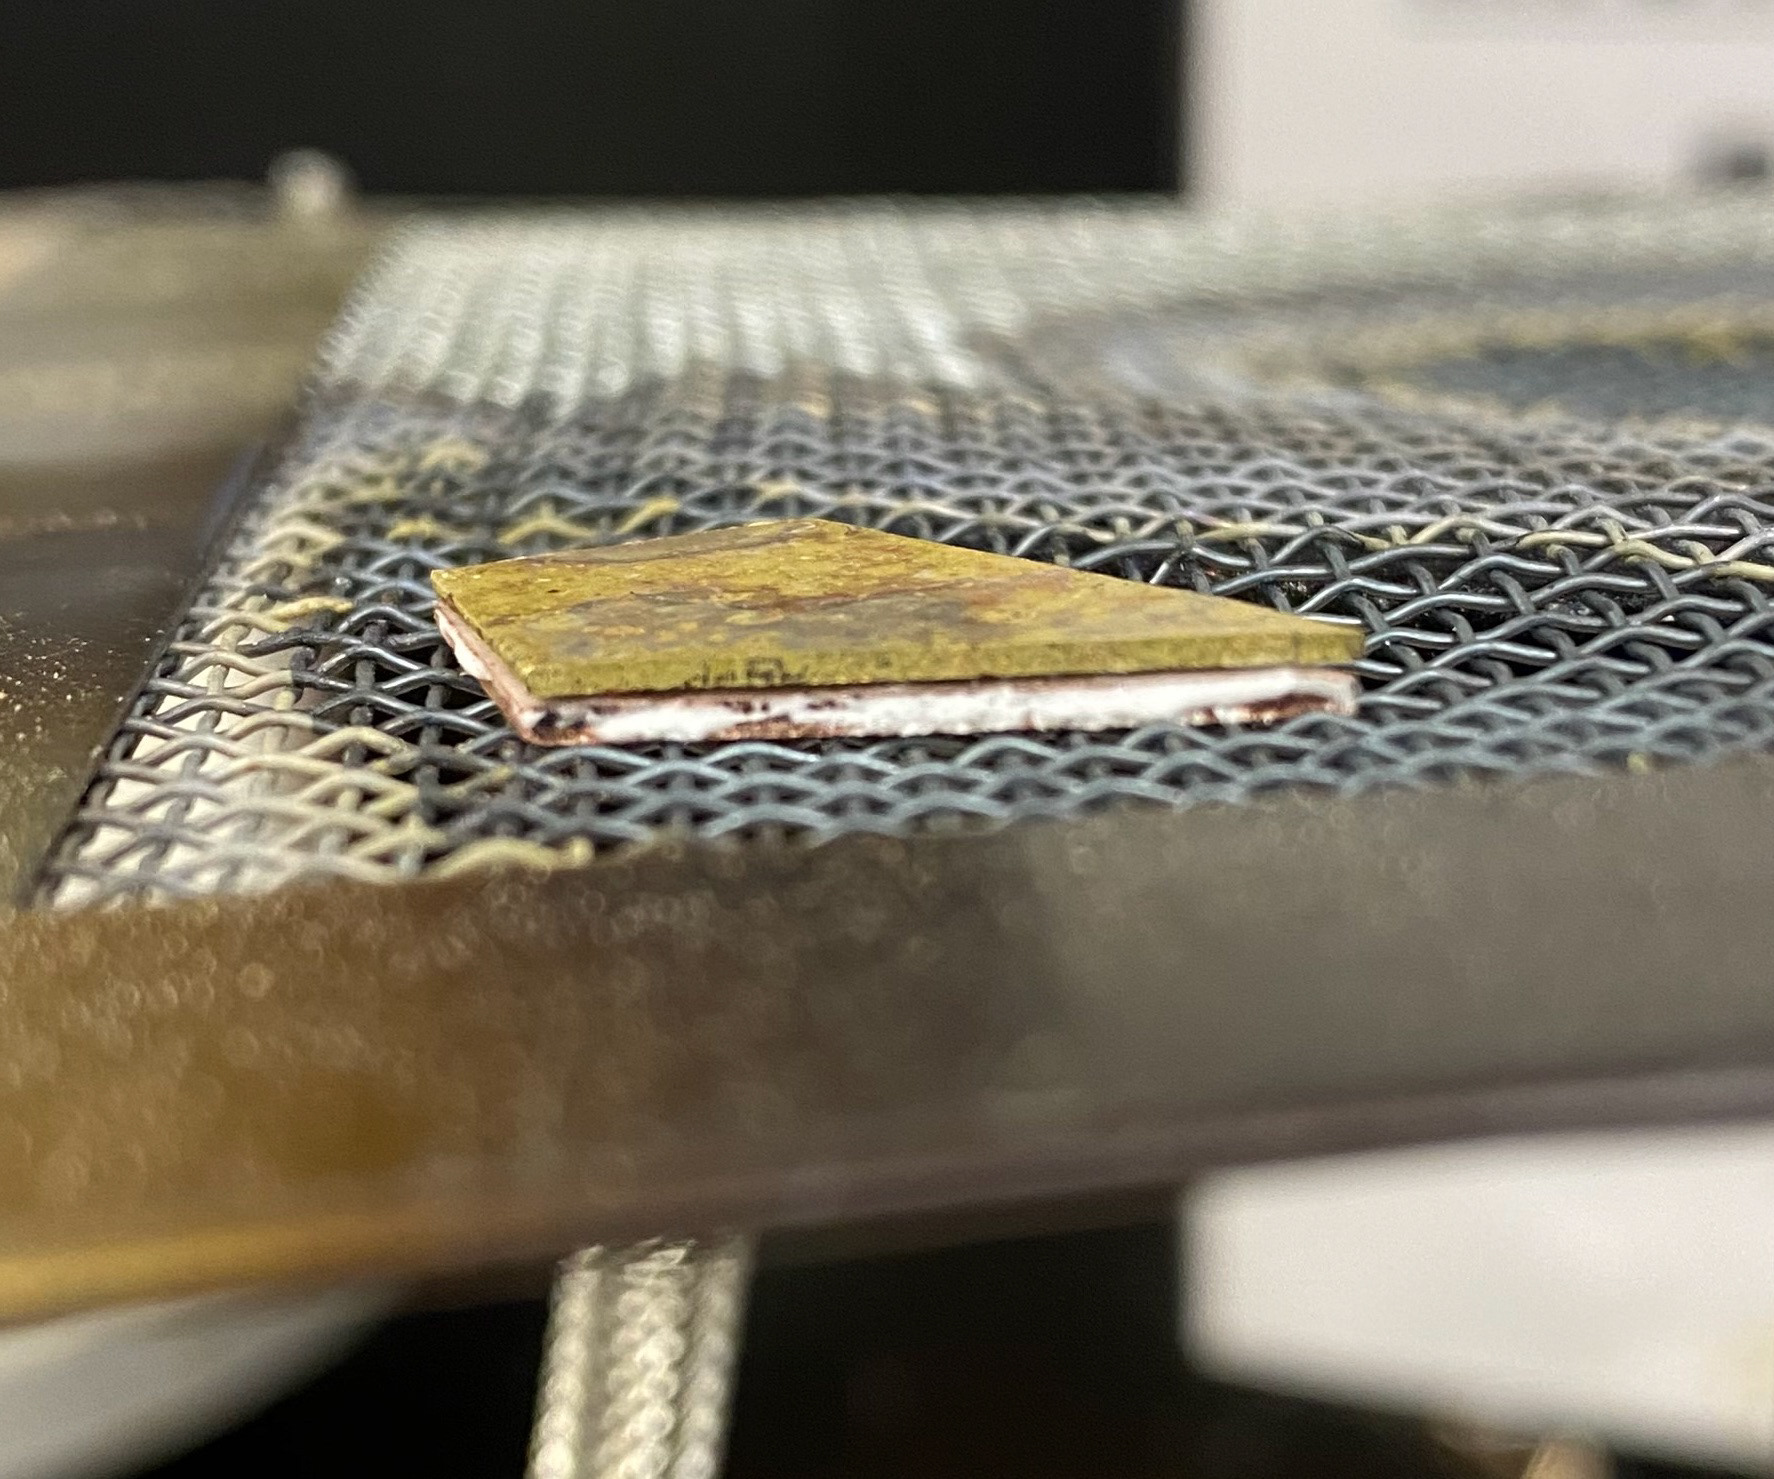
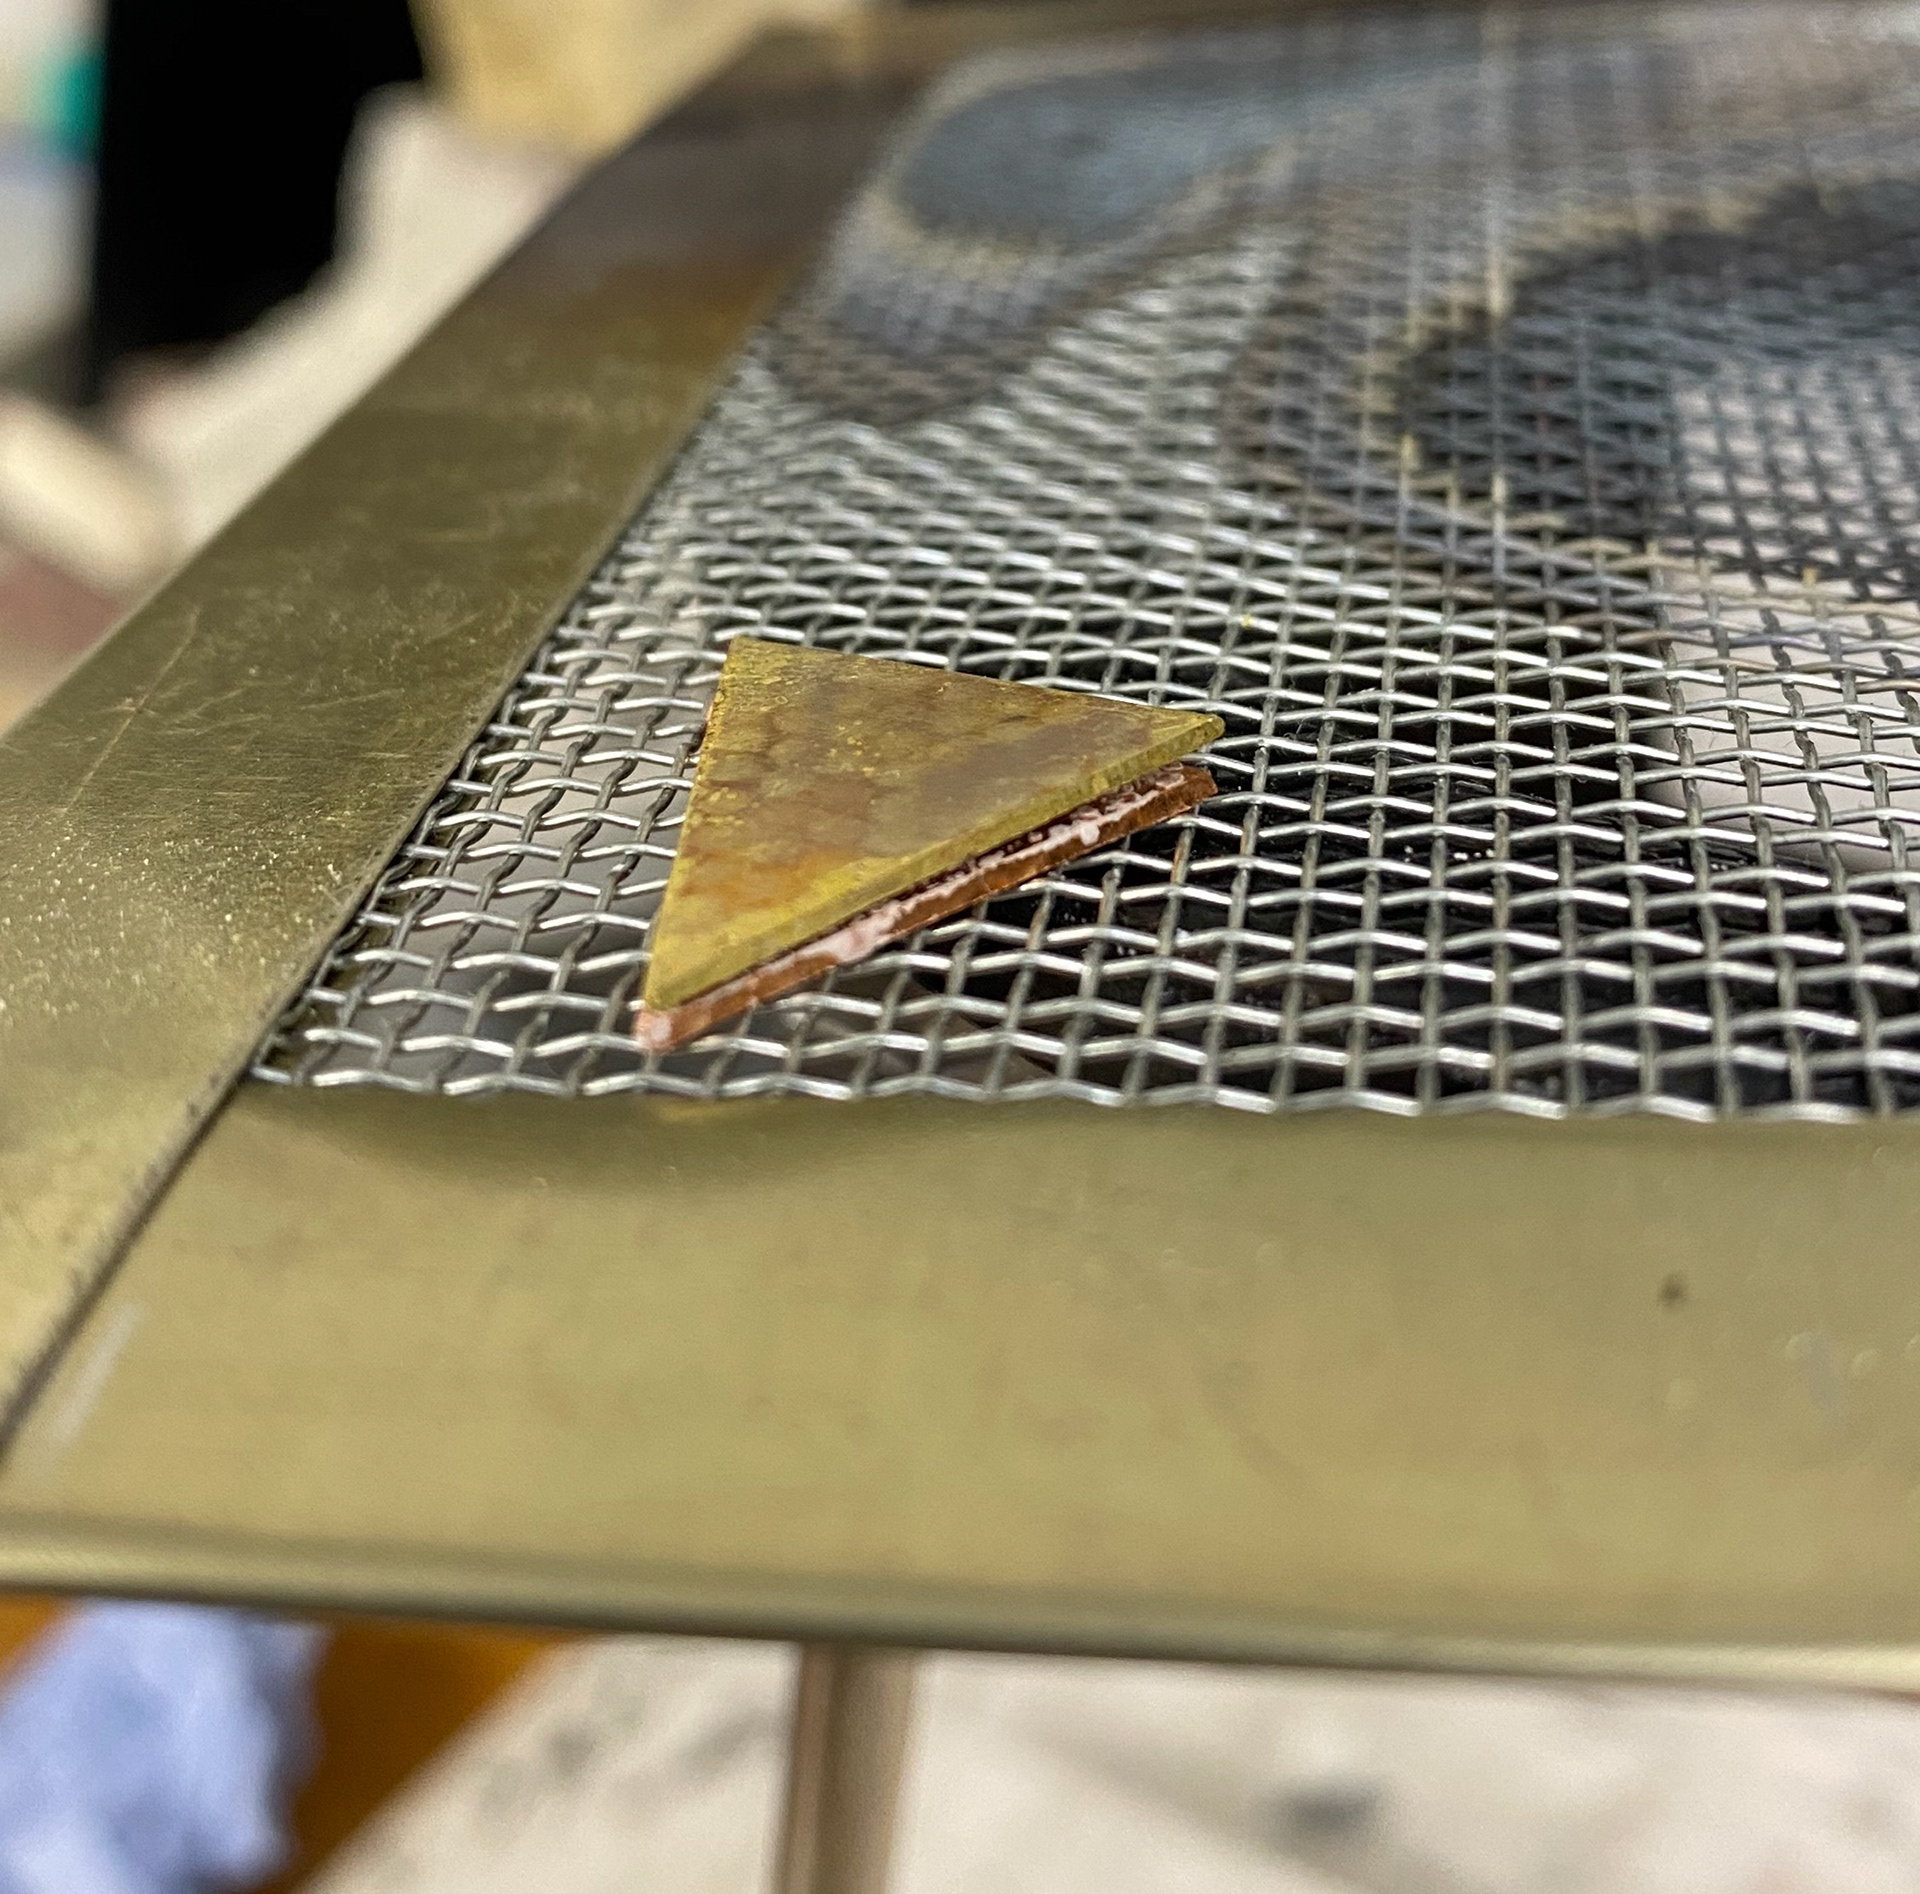
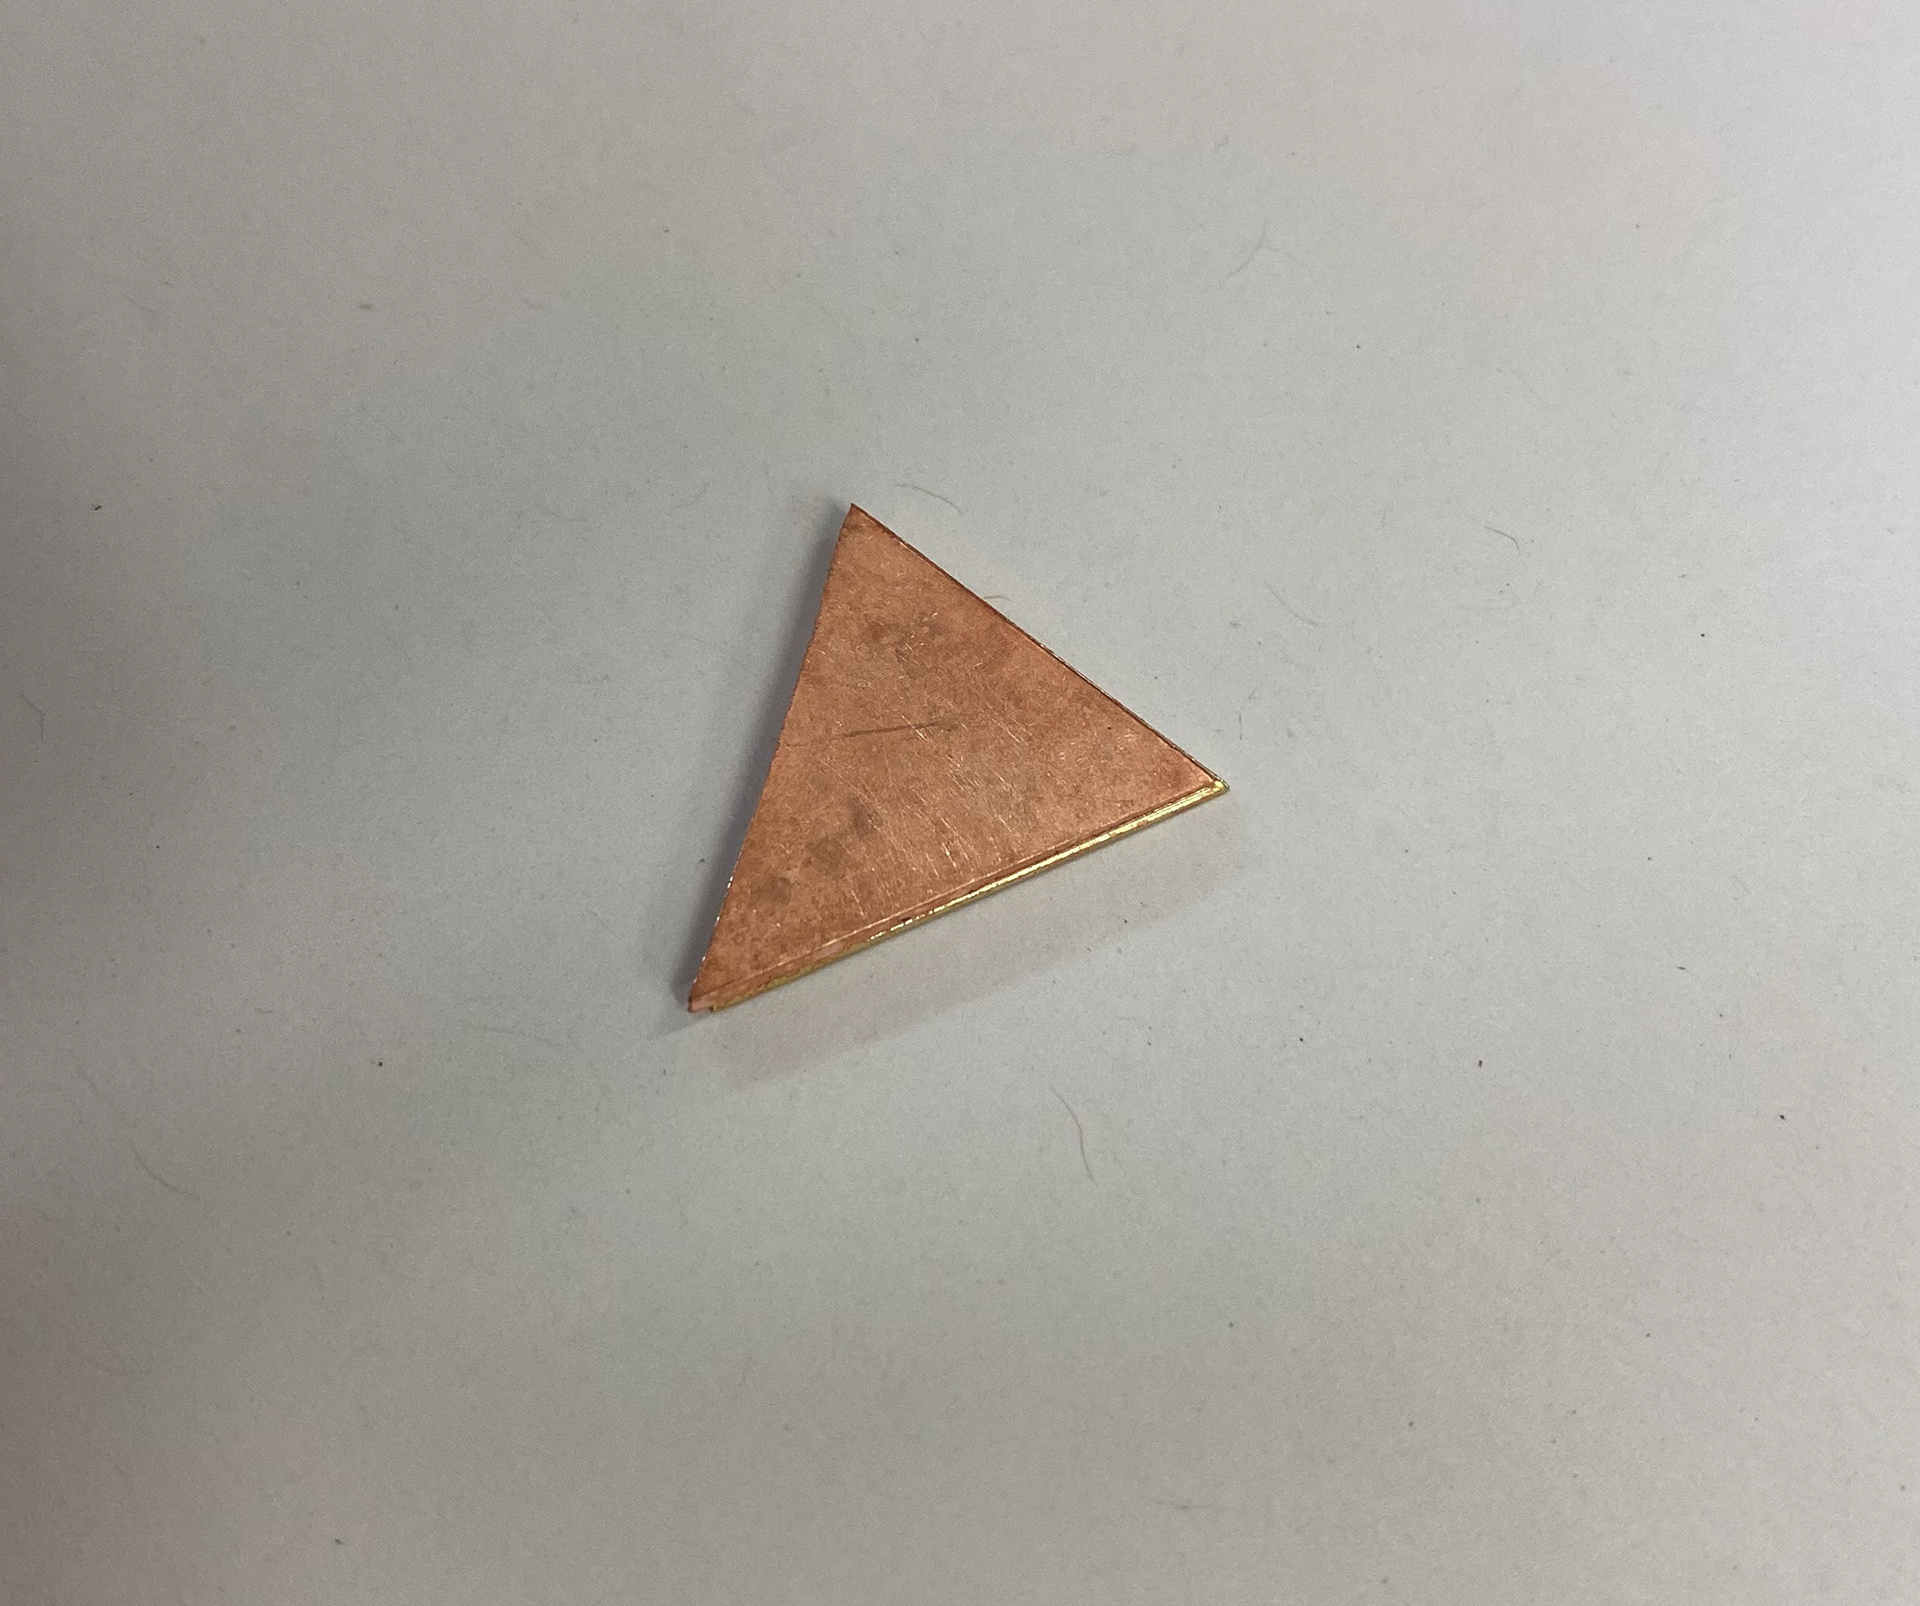
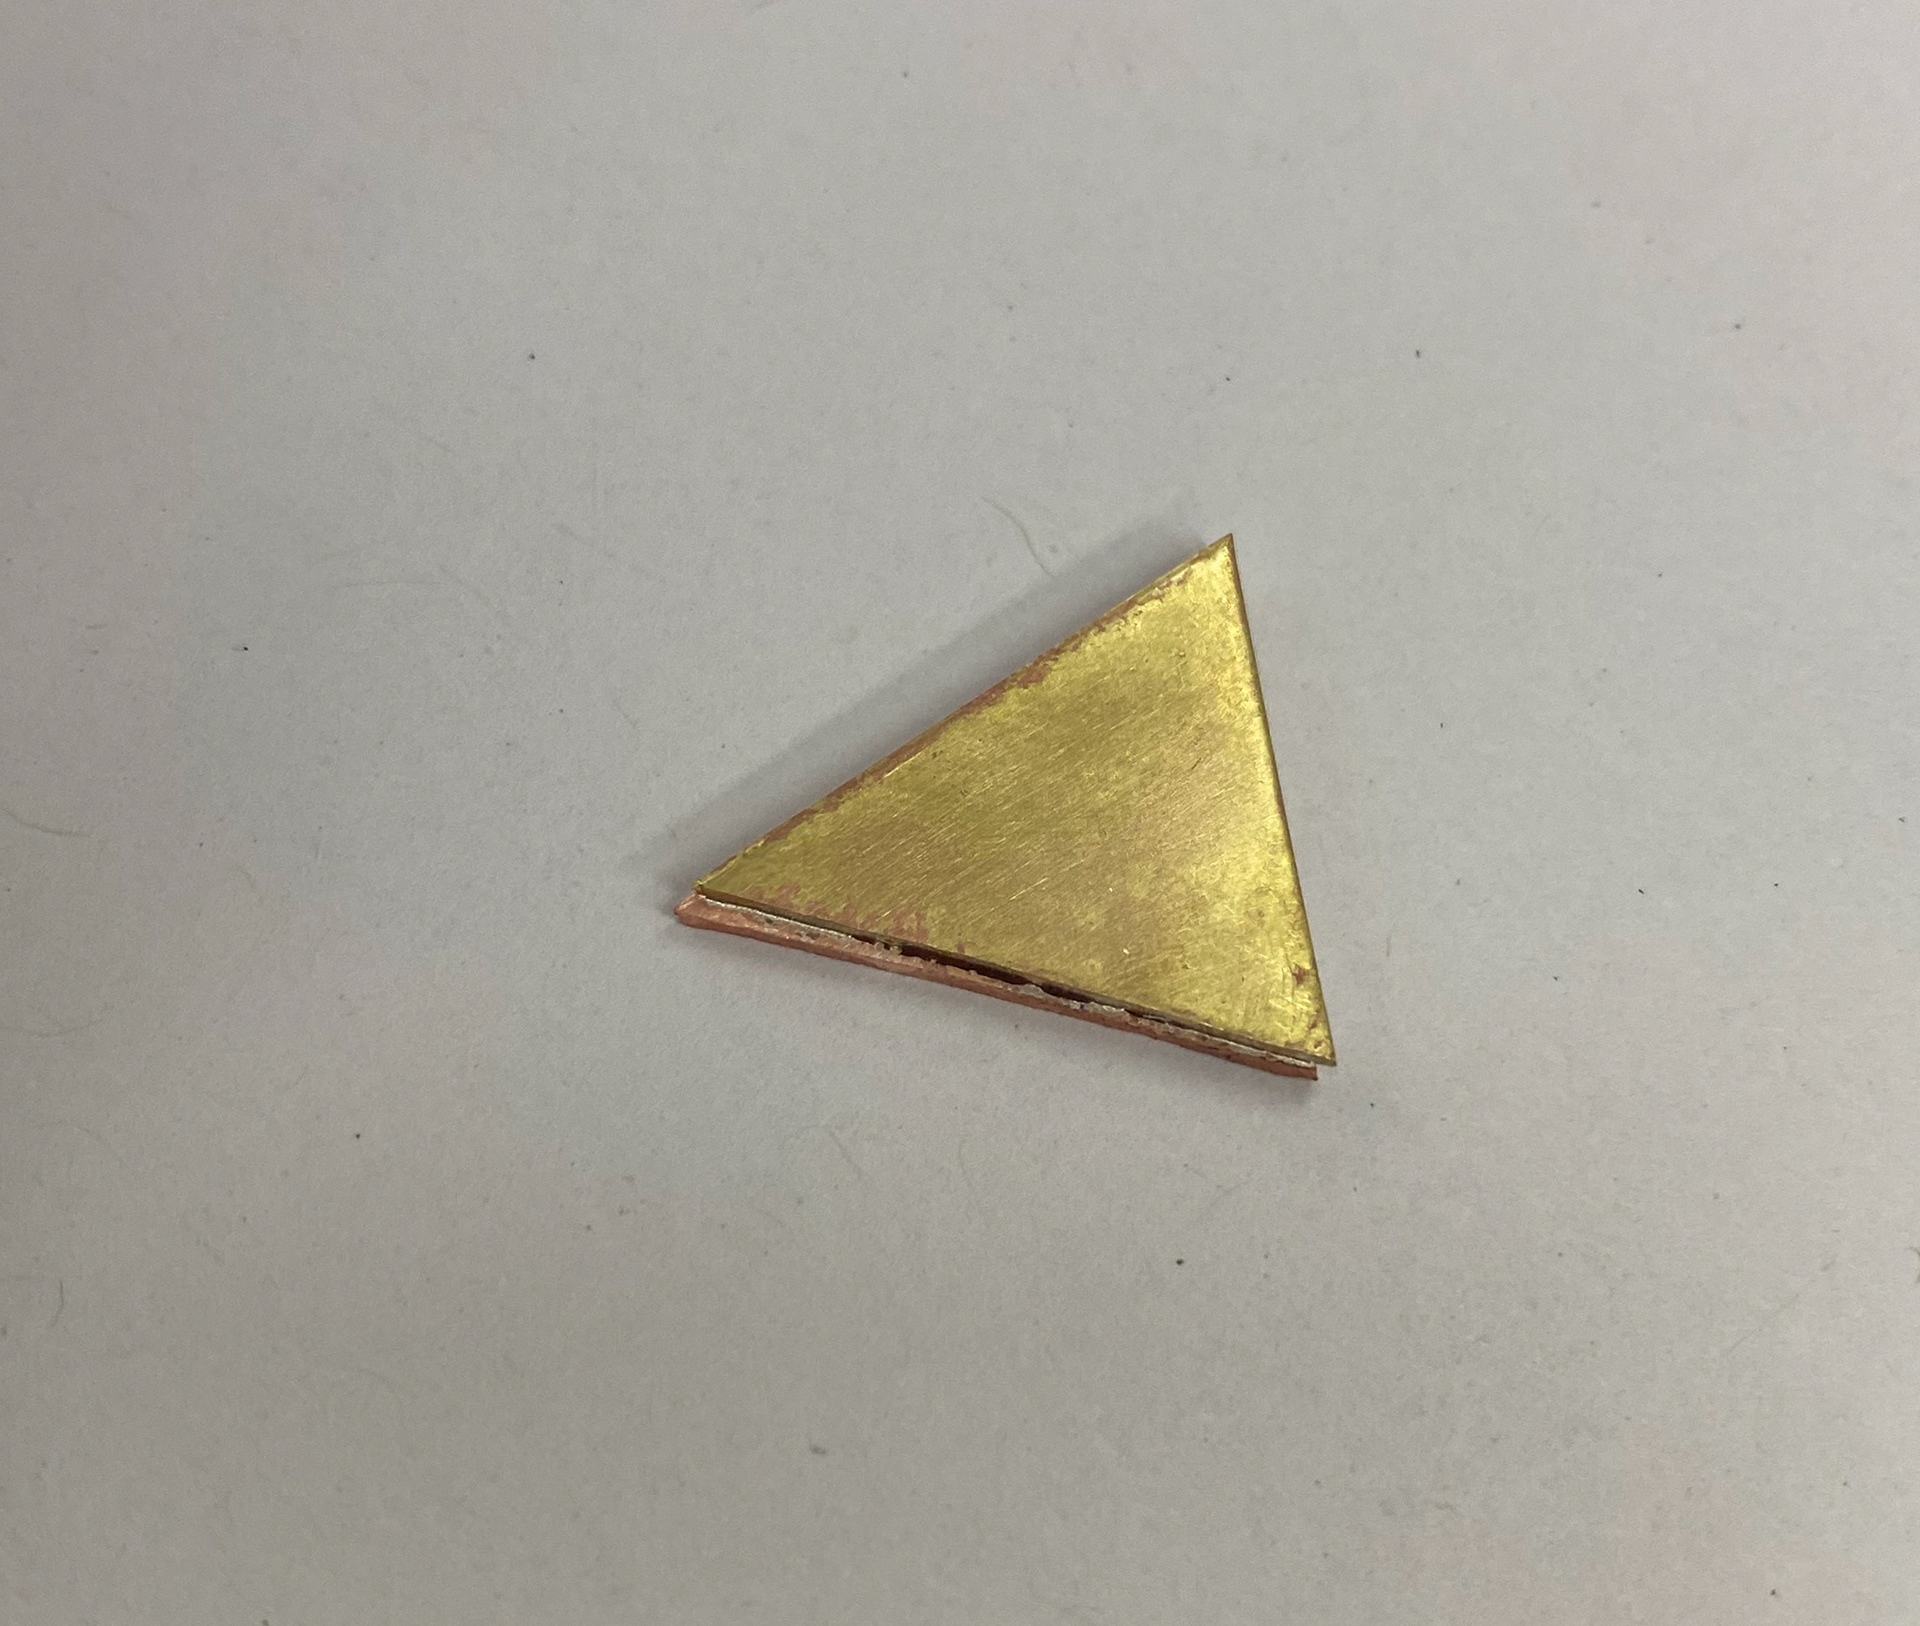
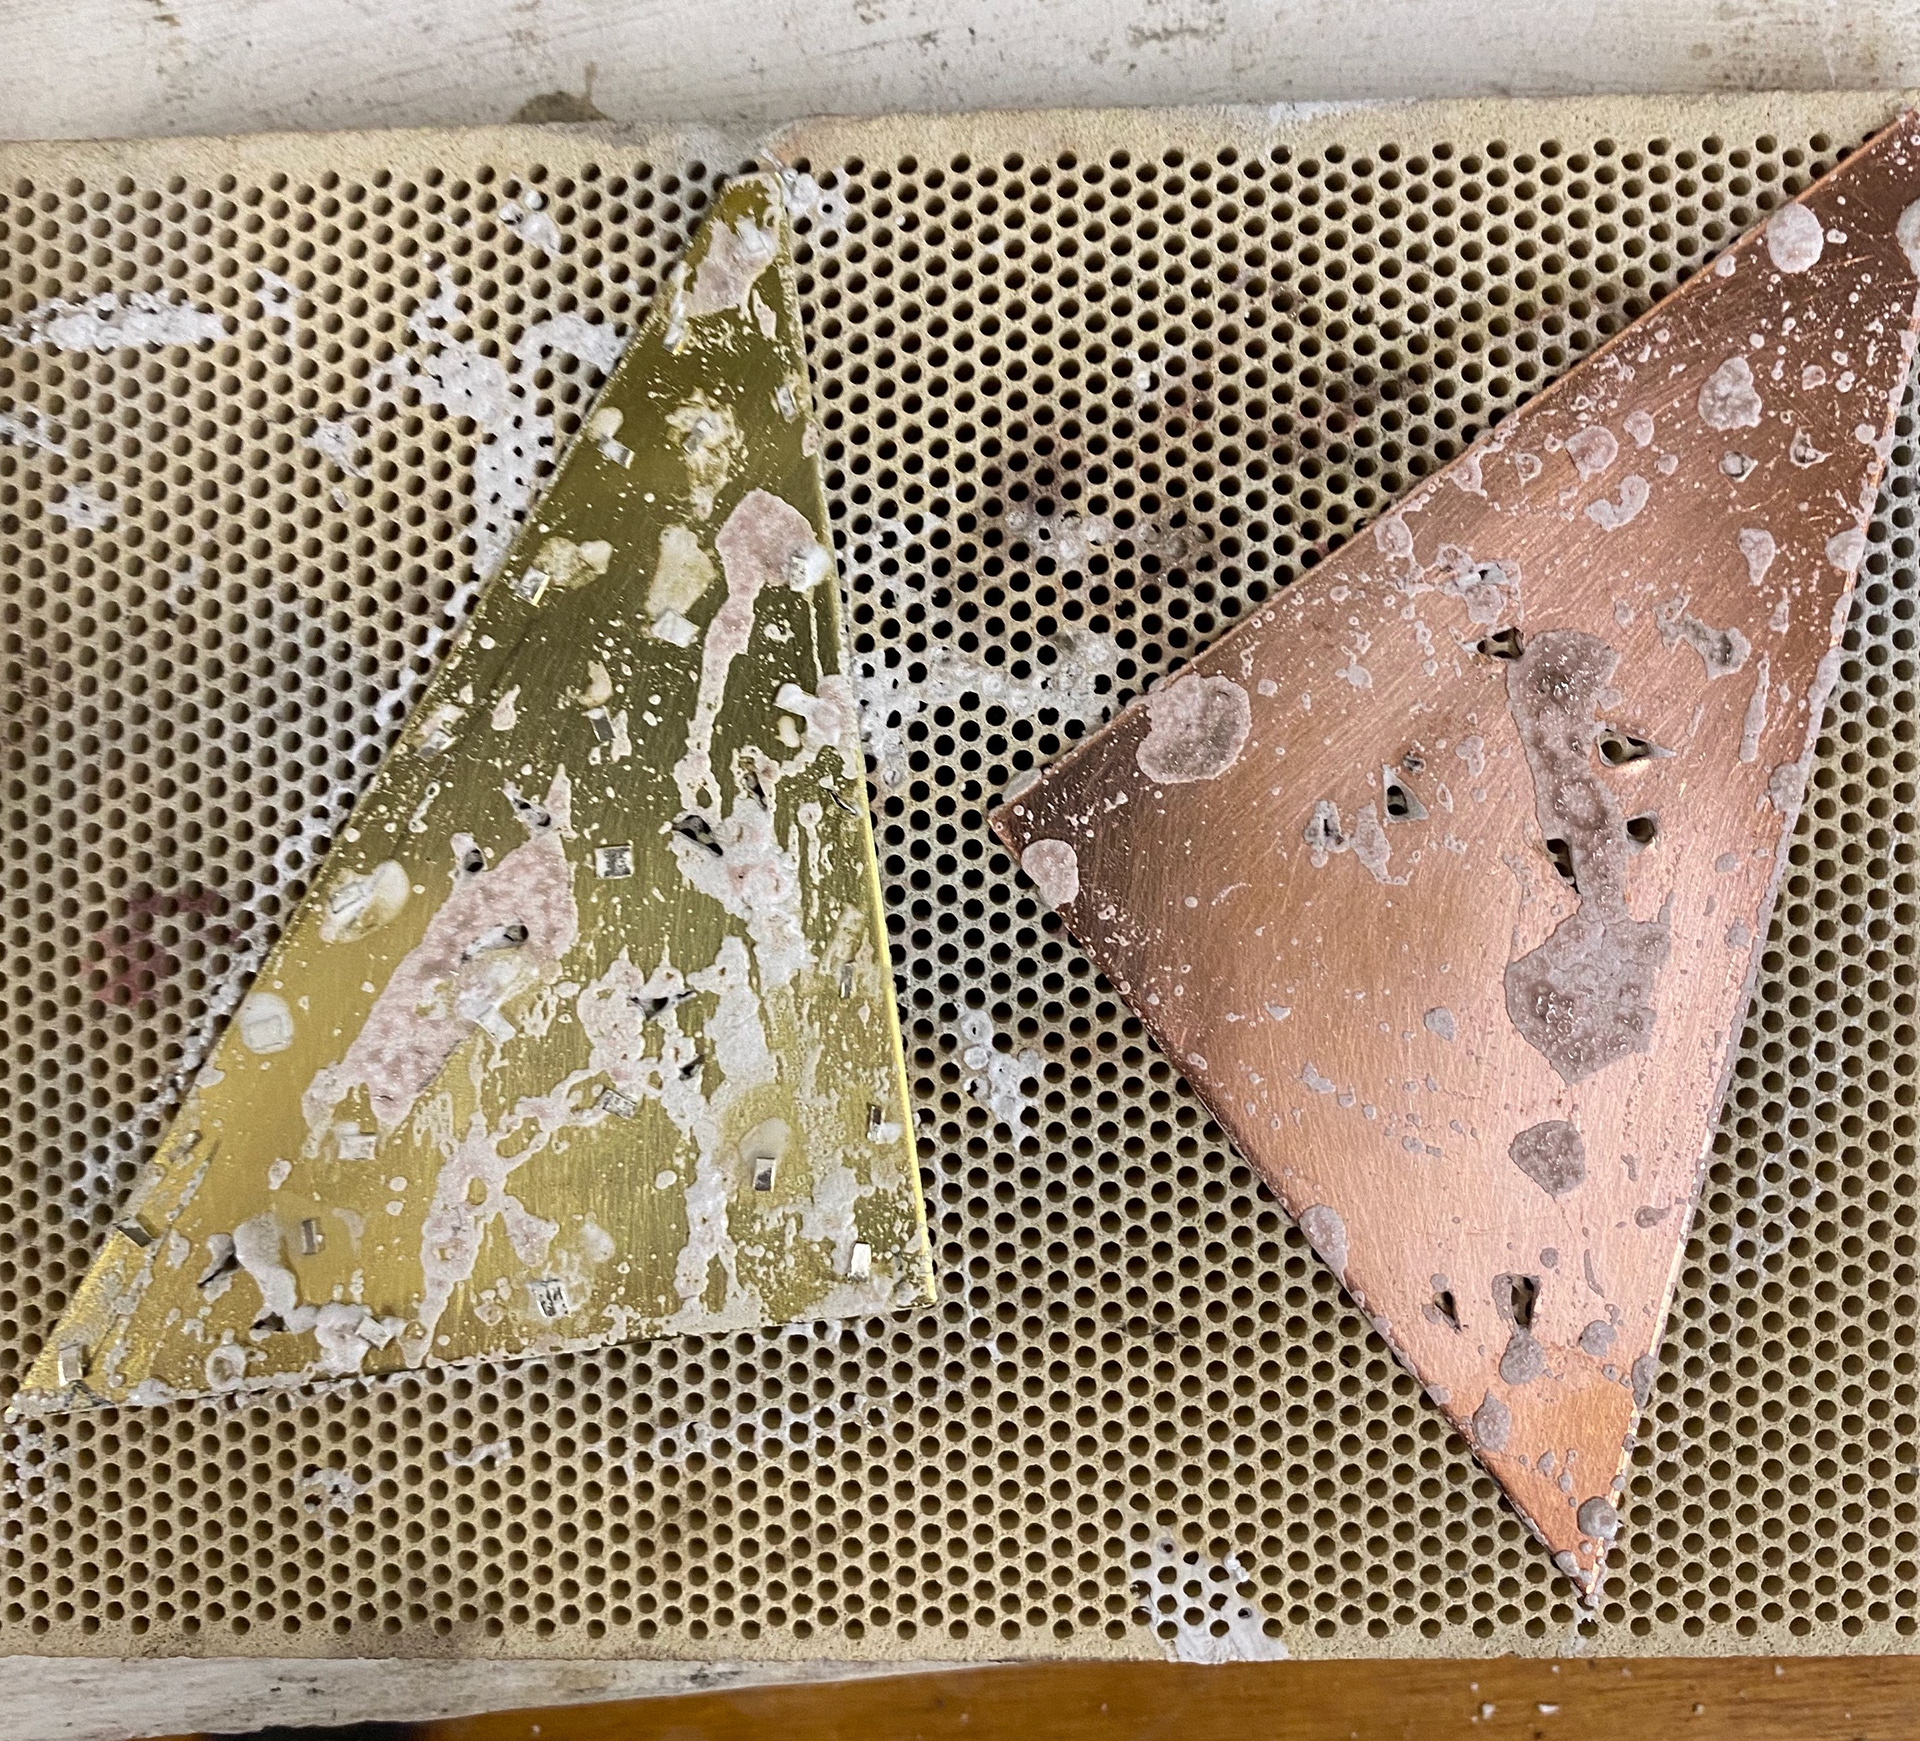
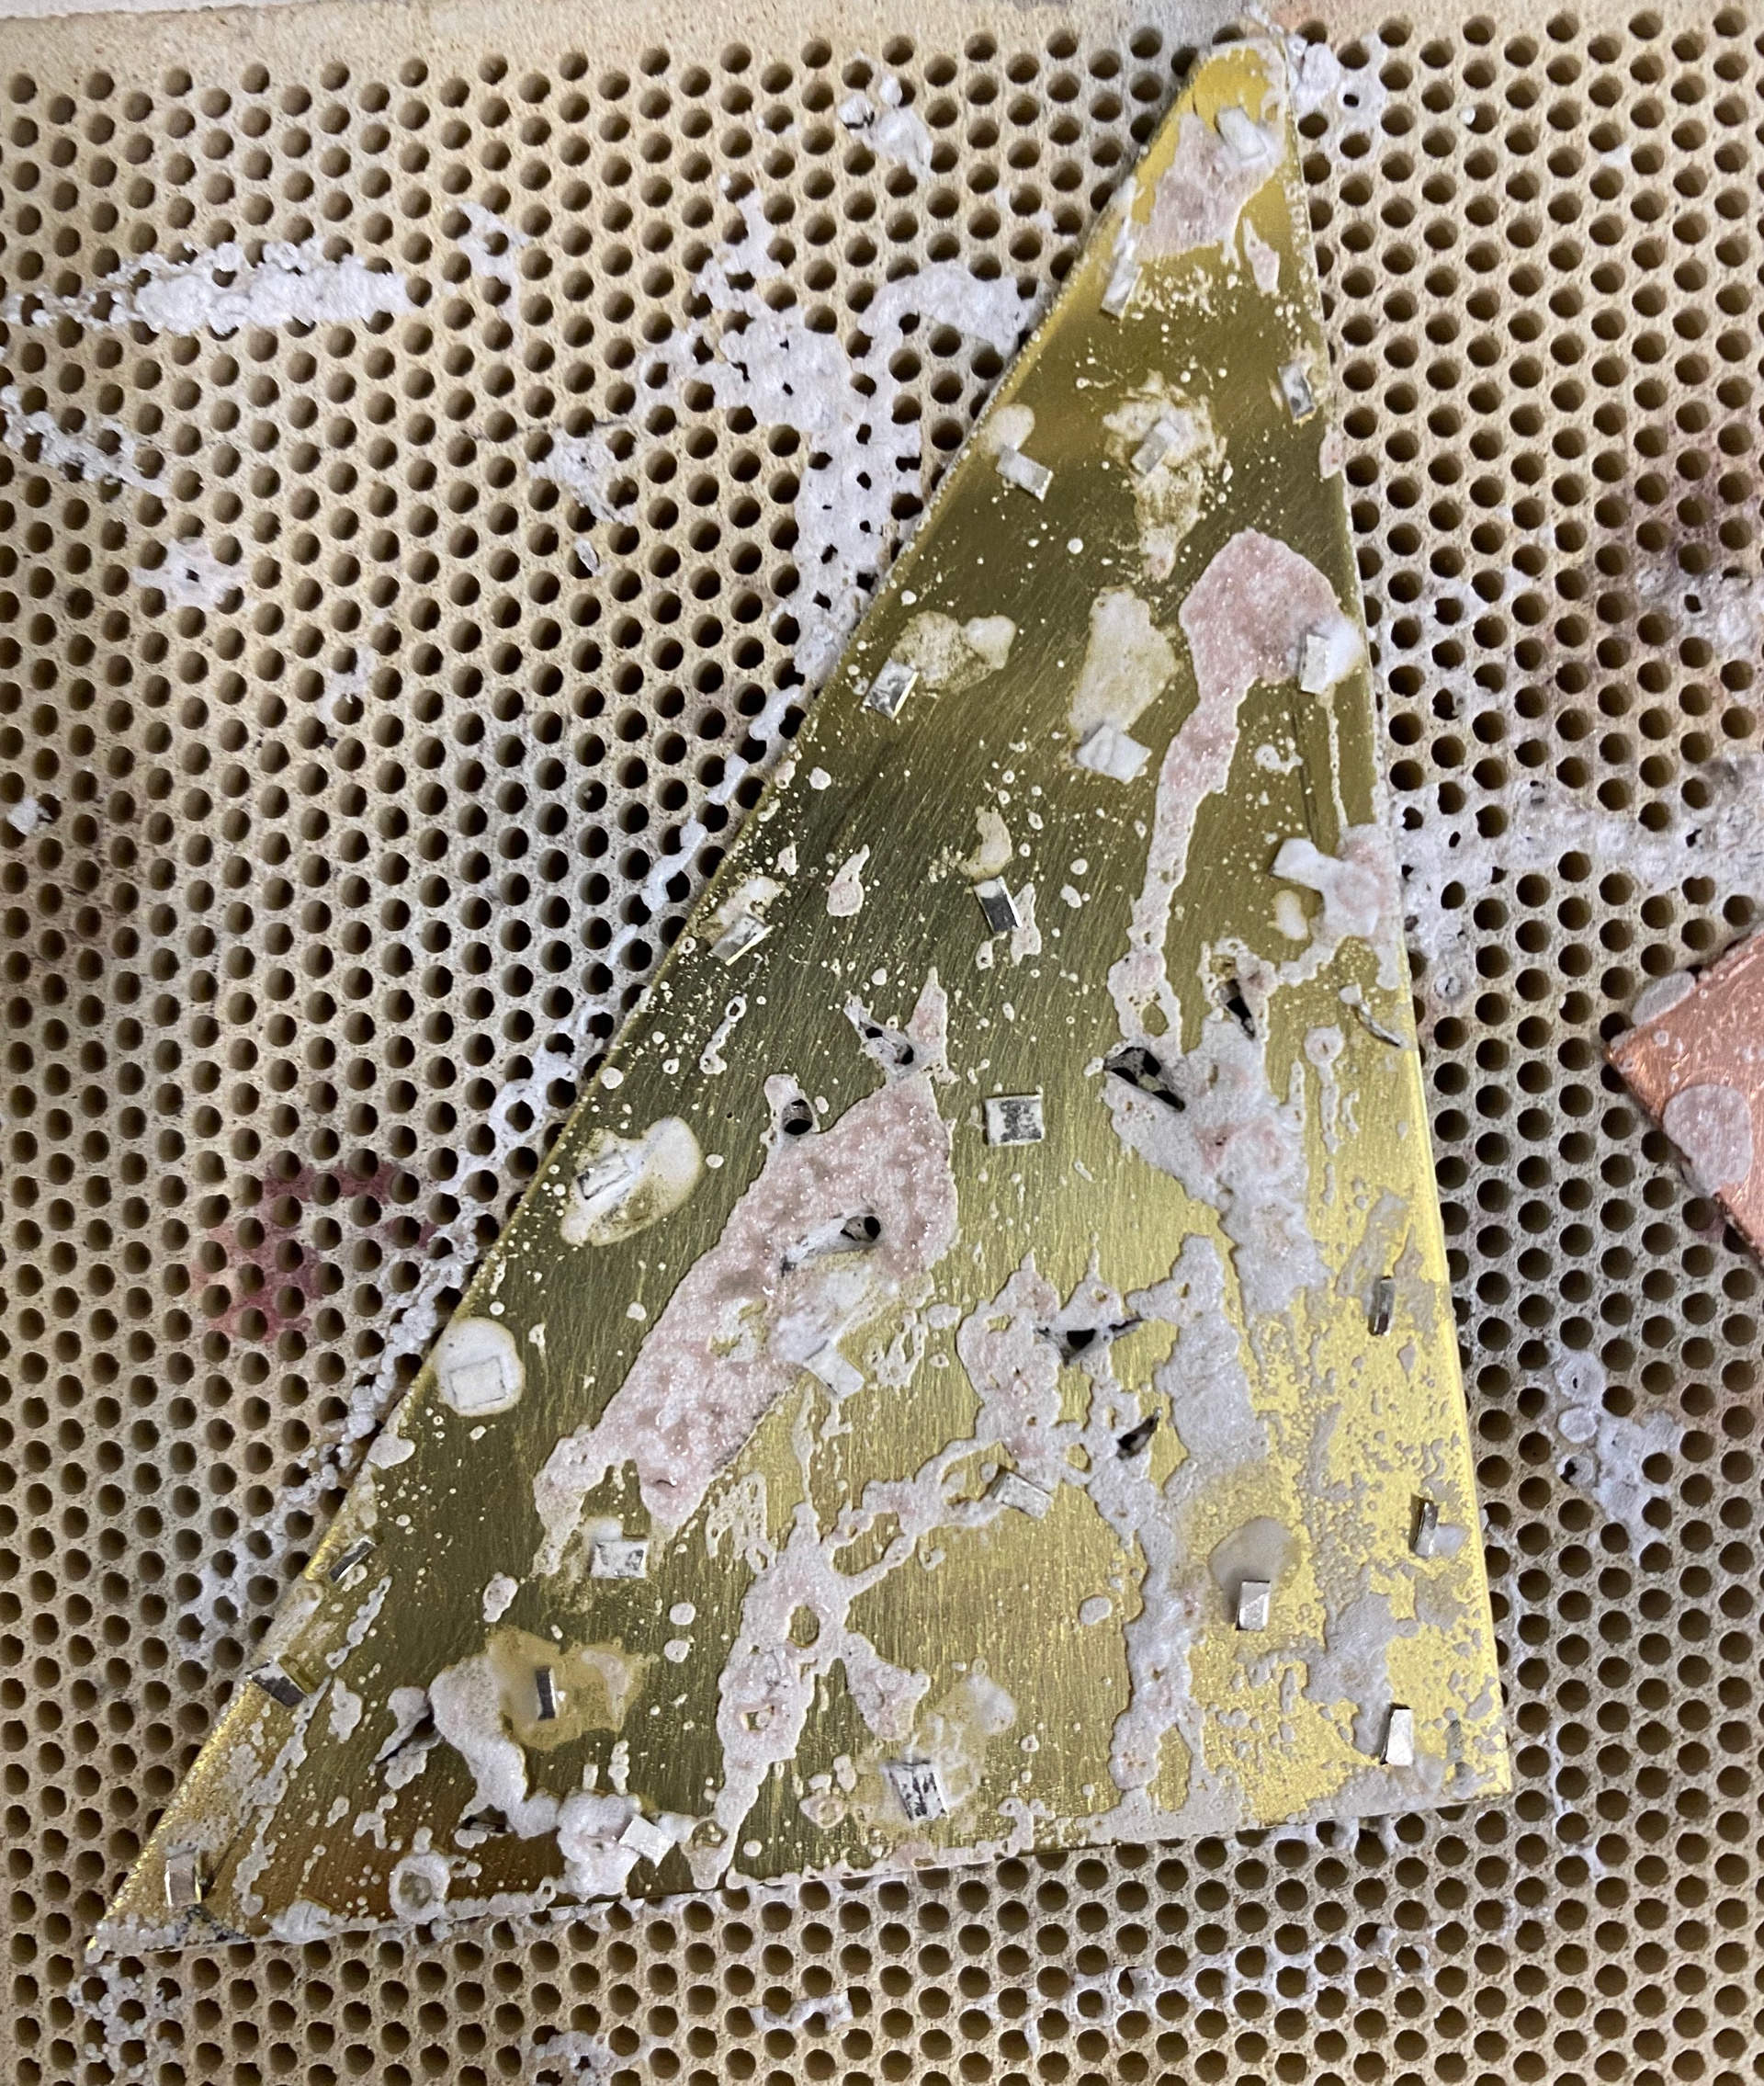
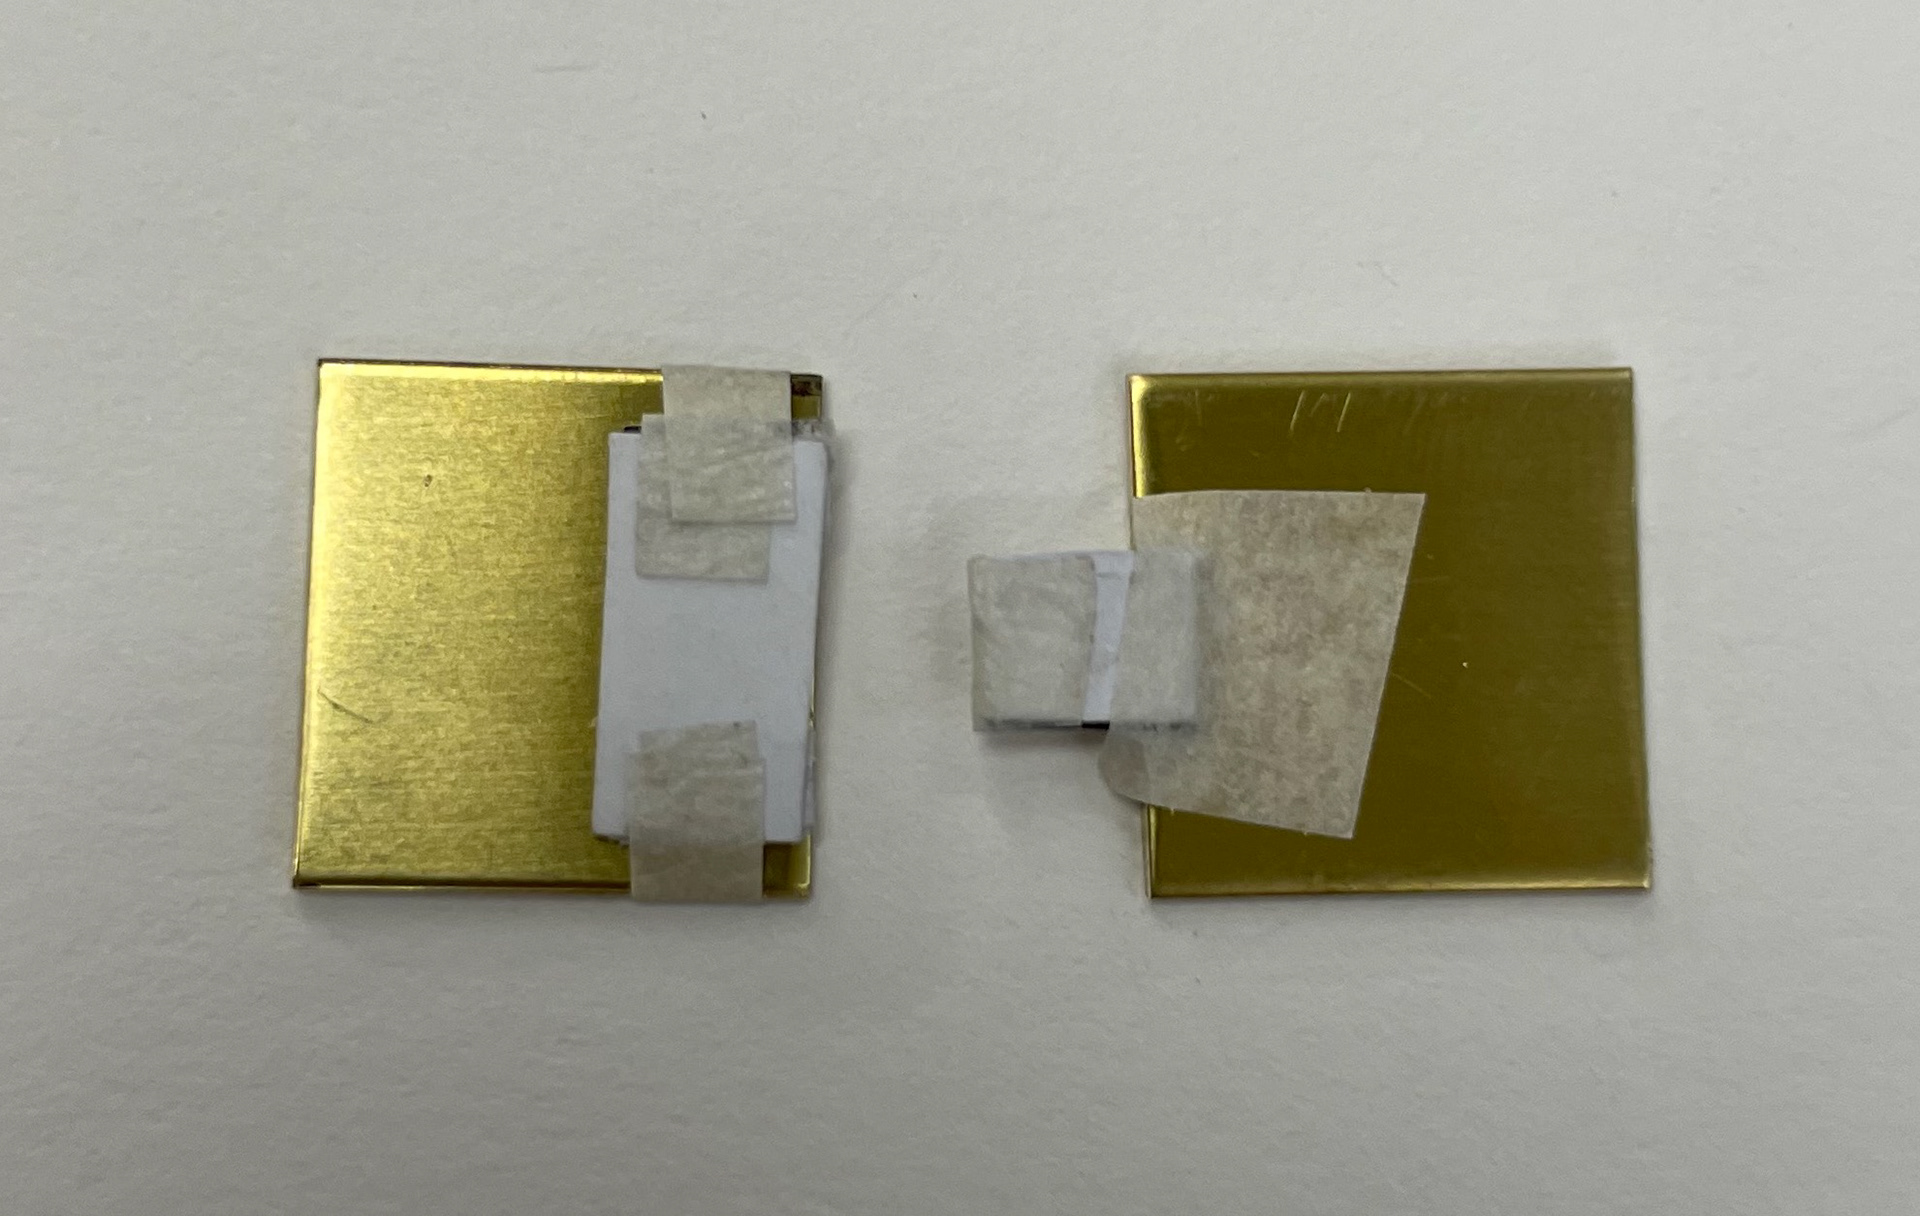
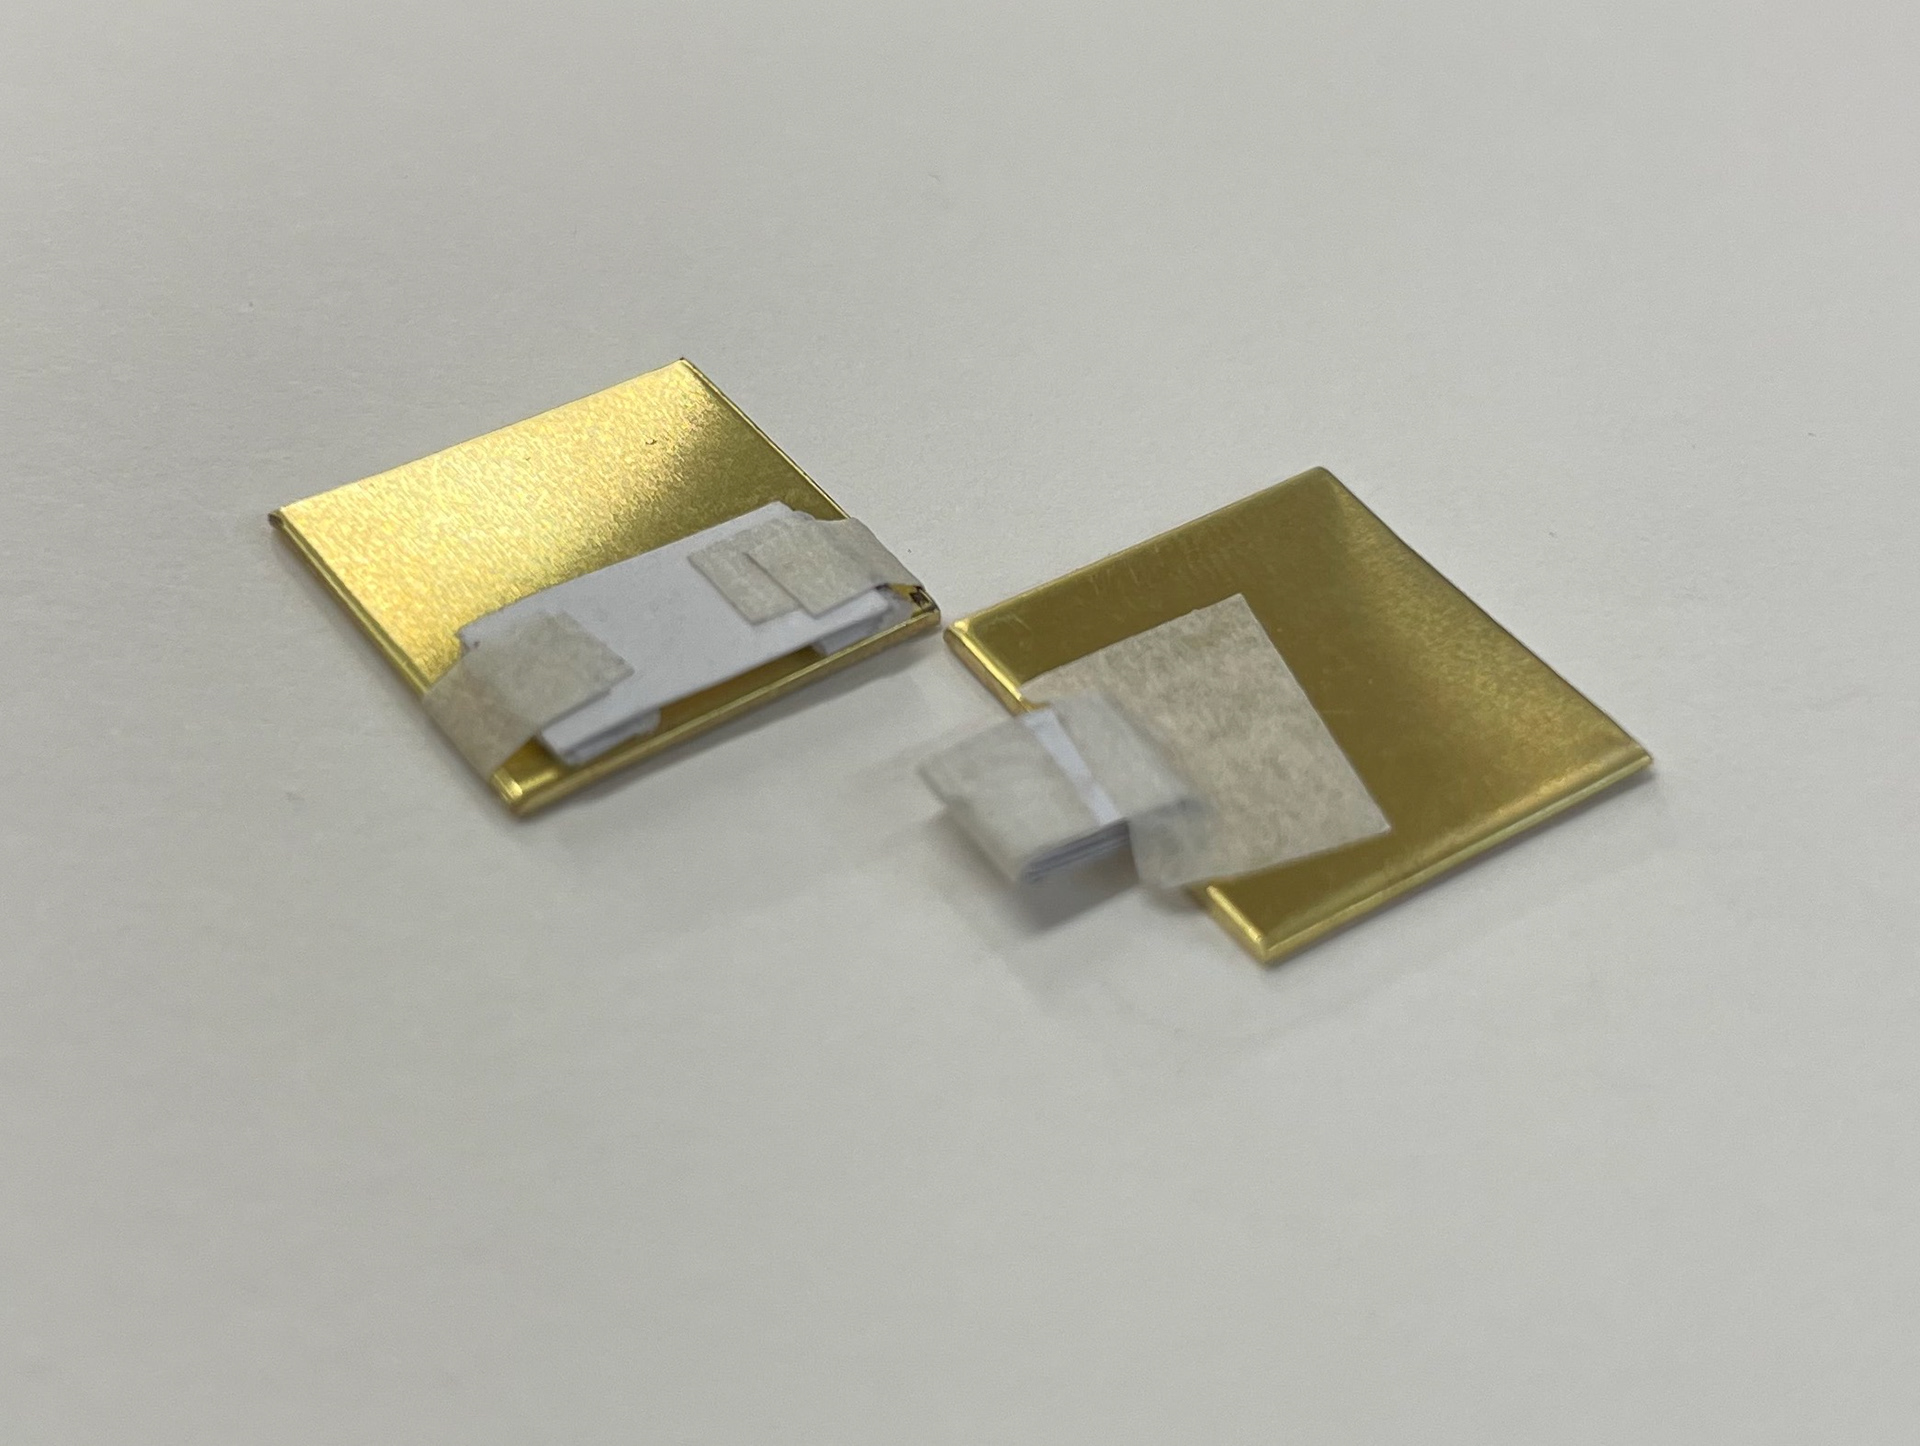
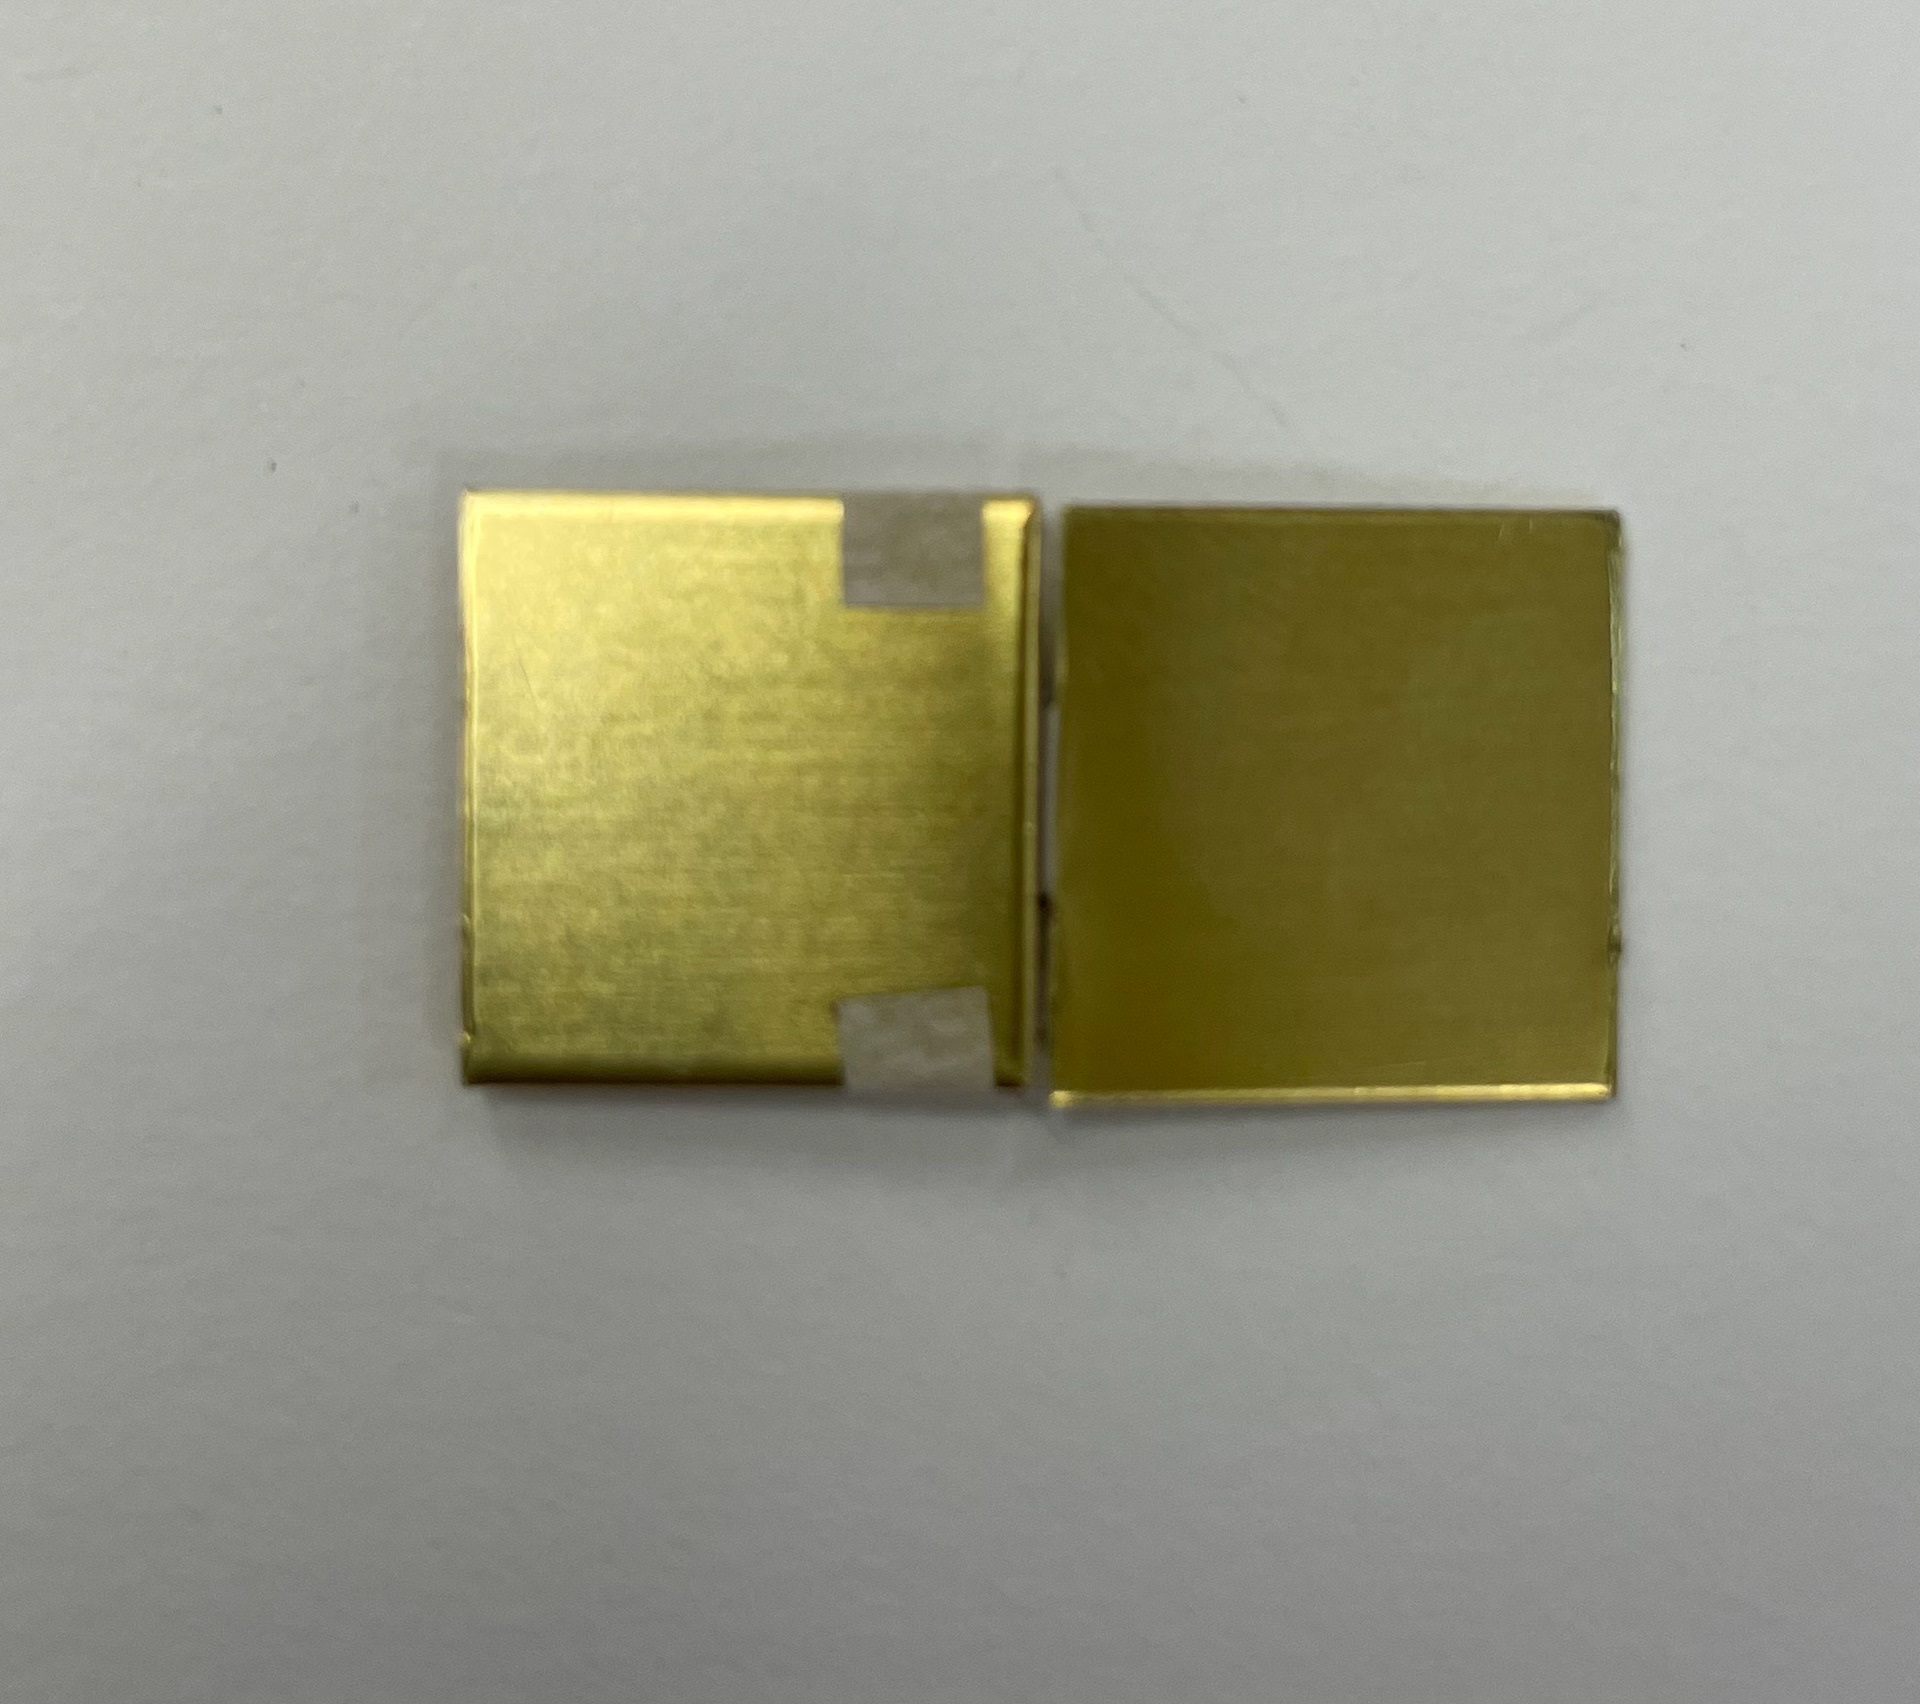
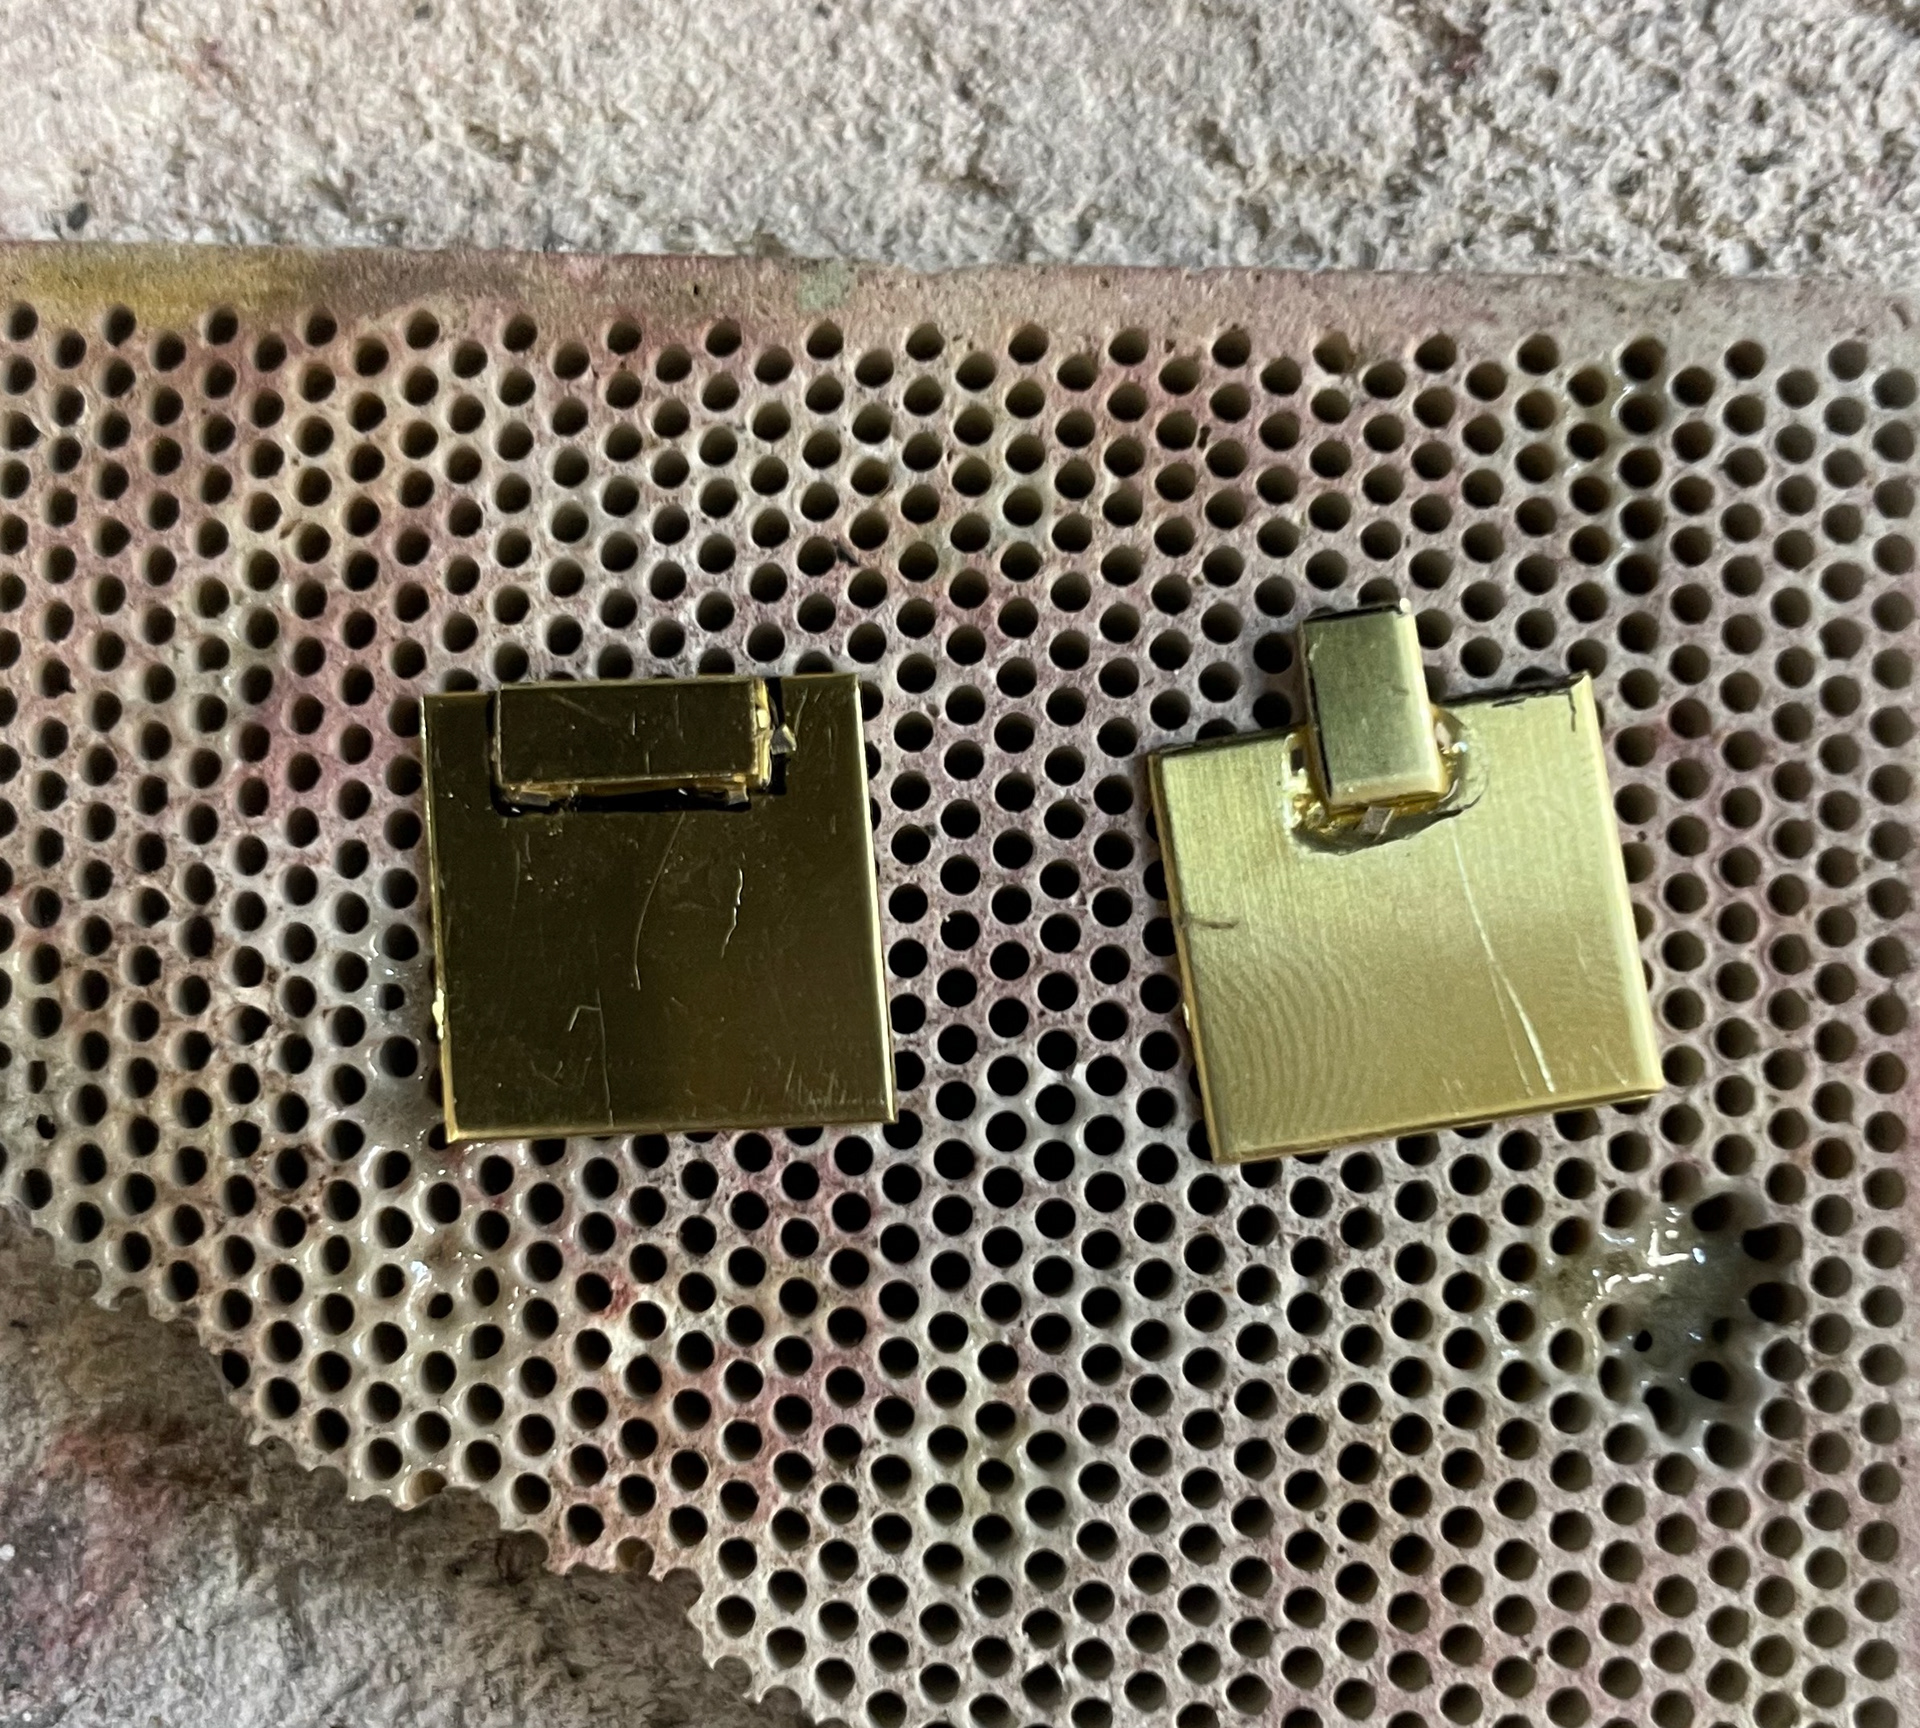
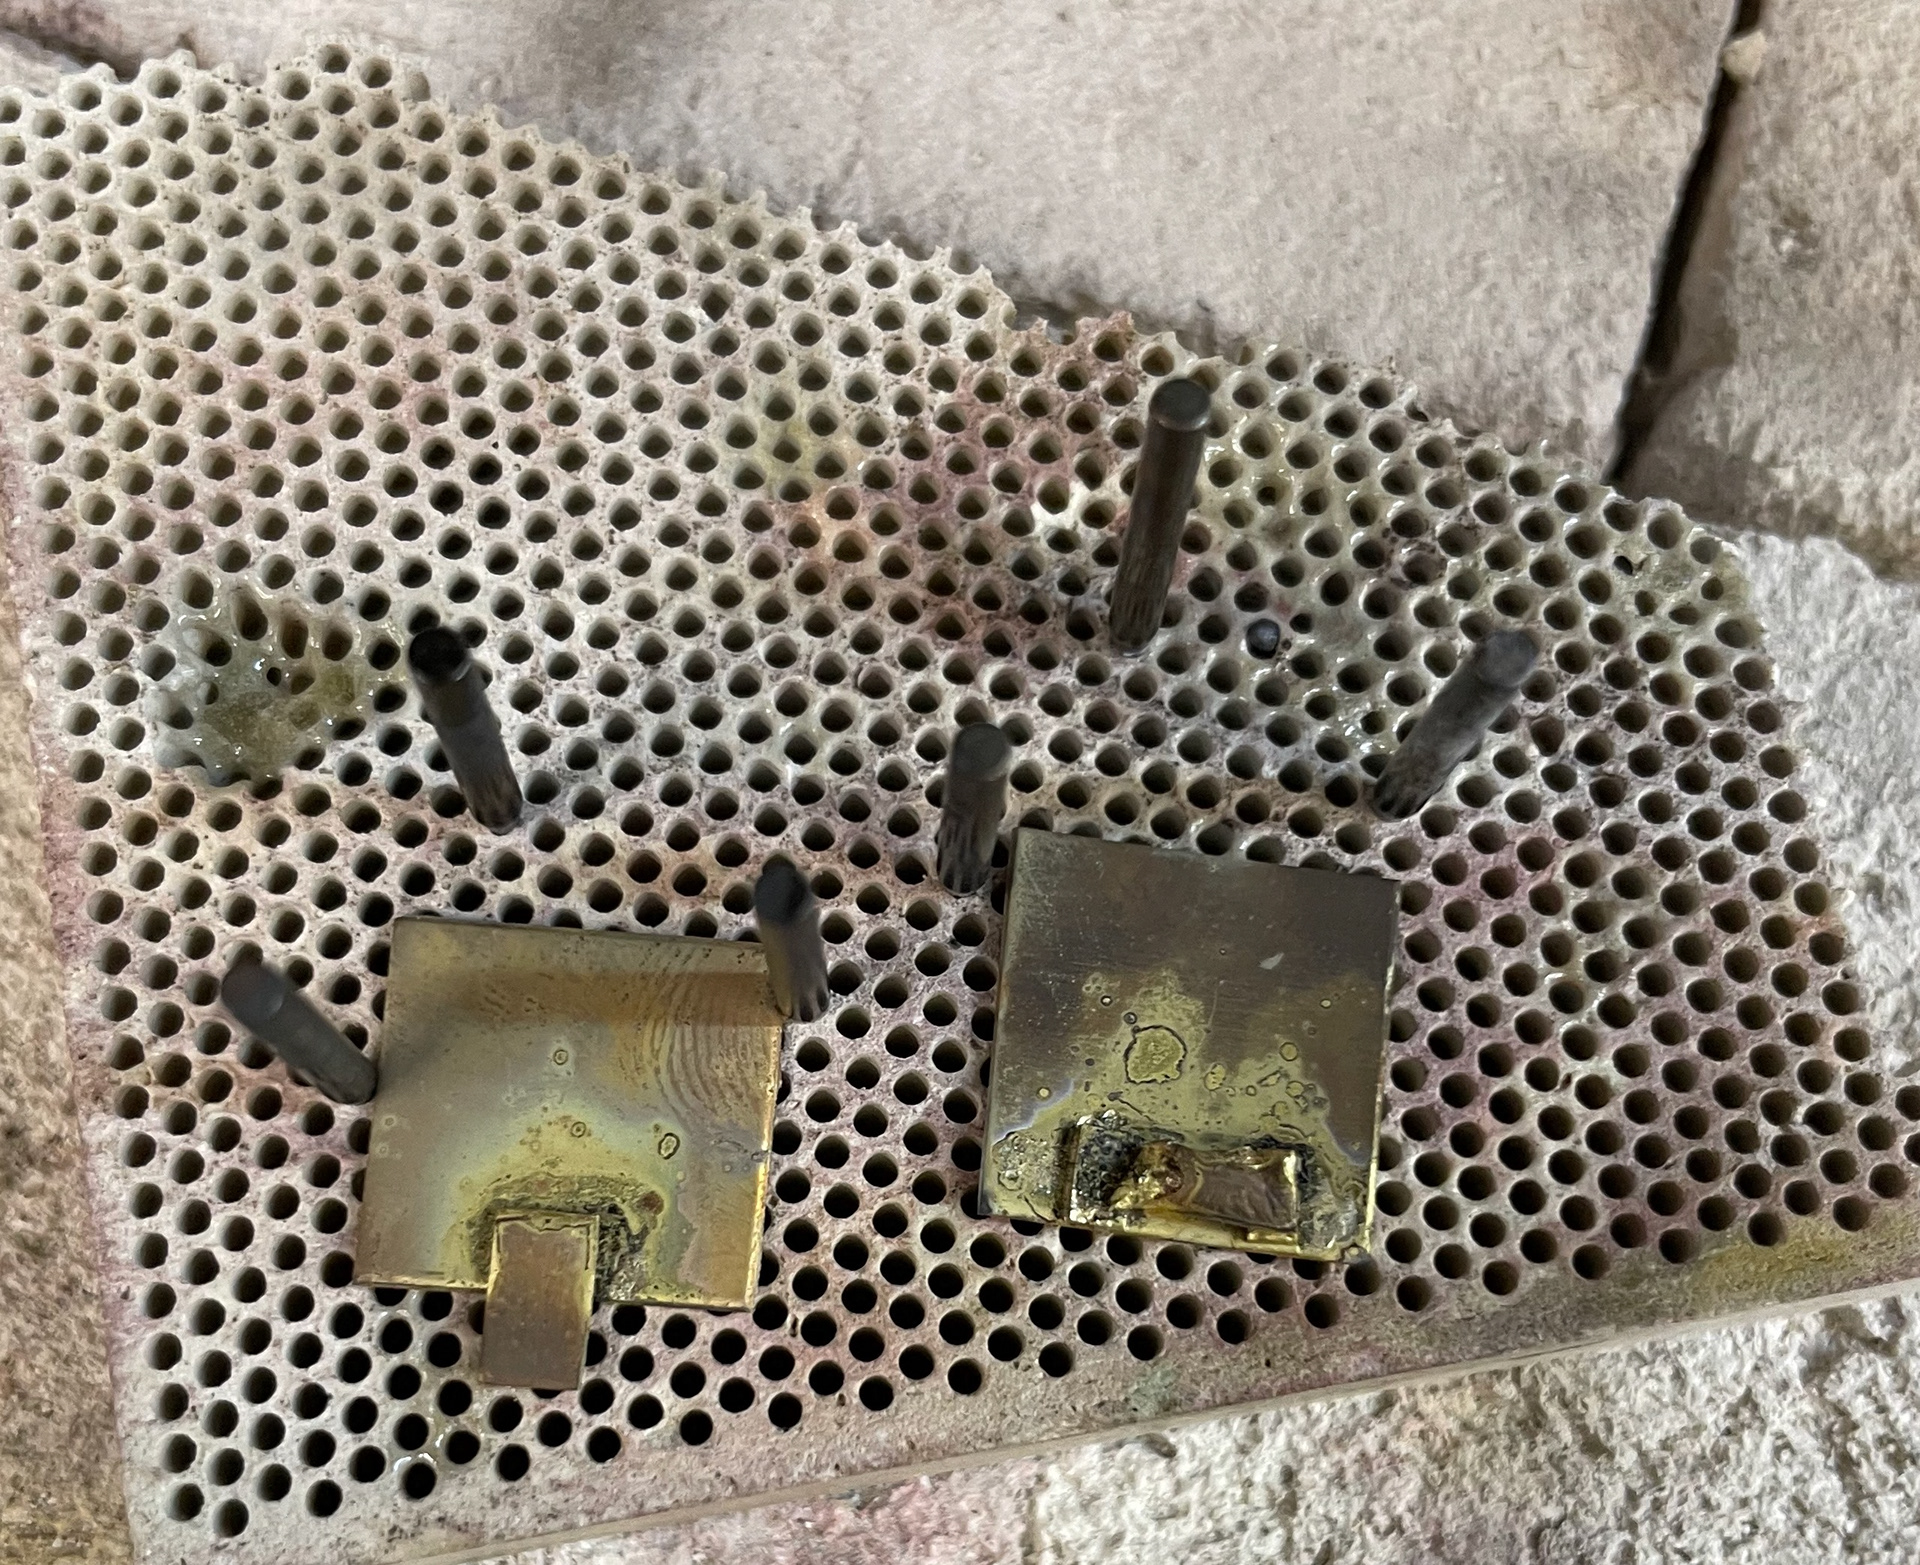
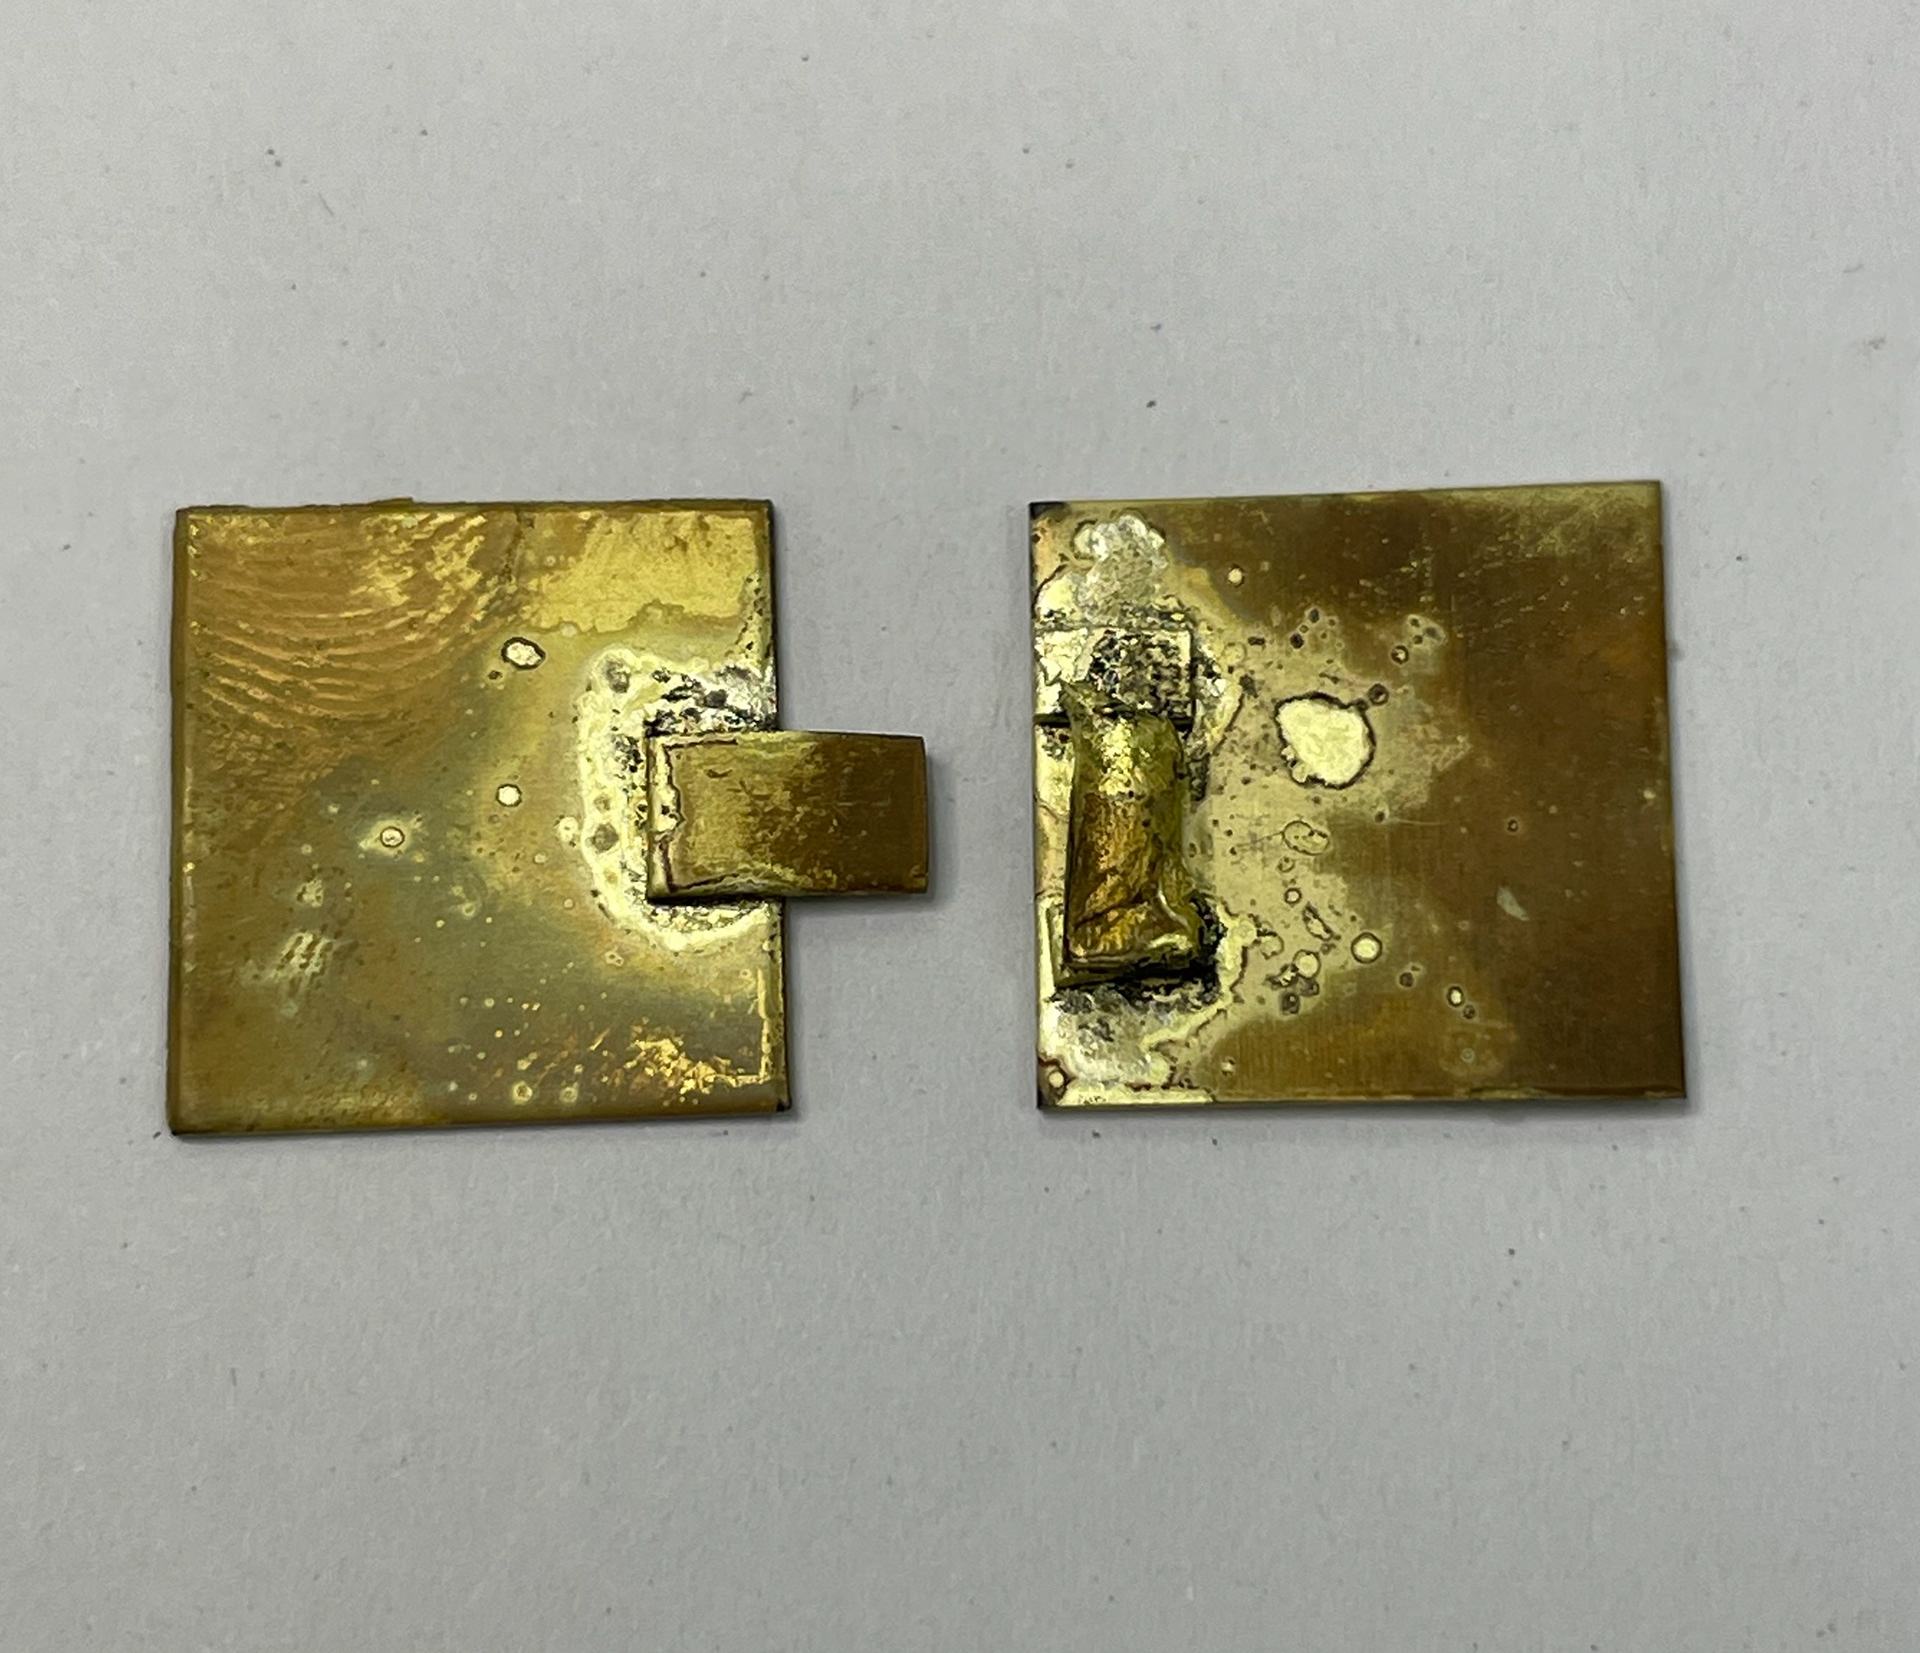
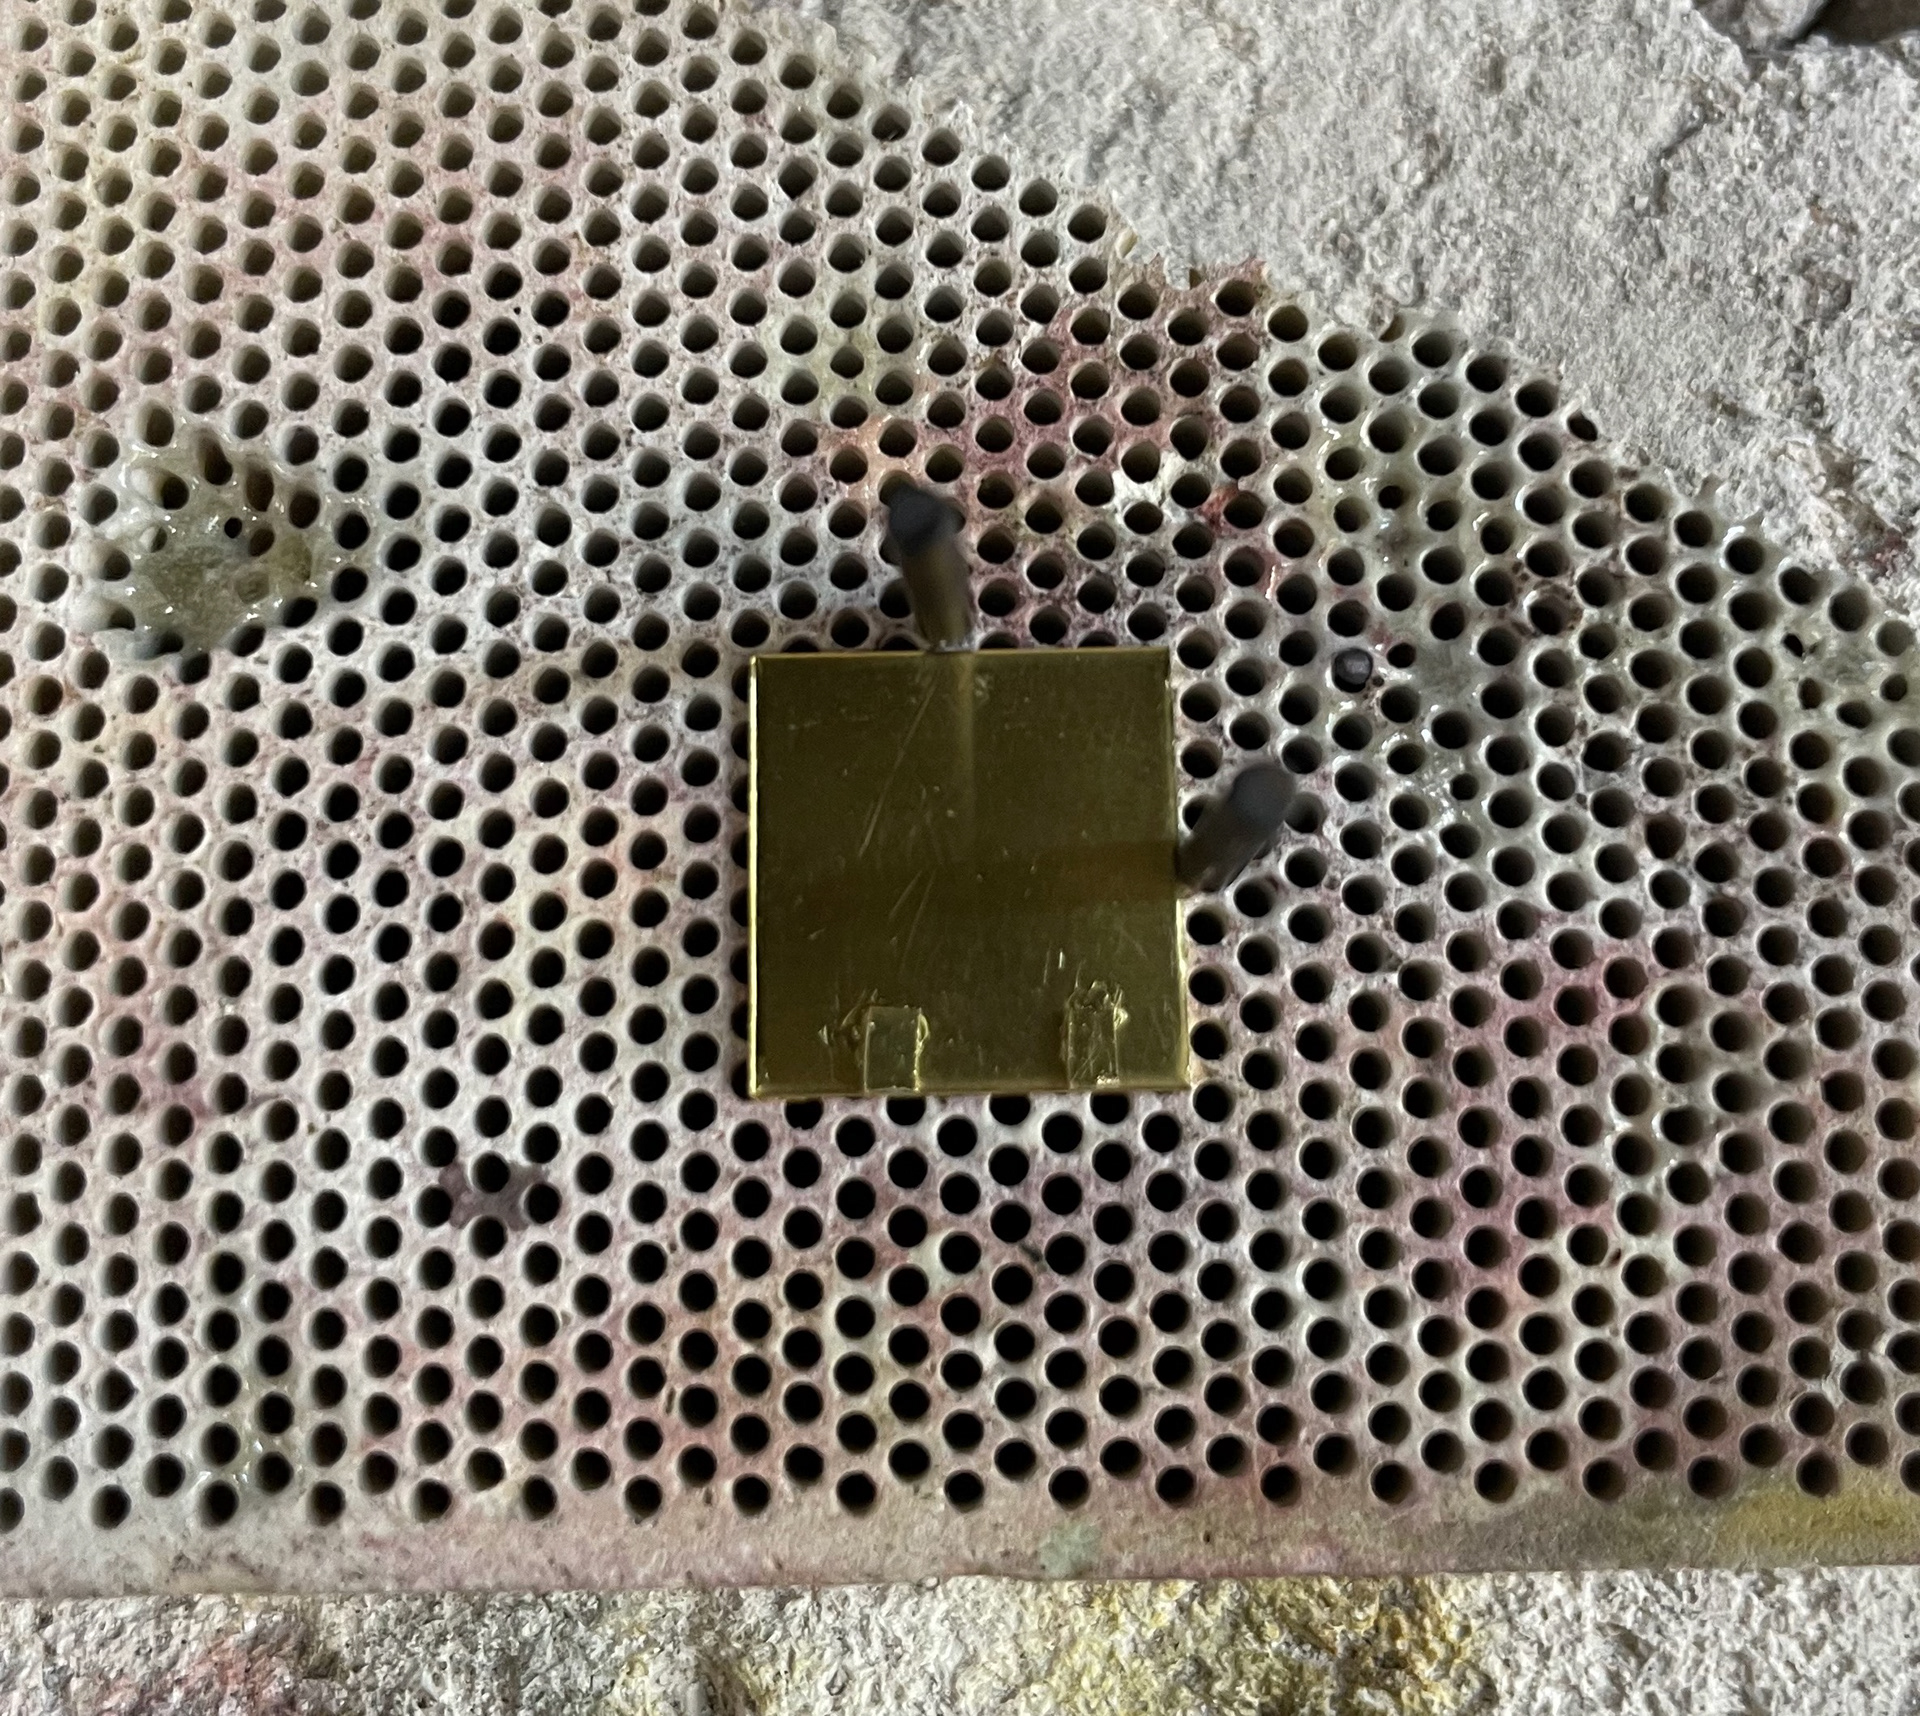
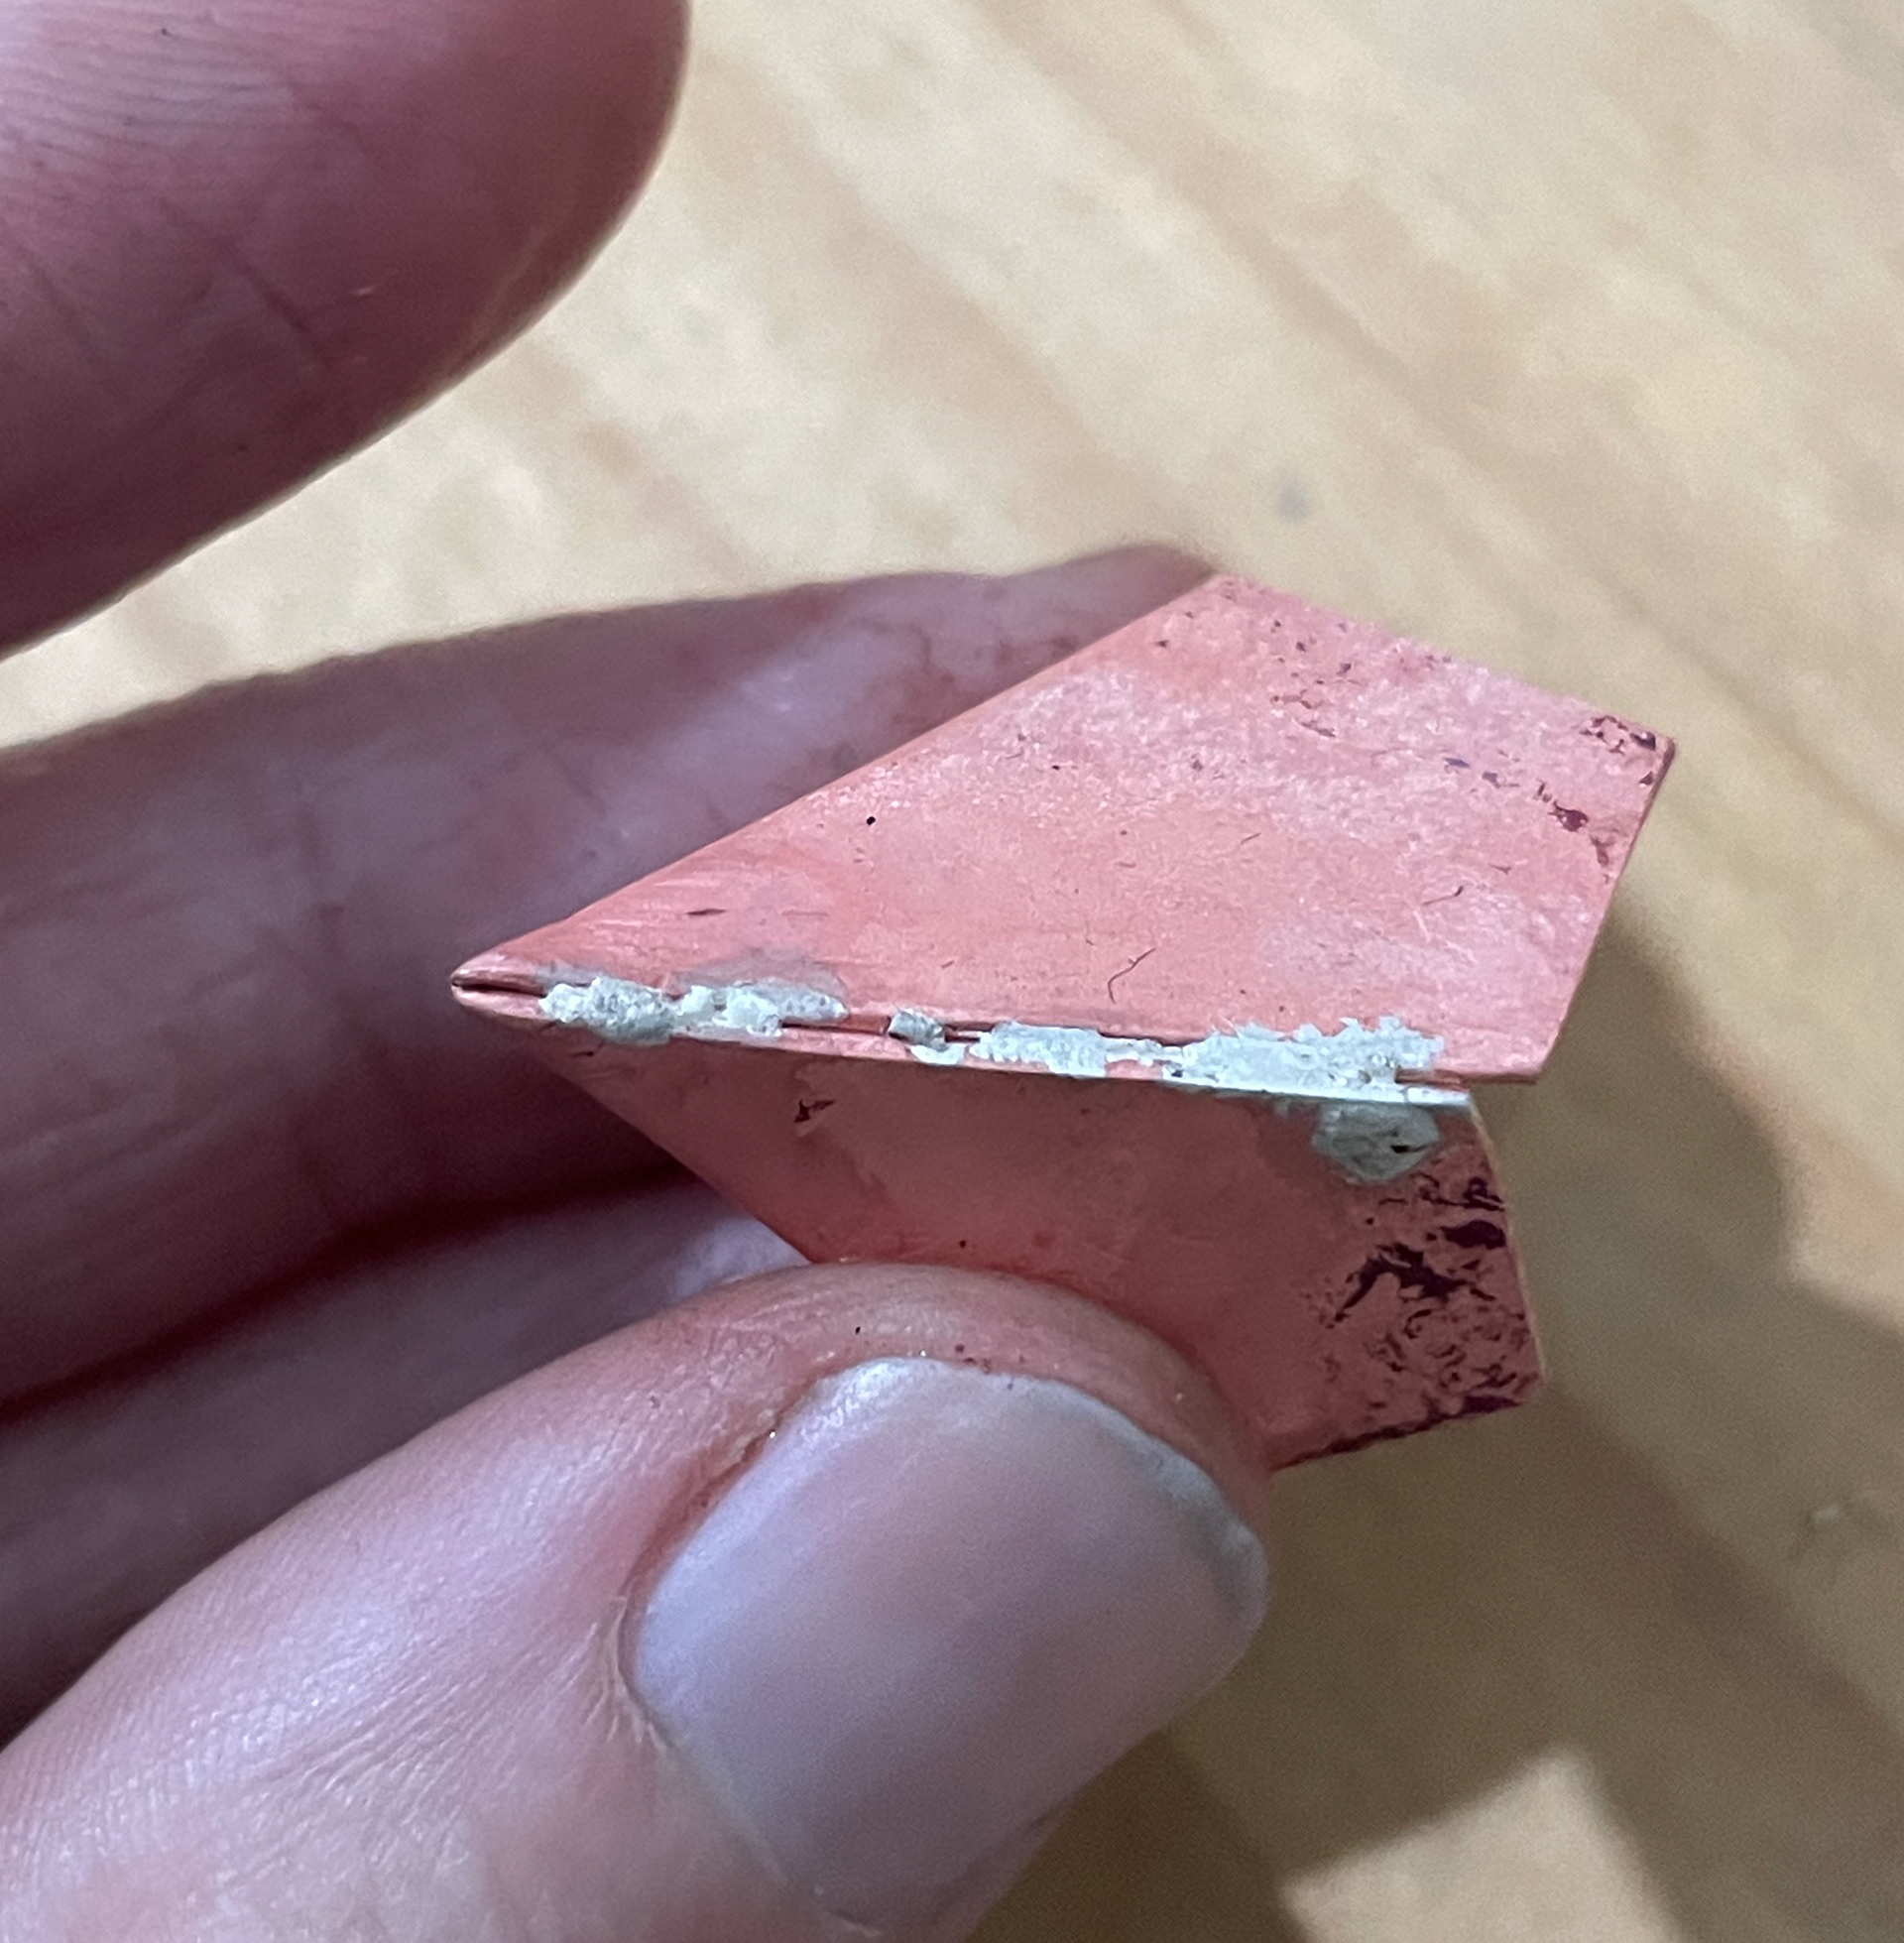
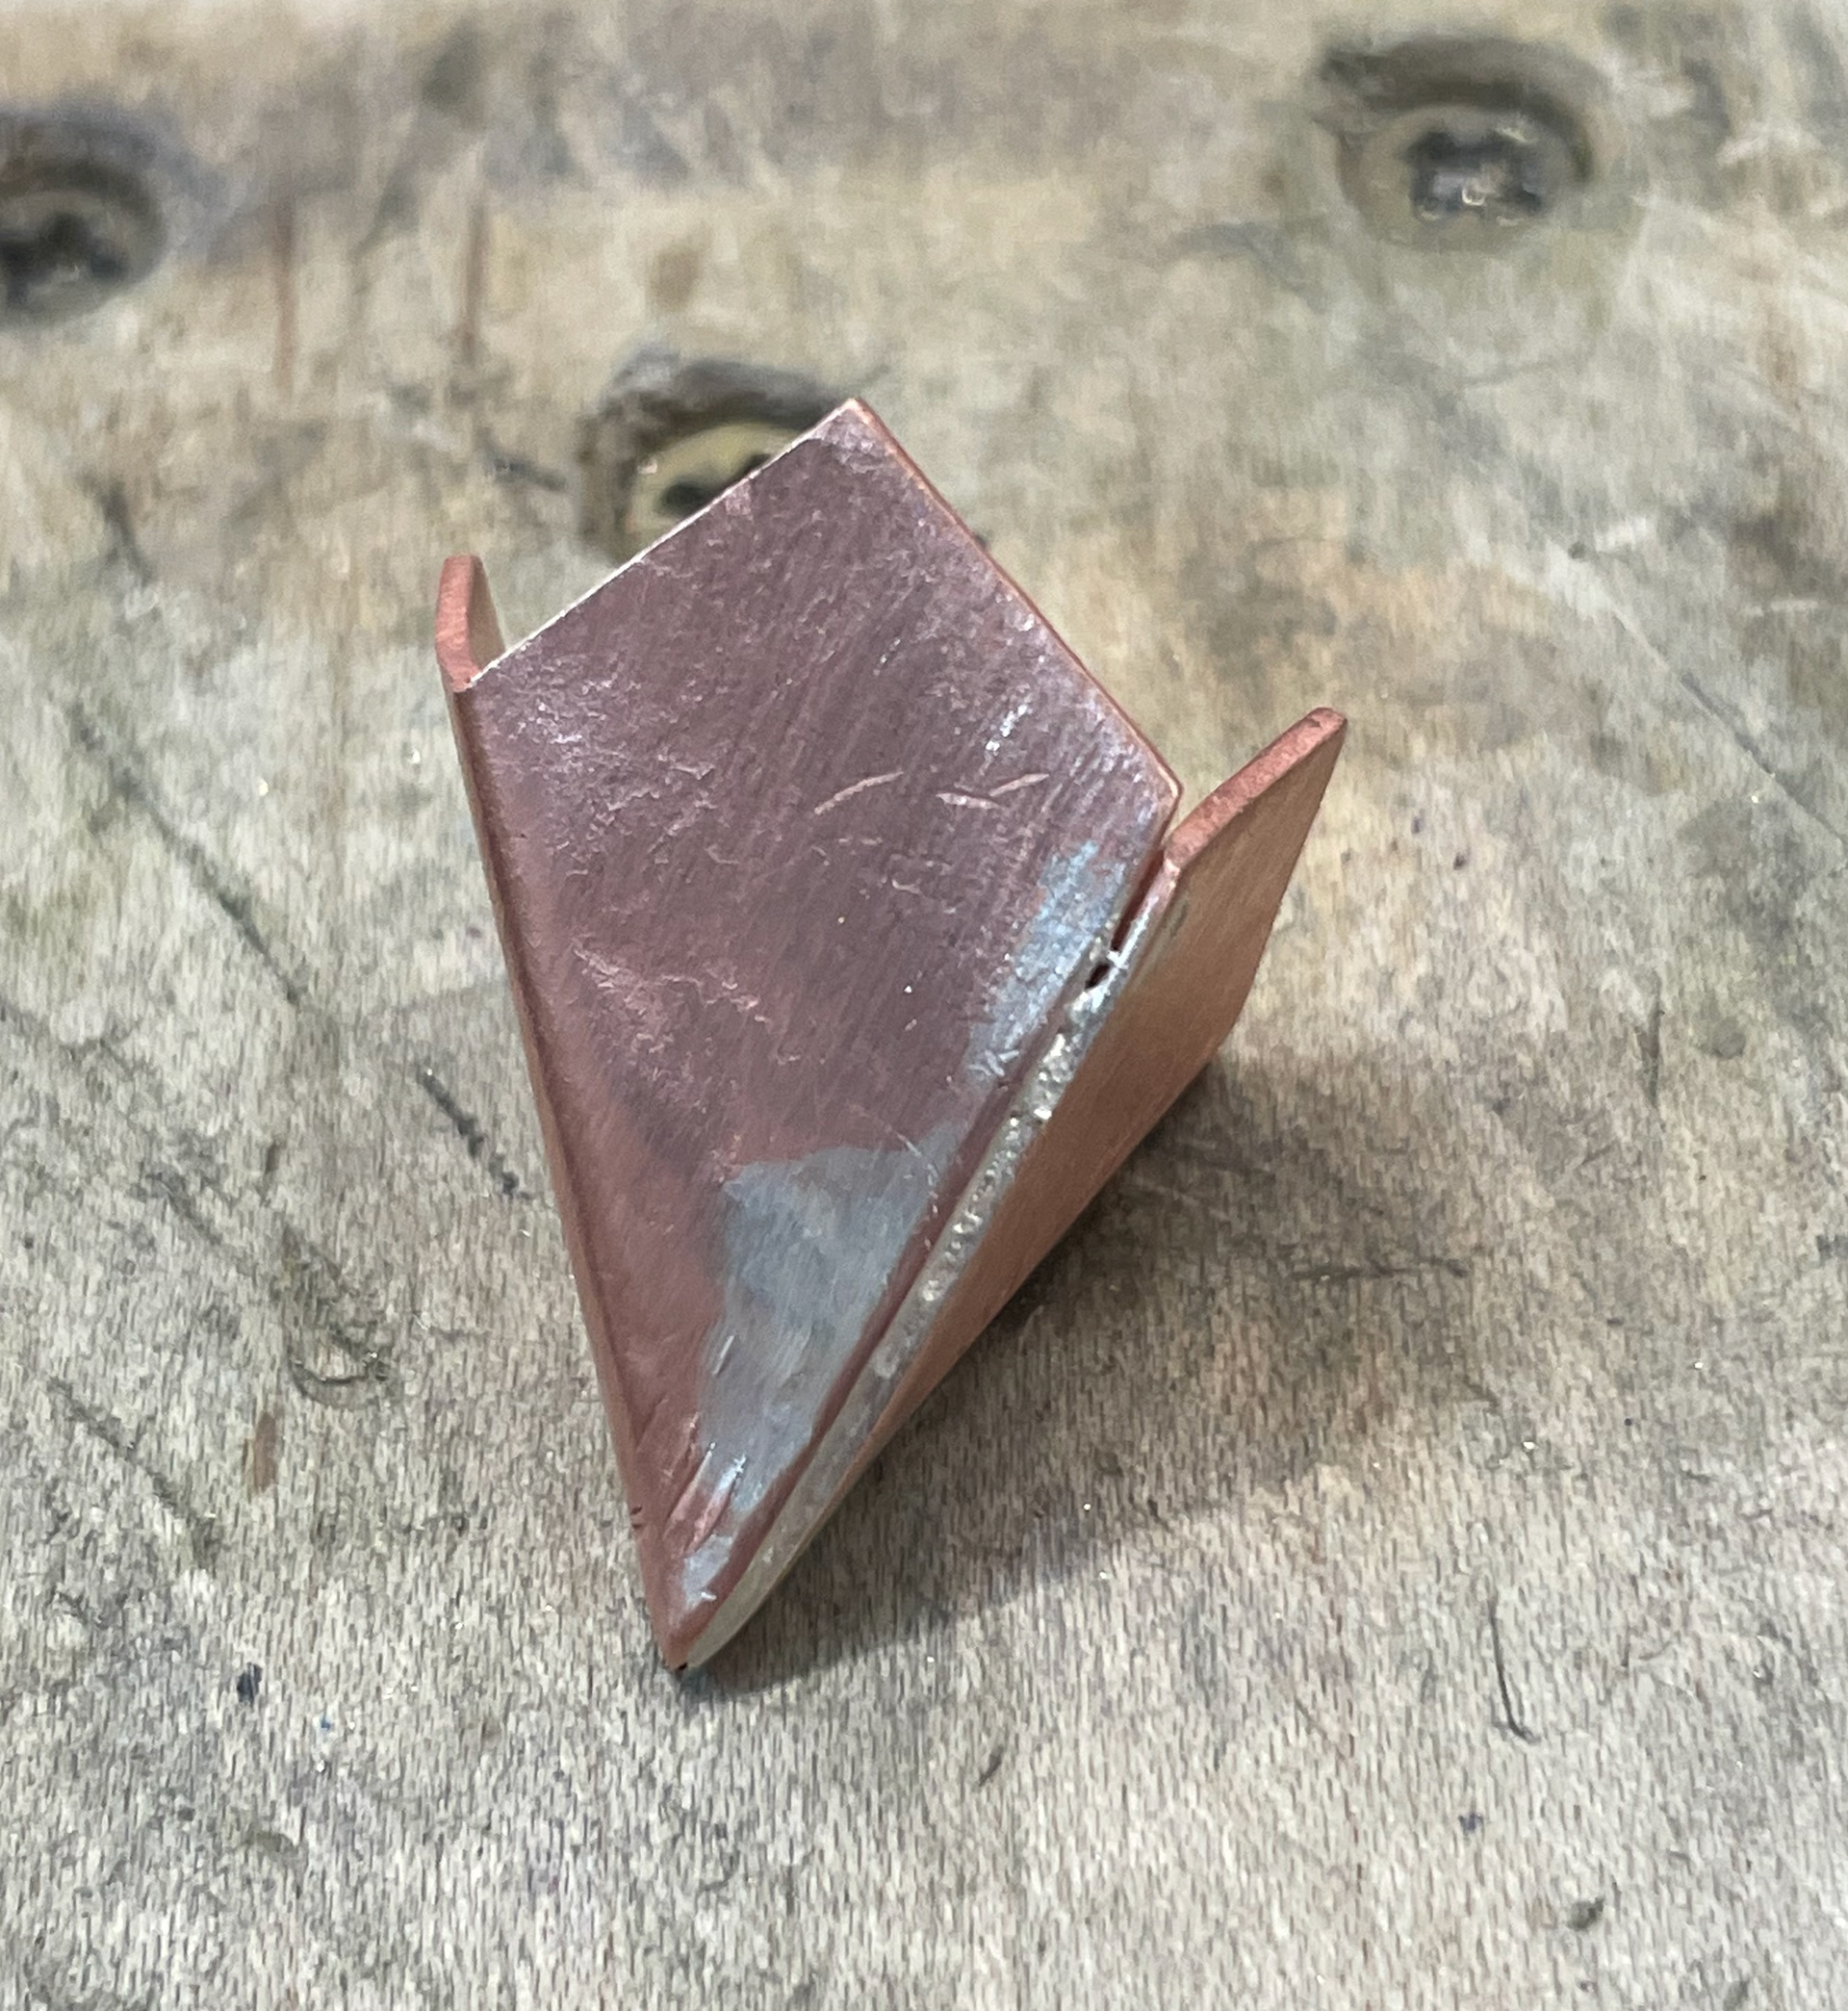
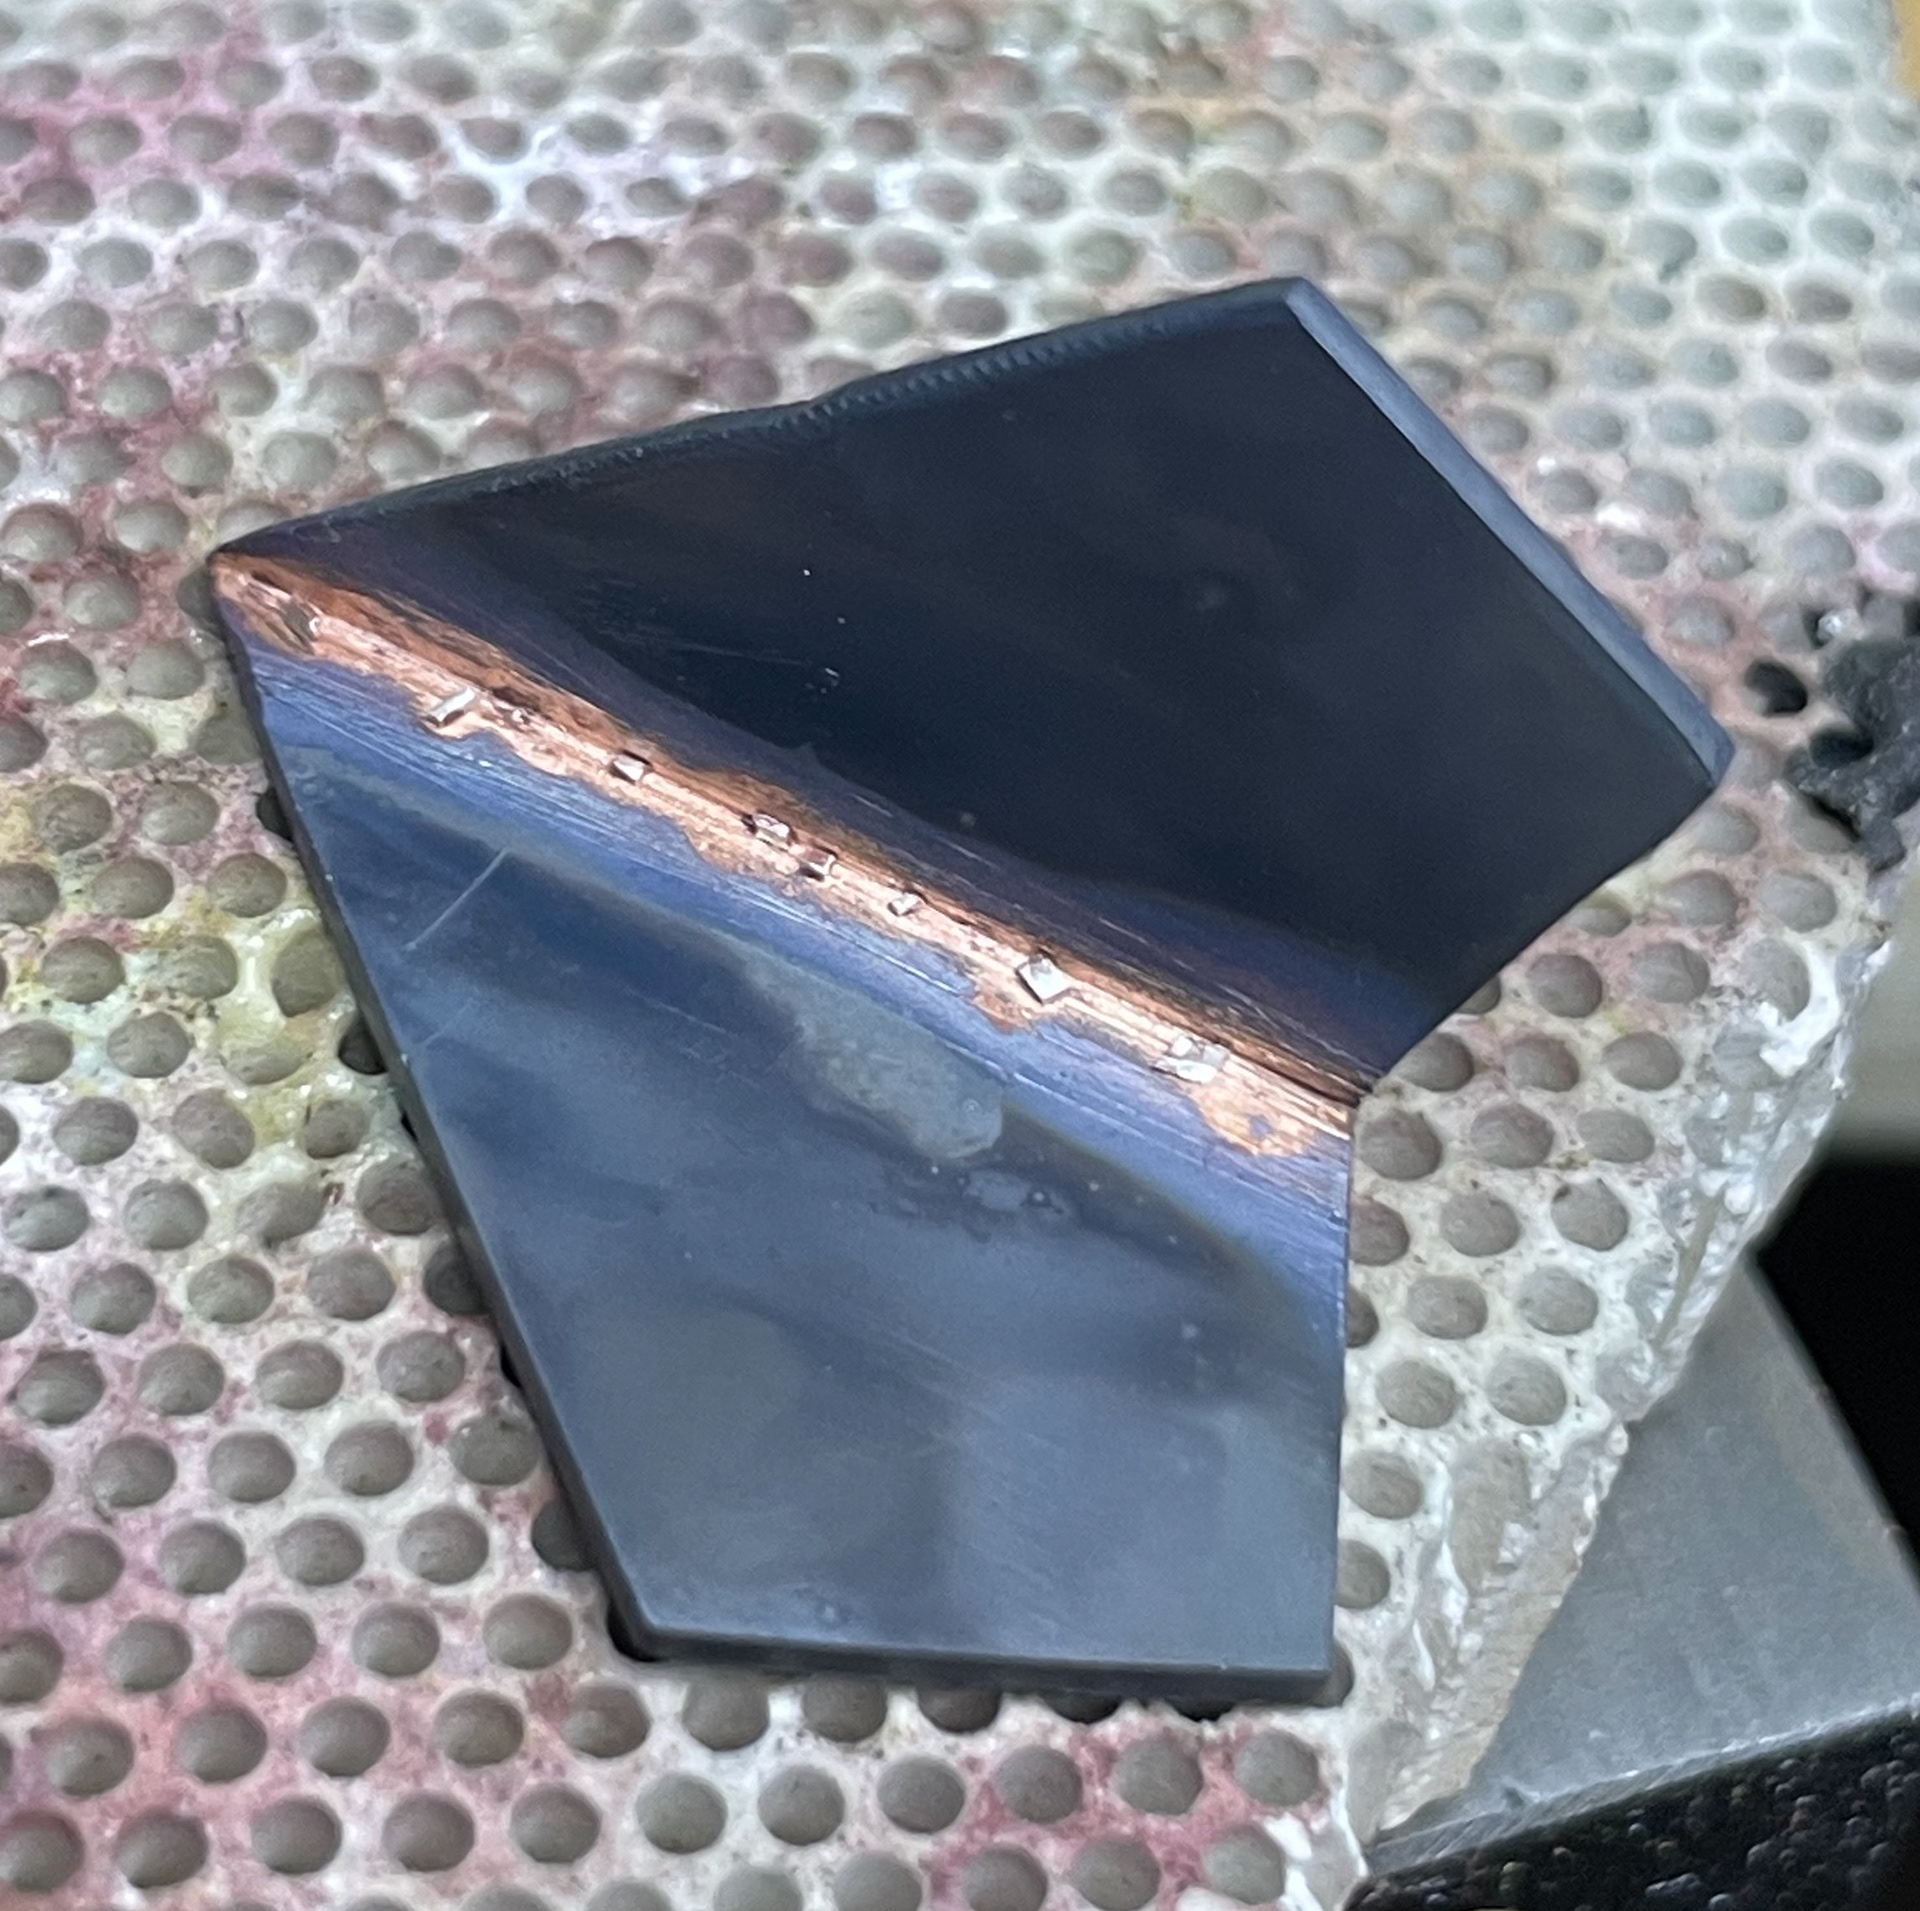
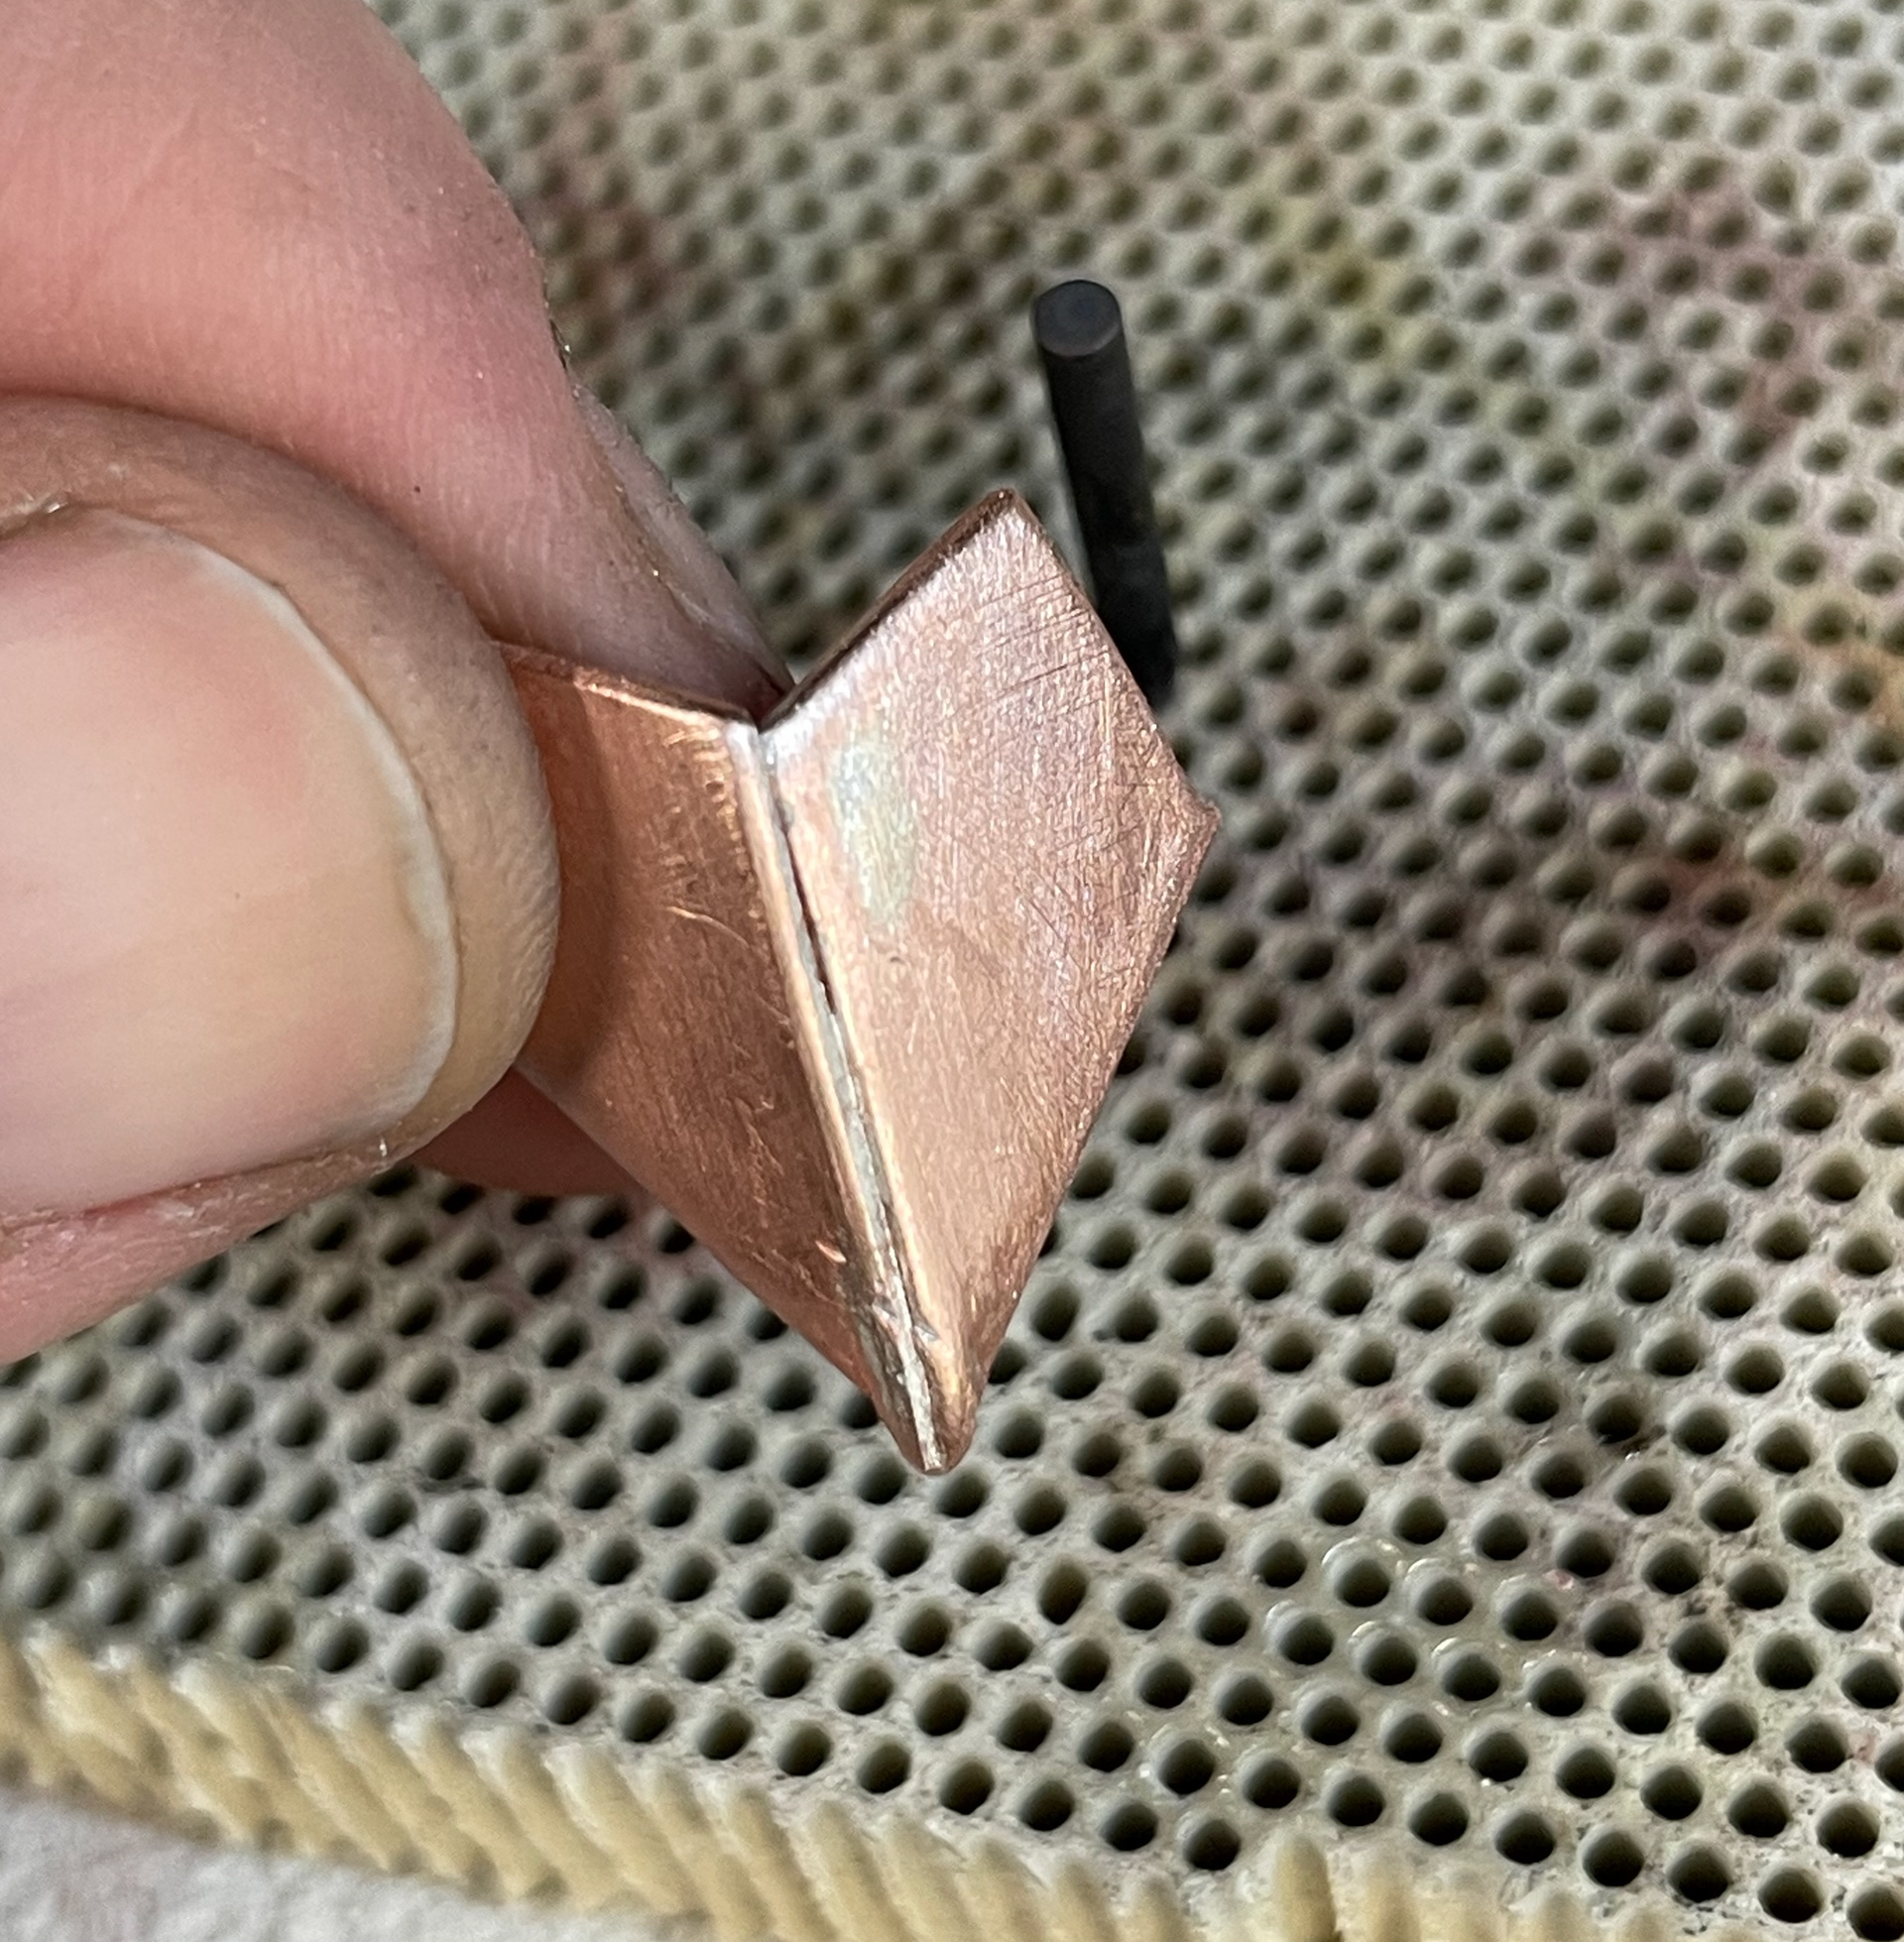
I tested different ways to apply the solder and different stages of when to put the second piece on top. When heating the flux it forms bubbles which can make the metal on top move. I found method number 3 worked best on the small triangle piece. This was because I put the flux on both pieces and heated it until the bubbles went flat. I added the solder to one side and heated that then placed the other piece on top and heated them together whilst using the solder pick to push down for them to join. This method was the easiest and moved the least but still a little bit. I then went on to enamel all three shapes.

pieces cut ready to be sweat soldered
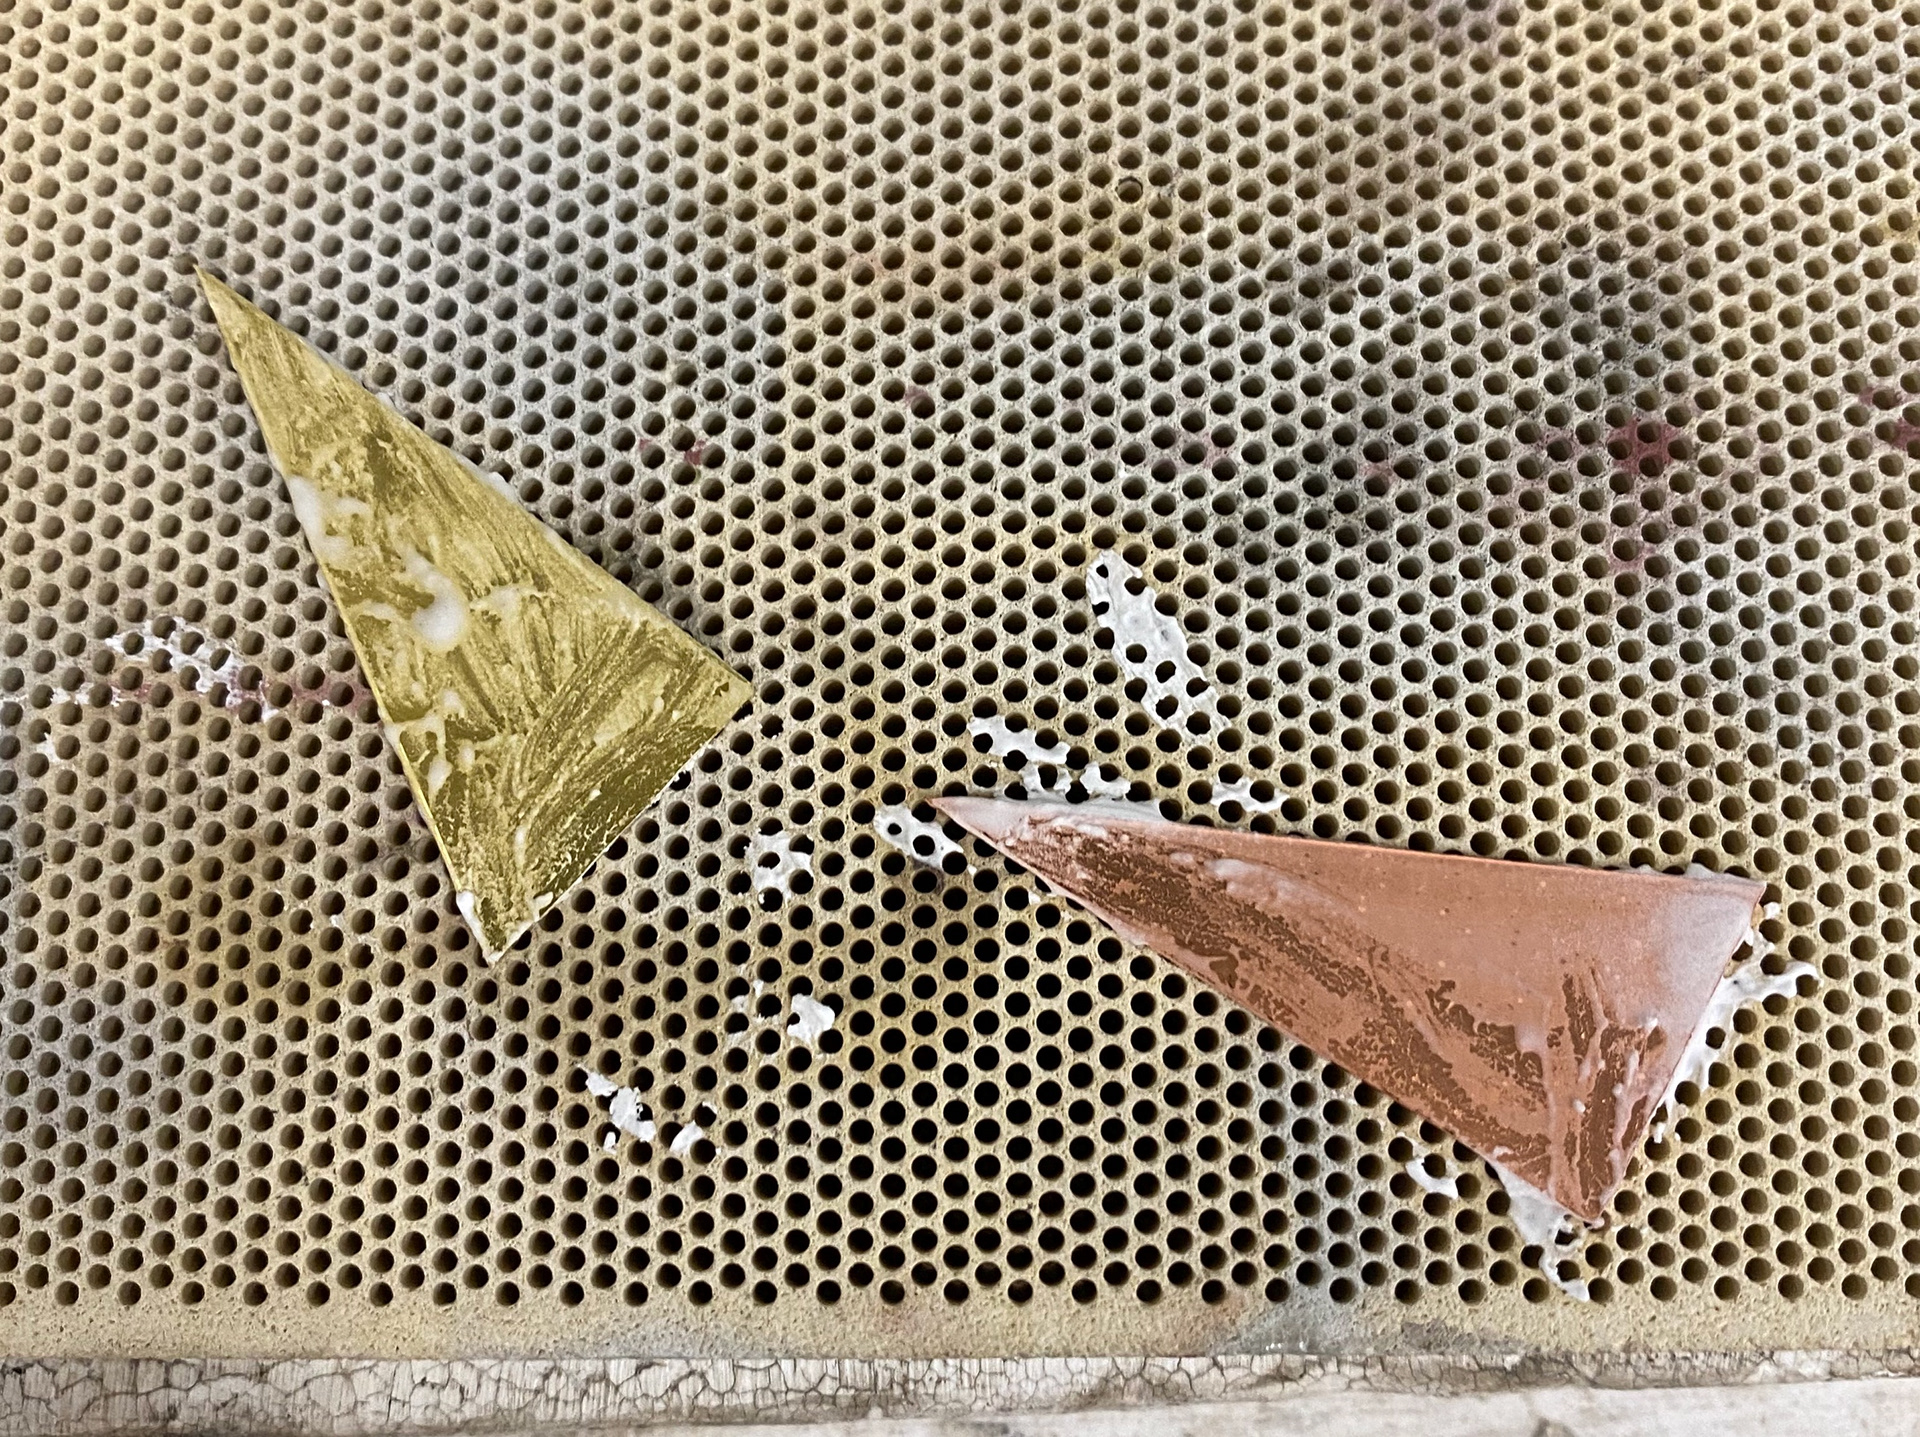
Flux onto pieces
After soldering
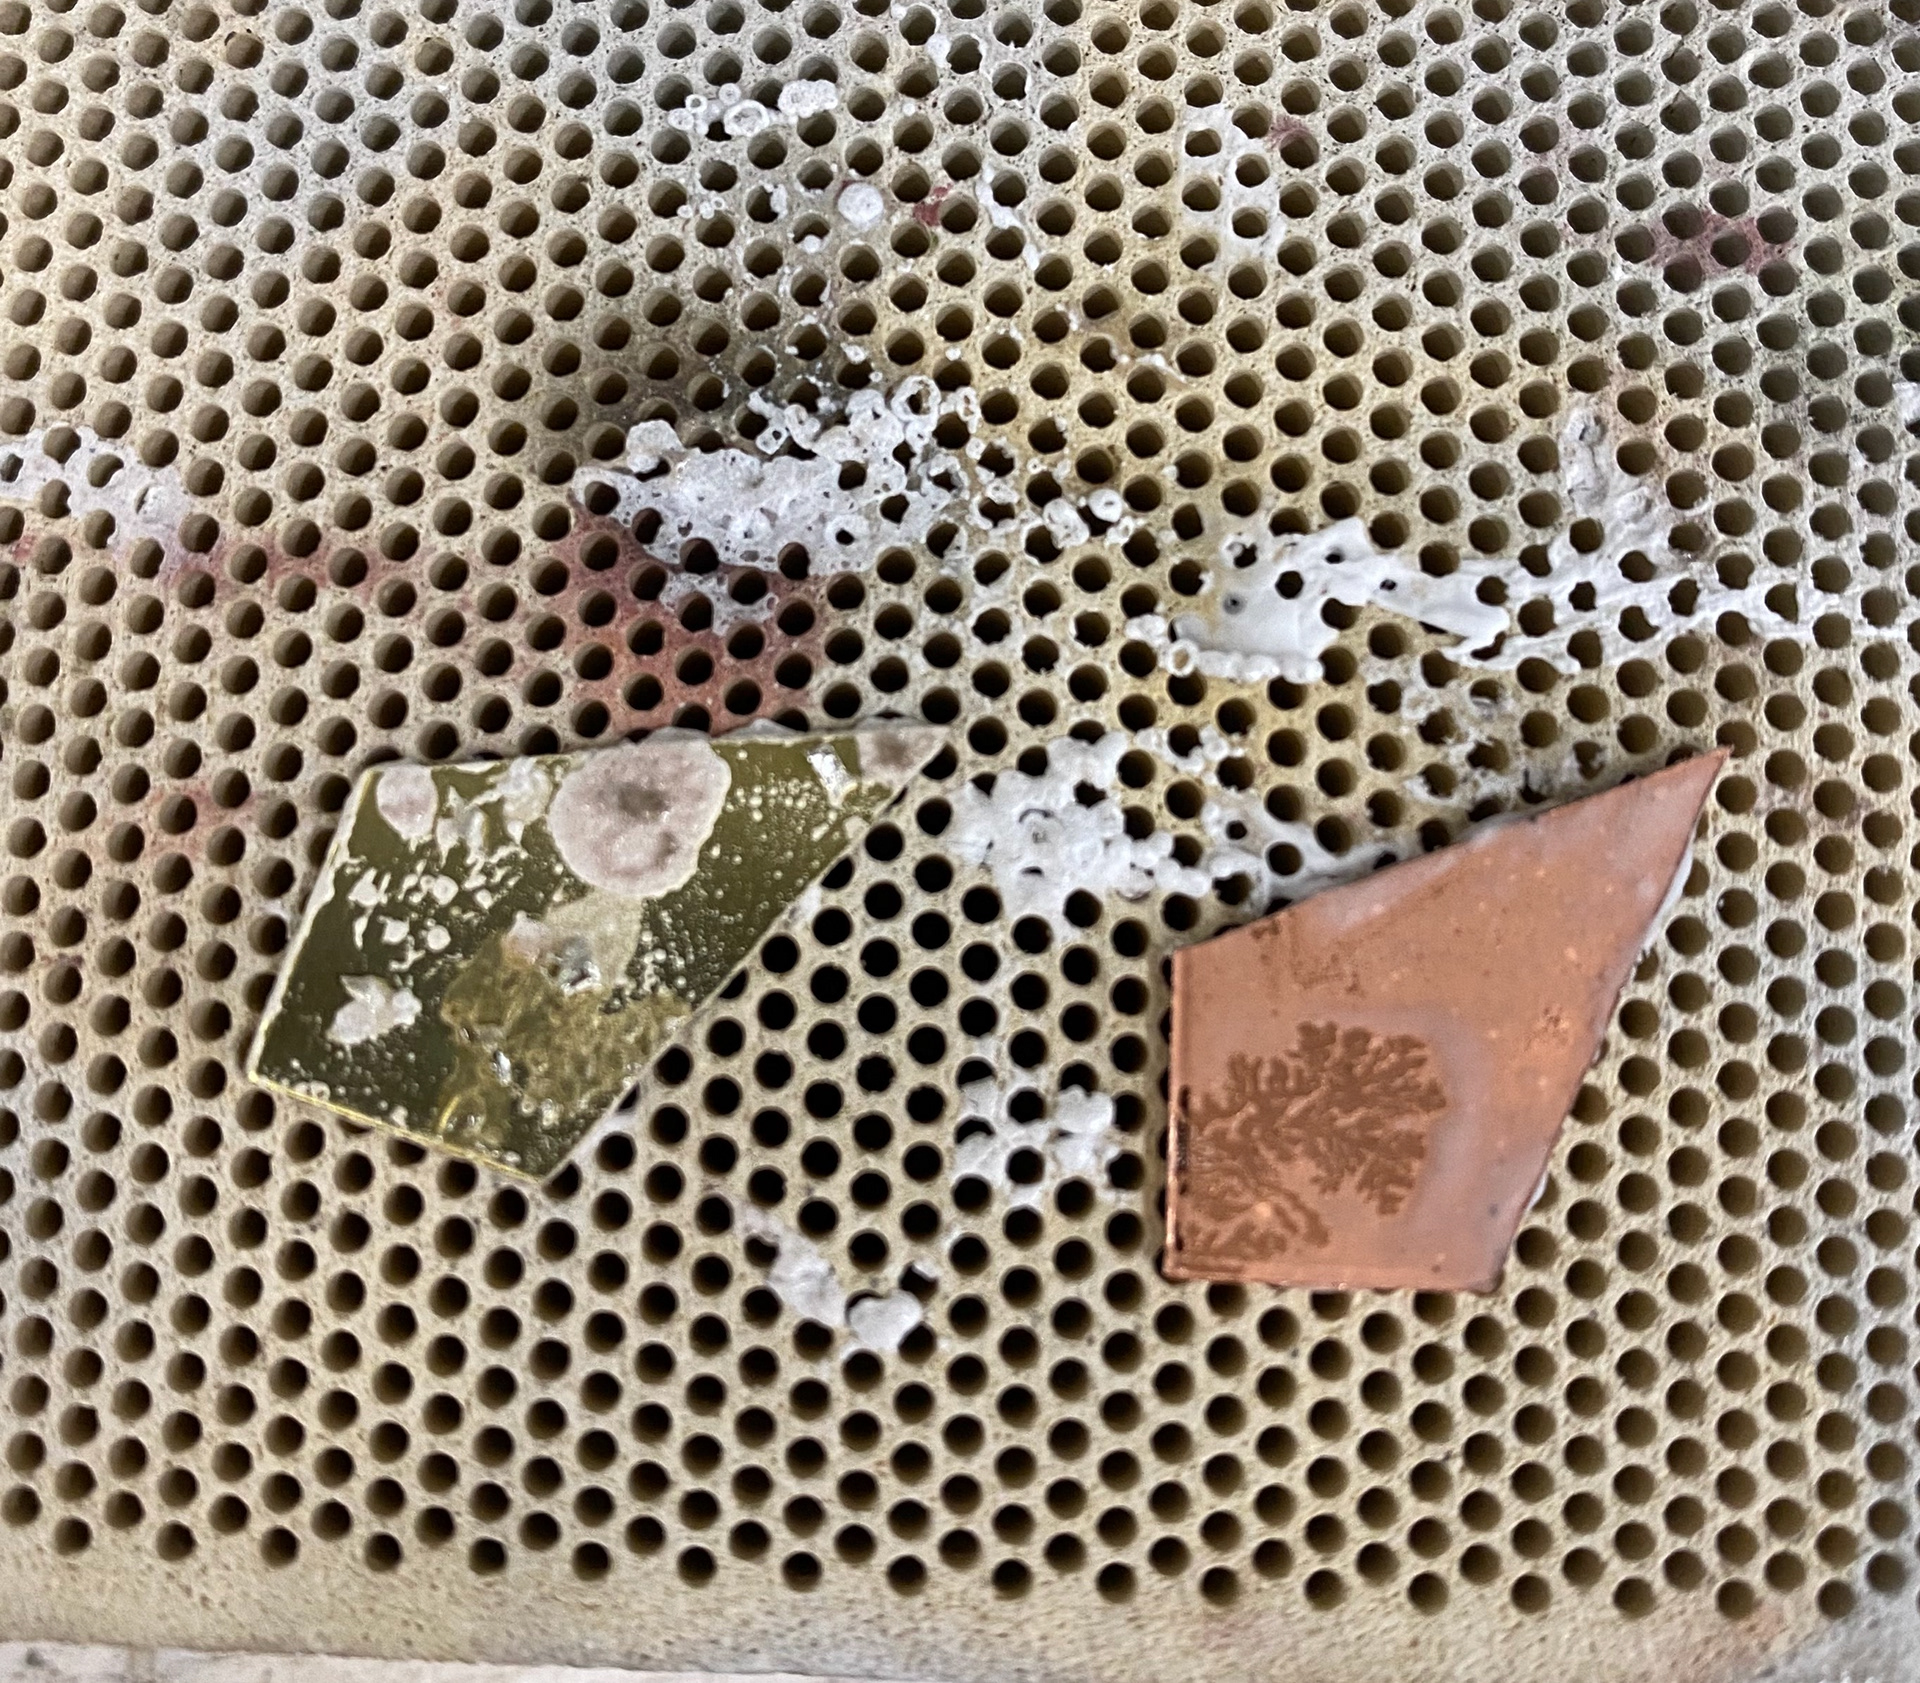
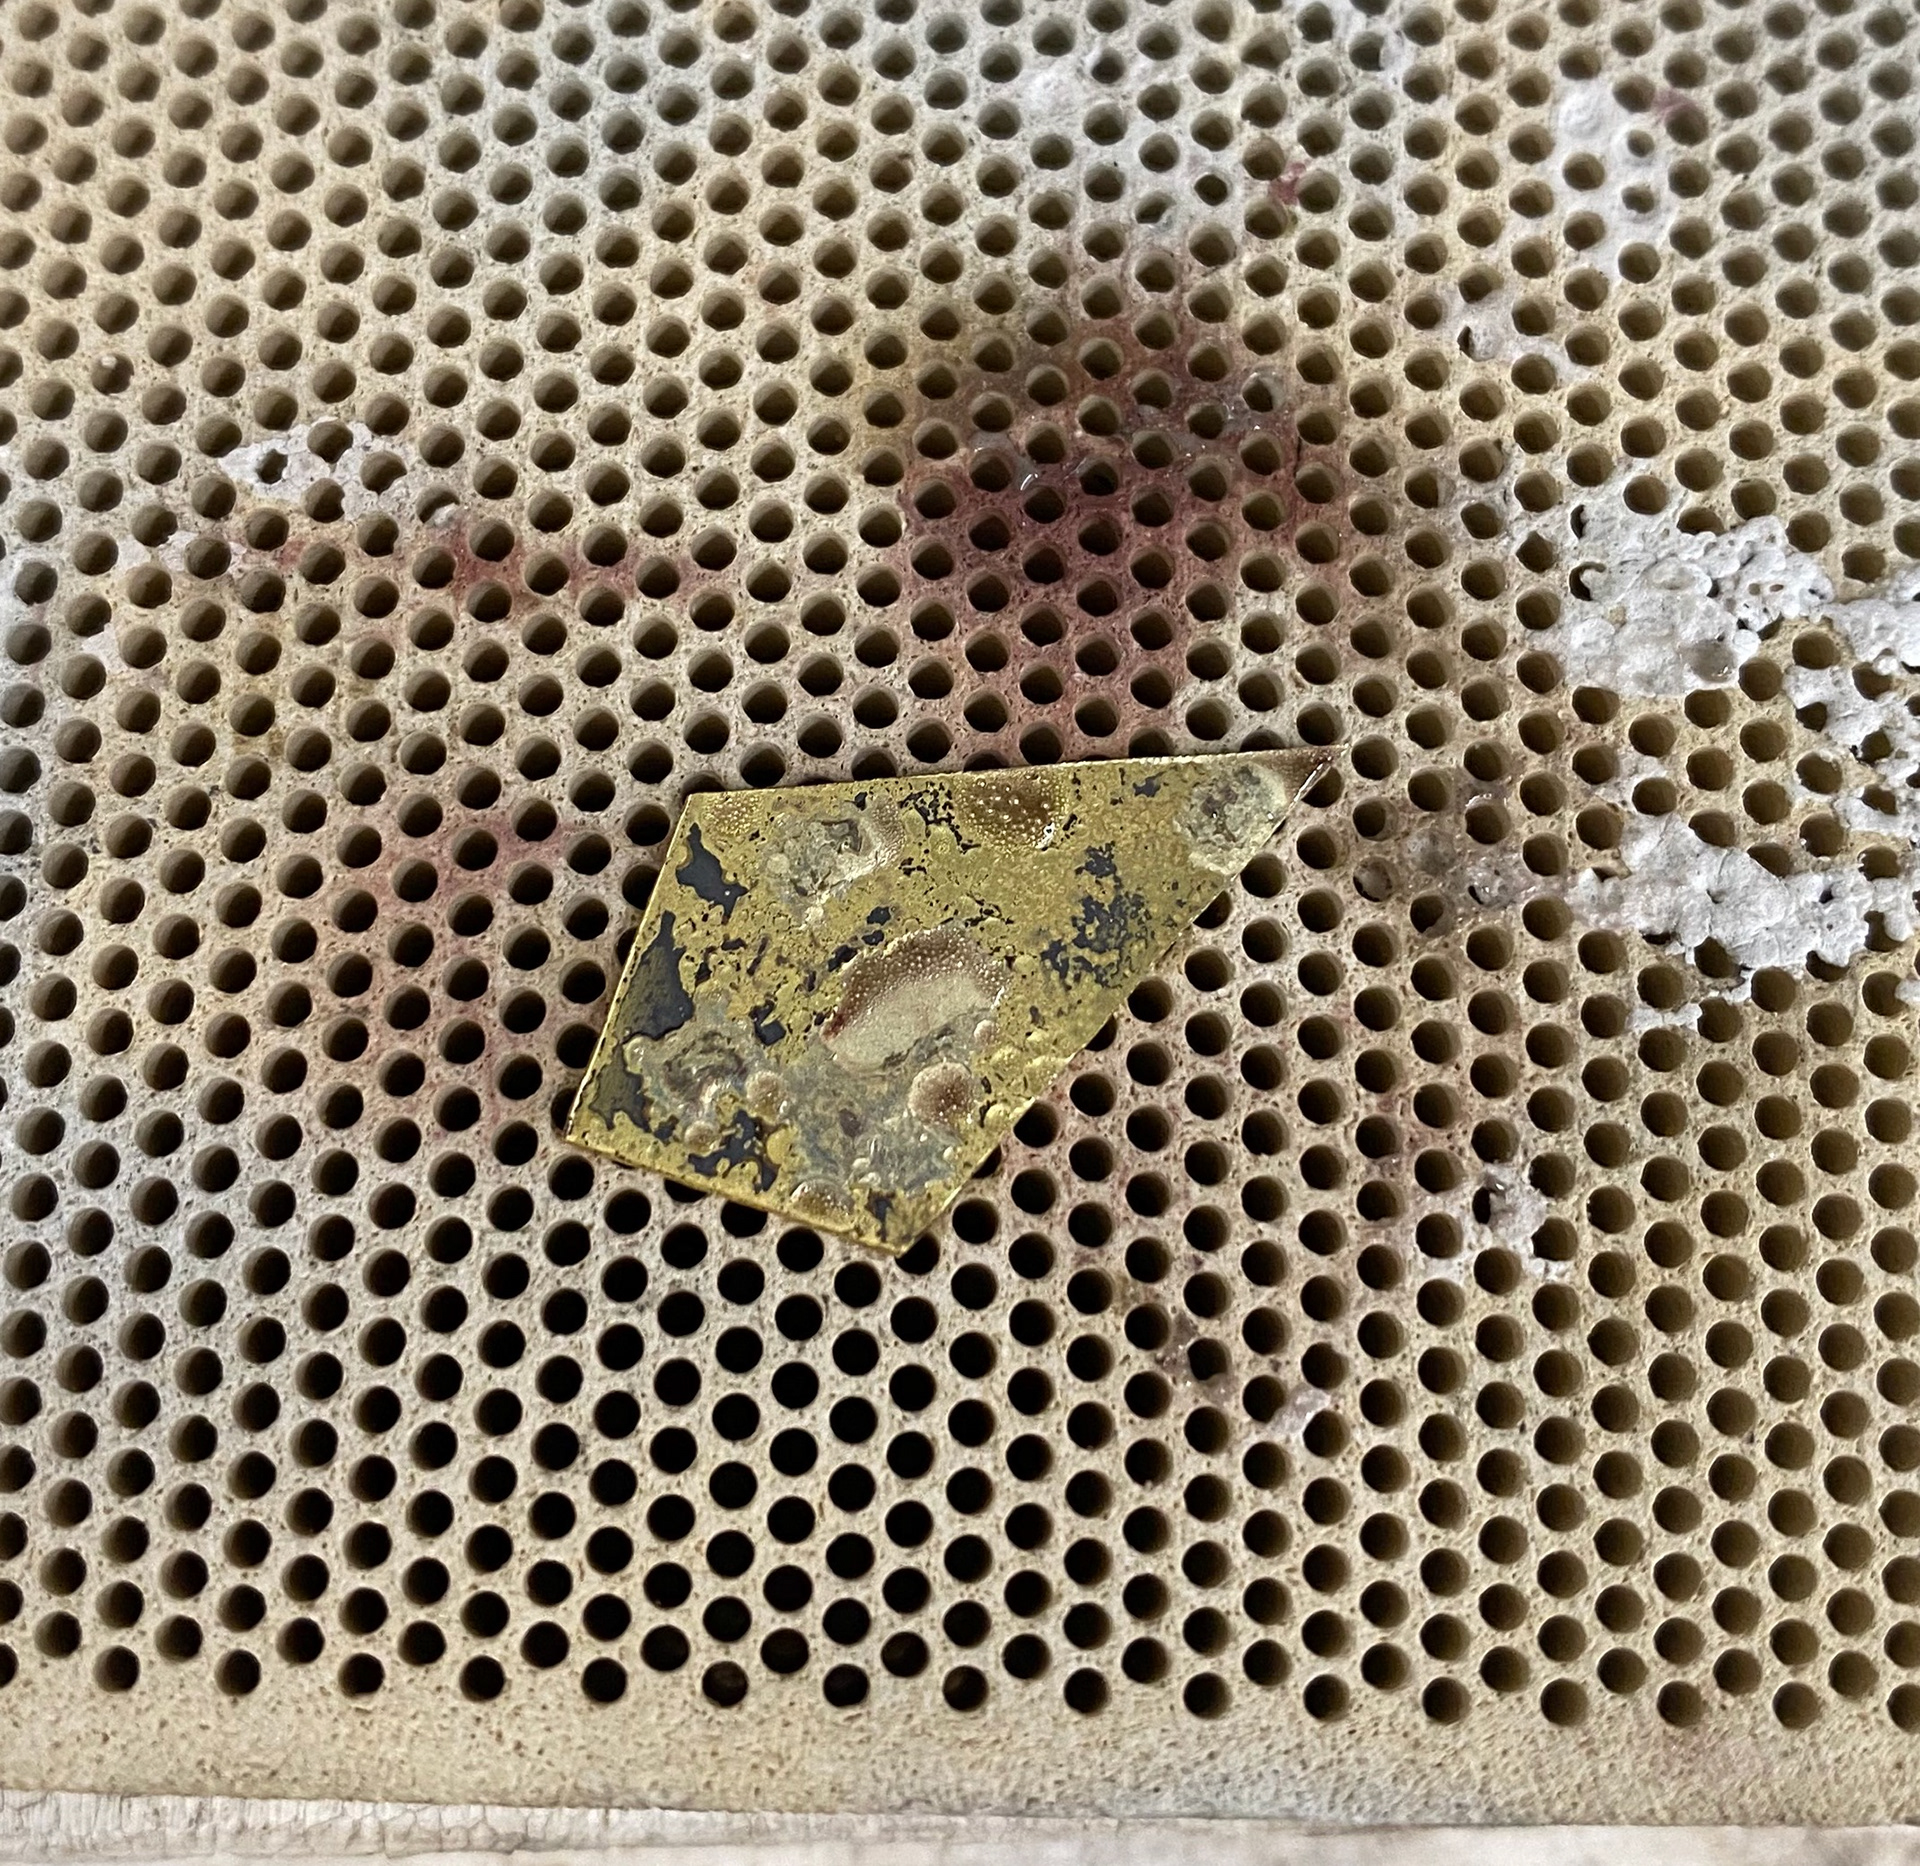
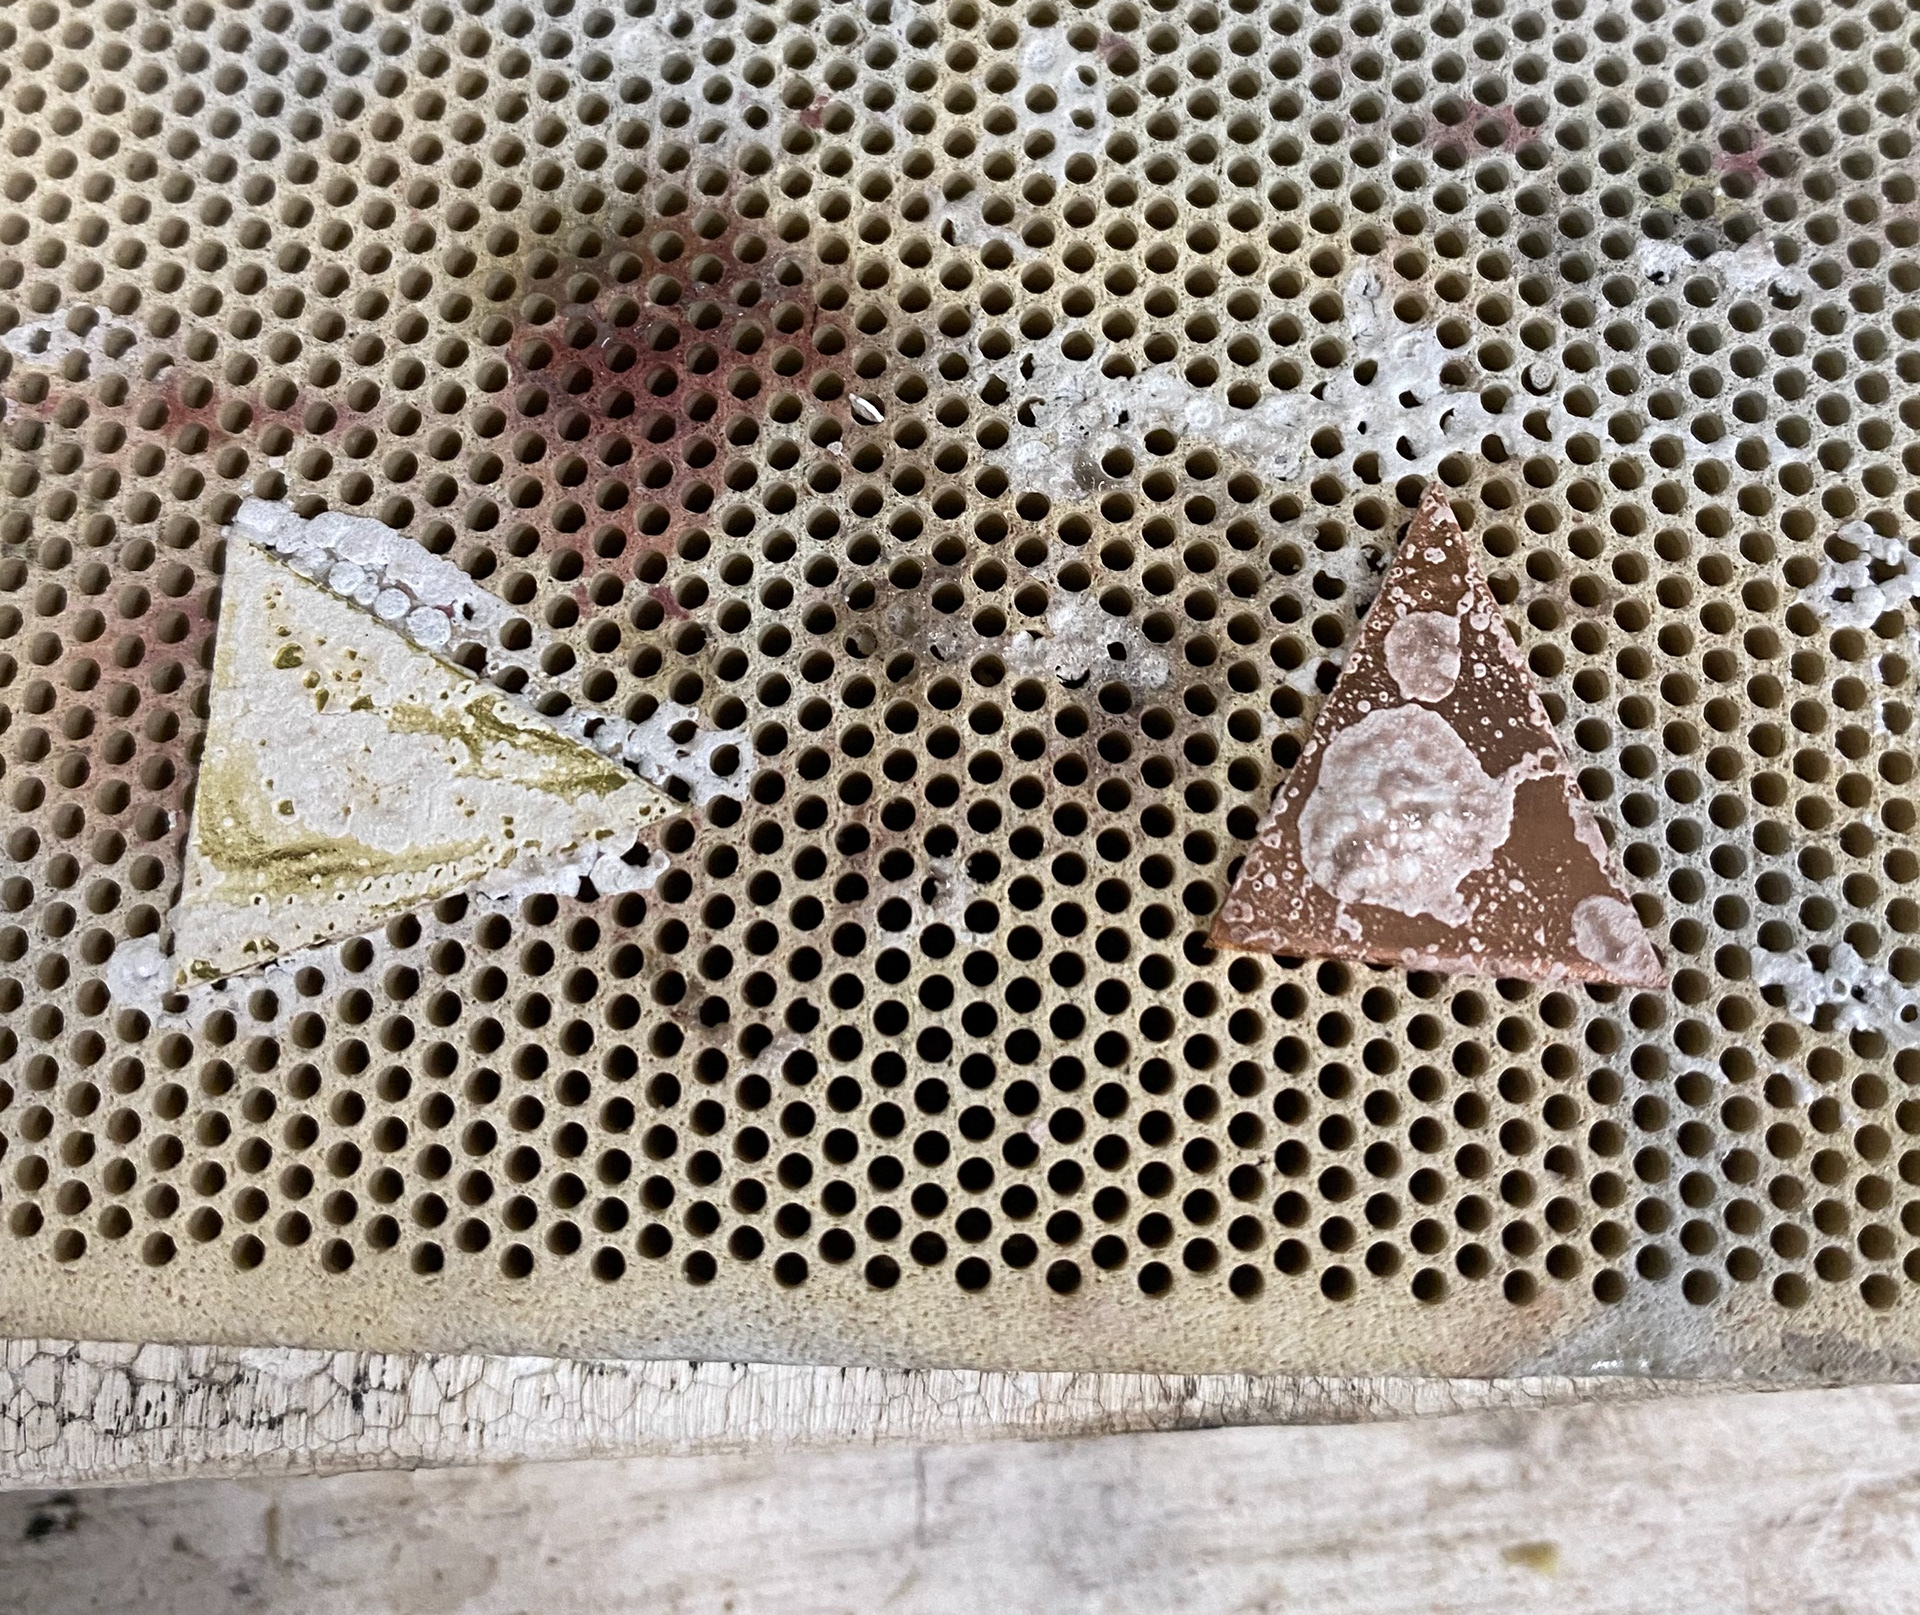
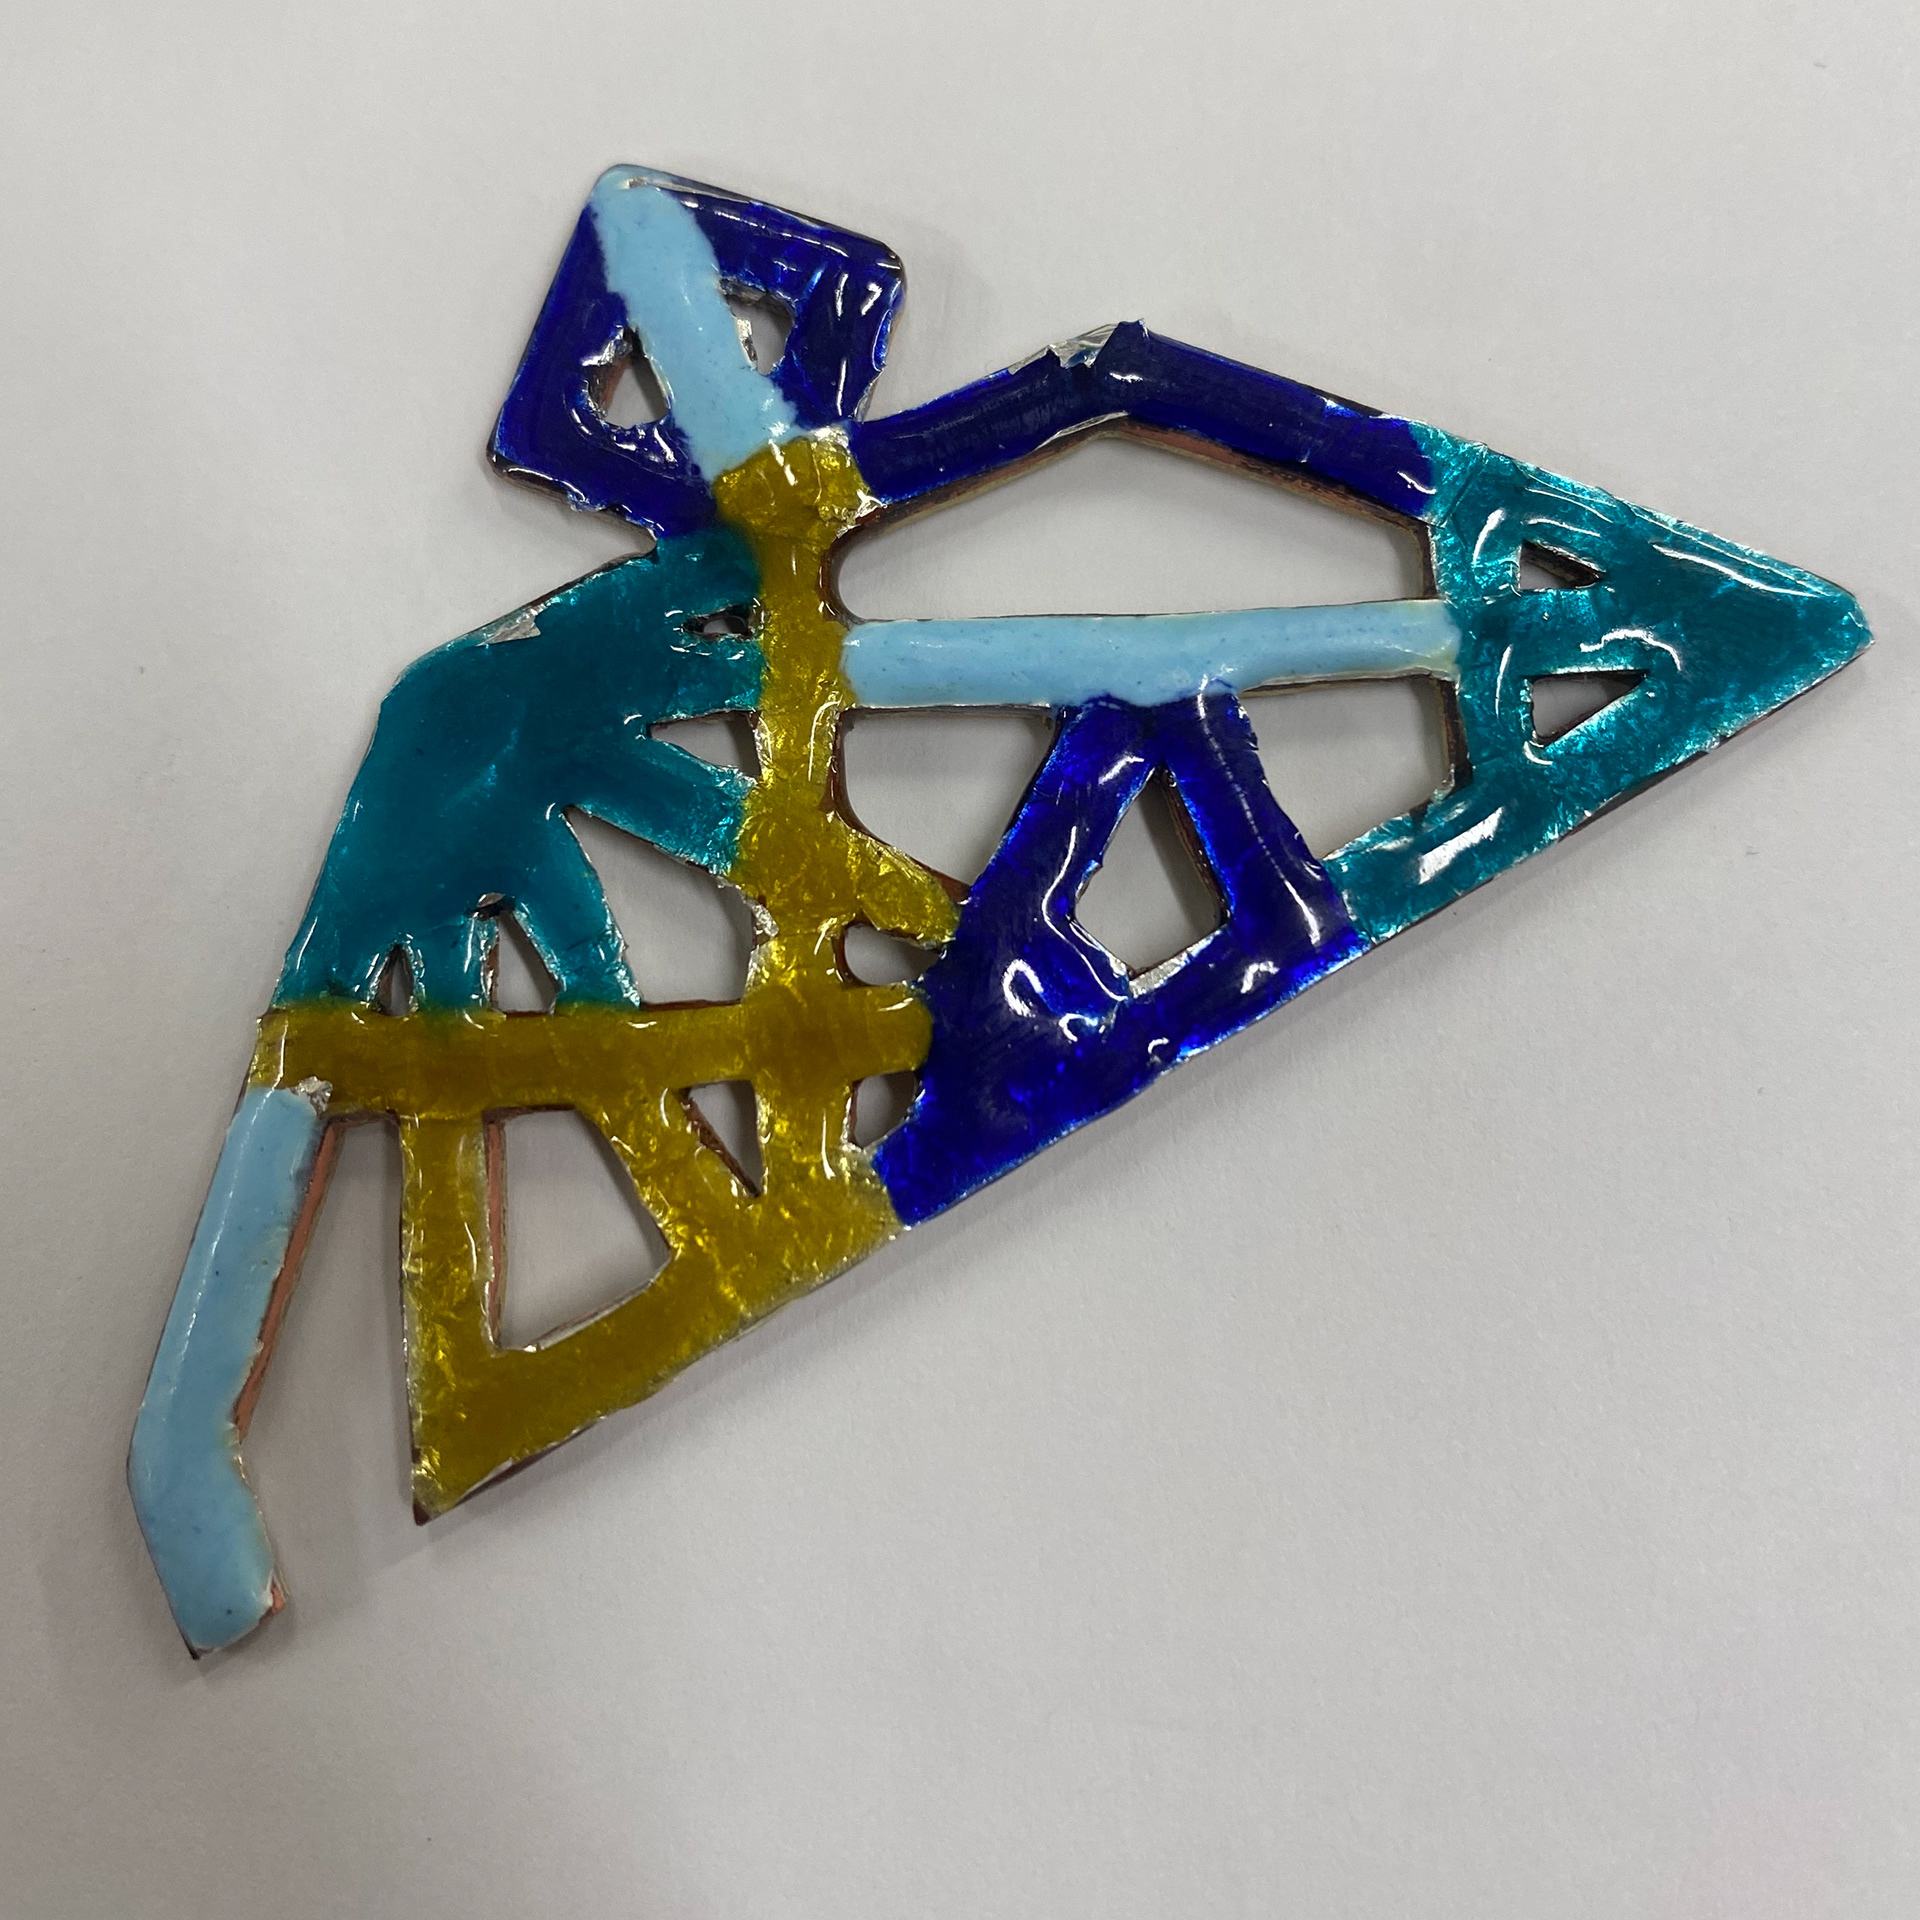
enamelled pieces
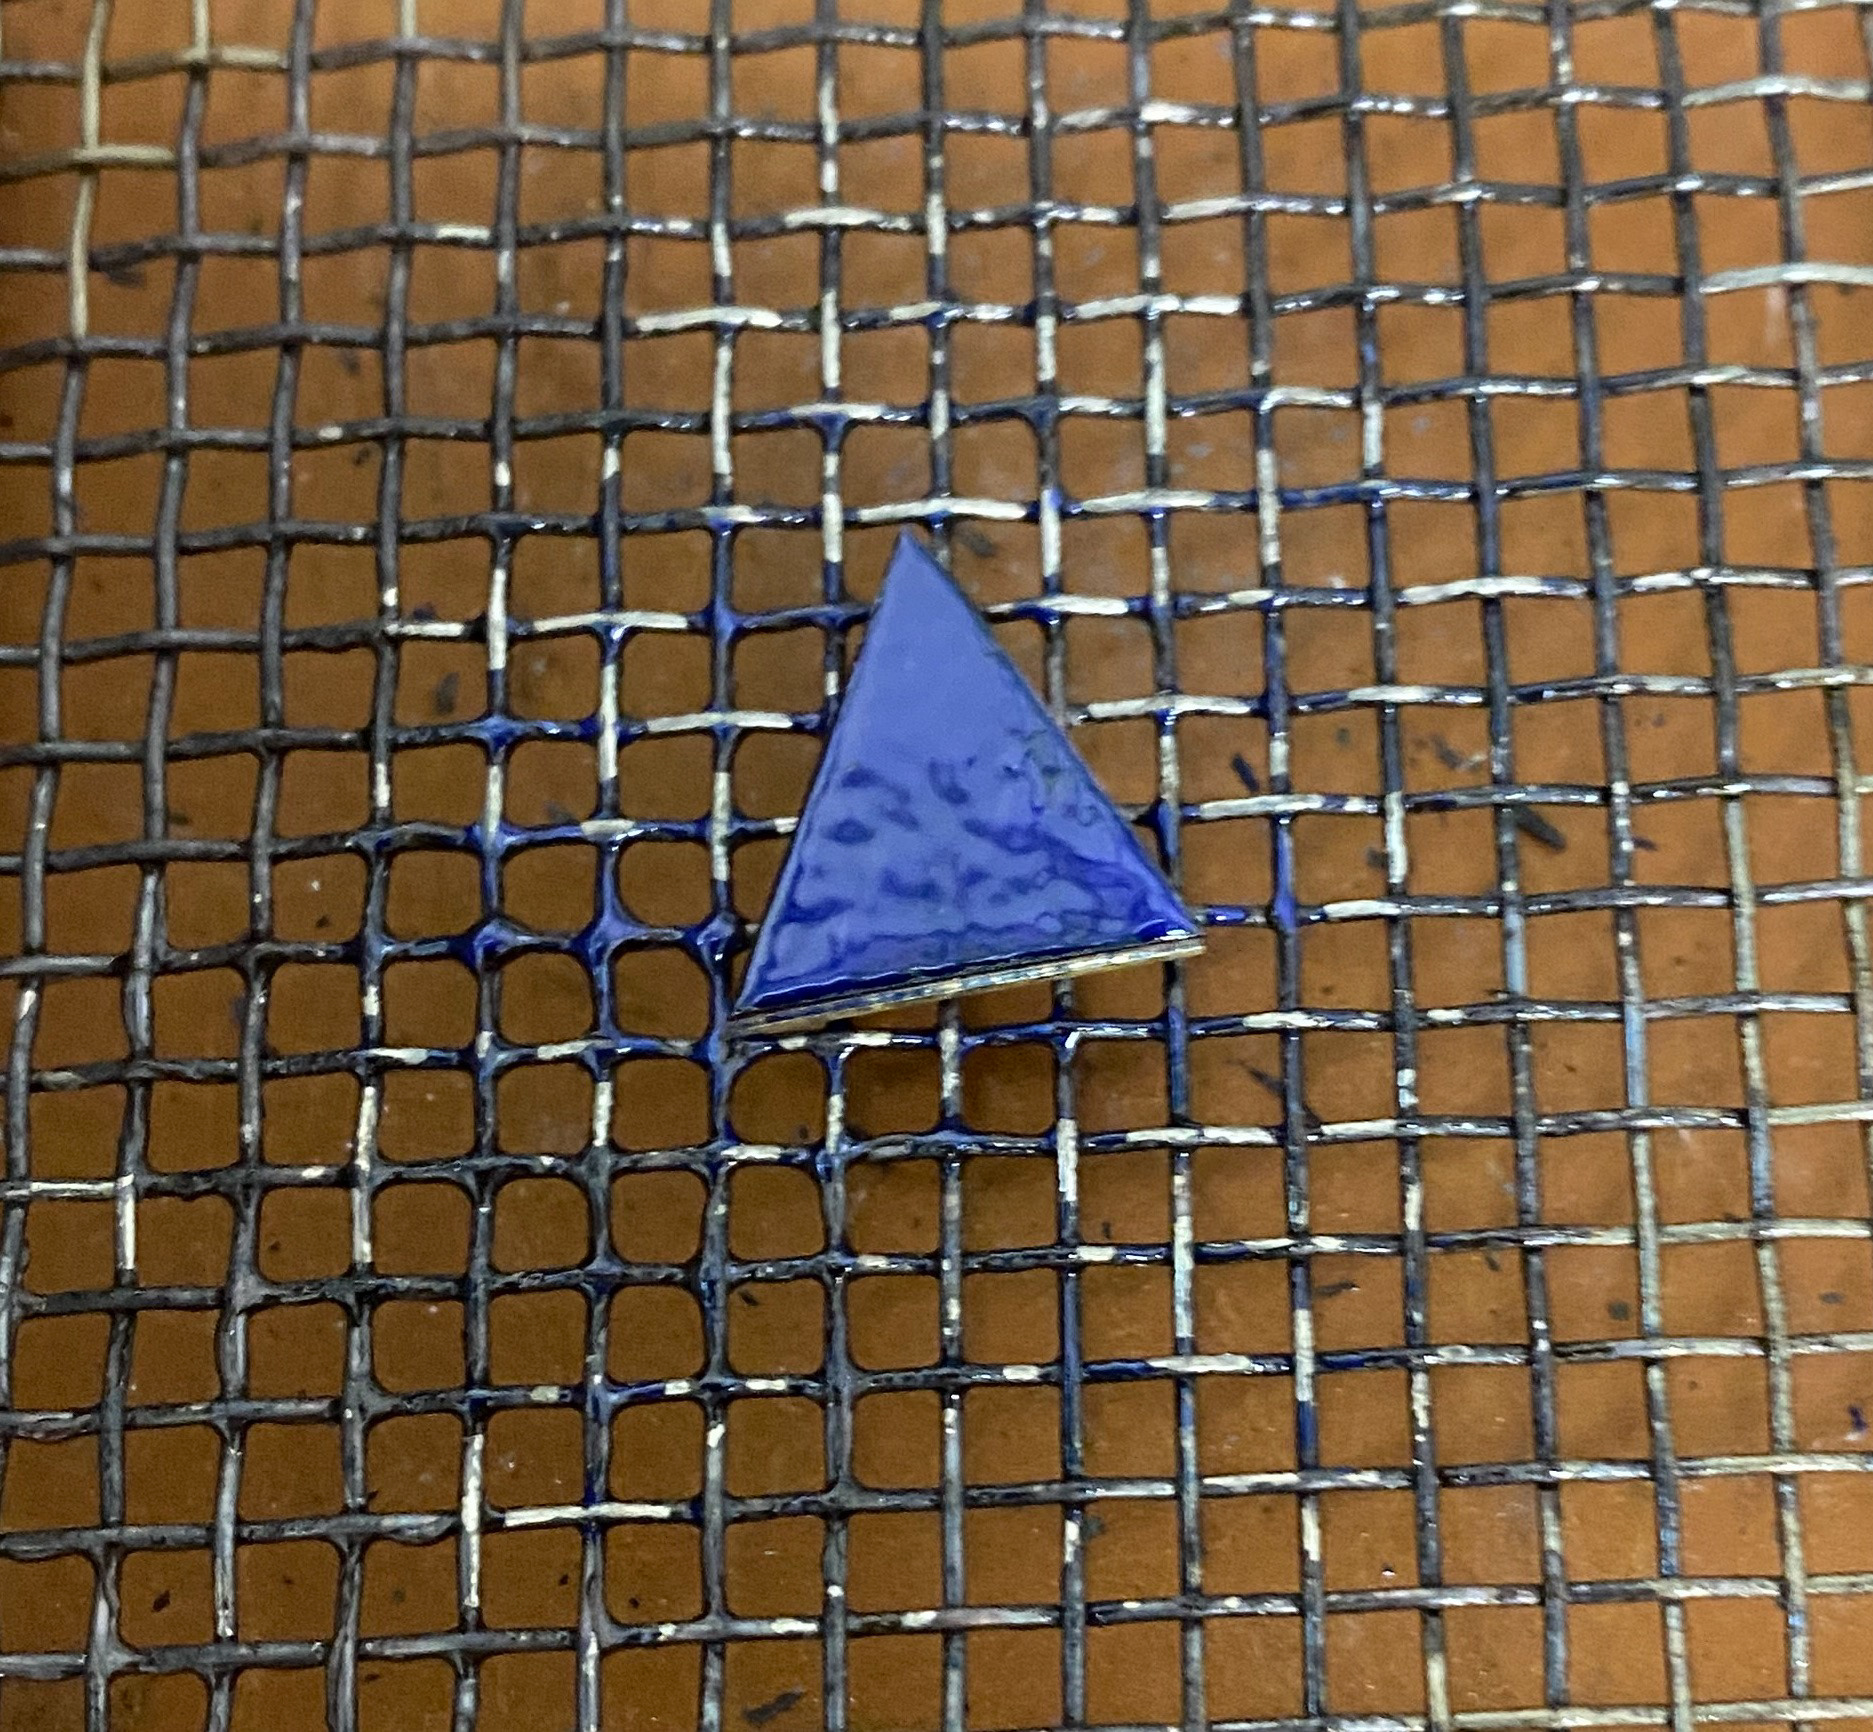
enamelled pieces
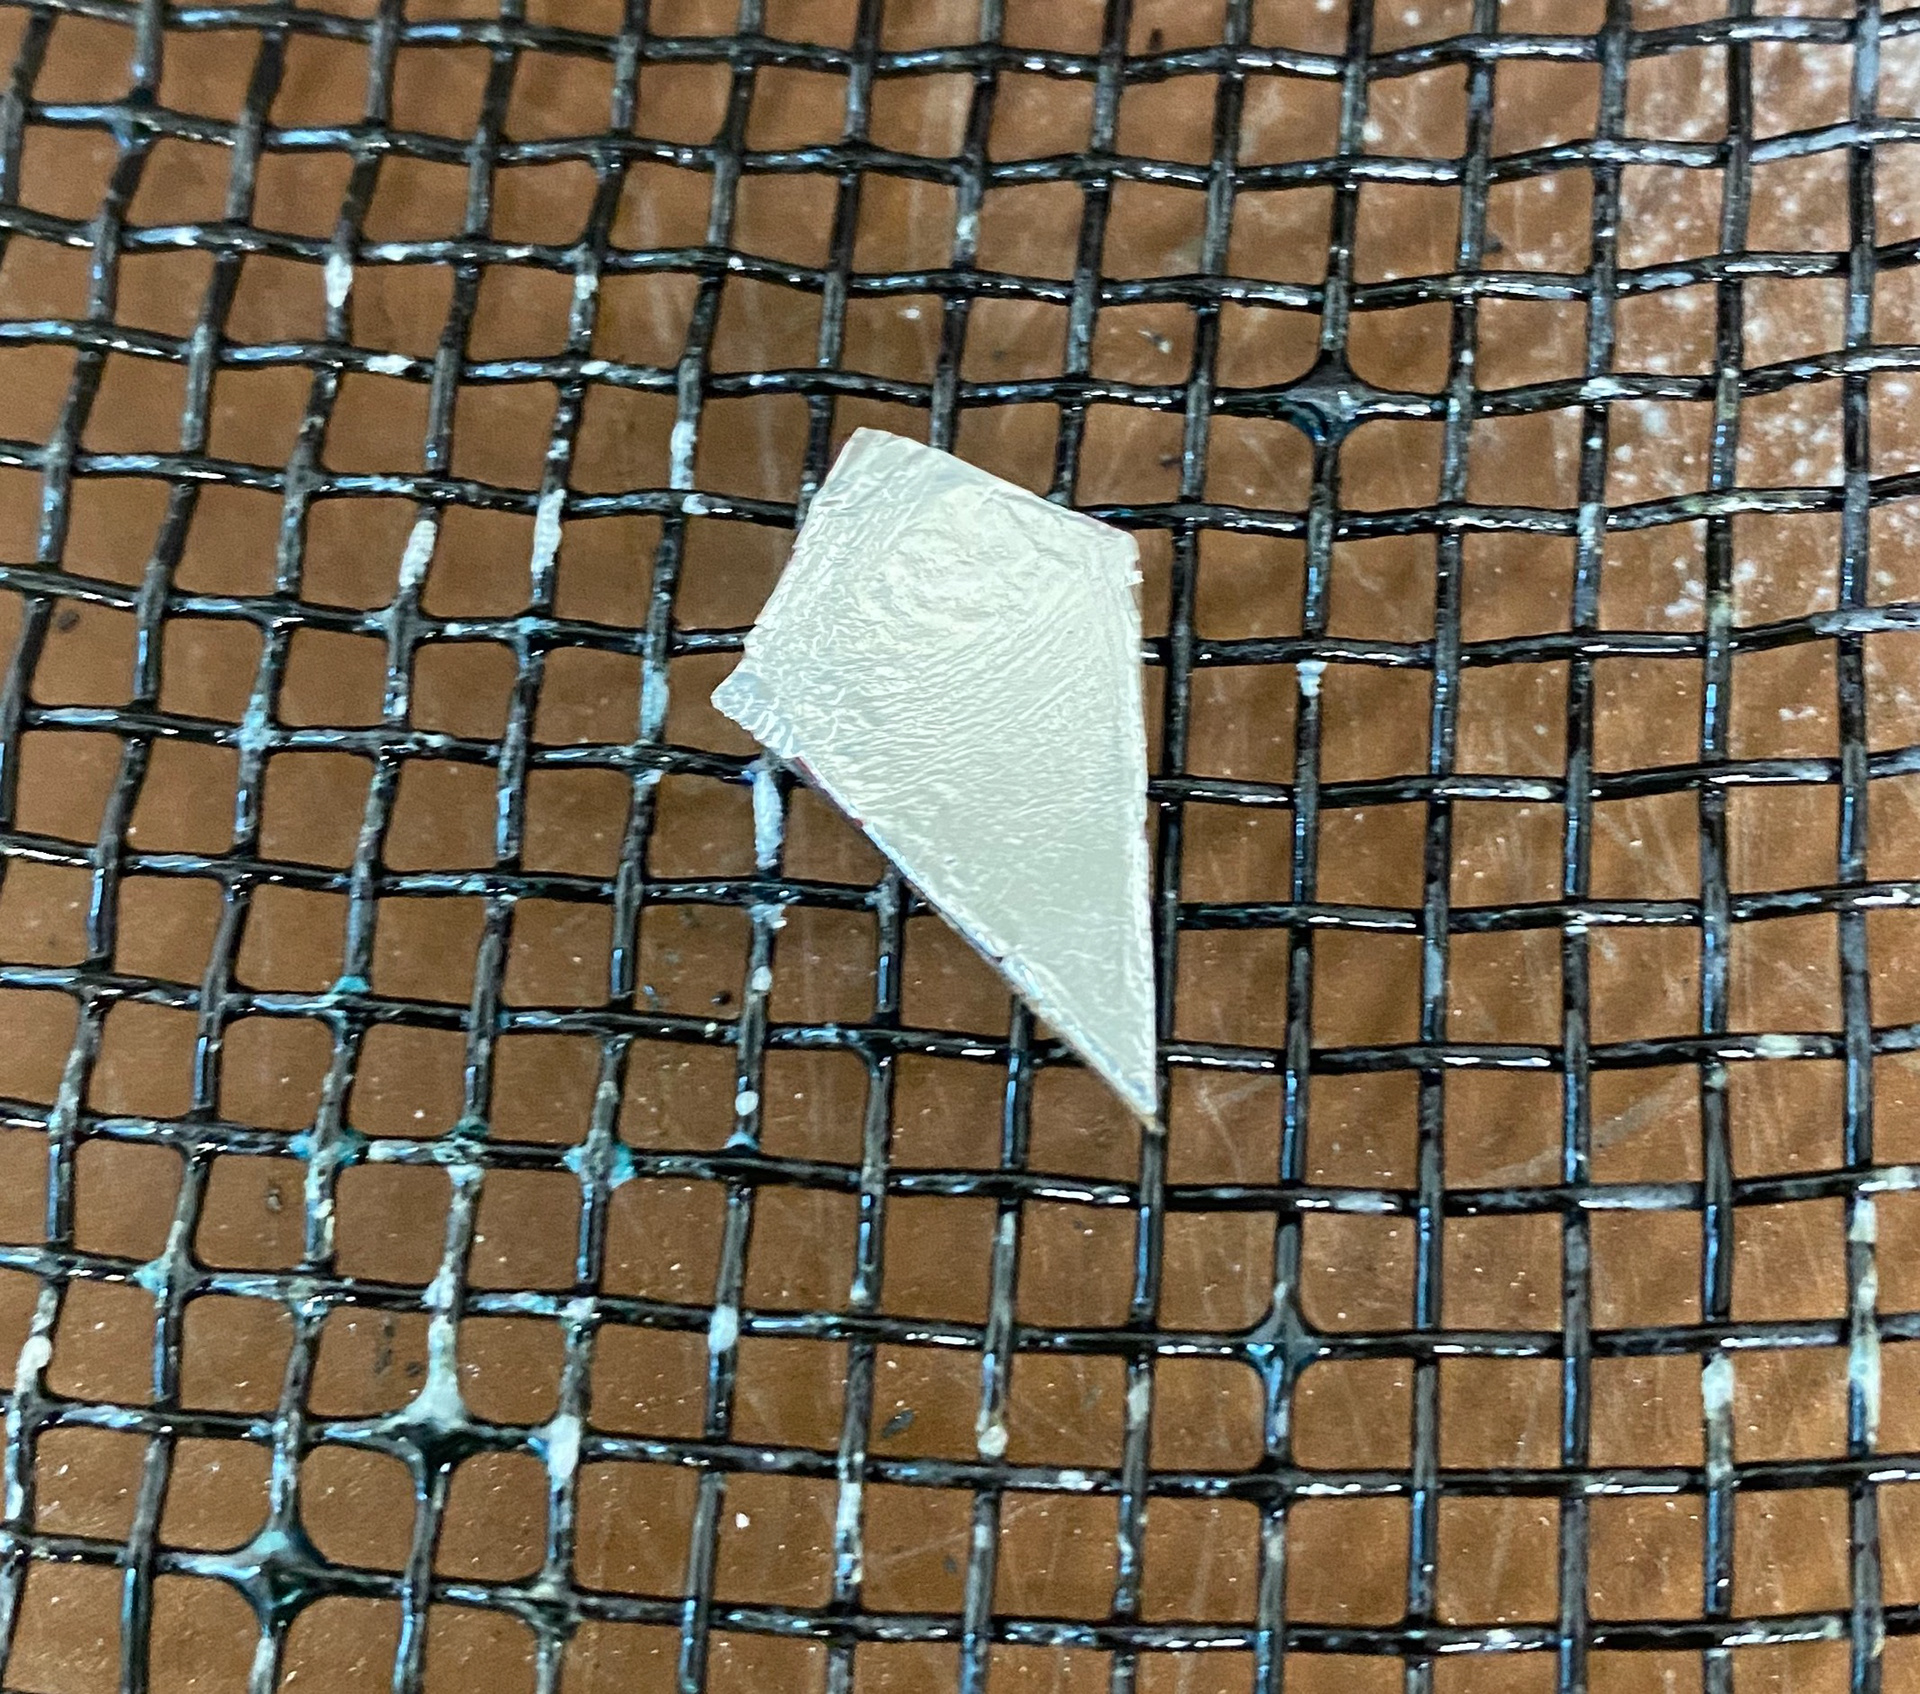
enamelled pieces
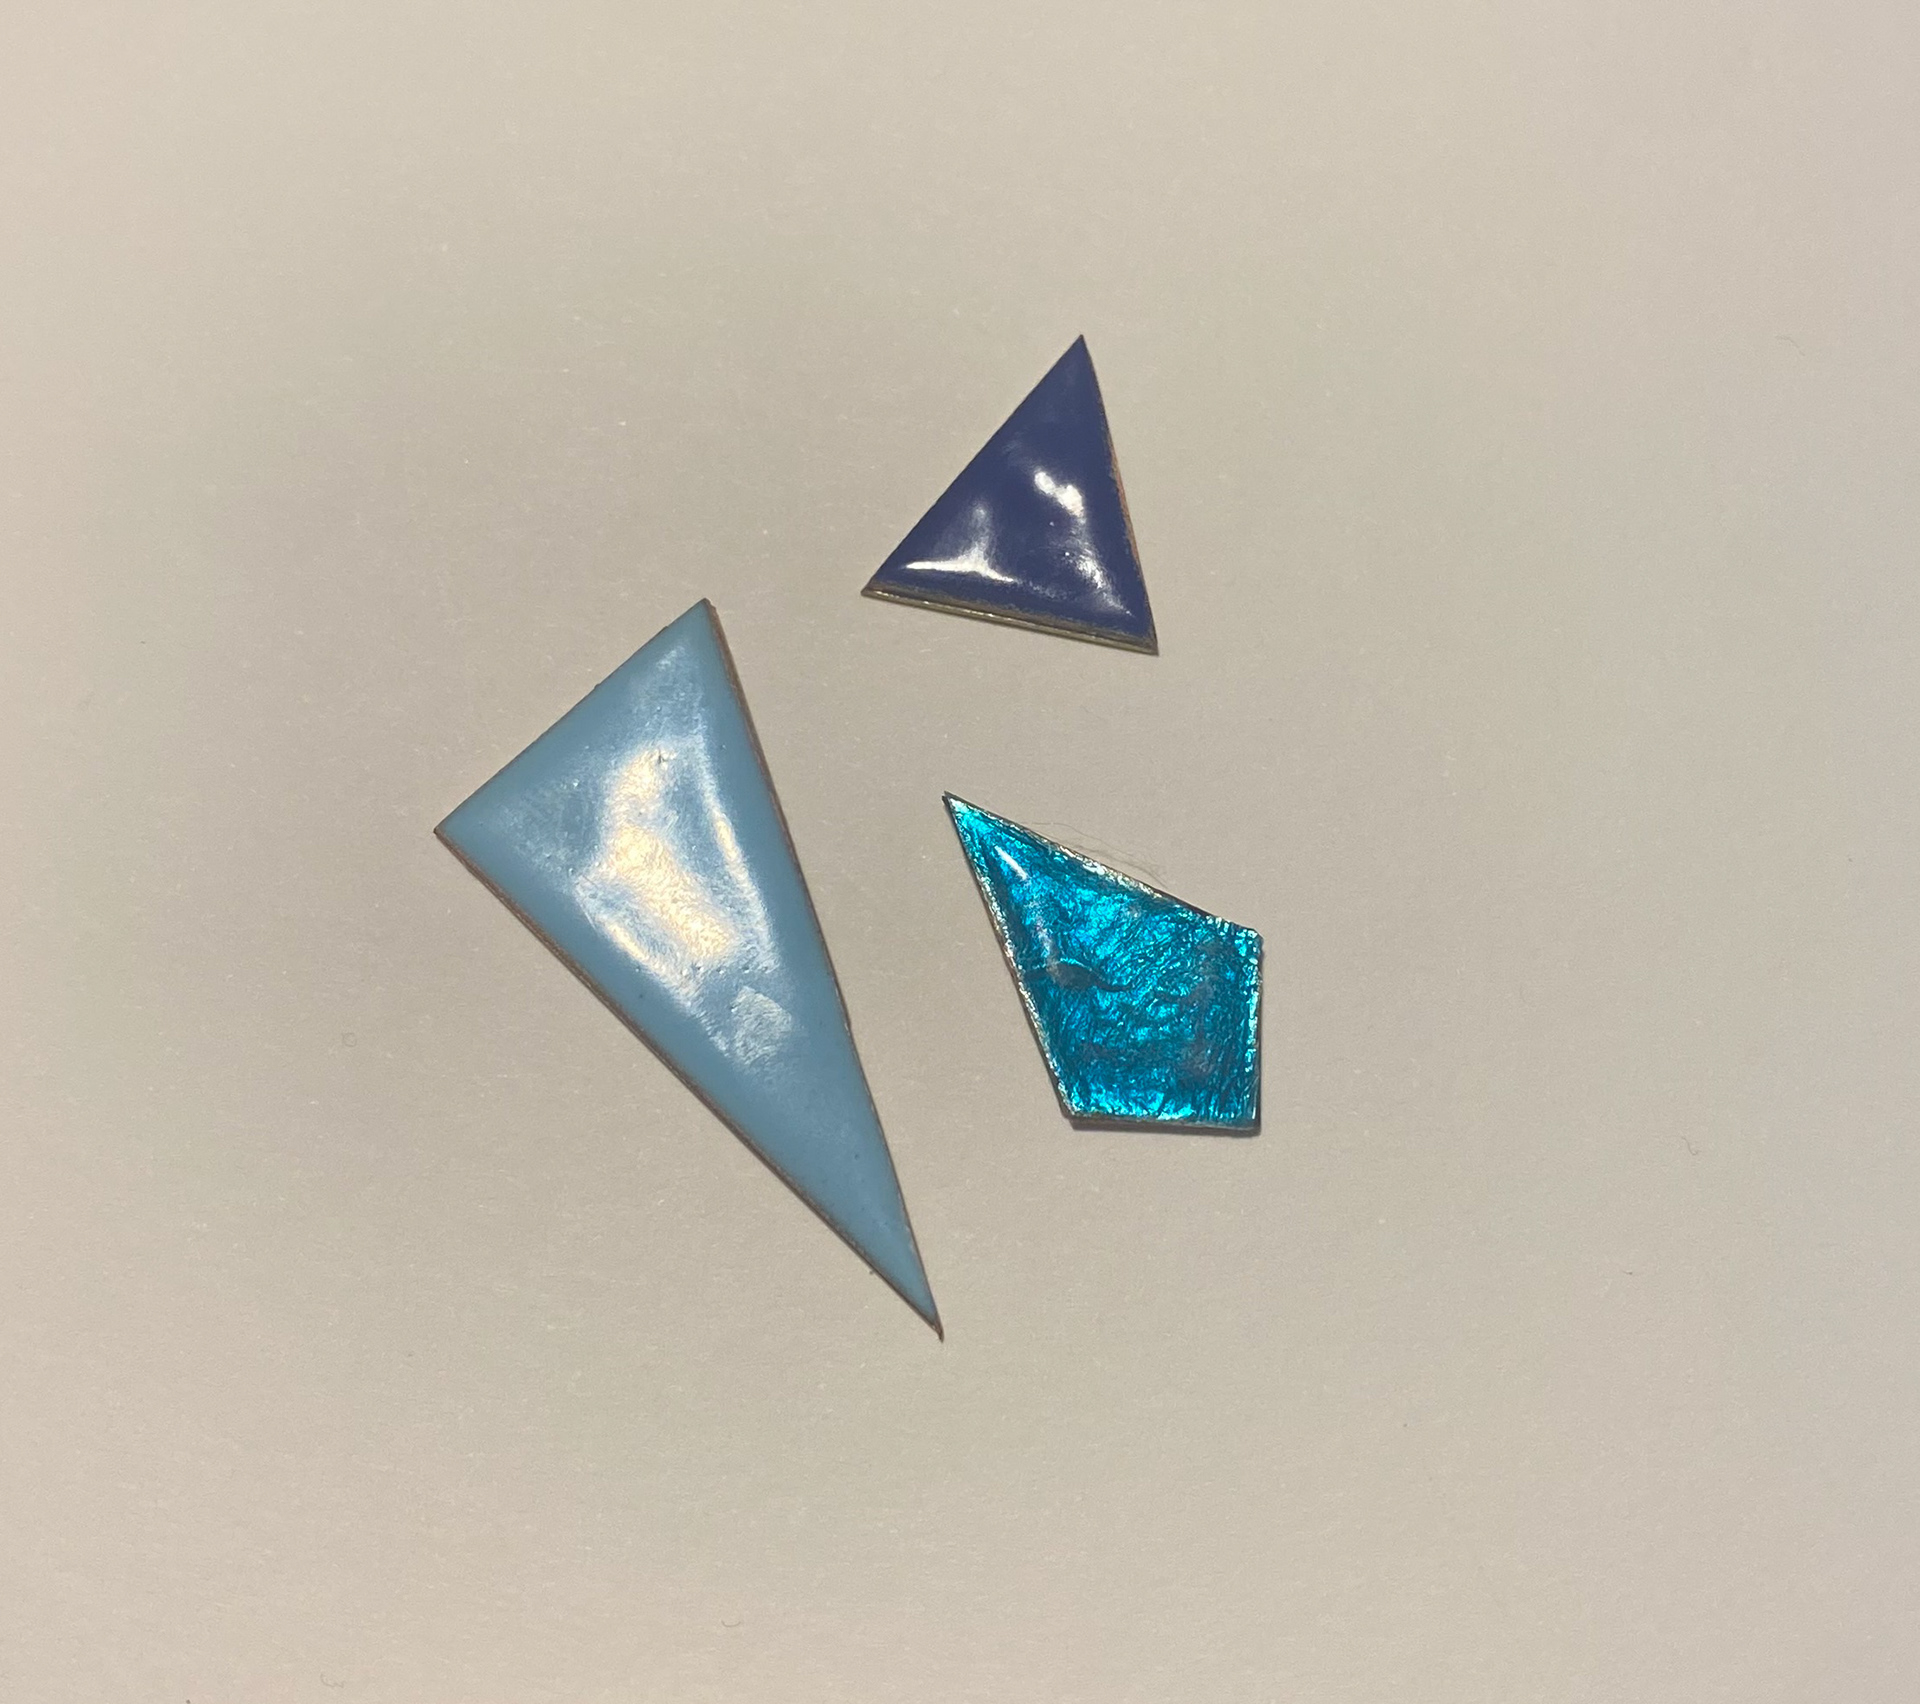
enamelled pieces

Pieces ready to be pierced

Pieces with the small shapes cut out
Flux on metal
Pieces soldered together being pierced
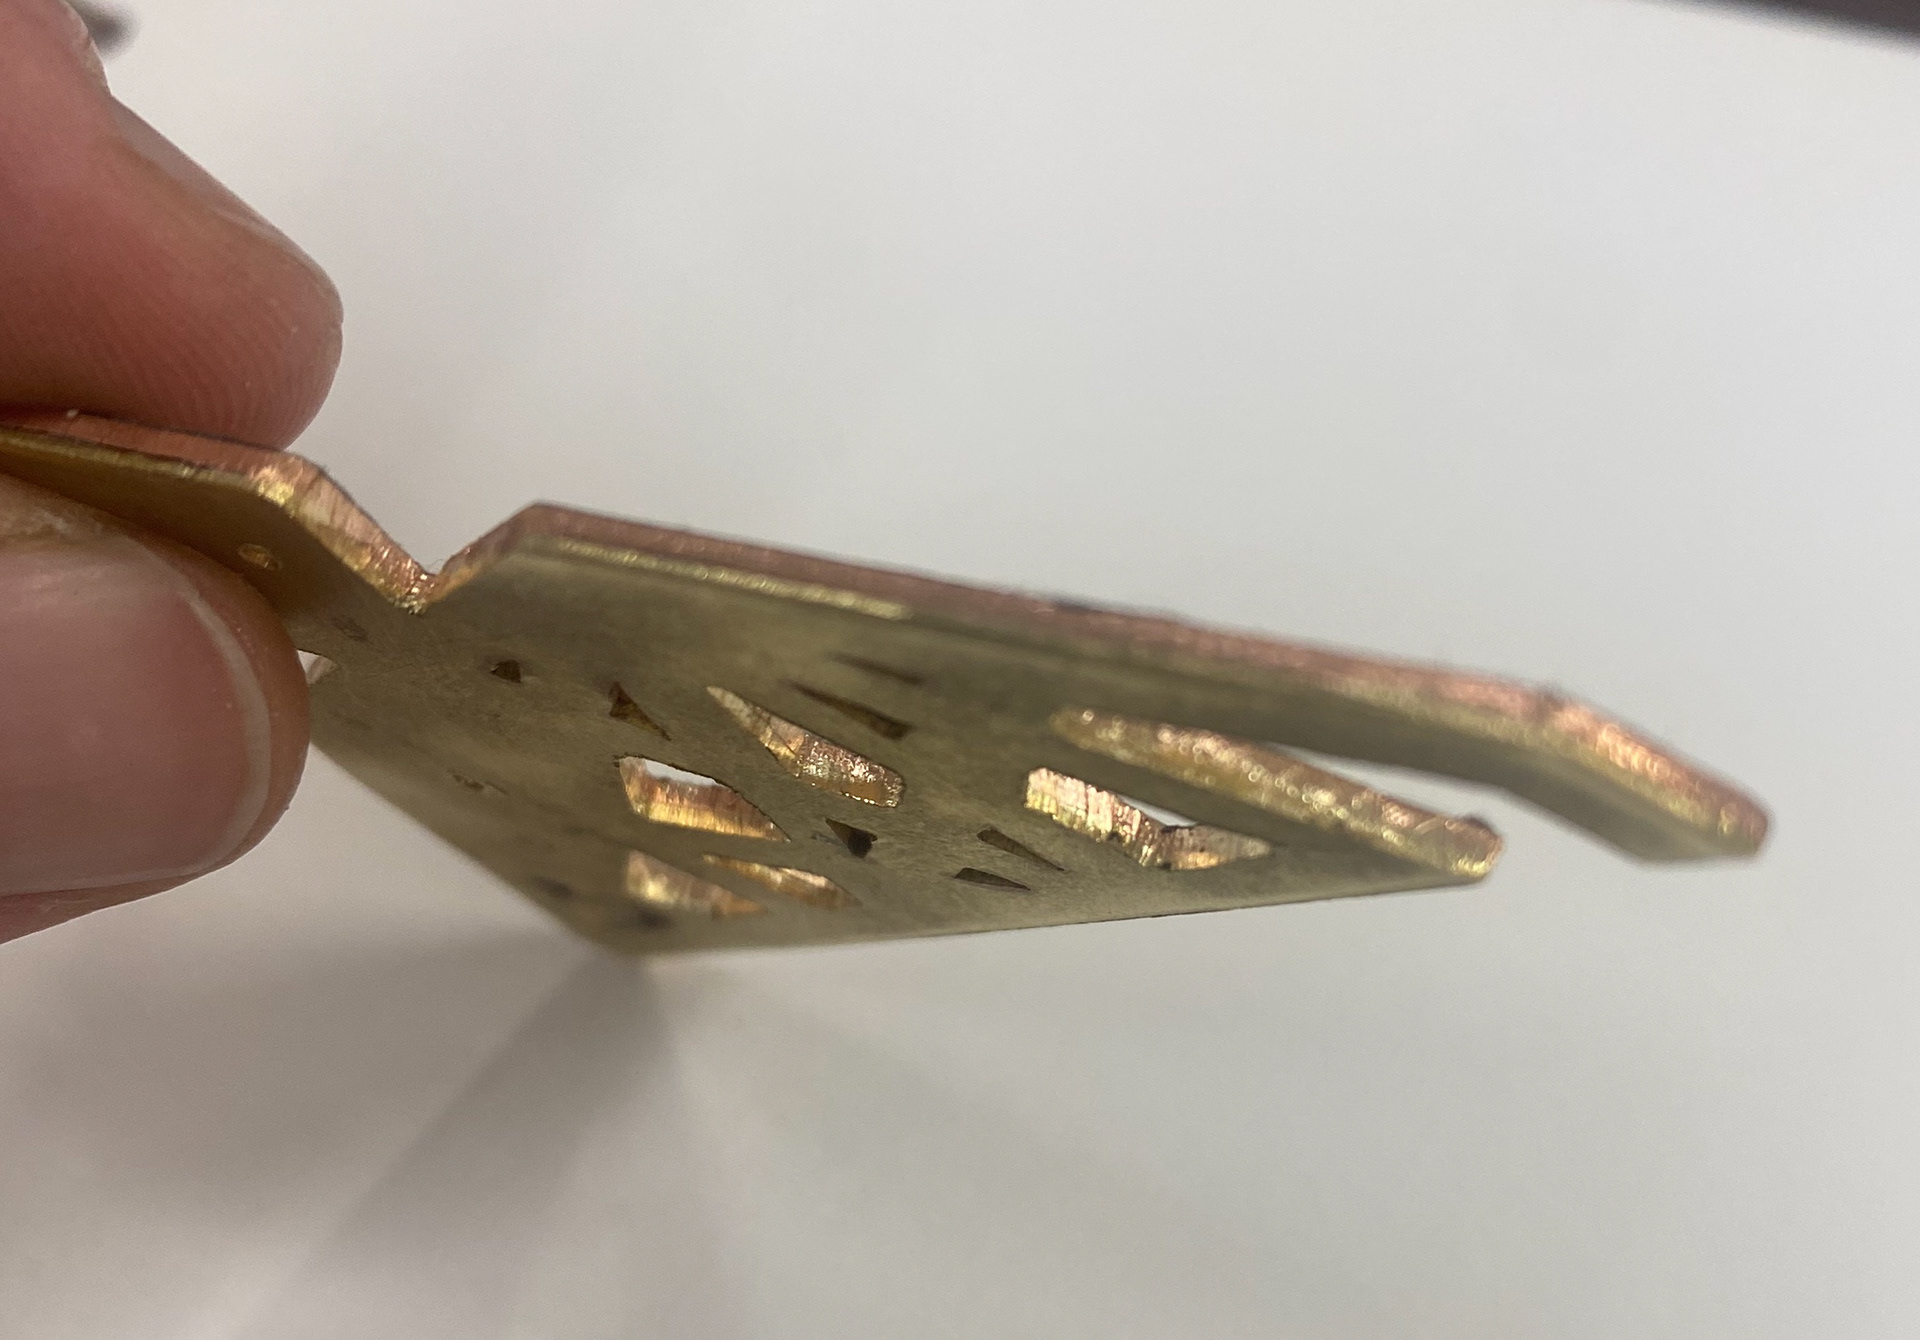
Side view of the joined pieces
Side view of the joined pieces
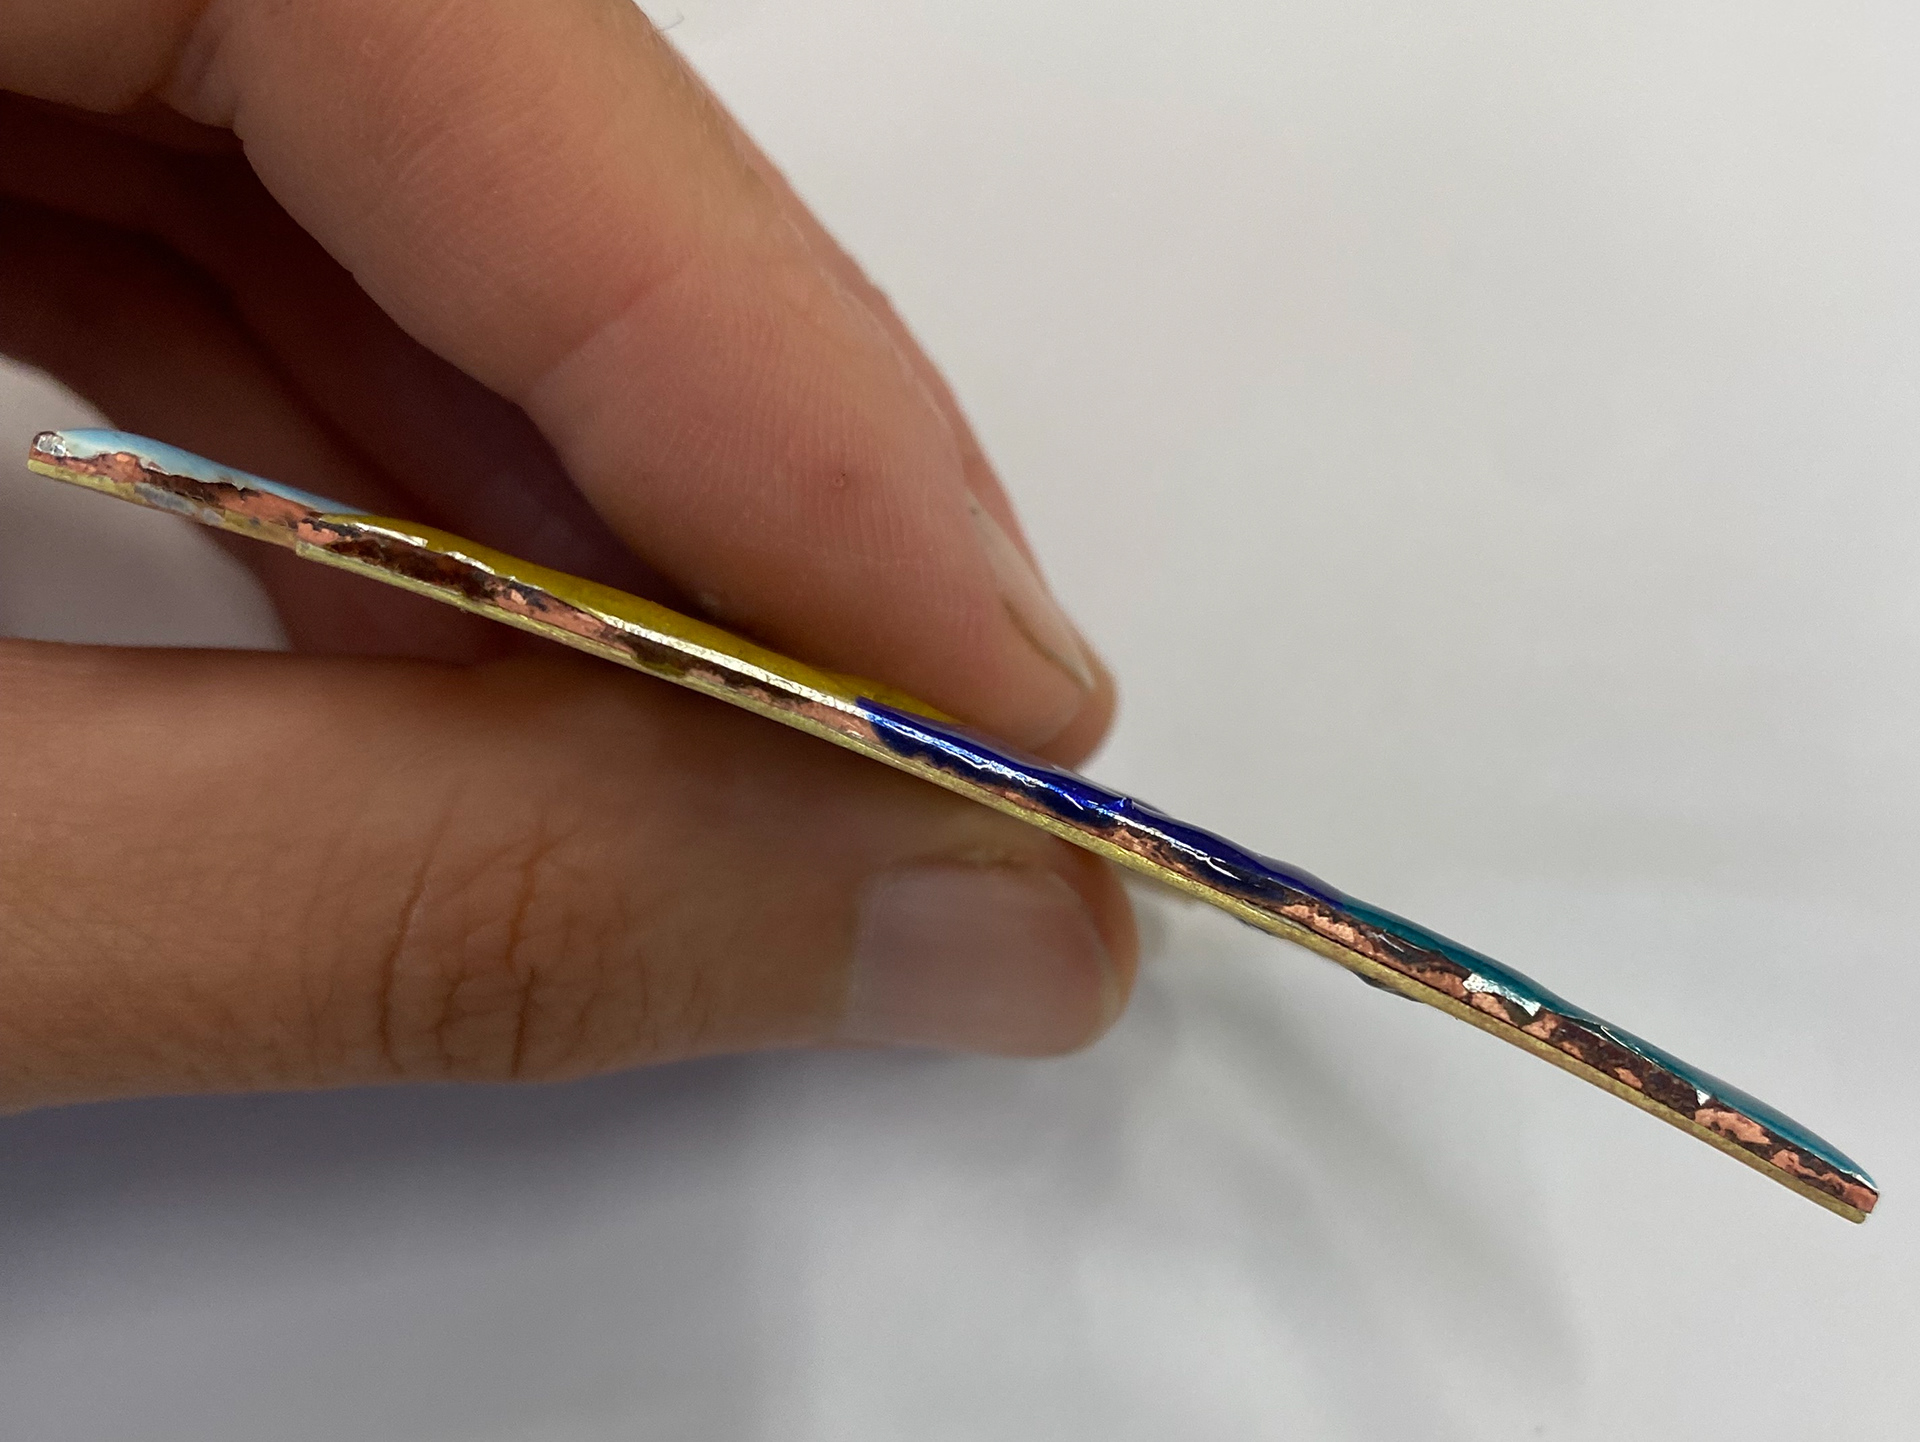
Side view with enamel on
Enamelled piece
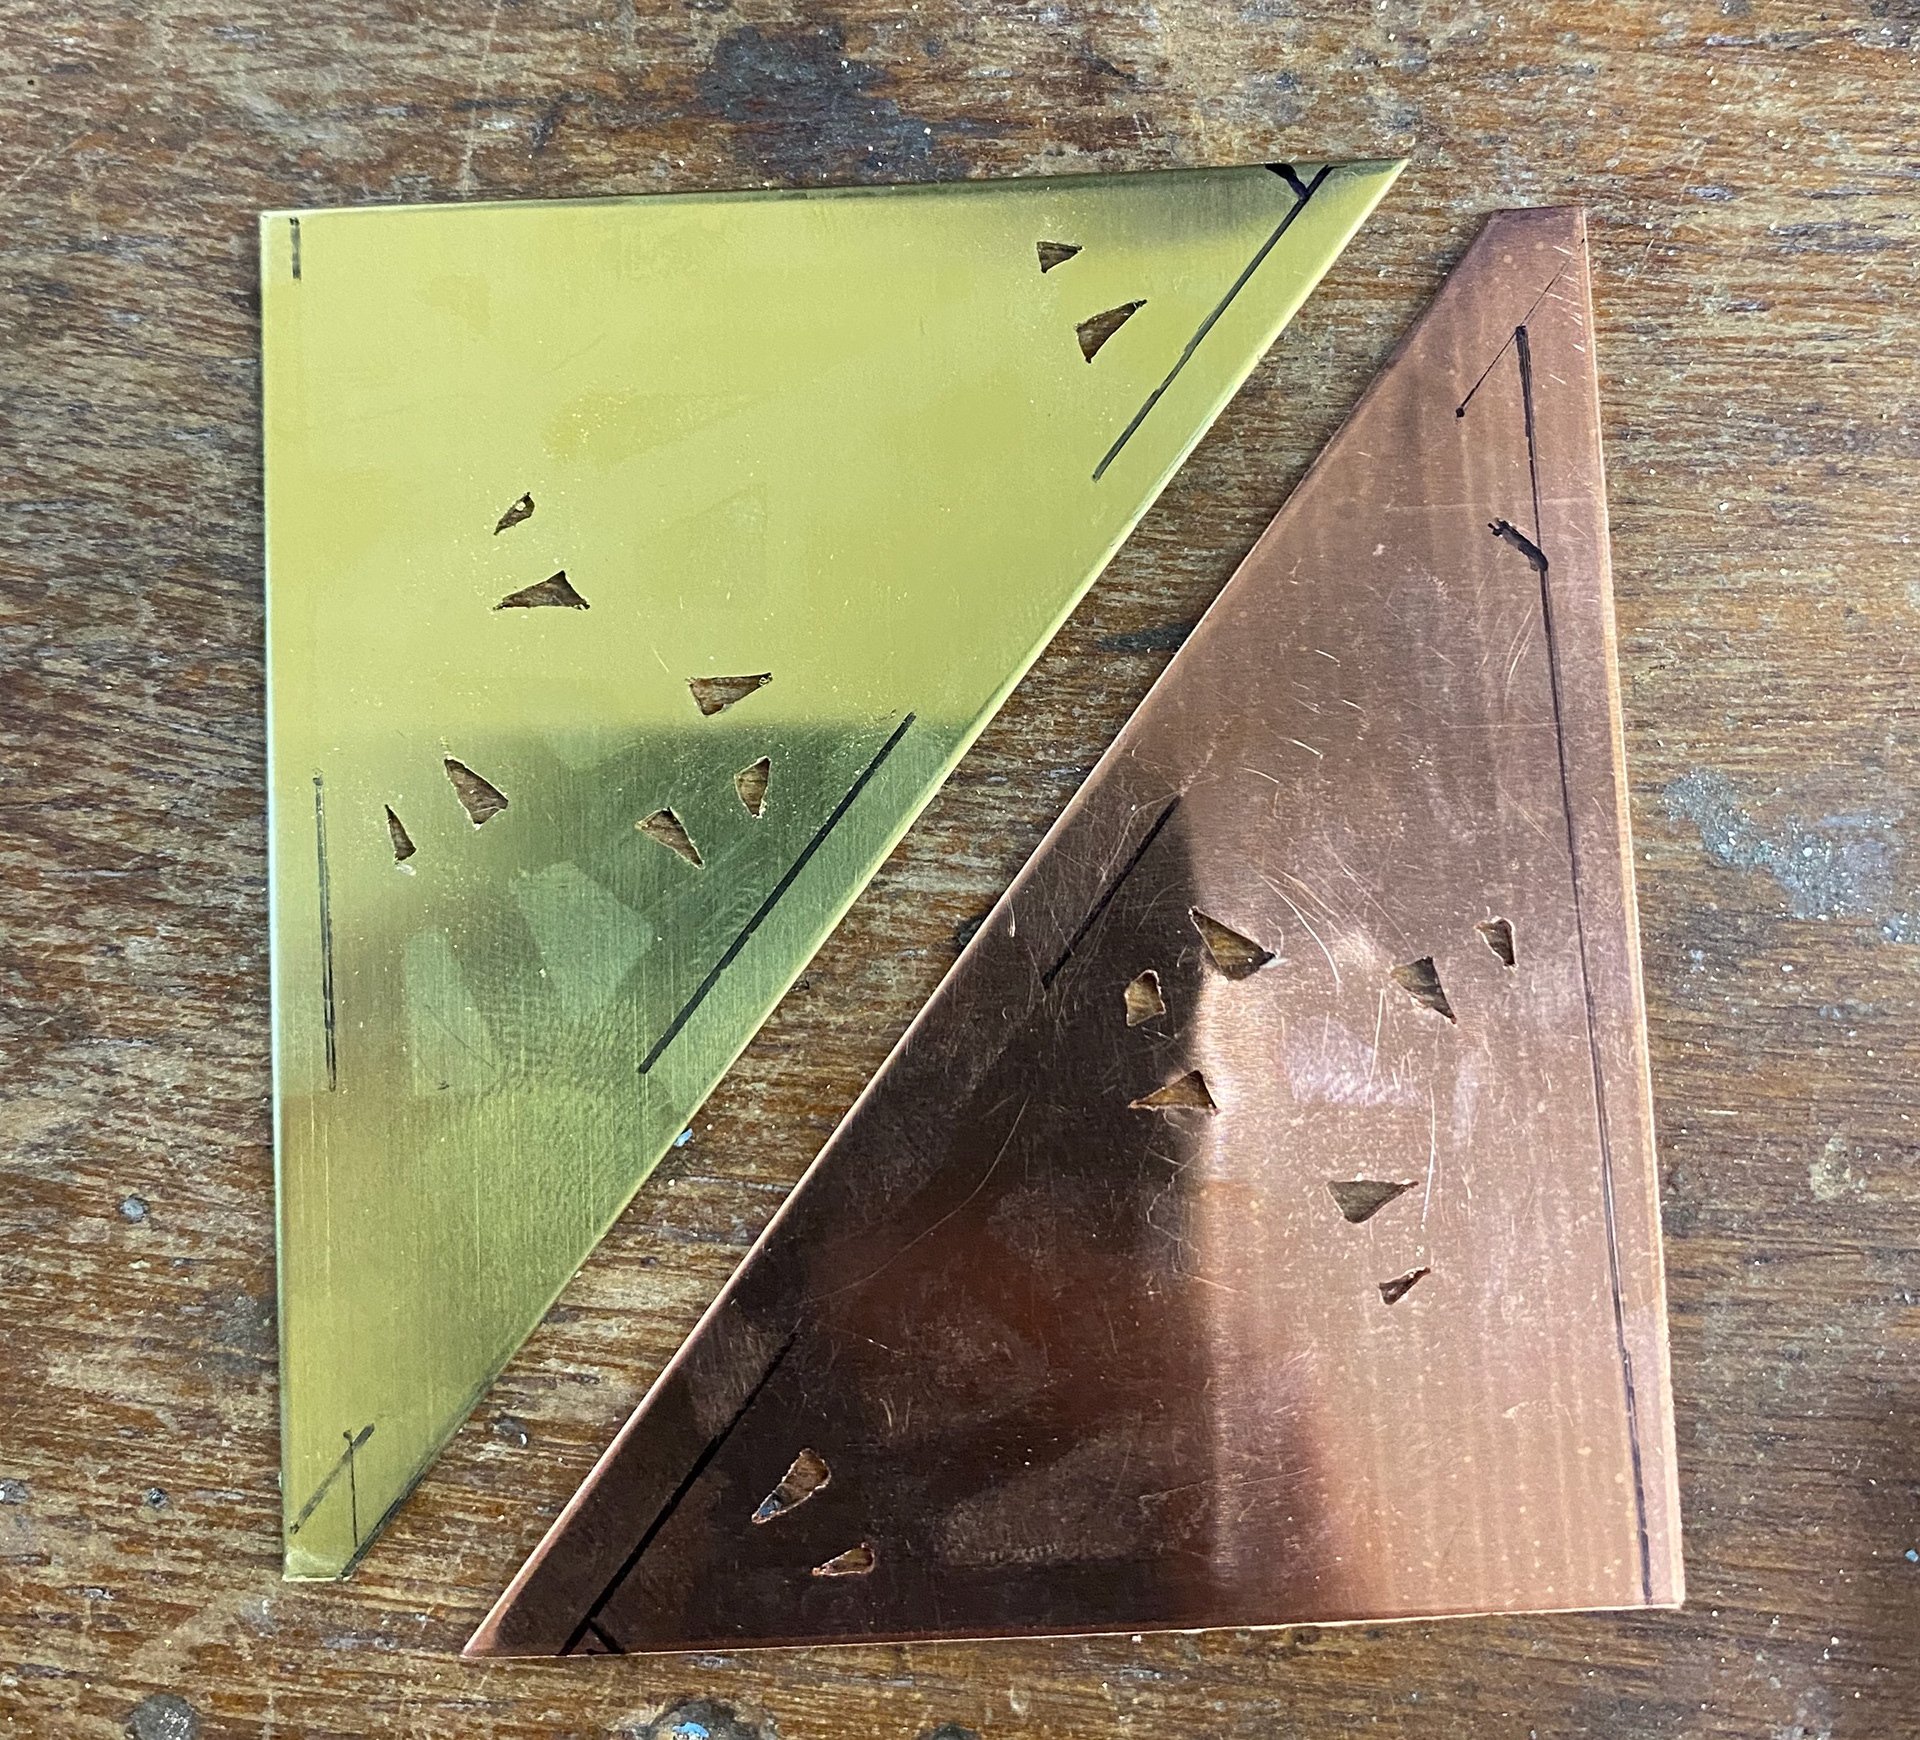
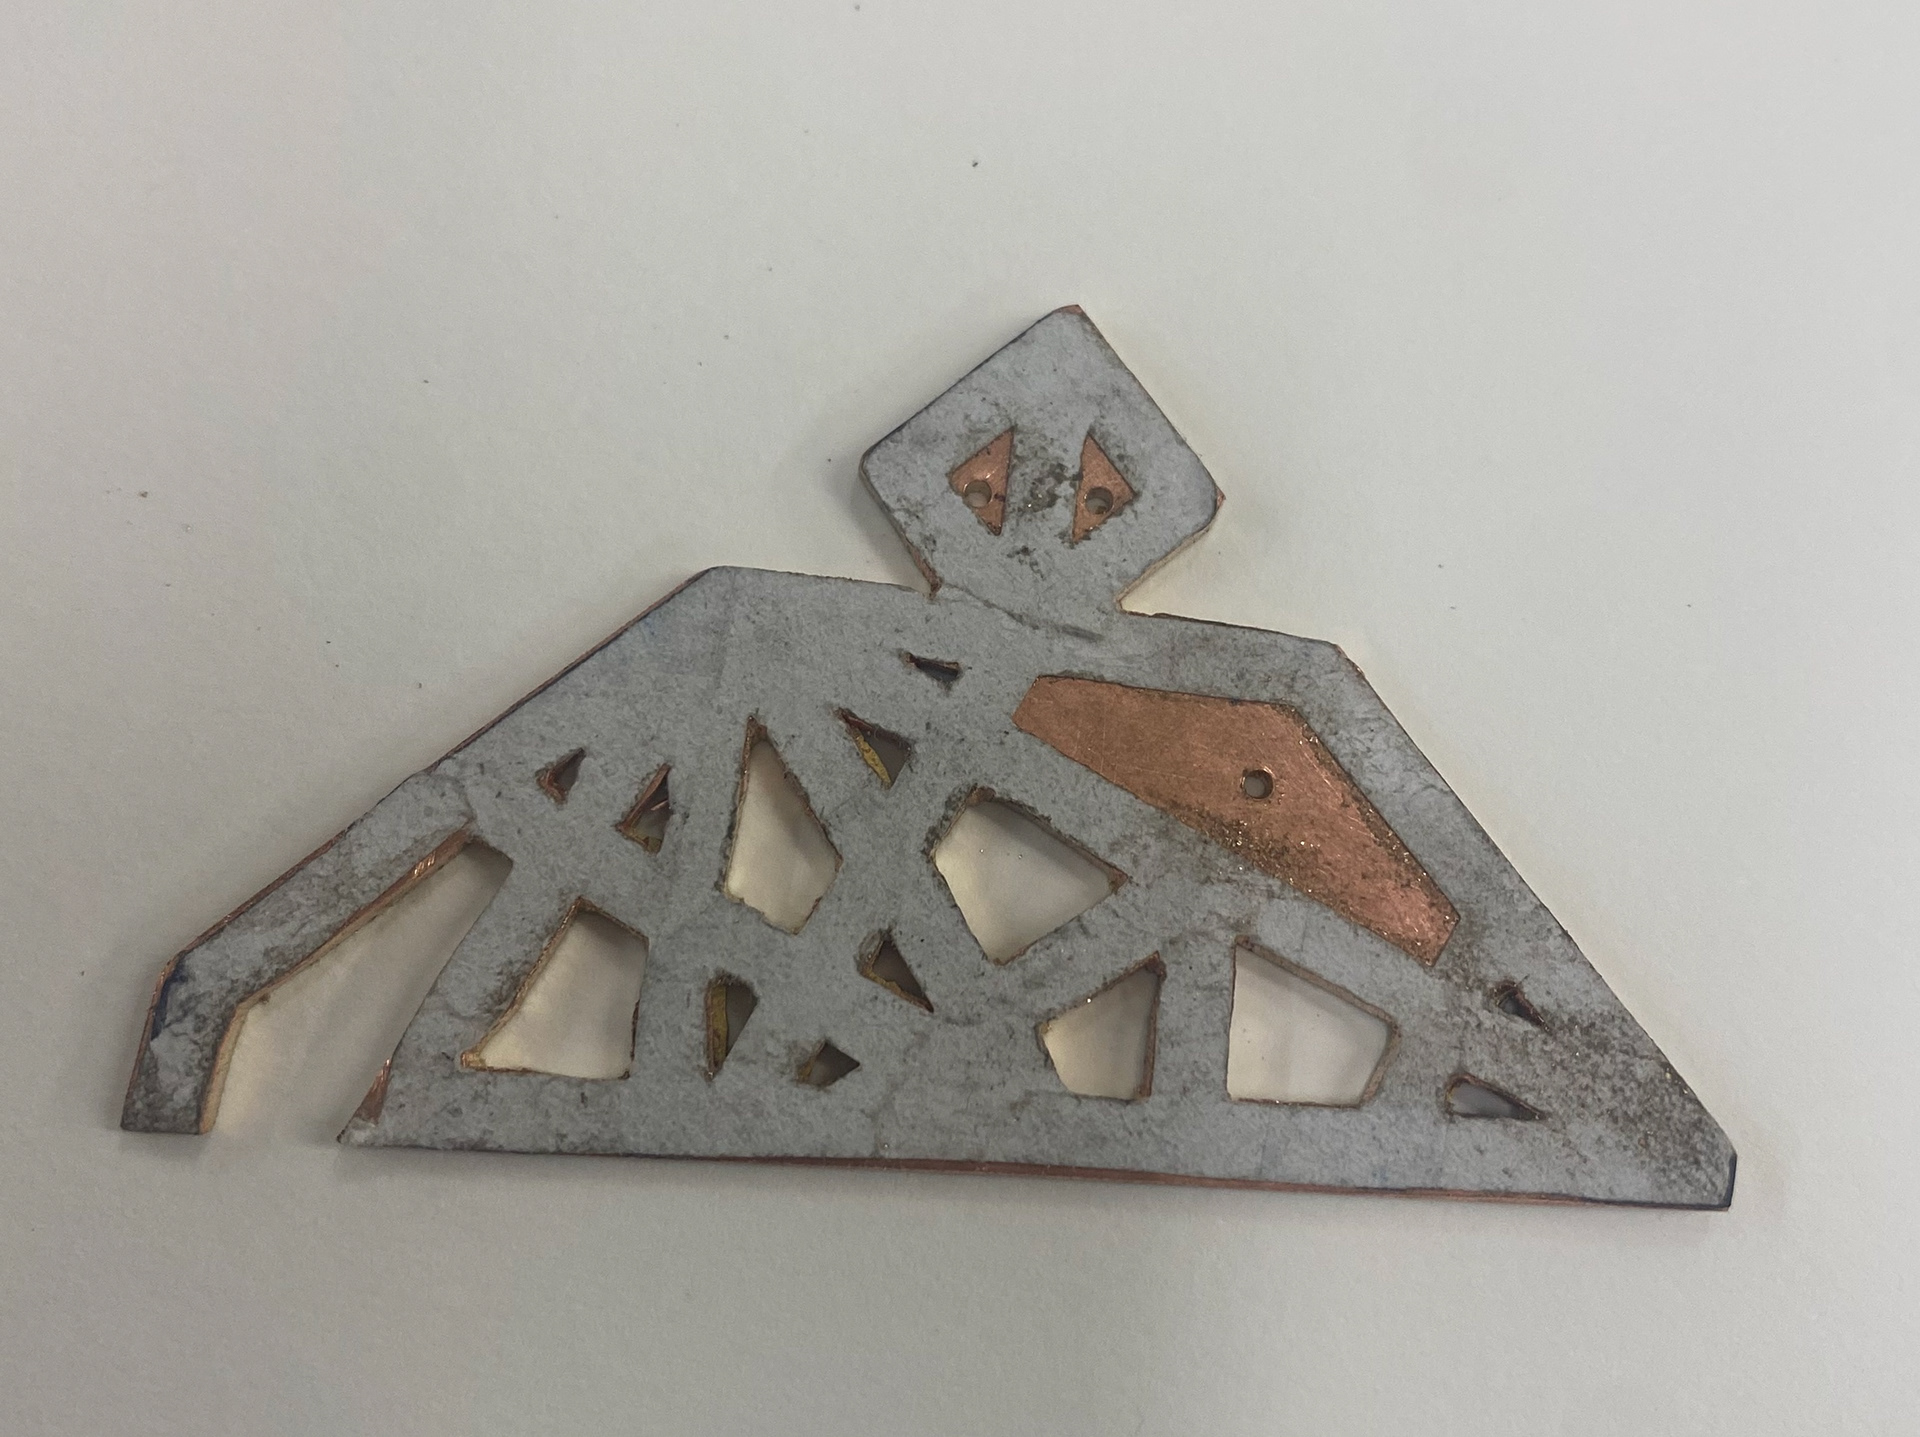
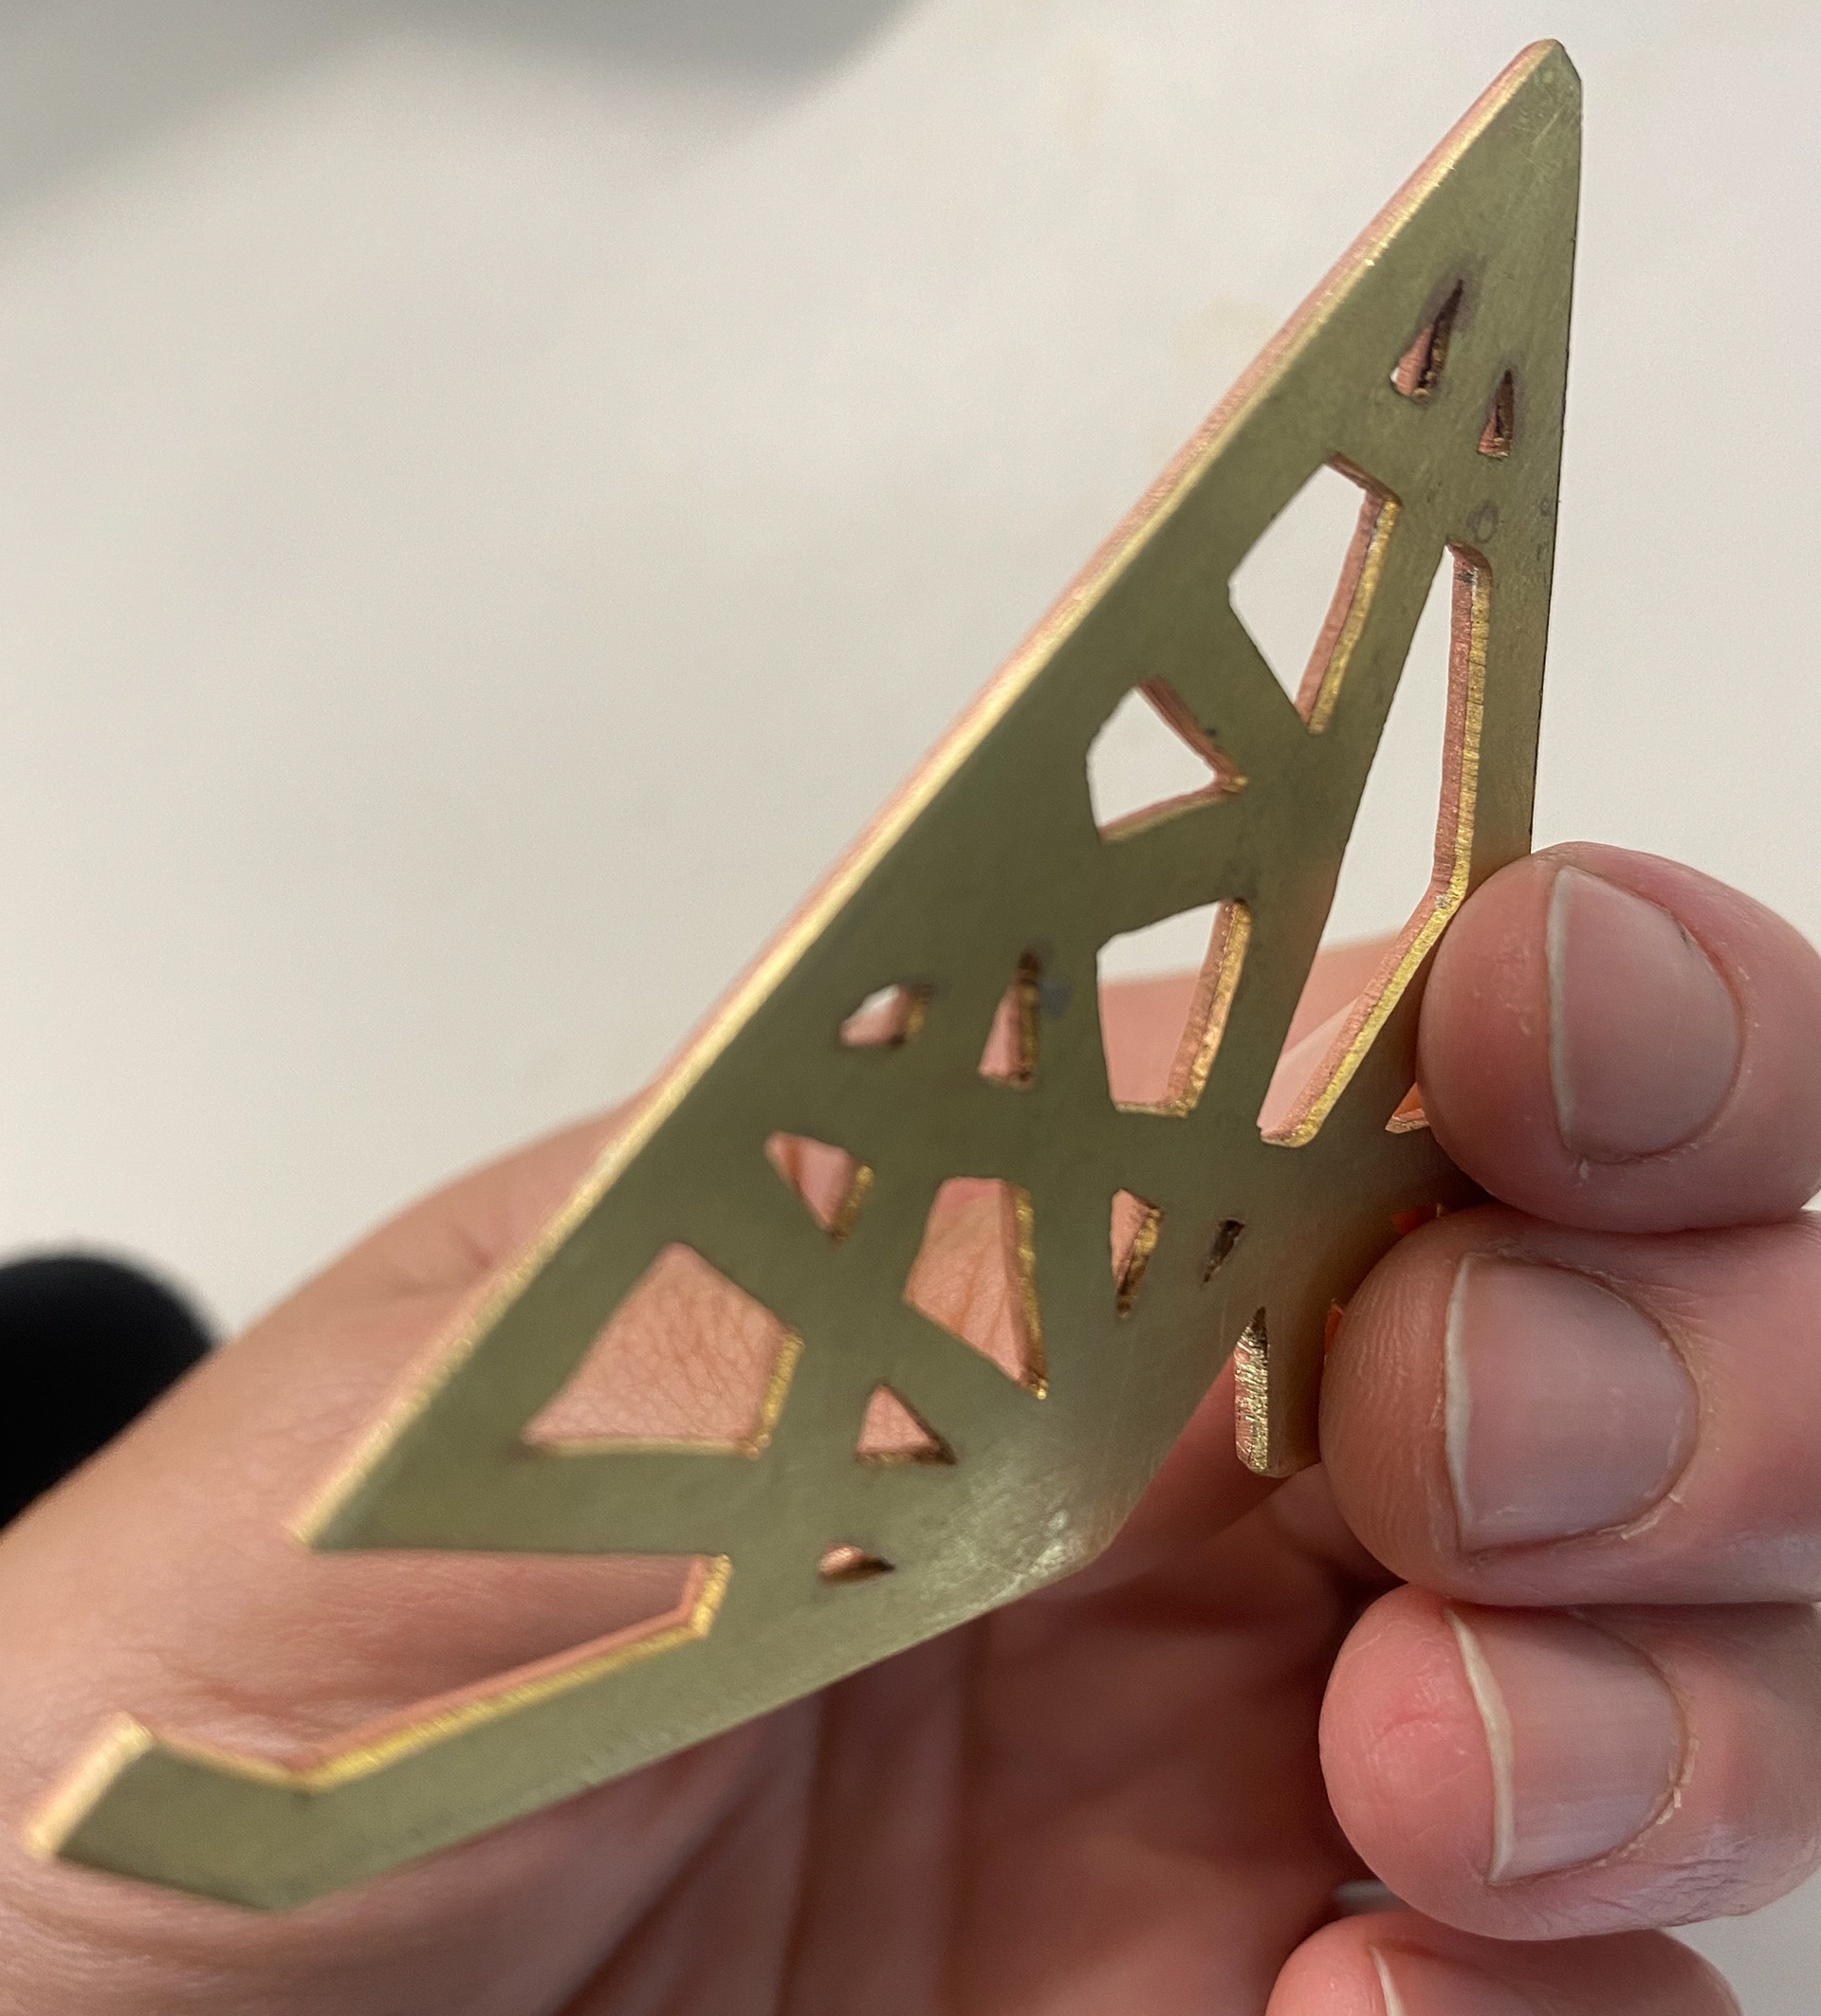
I then tried to do this with a section of the pattern which I would like to put the enamel on the final piece. I allowed extra material for the room for movement. However, because some of the shapes are quite small, to pierce them out after sweat soldering I would have to use a very tiny drill bit which I thought would snap going through thick metal. Because of this I pierced out the smaller shapes before swea,t soldering. I used the same method I preferred on the other samples. The pieces did slightly move but not significantly. After doing this I realised I could use binding wire to hold the pieces in place next time.
I then followed this by enamelling onto the piece using silver foil for the transparent enamels. This was quite a difficult and time-consuming task to do which was something to bear in mind.
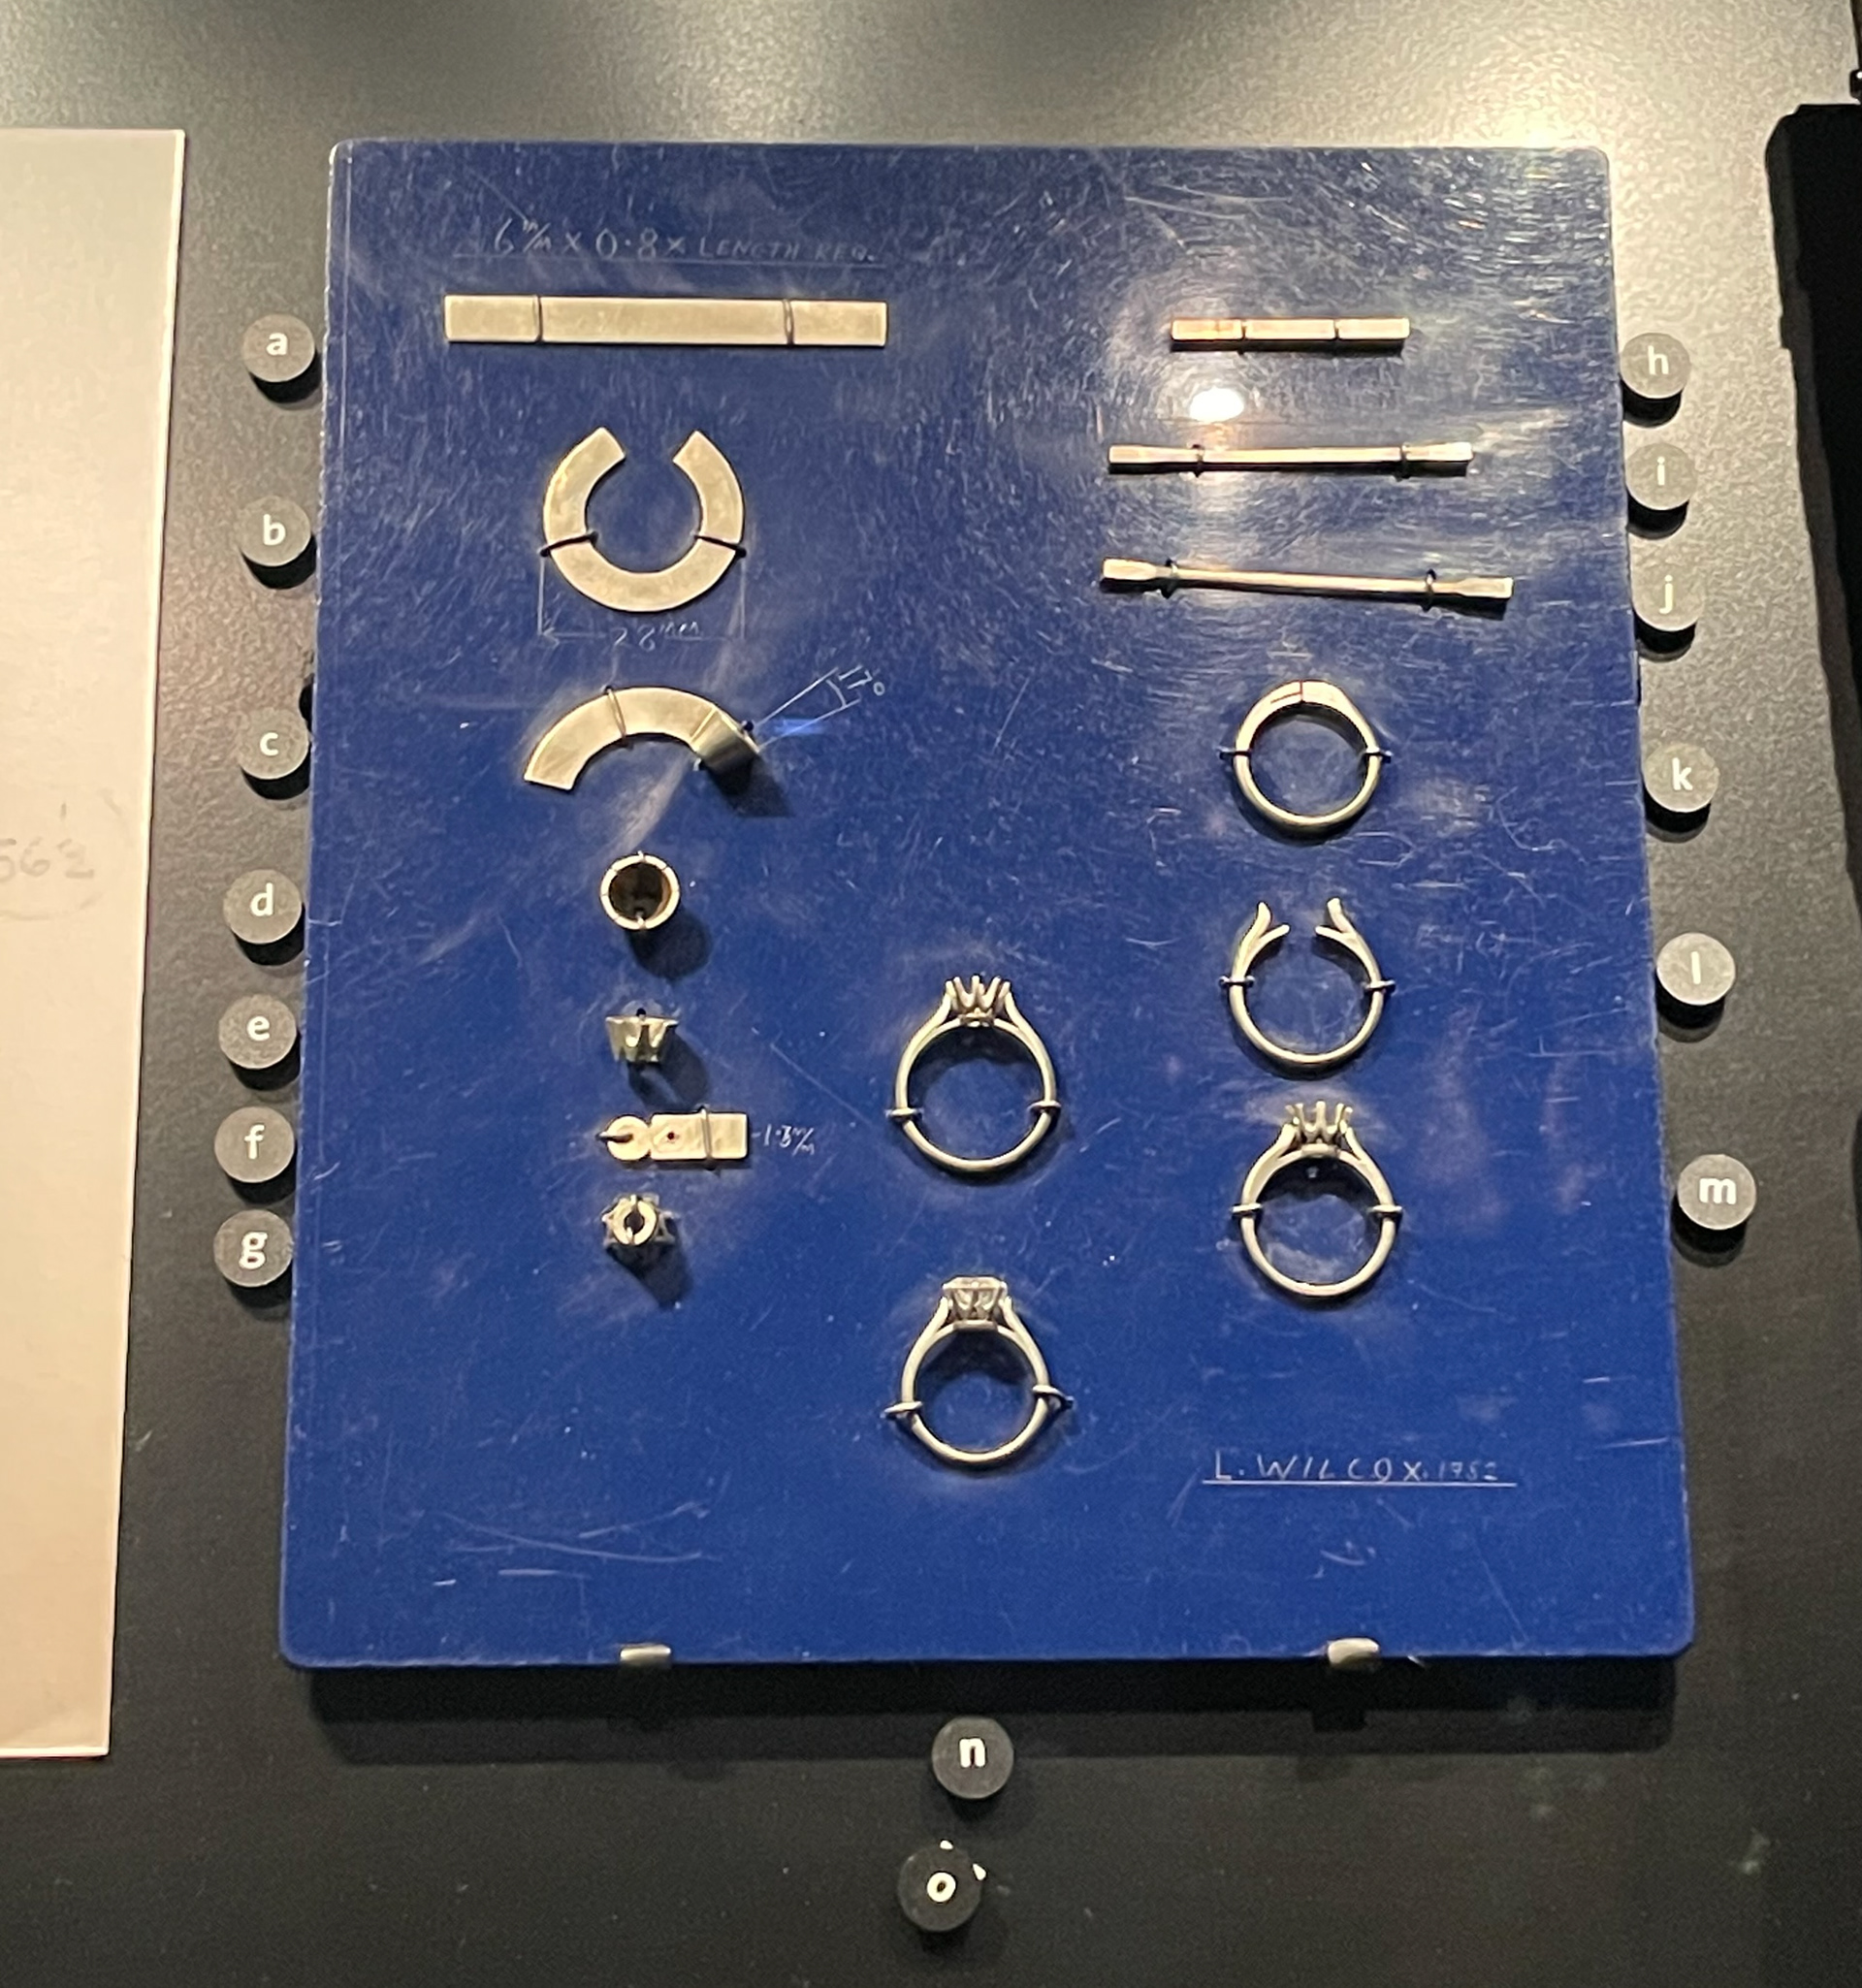
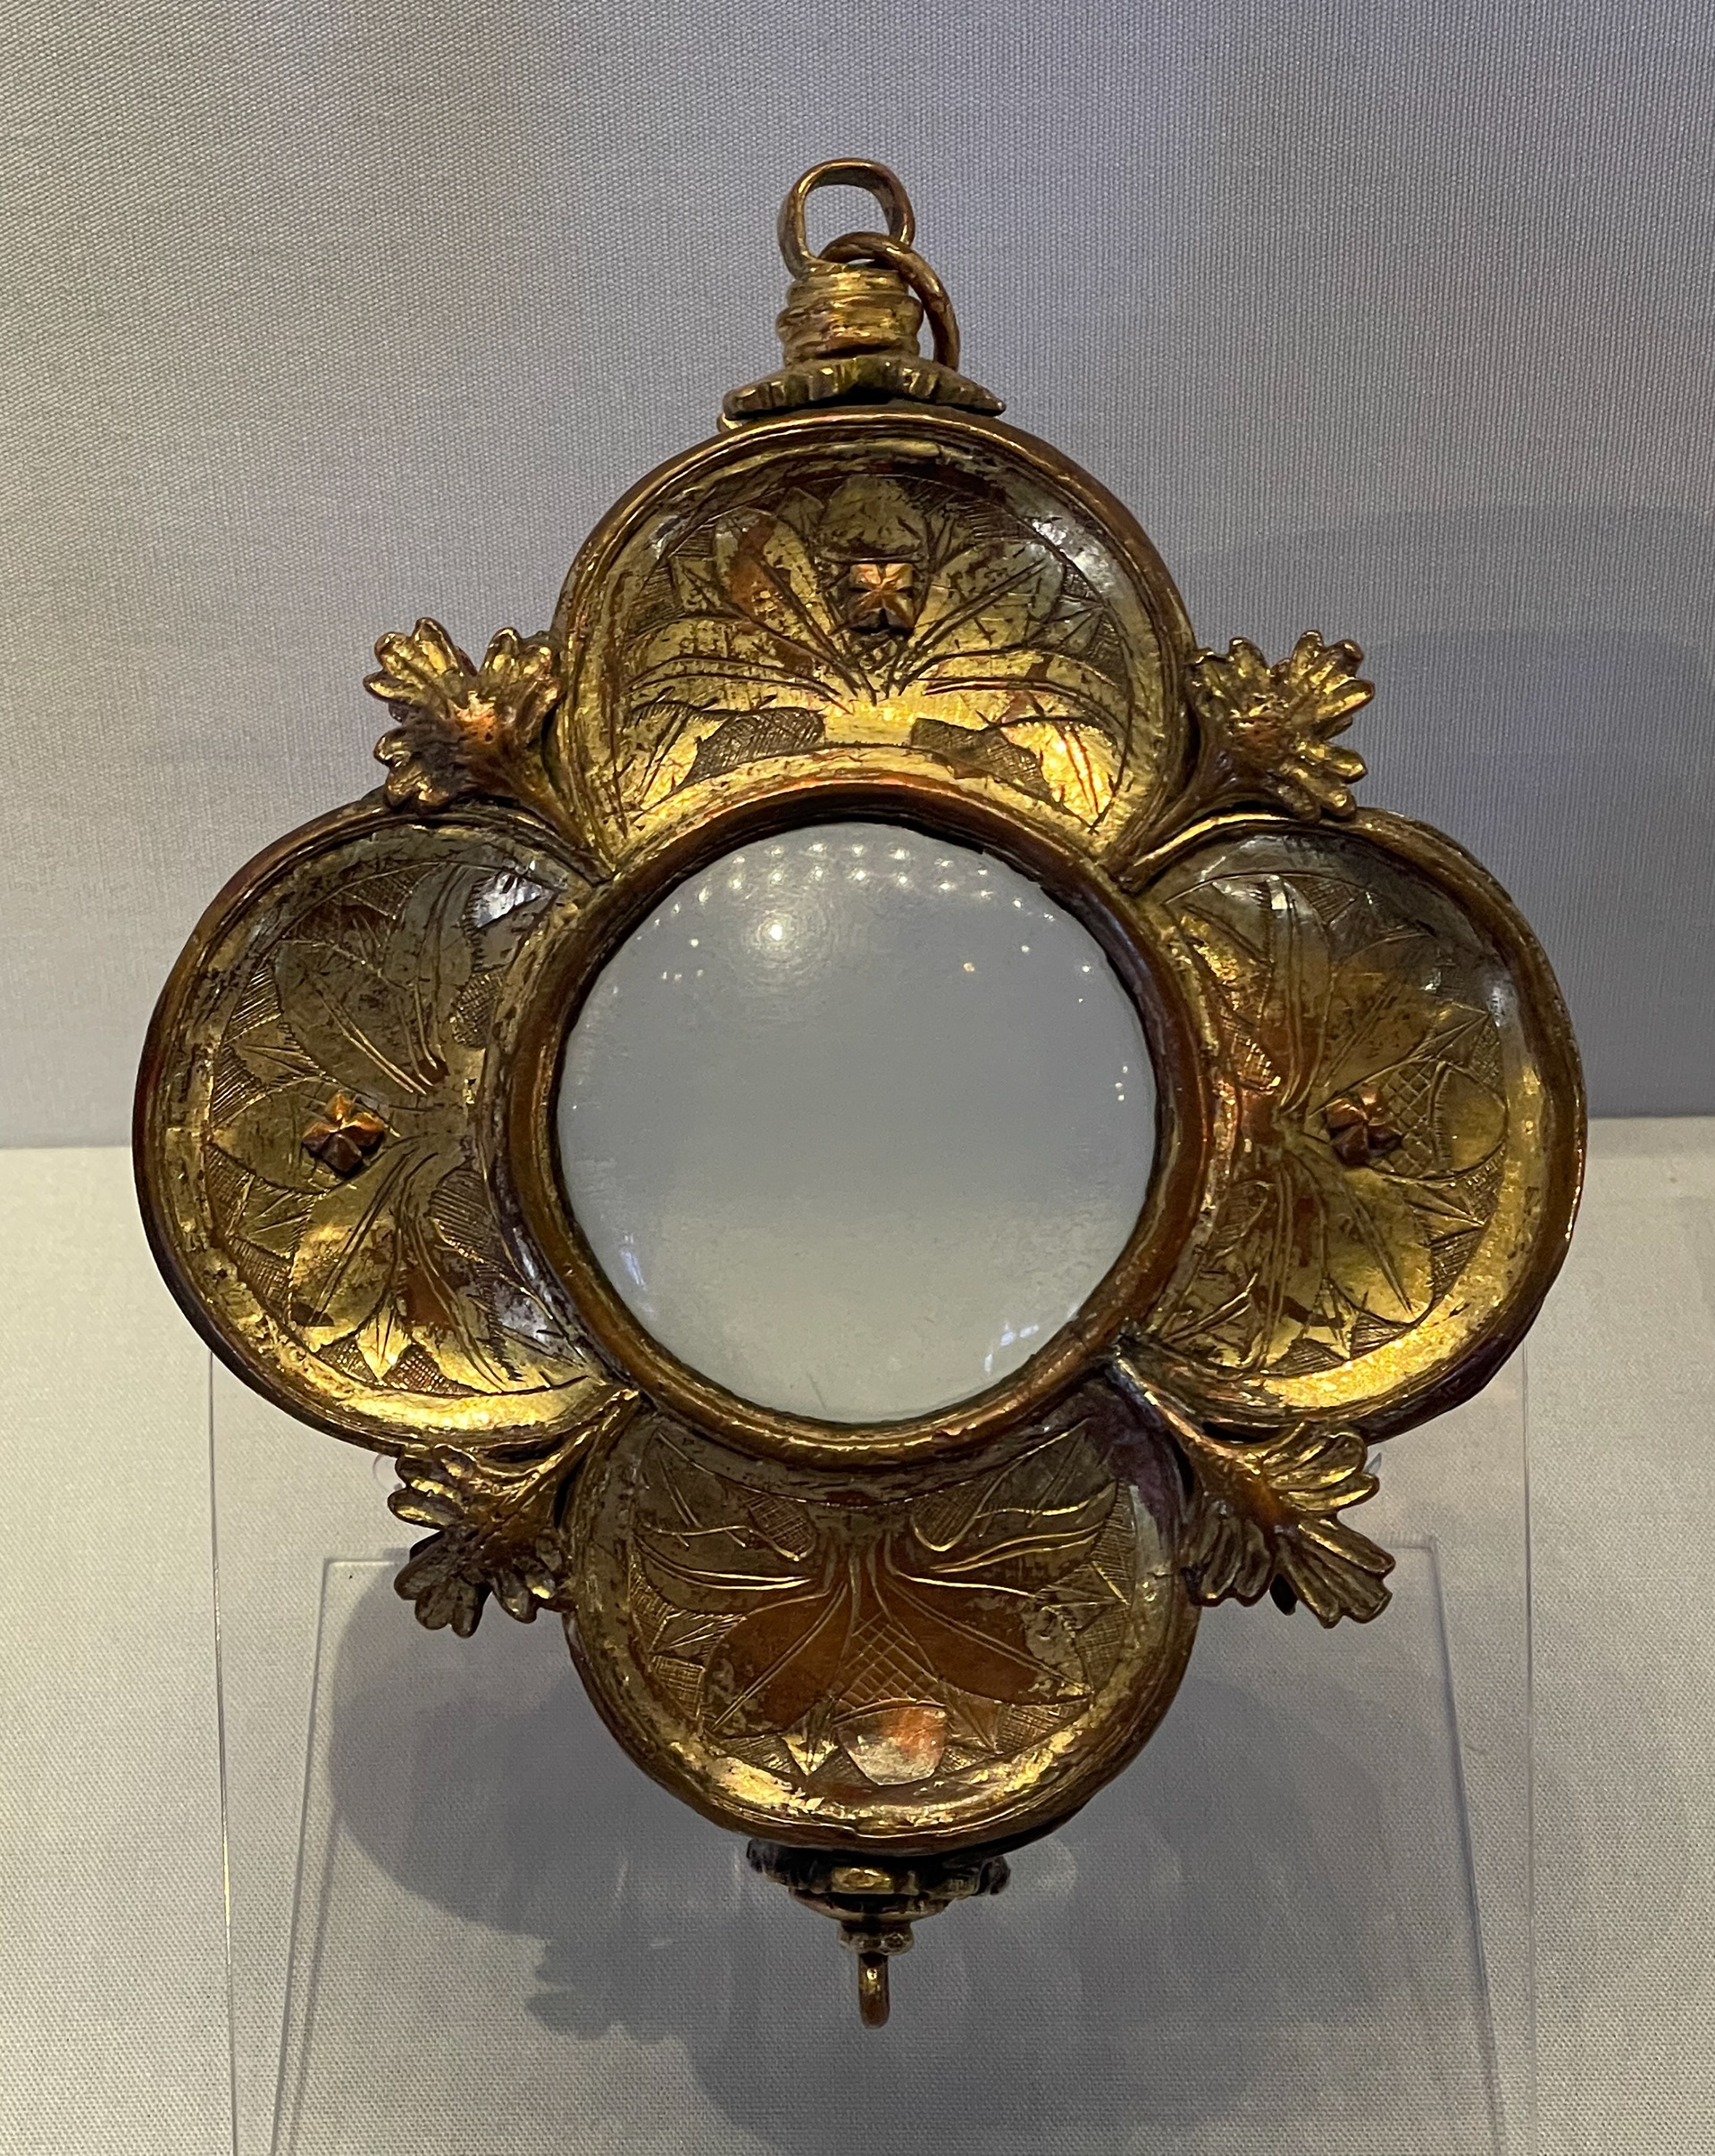
Research - Special Collections
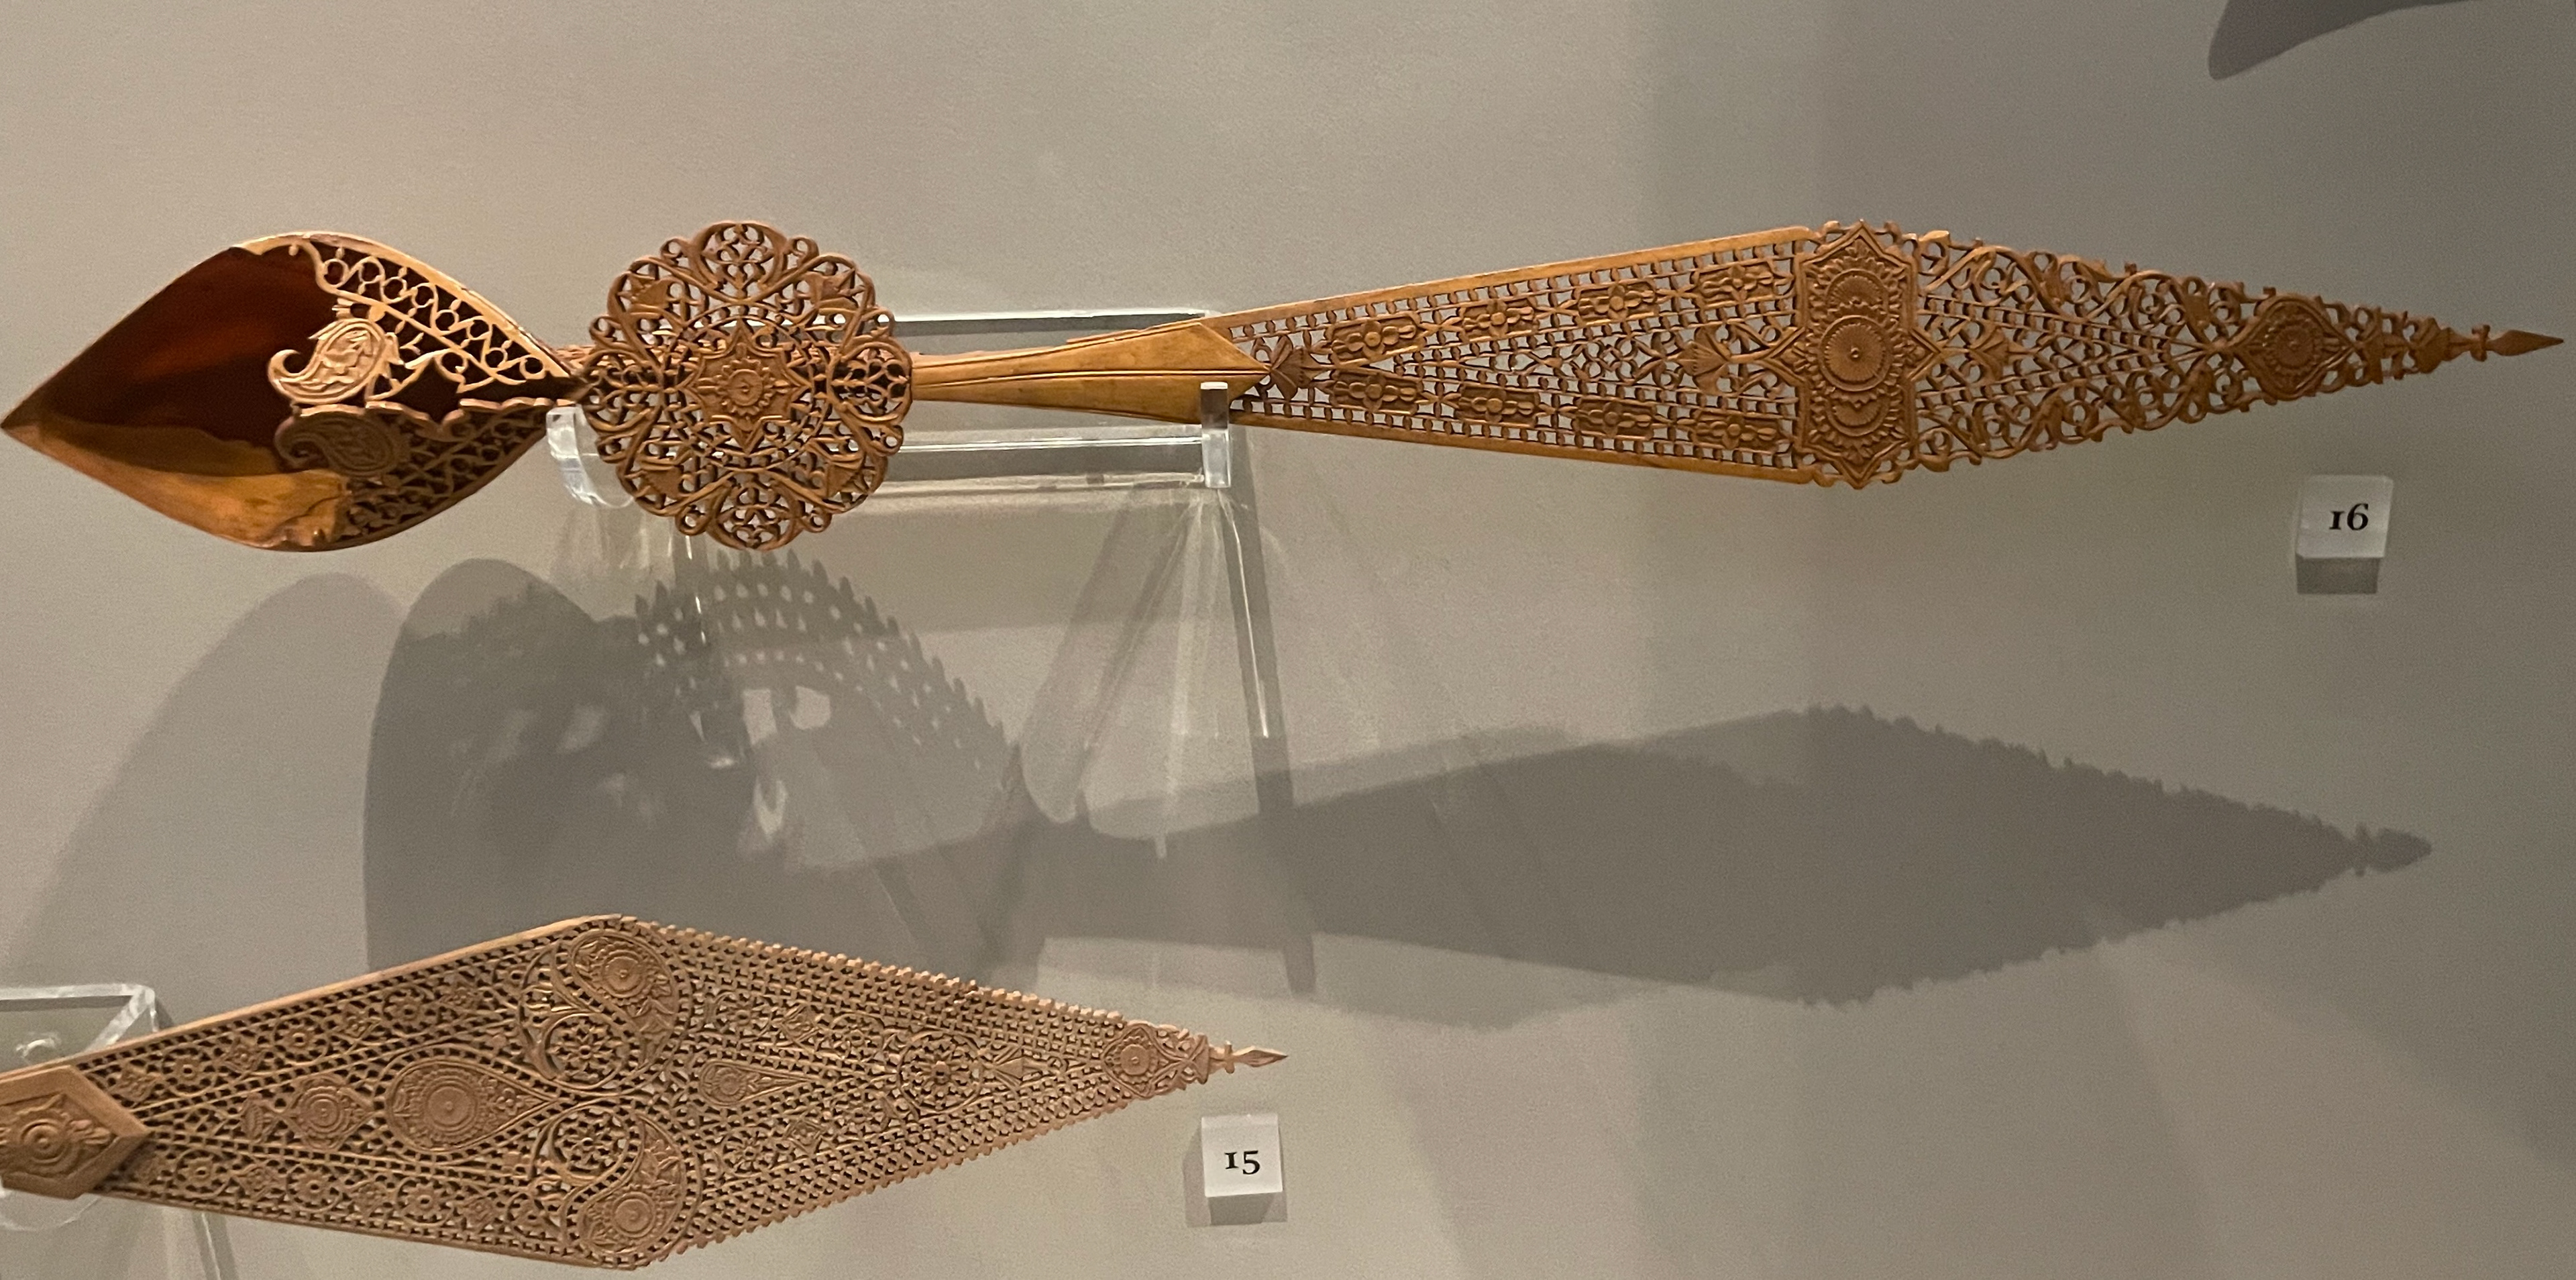
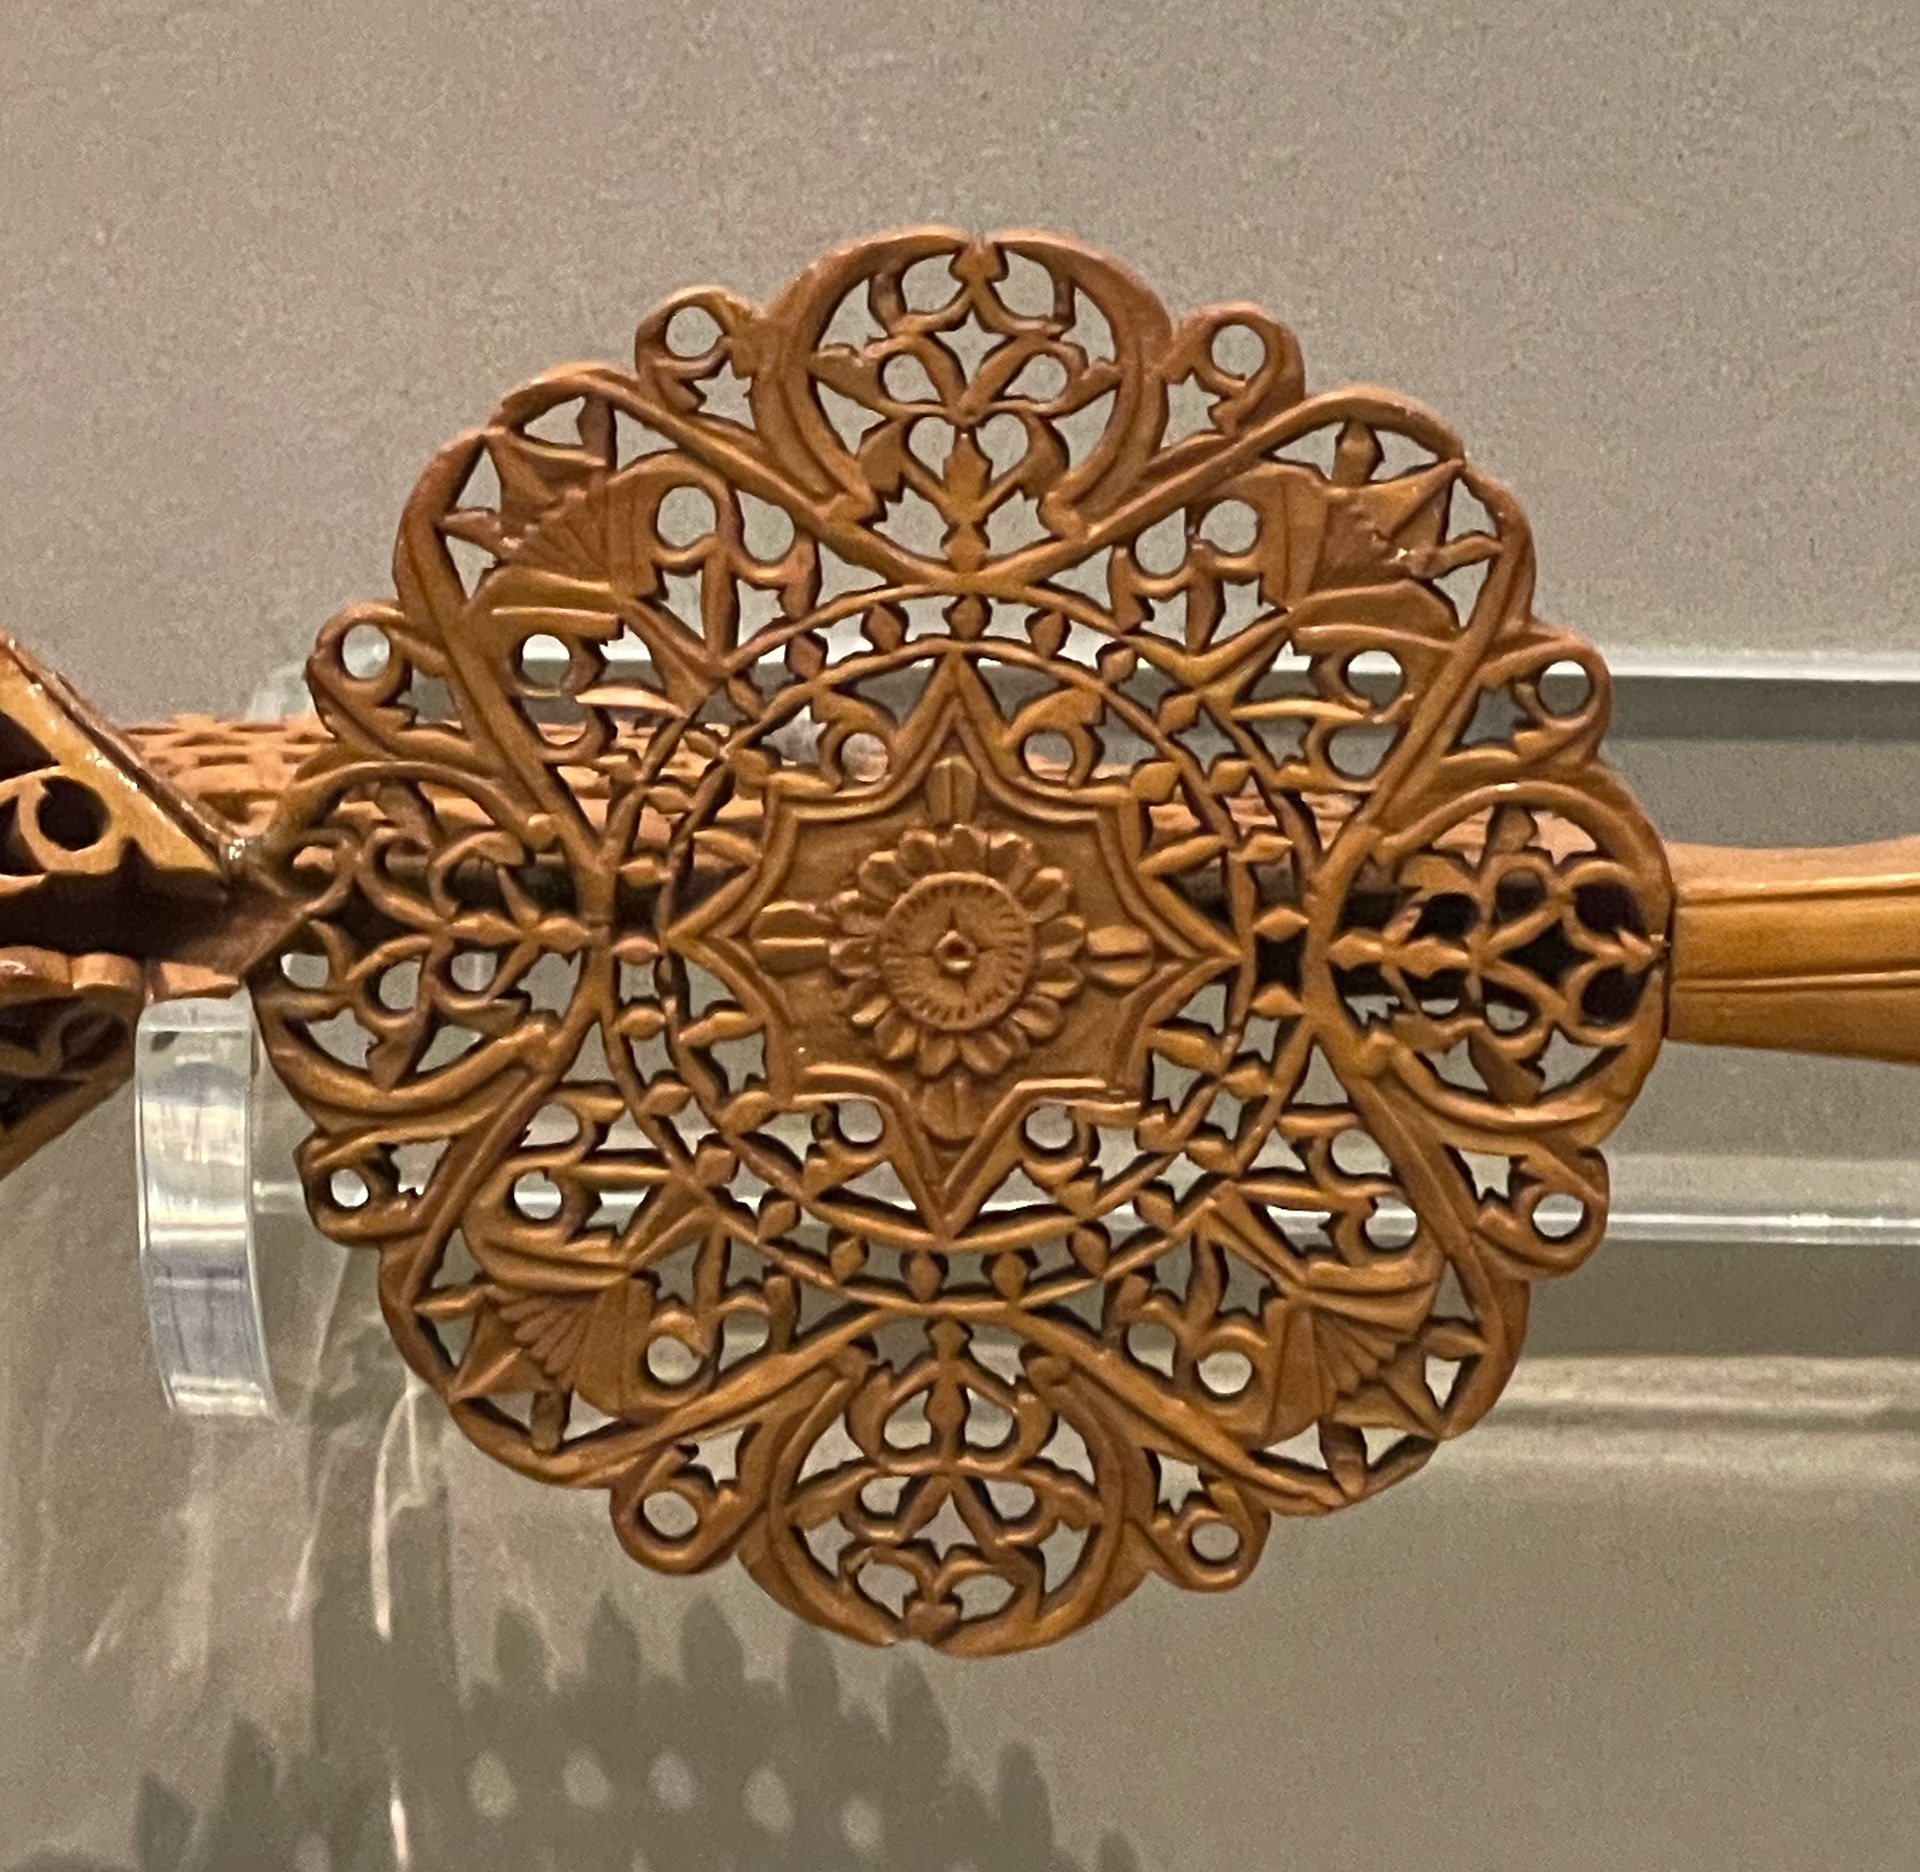
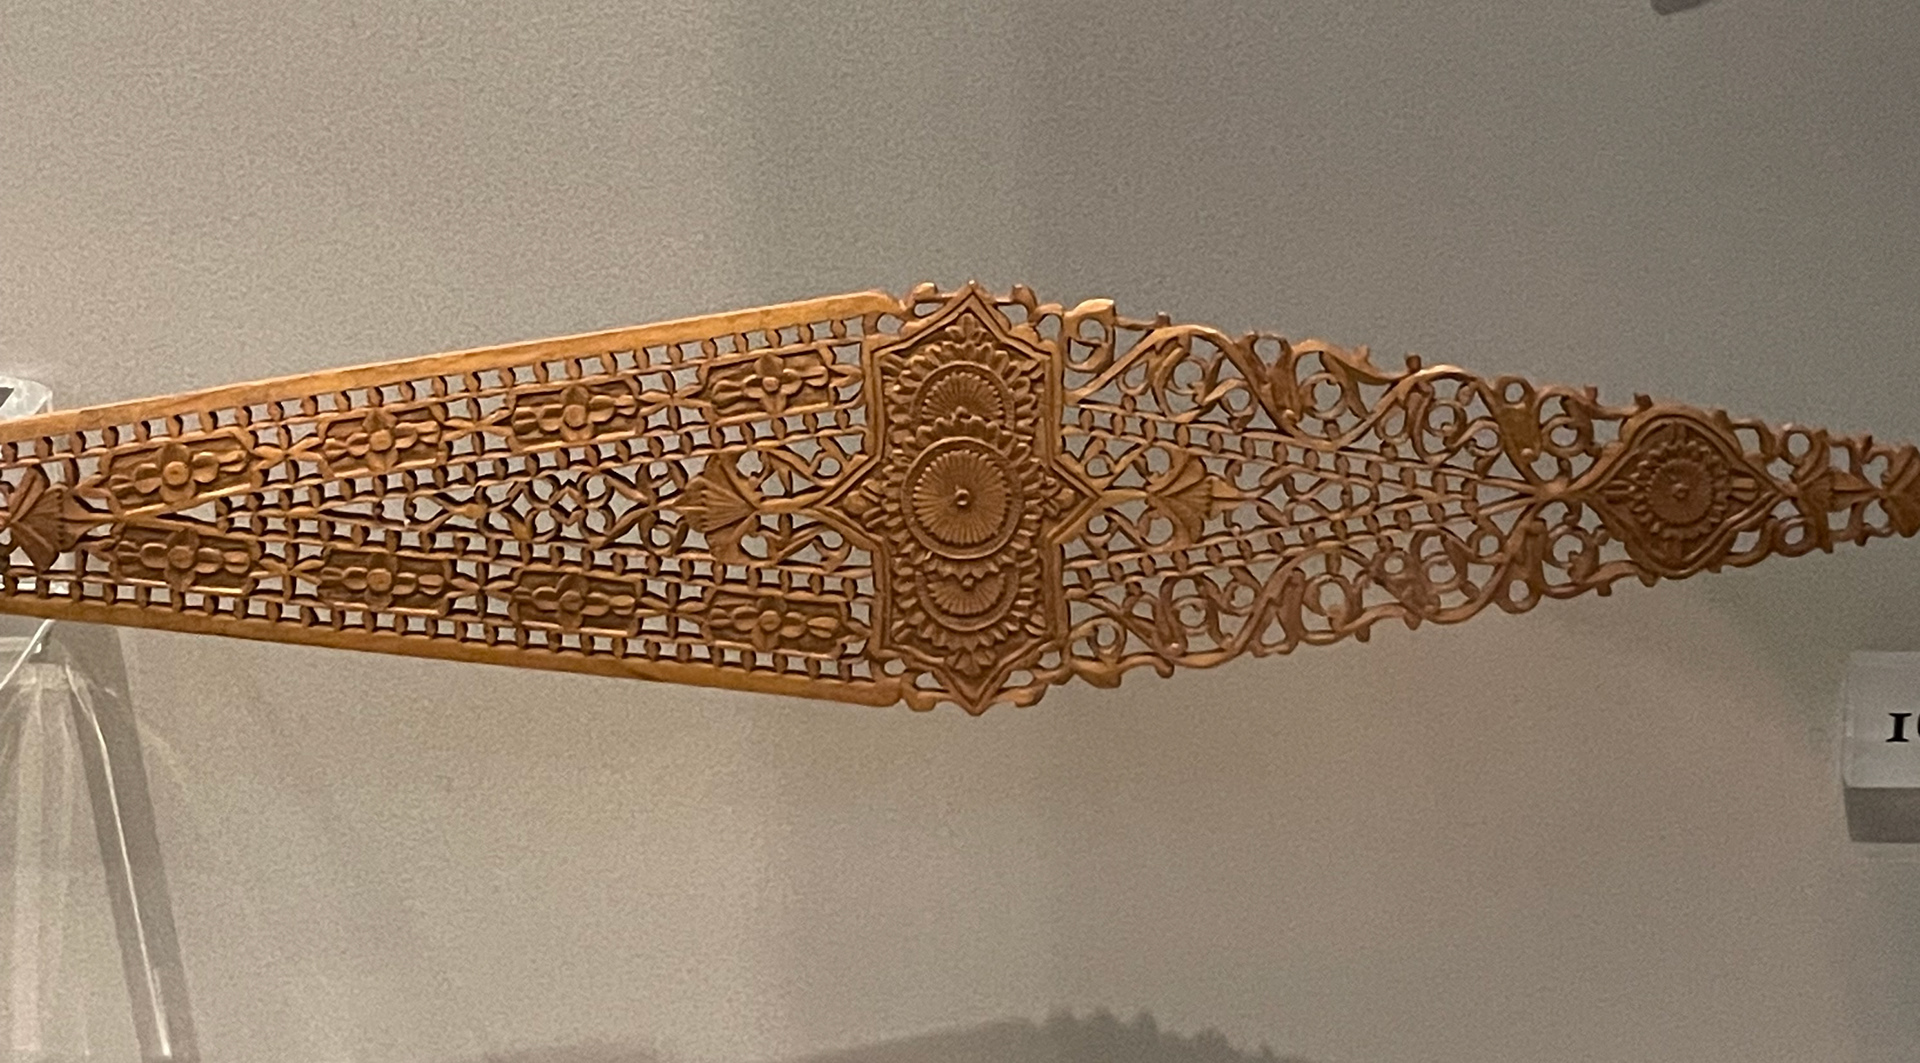
As a part of my research, I went to the Special Collections in the Library and asked them for pieces on Persian crafts, hinges and decorative objects. A variety of objects was brought out for me to look at. These included:
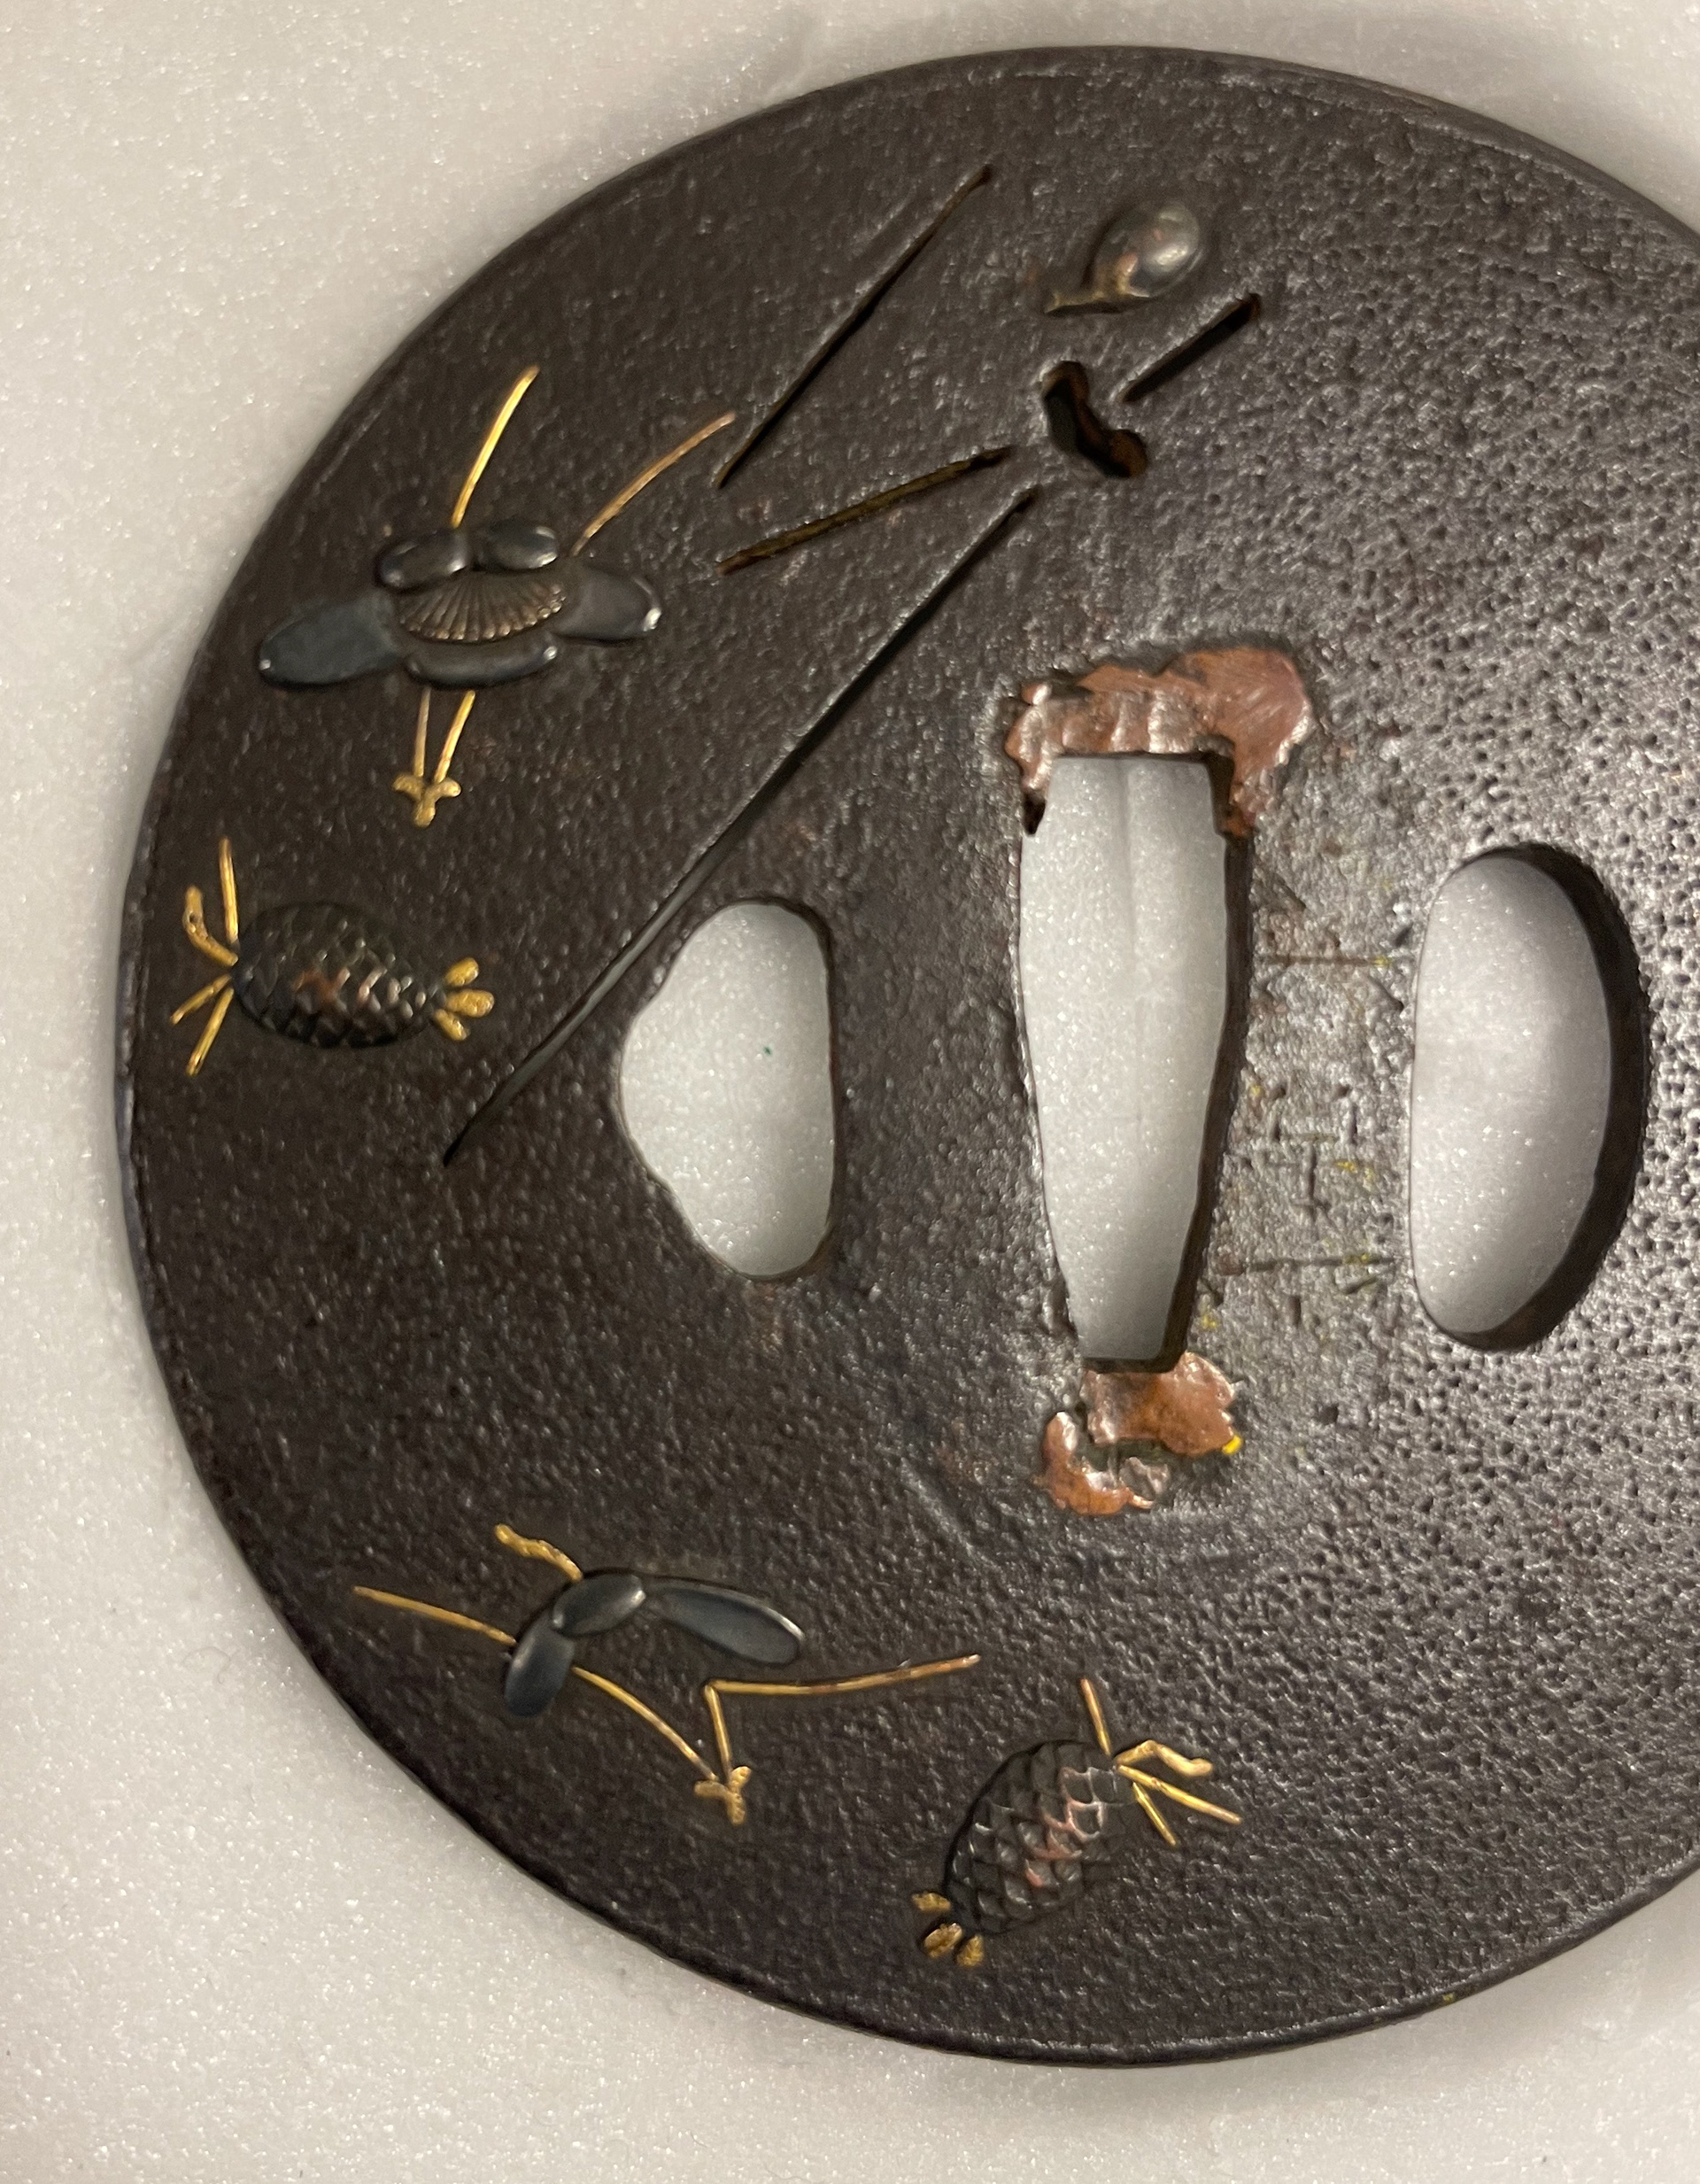
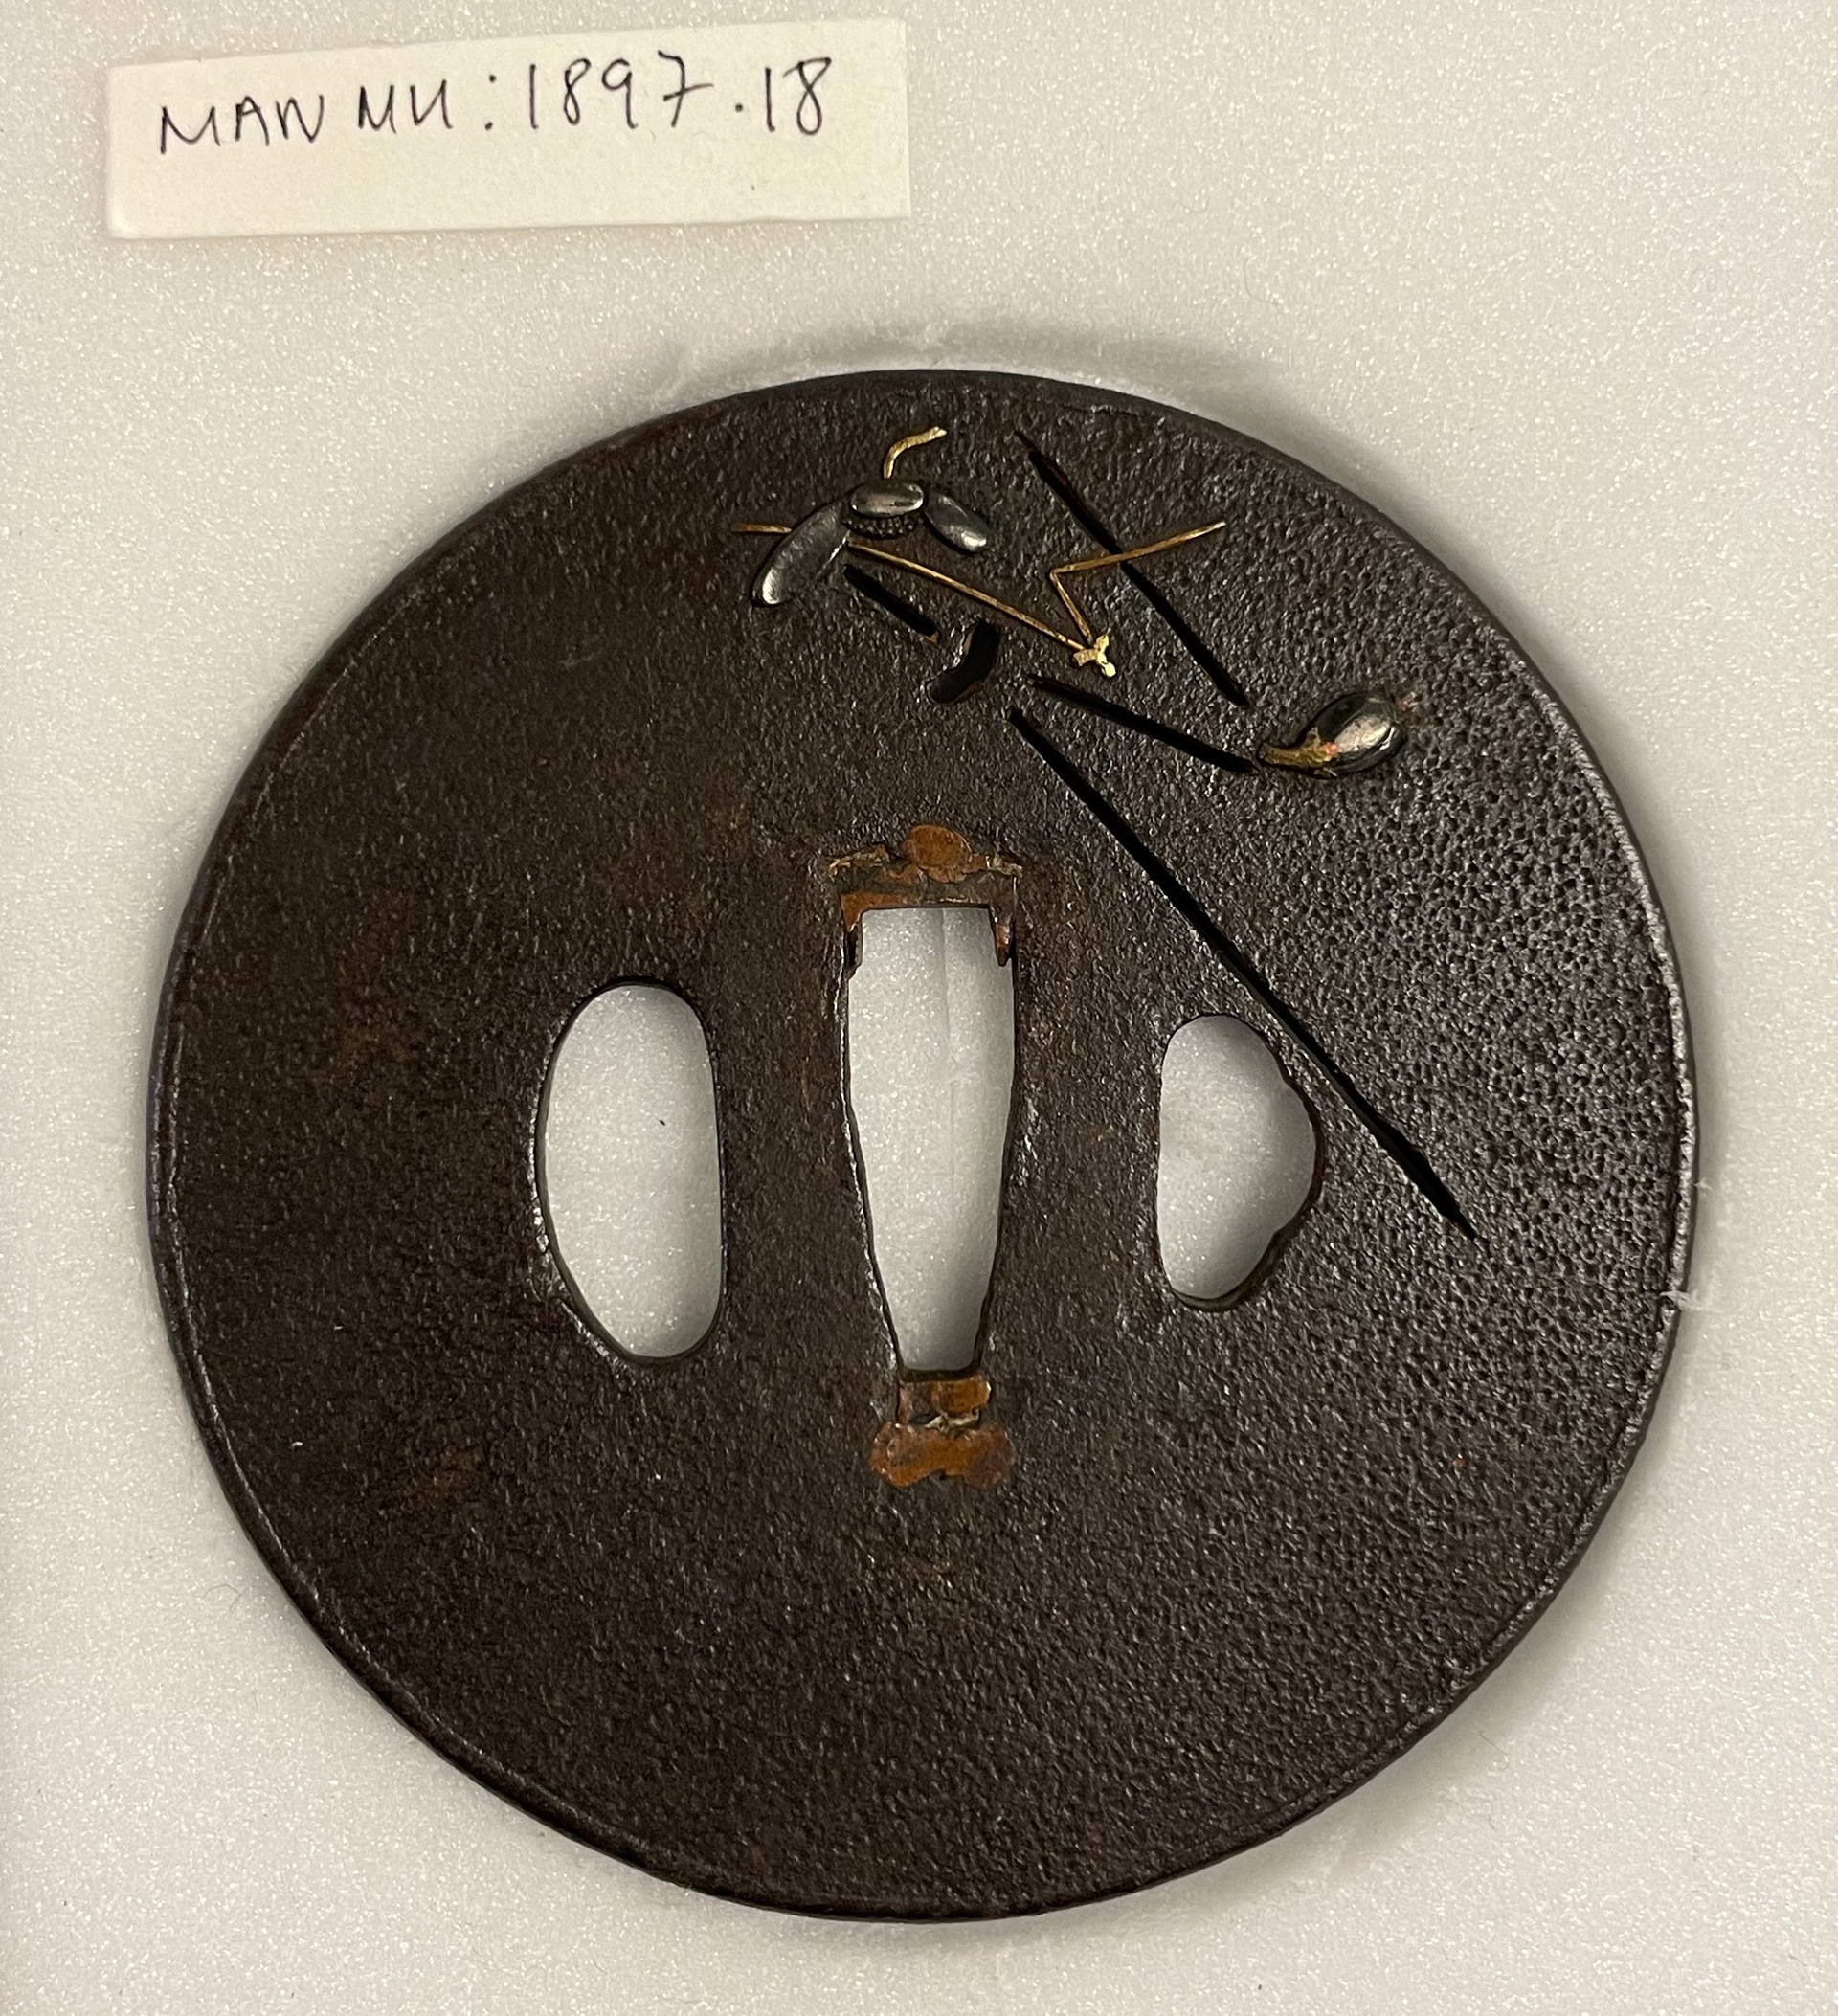
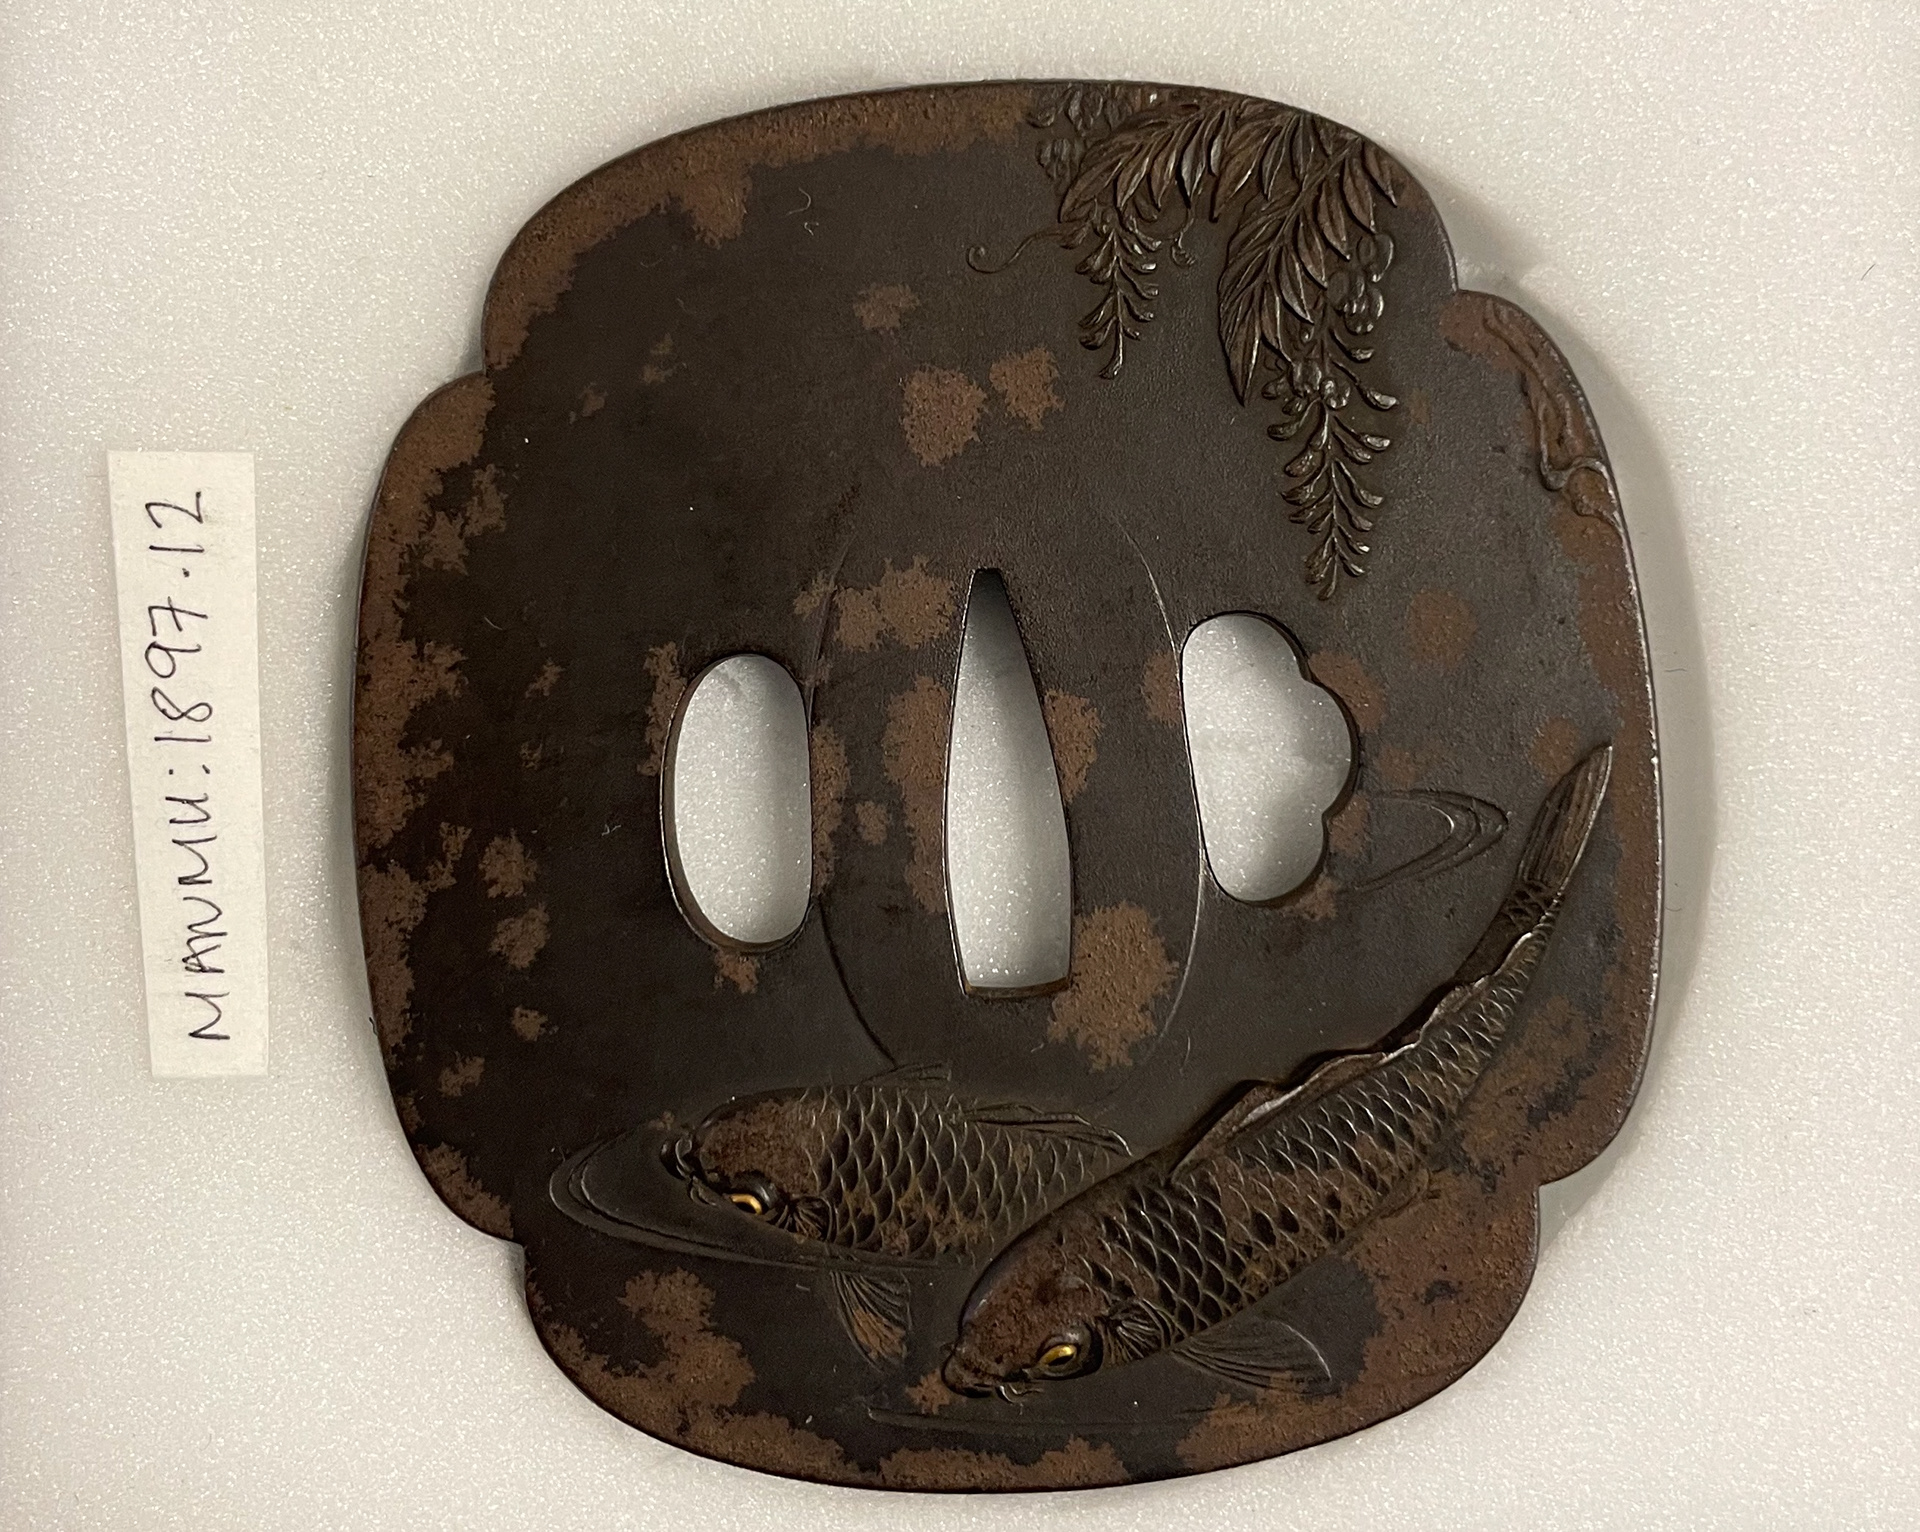
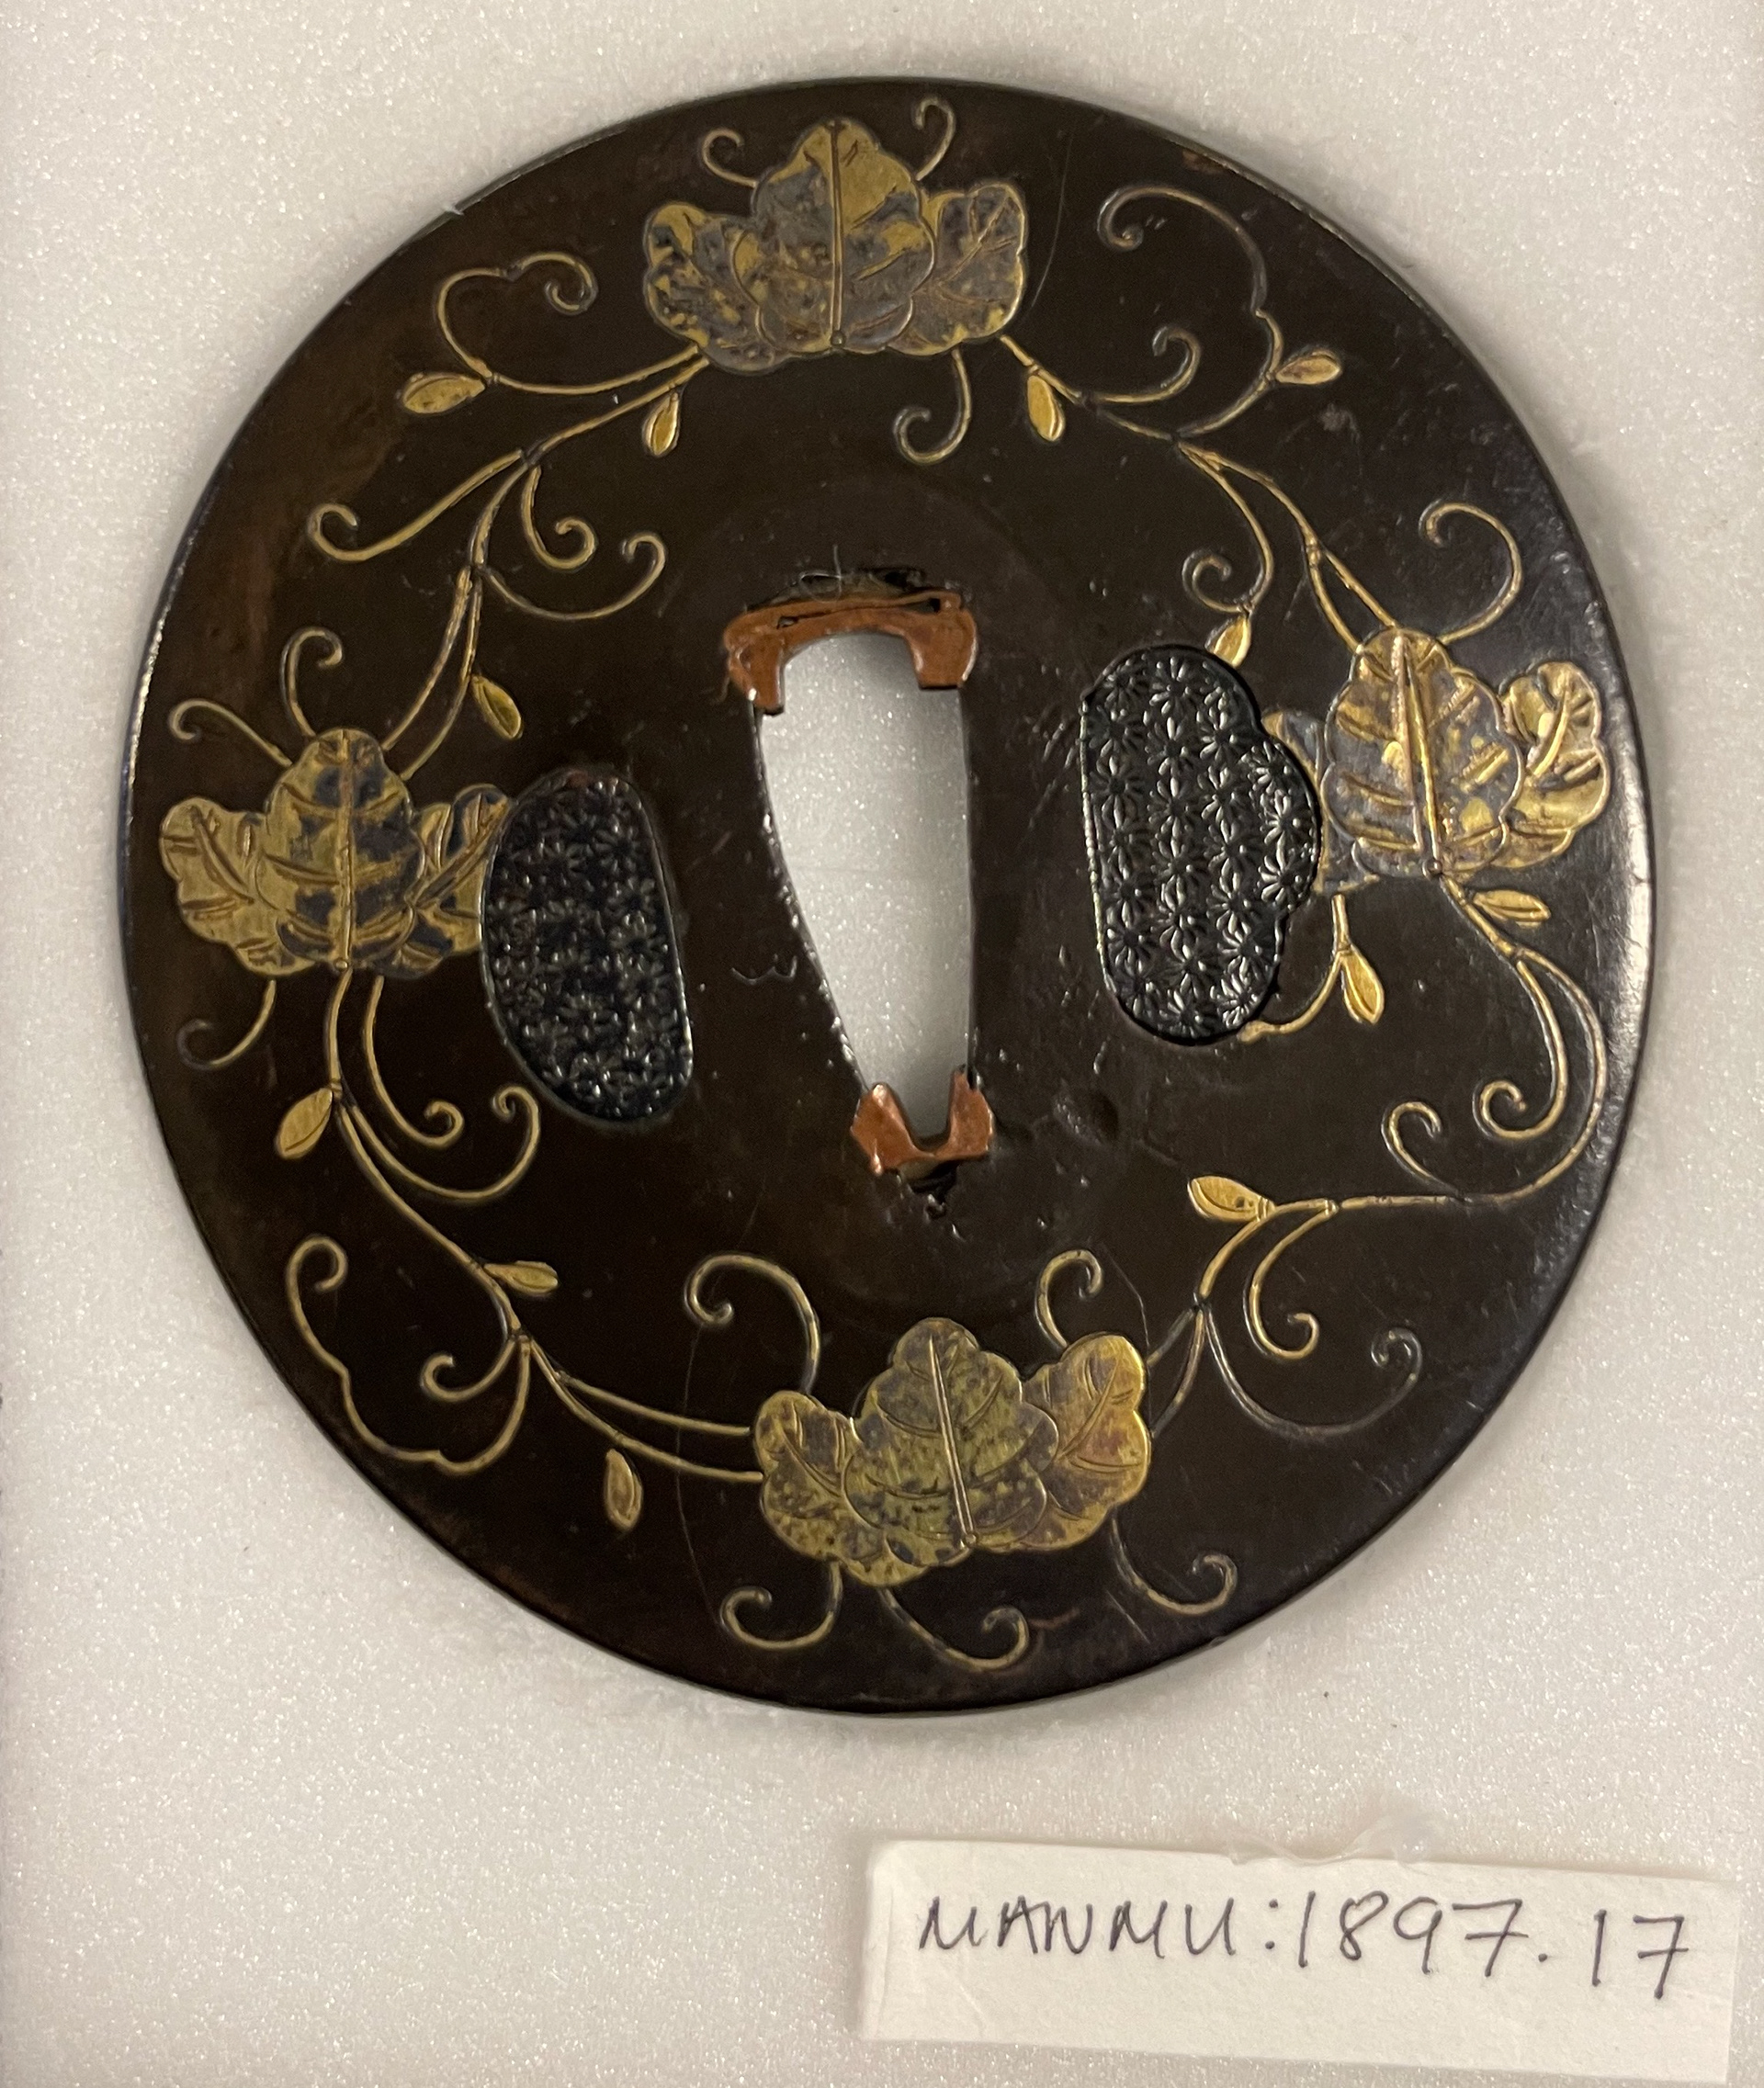
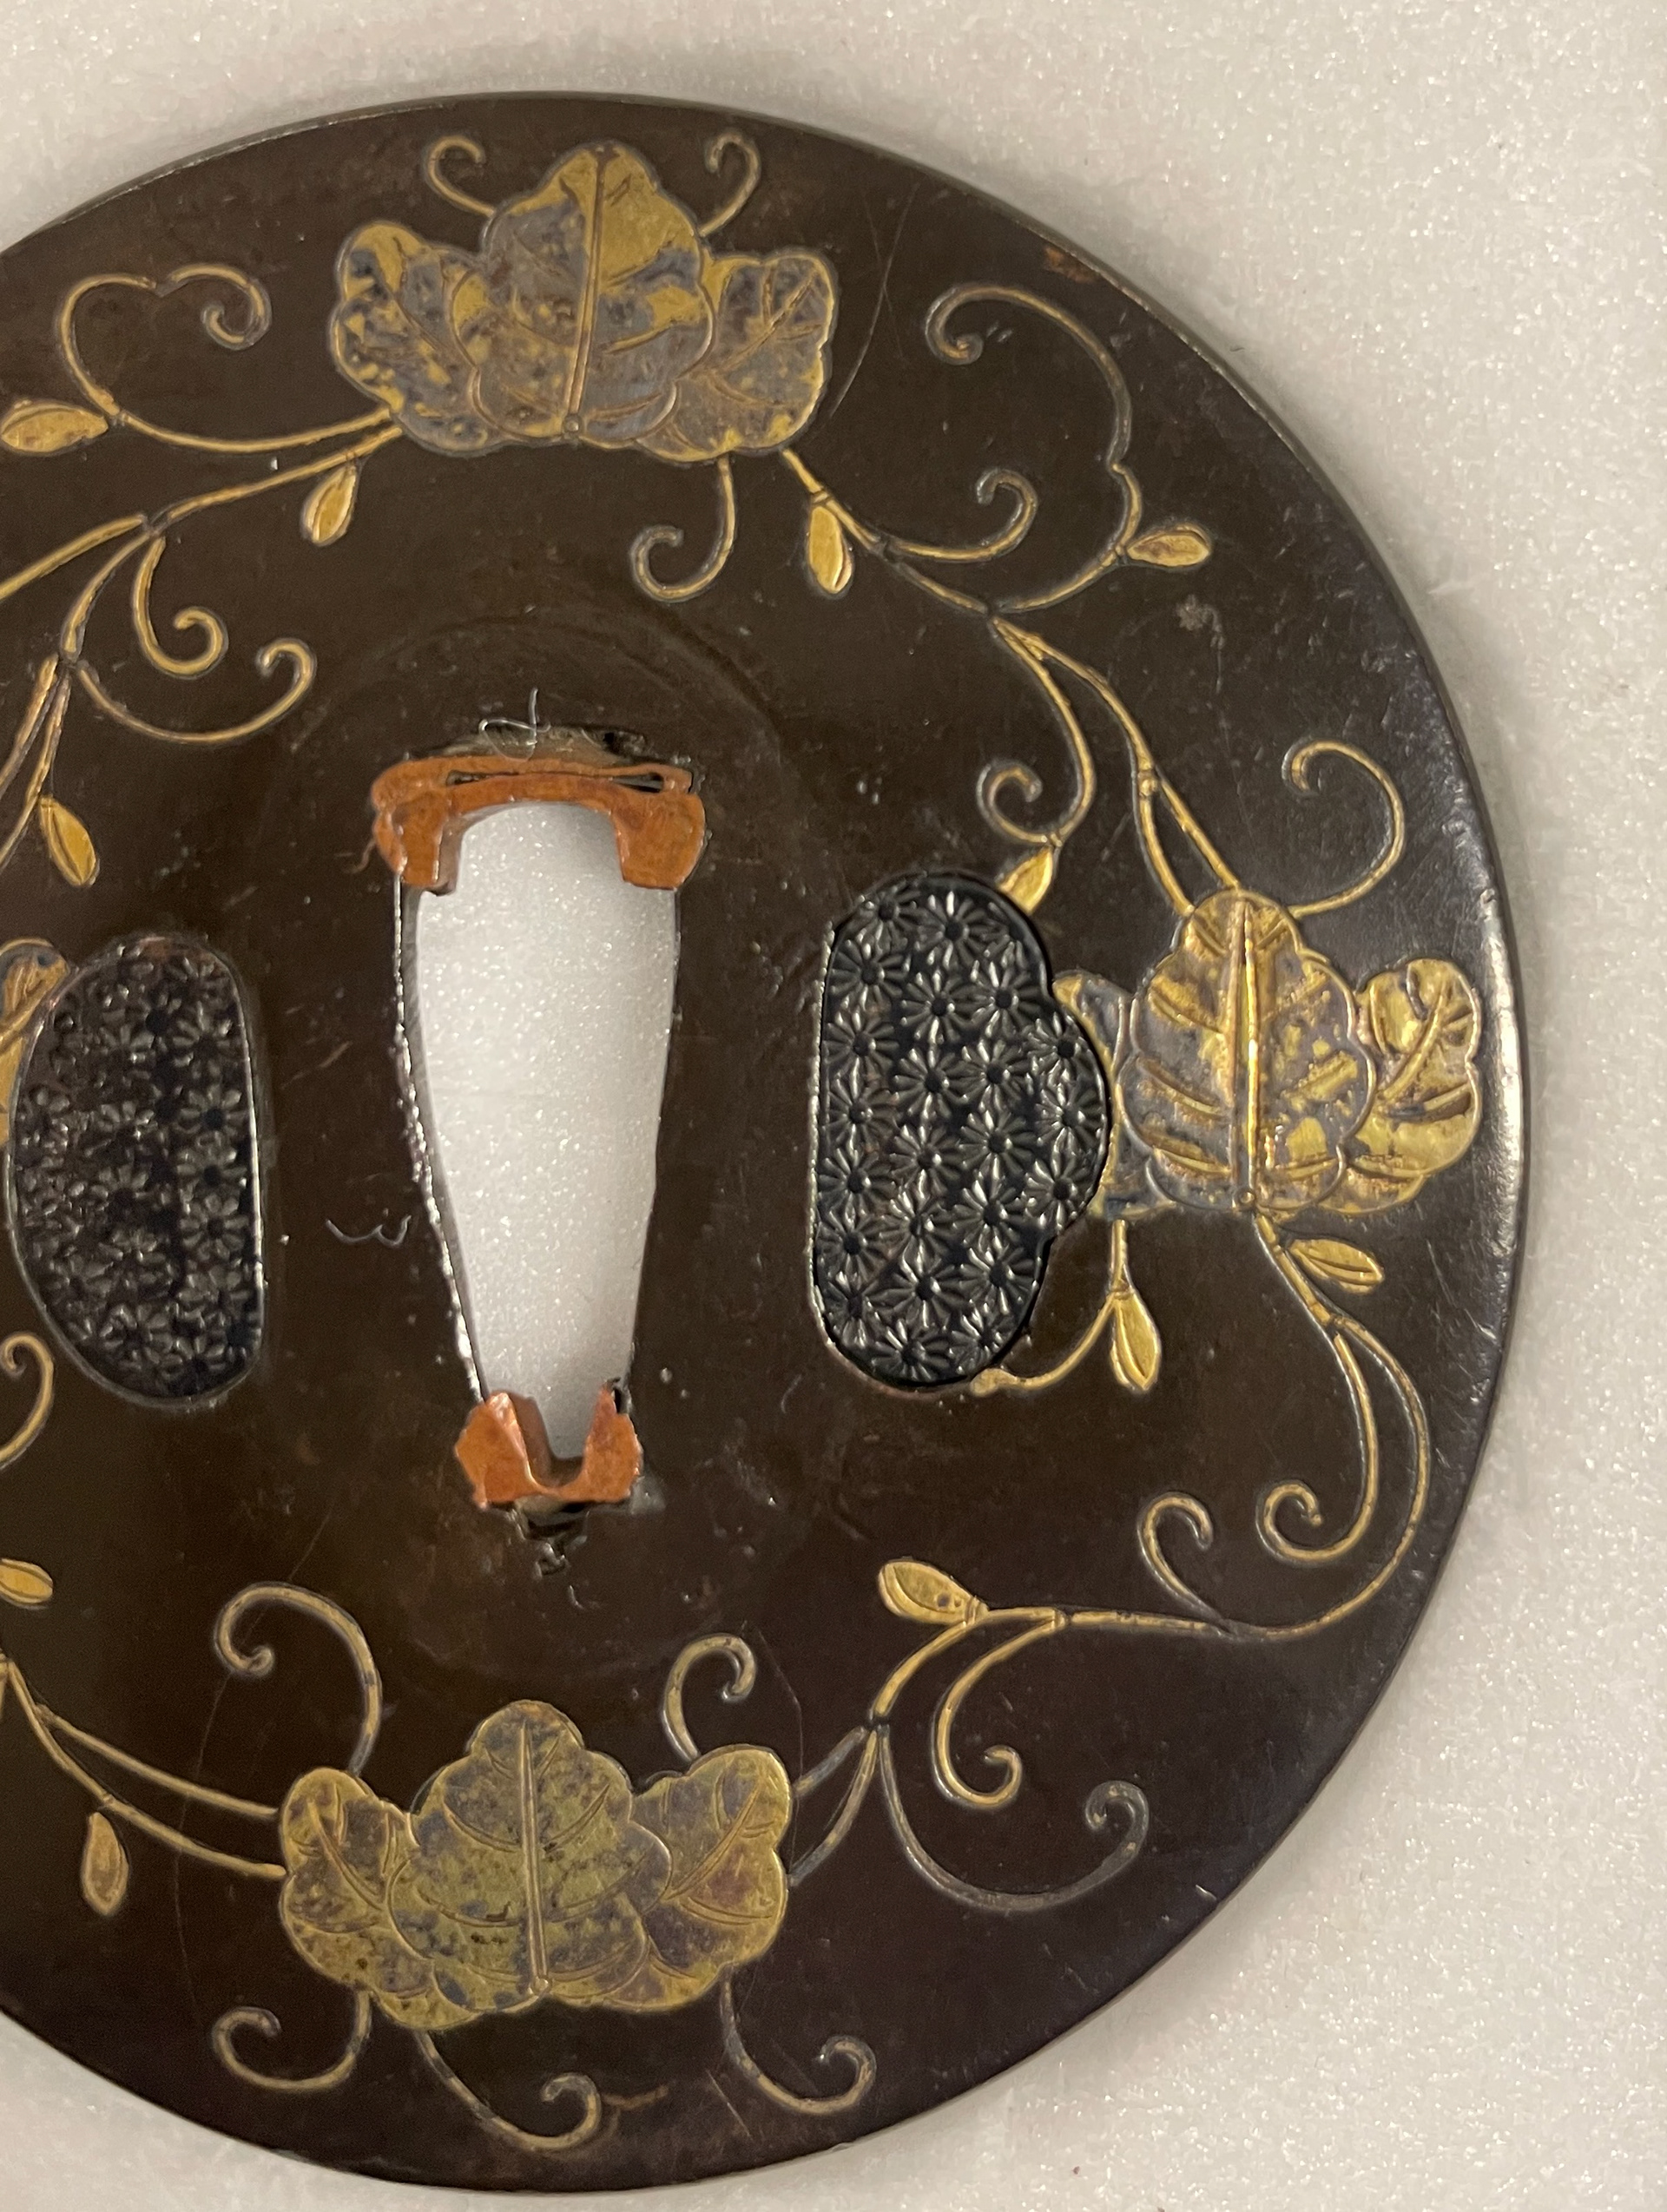
3 iron sword guards (tsuba), Japanese
MANMU: 1897.12, MANMU: 1897.17, MANMU: 1897.18
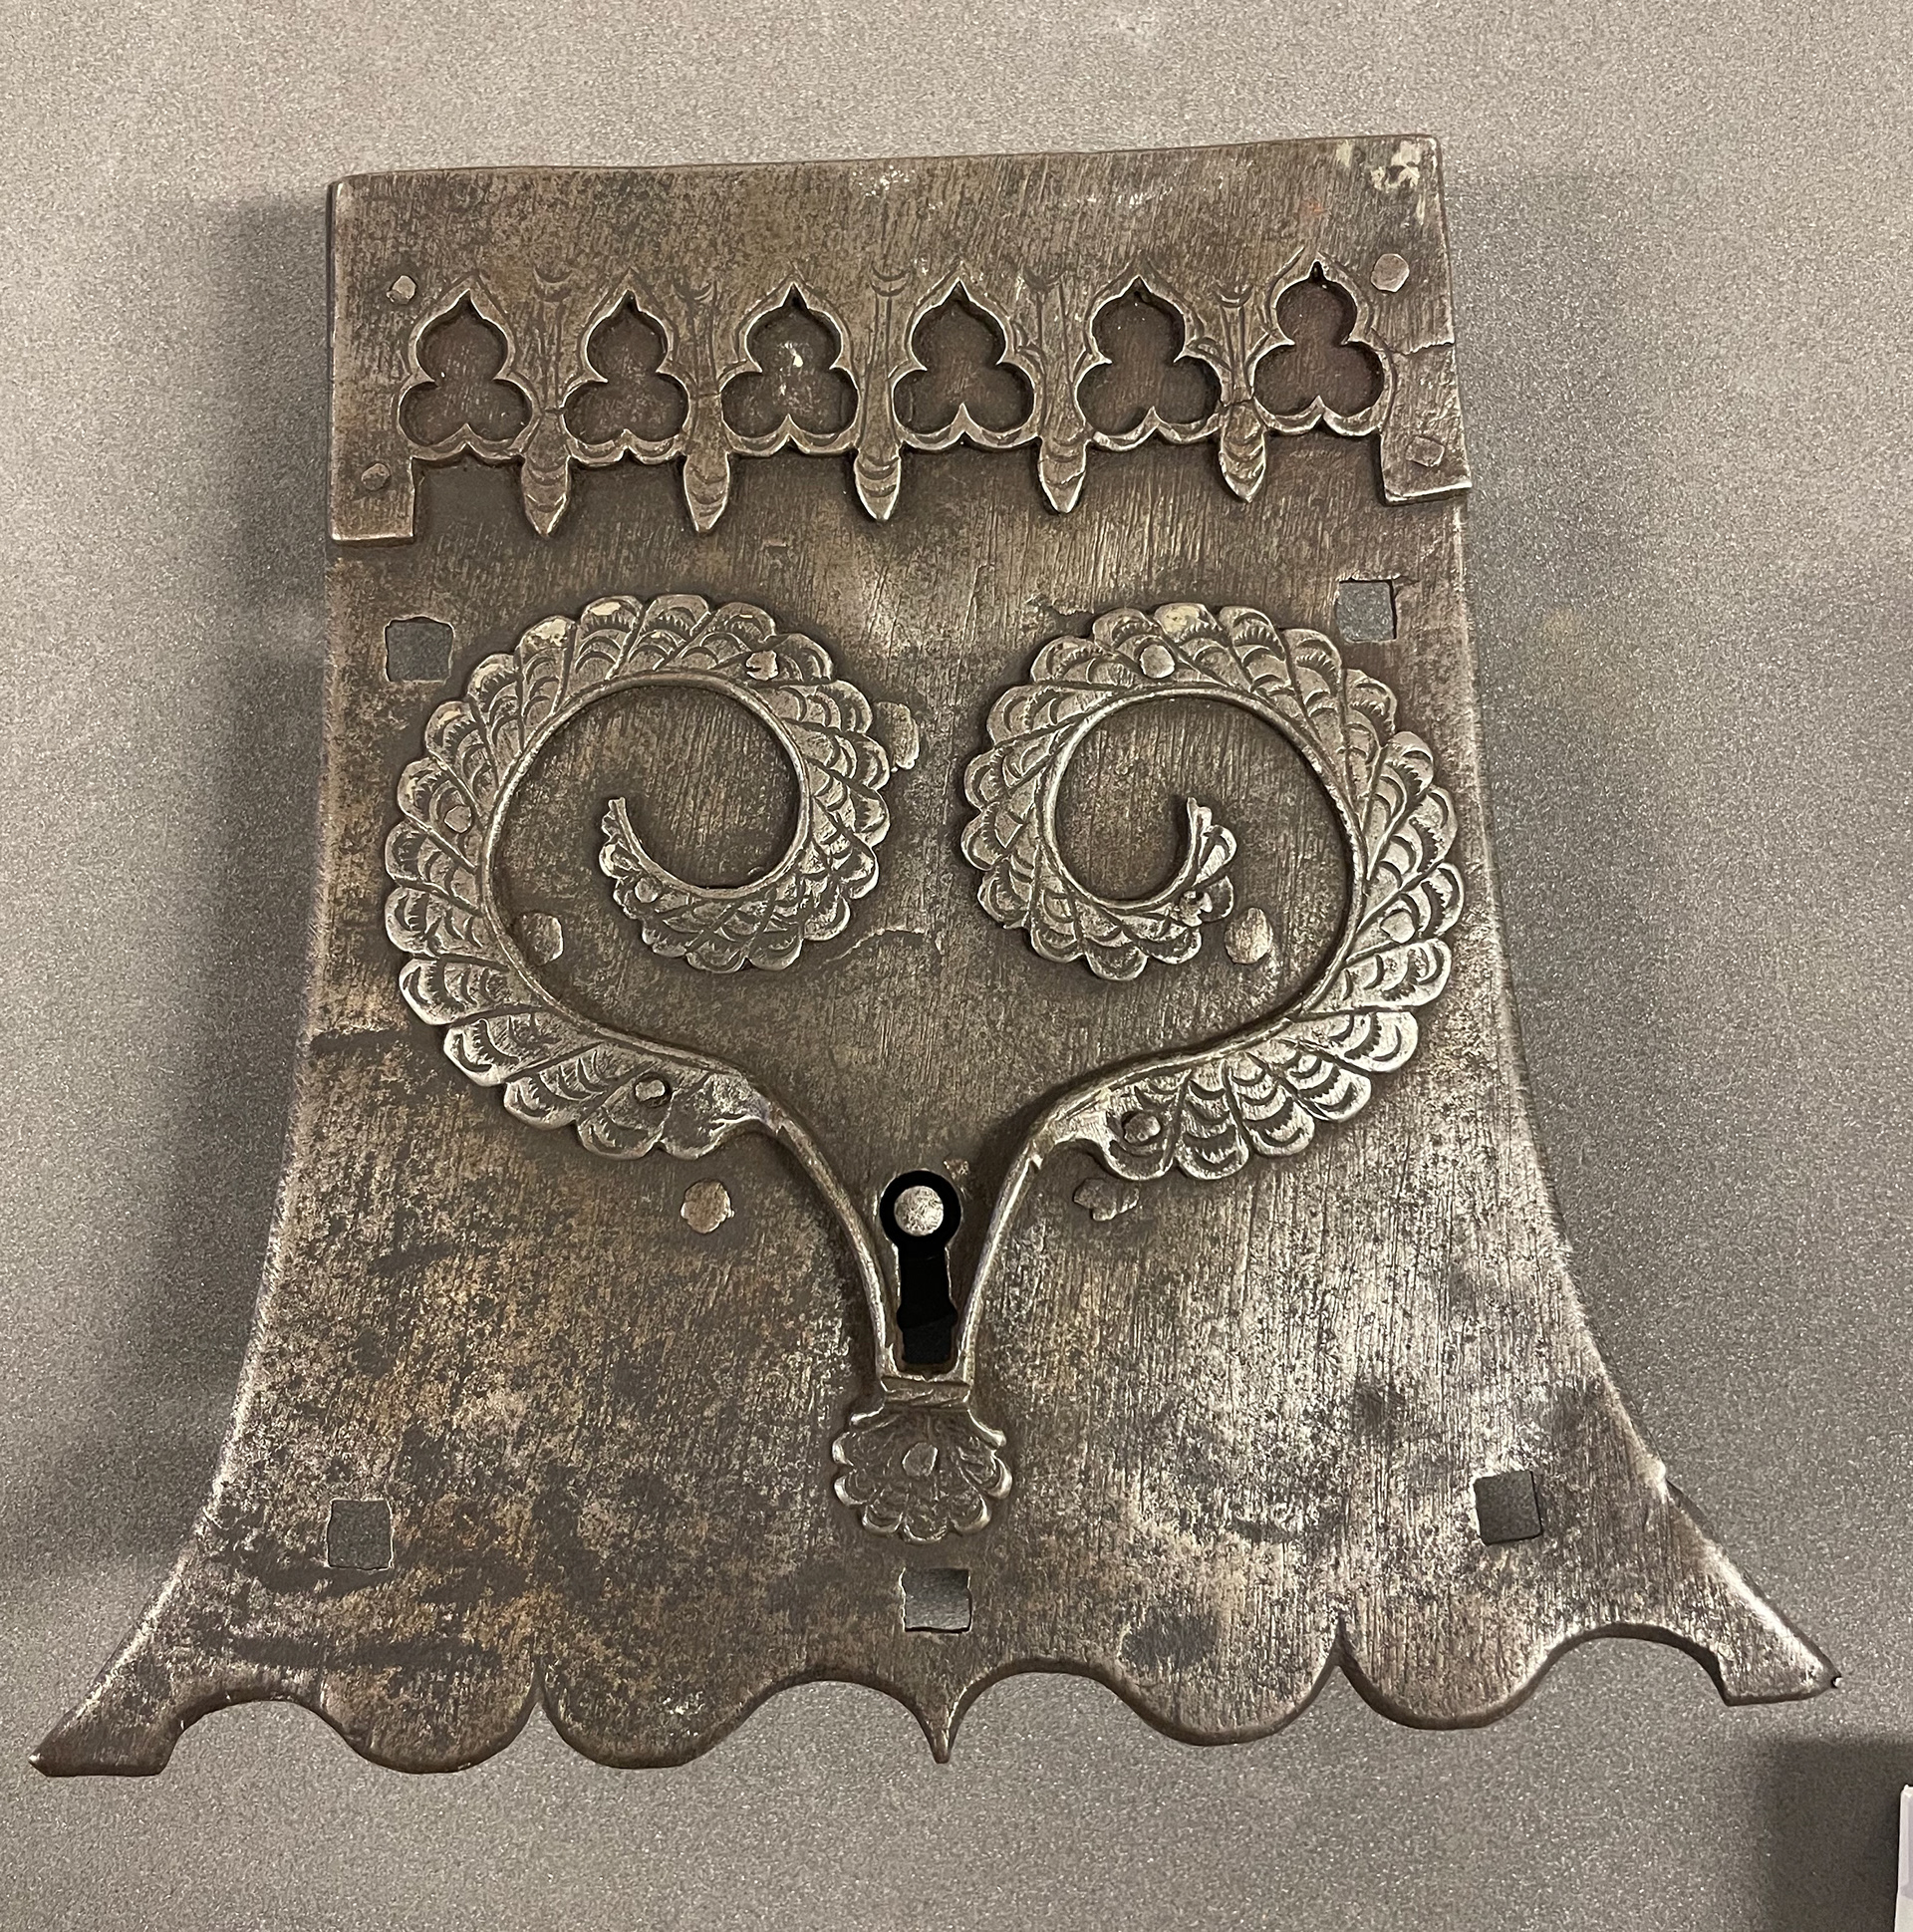
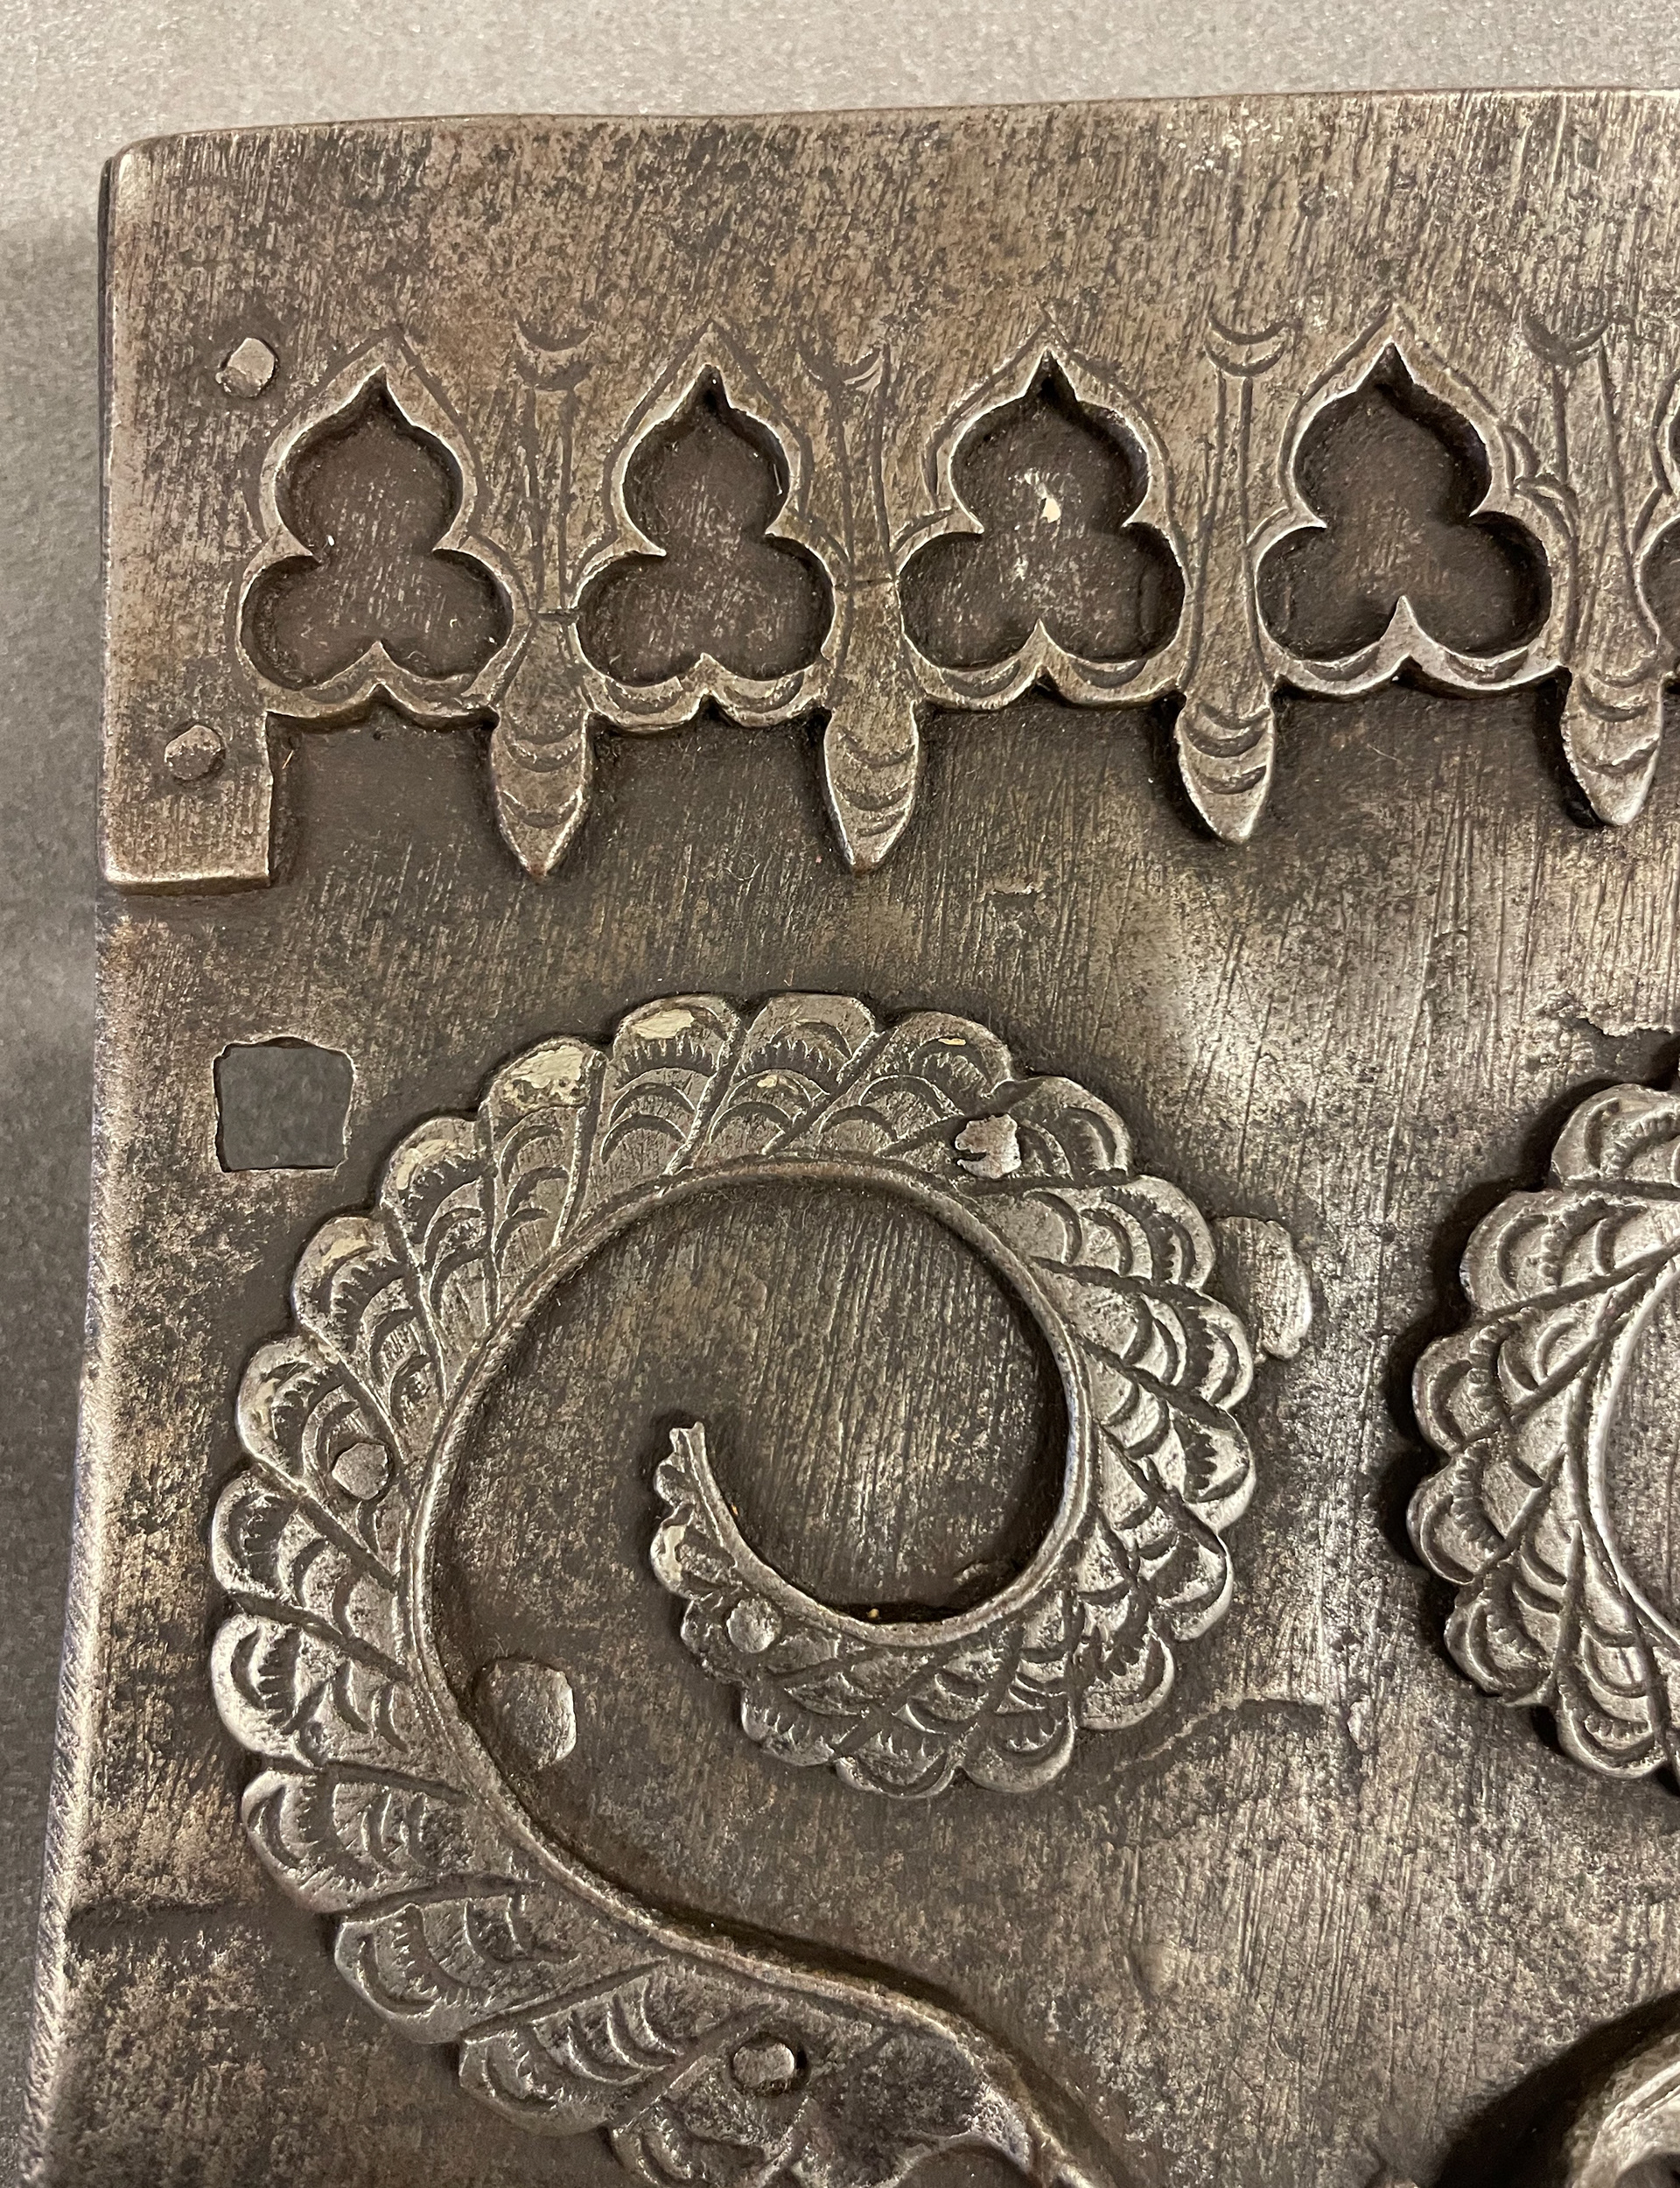
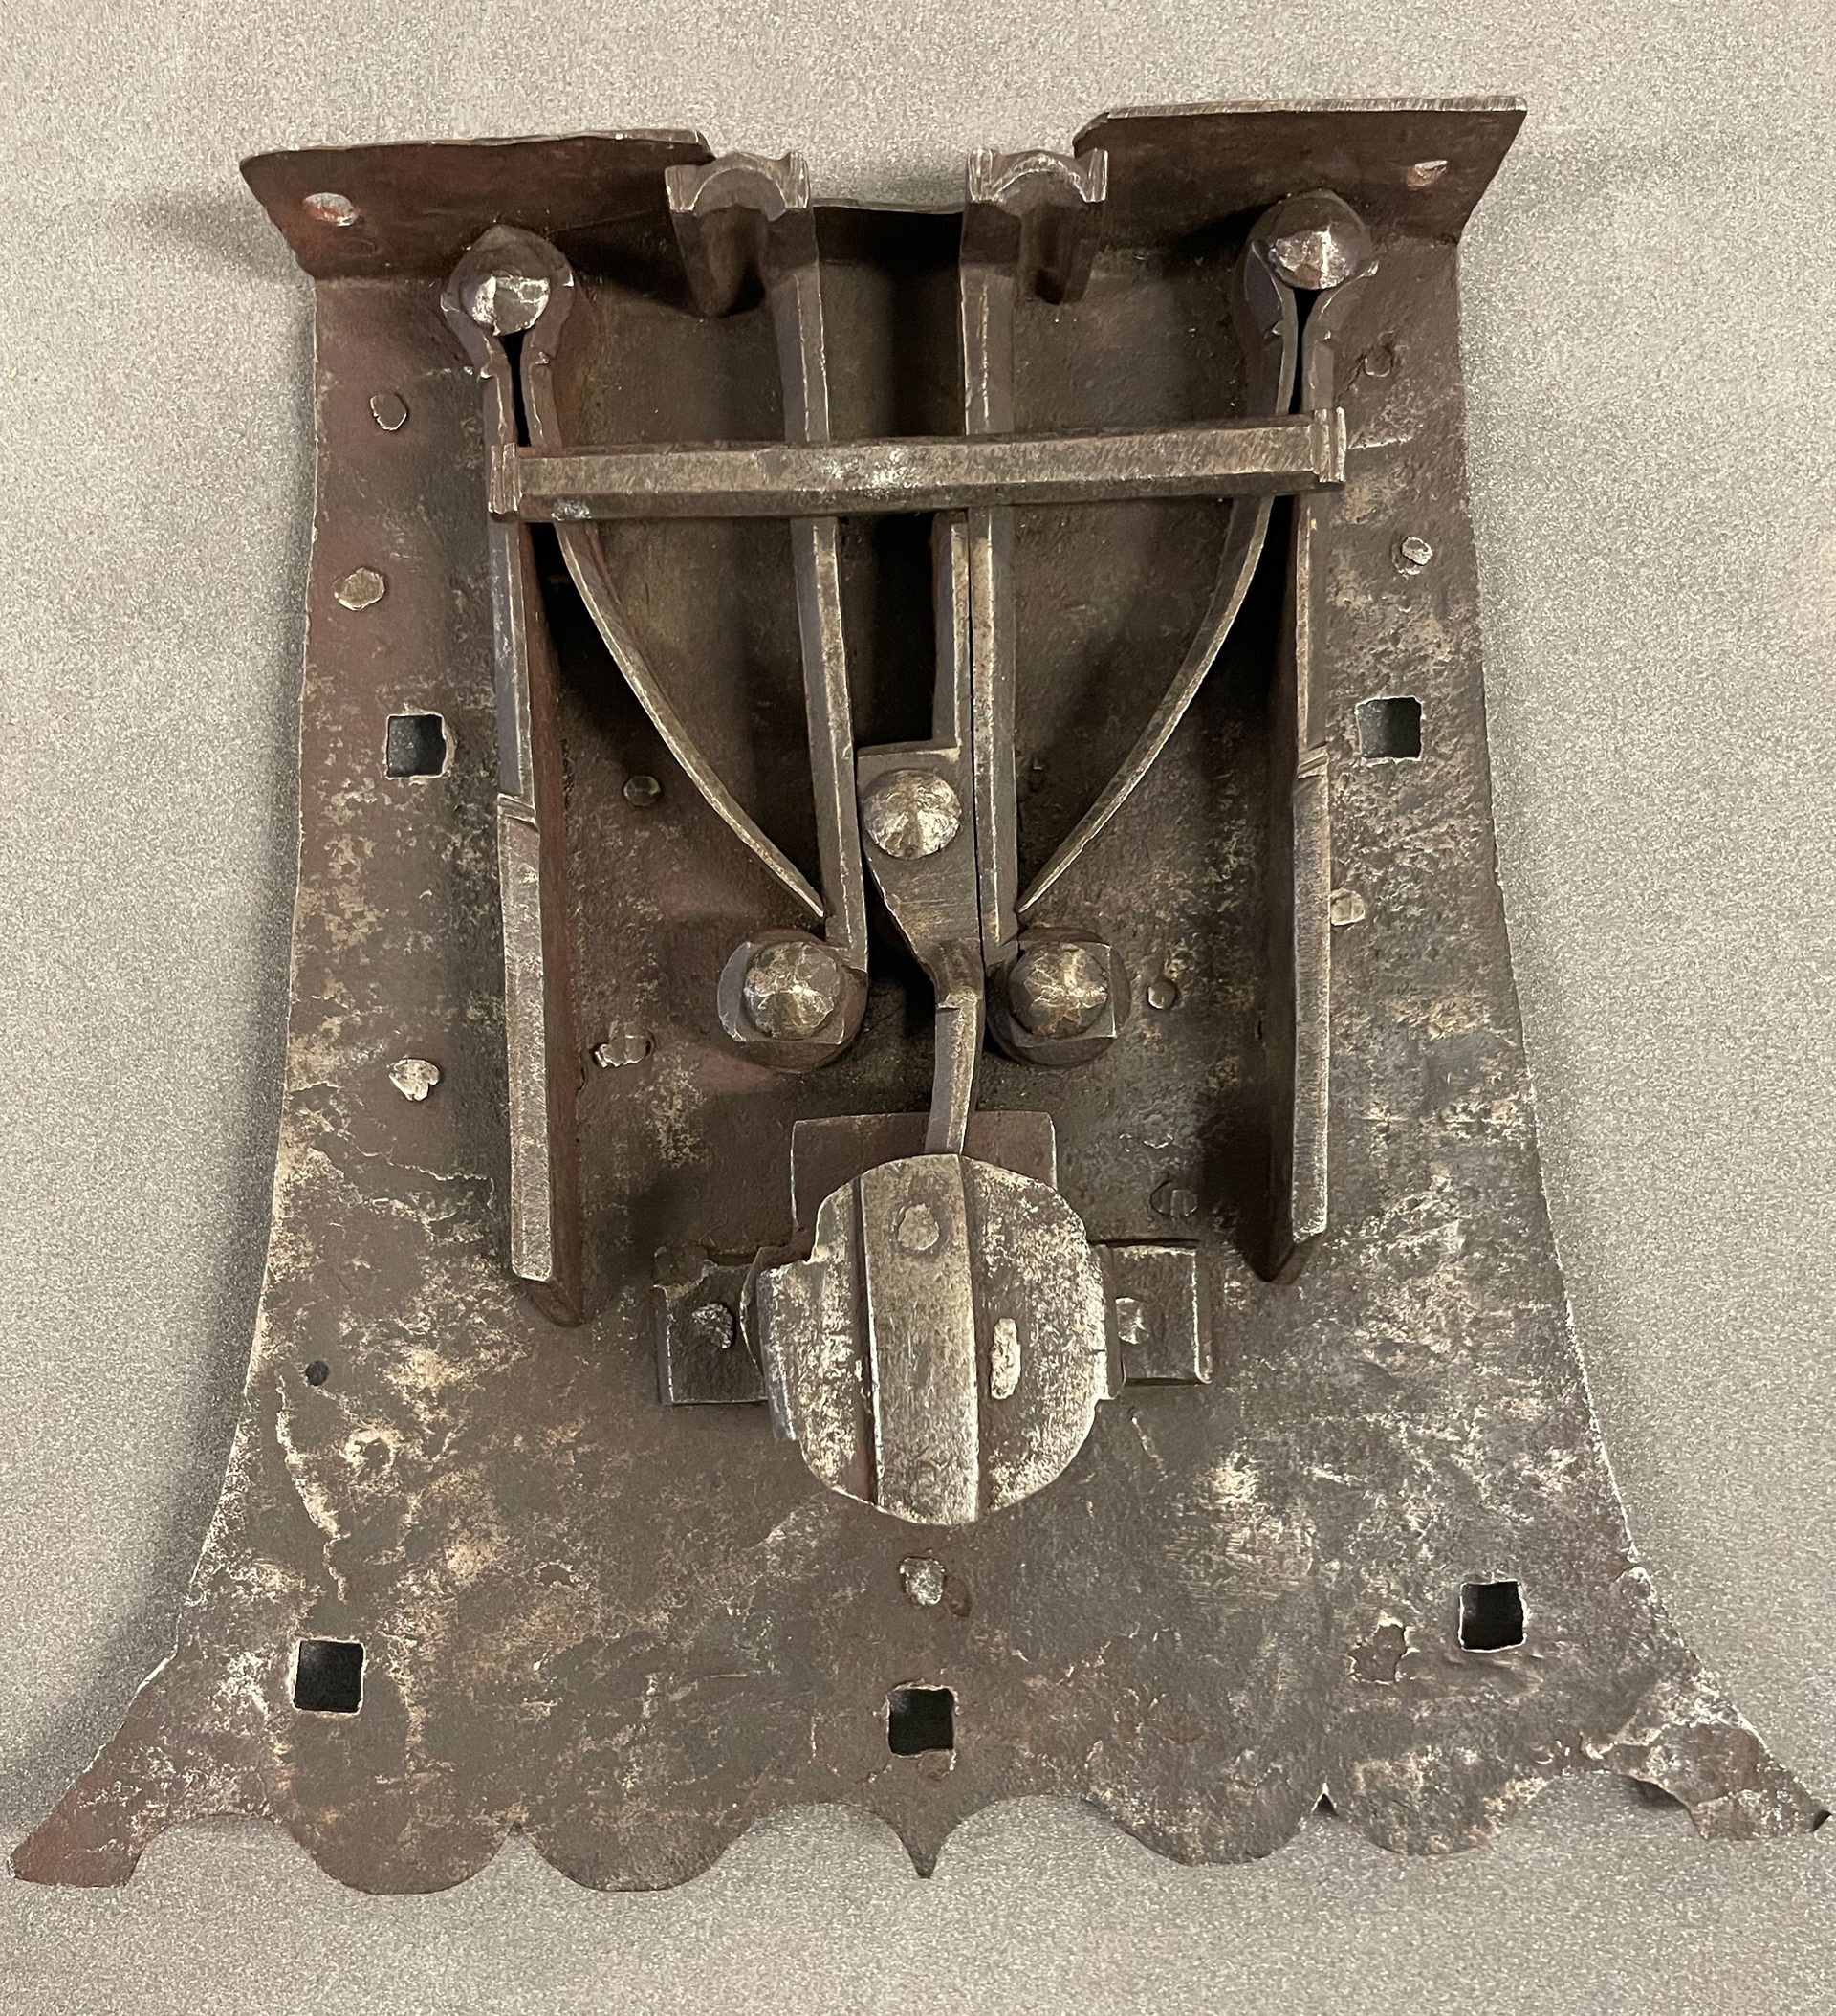
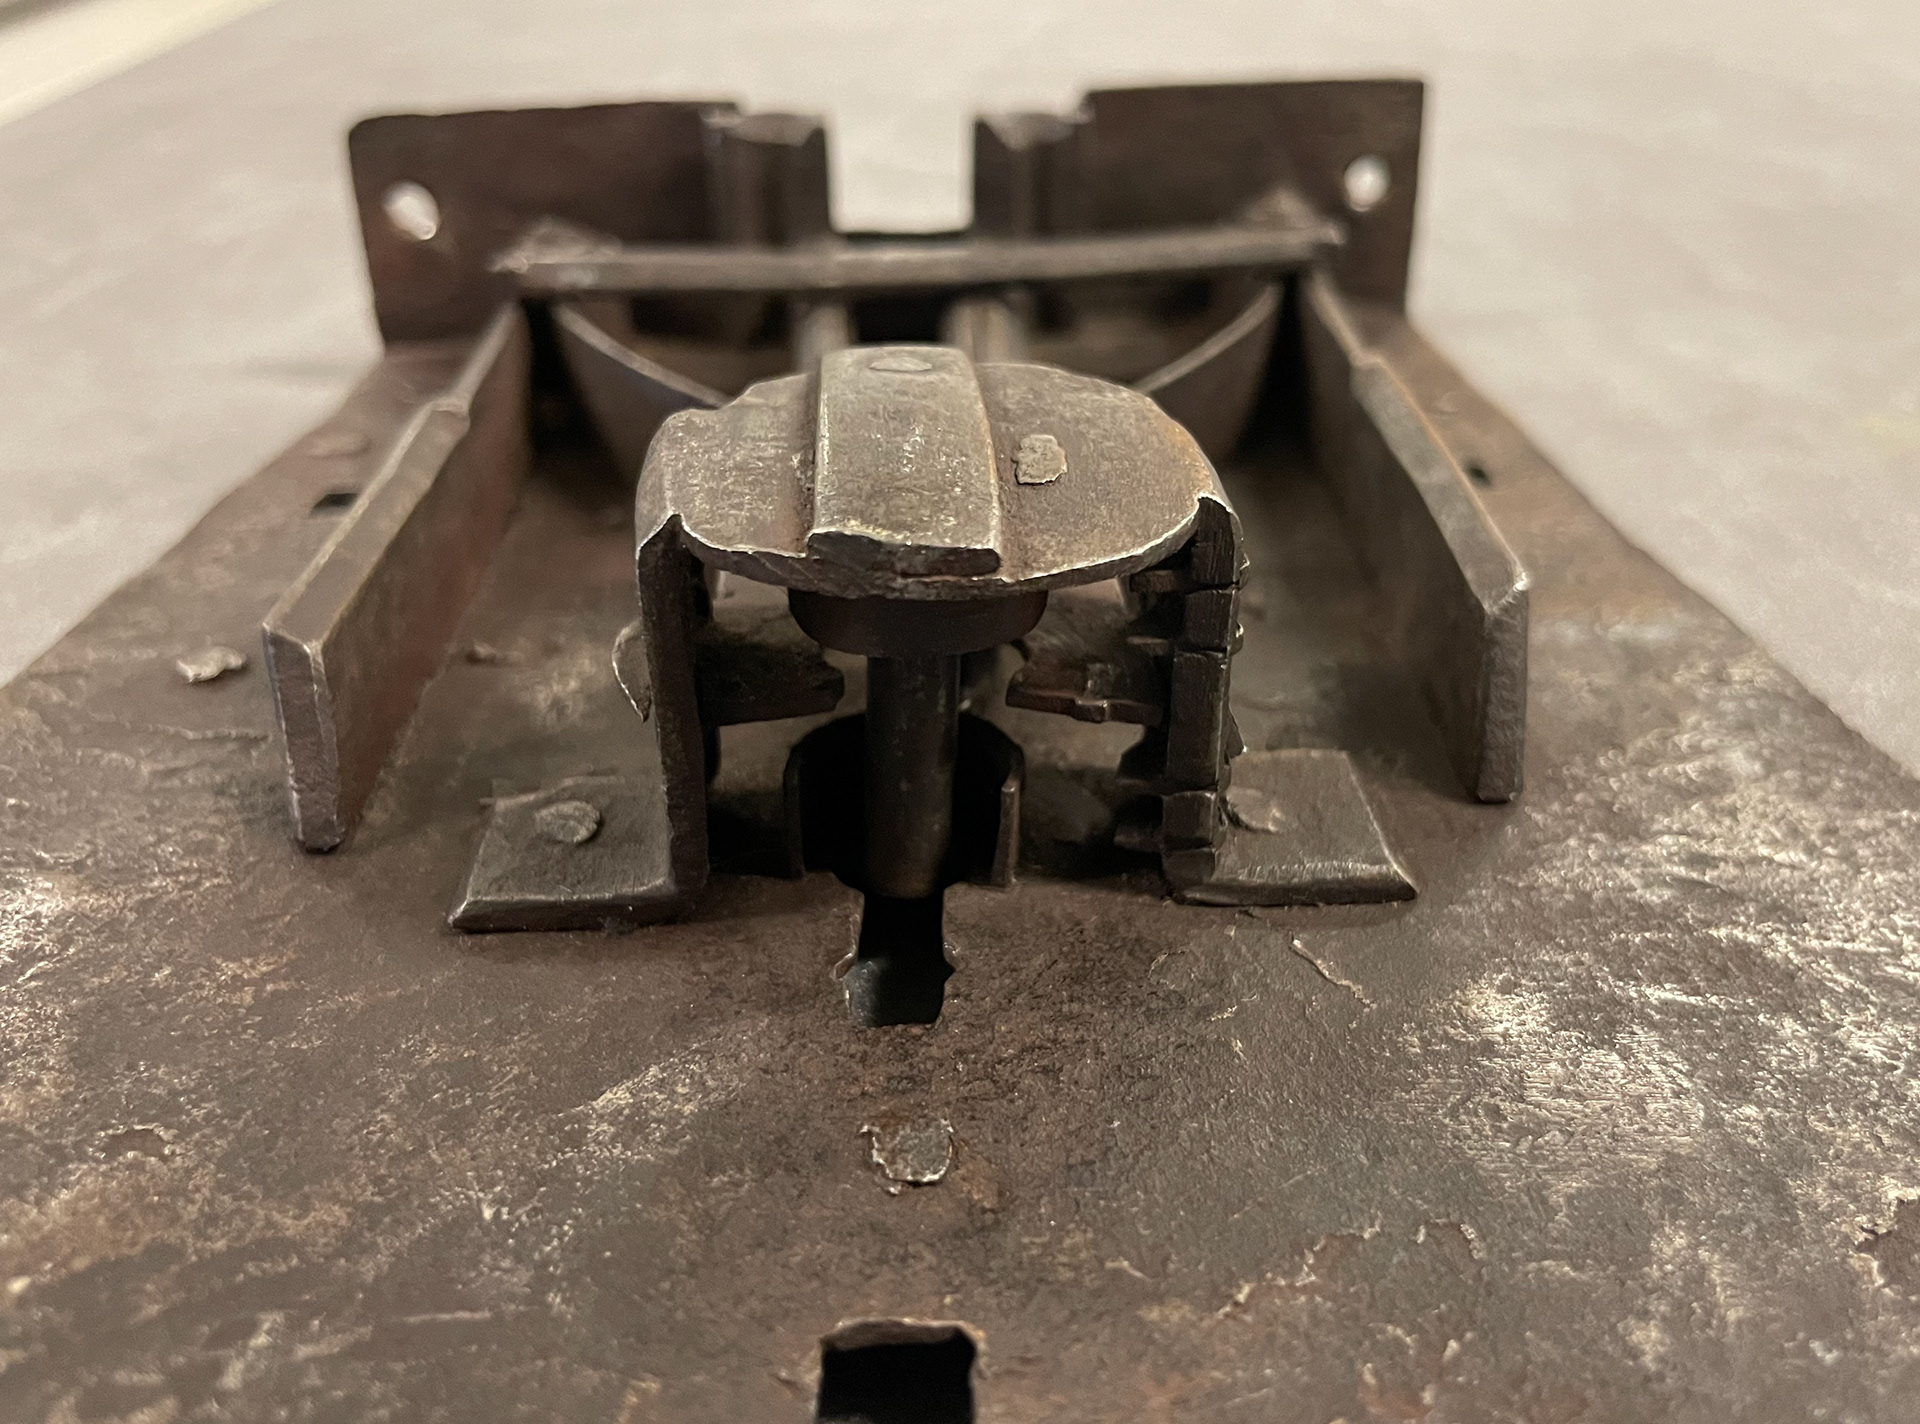
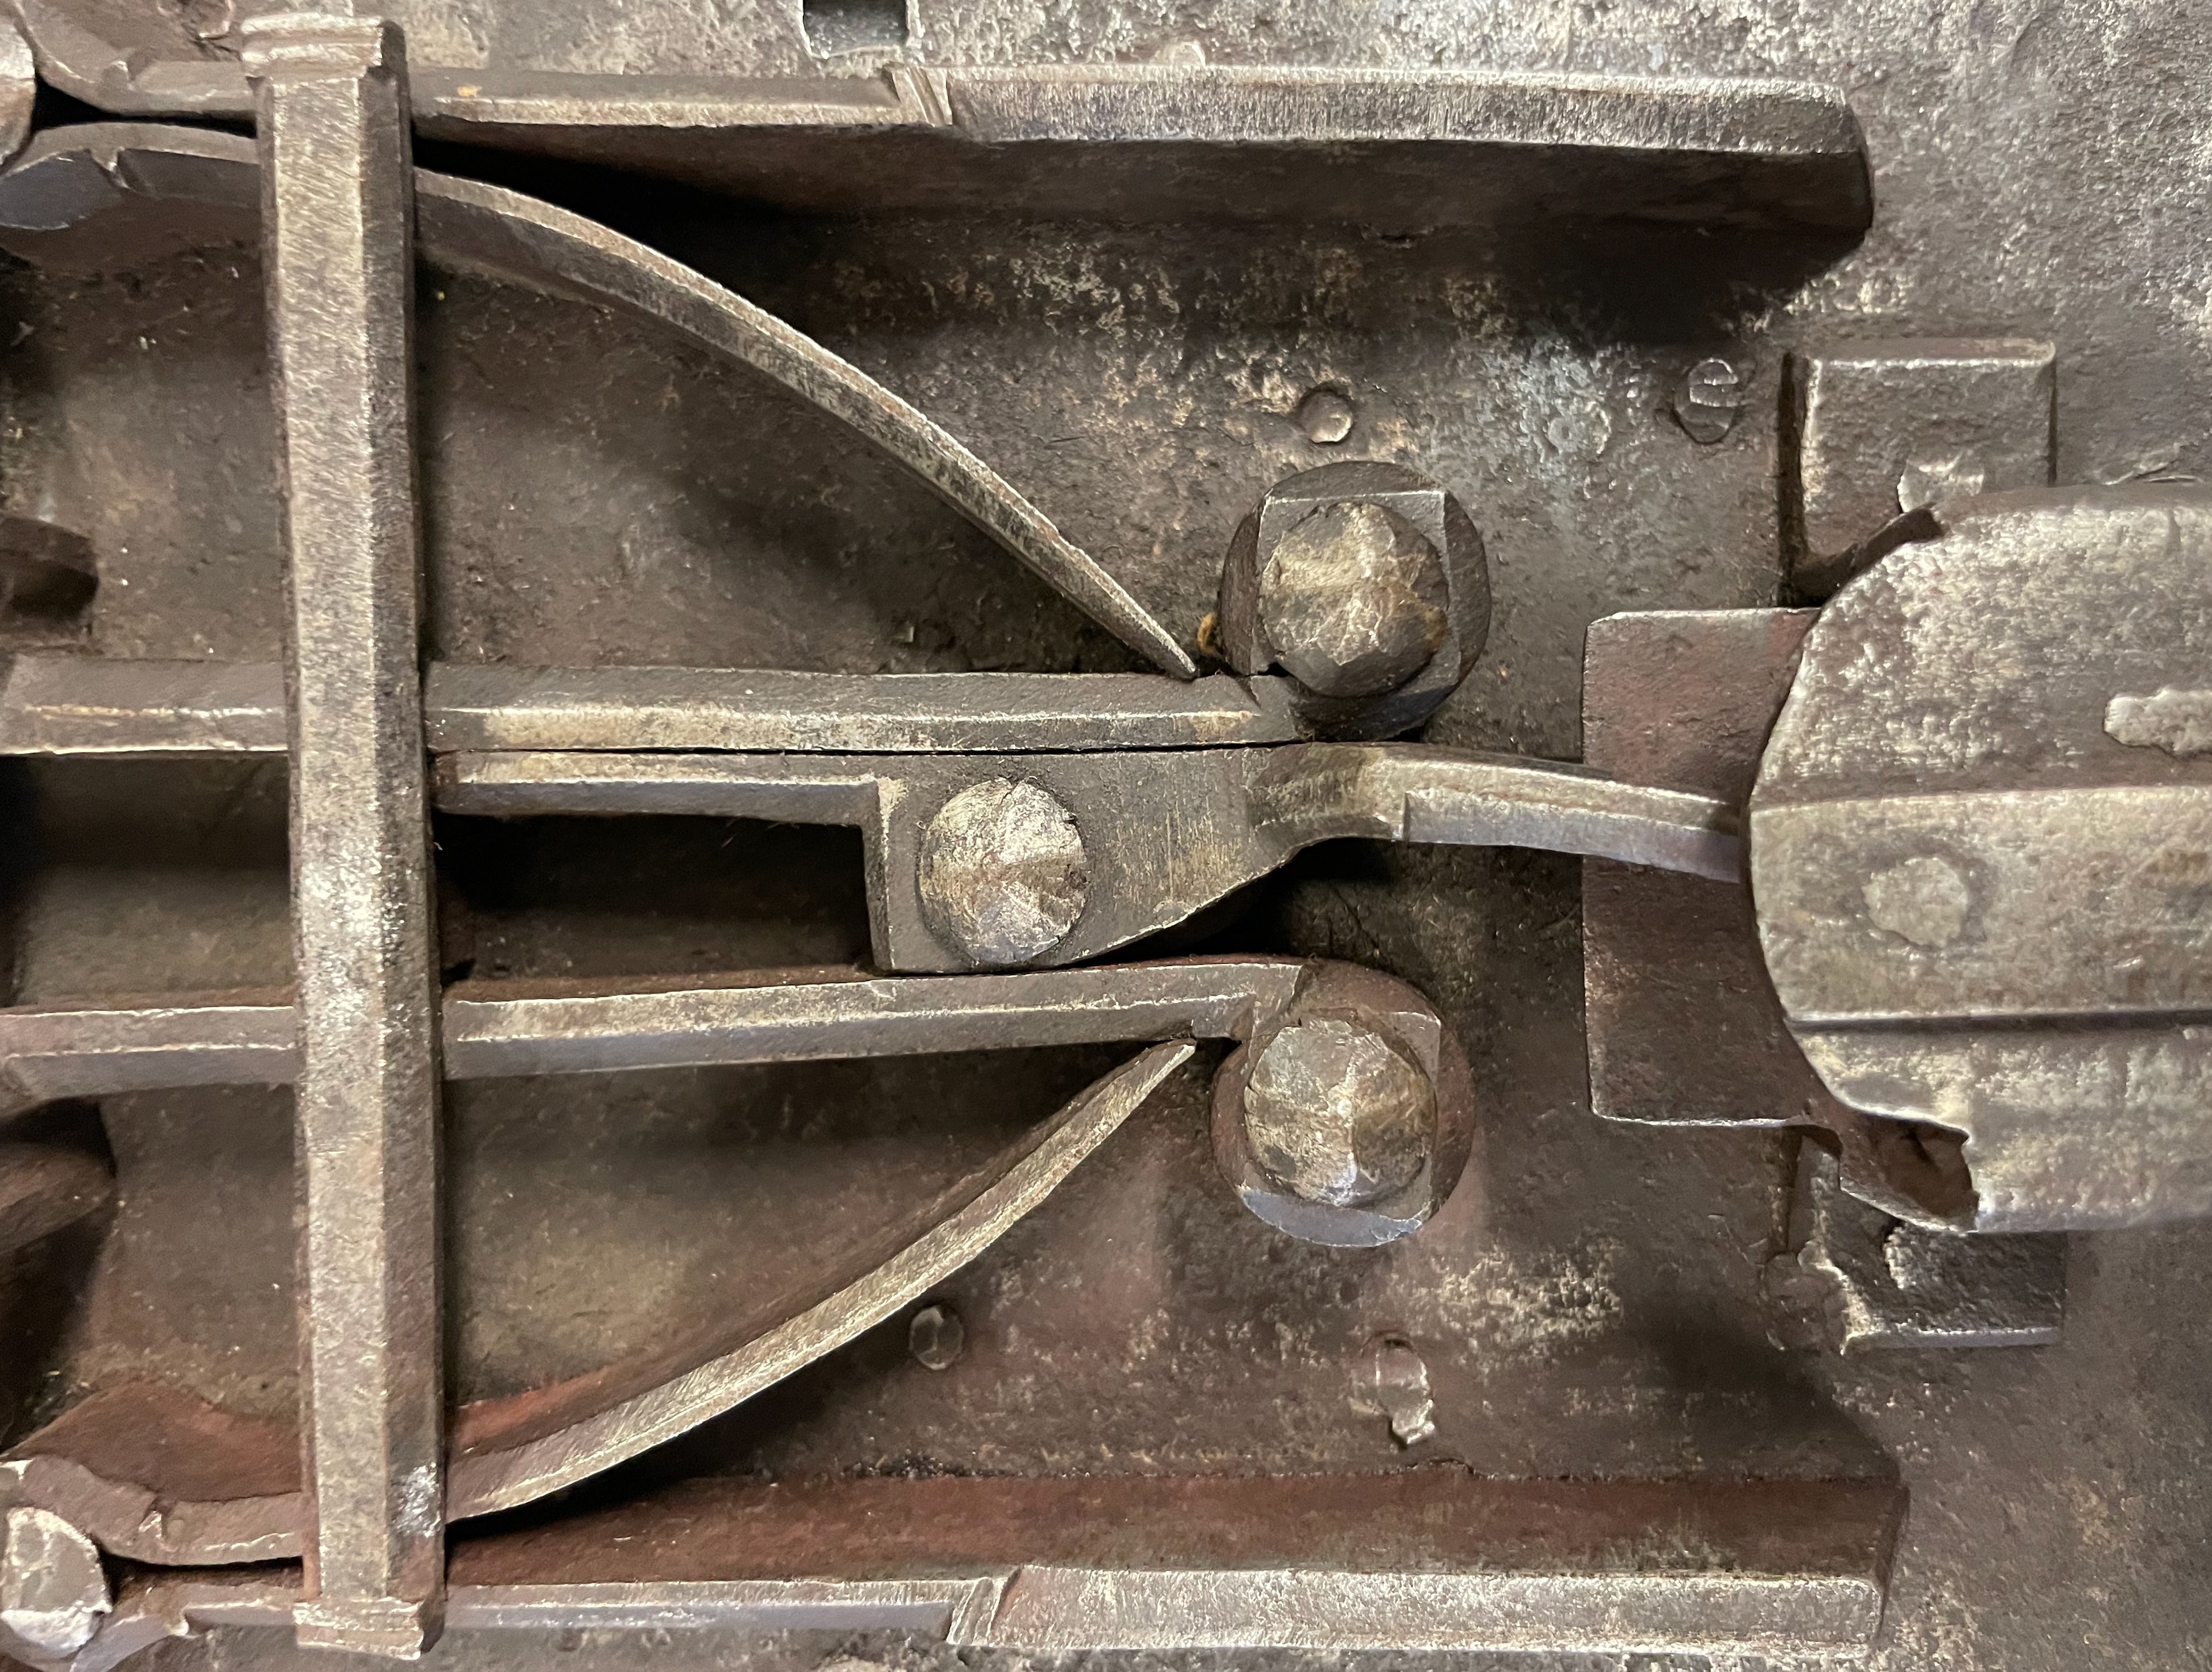
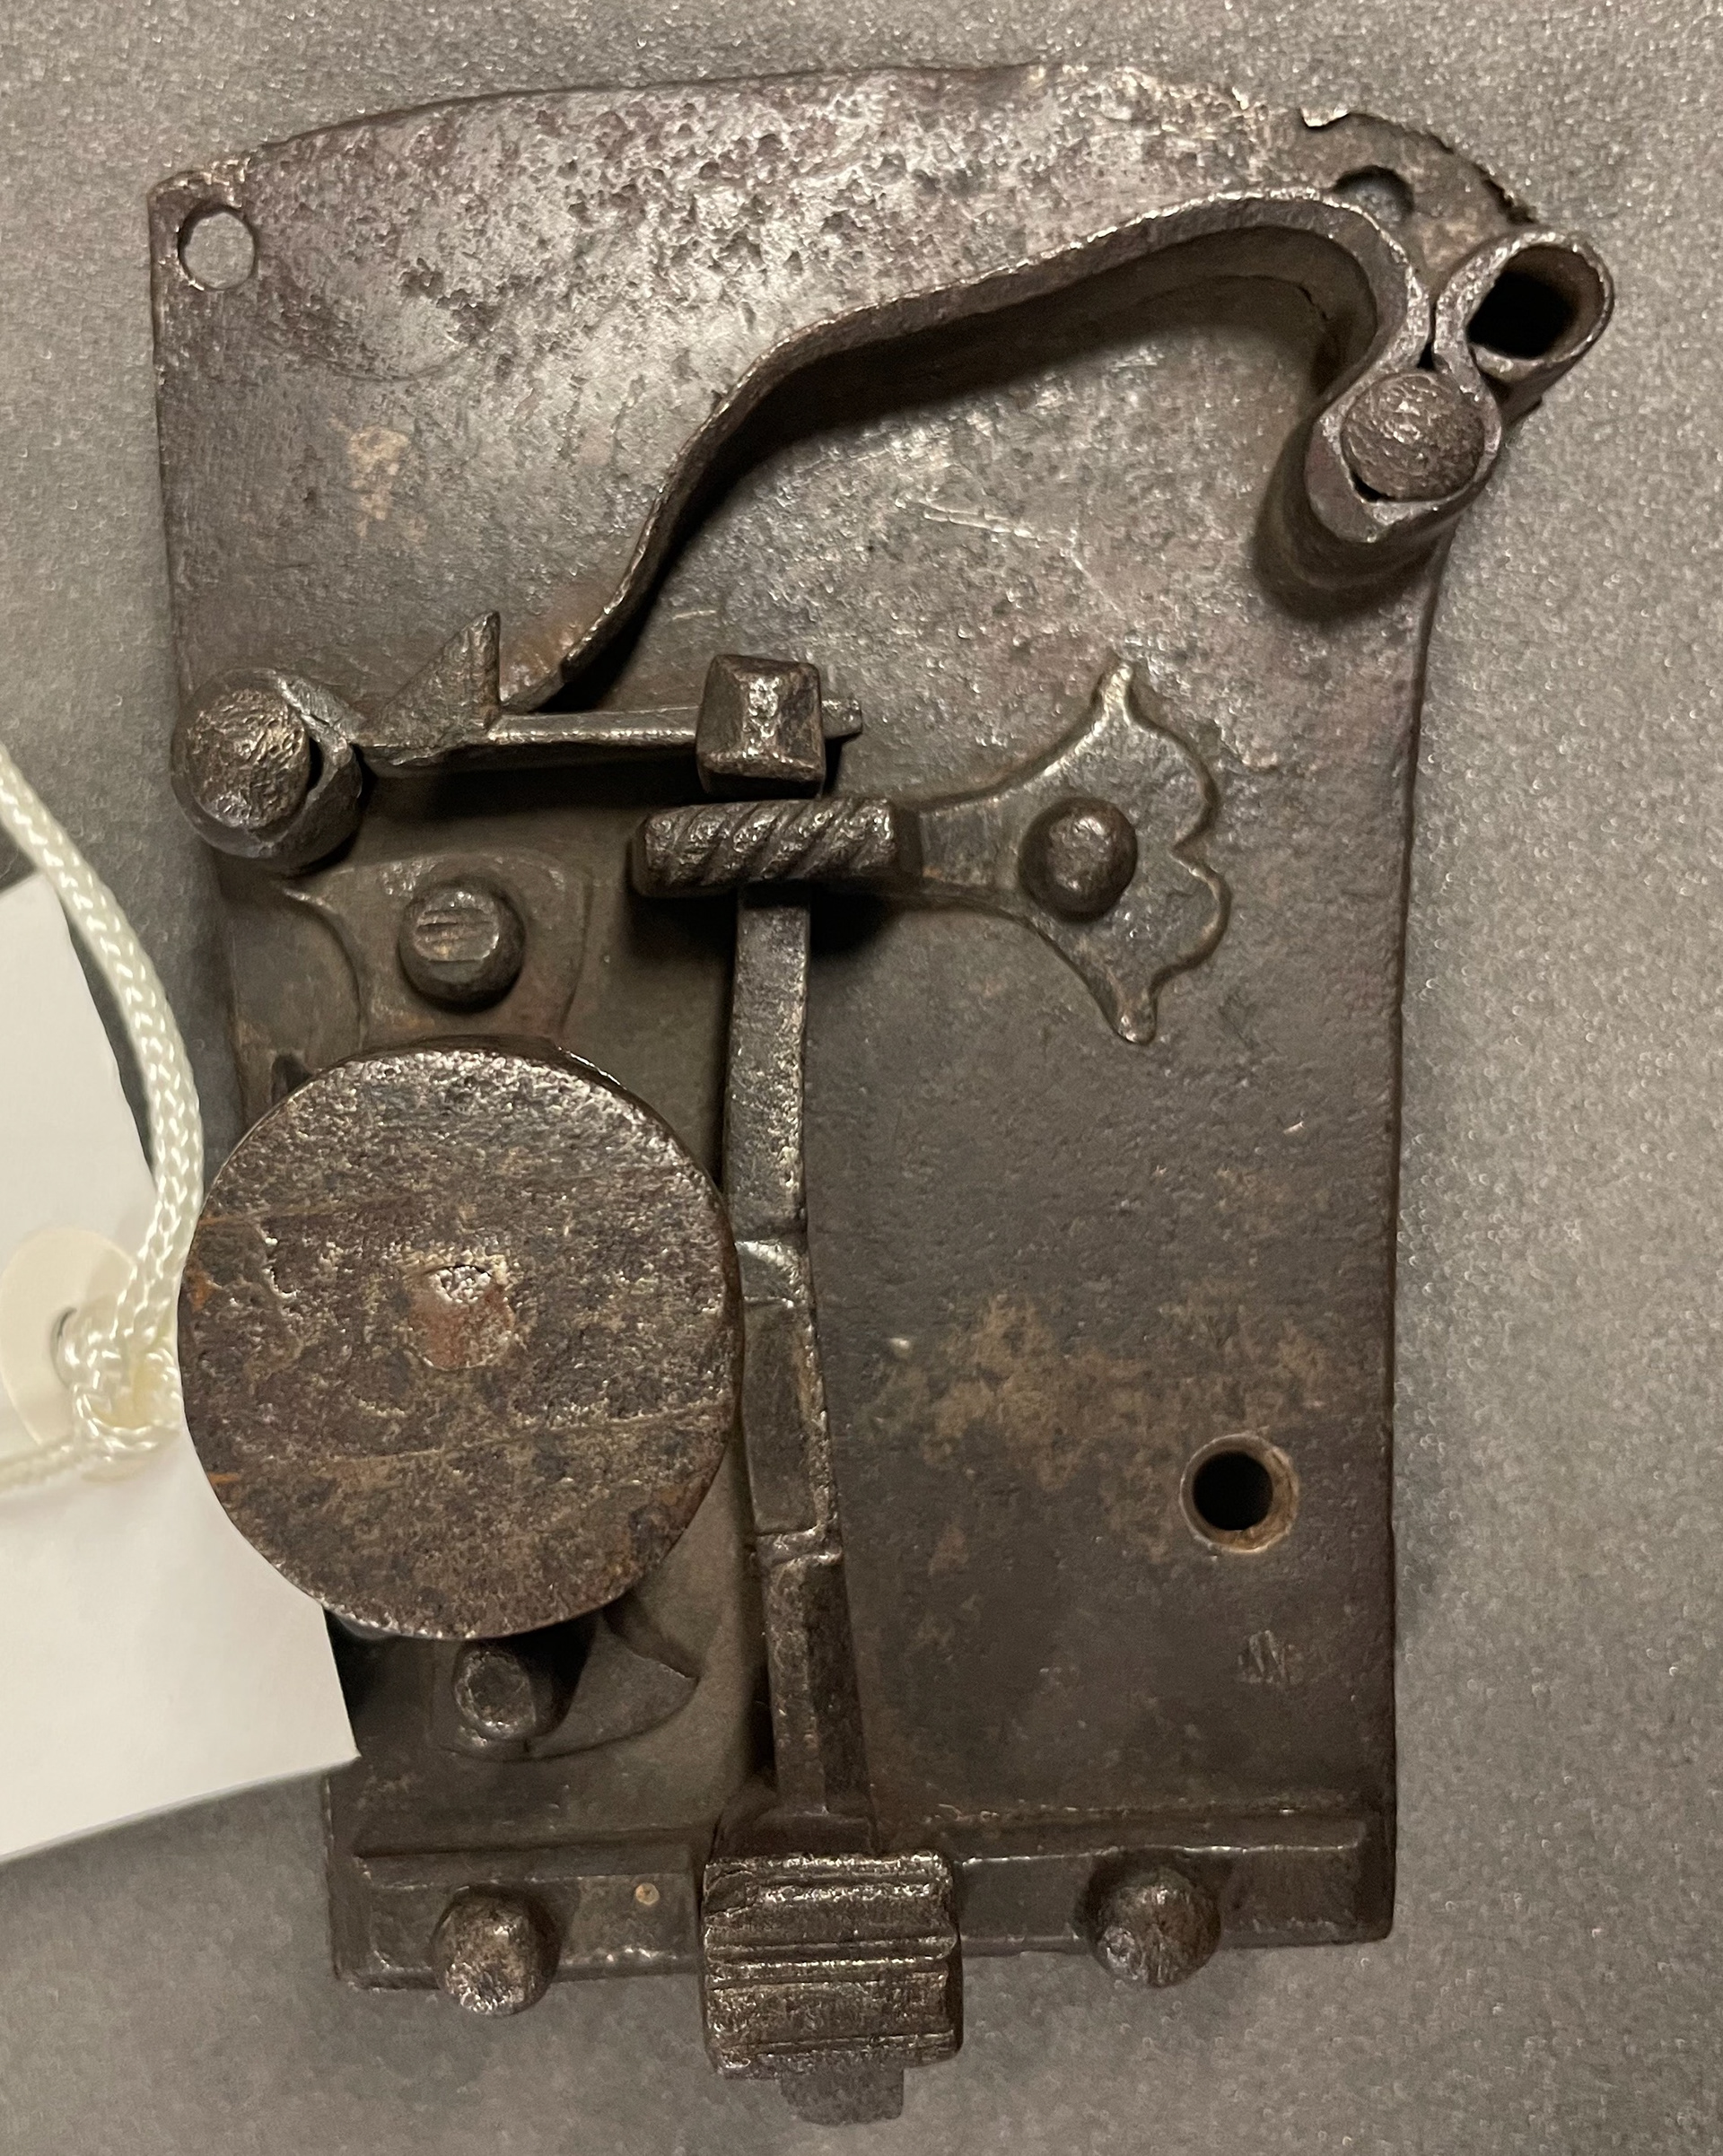
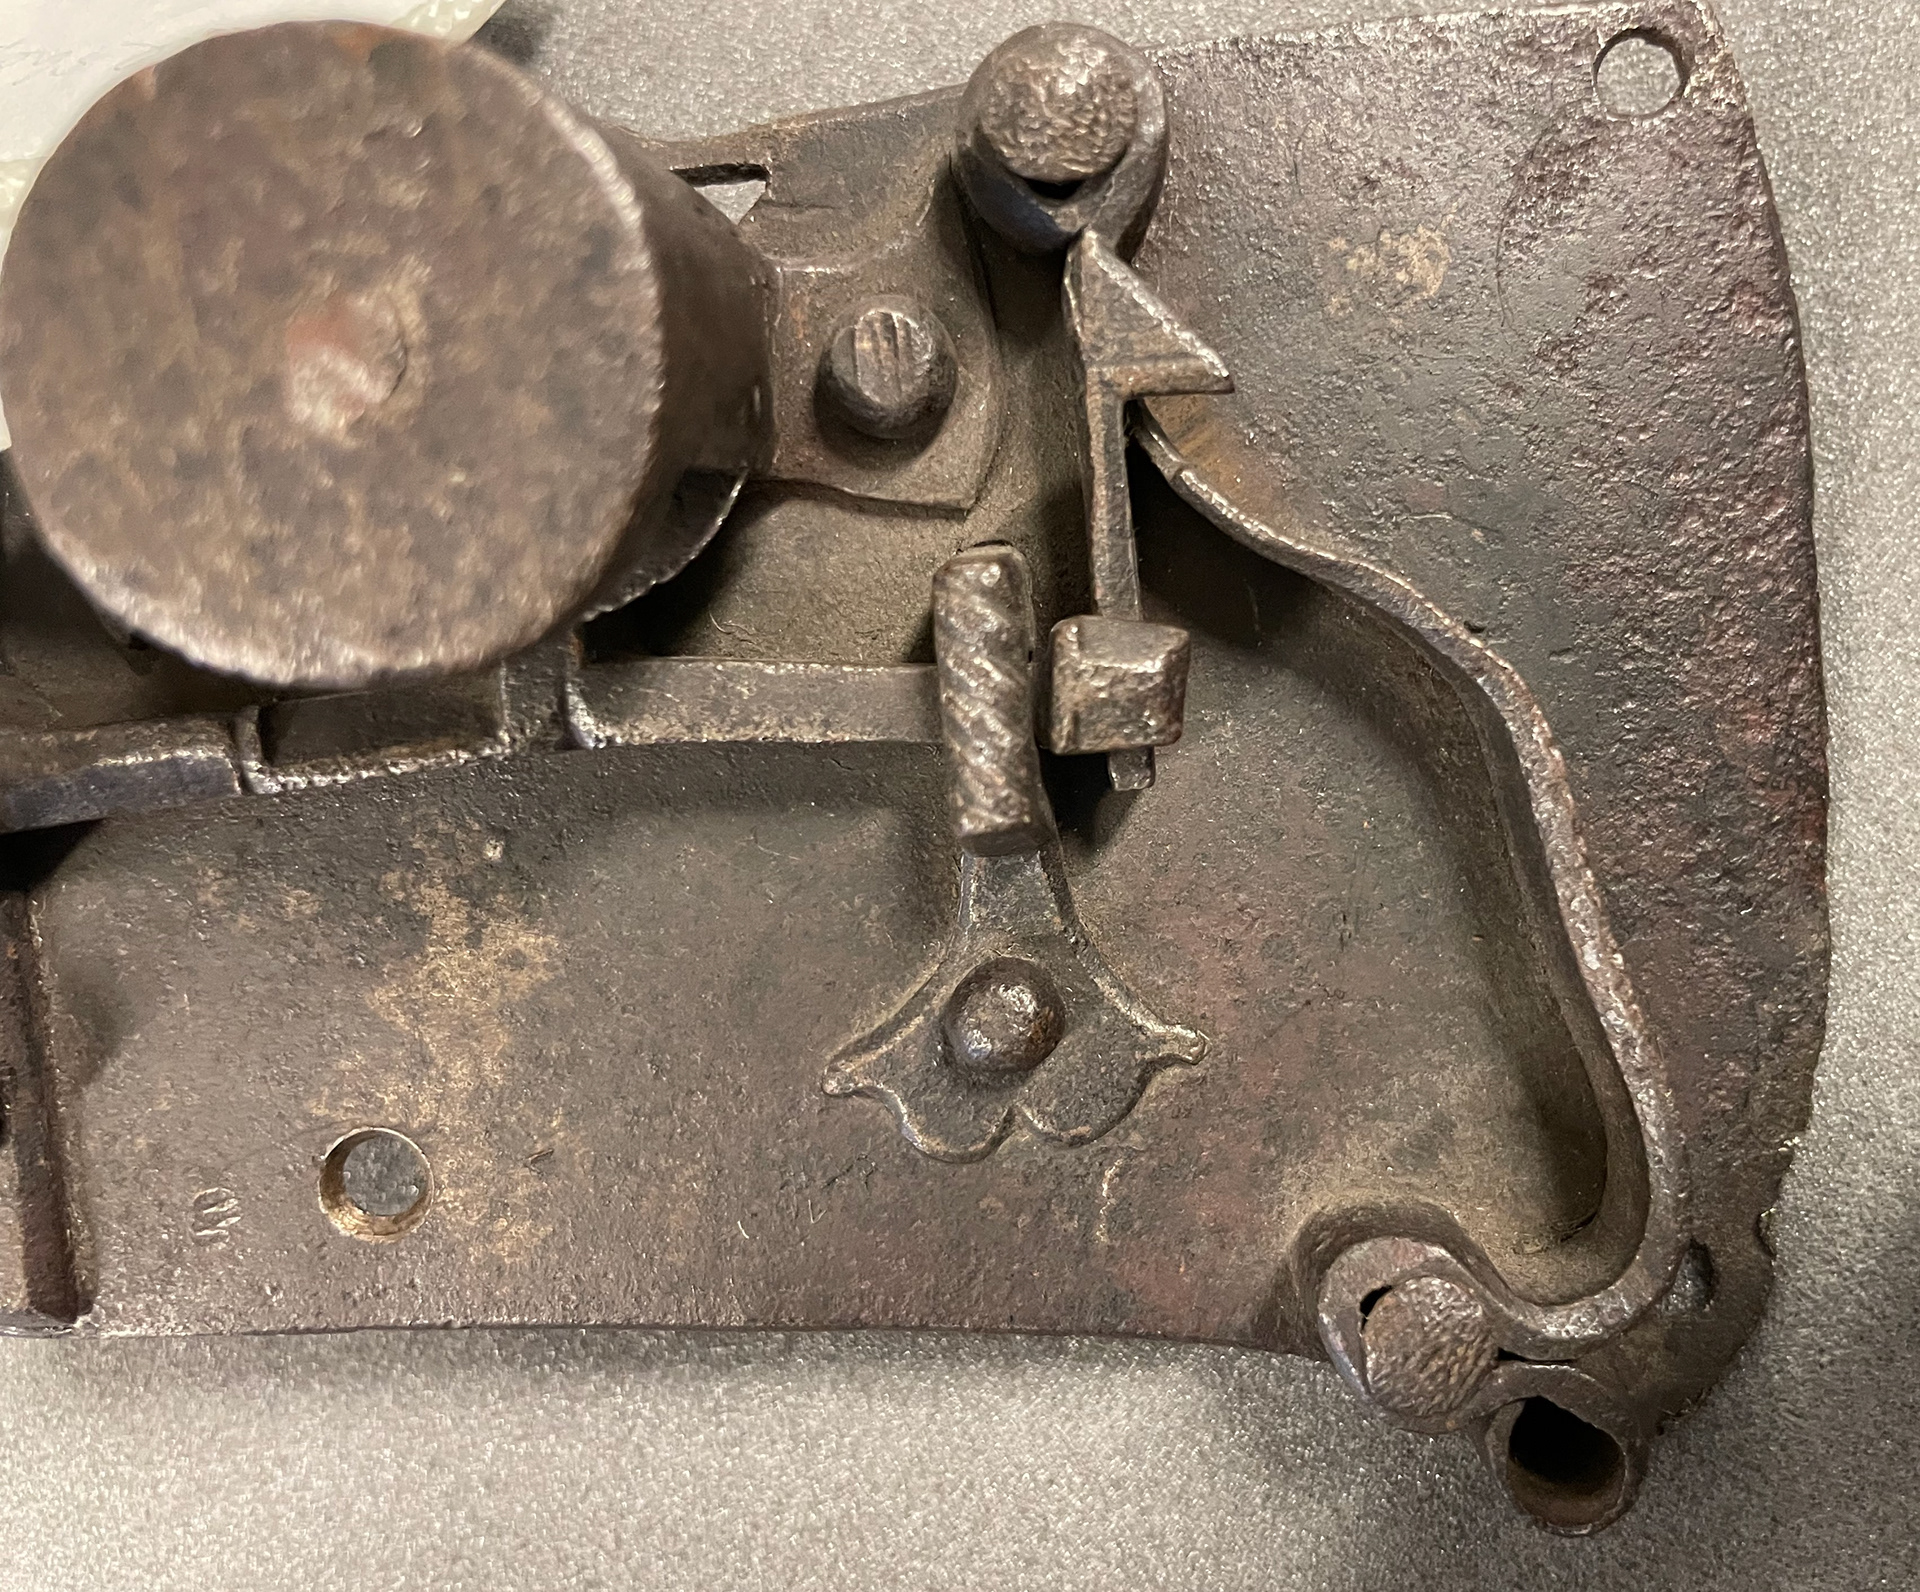
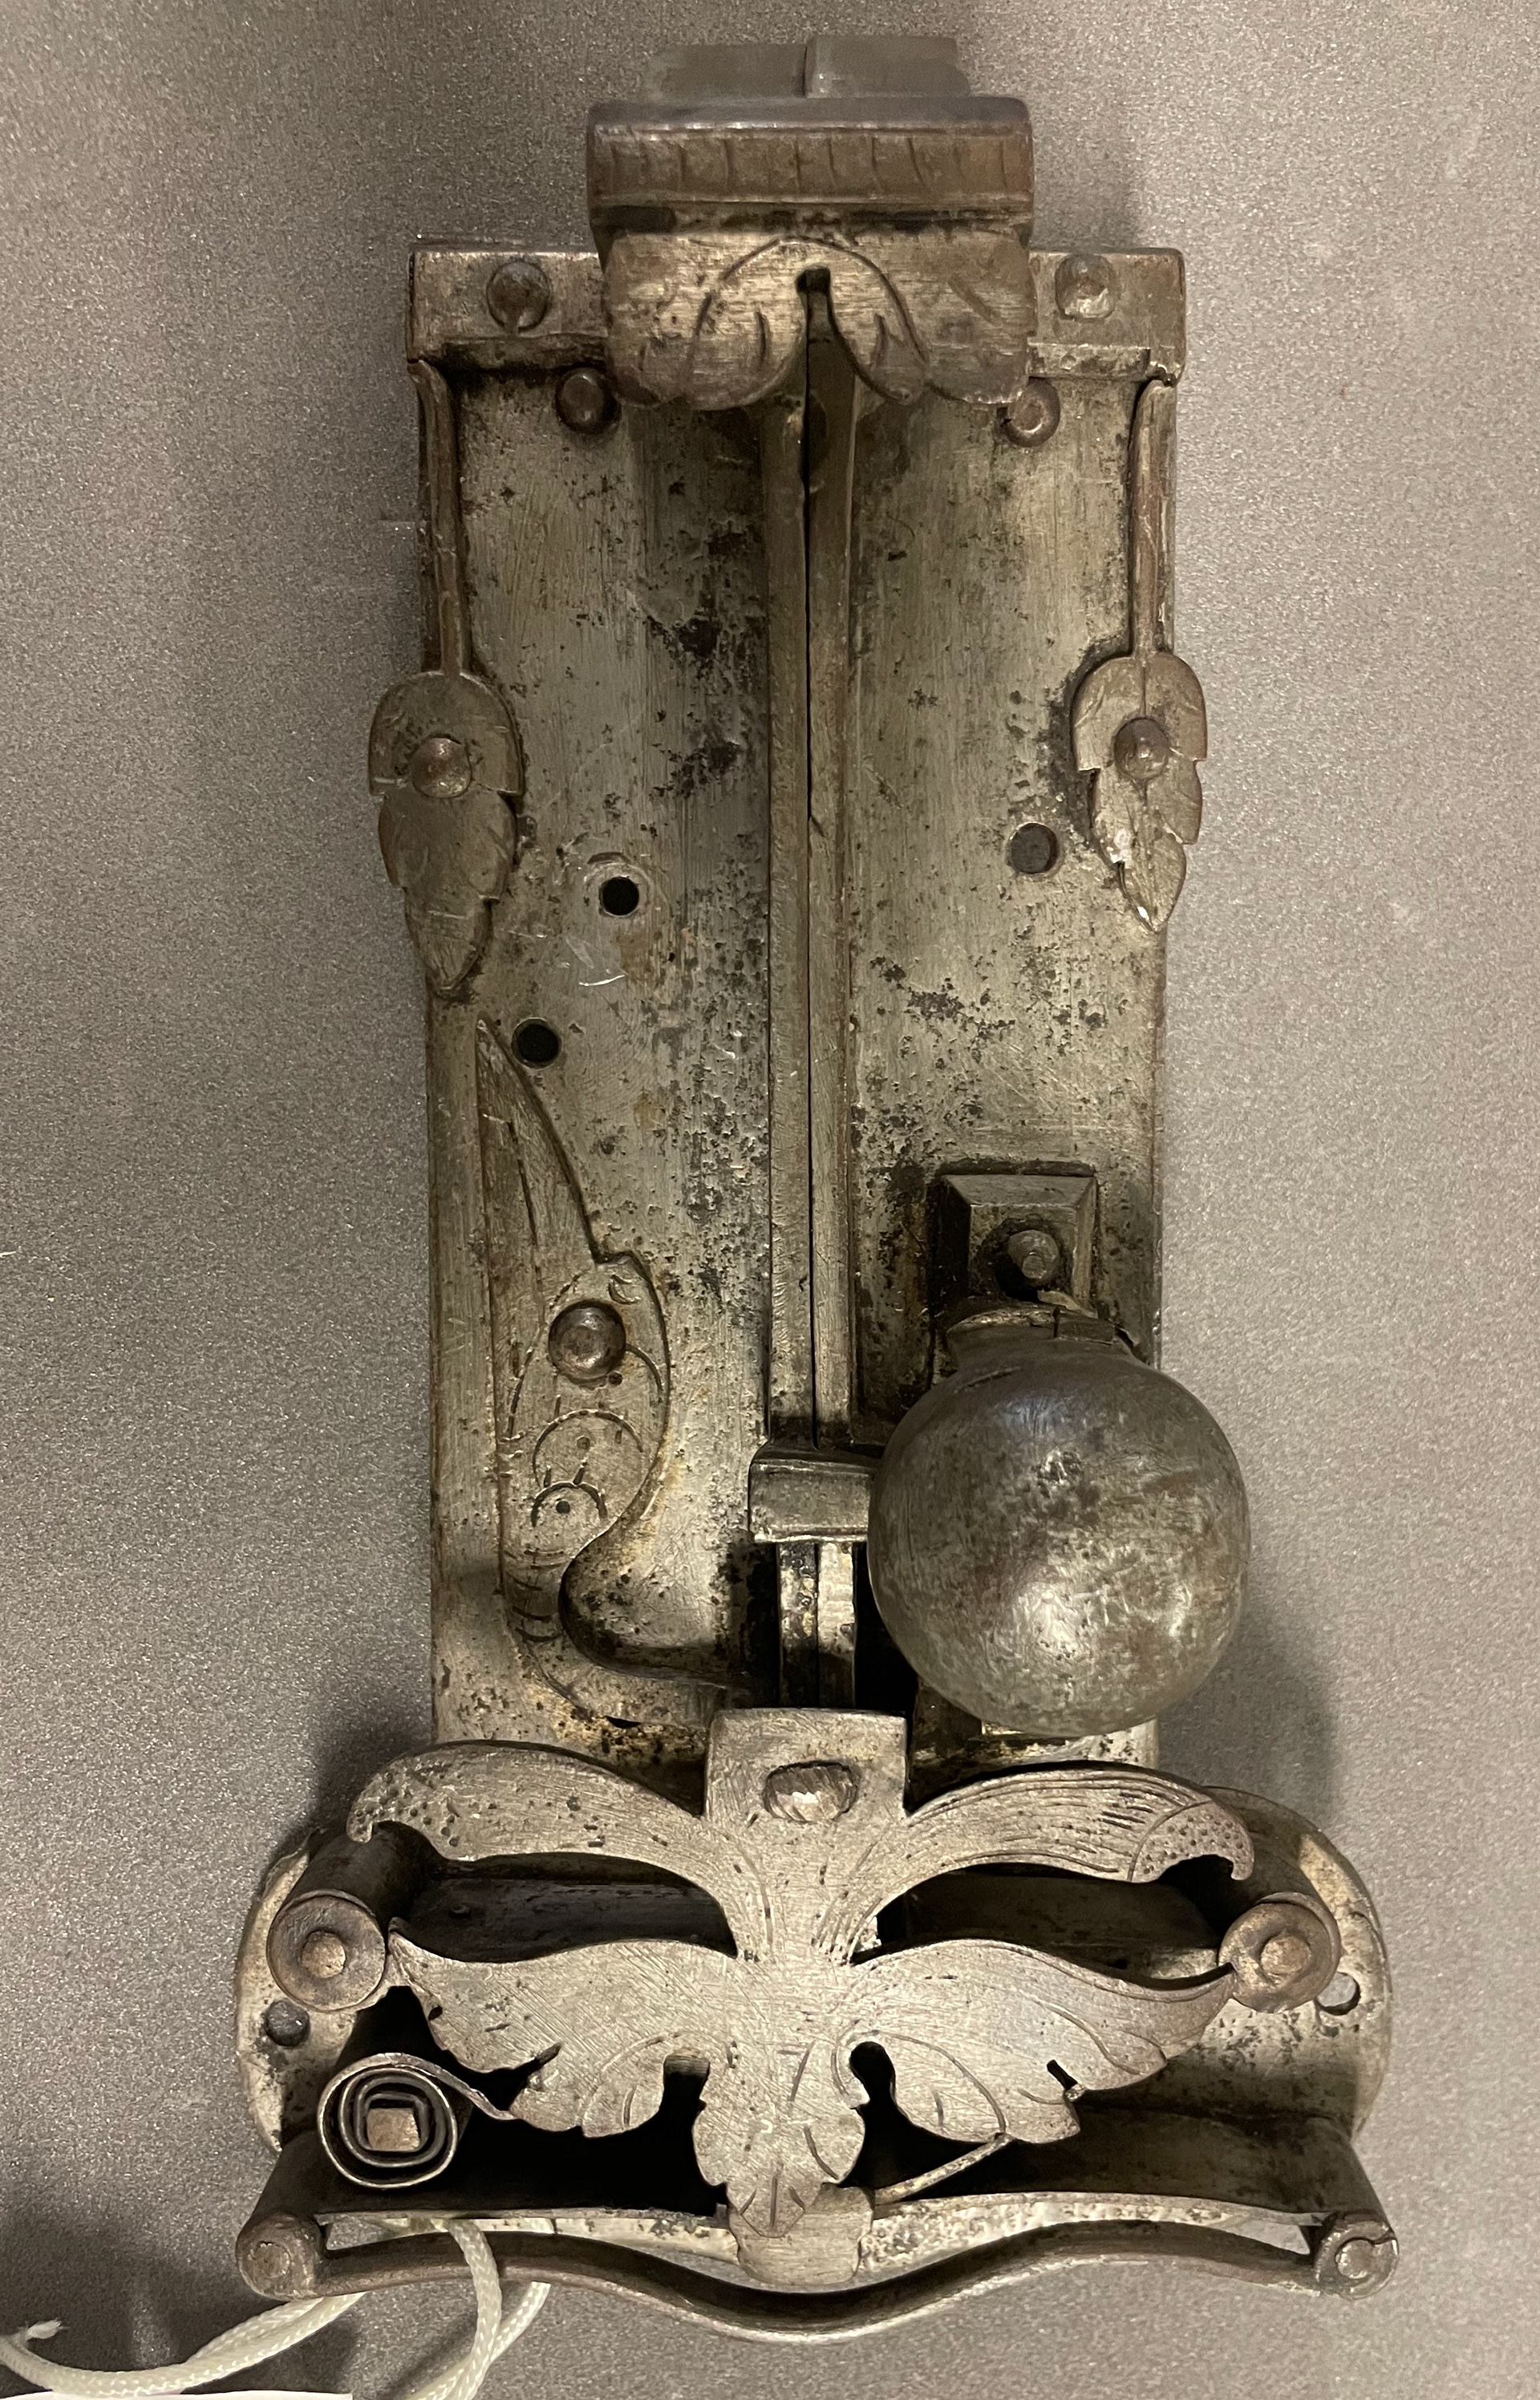
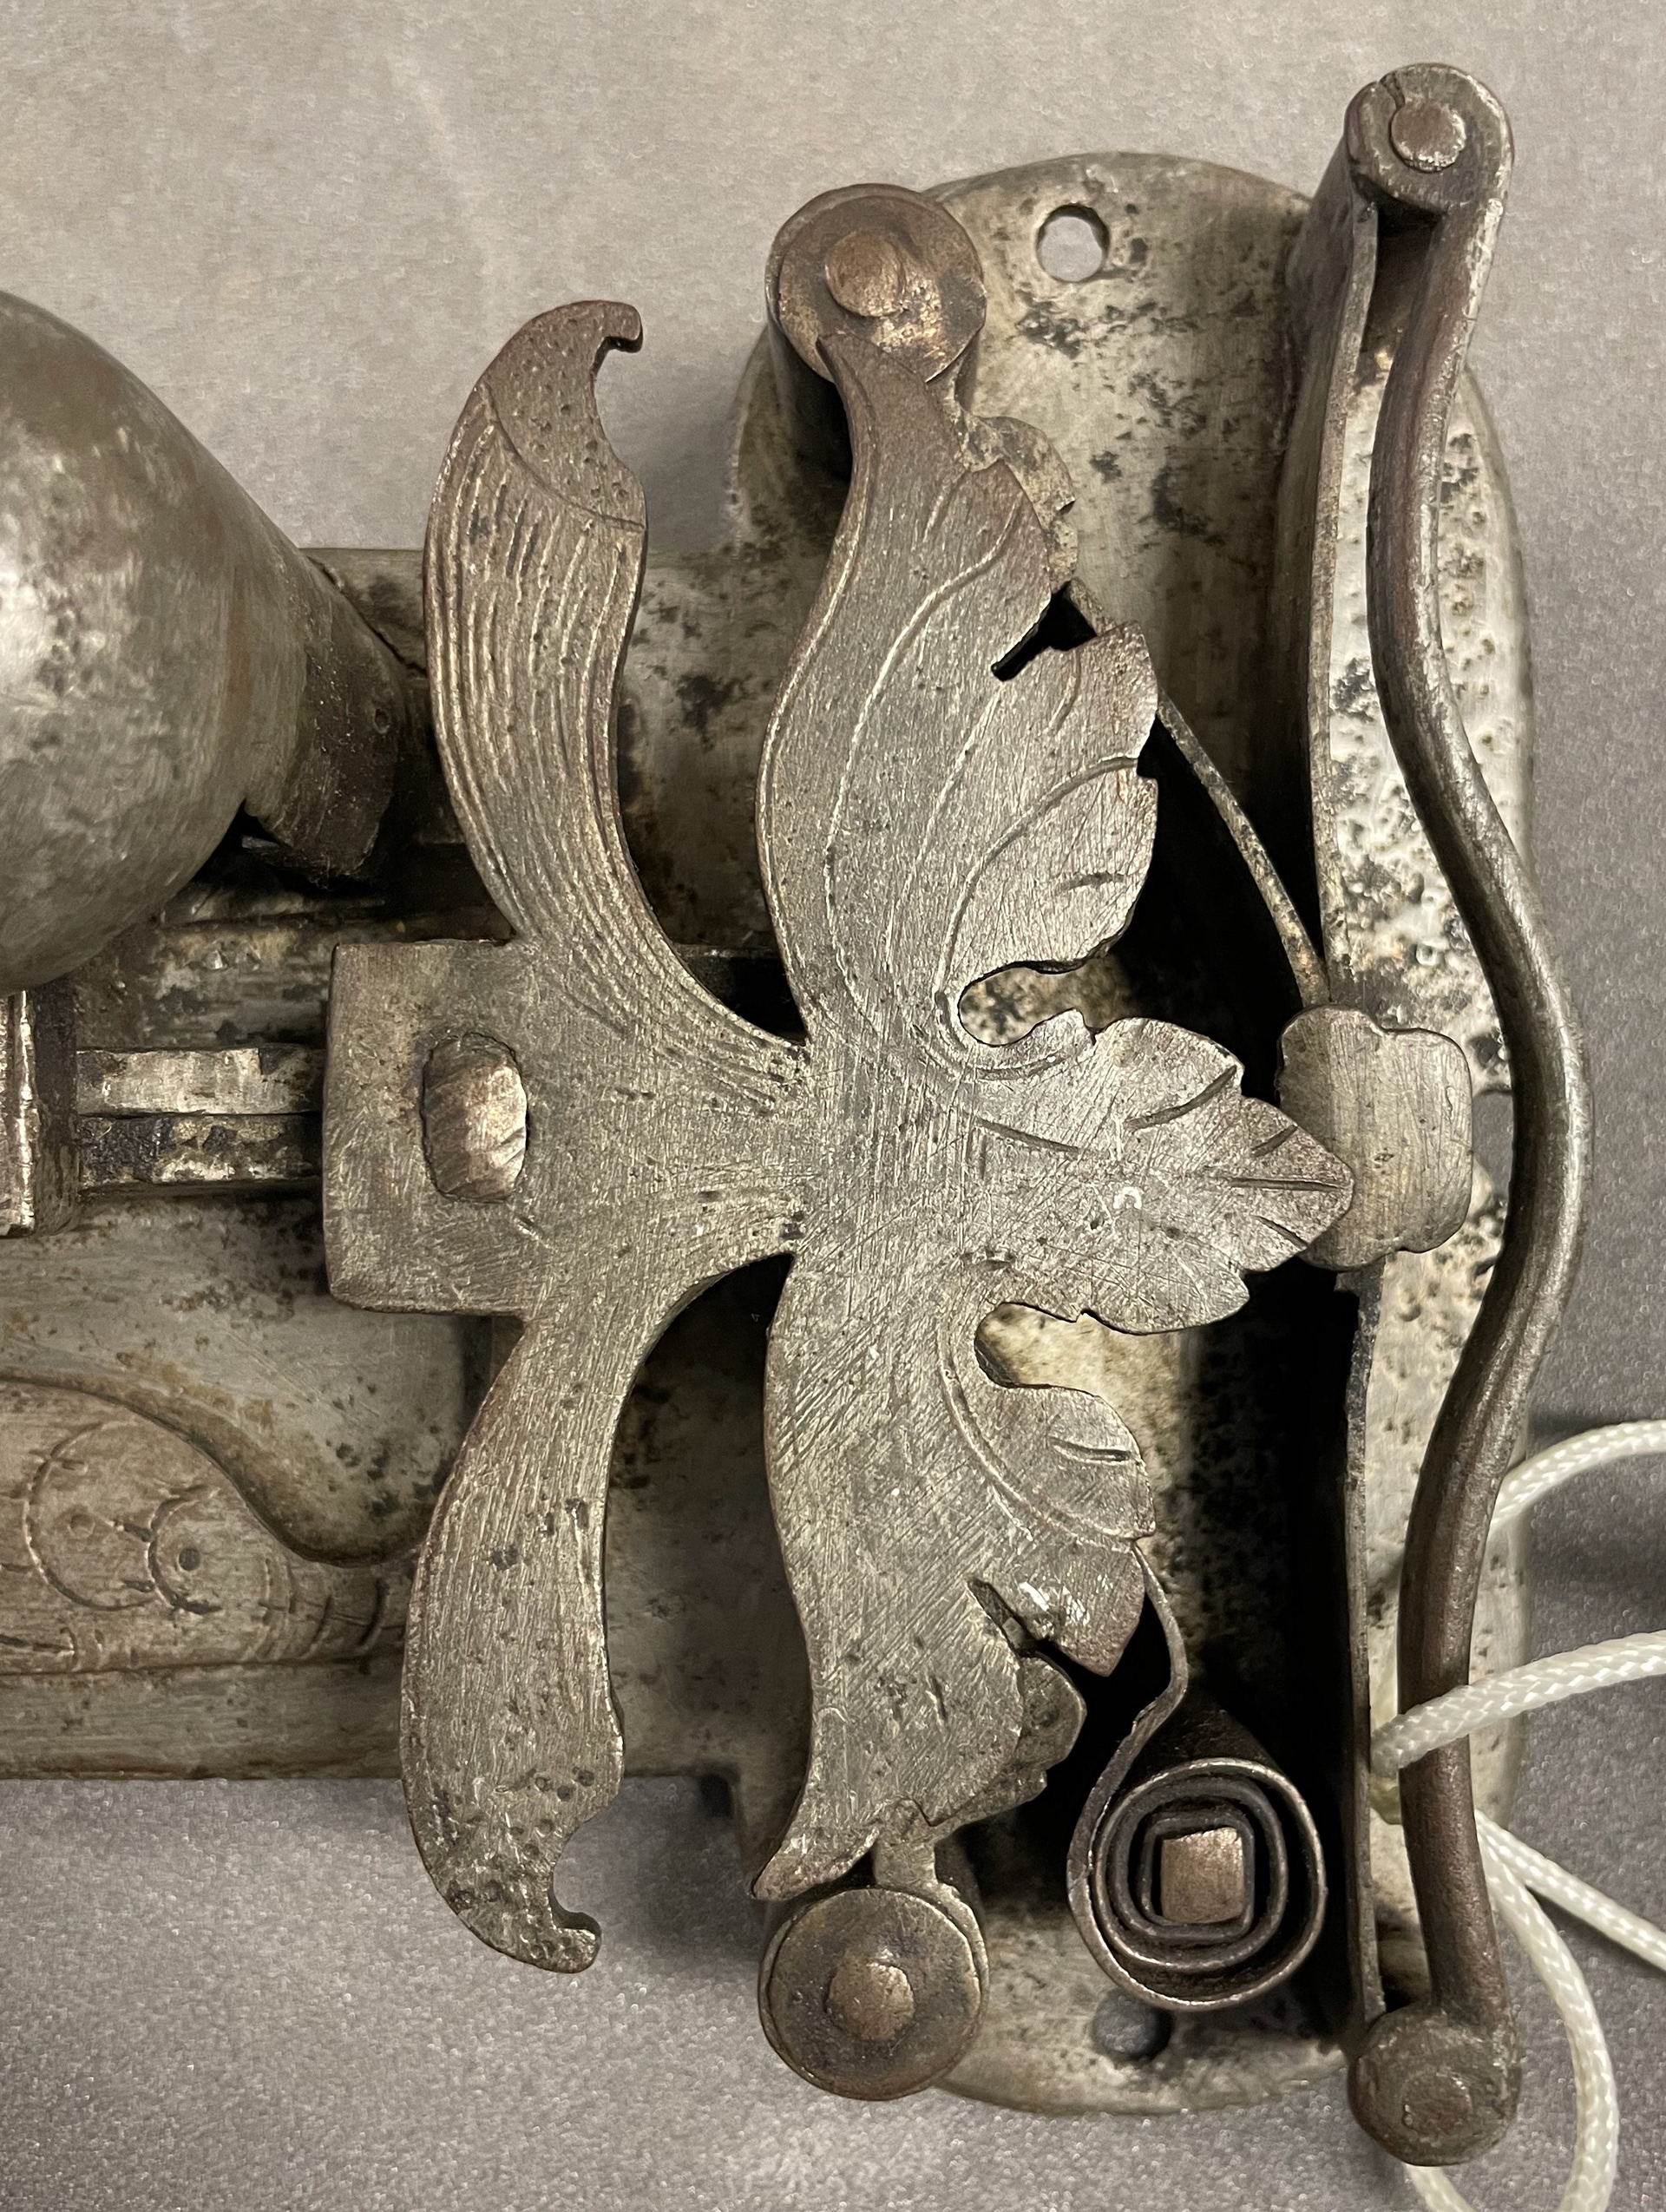
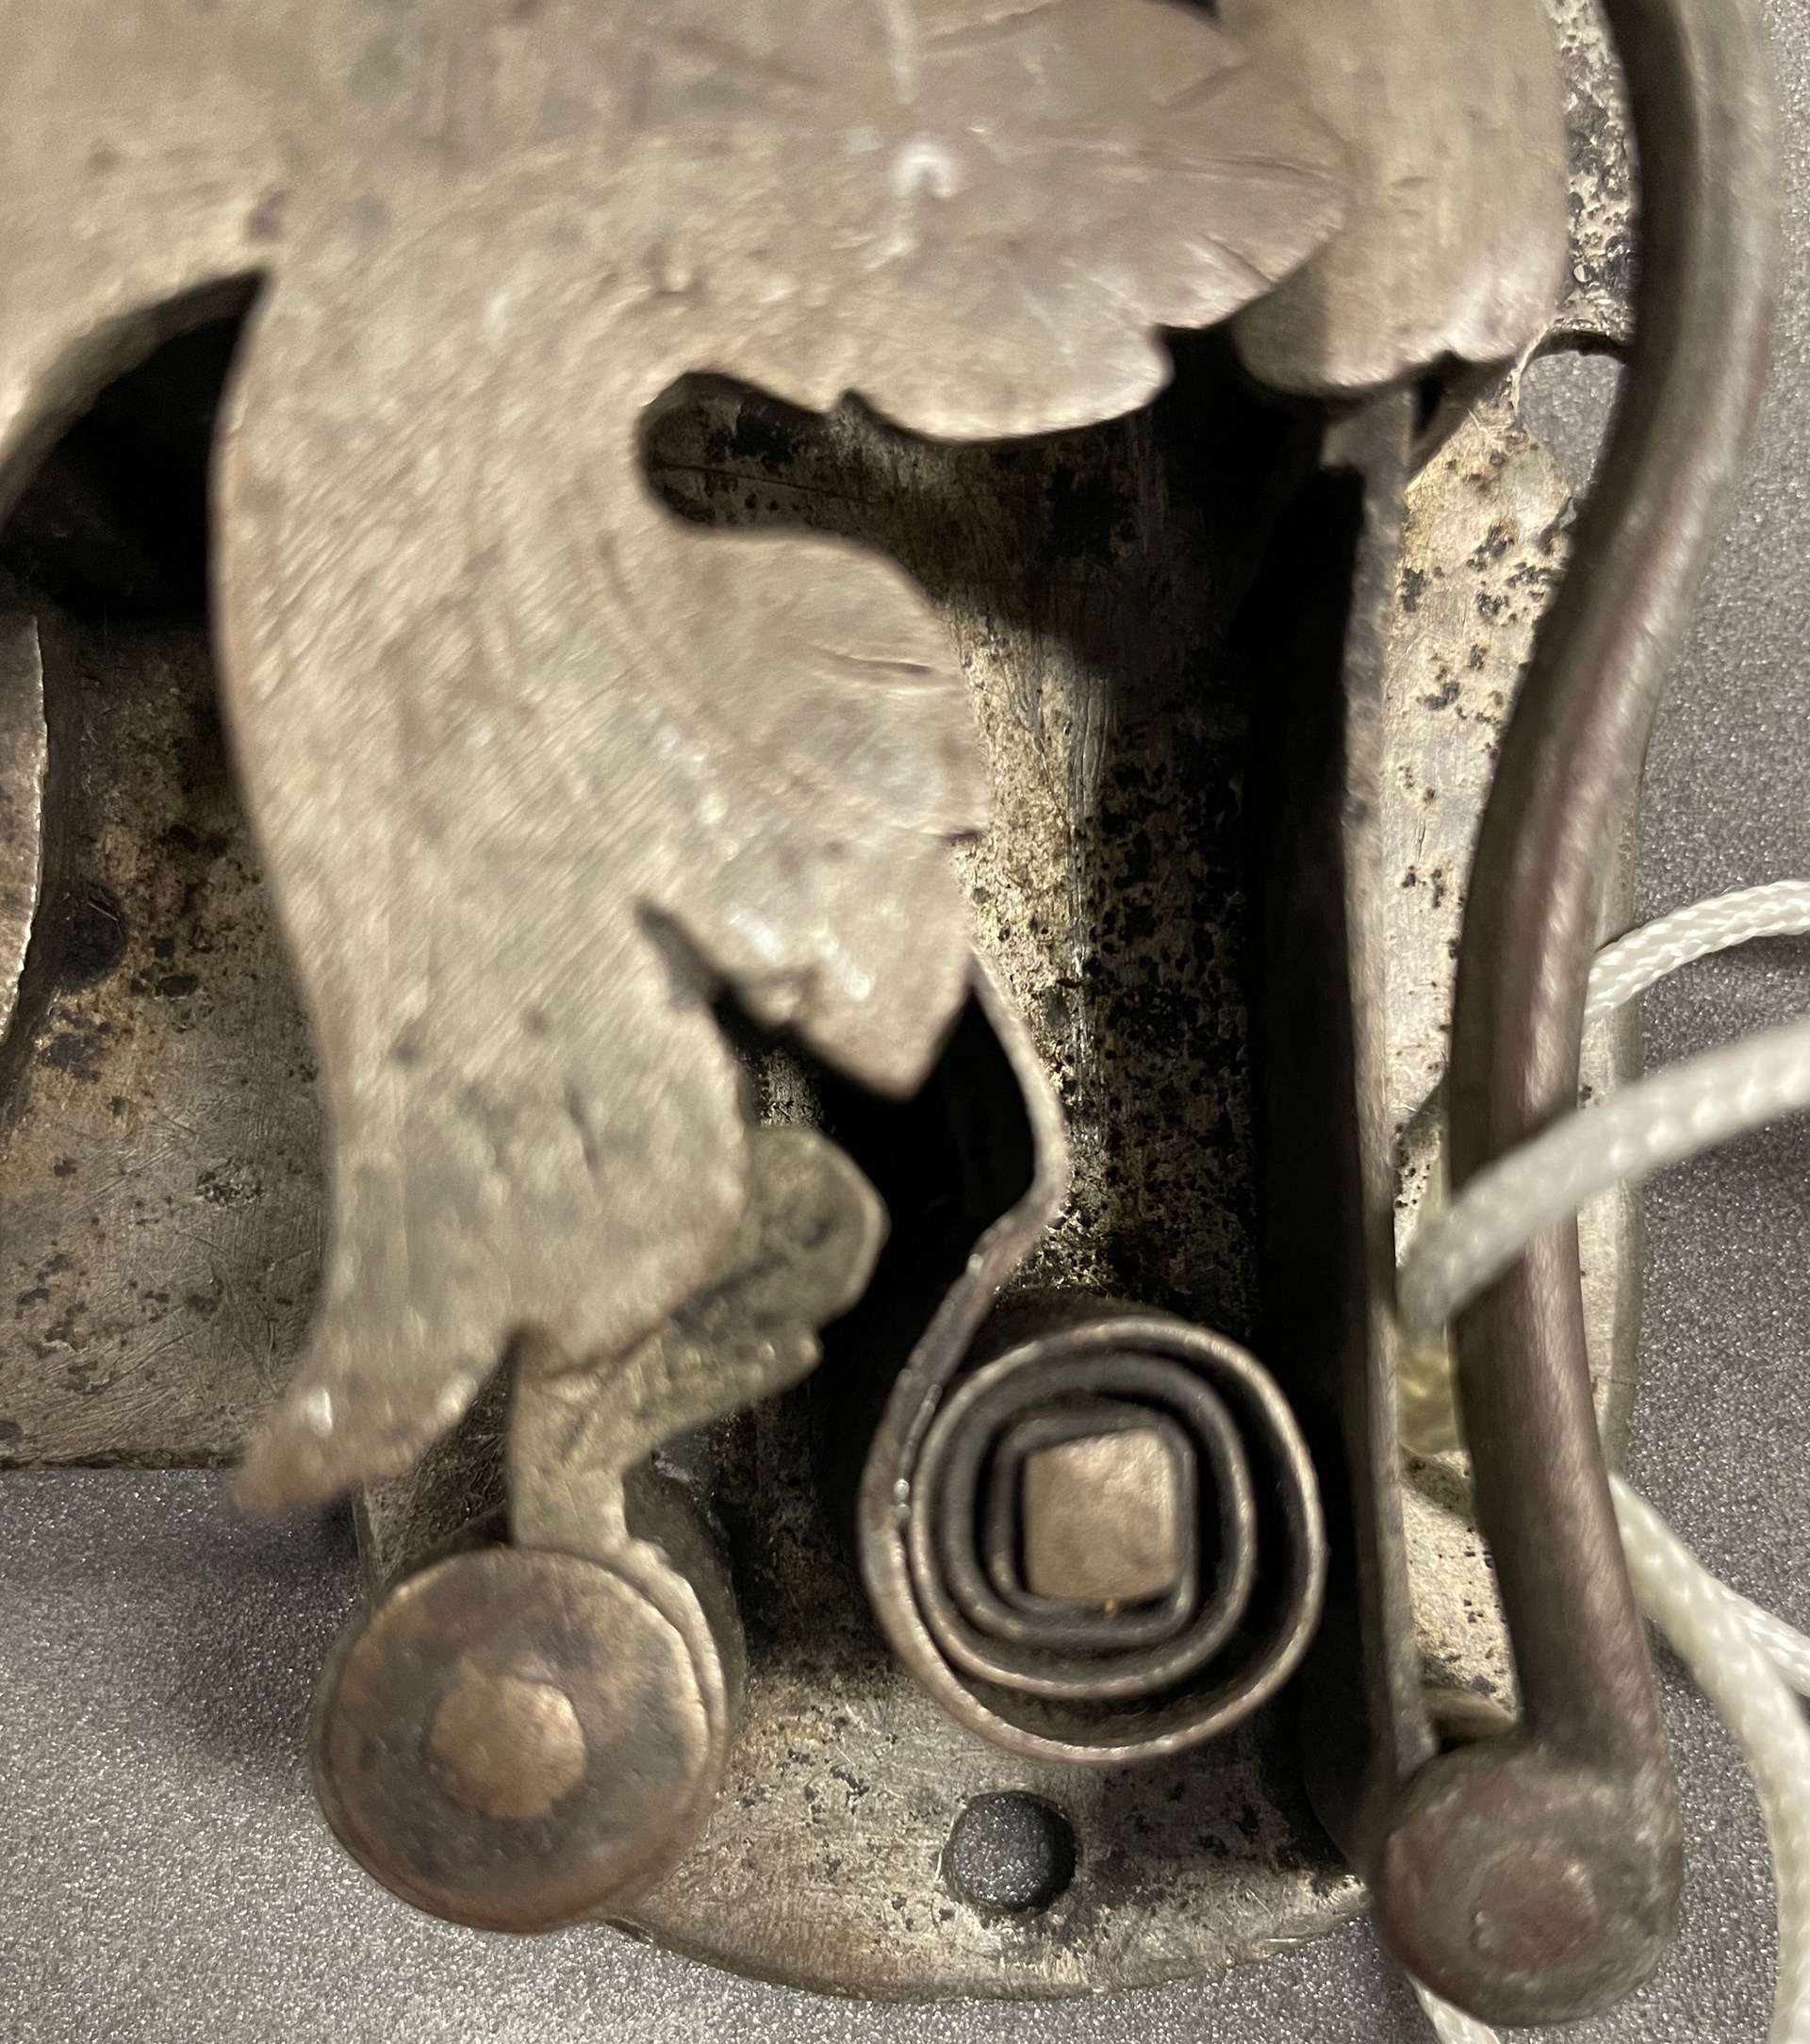
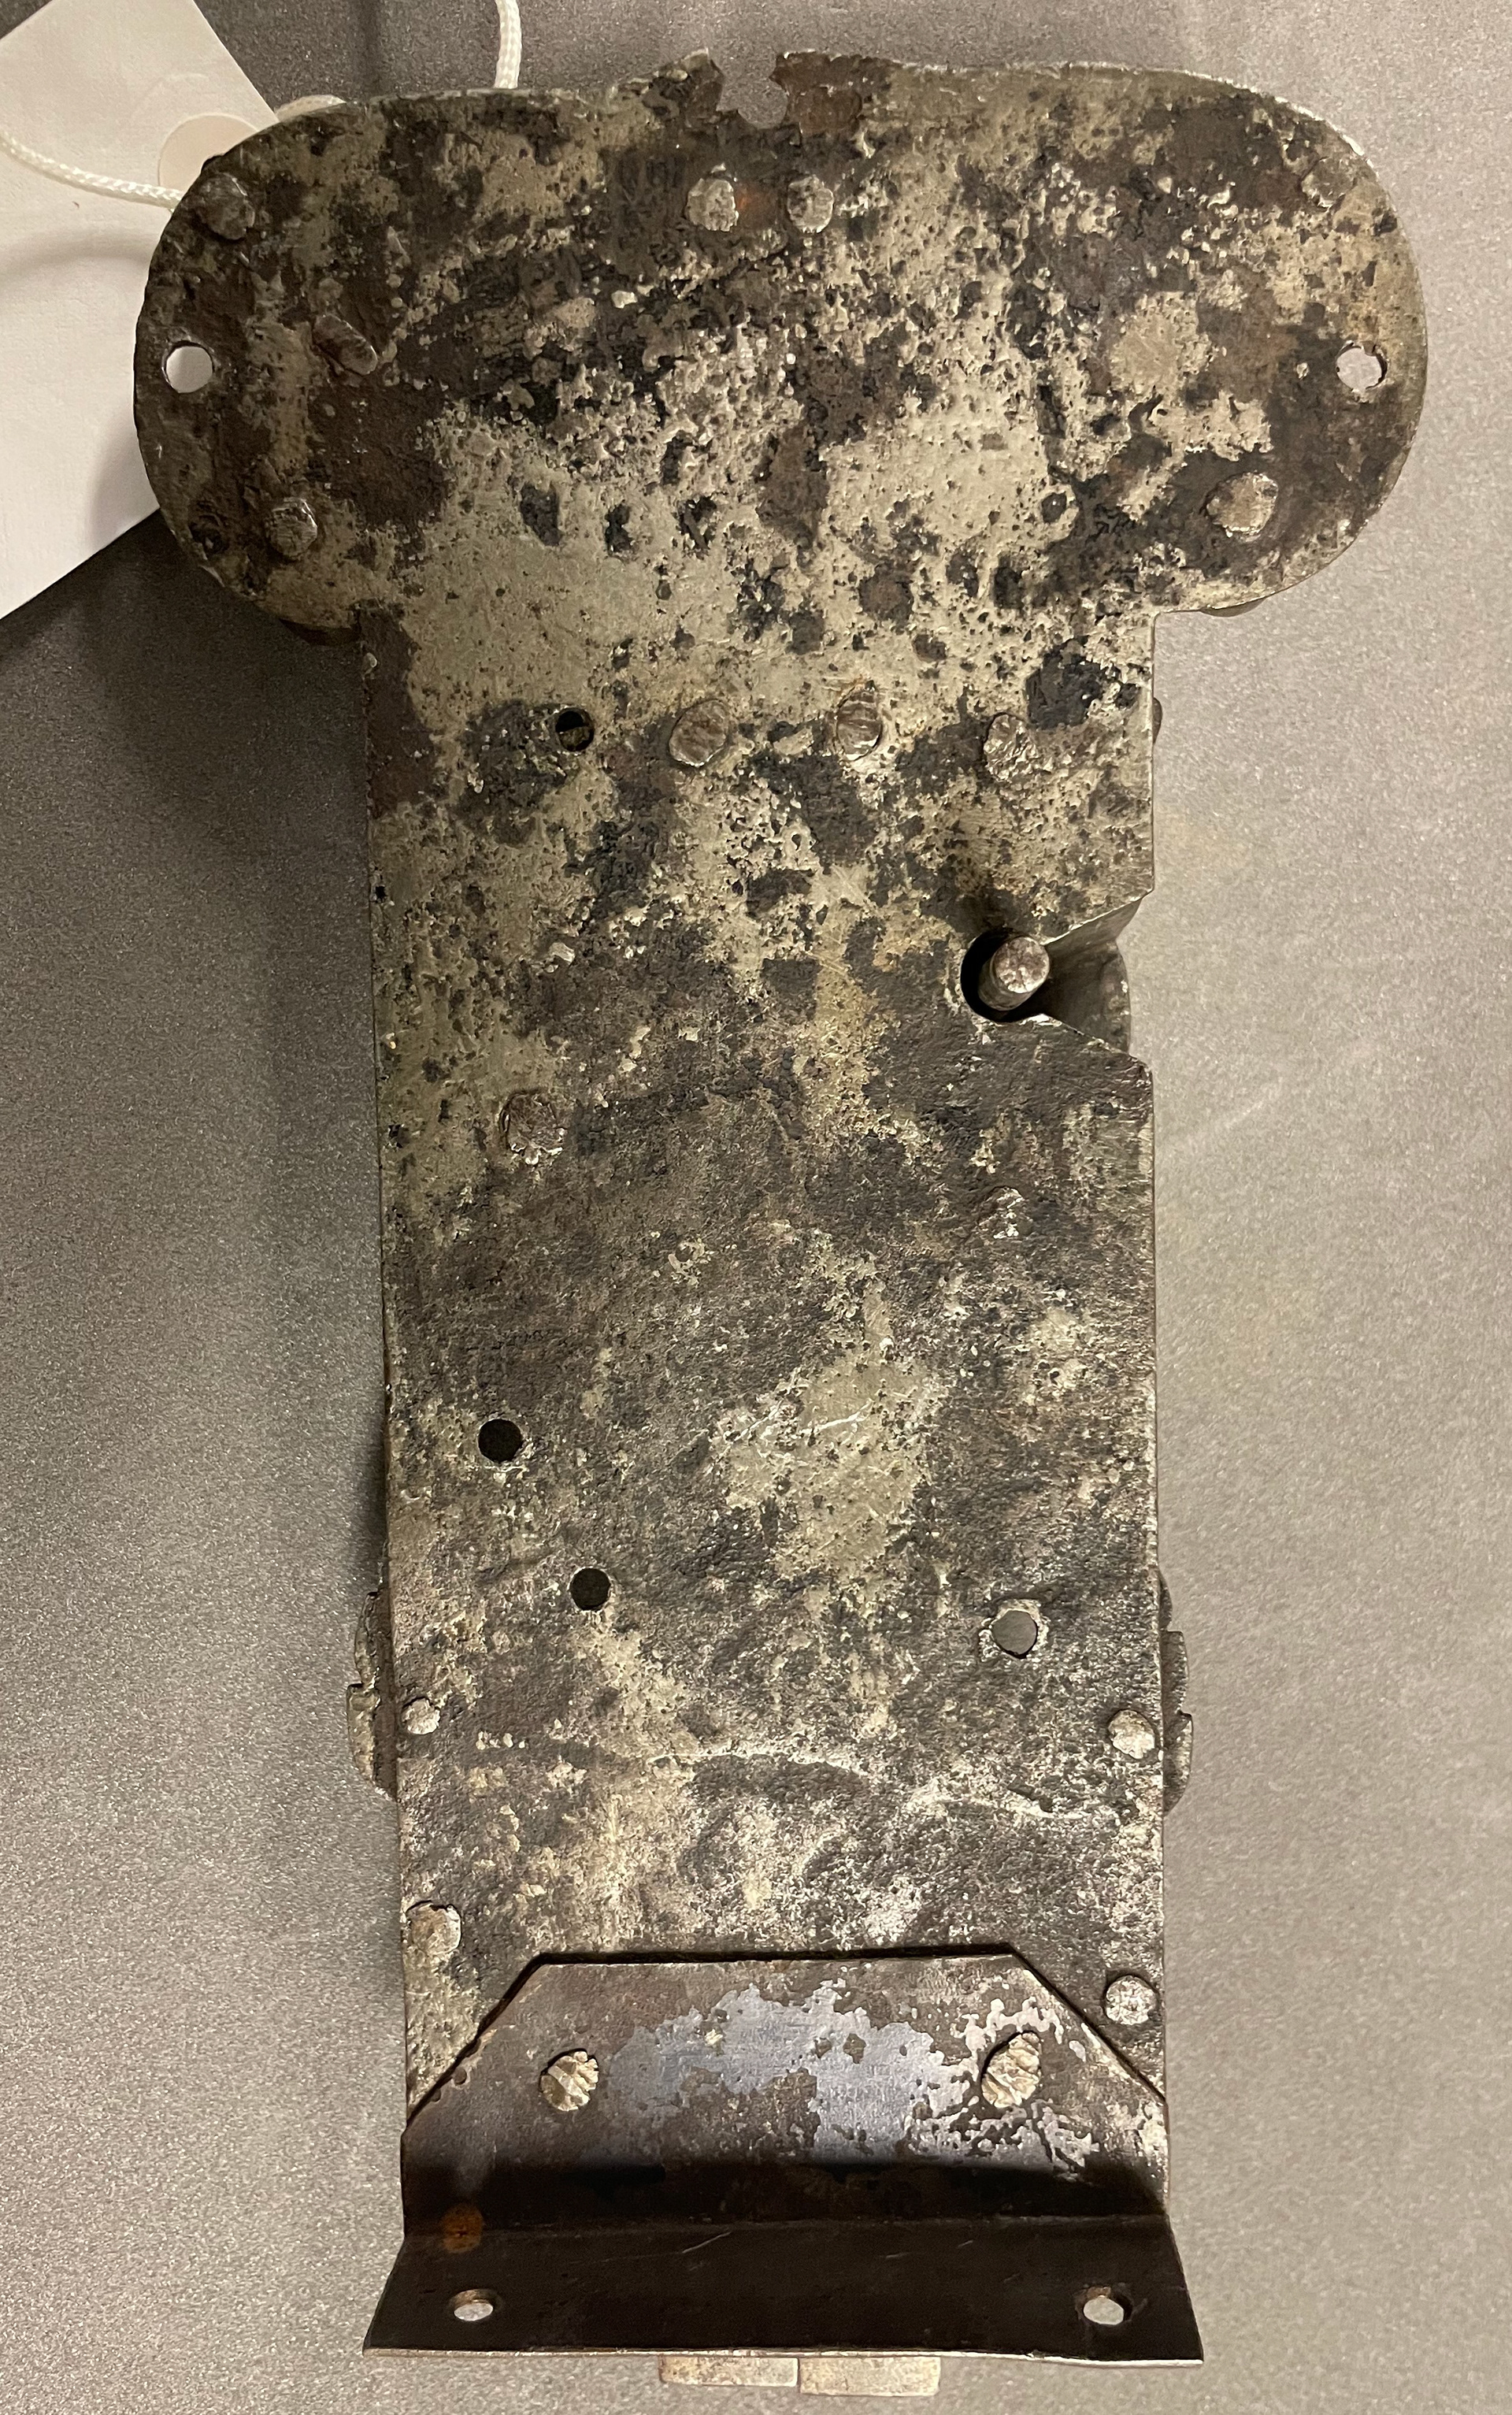
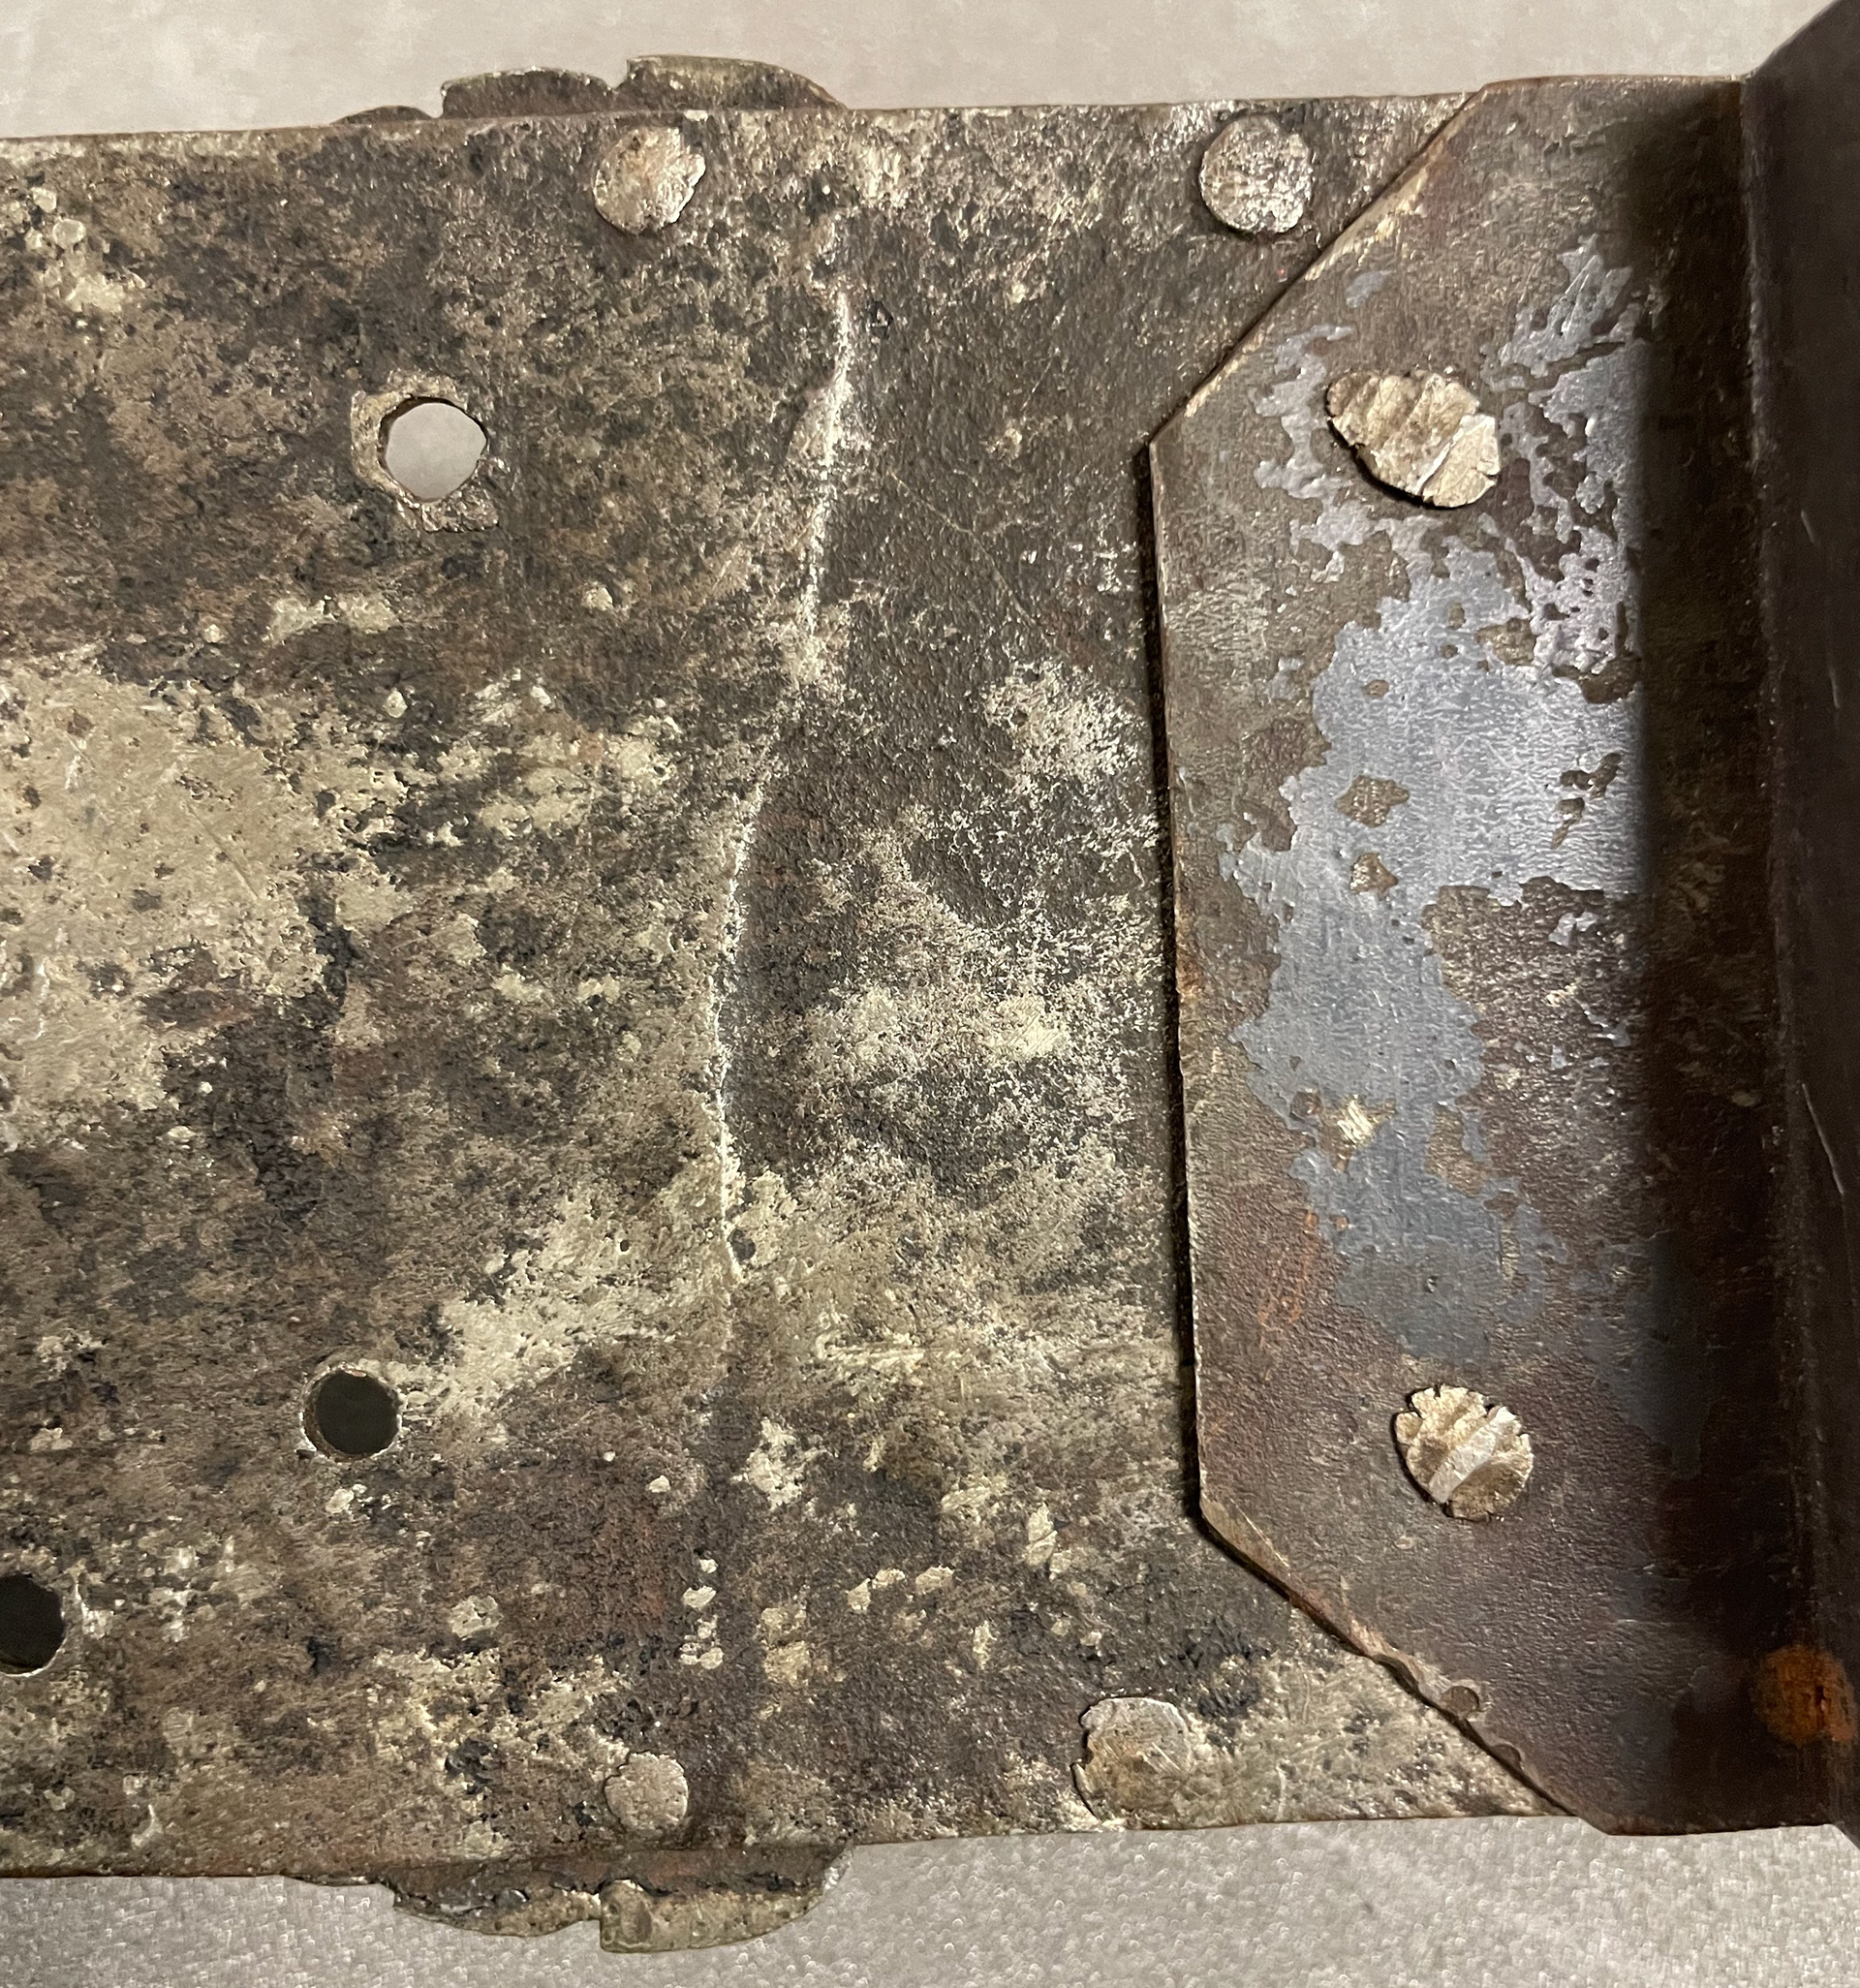
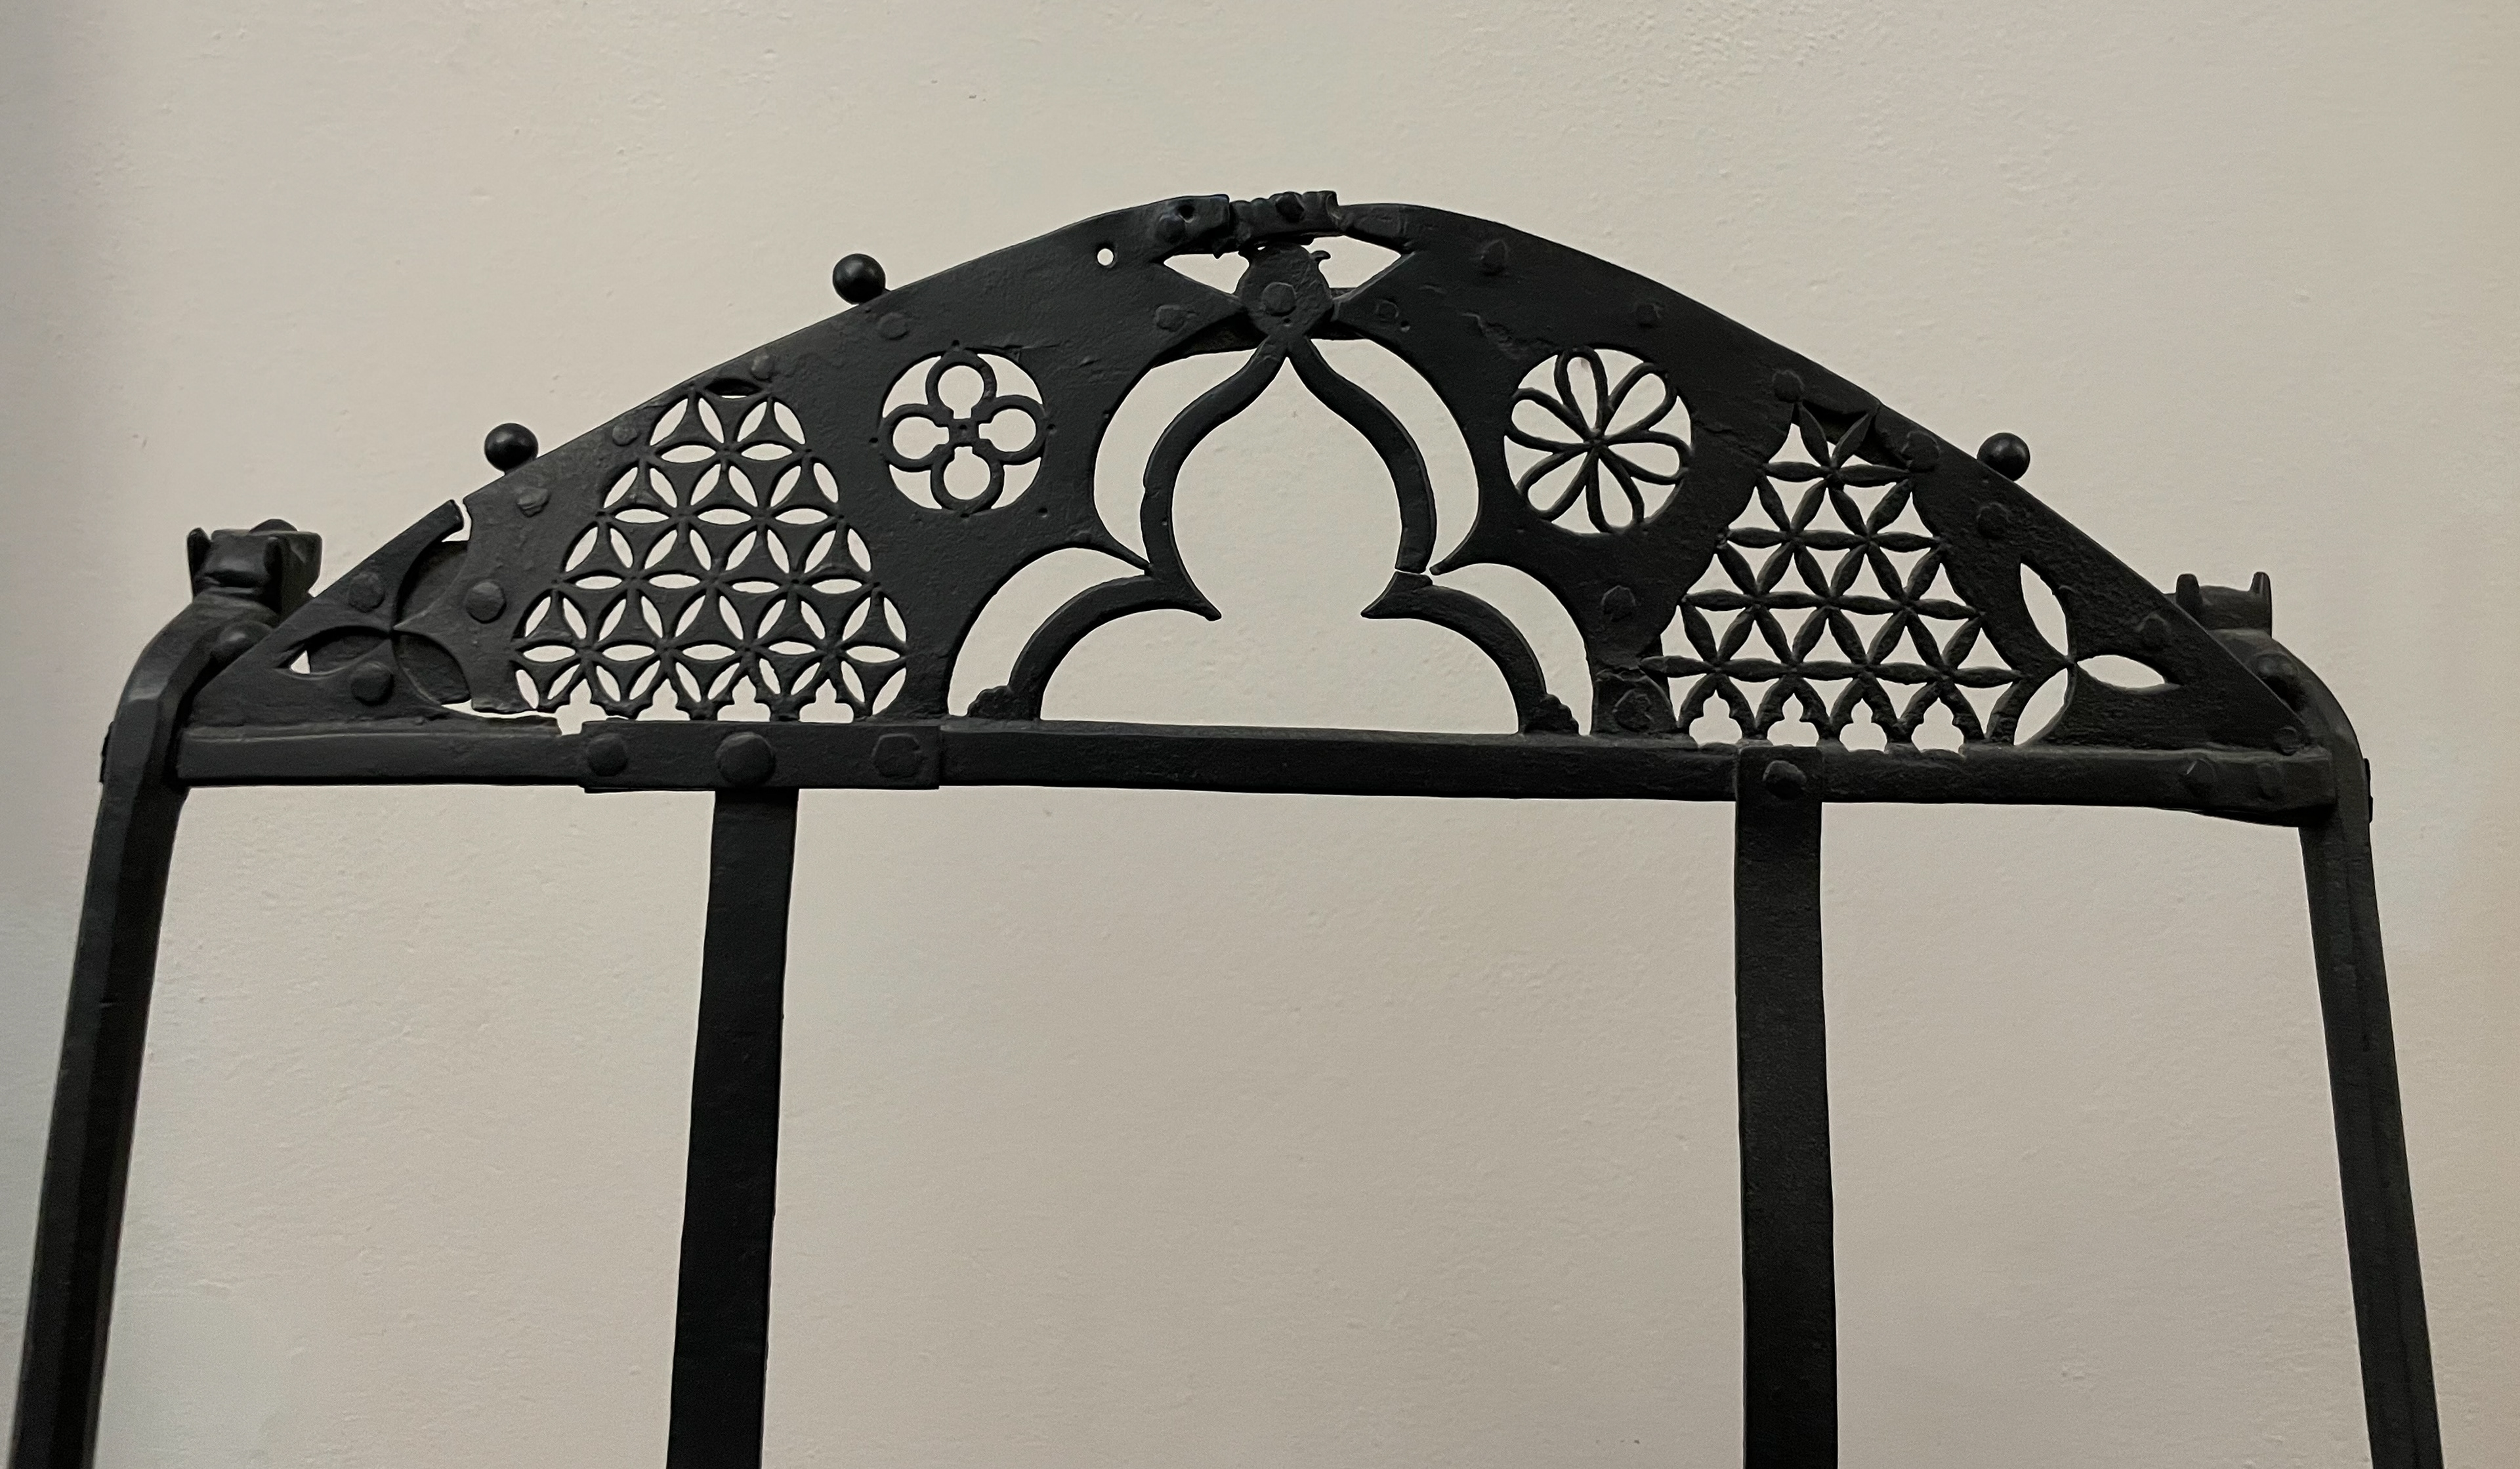
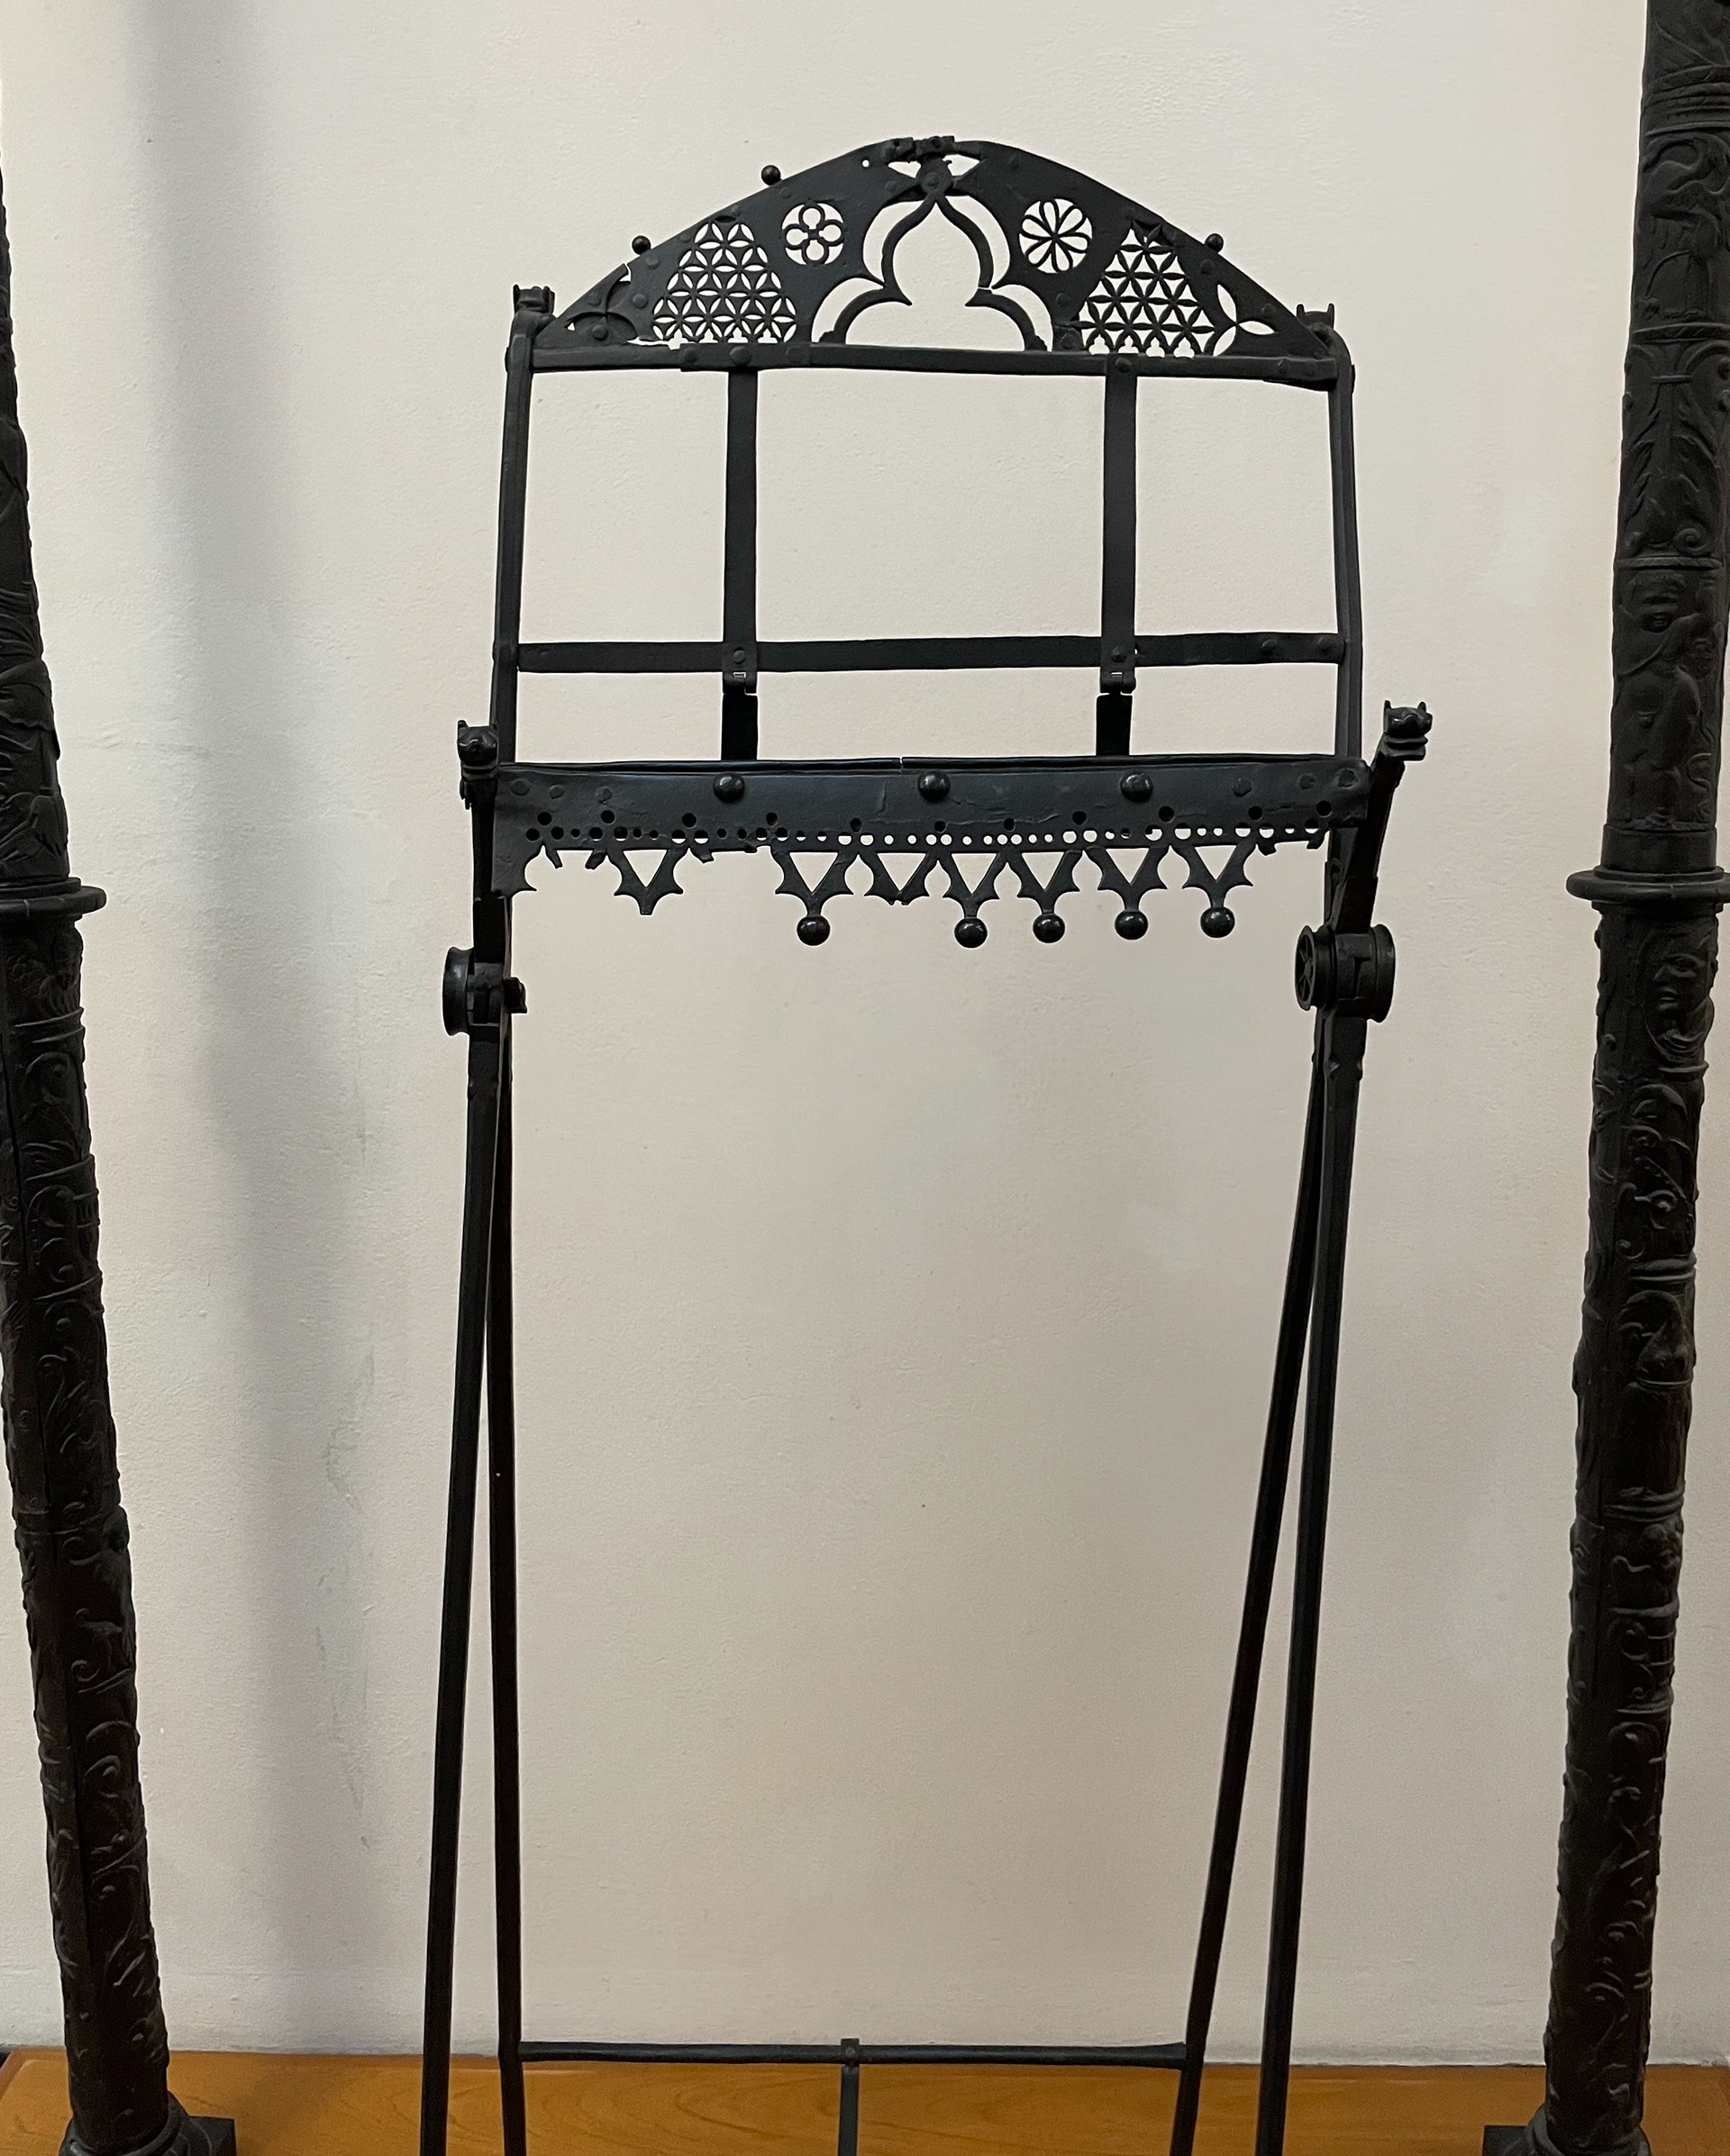
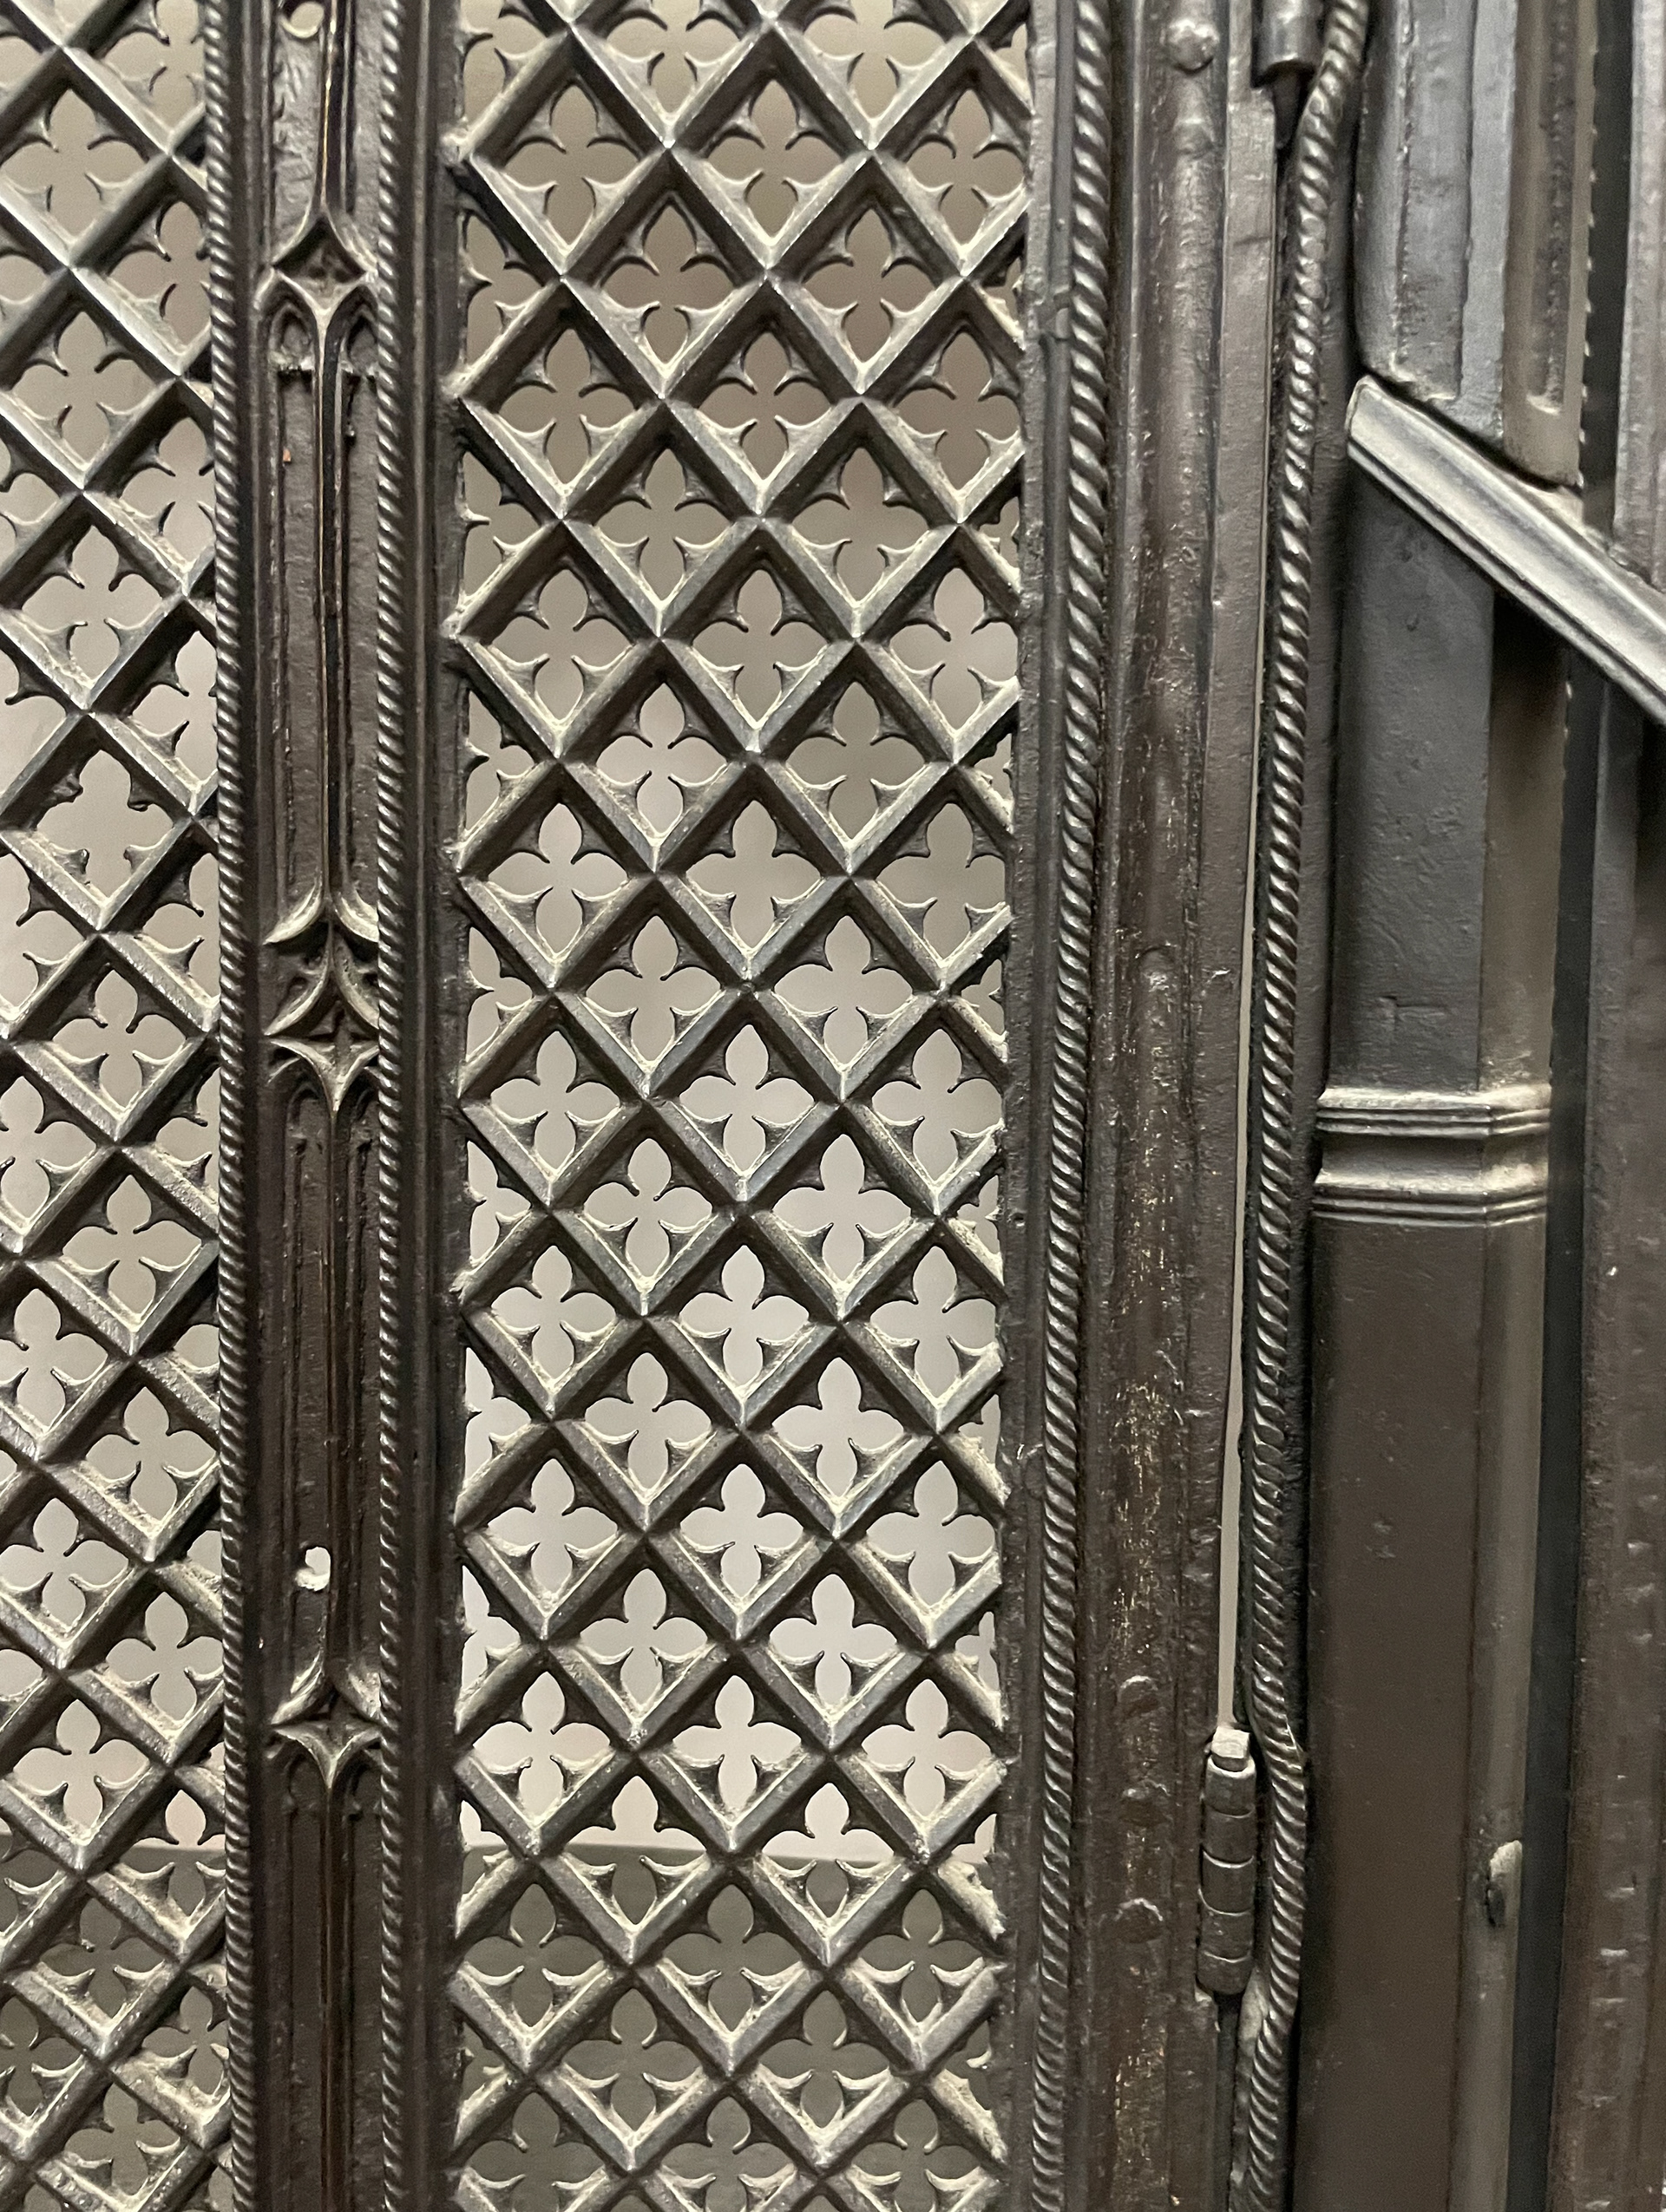
17th/18th century German iron locks and door furniture
MANMU: 1911.6g
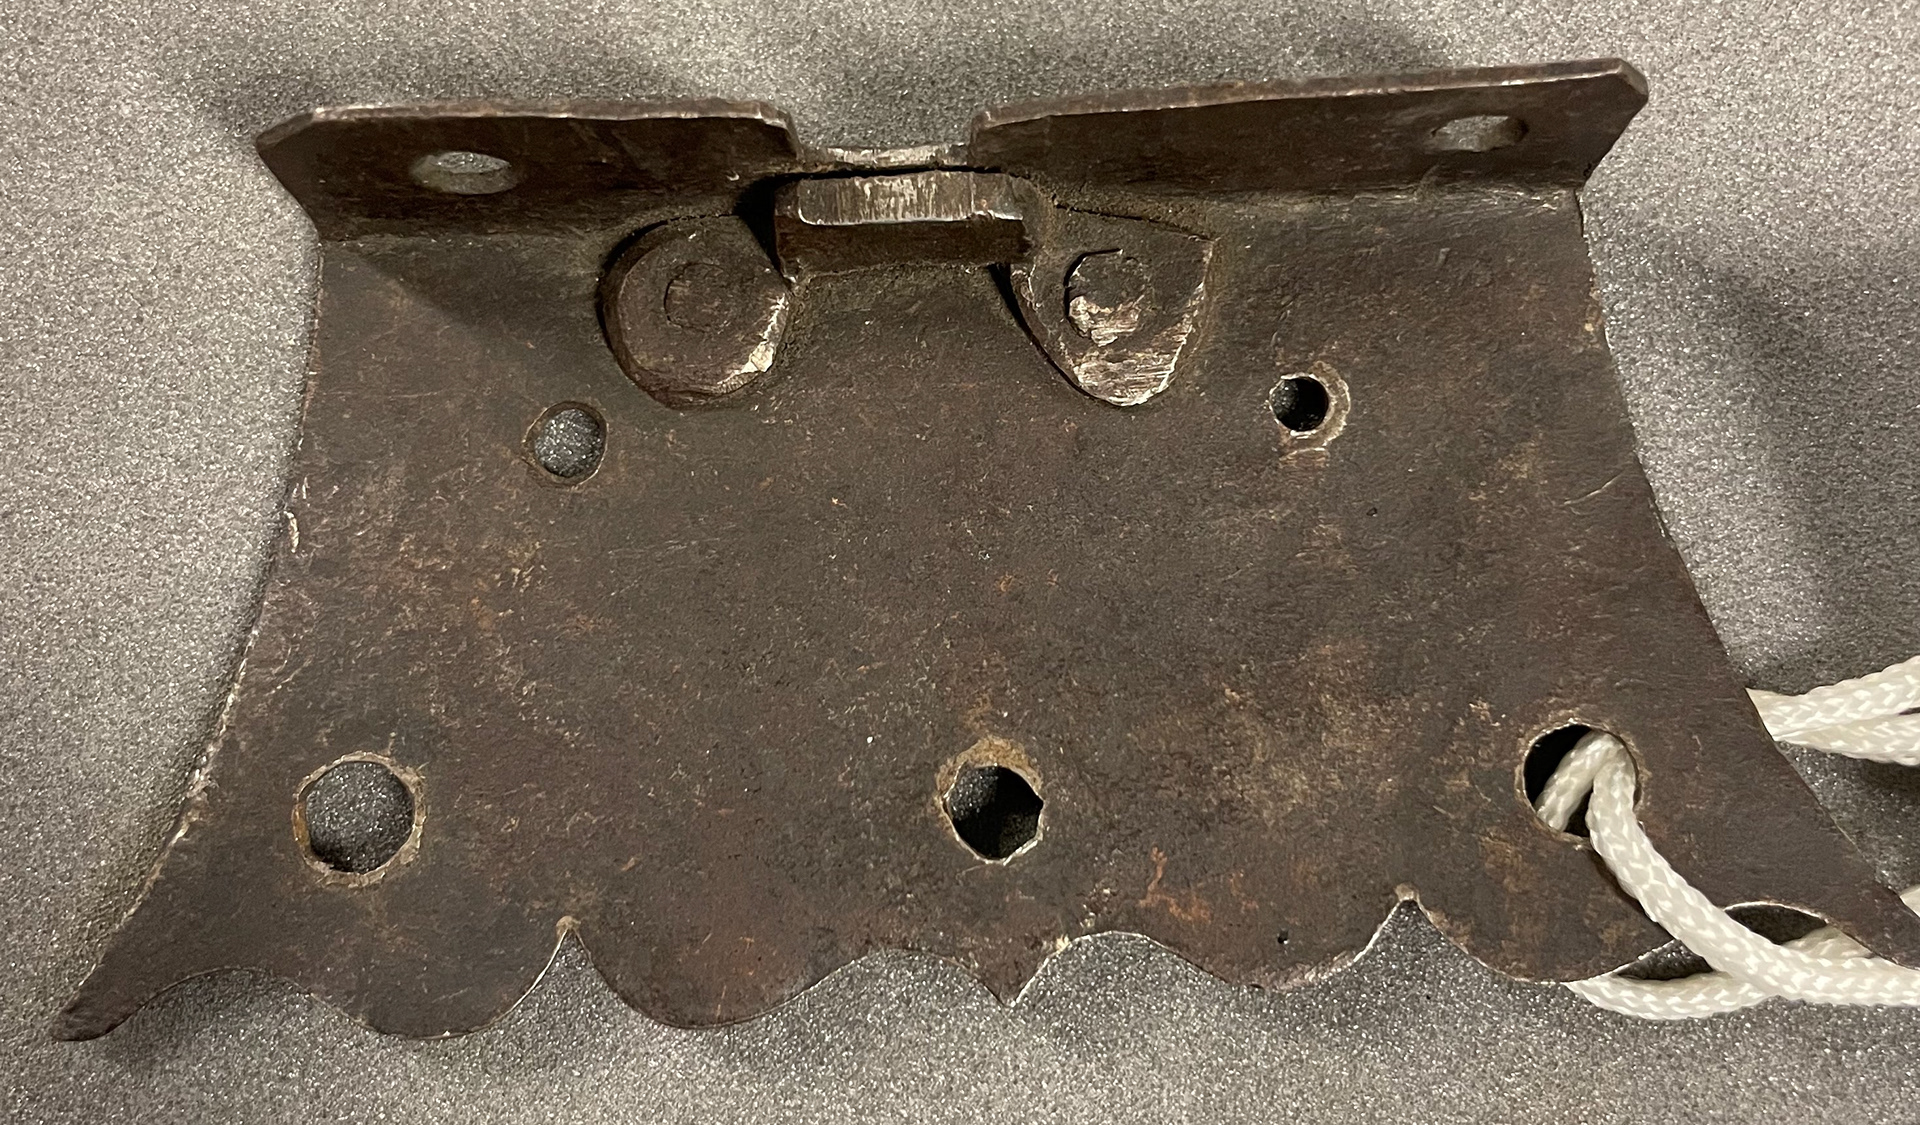
Iron Hinge, 17th/18th century German labelled beii
Brass handle, 1896
MANMU: 1896.12
Small casket (silver) with repousse lid, Bernard Cuzner, 1900
MANMU: 1903.7
Cigar box (rosewood and silver), student work from 1970/80's
MANMU: 1987.49
Mustard pot with spoon (silver), Lesley Durbin, 1970
MANMU: 2003.4
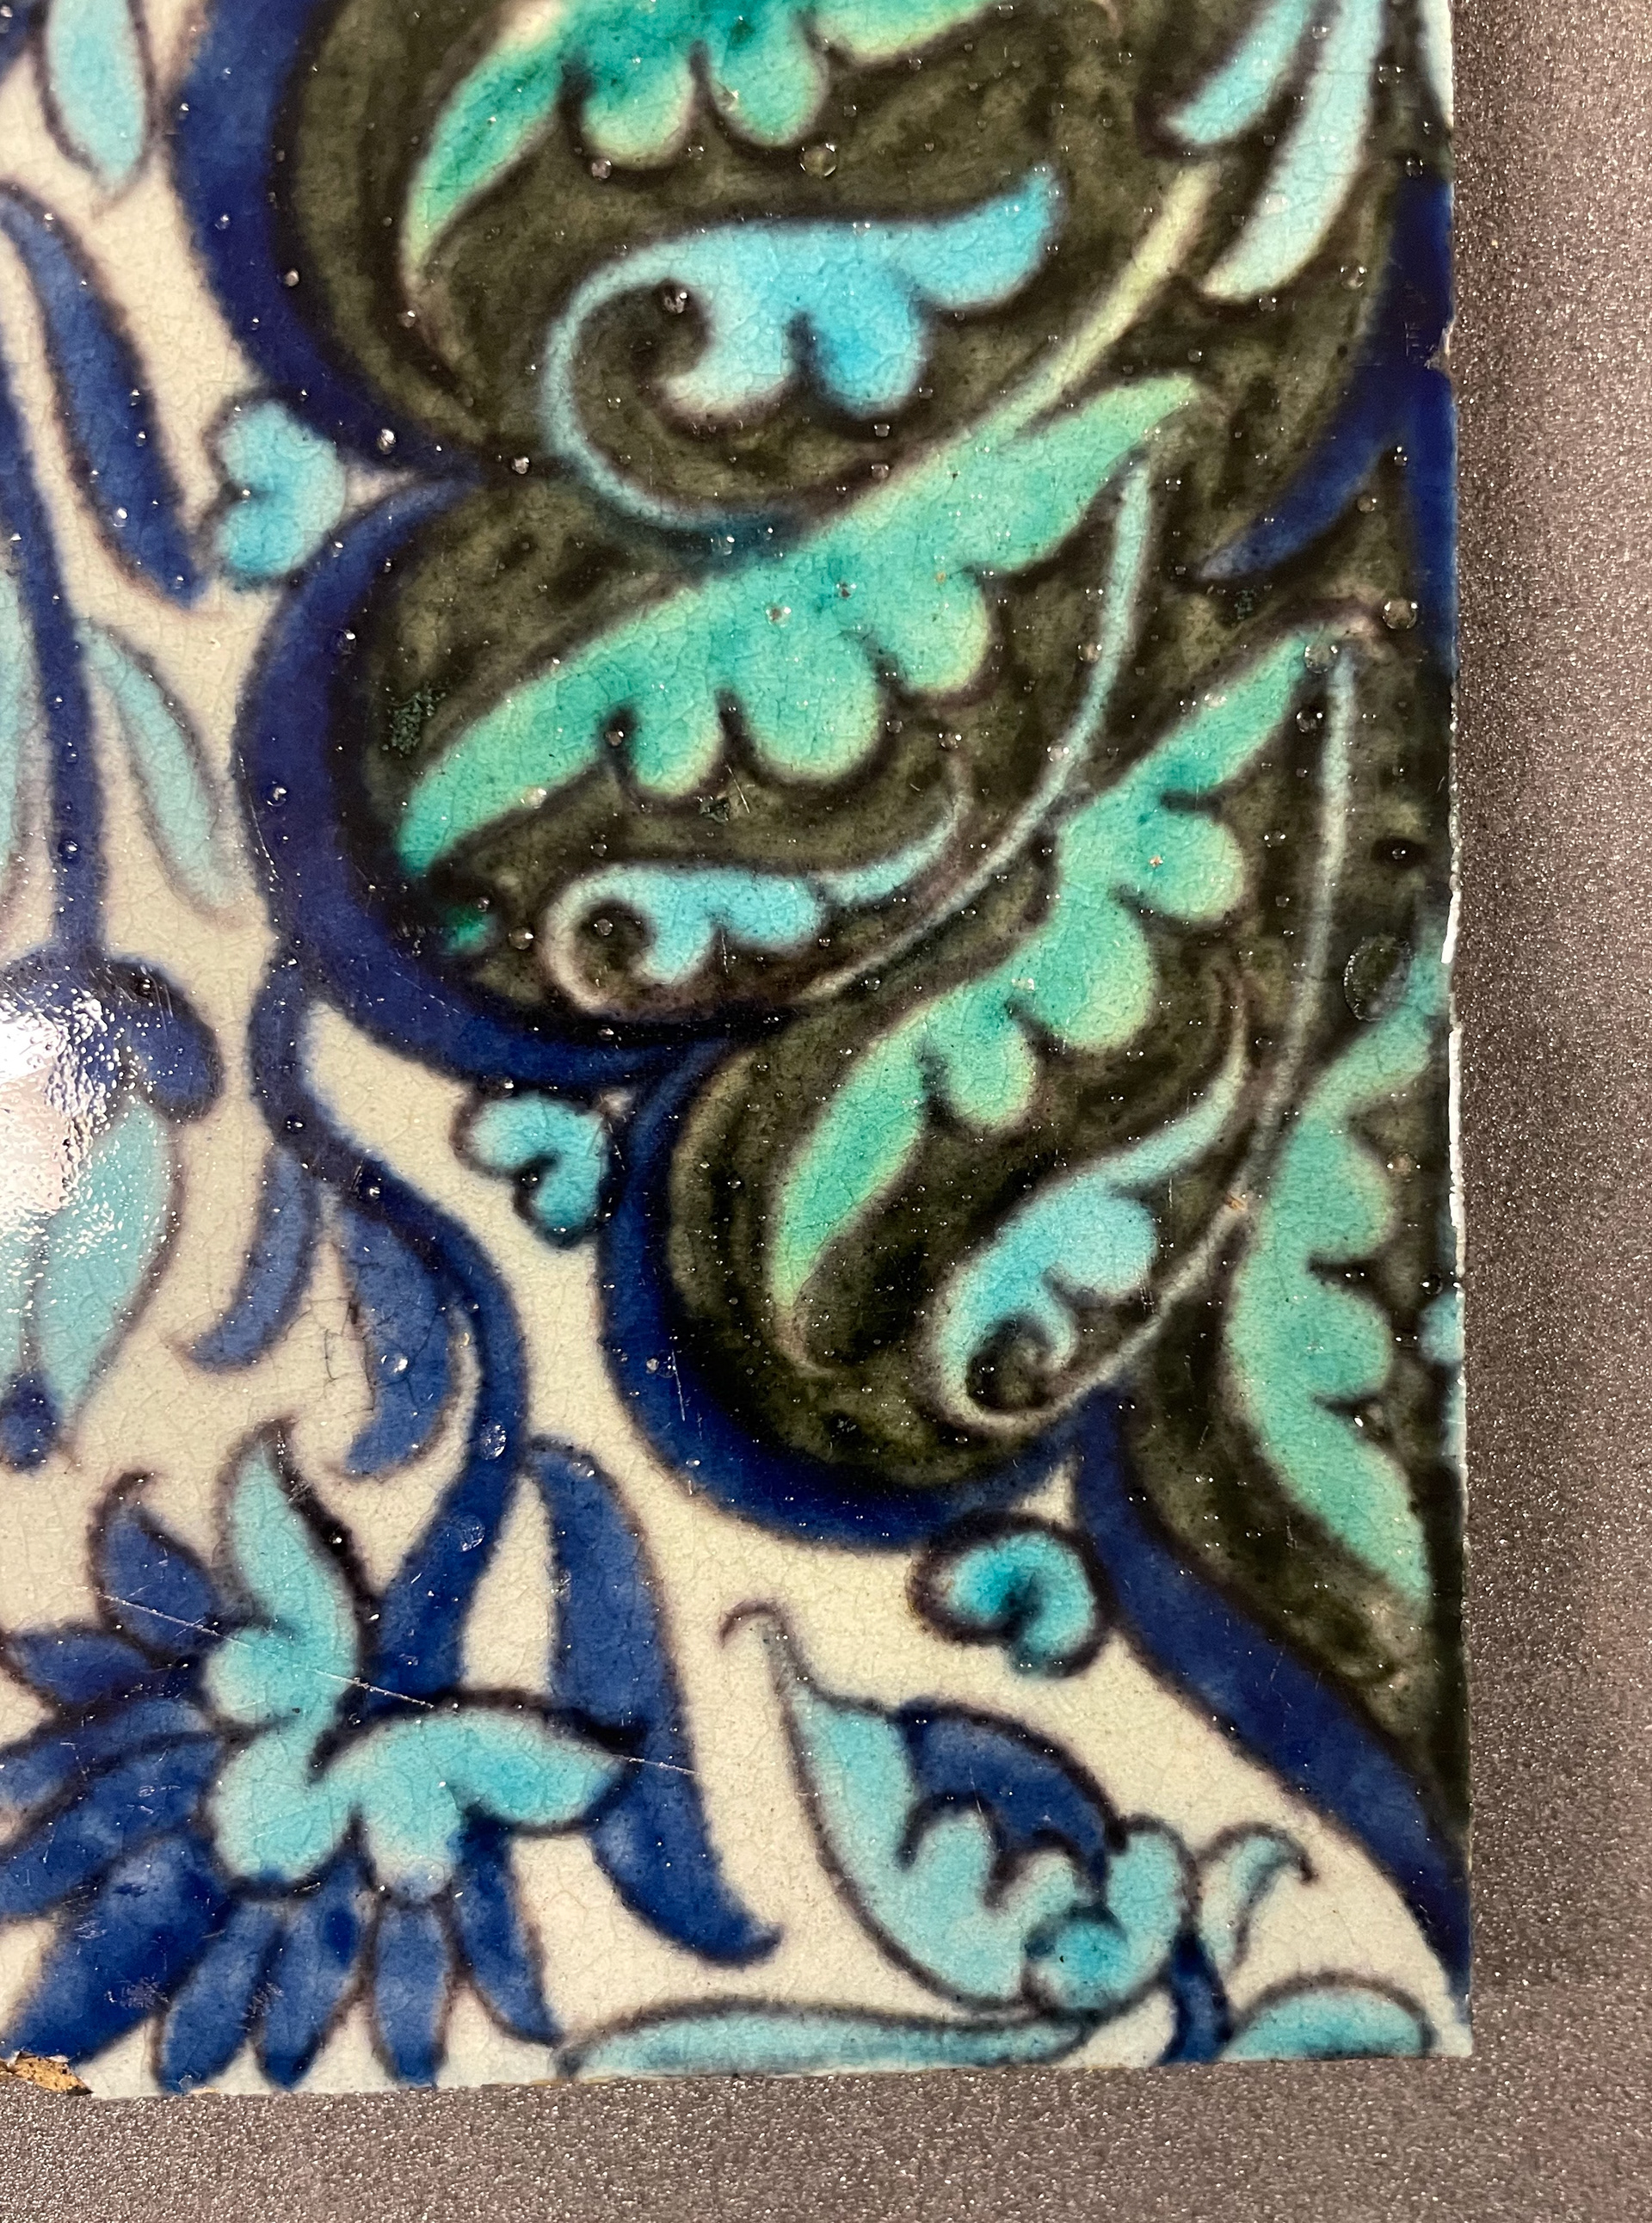
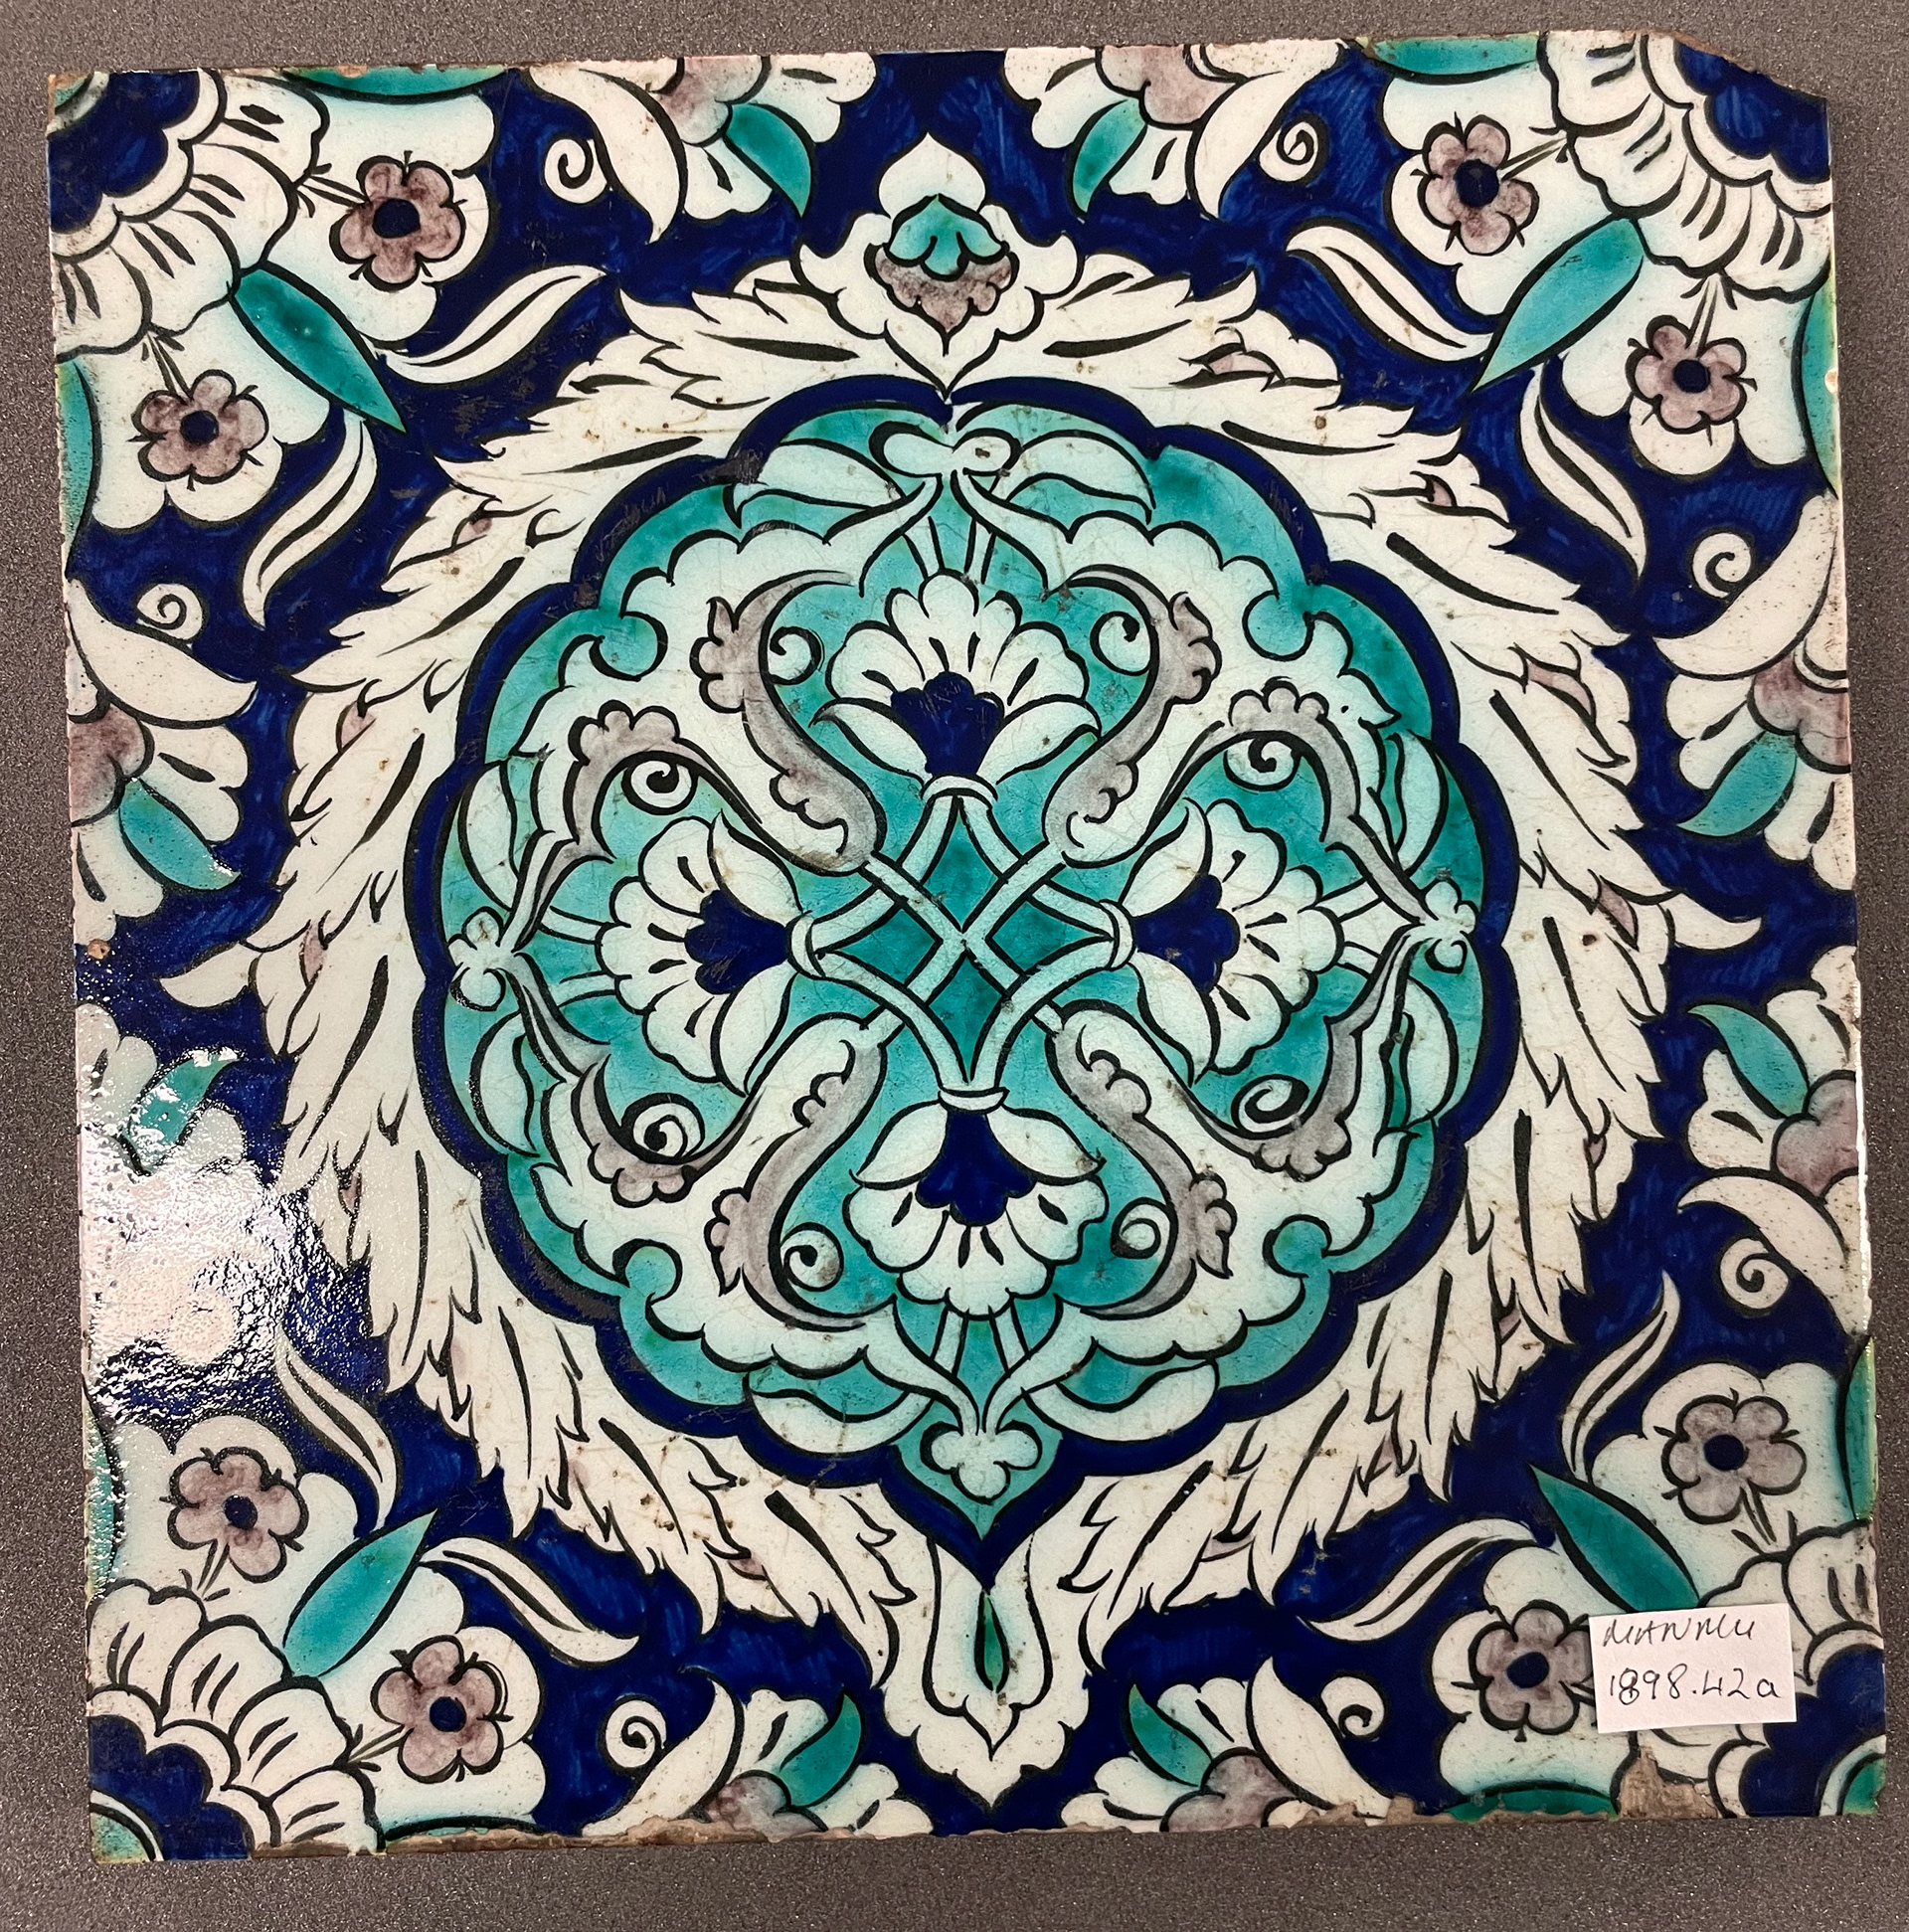
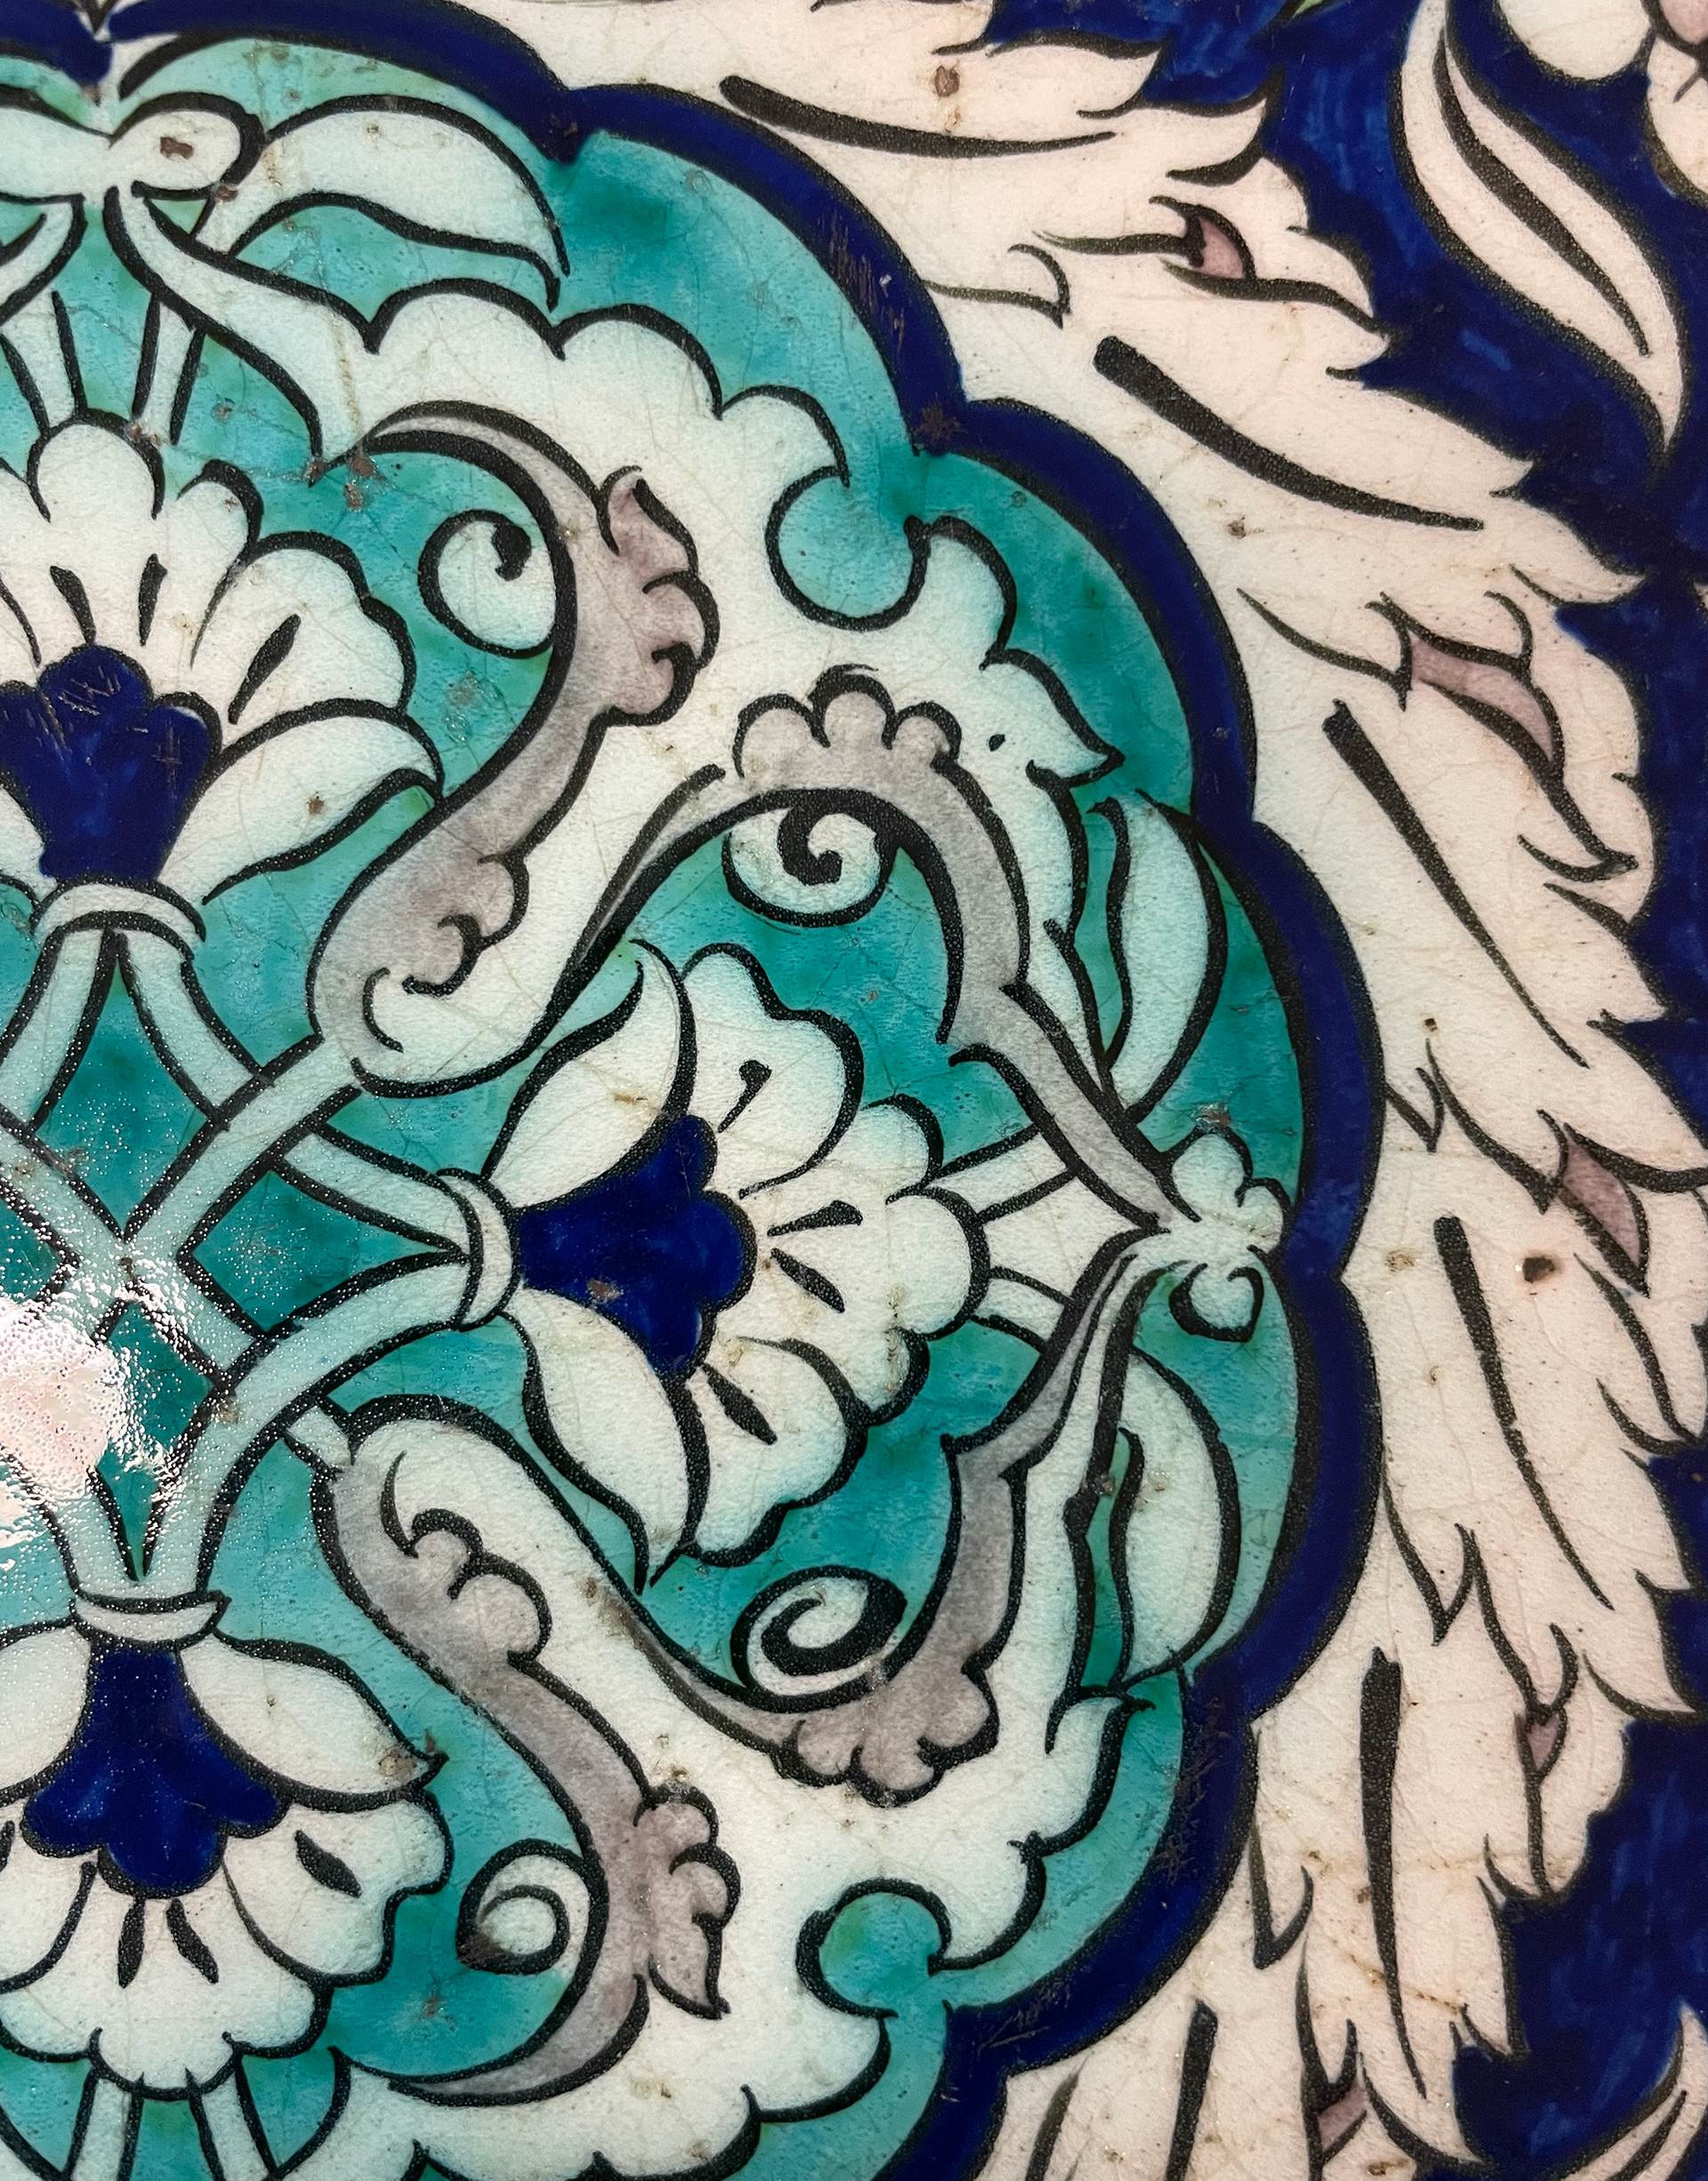
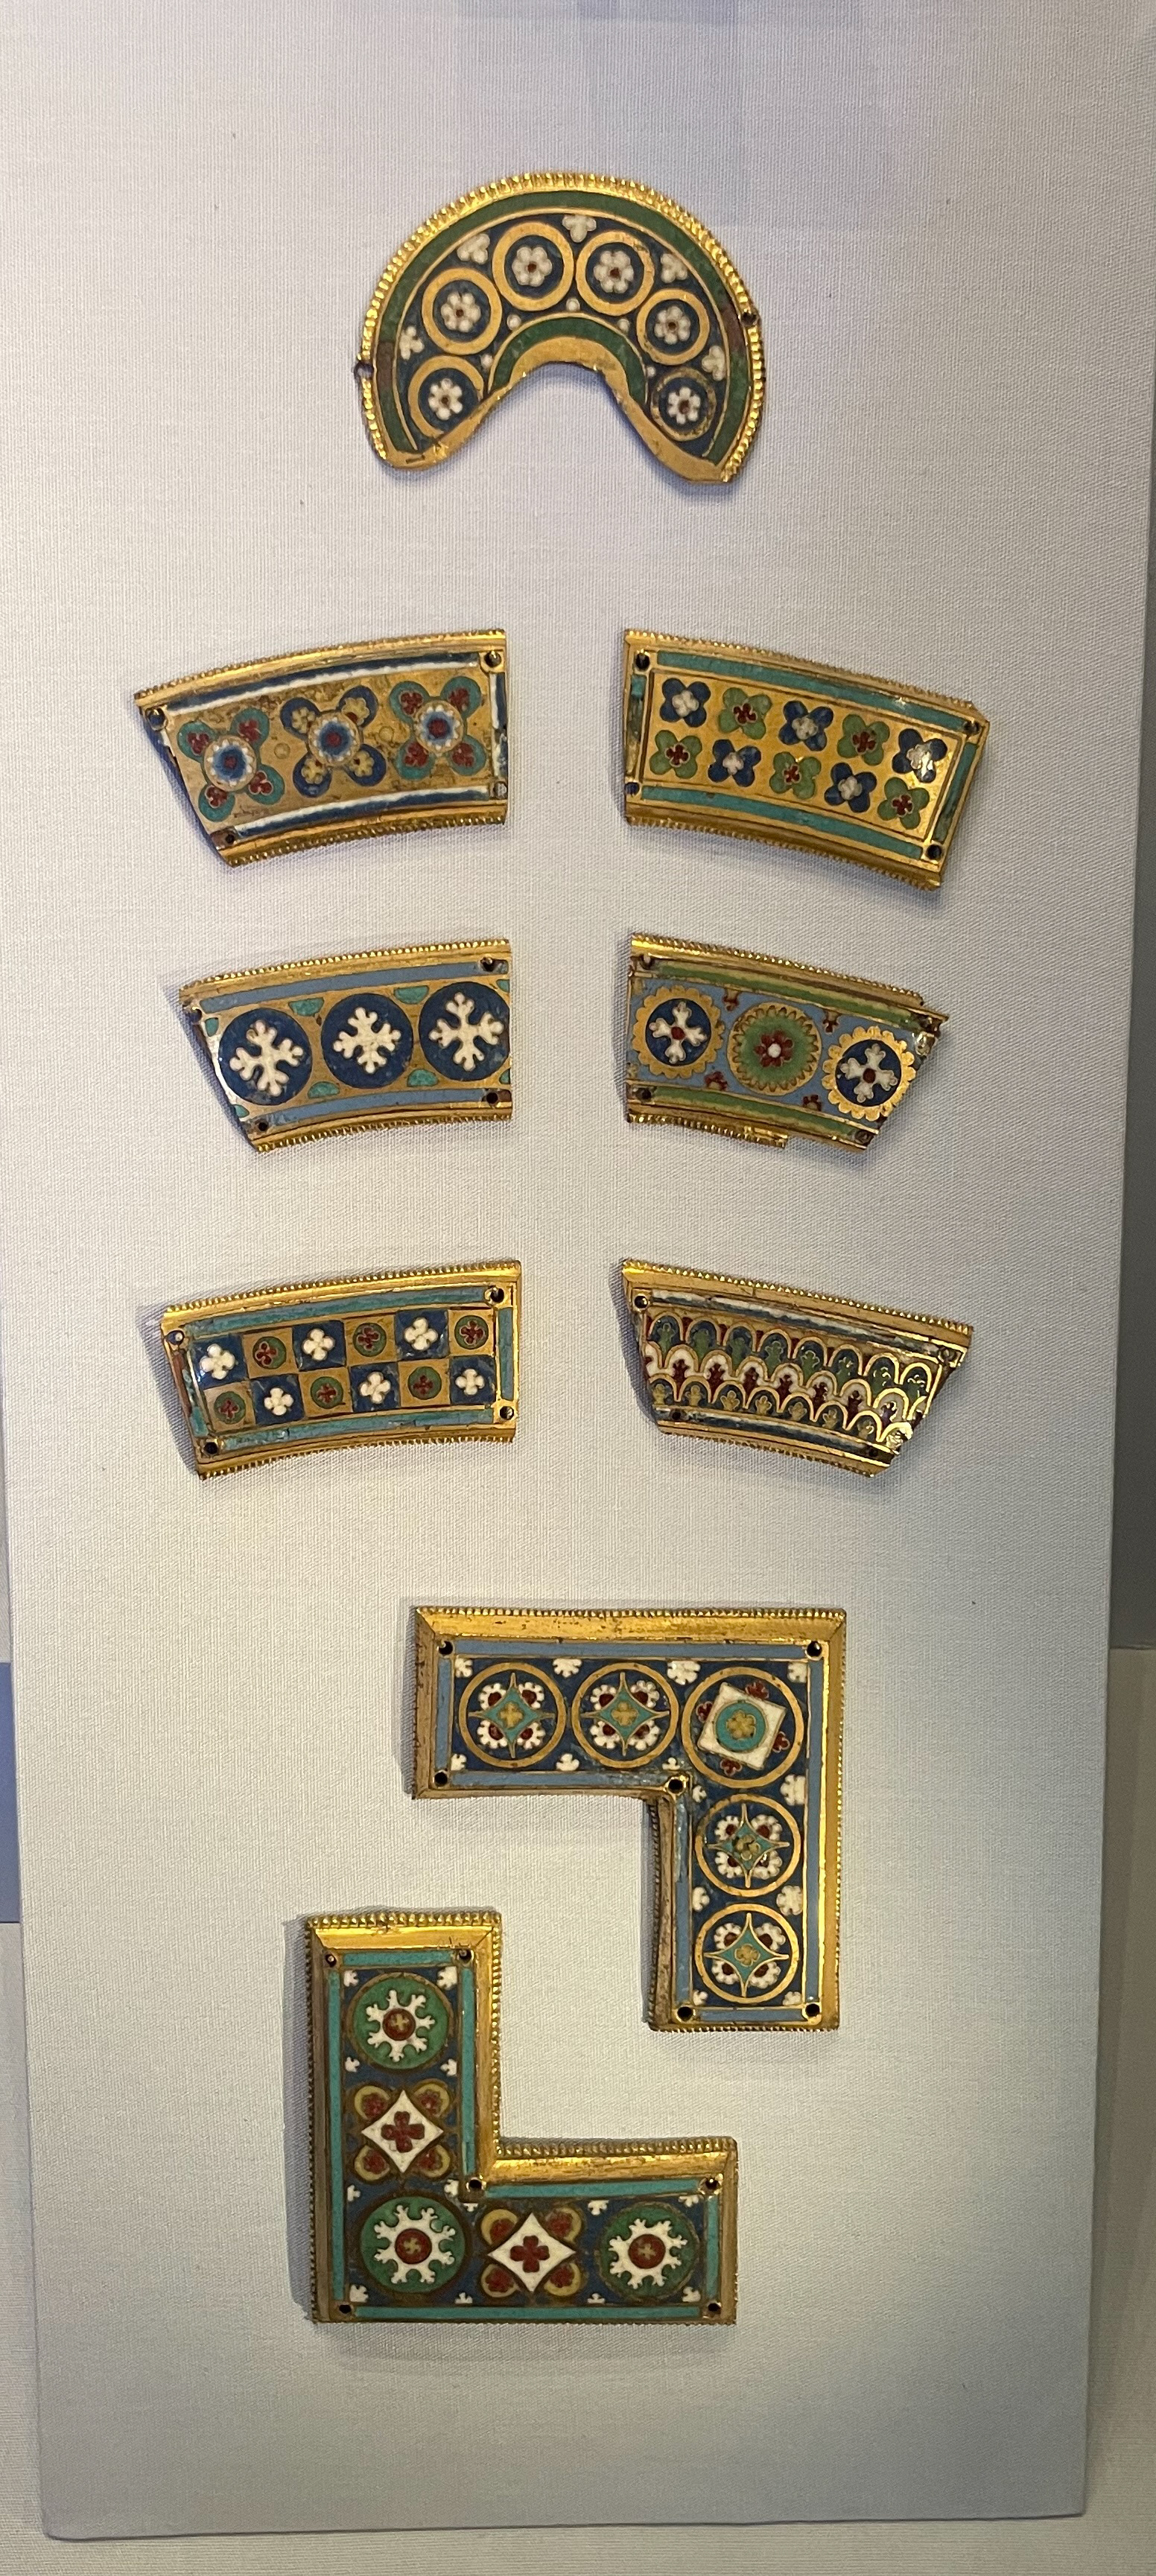
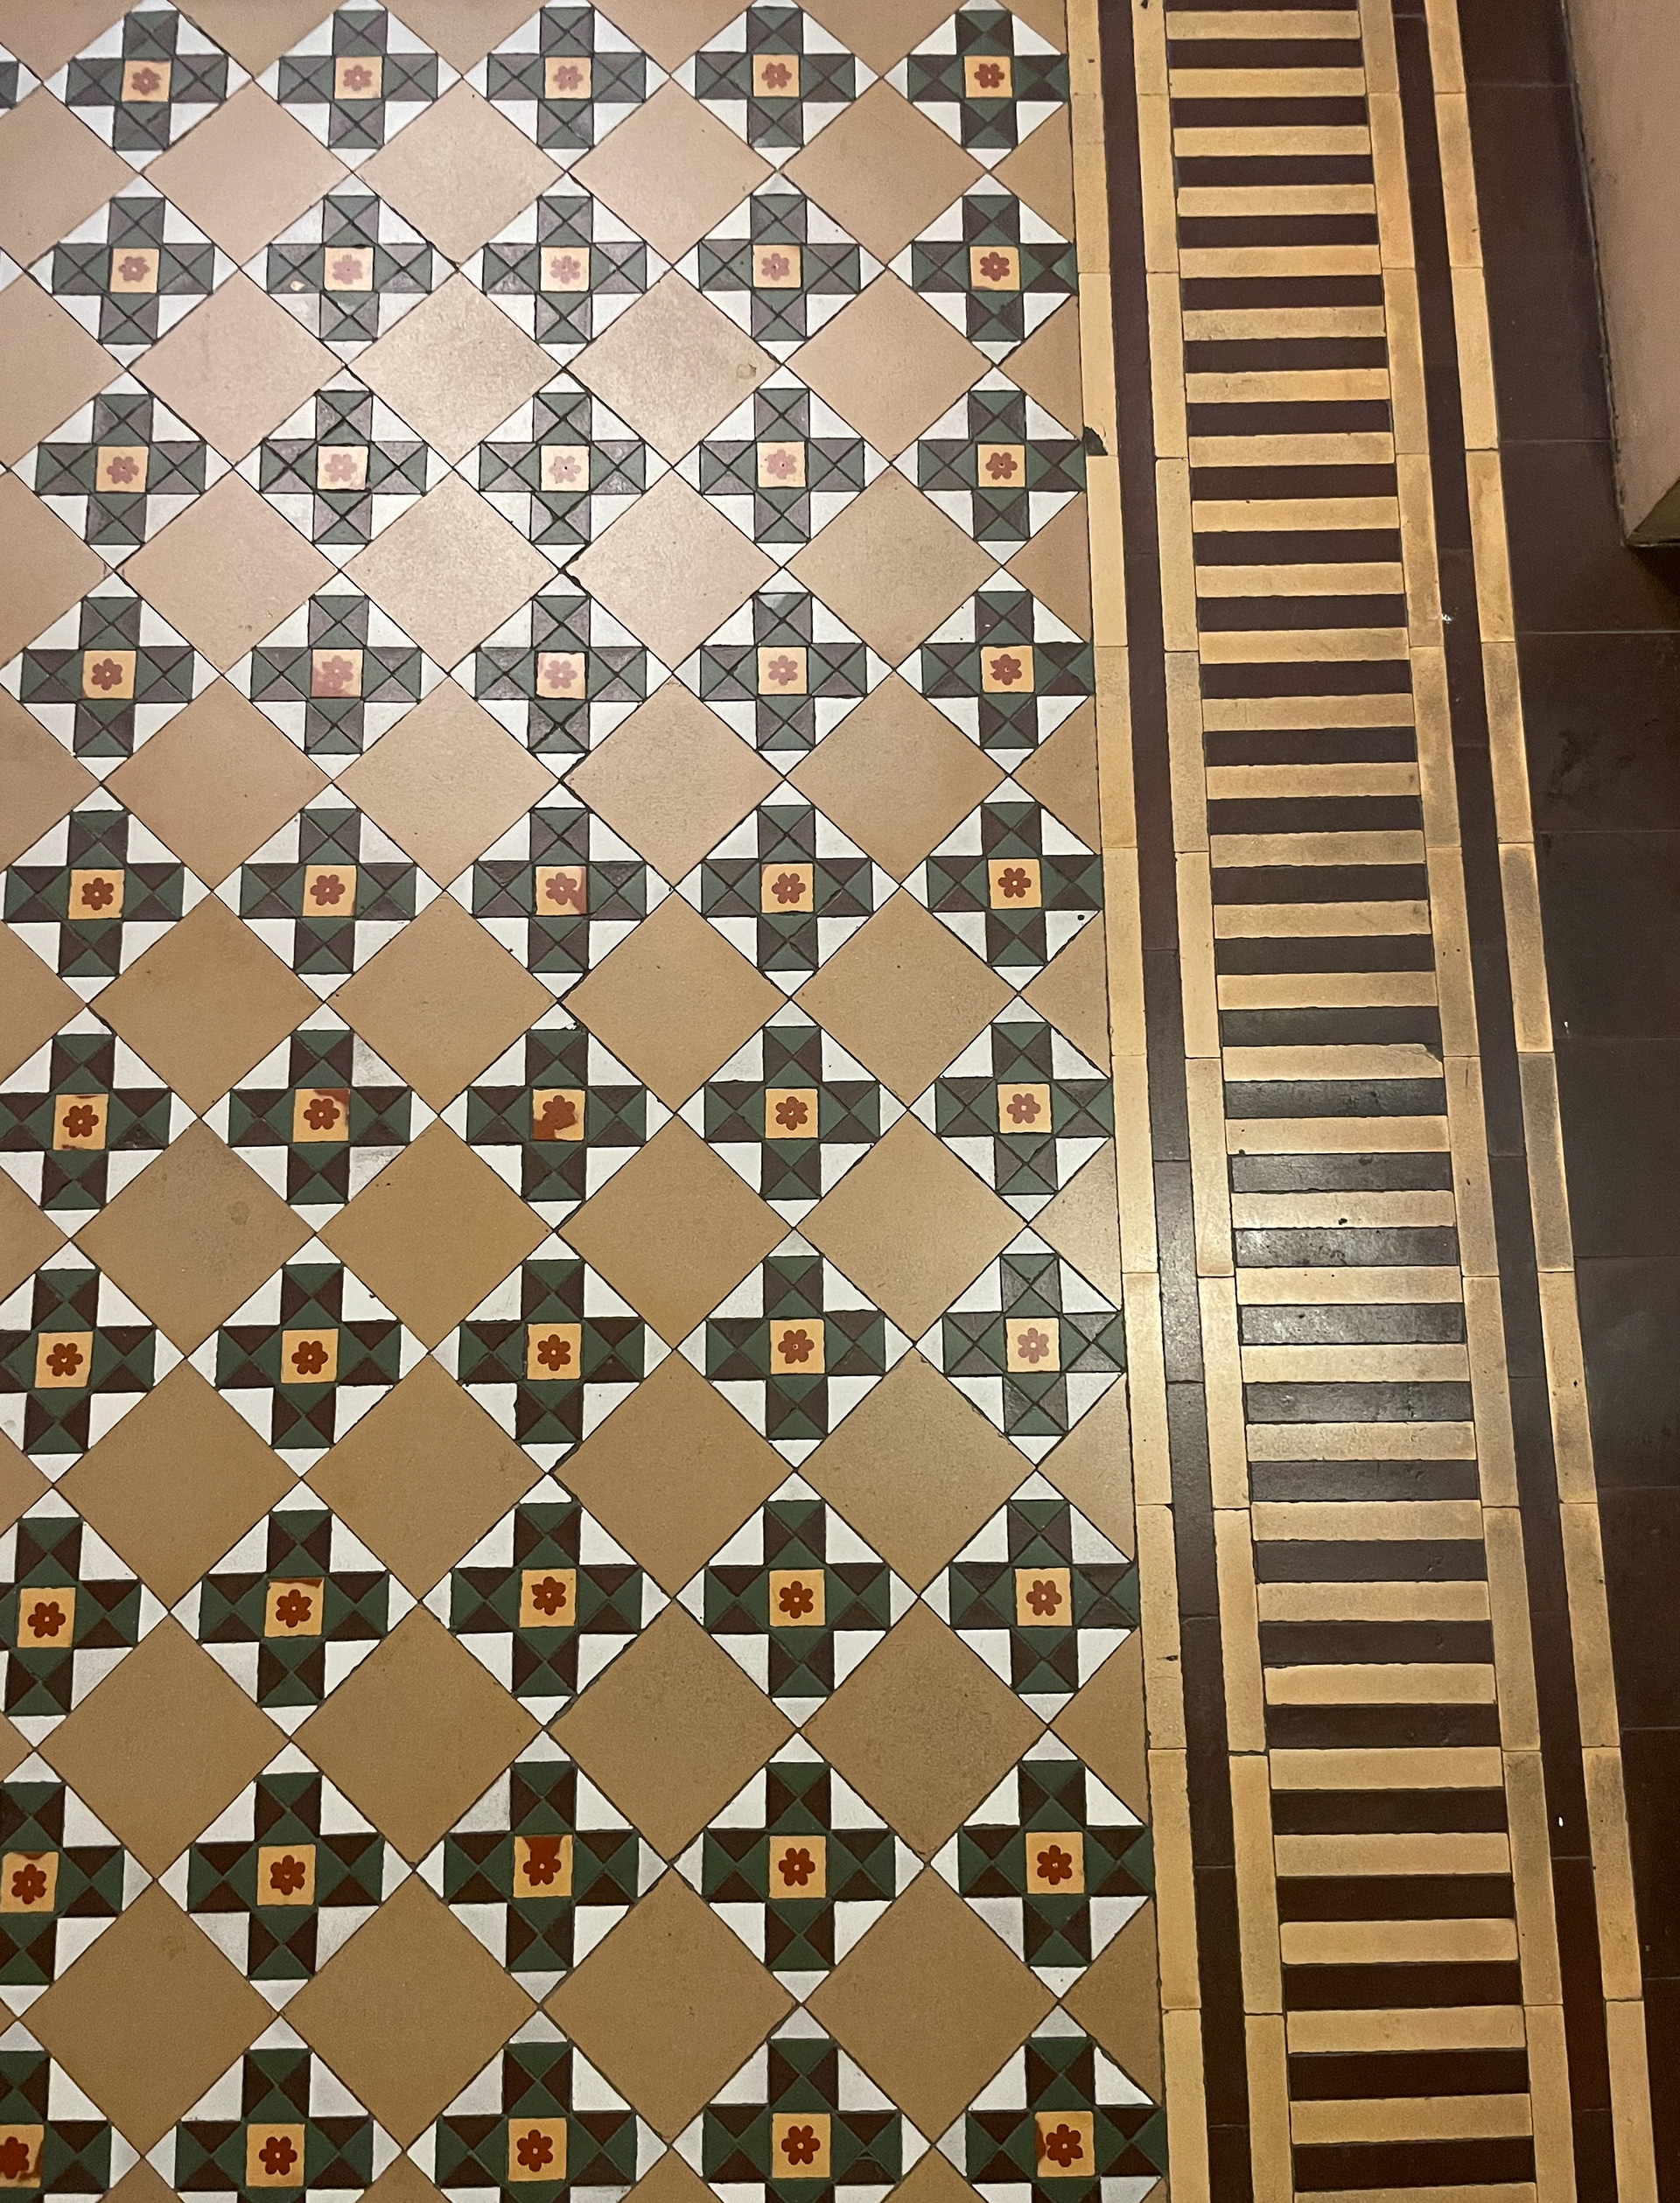
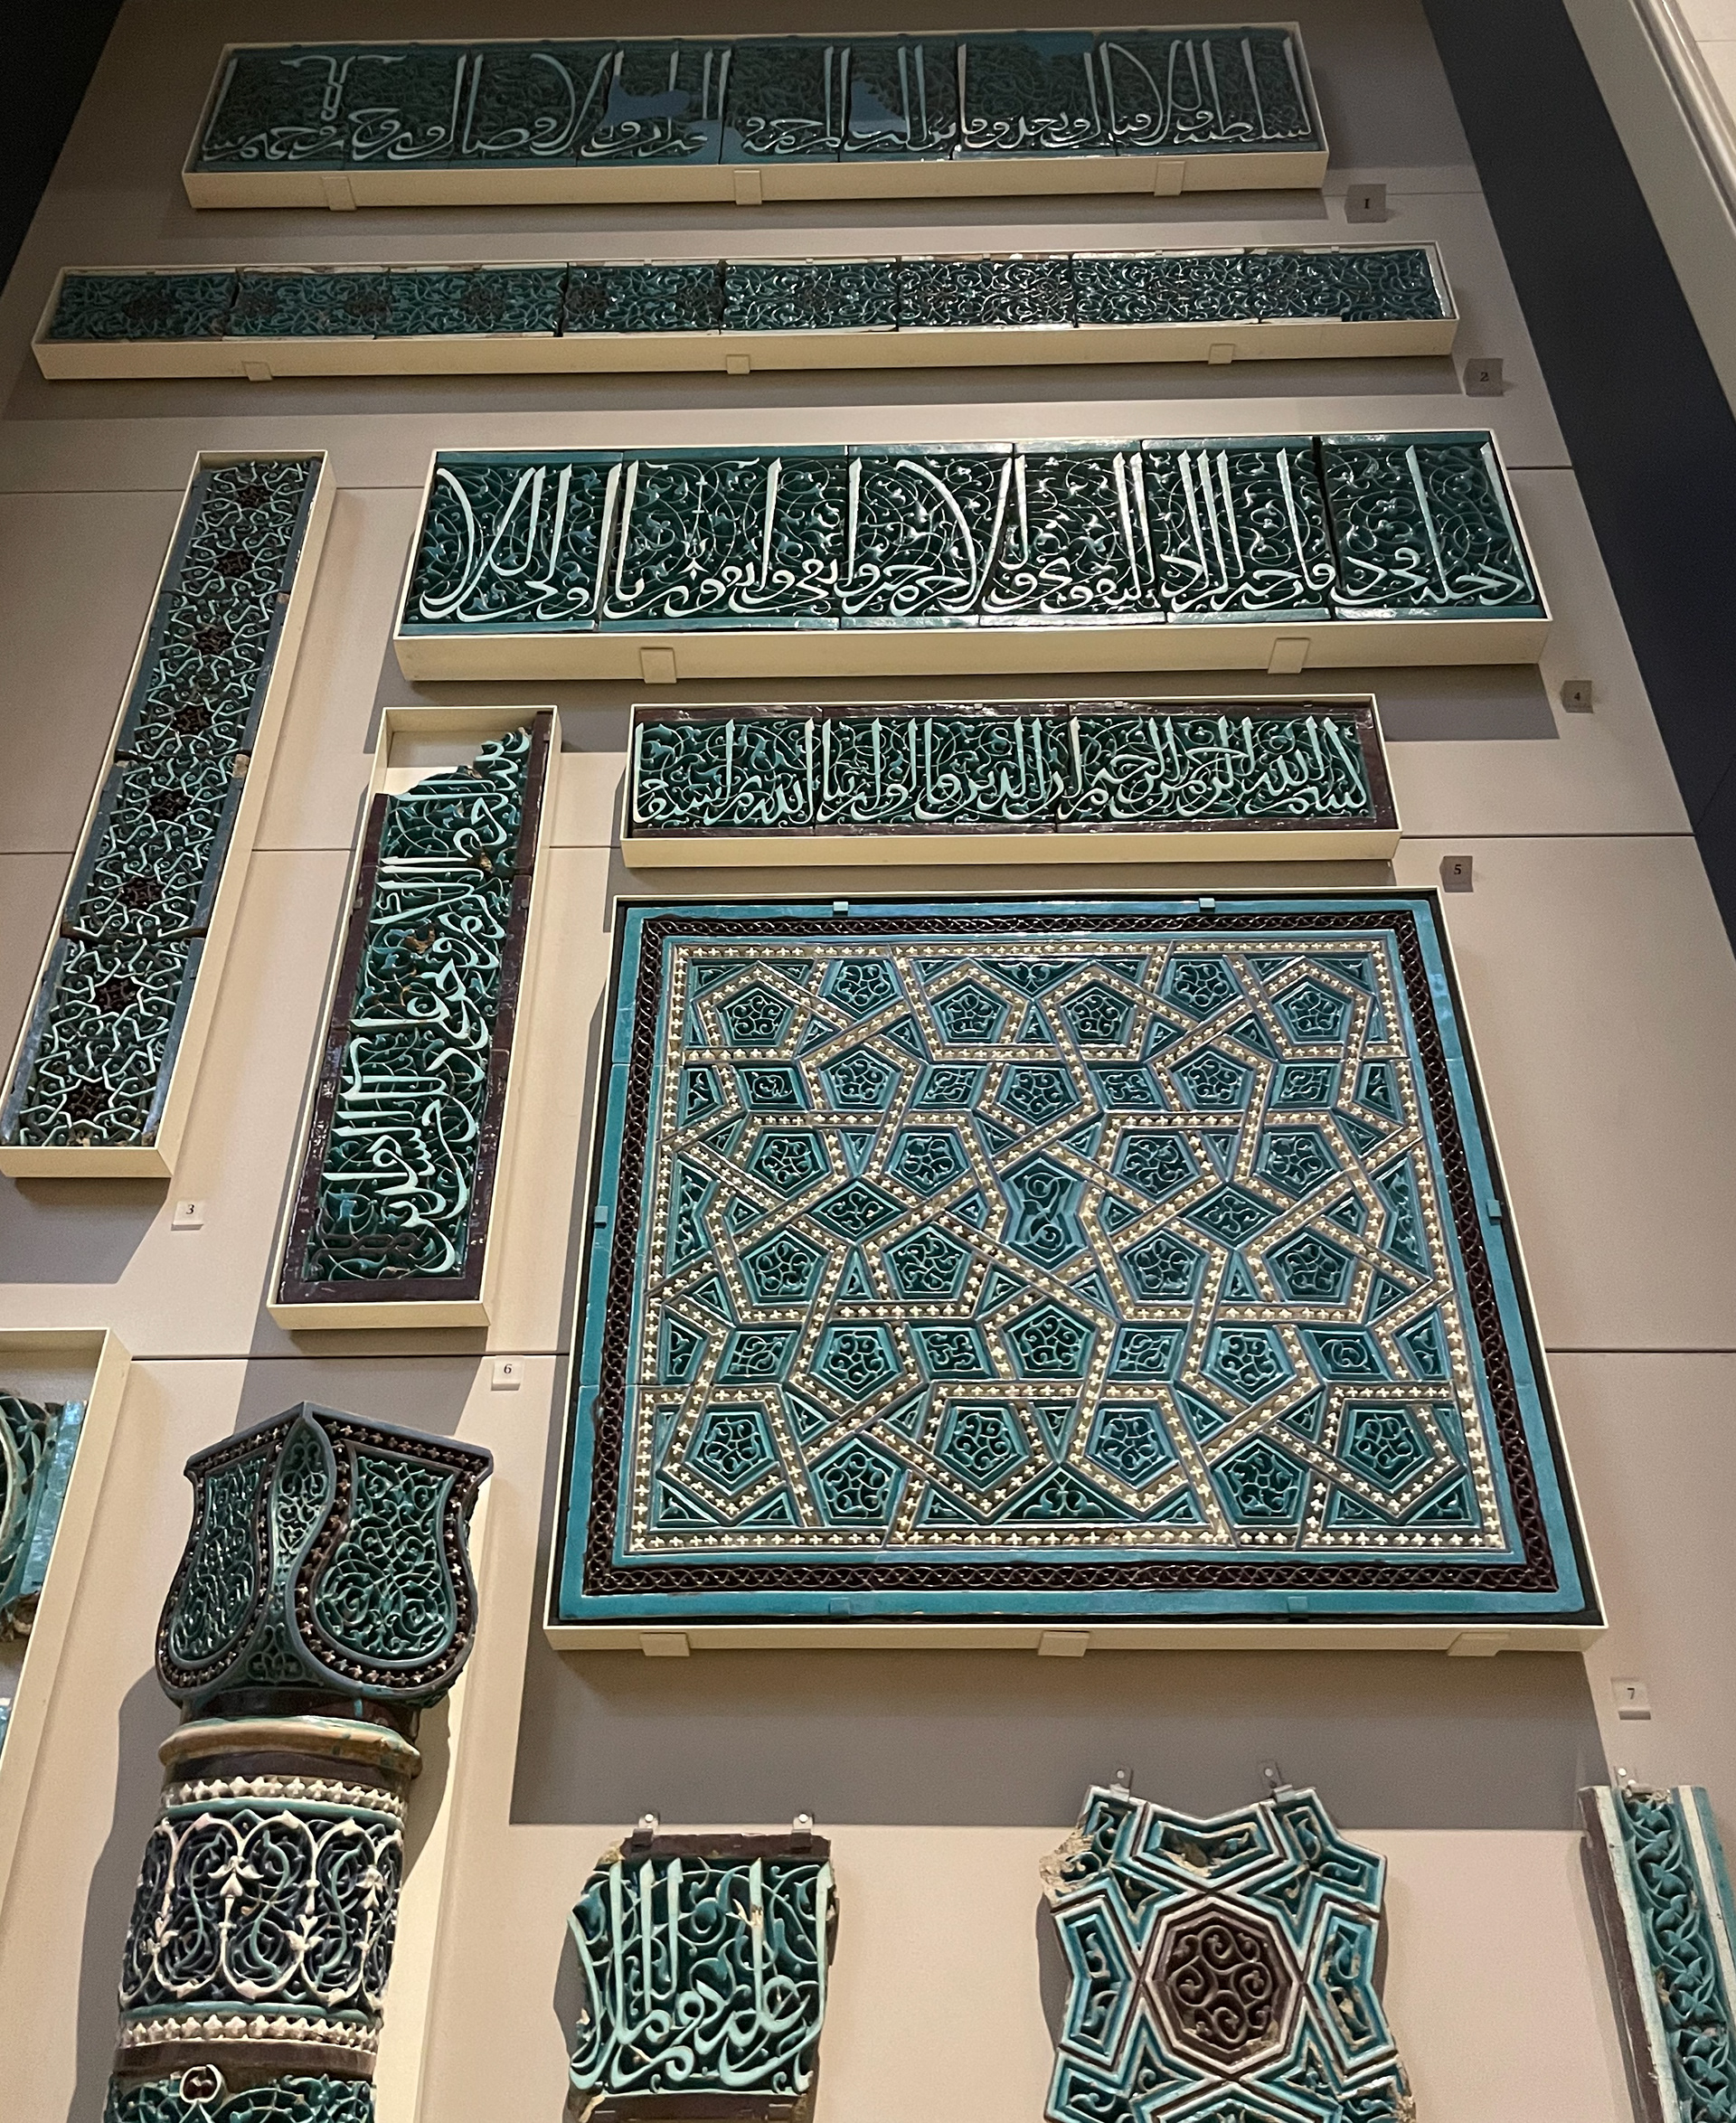
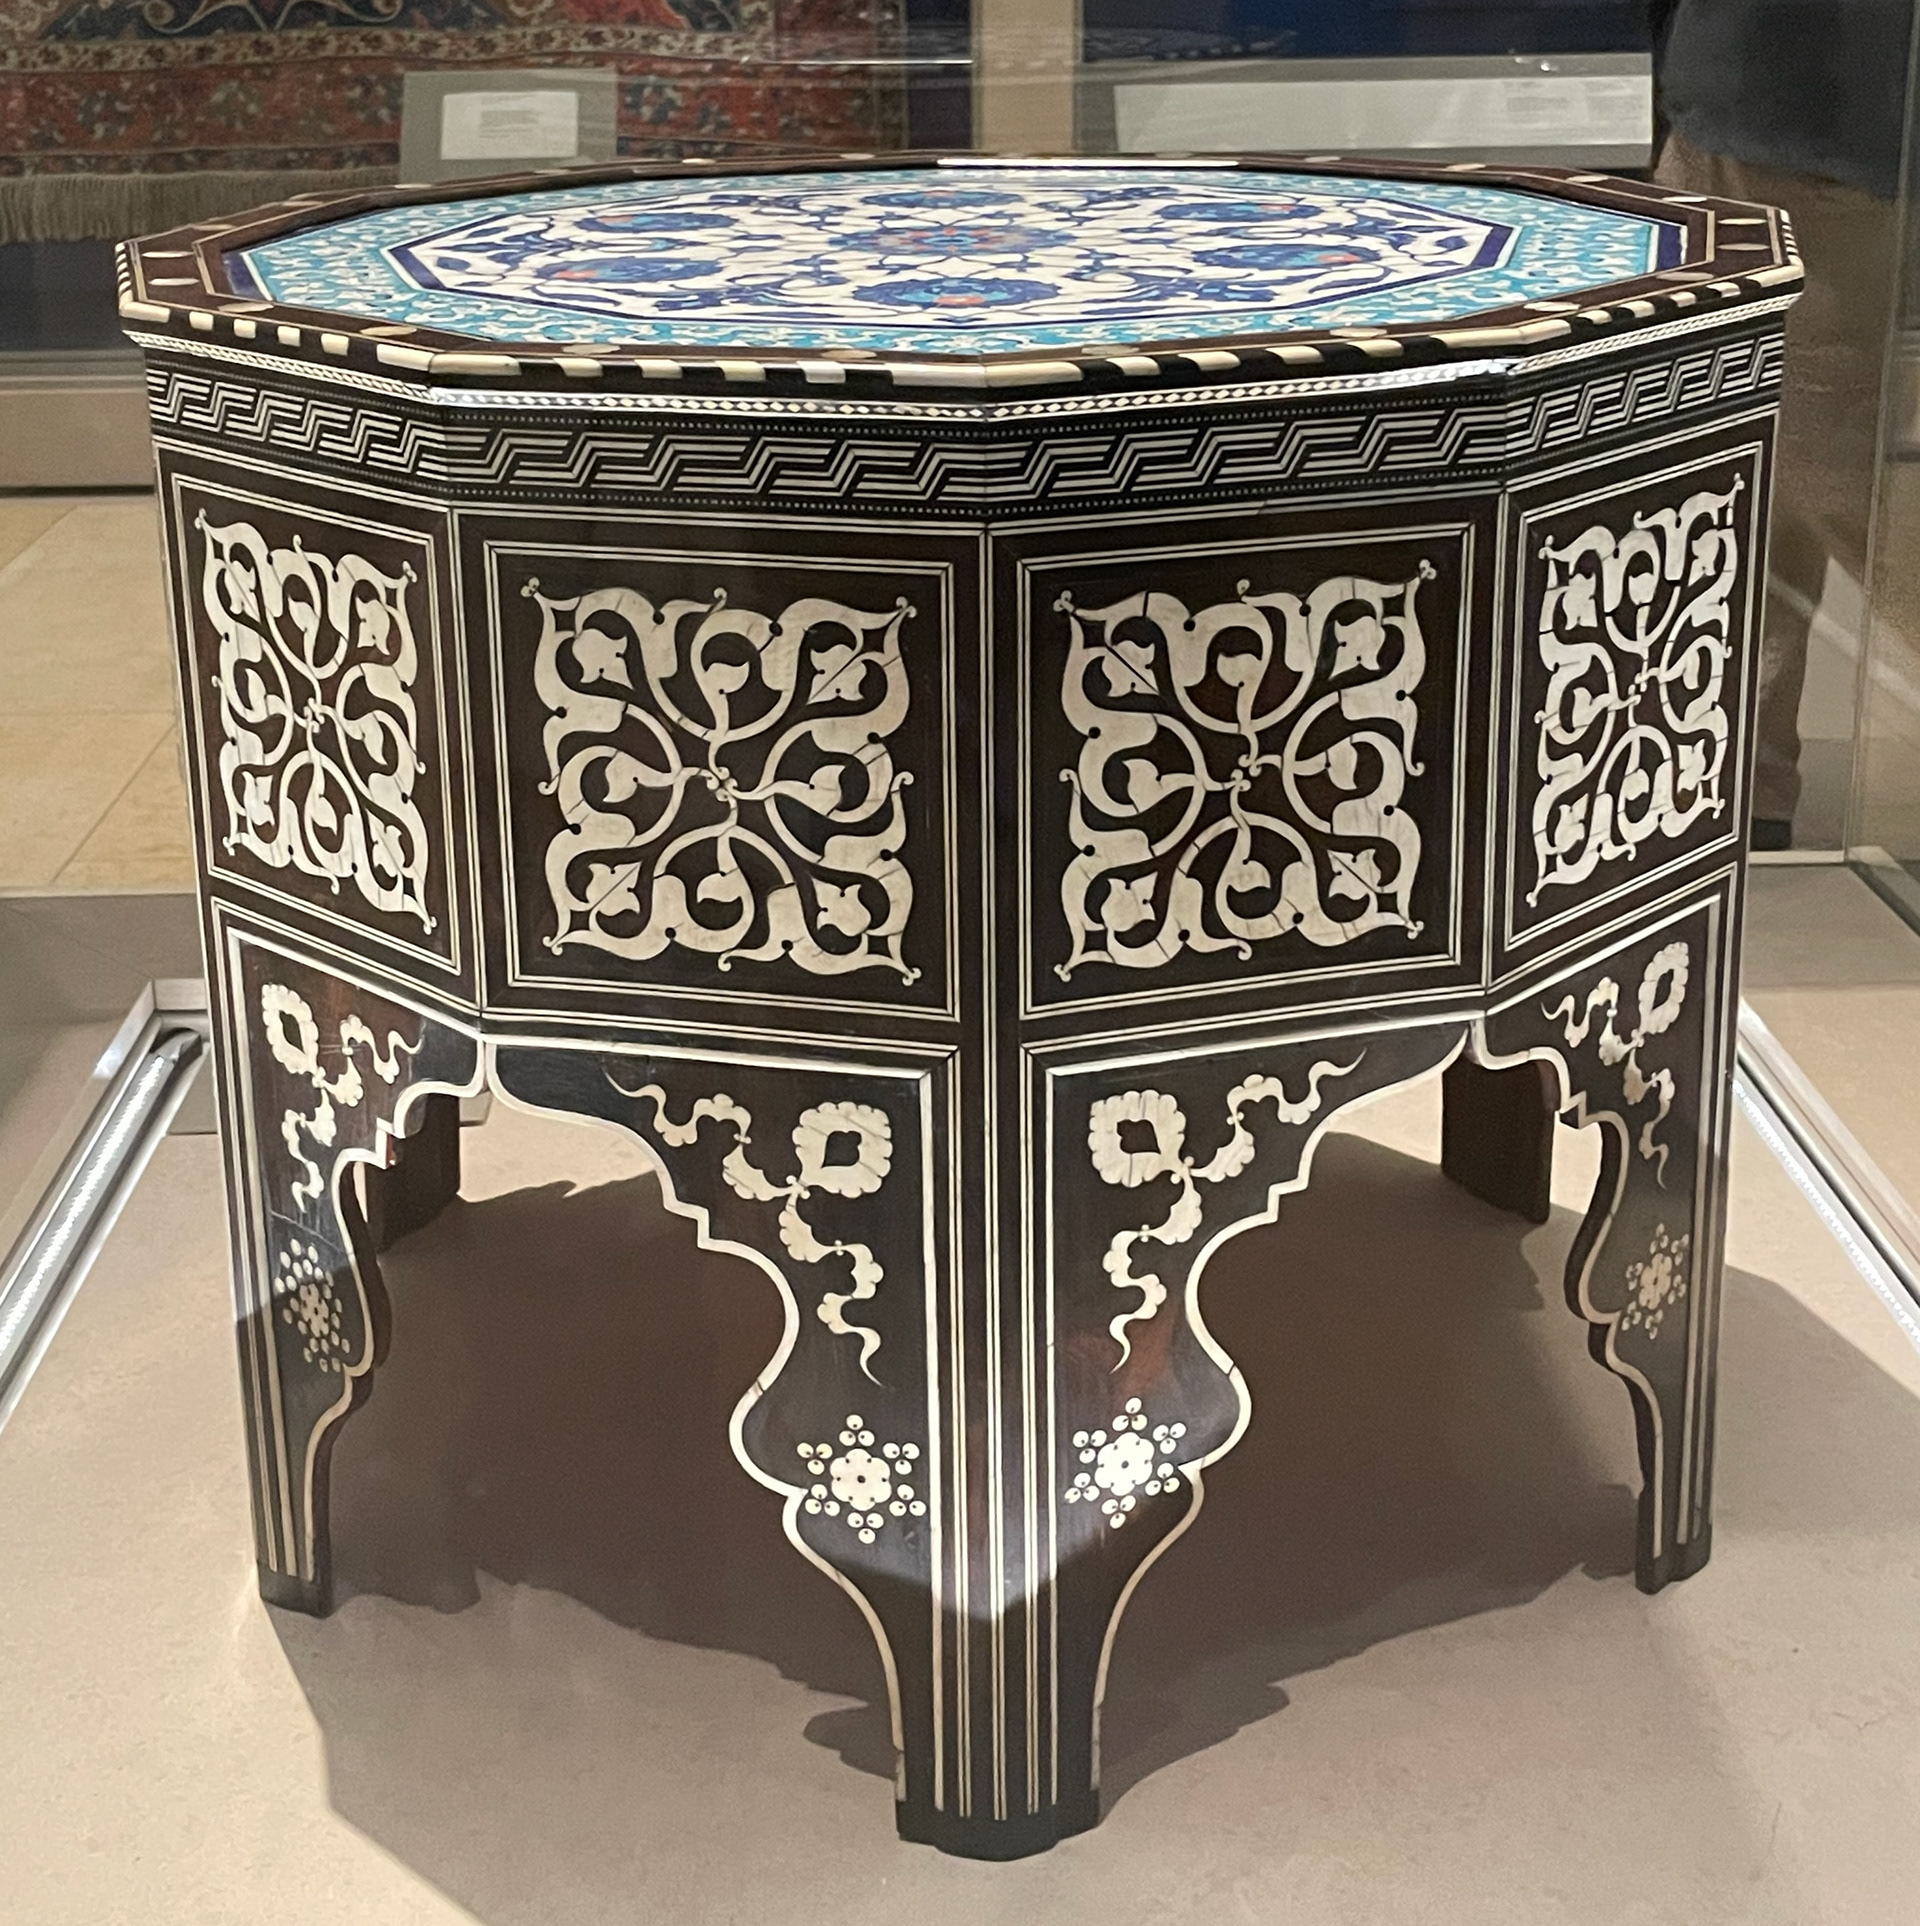
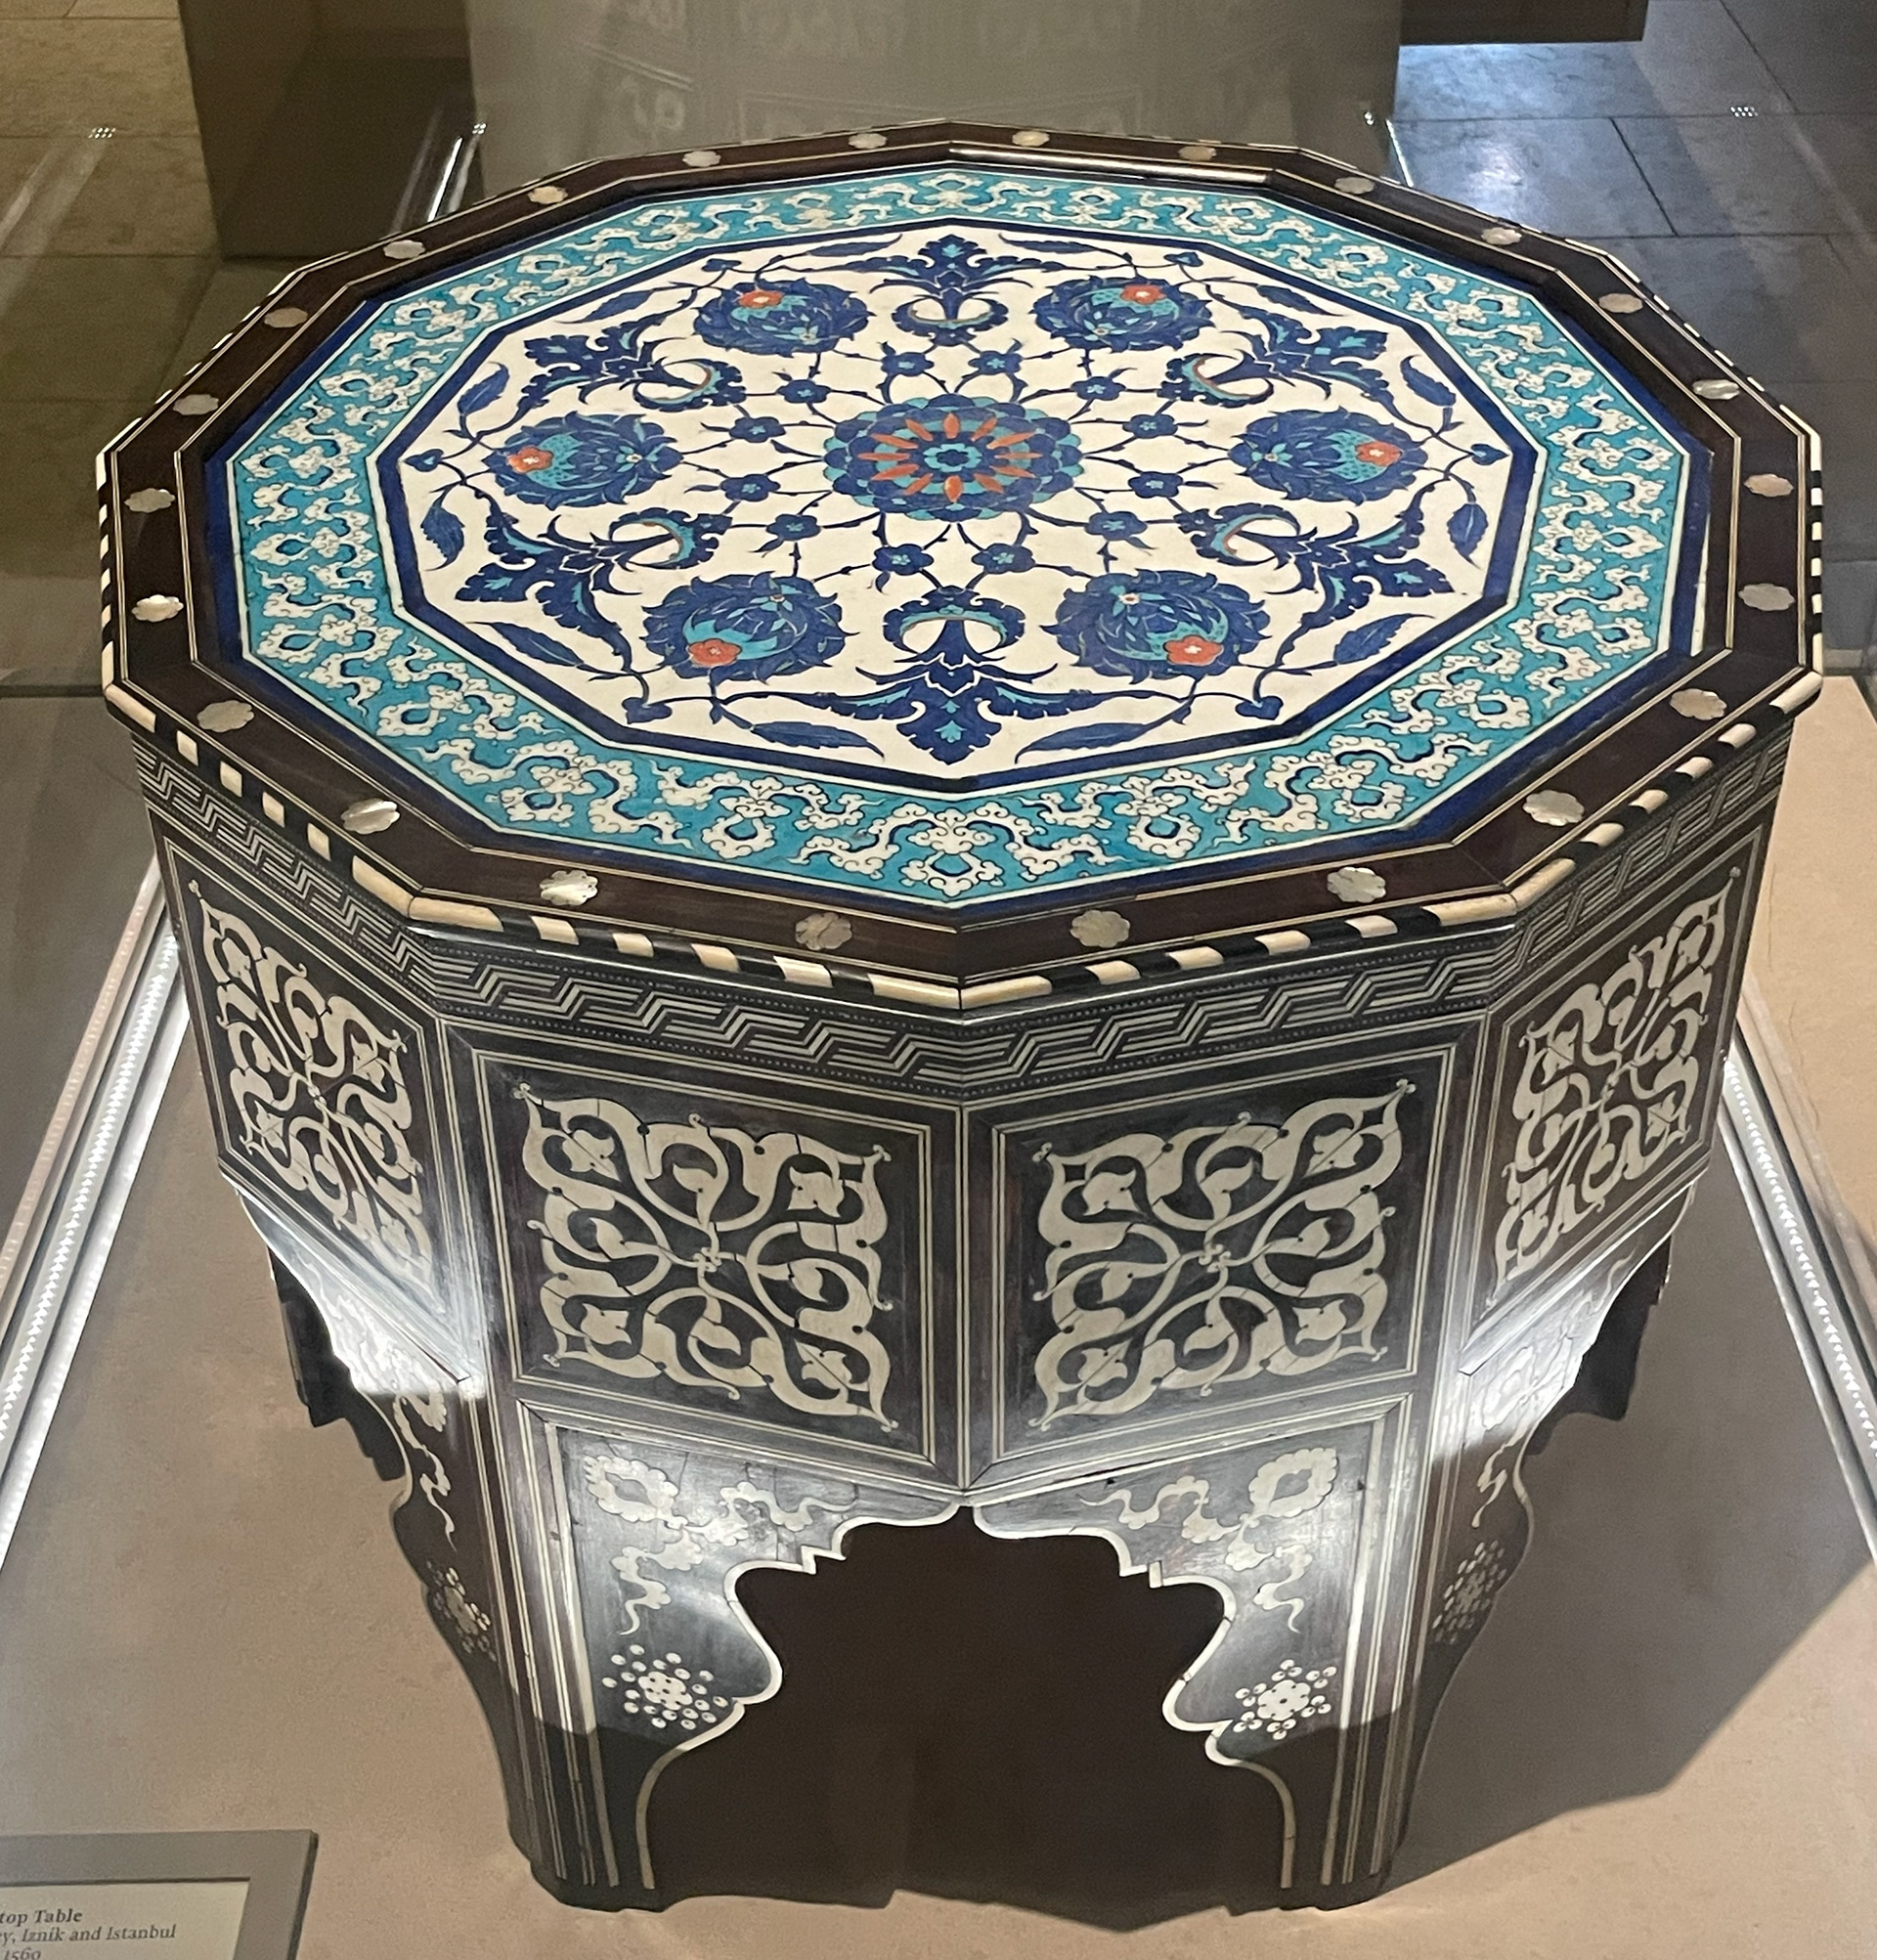
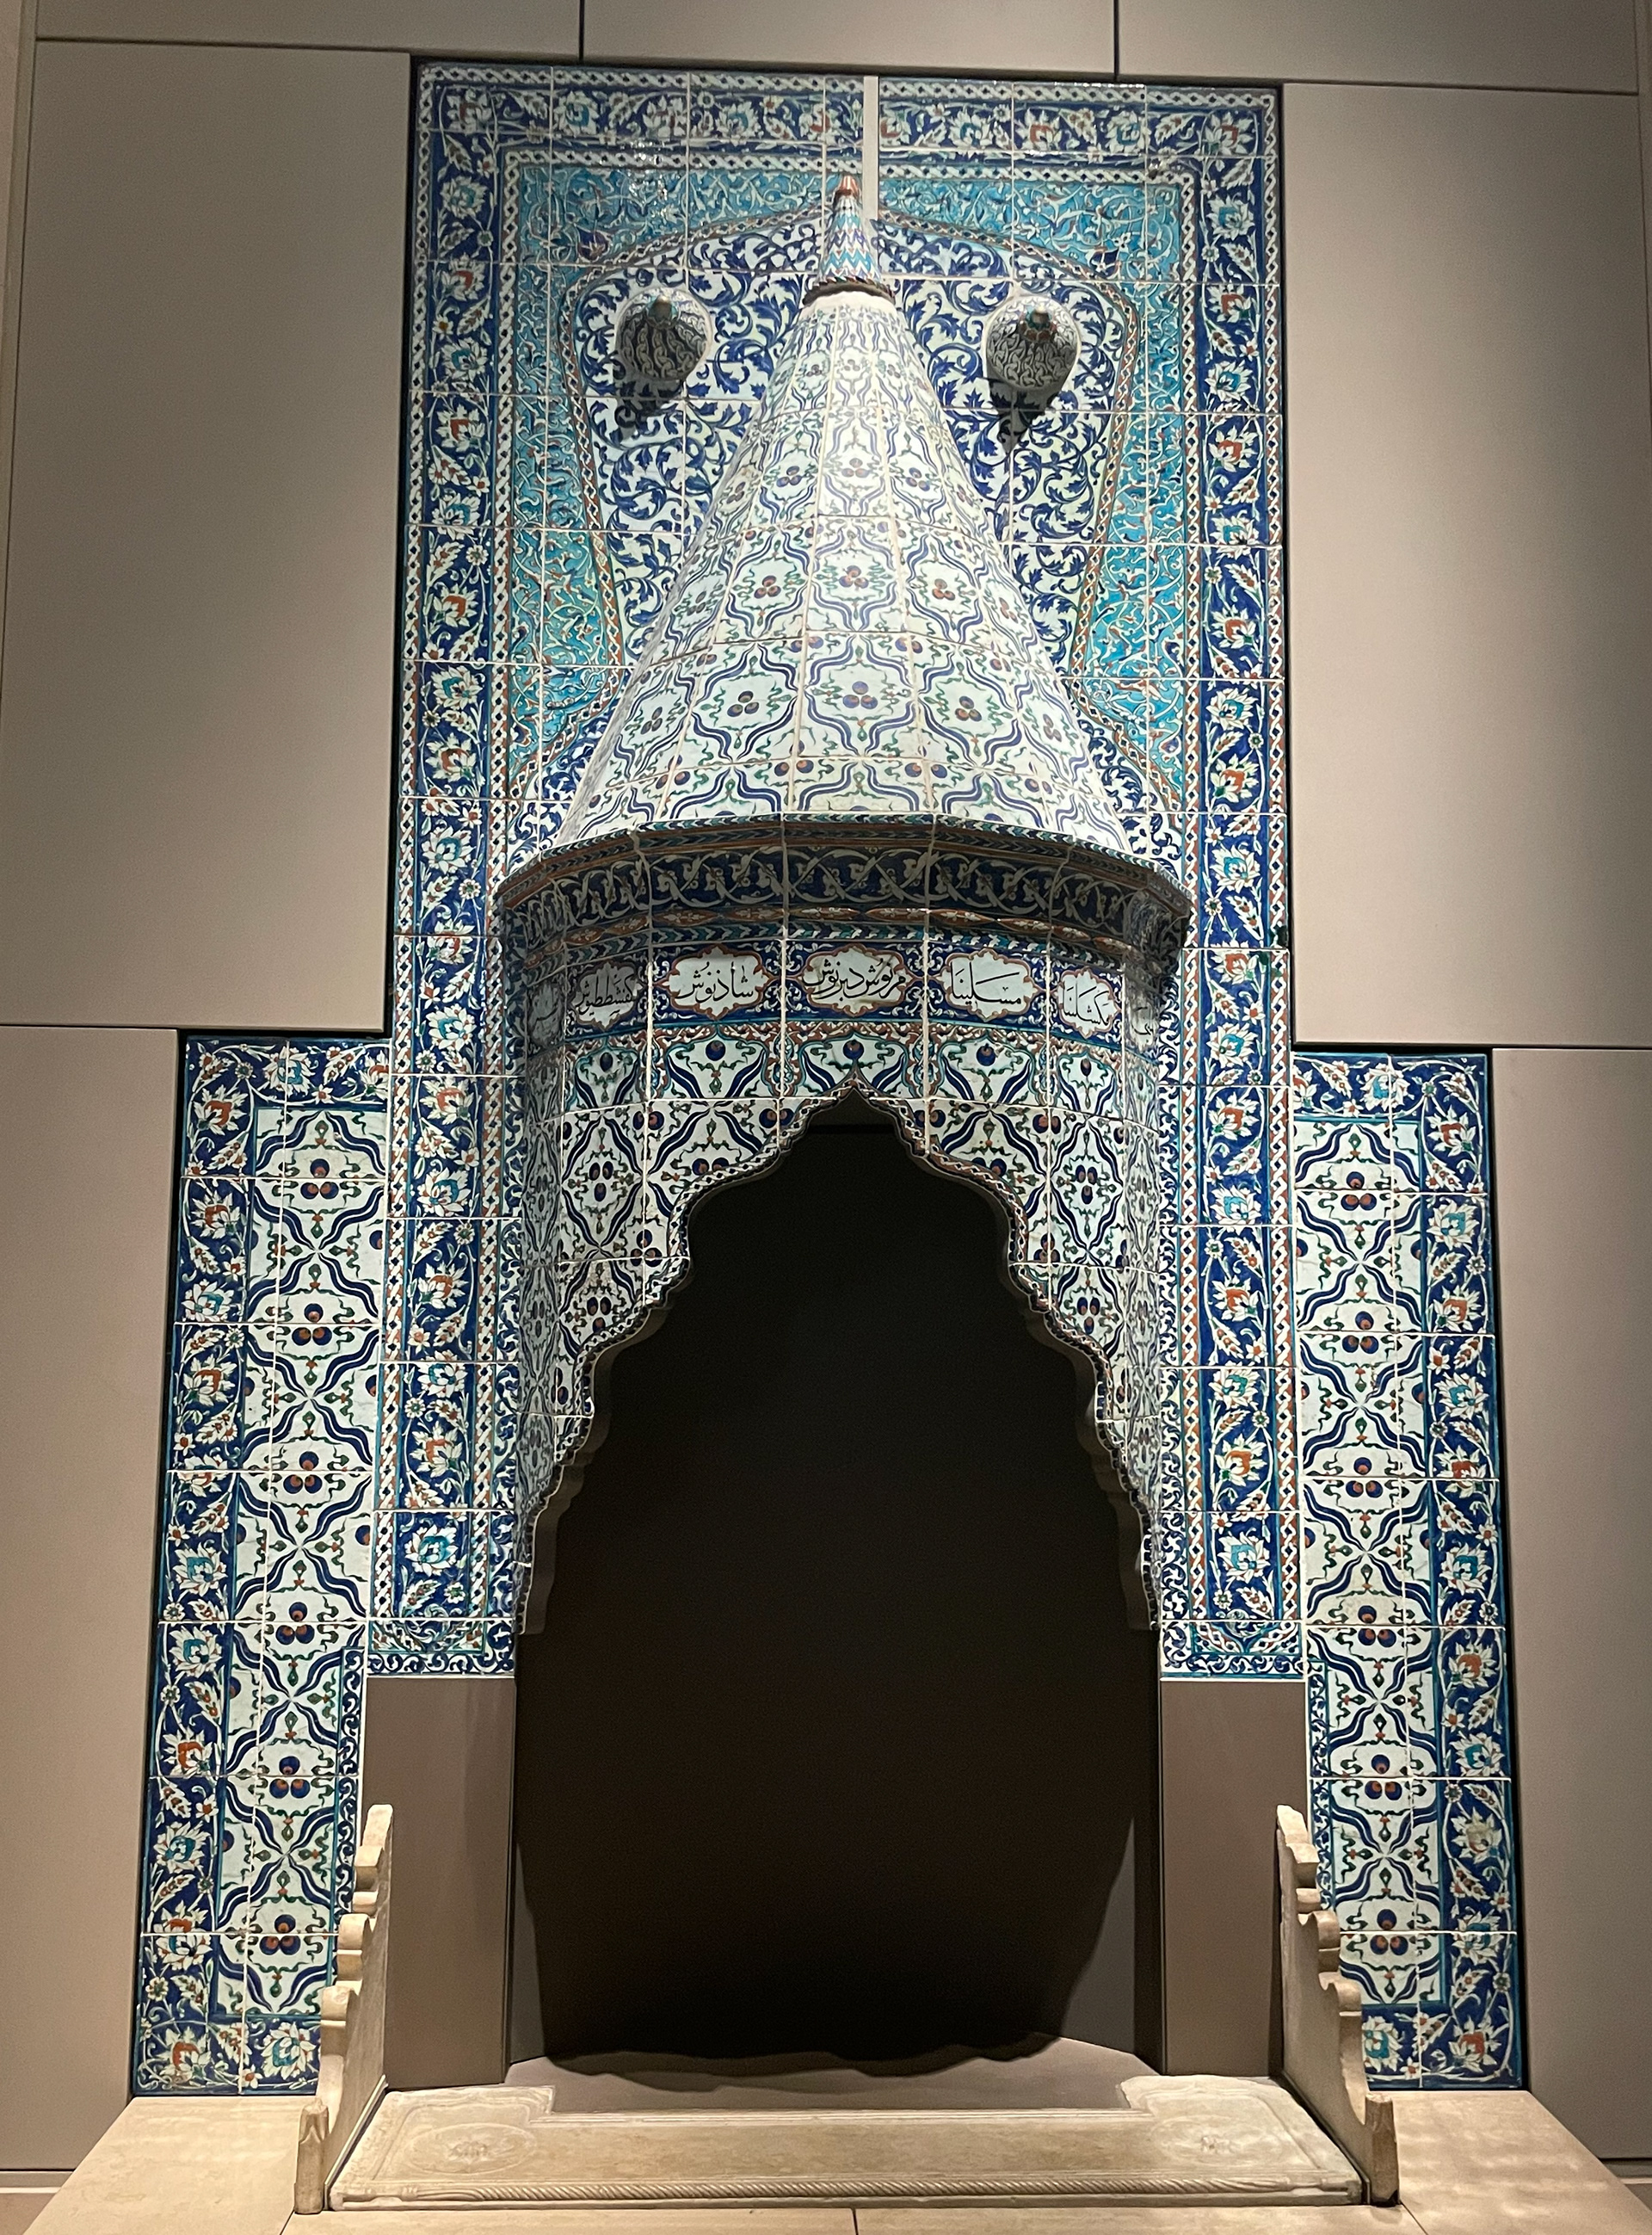
Persian tiles, Willian De Morgan, c.1890-1910
MANMU: (1992)193.d, MANMU: 1898.42a
MANMU: 1897.12, MANMU: 1897.17, MANMU: 1897.18
17th/18th century German iron locks and door furniture
MANMU: 1911.6g
Iron Hinge, 17th/18th century German labelled beii
Brass handle, 1896
MANMU: 1896.12
Small casket (silver) with repousse lid, Bernard Cuzner, 1900
MANMU: 1903.7
Cigar box (rosewood and silver), student work from 1970/80's
MANMU: 1987.49
Mustard pot with spoon (silver), Lesley Durbin, 1970
MANMU: 2003.4
Persian tiles, Willian De Morgan, c.1890-1910
MANMU: (1992)193.d, MANMU: 1898.42a
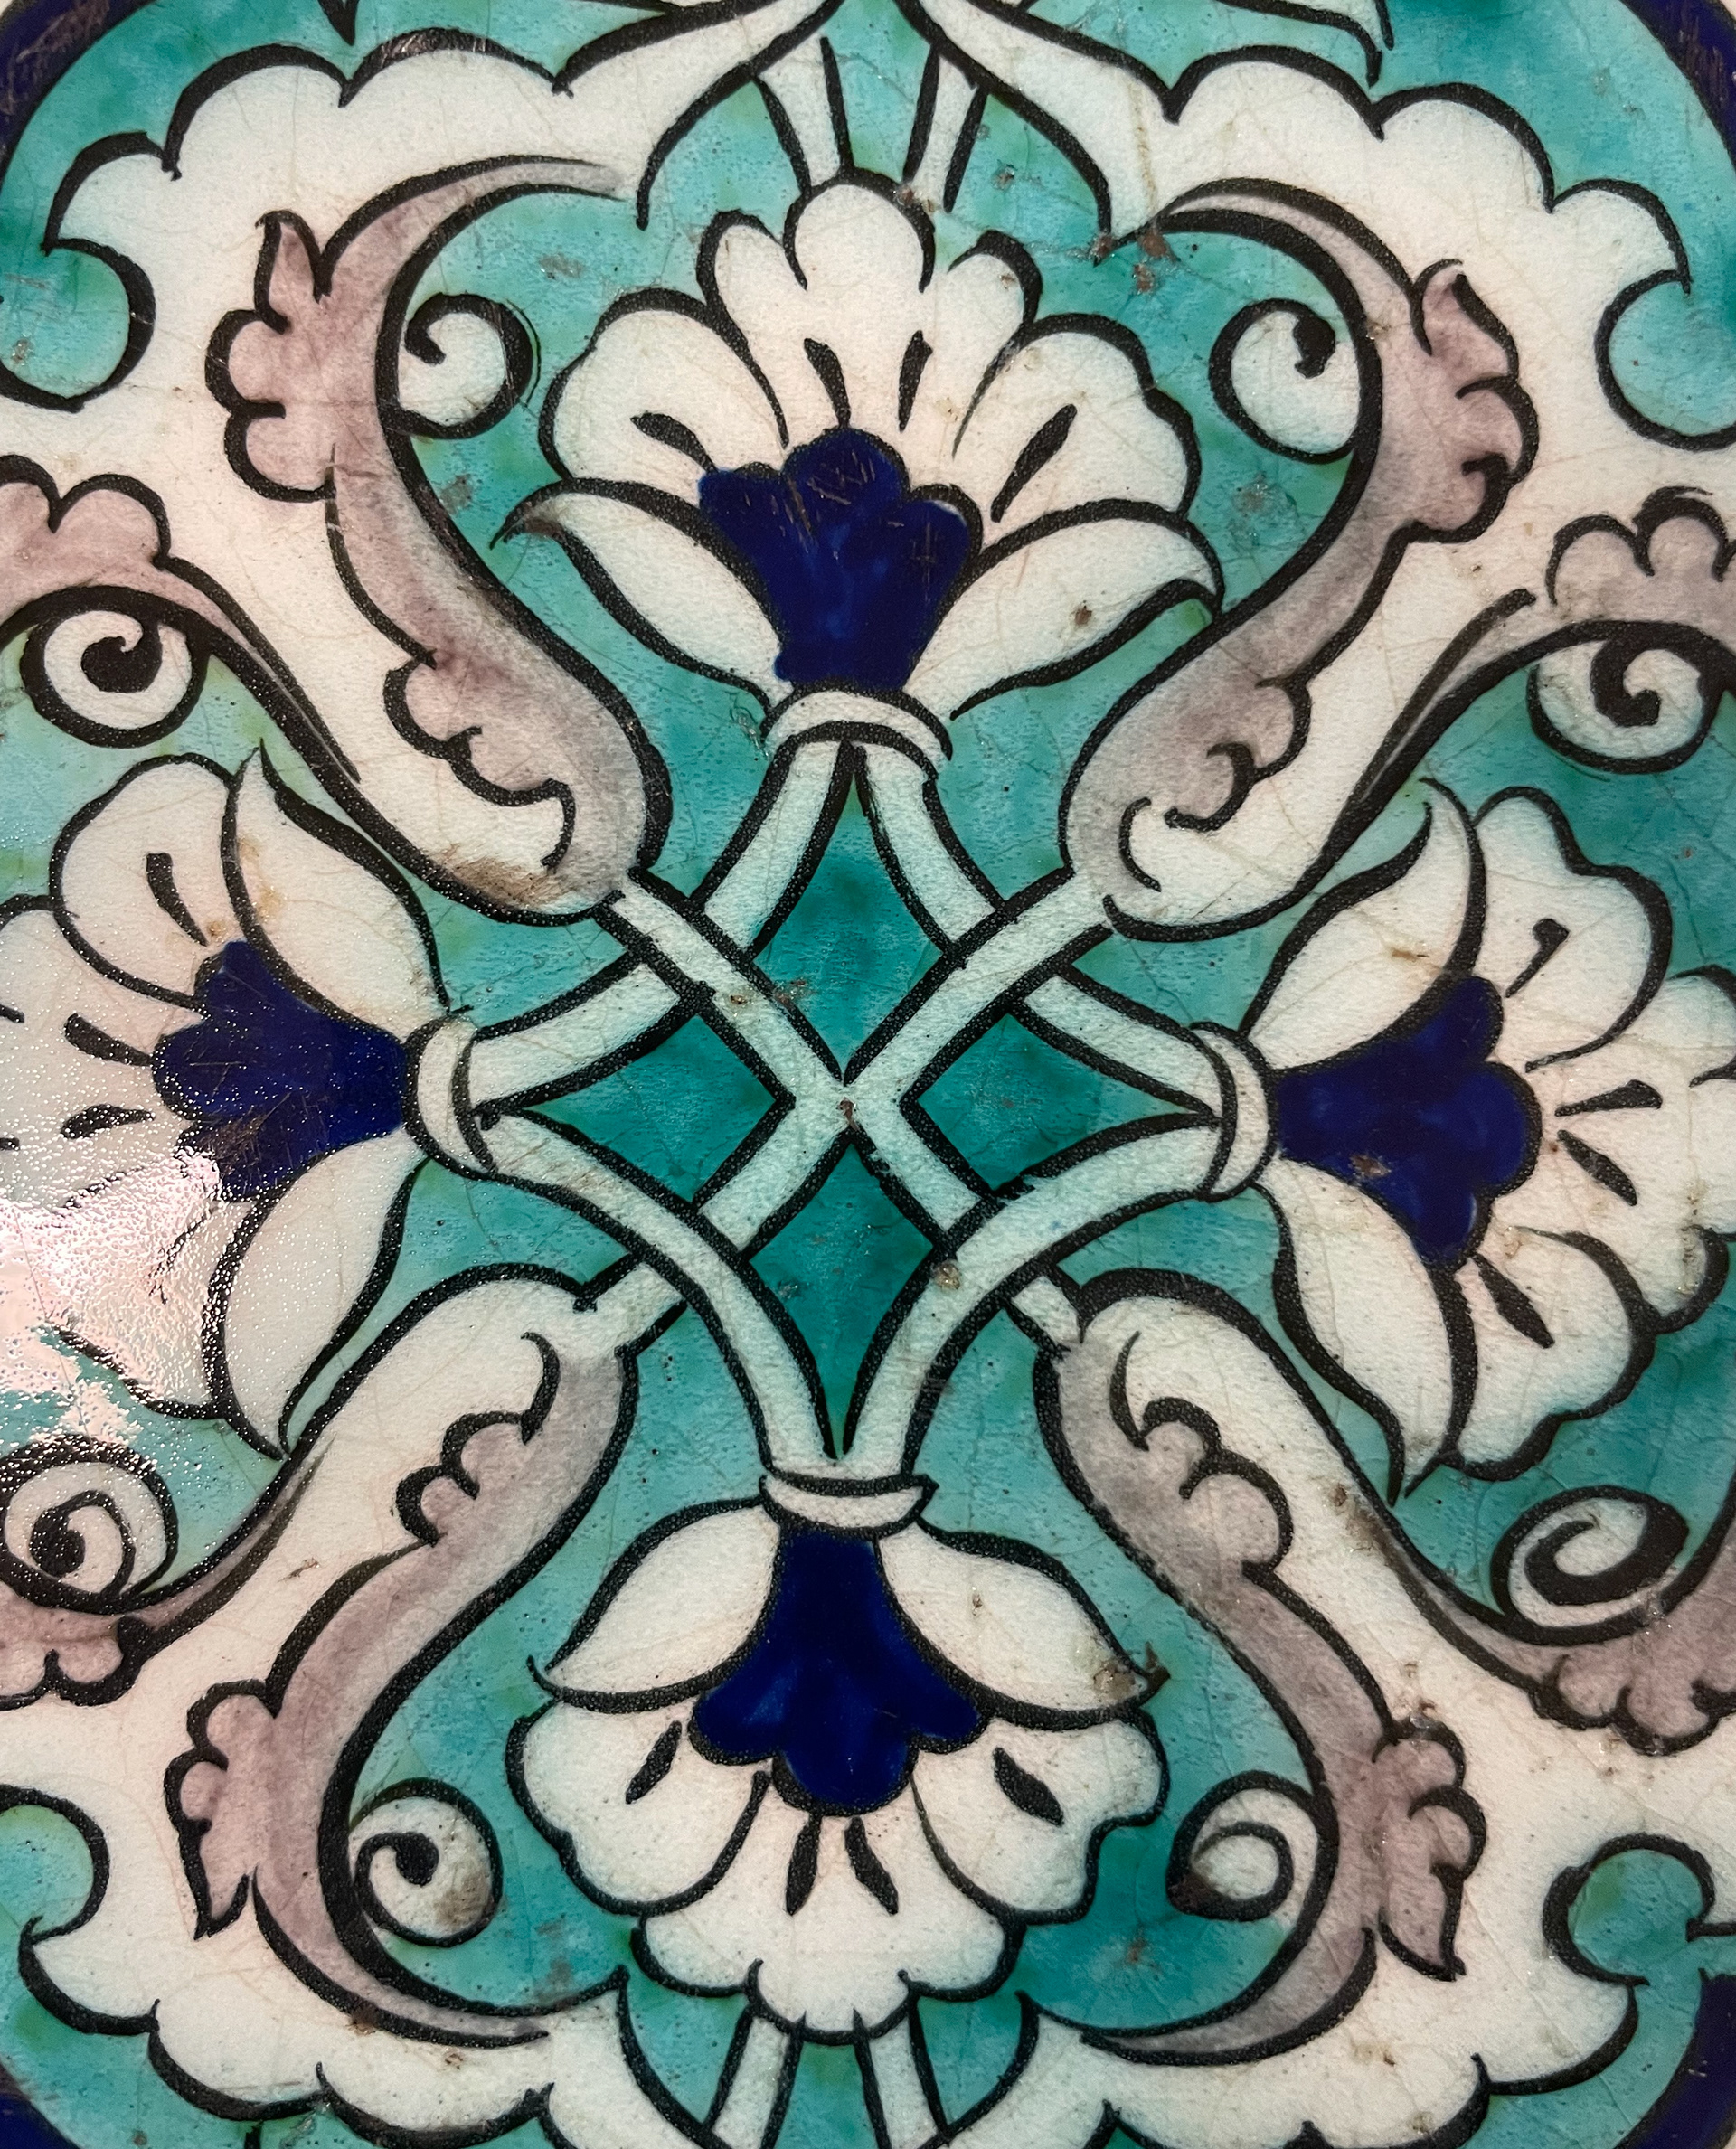
Persian tiles

Persian tiles
Persian tiles
Persian tiles
Persian tiles
German iron lock
German iron lock
German iron lock
German iron lock
German iron lock
German iron lock
German iron lock
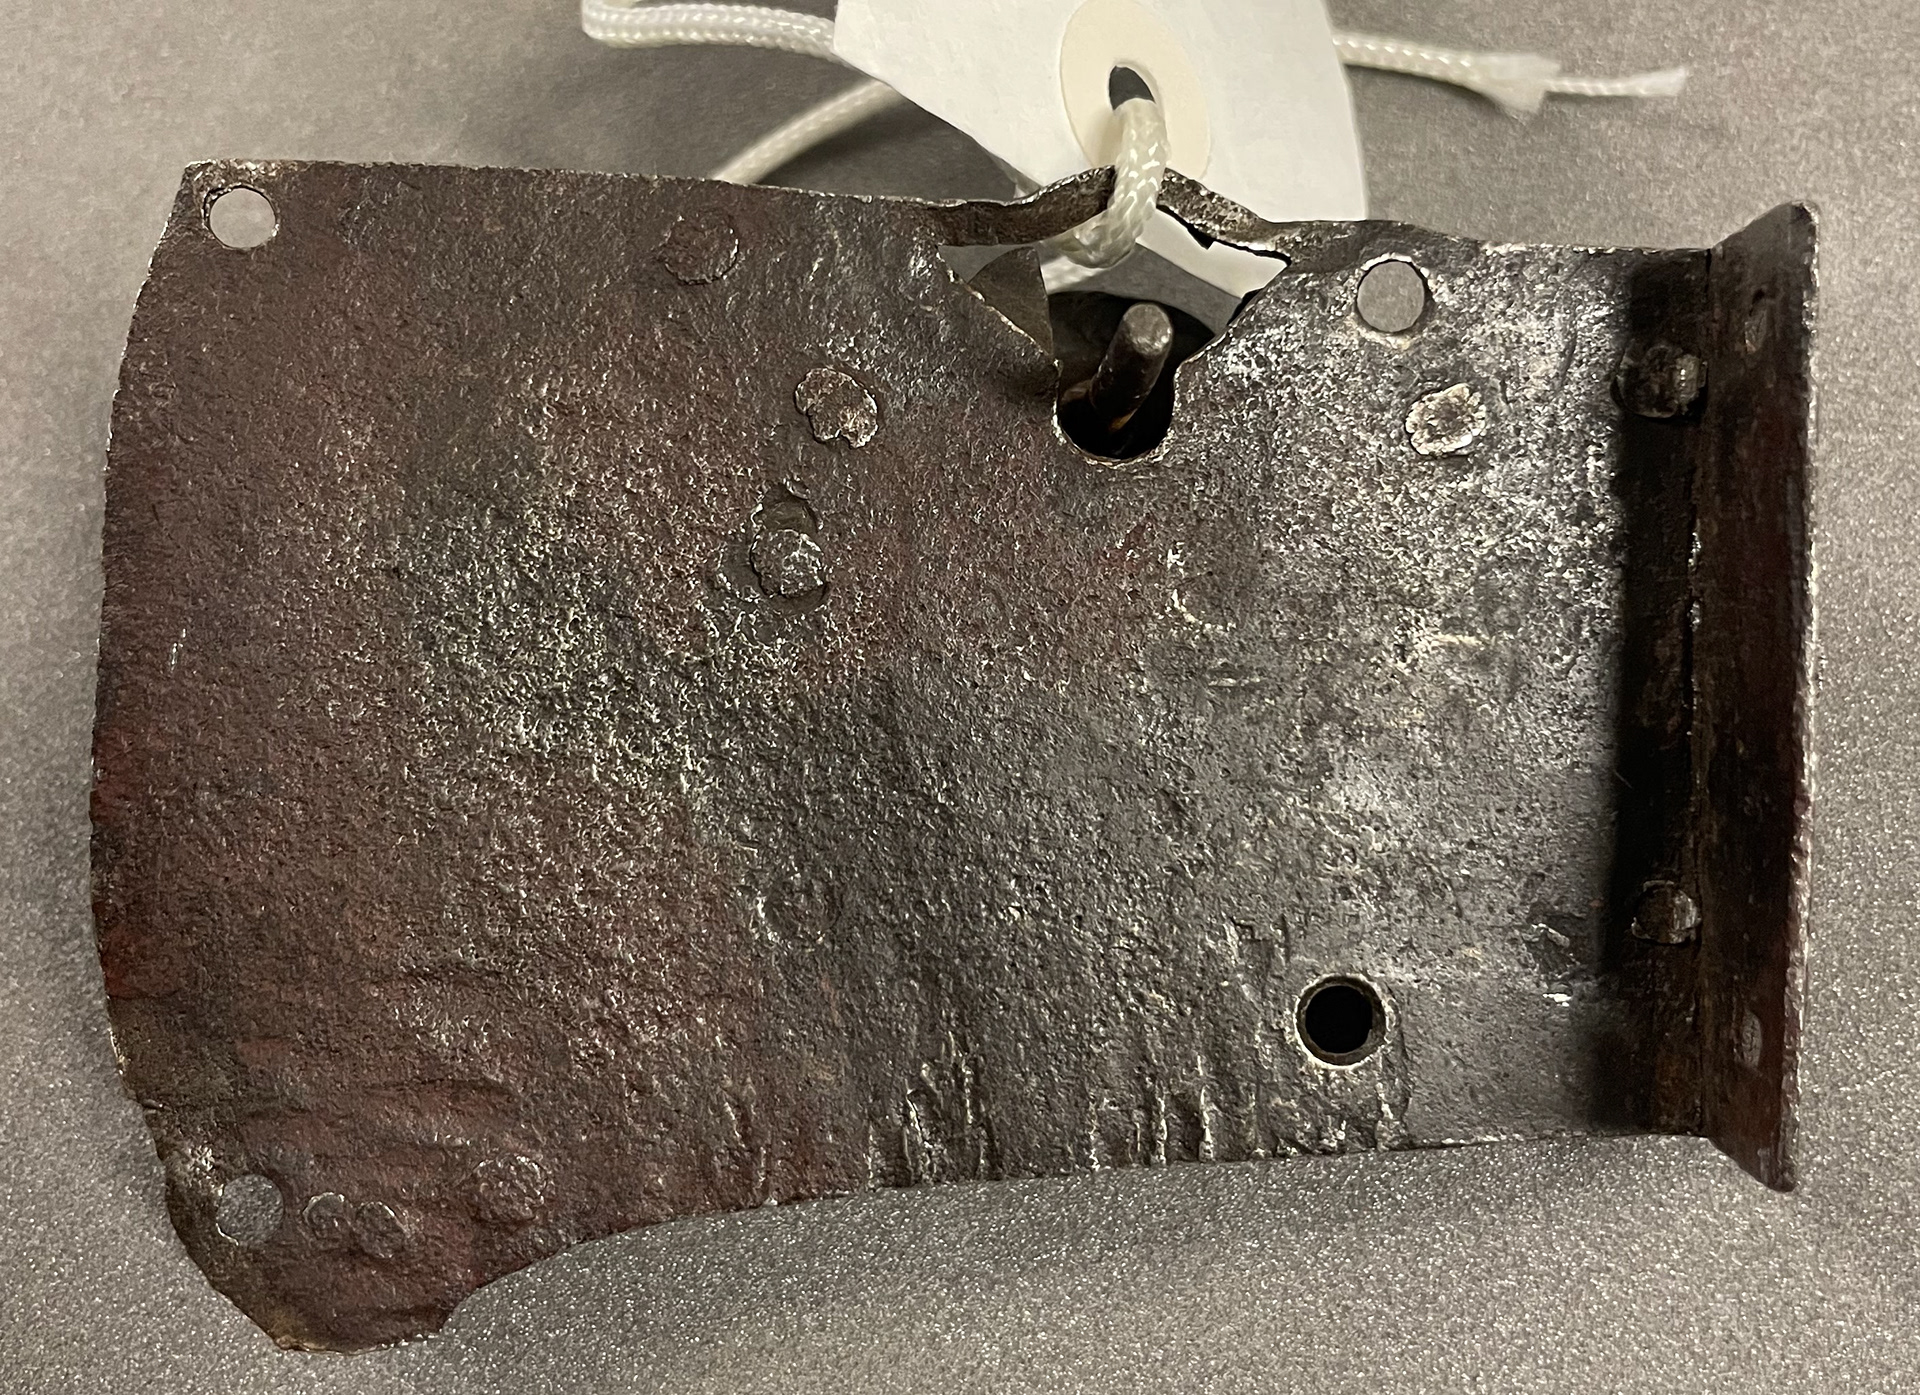
Iron hinge
Iron hinge
Iron hinge
Iron hinge
Iron hinge

Iron hinge
Iron hinge
Iron hinge

Brass handle
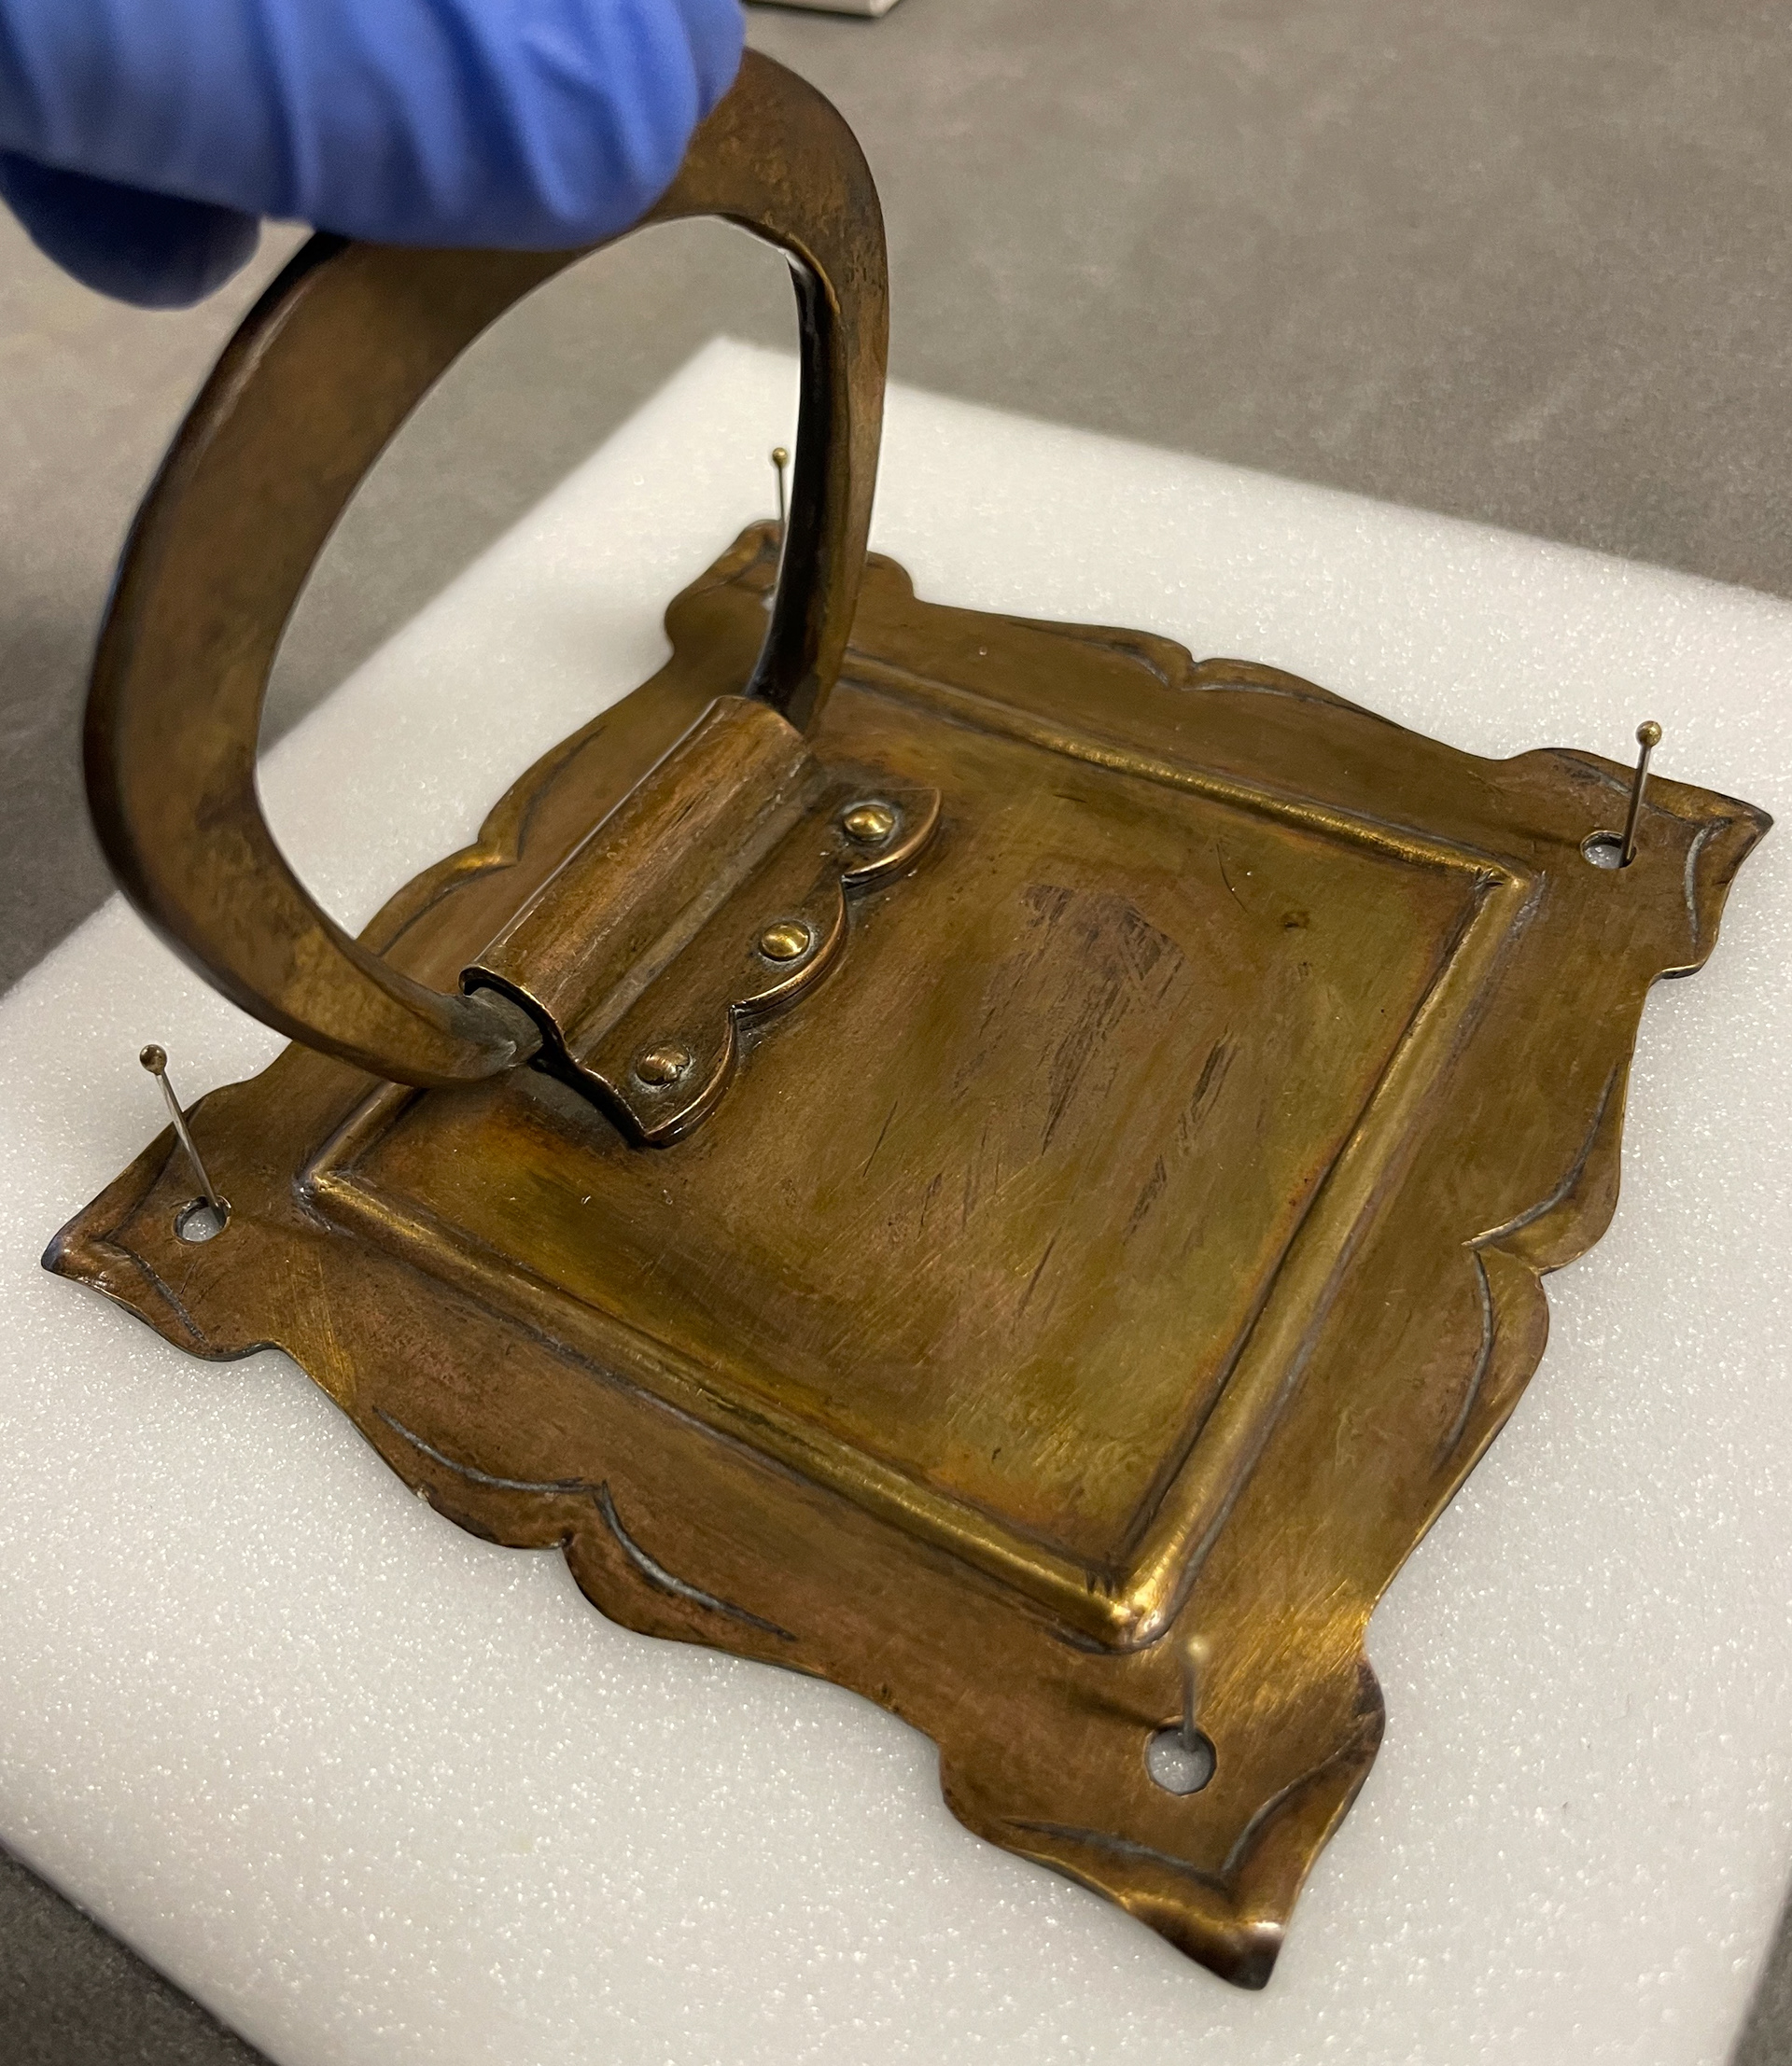
Brass handle
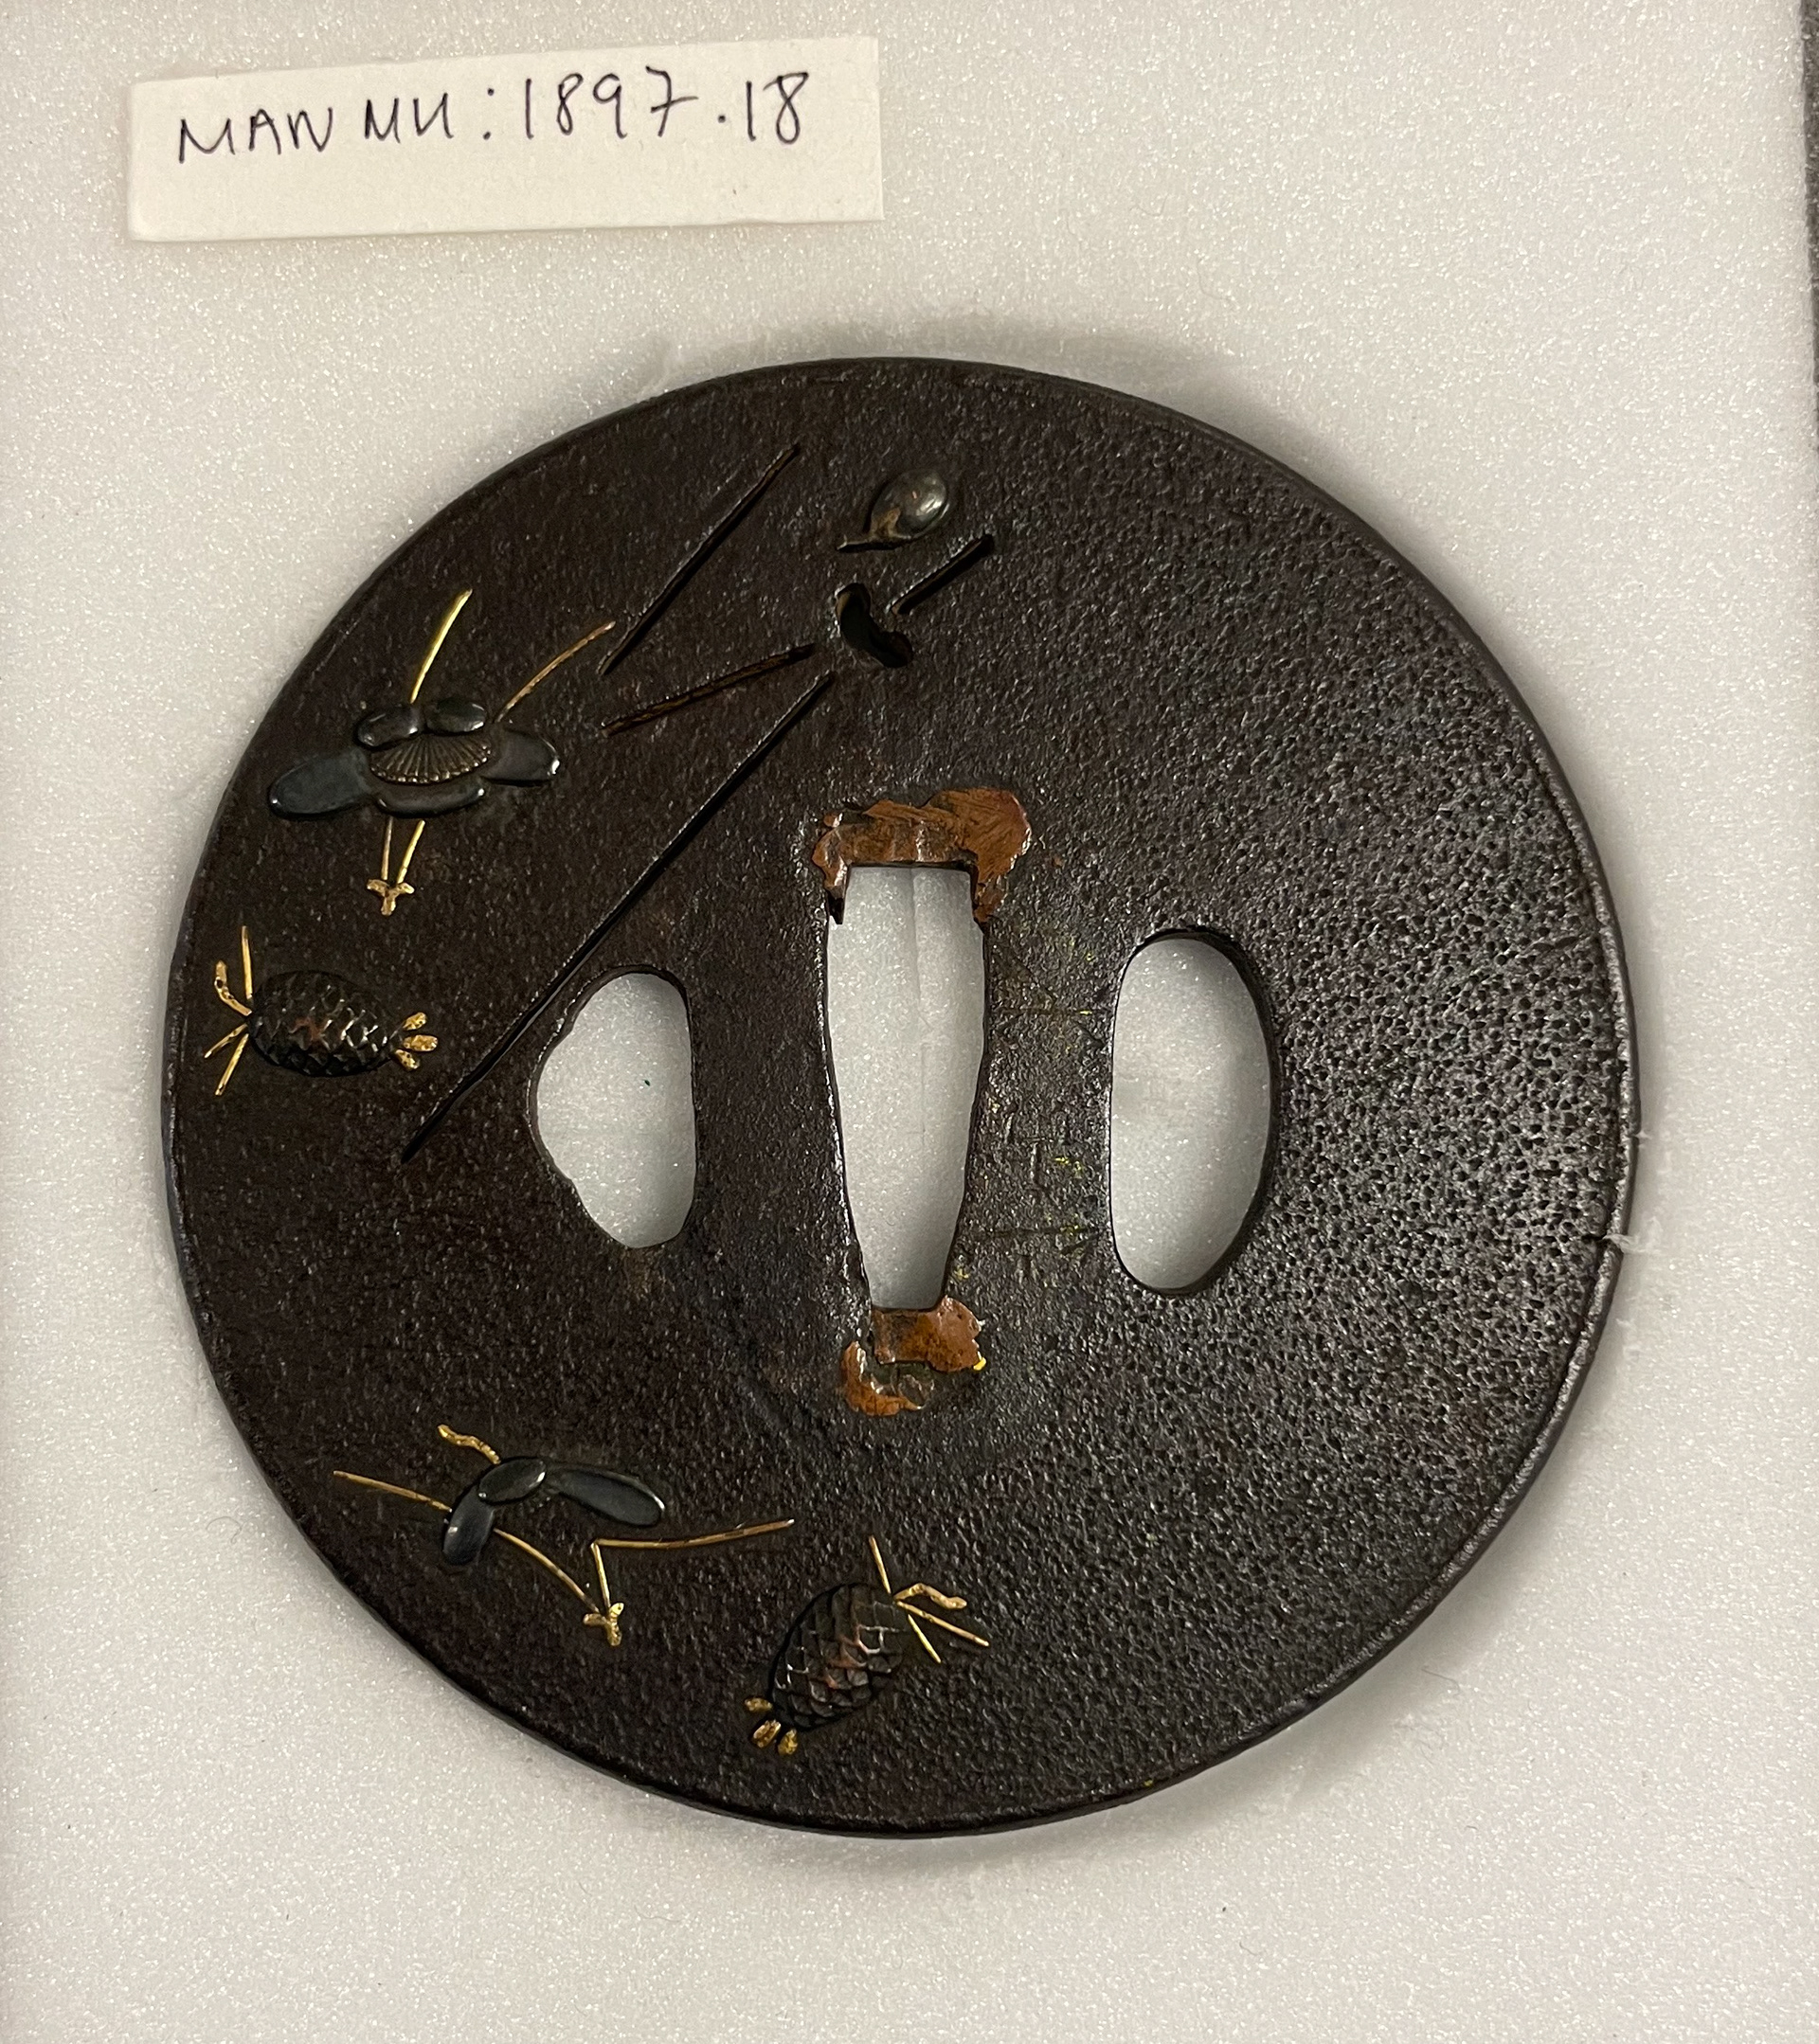
Japanese iron sword guards
Japanese iron sword guards
Japanese iron sword guards
Japanese iron sword guards
Japanese iron sword guards
Japanese iron sword guards
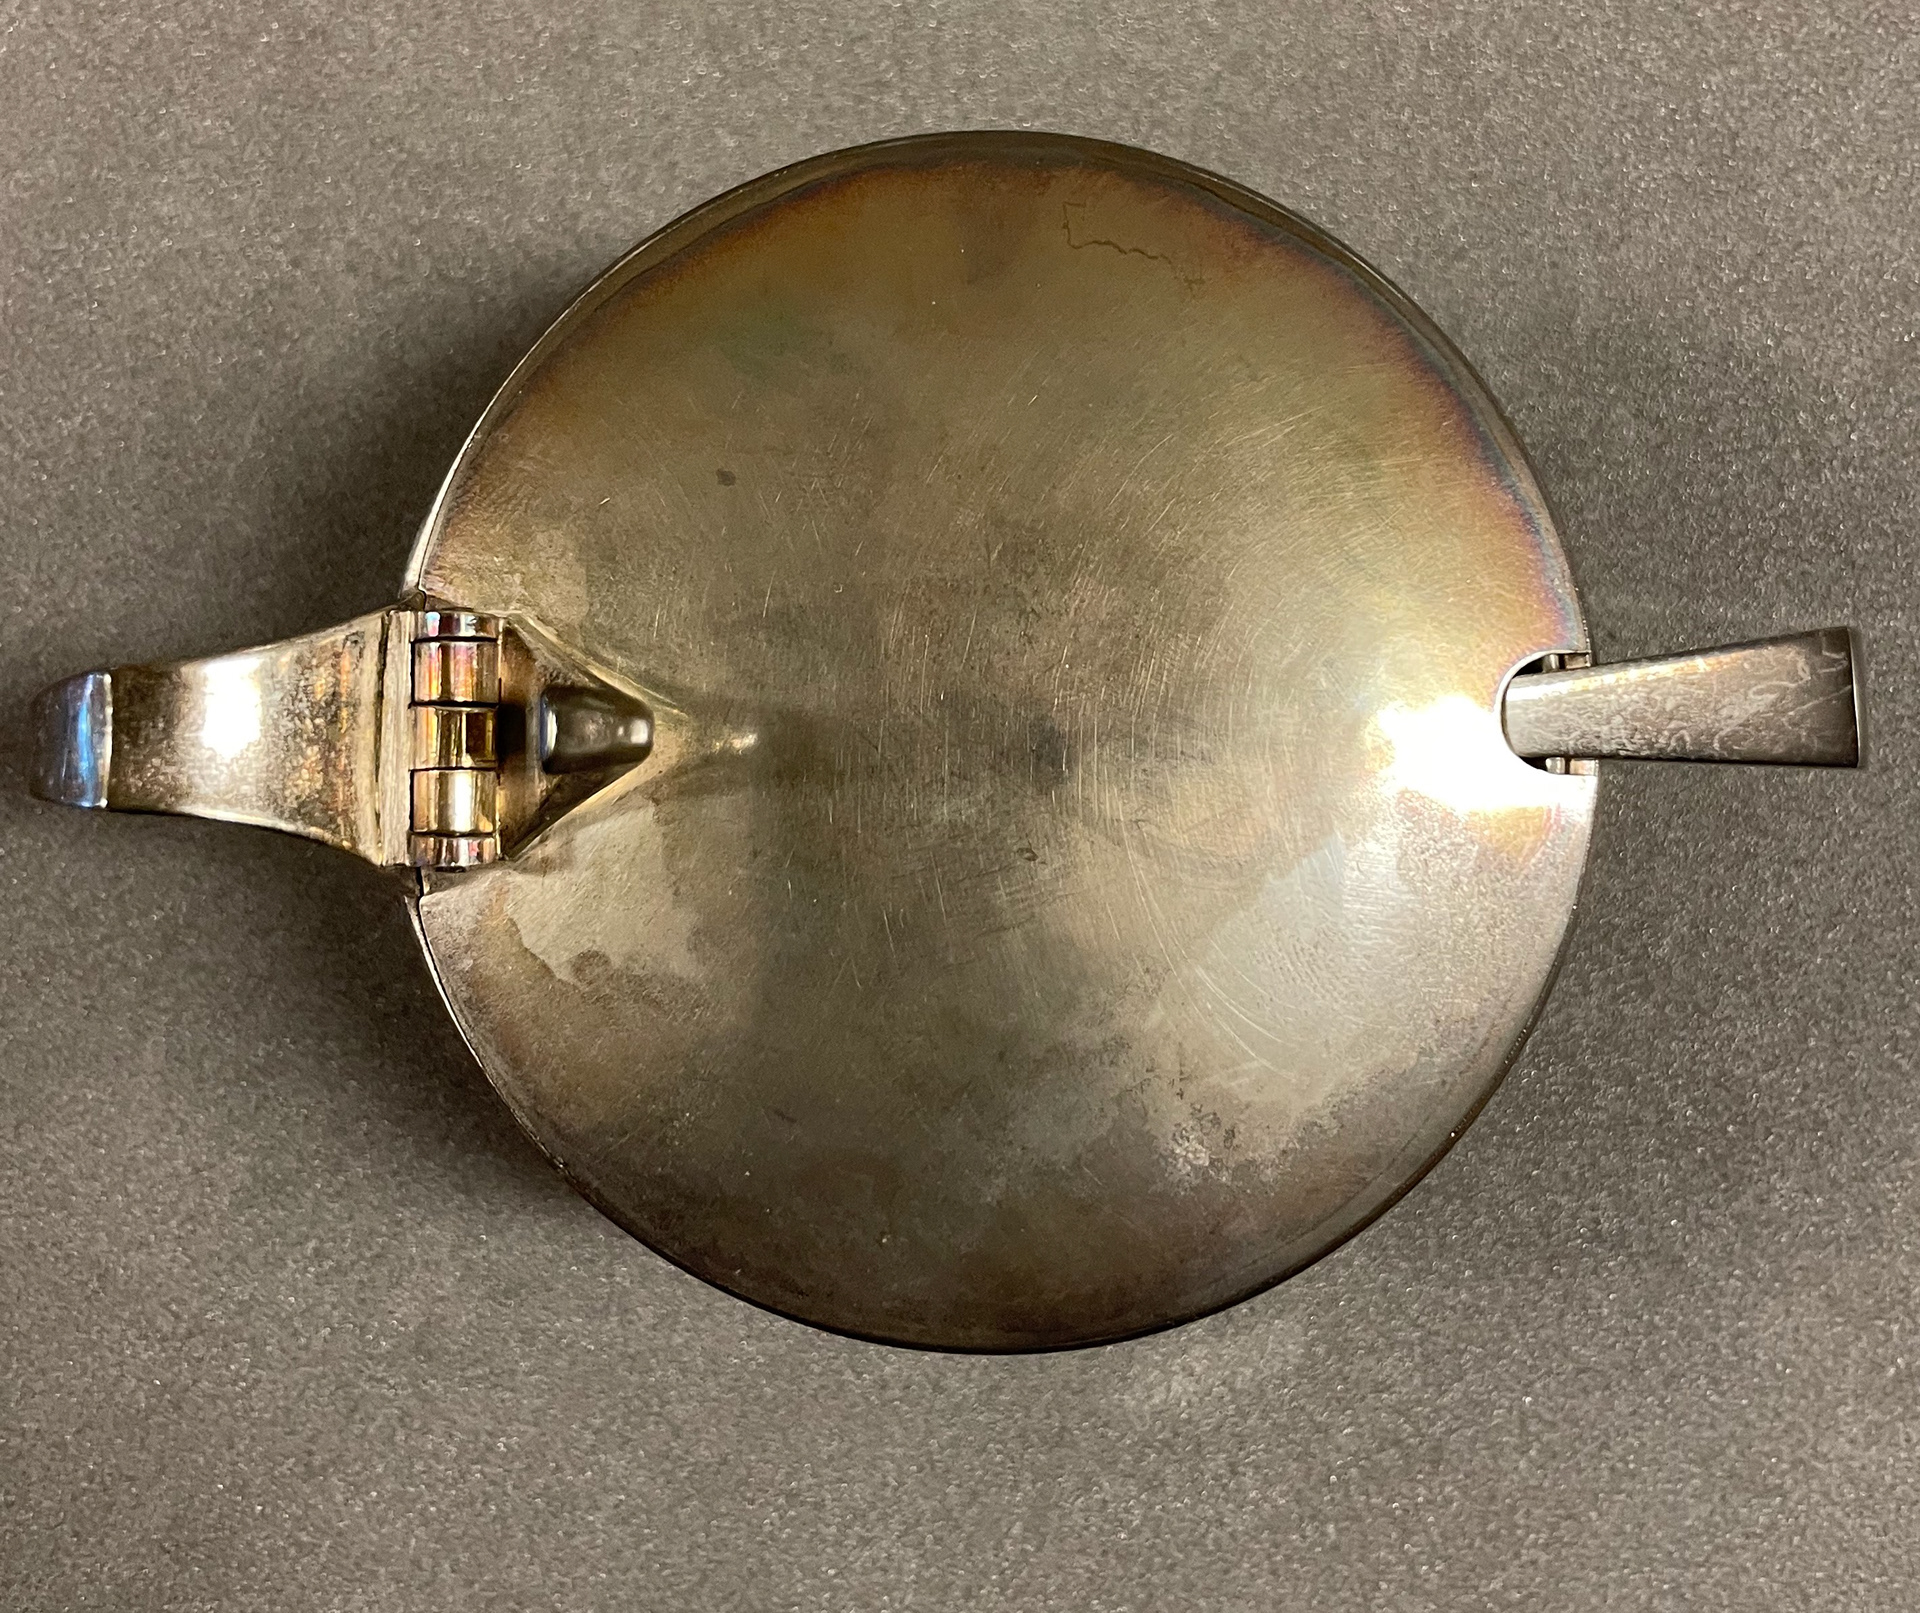
Mustard pot with spoon
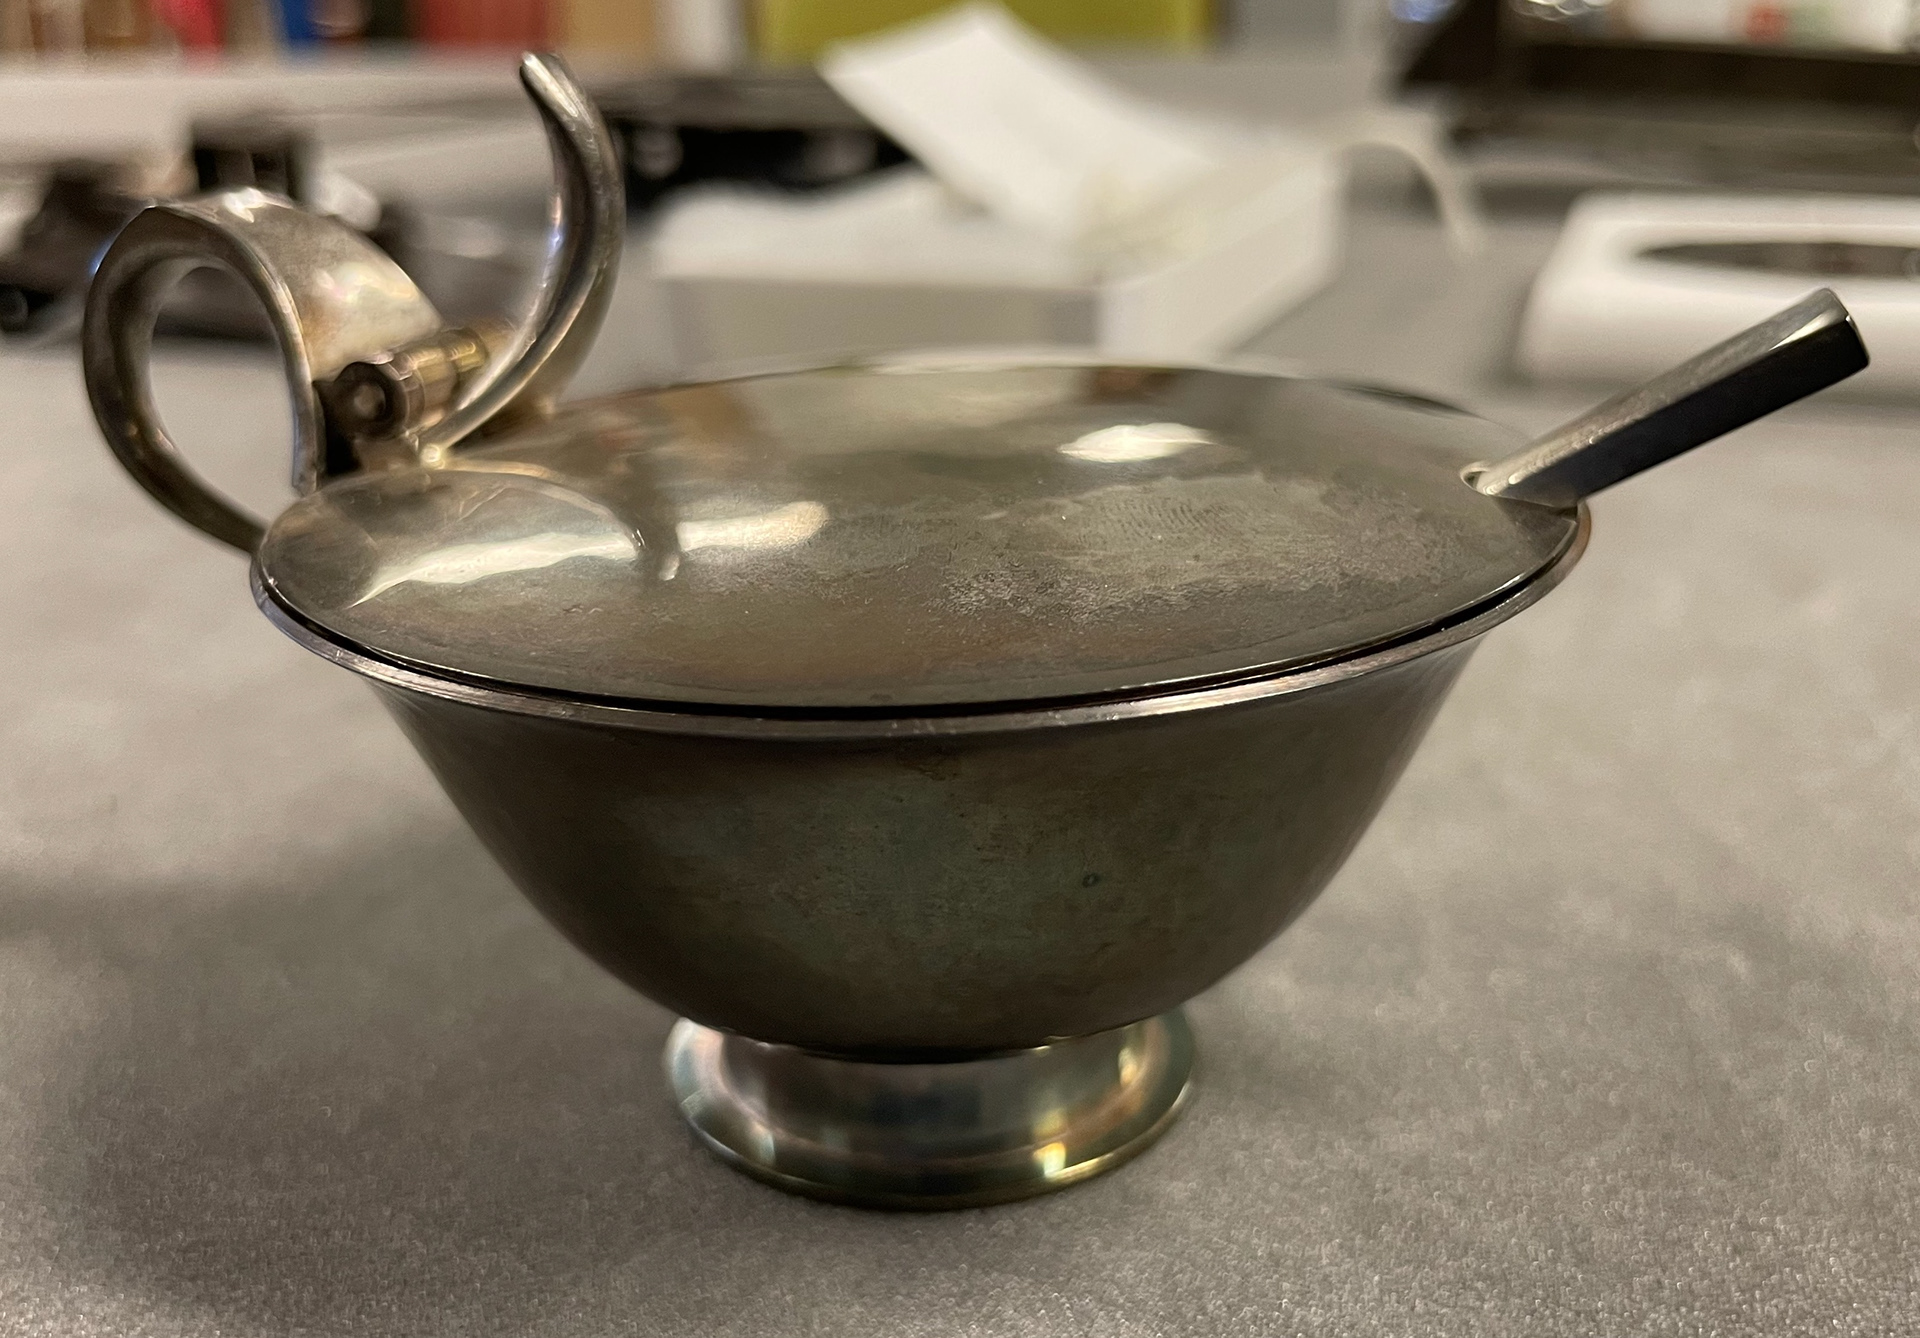
Mustard pot with spoon
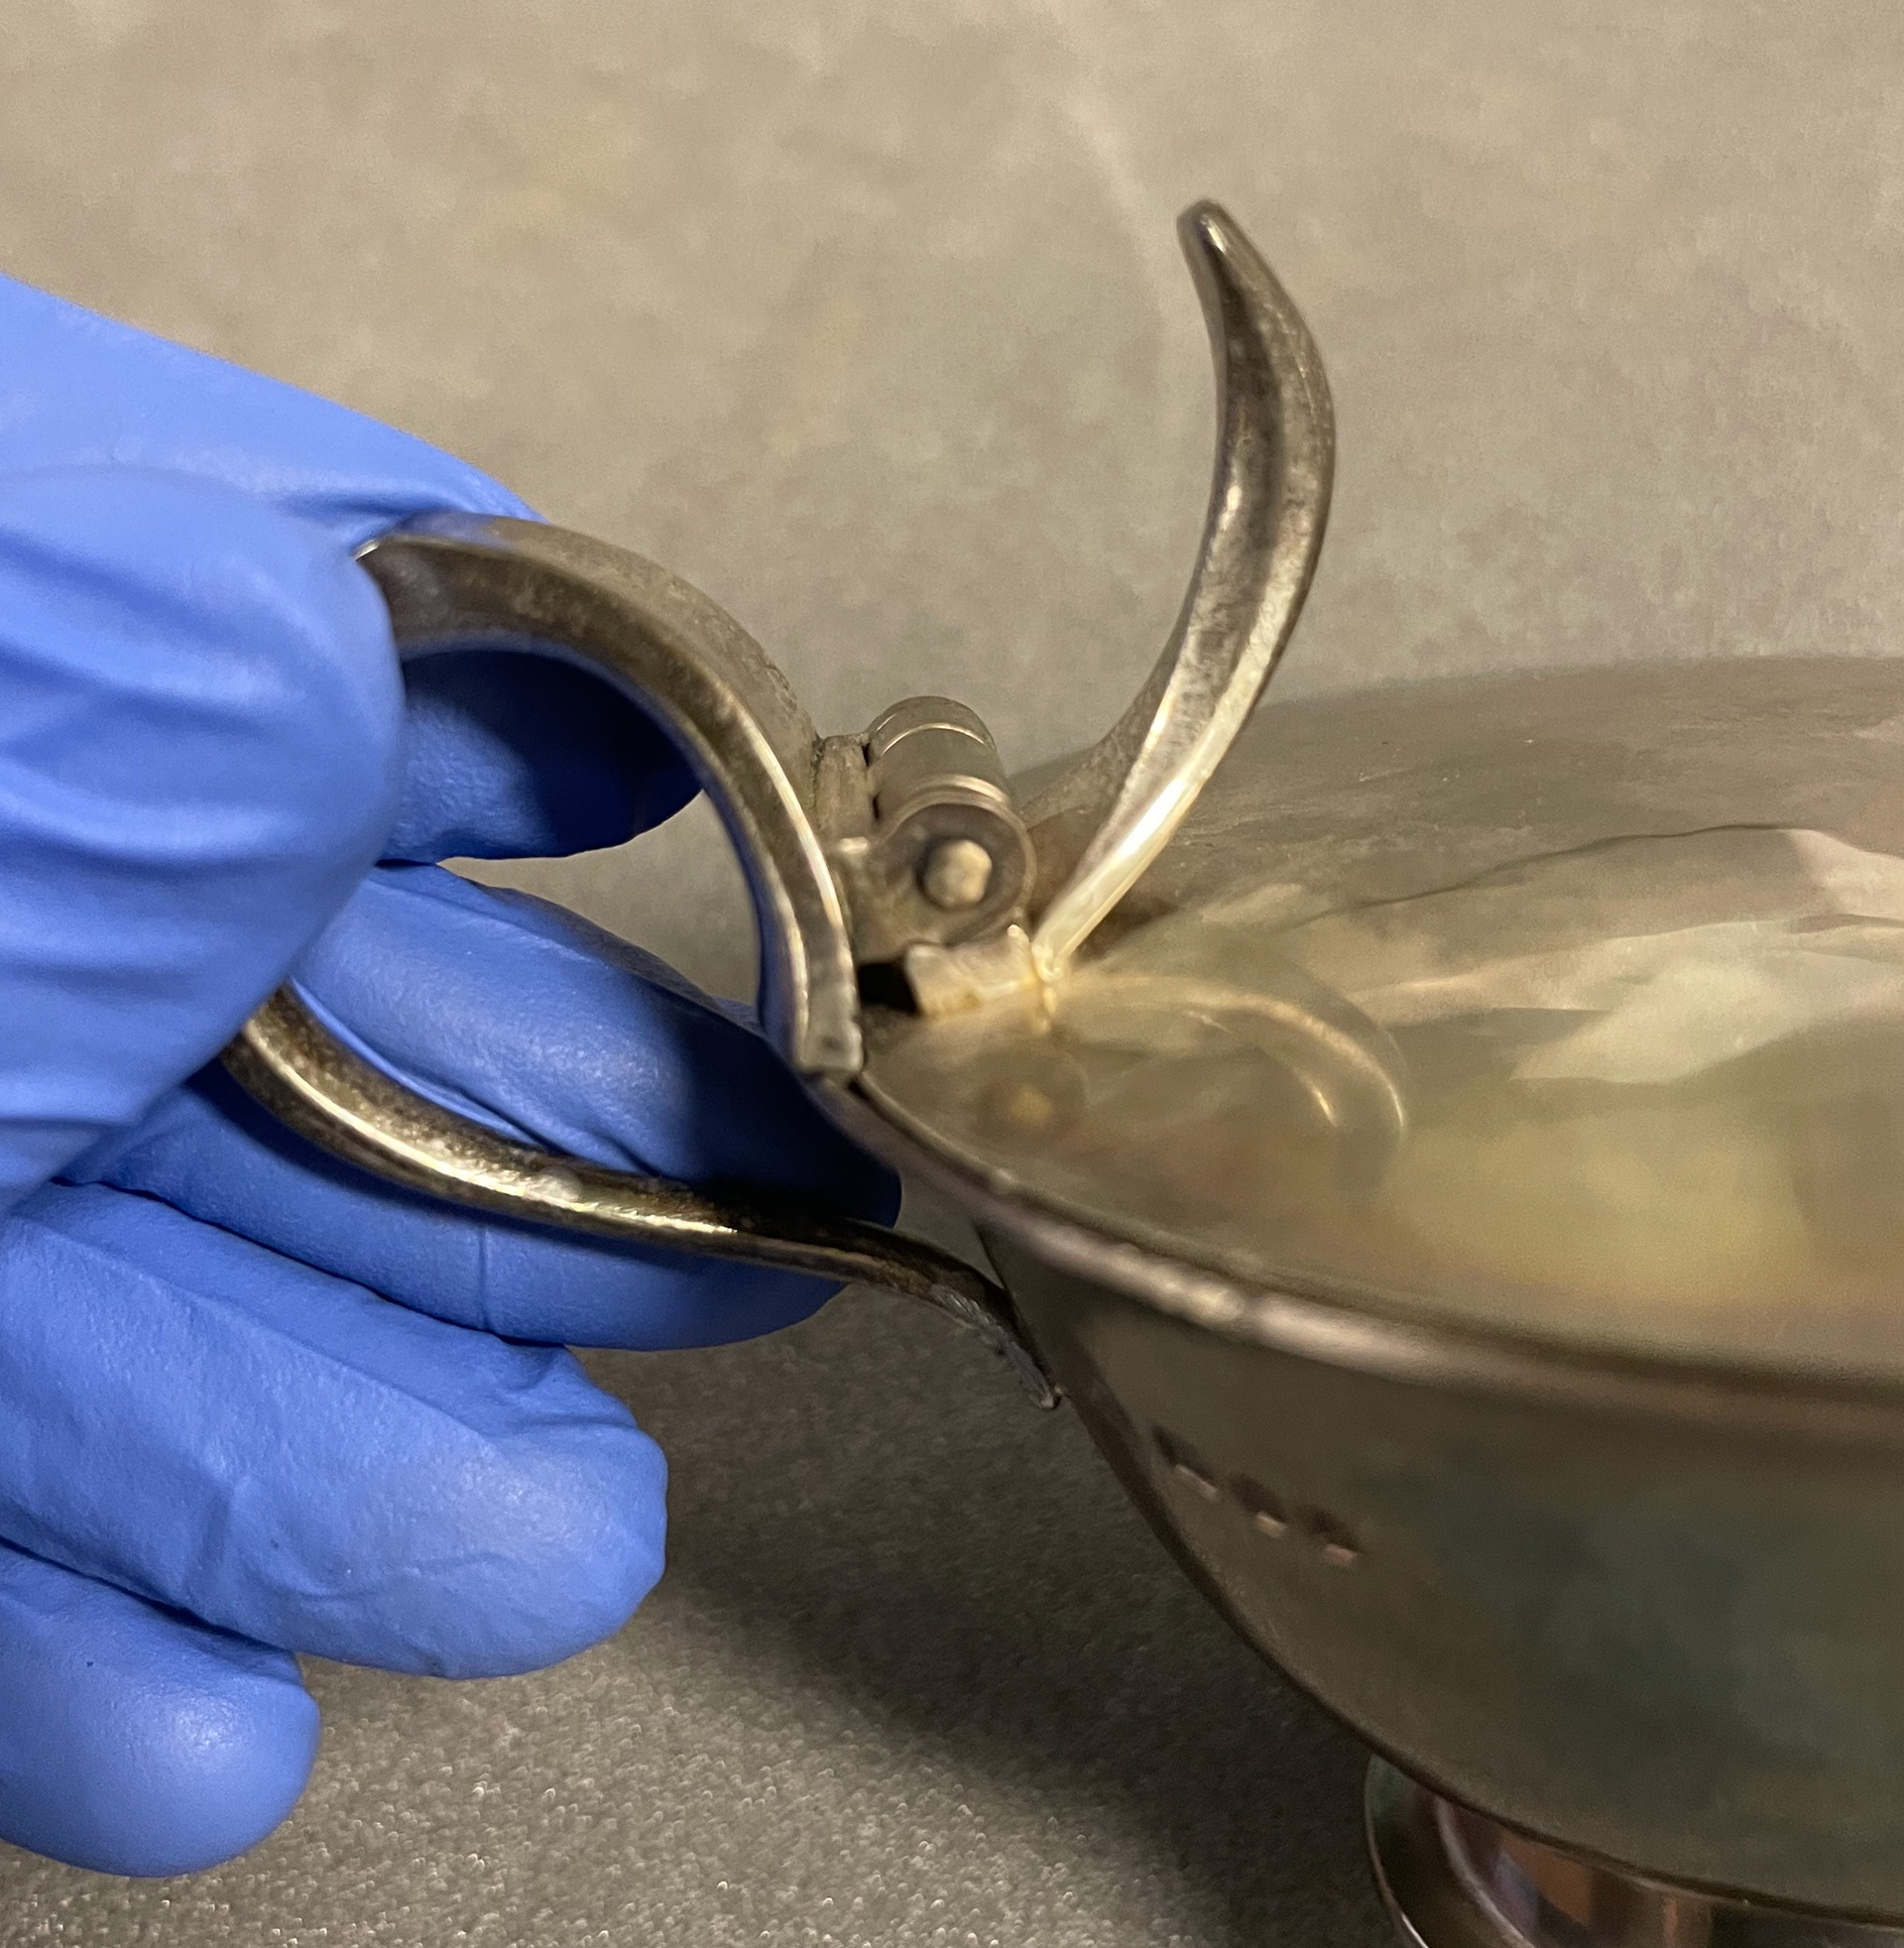
Mustard pot with spoon
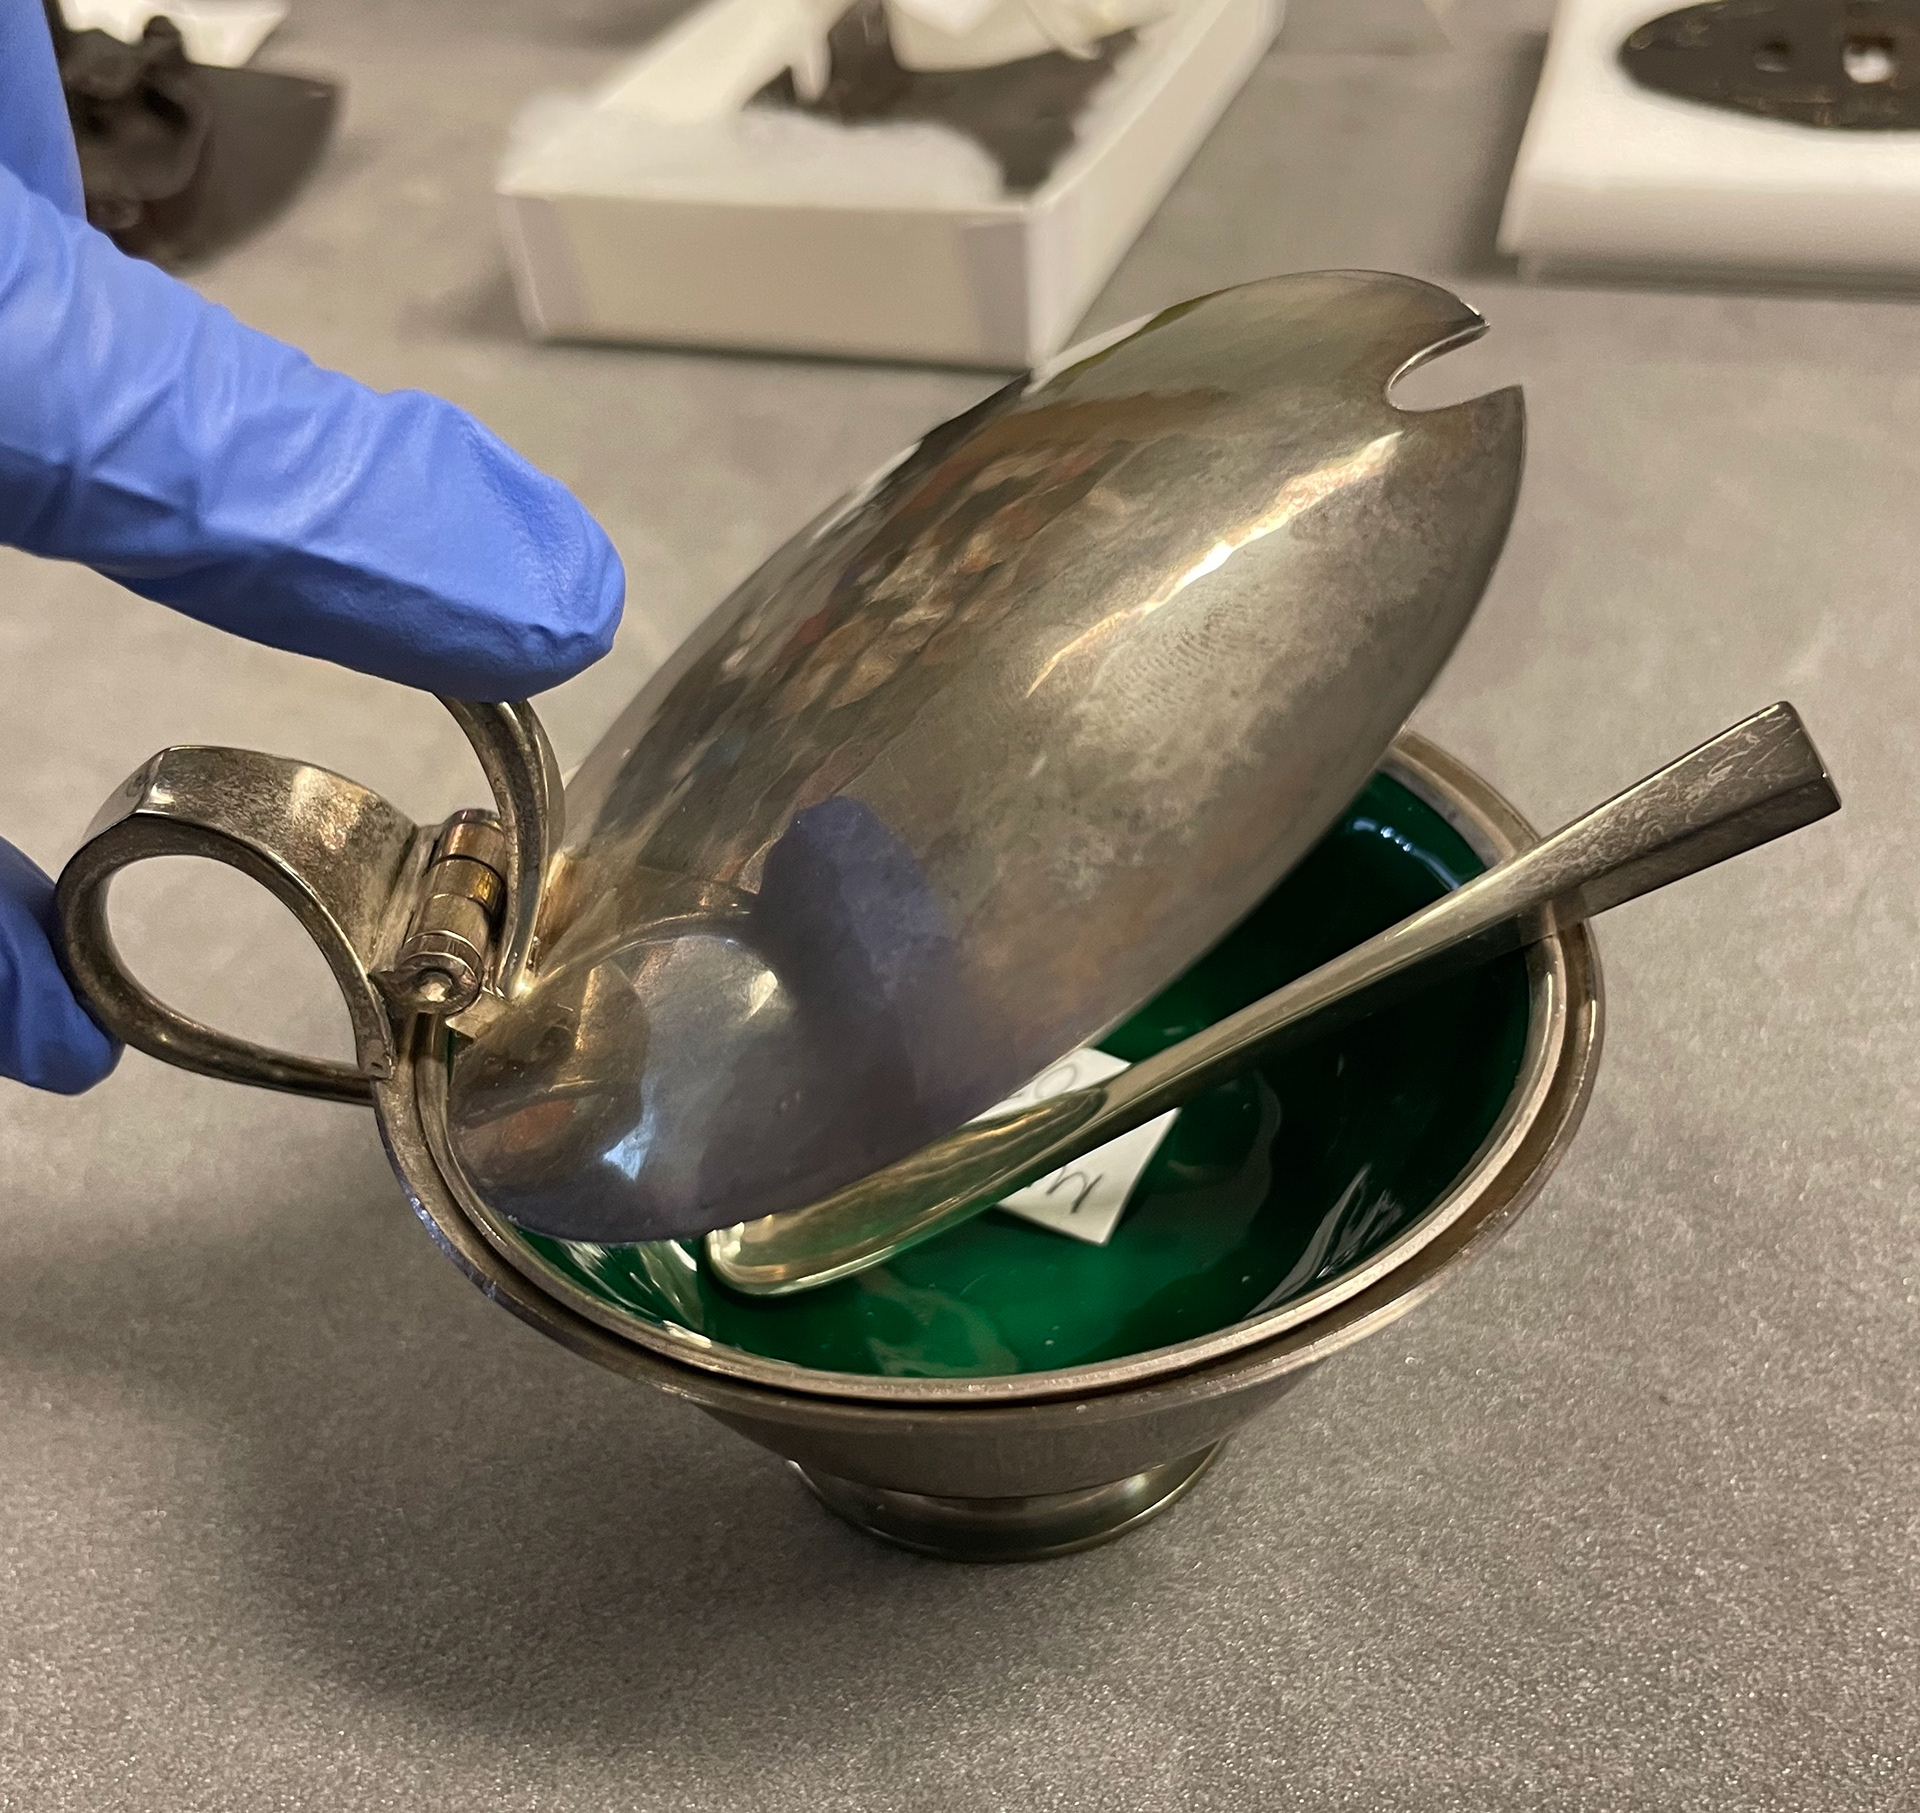
Mustard pot with spoon

Mustard pot with spoon
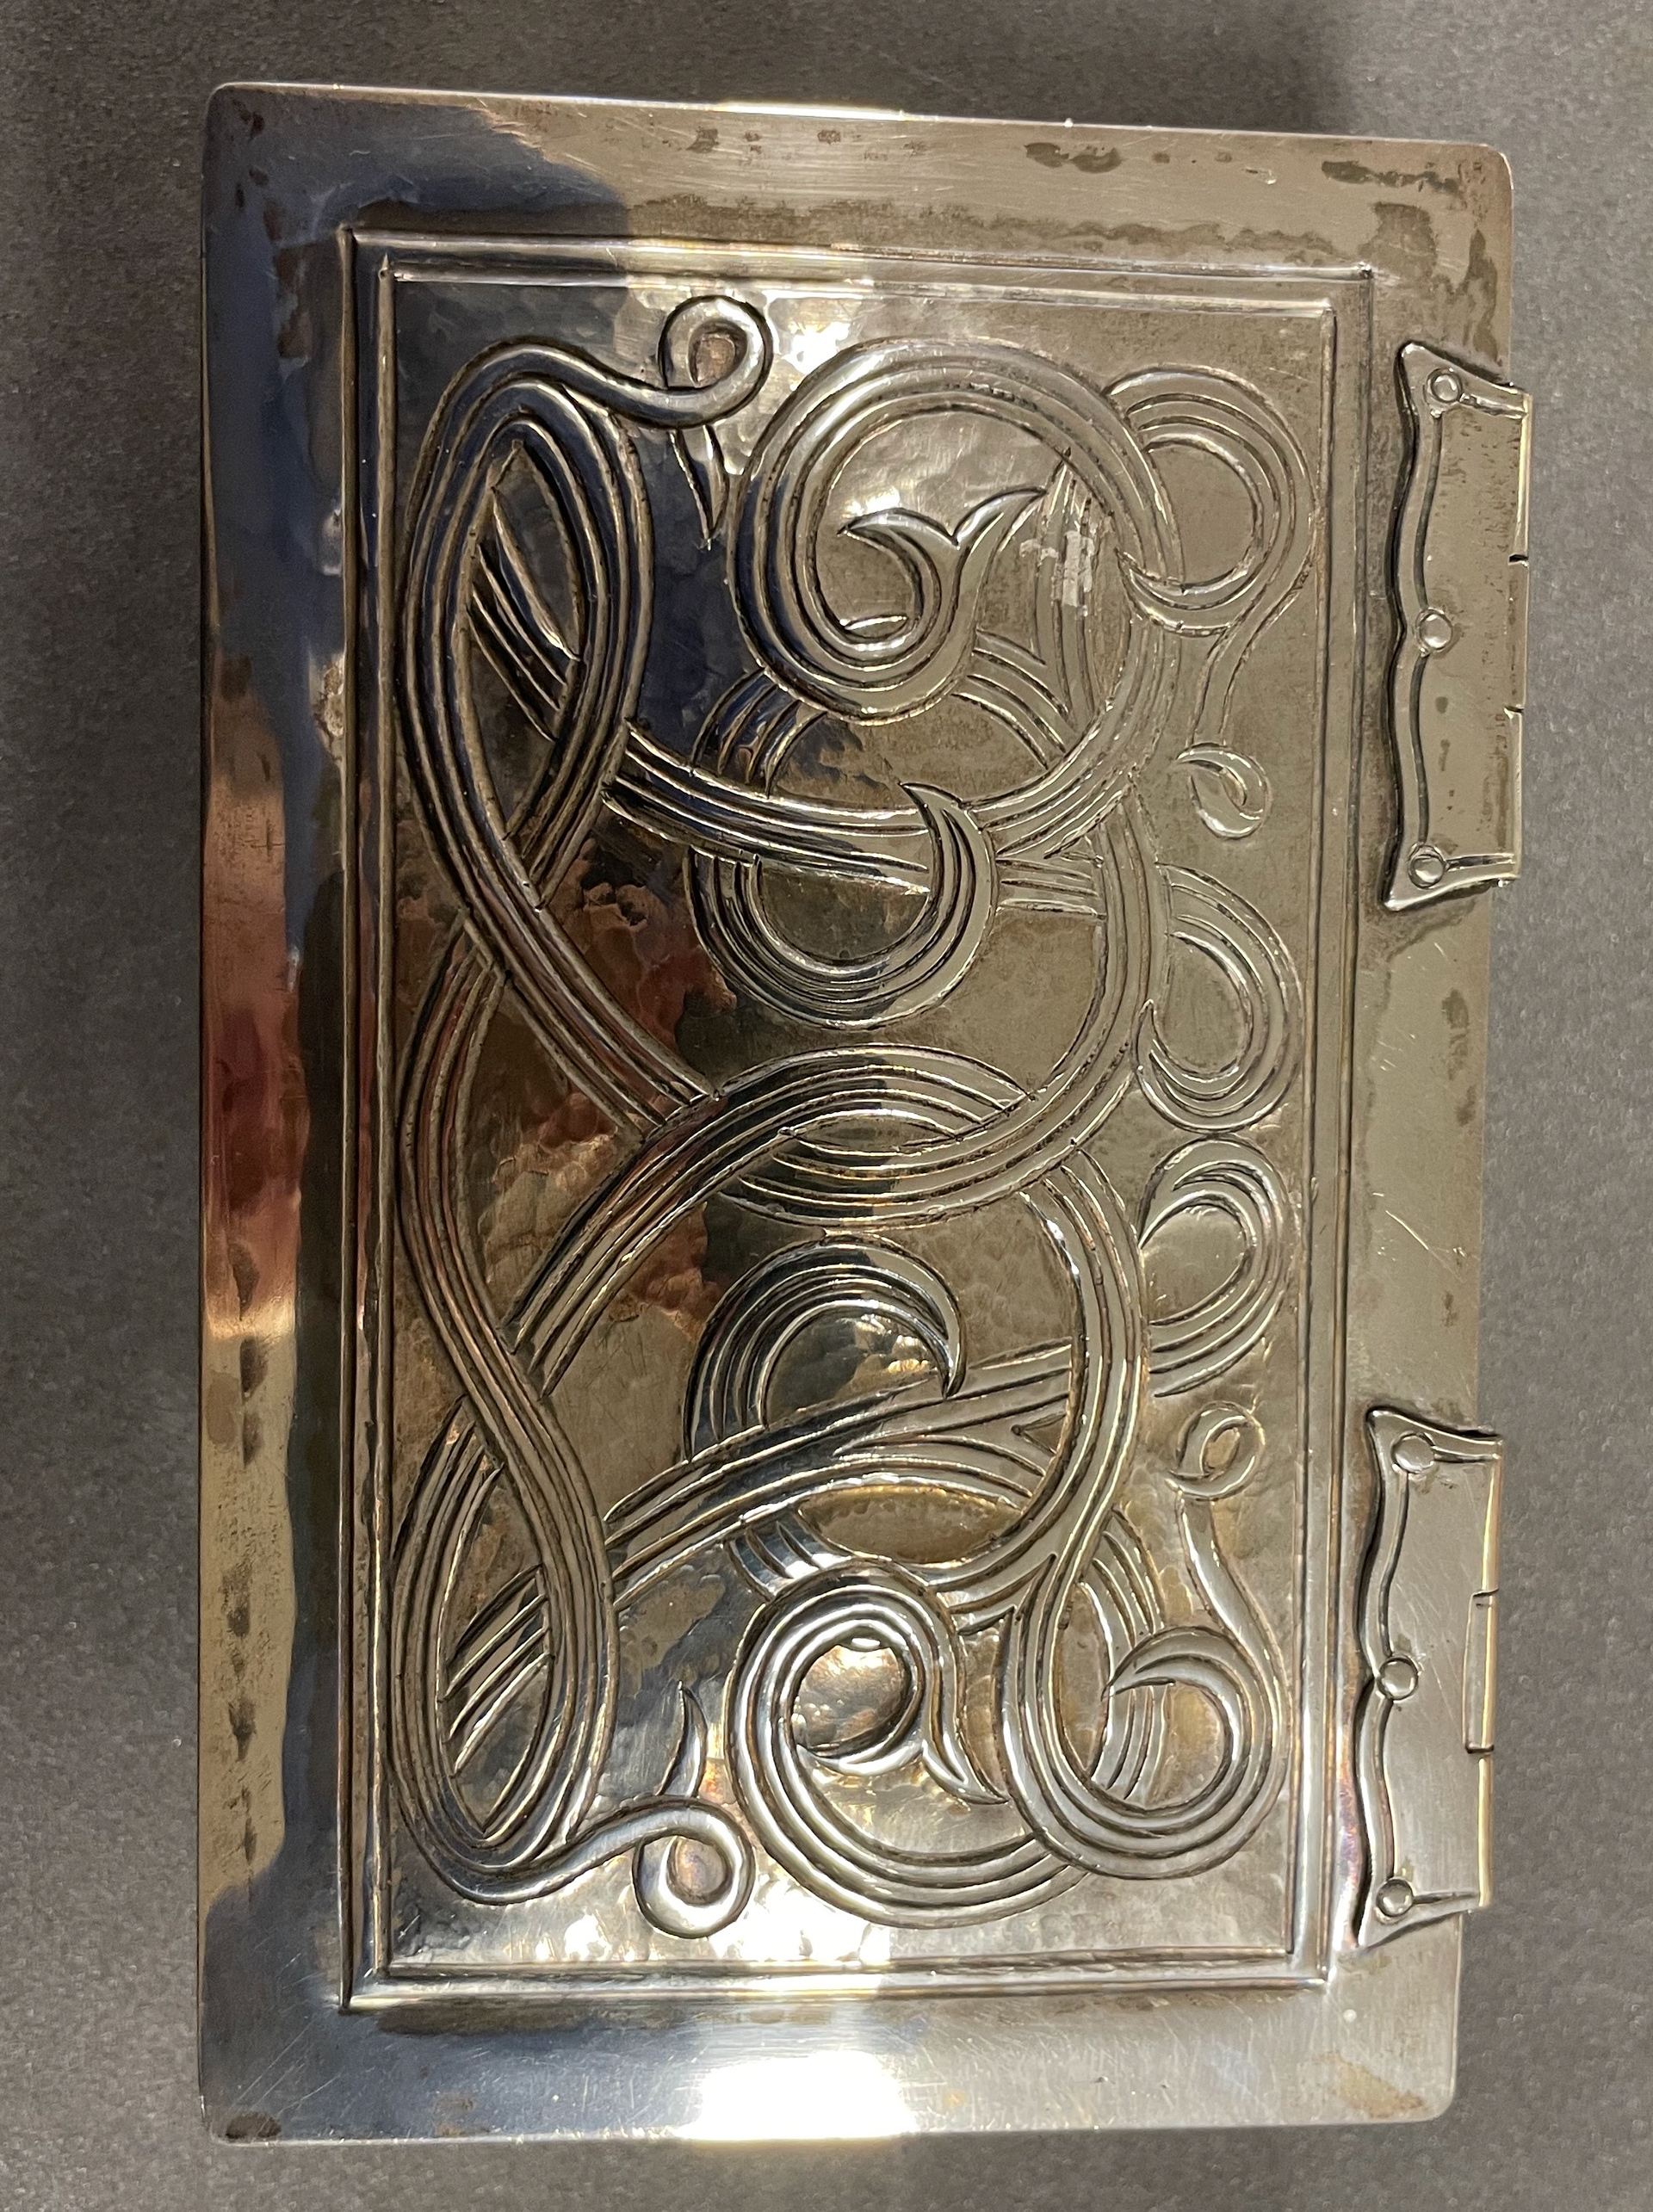
Small casket
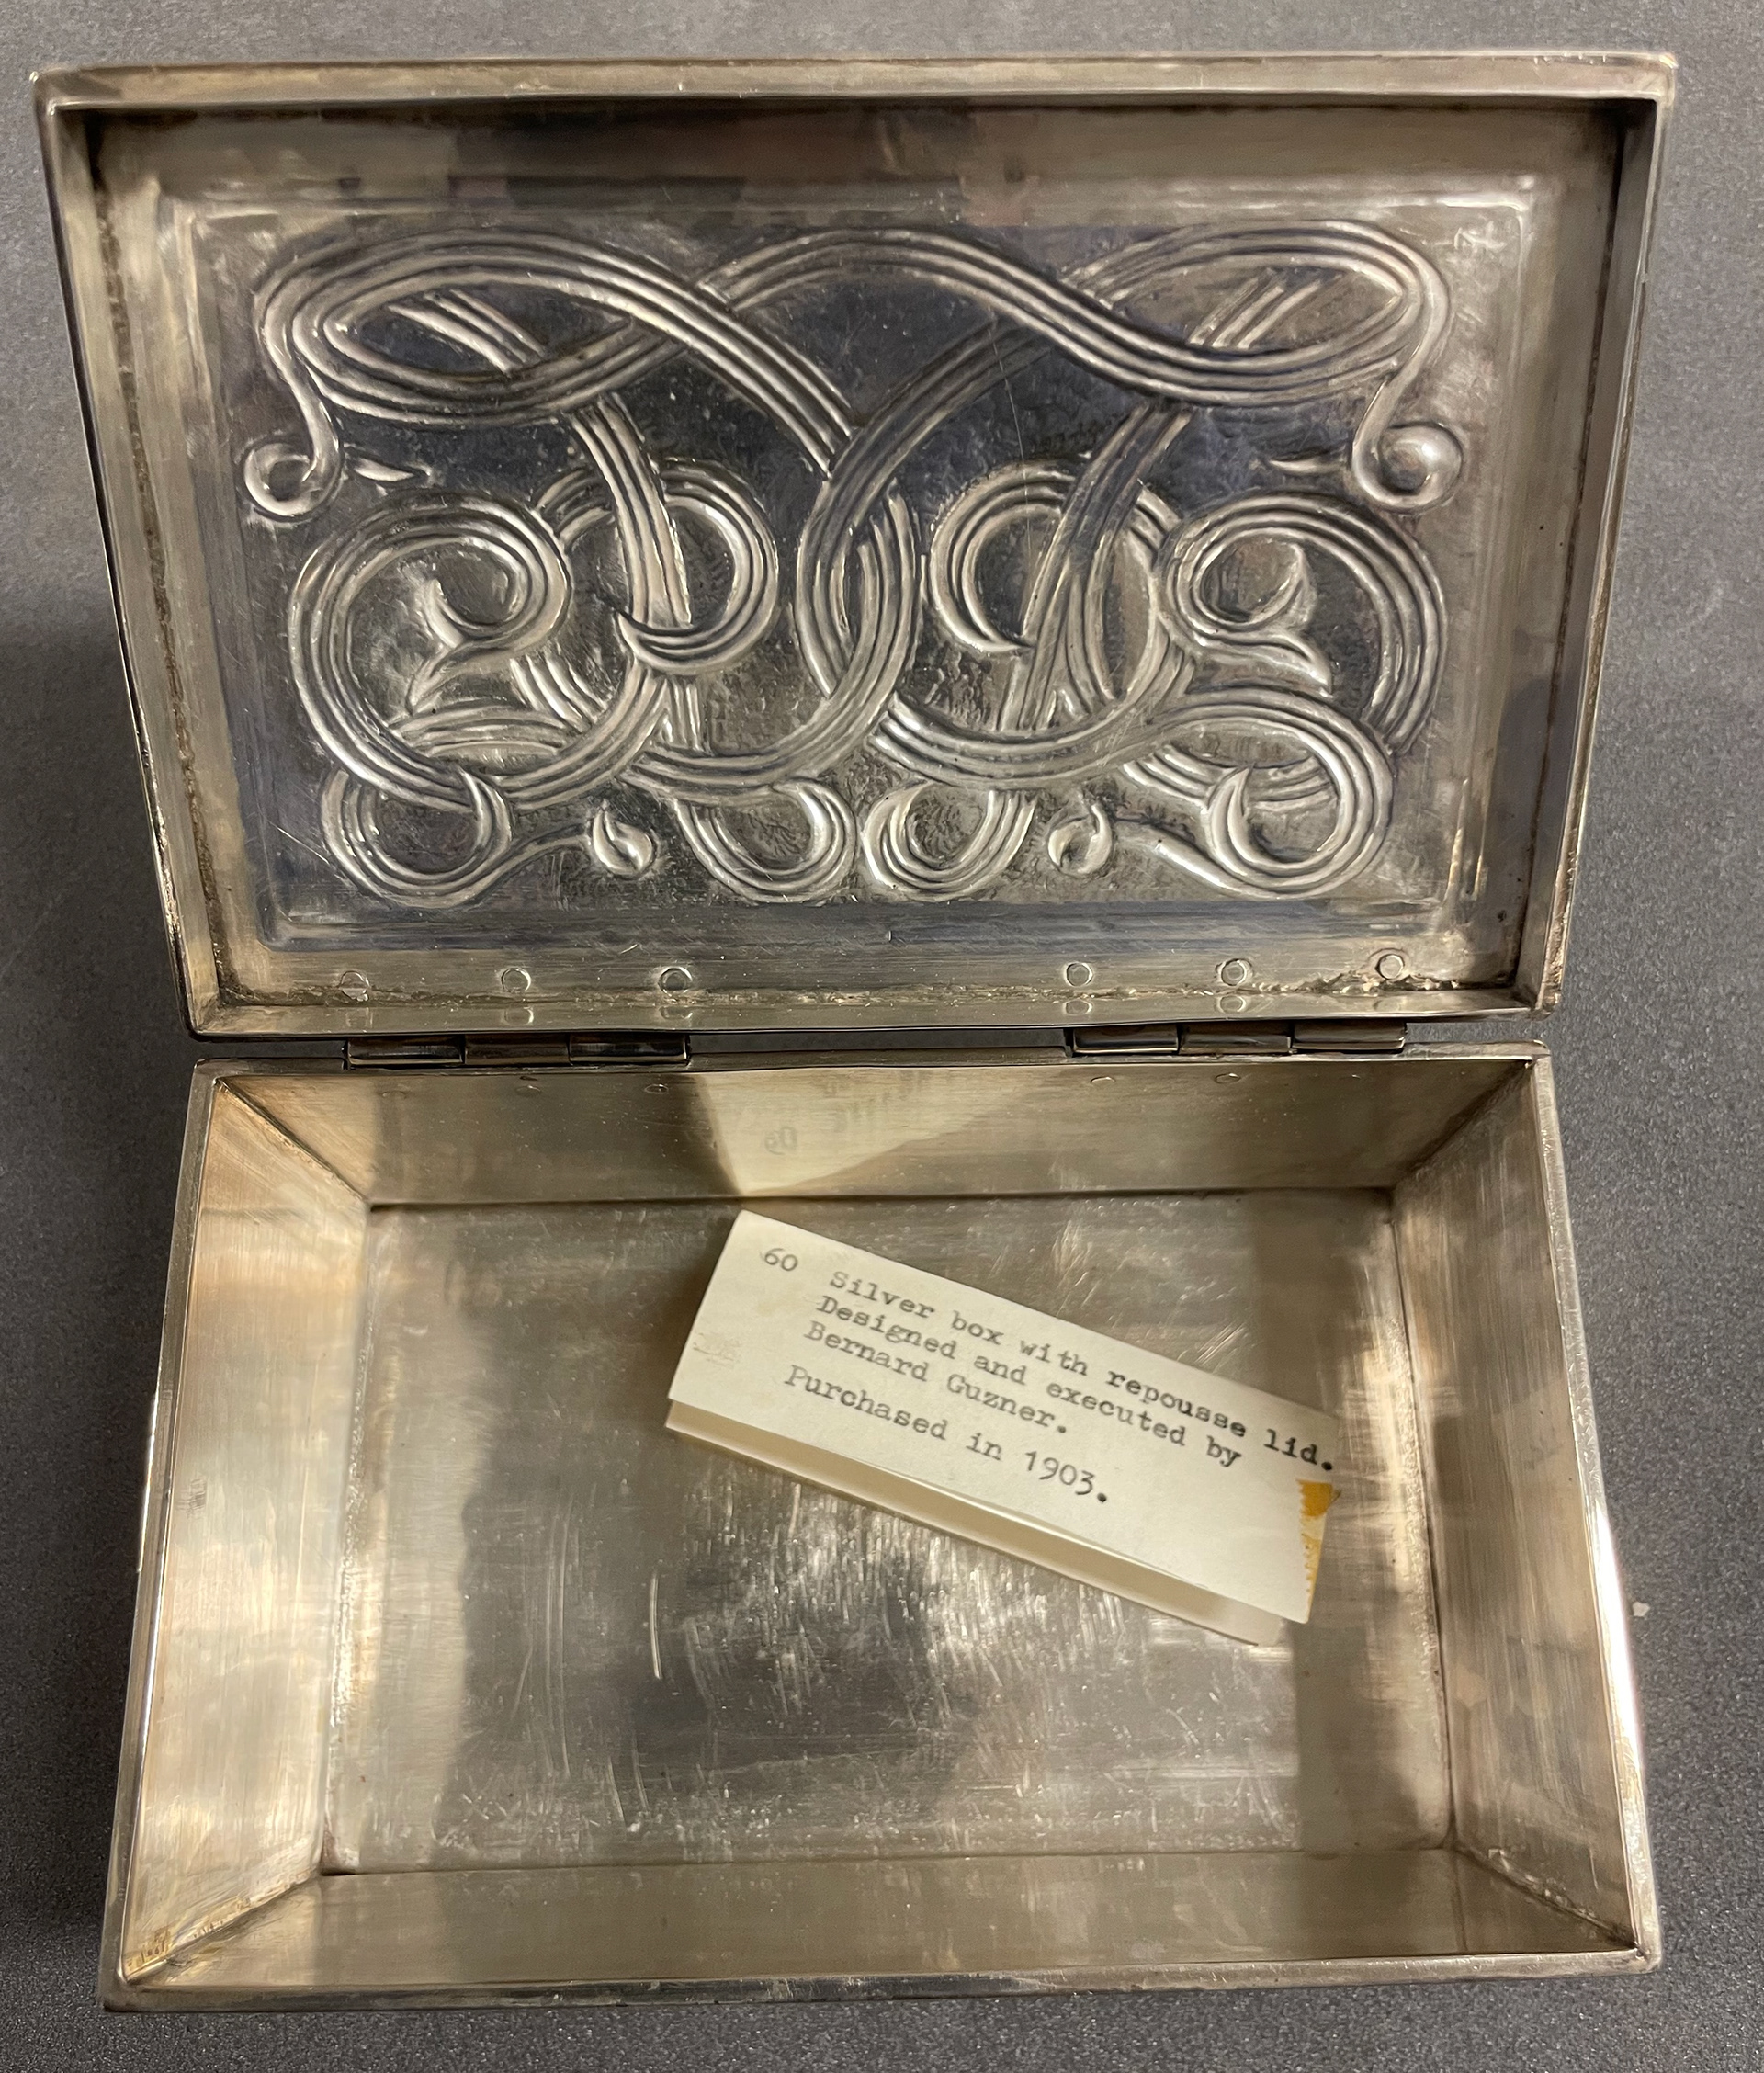
Small casket
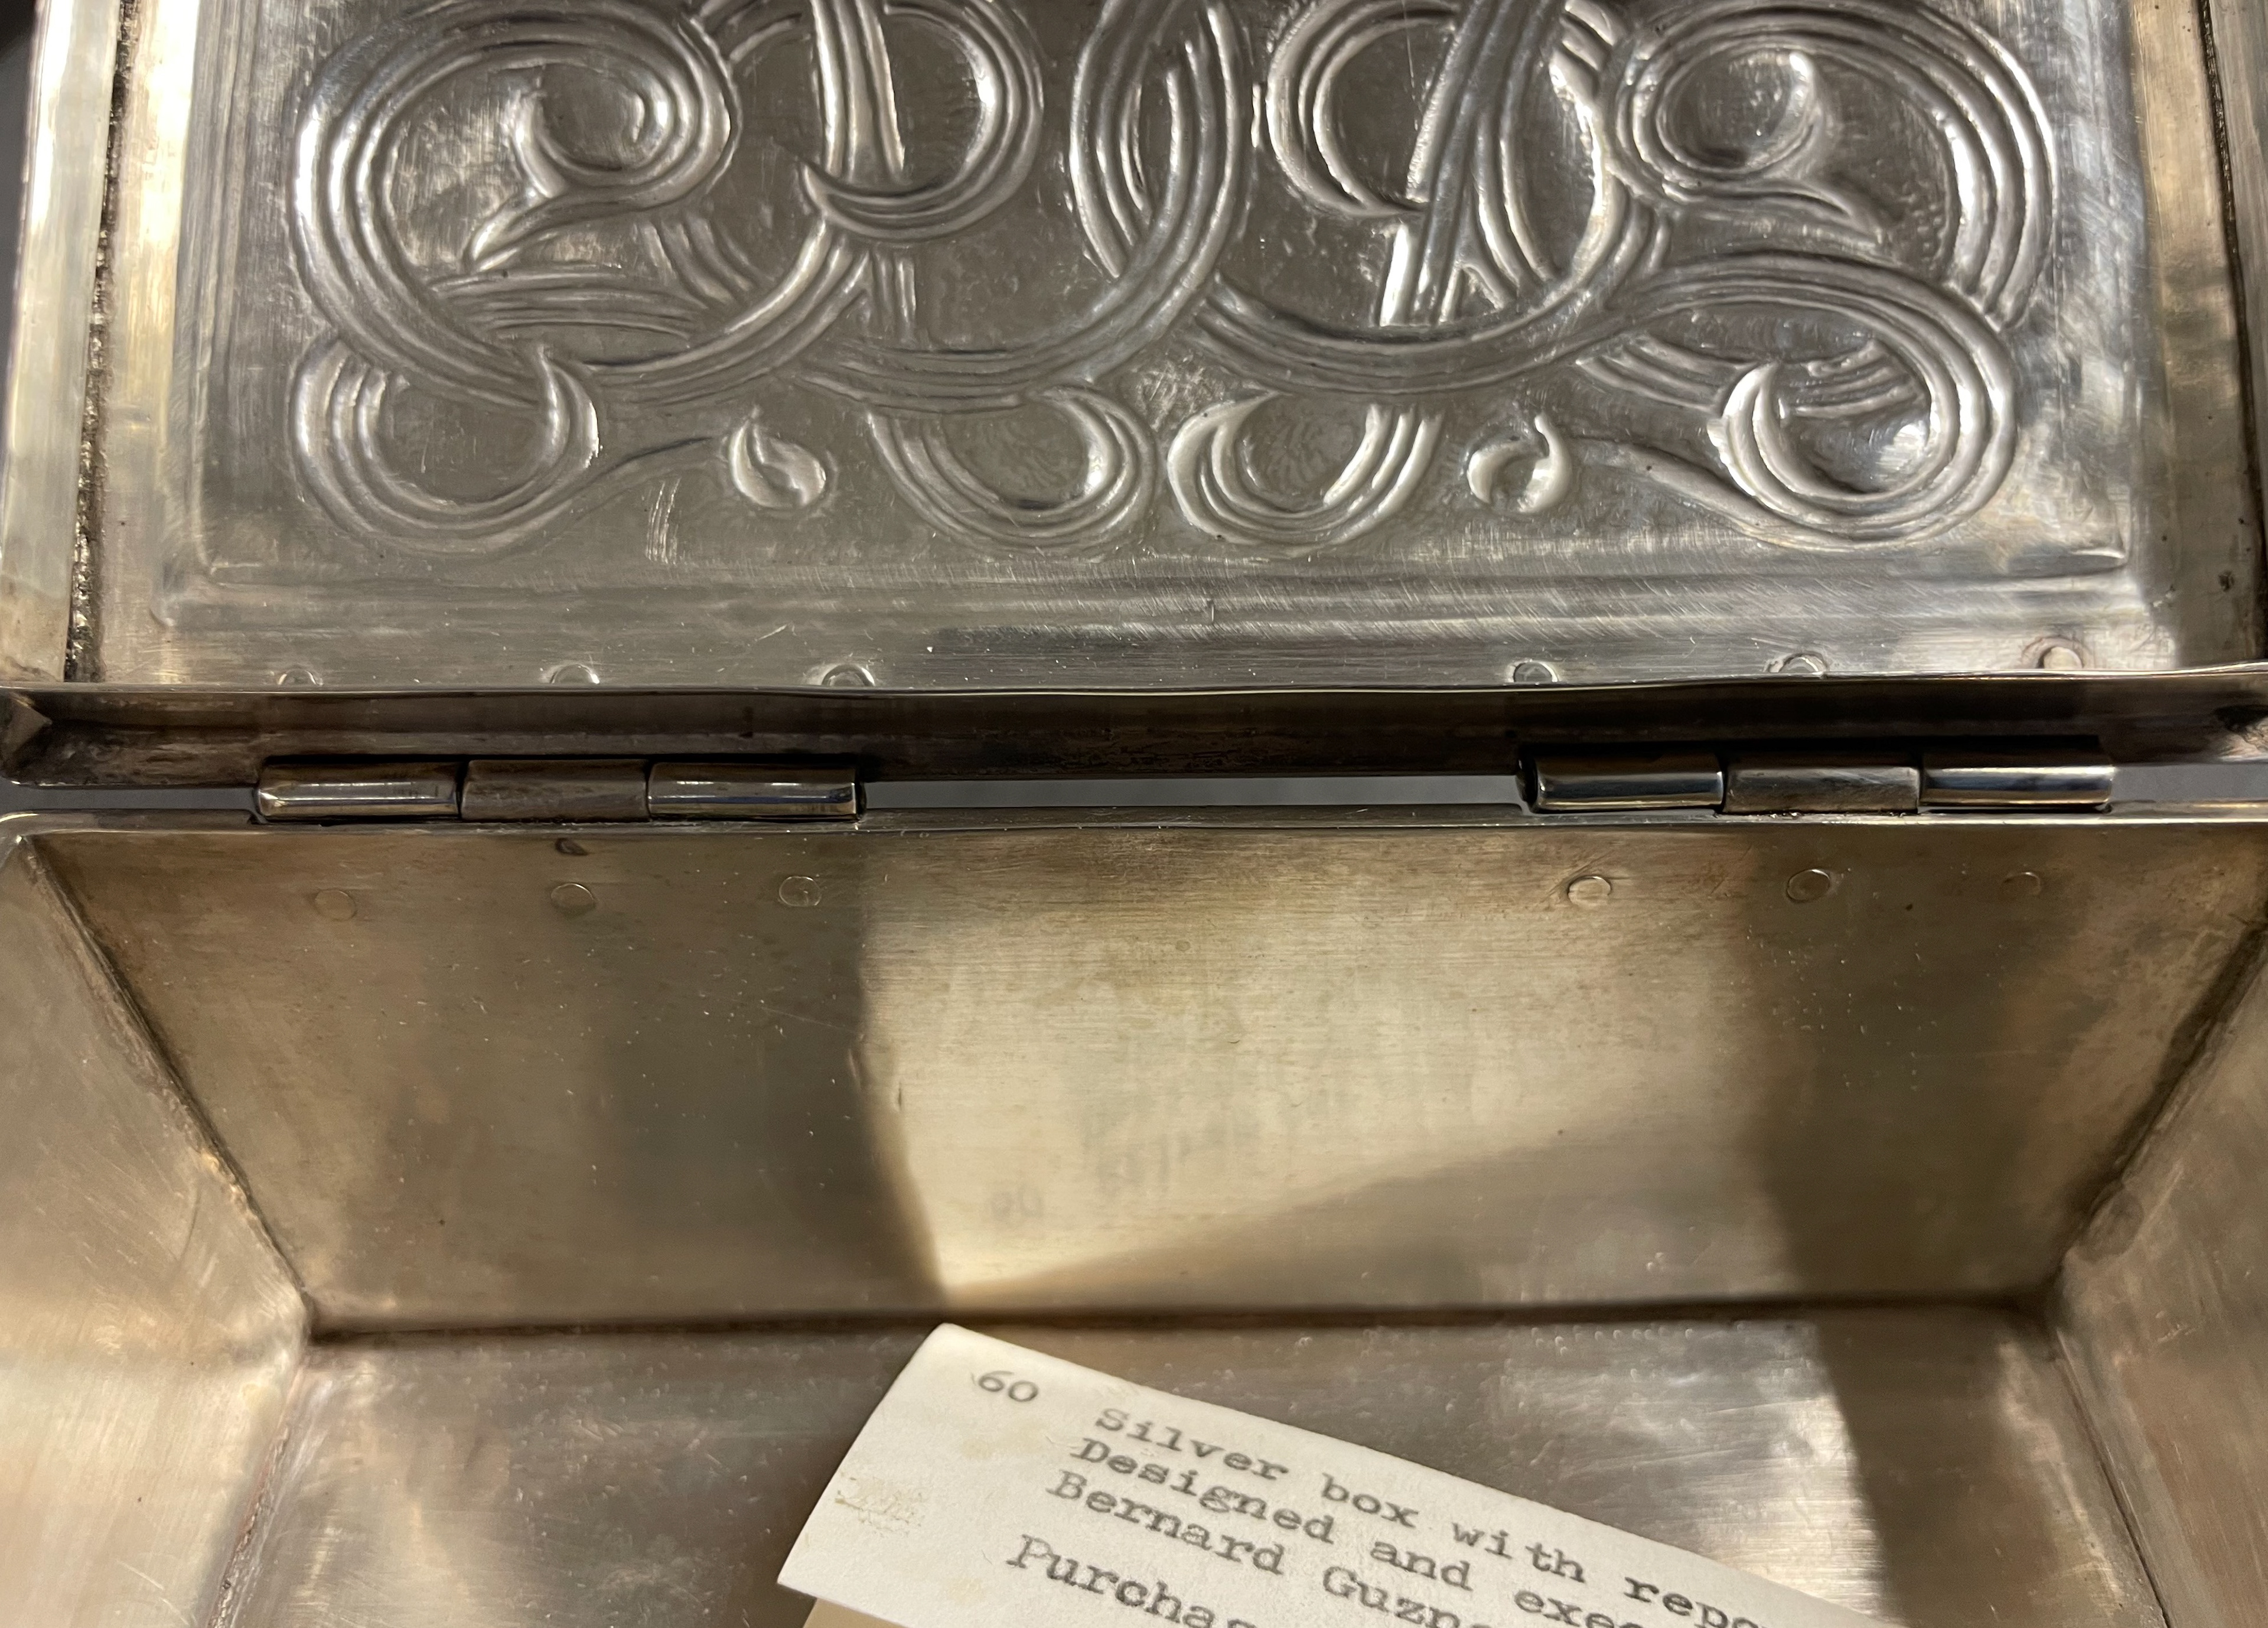
Small casket
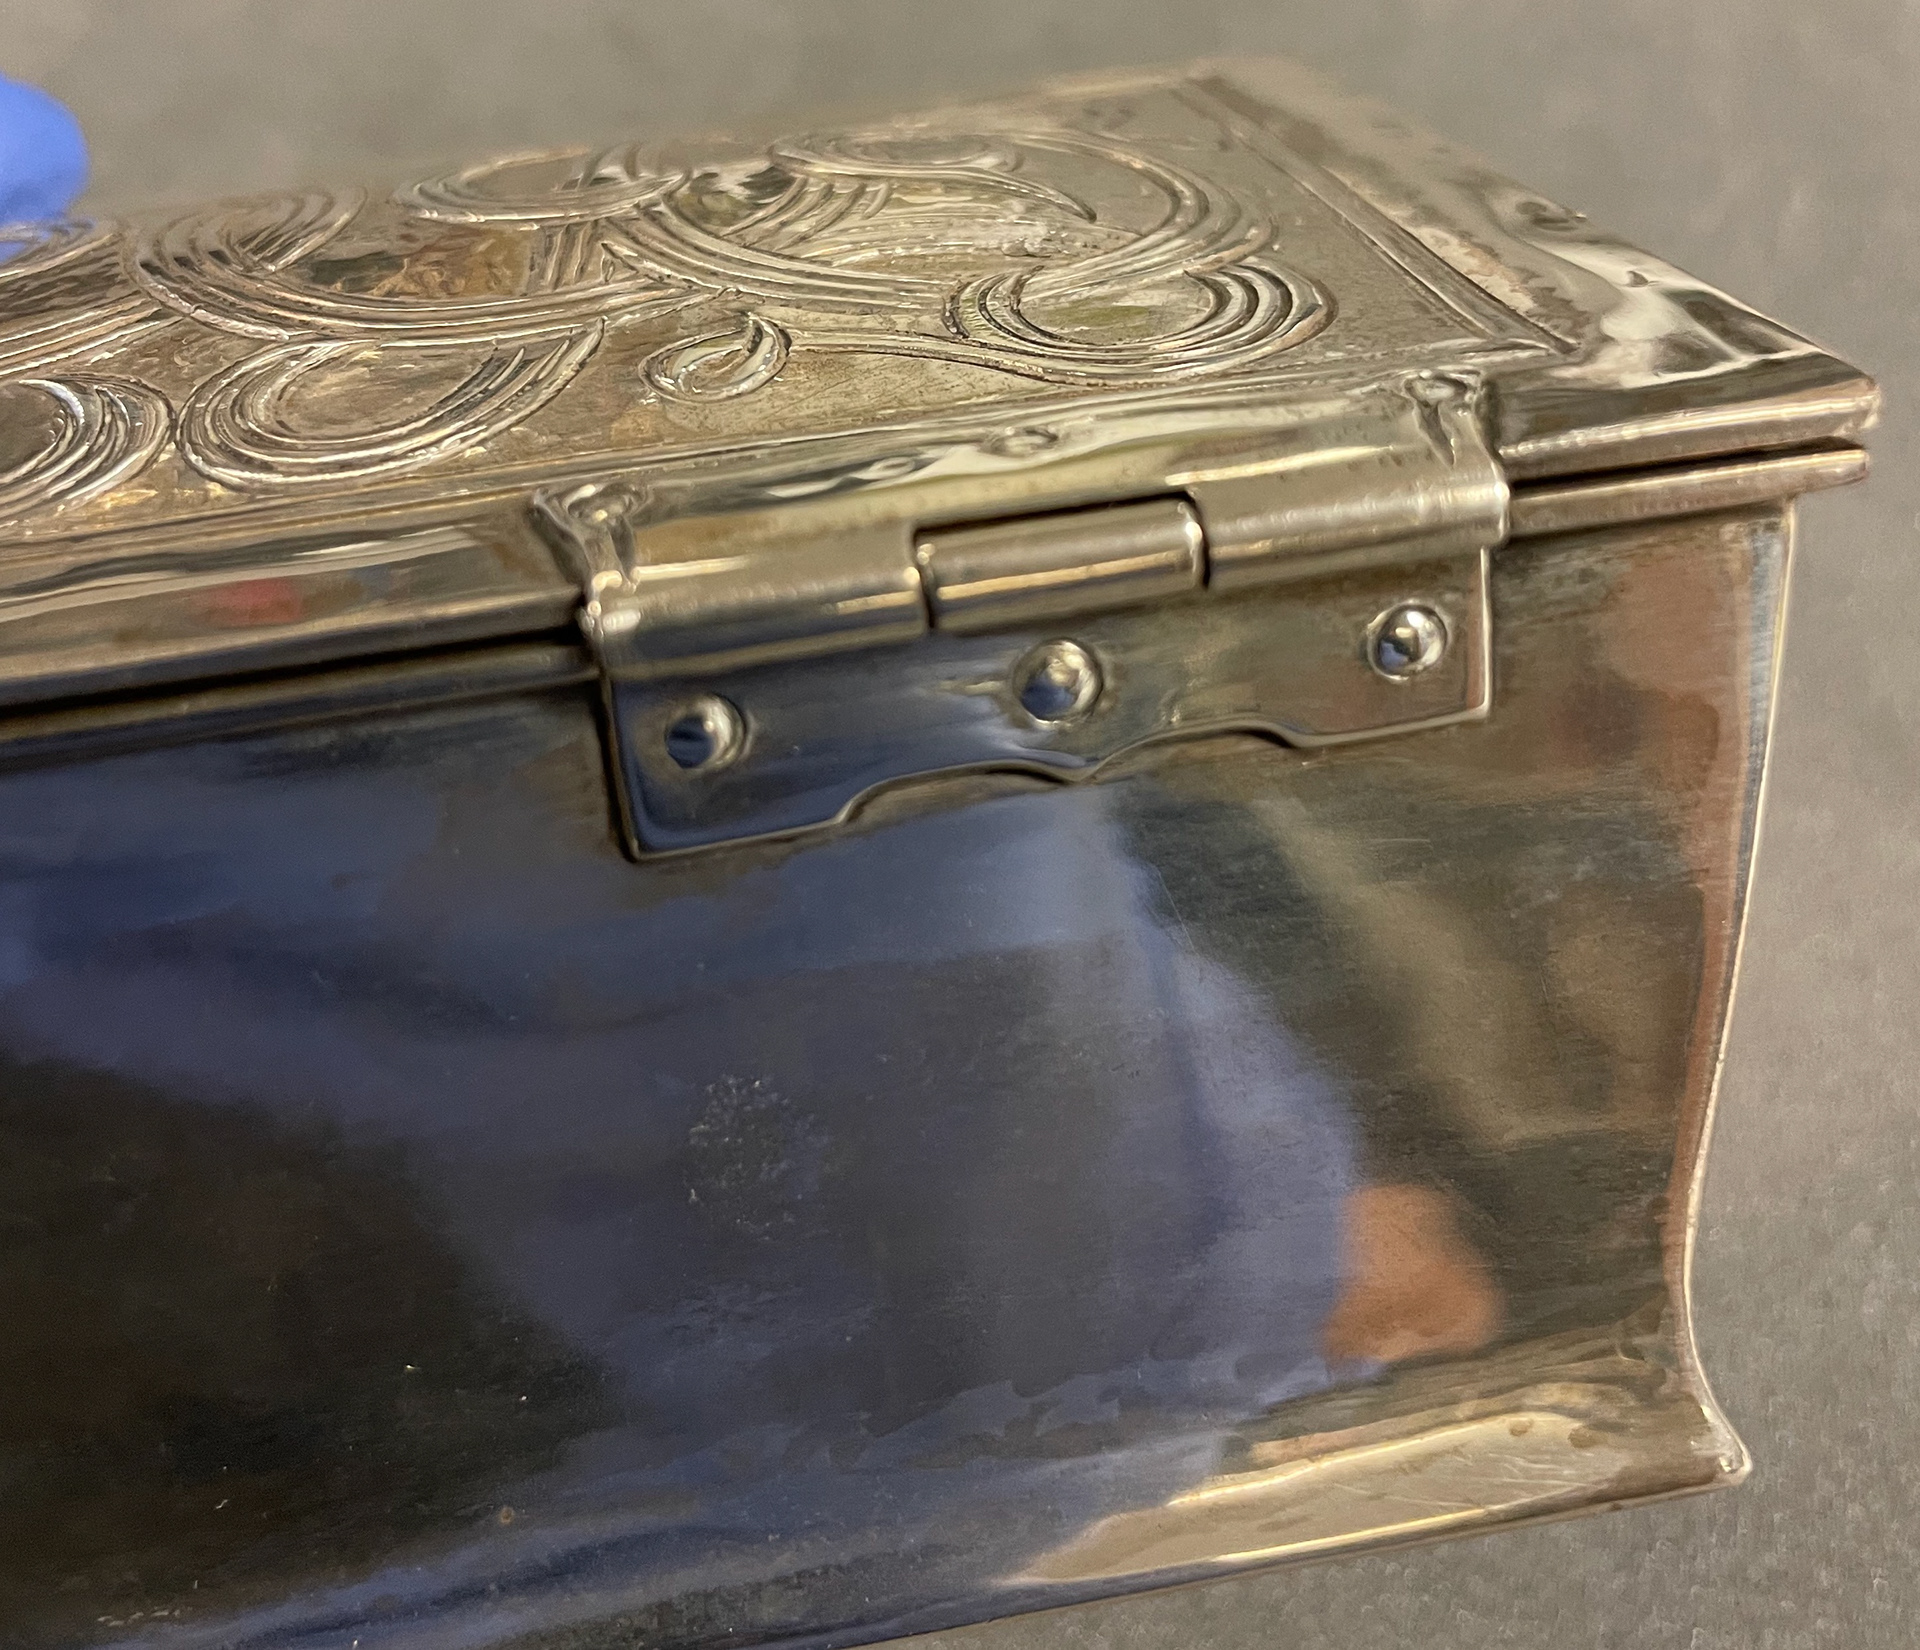
Small casket
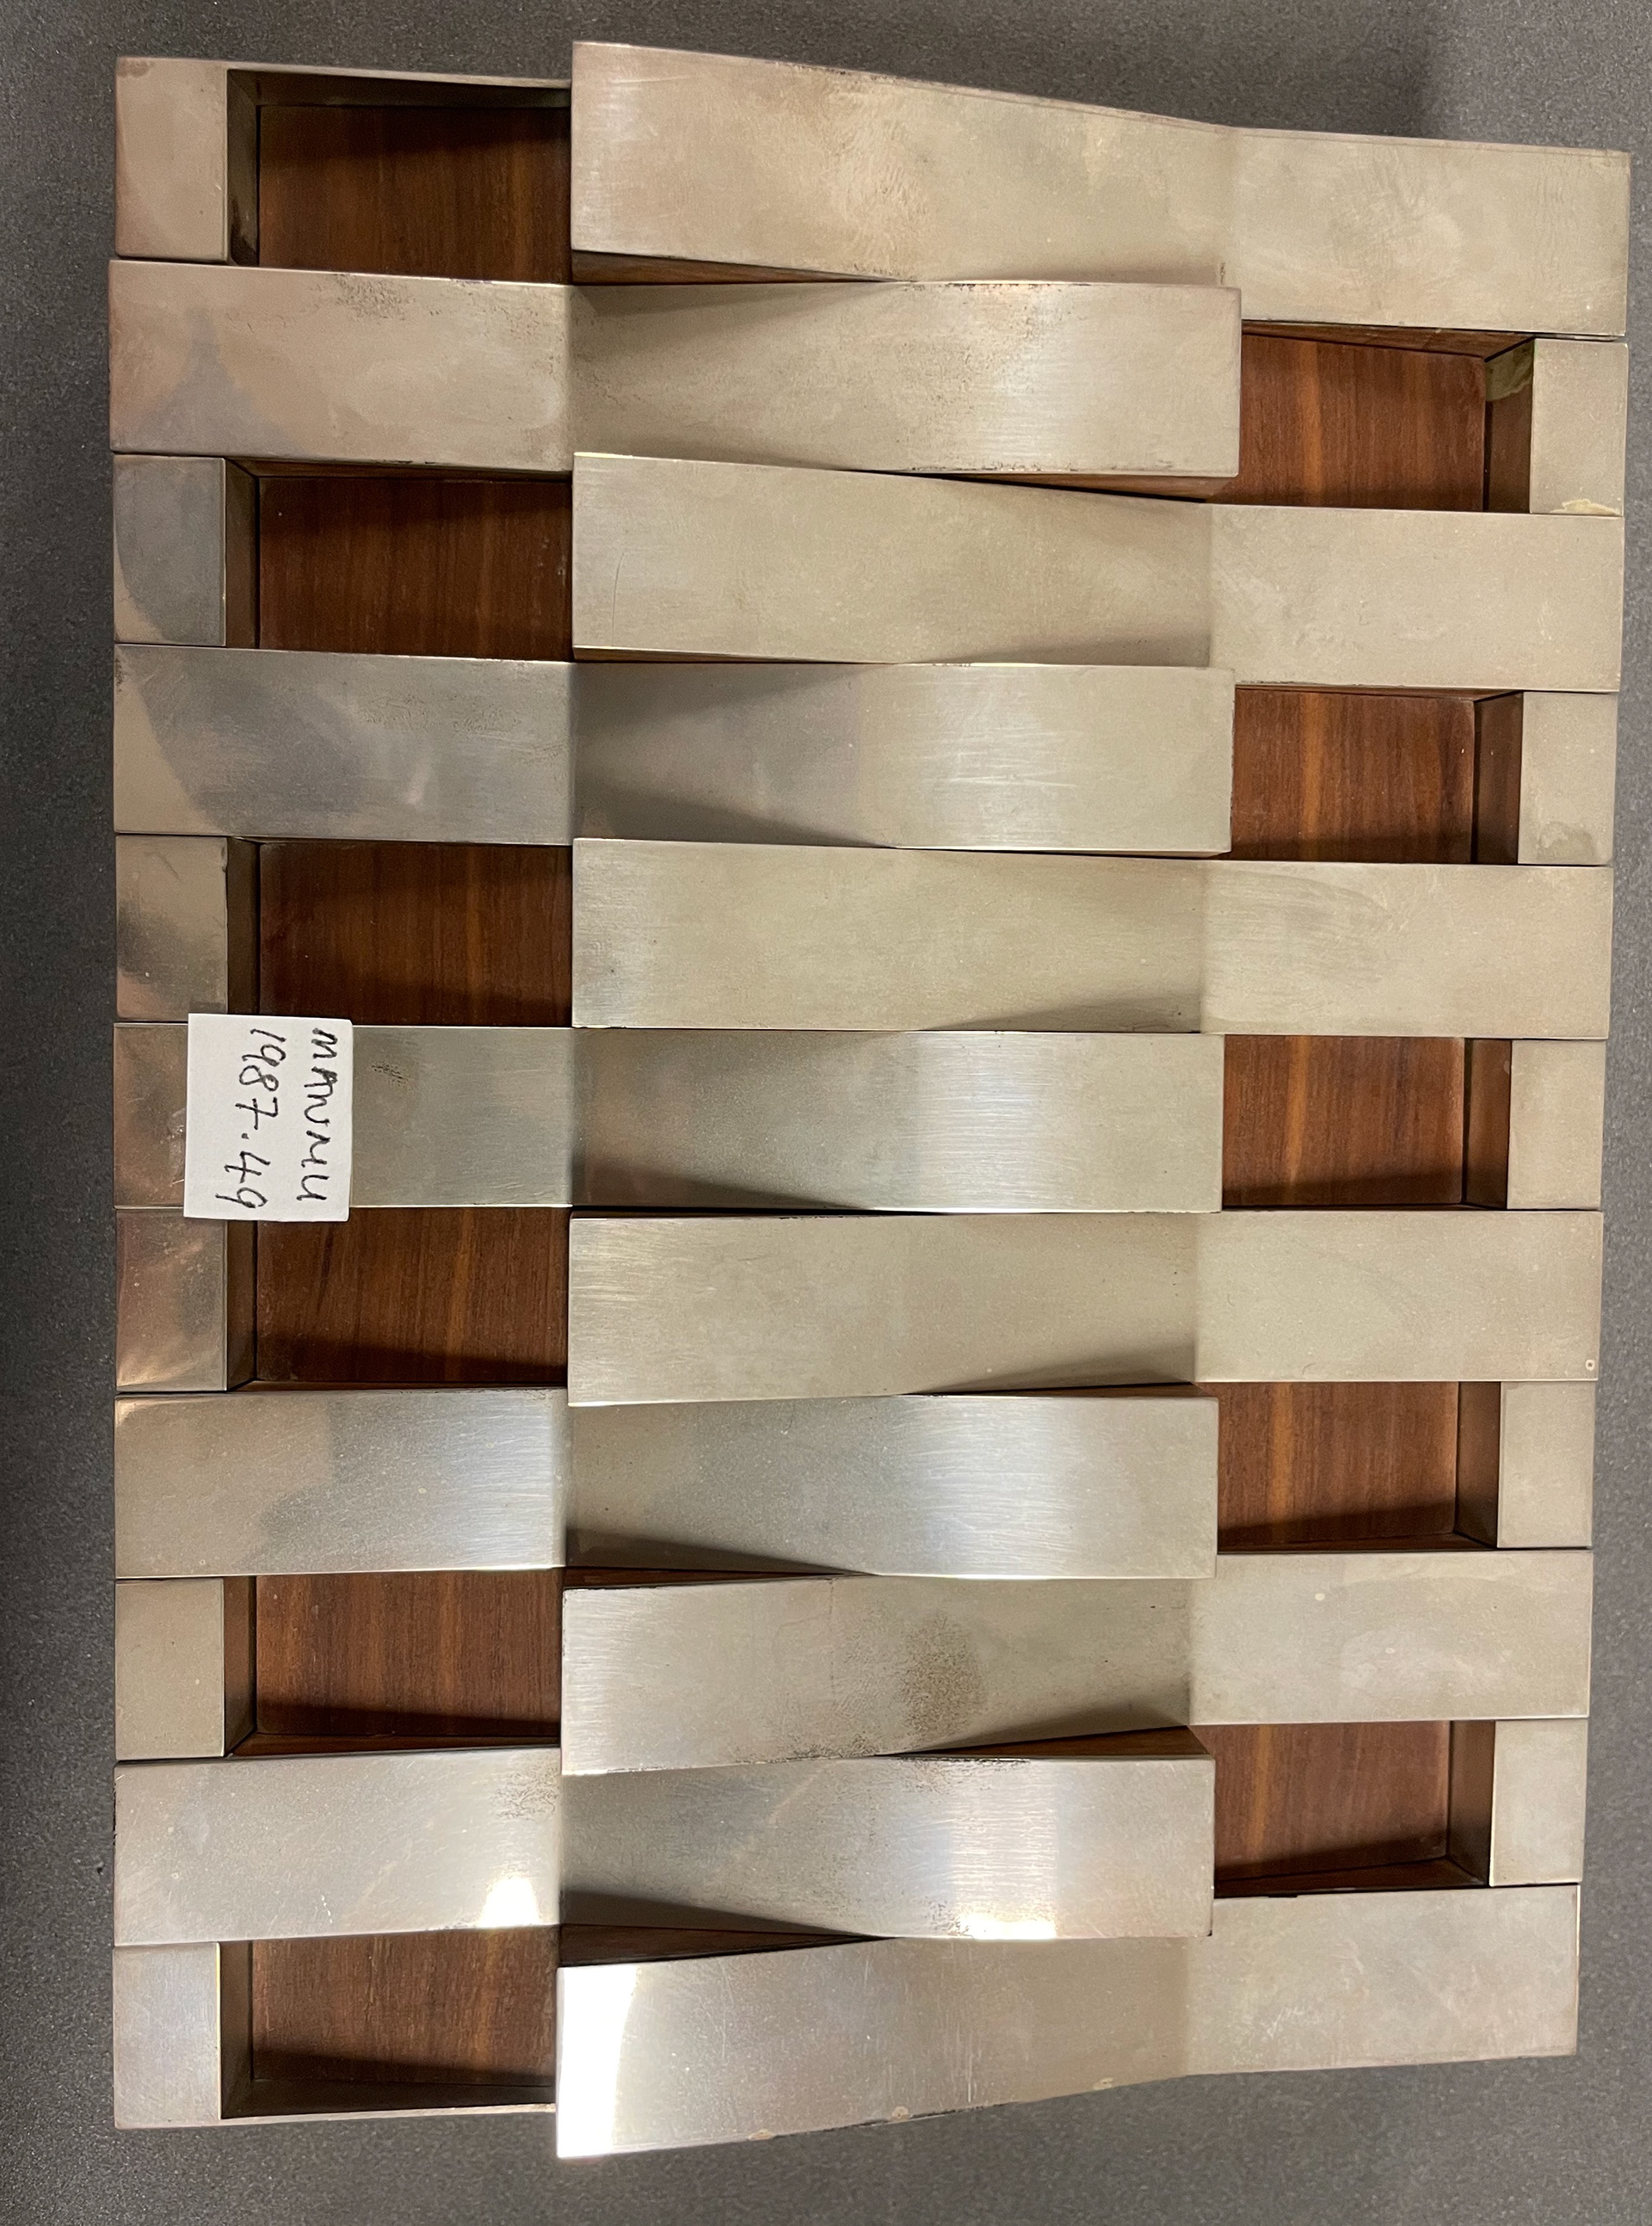
Cigar box
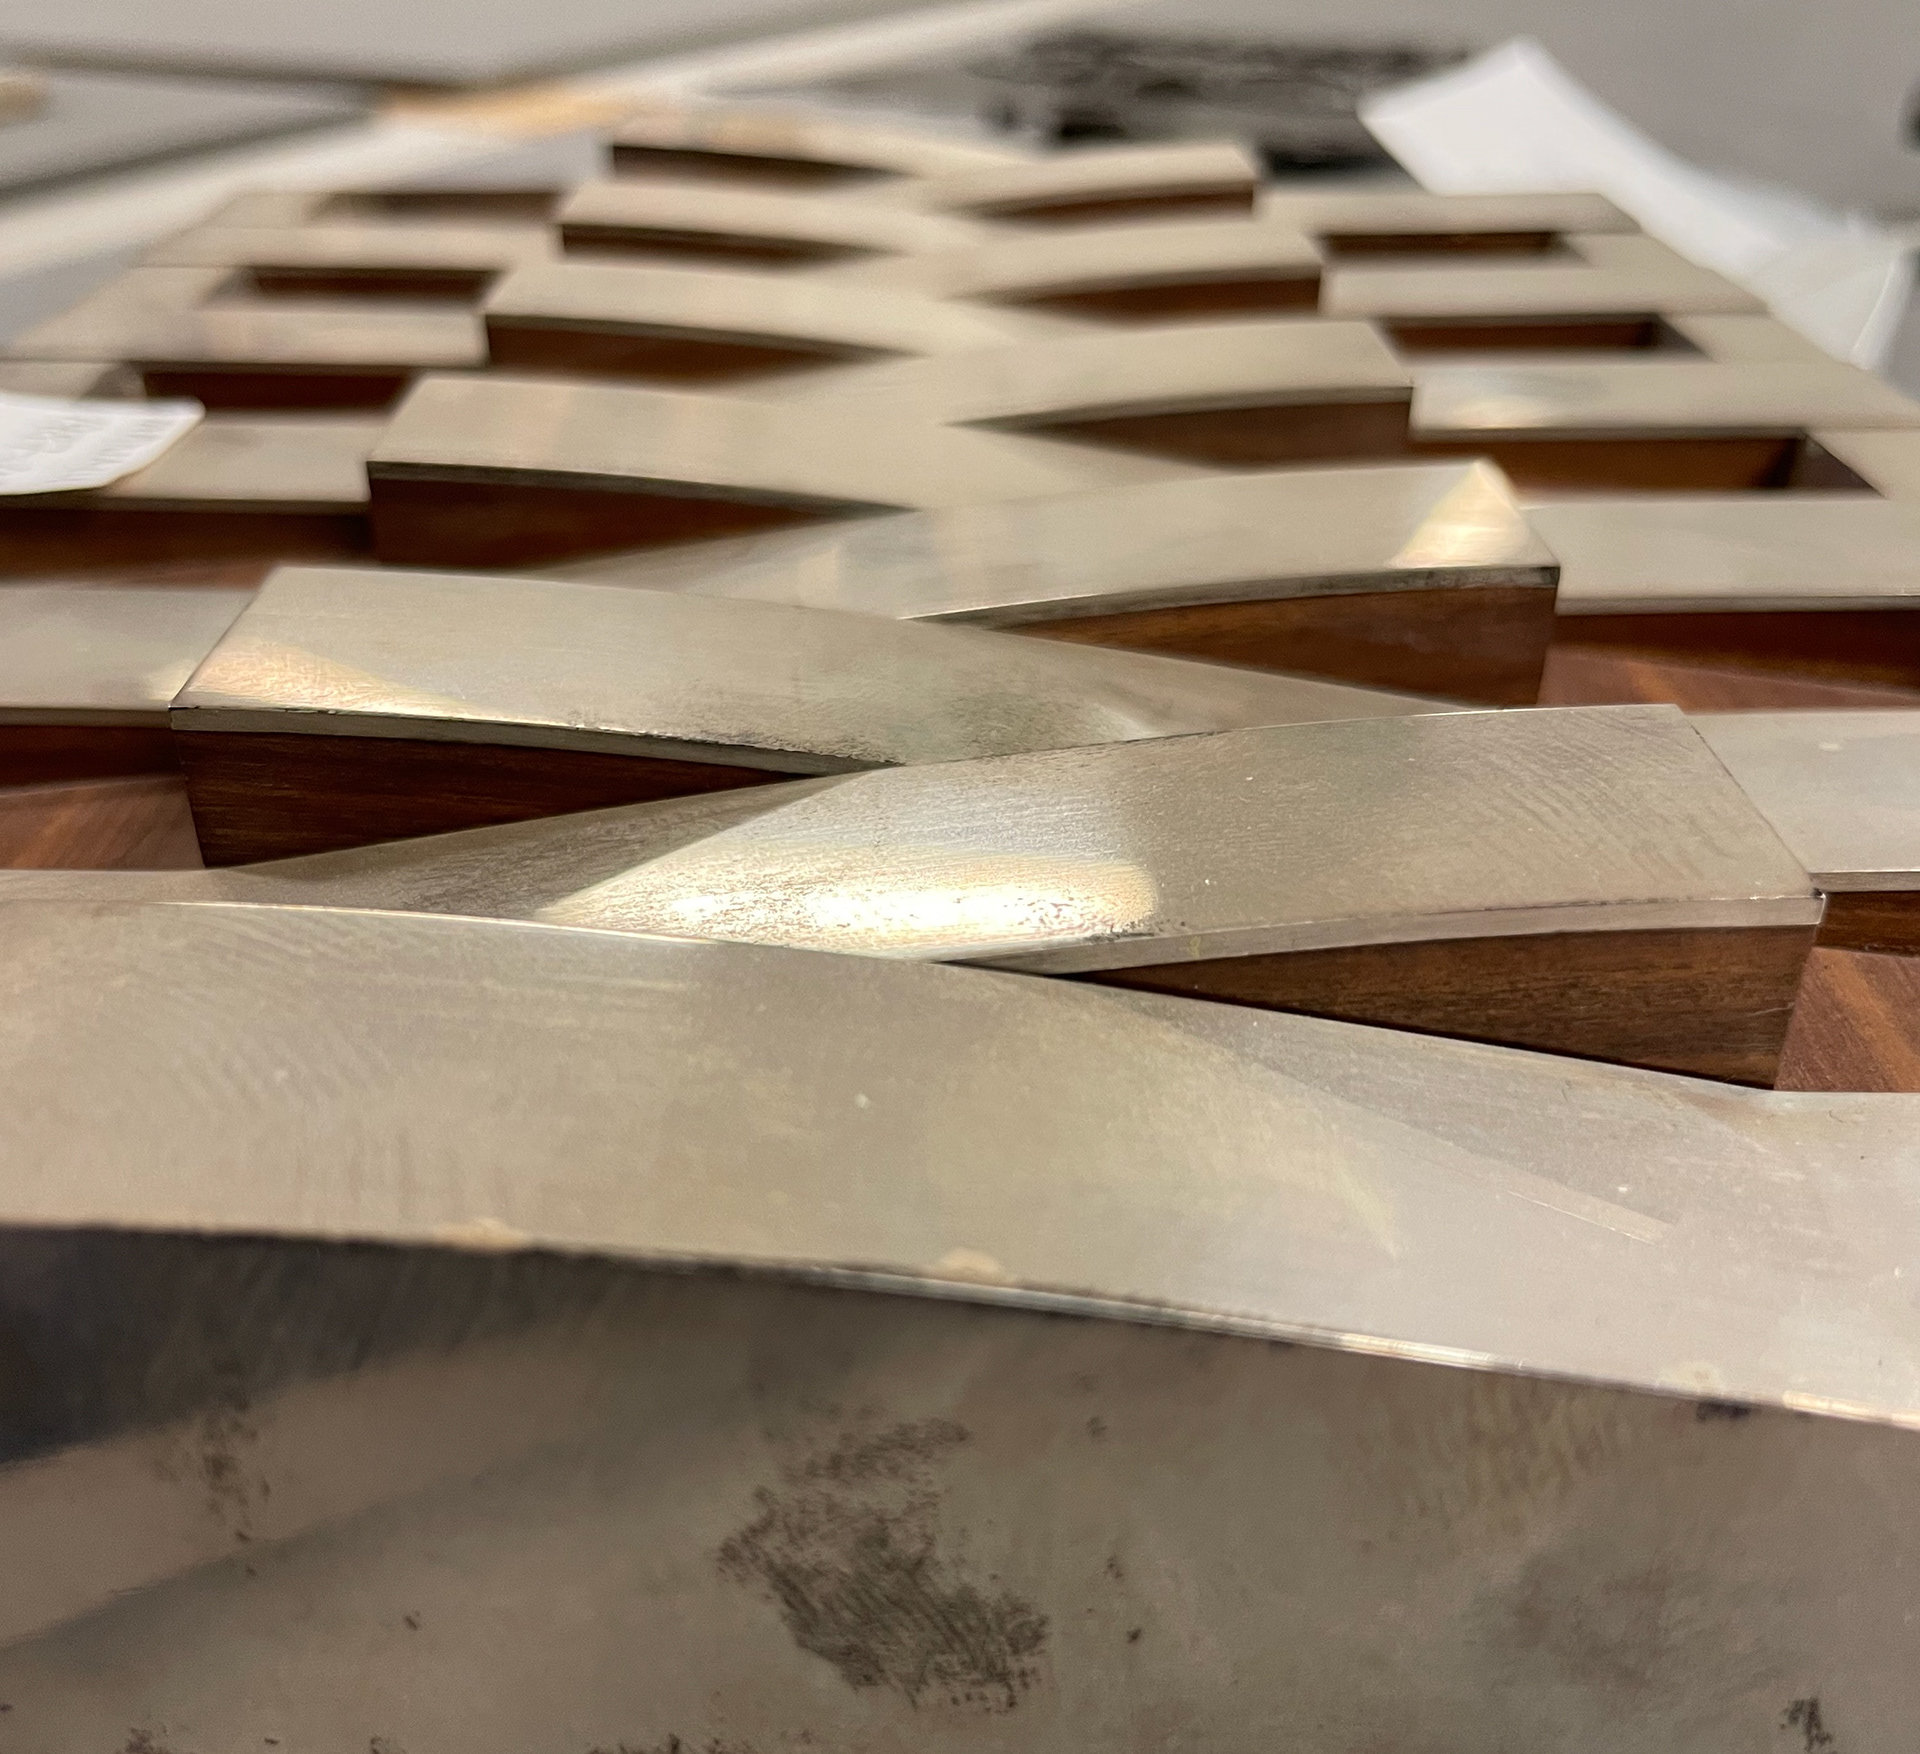
Cigar box
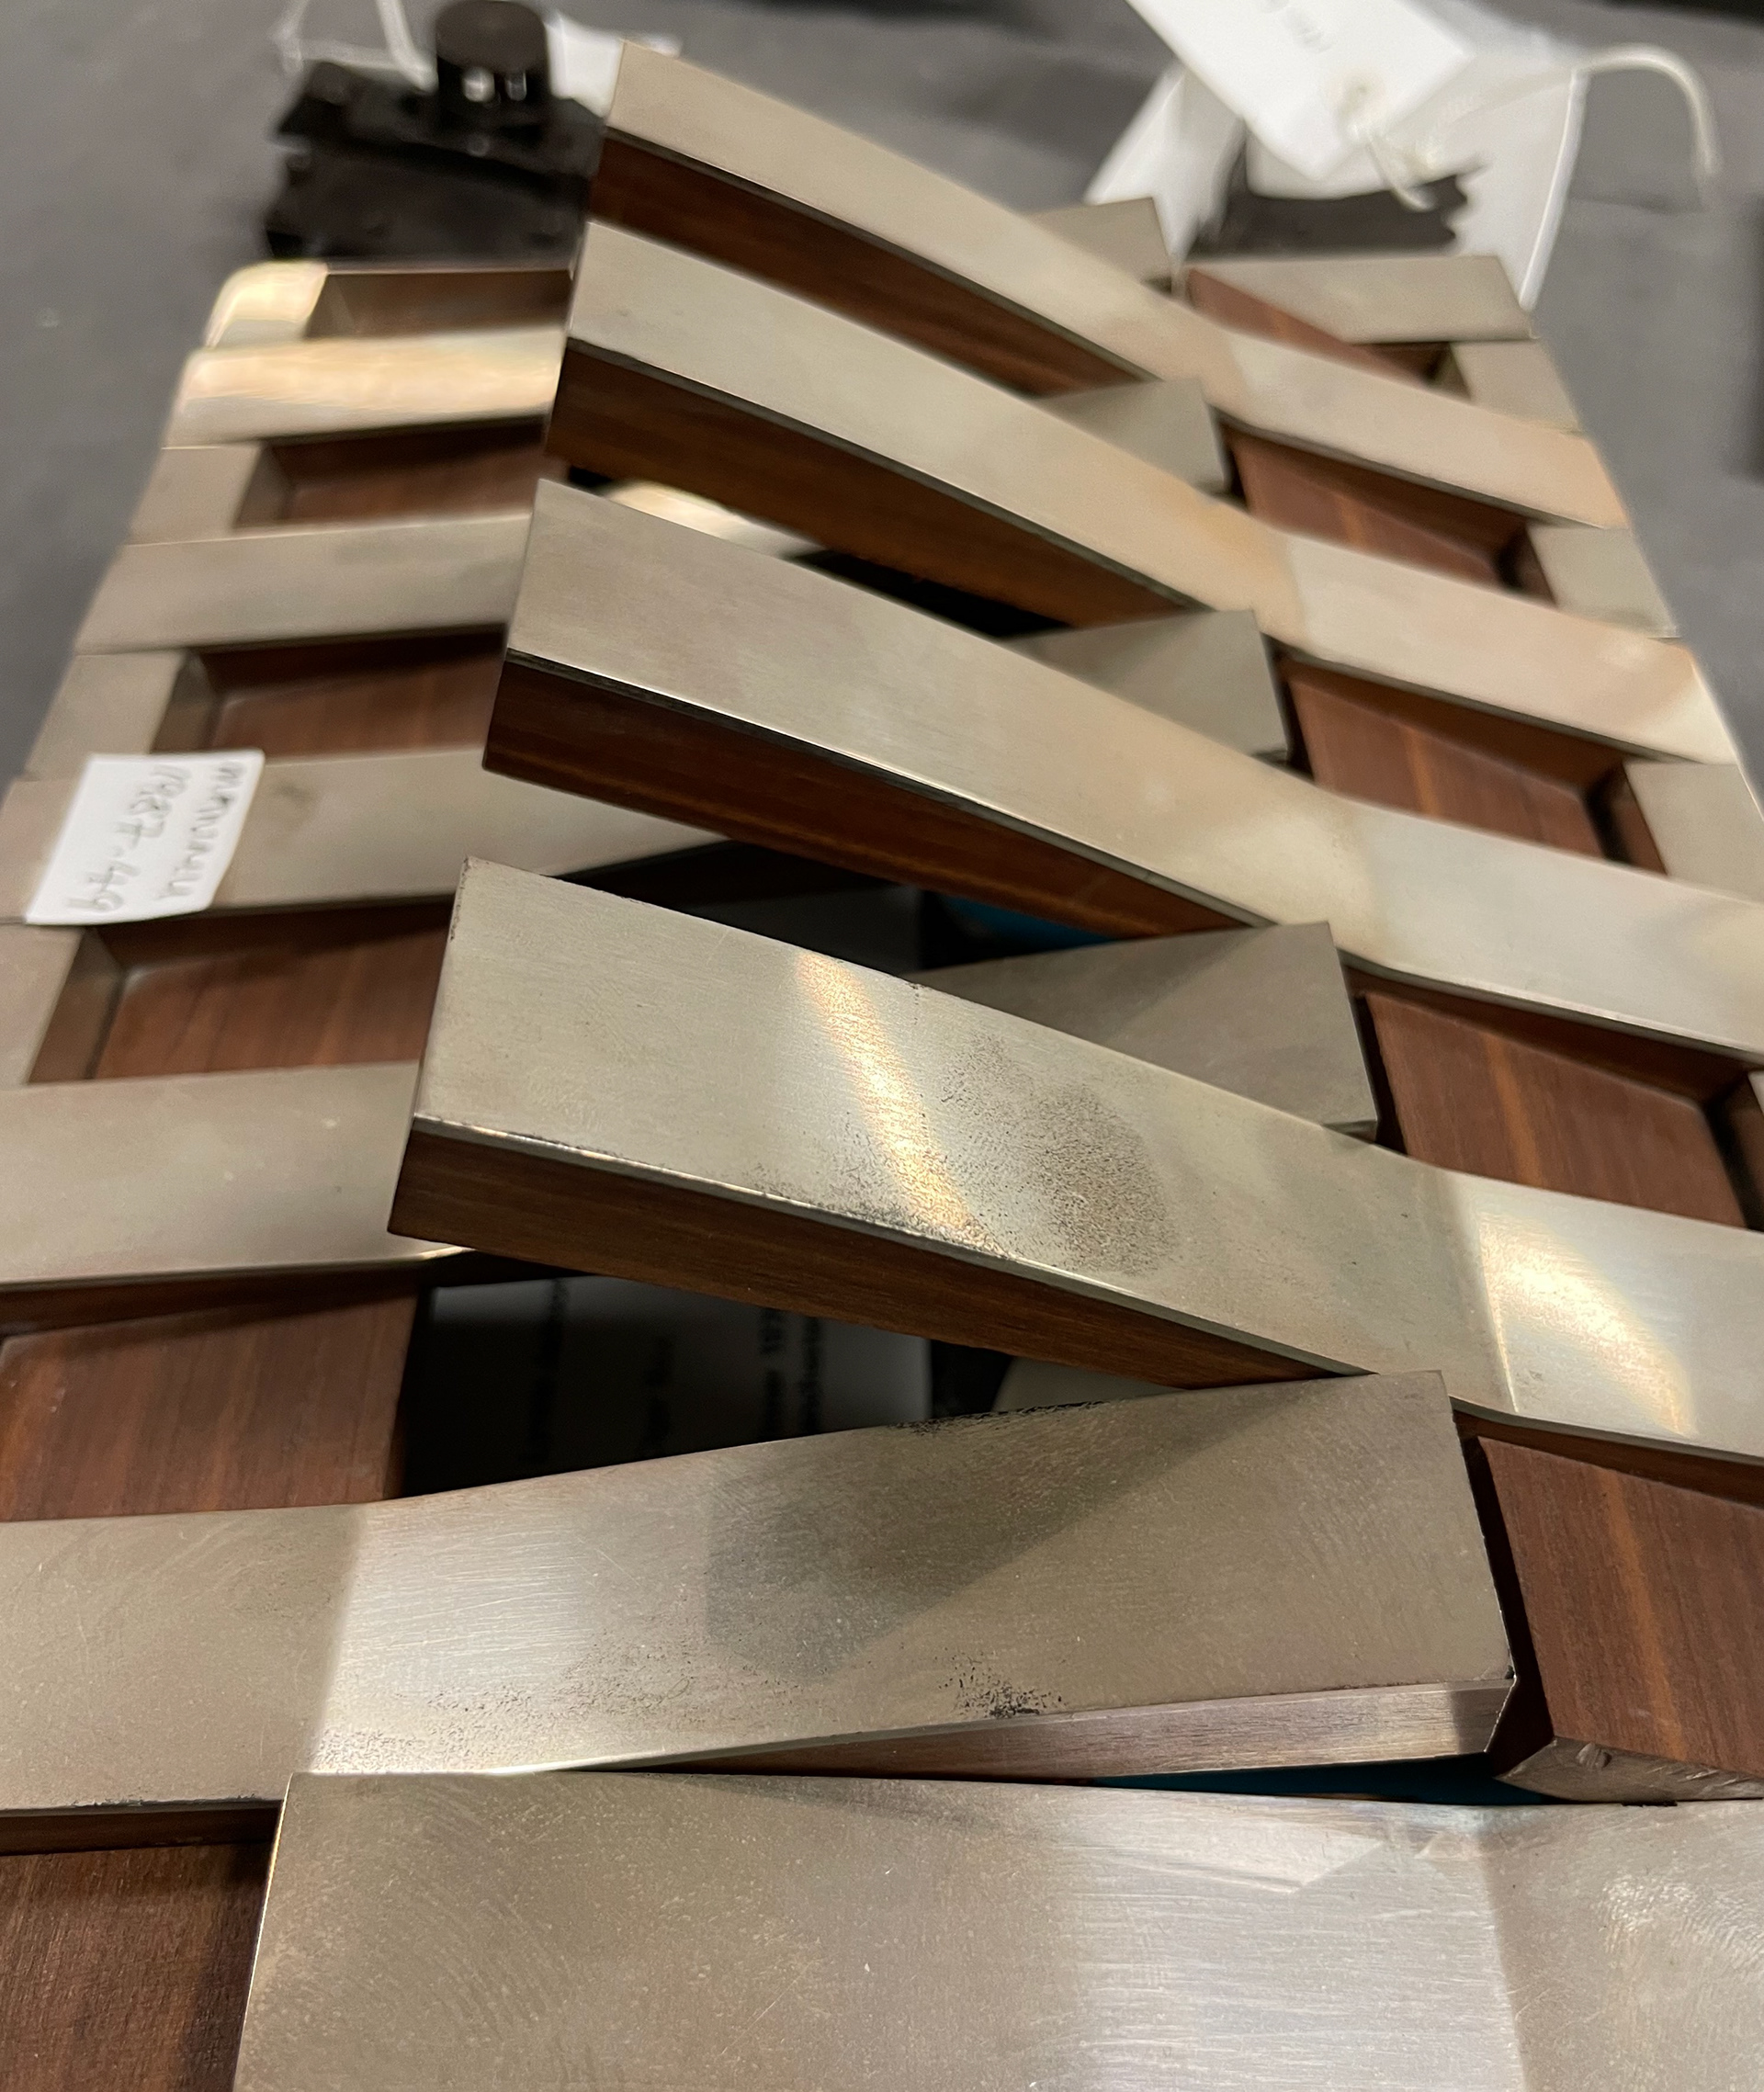
Cigar box
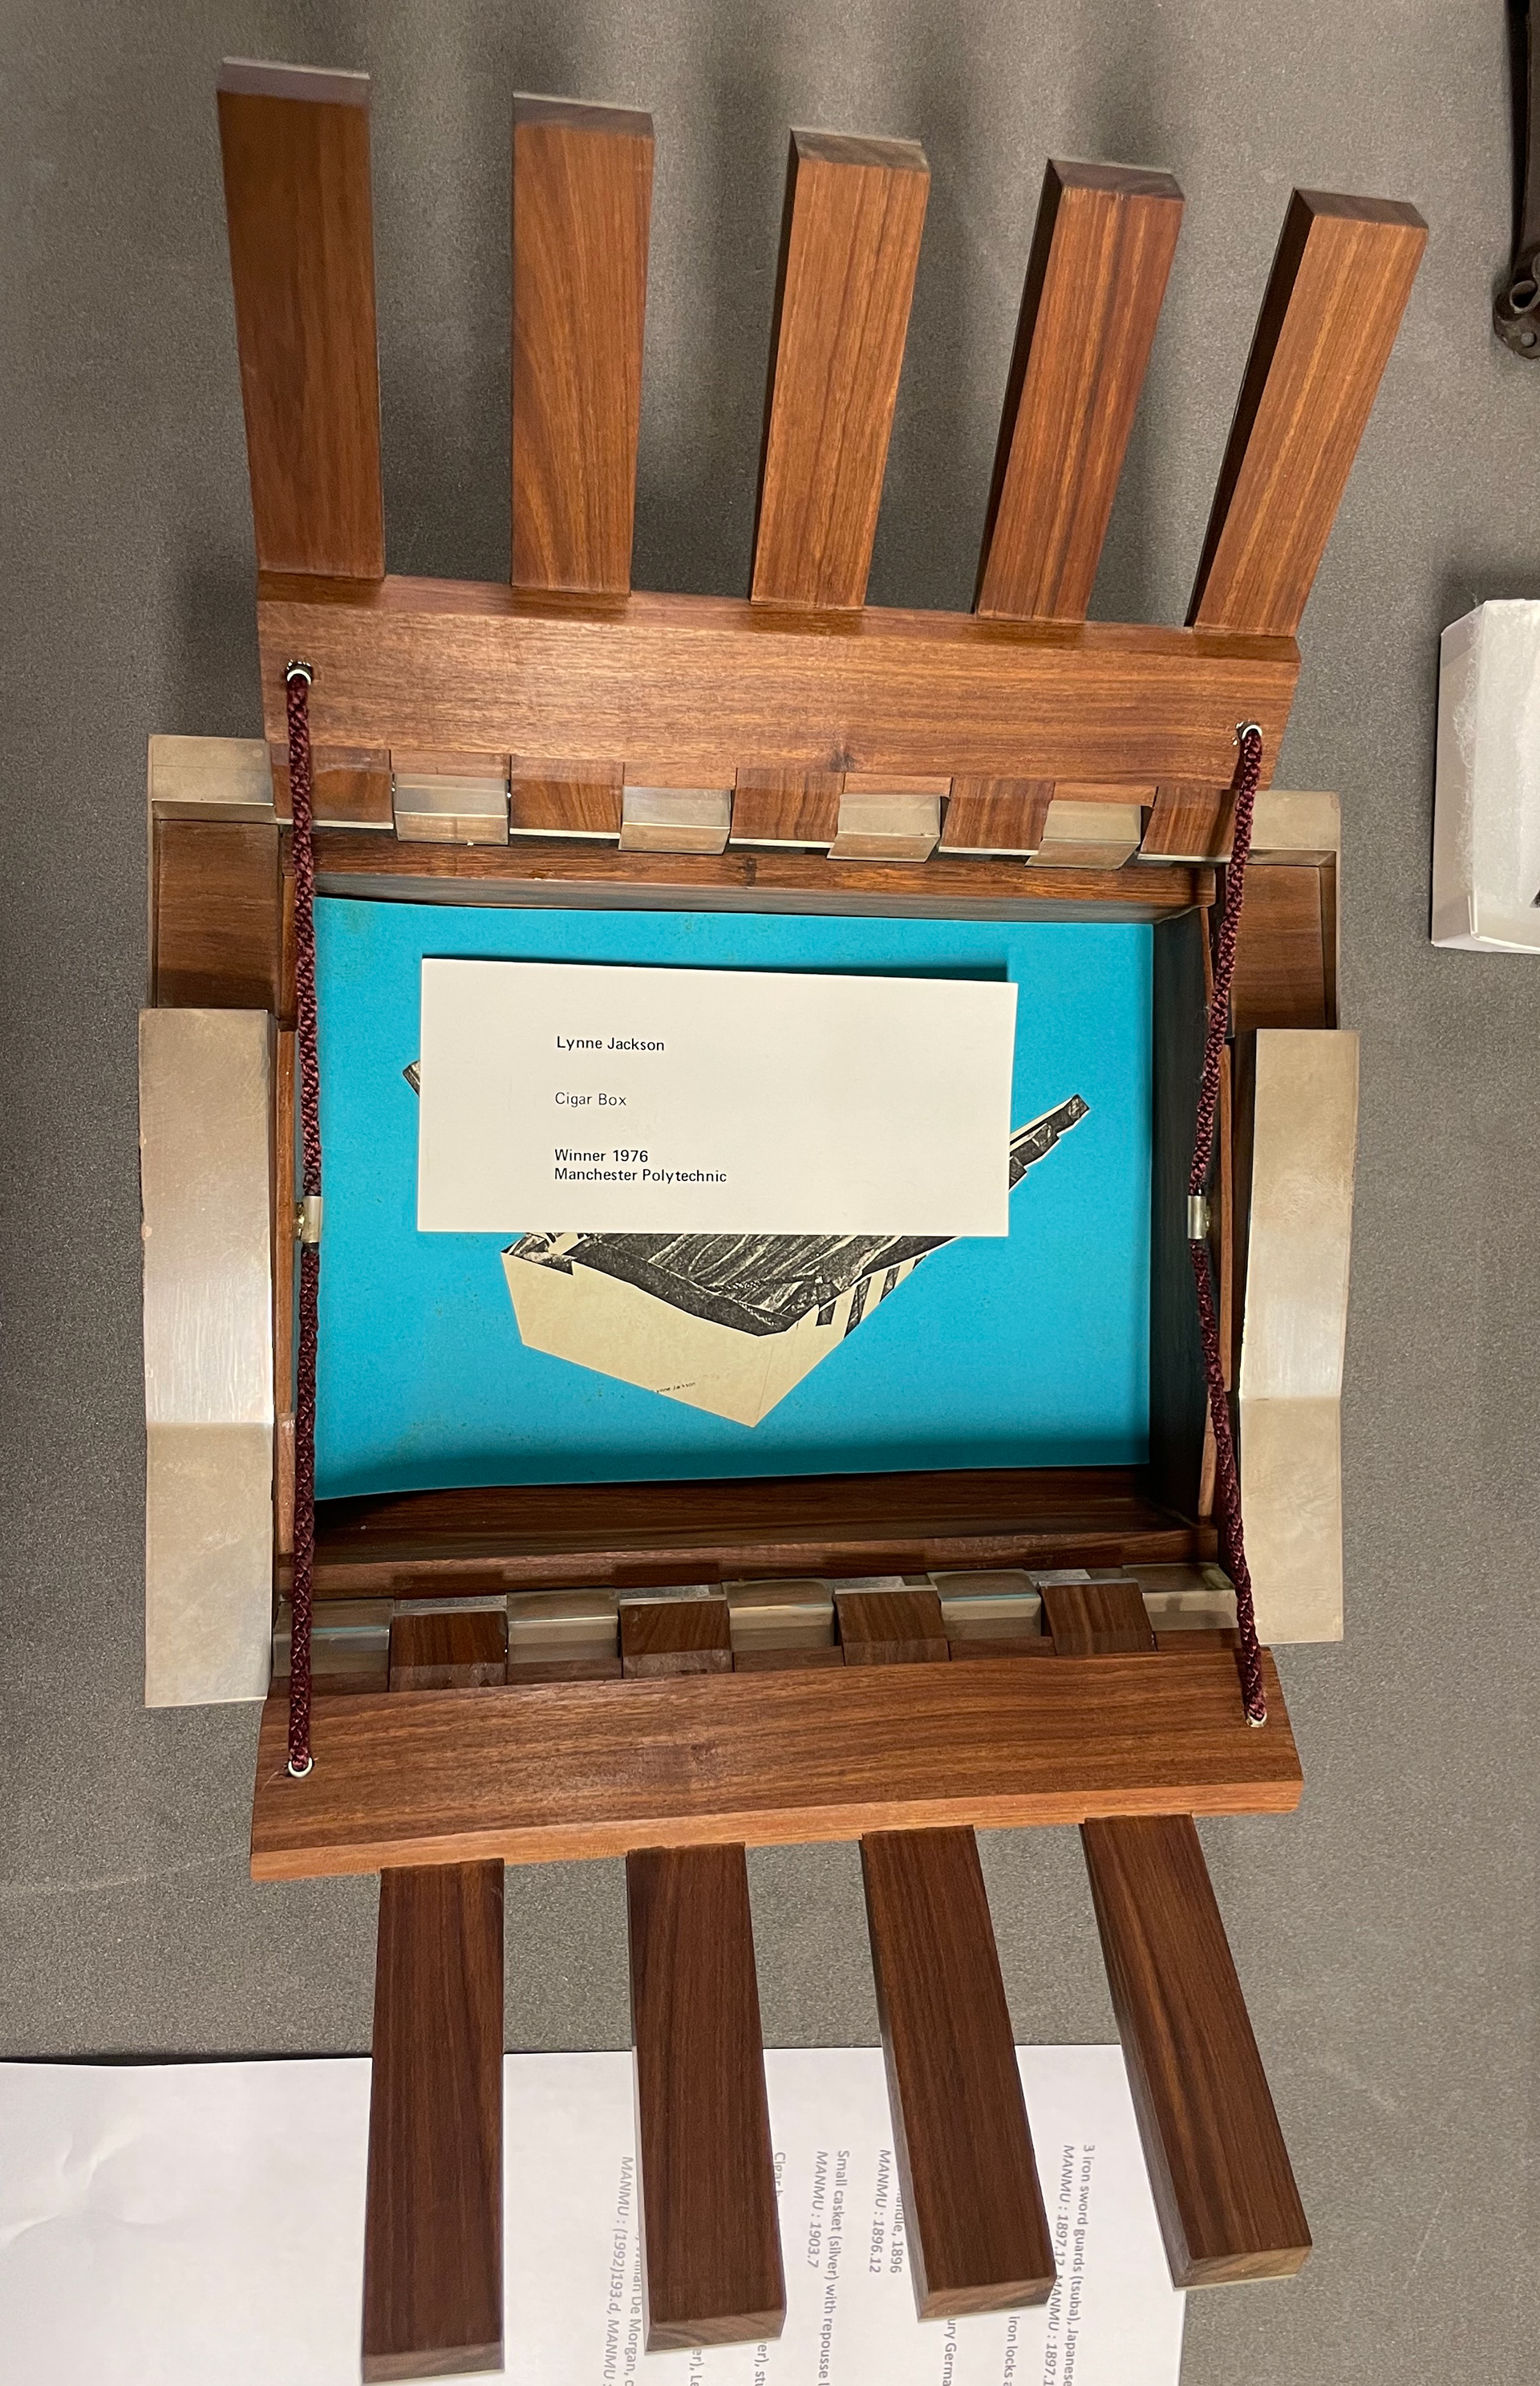
Cigar box
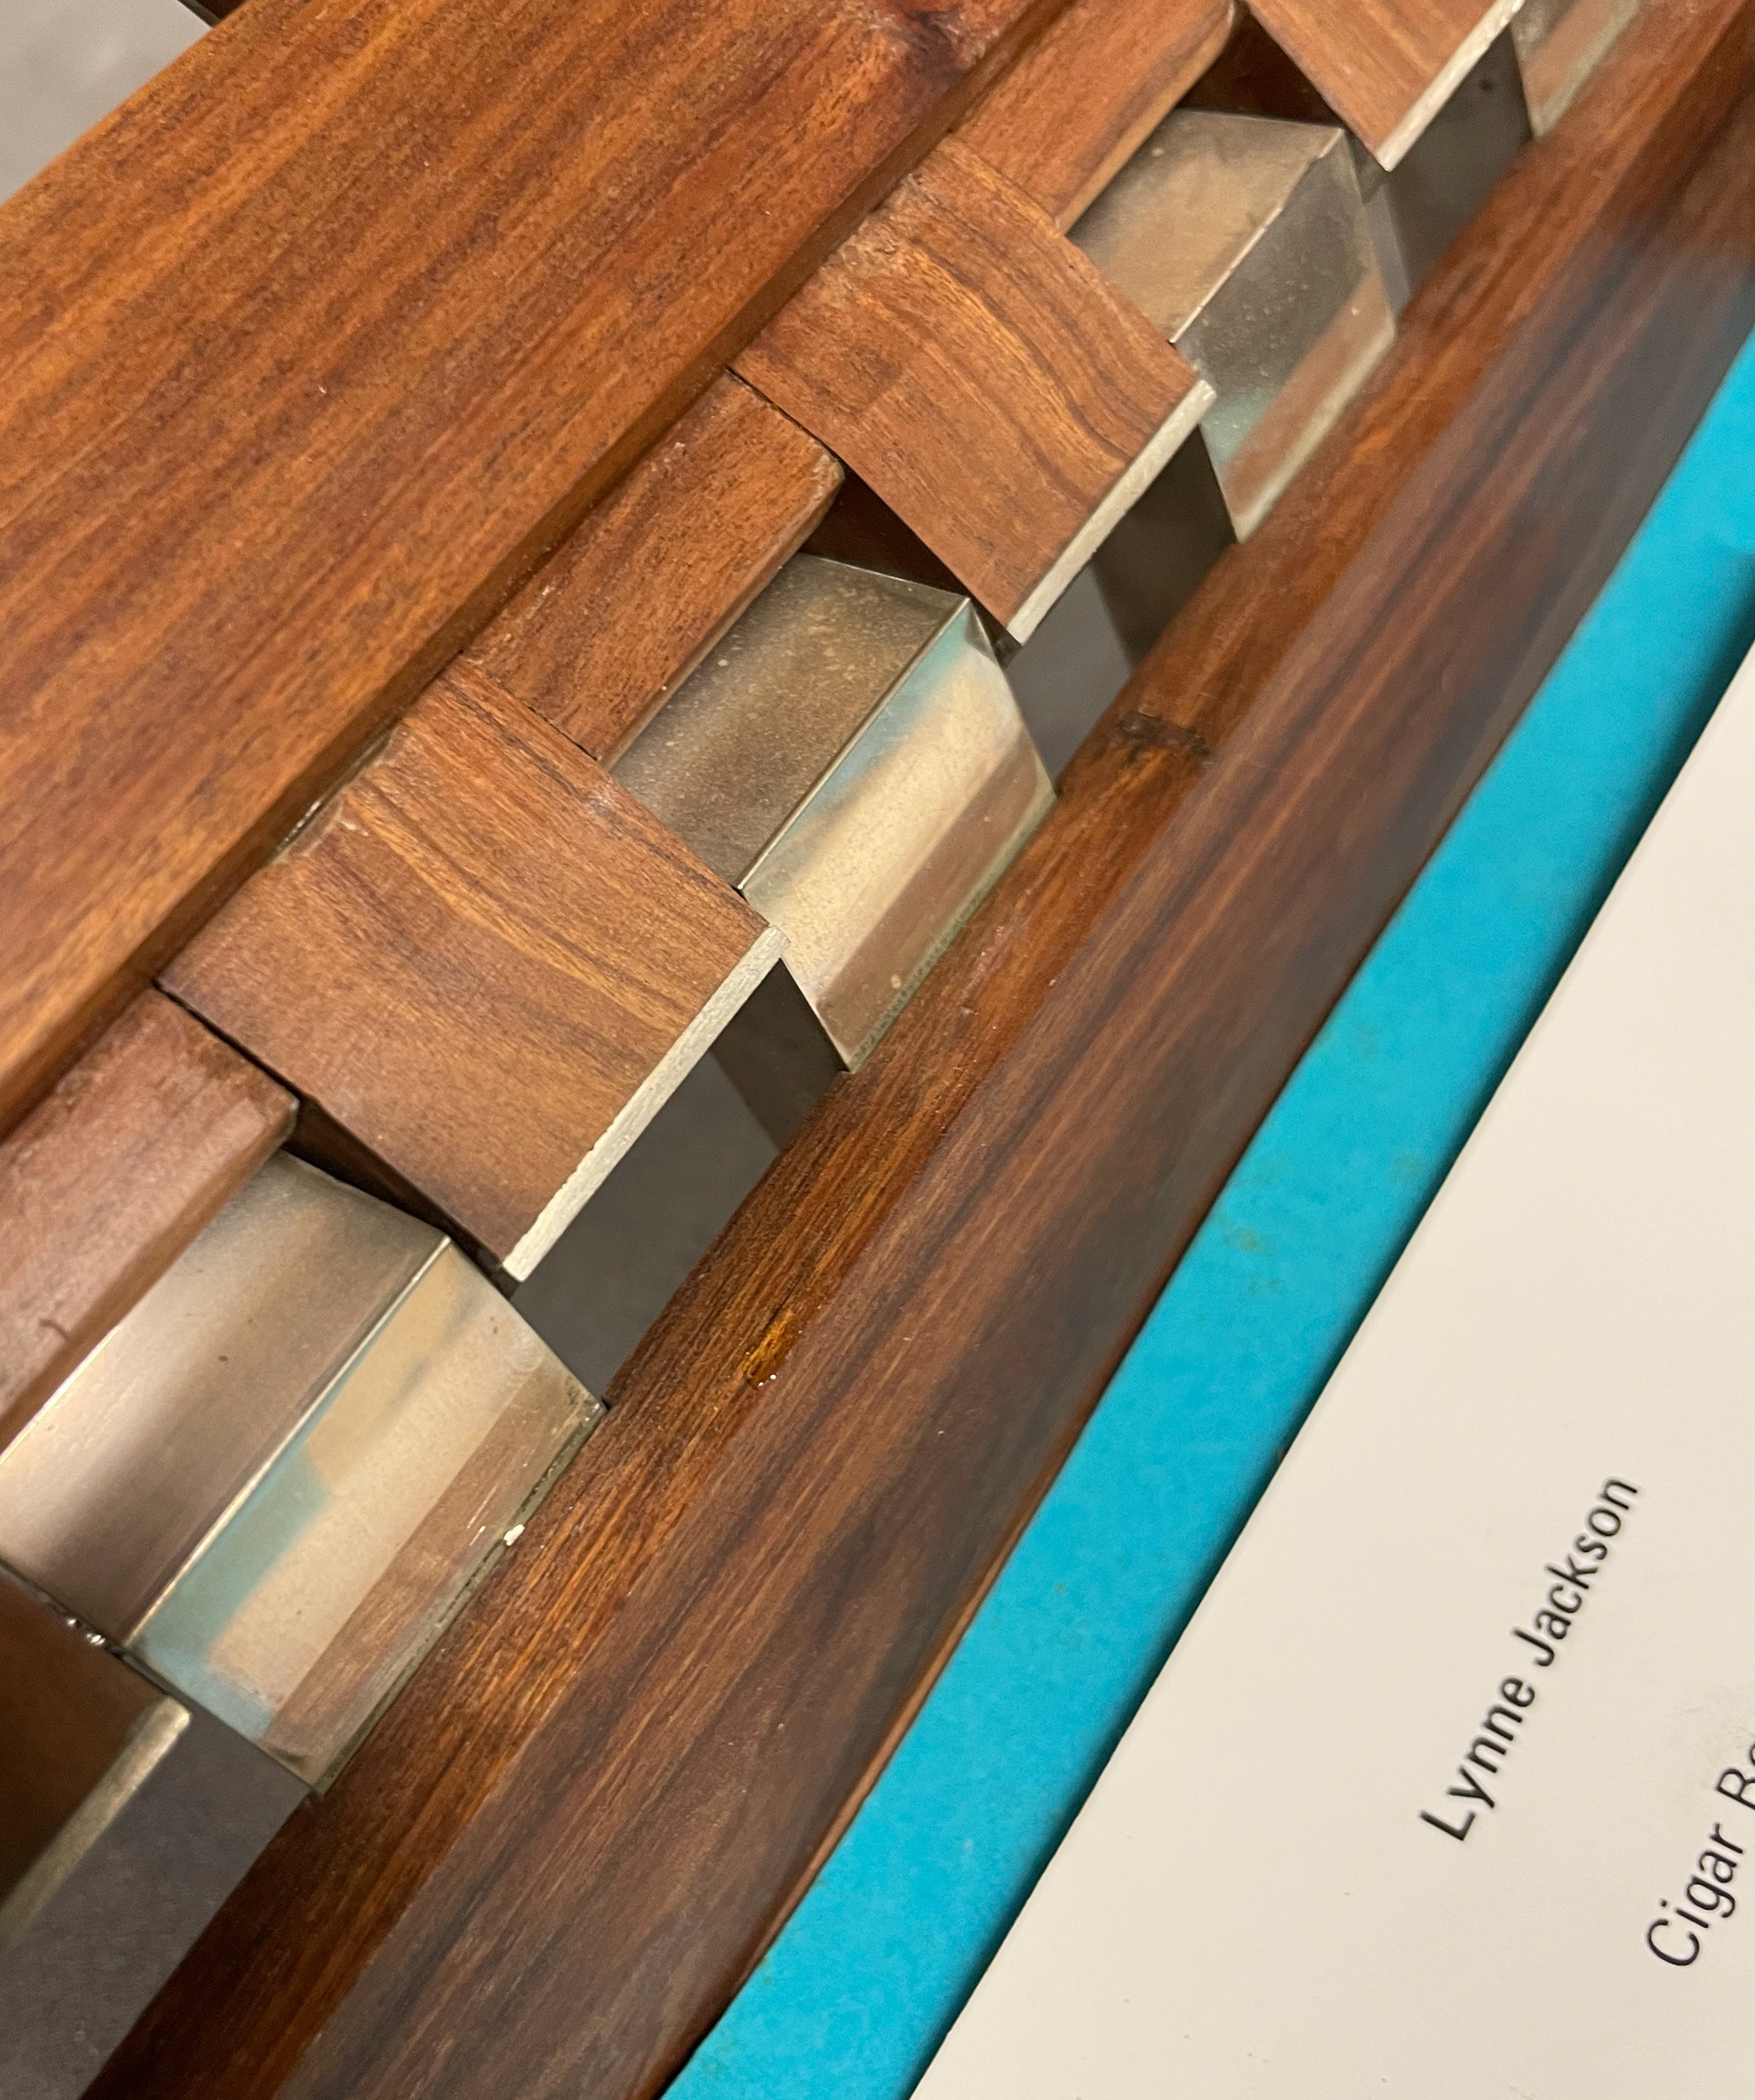
Cigar box
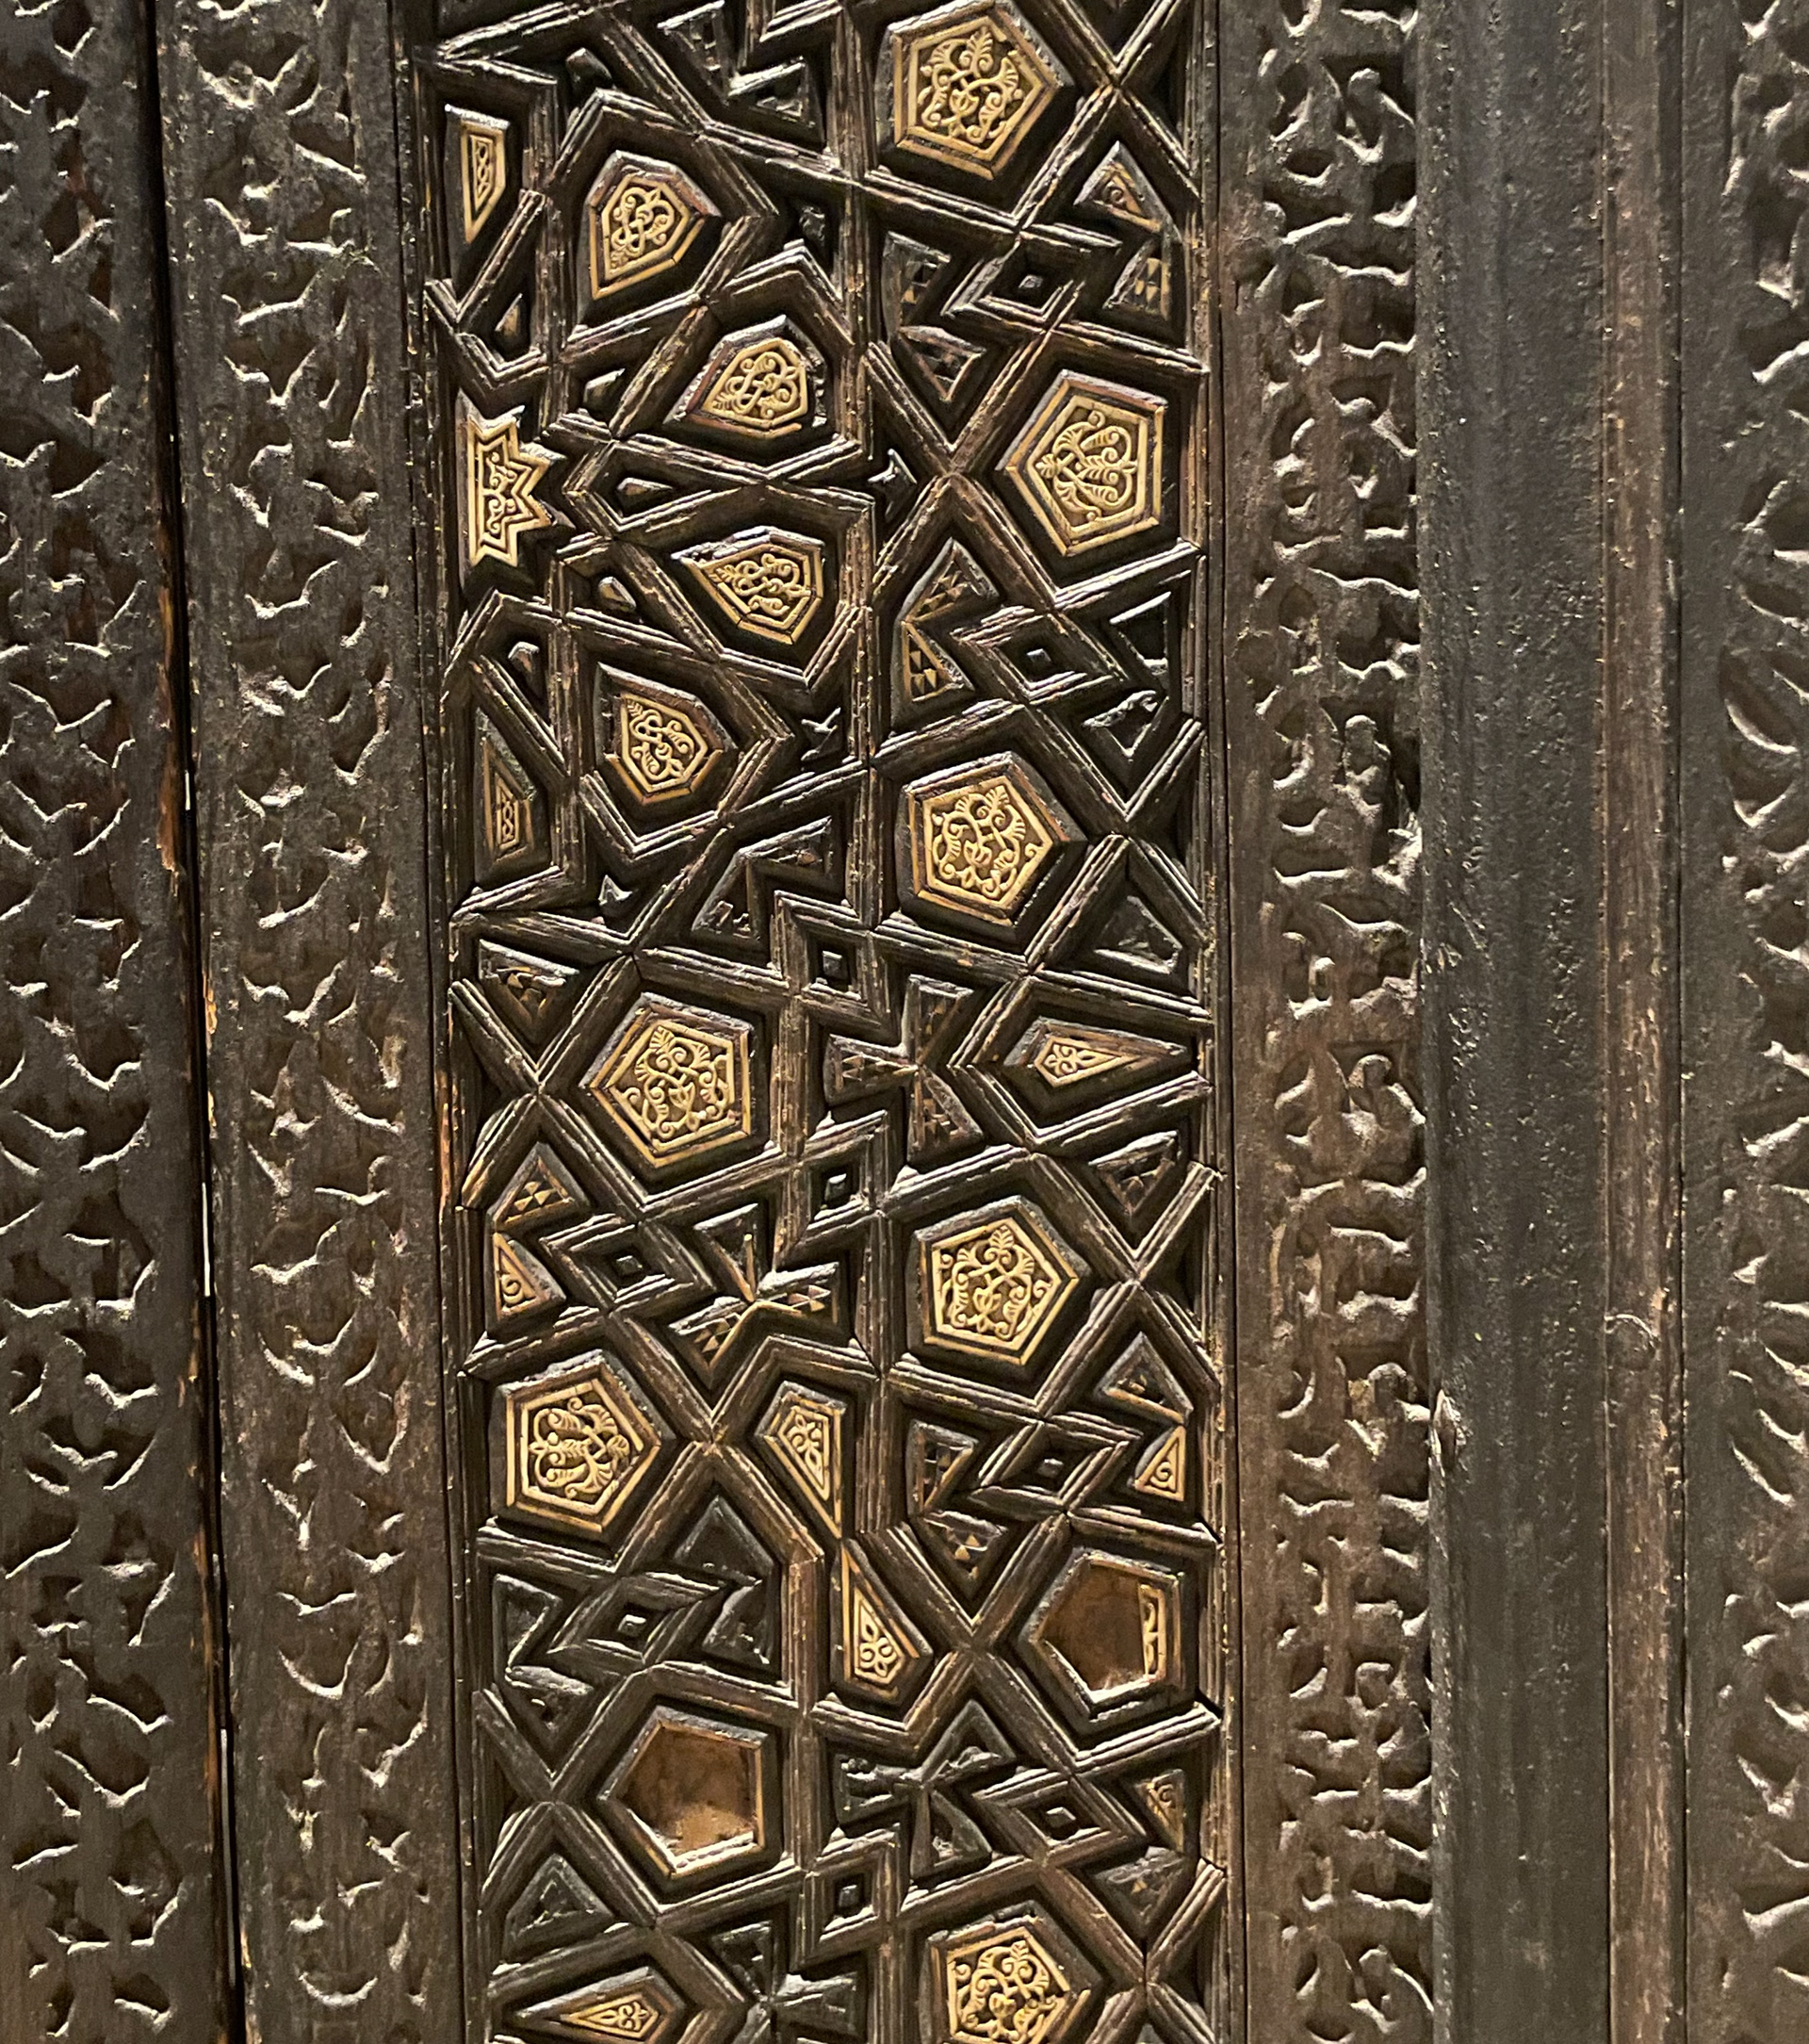
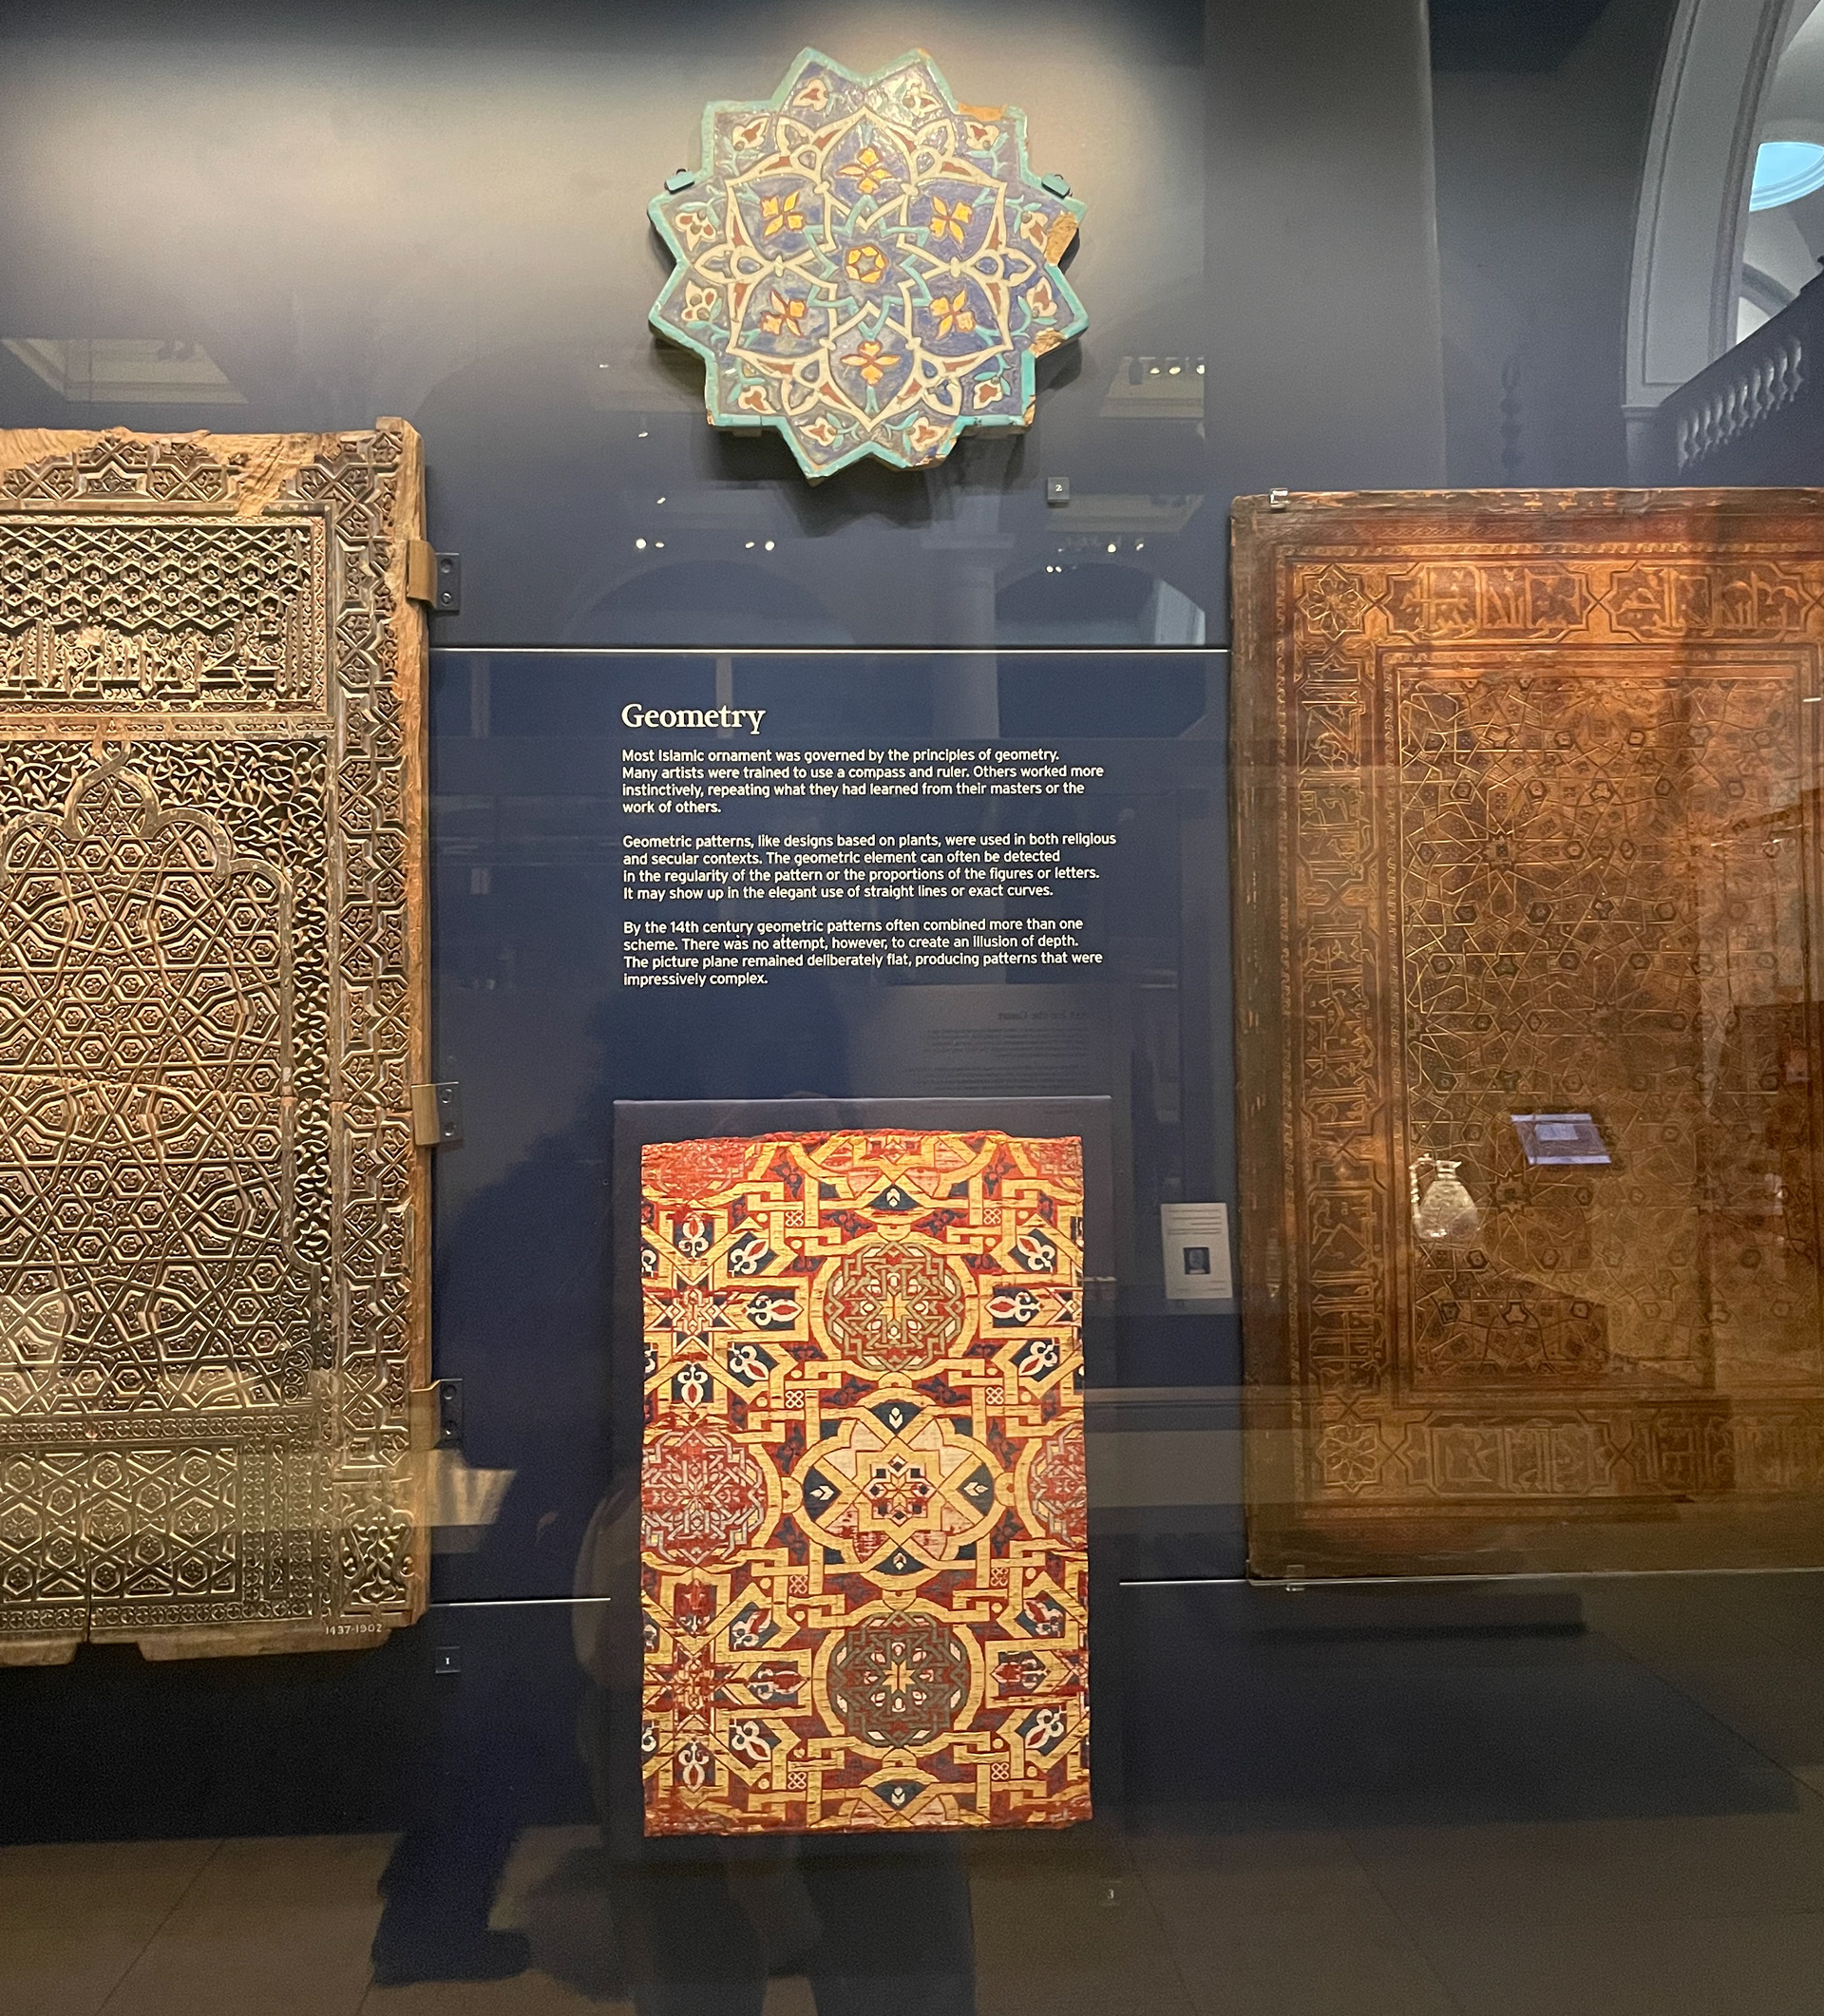
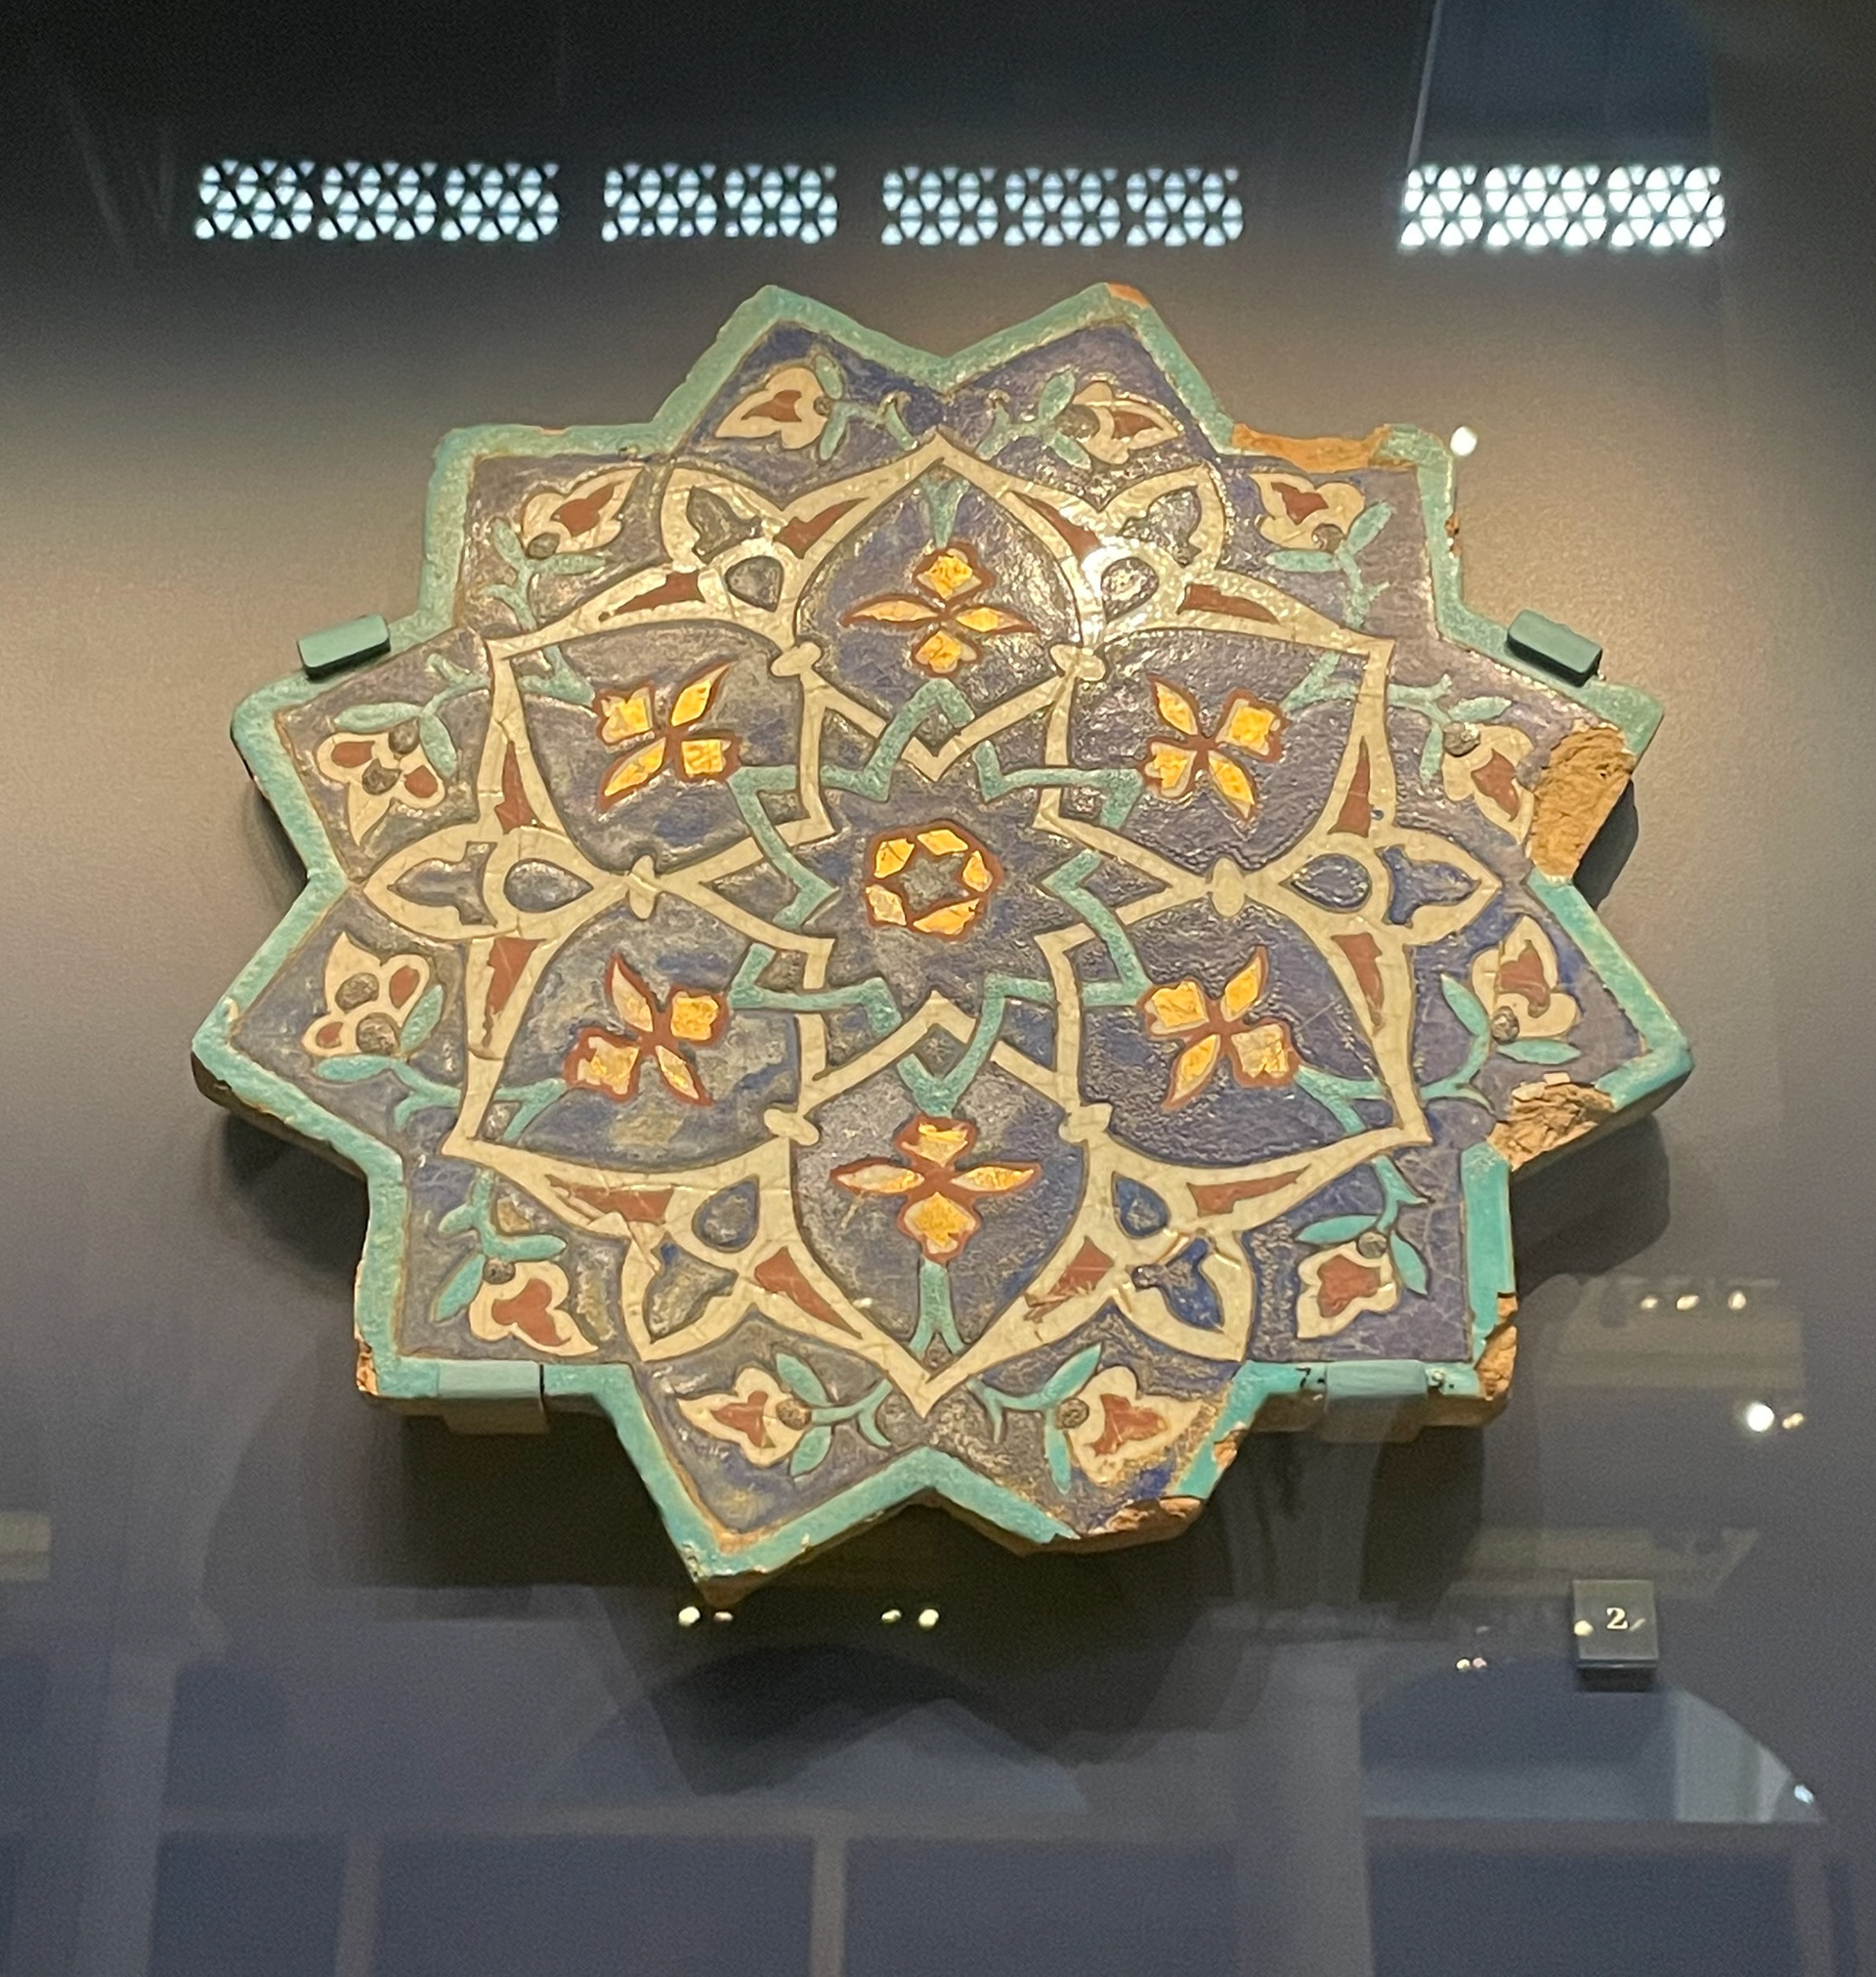
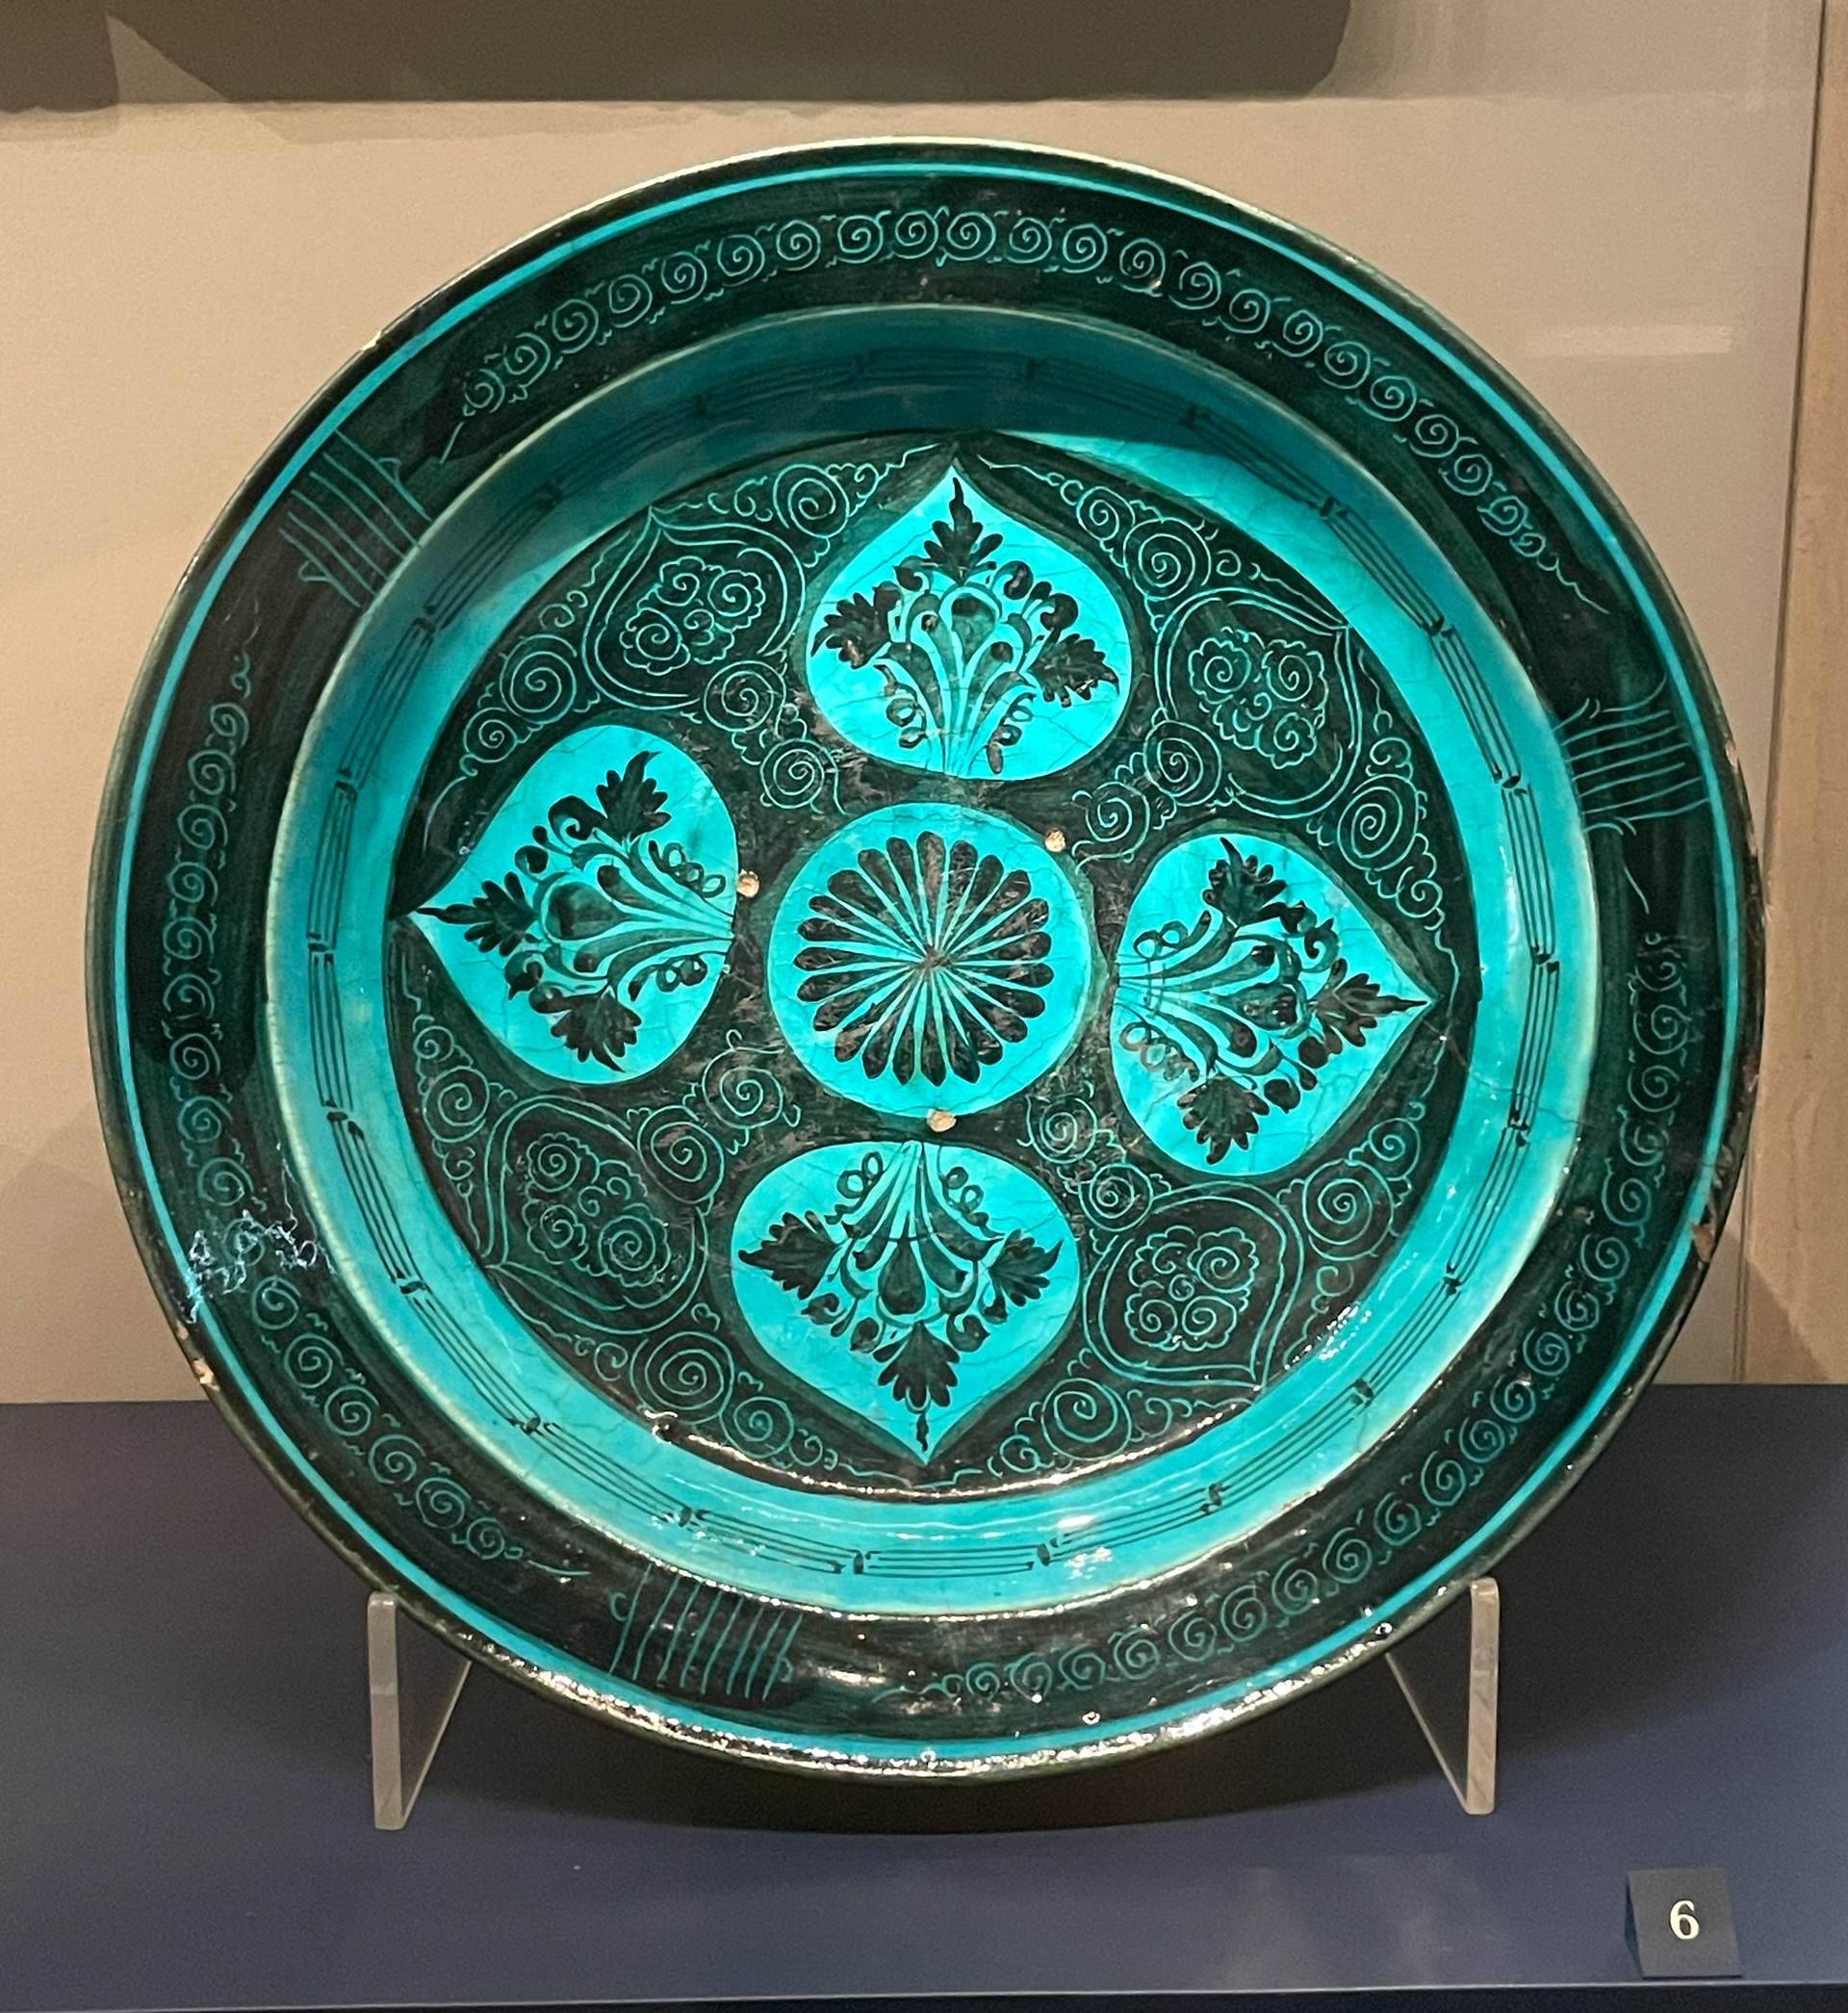
I found going to the Special Collections interesting and useful. I had seen Persian tiles online but never in person so to see the vivid colours in front of me still so strong even though they're old was inspiring and them colours are something I wanted to take into my design. It was interesting to see the iron hinges however I couldn't quite figure out how they worked as I wasn't allowed to move the mechanisms.
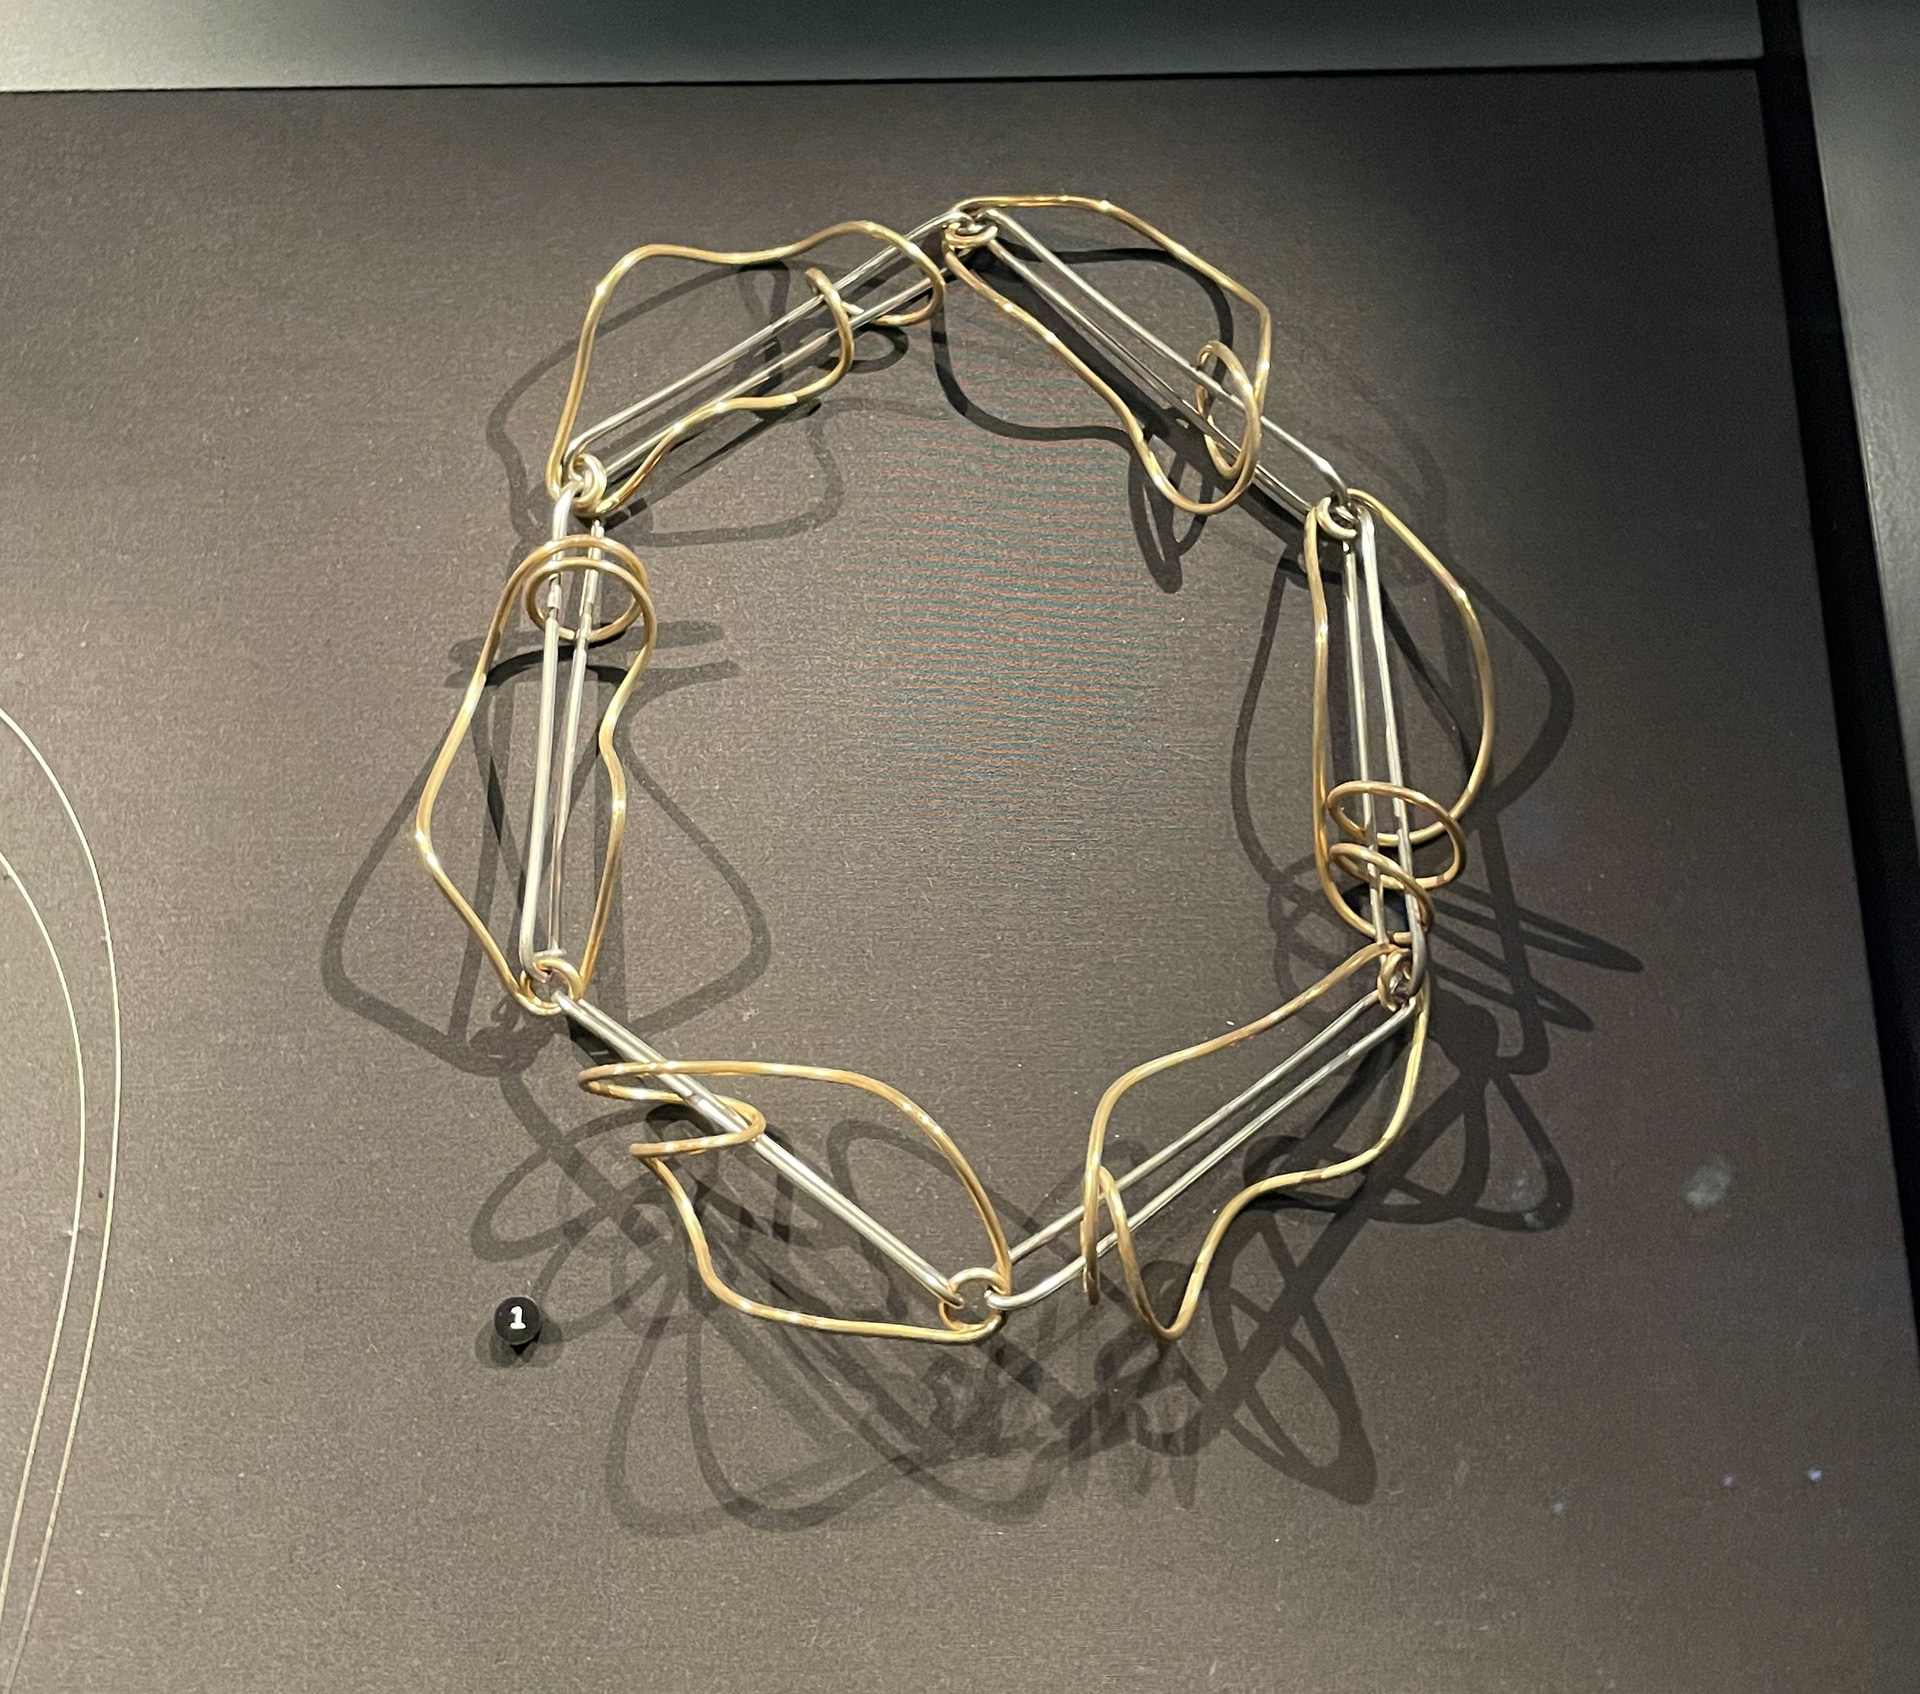
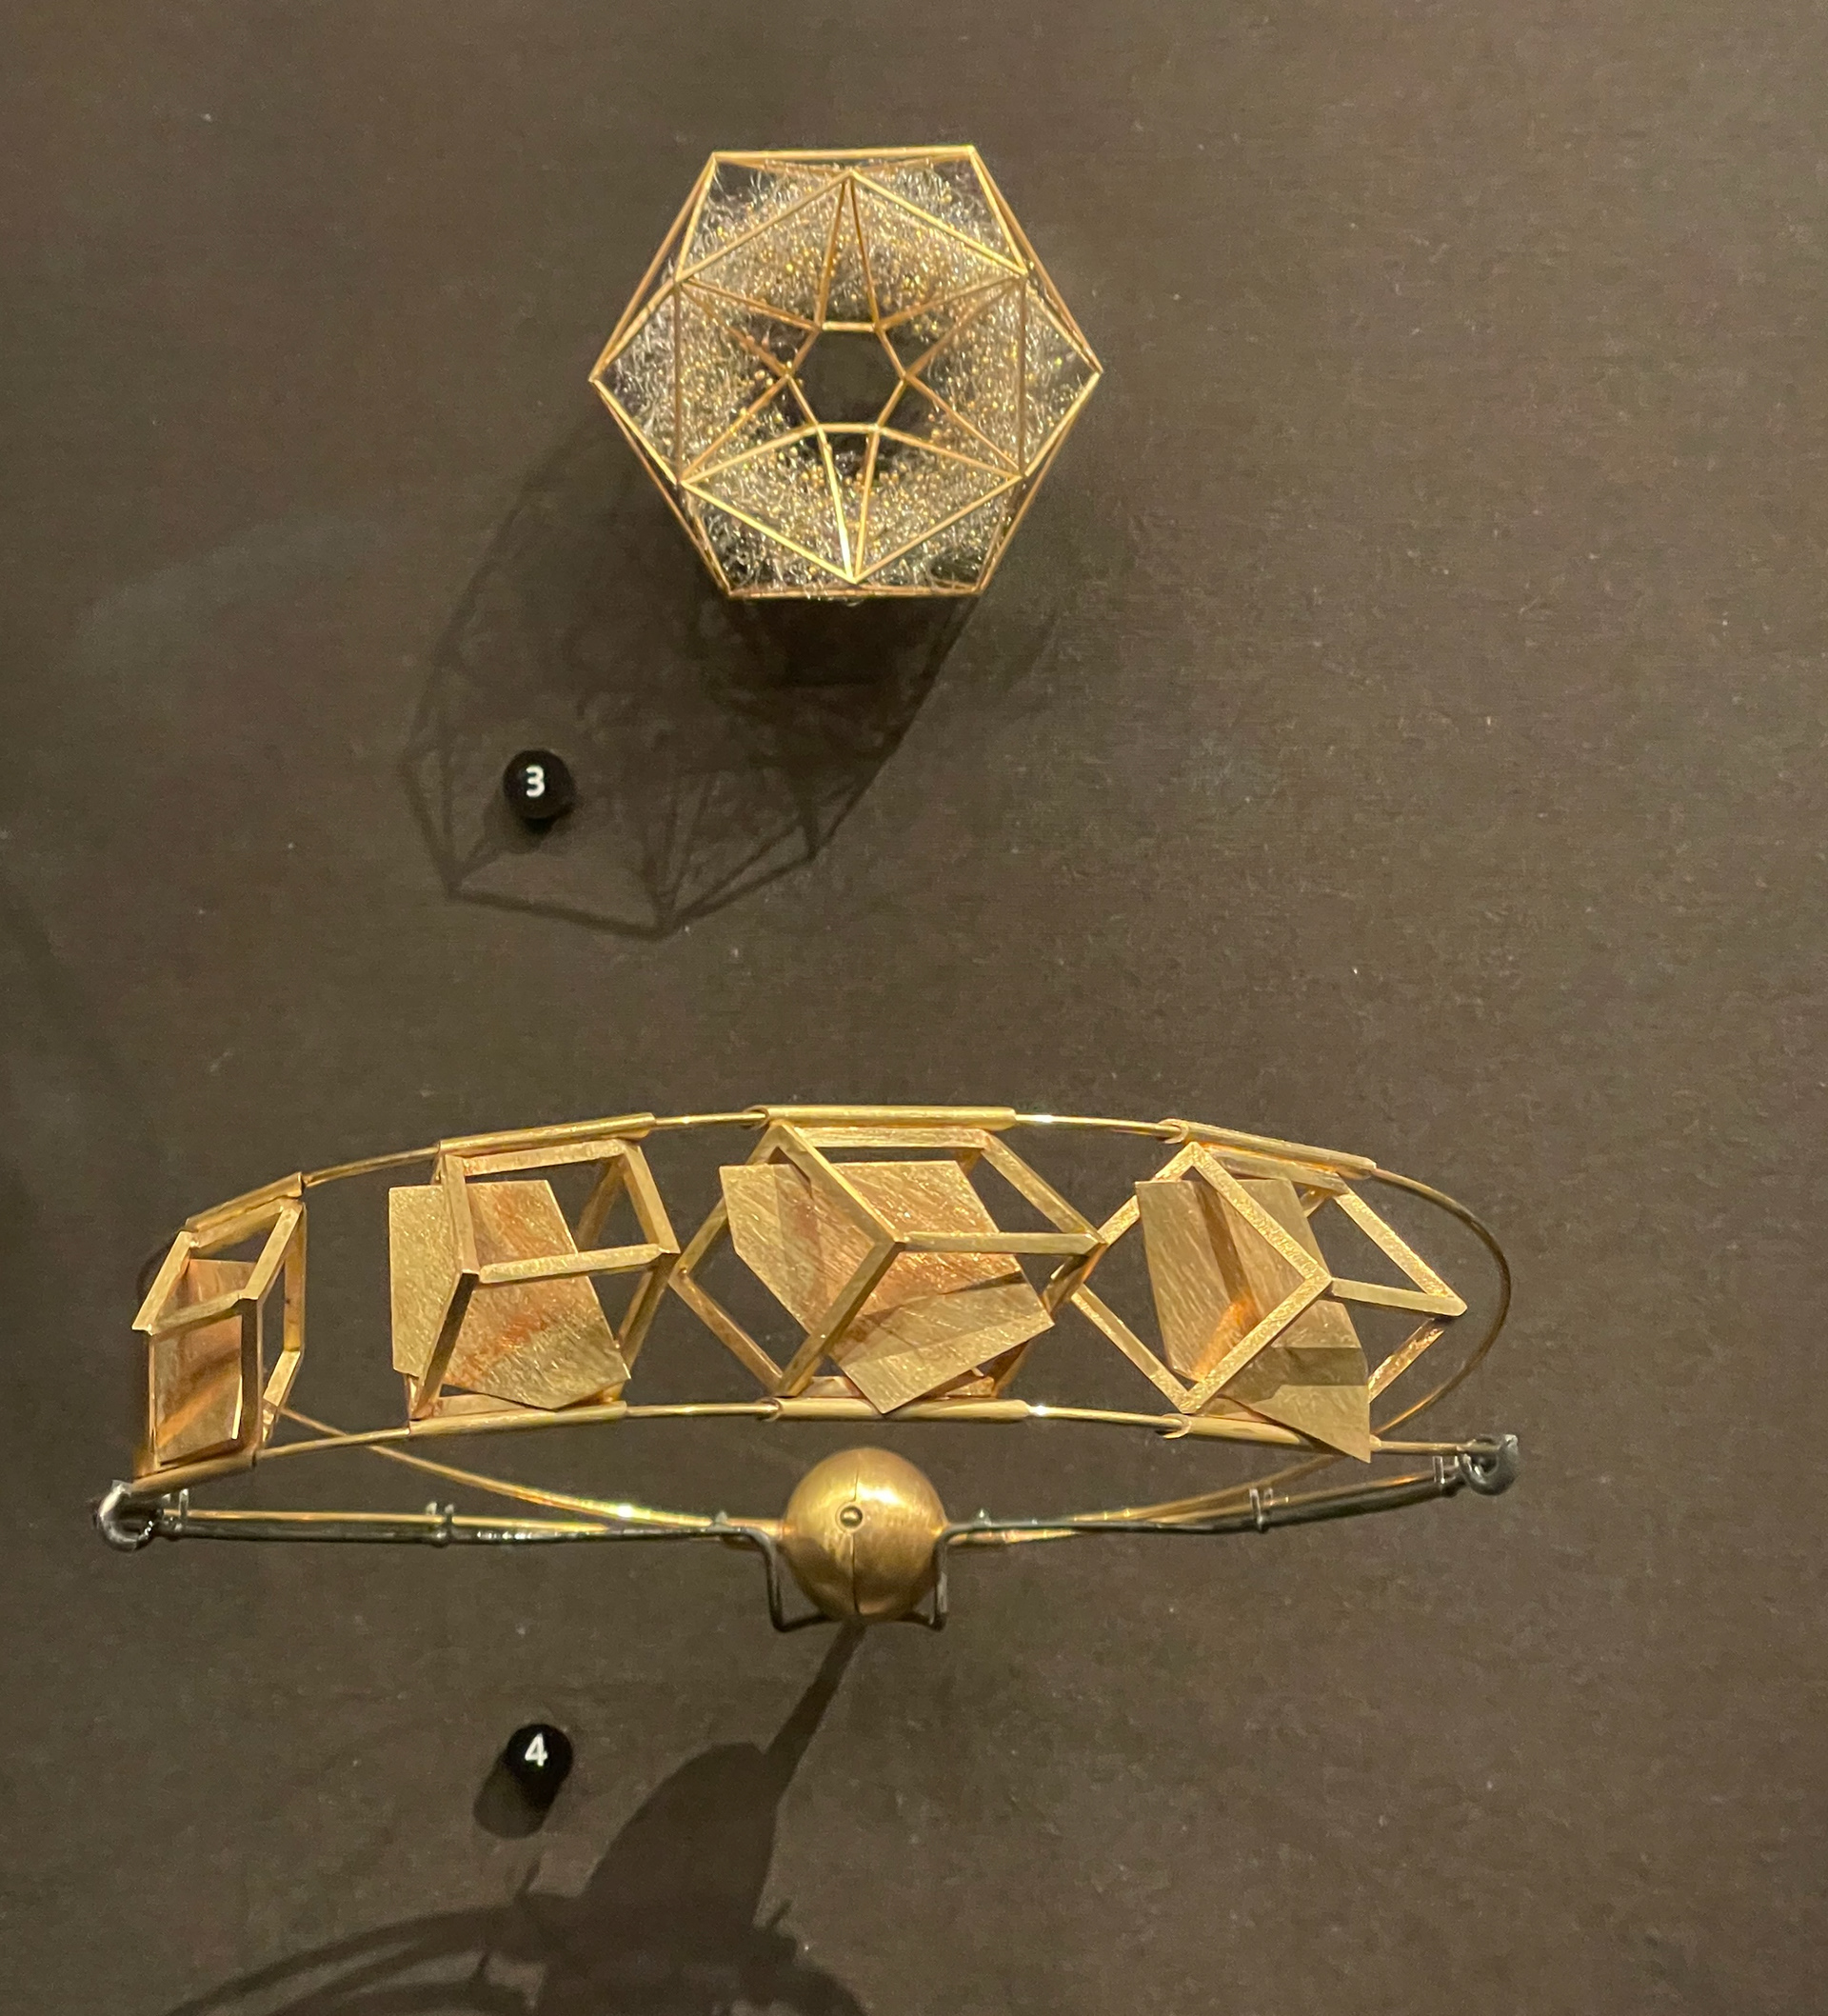
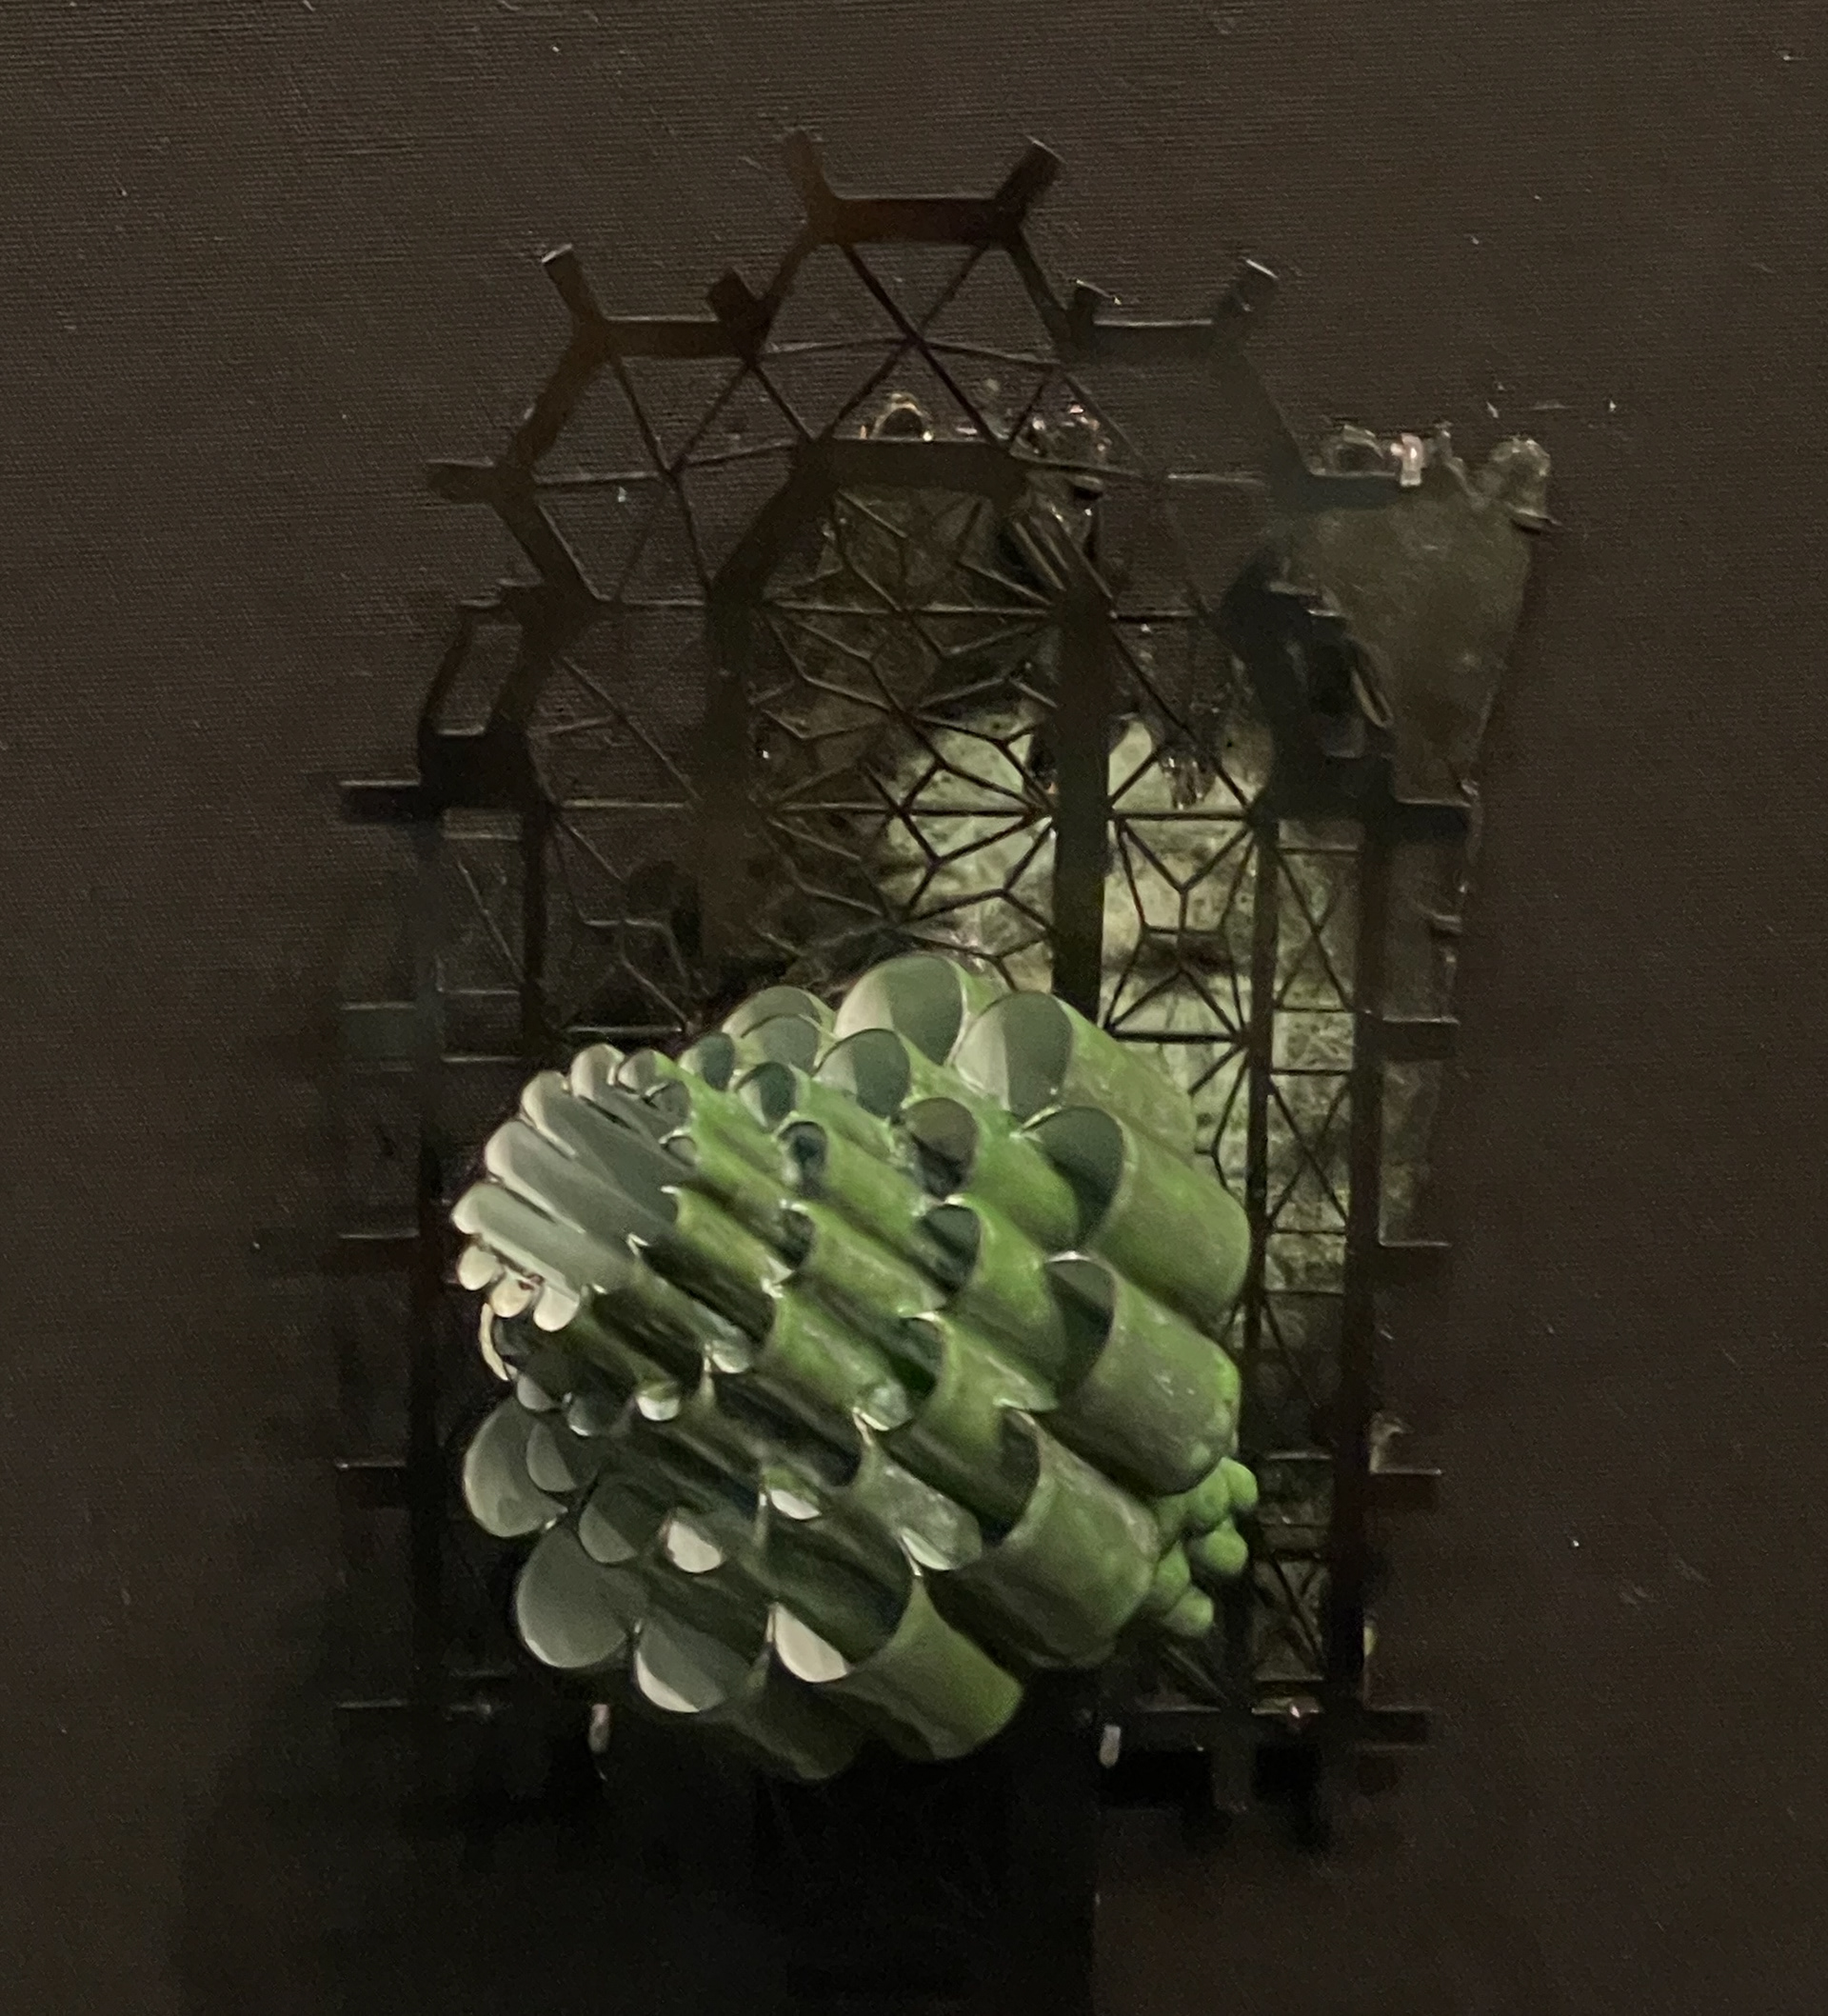
Research in london
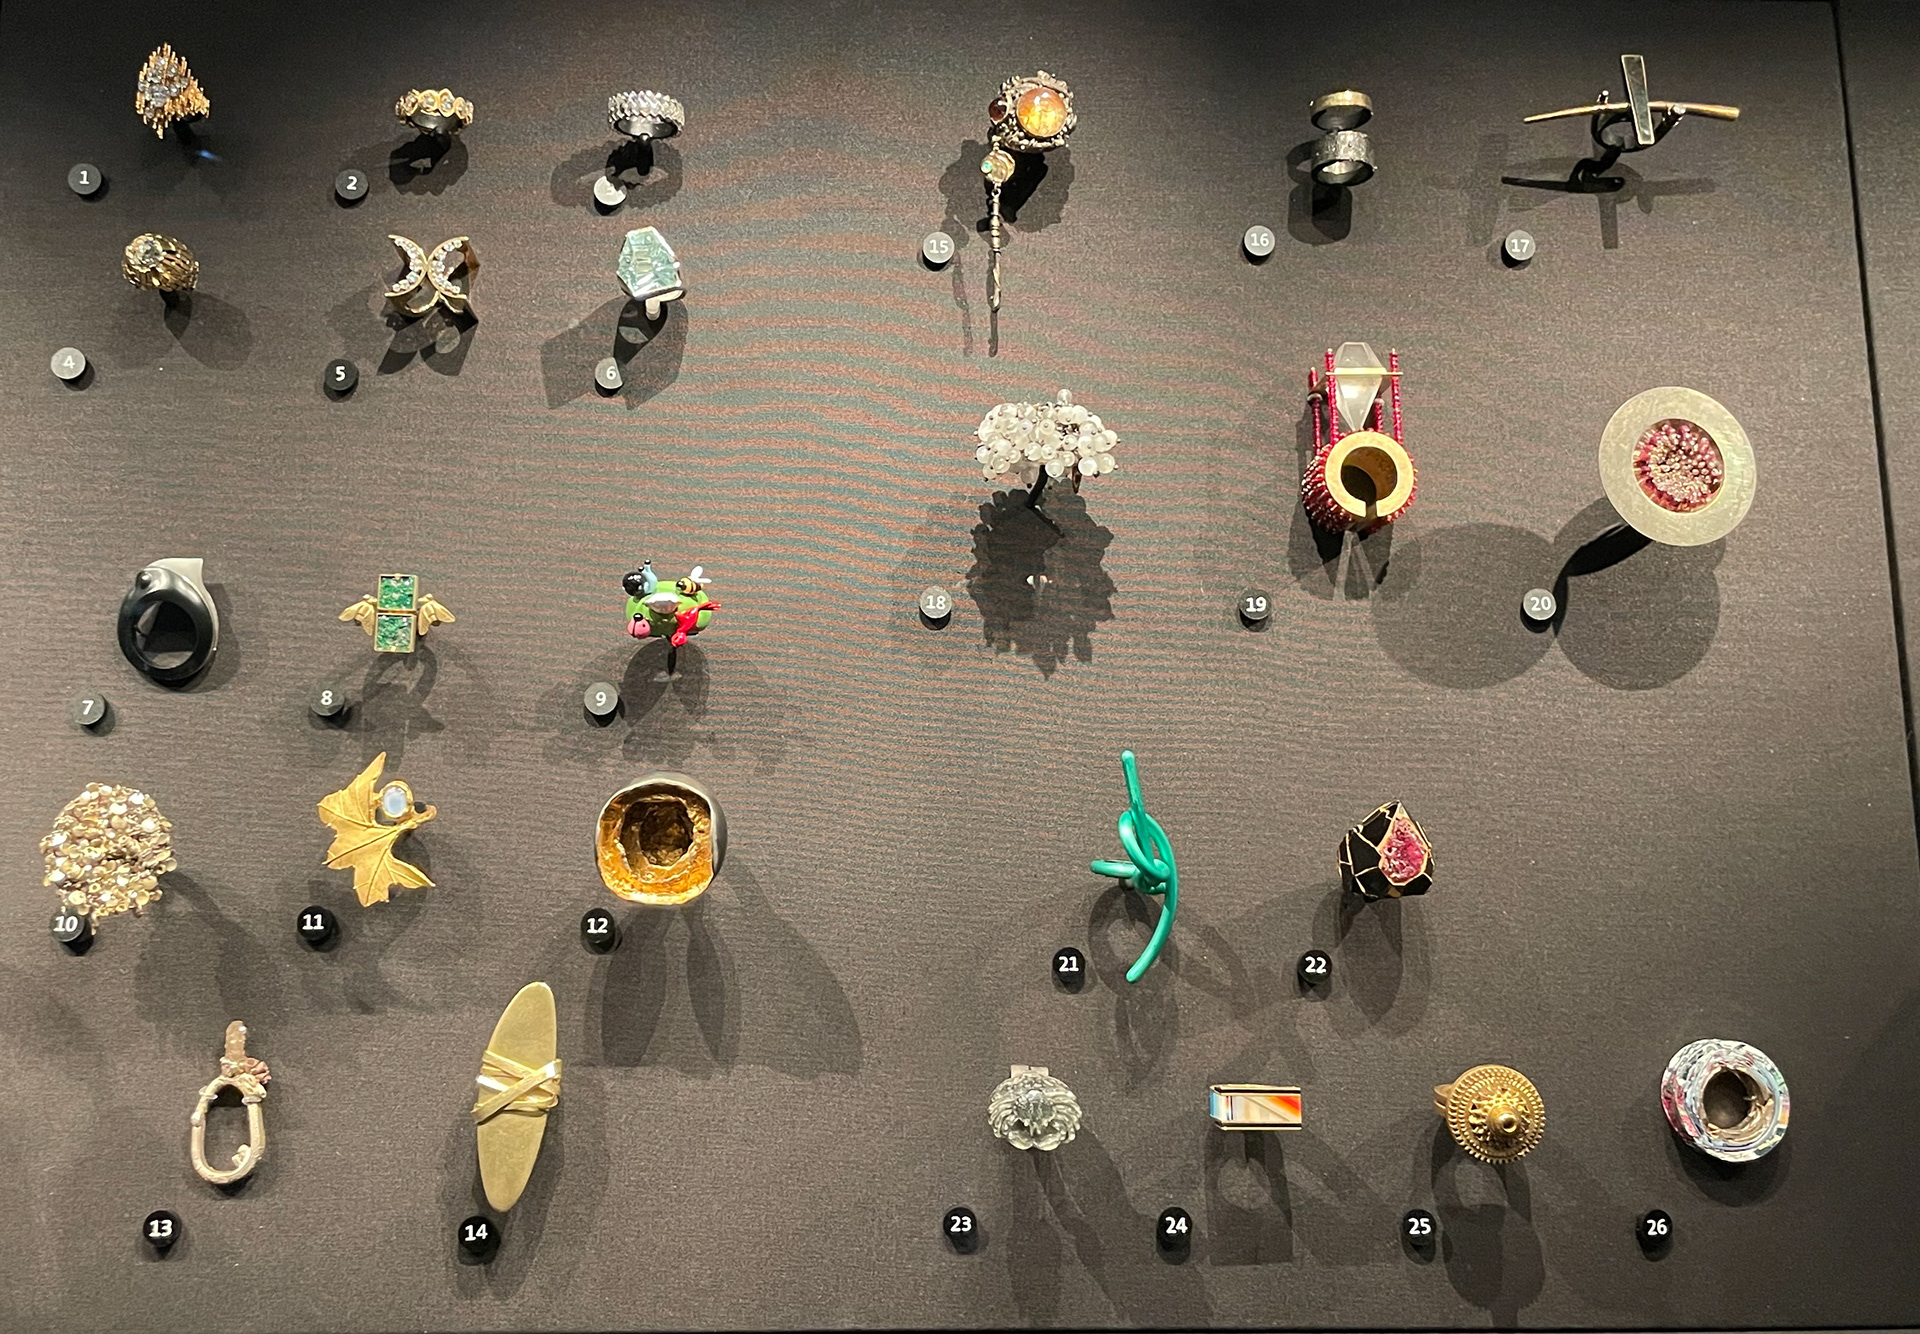
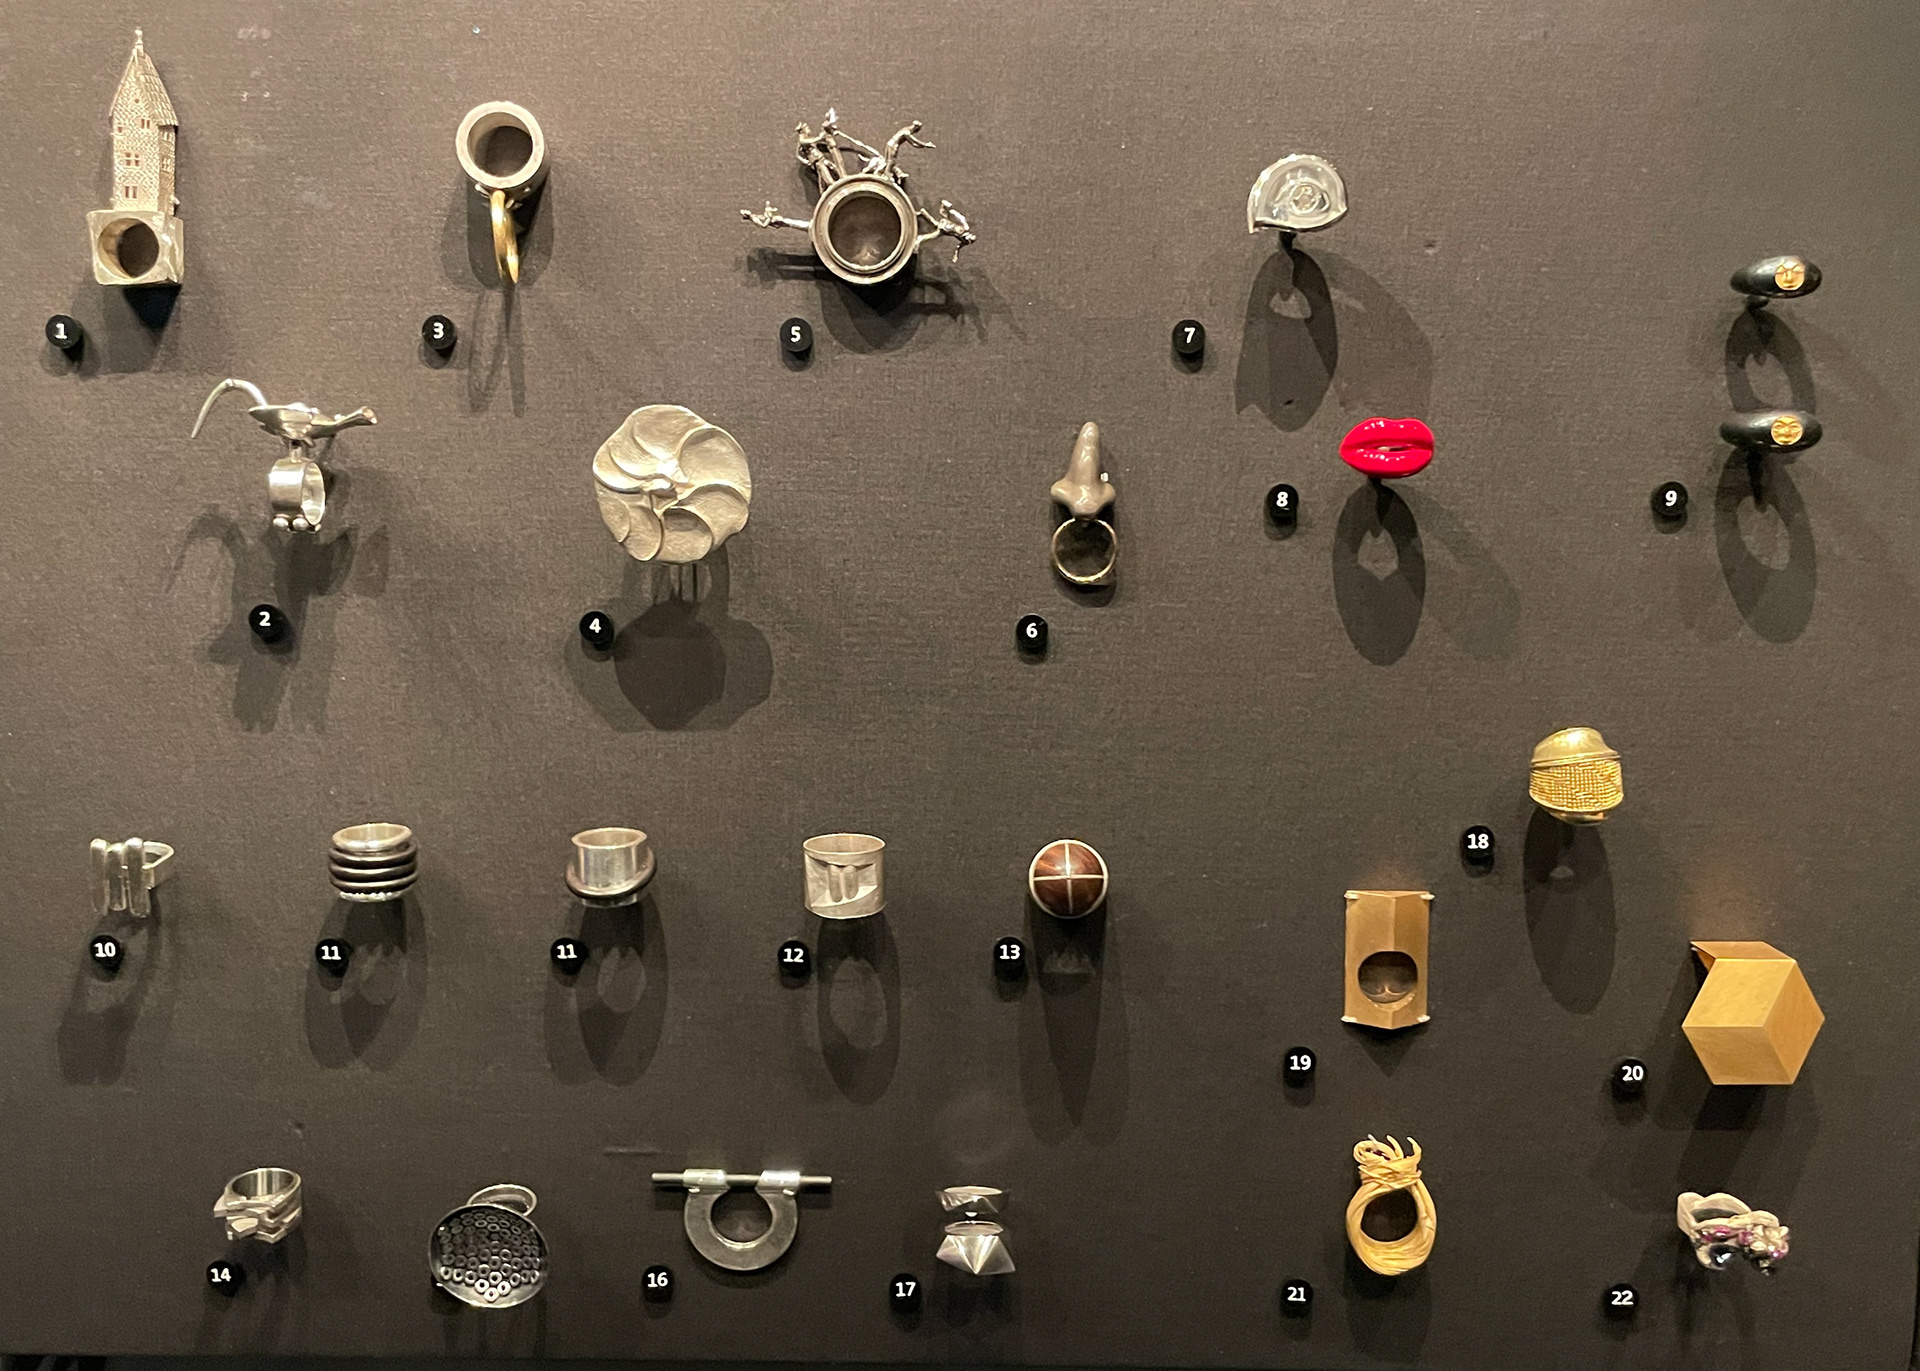
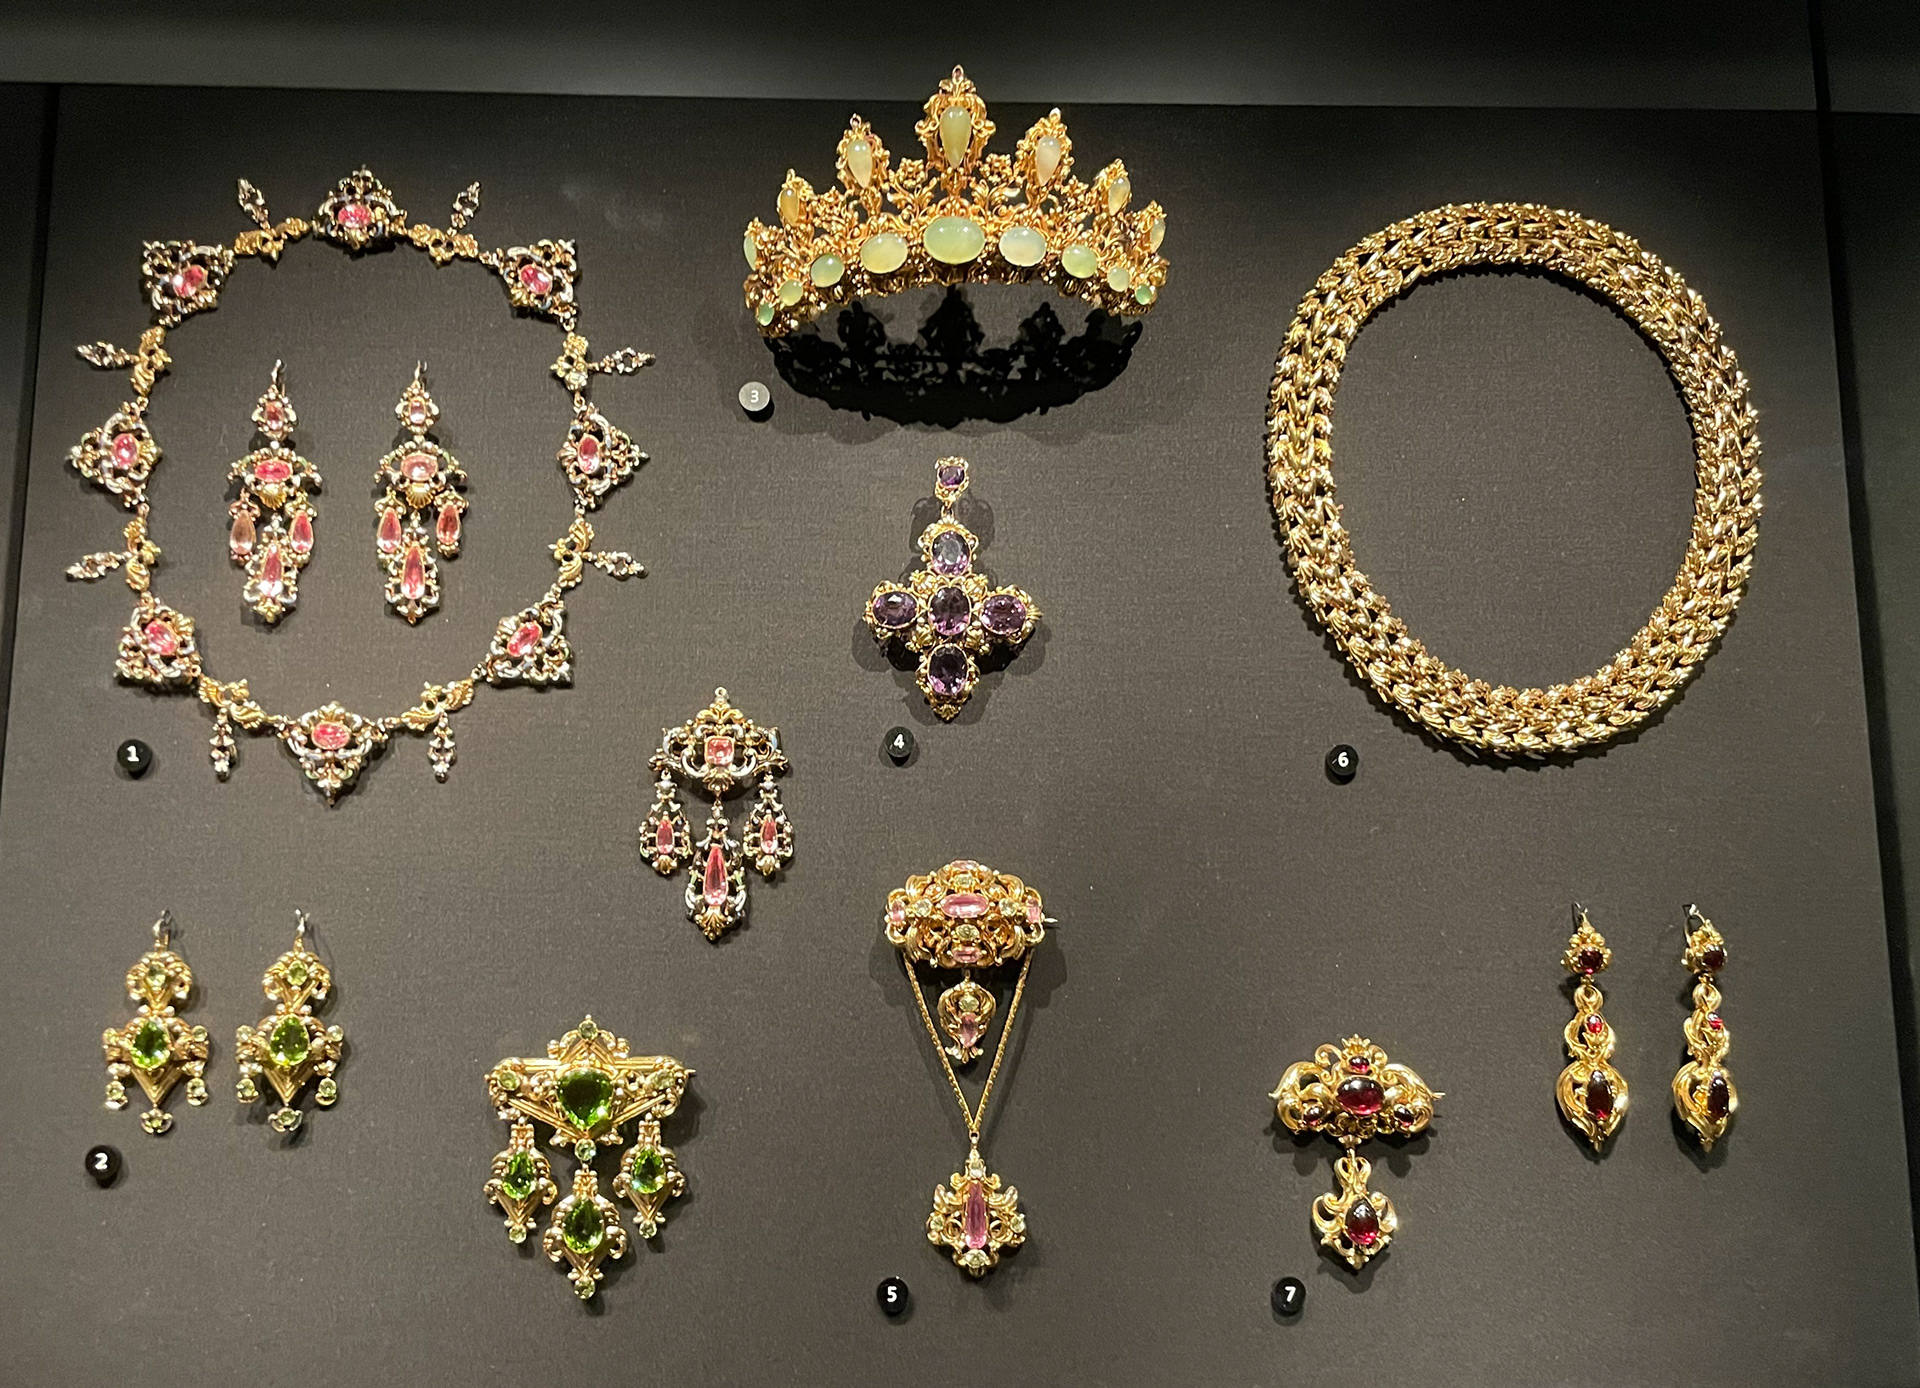
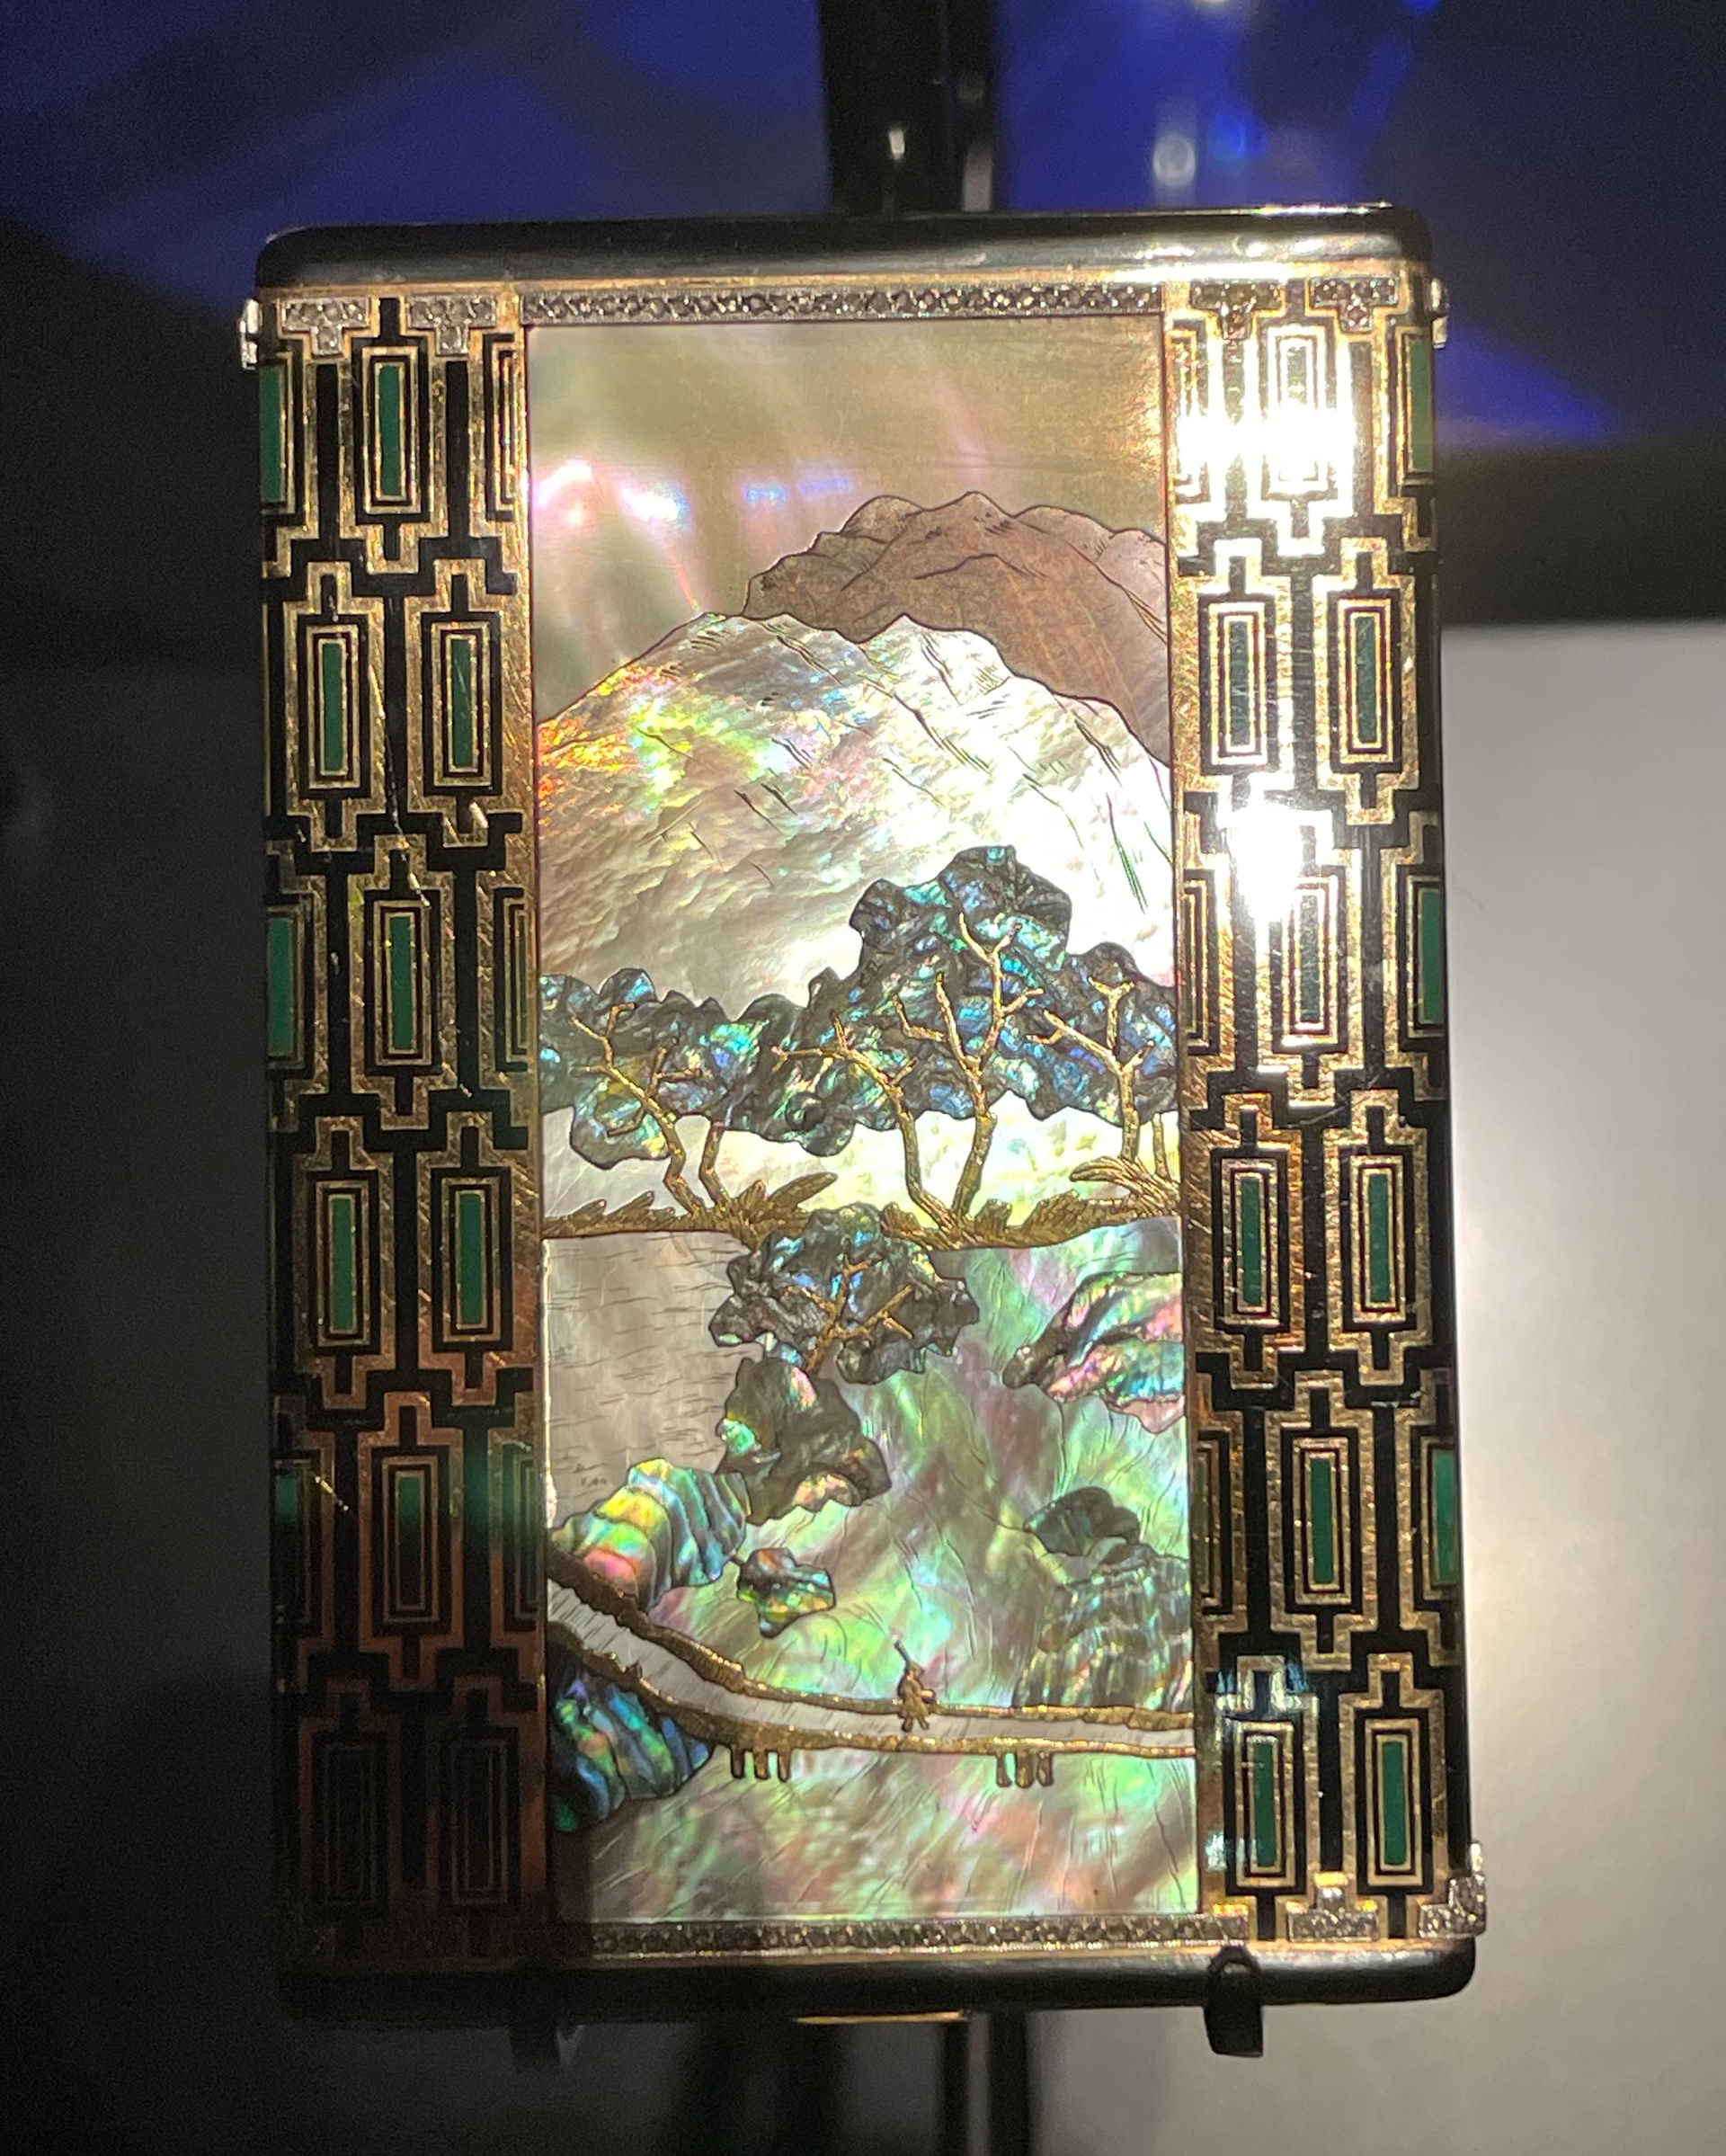
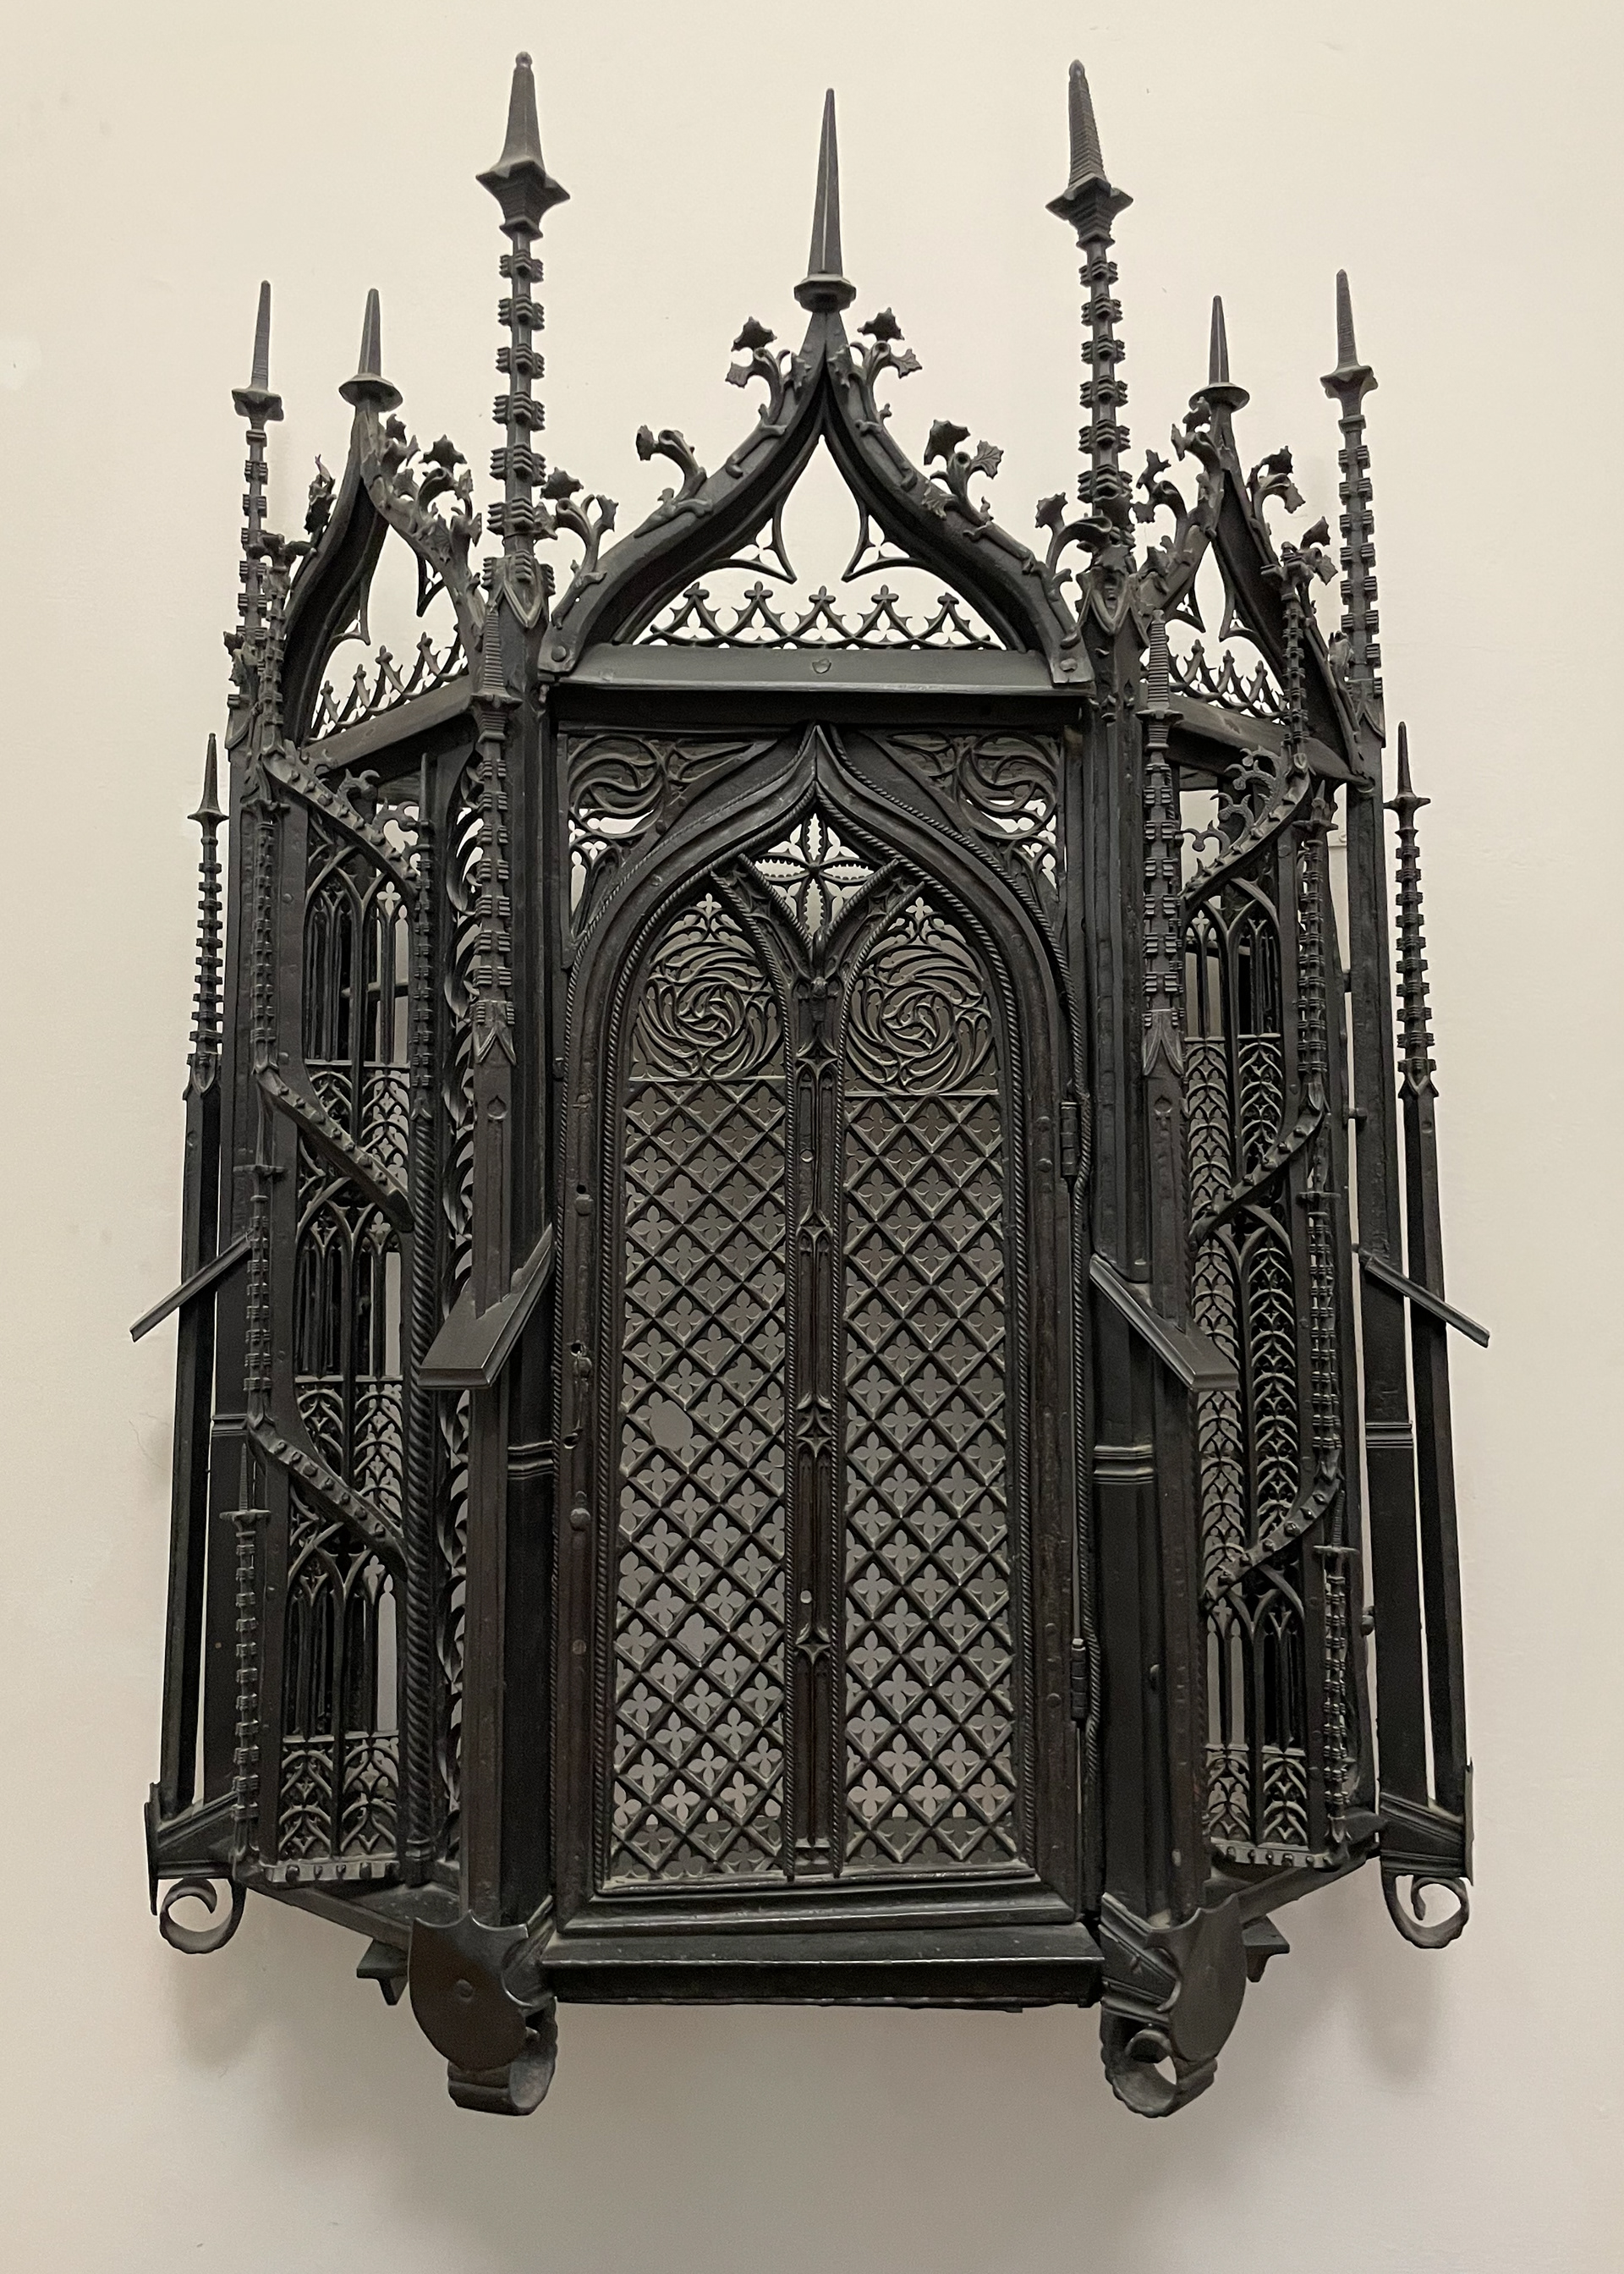
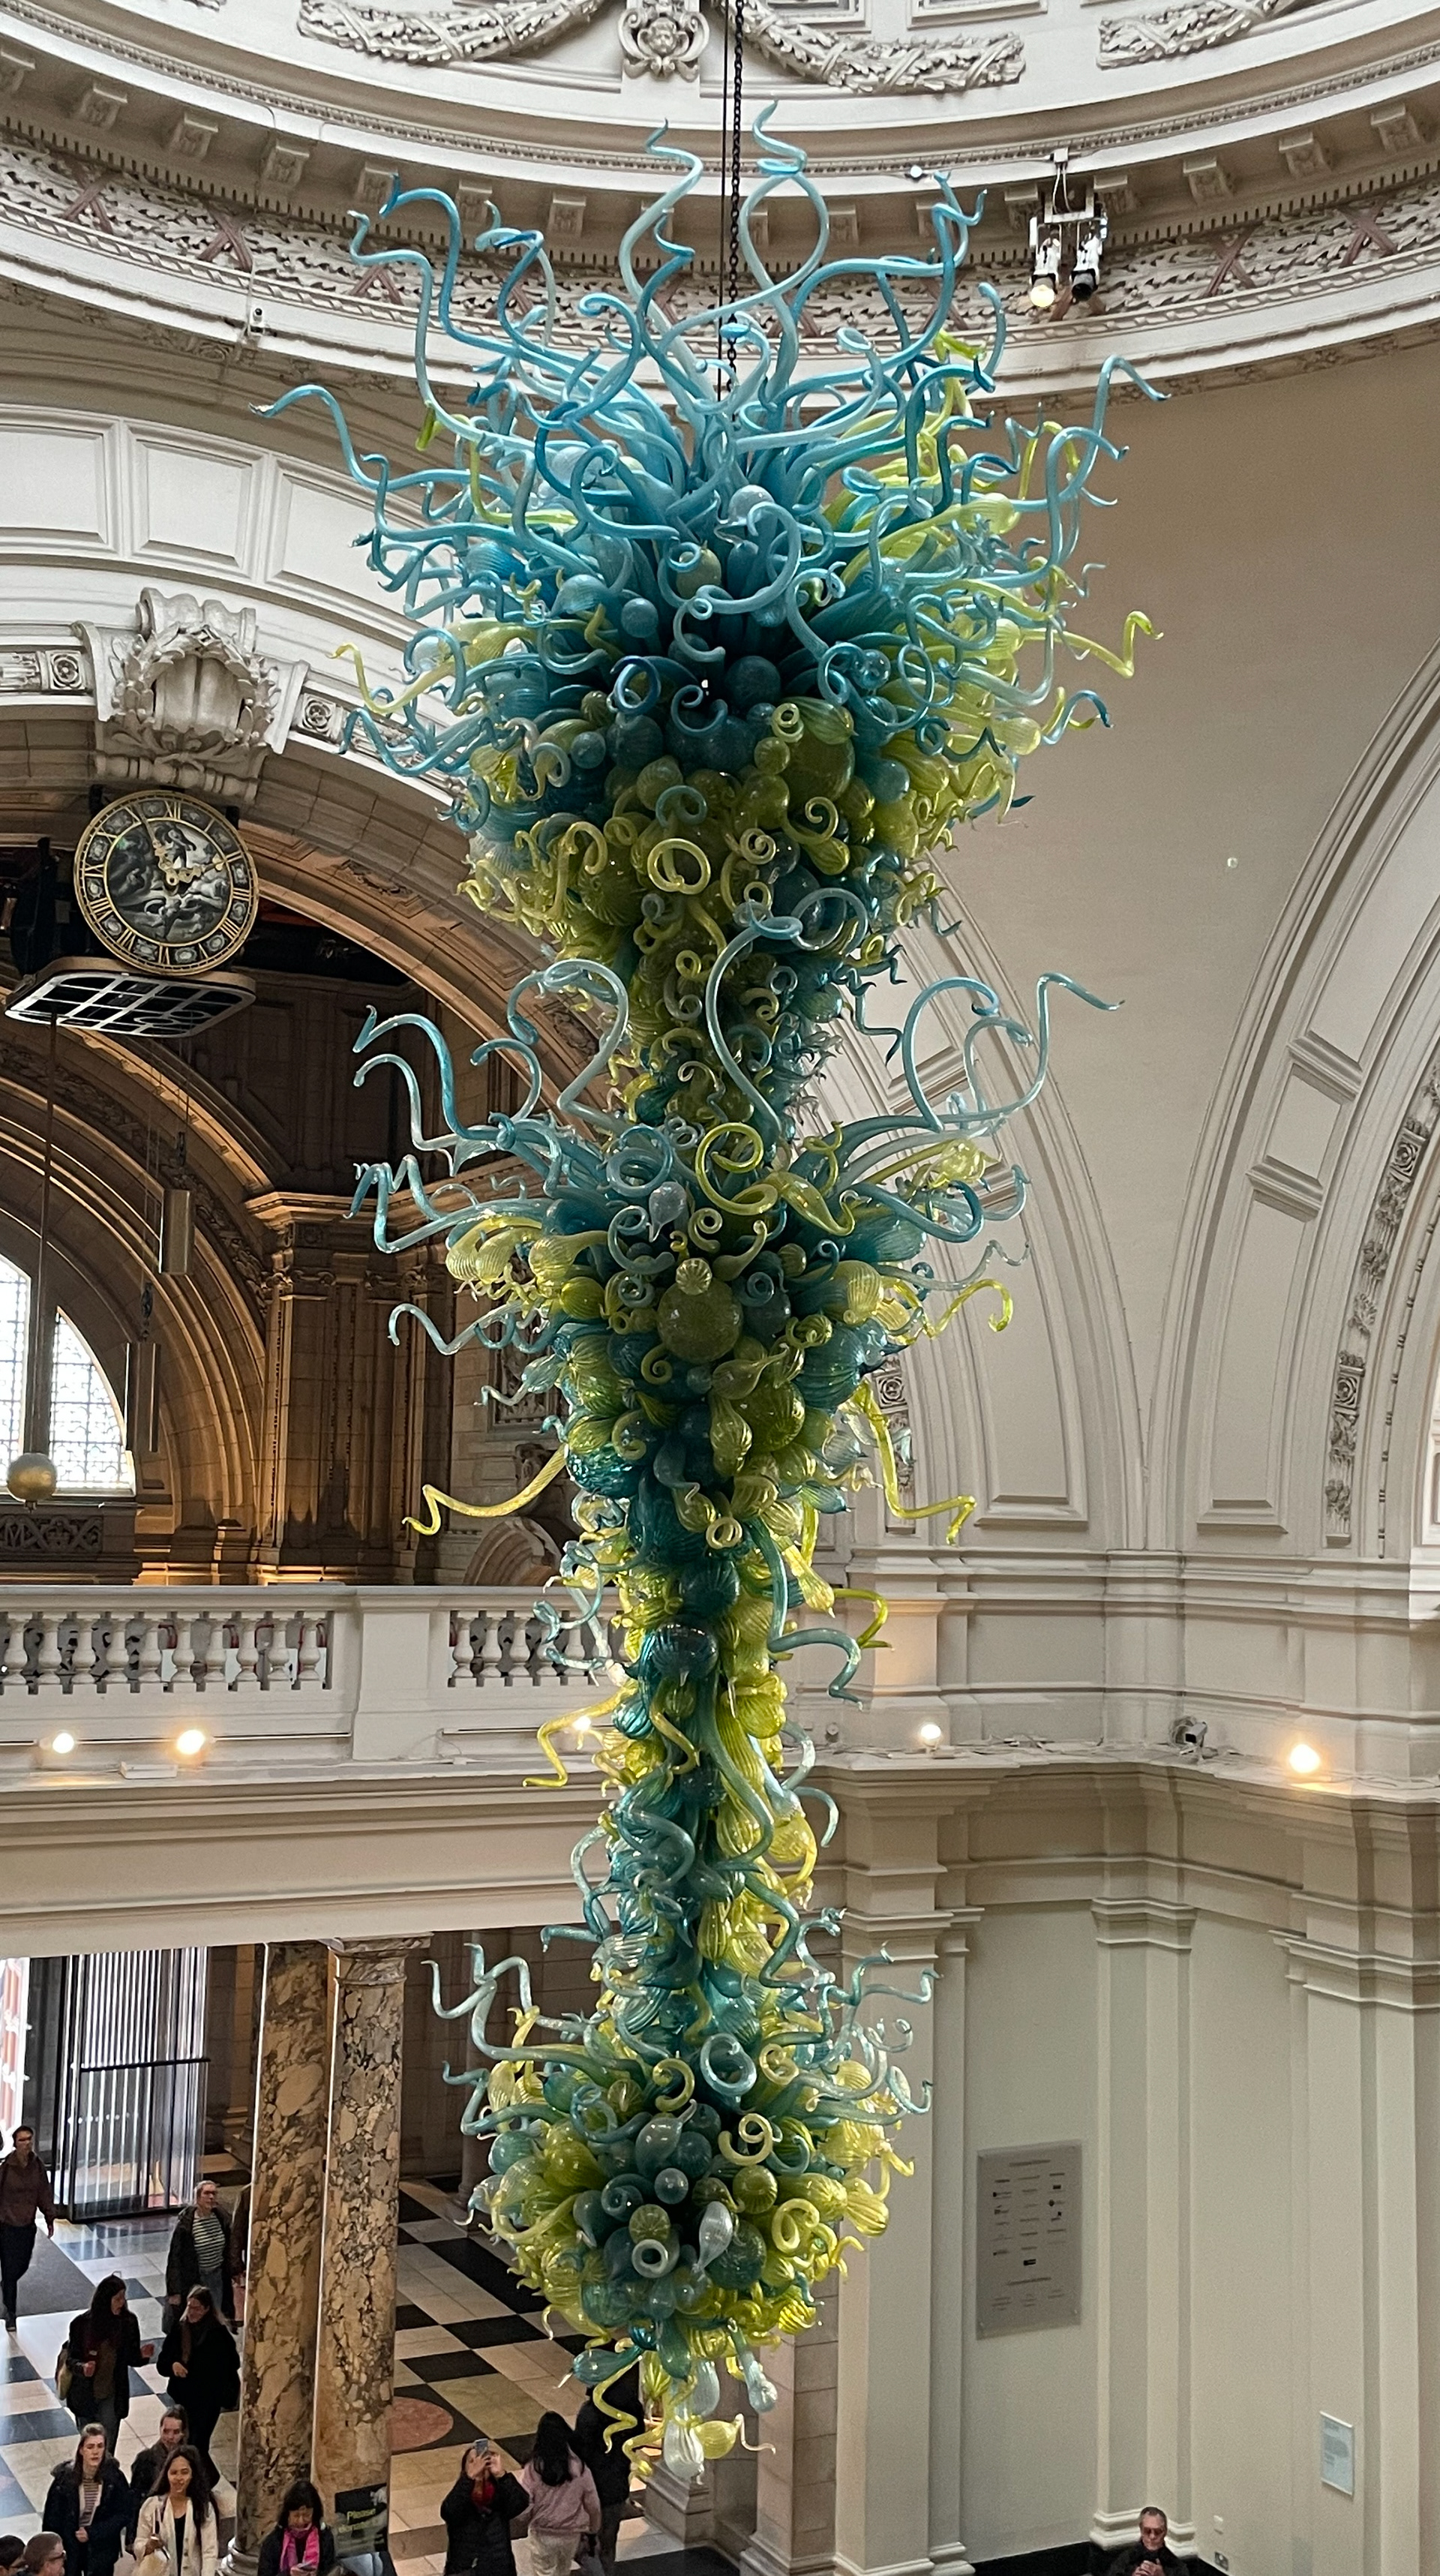
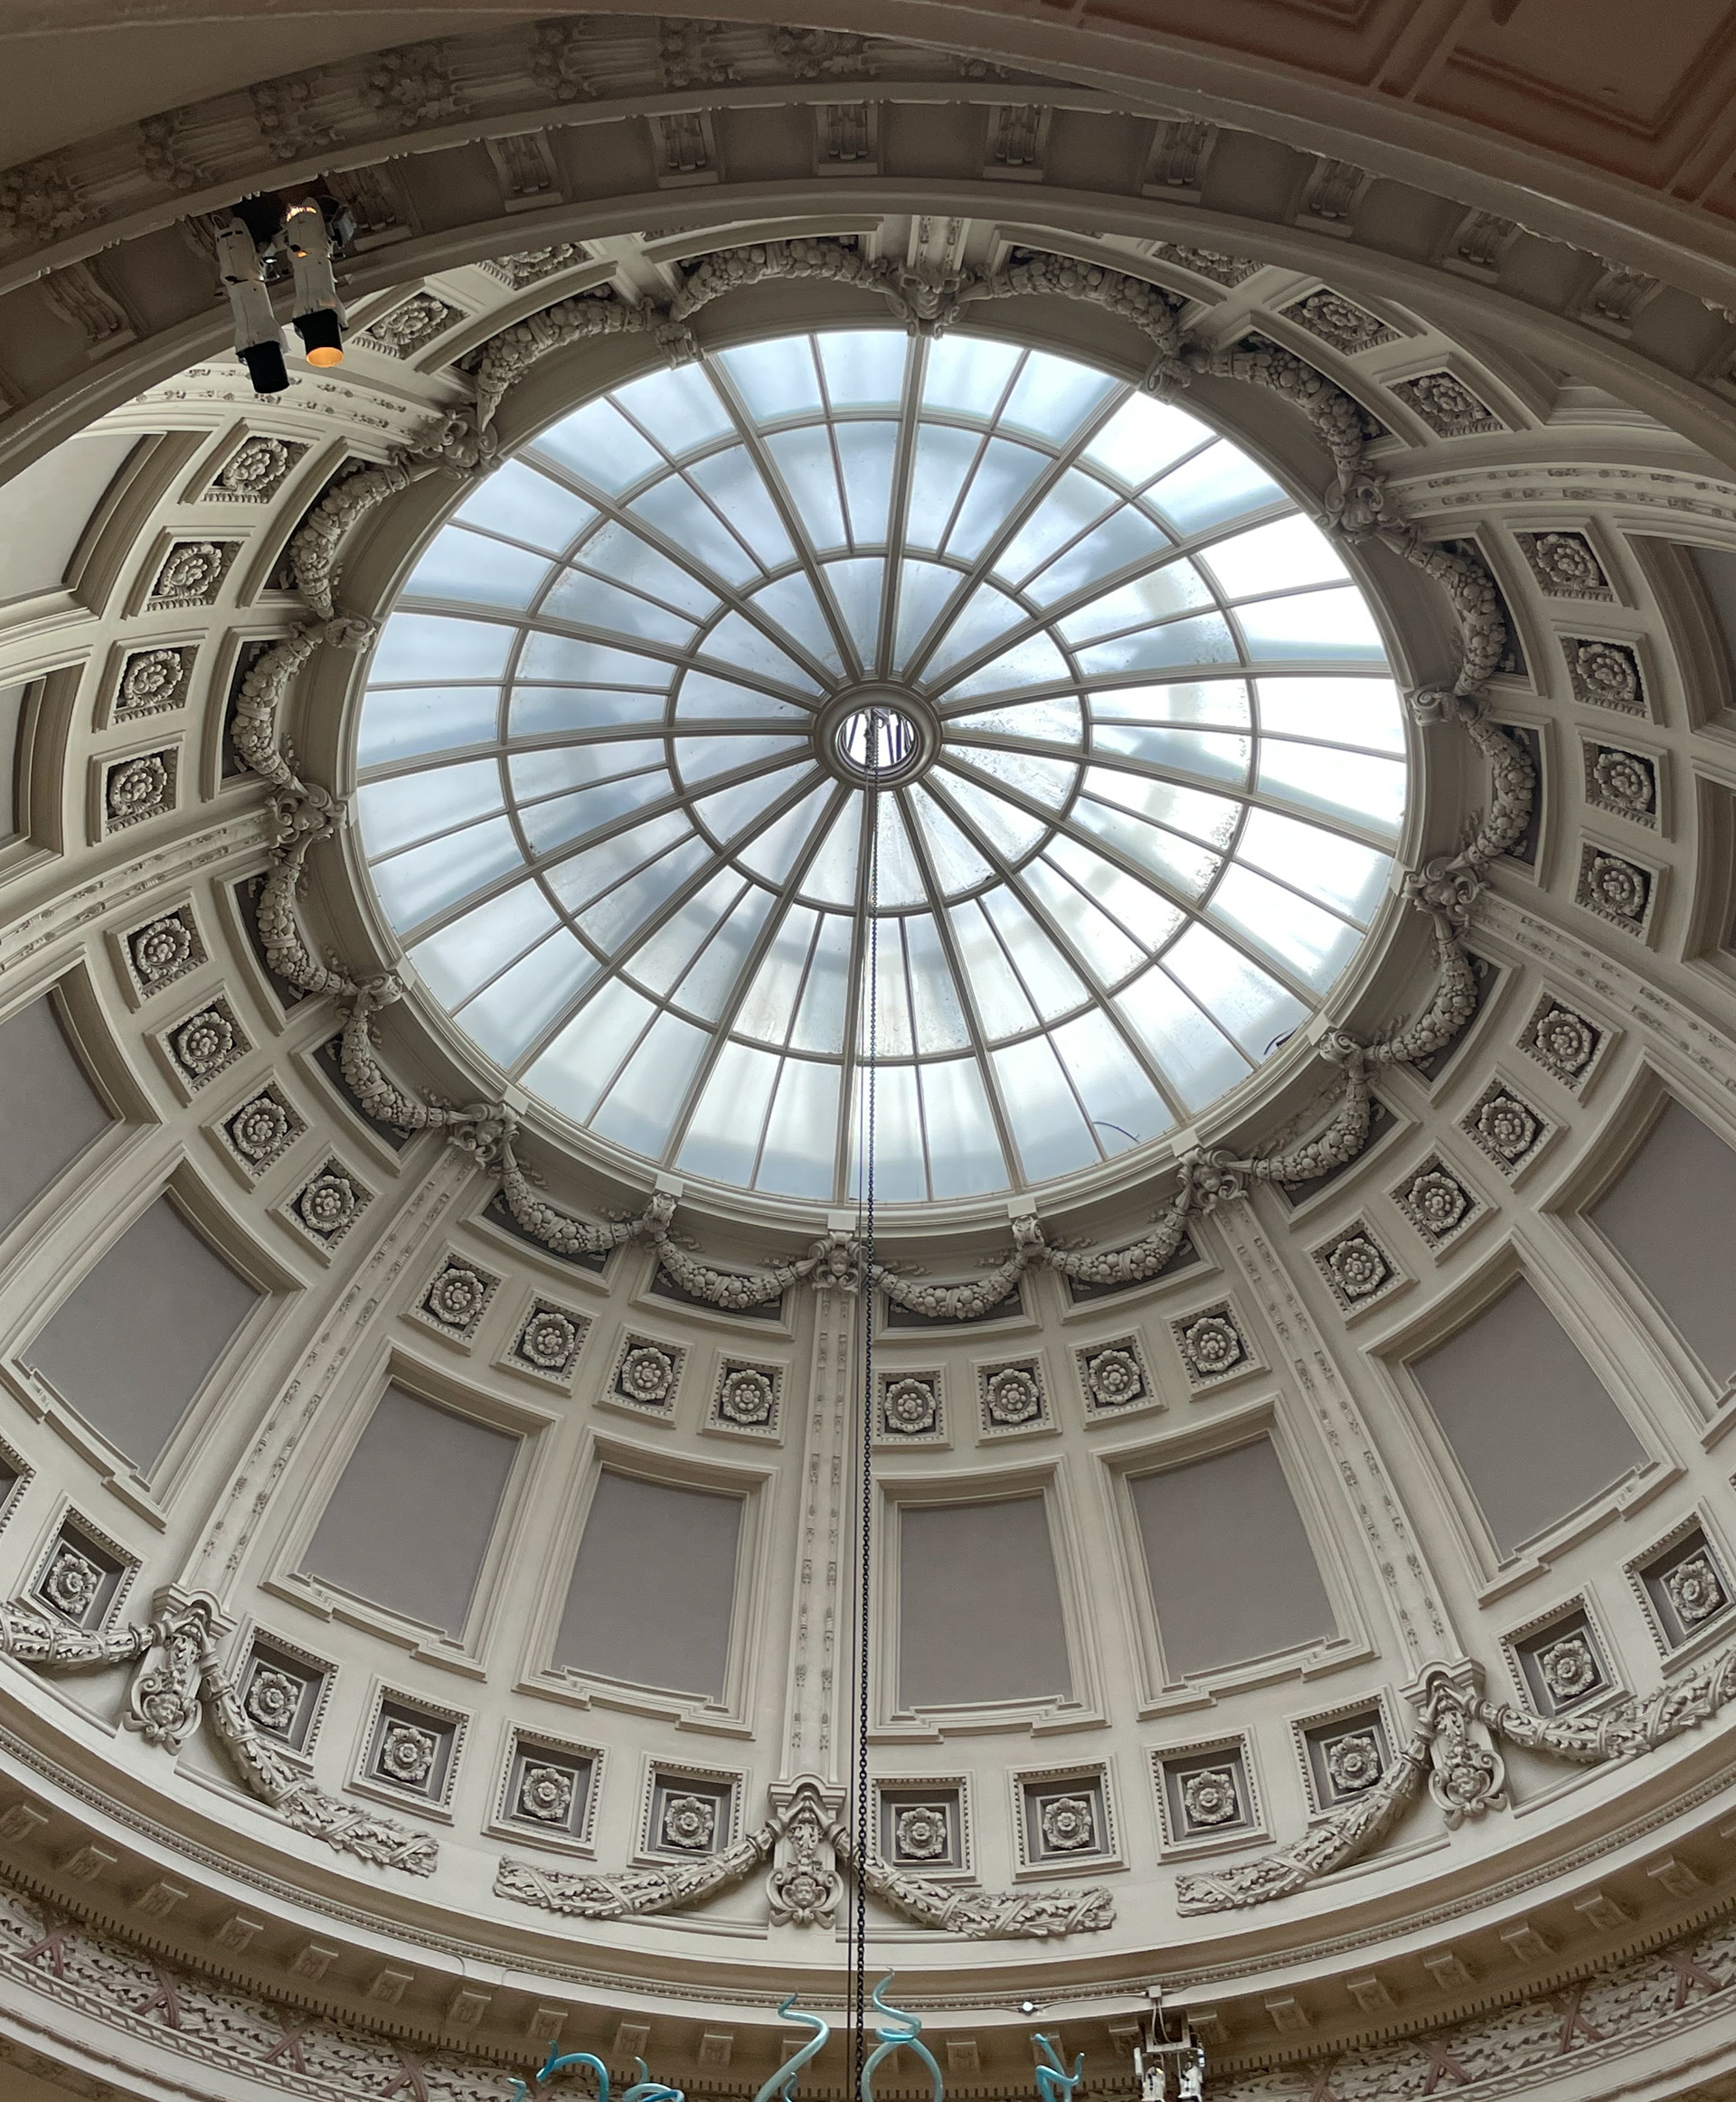
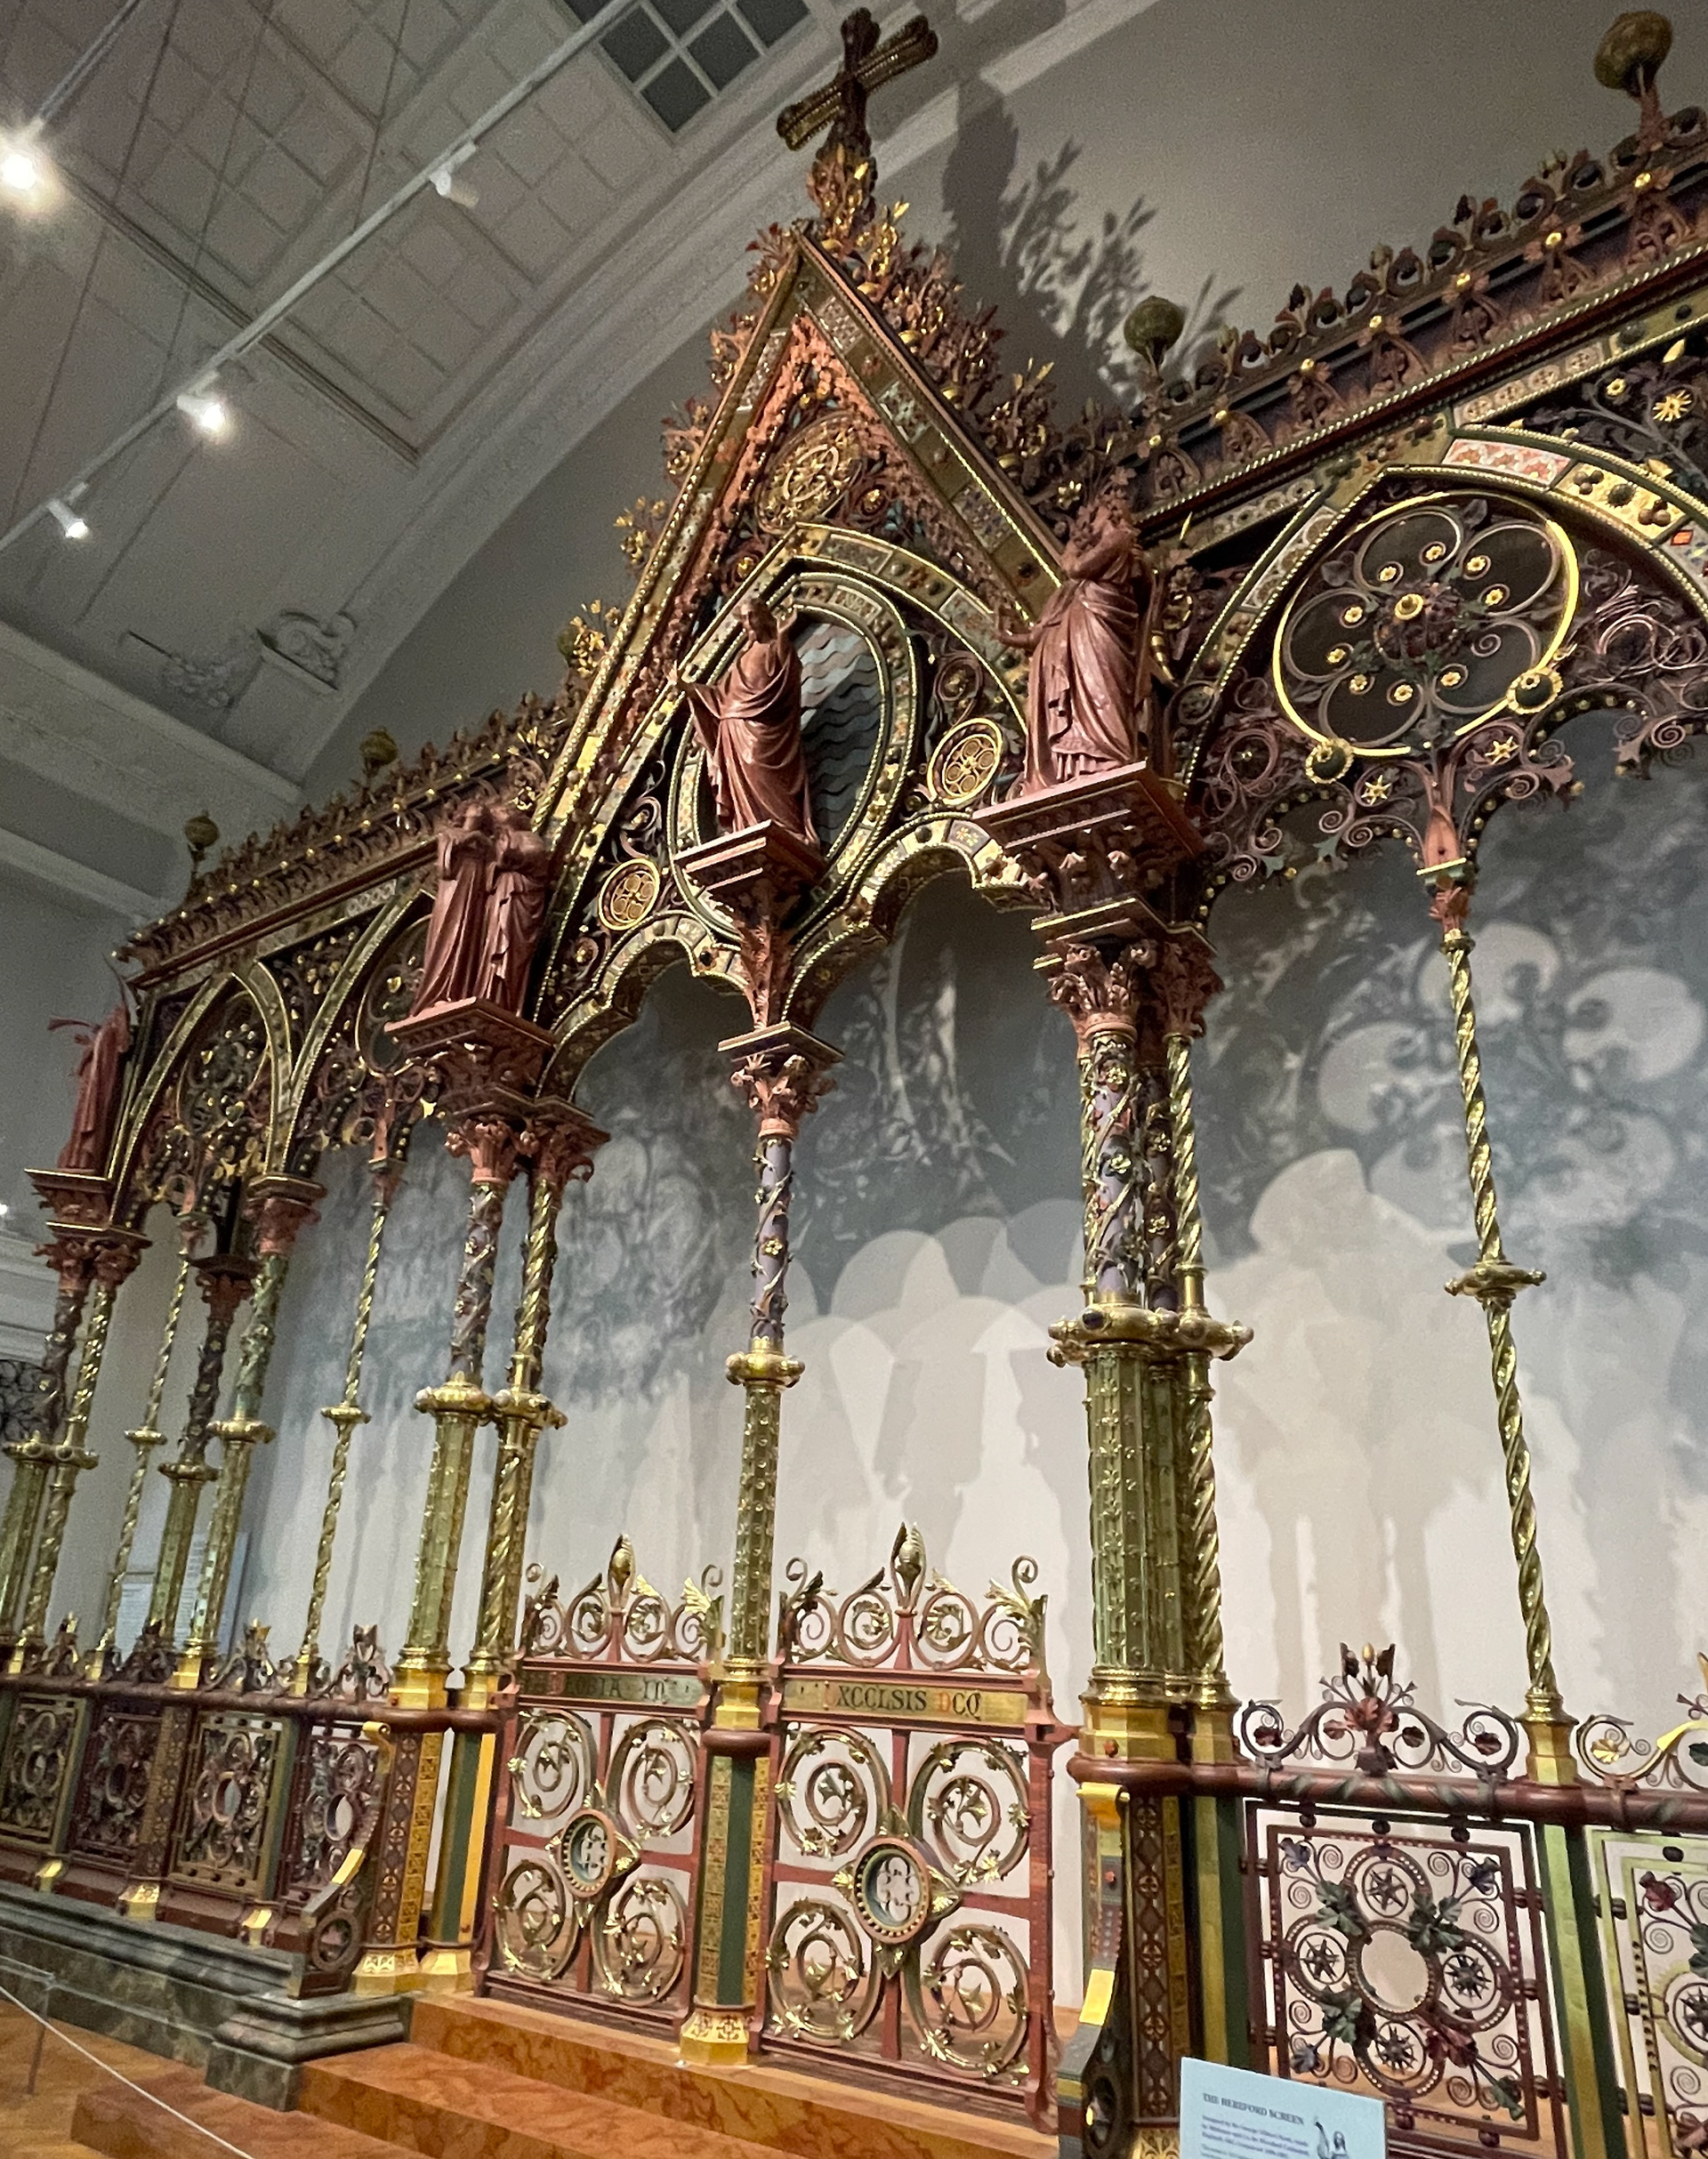
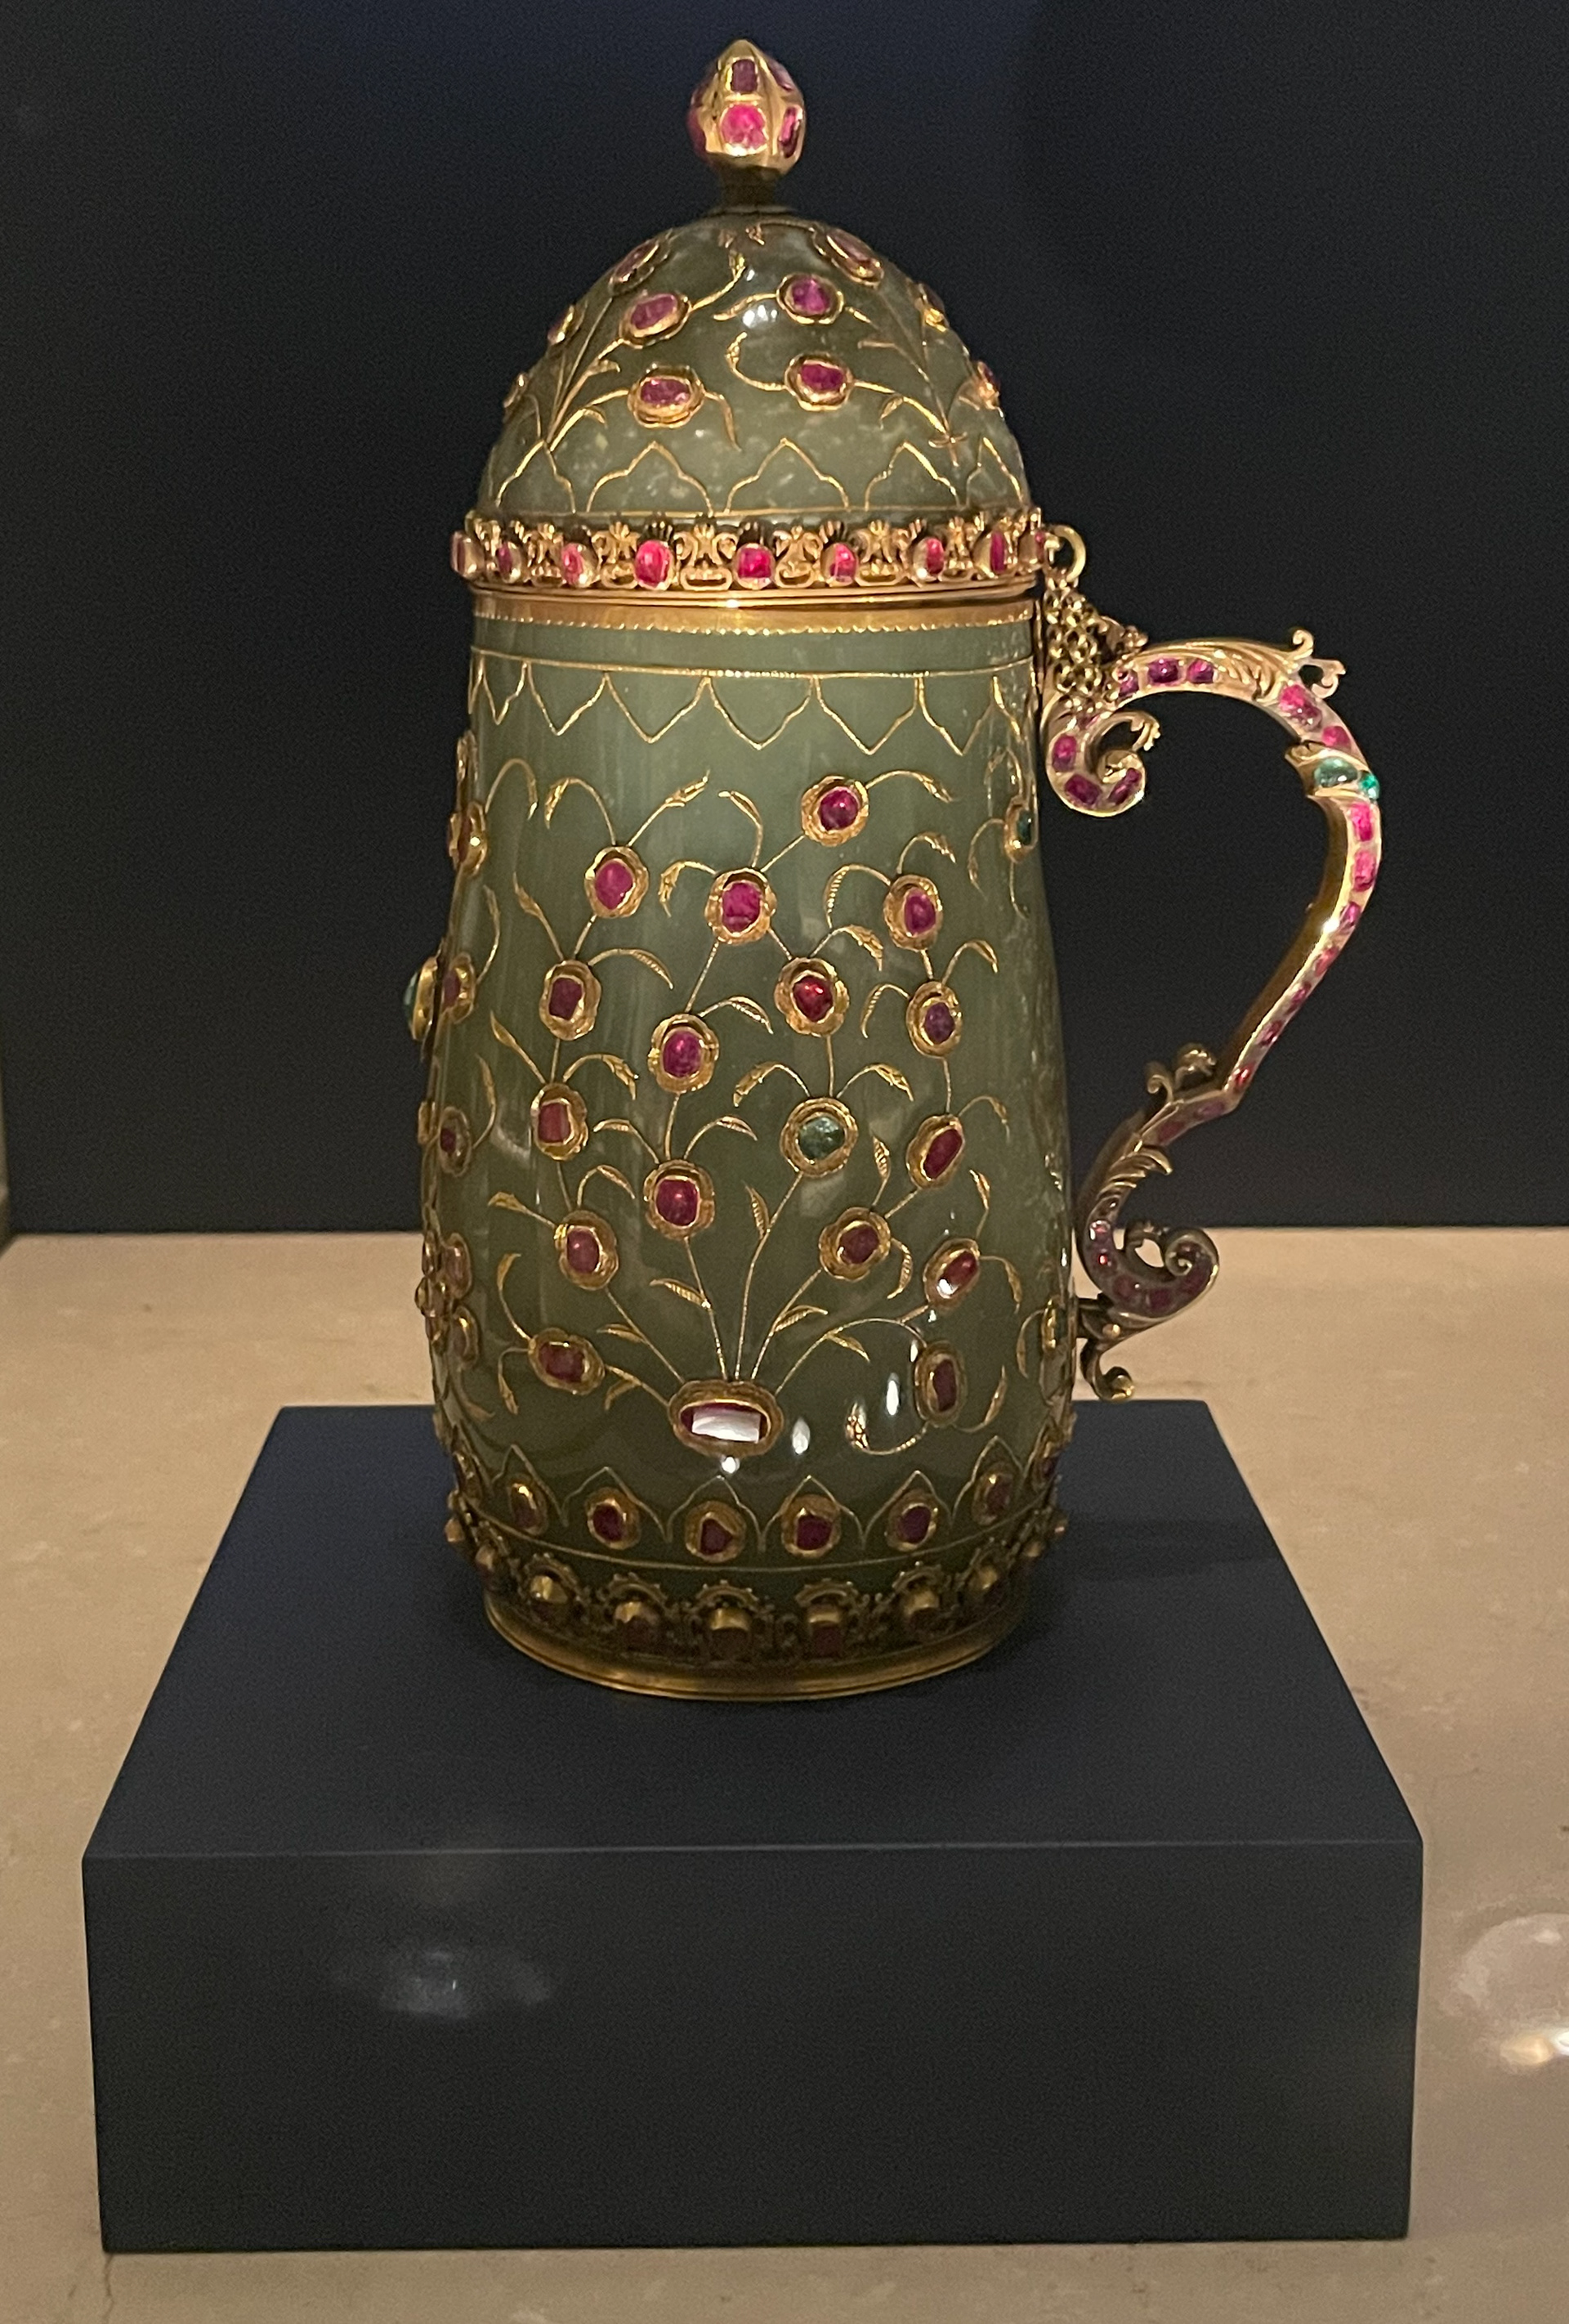
V&A
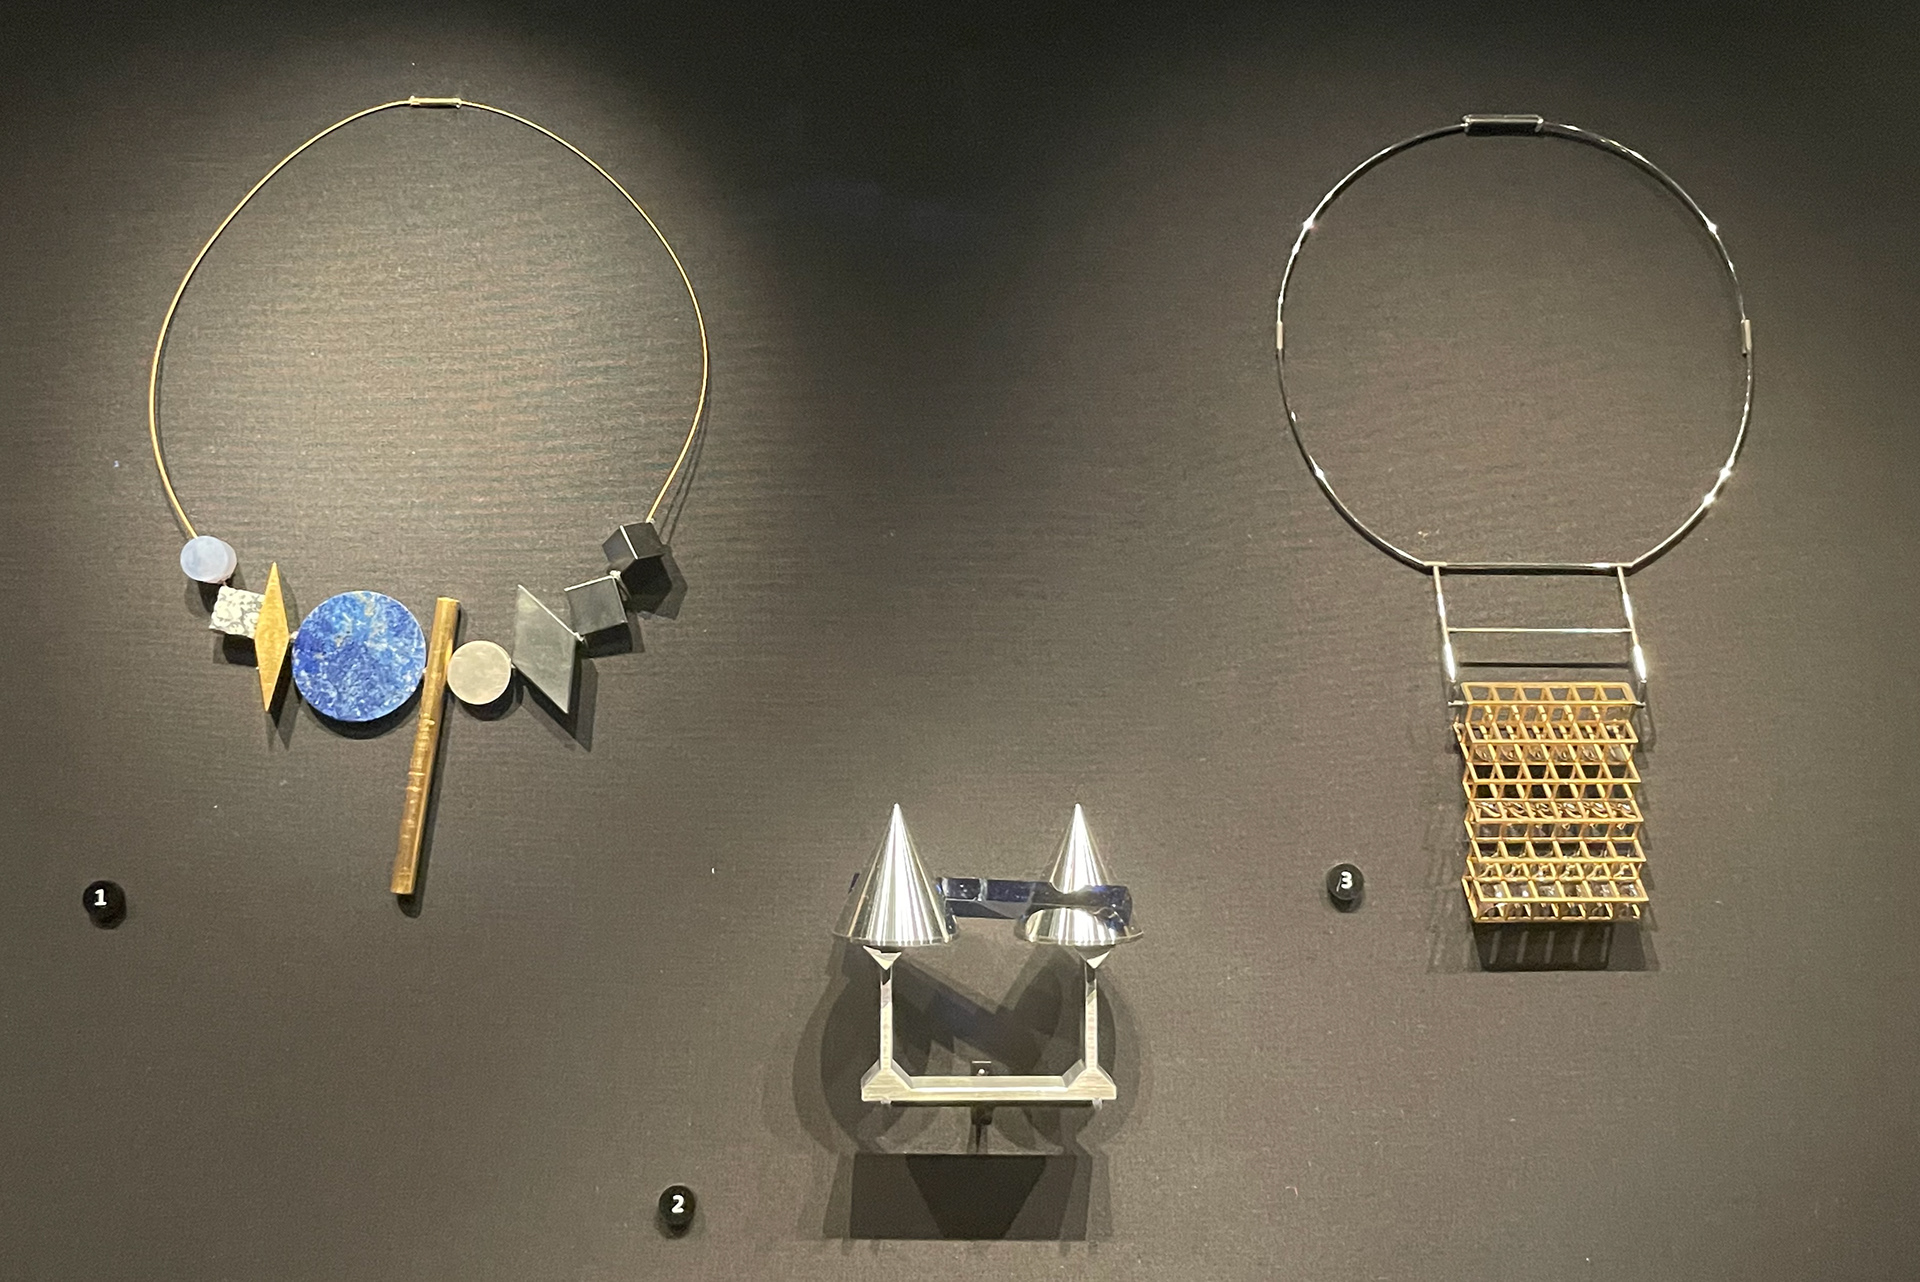
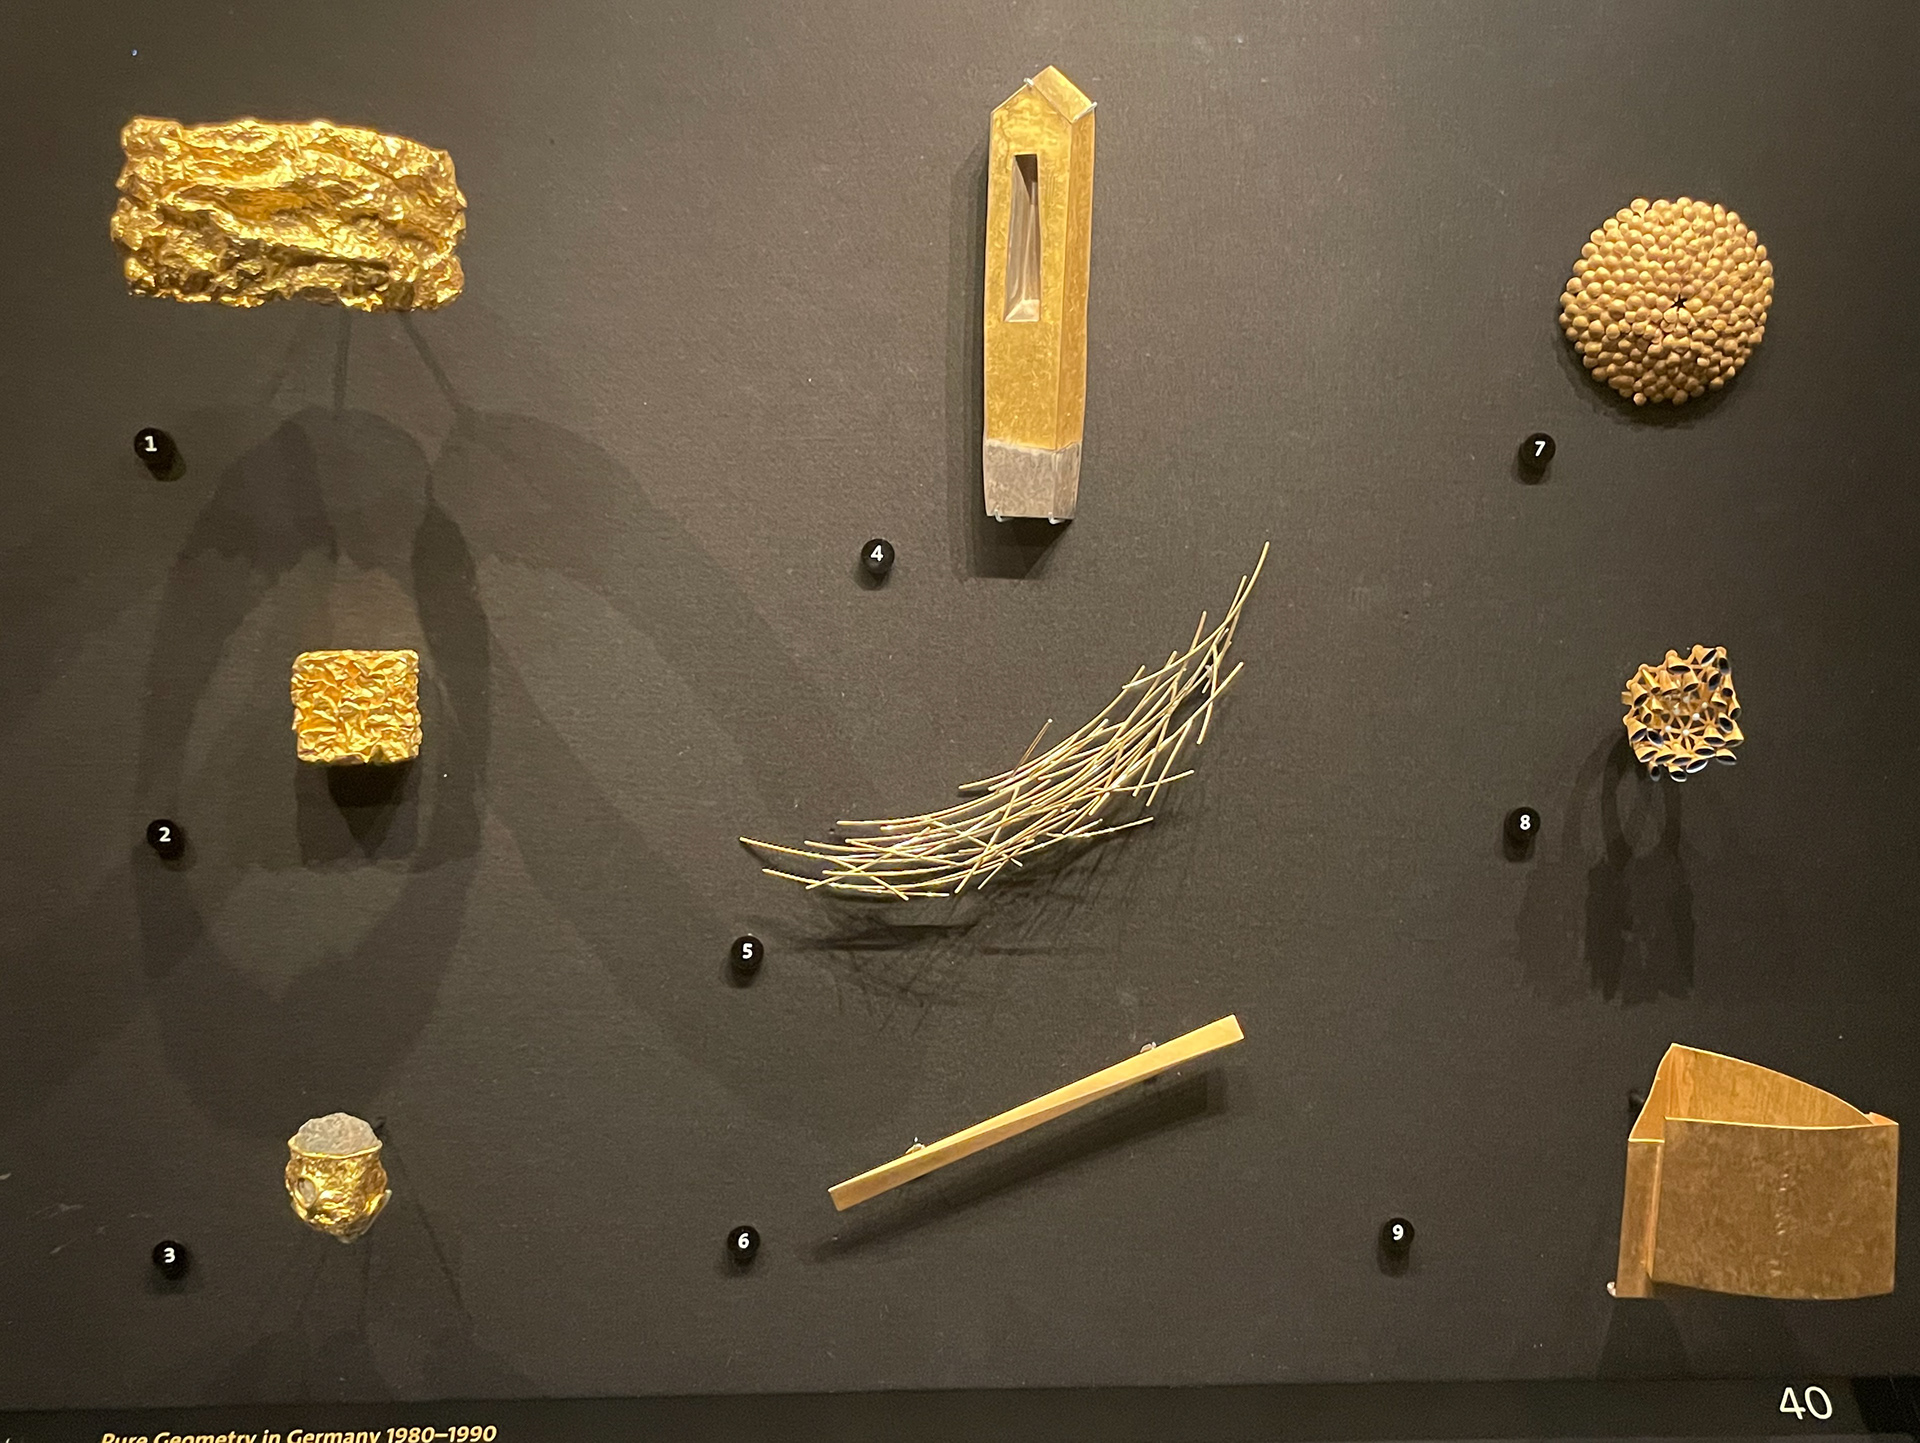
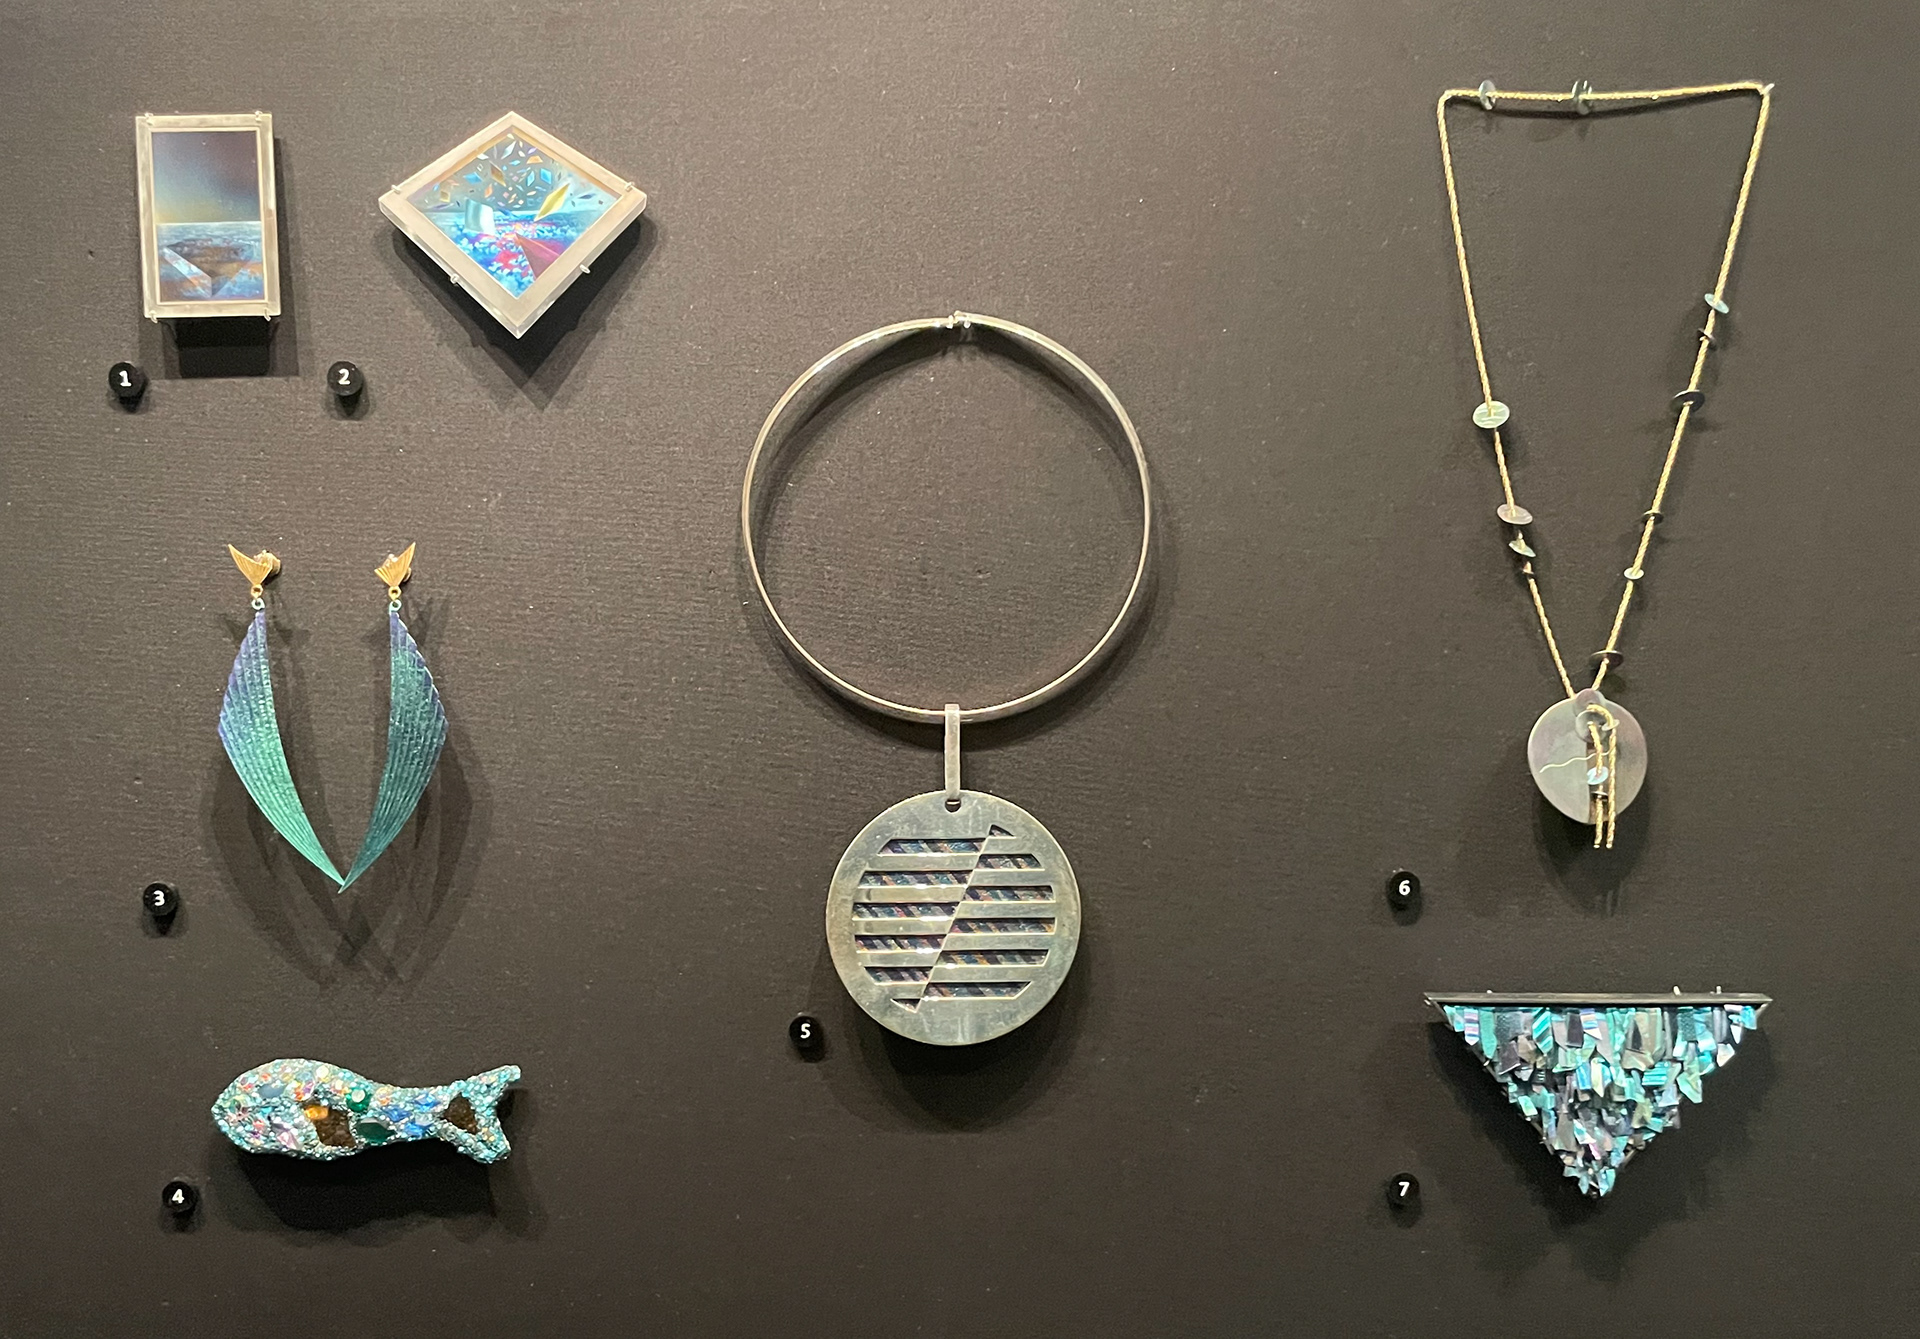
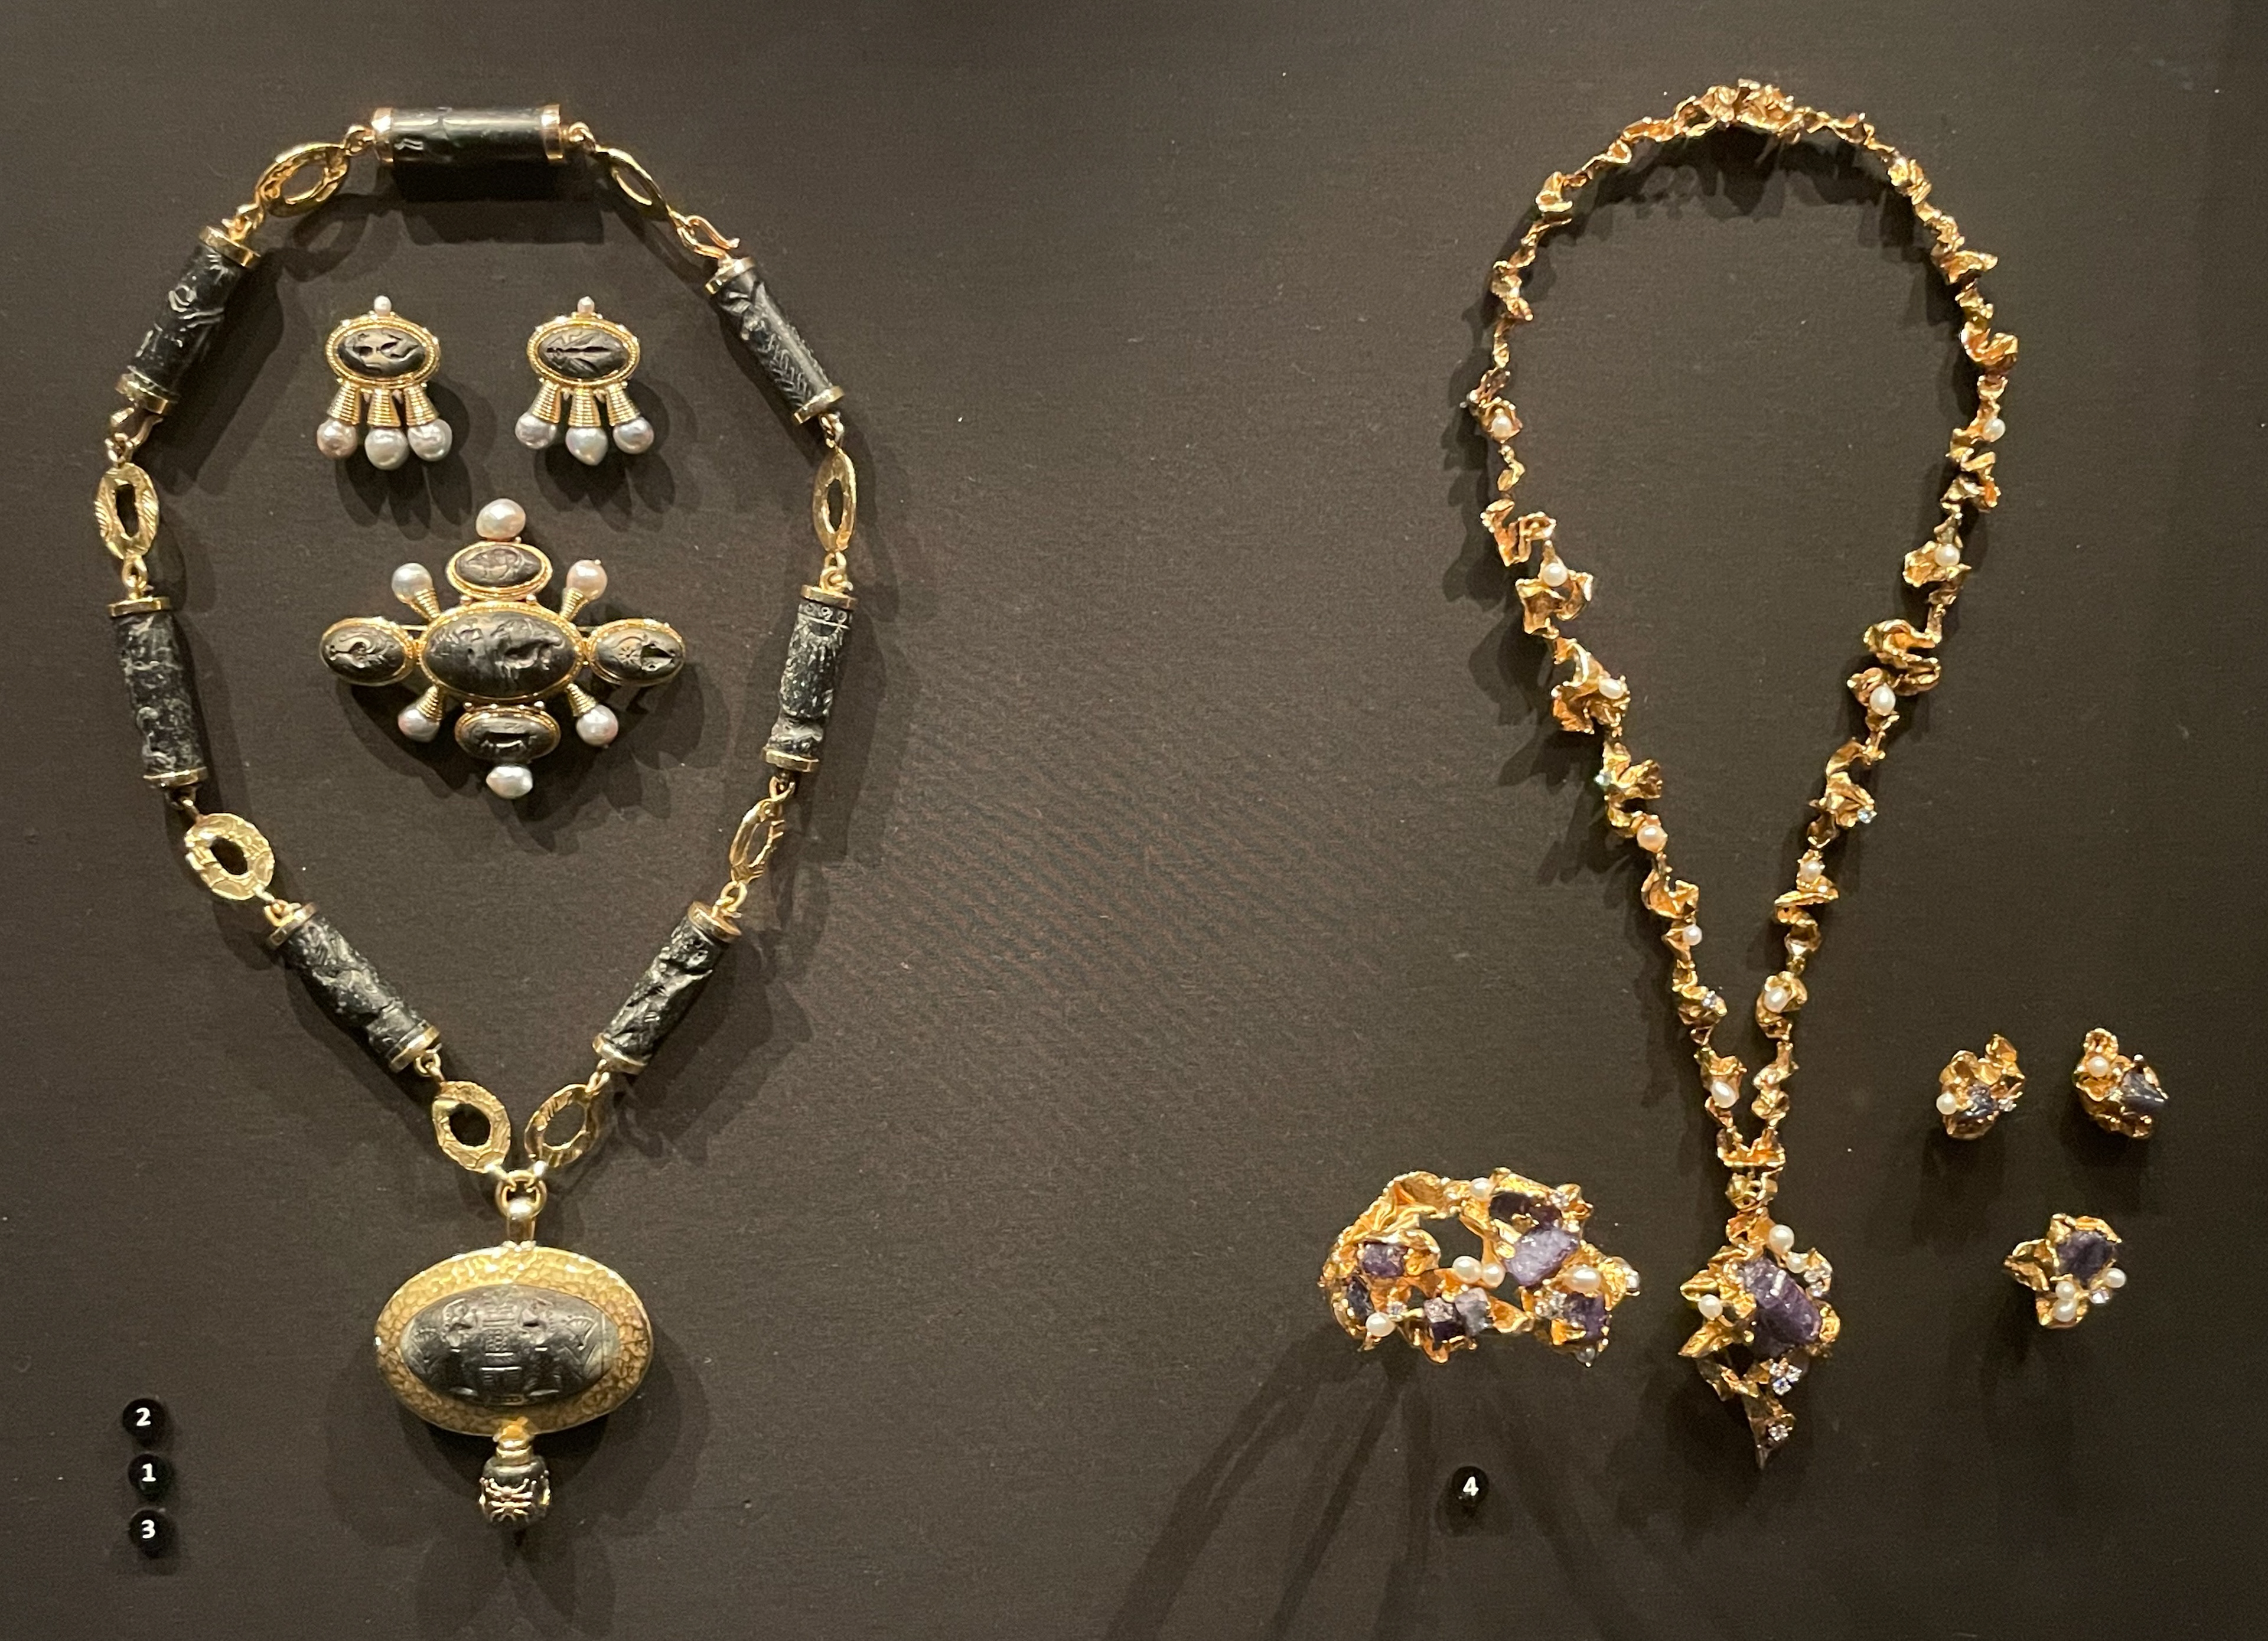
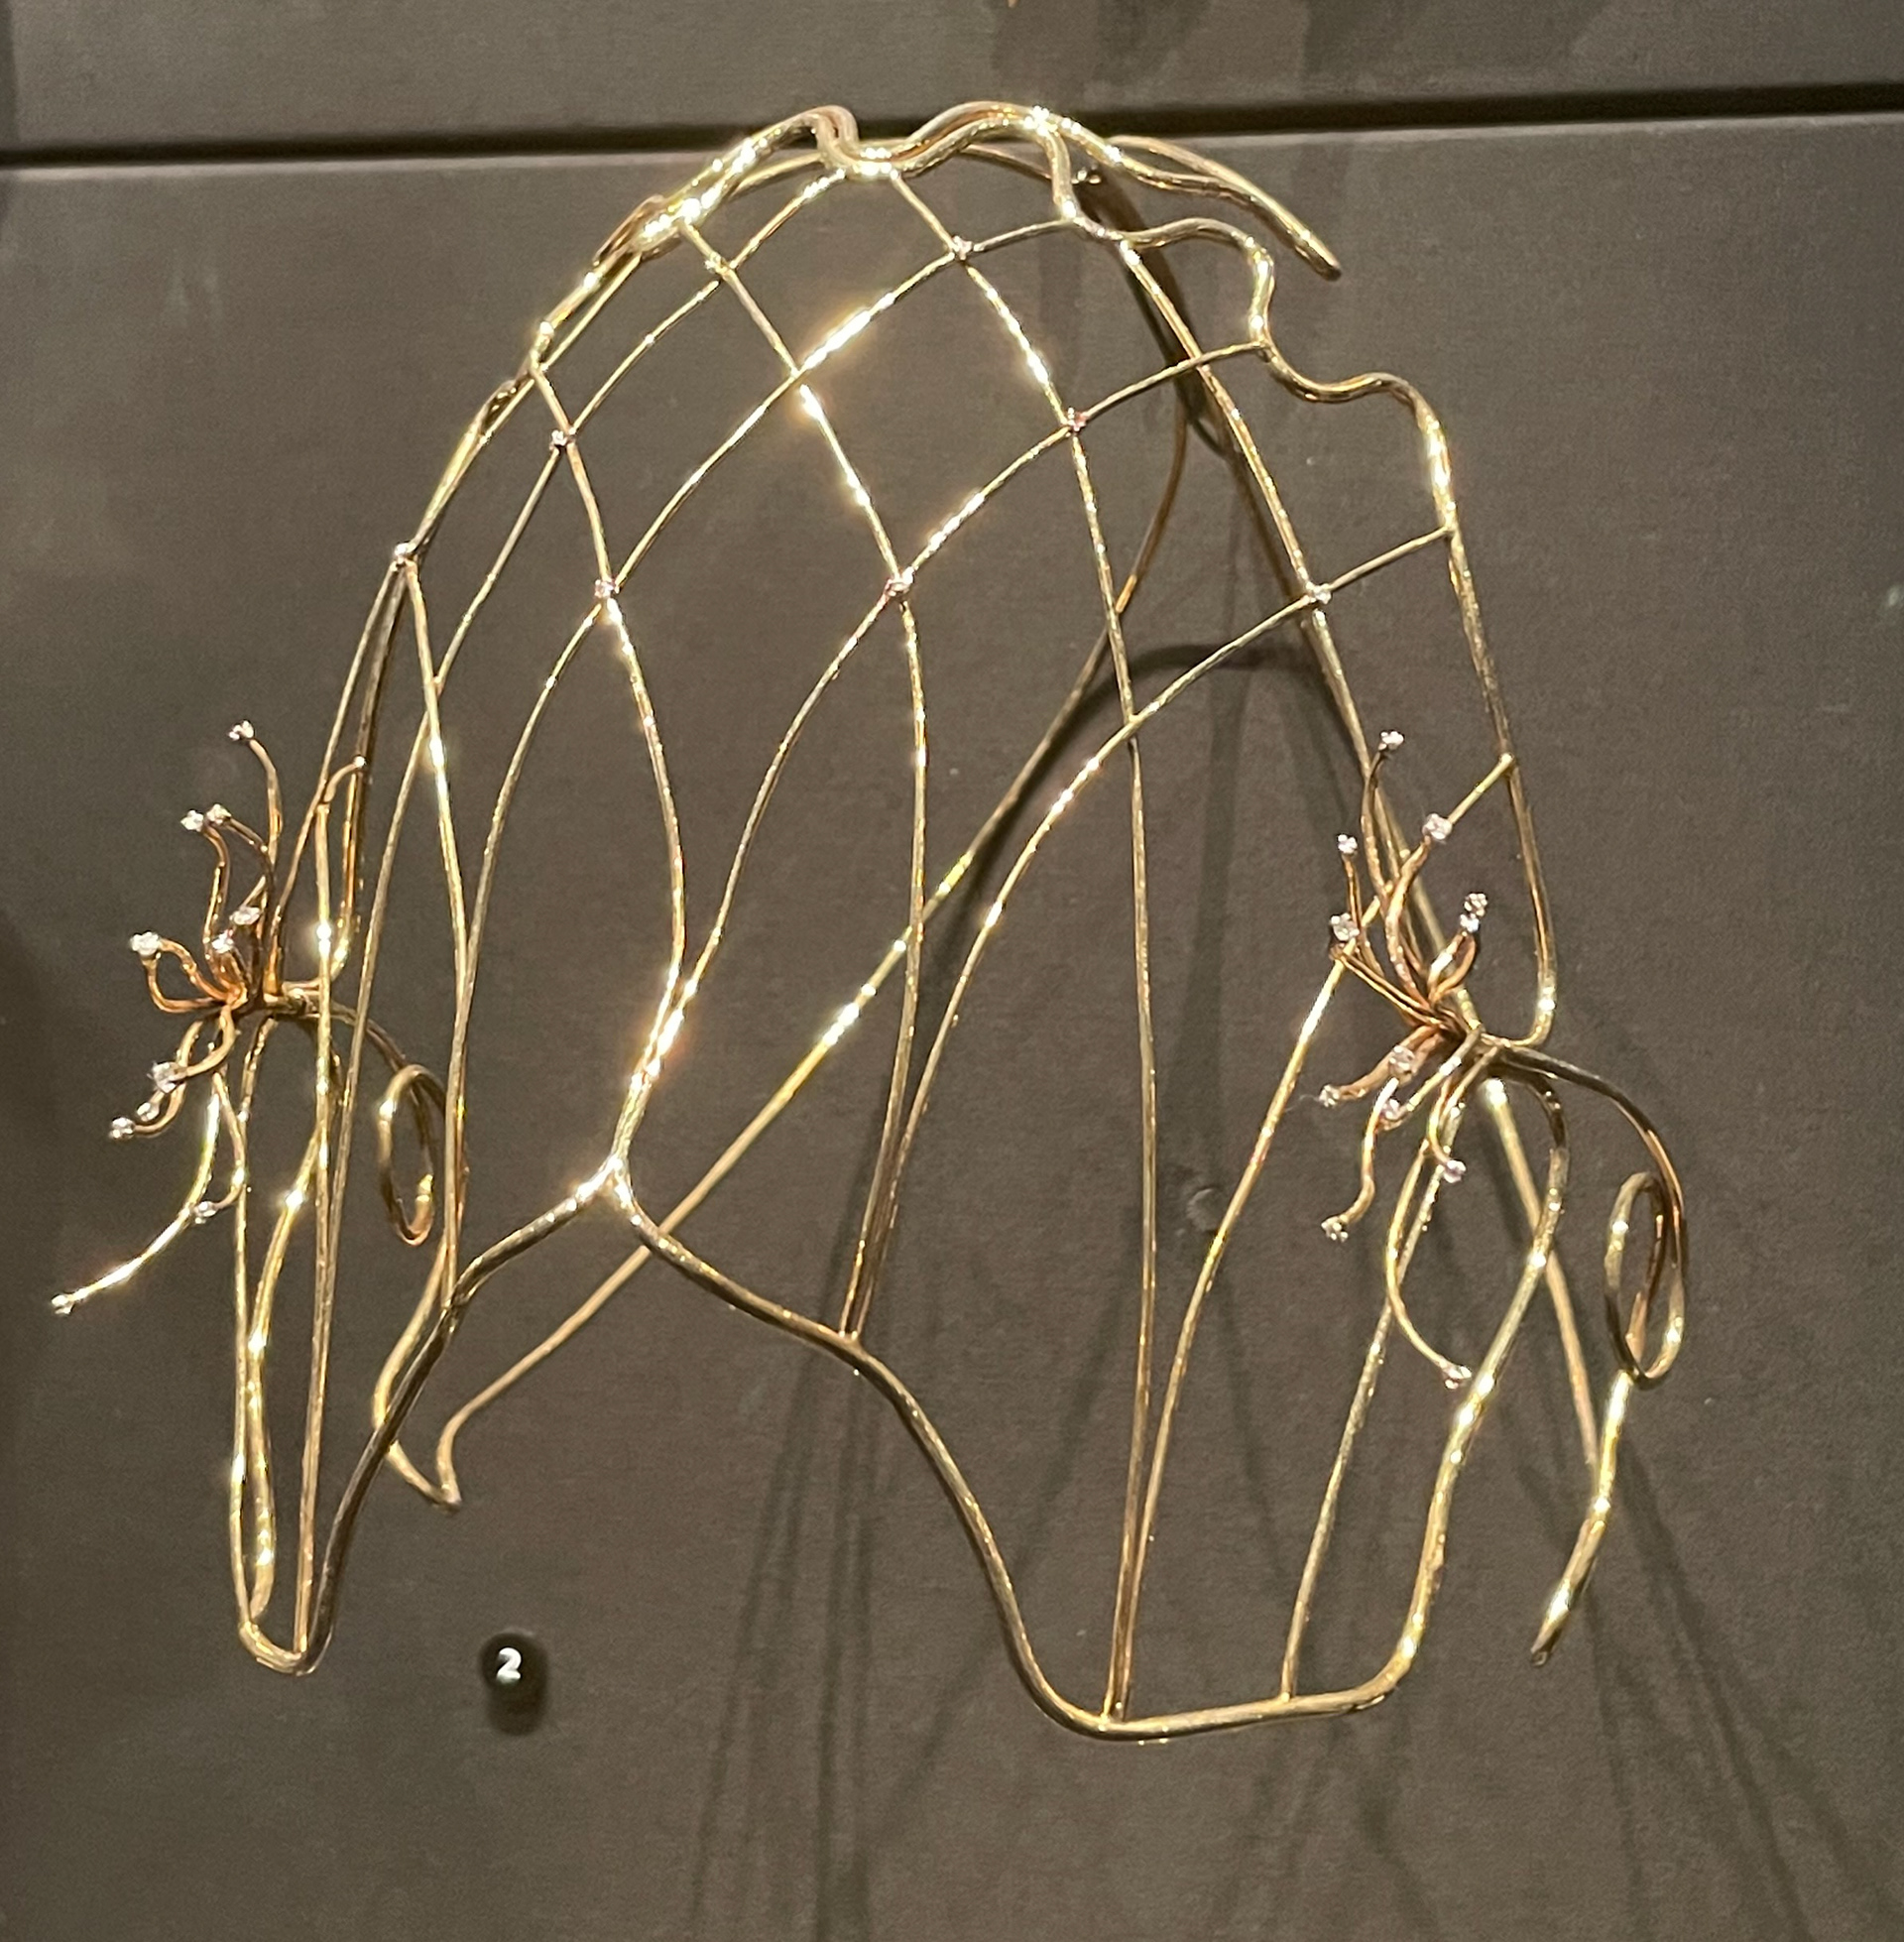
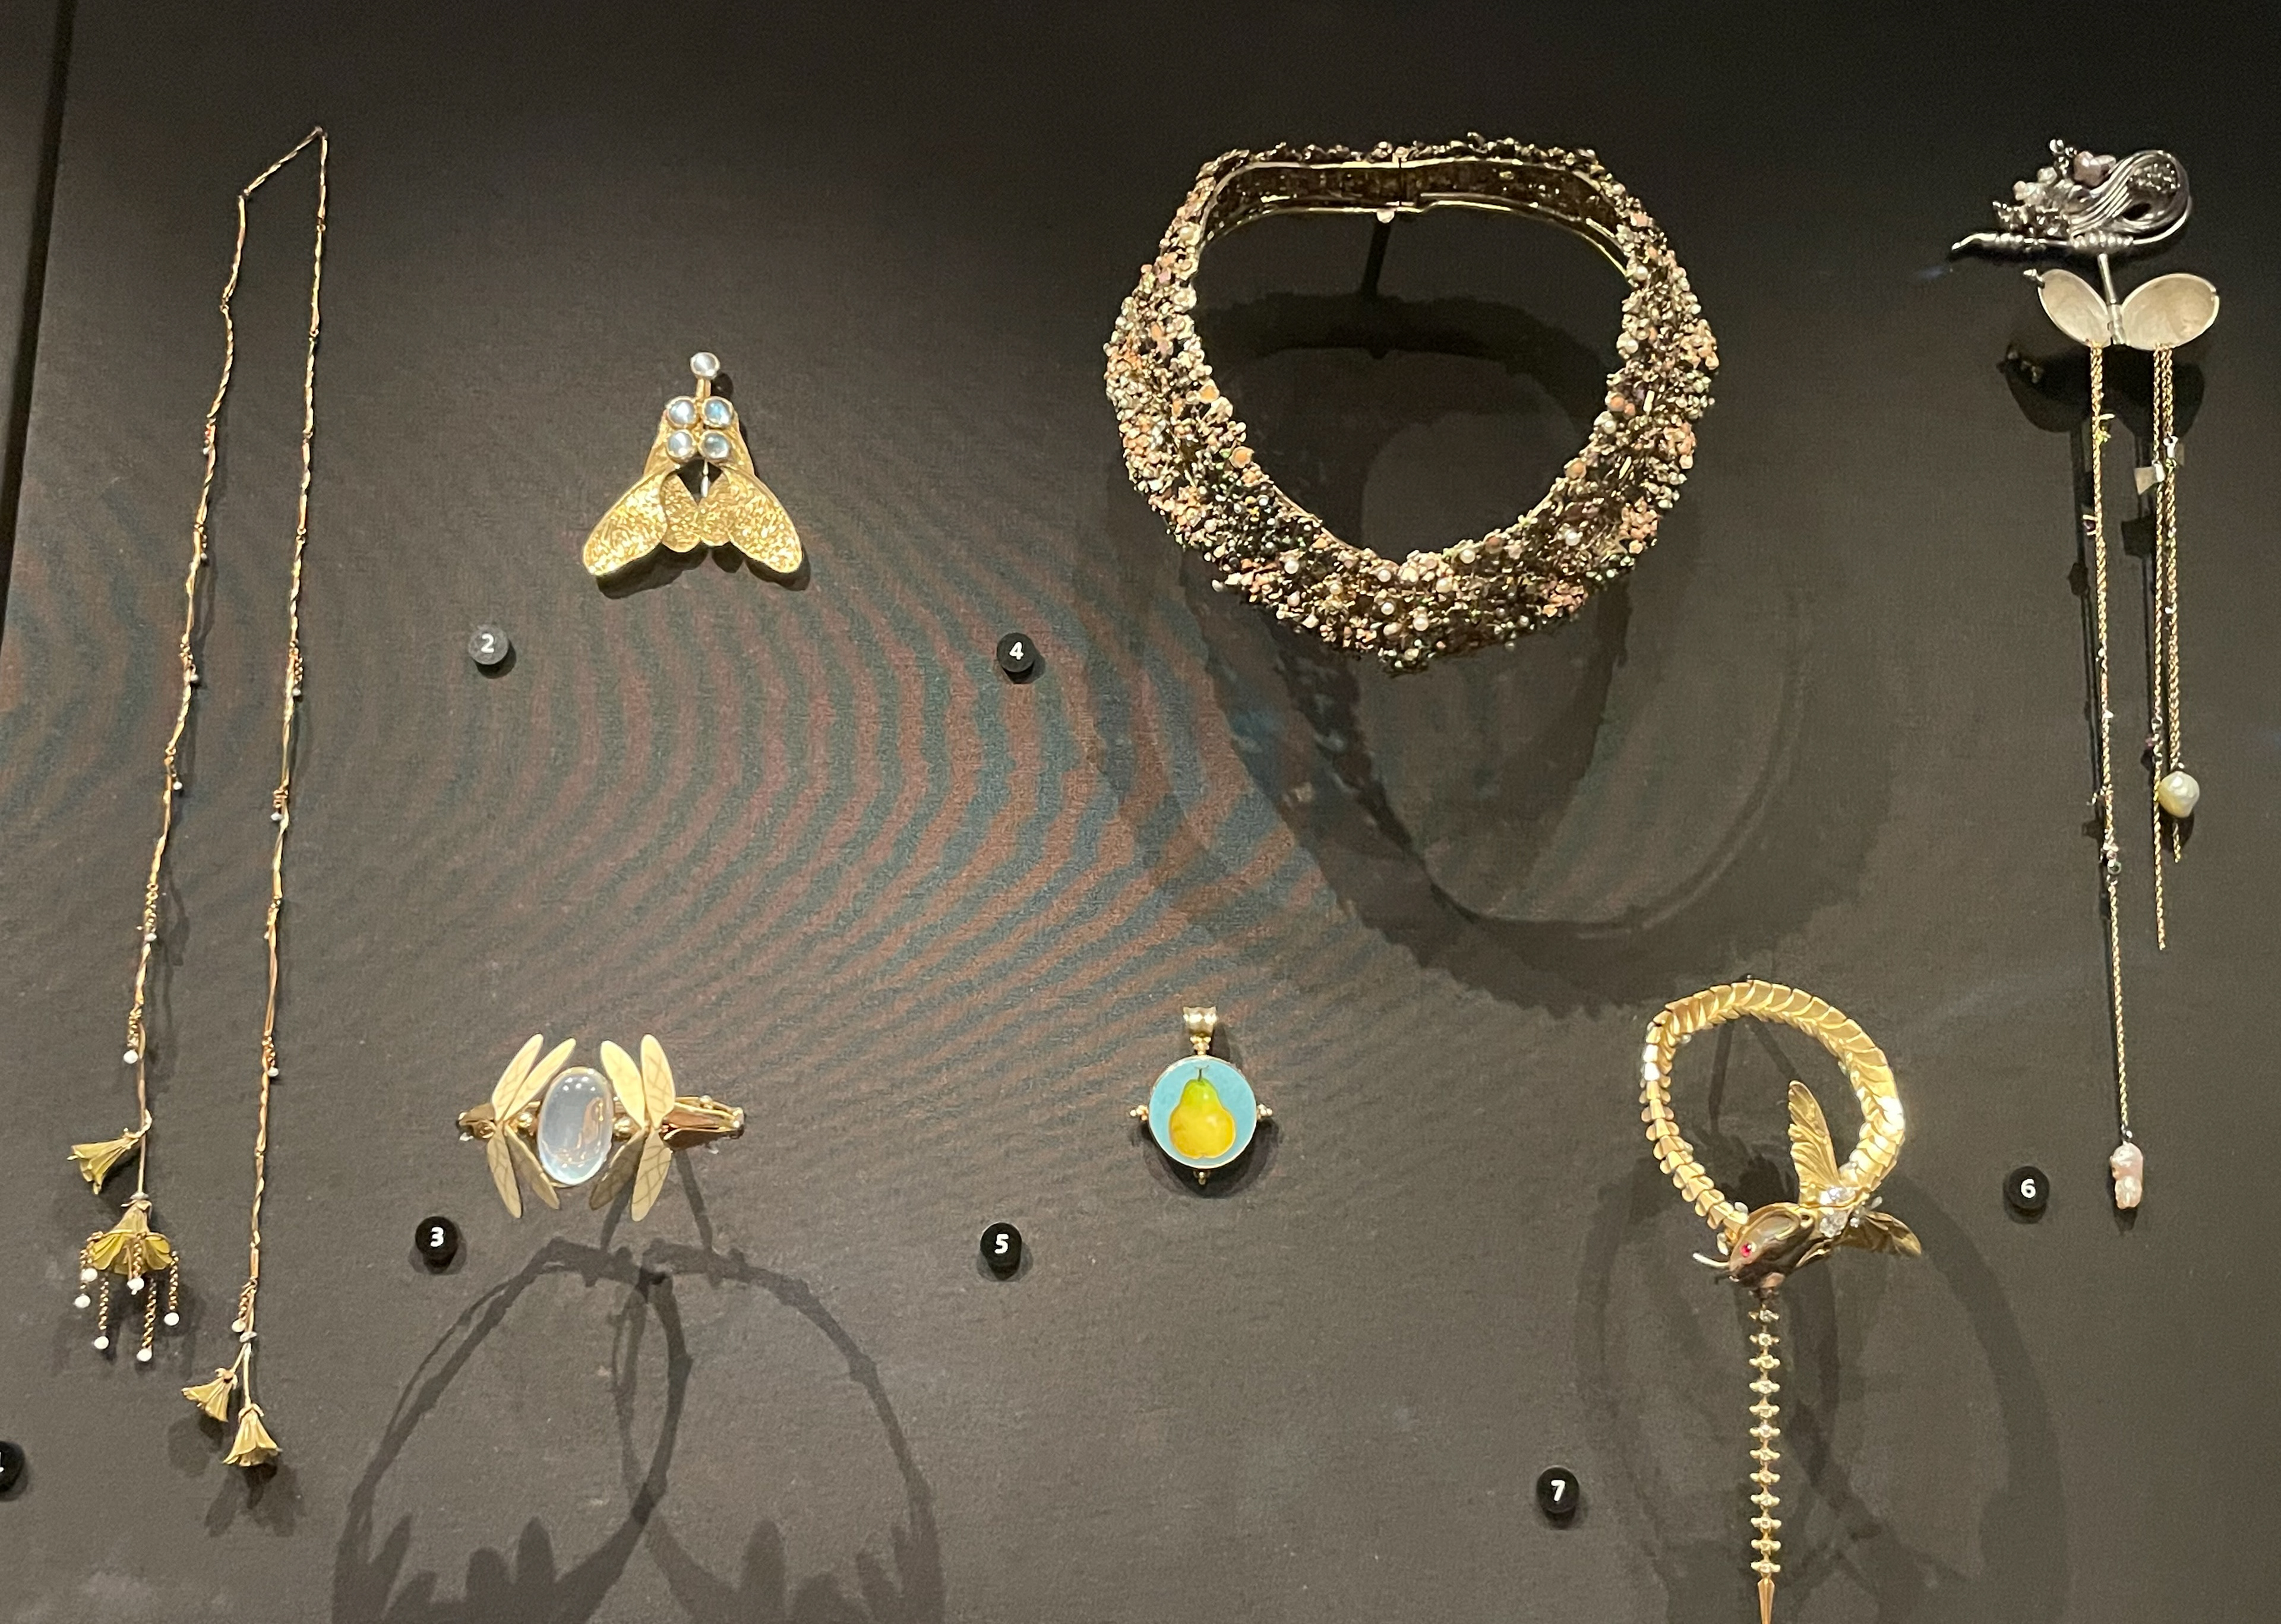
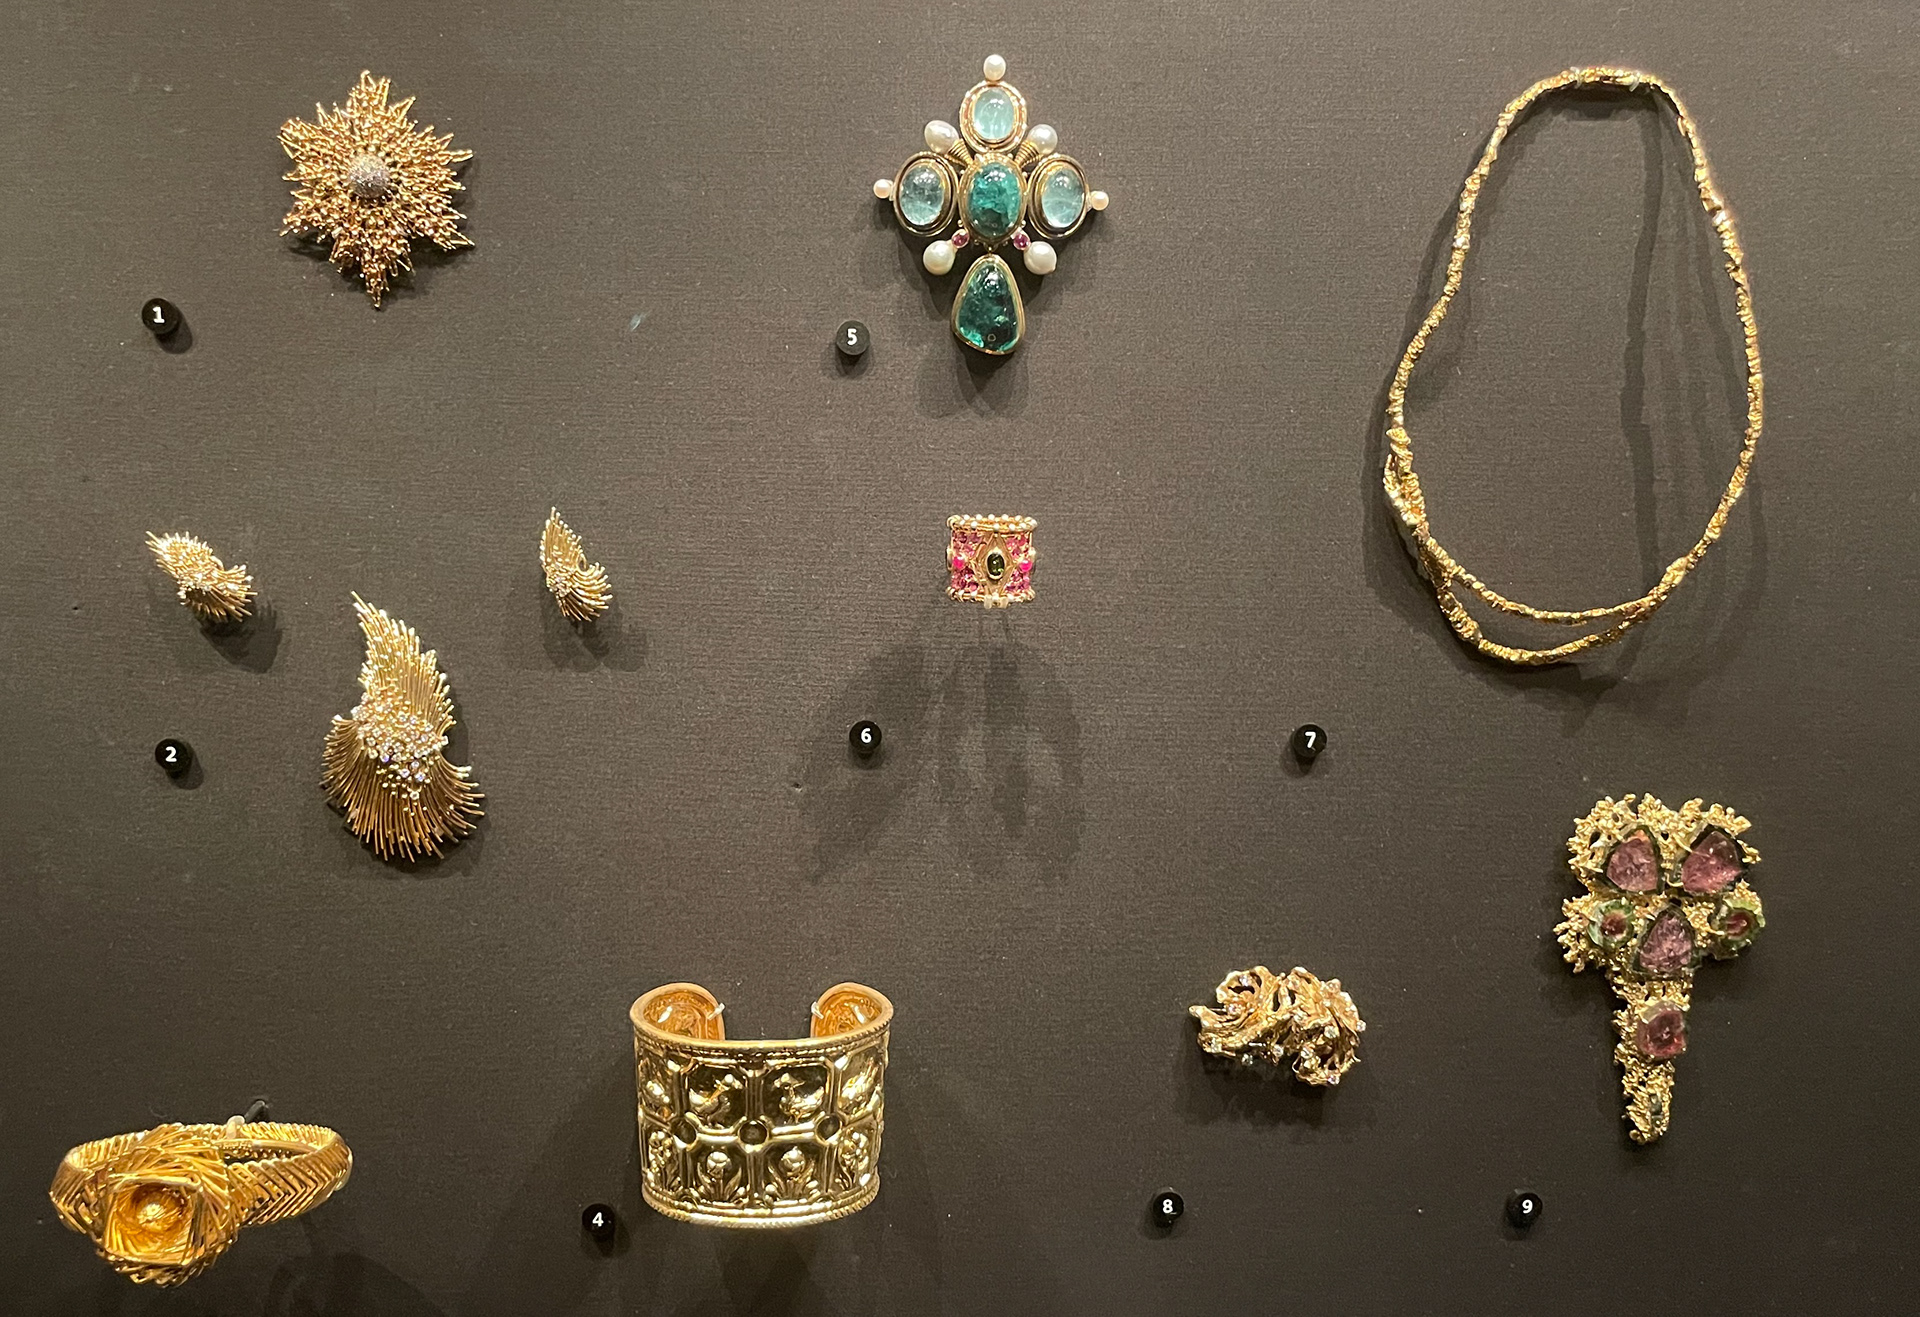
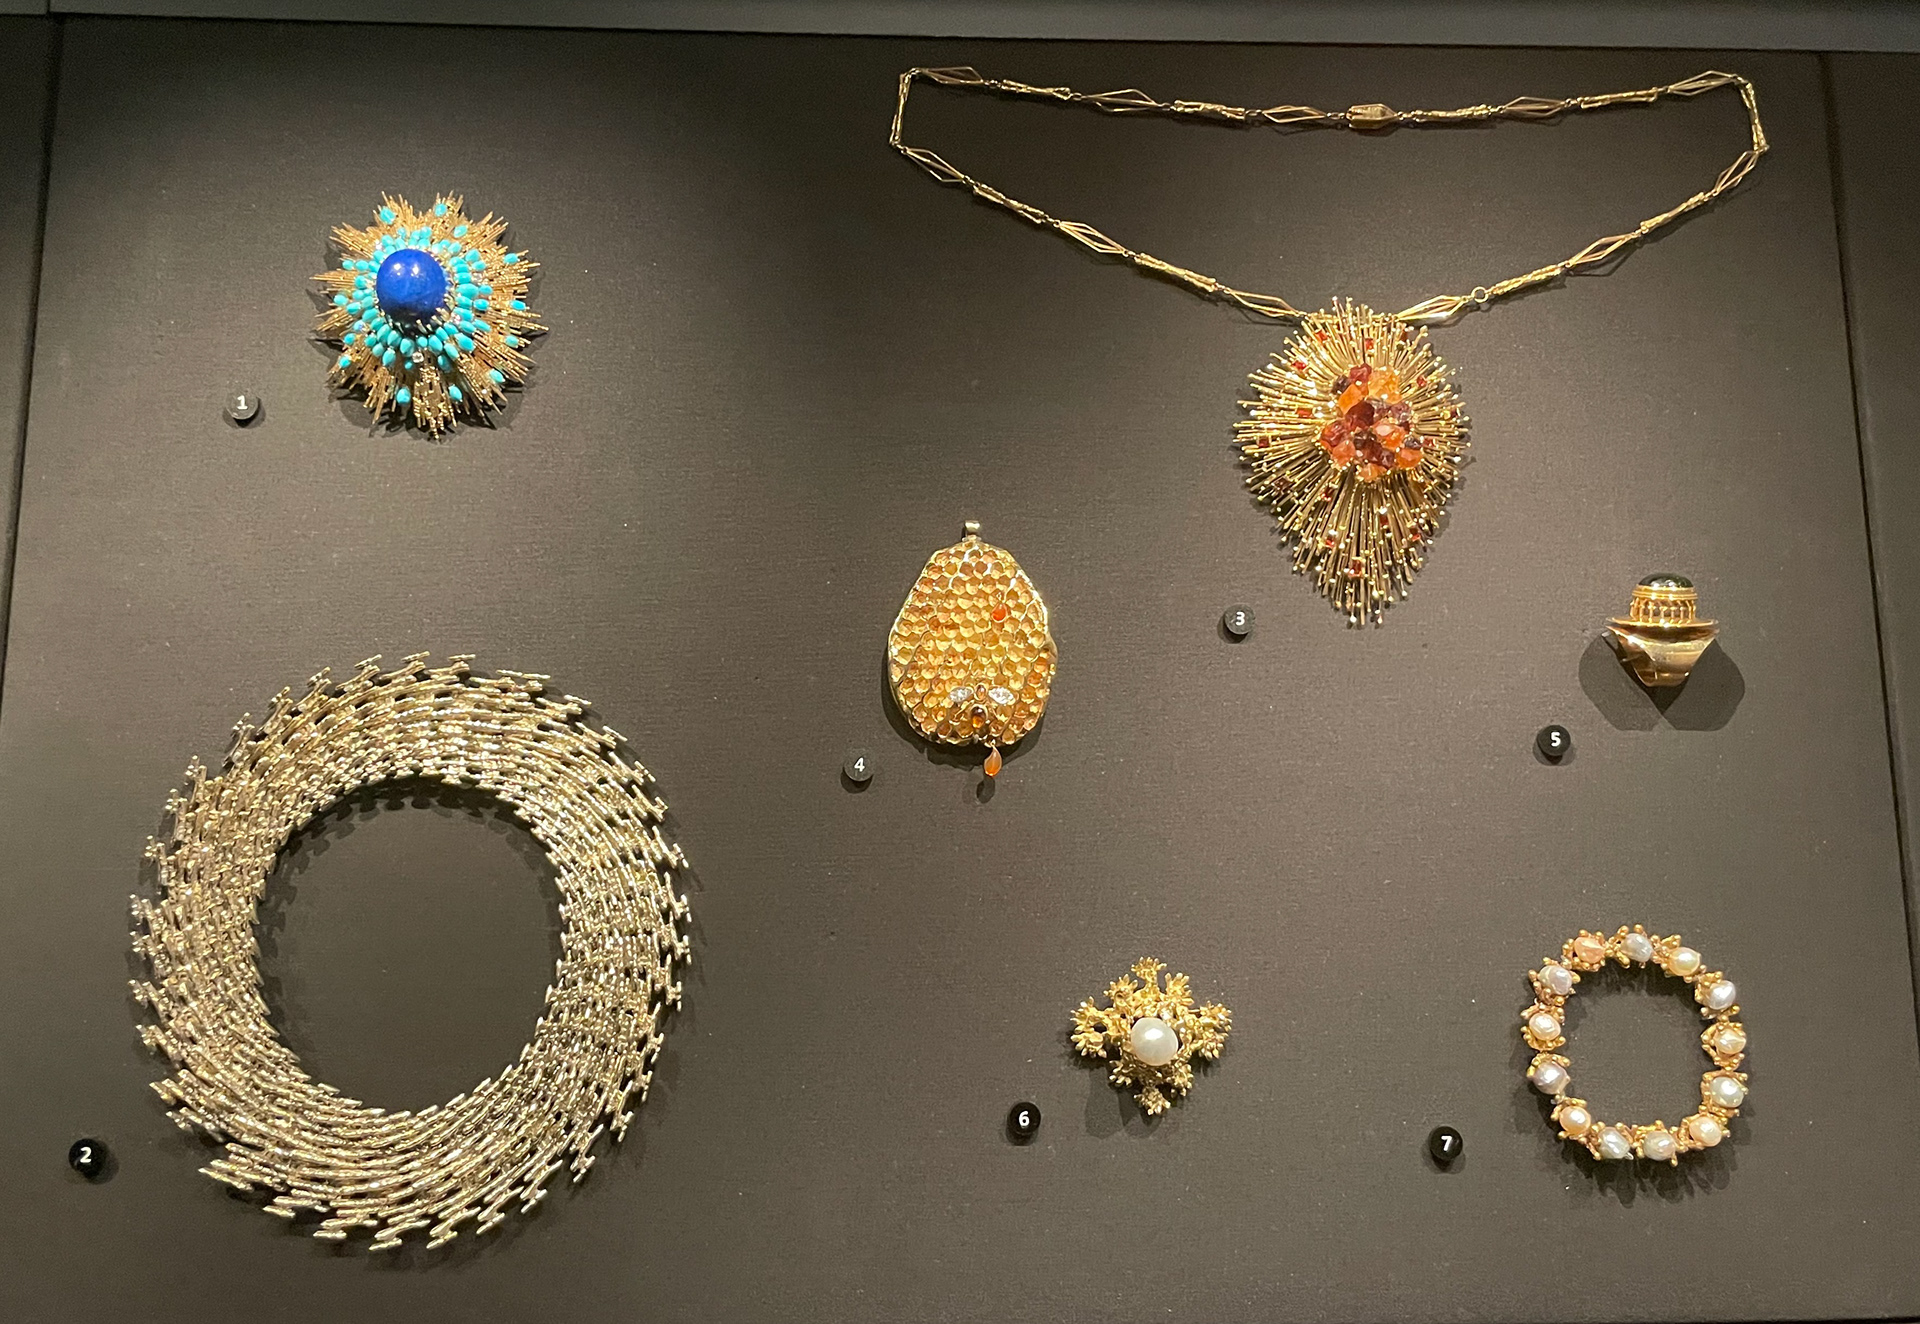
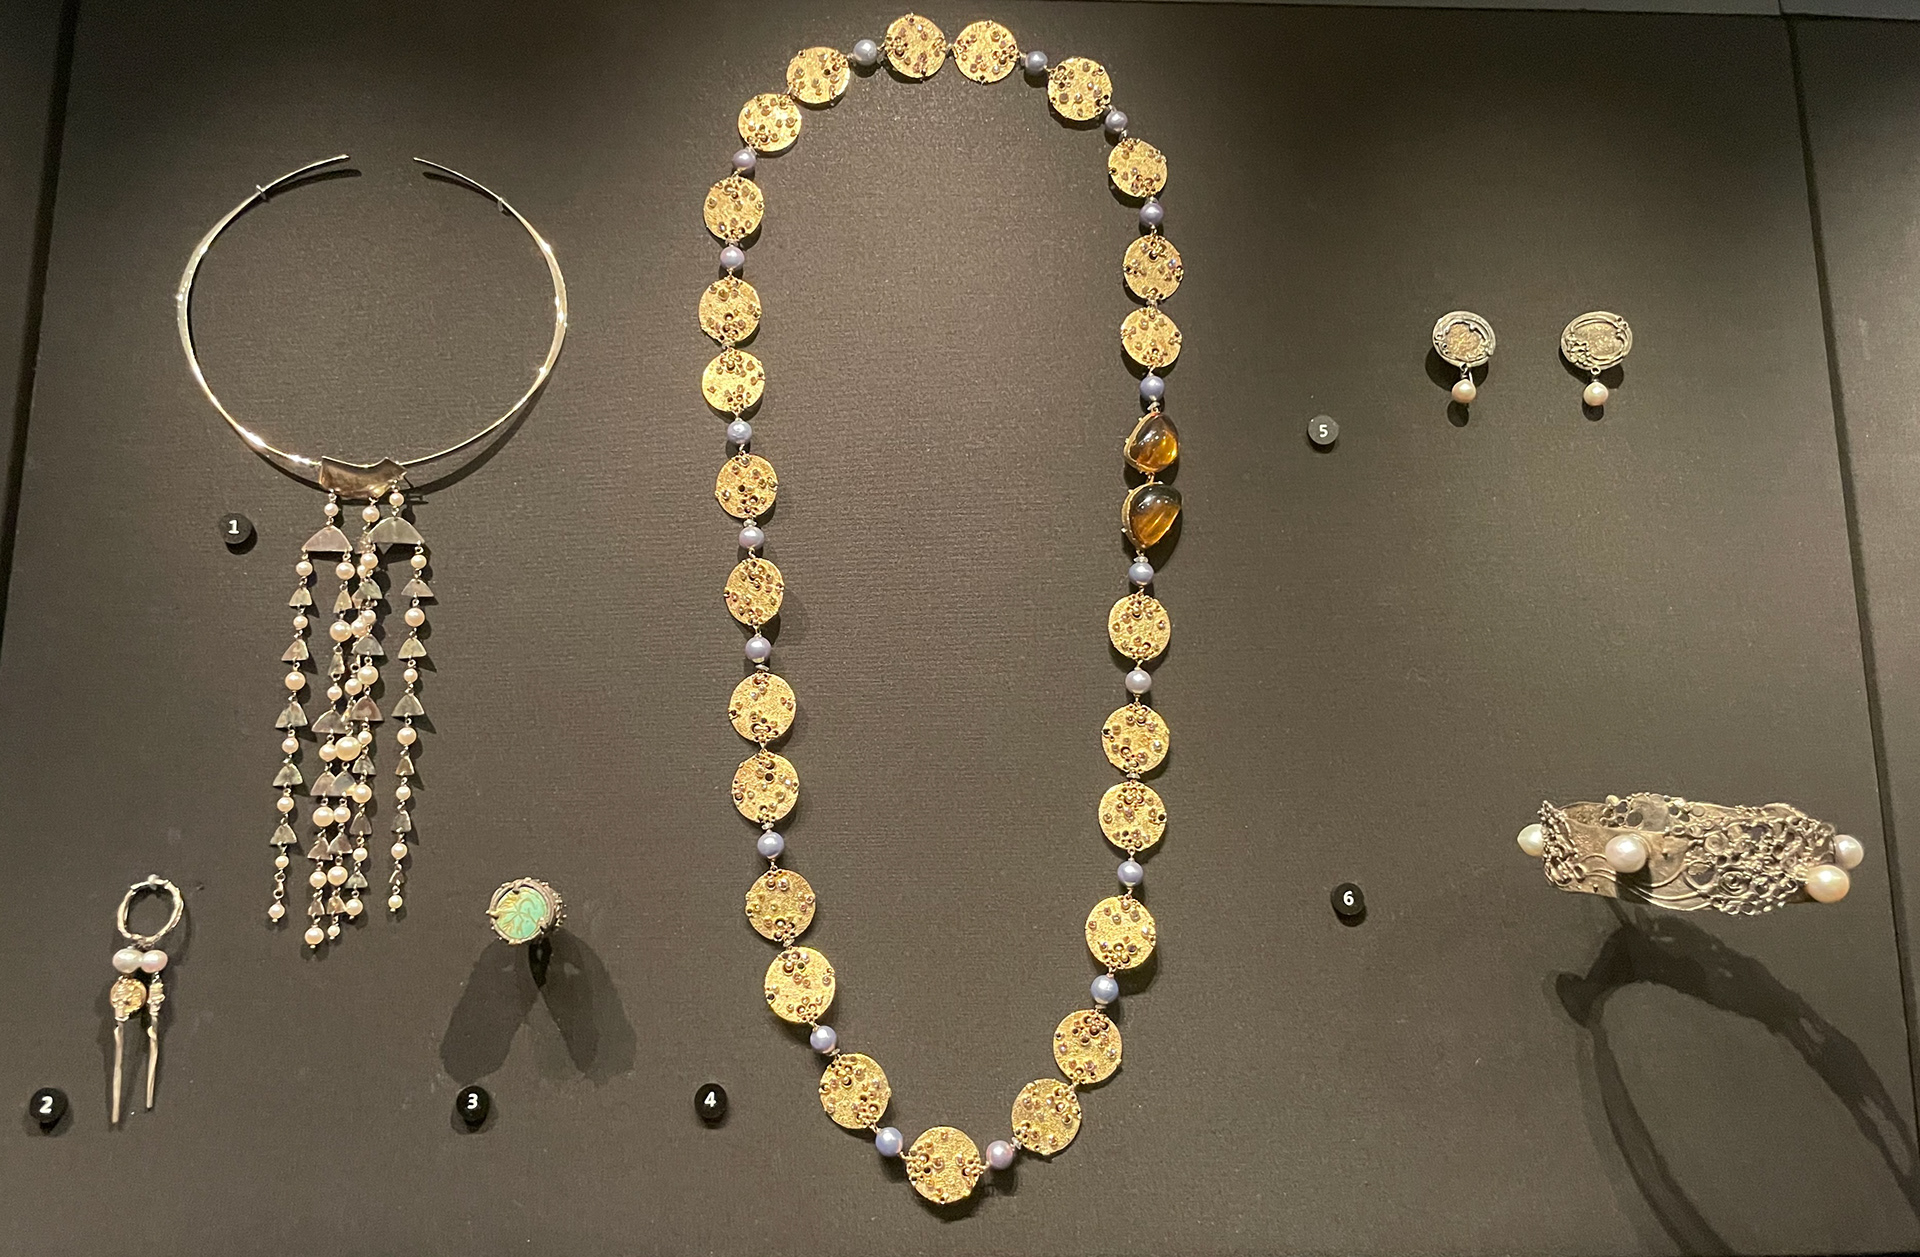
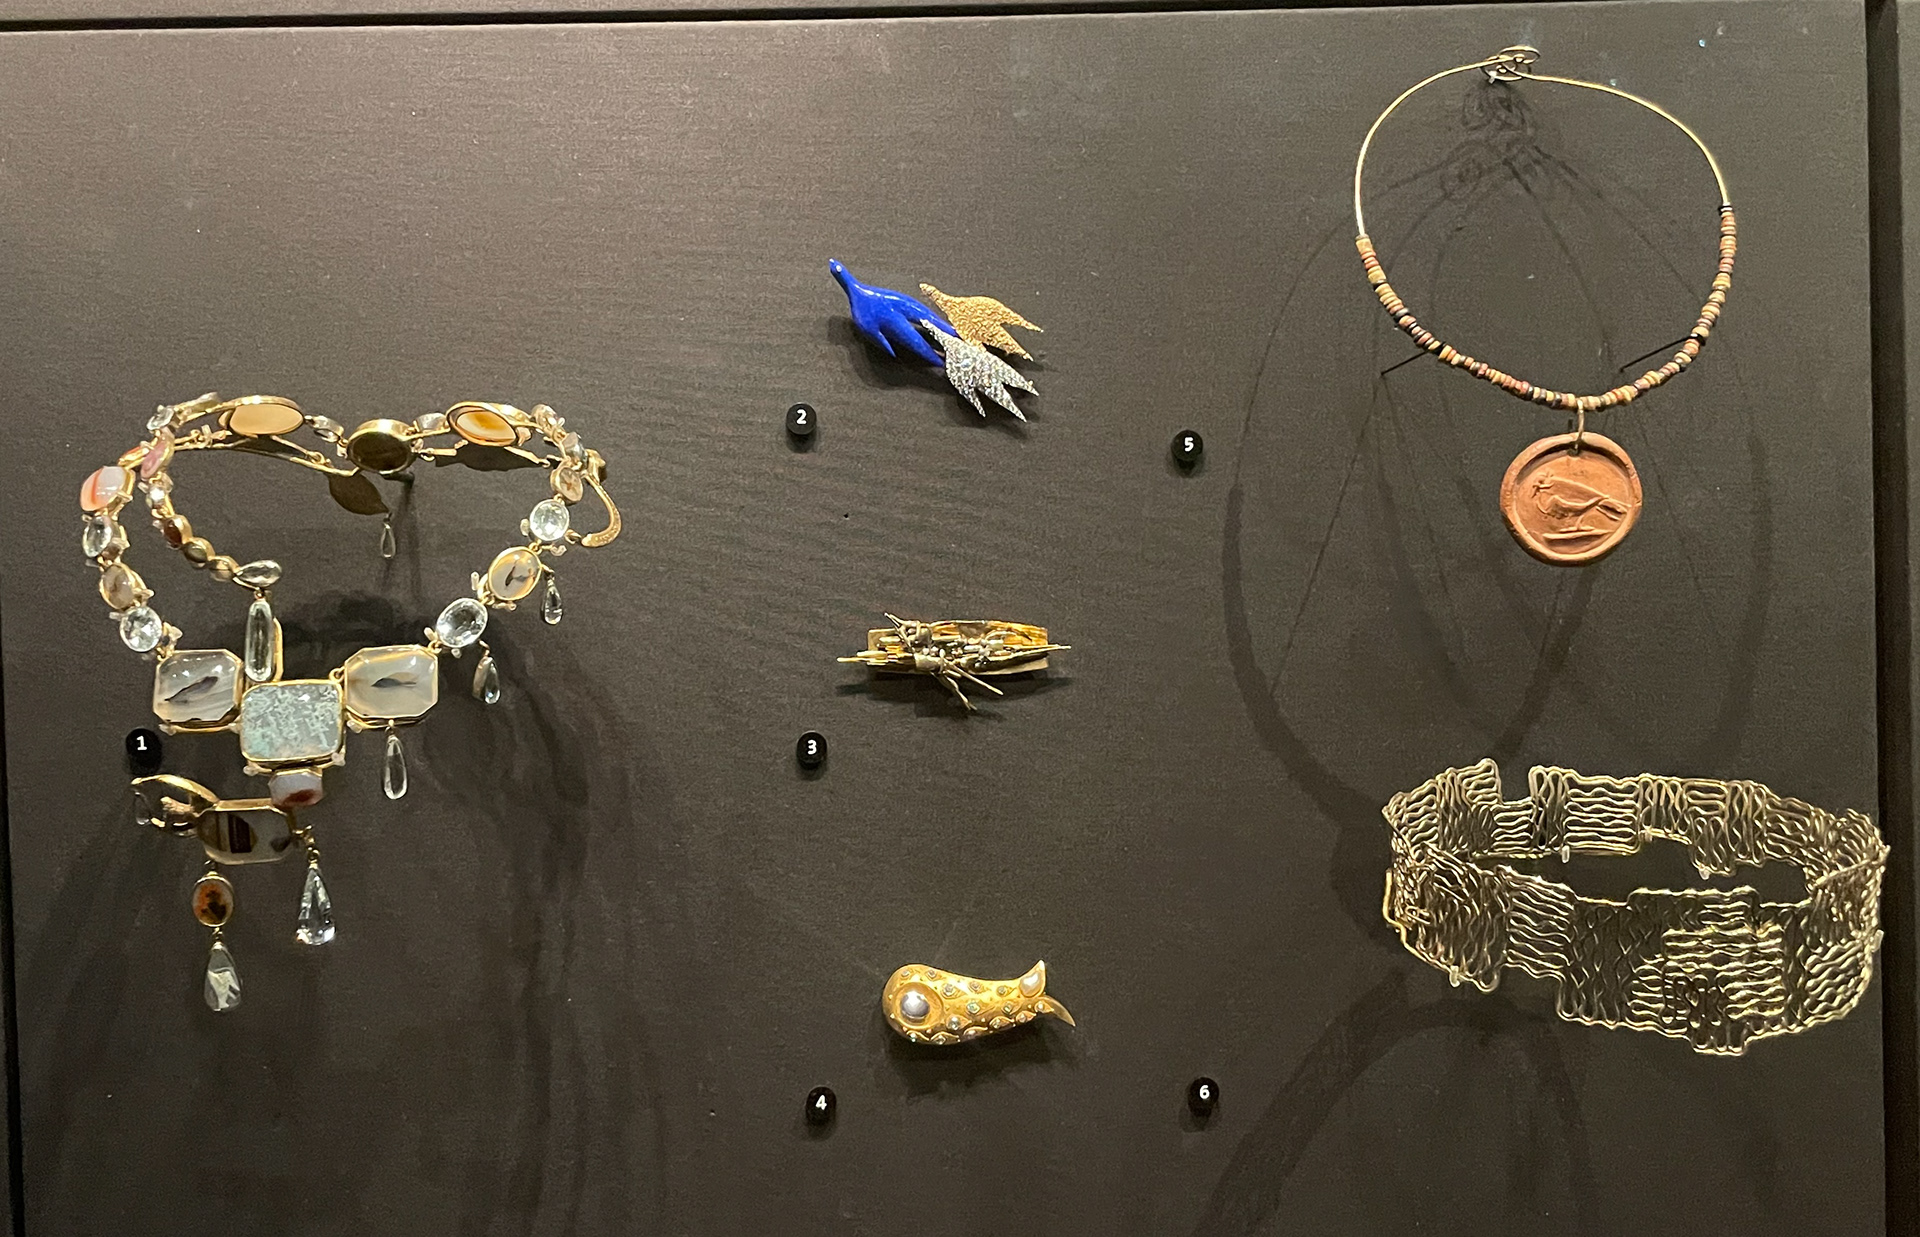
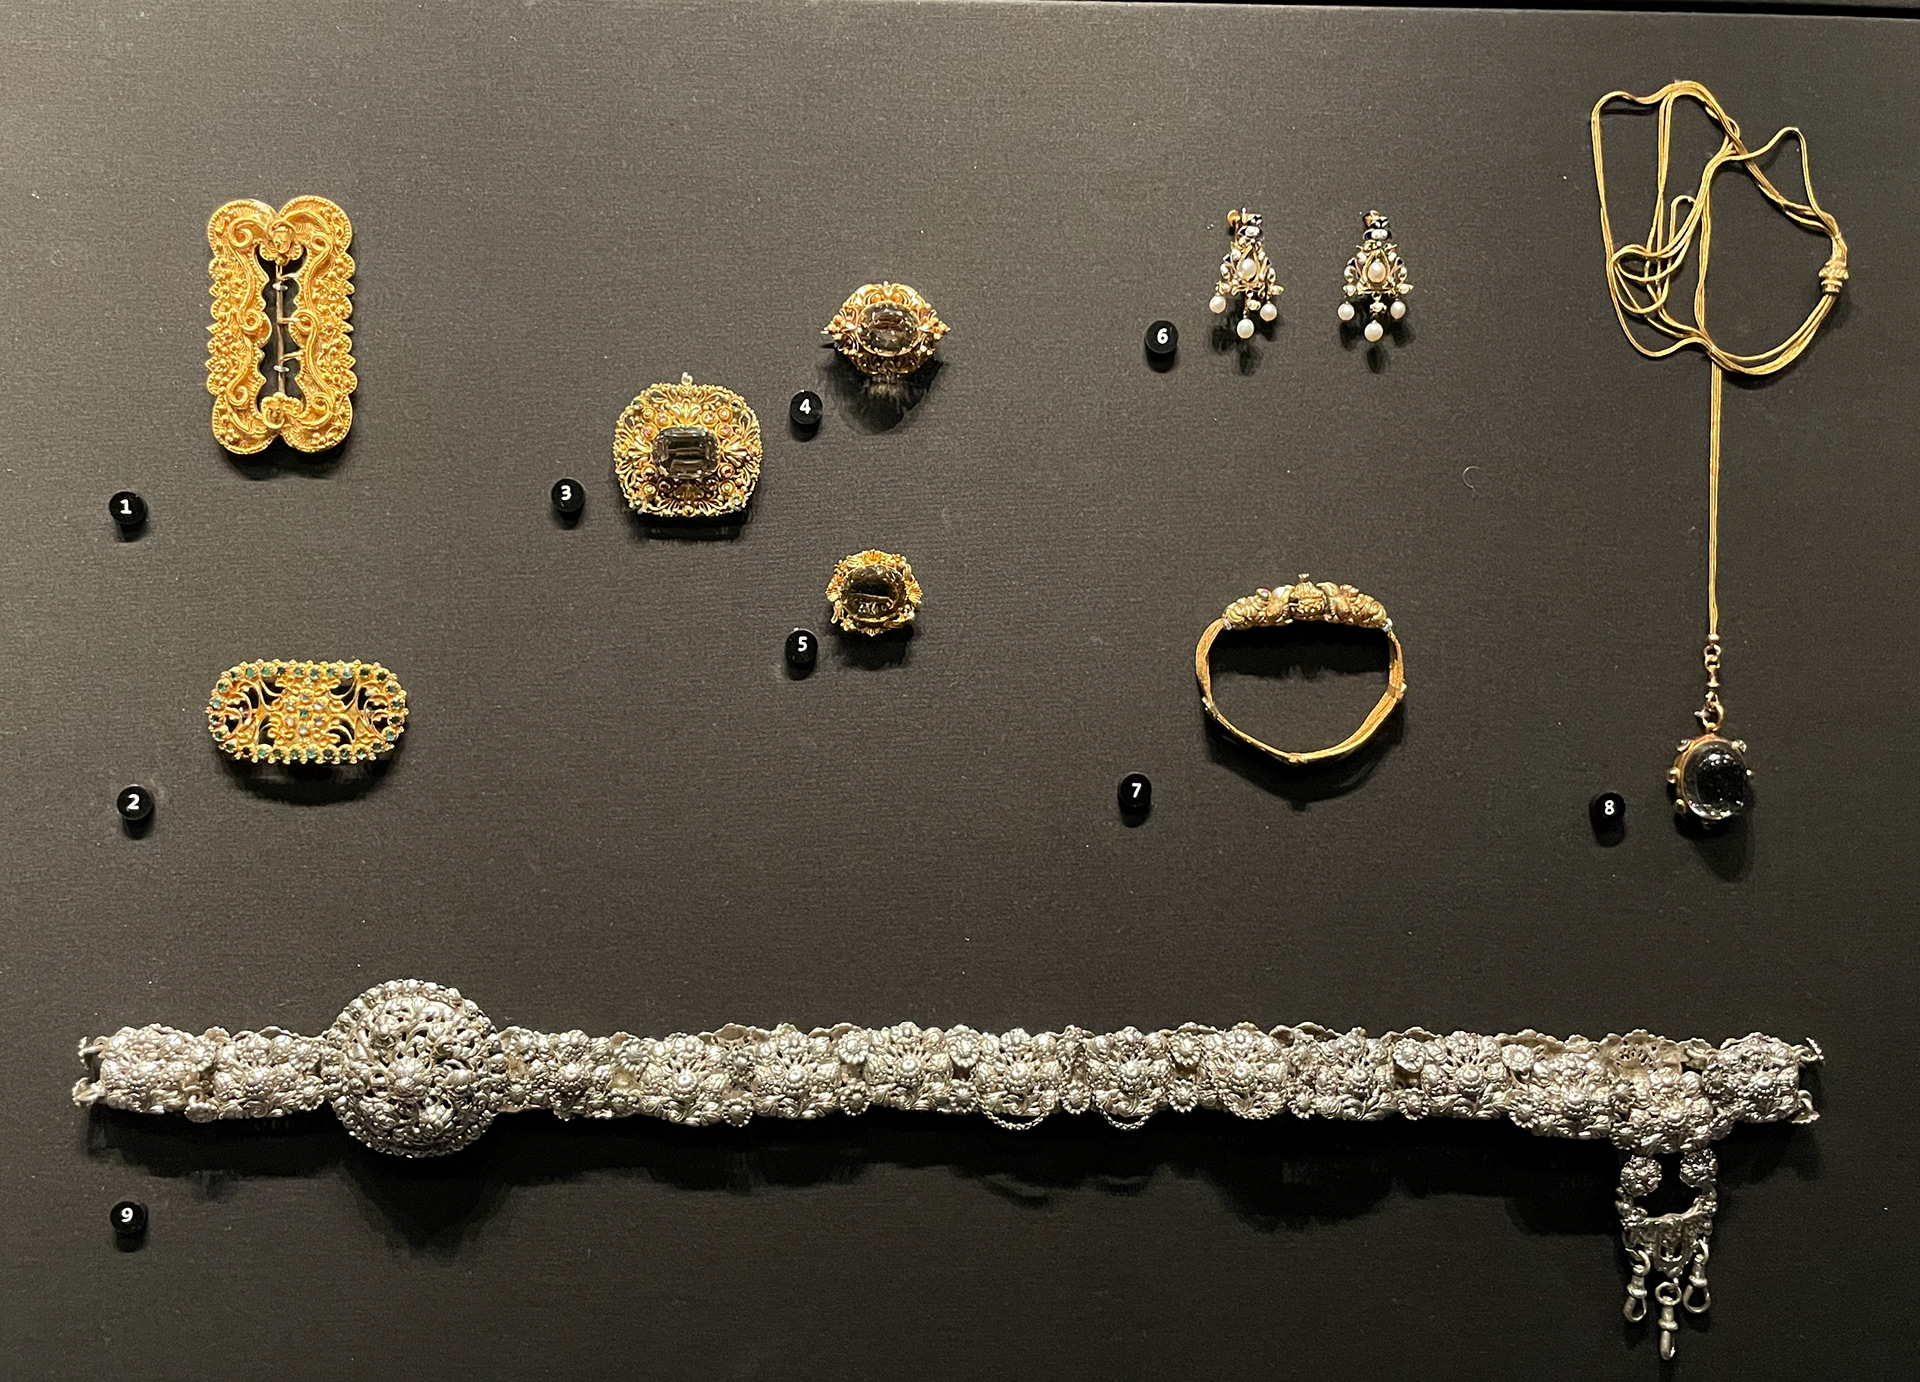
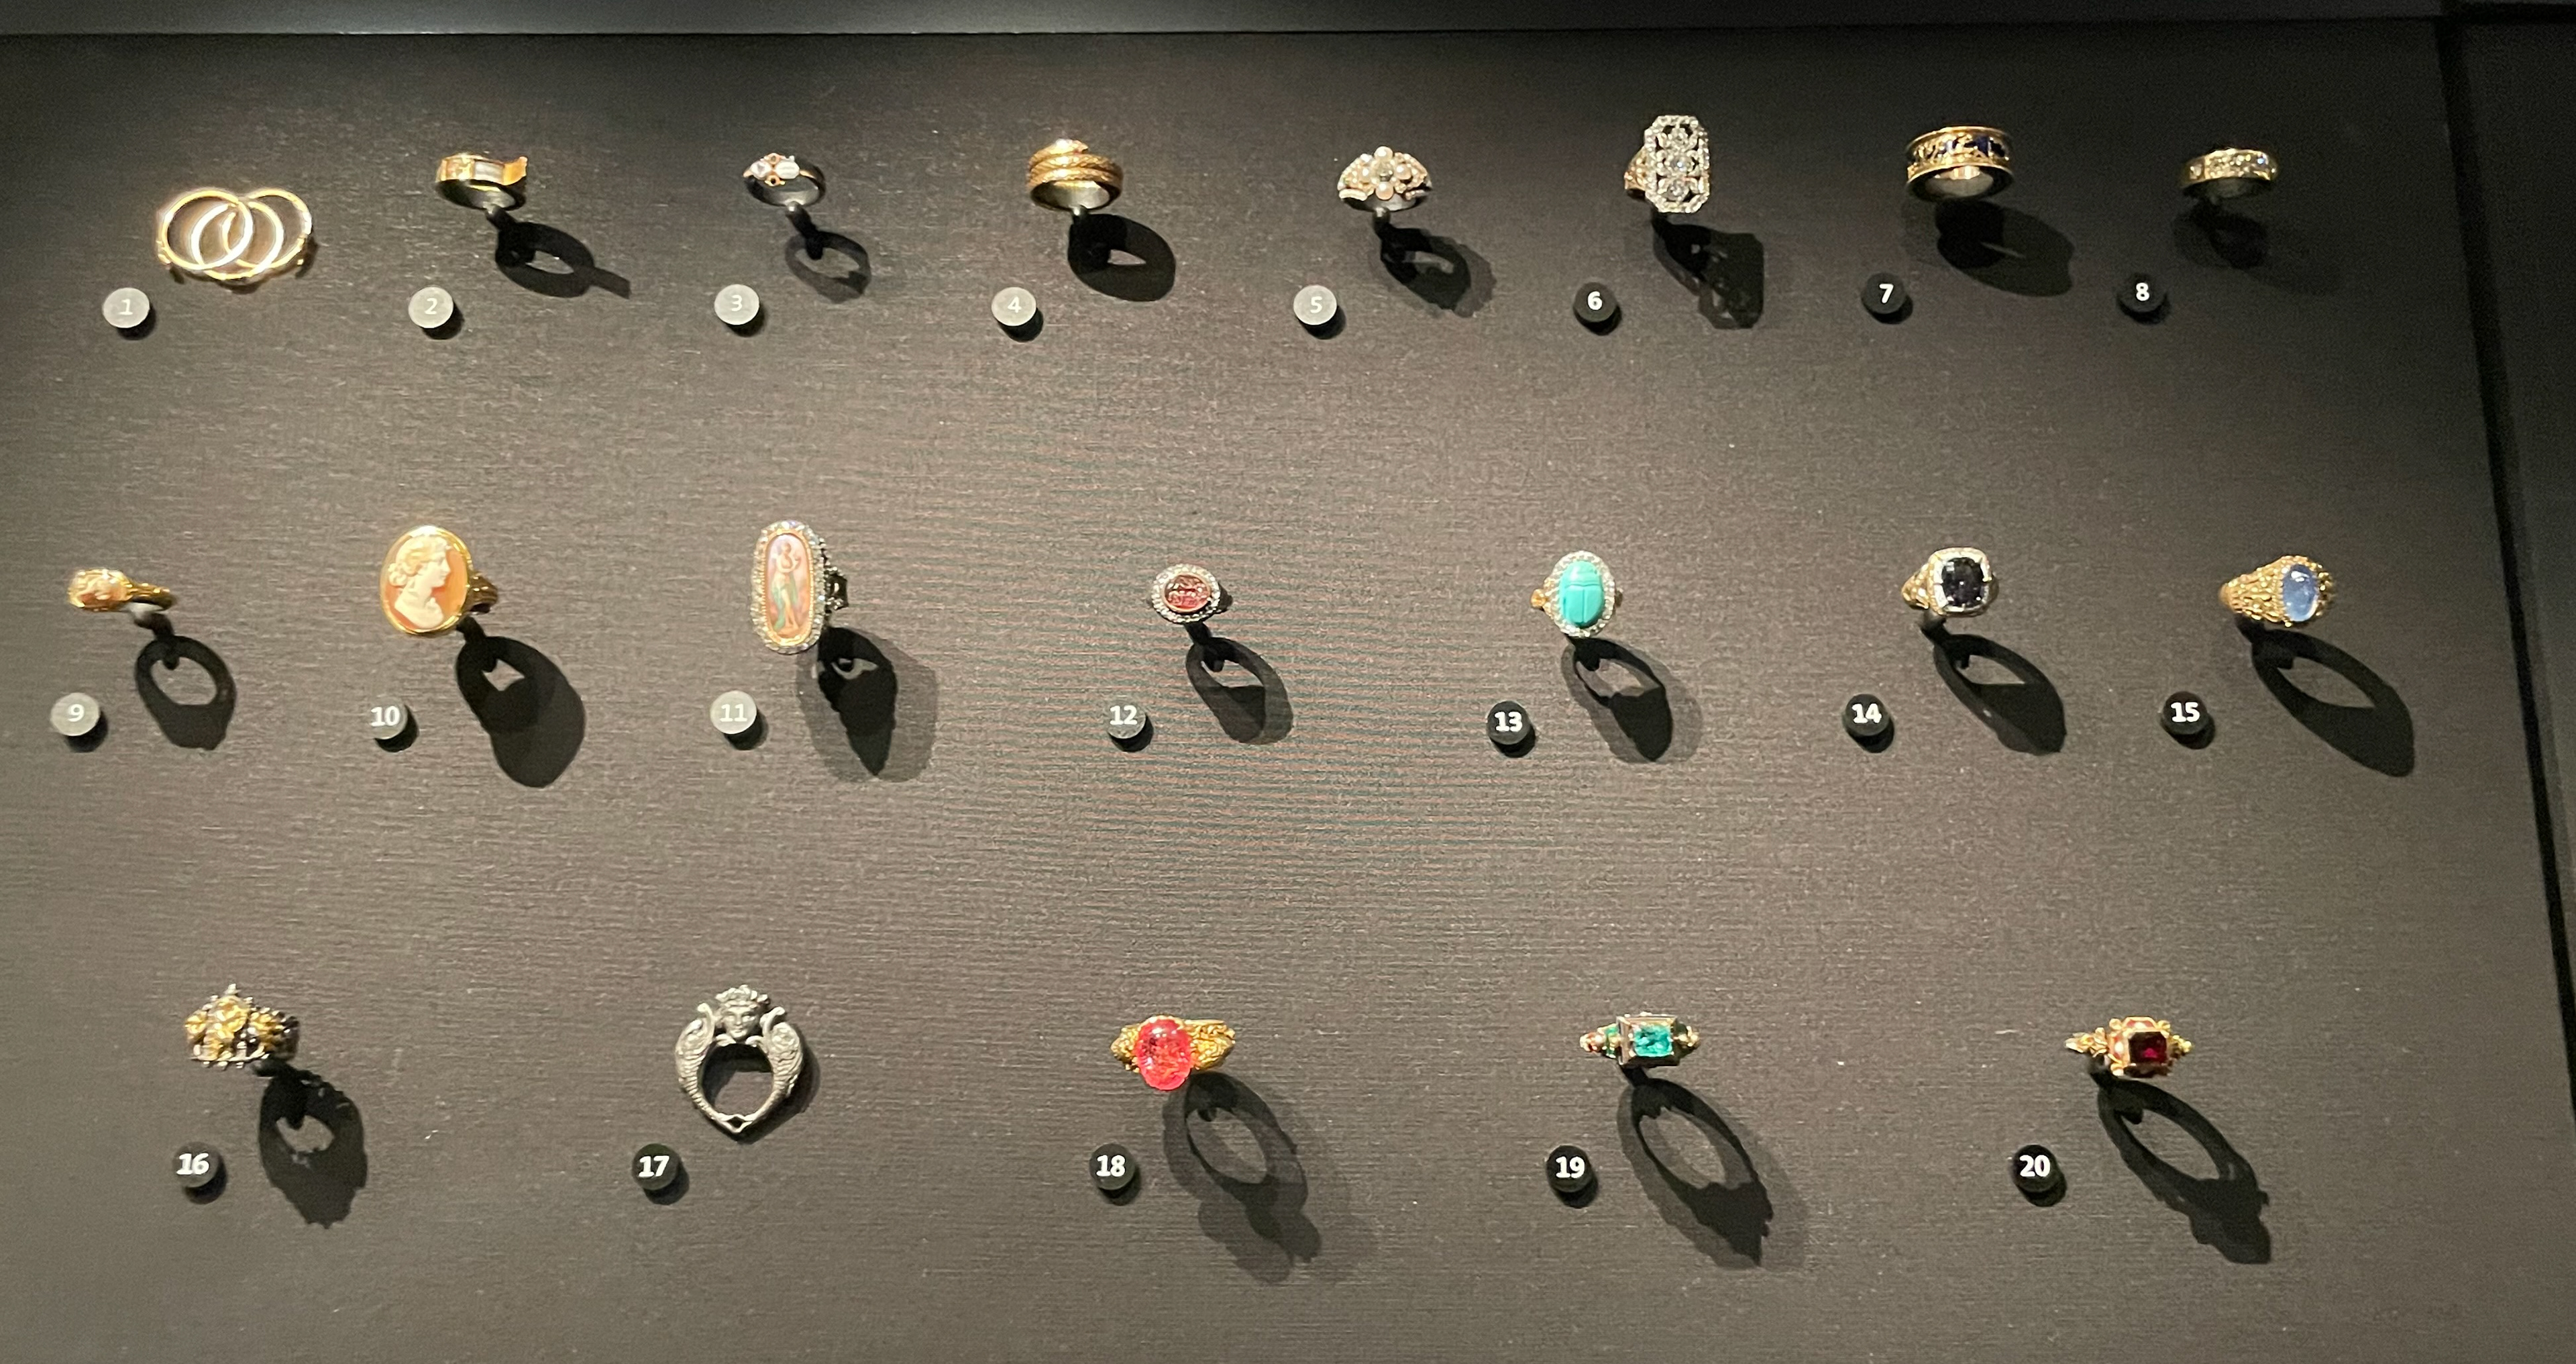
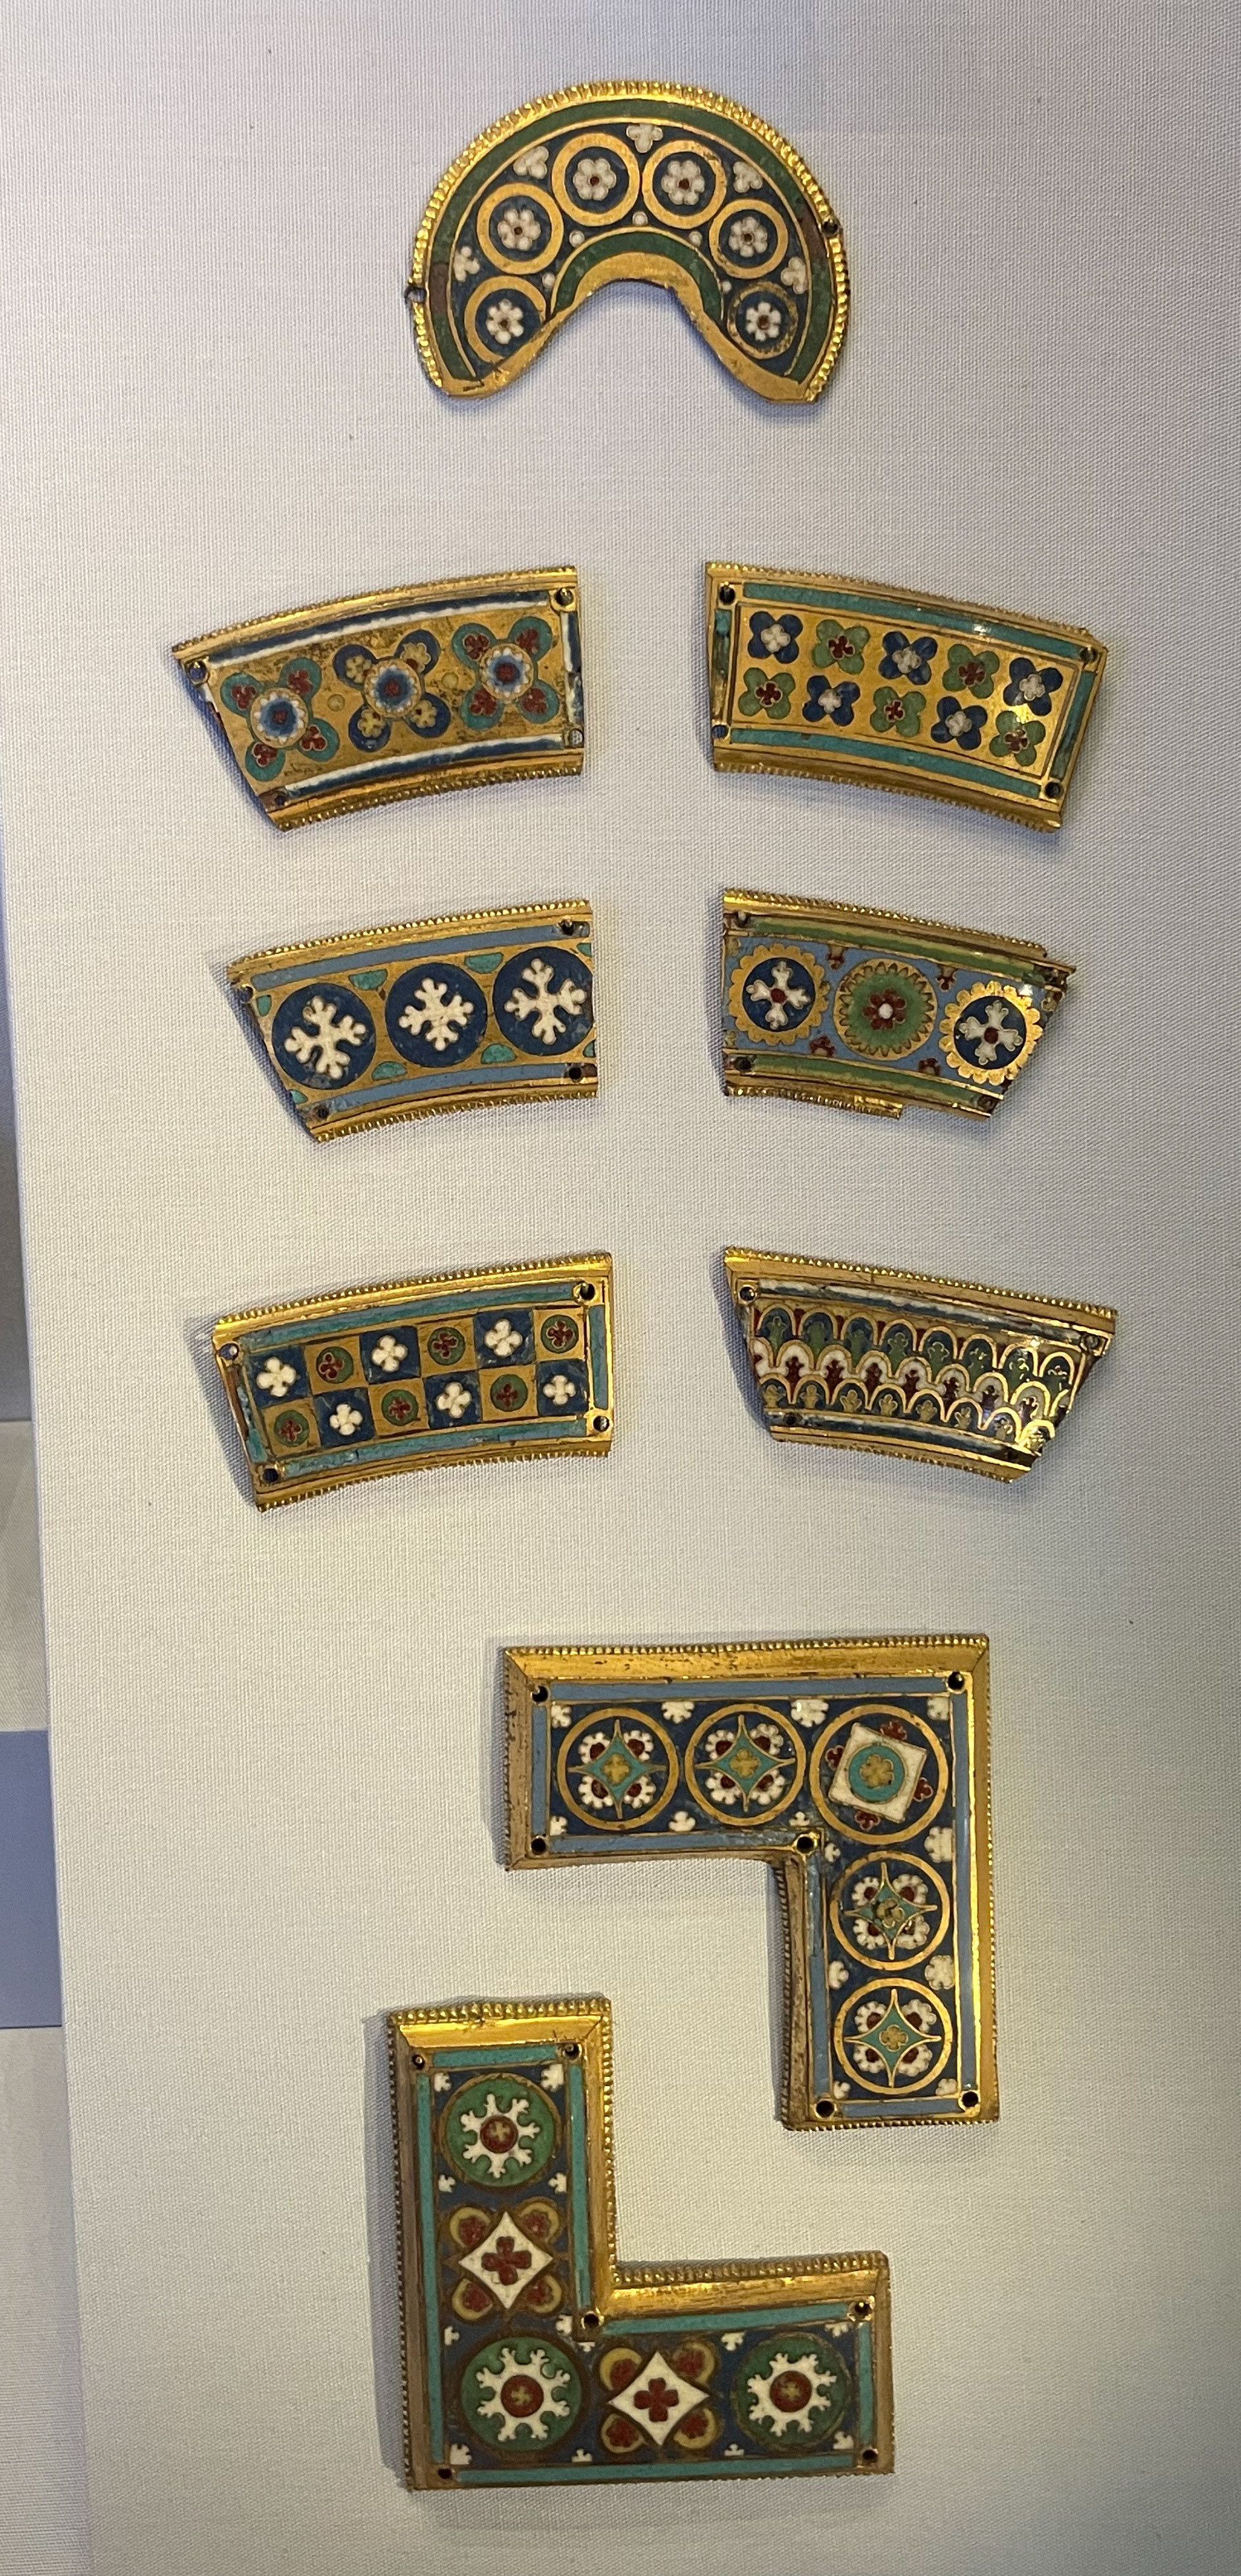
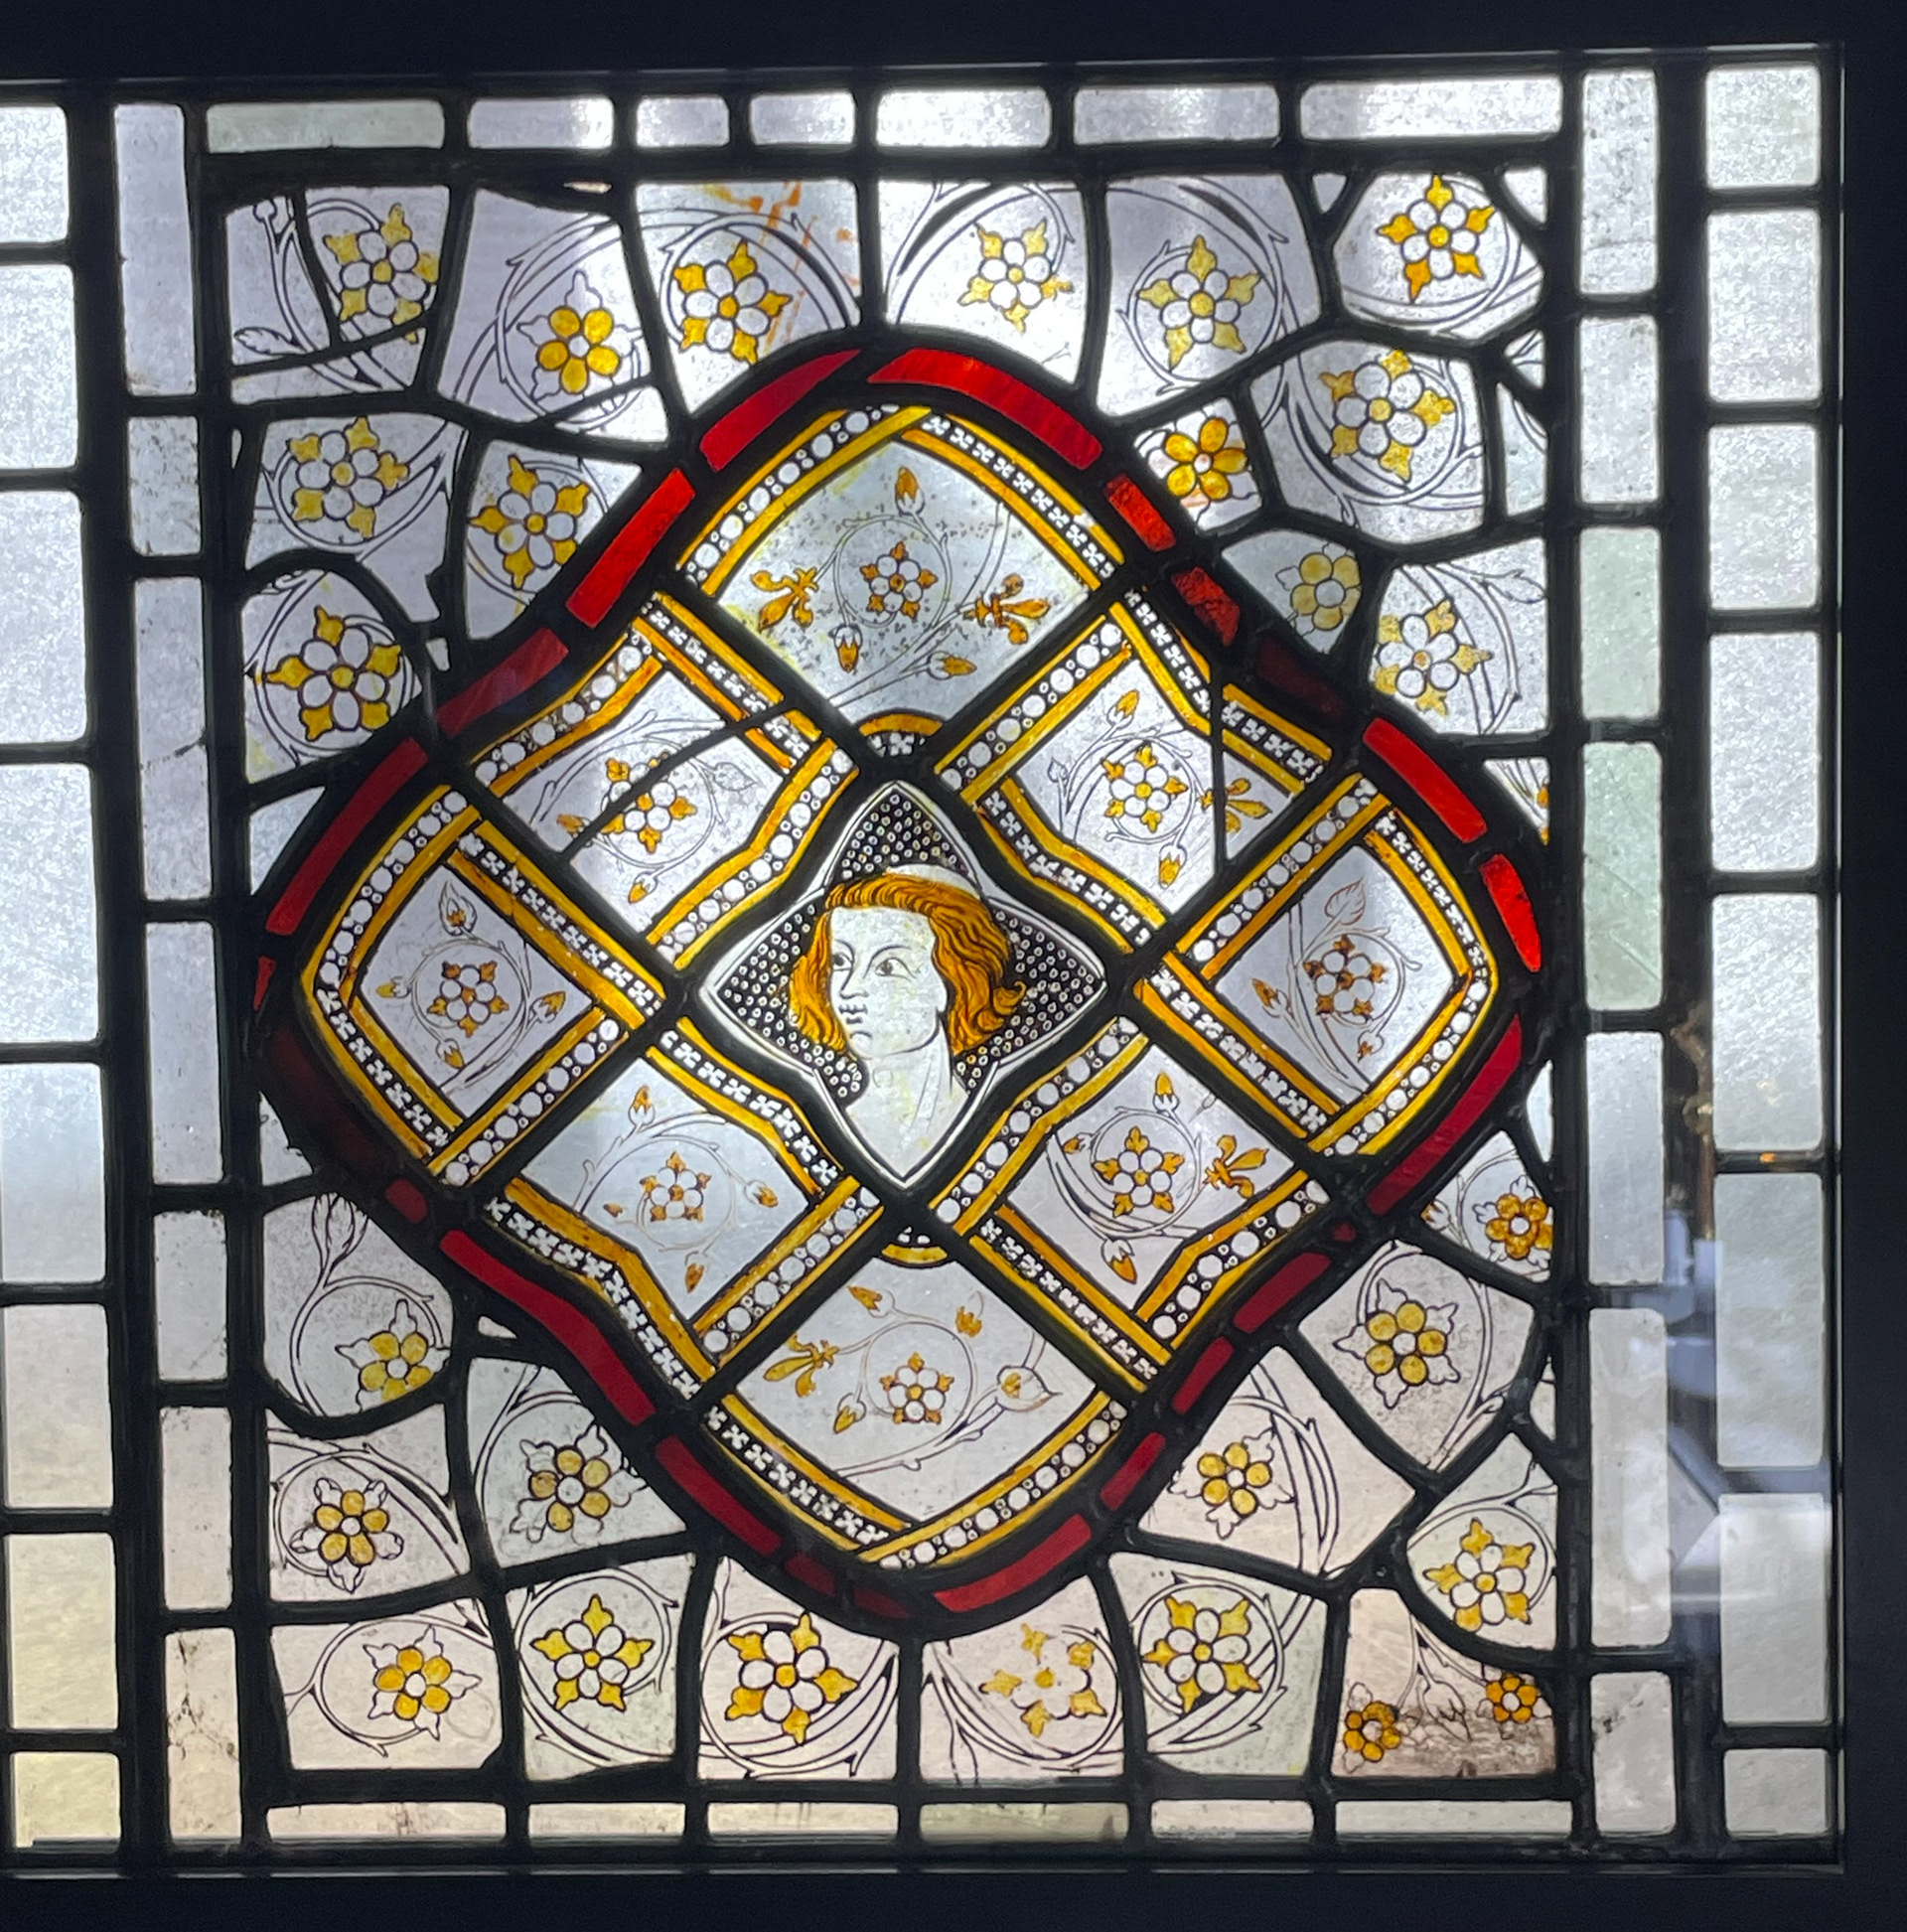
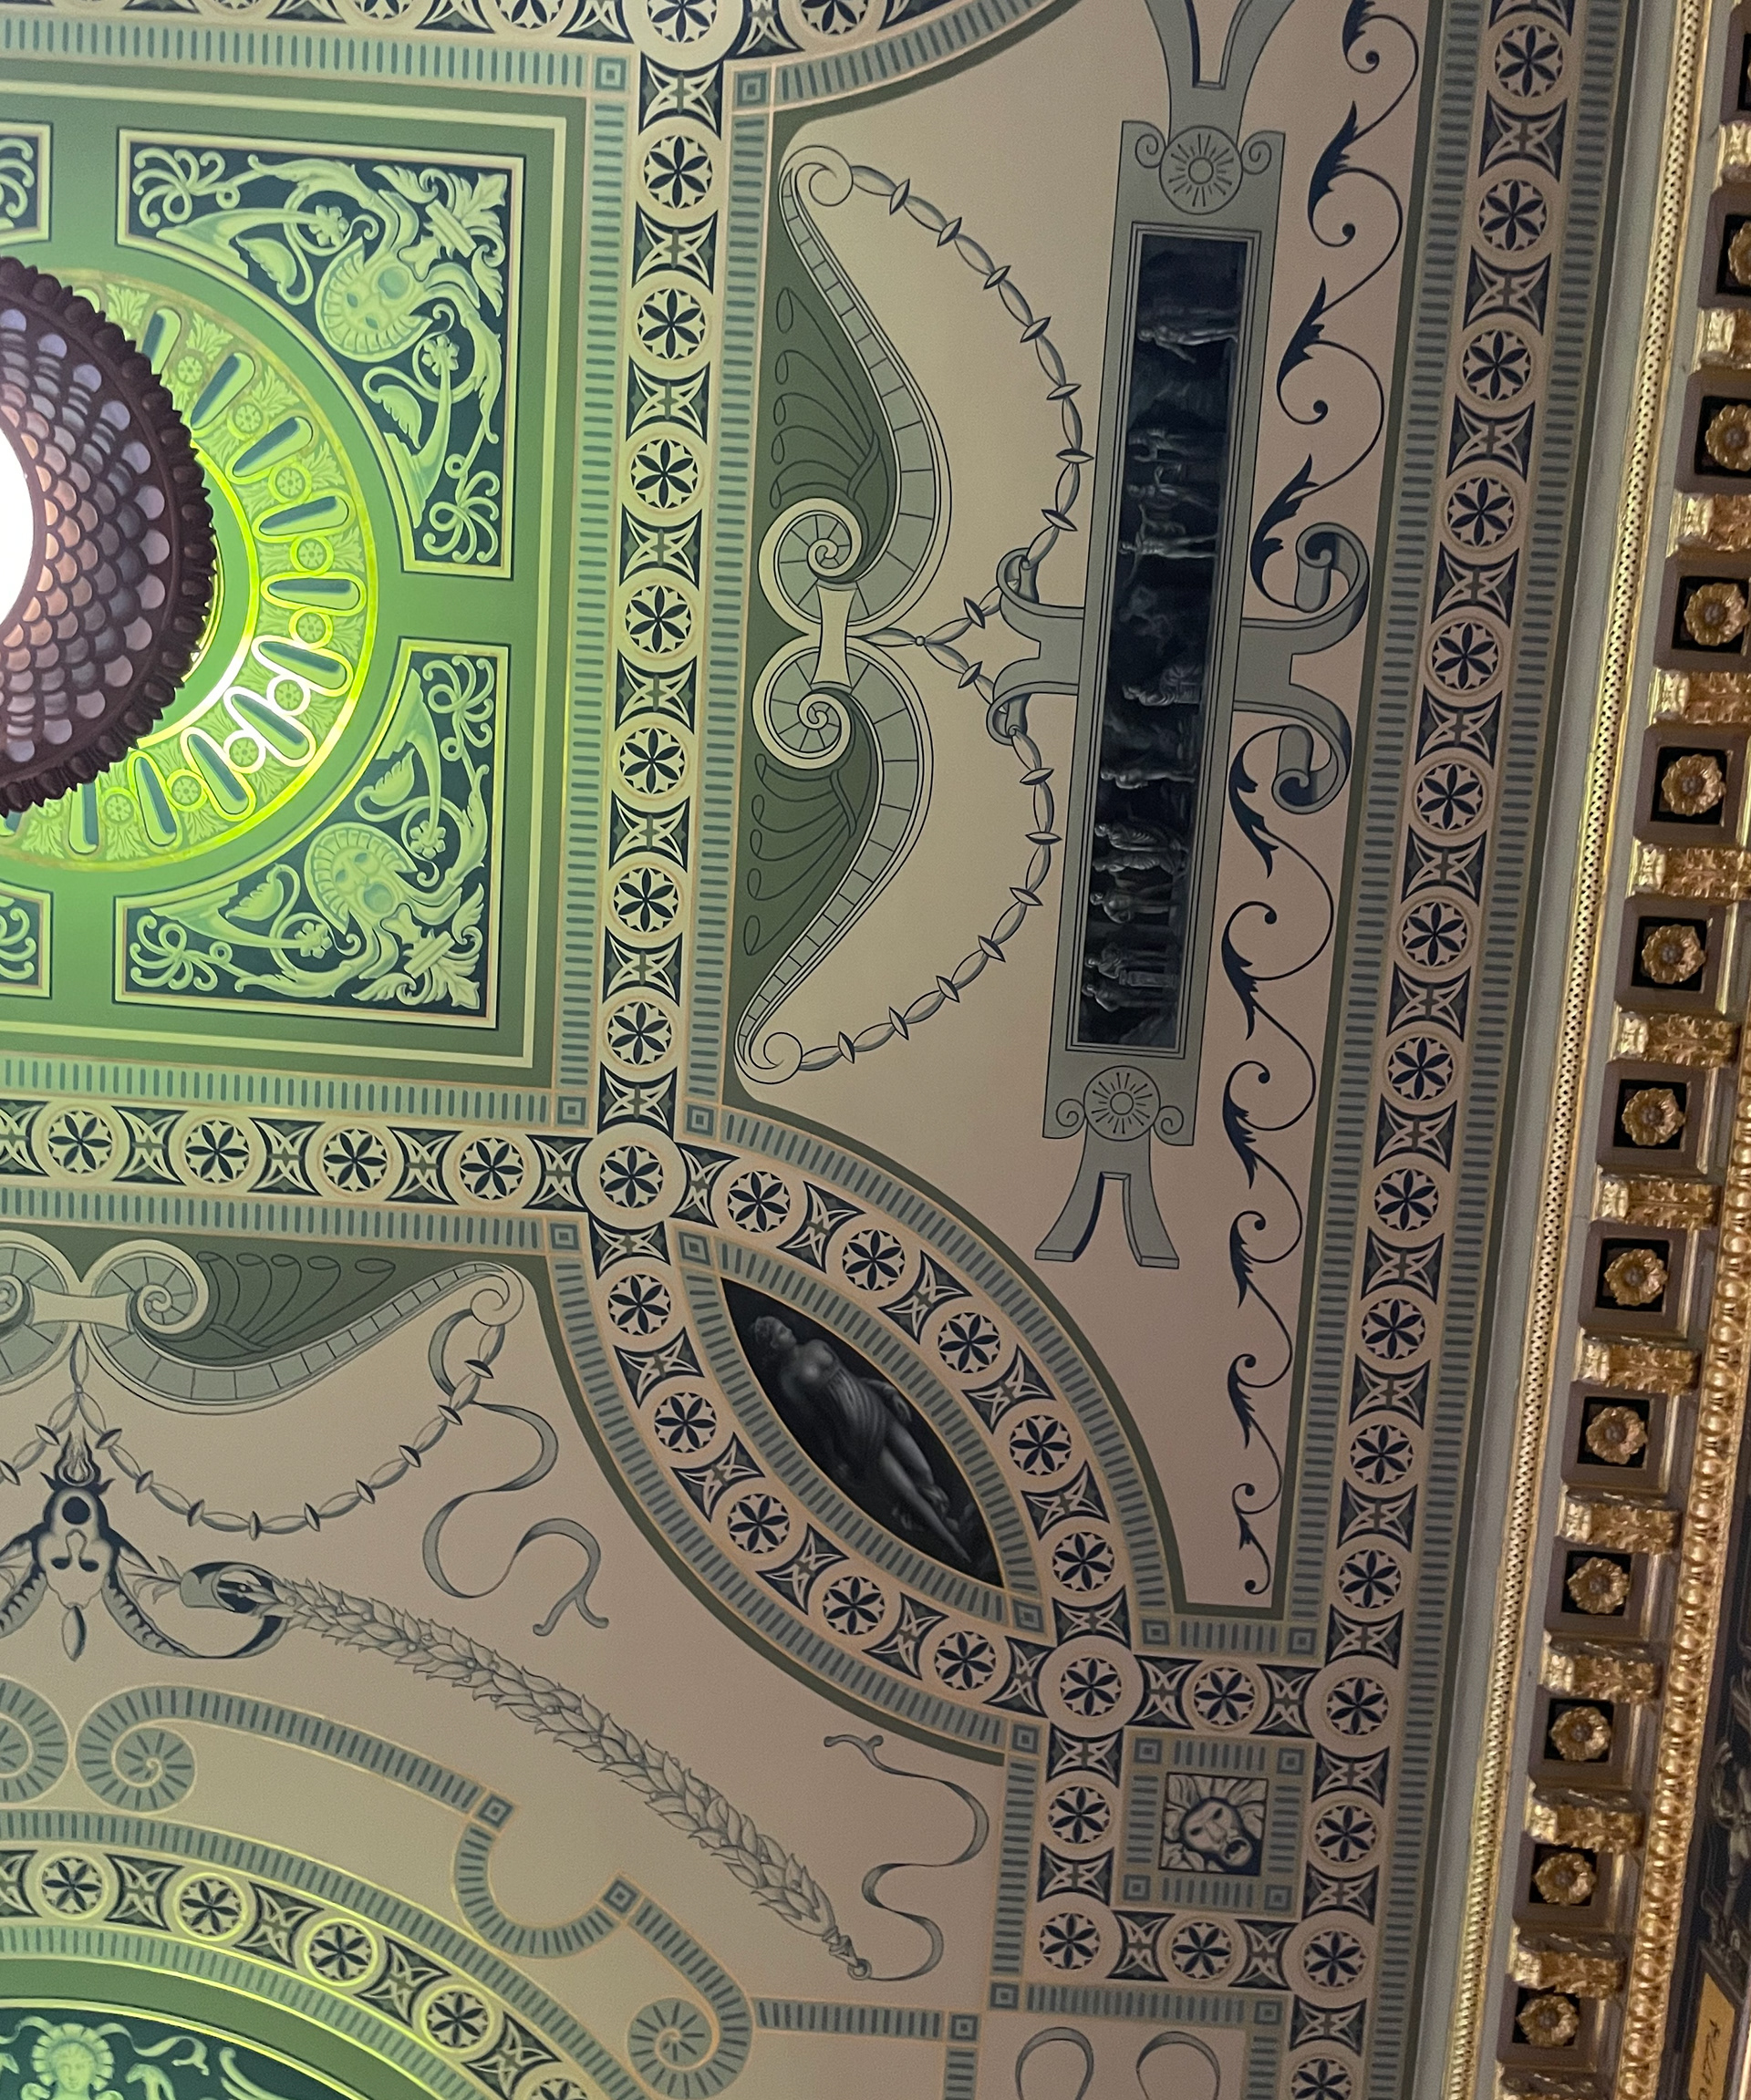
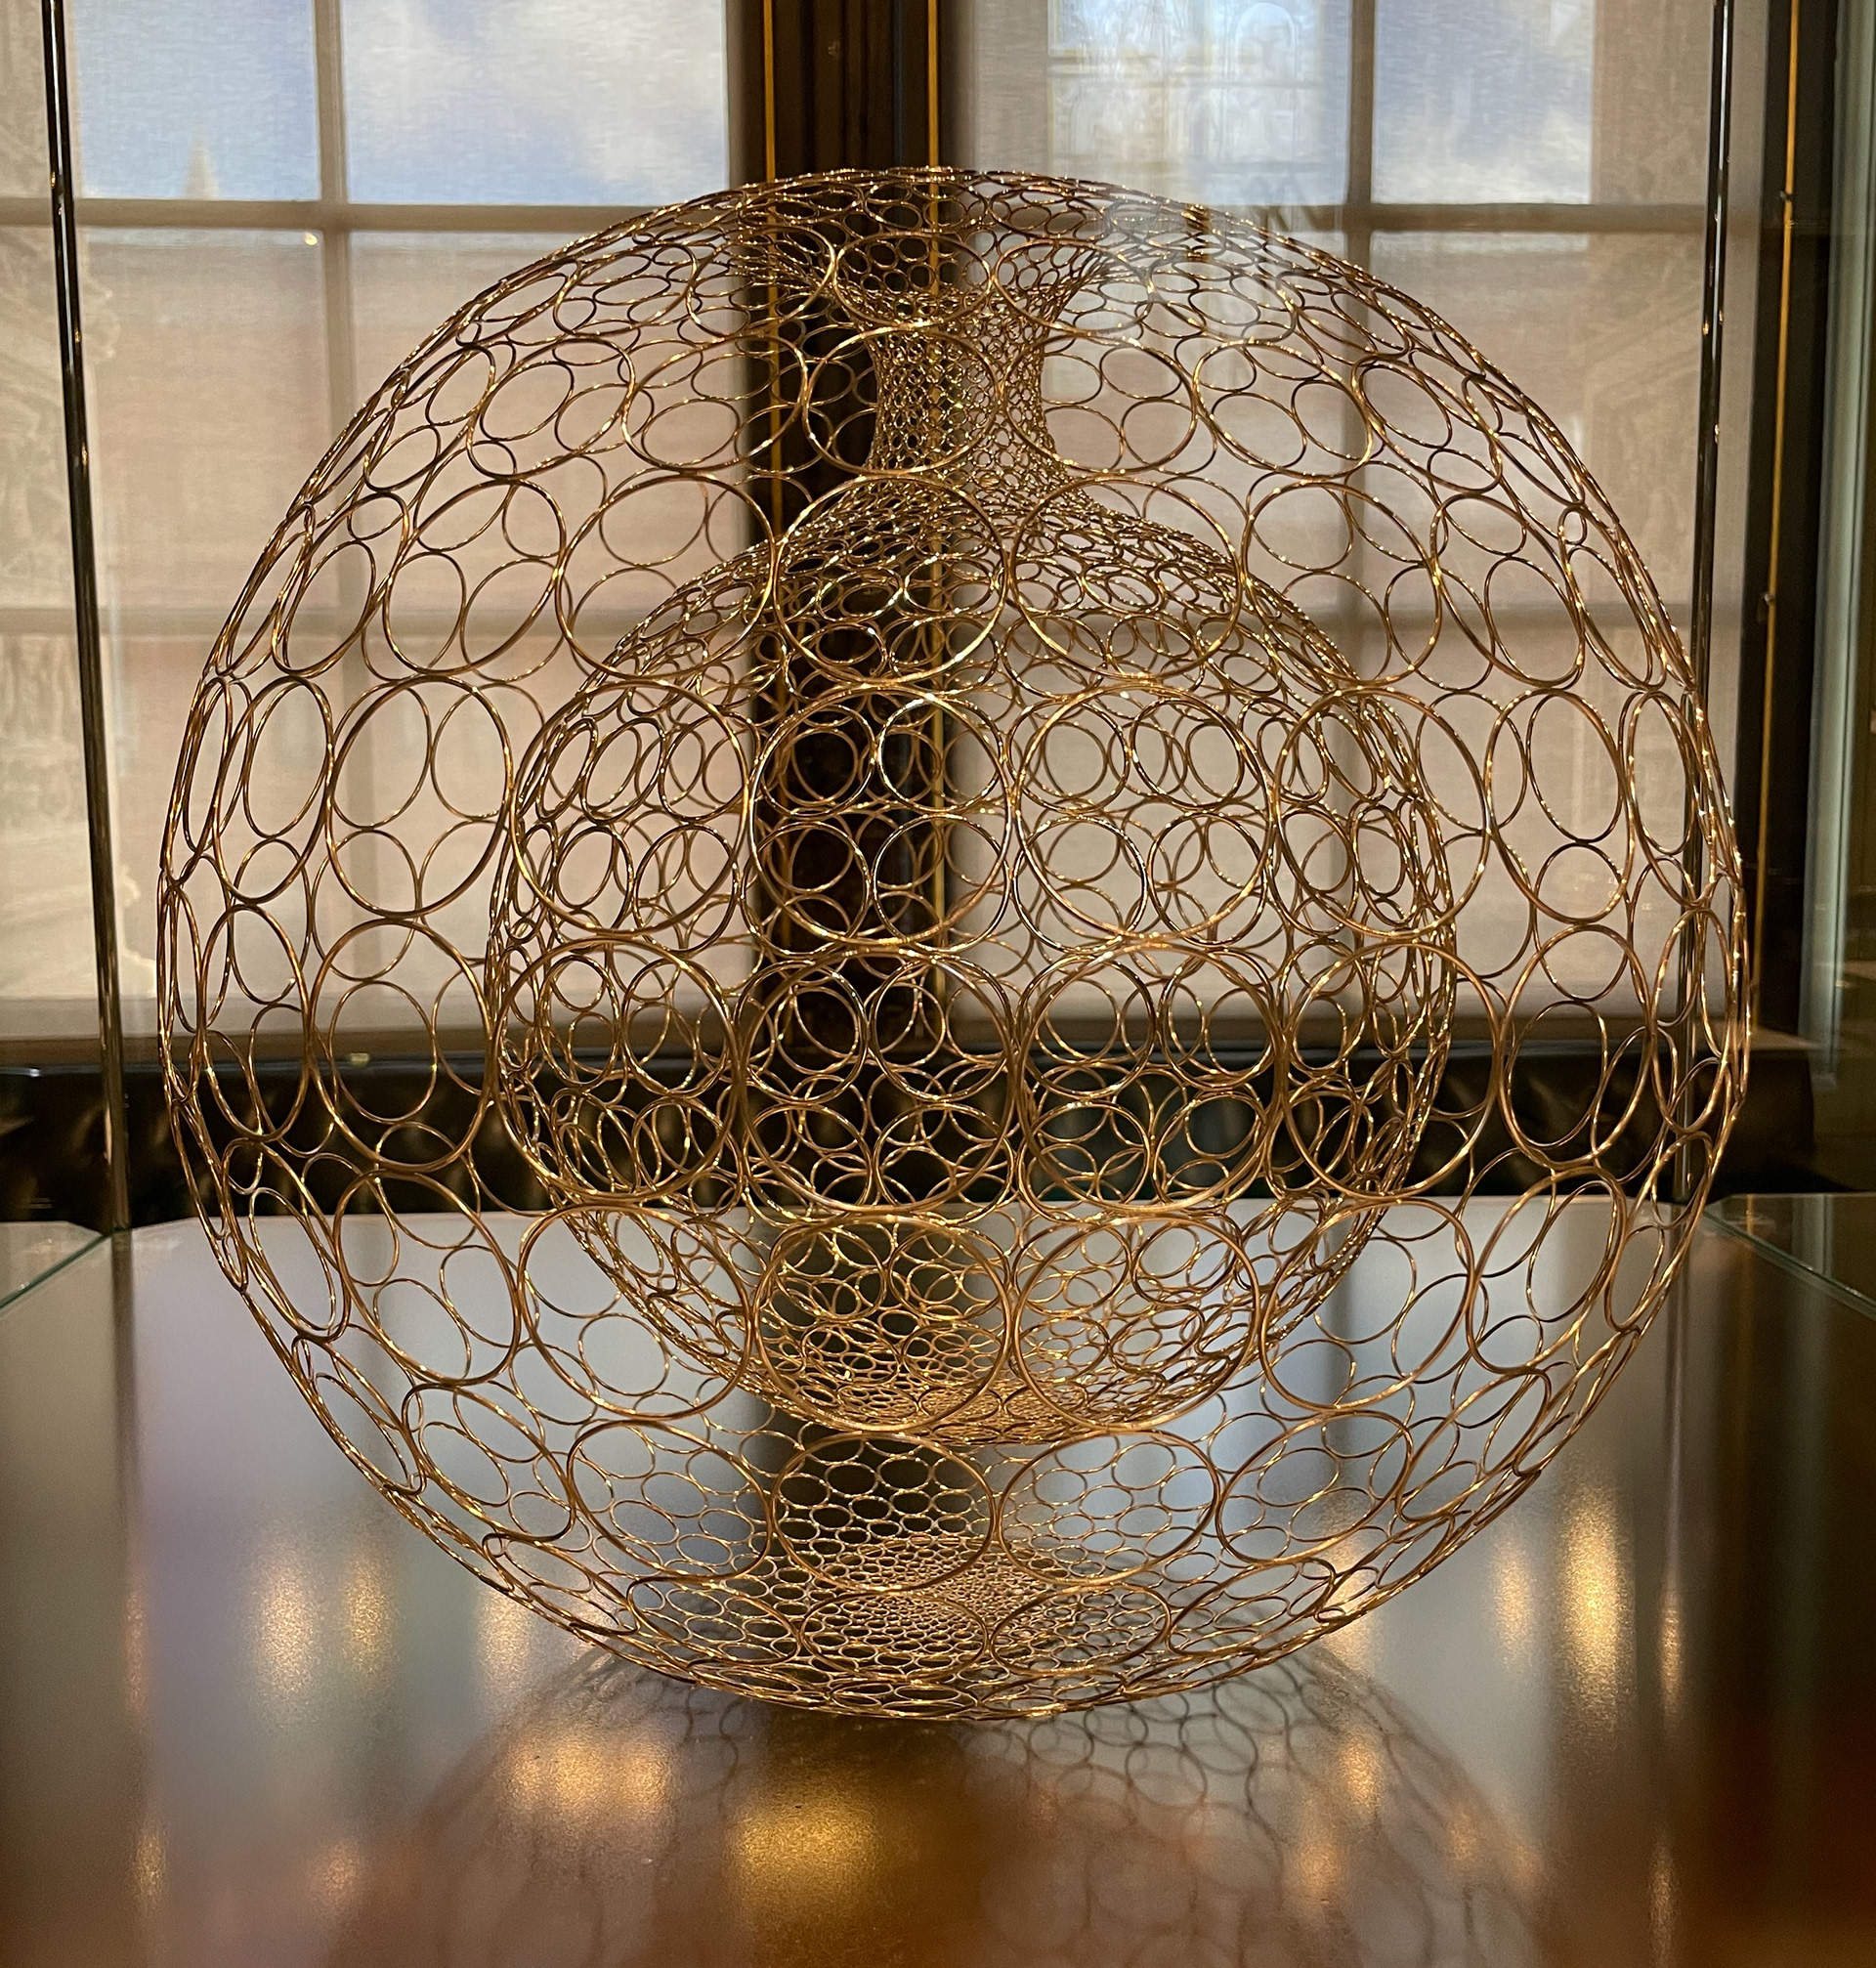
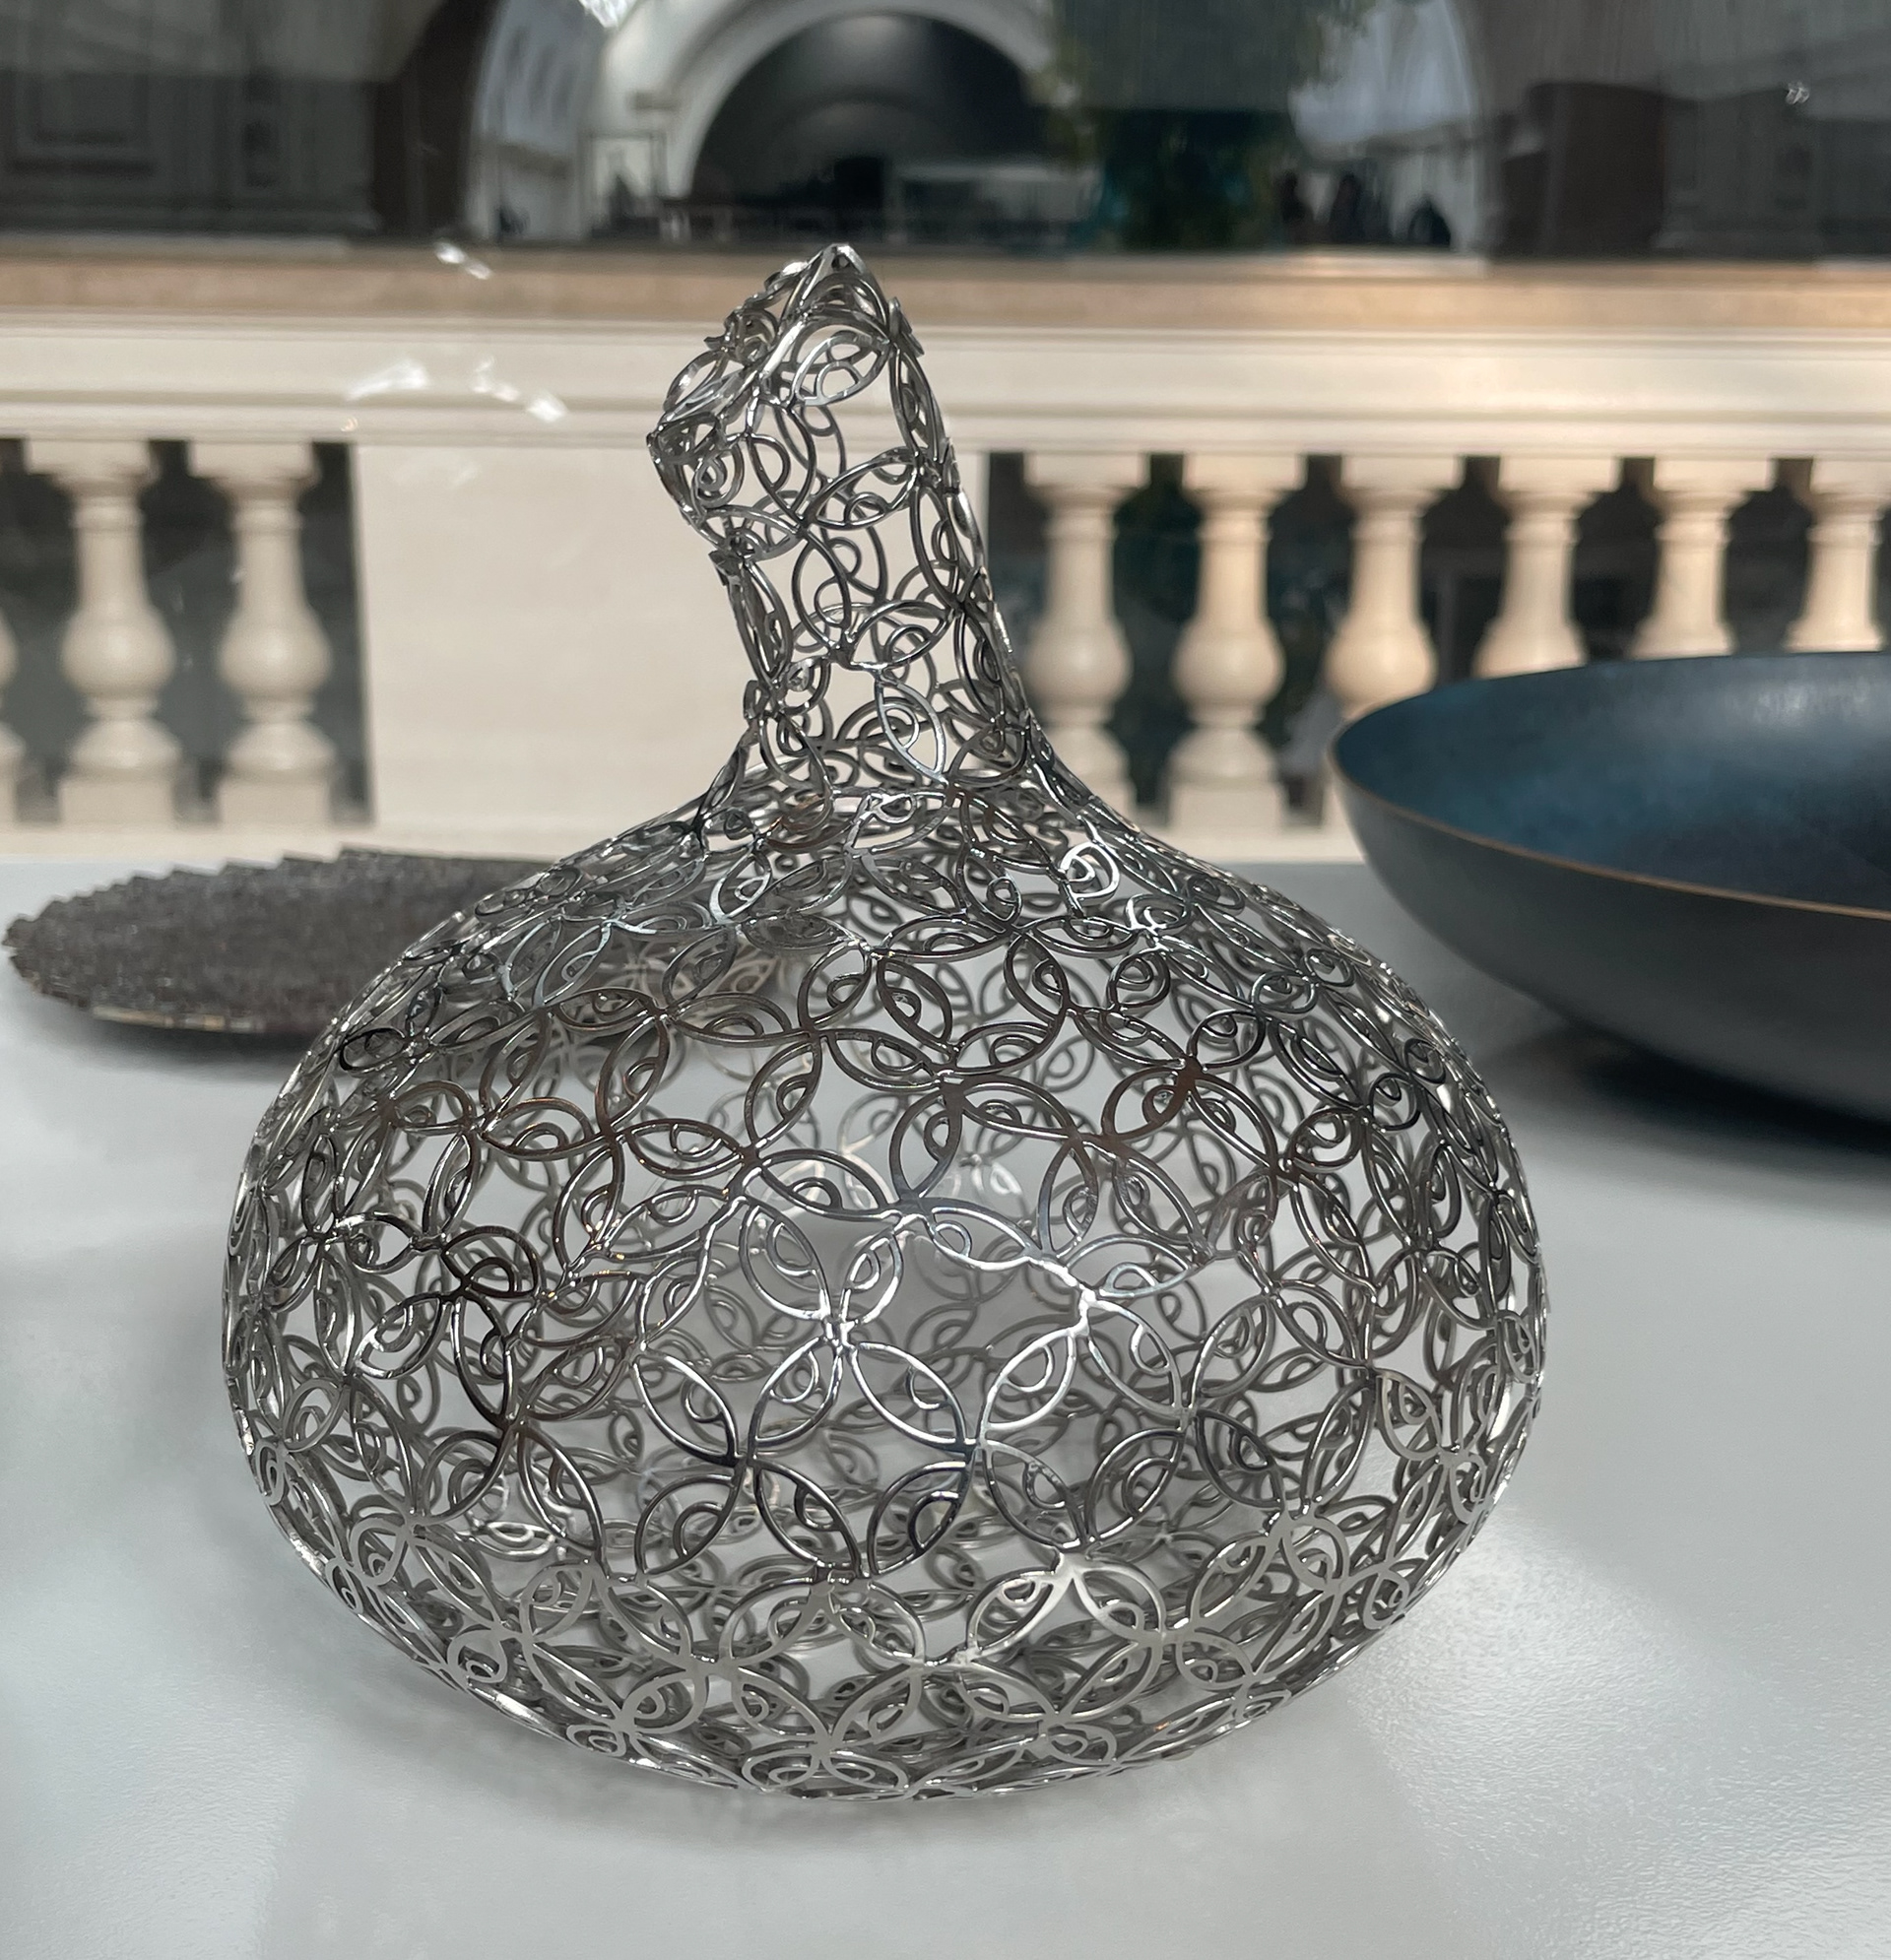
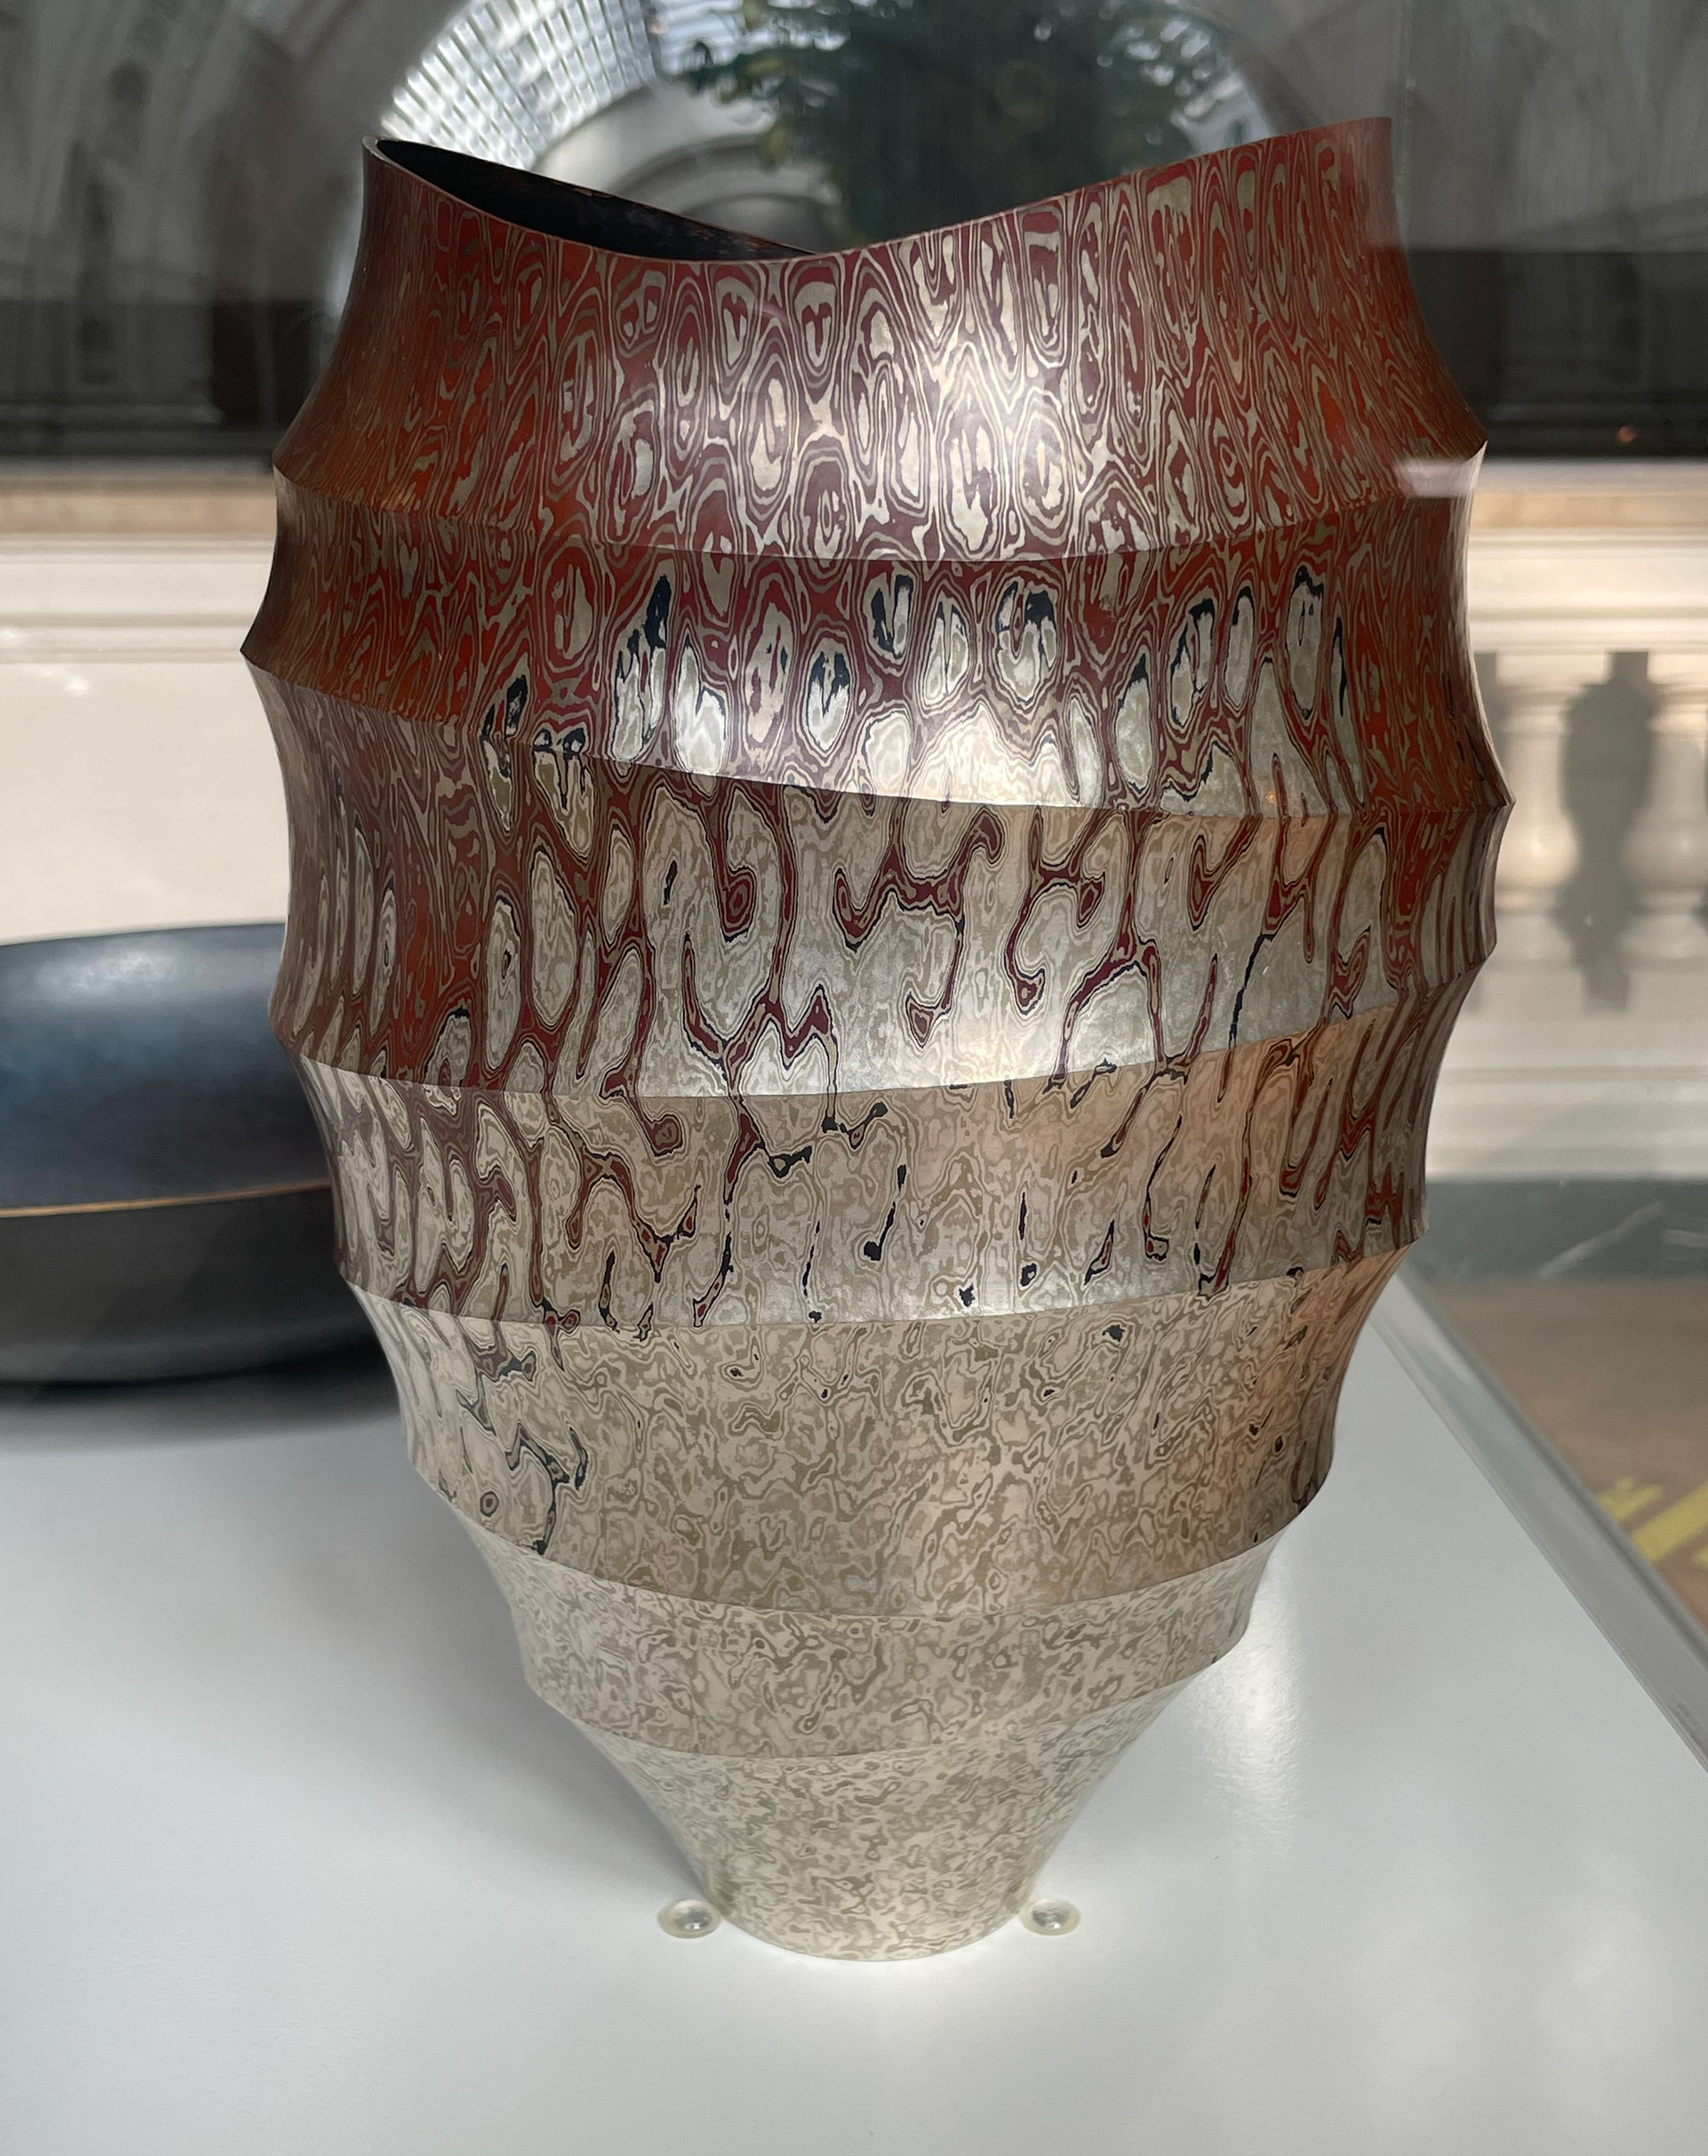
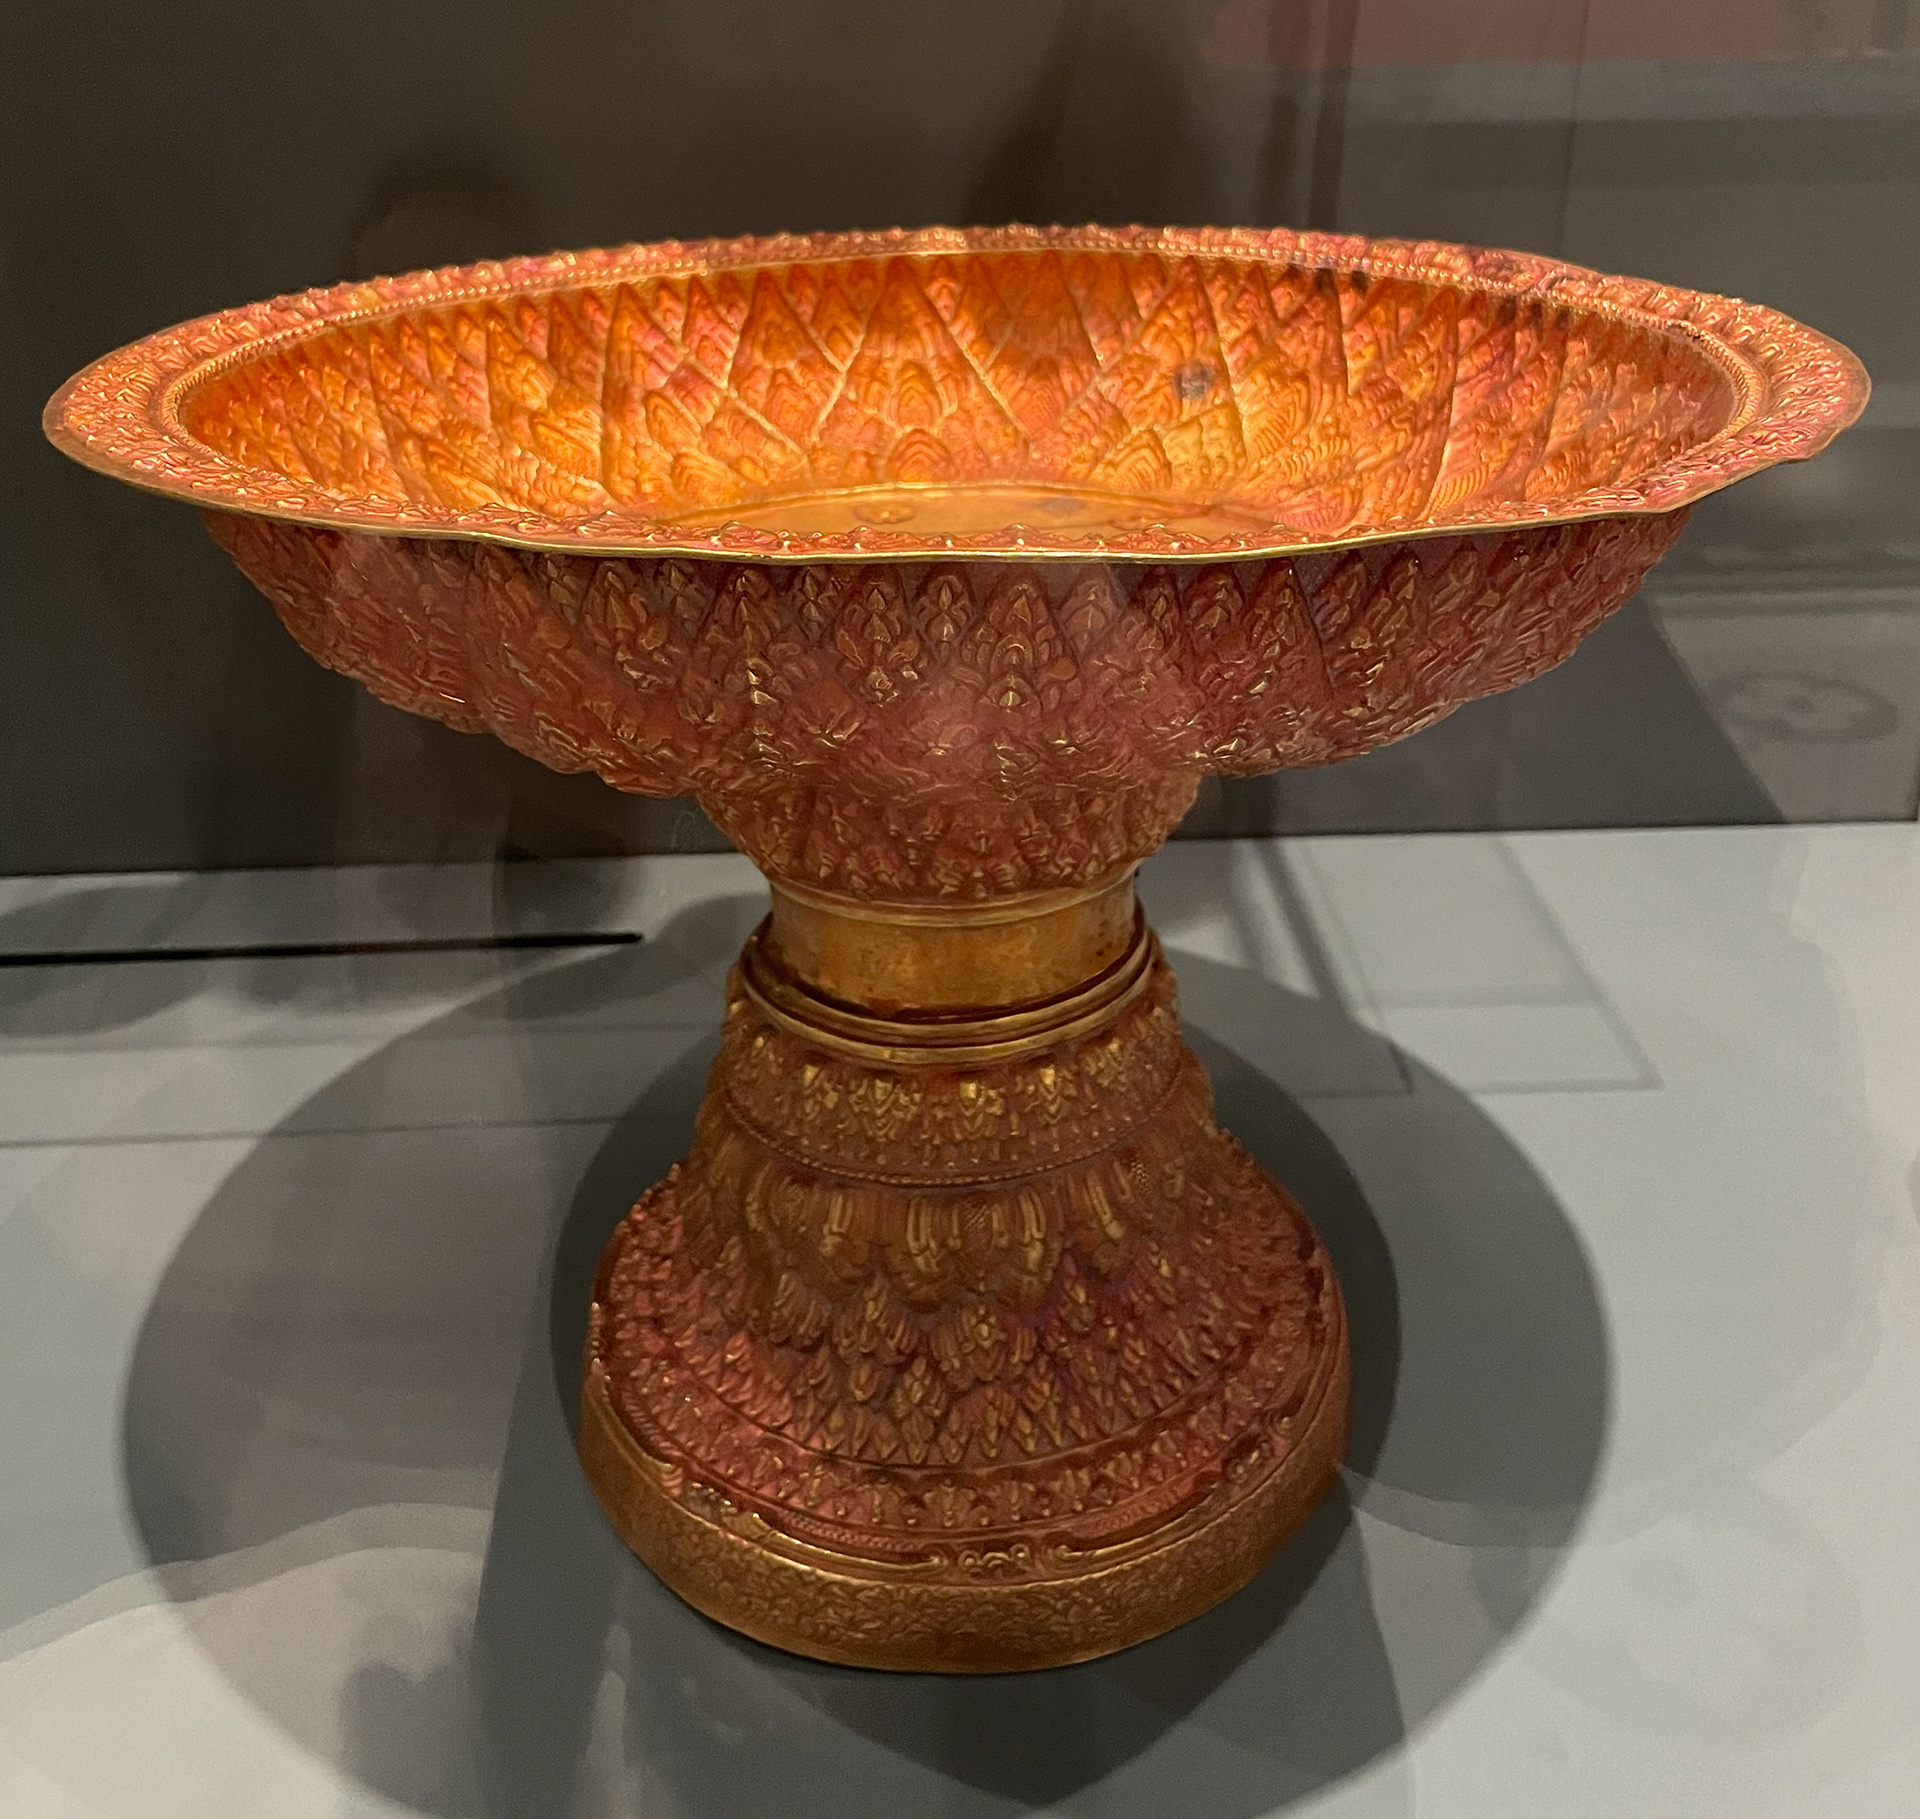
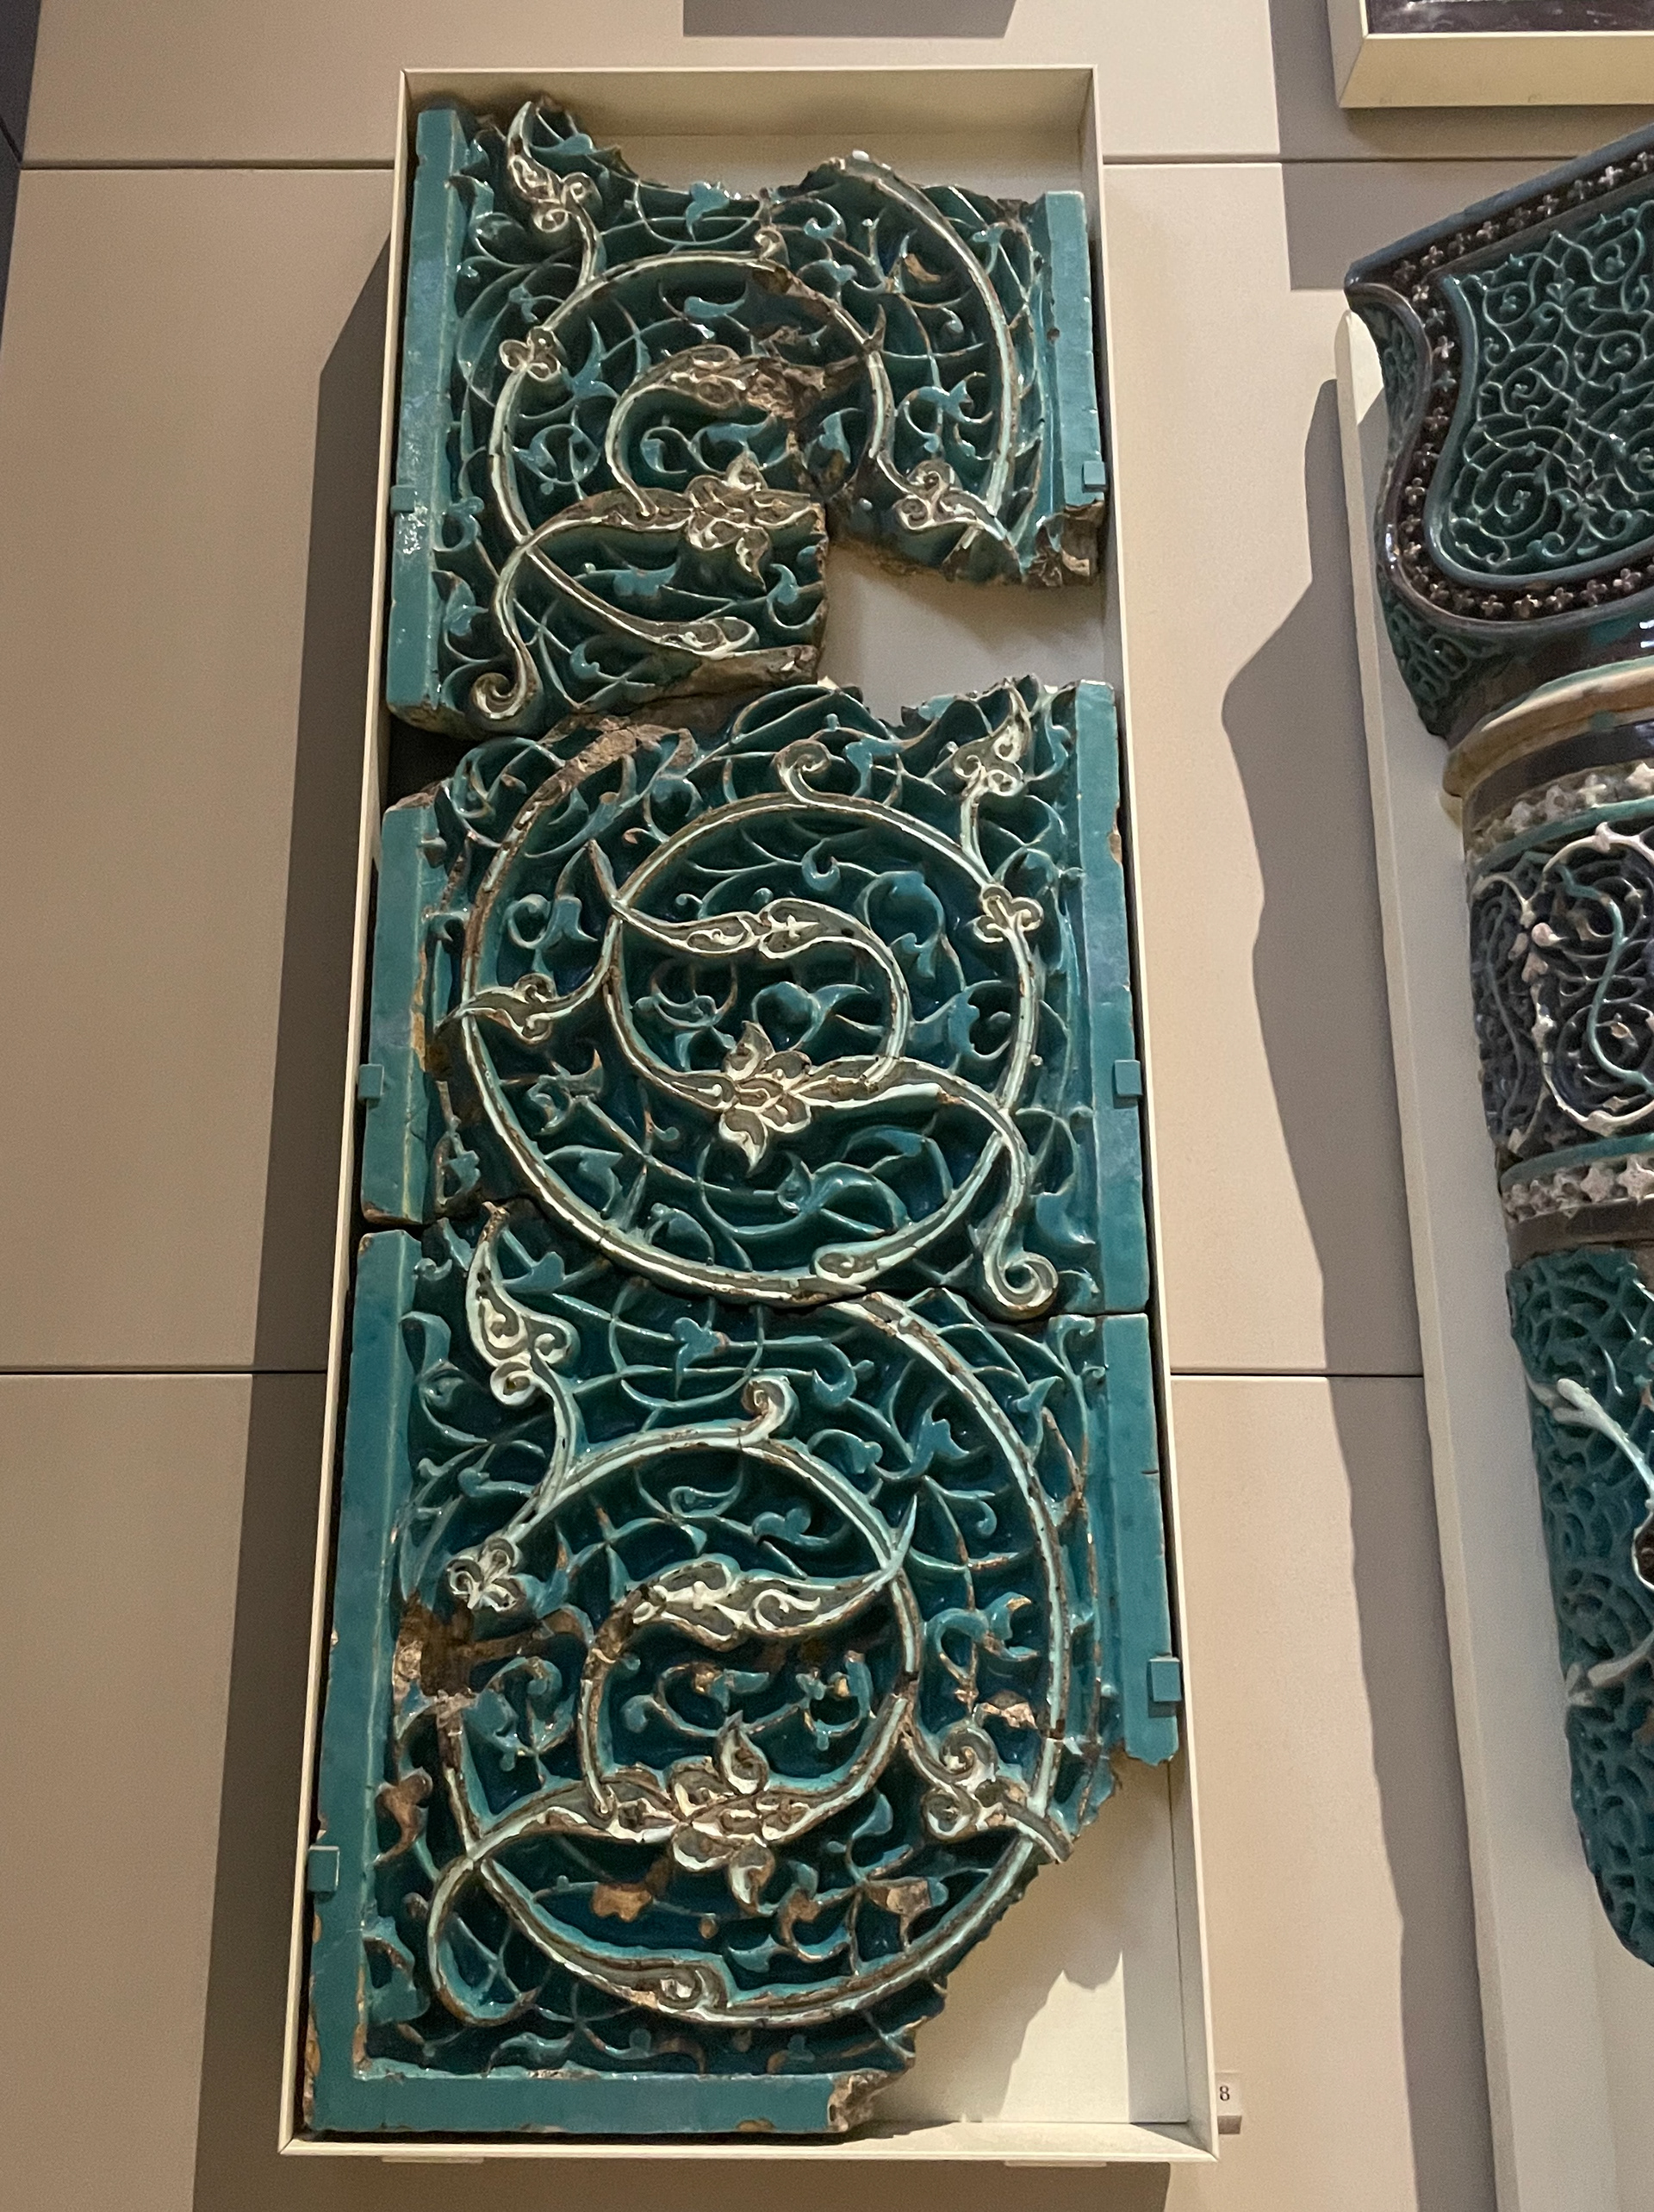
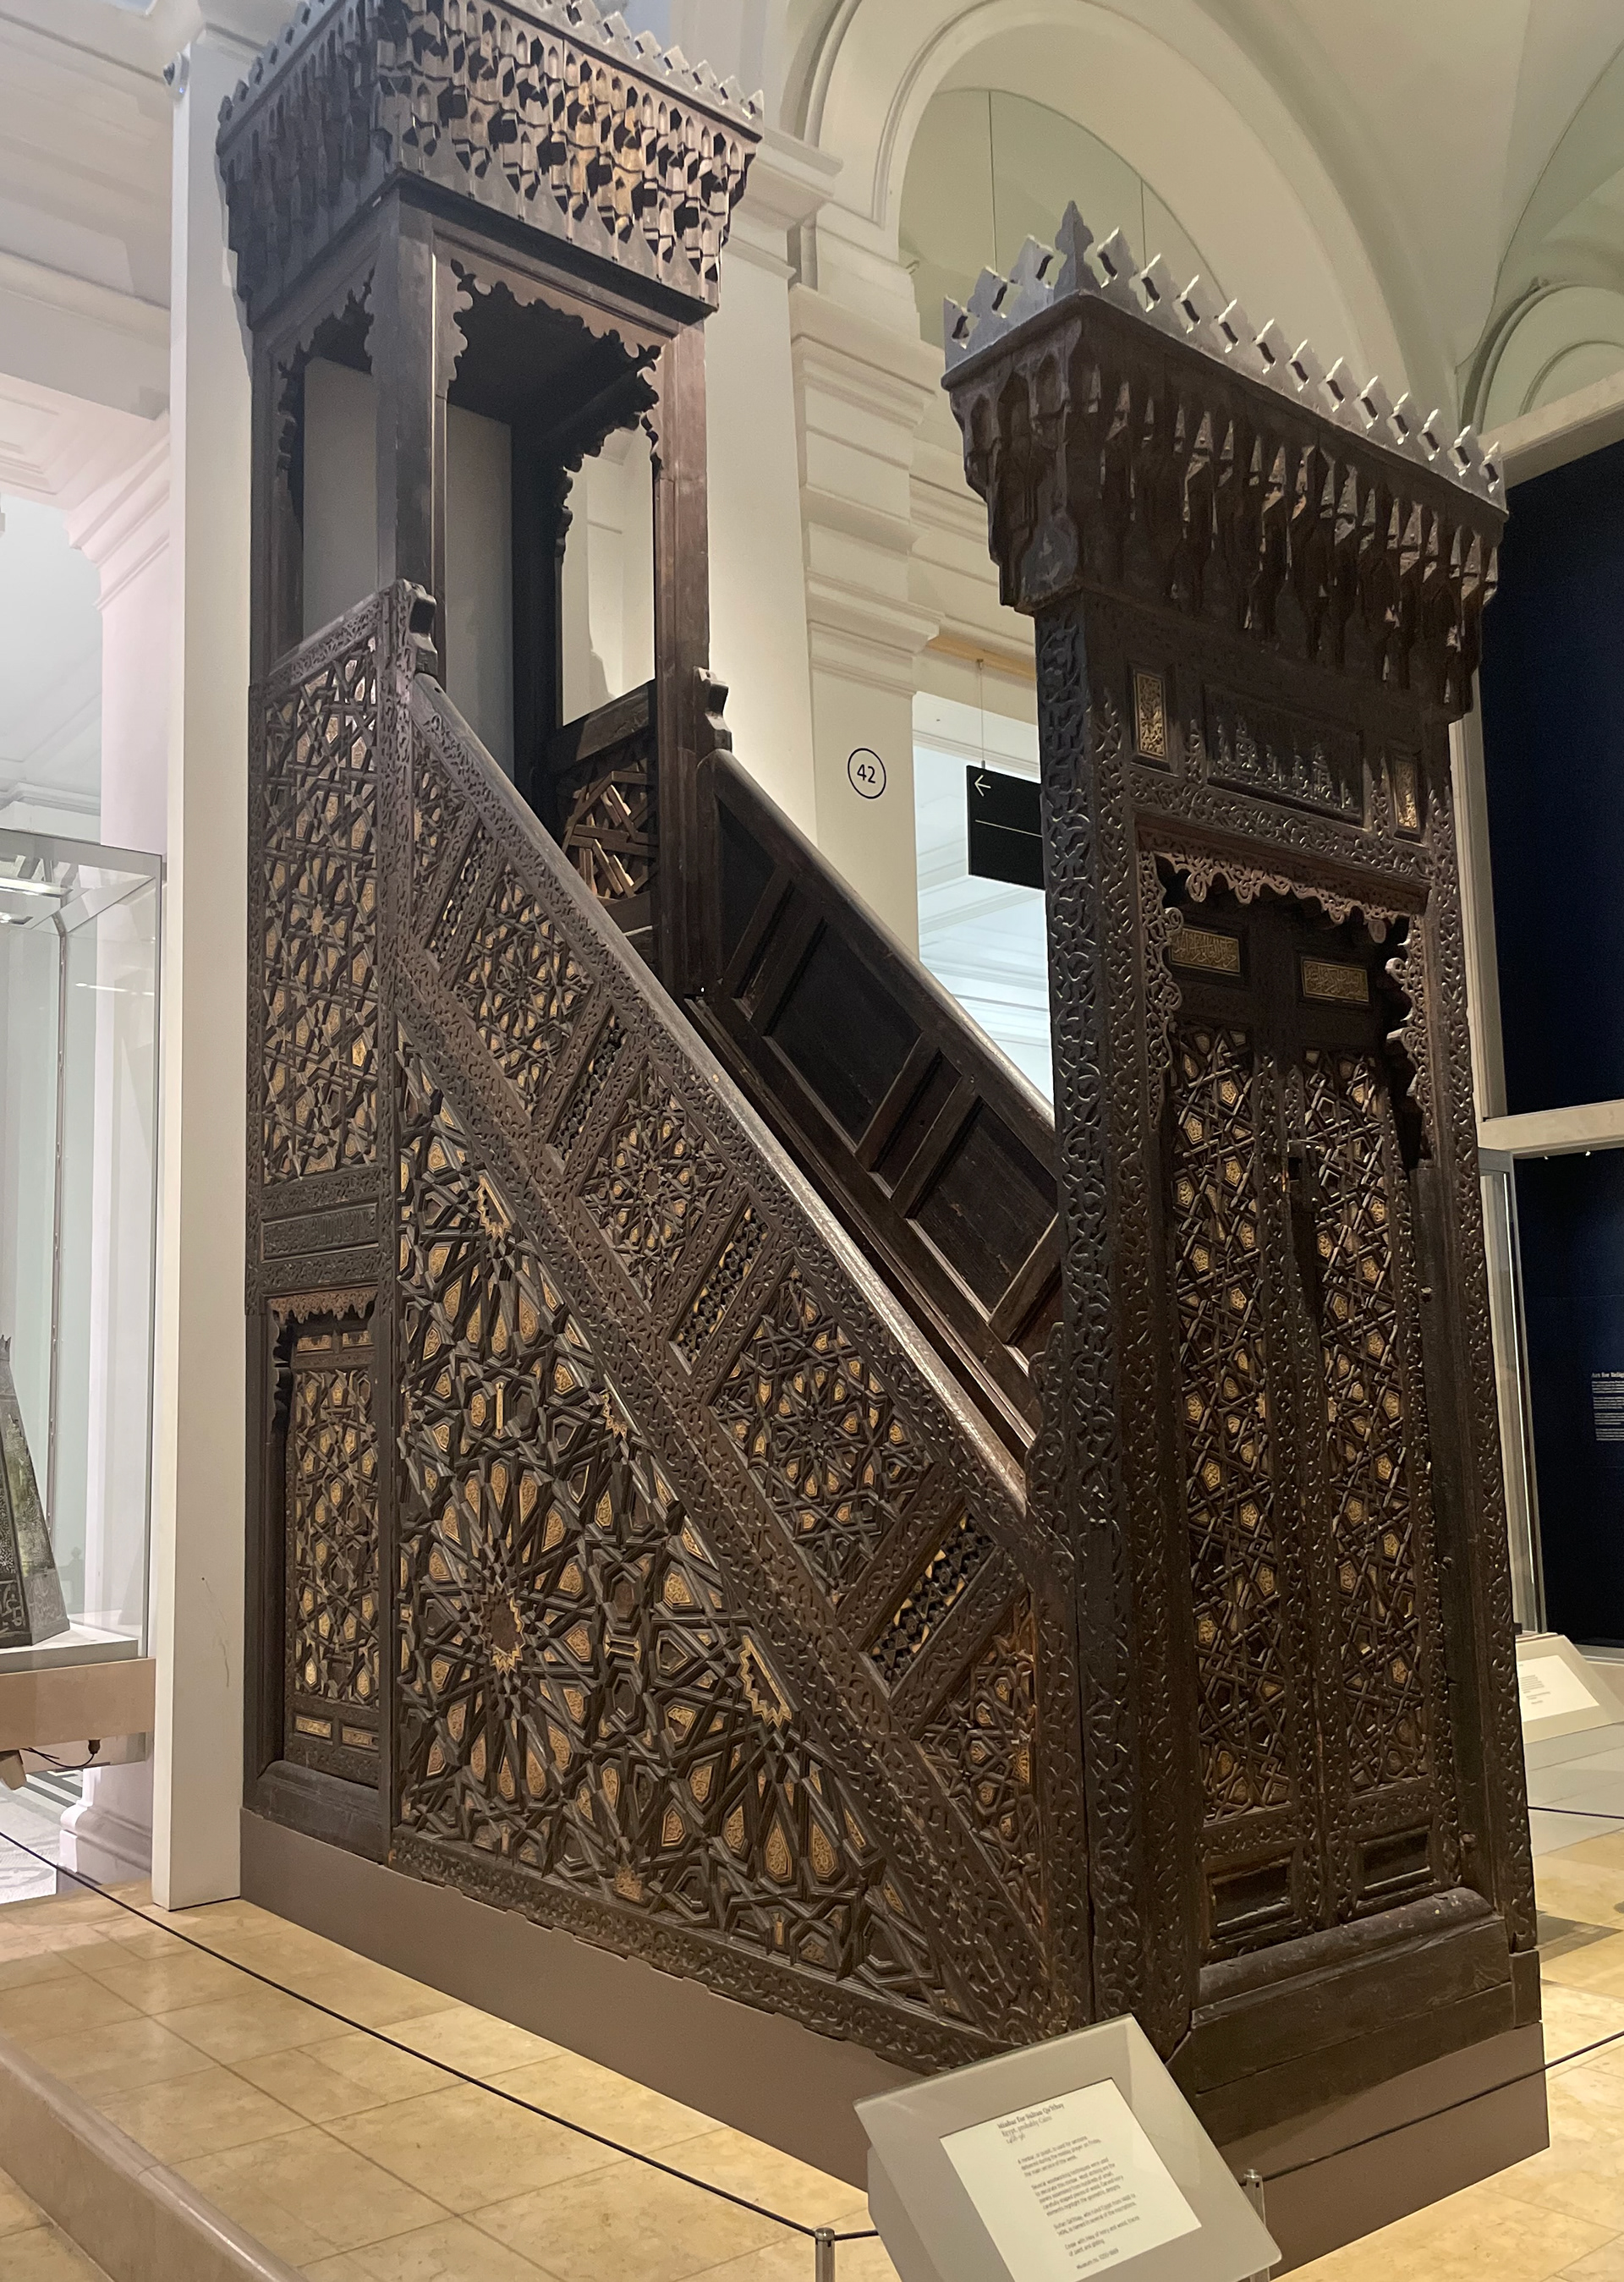
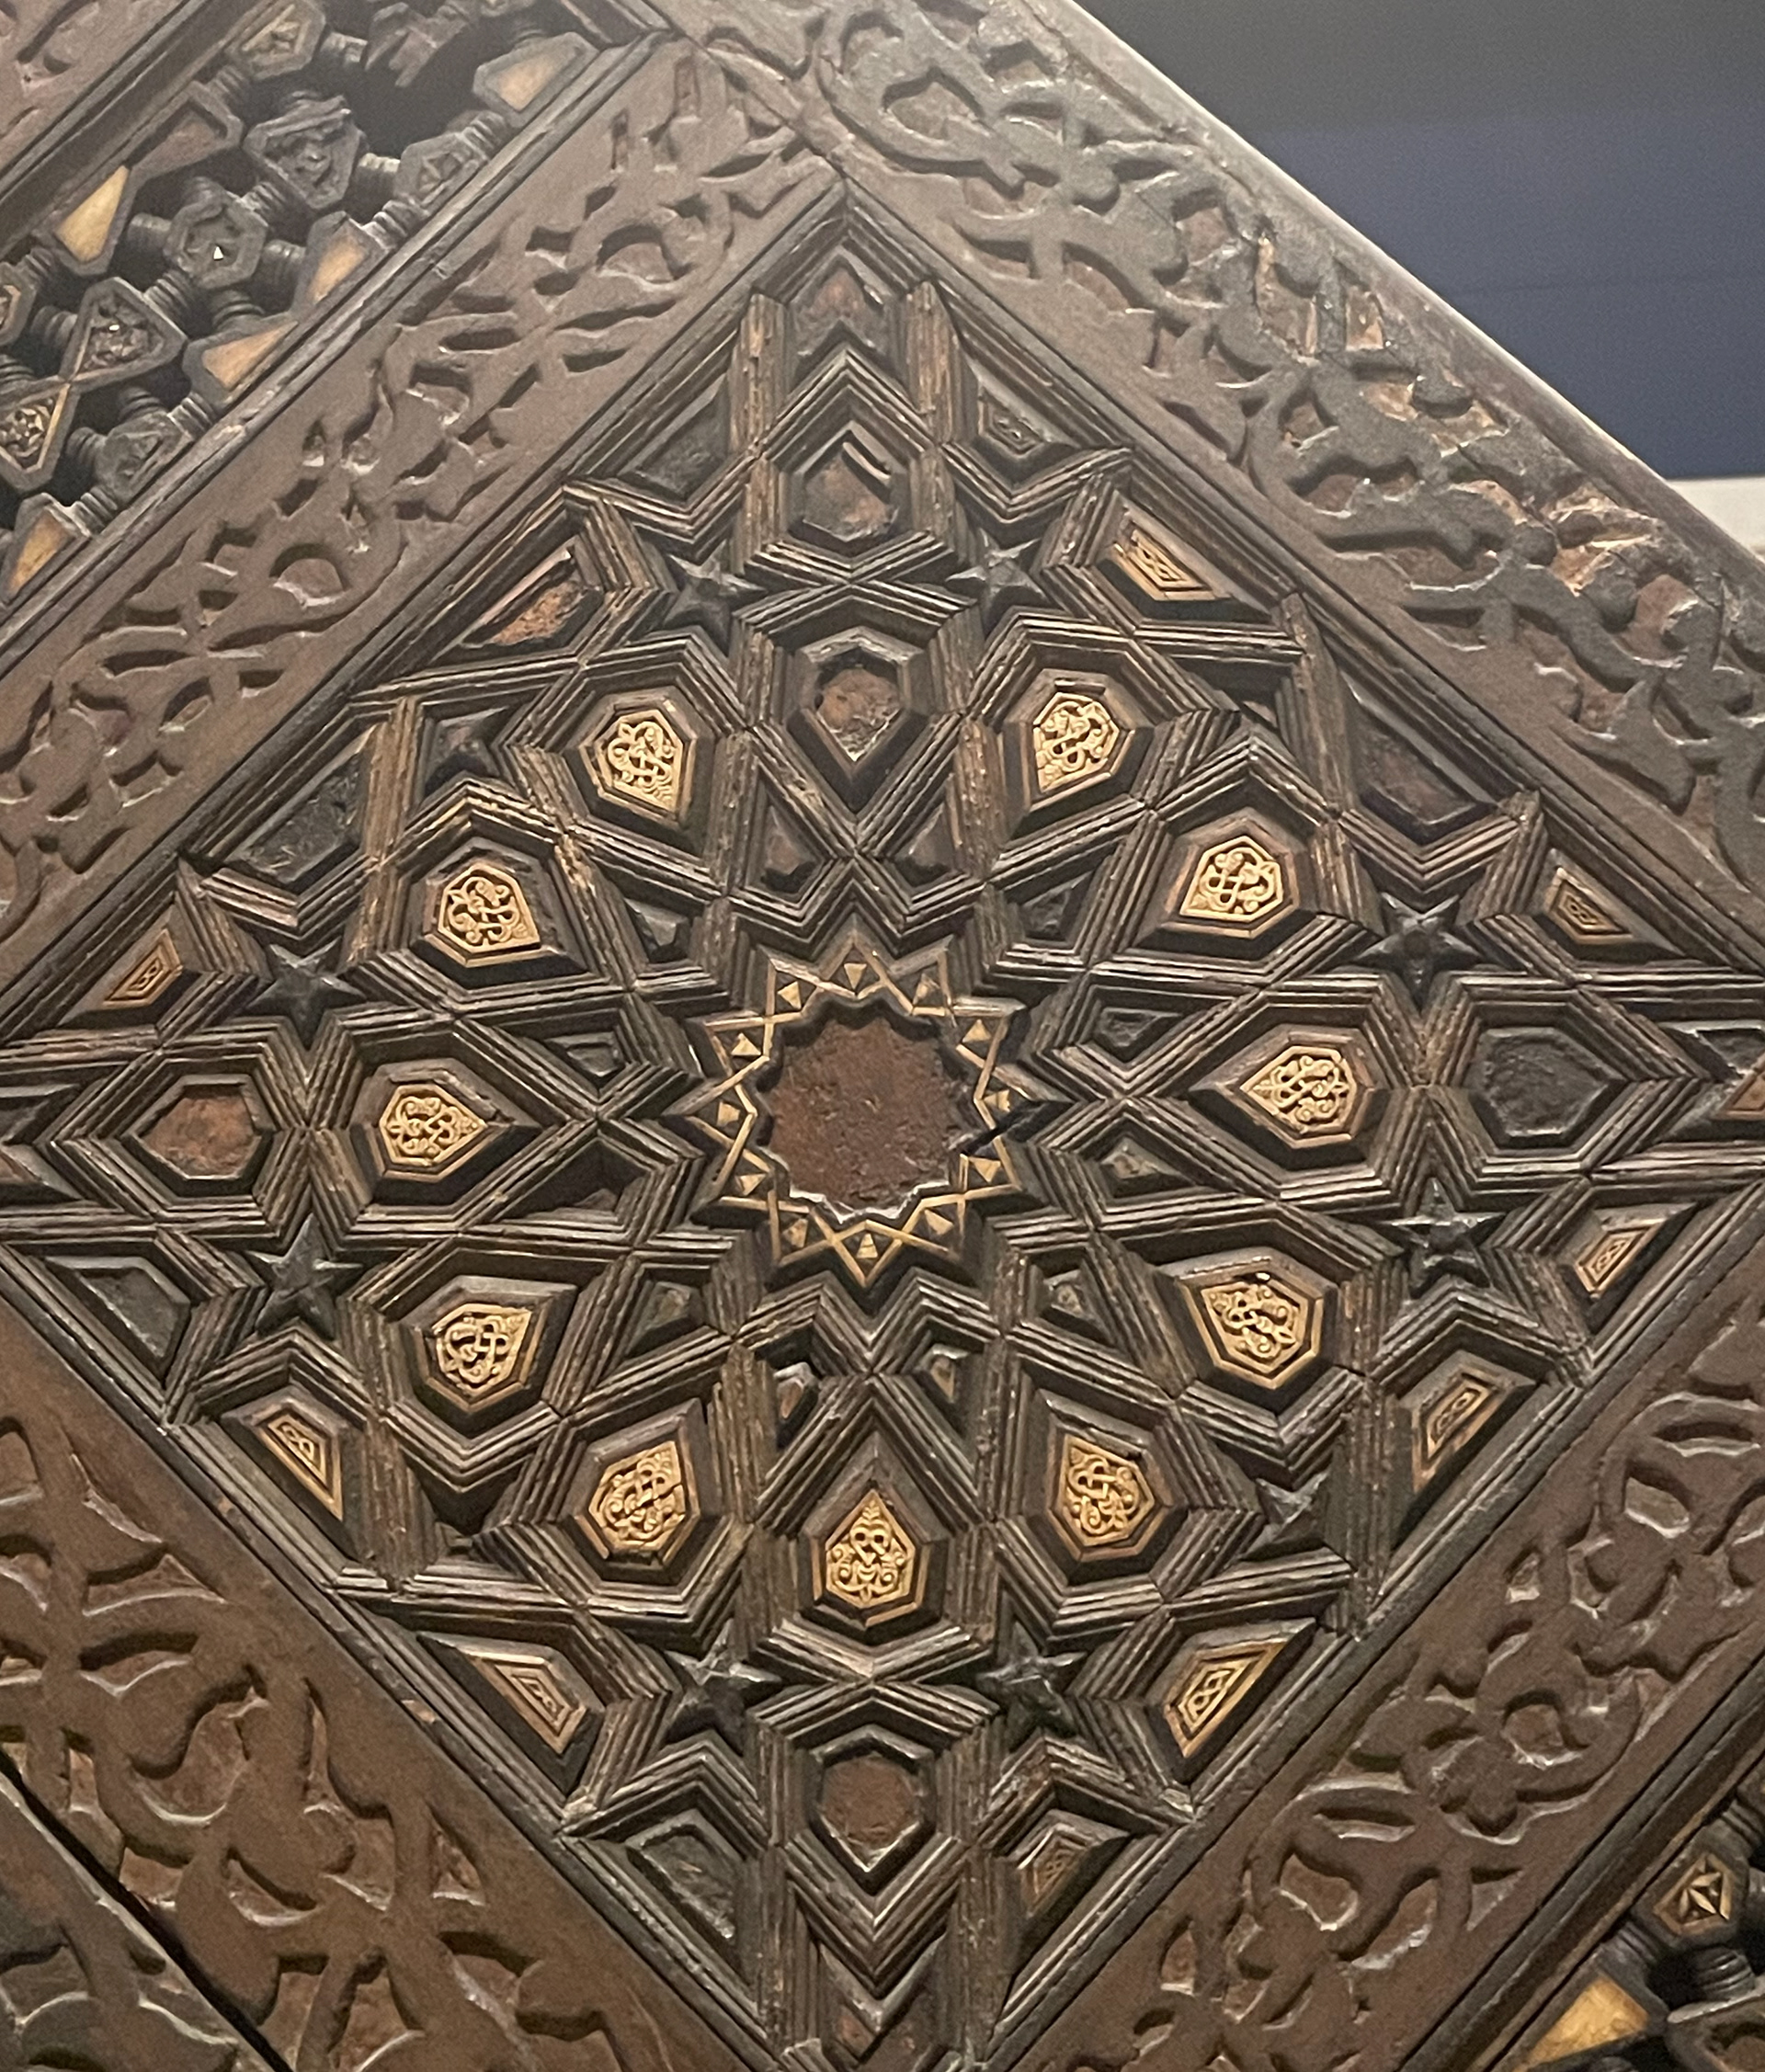
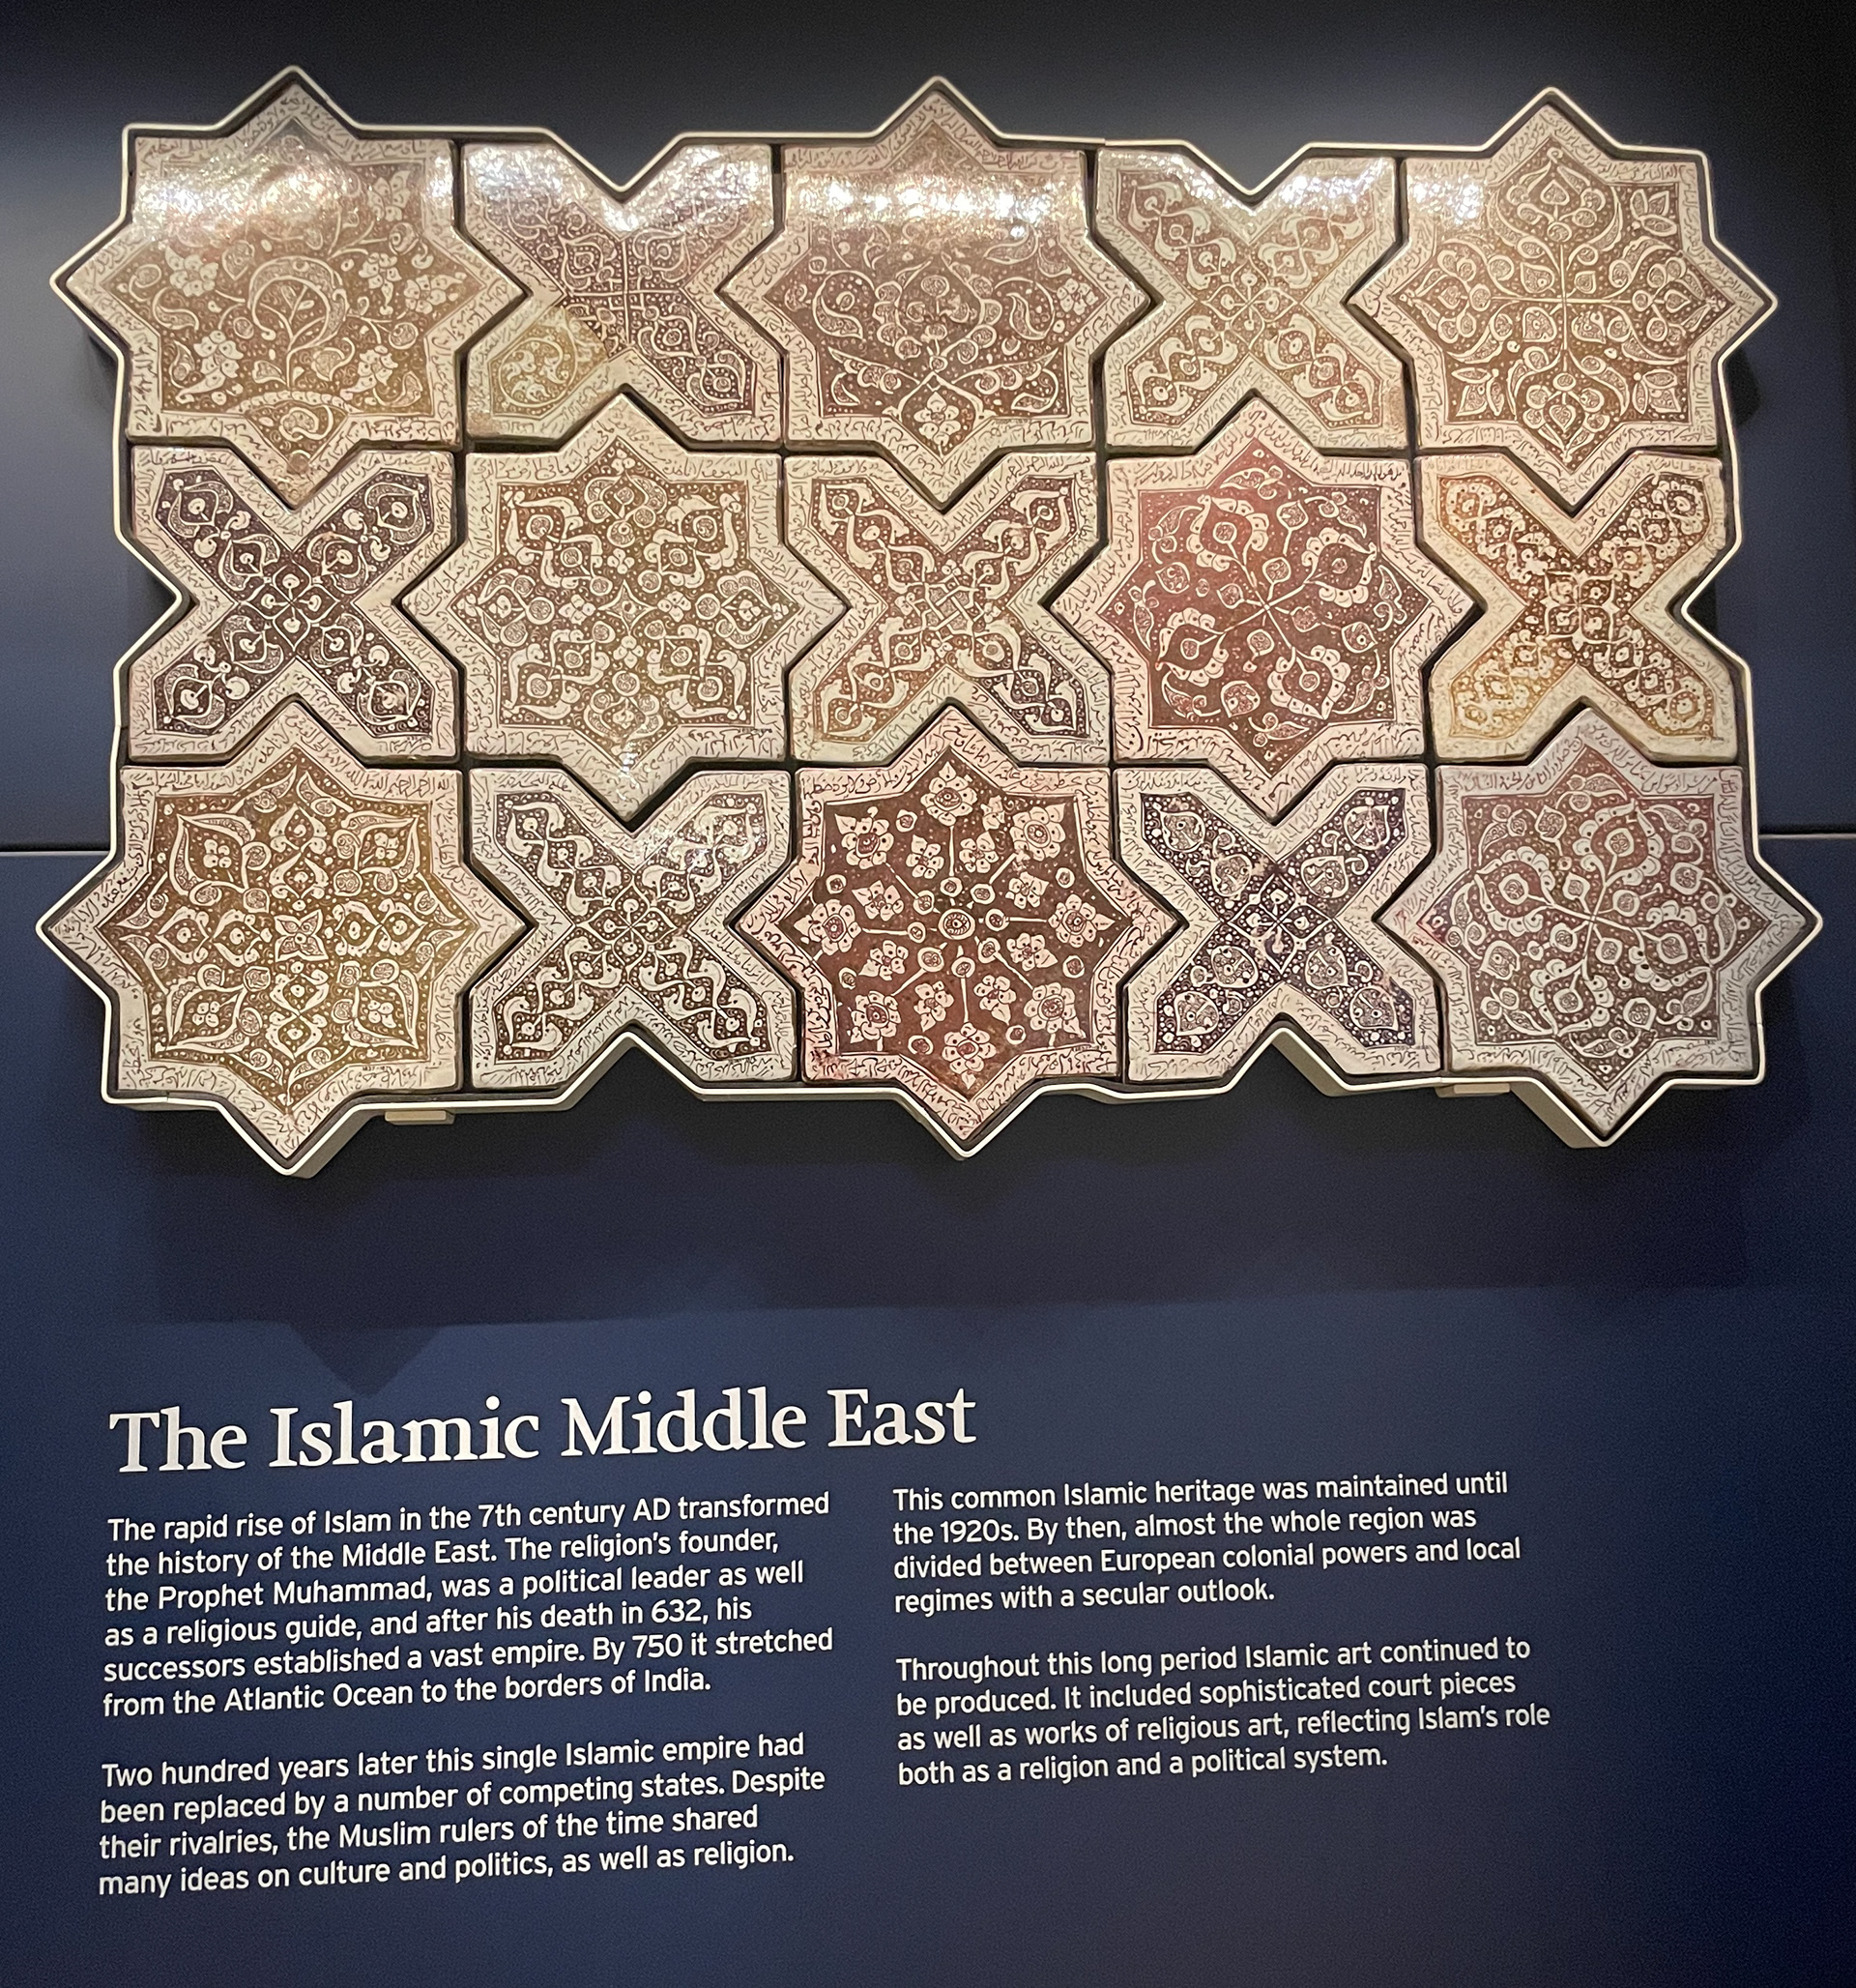
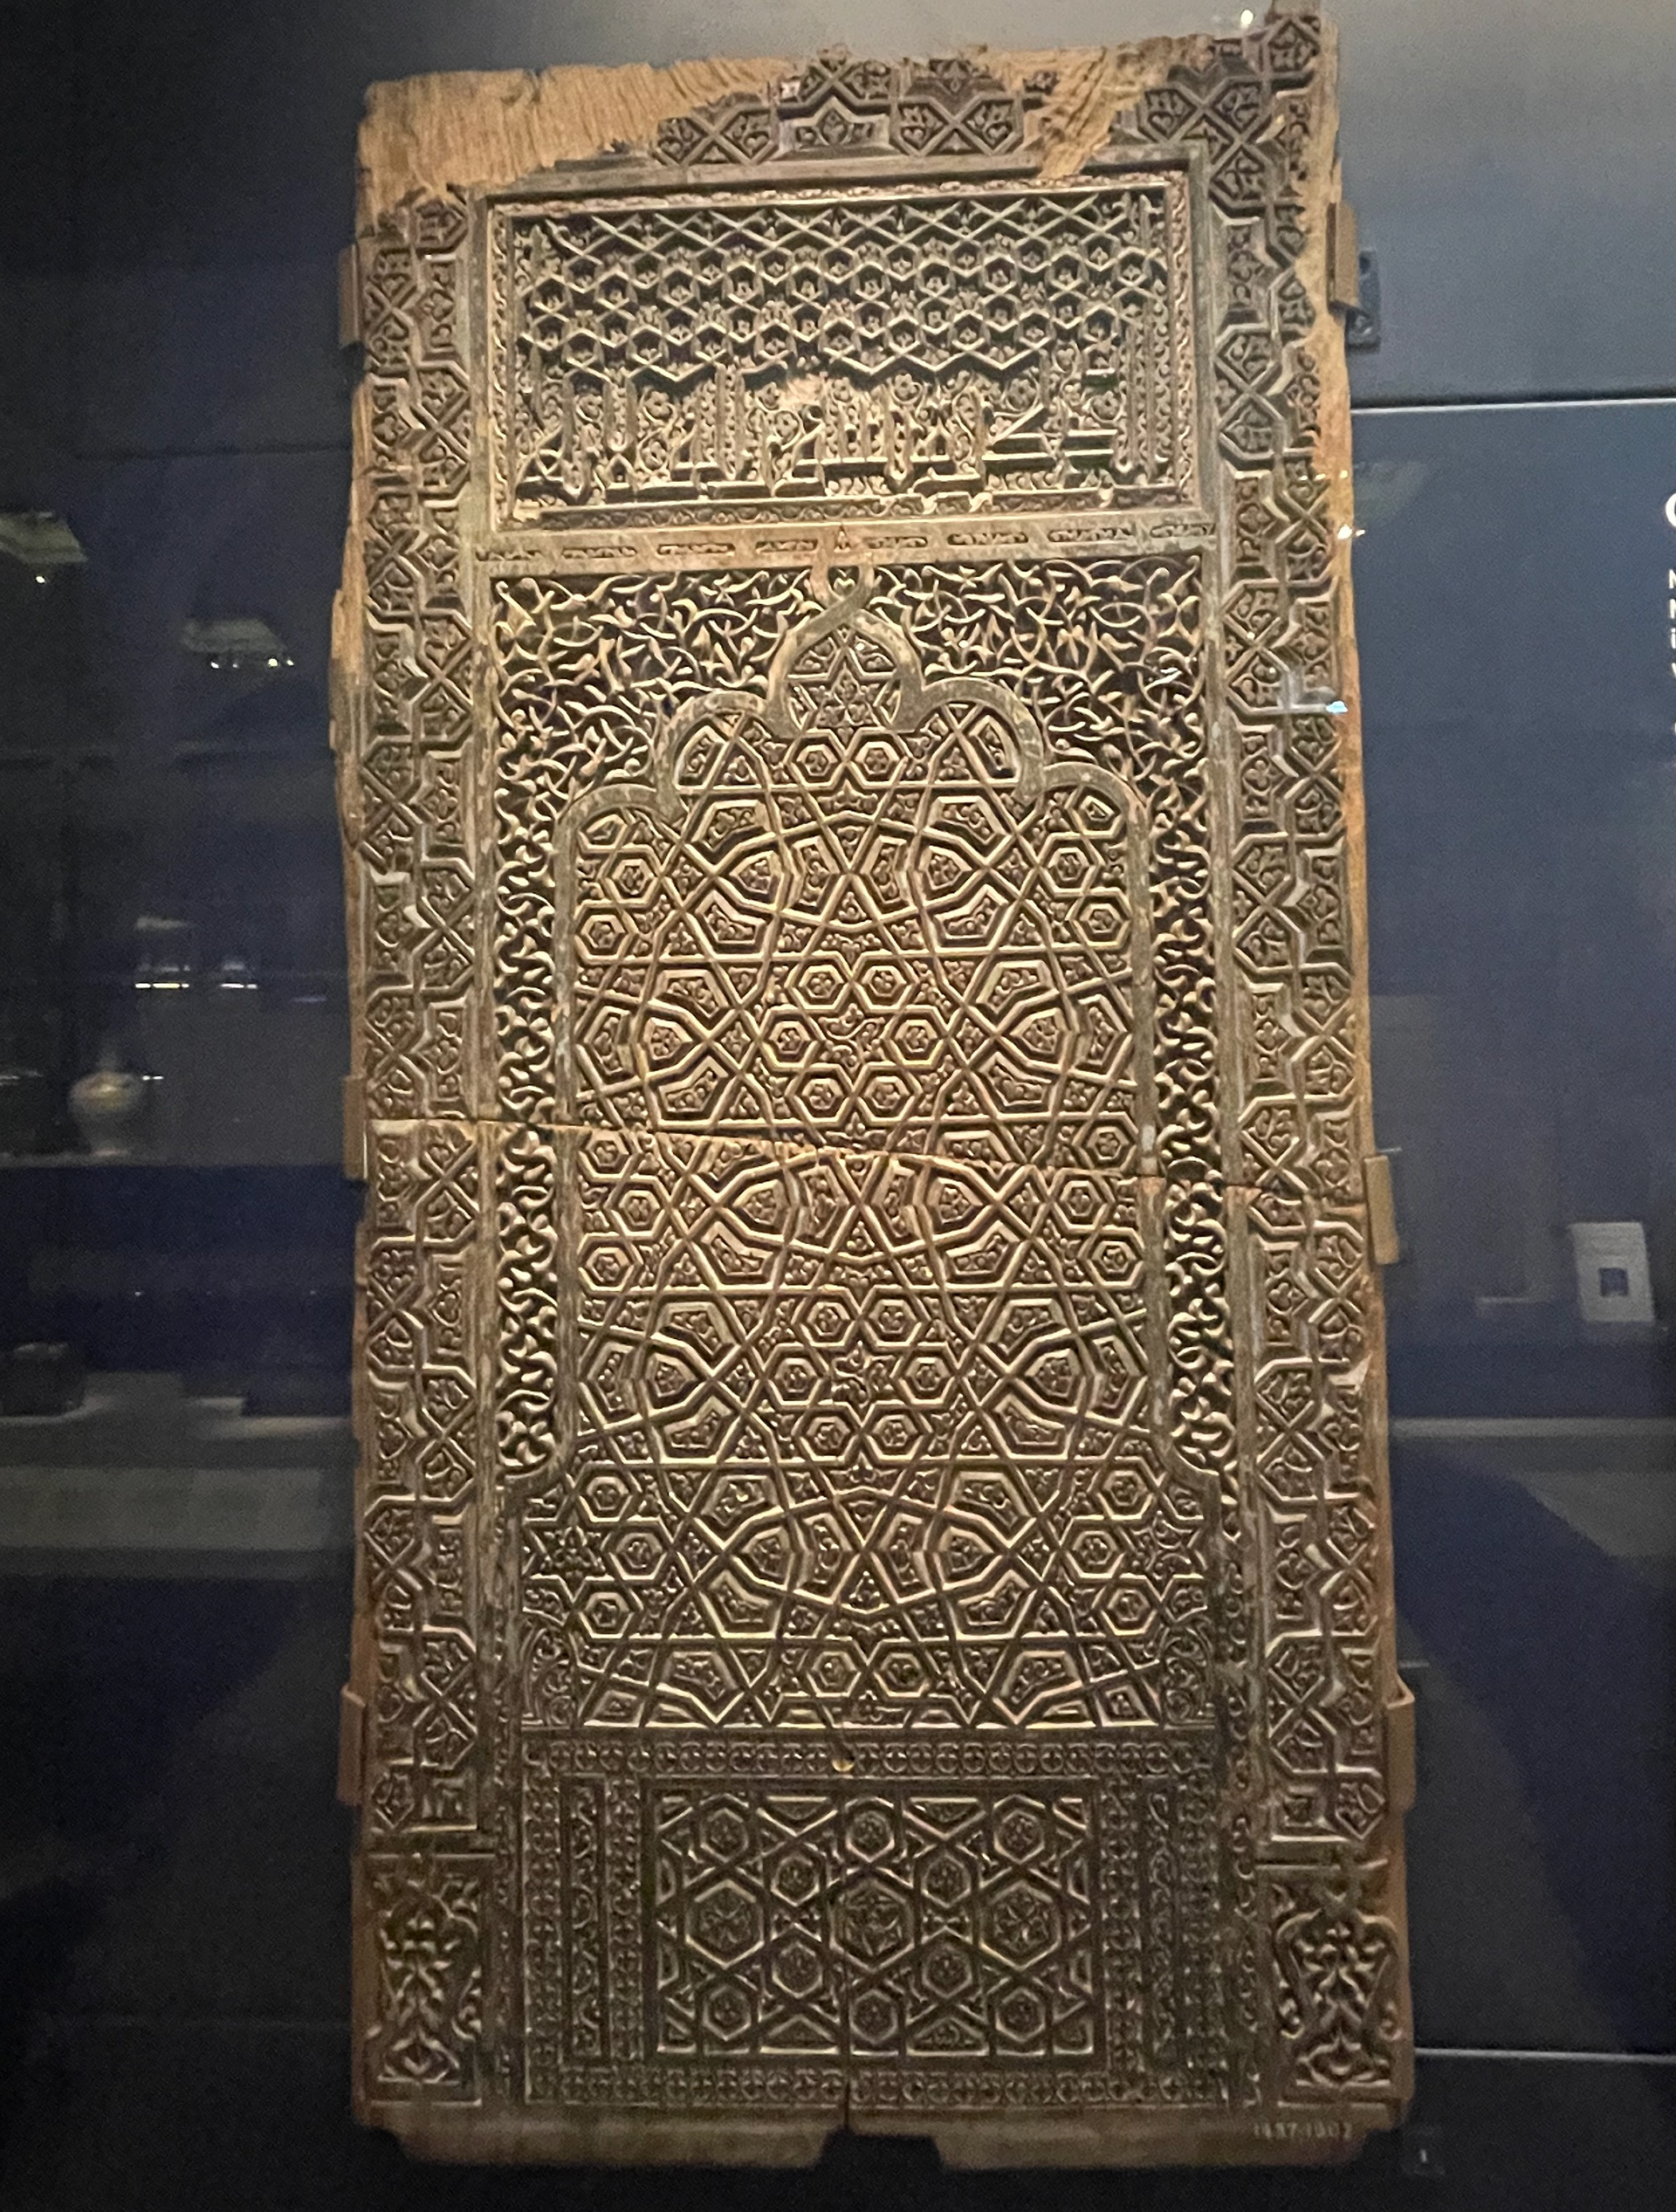
I visited the Victoria and Albert Museum for the first time whilst in London. I went to a few different exhibitions there but the main one that inspired me was the Jewellery collection. This blew my mind. I was mesmerised by the pieces on display. Of course, a big dream would be to have my work there one day. I was mainly focusing on pieces with geometric forms and trying to figure out how they have been made. I was inspired by the refinement but complex detail which is something I aim to have in my work. As well as this I visited the stained glass exhibition, the ironwork I stumbled across on but there was much geometric inspiration within that exhibition. As well as this, I came across more modern pieces with geometric elements, followed by the Middle Eastern section which was incredible. In addition to this, I was looking at the architecture within the museum and in the museum shop at the jewellery displayed there. Overall, my visit to the V&A was all-round inspiring and I will be going back to see other exhibitions.

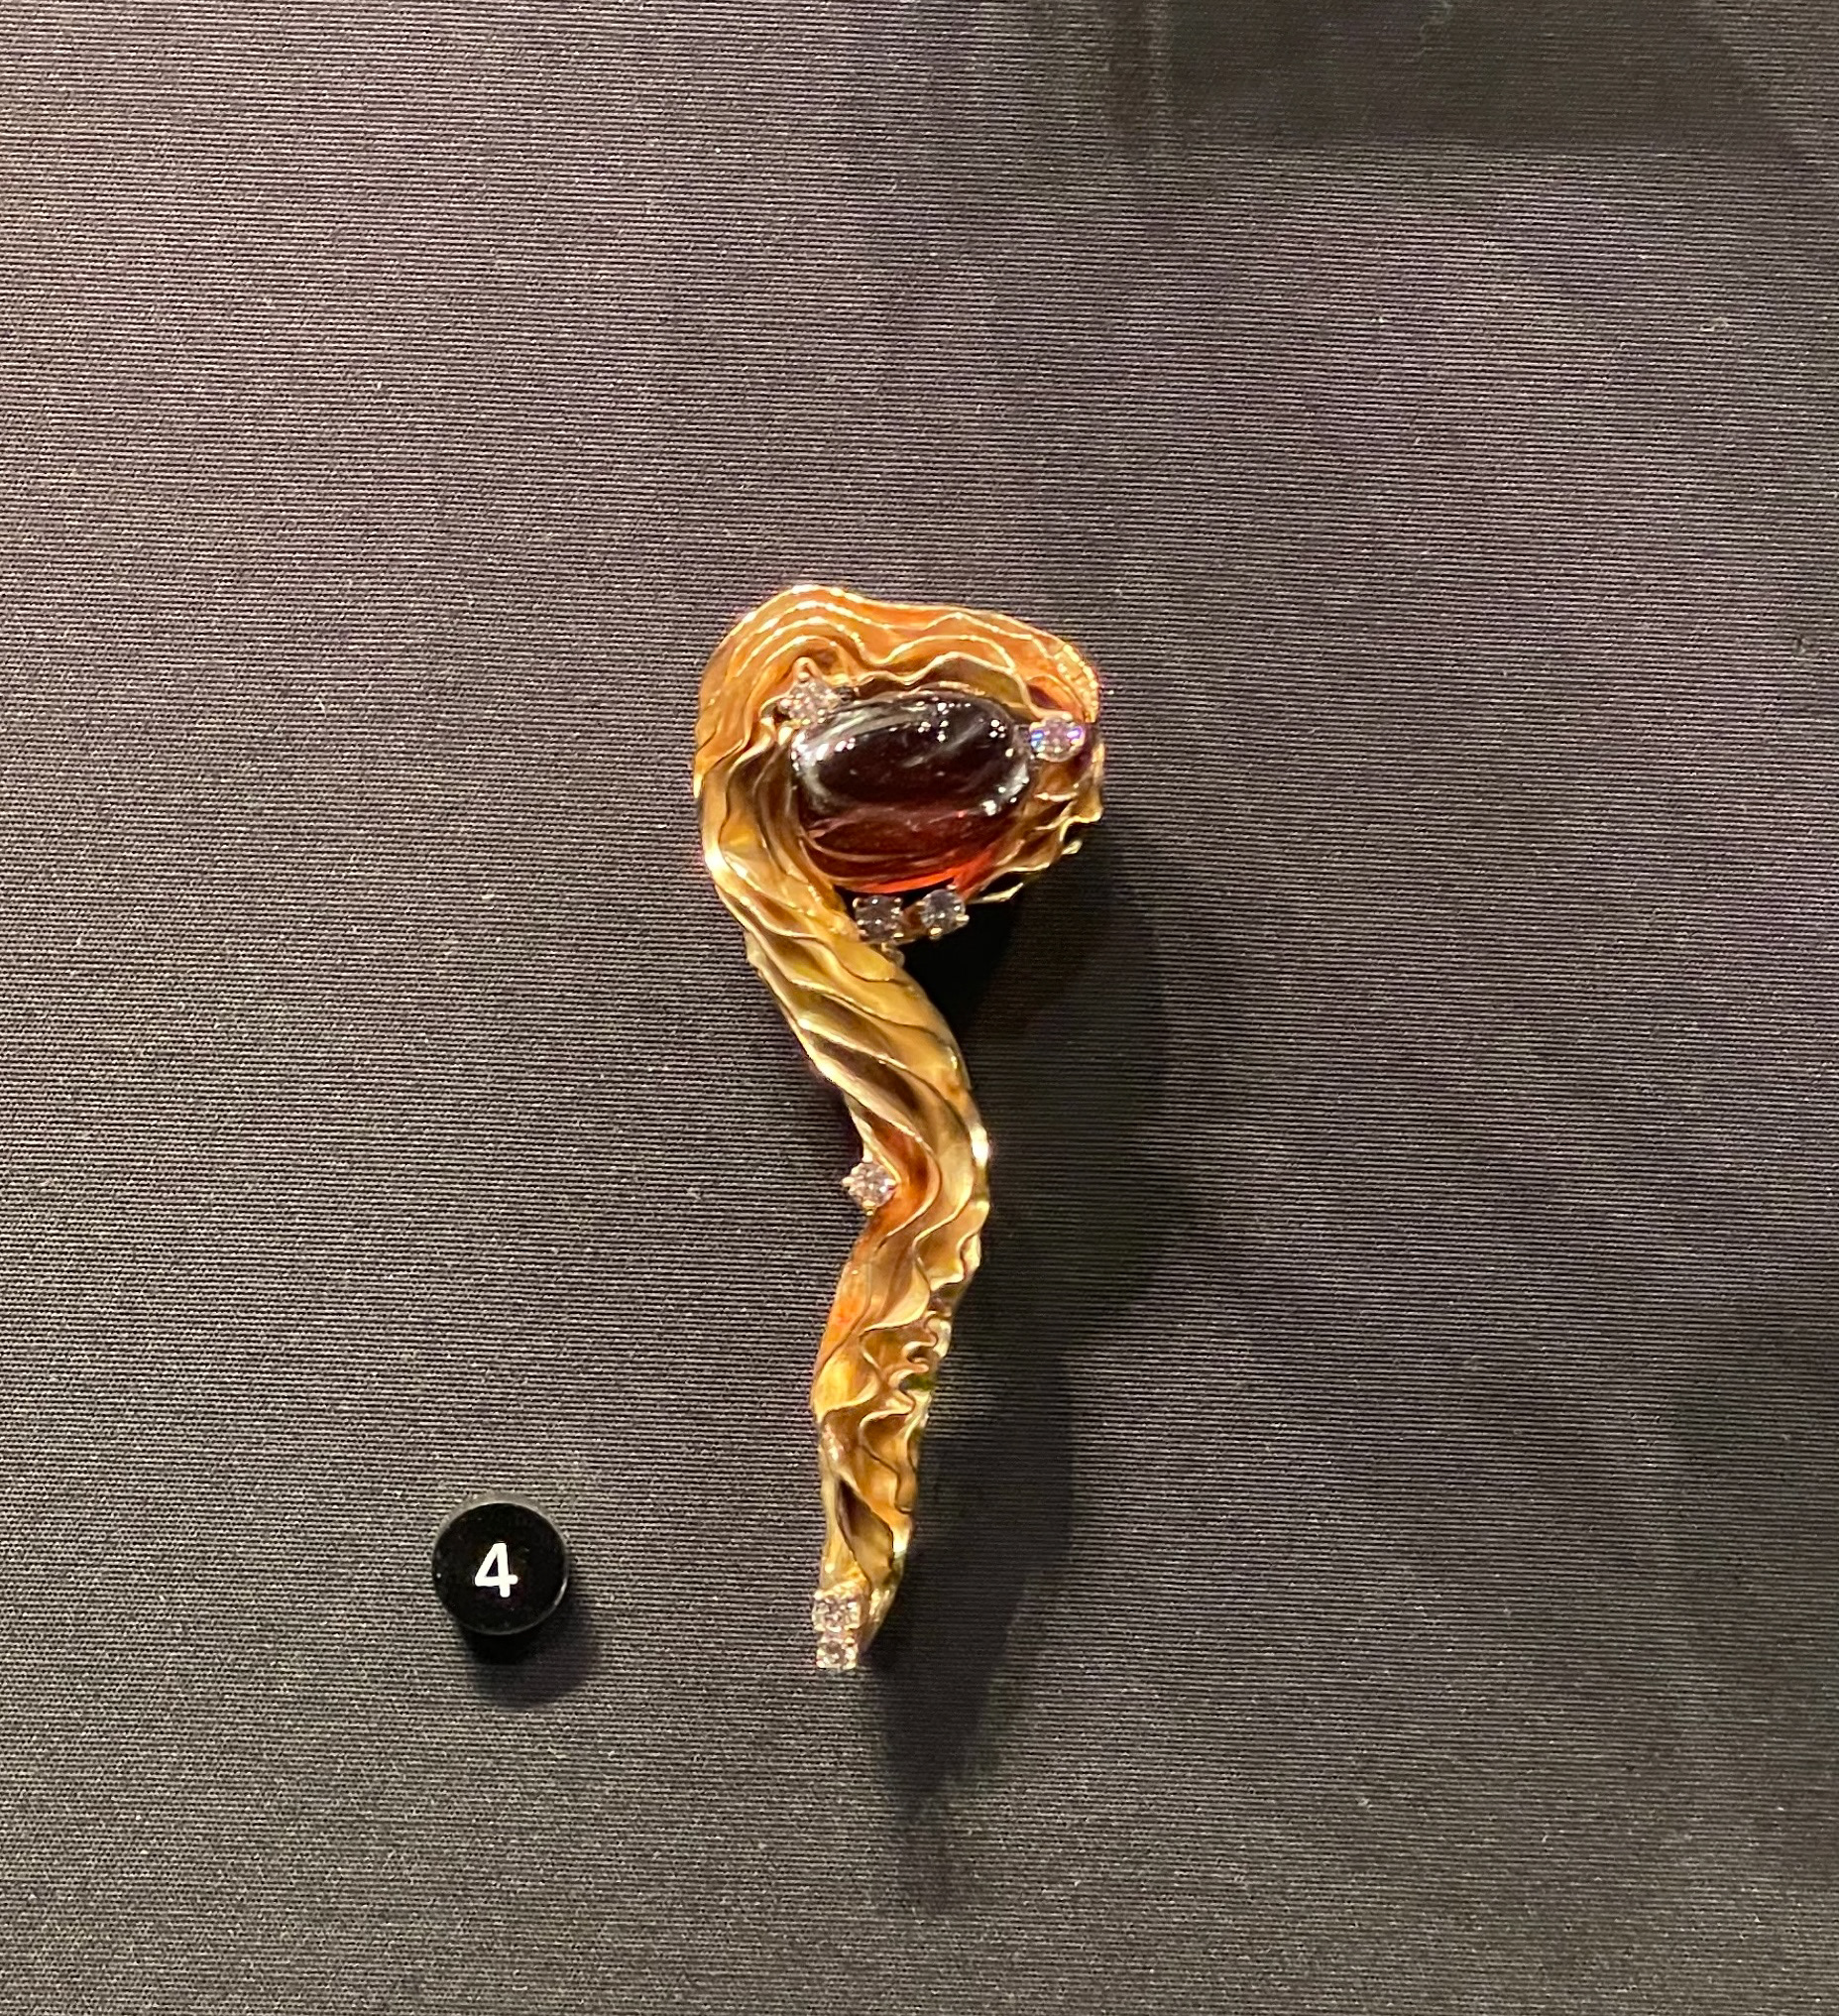
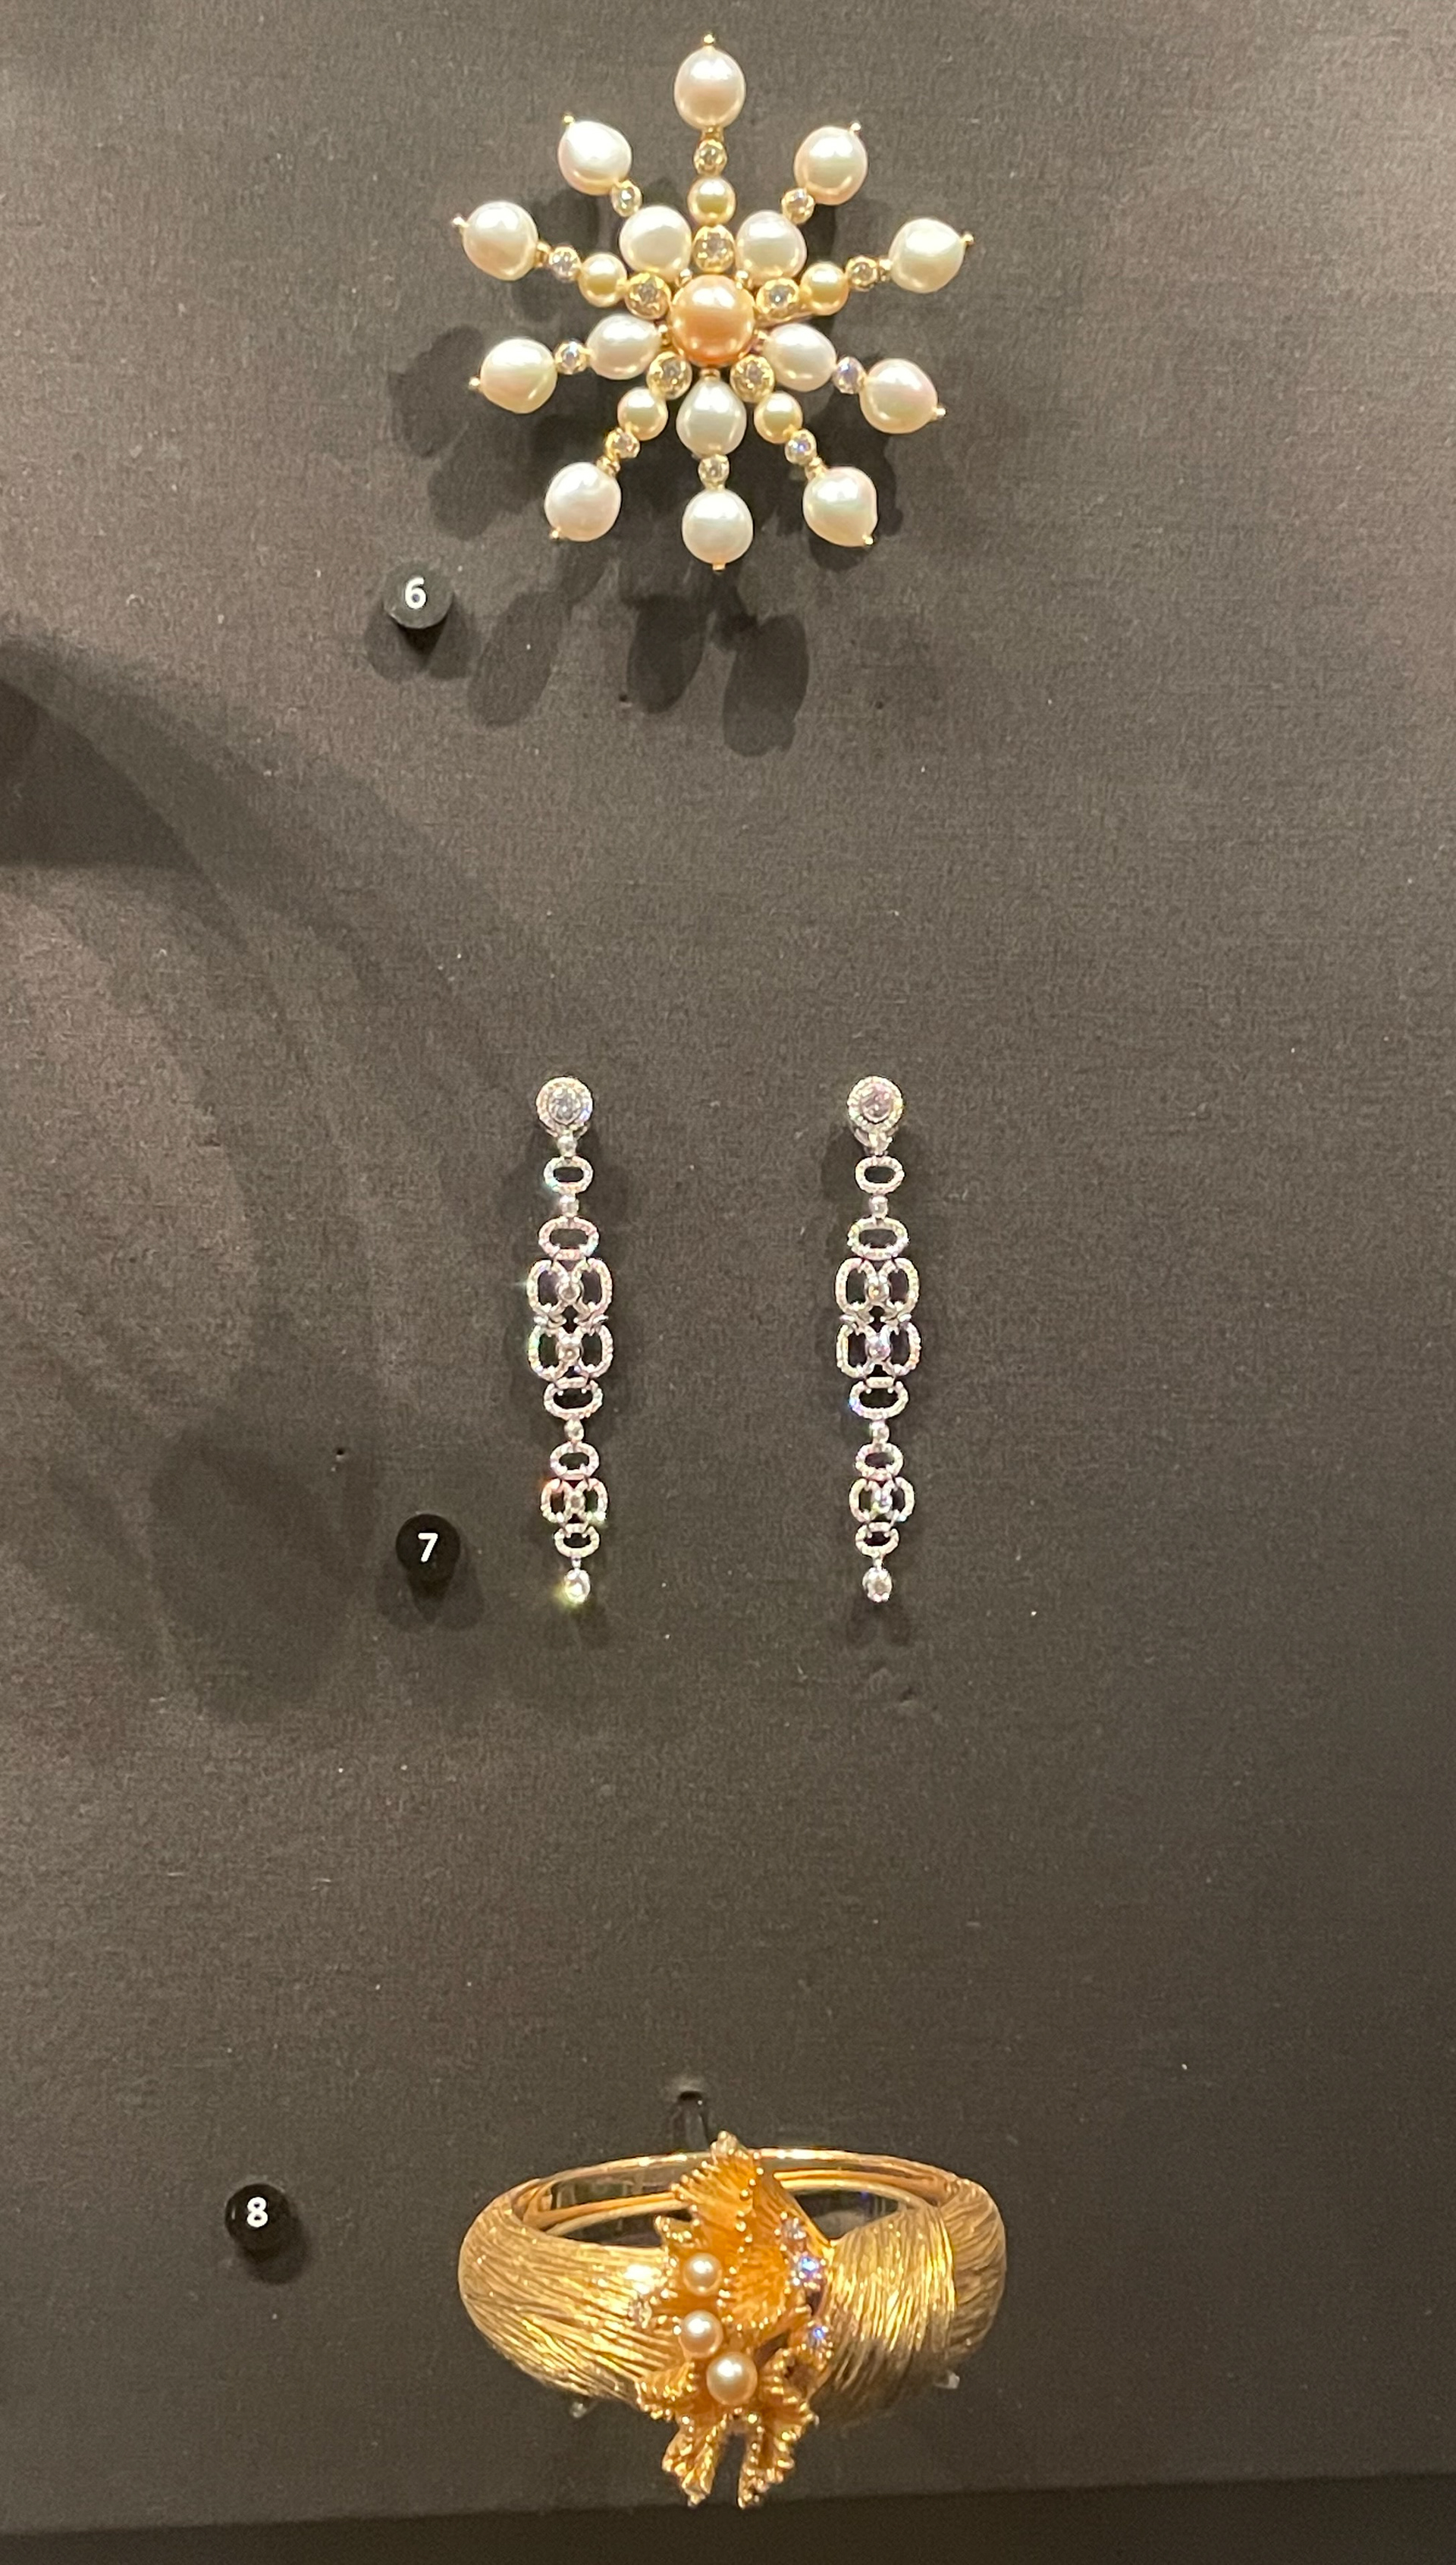


Gill wing
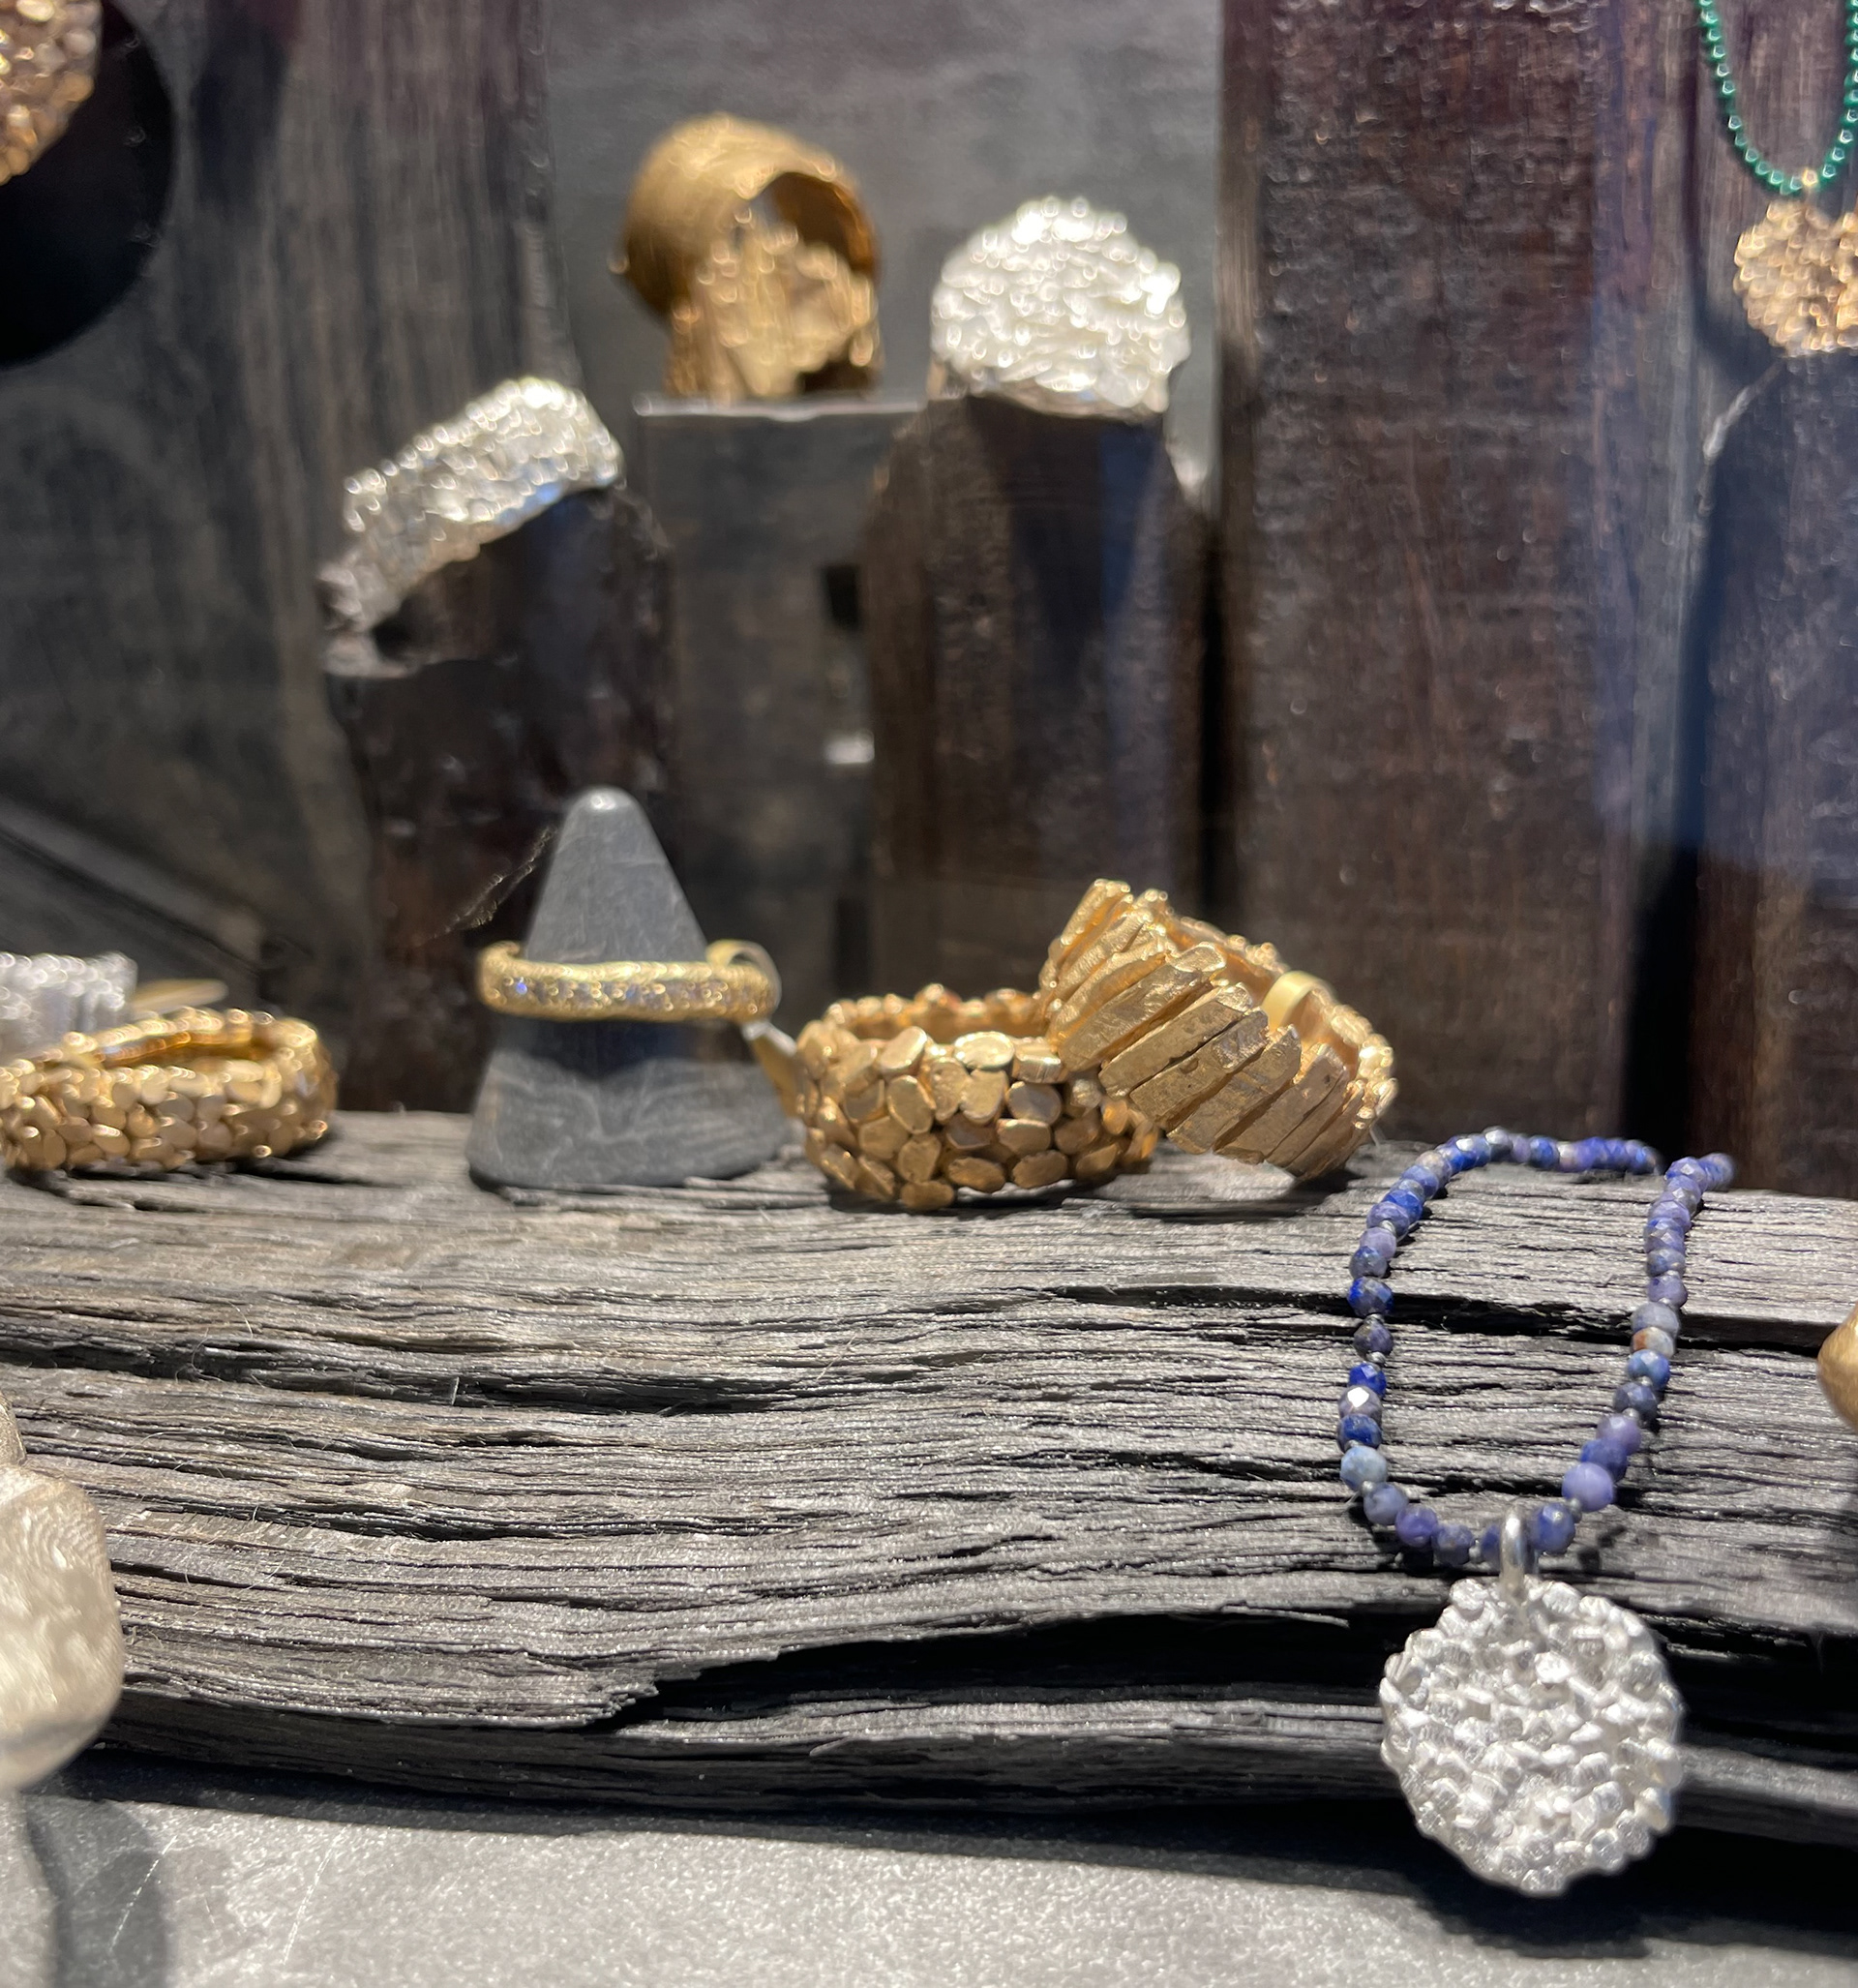
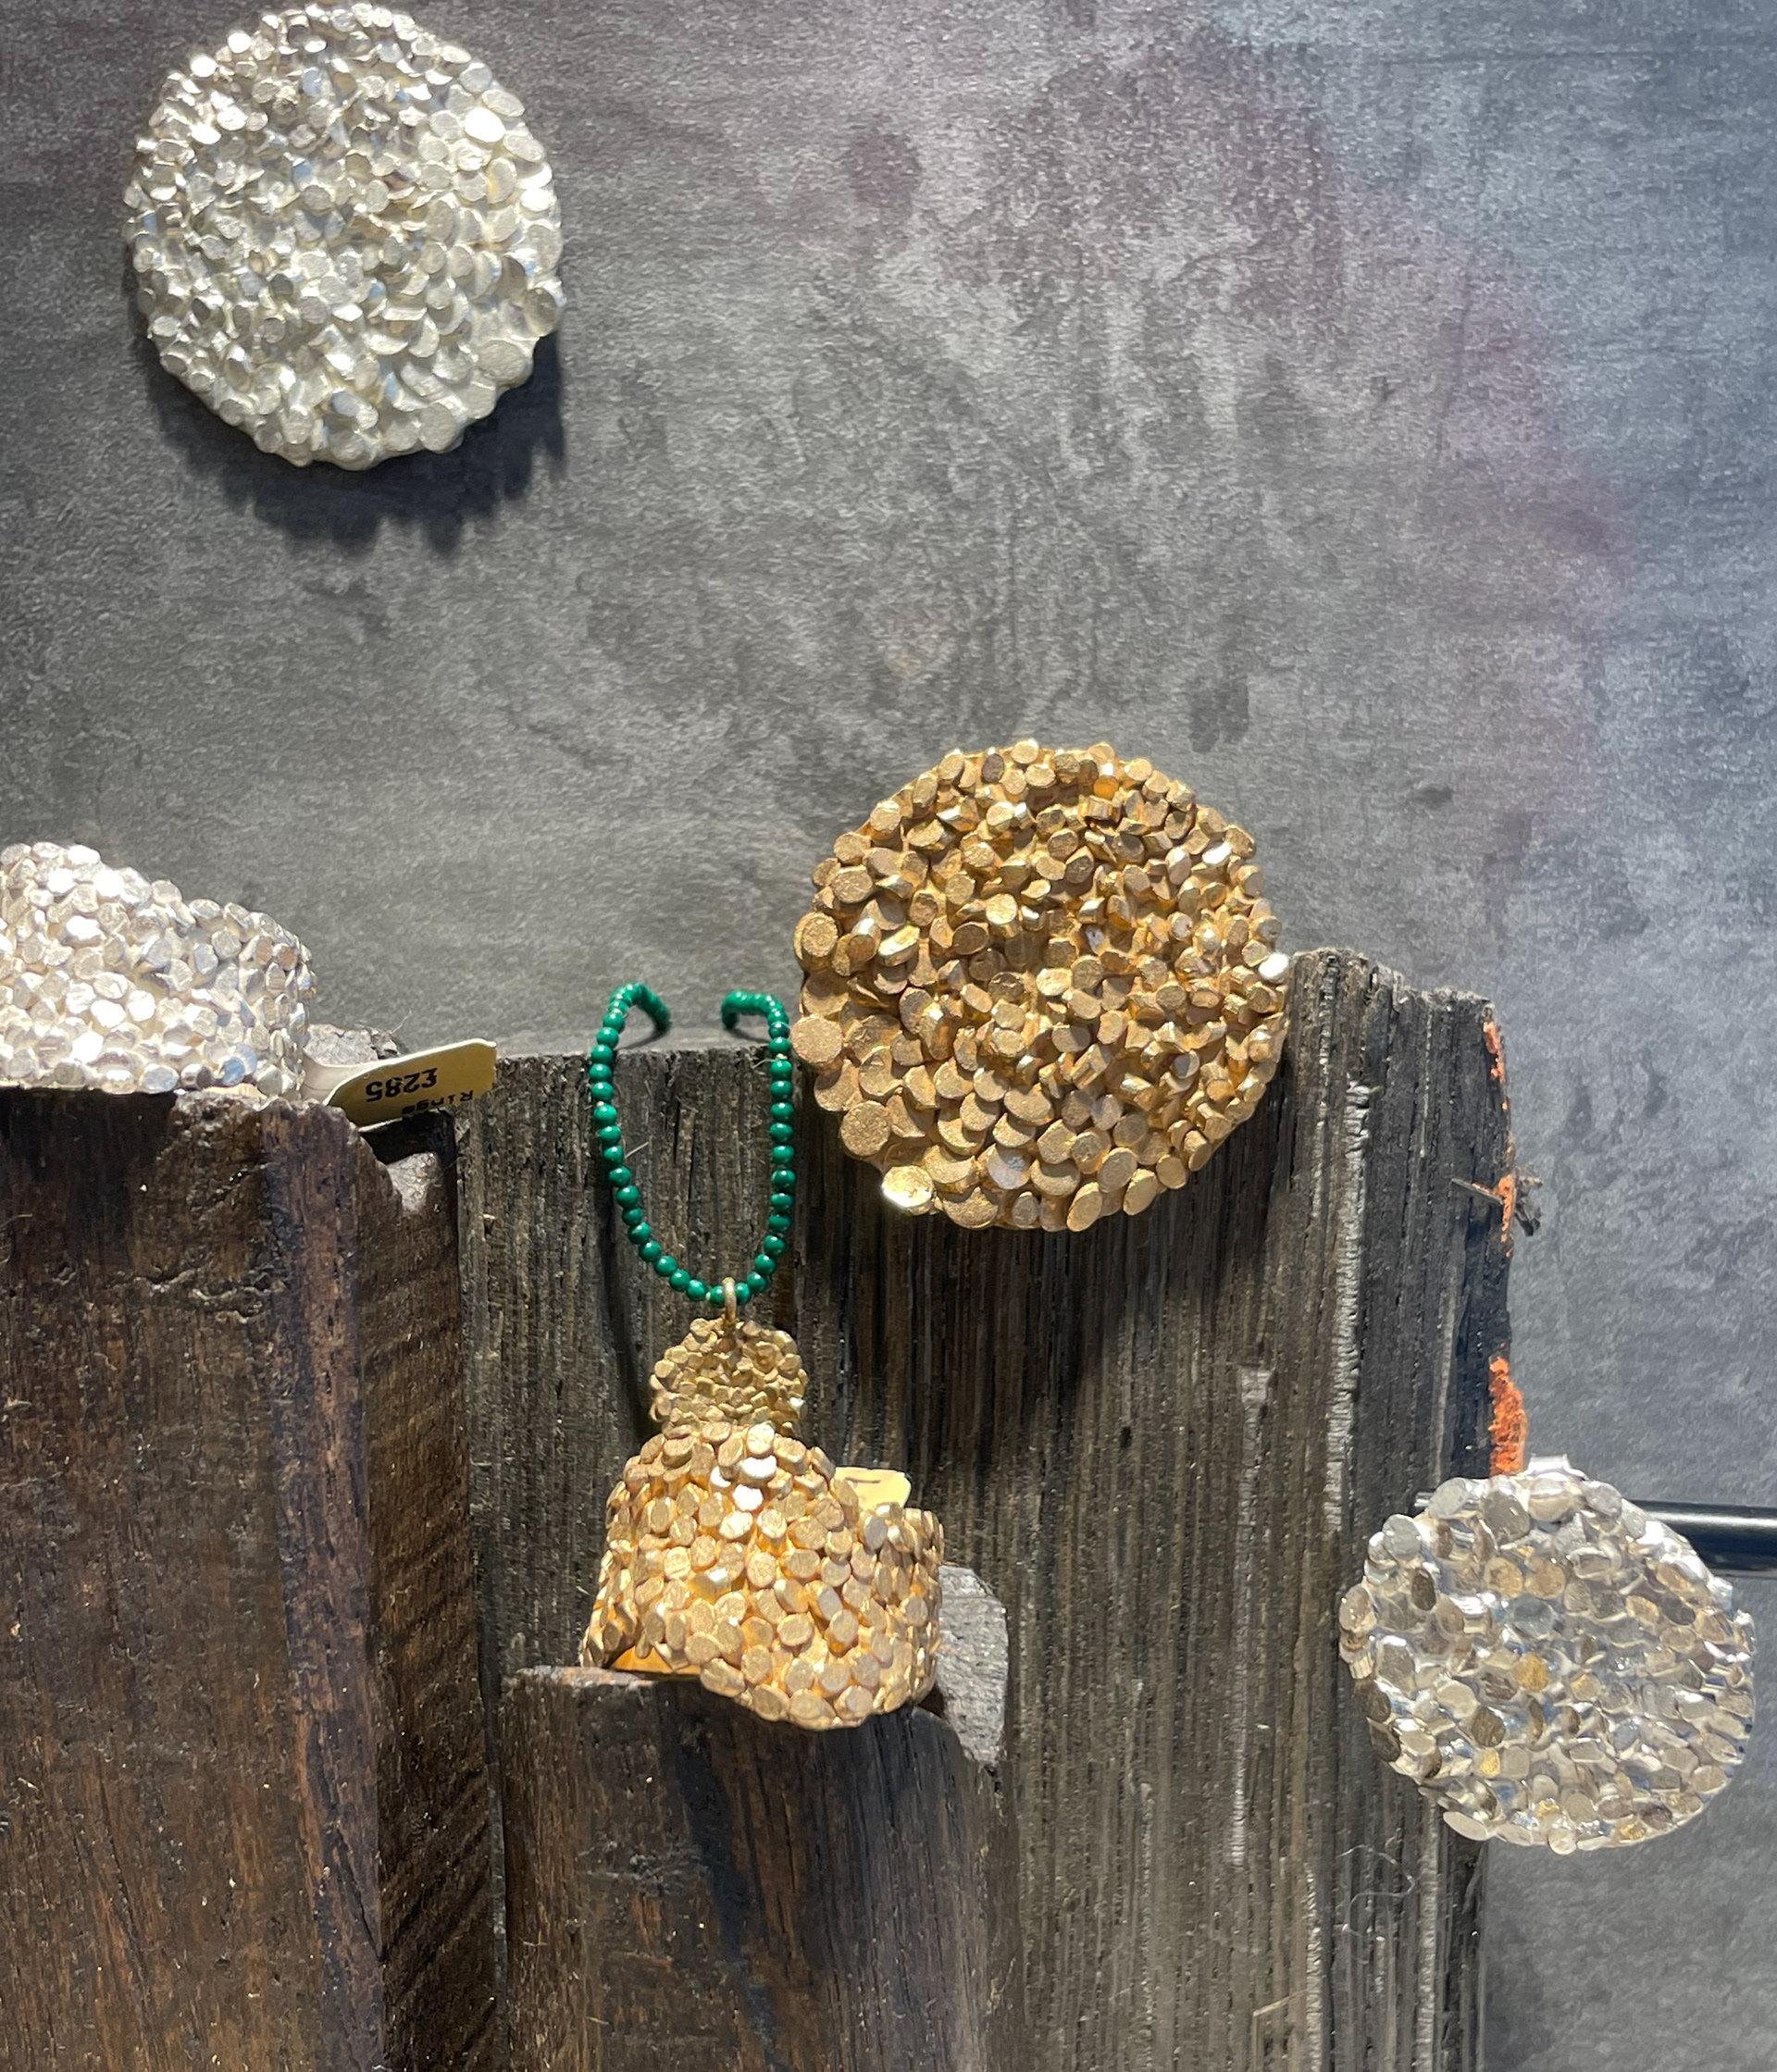
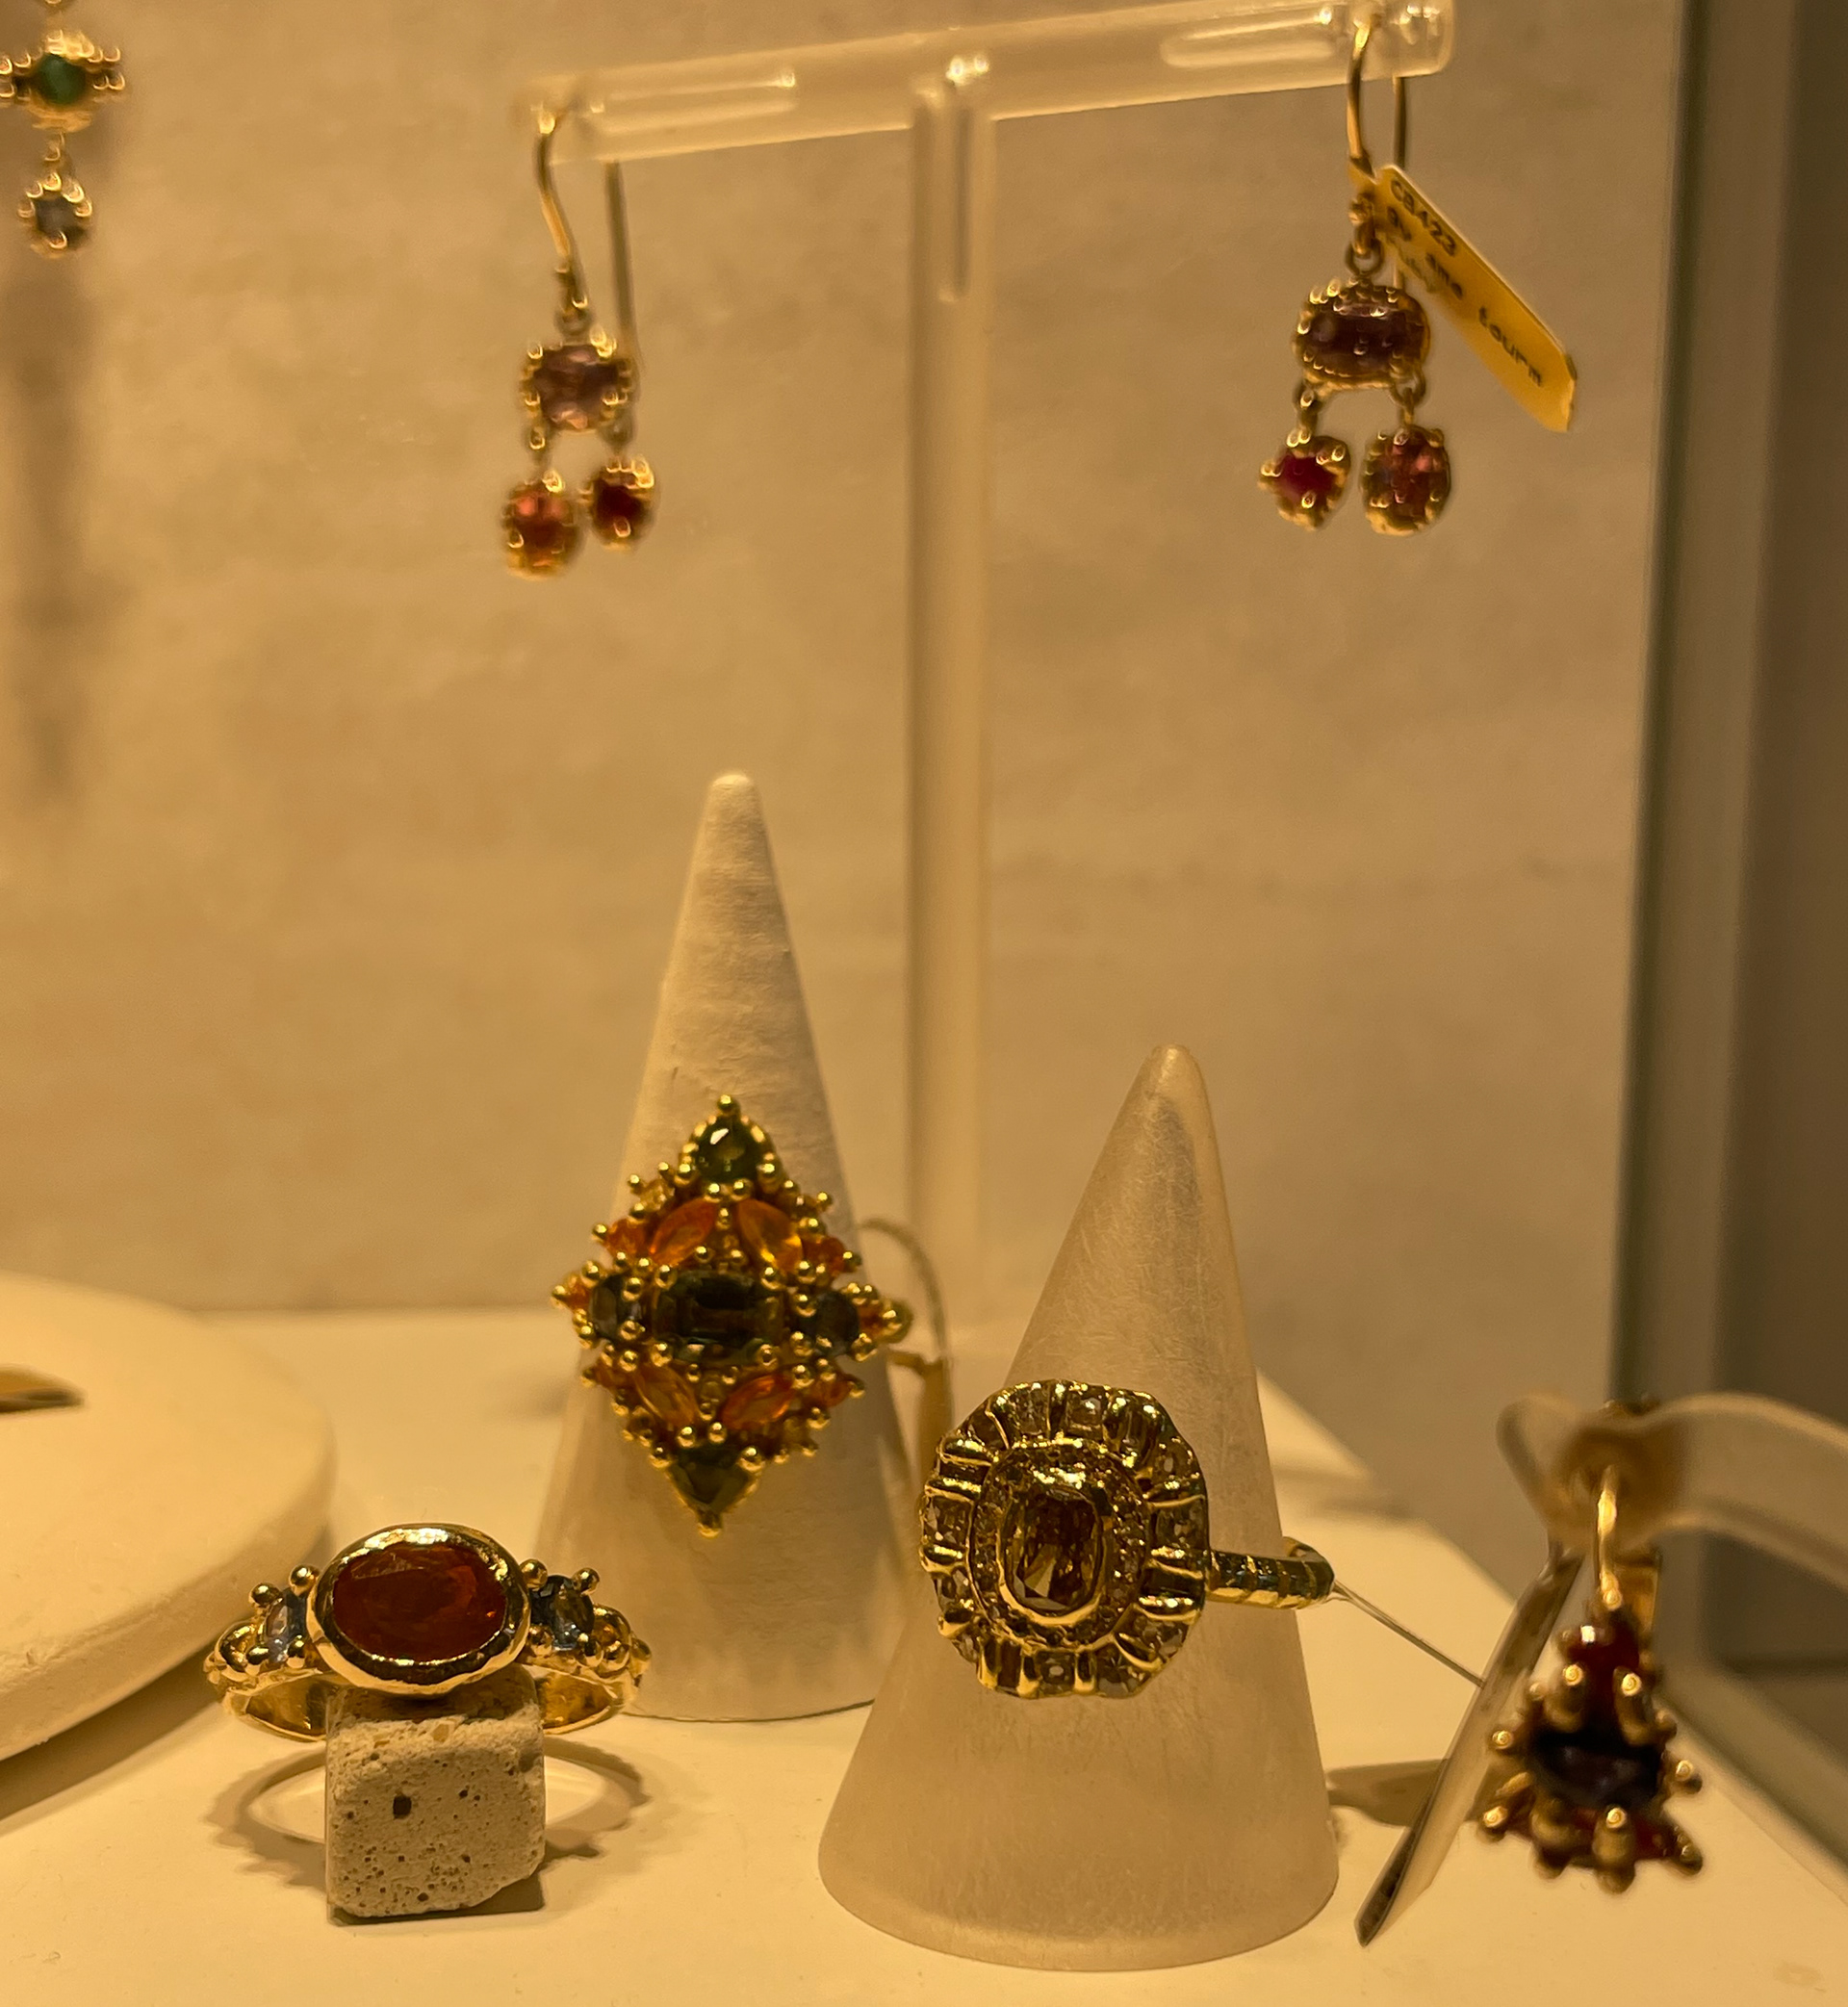
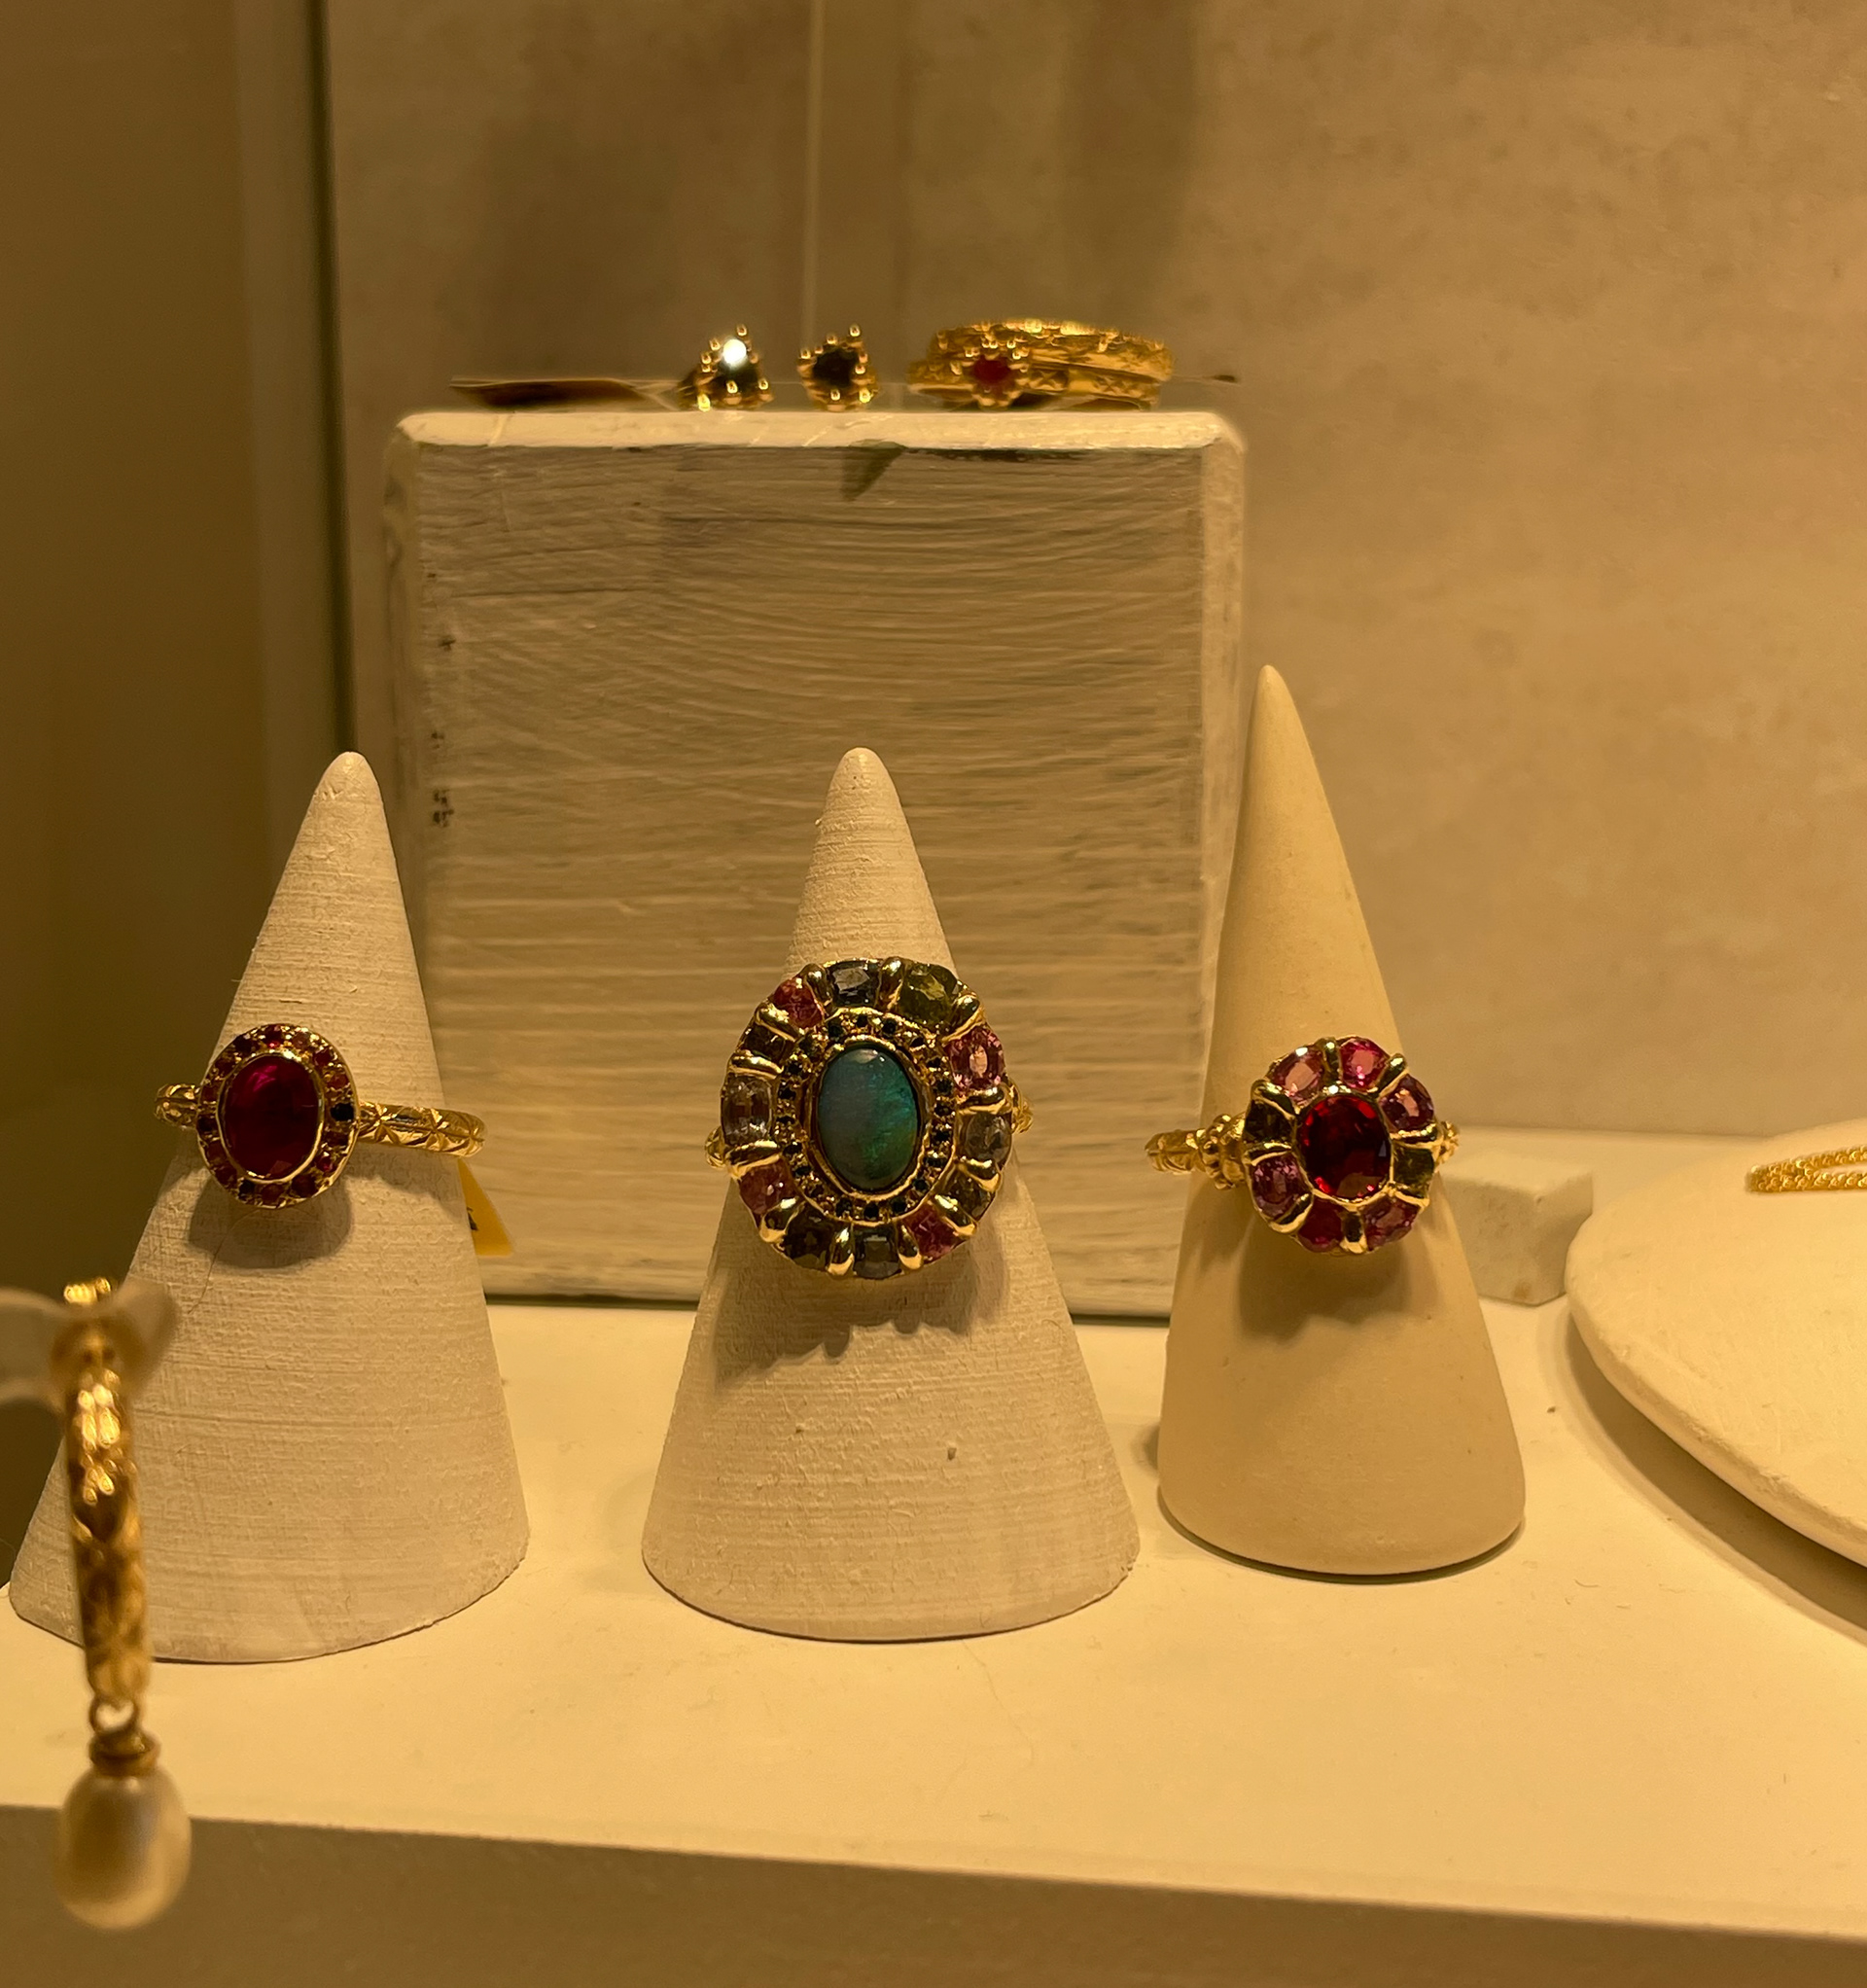
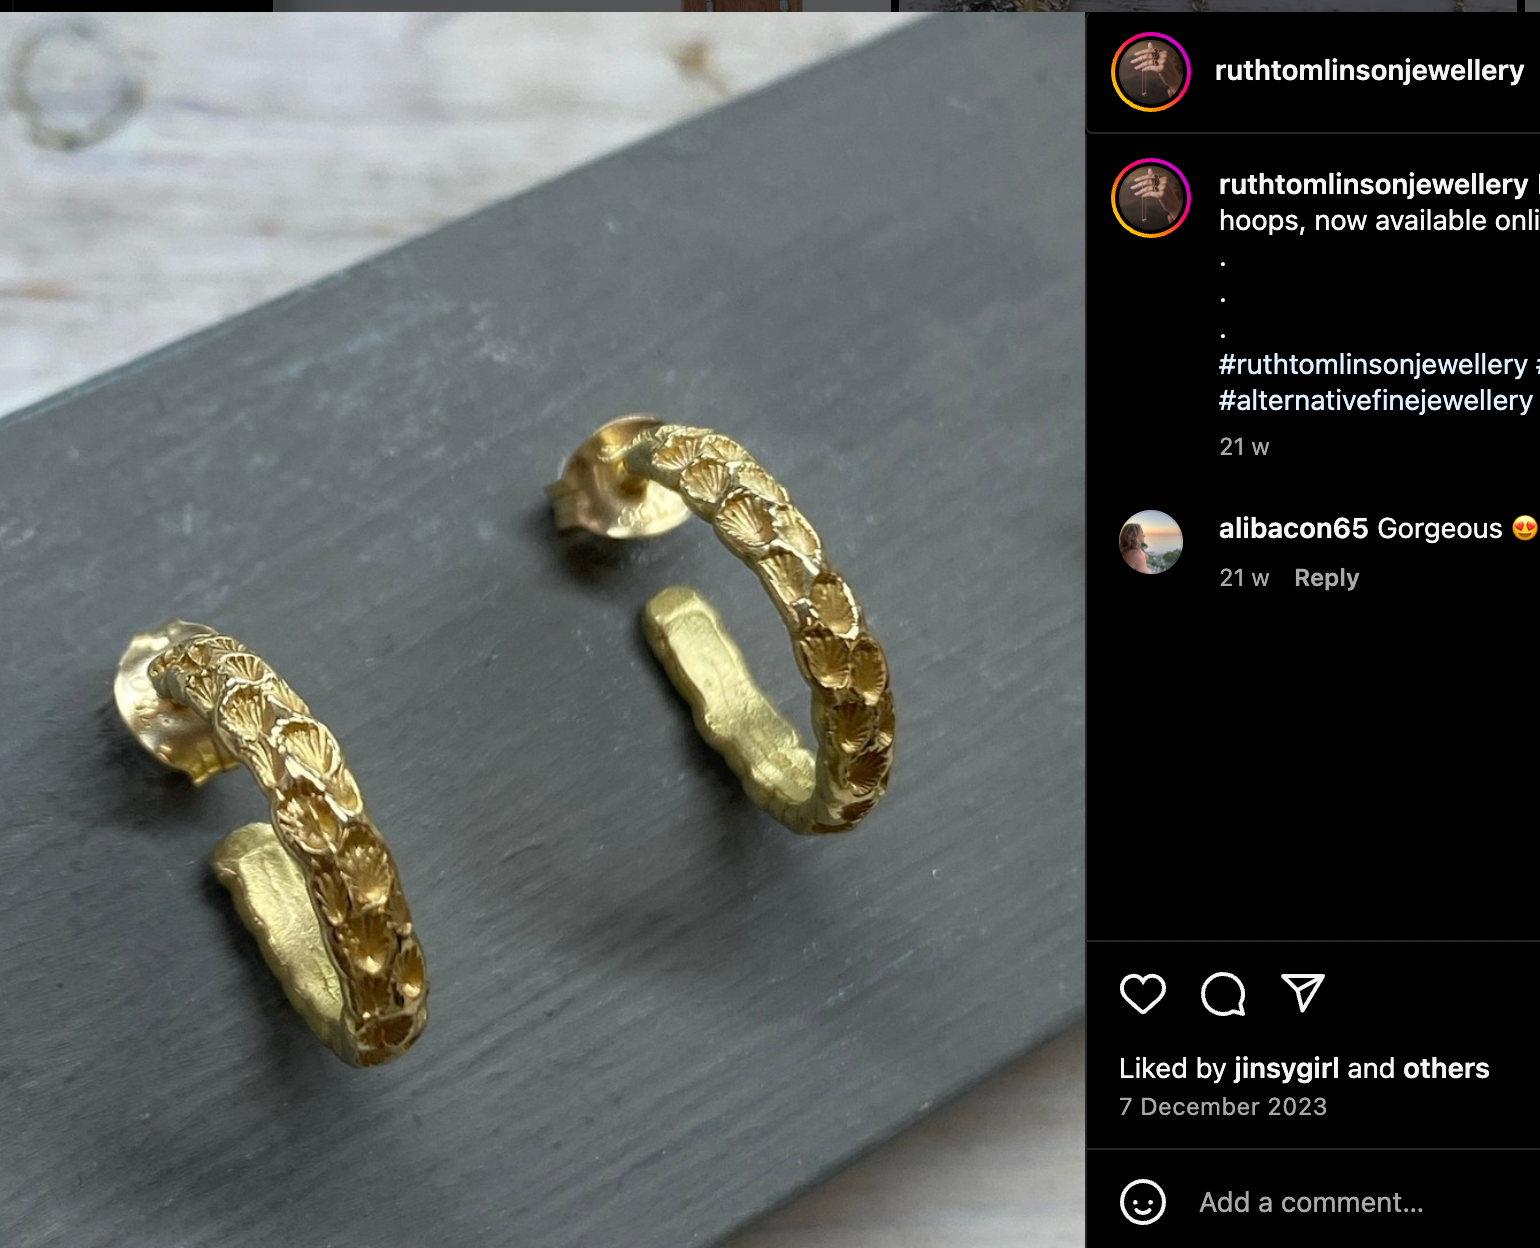
I also visited Gill Wing Jewellery whilst being in London. This is a small shop with jewellery exhibited by many different jewellery makers. I wasn't allowed to take photos in here so I only got a few. However, the pieces in there were incredible. I loved most of the work there and since visiting I have done further research into who the makers are. A few who stood out to me are Hannah Bedford, Ruth Tomlinson, Jade Mellor, Susan MacLeod, Alma Sophia and the Chalk collection by Malaika. Again I was incredibly inspired by the refinement and detail within the jewellery. As well as this, stone setting is something I want to learn in the future.

Hatton garden
I also visited Hatton Garden as a part of my research. This was very overwhelming due to the amount of wealth in these stores, which is something I haven't witnessed so much of in one area. It was interesting to see another side of the jewellery market and the standard that is expected within it. I found that the jewellery in some of the stores was hard to figure out if they were handmade or not. Besides this, the jewellery here was incredibly inspiring.
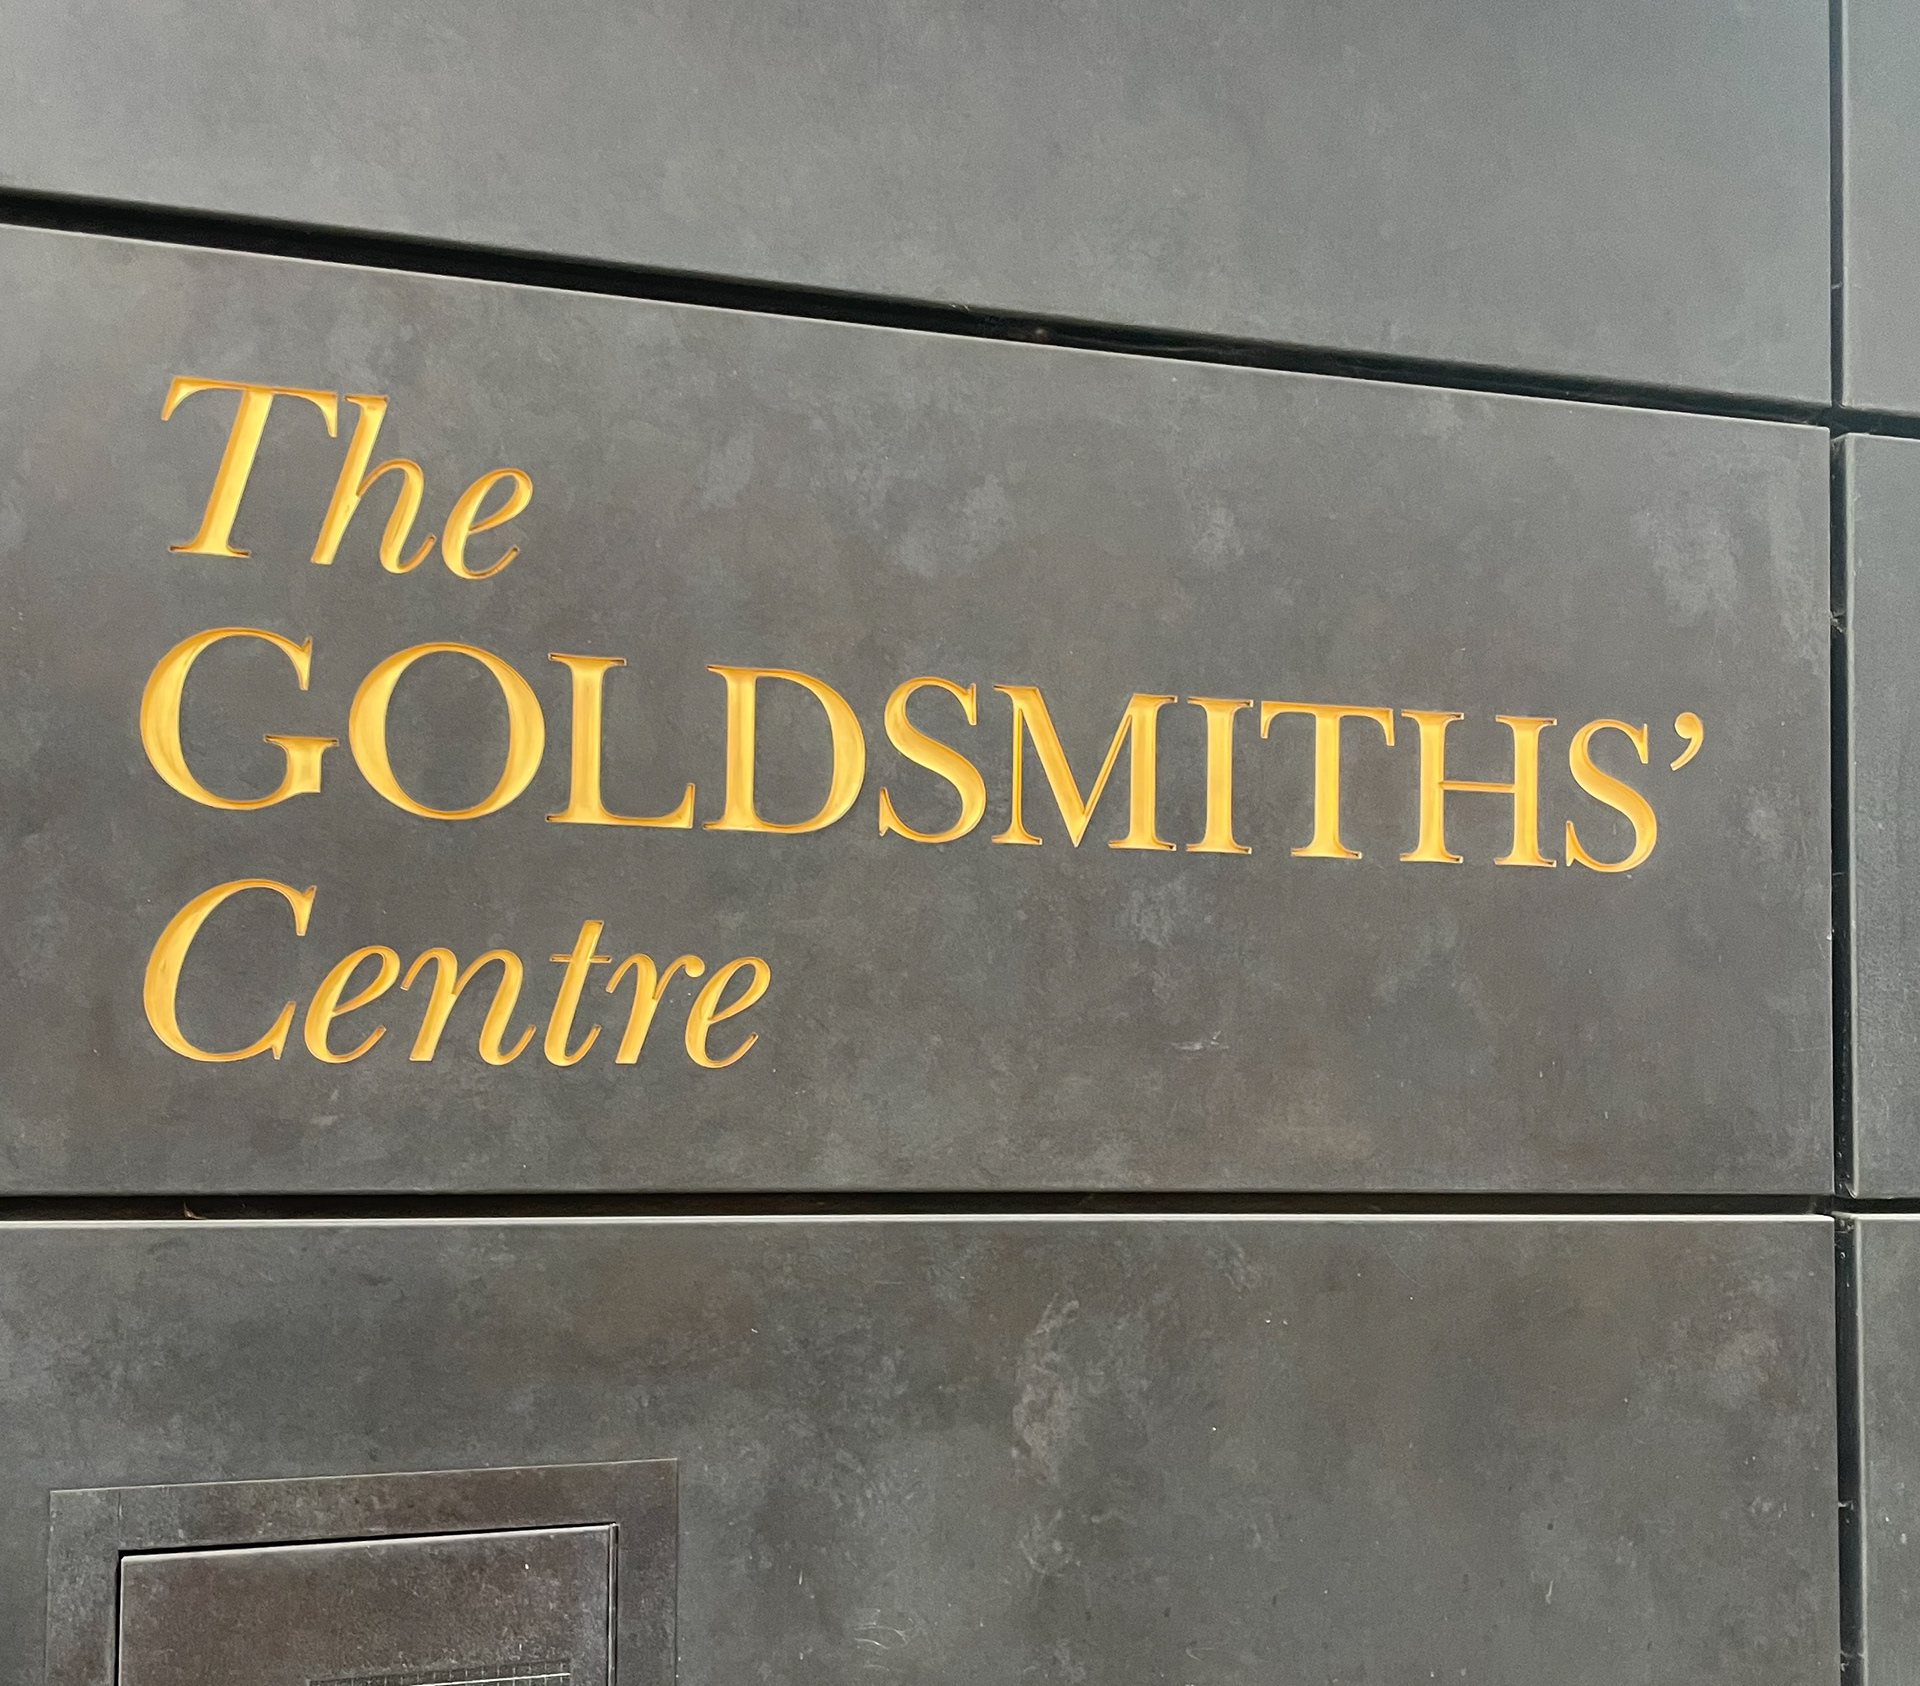
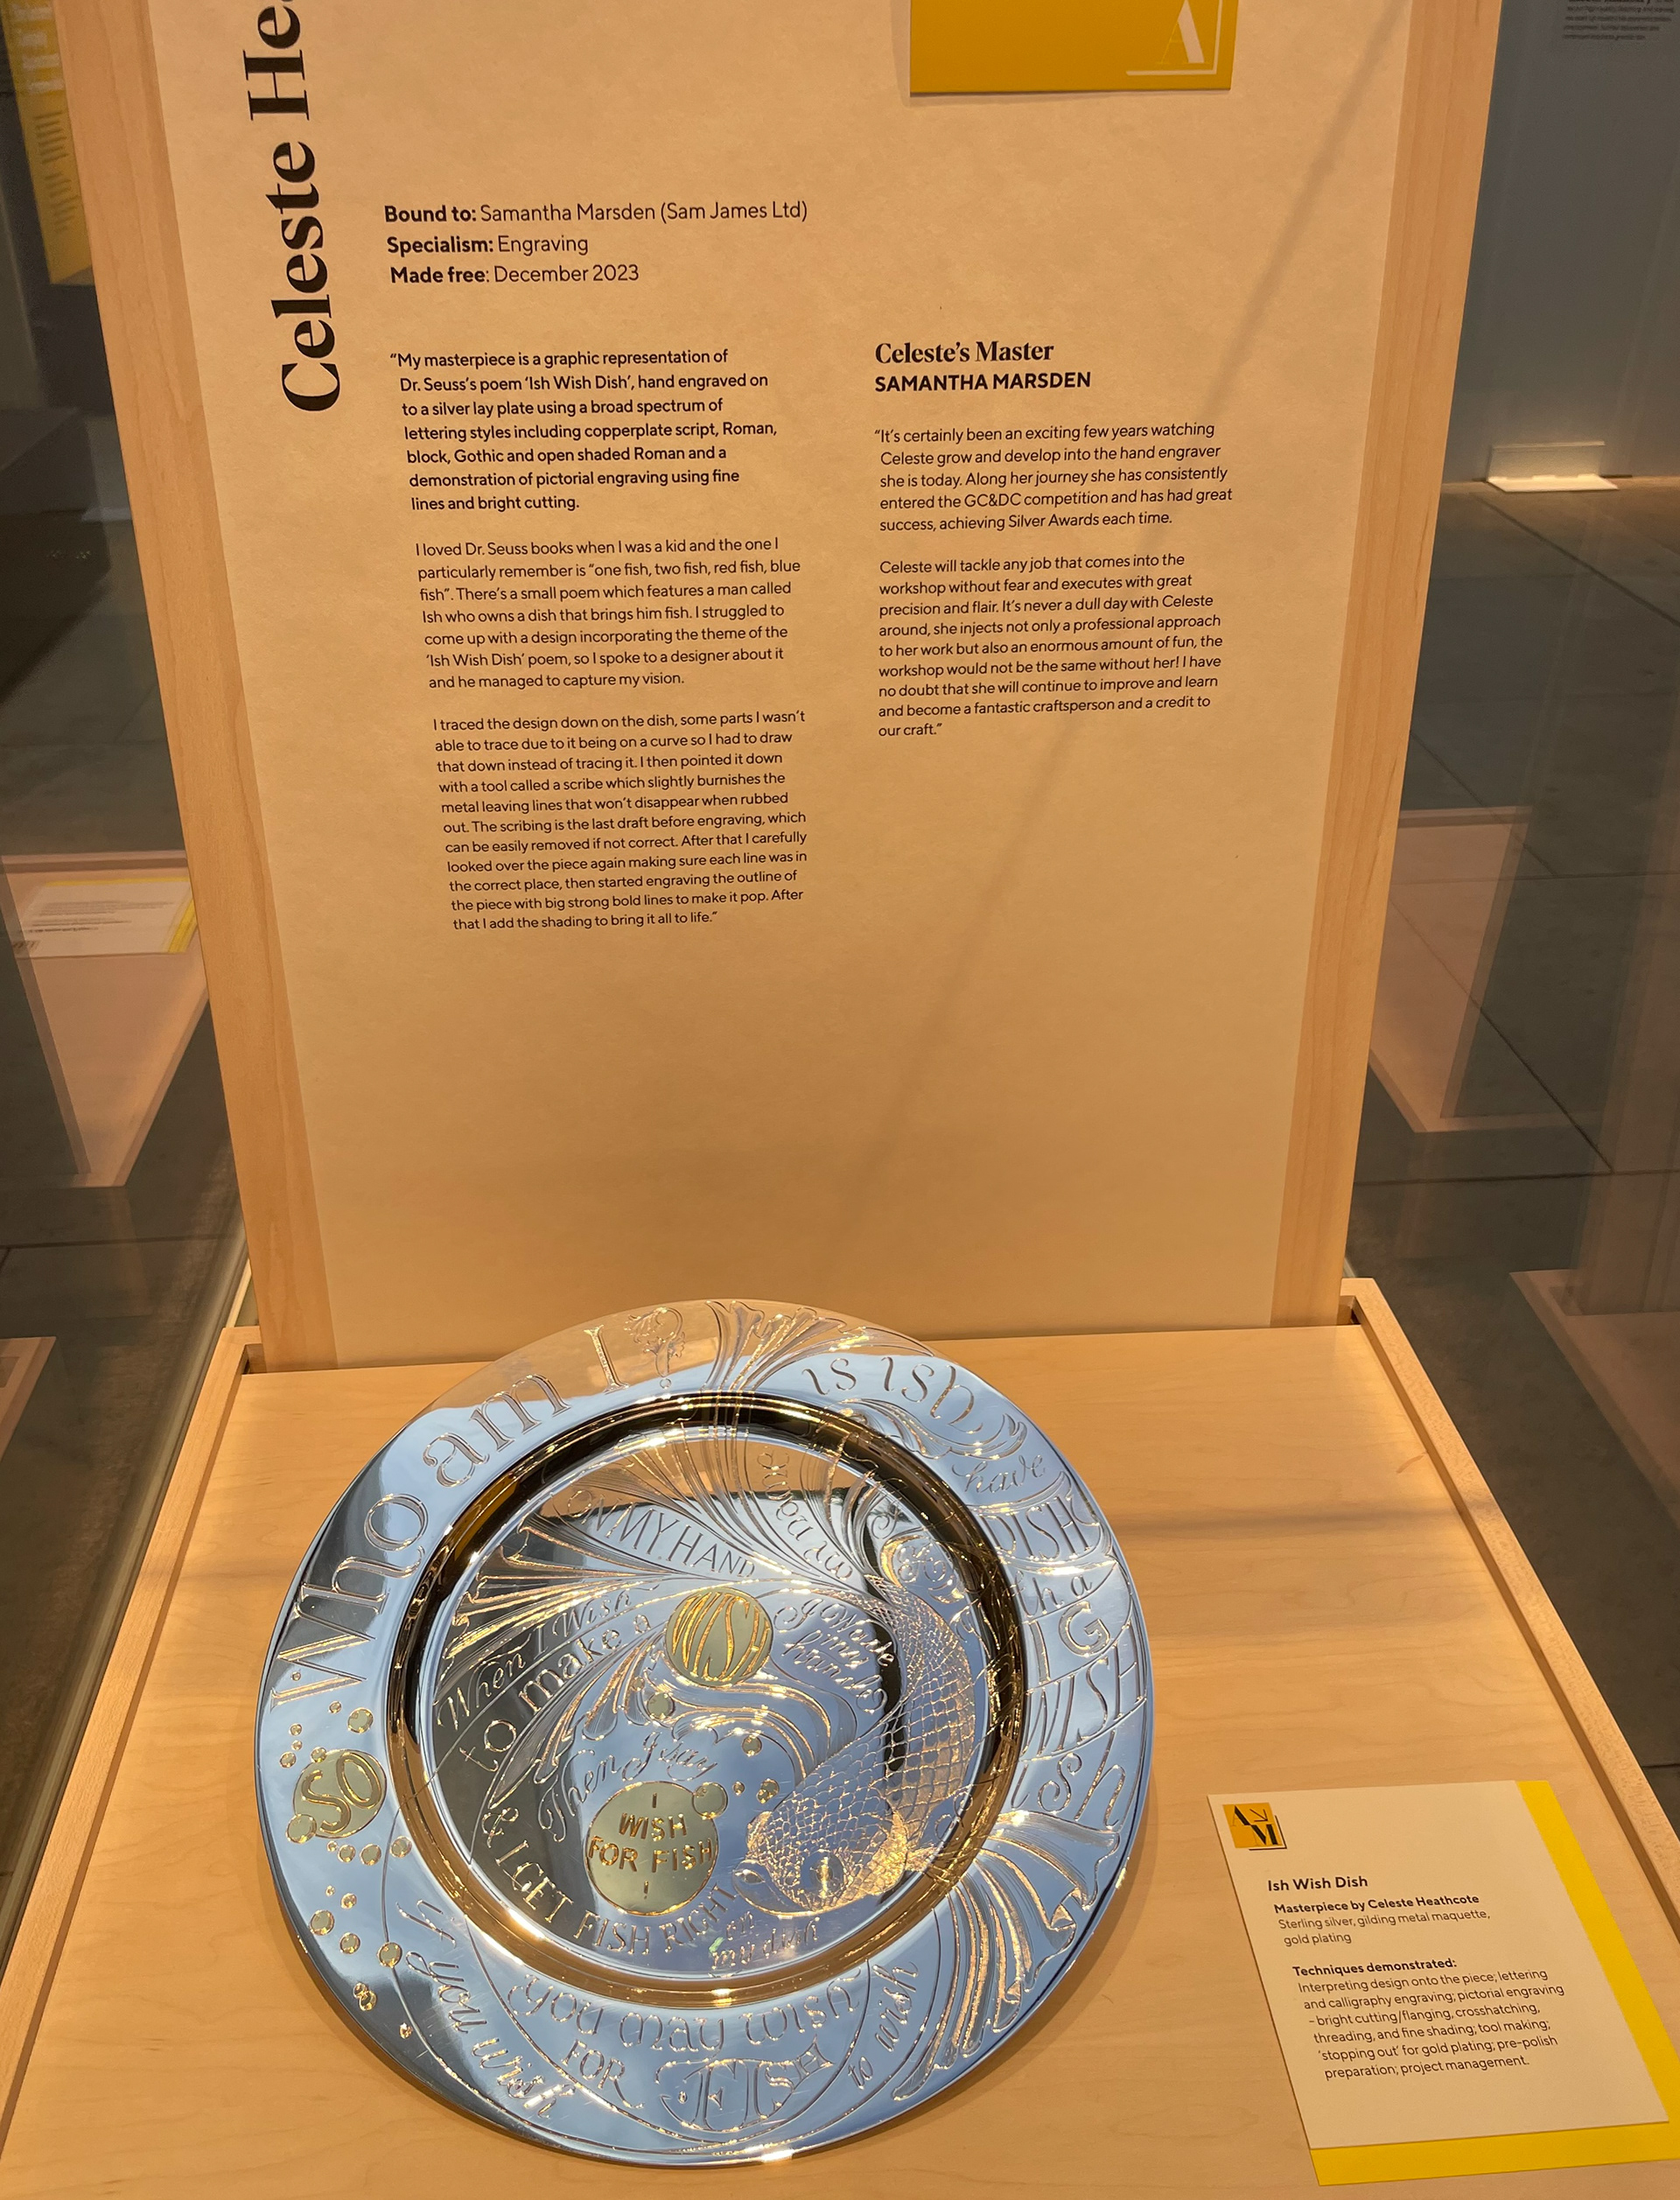
The goldsmiths centre
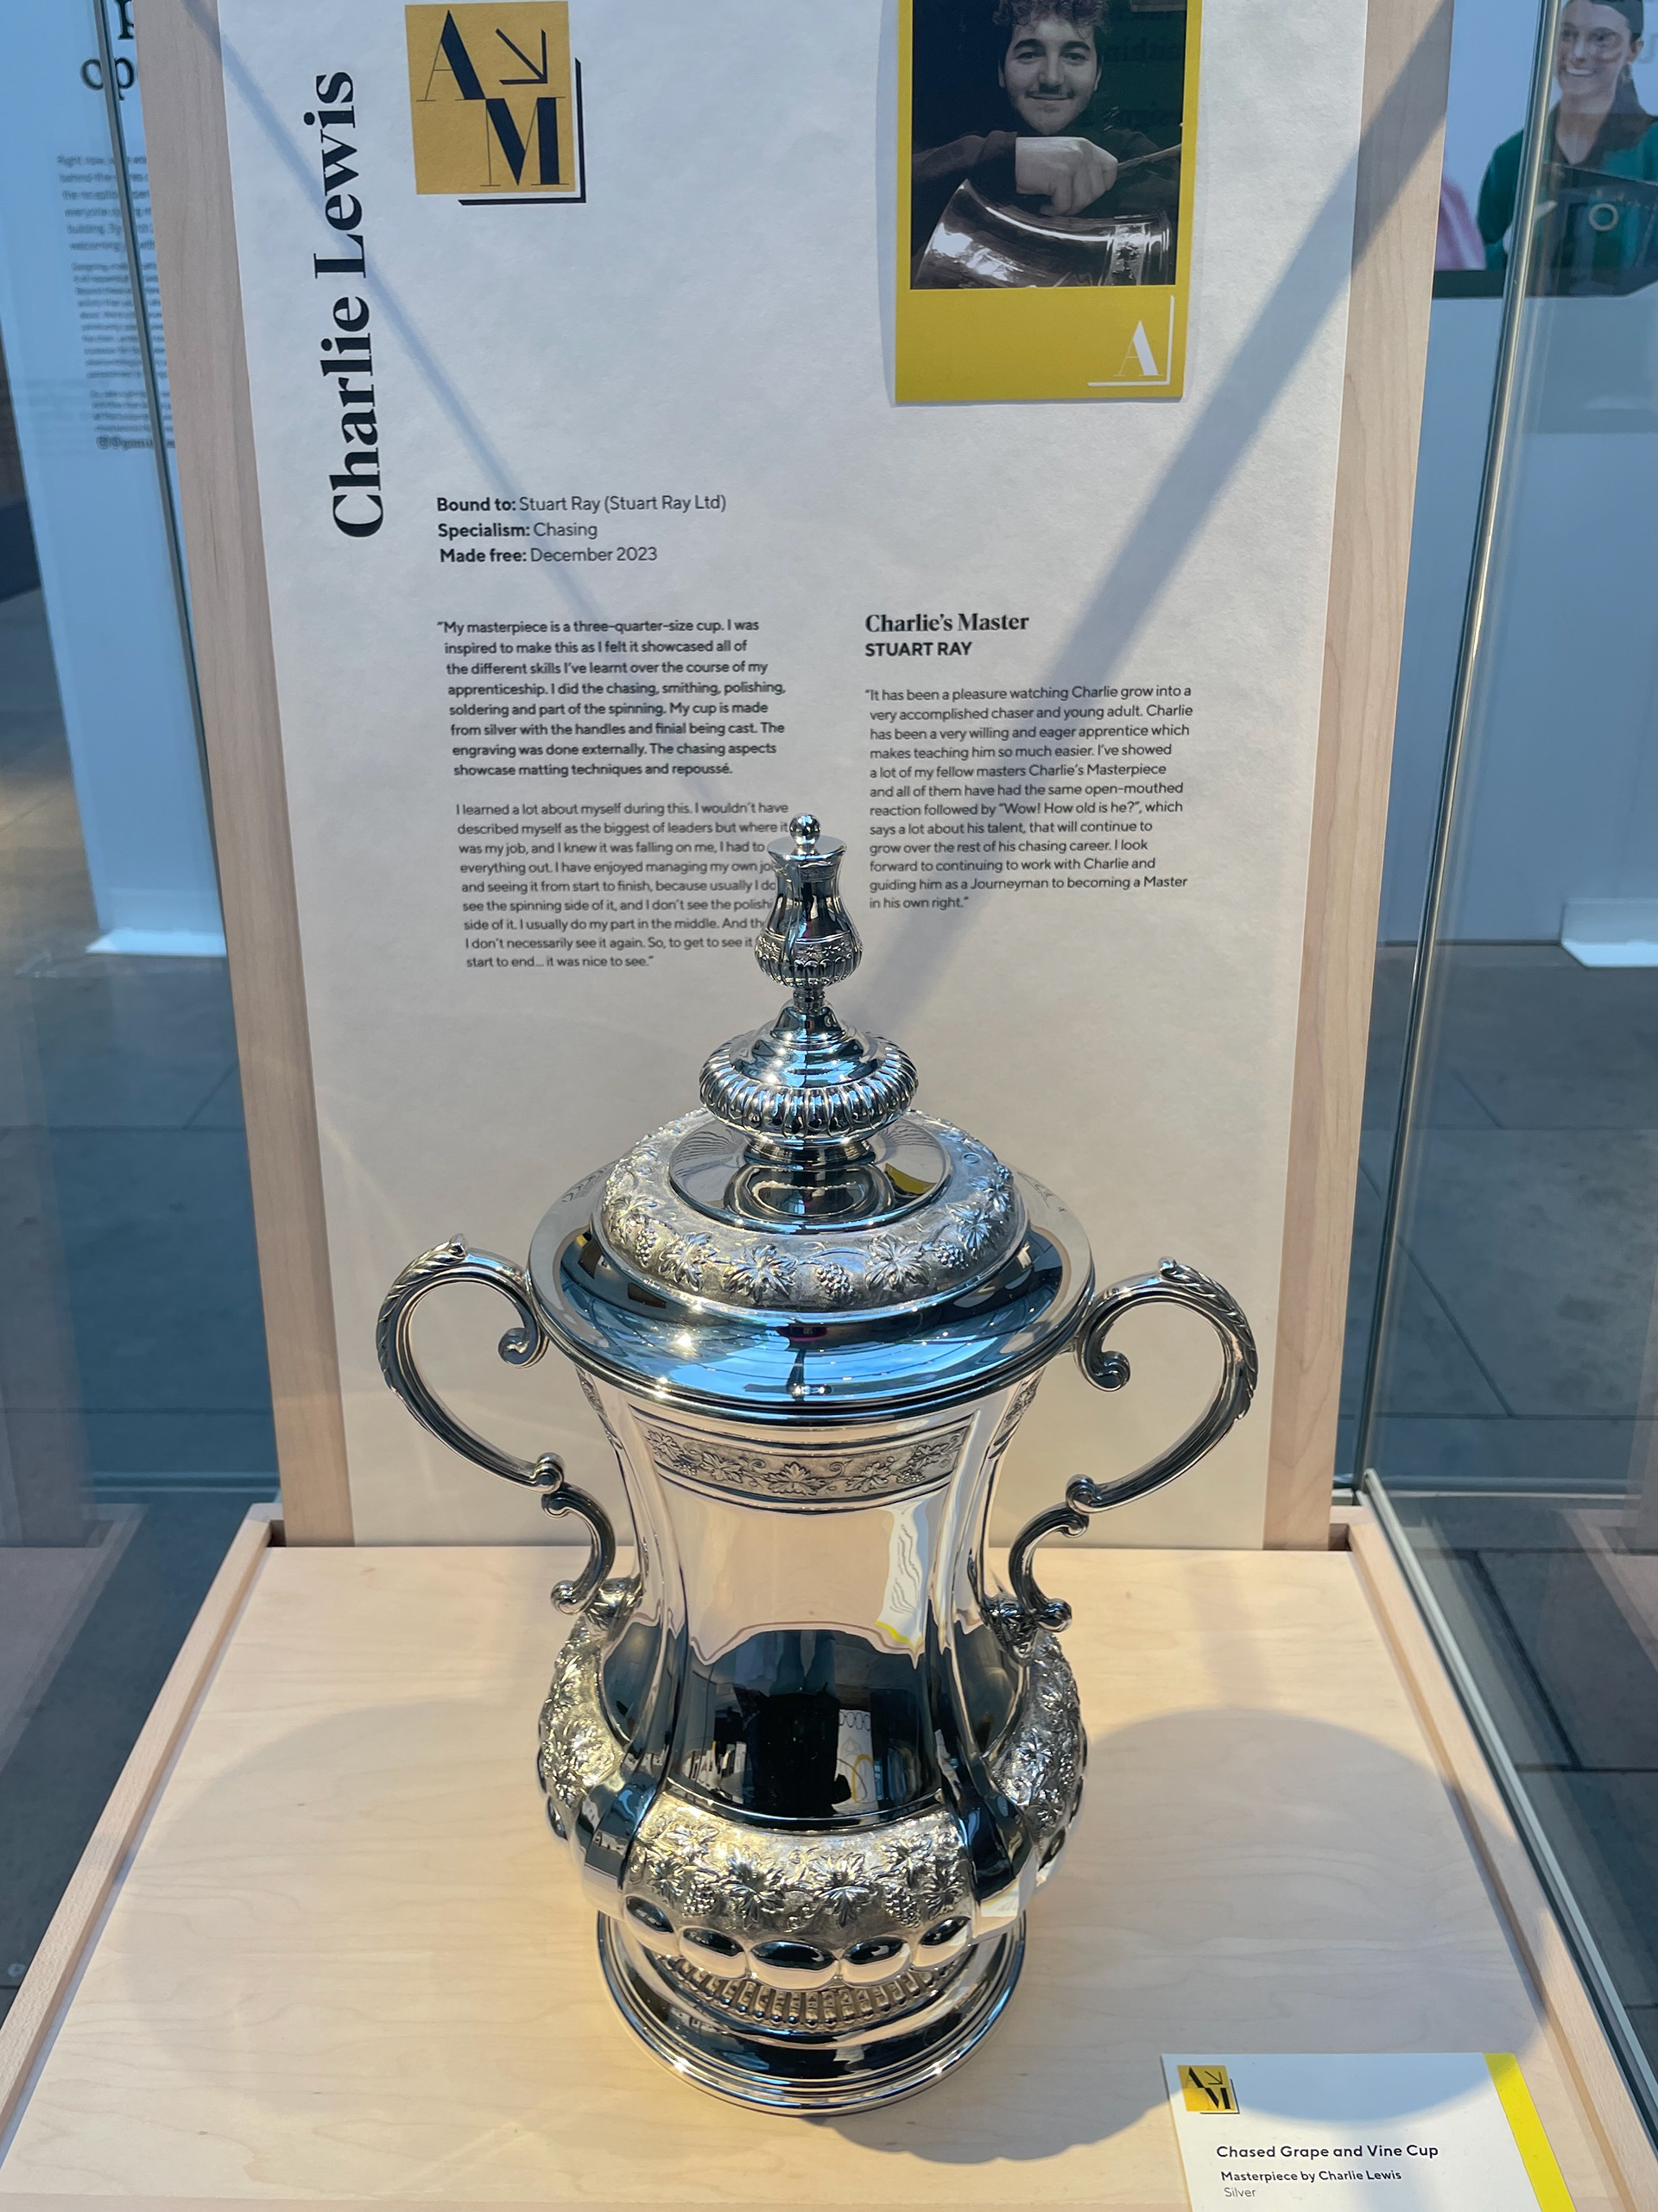
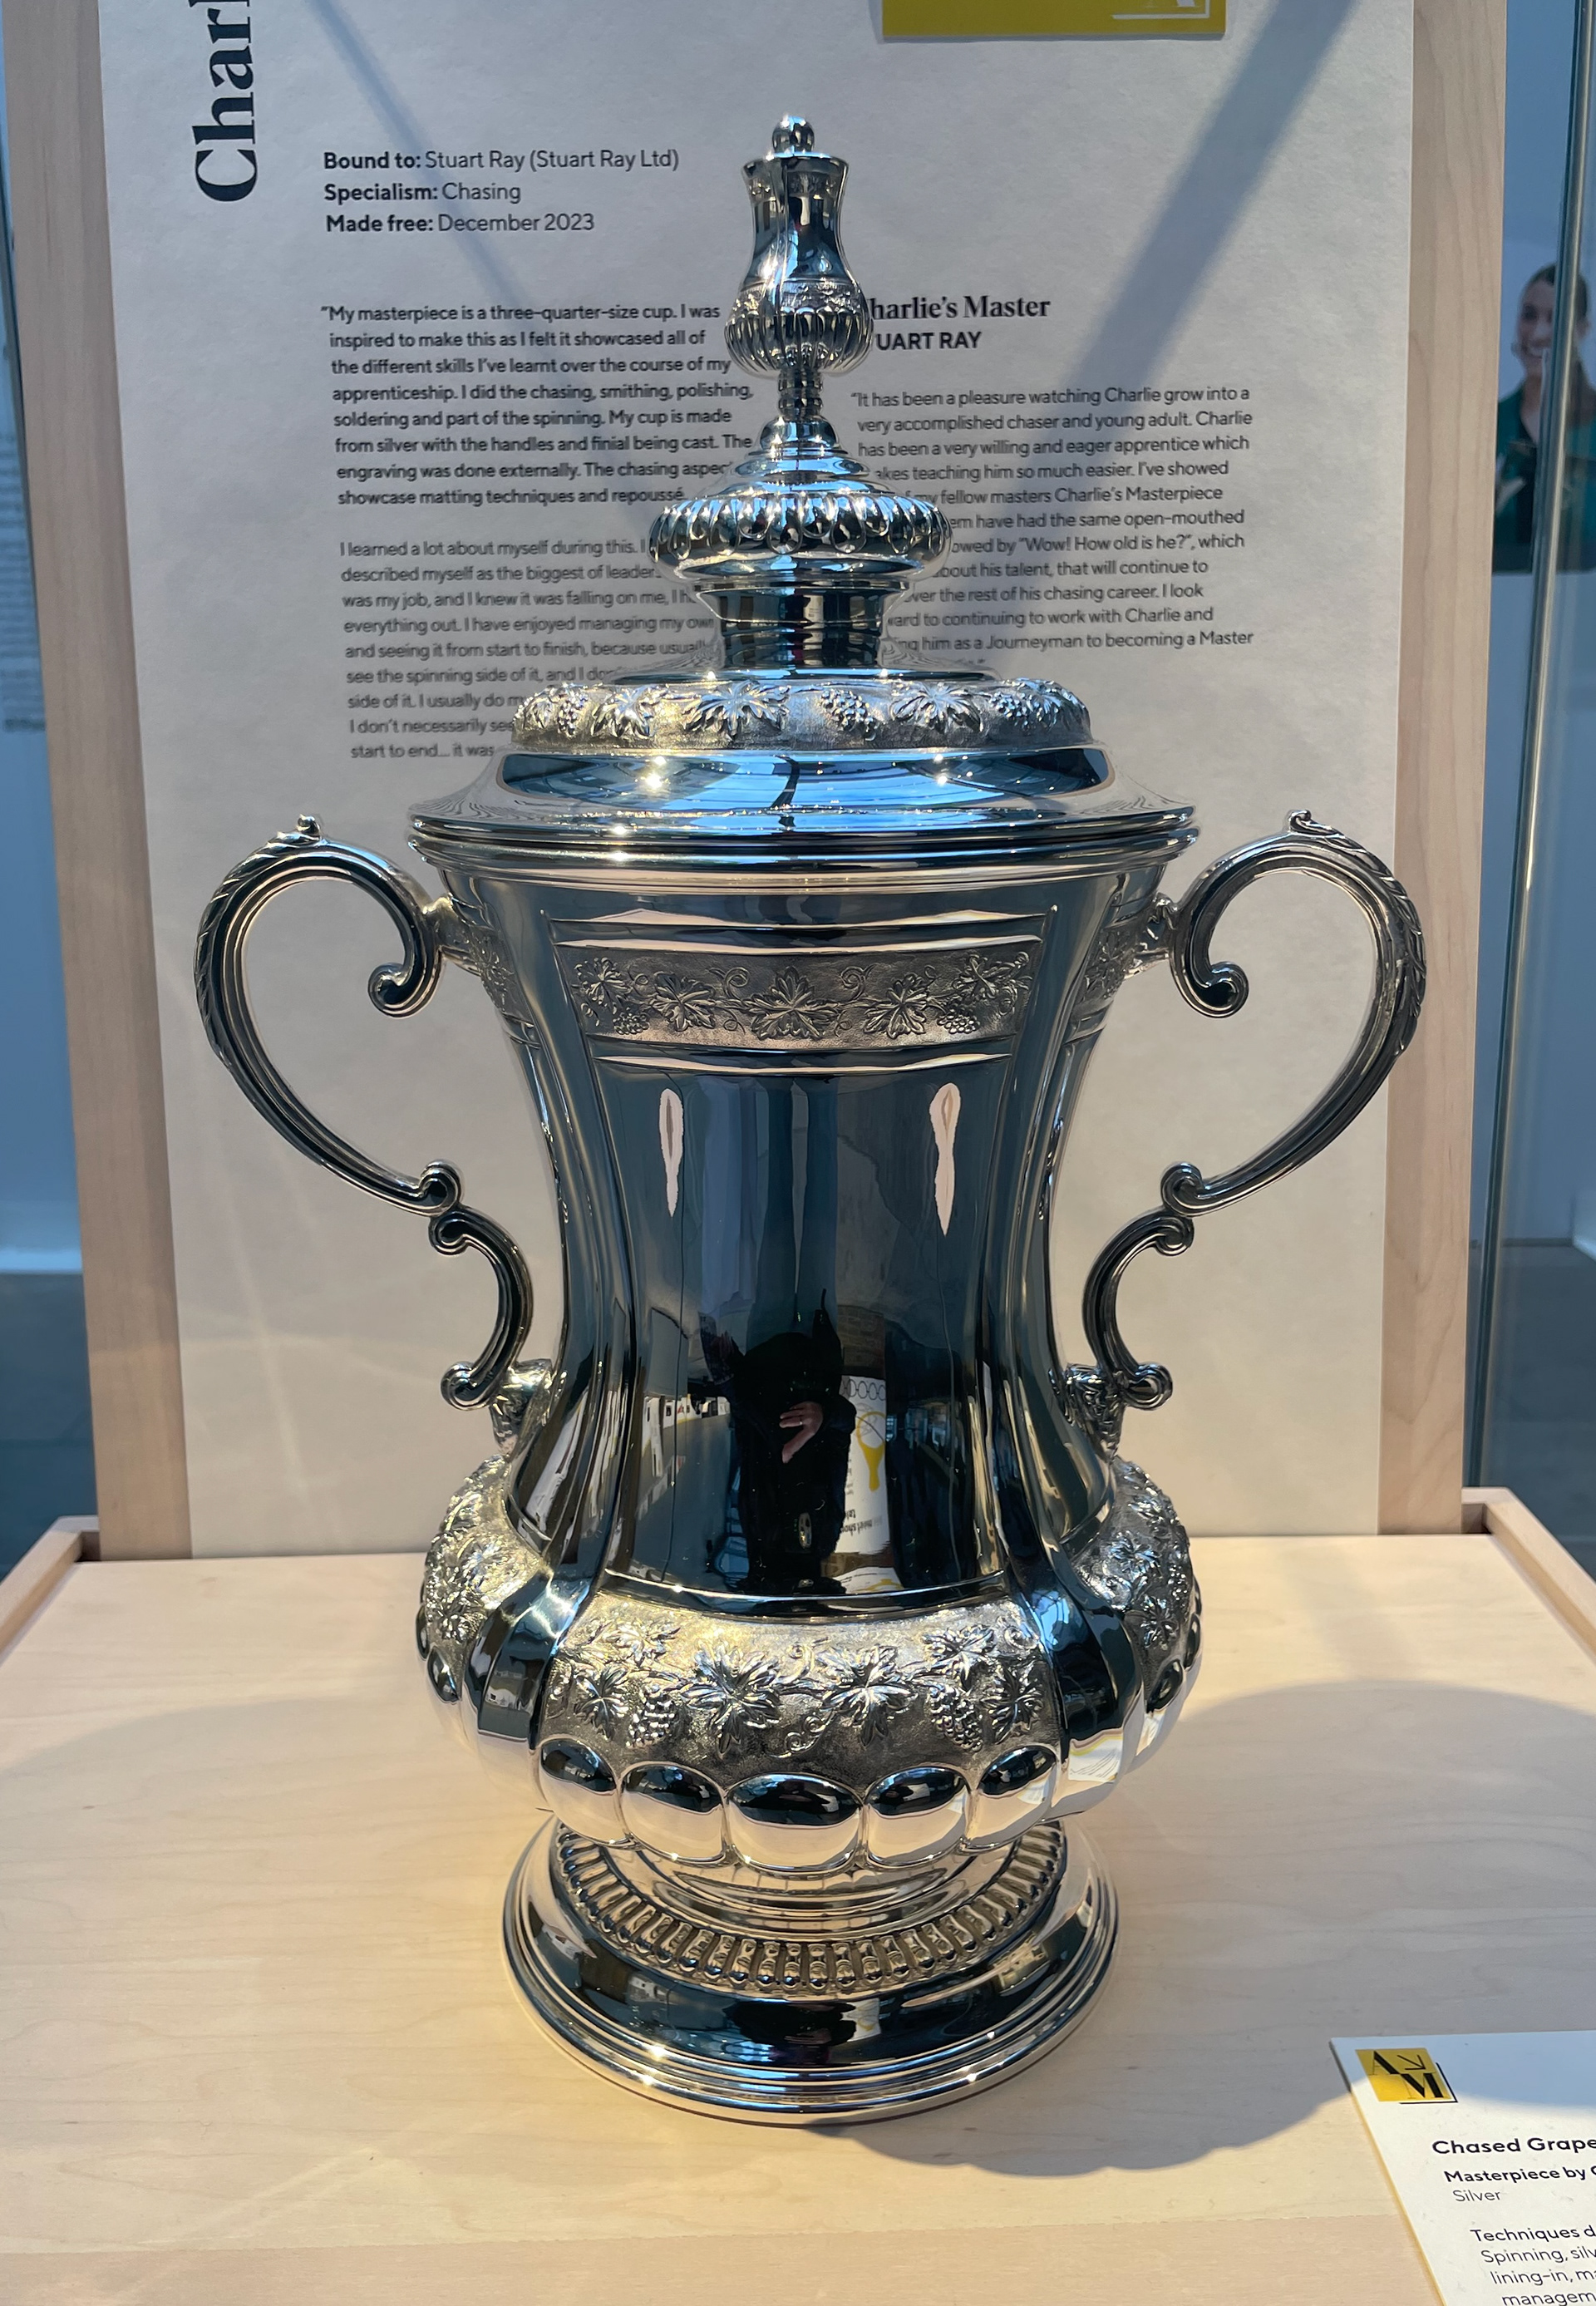
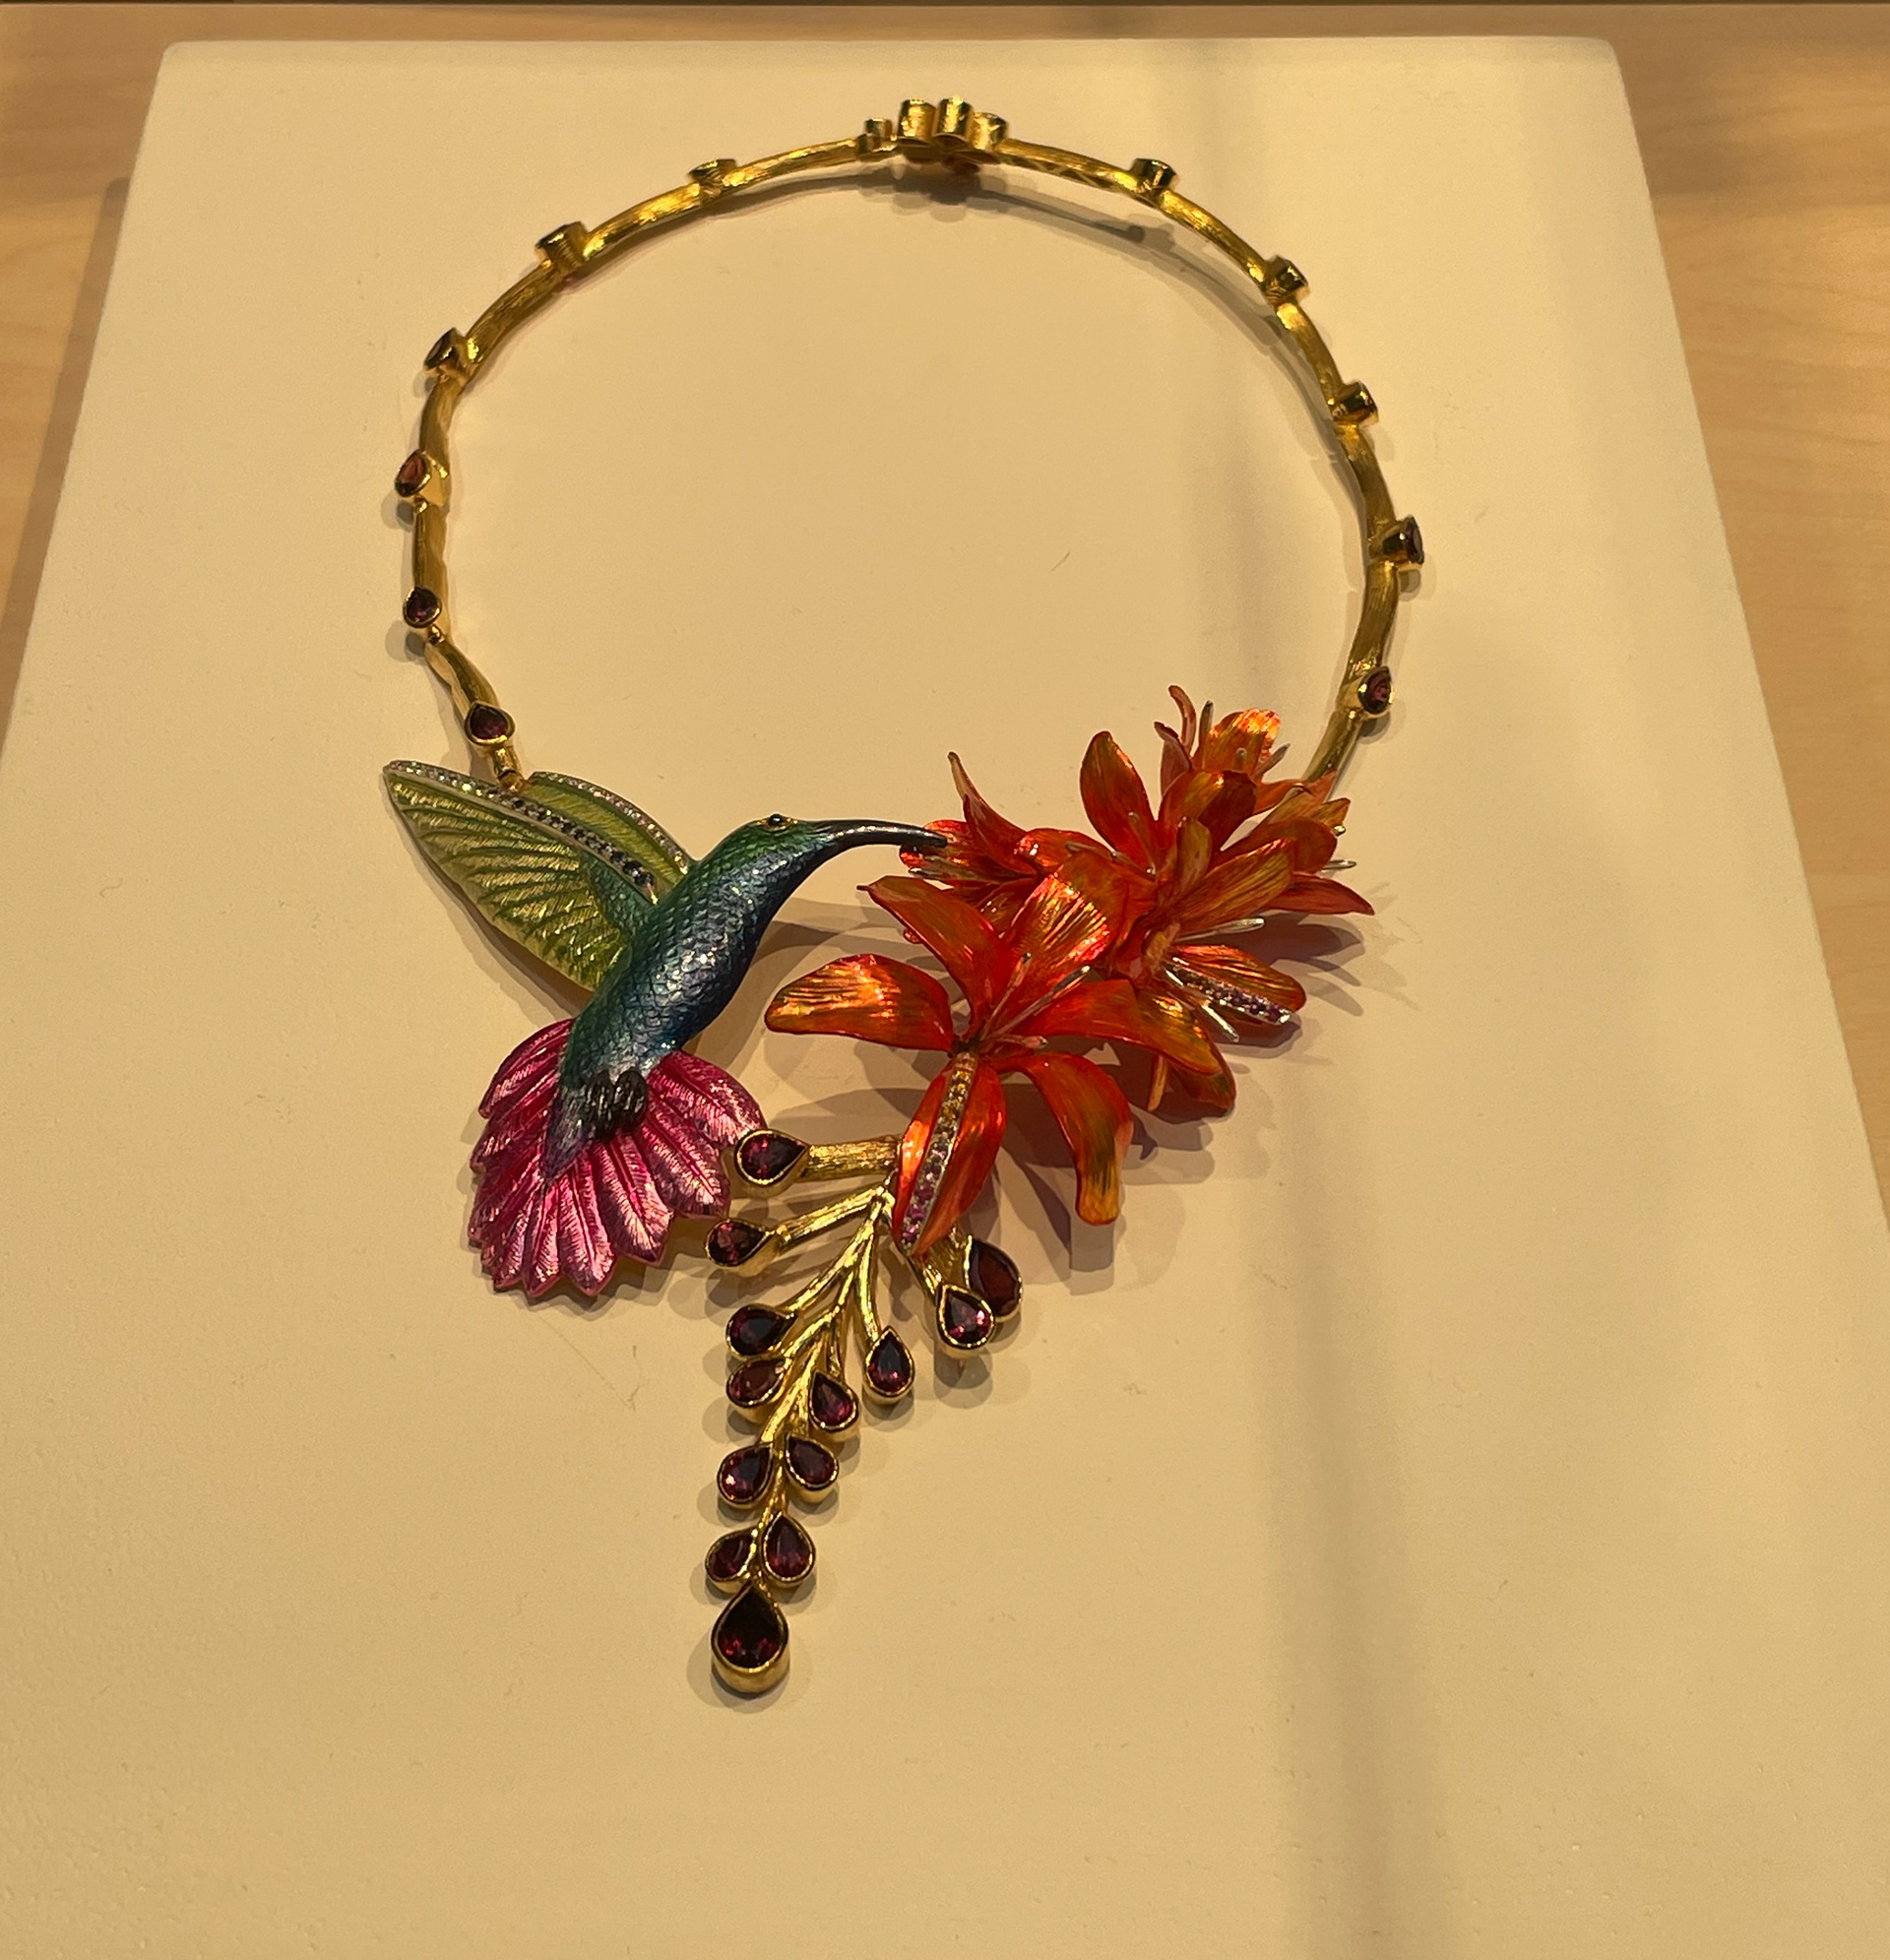
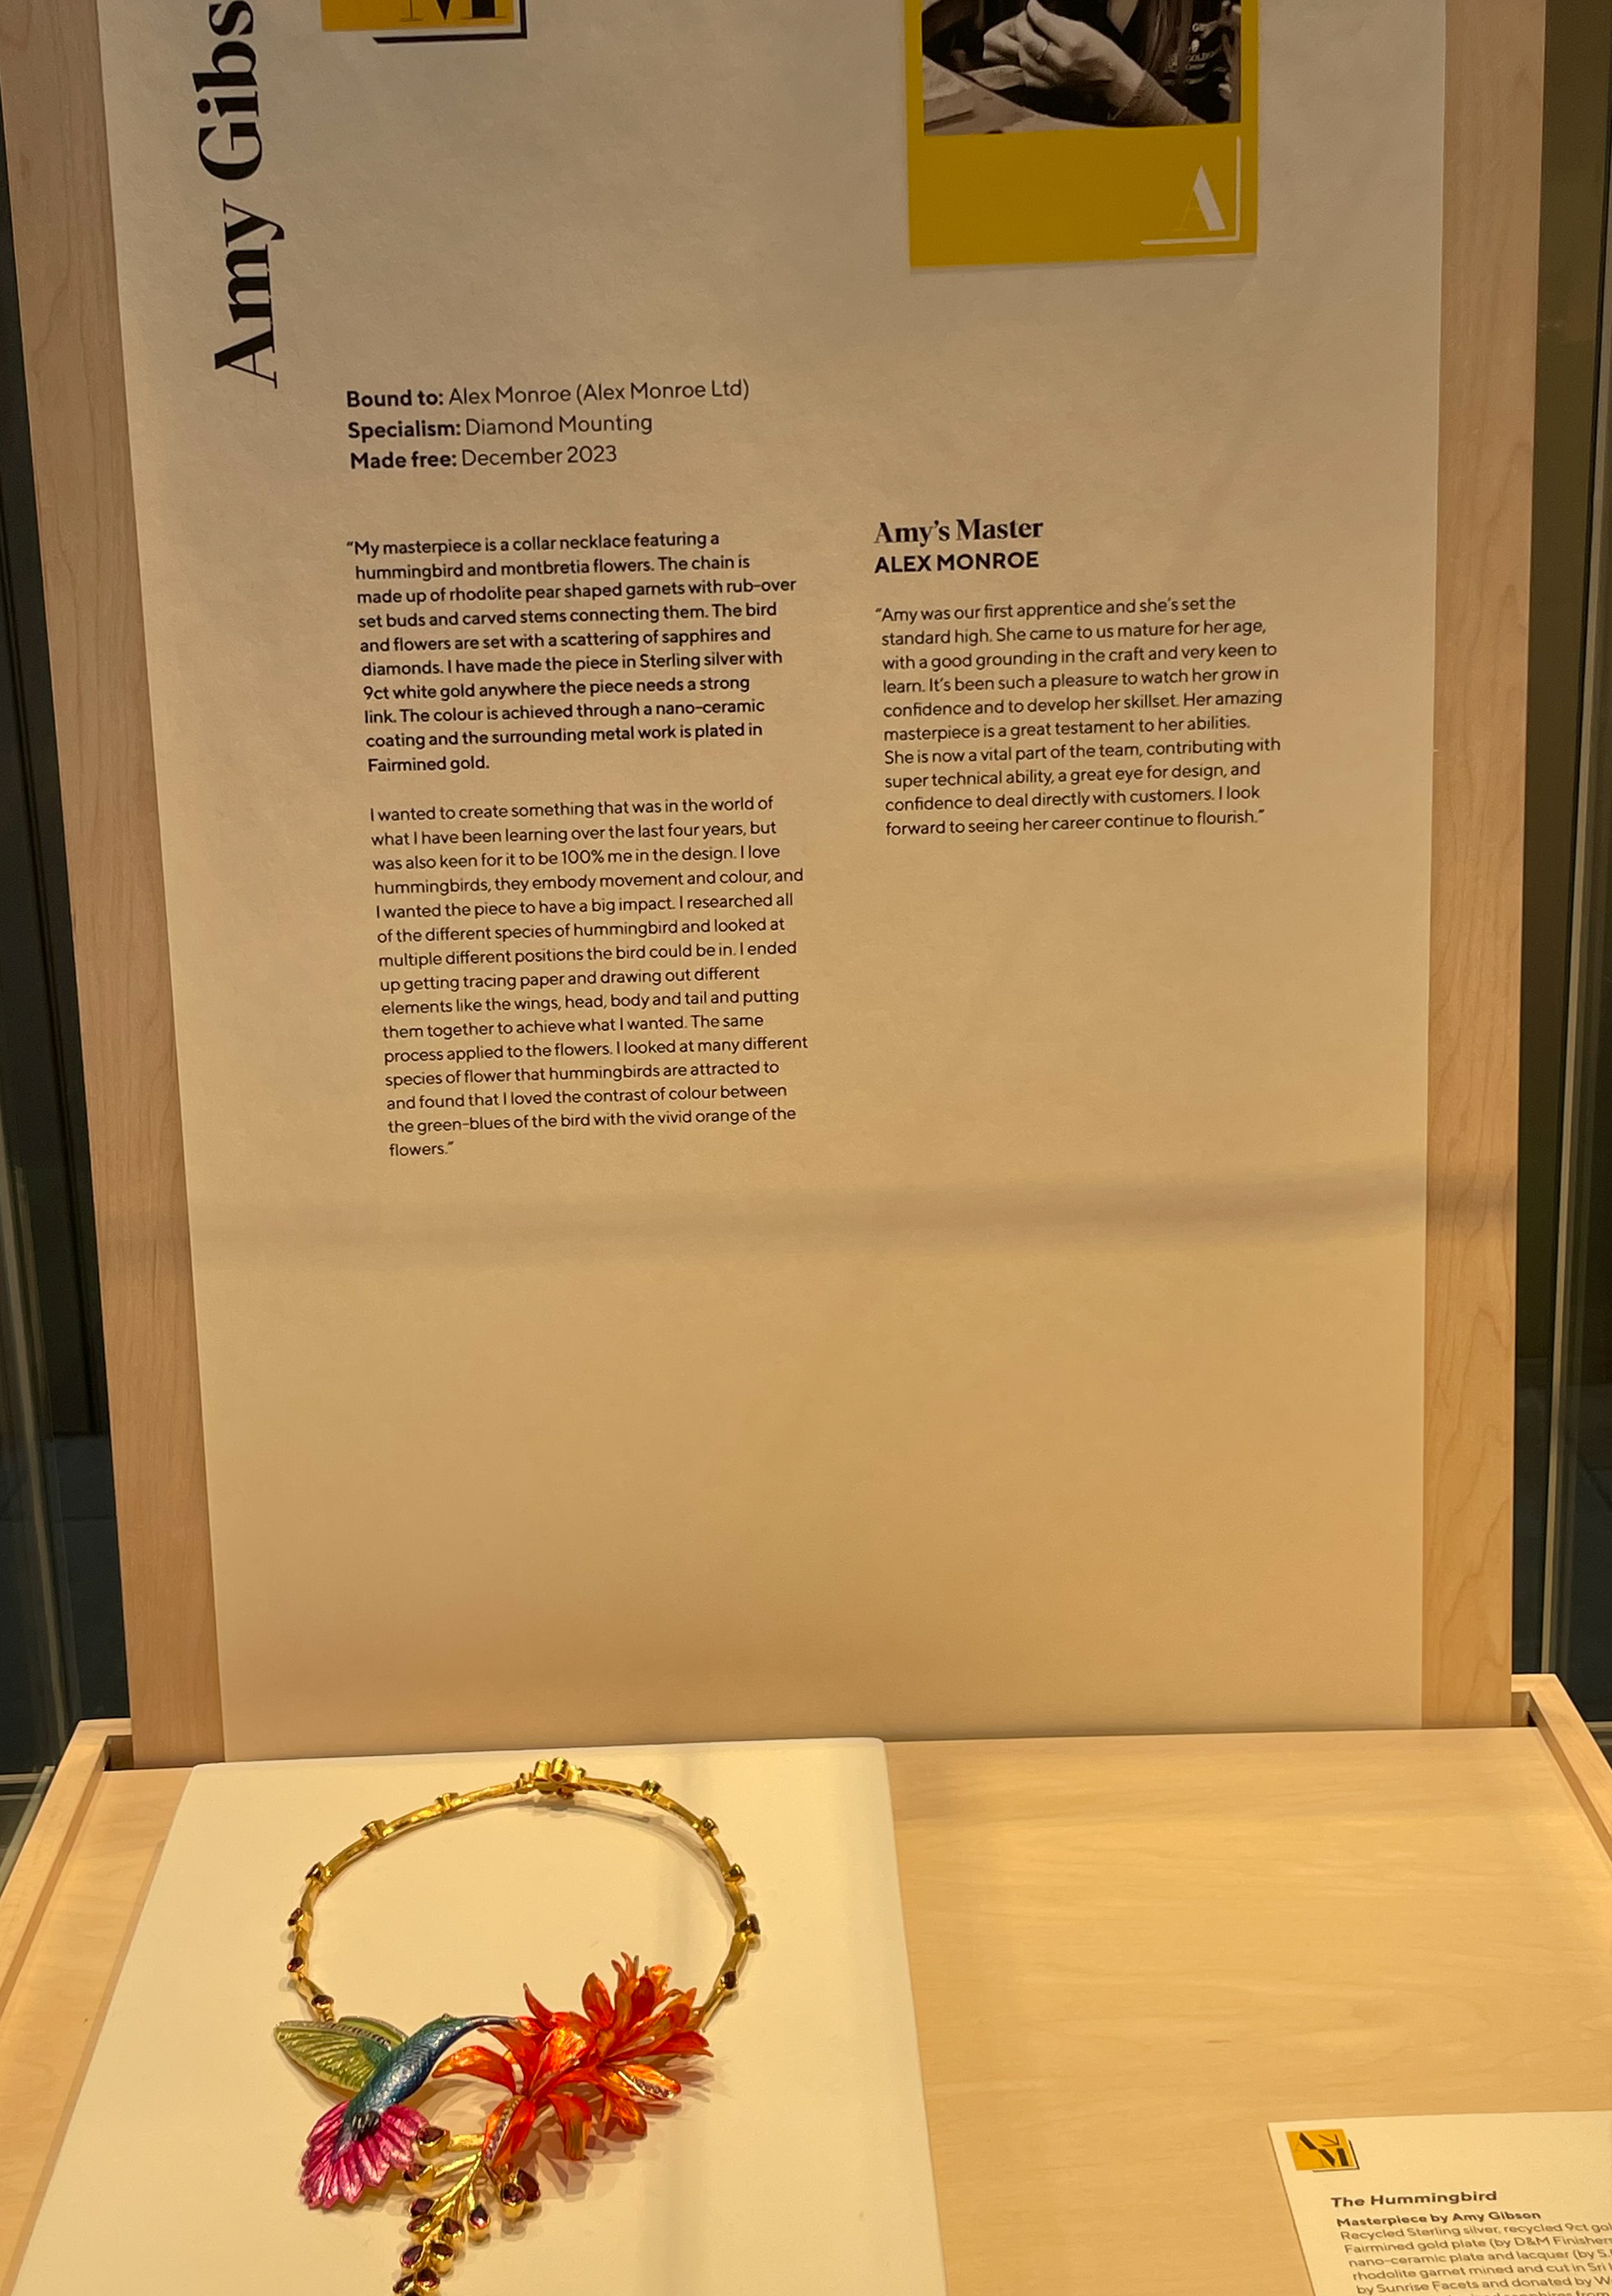
Another place I visited on my research trip to London was The Goldsmith's Centre. The Goldsmith's Centre was brought to my attention when I visited their gallery at Collect 2023. It was my favourite gallery when visiting and somewhere I aspire to have my work in one day. I saw there was a mini exhibition at the centre, showing work from their apprentices which I knew I had to visit. The standard of work created by these apprenticeships was mind-blowing. I particularly liked Amy Gibson's work due to the colour used in her piece. She used nano-ceramic plating which is something I haven't heard of before.
Artist research
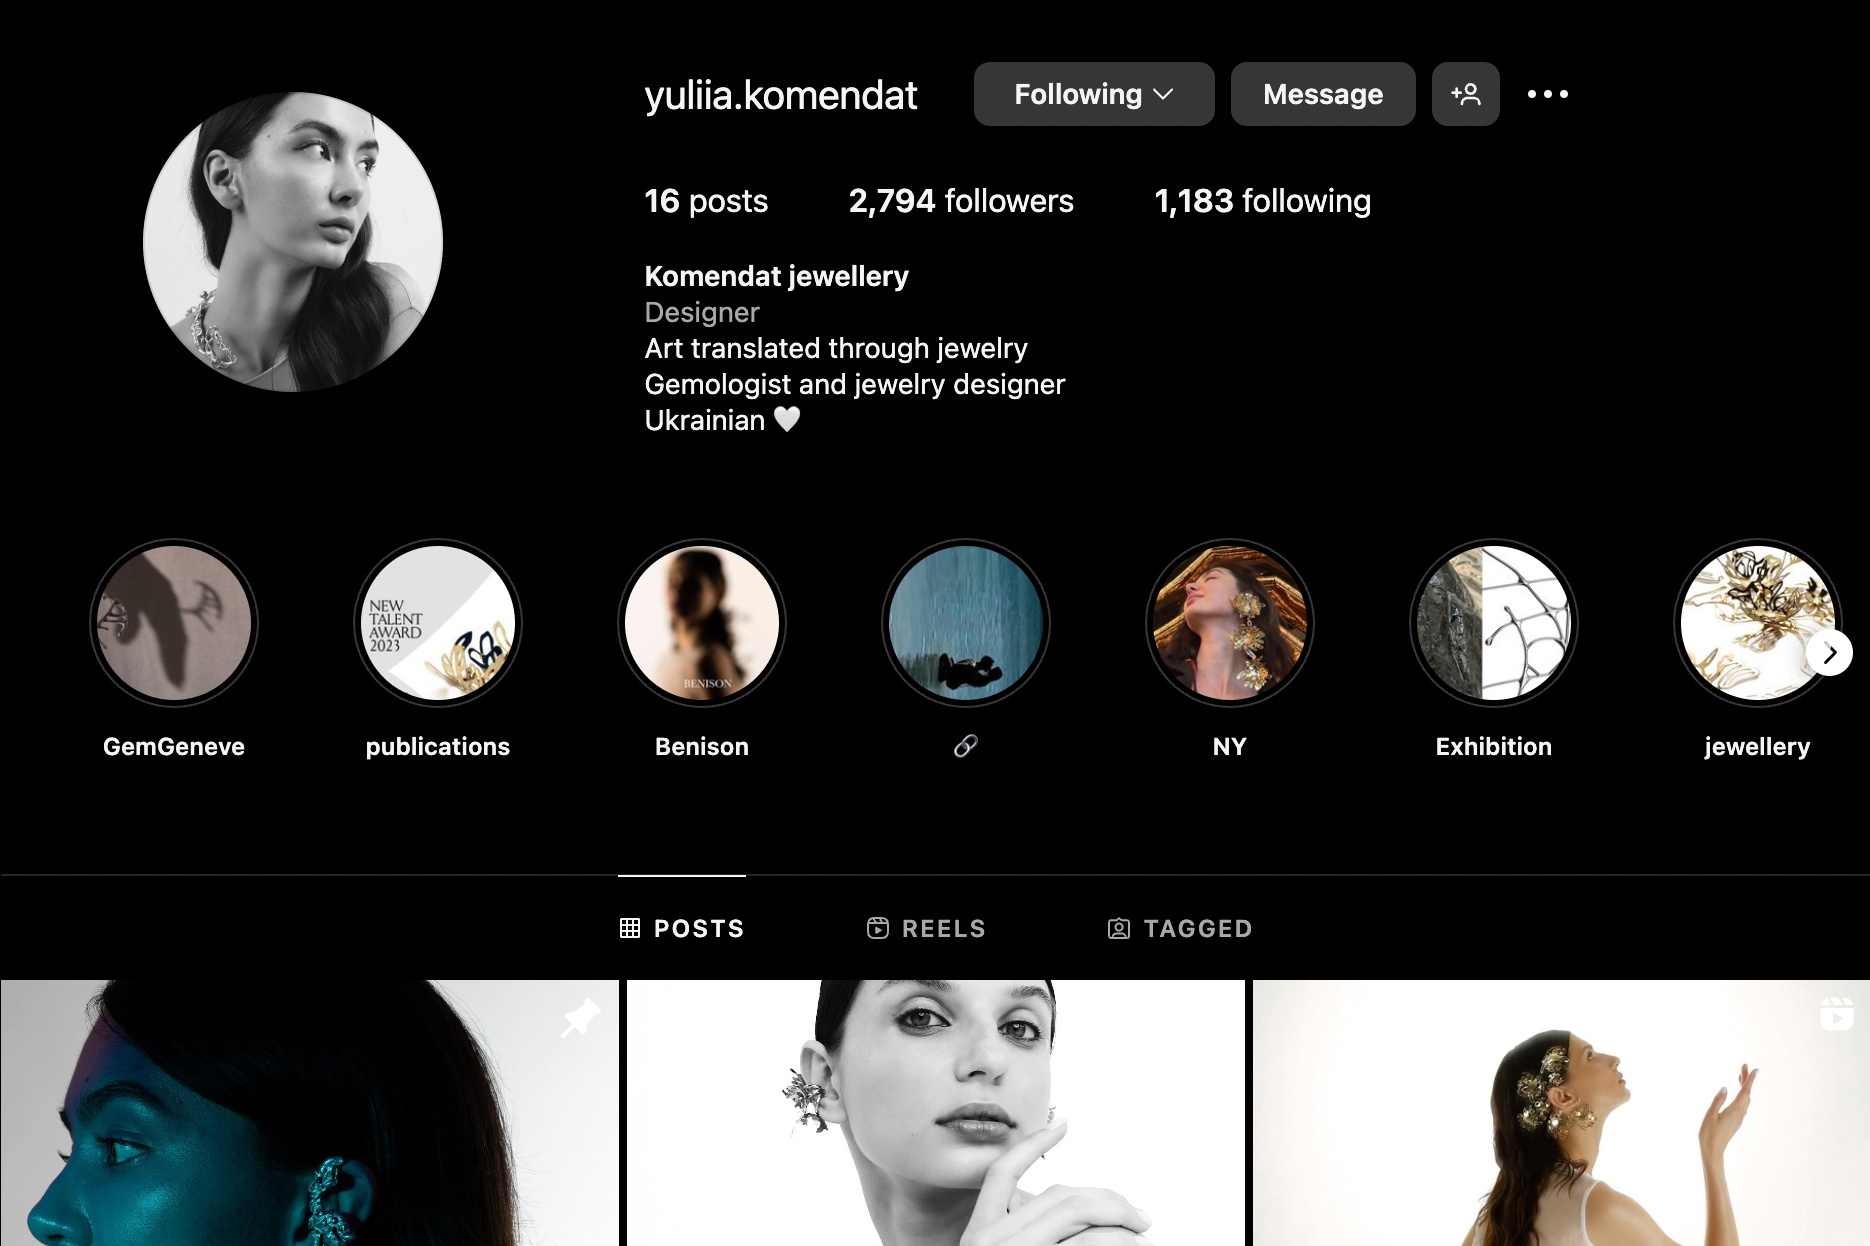
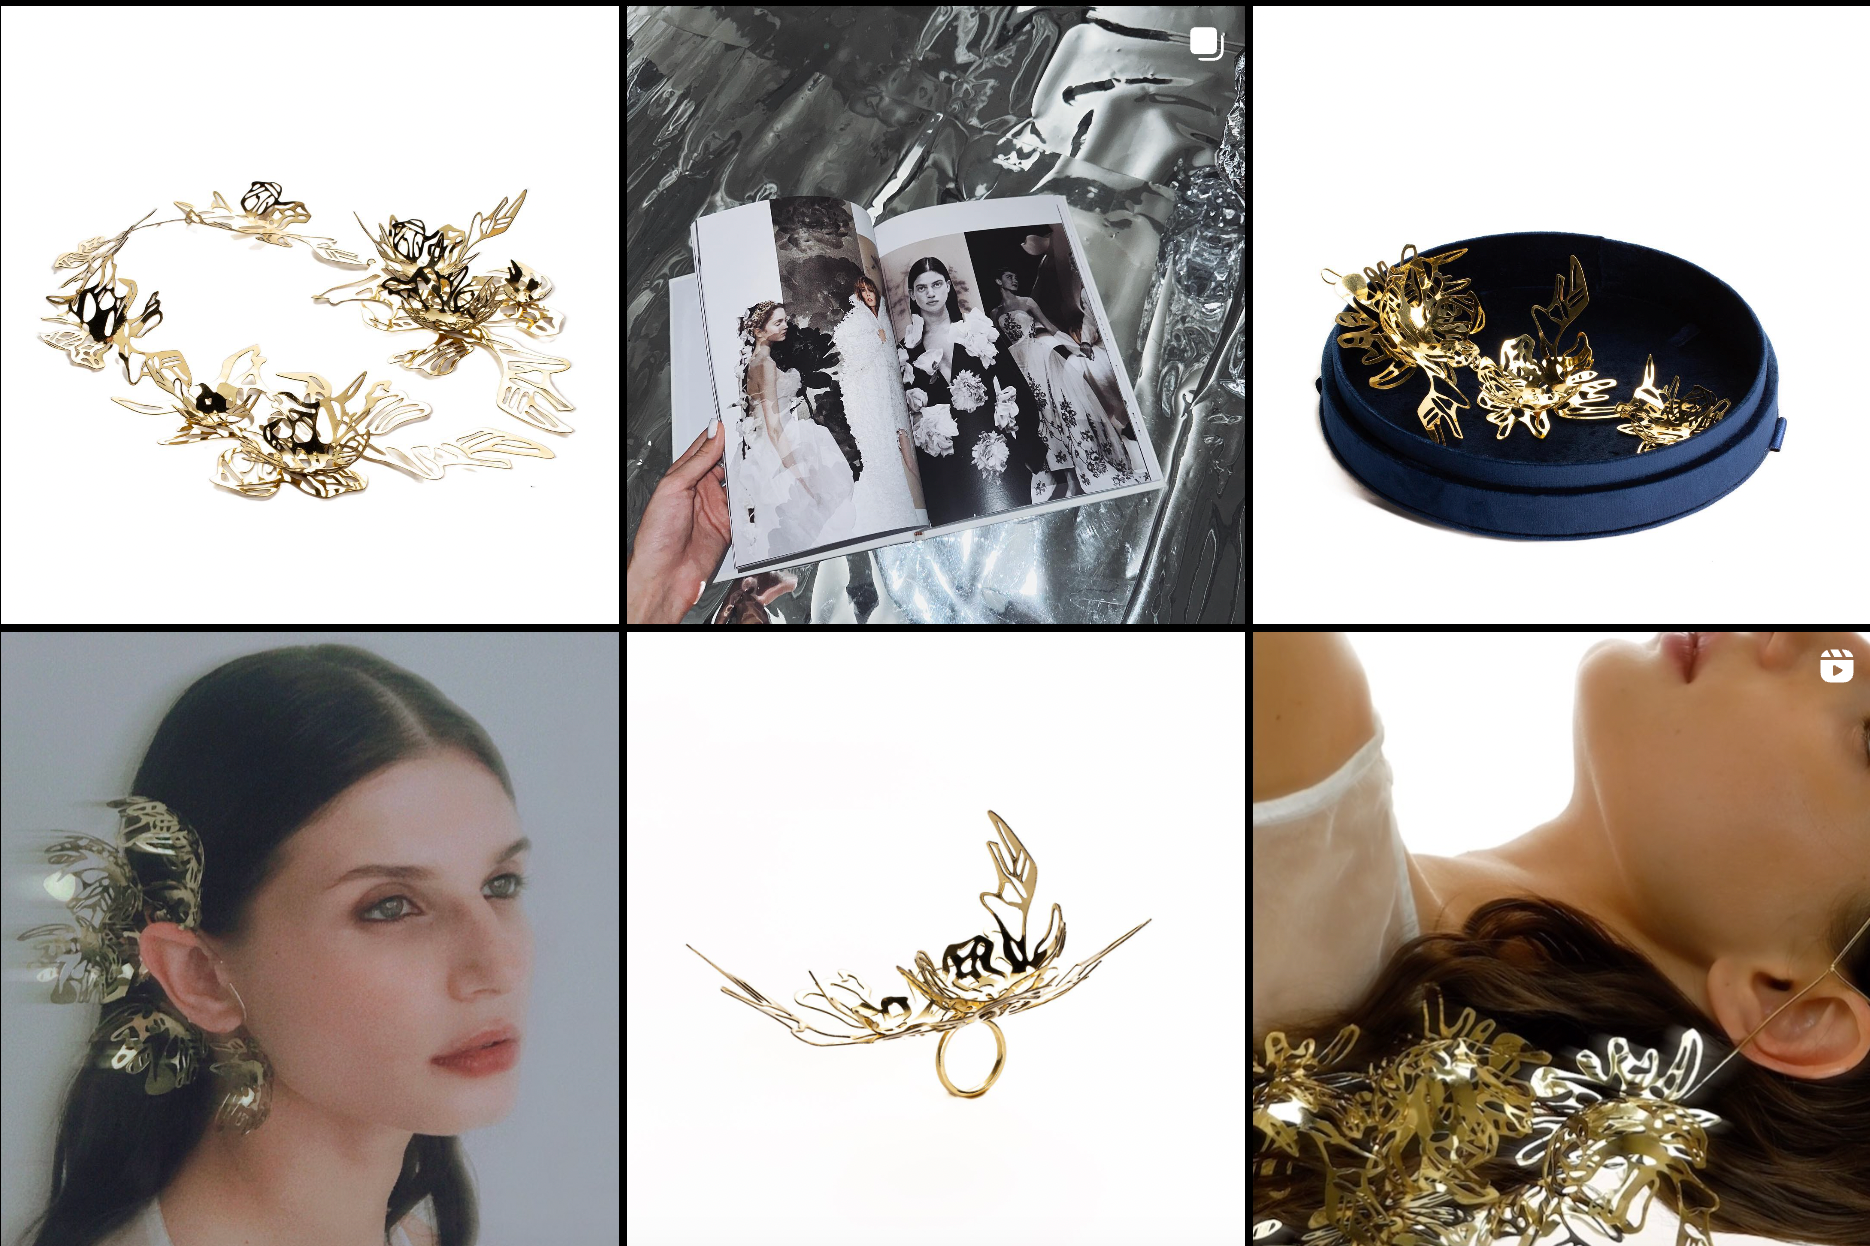

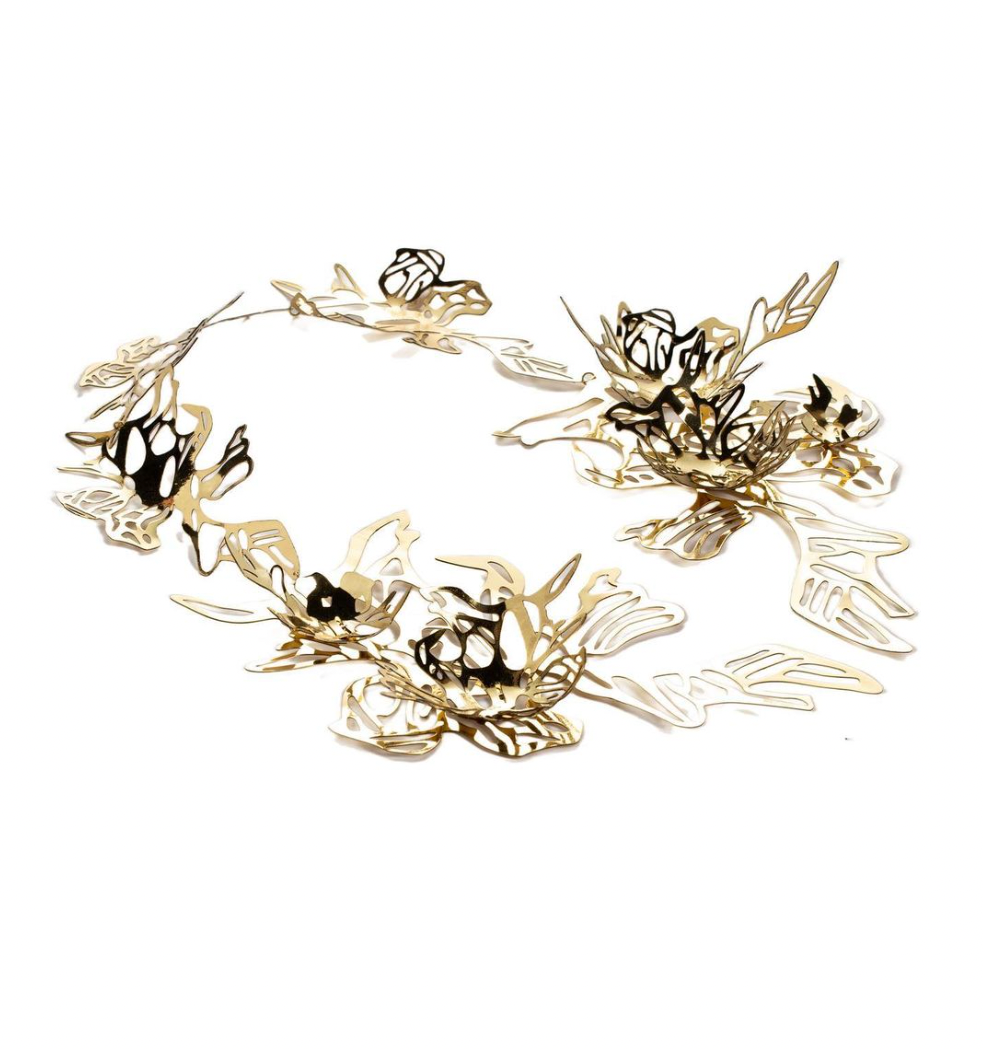
Yuliia Komendat
I came across Yullia's work on the Klimt 02 website when. She is a young jewellery designer from Ukraine. She was prized with the Klimt 02 New Talent Award in 2023. This award recognises work by graduate students.
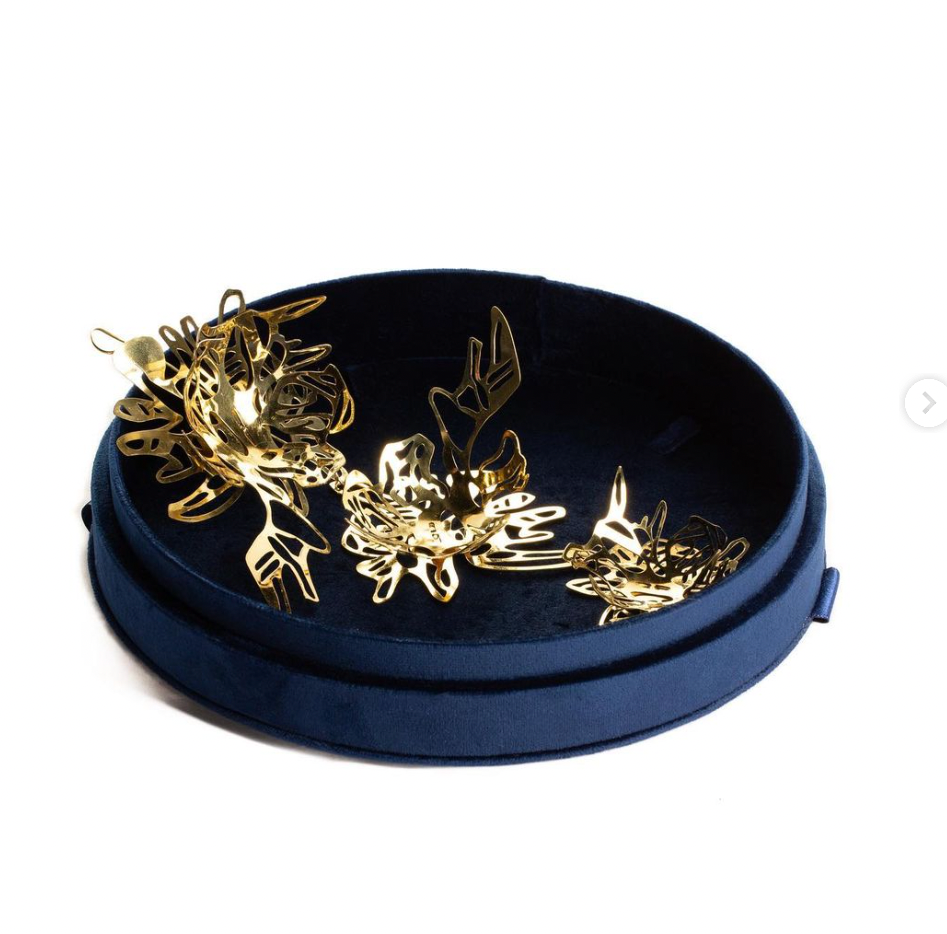
The pieces shown are from her 'Benison' collection. They are made from brass, gold plated and silver.
I took inspiration from Yuliia's work because the level of refinement and detail she has achieved with her piercing work is something I admire. I also the forms within the pieces as they are elegant but playful. Unfortunately, I couldn't find much research on her because as far as I'm aware she is new to her career.
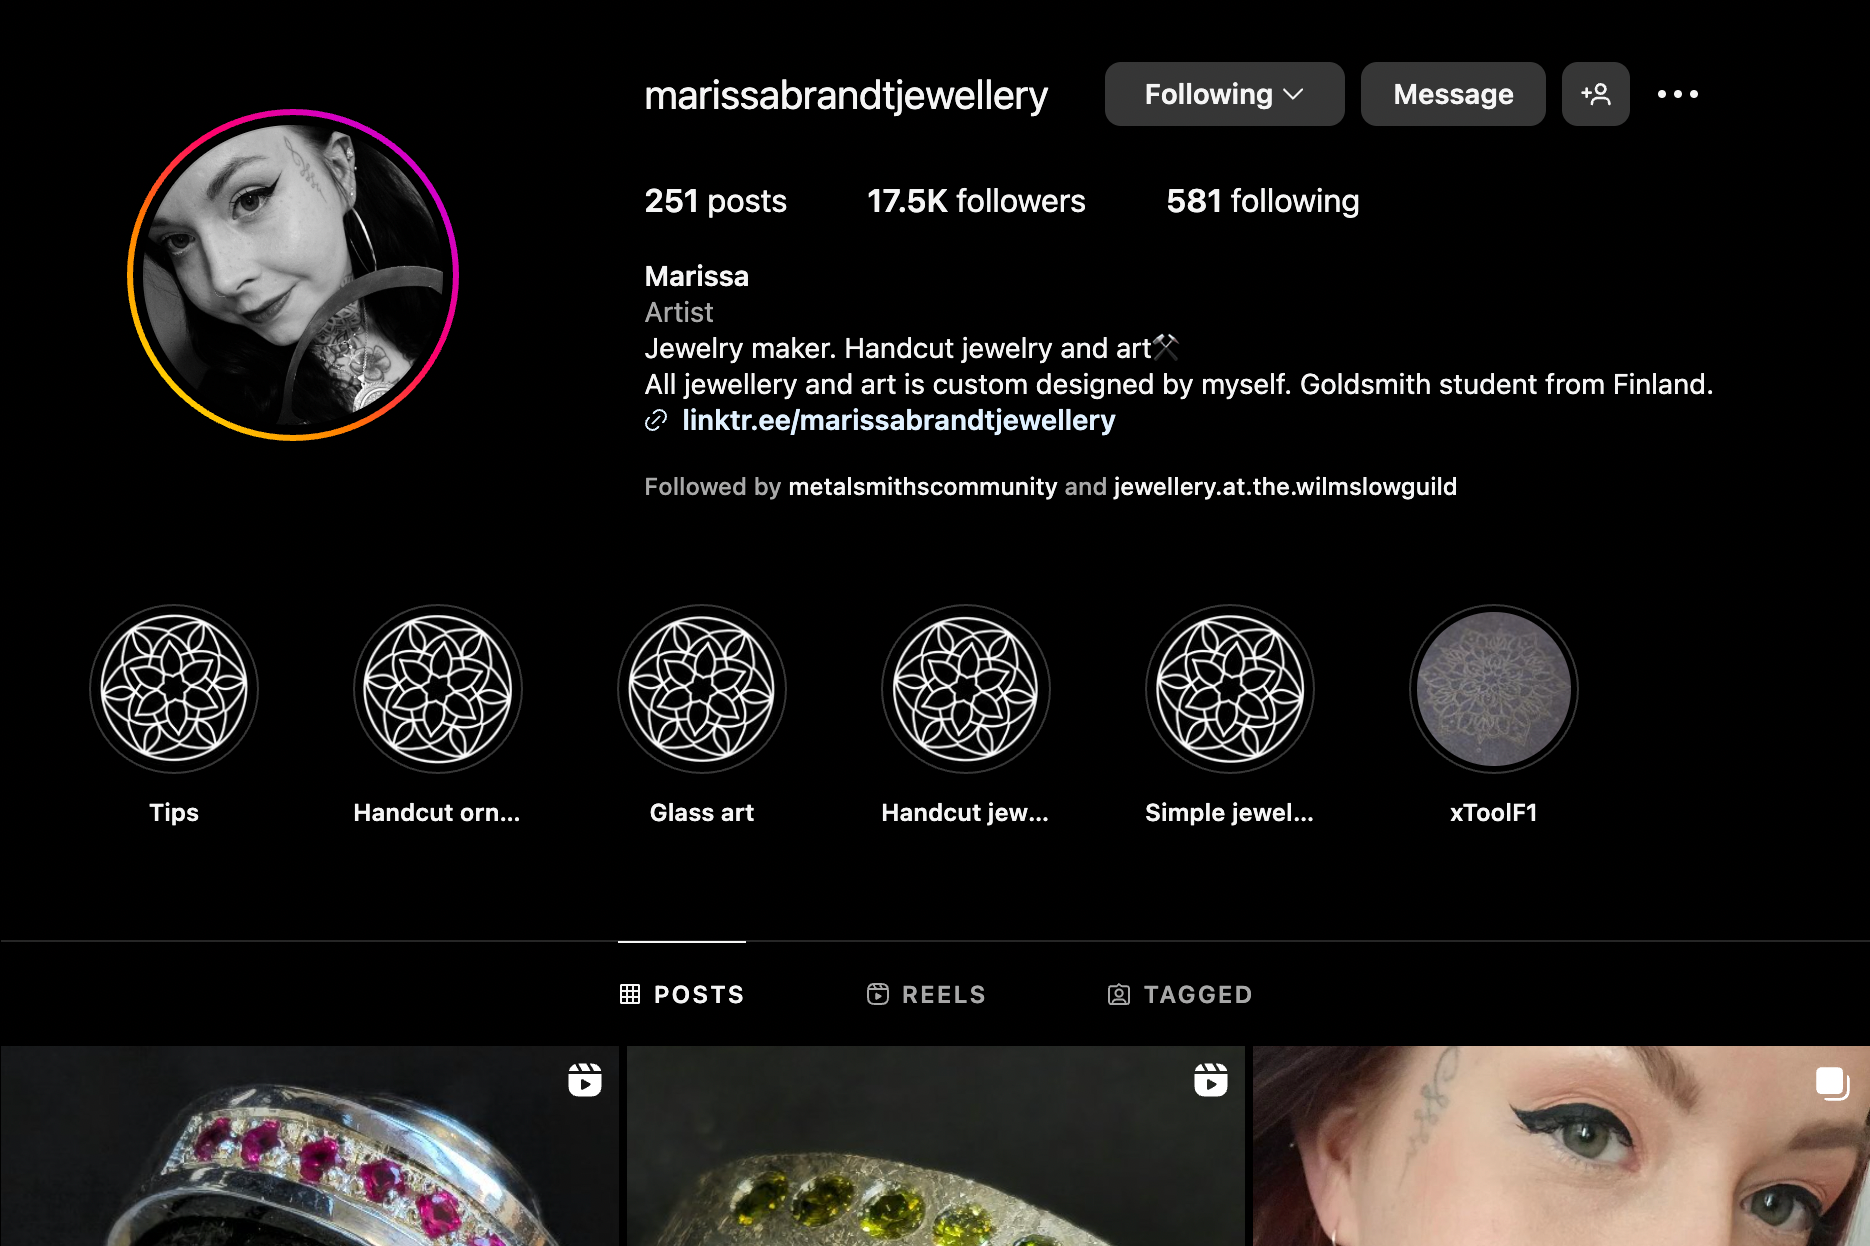
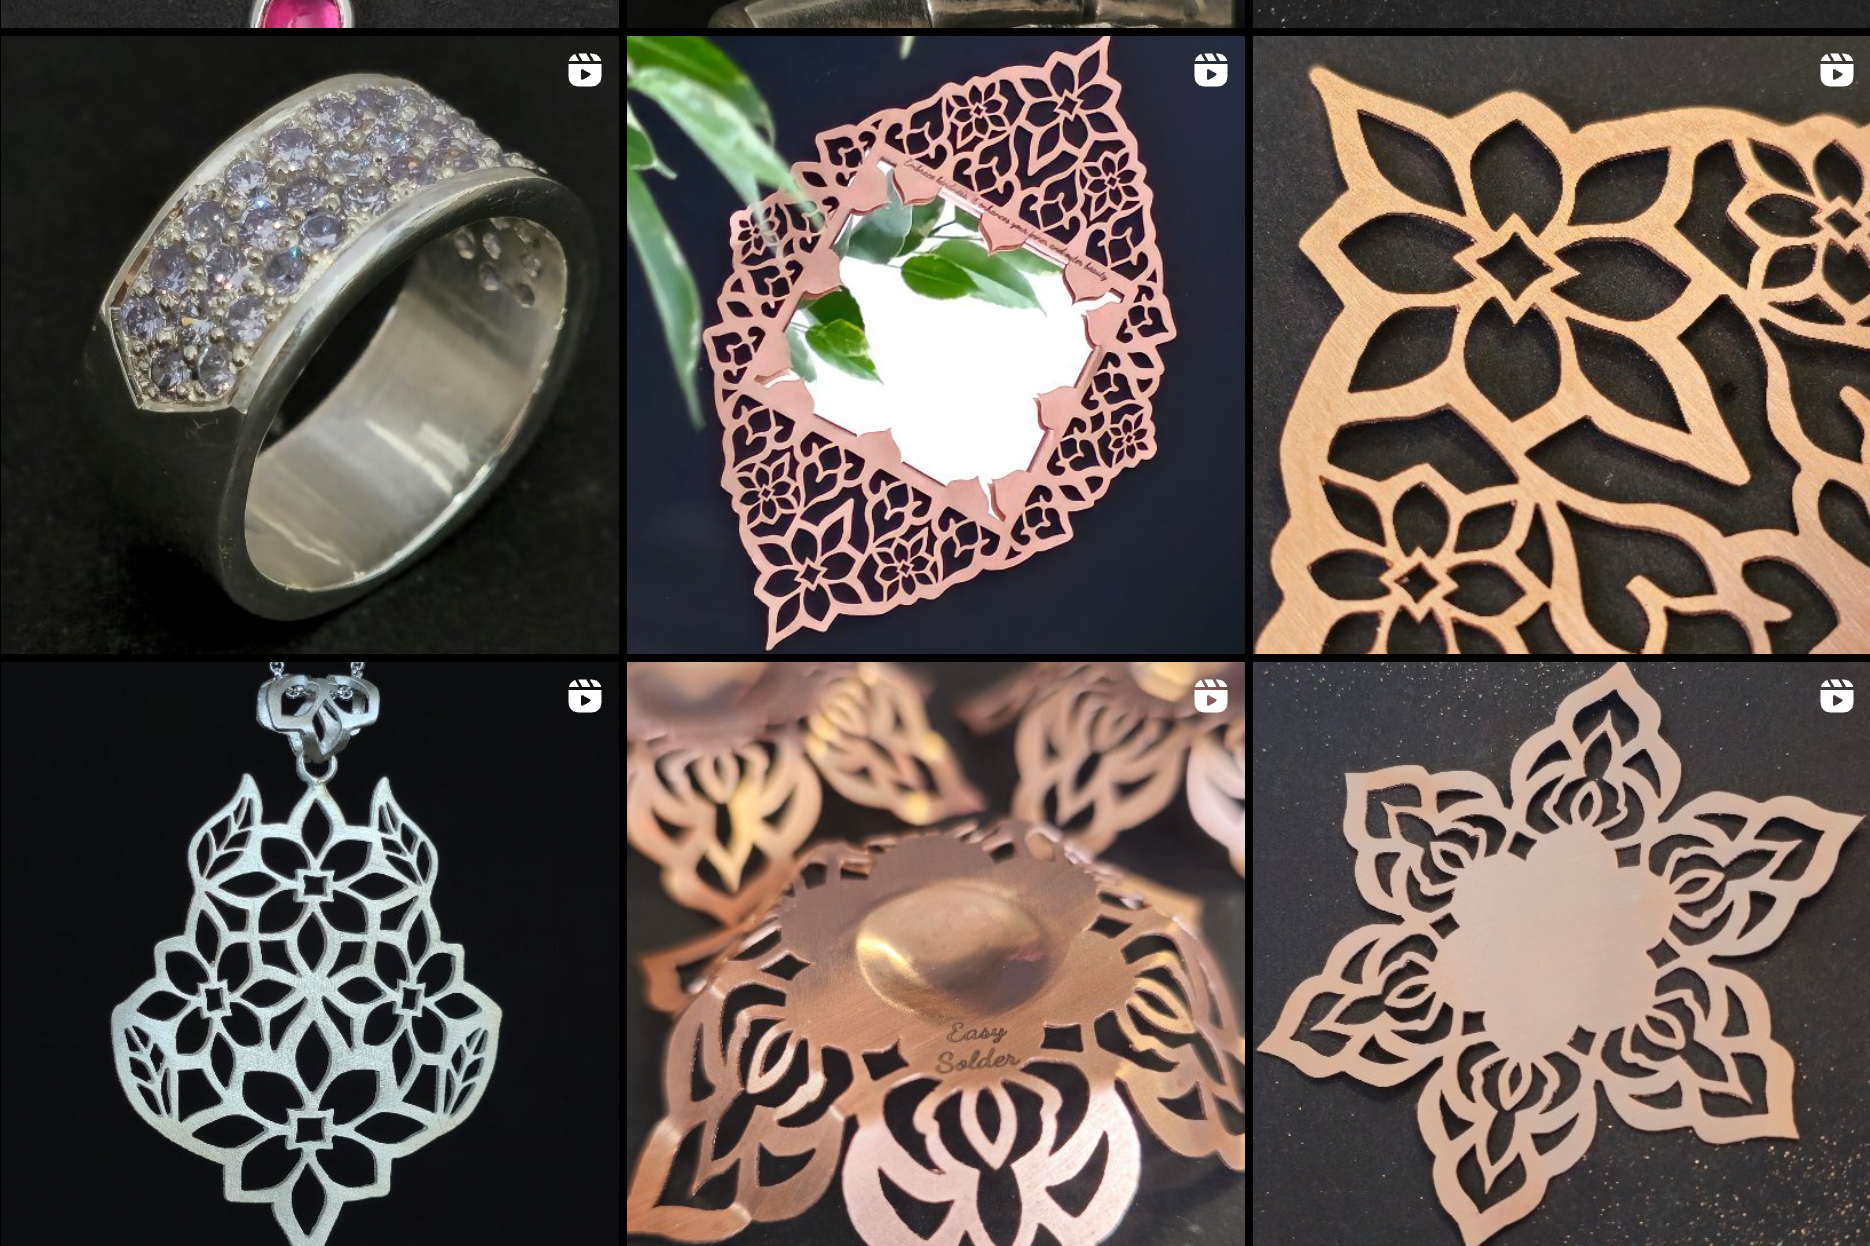
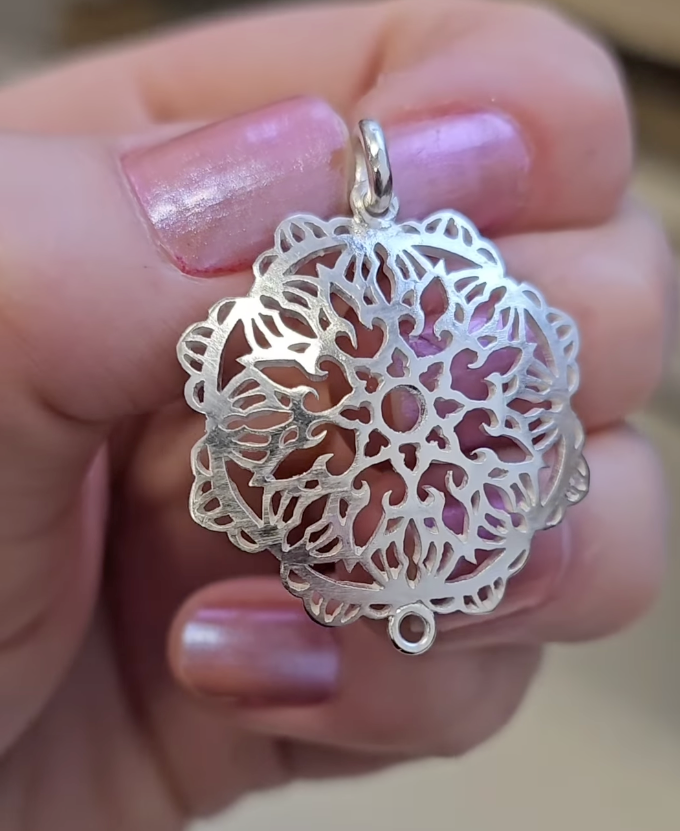
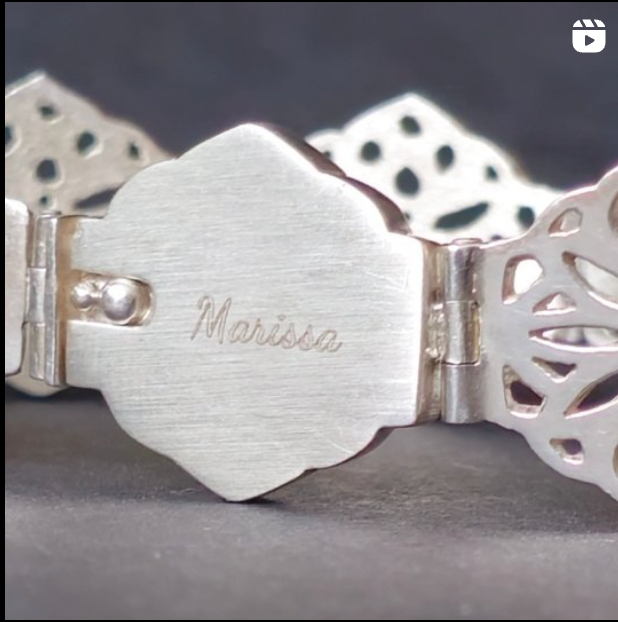
Marissabrandt Jewellery
Another jeweller which I have taken inspiration from is Marissa. She is a Goldsmith student from Finland.
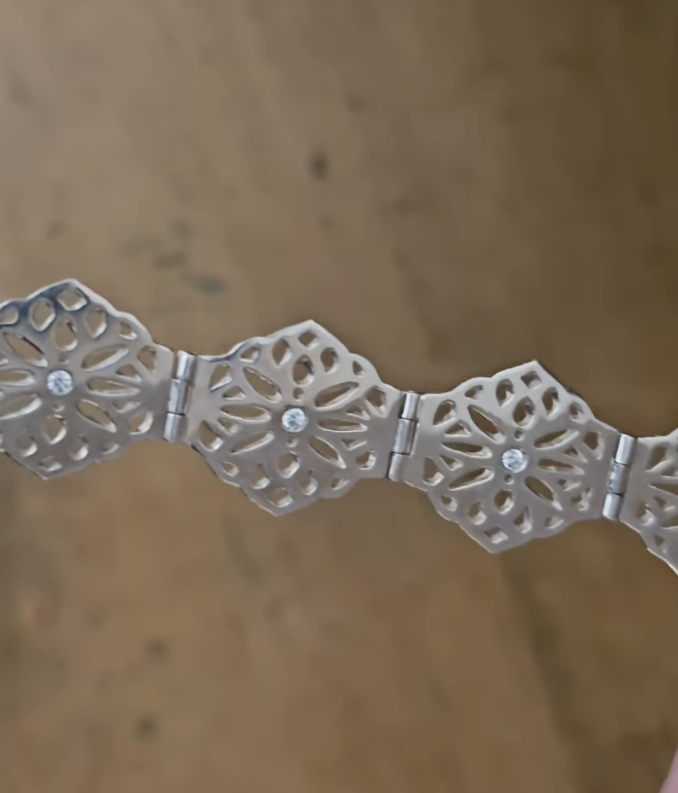
Her work is inspired by geometric patterns much like my own. She also cuts out her jewellery using a piercing saw. Marissa works on small-scale pieces and larger pieces but still manages to maintain a high level of accuracy and refinement with her work.
As well as this she has created pieces with a more technical aspect of using hinges which is something I want to do in my final piece.
Both of the artists I have chosen to look at for my artist research are at a lower stage in their careers not too far from where I am at. there isn't much information on either of these however because of this I fell I can resonate with them most and see this level of refinement as an achievable goal.

FurthEr testing
lost wax casting Induction & testing
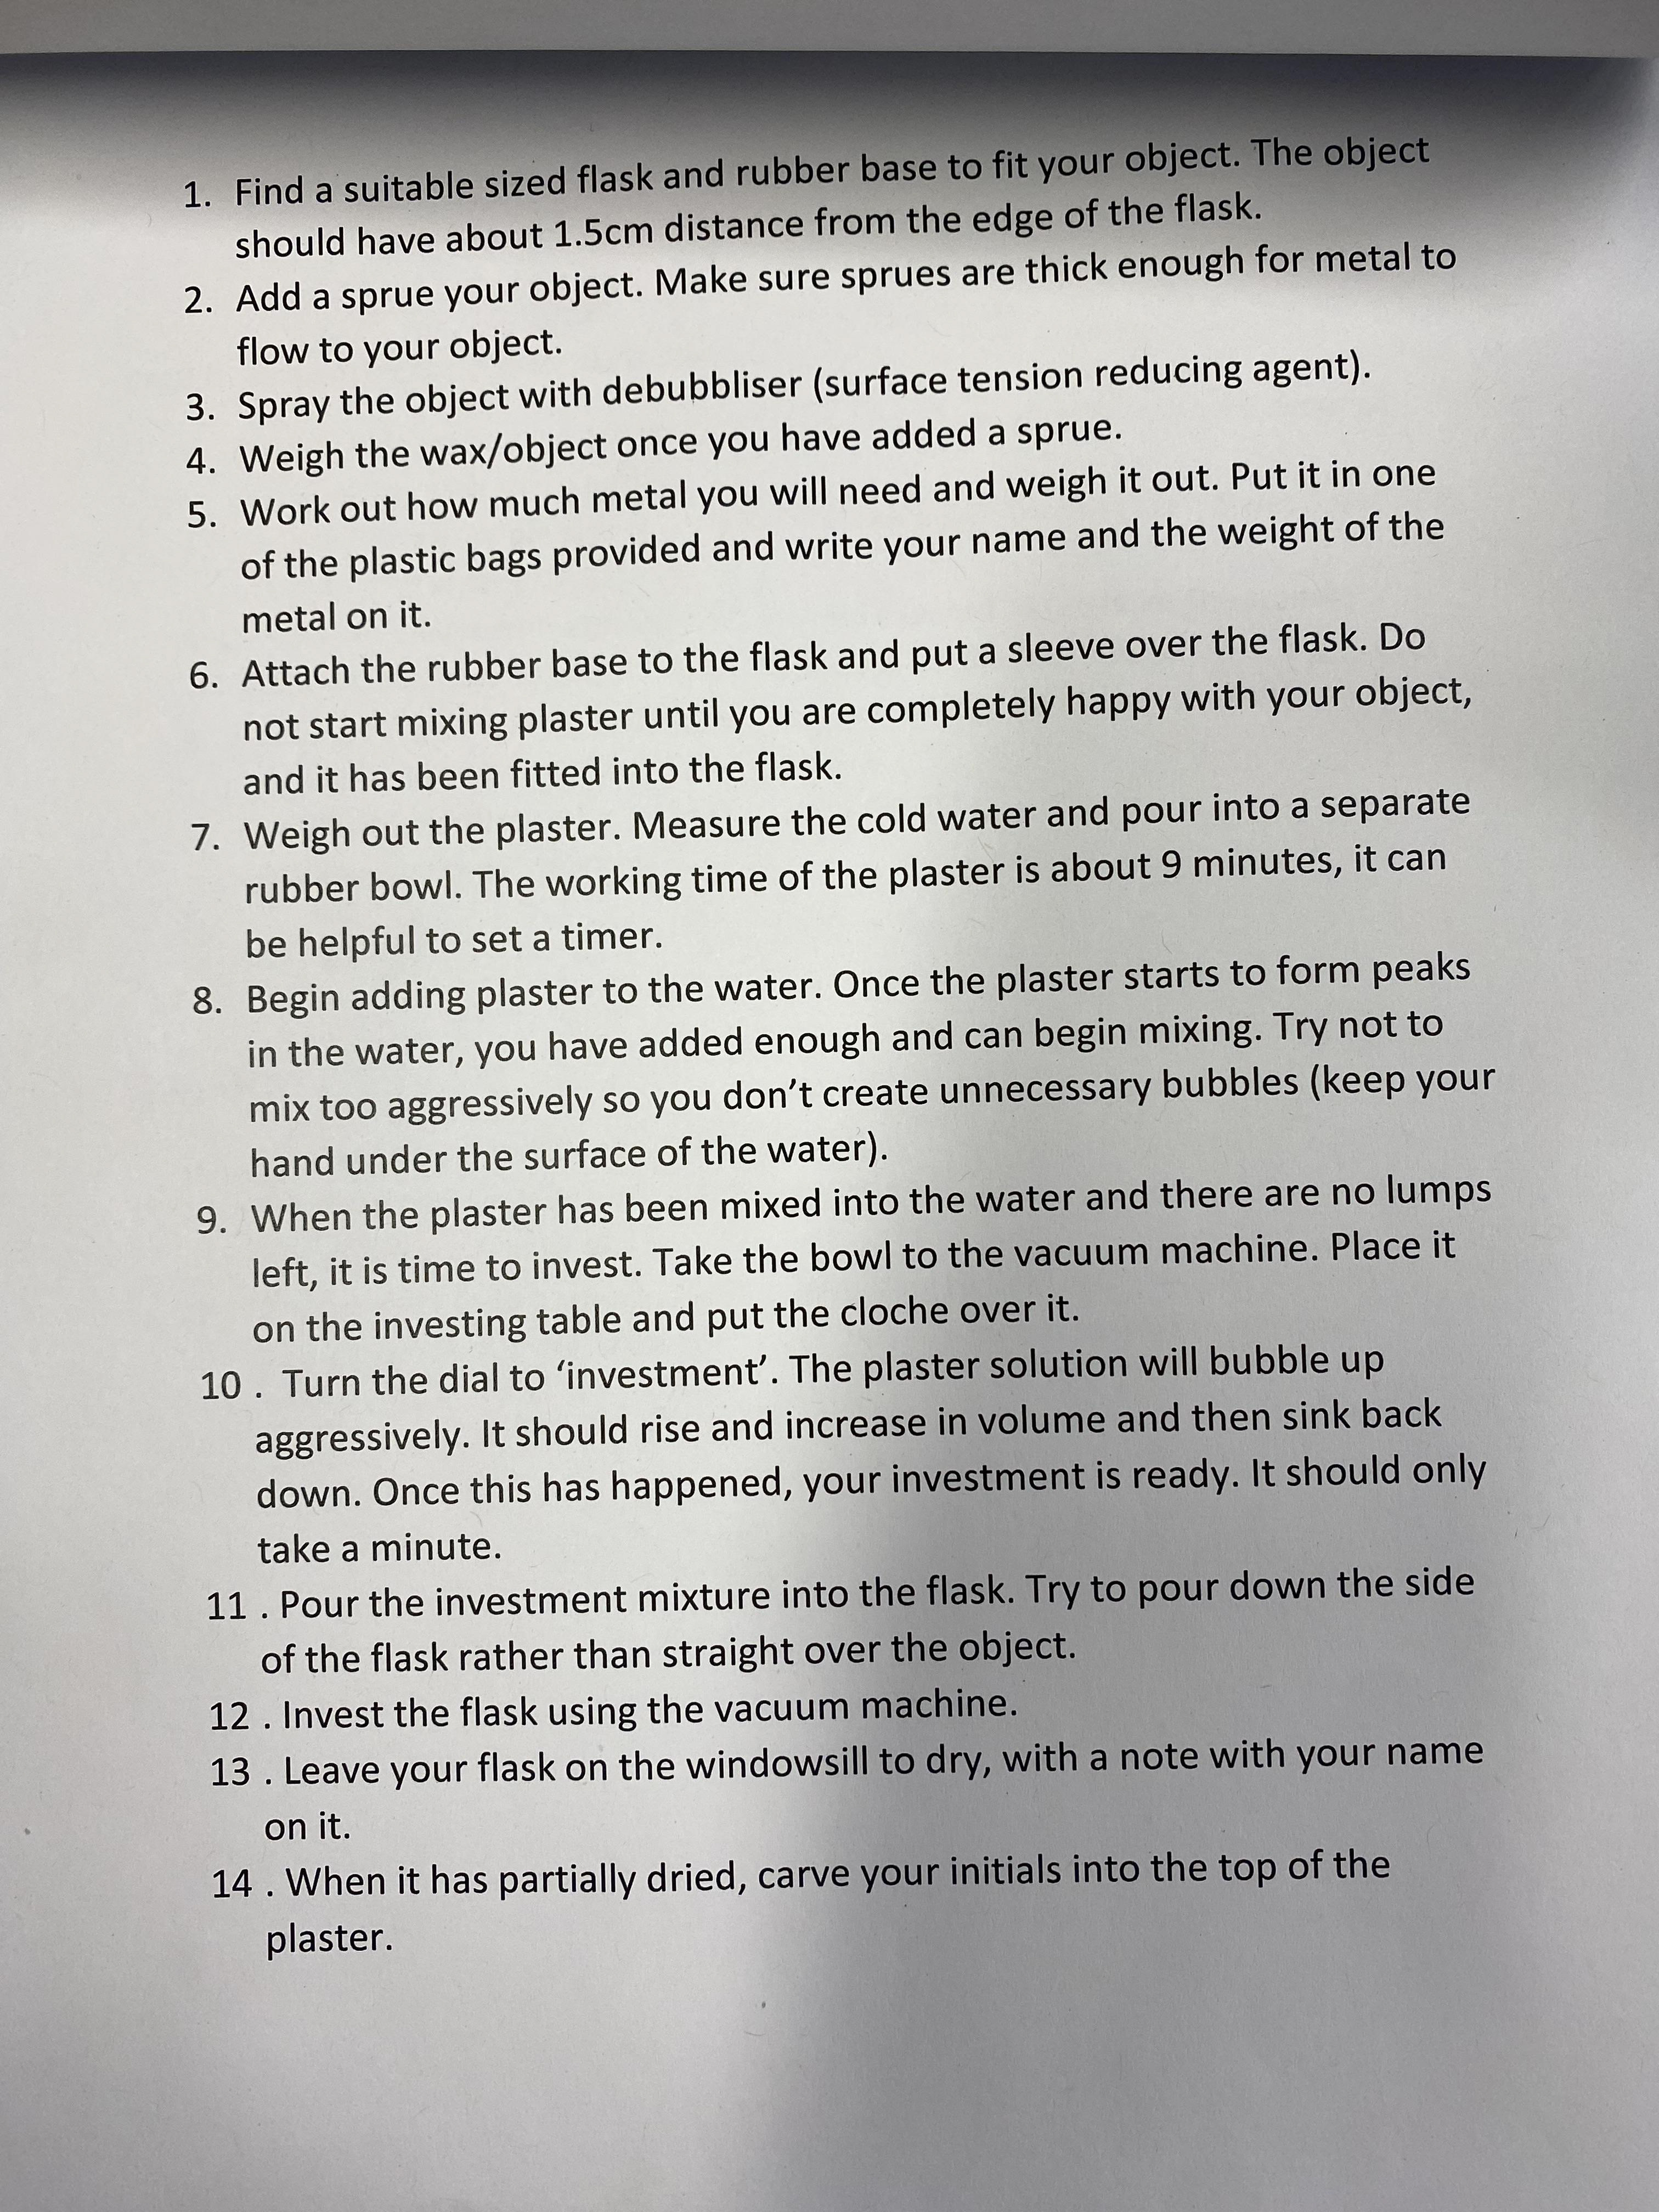
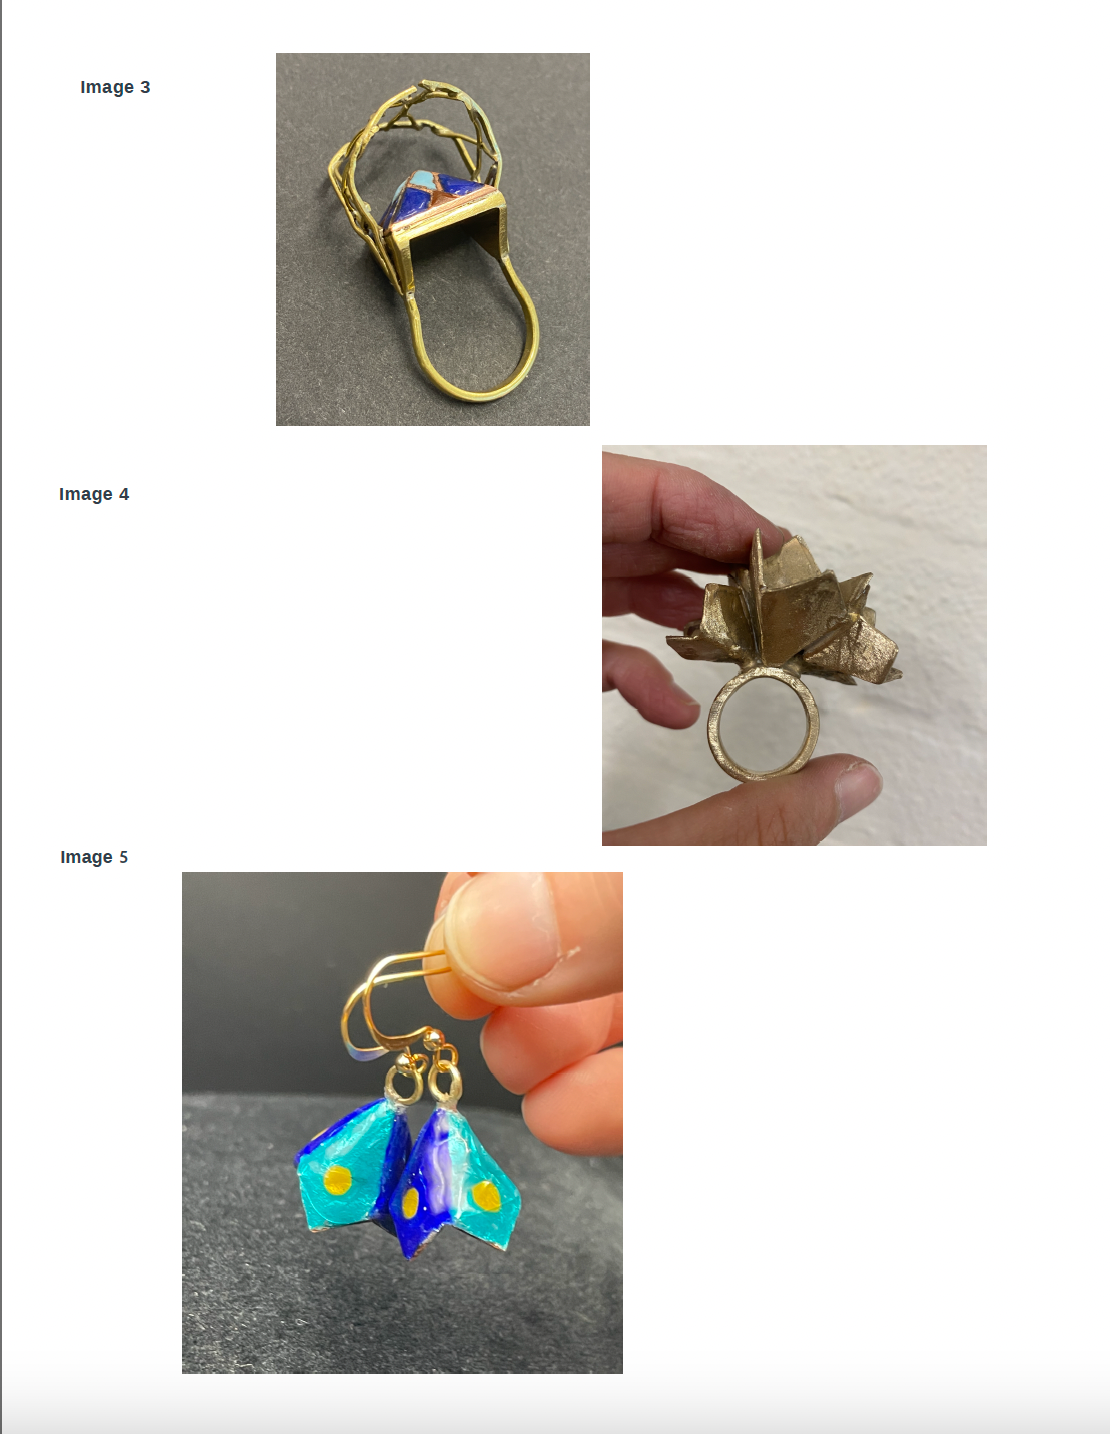
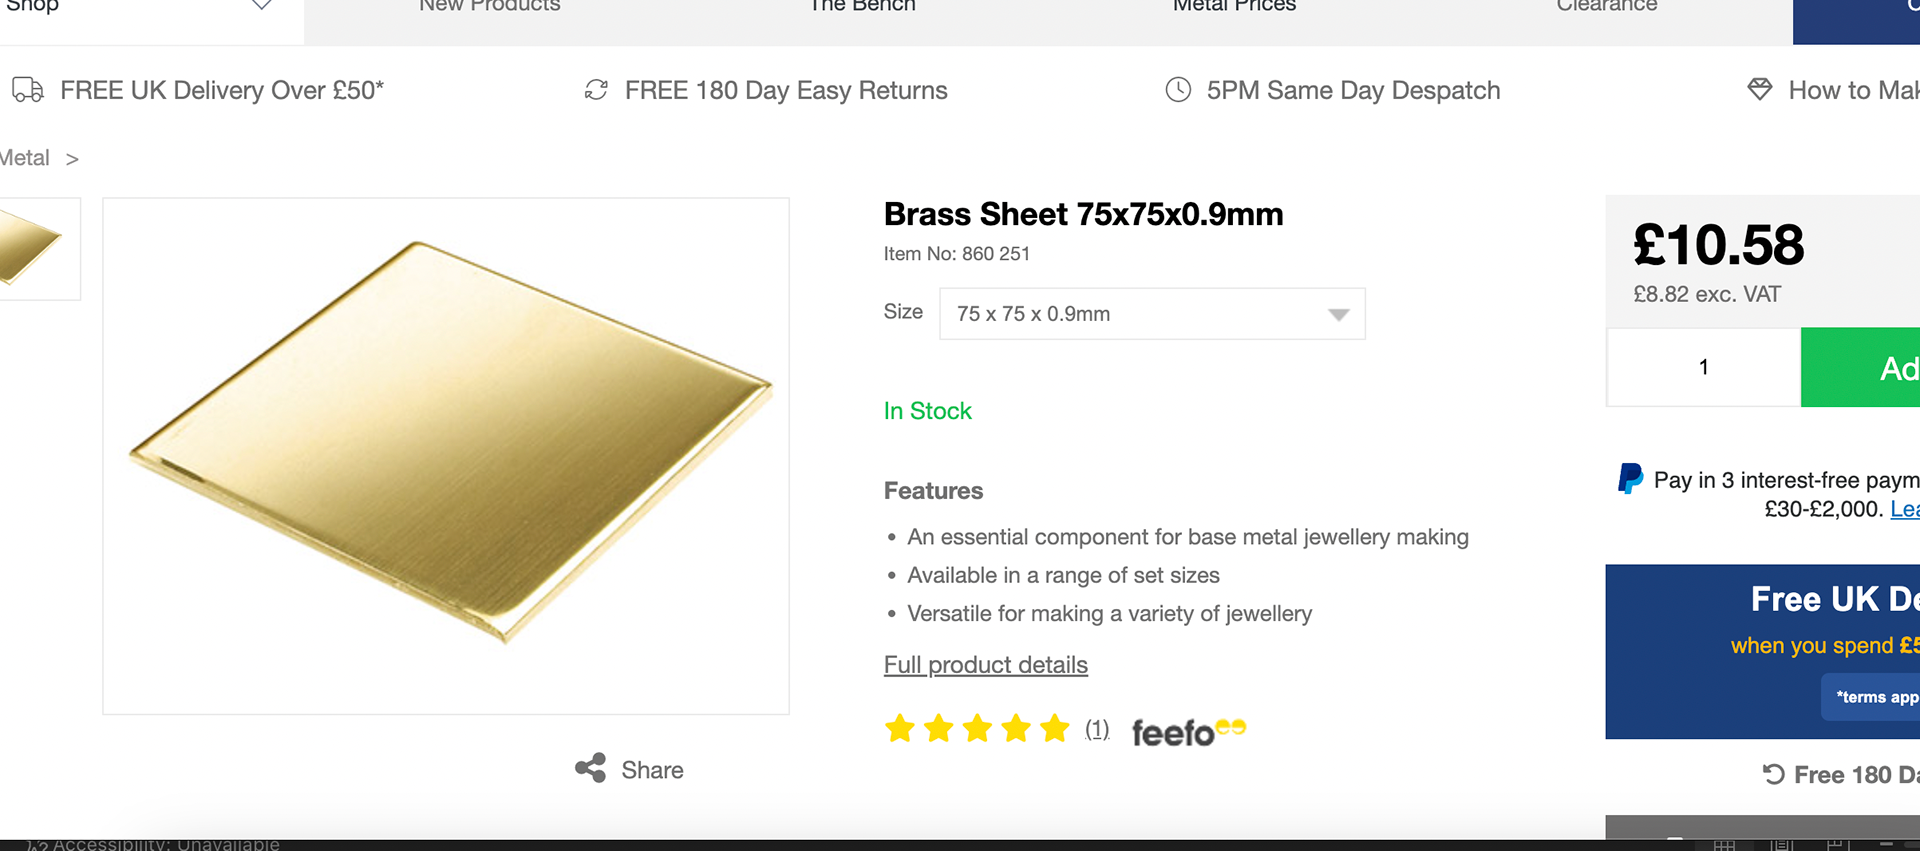
Lost Wax Casting has been a technique I have wanted to try for a little while. I decided to get inducted into it and make a test piece. From Understanding Context 1, I created a paper sample of a ring design idea I came up with based on the shapes within the geometric pattern I had drawn. I decided to try to create this using Lost Wax Casting. I used sheet wax and cut these out and managed to create the ring out of brass. I found this technique a bit difficult at first to get to grips with how the wax works but managed to get a good idea towards the end. Although the cast came out successful, it was very messy and also quite heavy to have on your finger.
Paper samples
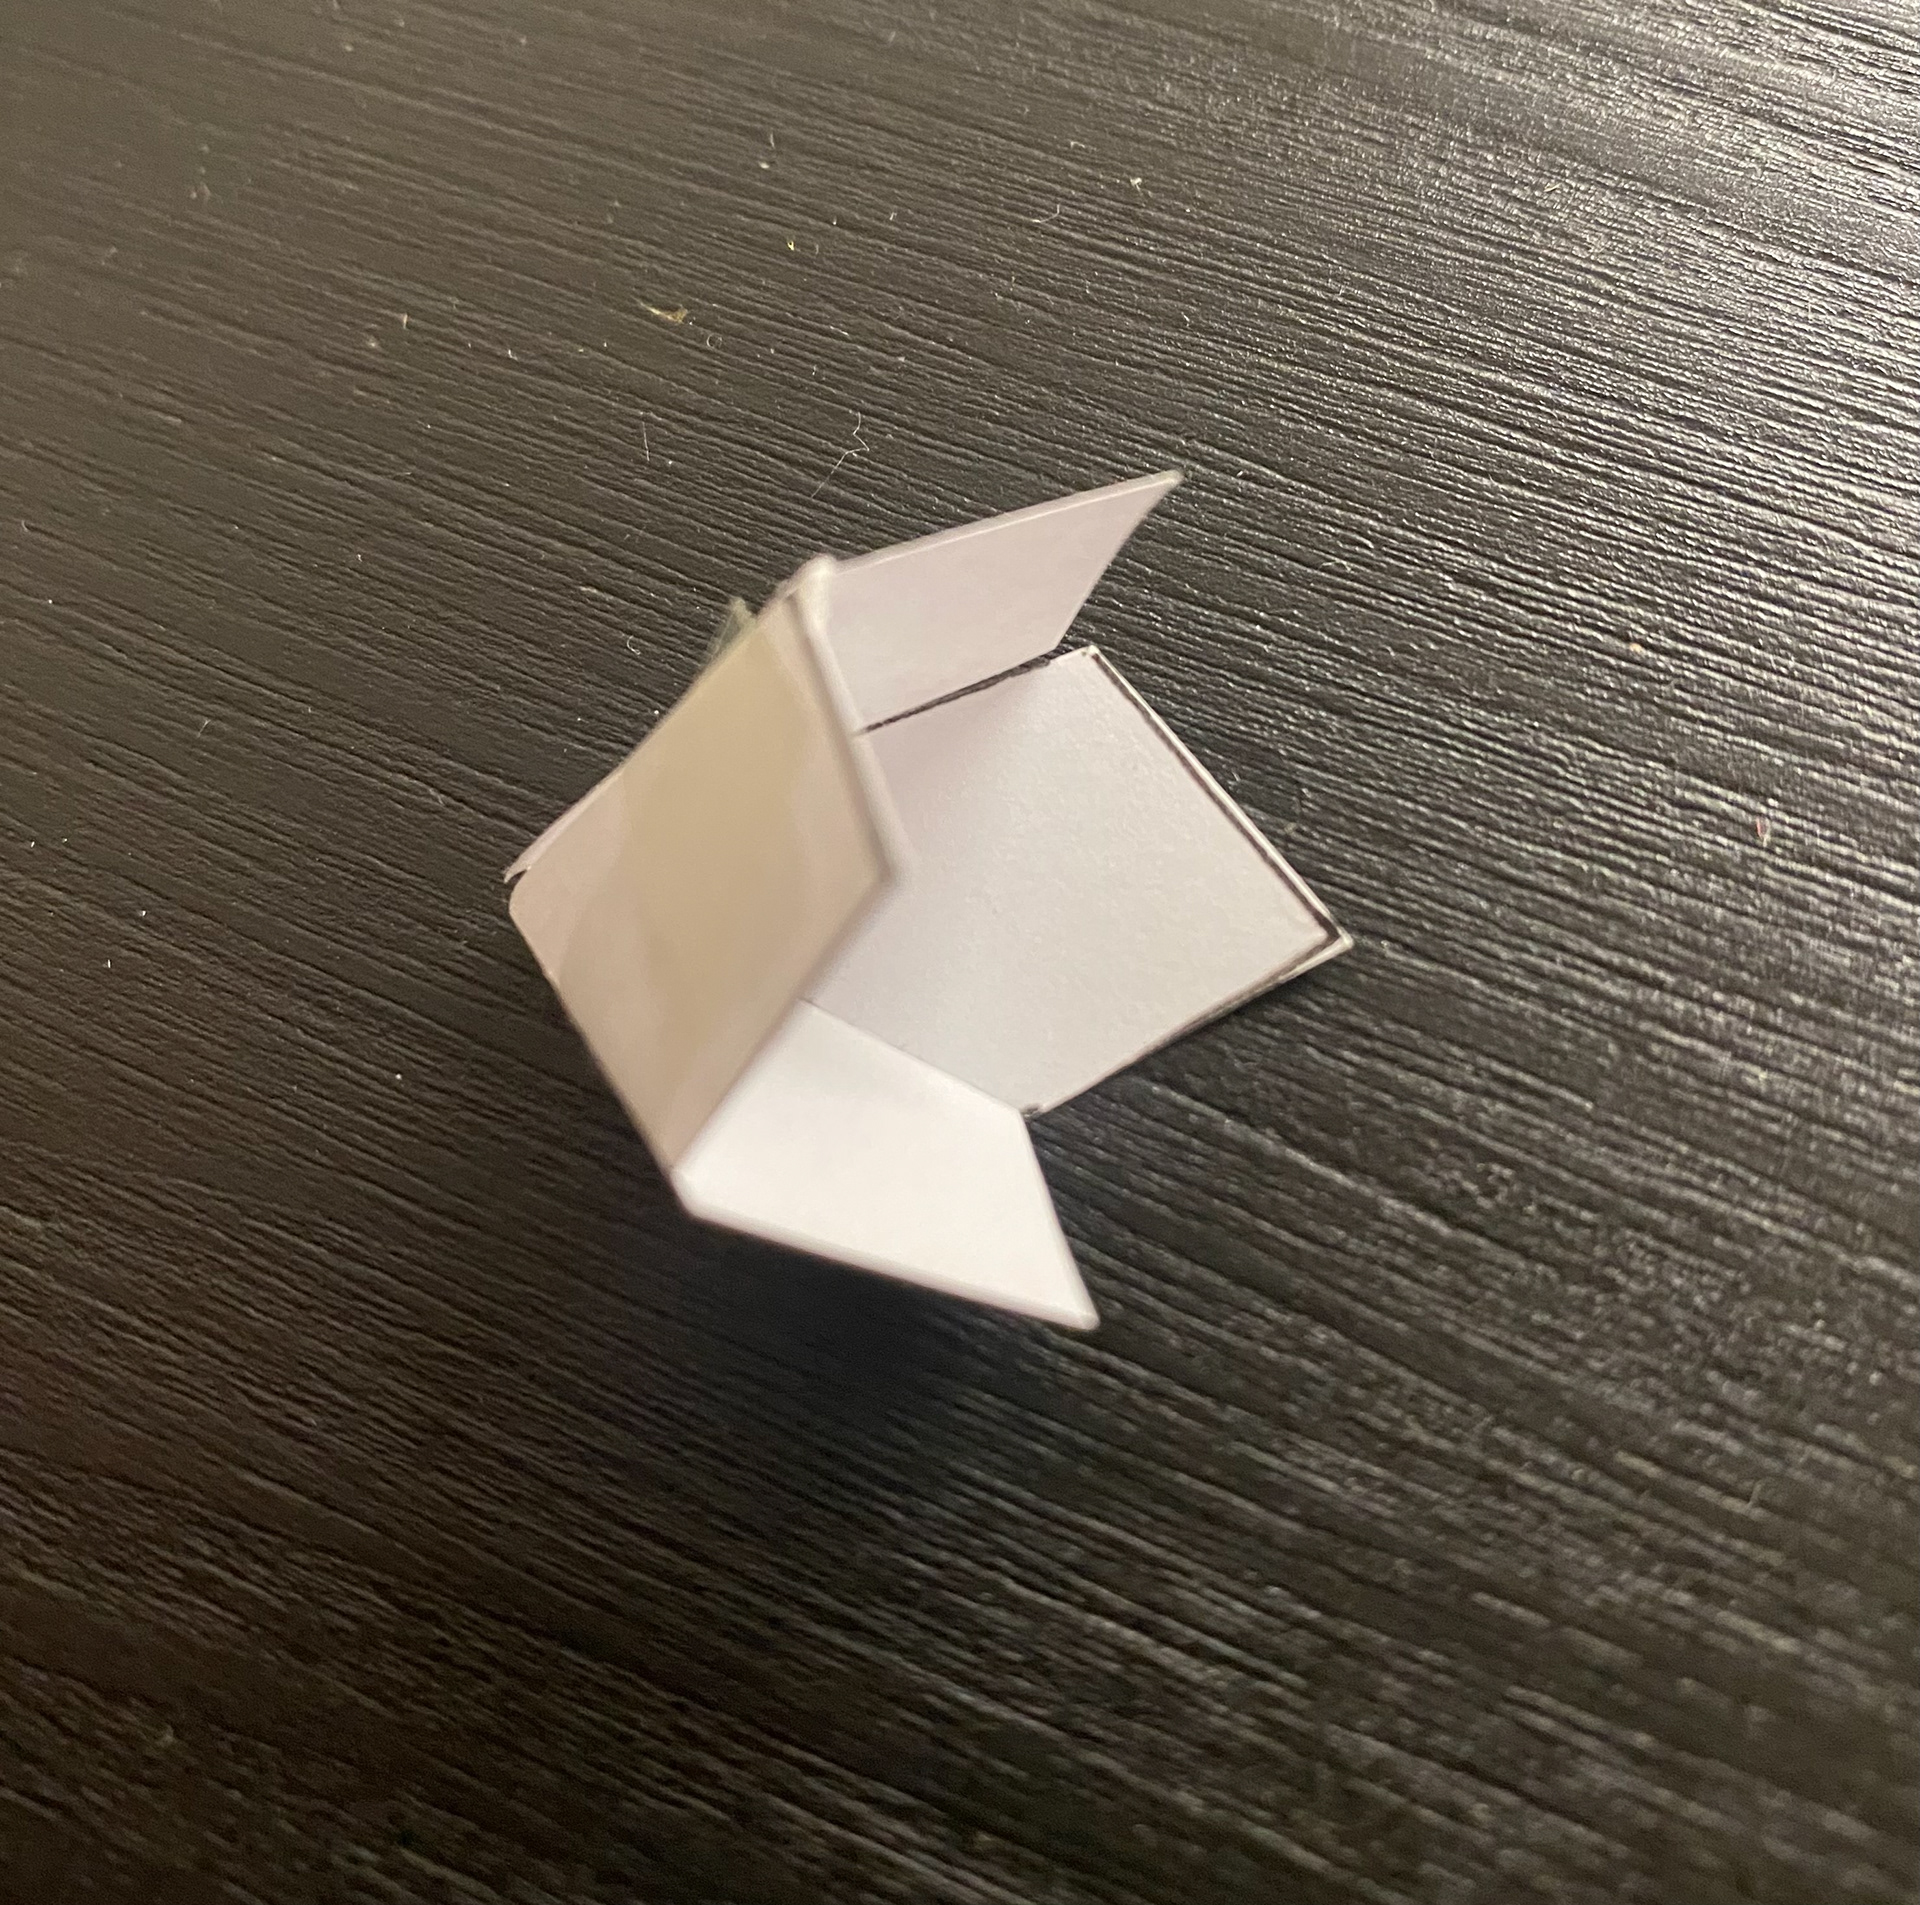
paper samples

full ring paper sample
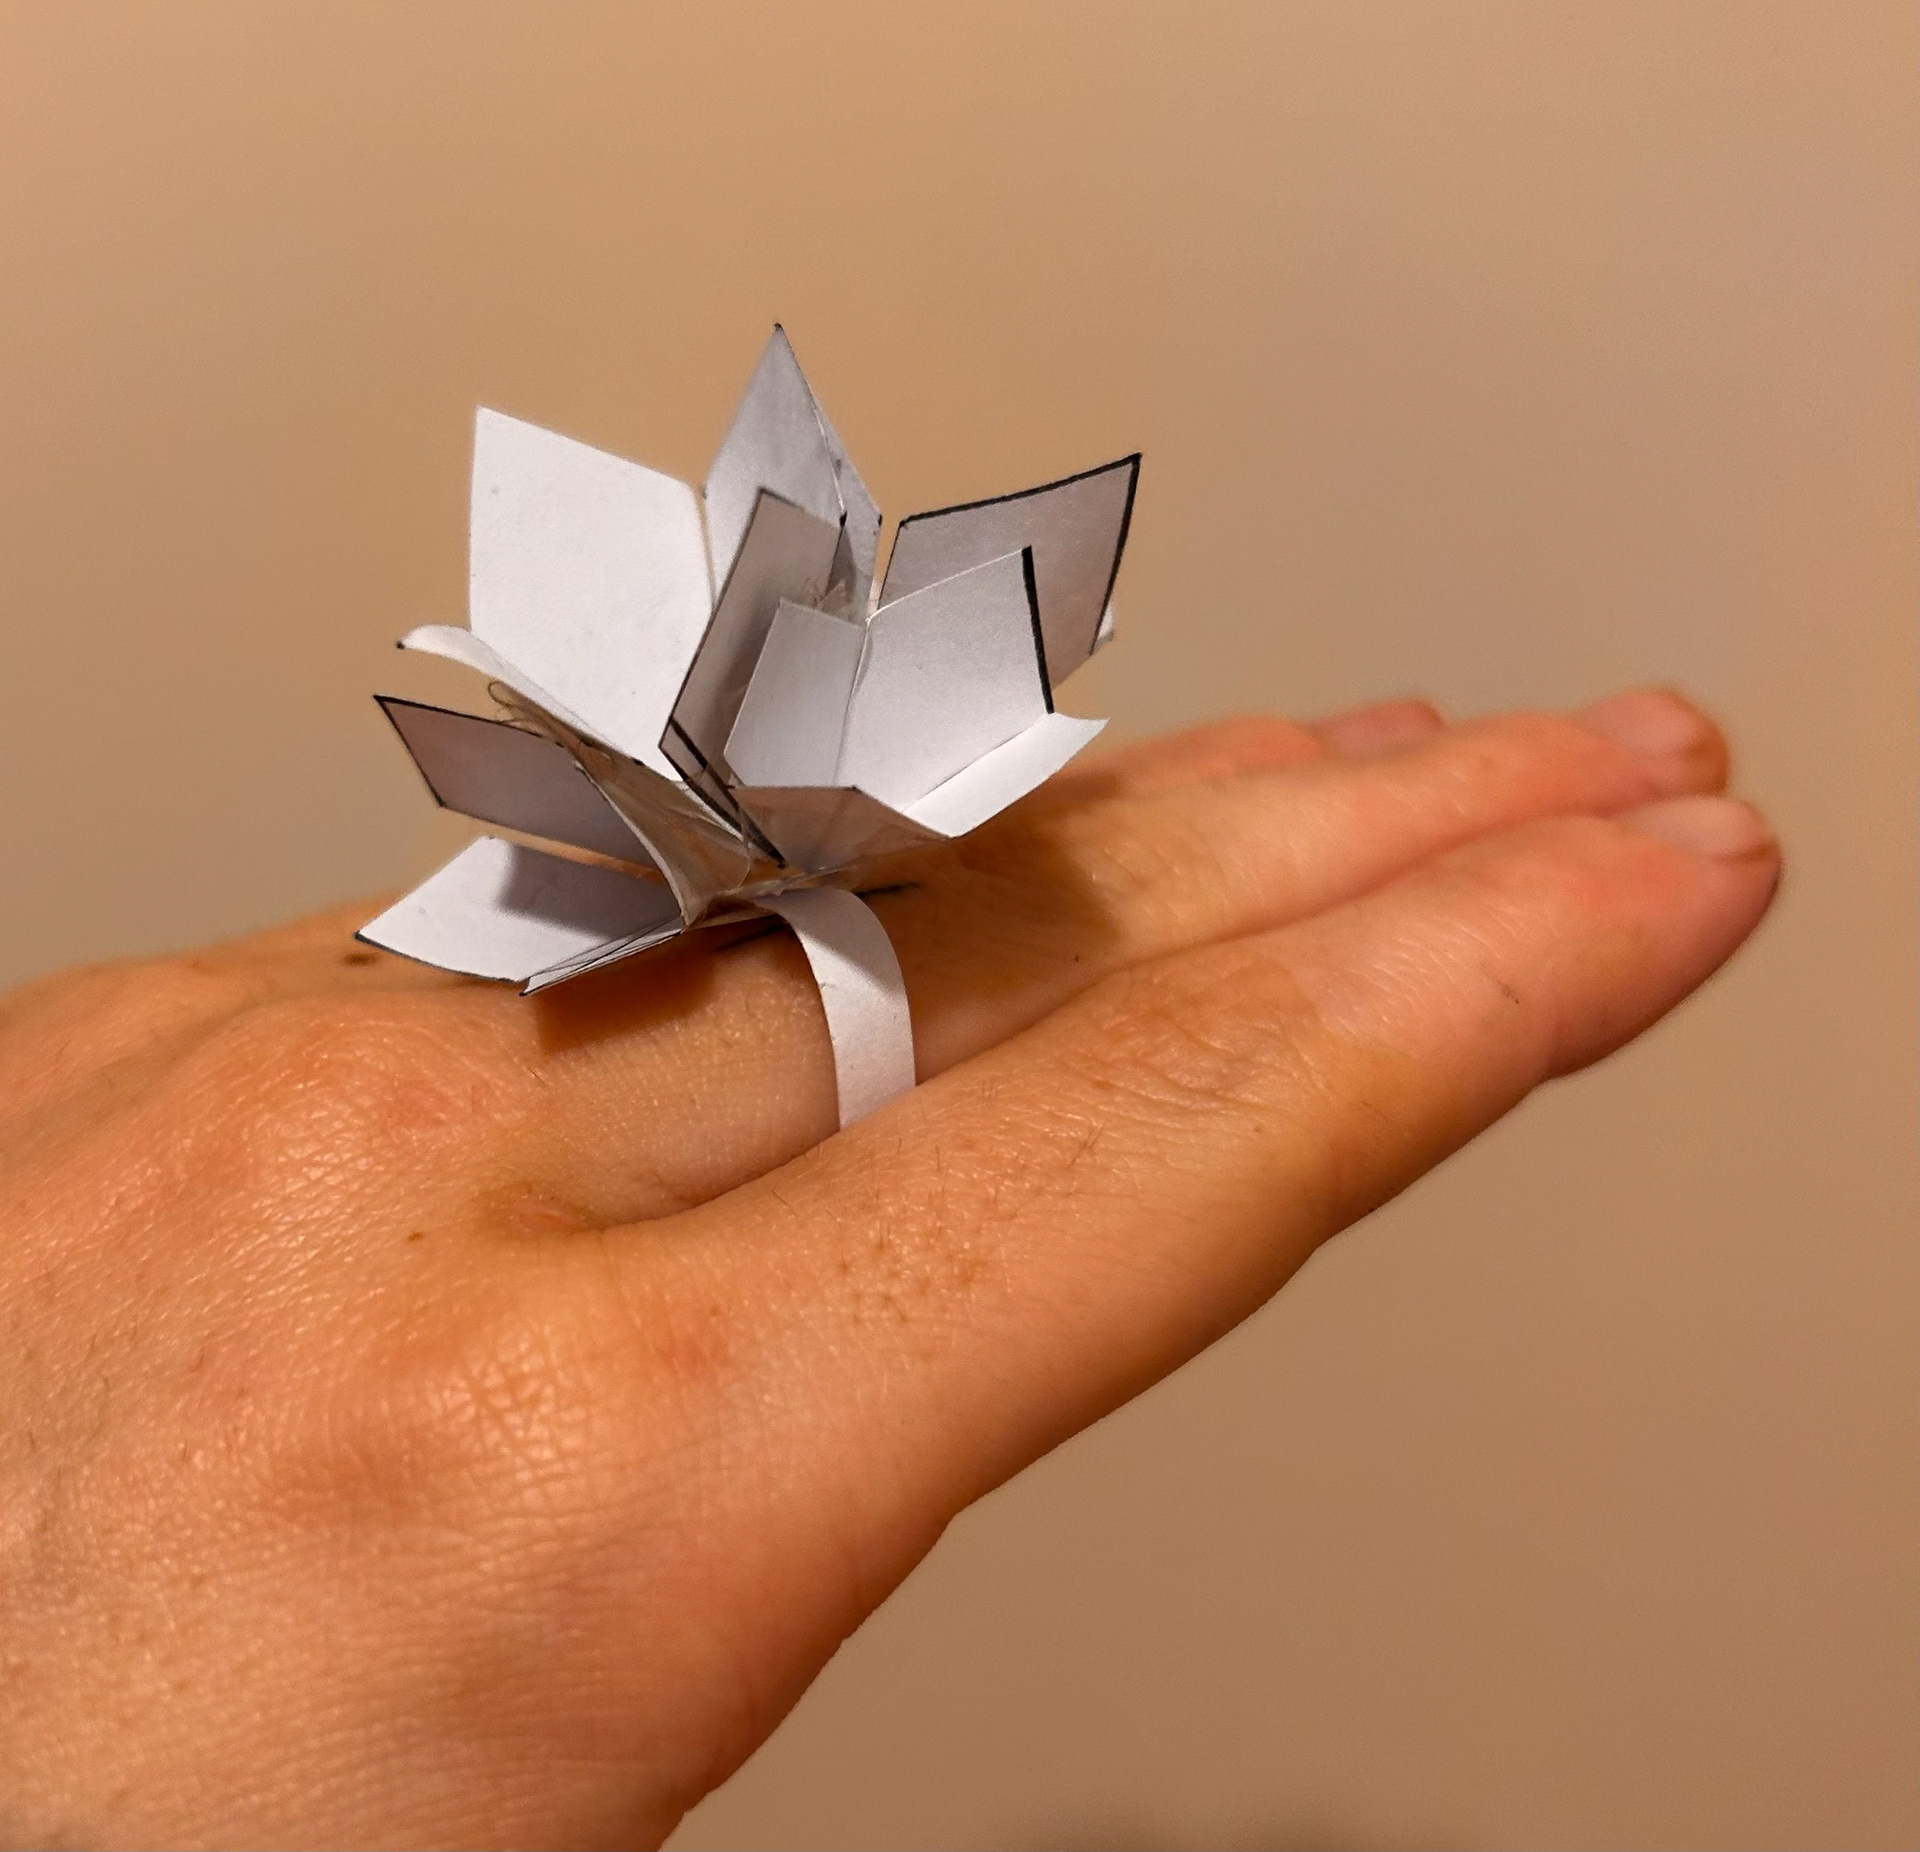
full ring paper sample
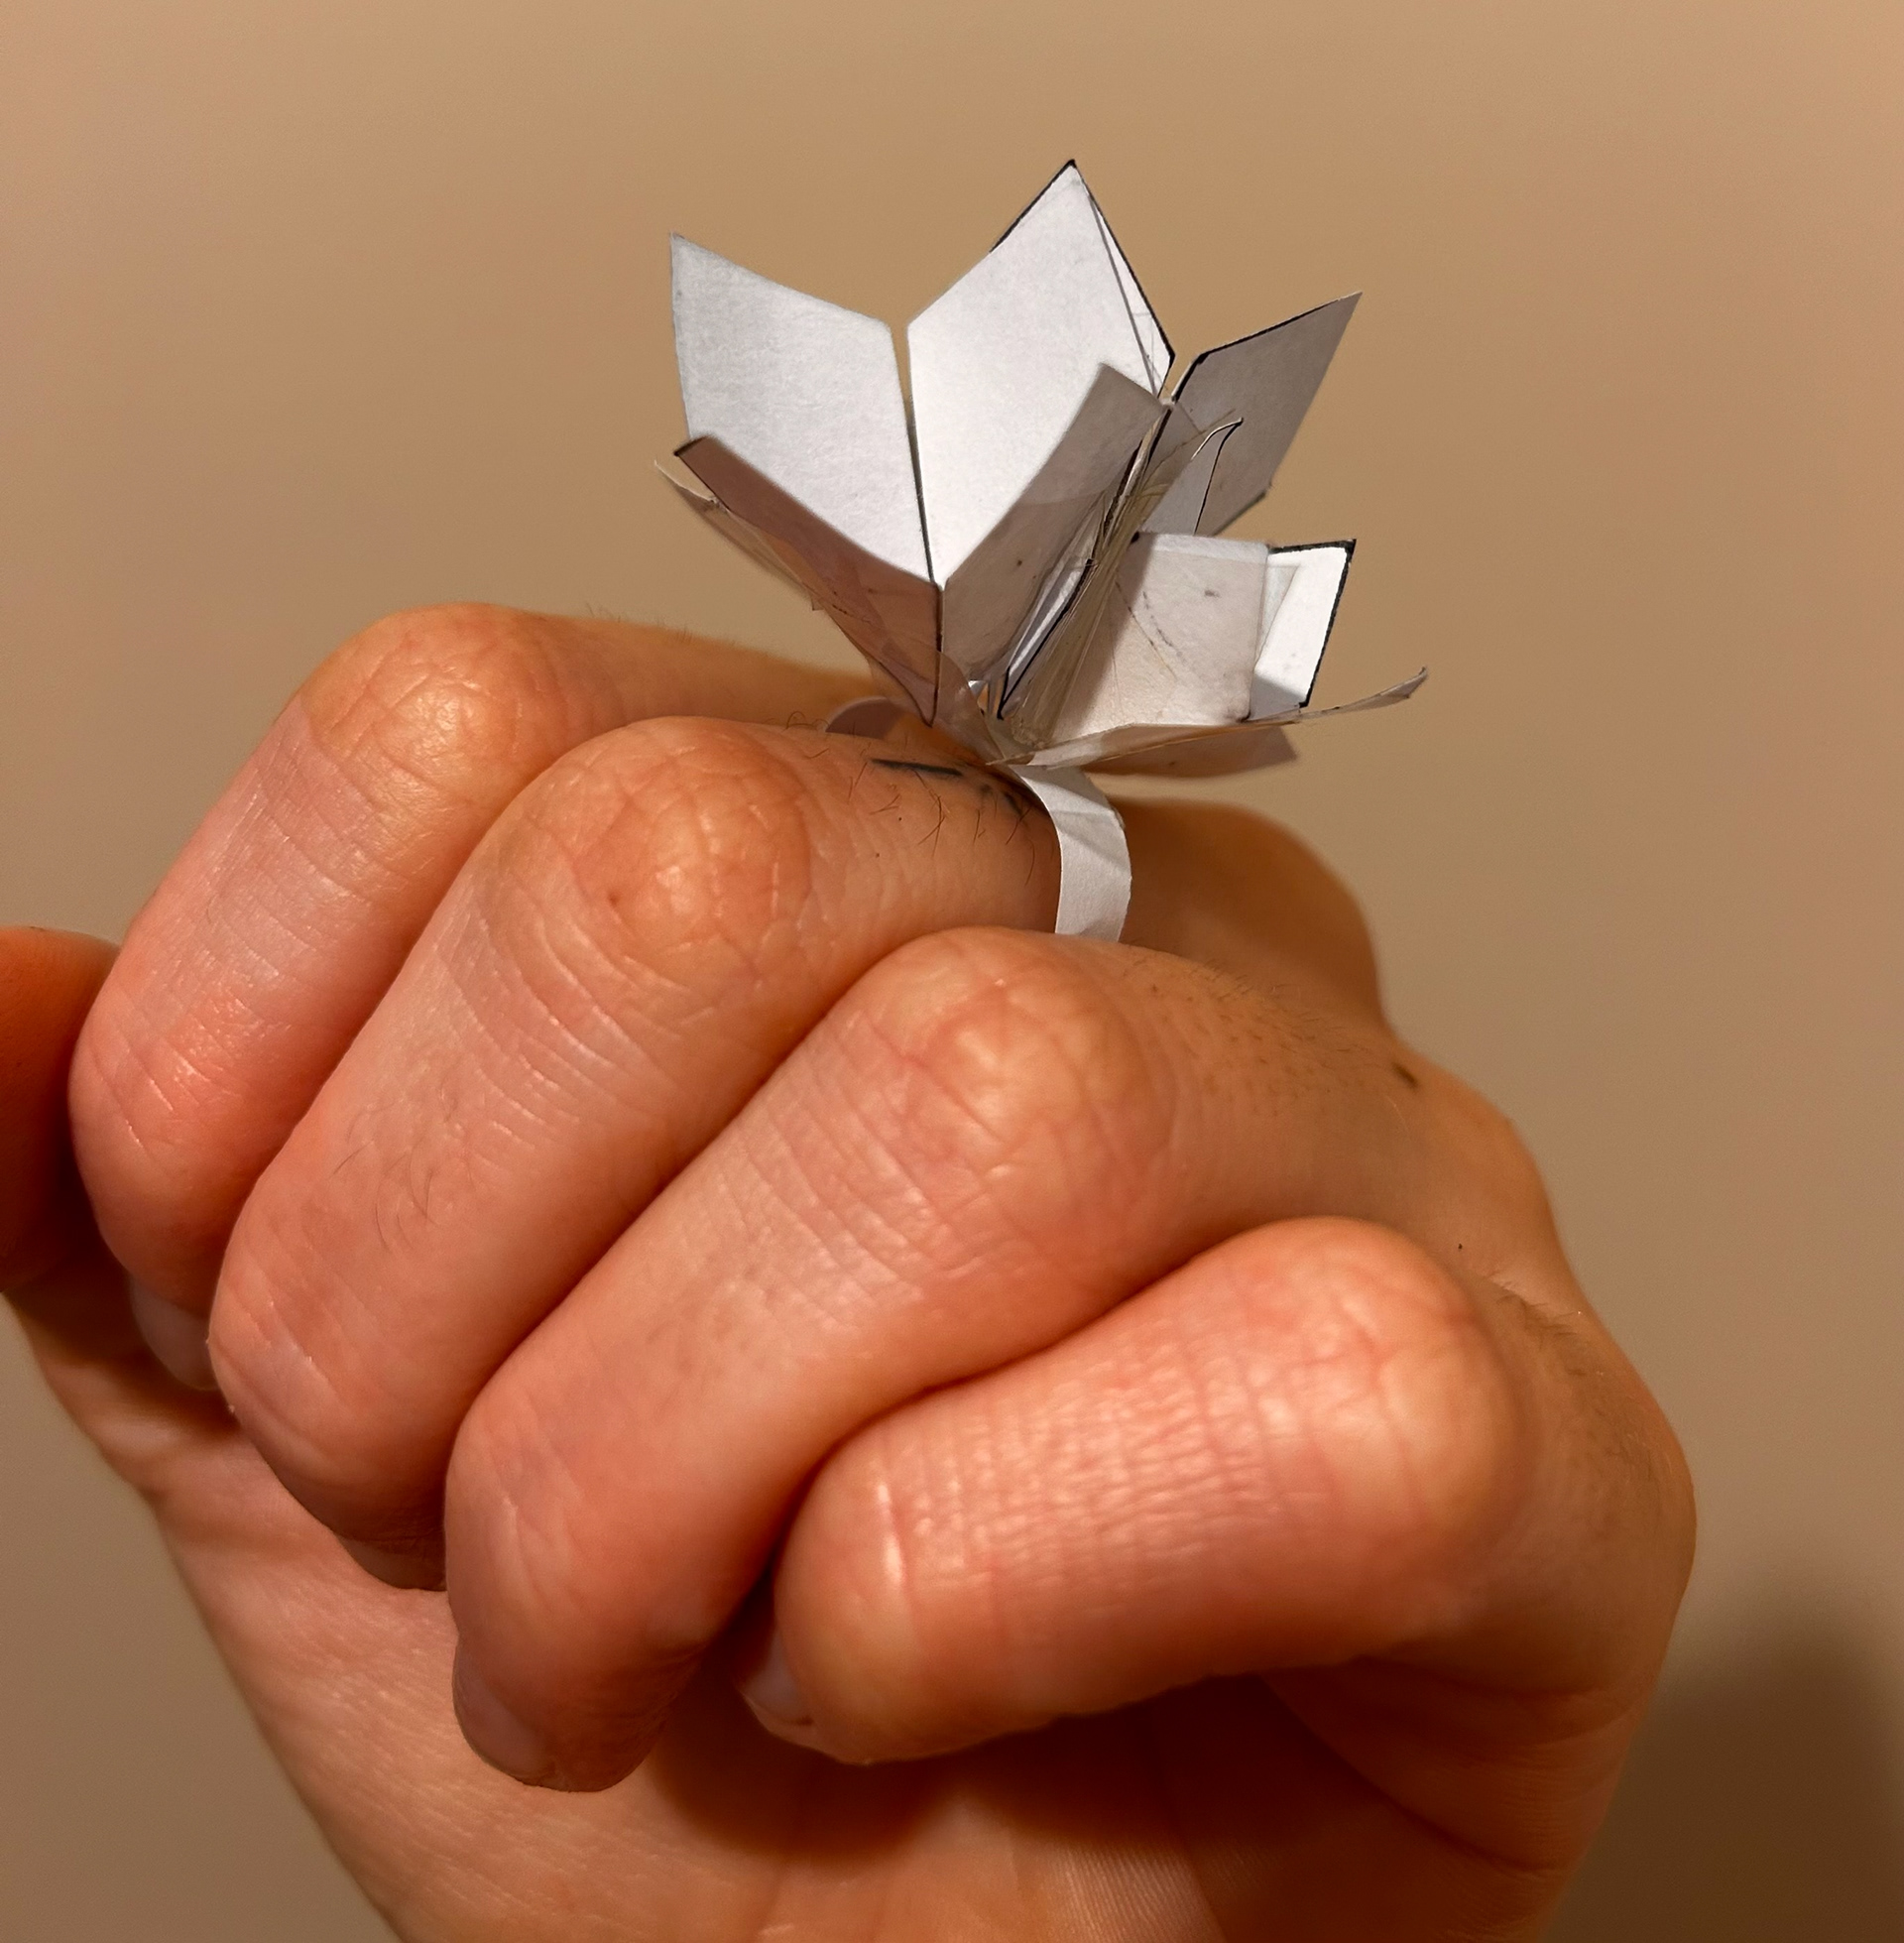
full ring paper sample
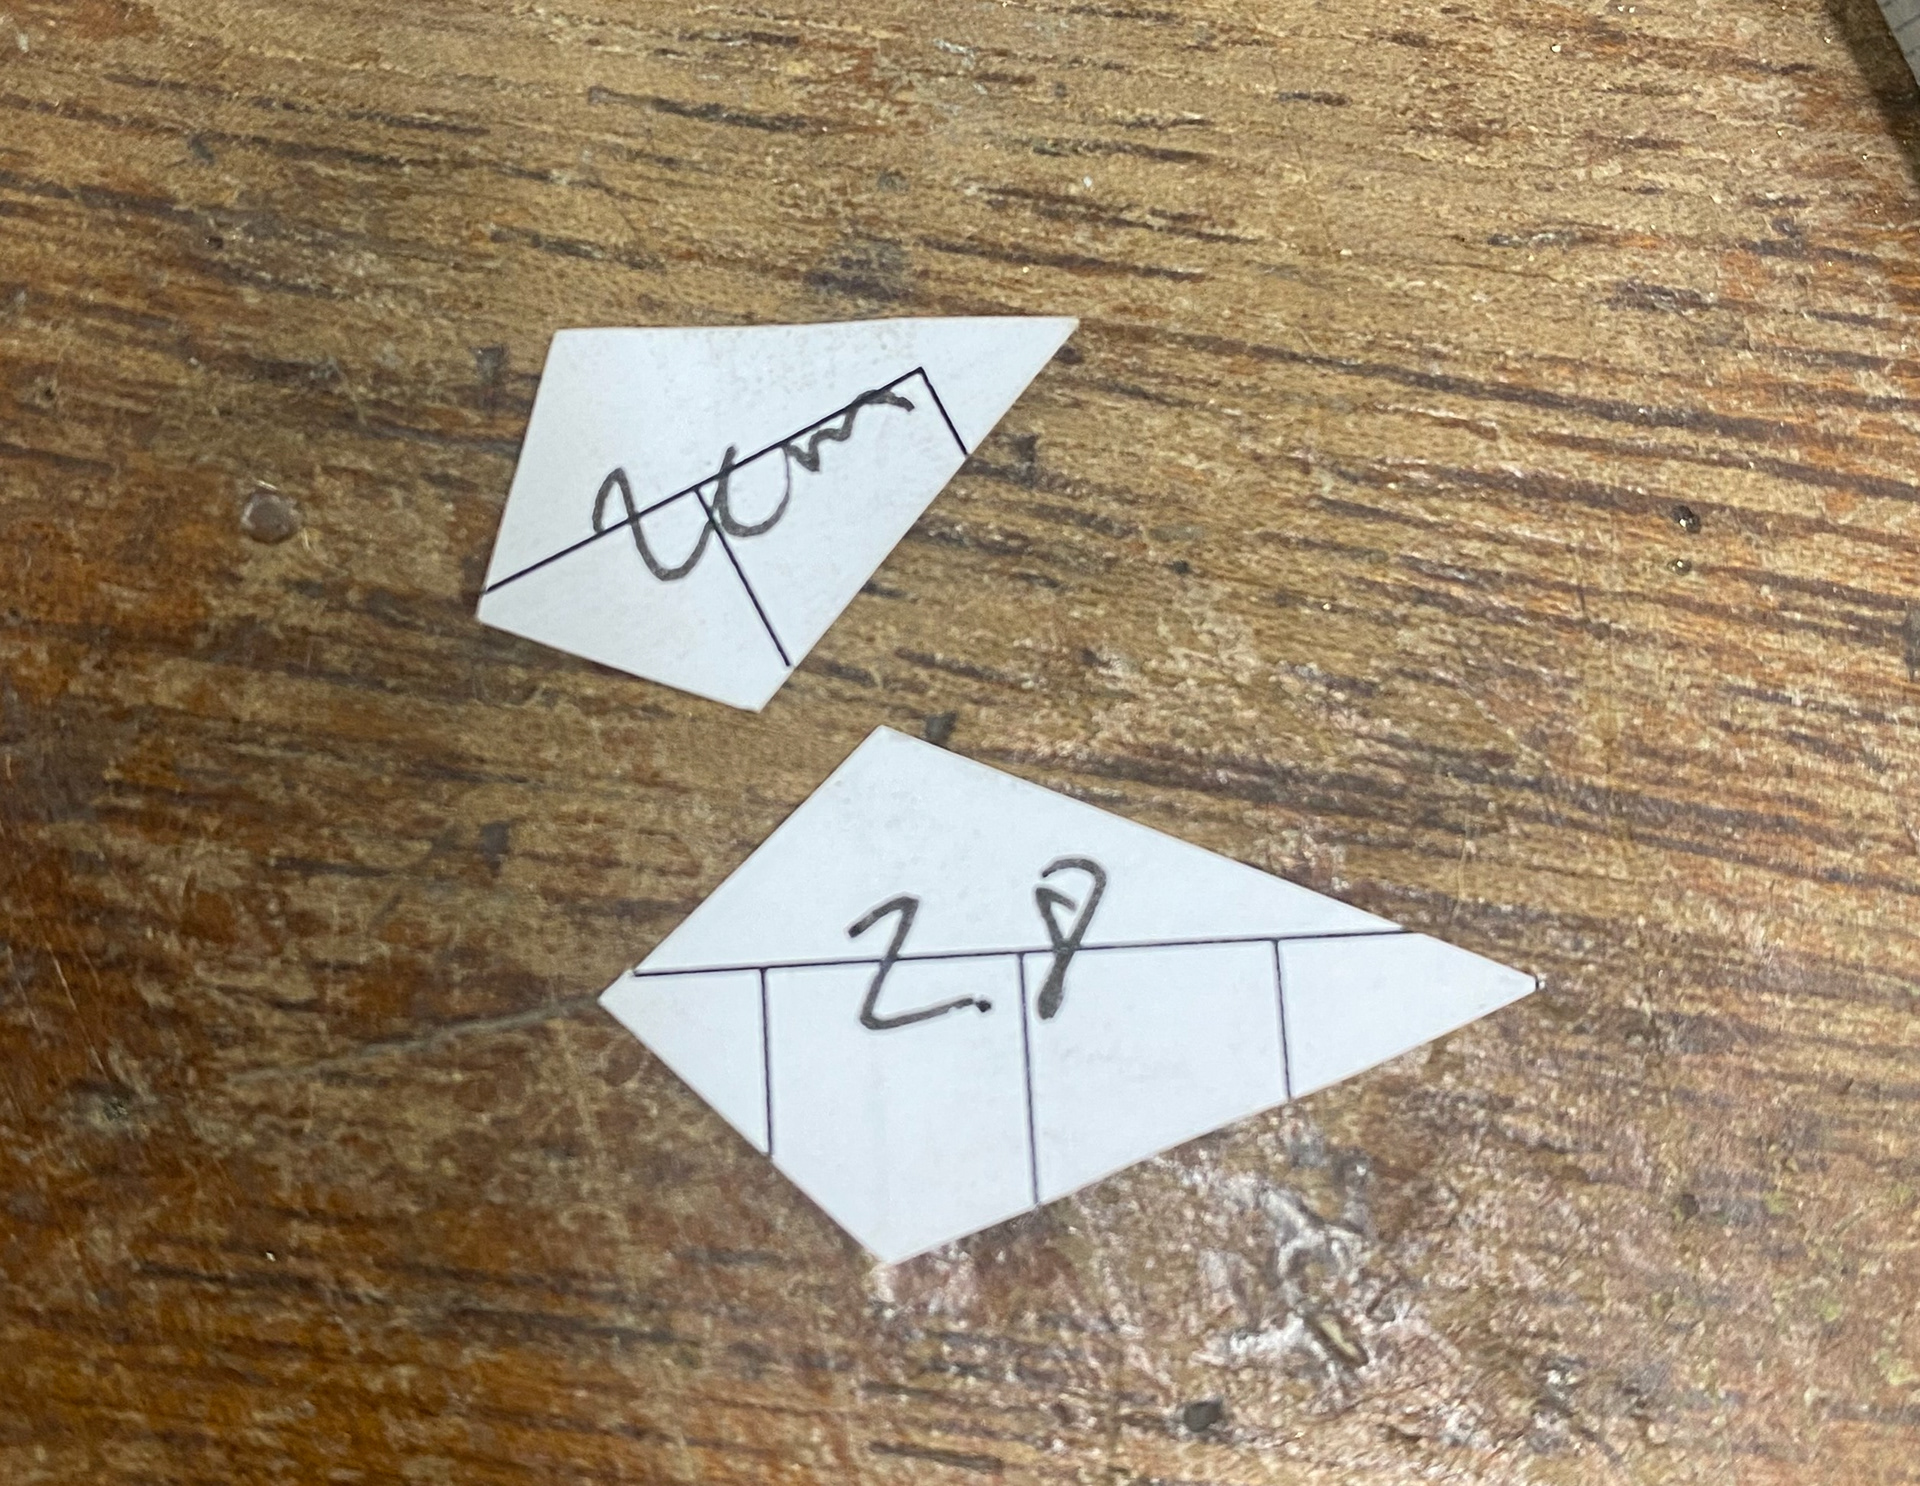
Individual pieces

Measurement sketches
Joining the wax sheets
wax 3D forms
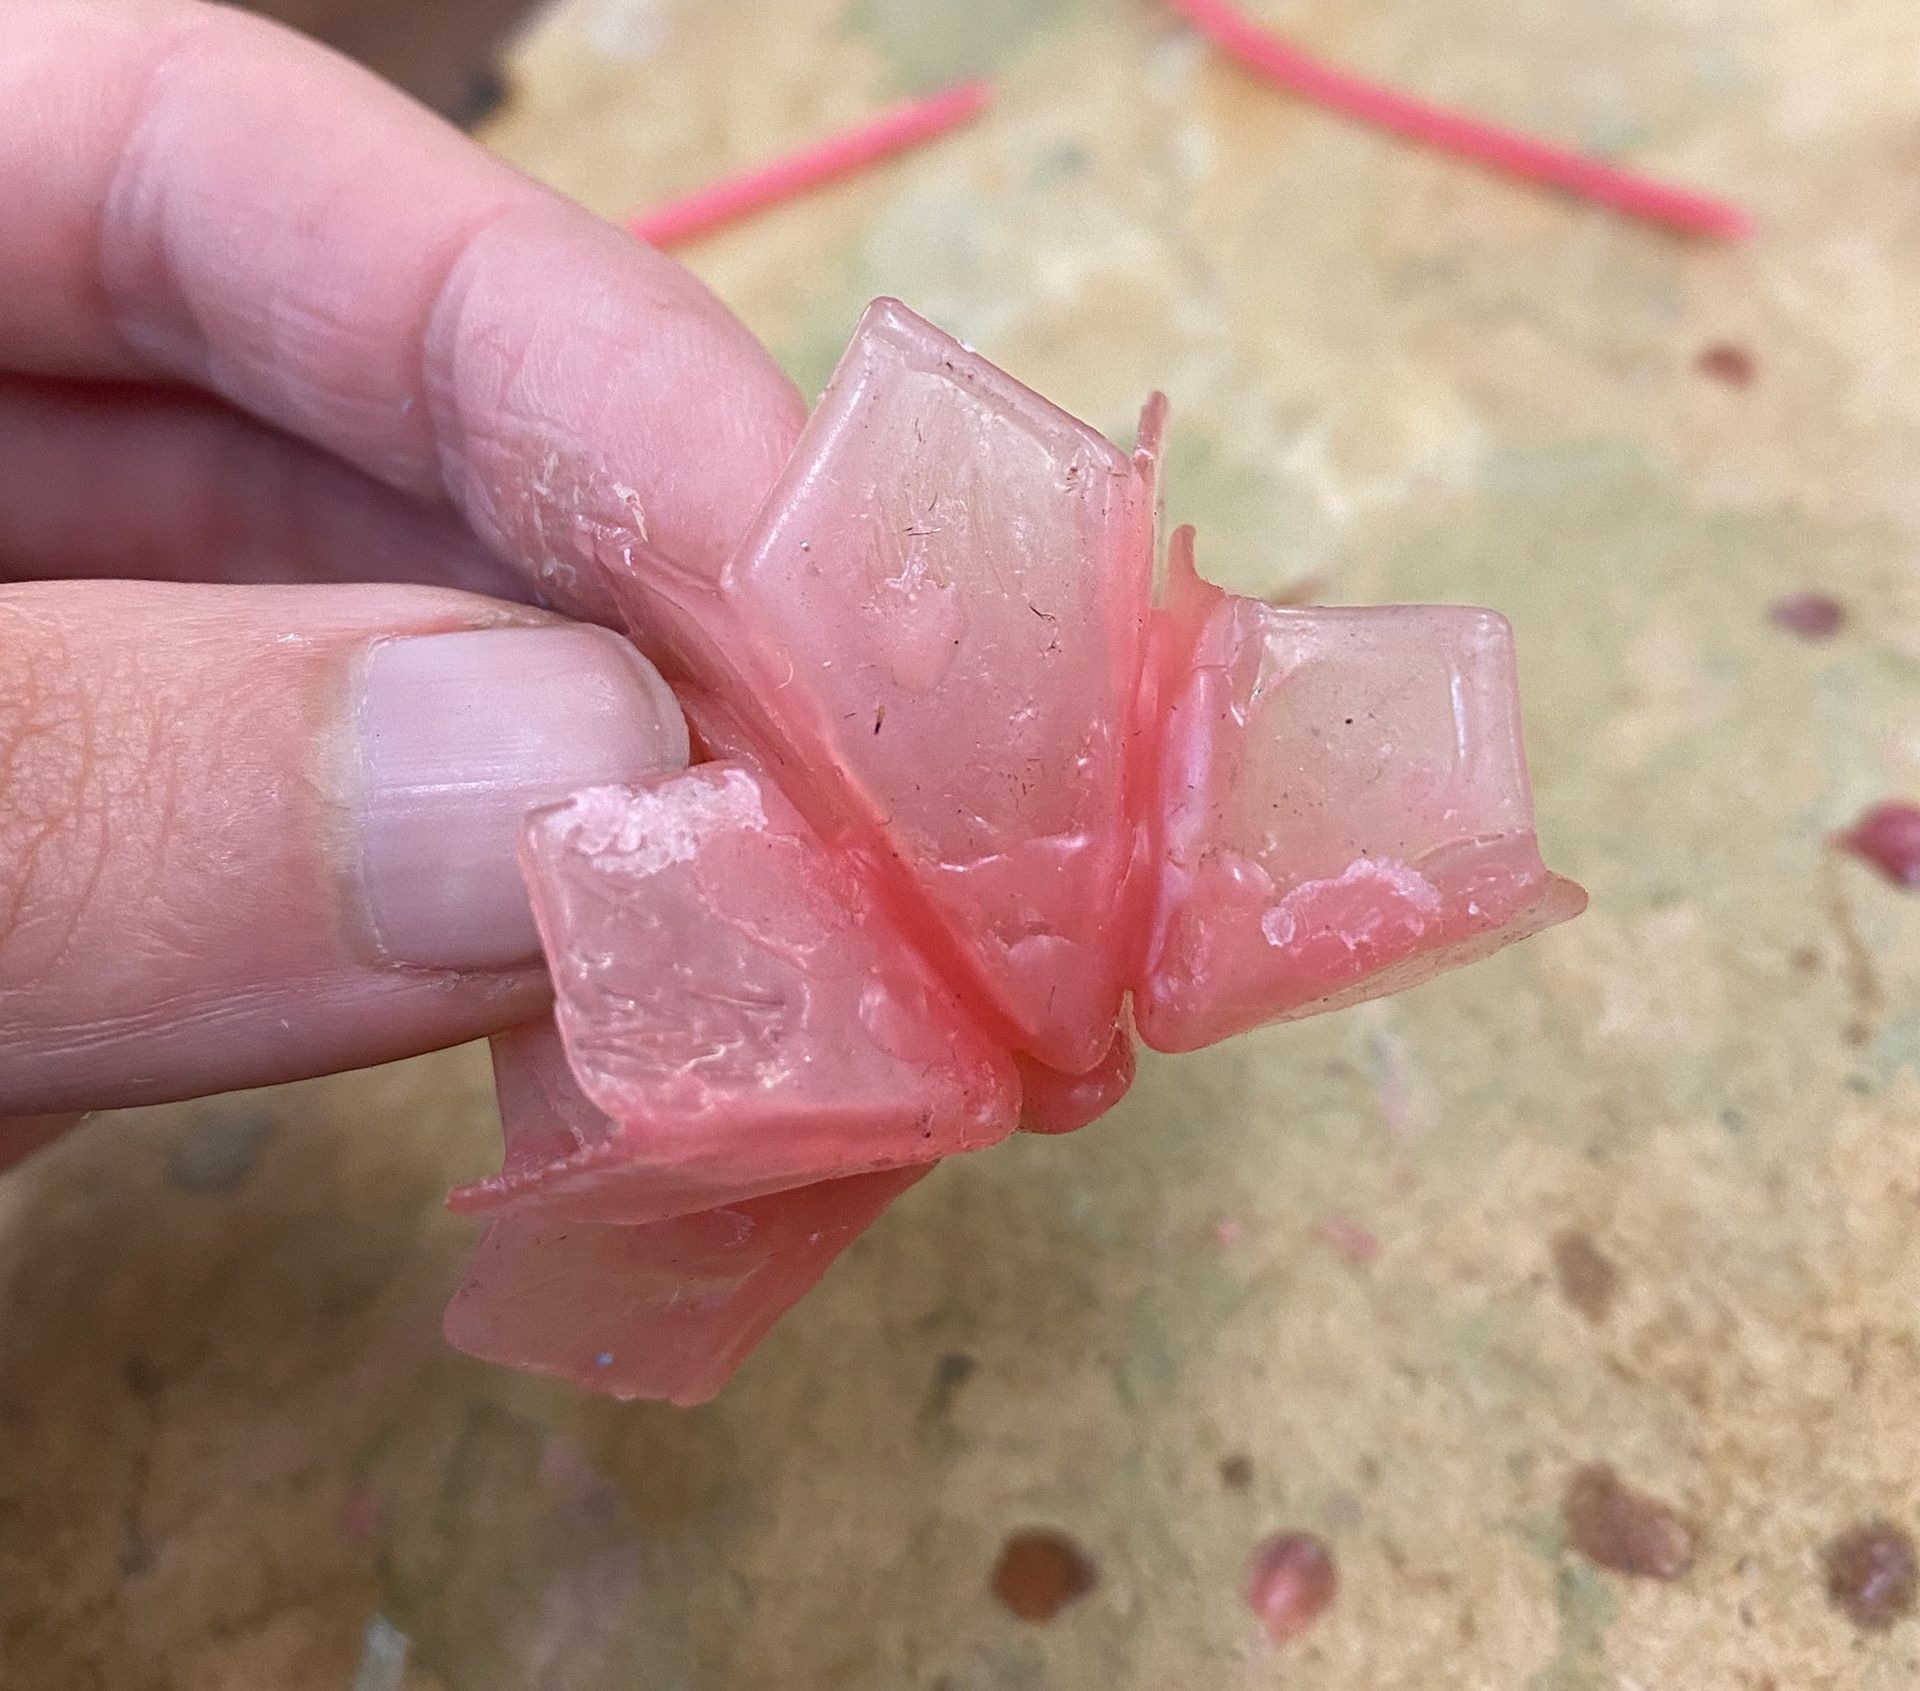
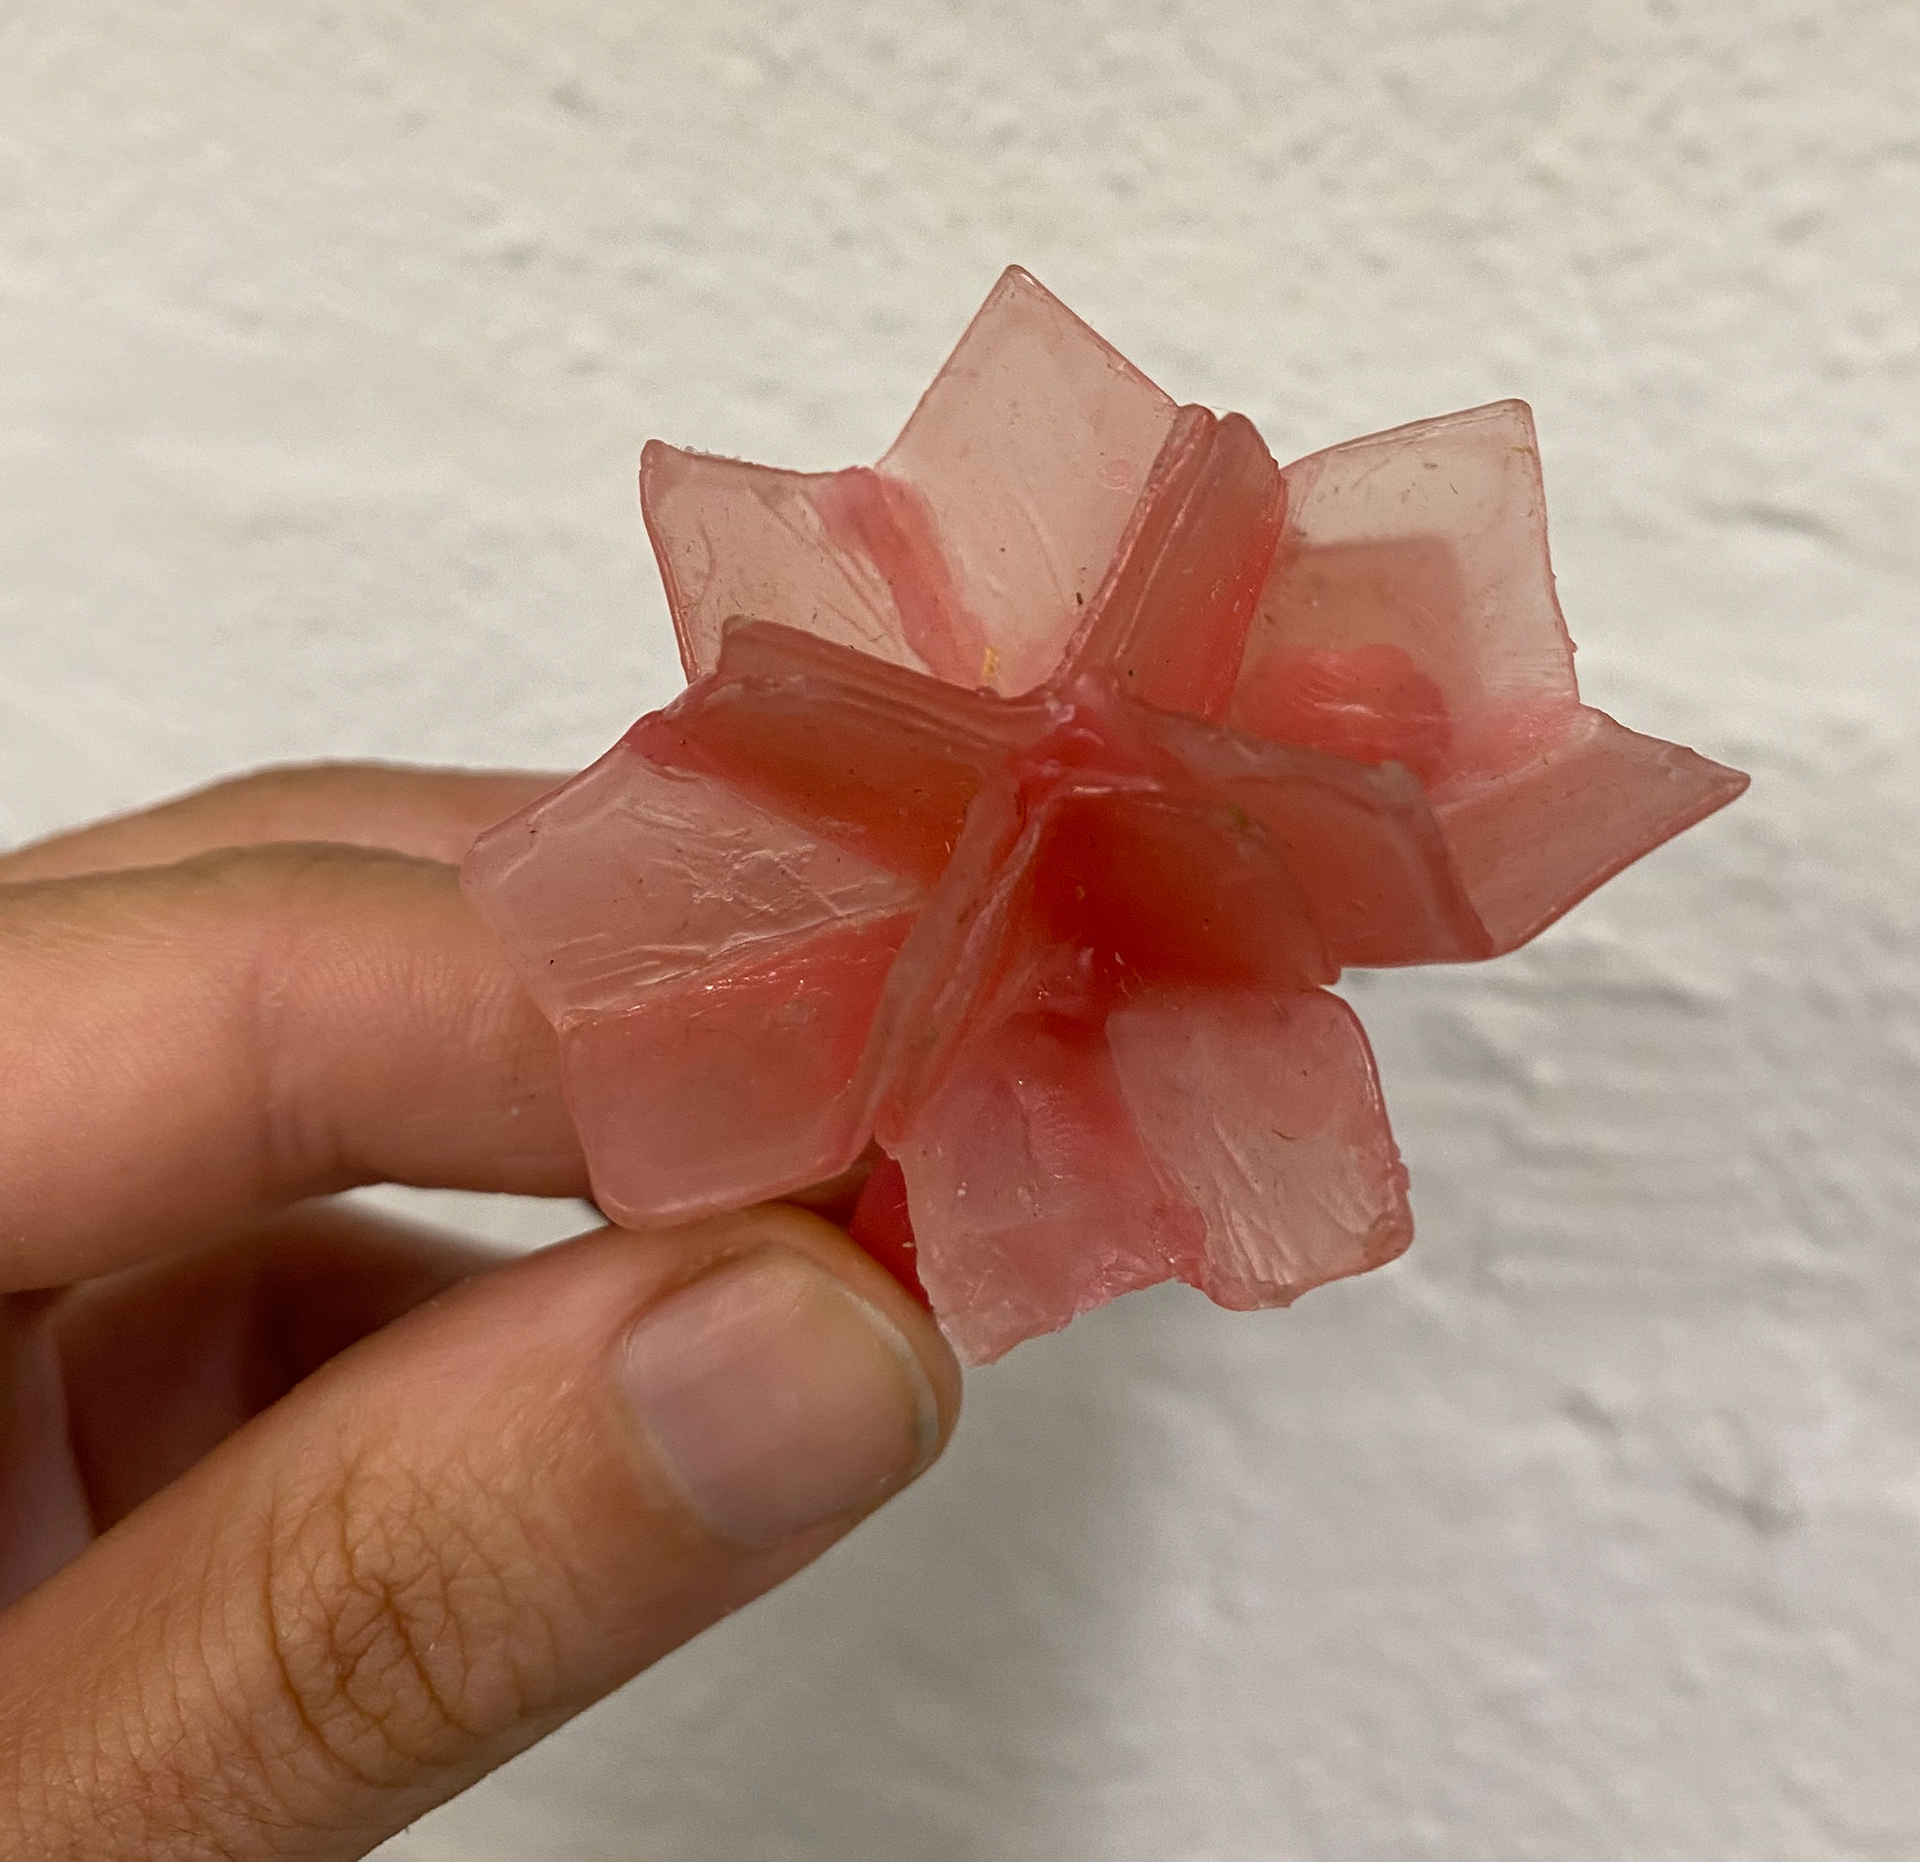
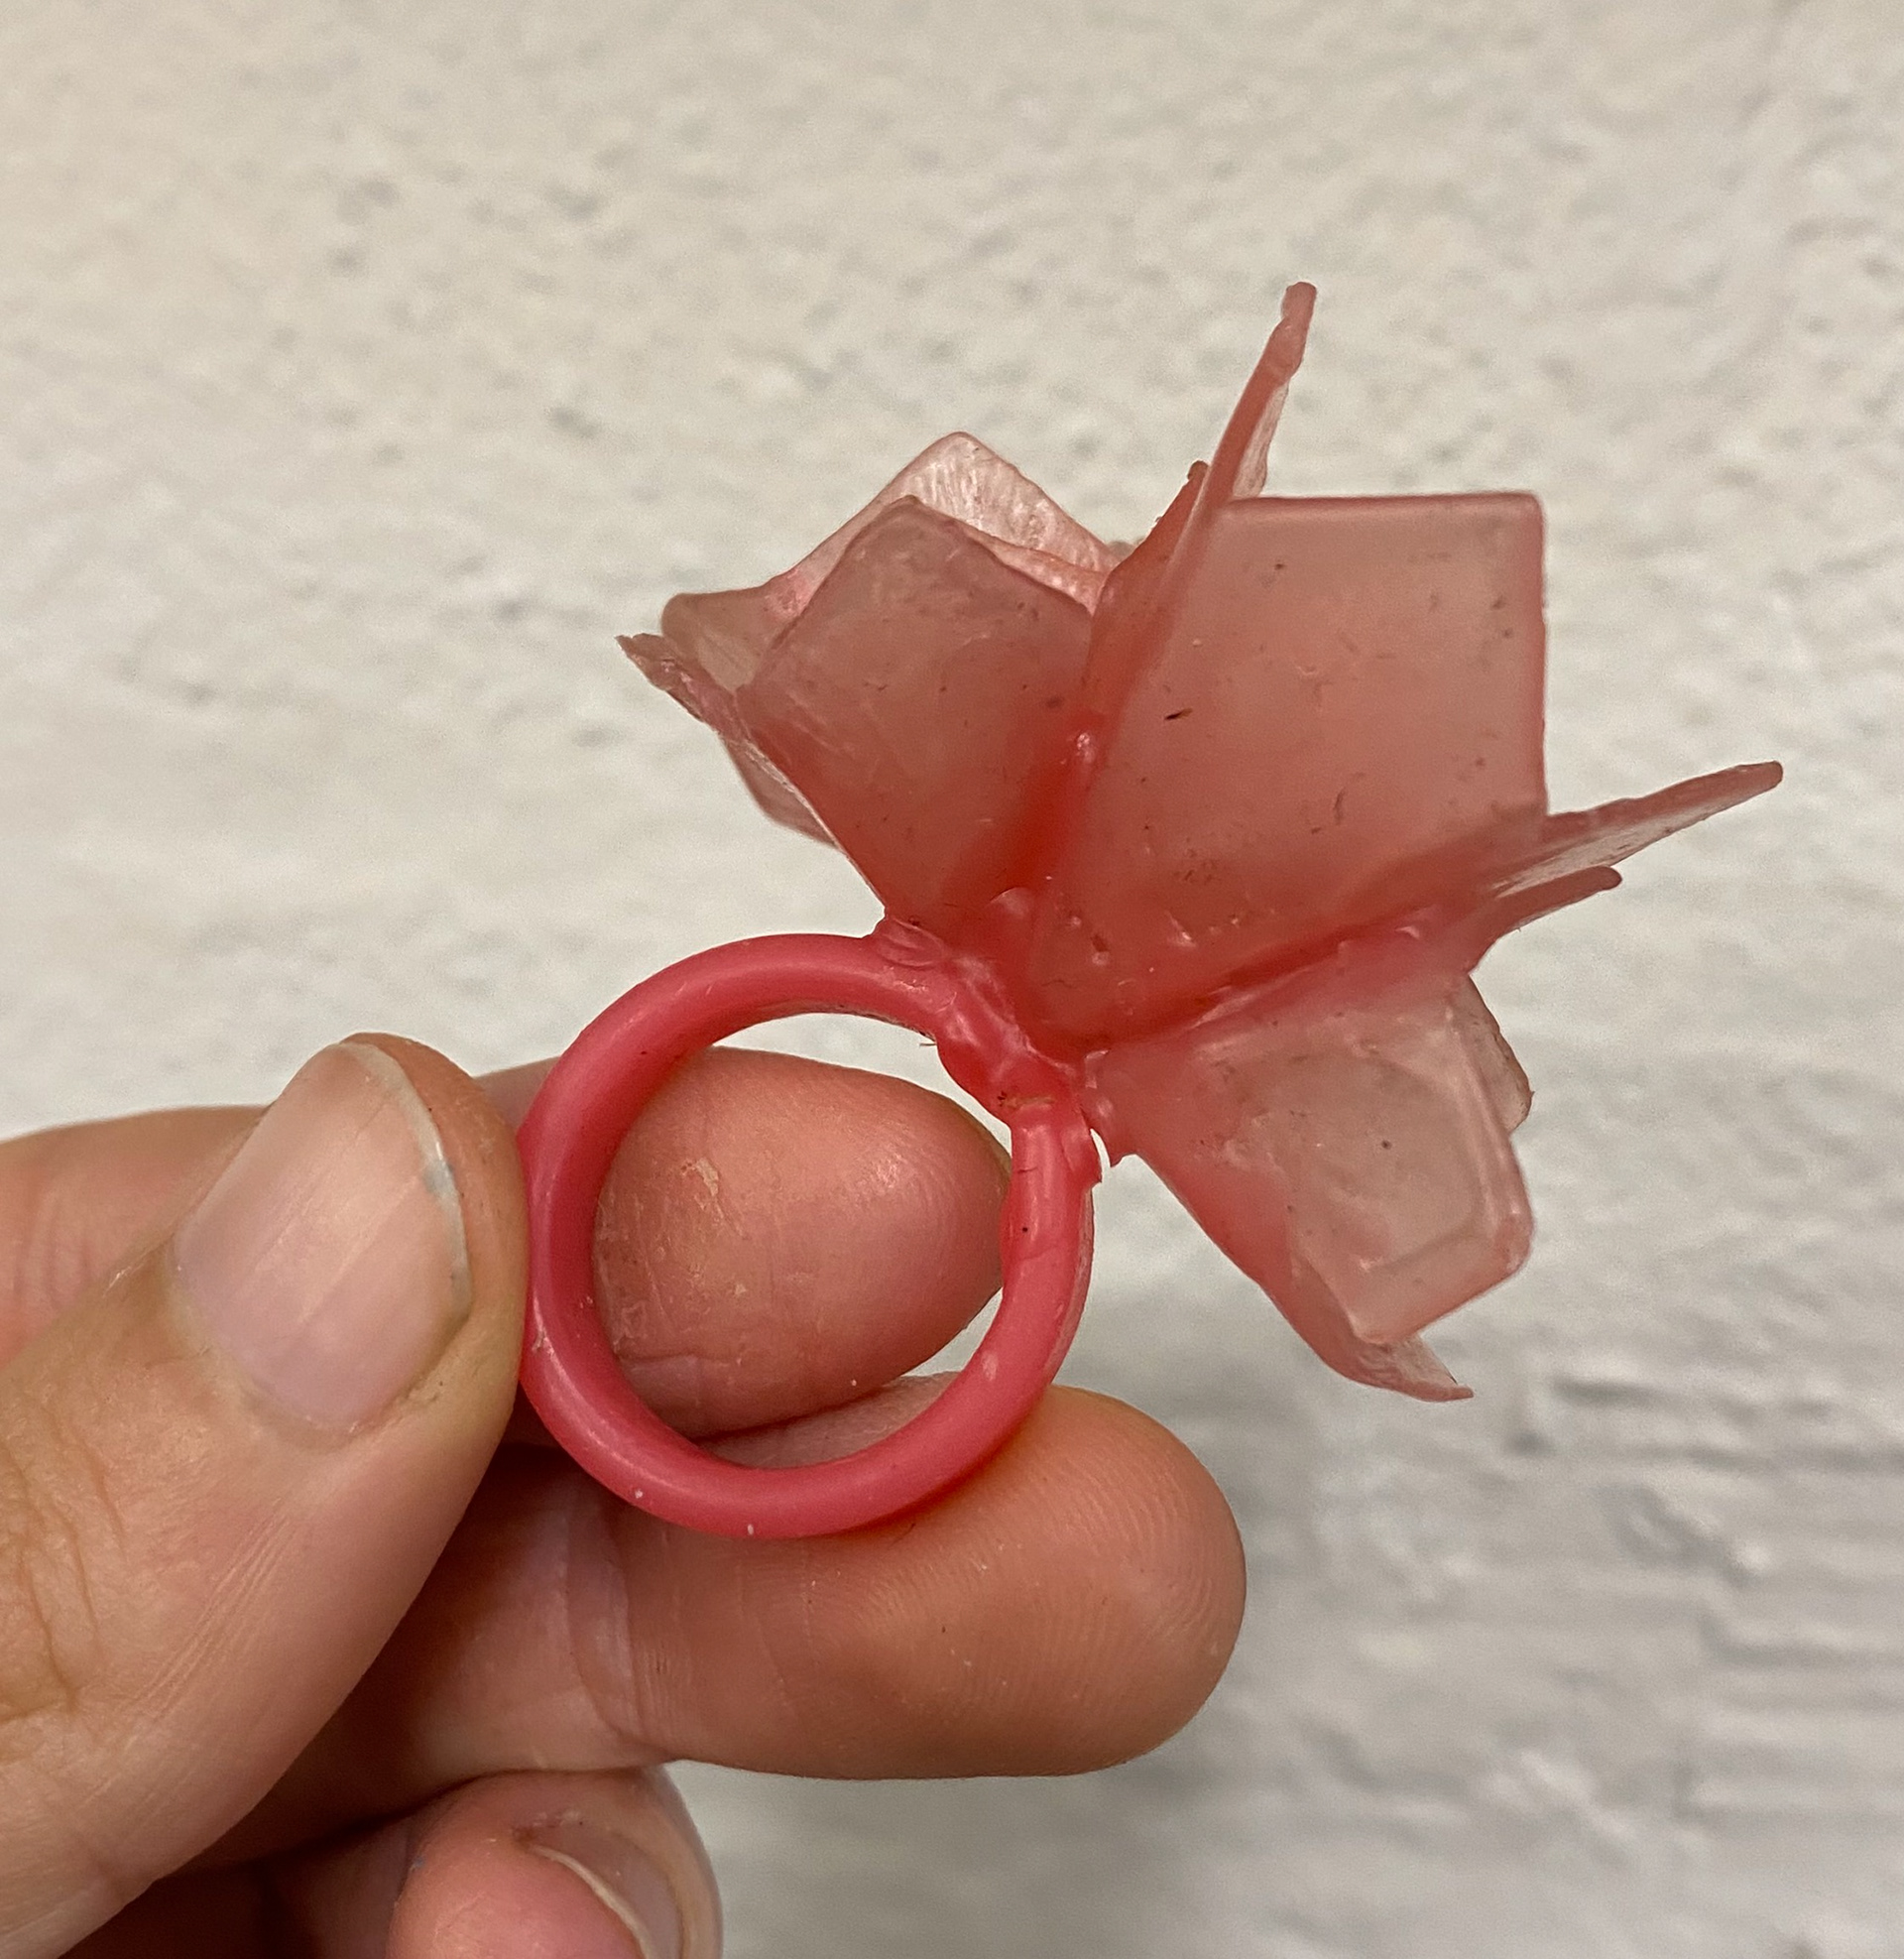
Full wax ring
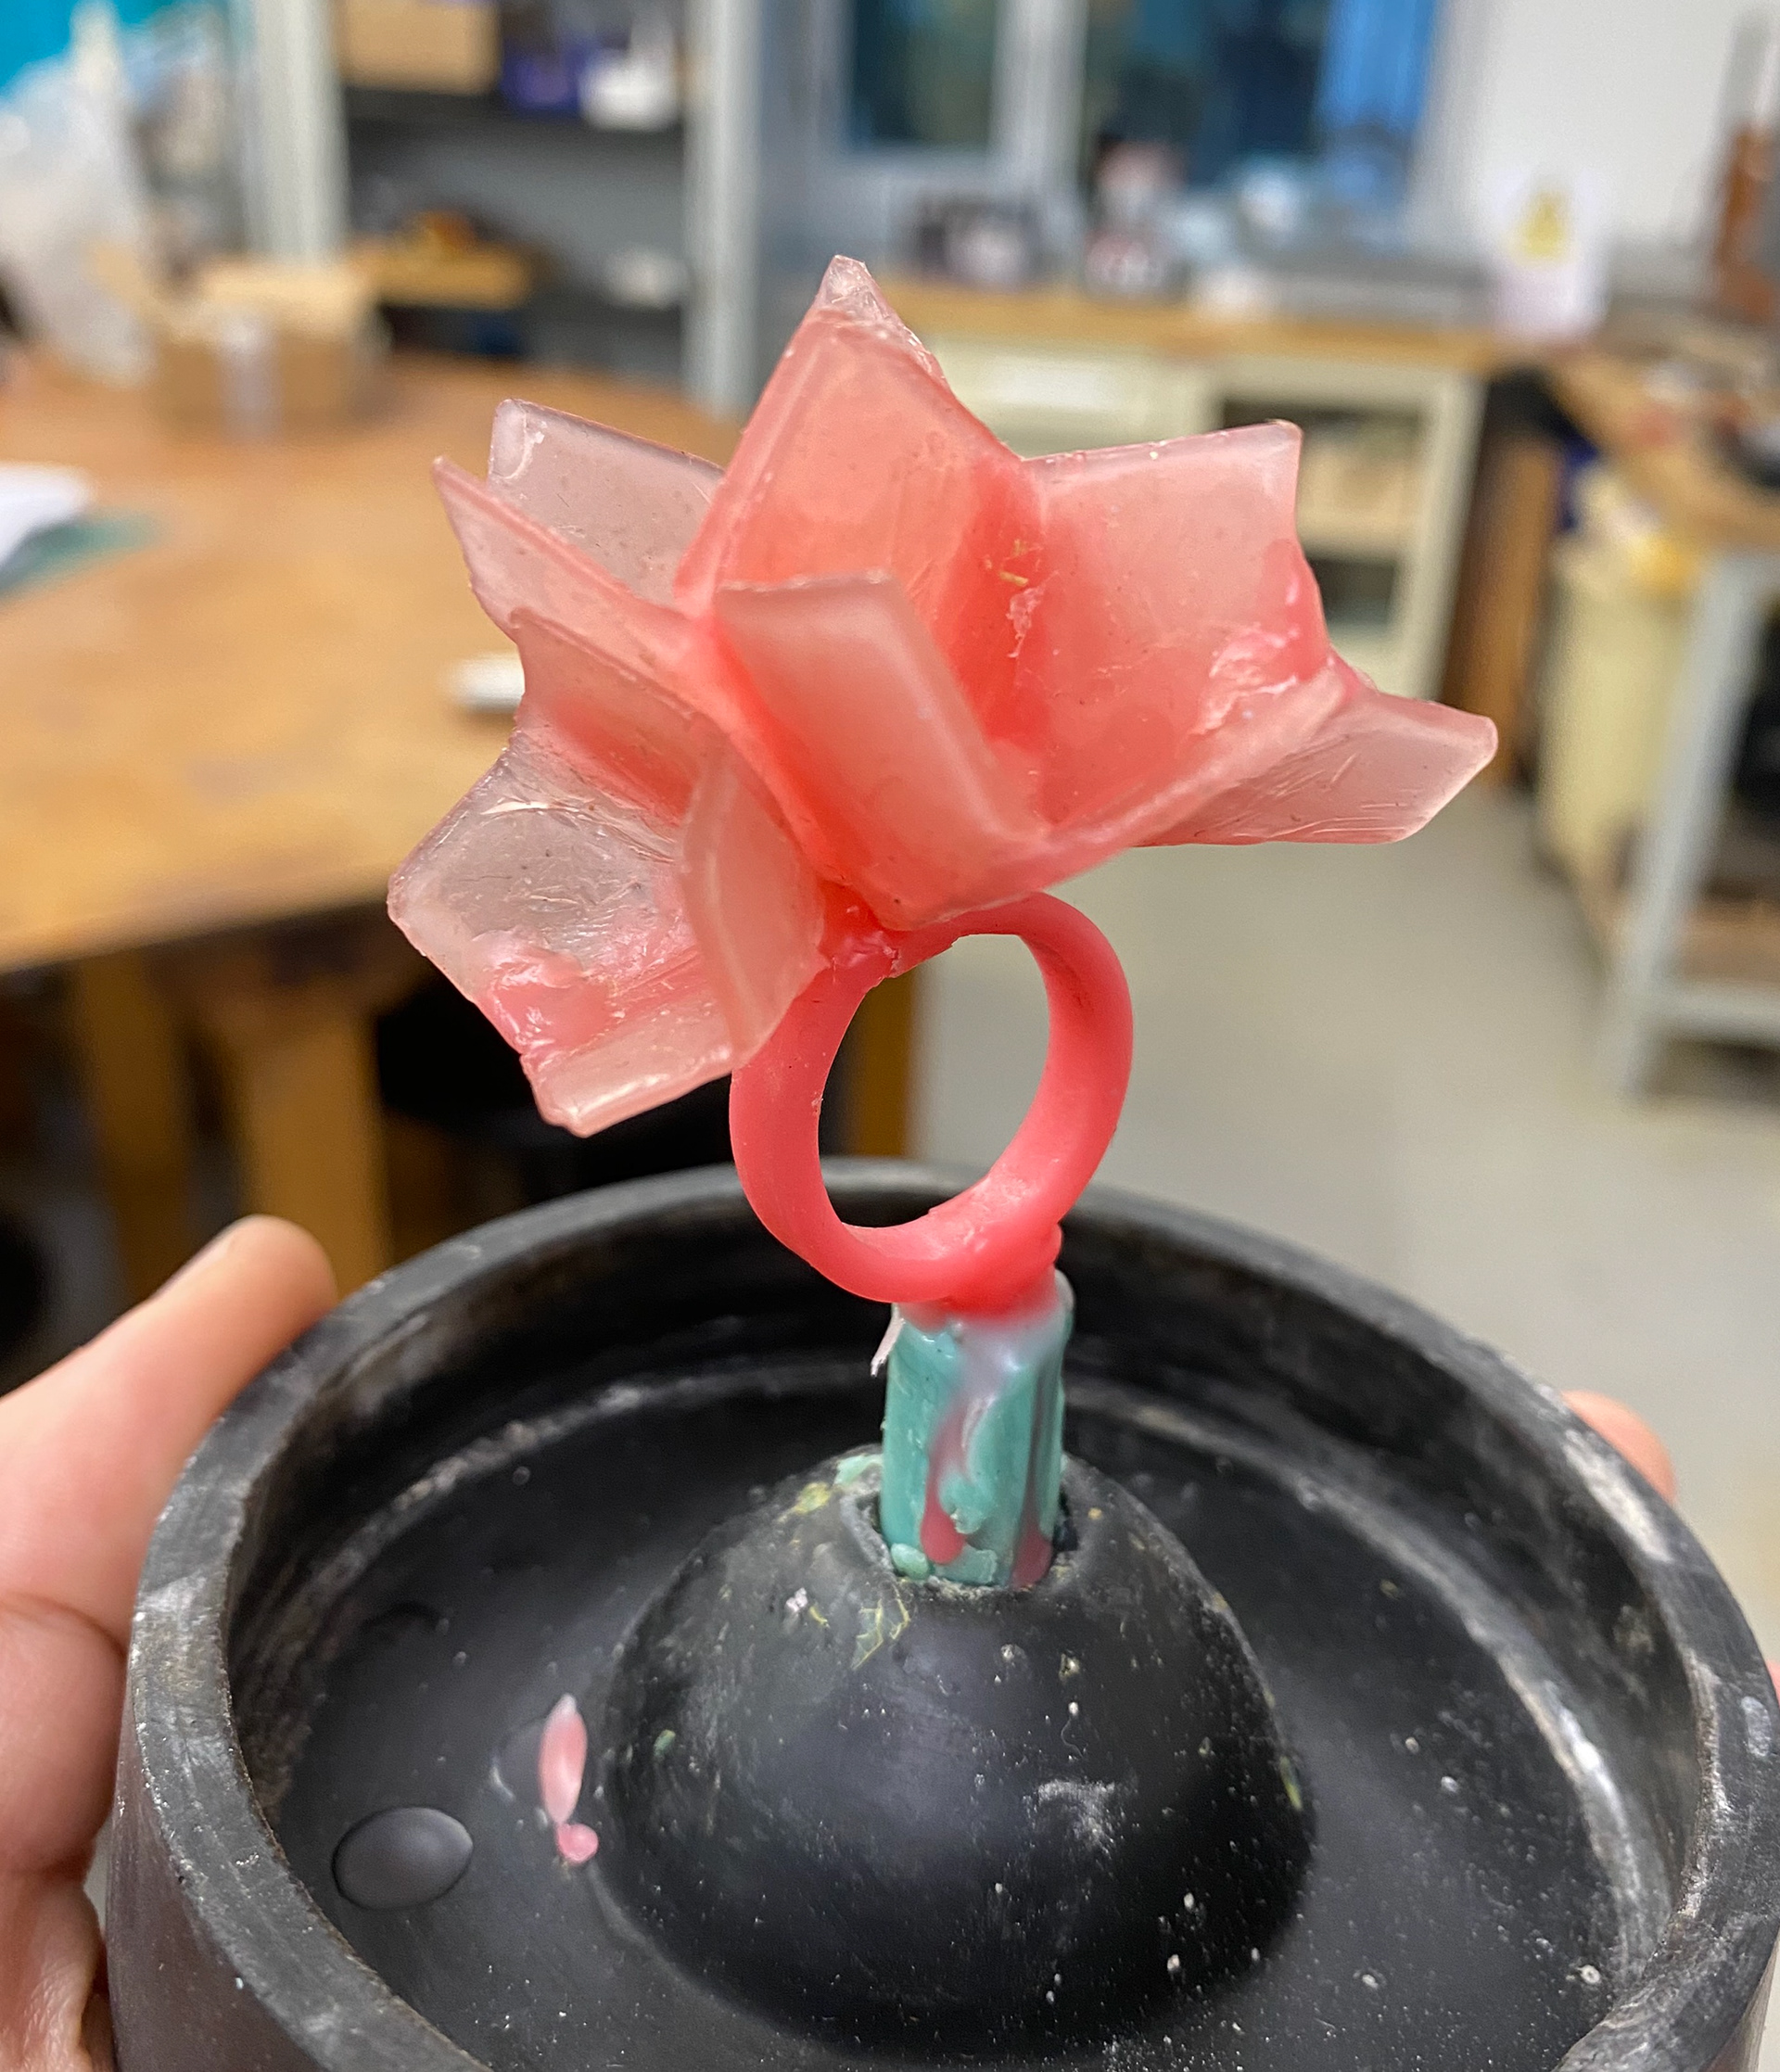
ring on tree preparing for casting
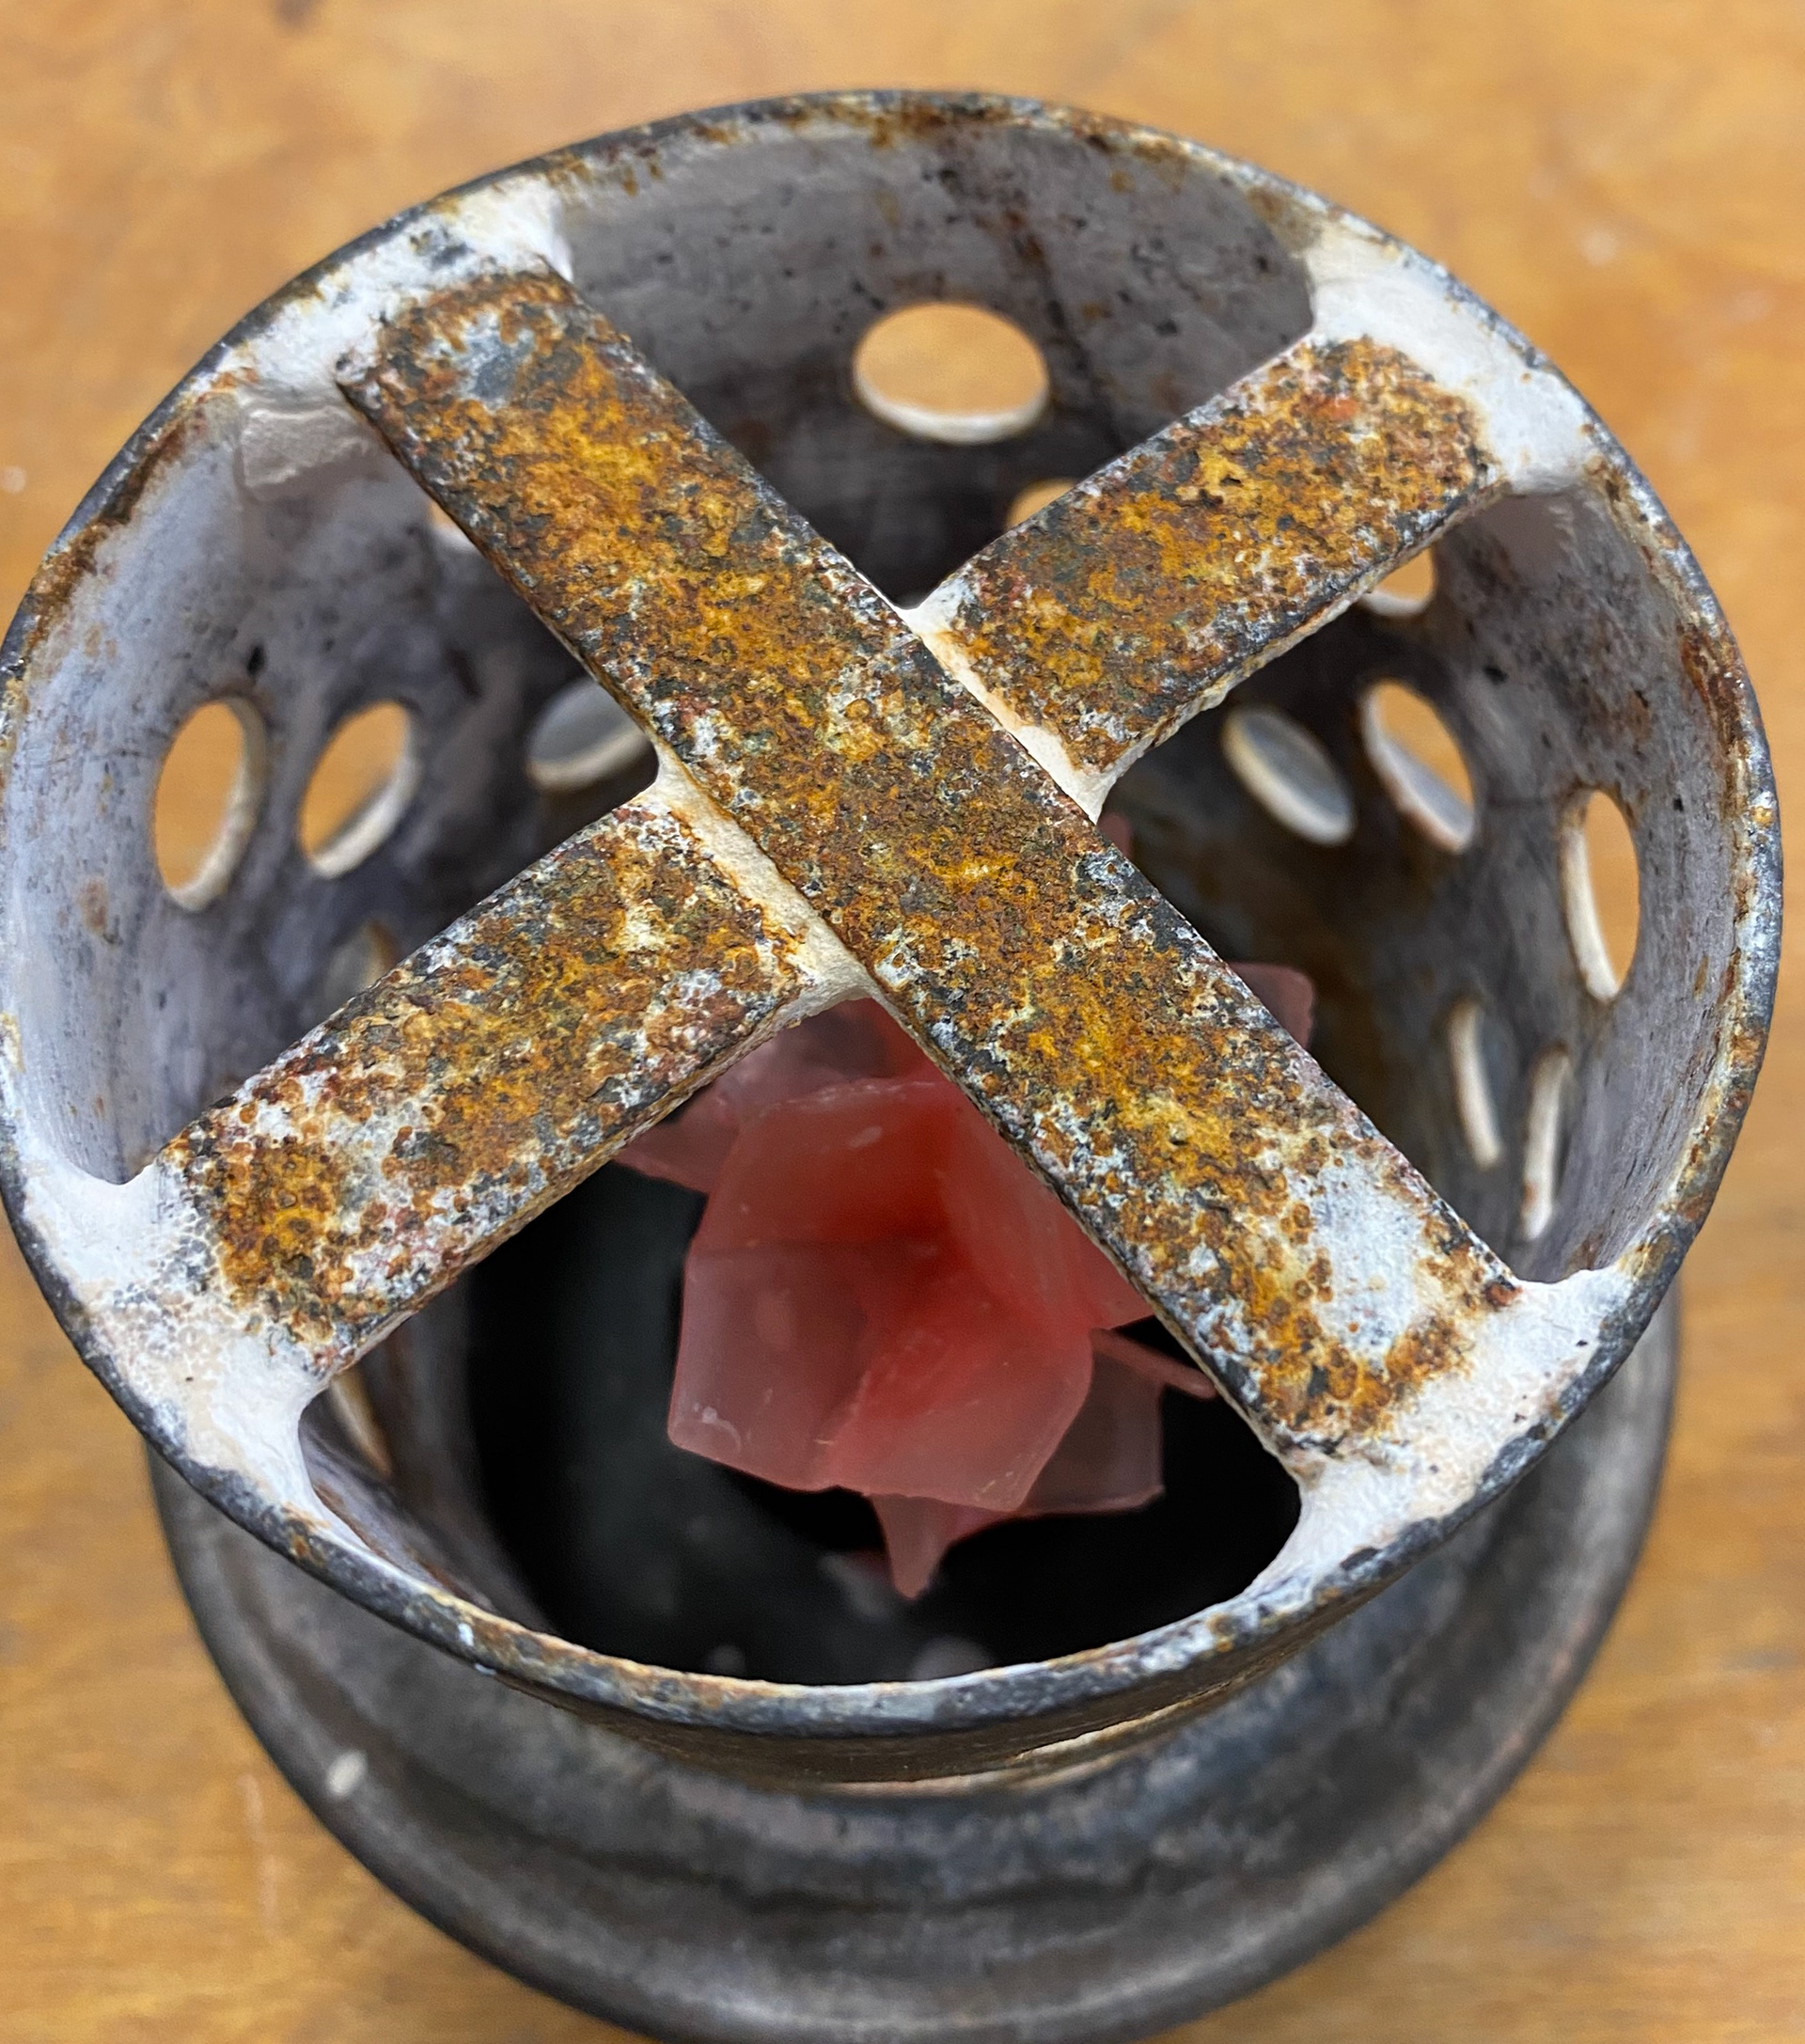
Ring in chamber
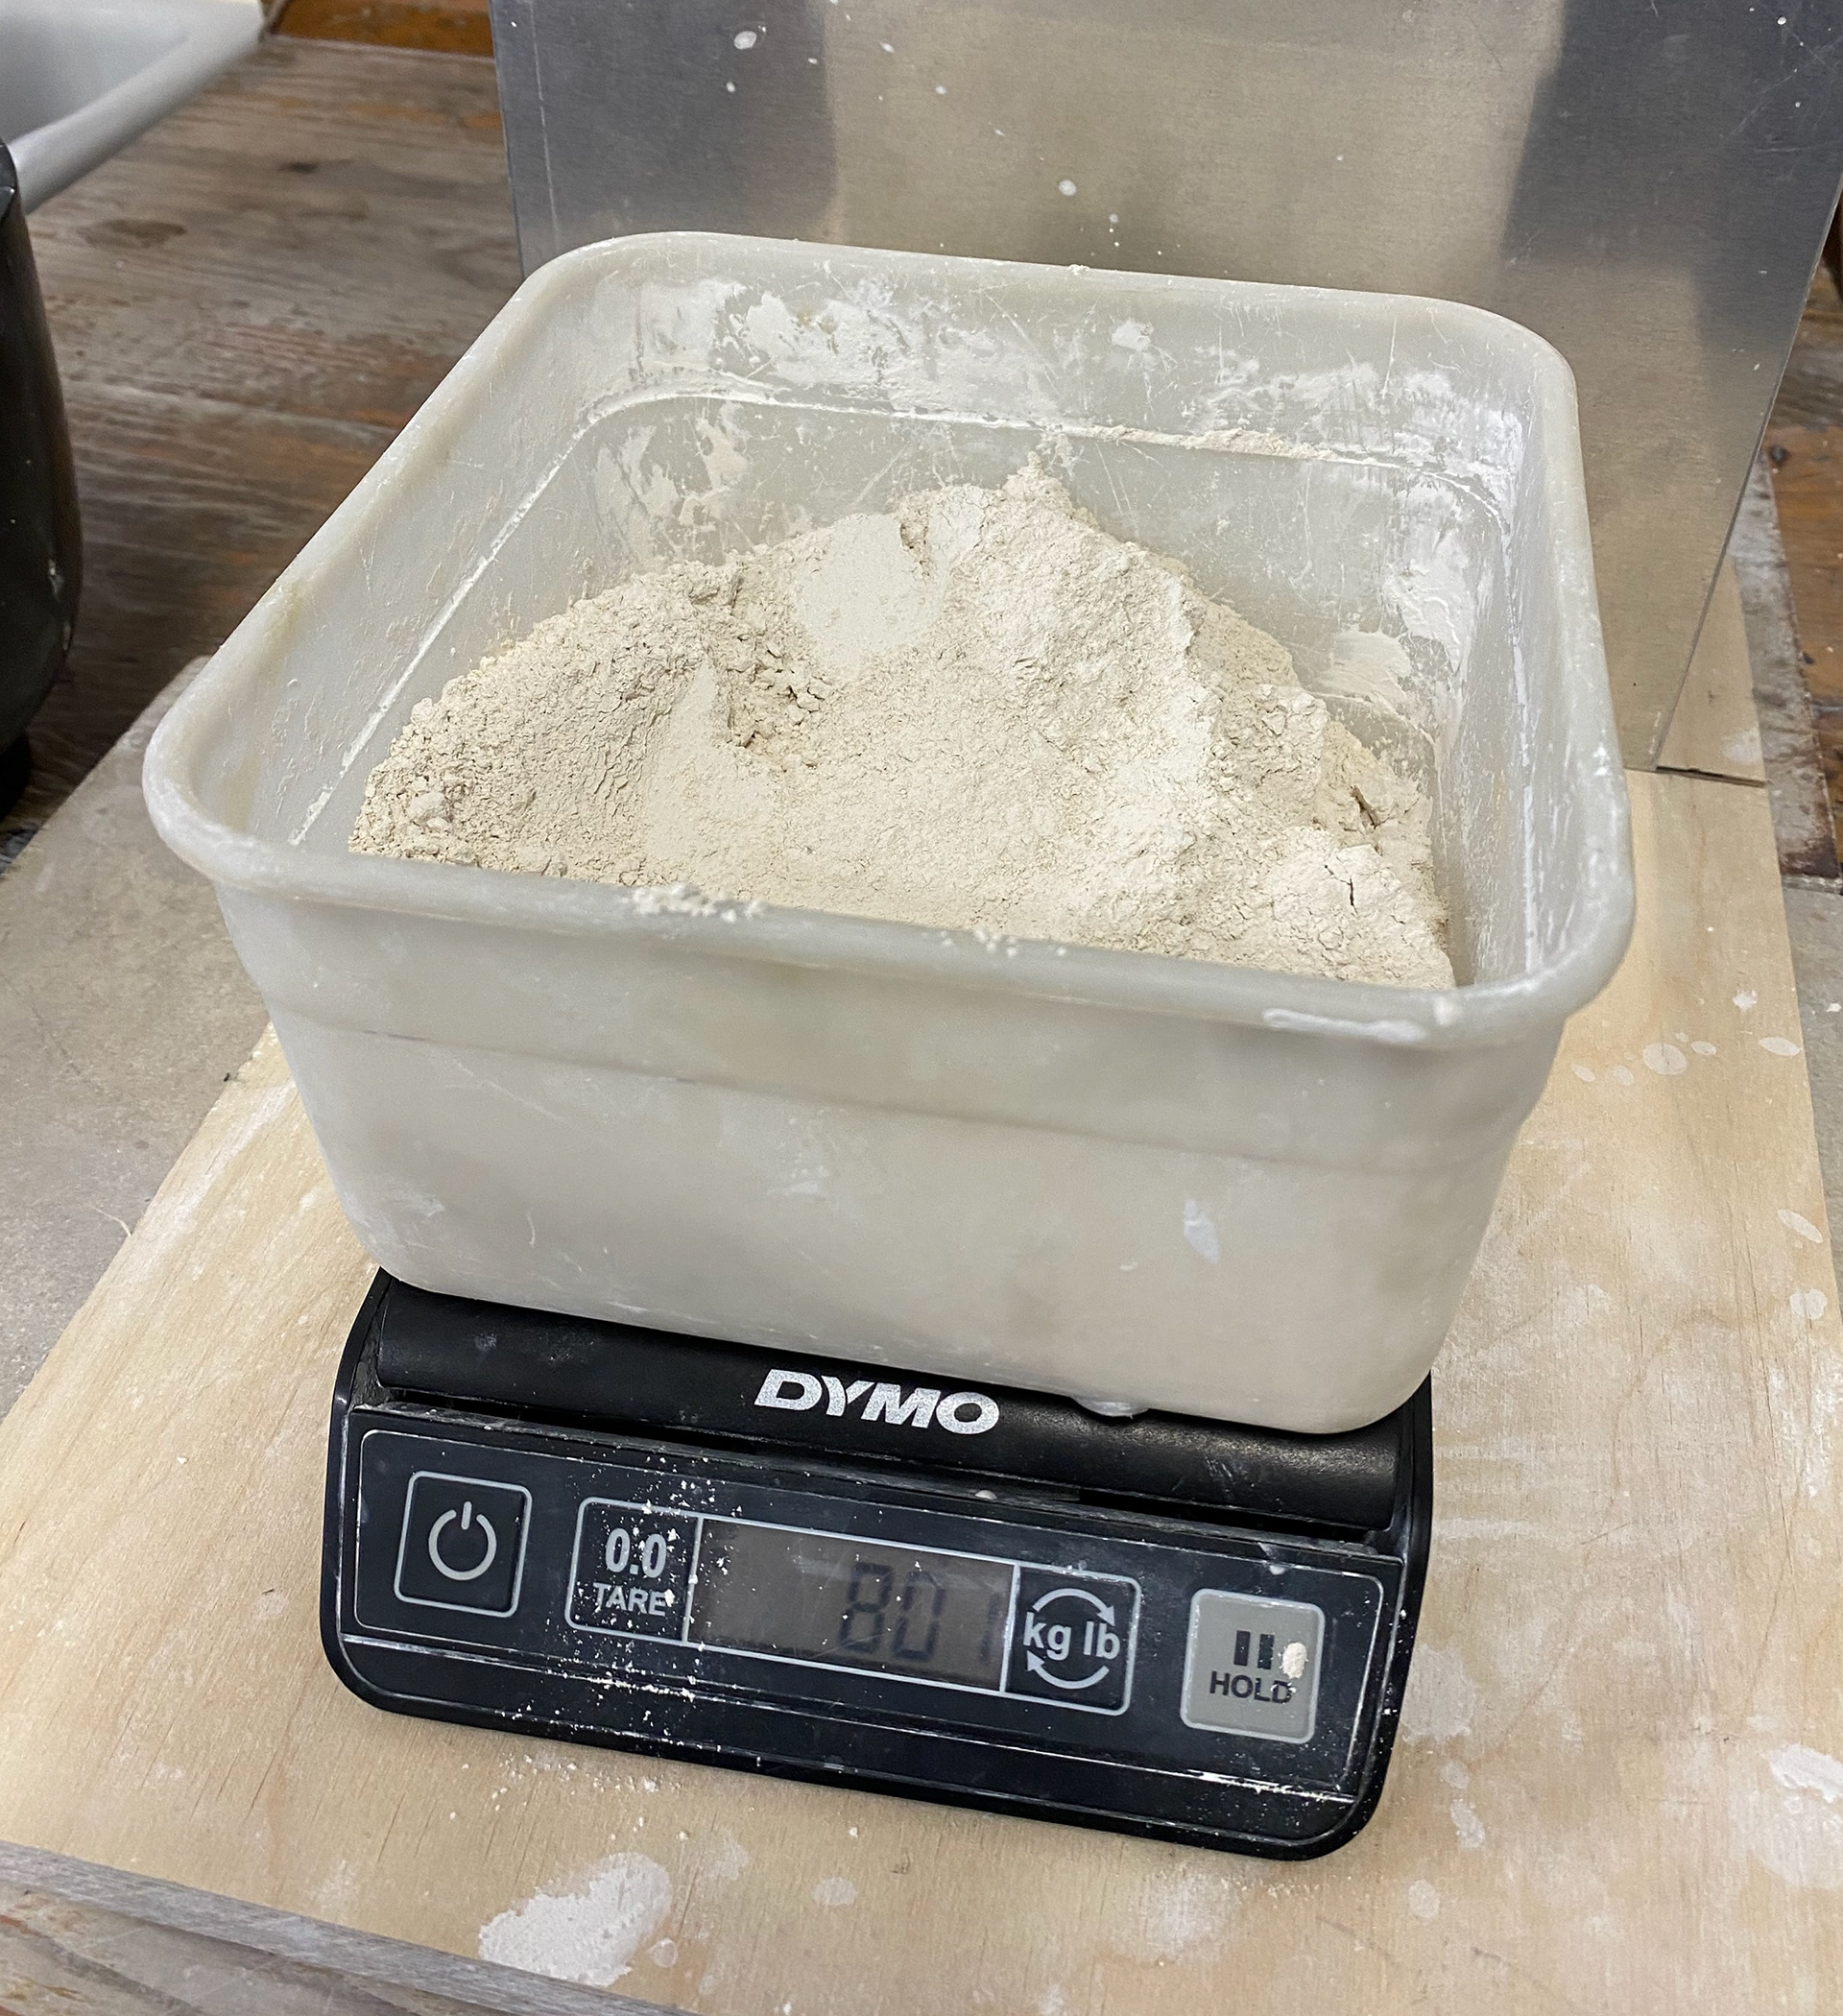
Plaster measured out
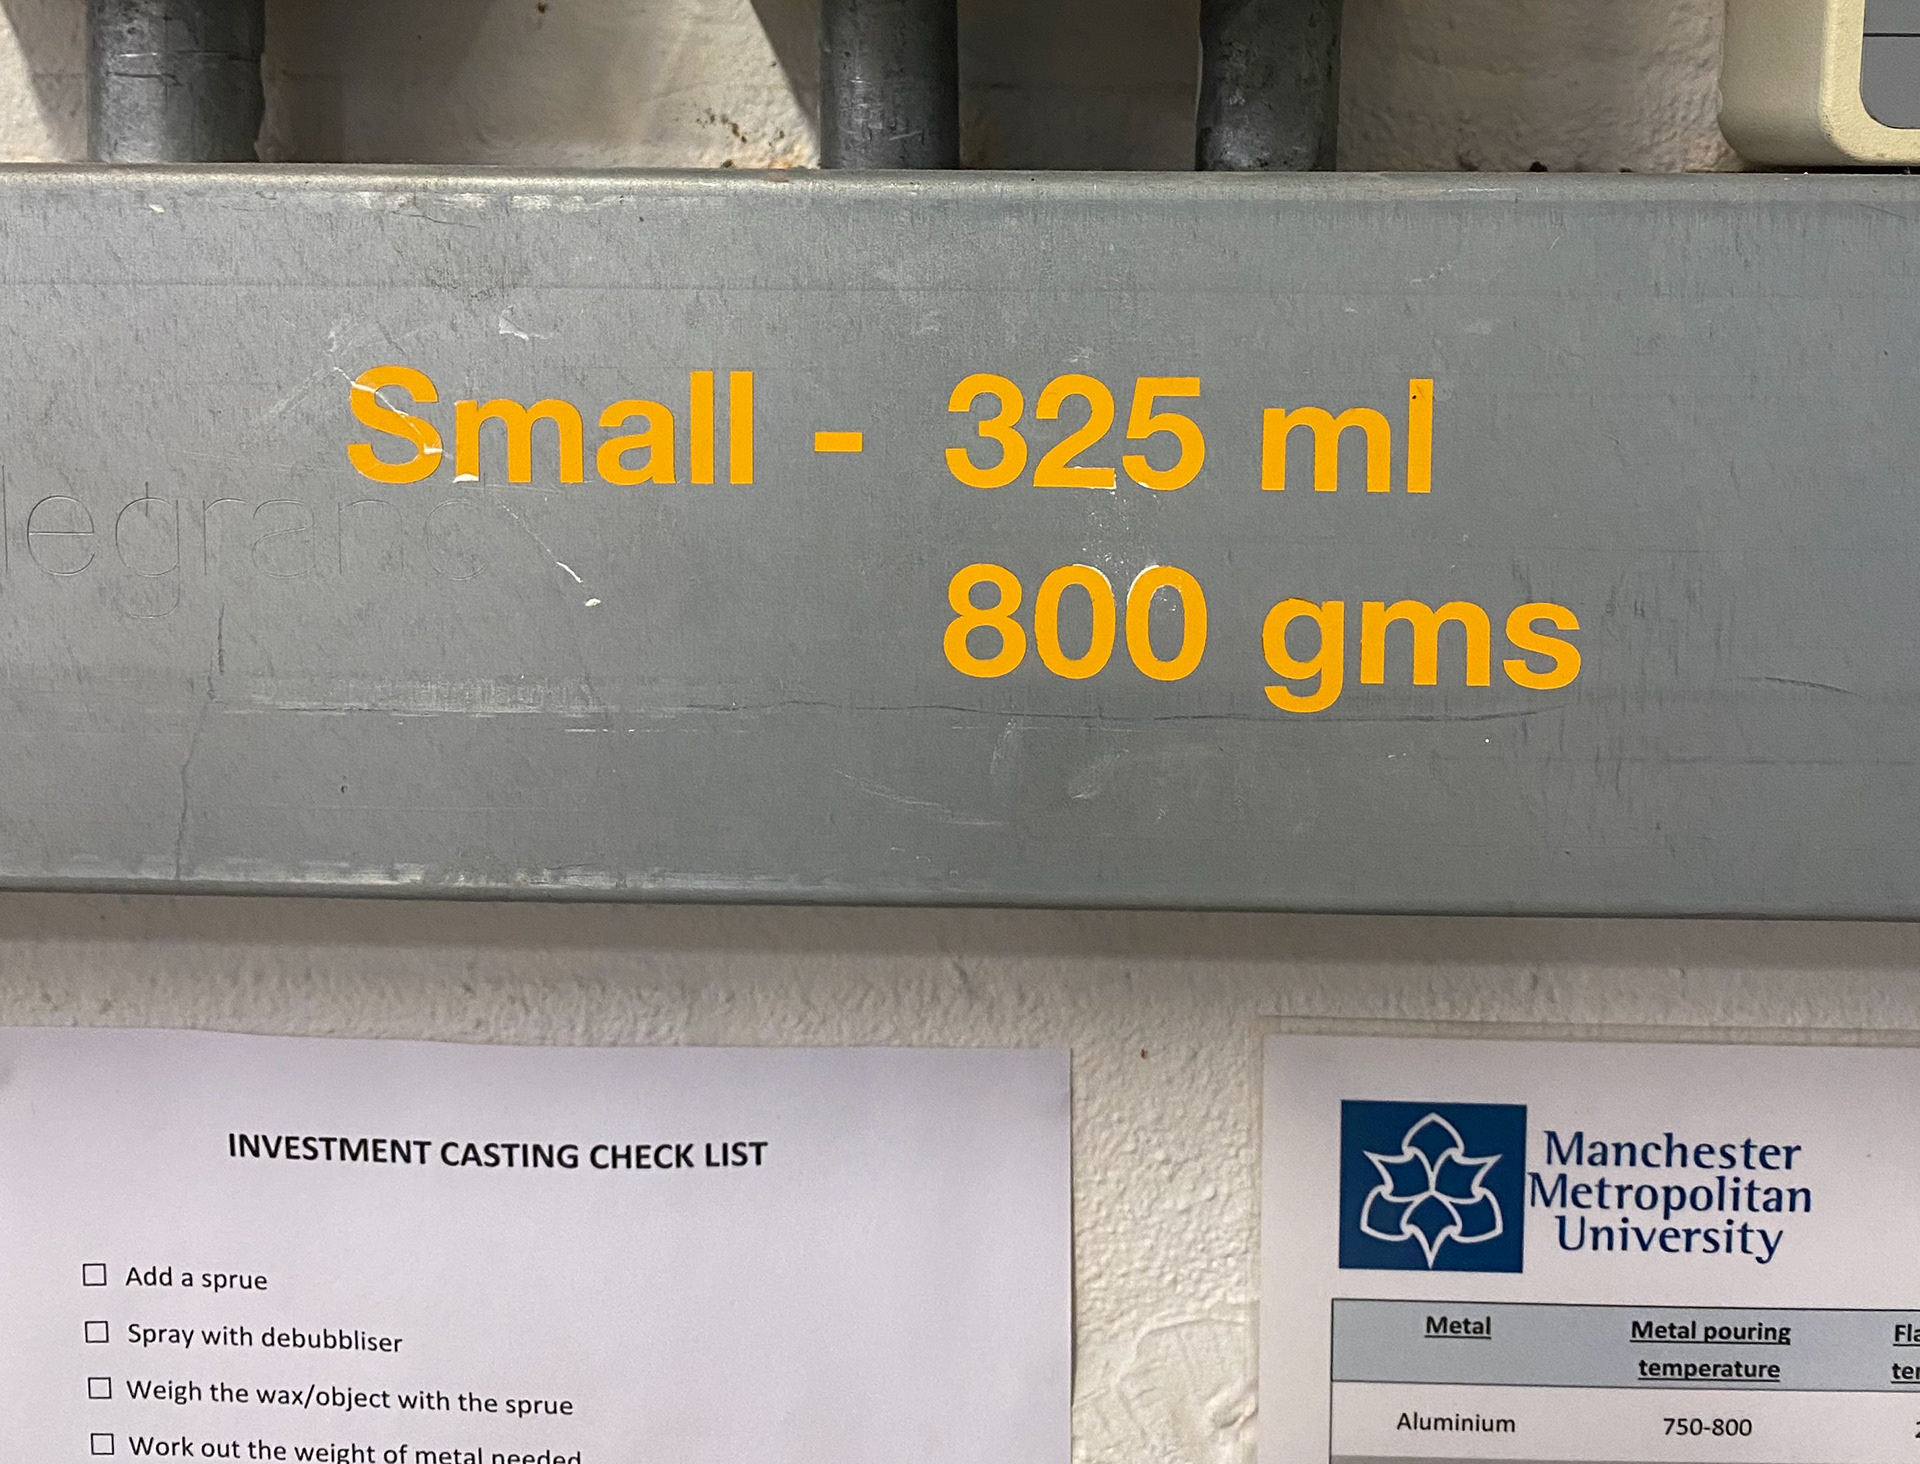
plaster quantities
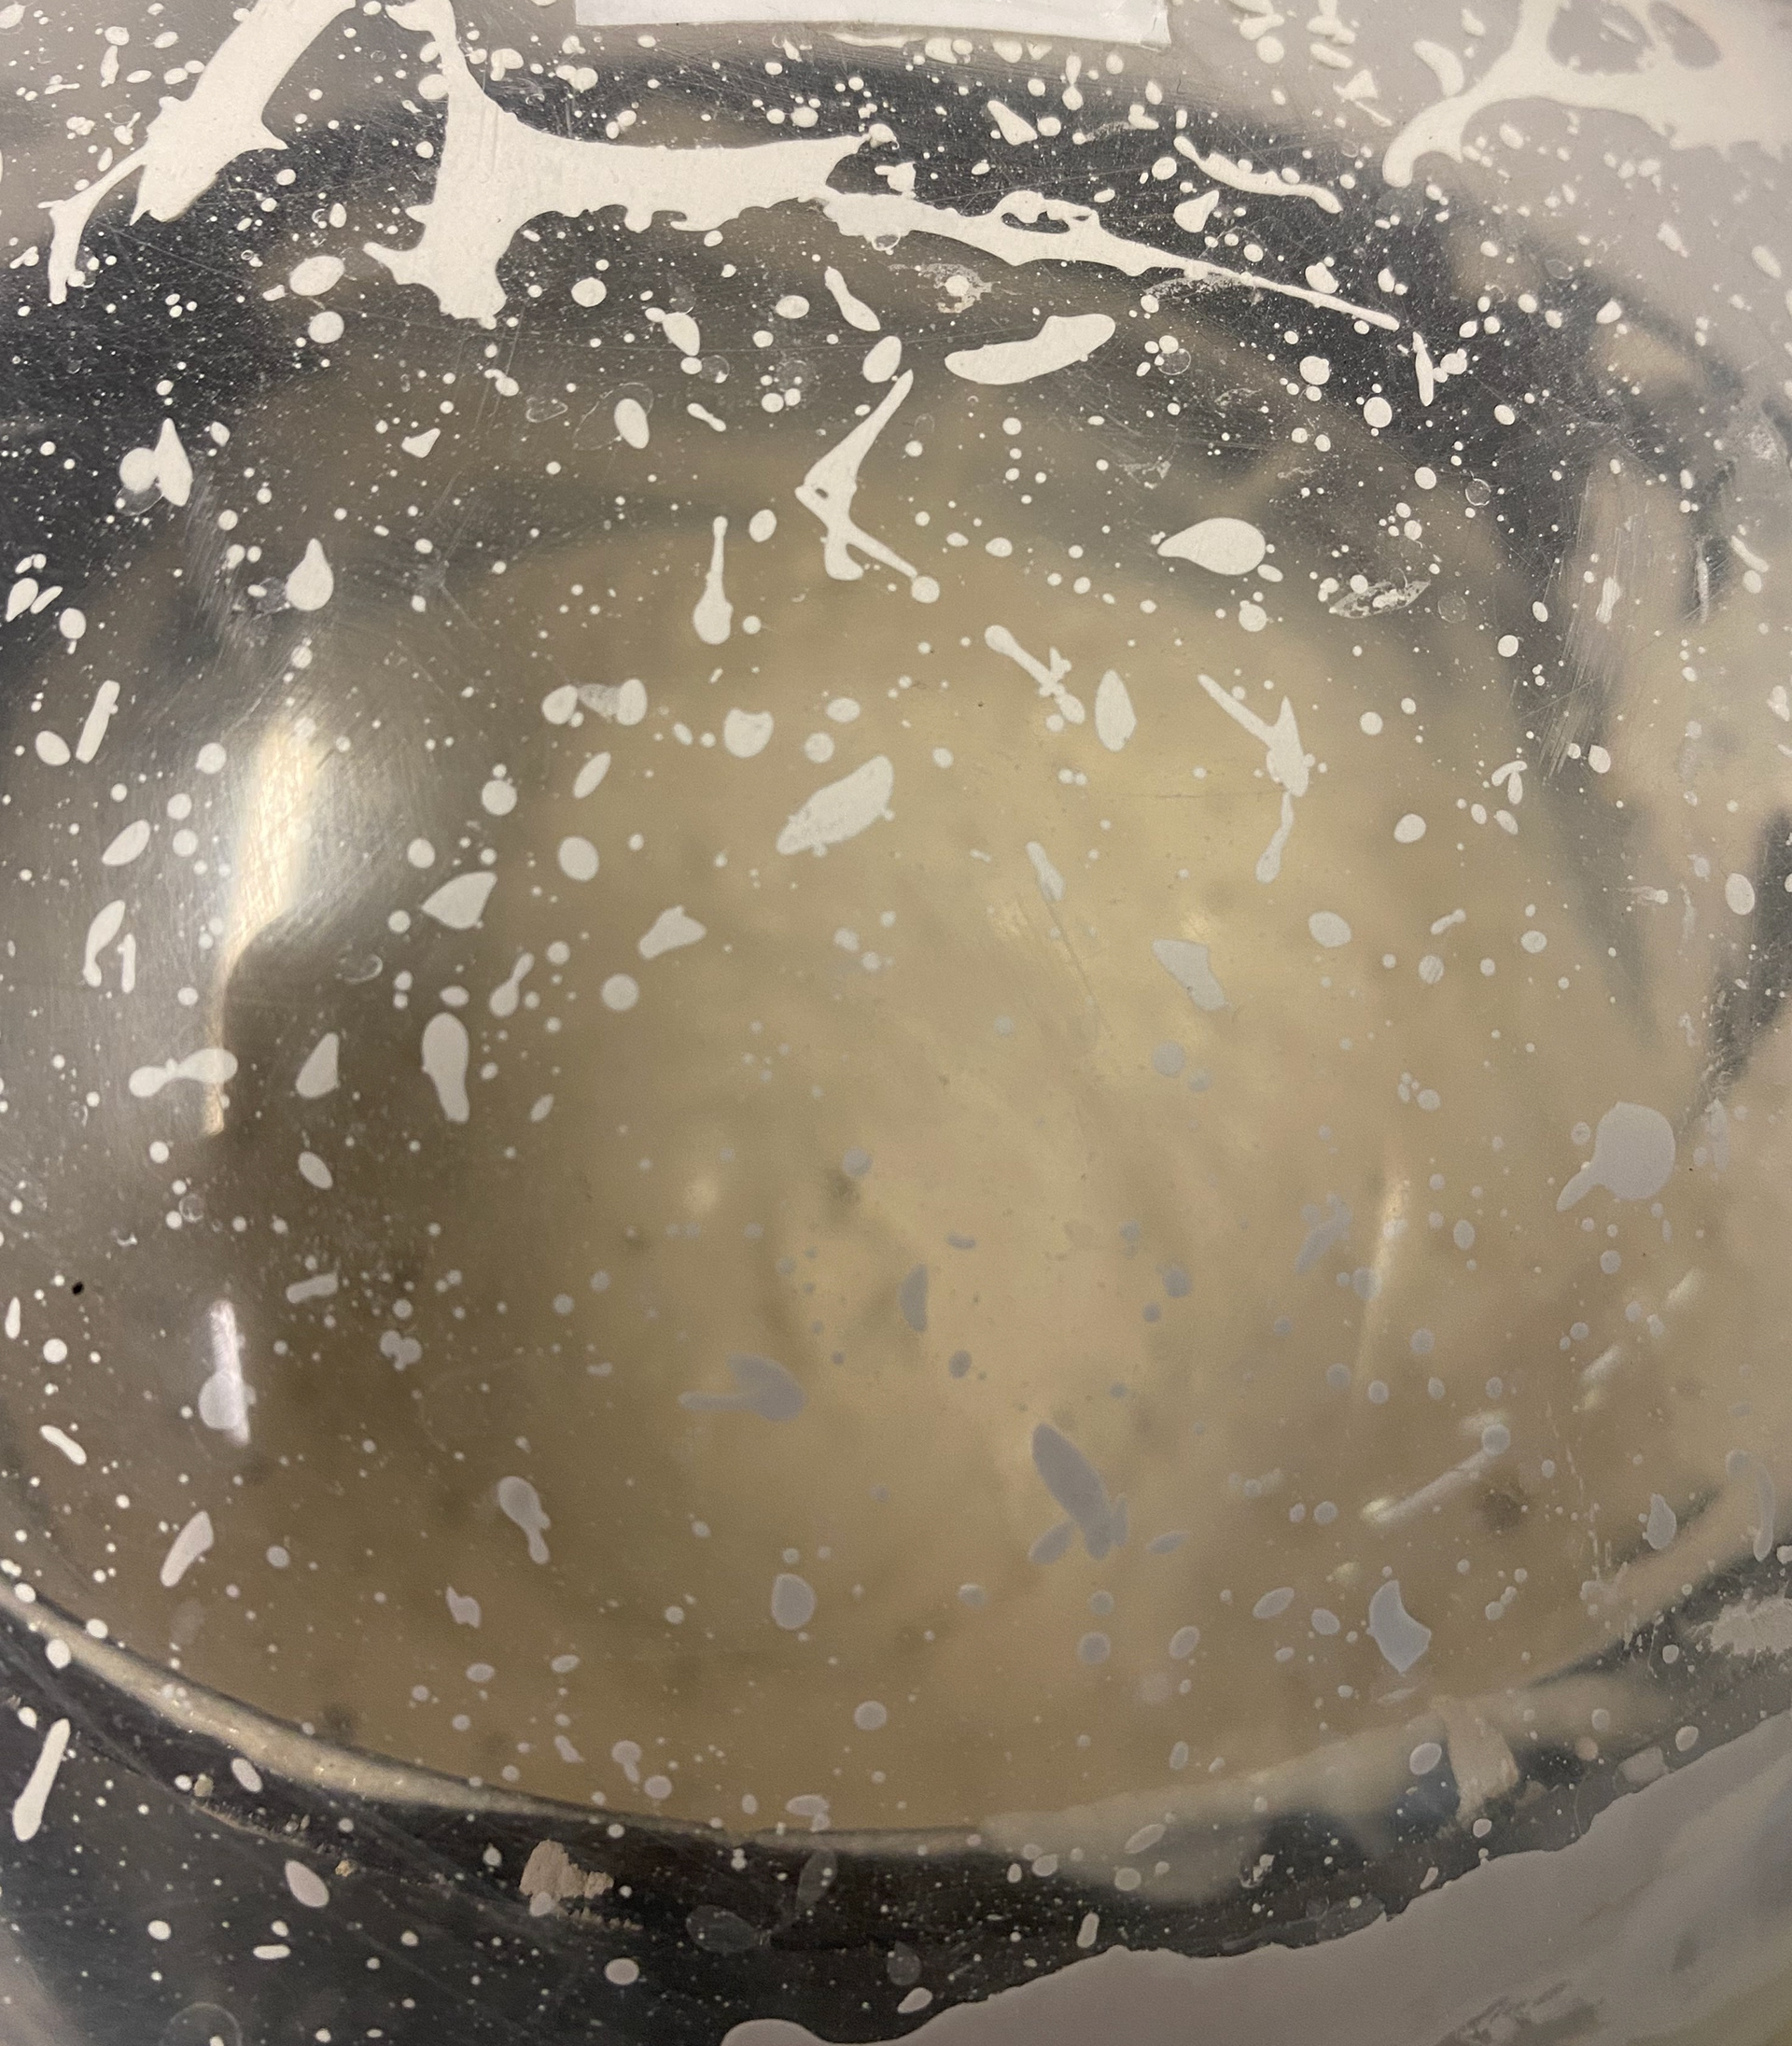
decreasing the air in the plaster
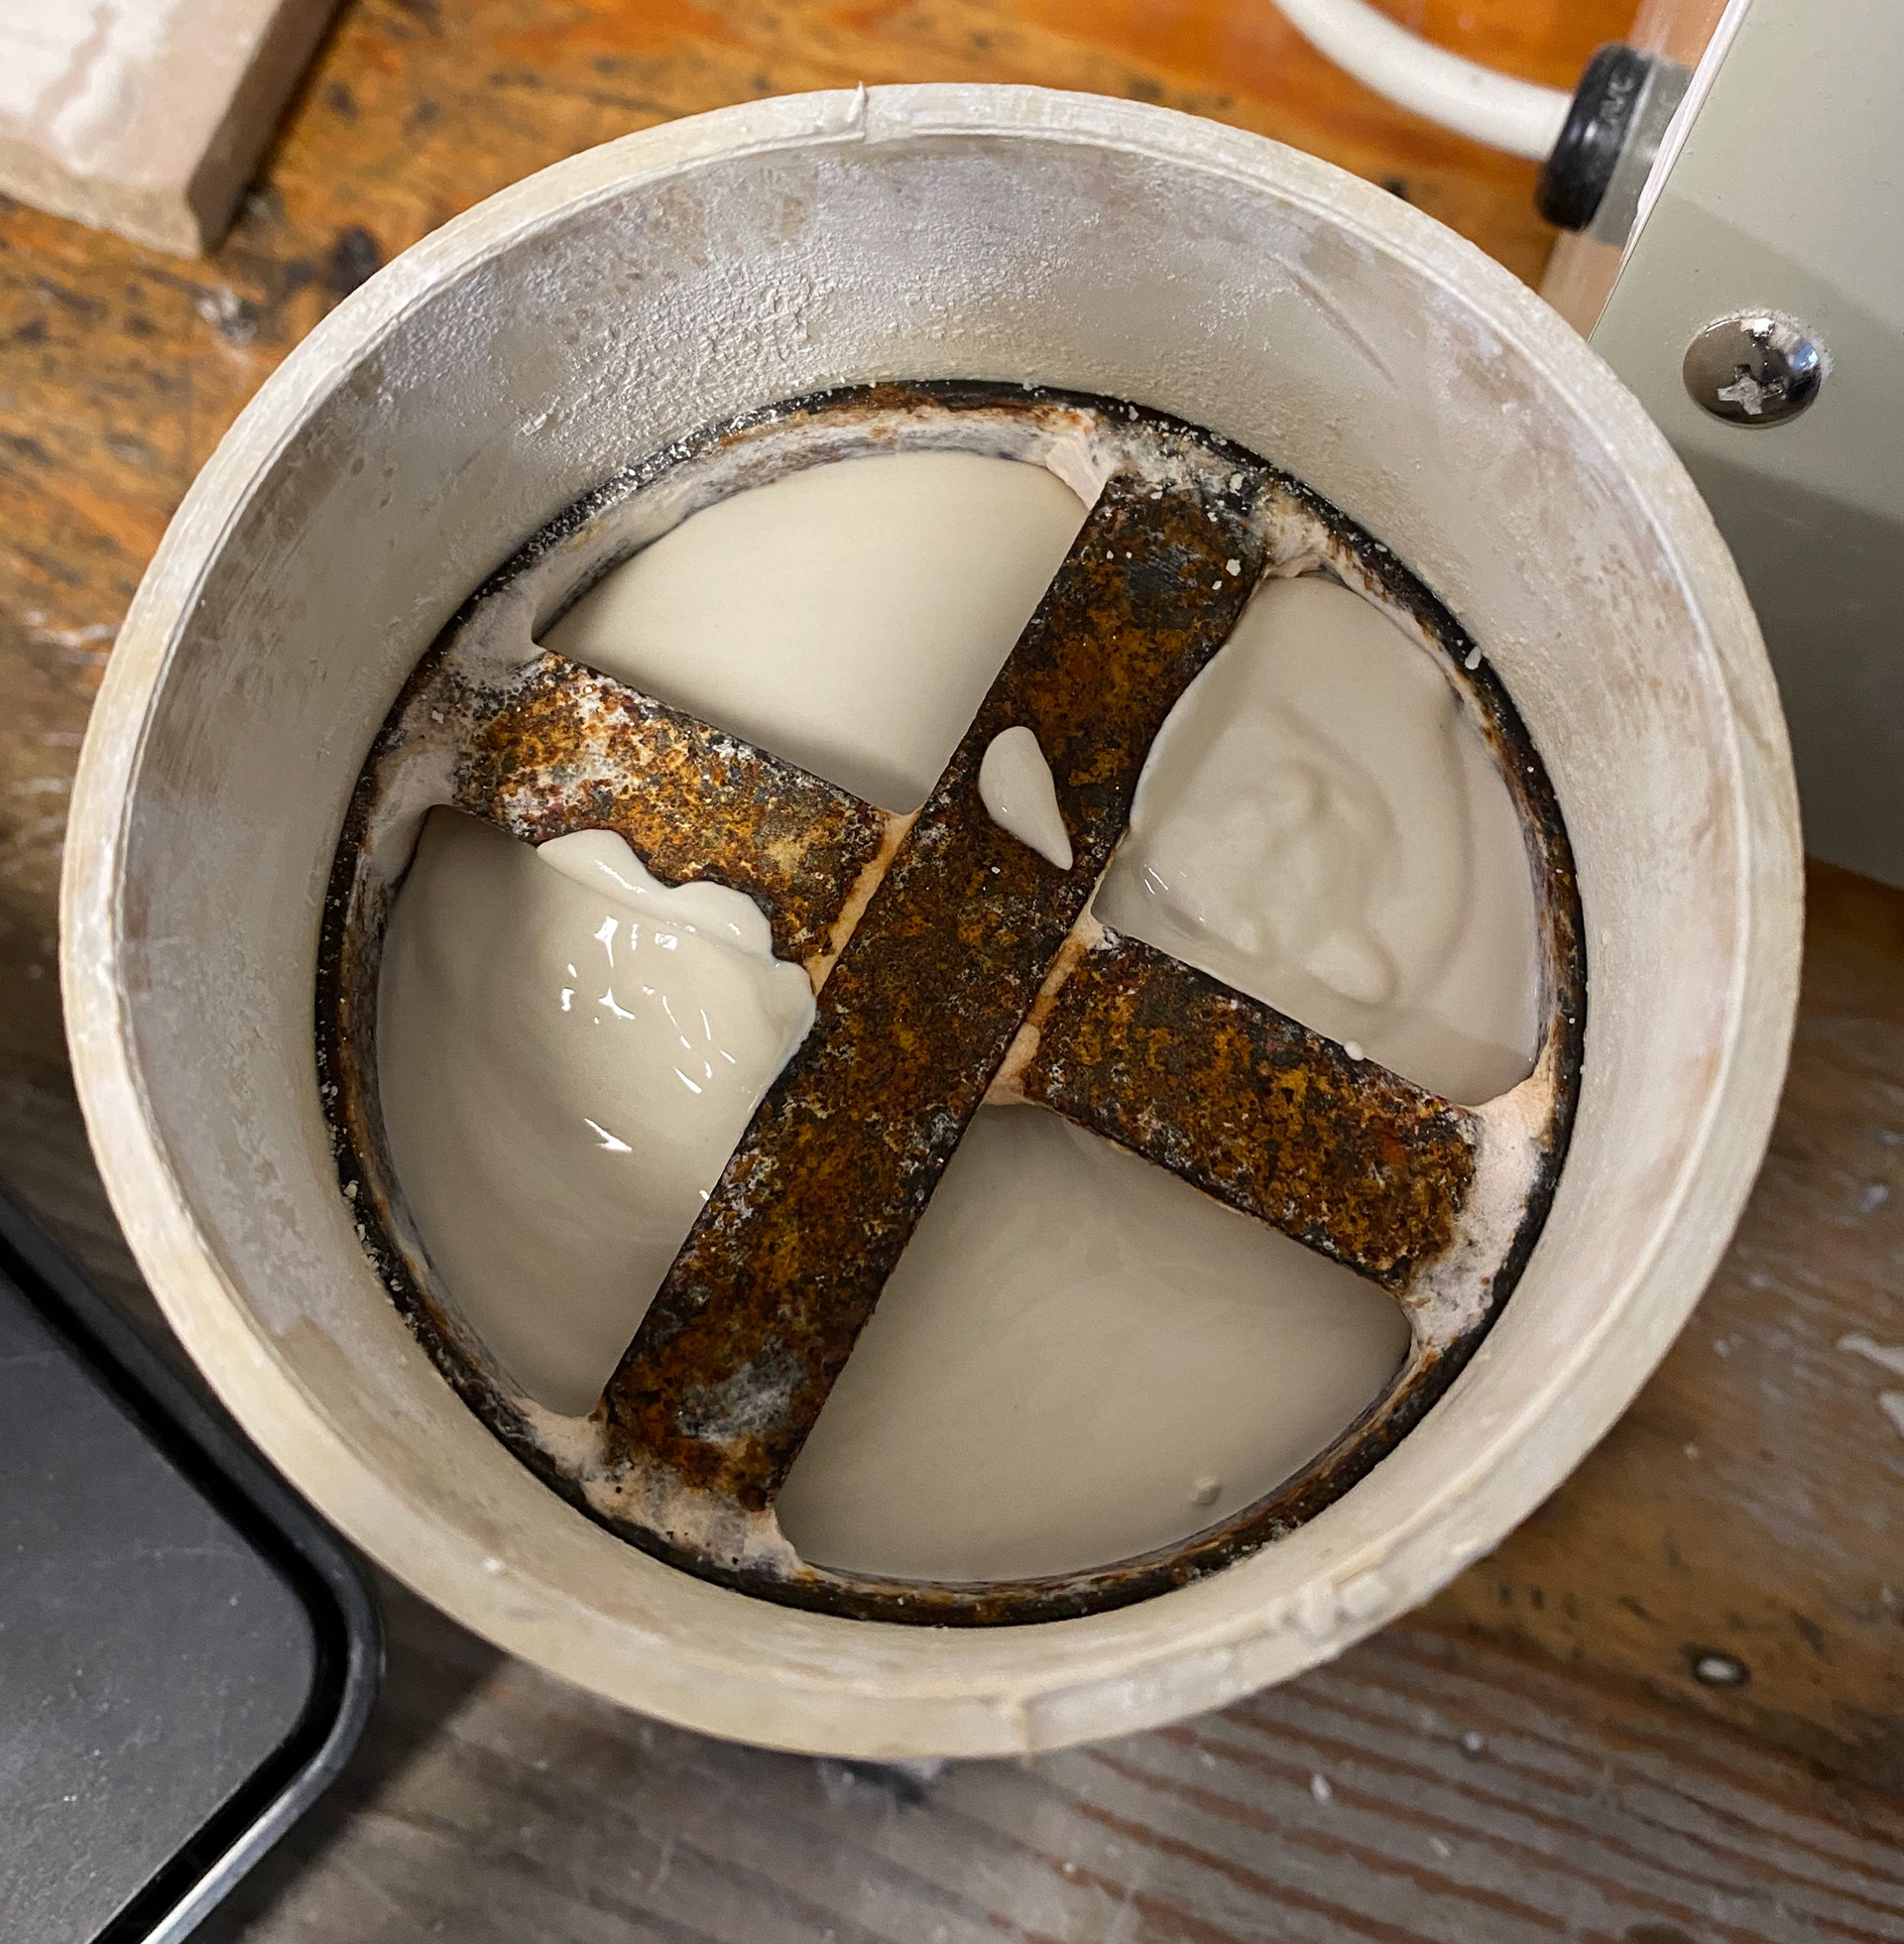
plaster in chamber
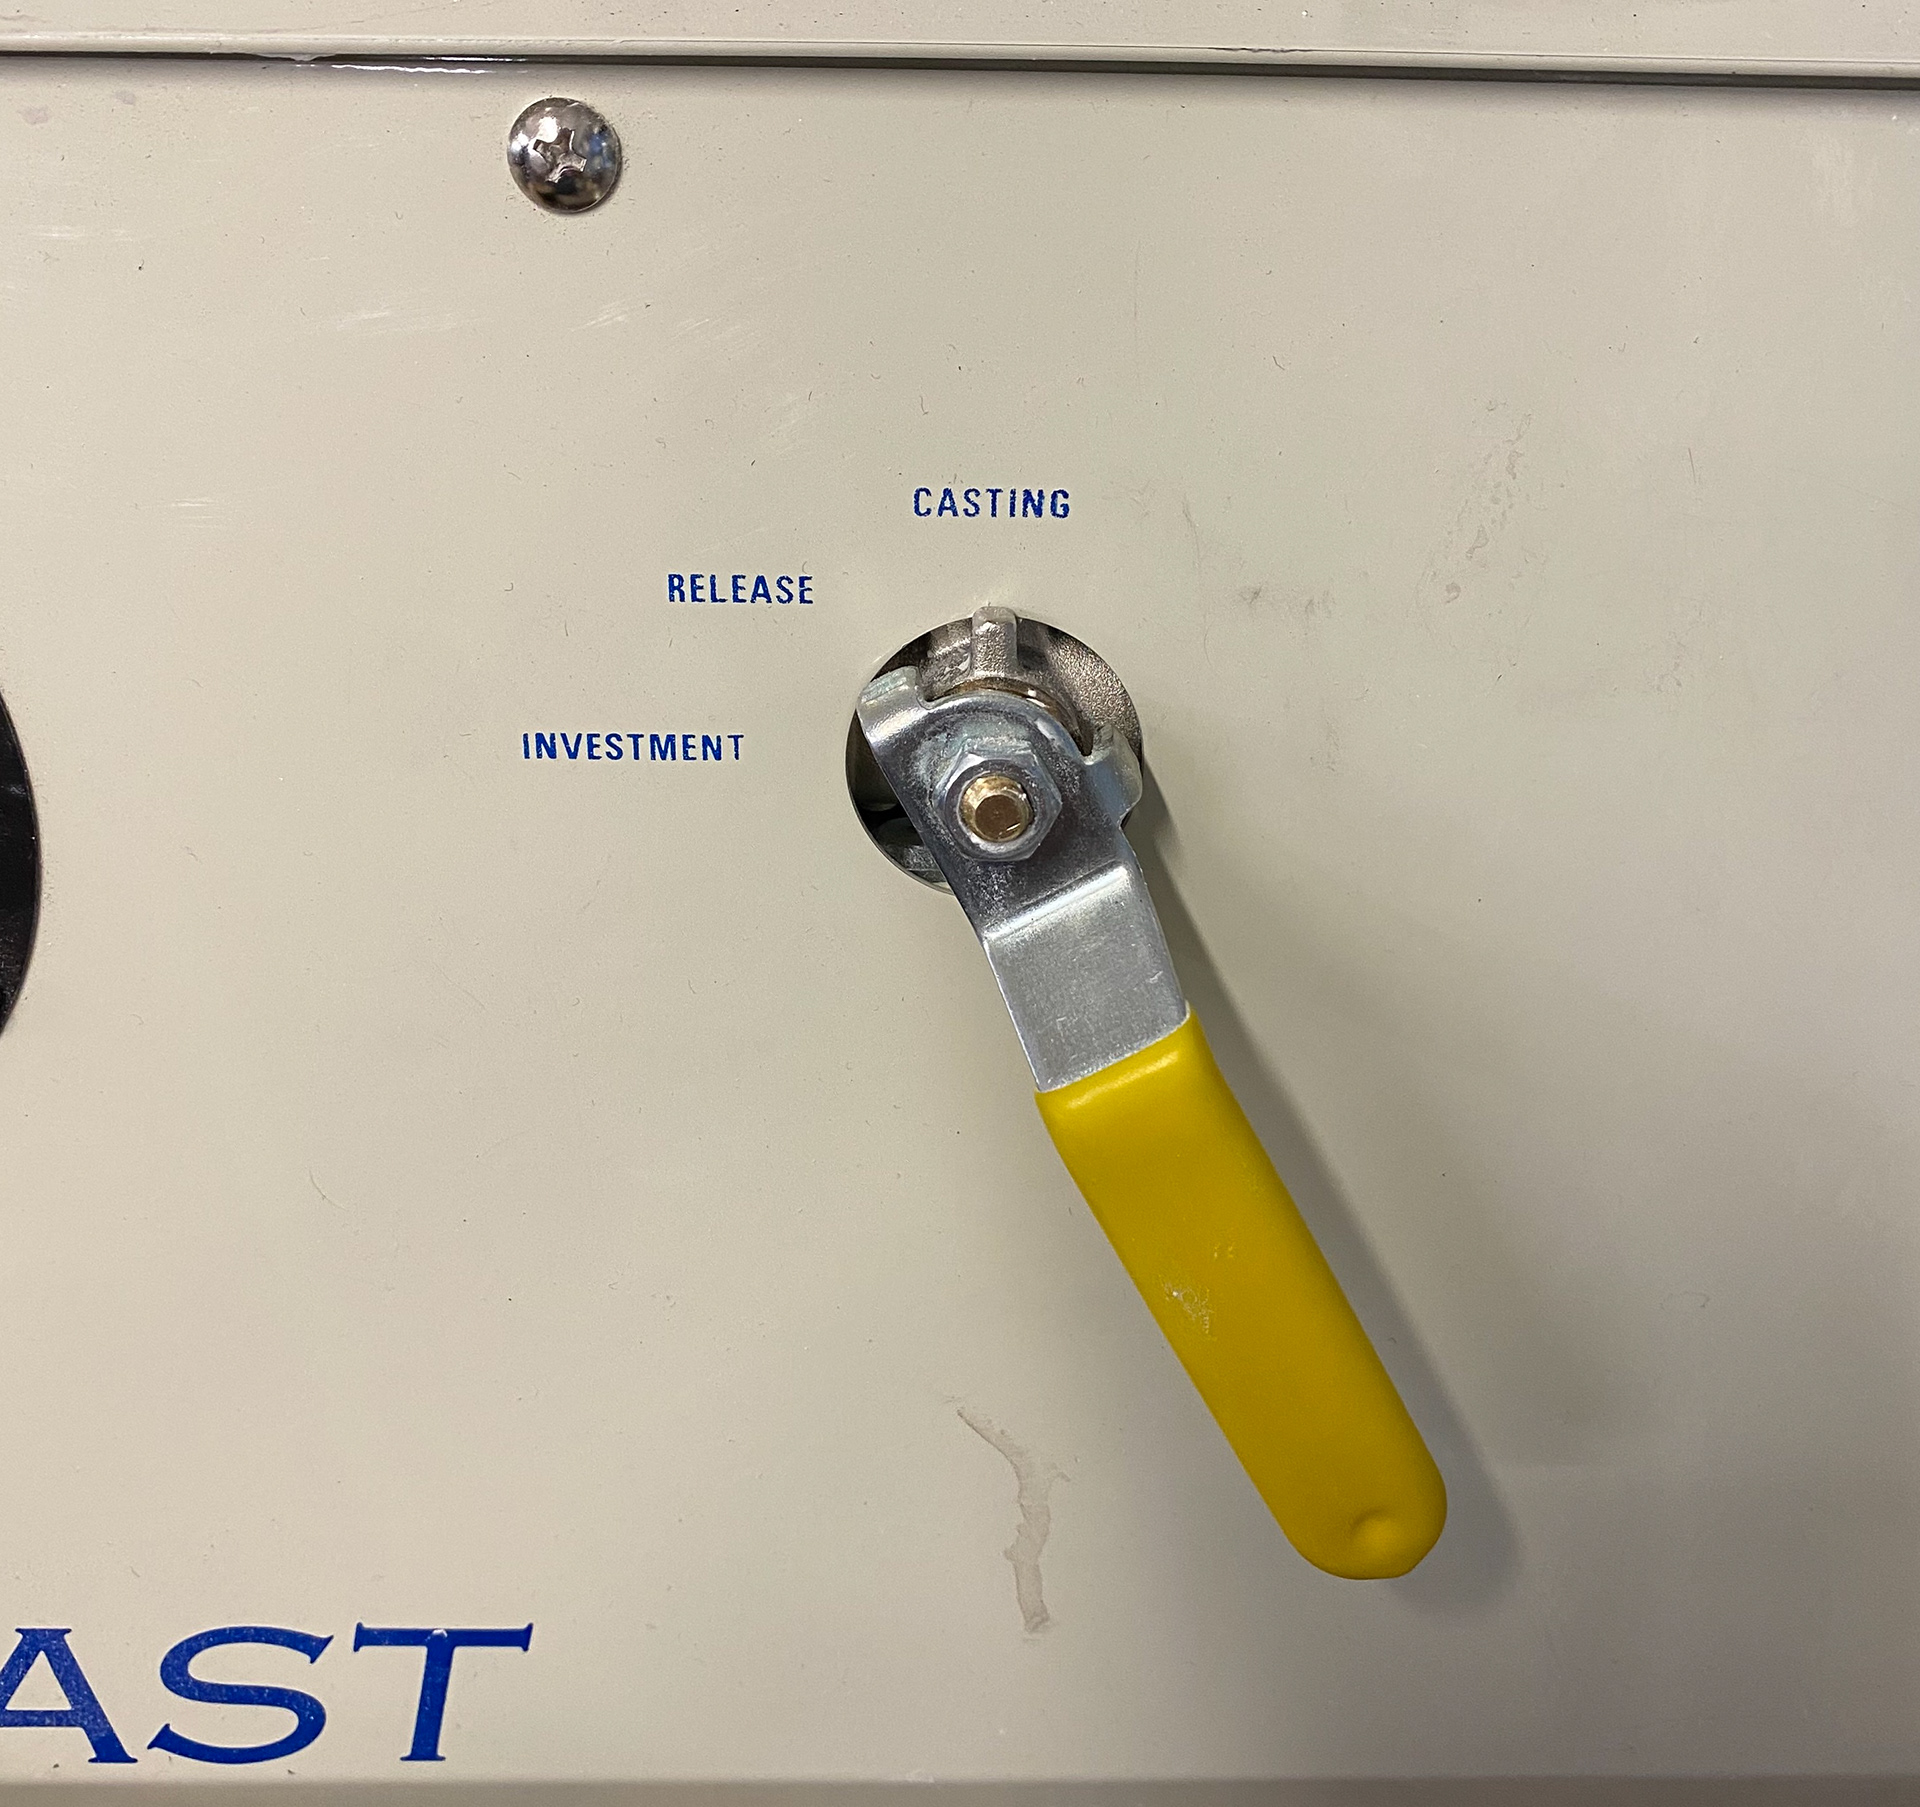
handle on investment machine
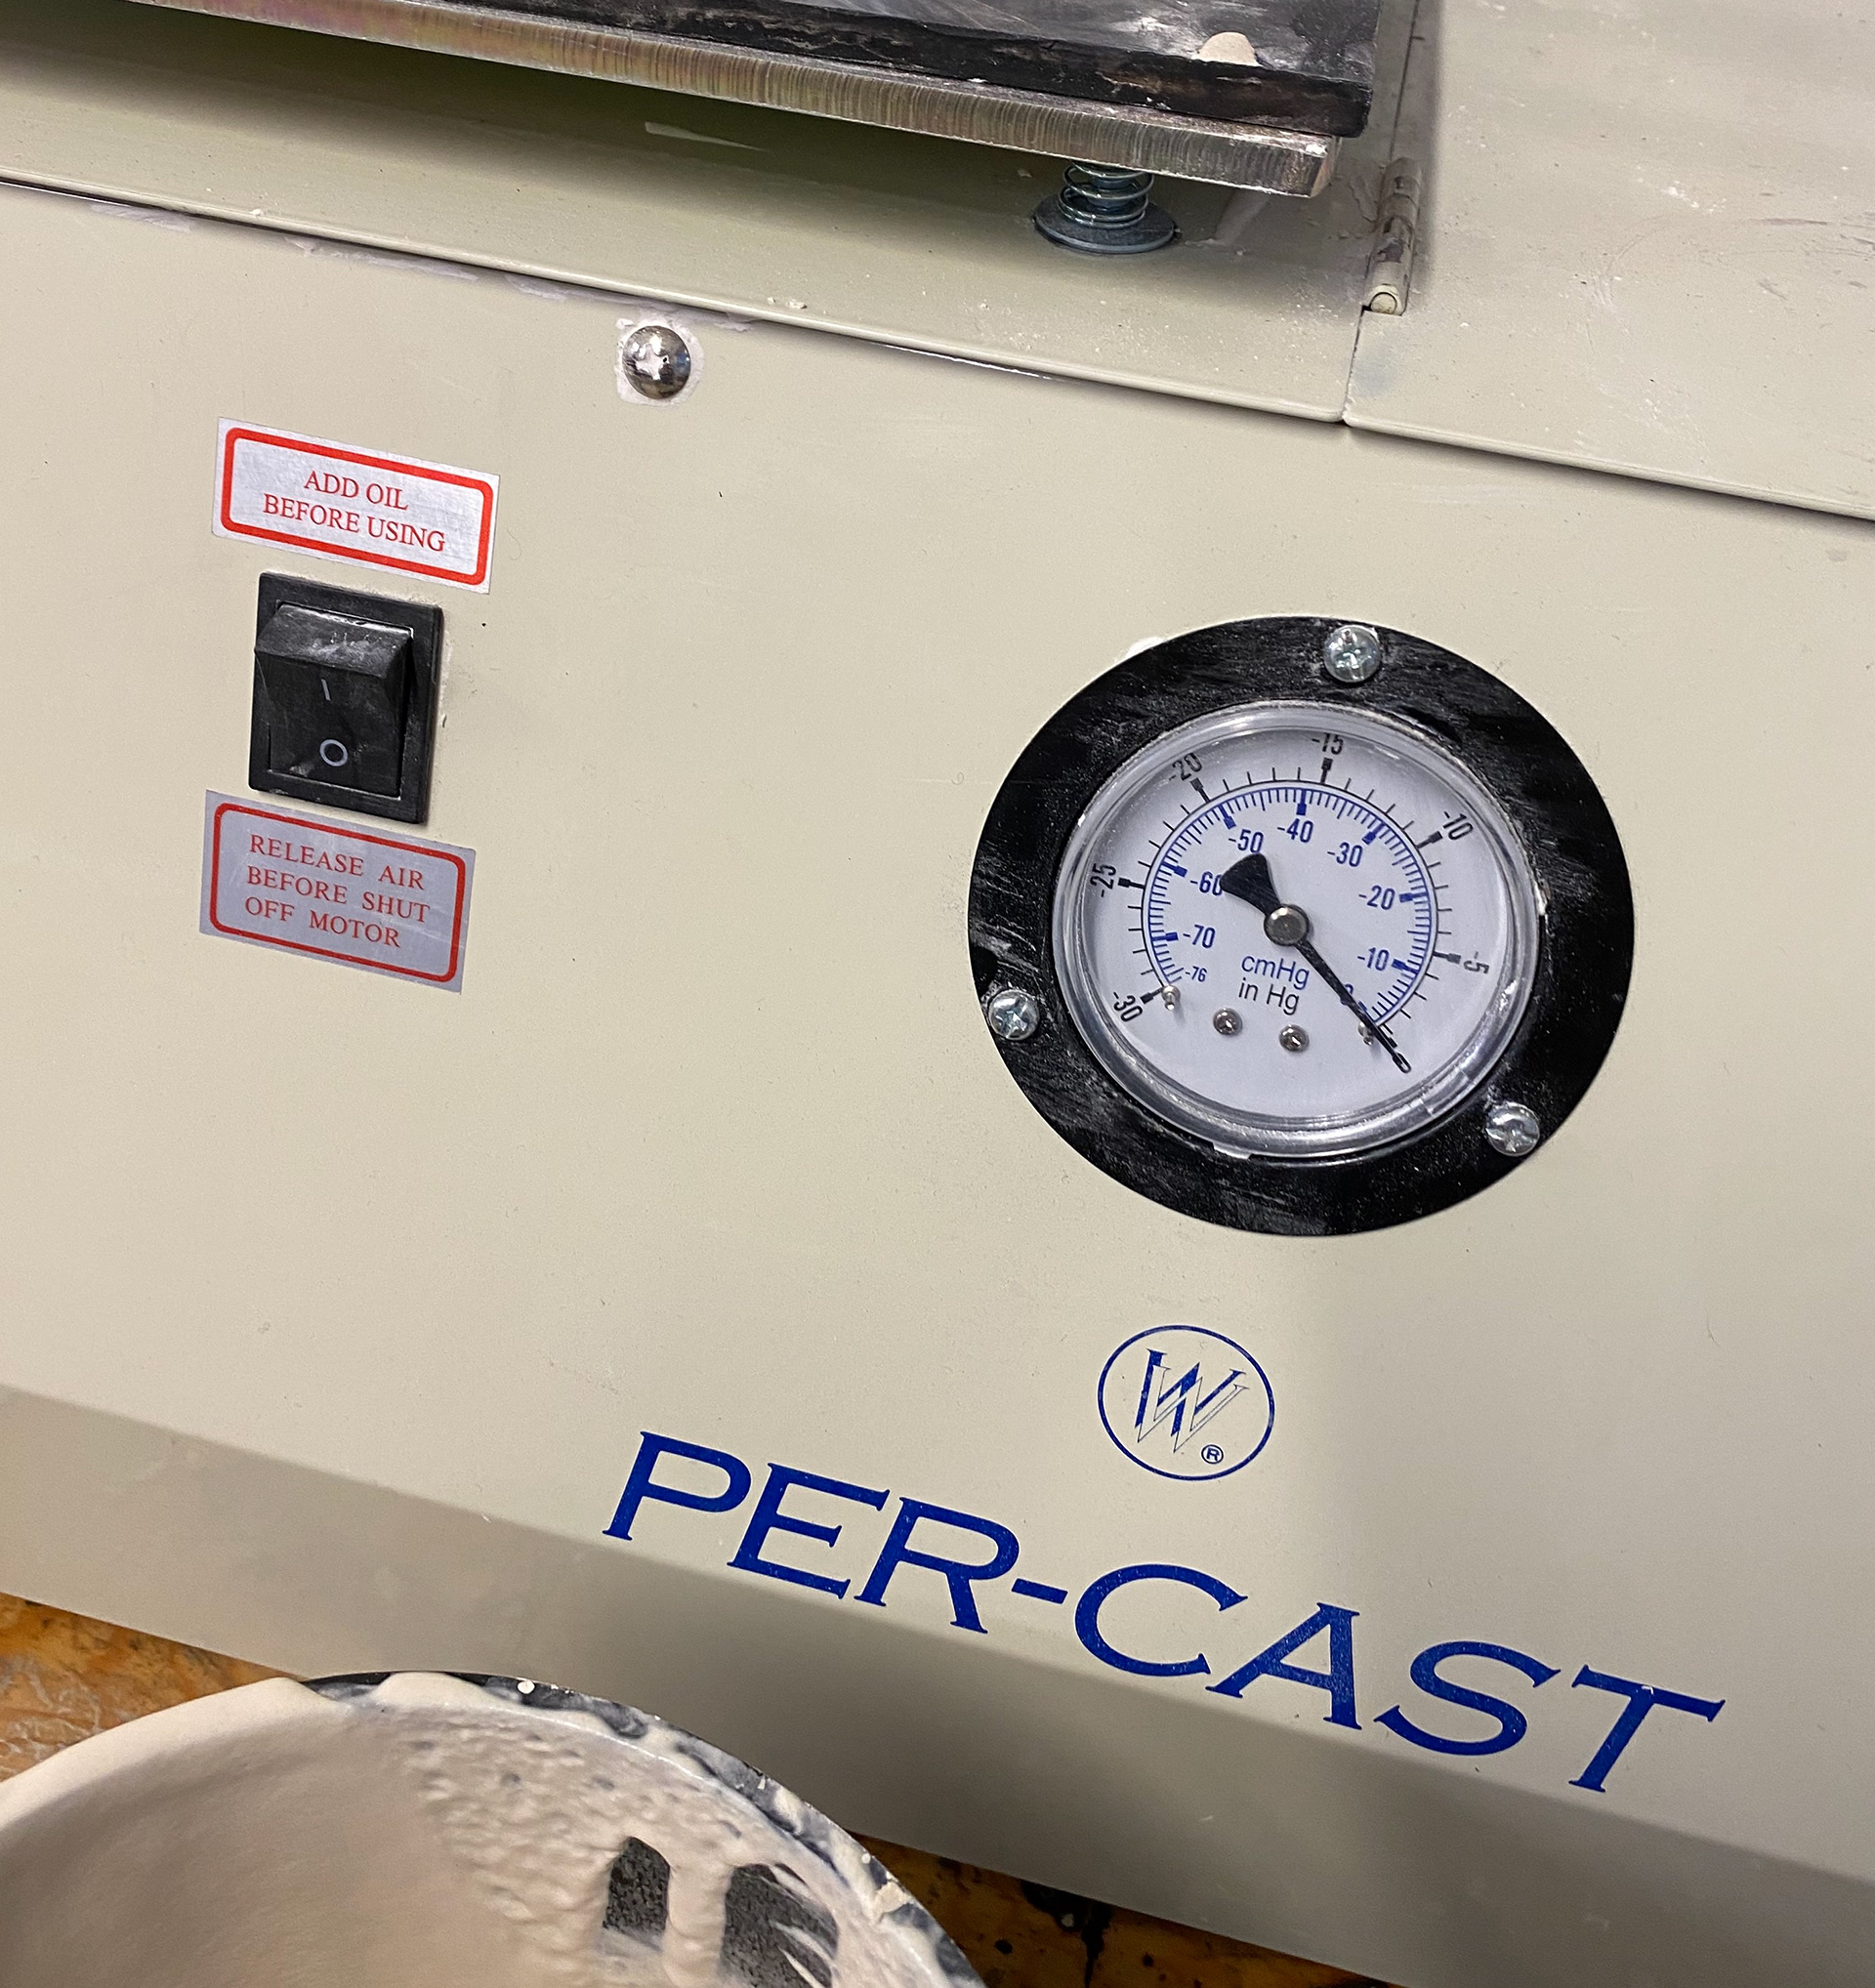
dial on investment machine
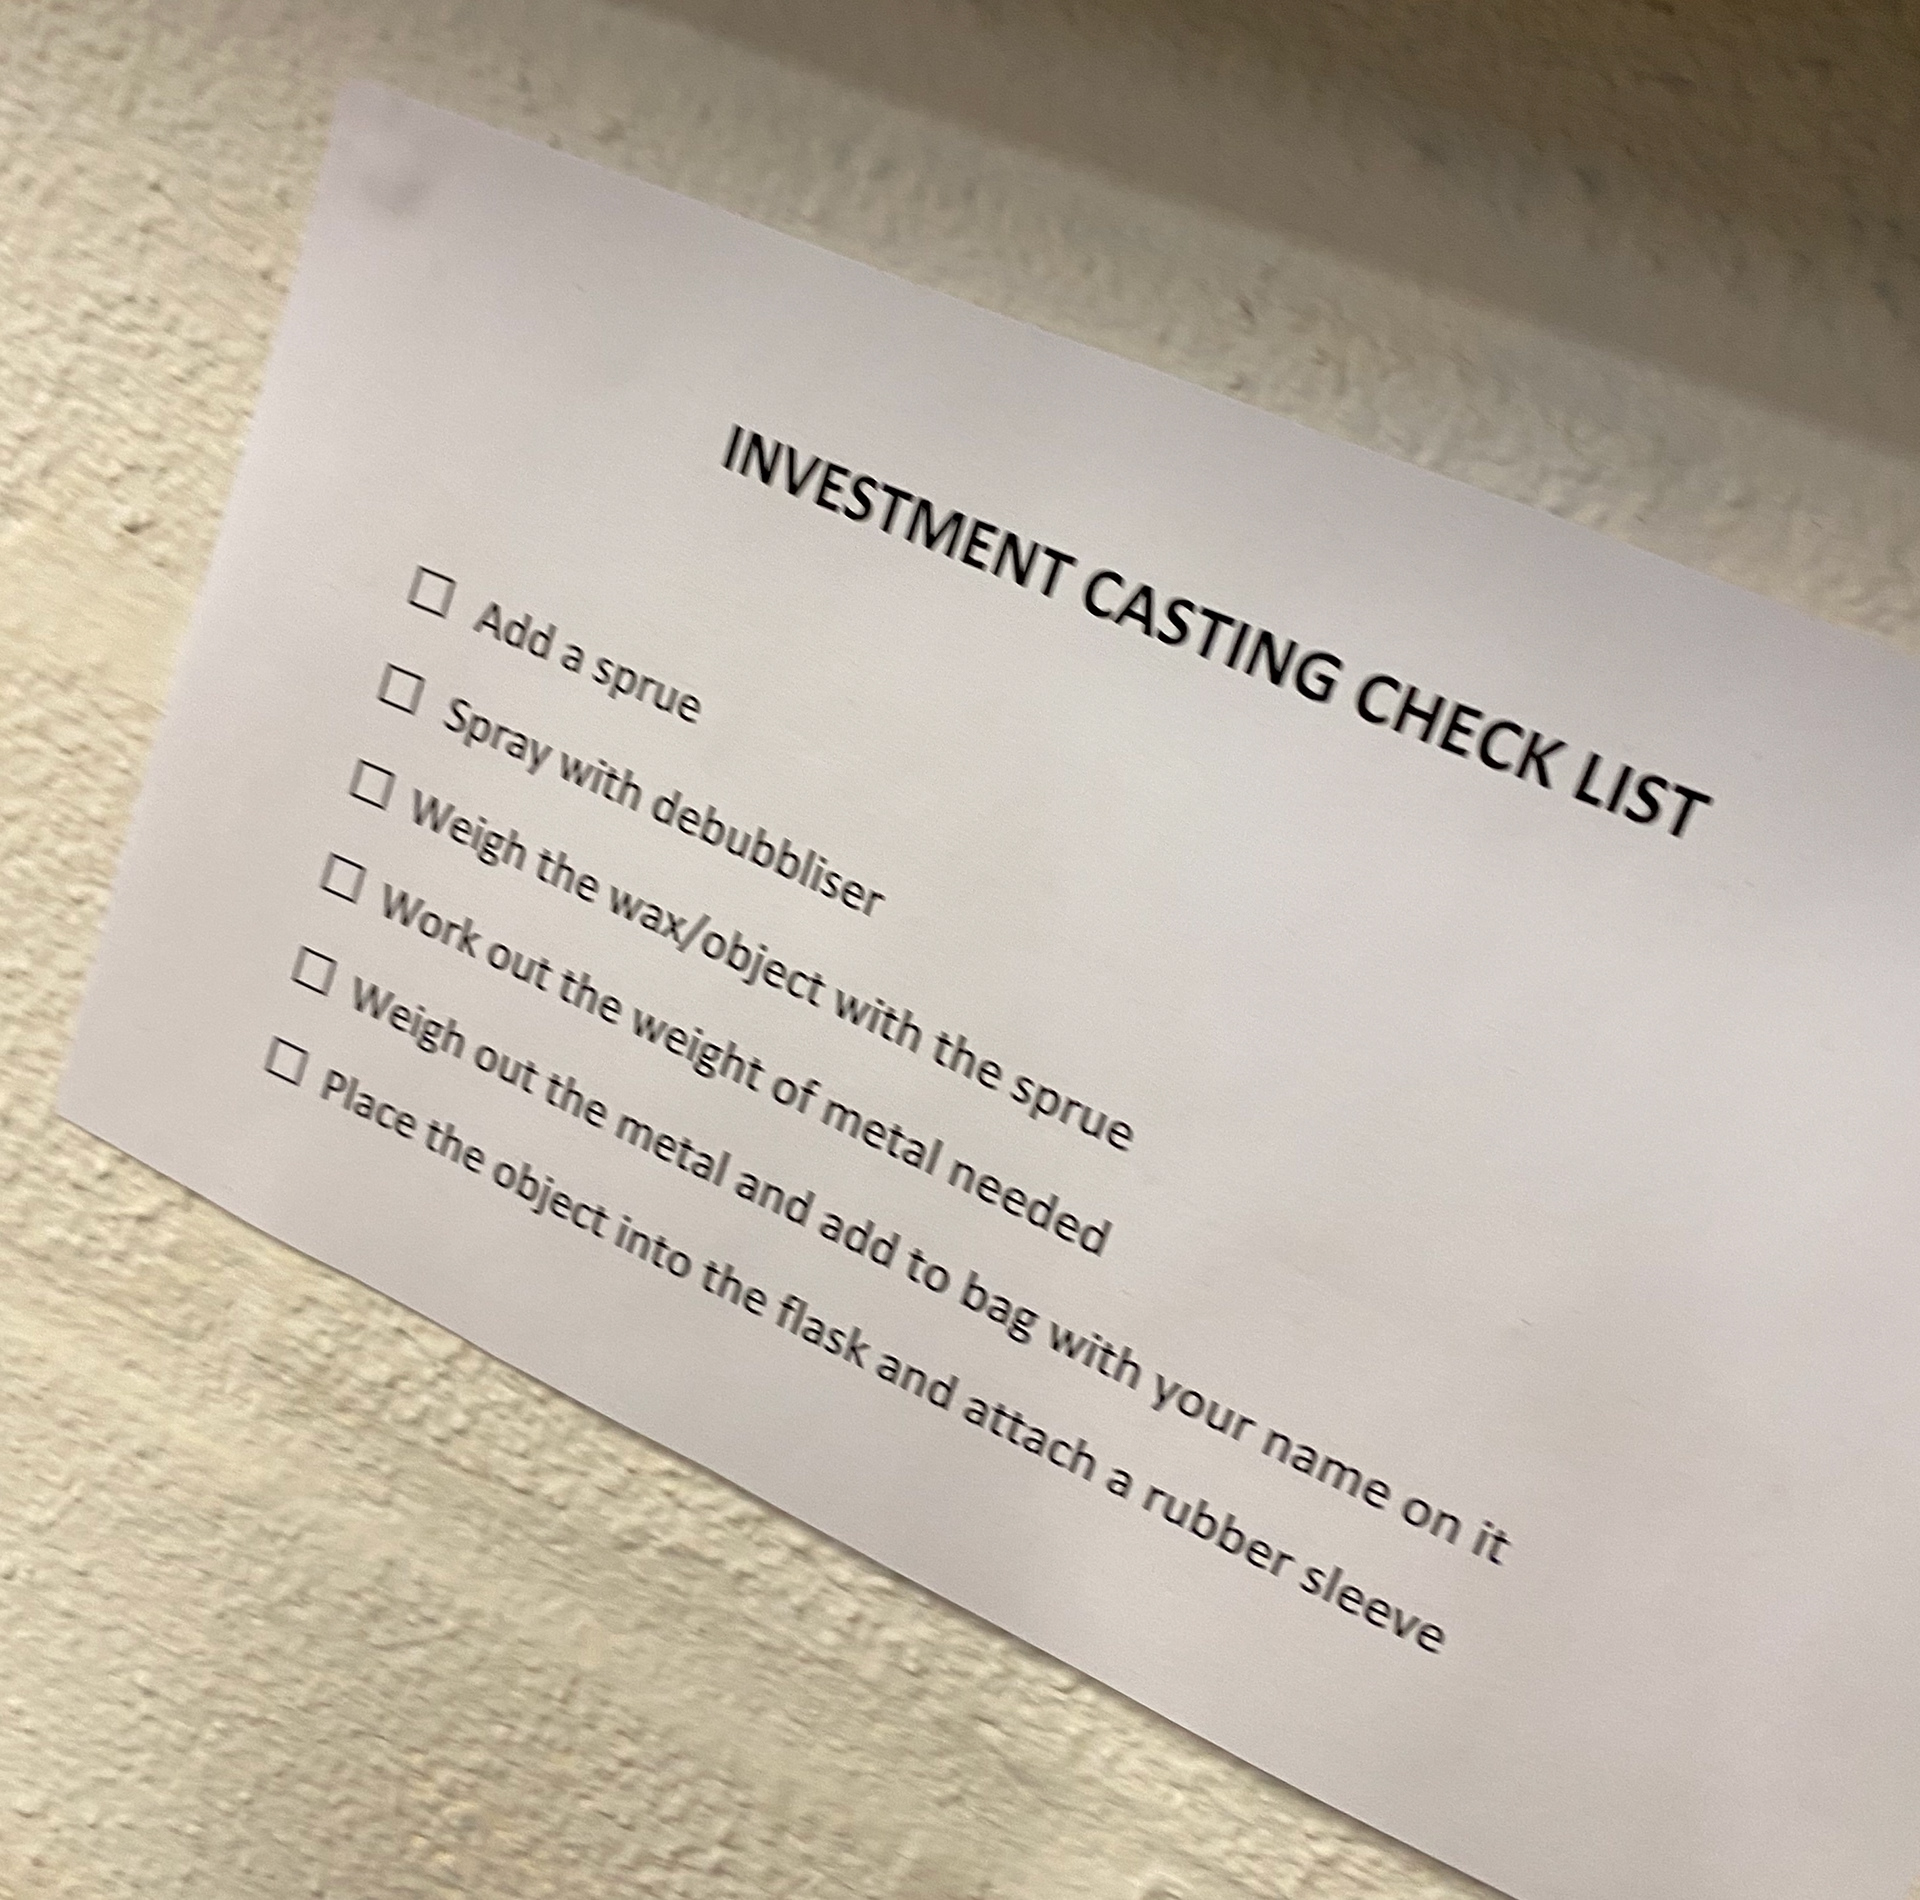
checklist
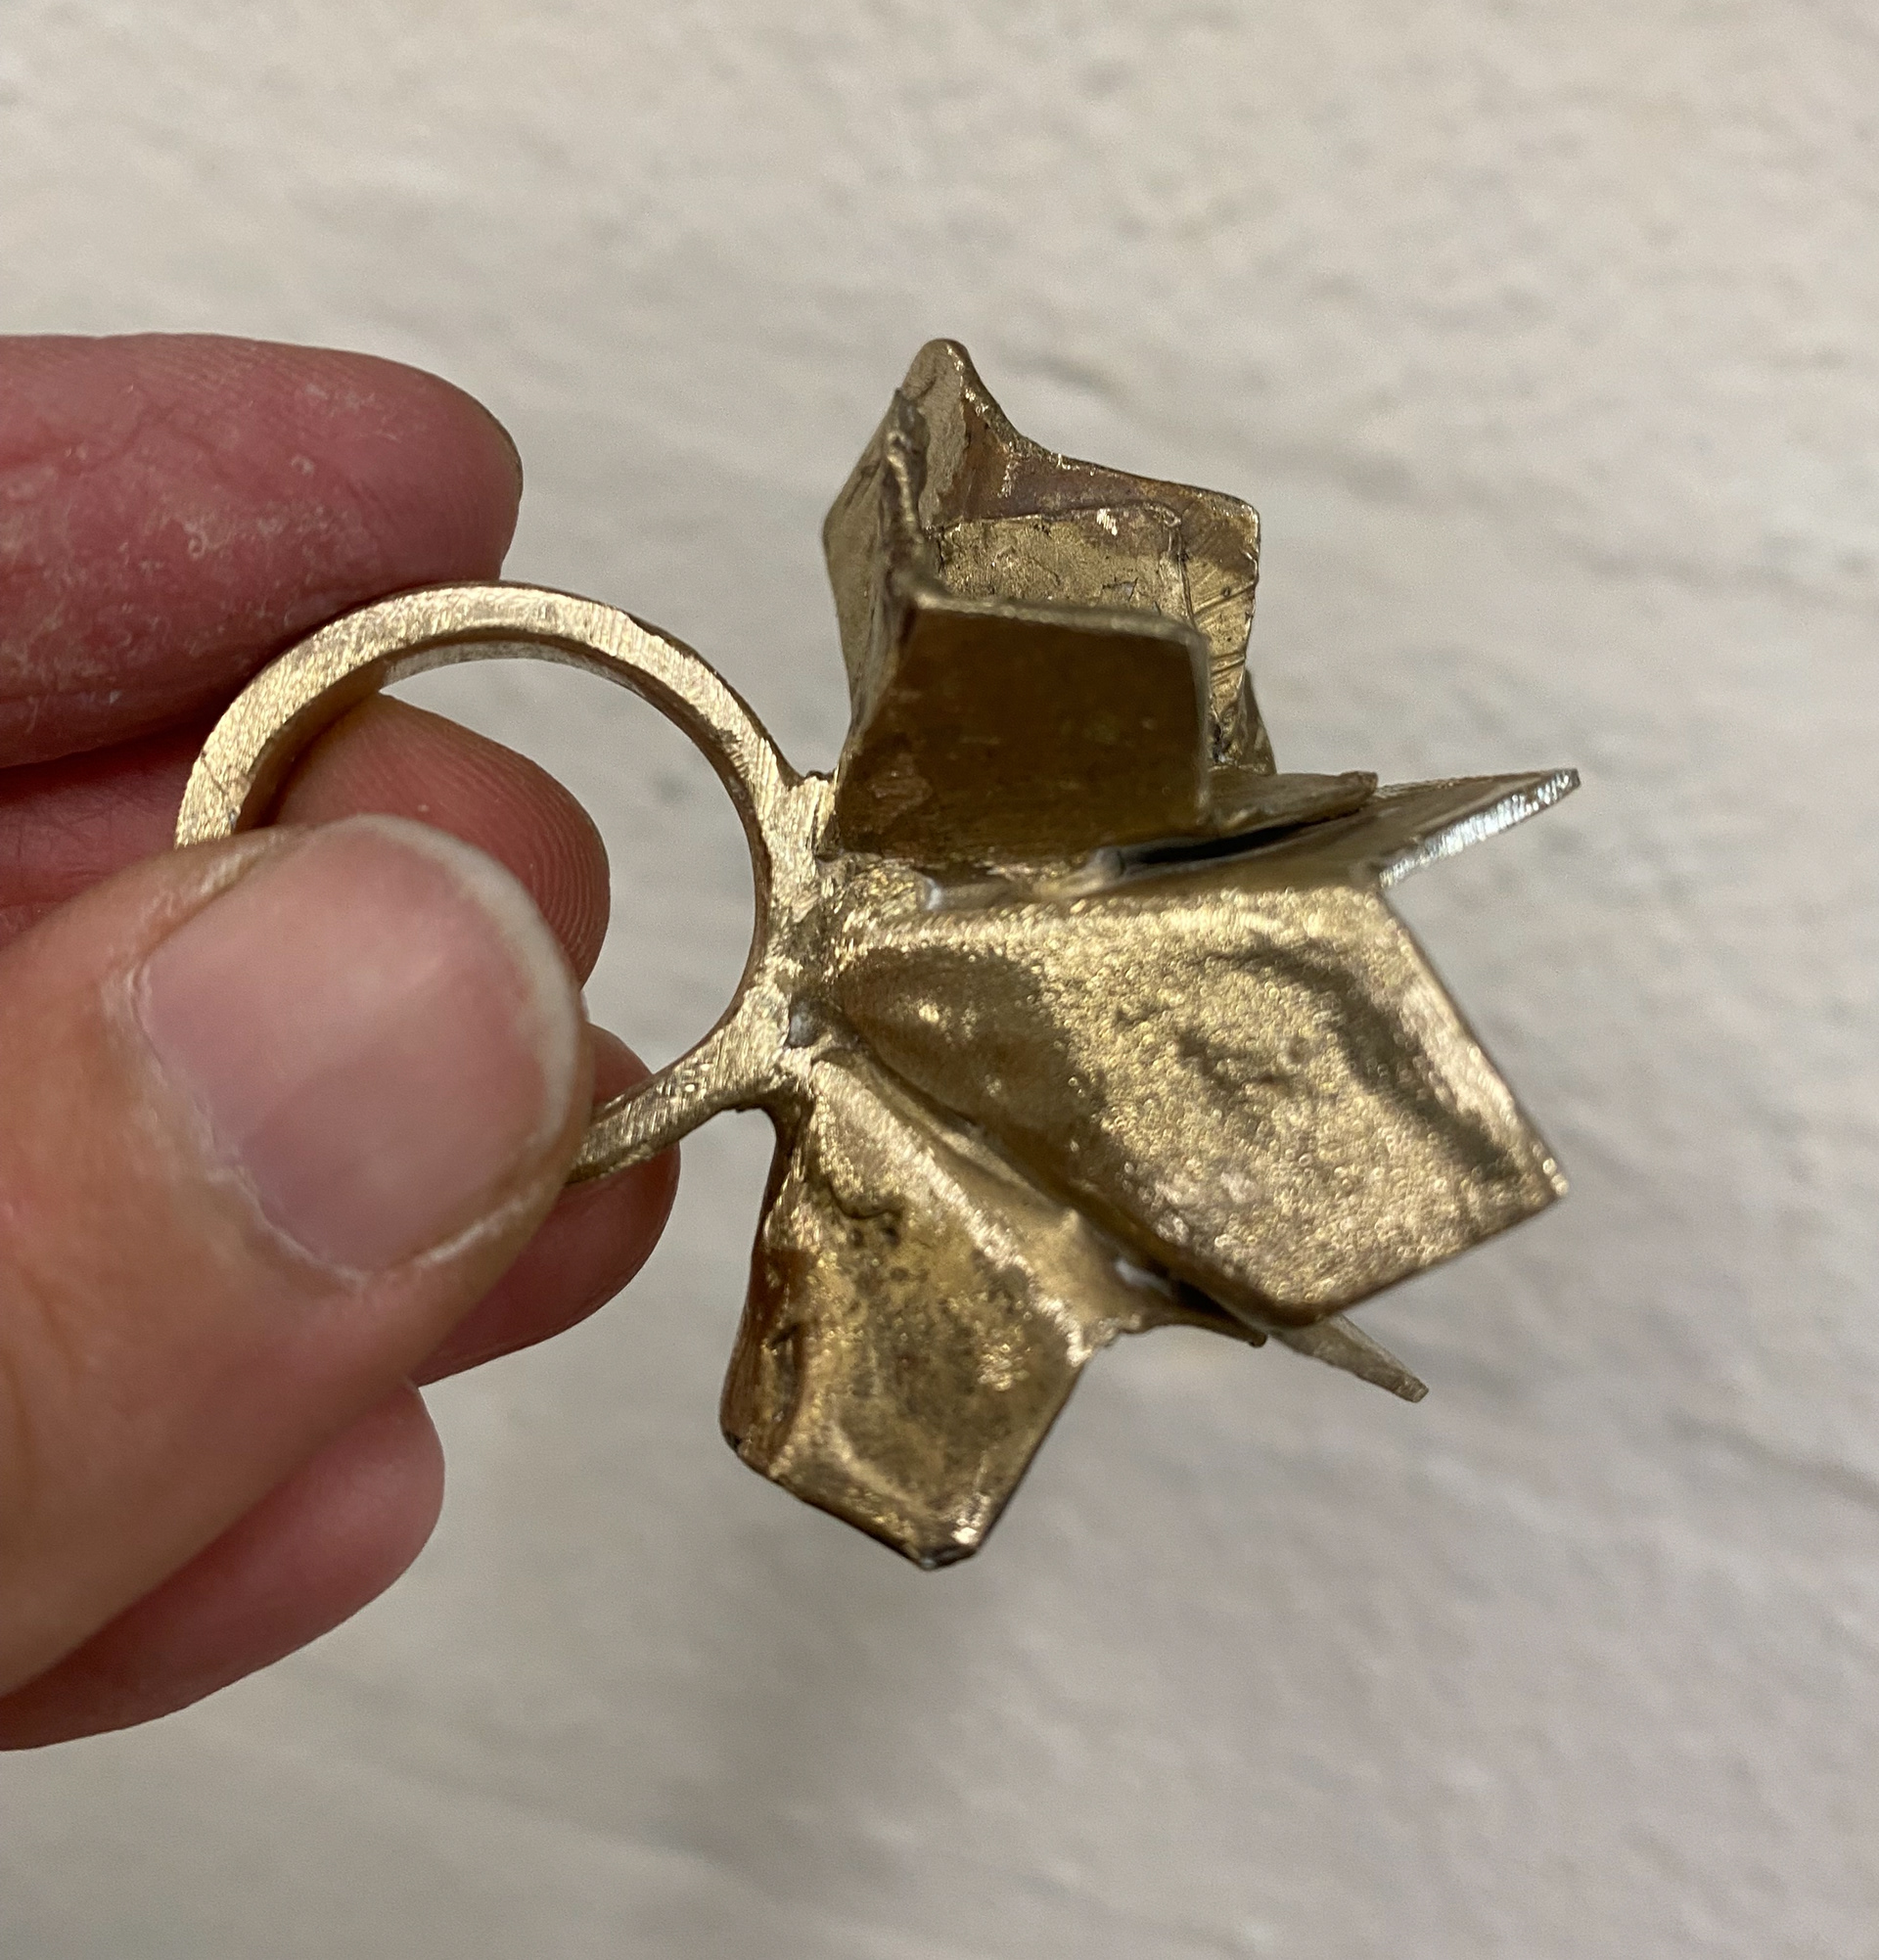
instructions
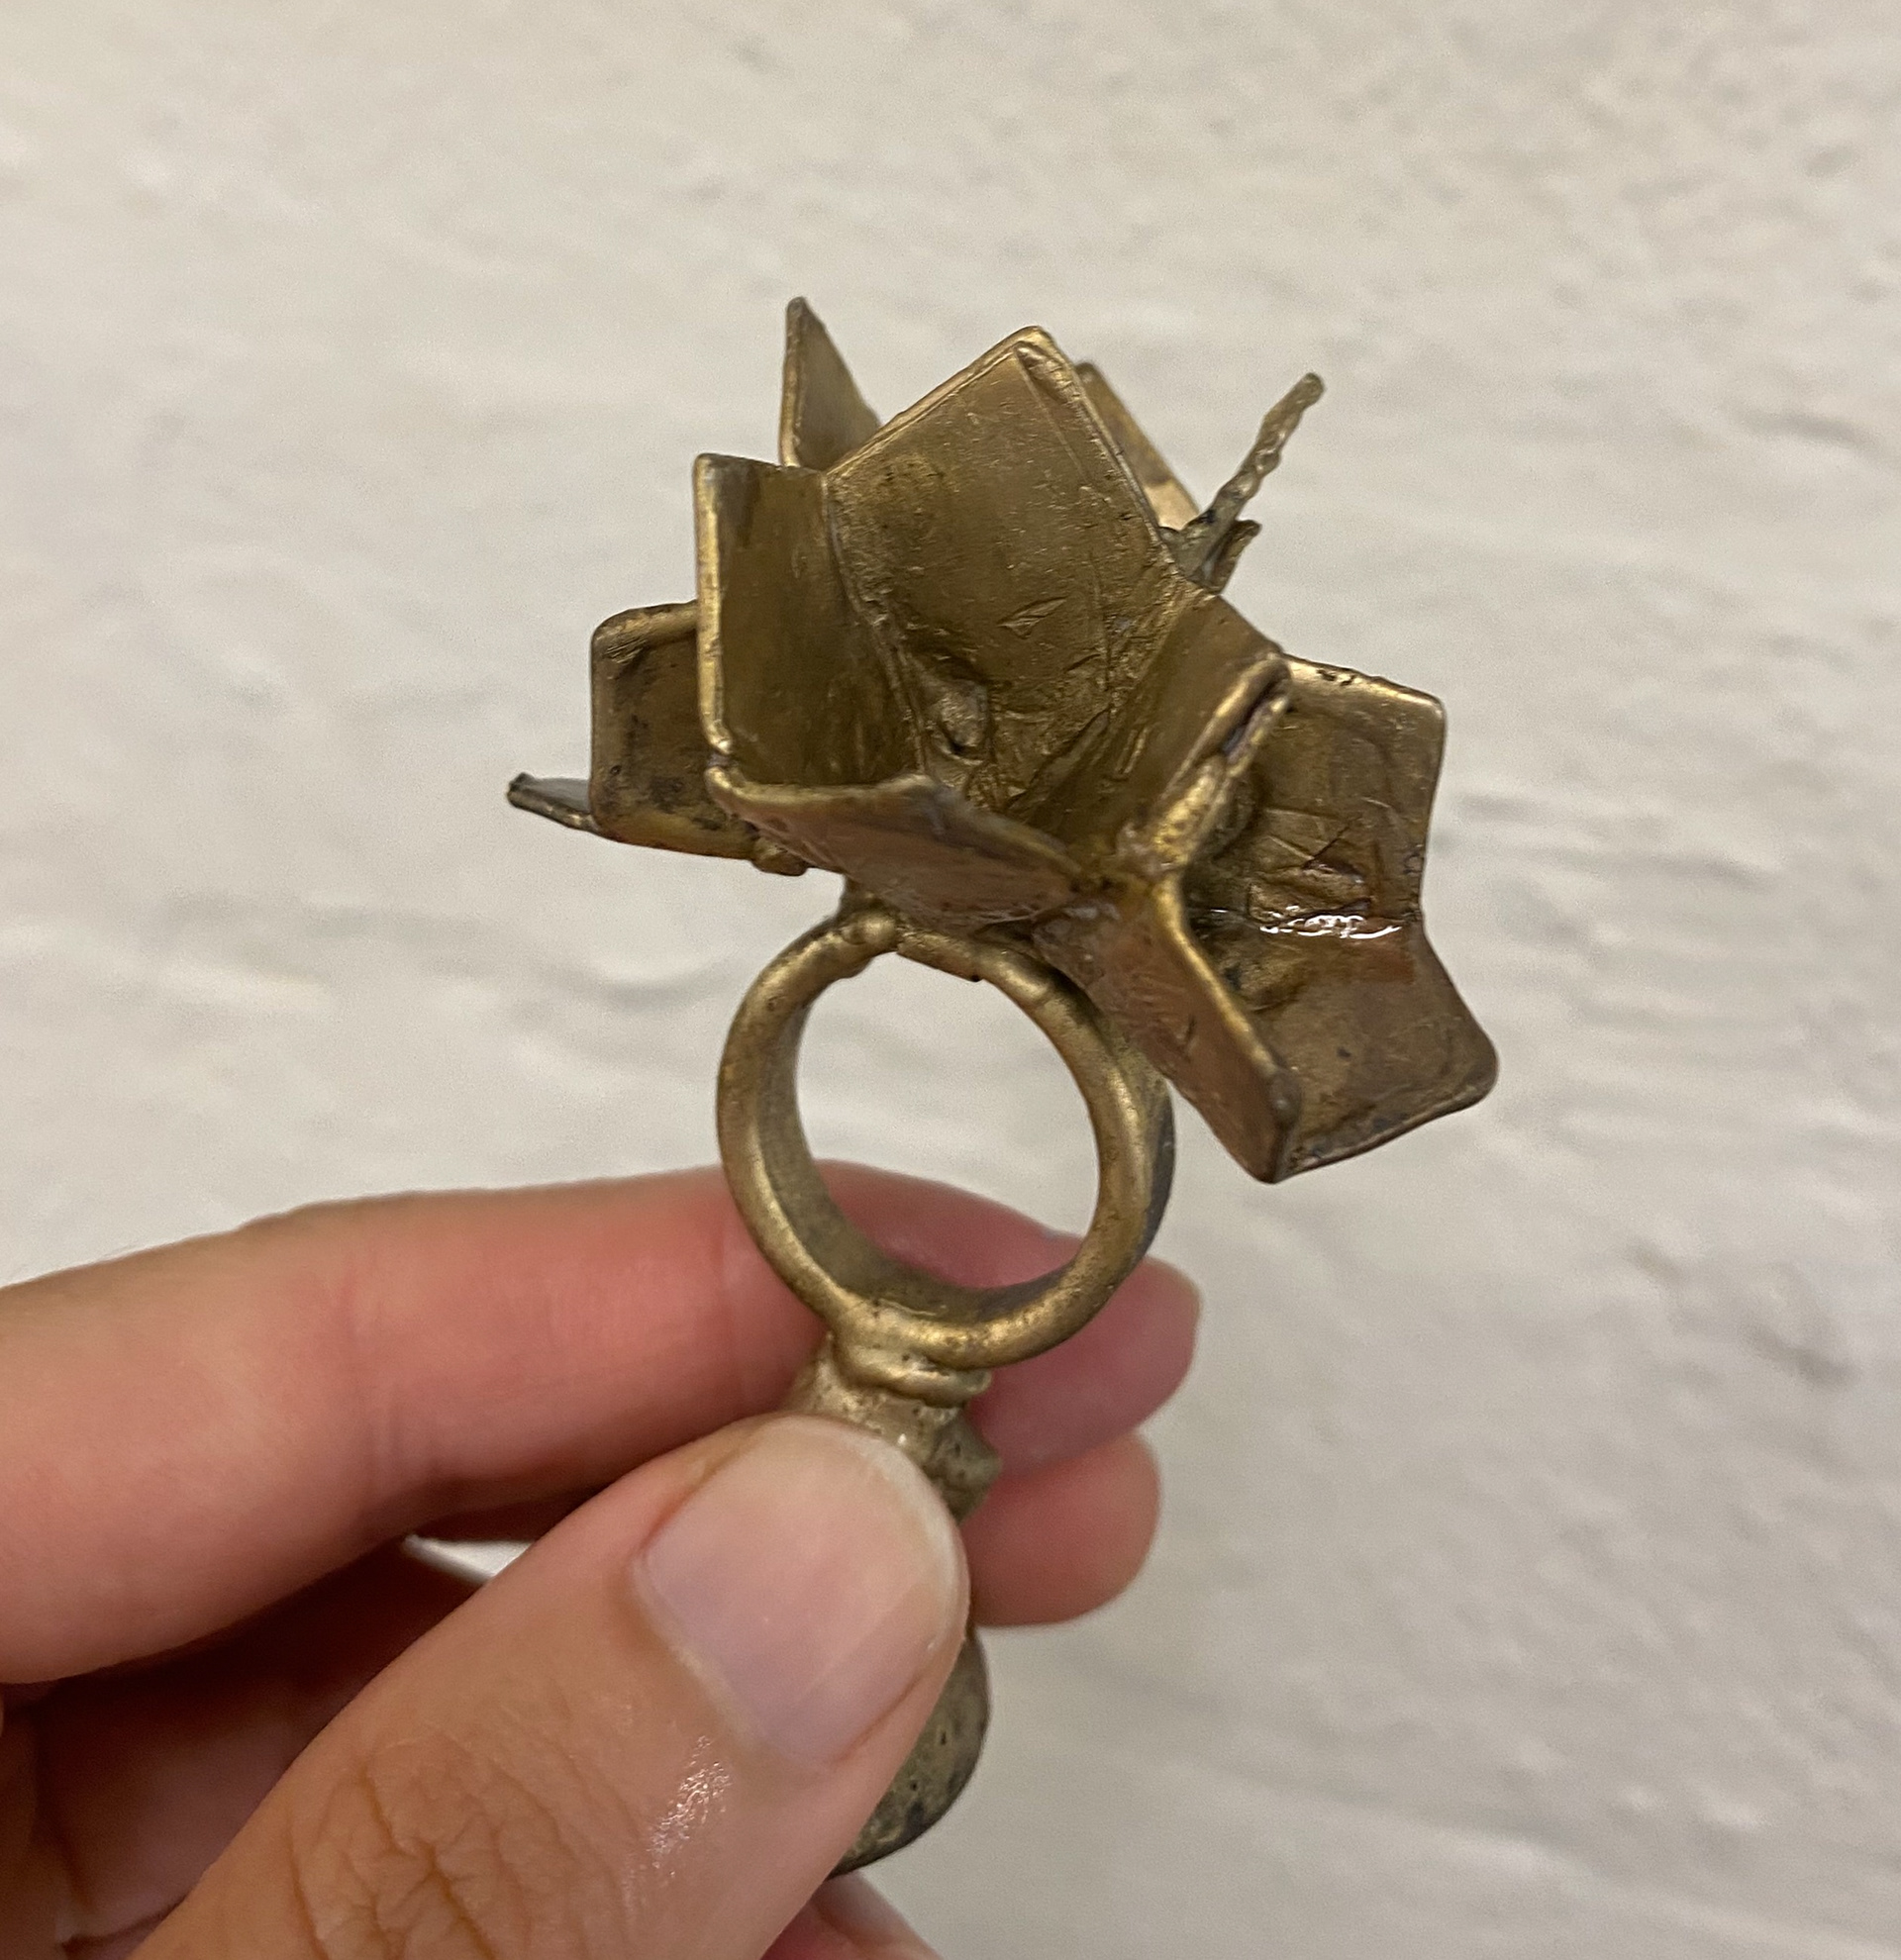
ring after being cast
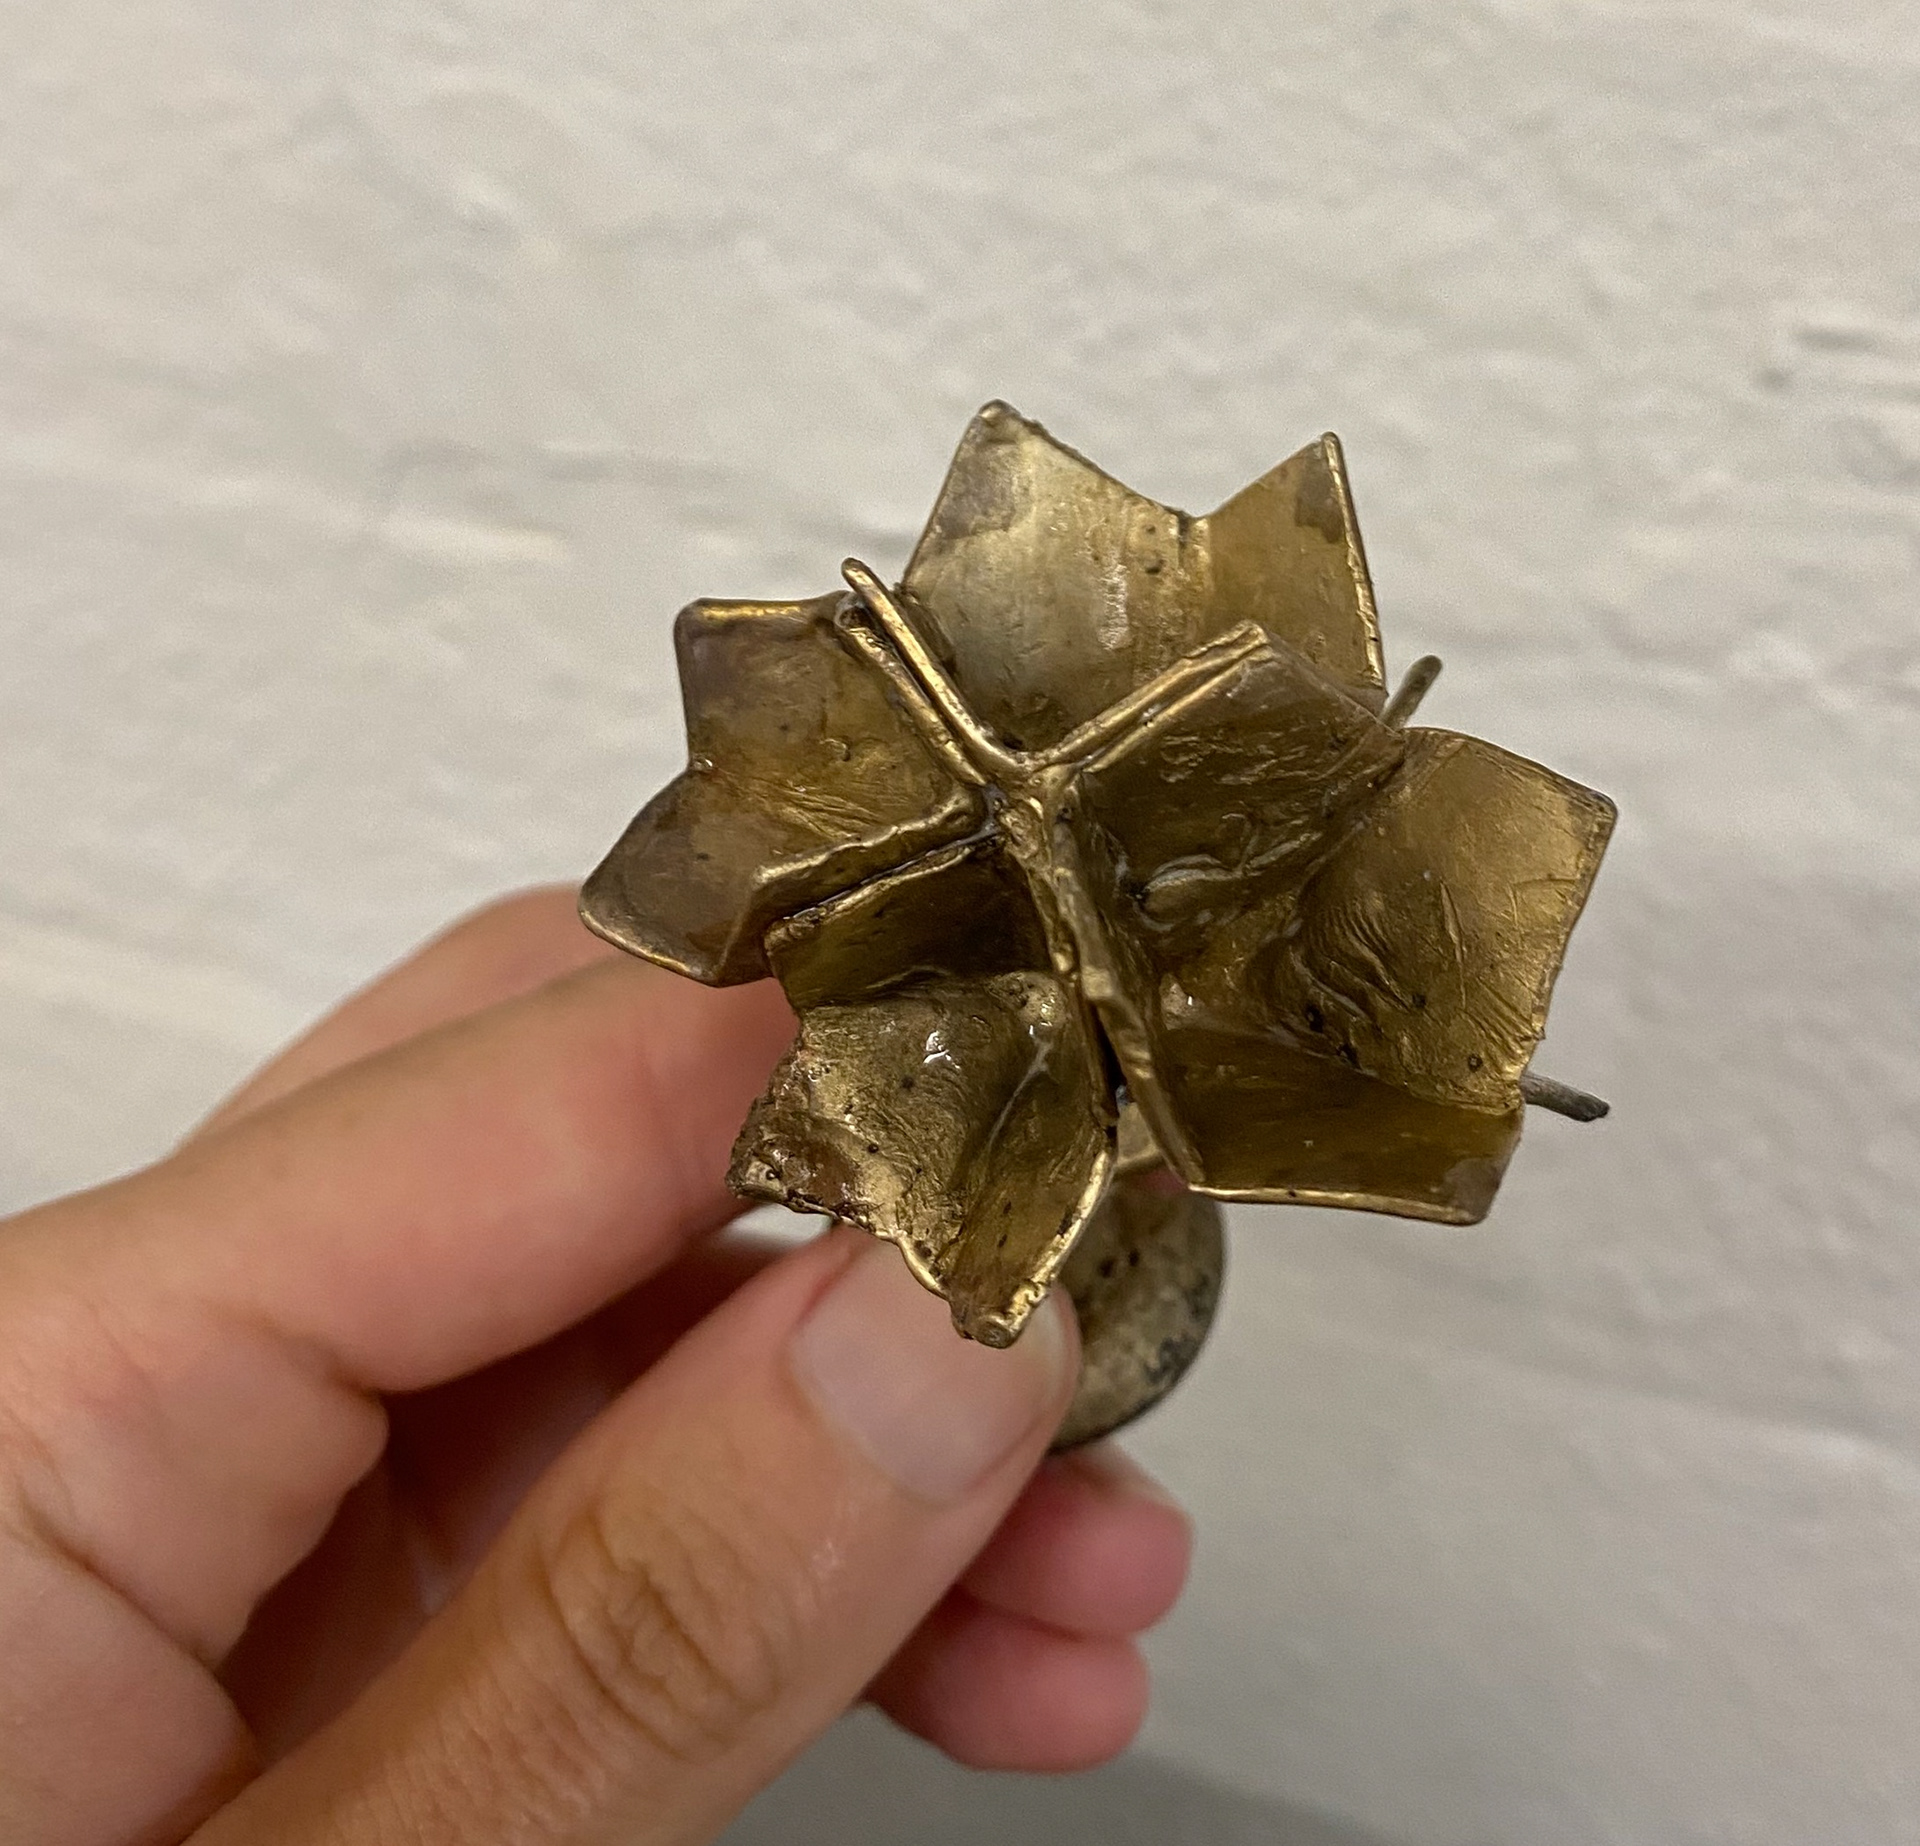
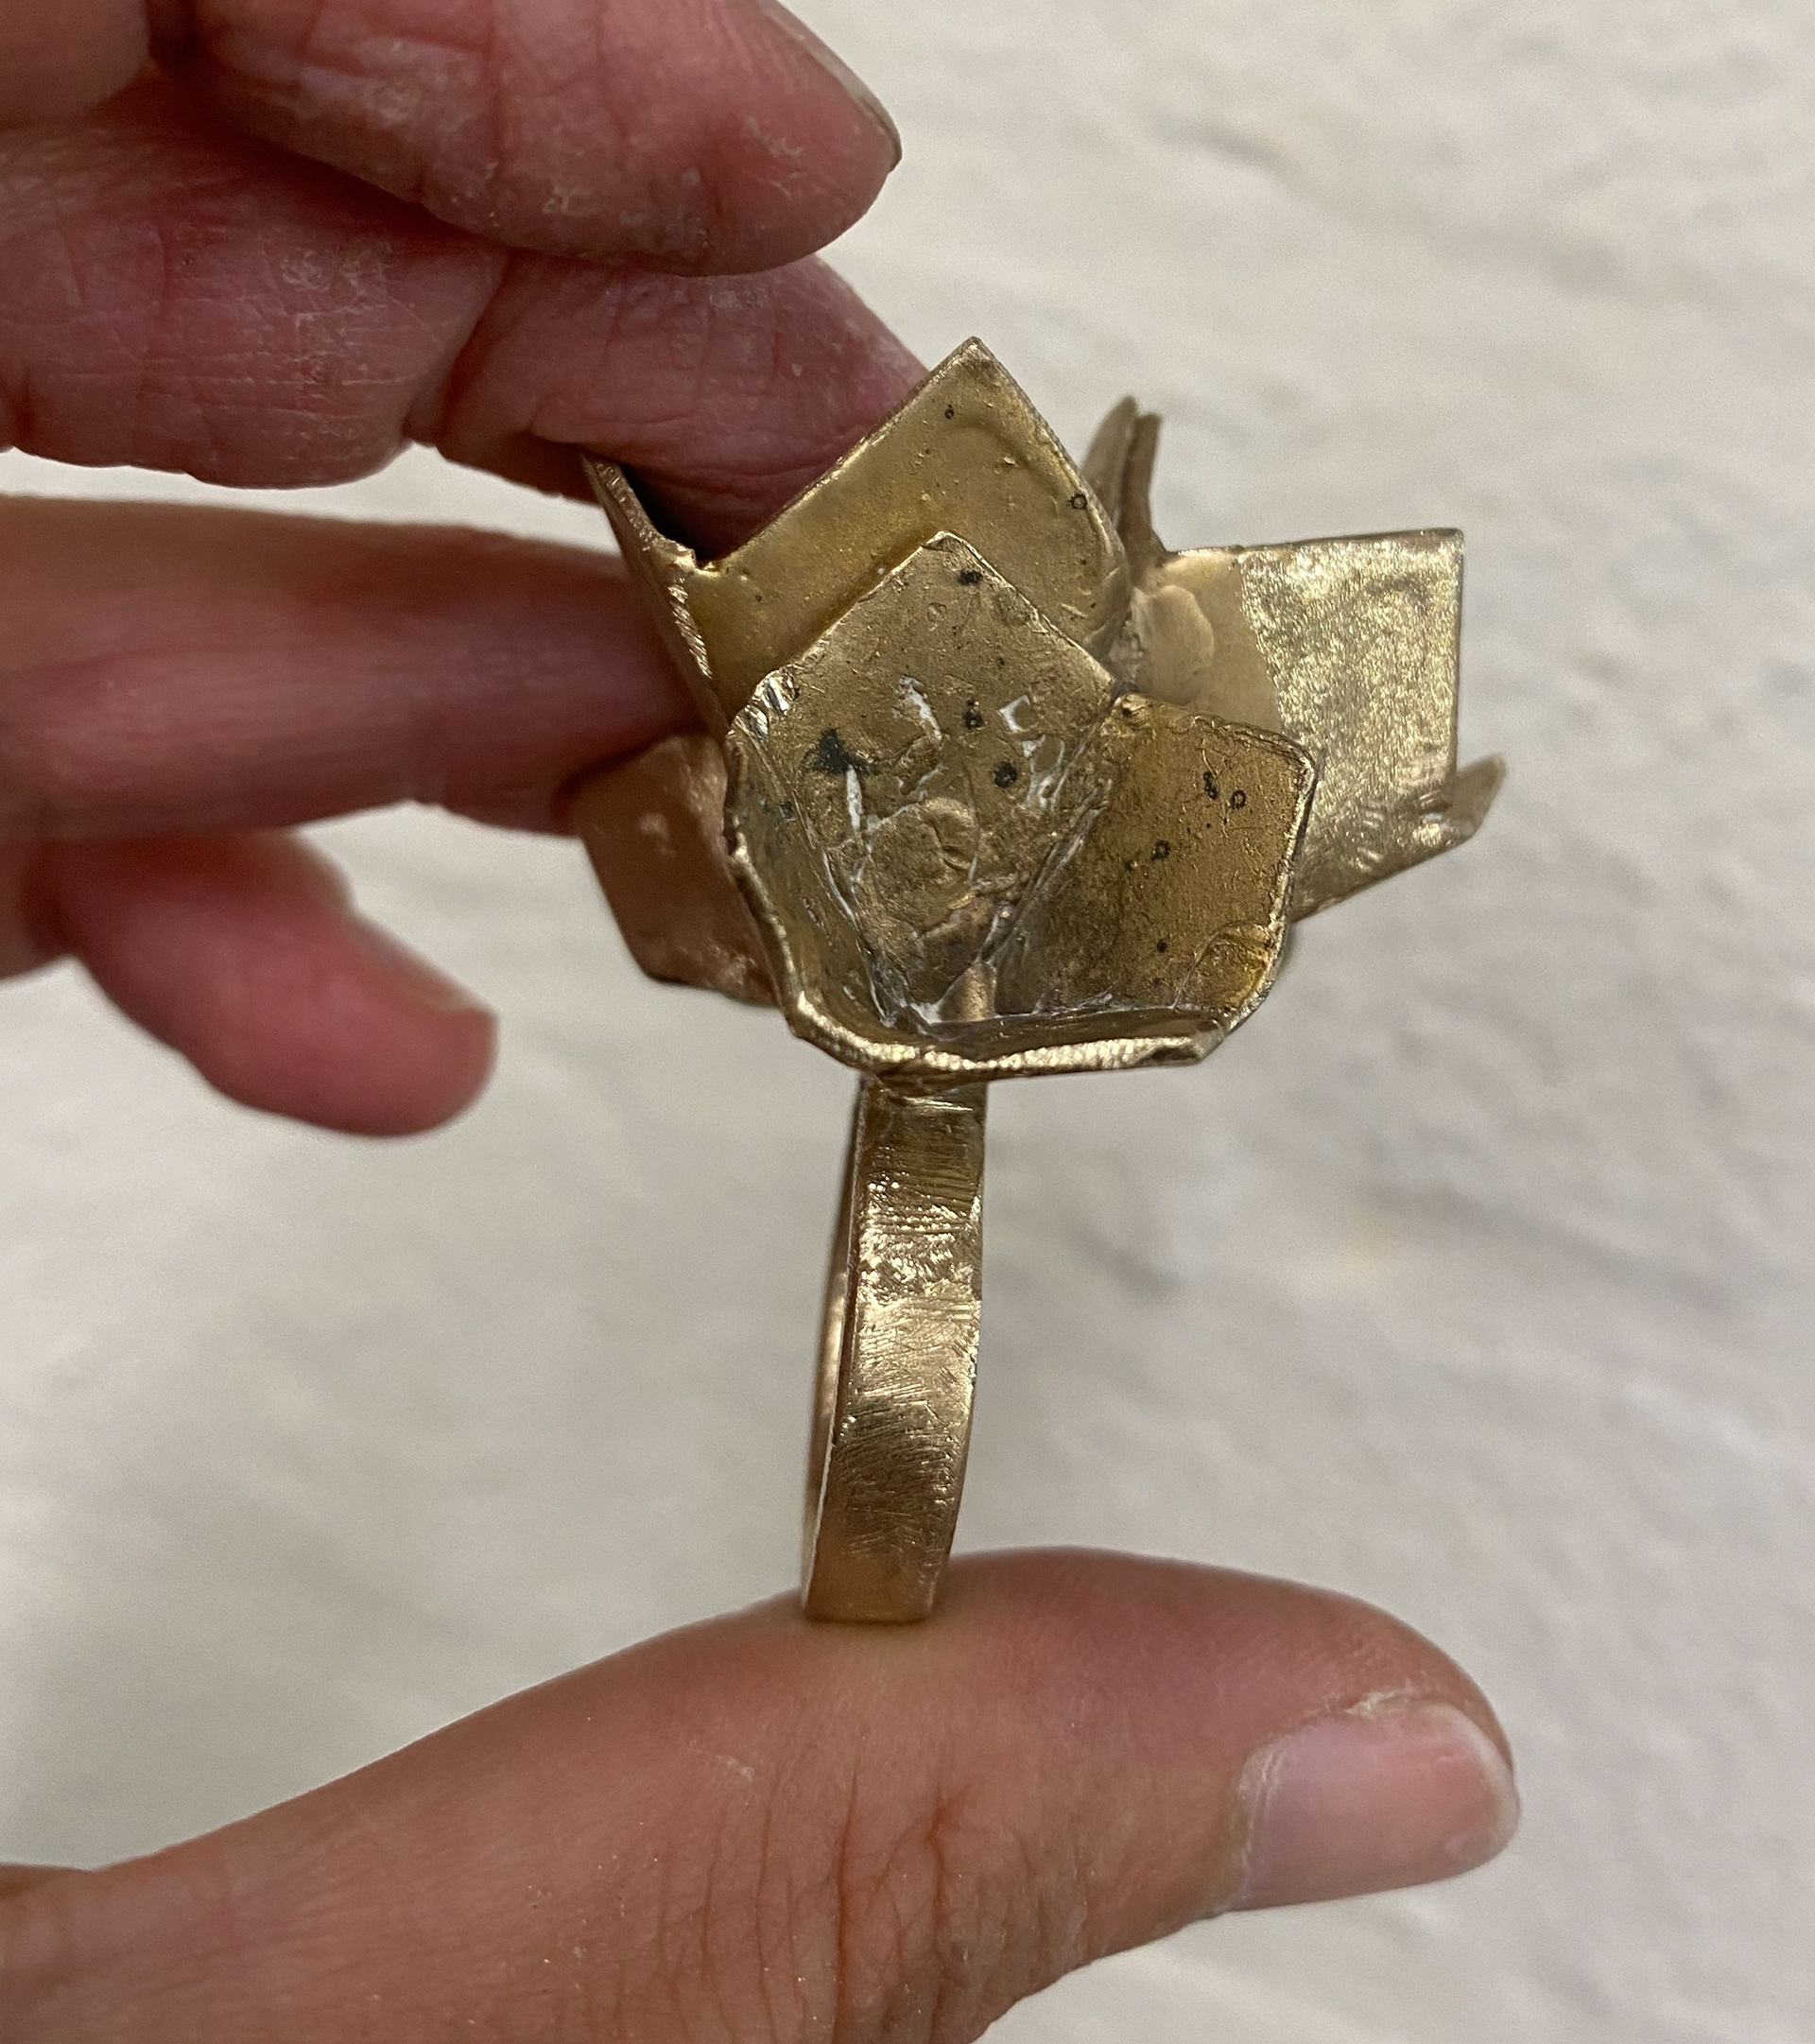
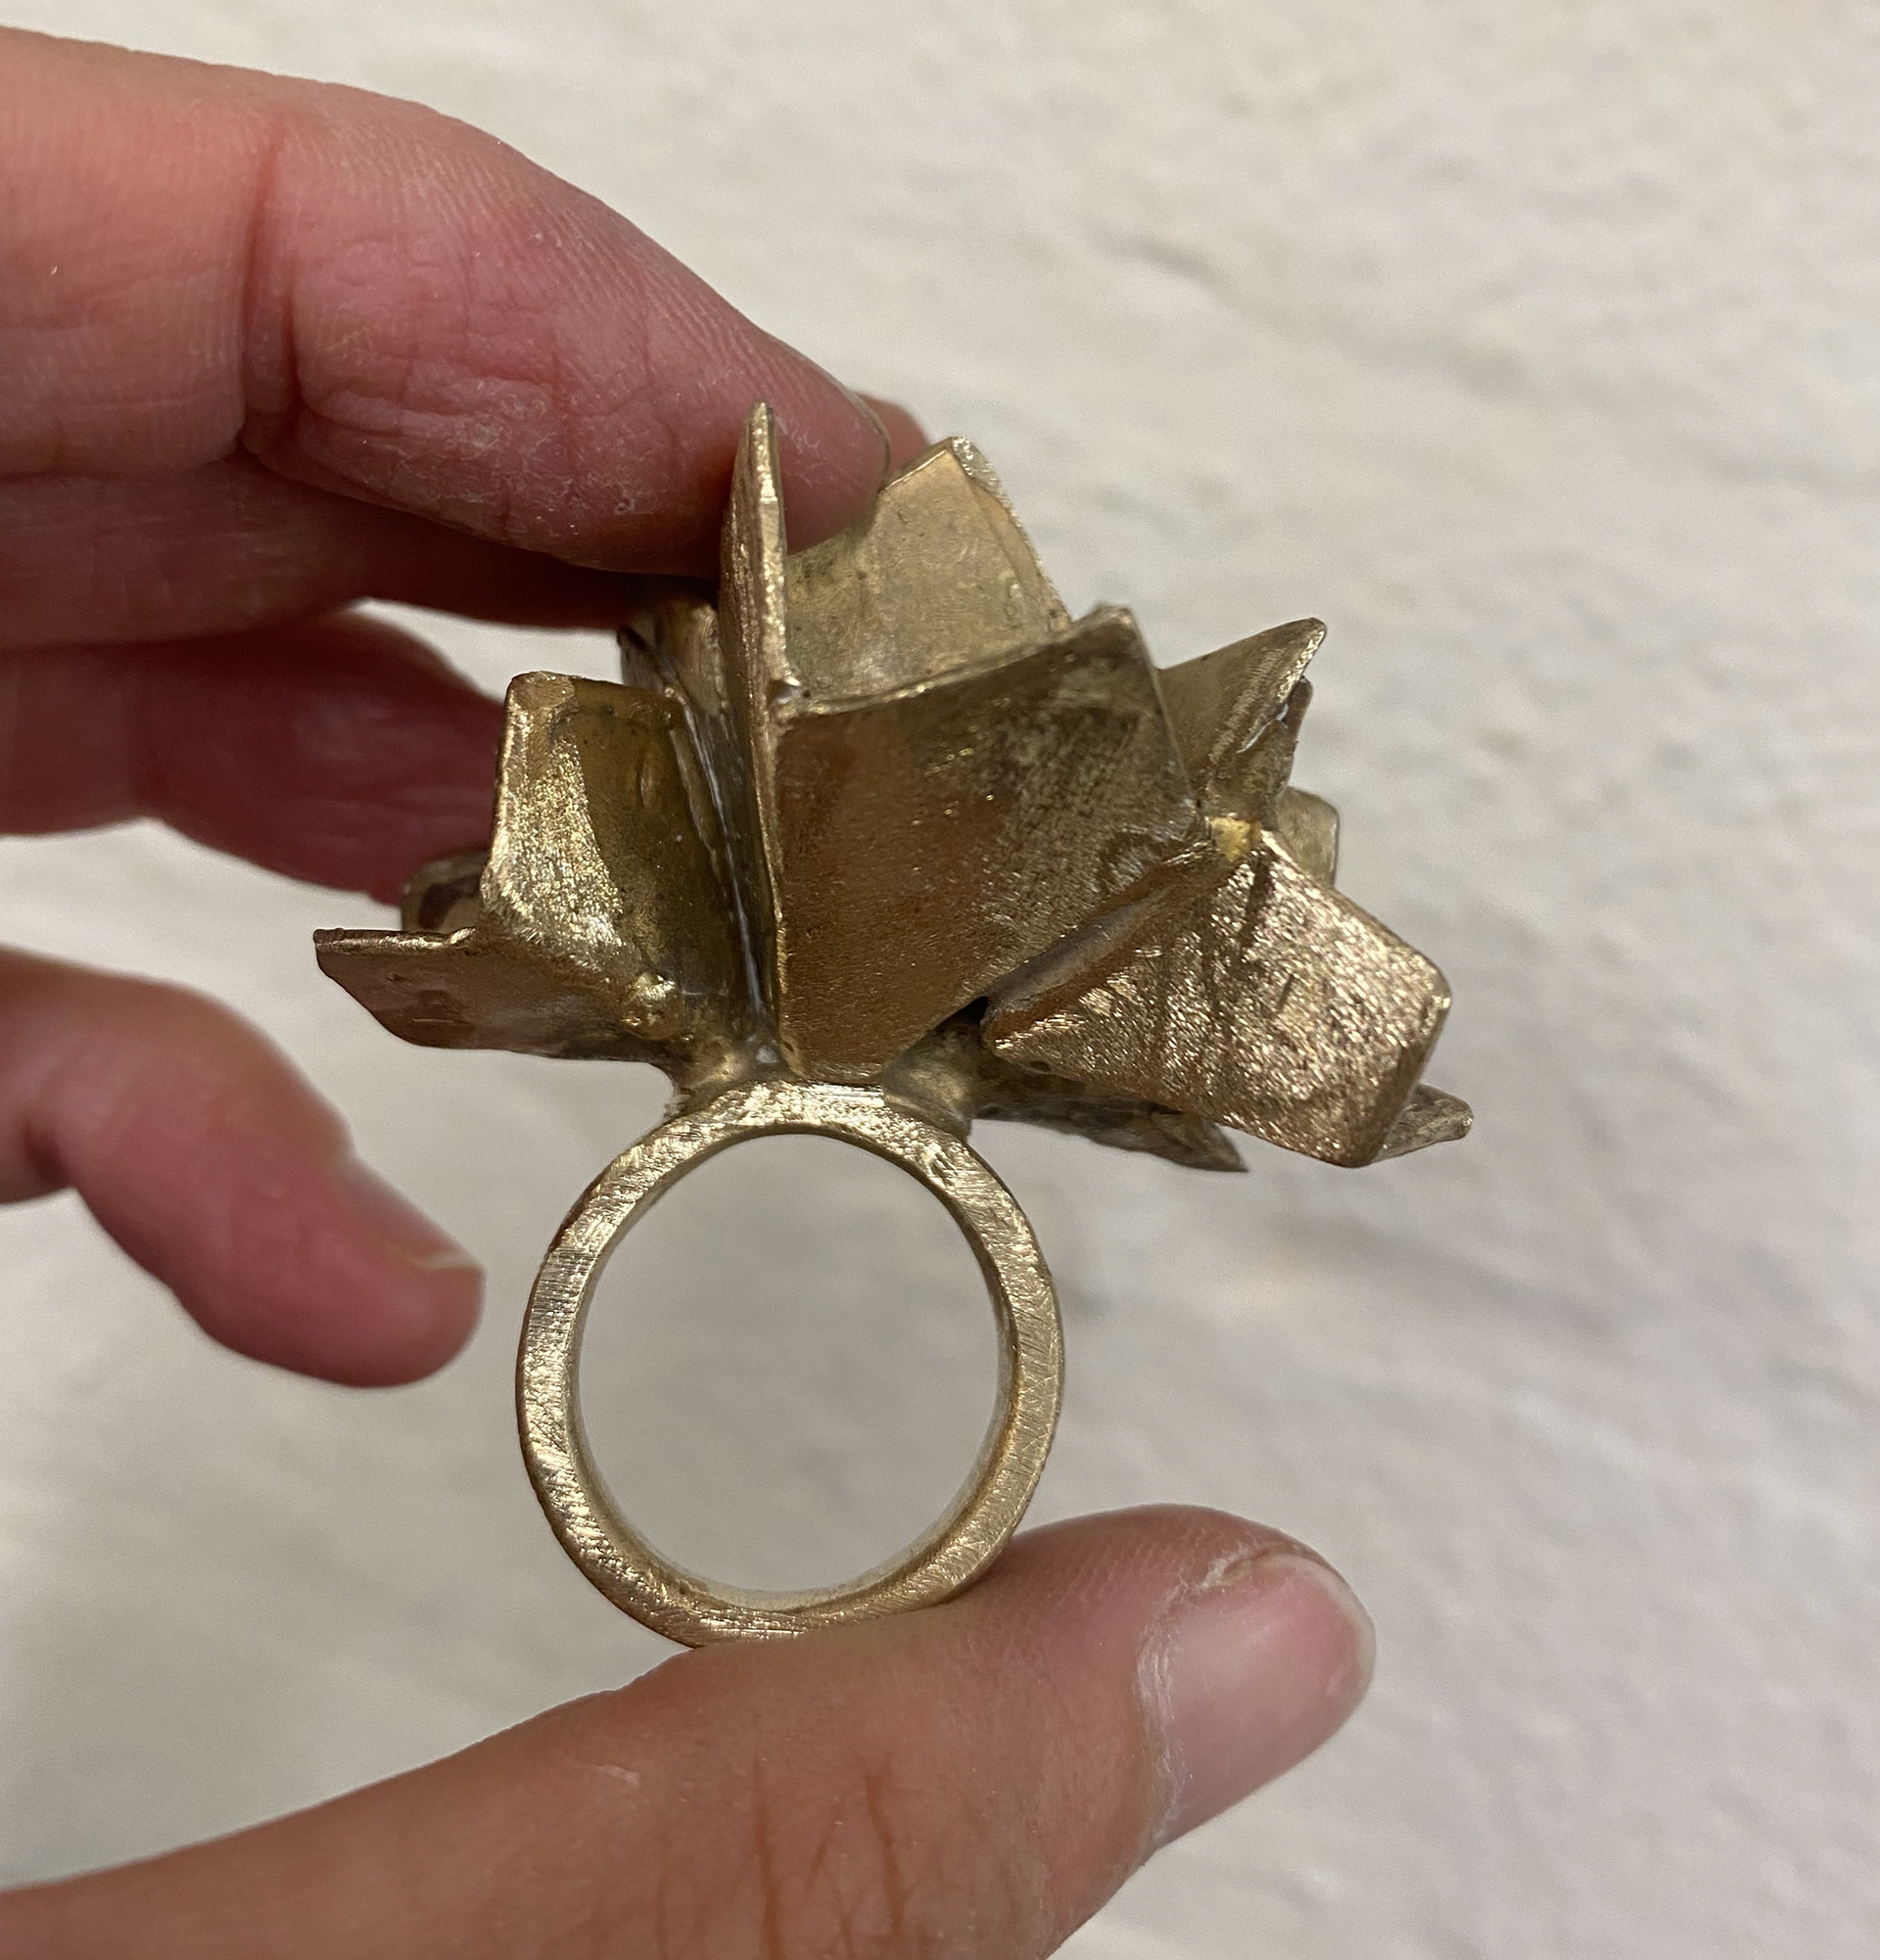
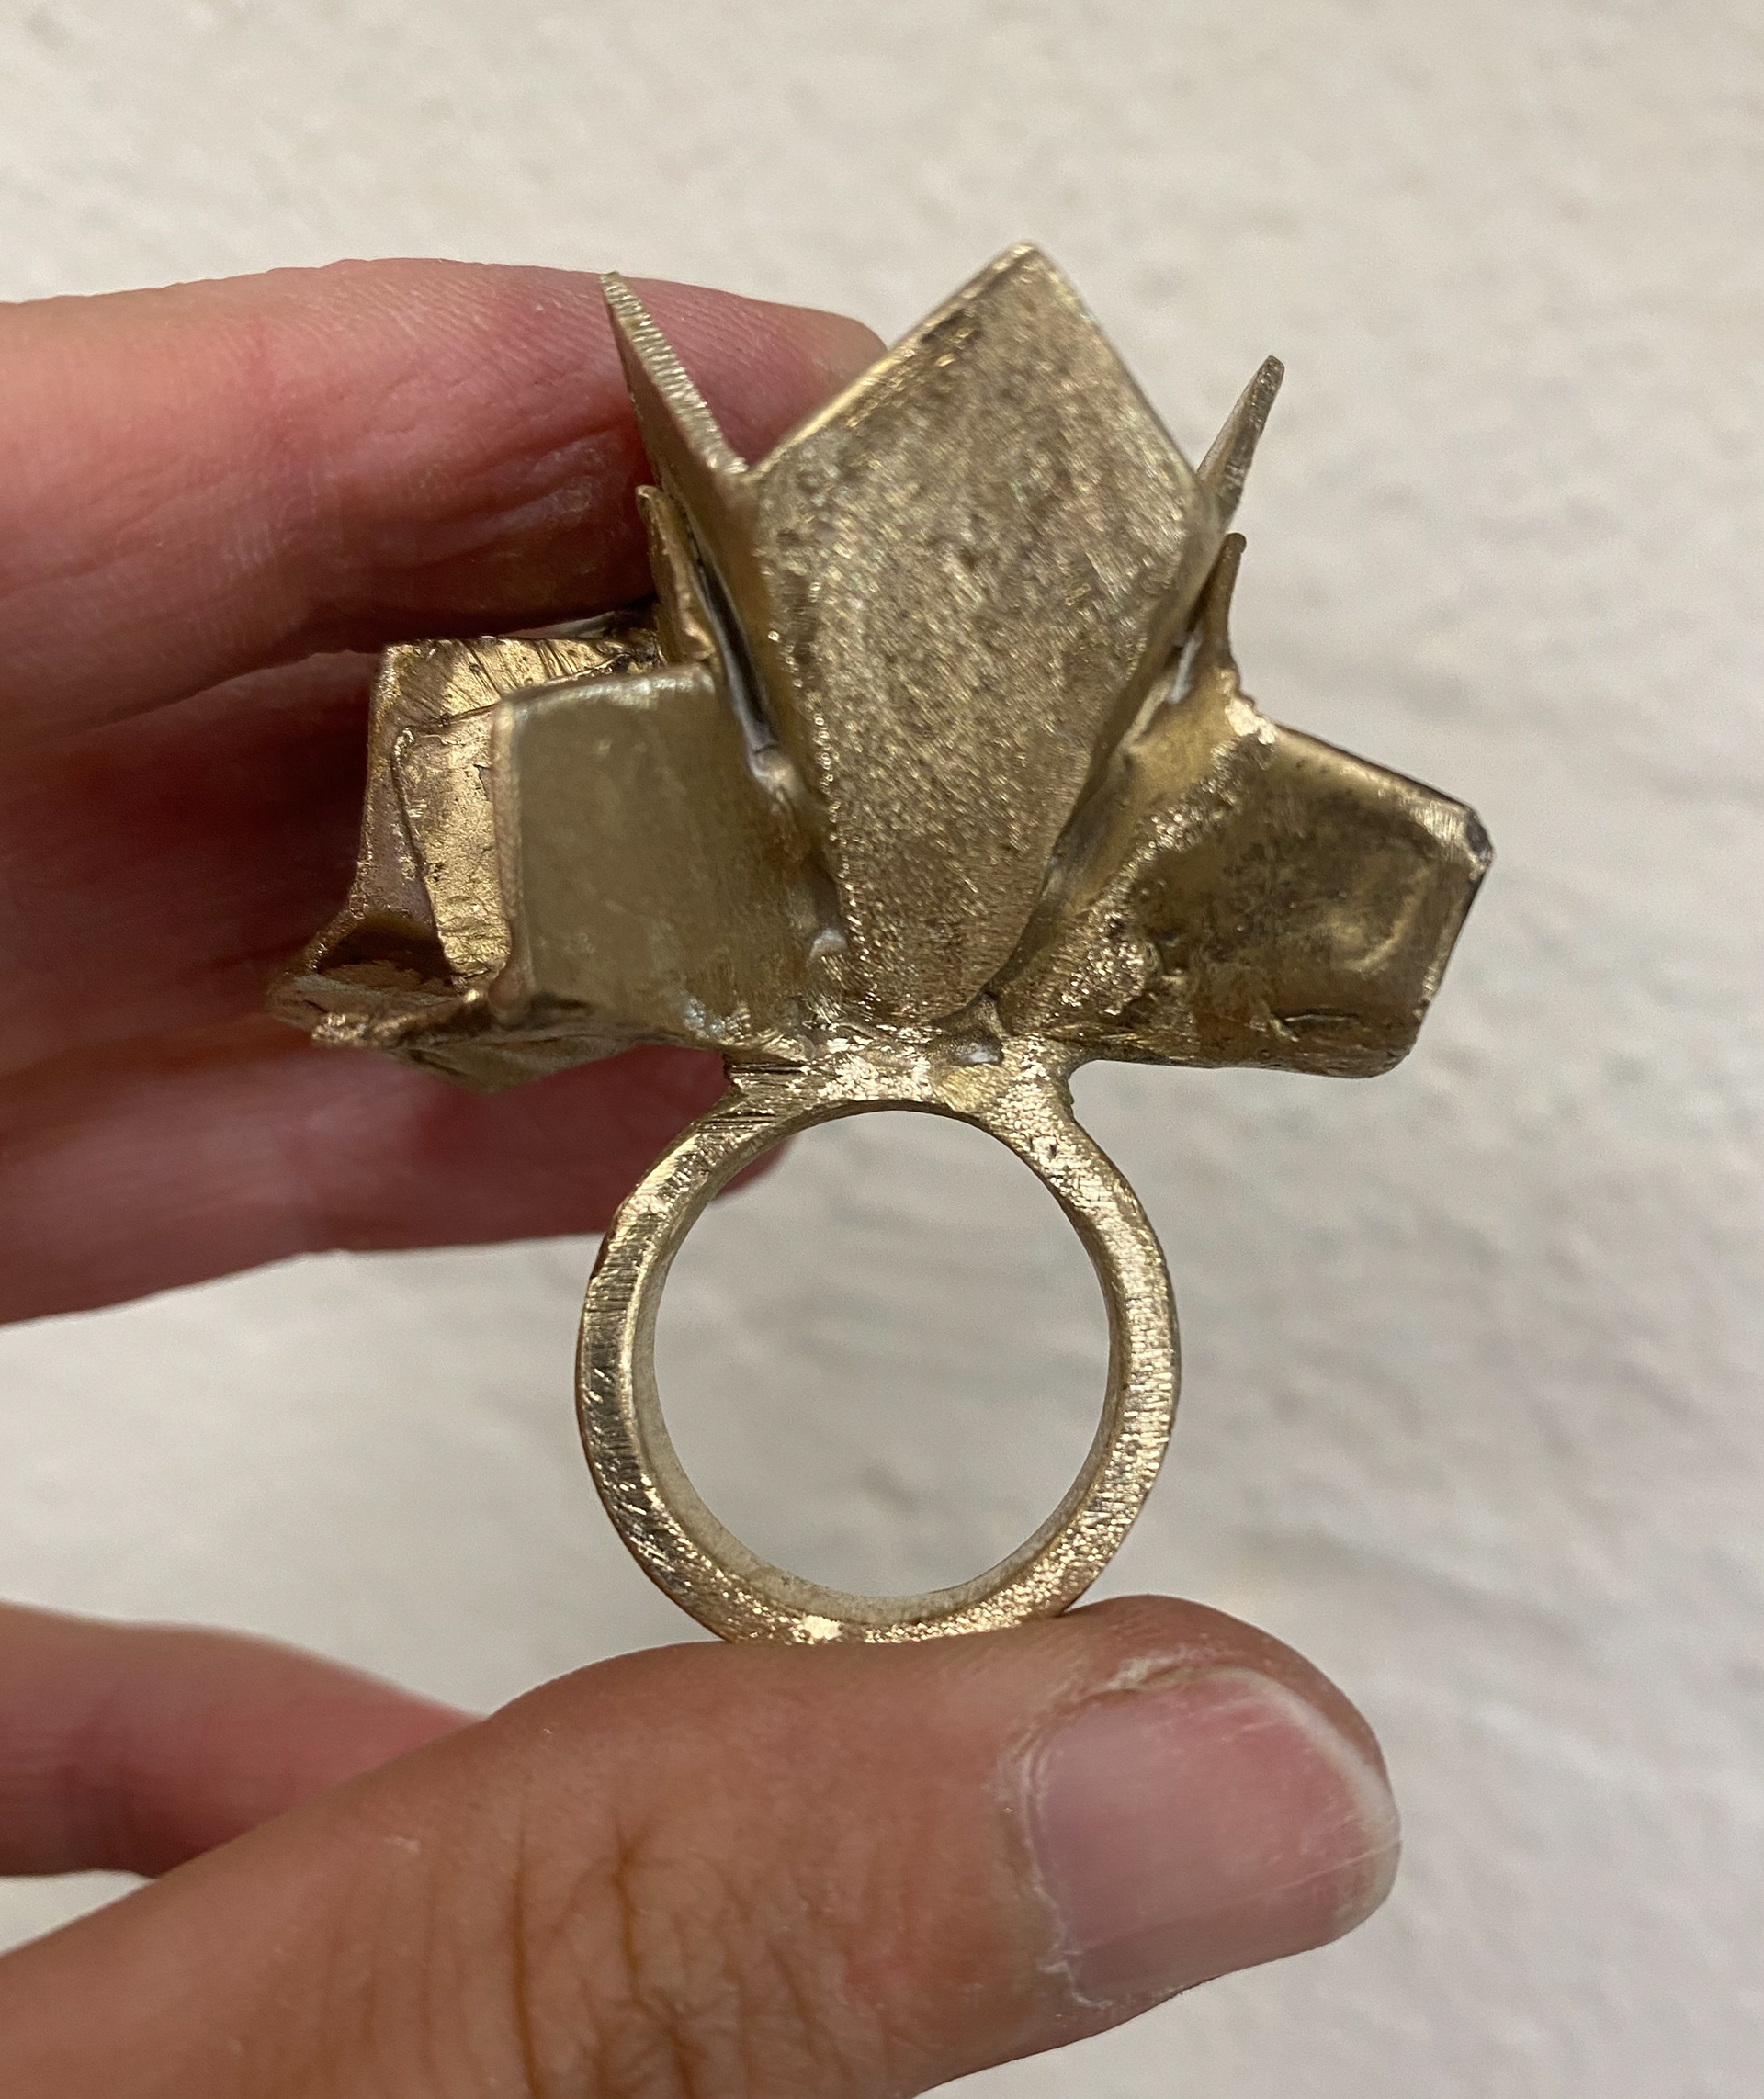
After reflecting on this cast, I decided if I was to do it again I would use a different method such as fold forming to create sharper folds and then solder the pieces together. I would also consider where the same size shape meets, to just have this as one piece to reduce the amount of material, which would then reduce the weight. If I was going to cast it again I would make sure I spend more time getting the wax piece more refined and maybe use a netting method to create the 3D forms like I would as if it was metal.
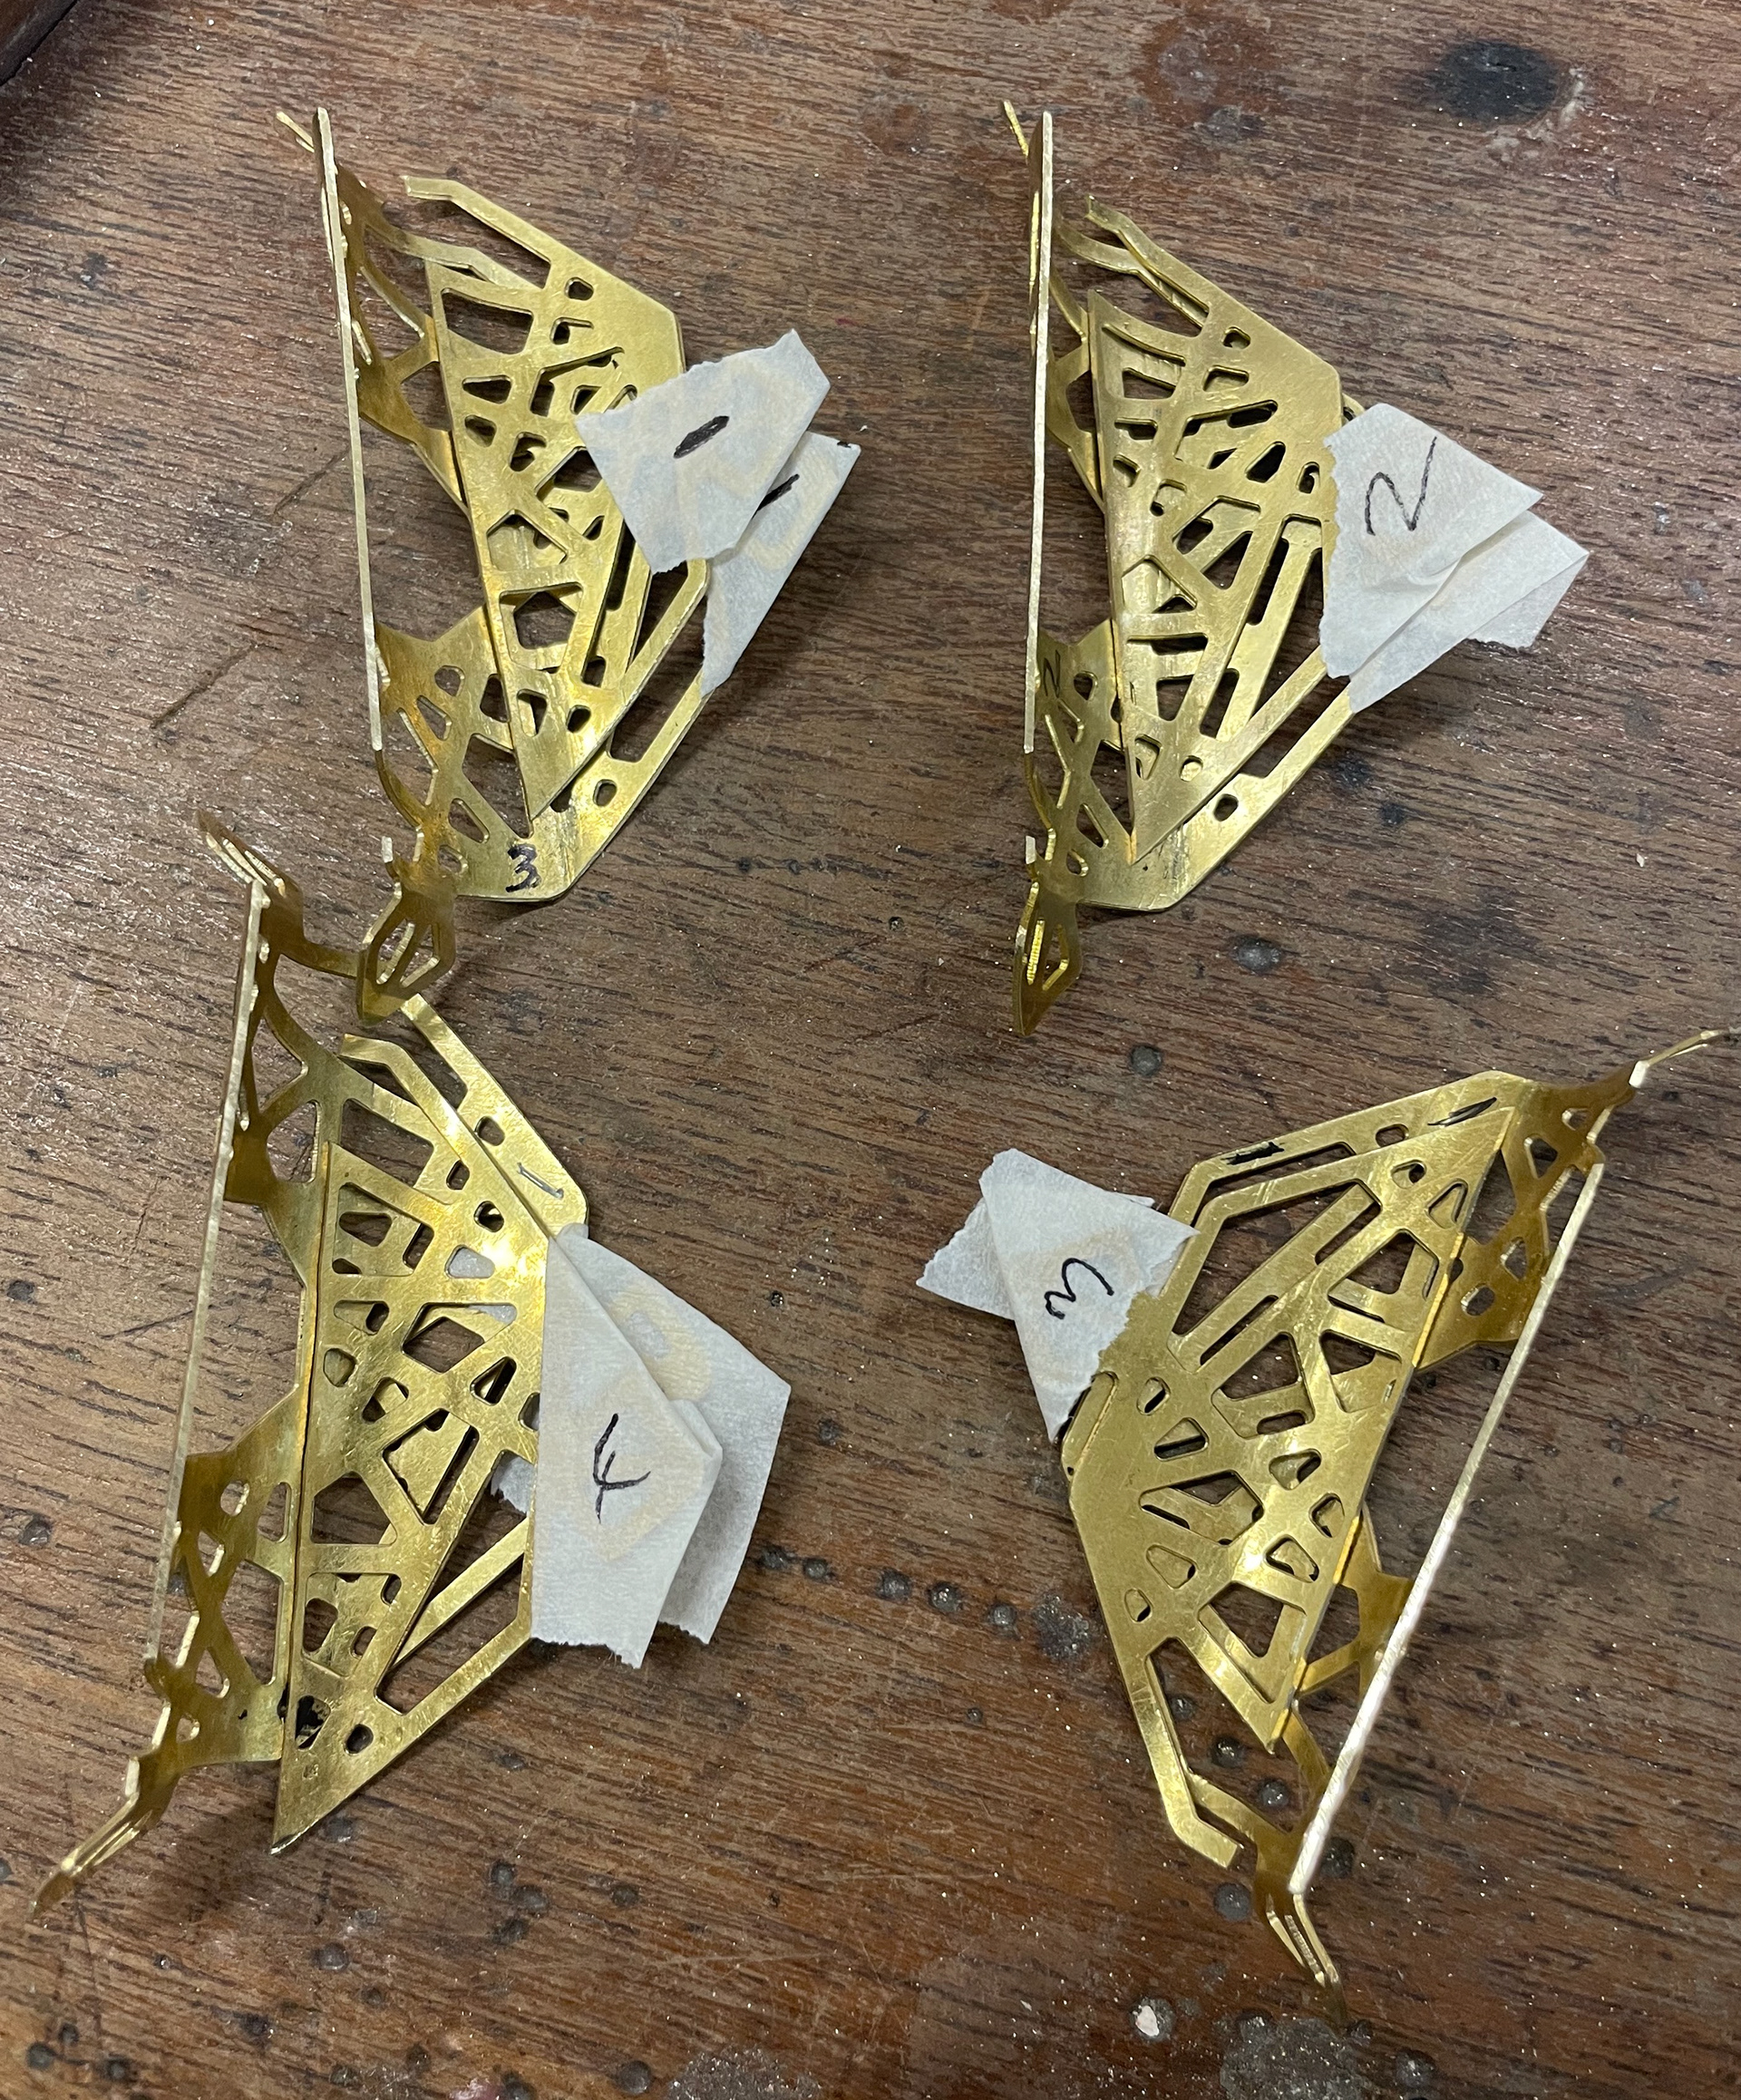
Refining Hinge samples
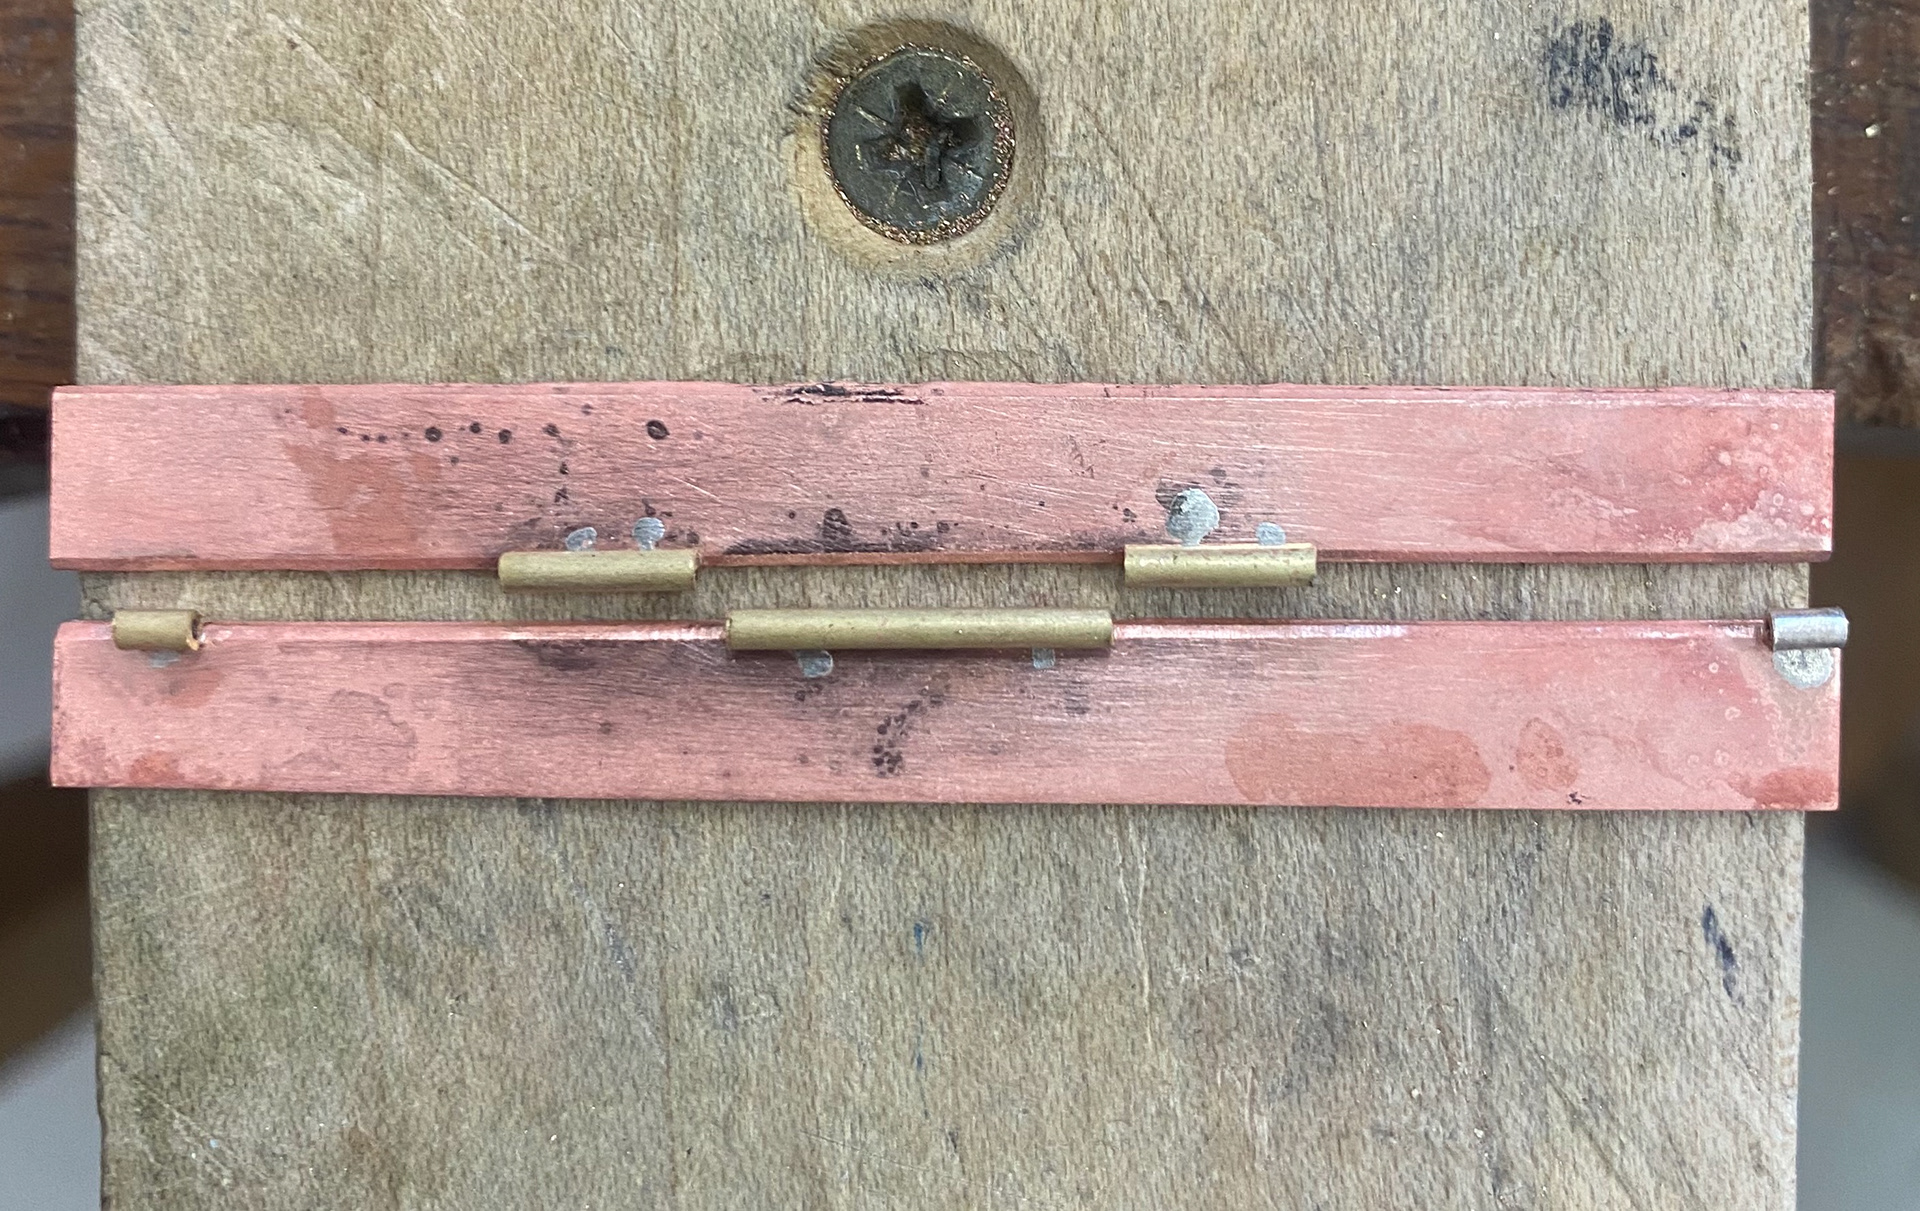
After a group crit session, I decided I needed to refine my hinges further and experiment with where to place the tube for the hinge to open fully. This is because when the hinge is on the box, it needs to be able to open fully back so that you can get access to the box easily. I decided to go with using four hinge pieces of 3mm each so that it is sturdy enough but also keeping the hinge to a minimal aesthetically. I experimented with the gap between the joining pieces where the tube sat and how that would affect the movement of the hinge.
Hinges ready to be soldered
Back of hinge
Inside of hinge
Second hinge test at different angels
Second hinge test at different angels
Second hinge test at different angels
Backs of different hinges placed in different positions
Hinge with bigger gap
Hinge with bigger gap between metal
Hinge with bigger gap between metal
Hinge with bigger gap between metal

hinge comparisons
Refining hinges
Refining hinges
Back of all hinges
Front of all hinges
As a result of testing and refining the hinges, I found that if I placed the gap the same width as the tube the hinge could open fully backwards and forwards meaning that the box would open how I would like. Towards the end of this testing stage, I believe I managed to get the hinges quite refined. However, to help me further I believe if I had graphite sticks the same length as the hinge this would help me hold the hinges in place easier rather than using two graphite sticks and it being more complex to align.
CLASP RESEARCH
Next, I moved on to research the clasps for the top of the box to hold it shut. I had a few ideas as to what I could potentially use after doing some research online and in books from the library. I thought about a snap and ball lock, using tiny magnets or a slide-in and connect or a hook type of clasp. I had to consider the movement of how the hinges would move the metal shut and what would be suitable.
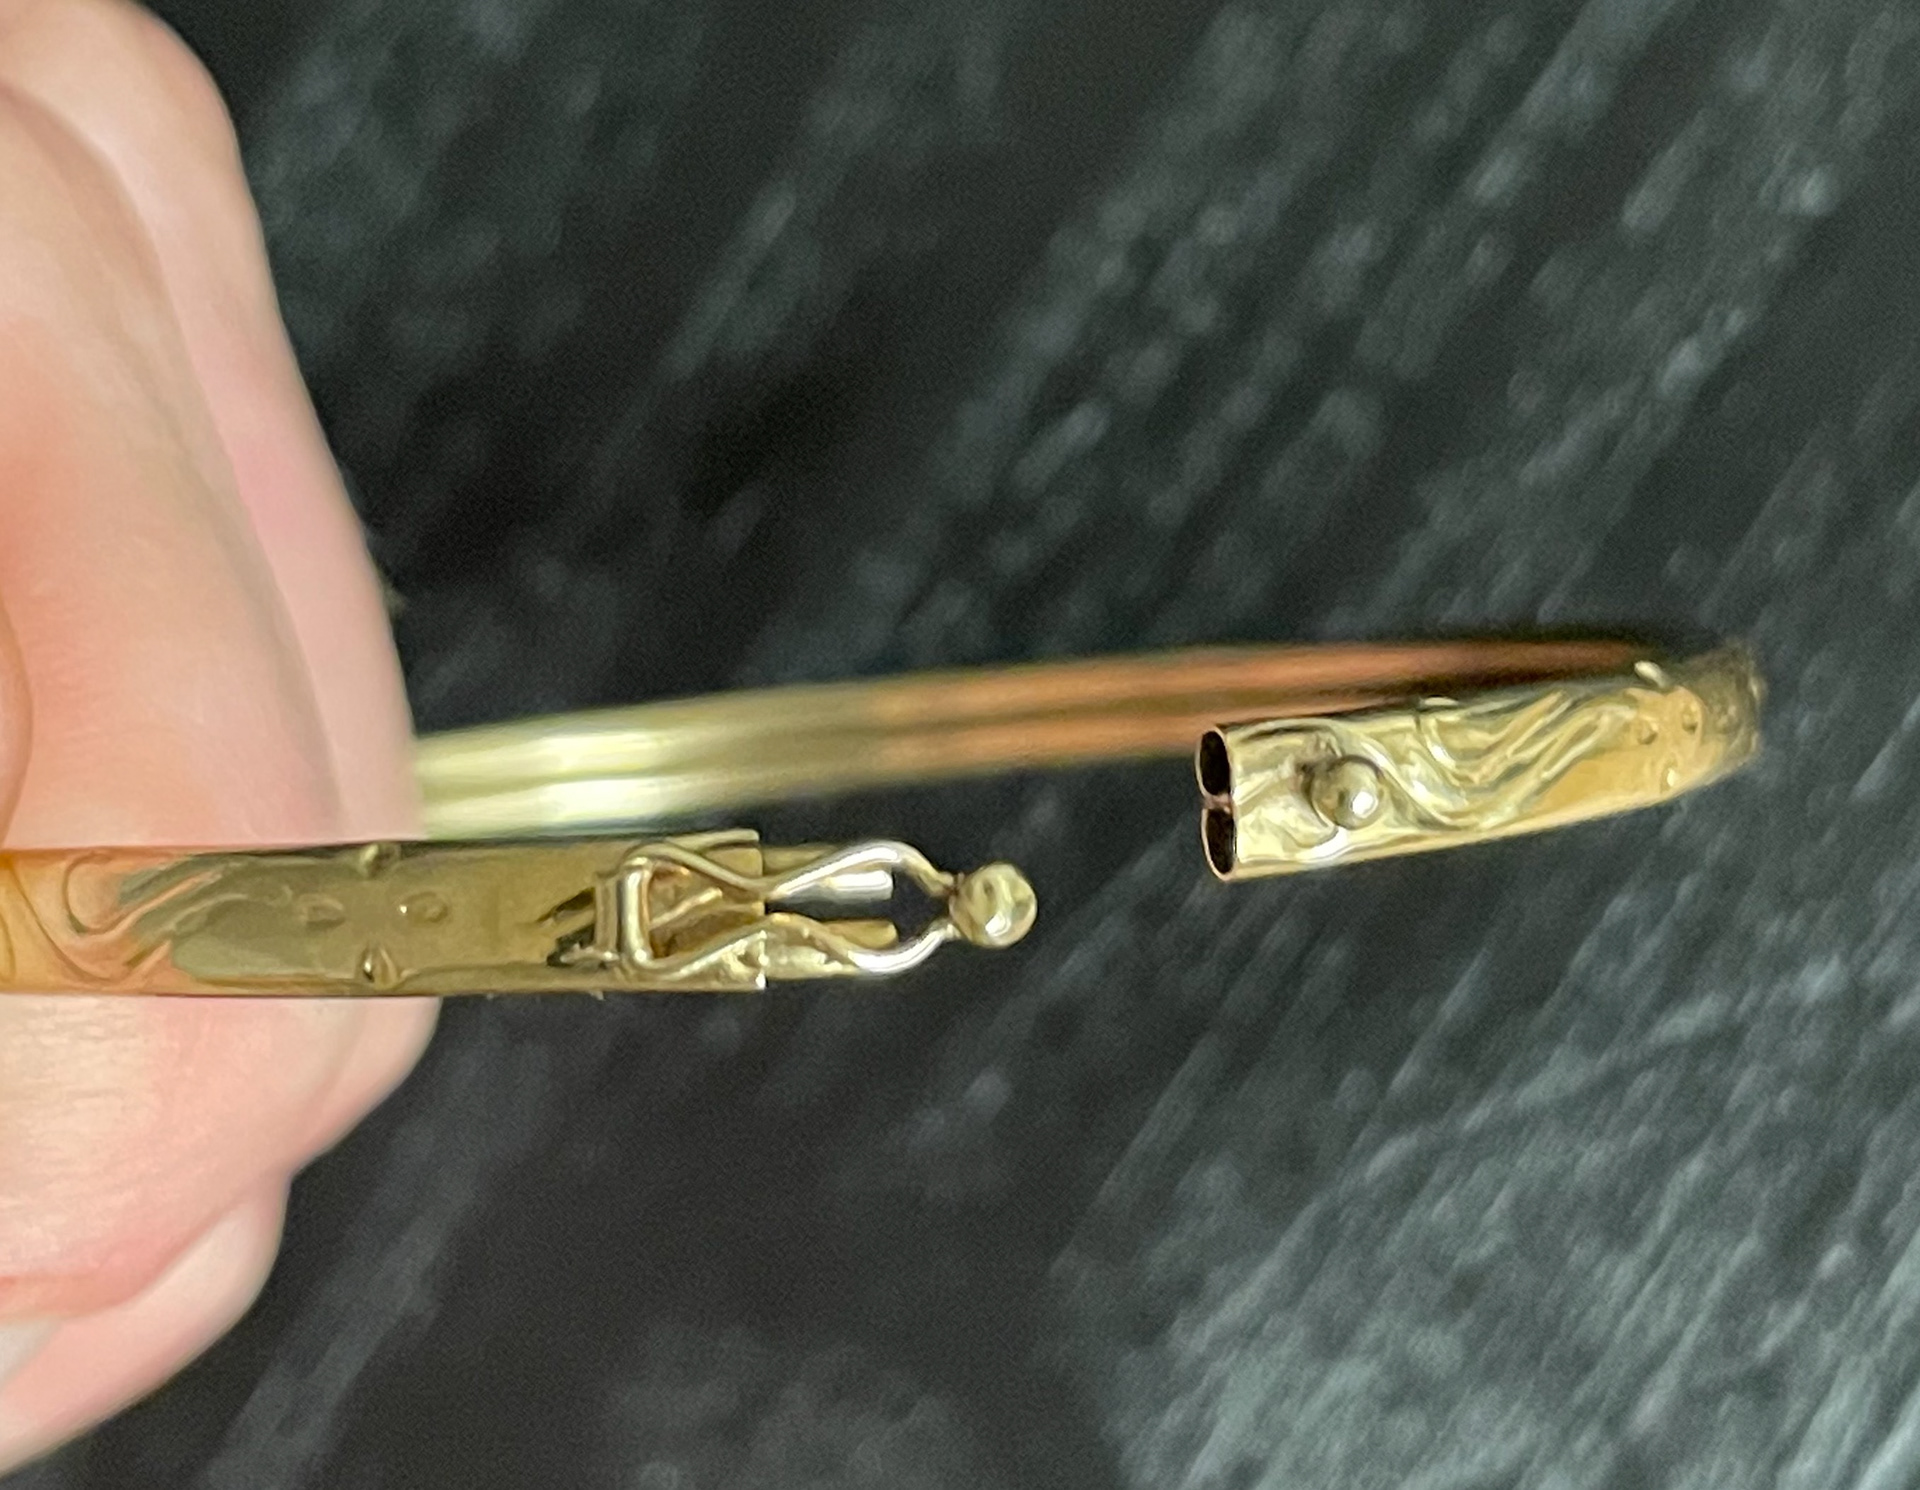
I come across a type of clasp on a bangle I wear often which my mother passed down to me from my grandmother whom I unfortunately never got to meet before she passed. I found this an interesting clasp and liked that it was quite intricate and elegant but also how when you put the hoop over the ball it had a snap effect.

Sketches

3mm magnets
Page from book


Page from book

Page from book

Page from book

Page from book

Page from book

Page from book
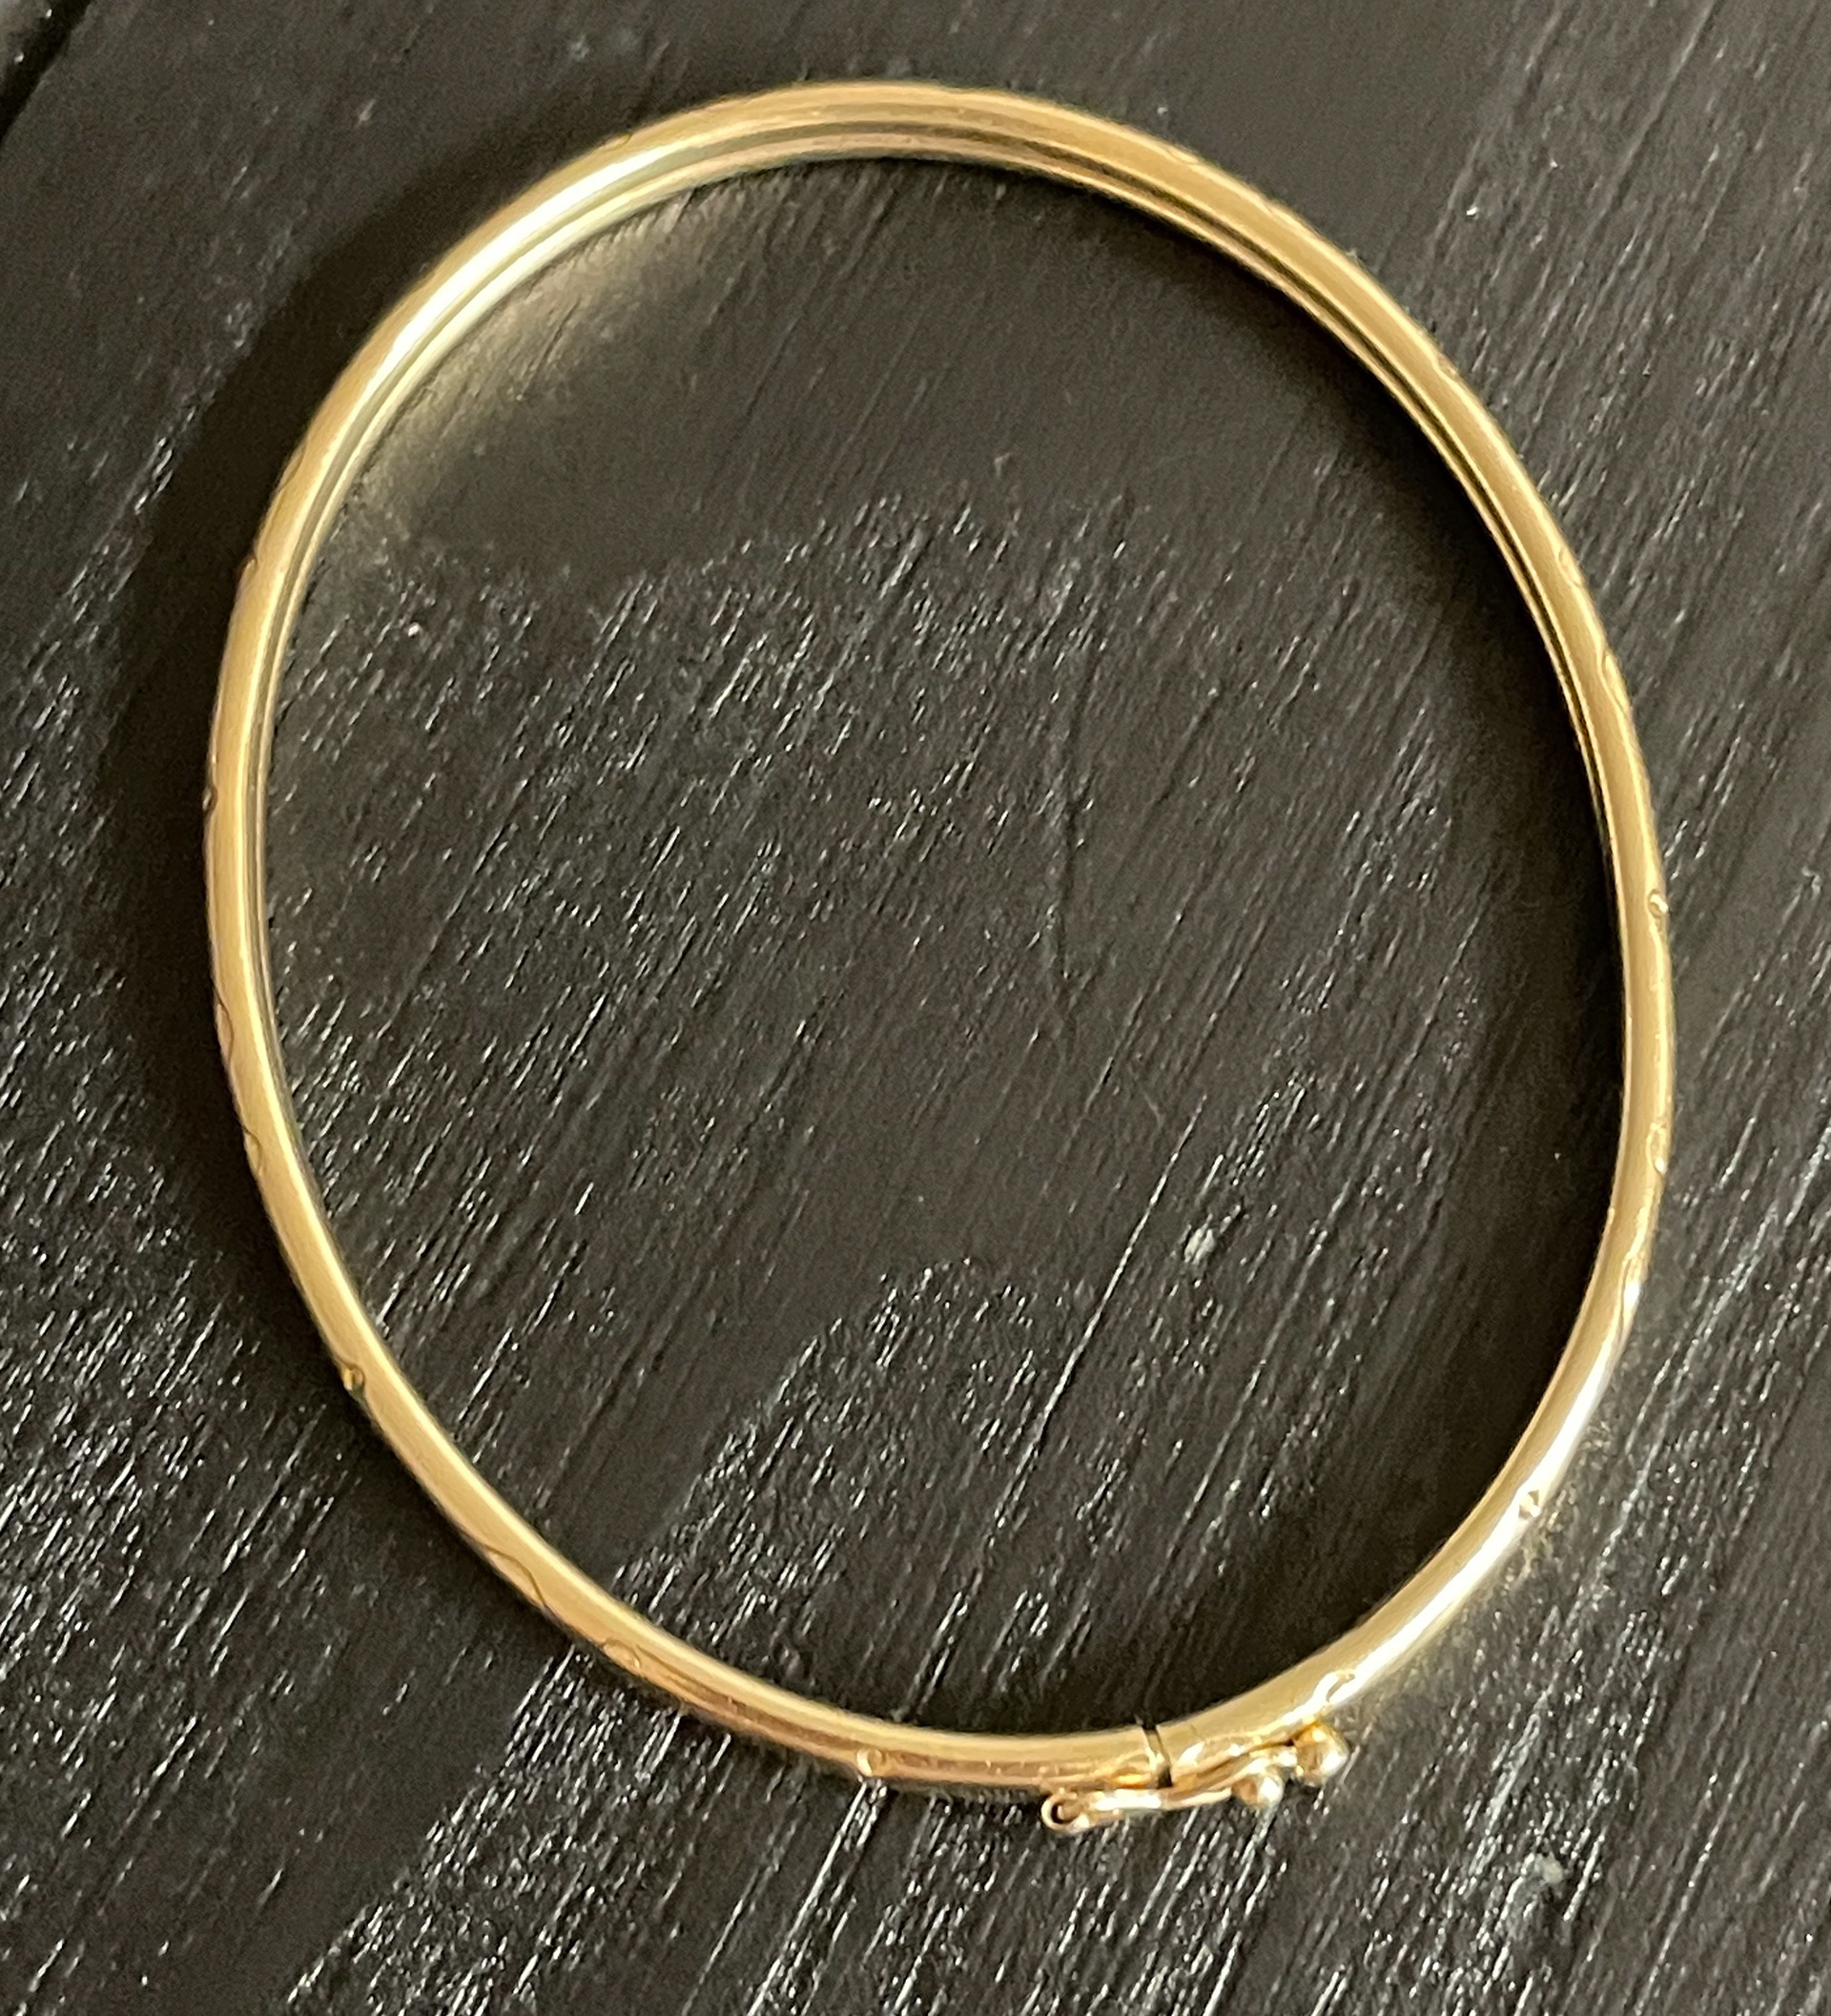
Grandmas bangle
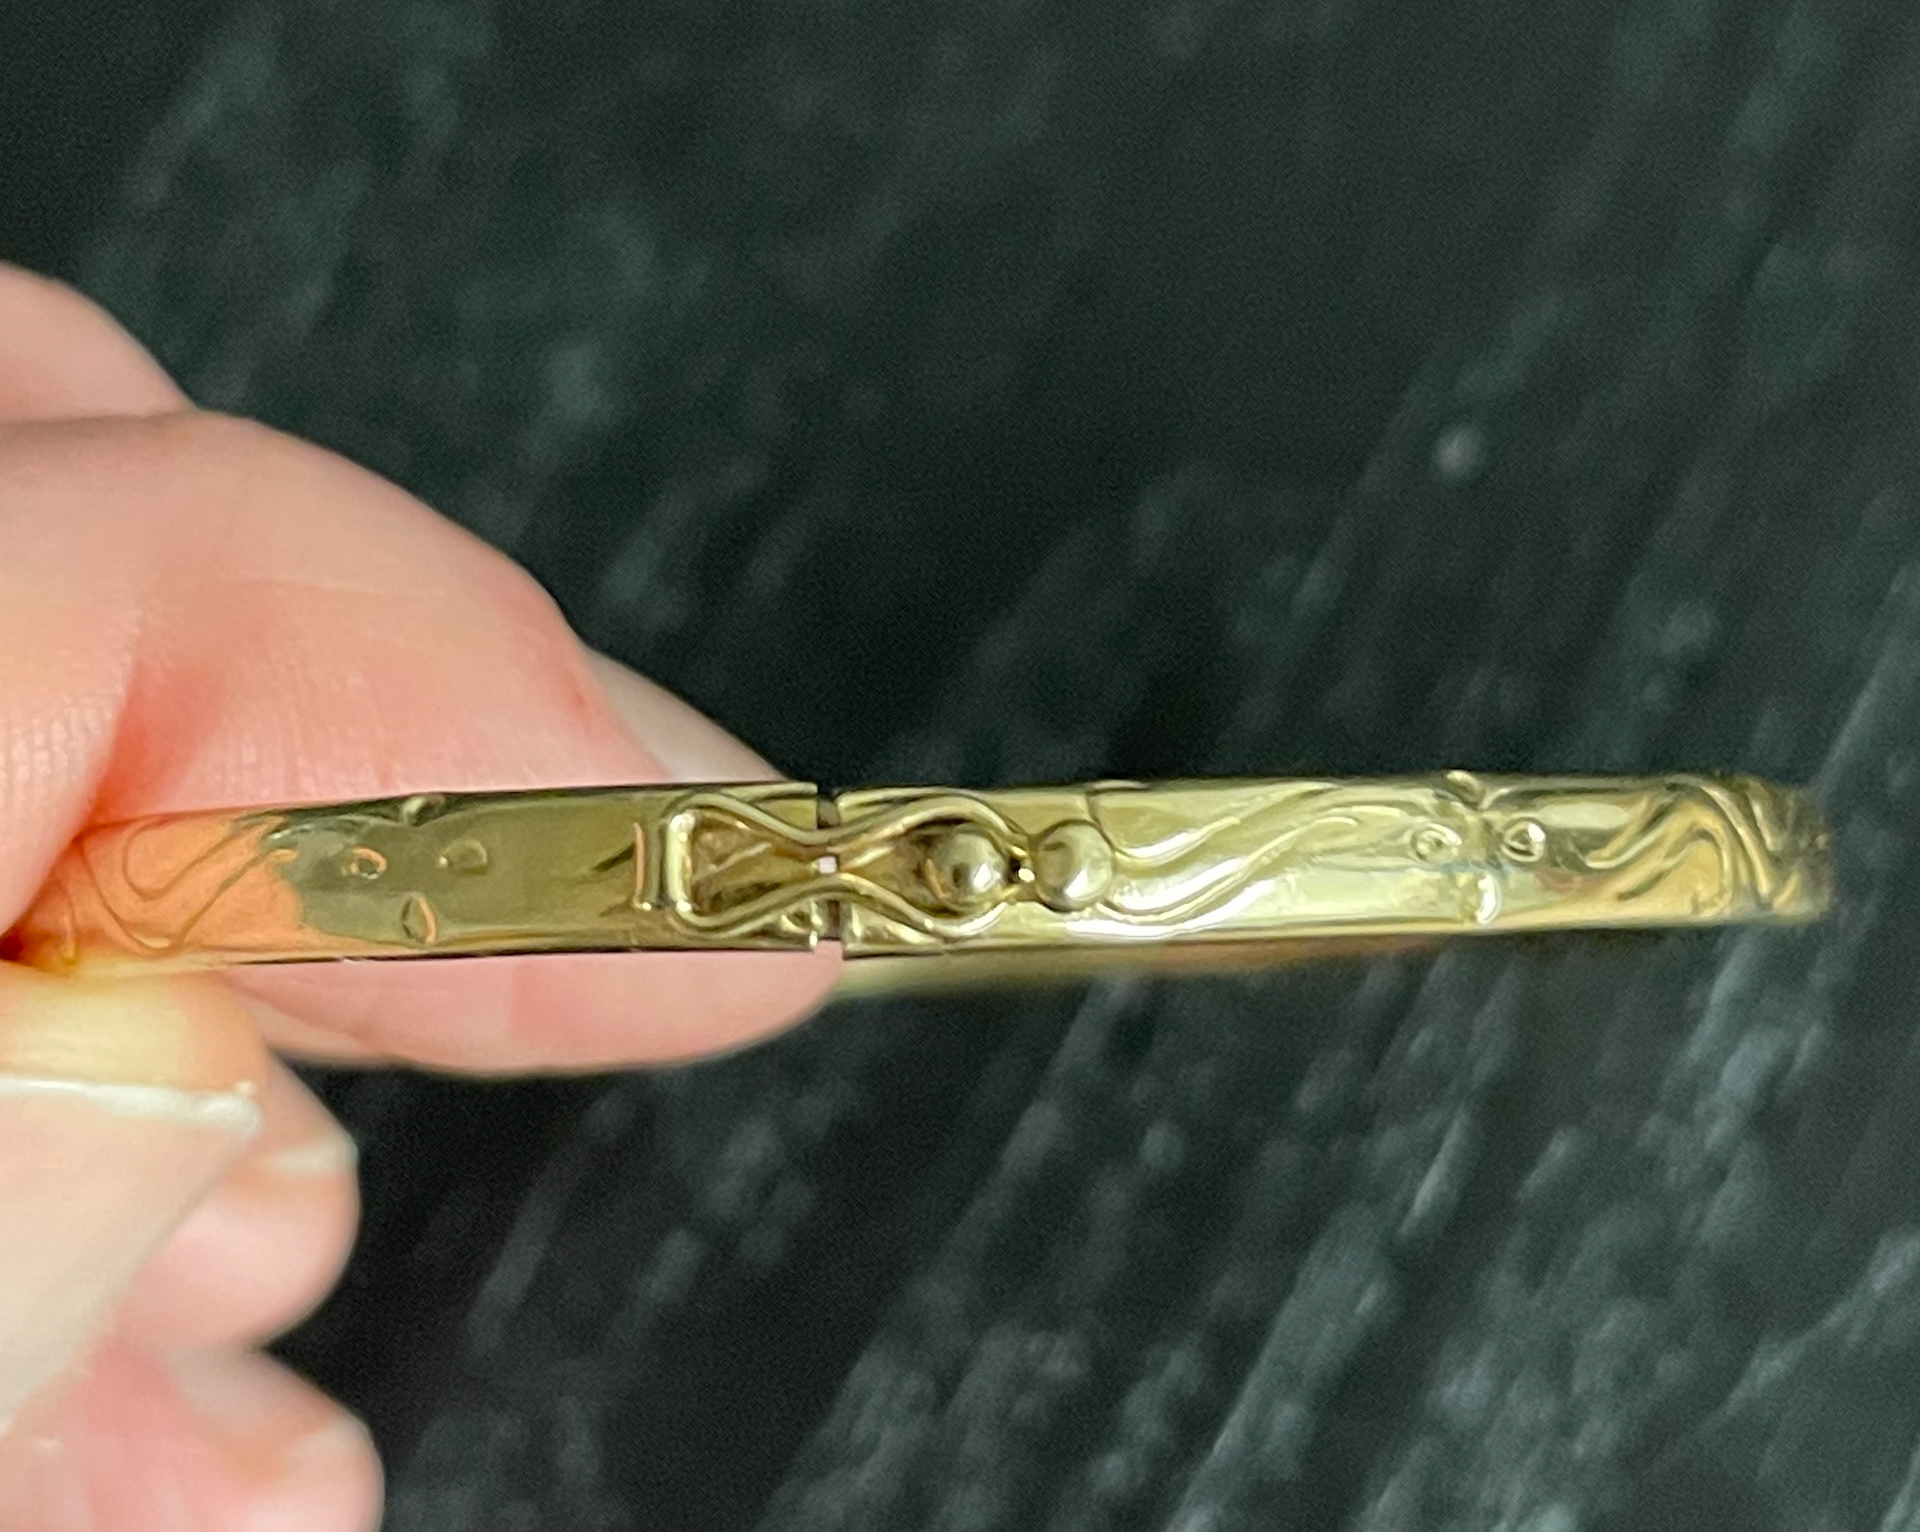
Grandmas bangle
Grandmas bangle

Clasps from the internet

Clasp testing/sampling
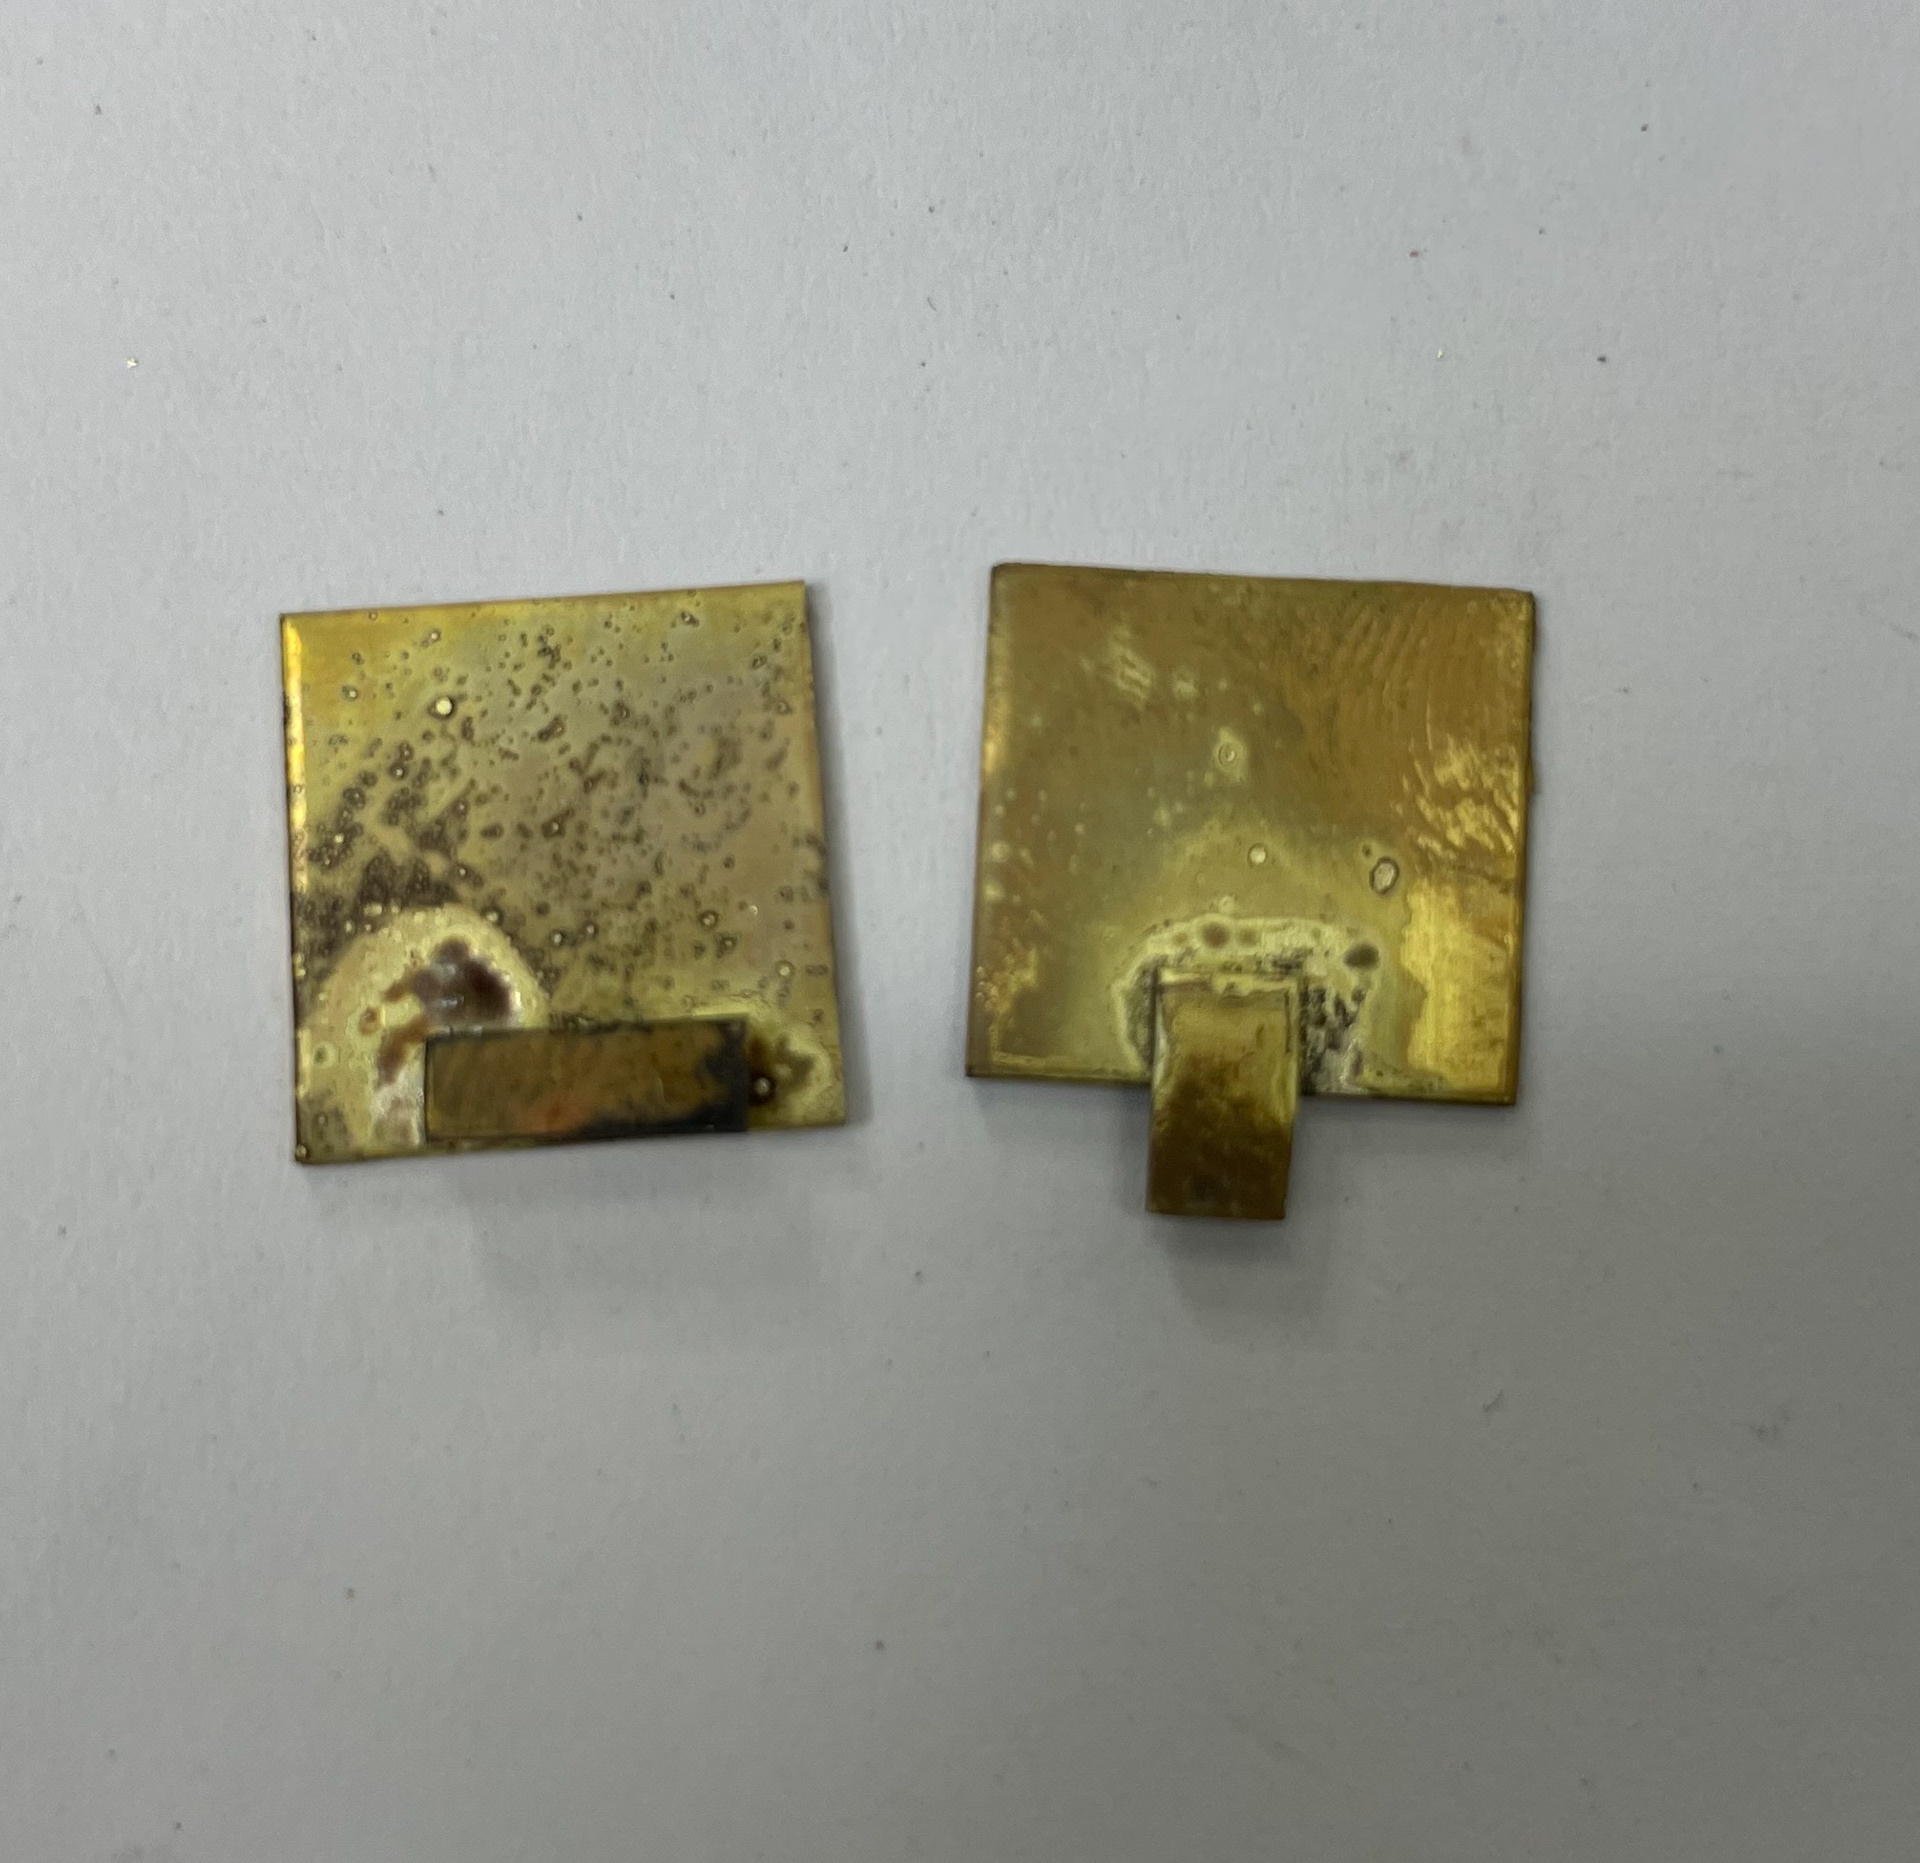
I decided to sample and test the two clasps I thought might work best. I started with one where the two elements would lock into each other on the inside of the box. I attached this mechanism made of paper first onto the brass to get an idea of the size and how I'd join it together. This seemed to align quite well and work how I expected it to. I then went to make these made out of brass. On the first attempt, I ended up melting a part of the brass which of course then wouldn't work. This was because I kept the heat on it for too long with it being such a tiny bit of material. I also found that keeping the pieces in place whilst trying to solder was difficult to do. After a few attempts I managed to get it to solder however, they were not as aligned as I wanted them to be.
Paper model
Paper model
Top of paper model
metal pieces ready to be soldered
after soldering
melted brass
Second attempt
Soldered second attempt
pieces not aligned

slightly un aligned joint
Third attempt after being soldered
Better but not perfect
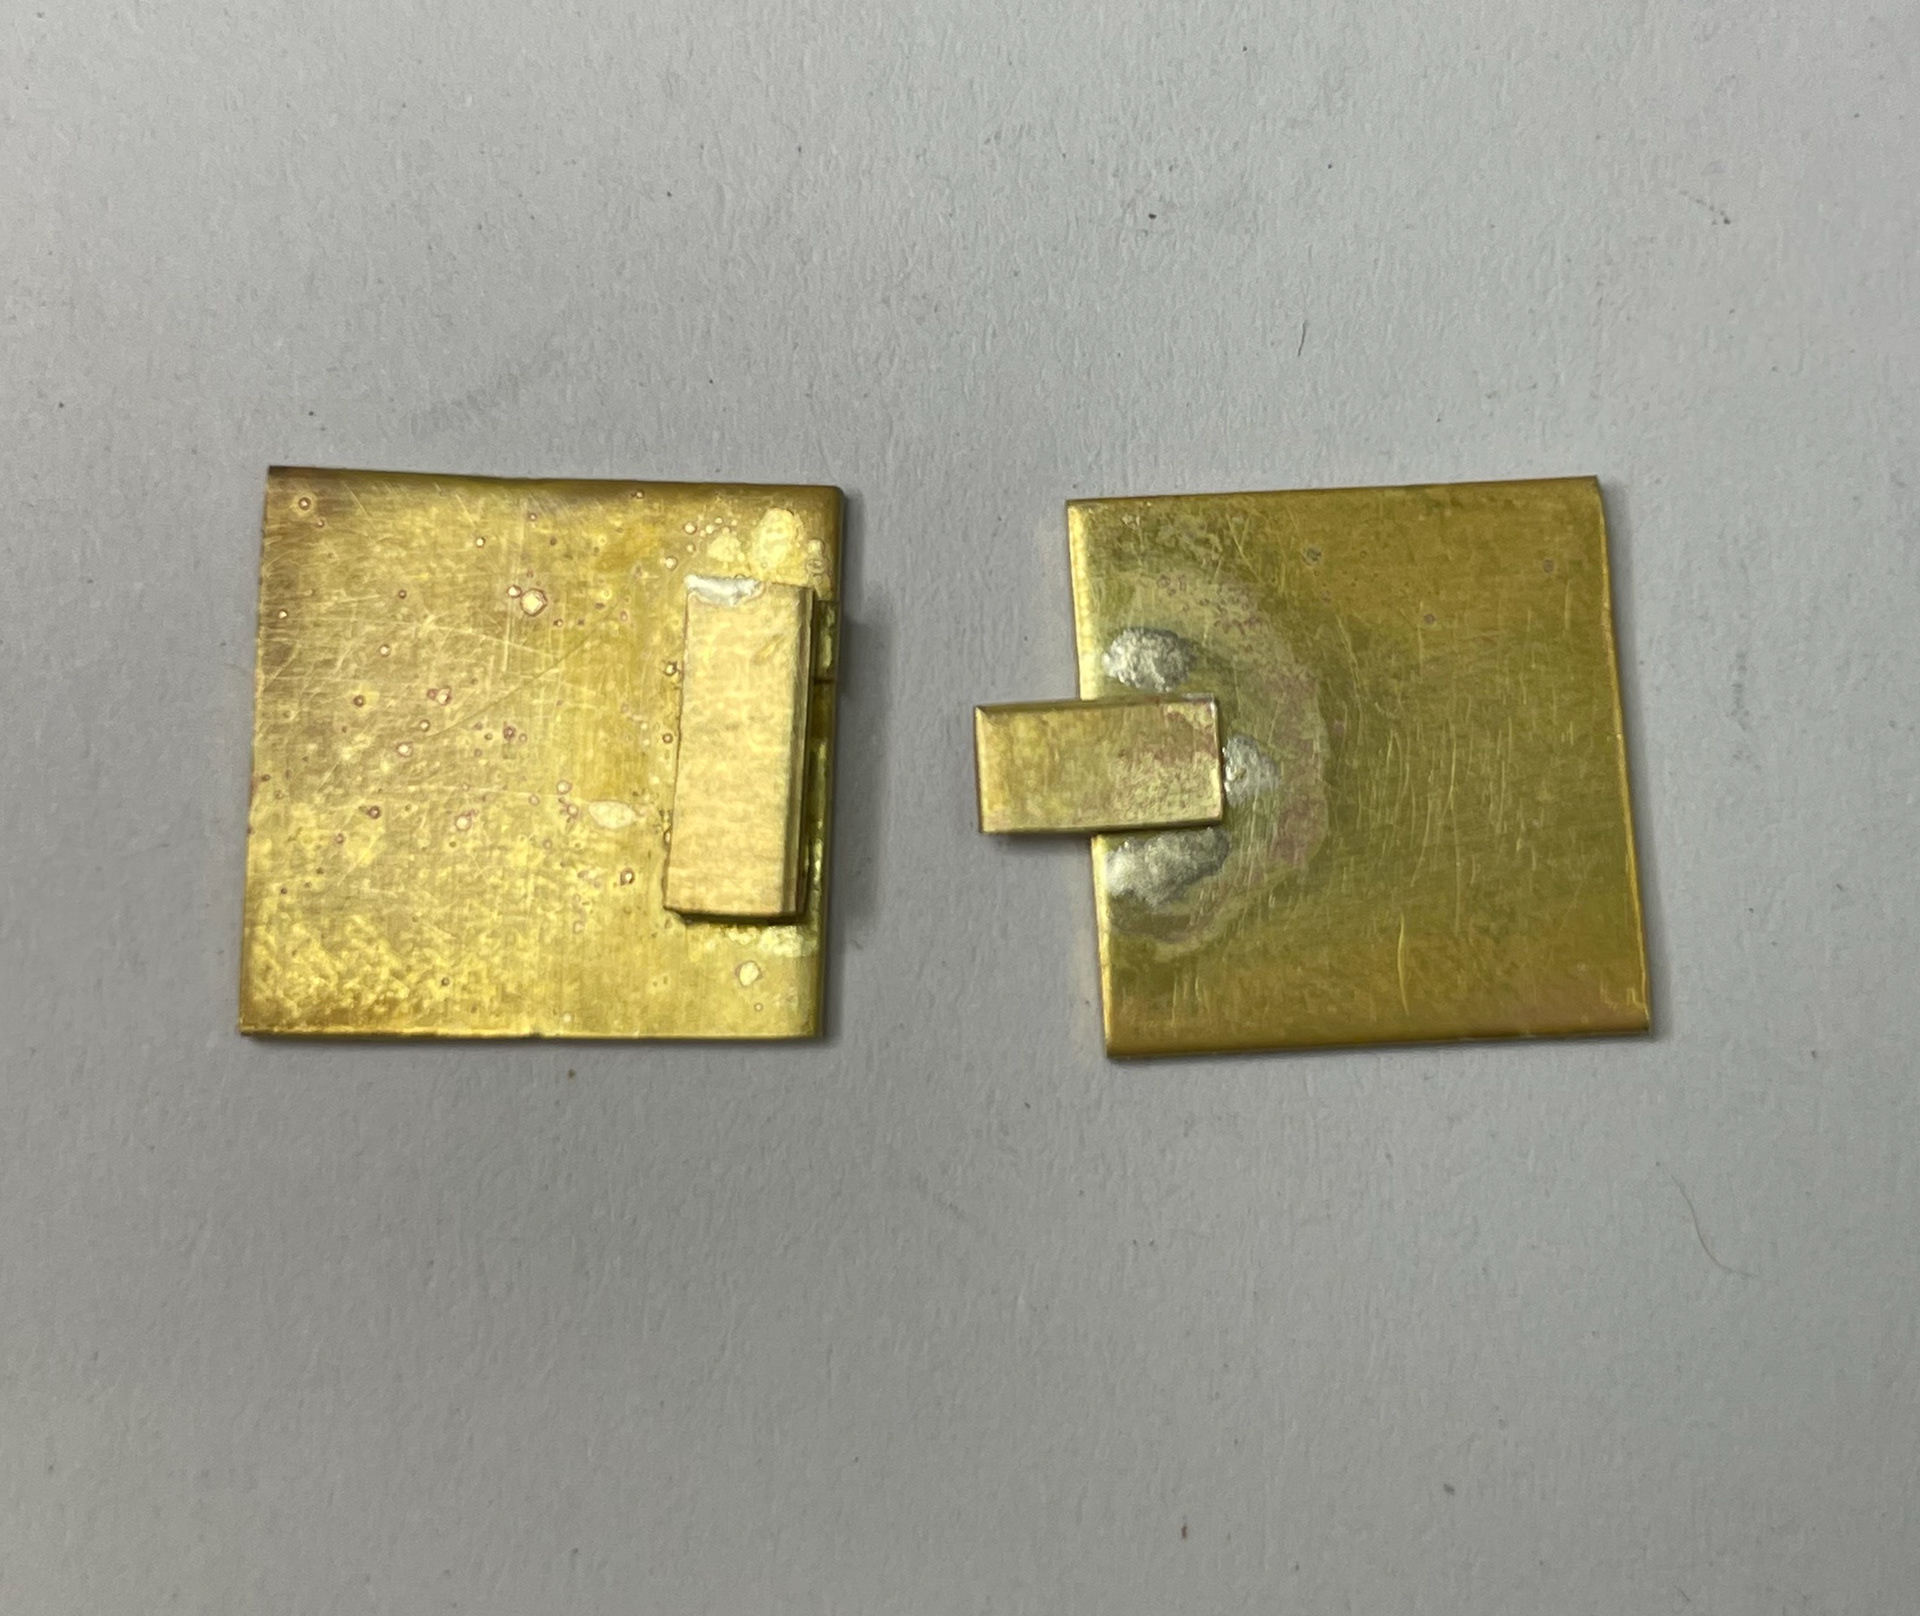
Aligned piece
Top of aligned piece
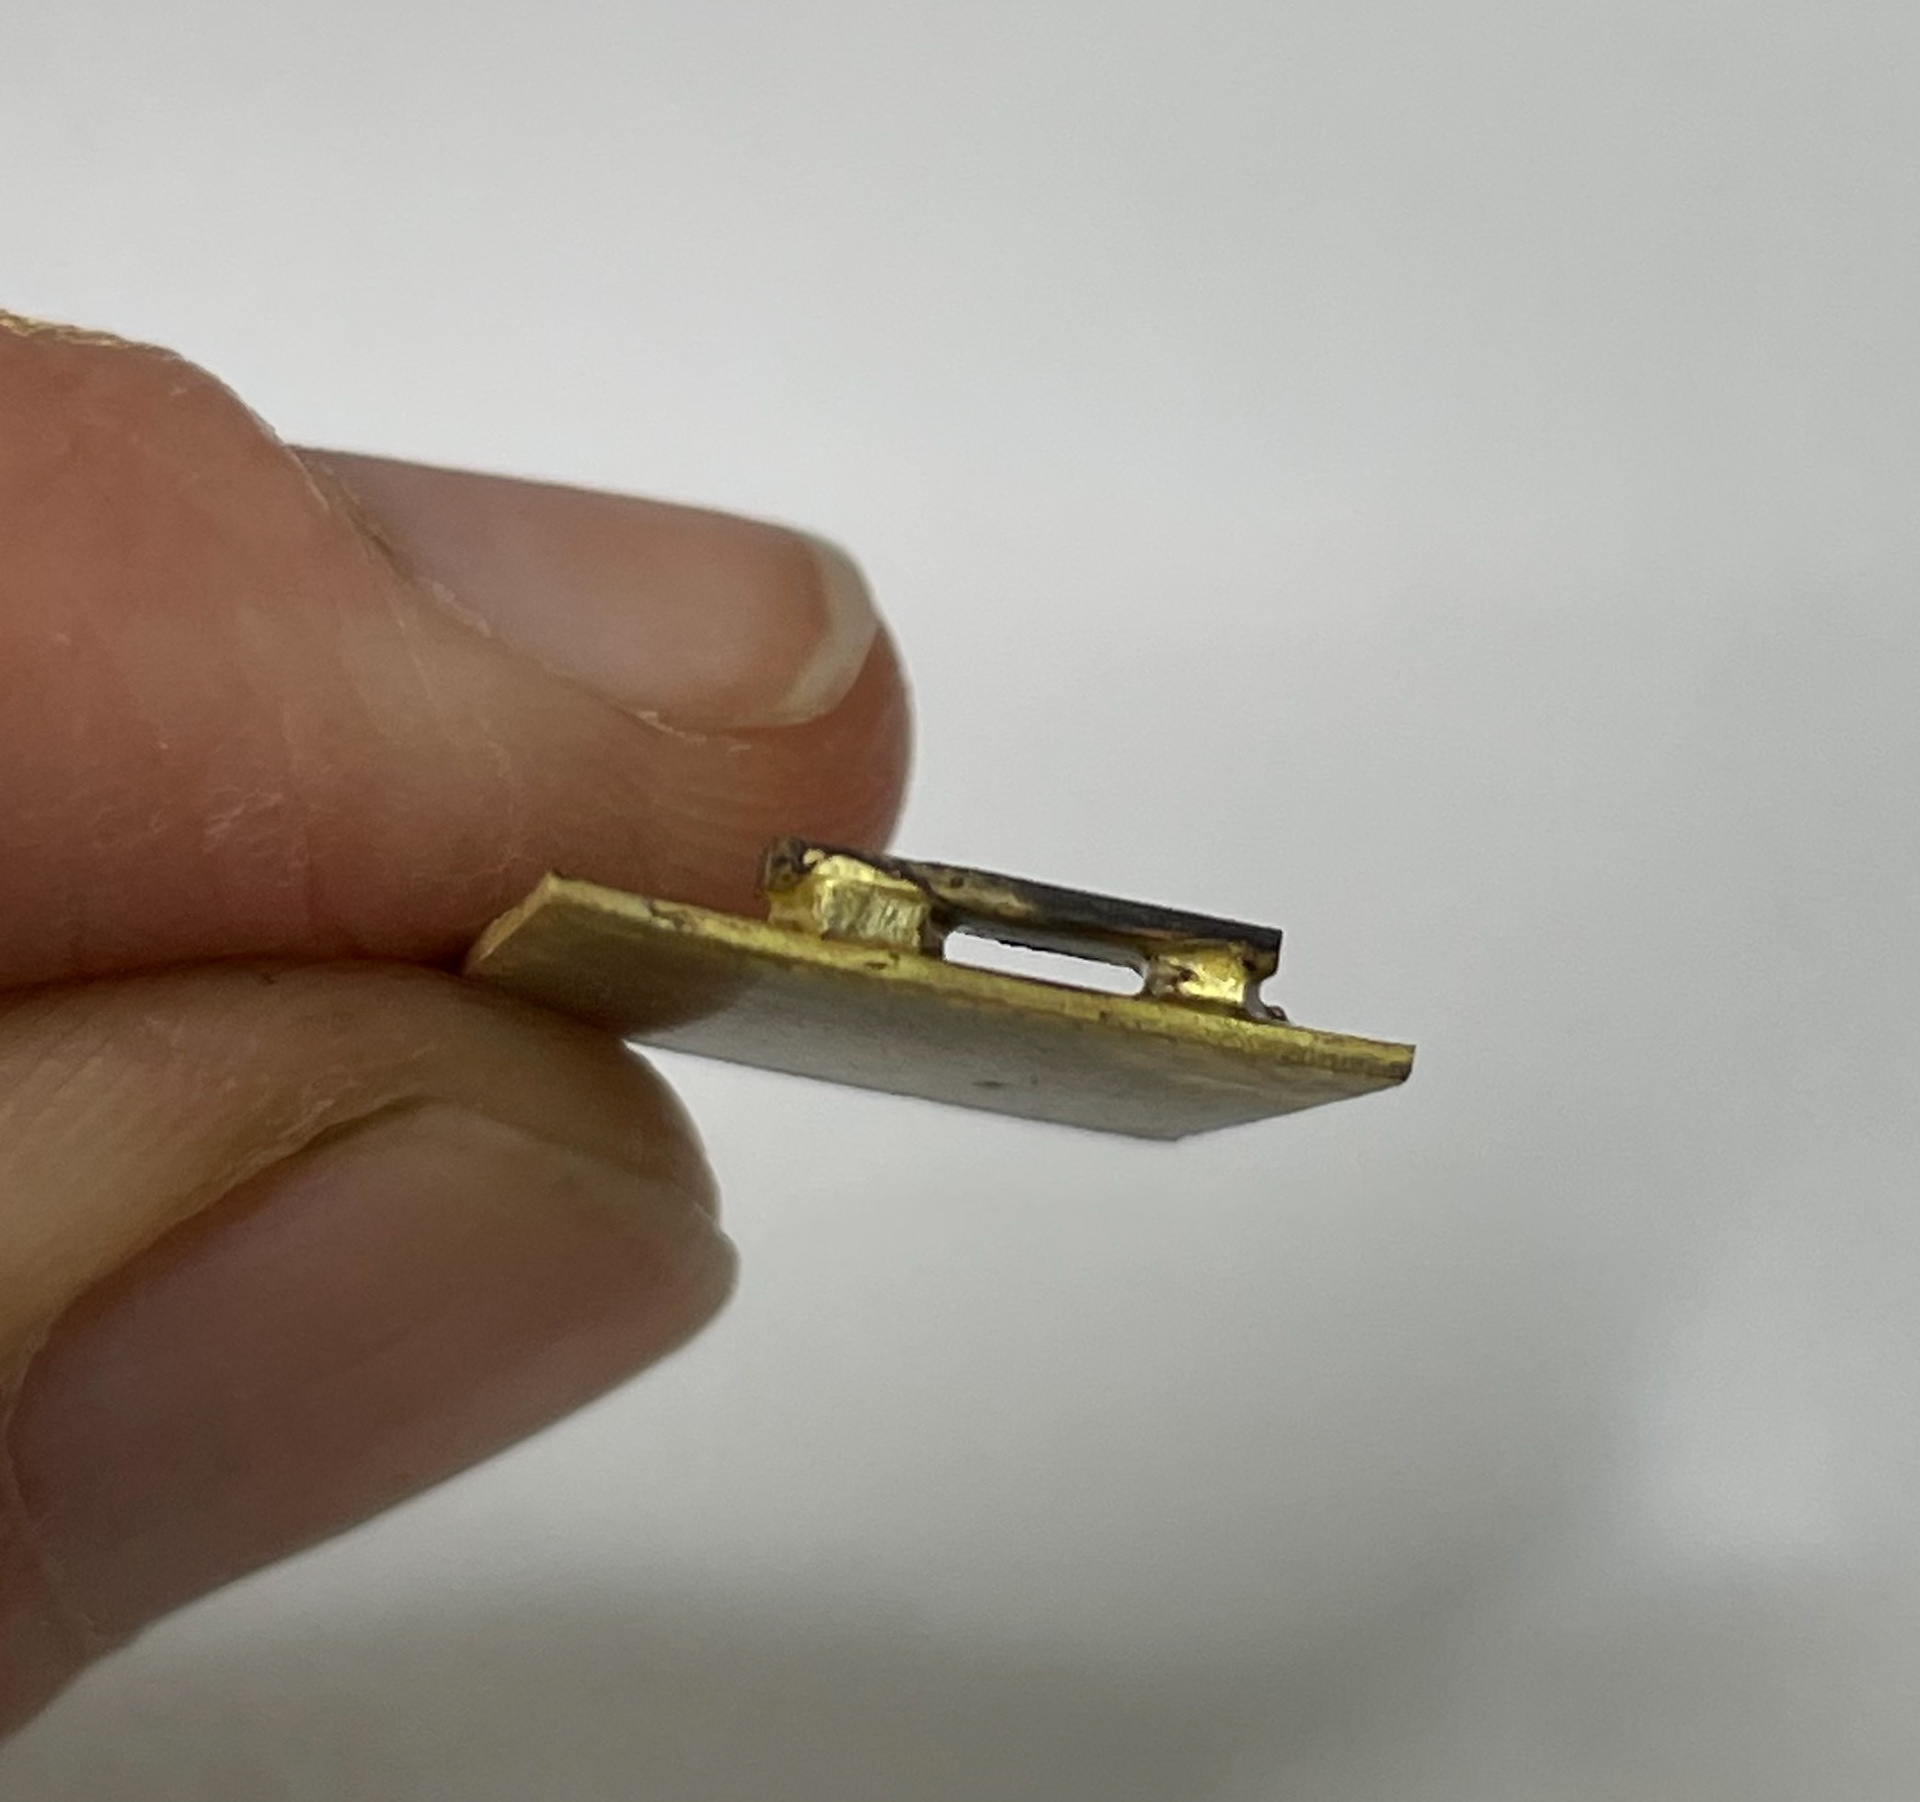
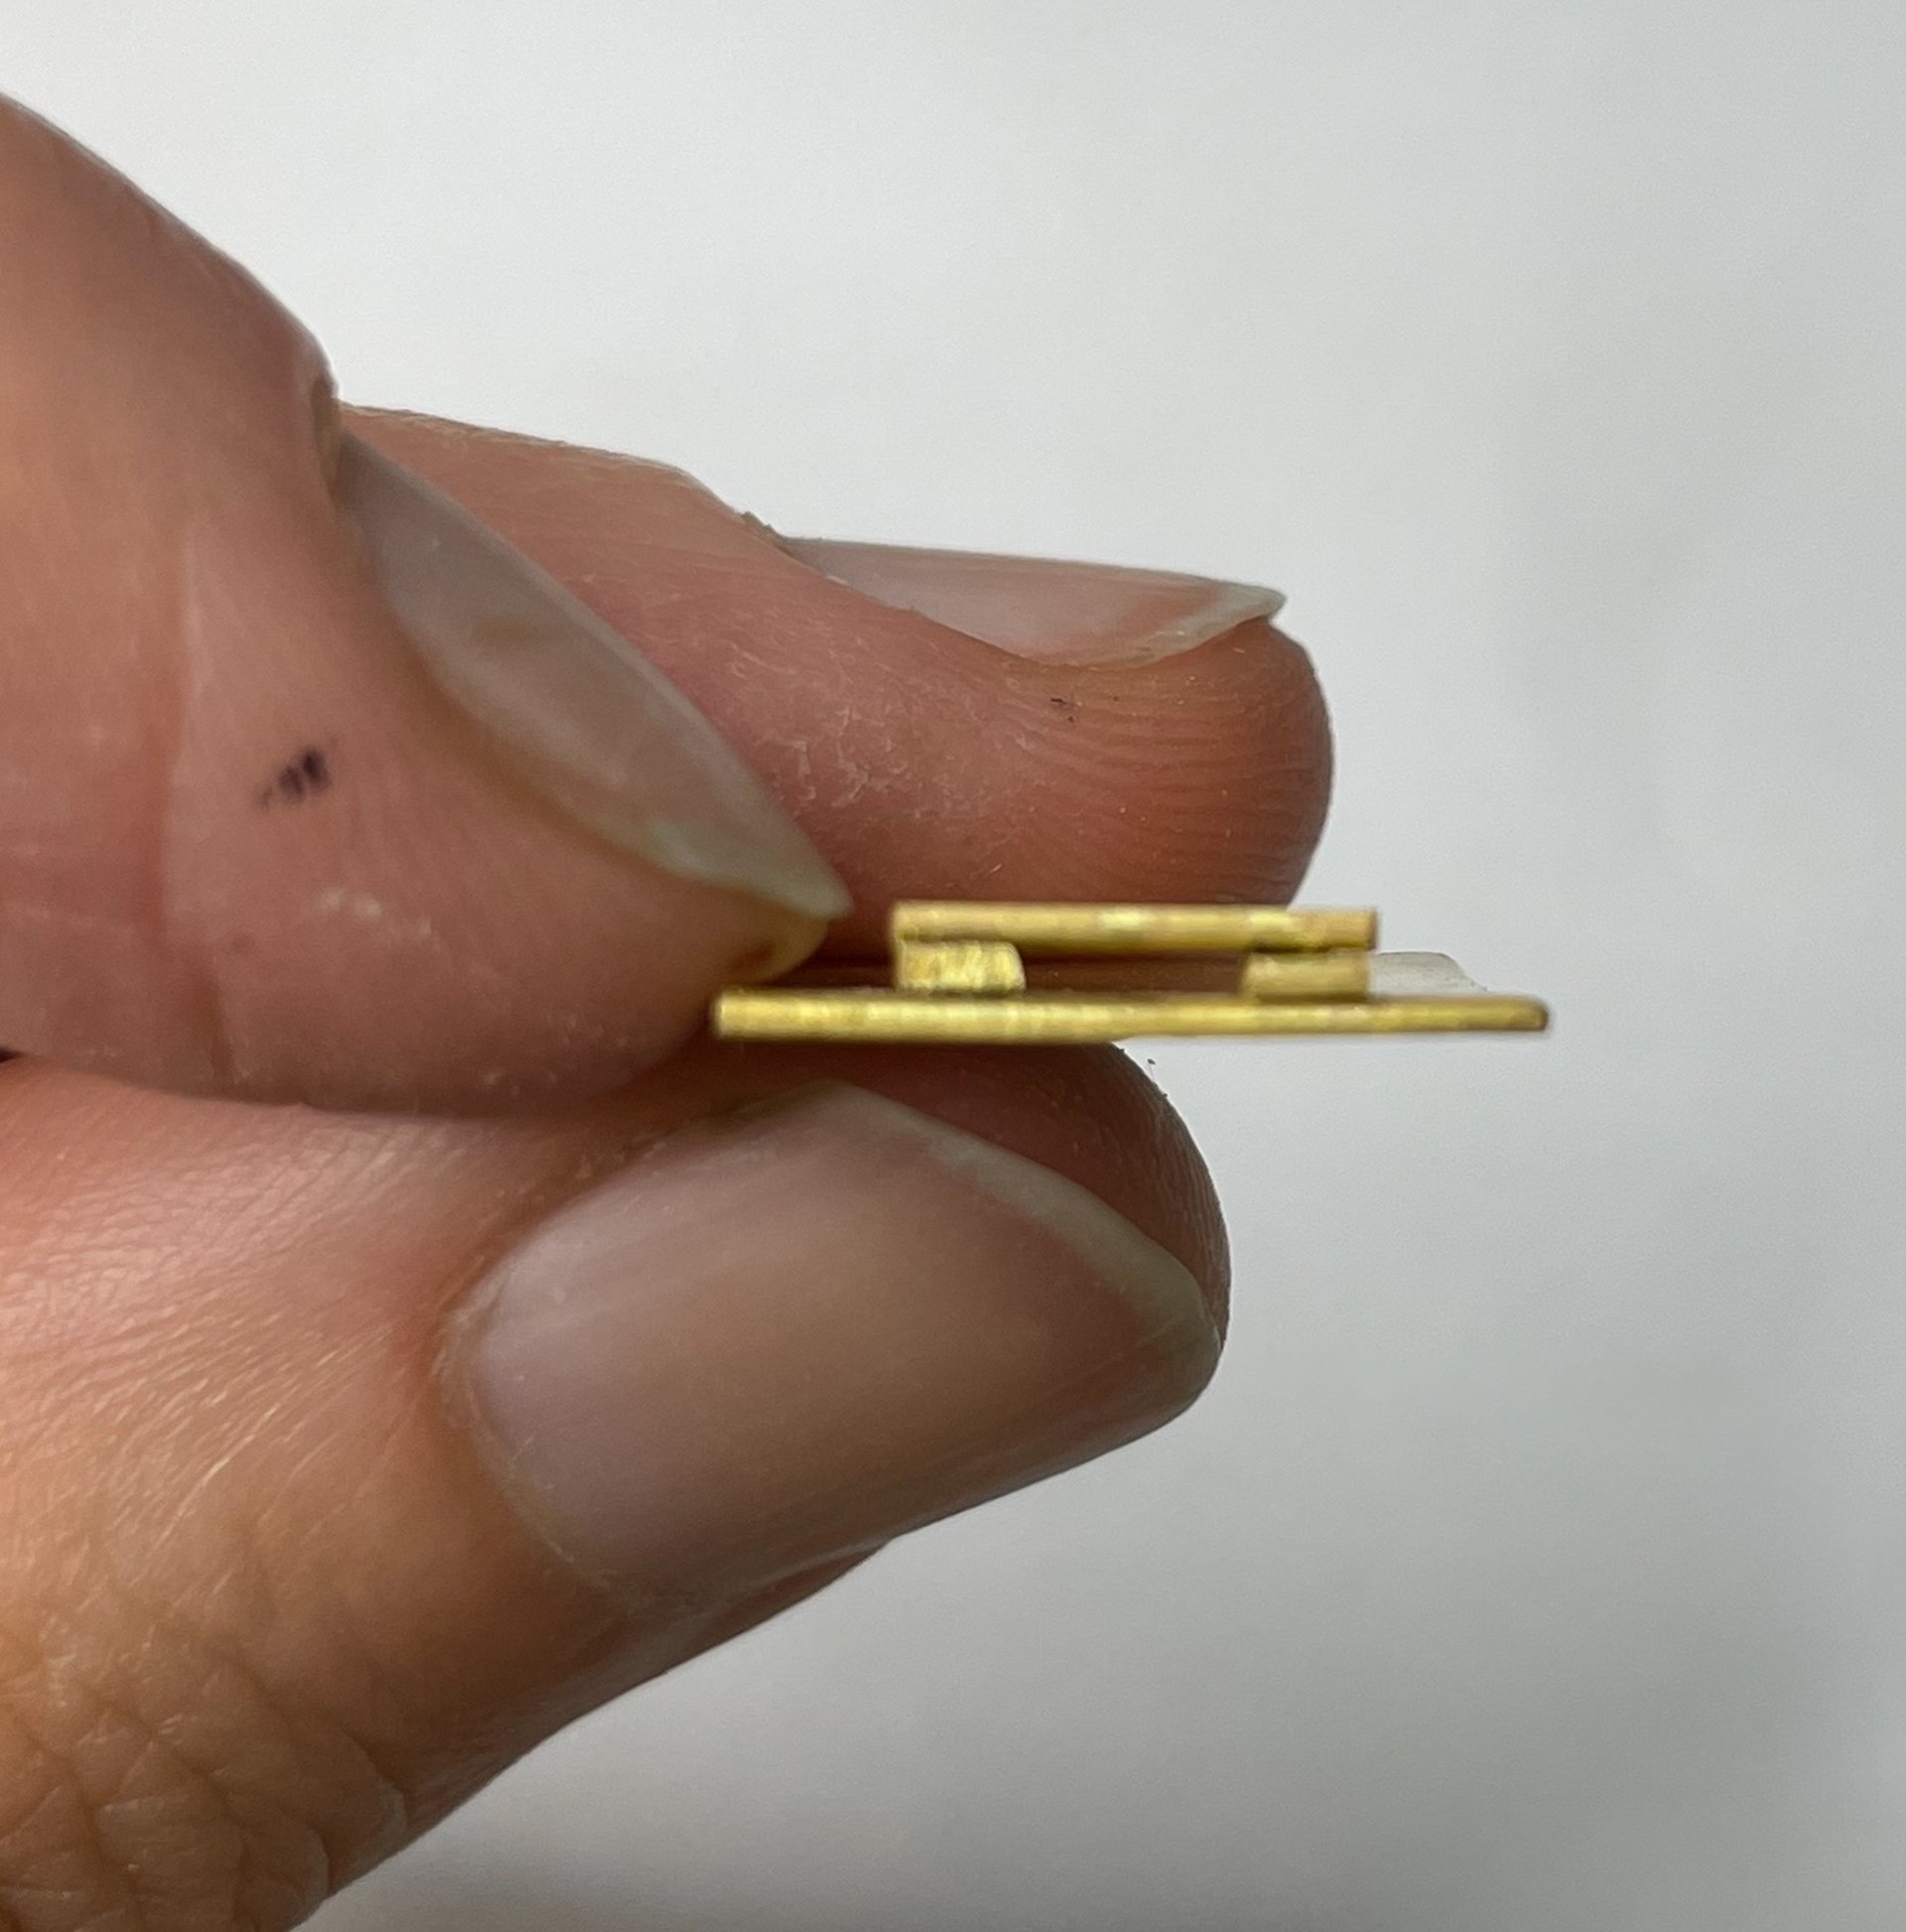
After reflecting and thinking about this mechanism, I conclude that it wouldn't work on the box due to when the two sides of the box meet there wouldn't be enough room for the mechanism to slot into each other at the angle it would be closing at. As well as this, I realised if I was to do this again for another project, rather than having all the pieces separate I would cut the bridge shape out of the thicker brass sheet to save soldering all the pieces together, meaning it moving and instead just having one piece to solder on.
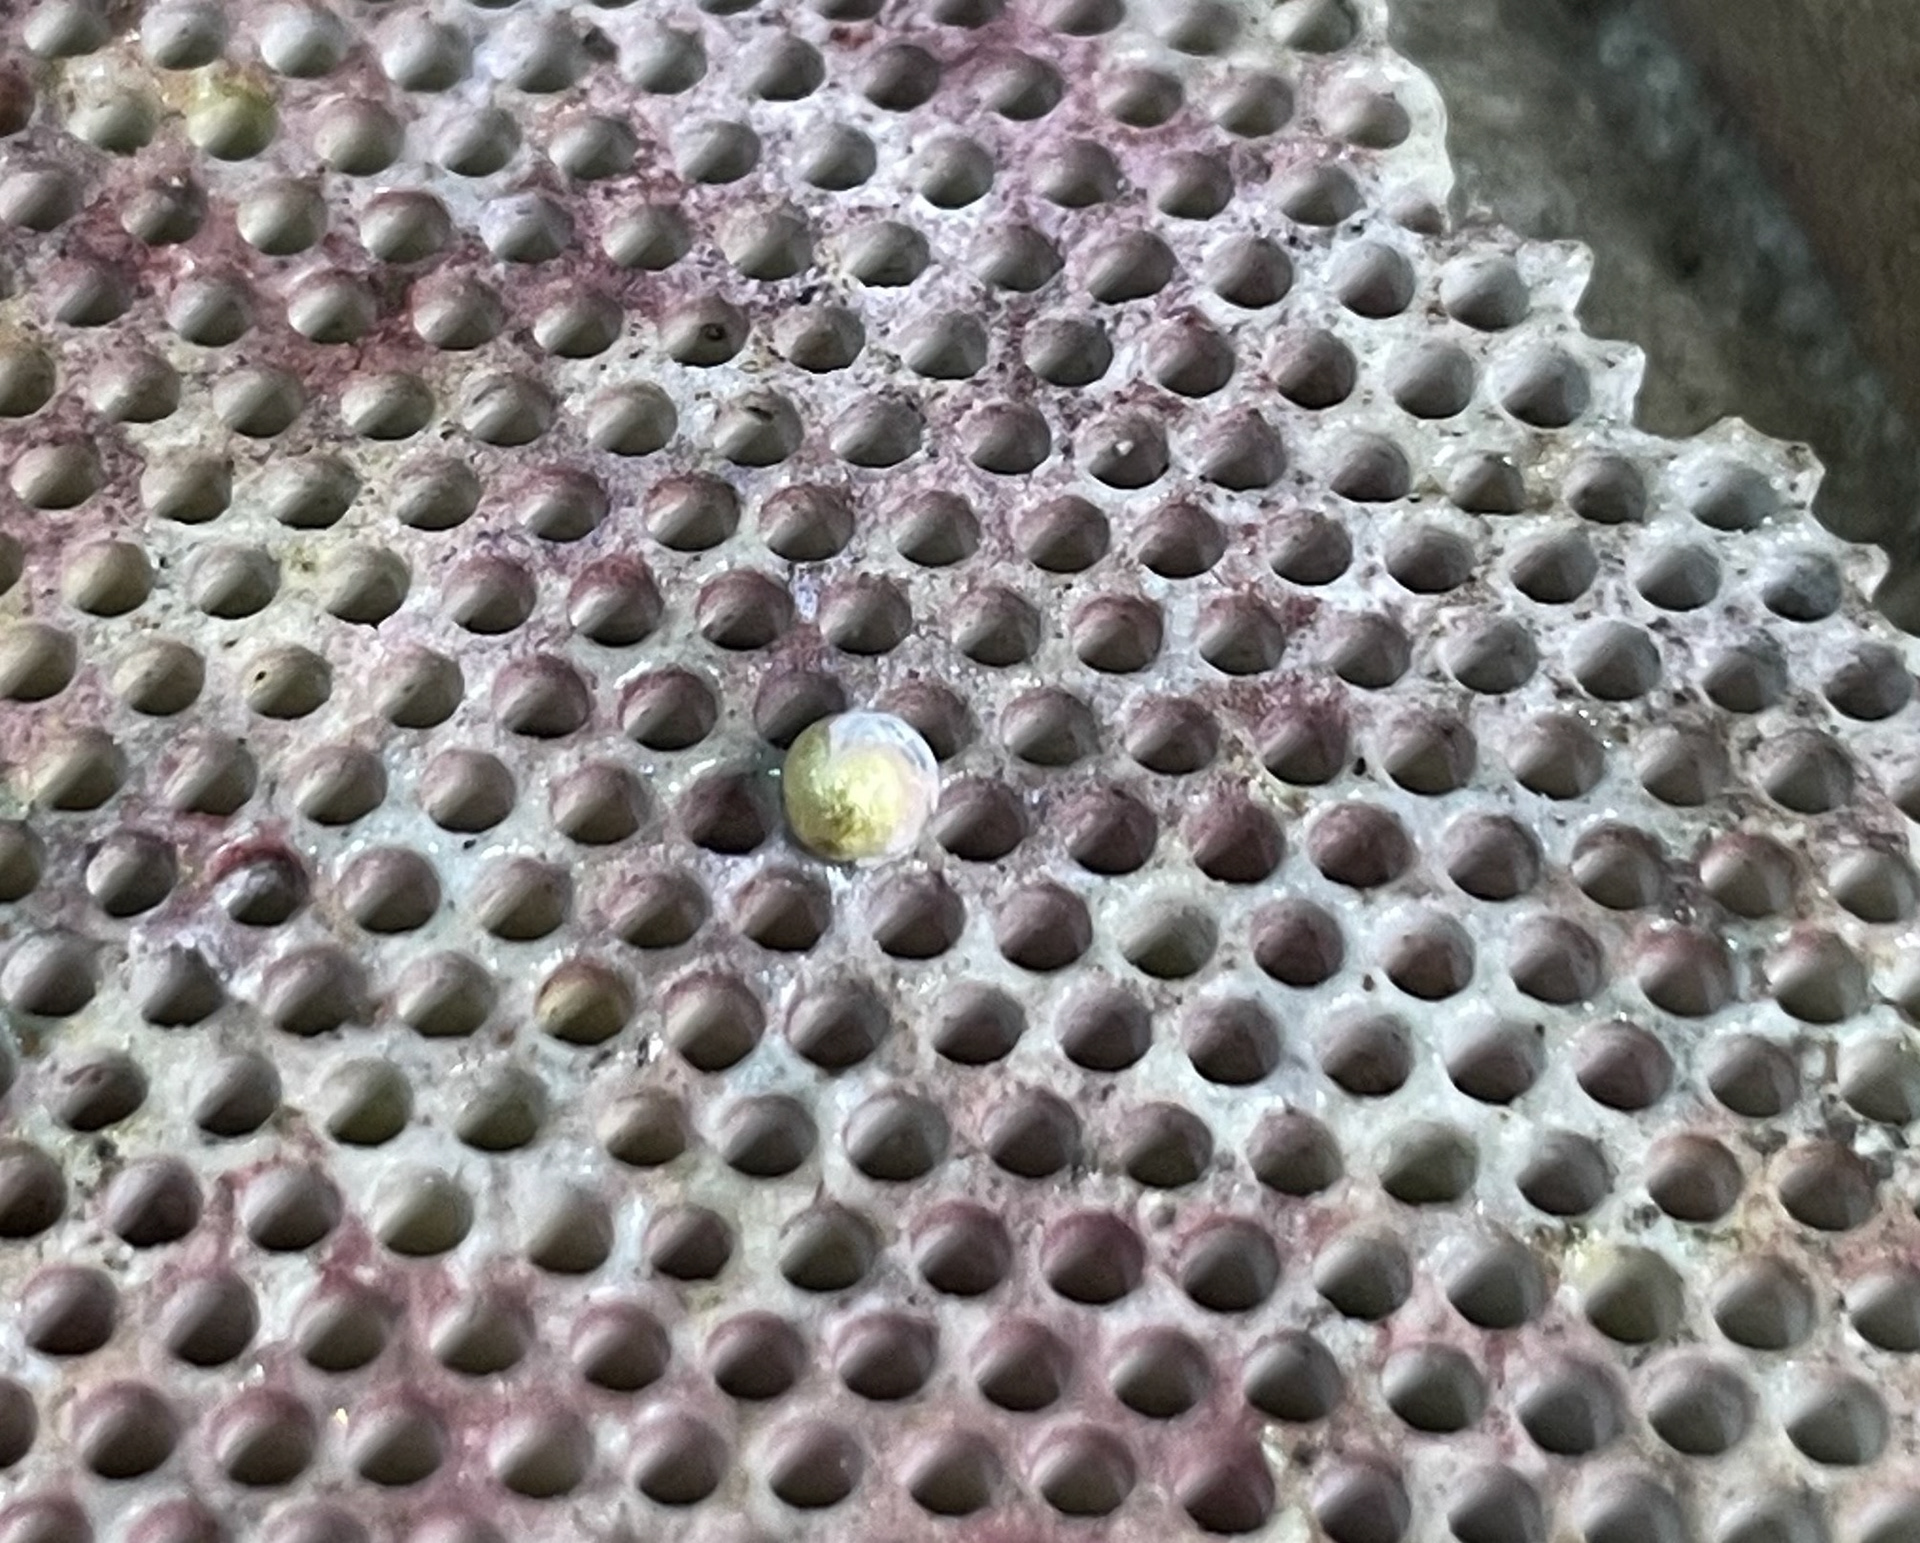
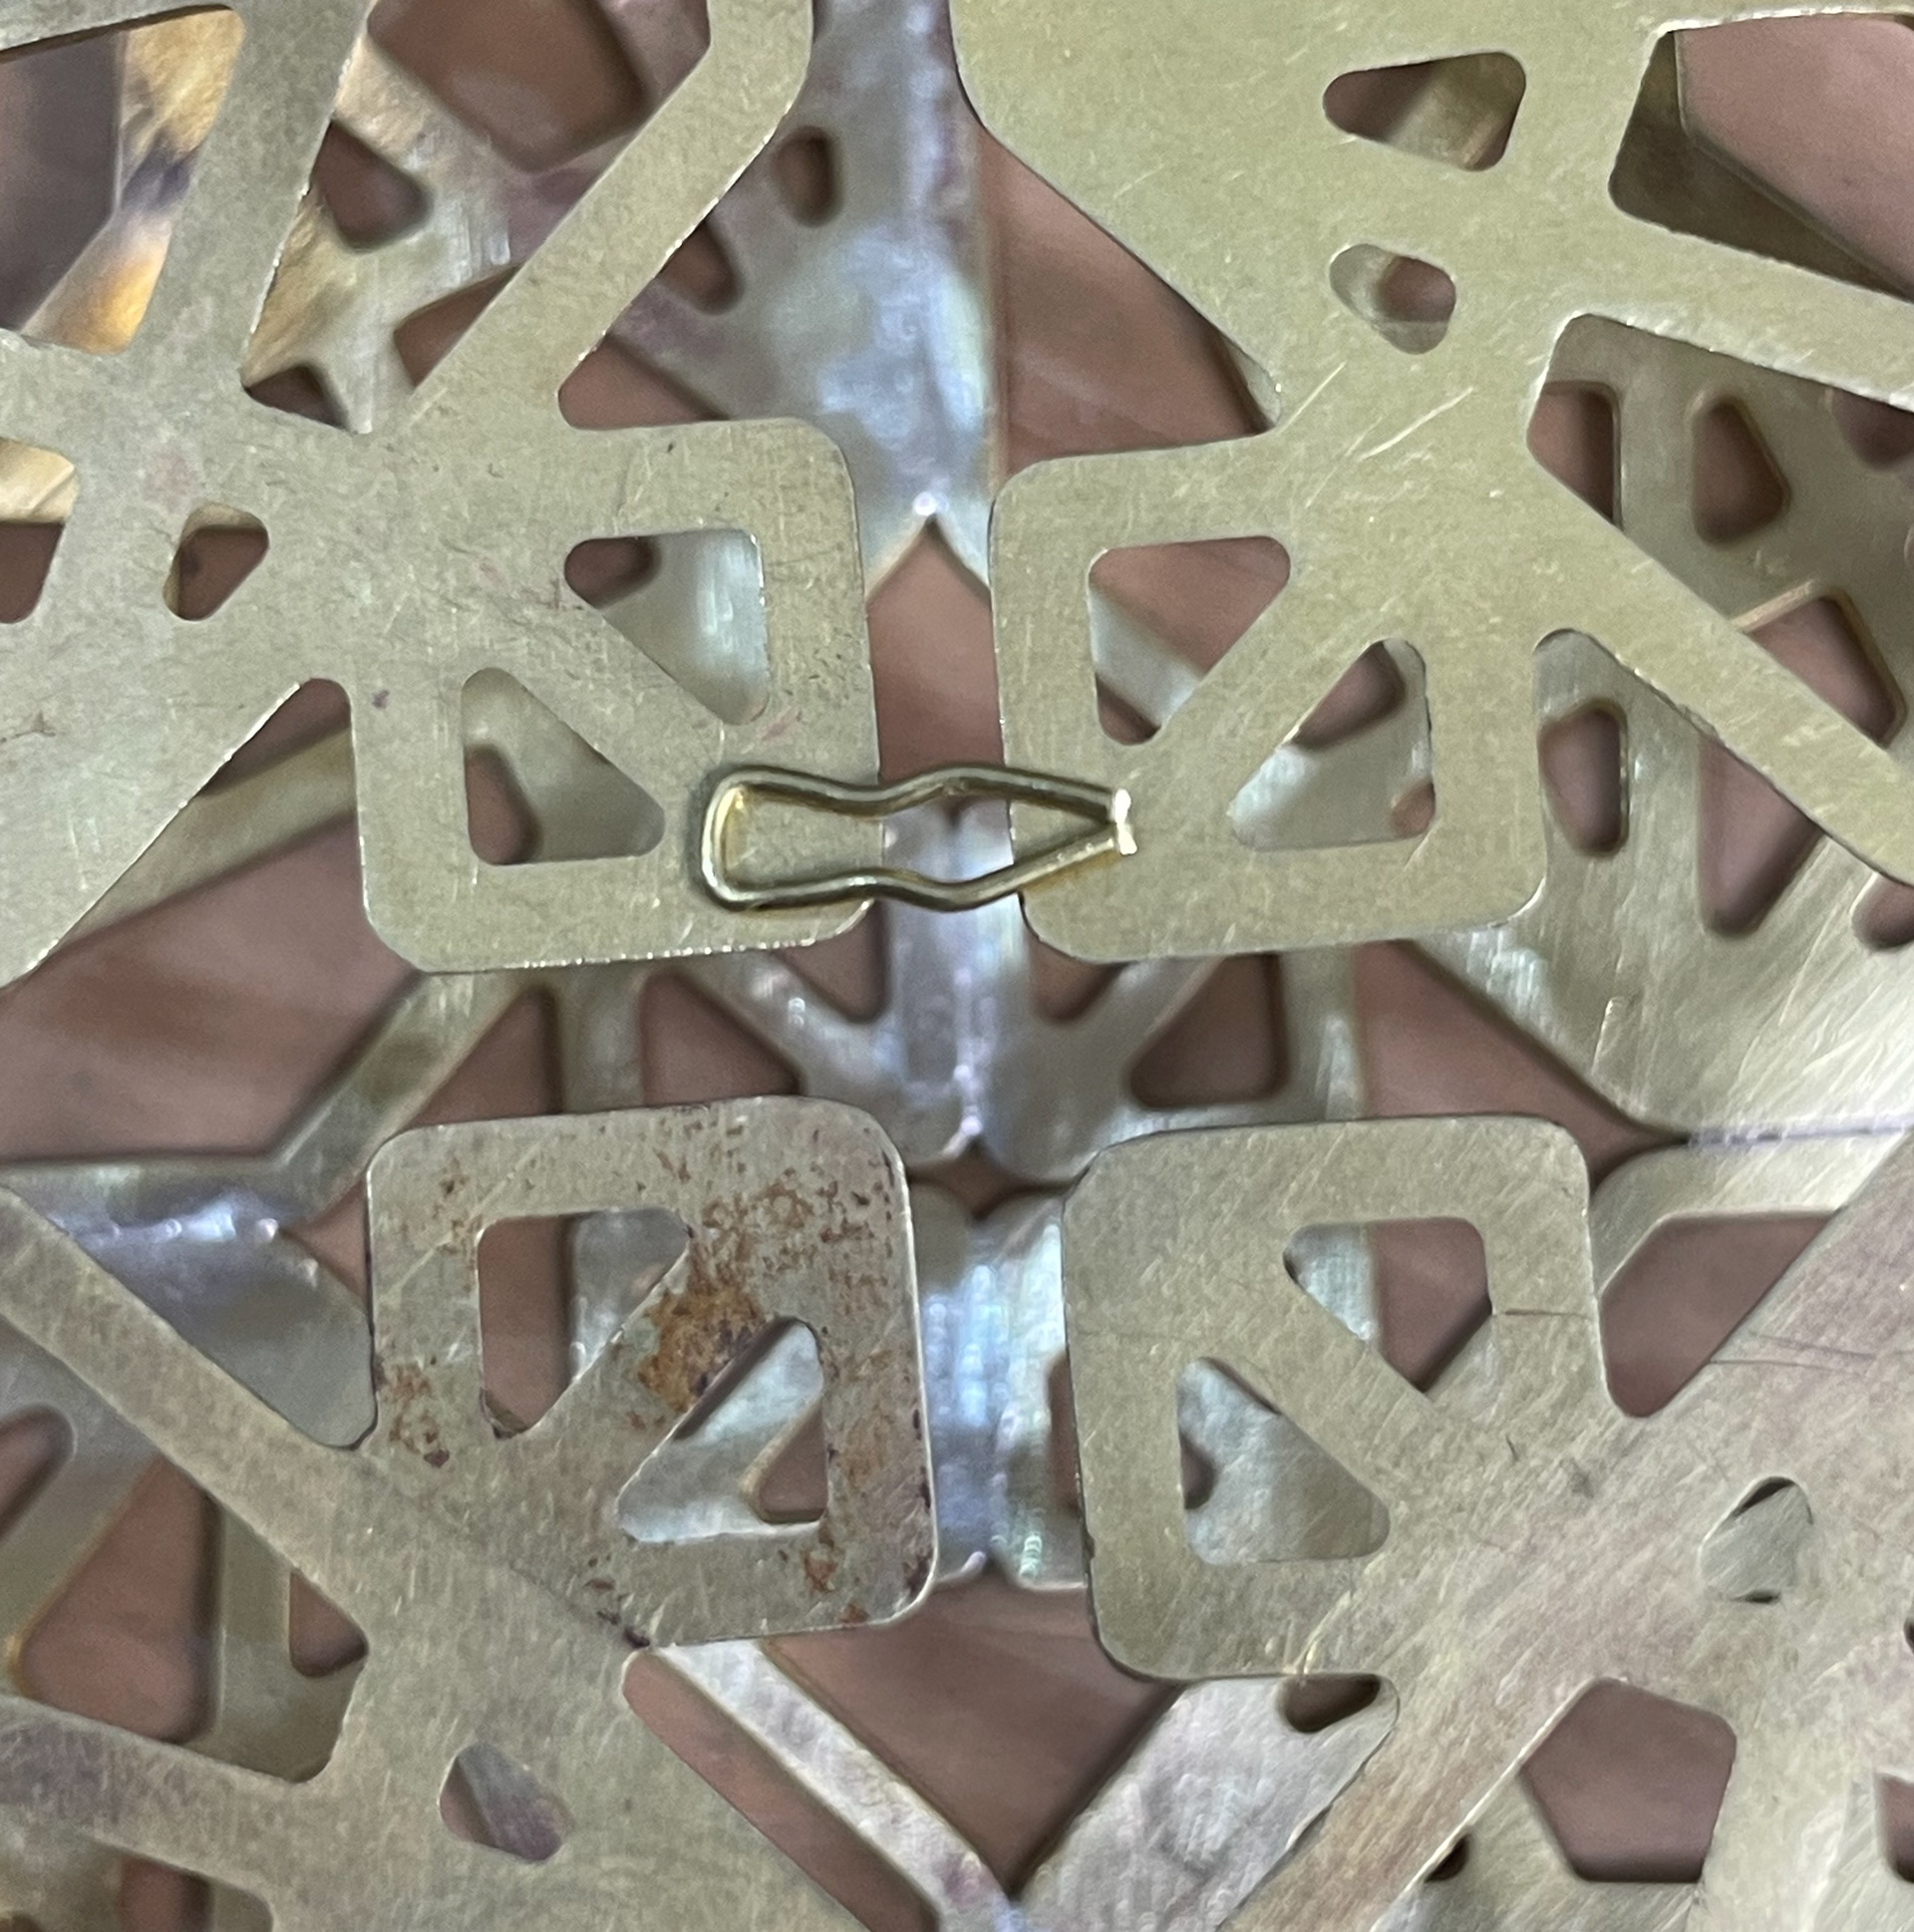
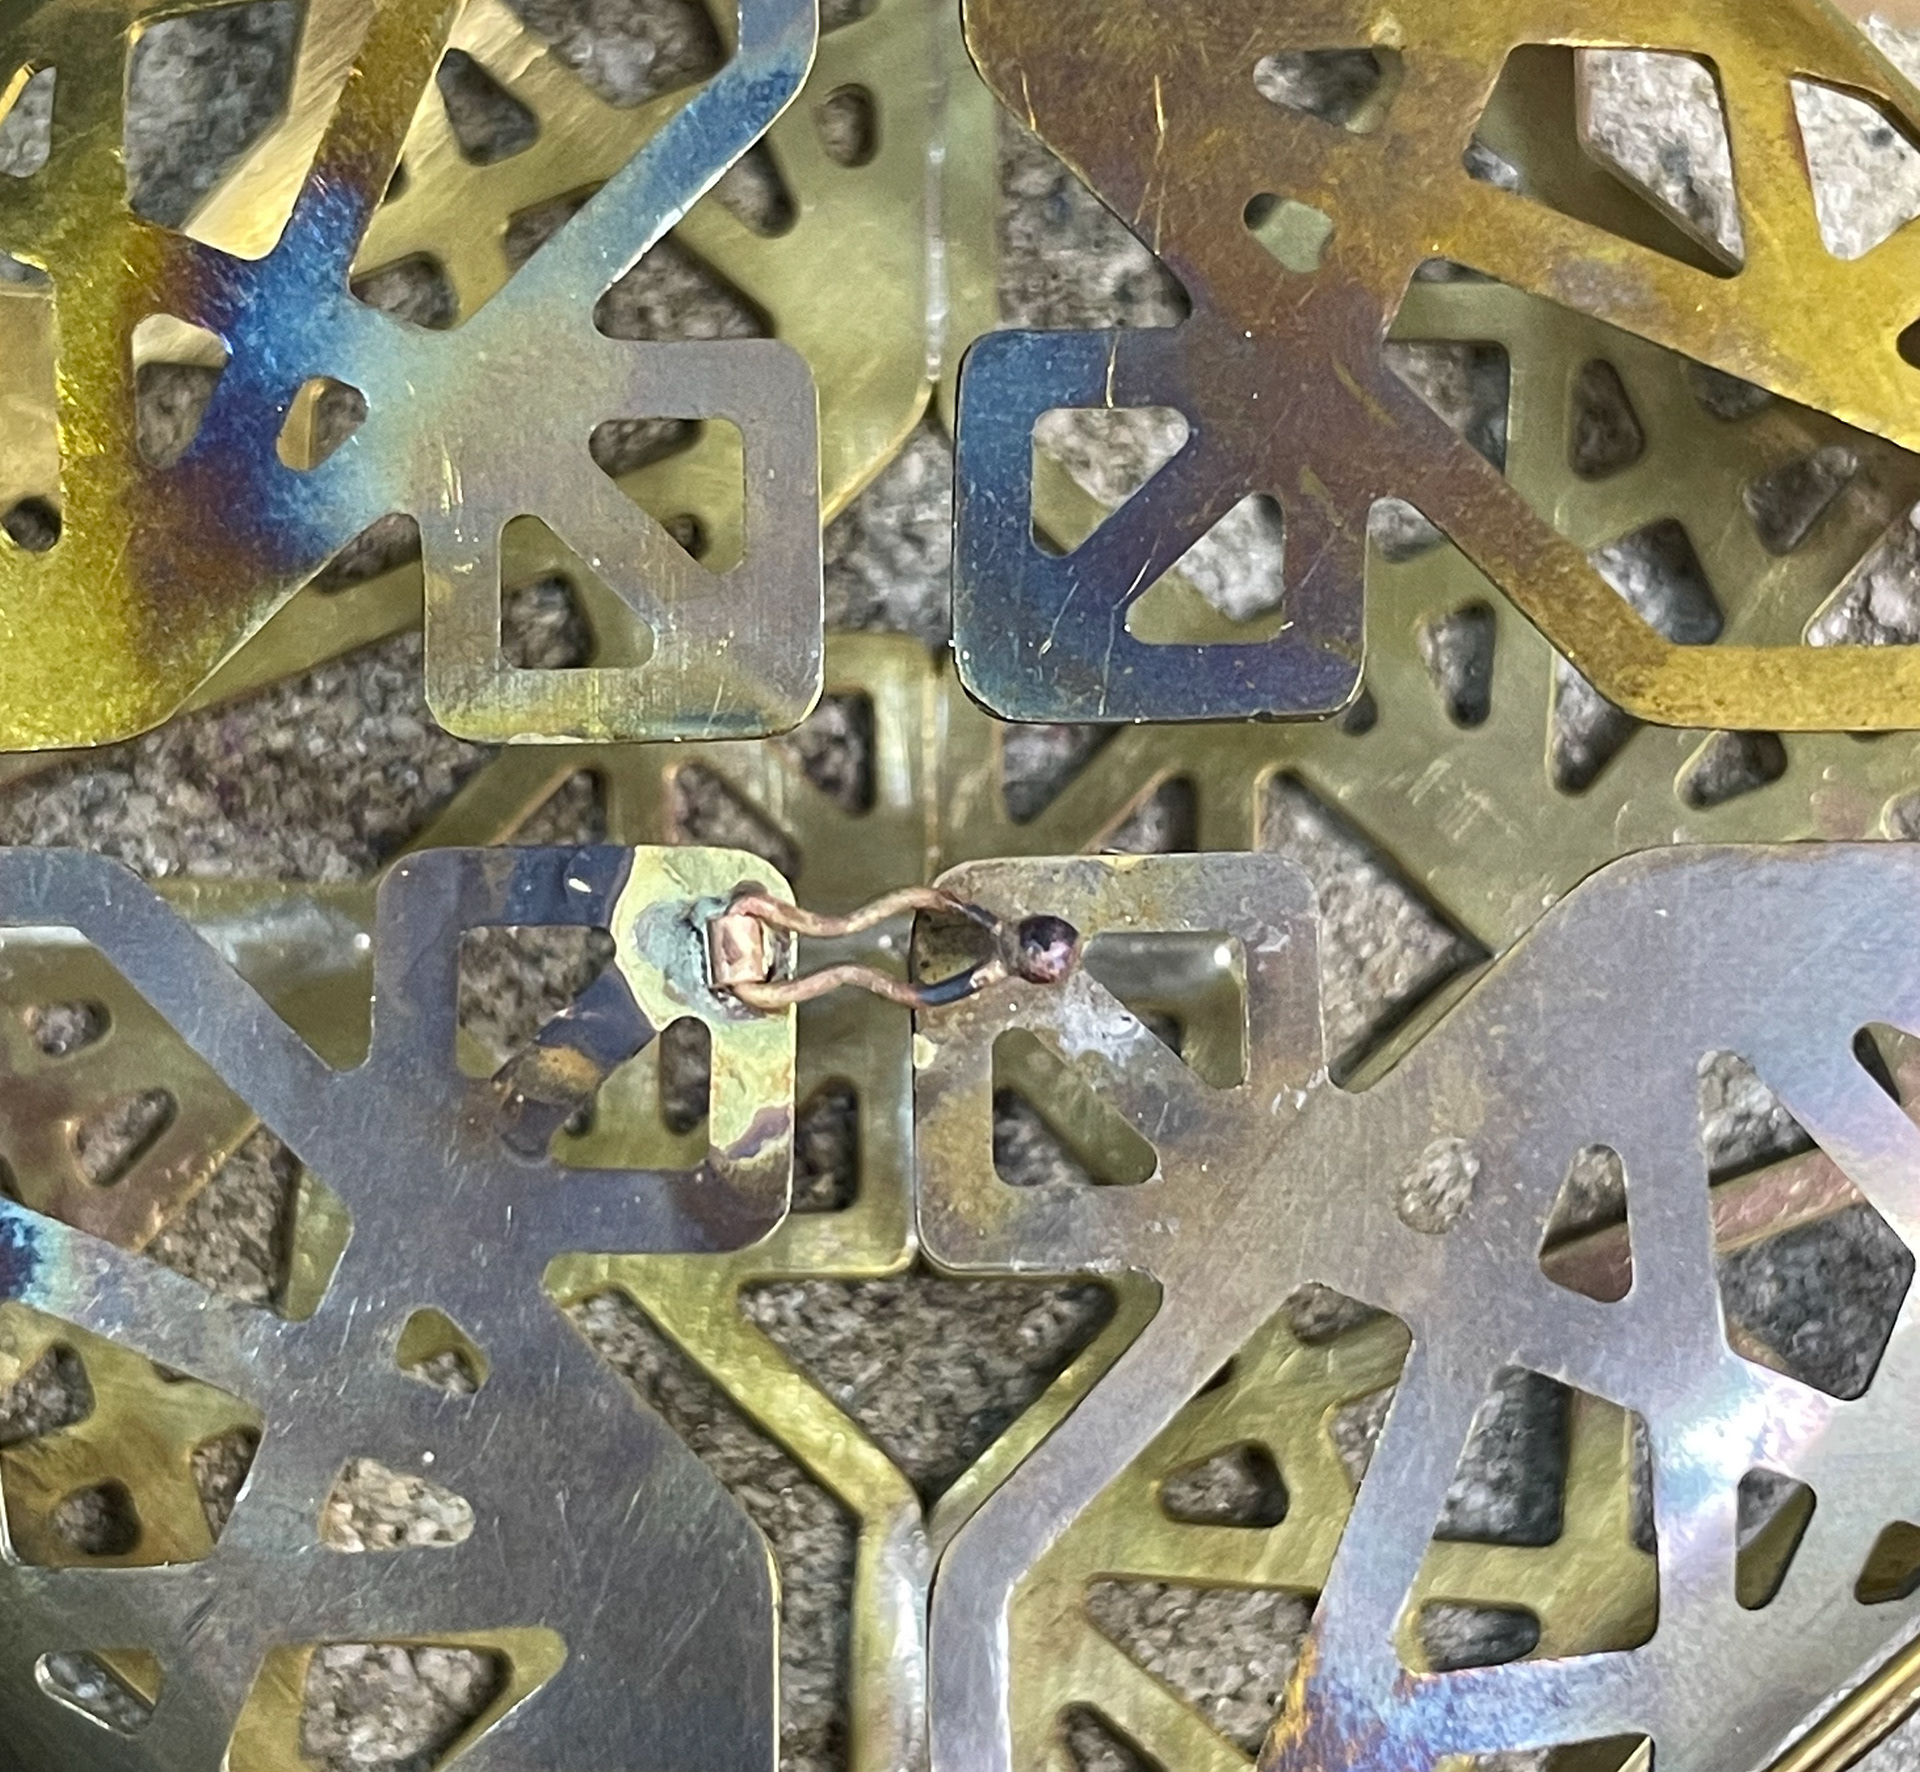
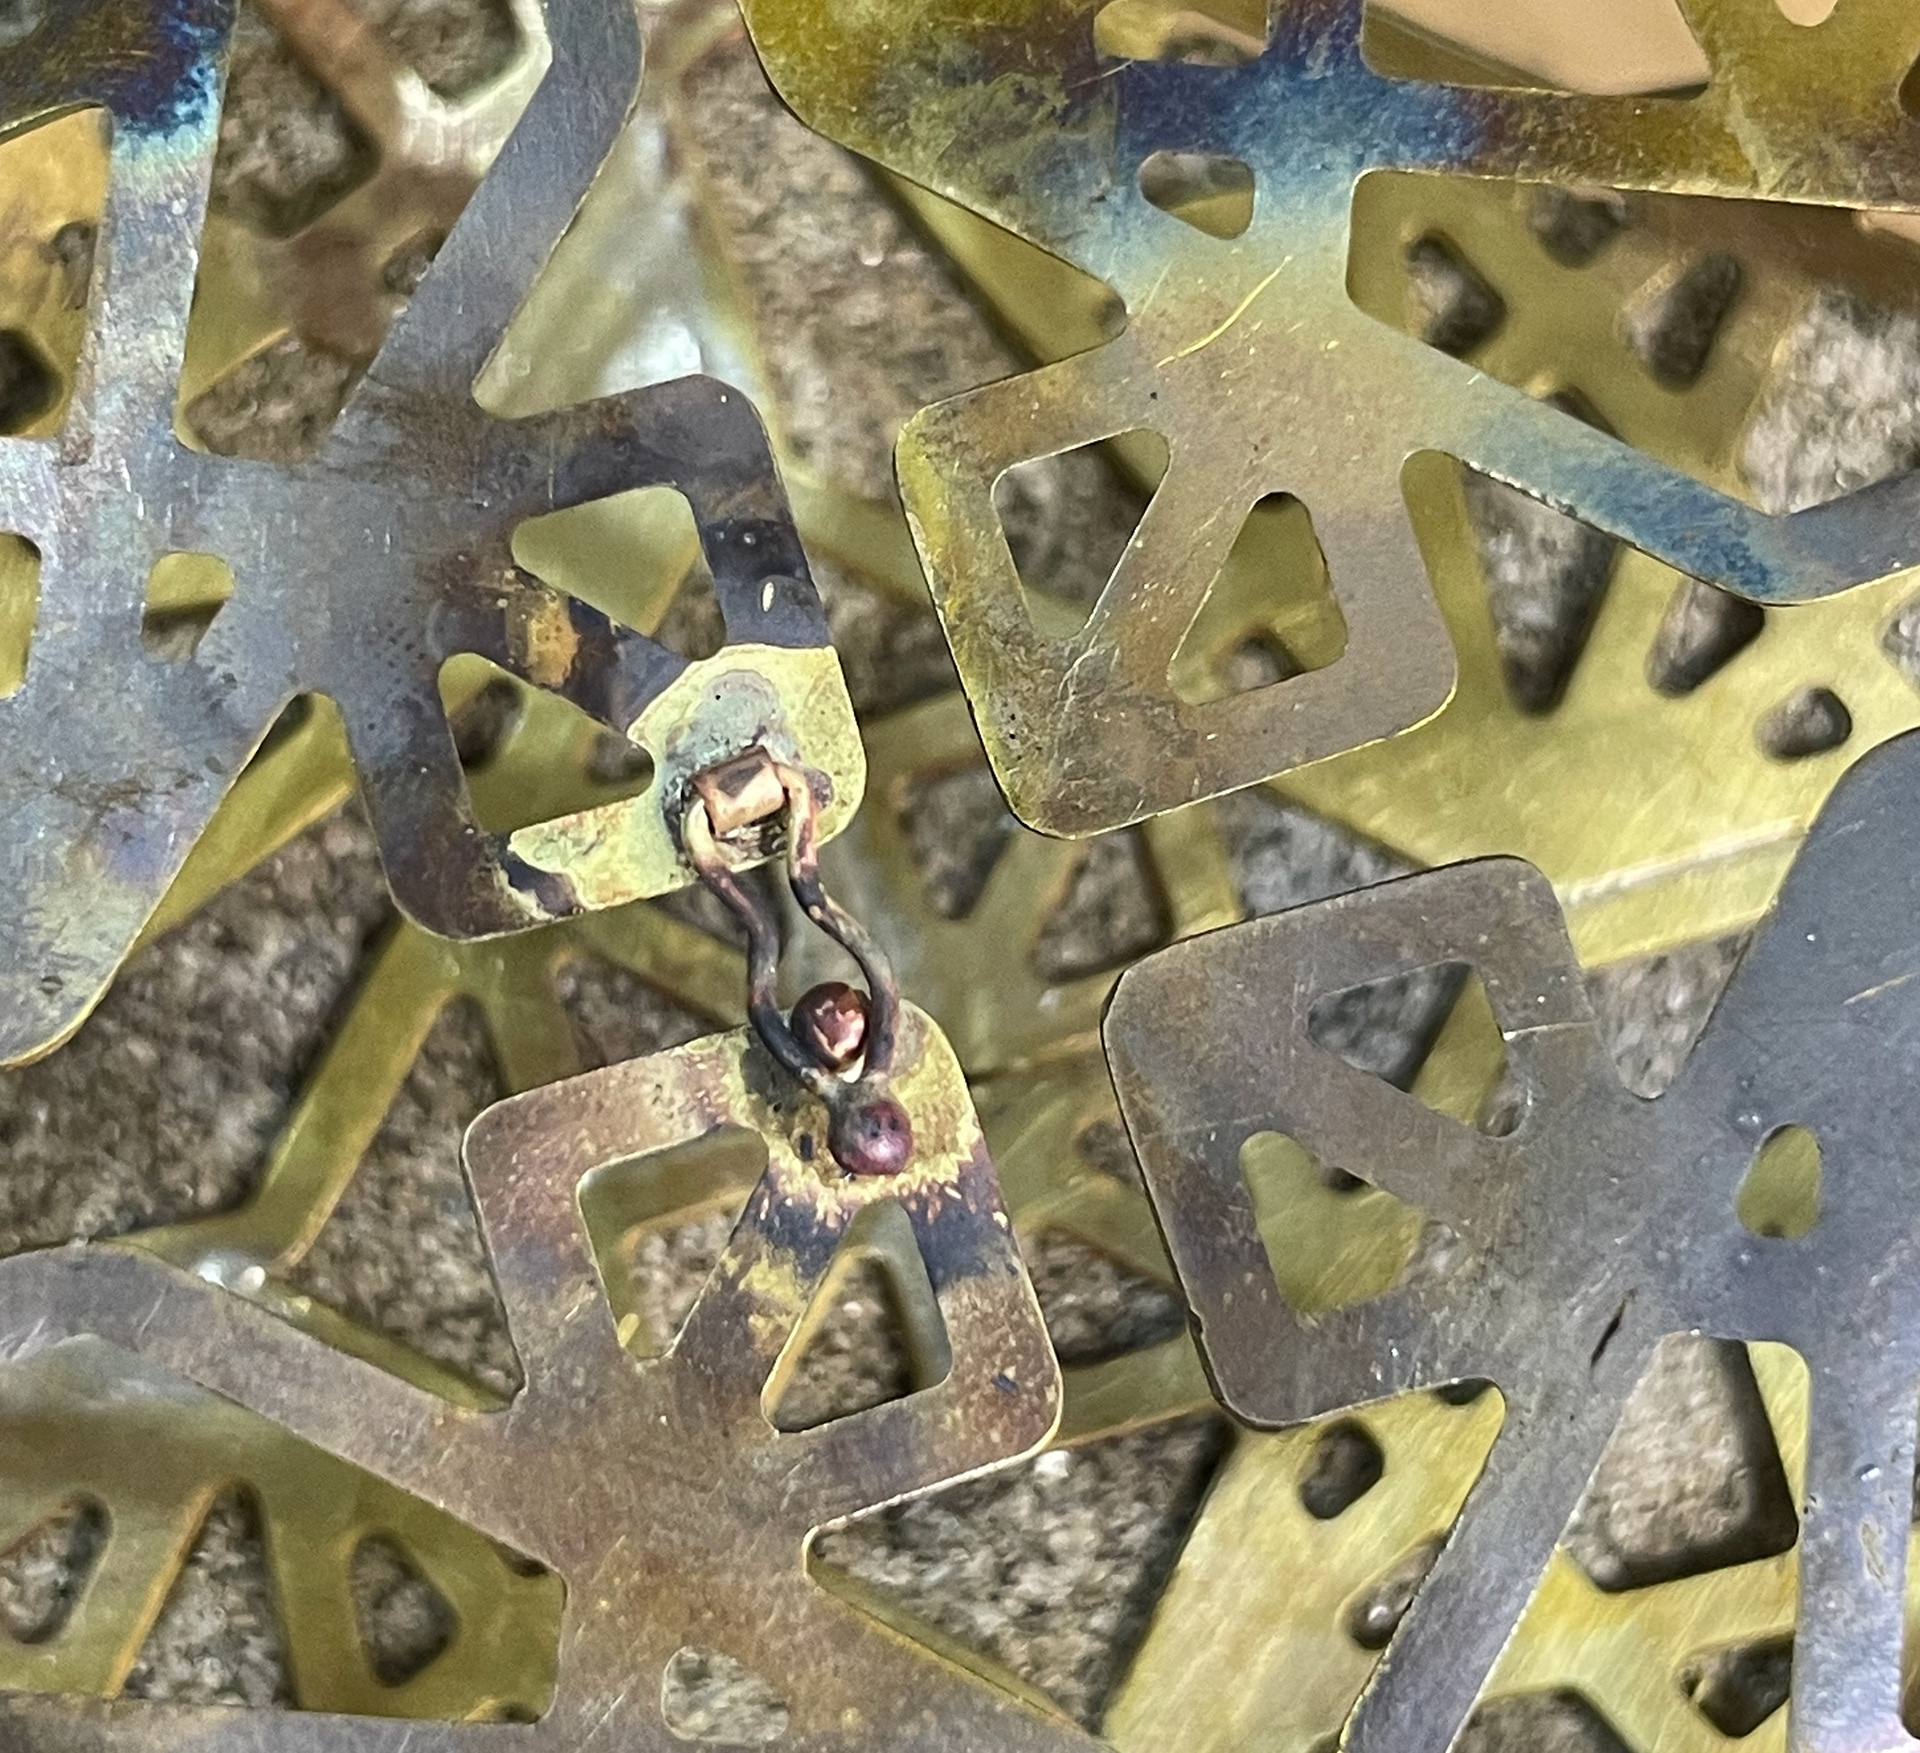
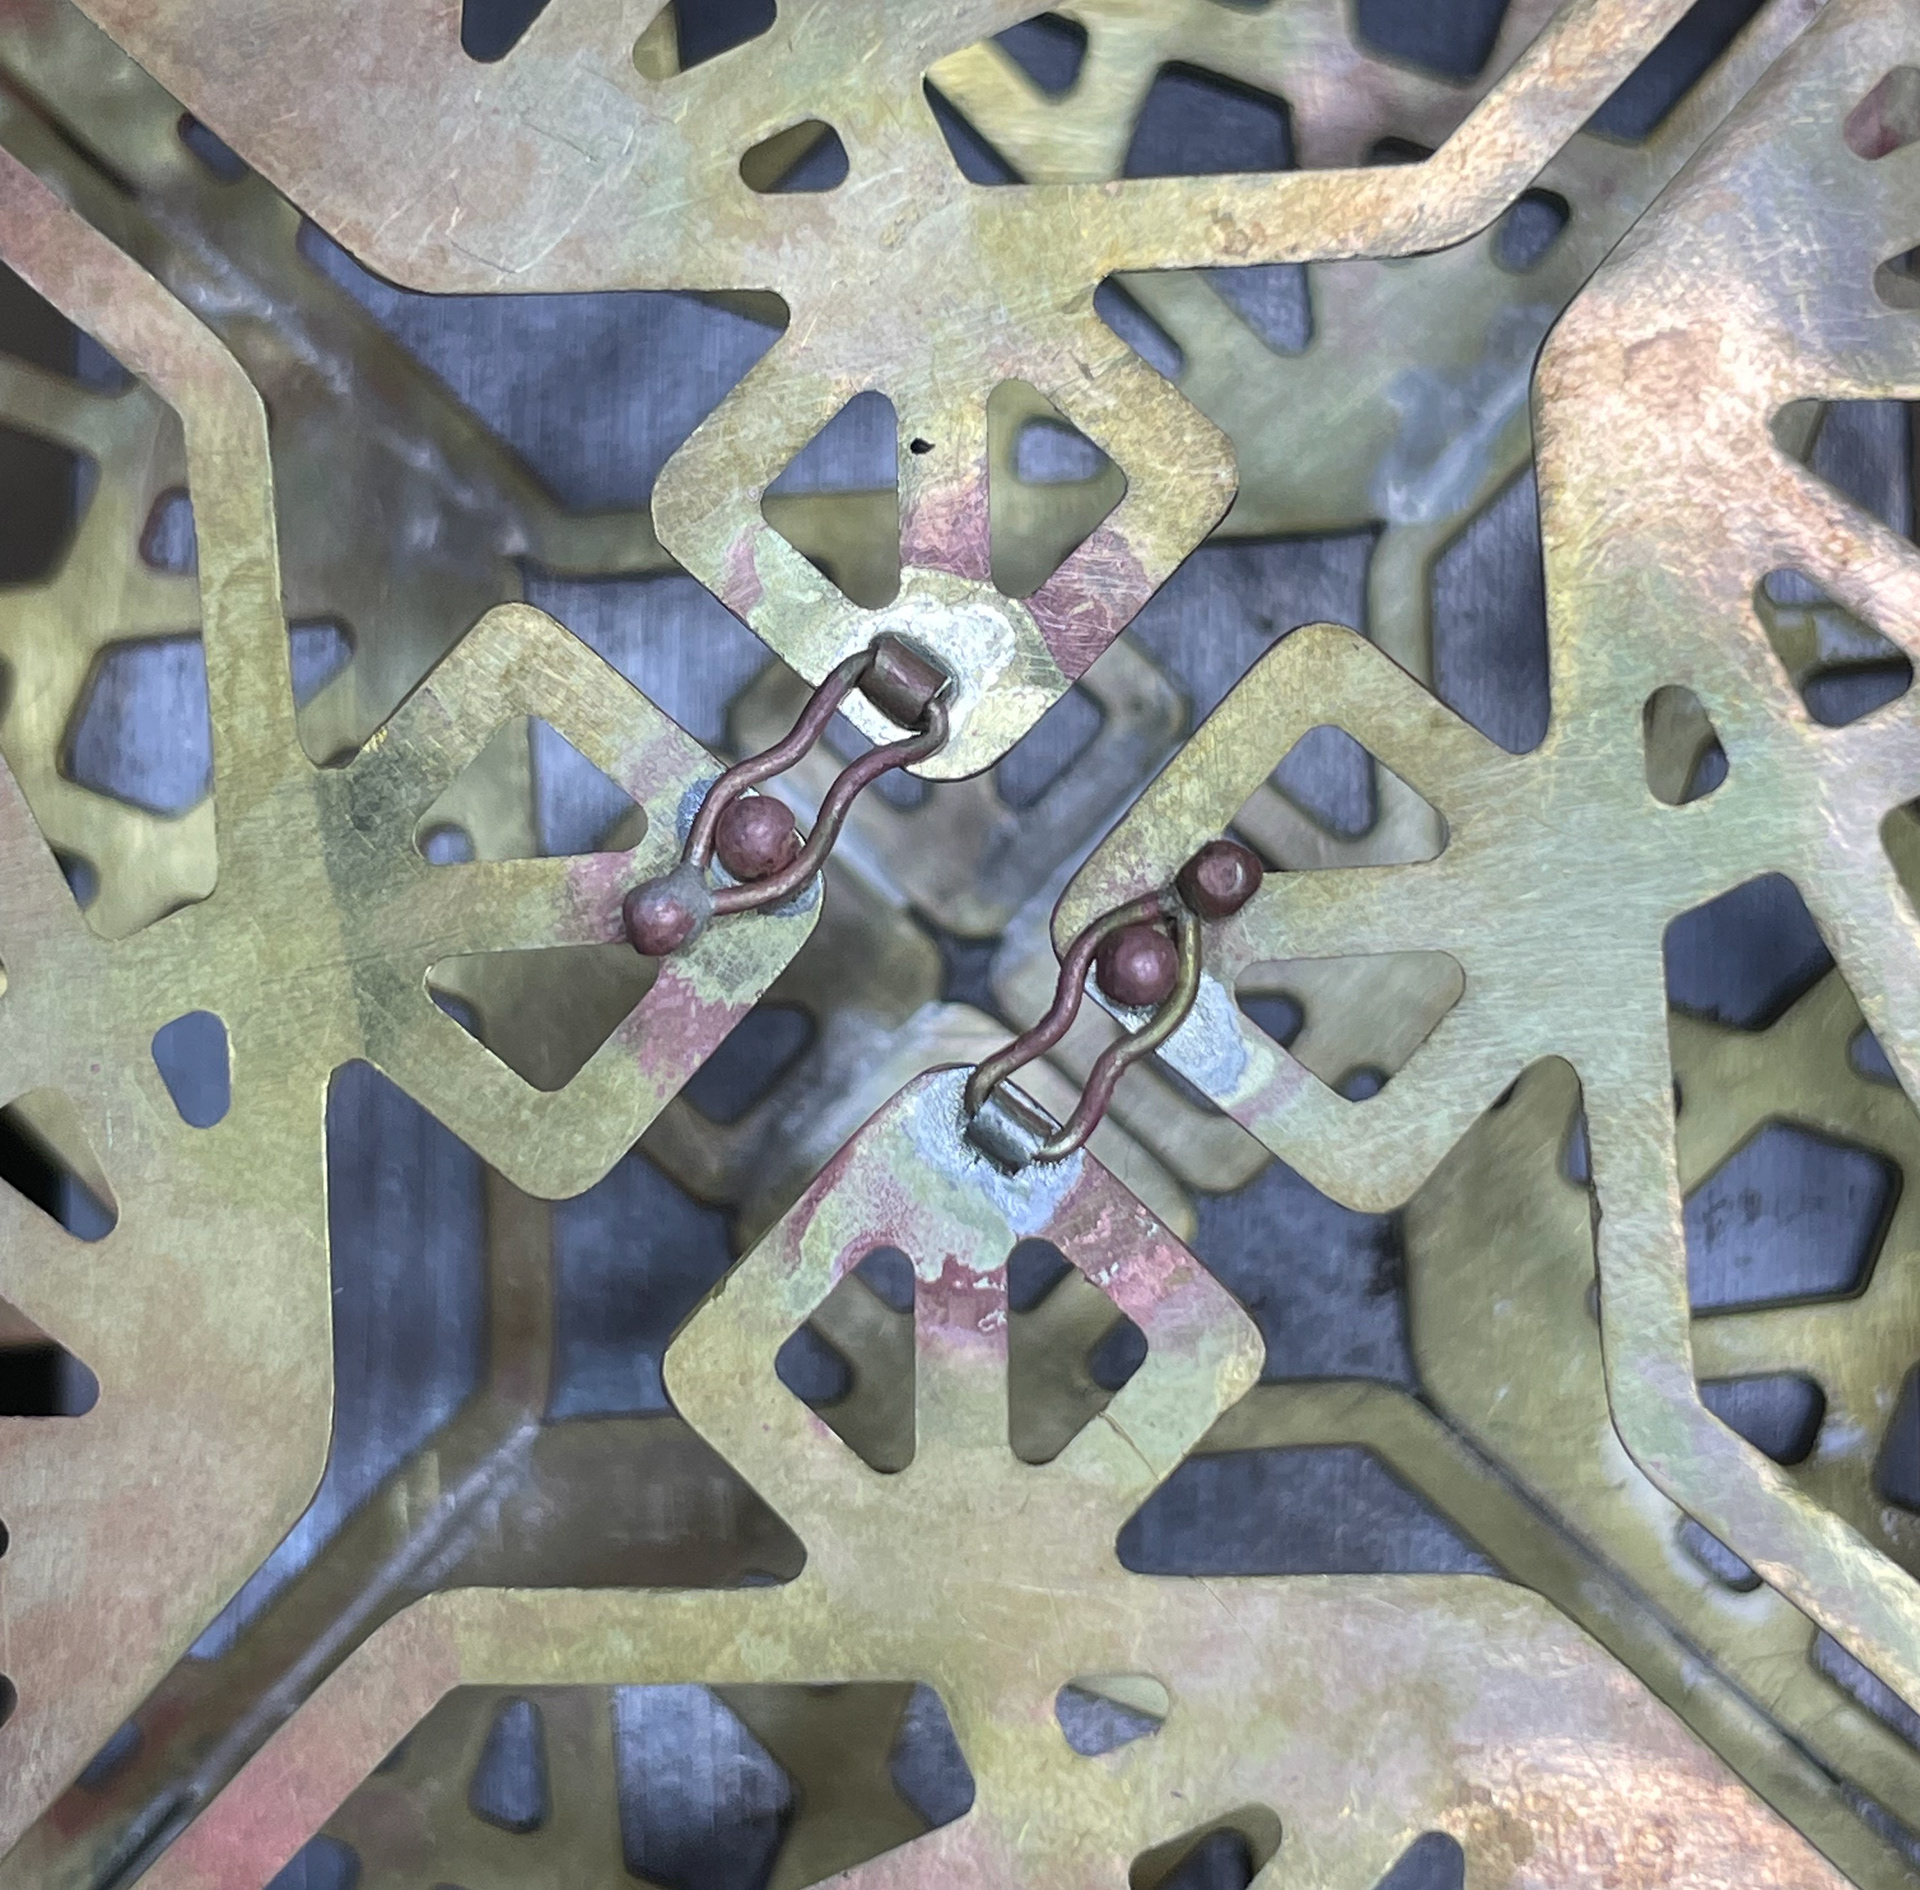
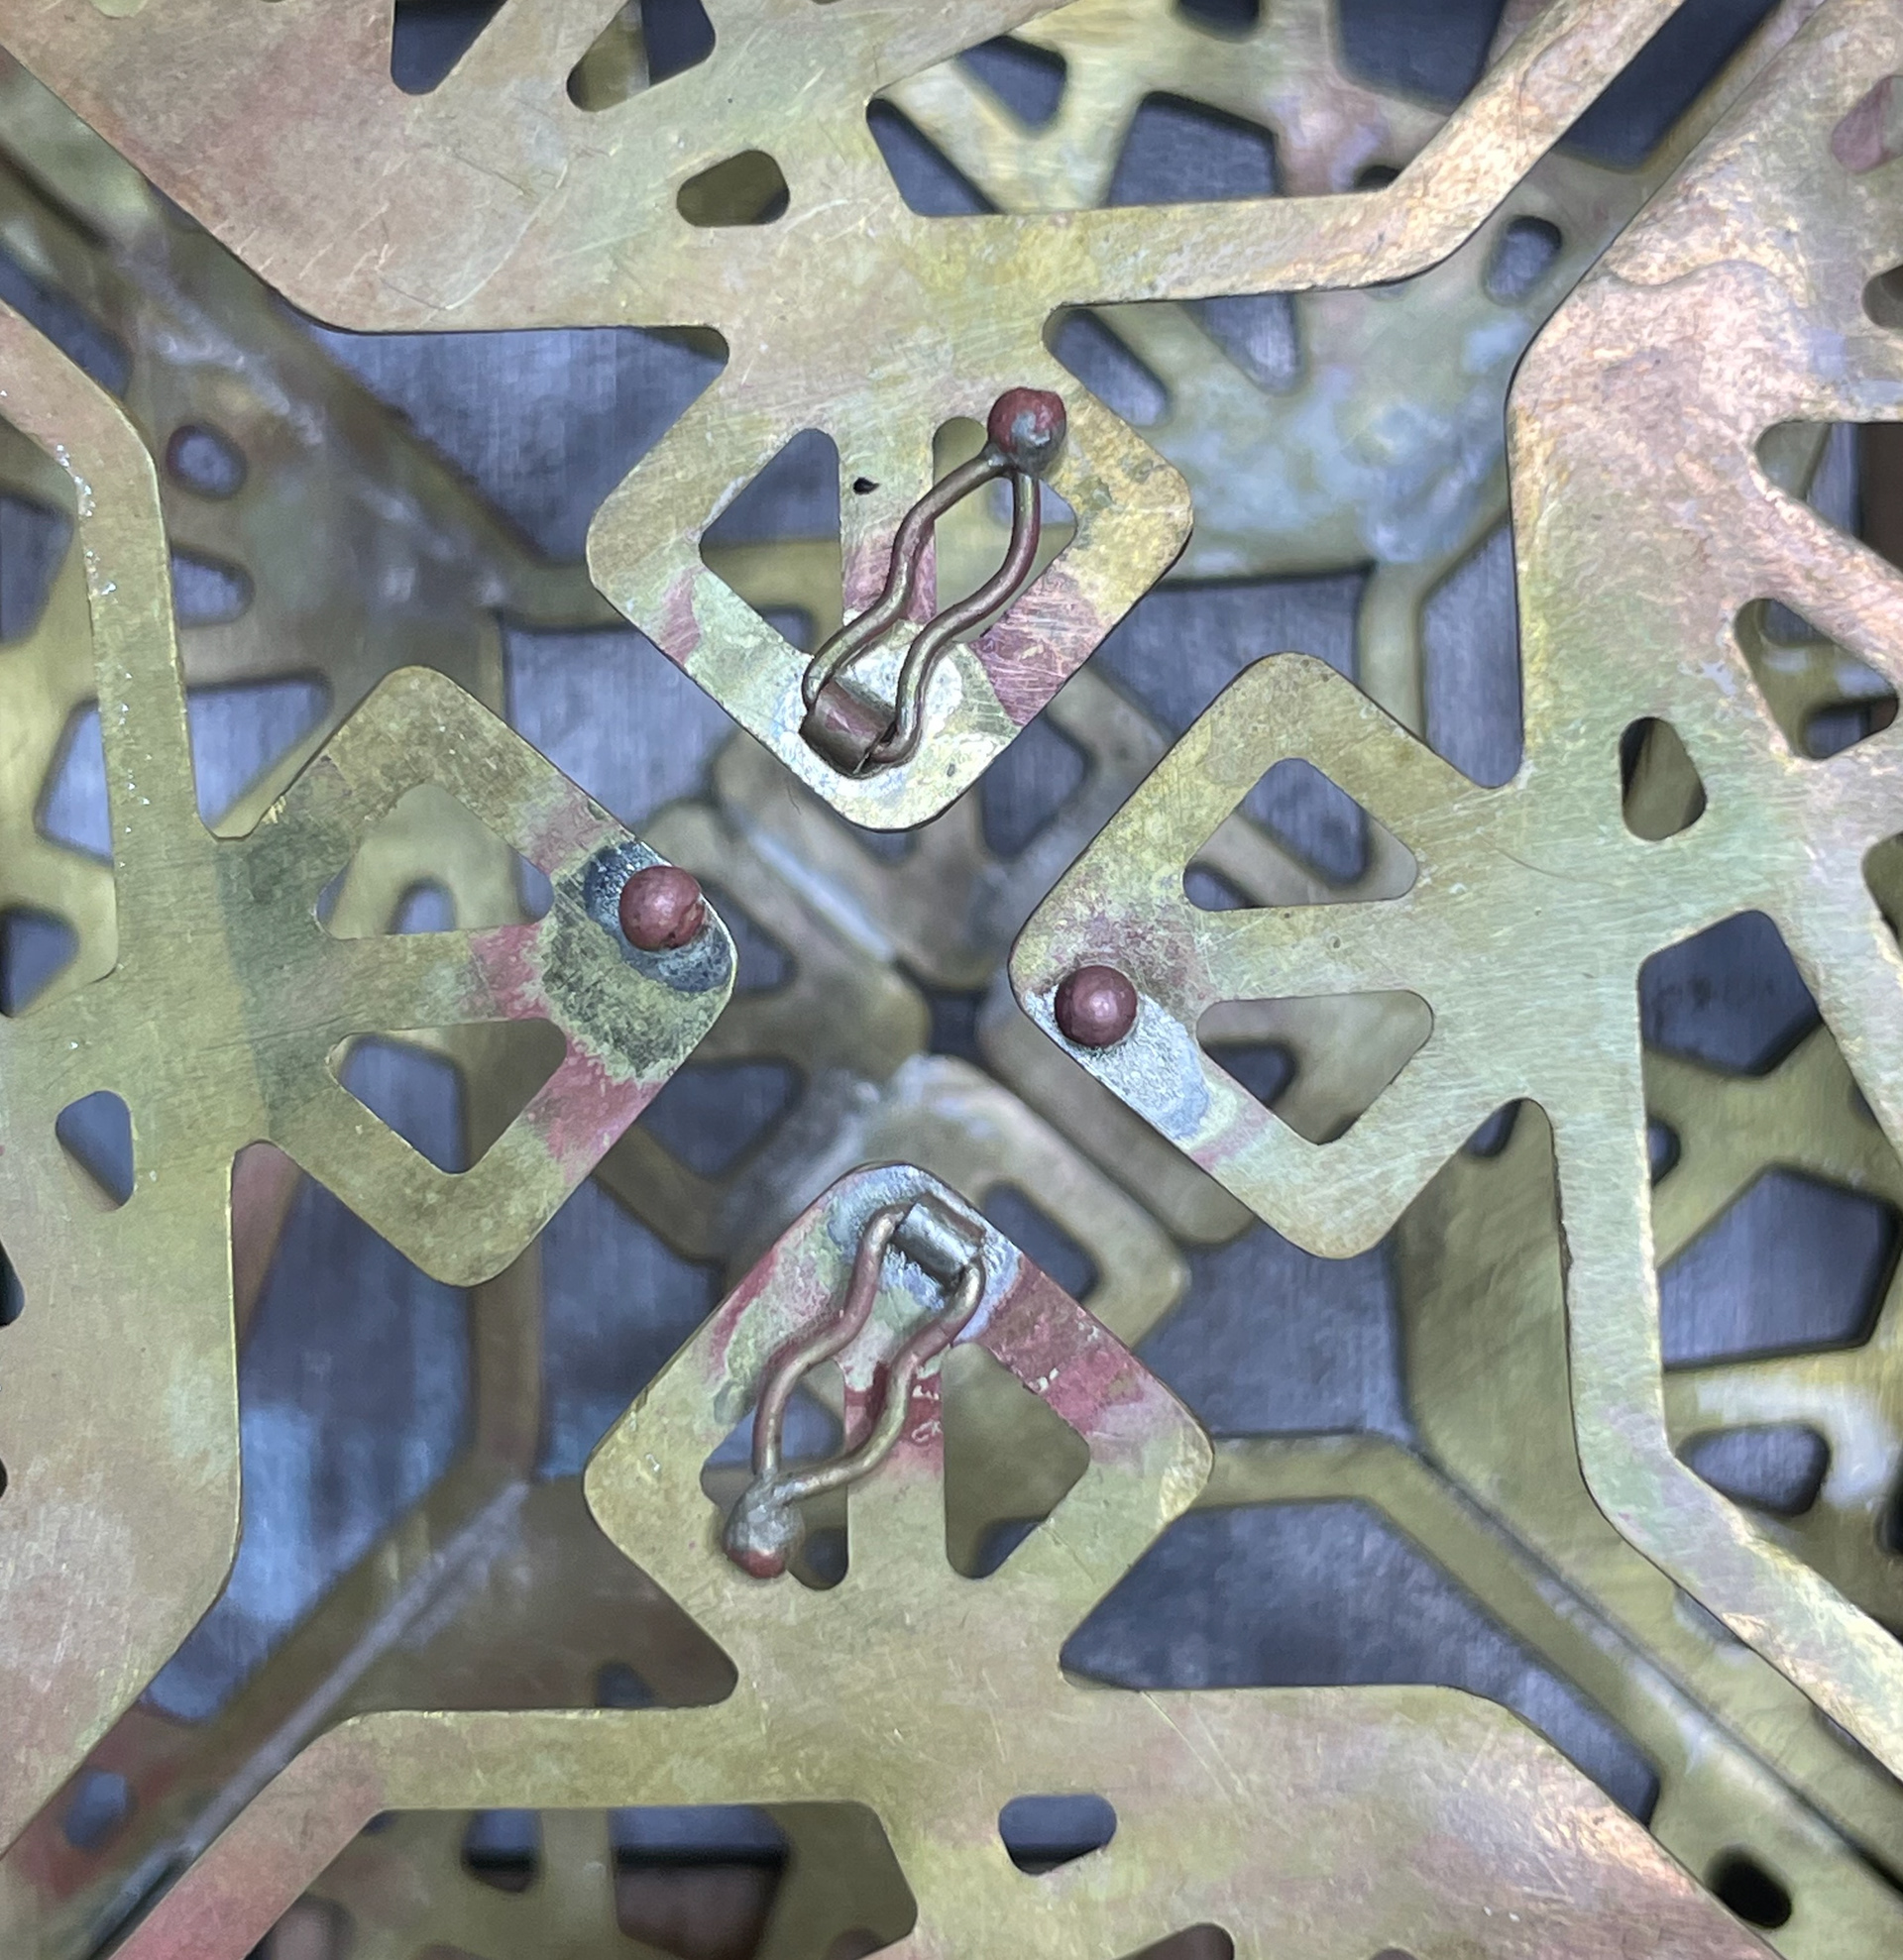
I next tried the figure of eight ball clasp which was on my grandmas bangle. I used brass wire to create the figur of eight shapes and the same brass tube as the hinges. I also made some brass balls by melting 1cm of brass wire until it formed a ball. i tested soldering these onto squares of brass sheet before attachting them onto the box to see if it would work.
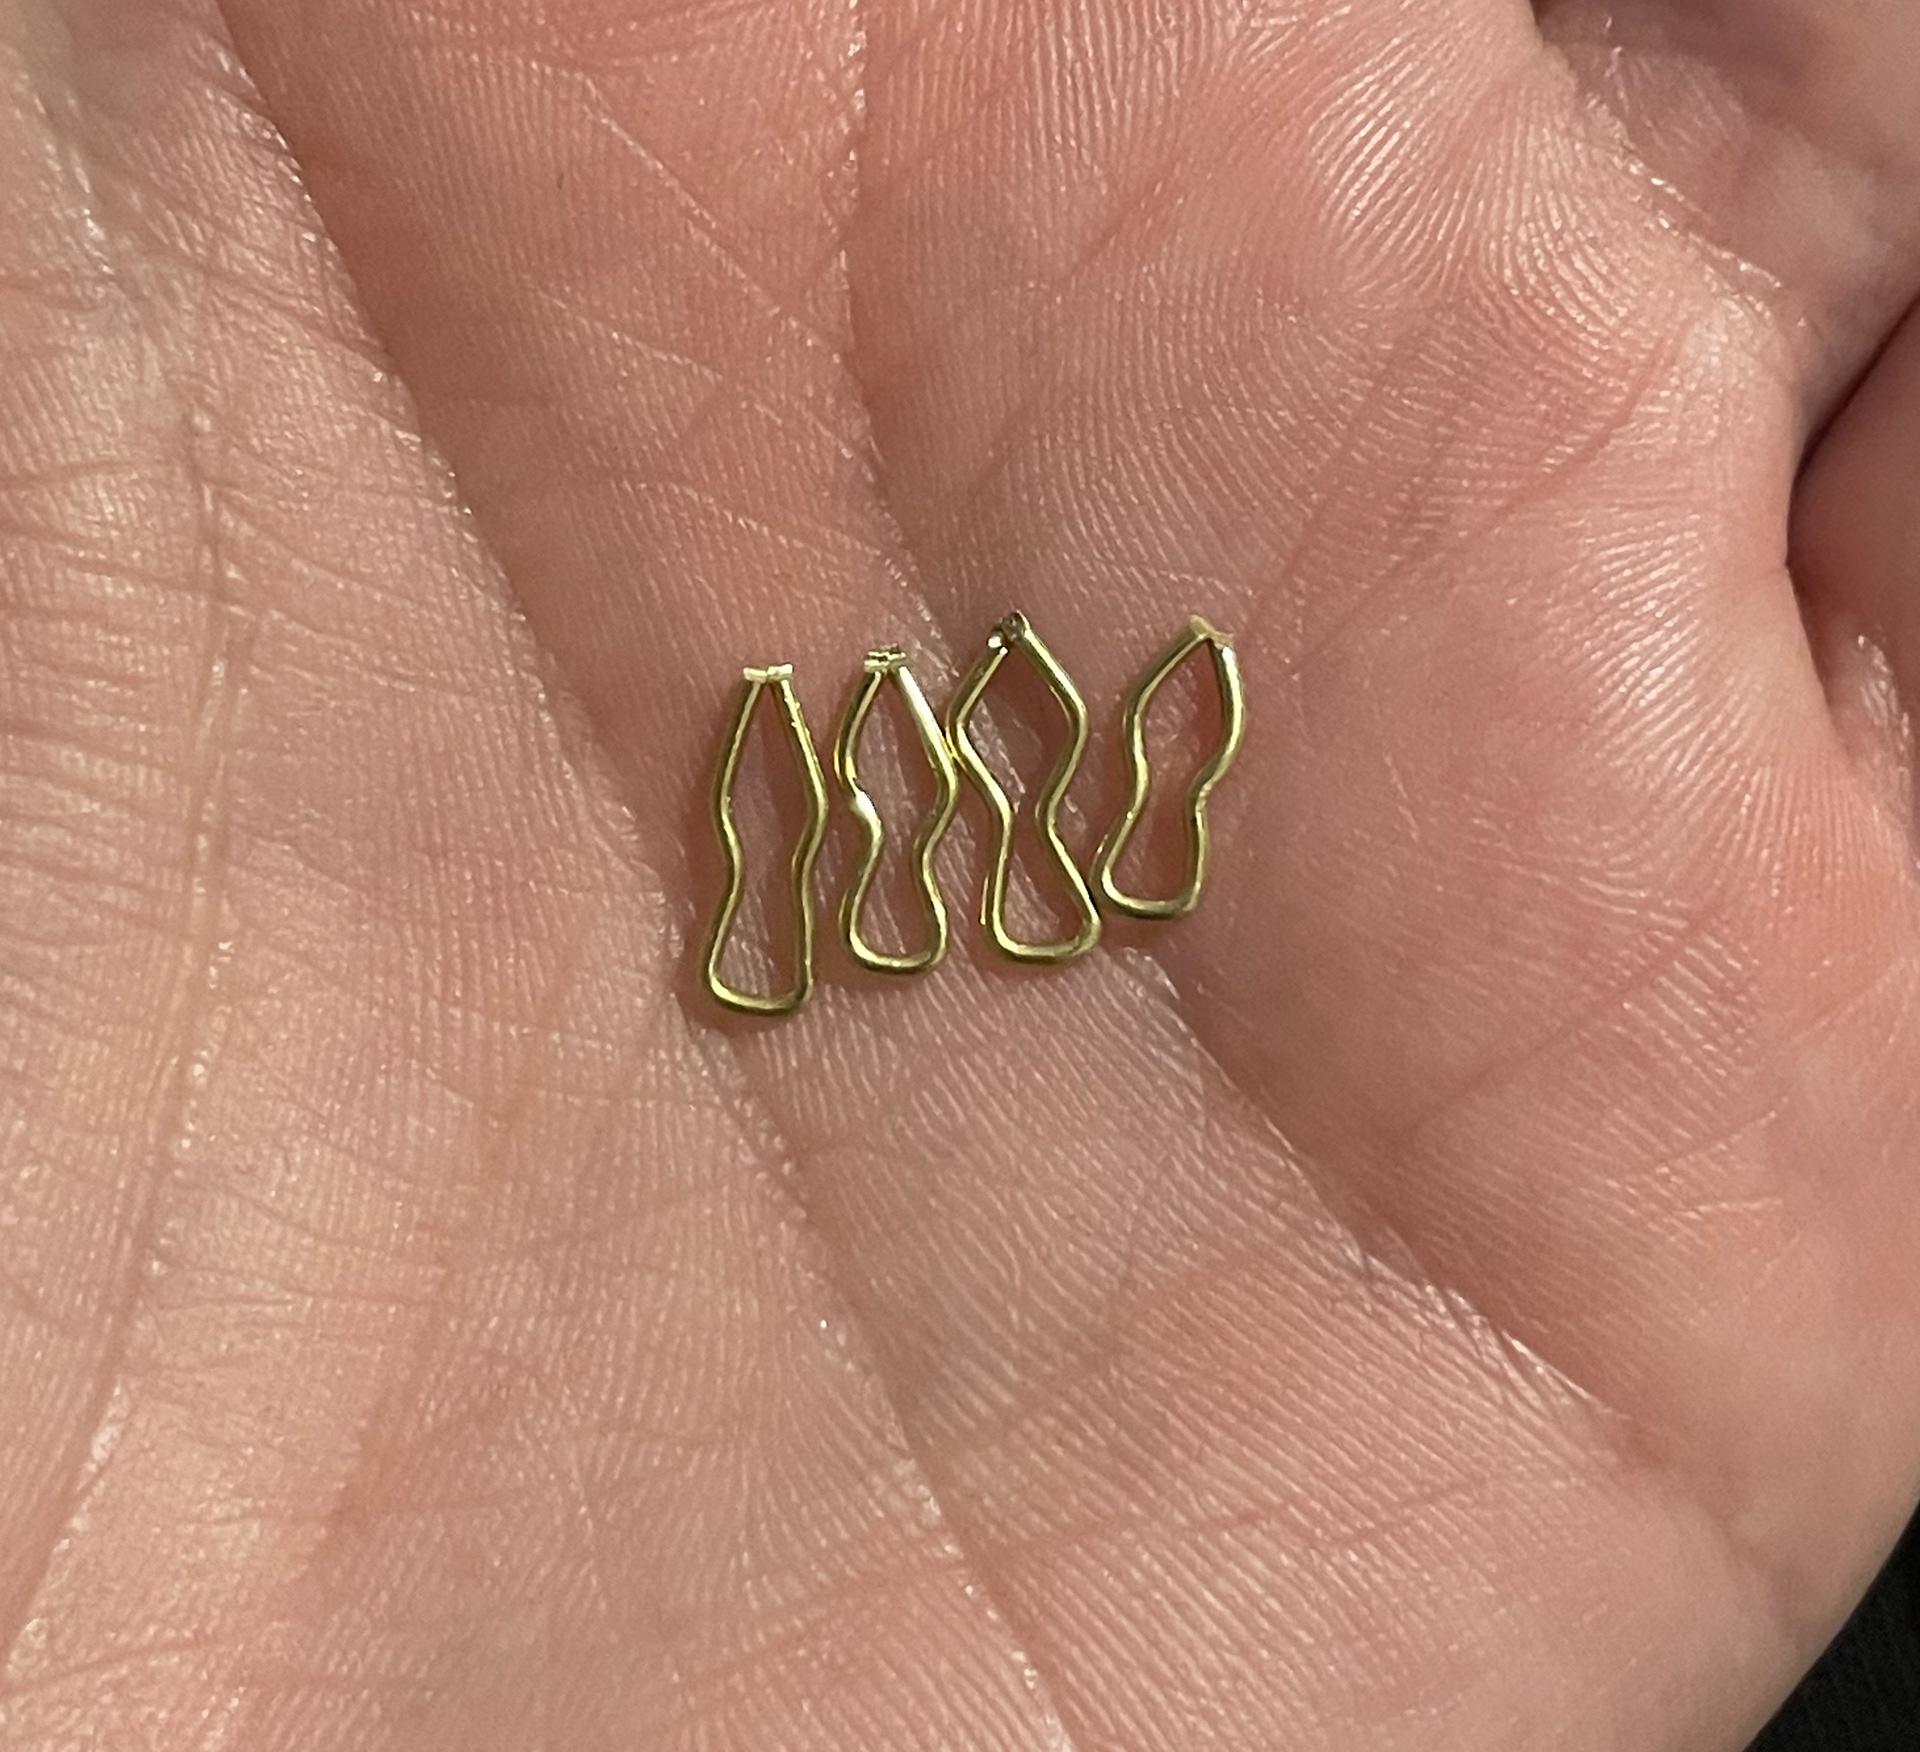
Figure of eights
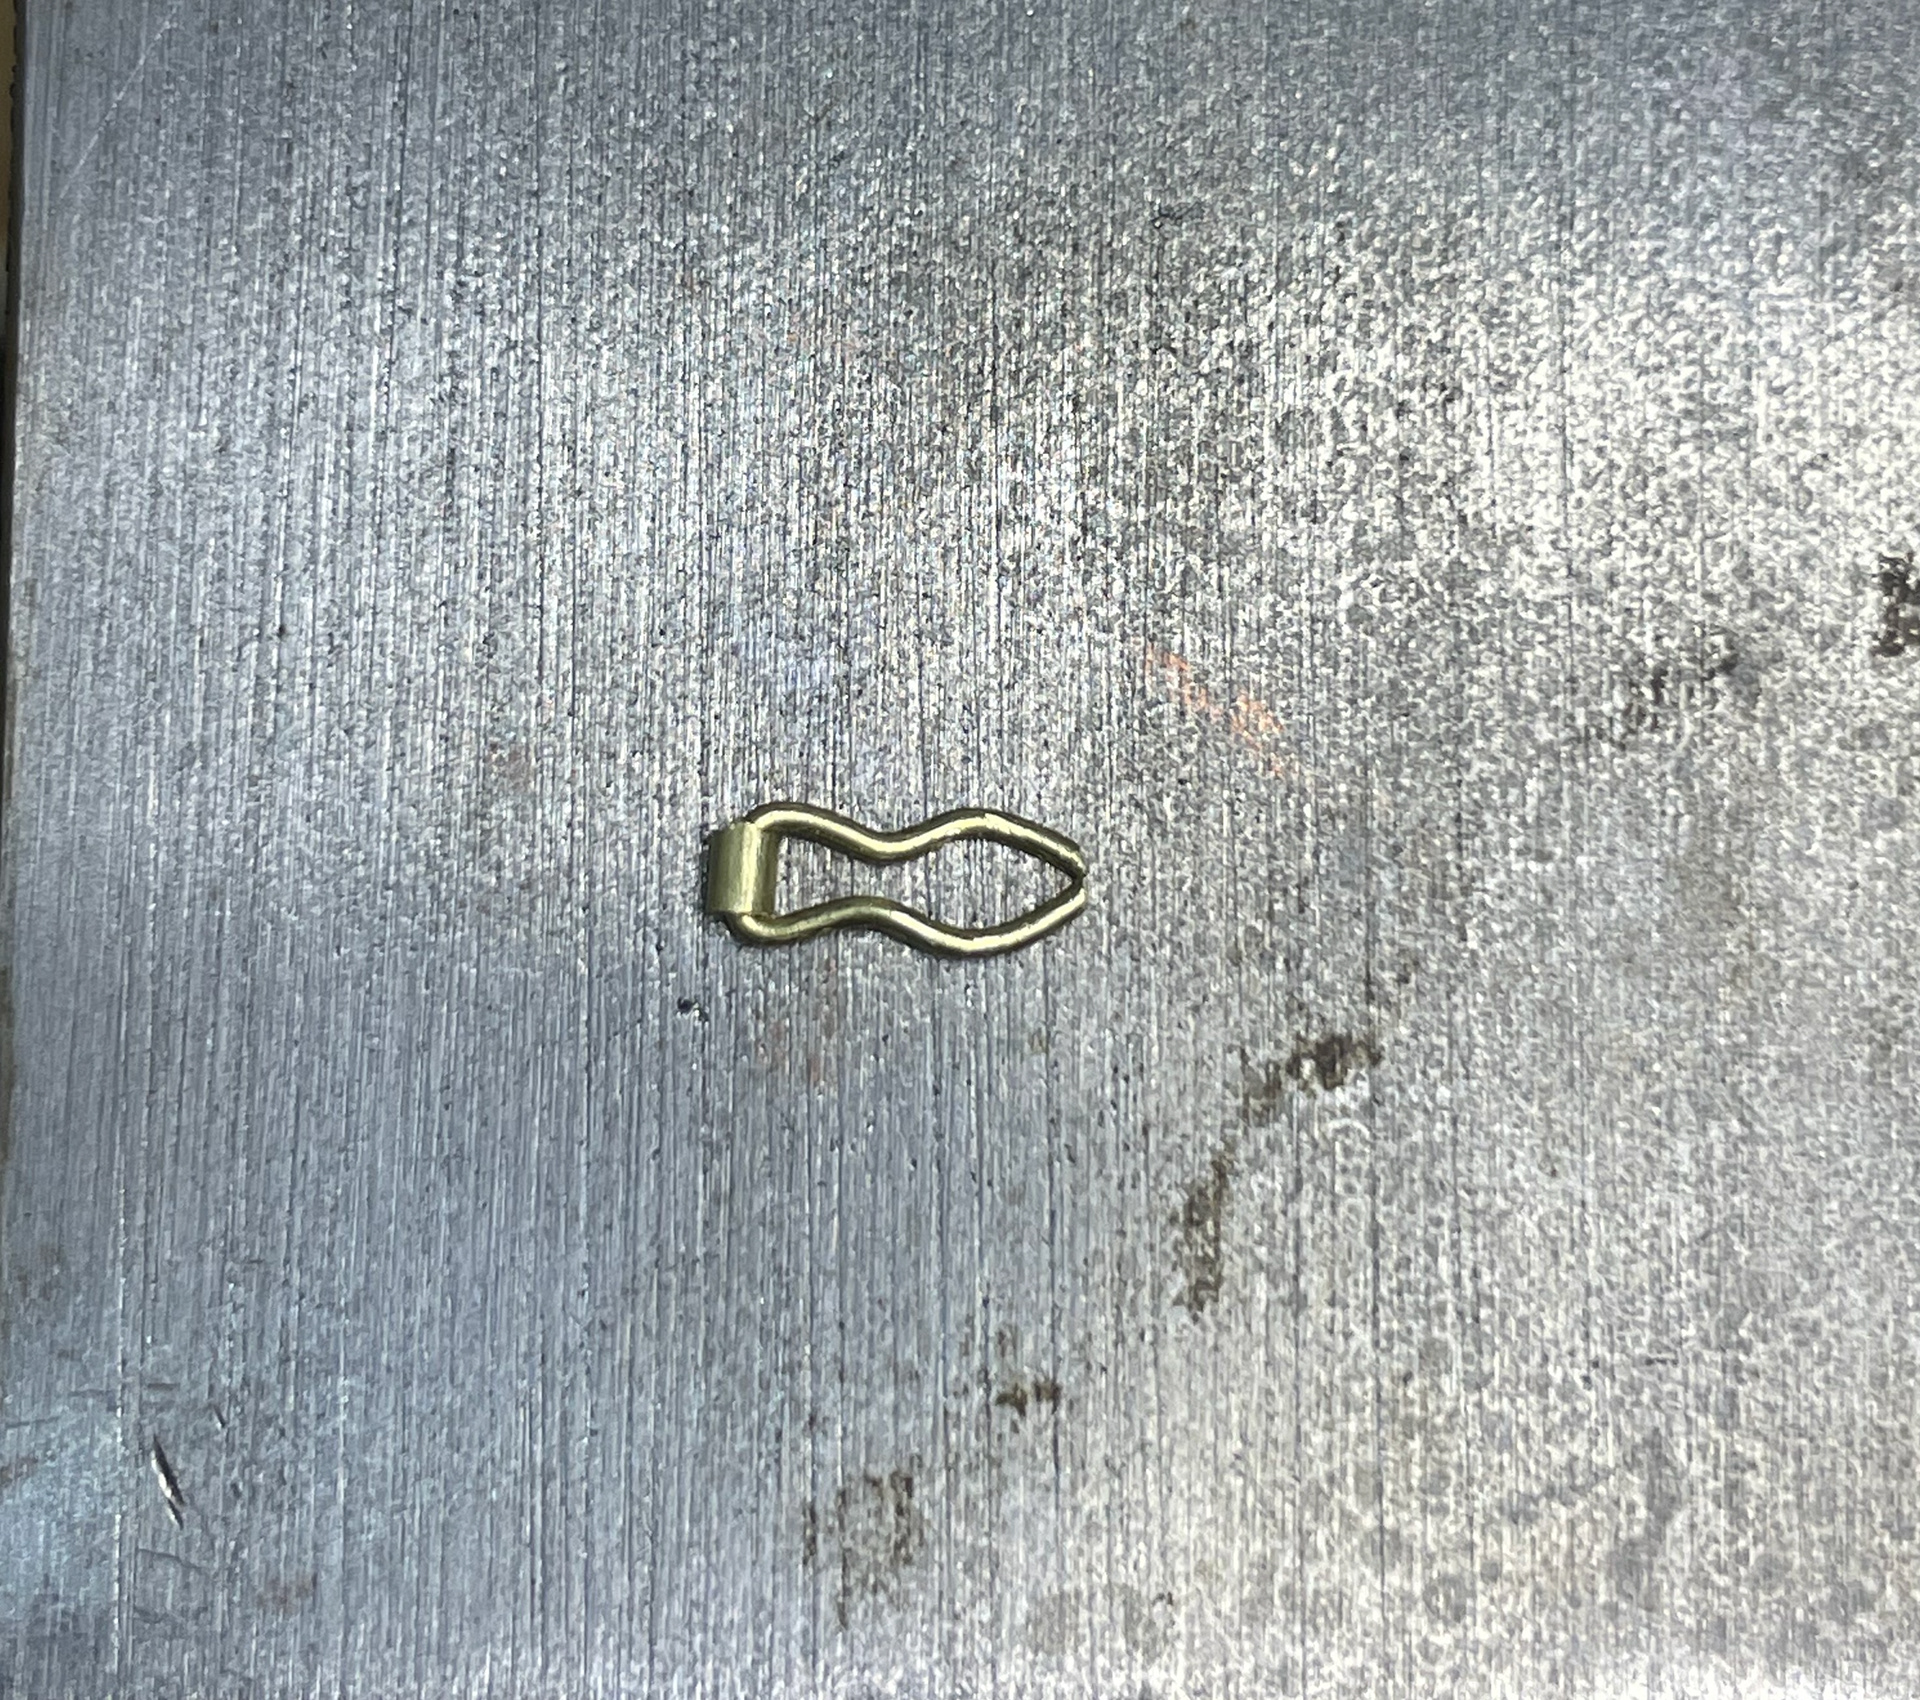
tube added to figure of eight

all the elements needed ready to be soldered
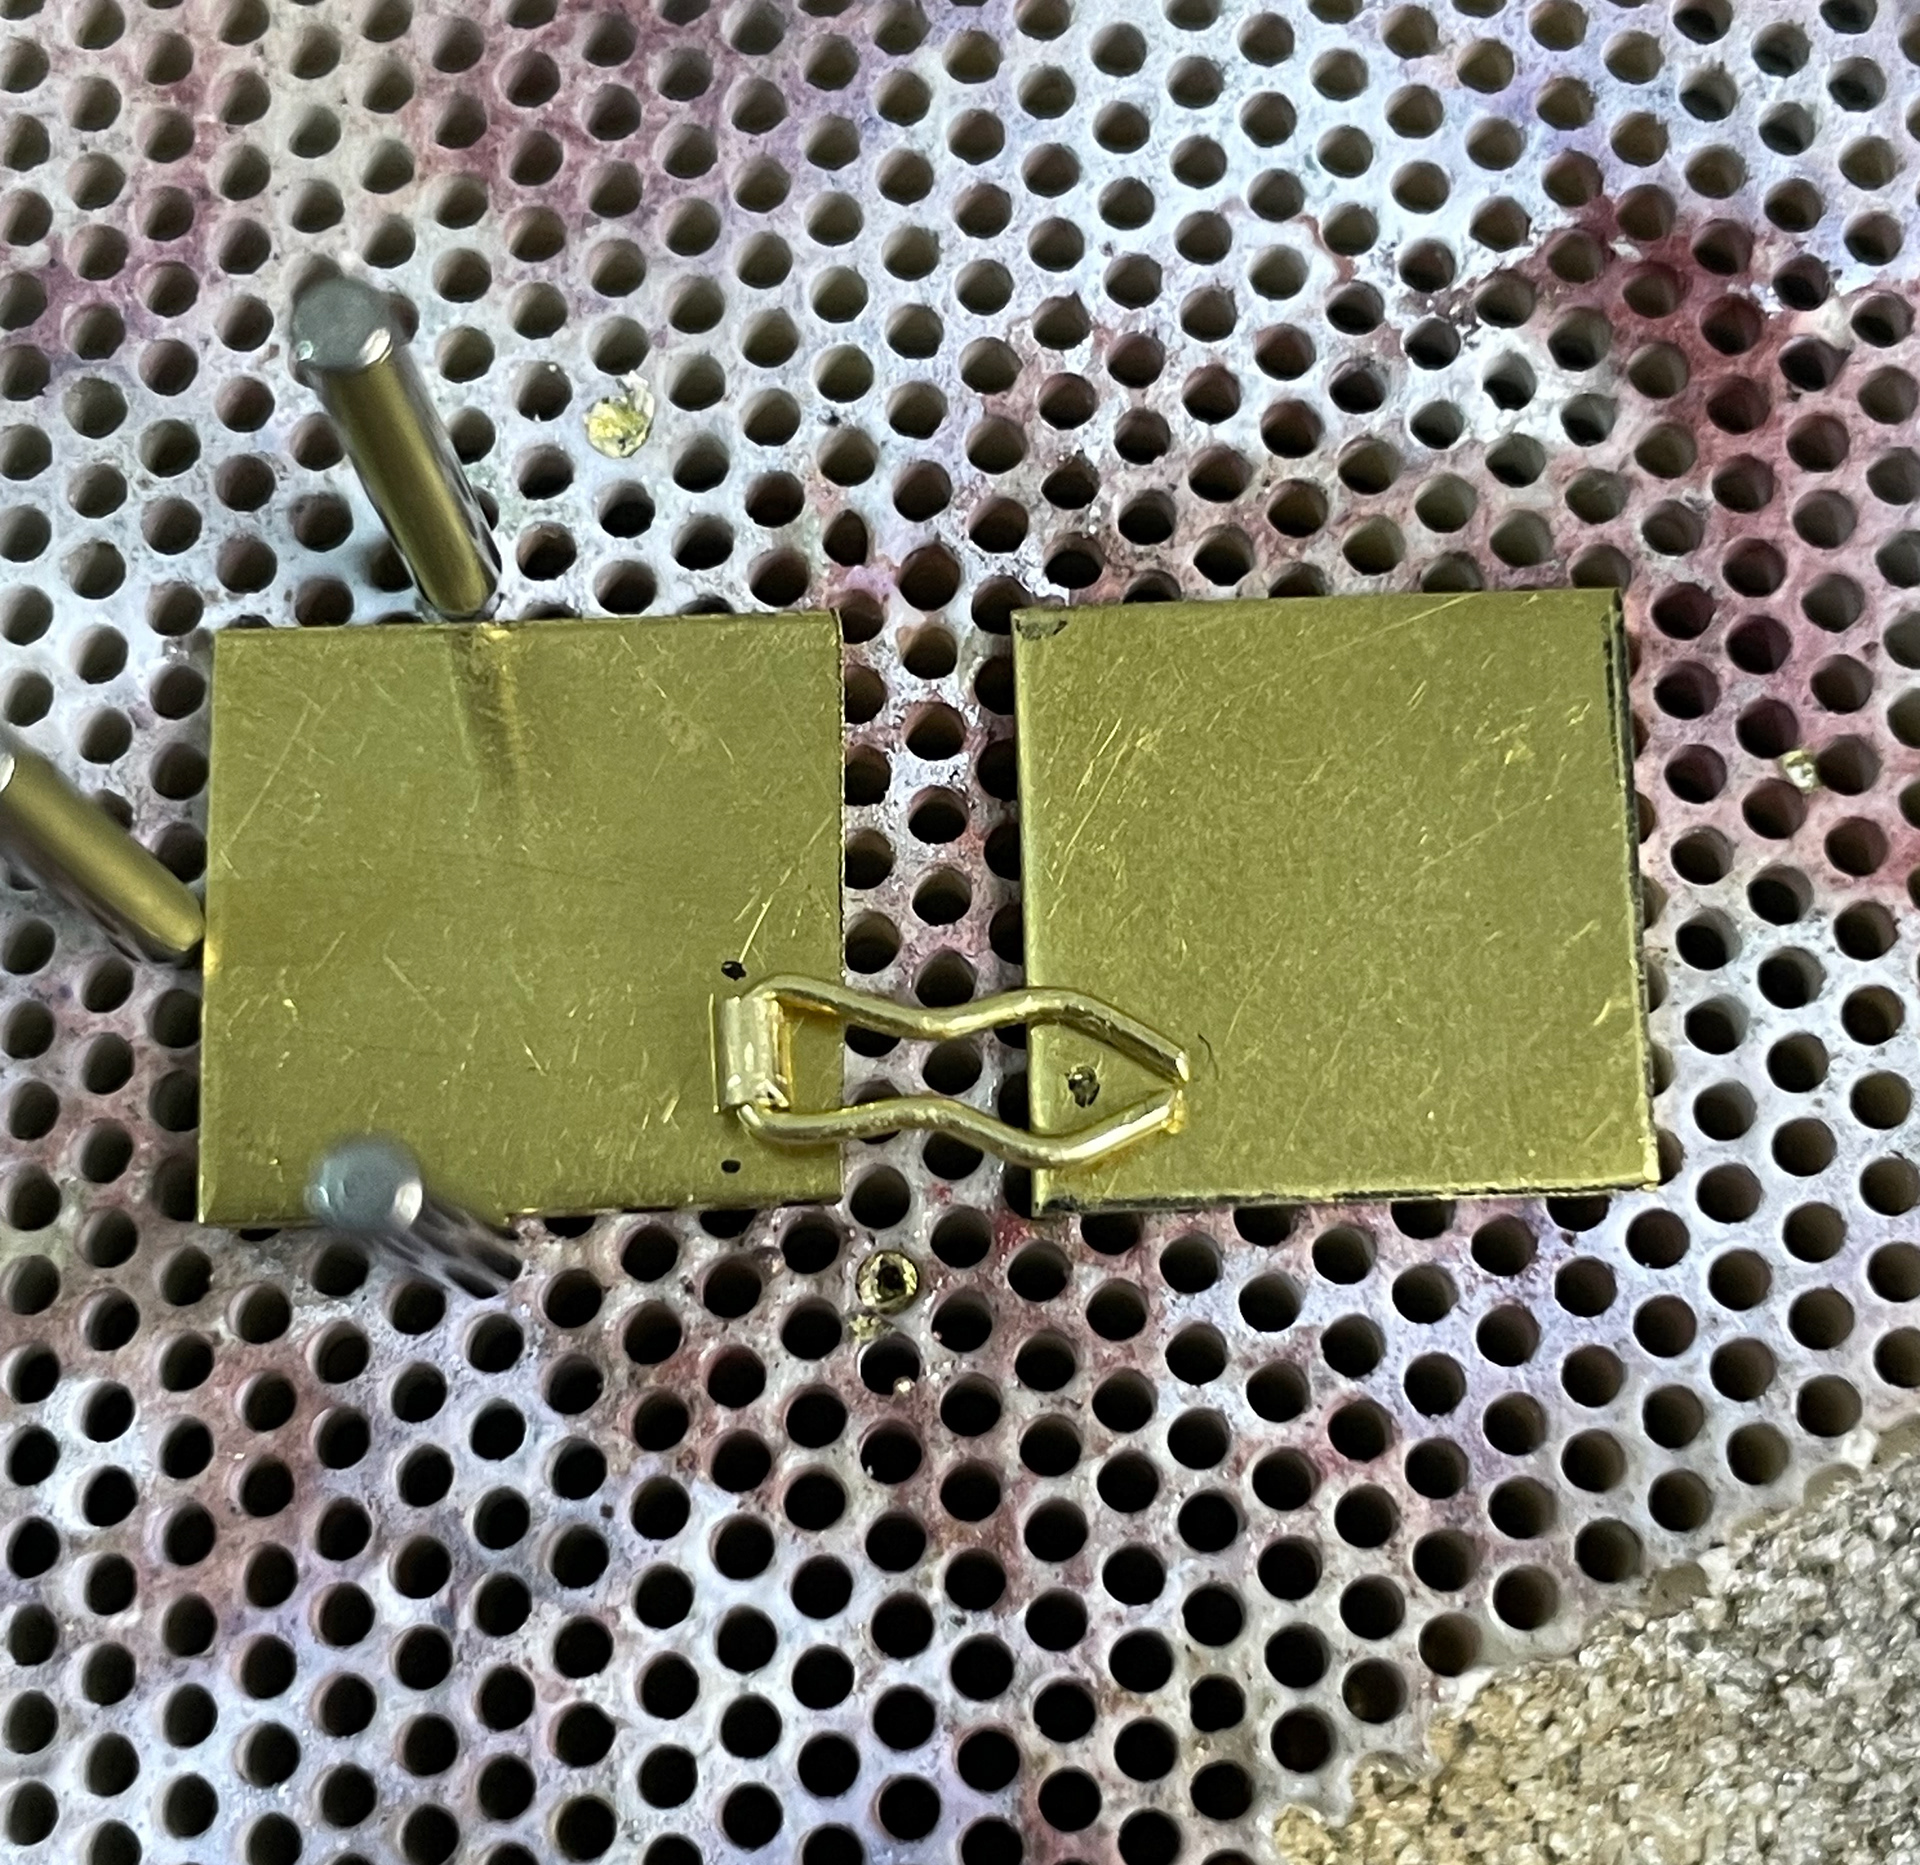
Placed into position
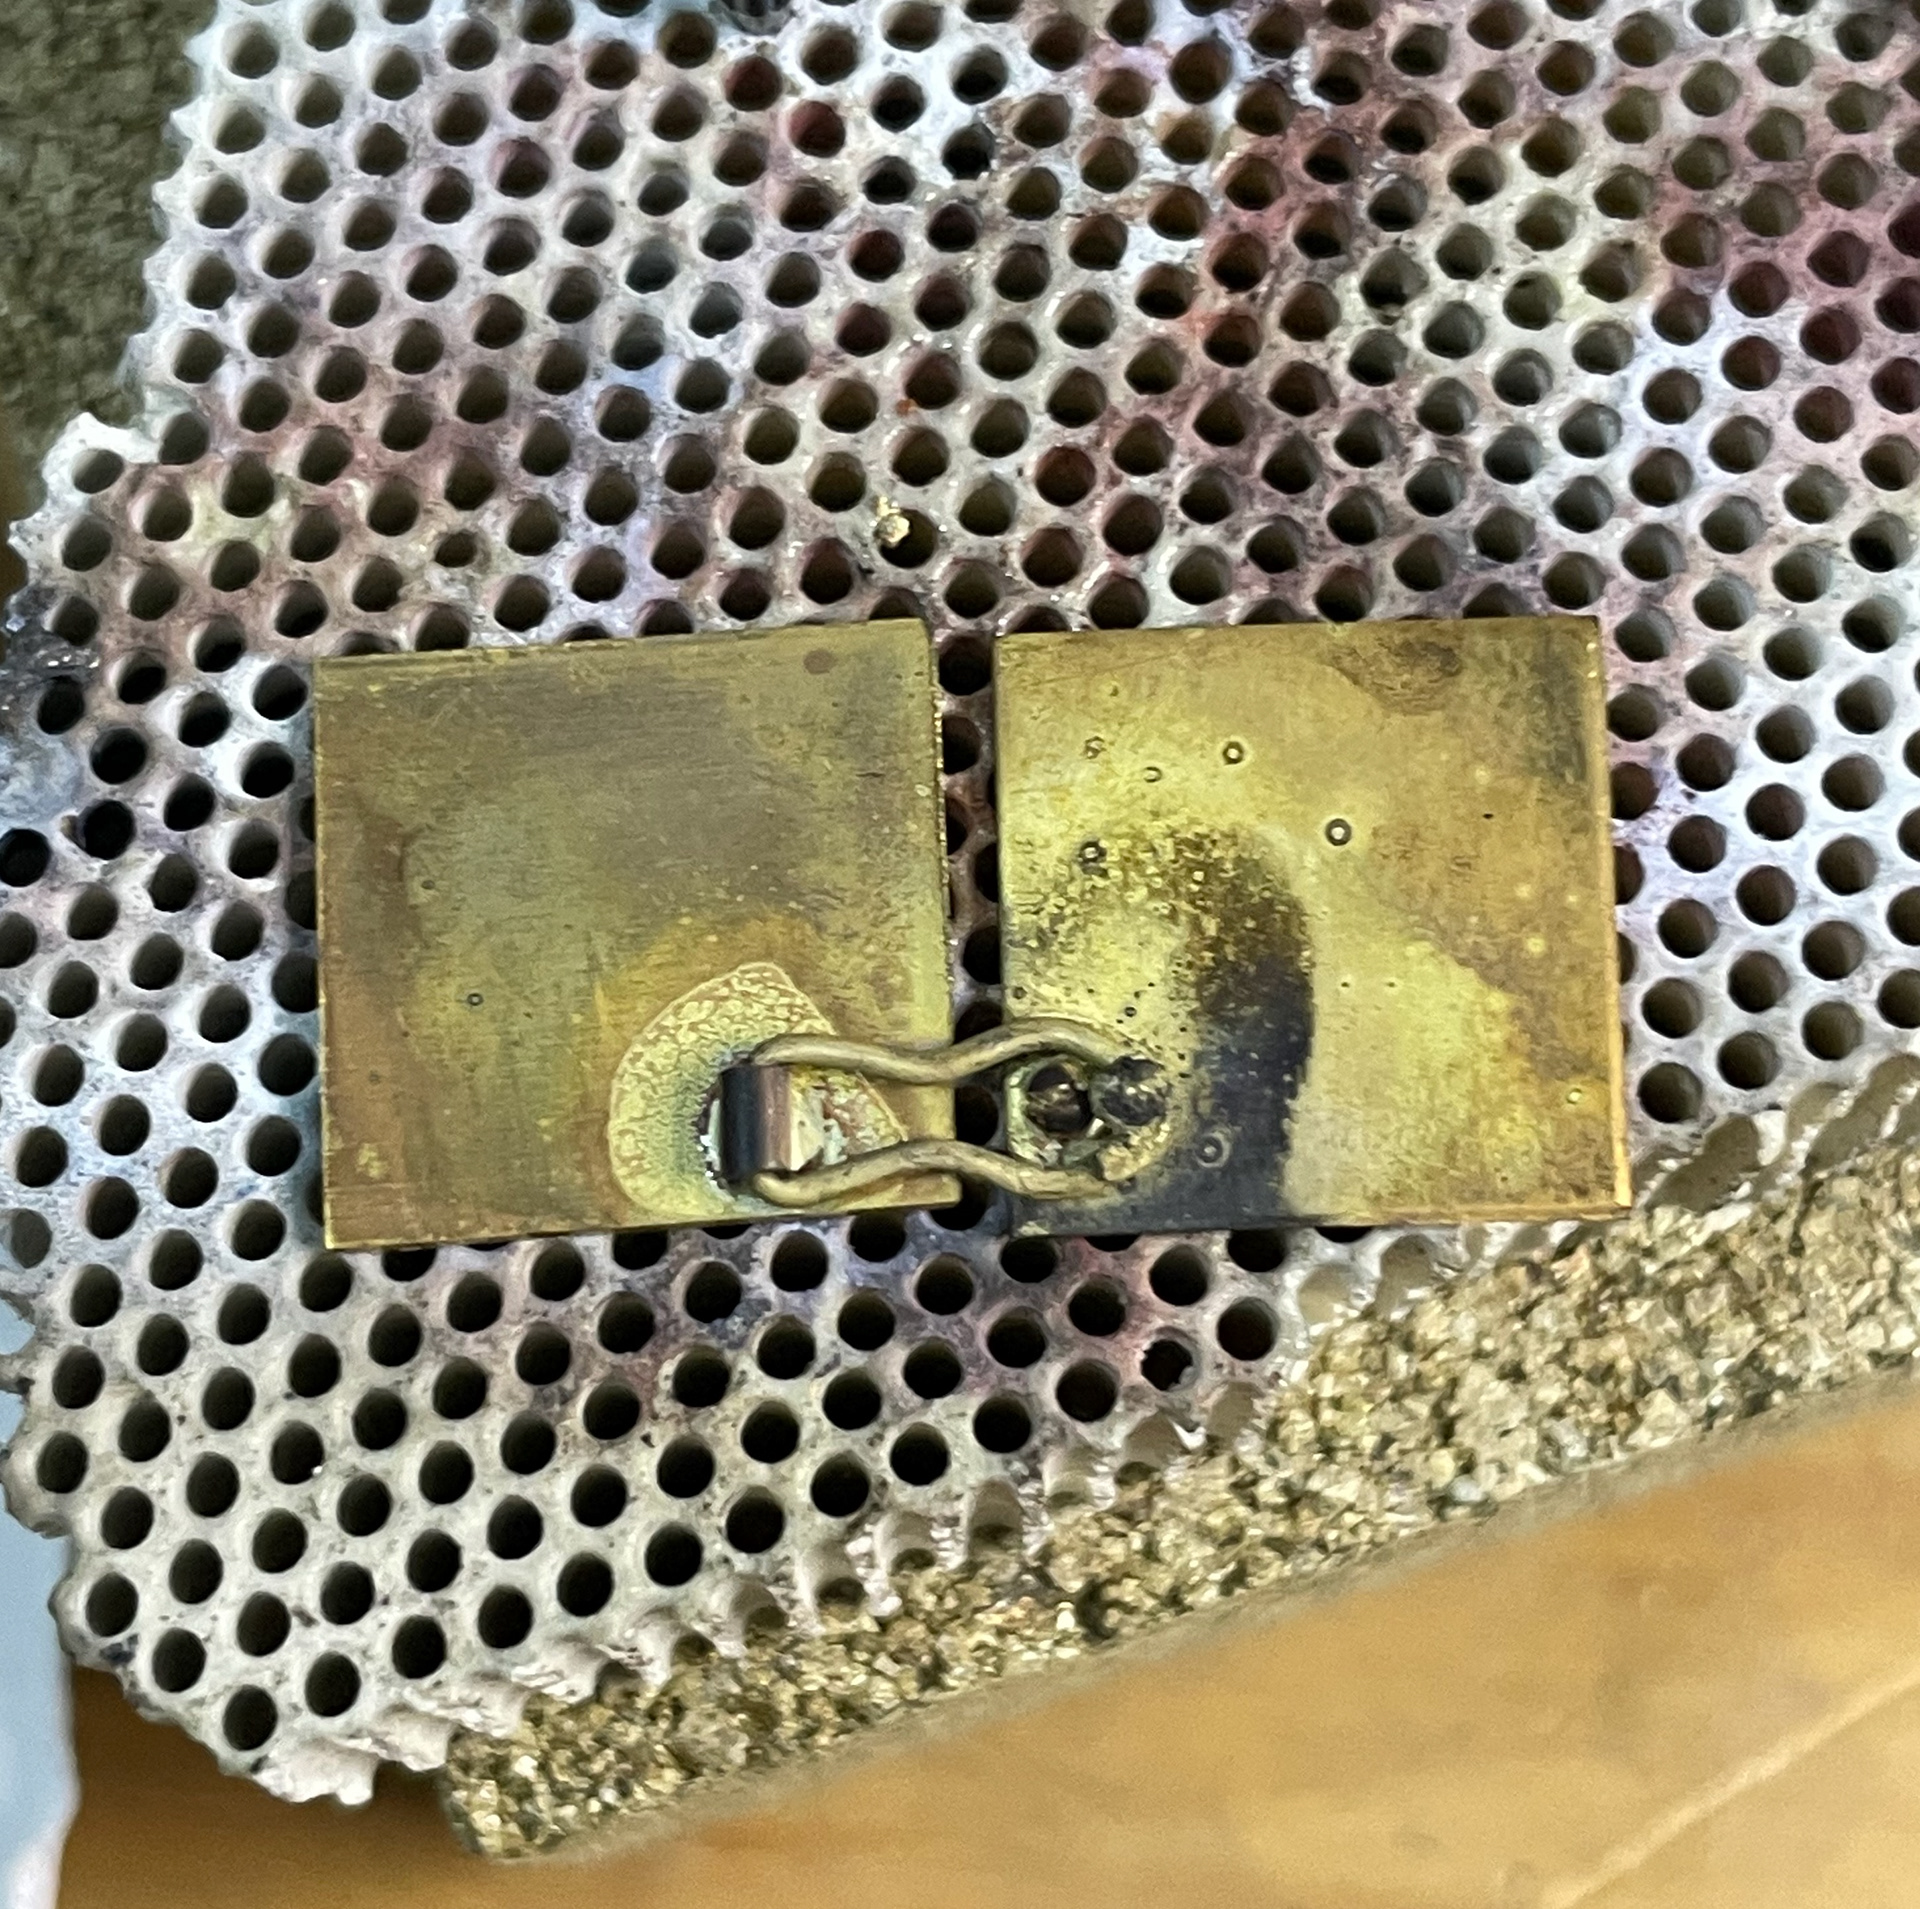
Once soldered
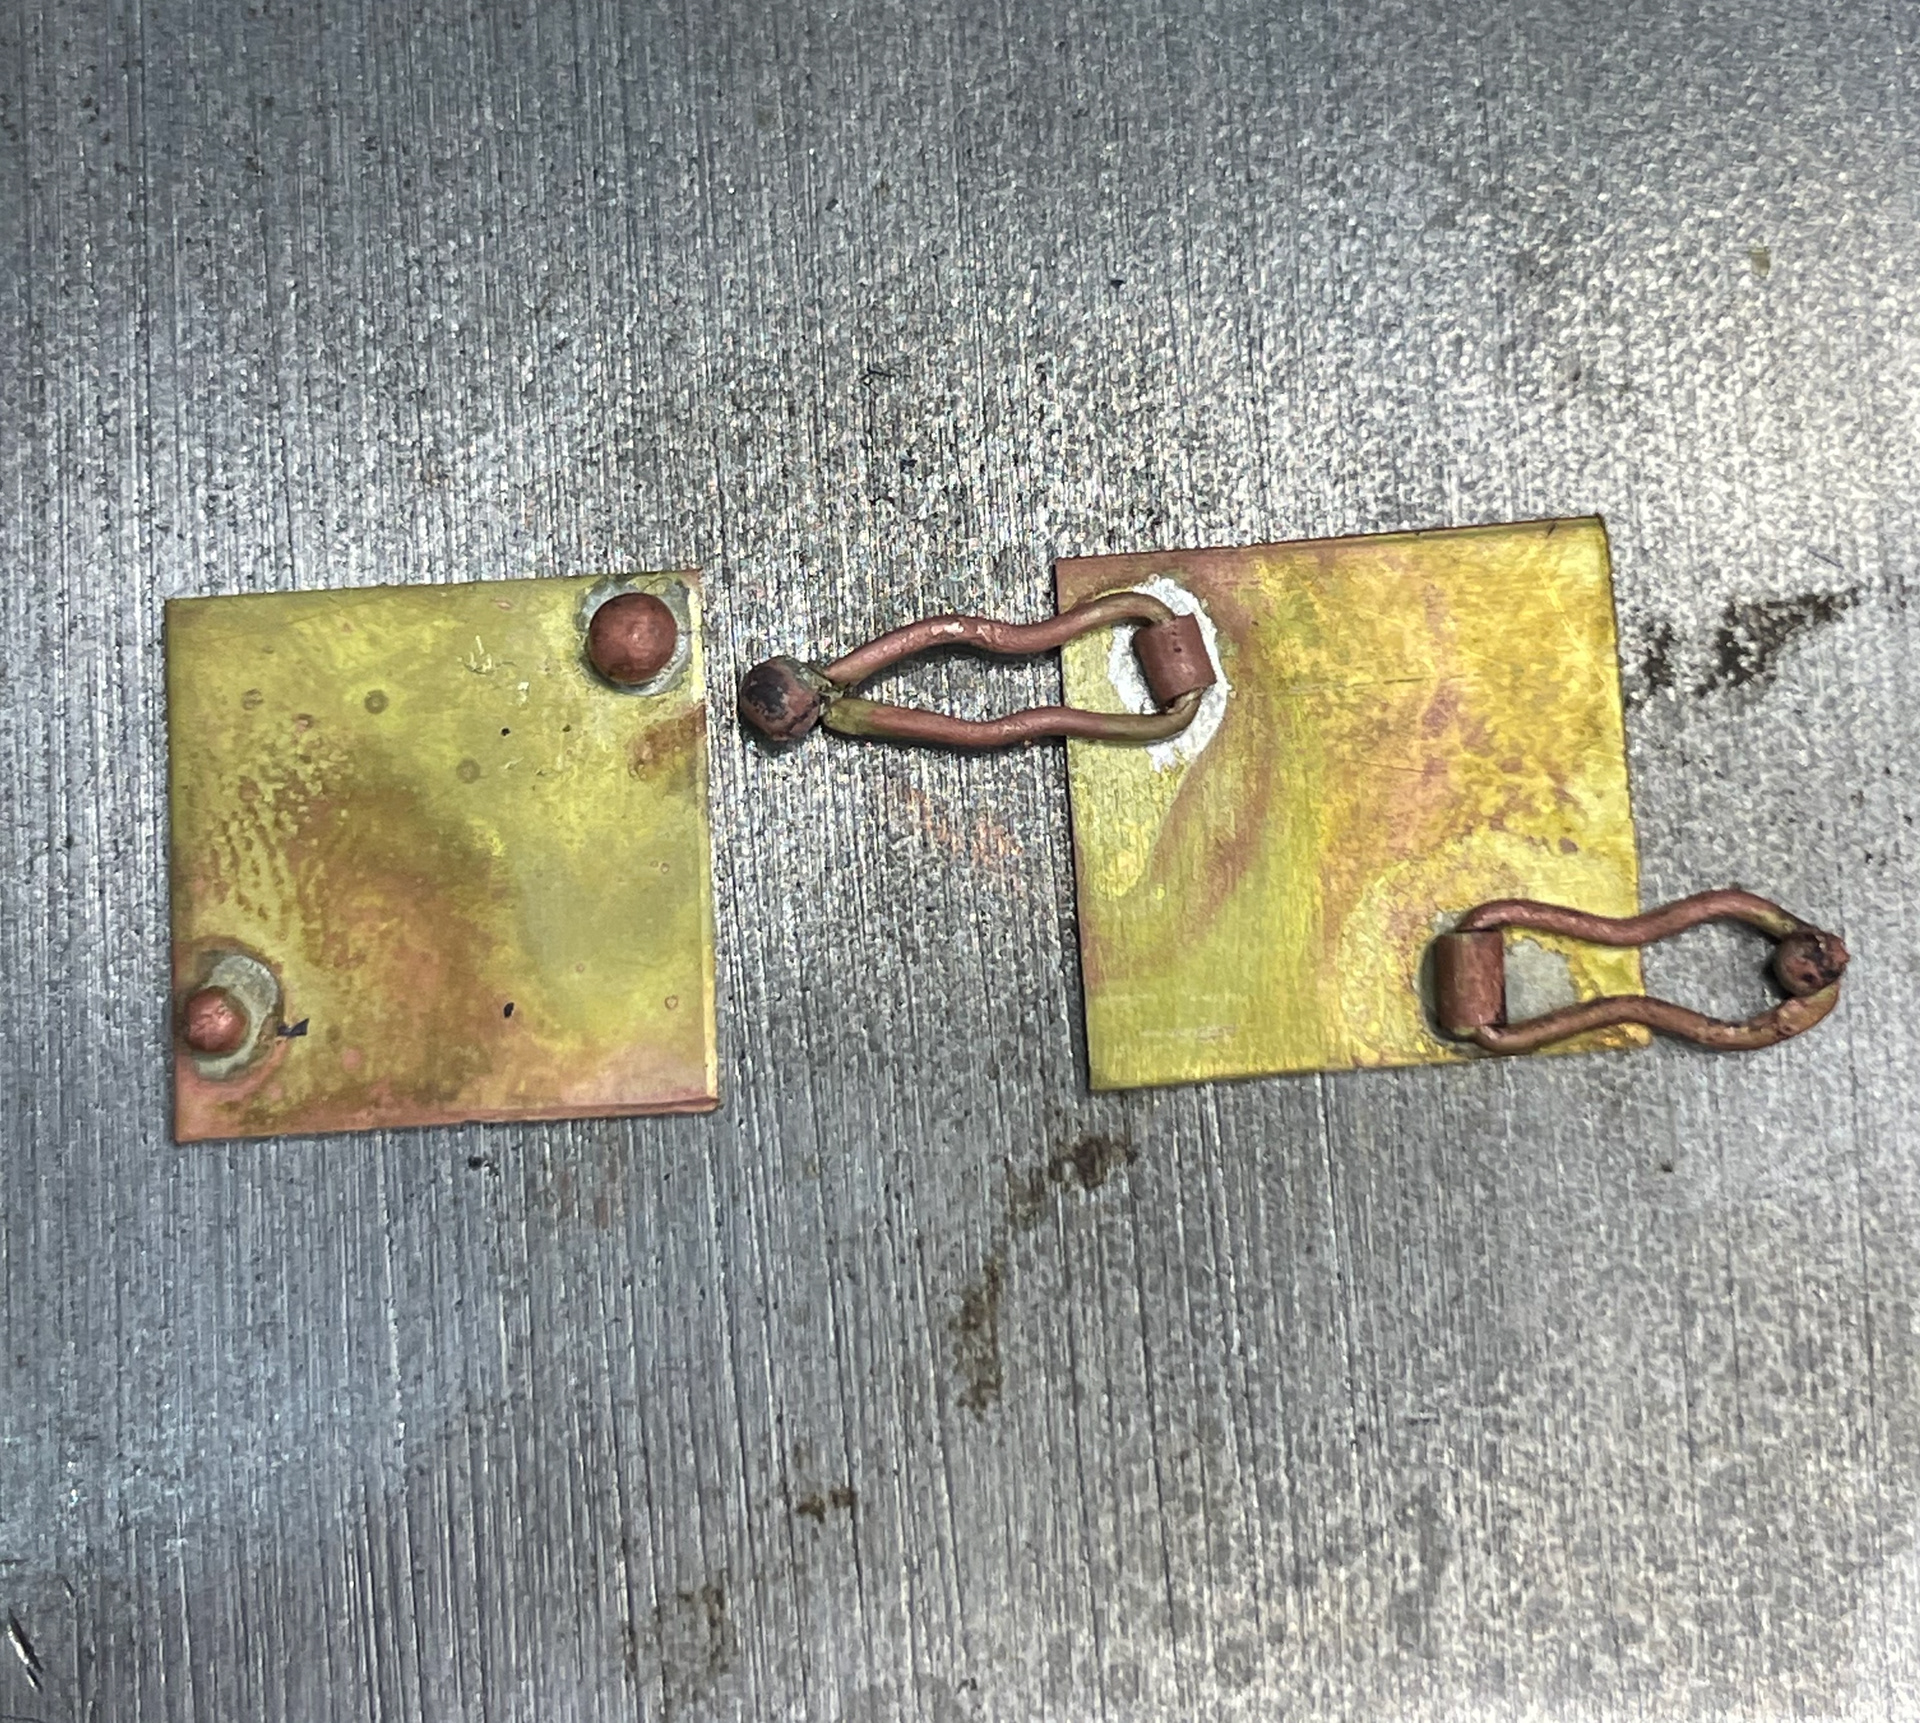
Second test soldered on

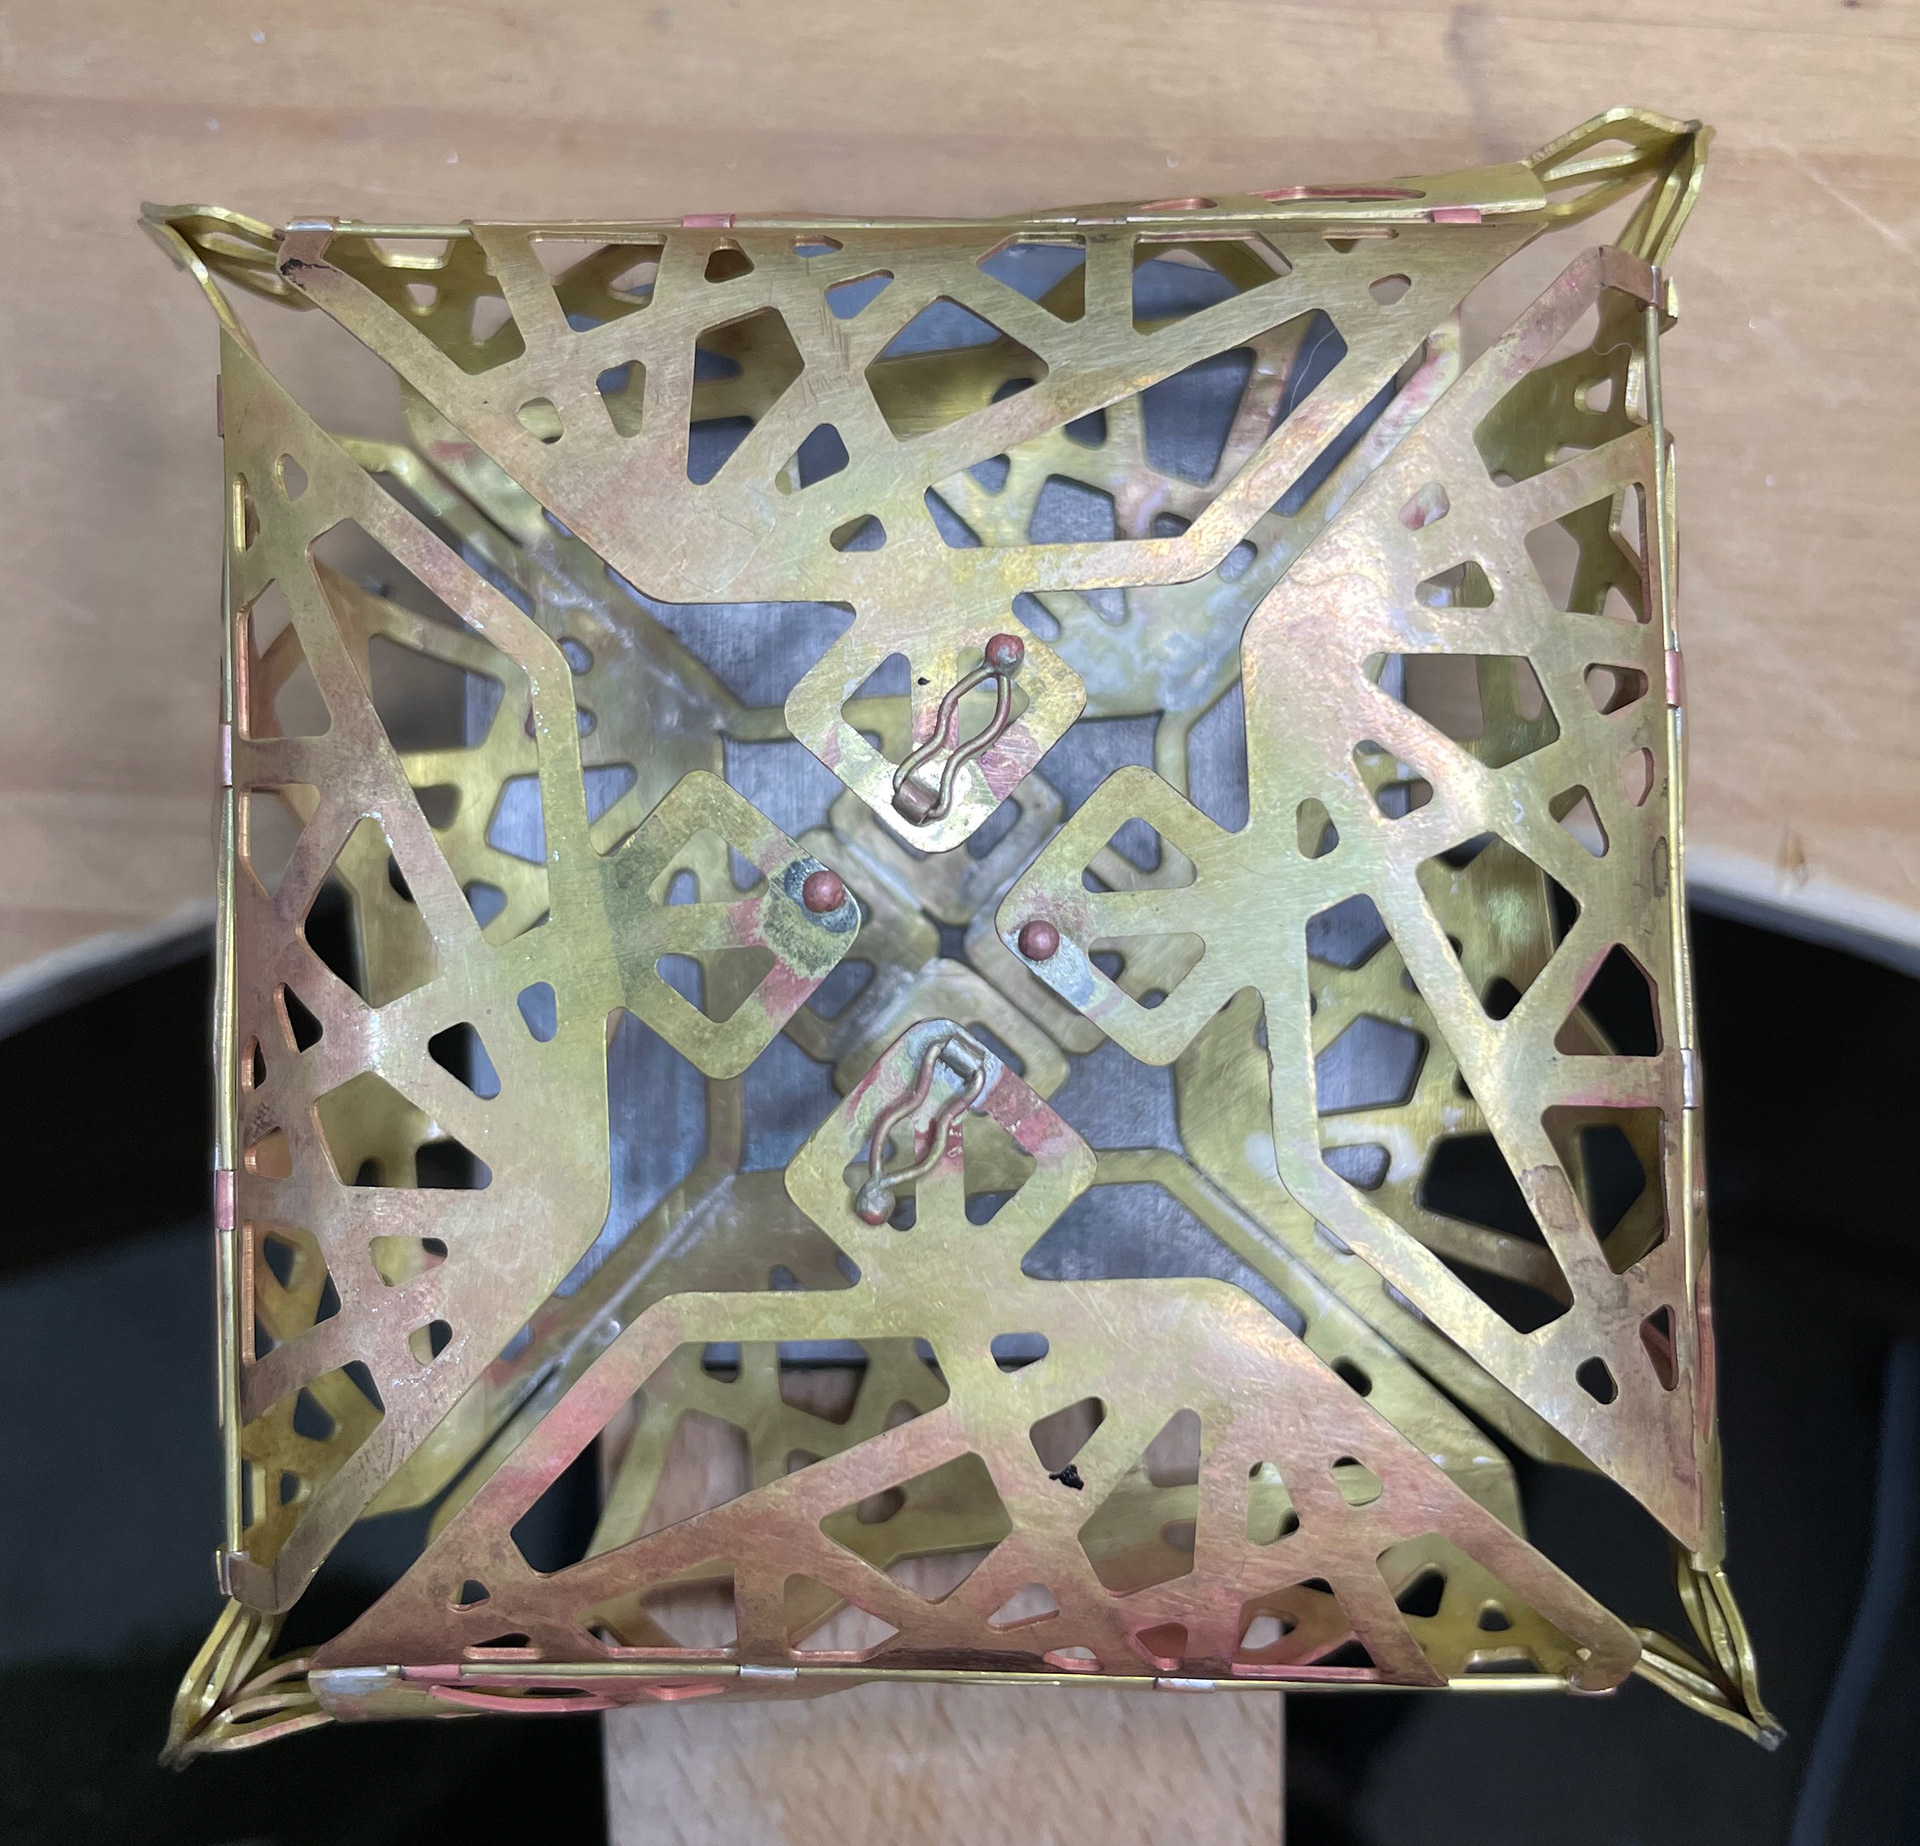
tested onto box
At first, I found it difficult to get the balls soldered onto the figure of eight the first attempts were quite messy and didn't solder properly. I figured I needed to make sure each element was clean enough for soldering and that the wire was filed down enough so that it aligned with the ball. I also realised when I made the figure of eights that I needed to make the top parts more round to fit over the ball better. As well as this I figured if I use a centre punch to create a groove for the ball to sit in on the sheet metal it would stay in place whilst soldering.
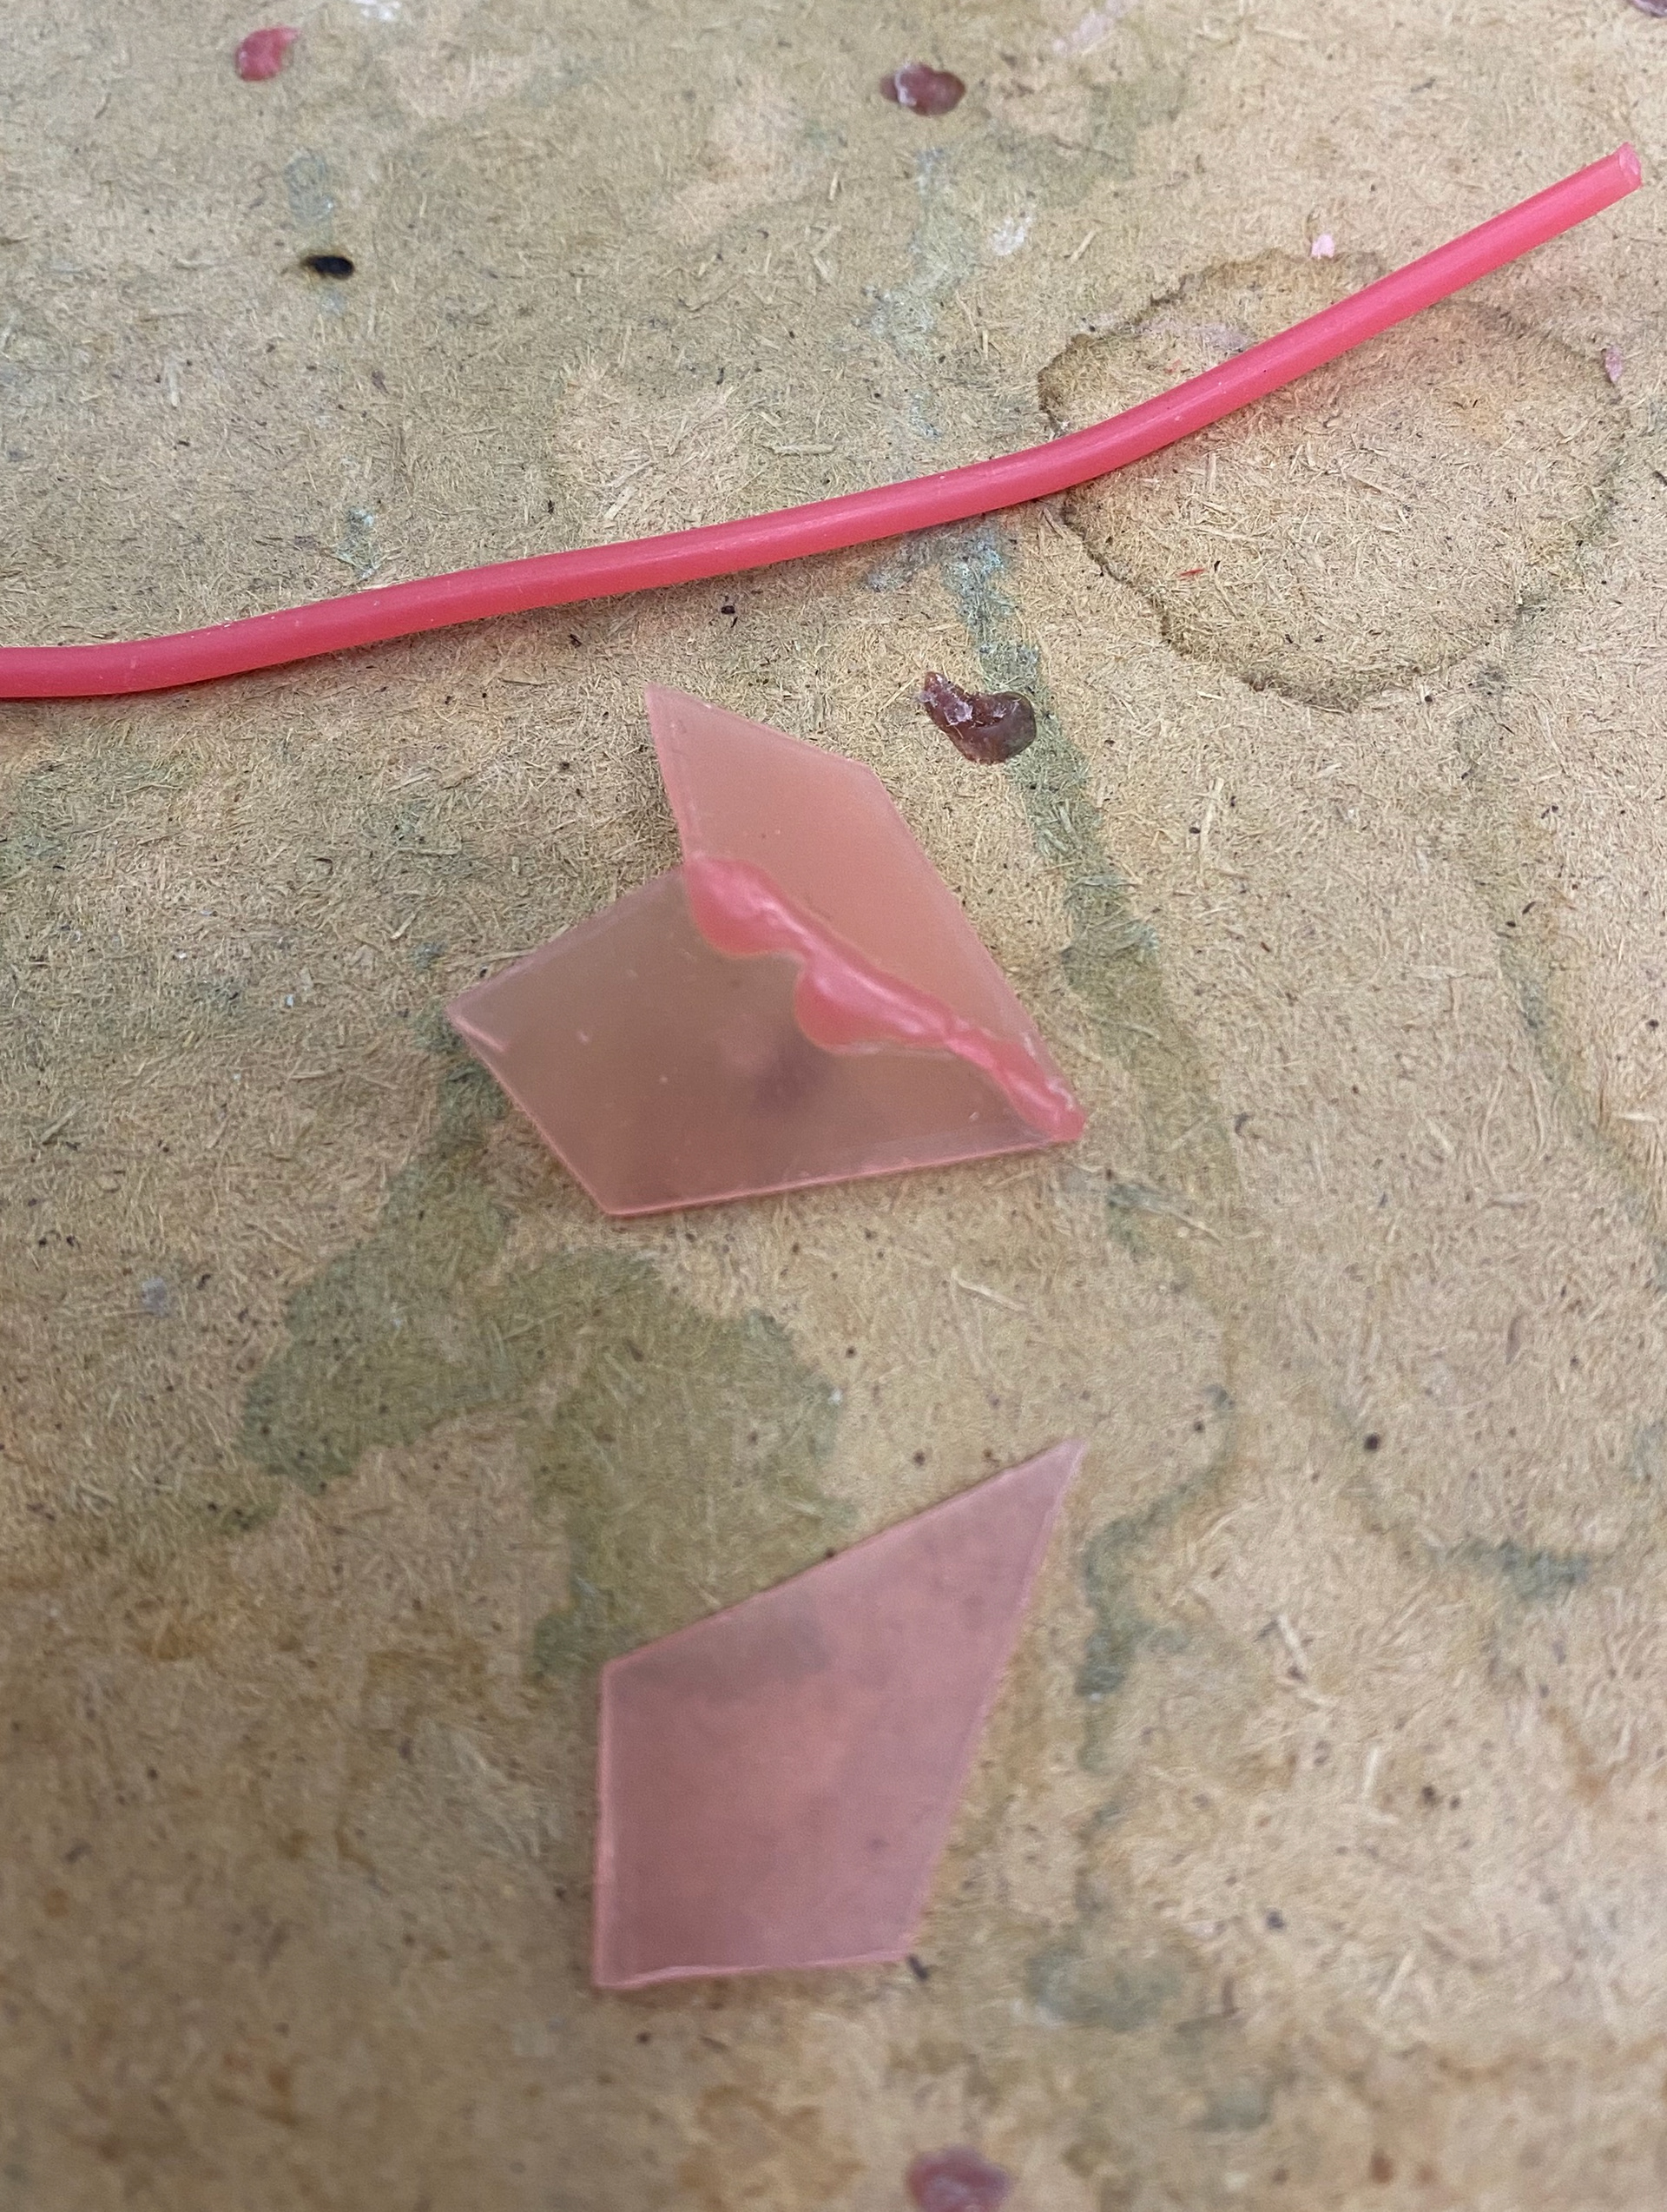
Fold forming
After another group crit, I realised that sweat soldering and enamelling inside the box was going to be too difficult and time-consuming. However, I decided to try to make some wearables that are enamelled to go alongside the box as I wanted to have enamel within the design because it is a traditional method used in Persia and a way of adding colour/ beauty.
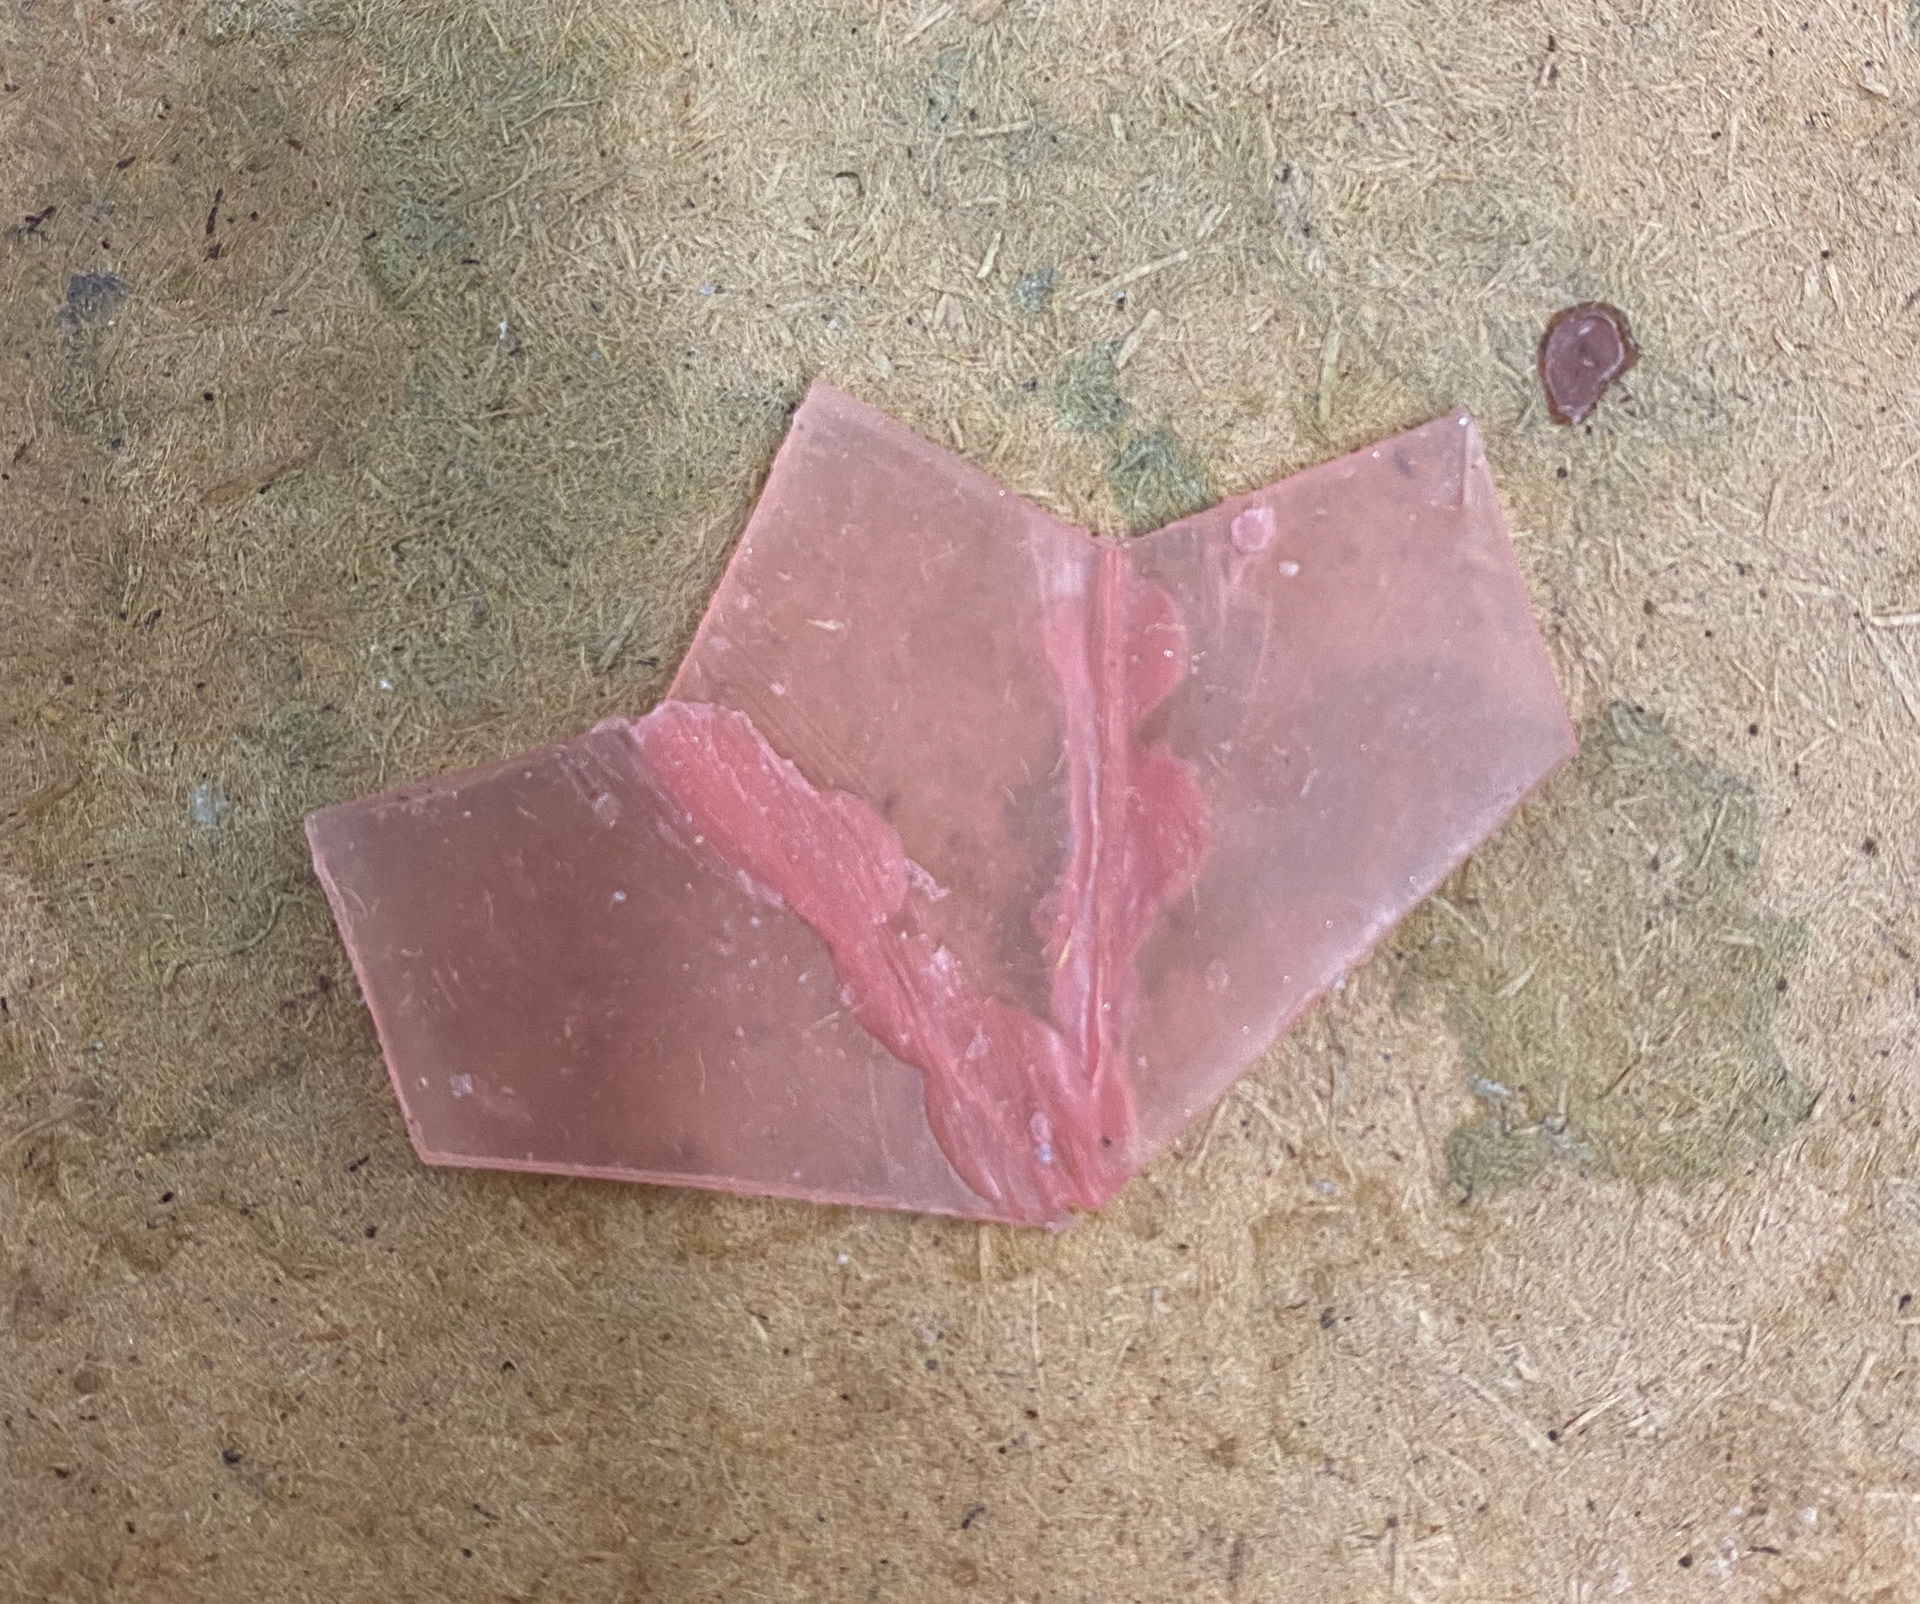
I decided to take the same shape I had used to create the paper ring previously and attempt to create the form using a fold-forming method. I tested on a piece of scrap at first using wire and the fly press to create the initial marking of where I wanted to fold. Followed by annealing and using a hammer around a stake to form the crease. I then cut out the net of the shape and used the same technique to create the 3D form followed by soldering the connecting edge. When bringing the edges together I realised that they were misaligned. I believe this was because of a lack of accuracy when fold forming or cutting out the shape originally.
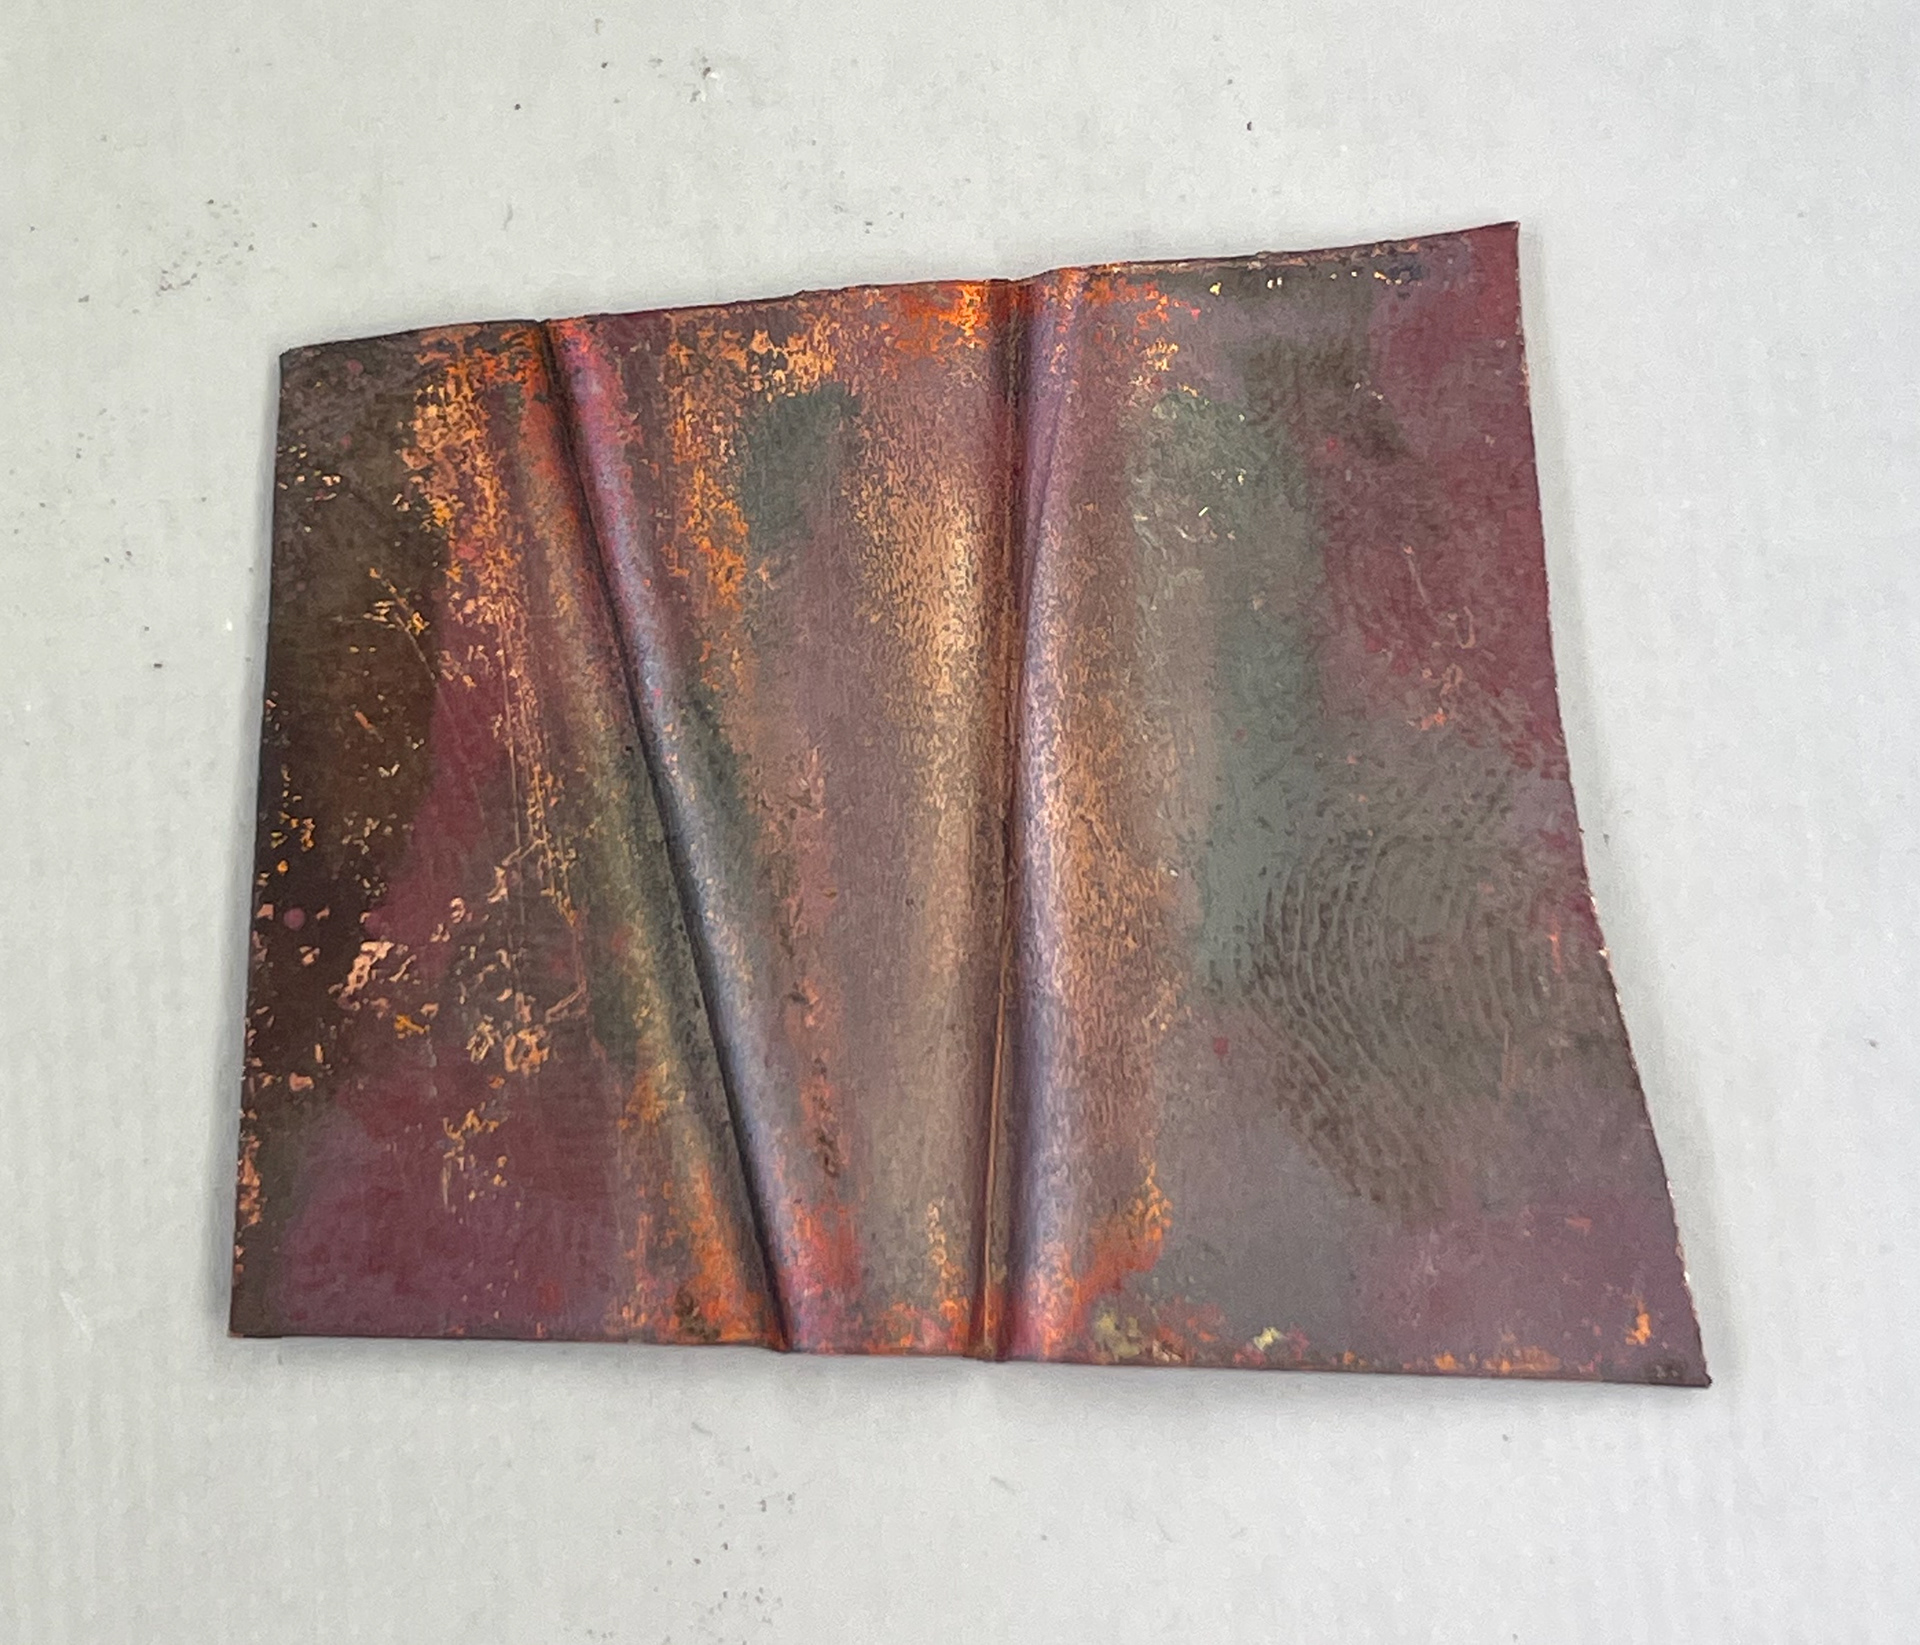
Test piece
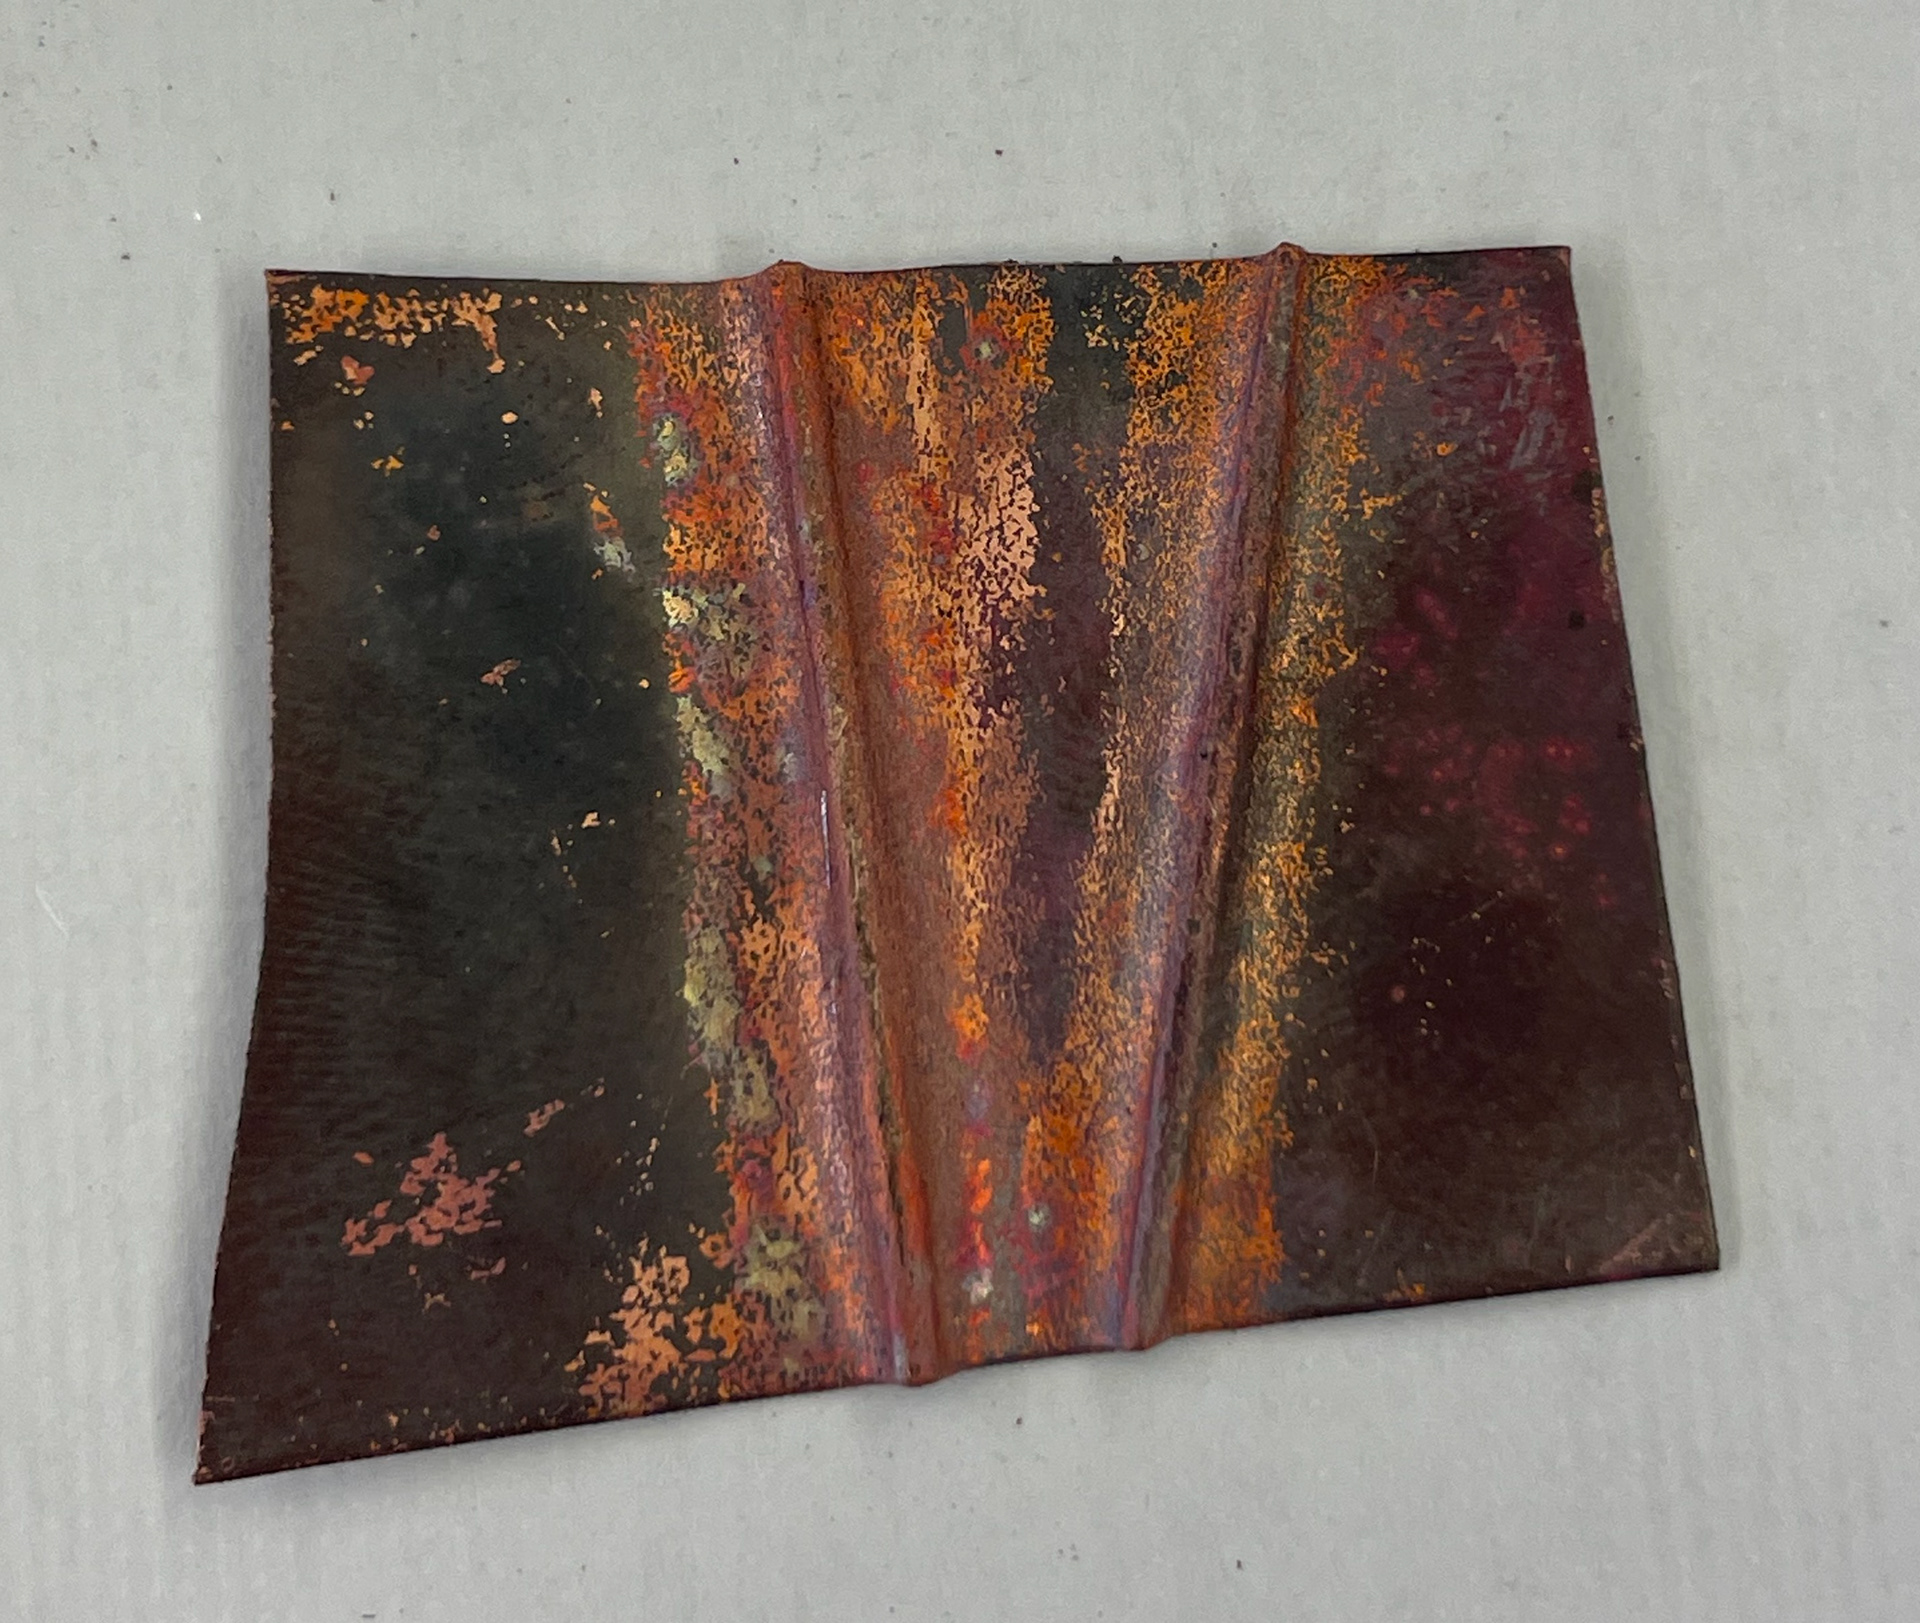
test piece
using wire a fly press
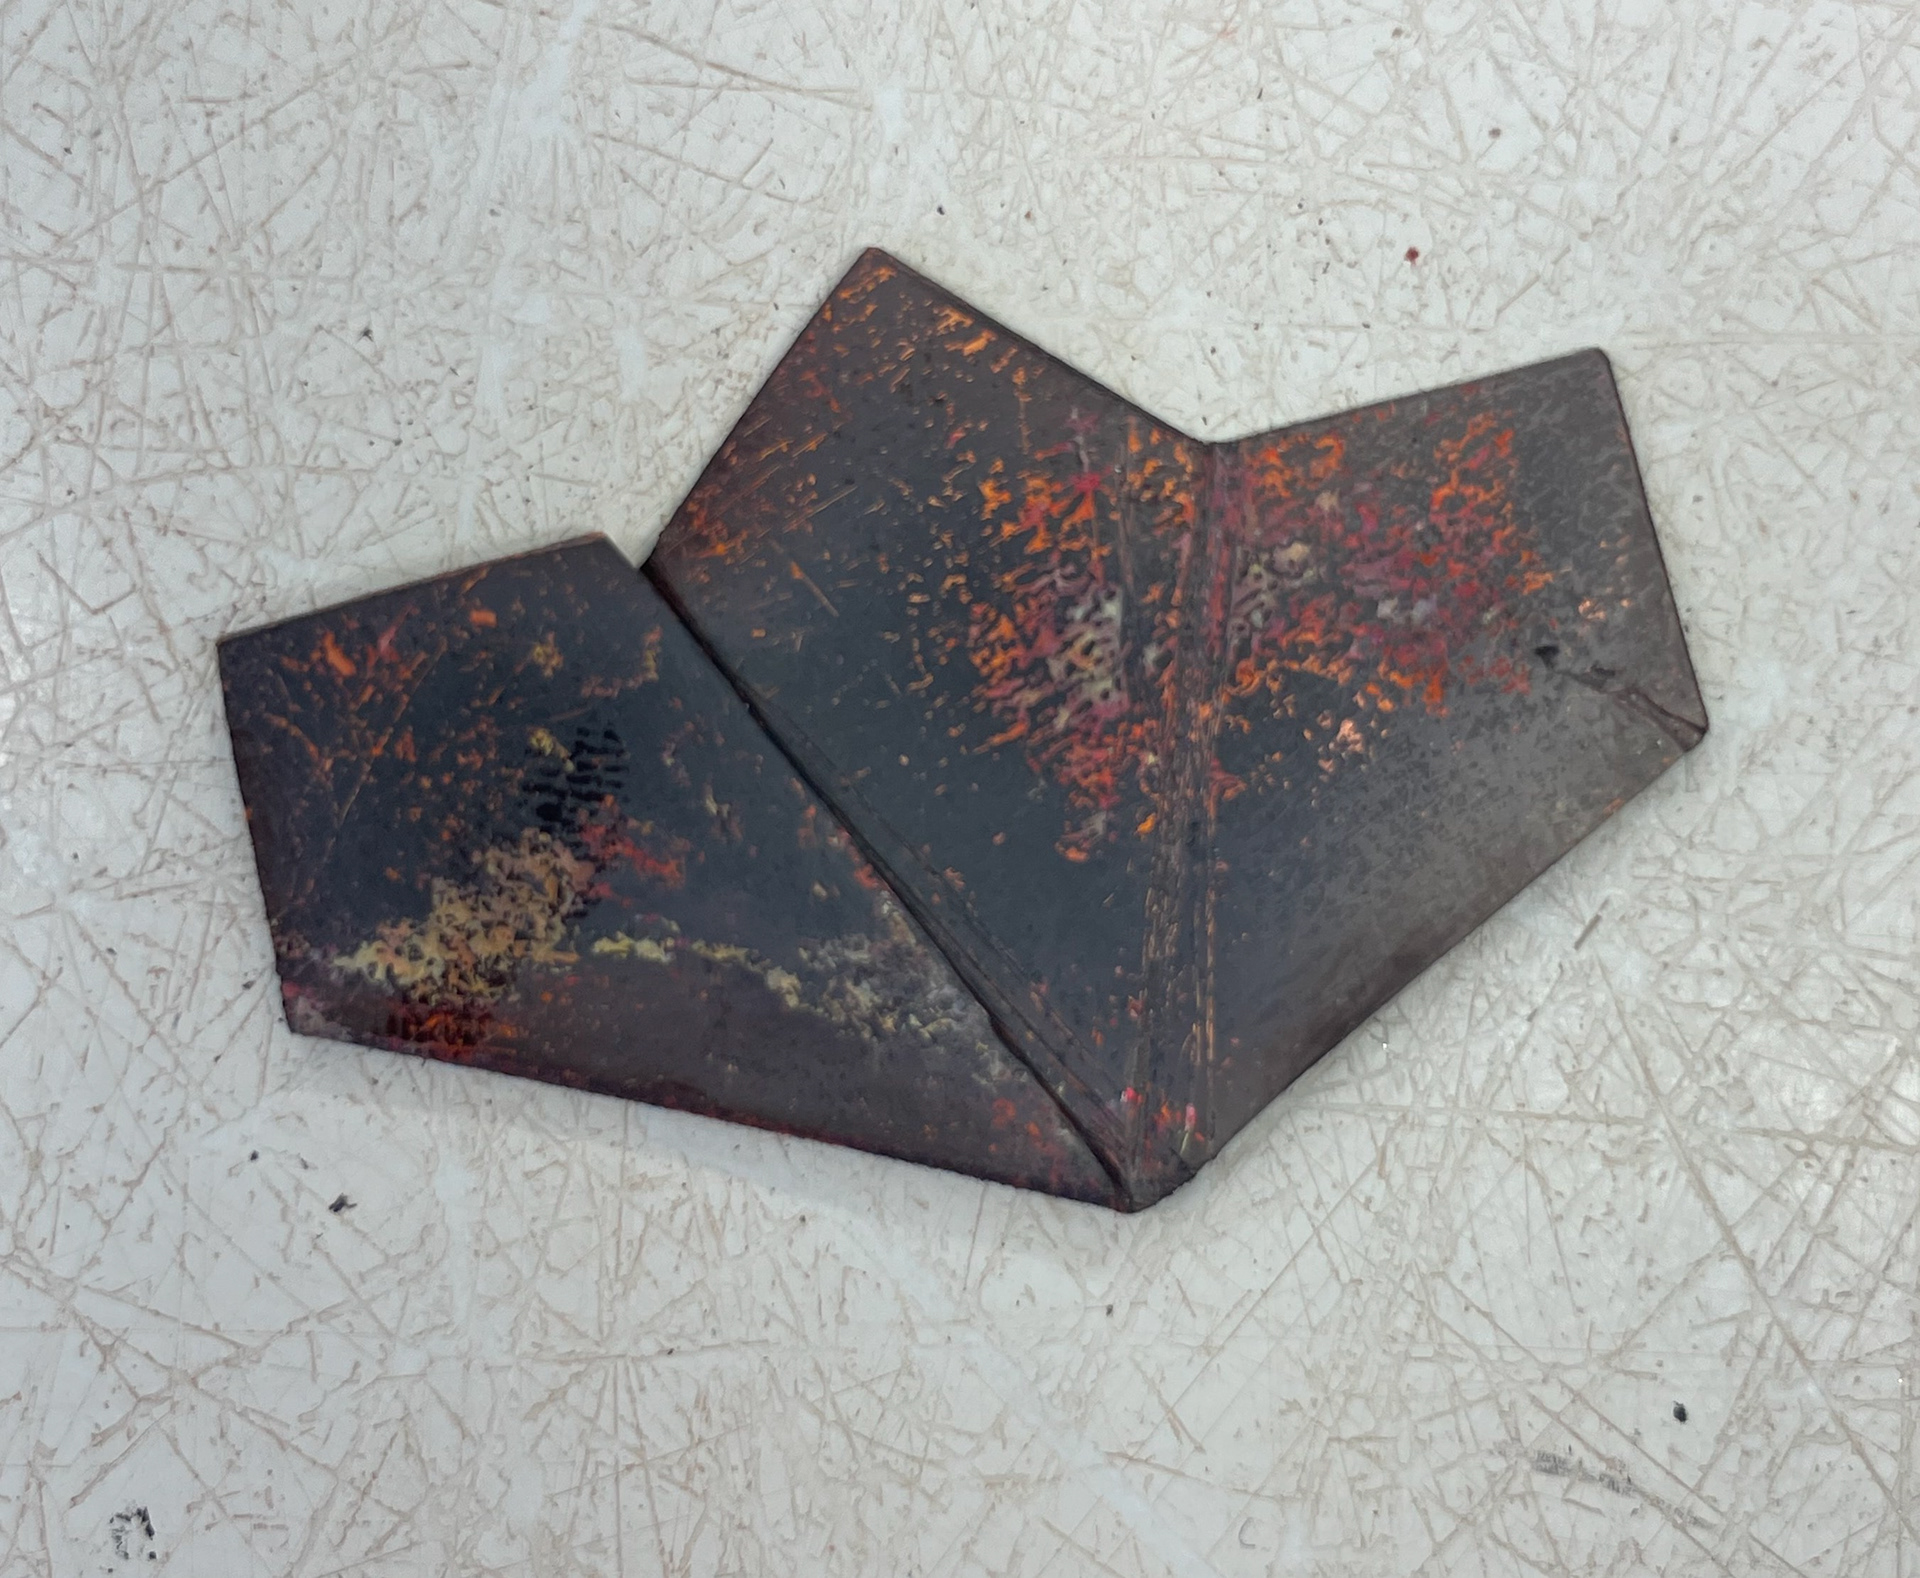
fold forming
form not aligned

soldered piece
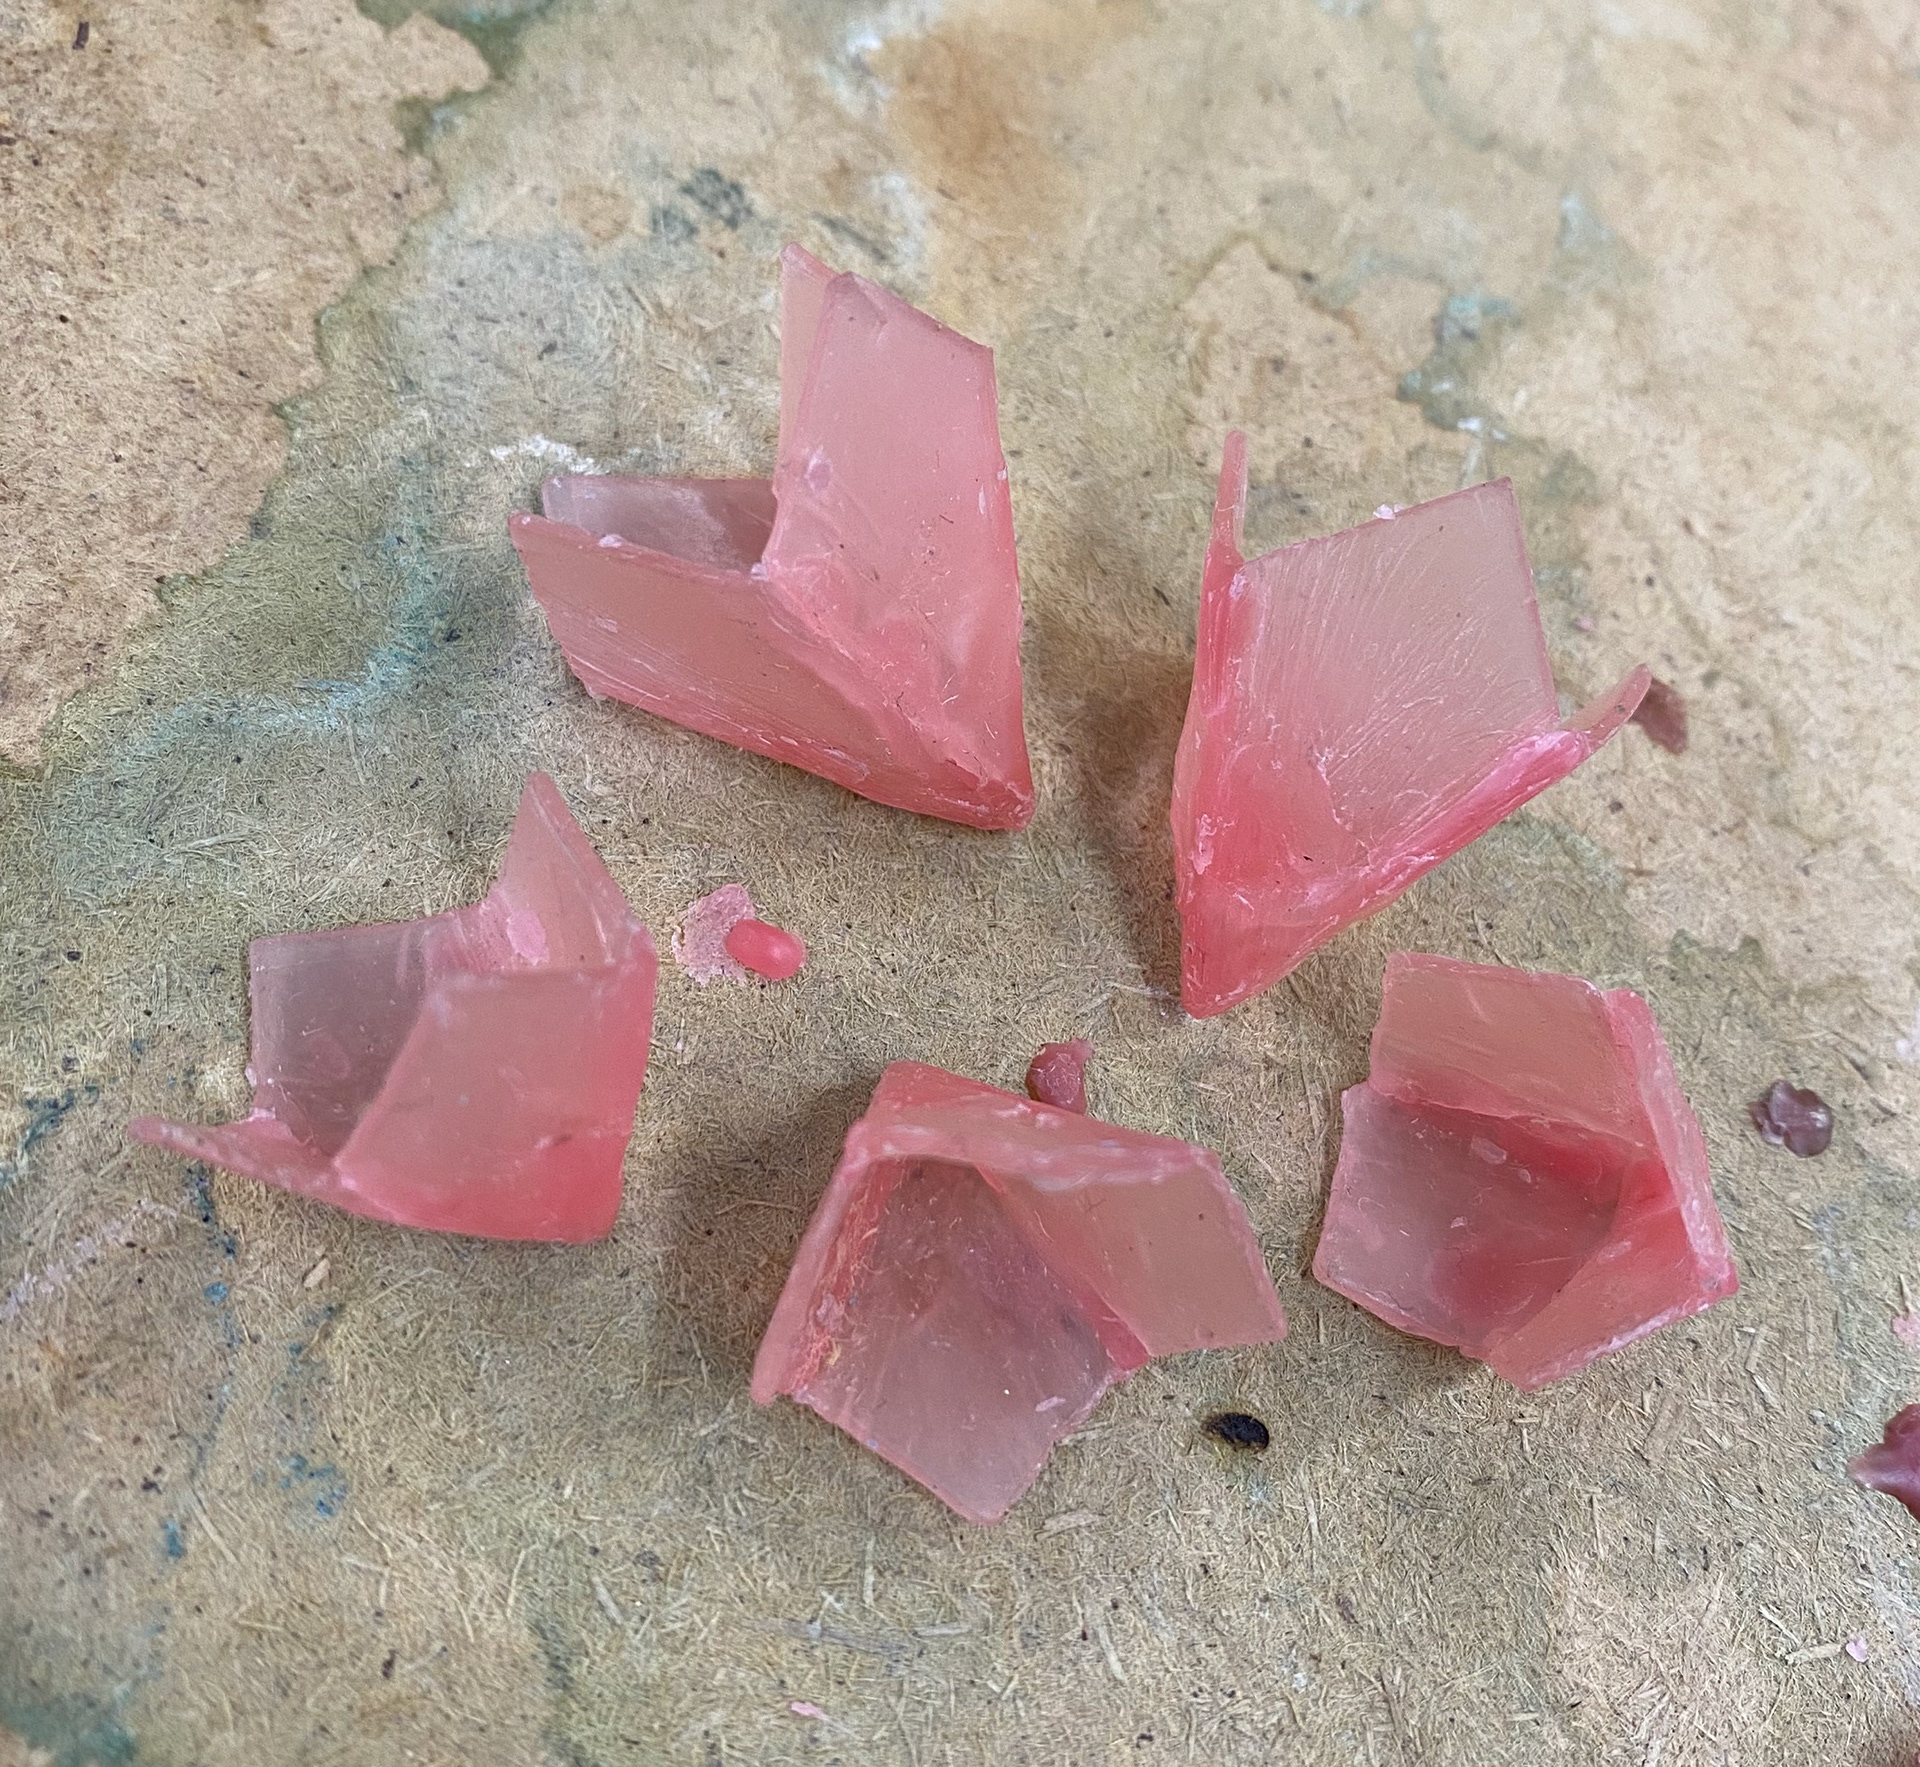
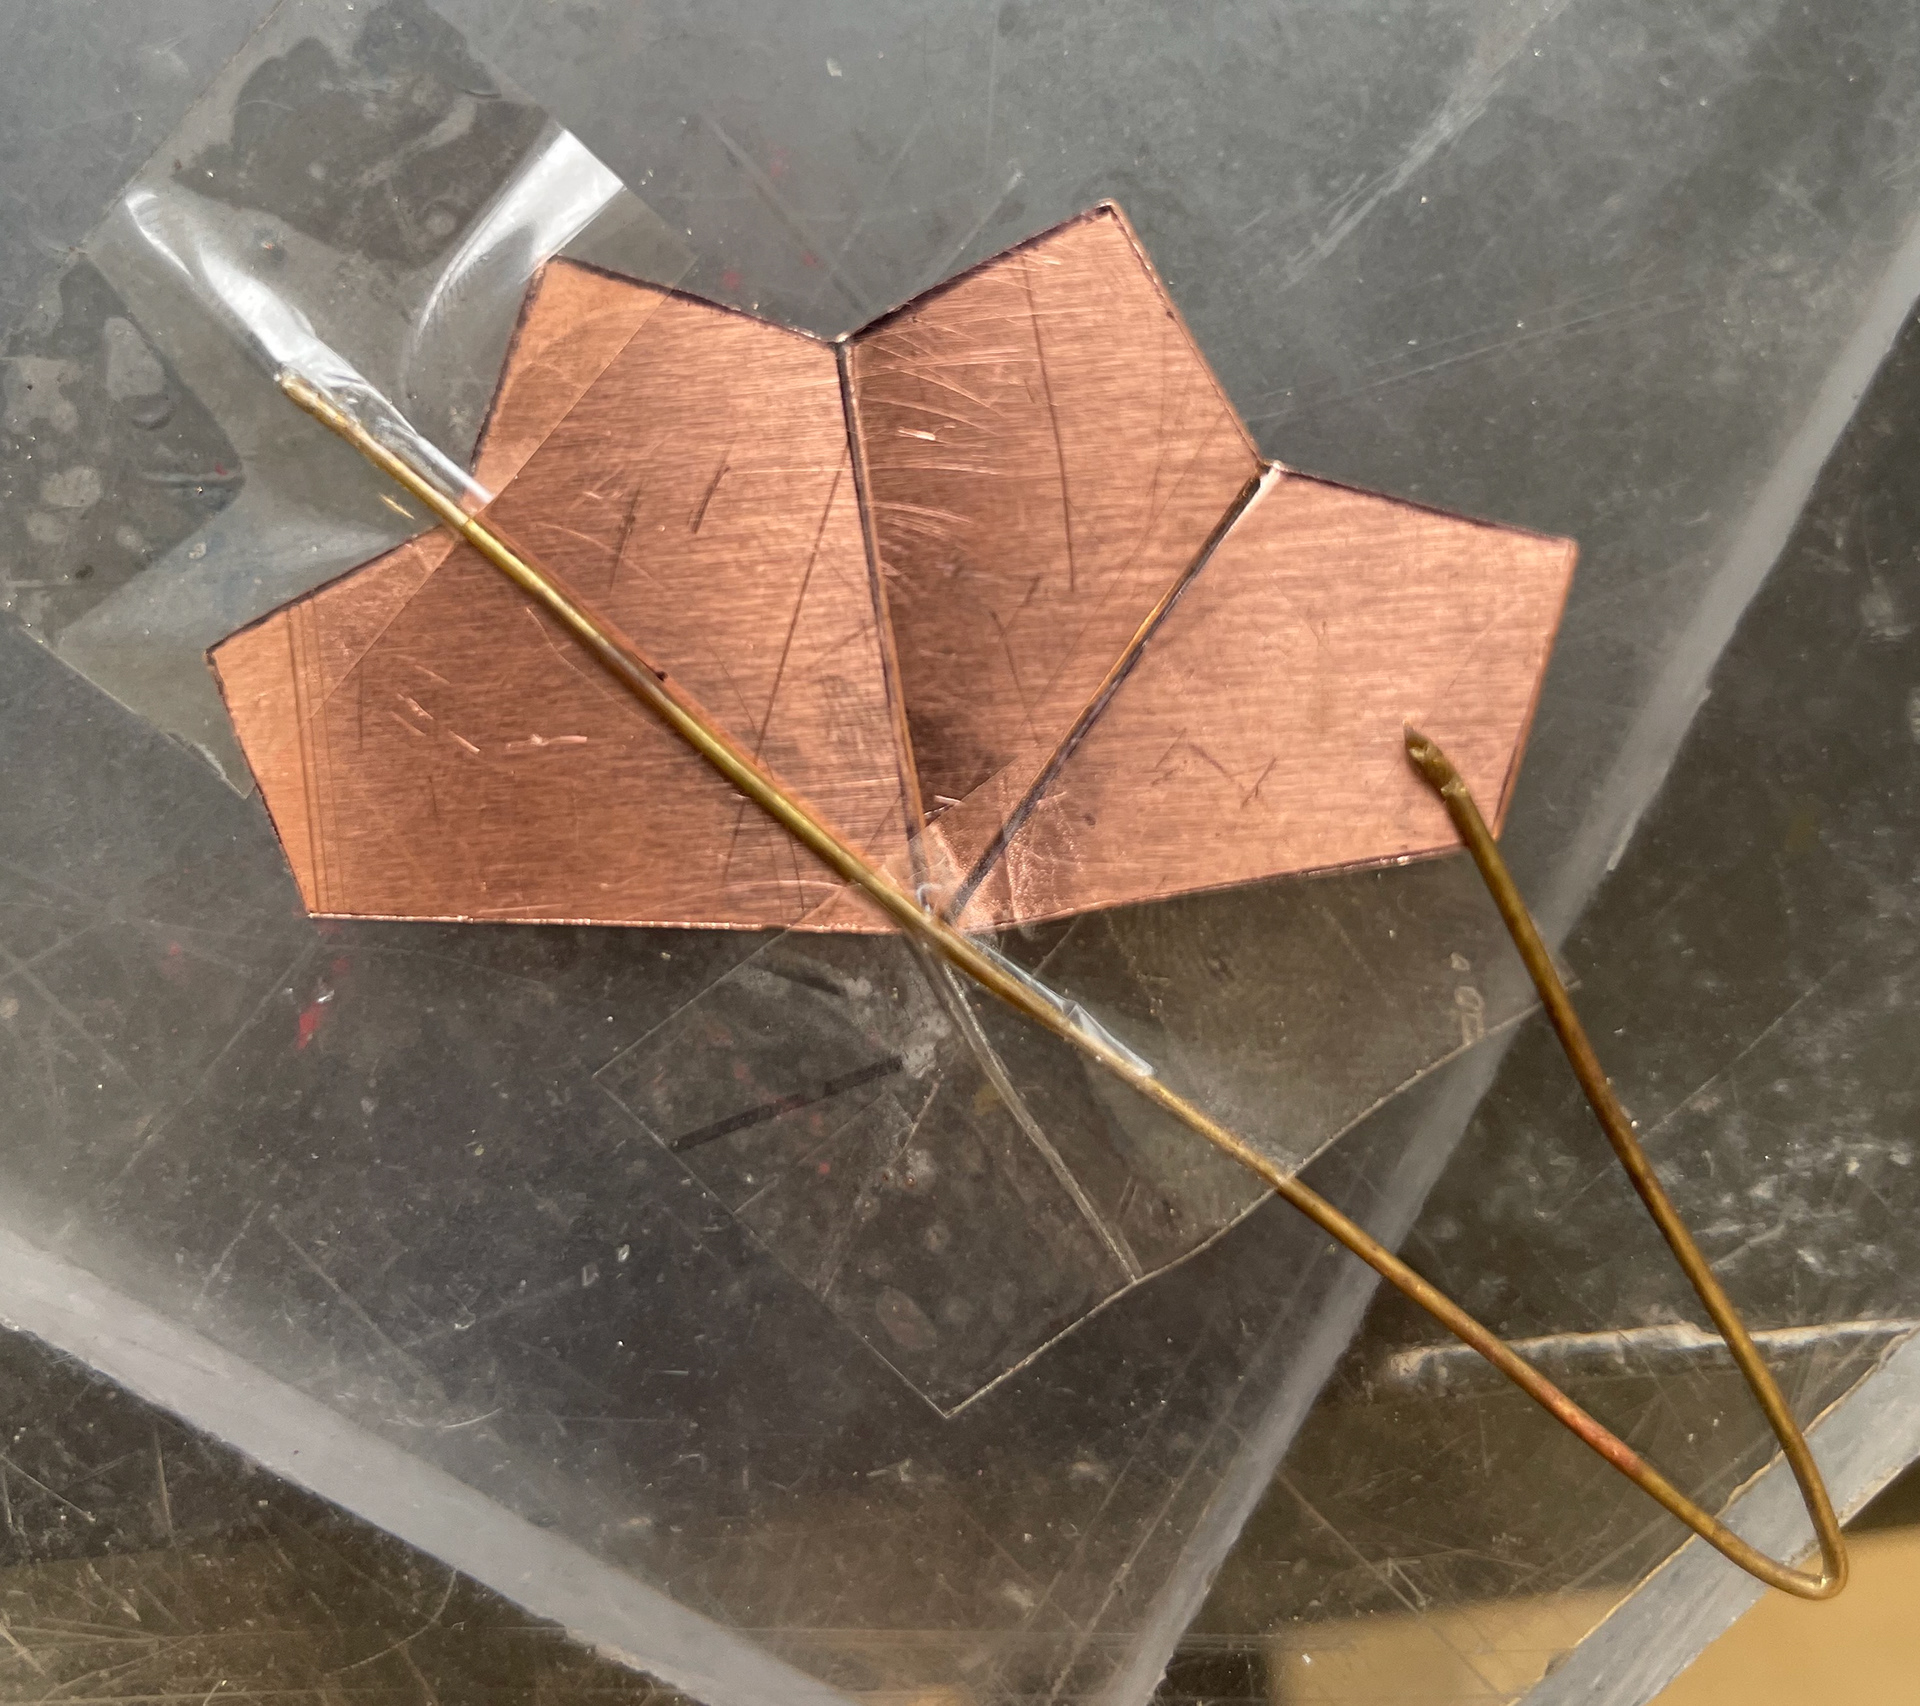
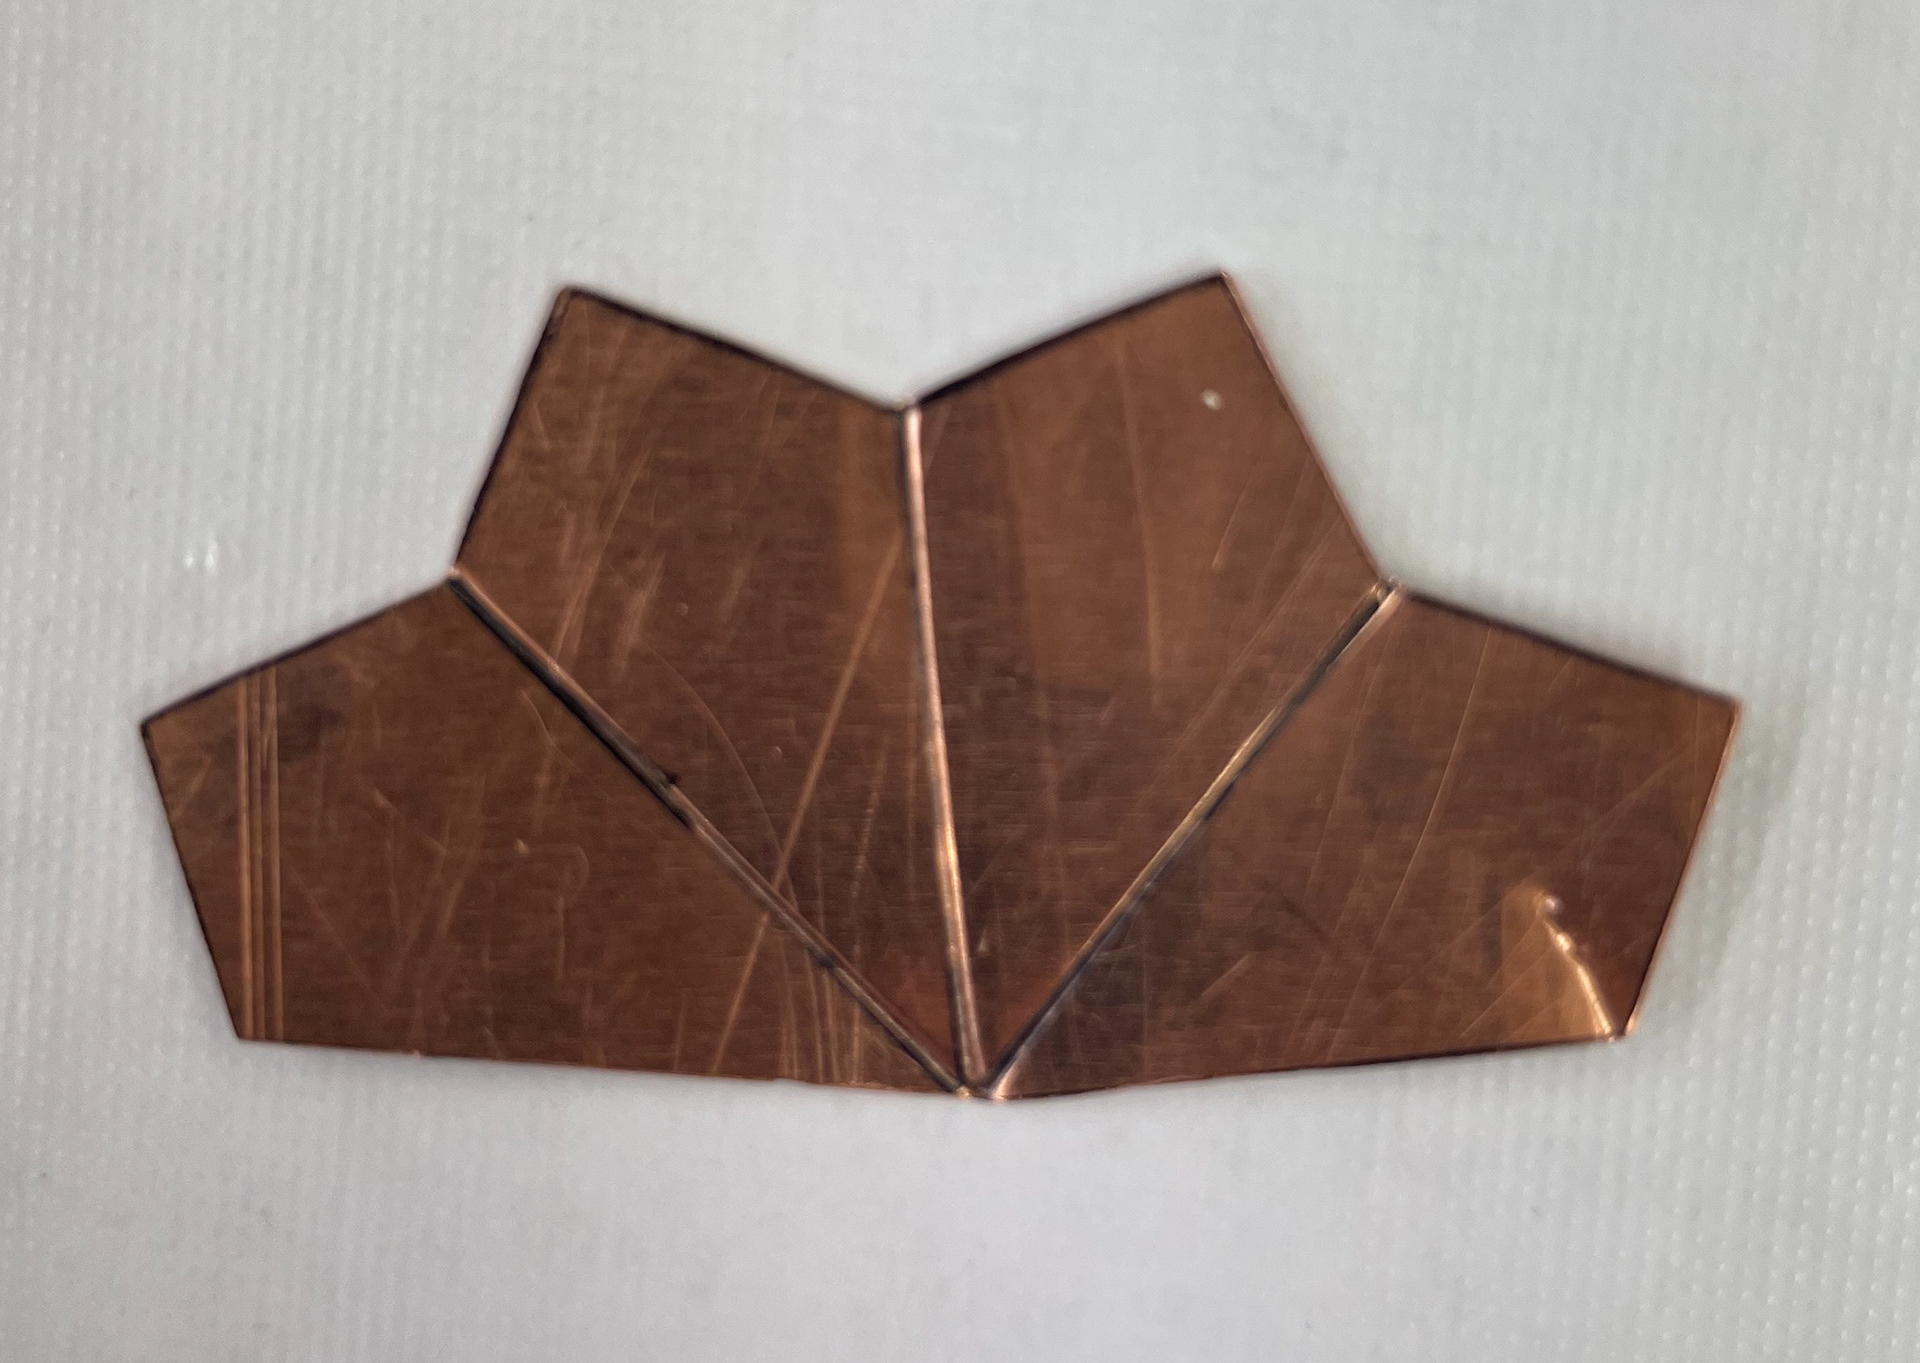
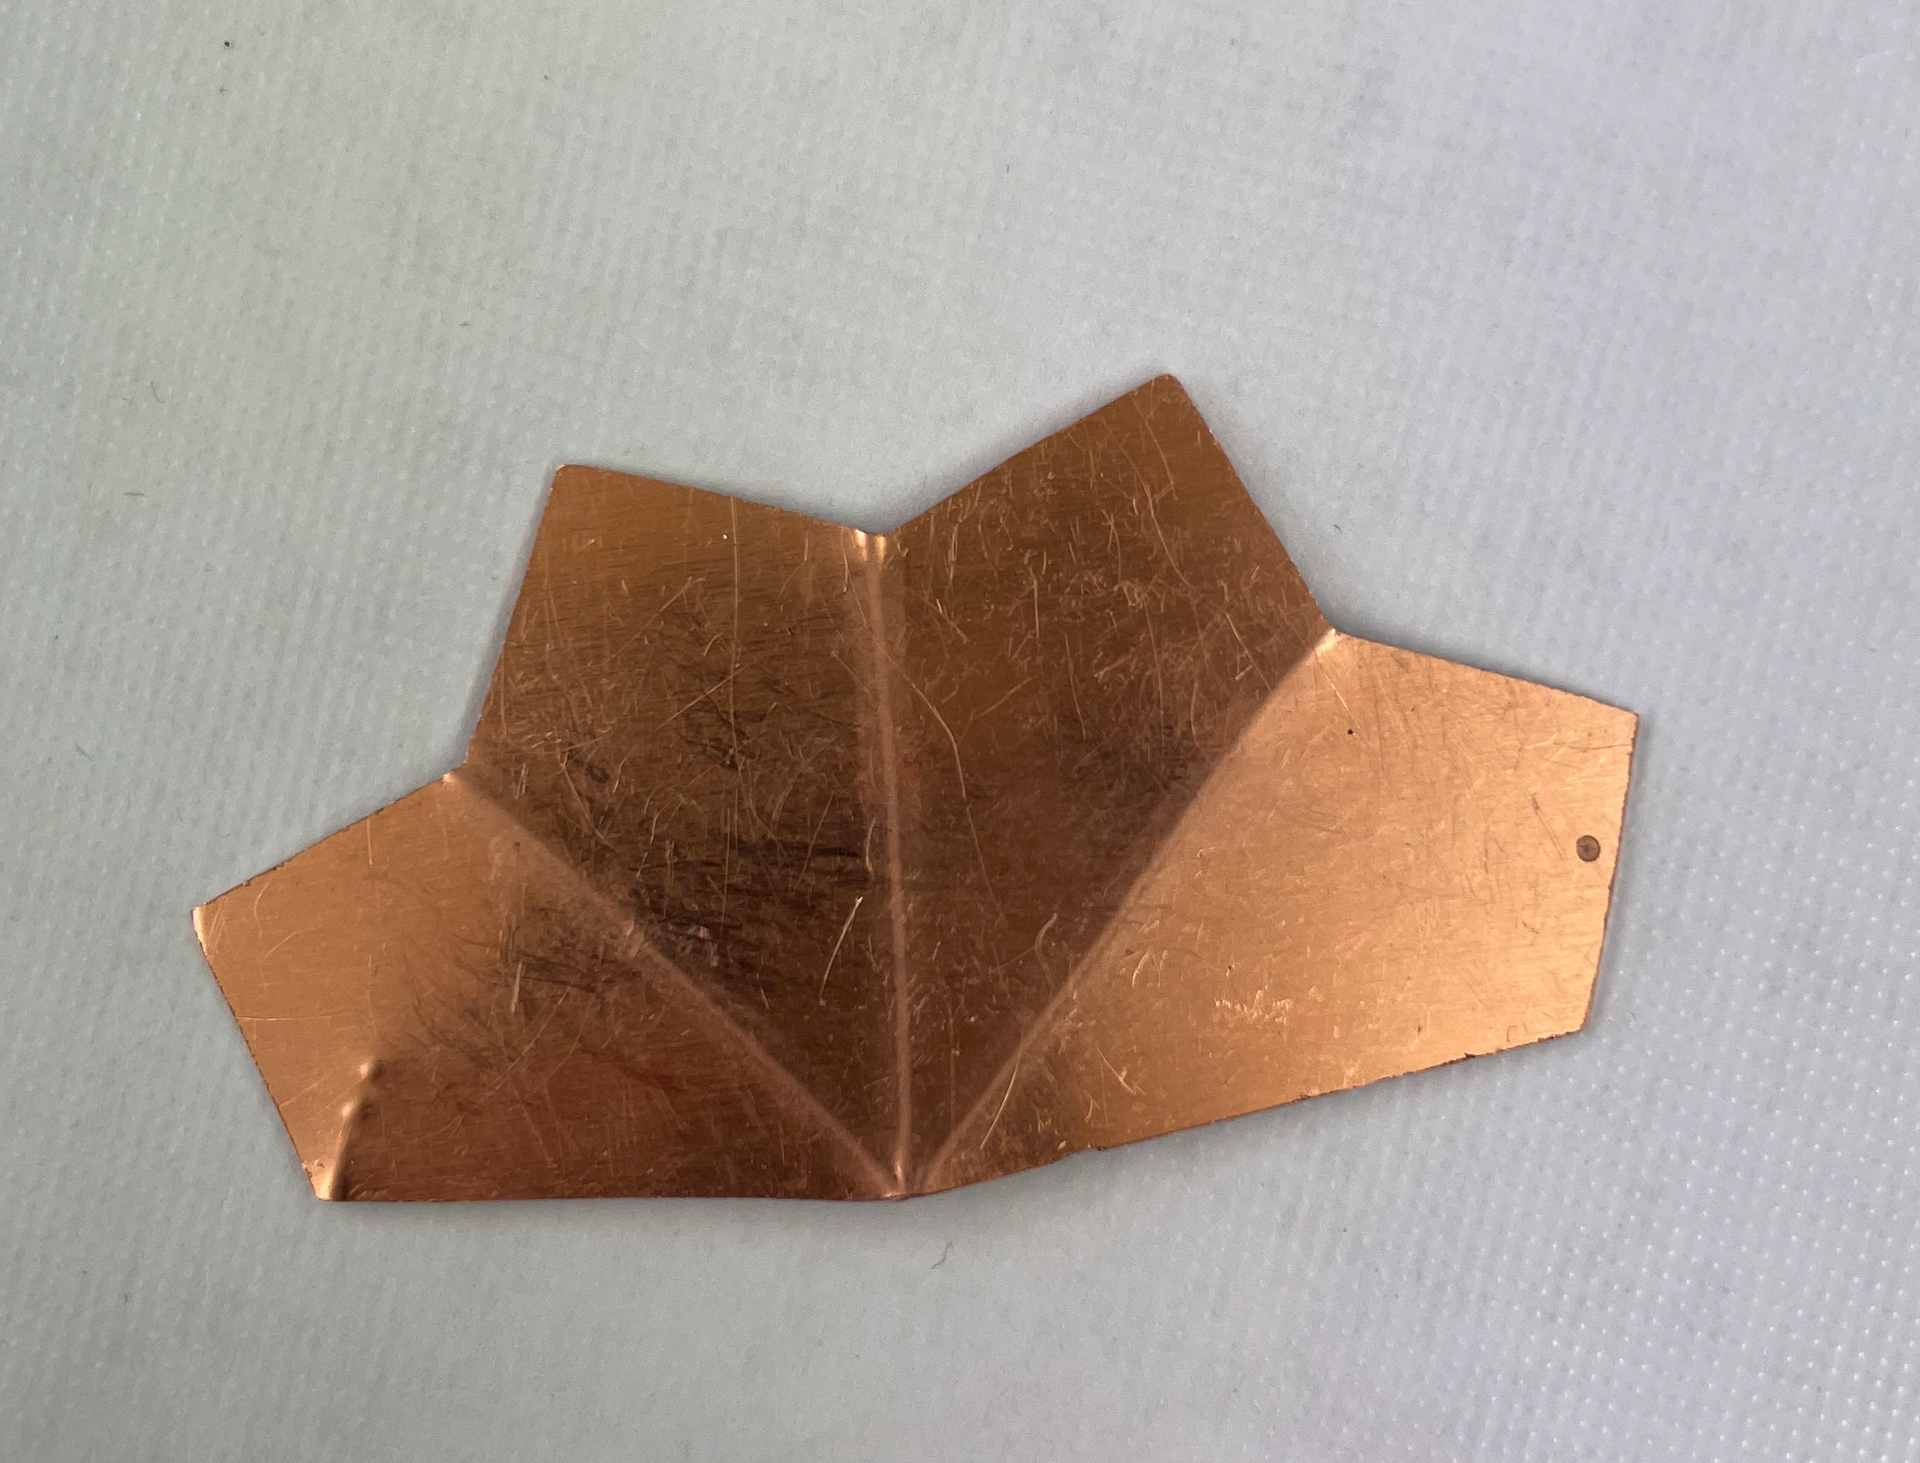
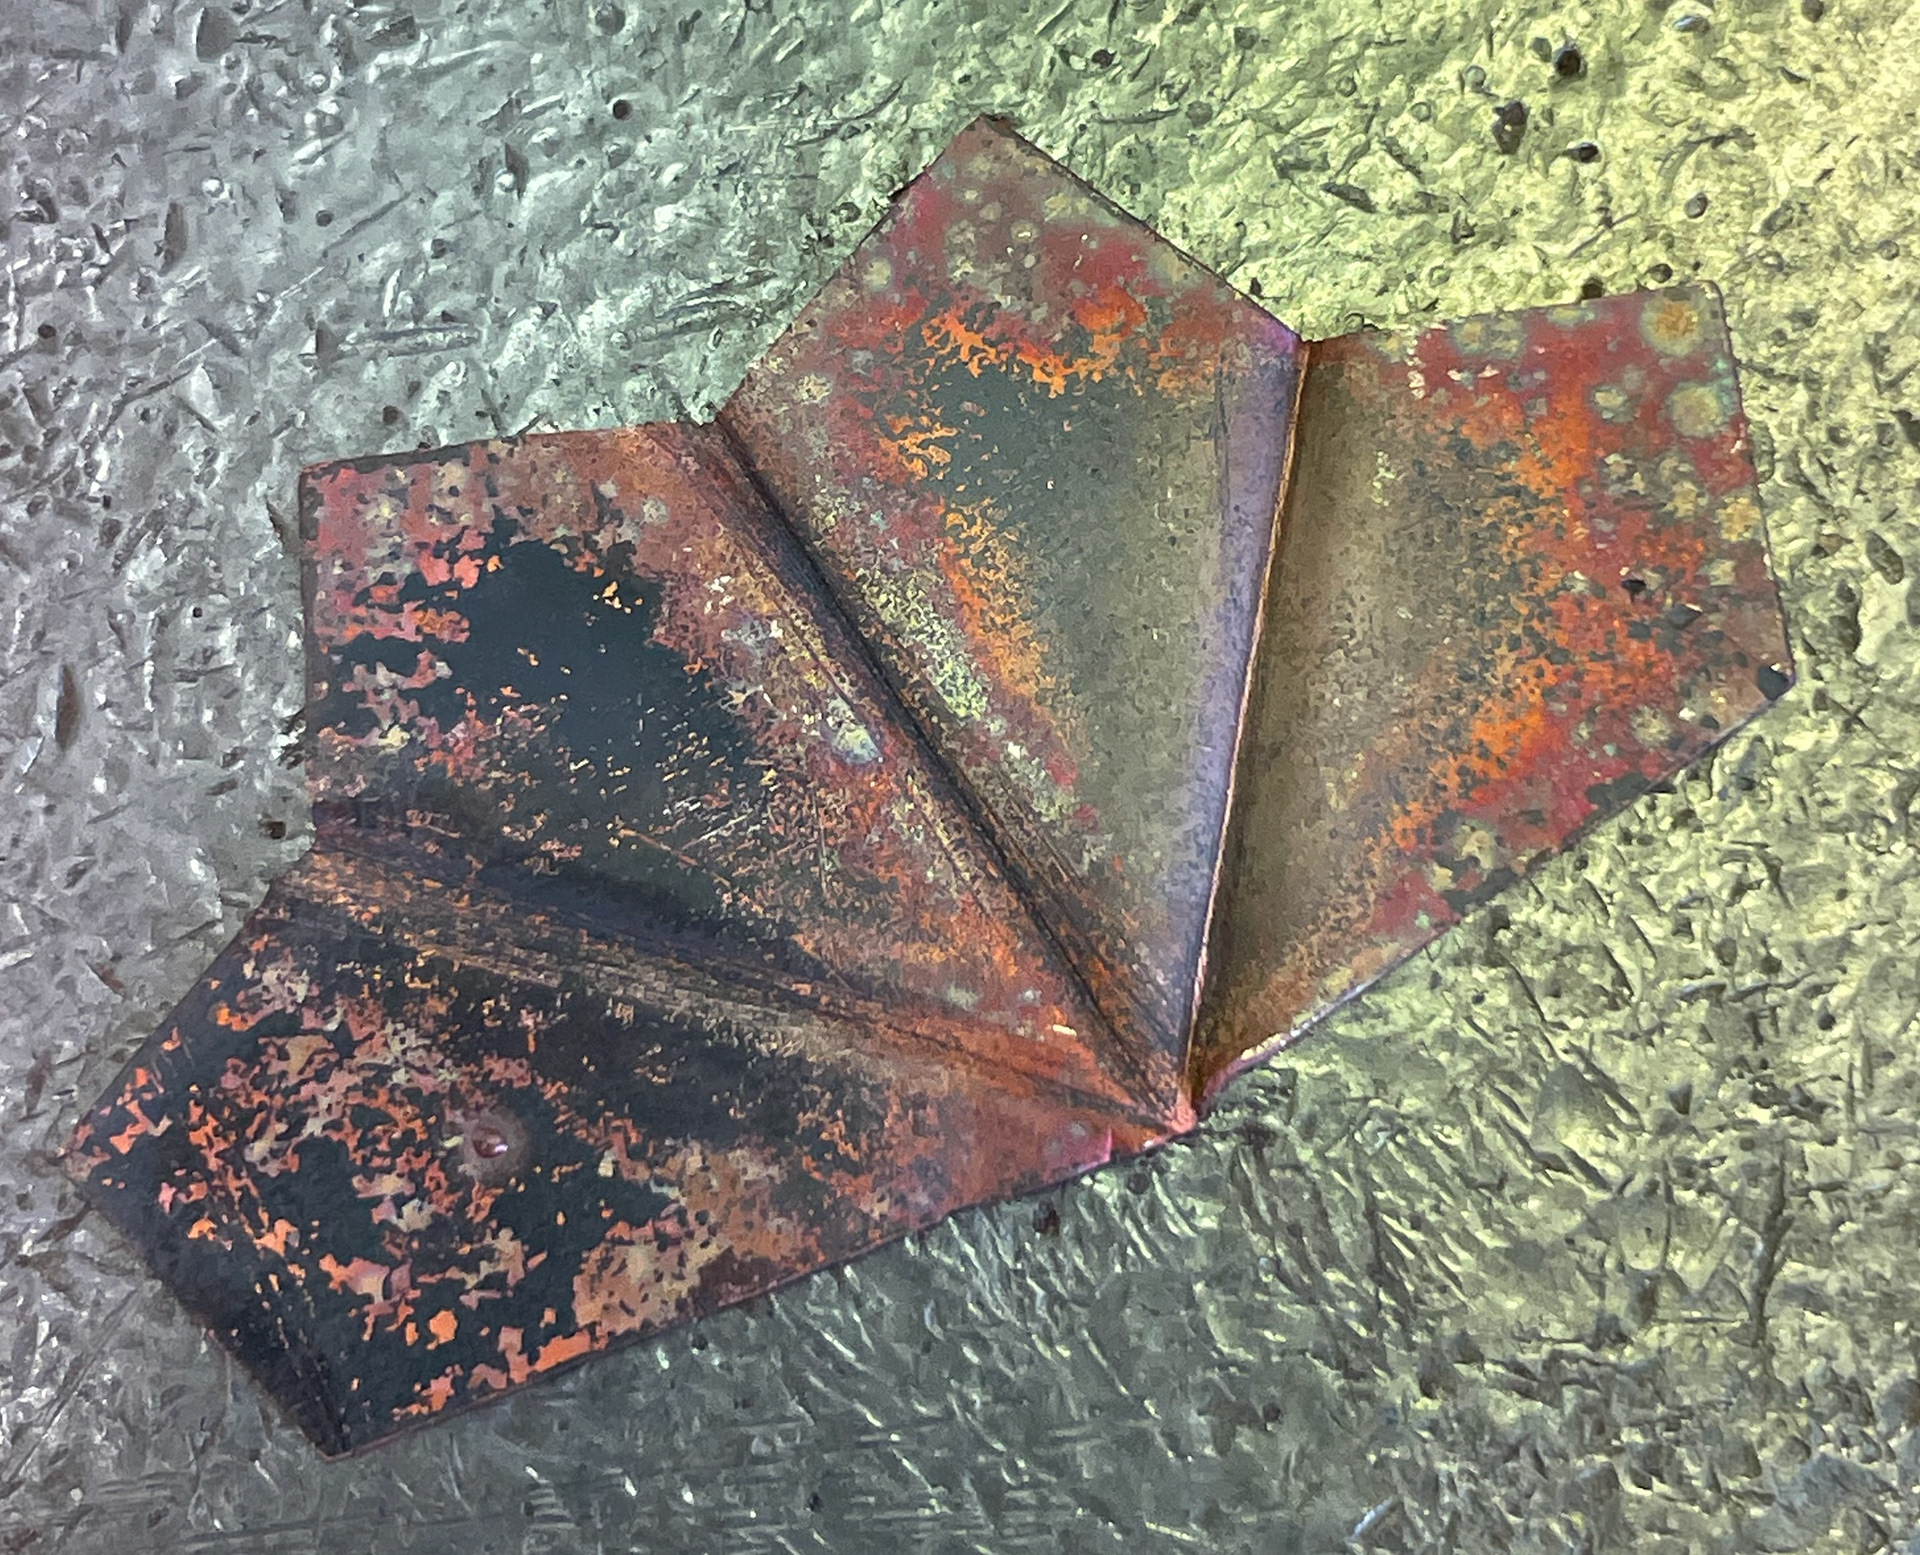
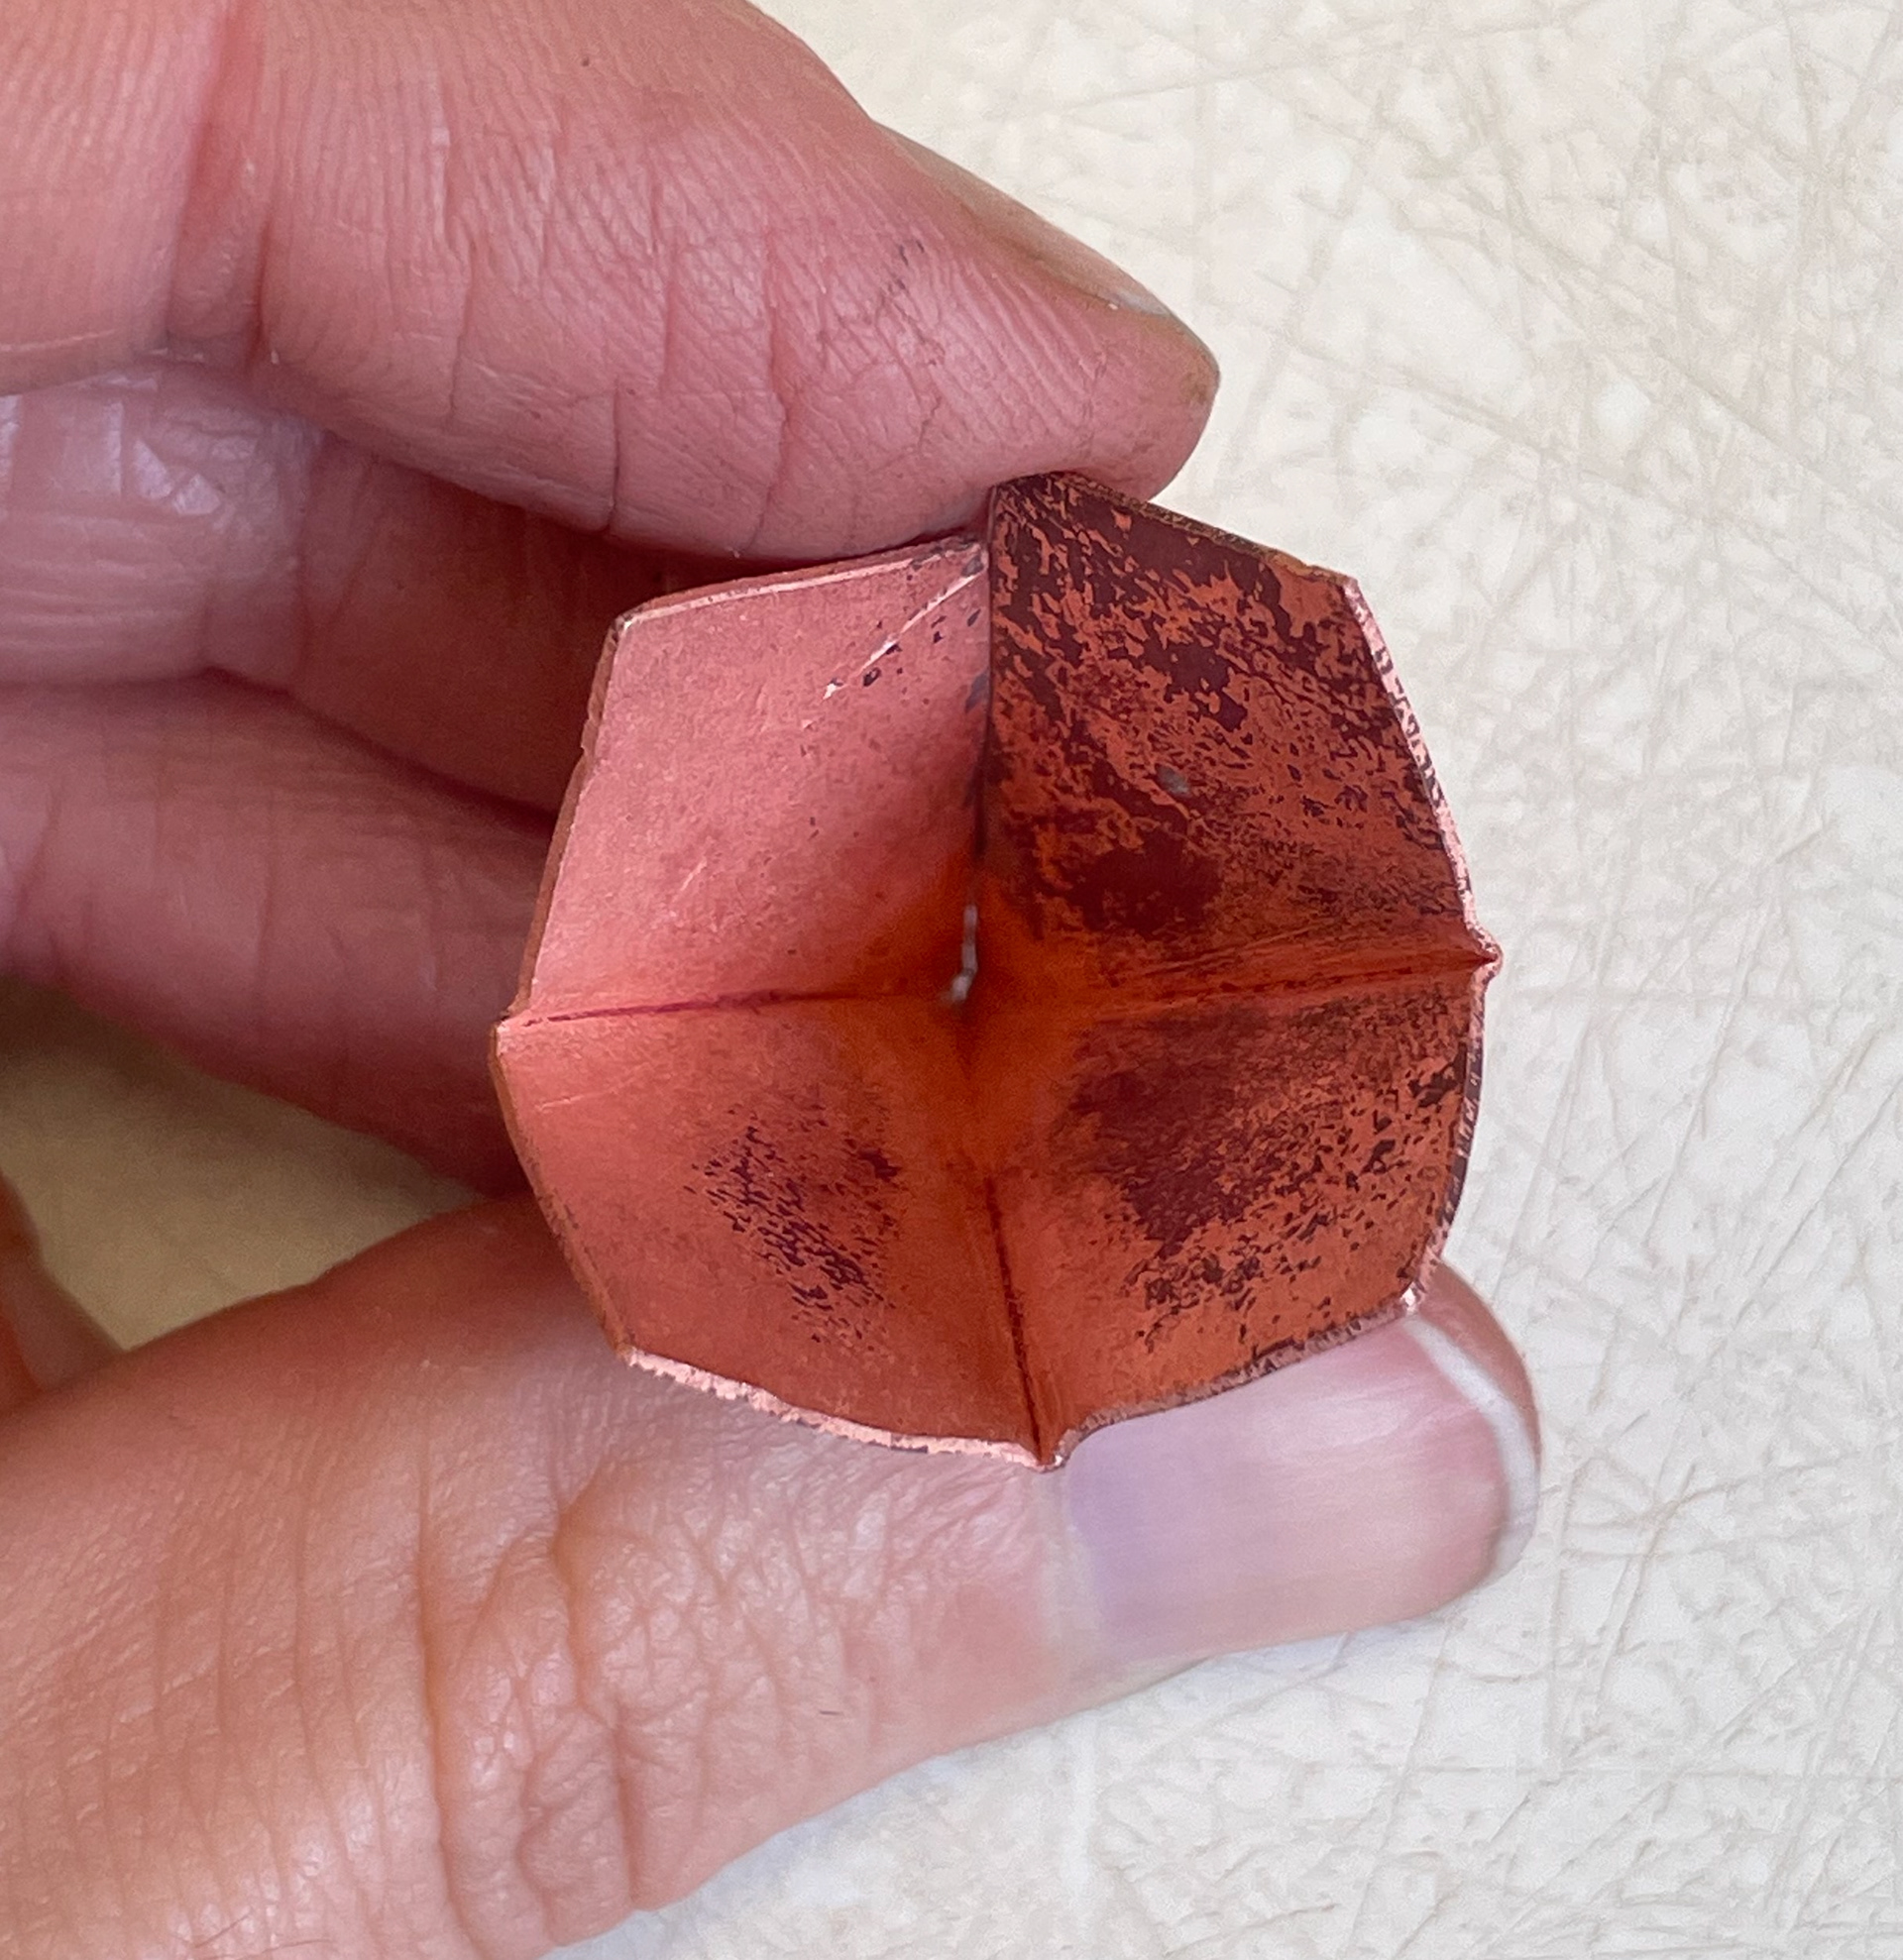
I then decided to try to make the shape in two halves instead and use a different method to bend and form the pieces. This involved using a piercing saw to cut the line as well as a needle file and a T shape burr to create a gap on the fold so that after being heated I was able to bend the metal with accuracy. Followed by soldering it in place.
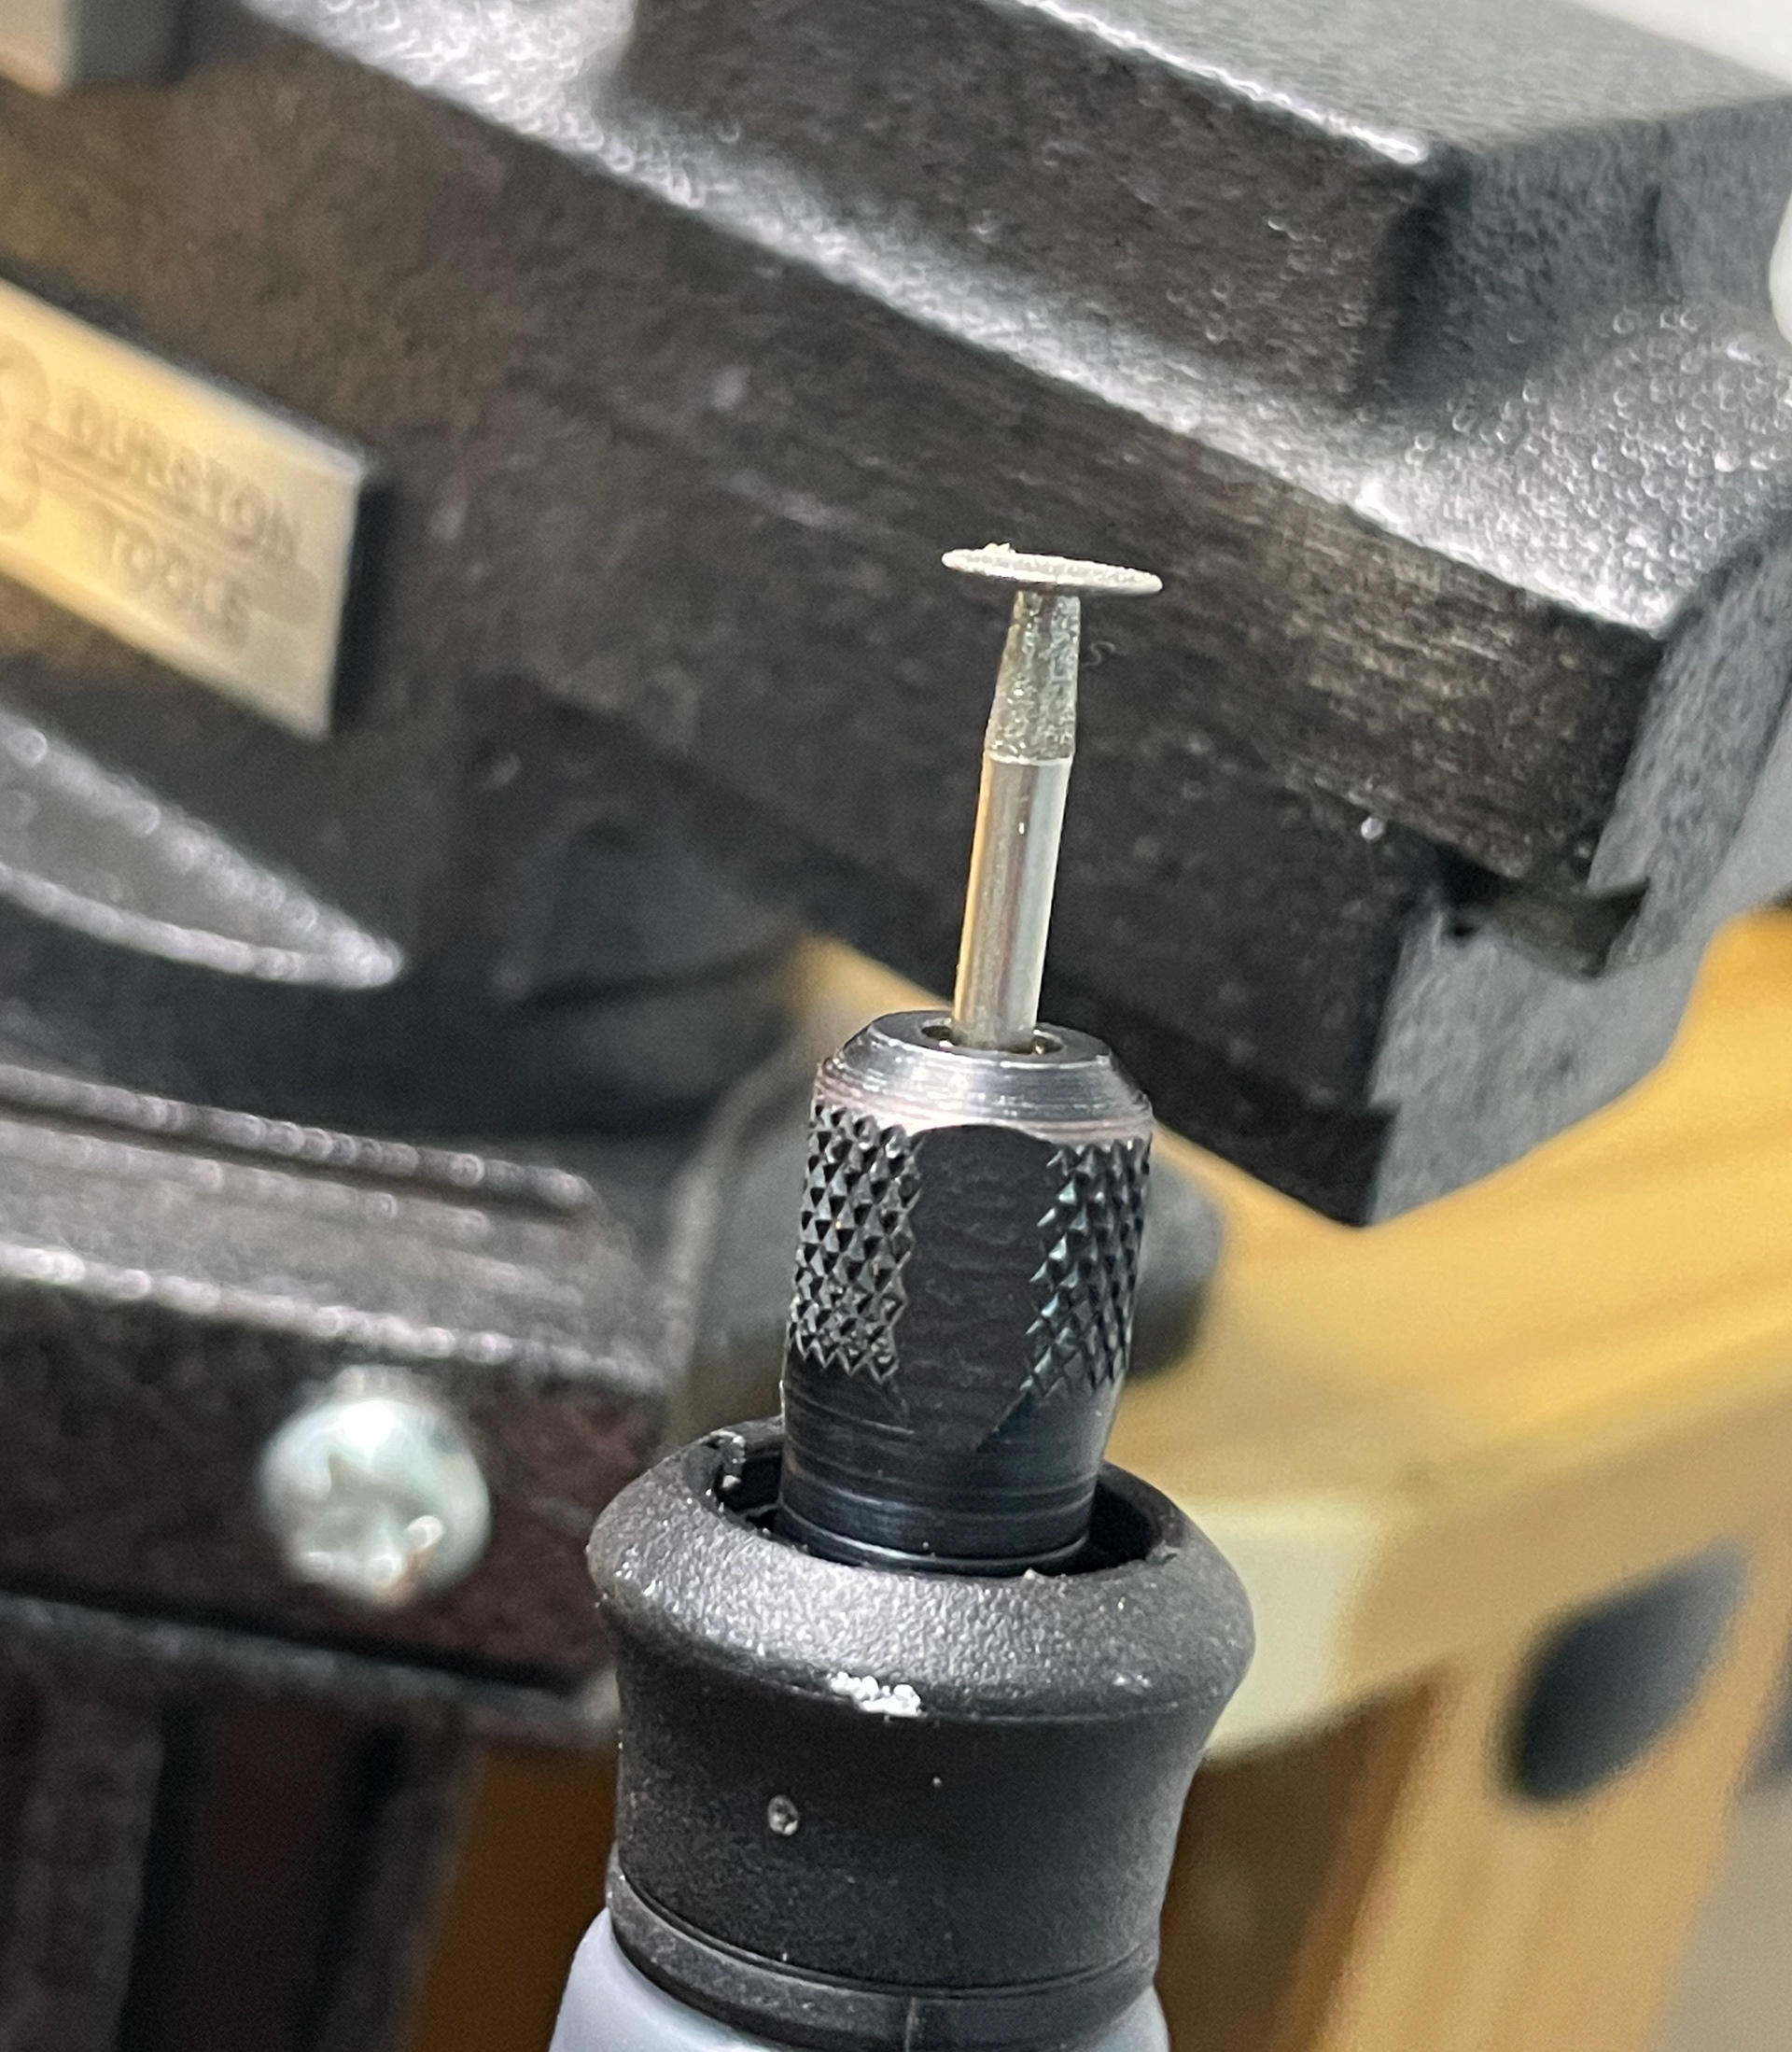
T shape burr
groove in fold
soldering the inner fold
soldered
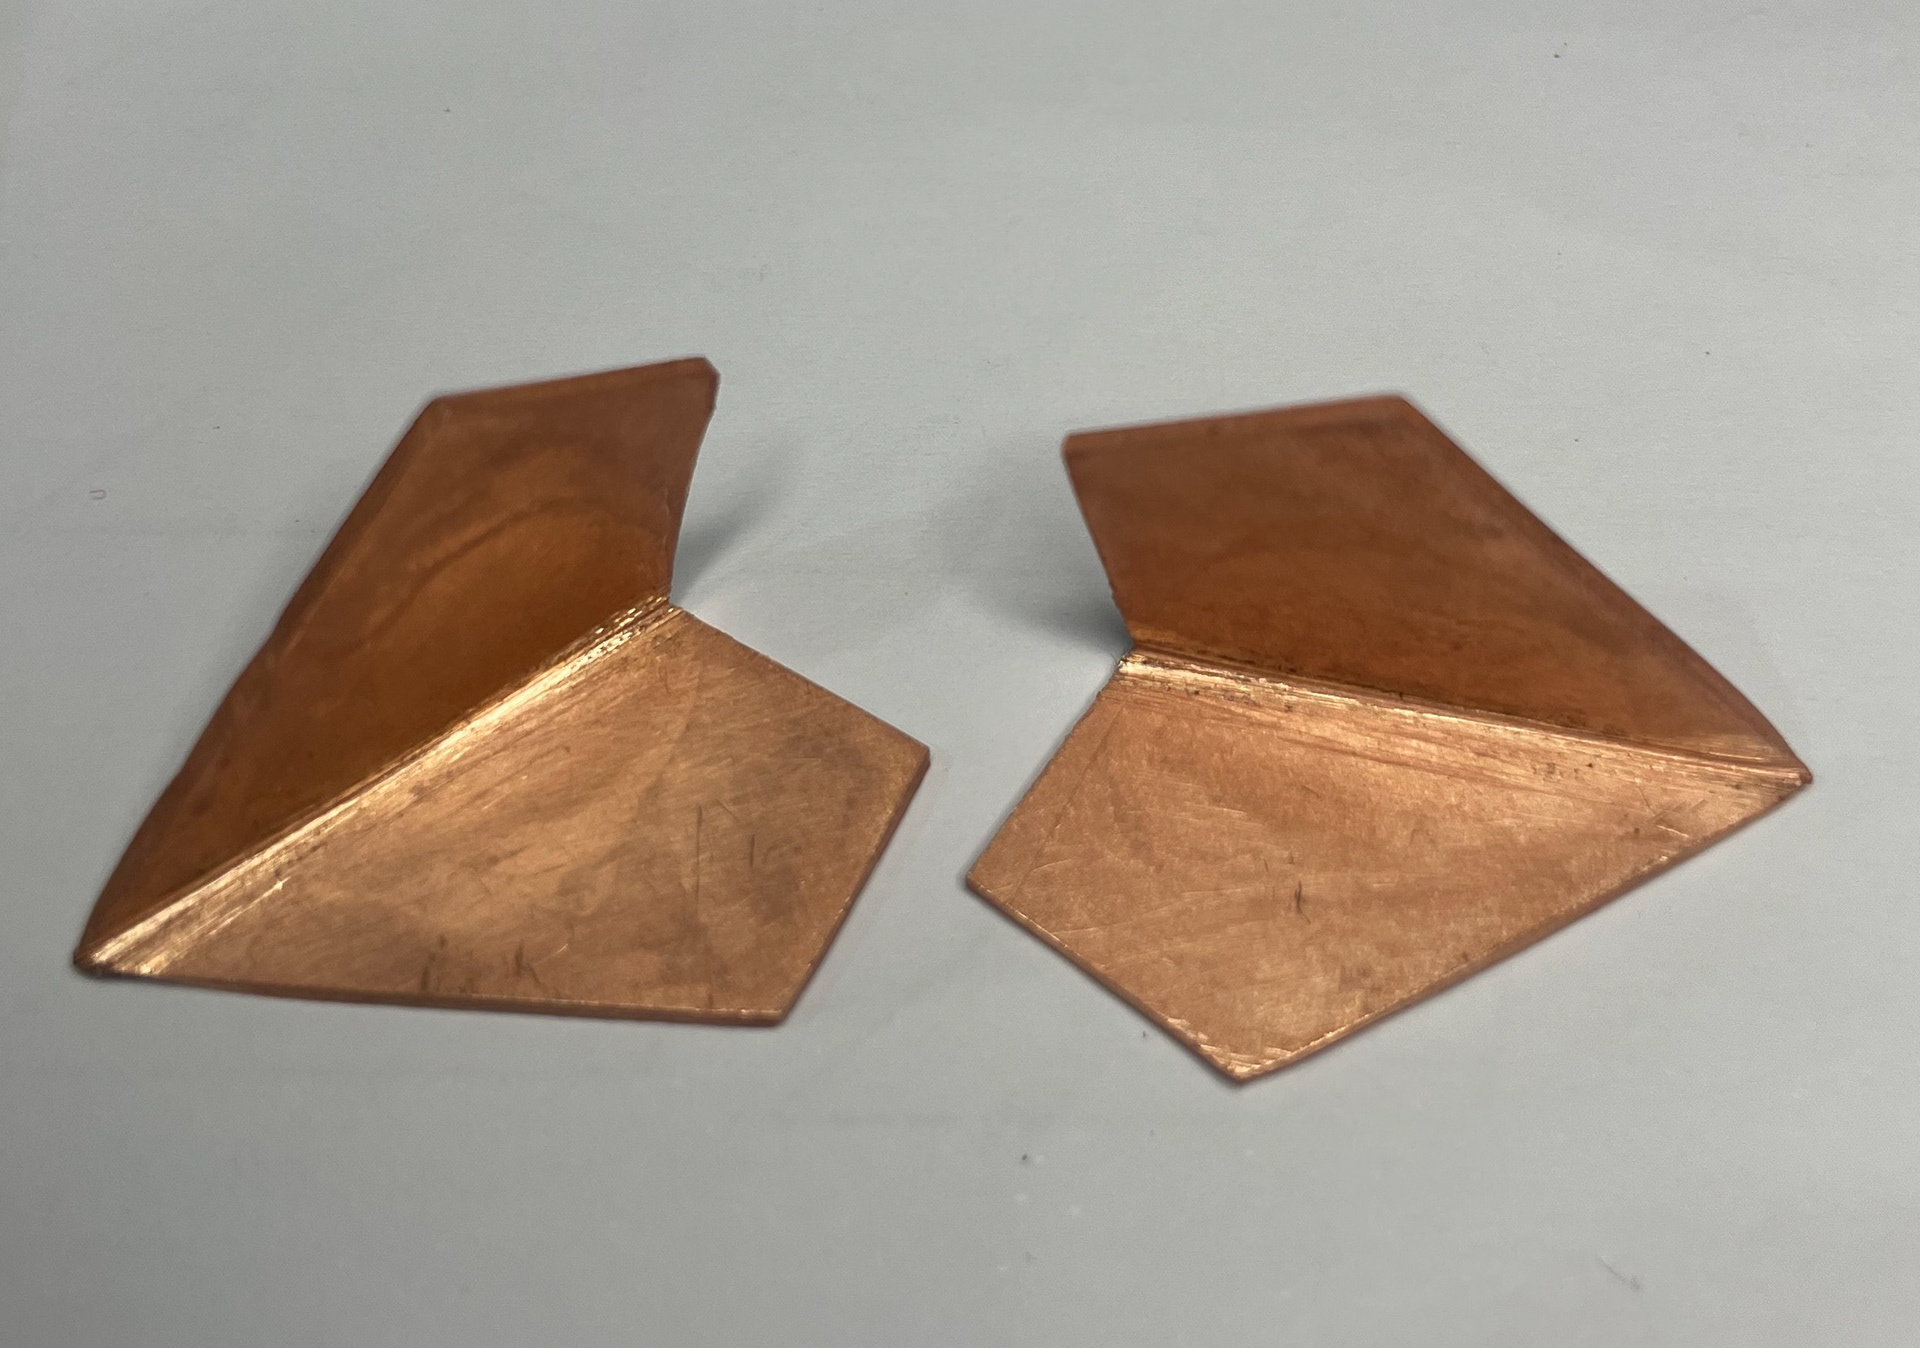
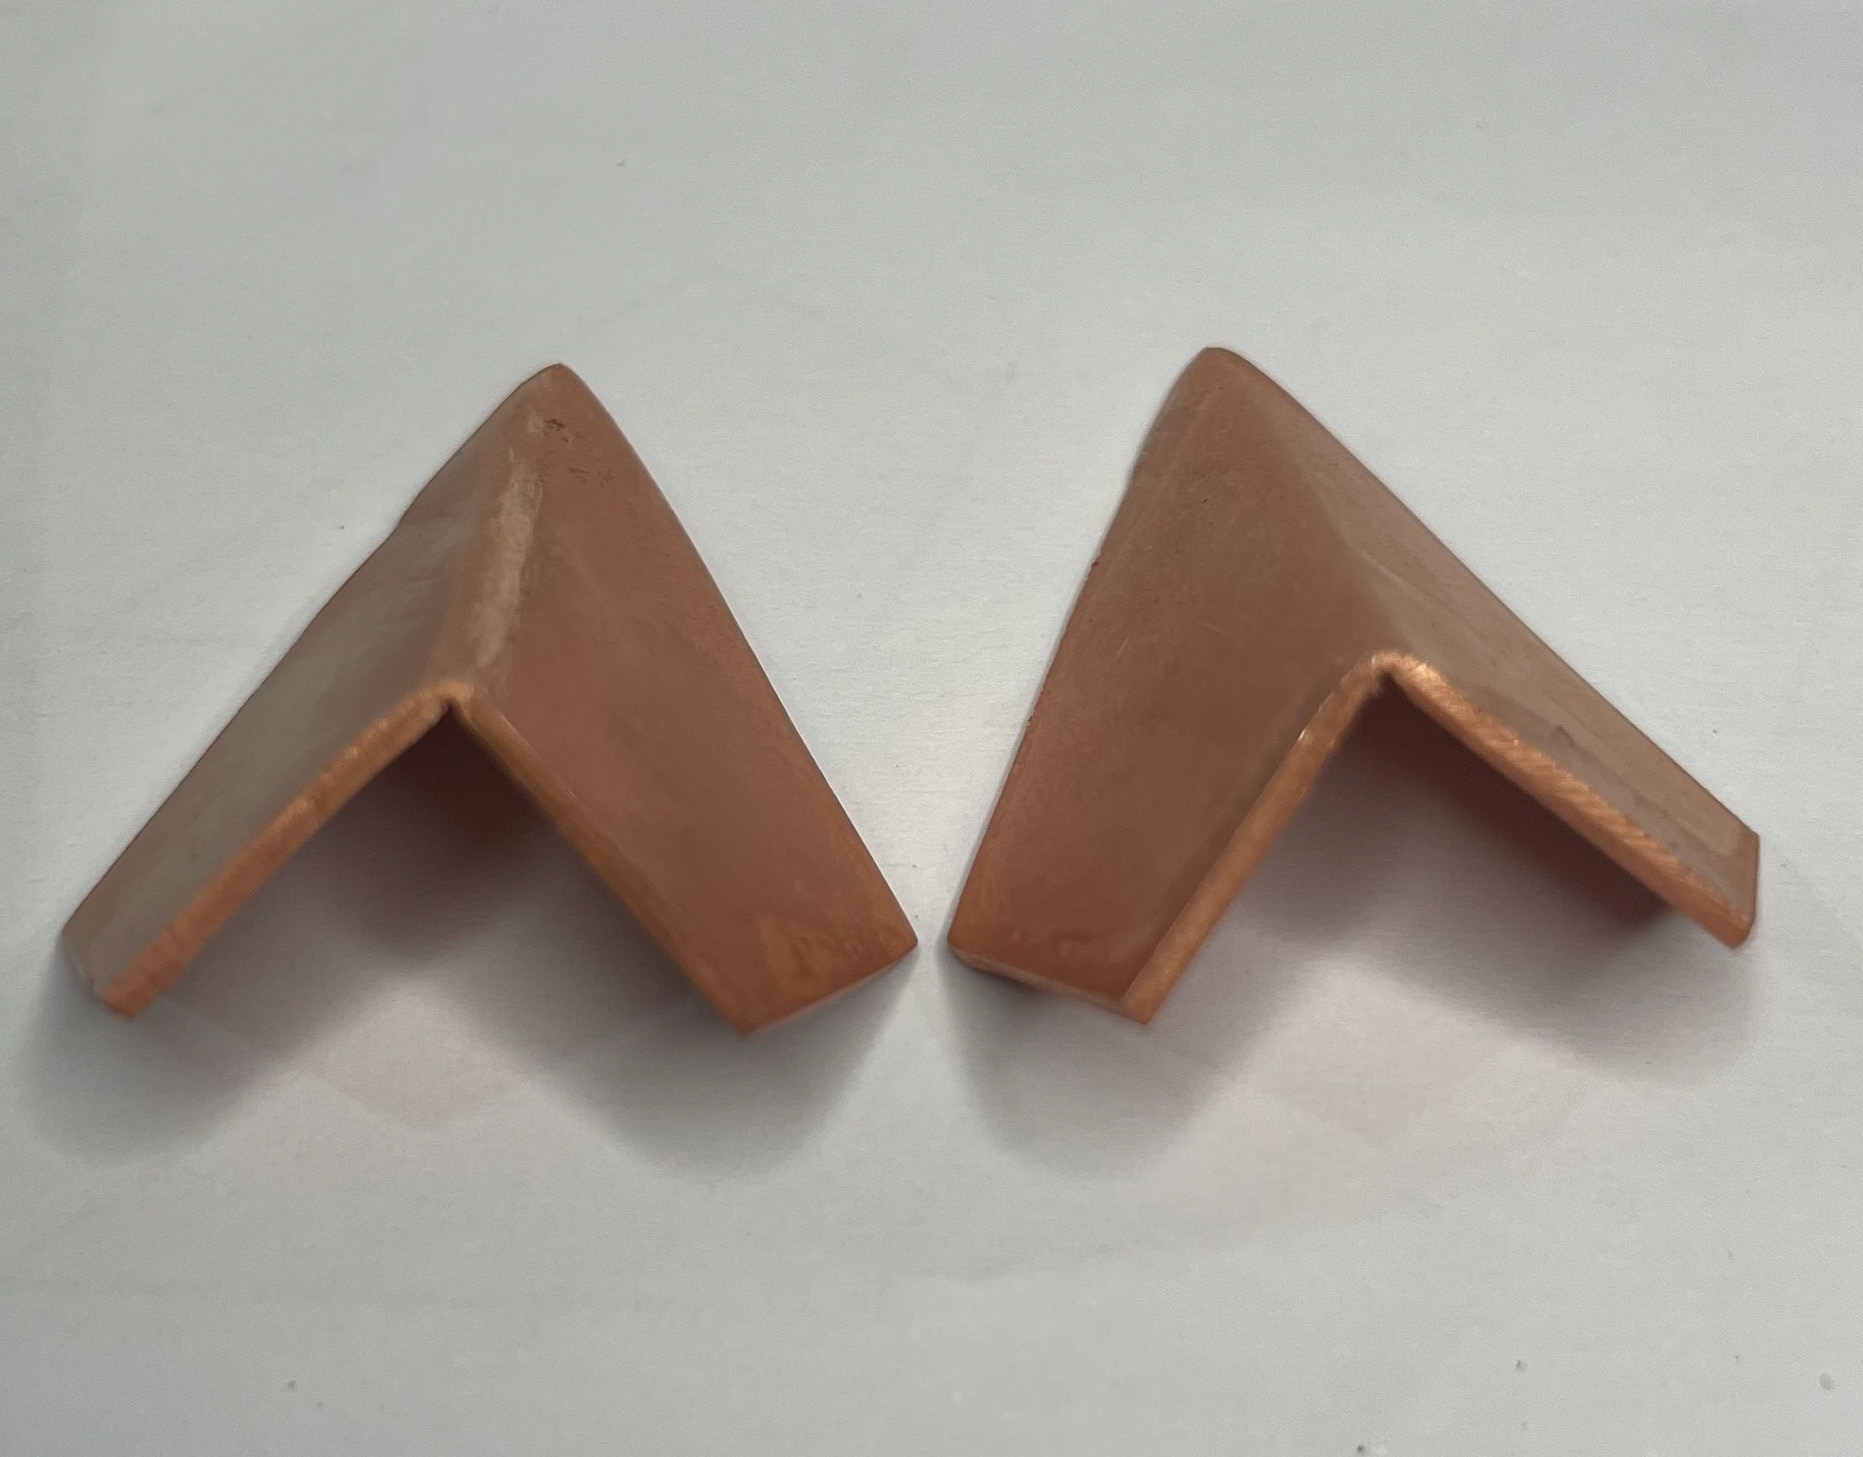
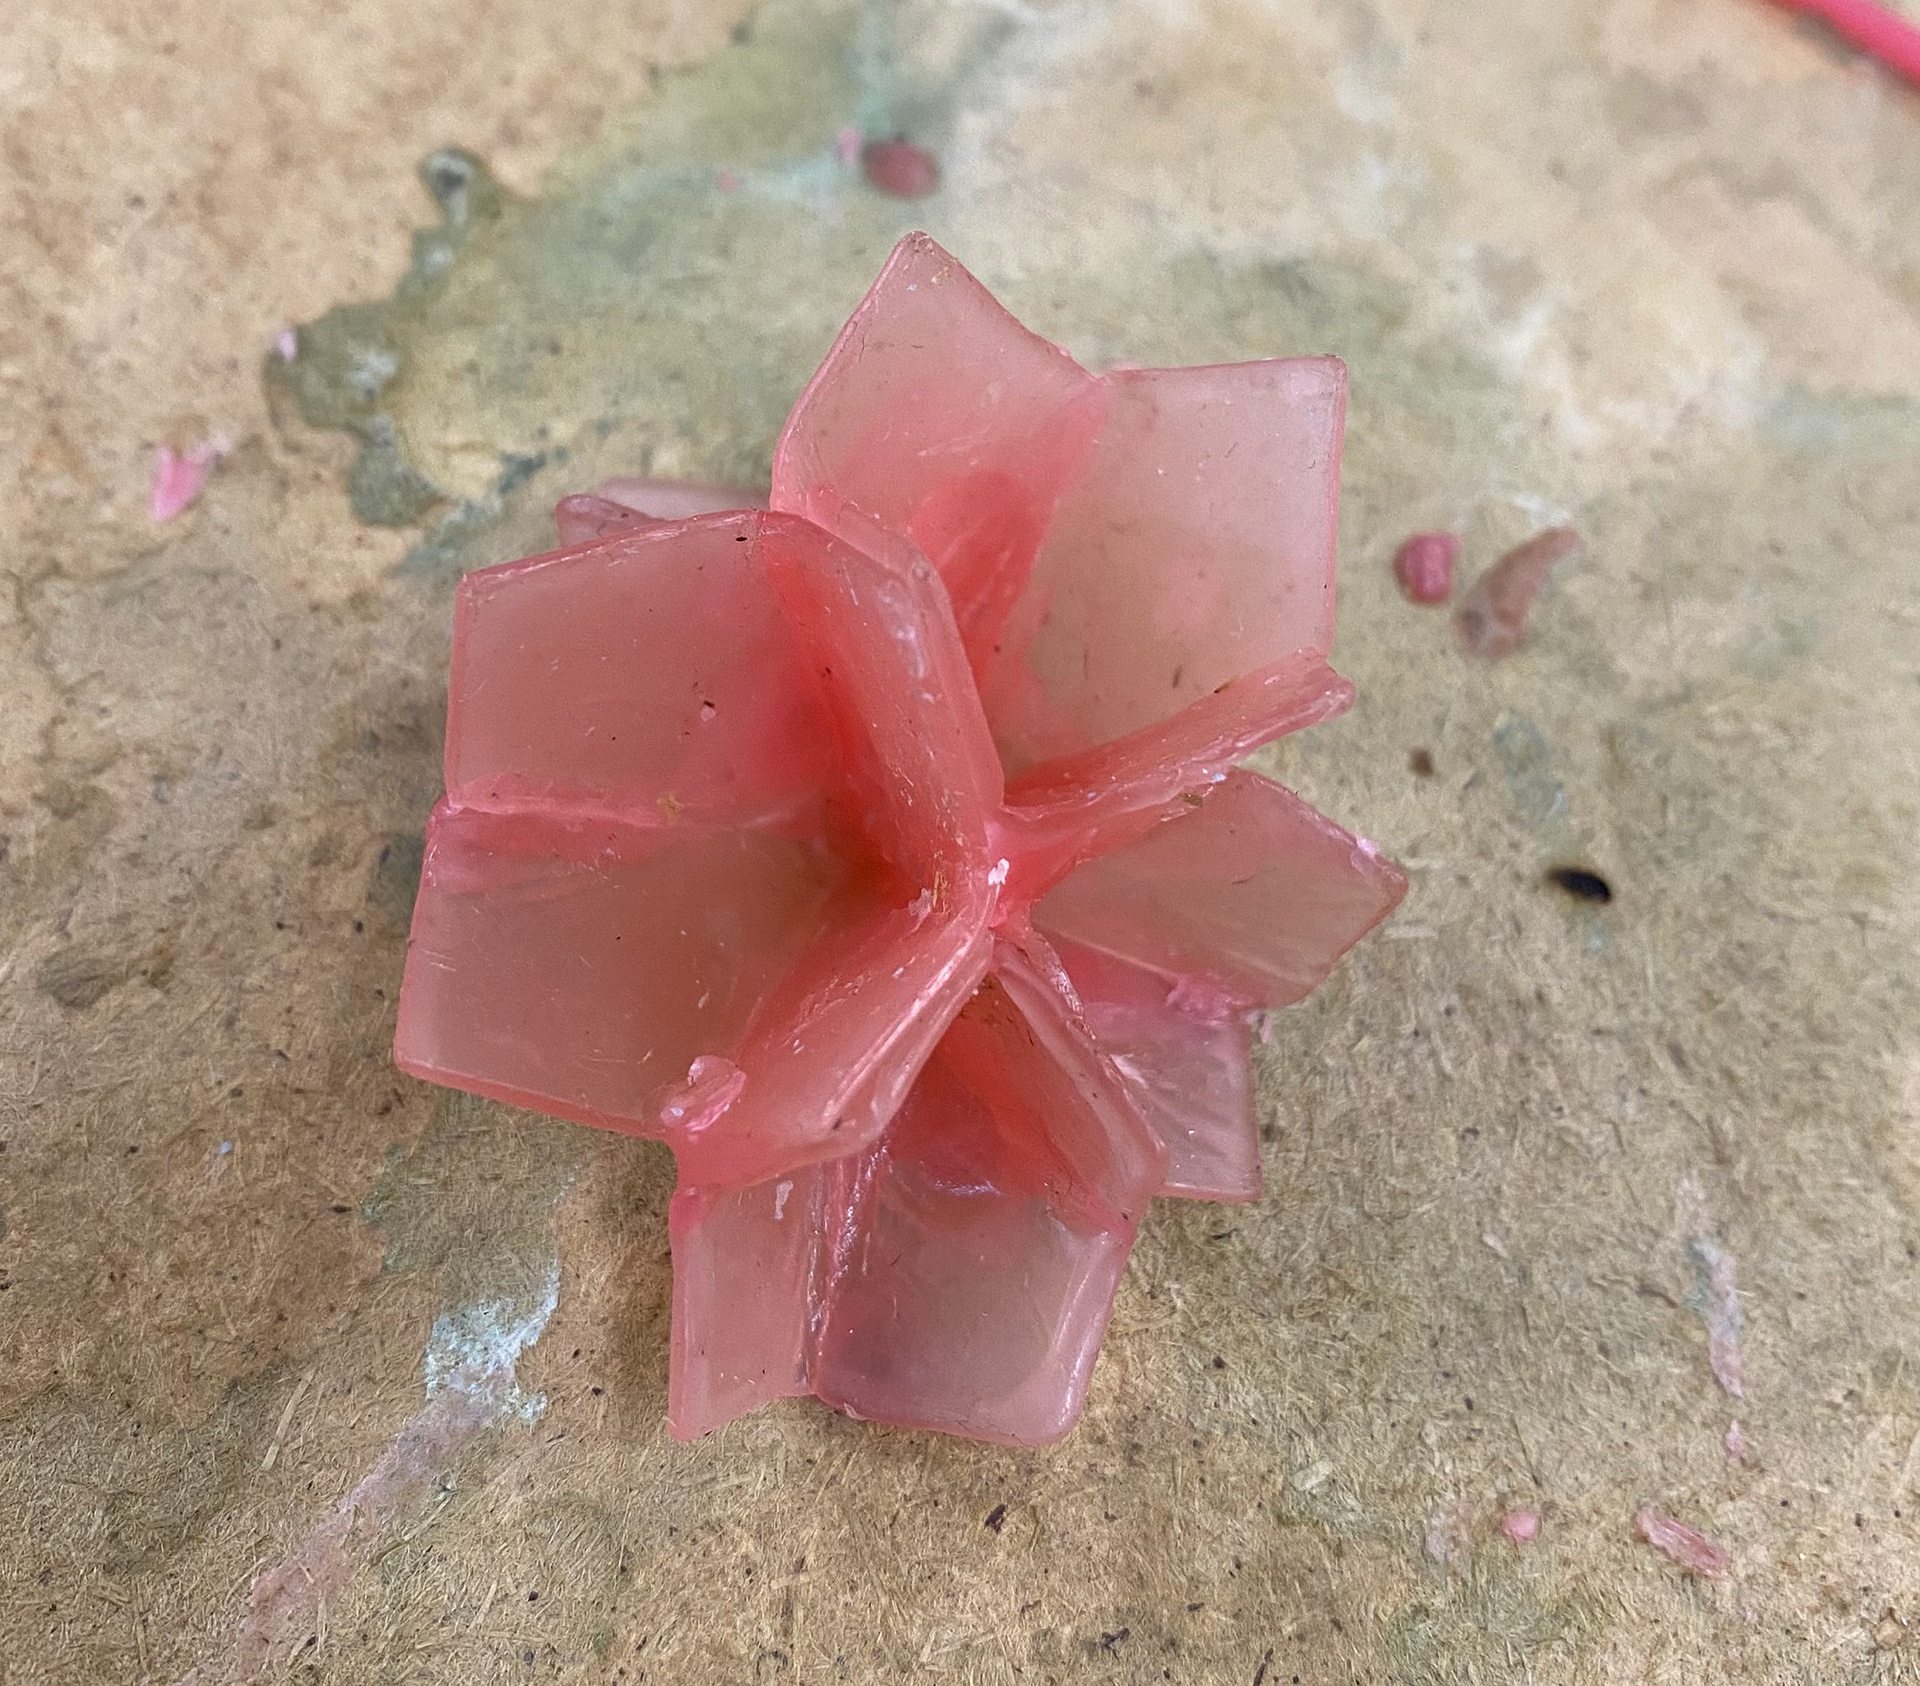
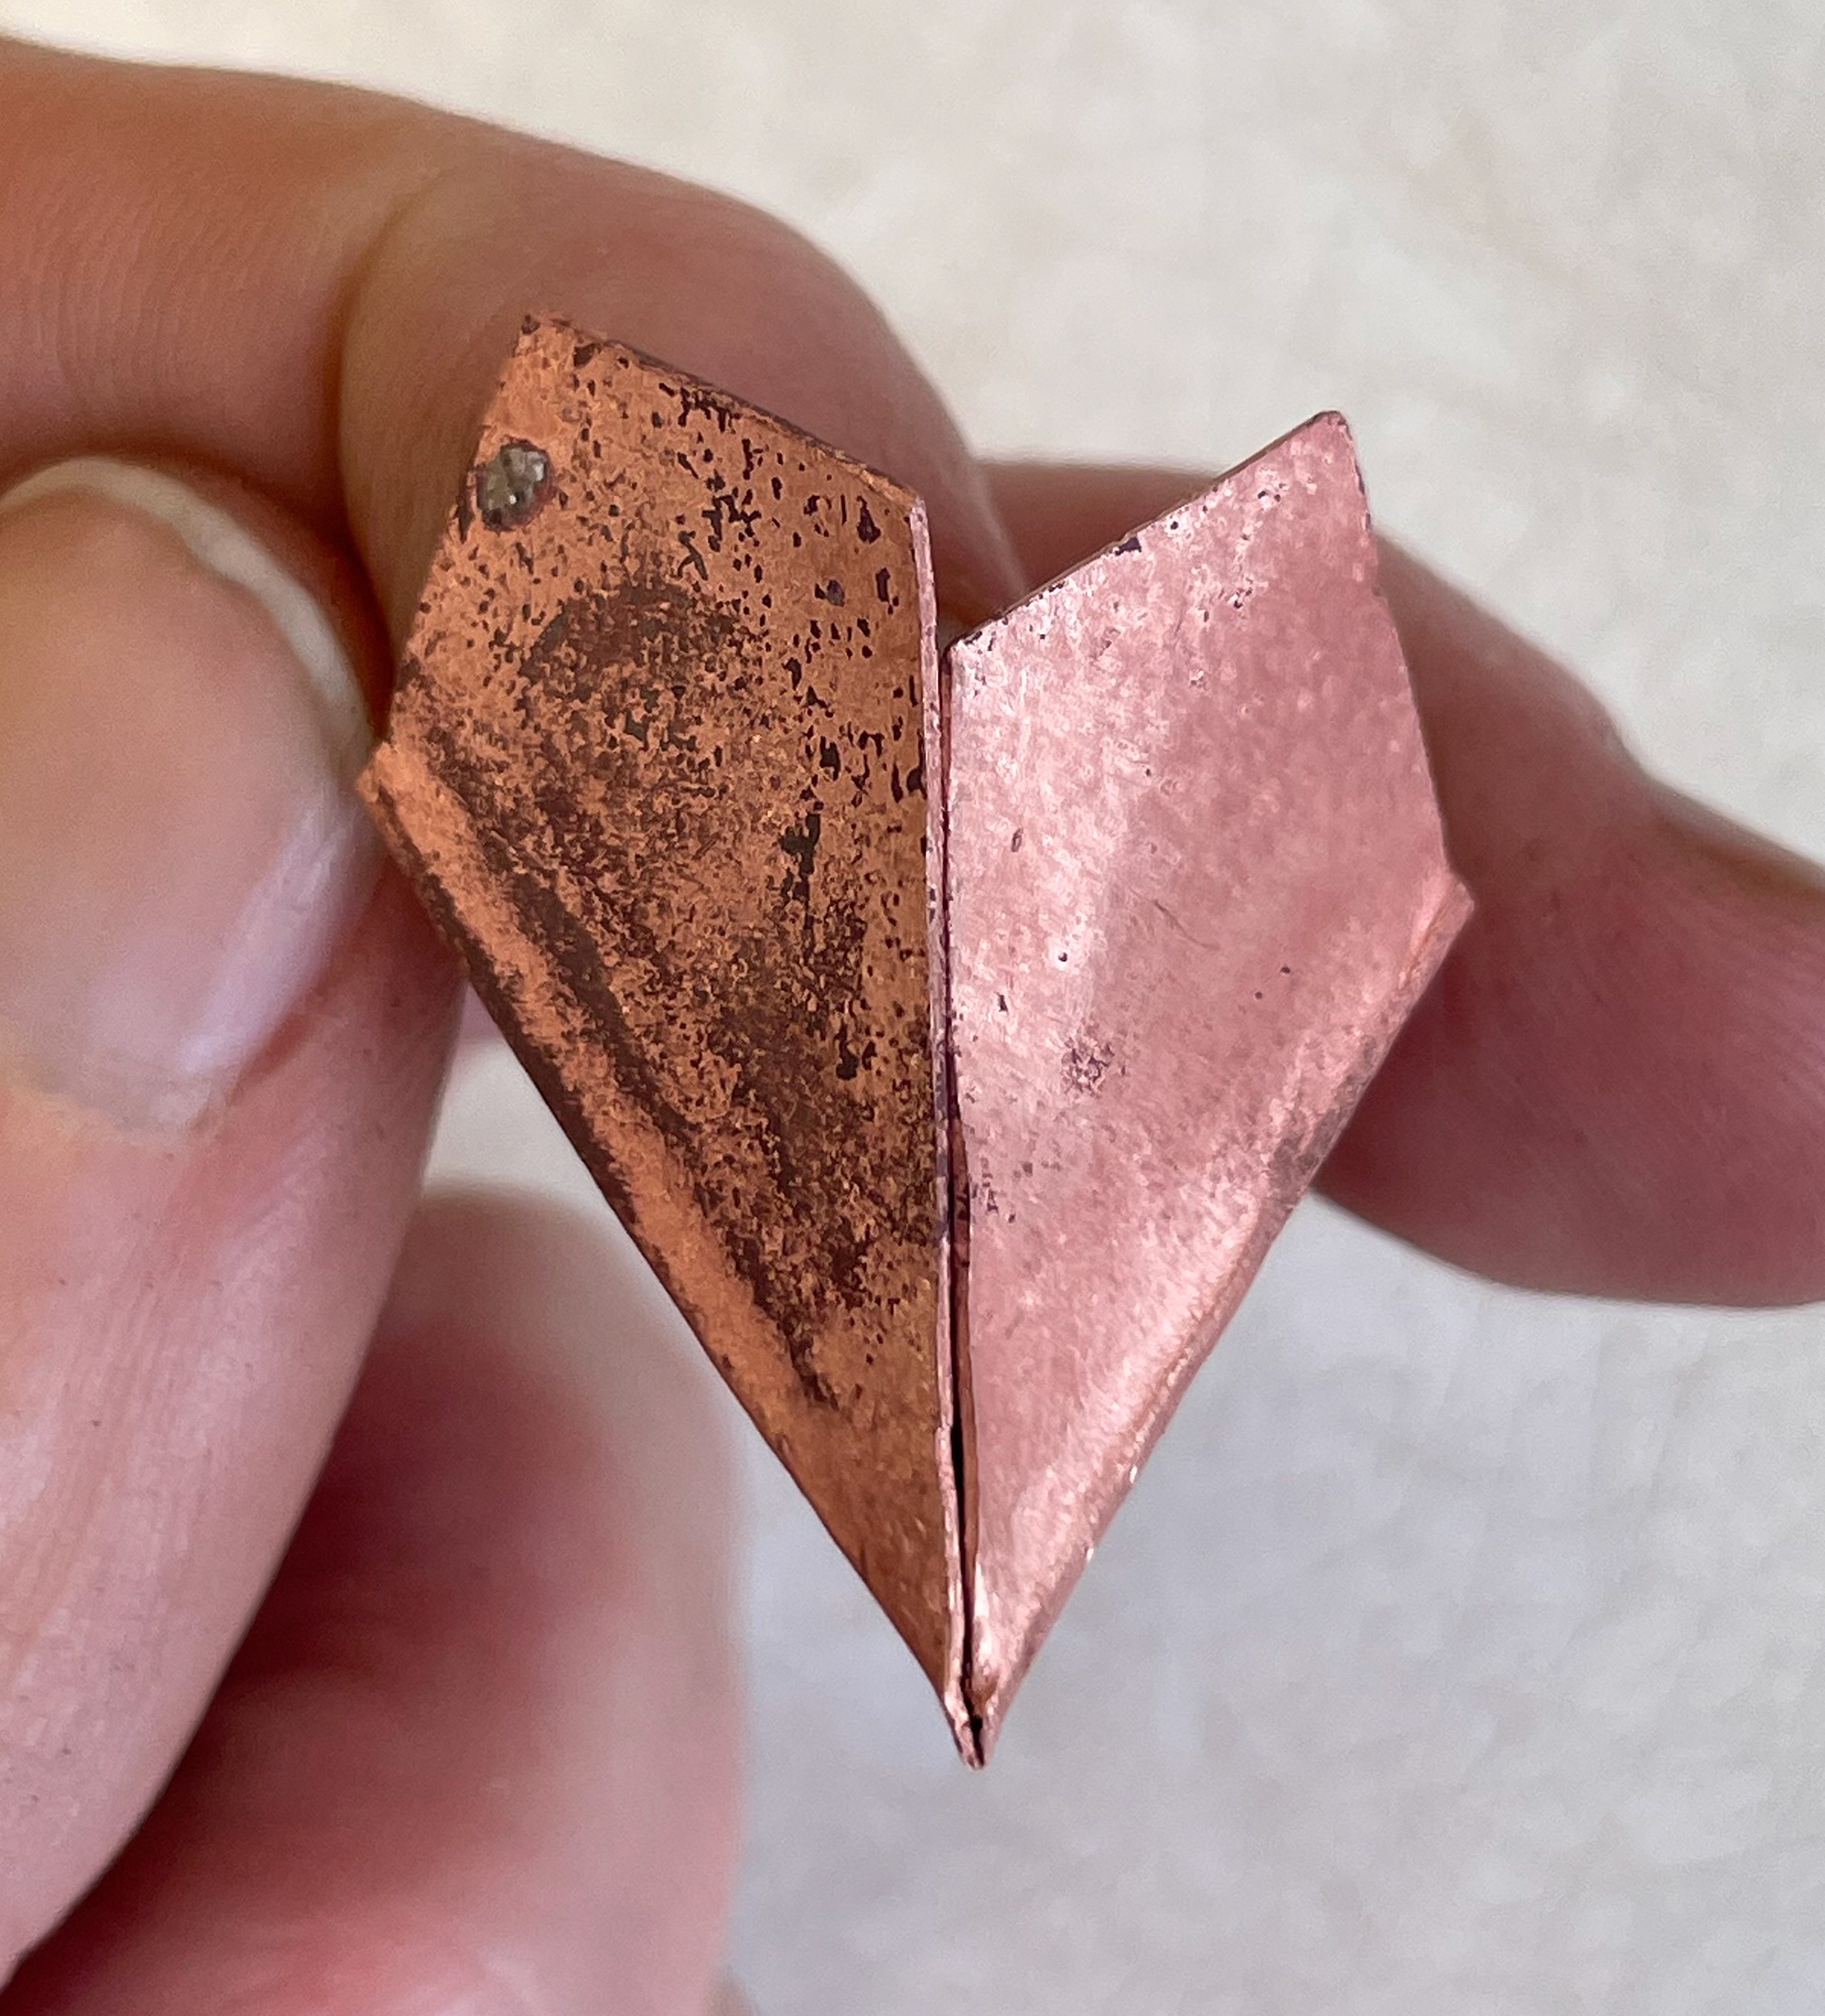
Finished pieces
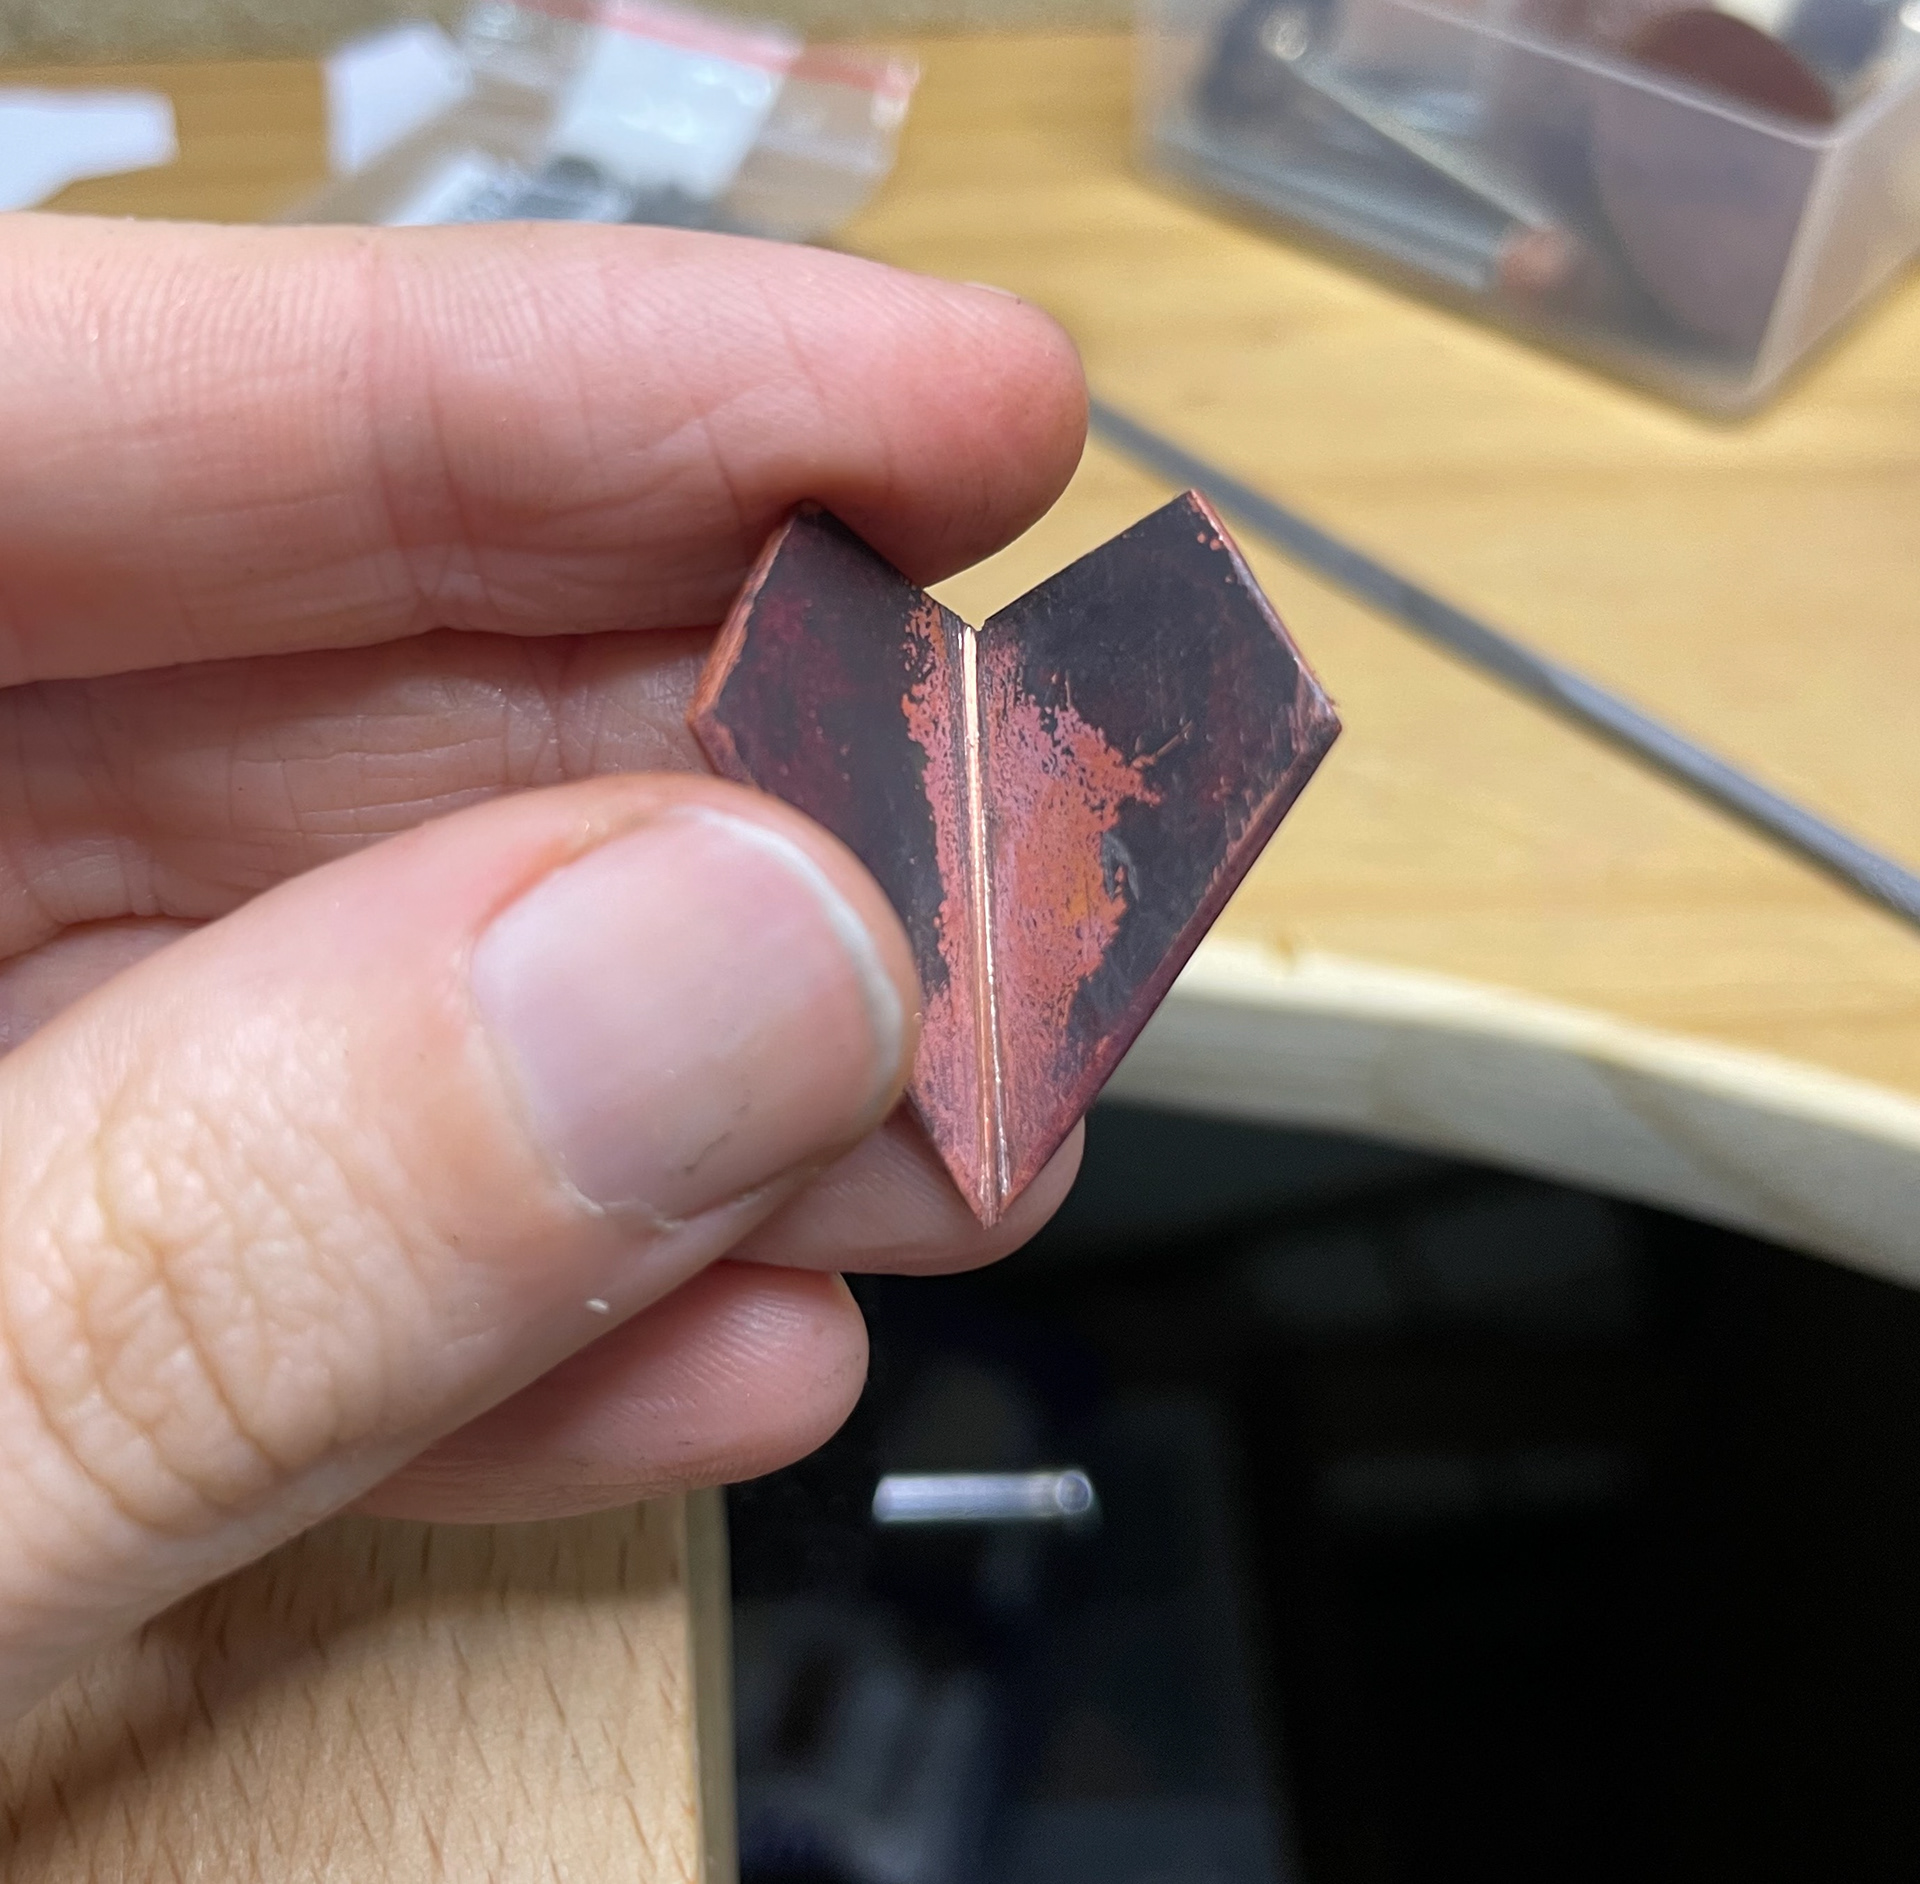
When coming to join the two halves I realised I needed to bevel the edges to allow for the angel of the metal to meet flush. This is something I would consider when making these again.
FINAL DESIGN PROCESS
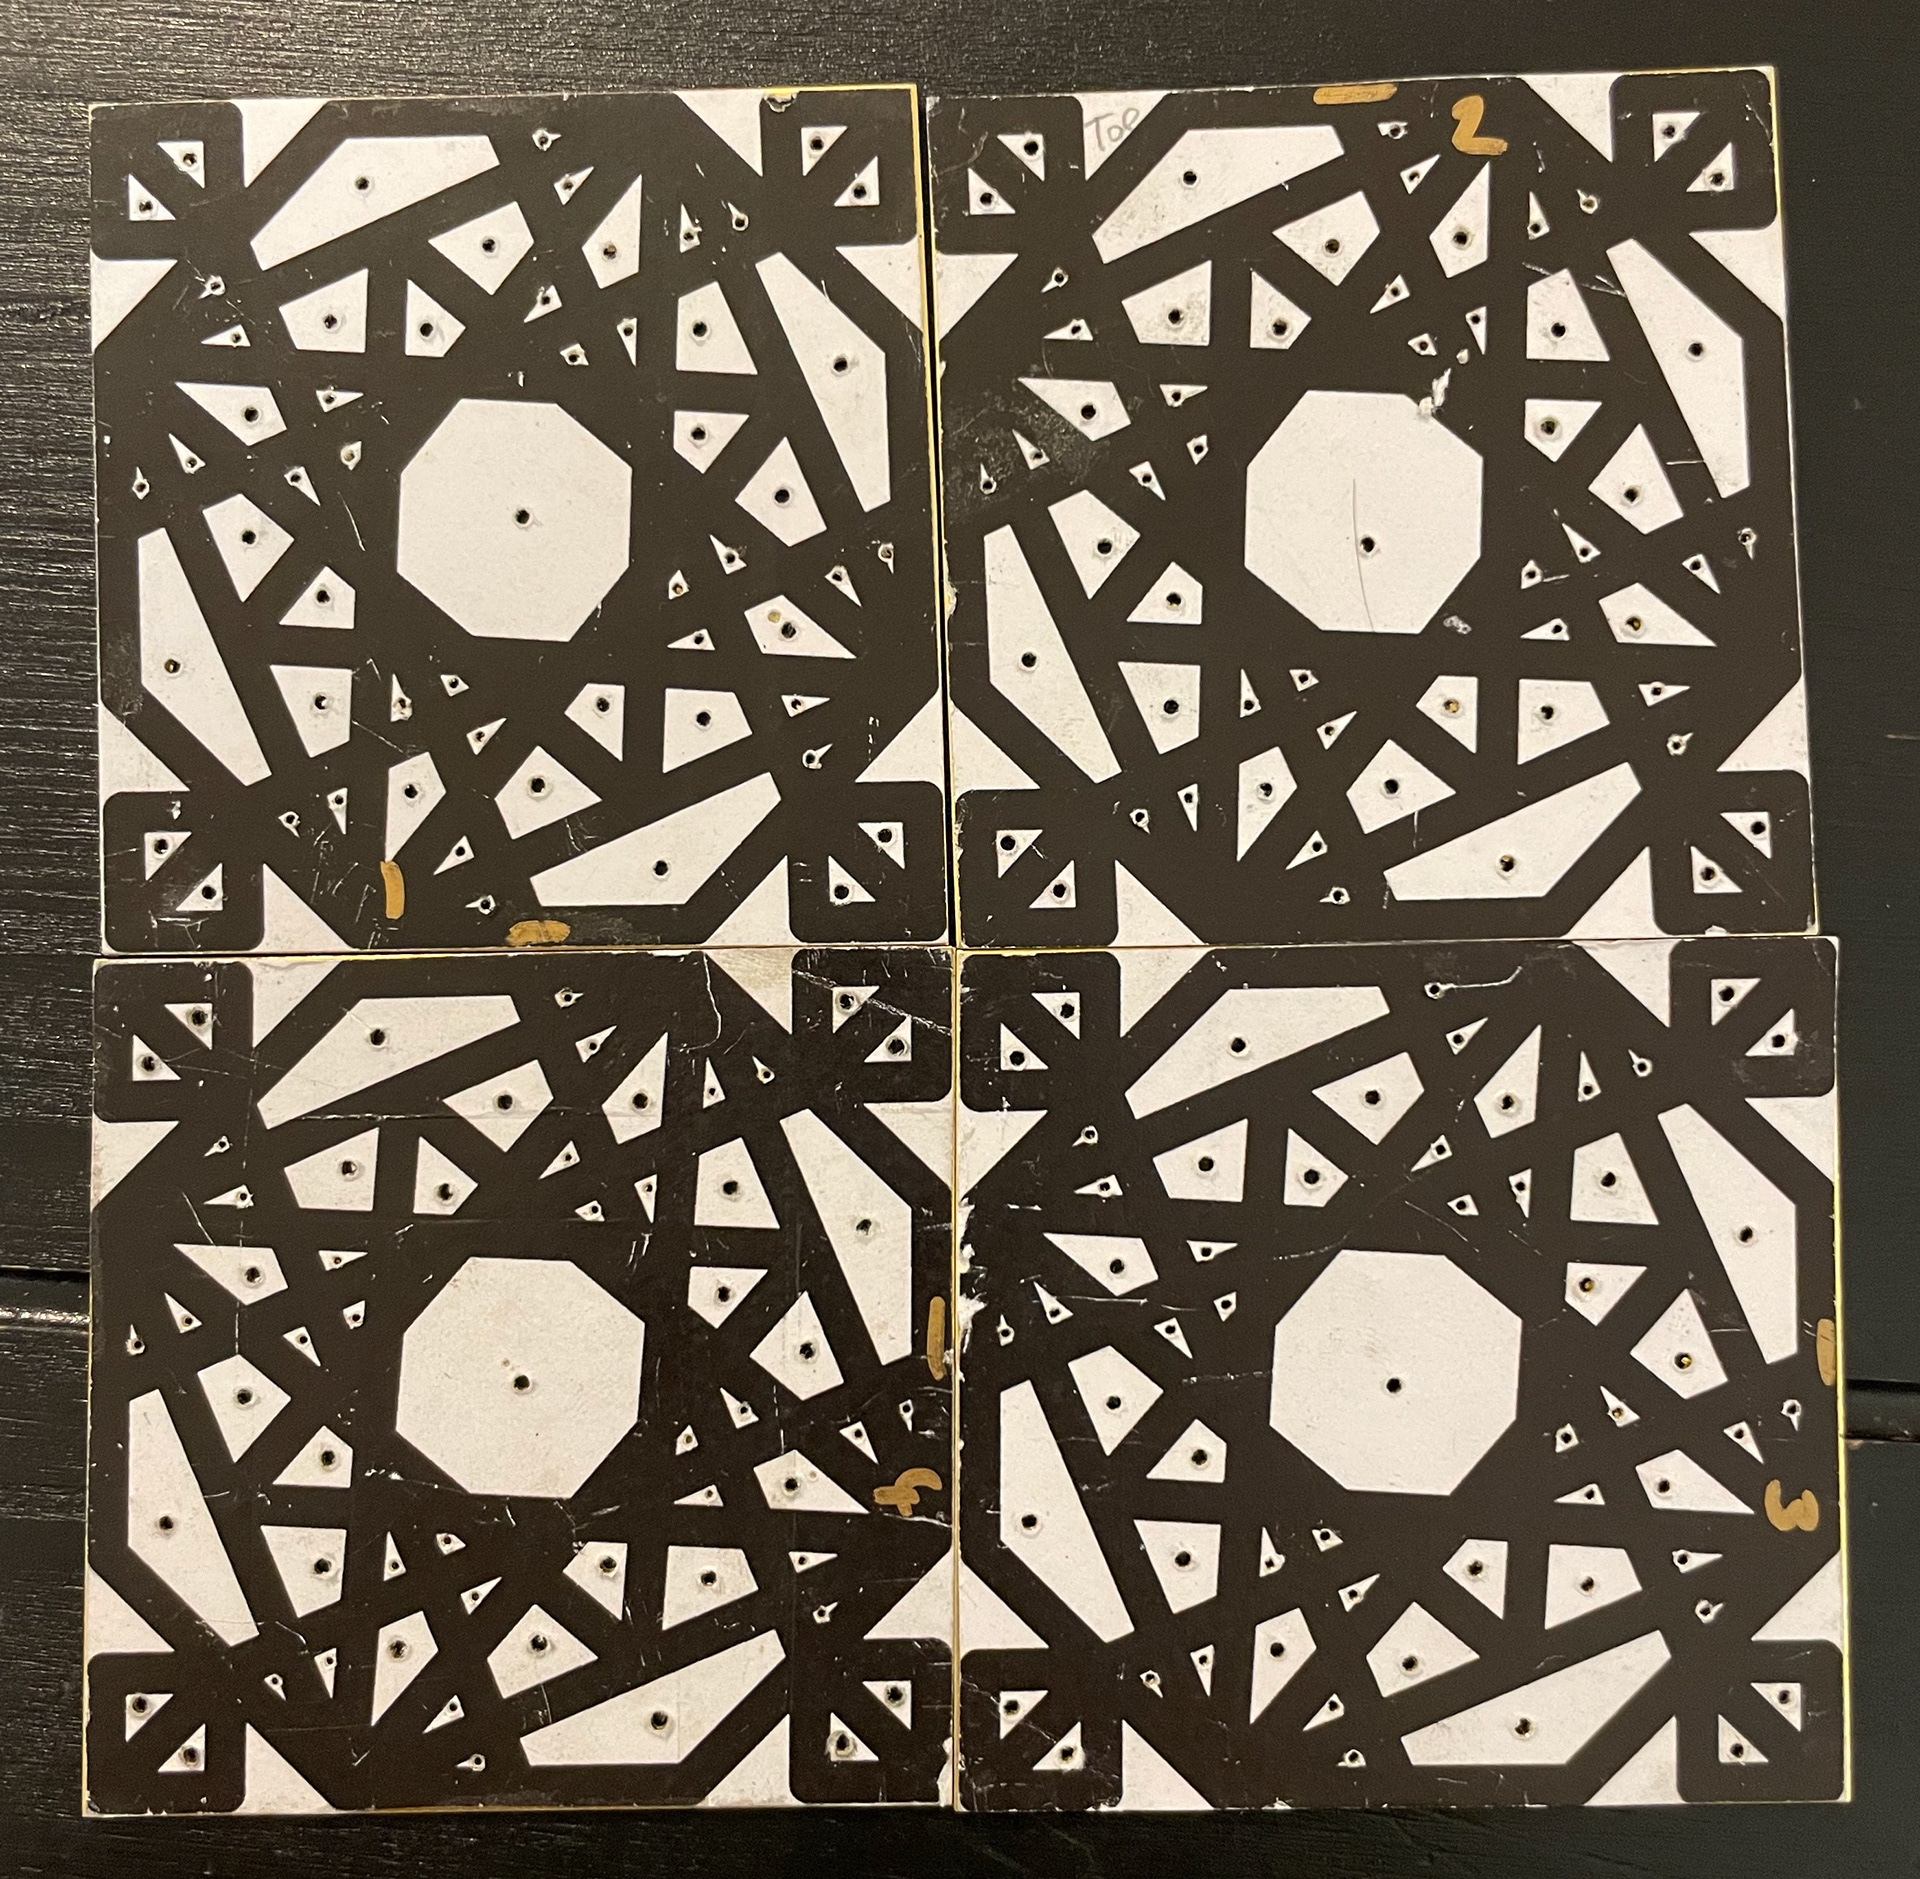
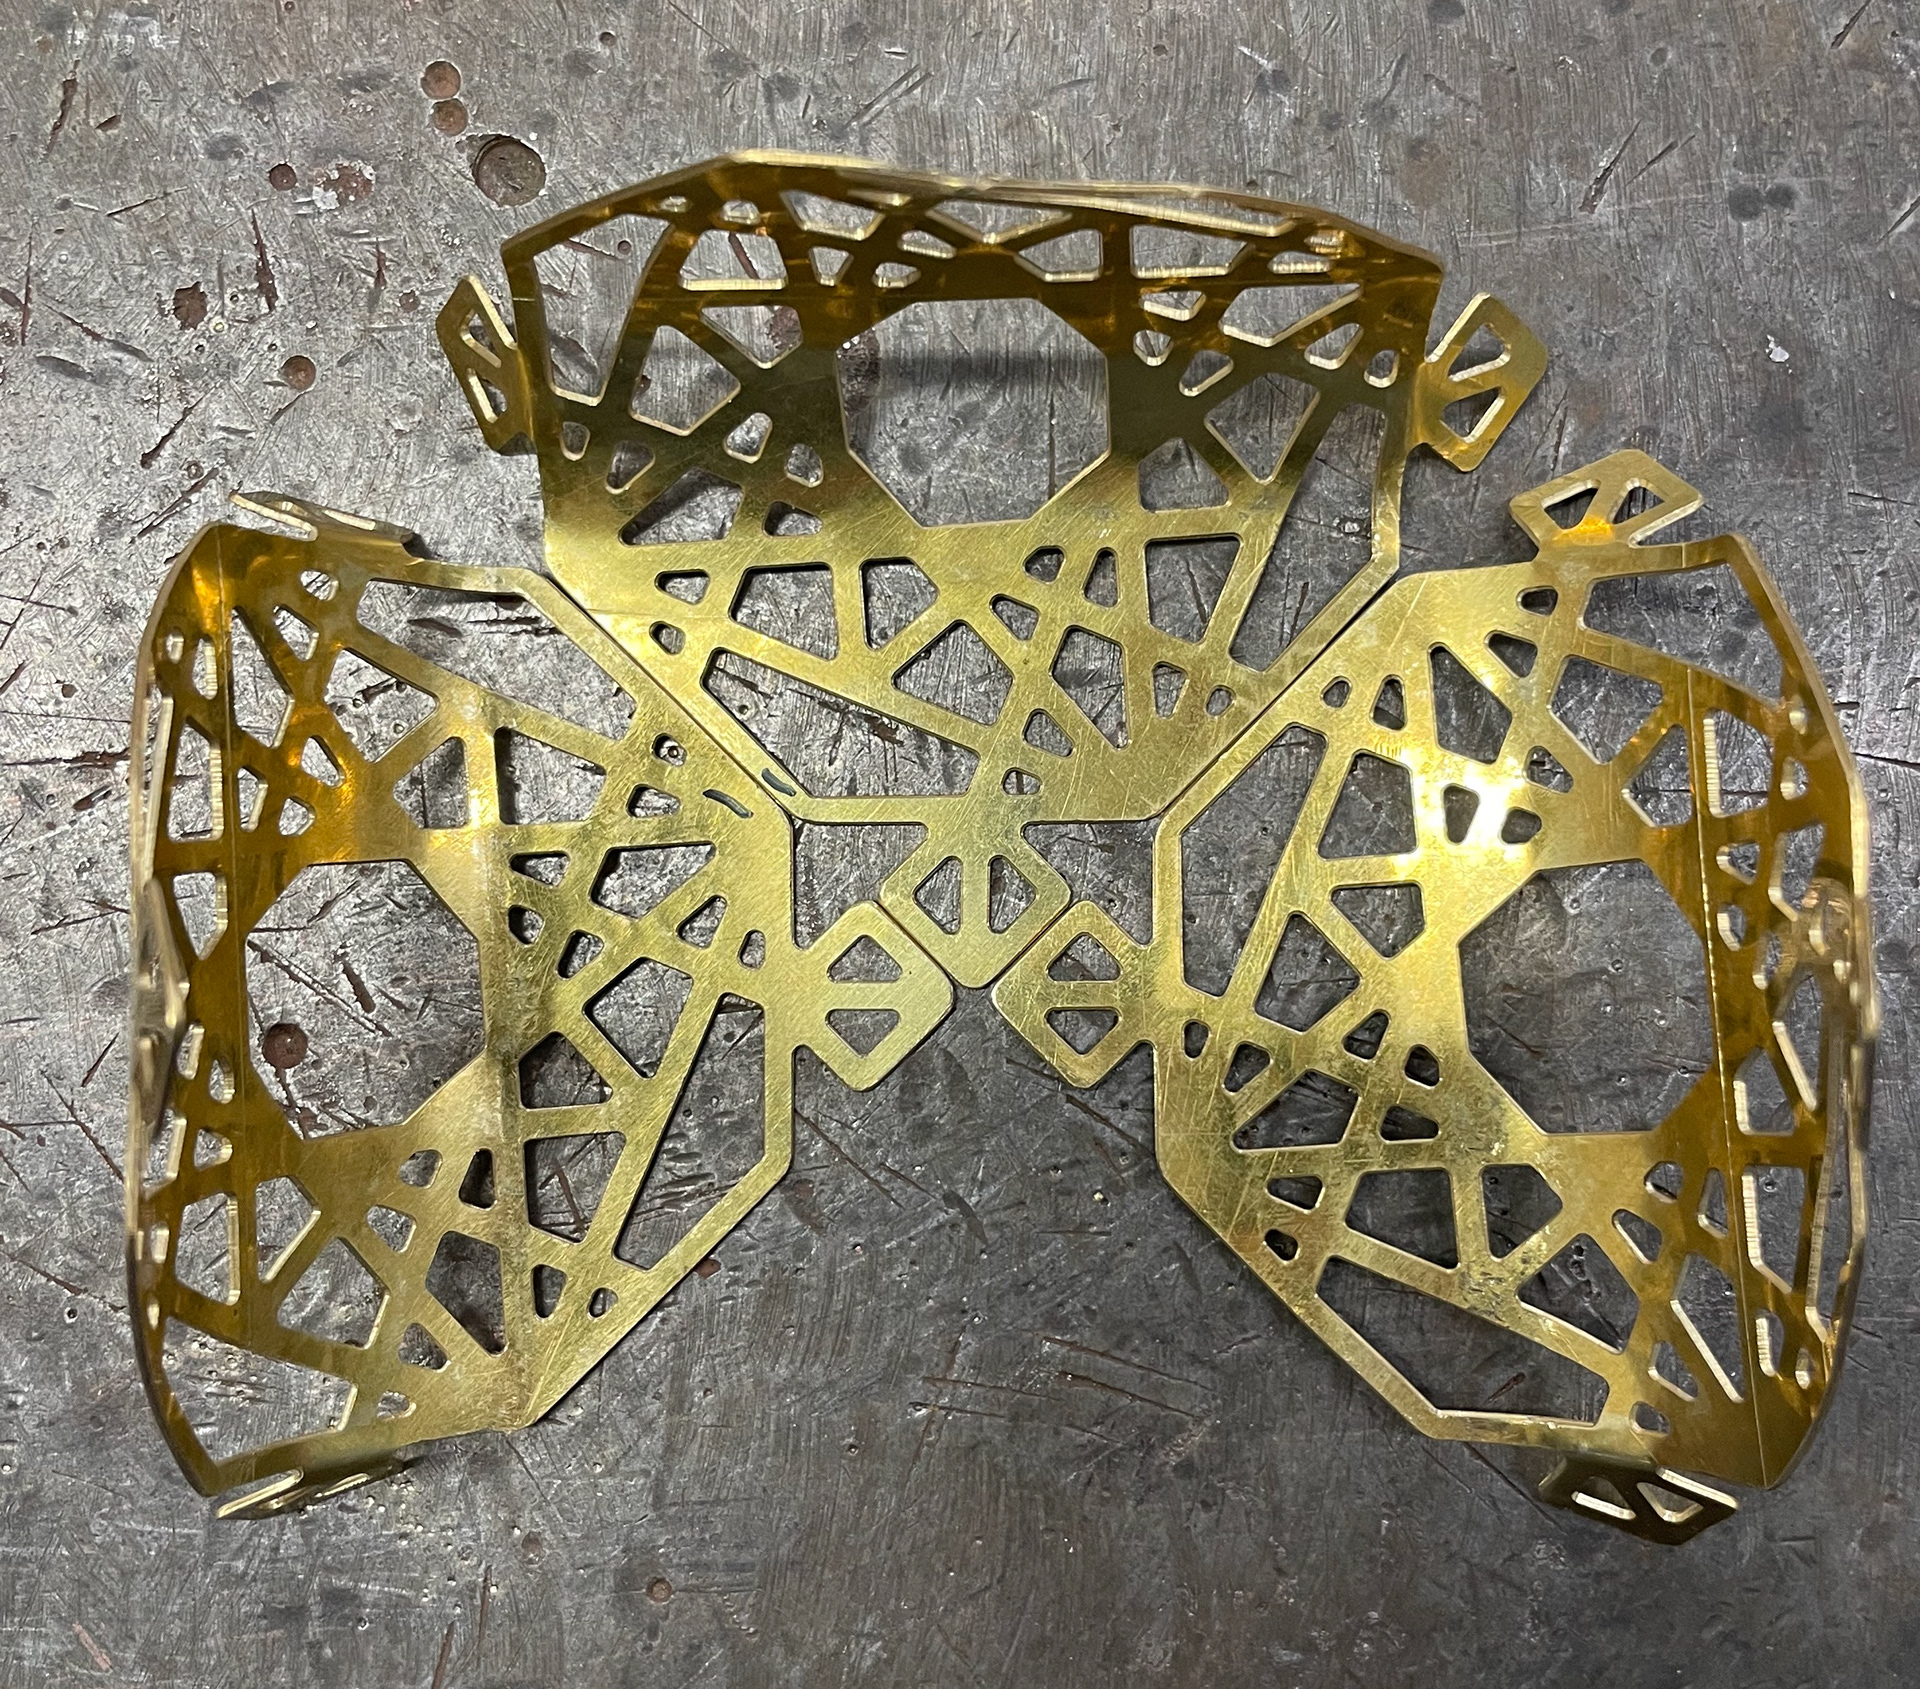
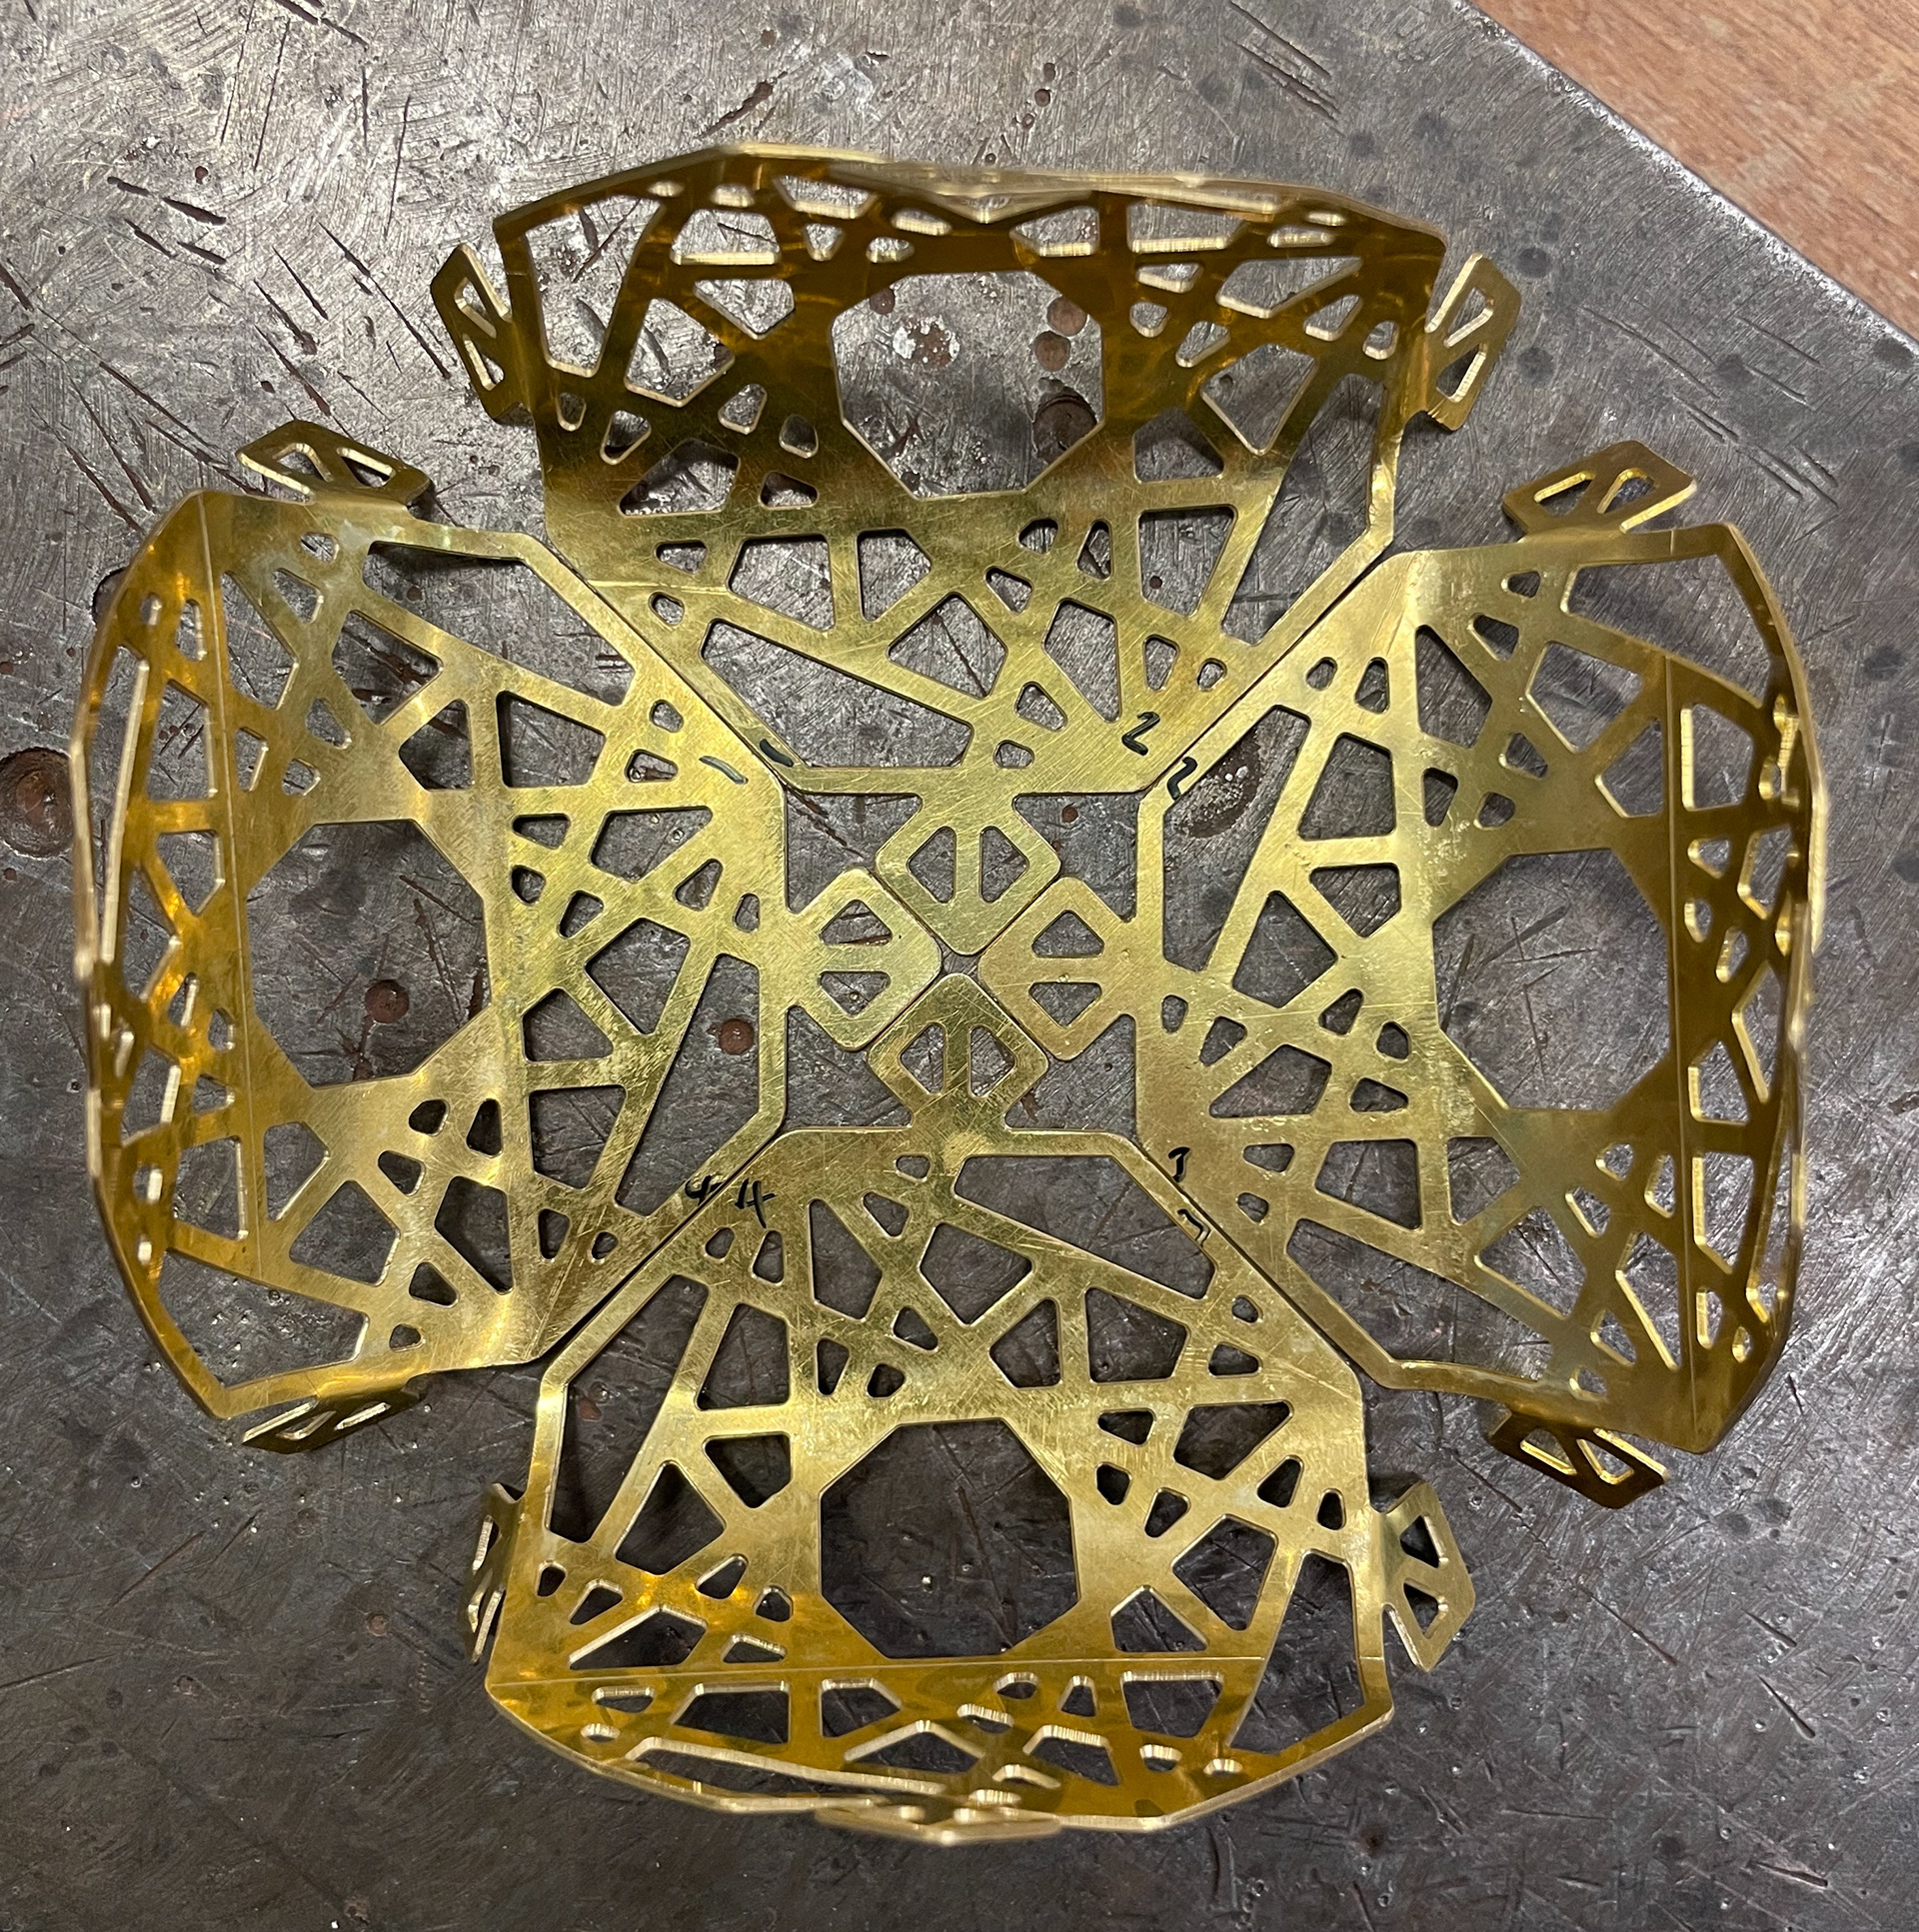
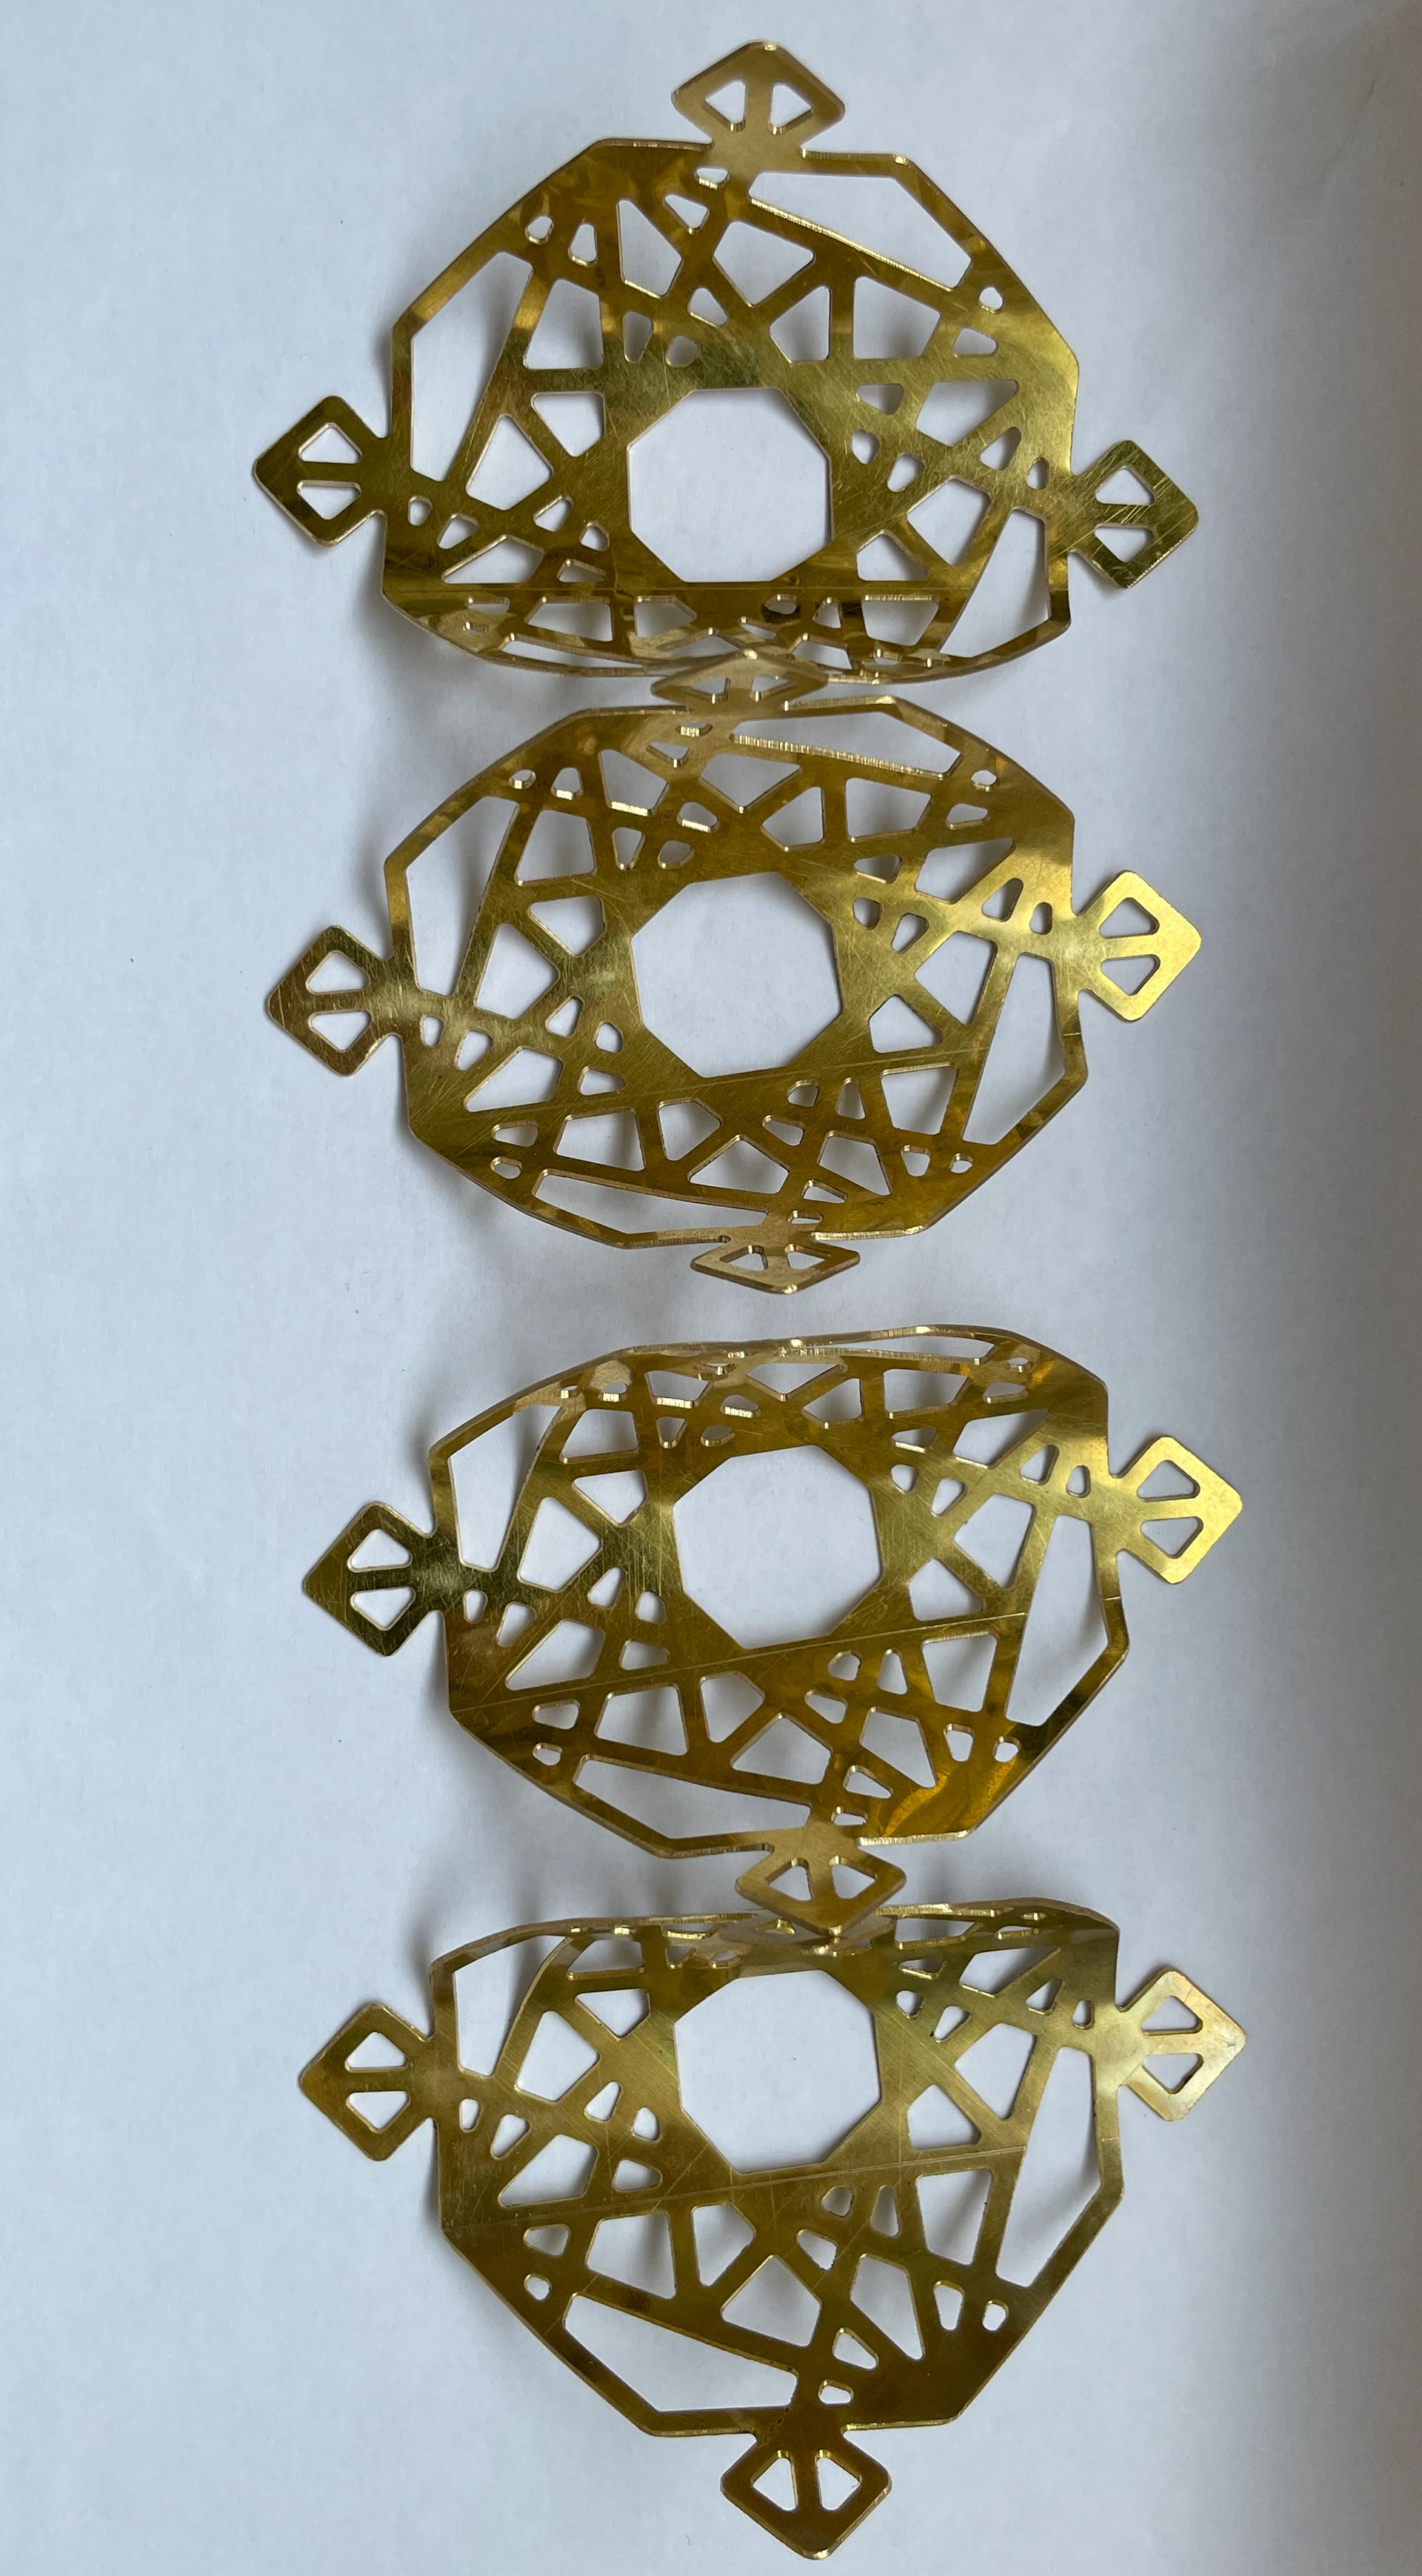
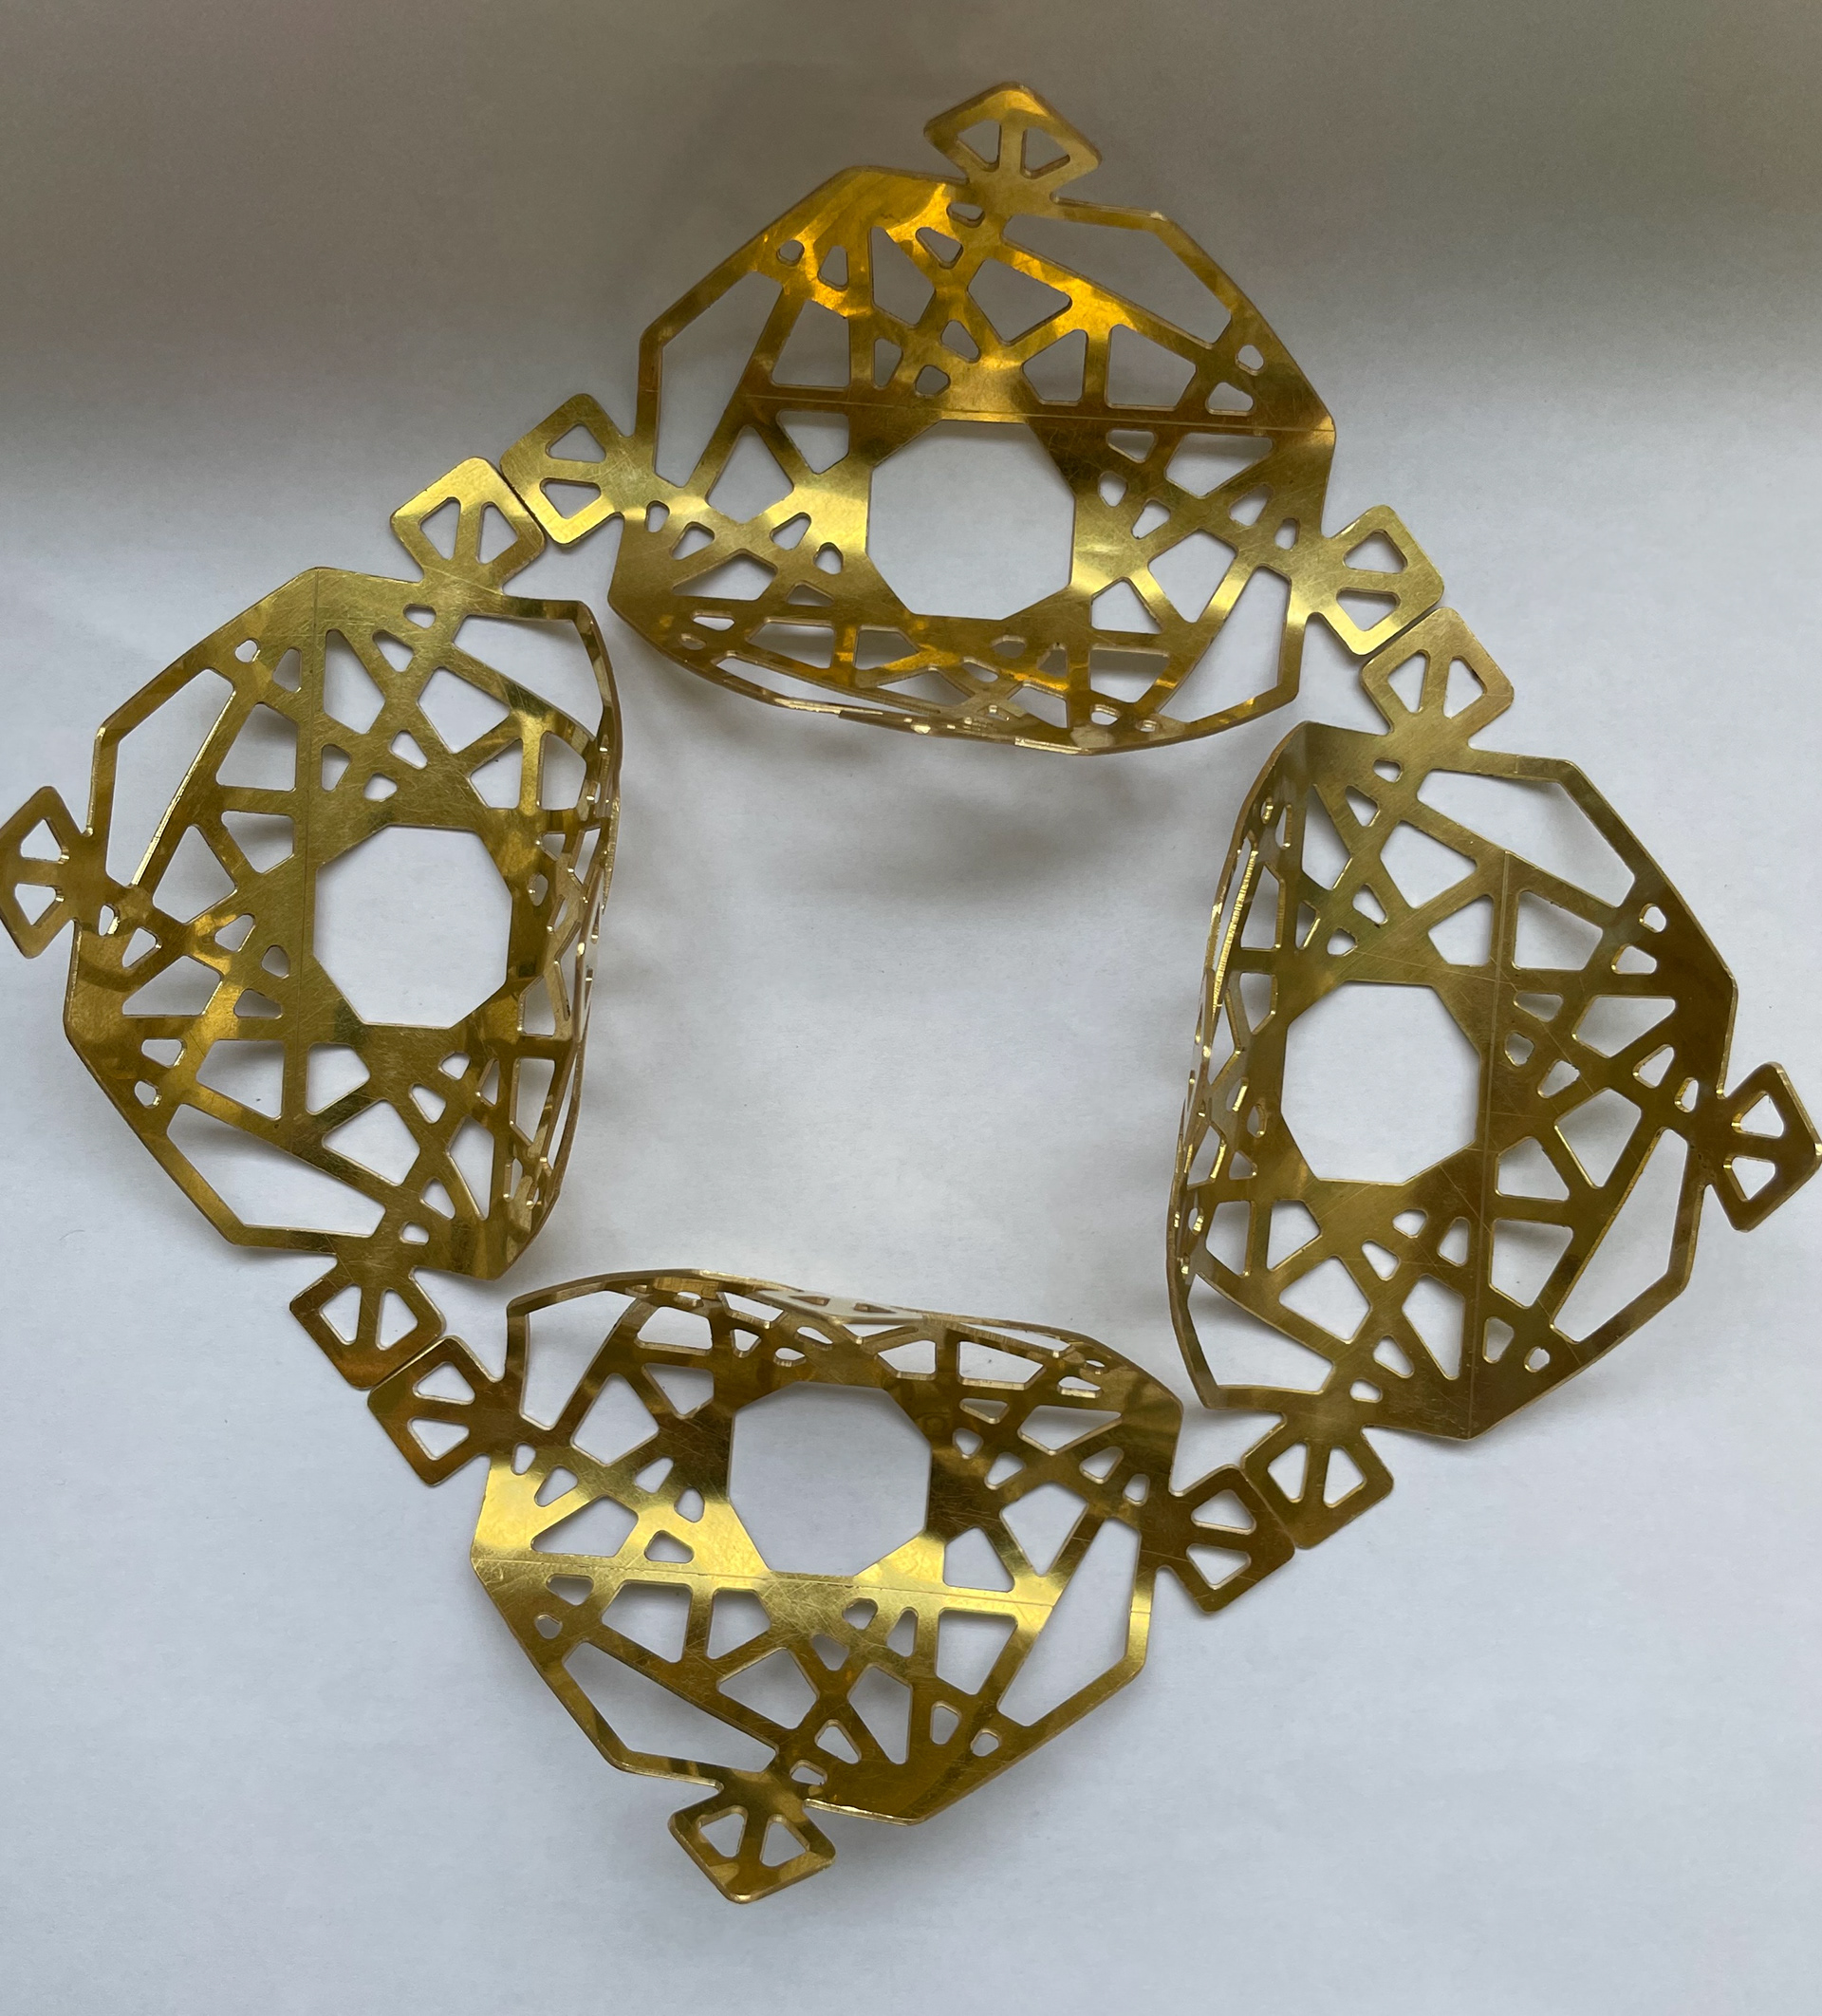
After my sampling and testing stages, I was ready to start my final piece. Previously I had been using laser-cut paper cutouts of my design. However, on the day I was in the workshops and wanted to get my design onto the metal and drill the holes in, I didn't have these with me. I printed the pattern off from another document I had stuck them onto the metal and drilled the holes. After this, I realised the the pattern I had printed wasn't square which would affect the whole piece if I were to go ahead with using these. I tried to figure out if there was a way to solve this but unfortunately, there was no solution to fix it other than start again.
Metal pieces
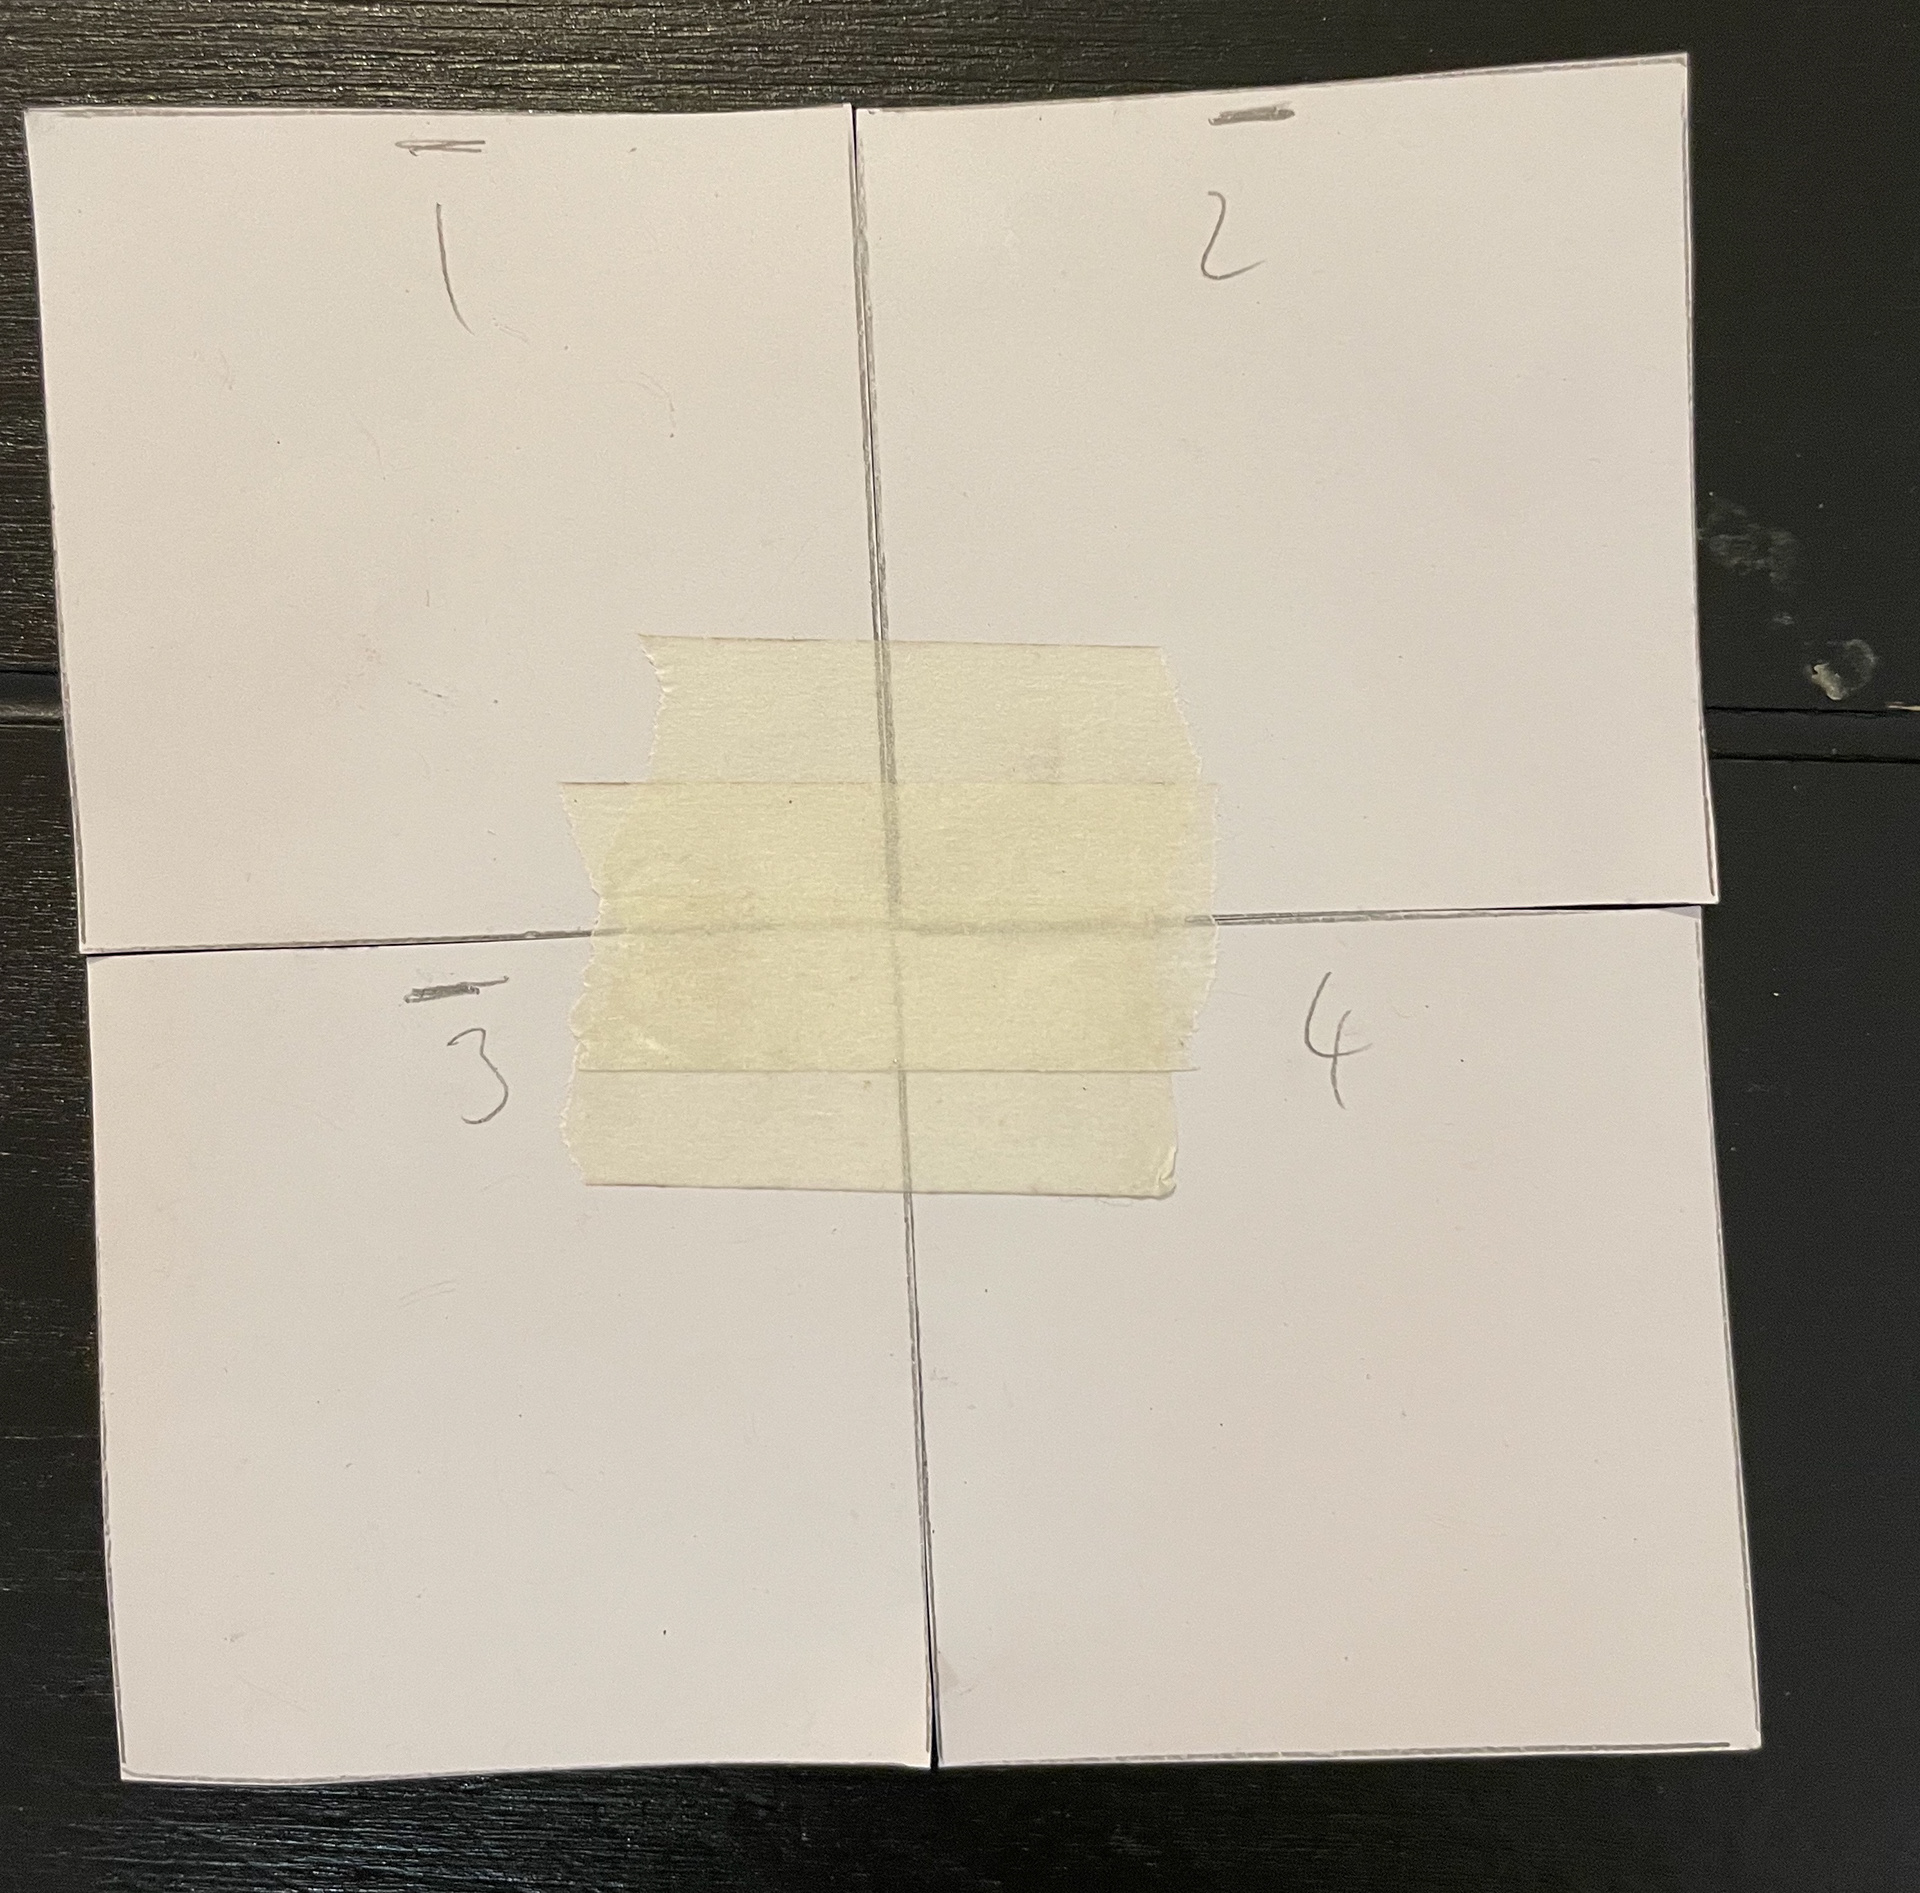
paper versions of the shapes to see how they would align when bent
cnc quotes
After thinking about time and how long it would take to hand pierce out all the pieces and what that would cost, I figured if I got the pieces cut out by CNC machines it would save a lot of time and cost. Fortunately, my boyfriend has a CNC machine in his workshop and I could use that for free. However, I researched some quotes from external companies which I have added to my costing as if I had to pay.
I got quotes from two companies, Fractory and Charles Day:


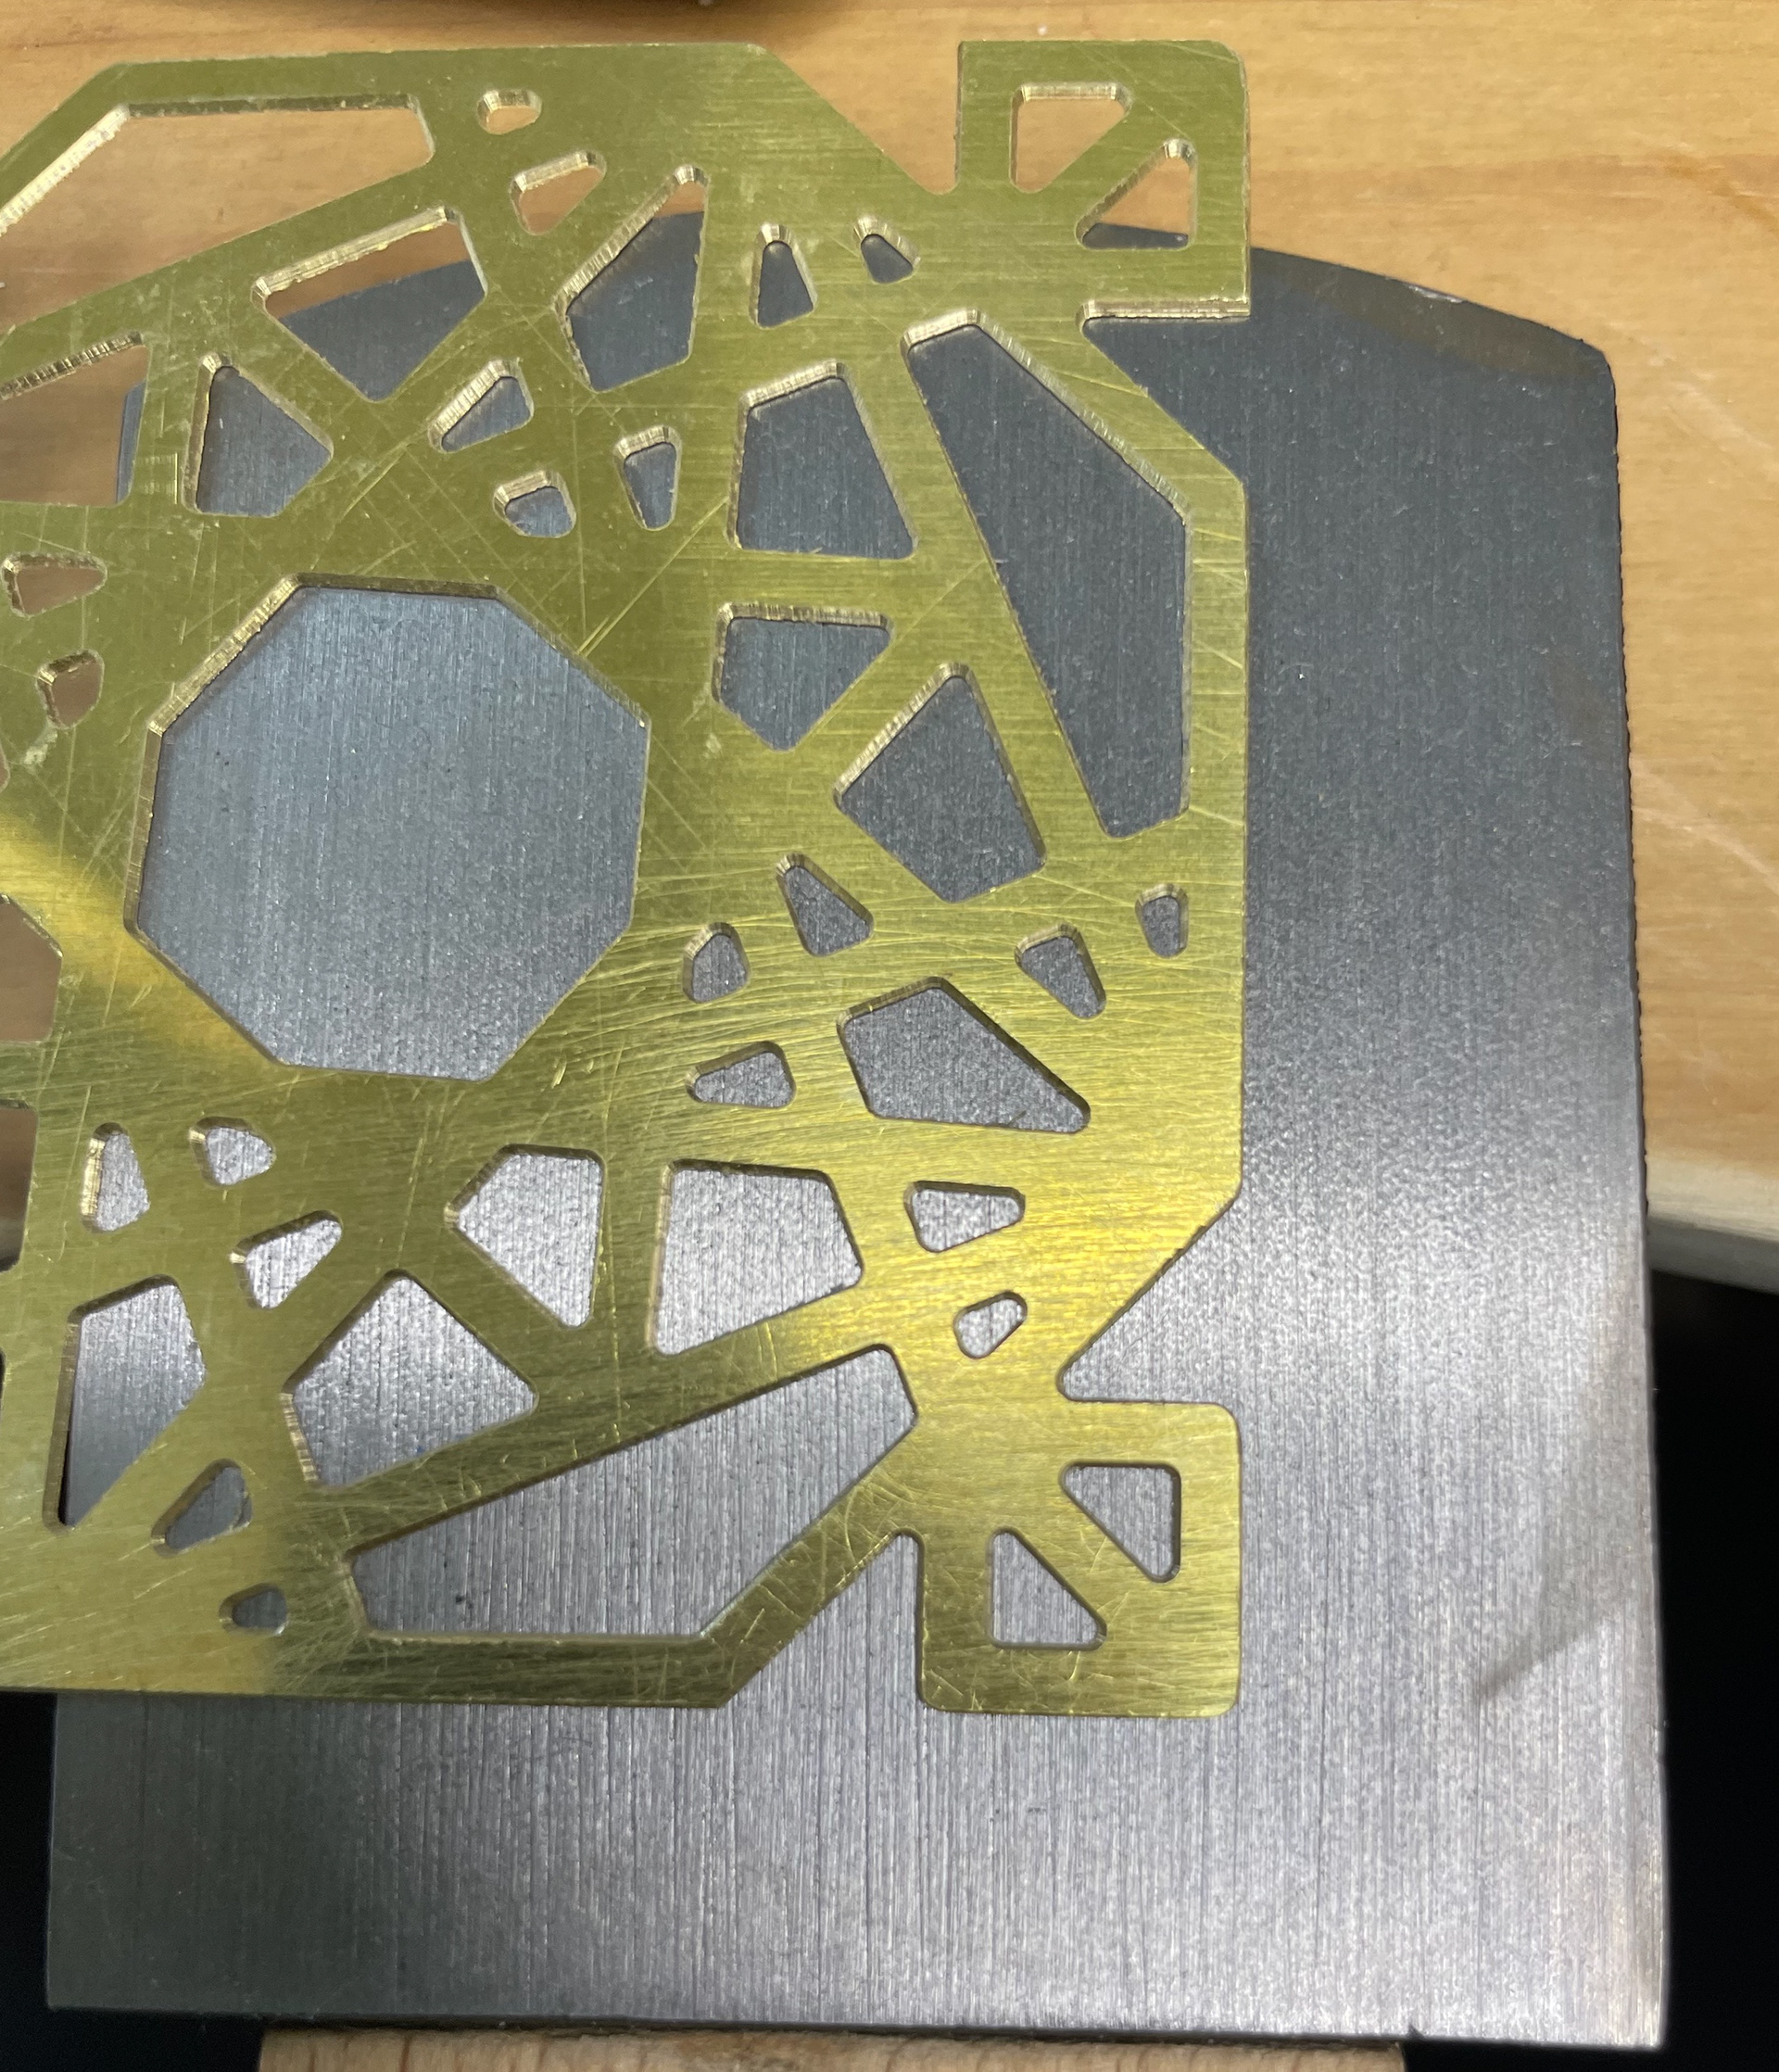
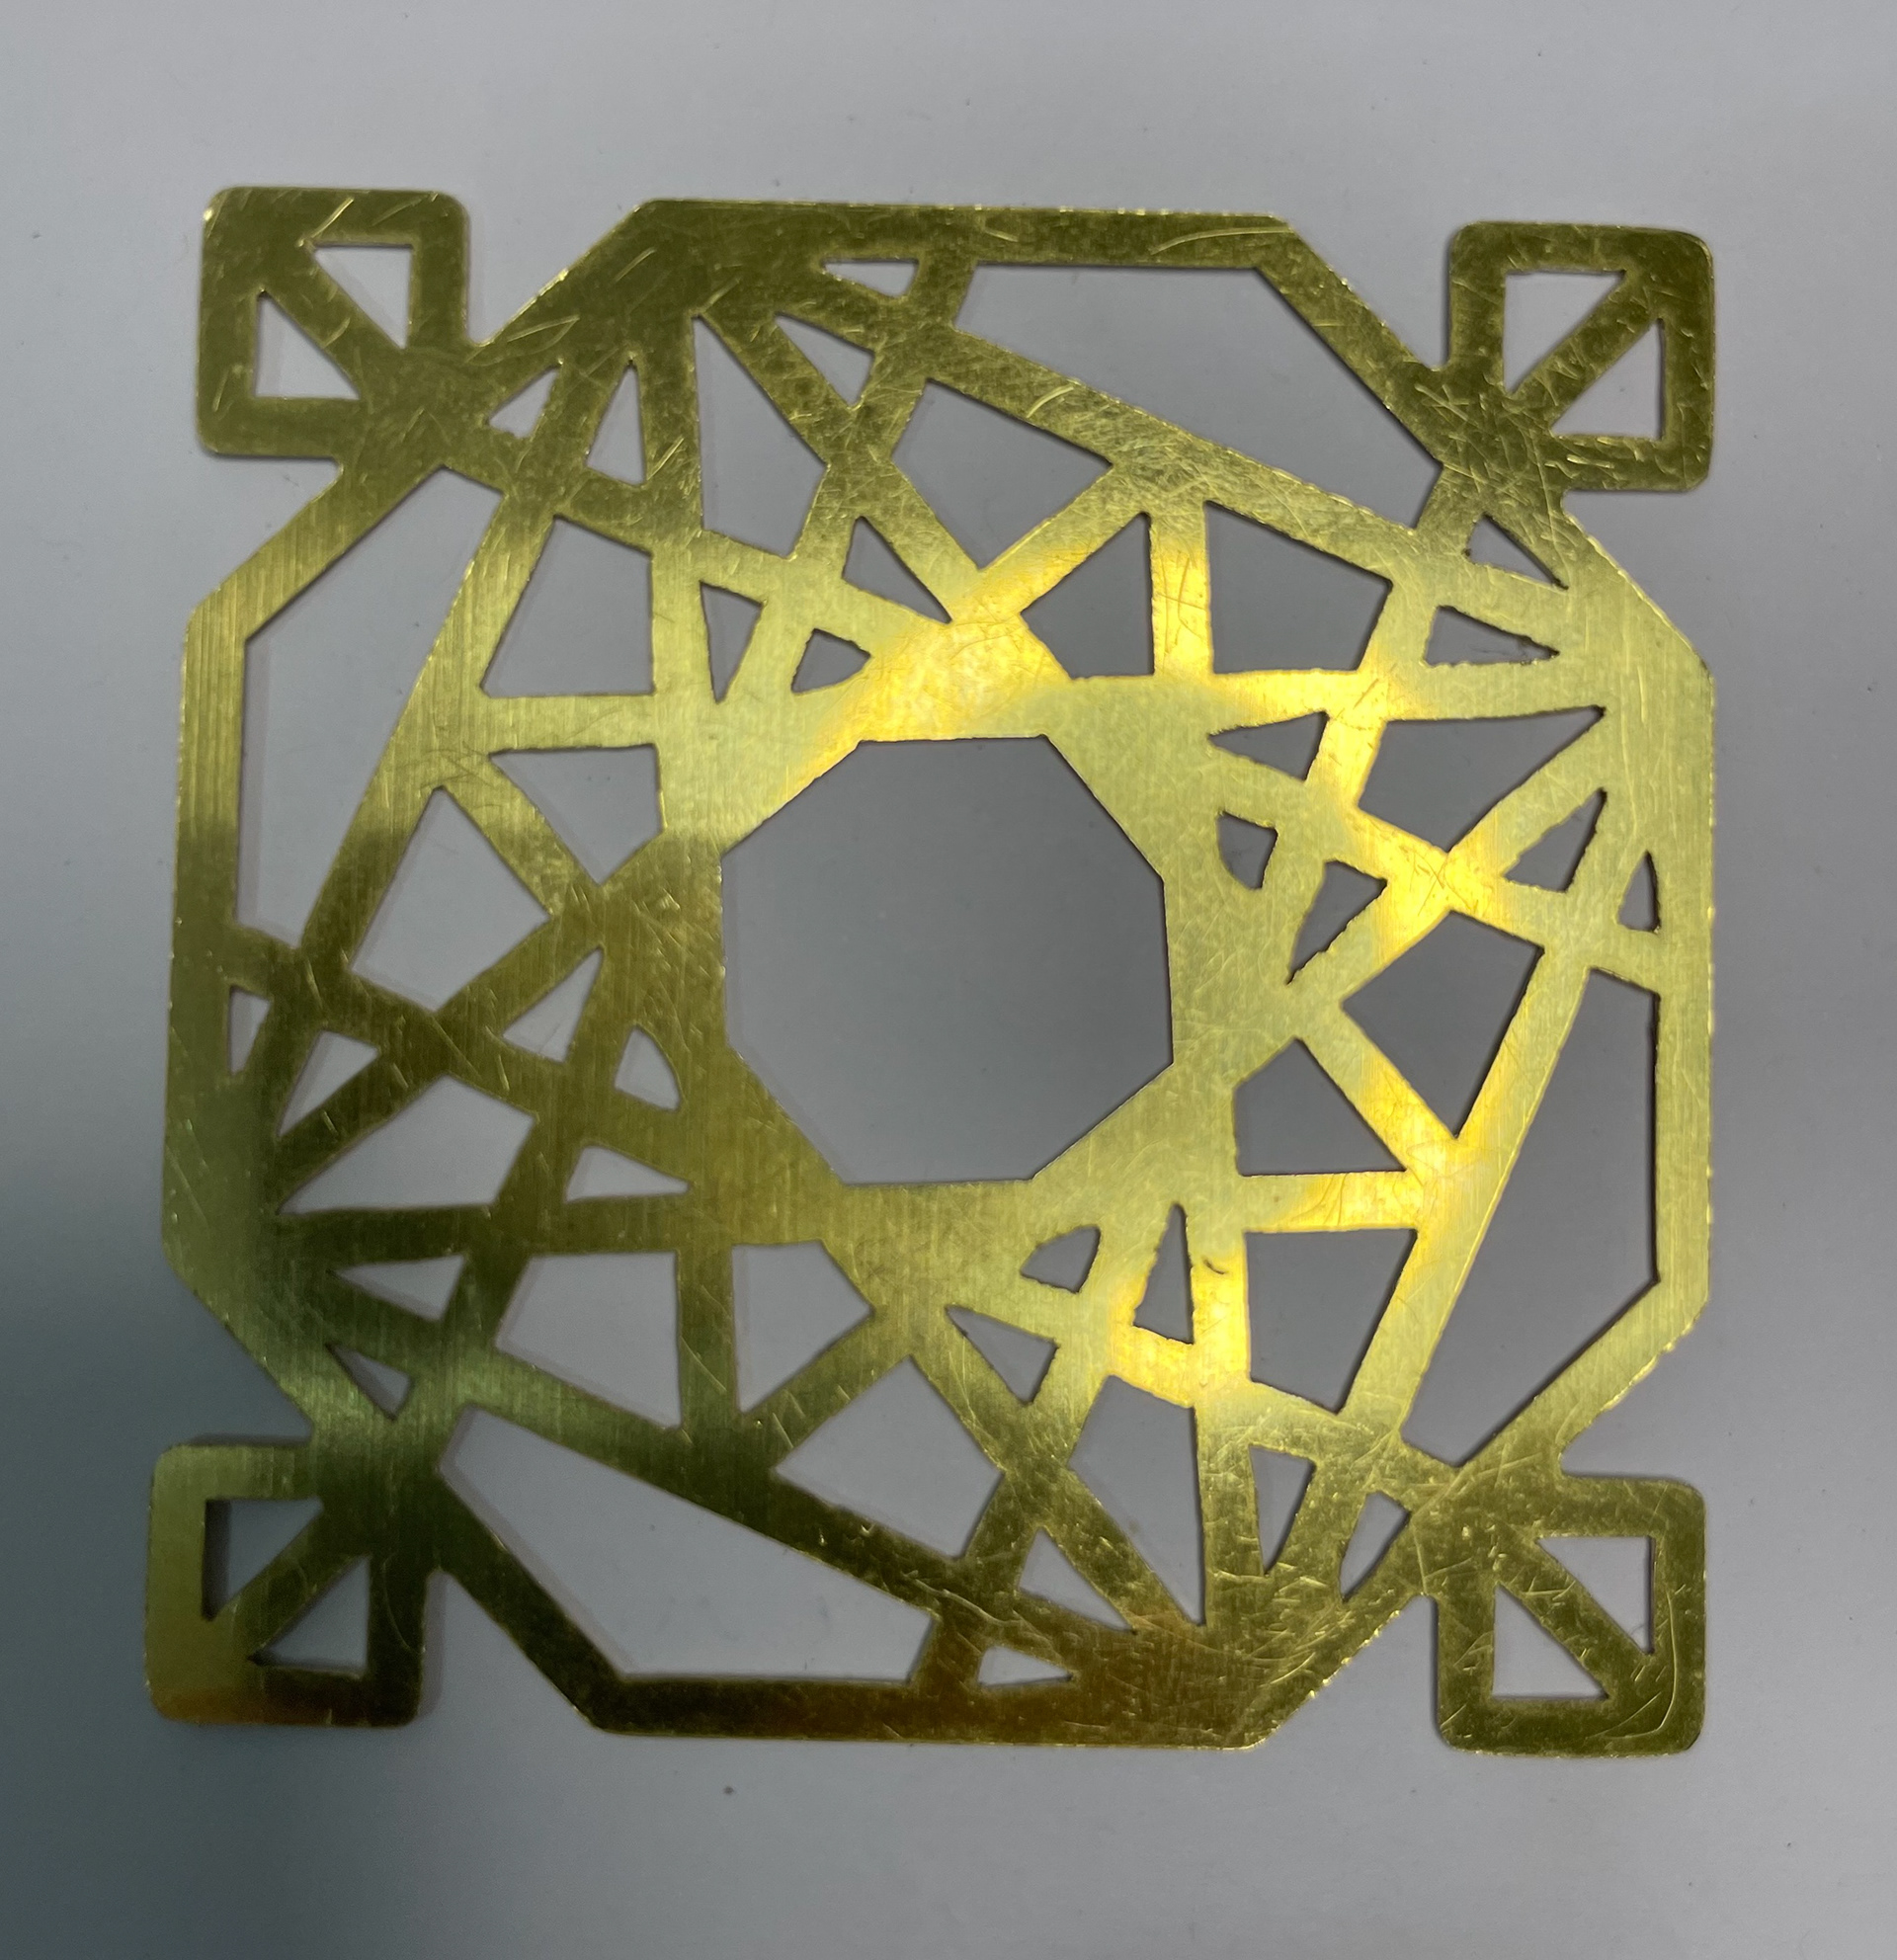
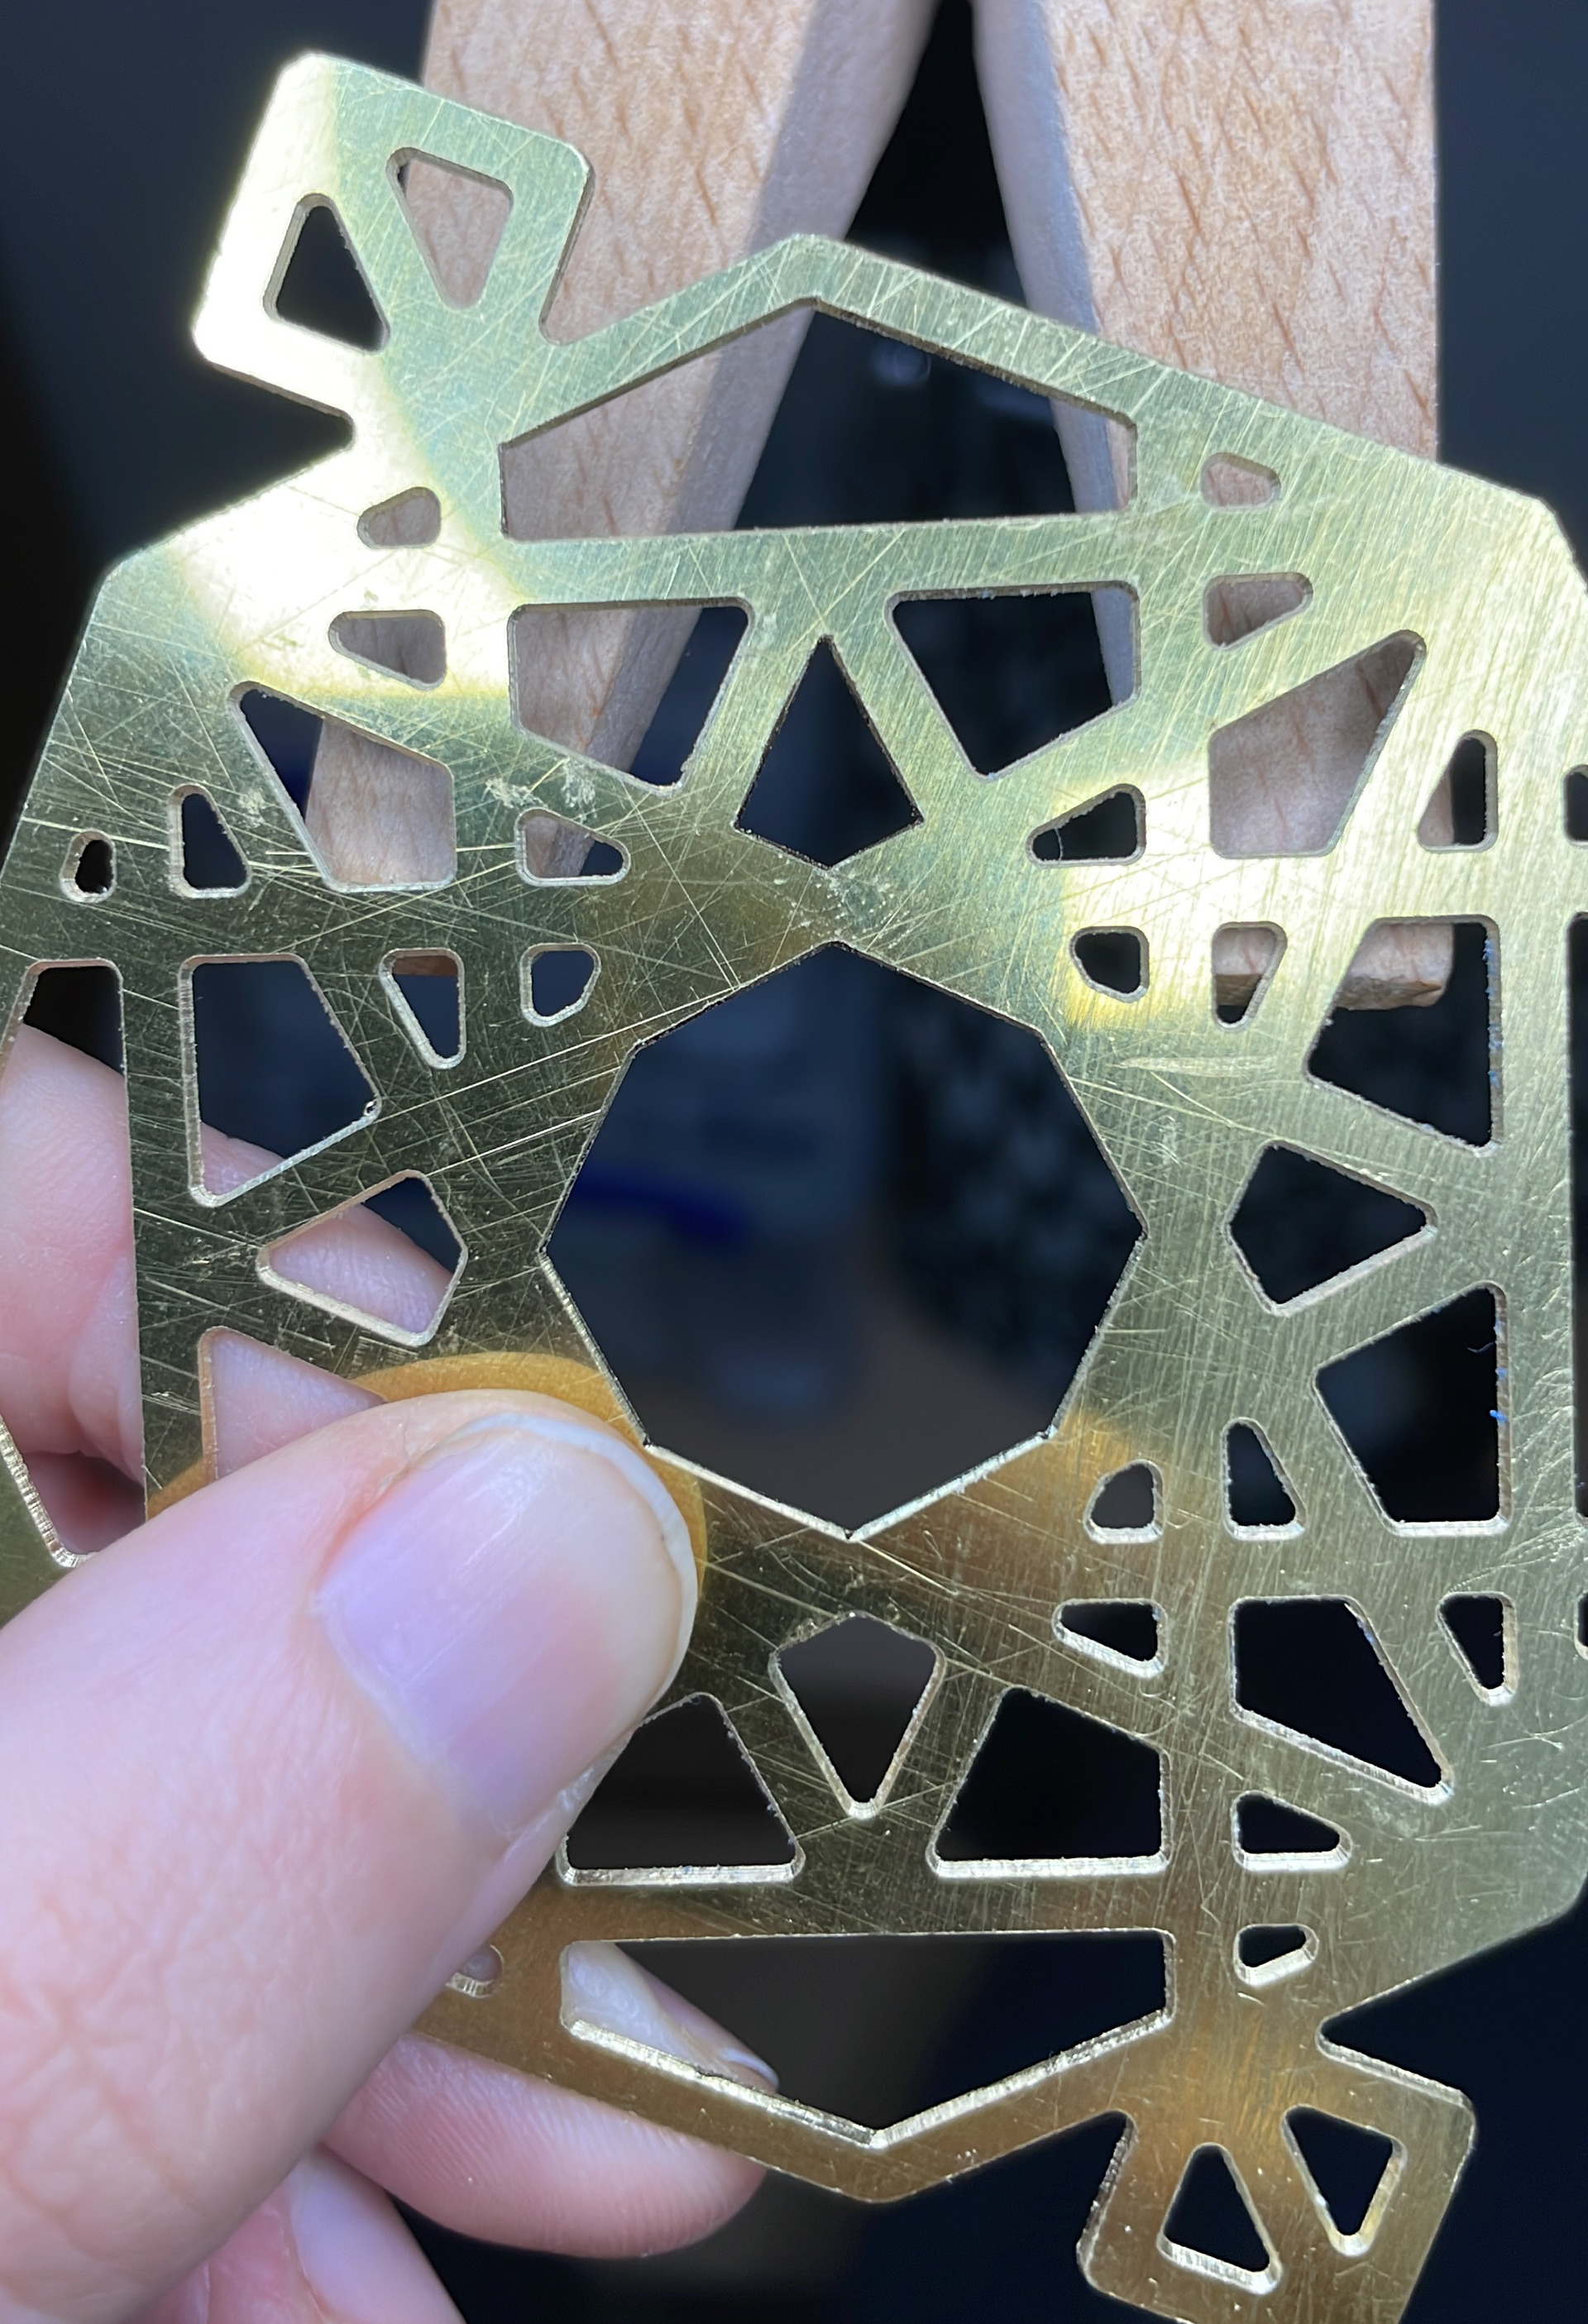
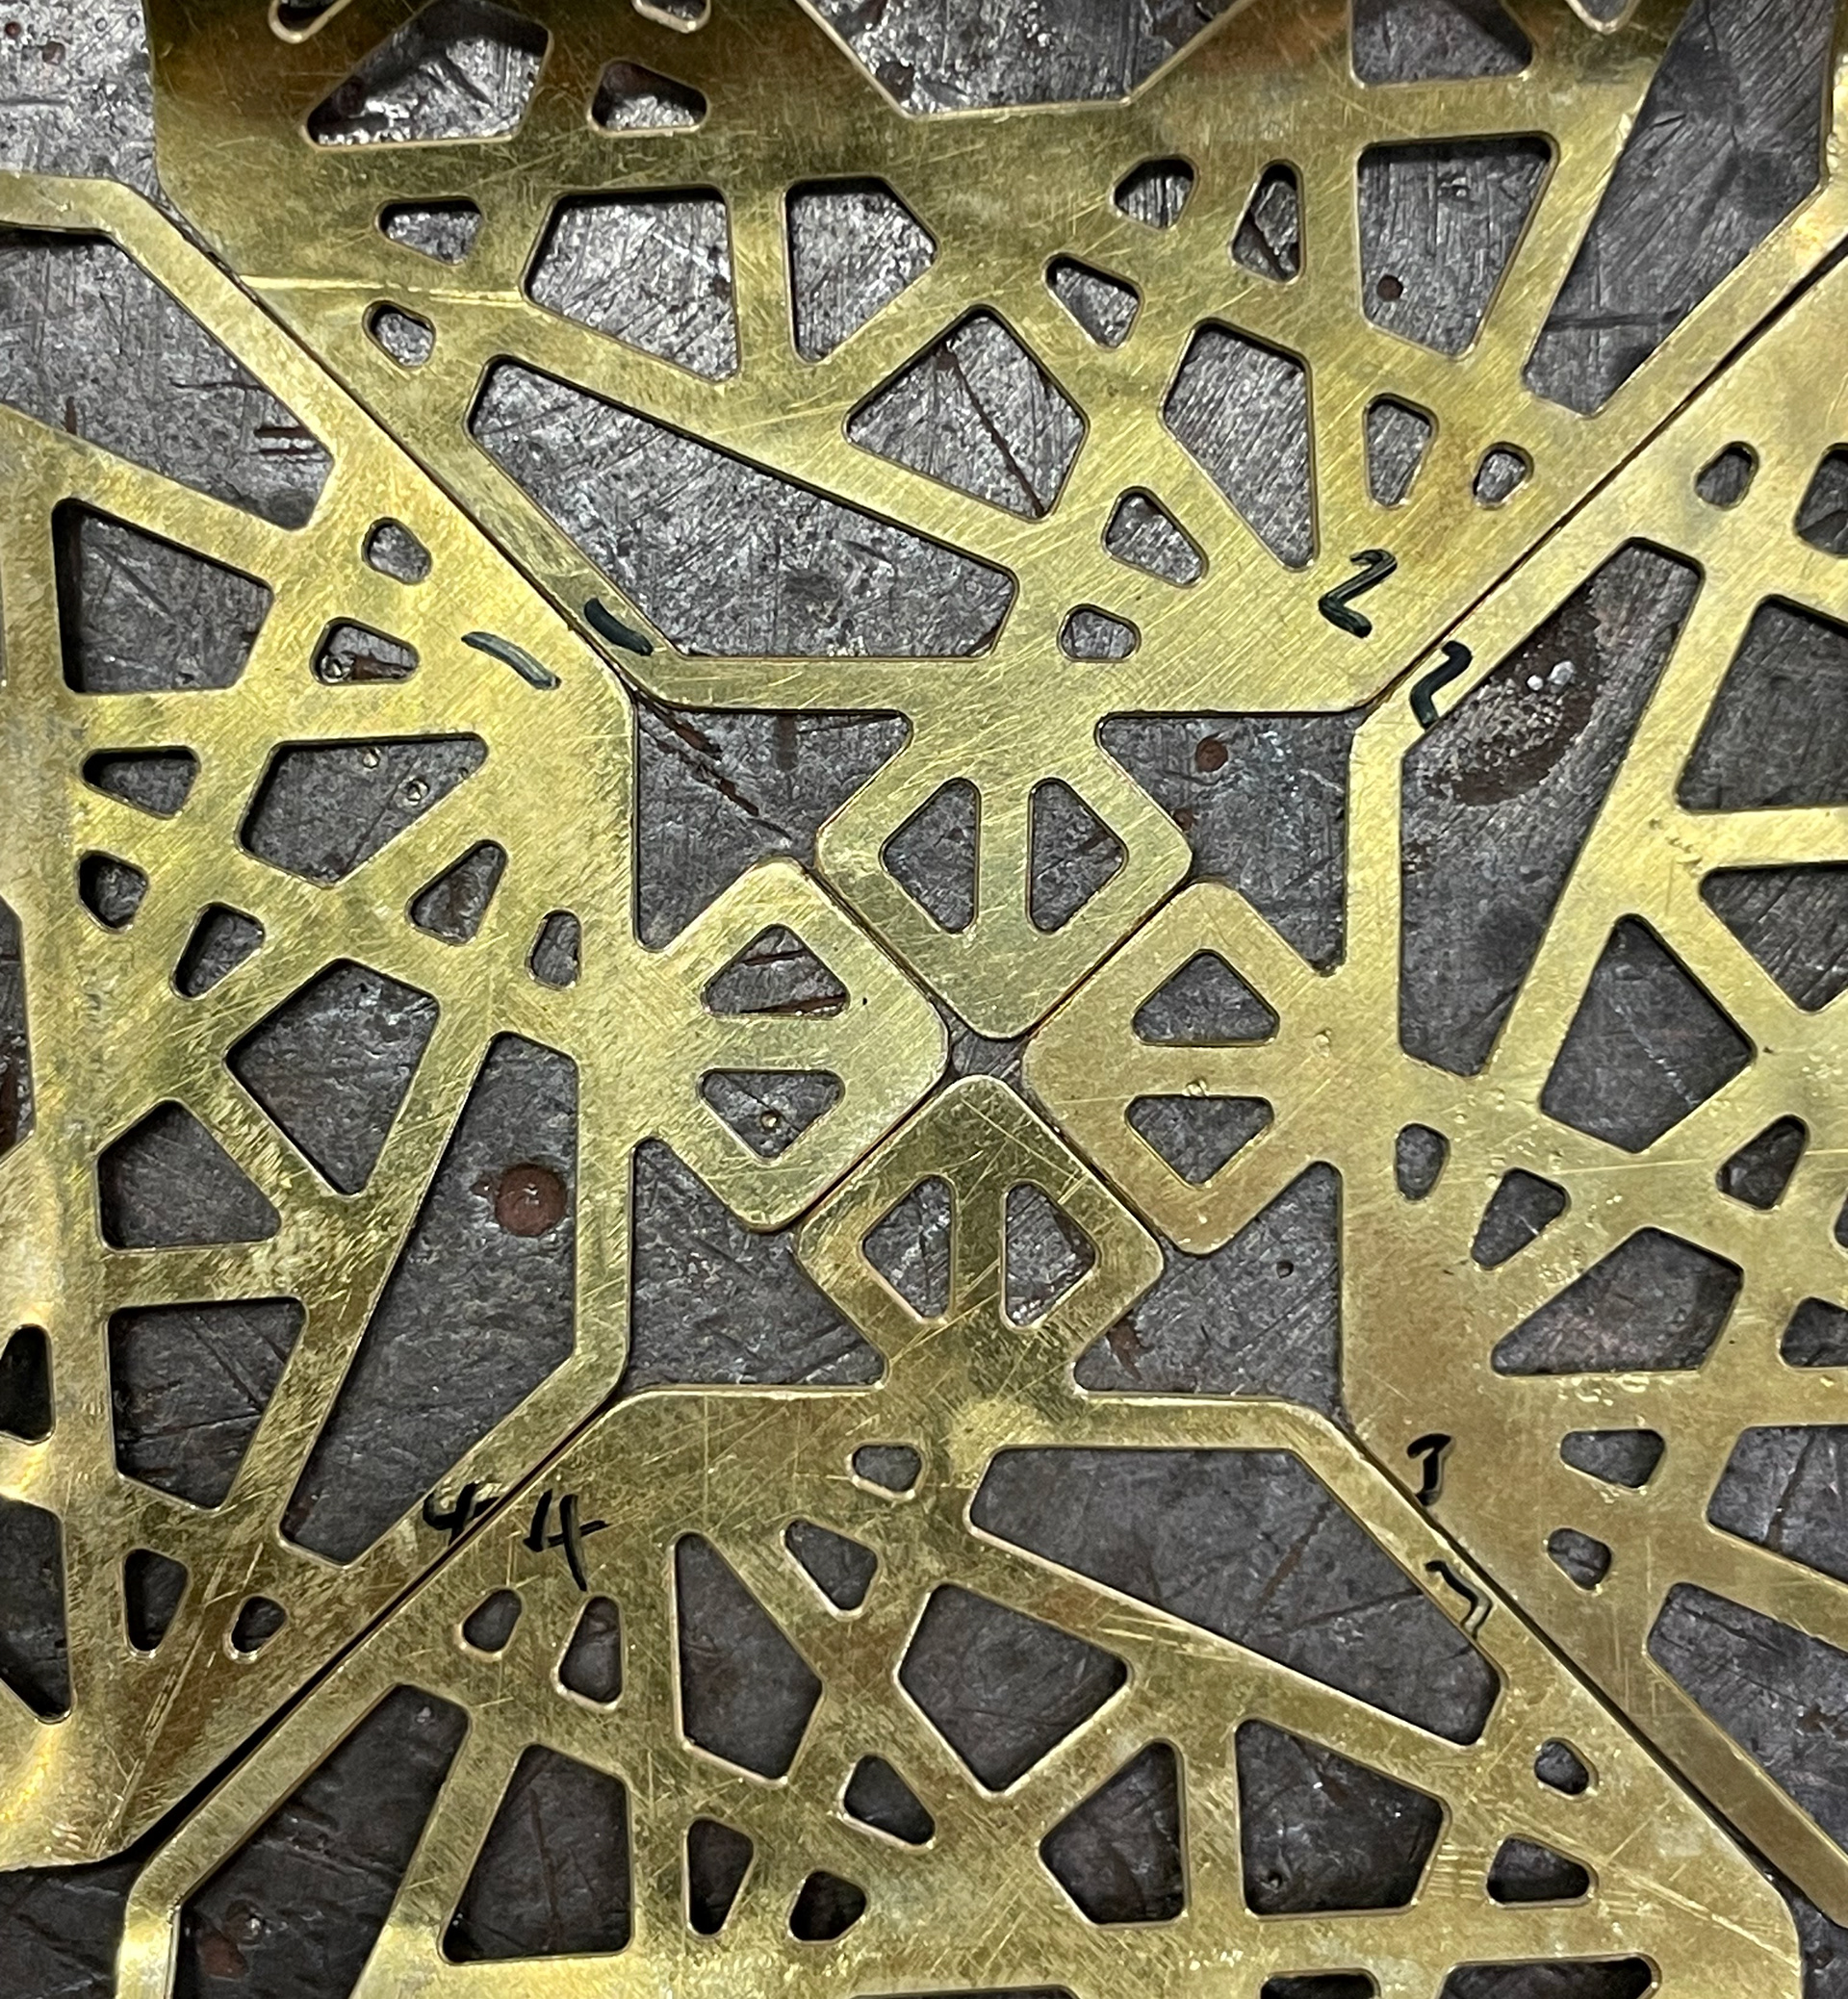
I bought the sheet metal from the university and then prepped it for the CNC machine. To hold the metal in place I used a strong adhesive spray to attach the metal to a piece of plywood. I also put a layer of parcel tape on the back of the metal frame so that the glue stuck to that rather than the metal. The CNC required a burr to attach to the CNC to cut the metal. I cut nine of these out to allow for any errors. This took around an hour and a half to cut them out. After they were cut they were left with sharp edges so I used needle files and emery paper to curve the corners and soften them. Because of the way the CNC machines cut, it doesn't add in the sharp corners but instead round them off. On one of the pieces I cut the corners myself however, I decided to not do this with all of them as it defeated the point of me getting them cut on the CNC due to time.
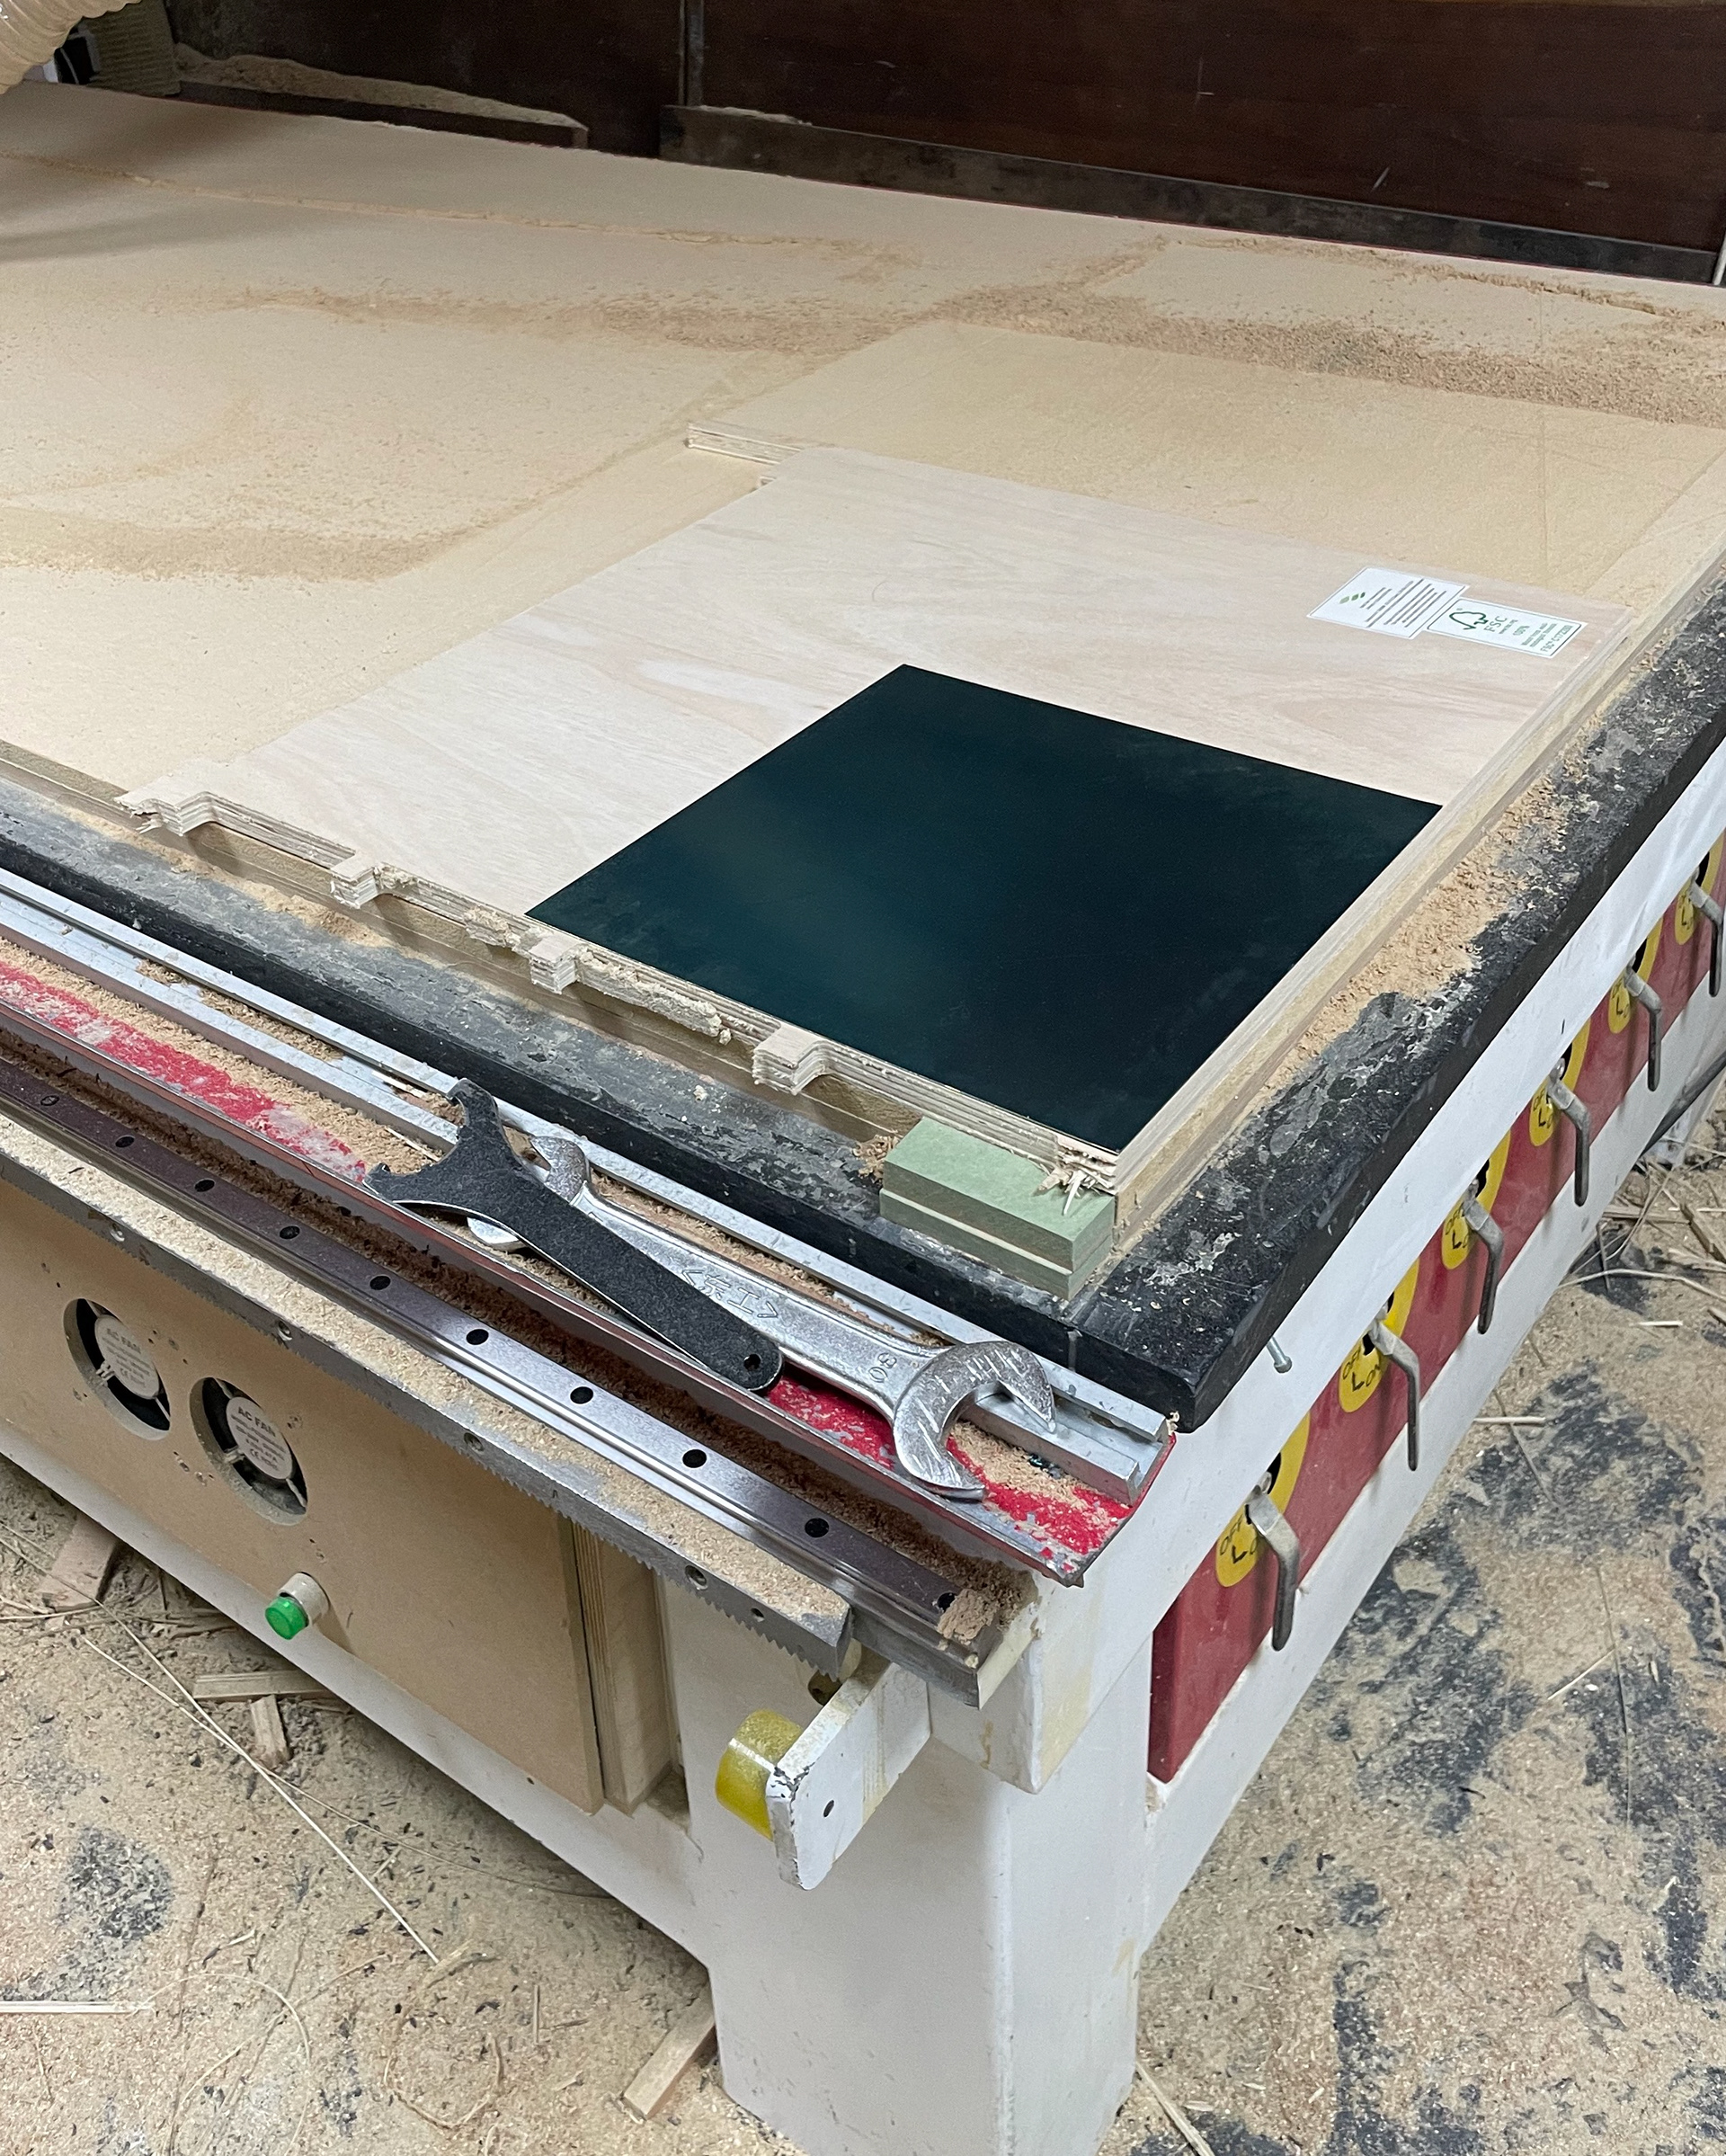
Prepping the metal for the CNC
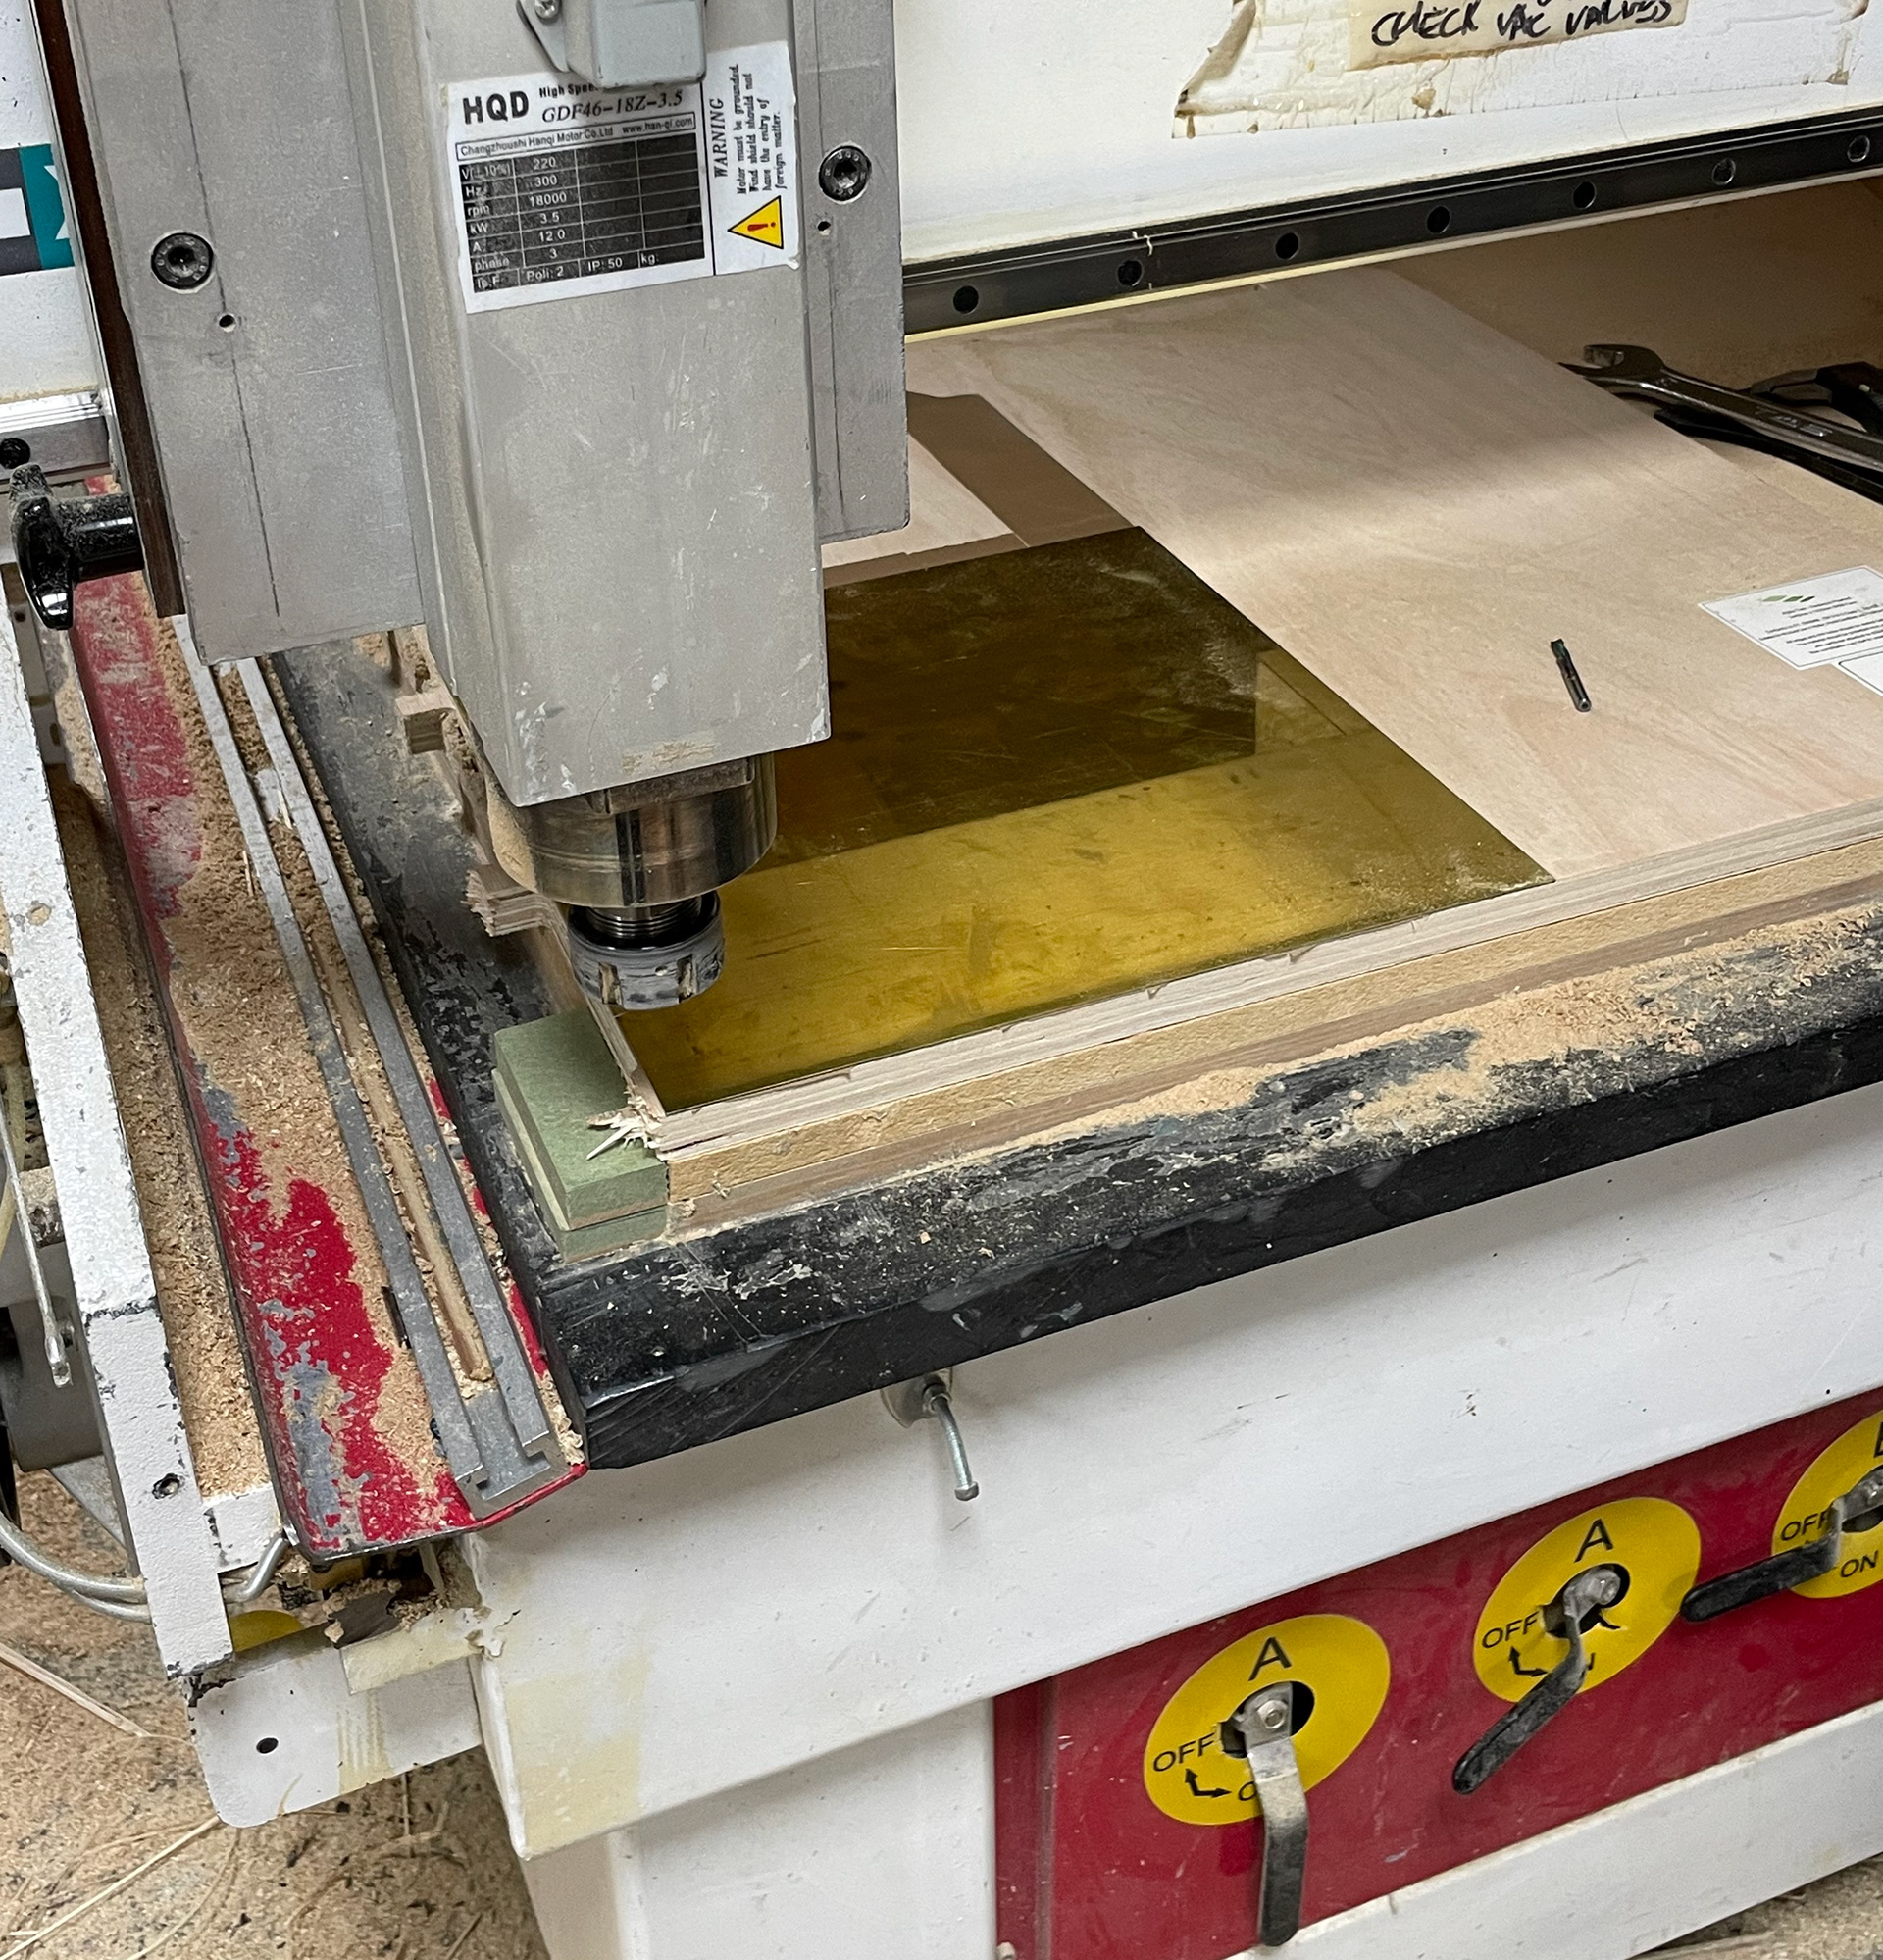
CNC cutting
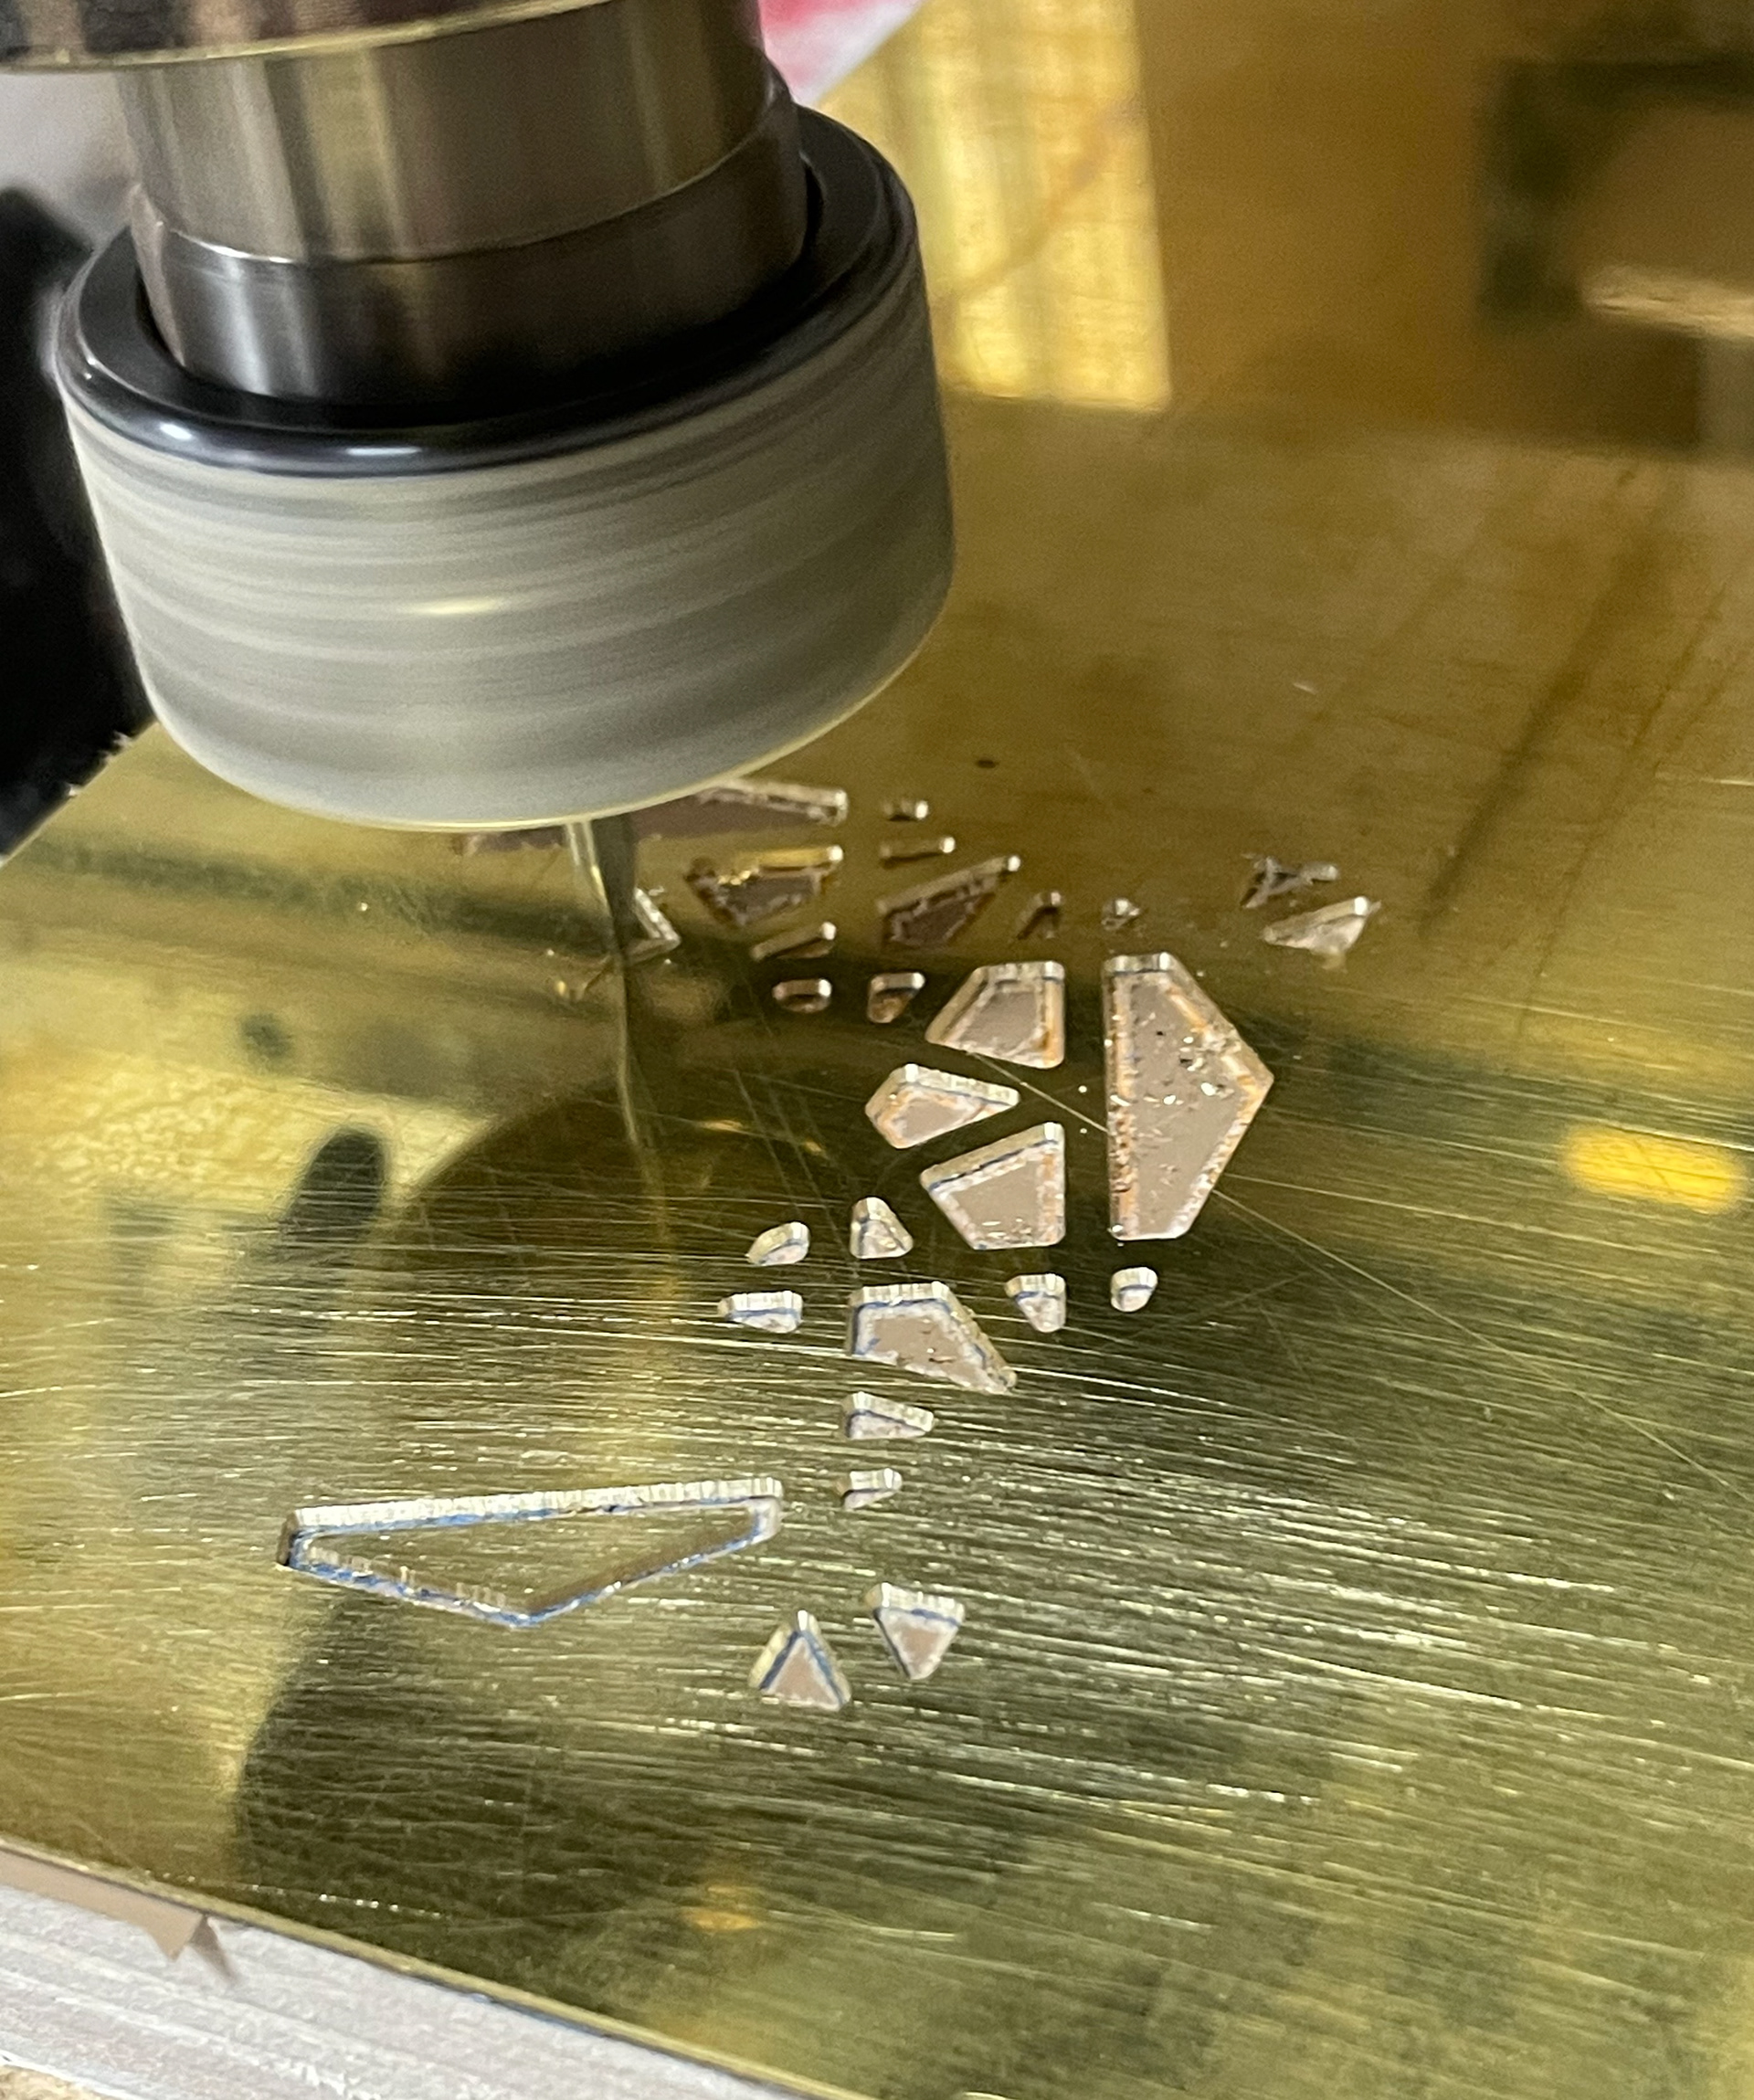
CNC cutting
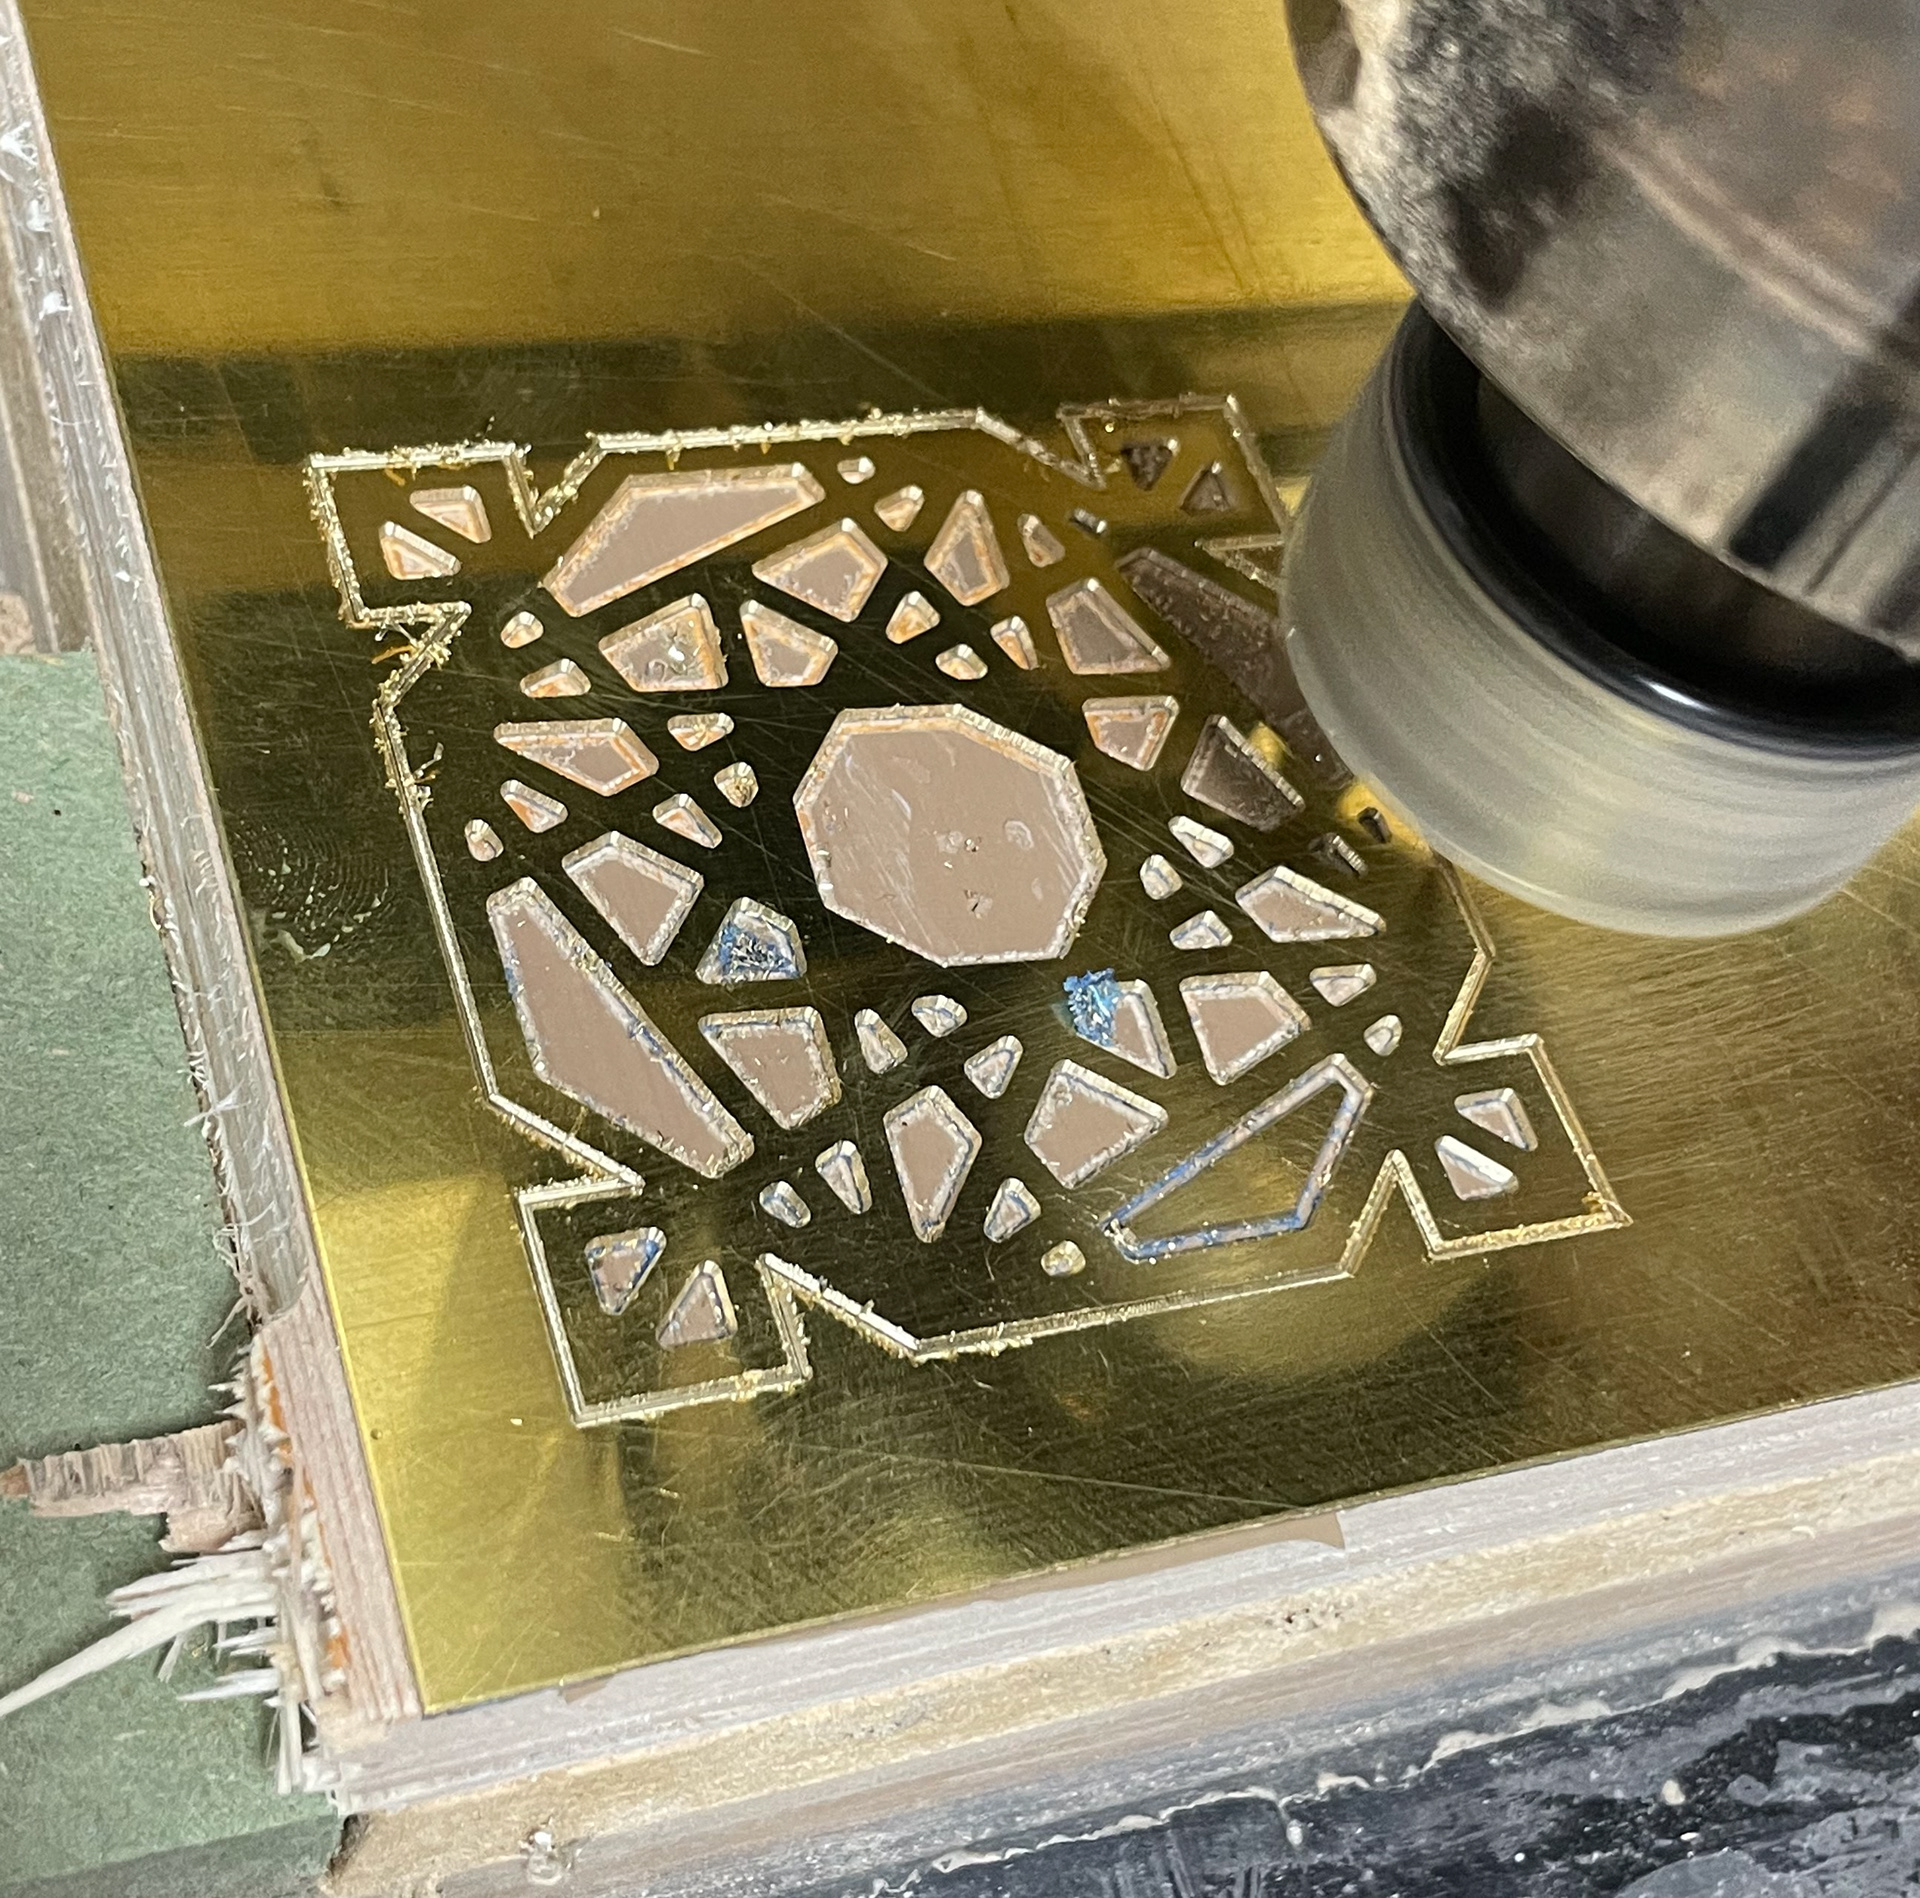
CNC cutting
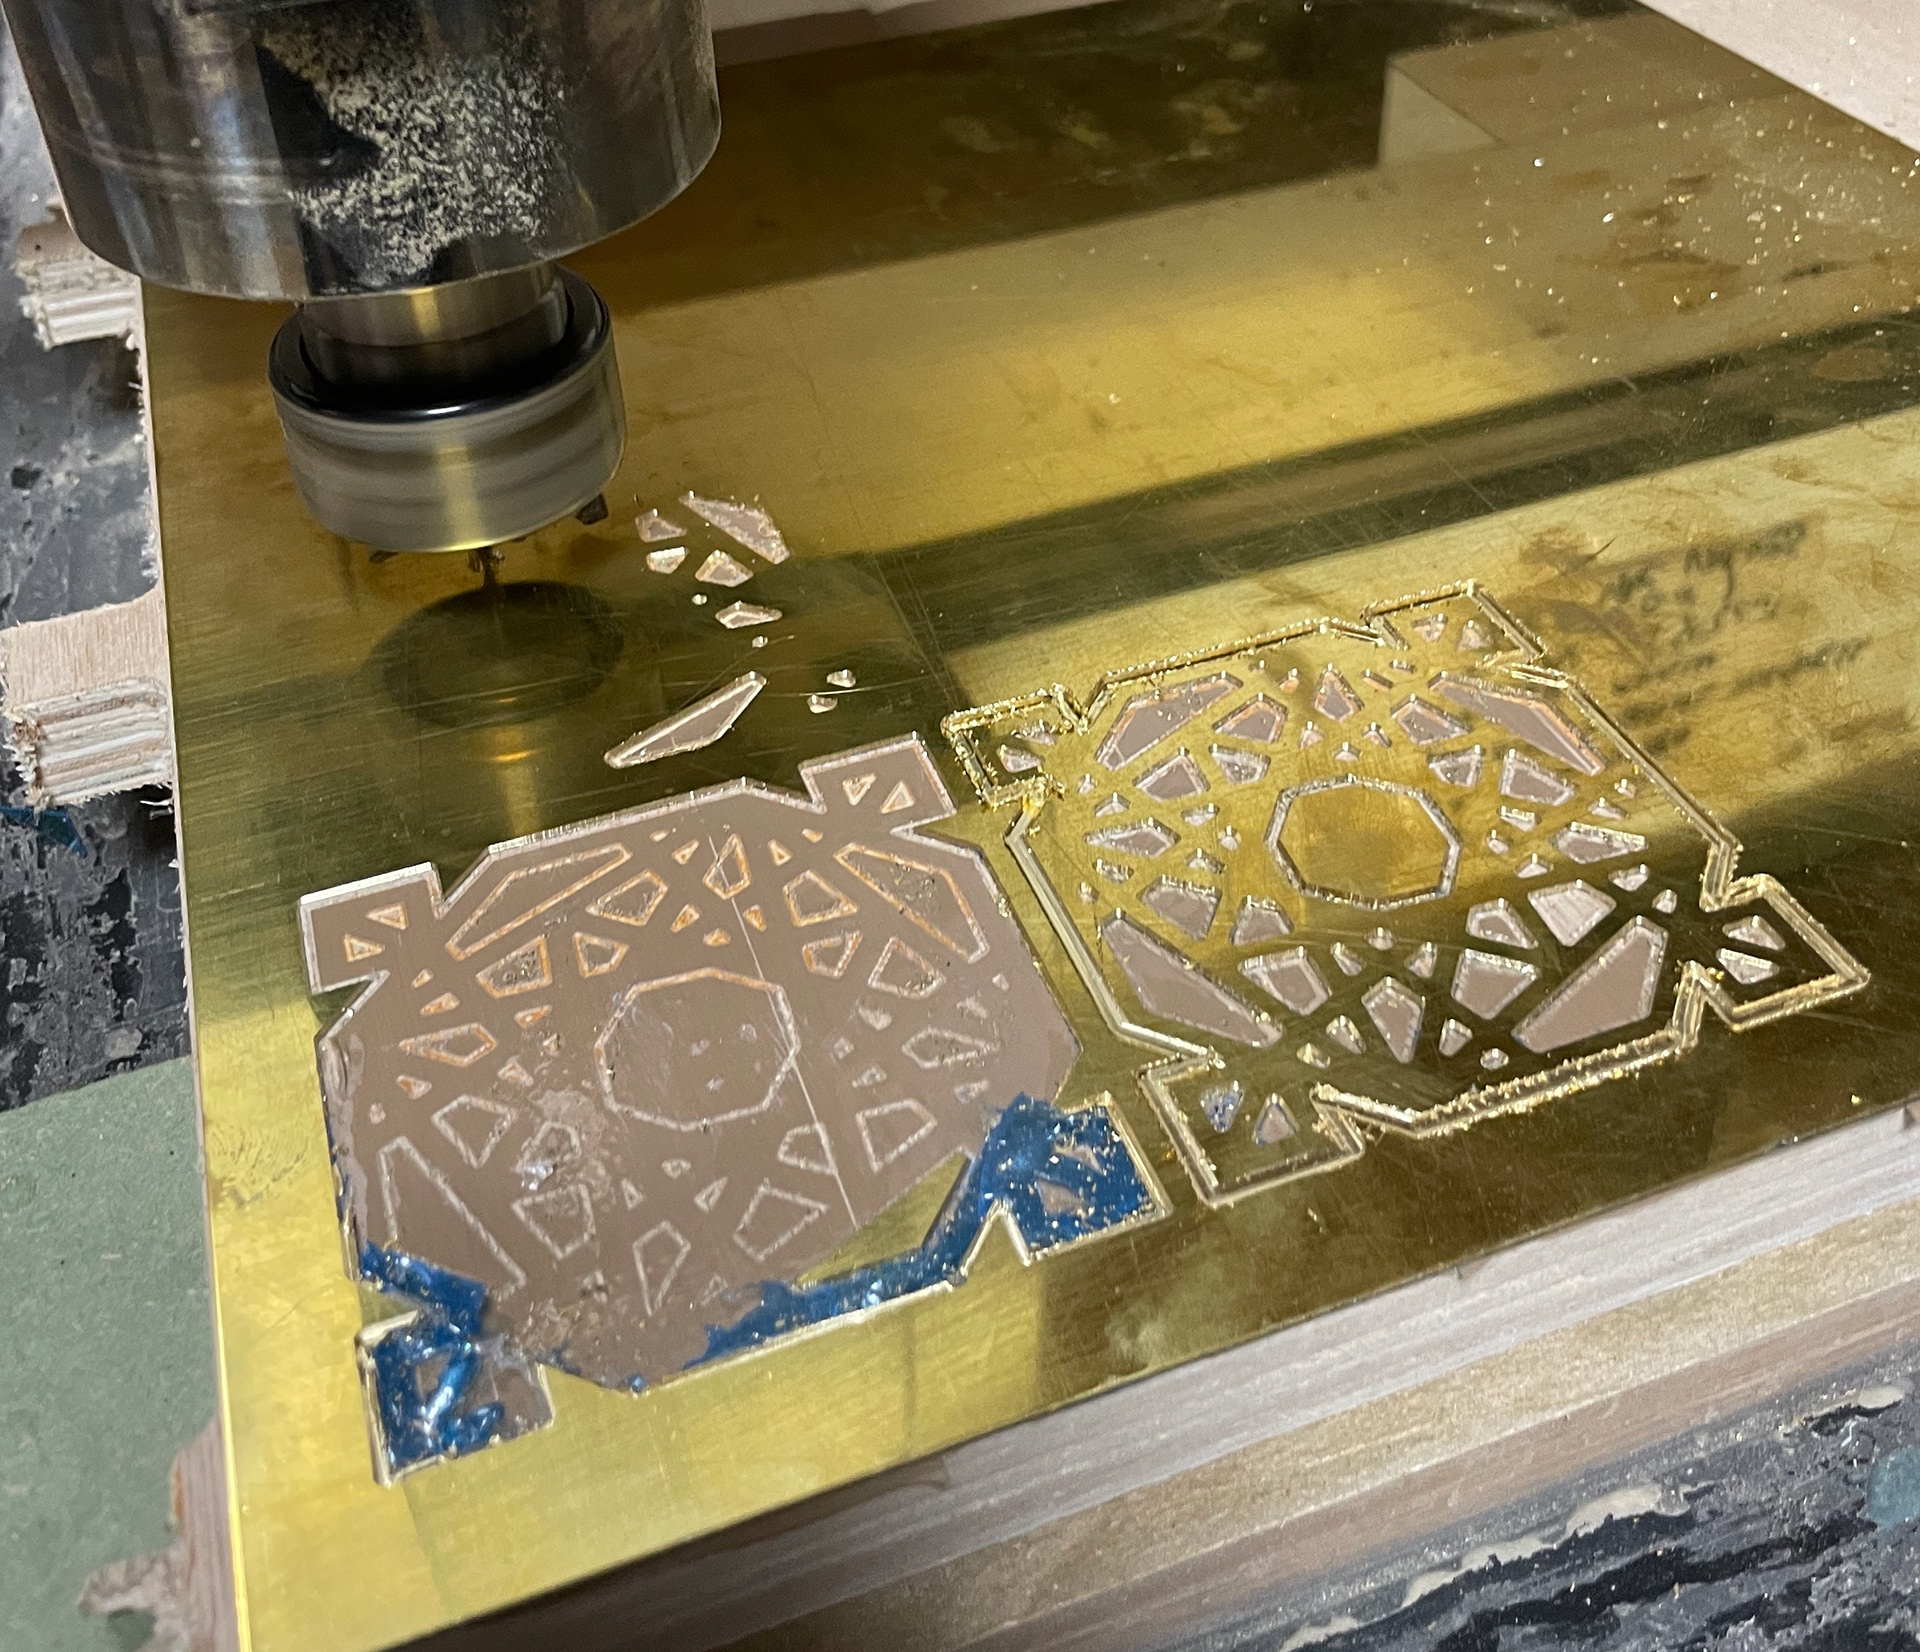
CNC cutting
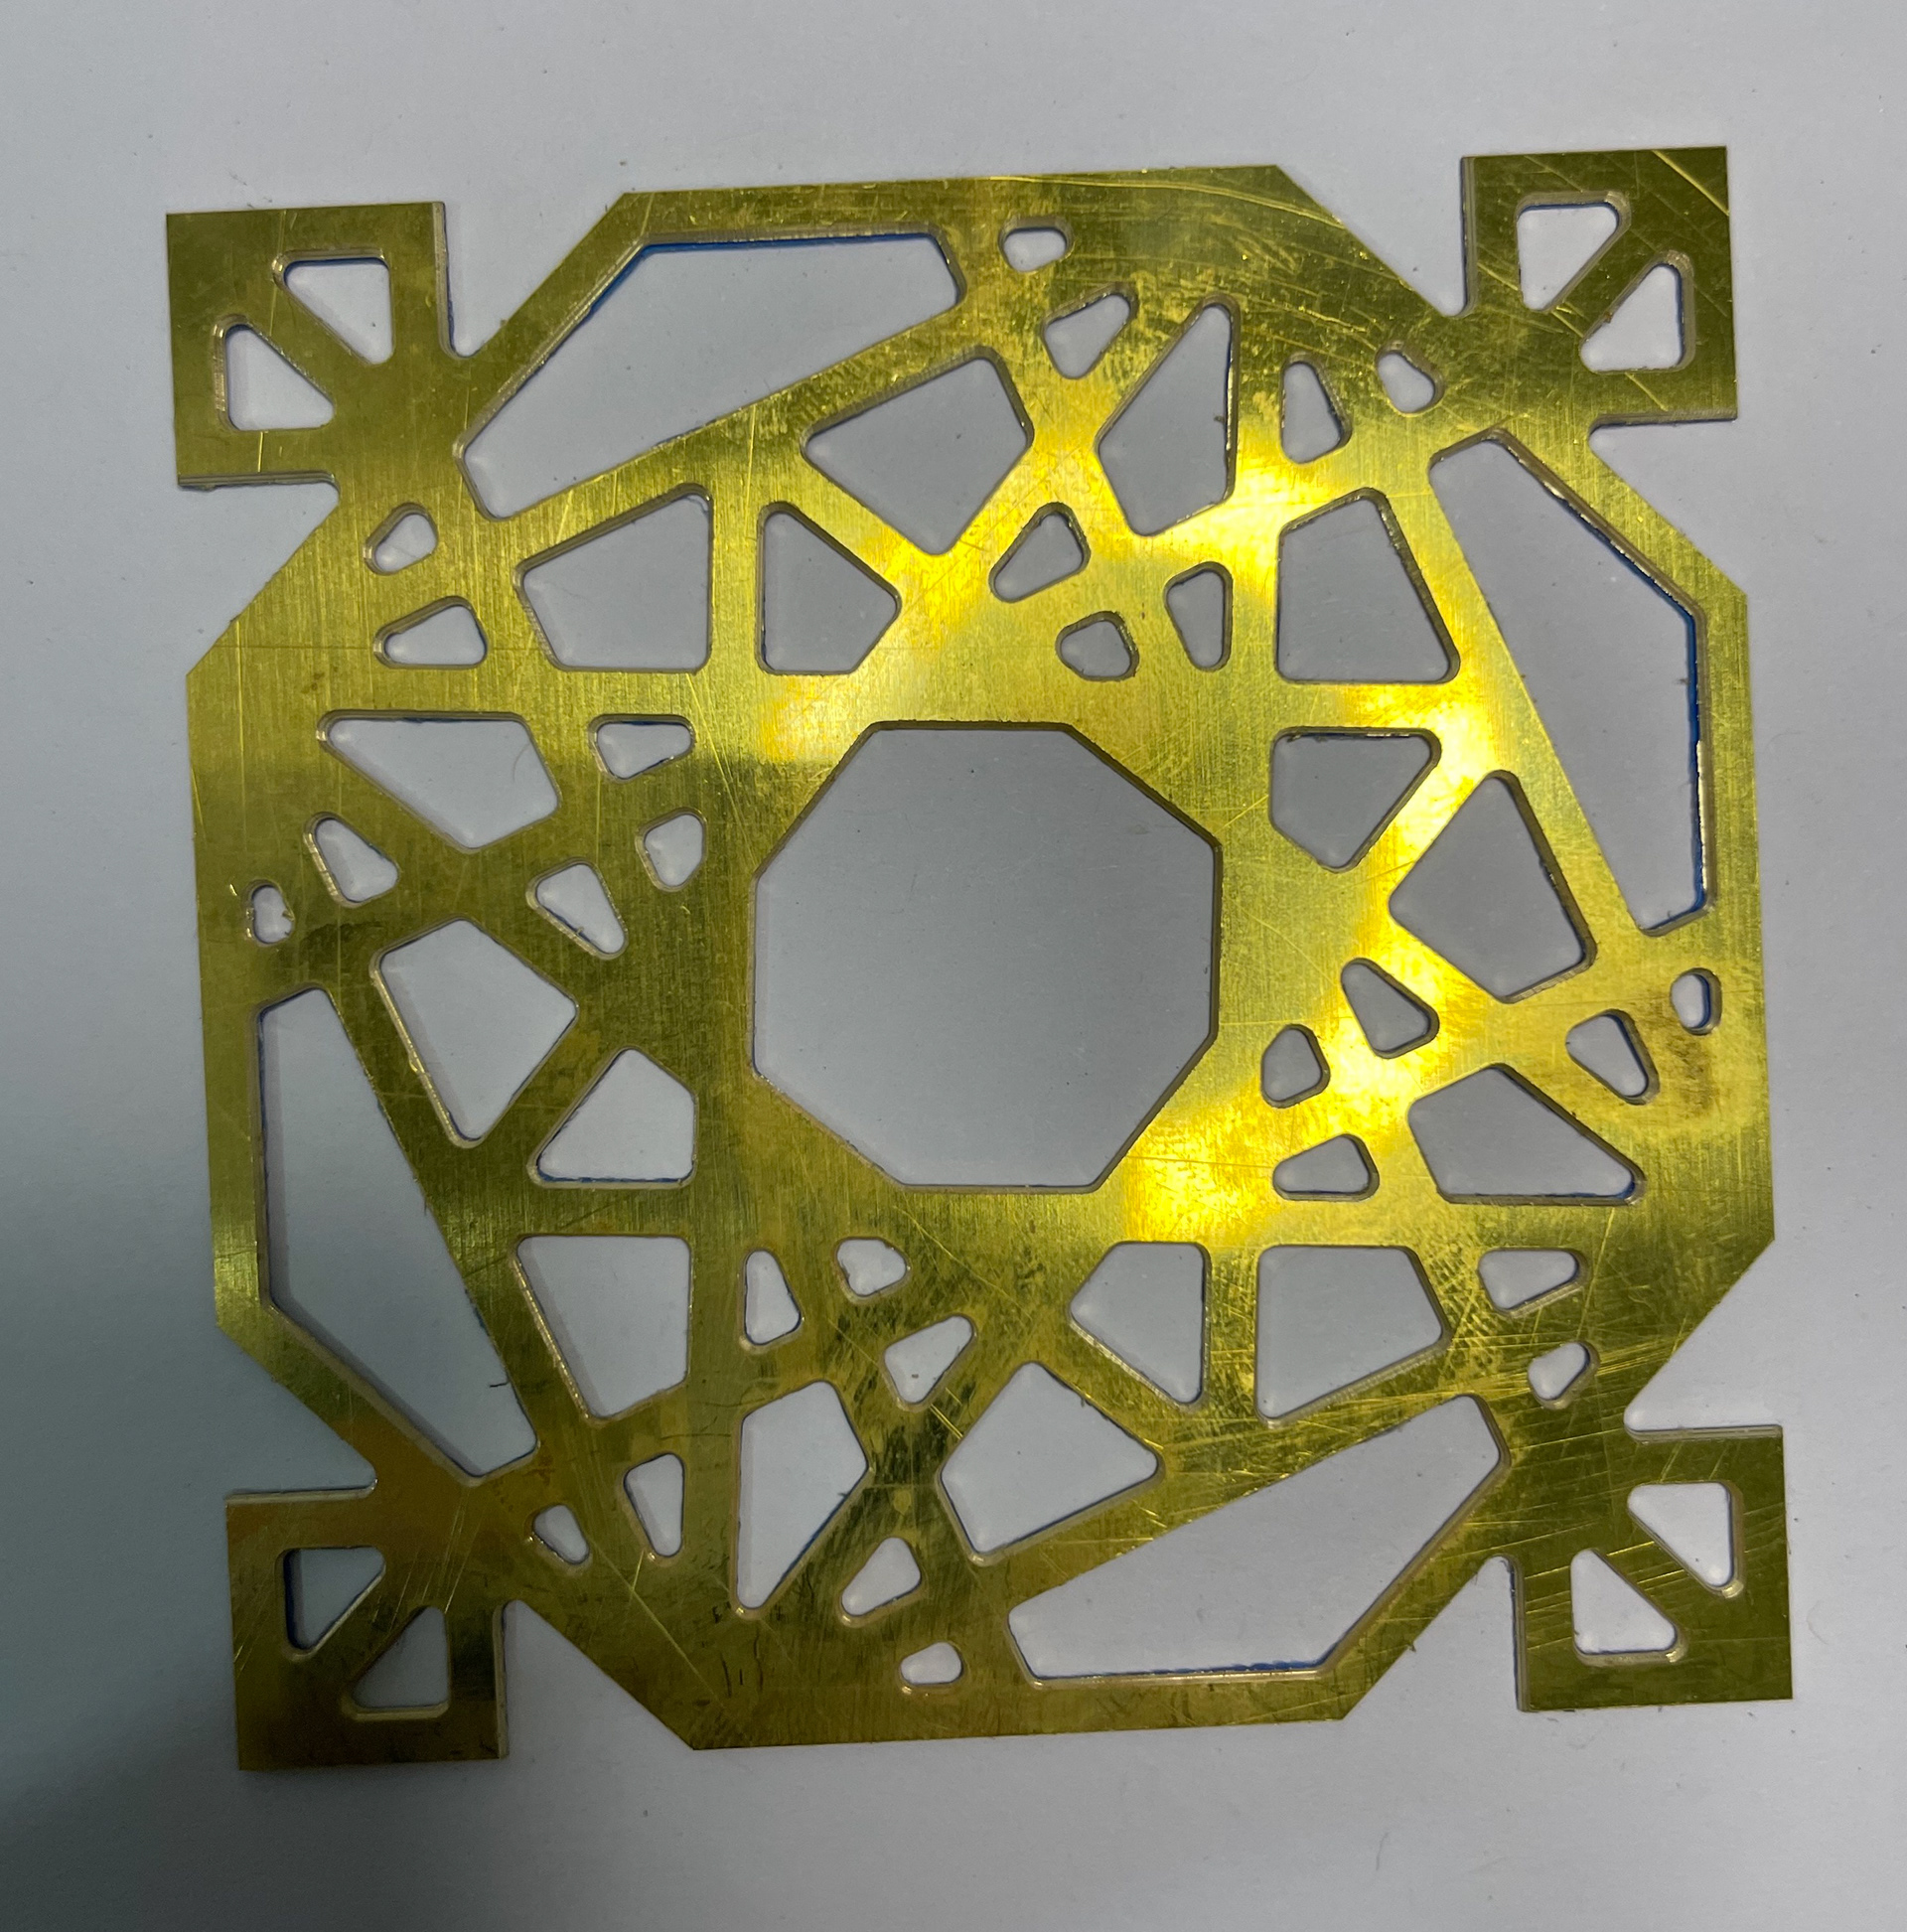
Straight off the CNC with sharp edges
Started to file the edges
cut in all the corners
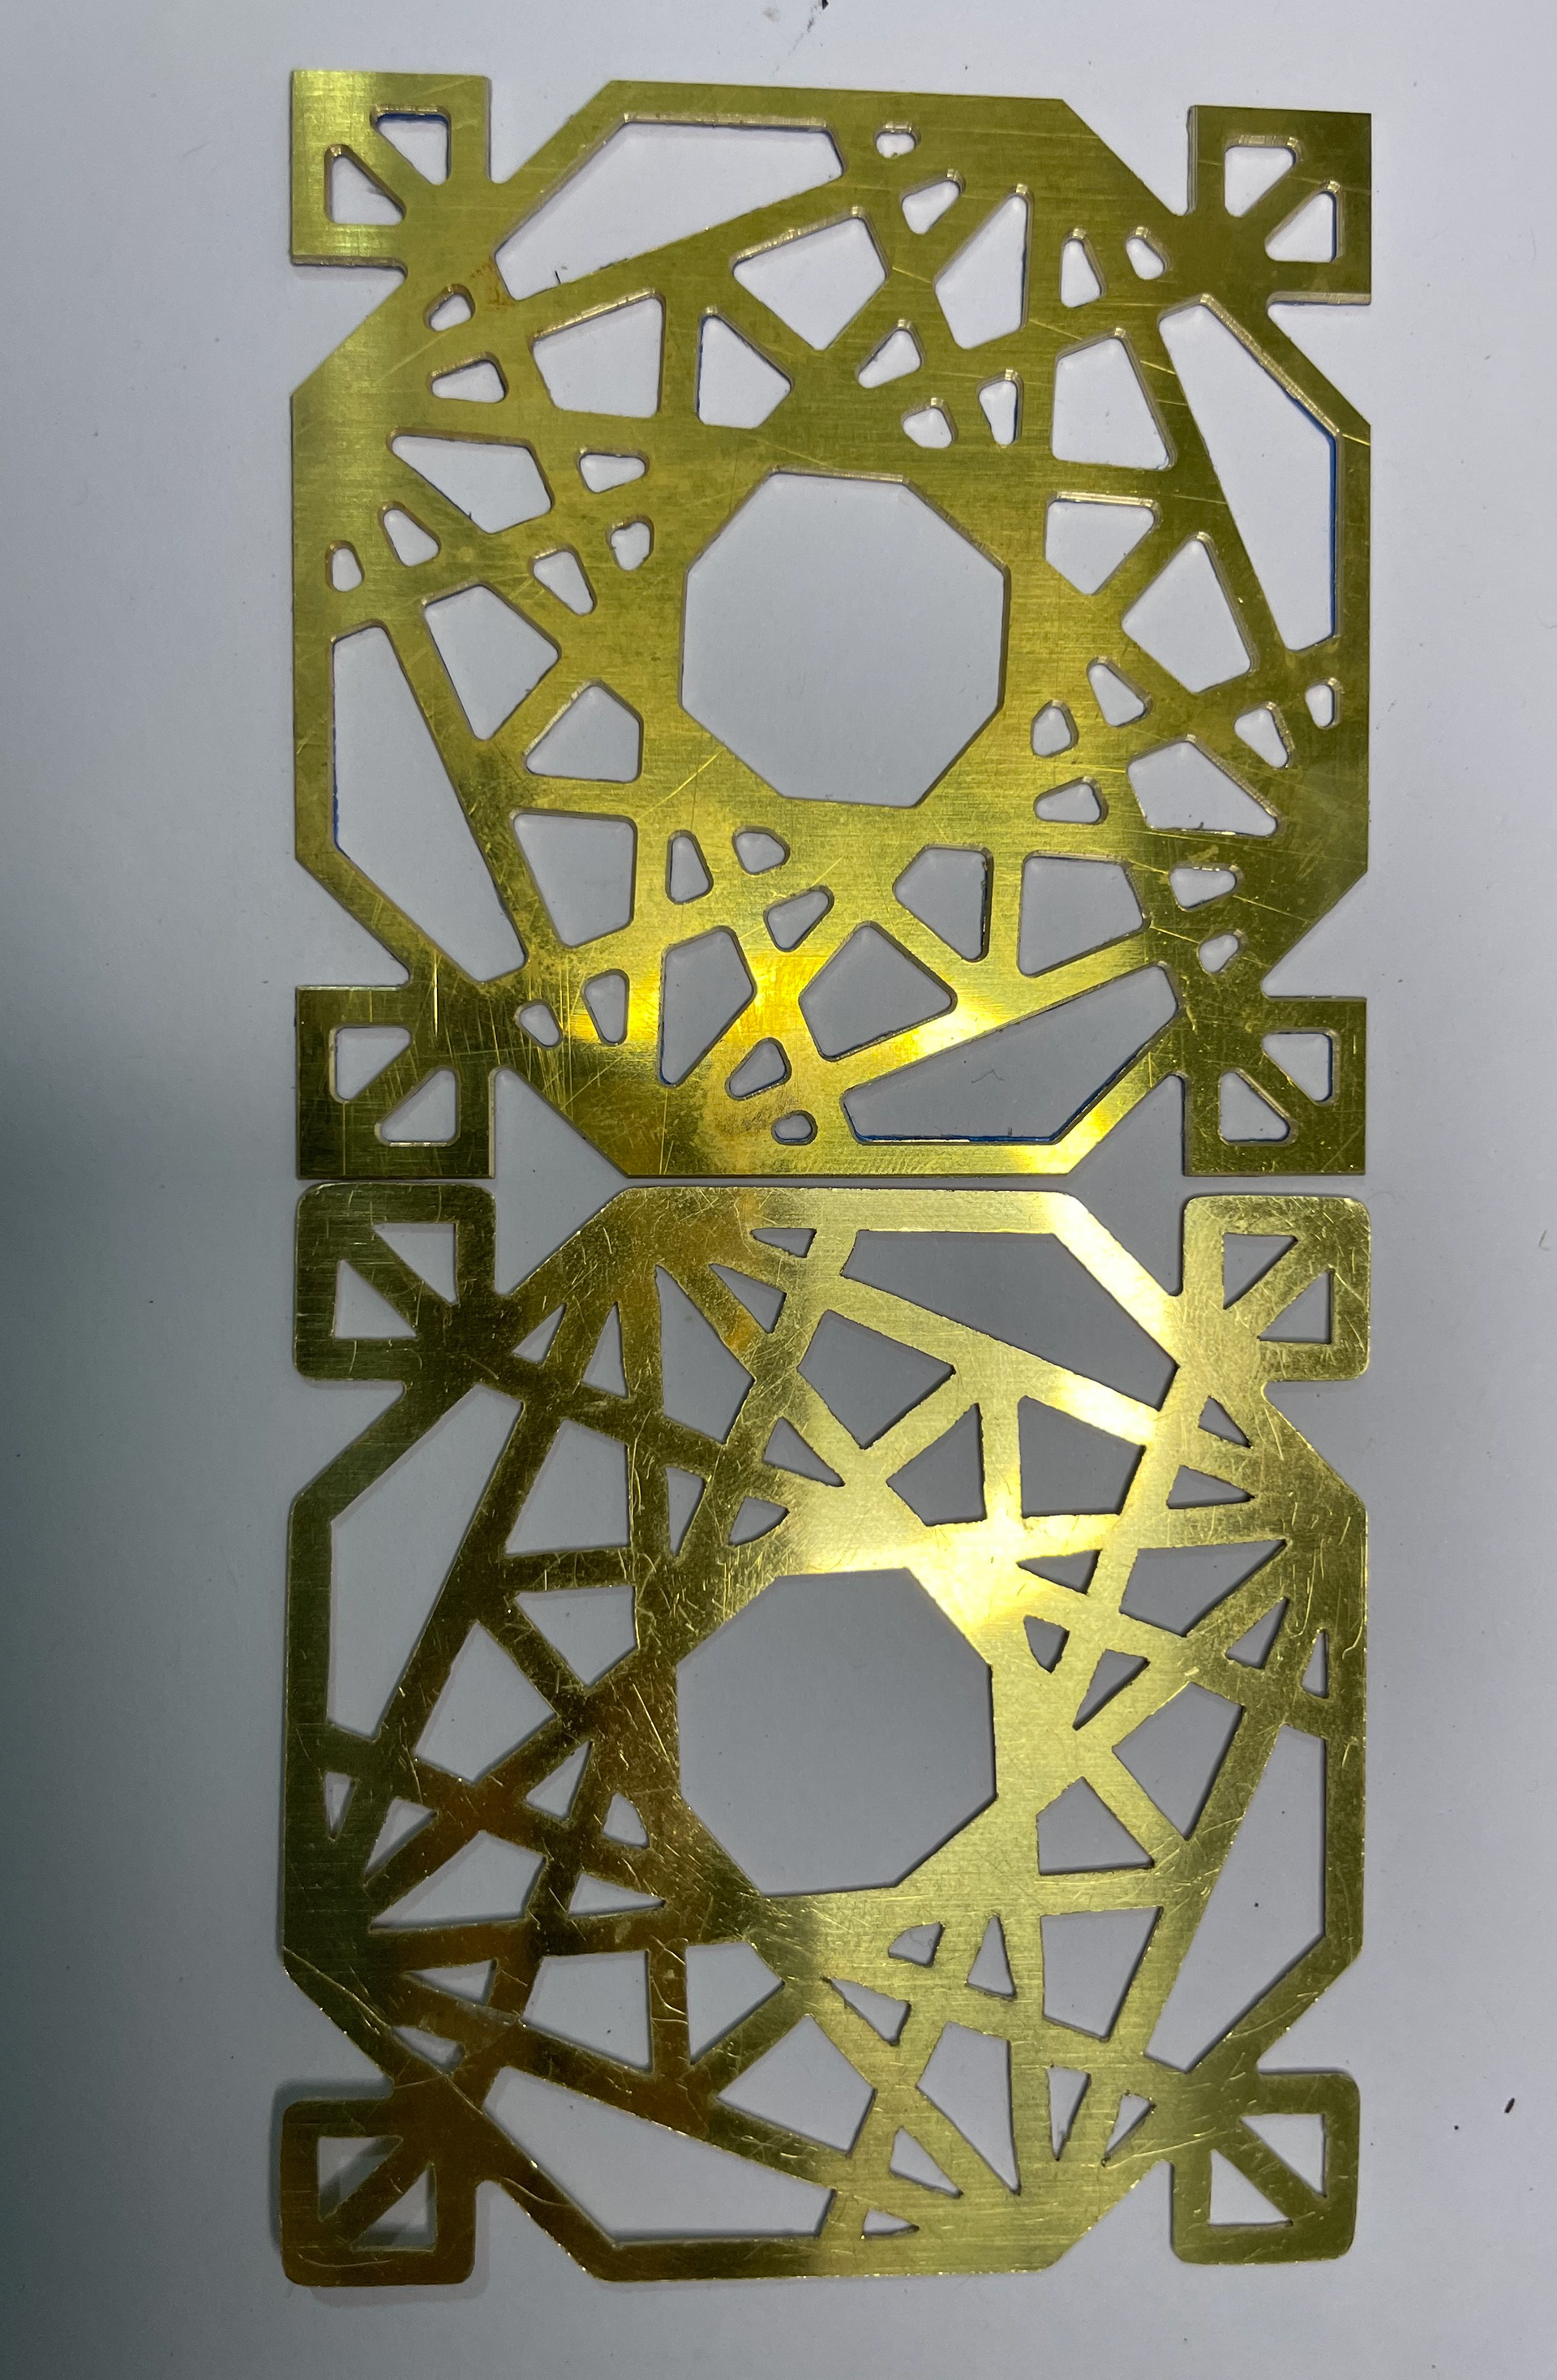
comparison of the sharp and round corners
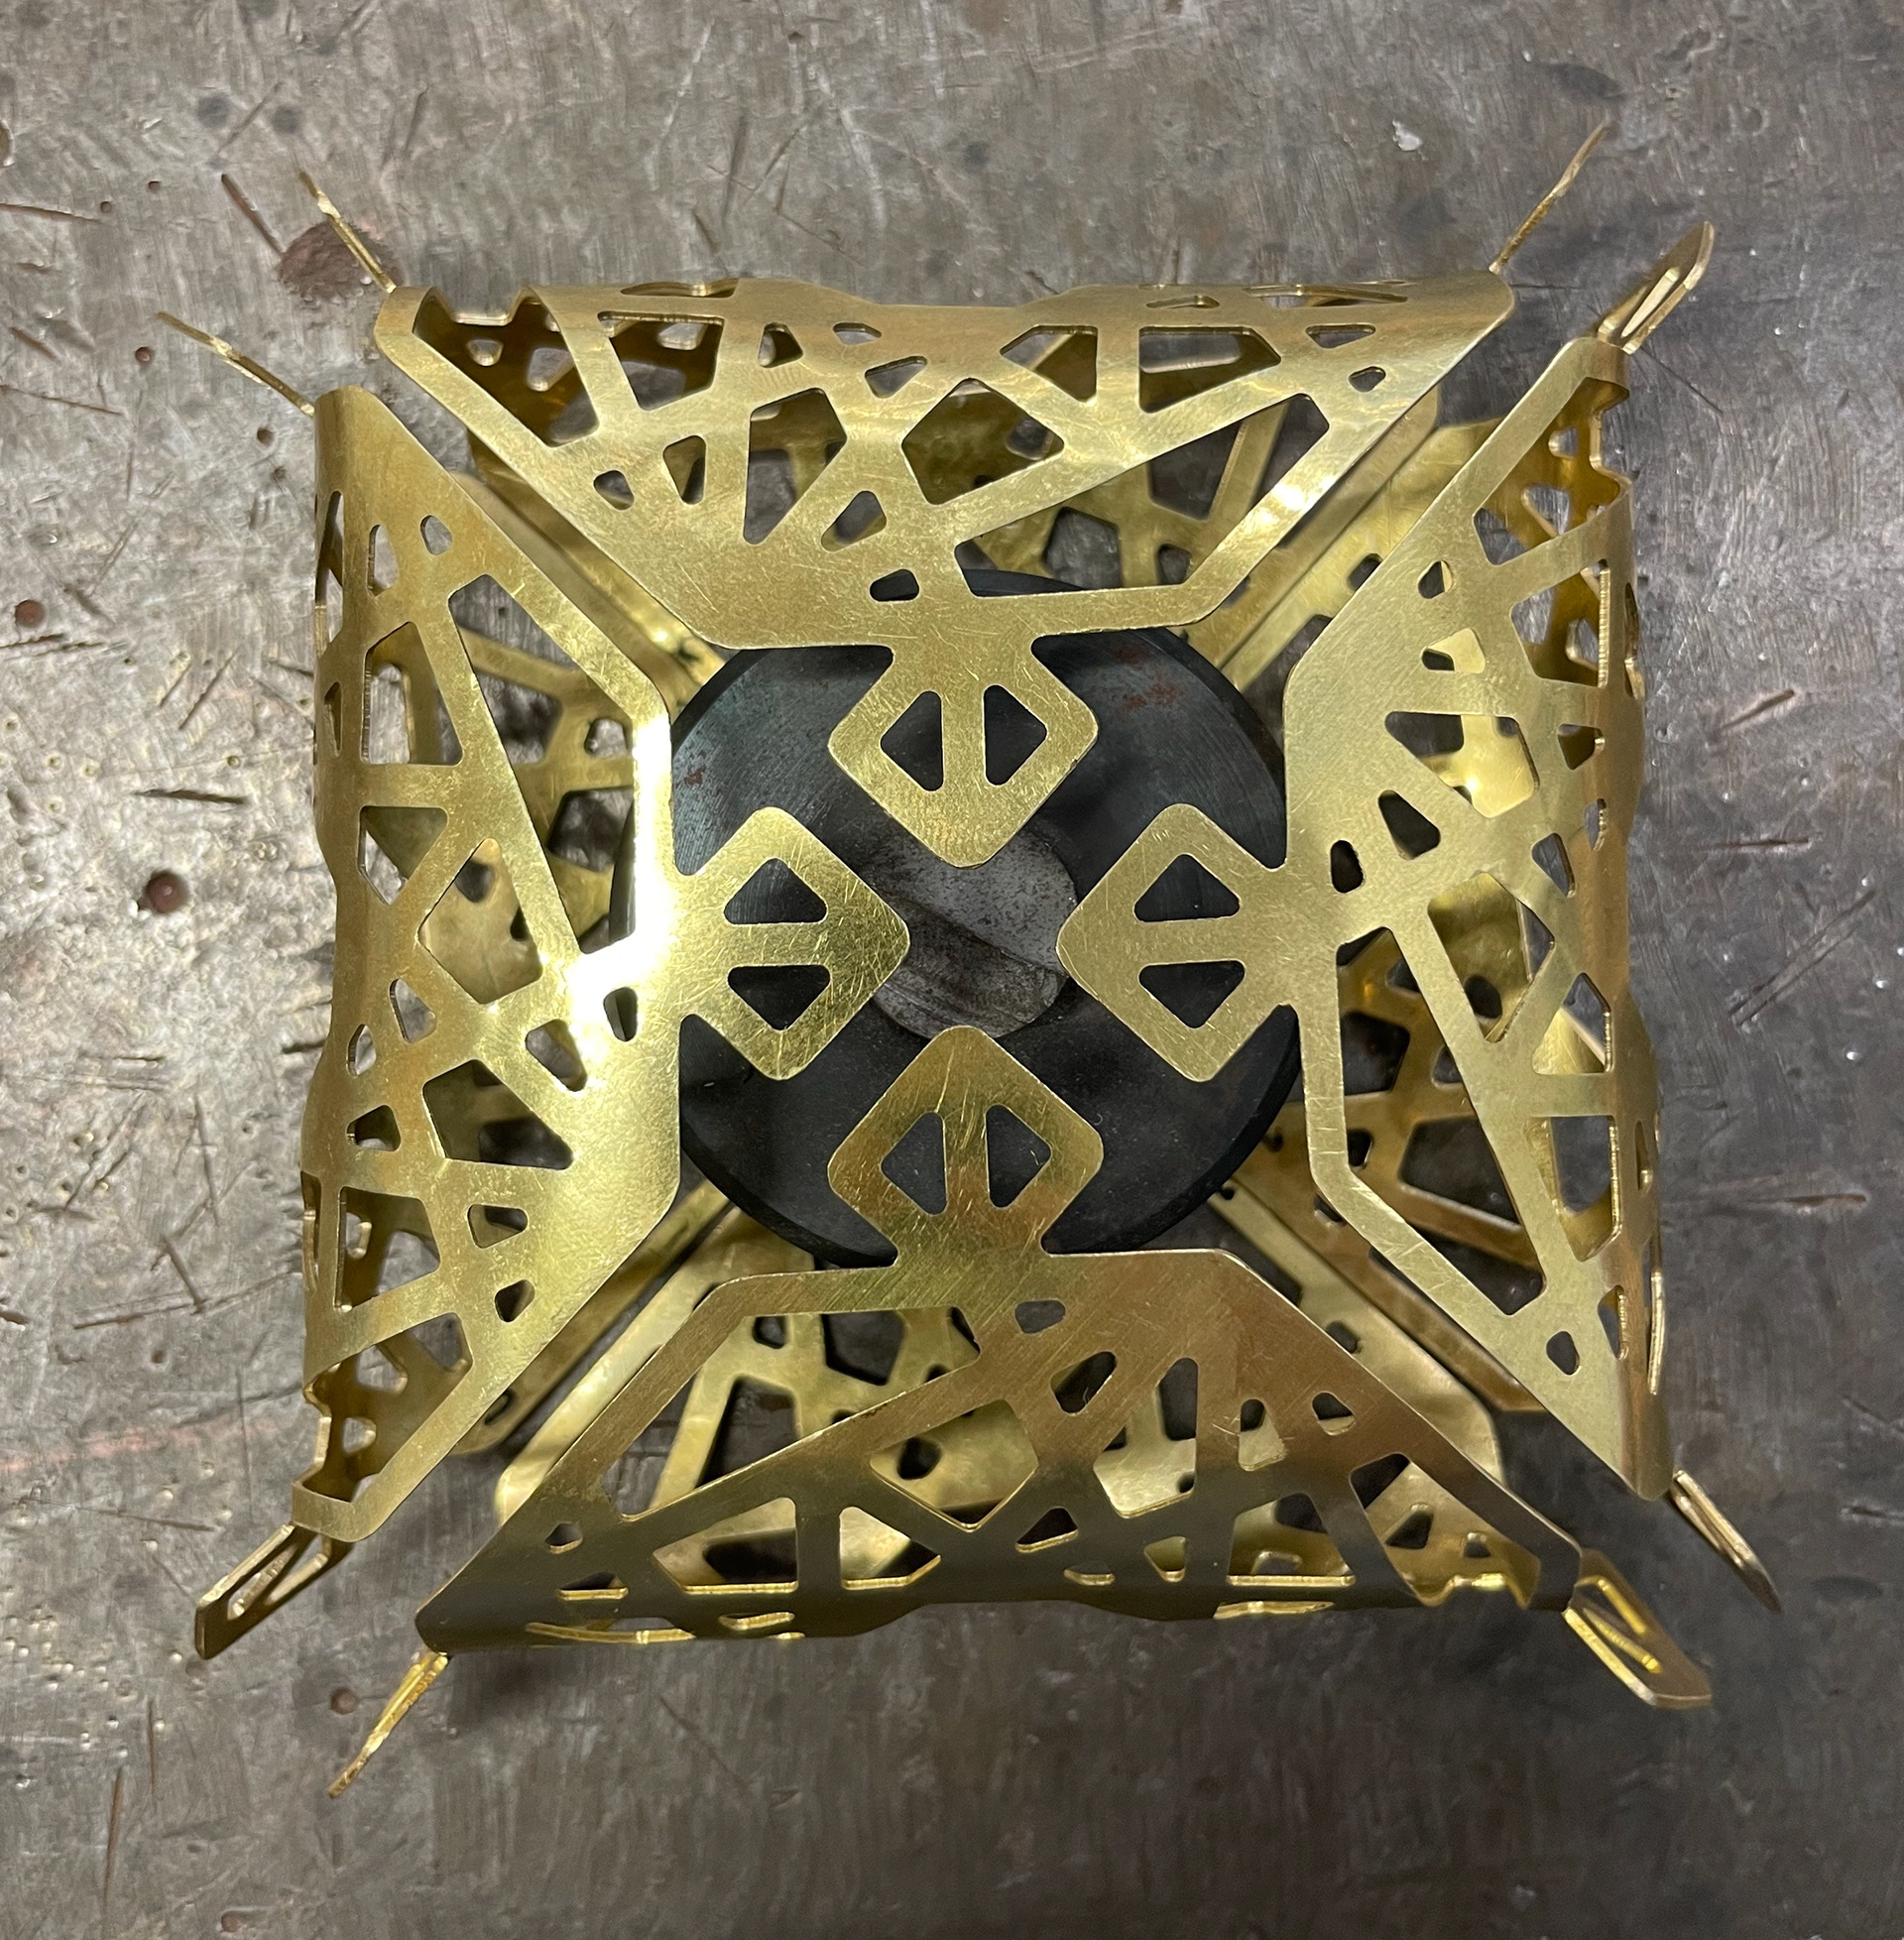
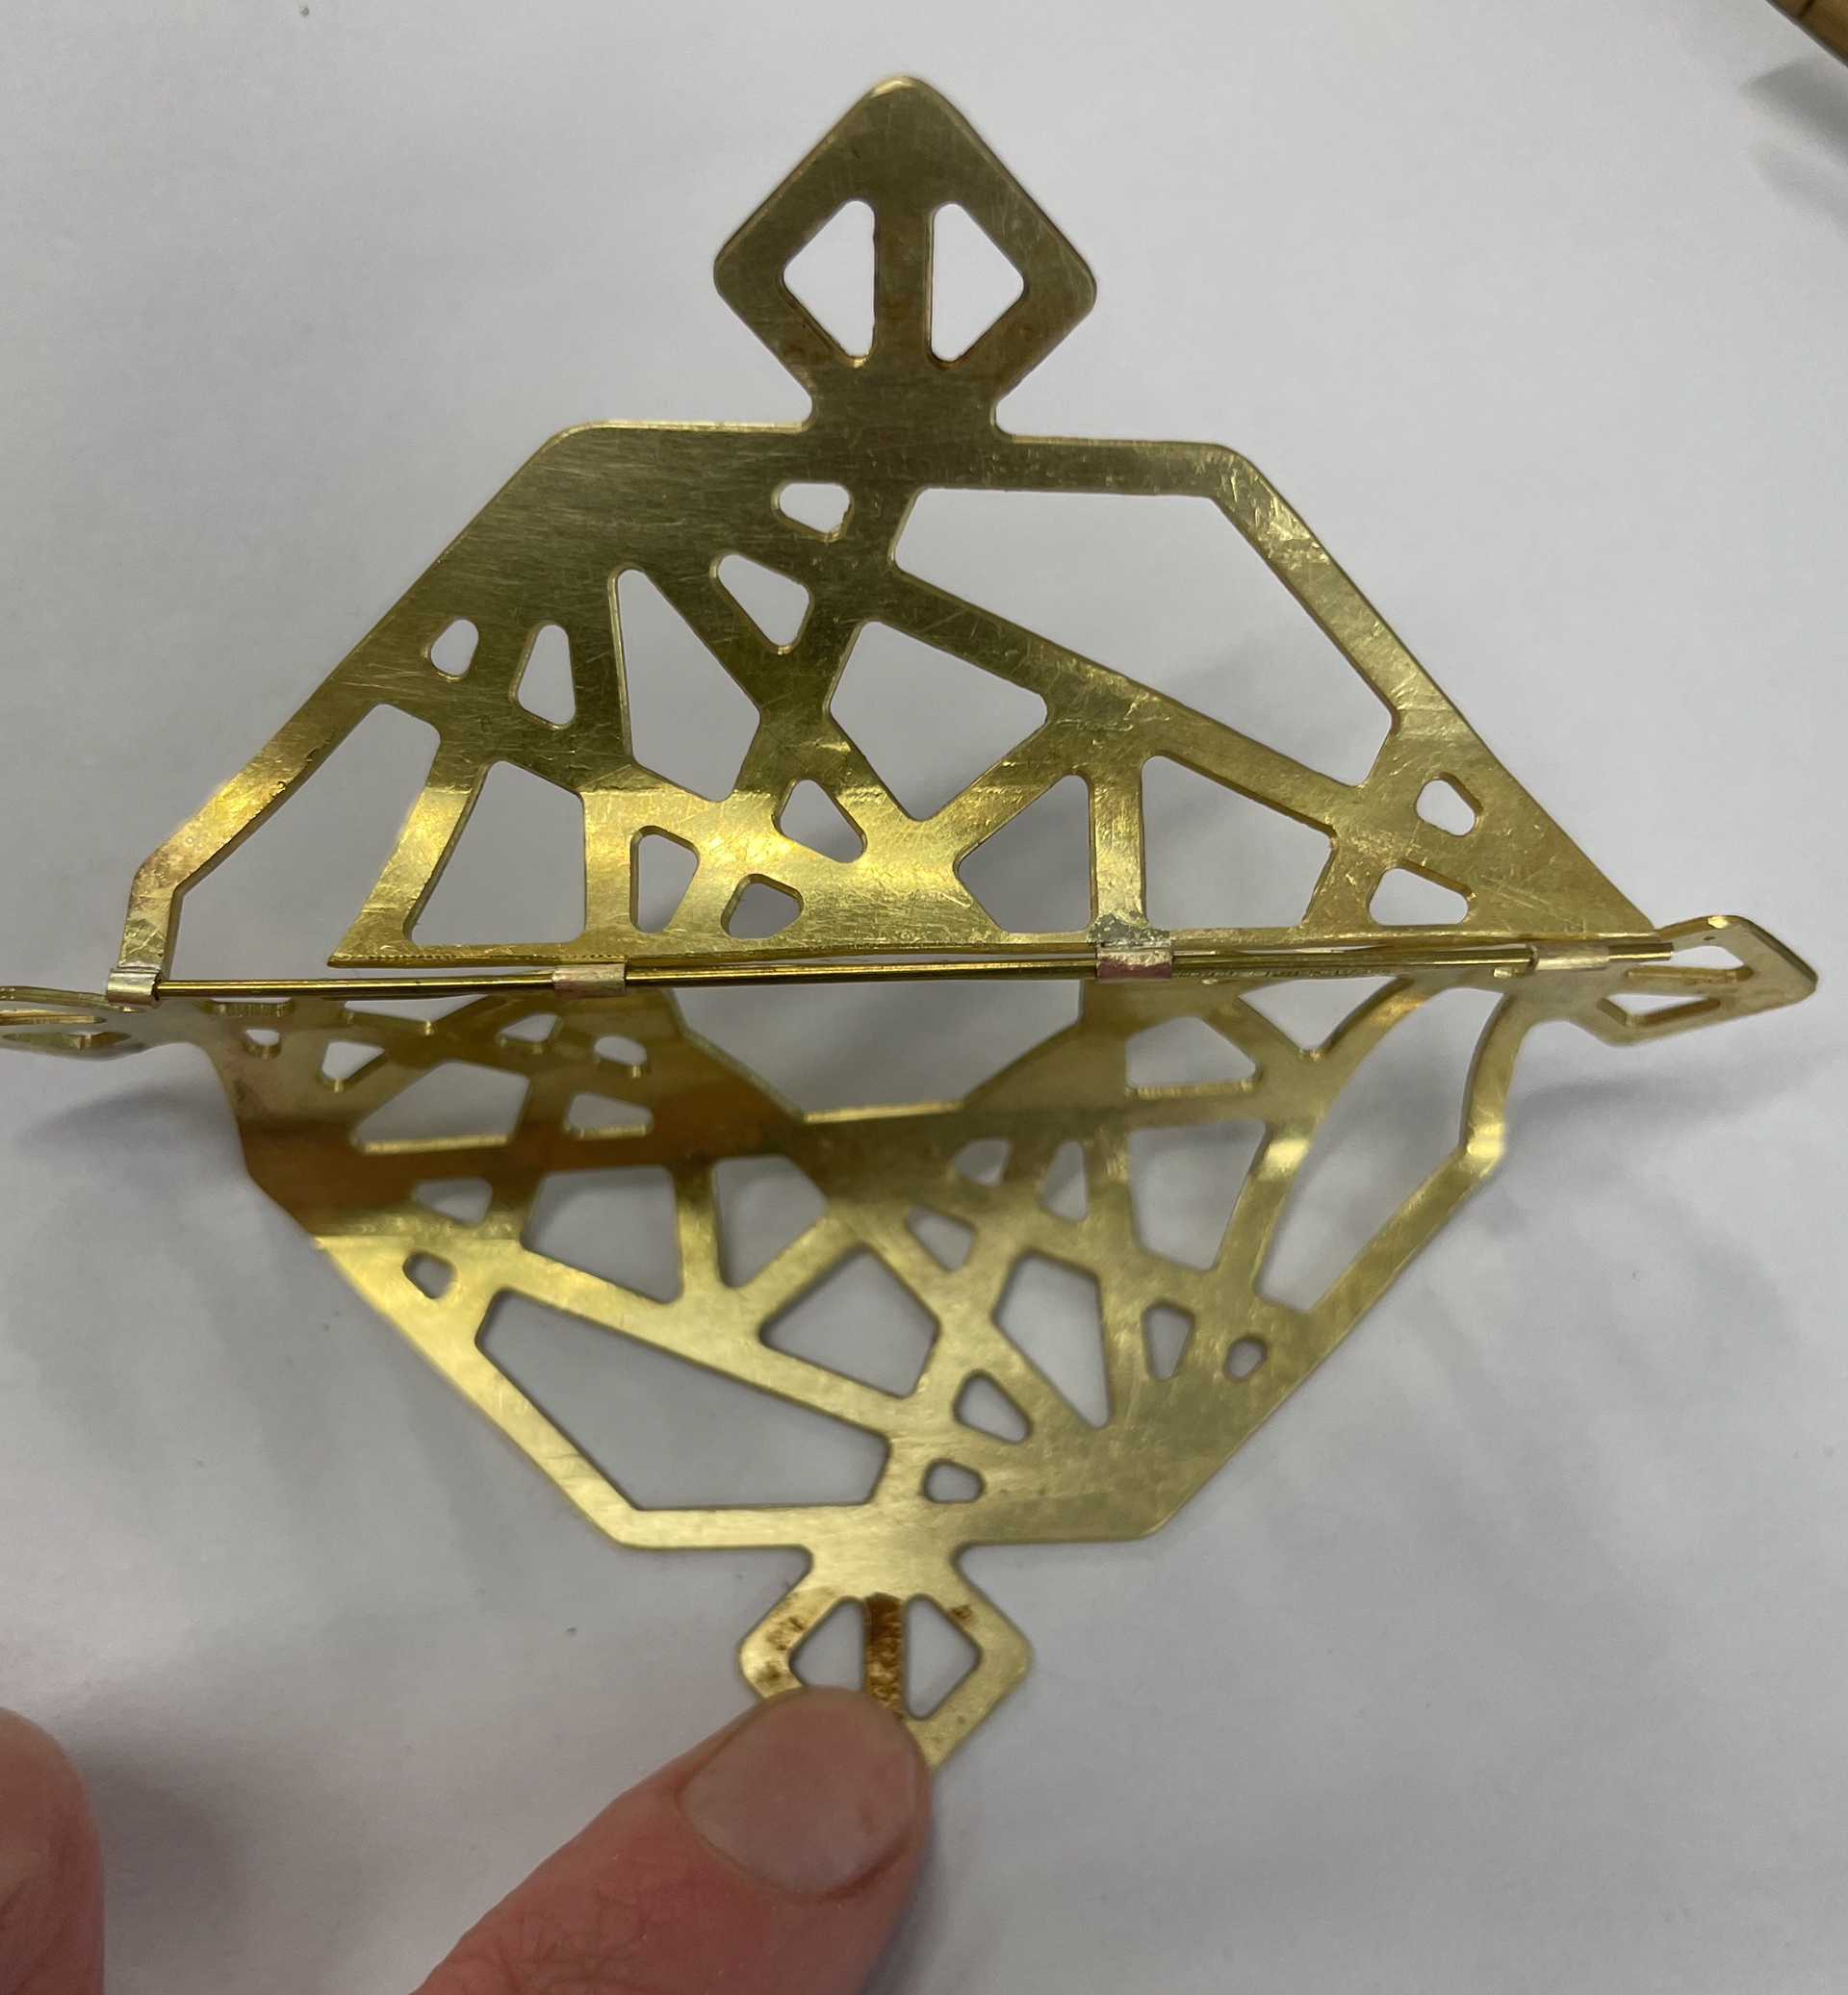
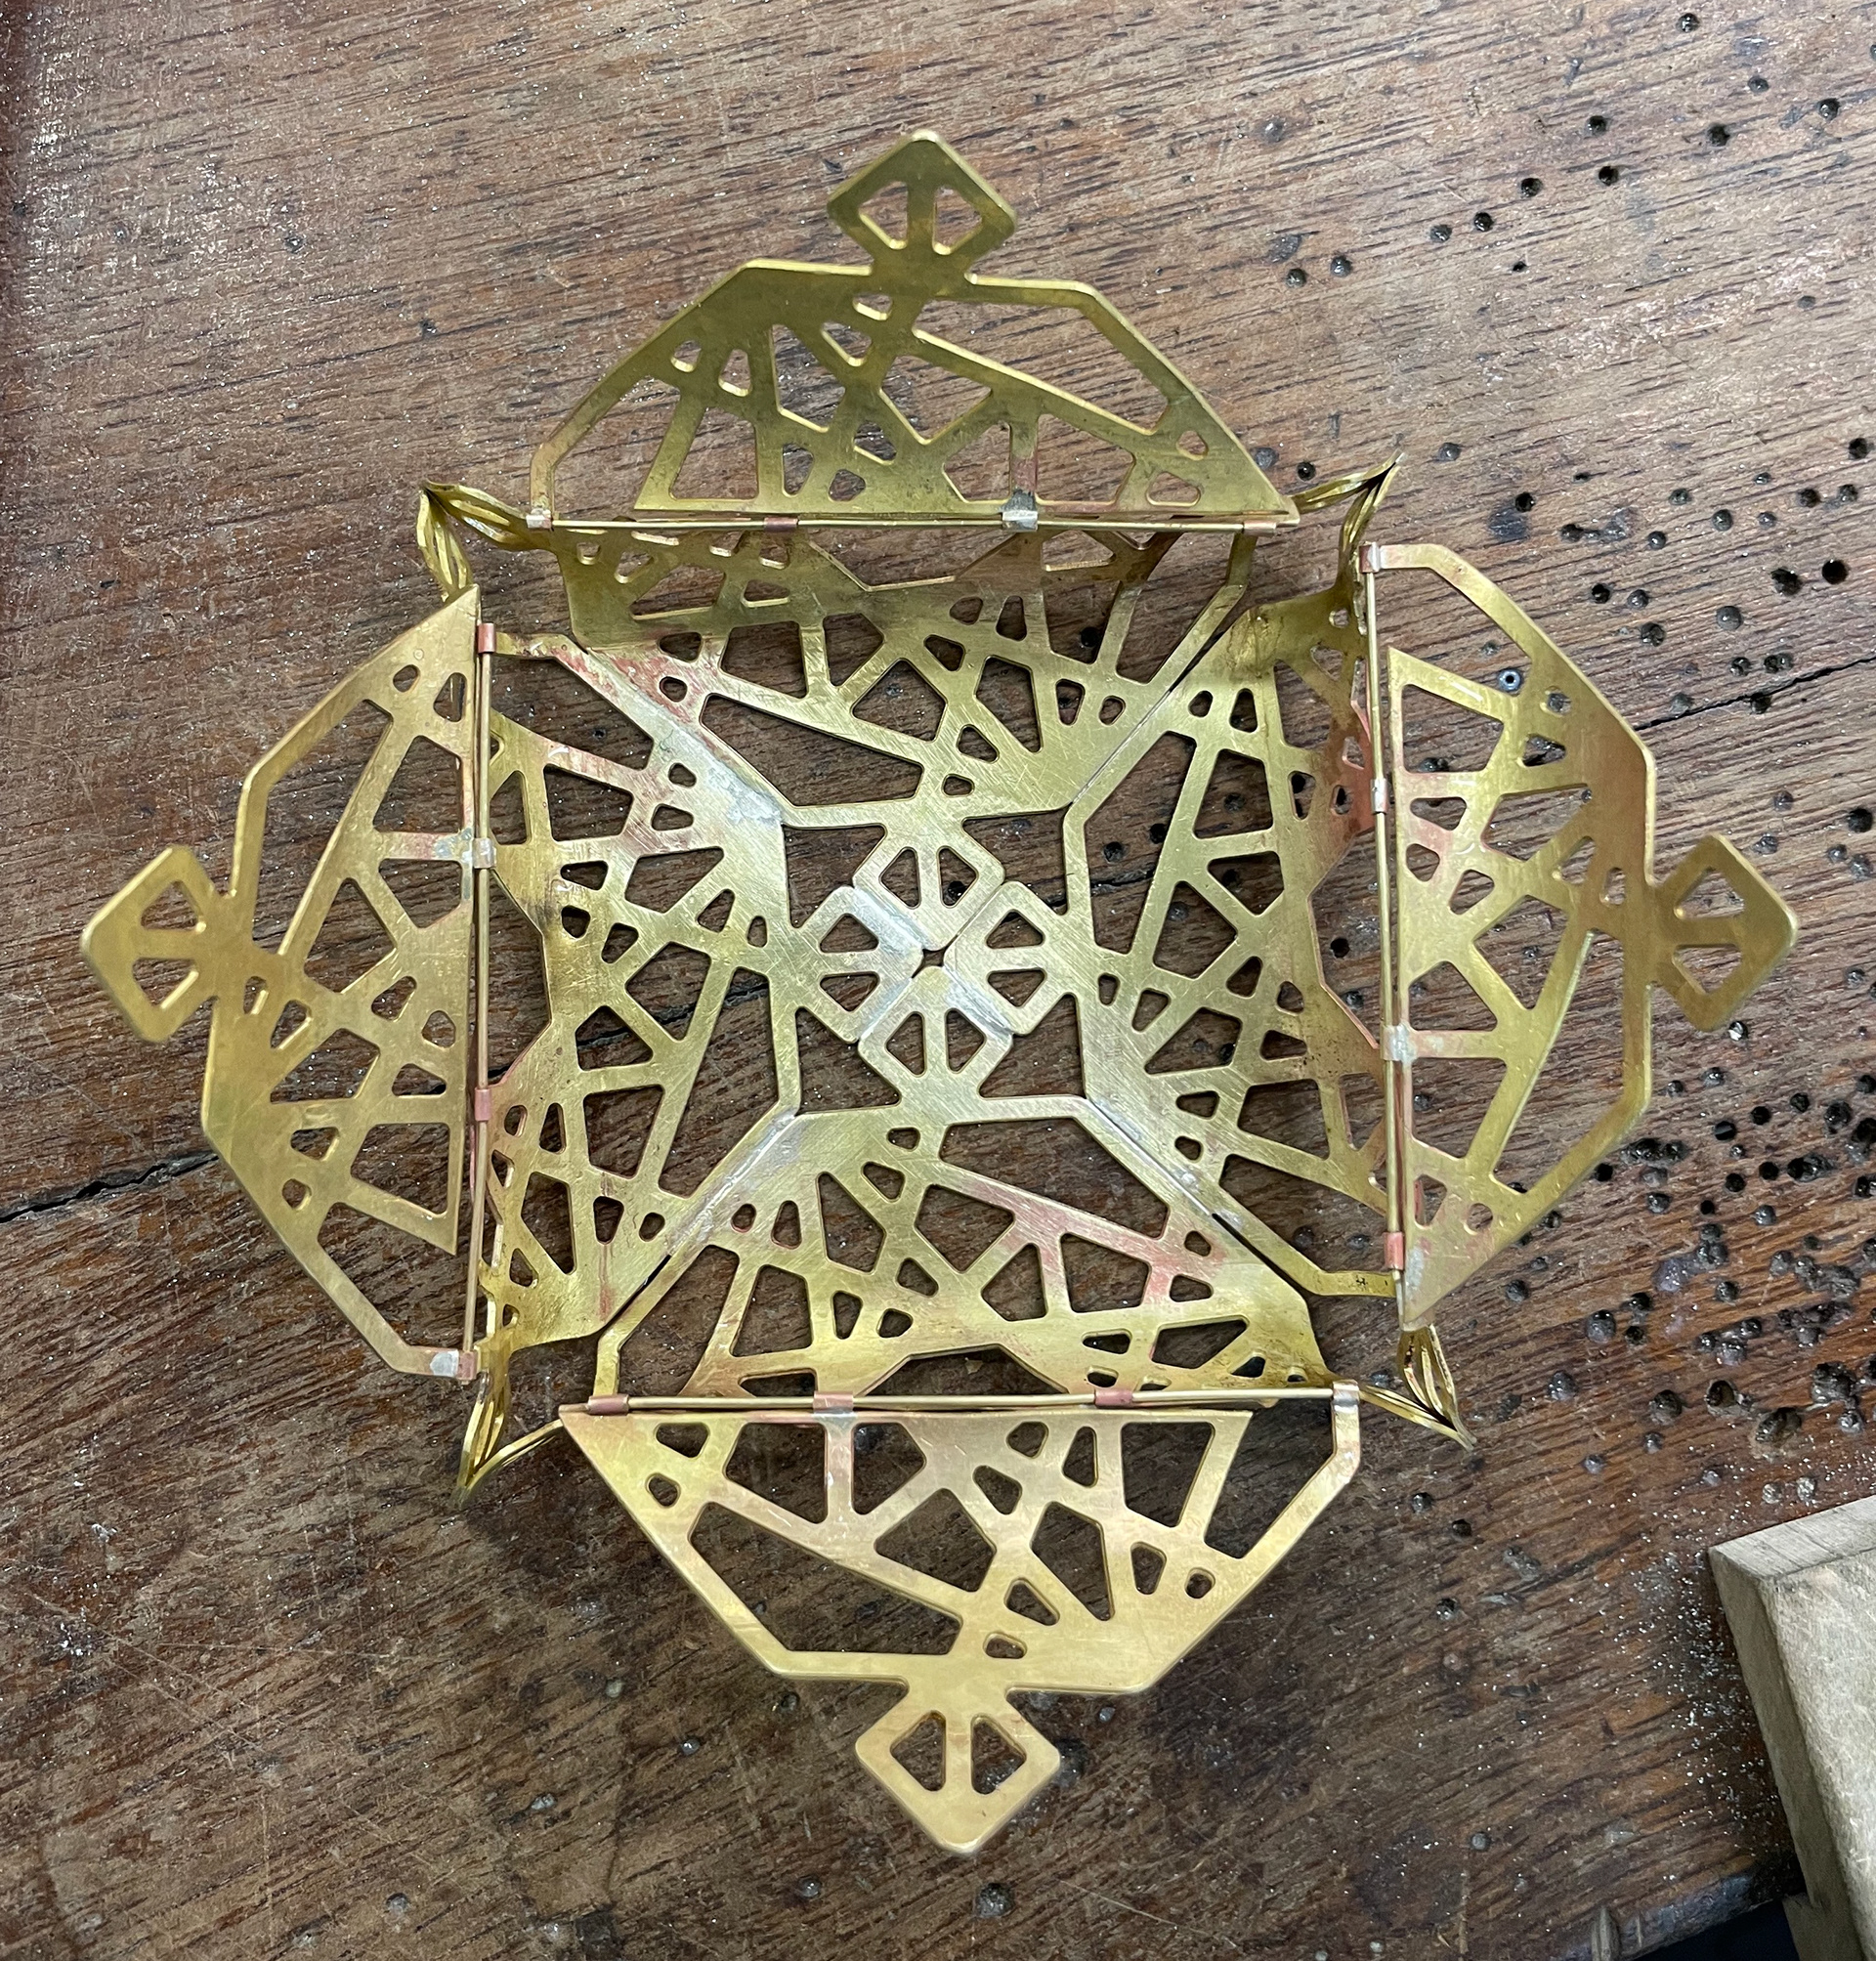
After filing down the edges and smoothing the corners I started to bend the metal and form it. I didn't want to anneal the metal because I didn't want it to soften and be more likely to bend by accident when constructing the box. I was able to do this because I used a 0.9mm brass metal sheet. I used a rubber mallet to hammer the forms around a suitable stake. I started by hammering from the centre outwards. I kept checking them as I was bending each one. After being them all to a certain point I realised I needed to bend them further so that they close properly. I bent them further so that the opposite corners were parallel to each other. To check if they were aligning right I used some masking tape and placed weight inside to be able to see how they would look when they are soldered together.
Filed ready to be bent
Lines marked where to bend
bending around stake
Checking theyre equal
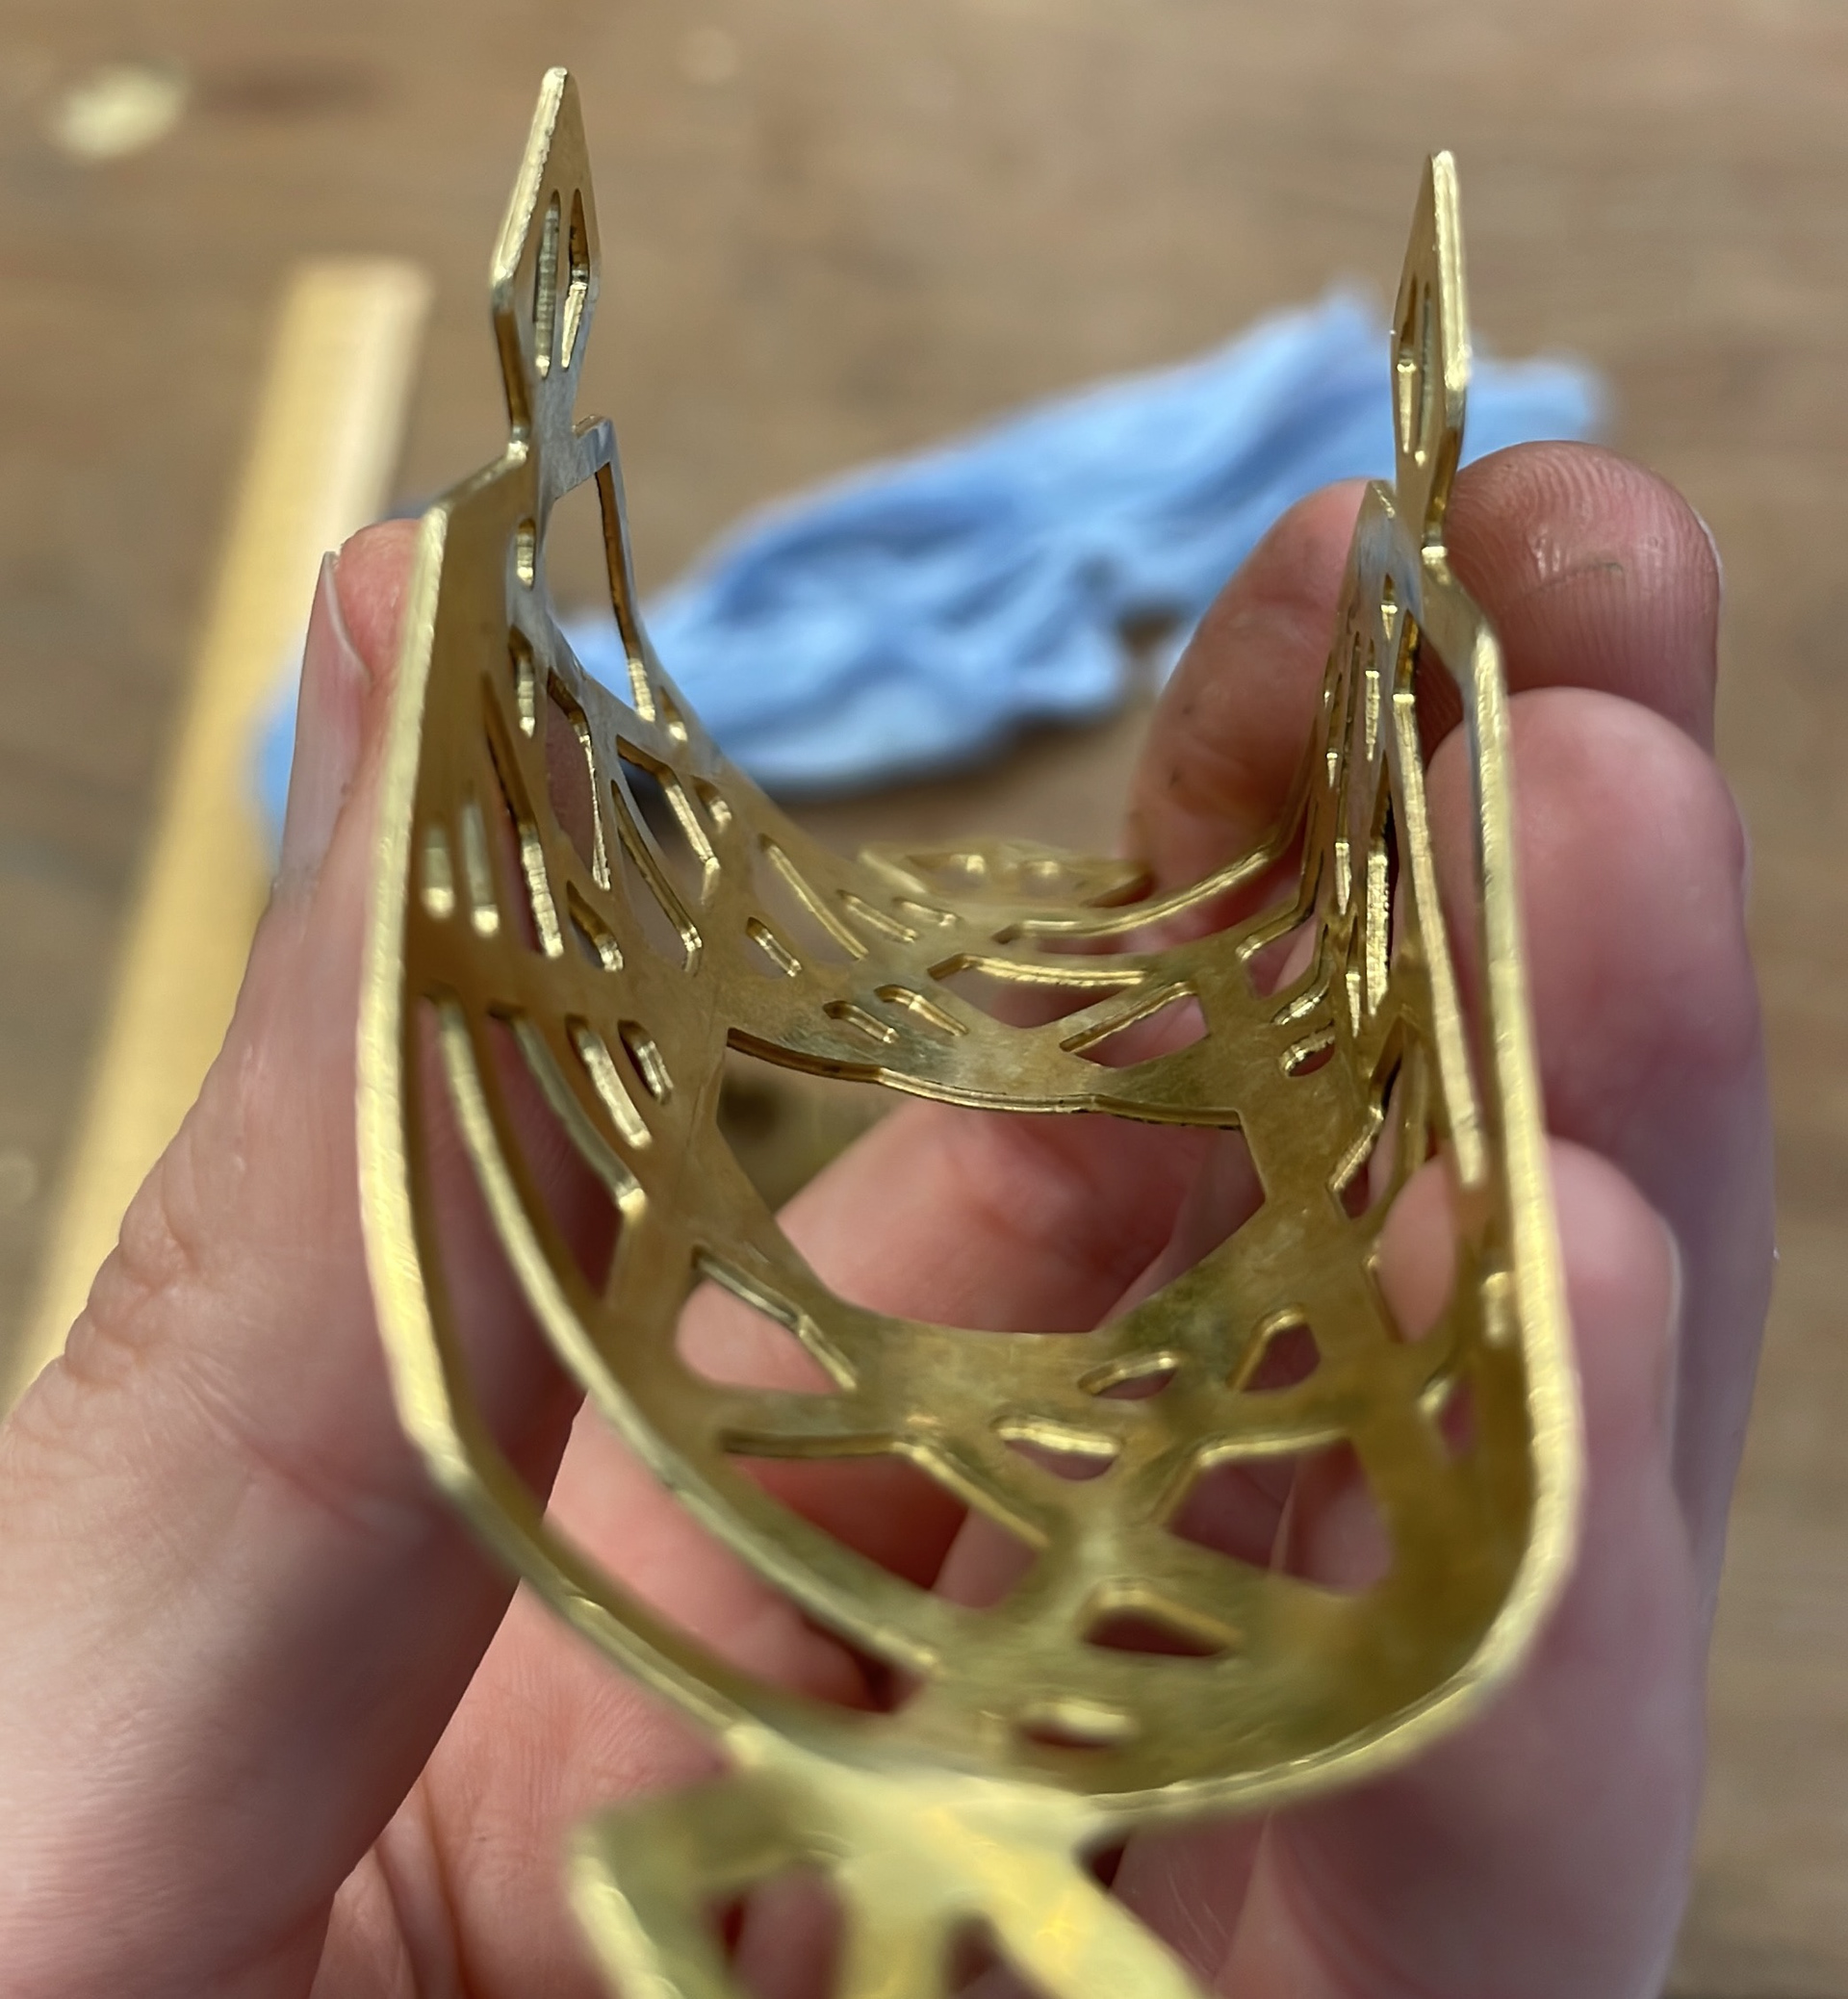
bendinf further
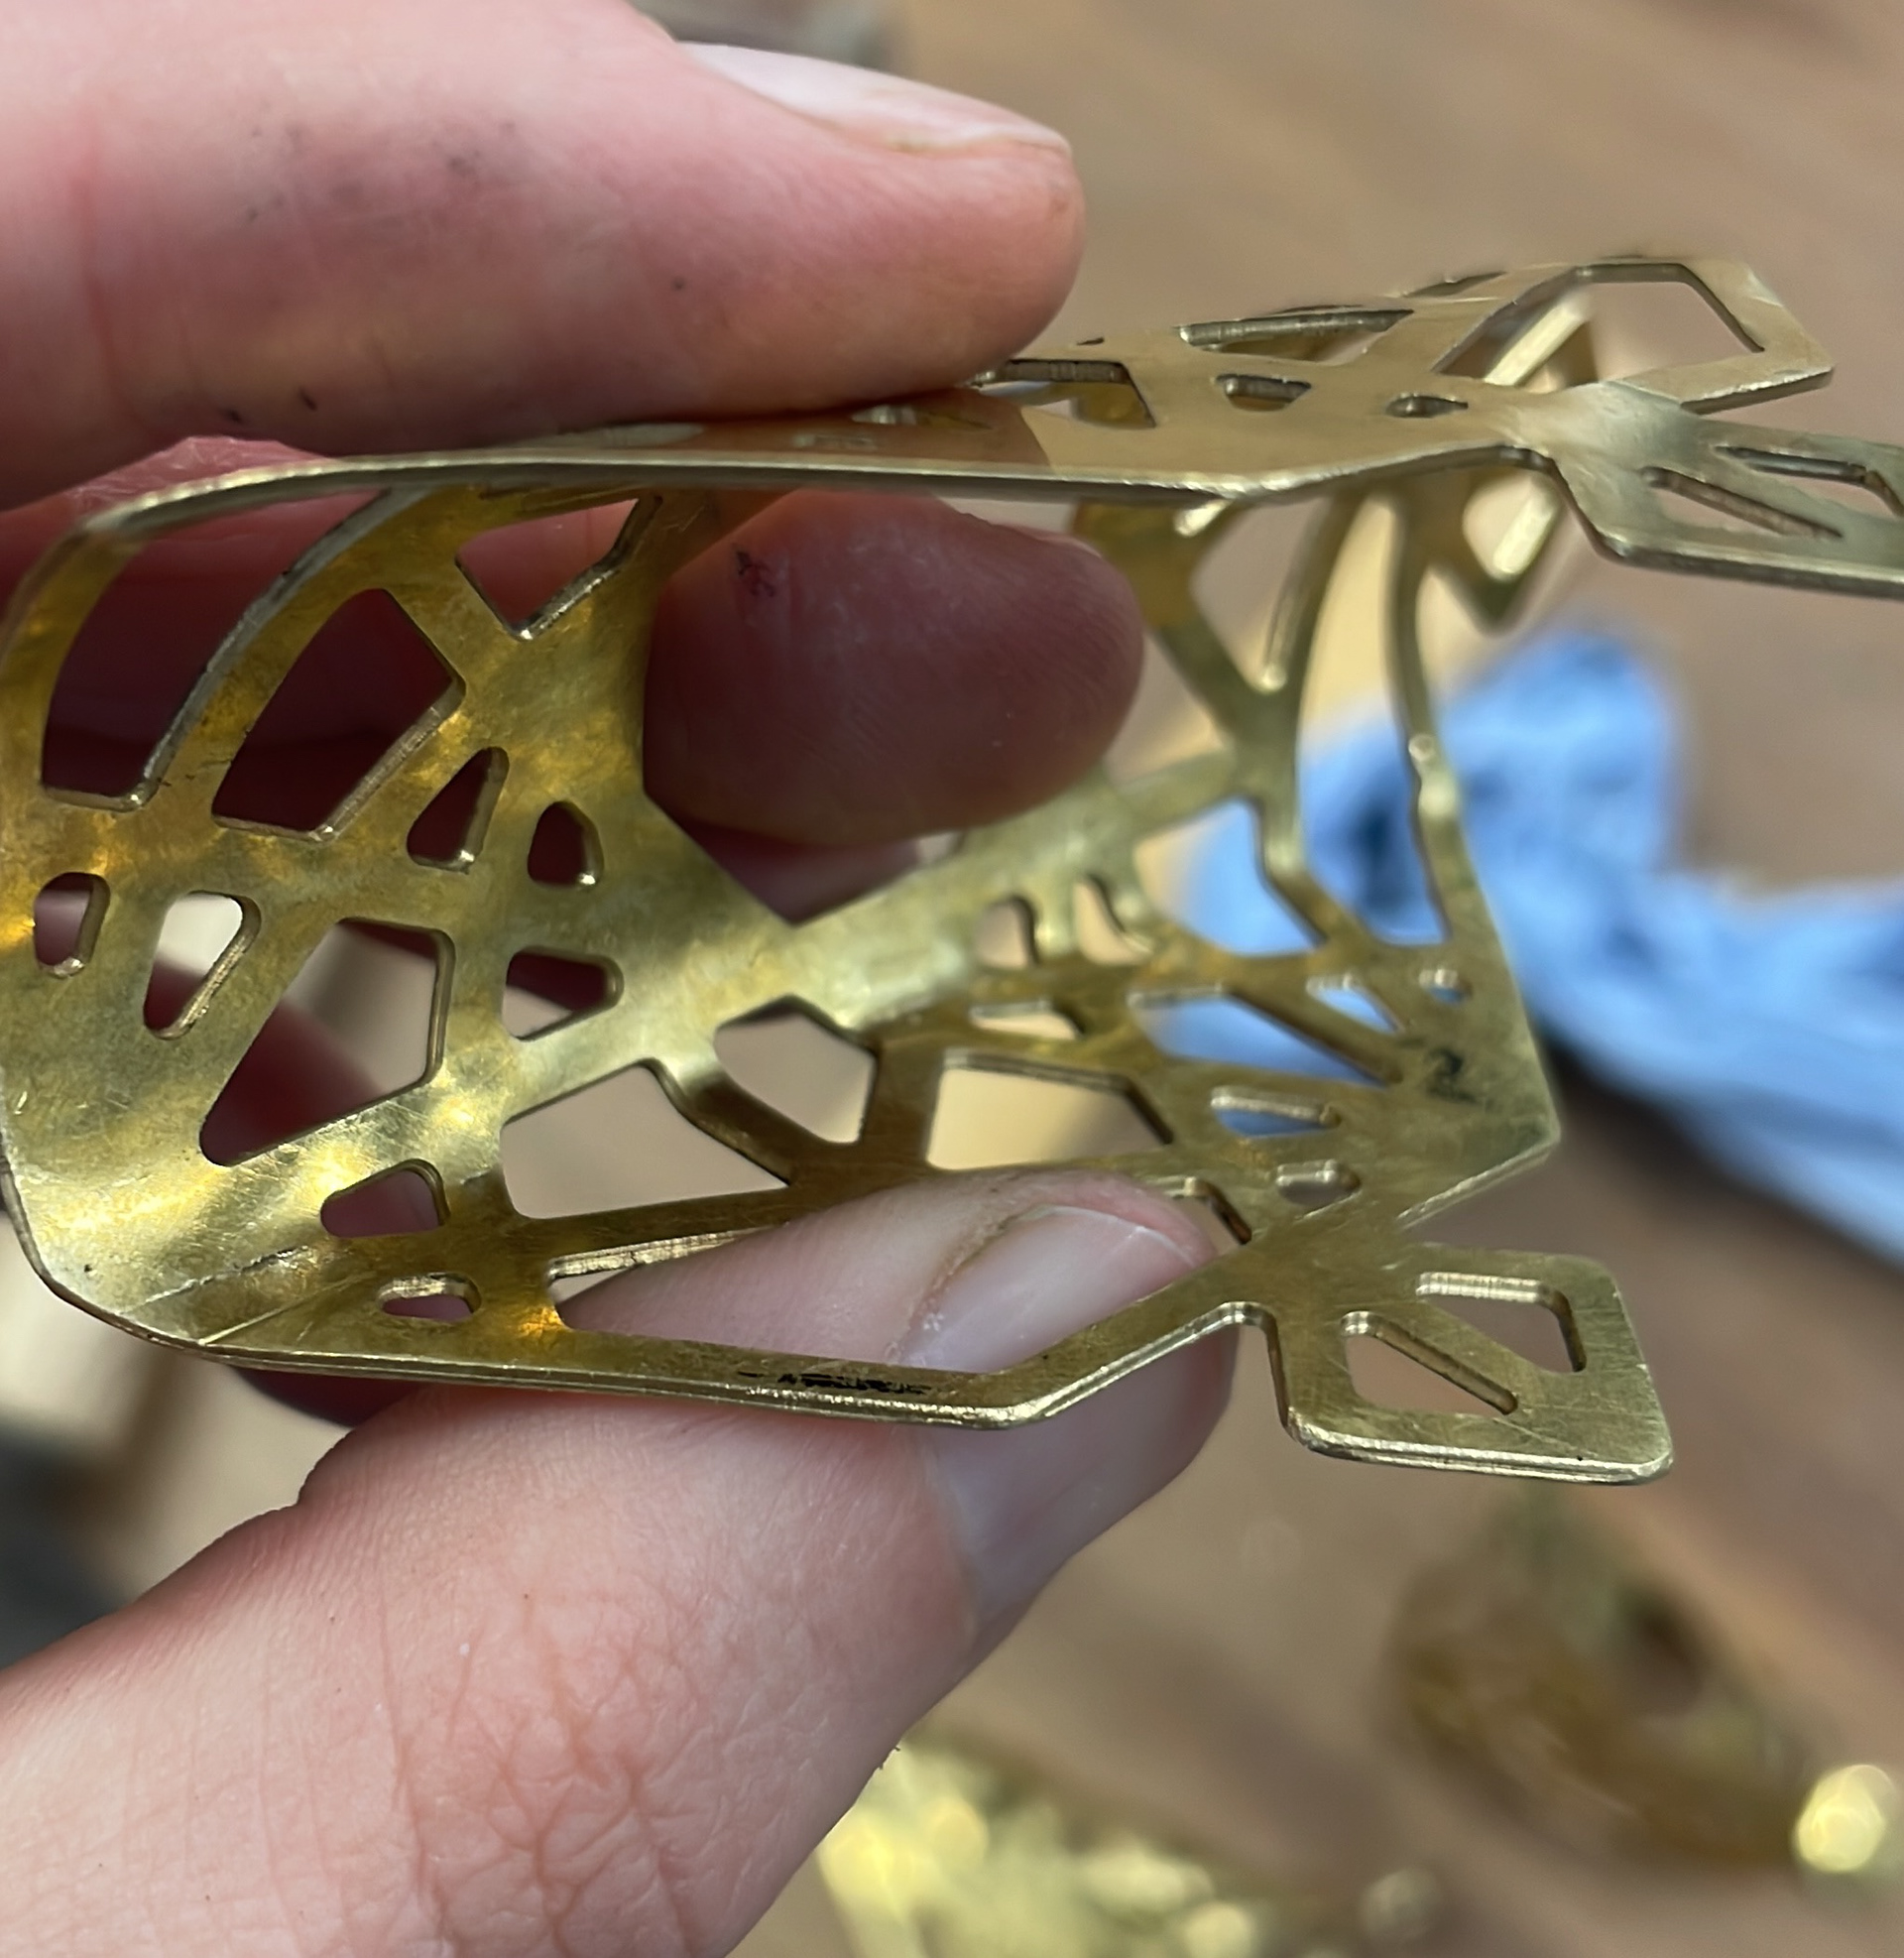
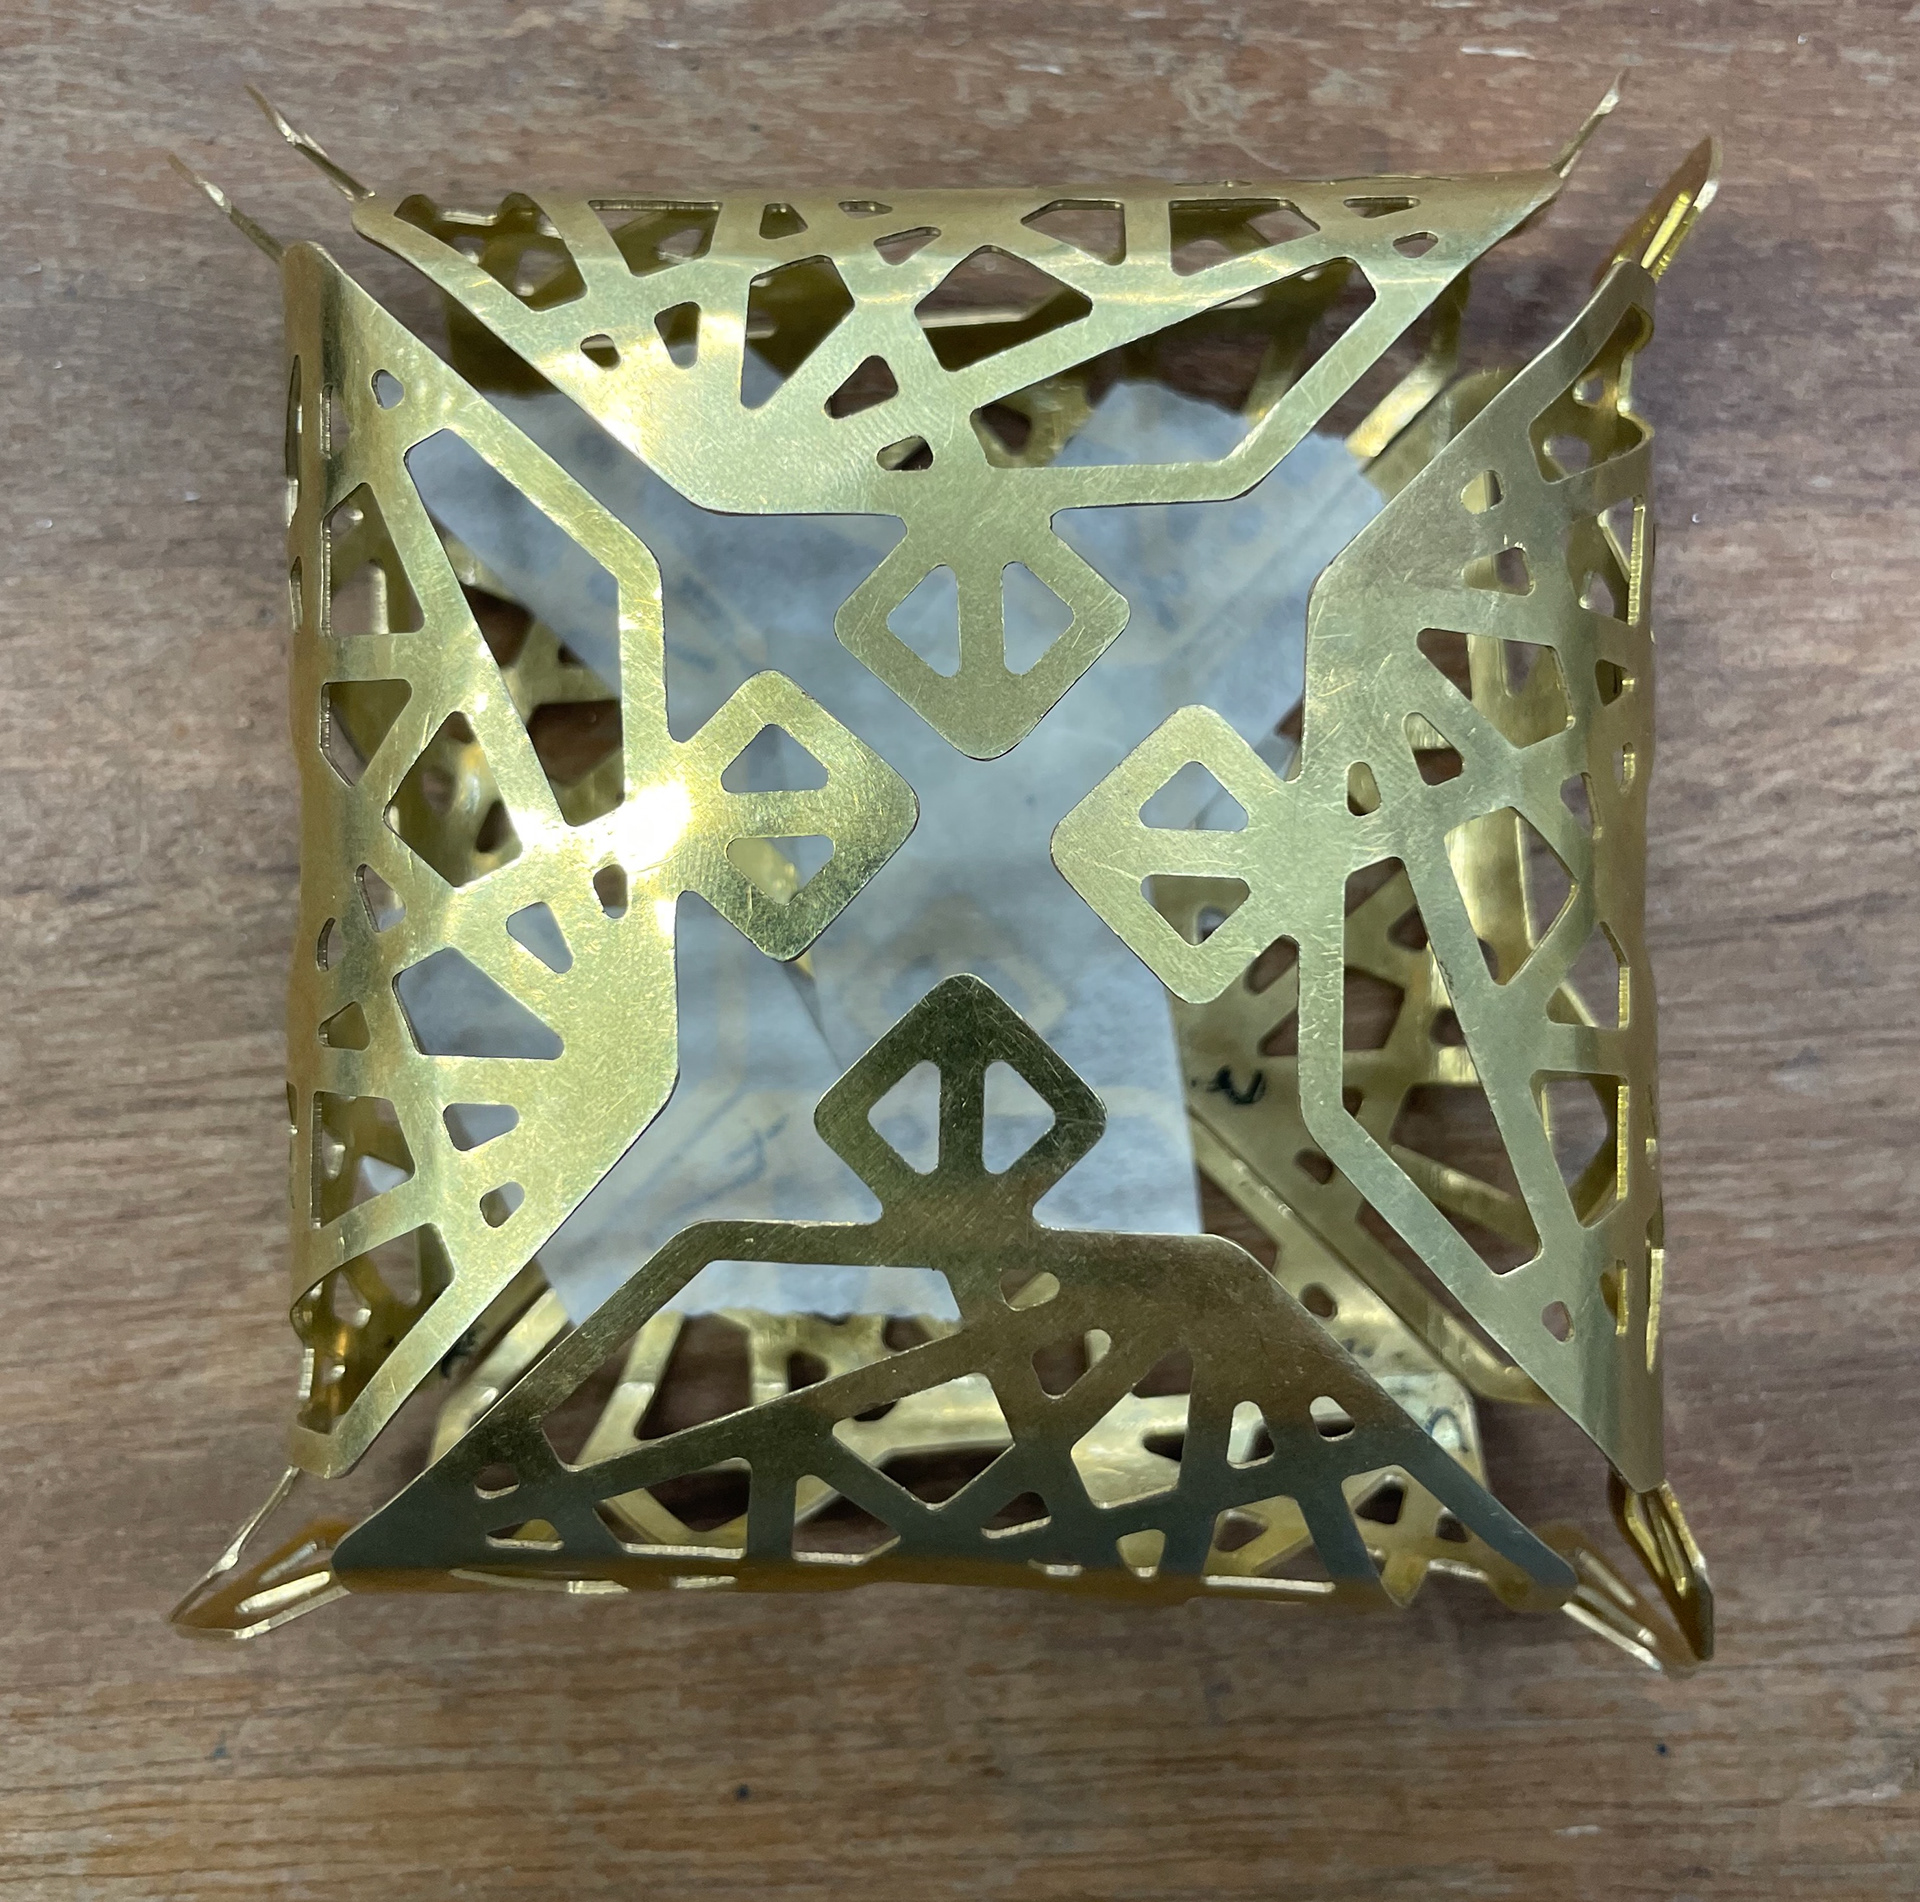
Not aligned
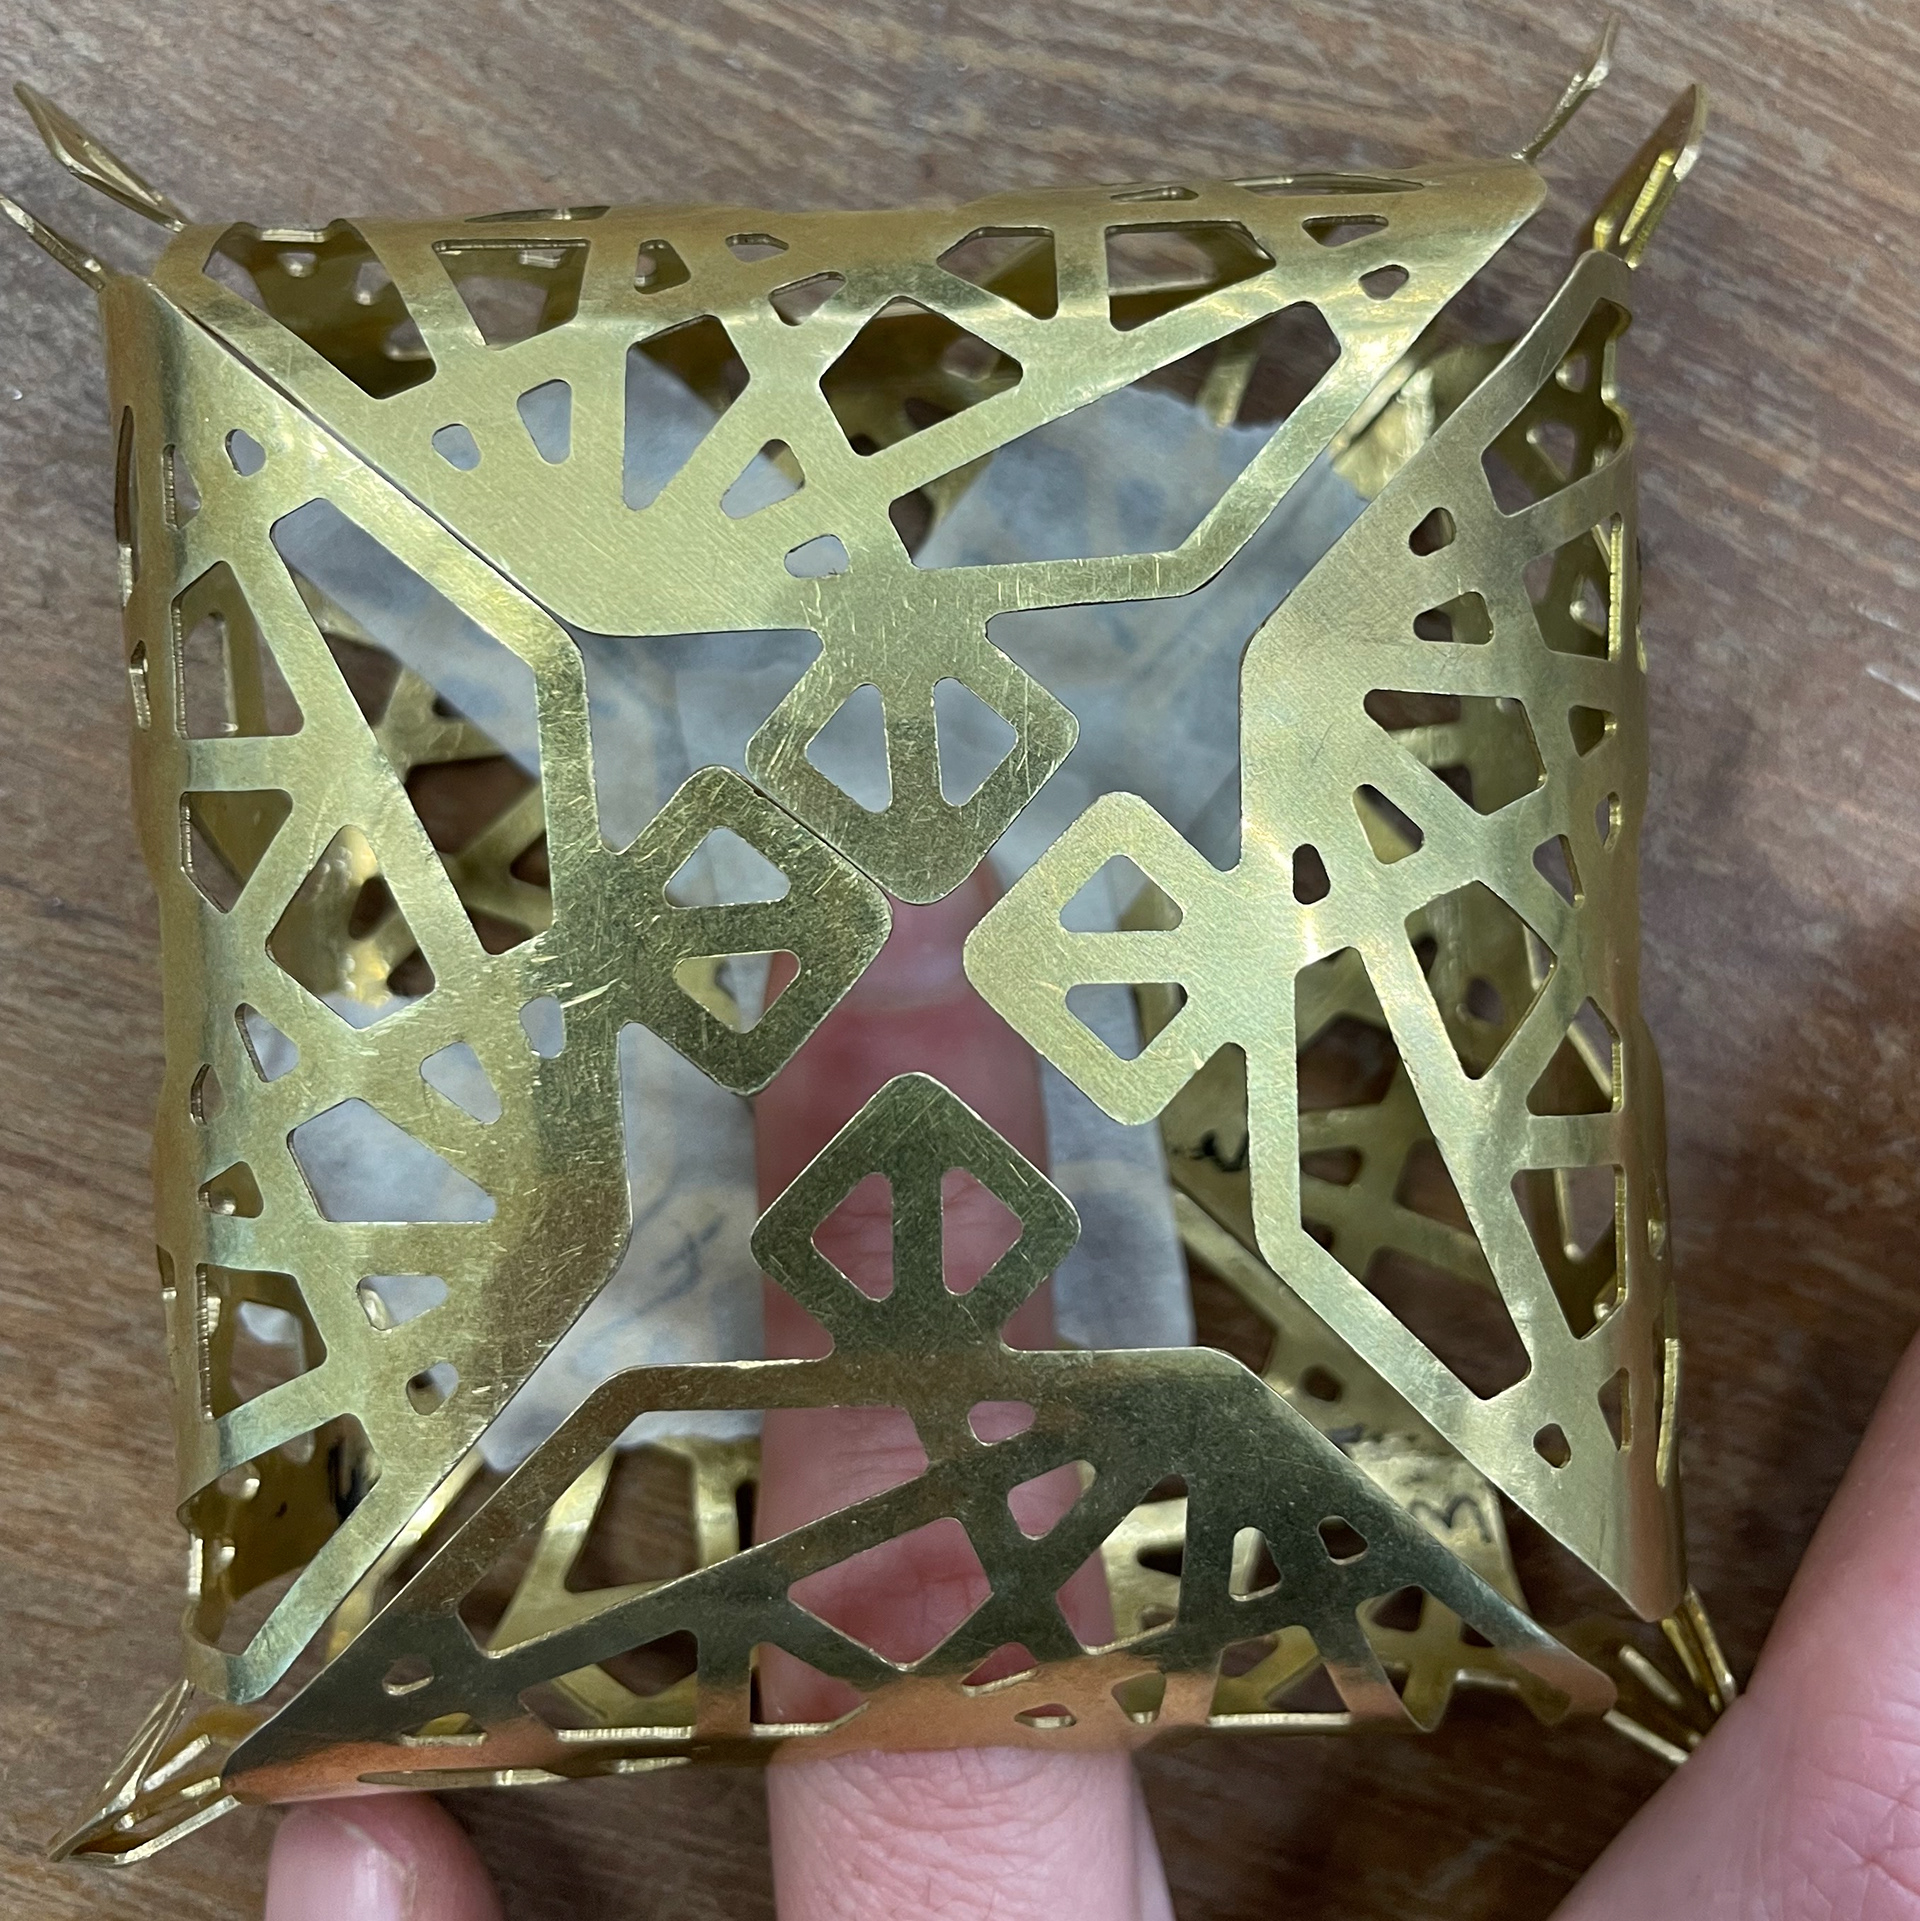
after tweeking
better aligned
bottom joints
after cutting keeping the pieces seperate
Using third hands to hold pieces in place
close up

soldered hinges
hinge open inside view
hinge open side view
Once I had shaped the metal I then used a scribe to mark where I wanted to cut for the hinge and used a piercing saw to cut them. I labelled each two pieces so I knew which two pieces matched. This was tricky to cut straight because I already had the curve formed into the metal. After this, I soldered the hinges onto the metal using a third hand to hold them in place. This was tricky with the angles but I managed to do it successfully.
Using tape to secure in place

checking the alignment
Better aligned
broken hinge
clean joint ready to solder again
holding in place
soldered
soldering the bottom joints
Once I had added the hinges the alignment of the box altered in some areas. Because of this, I had to tweak the shape of the box with care to make it align again. During re-aligning the box I damaged one of the hinges and had to clean it up and re-solder a new hinge on. Once they were all aligned I then began to solder each piece together along the bottom joints and the tabs at the corners.
First bottom joint soldered
All bottom joints soldered
Re-aligning
Open box without the tabs being soldered
Soldering the corner tabs
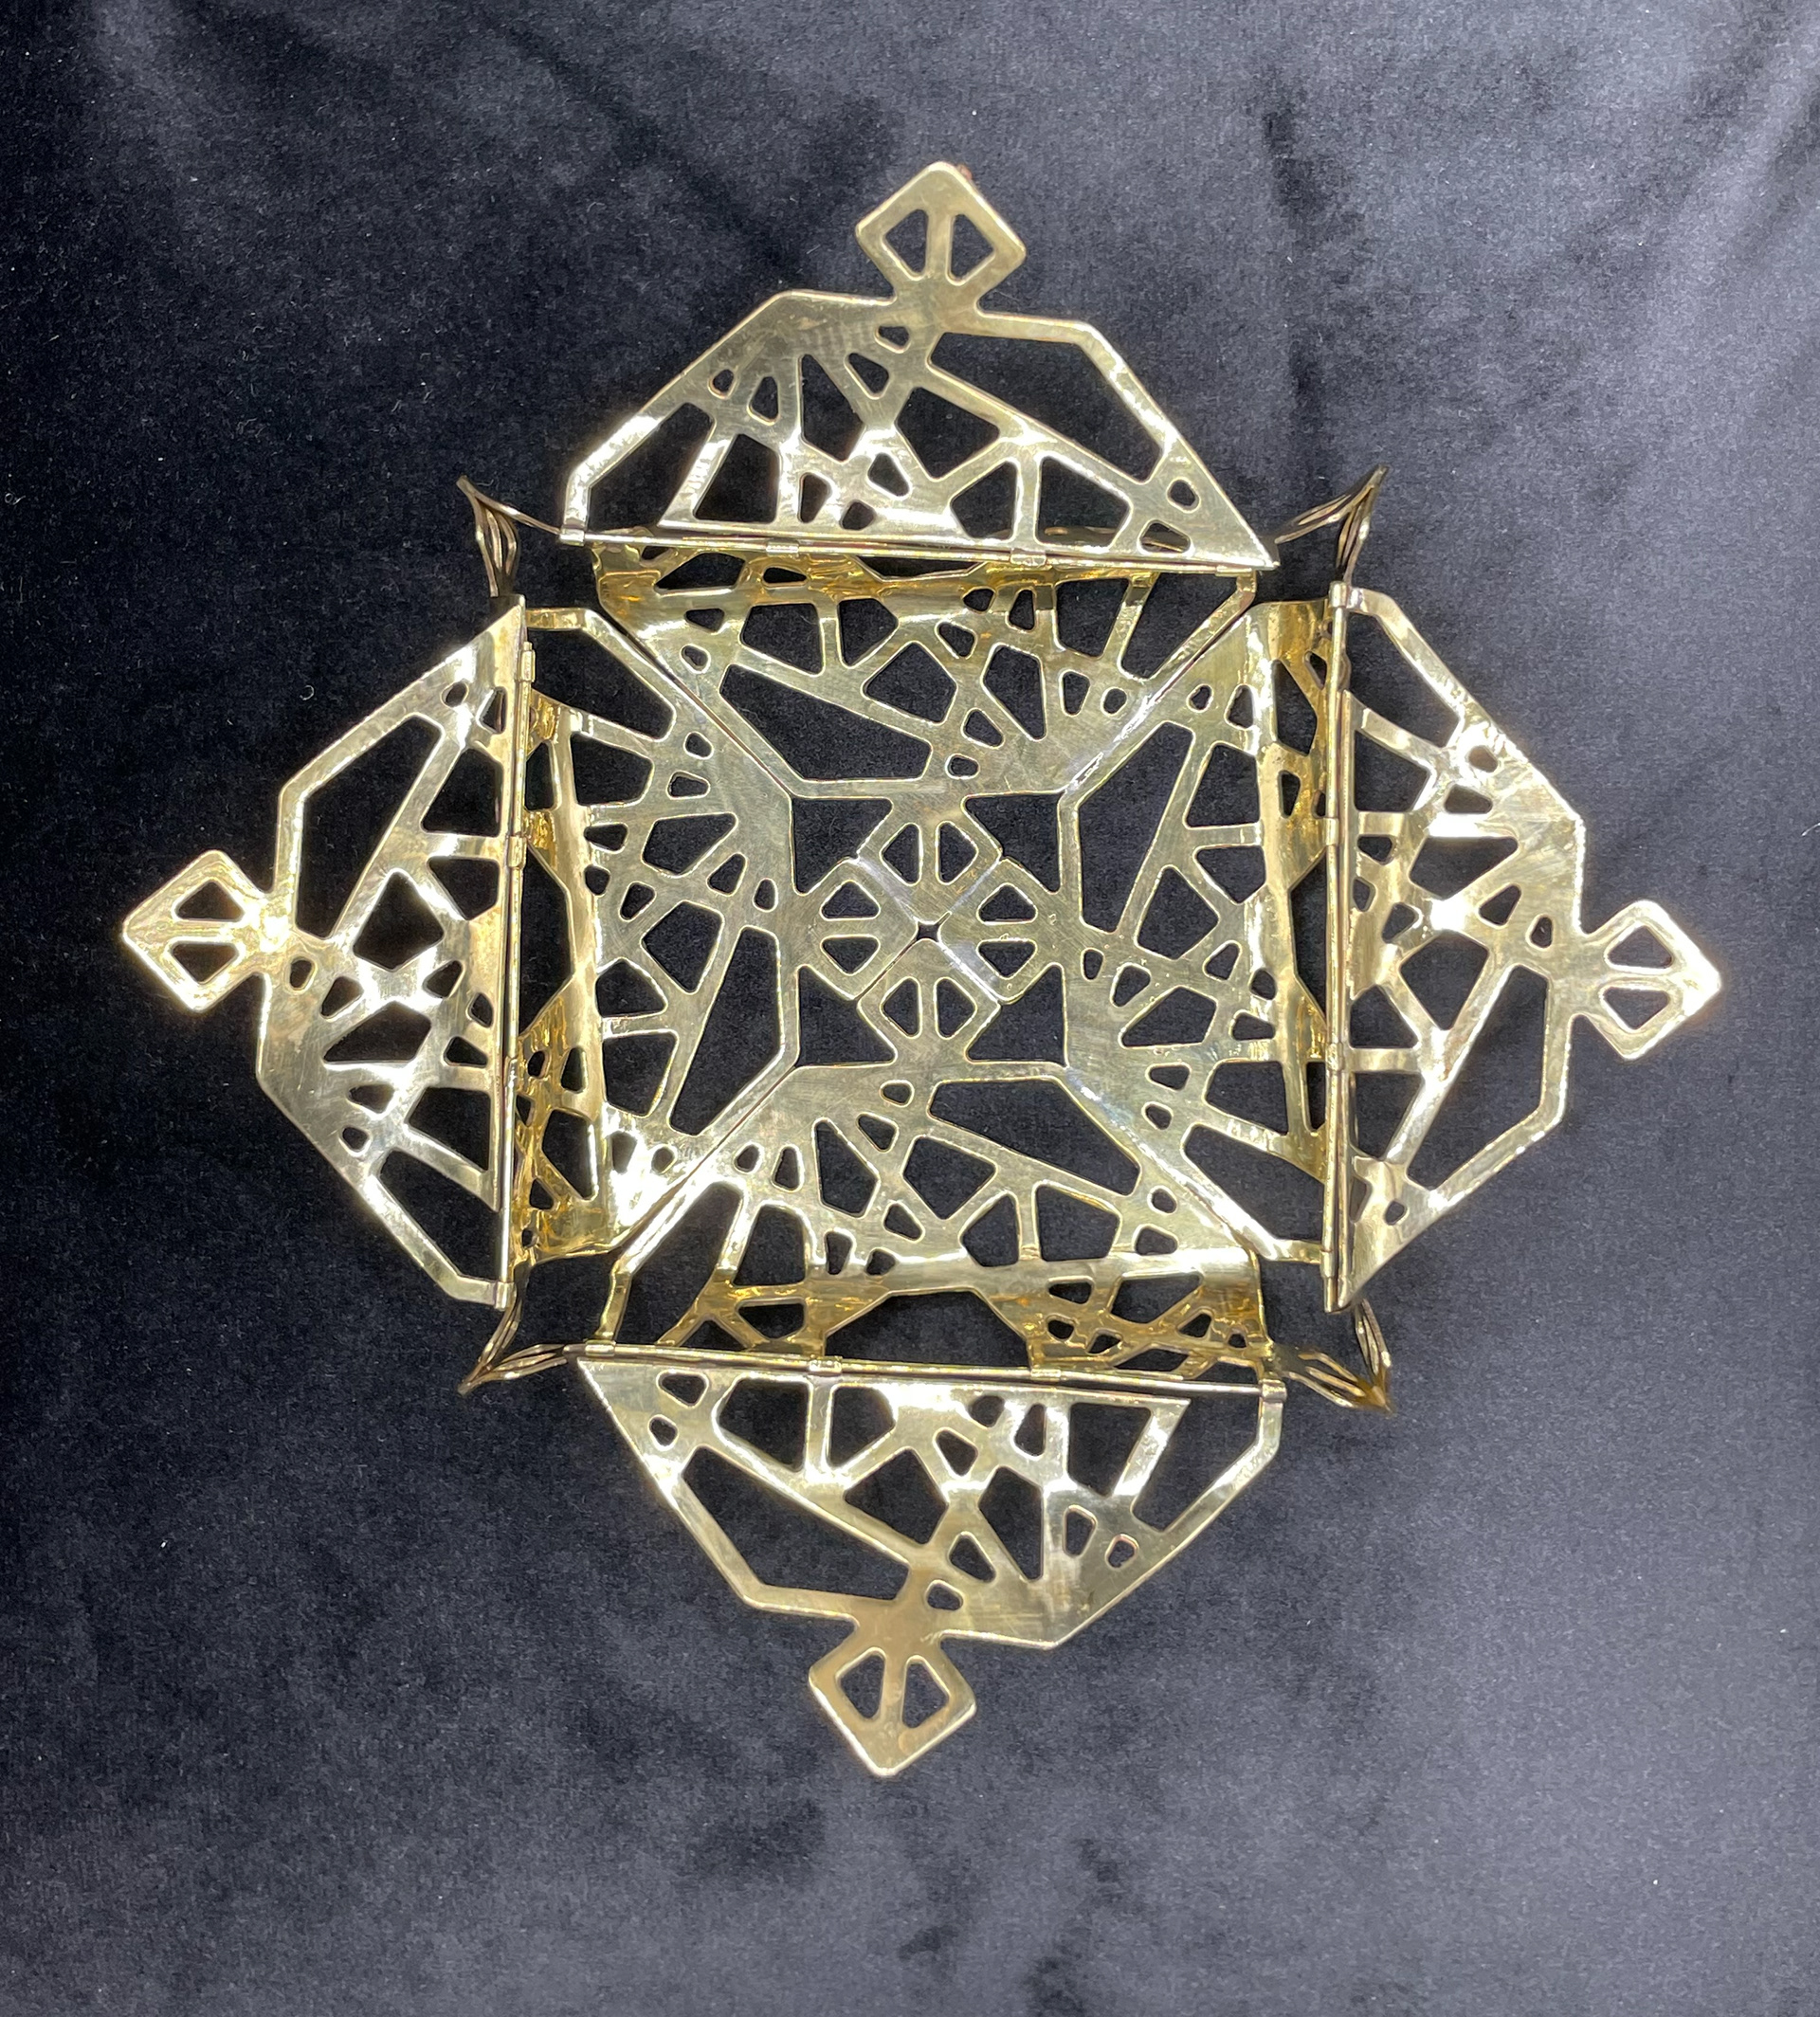
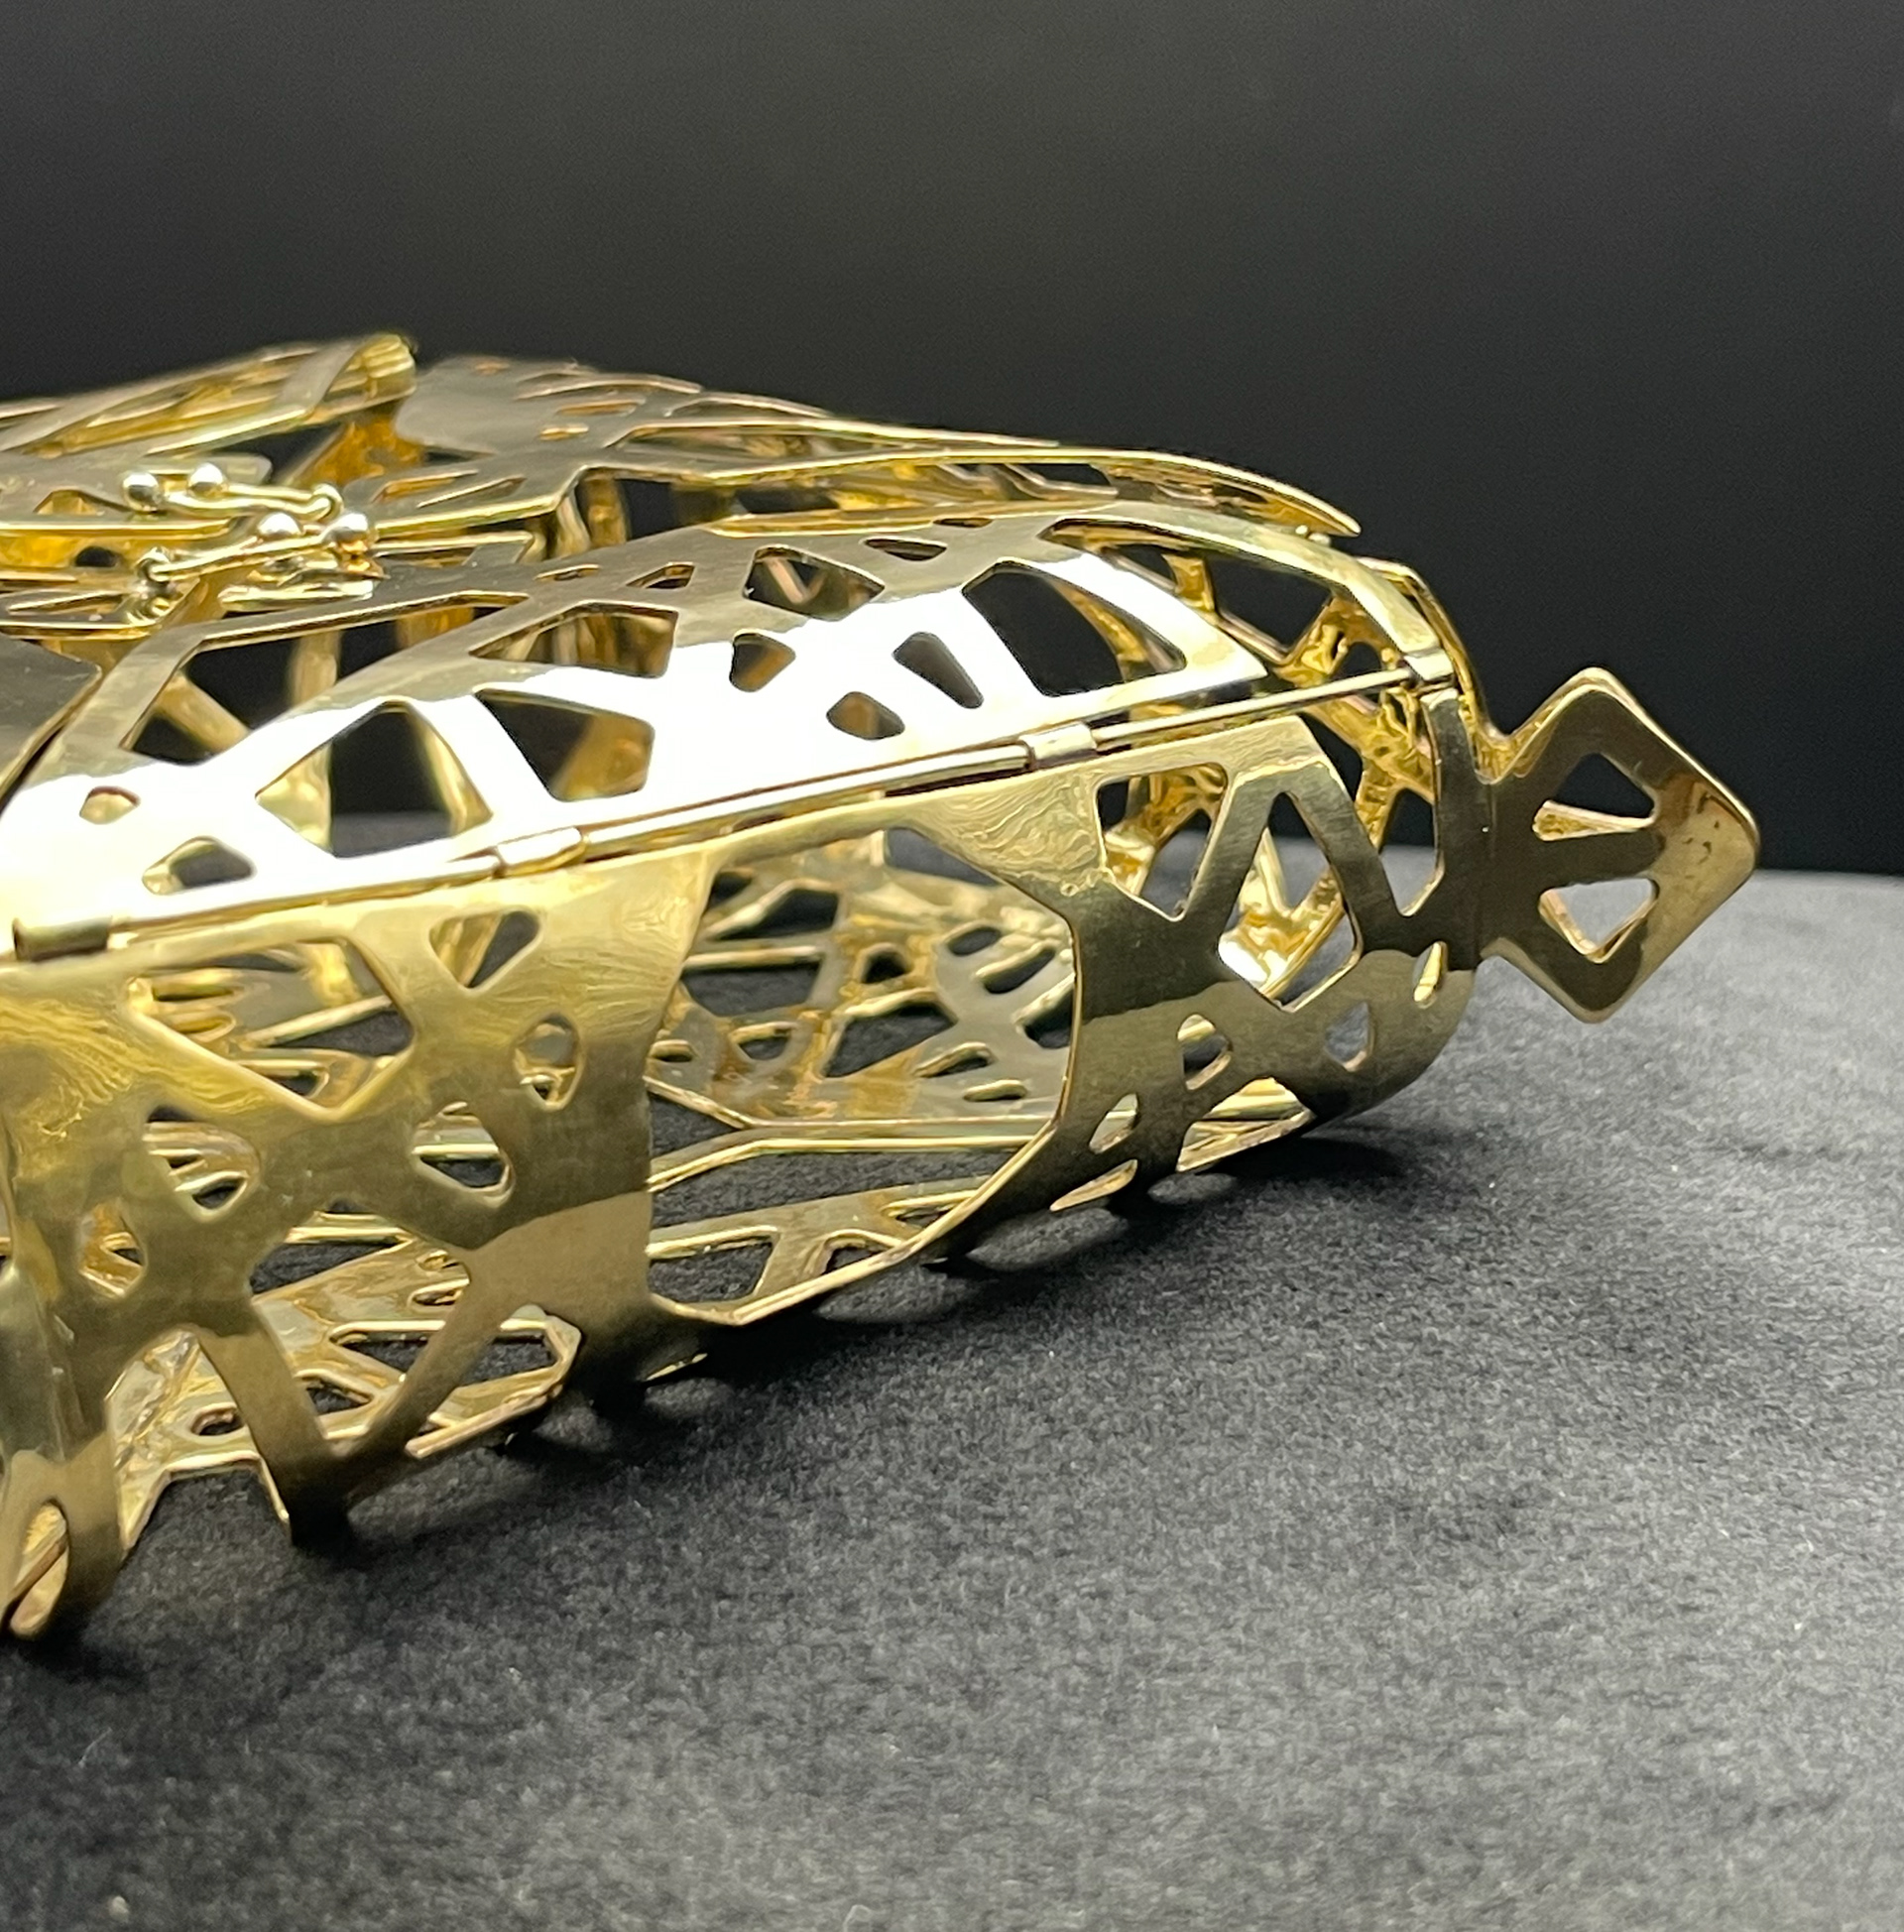
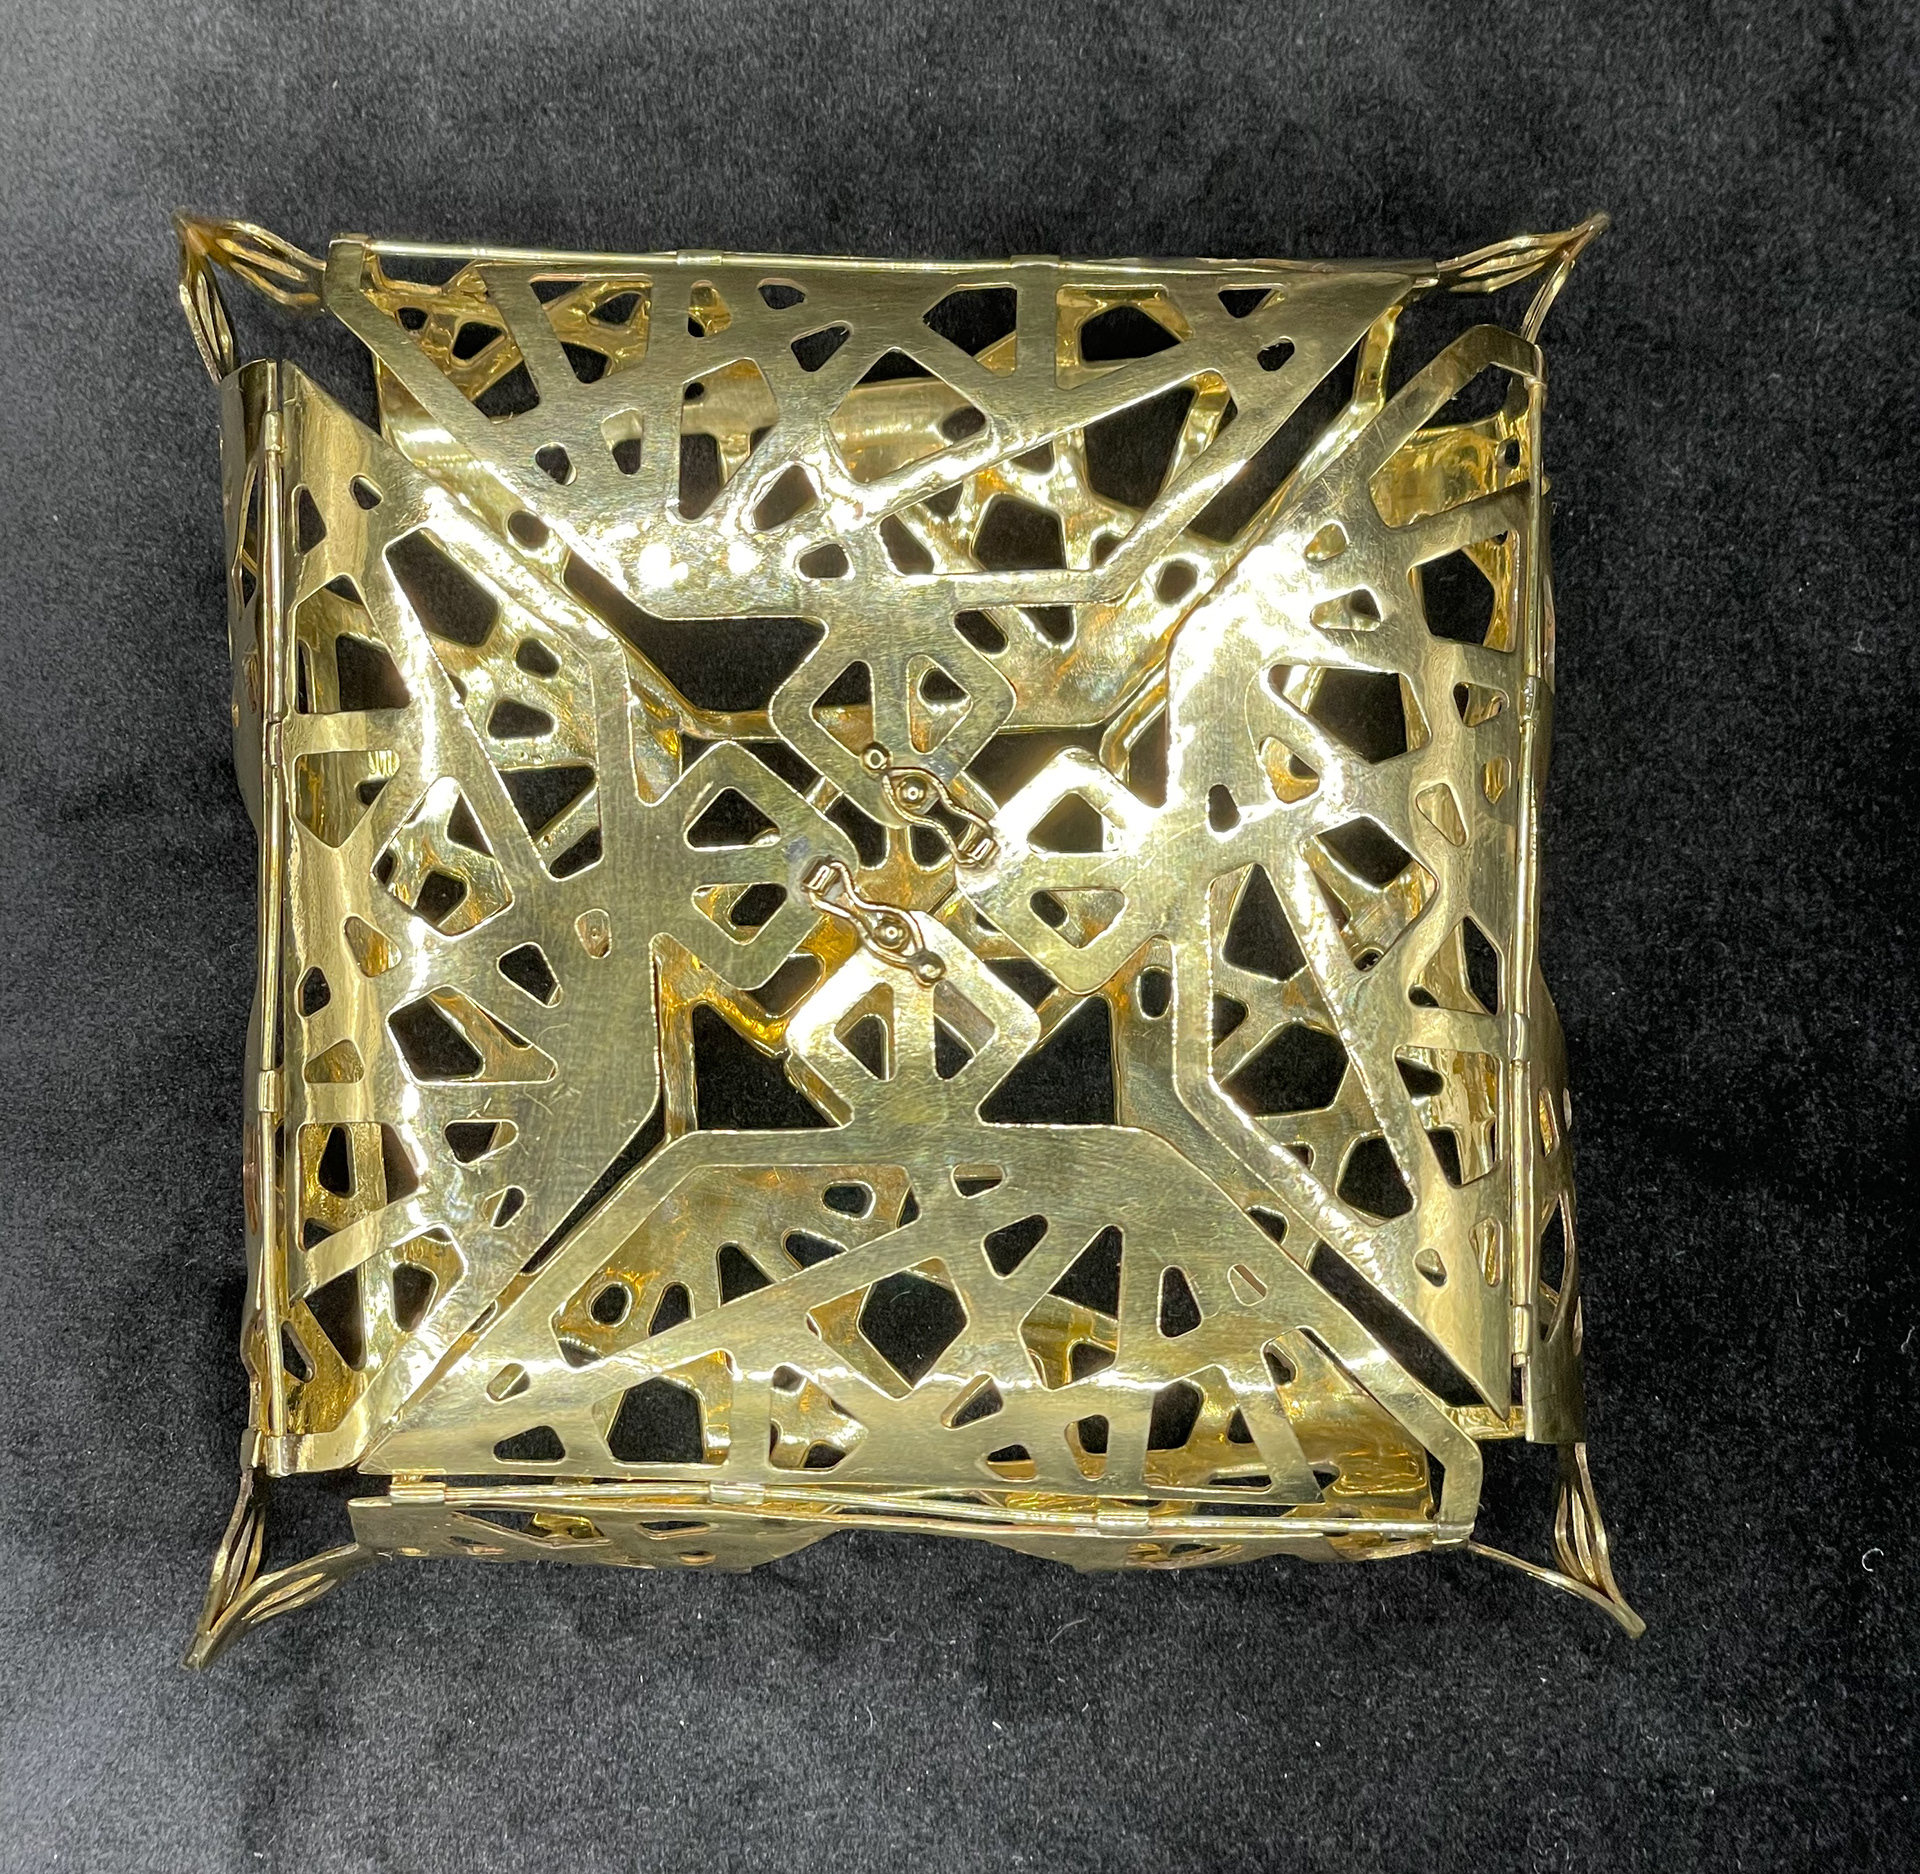
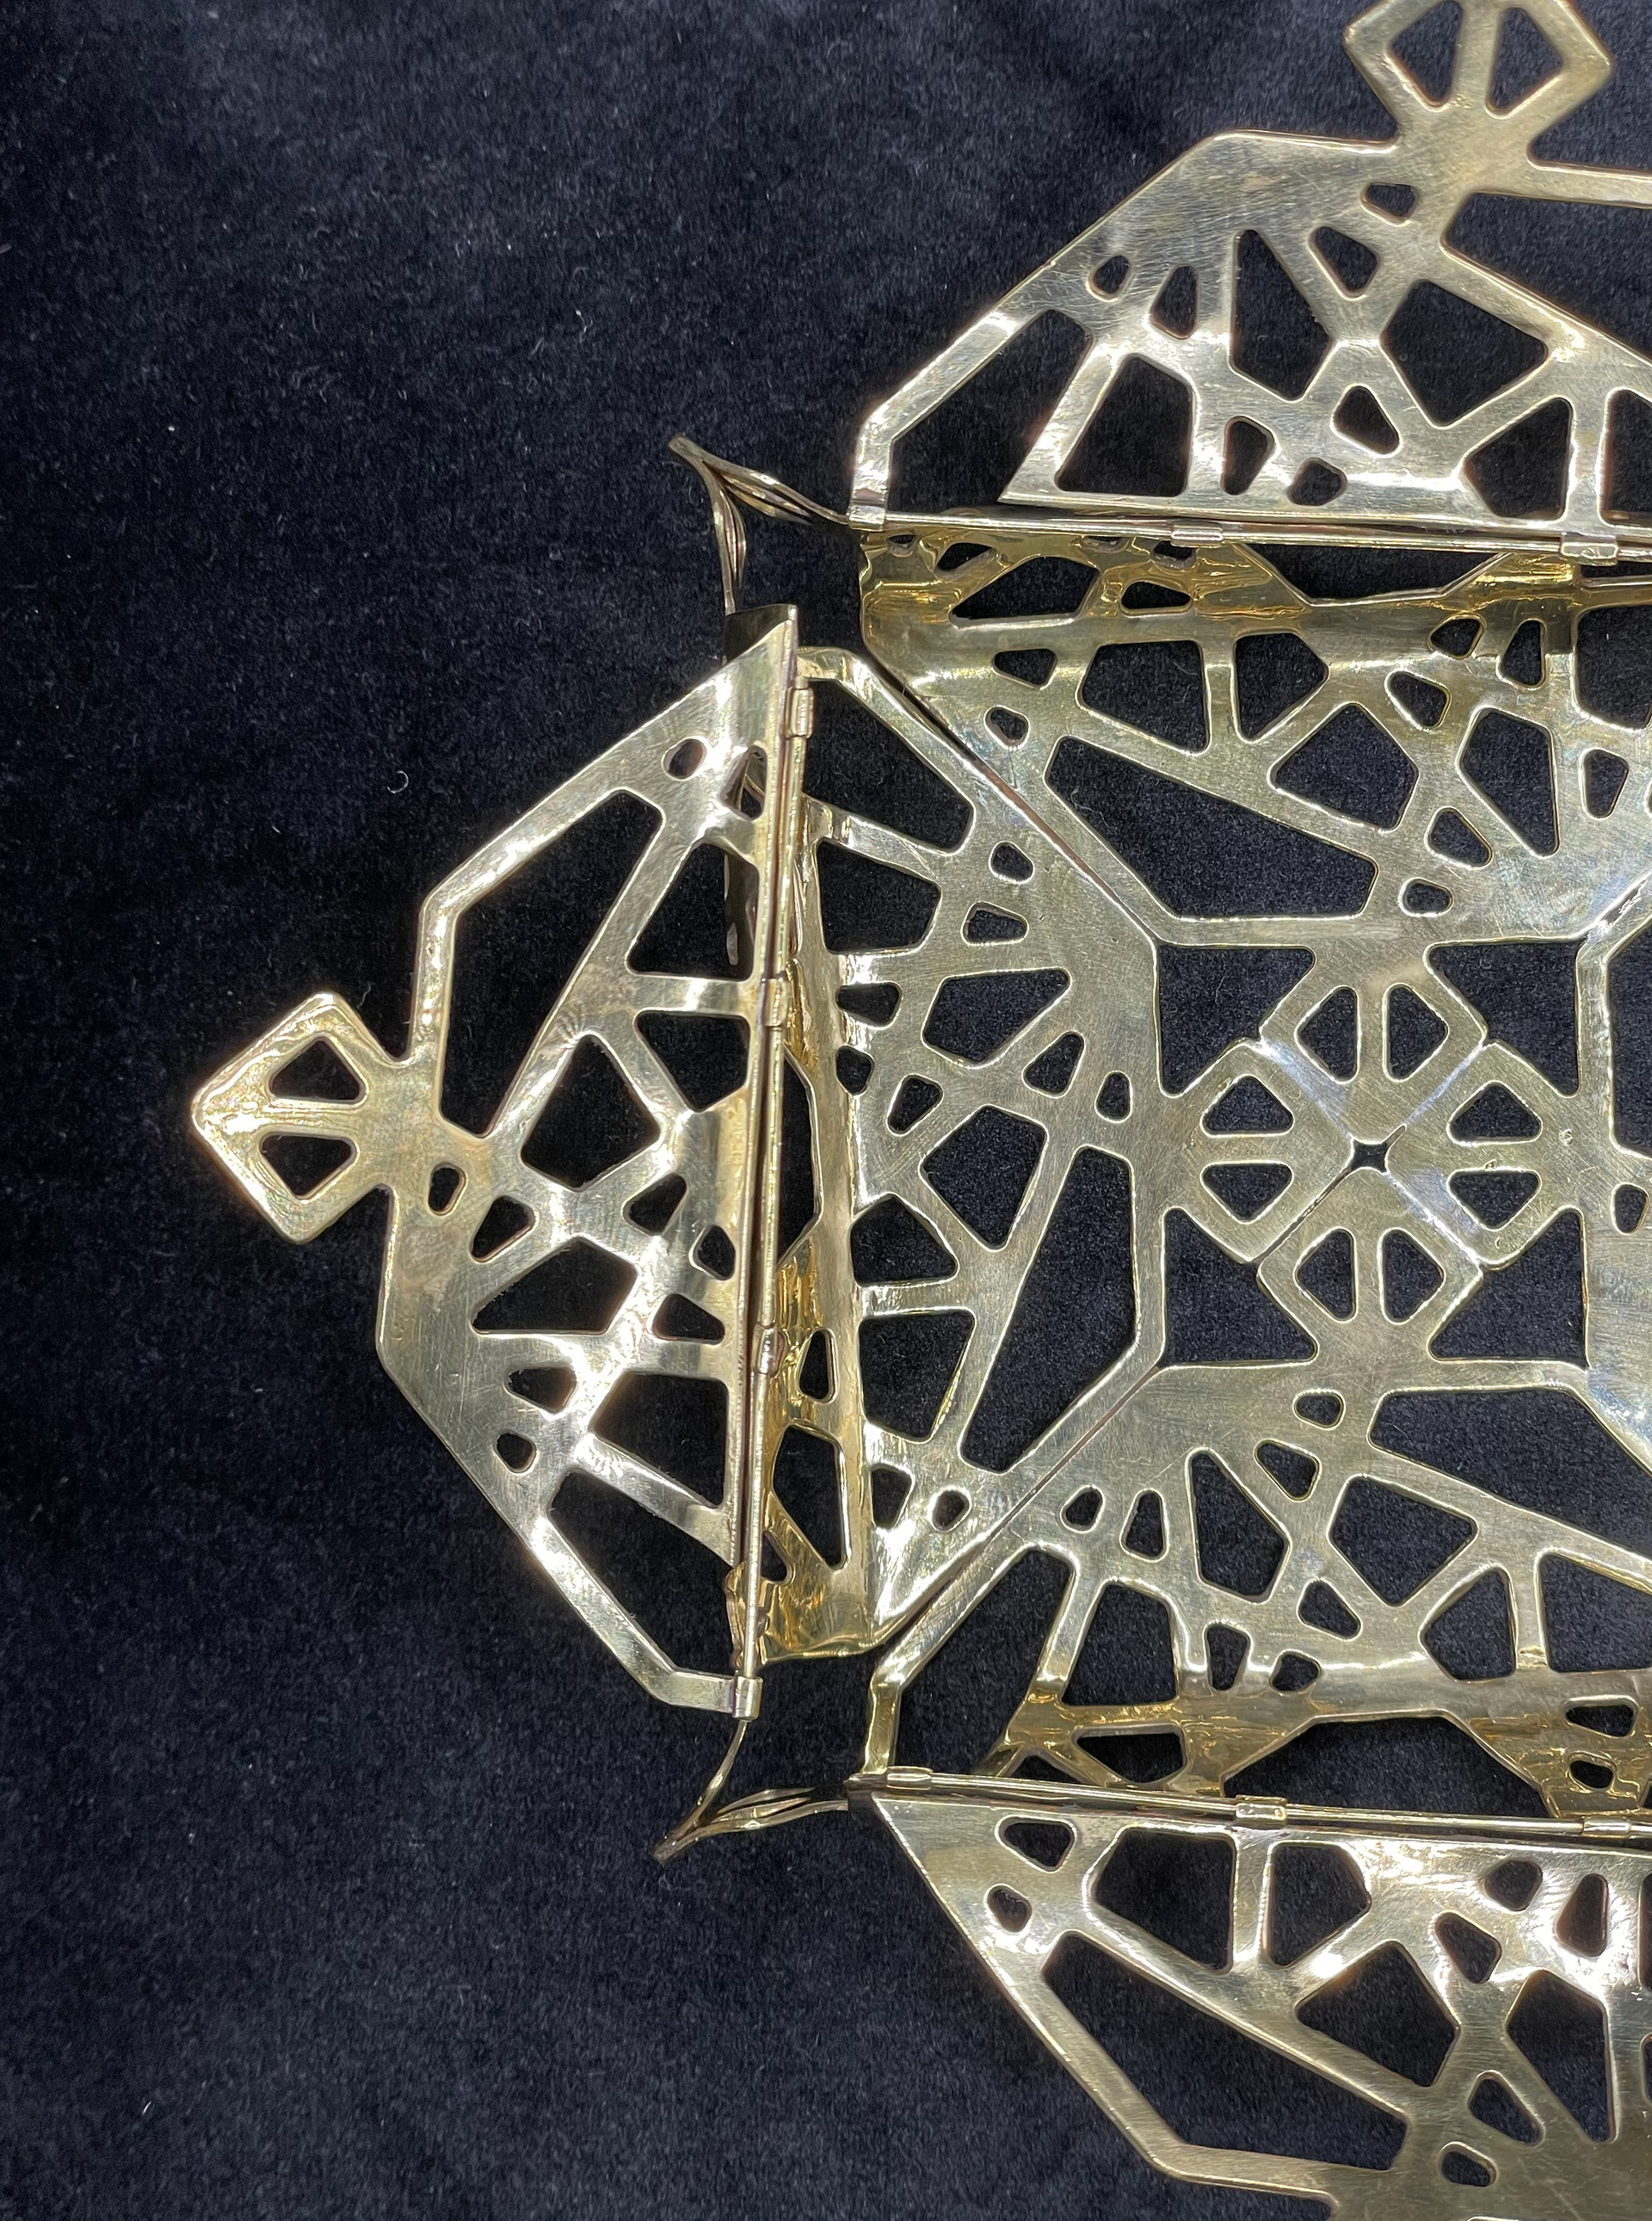
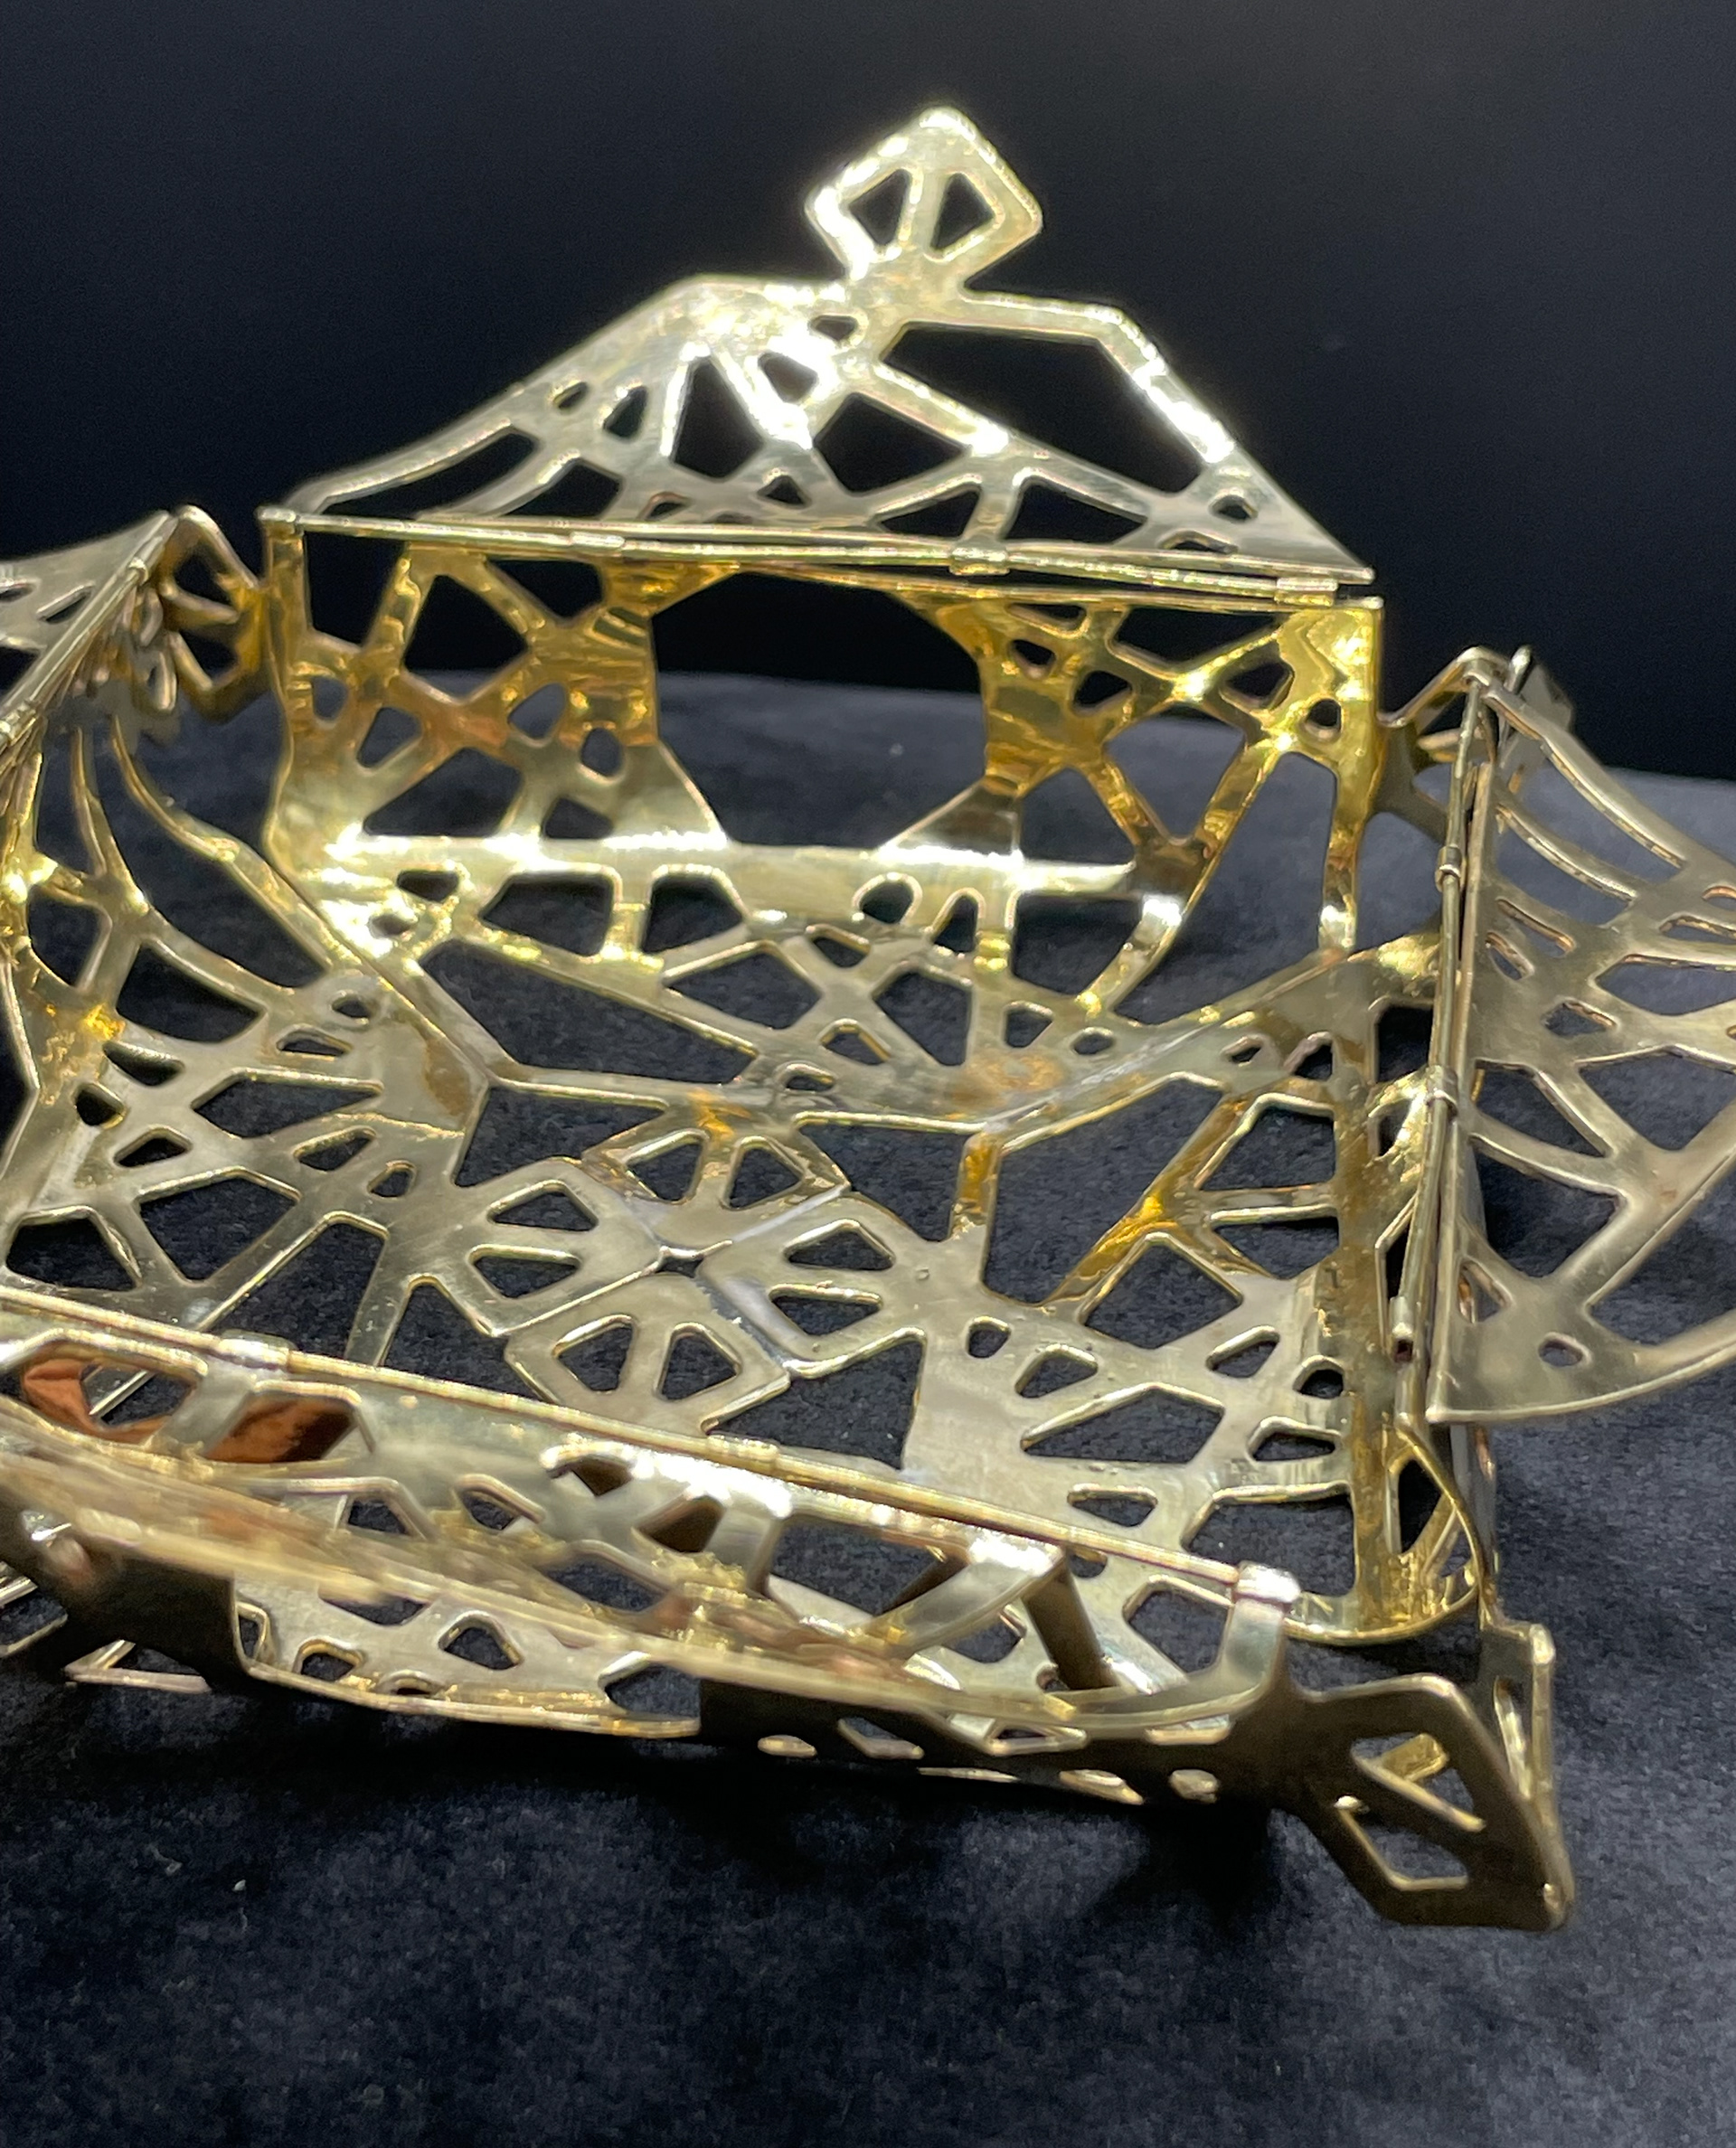
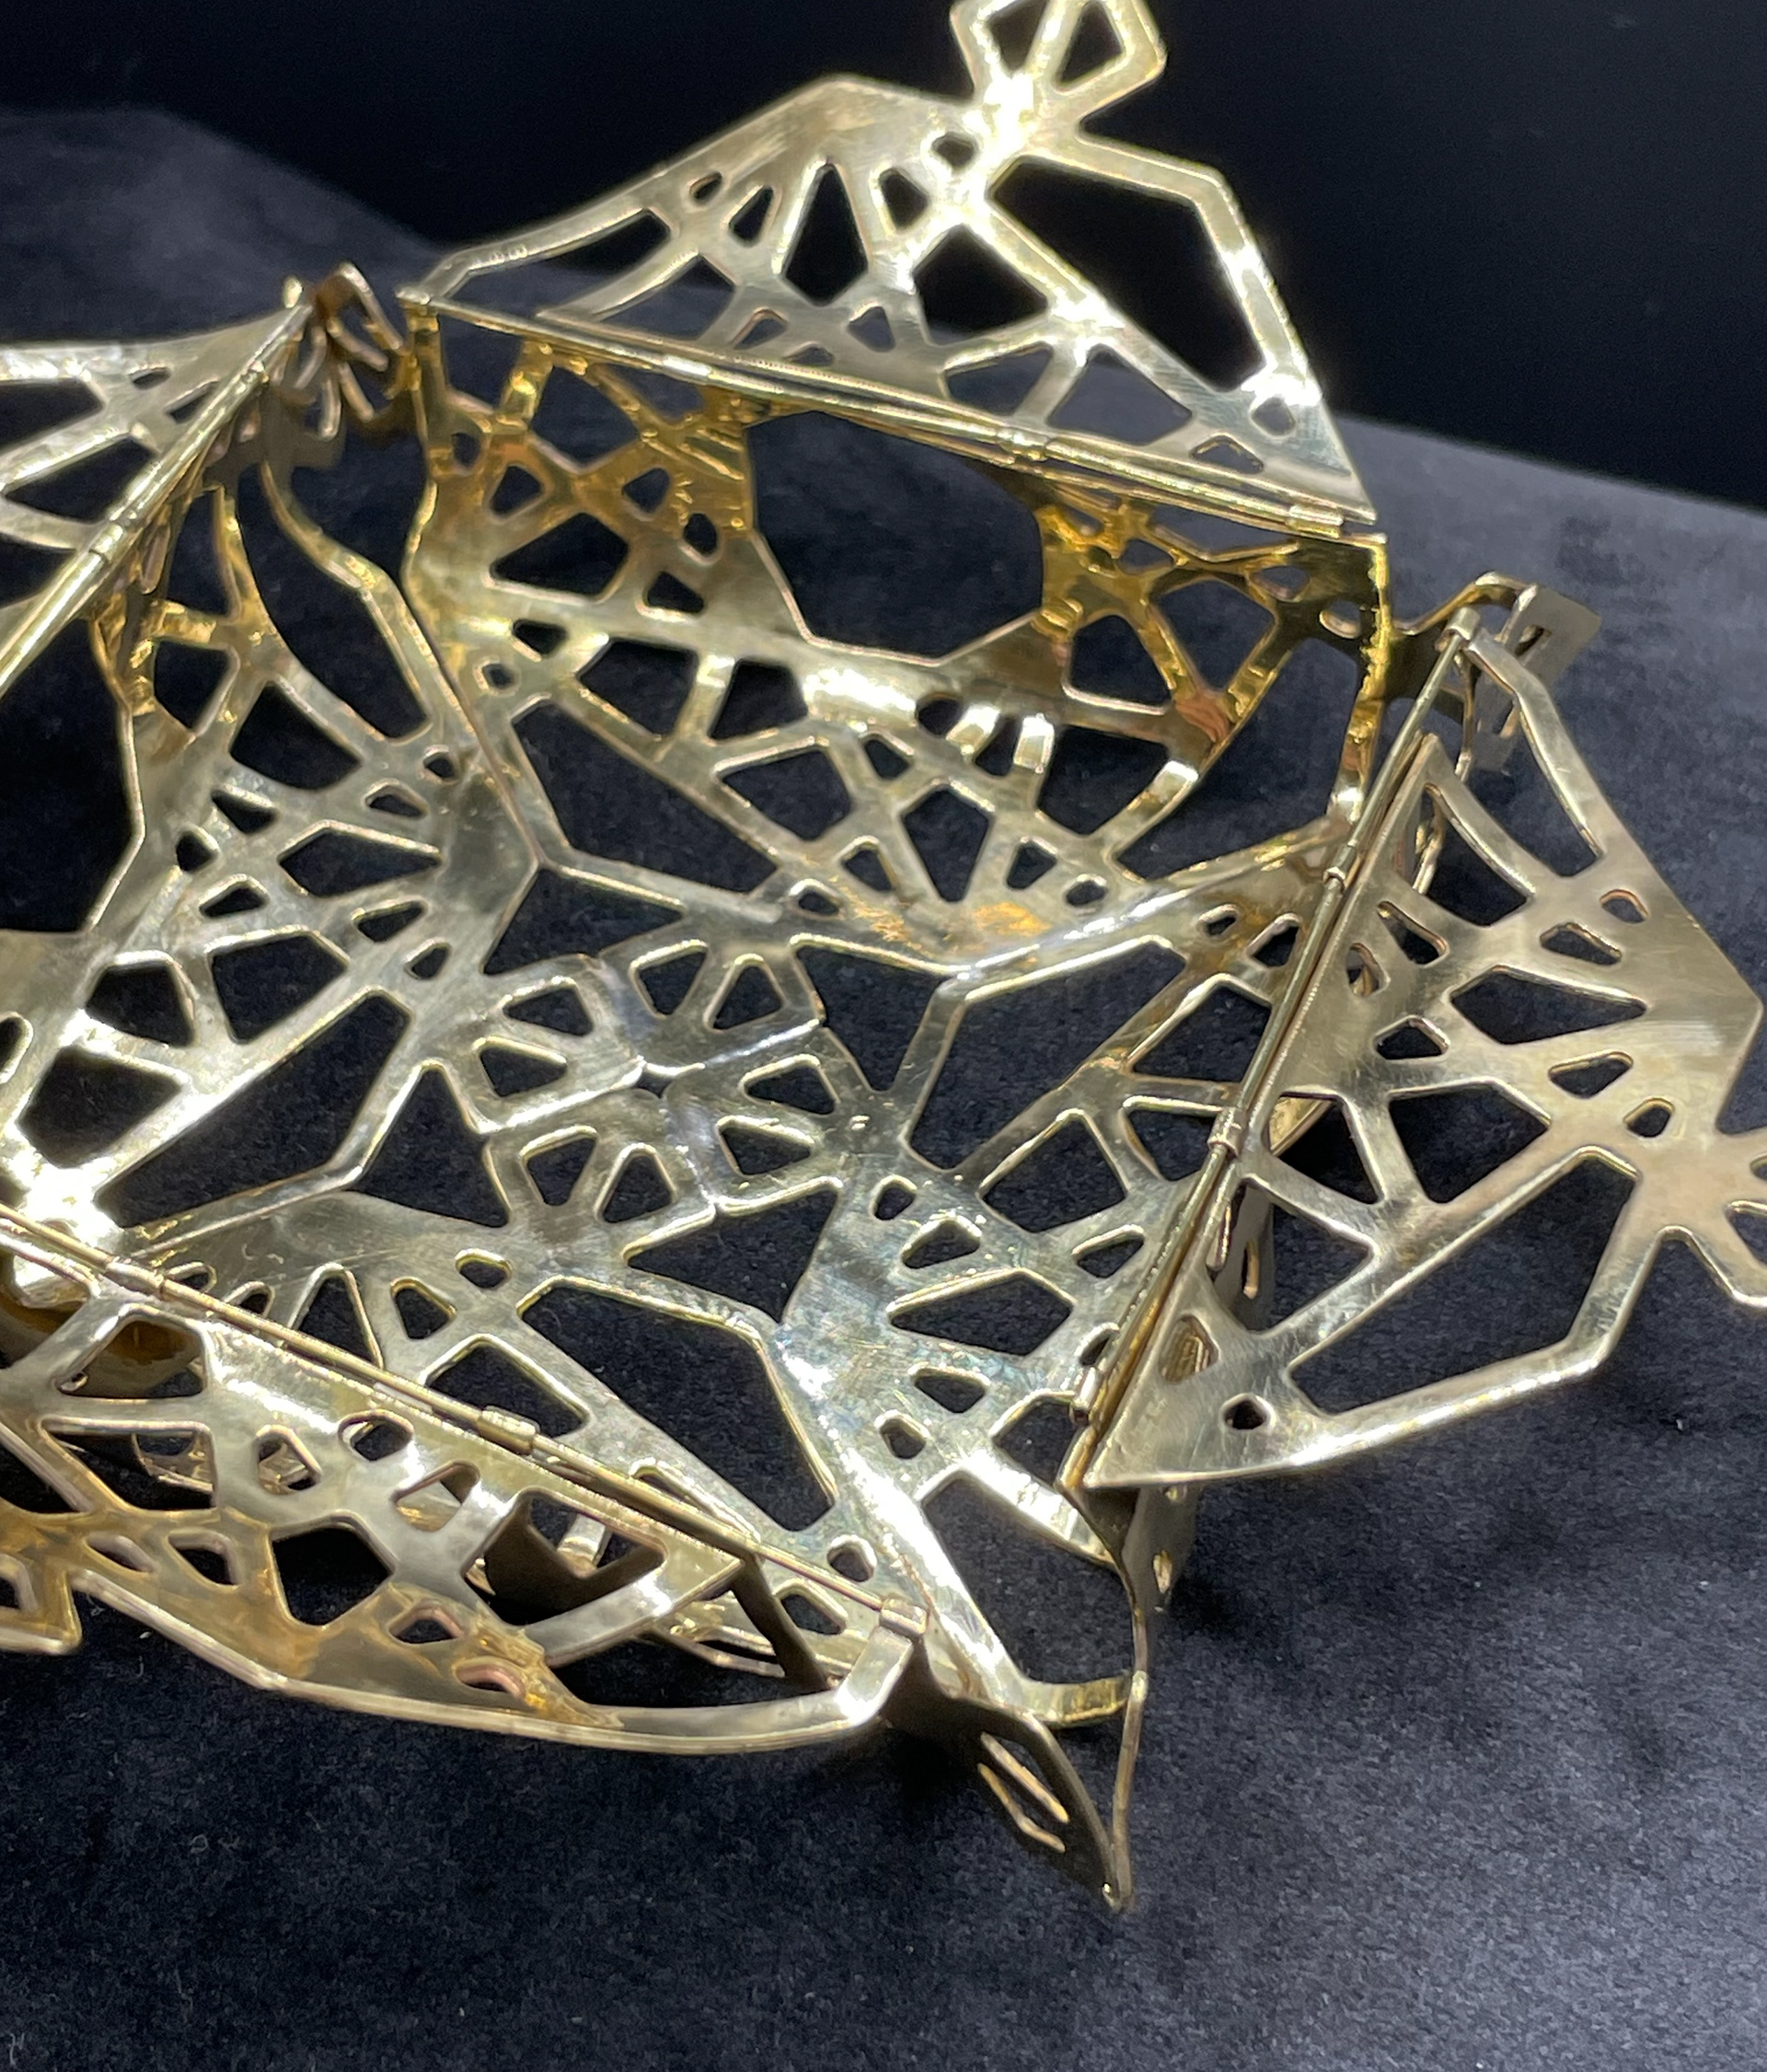
open box

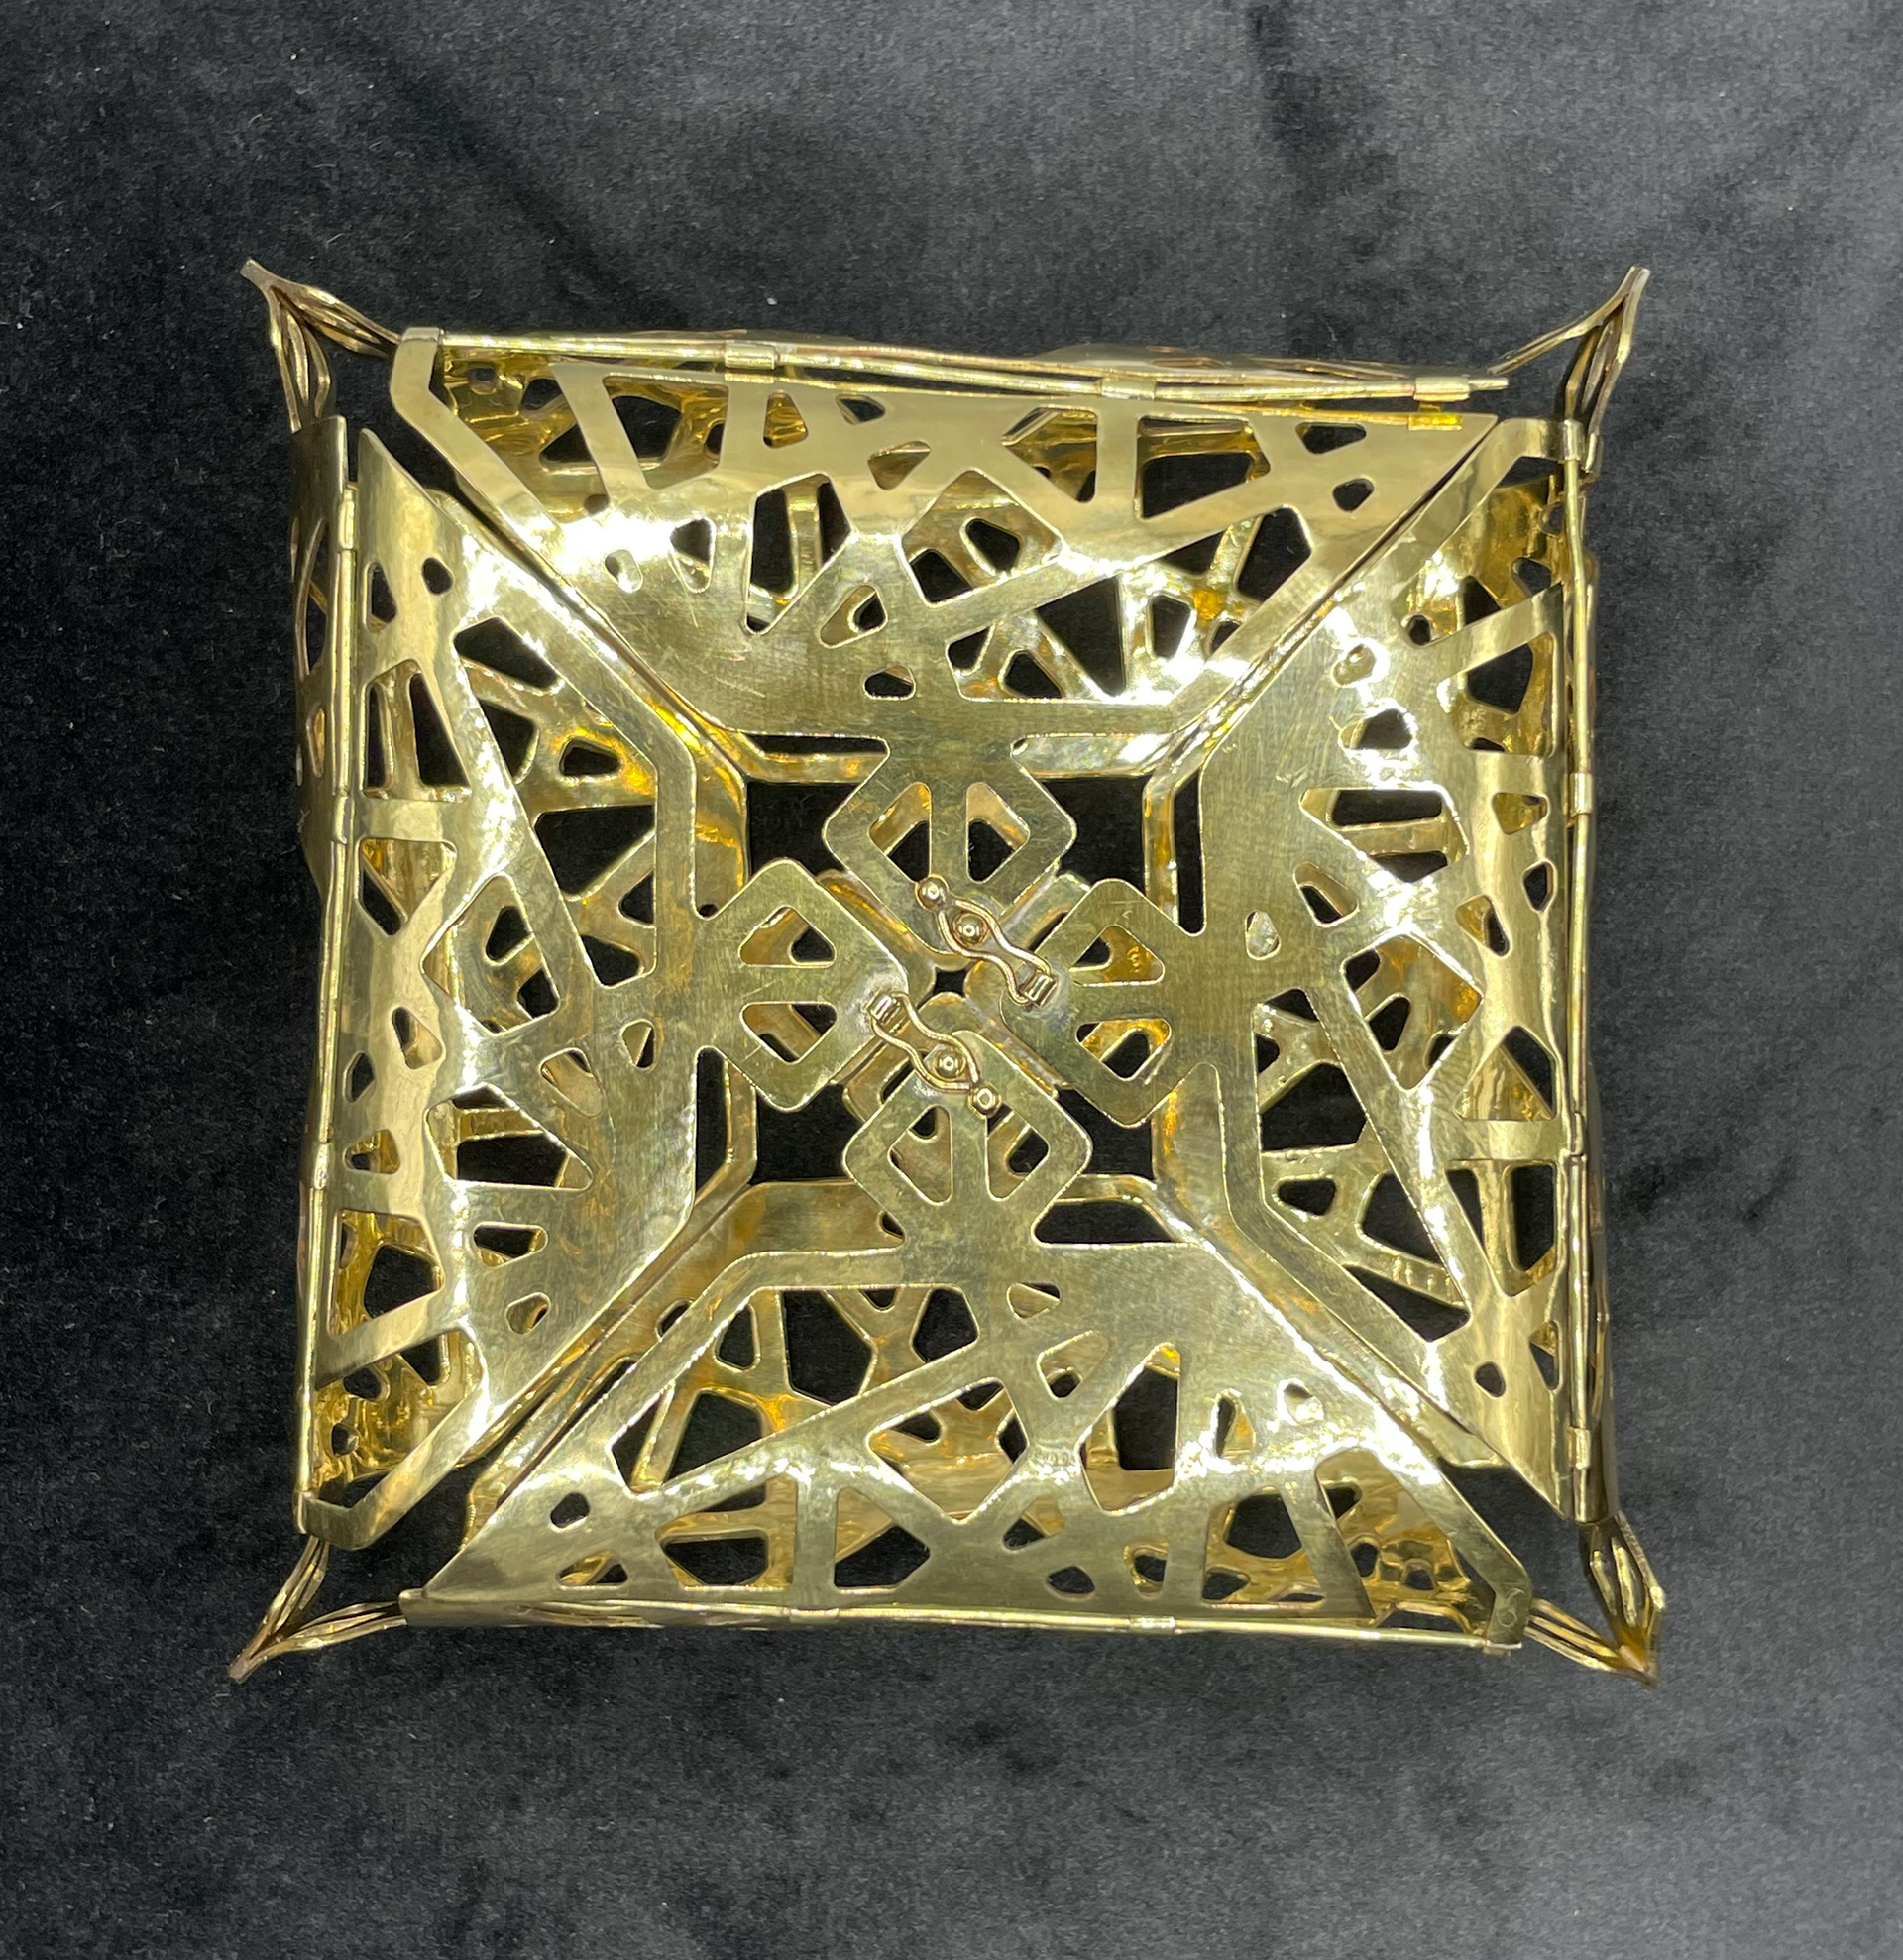
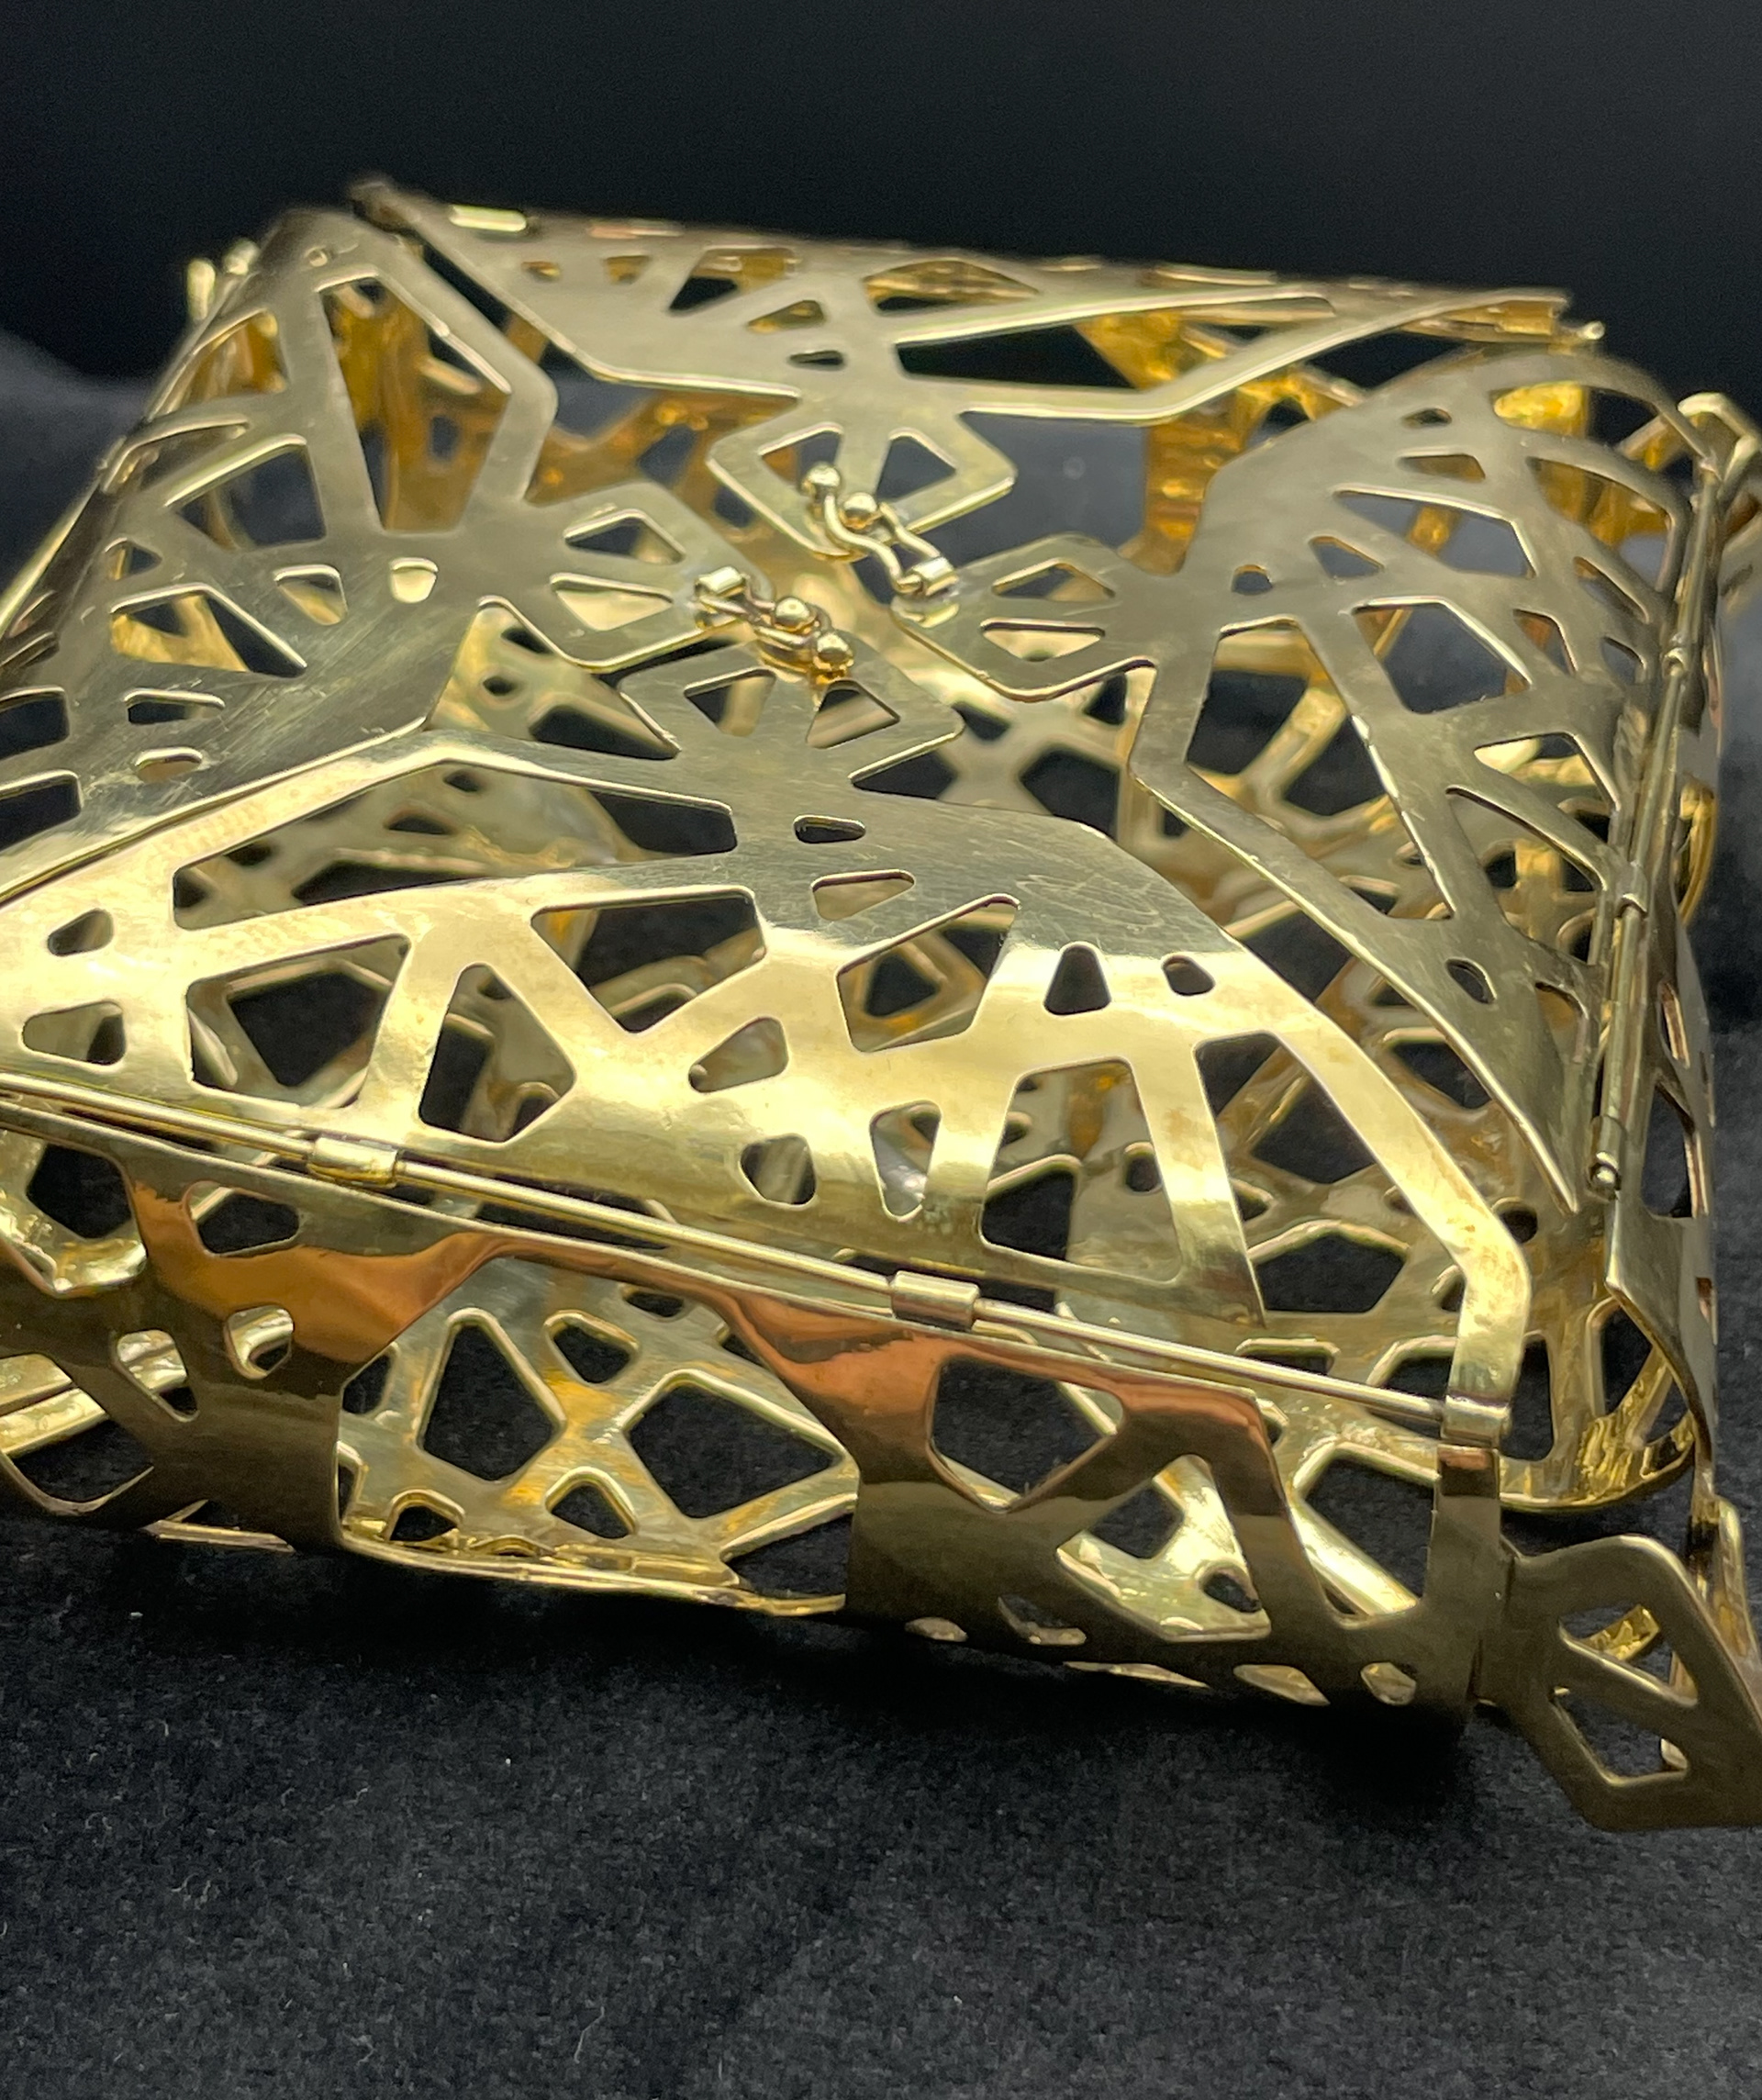
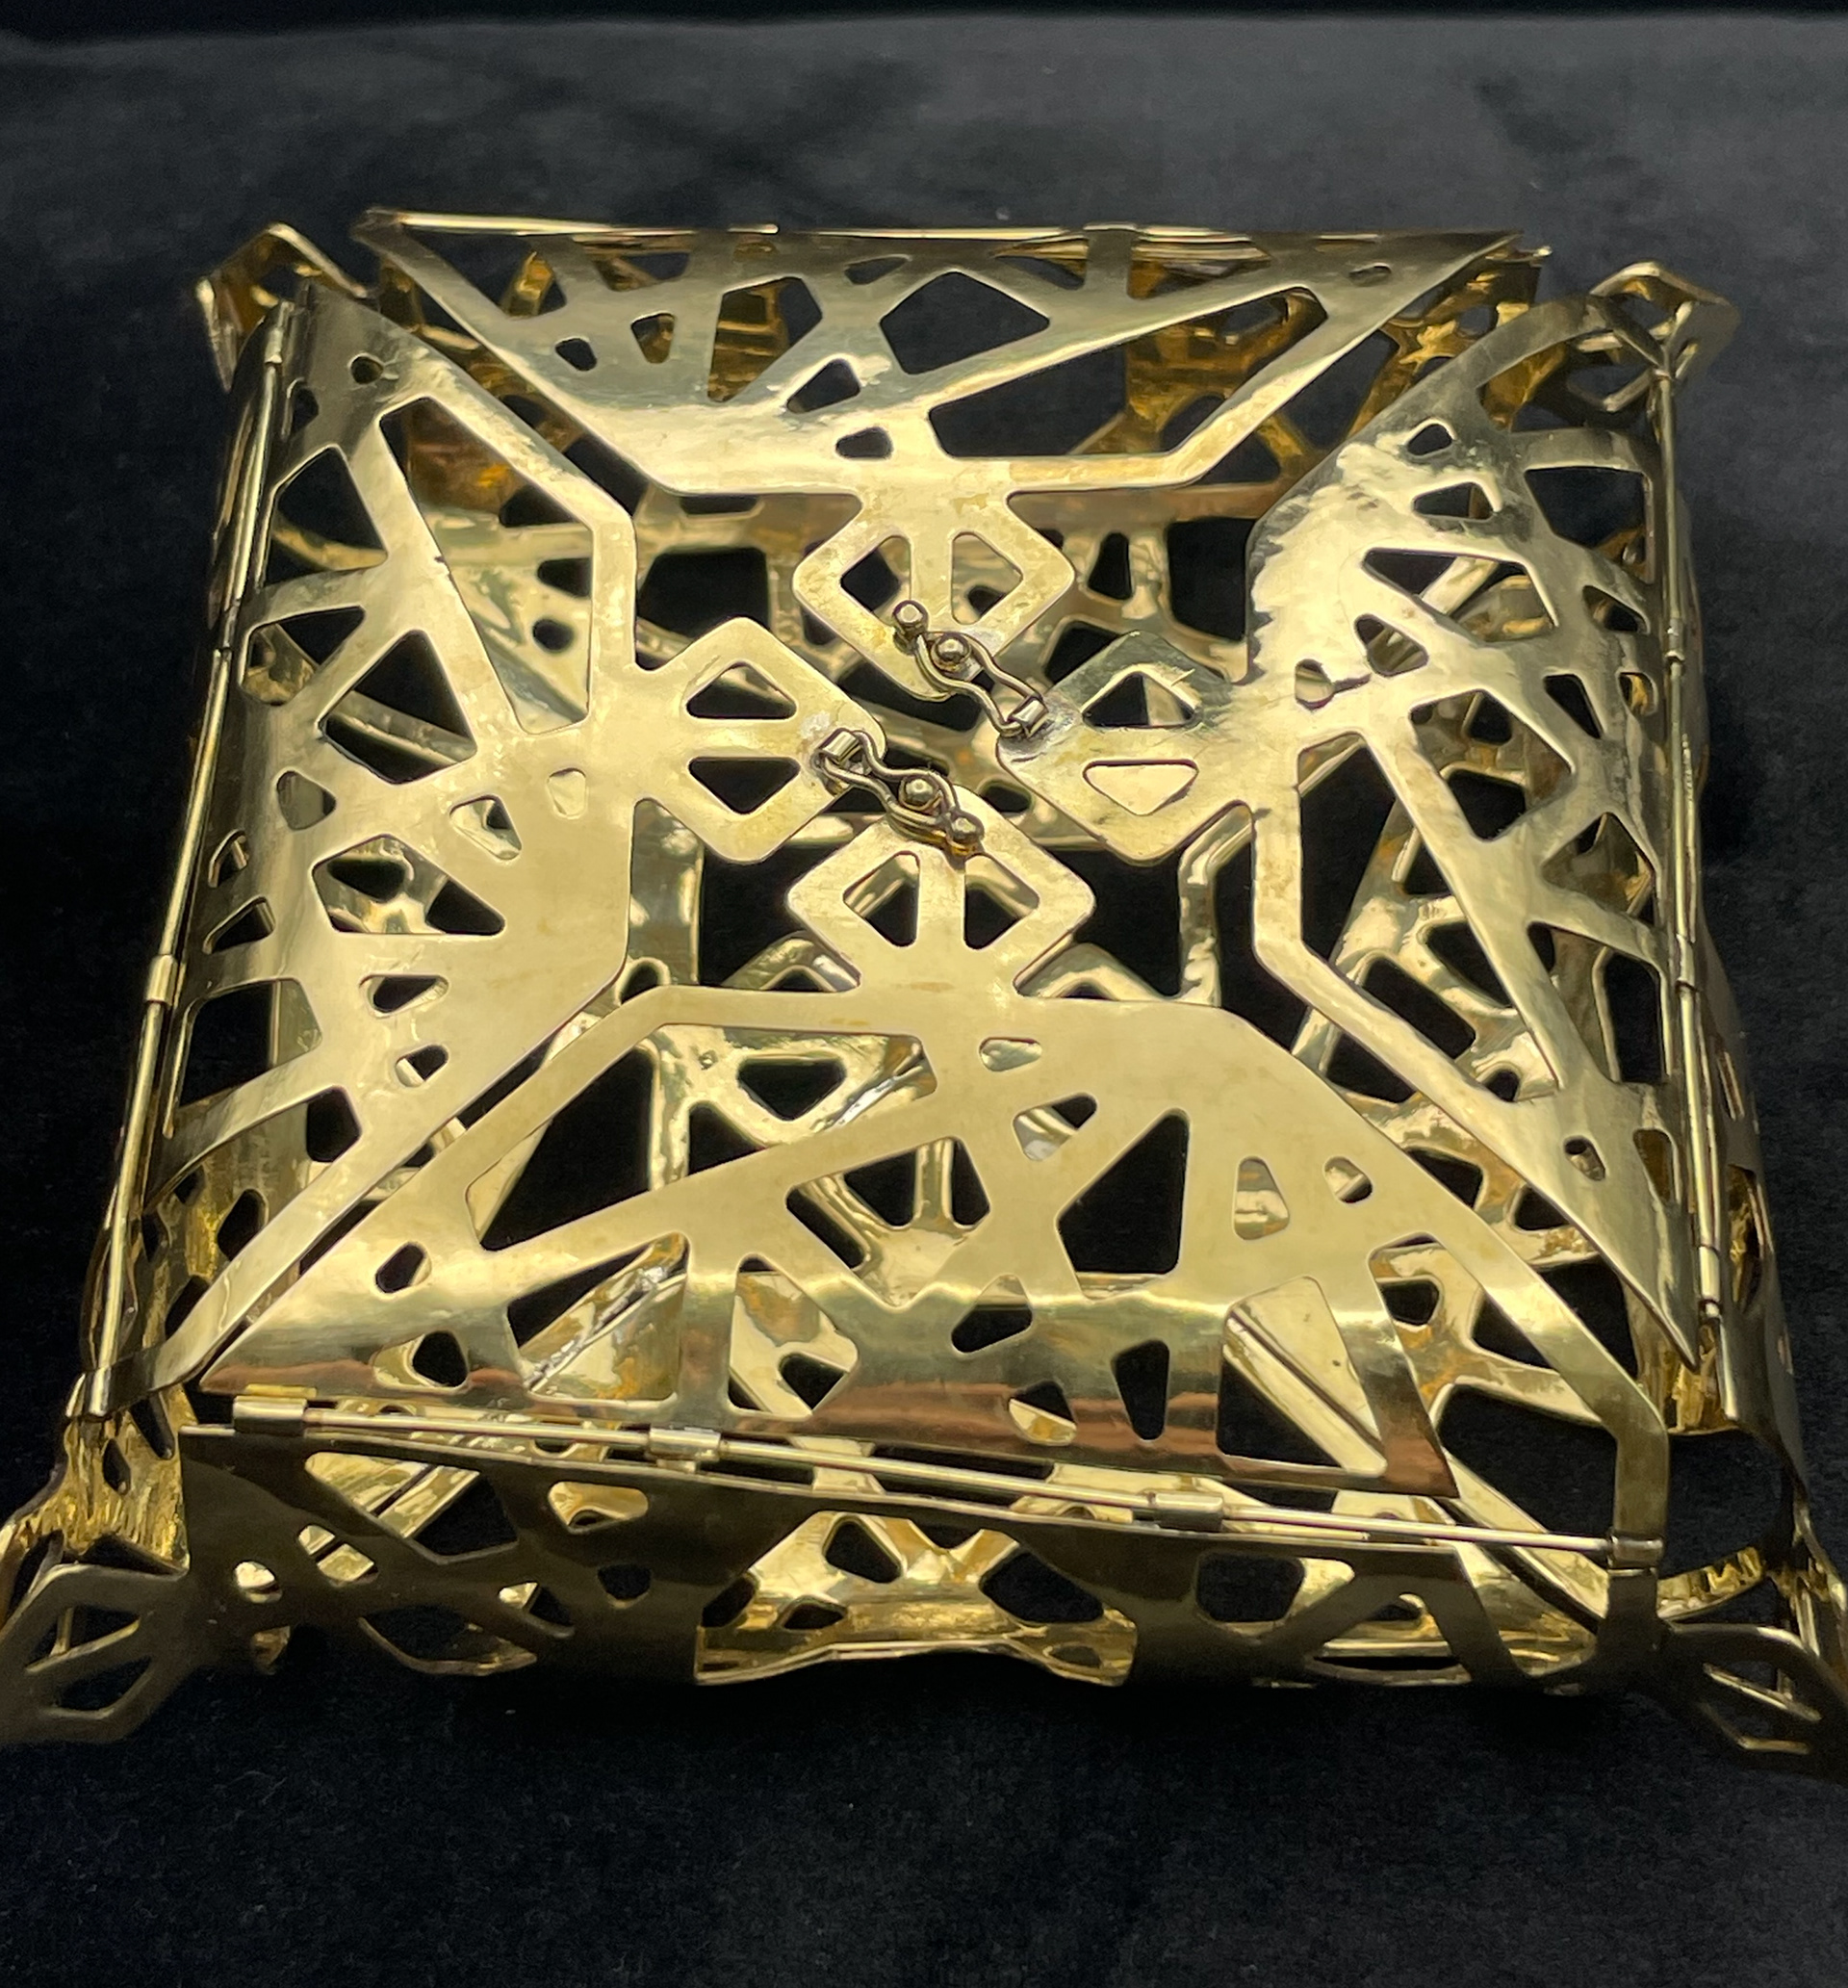
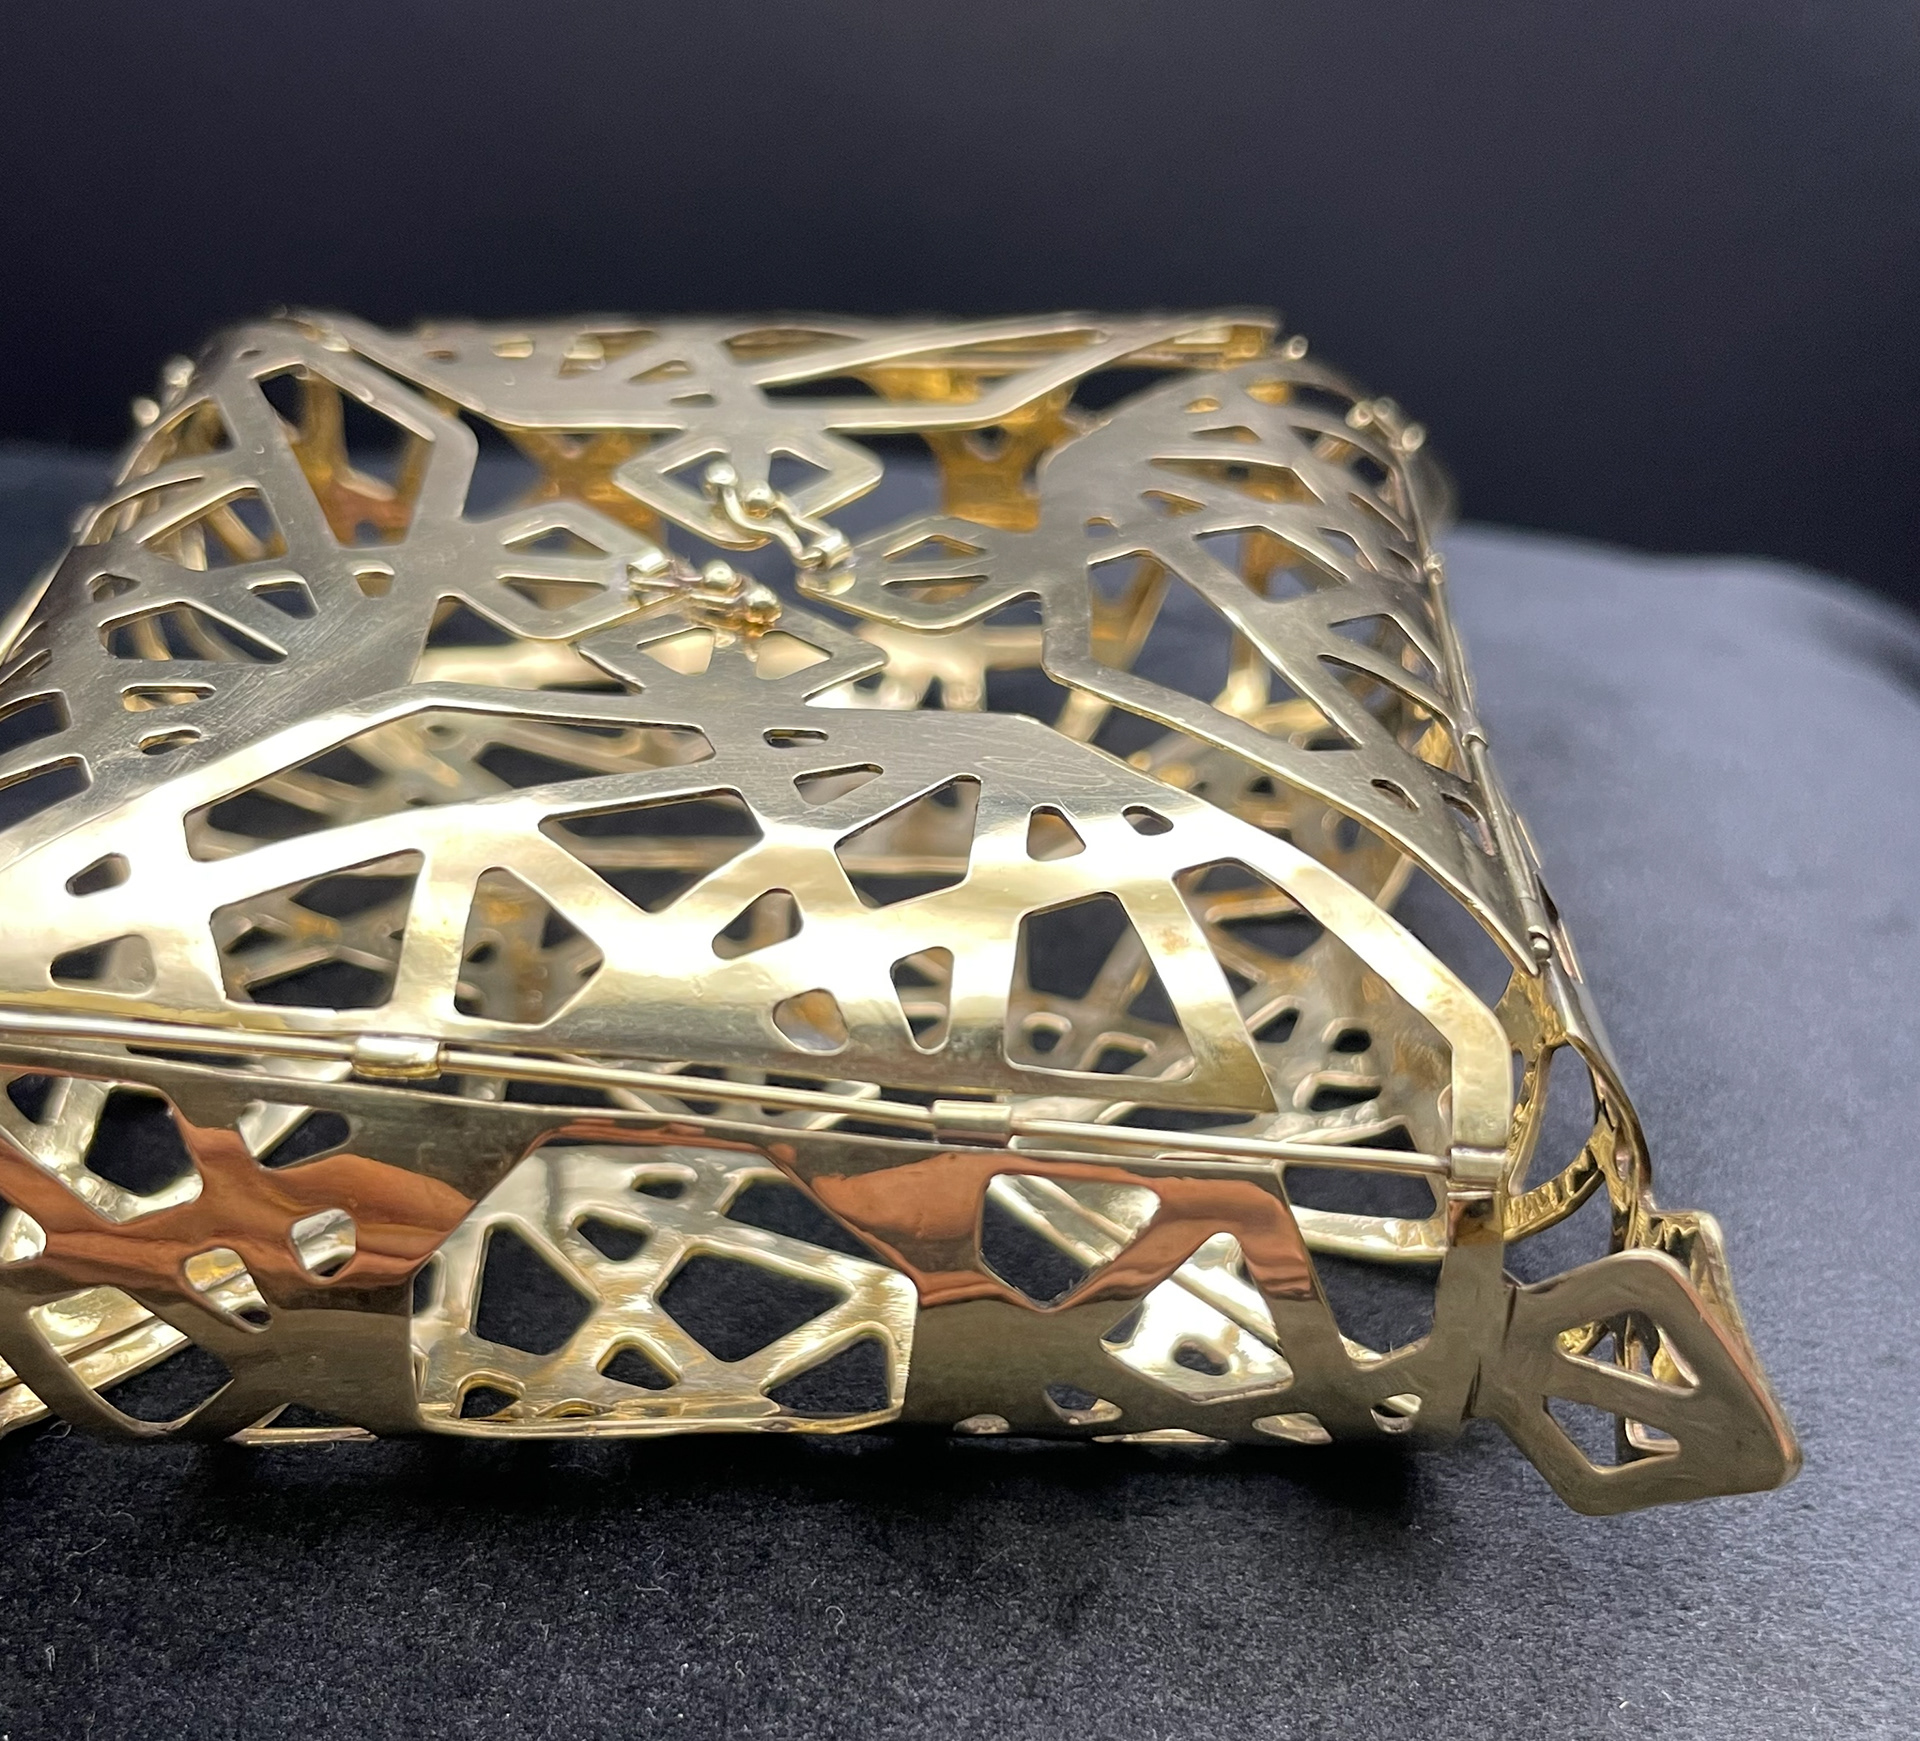
closed box
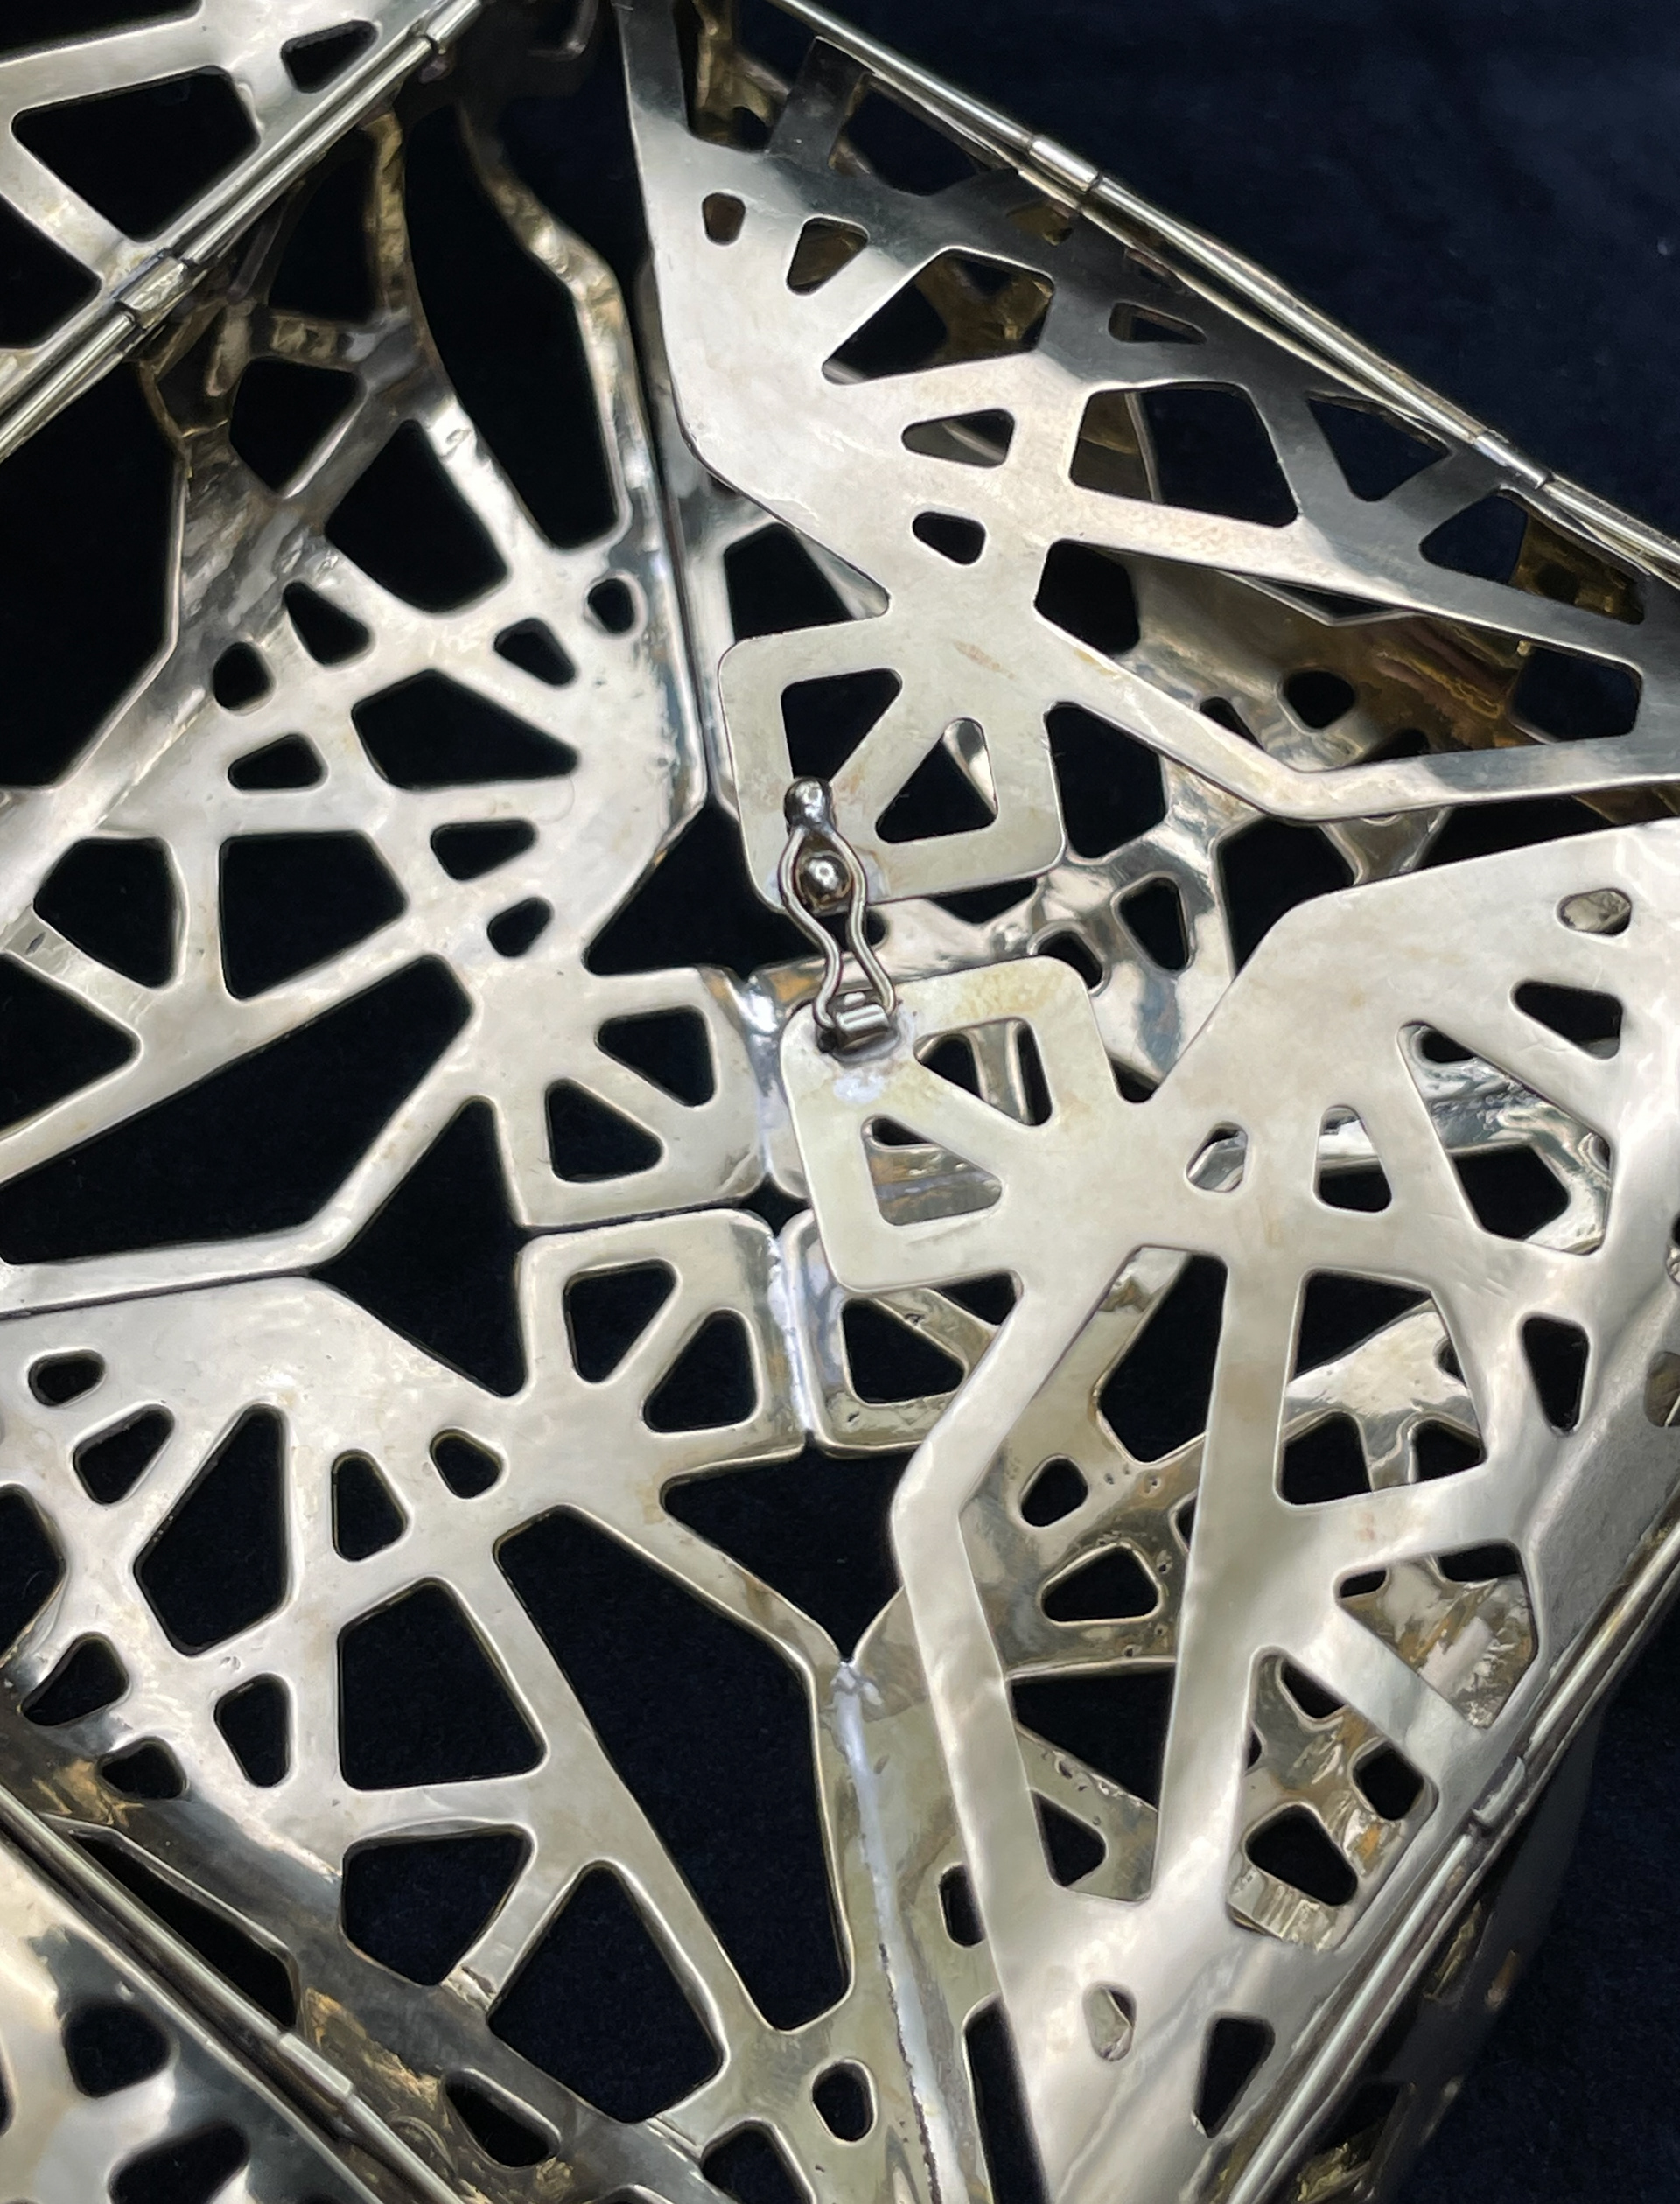
Once everything was soldered into place, the next move was to make and attach the clasps. I started by cutting 1 cm of wire and melting it into a ball shape. I made the figure of eight shapes with wire using plyers followed by cutting 2mm lengths of the tube to create the hinge for the clasps. These solder on to plan and in the correct position. After this, the box was complete apart from polishing. I placed the box in the pickle and used a variety of attachments on the pendal drill to polish it up, first using Tripoli and then rouge.
1cm brass wire
brass wire melted into a ball
aligned/ marking where to put the clasp
soldered first clasp
Soldered other ball
Both clasps soldered on
close up
finished box closed

finished box open
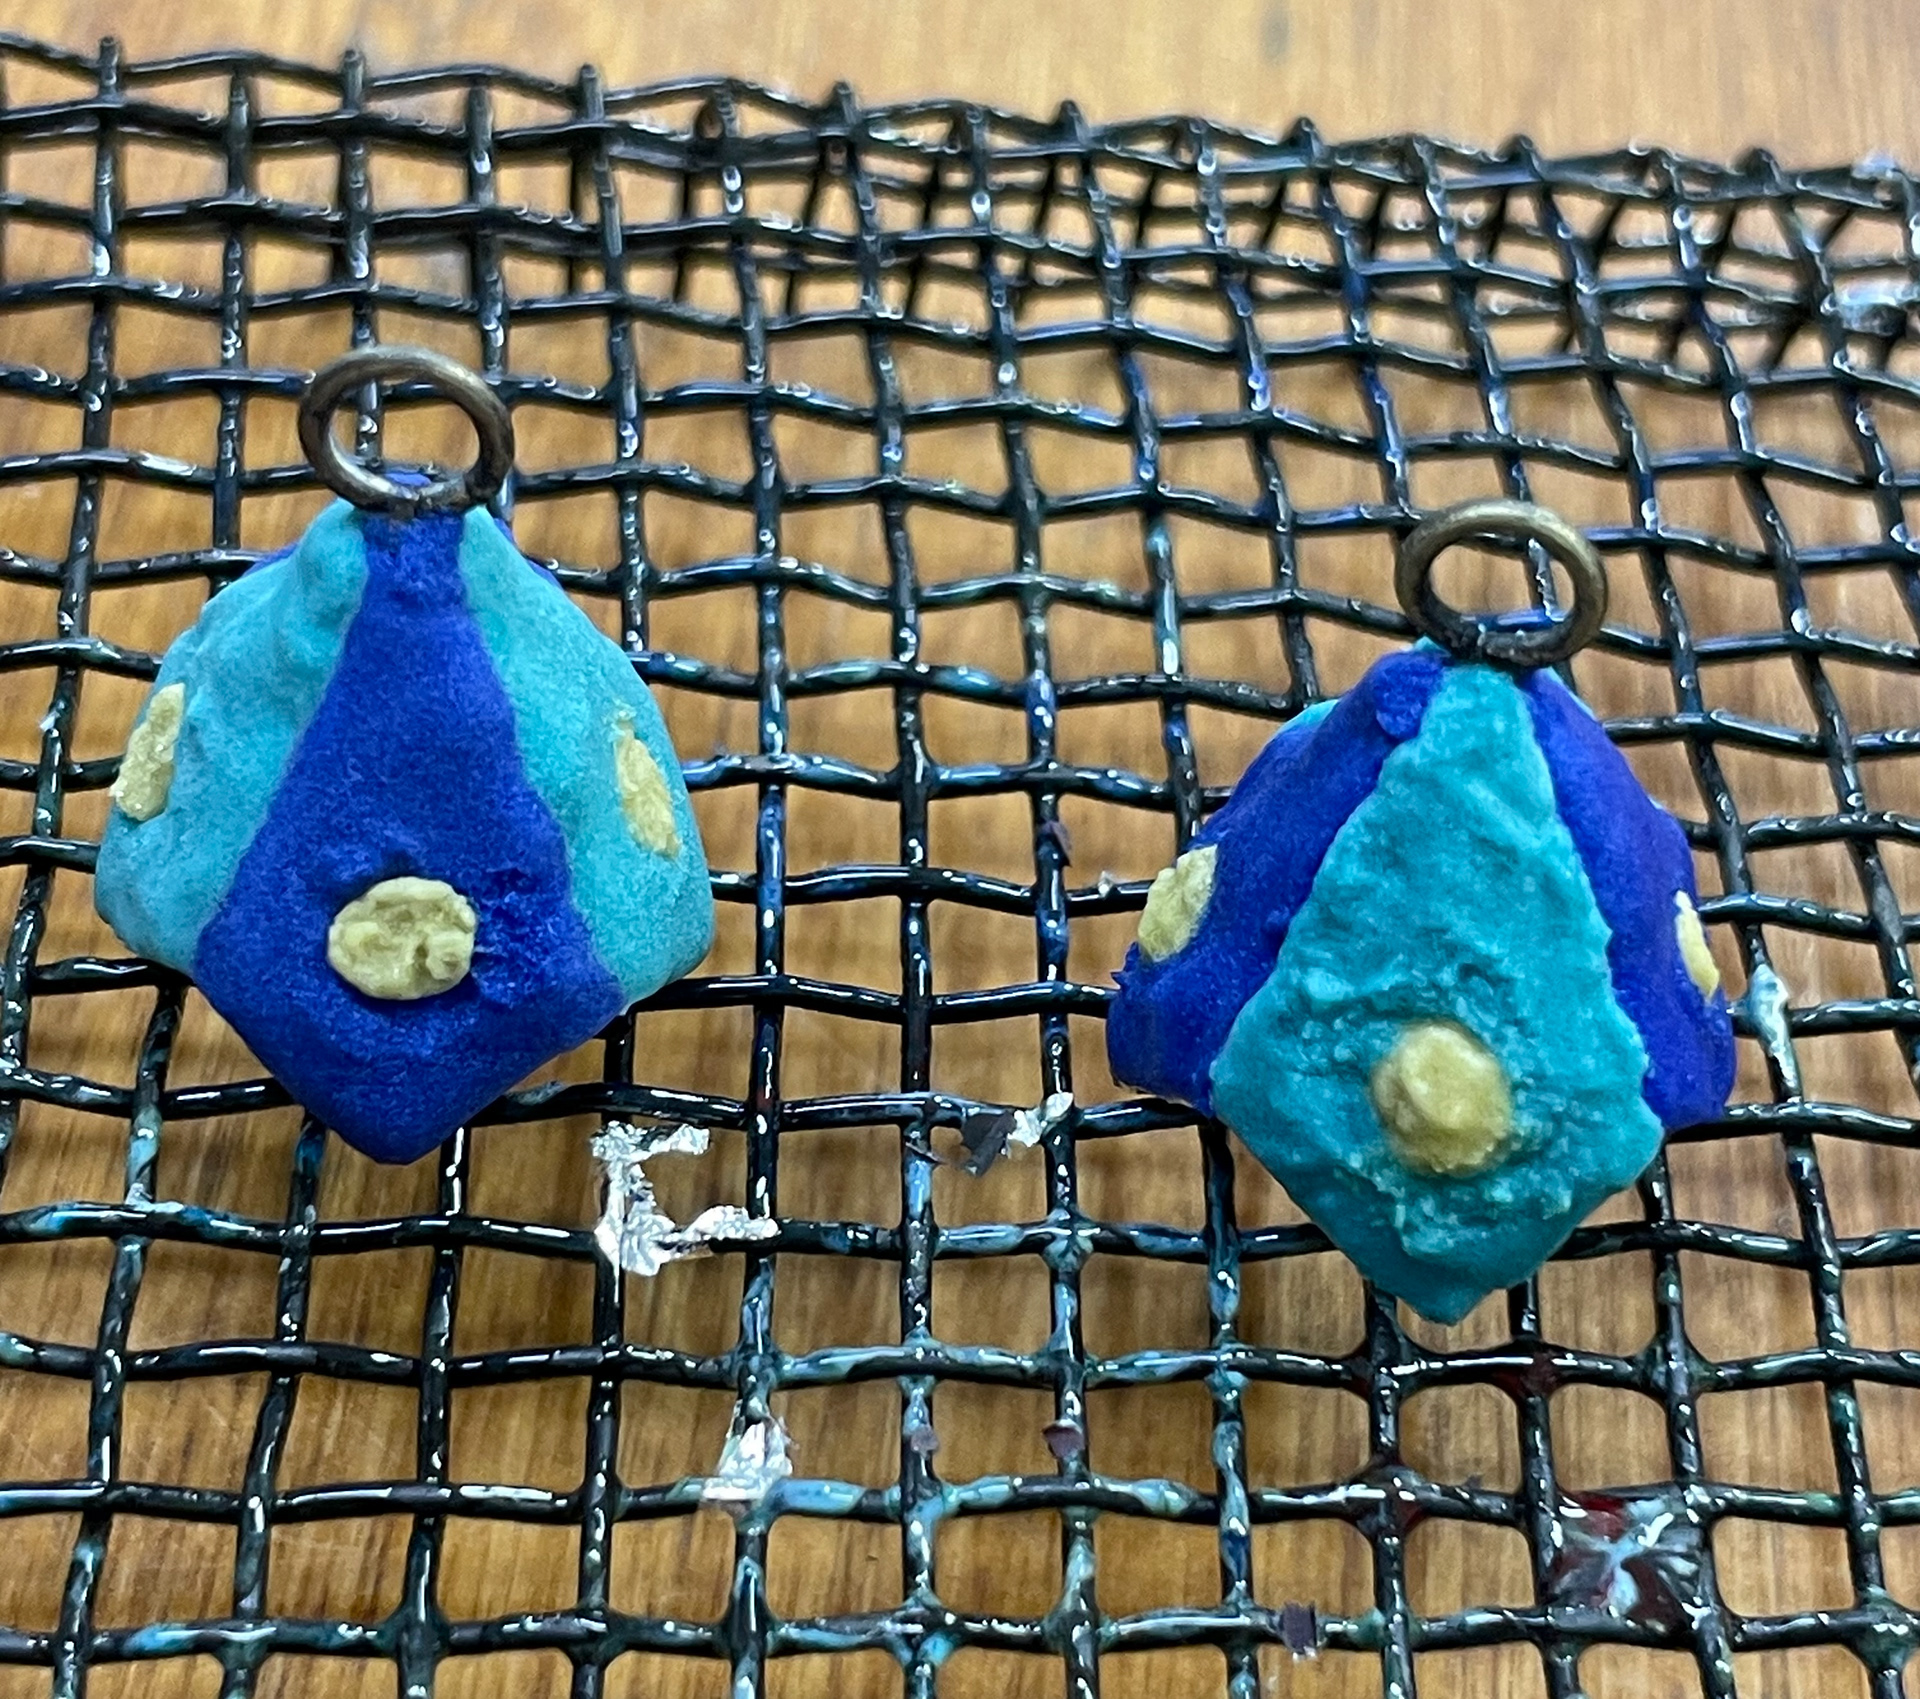
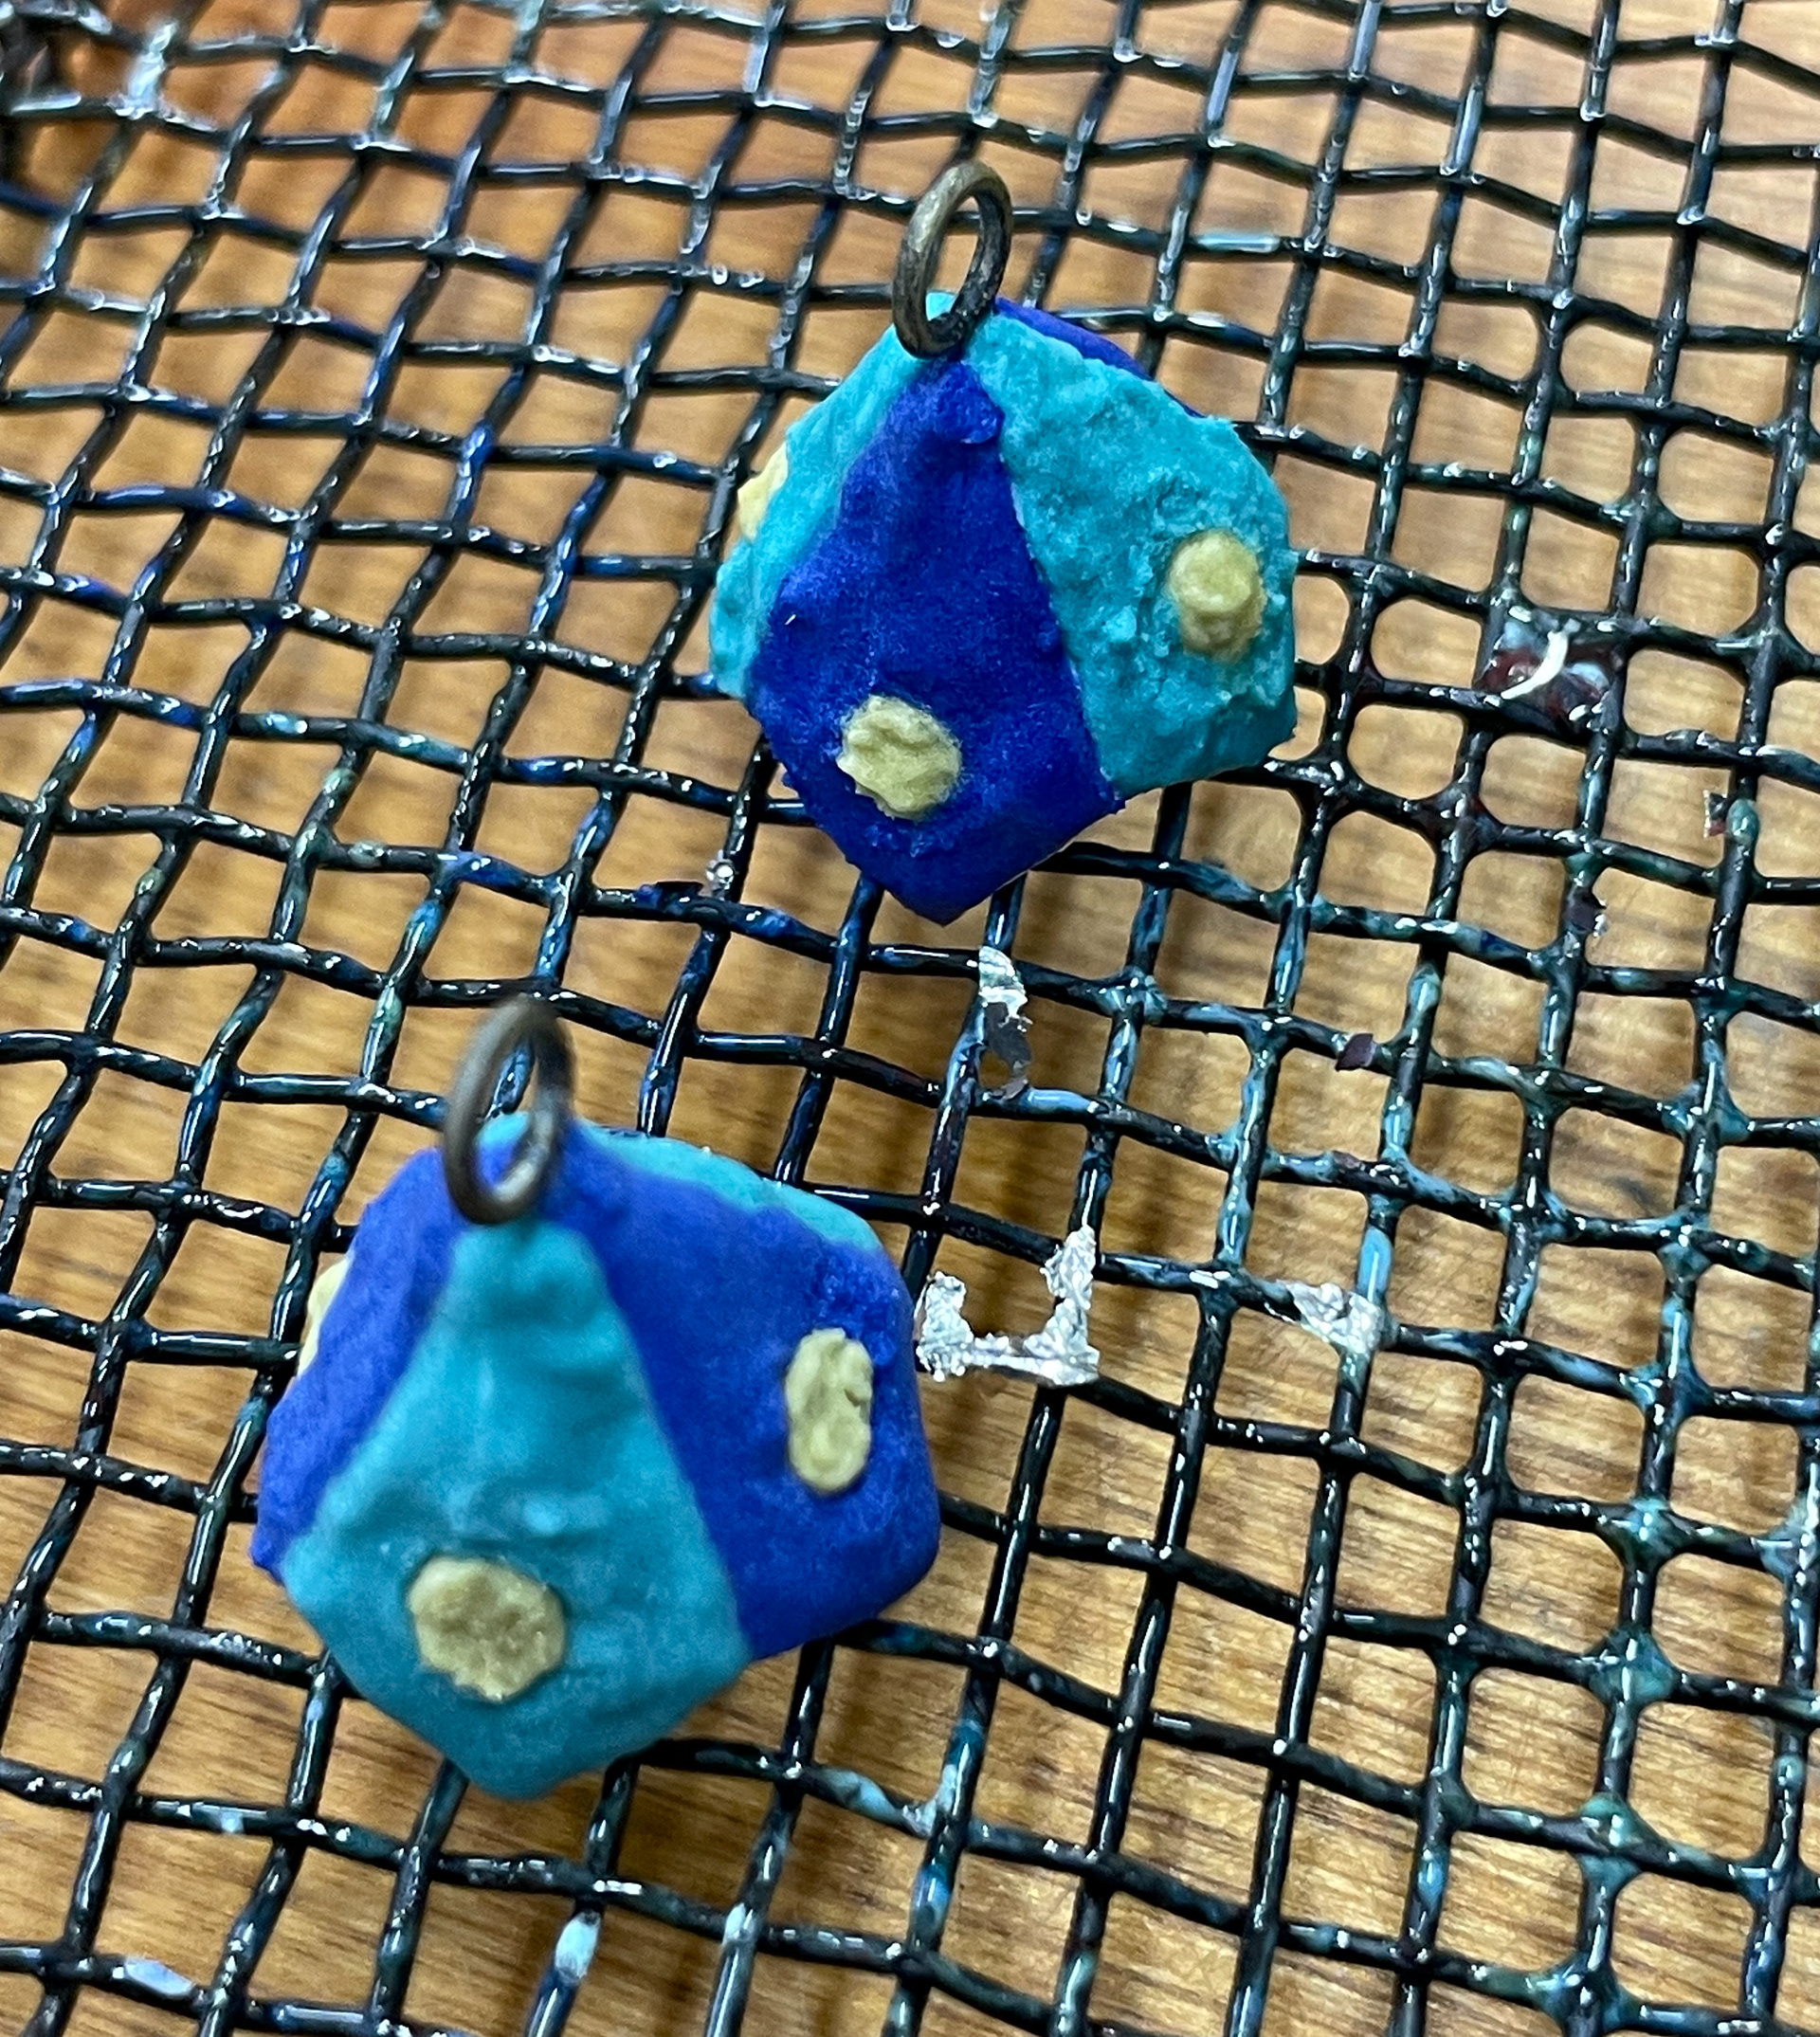
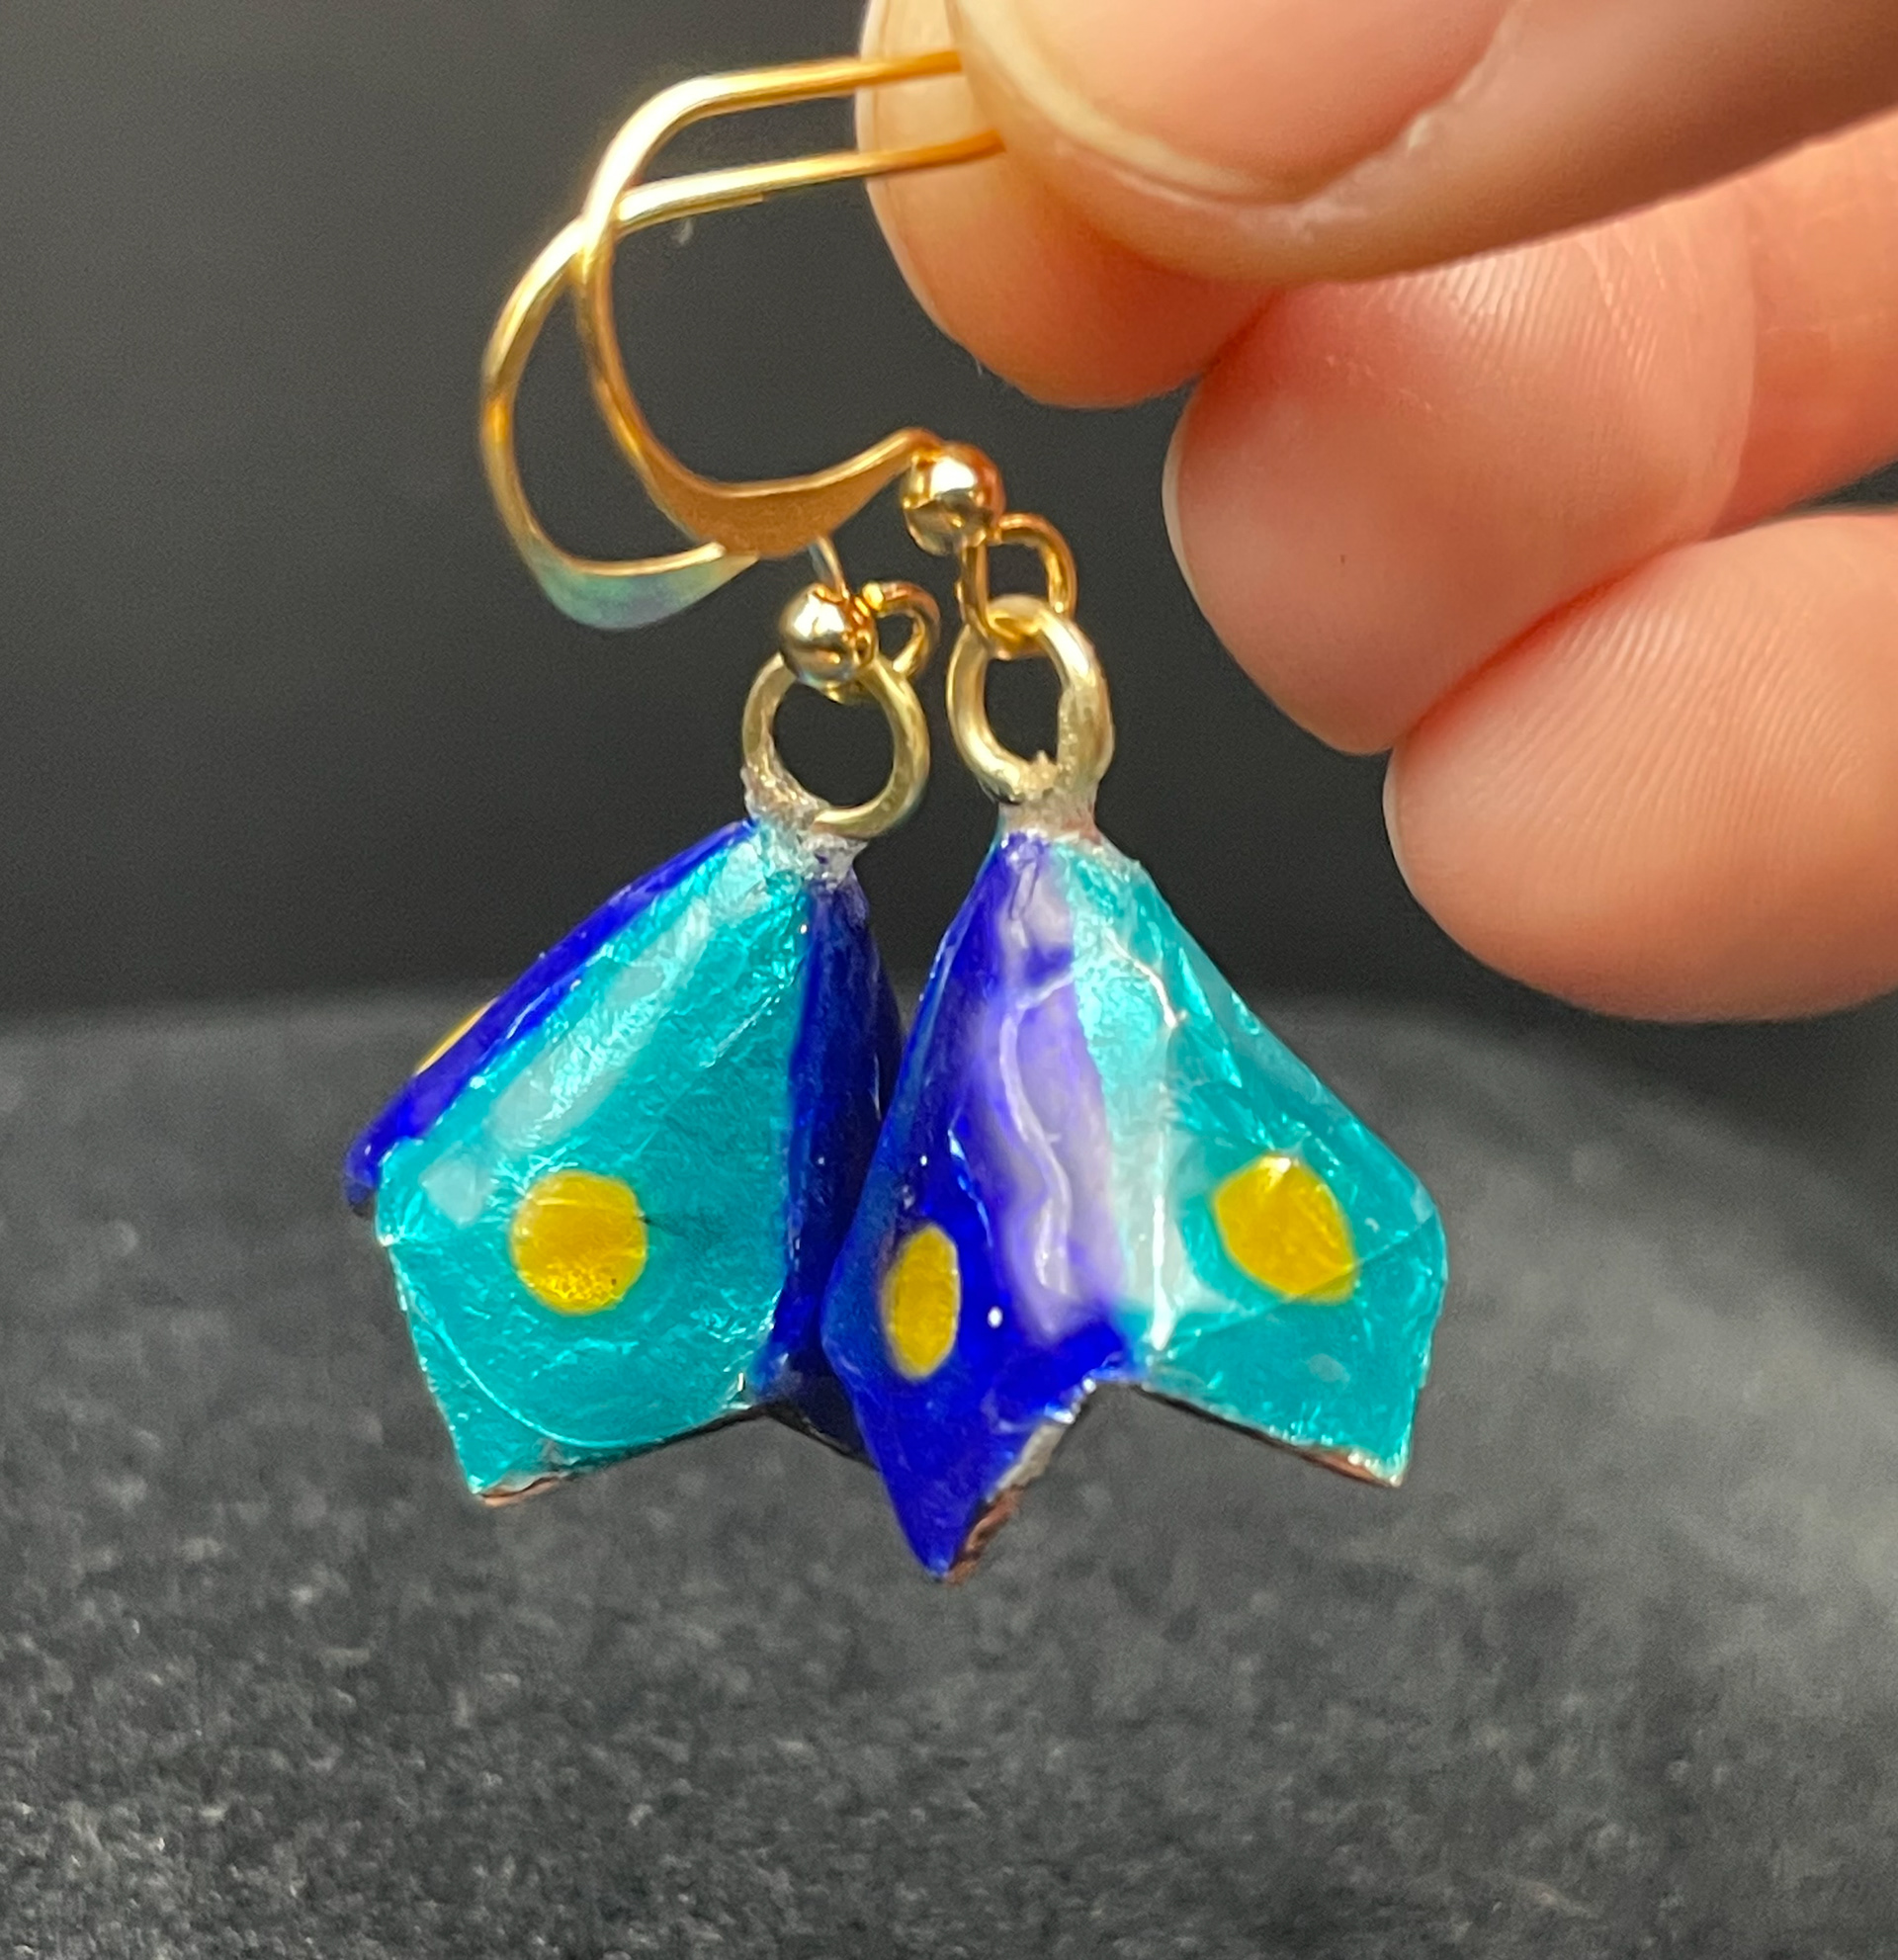
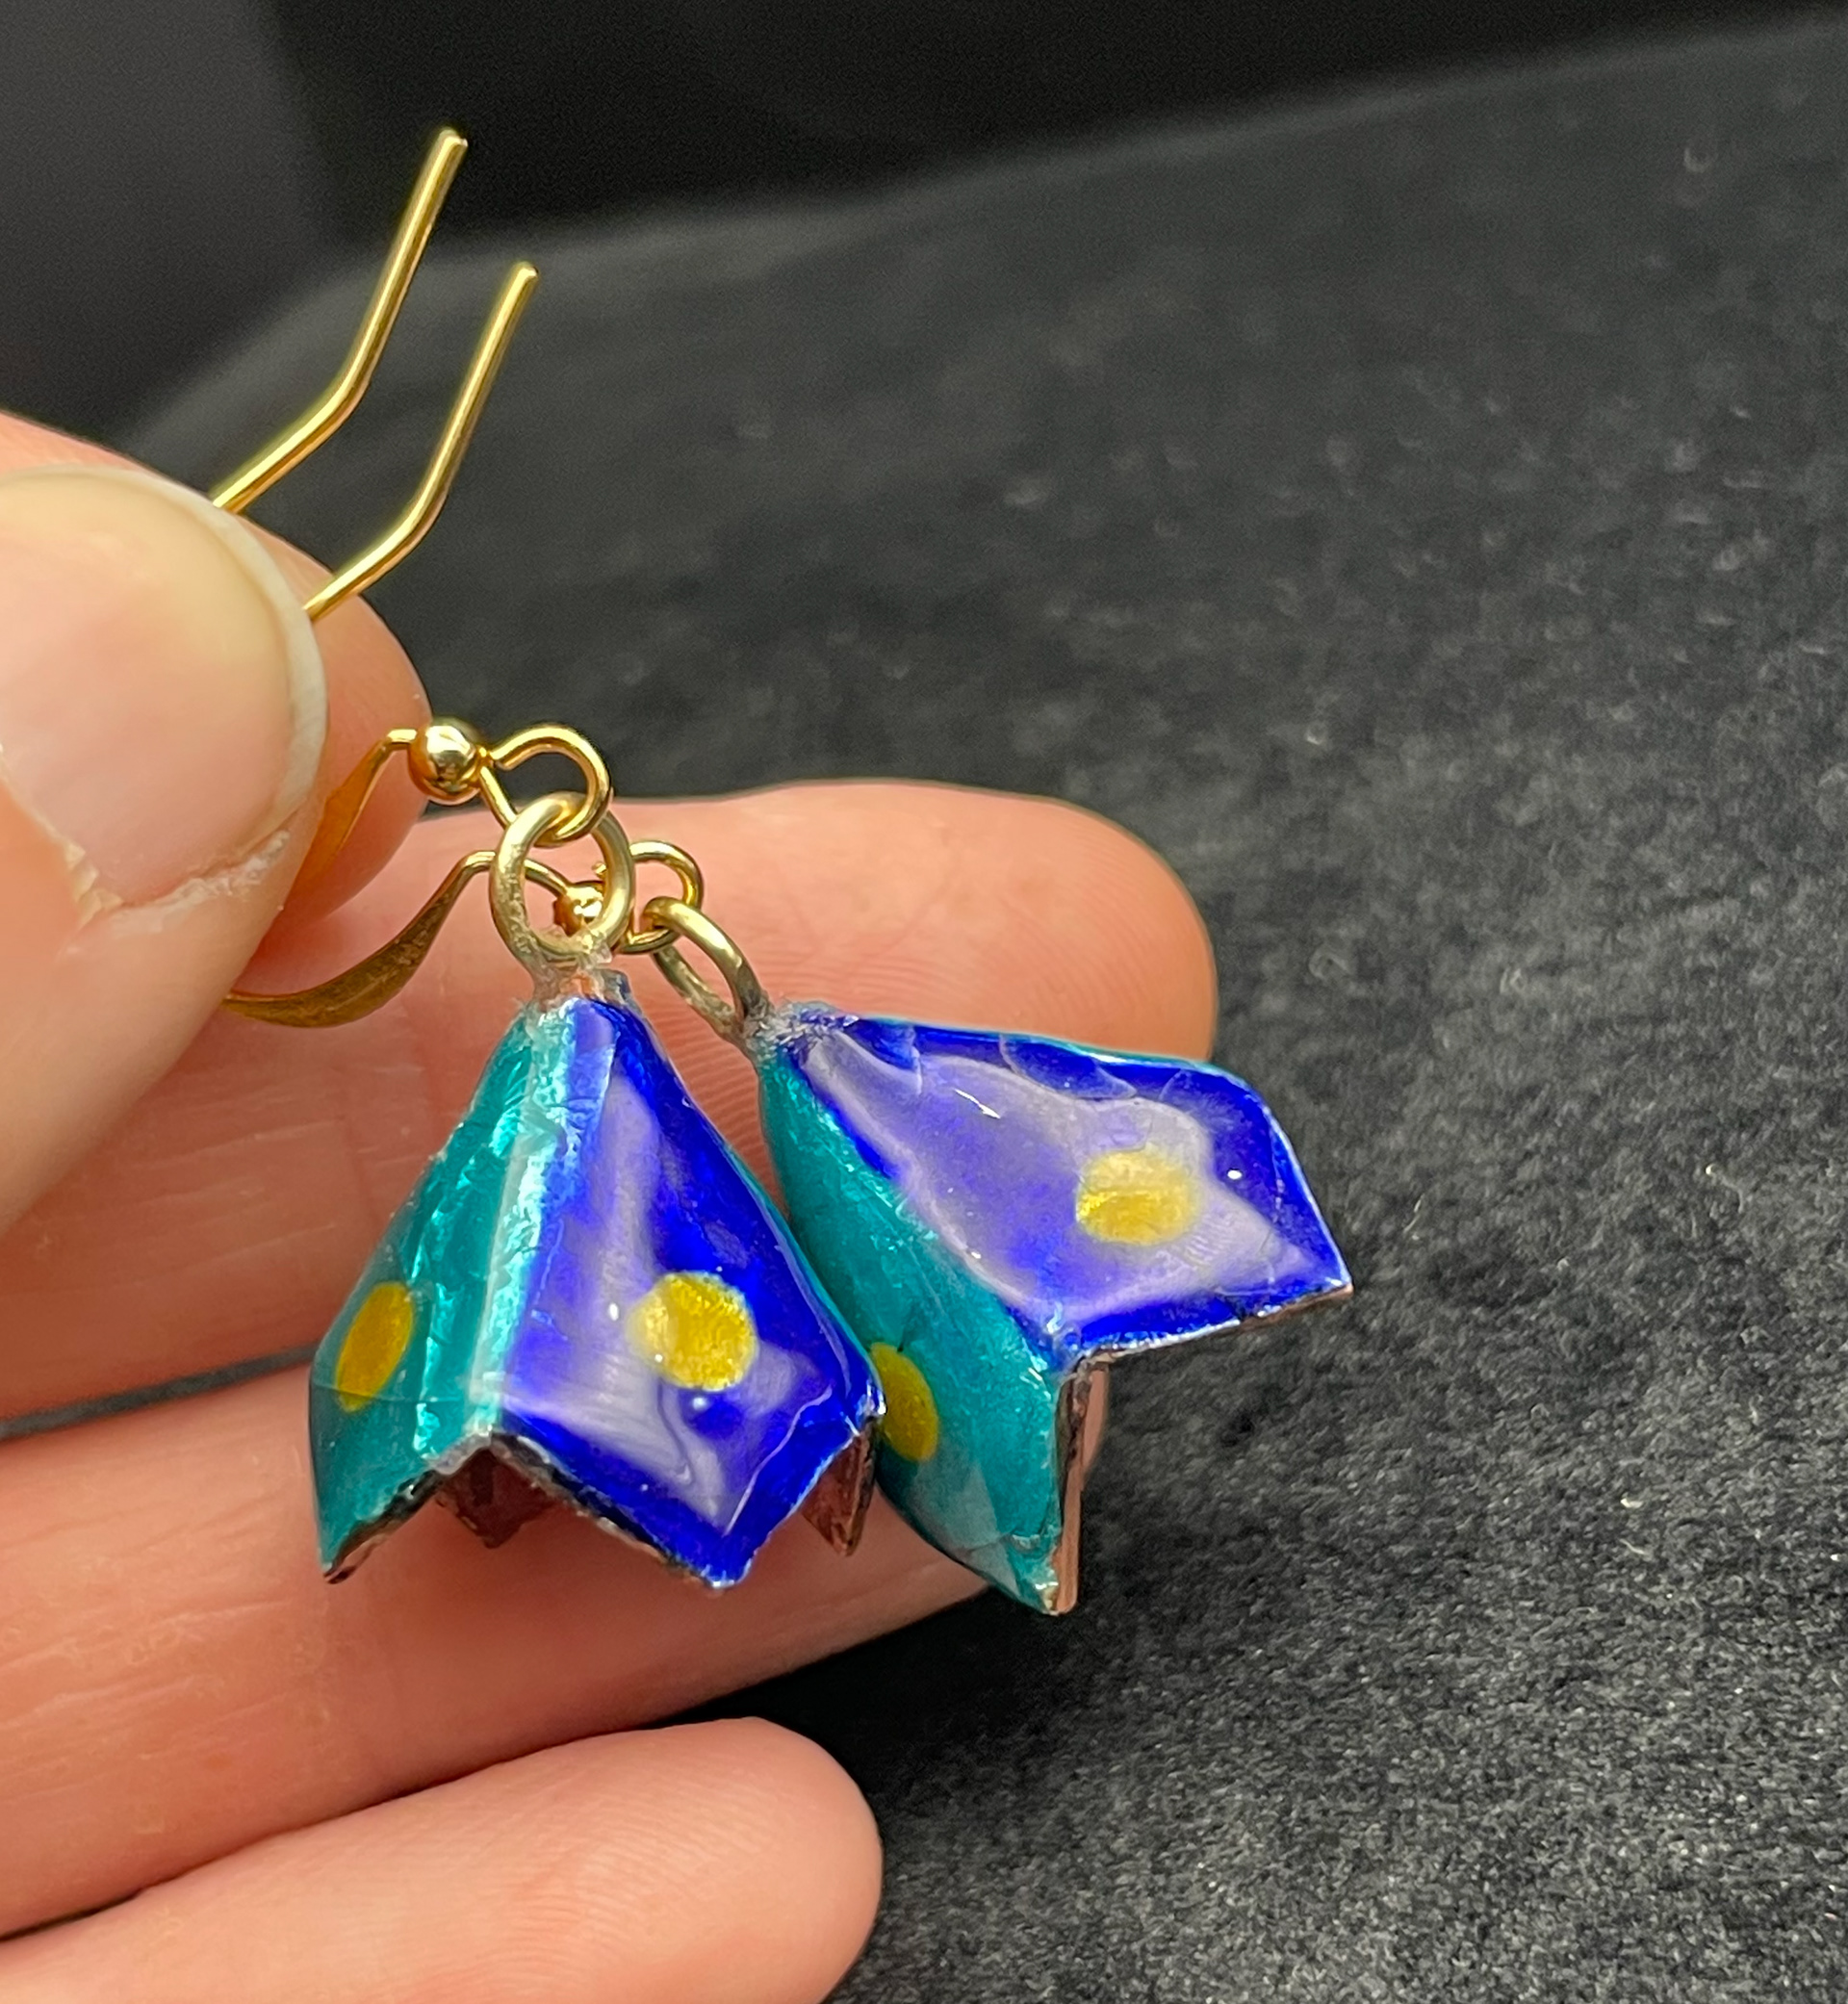
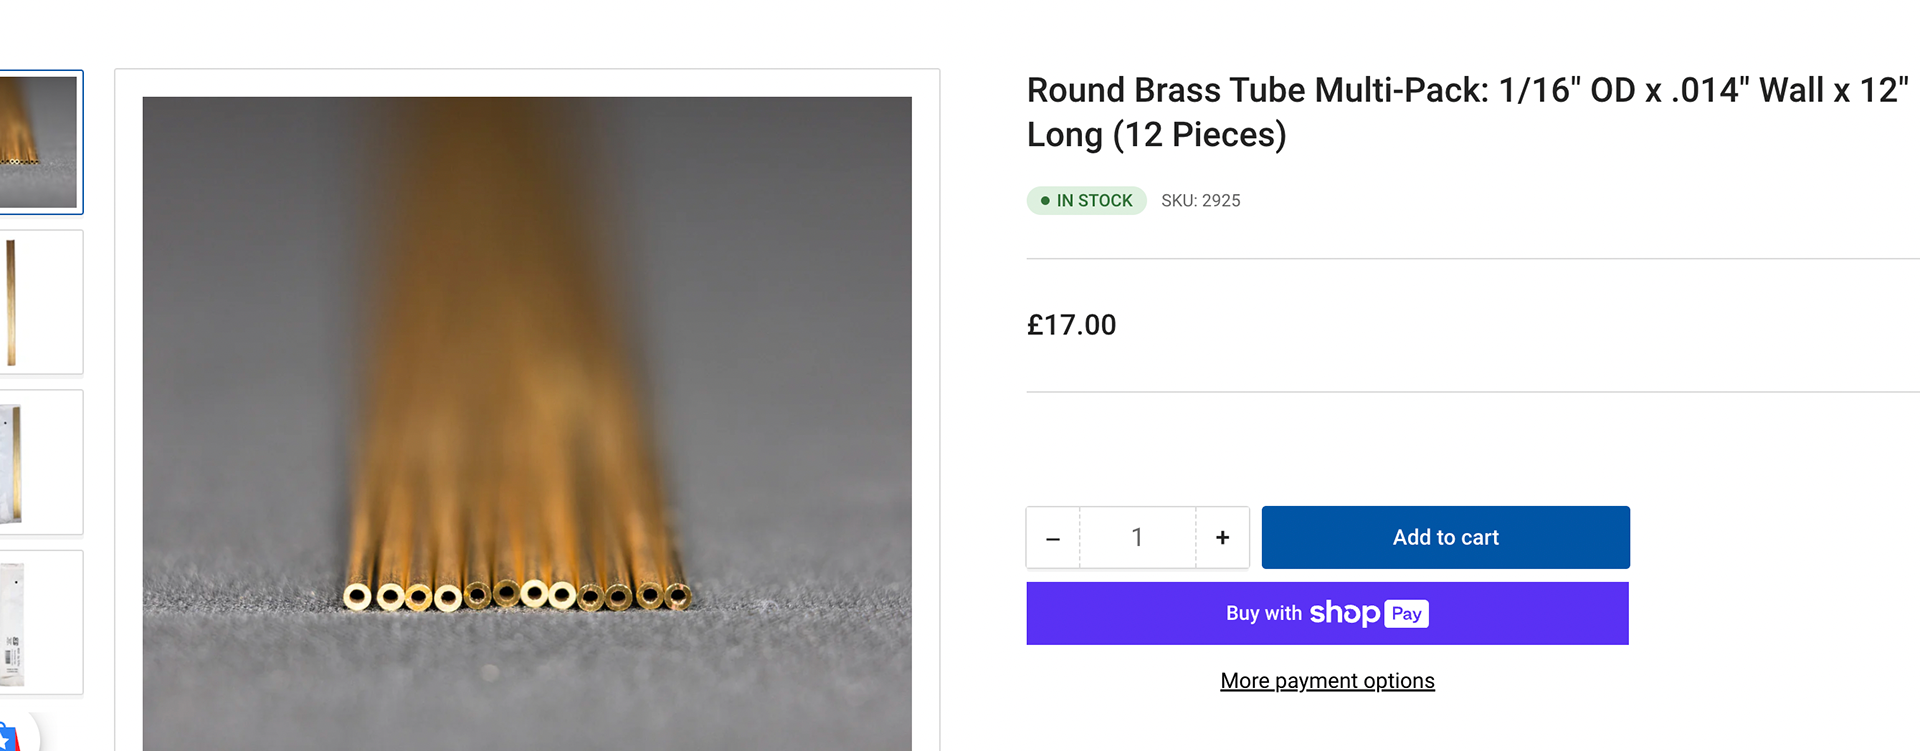
As previously mentioned, I wanted to make some enamelled wearables to go with the box. I decided to make some drop earrings using the 3D form I created from the pattern the box is made from. I did some sketches of simple ideas for the earrings. I wanted to use turquoise and blue transparent enamels as a representation of traditional Persian colours.
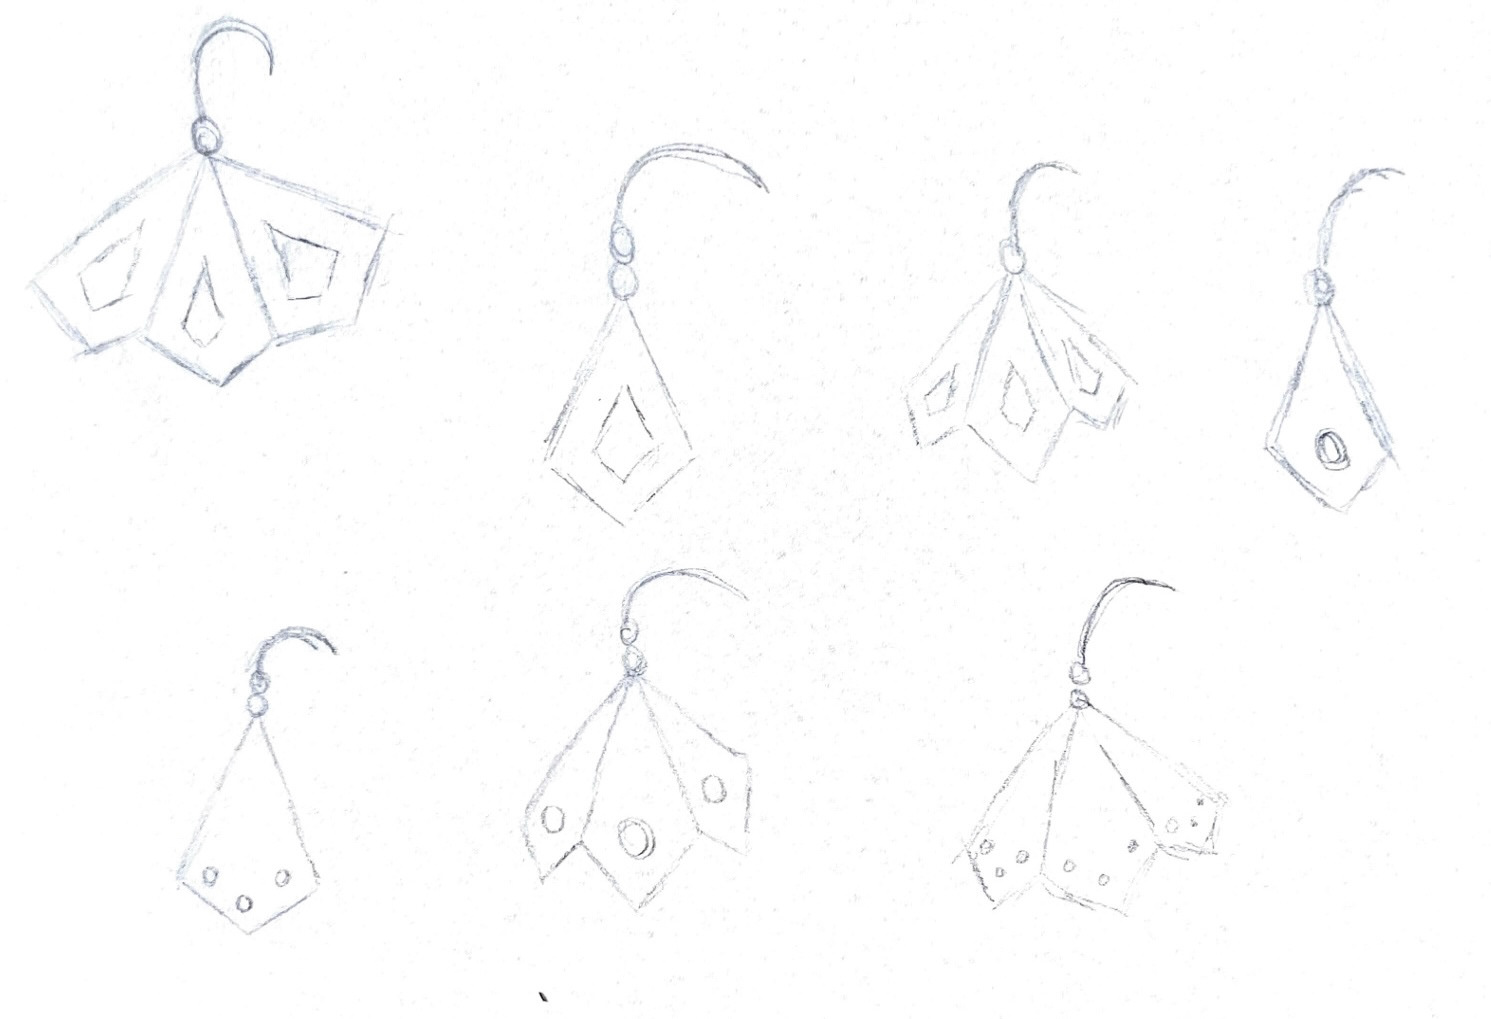
Design sketches

Colour/pattern sketches
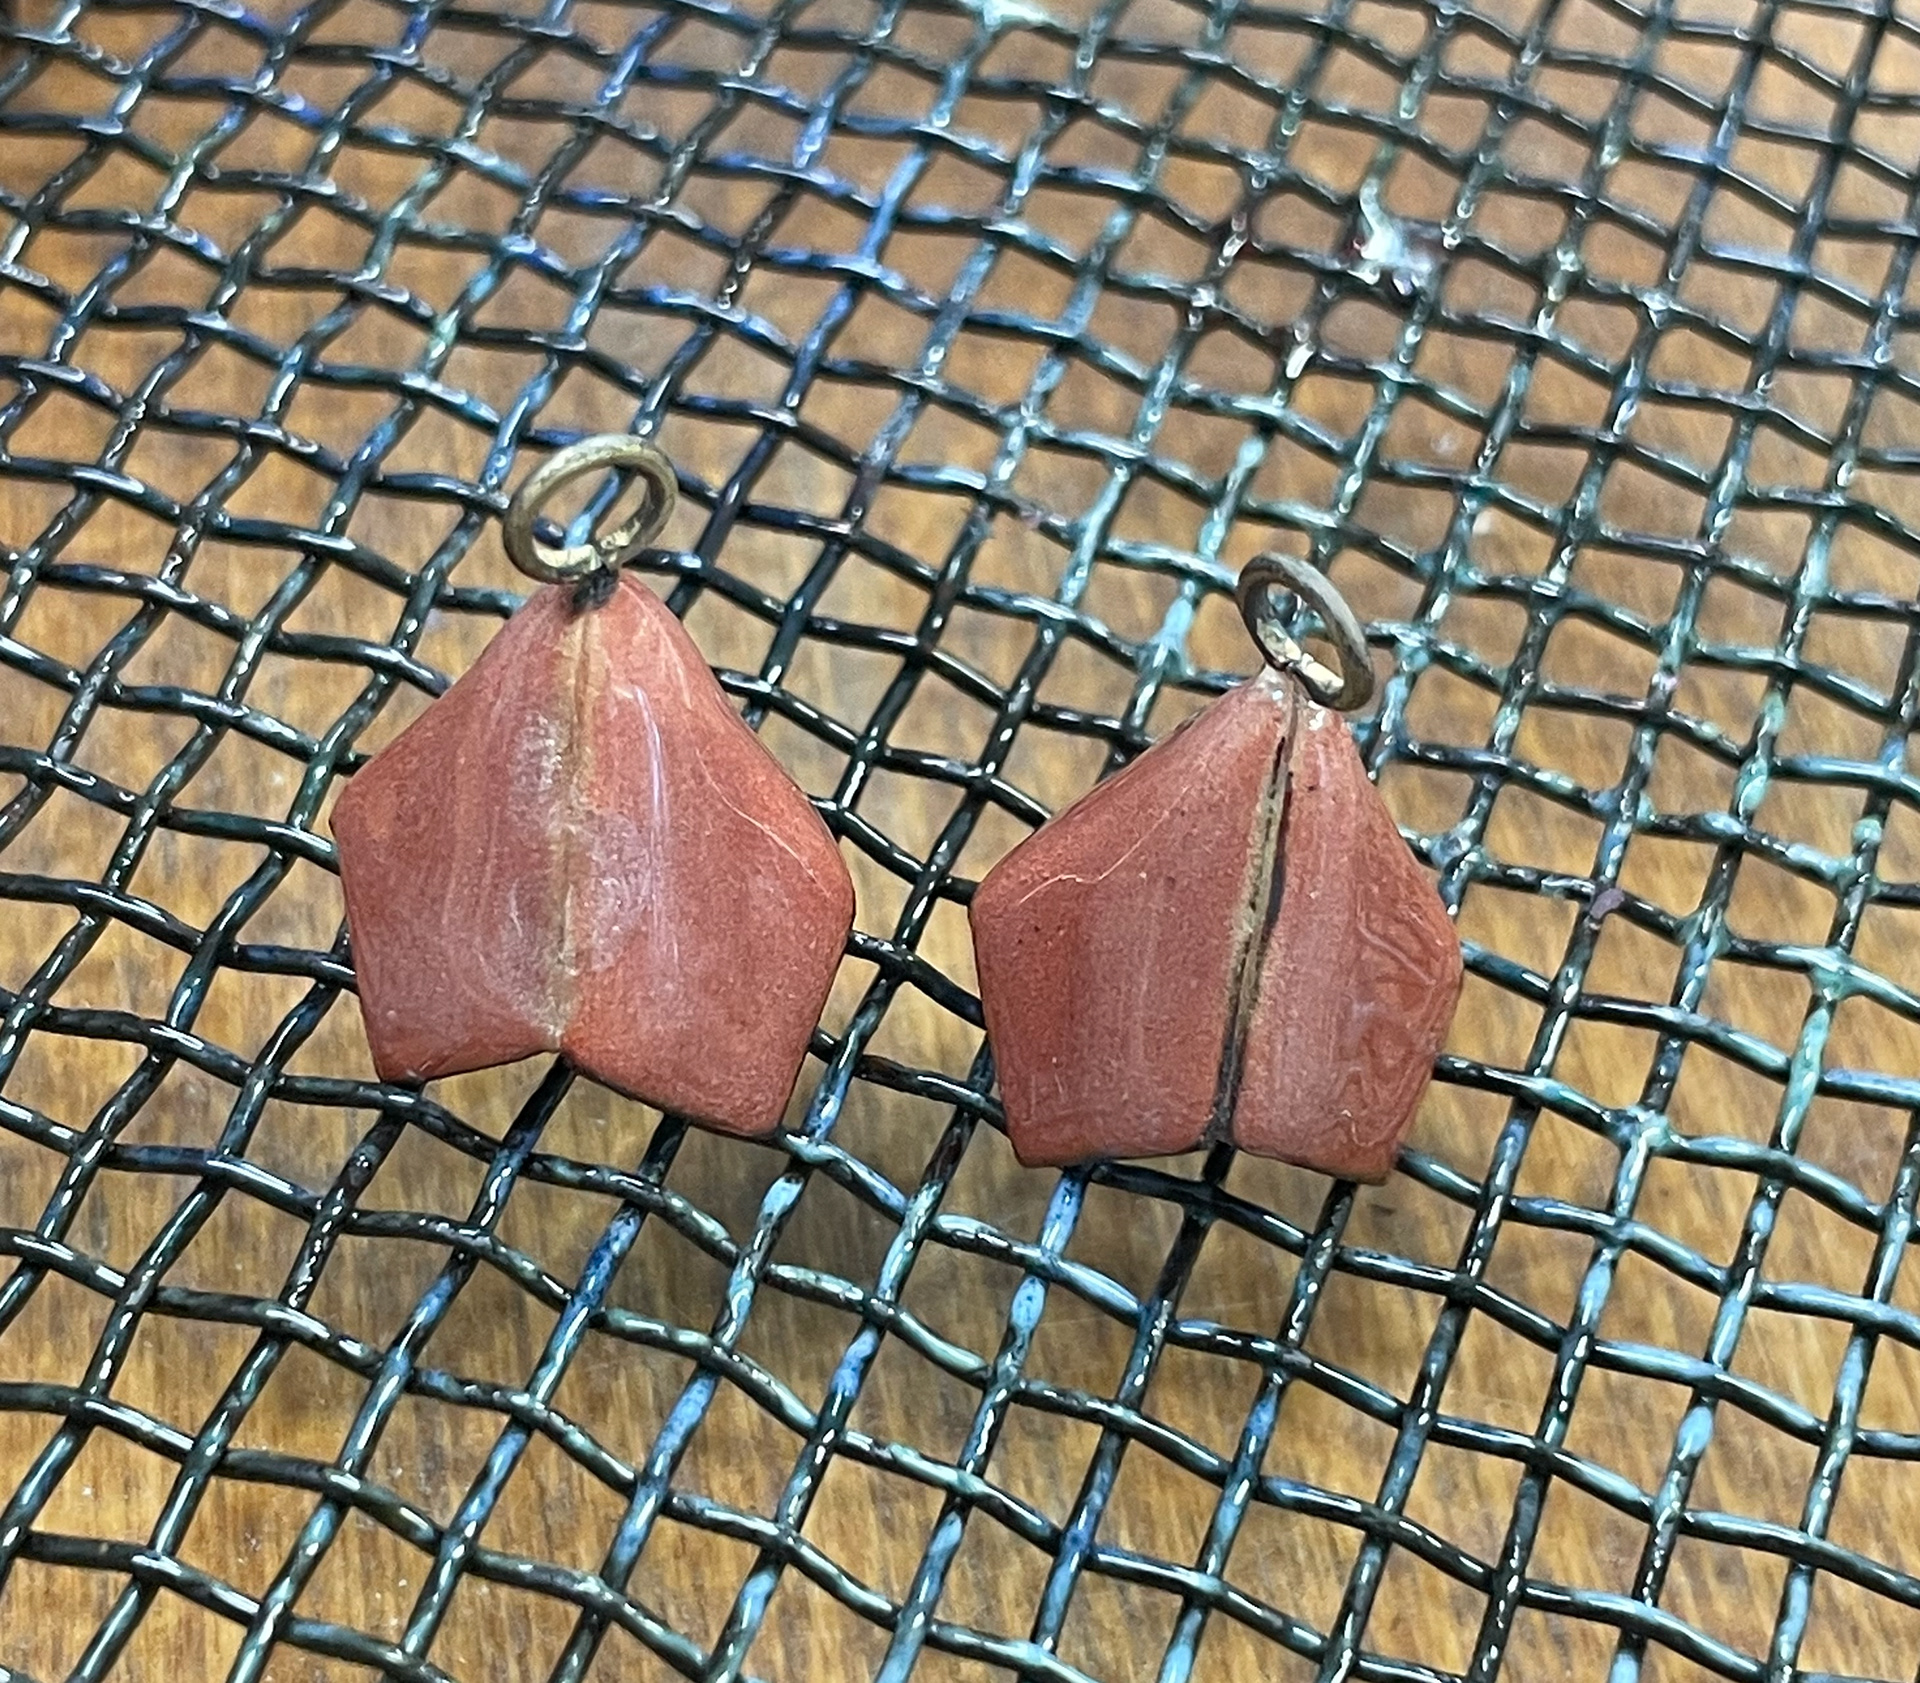
To make the earrings I glued the paper pattern to the copper sheet and cut them out using a piercing saw. After this, I used needle files to file the edges creating bevel edges all around. I then used a scribe to mark where the folds will be and used a piercing saw, triangle needle file and a T shape burr to create a gap for the metal, so that it can bend at the angle needed. I bent them slightly using pliers, followed by filing again and then folding them further until I got them to the angel I wanted. After this, I soldered them in place using enamelling solder. After the first attempt at soldering the solder didn't flow down the whole joint so I had another go and it worked.
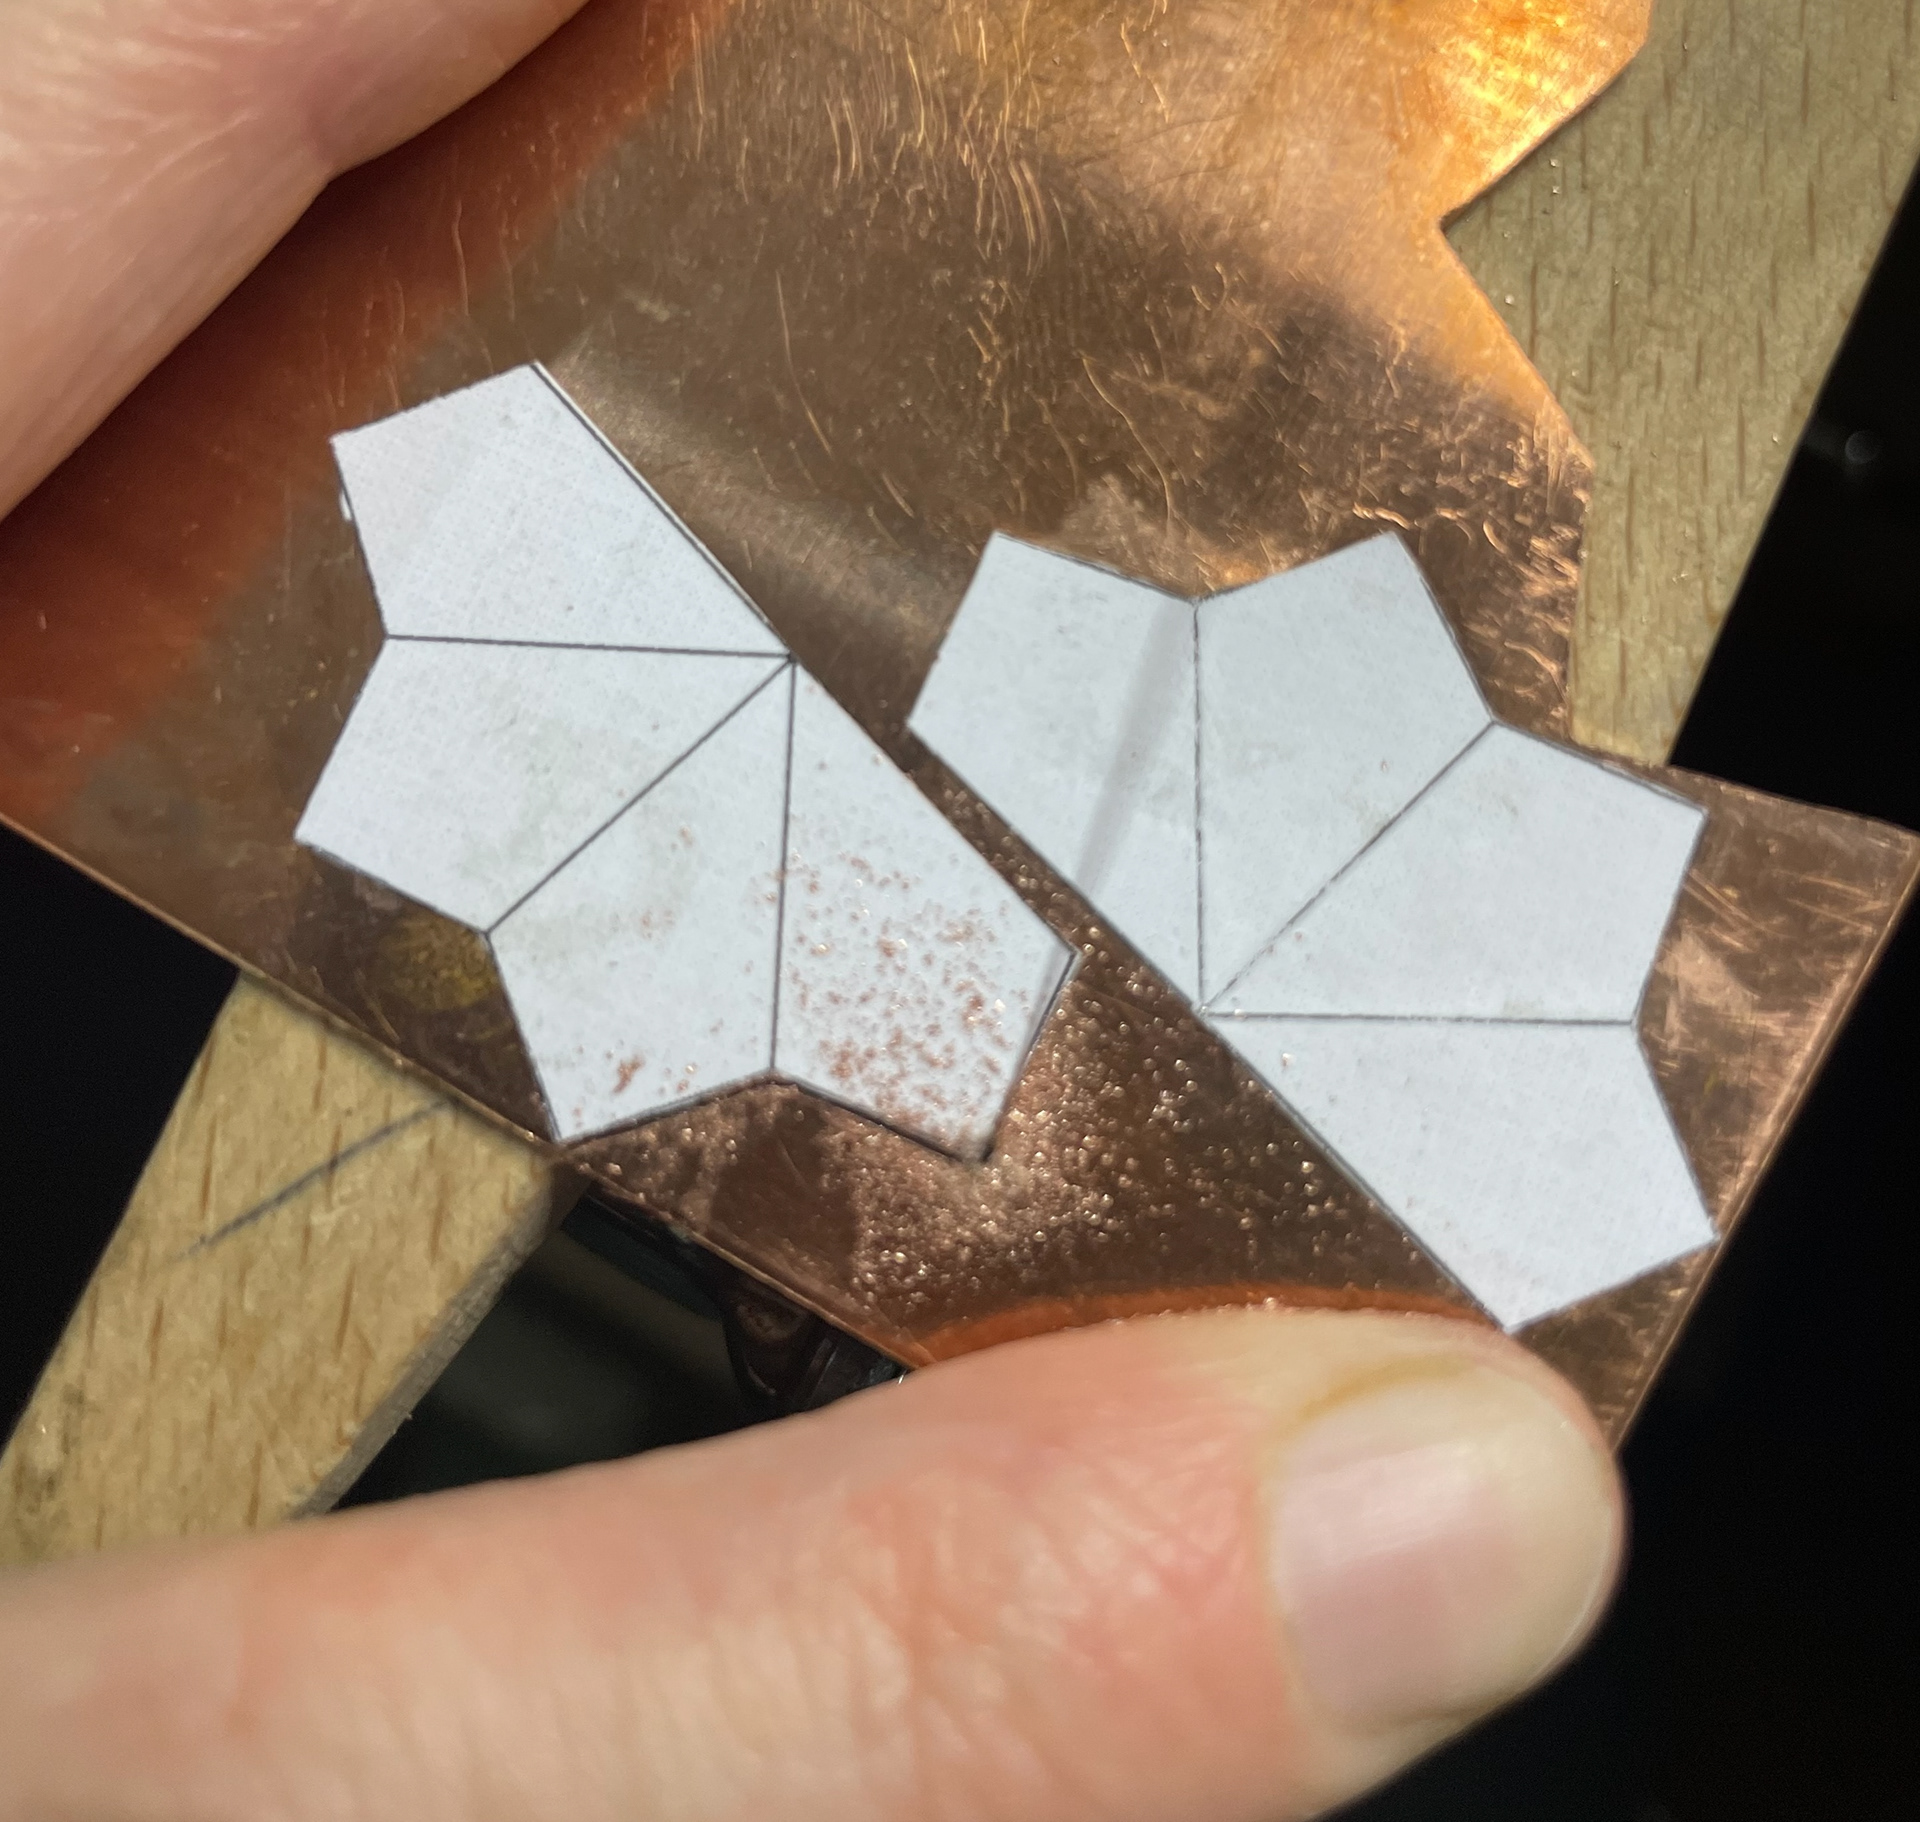
Net being cut out
shapes after being gap being added
After being annealed and bent first attempt
Form bent completely

solder joint

first attempt being soldered
gap in solder
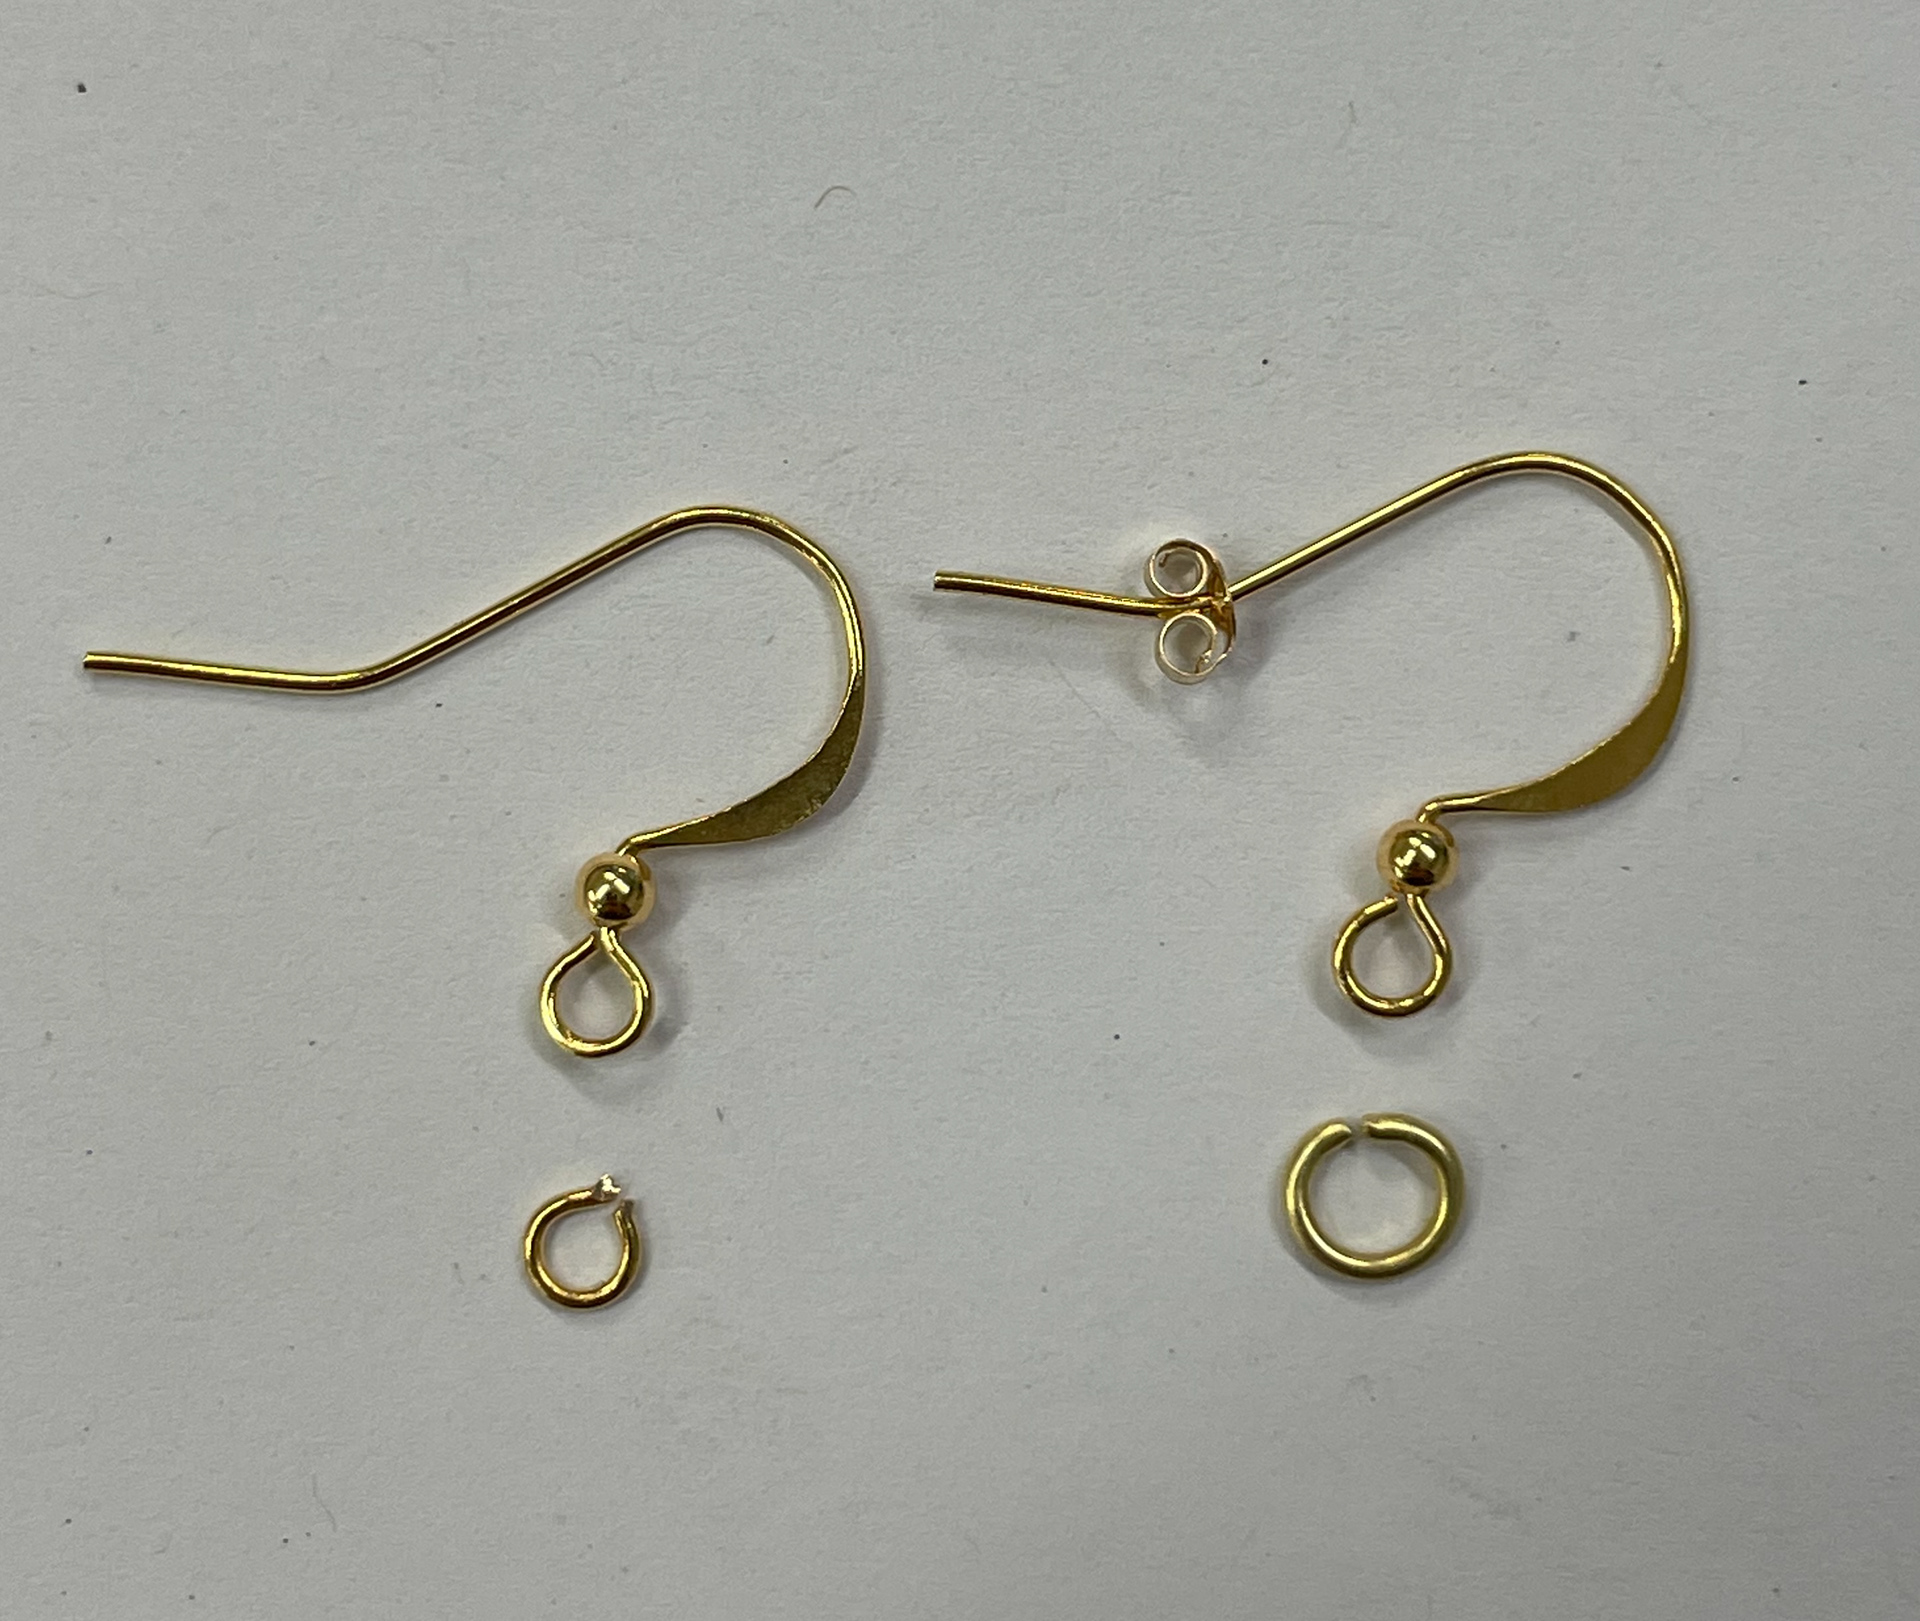
different jump ring posibilities
ready to be soldered
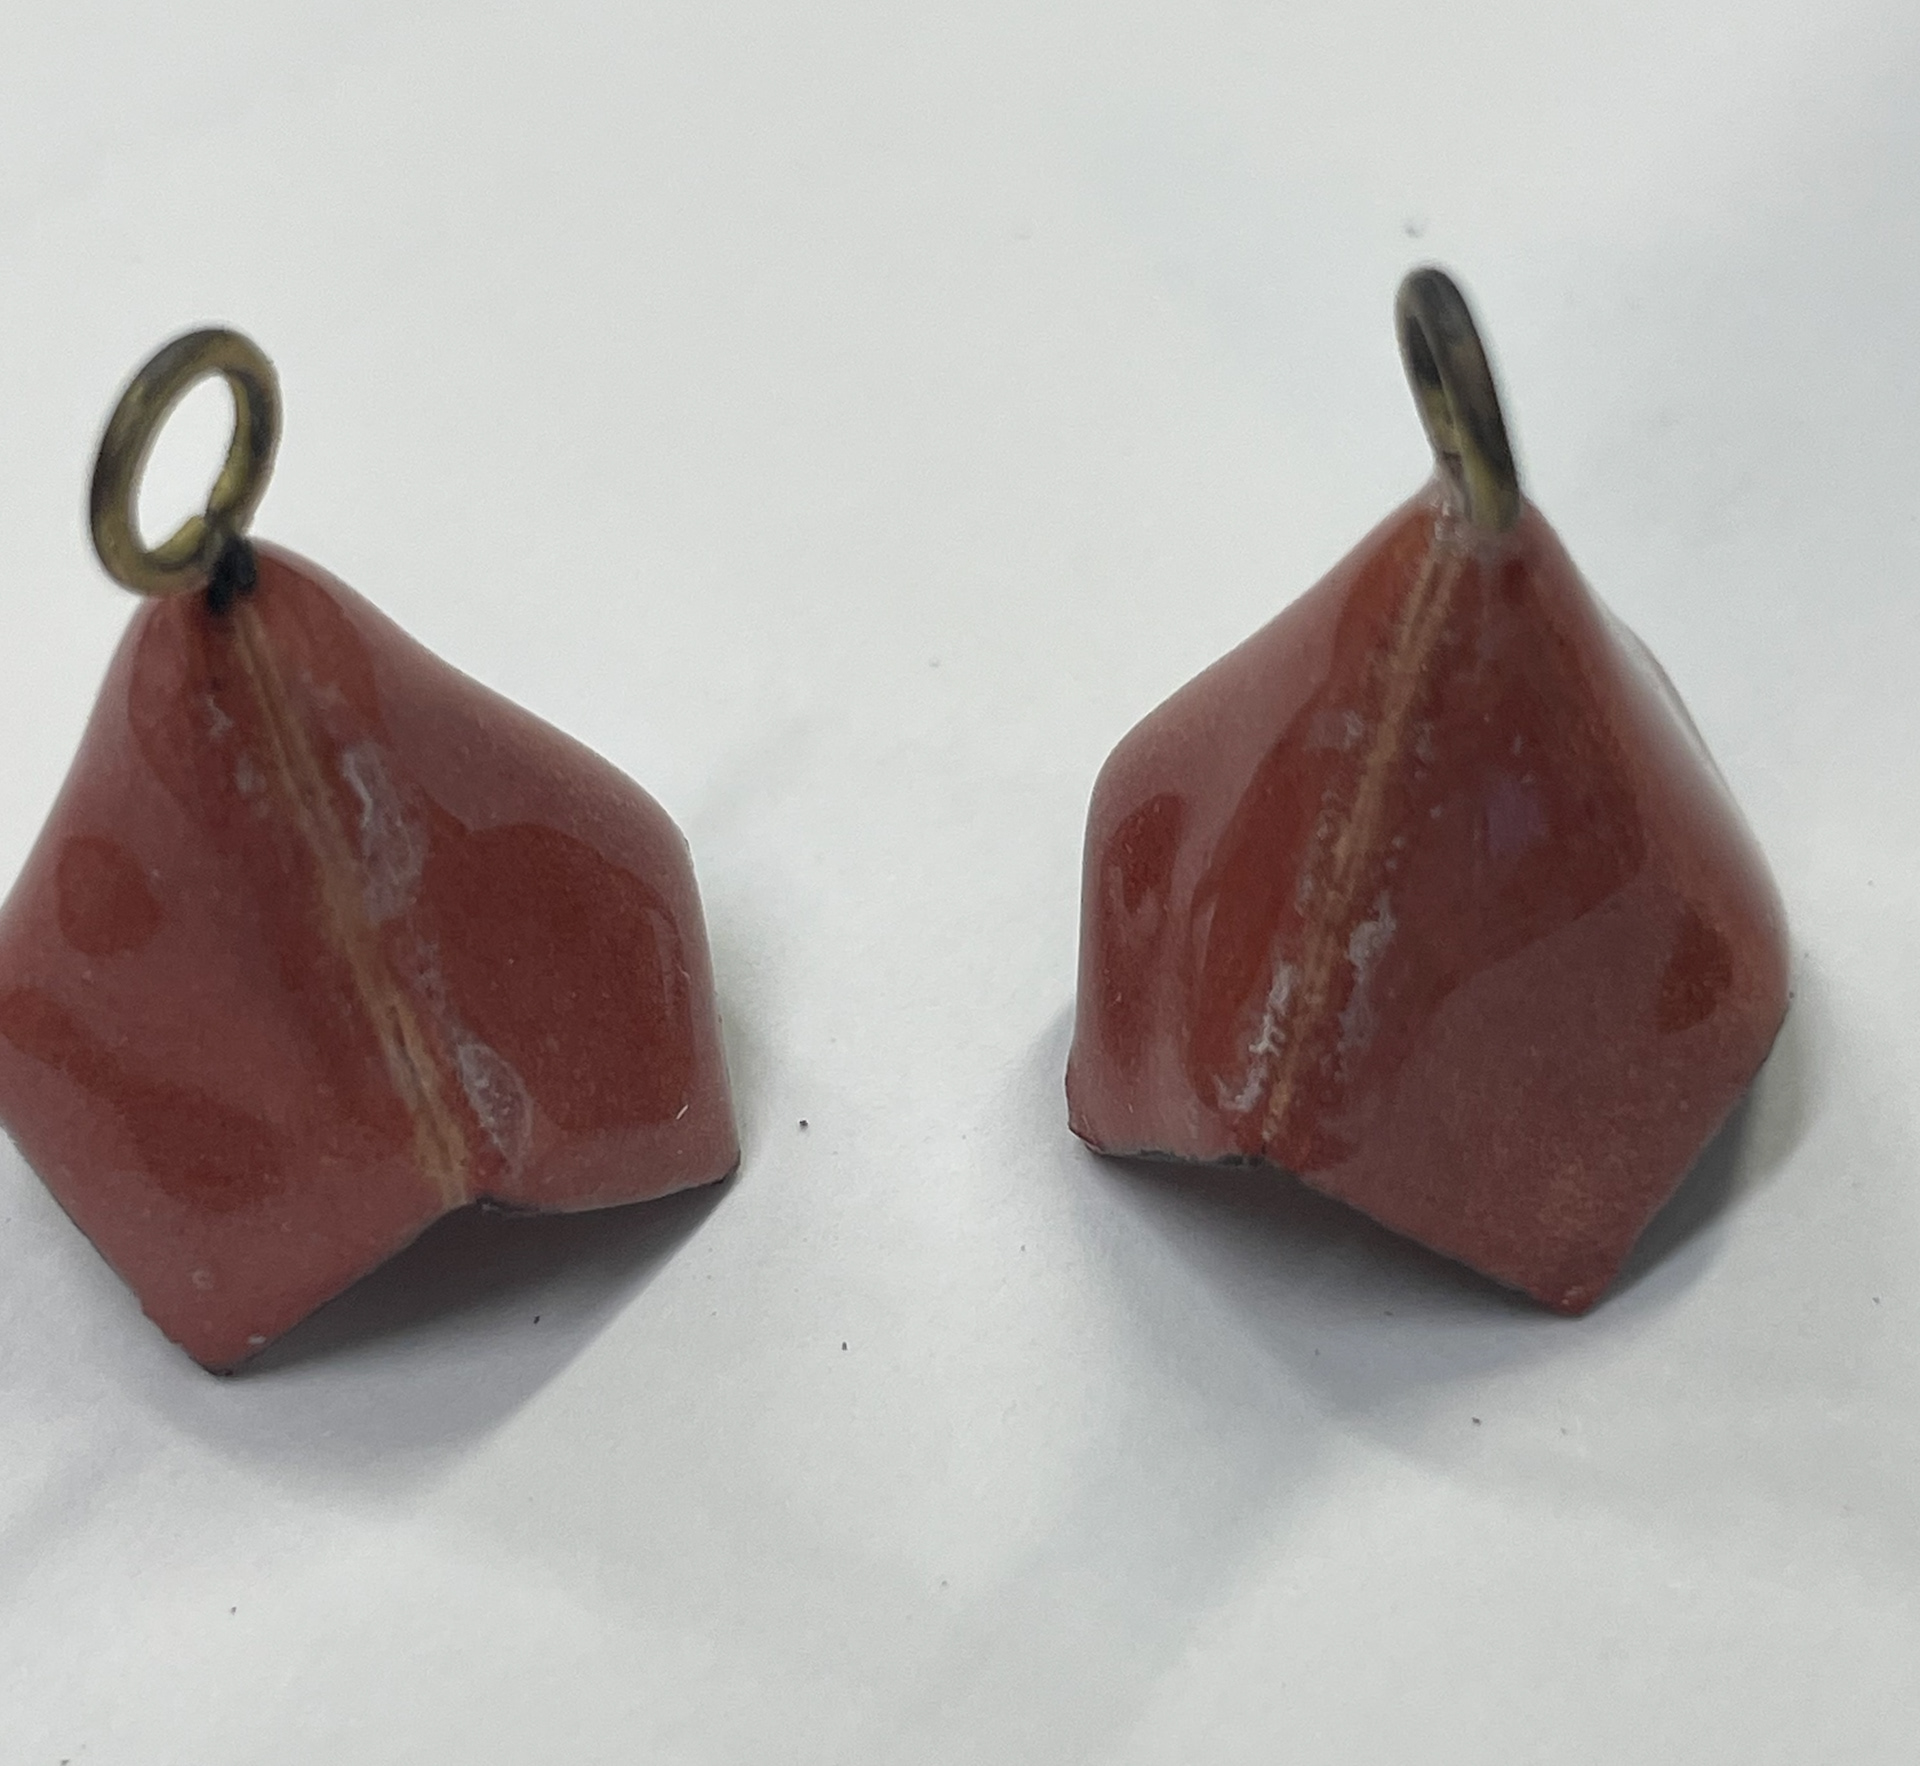
after being soldered
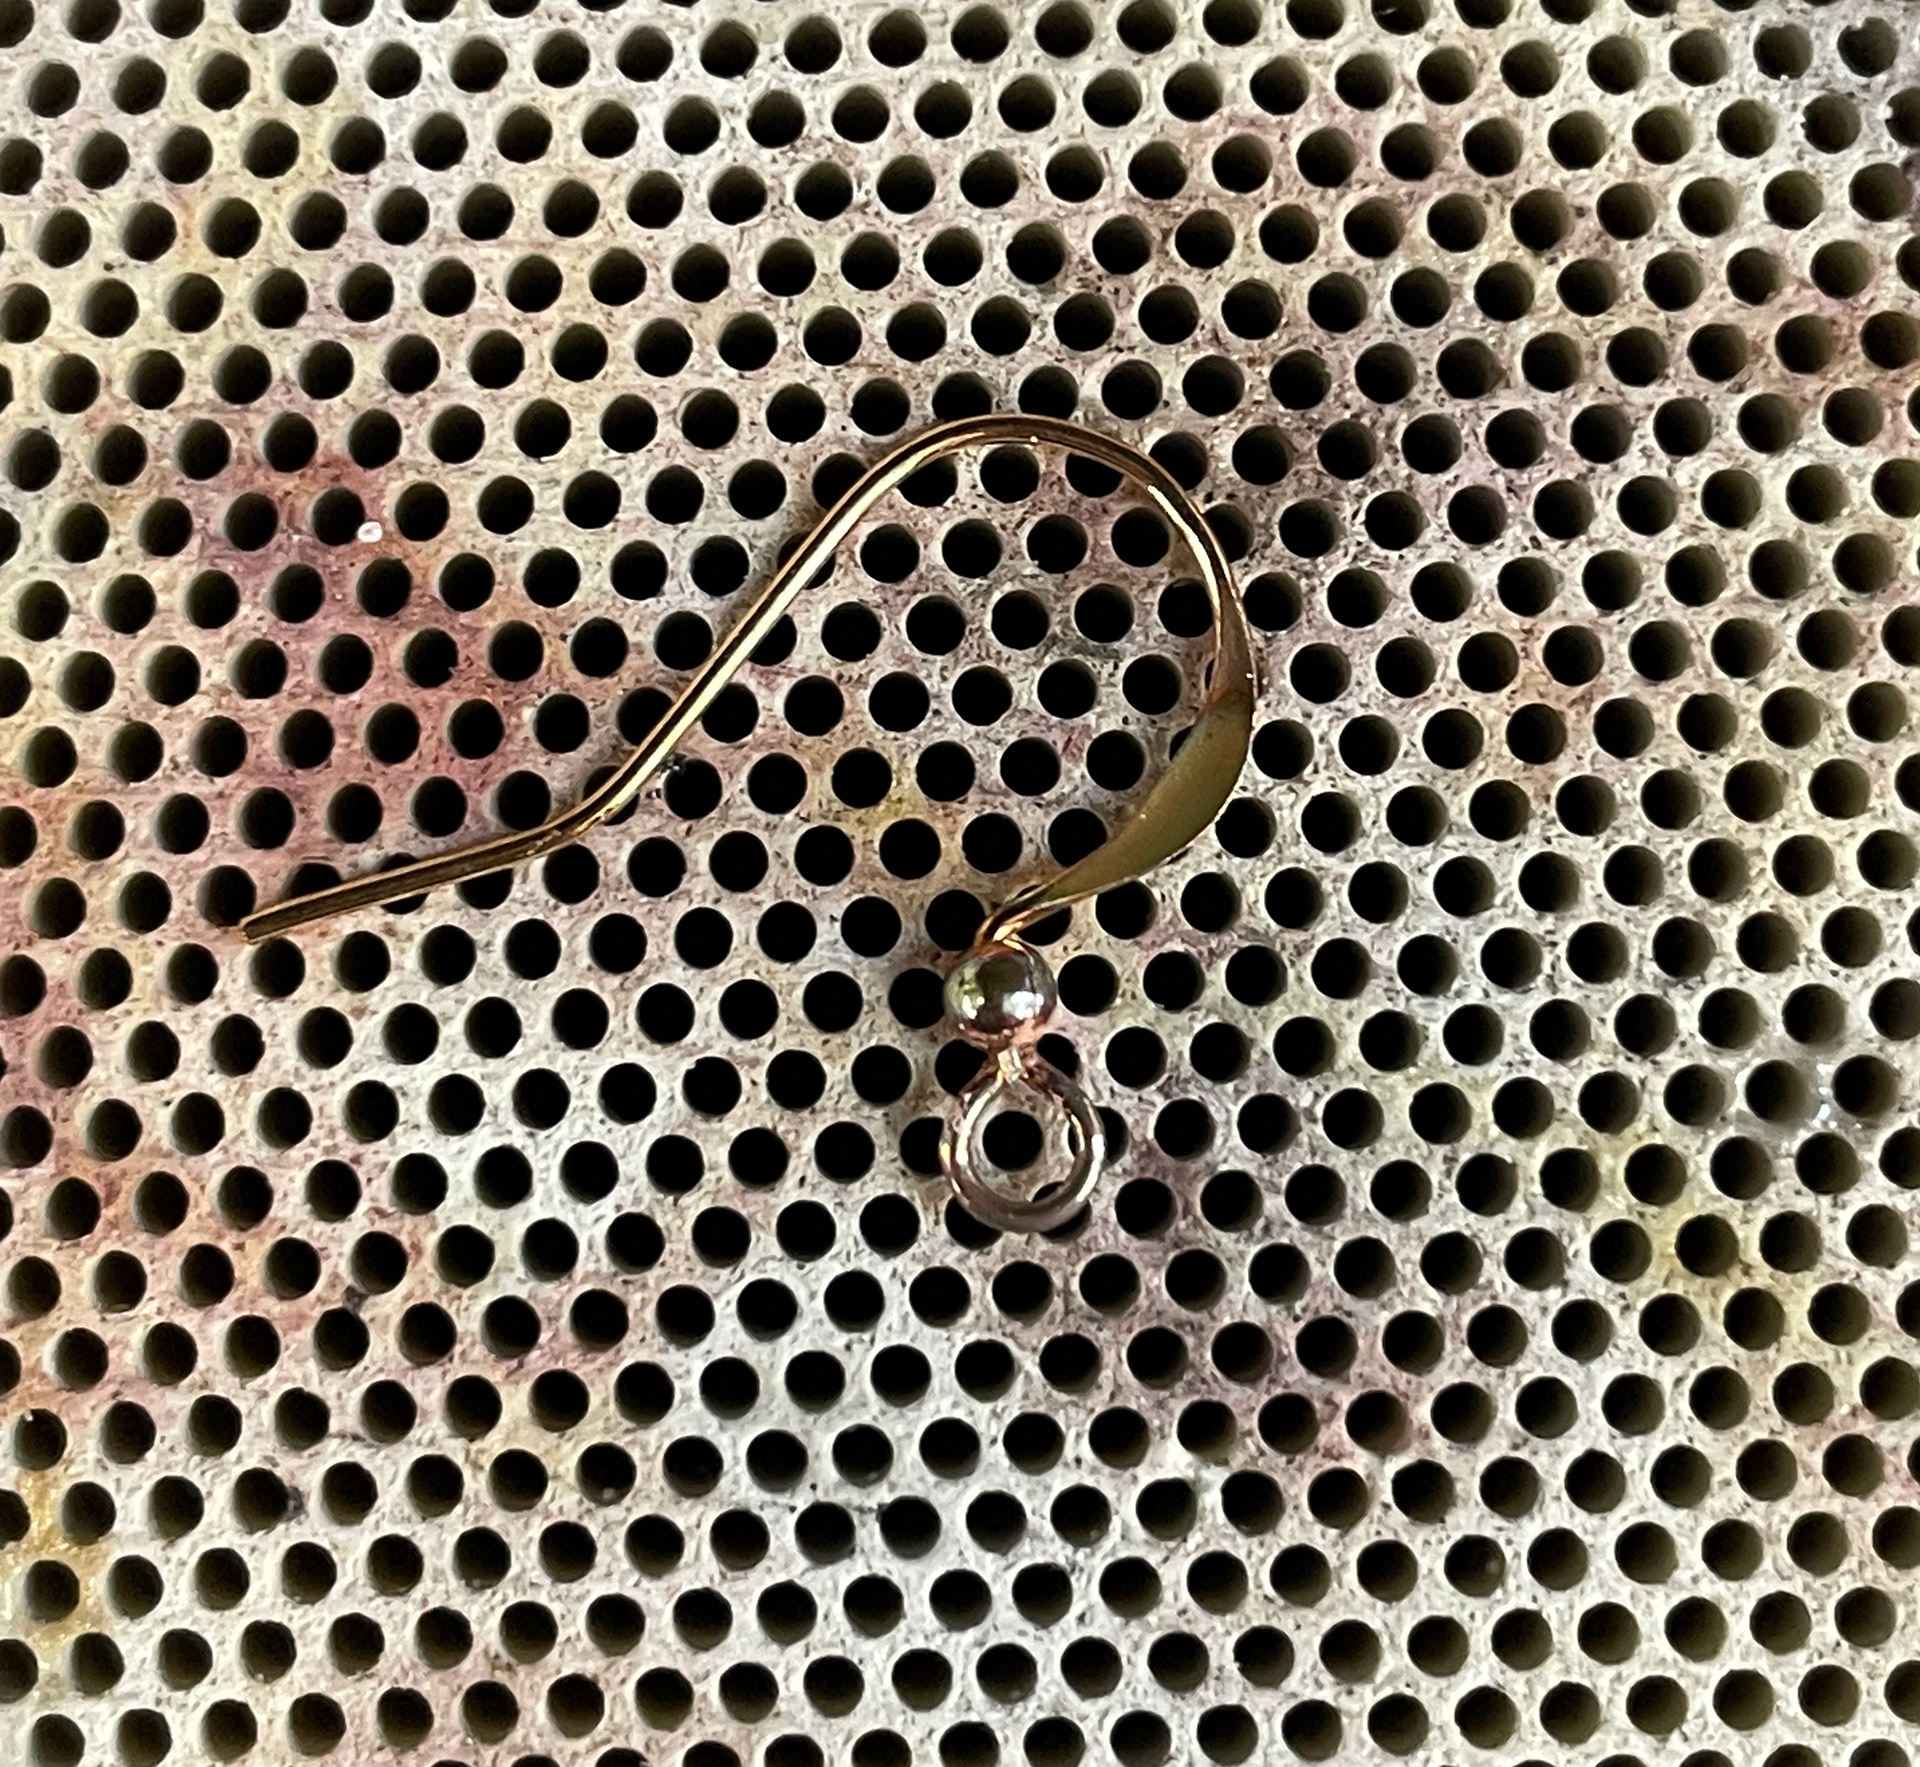
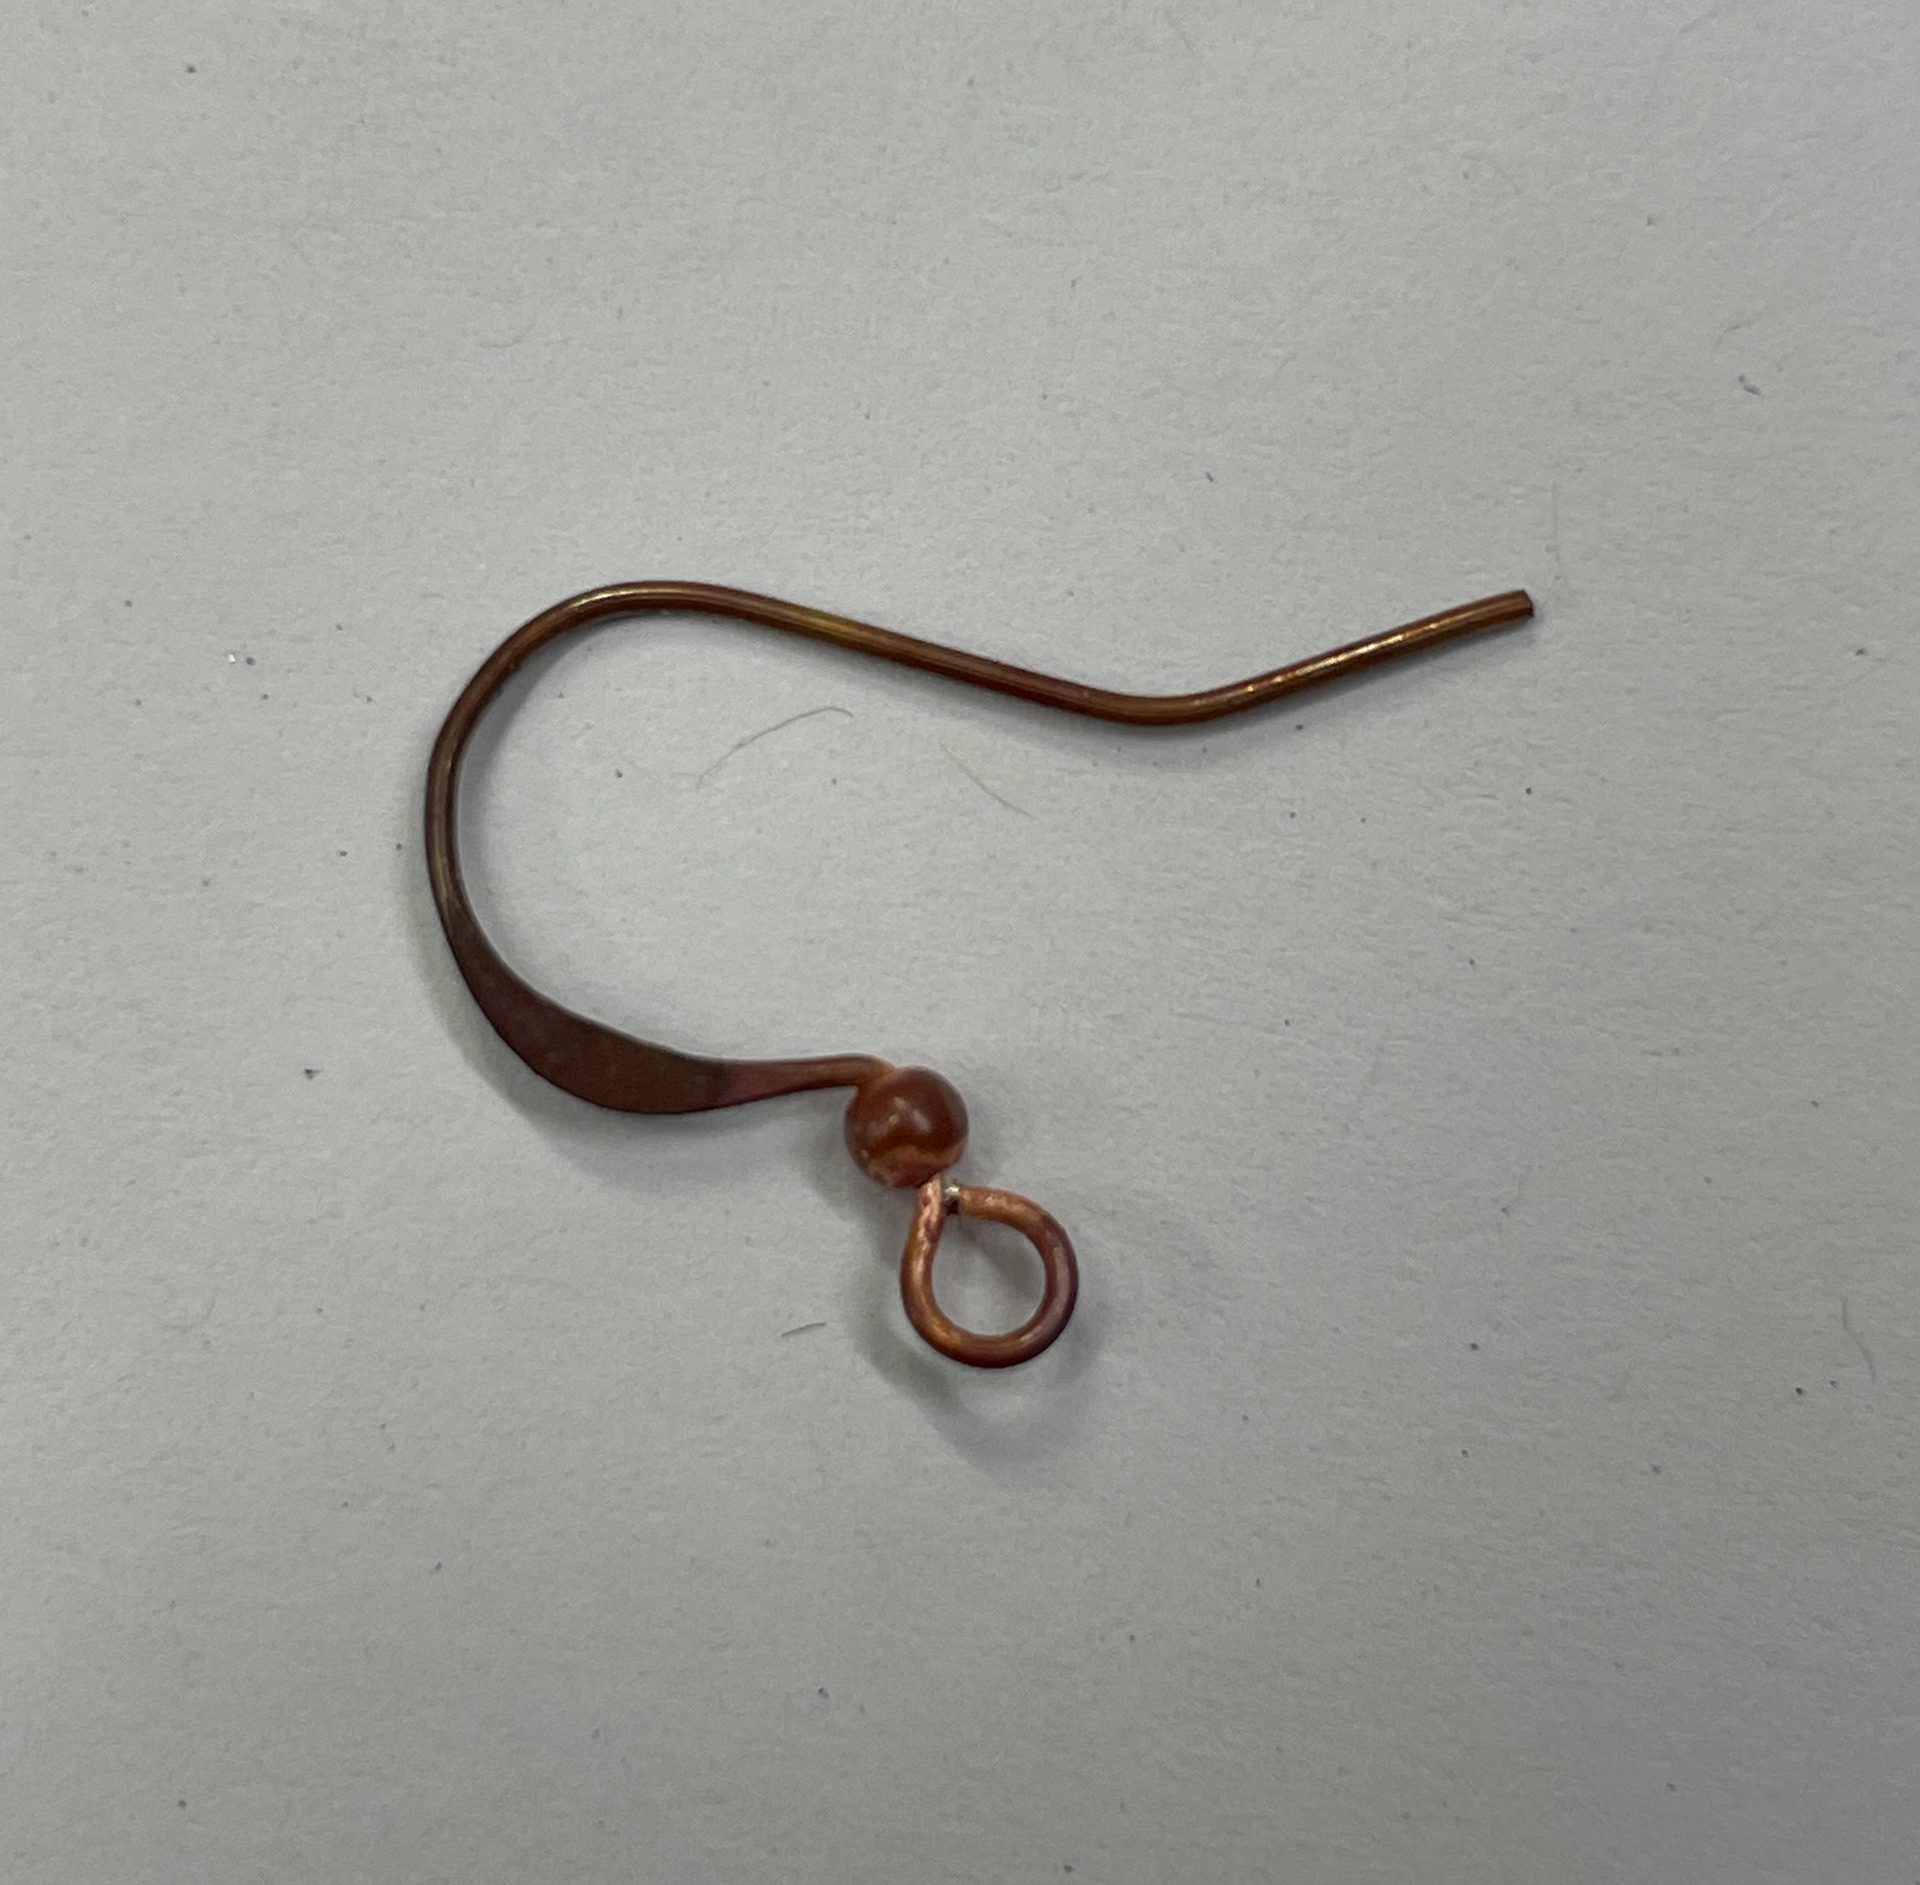
after pickled and gold plating removed
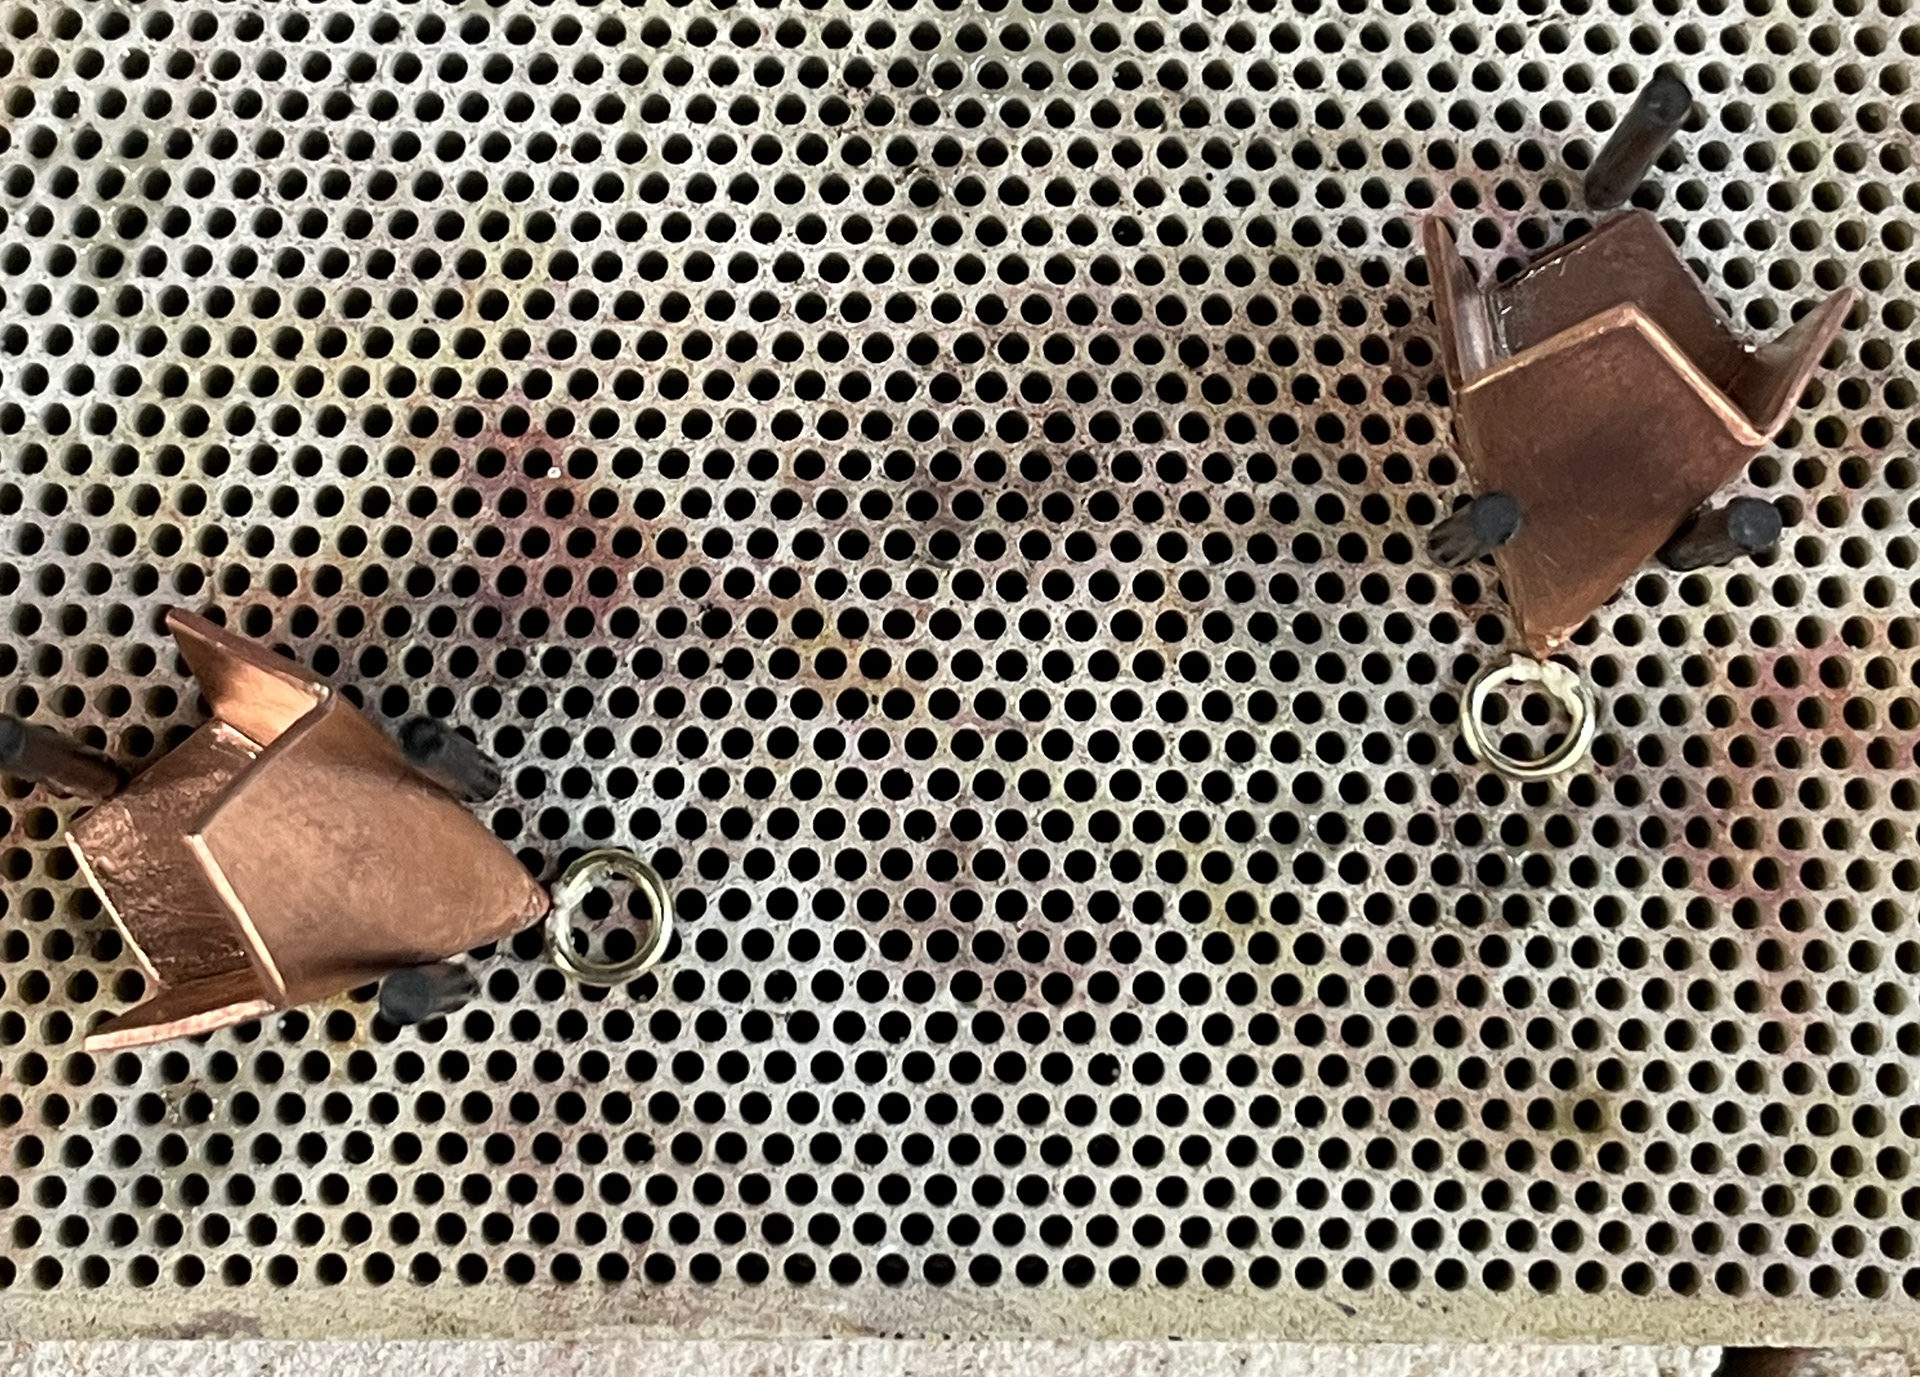
Soldering the jump rings
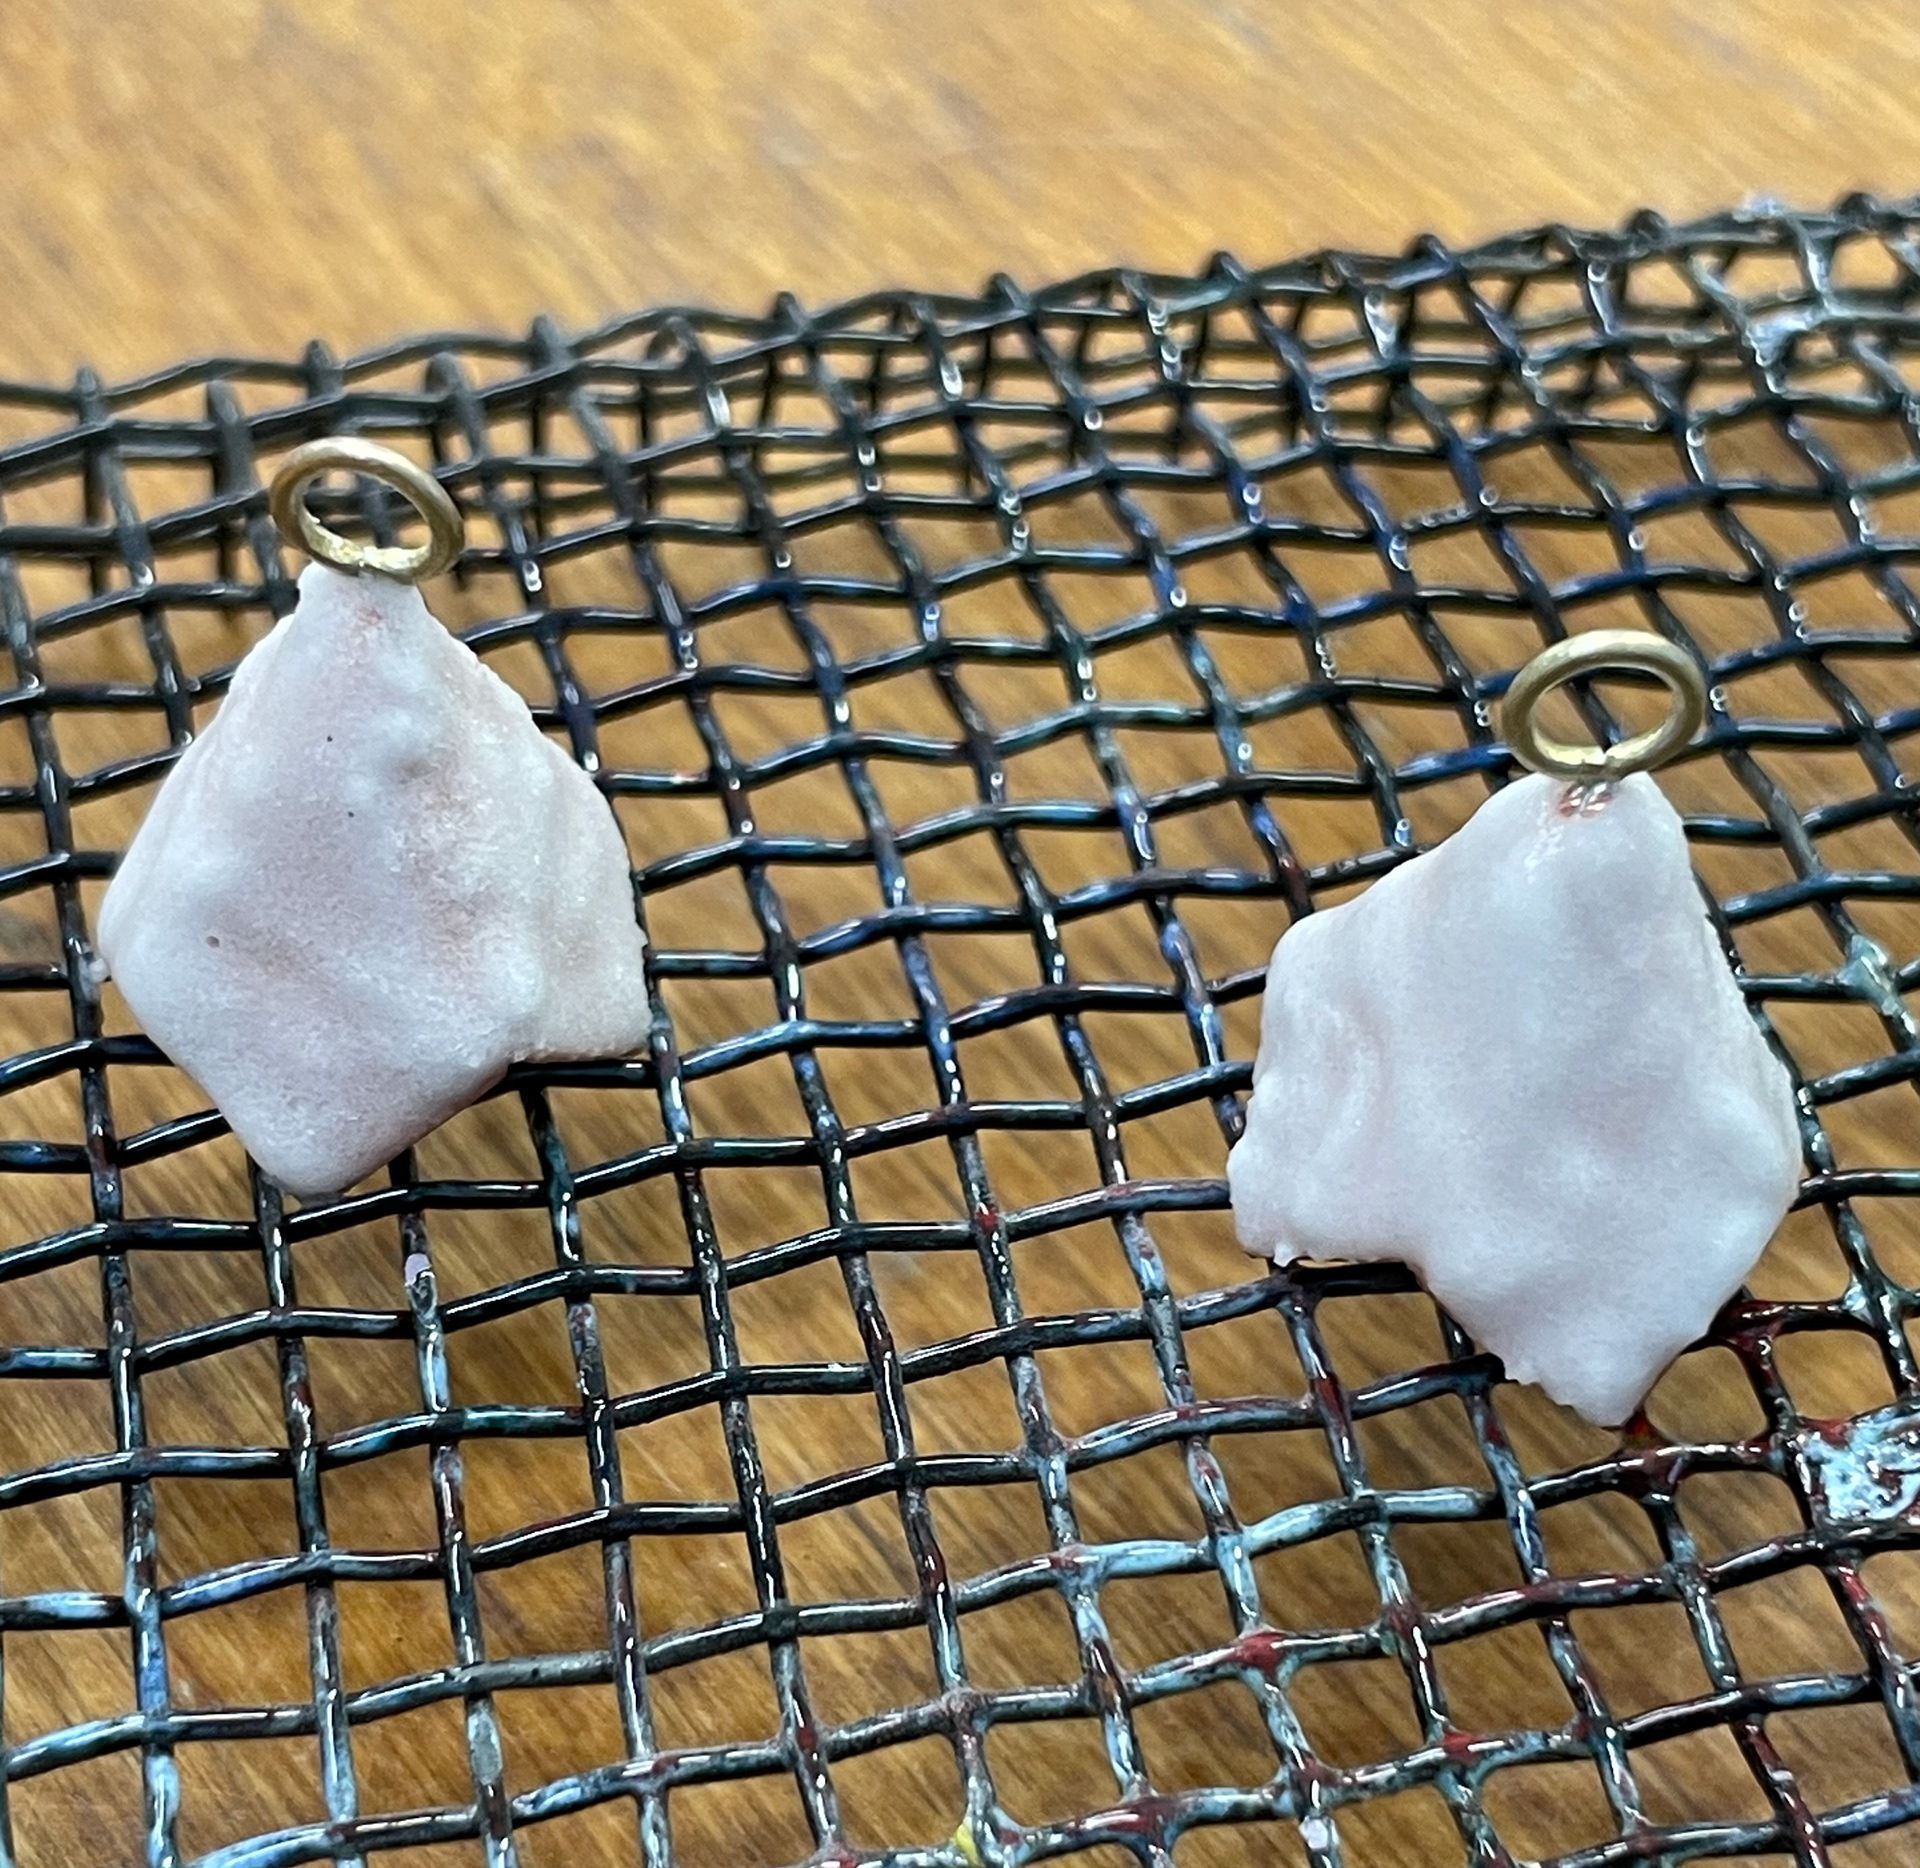
First layer of clear flux
straight out of the kiln
enamel cracking on solder seam

re applying clear flux
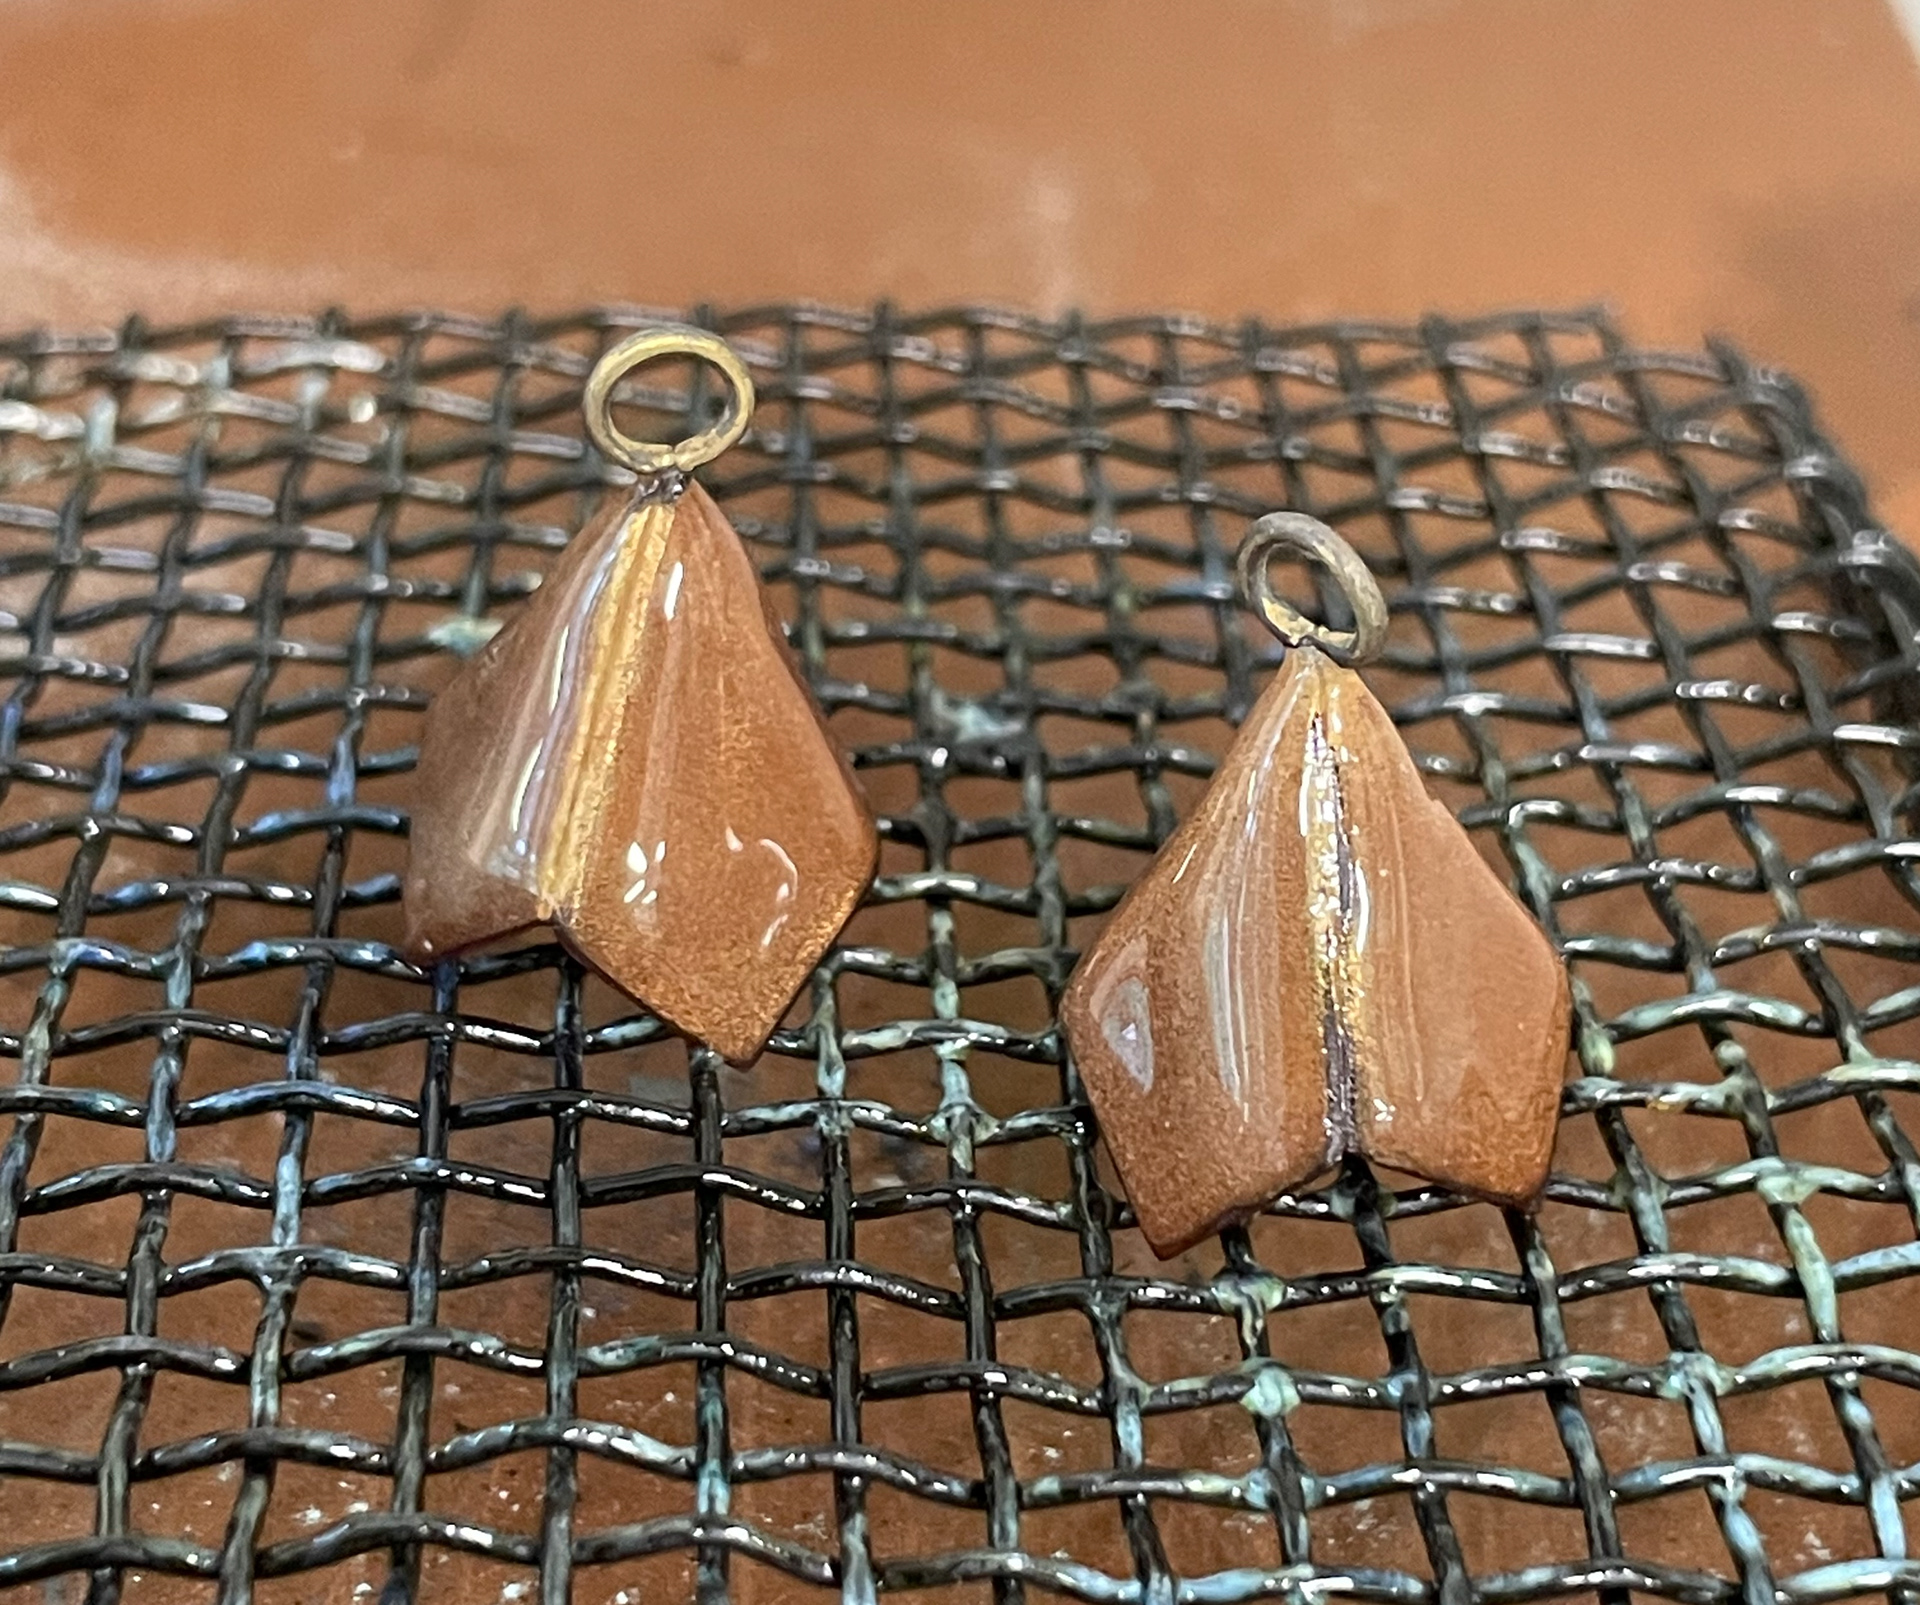
out of the kiln second attempt
once cooled
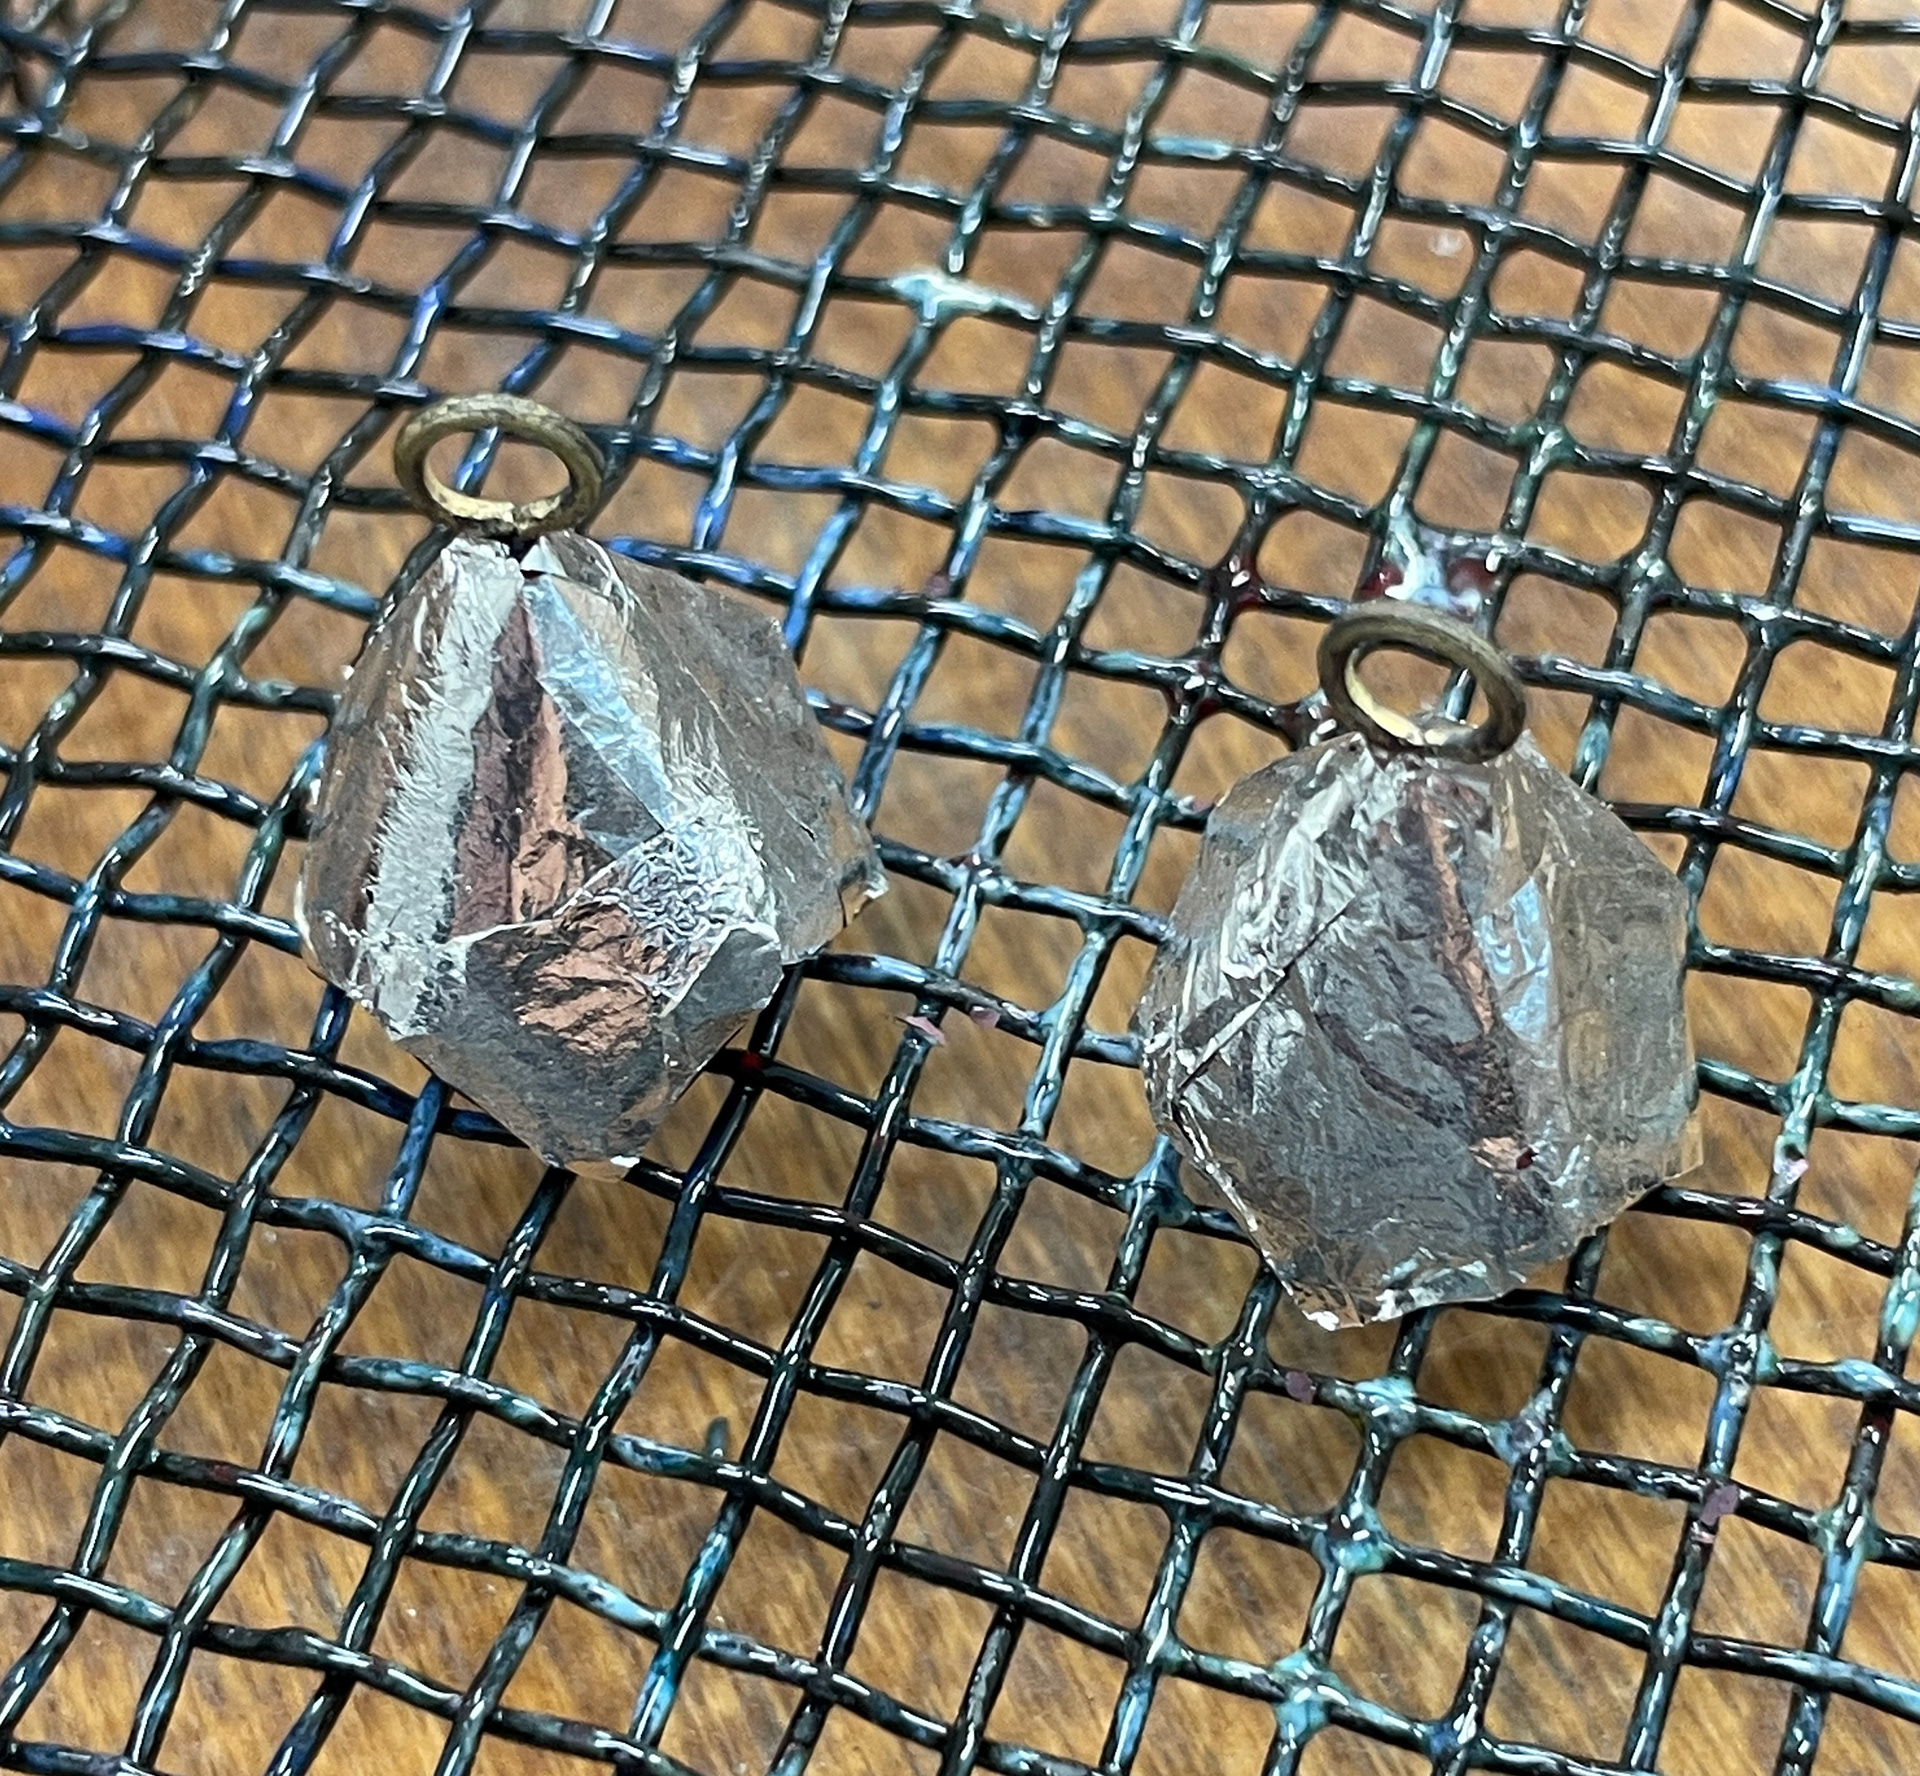
silver foil applied
wet process enamel applied
waiting to dry out
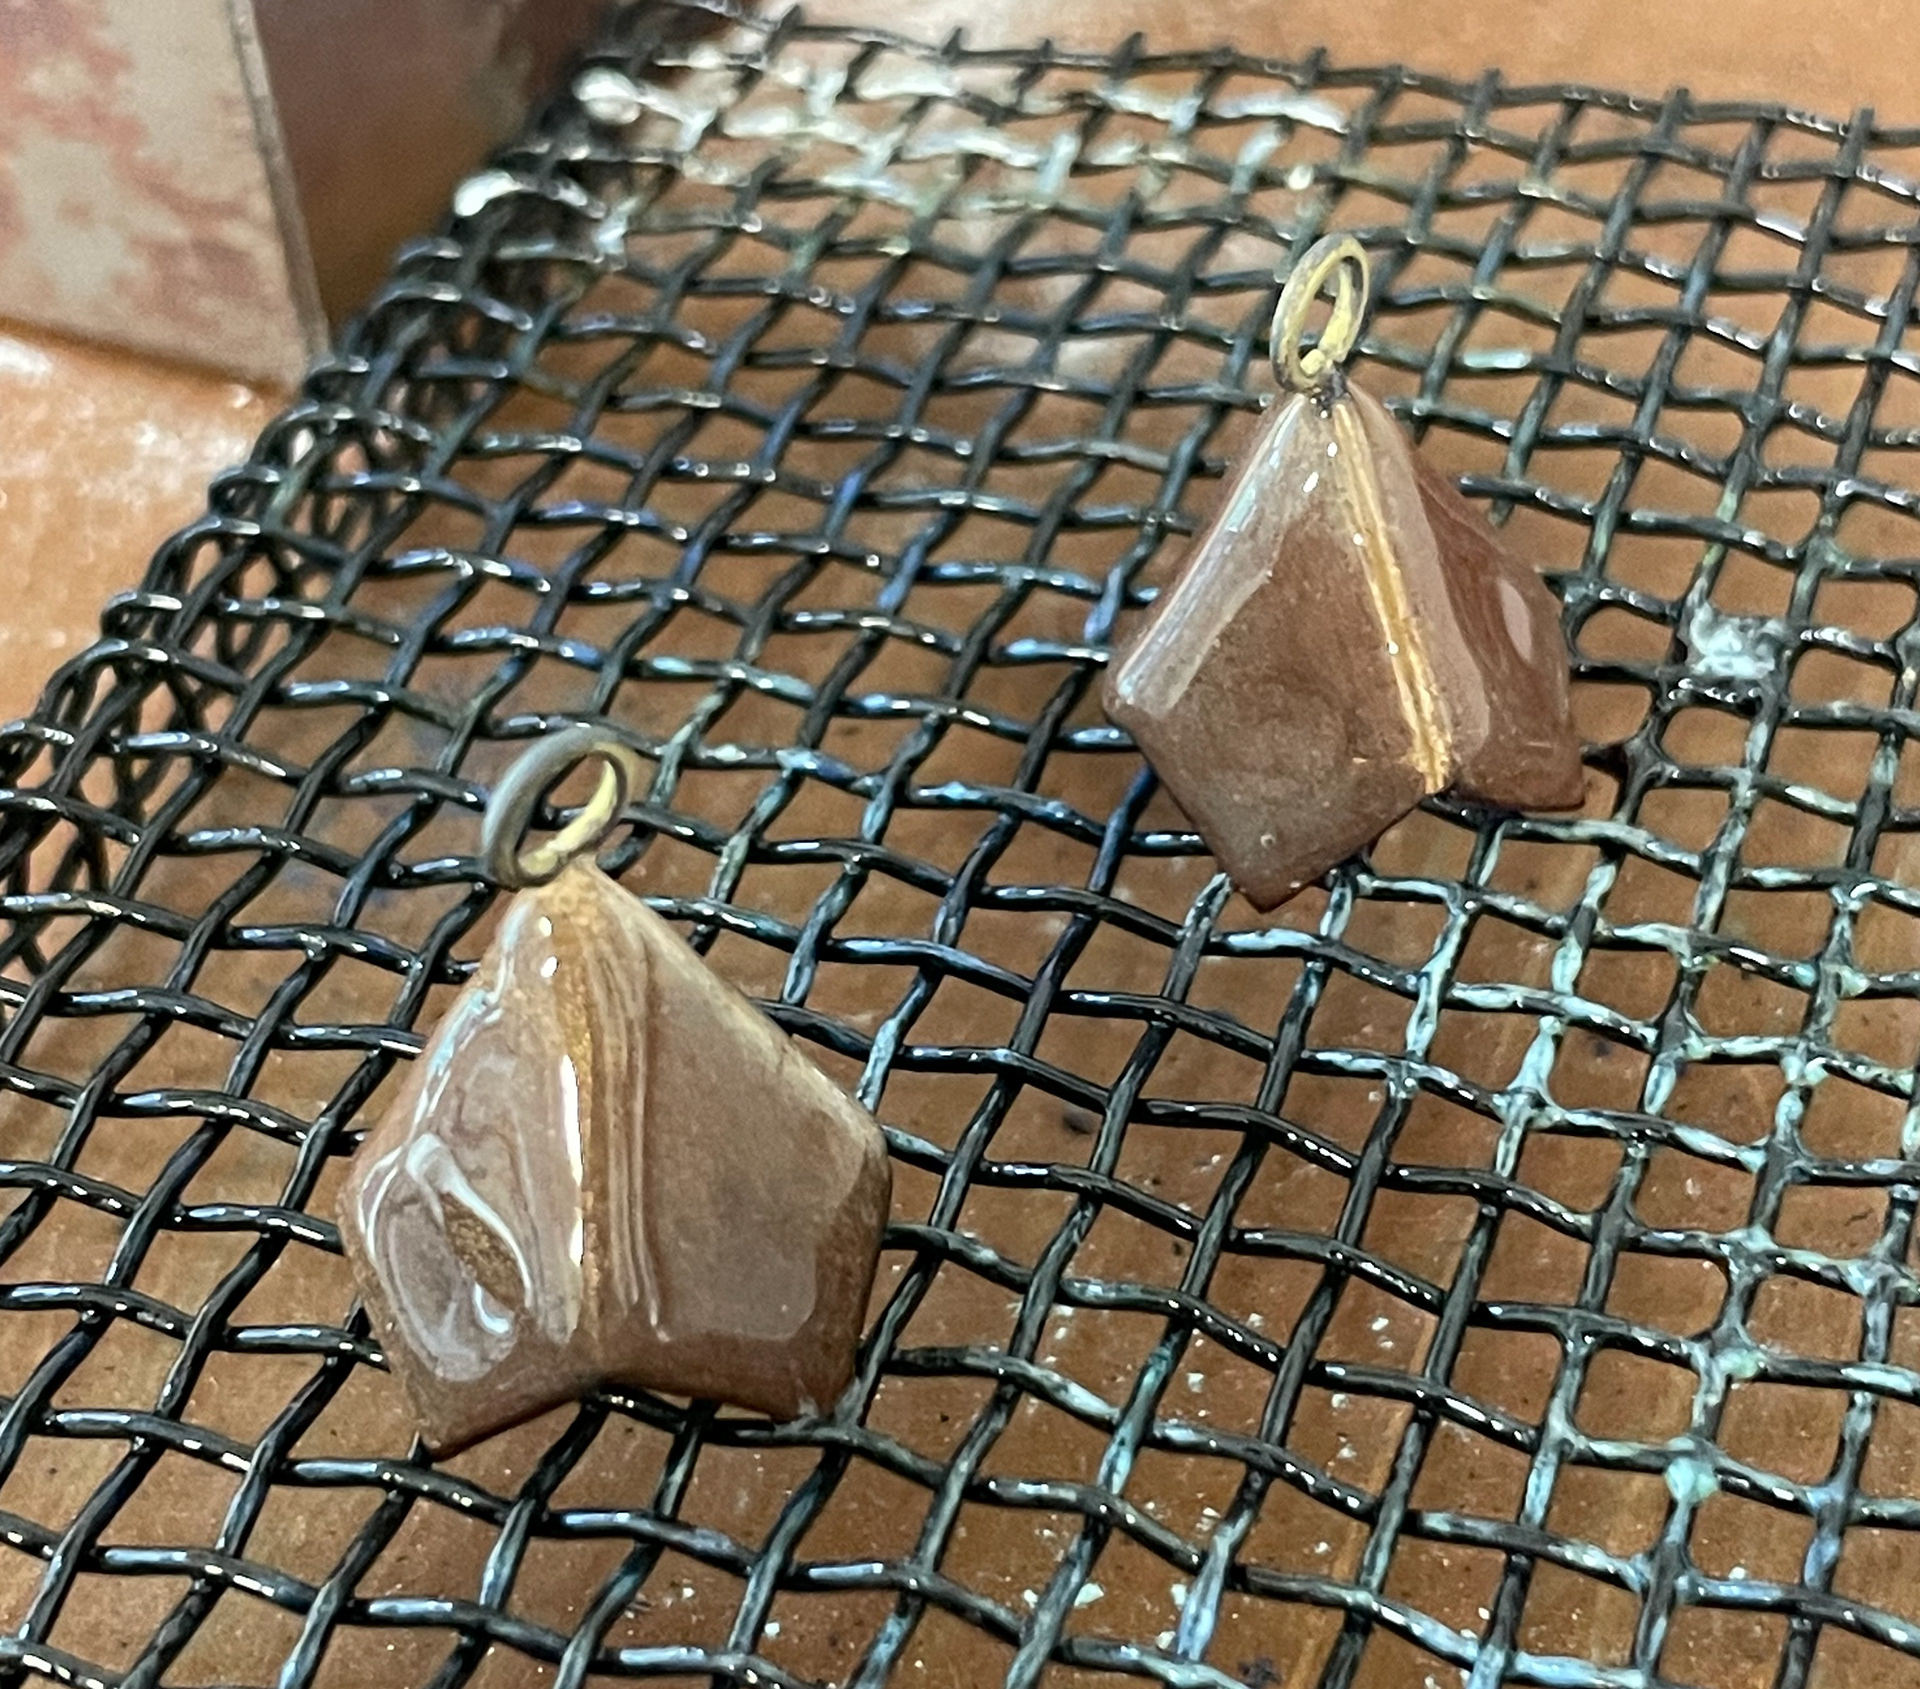
after being fired and cooled
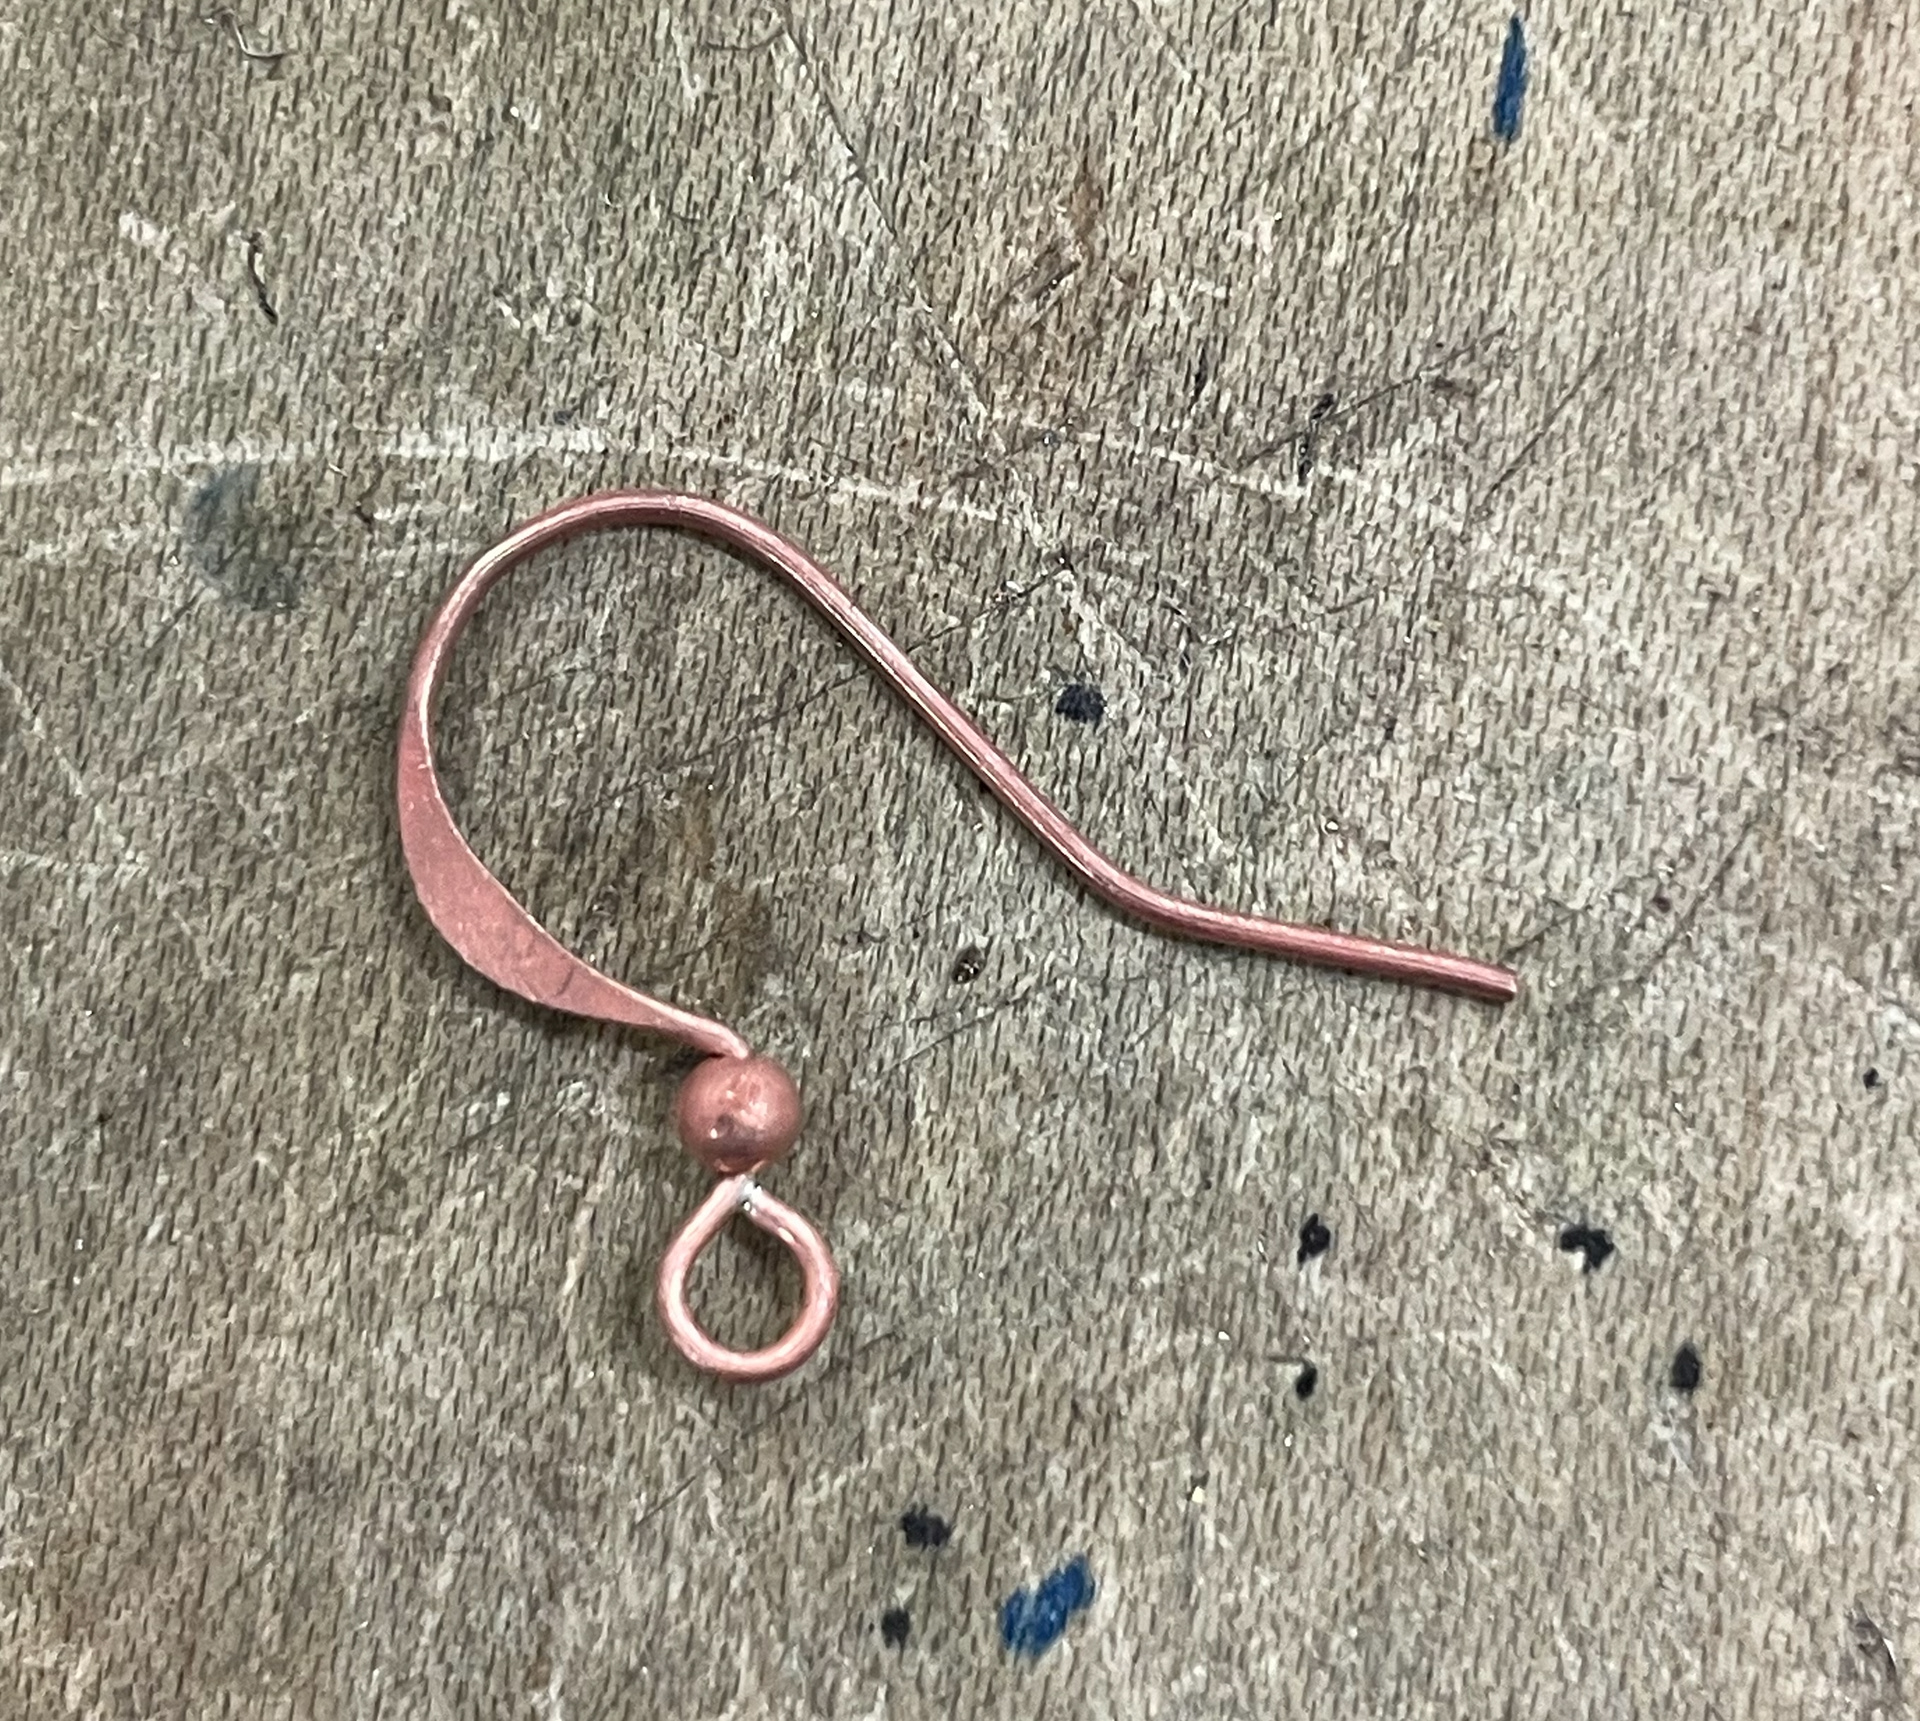
Before enamelling all the soldering has to be done. I bought some gold-plated earring hooks from Cookson Gold to attach to the earrings. I wanted to solder the connecting jump ring to the hook so I tested this before doing so because I wasn't sure how the gold plating would react. The plating came off the hook and they were left being copper and also extremely soft, so I decided against soldering the connecting jump ring. I did however solder a jump ring onto the top of the earring.
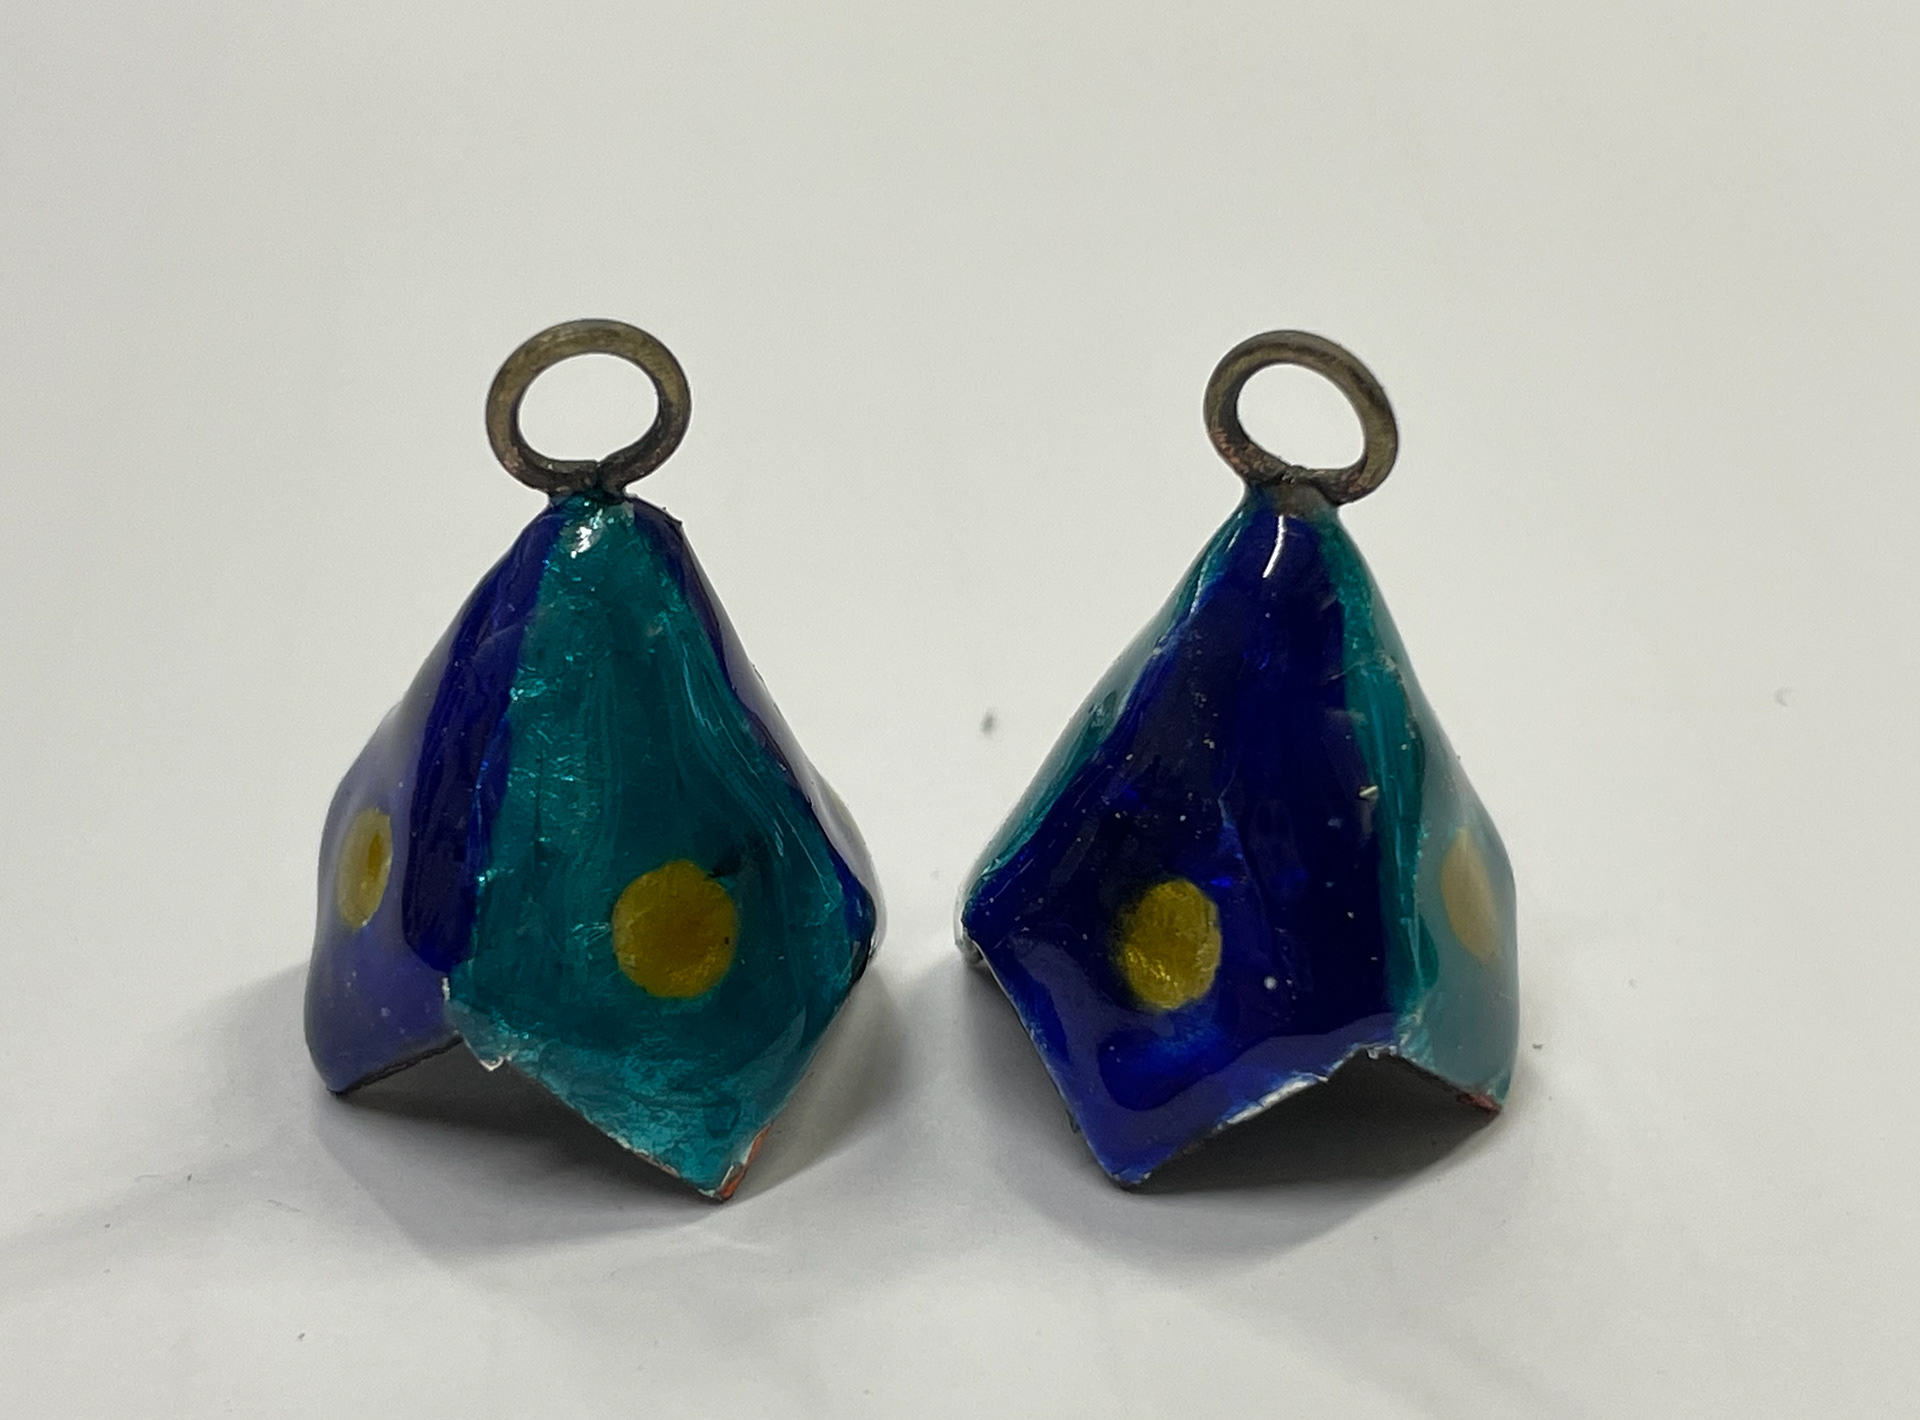
I followed by cleaning the earrings and then applying clear flux to them using the wet process. After the first attempt of old enamelling the enamel shattered along one edge. This was because this was the solder line and enamel doesn't adhere to solder which I had forgotten about when applying the enamel. I used a Diagrit to remove the shattered glass then re-applied the clear flux around the solder seam. After this, I applied the silver foil and re-fired it for it to adhere to the clear flux previously applied. Once this had cooled I applied the coloured enamel and placed it in the kiln.
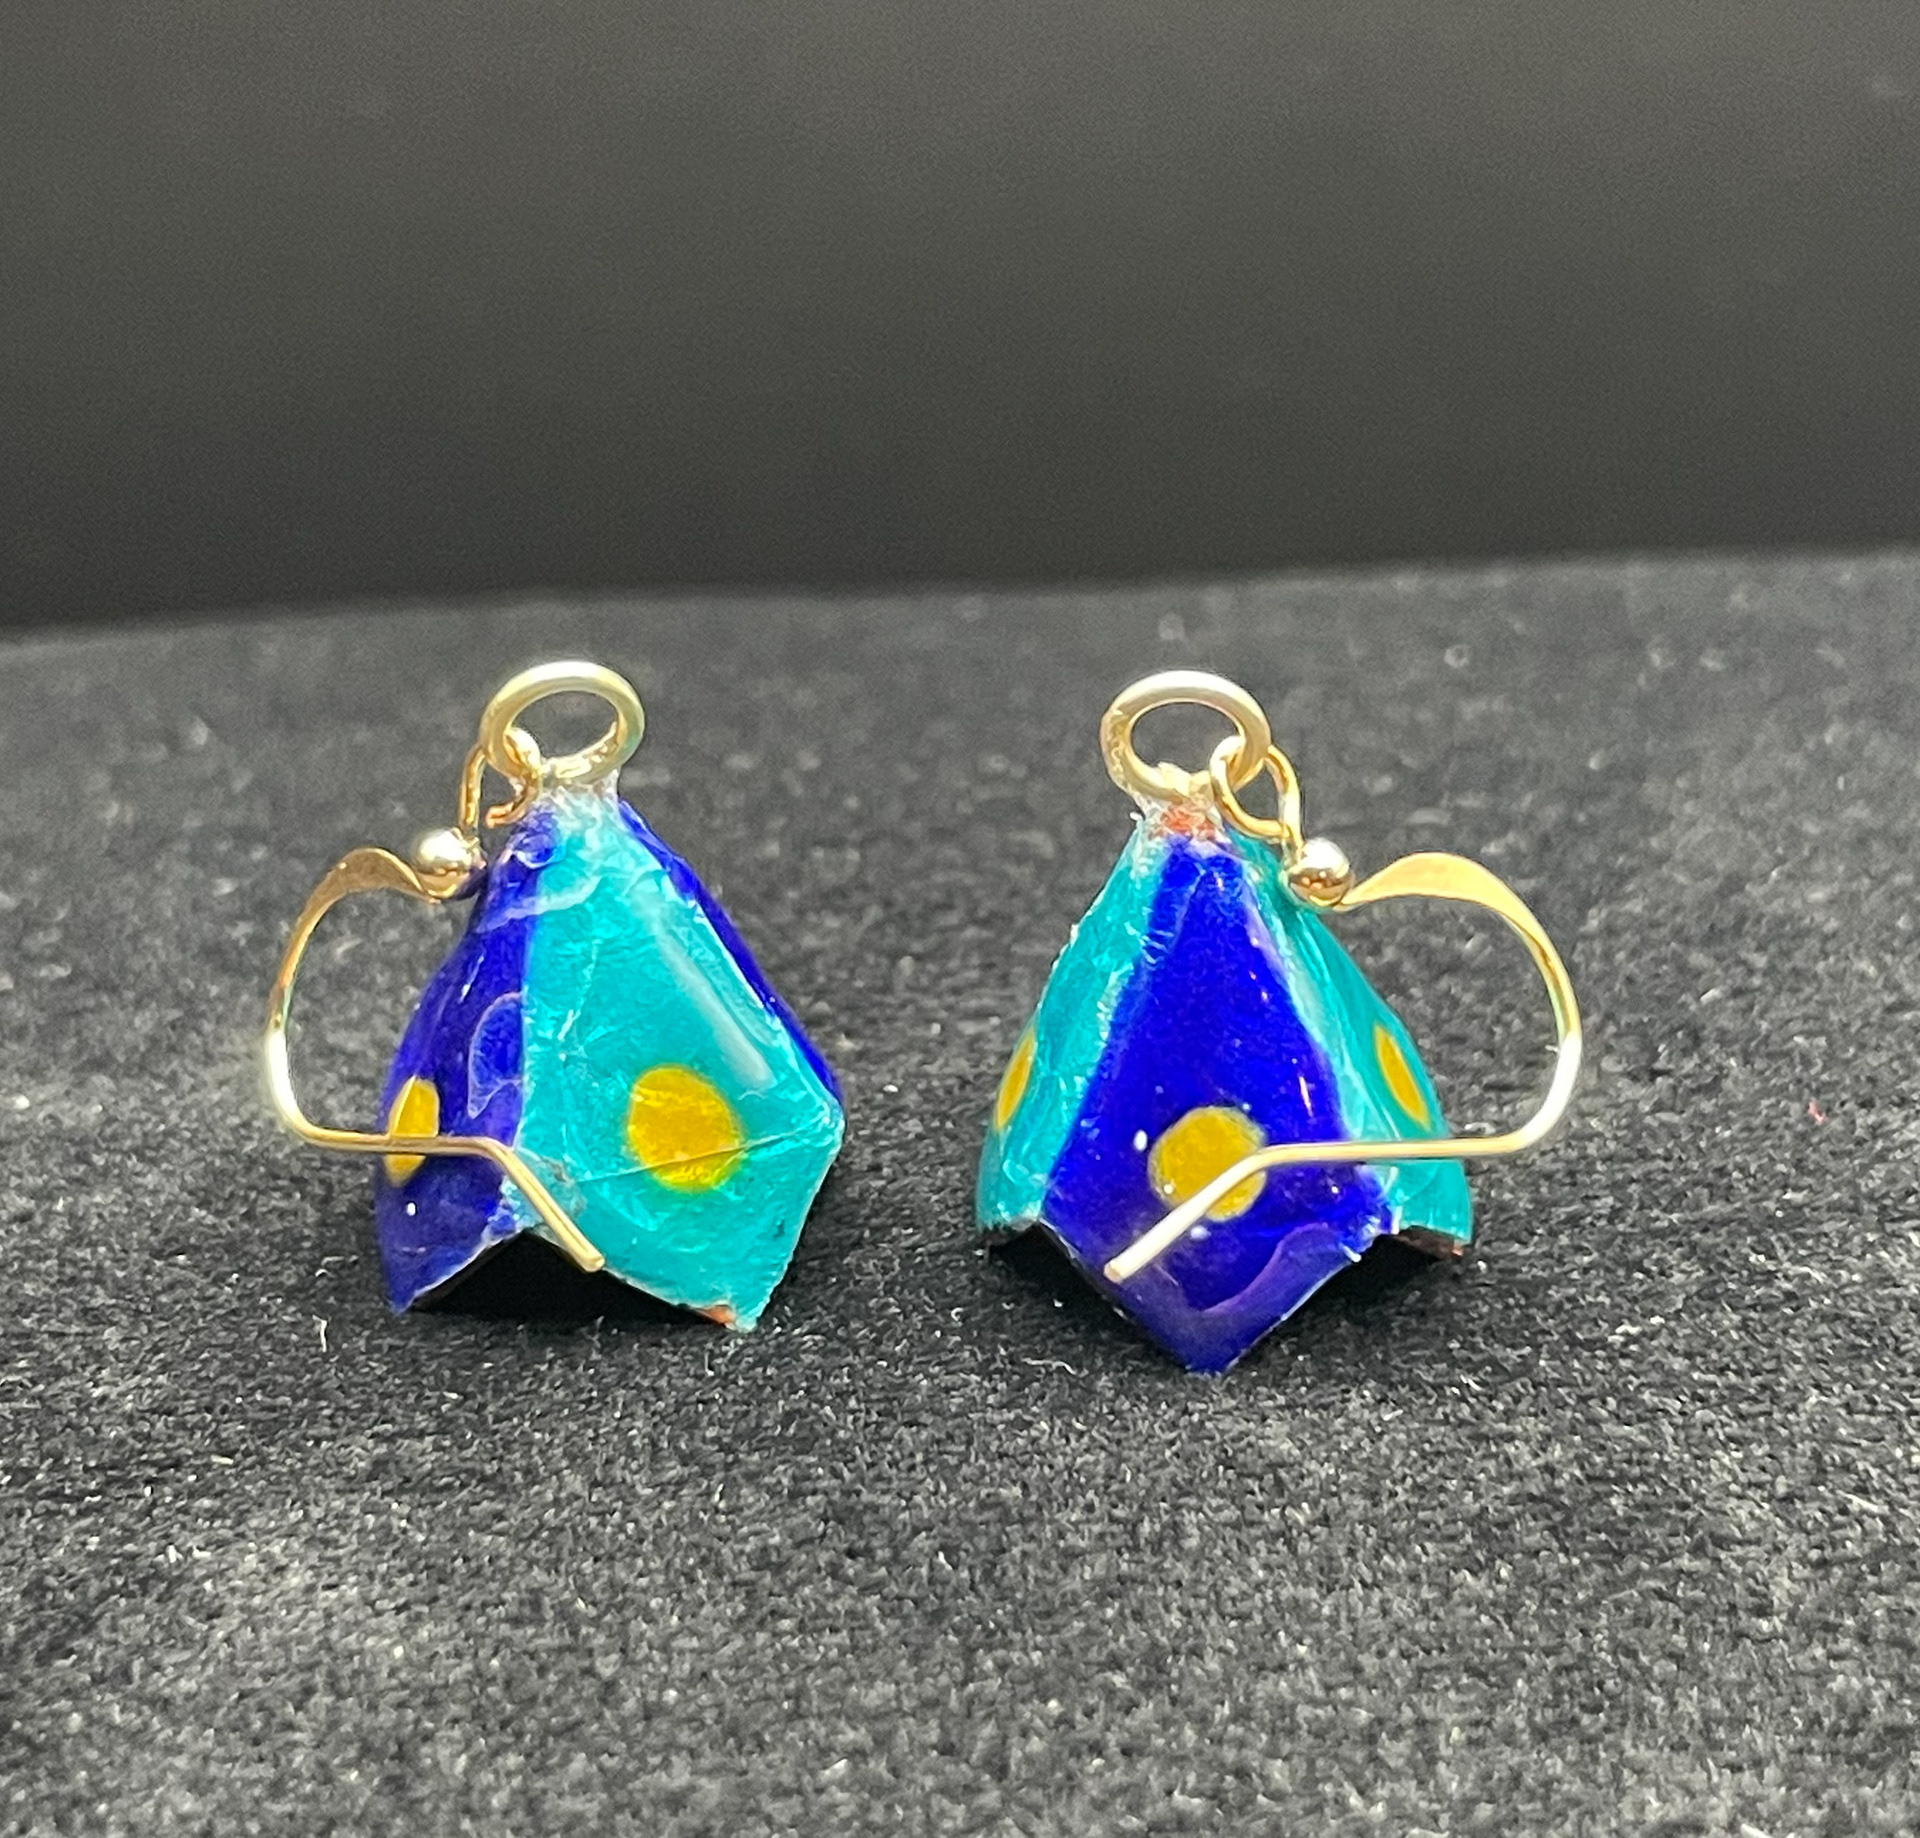
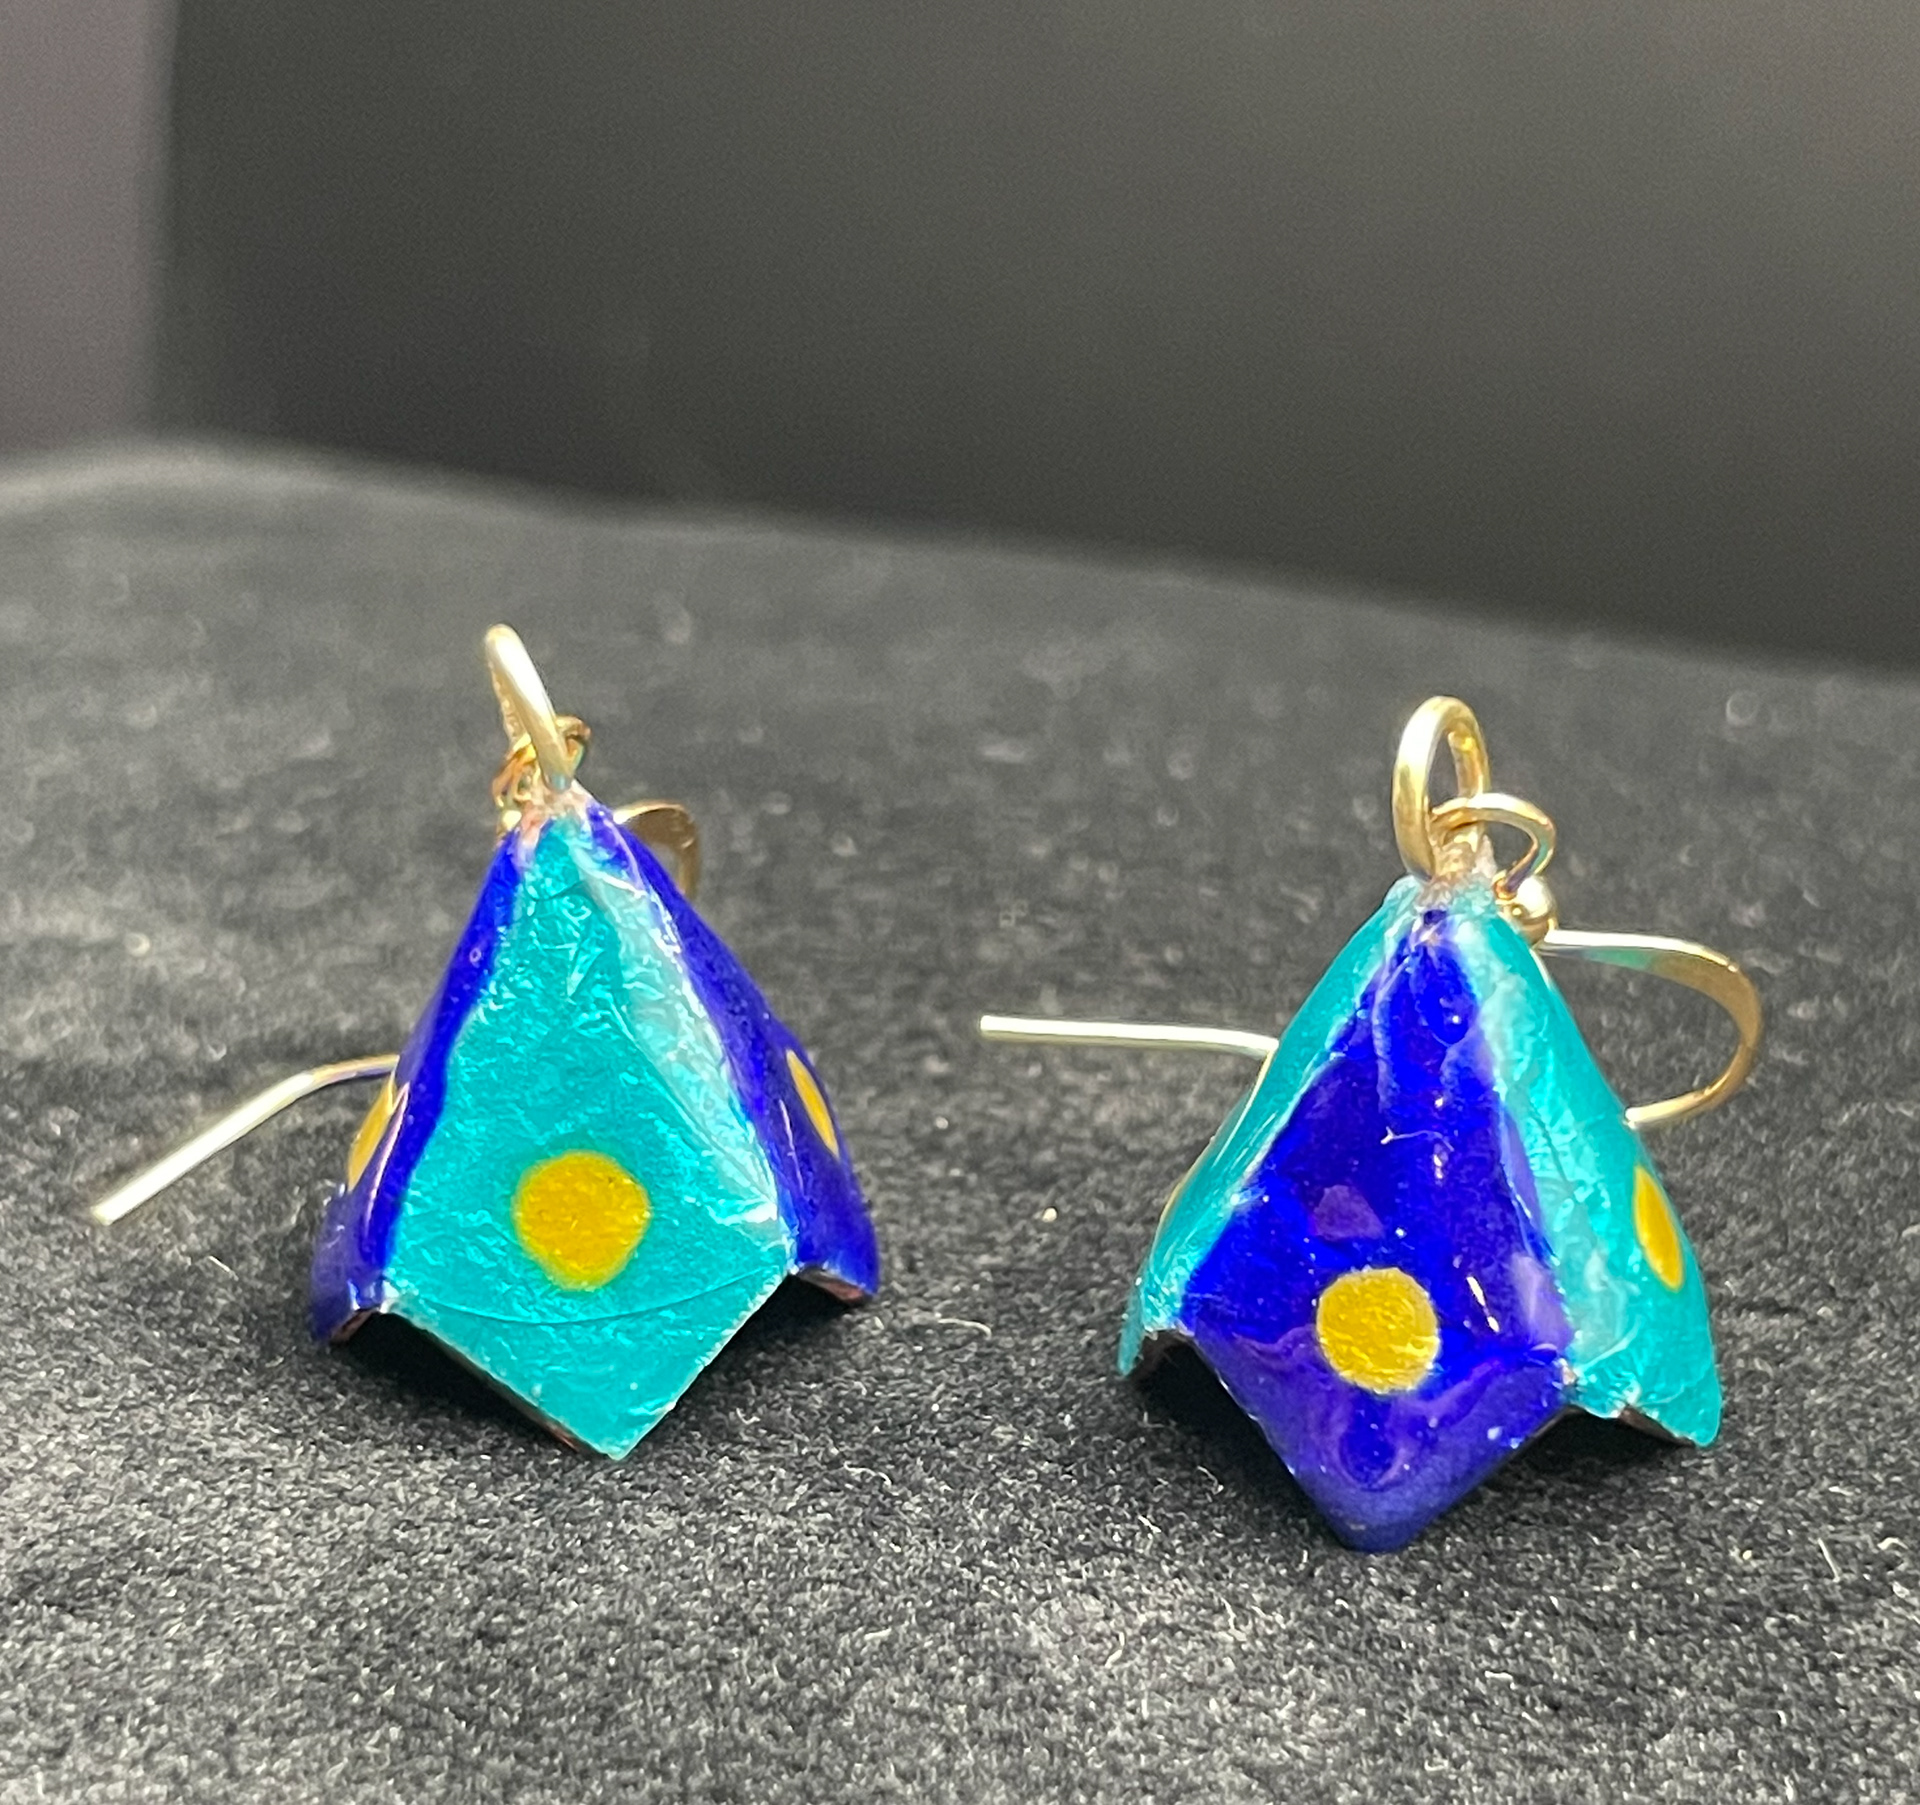
During the polishing stages of the earrings, both of the jump rings snapped off, unfortunately. Because I had already enamelled I could then apply heat to the metal to solder it as this would damage the enamel. For picture purposes, I attached the jump rings using glue. As well as this I wasn't happy with the finish of these earrings. The refinement on them wasn't up to the standard I wanted and I don't believe they're worthy of Collect. Because of this, I decided to not submit them as a part of my final piece as planned and use them instead as a sample. I wasn't able to do anything else to replace this due to time restrictions.
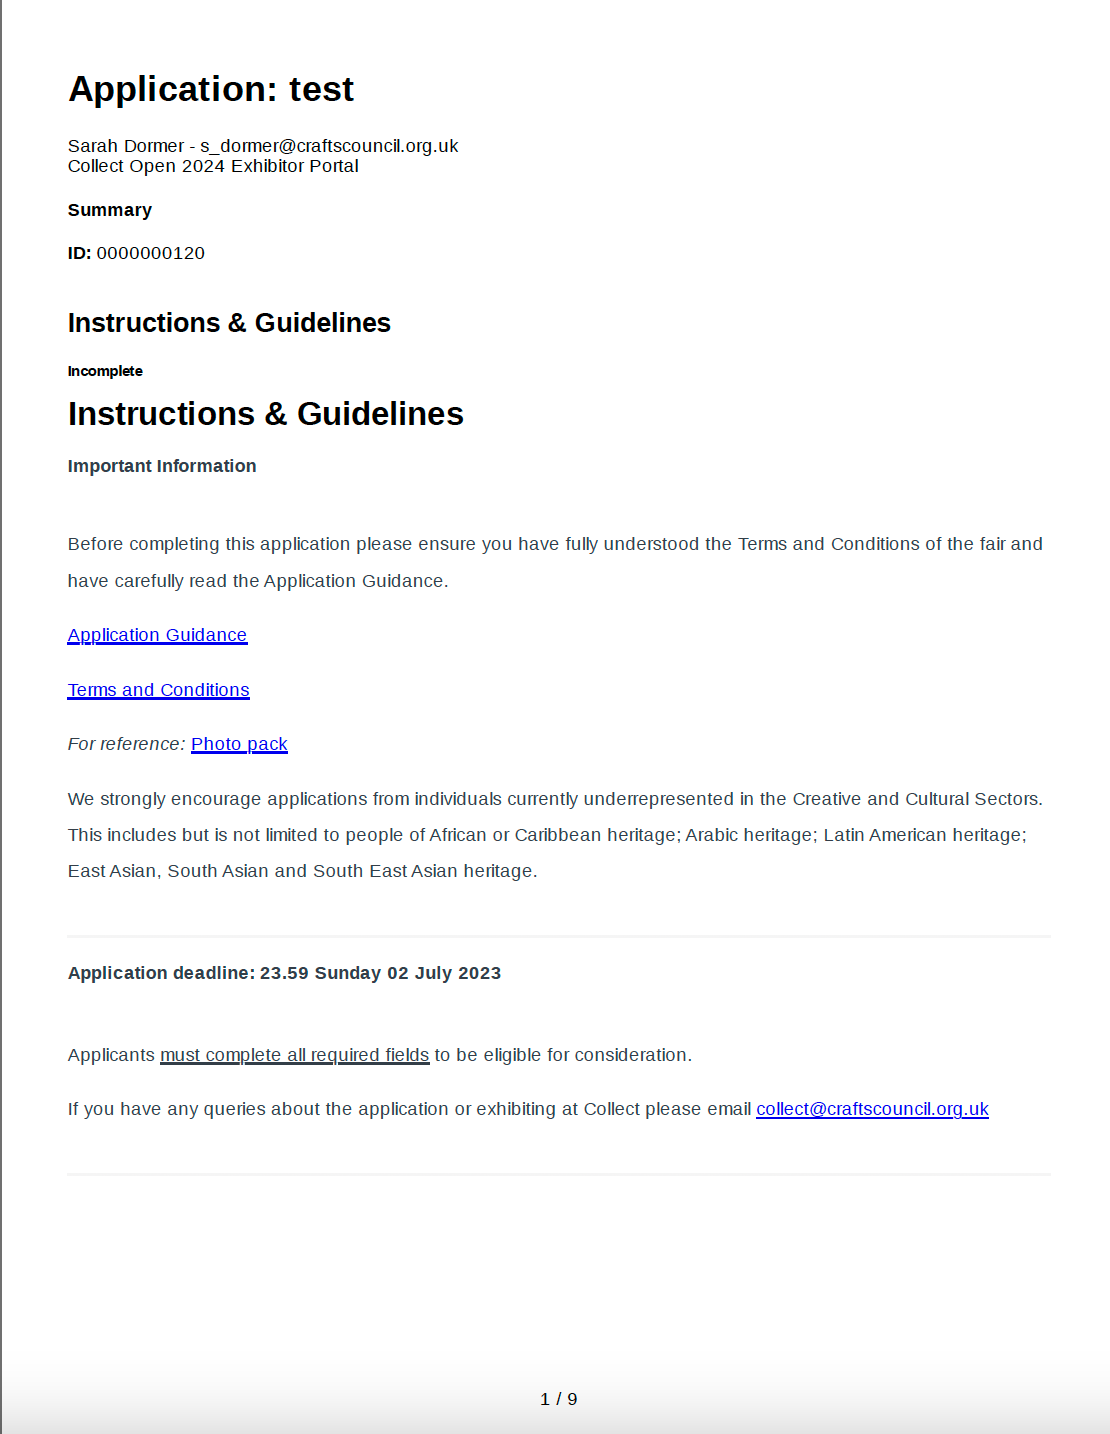
Collect application
I have filled in the Collect Open application form with the written proposal and display description below:
Pricing
I struggled to figure out the pricing, however, I tried my best and this is the outcome.
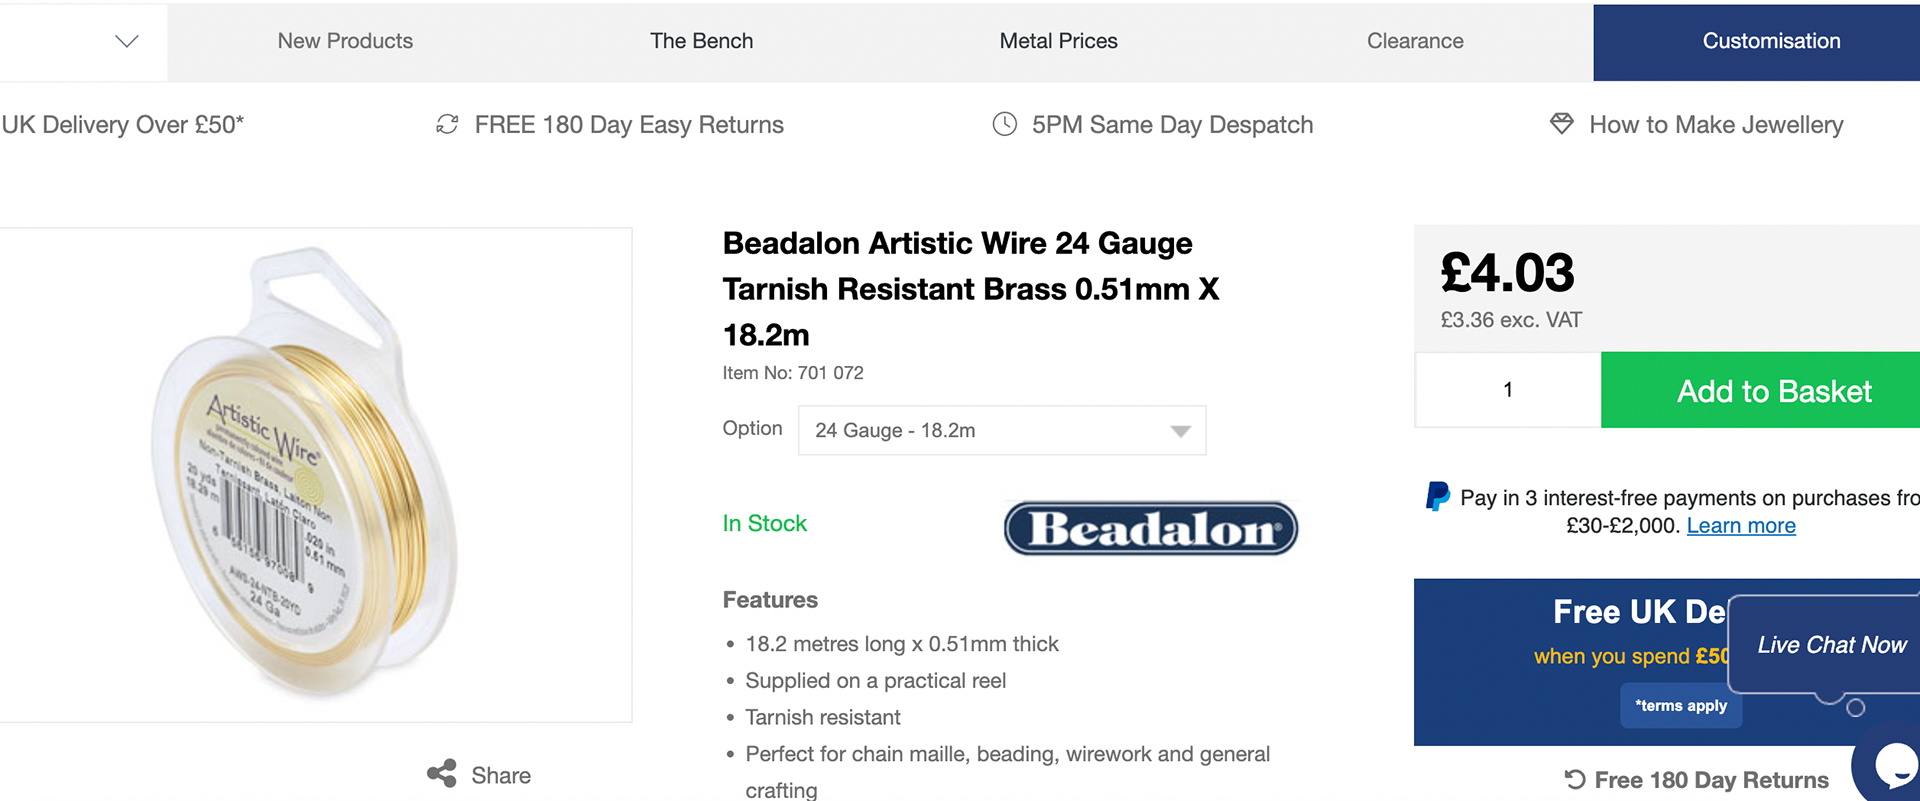
I started by adding up the material costs which I took the cost from websites online which I would use out of university, see below:
Material costs
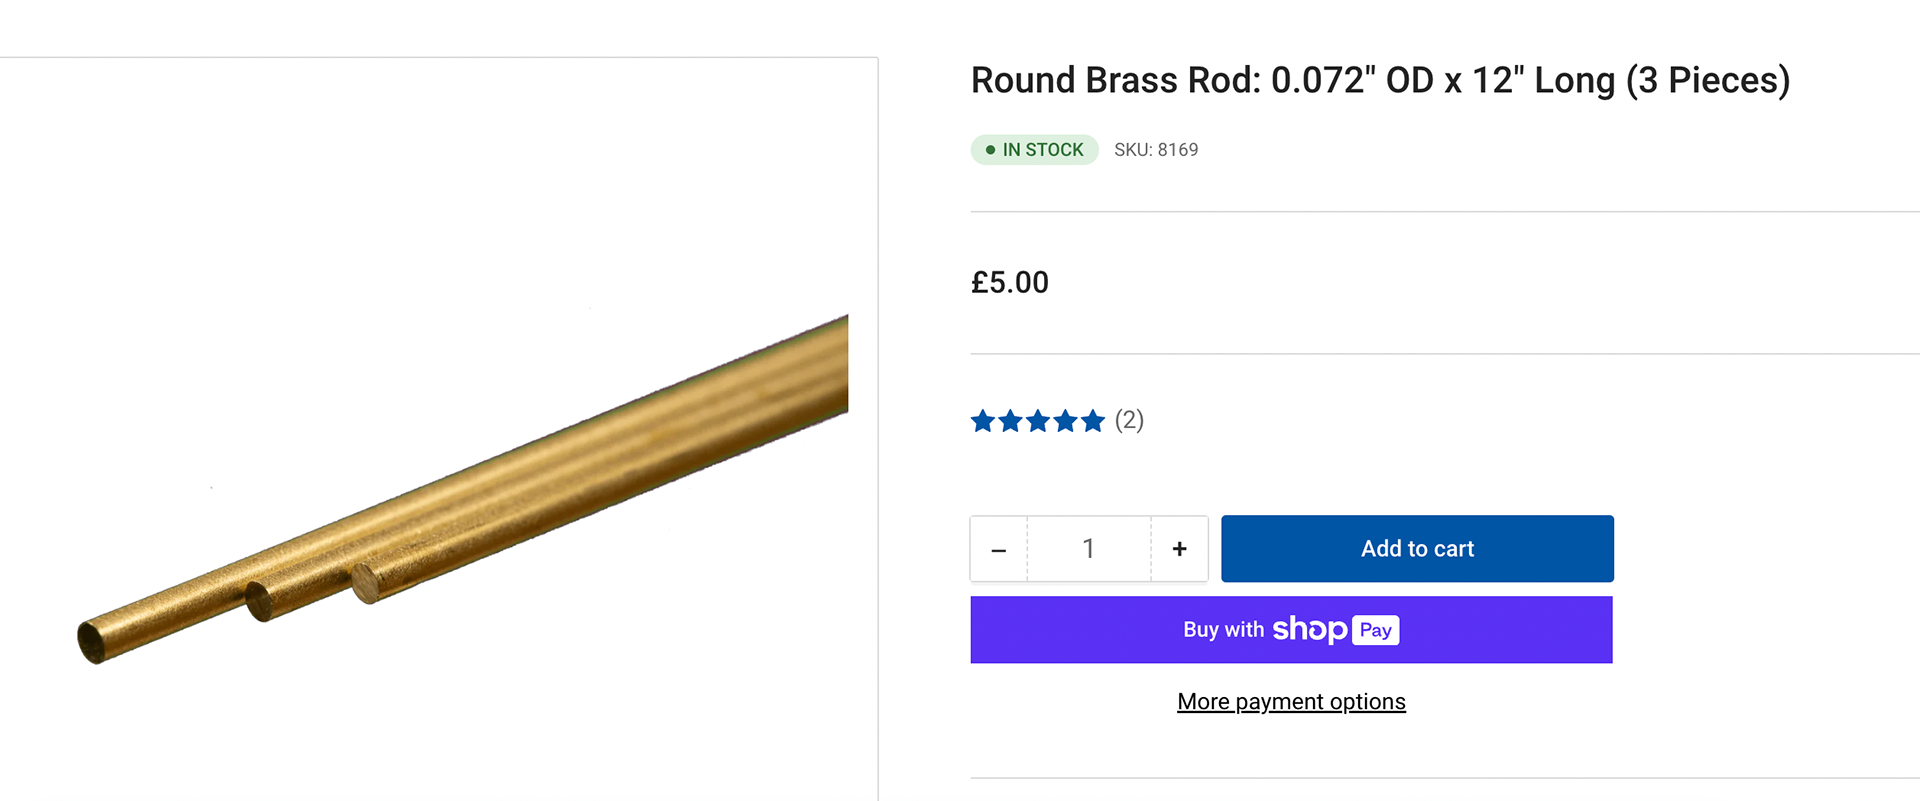


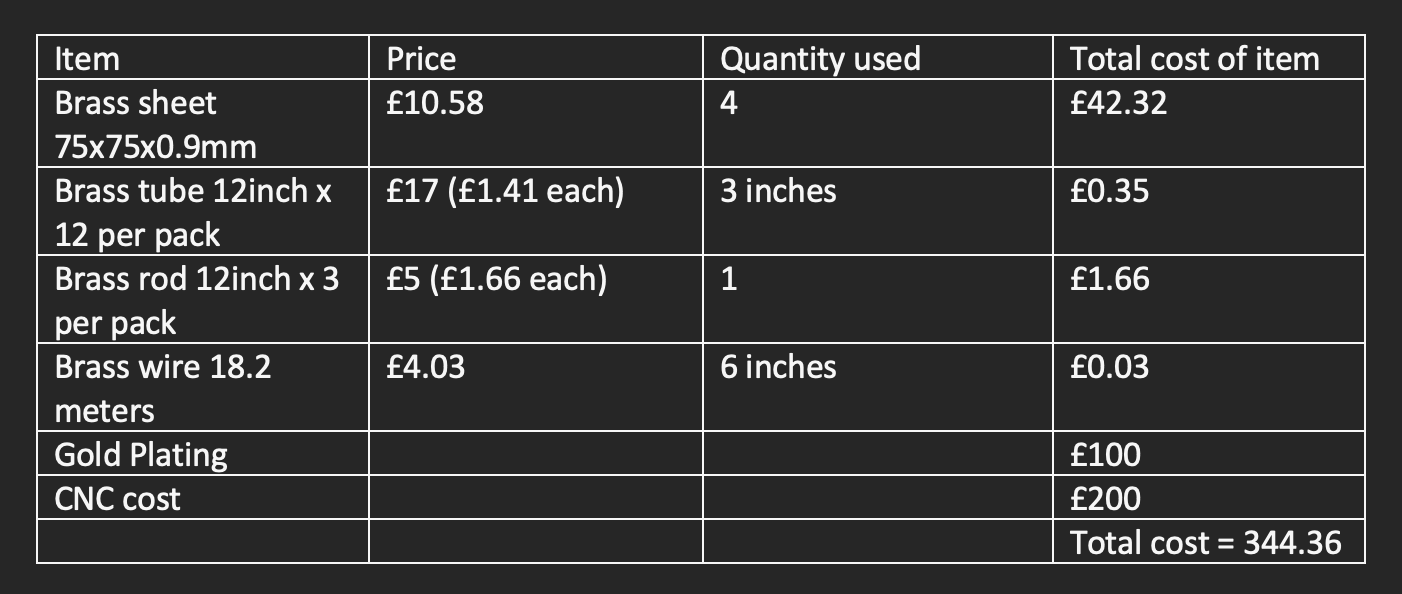
With the total materials used and cost for the pieces to be cut out on a CNC machine and Gold plating added on to make this item suitable for Collect the total material cost is £344.36
I got a quote for the CNC cutting from a company called Charles Day which quoted £150 without postage and VAT. I added an extra £50 to allocate for this totalling £200.
For the Gold plating the website I looked on called The Gold Plating Company gave vague prices, however after looking at their price list I estimated the cost would be around £100.
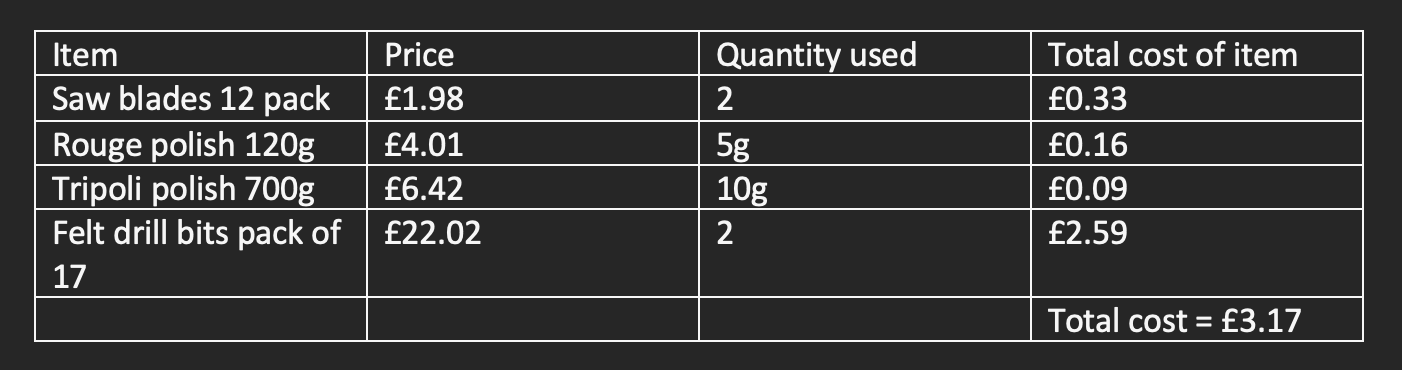
Consumables
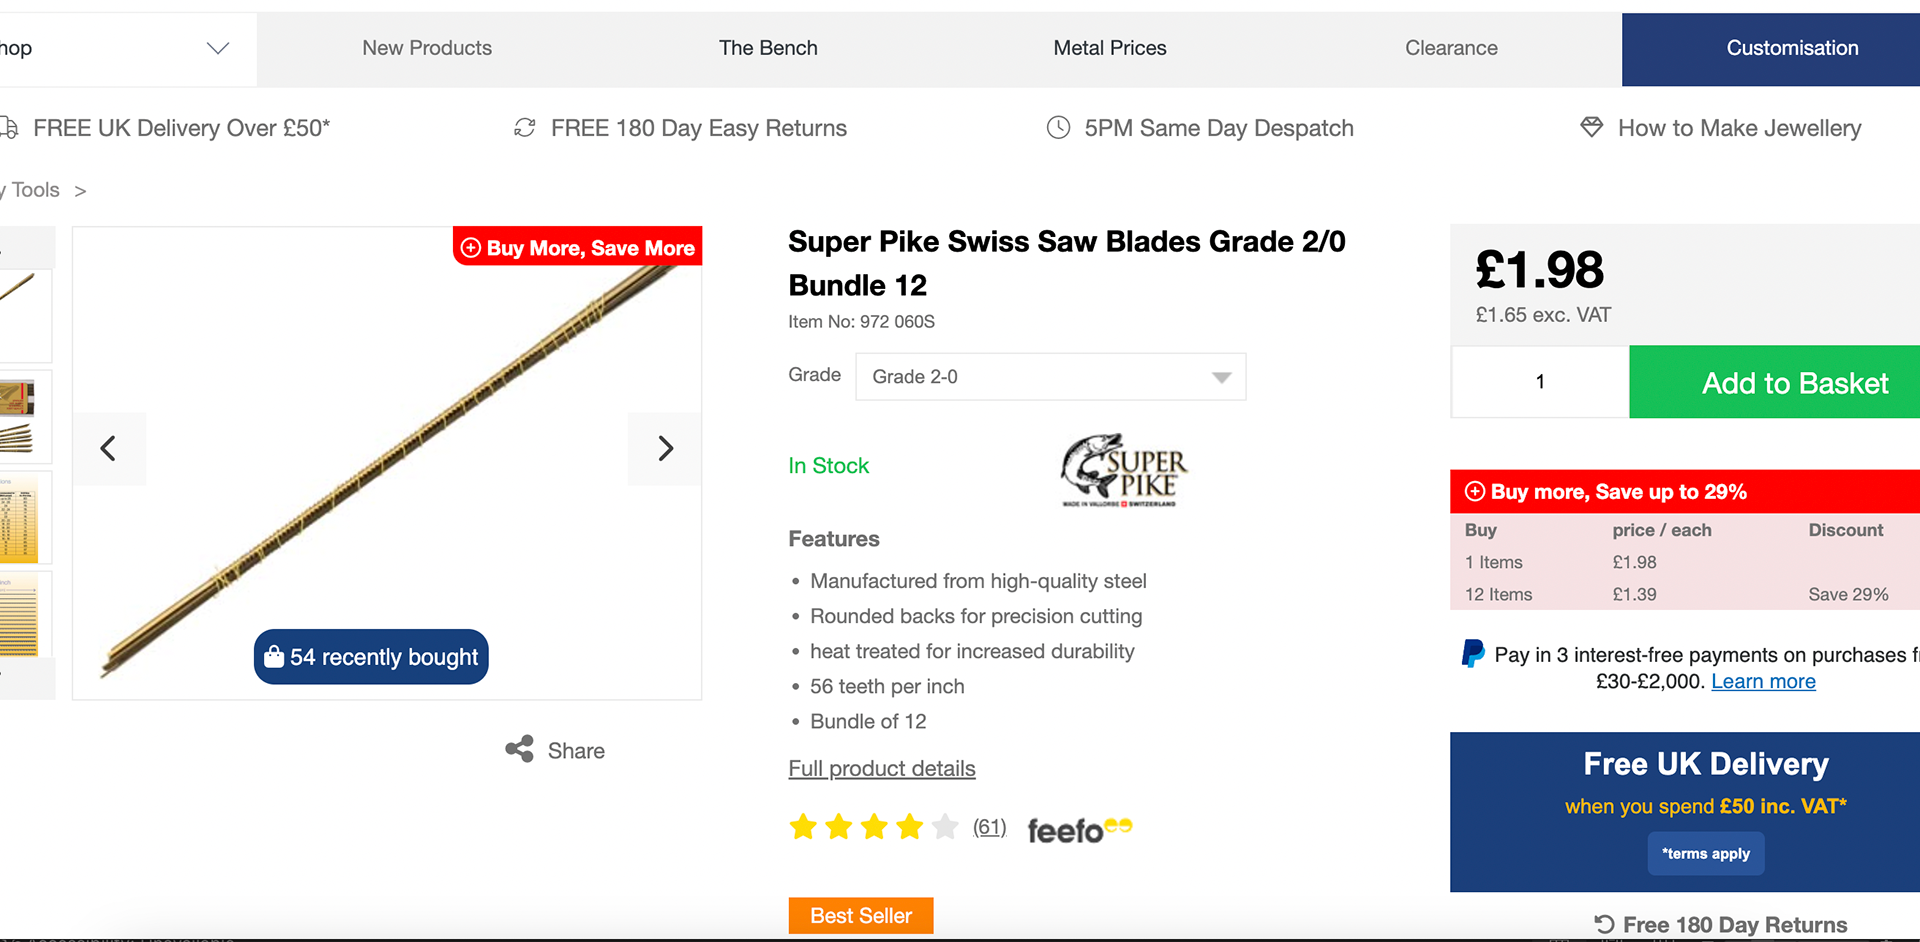
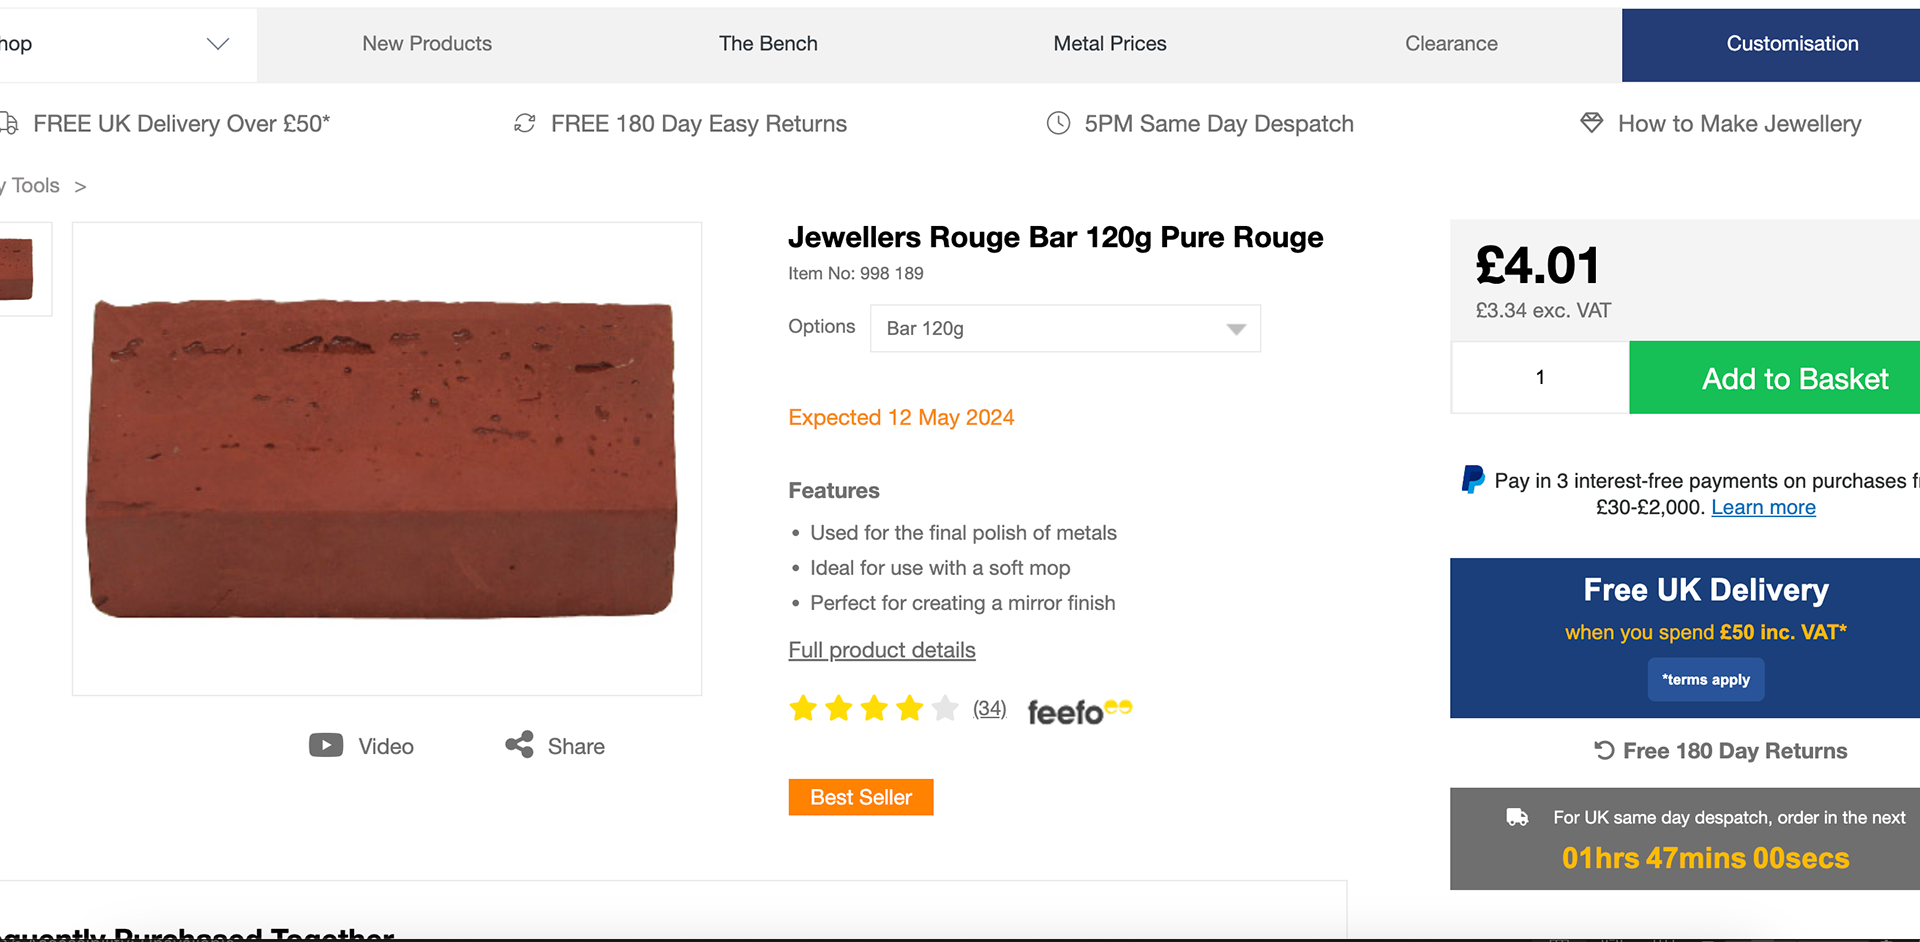
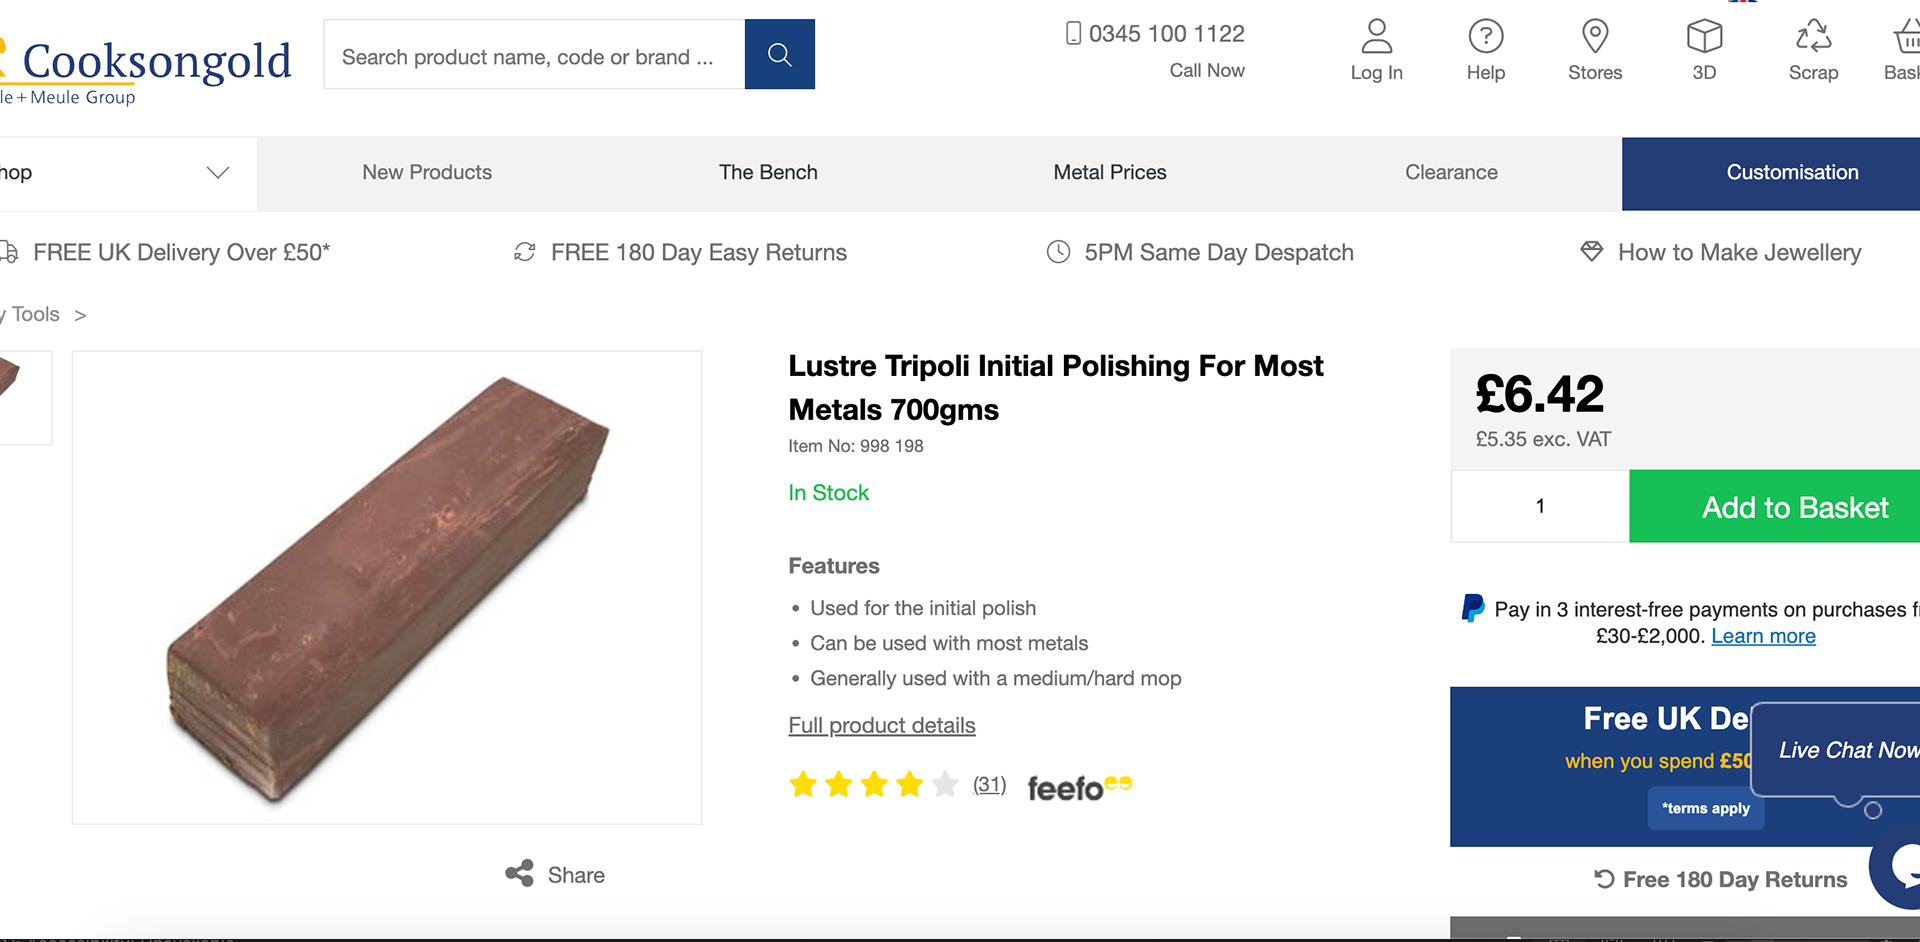
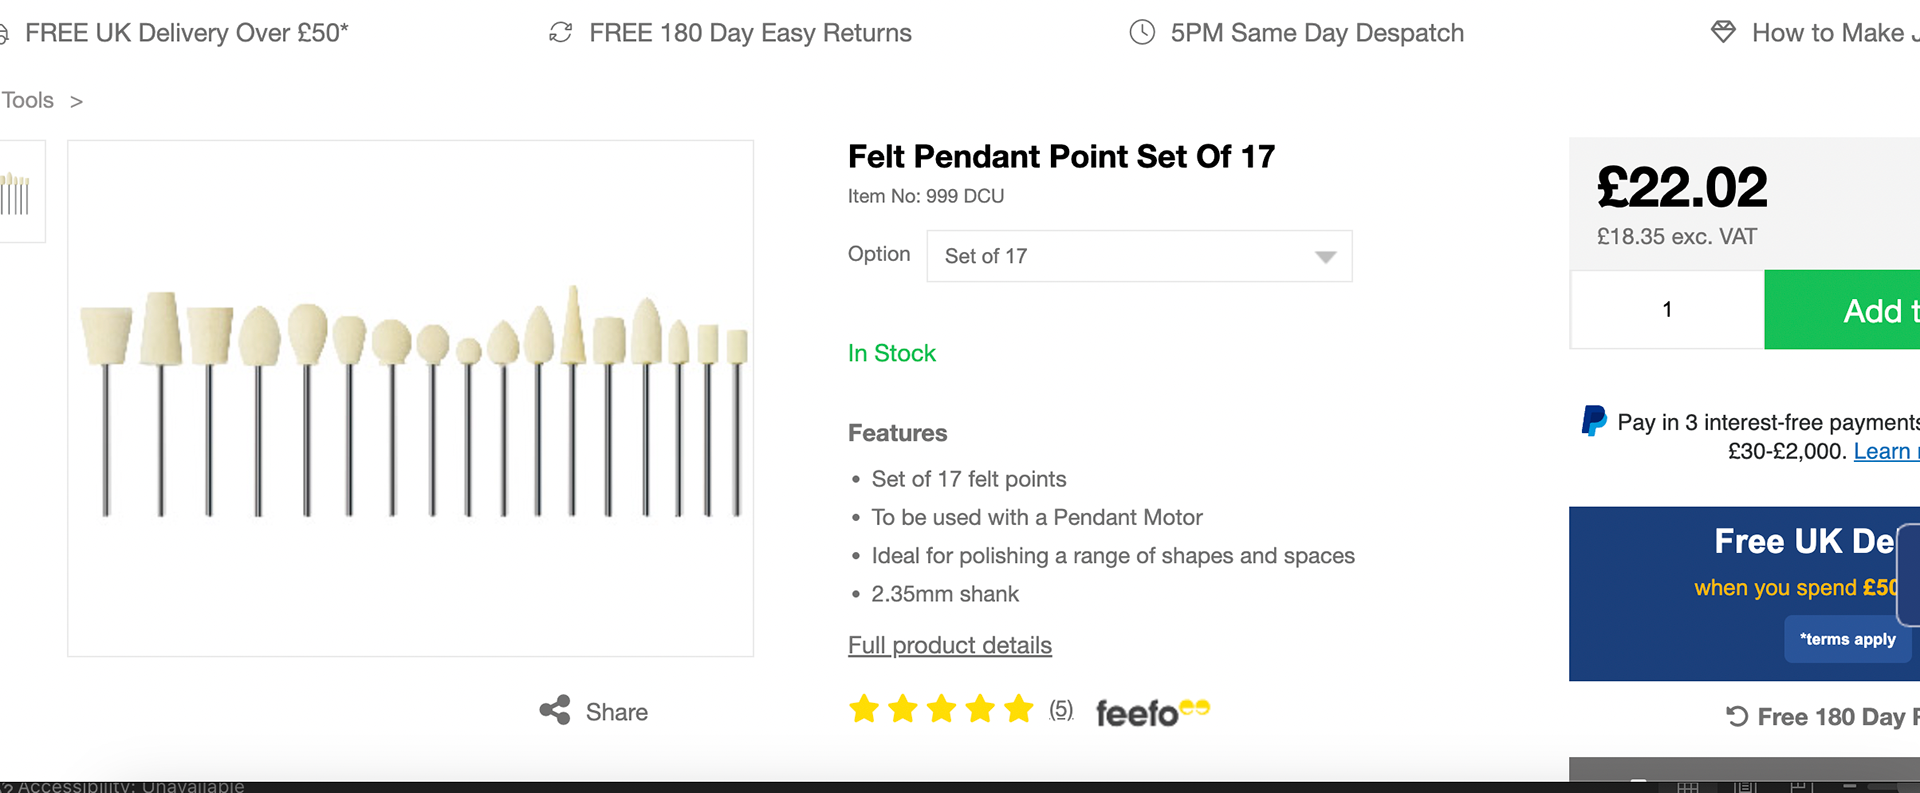
I then cost the consumables I used throughout this project. I took the prices from online websites I would buy from if I wasn't in university.
The total cost for my materials and consumables comes to £347.53
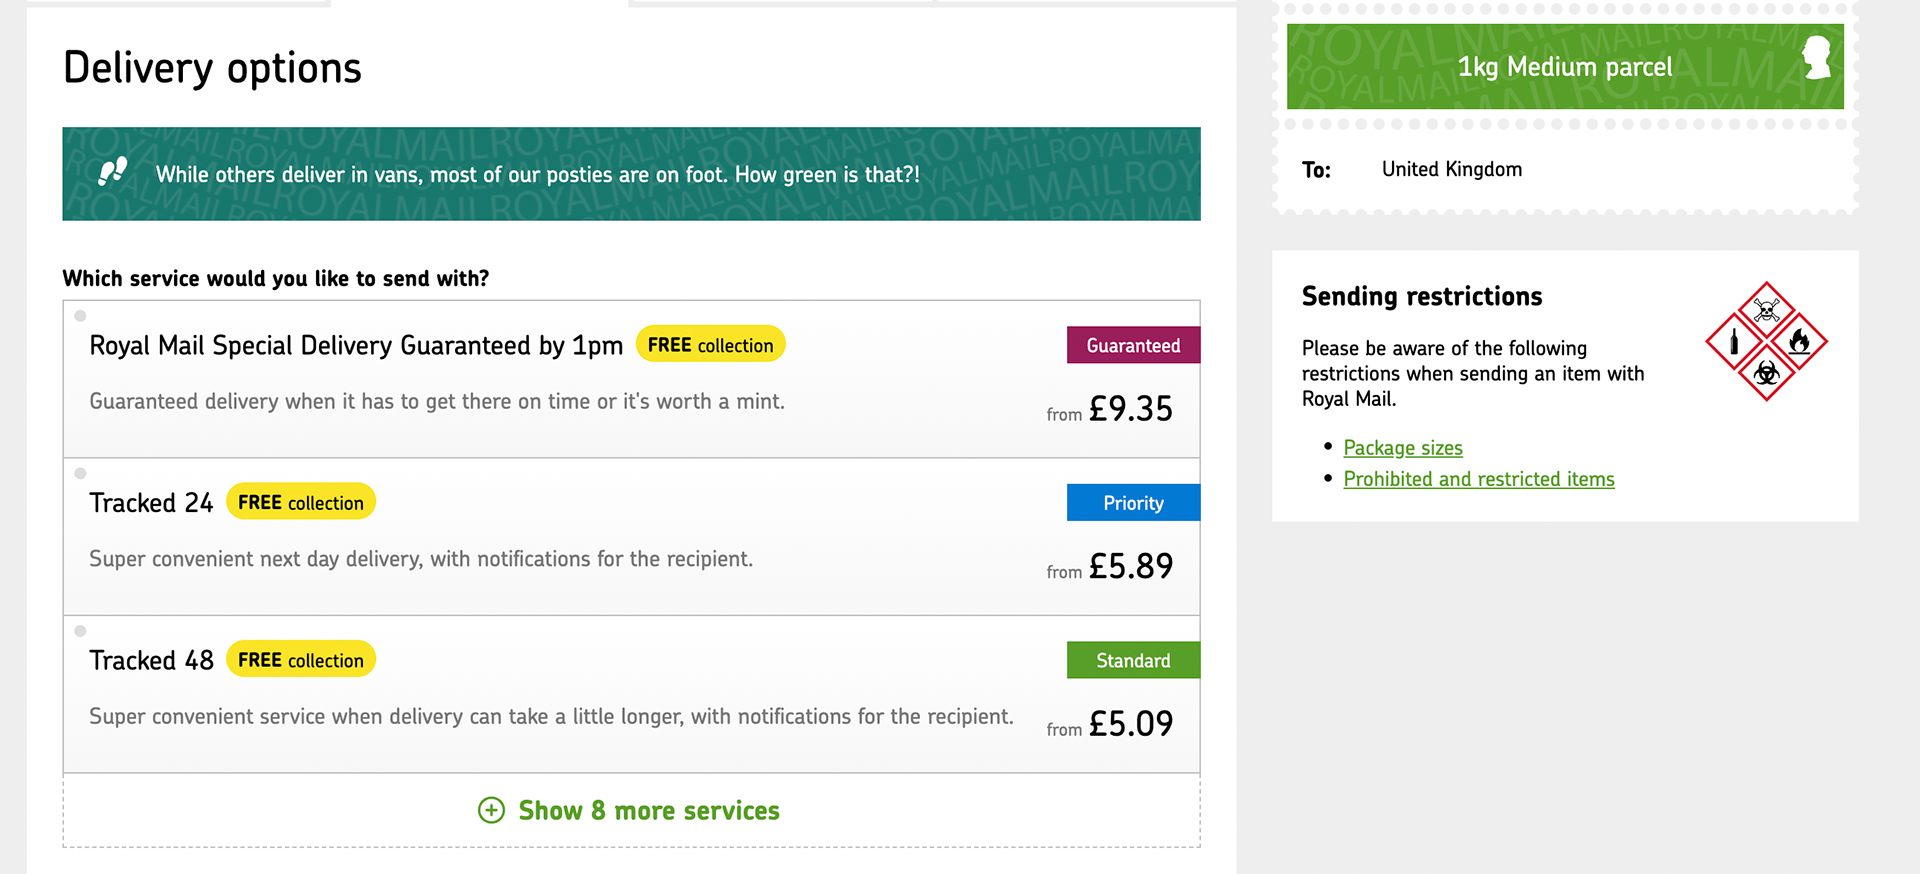
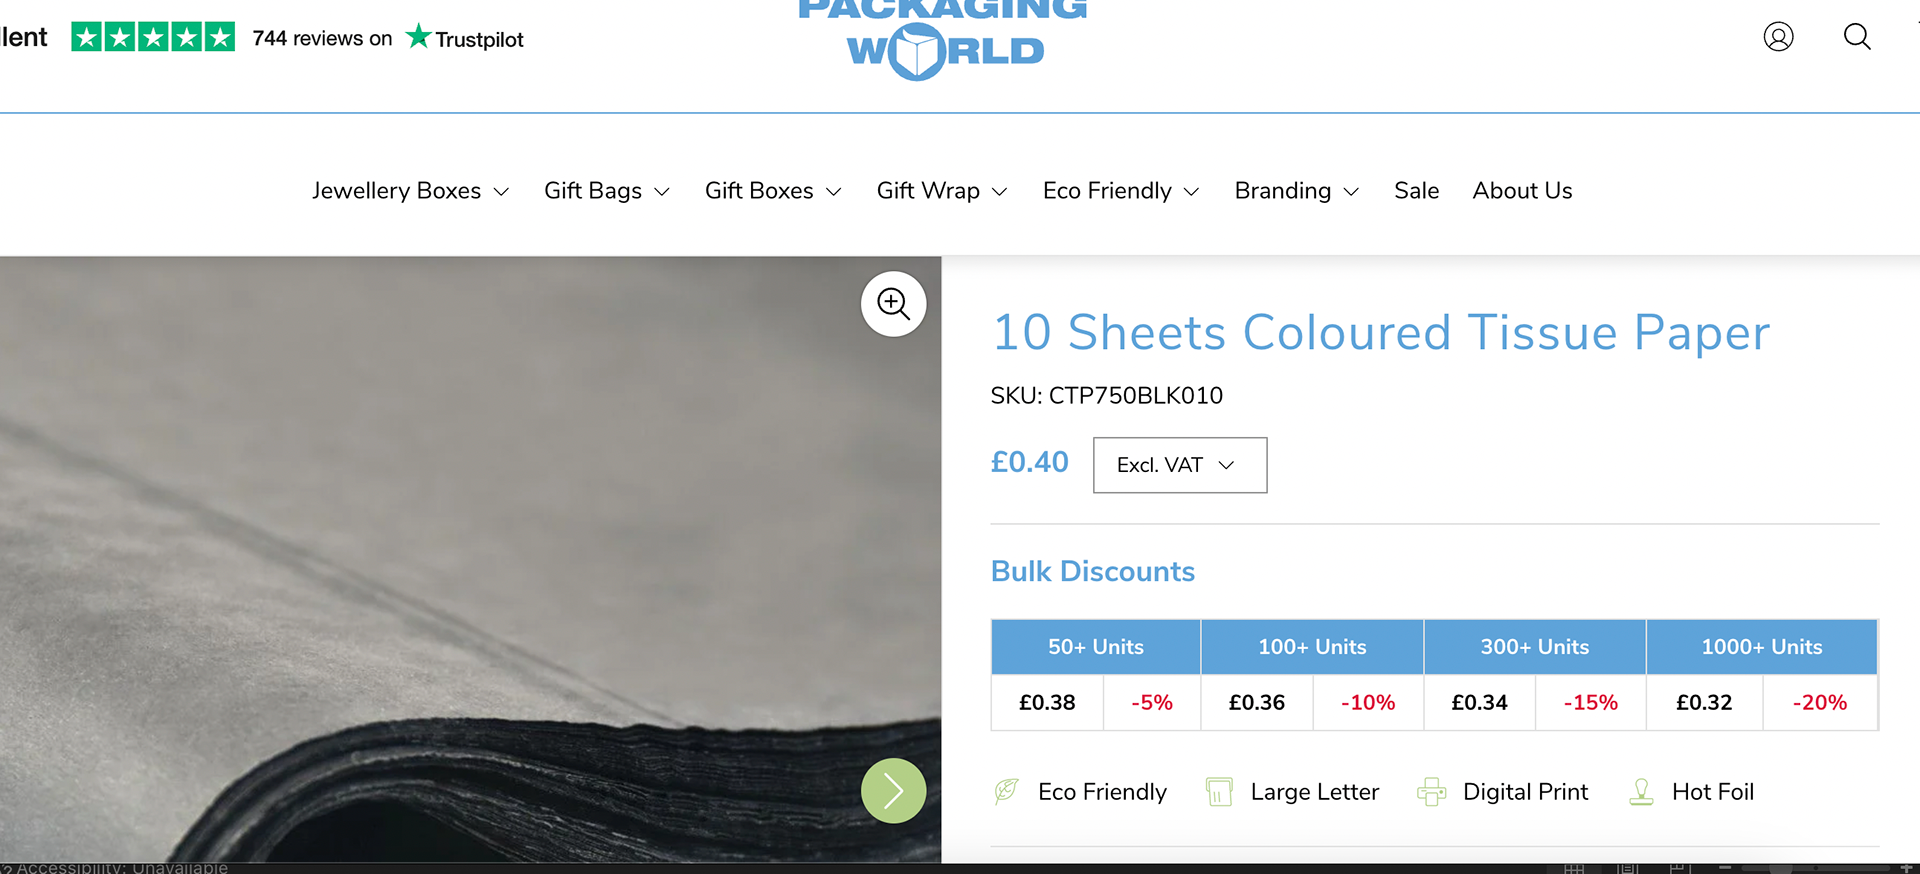
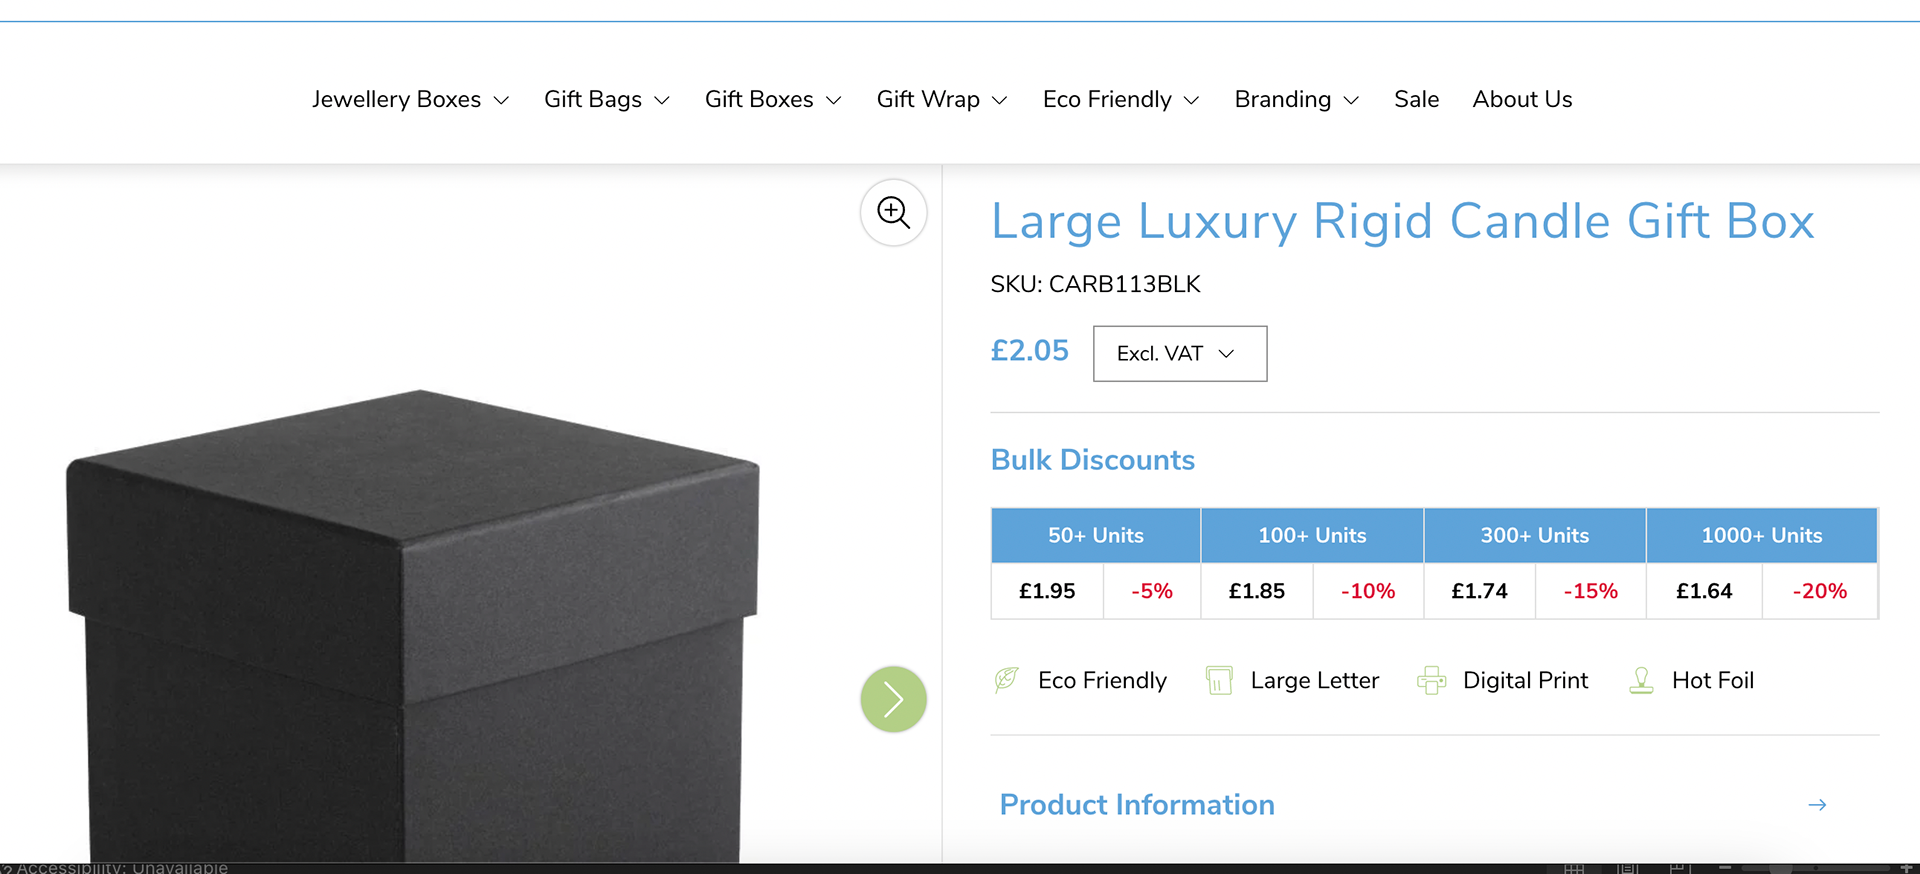
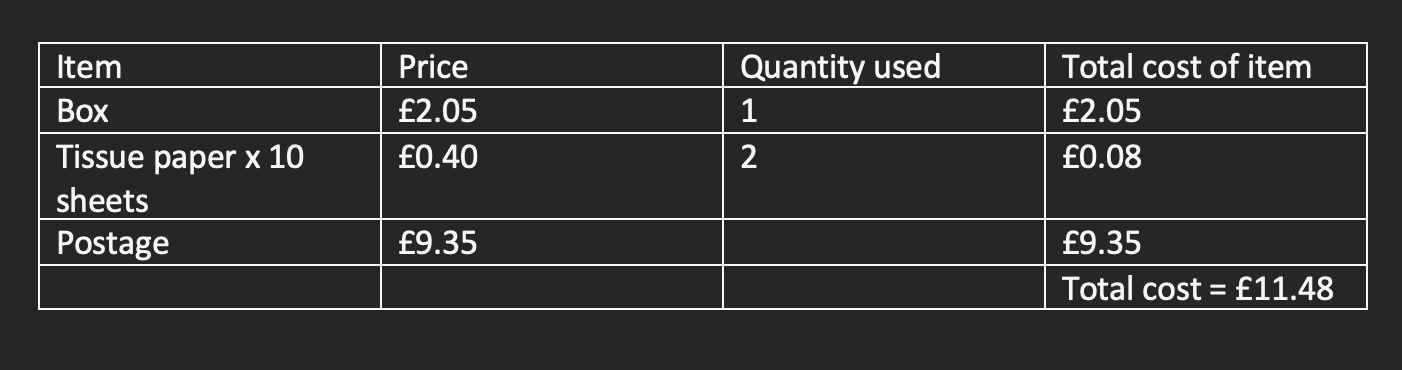
Postage & packaging
I then looked at postage and packaging costs. I used online sources for the packaging and Royal Mail for the postage, as seen below:
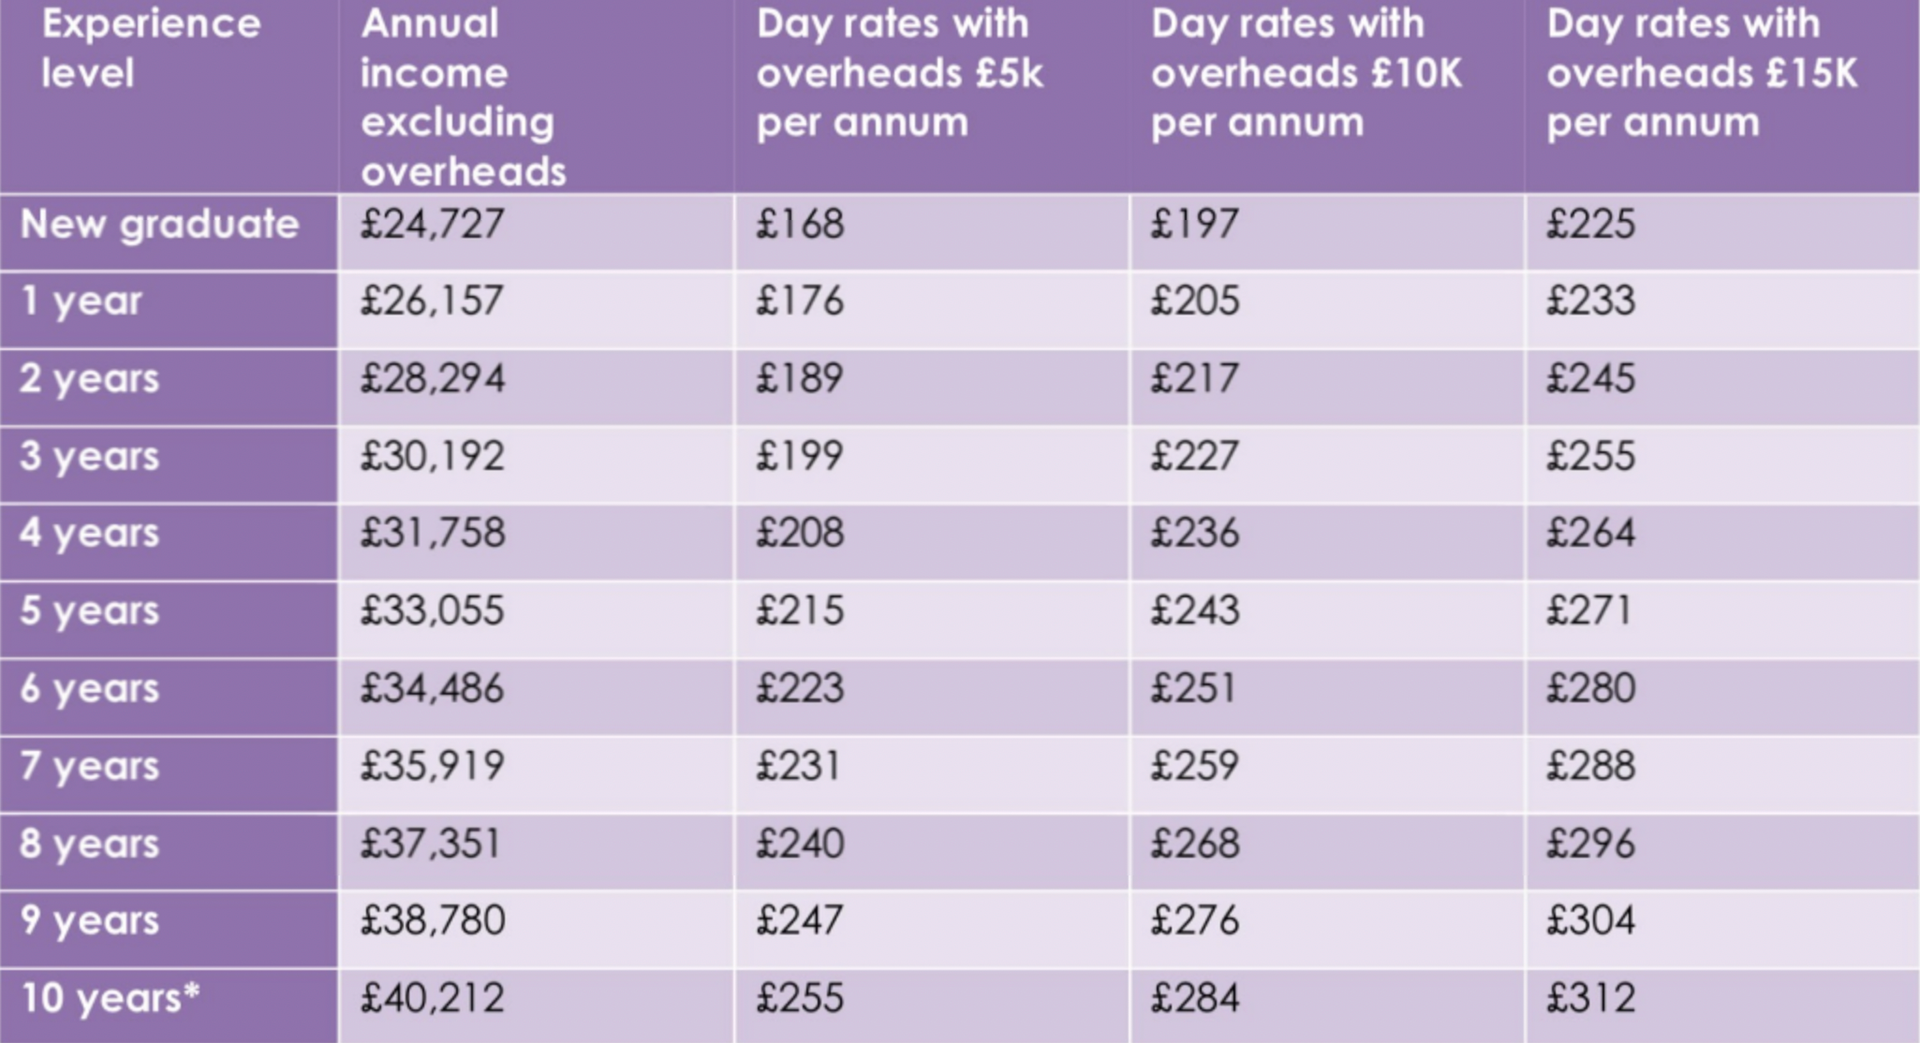
Time & wages
After looking at the a-n wages guide, I would be classed as a new graduate with overheads of 5k, meaning my day rate would be £168. With a 8-hour working day that would mean I will earn £21 an hour. After adding on my expenditure my hourly wage total is £28.84.
During making my final piece I timed when I was in the workshop, this piece took me around 20 hours to make meaning the total for my wage would be £420.
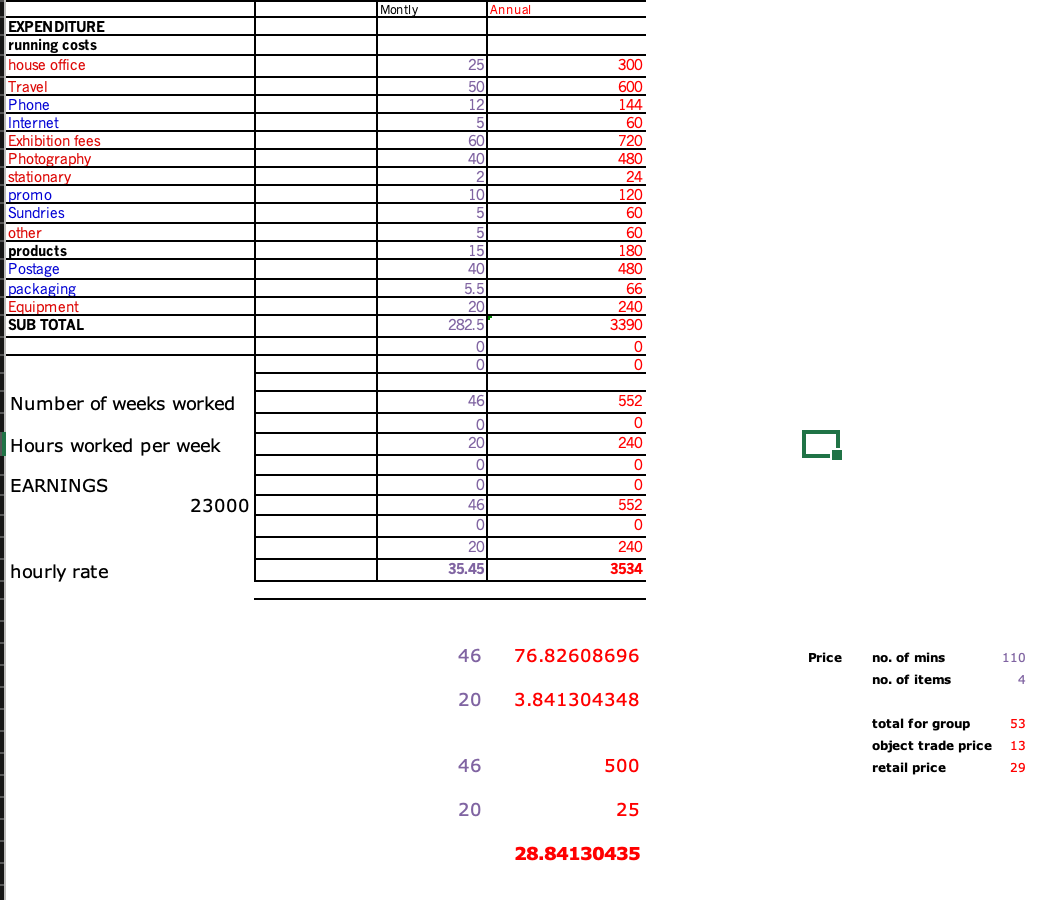
After figuring out my hourly rate of £28.84 x 20 worked hours my wage cost total is £576.8.
My wage x material = item cost
£576.8 x £347.53 = £924.33
Then adding a markup of x2 for wholesale cost = £1848.66
Then wholesale x 2 for gallery commission for Collect gives me a total of £3697.32.
This is incredibly expensive for what the item is however I believe over time I could get the price down with timings for making.
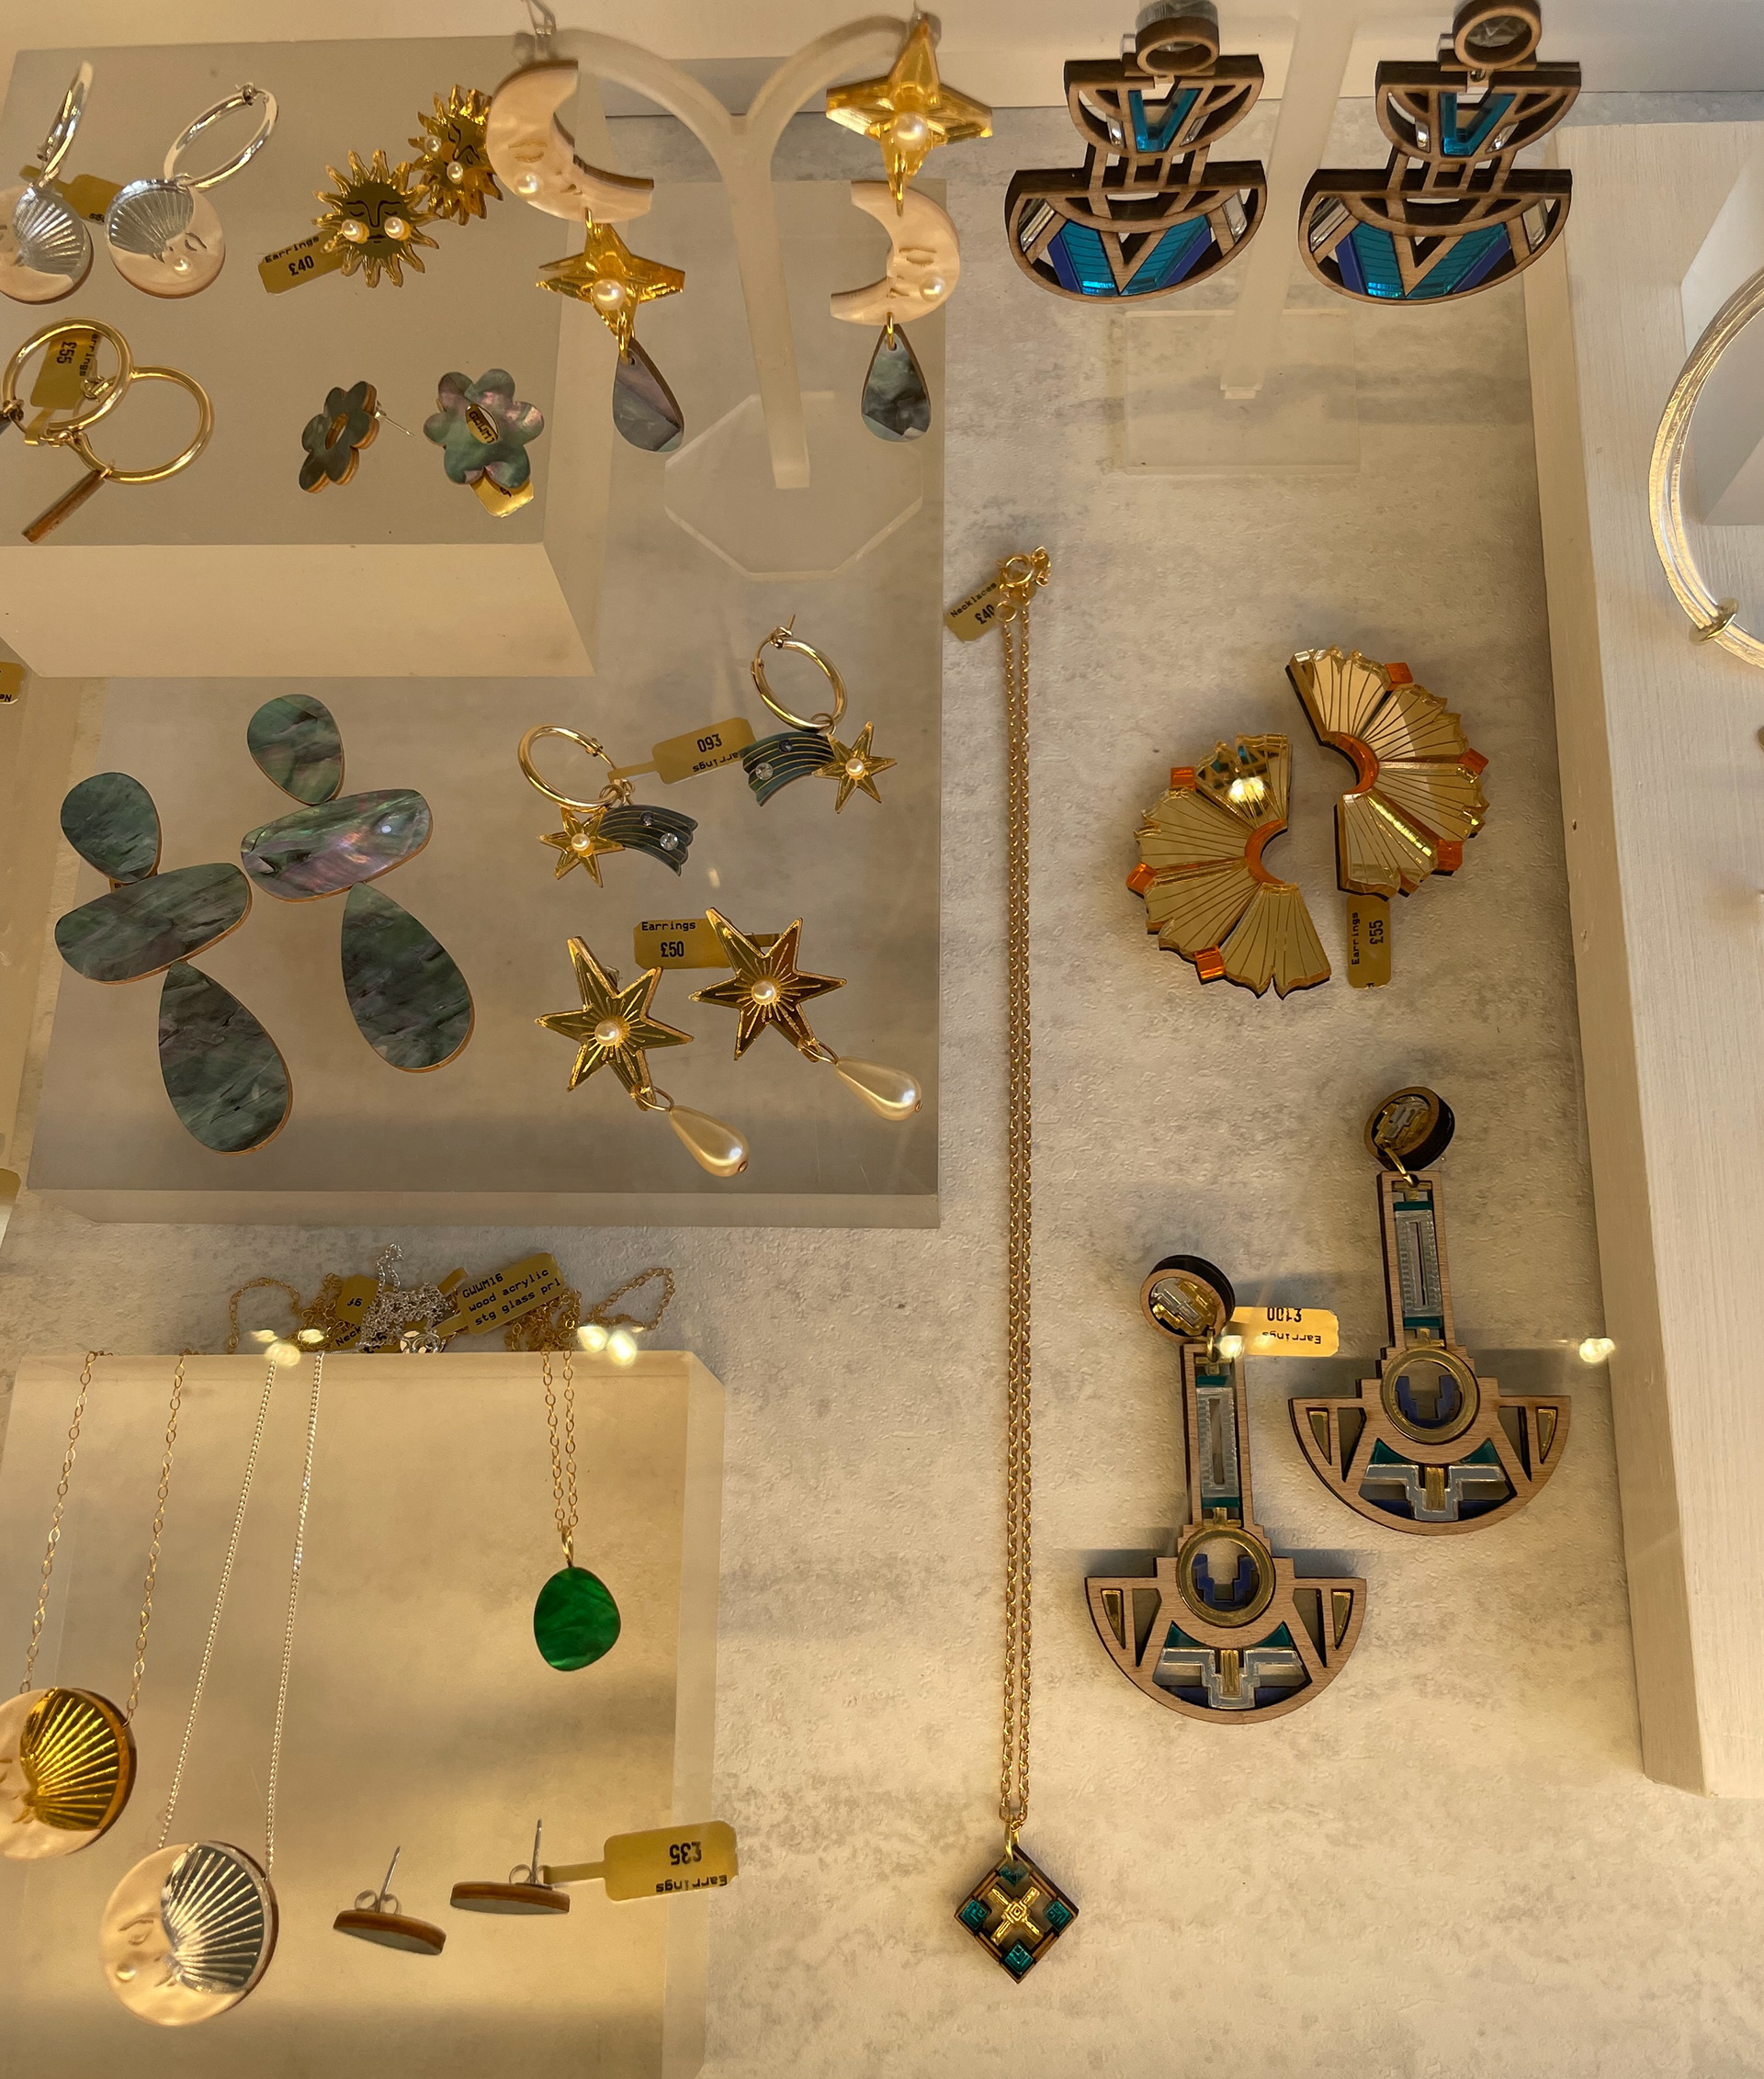
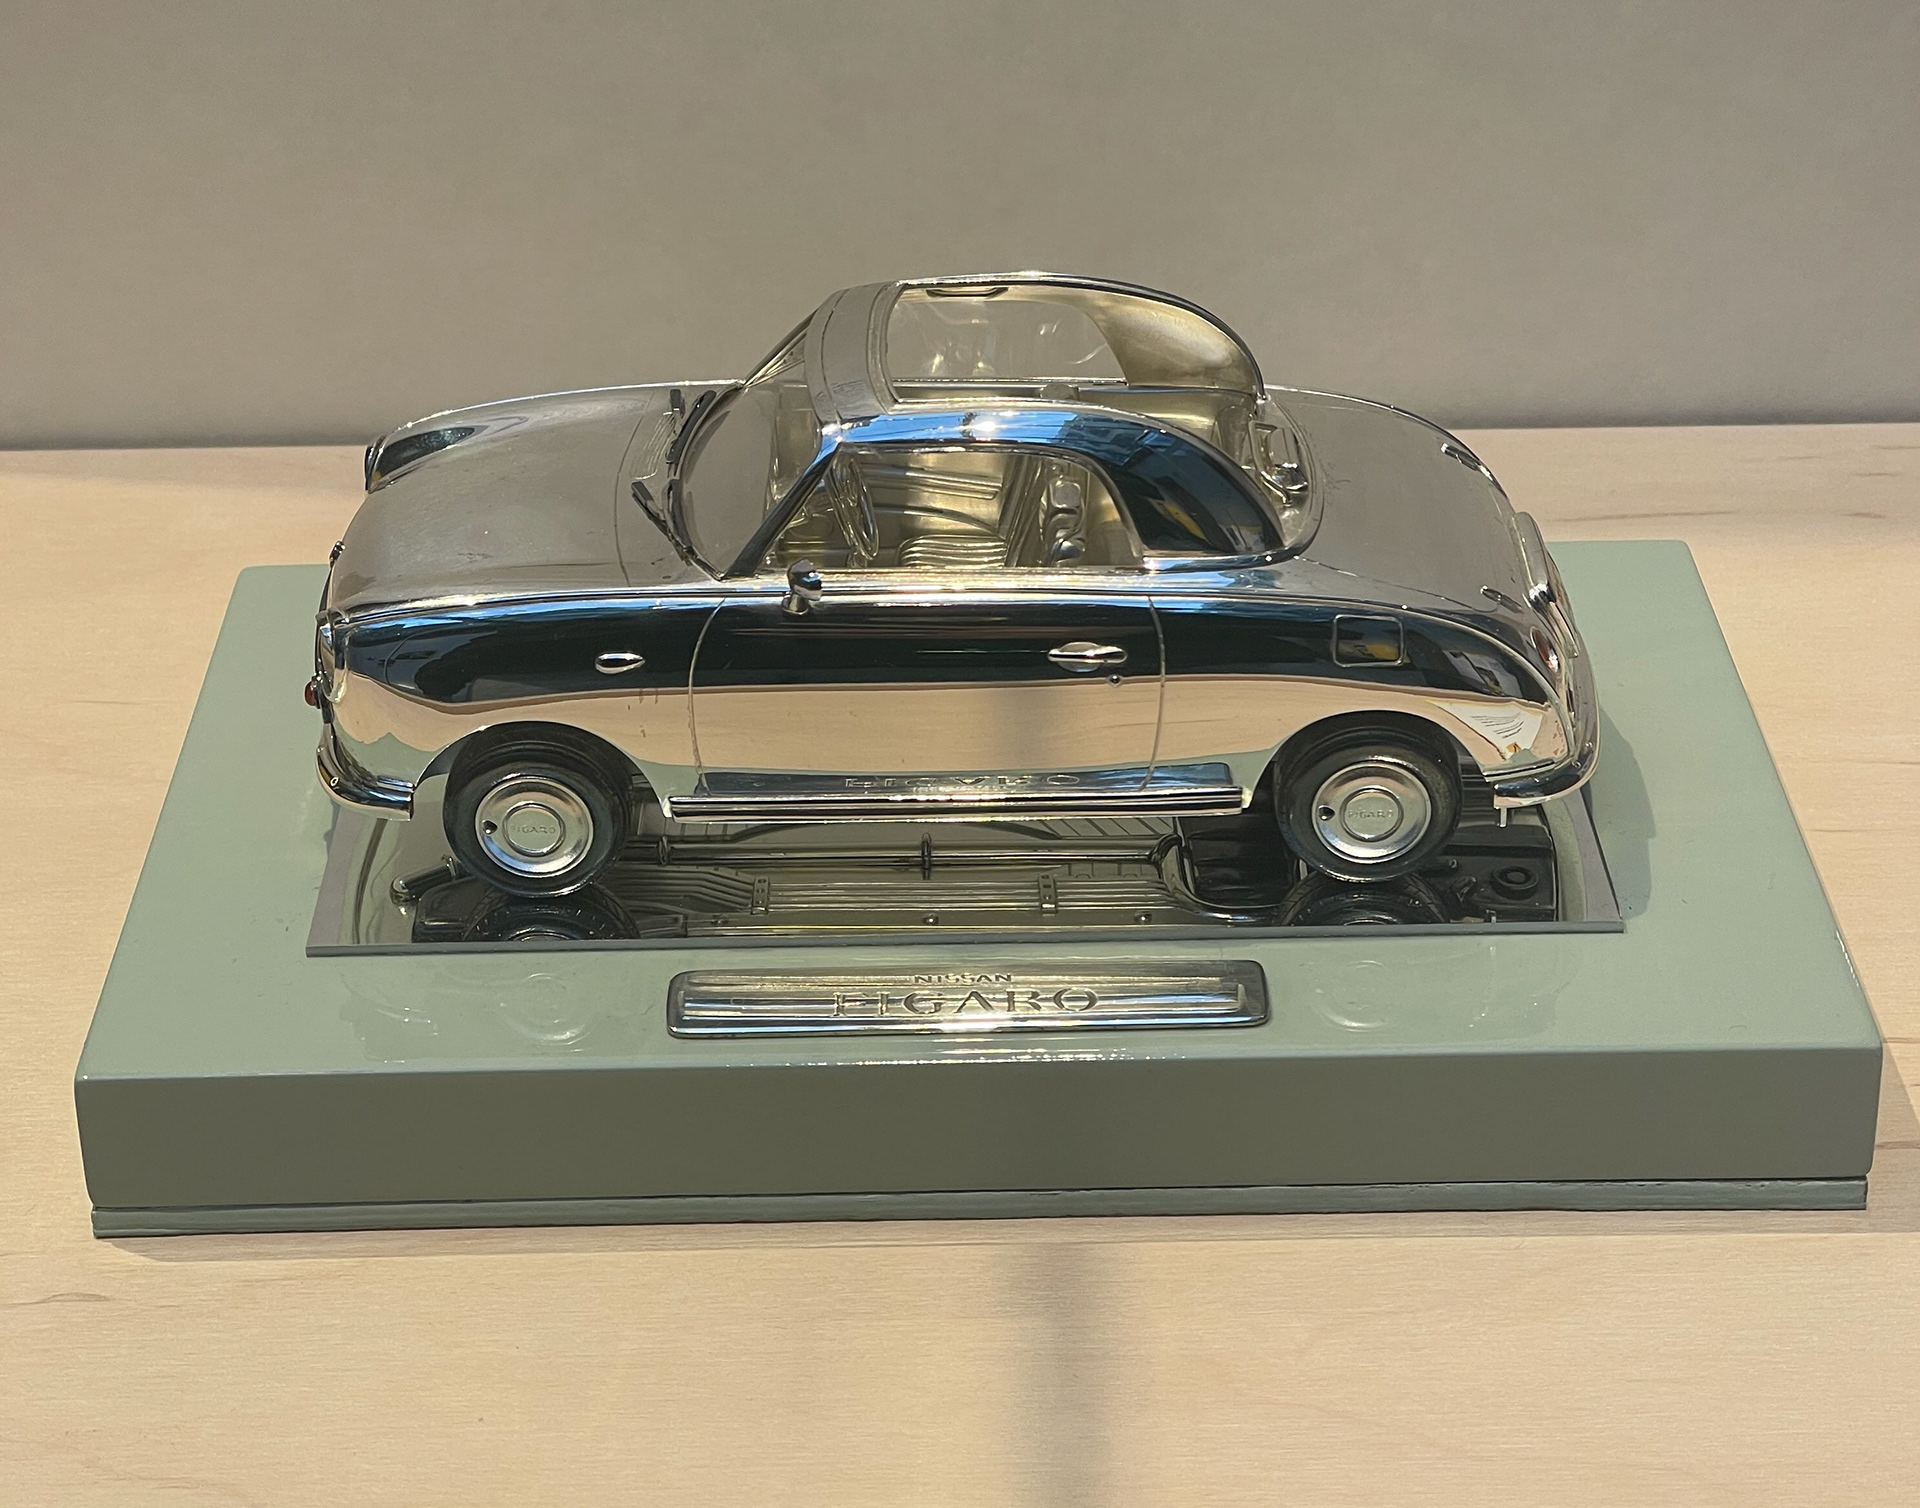
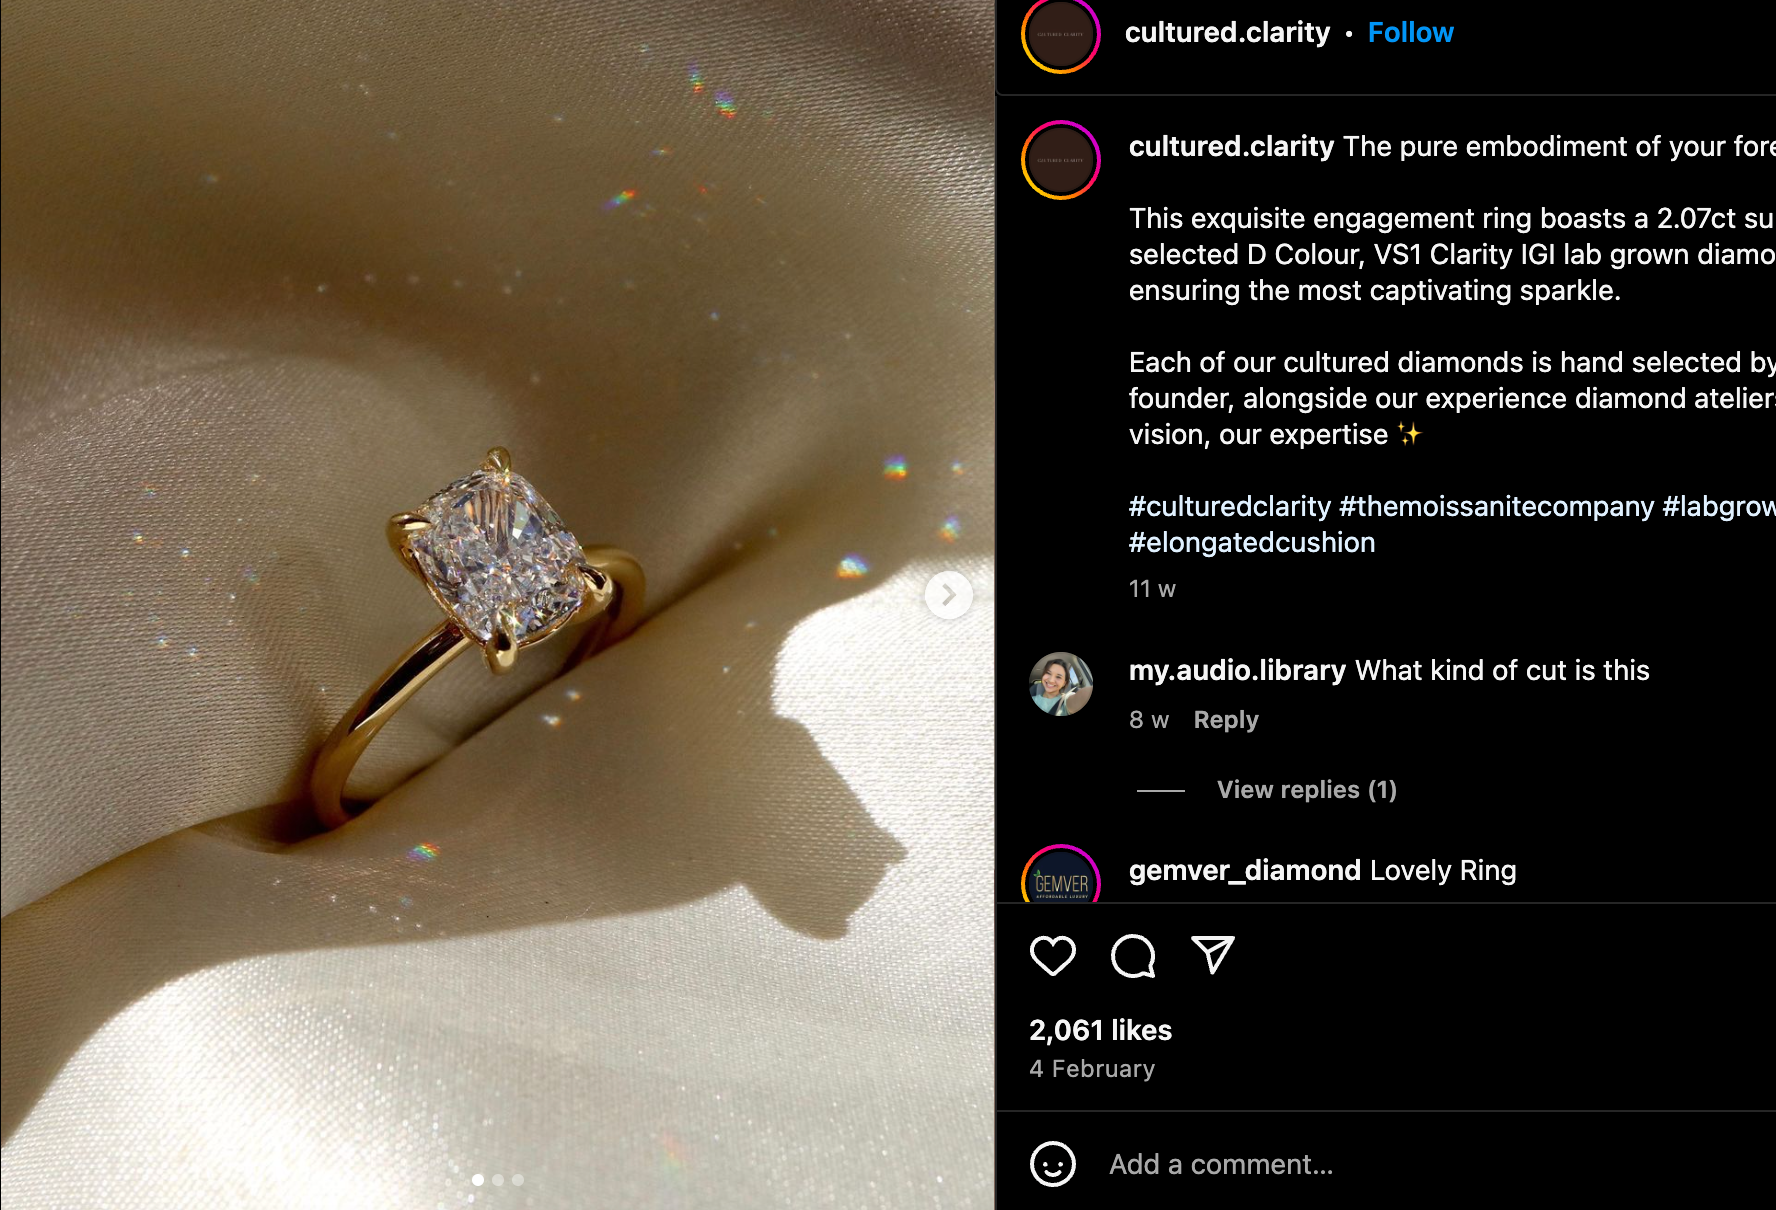
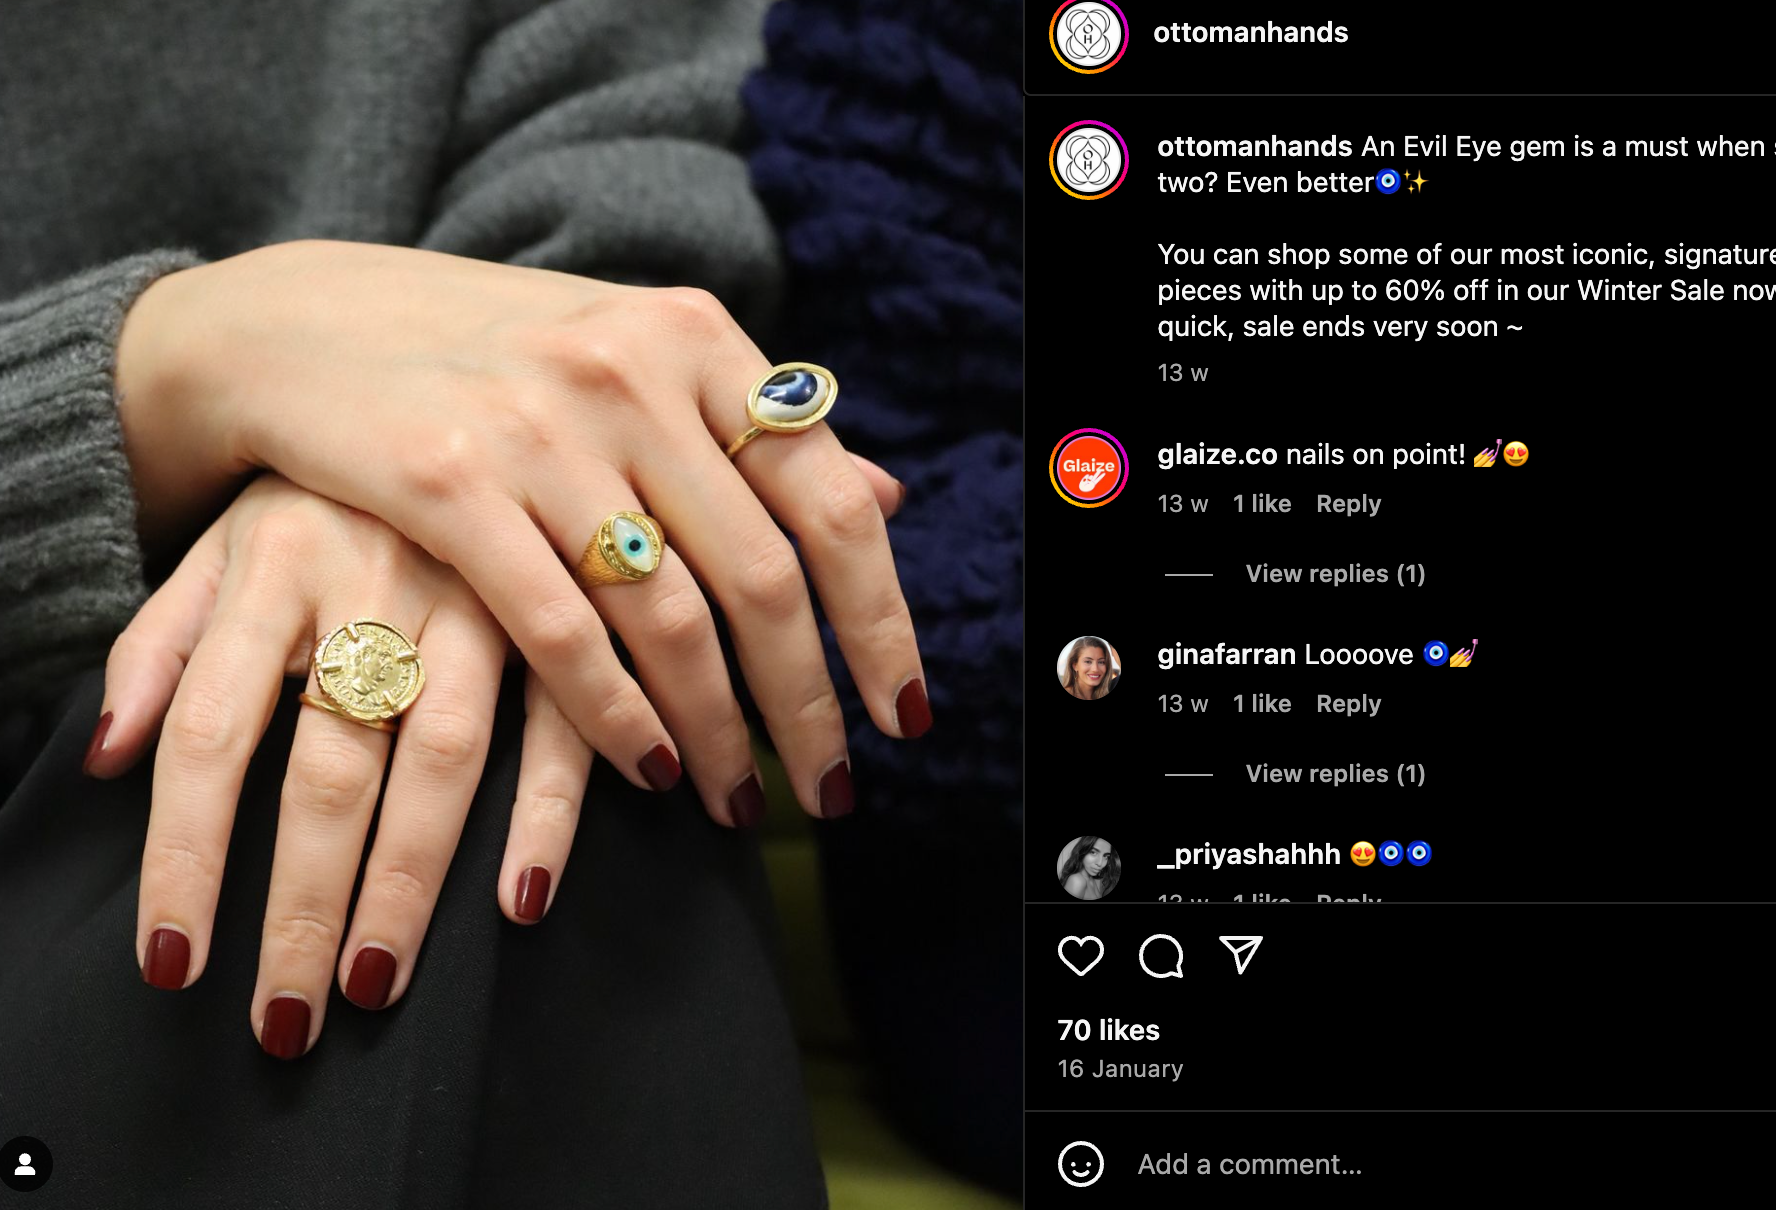
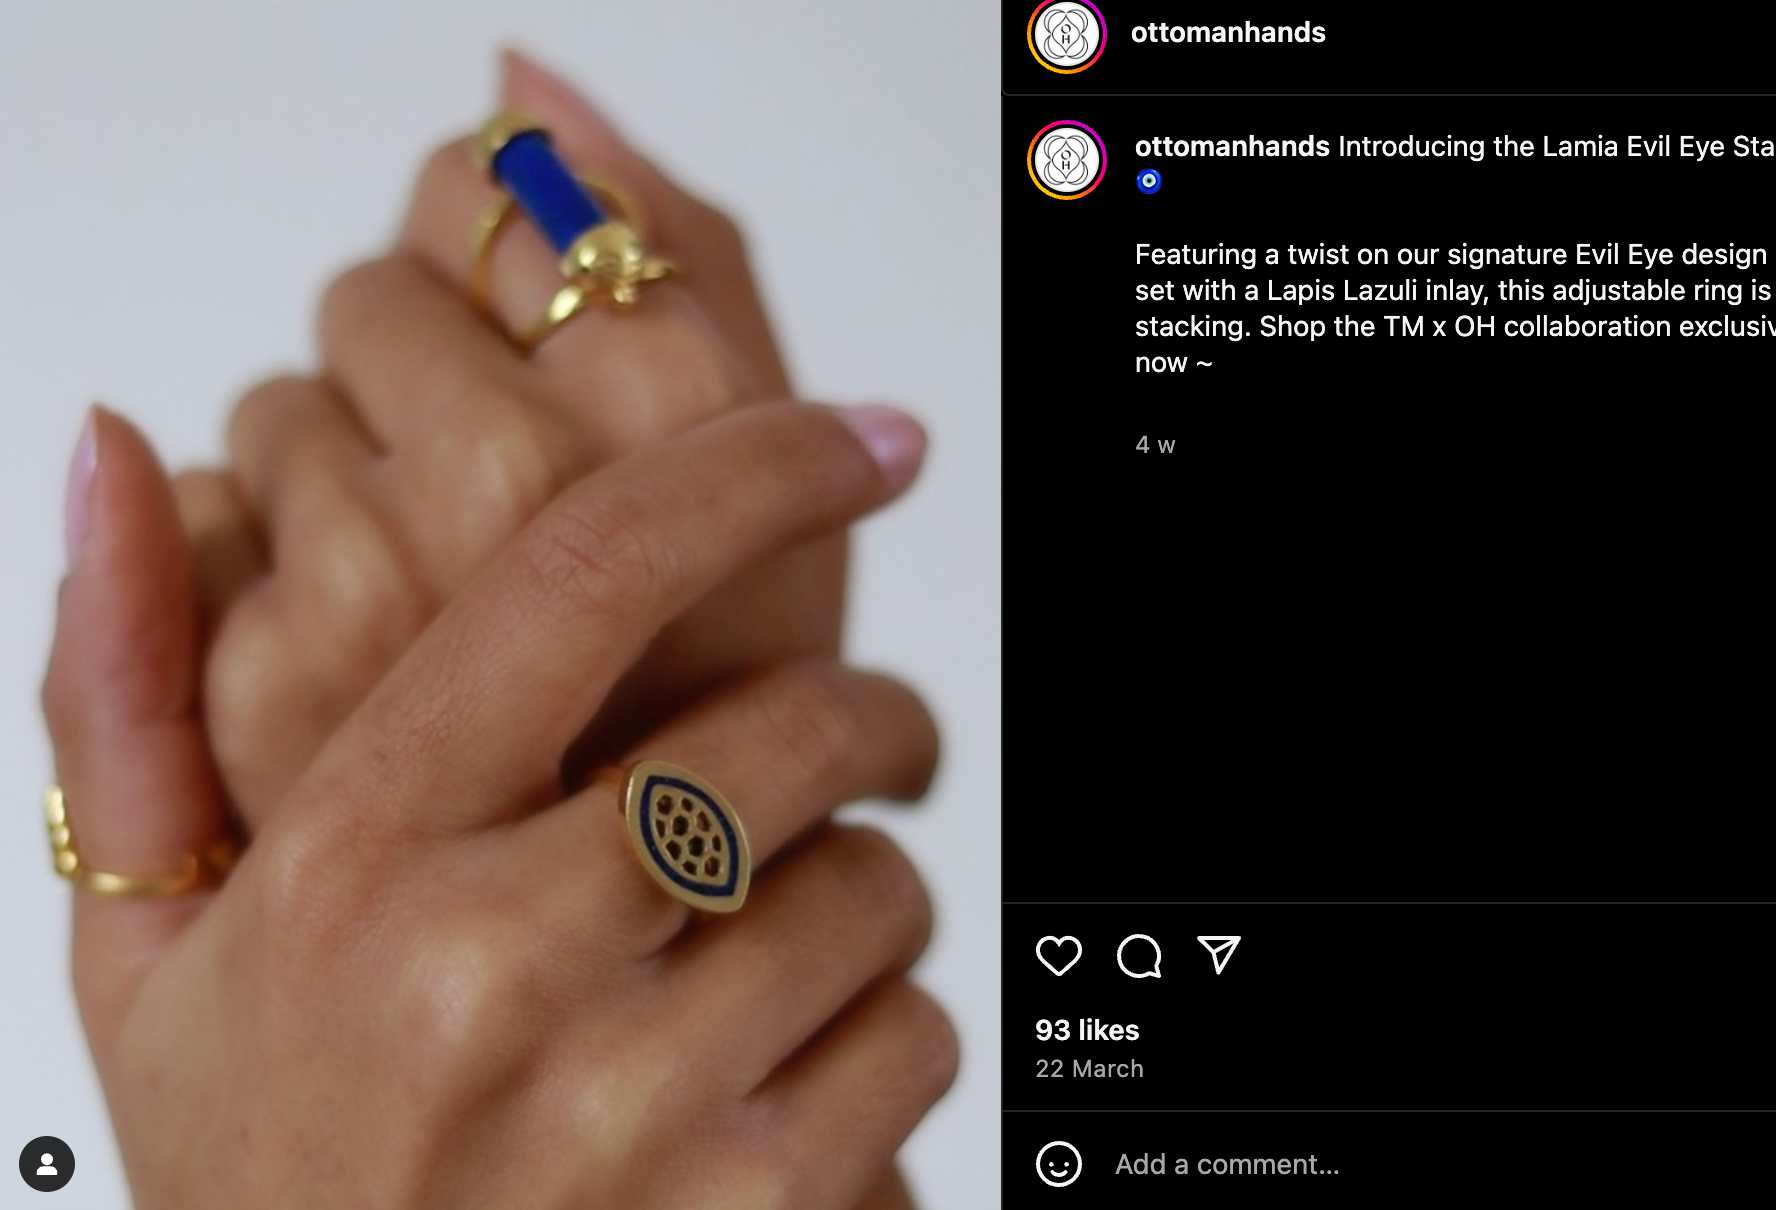
Photography/Display Research
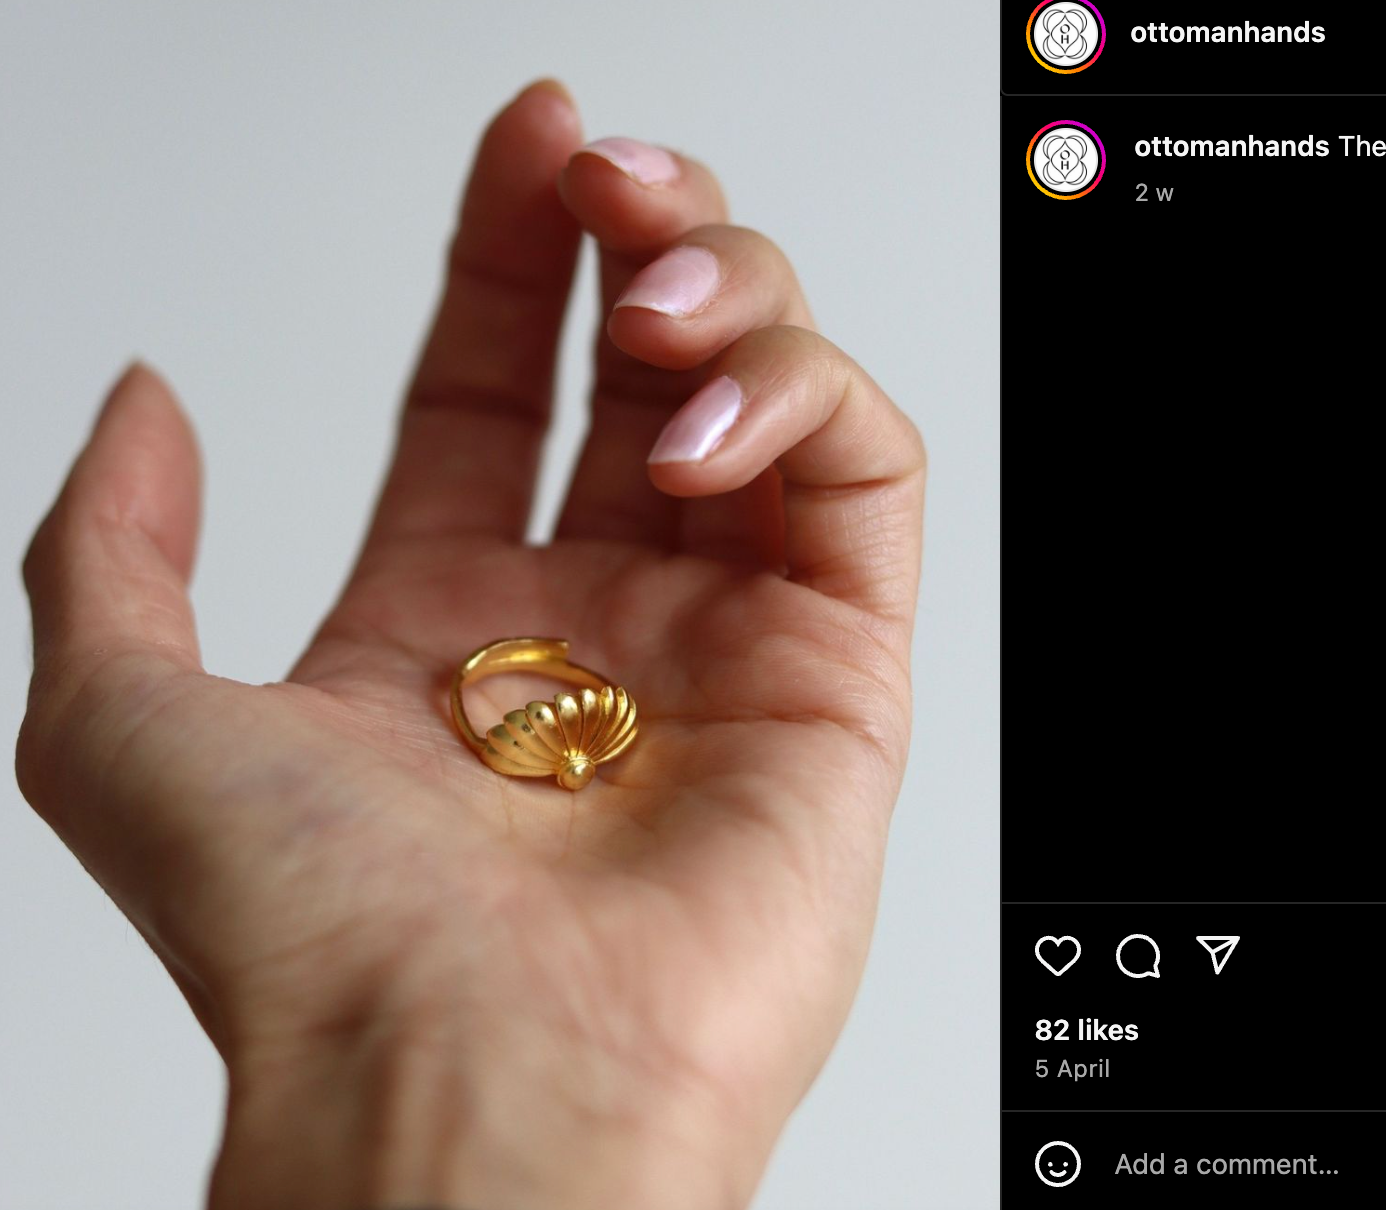
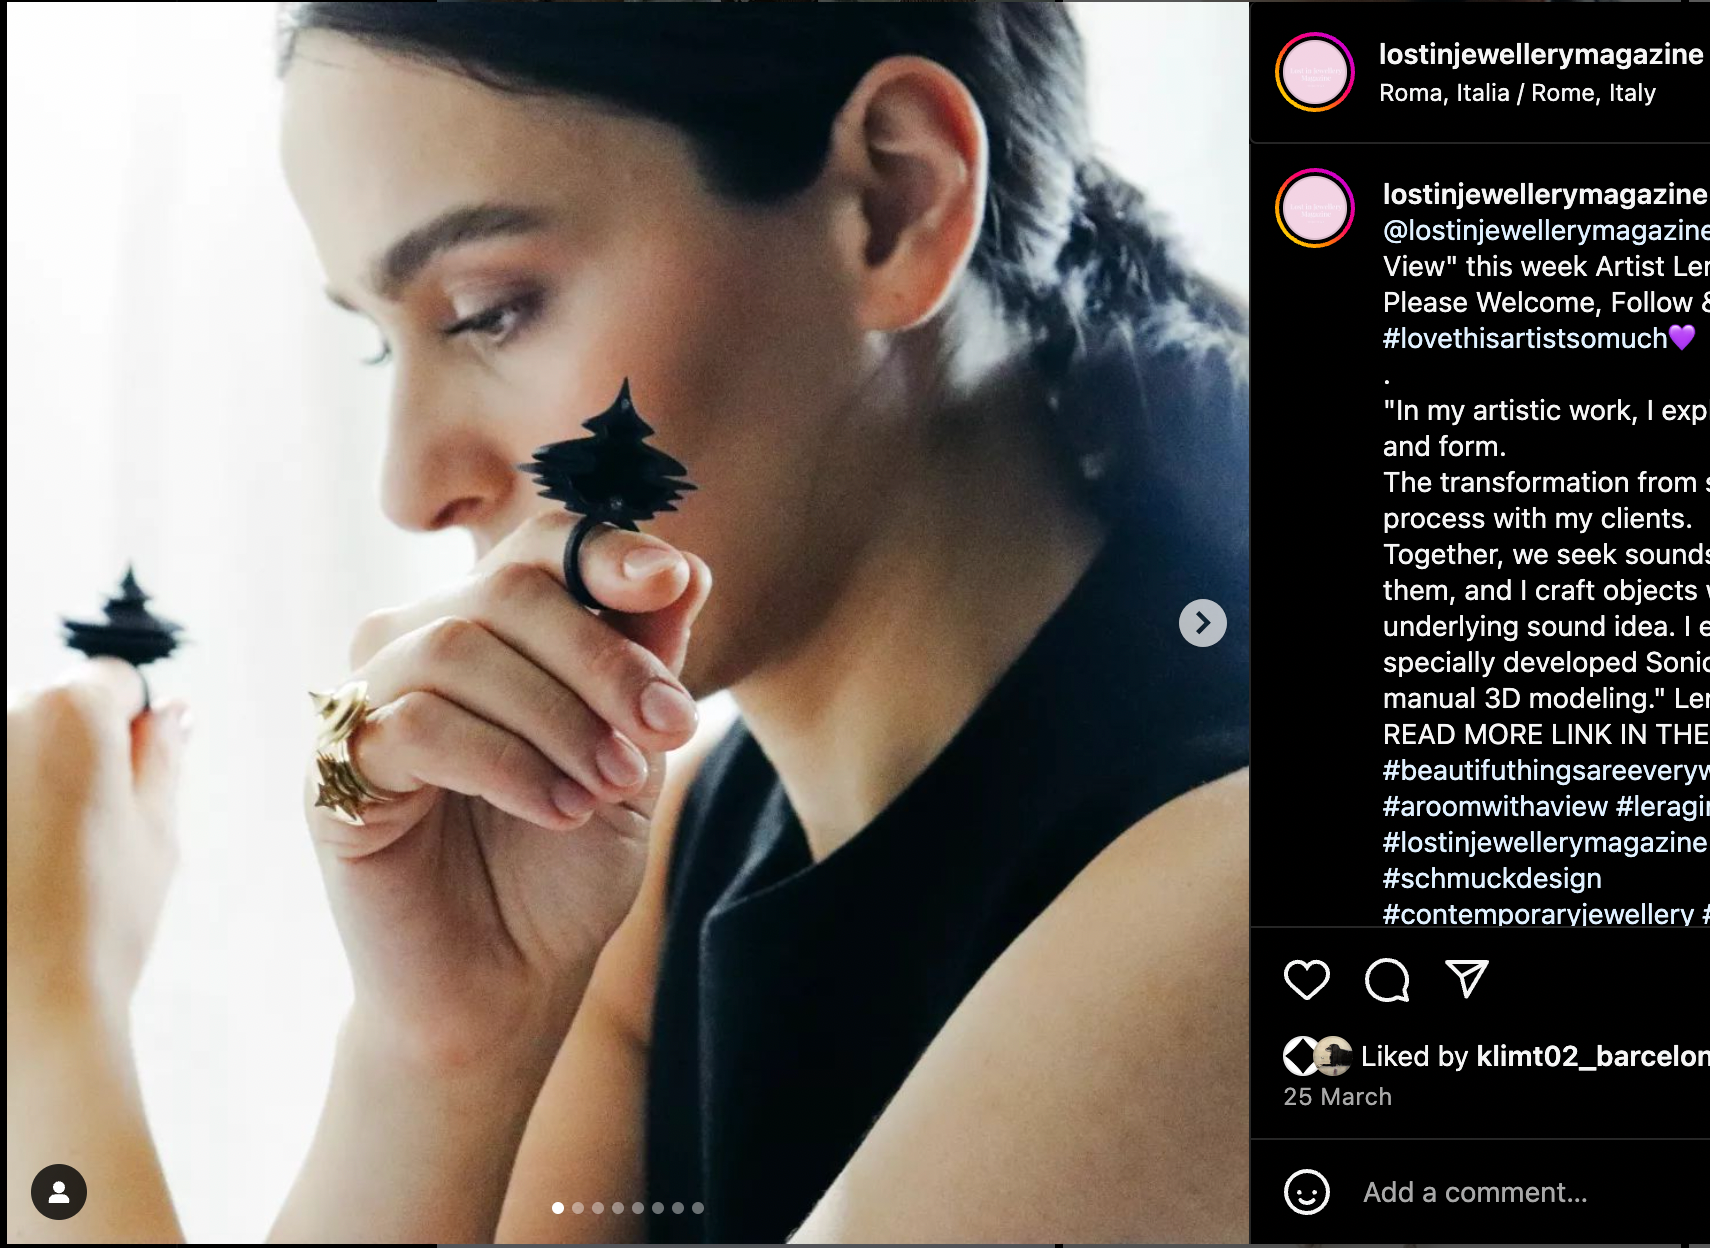
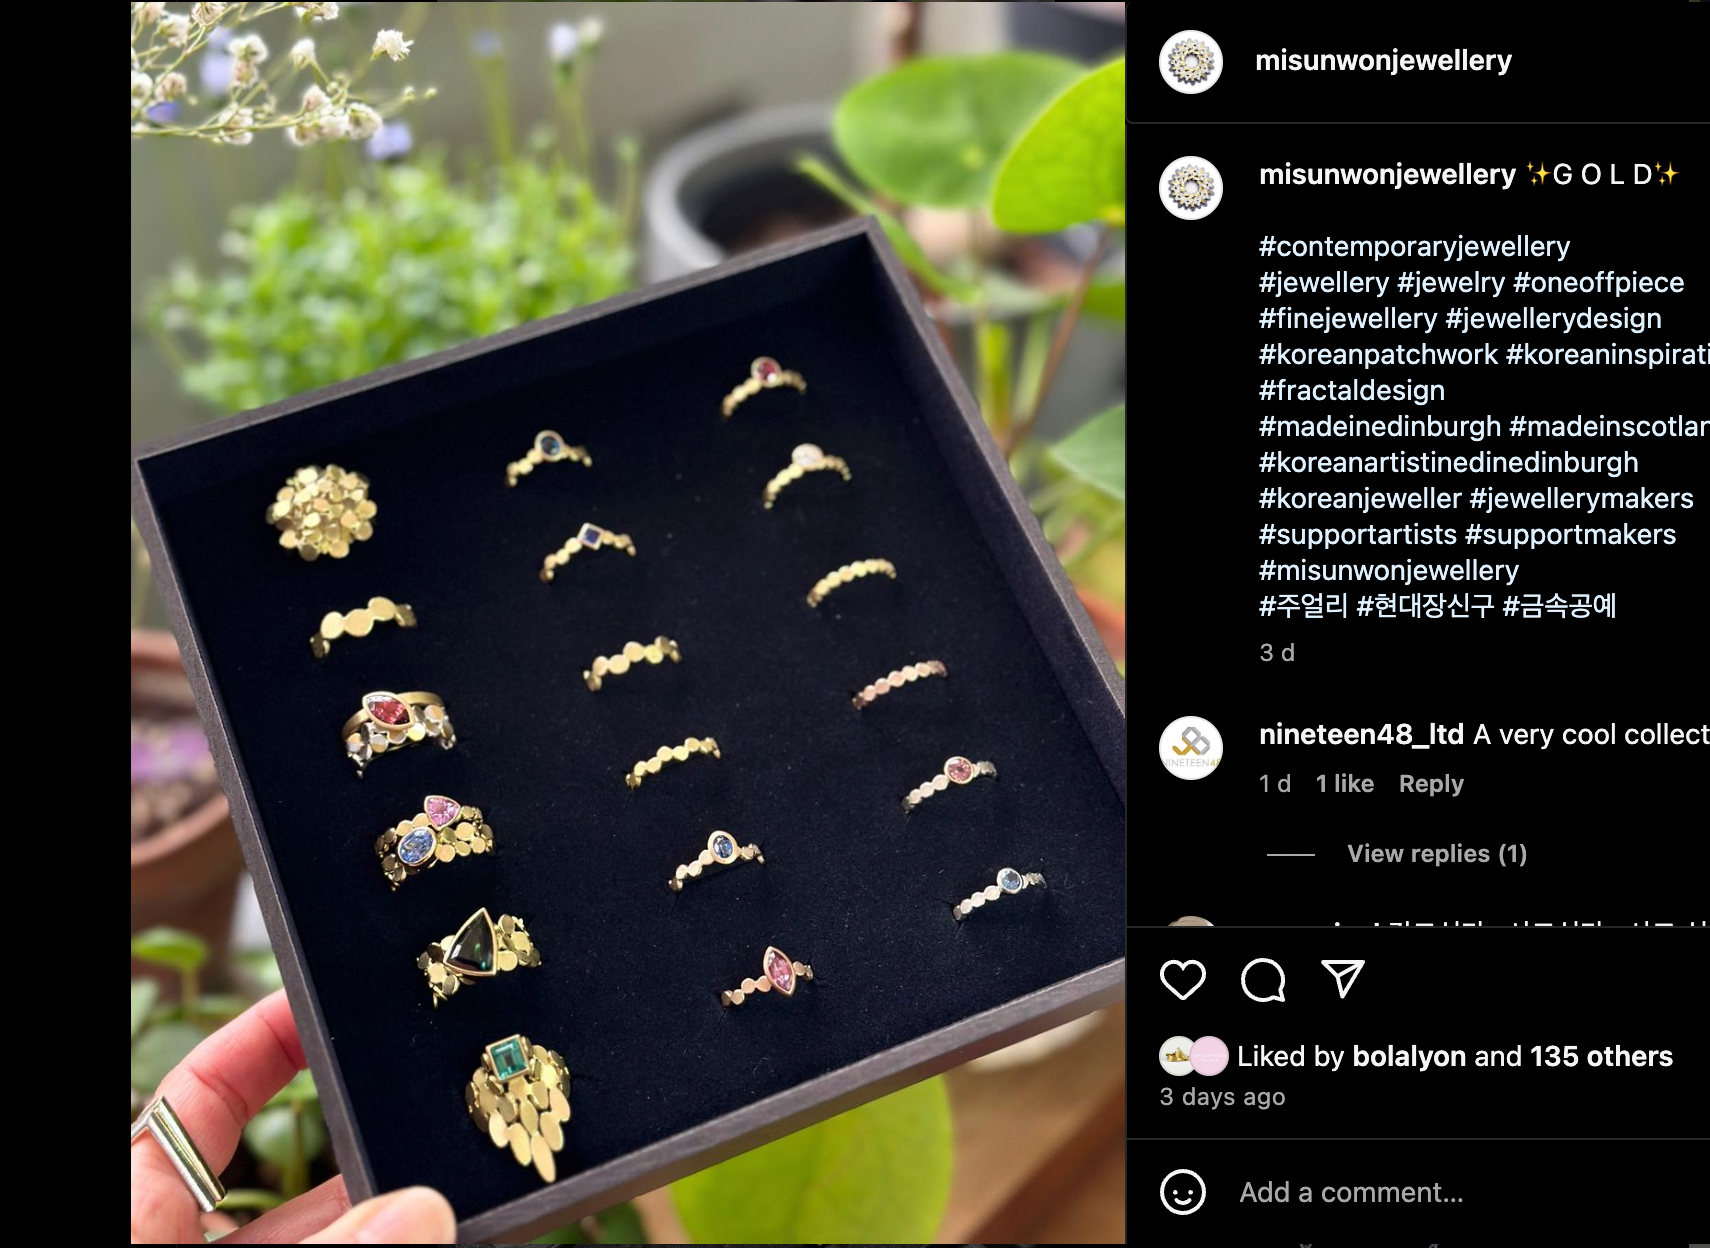
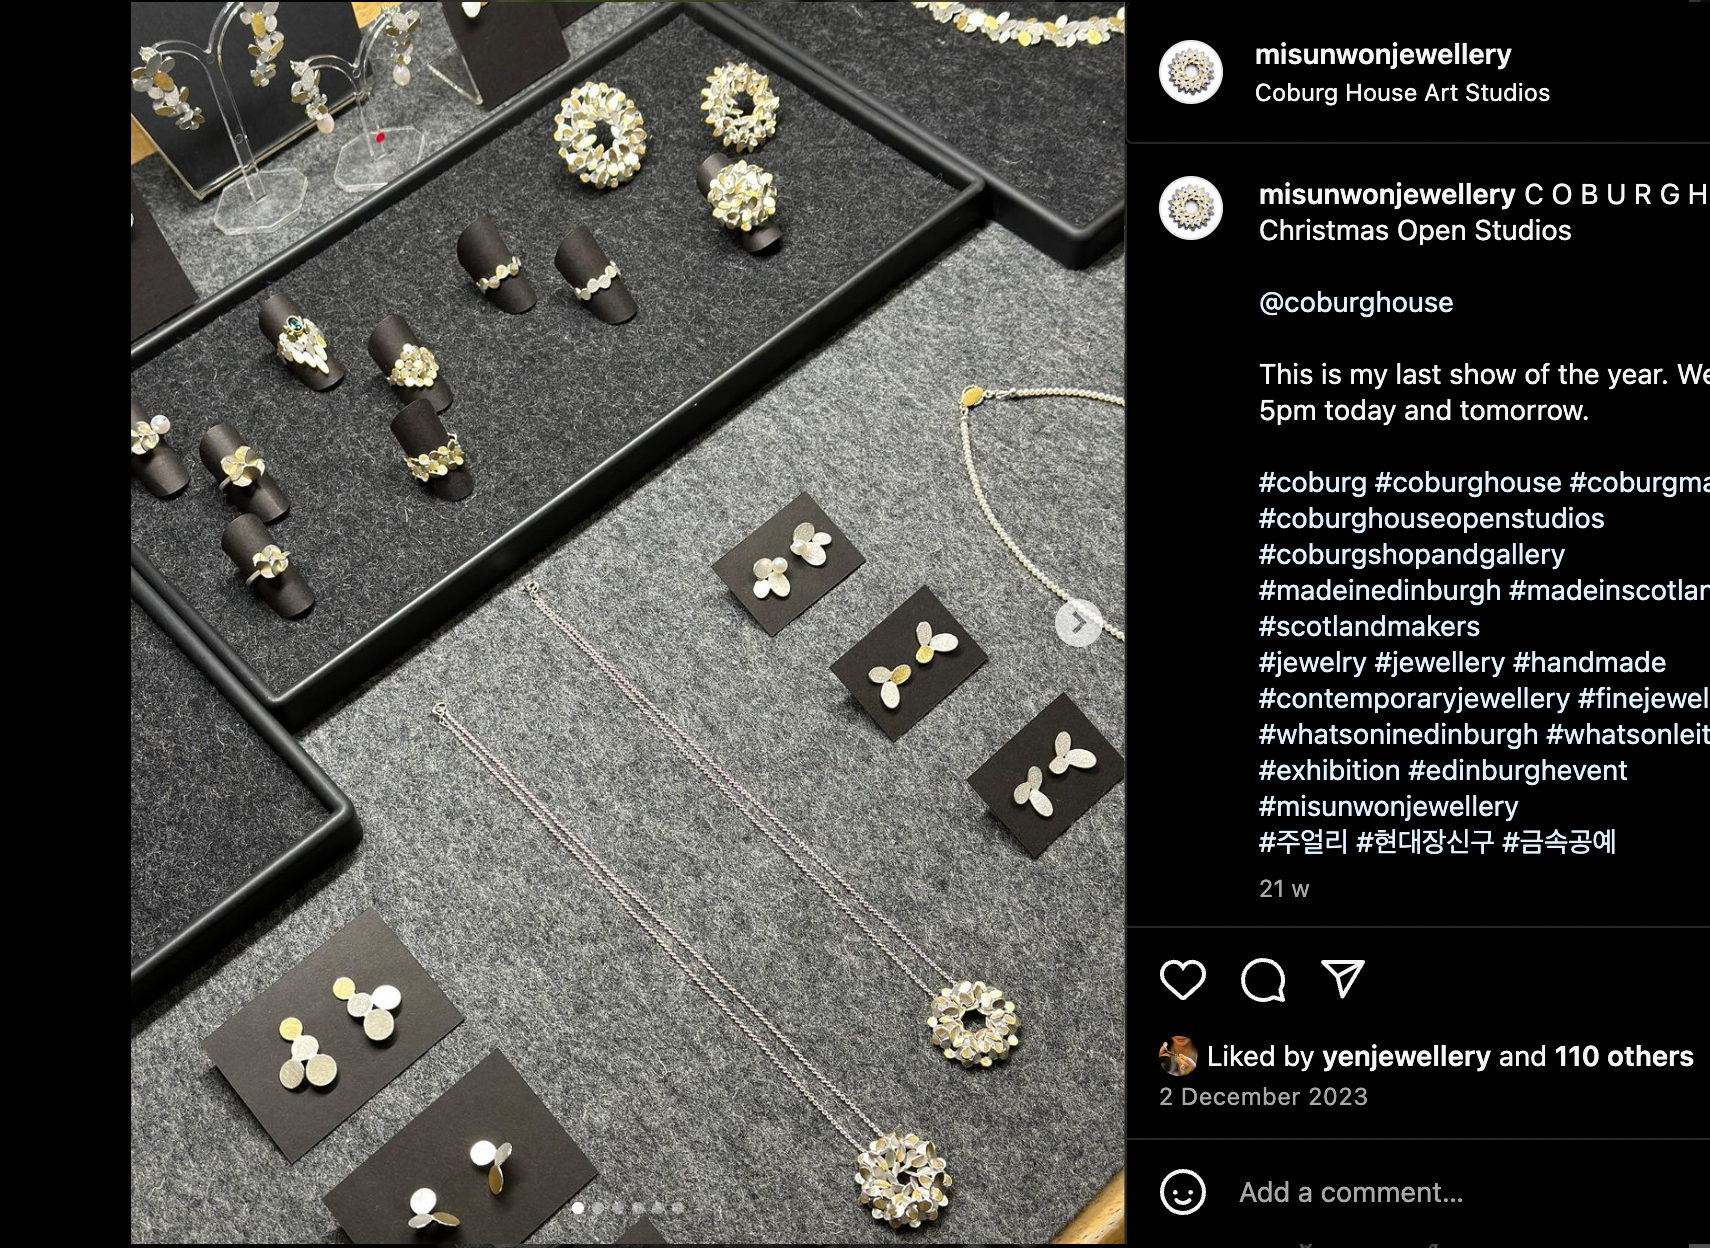
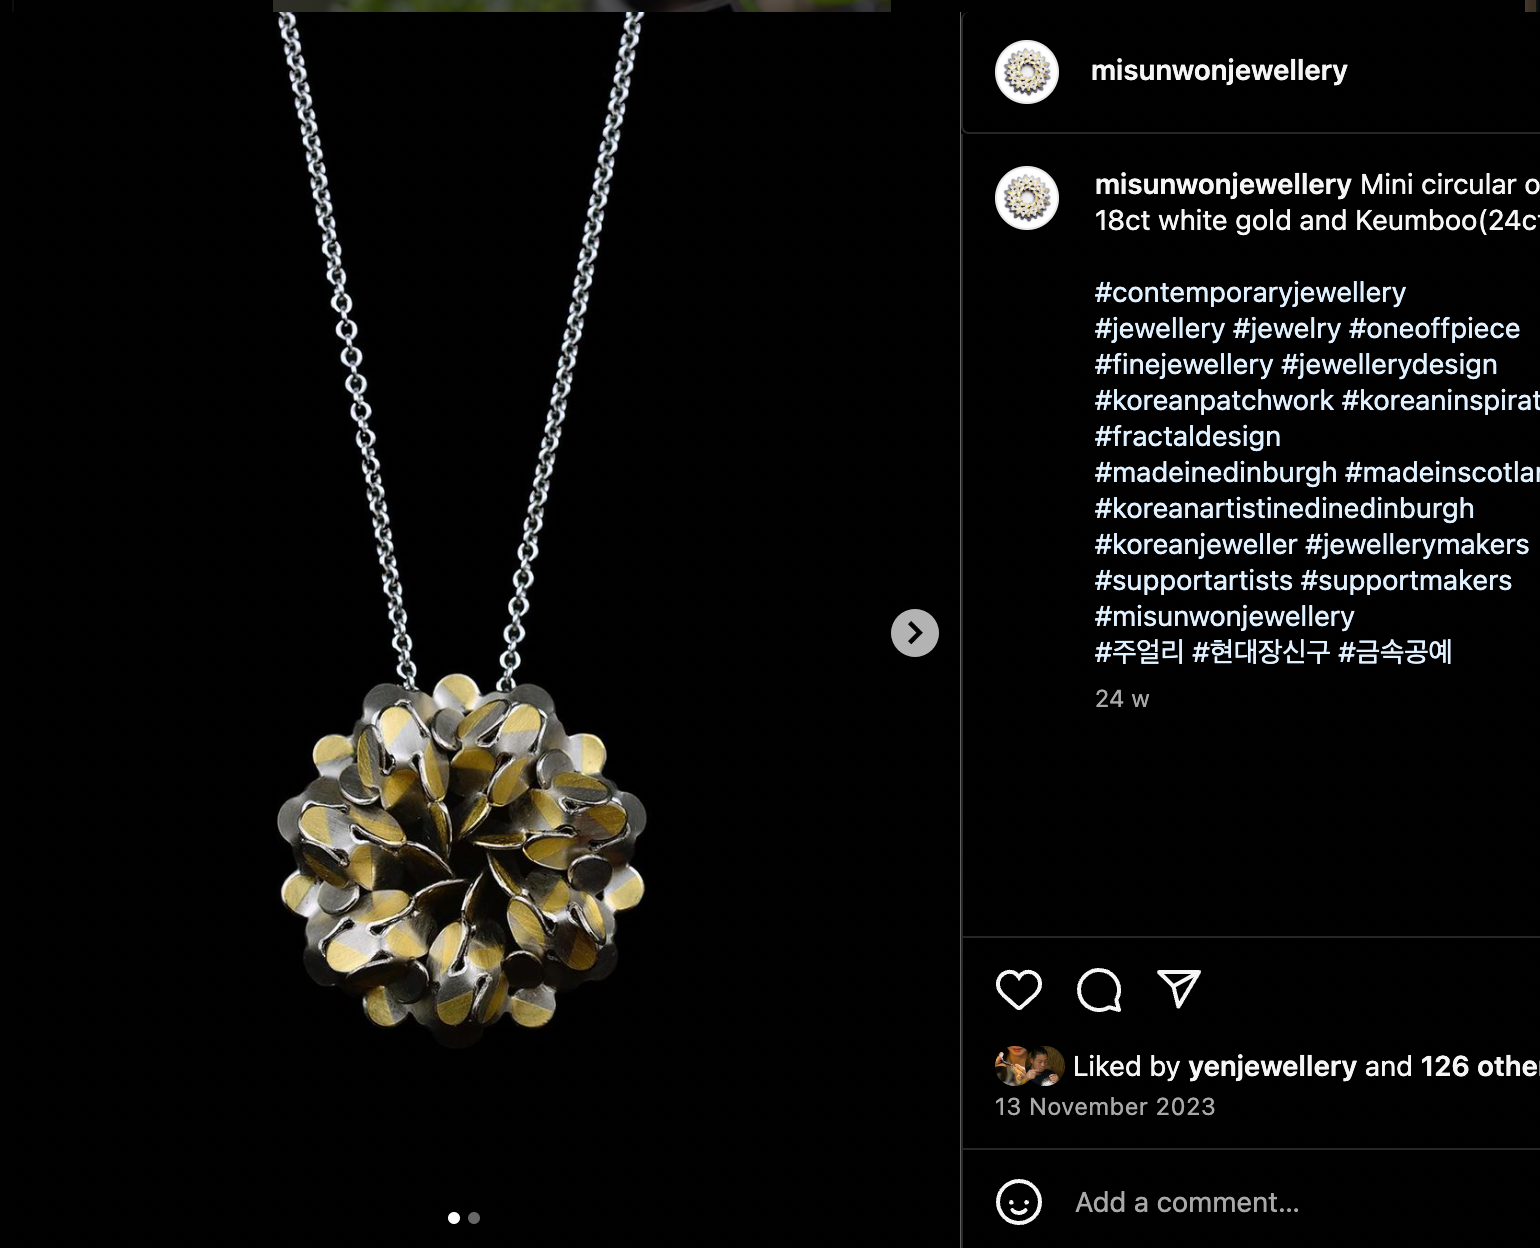
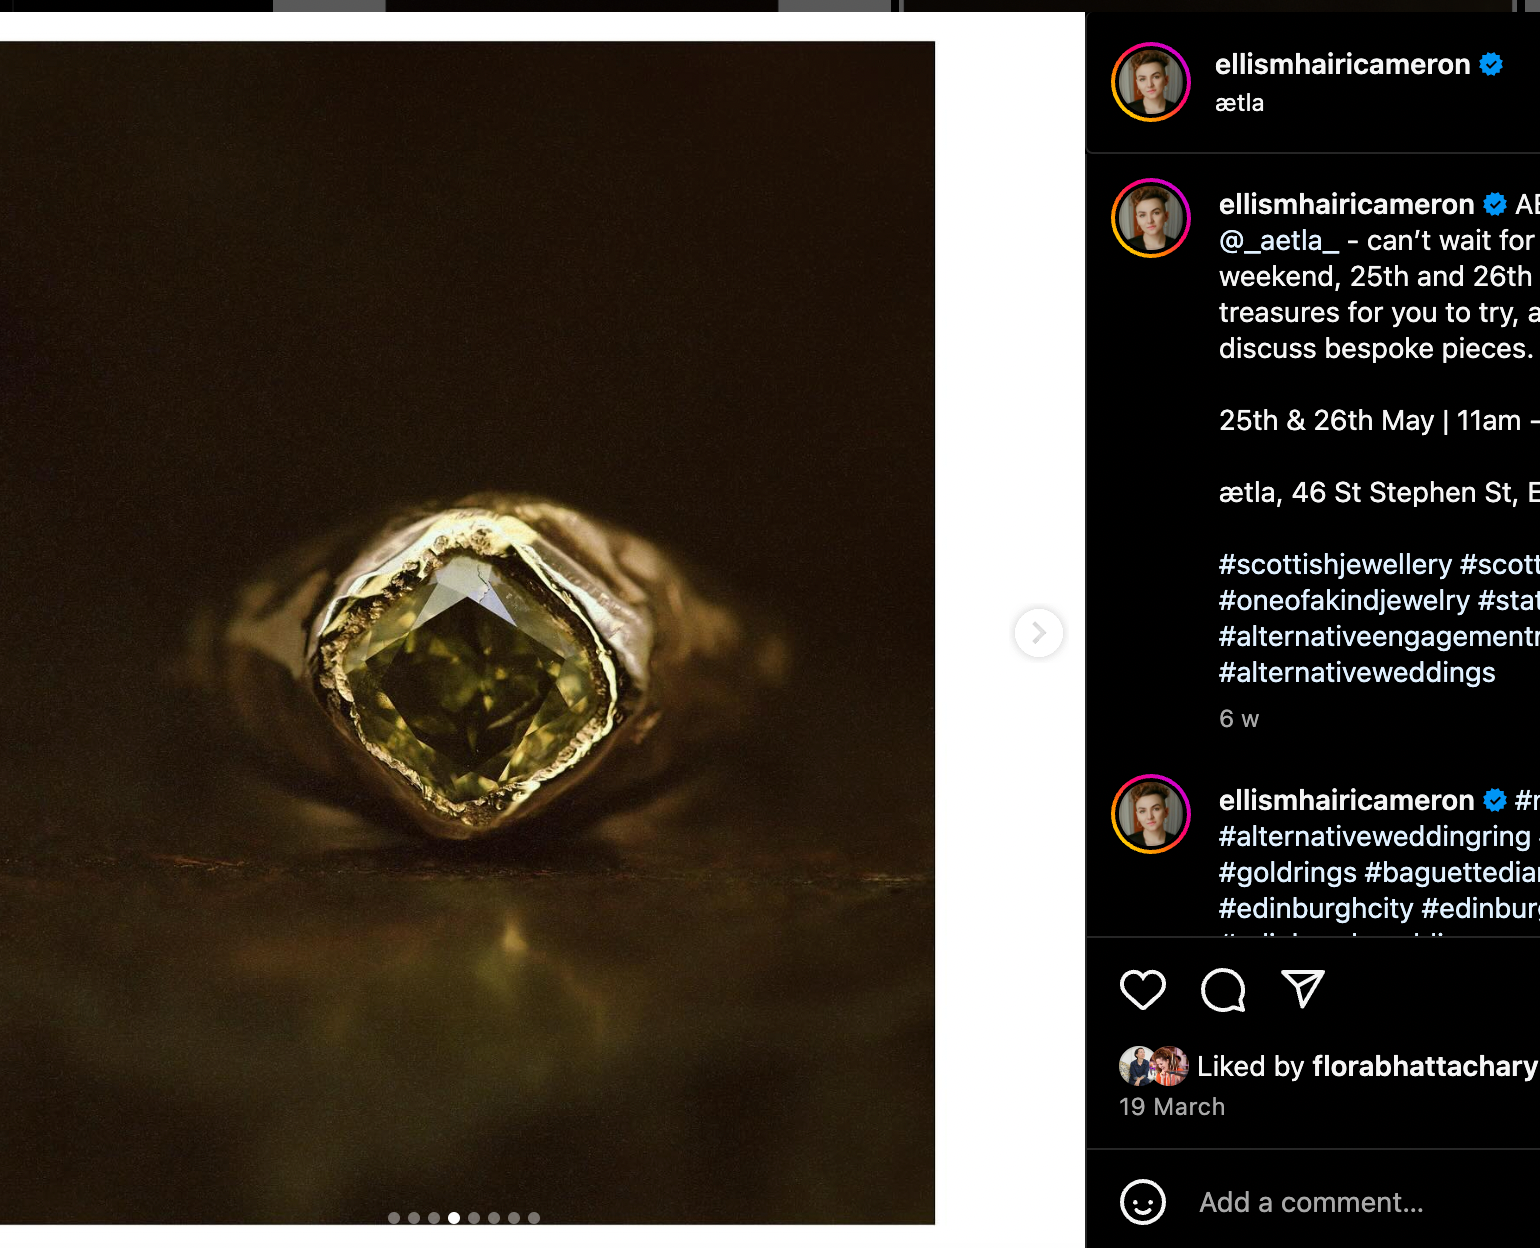
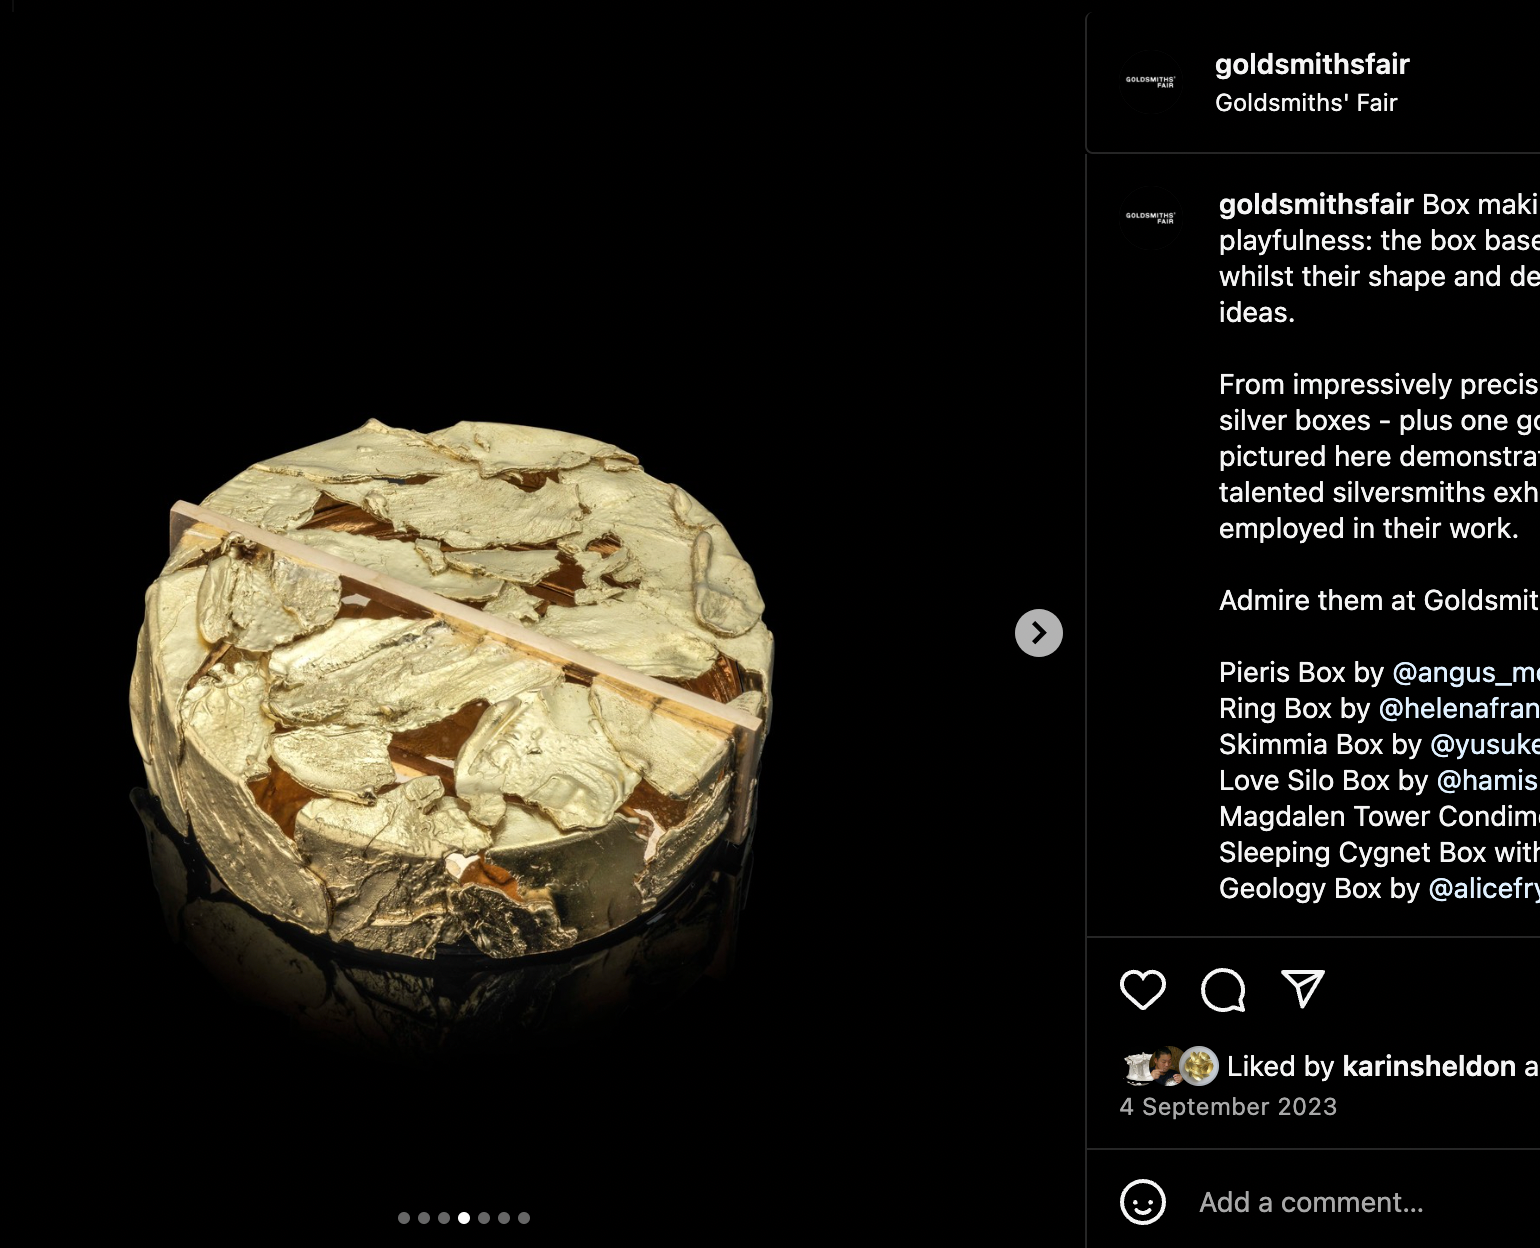
To research how other makers/jewellers display their work and photograph it, I mainly used social media such as Instagram looking at various accounts such as the jewellers themselves, galleries, magazines and shops. Because of using Brass which has a gold colour to it, I like having a black background I believe this helps the item stand out. Black backgrounds I found are used quite a lot with other makers using gold. As well as black backgrounds I like jewellery being displayed on hands as I feel it gives a personal touch to the work.
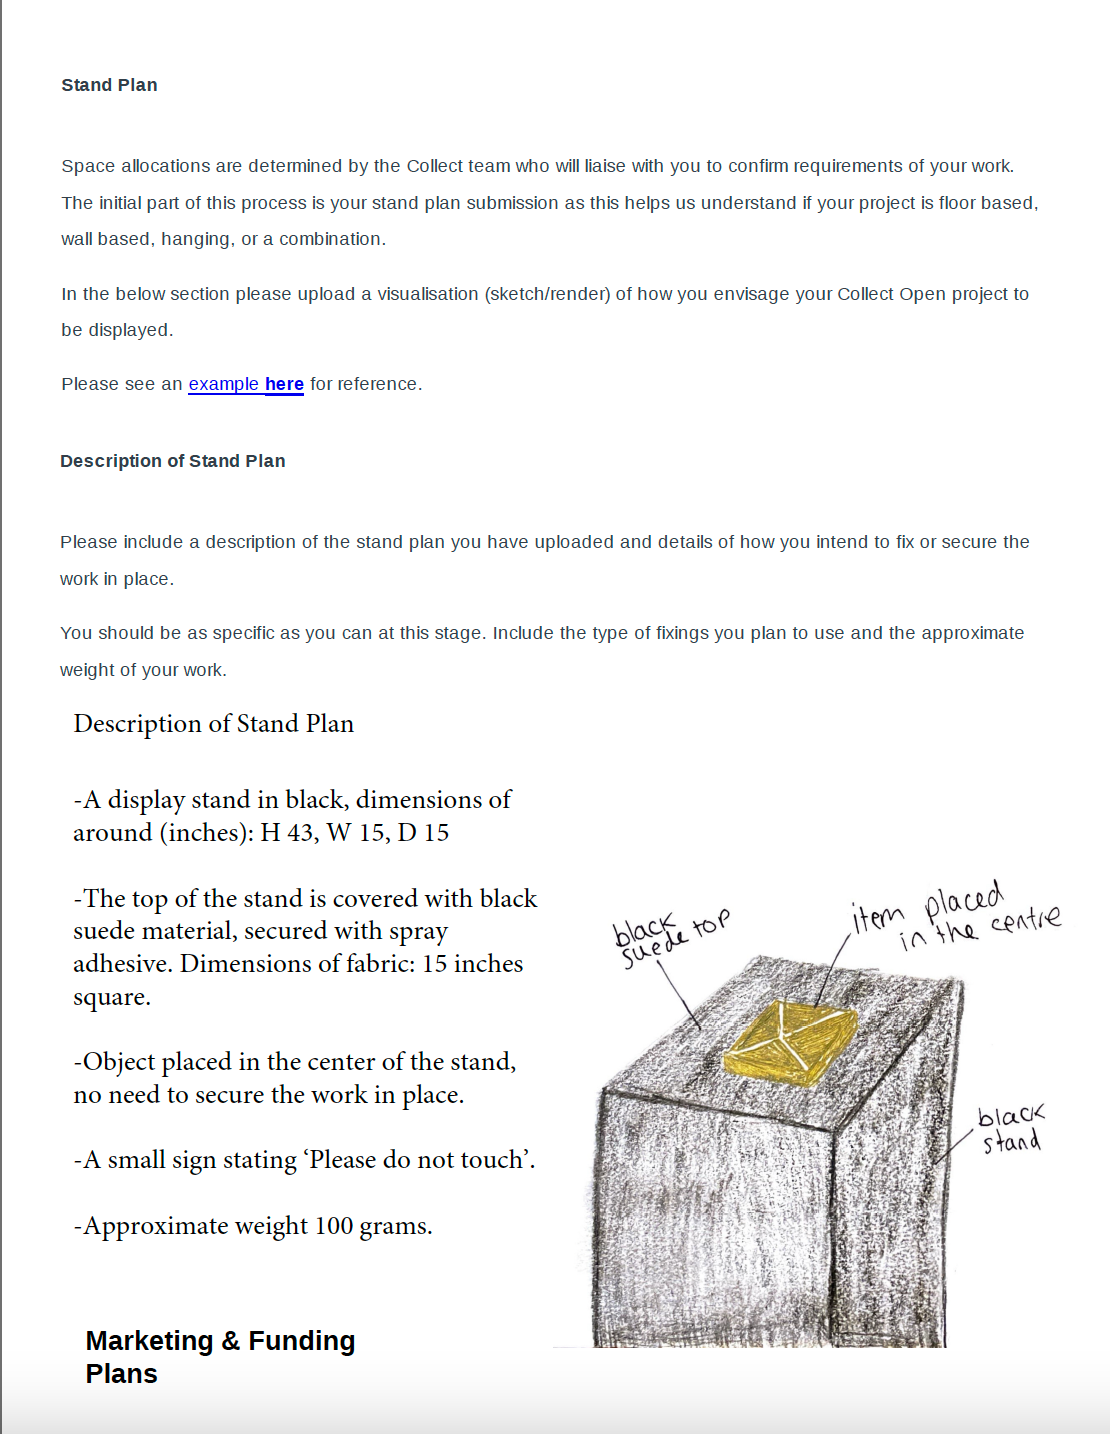
I decided to use a black suede pillow to display my final piece. At first, I was going to place it on a Persian patterned pillow but I didn't want to take the main focus off the box. I like the soft and elegant effect of having suede as a background material as well as a black background. Because of this, I combined them. During my visit to London, I also found that most of the work I saw was displayed on plinths and holders. I believe this is because they don't to overcomplicate the display to take the eye off the jewellery which is what I was trying to achieve in my choice.
Final Piece
Artist Statement
Persian Connection: Beautifully Unknown
Exploring my Persian connections has deeply influenced my approach to jewellery making. Since uncovering my heritage this has become a significant element of my craft. Expressing this through my work is a healthy approach to discovering myself.
Having been naturally attracted to geometric patterns throughout my life, I find the connection between this and their significant role throughout Persian culture fascinating. I am drawn to their beautiful complex qualities, something I strive to achieve in my work. I have used a combination of hand-drawn and digital techniques to create the pattern within this piece. I have also used traditional materials such as brass, along with modern machinery, attempting to combine traditional and contemporary elements.
Although I have been exploring my heritage there are still many aspects to my story and culture I am yet to discover, this feeling of the unknown is symbolised in this piece through the empty spaces within the design. Incorporating influences from my grandmother's bangle, a cherished gift passed down through generations, my work embodies the essence of both my maternal and paternal heritage.
With a keen eye for detail and a passion for jewellery which is continuously growing, I continue to push my creative boundaries by challenging myself with unfamiliar techniques and materials. I am committed to creating jewellery that resonates with my story, expressing this through beautifully complex forms, patterns, and colour, aiming to achieve a high level of refinement and finesse.
Reflection
After finishing this project I feel okay towards the final piece. I'm not pleased with the result however, I do think I have achieved something technically difficult and I am proud of that. I know I can do better; if I were to do it again I would change a lot. However, considering I have been working with metal for a short time, I am happy with the results.
Throughout this project, I pushed myself in many ways in technical aspects and more basic skills, some of which I have never done before. After this project, I have learnt a lot about metal my skill set and what I enjoy and do not. I like the challenge of working with technical and small-scale pieces. Although this can make my life more difficult I naturally am drawn to this kind of design. This can impact me negatively in terms of timing and stress but it also means I challenge myself and push boundaries which I enjoy.
Overall I'd of liked to have made the whole thing once before making the final piece, this didn't happen due to time. I thoroughly practised some technical aspects such as the hinges until I felt confident, I would have liked to practice the stage of forming the metal to get the shape and practice aligning the box. There were also some mistakes made throughout which could have been avoided if I had the previous experience of forming it before. An example of this is from a design point of view the line that the hinge is on is not straight. Because of this, it acts a bit like an optical illusion making you think the box is not square when looking at it. Although it is not perfect I think this exaggerates this and makes it look more off-centre than it is. This also confused me when forming it and I wasn't succeeding with the alignment at first. I soon realised this error but it was too late for me to start again at this stage.
However, on a more positive note, I did like the clasps I decided to make as this was a nice sentimental touch and I think they look nice. They wanted perfect but I was happy with them.
Another thing I wasn't happy about was how the earrings turned out. I didn't like them and I don't think they were suitable for collection. When designing them I forgot about that and was trying to incorporate enamelling and something relatively quick. they didn't turn out that quickly and I could have probably designed something quicker and more suitable.
Moving forward I would like to work on my timings in the workshop as this will help me be more efficient equalling the cost of my item is lower. I also would like to be considerate in my designs and think about how I can make my life easier with the difficulty level but also still challenge myself and my pieces look complex.