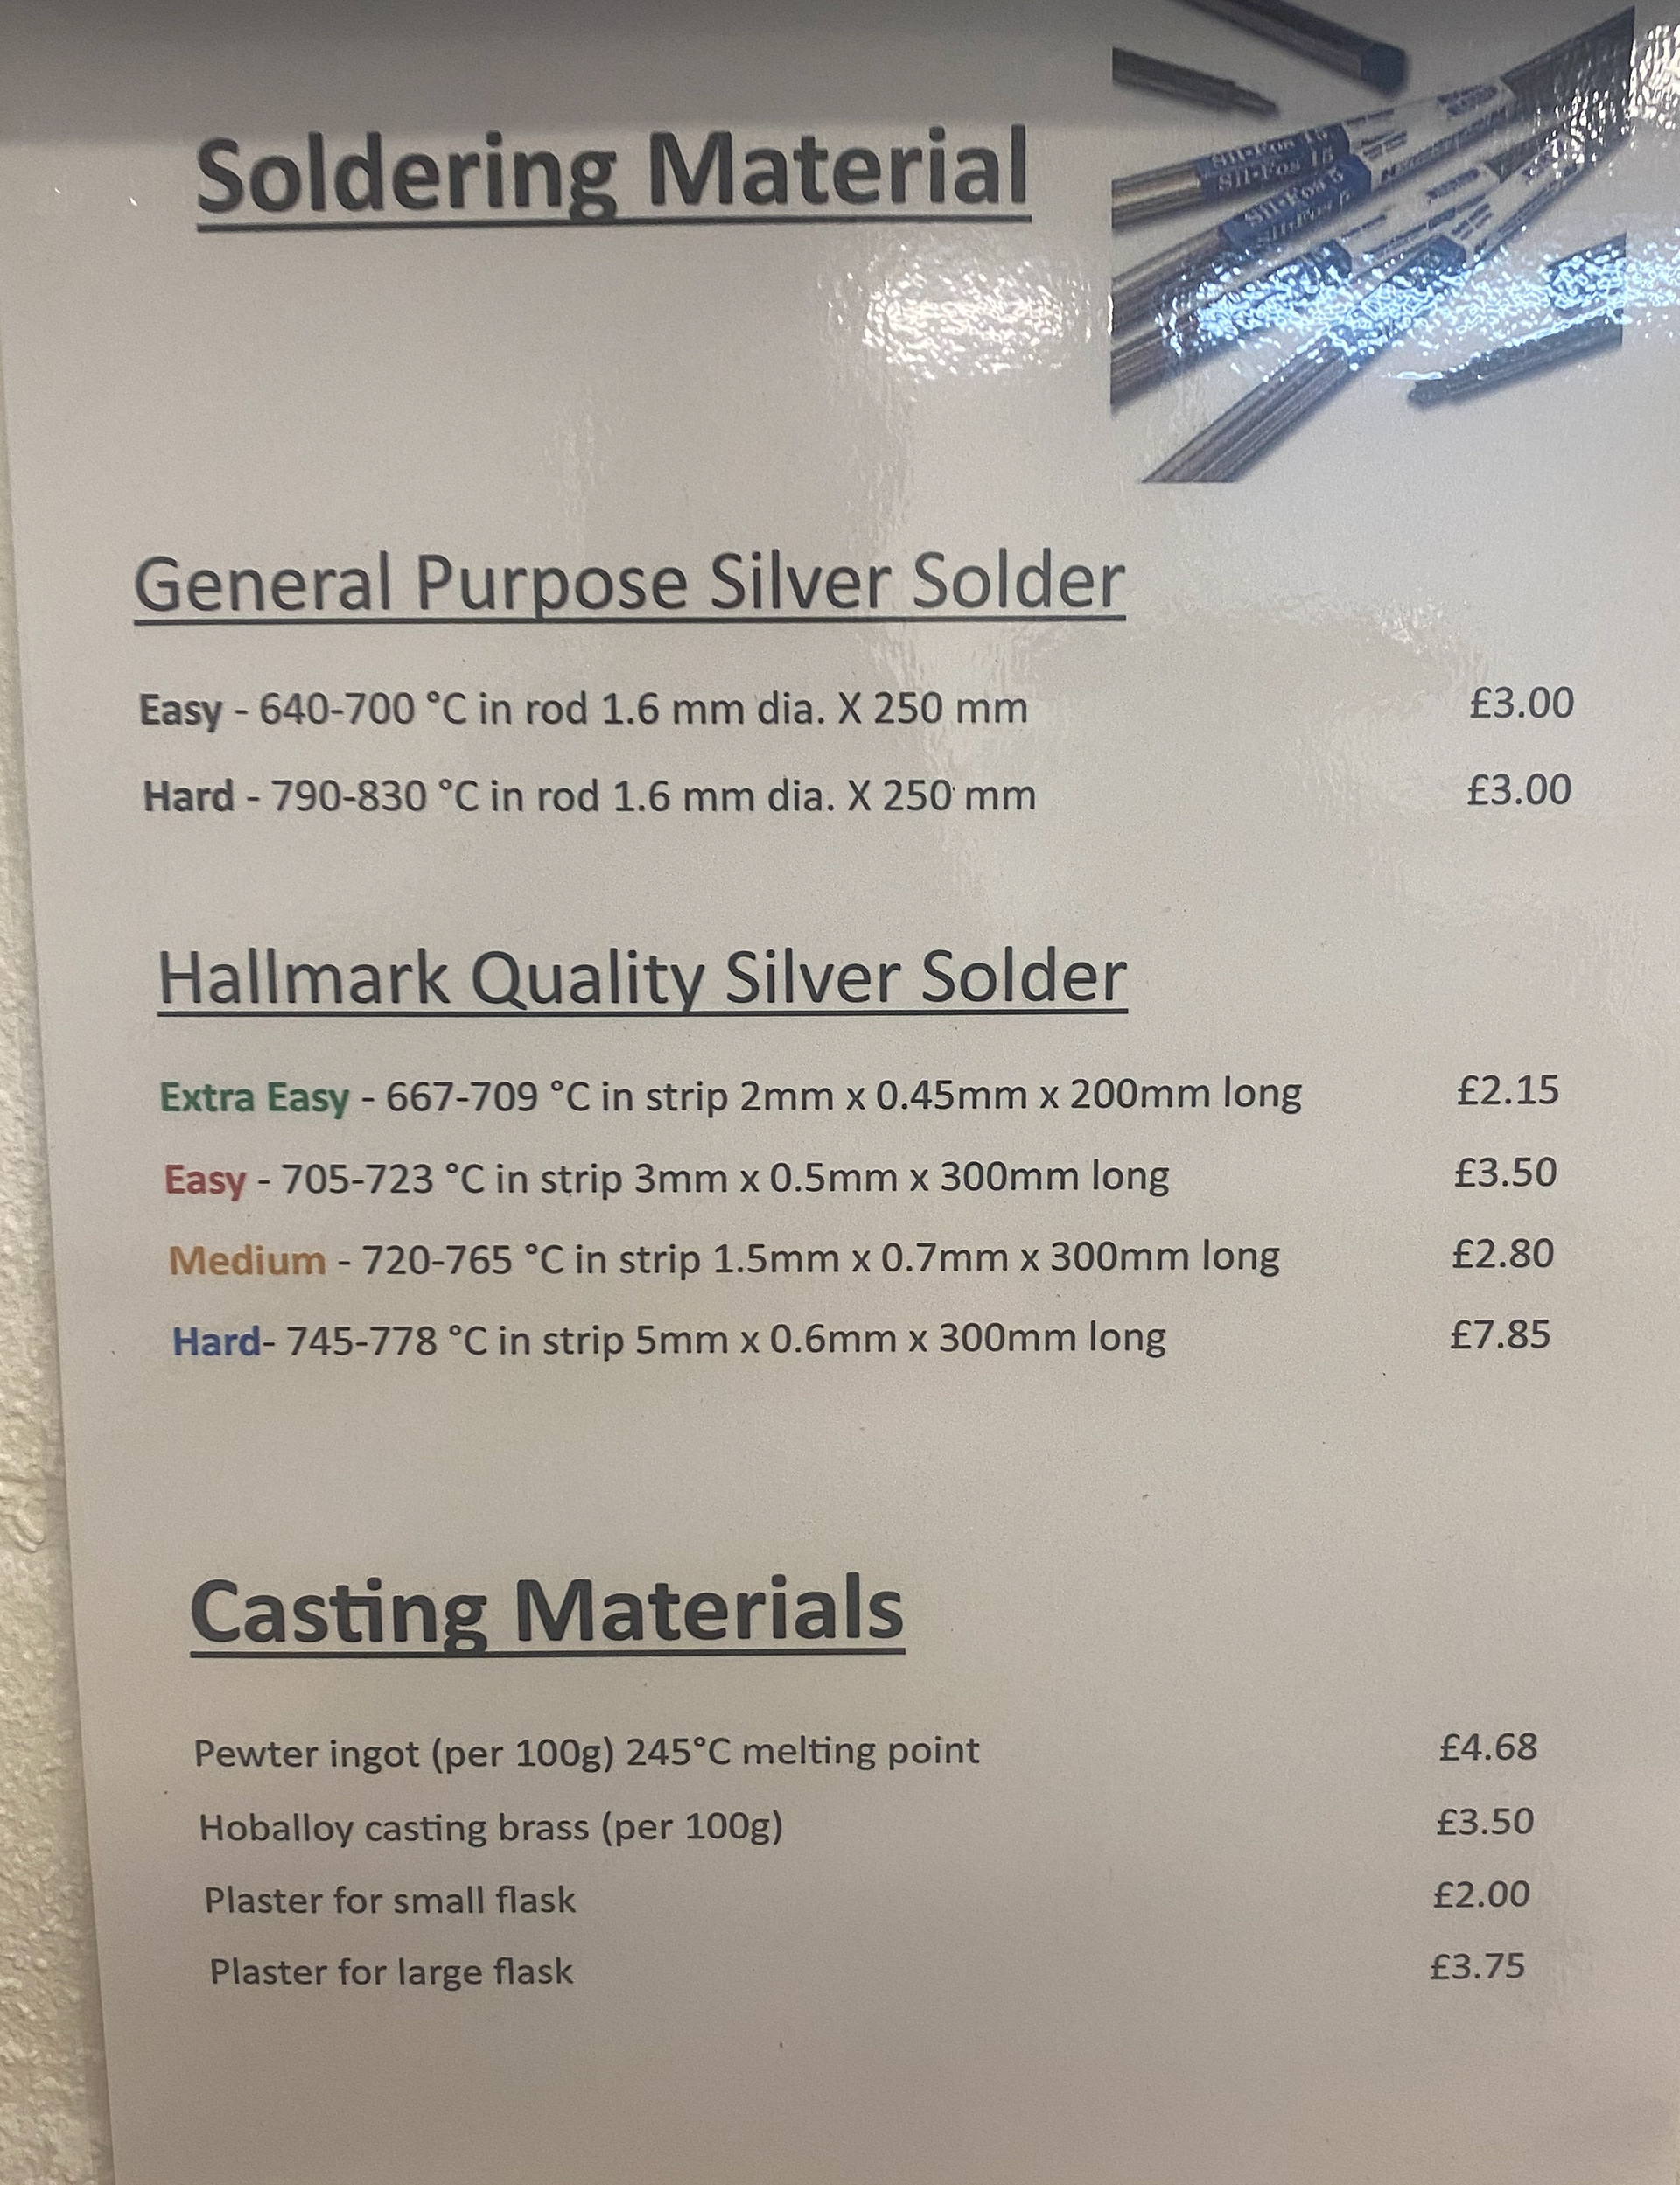
Initial Ideas

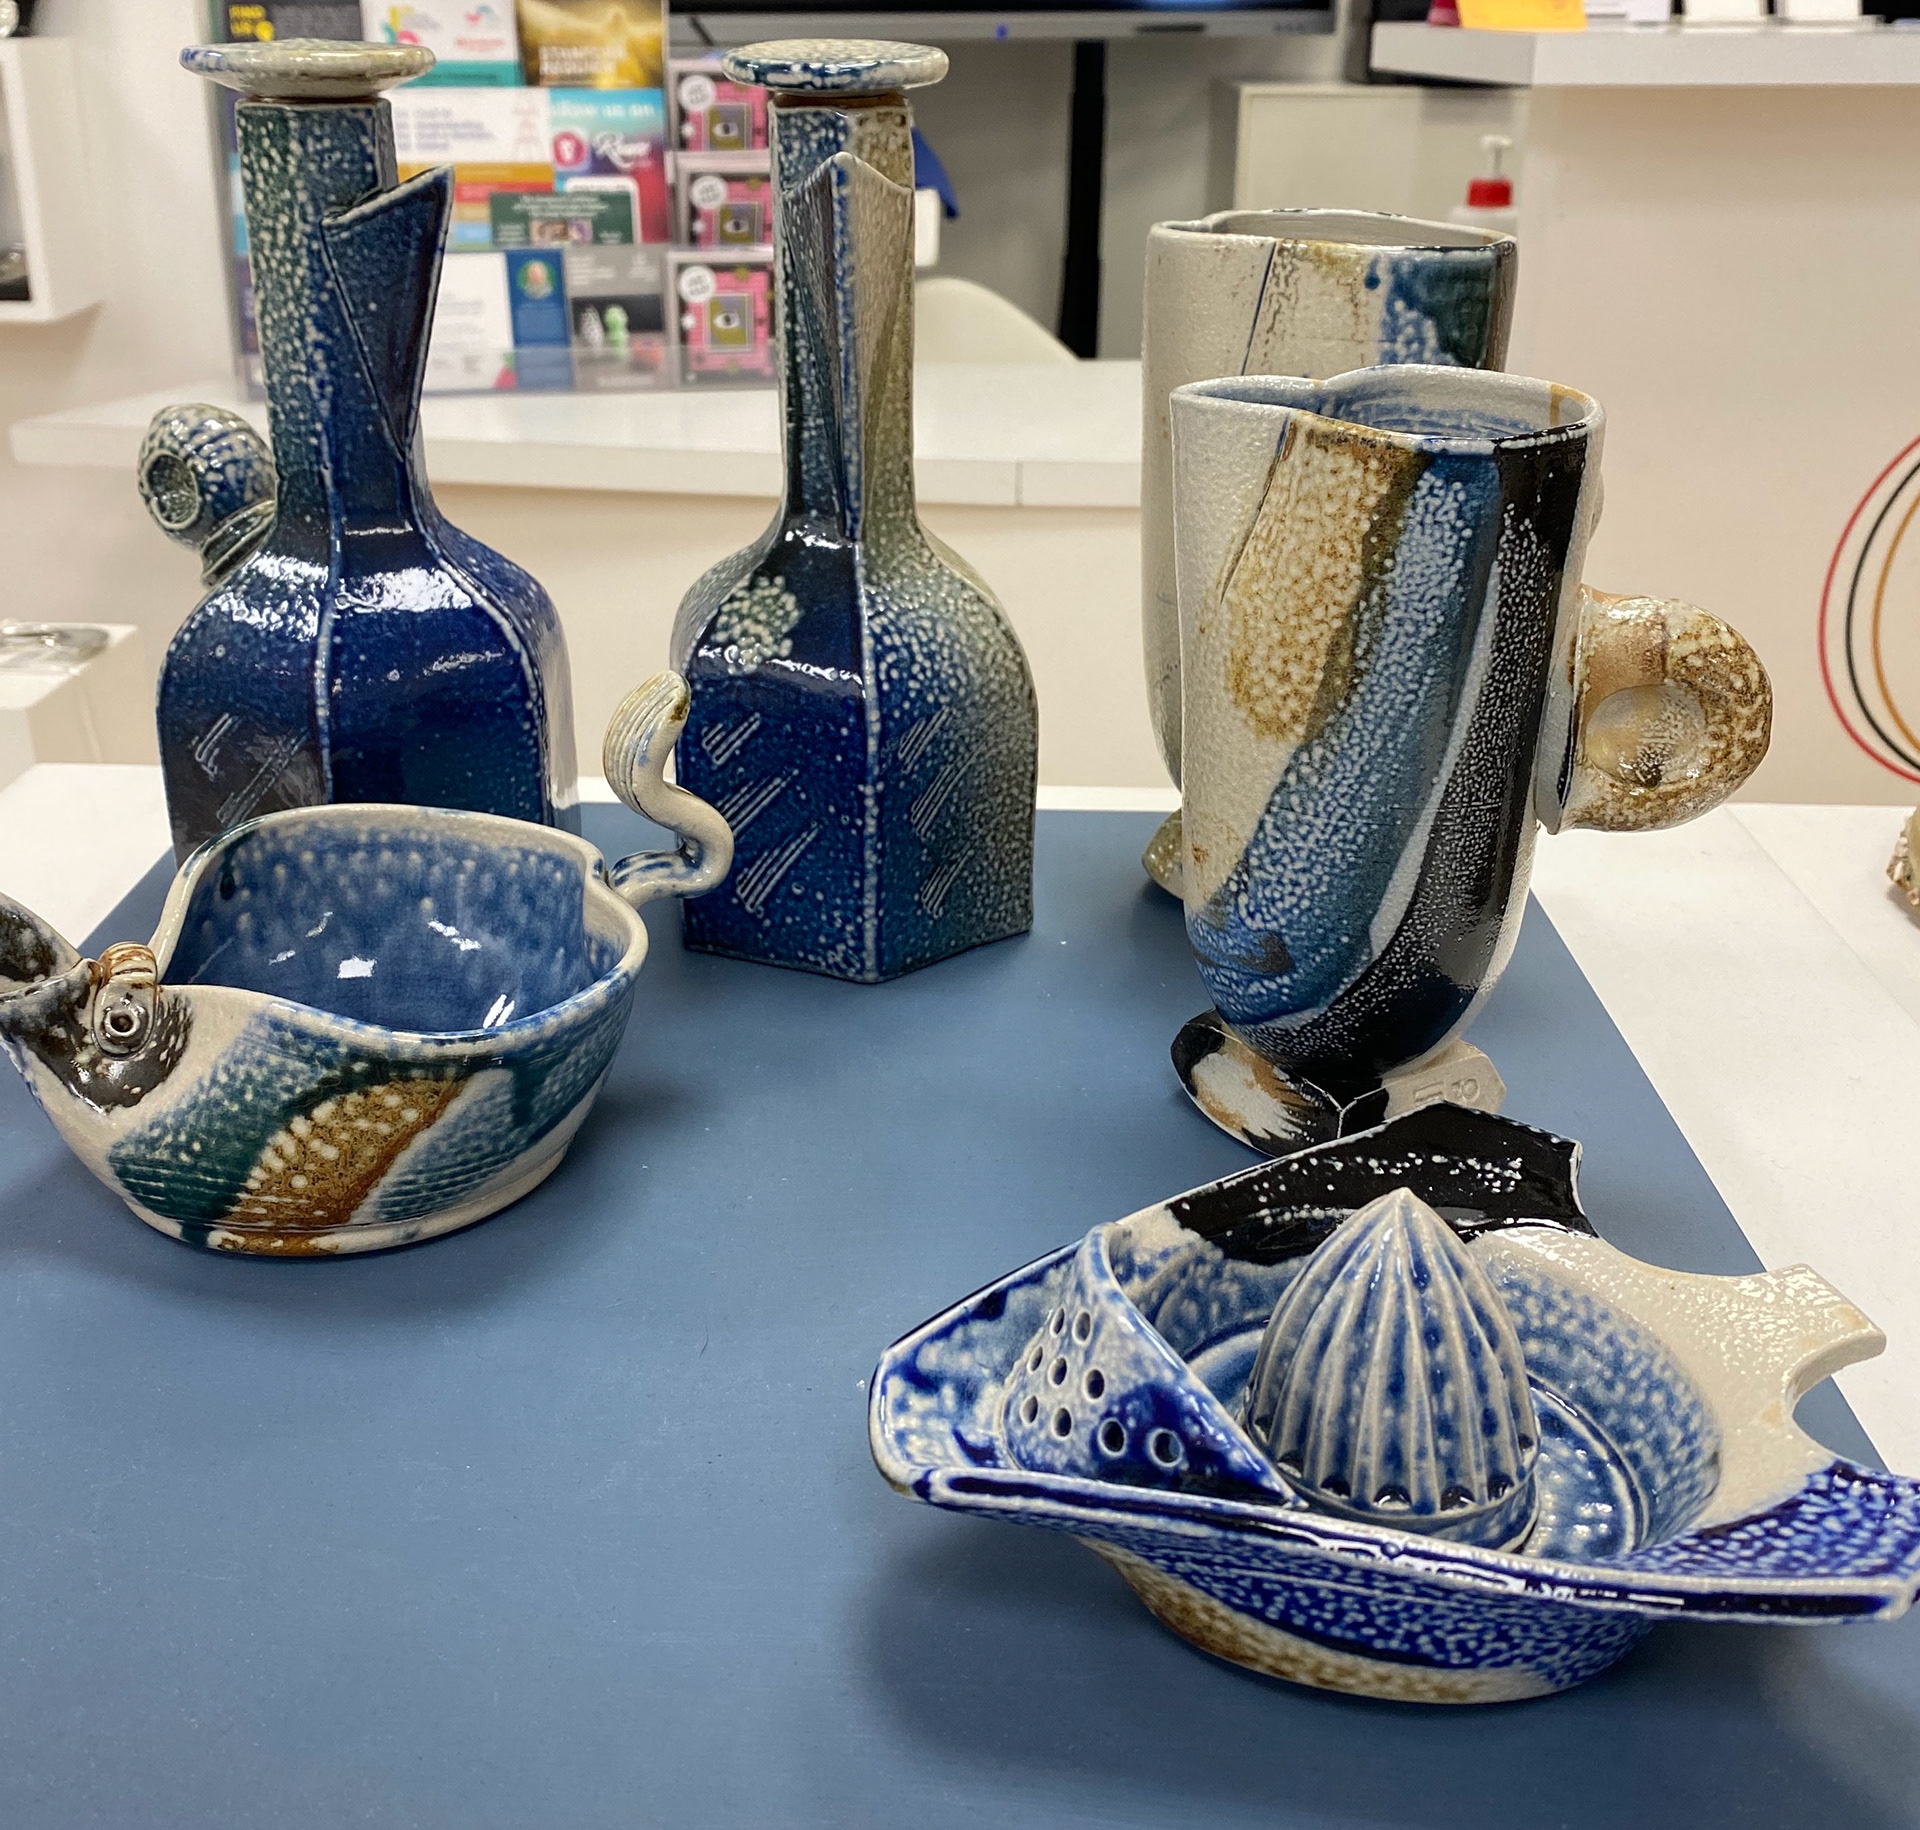
Red List - Basket work furniture making

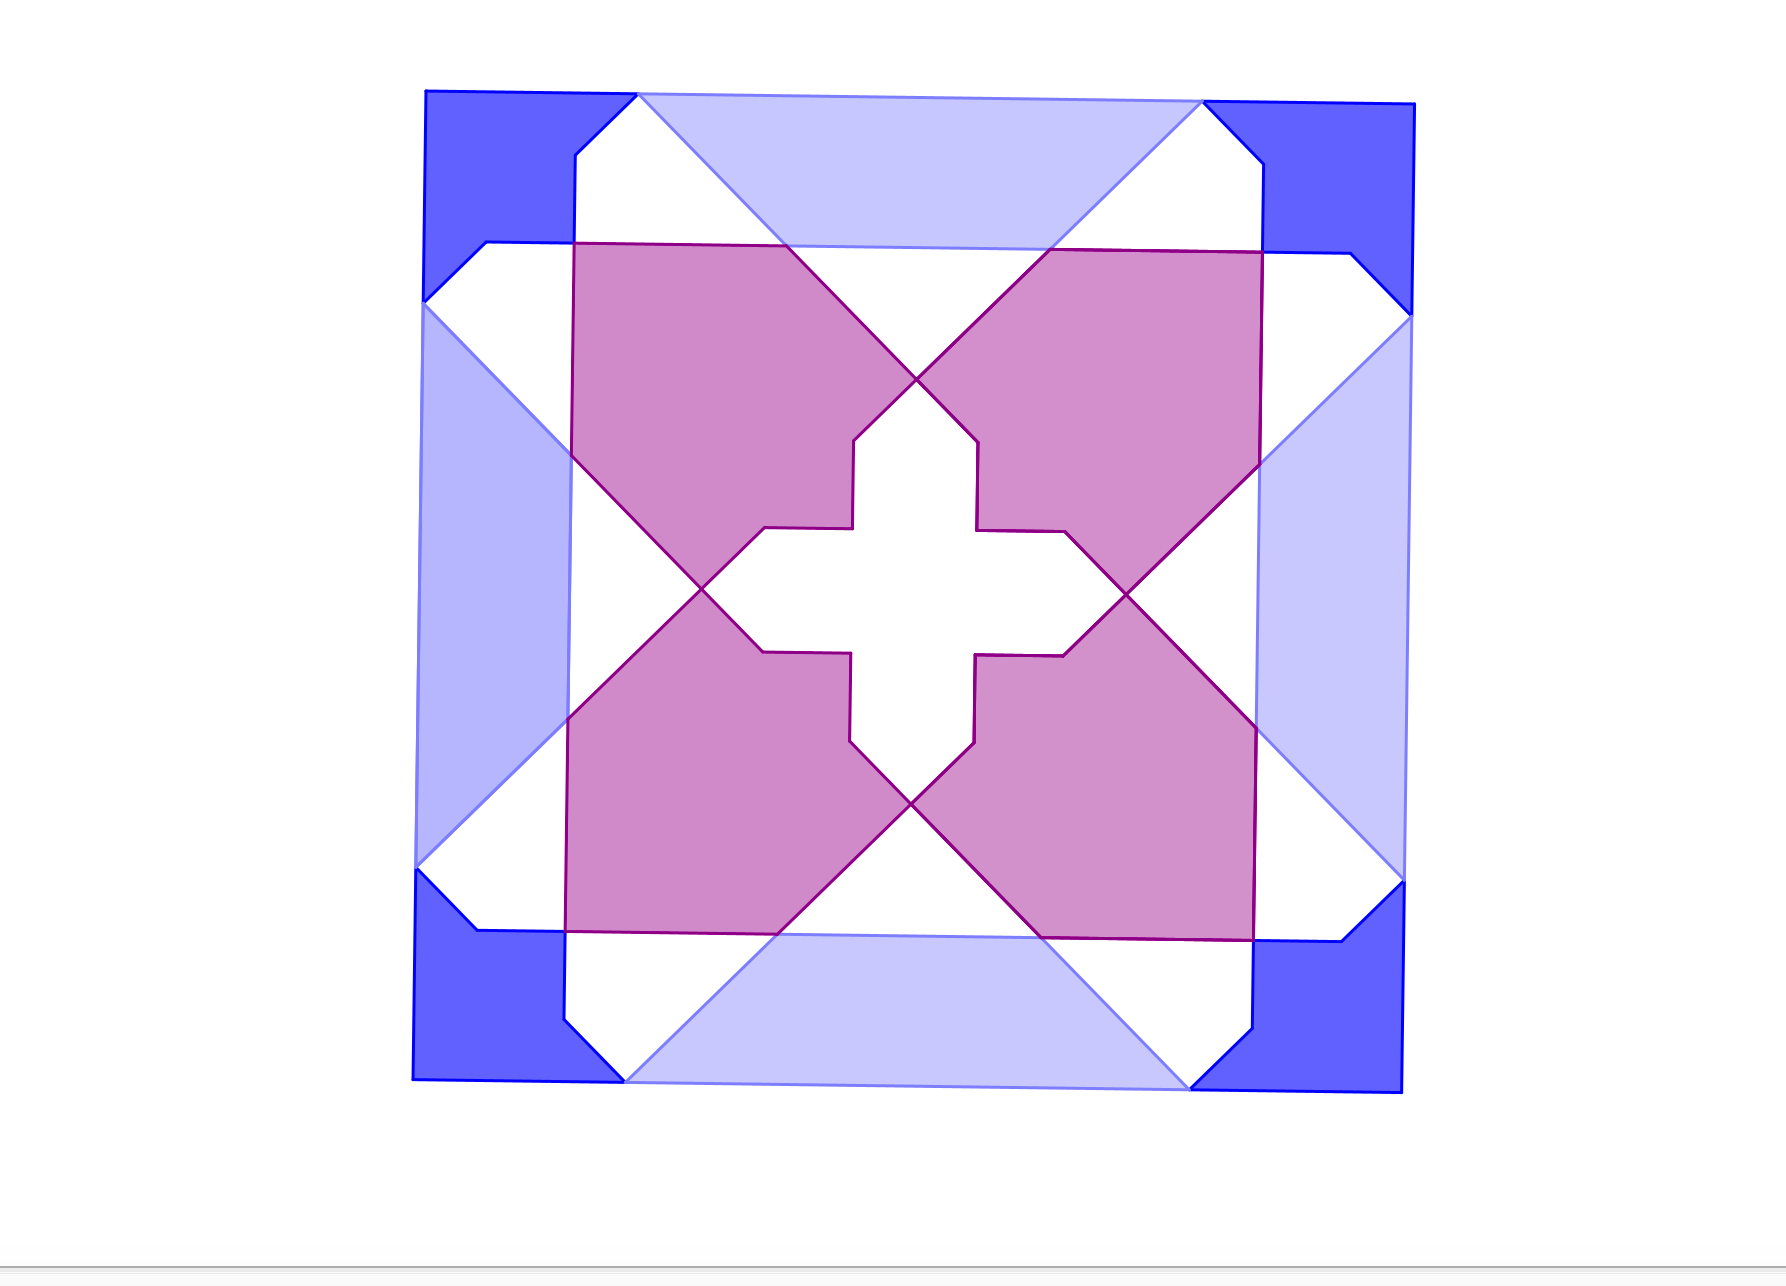
Lino Prints inspired by Basketwork
For my tradition I chose Basketwork Furniture Making from the Red List. Basket work is one of the oldest furniture making techniques. It has been used for centuries but it particularly thrived in the 20th century. The process of this craft is to sew and weave pliable materials into 3D items.
In the UK, Somerset is the main area of historical significance as this is where the work was first produced.
Throughout my research, I discovered the two most common names in Basketwork, Wicker and Rattan. Rattan is a type of material, where as Wicker is a style of weaving. 'Wicker' is of Scandinavian descent. It originates from the word 'Wika' which means to 'to bend' and 'Vicker' which means 'Willow'.

Research on history of Basketwork

Research on weaving techniques

Research on weaving techniques
Change of Idea
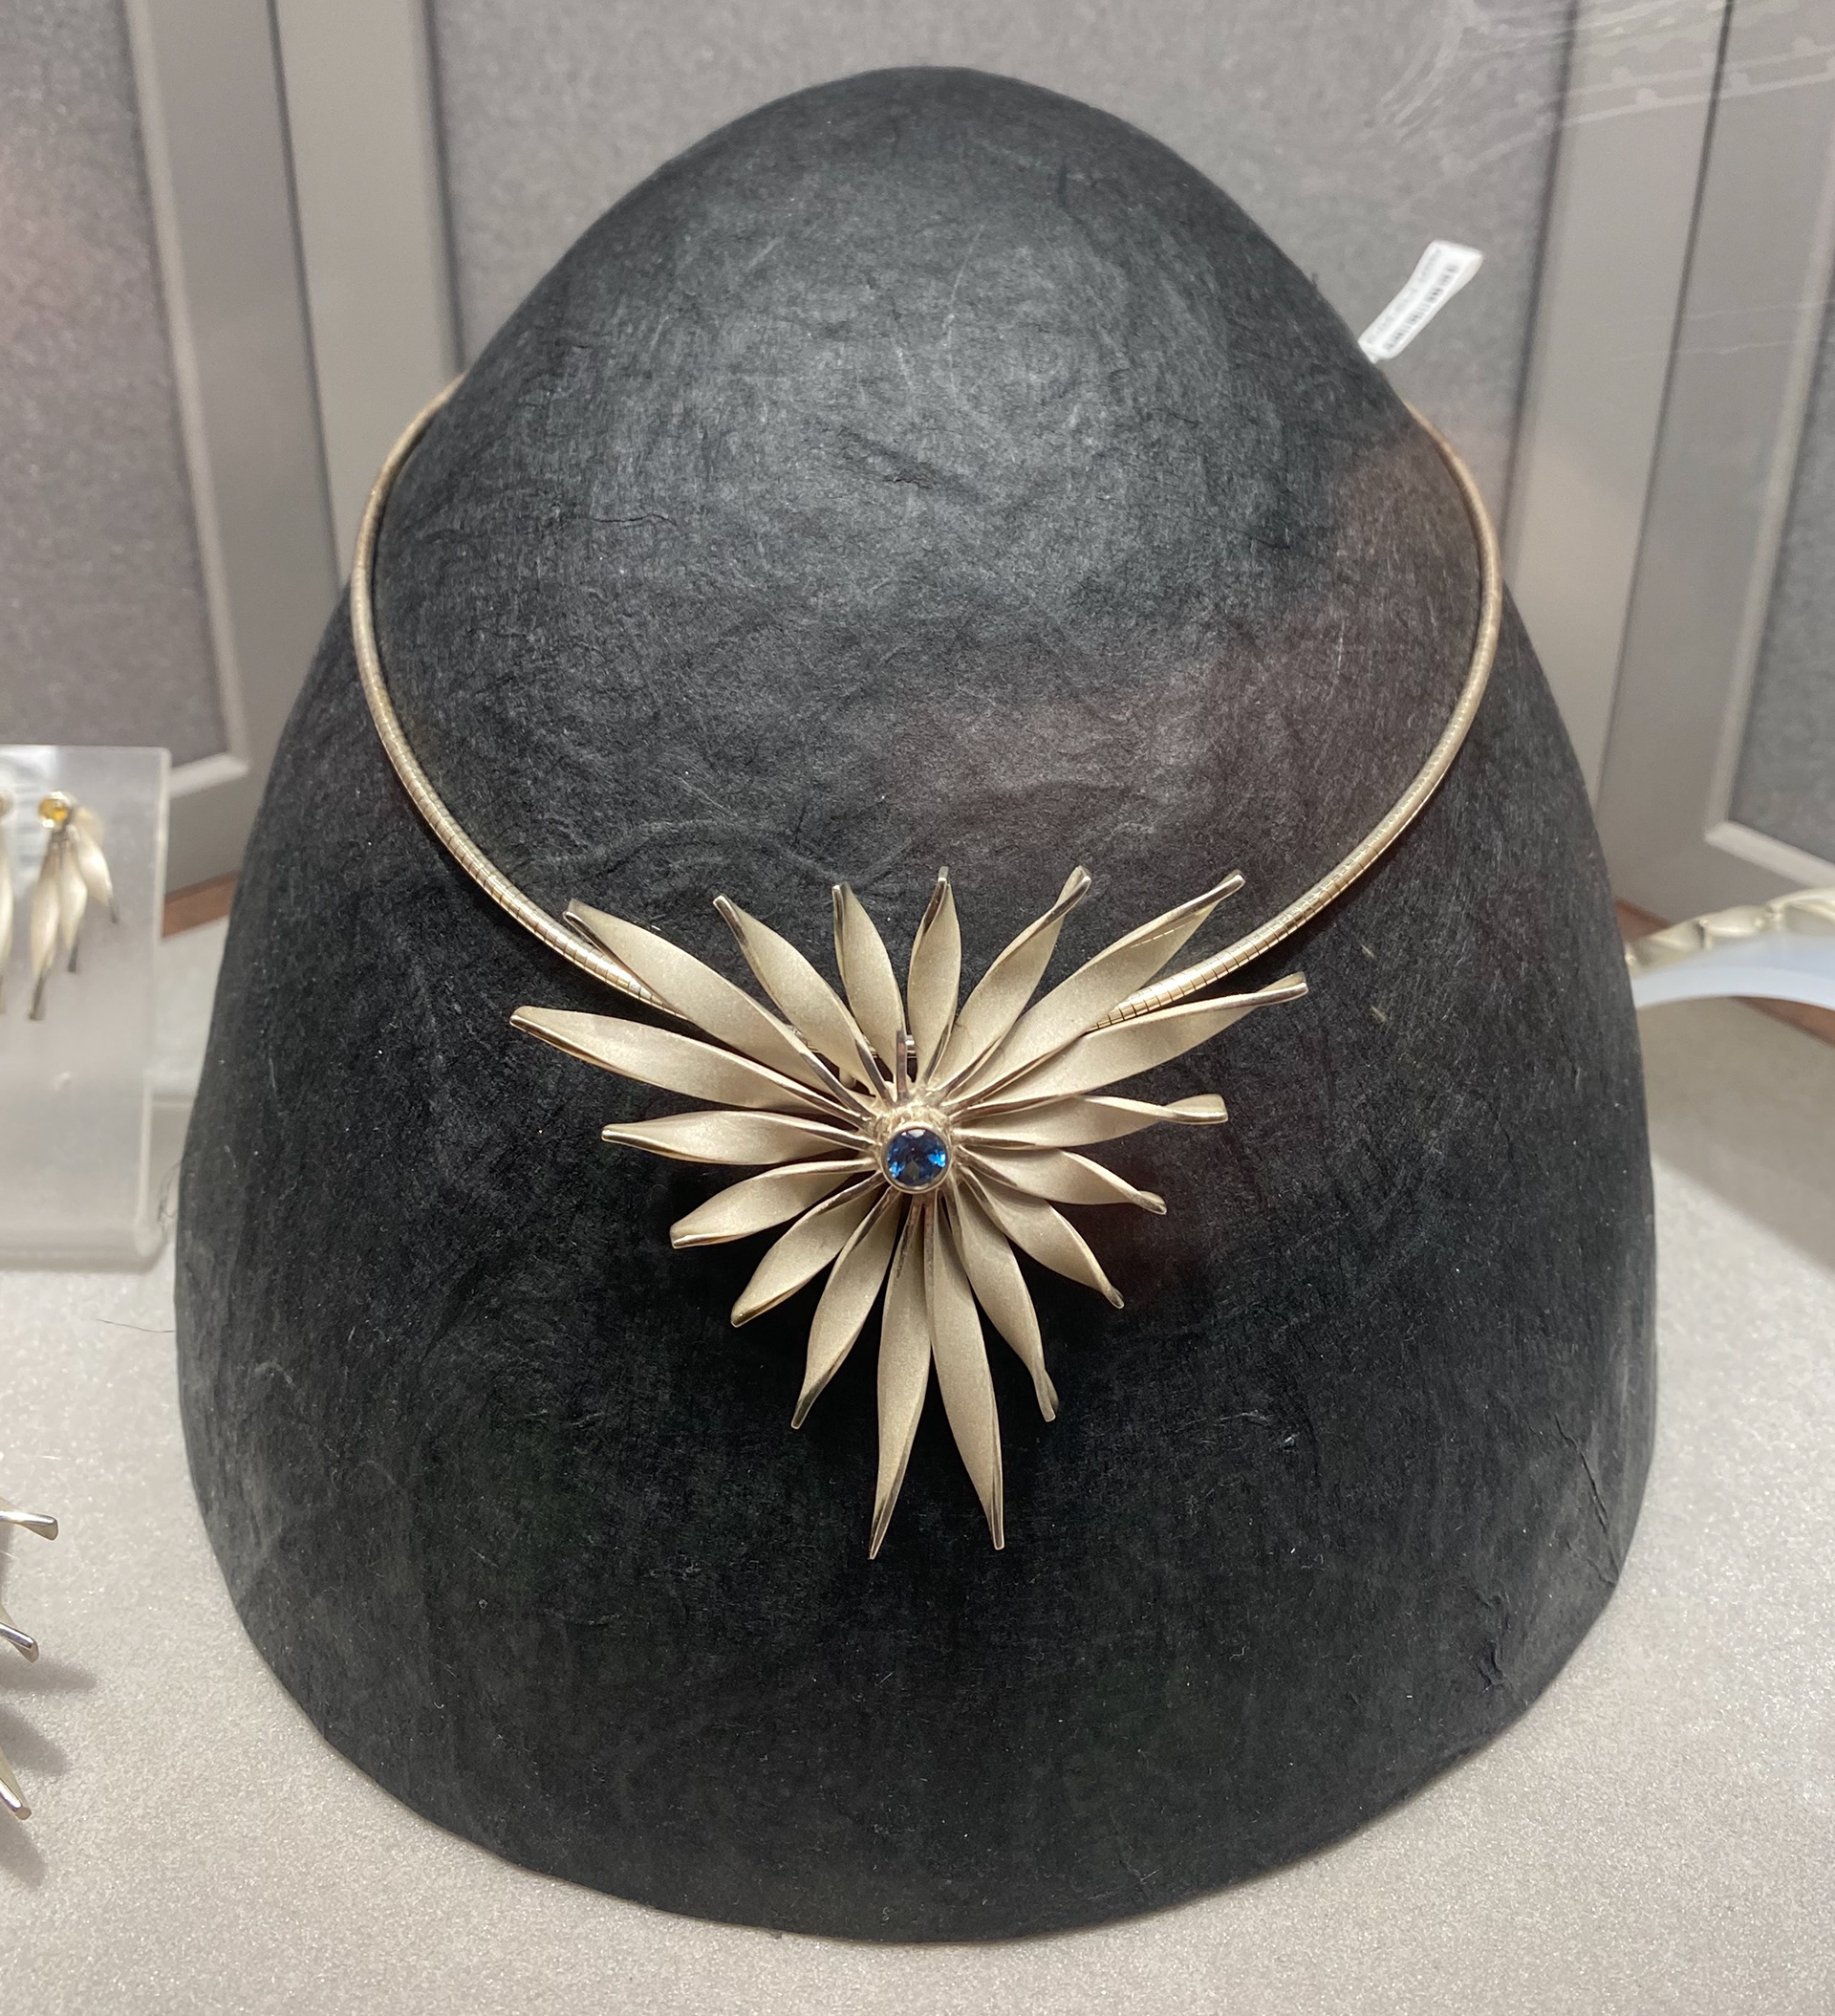
After recently finding out half of my ethnicity is Persian, I wanted to use this to influence my practice and also to learn and explore my culture in a way I enjoy and can express my feelings. This is quite a meaningful subject to me because I grew up without my father and not knowing anything about him. I always wondered if I had another ethnicity in my DNA and it turns out I have. I want to turn quite a difficult but relieving moment in my life into something creative and beautiful. As my chosen material is Metal, I wanted to look into Persian jewellery and objects. As well as this, I know geometric shapes and patterns are a huge part of Persian/Iranian culture, which is something I would also like to explore as this is something I have always been drawn to.

Initial Mind Map of research and ideas
Traditional Persian Metal Techniques

Research notes
Iran has a long history of hand worked crafts. A key part of the development of Iranian culture is their art and architecture which represents a 5 thousand year old cultural tradition.
Persian culture was one of the first communities to have experimented with art as it is one of the oldest nations. Because of this I researched into Persian metal techniques that I could take influence and ideas from and innovate them. I came across three main techniques, Enamelling, Inlay and Engraving.
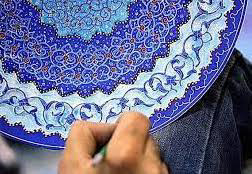
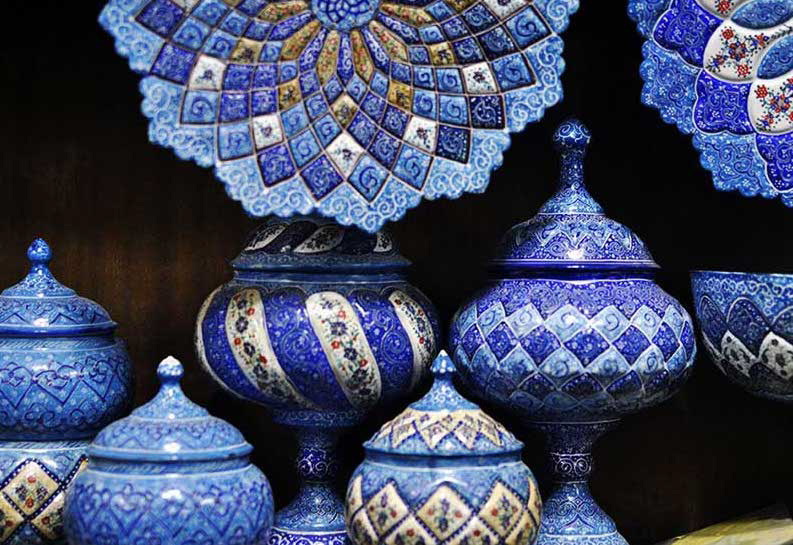
Enamelling
(Minikari)
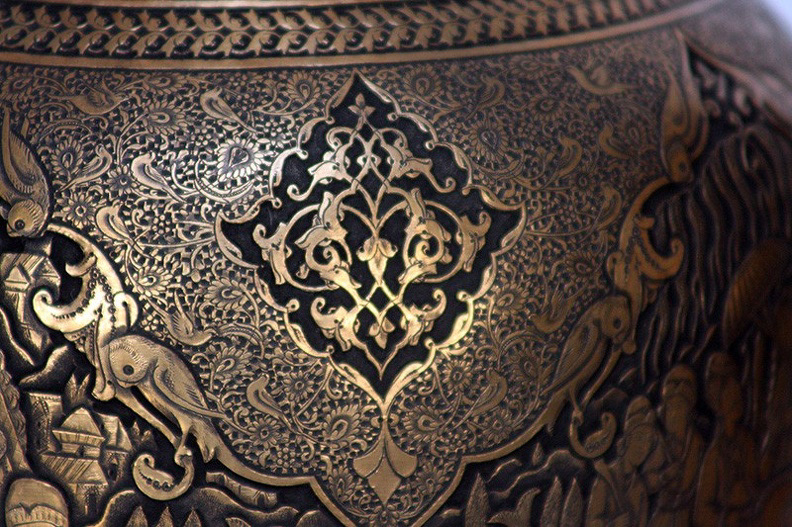
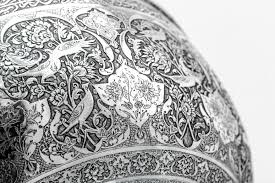
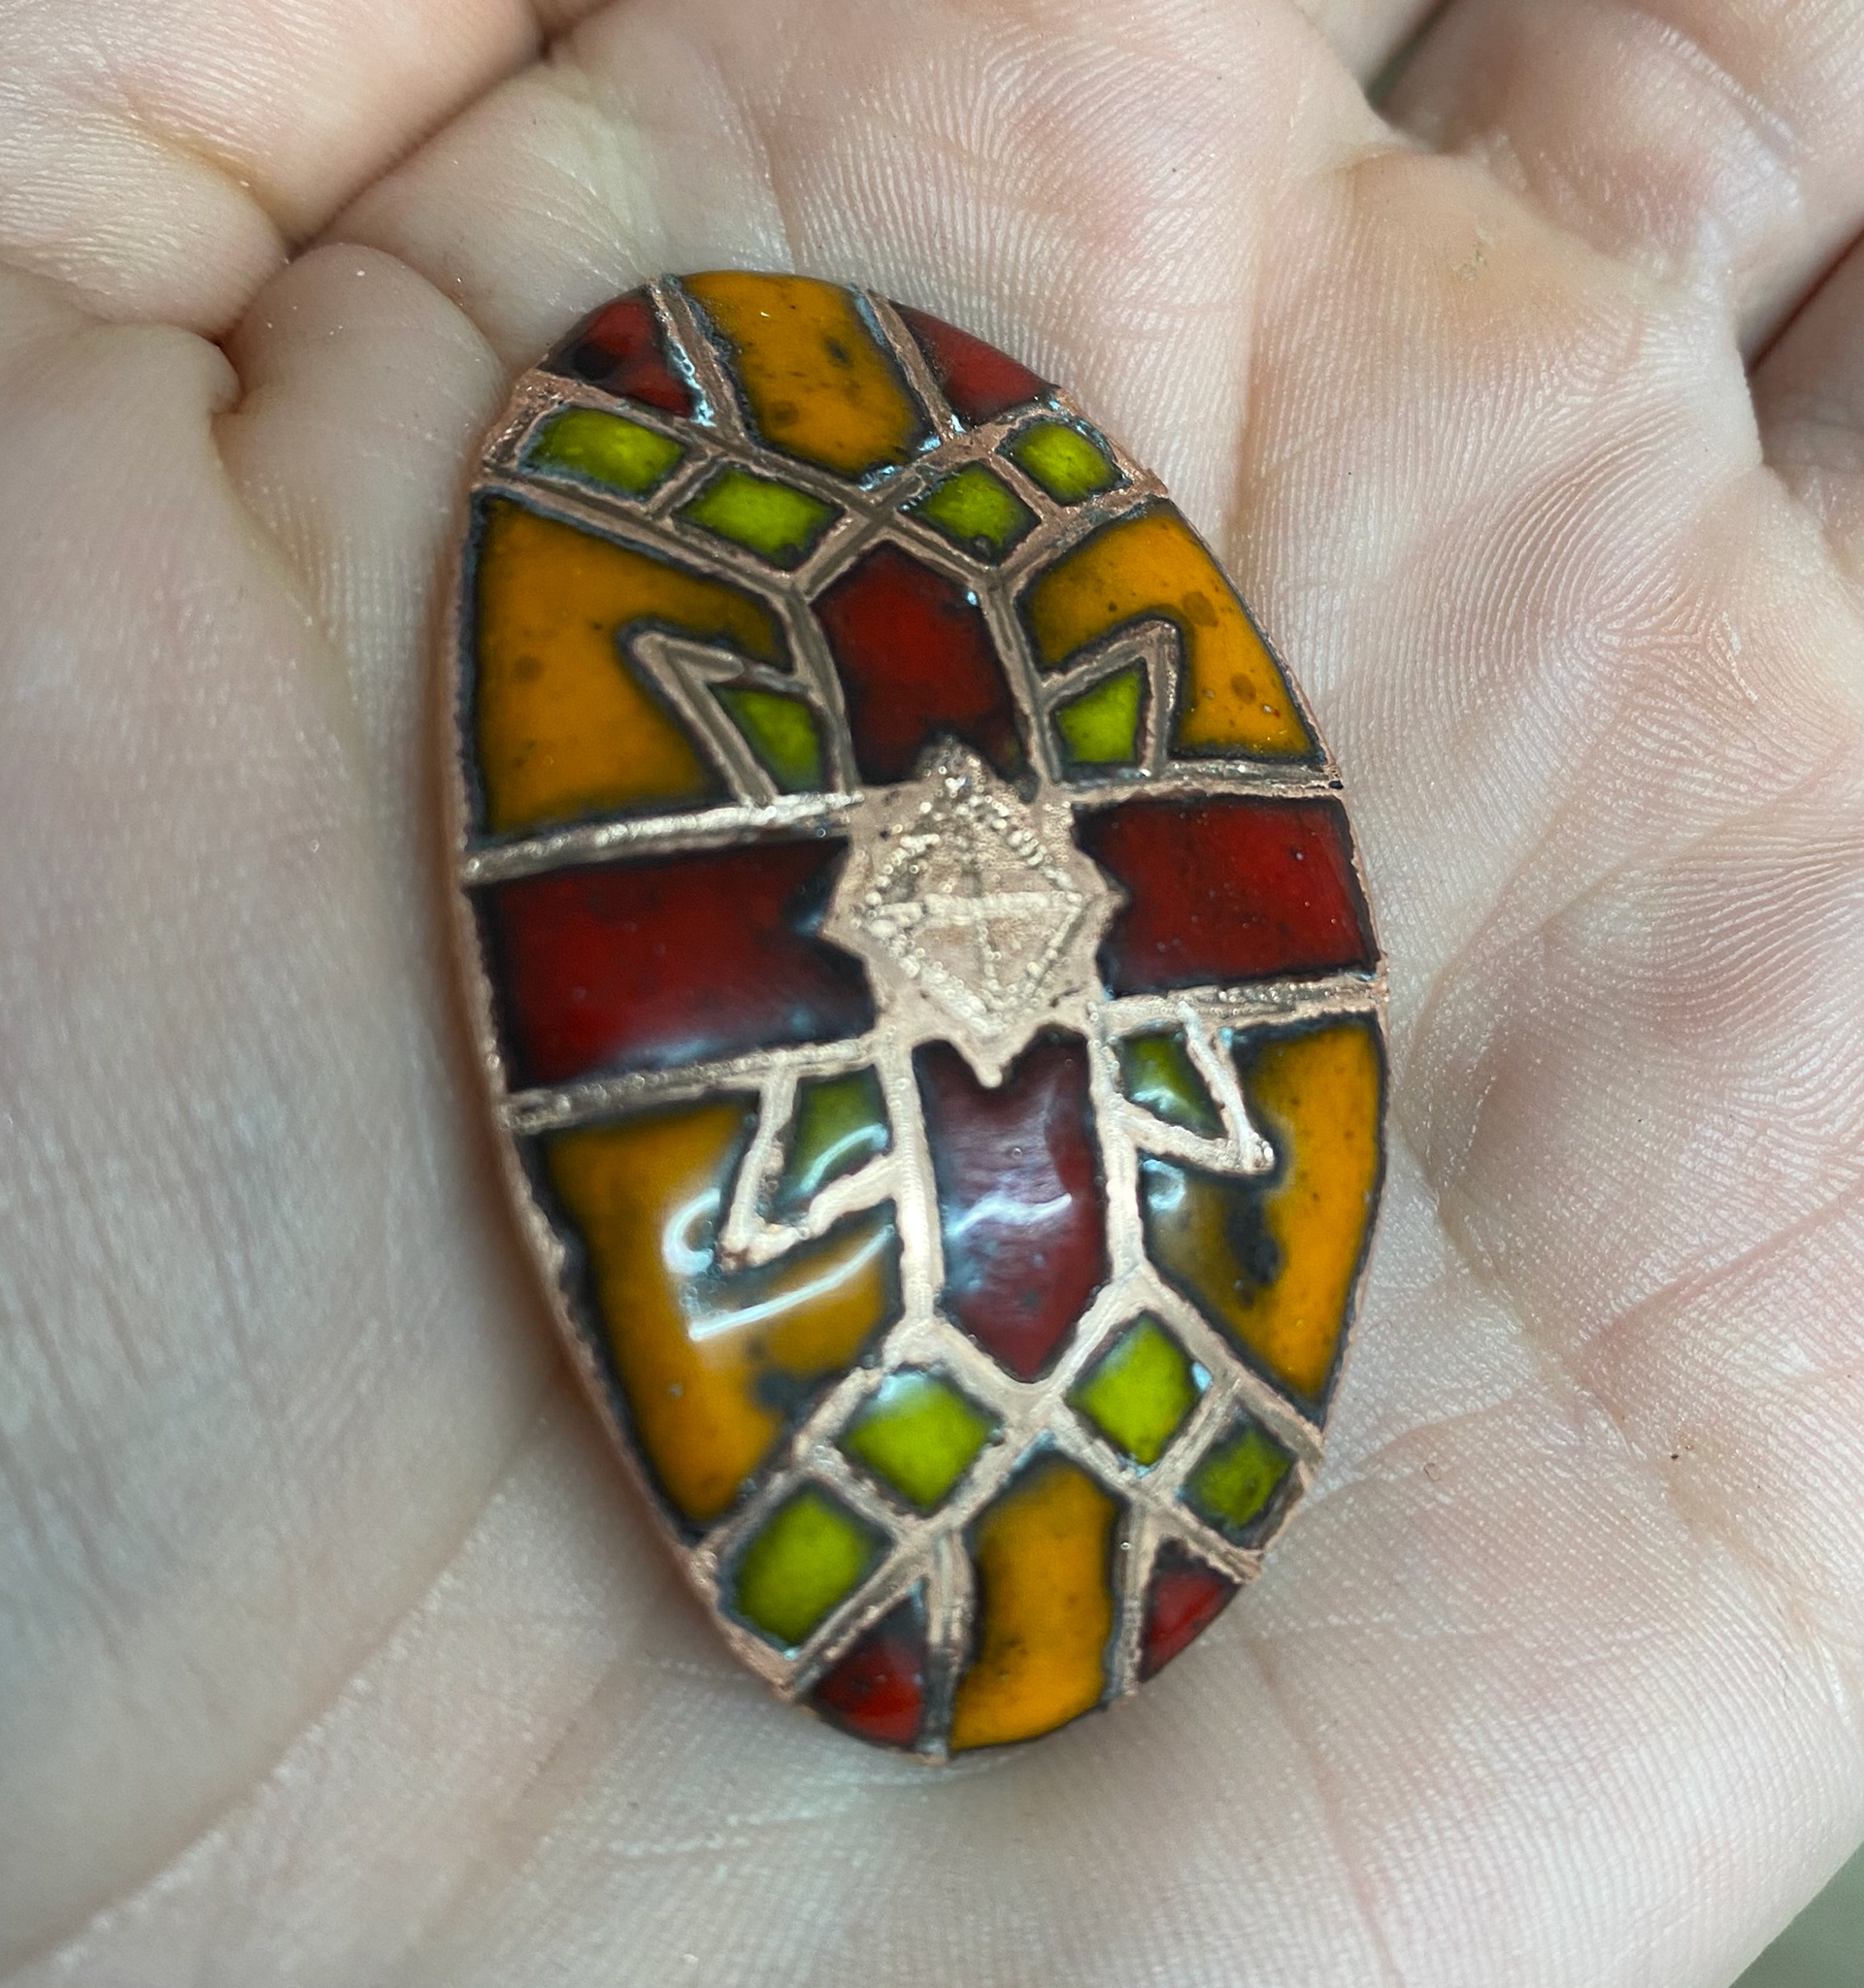
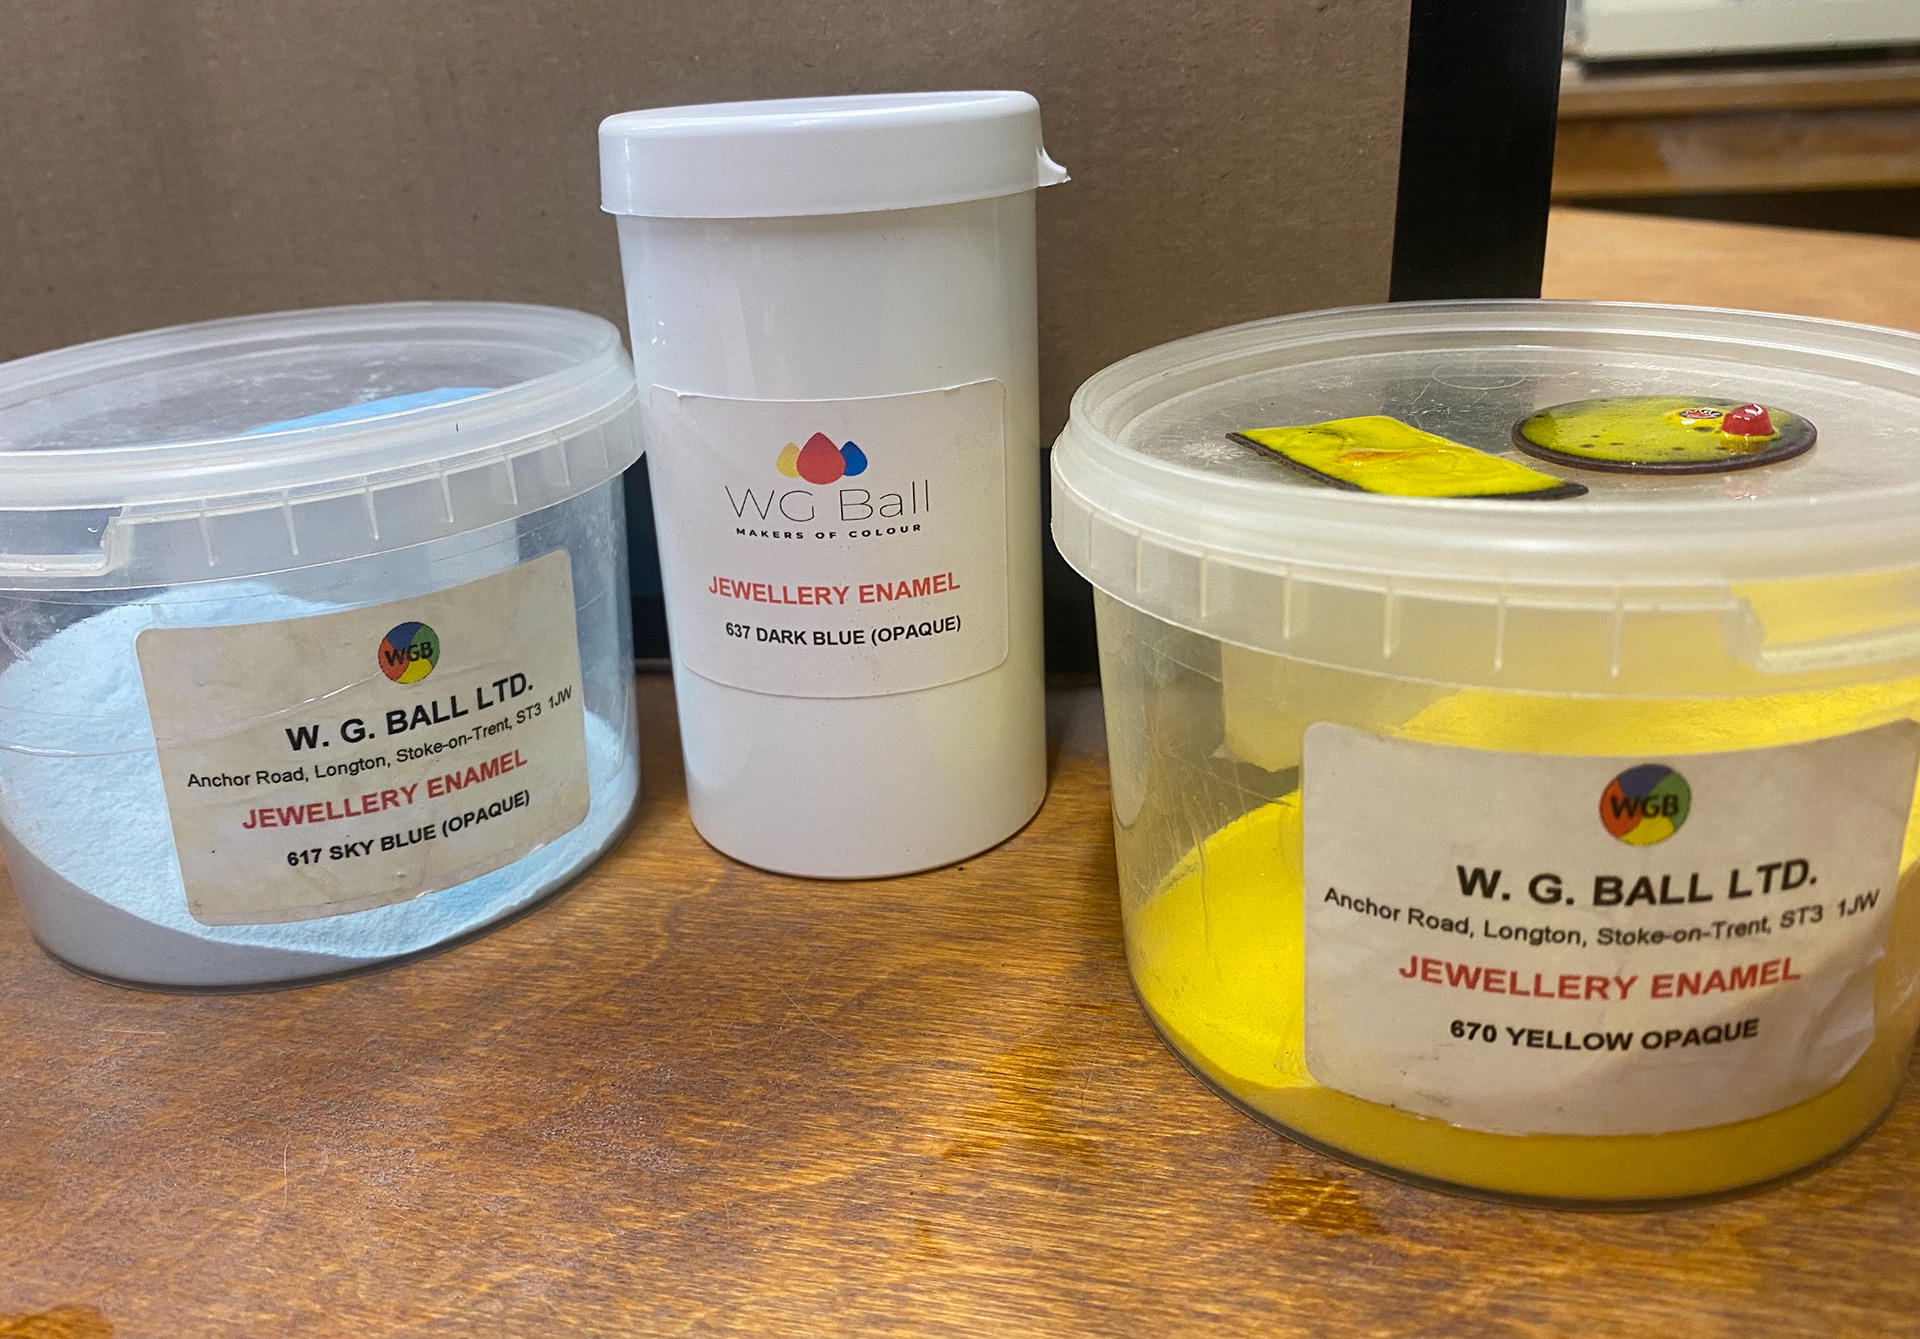
Minikari is a traditional Persian Enamelling technique. It requires a process of decorating forms such as plates, vessels, candle holders and many more. These items were once made in Gold, however they are now more commonly made with Copper, Brass and Silver. The forms are made at separate Copper smith workshops and then handed back to the artists to paint with the Enamel powder.
Blue is a significant colour throughout Persian crafts but also their Architecture. This has been the case for centuries within their culture, representing the sky, water and the heavens and symbolising purity, tranquility and clarity. To achieve the strong blue colour, crafts men/women use Cobalt Oxide within the enamelling process.

Traditonal Persian Enamelling
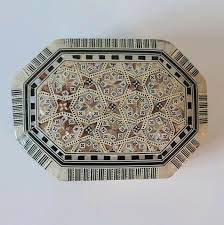
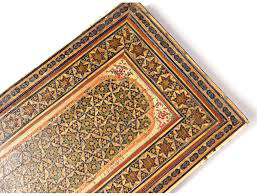
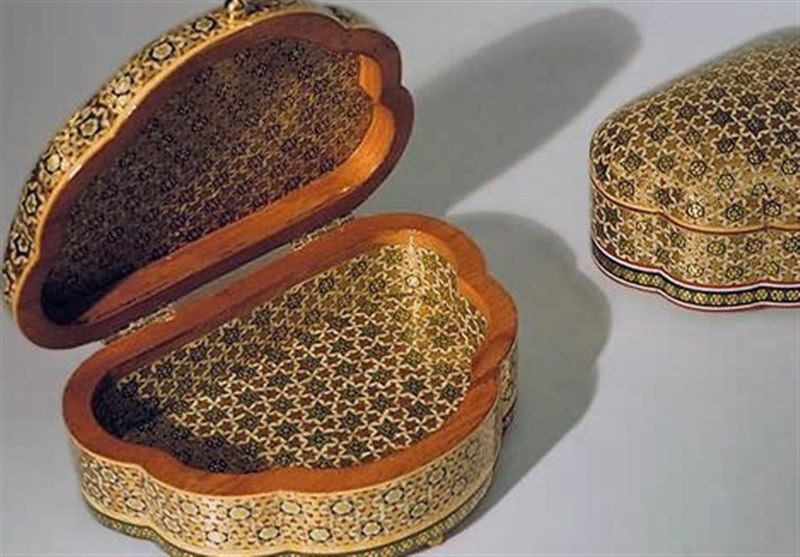
Inlay
(Khatamkari)
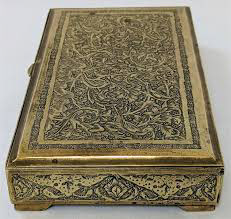
Engraving
(Ghalam-zani)
Examples of traditional Persian Inlay
Types of engraving styles in Persian crafts
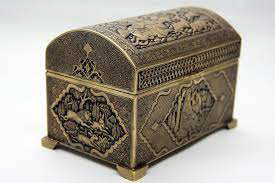
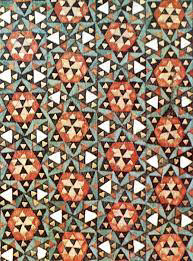
Khatamkari is another traditional craft technique commonly used in Persia. Also known as Inlay, this craft involves using various materials such as Gold, Silver, Brass or Aluminium for the piece. The process involves decorating the items with pieces of wood, metal or bone which is cut into different shapes and stuck in different designs, typically in geometric patterns. It is a very complex technique making pieces of high value.
Engraving is another key metal technique used throughout Persian crafts. It has been a traditional technique for century's requiring a very high level of engraving and embossing skill. Also known as Ghalam-zani, this technique is done using various Chisels, hammers and hand made tools. This intricate, detailed process in used on metals such as Copper, Brass, Silver and Gold.


Enamelling Induction
In this semester I was involved with the Enamelling induction taught by Maisie. Throughout this session I learnt about cleaning the metal using pickle, pumice and wet and dry paper. I then was taught about the different methods used in enamelling, the wet and dry processes and Sgraffito.


Upon reflection of the induction, I decided I enjoyed enamelling and found it useful for what I am researching in this unit. I preferred the wet process rather then the dry, as I feel as though there is more you can achieve with the wet. As well as this, I think smaller details are easier to achieve with this process, which is something I am interested in doing.
Print Workshop
Lino Printing
Taking part in the Lino print induction at the beginning of the year was the first time I had done any kind of printing. After the induction, I wanted to explore more within print. I decided to do some prints with a geometric pattern. As this was early on in the unit, I used a pattern I liked from online to practice printing with.
Pattern uploaded into CAD to get laser cut in Acrylic.

I used the Acrylic stencil to draw onto the Lino, followed by using Lino cutting tools to cut the pattern out. I then explored using different colour Acrylic inks to create different effects when printing. As well as this I experimented with the amount of ink used and pressure applied when rolling it onto the Lino to see the different outcomes.
I do not like these prints much because I think they are simple with not much life to them, however it was fun to explore Lino printing and these were more just a practice with technique. I found it a different and efficient way to display work and patterns, which I would like to use in the future more so.
Screen Printing Induction
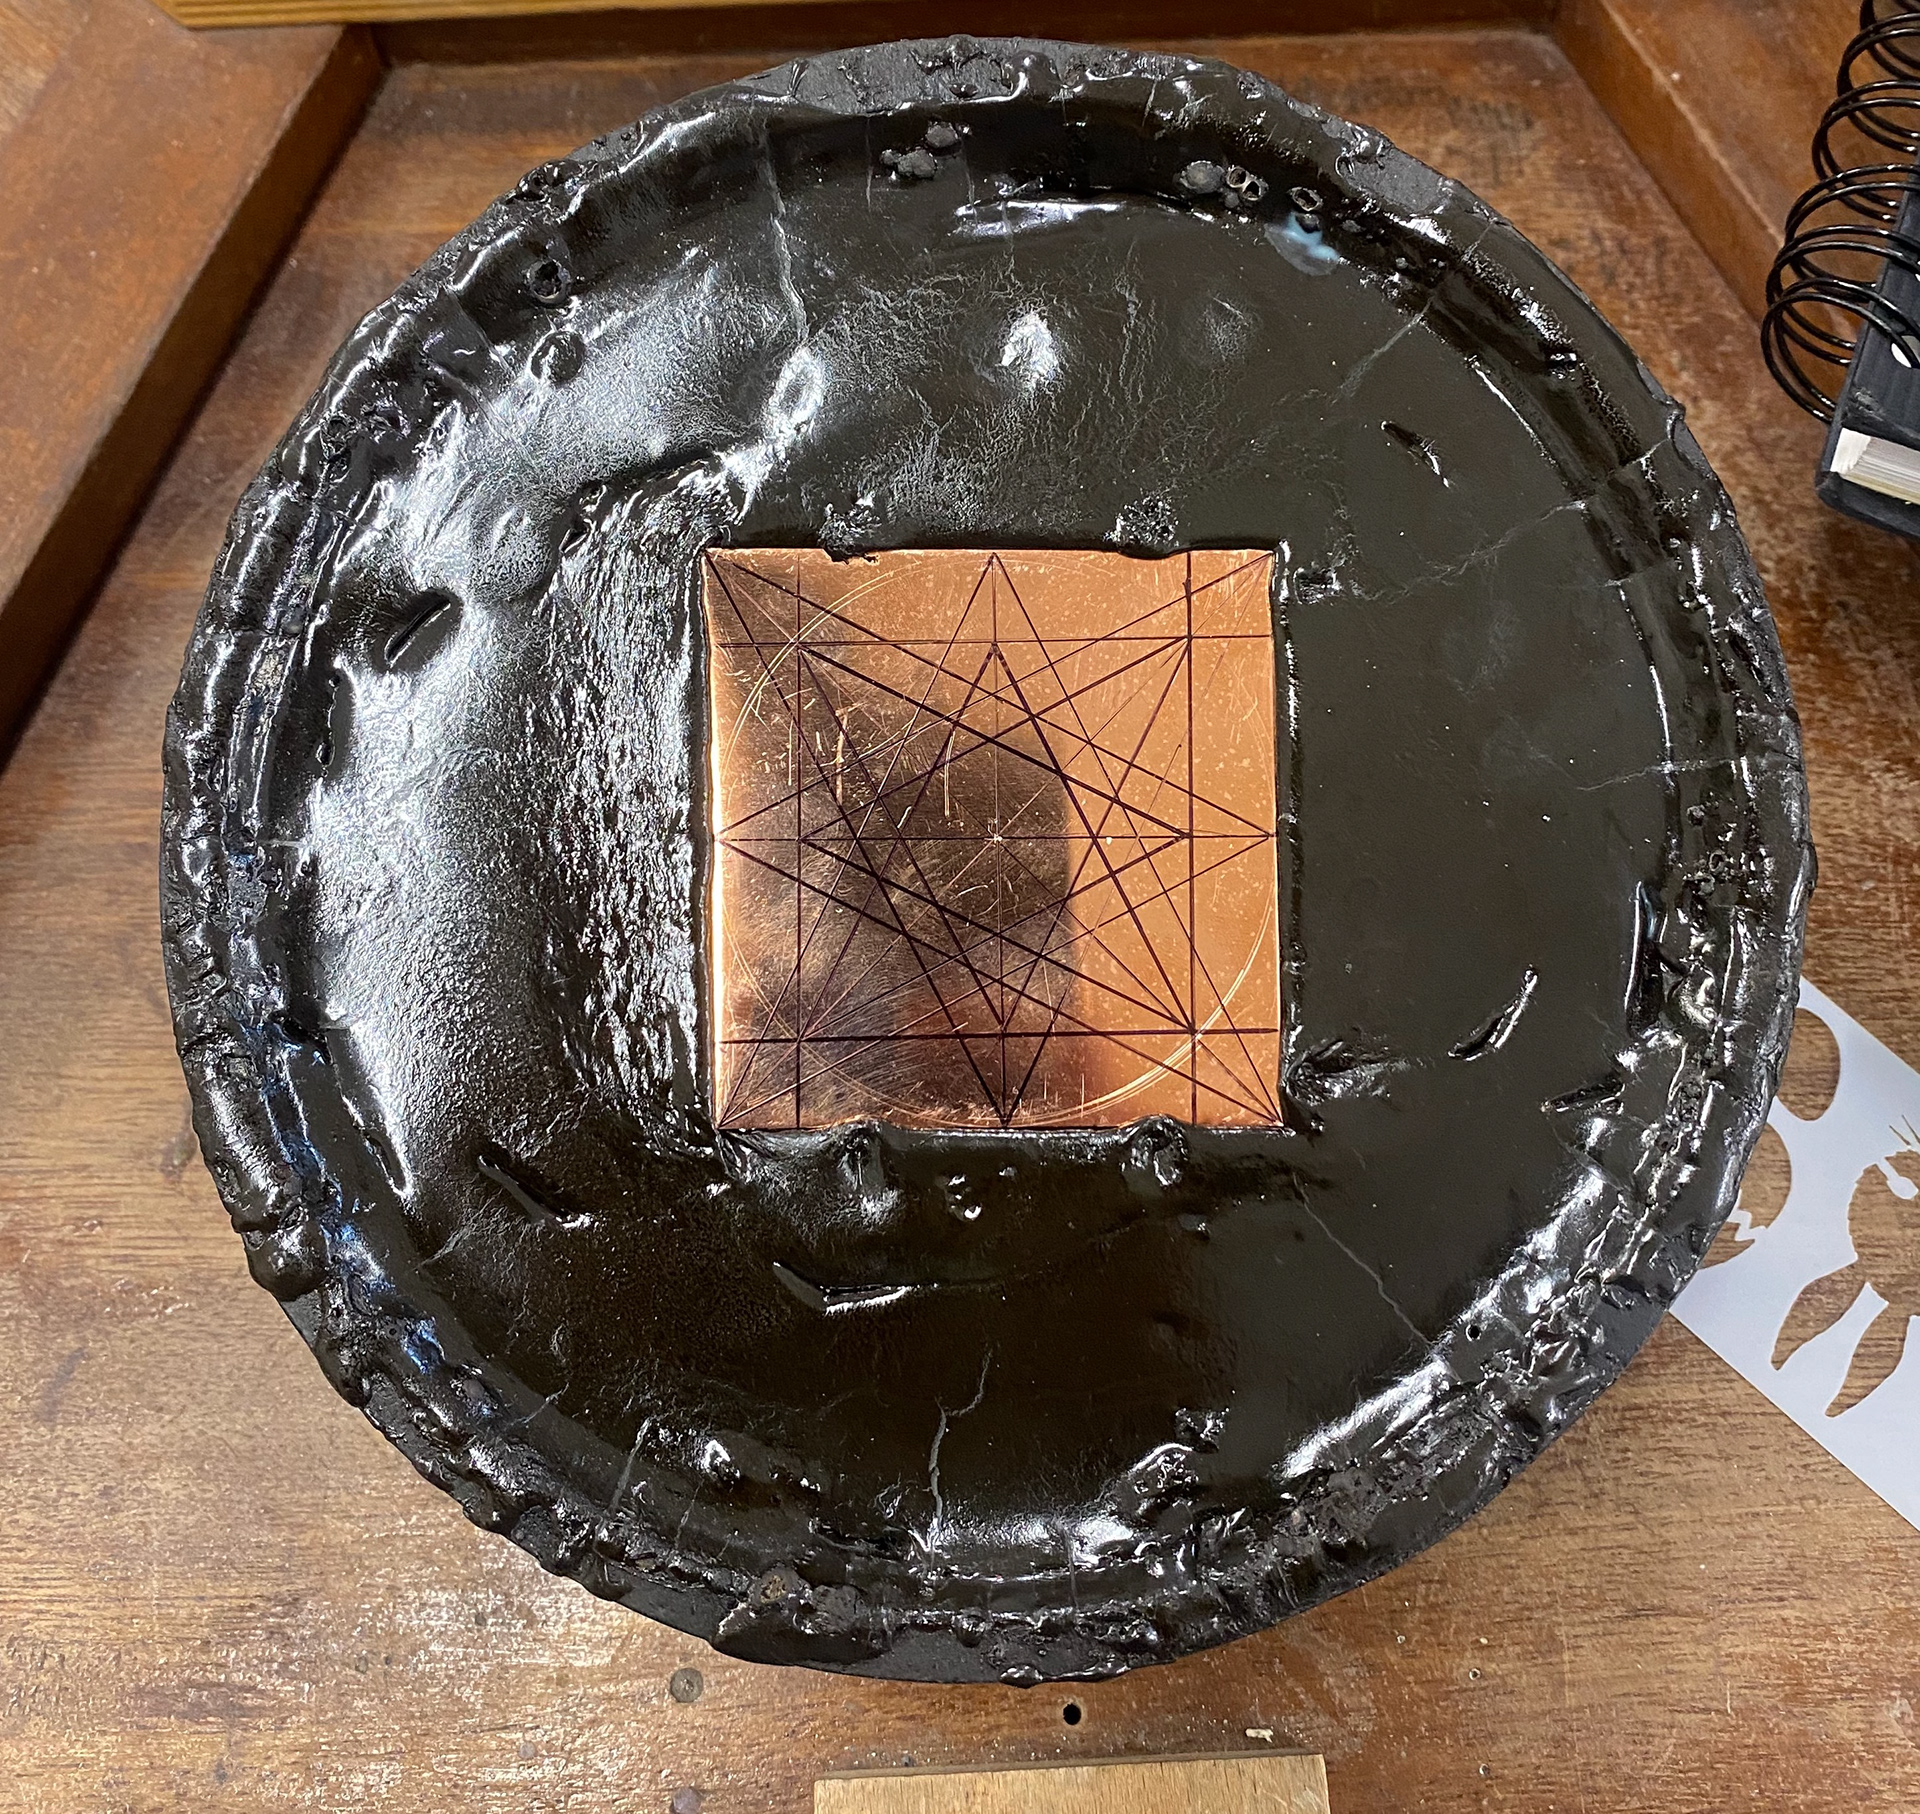
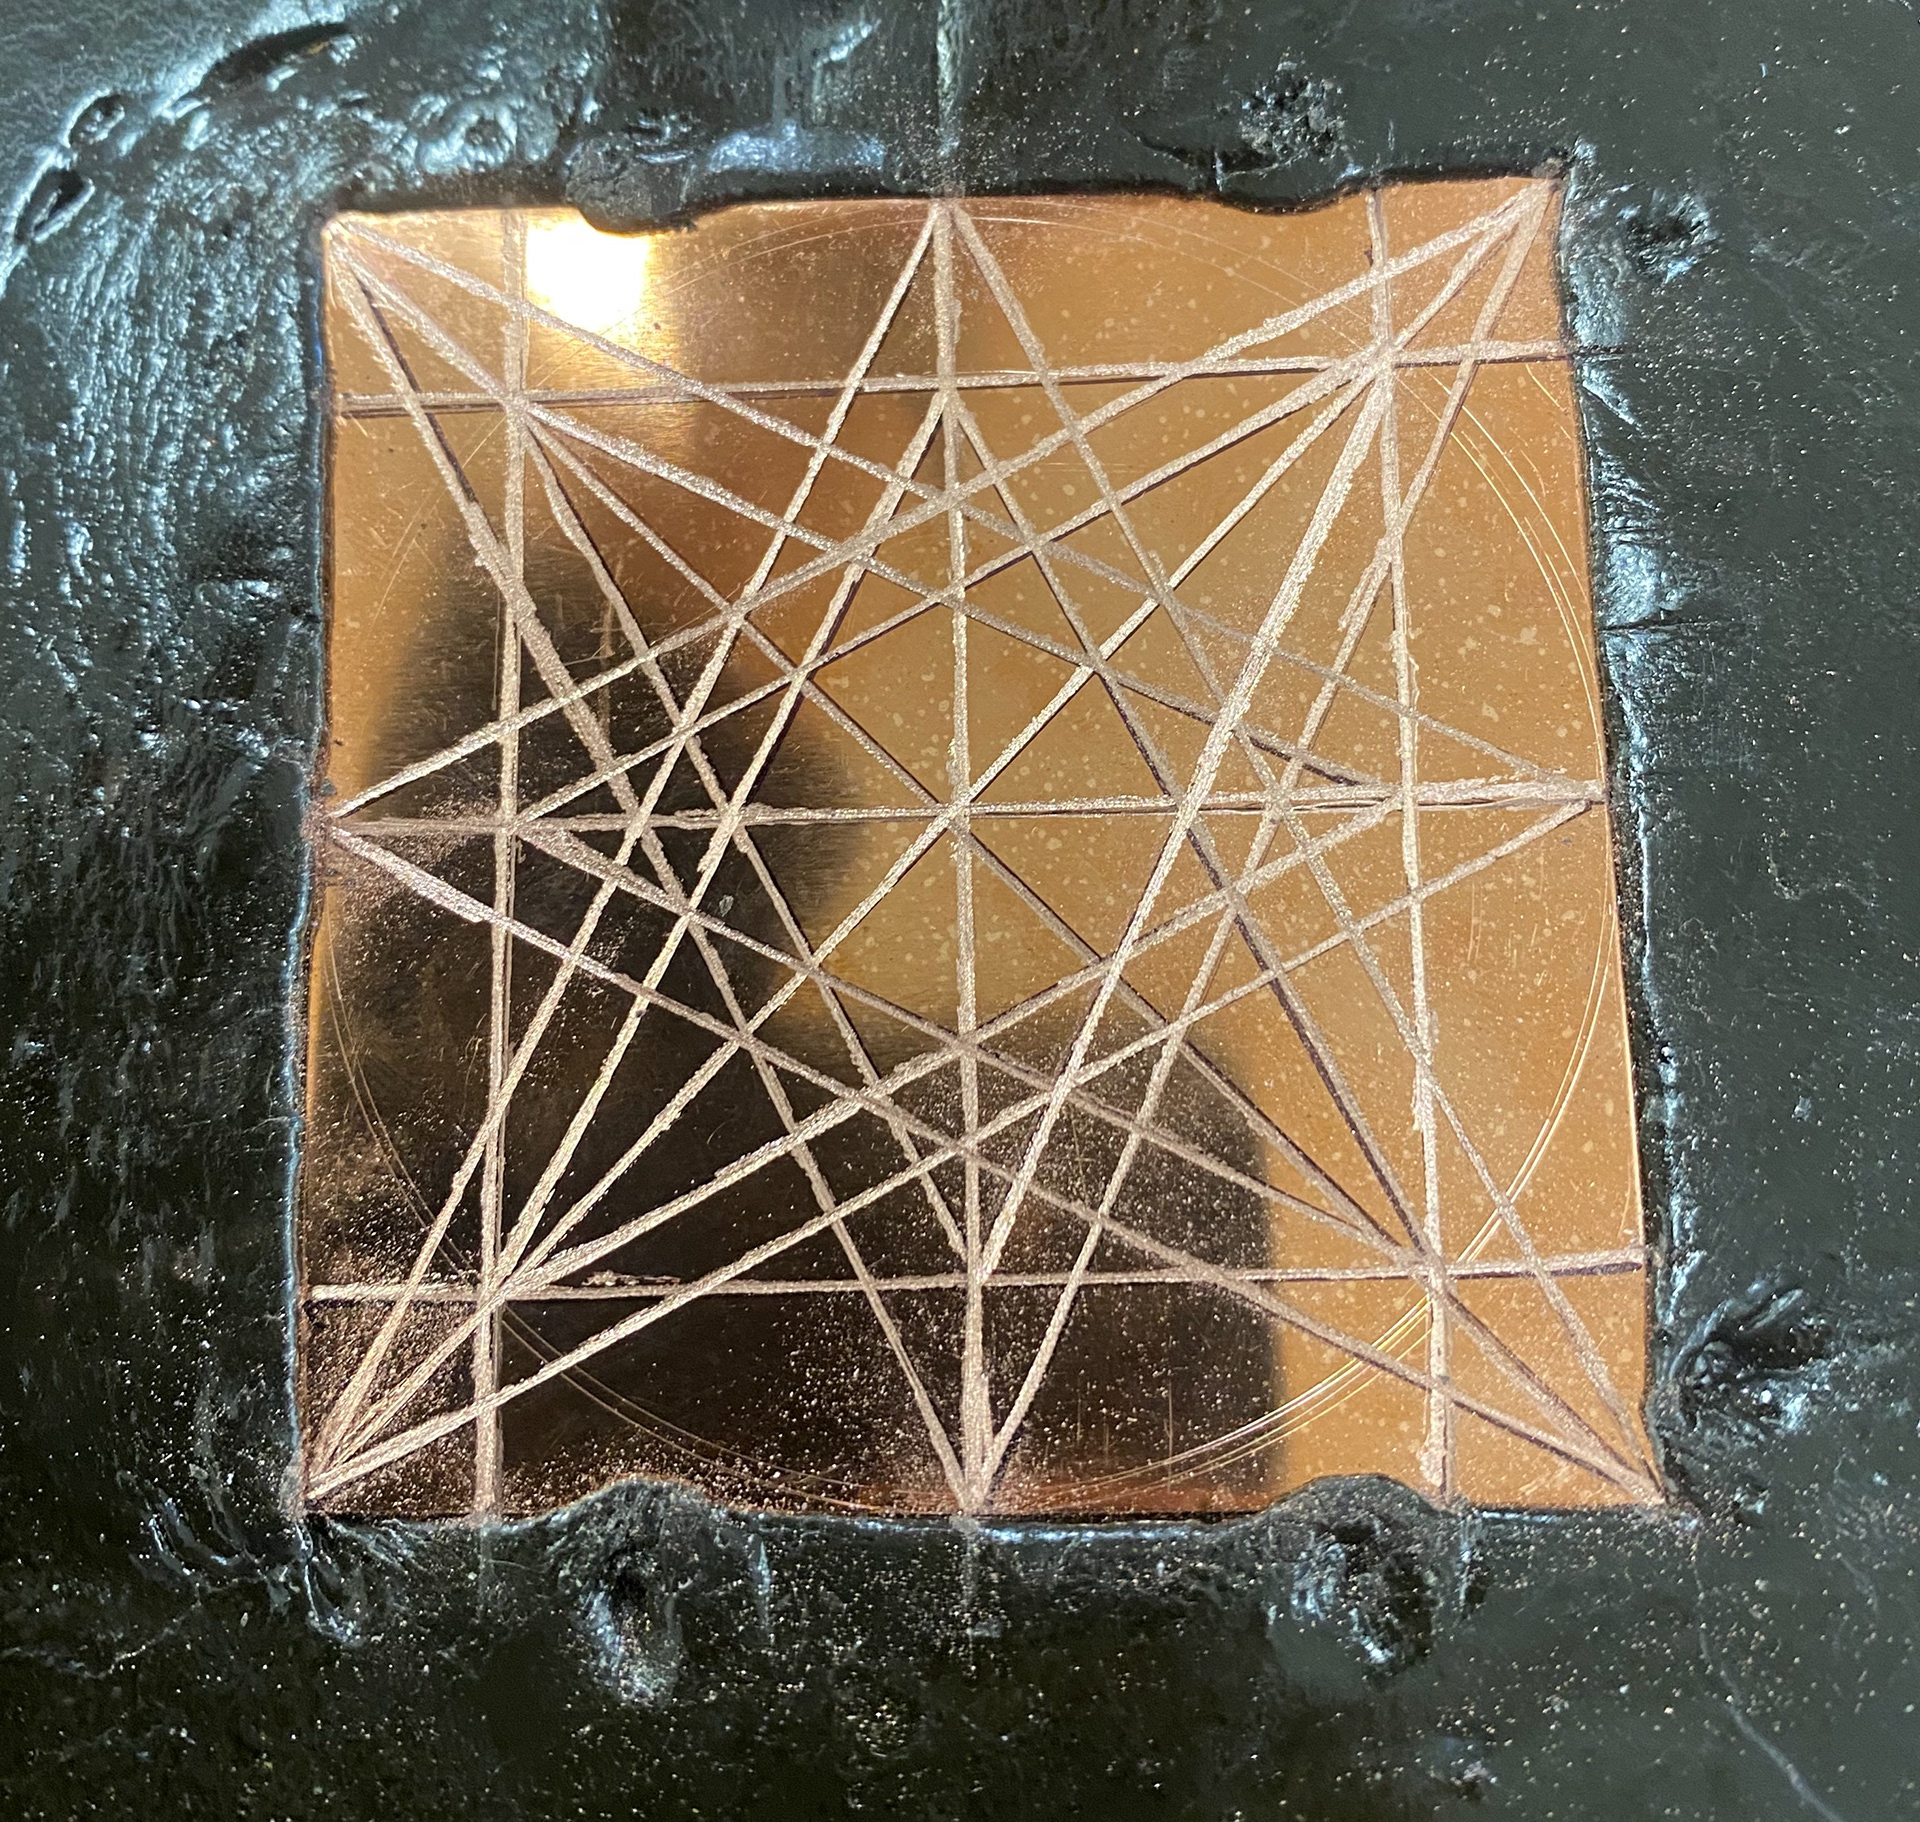
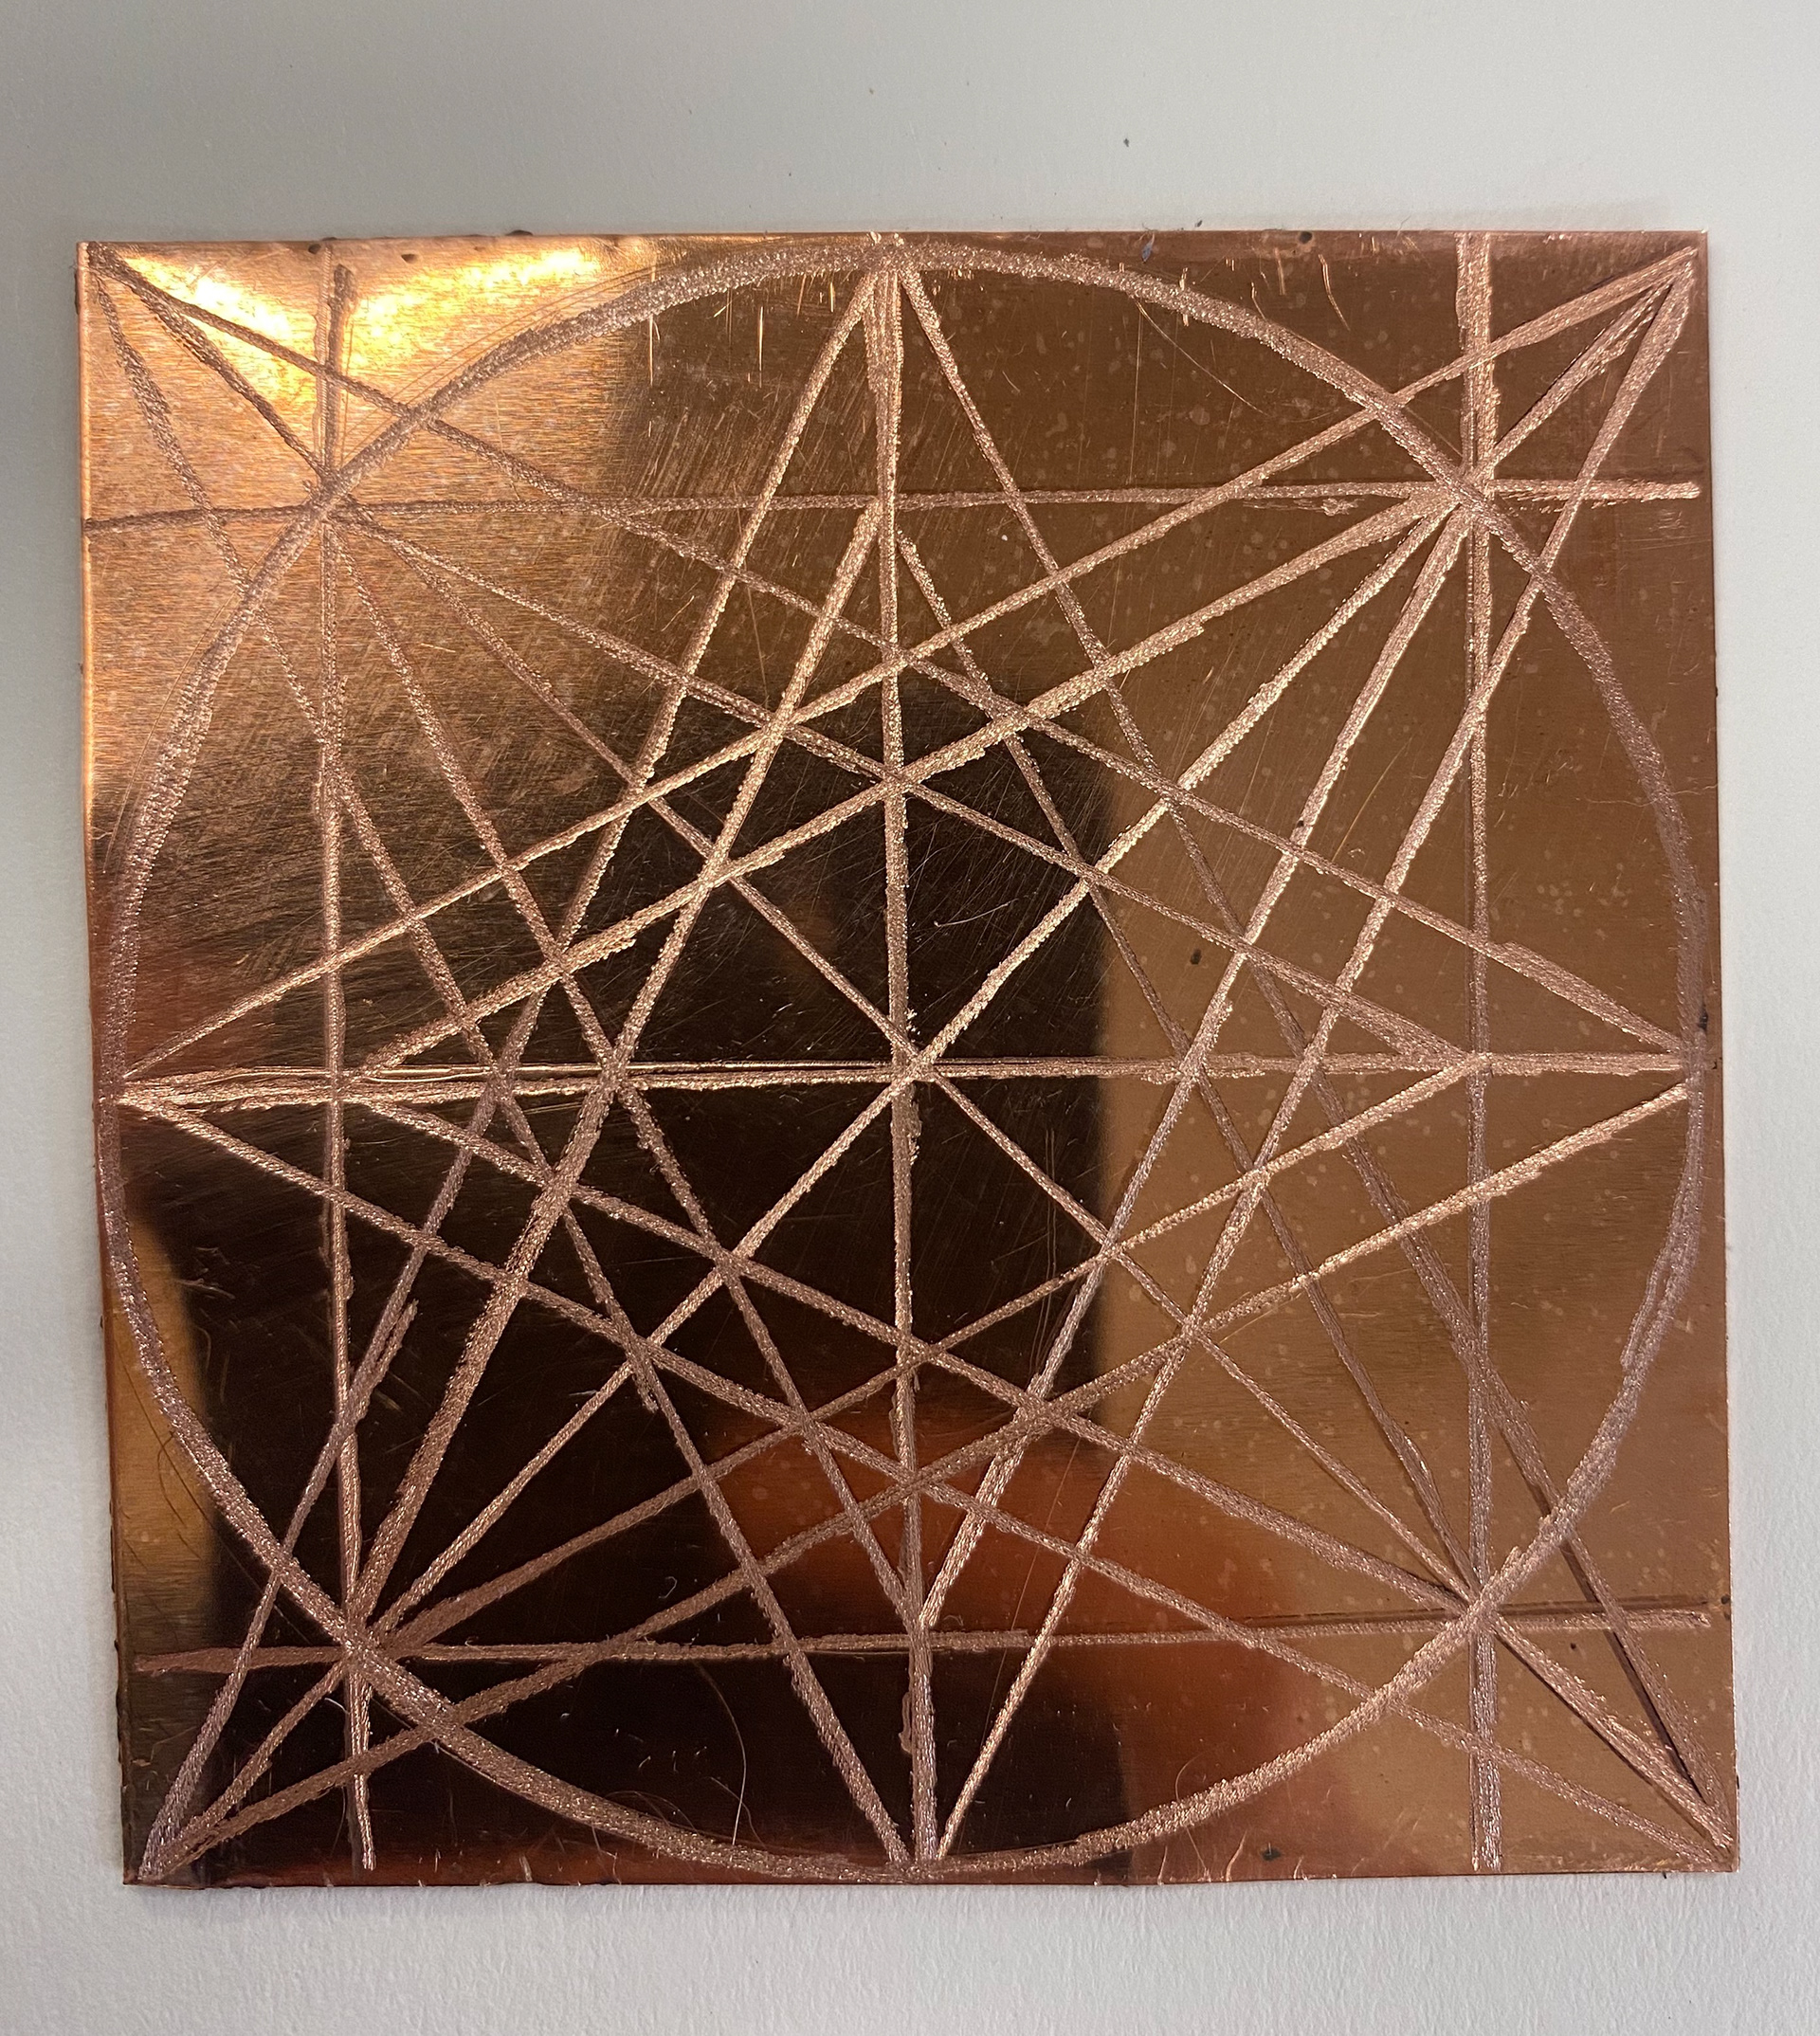
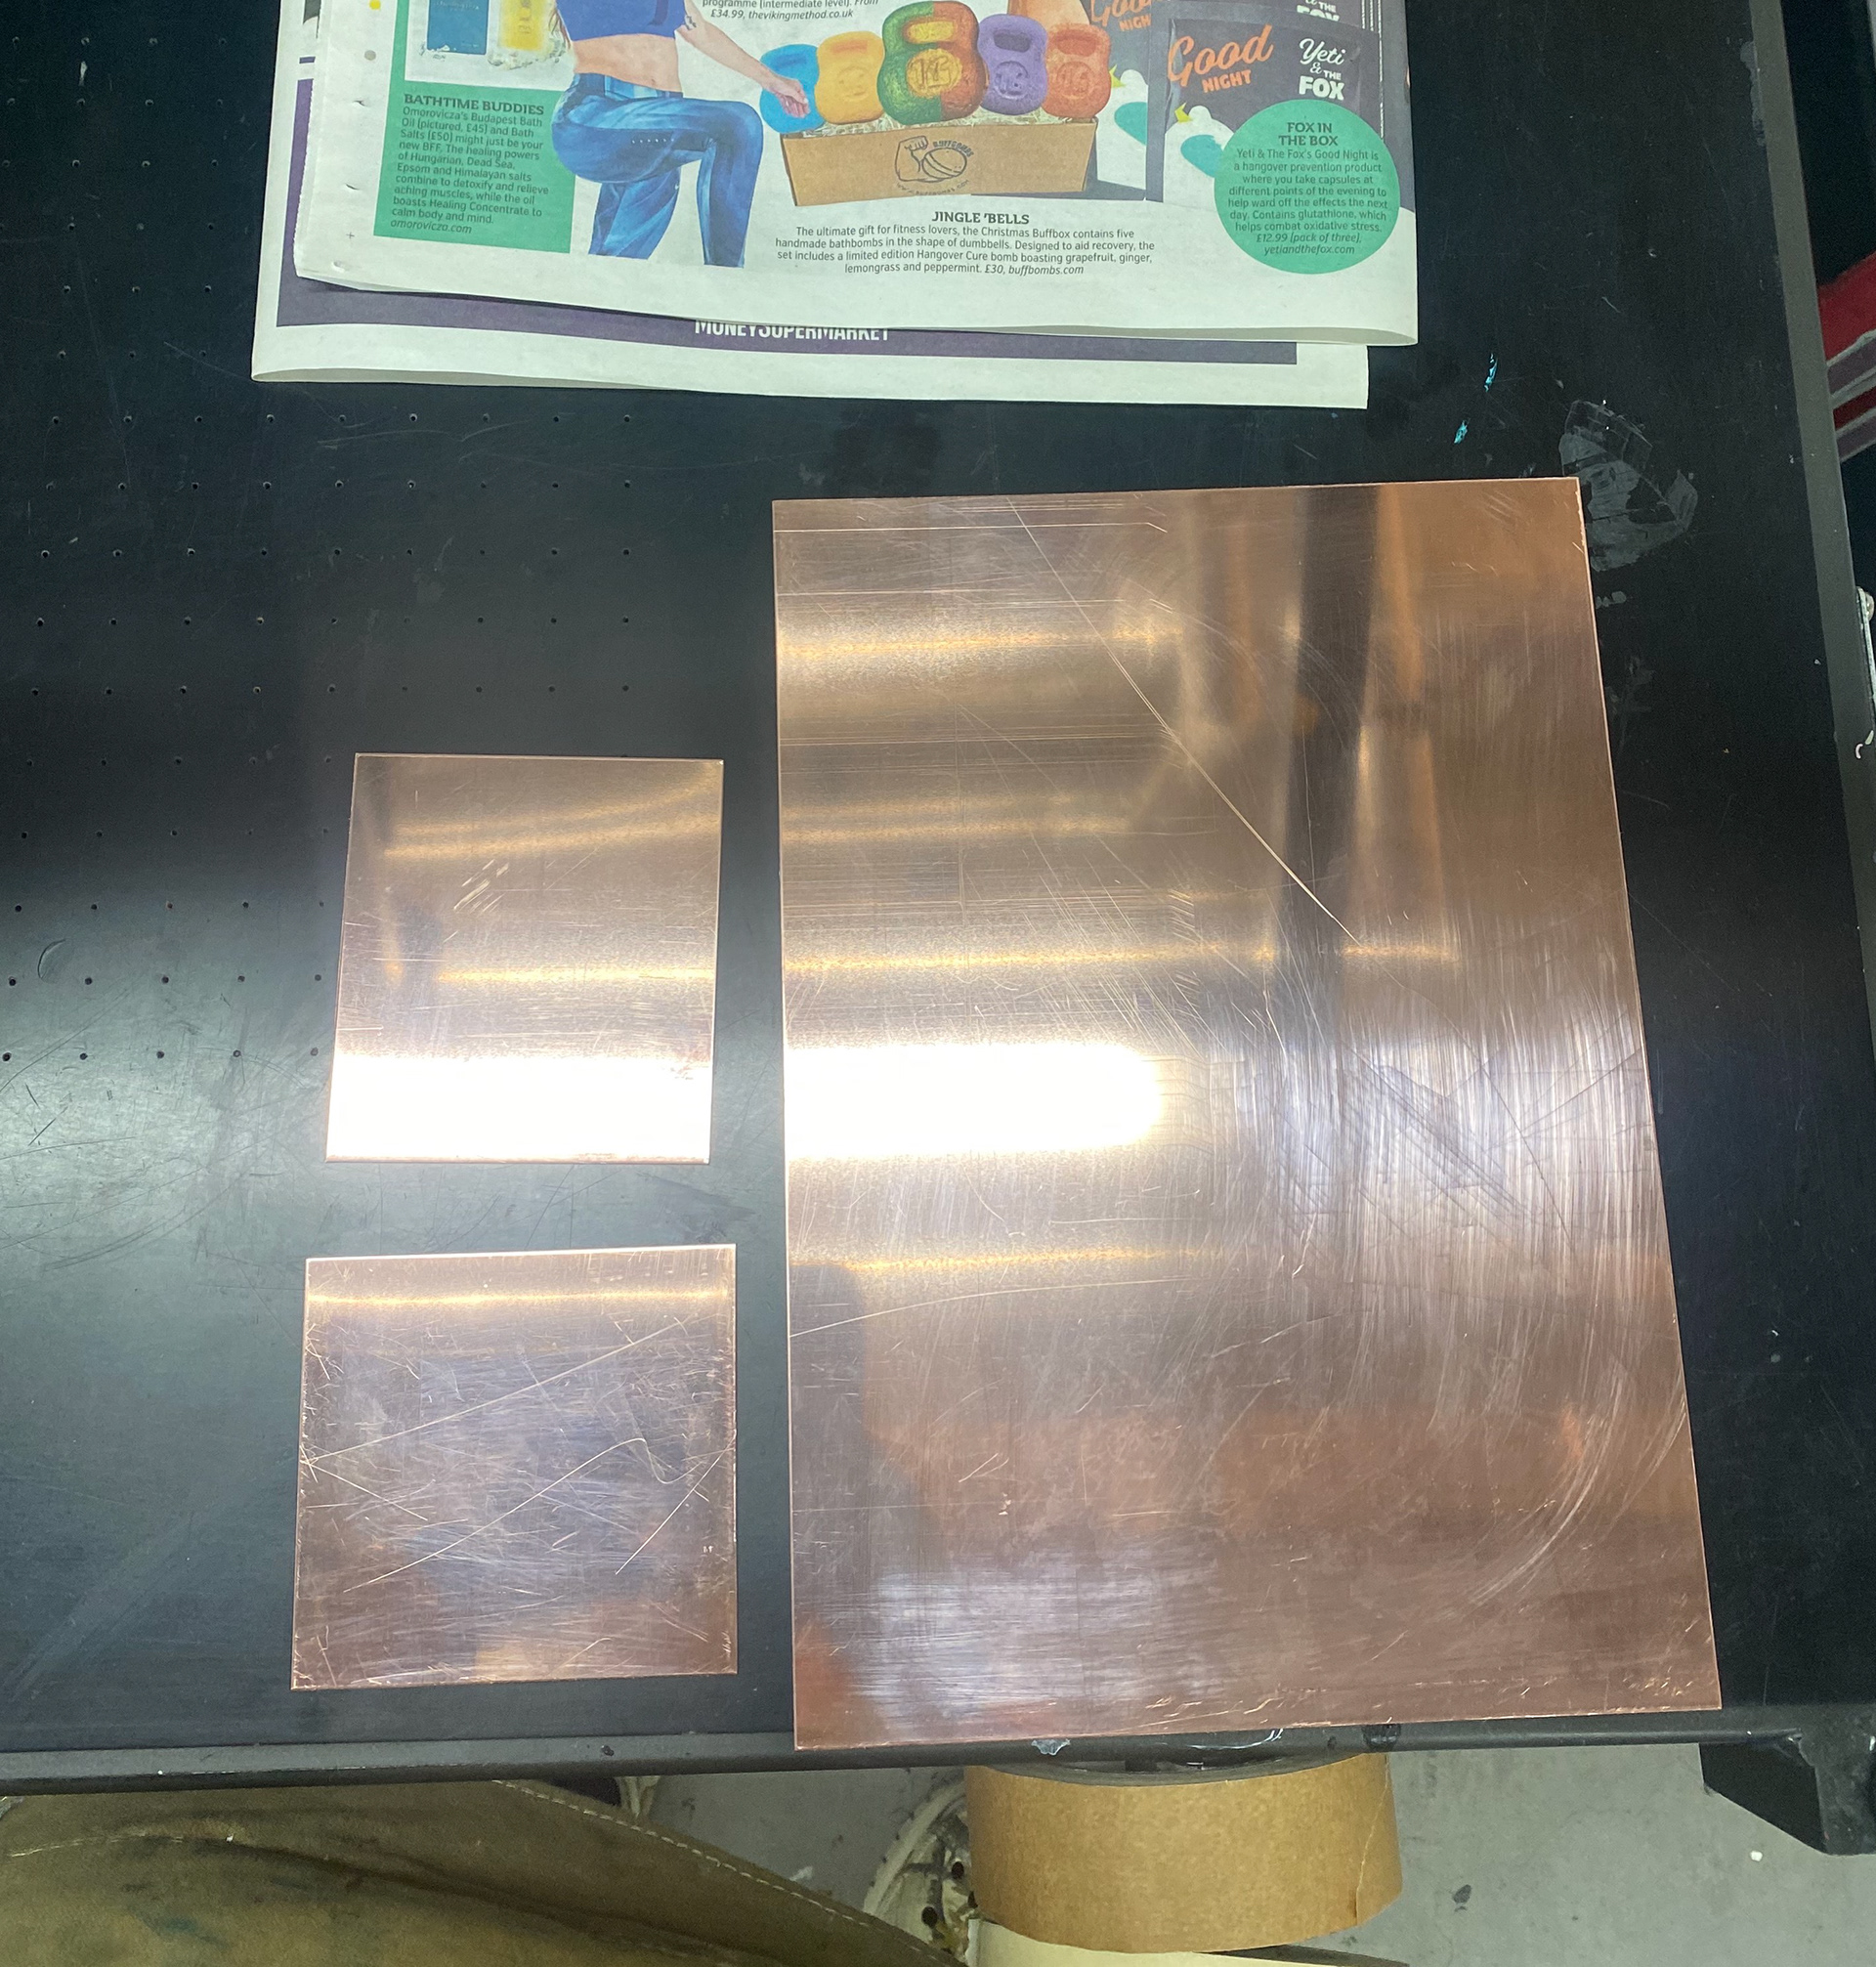
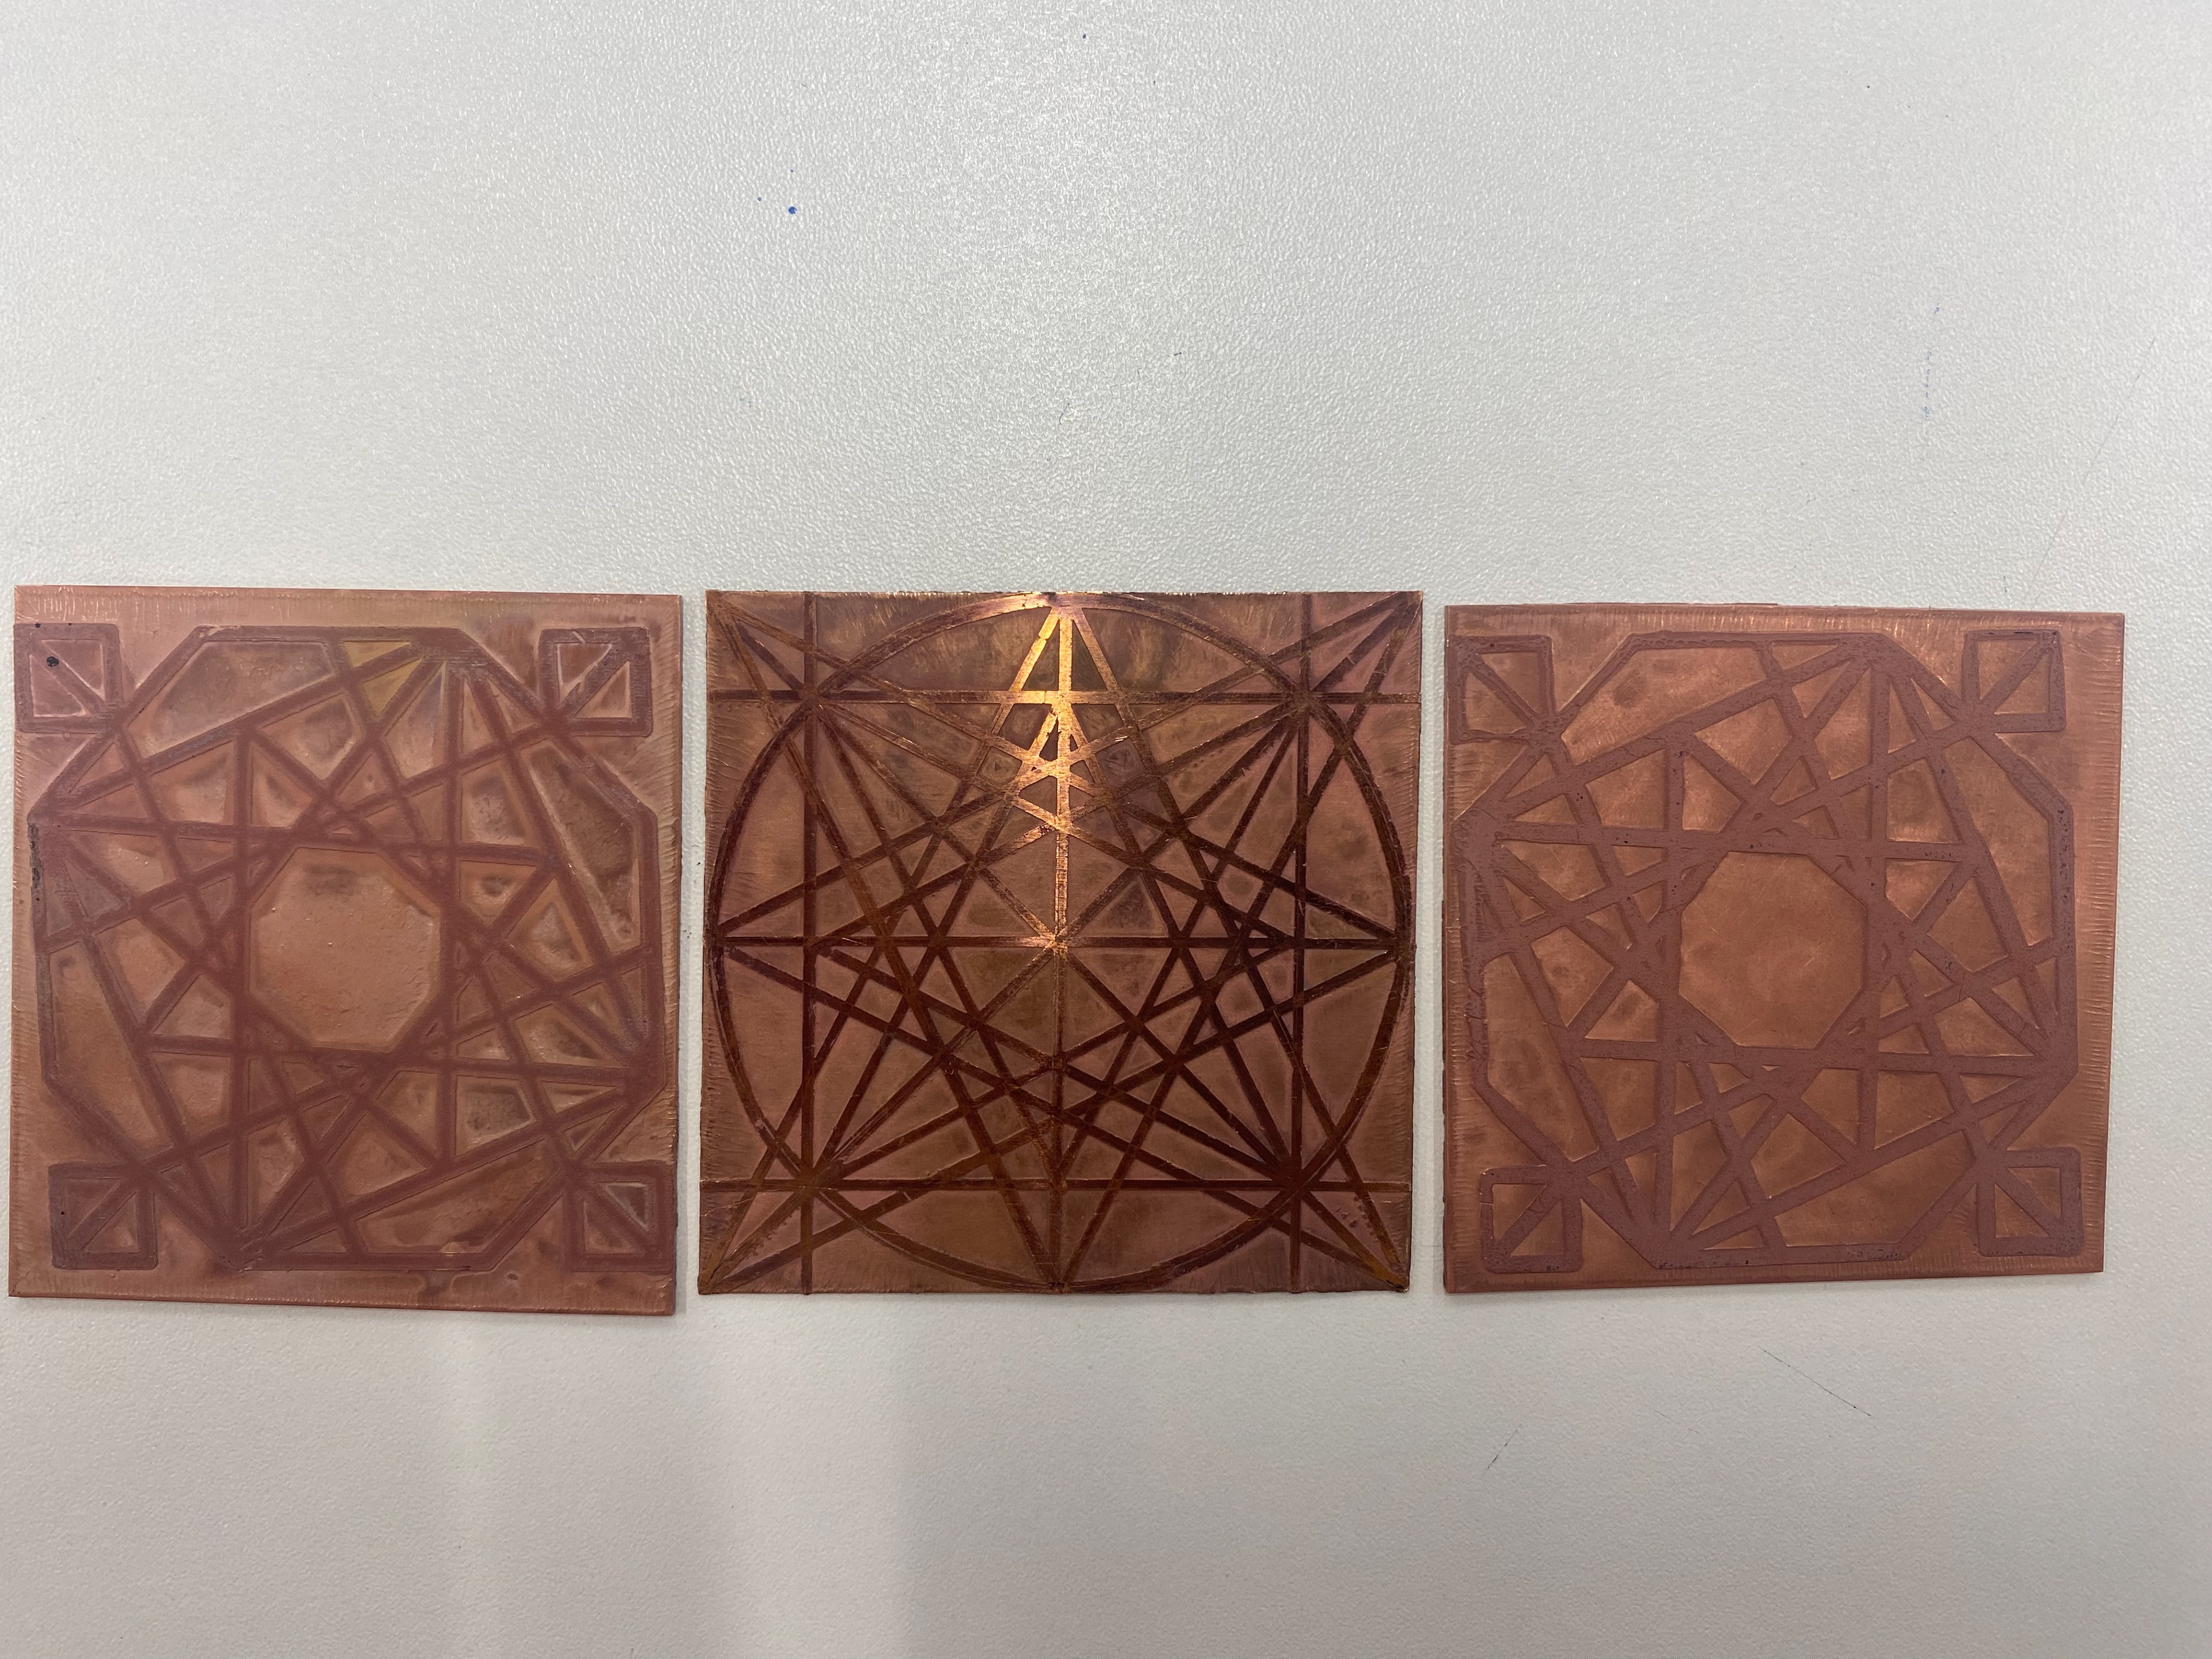
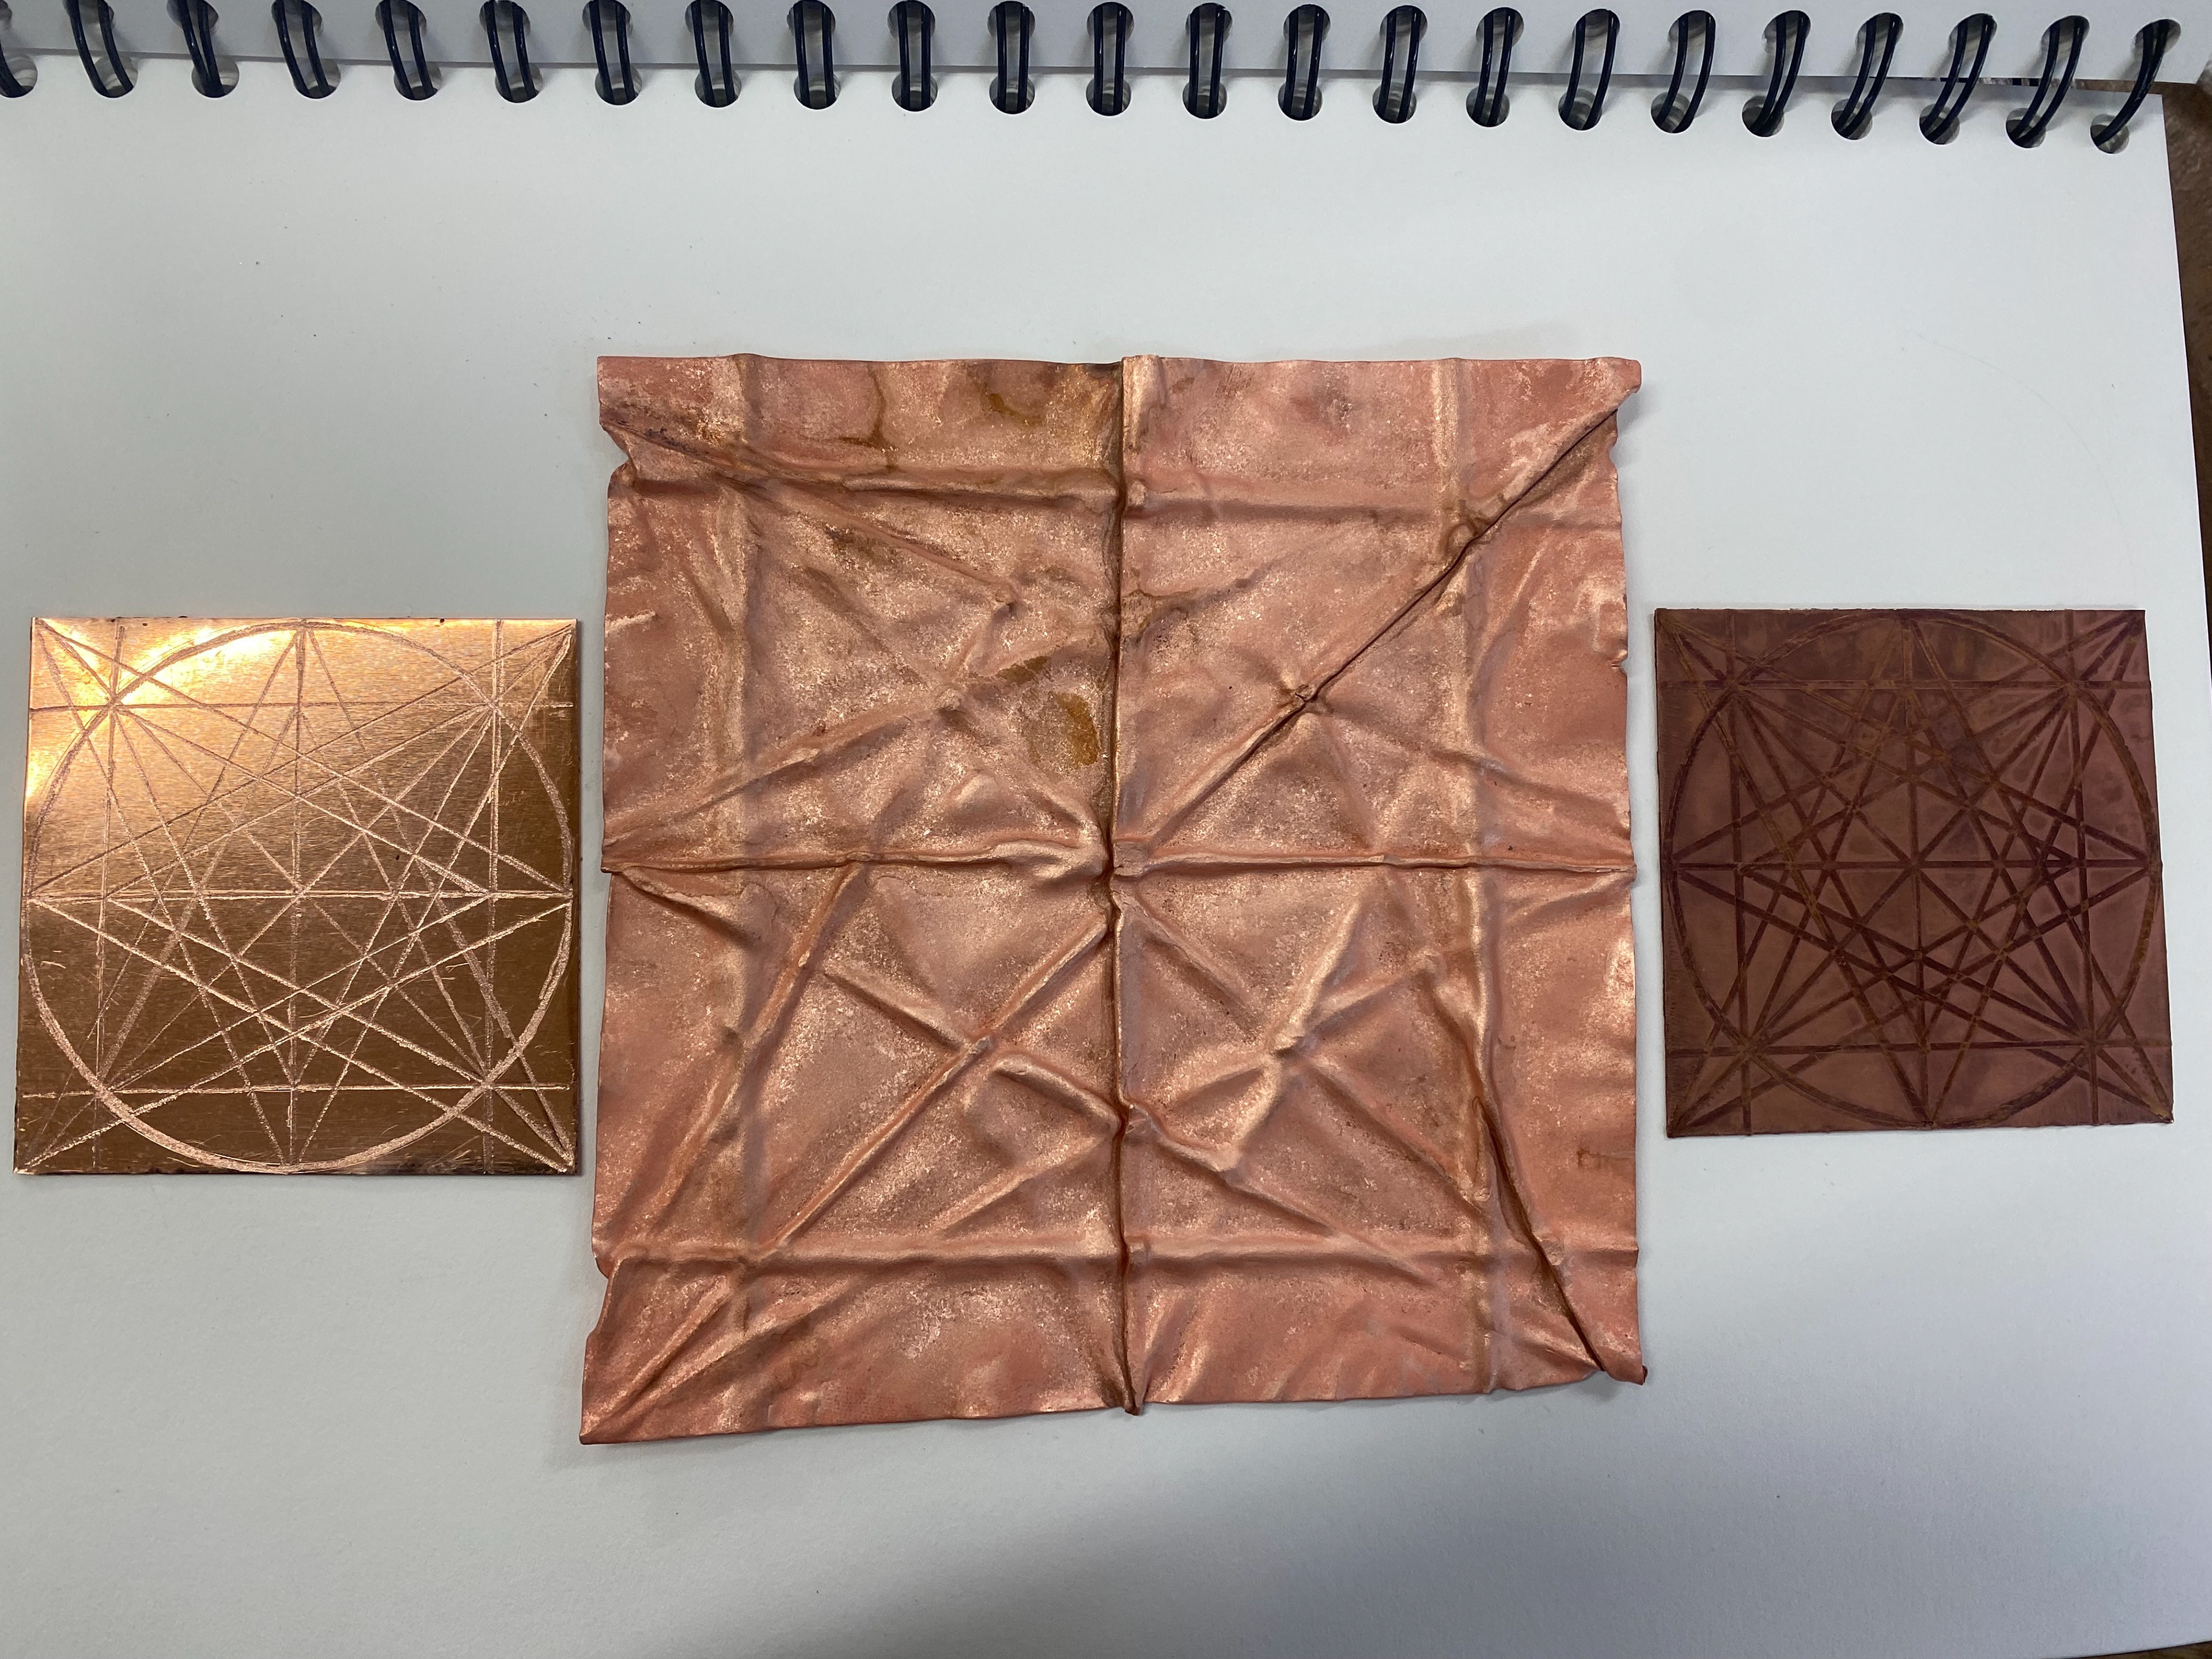
After exploring with Acid Etching in the metal workshop to create a few samples, I wanted to do more of these, however I was drawing on the resist with permanent marker. After speaking with a tutor I had an idea of printing onto Copper using Screen Printing to make it a quicker way of getting more samples done.
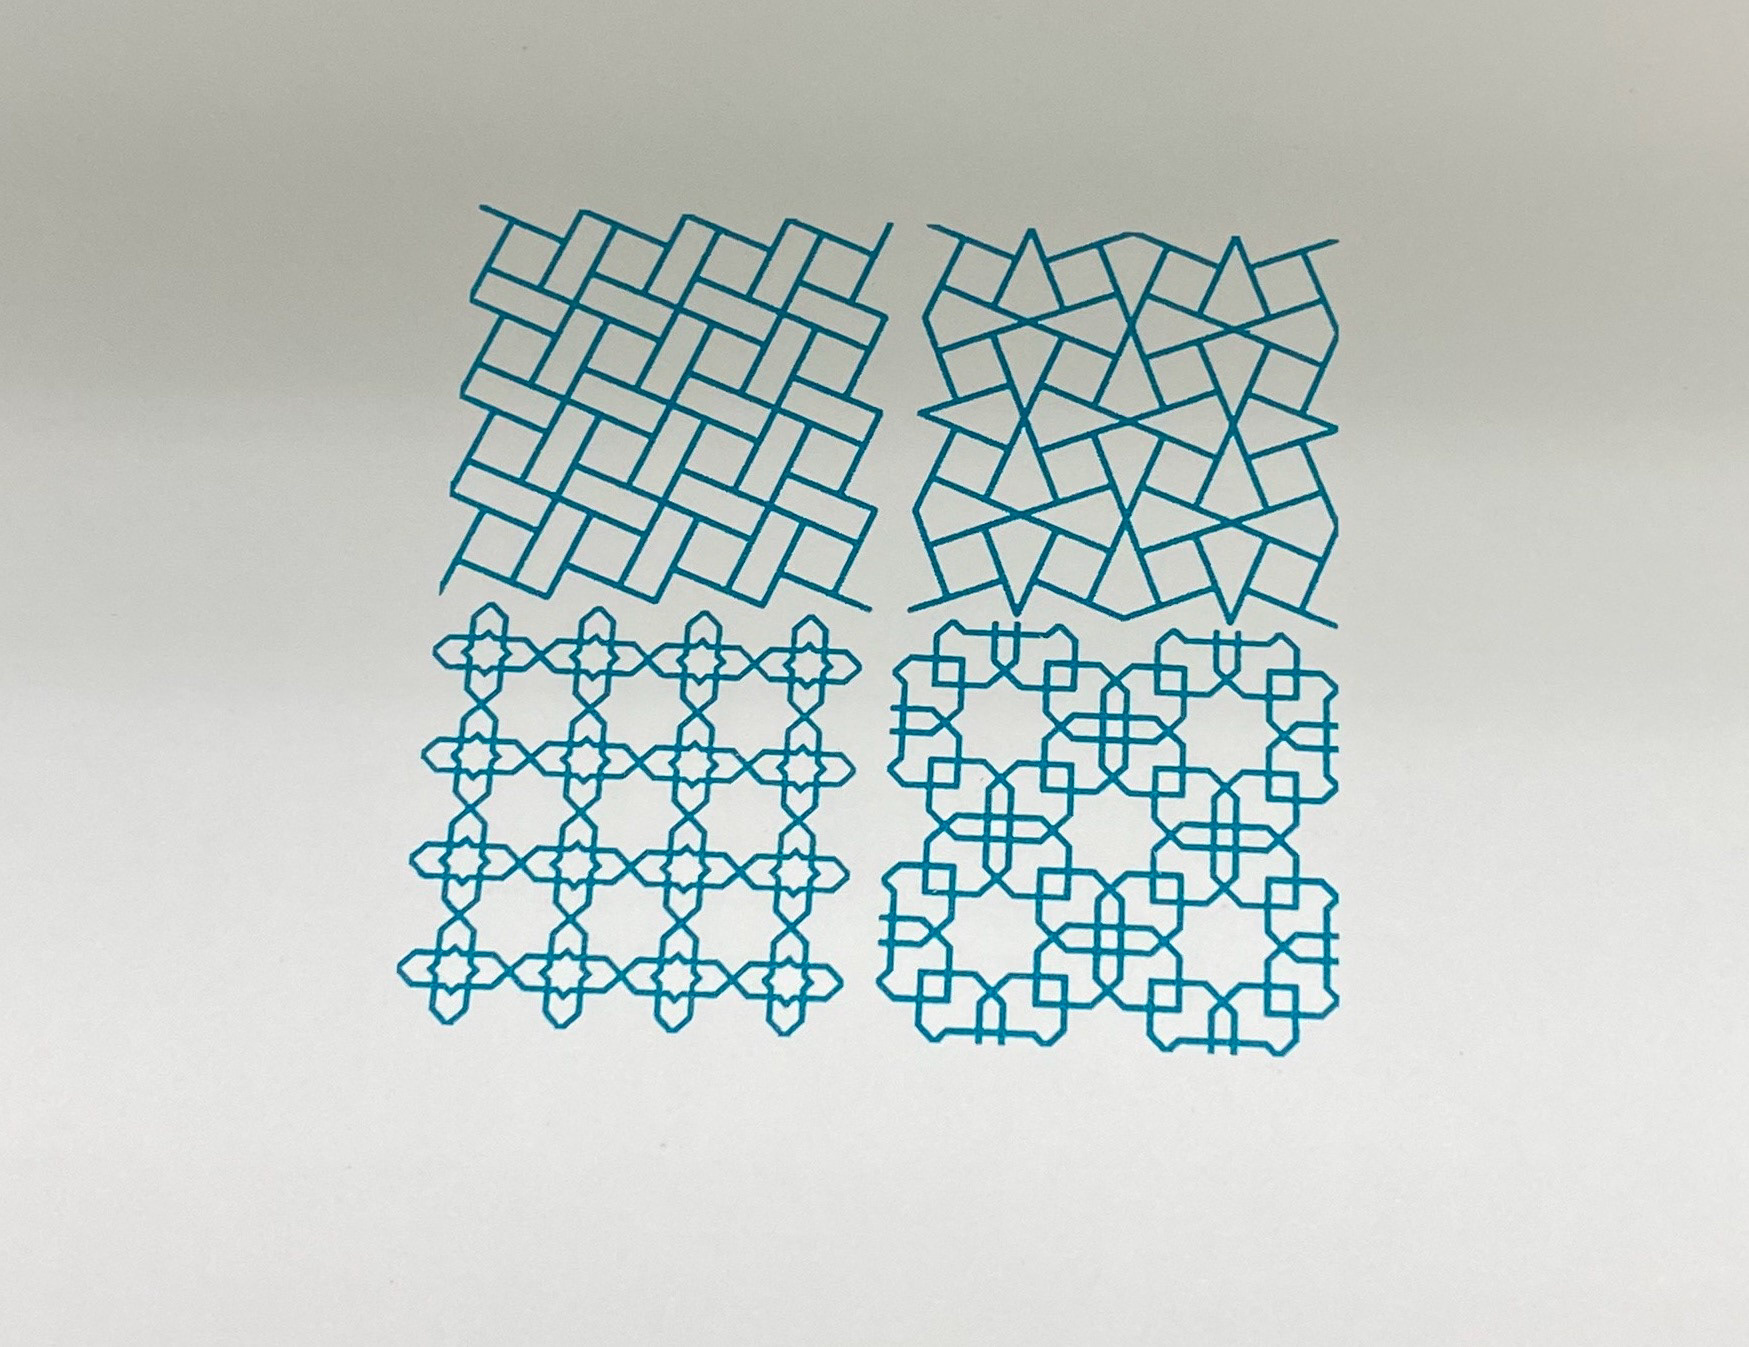
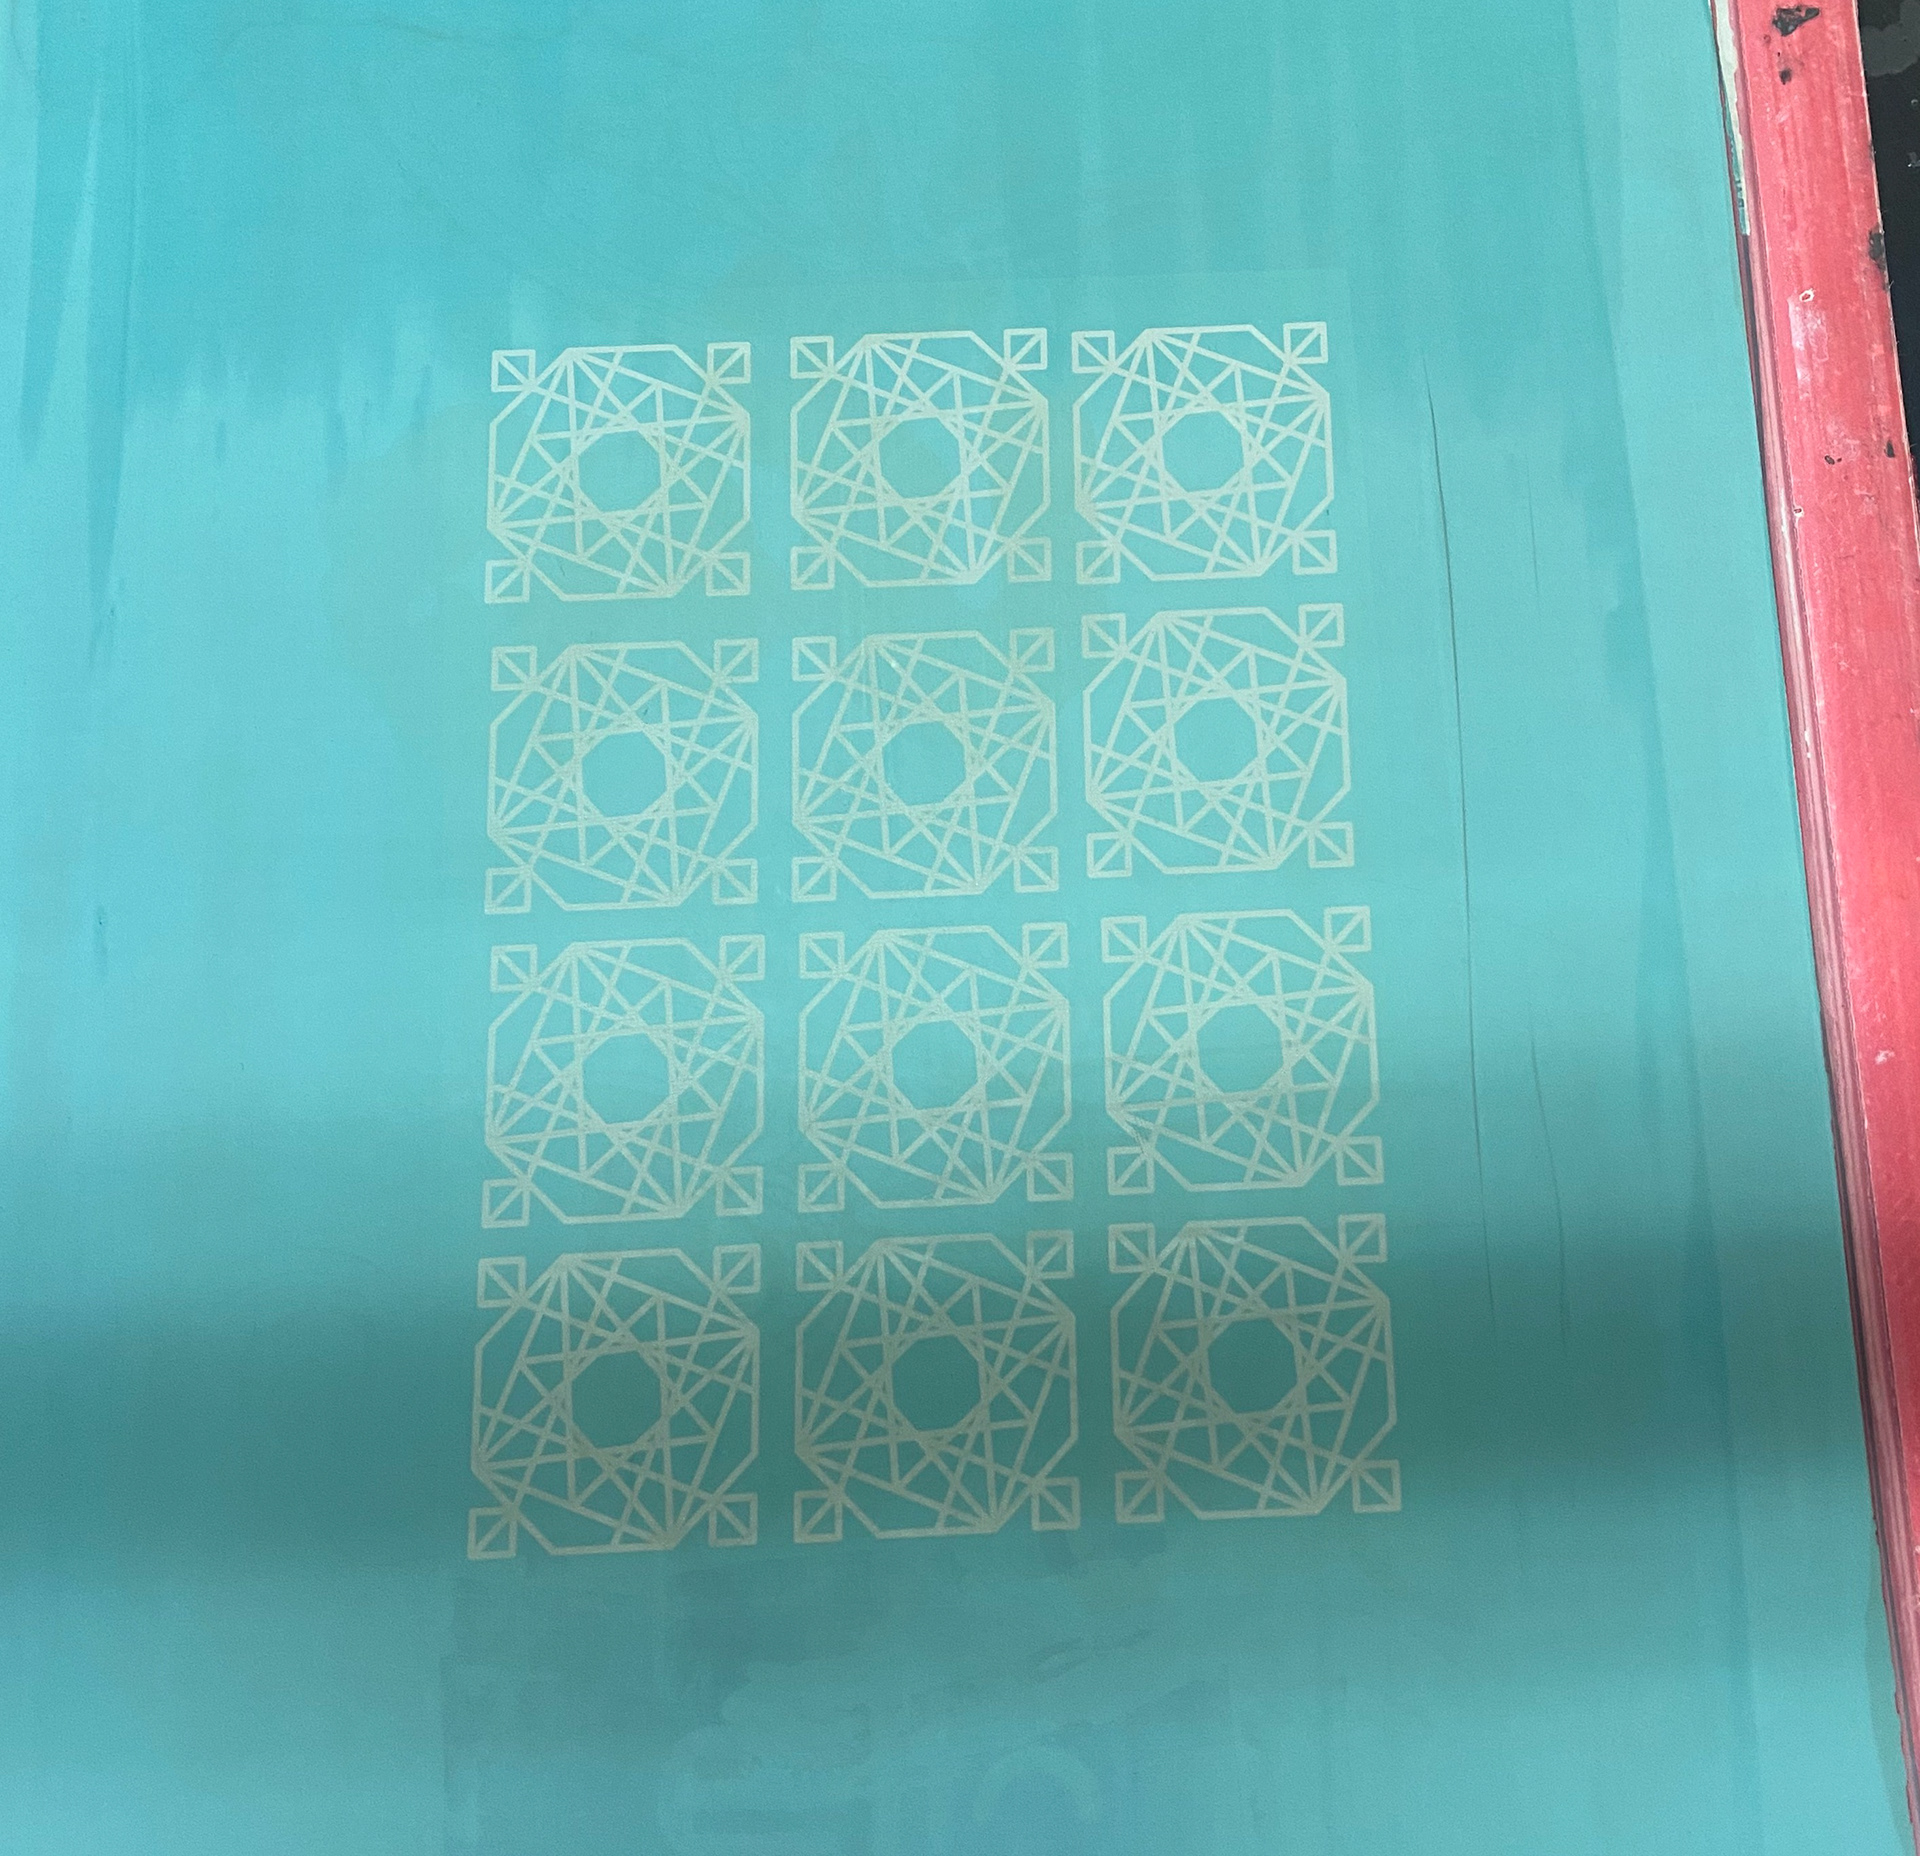
I booked into the print workshop for a Screen Printing Induction but had to wait just over a week for this because of availability in the workshop and commitments to work. For the induction I used some patterns from online to practice with. I made these 3x3 inches each to be similar sizes to sample pieces I had previously done. In the induction I practiced printing onto paper to learn the method and technique at first and then wanted to draw my own geometric pattern to and print that onto Copper.
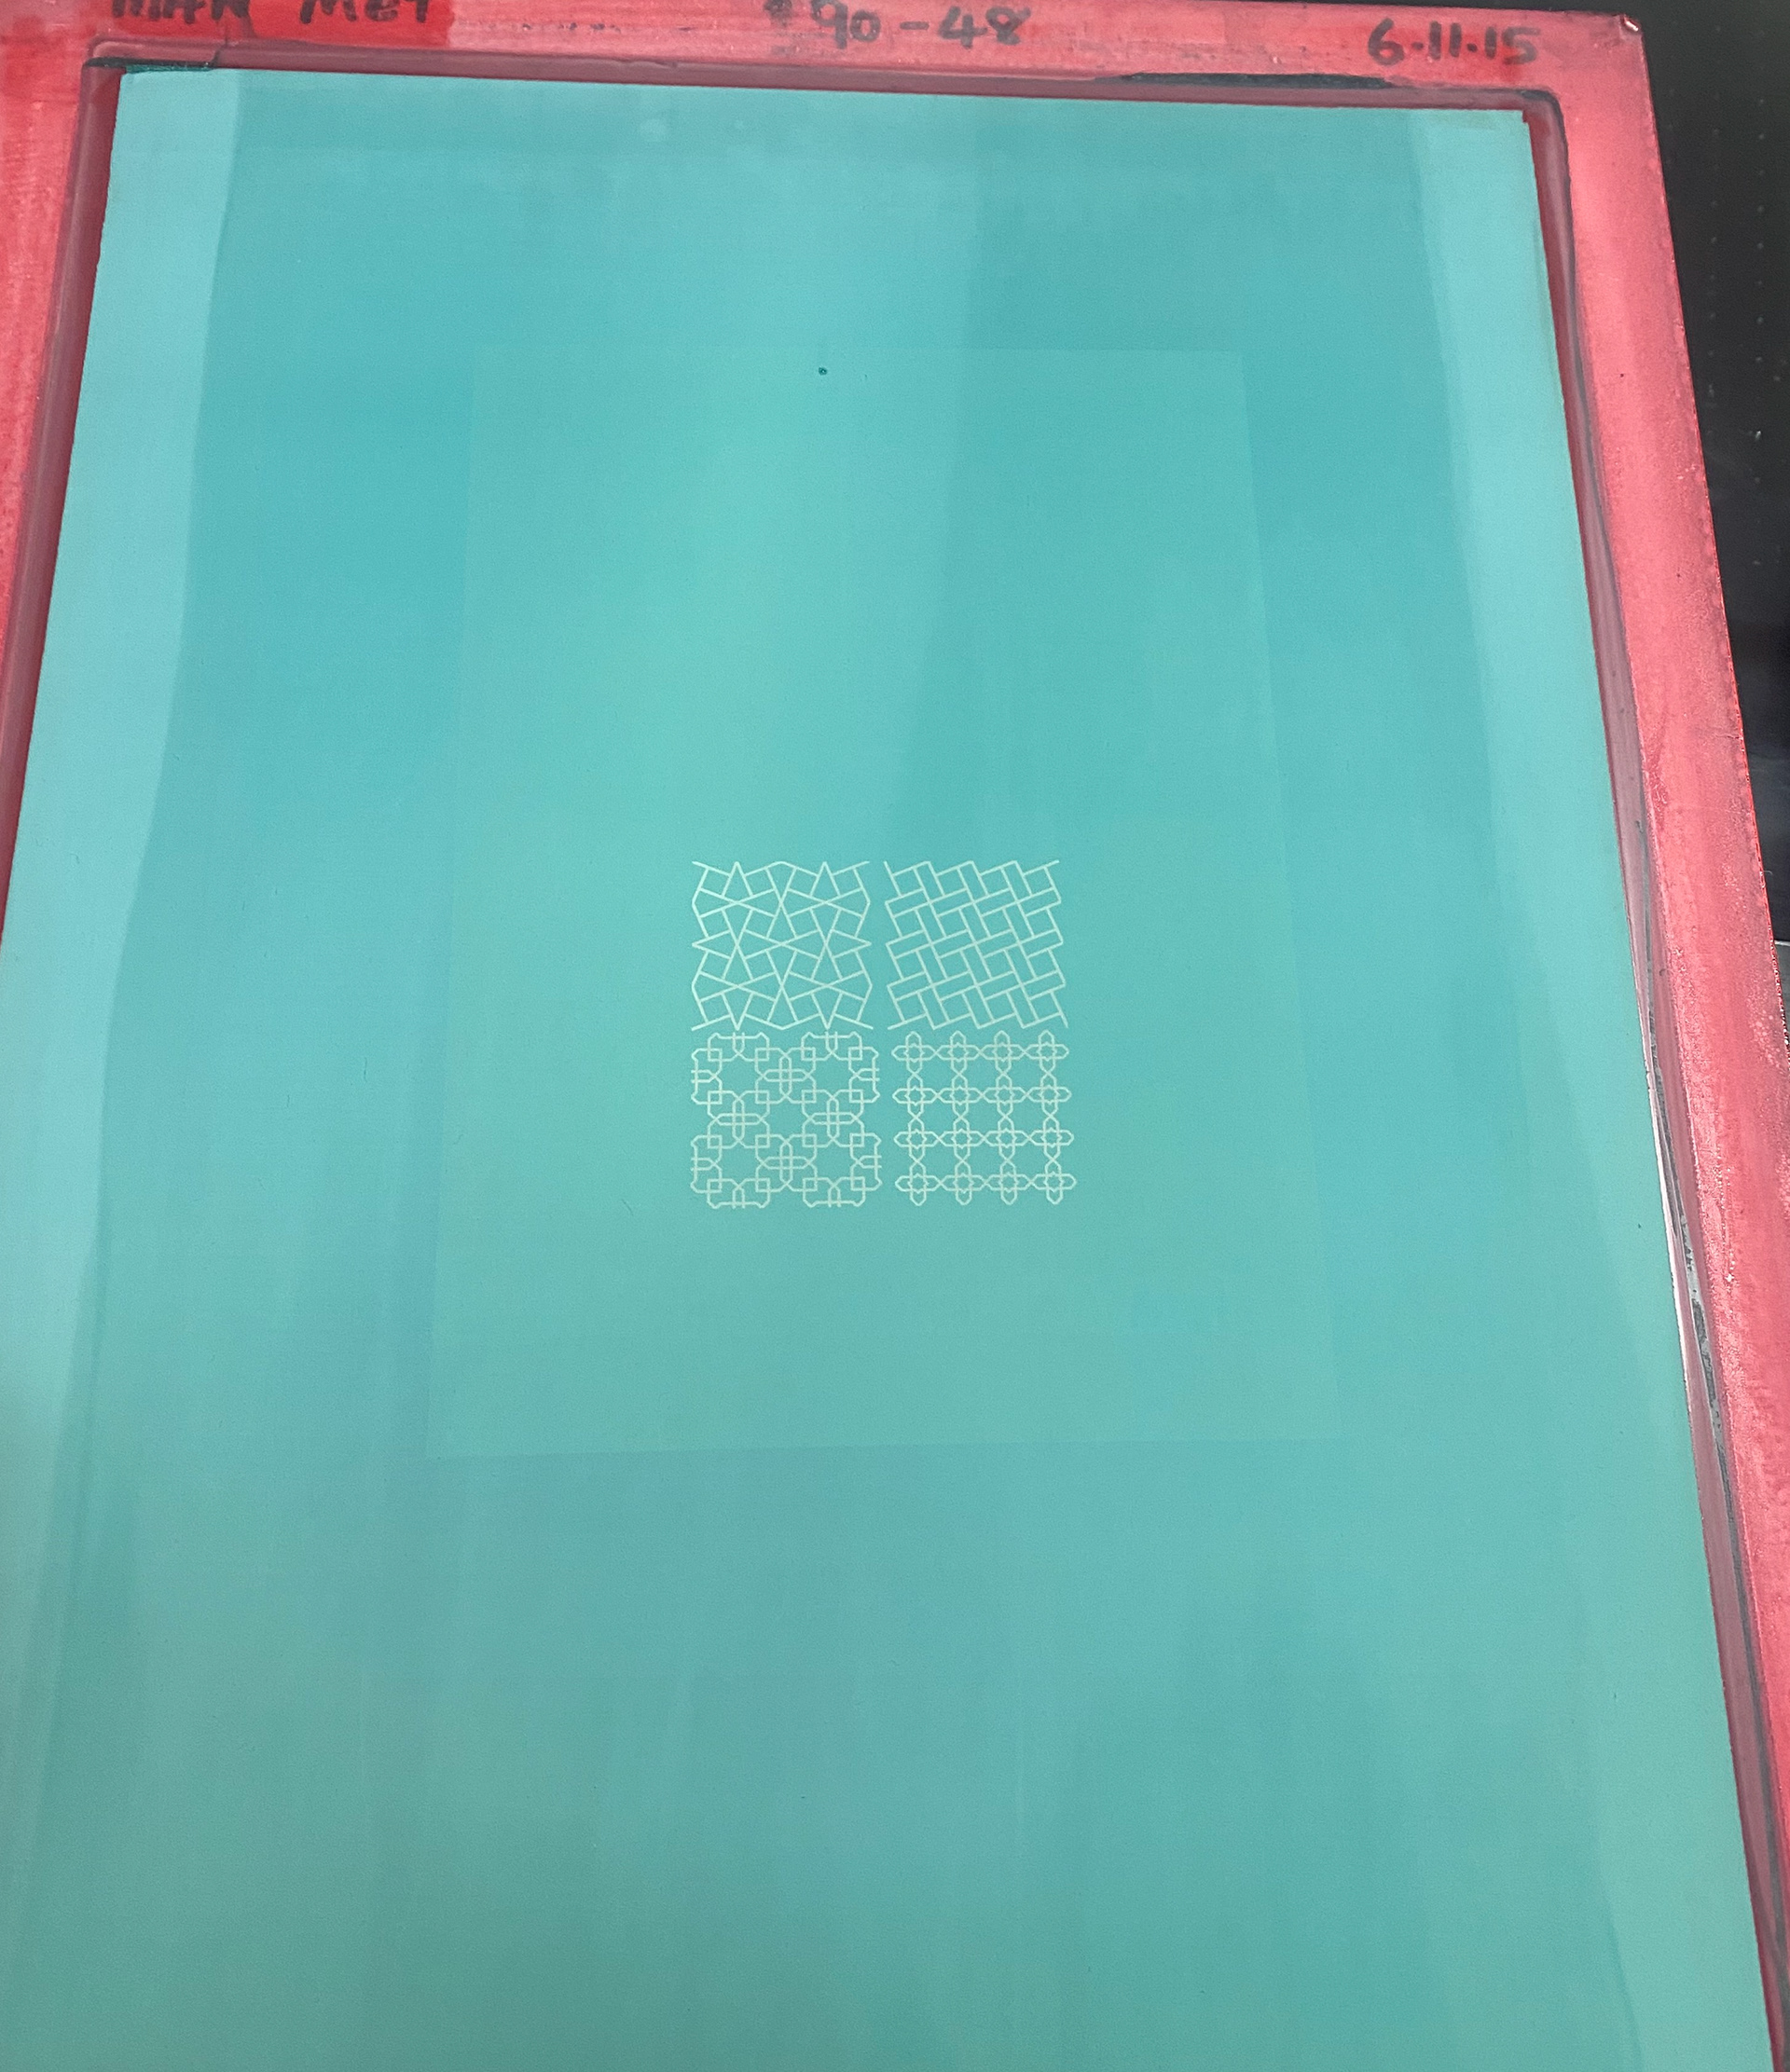
Screen ready to use
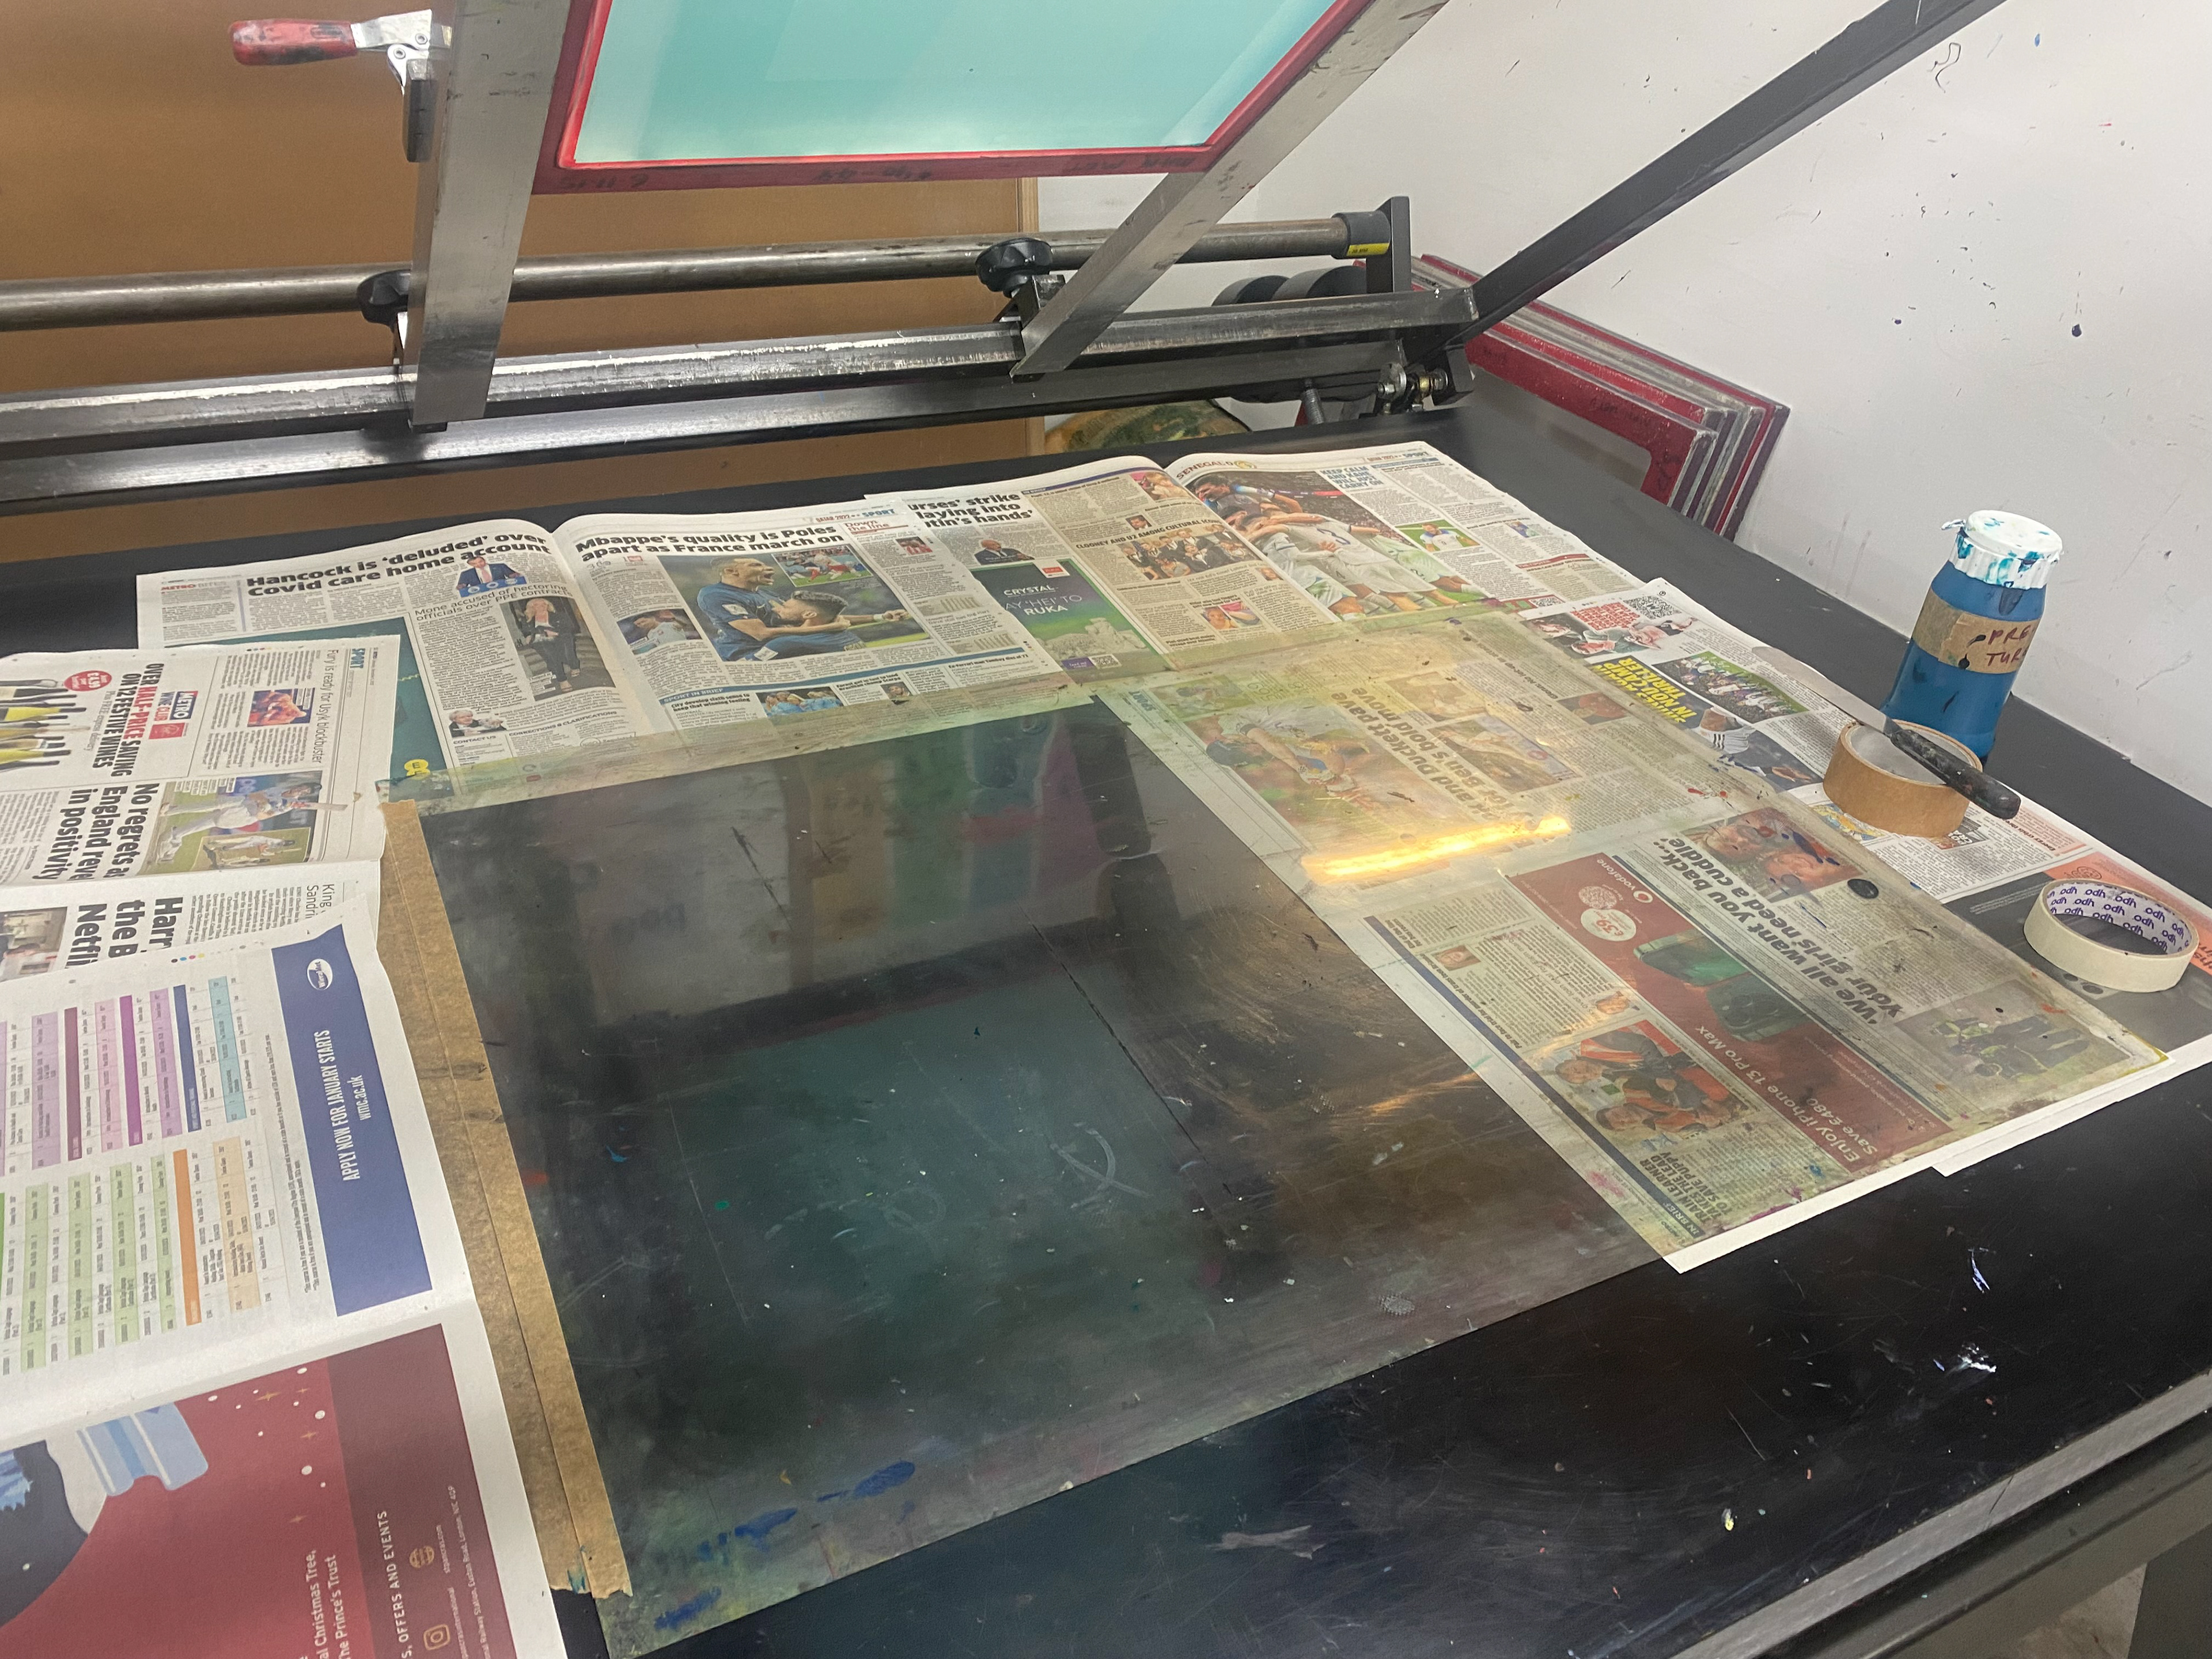
Setting up the print bed
First Print
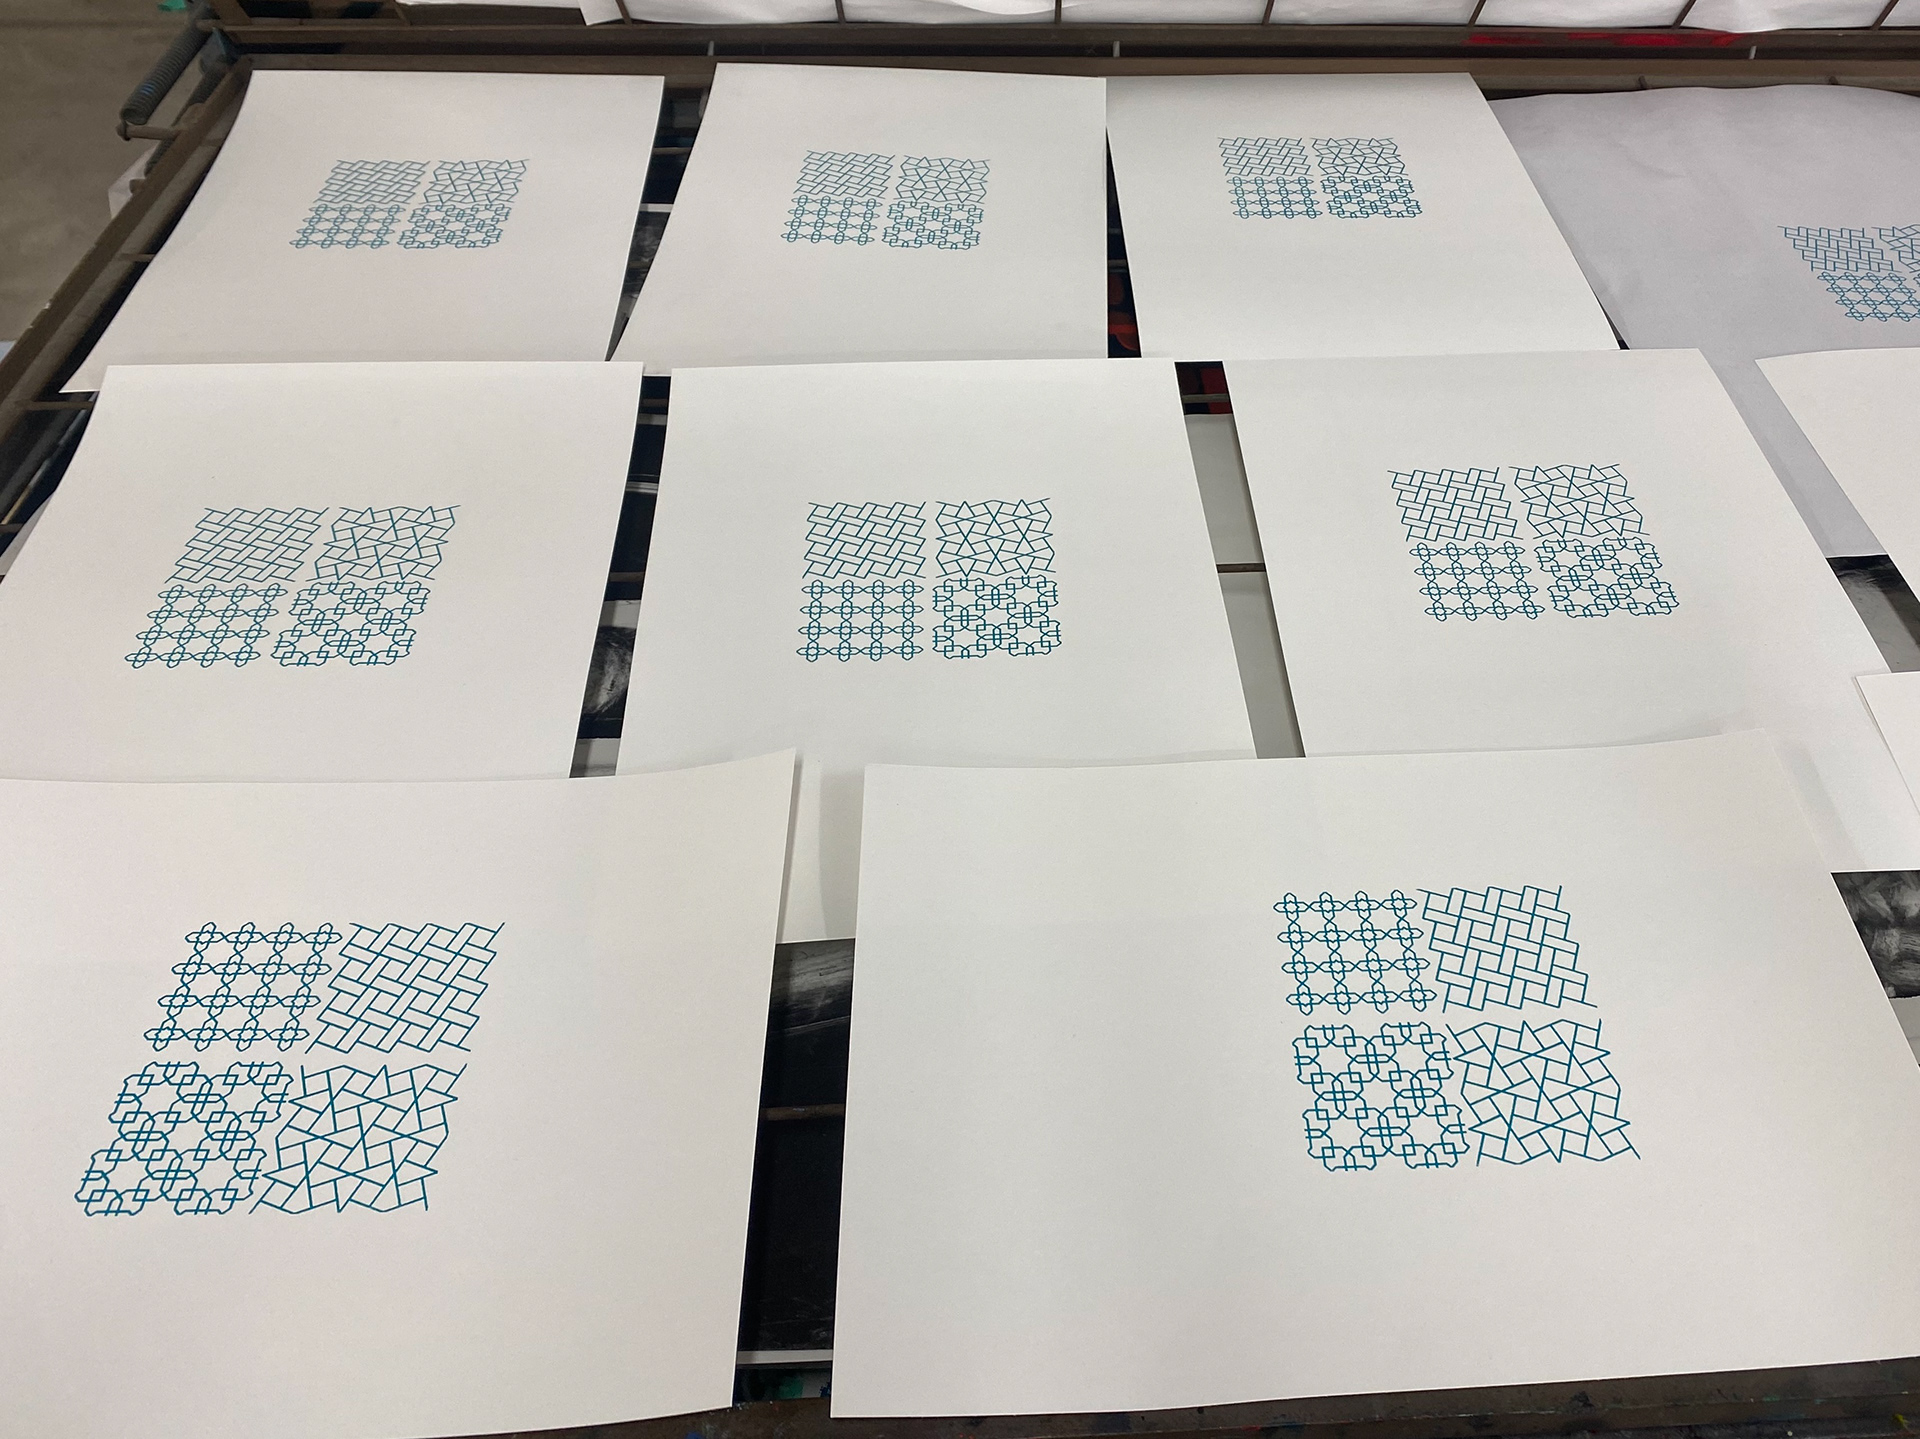
Finished prints on drying rack
I enjoyed Screen Printing and the technicians there were really helpful in showing me how to print in this method and explain the possibilities with Screen Printing onto Copper. I learnt to get a even print you need to apply the pressure with the squeegee in a particular way, along with the right amount of ink. The first few prints came out with quite a few imperfections as expected, however with guidance and practice I managed to come out with a few good prints.
Acid Etching Induction
As I had previously done Acid Etching in the jewellery workshop, I wanted to try the method they used in Print to see if the results would be what I was after for my work. I booked in for this induction, which was a lot more complex than in Metal. Although they use the same acid (Ferric Chloride) in both workshops, the methods to the process are very different. I didn't get many photos of the process in print due to not being able to get my phone out at occasions because of wearing gloves with different chemicals/products on them.
Metal prepared, ground applied and pattern etched.
The result after printing
Ink applied to the metal and the excess removed
However the process involved first preparing the metal by filing down the edges so that they are not sharp otherwise it can rip the print bed. Then onto cleaning the metal using Whiting Powder and Ammonia Solution, along with a rag to clean and buff it out. You then test if the metal is clean by putting water on top of it to see if blobs form which mean the metal is still greasy. Then you apply the ground by using the hot plate and a roller. Followed by covering the back of the metal with parcel tape to stop that from being etched, along with making some handles with the tape so that you can easily lift the metal out of the acid. You then etch your pattern onto the metal using etching tools. Wearing the appropriate PPE, gloves, goggles etc, you place the metal in the acid for around 10 minutes and then rinse with water and clean with white spirit. The paper you're printing on needs to be soaked for 30 minutes before printing. Then you ink the plate using tarlatan/scrim. After this you're ready to print. This involves placing the metal onto the paper with the matts over the top, then using the flywheel handle to operate the press and you're done.
Although this induction was good for me to do and learn a new skill, it wasn't what I wanted for my work. This is acid etching to print which means the depth of the etched metal isn't very deep, where as I needed it to have a bit of depth so that I can Enamel into it.
Artist Research
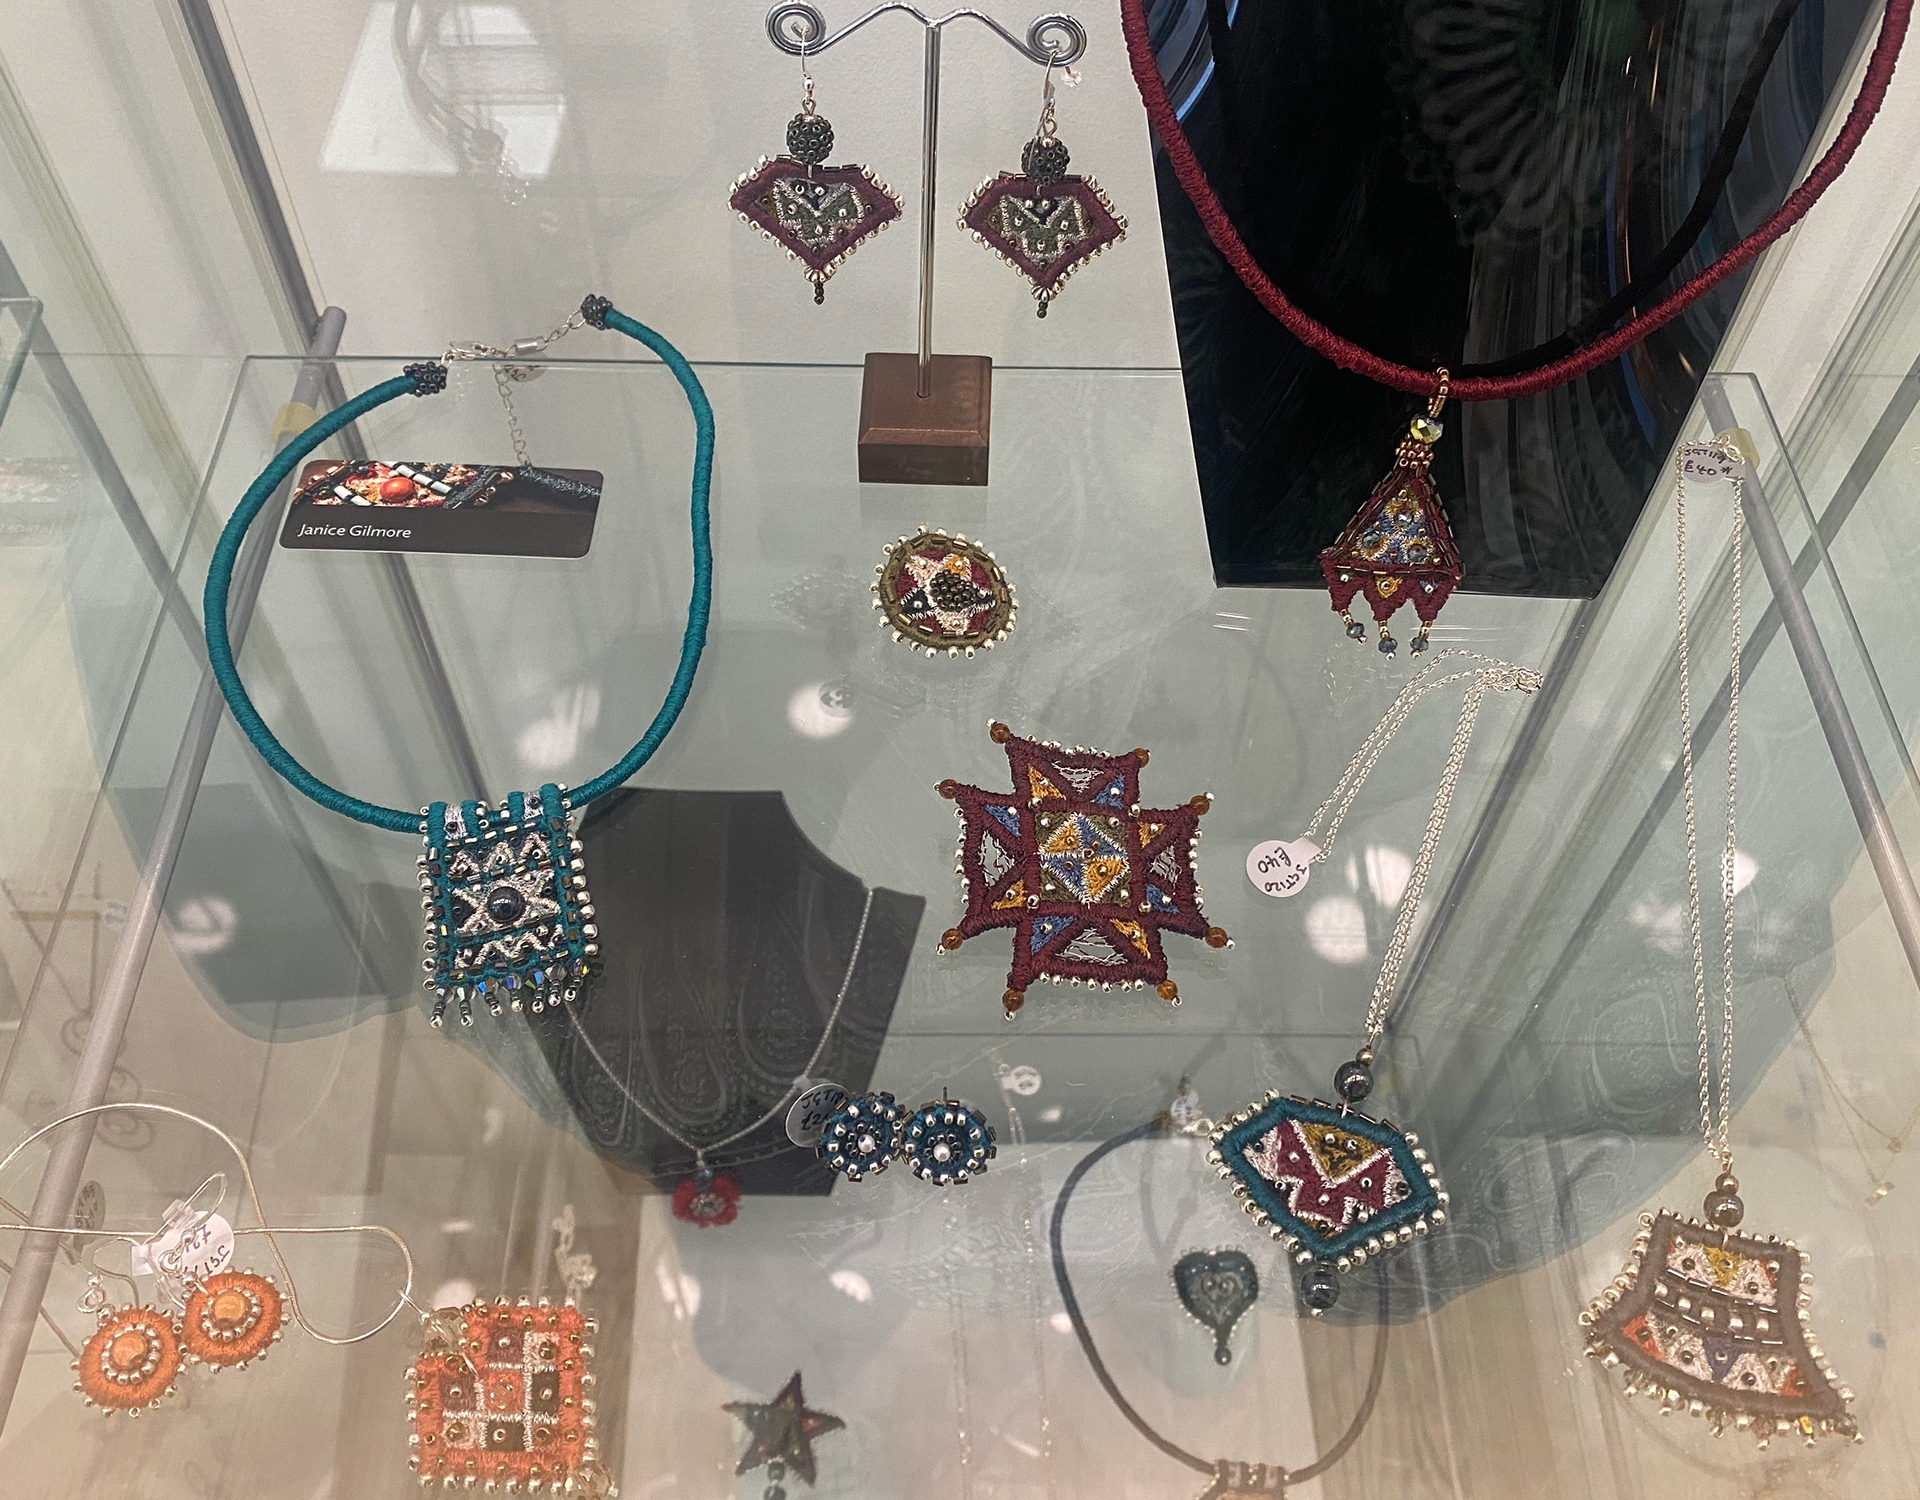
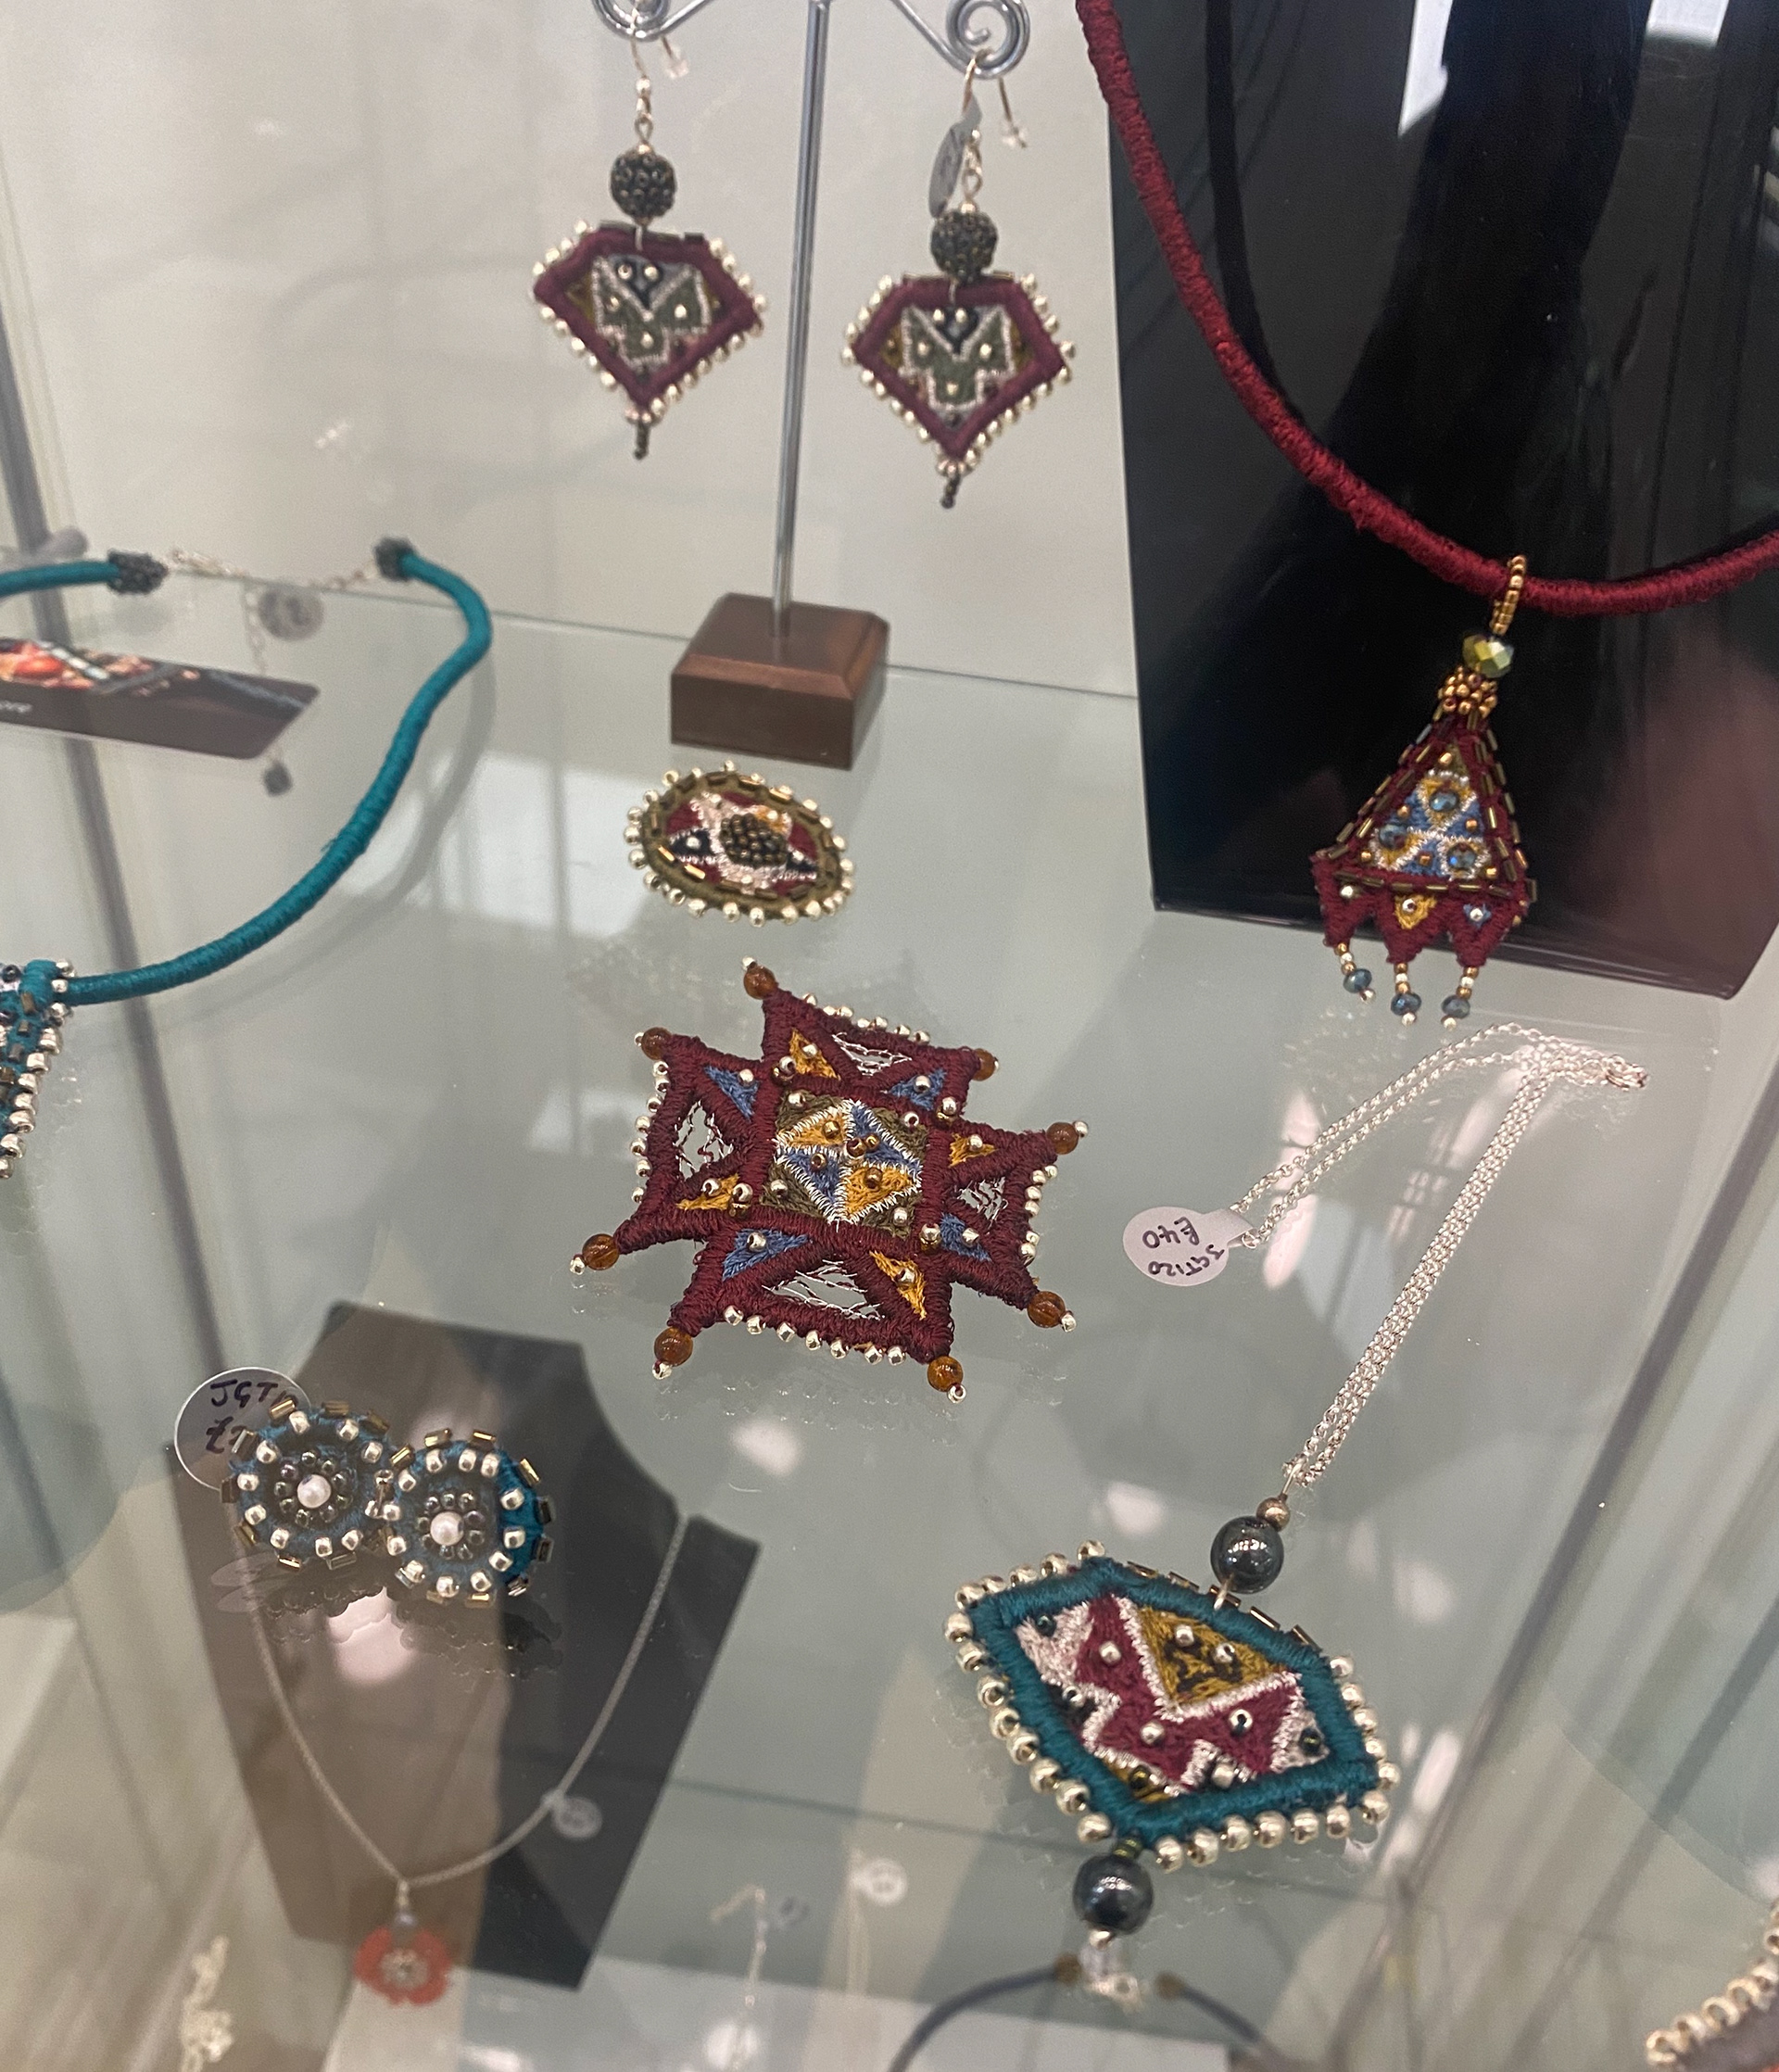
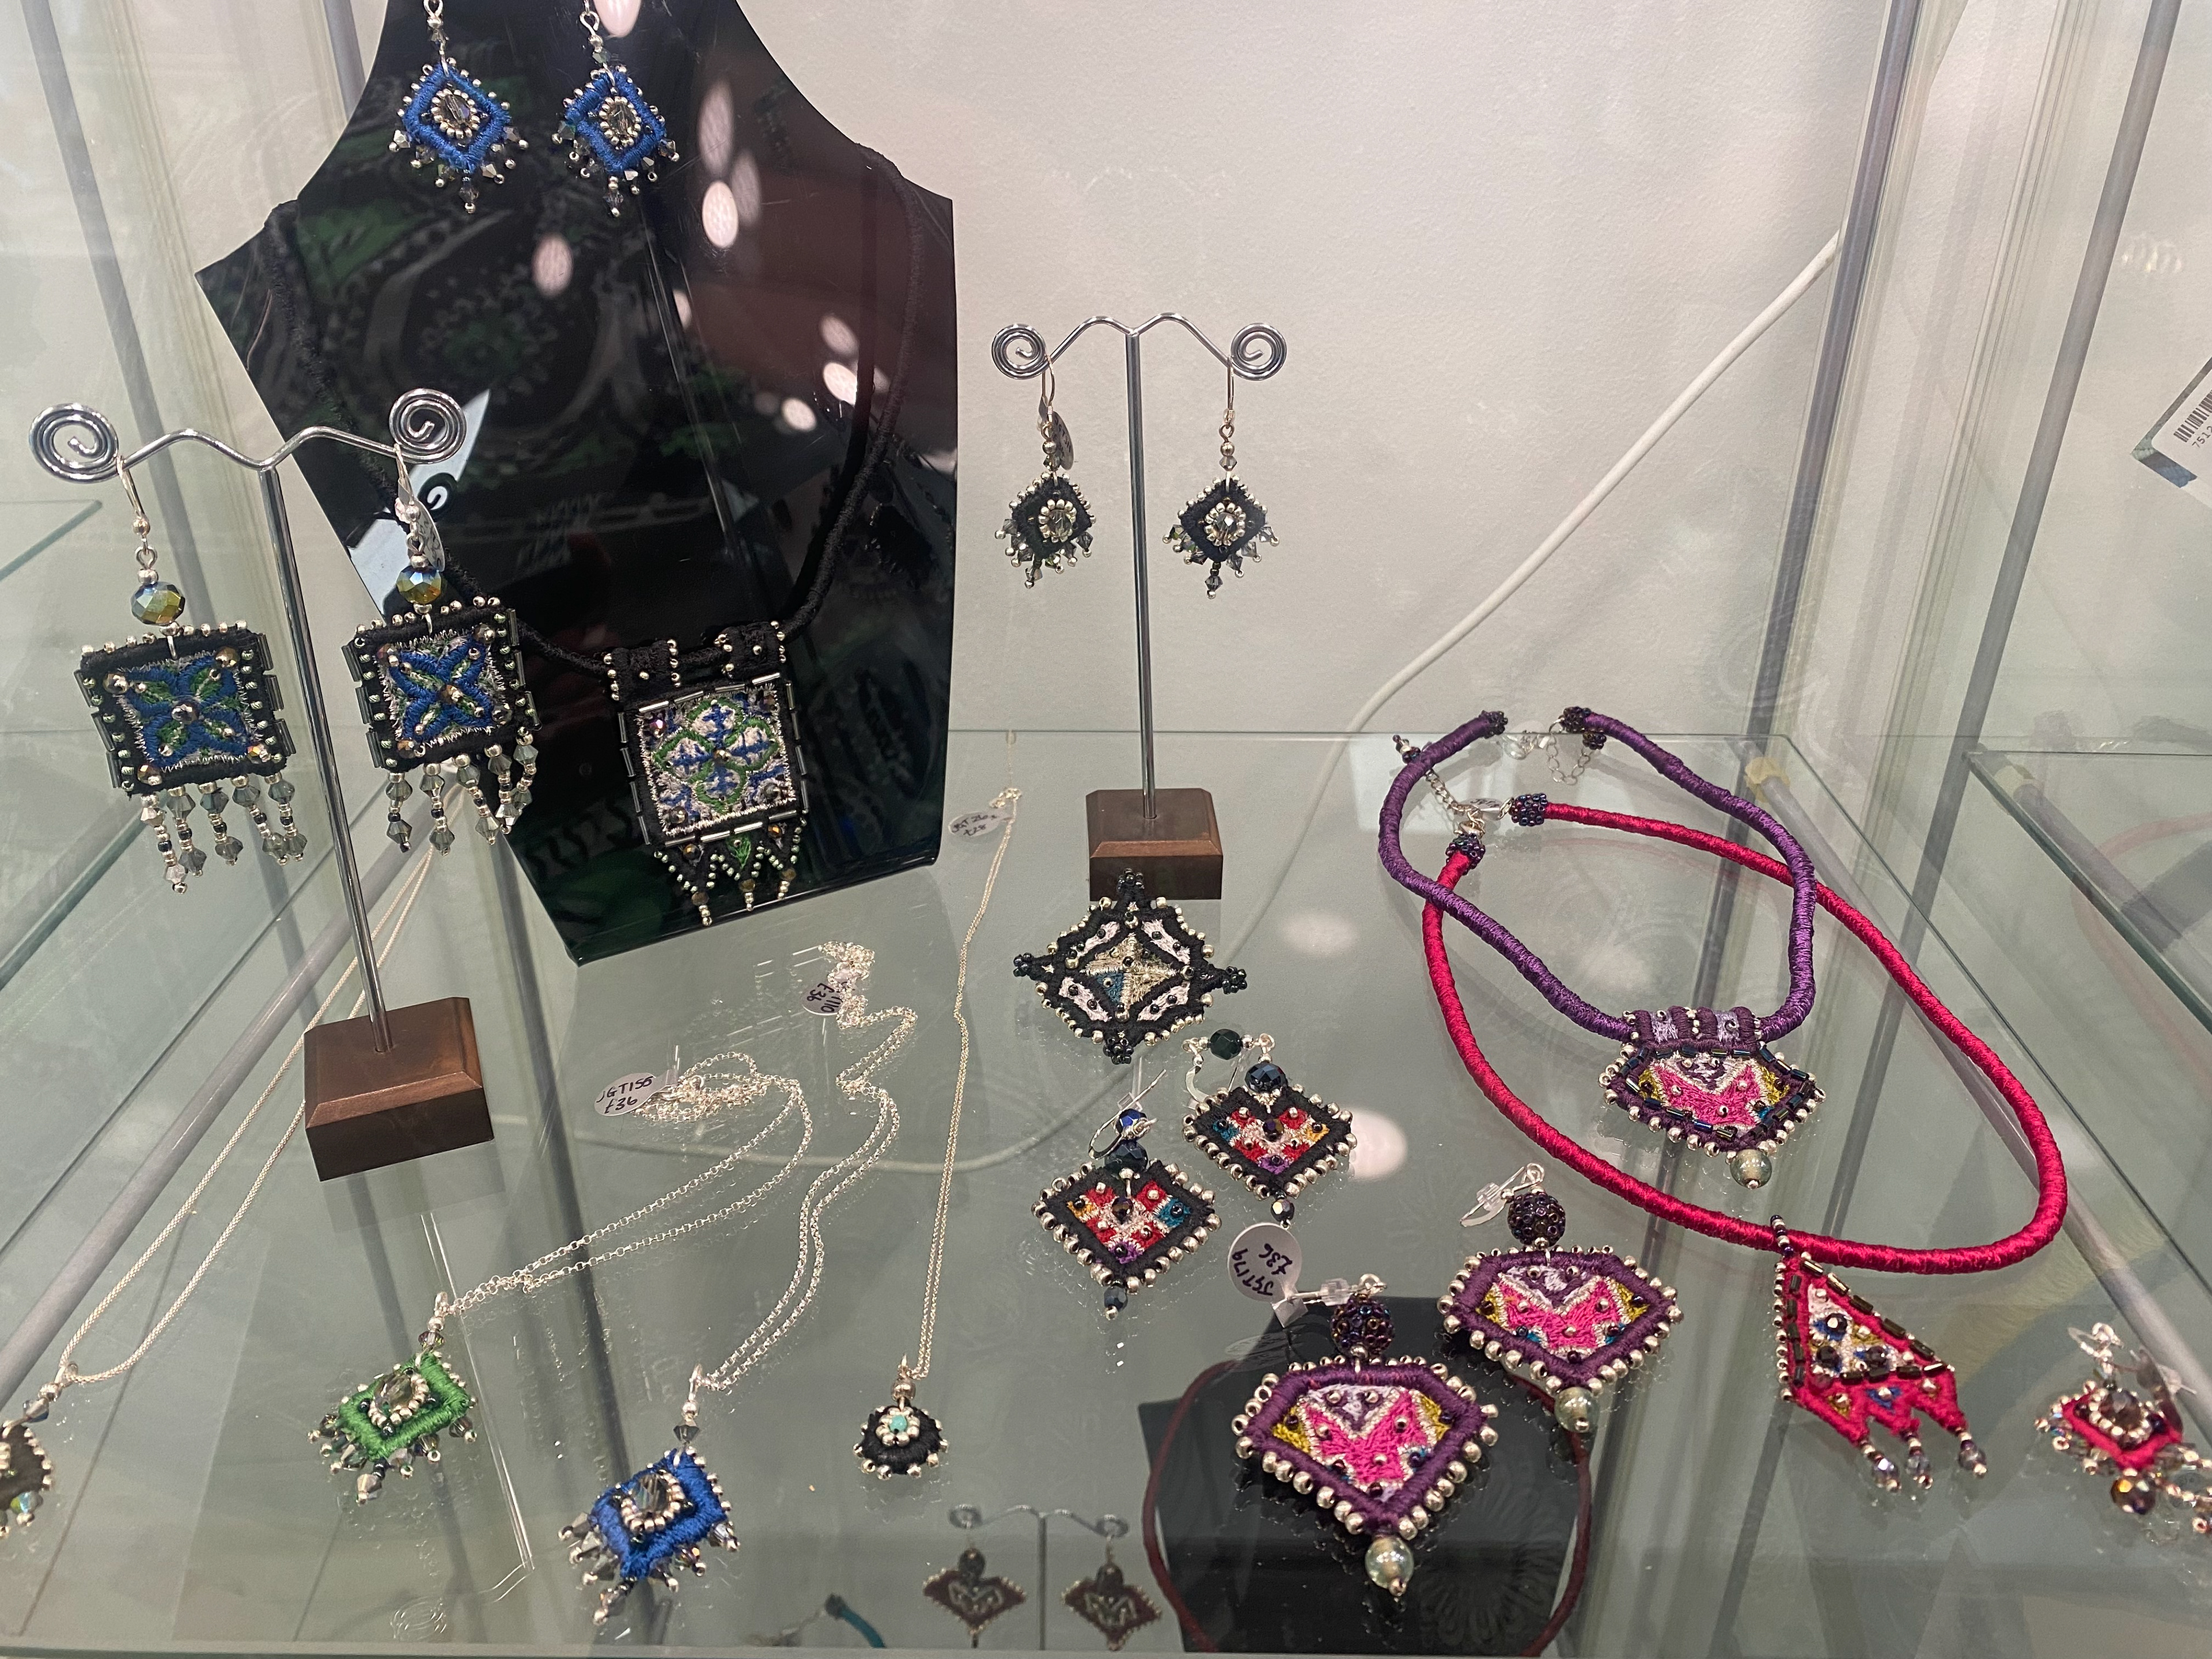
Janice Gilmore
Janice previously studied at Ulster in Belfast, completing a degree in Fine Craft Design. During her degree she specialised in embroidery. Her work is designed from inspiration from countries such as India and Morocco where she has travelled. Janice is based in Lisburn in Northern Ireland where she manages her business of 30 years from. In her studio she is surrounded by textiles she has collected from around the globe, specifically interested in ancient cultures.
To create her jewellery pieces, Janice combines machine work where she stitches, followed by hand beading. She uses the machines to build up the interwoven layers of stitching to bring her designs to life. These are worked onto vanishing muslin cloth or dissolvable fabric. Then finishes the designs off by hand stitching each bead onto the pieces.
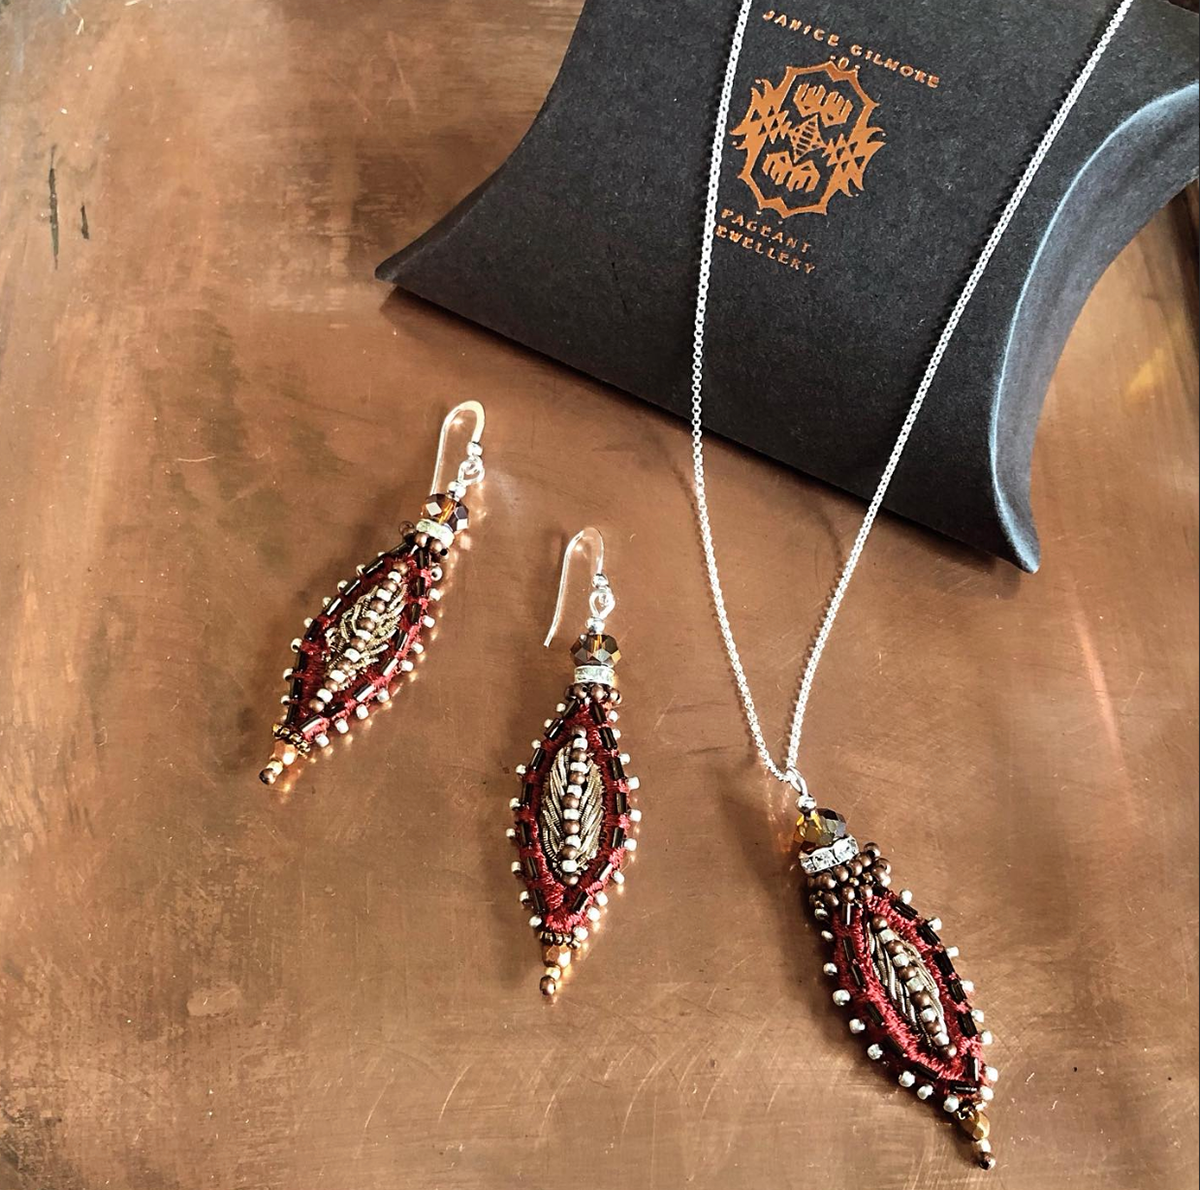
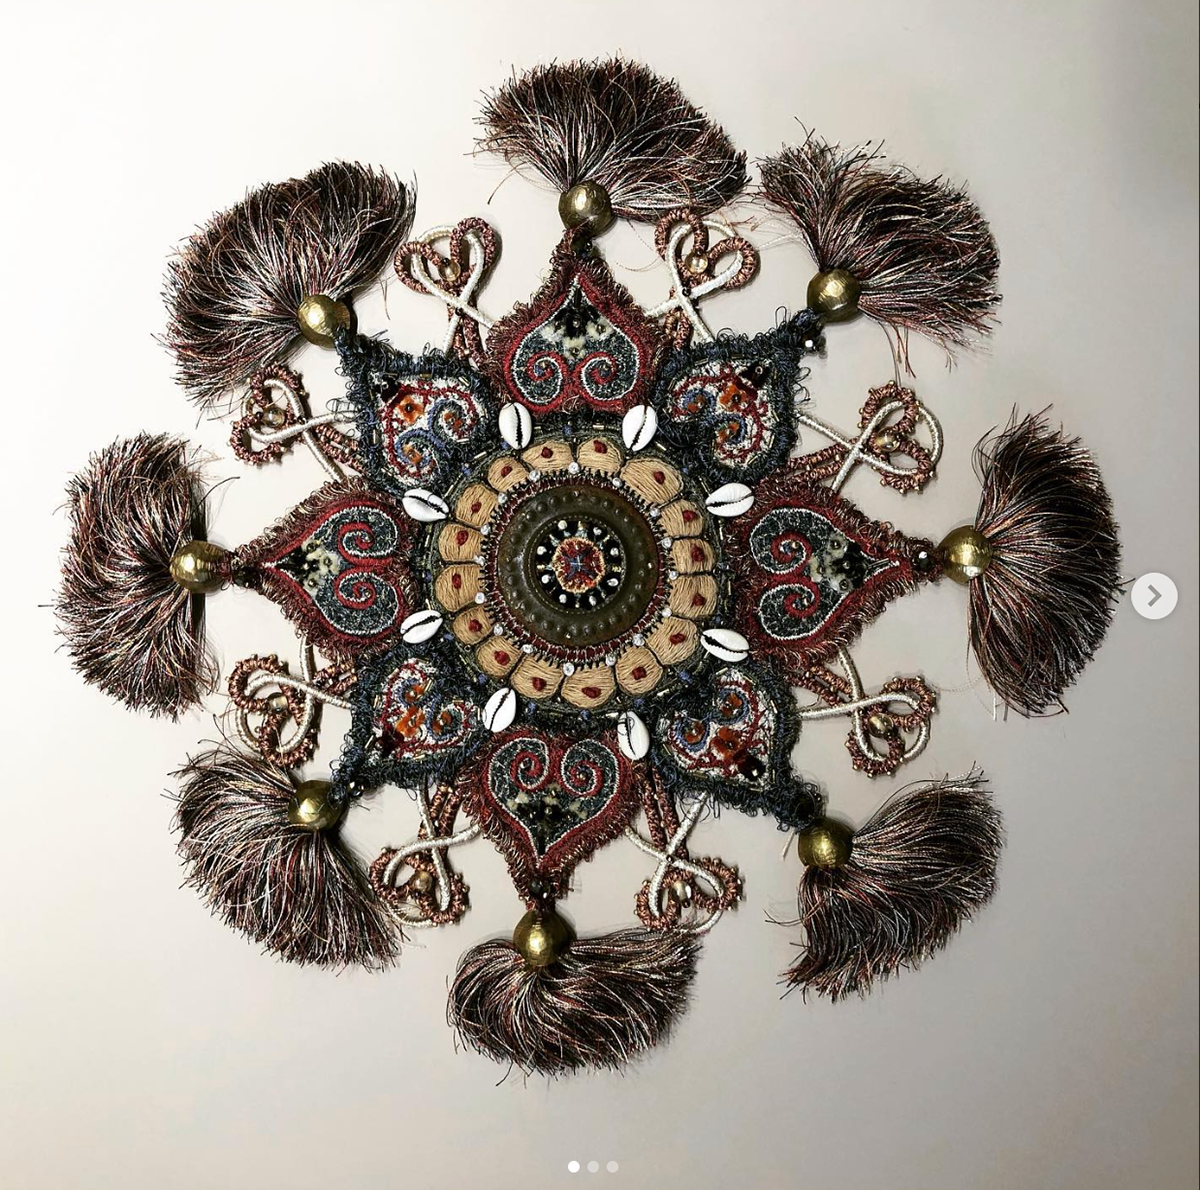
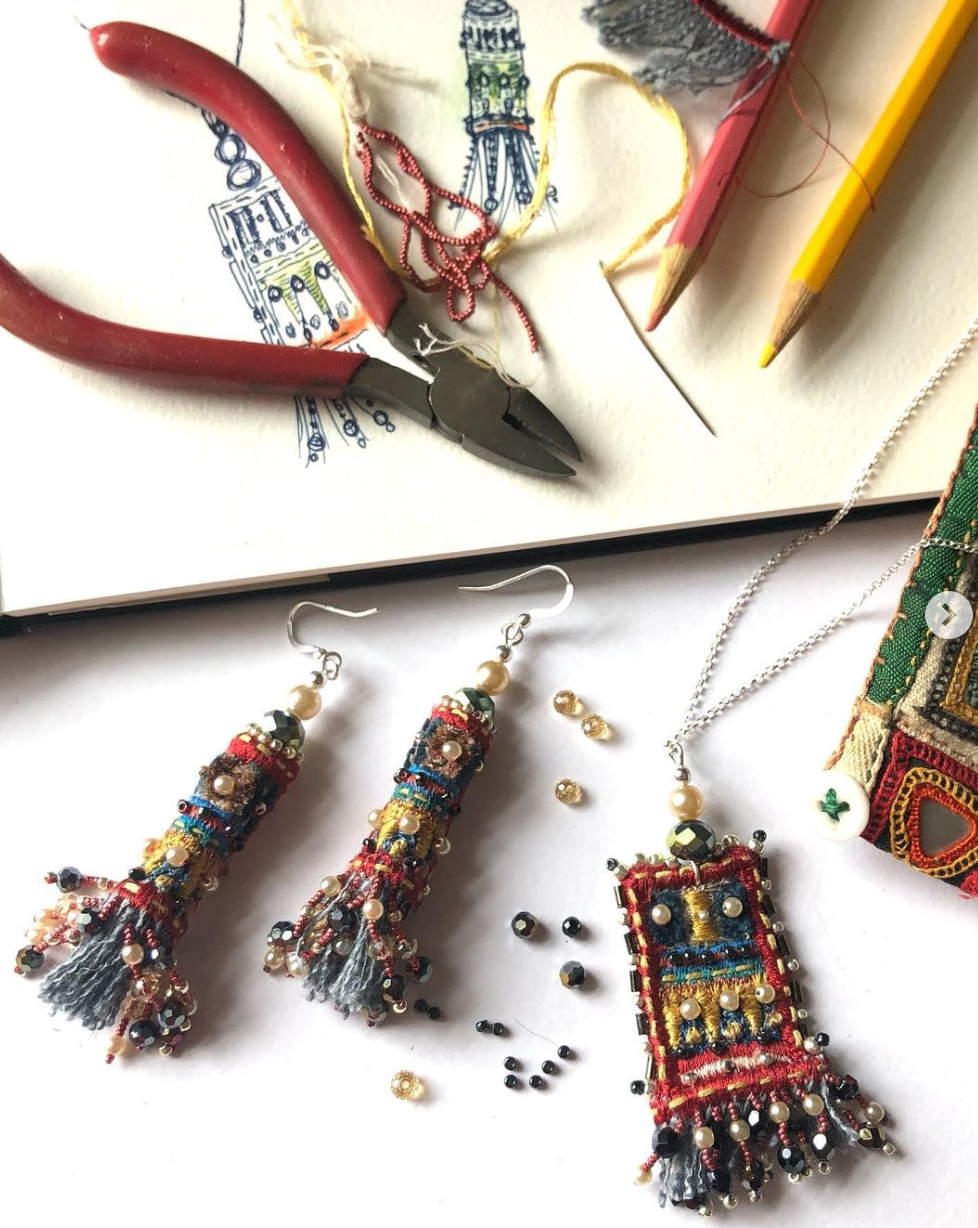


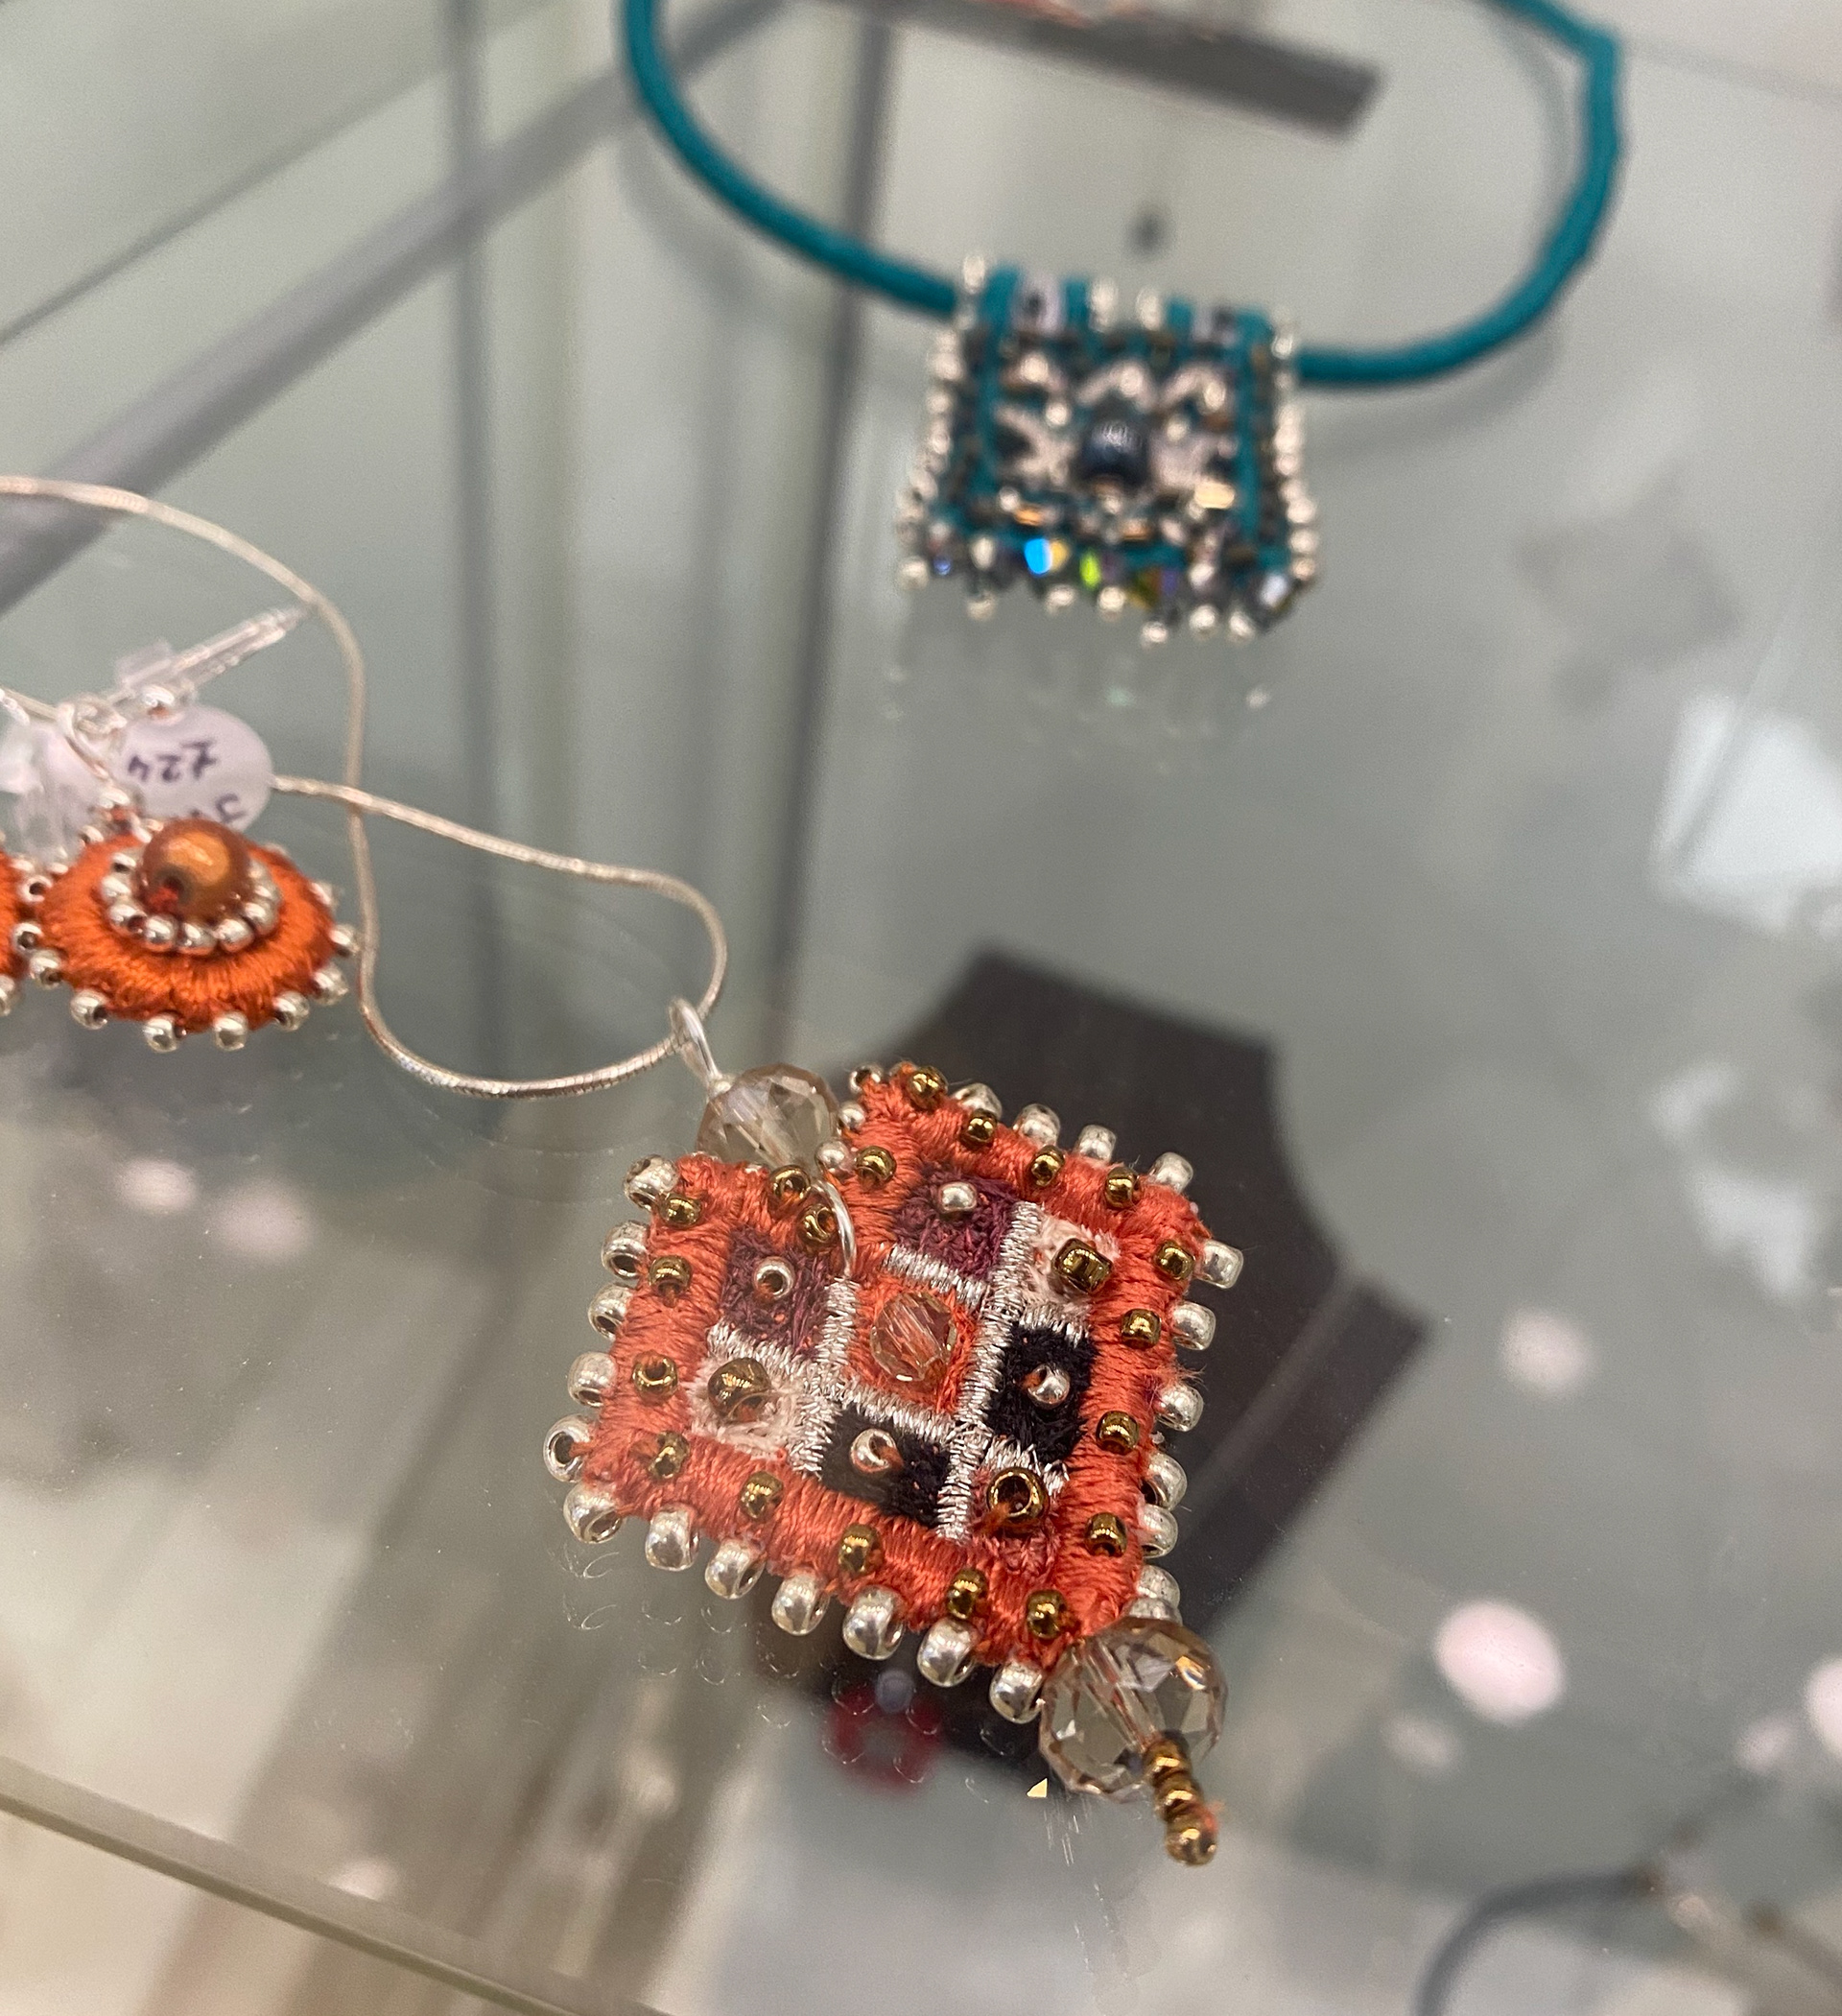
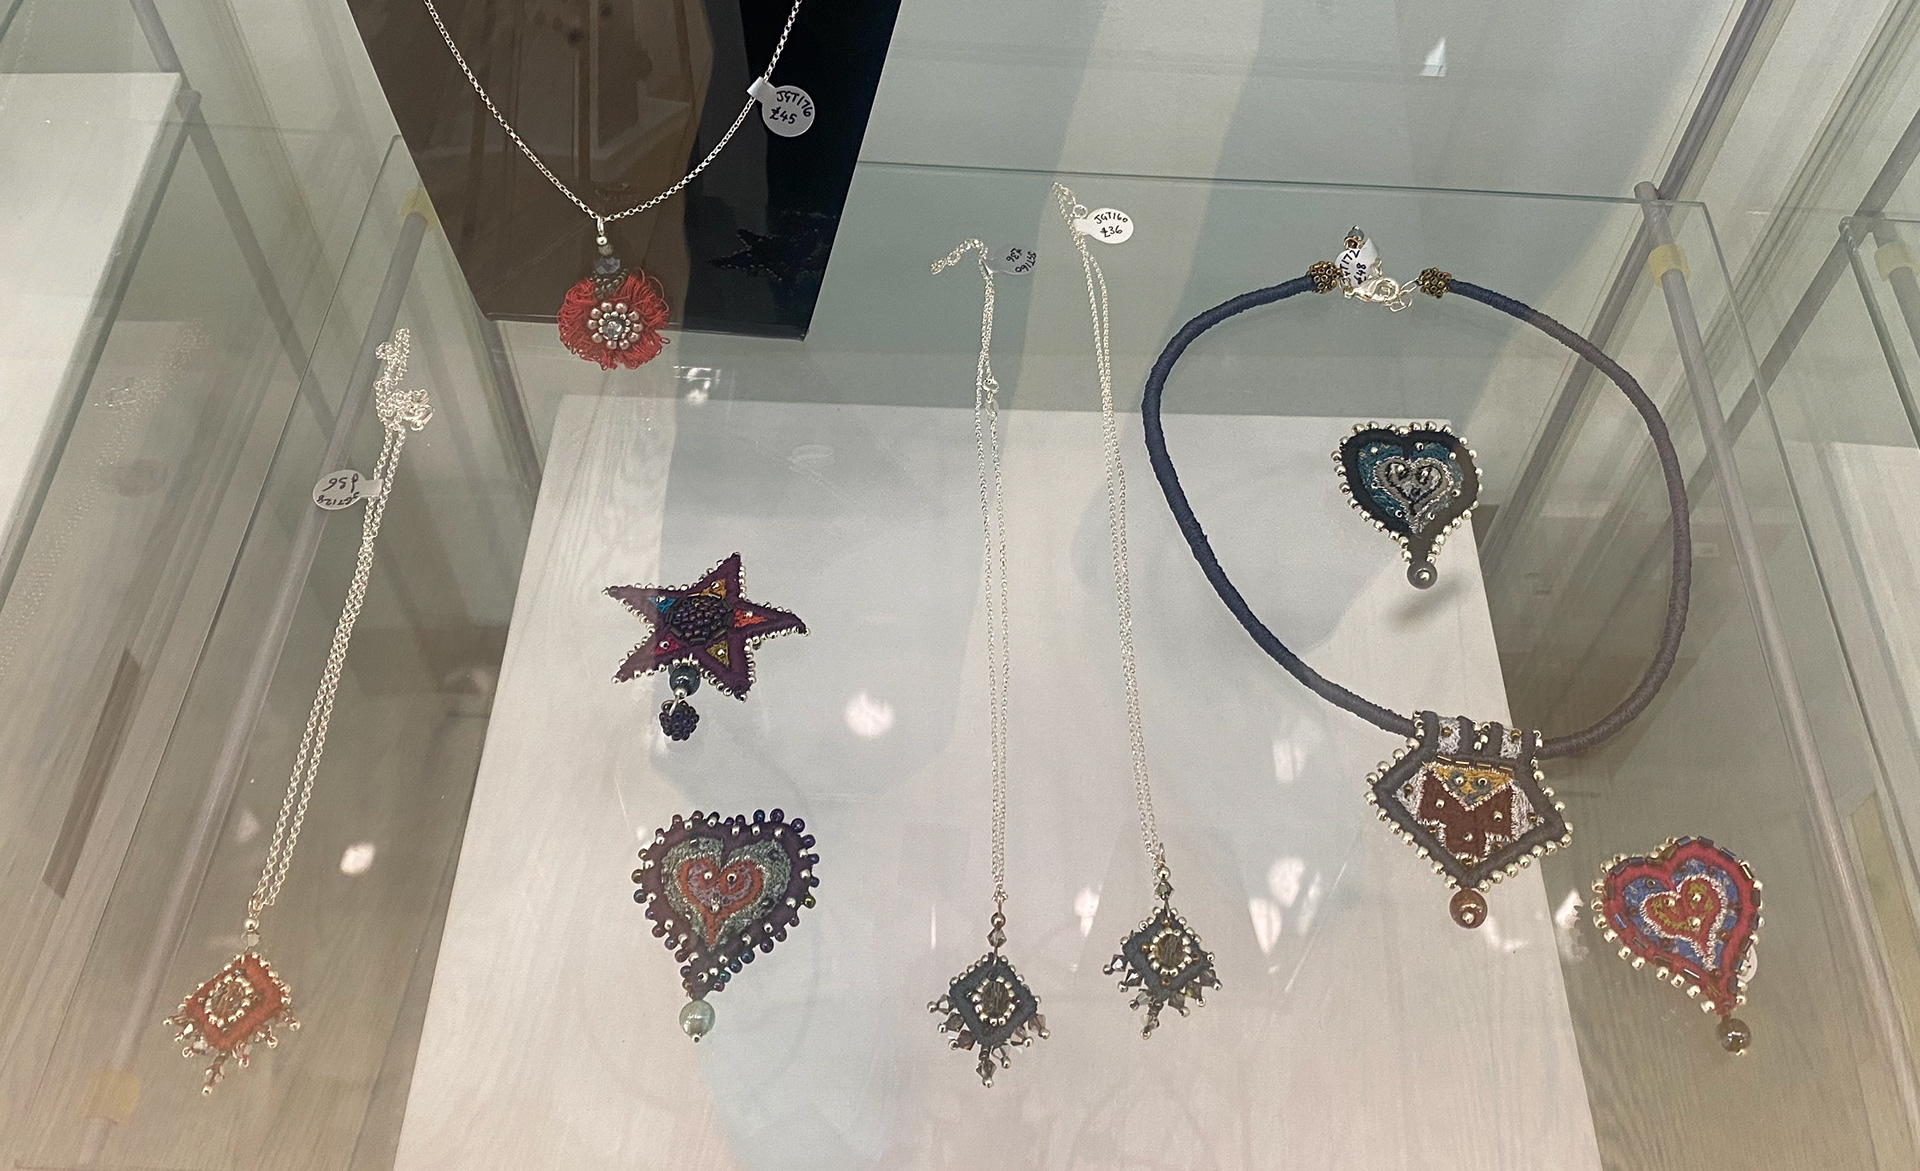

I came across Janices work in Belfast at the Craft NI Gallery when i recently visited the city. I was drawn to her work when I first saw it. The colours and patterns caught my eye and appealed to me. I could tell there are influences from Indian and Middle Eastern countries from initially looking at it due to the patterns. This was automatically relatable to me. I like the attention to detail and hand crafts used, it makes it feel authentic and cultured.
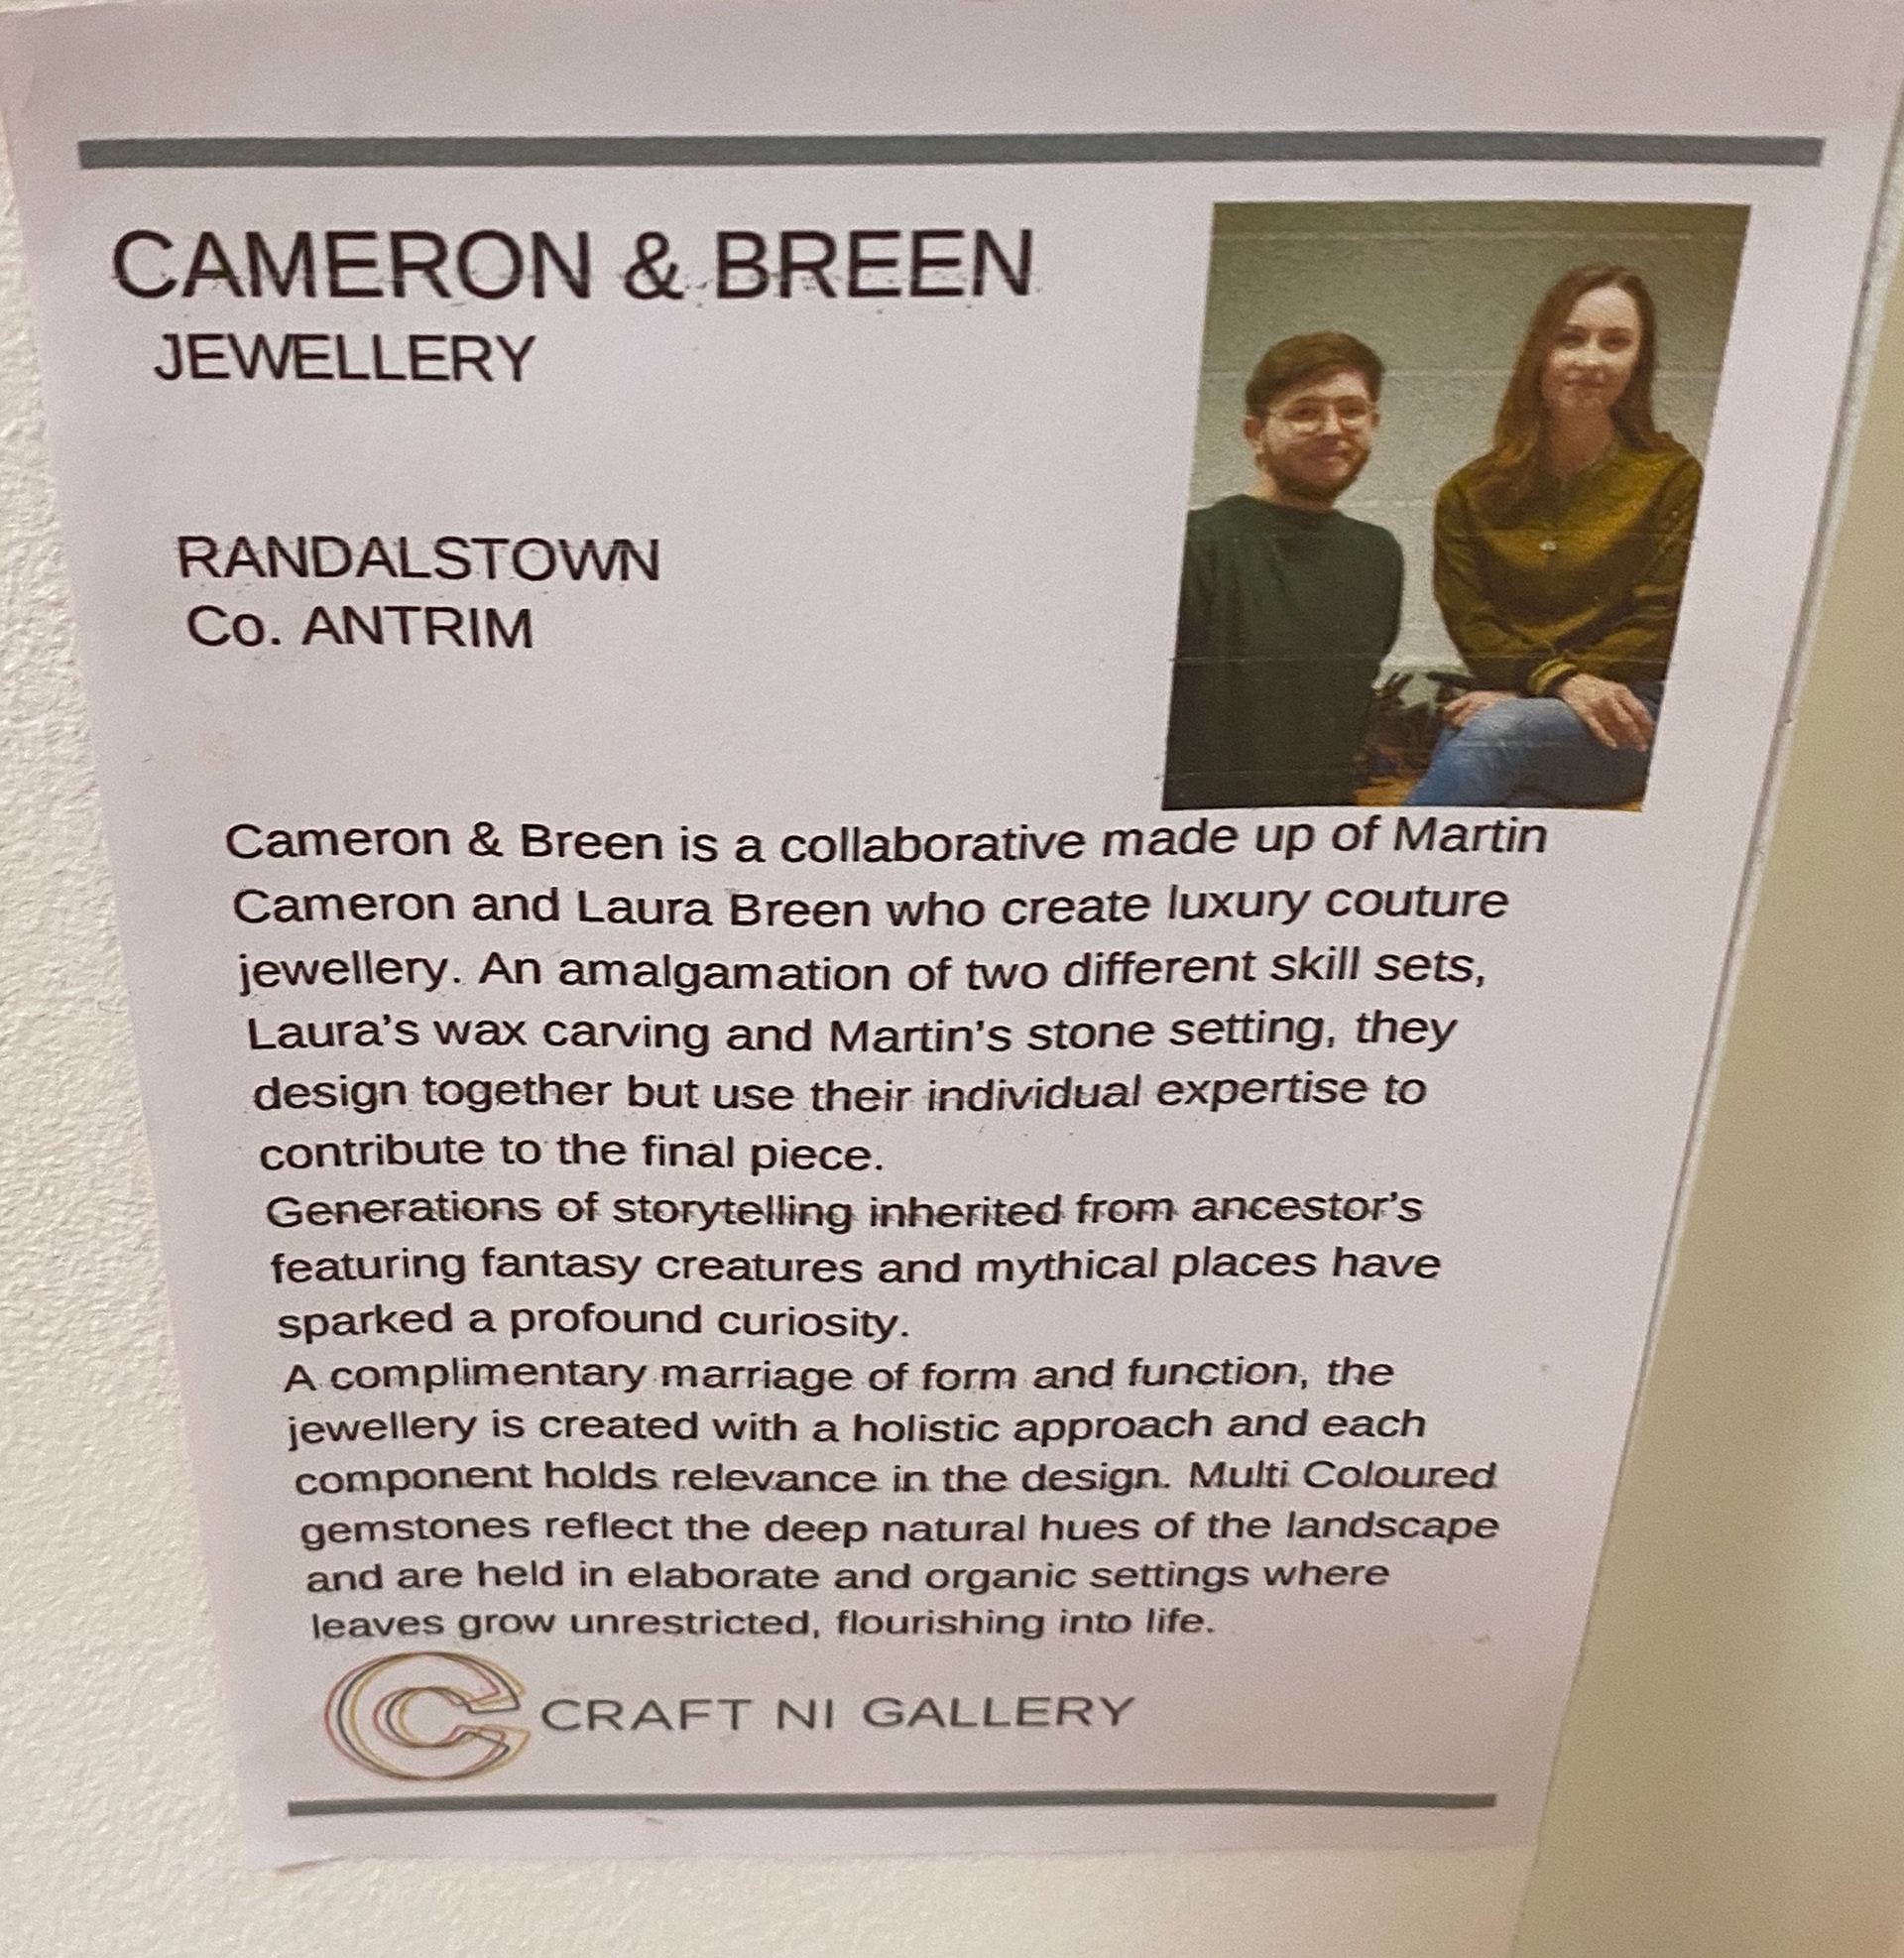
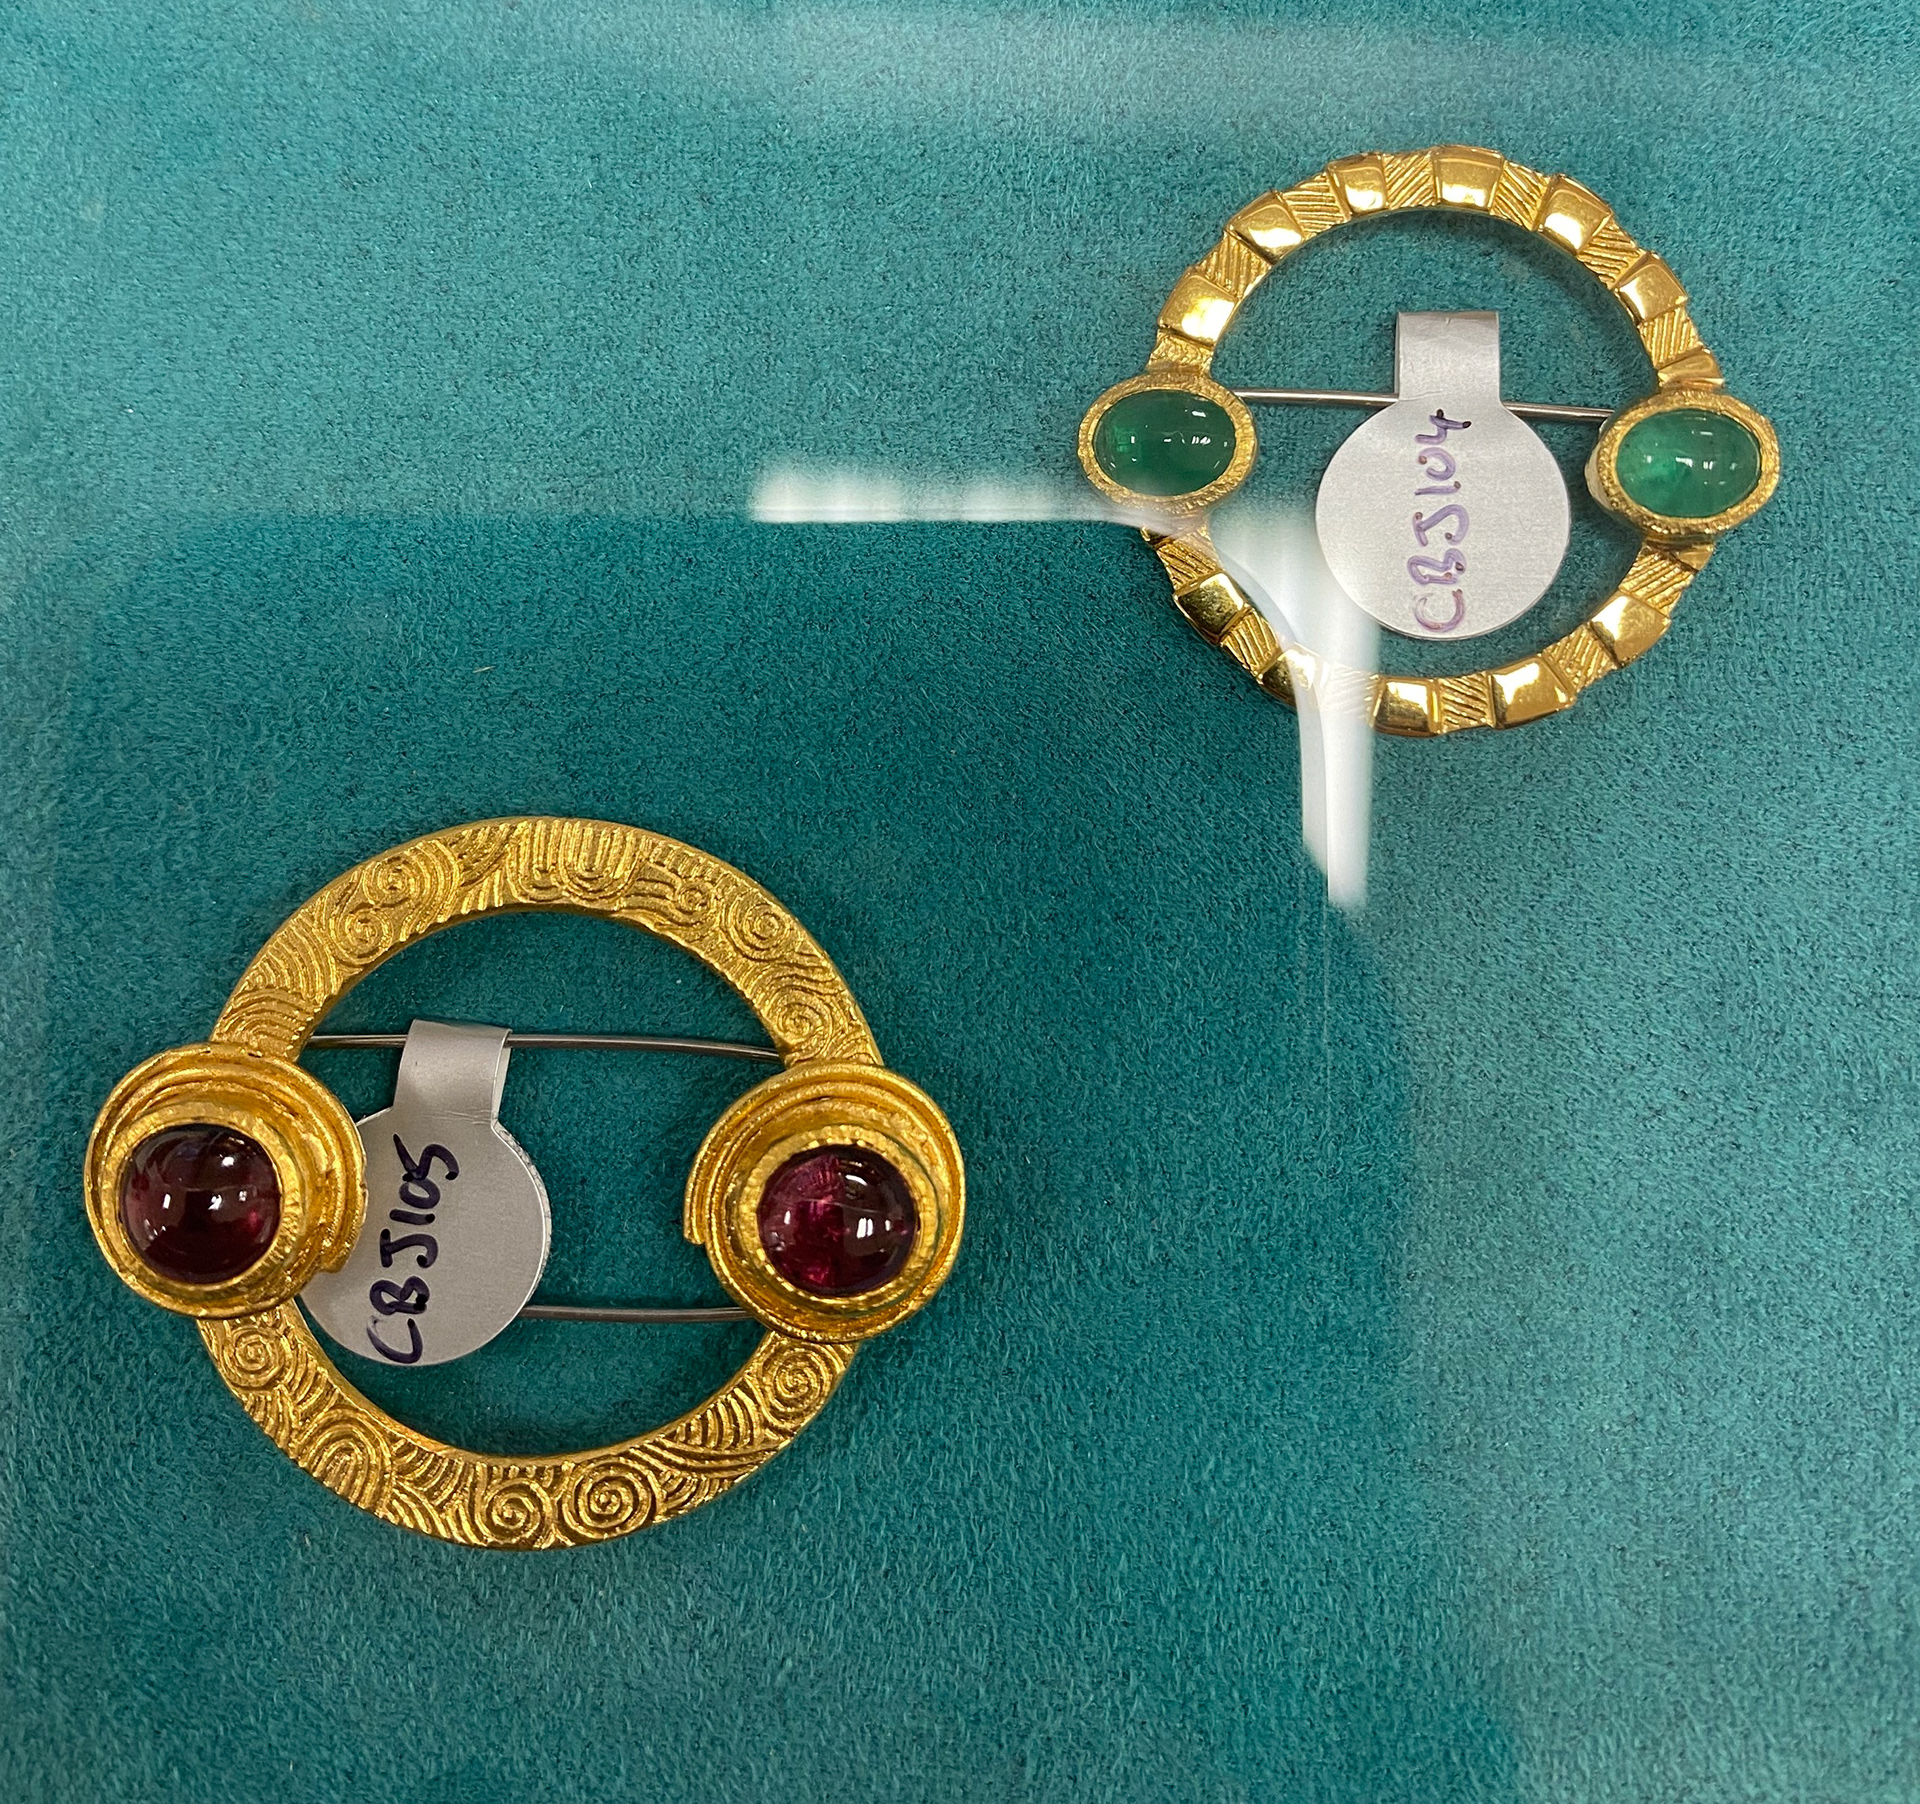
Cameron & Breen
Martin Cameron and Laura Breen are the designers and makers behind the duo Cameron and Breen. They met whilst both studying jewellery and silver smithing at Ulster University. A while after finishing there degree, they decided to join forces and make jewellery together. Cameron has always taken a interest in Illustration whilst Breen has a interest in Archeology and making, which combined leads to the jewellery that they make today. Cameron also went on to complete a Goldsmiths course at The Goldsmith's Centre in London.
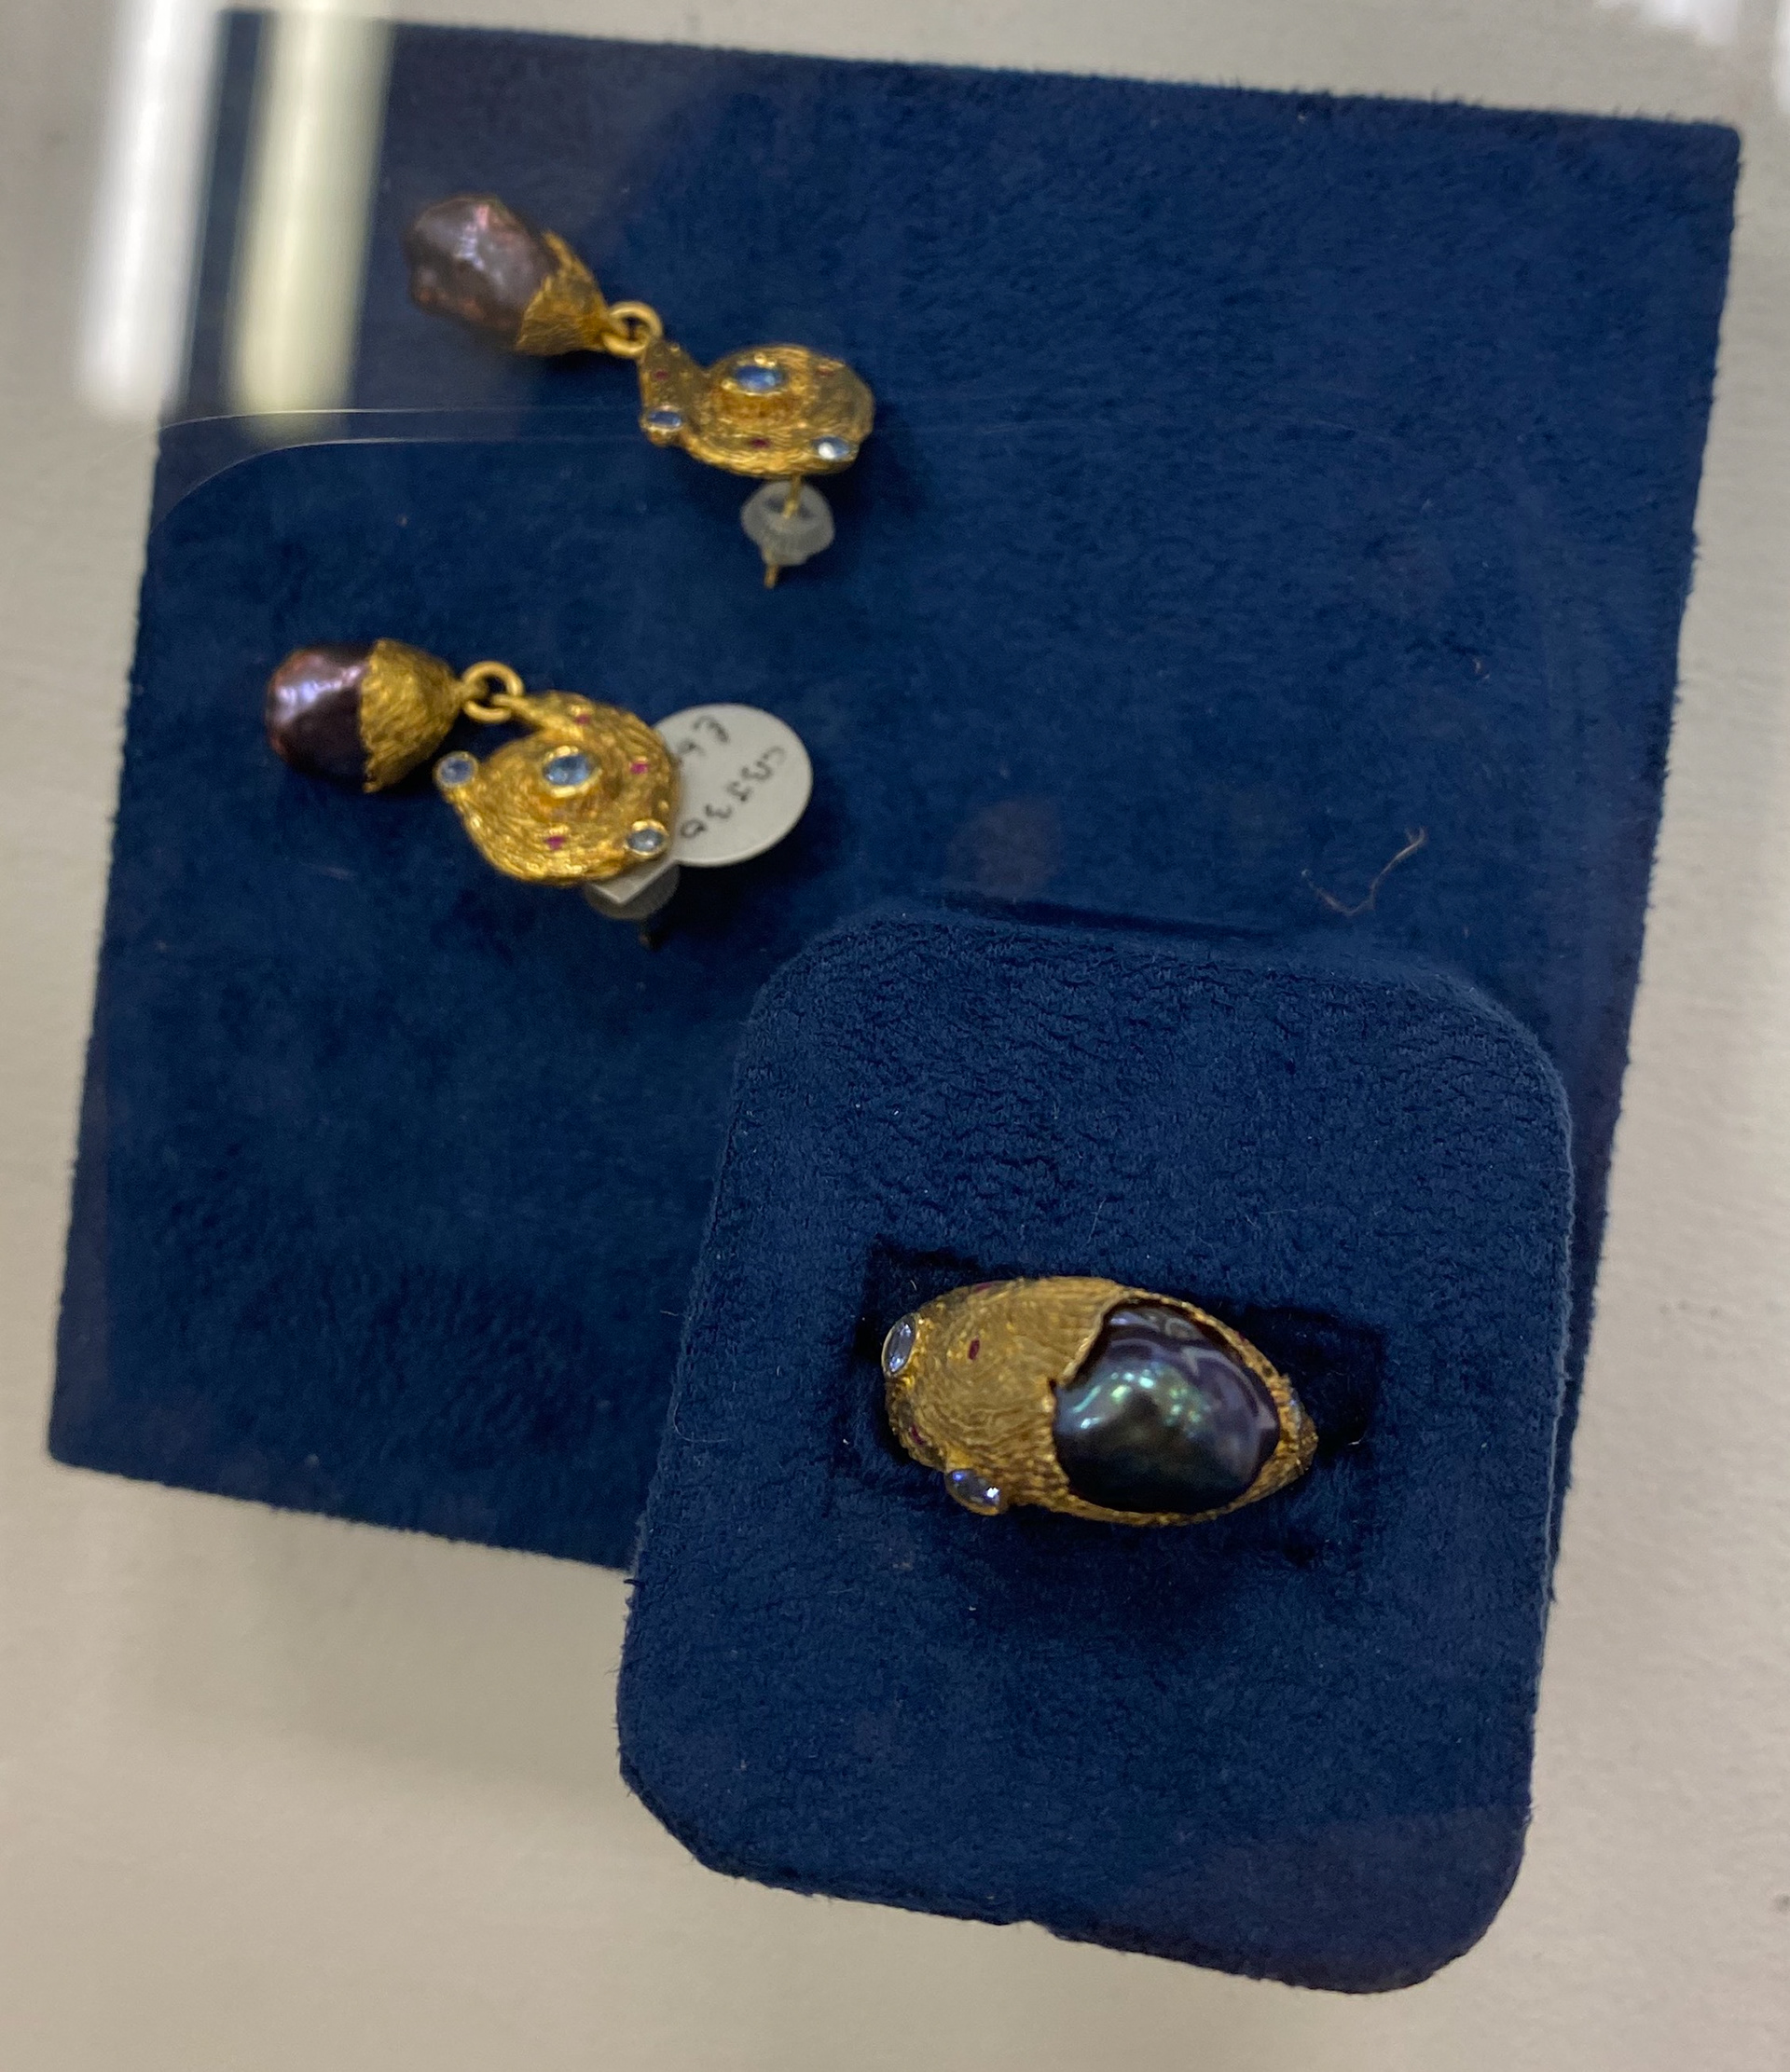
There work is inspired by visits from museums and they took a particular interest in Rock Crystal. These crystal's were used in ancient jewellery making often as looking glass. Other inspiration is hand engraved pattern's such as a traditional ancient symbol like the spiral. The spiral is intact one of the most ancient symbols there is. When visiting the museum's, the gold jewellery heavily influenced there forms and material choices.
Various techniques are used in Cameron and Breen's work including, hand engraving, cast waxing and stone setting.
I also first spotted this duos work at the Craft NI Gallery in Belfast. Their jewellery caught my eye because of the use of colour mixed with materials such as Gold. I also like how the pieces are not perfectly uniformed and precise. They have texture and life to them which I believe reflects from the inspiration they use to create their jewellery.
I am also drawn to the use of Rock Crystal in their pieces, I have never heard of this before and would like to use it in my own work one day as I like that you can see whats underneath, such as engraving/motifs. I believe this is another element that adds a story to their work.
Misun Won
Originally born in South Korea, Misun Won now lives and works in Edinburgh. She first started her jewellery career in Korea, however moved to Scotland when she began her MA at Edinburgh College in 2006. After she graduated, she has gone on to having her work displayed across the UK and internationally. As well as this she has won numerous awards for her work.
Her piece ‘Circular Ovals Flower Brooch’ is widely known. The inspiration for her pieces comes from a traditional Korean patchwork technique named 'Jogakbo'. This technique is known to be used when making wrapping cloths, as well as the scientific interpretation it has of fractal geometry. She makes complex paper models of her designs before she cuts the designs out on Silver sheet using a piercing saw. She then goes on to folding the pattern into shape and soldering. Gold and precious stones are also used. Another technique Misun is familiar with and specialises in is a ancient Korean gilding technique called 'Keumboo' which is done in 24ct Gold. Her work is so unique and well made to a immaculate quality that people presume it has been cut by a machines rather than by hand.
Paper models by Misun
Misun’s work resonates with me because of the intricate, delicate and complex detail involved, as well as the rhythmical structure. Her work has inspired me since I first came across her work in first year. The geometric shapes and patterns is also something that appeals to me because throughout my life I they are something I have been drawn to. The attention to detail is inspiring as well as the use of traditional techniques with modern pieces.
Banafsheh Hemmati
Banafsheh is a designer/artist who was born in Tehran the capital city of Iran. She has been involved in multiple practices over her 20 years of making. These include jewellery, sculpture and architecture. She has a masters in Industrial Design and a Phd in Philosophy of Art. Her work is based on traditional Iranian/Islamic geometry and motifs. Although she uses traditional pattern's for inspiration, she innovates this into contemporary forms. She is fascinated in combining art and geometry. Other inspiration includes Islamic architecture. As well as her career in designing, she is also a teacher at the university in Tehran, and the founder of her design studio in the city. She describes her work as her appropriating Islamic Geometry. She has a successful career, taken part in many exhibitions and won numerous awards. Some of these include, the Florence International Art and Design Award 2017, Winner of the 6th Fair International Festival in the field of jewellery in 2015 and the ‘A Design Award’, 2016. As well as this she has worked worked with Iran Craft Week and Tehran Jewellery Design Week amongst many other organisations.
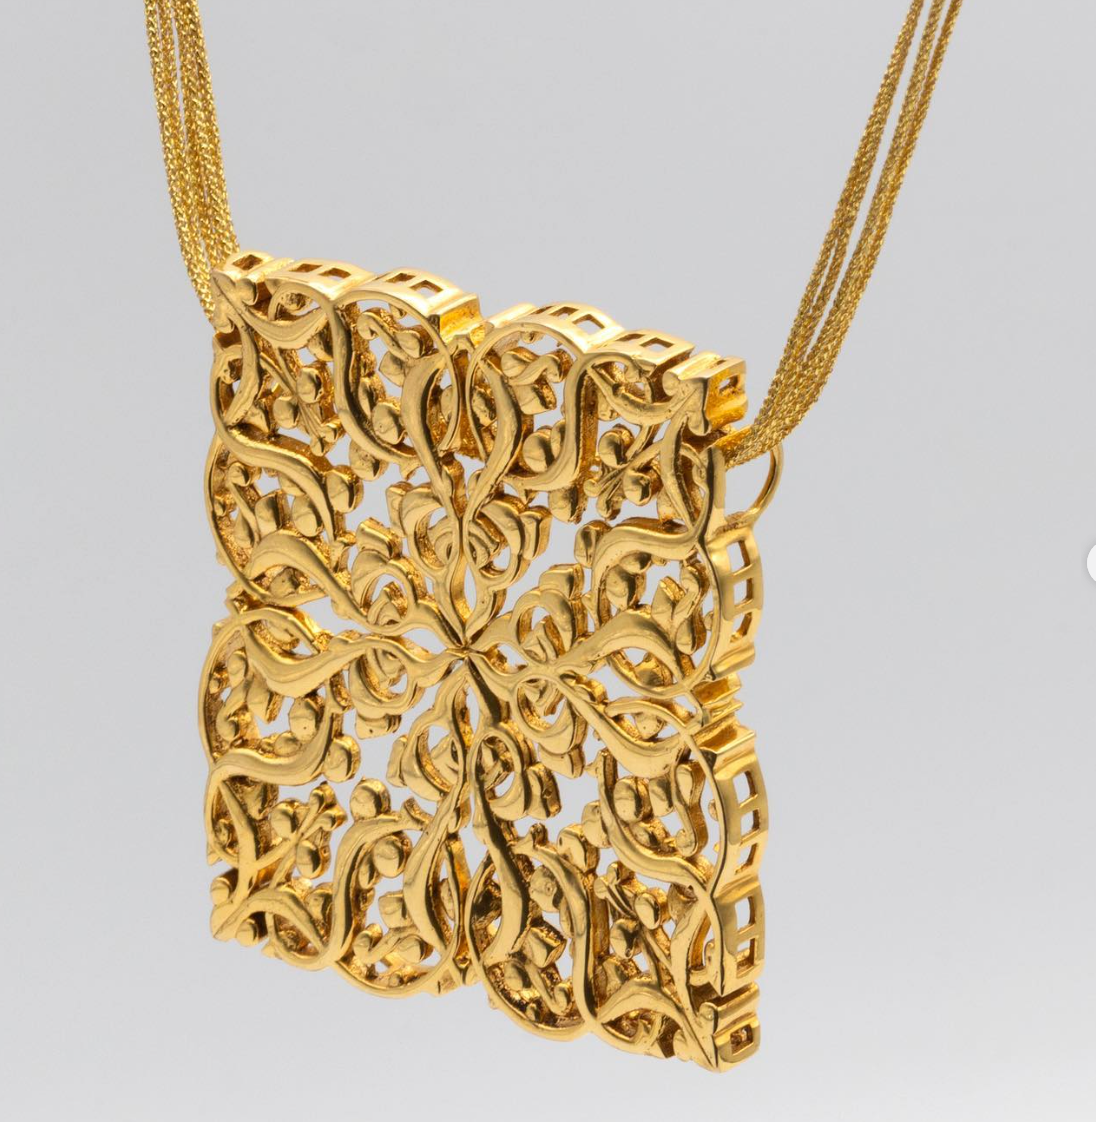
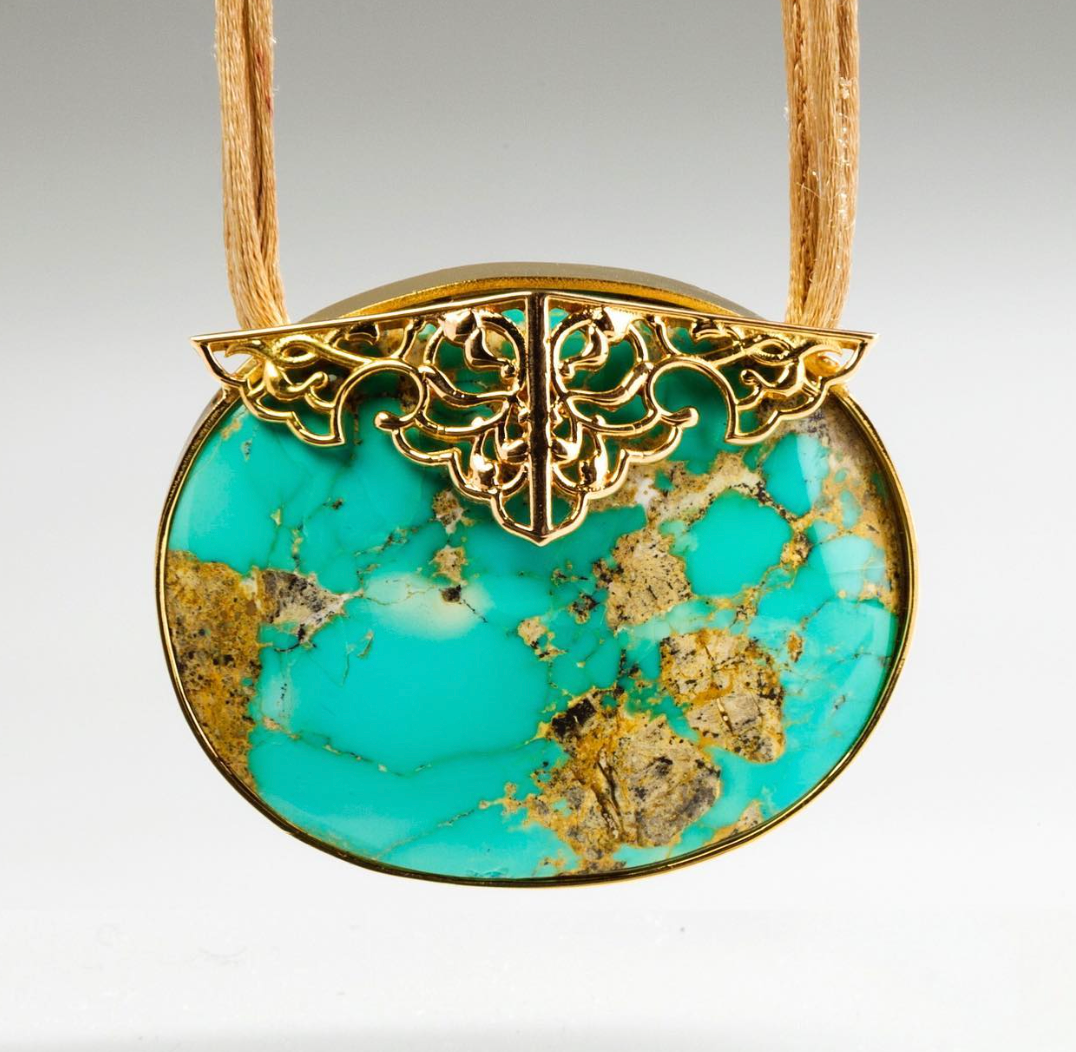
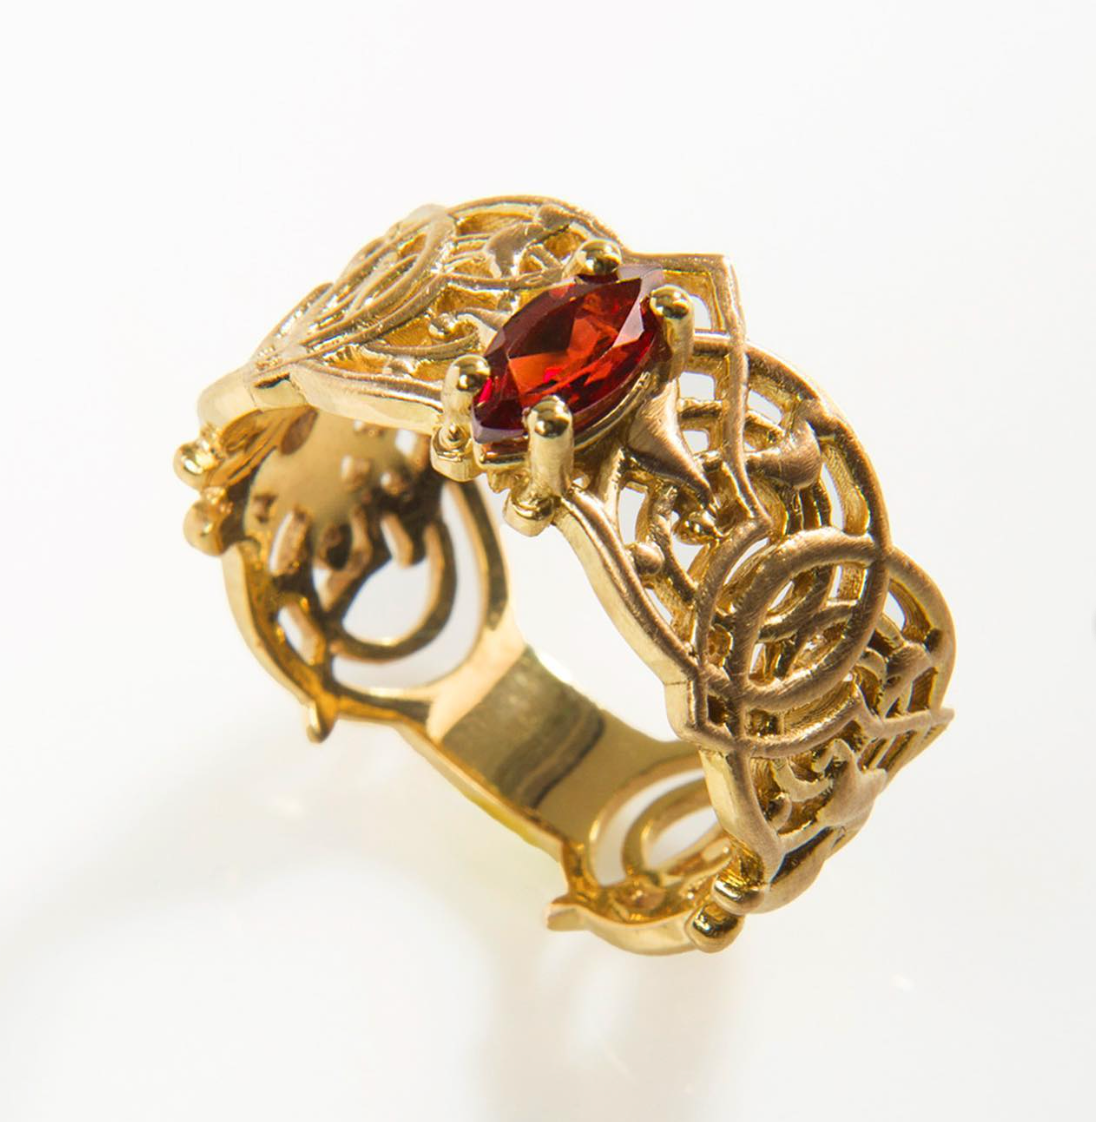
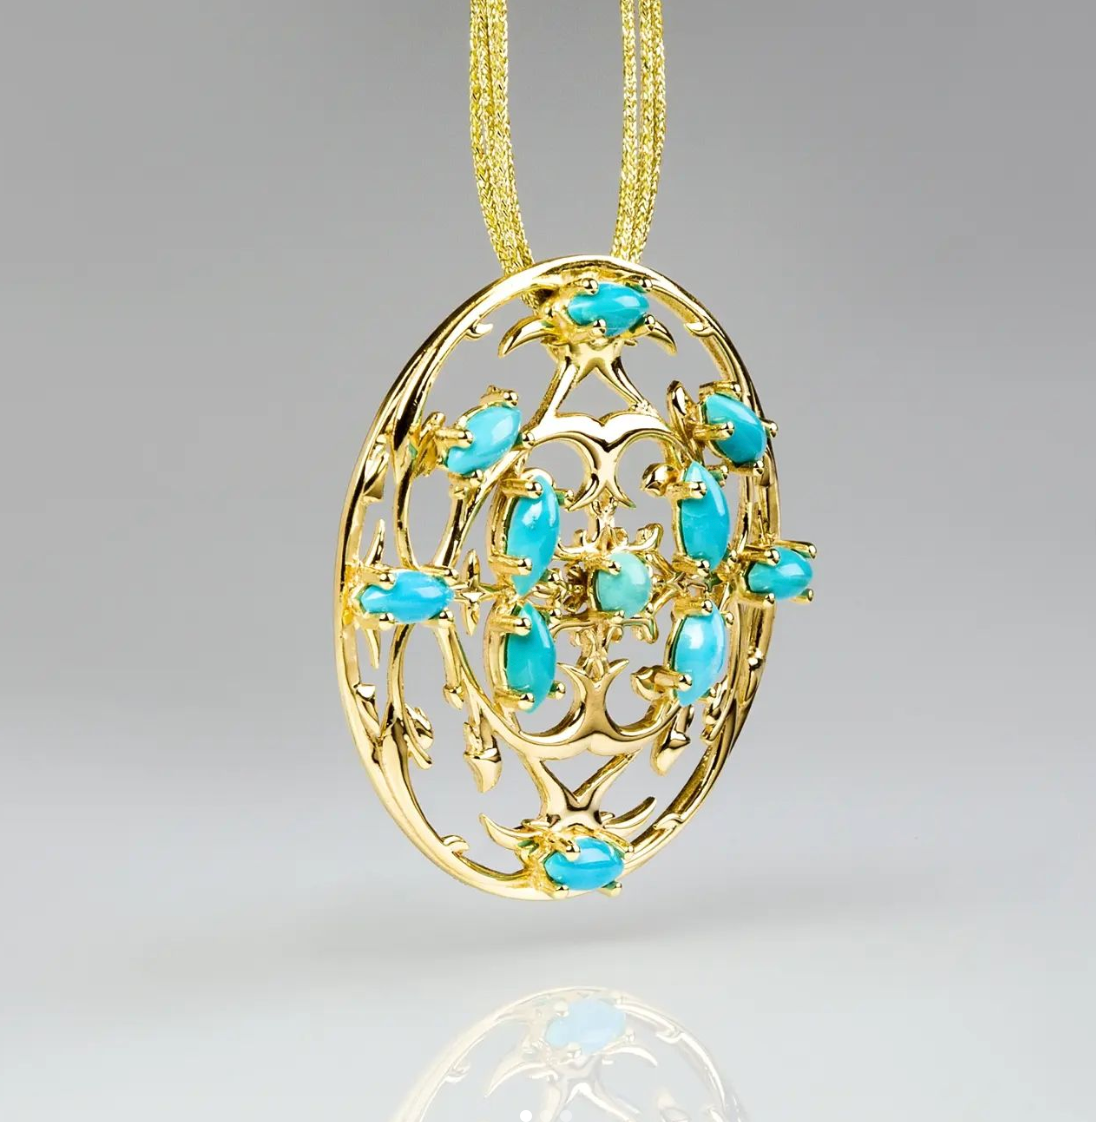
This work by Banafsheh I believe is beautiful and intricate. She explores geometric patterns and interprets them into her jewellery in a elegant manner. I like the use of traditional Persian colours such as the Turquoise used in some of the pieces above. I see my own work to have similarities to Banafsheh's pieces in the future. I struggled to find much information on her process, however I believe she uses 3D printing as a part of it. I am not sure if she 3D prints a mould to cast or 3D prints the pieces itself. This is something I could explore in the future, more so print to cast as I prefer a more hands on method to create my own work.
PrACTICING/developing TECHNIQUES
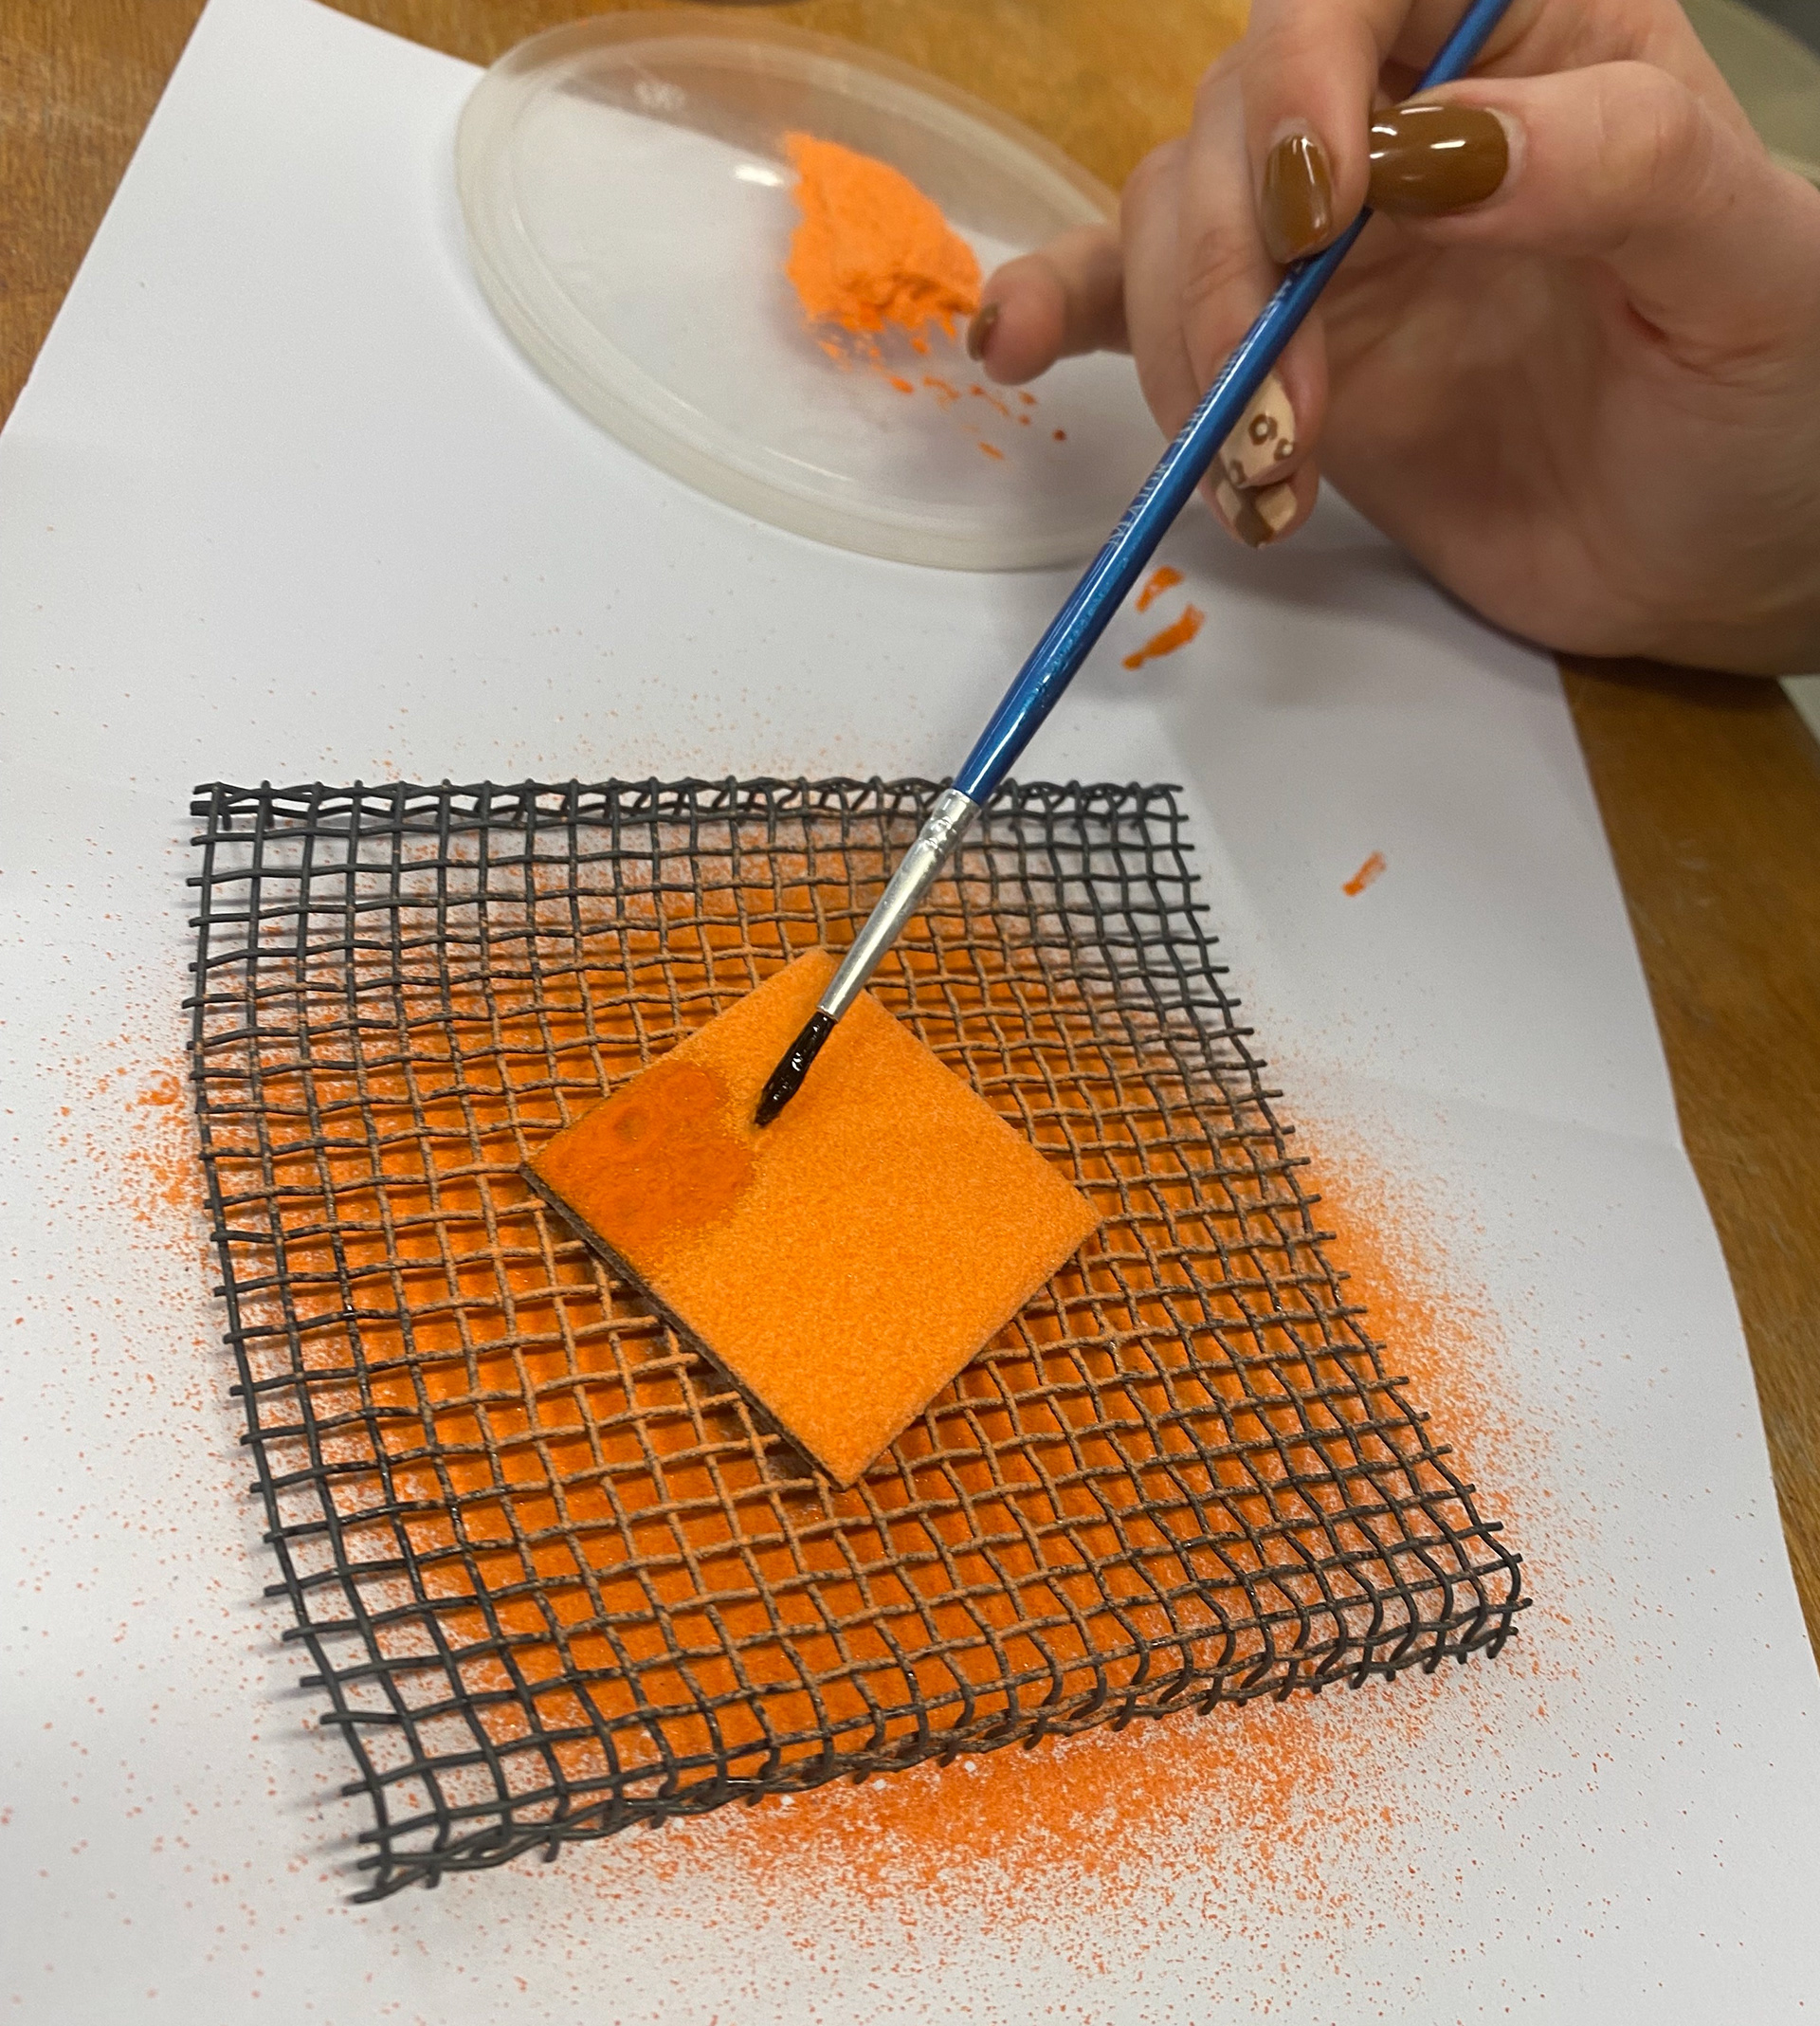
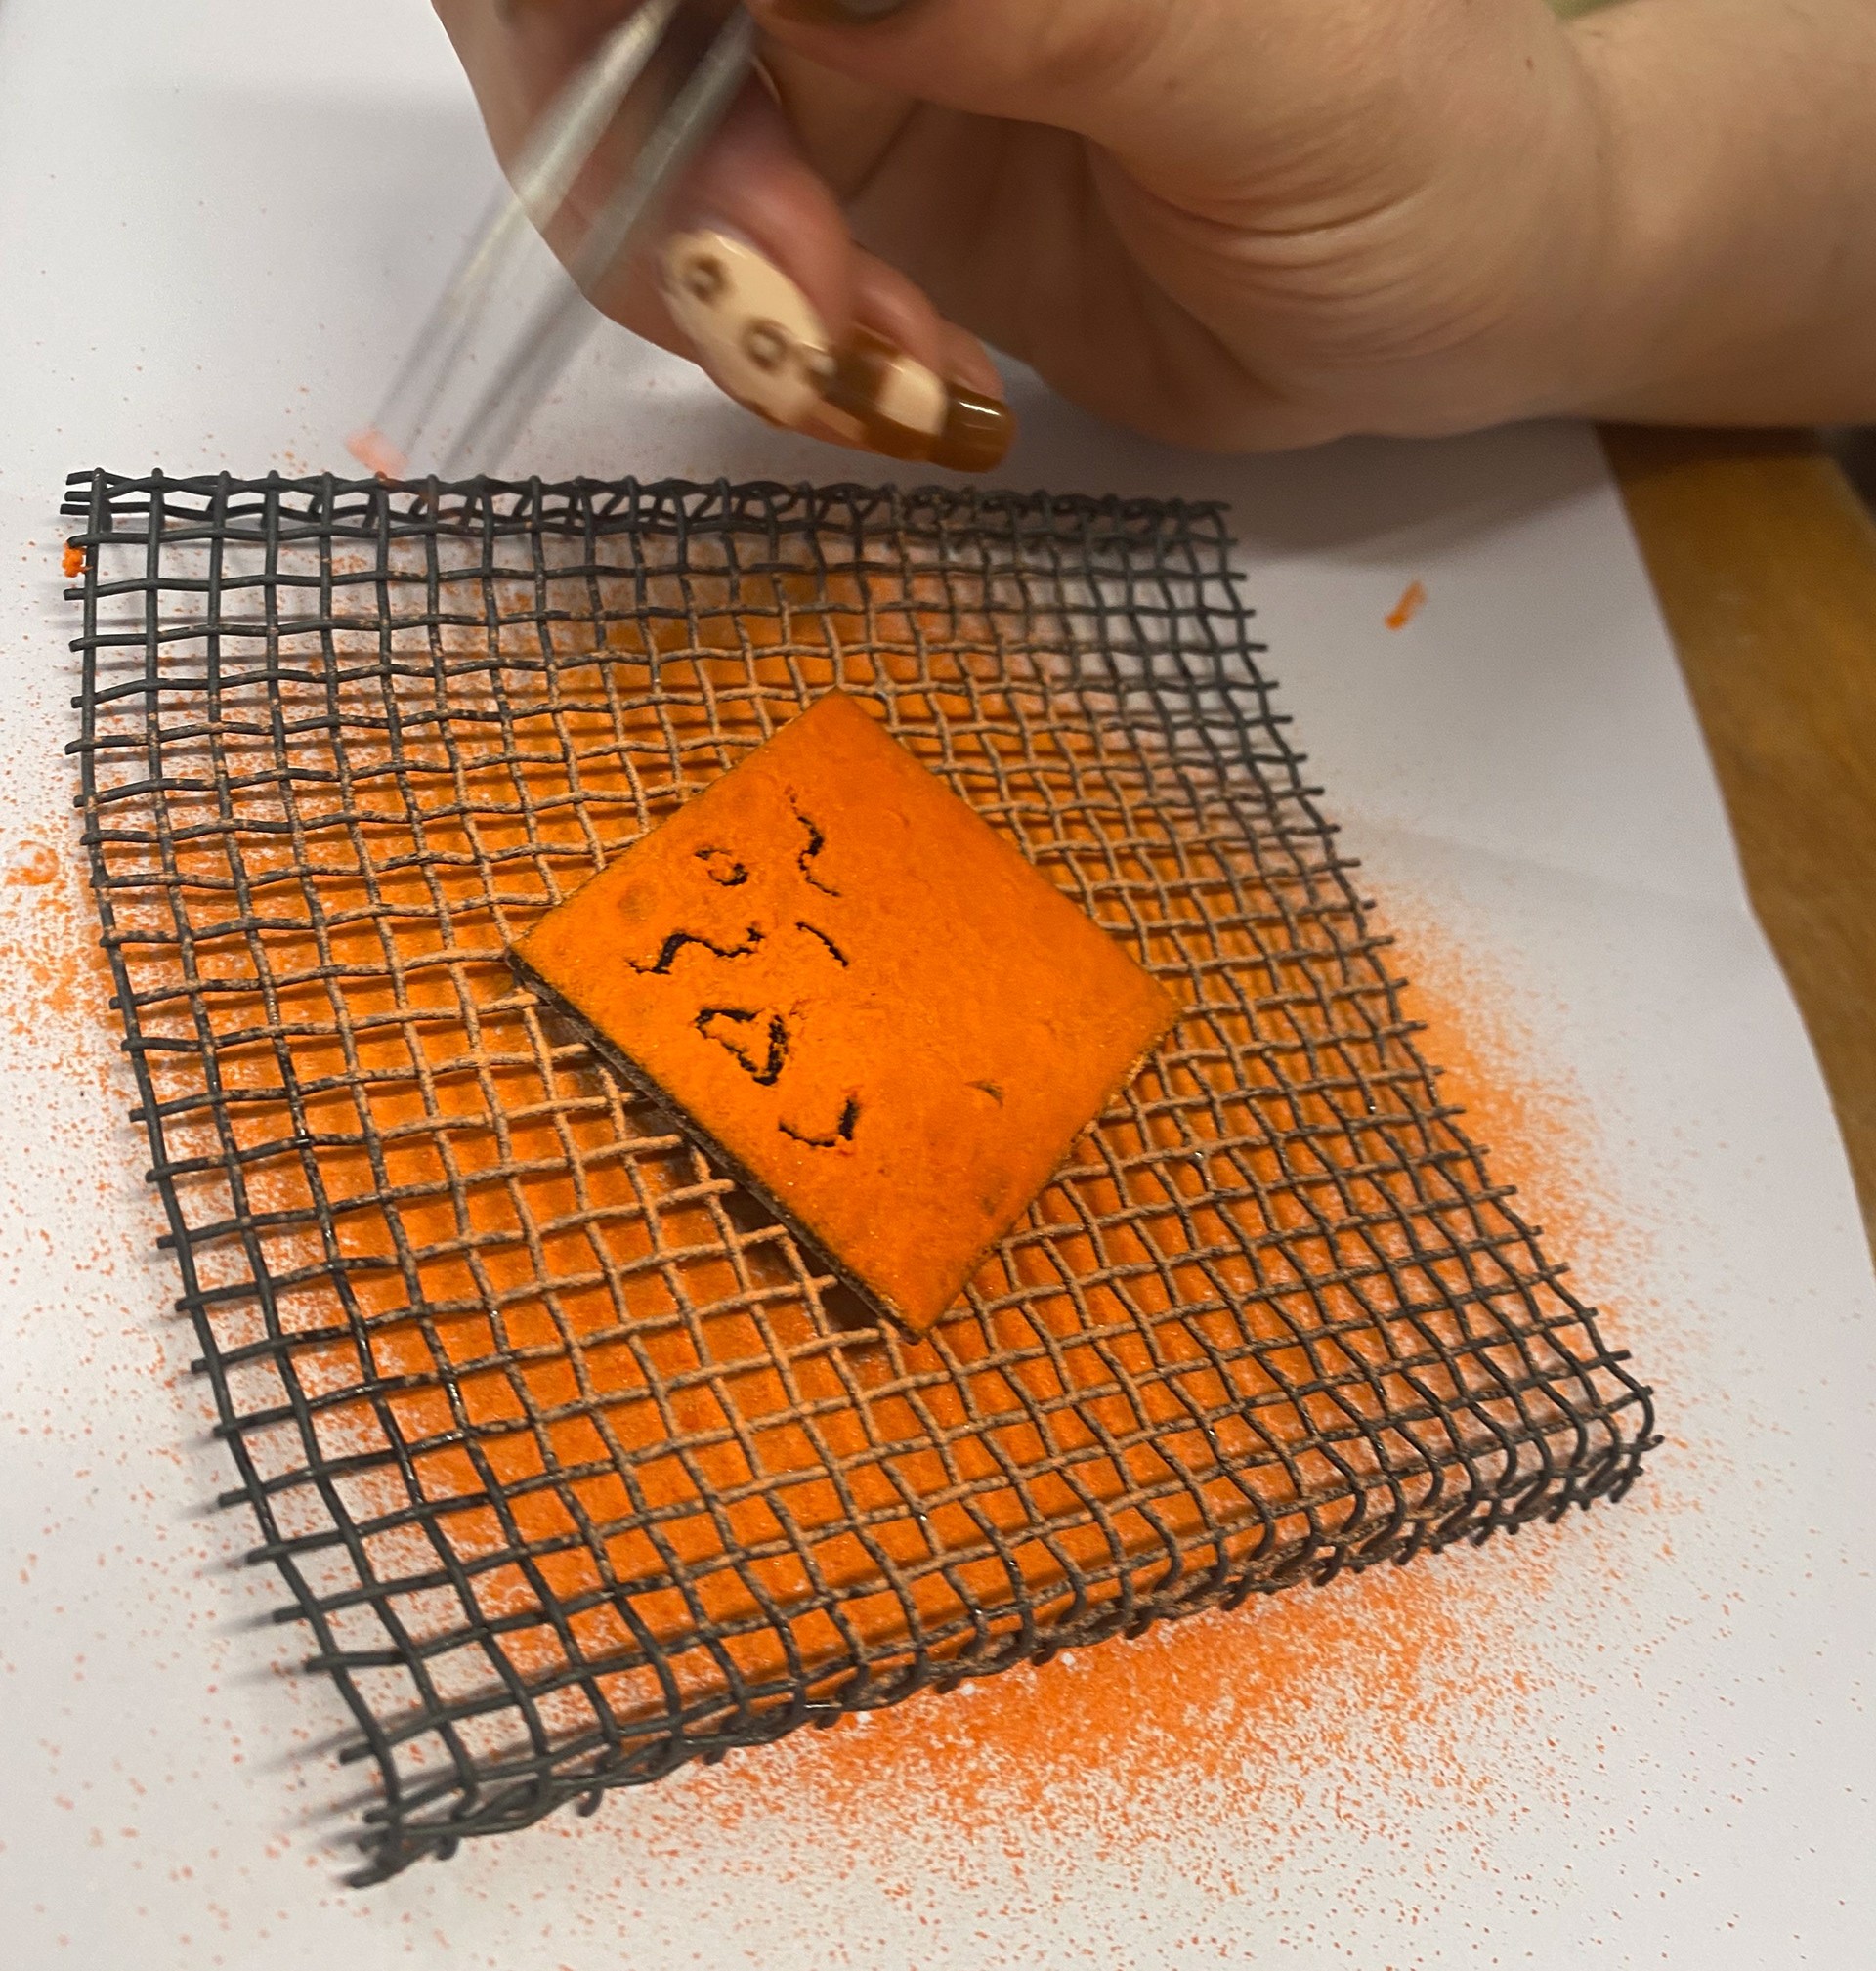
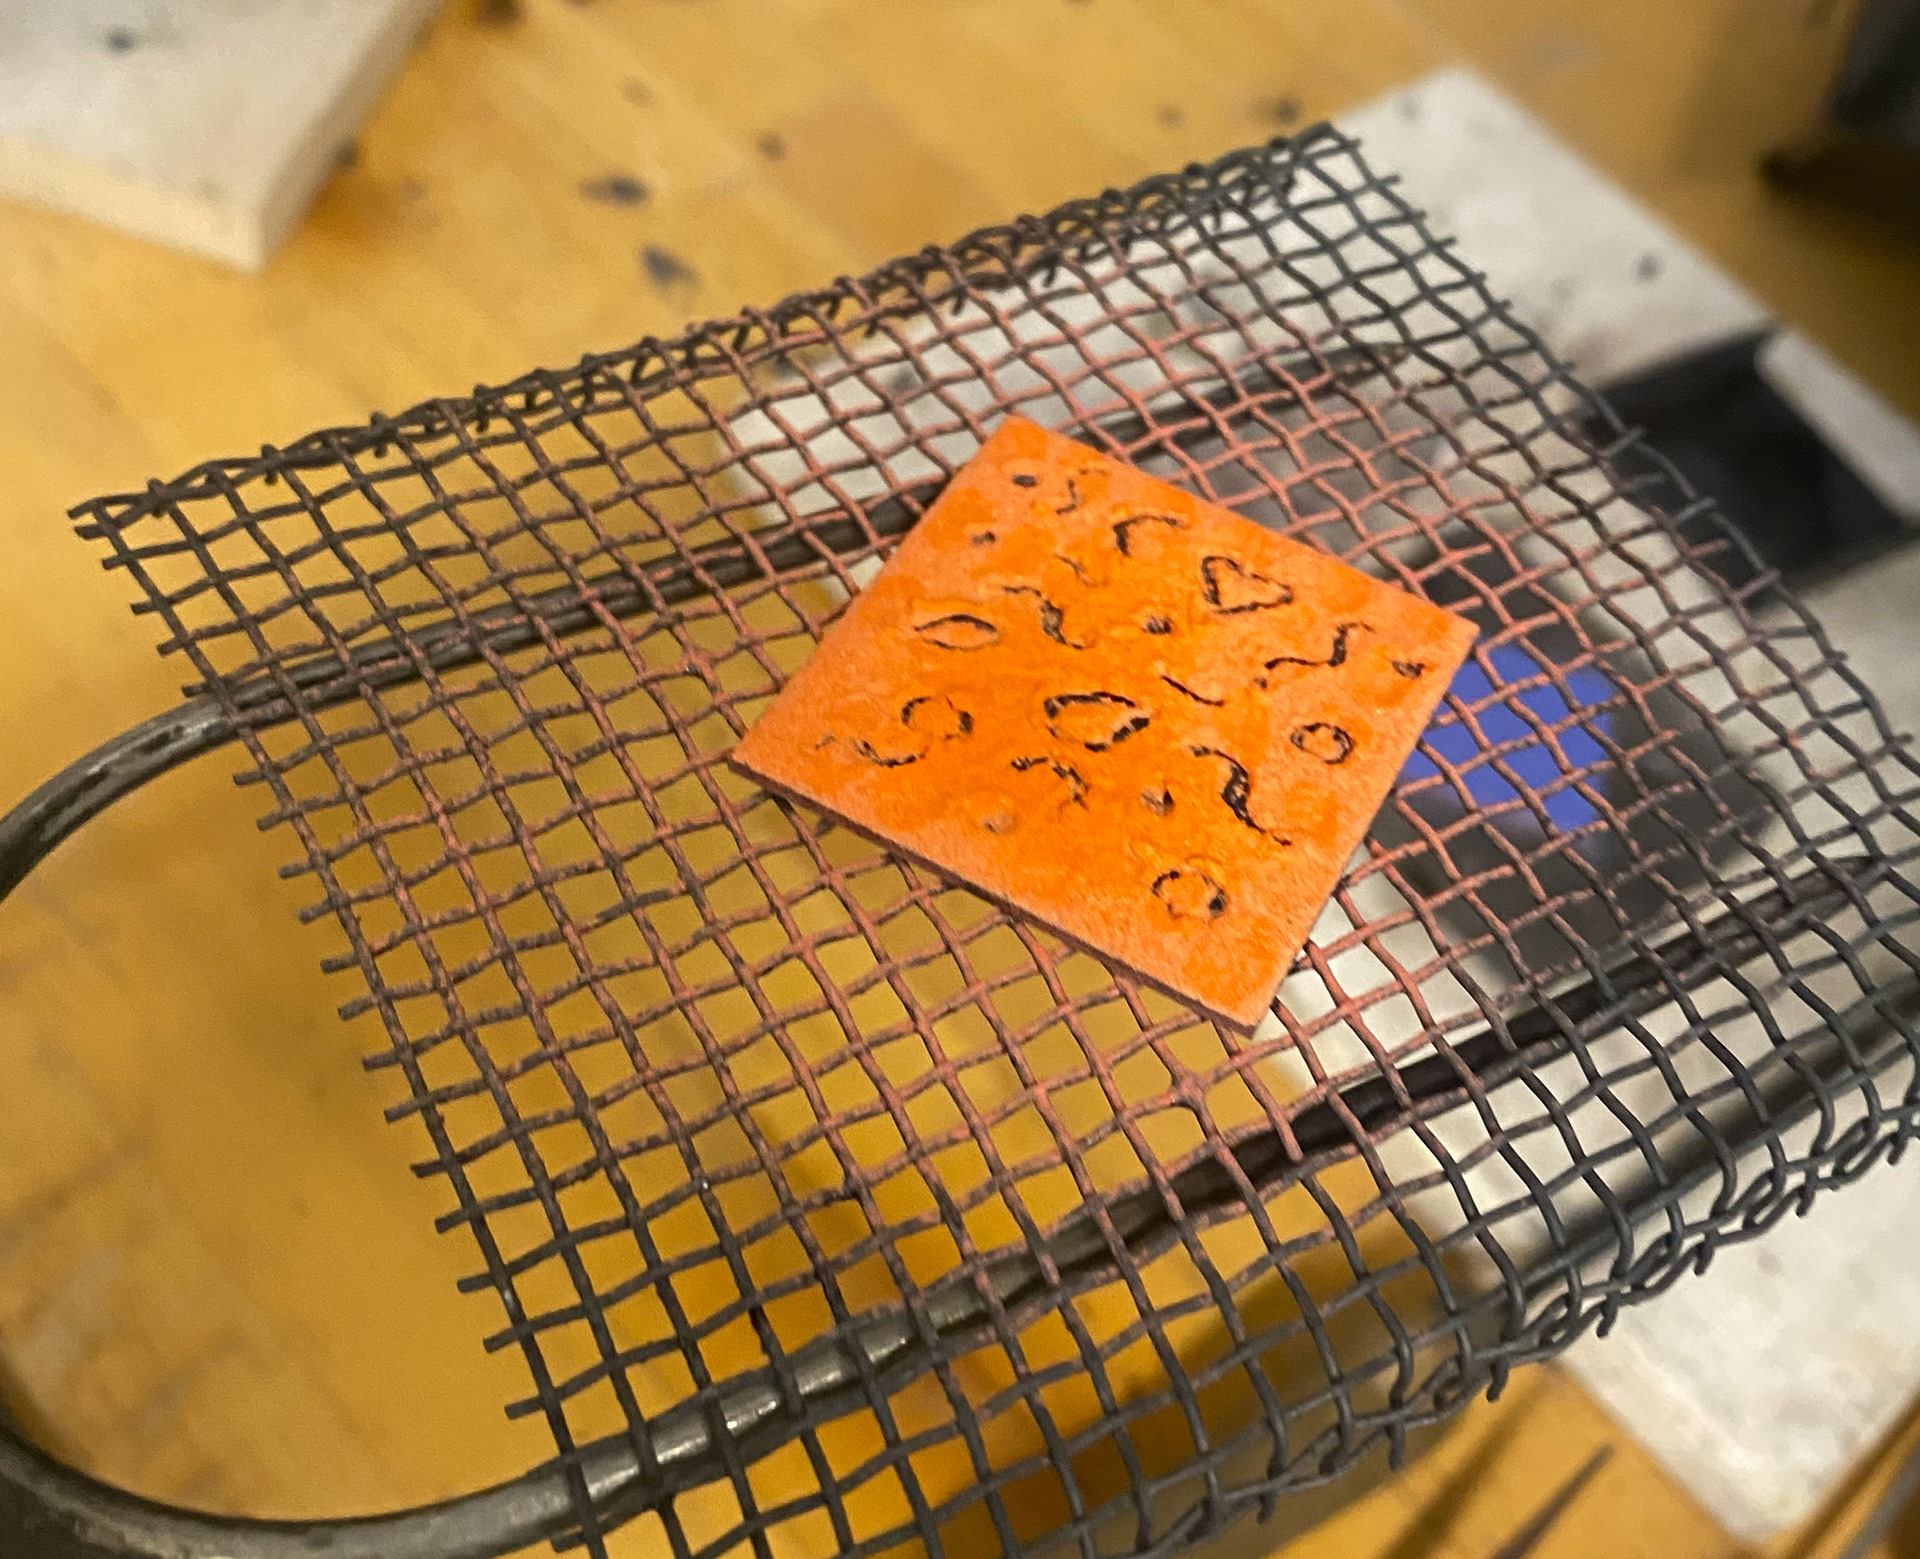
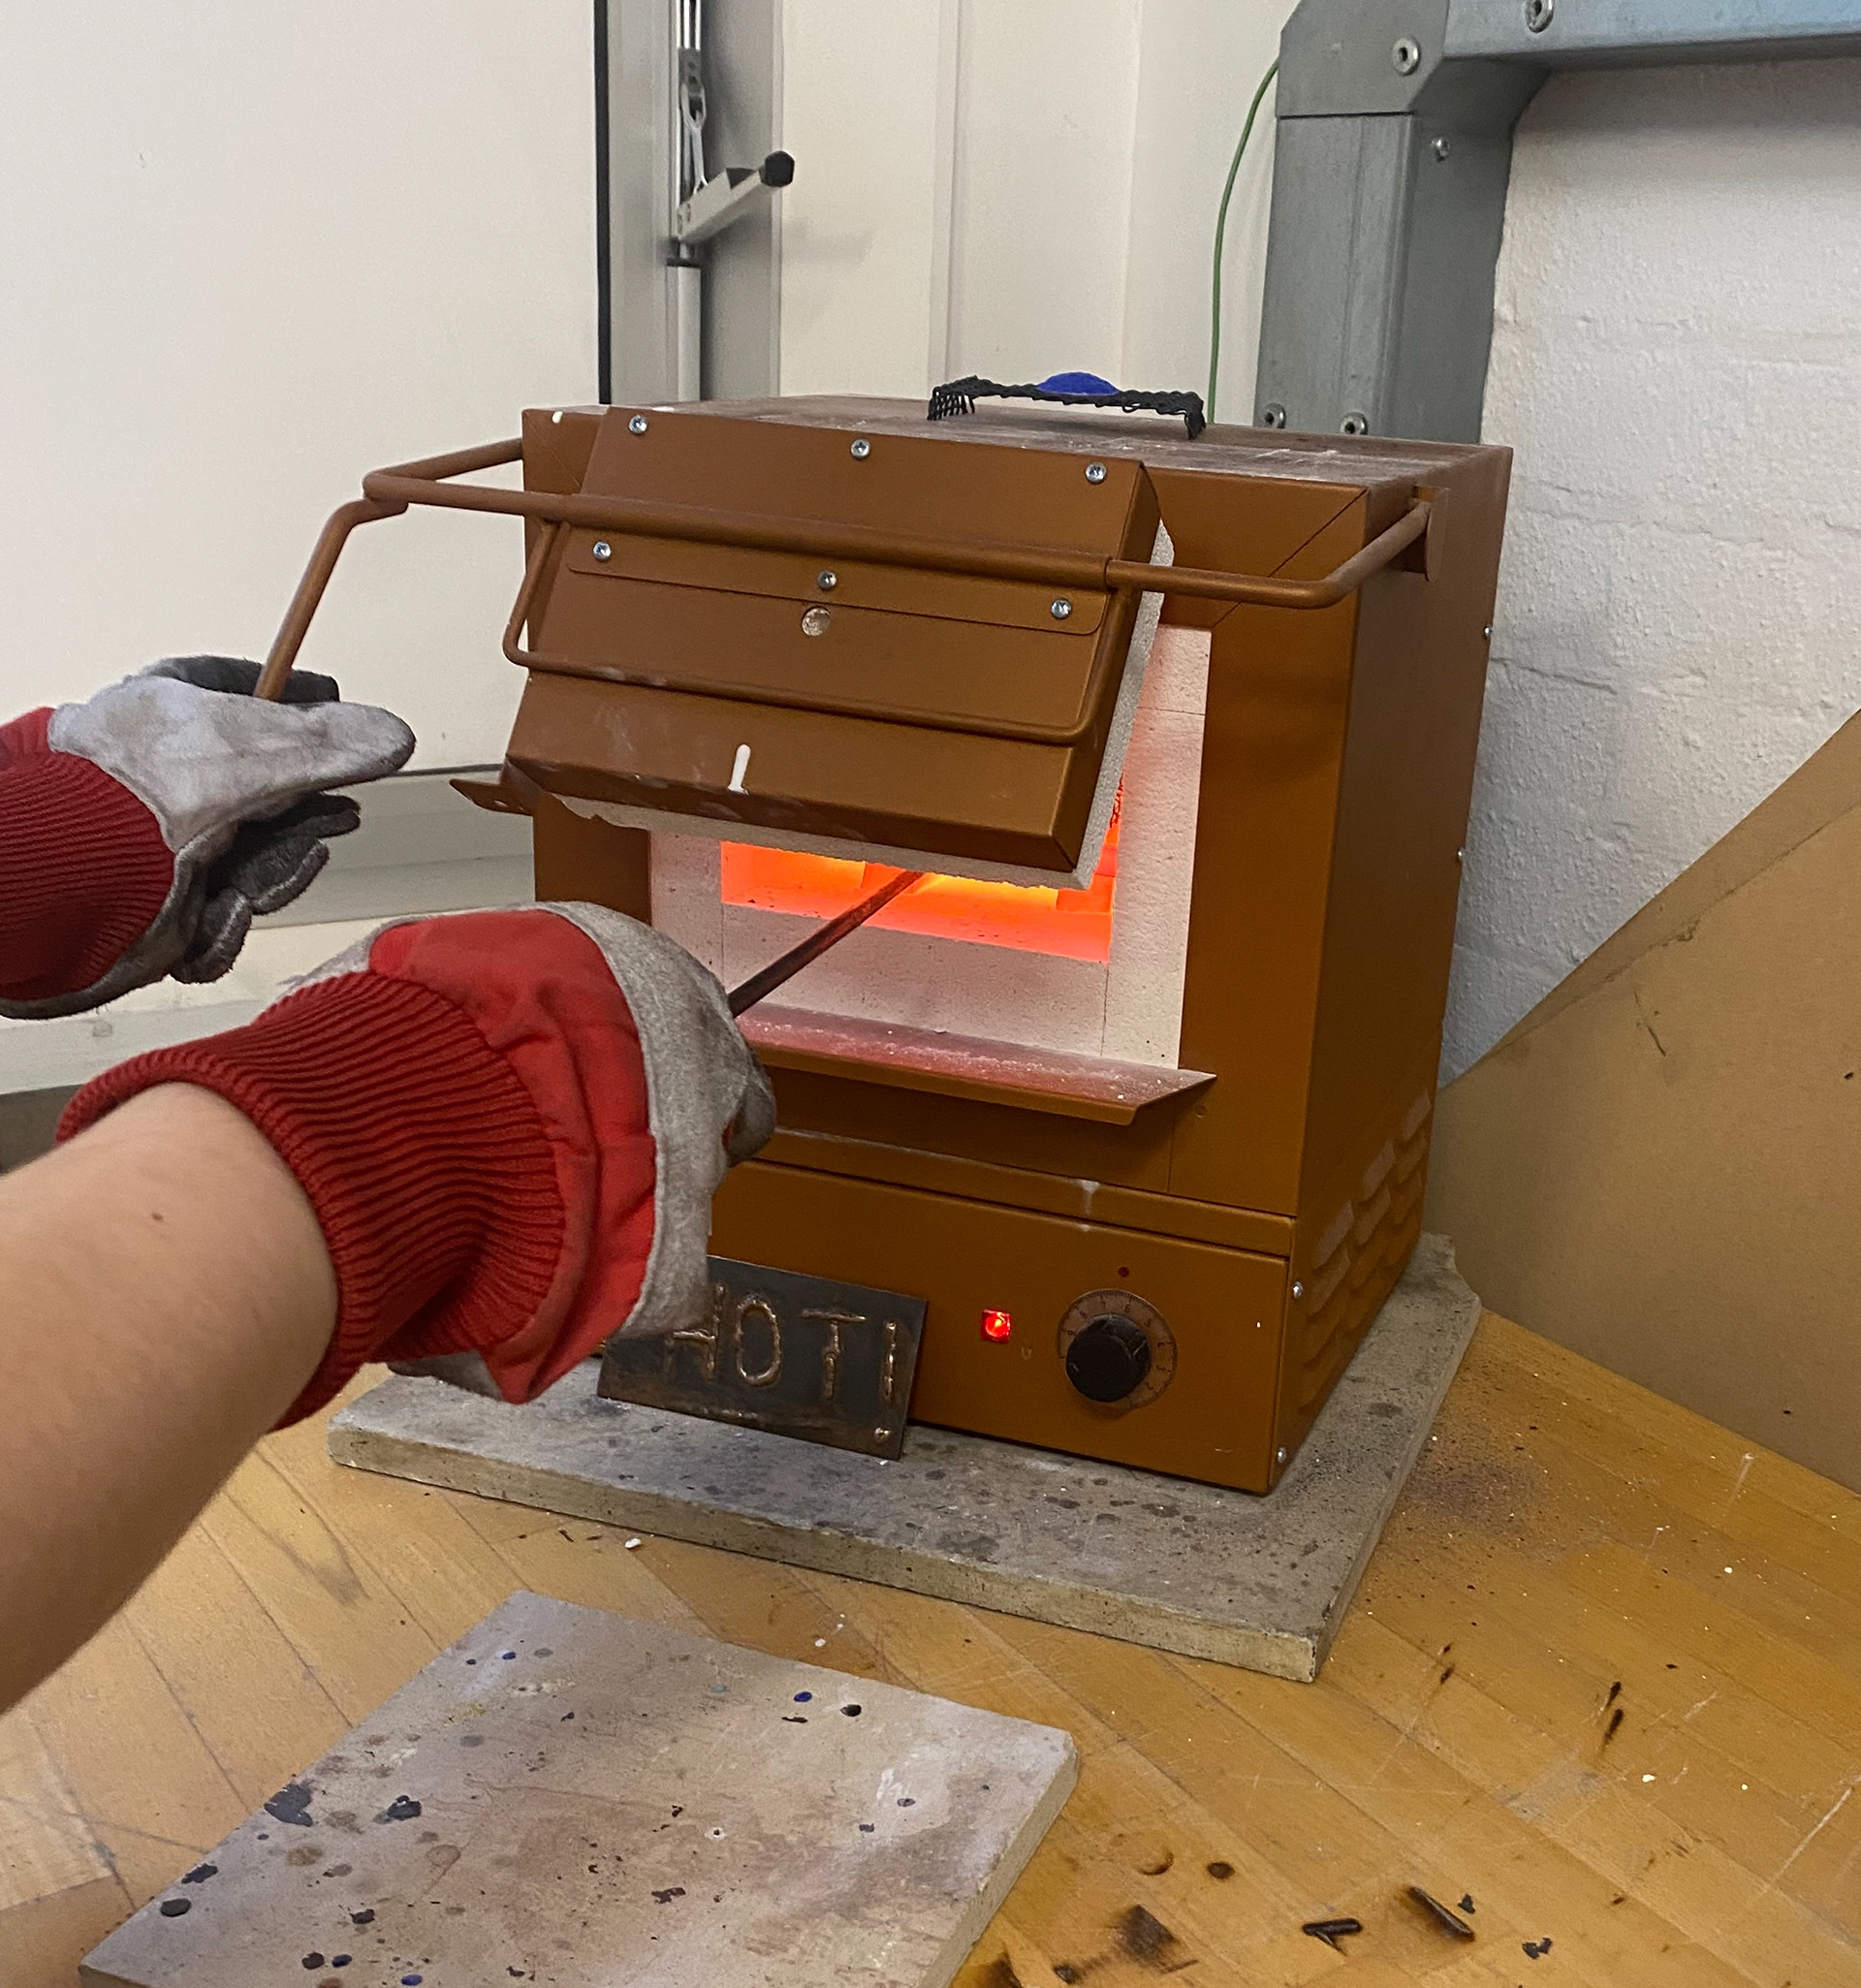
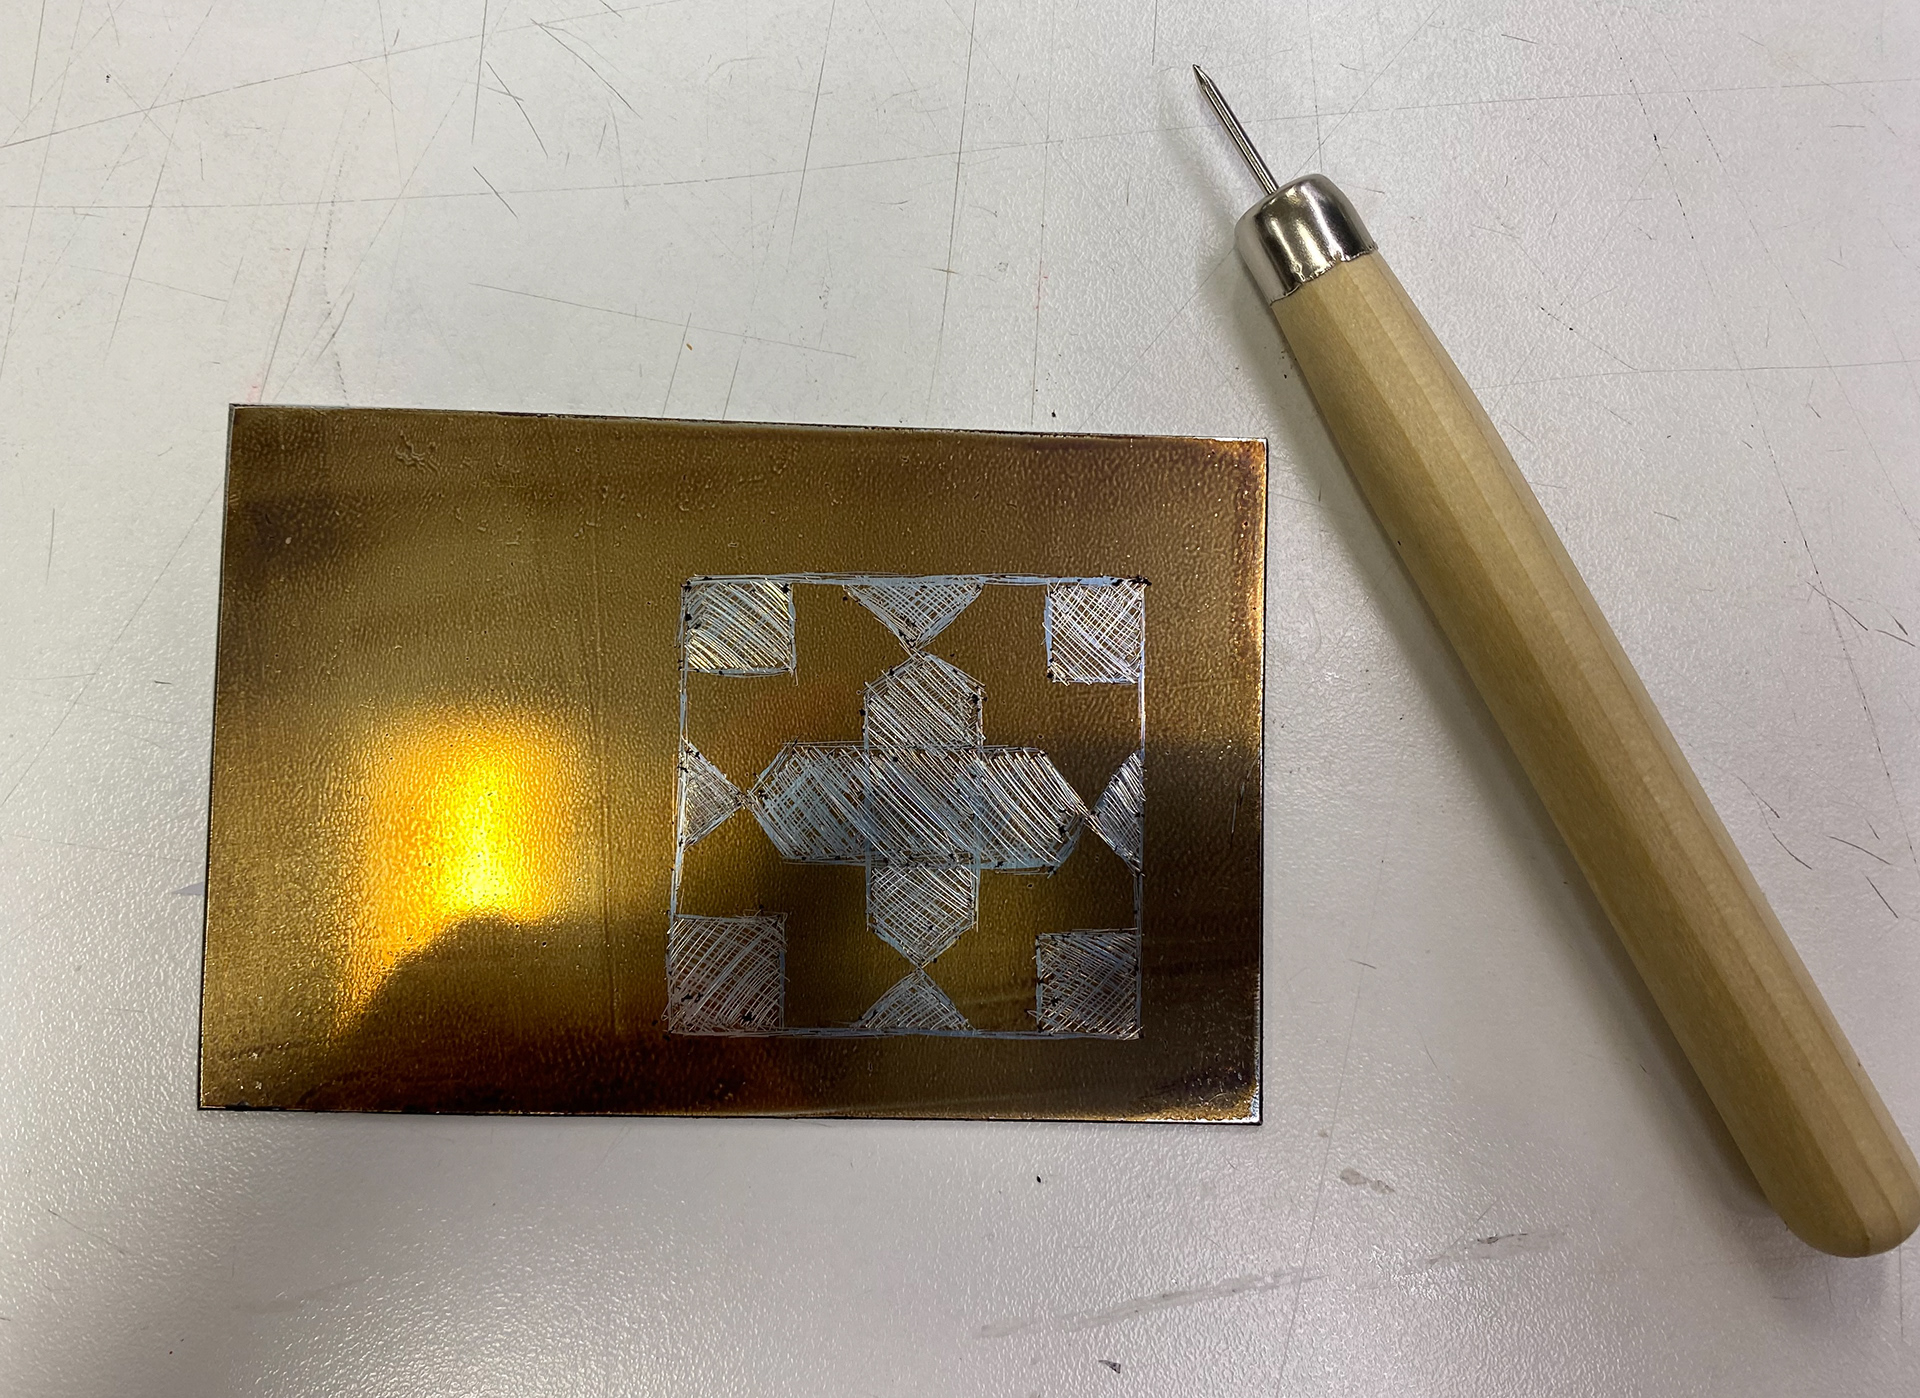
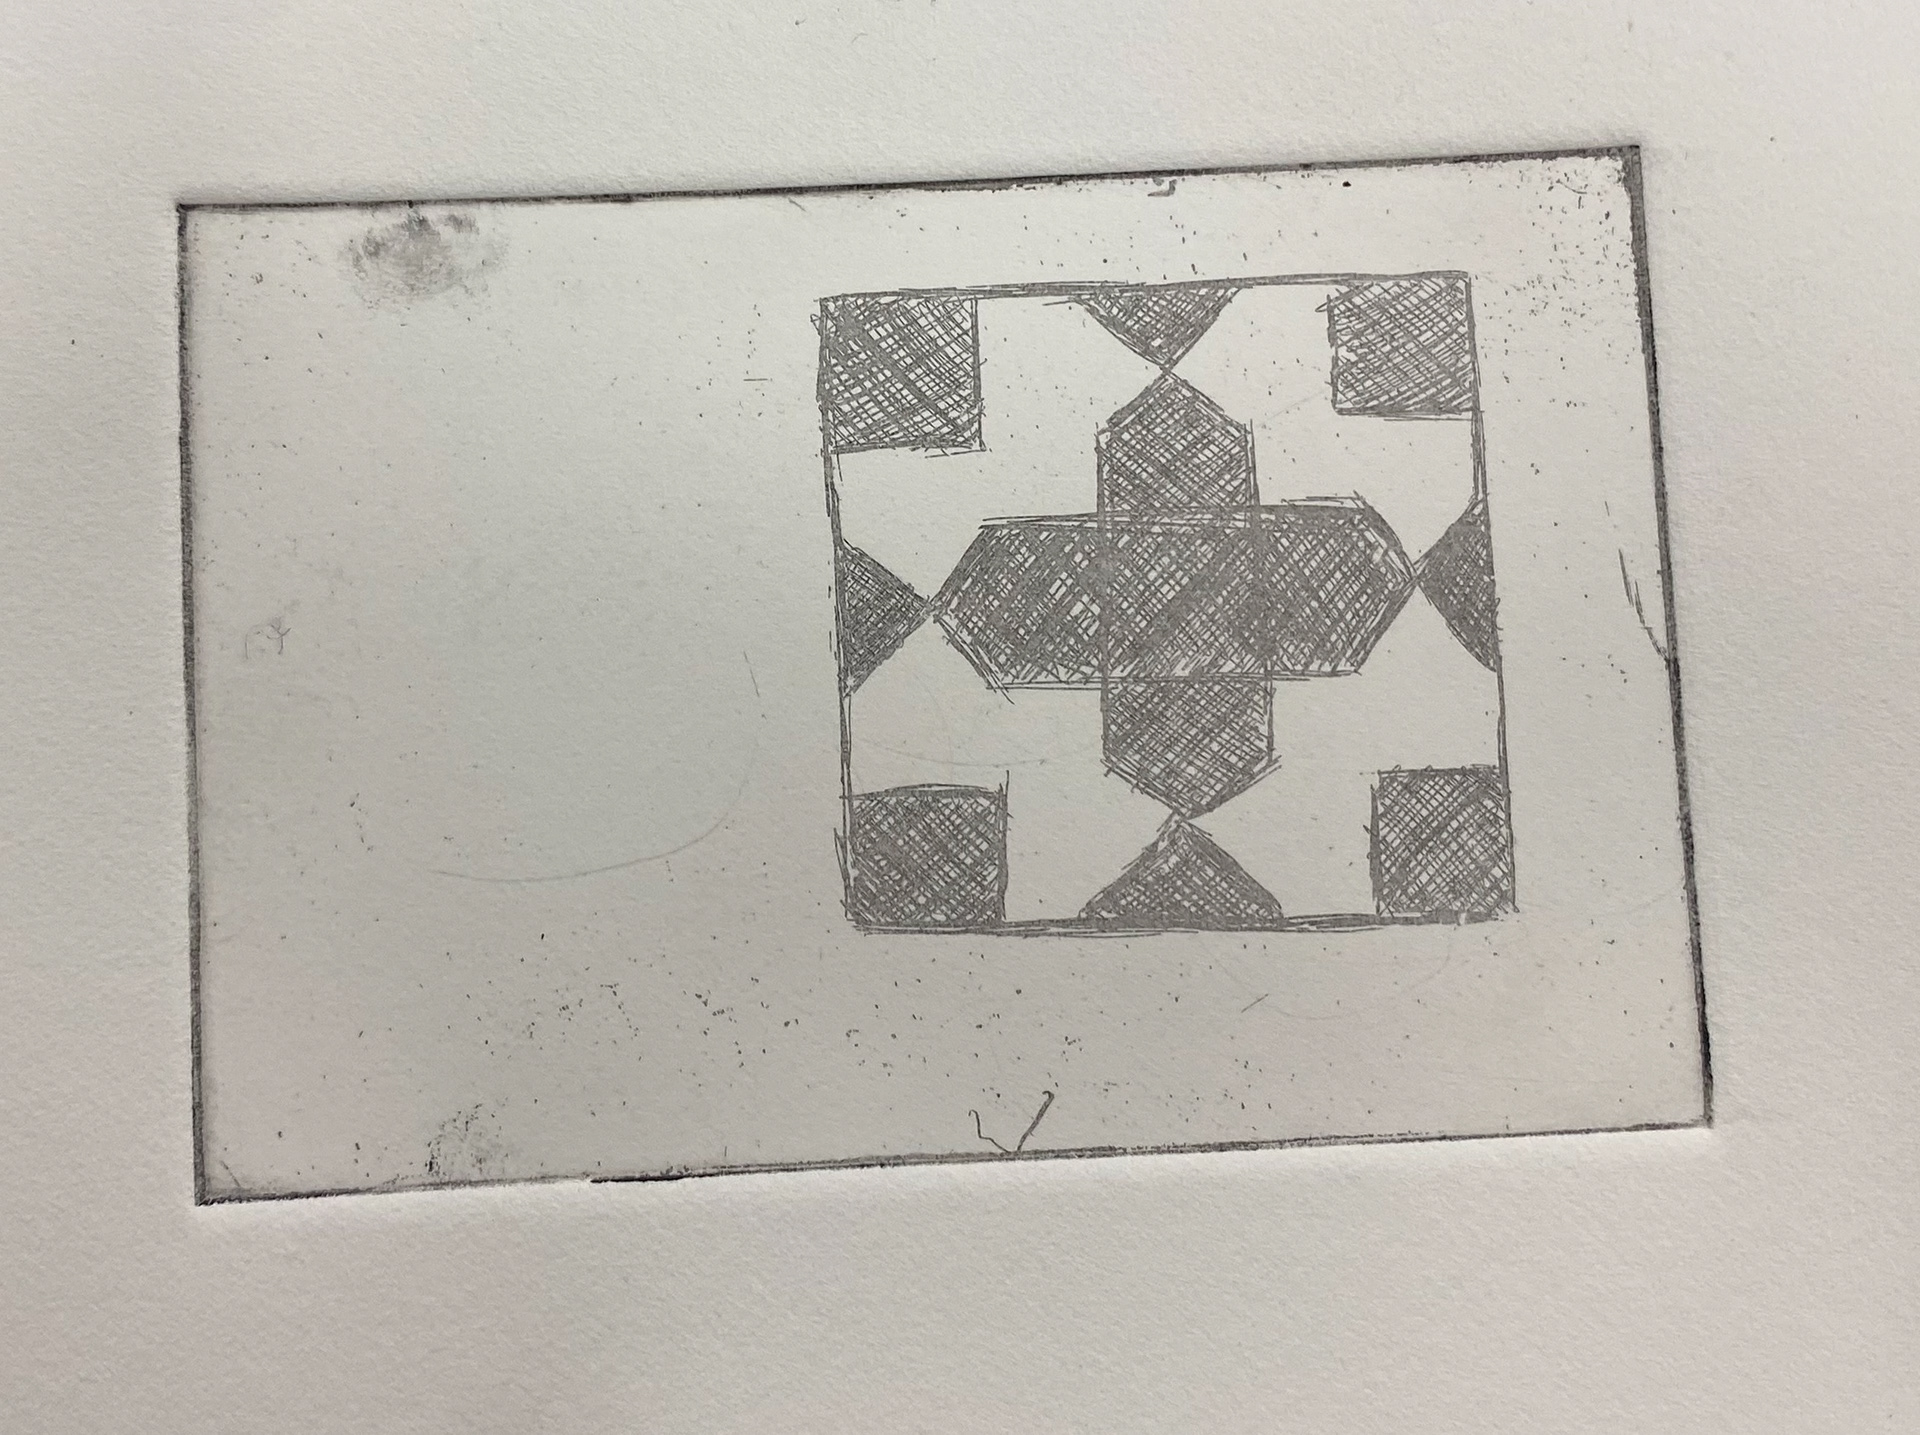
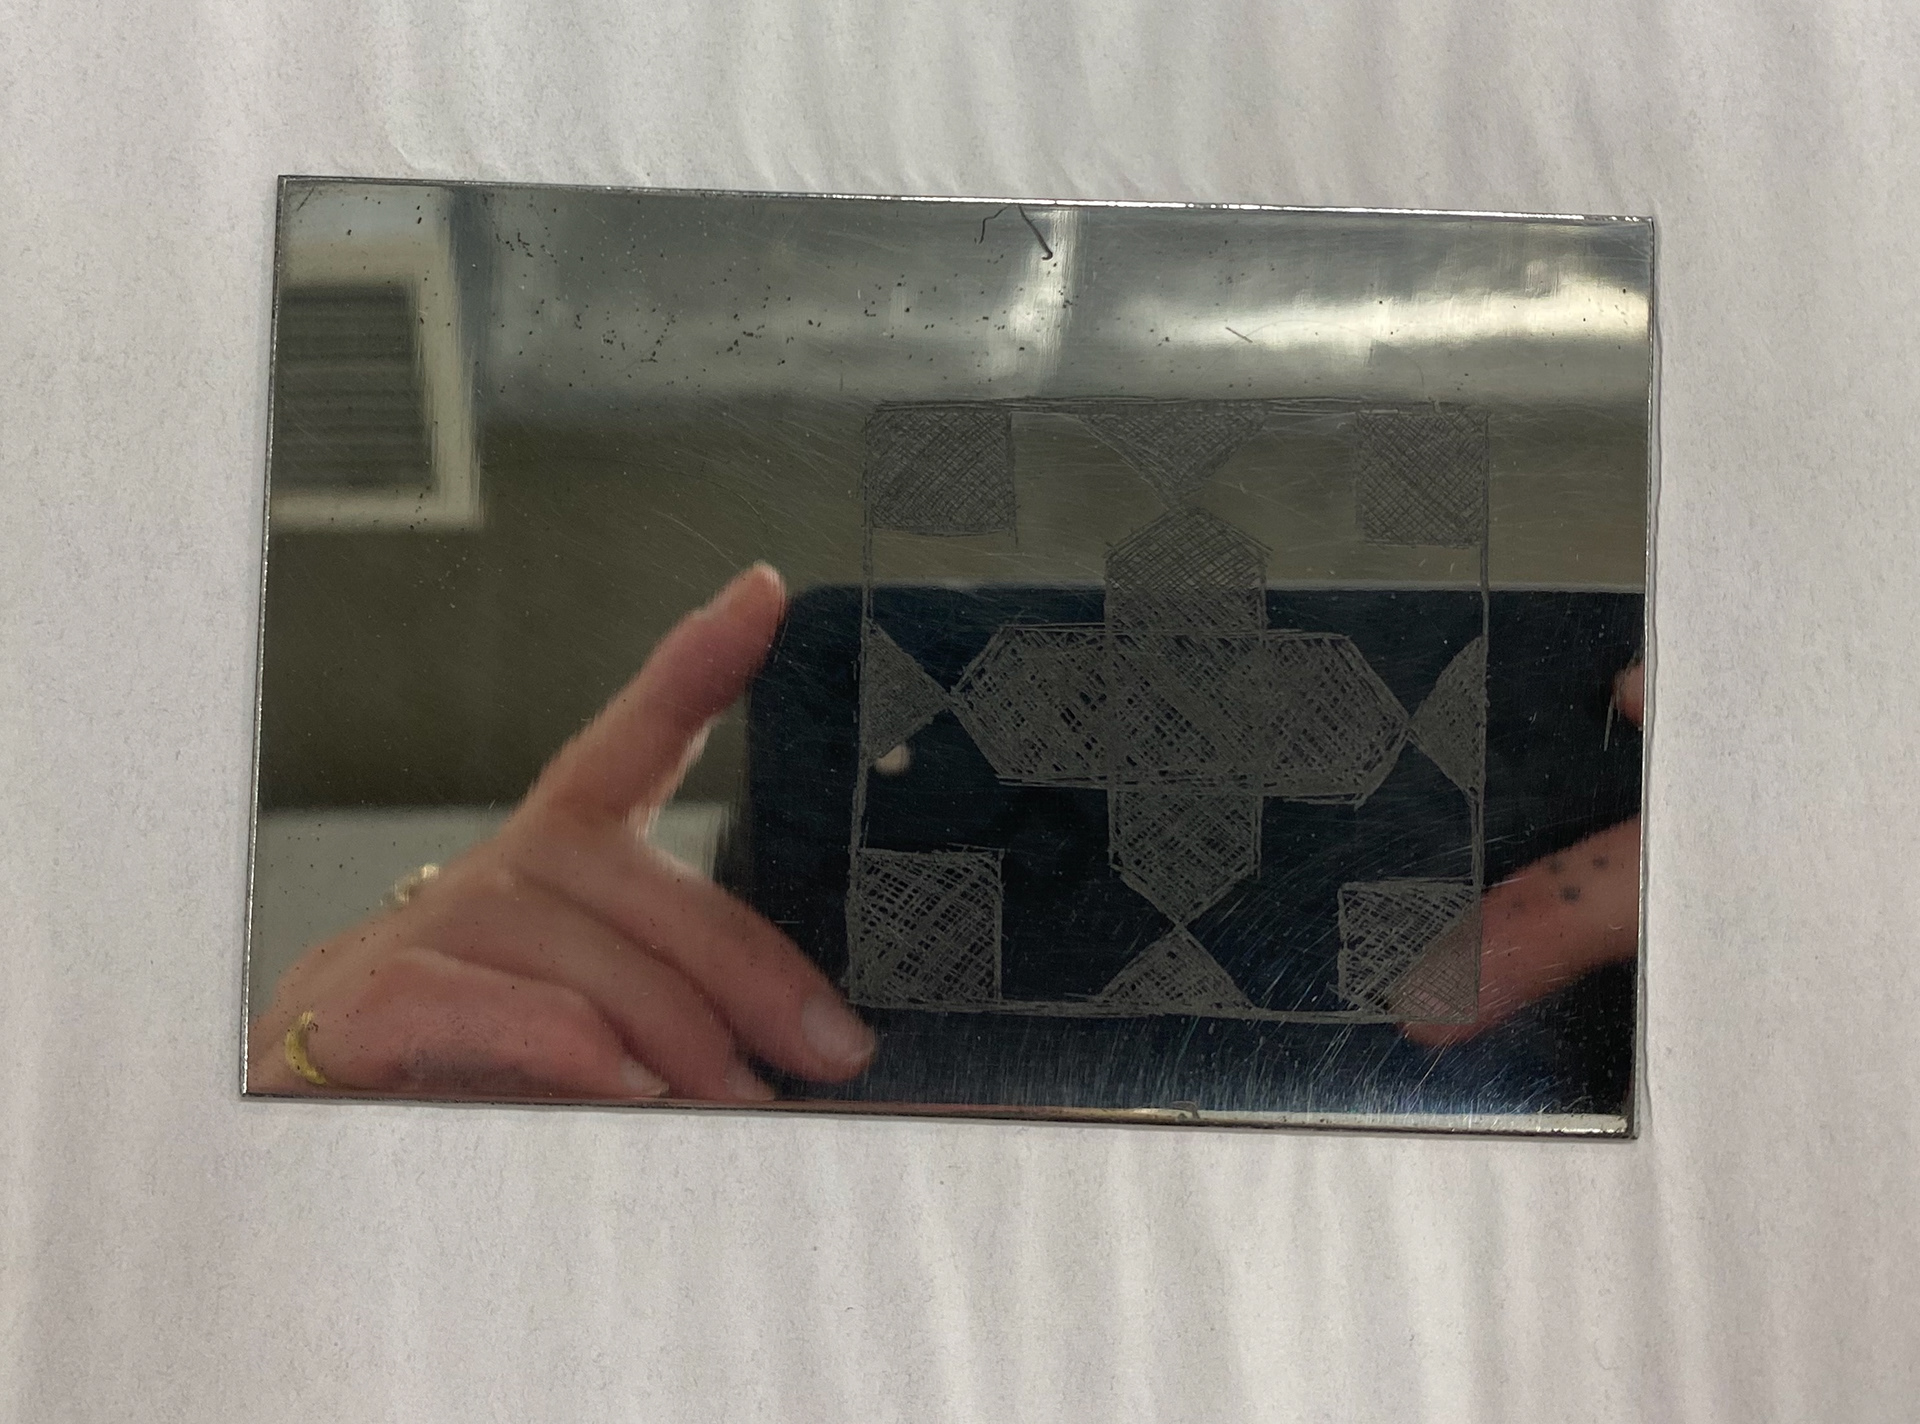
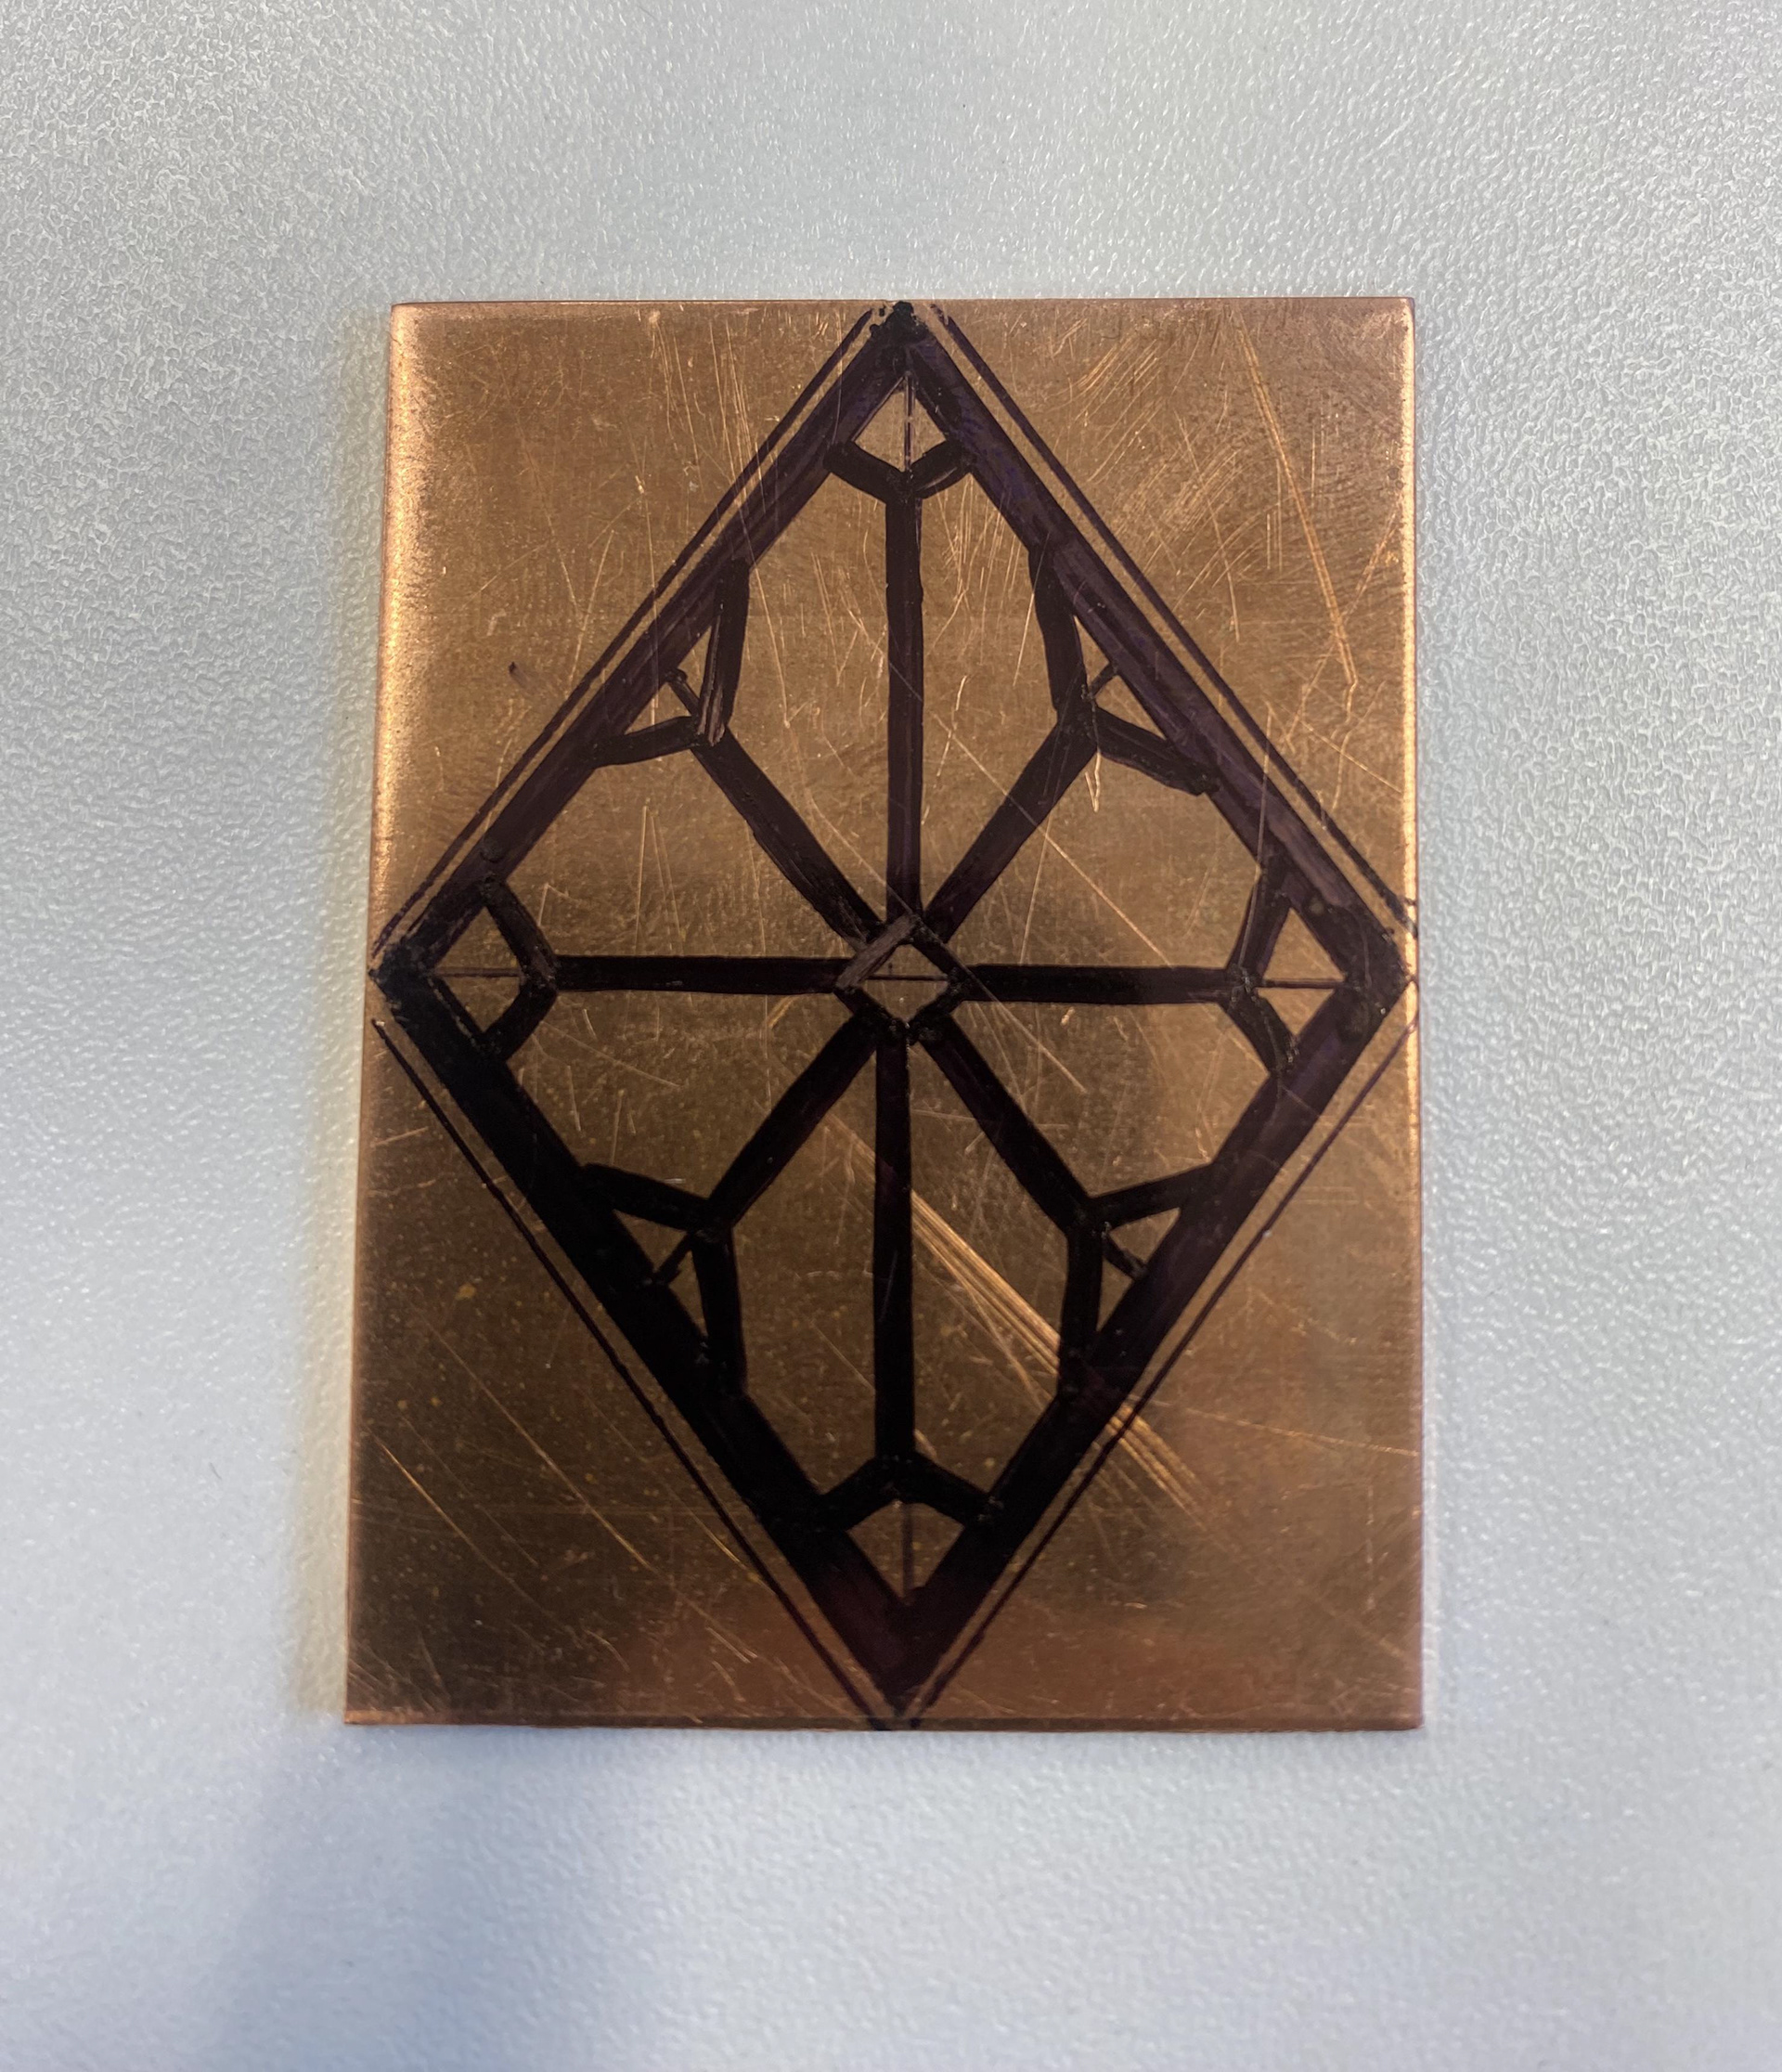
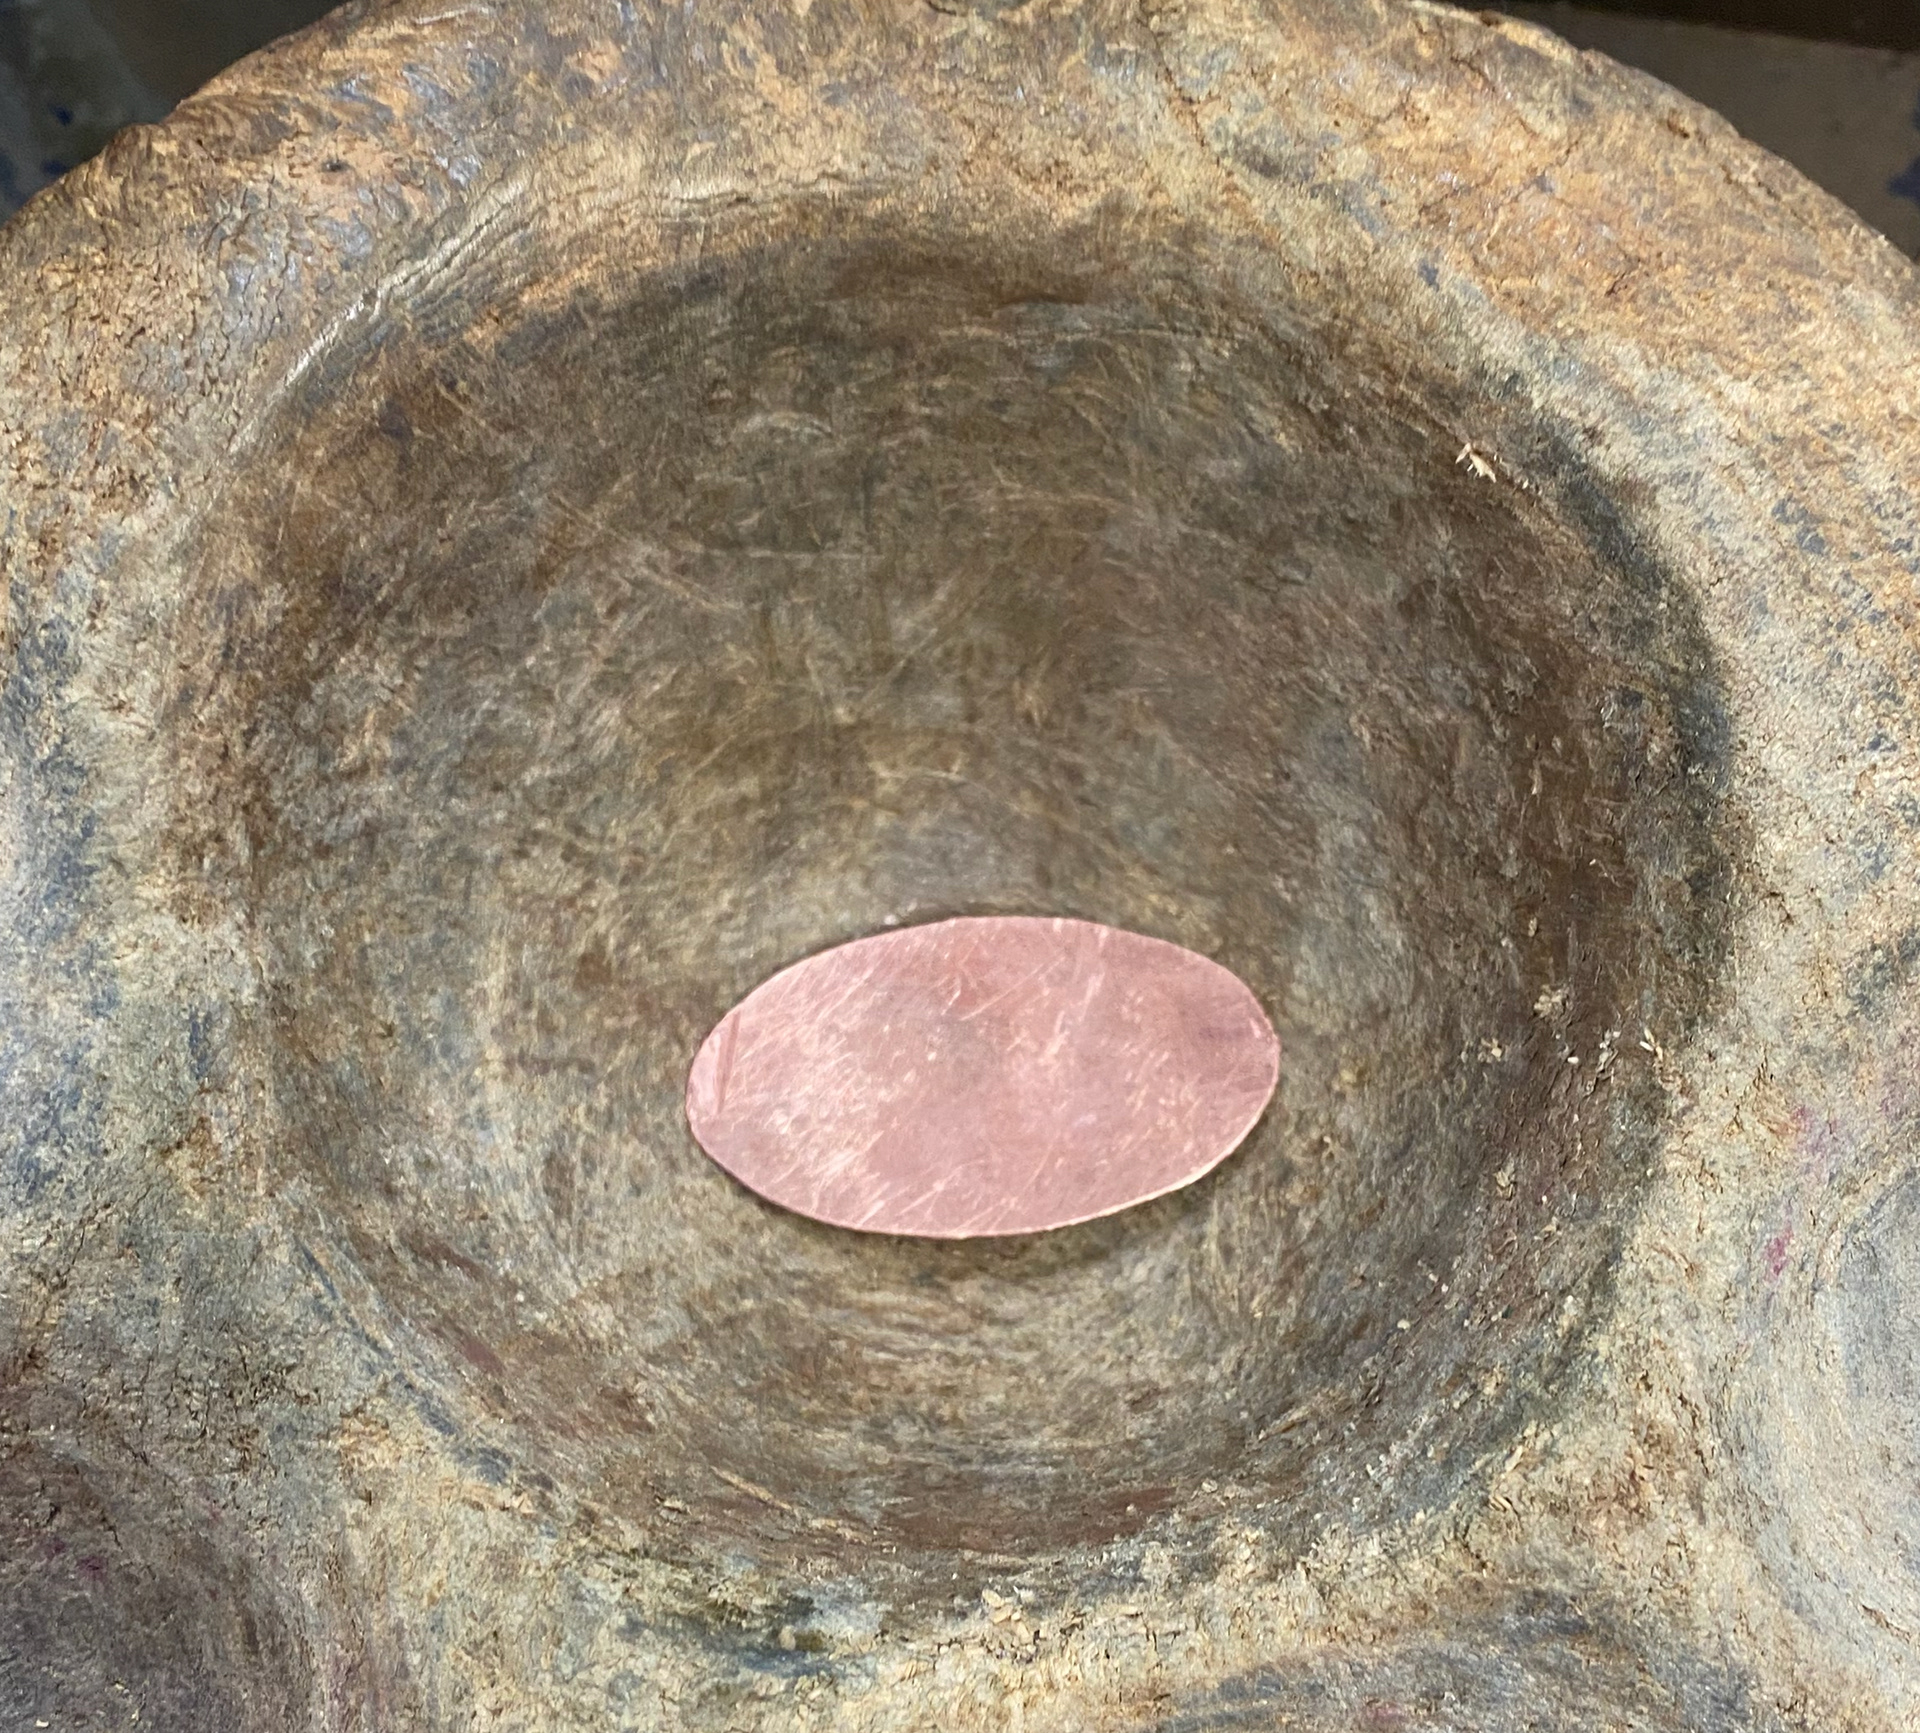
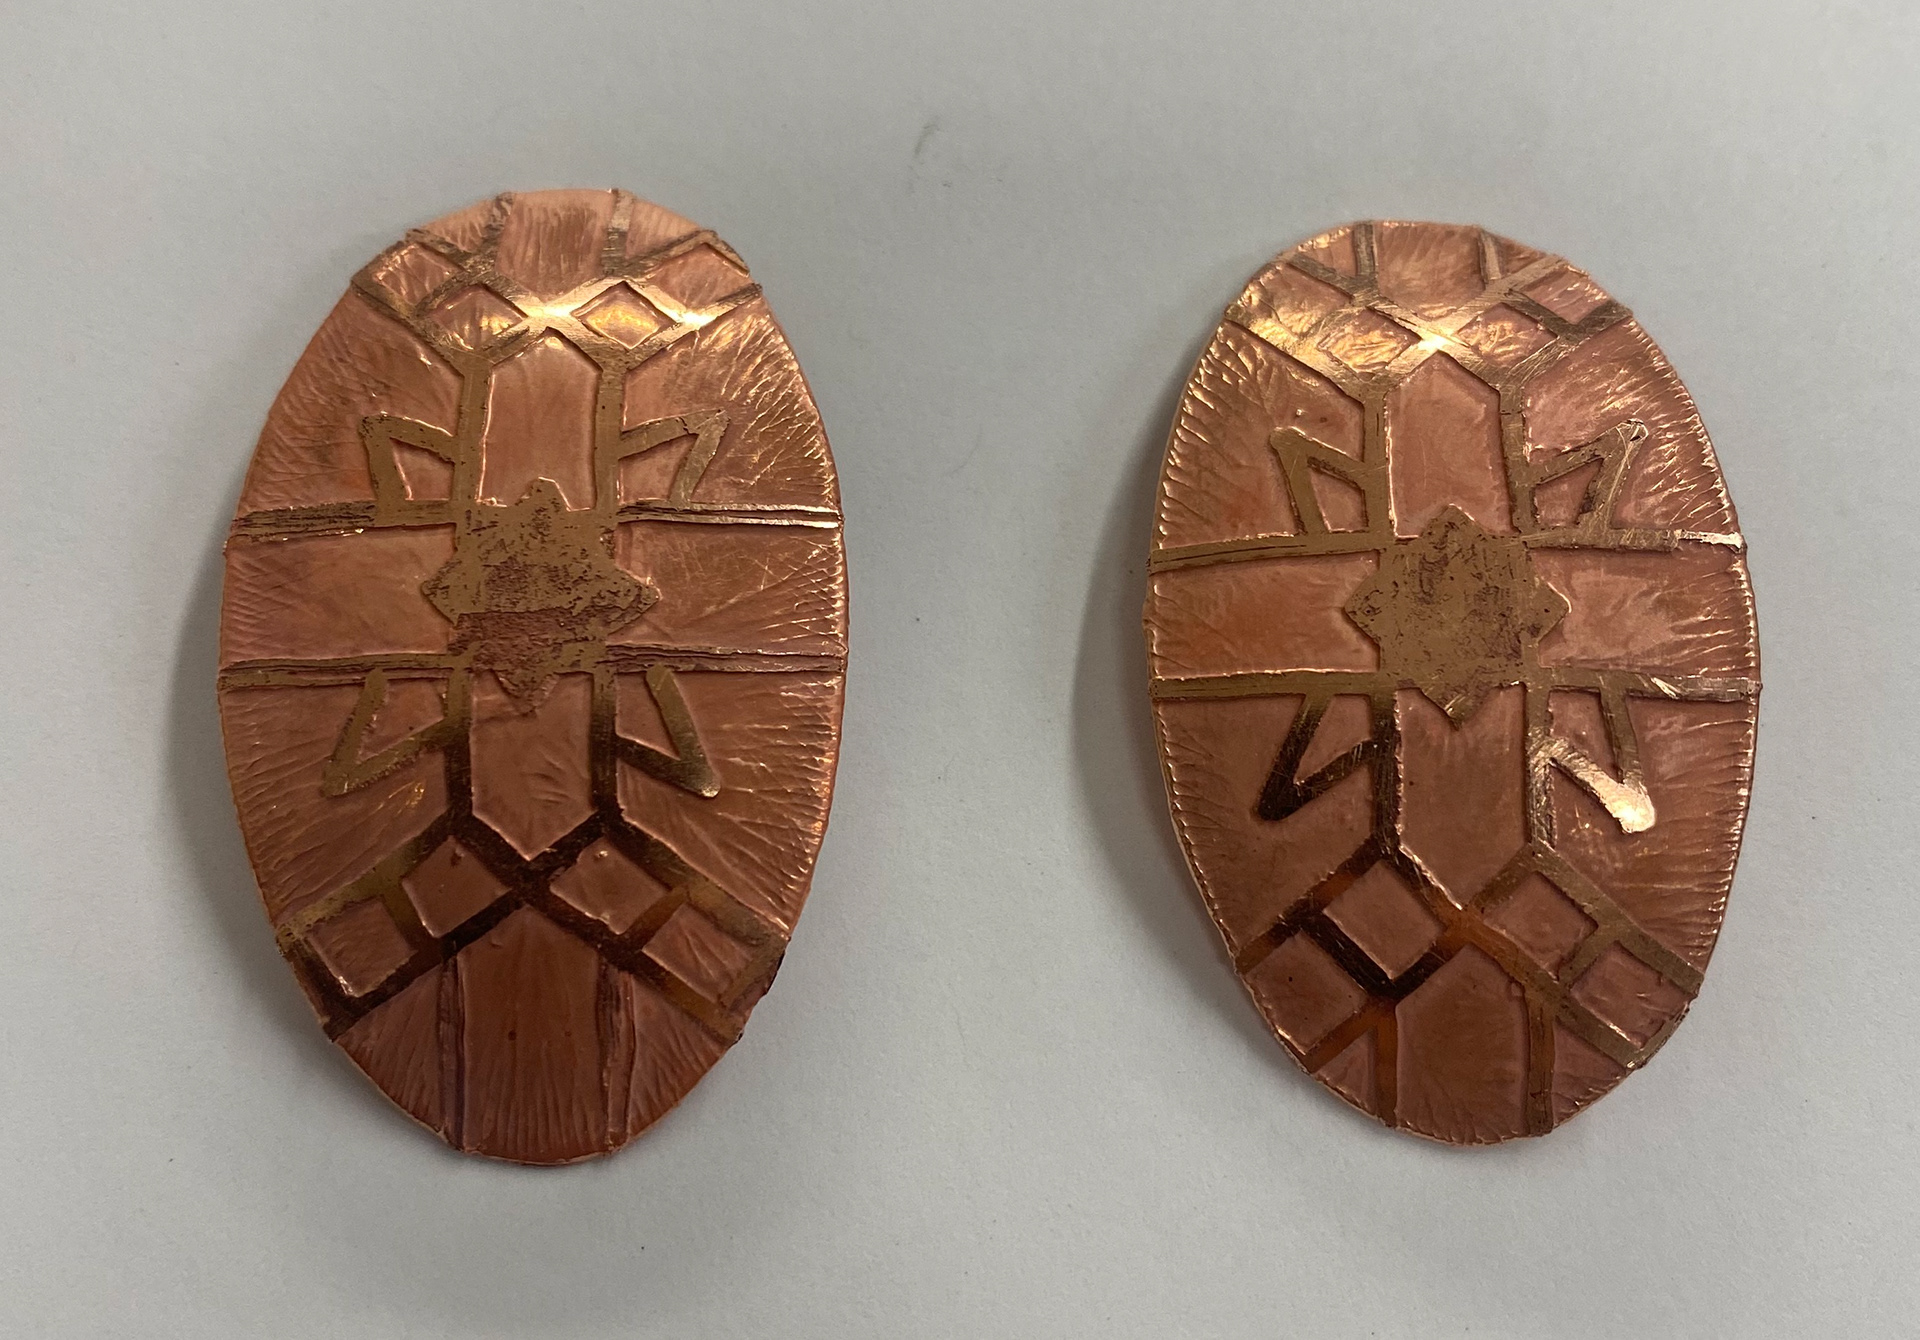
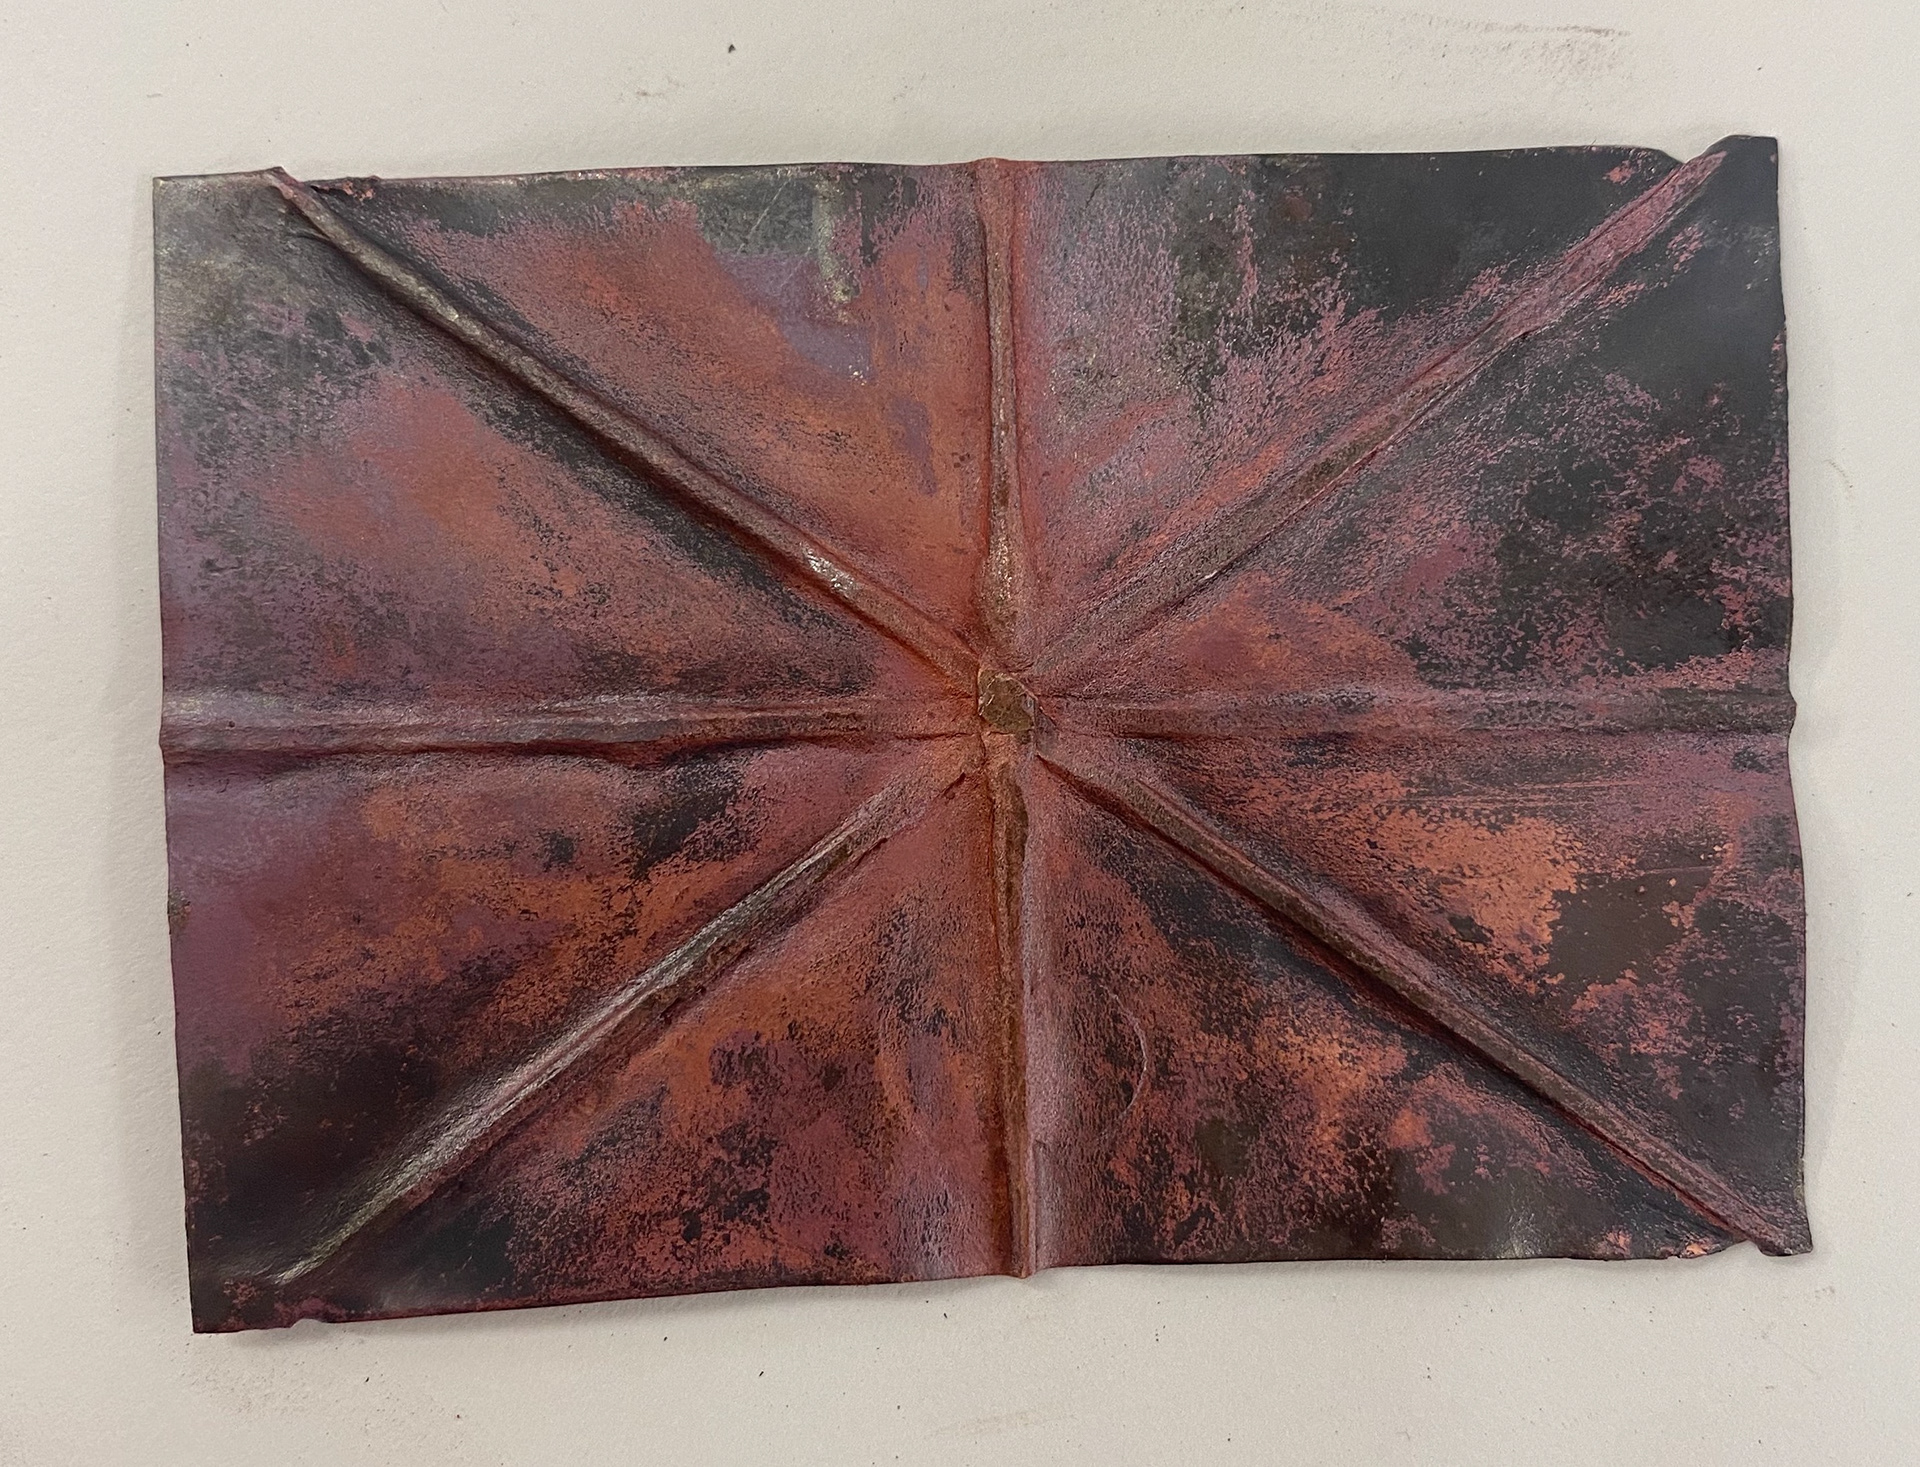
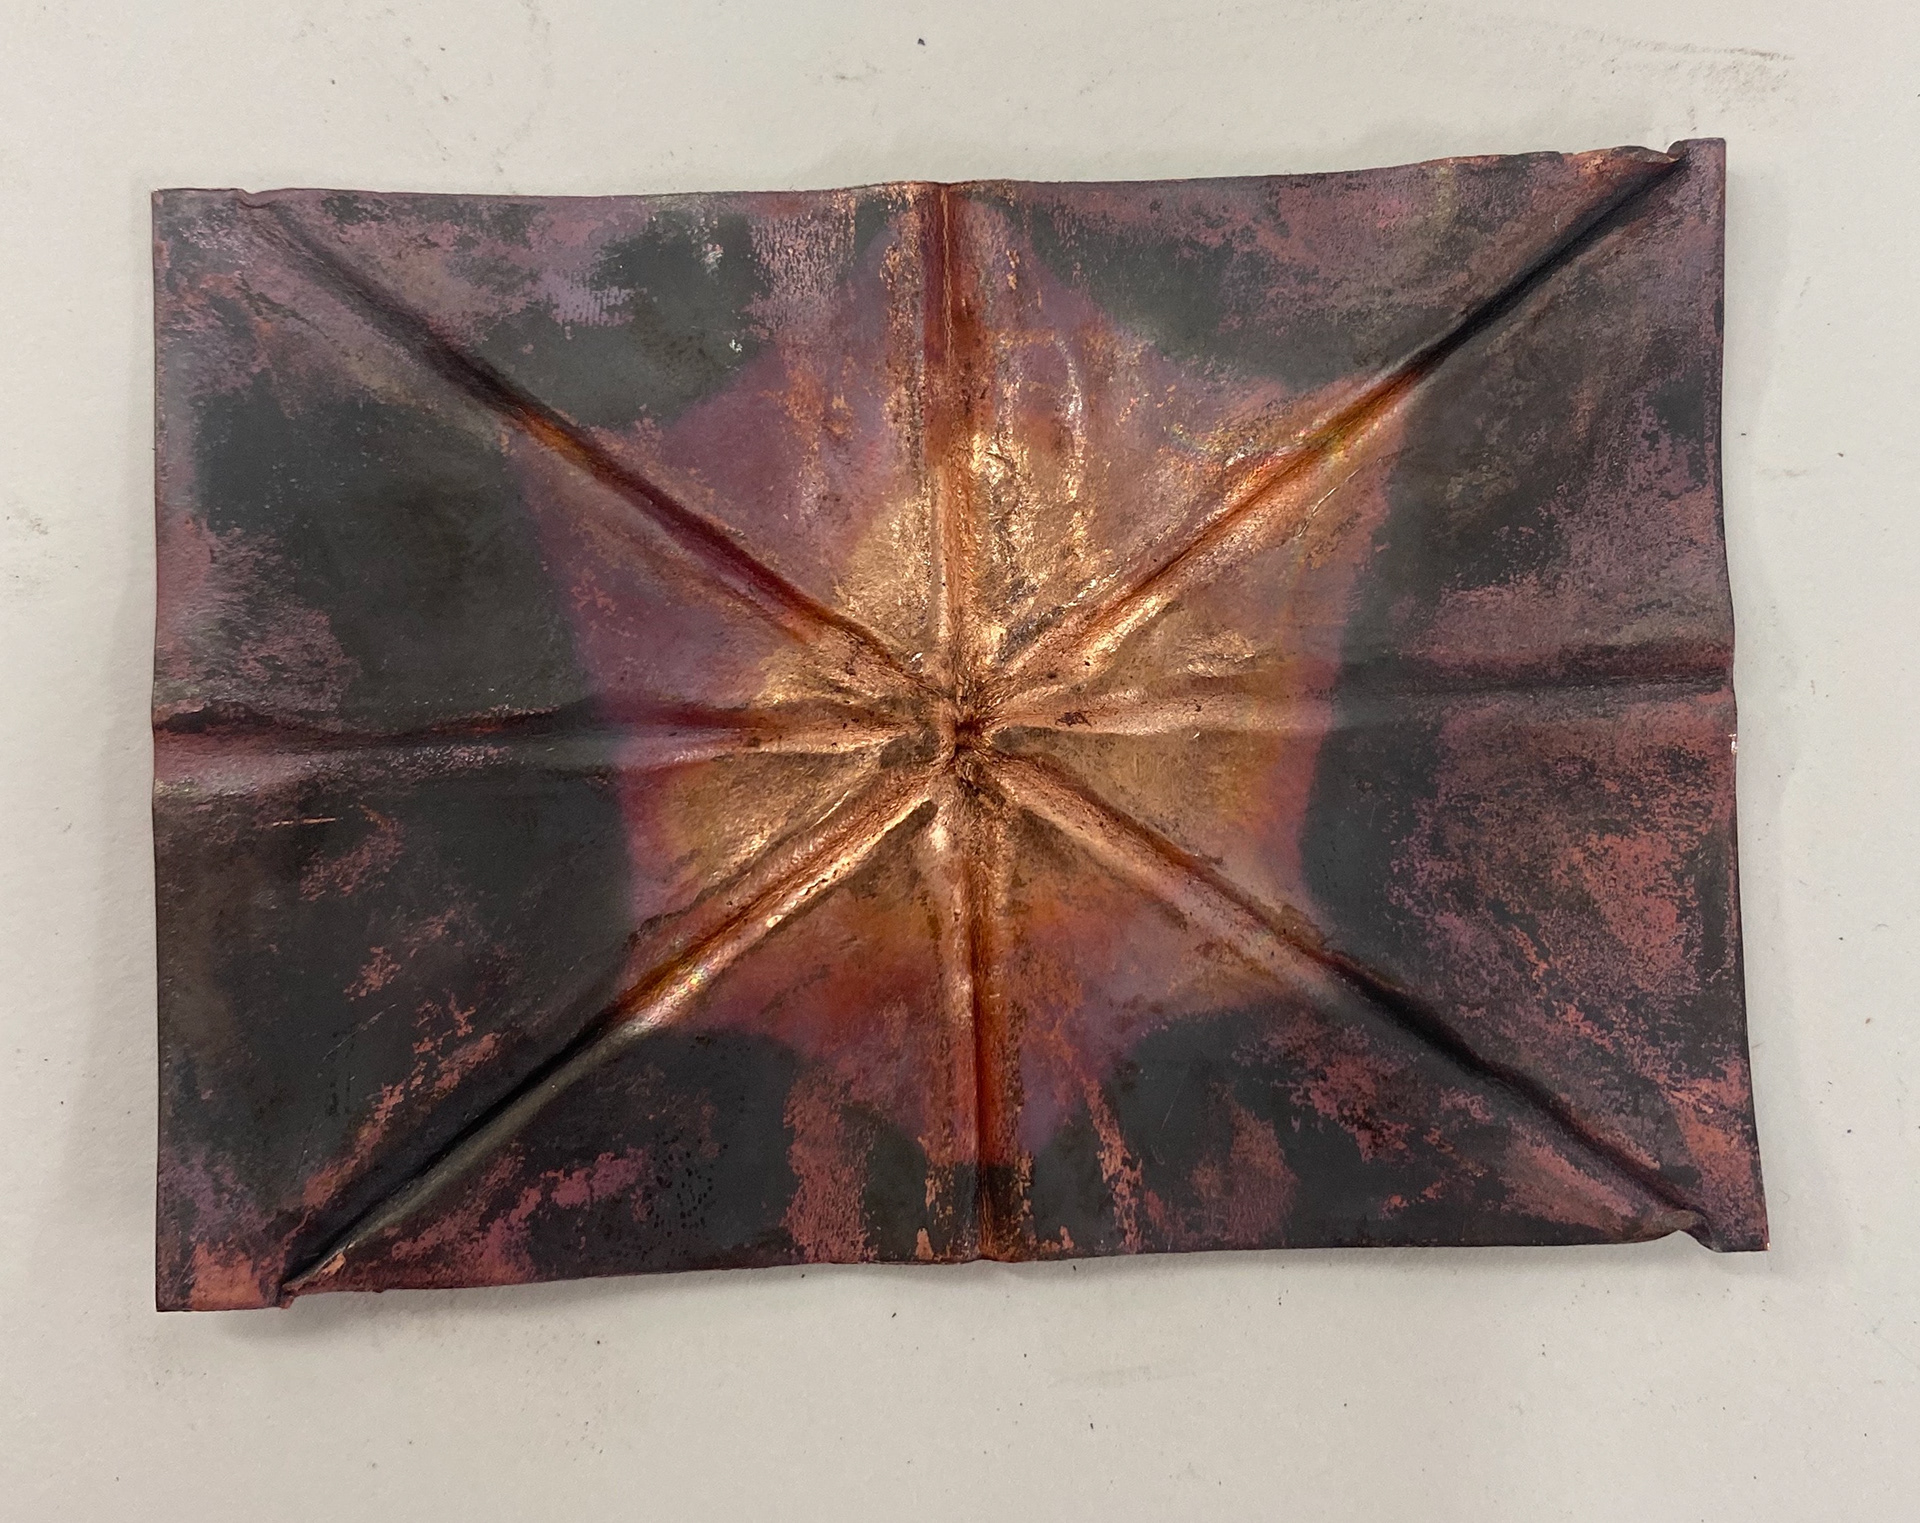
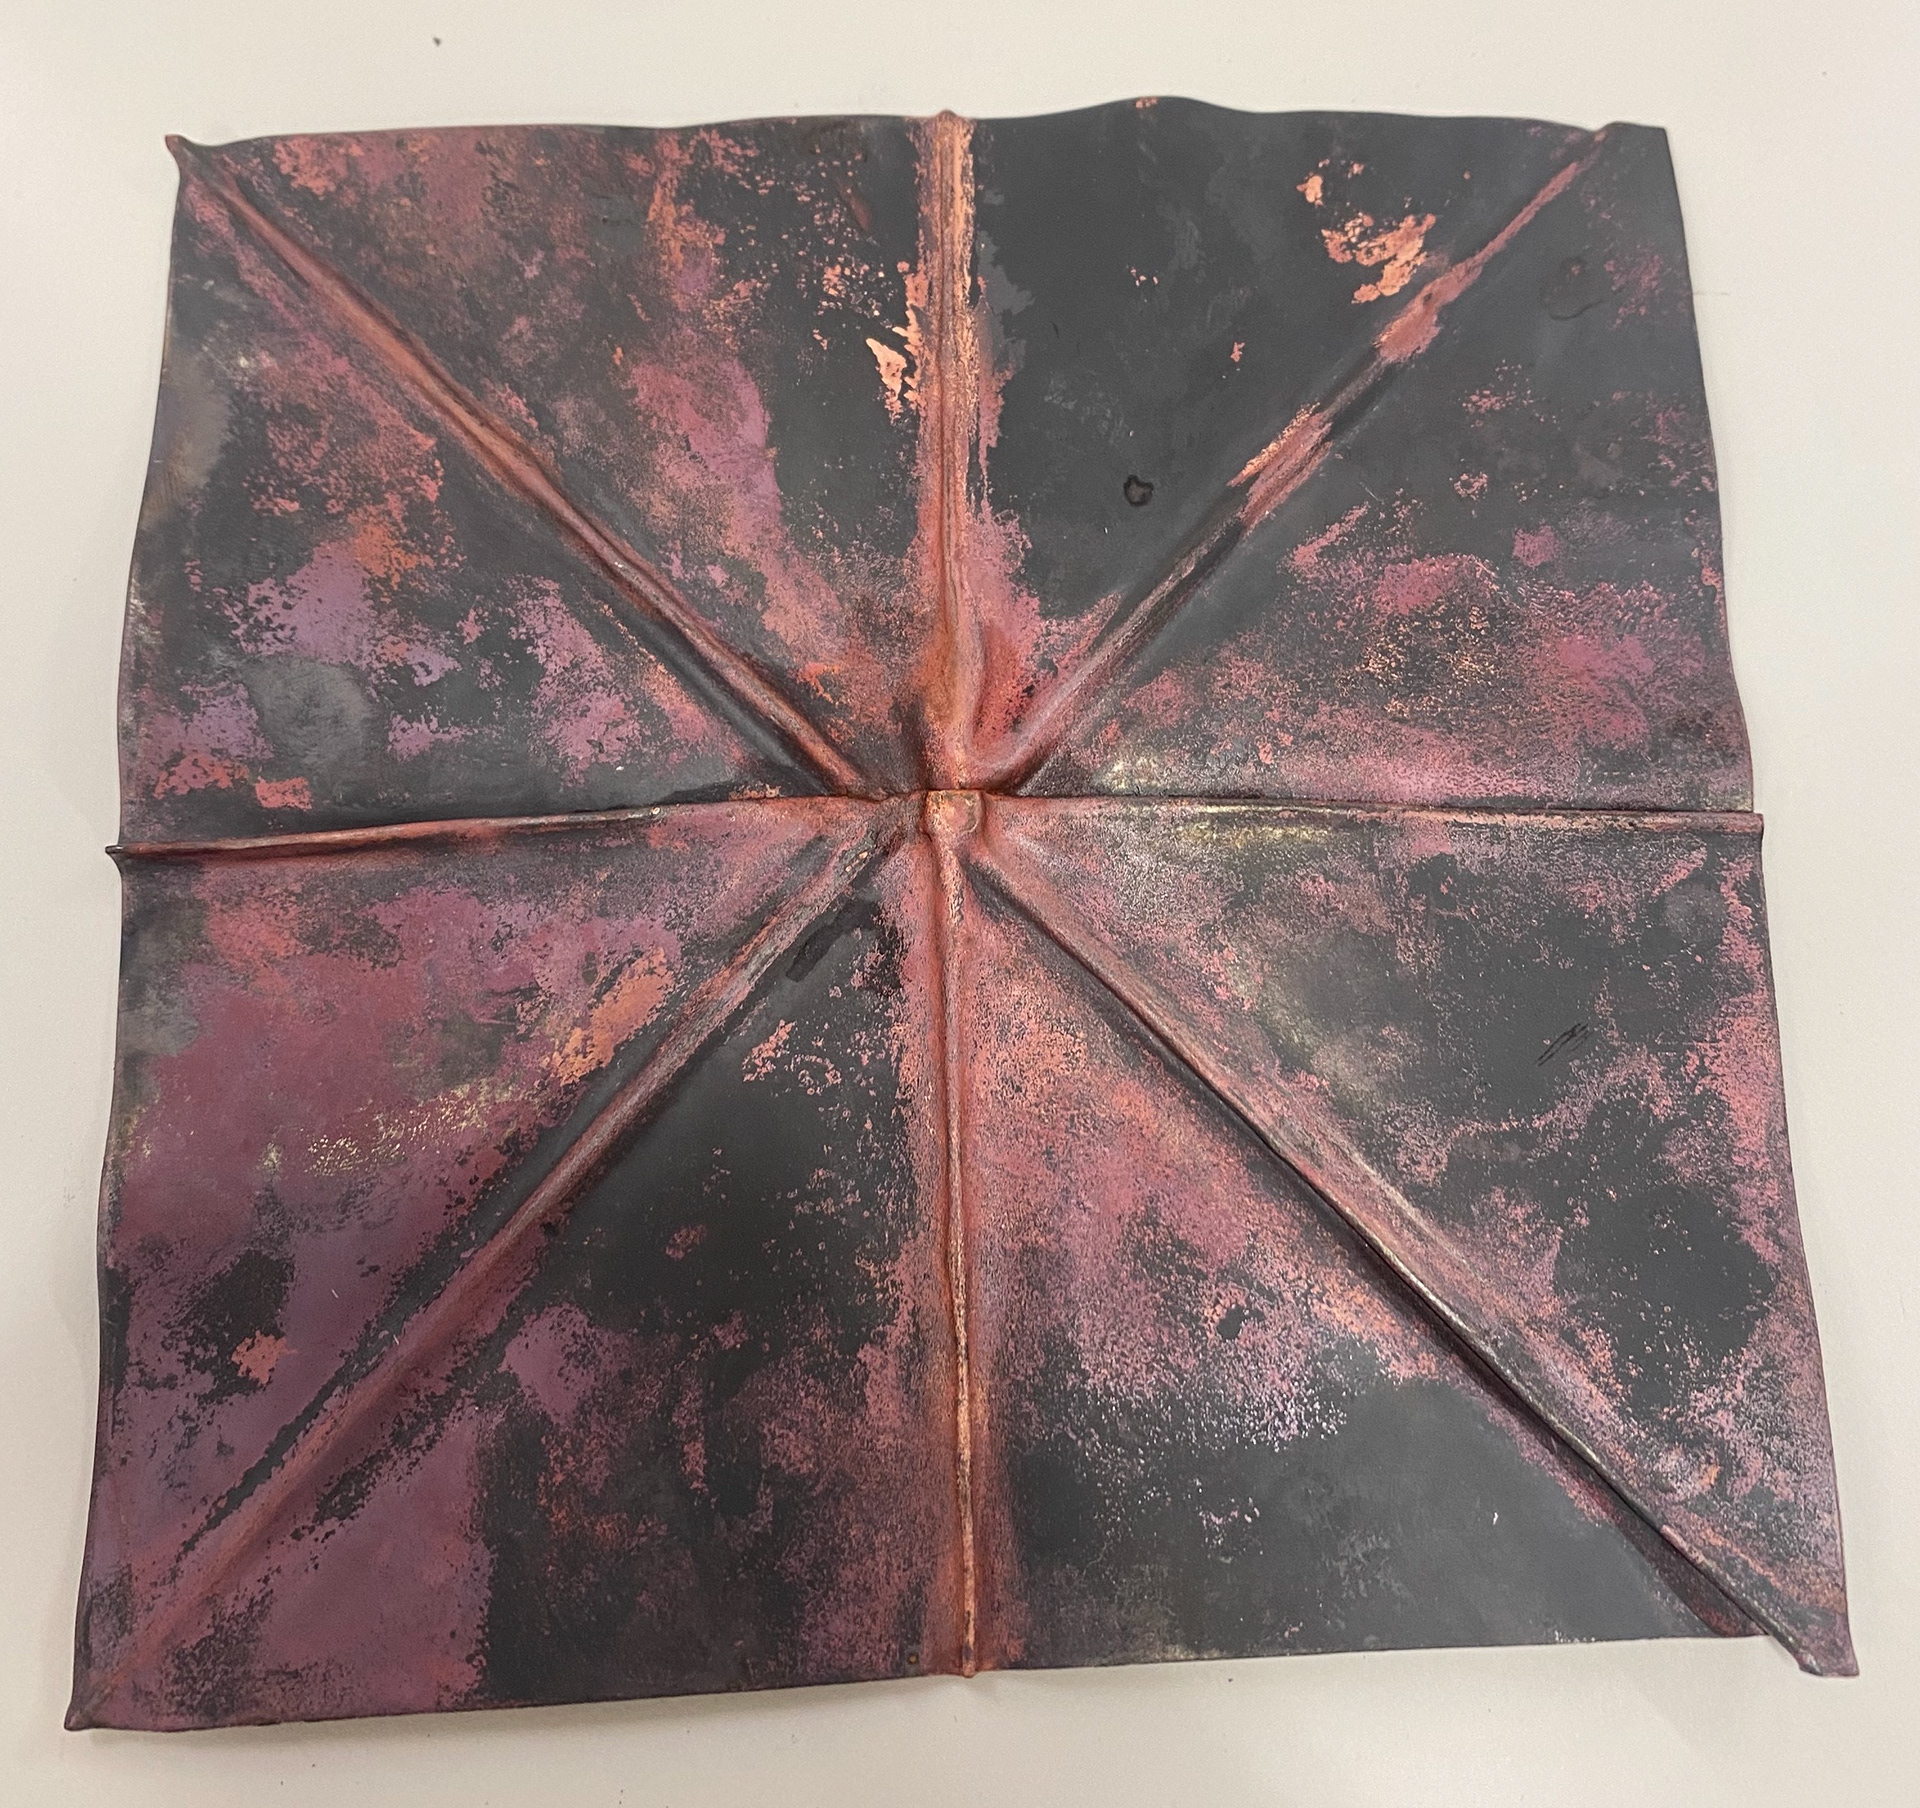
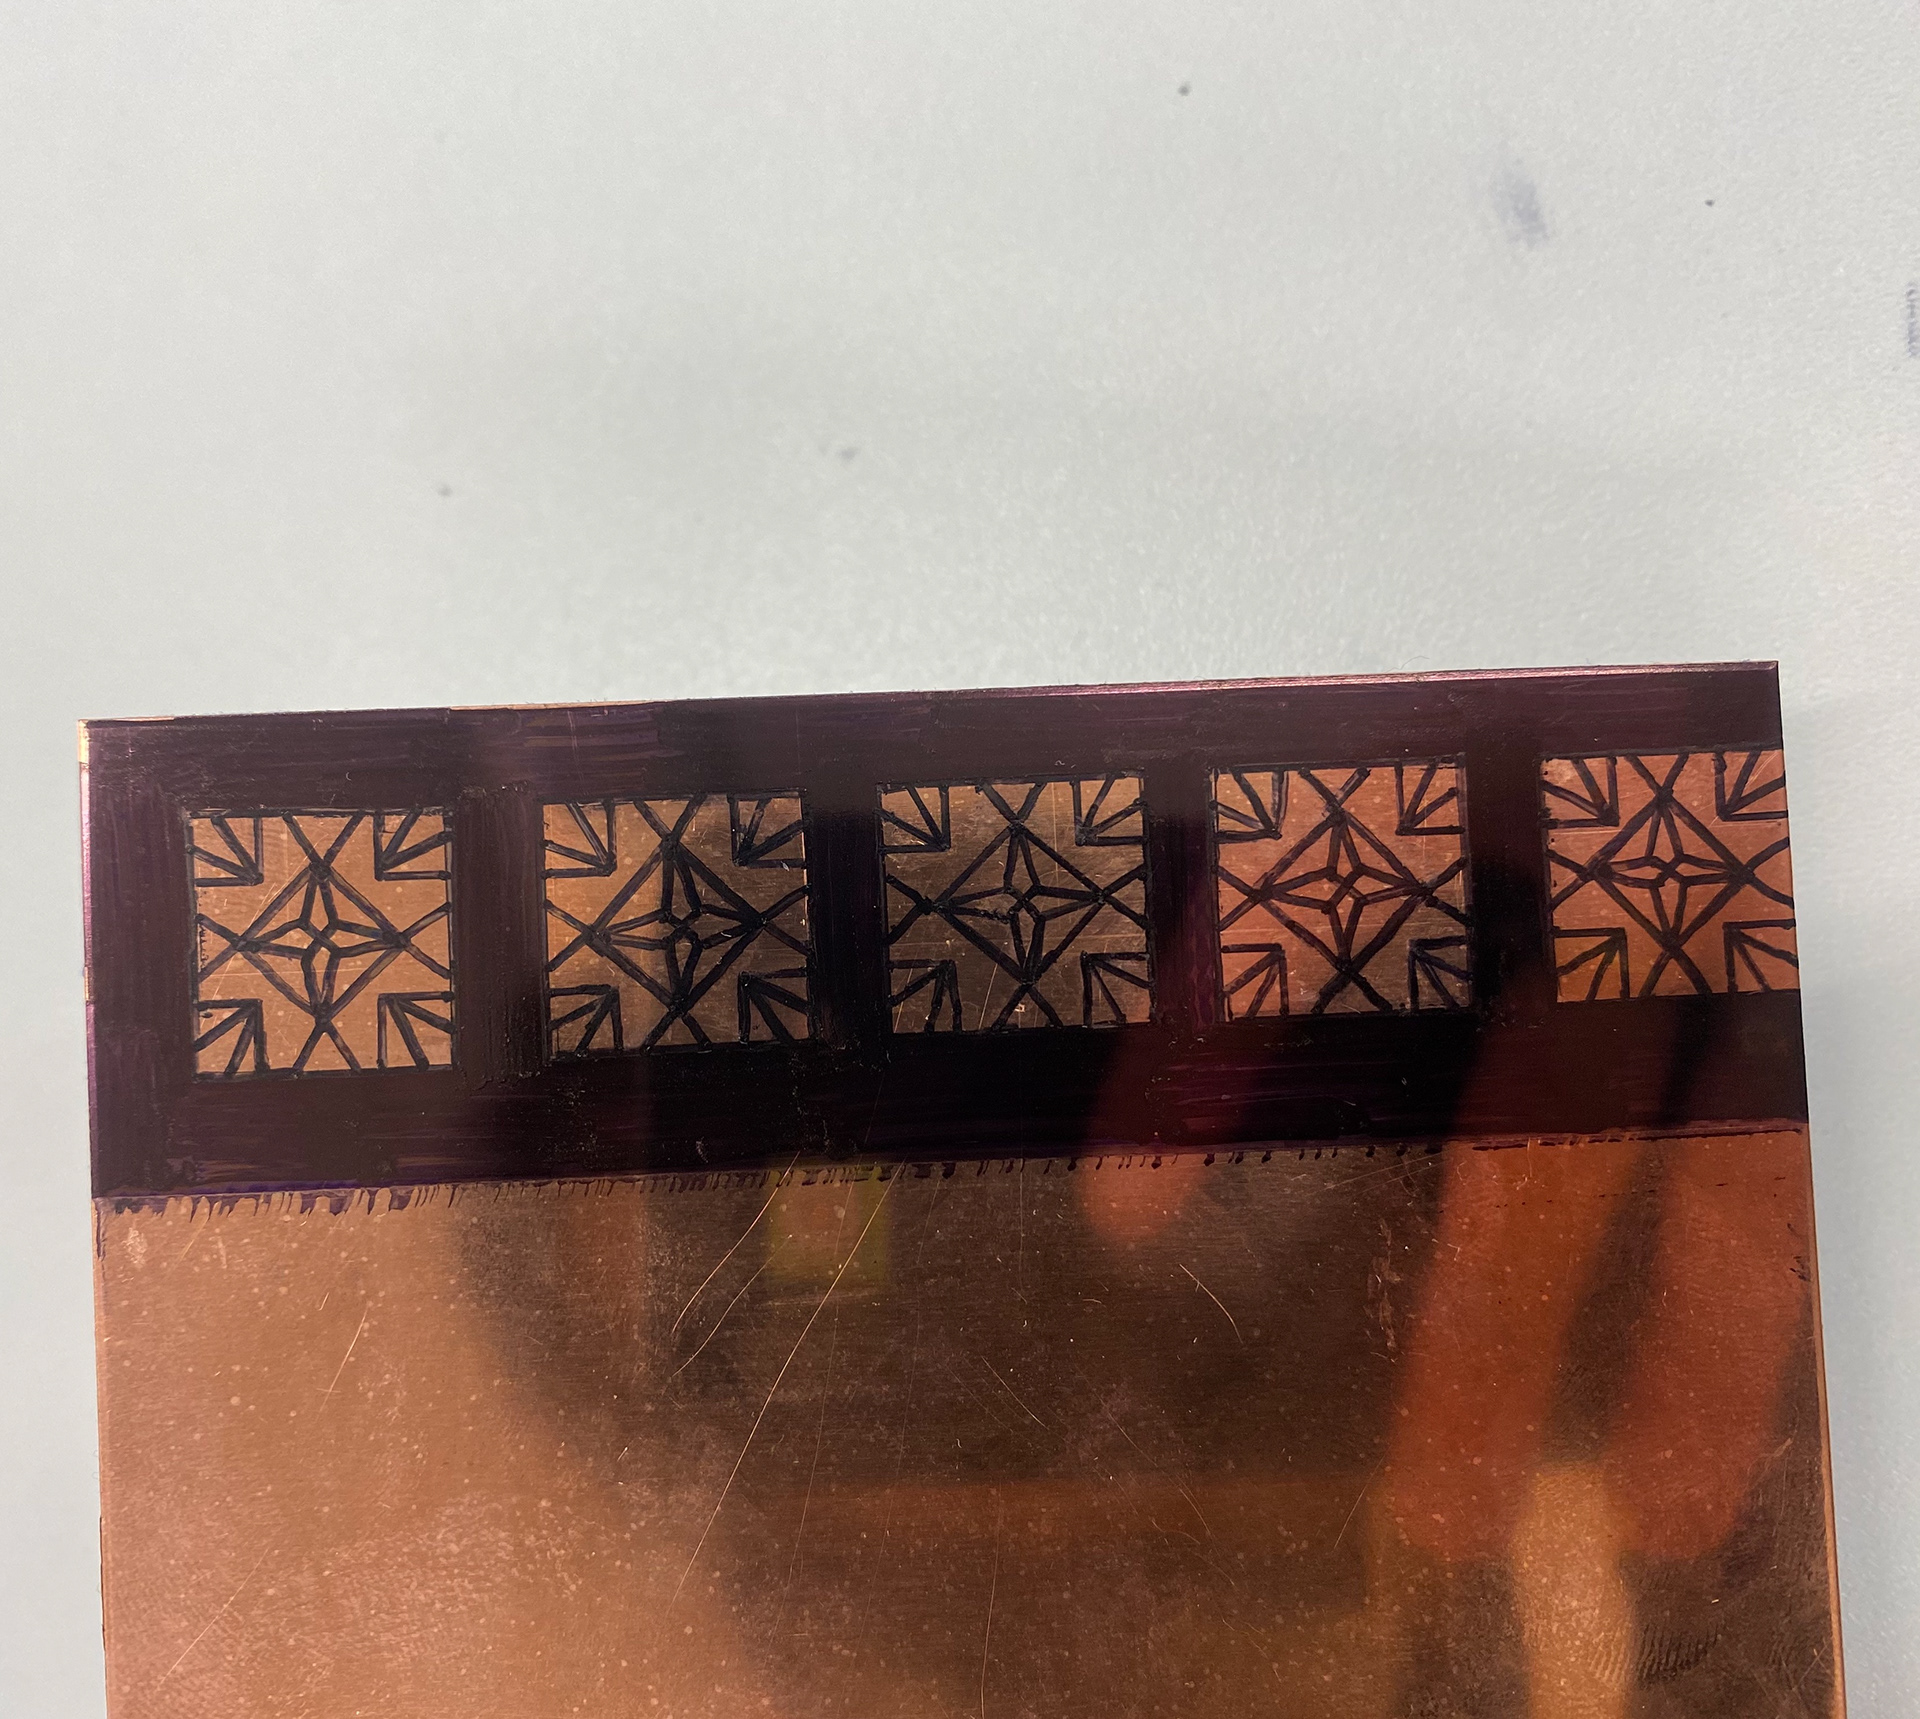
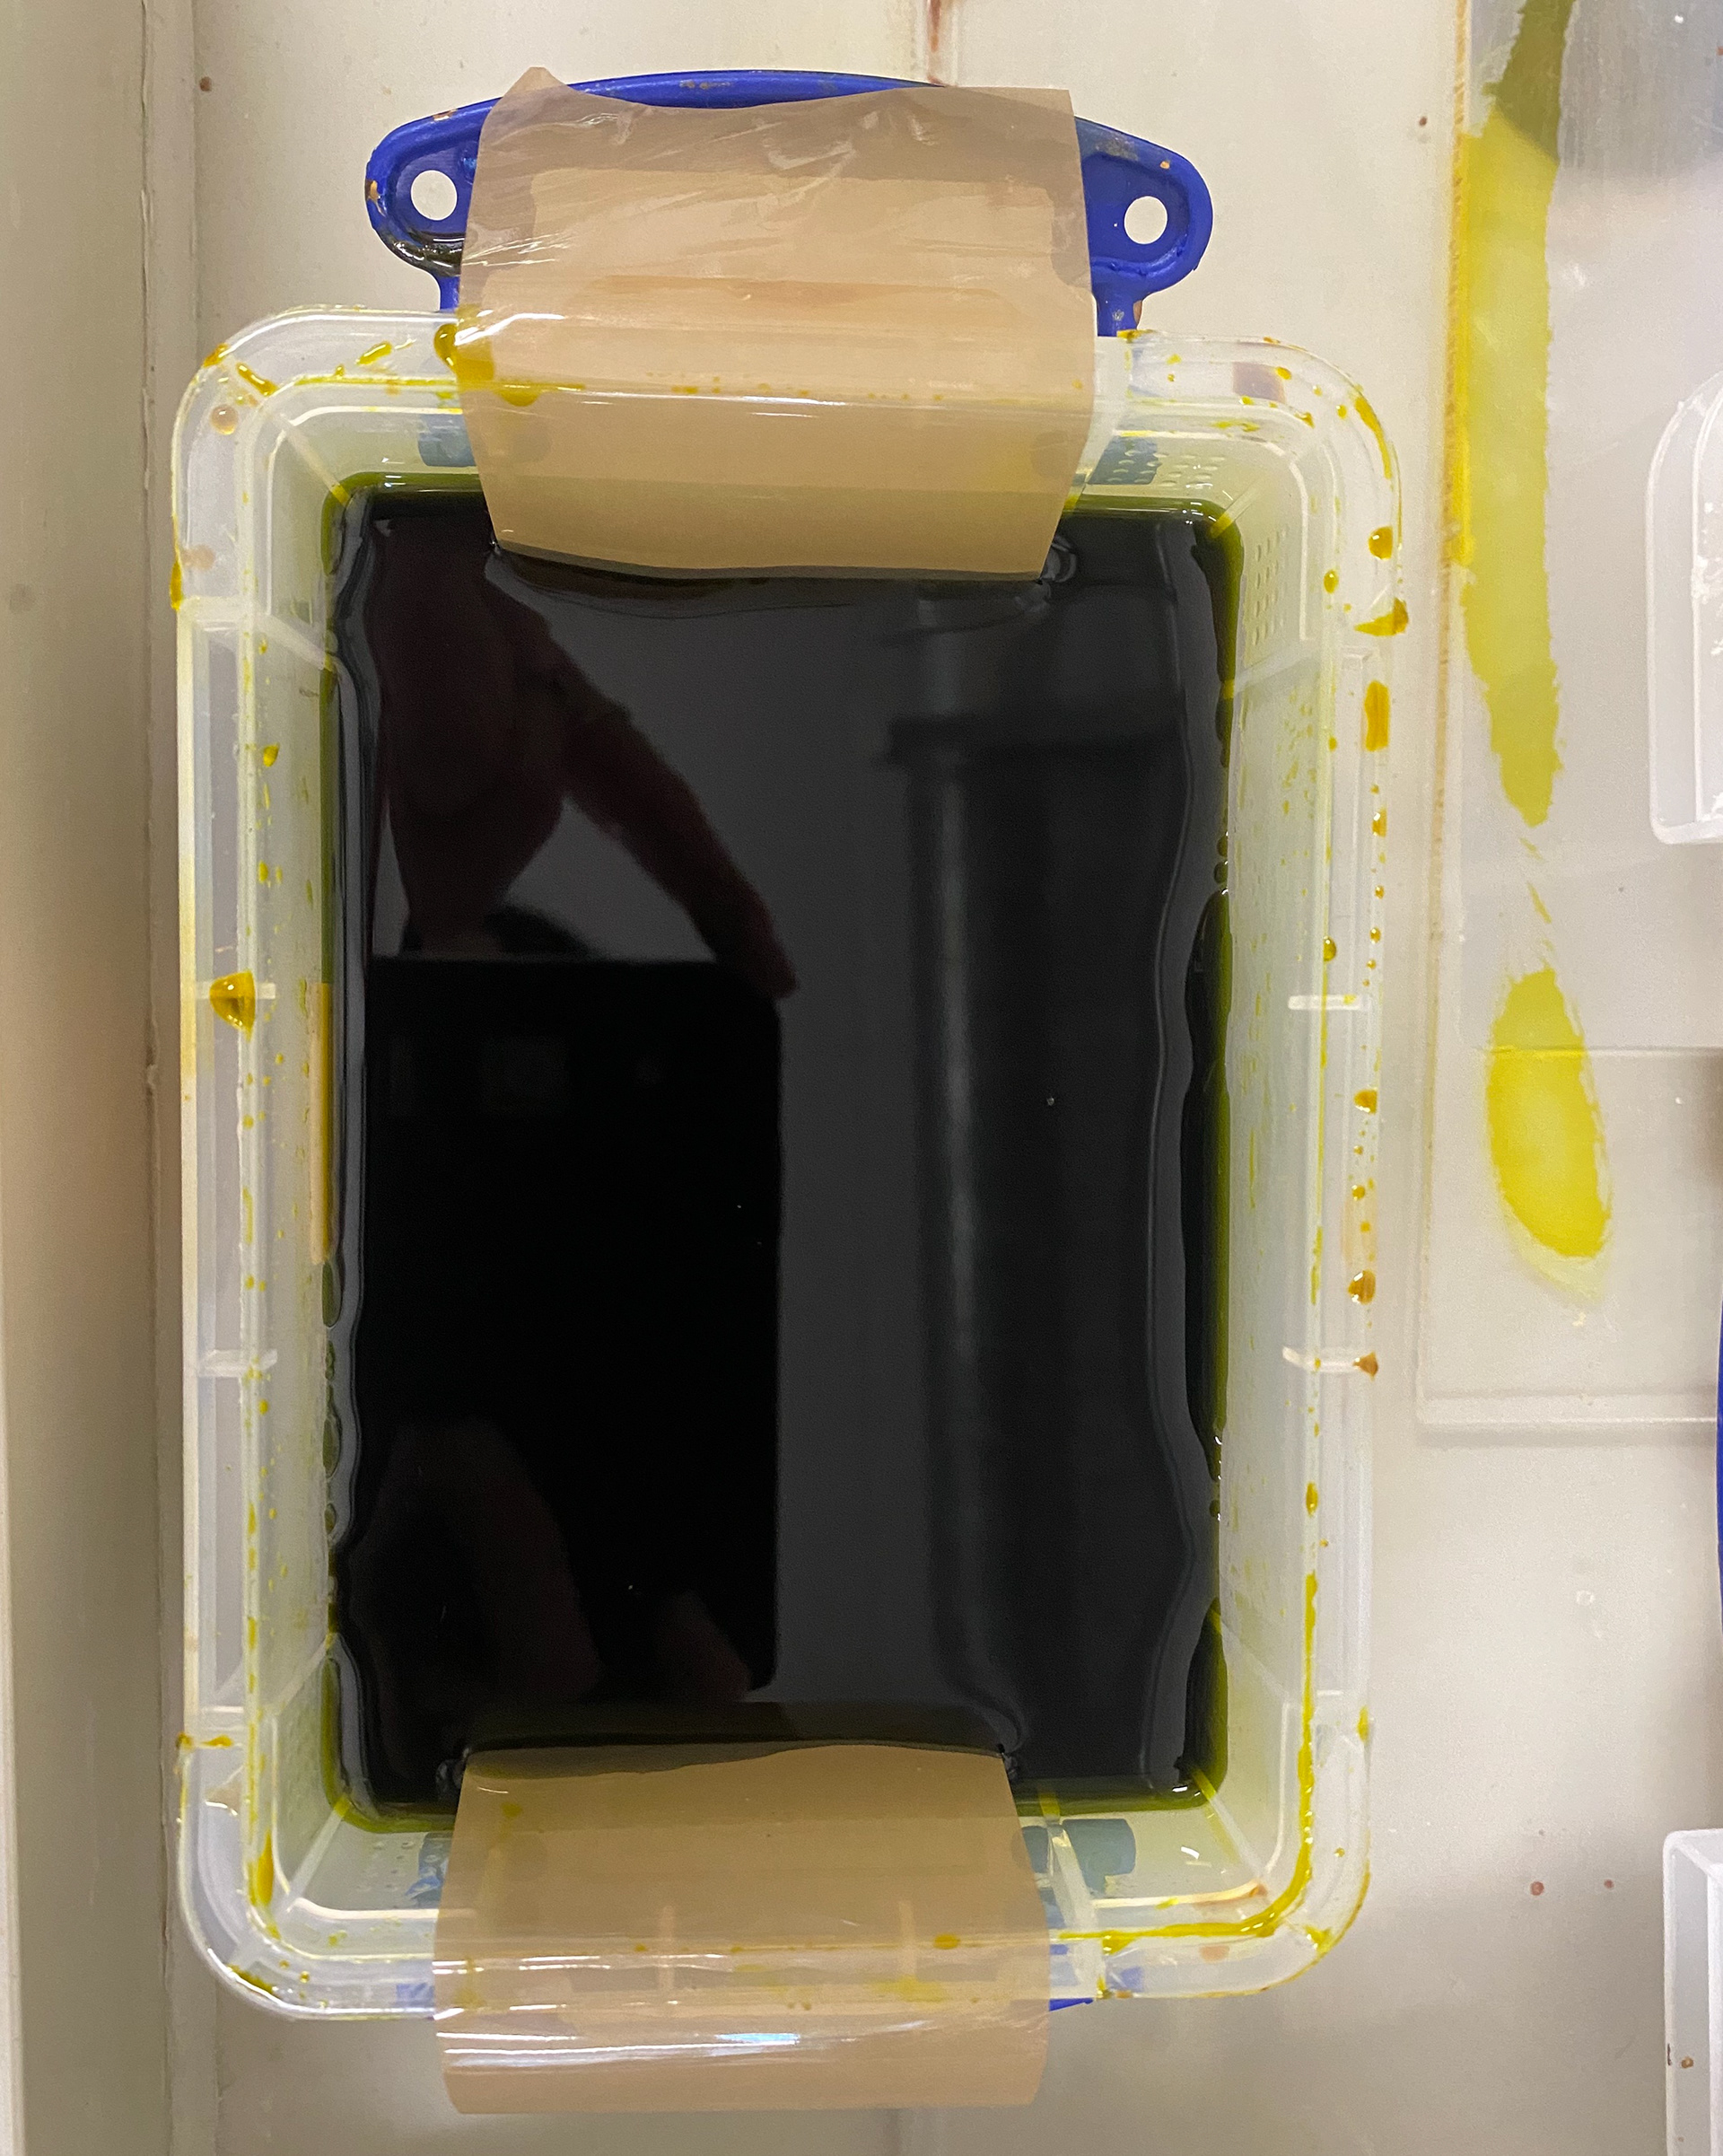
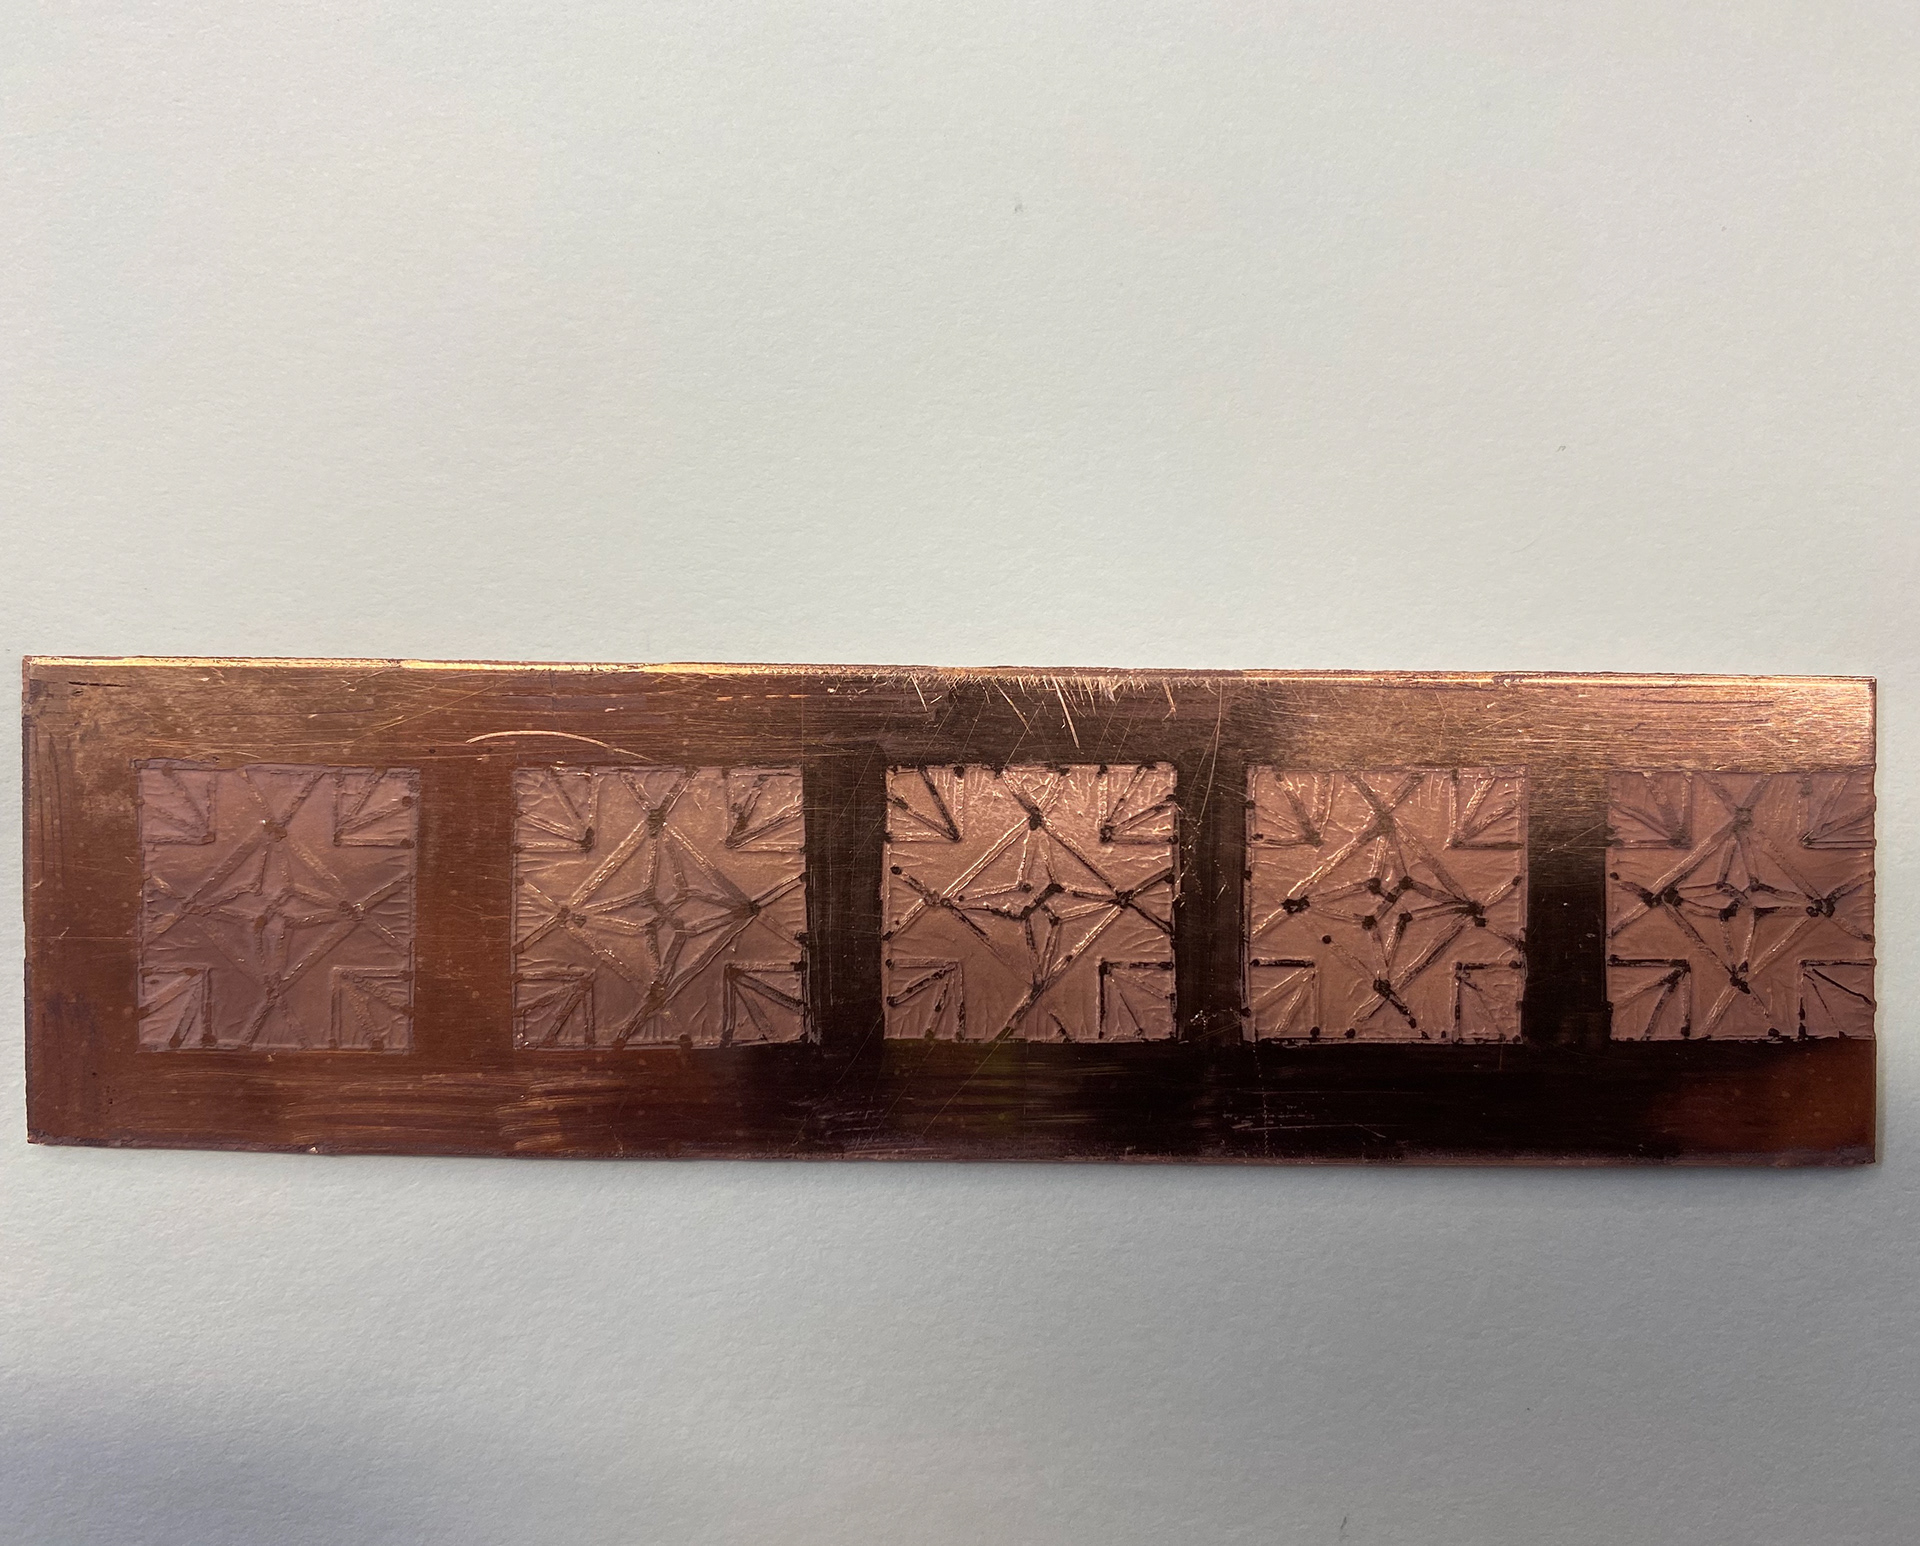
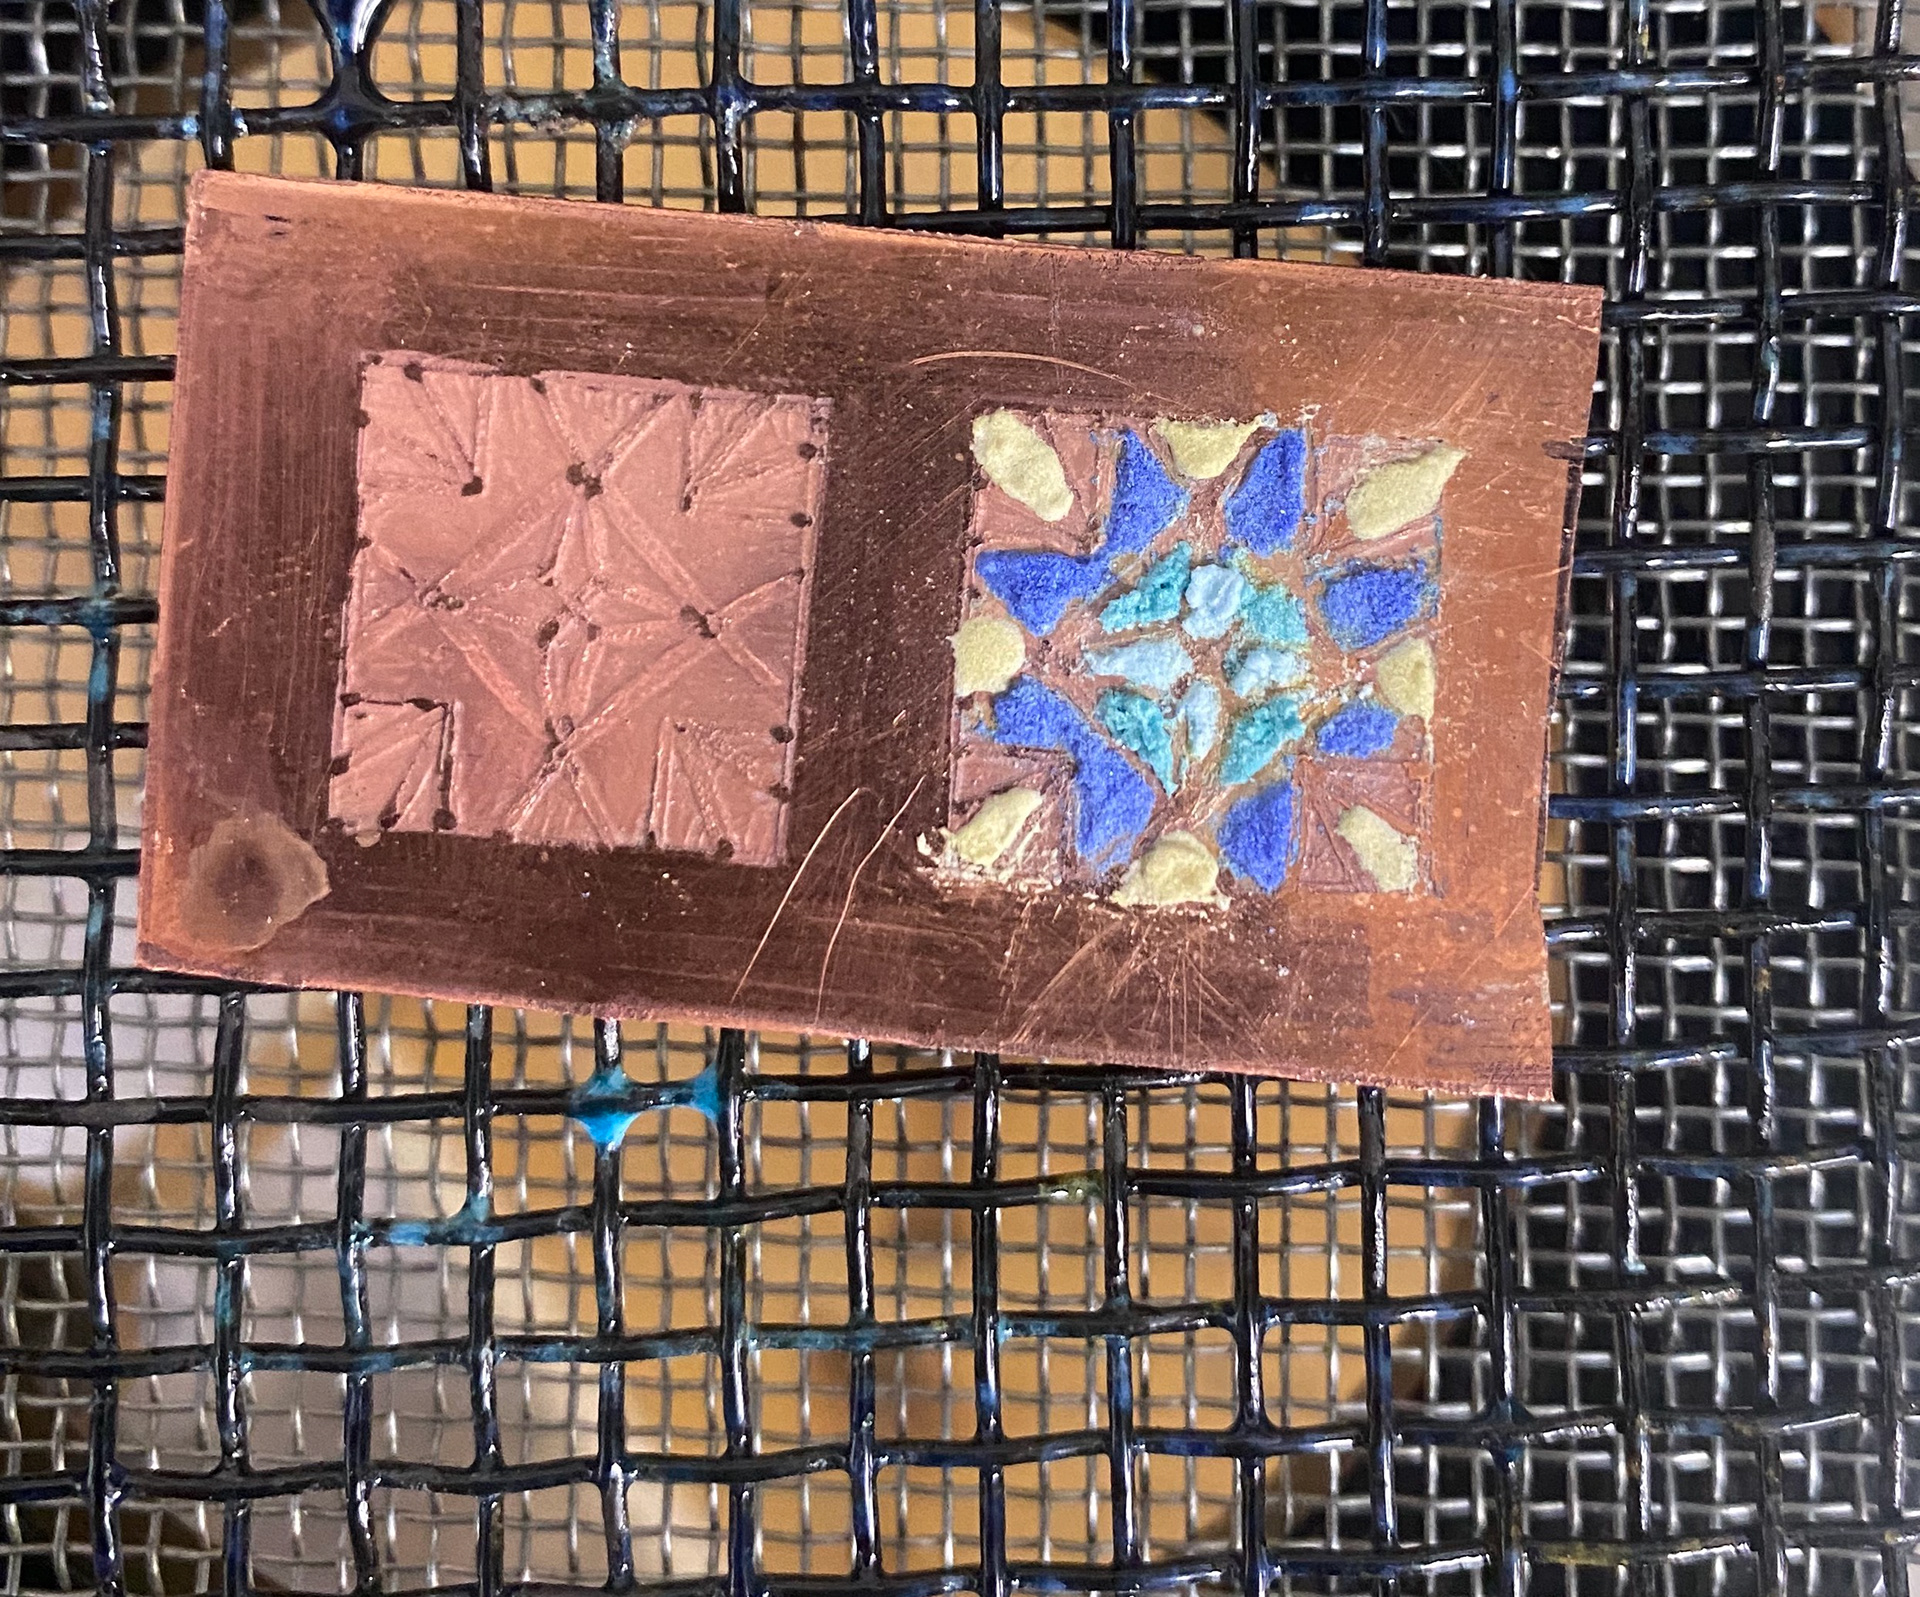
After my research into Persian metal techniques, I wanted to use Enamelling in my work. I had a idea if I Acid Etched geometric patterns, that the etched parts of the metal would be where I applied the Enamel. I asked Maisie to show me how to etch. The method she taught me included drawing on the resist with permanent marker onto my clean metal. I used Copper so that I can Enamel onto it after. I cleaned the copper by pickling it and using Pumice powder and a sponge to remove any dirt. I then hand drawn on my design with permanent marker, as well as covering the back of the metal to stop this from being etched as well. I then covered the back of the metal with parcel tape leaving handles to lift it out of the acid easily. Wearing the appropriate PPE I placed it into the acid. Maisie recommended checking it after 20 minutes however it wasn't etched enough after this time. I kept checking it regular but in the end I left it in the acid for around a hour.
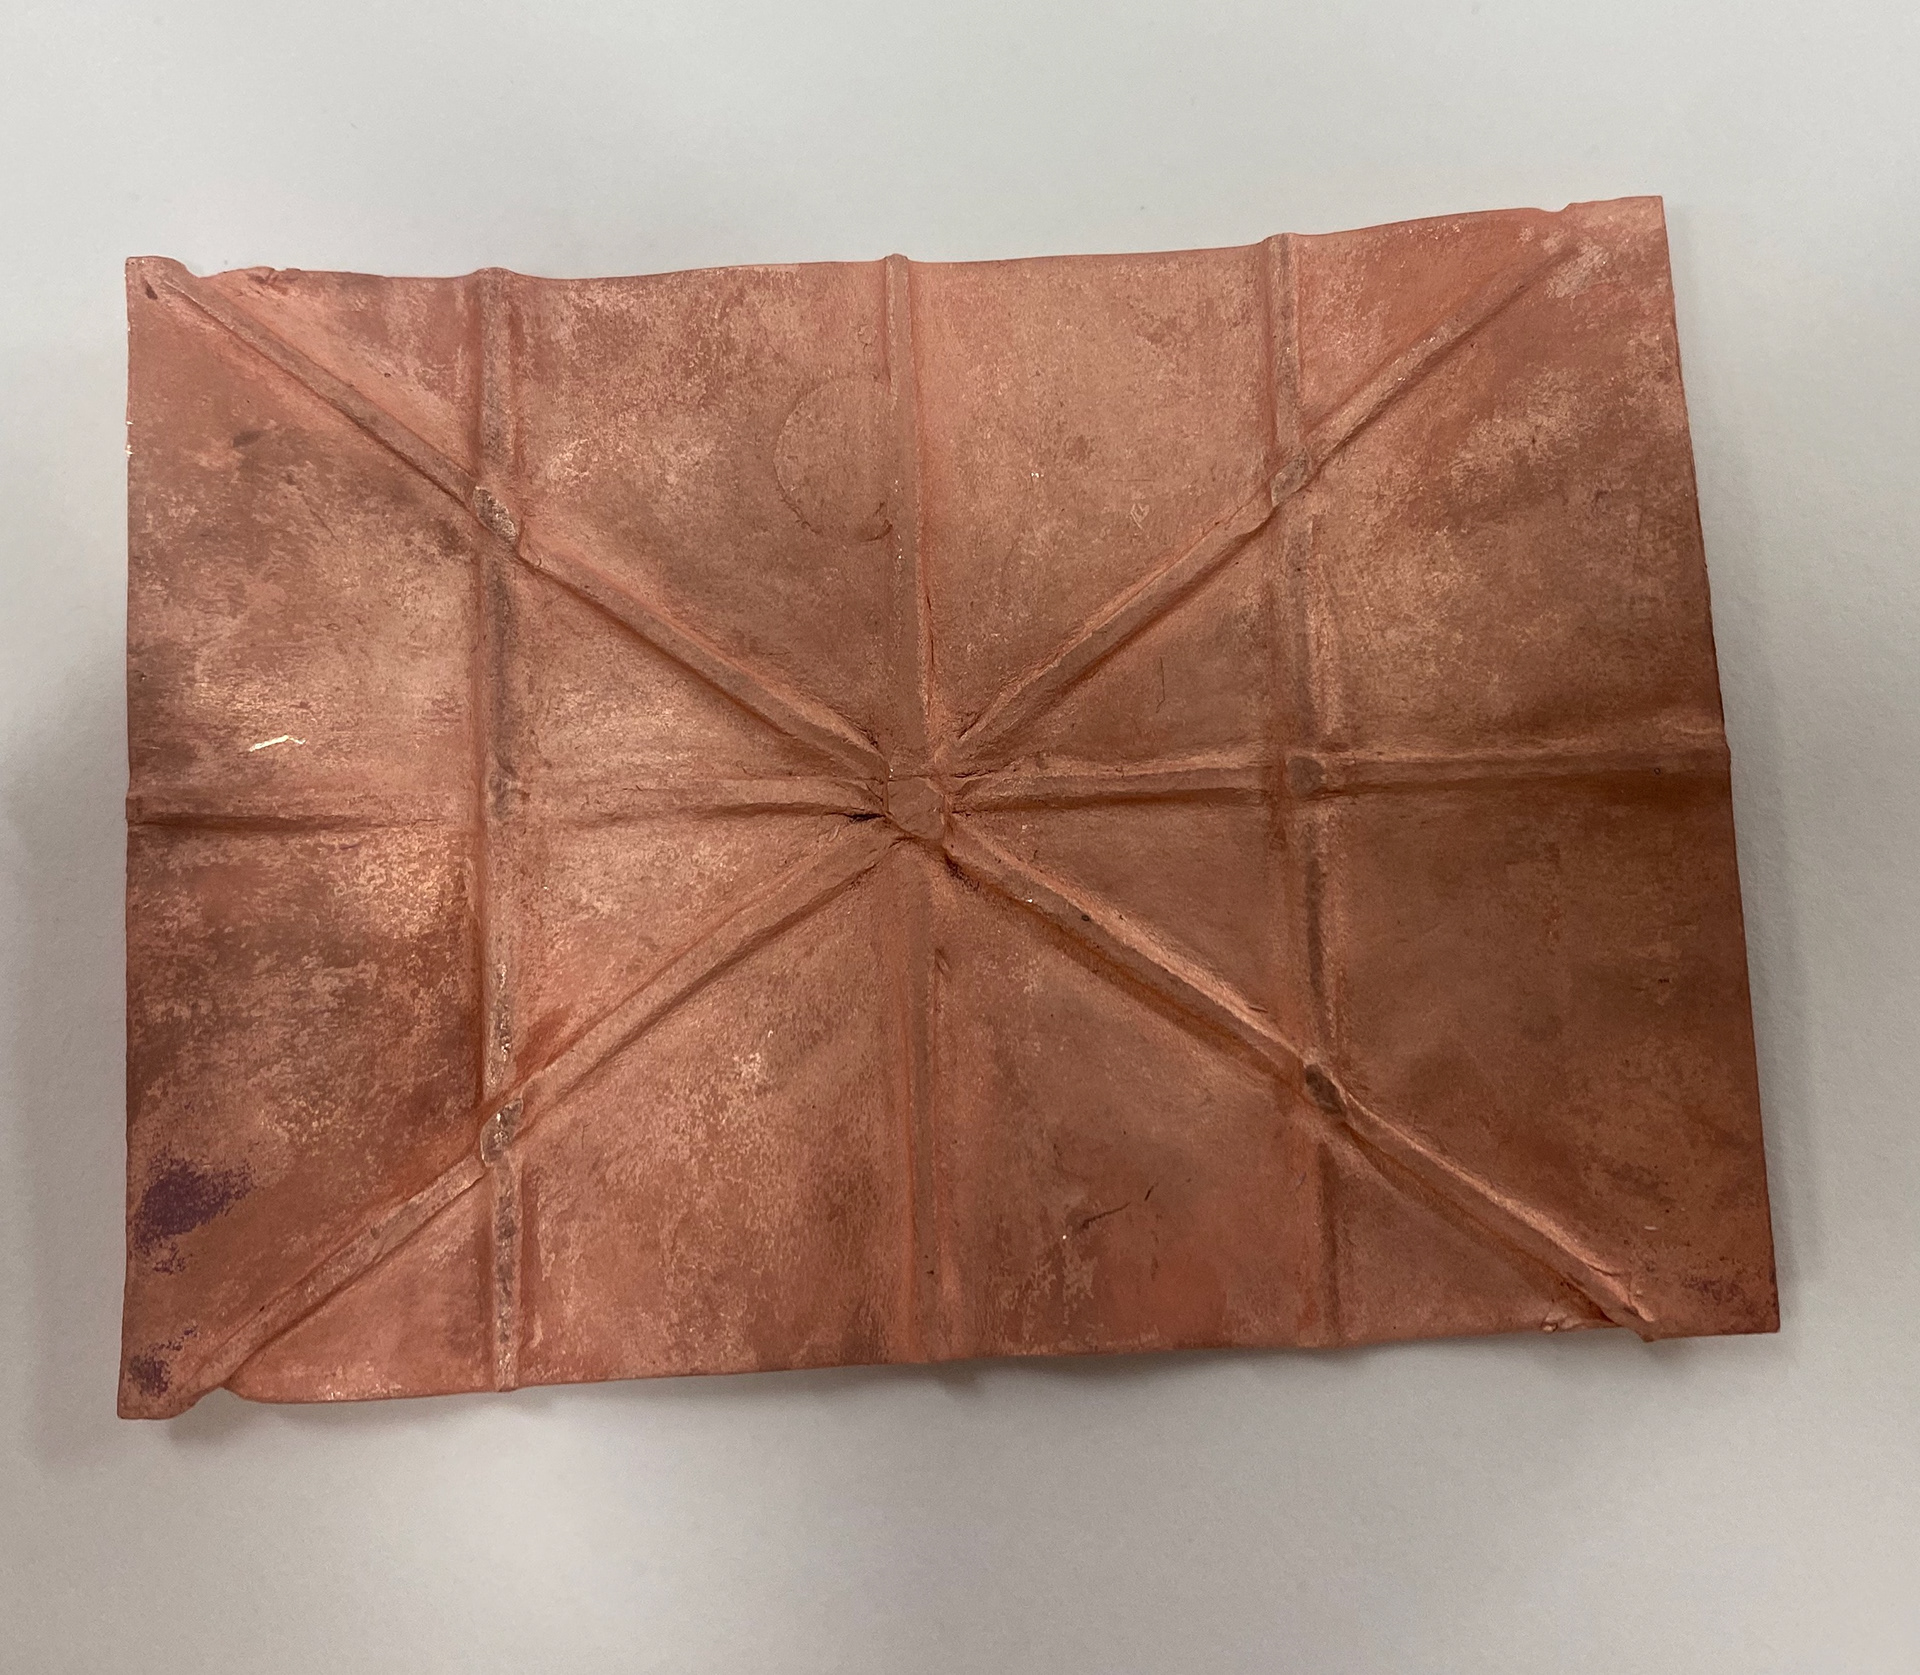
The photo on the left and middle are the results of this. I was happy with the results and thought it looked quite neat for a detailed drawing. I didn't cover the corners of the metal though which meant they got etched to. As those were only sample pieces that was okay. I did practice by drawing some more patterns, including applying the resist onto the rest of the sheet copper outside of the pattern. The results of this are in the right side photo, as you can see the copper still has its shine to it.
Pattern drawn onto metal

The etched Copper
Second go at etching
As you can tell, the method to etching in the Metal workshop is a lot simpler than in the Print workshop. However actually drawing on the patterns by hand is quite time consuming. Although results from etching in the Metal workshop is what I wanted to achieve, I still wanted a quicker method of applying the drawings. From this, I decided I wanted to draw my own geometric pattern and then print that onto Copper using Screen Printing, followed by etching in the Metal workshop.
Enamelling
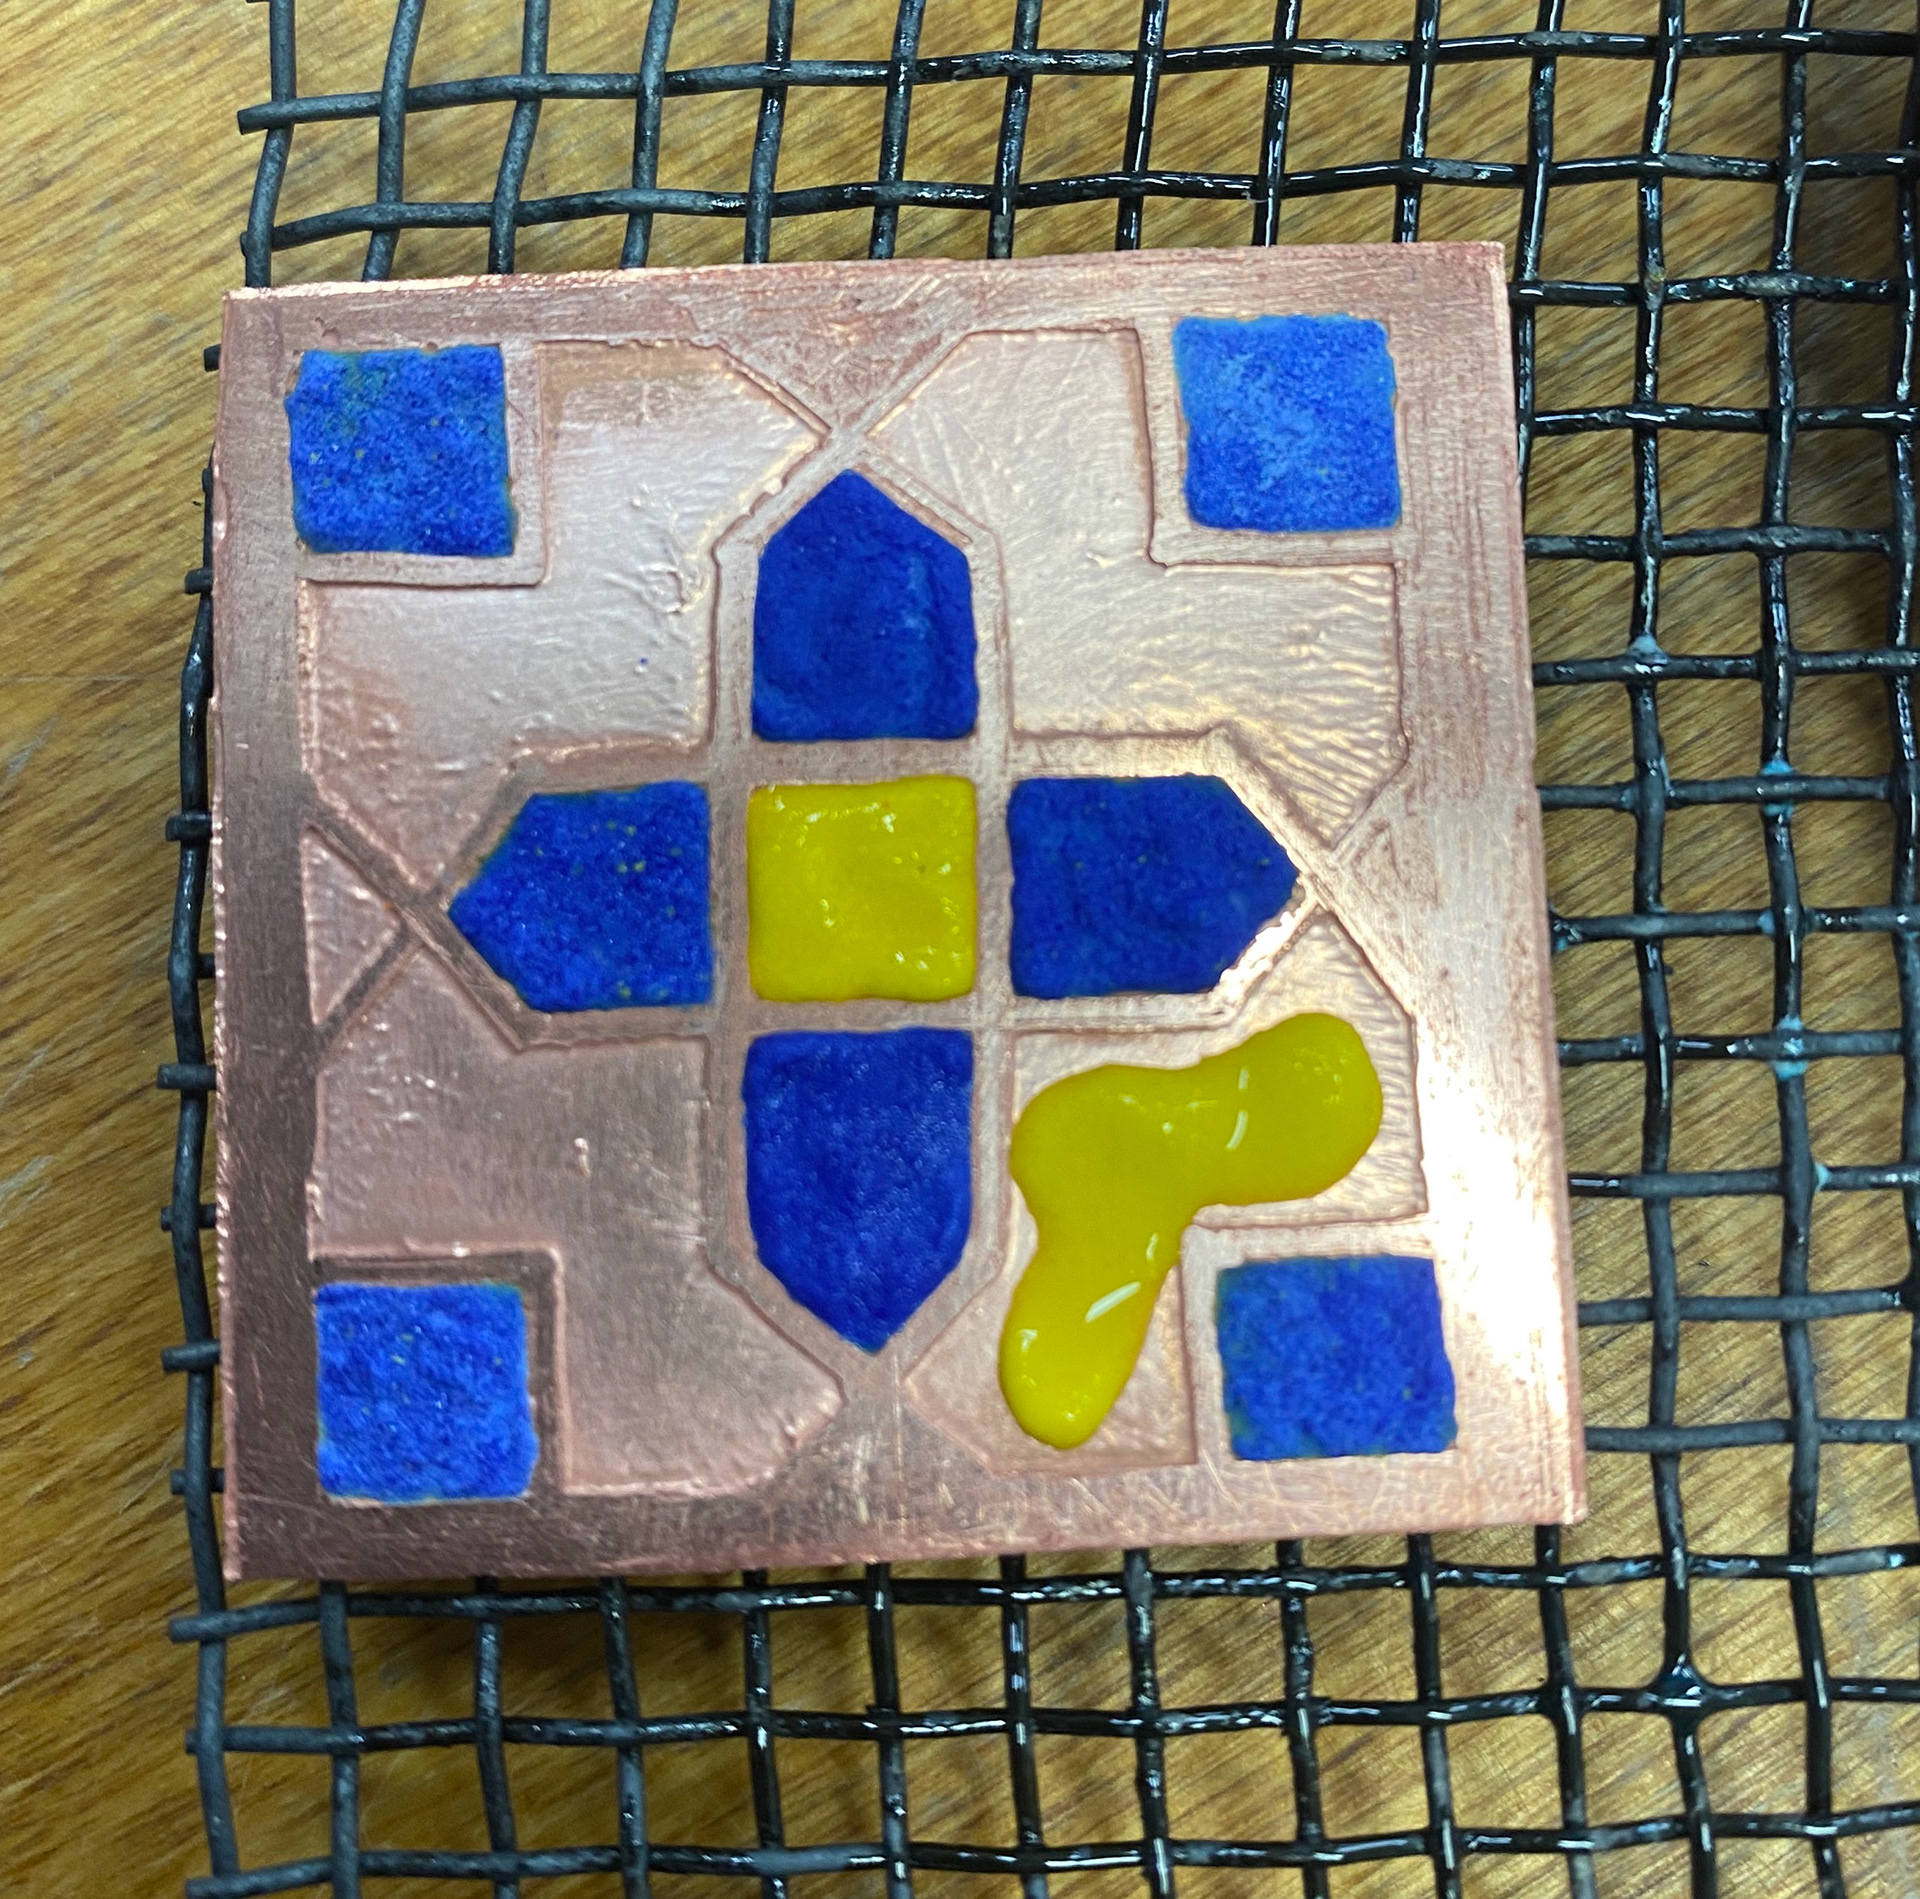
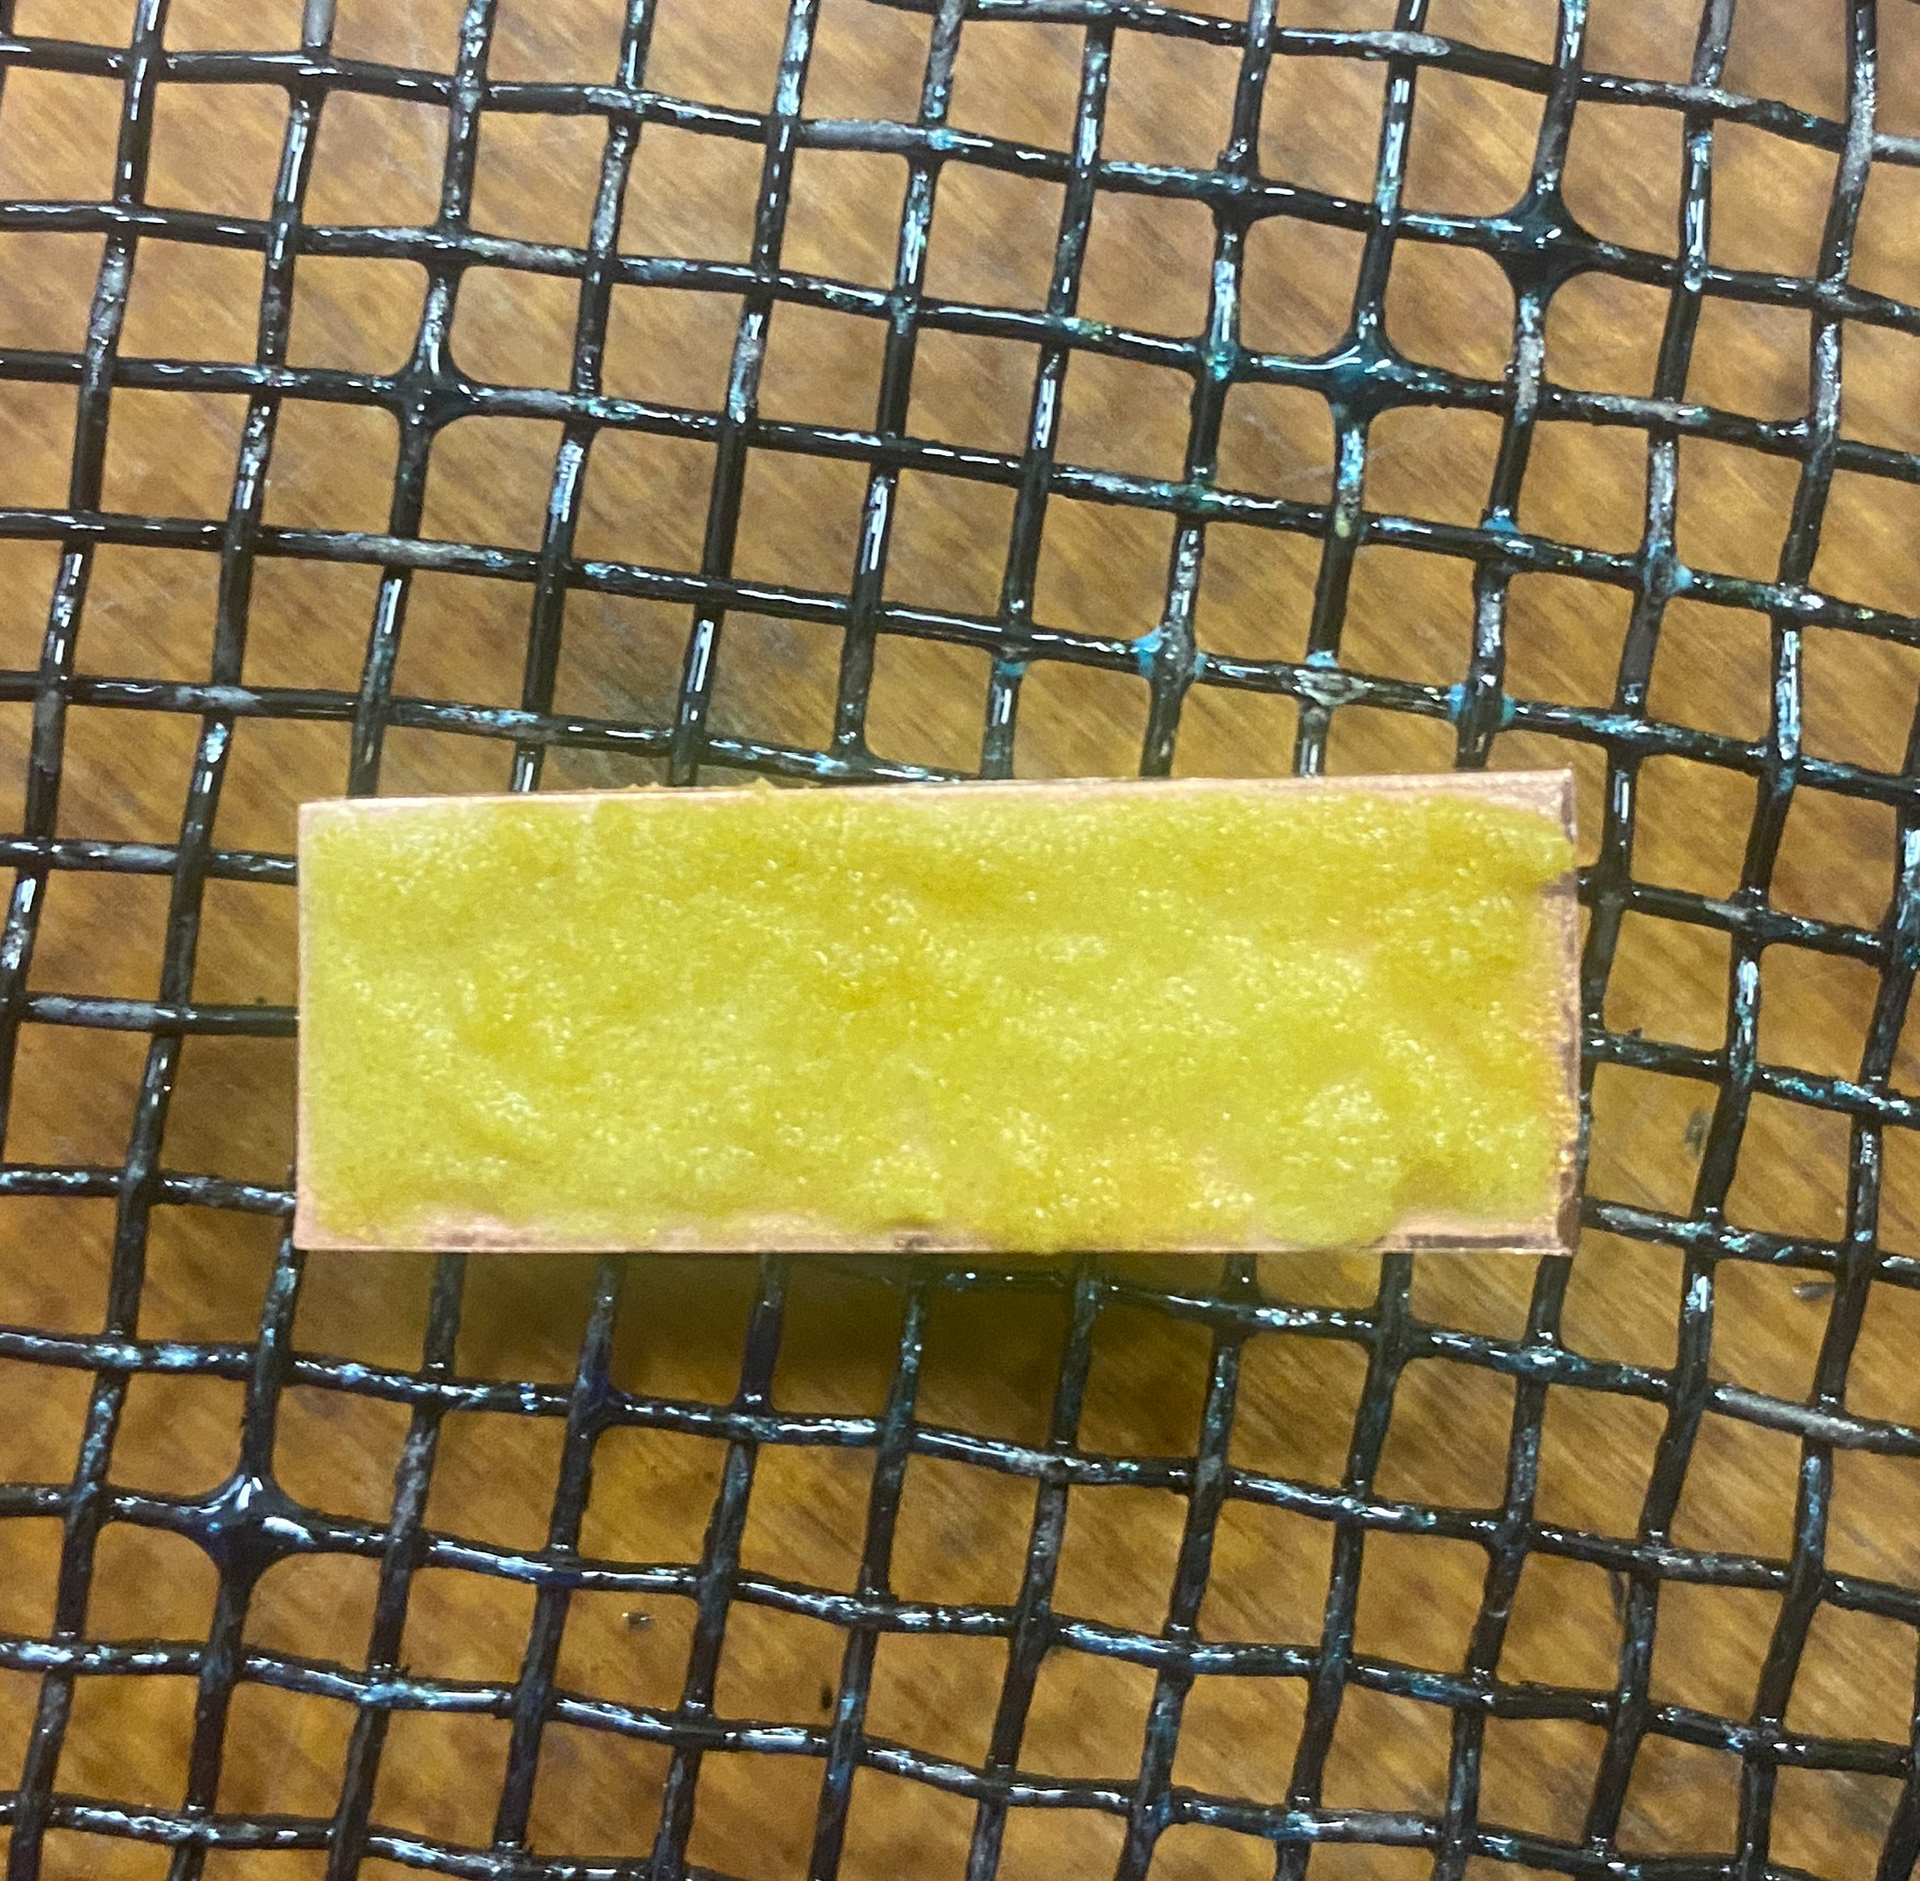
After being inducted on how to enamel I knew I wanted to use this in my work. I like the use of colour with enamel as well being able to achieve detailed patterns with the wet process. These are two factors I enjoy, visually like the look of and I am naturally drawn to. Enamelling is also a traditional Persian technique used in their crafts, therefore something I wanted to explore in my project. Once I had etched away the parts of Copper that didn't have the resist on, I then used the wet process with the enamel to create the patterns as seen below.
Applying wet Enamel to the Copper
Letting the Enamel dry out before putting it in the kiln

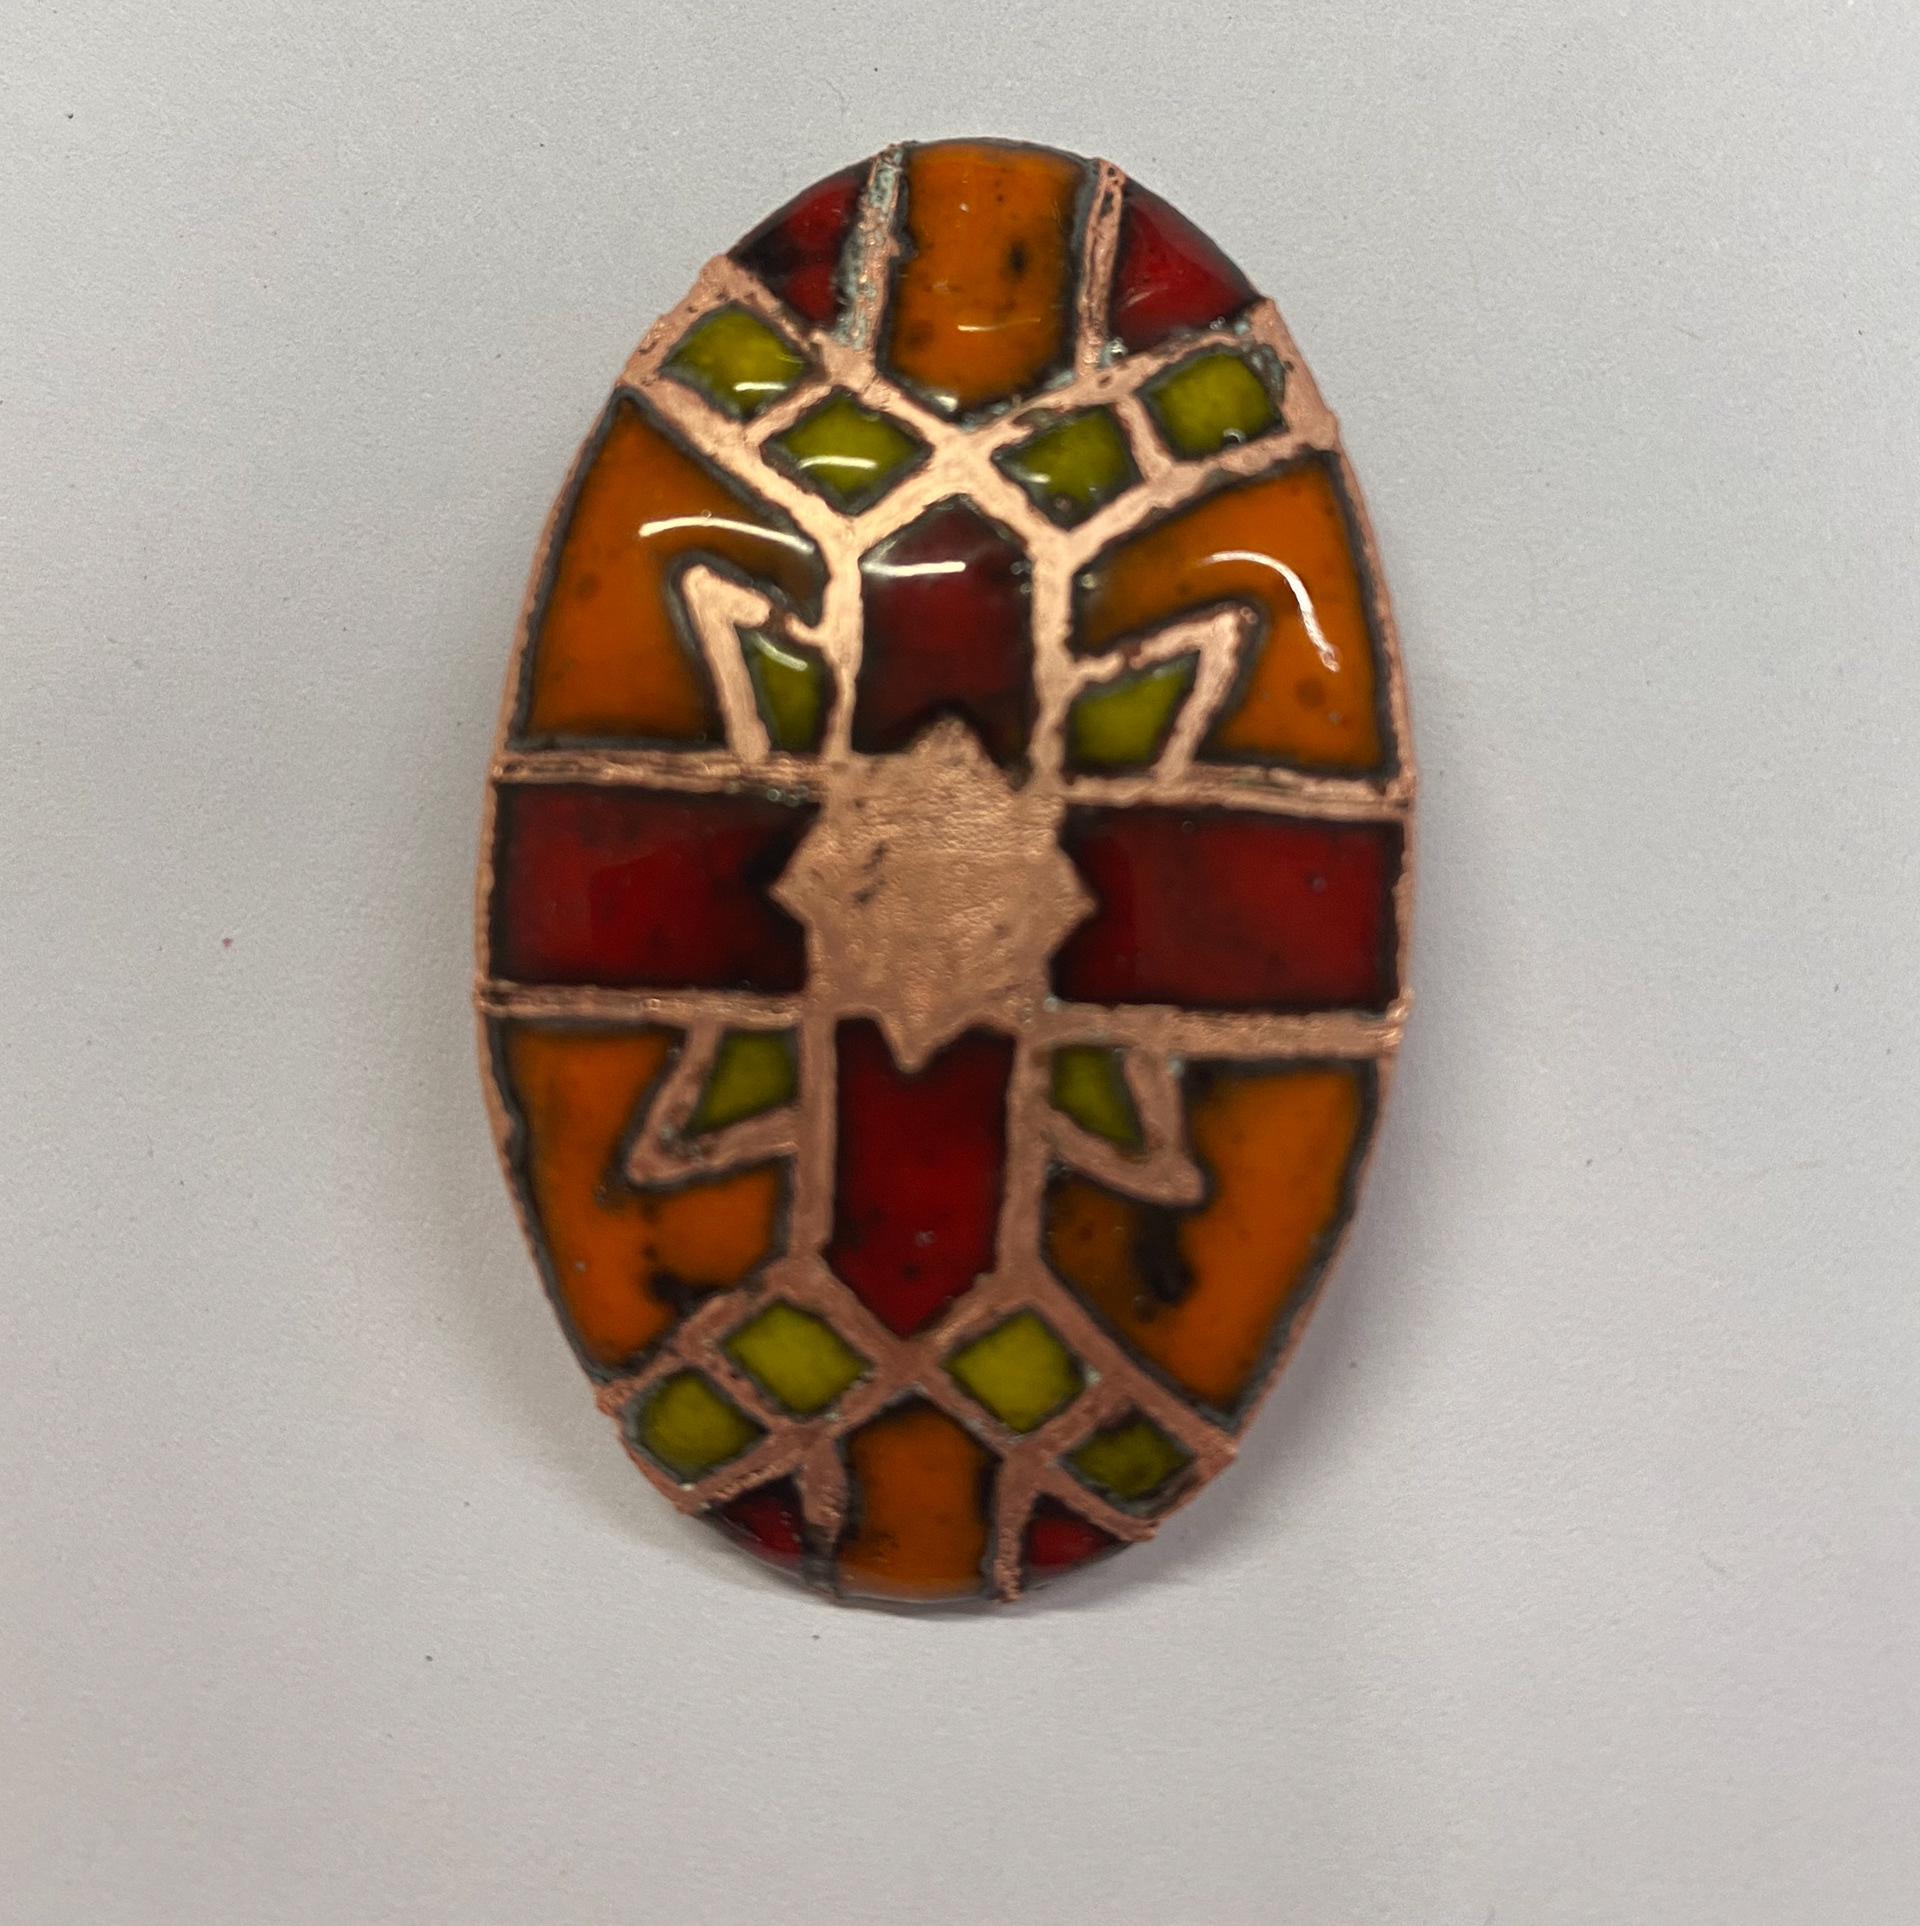
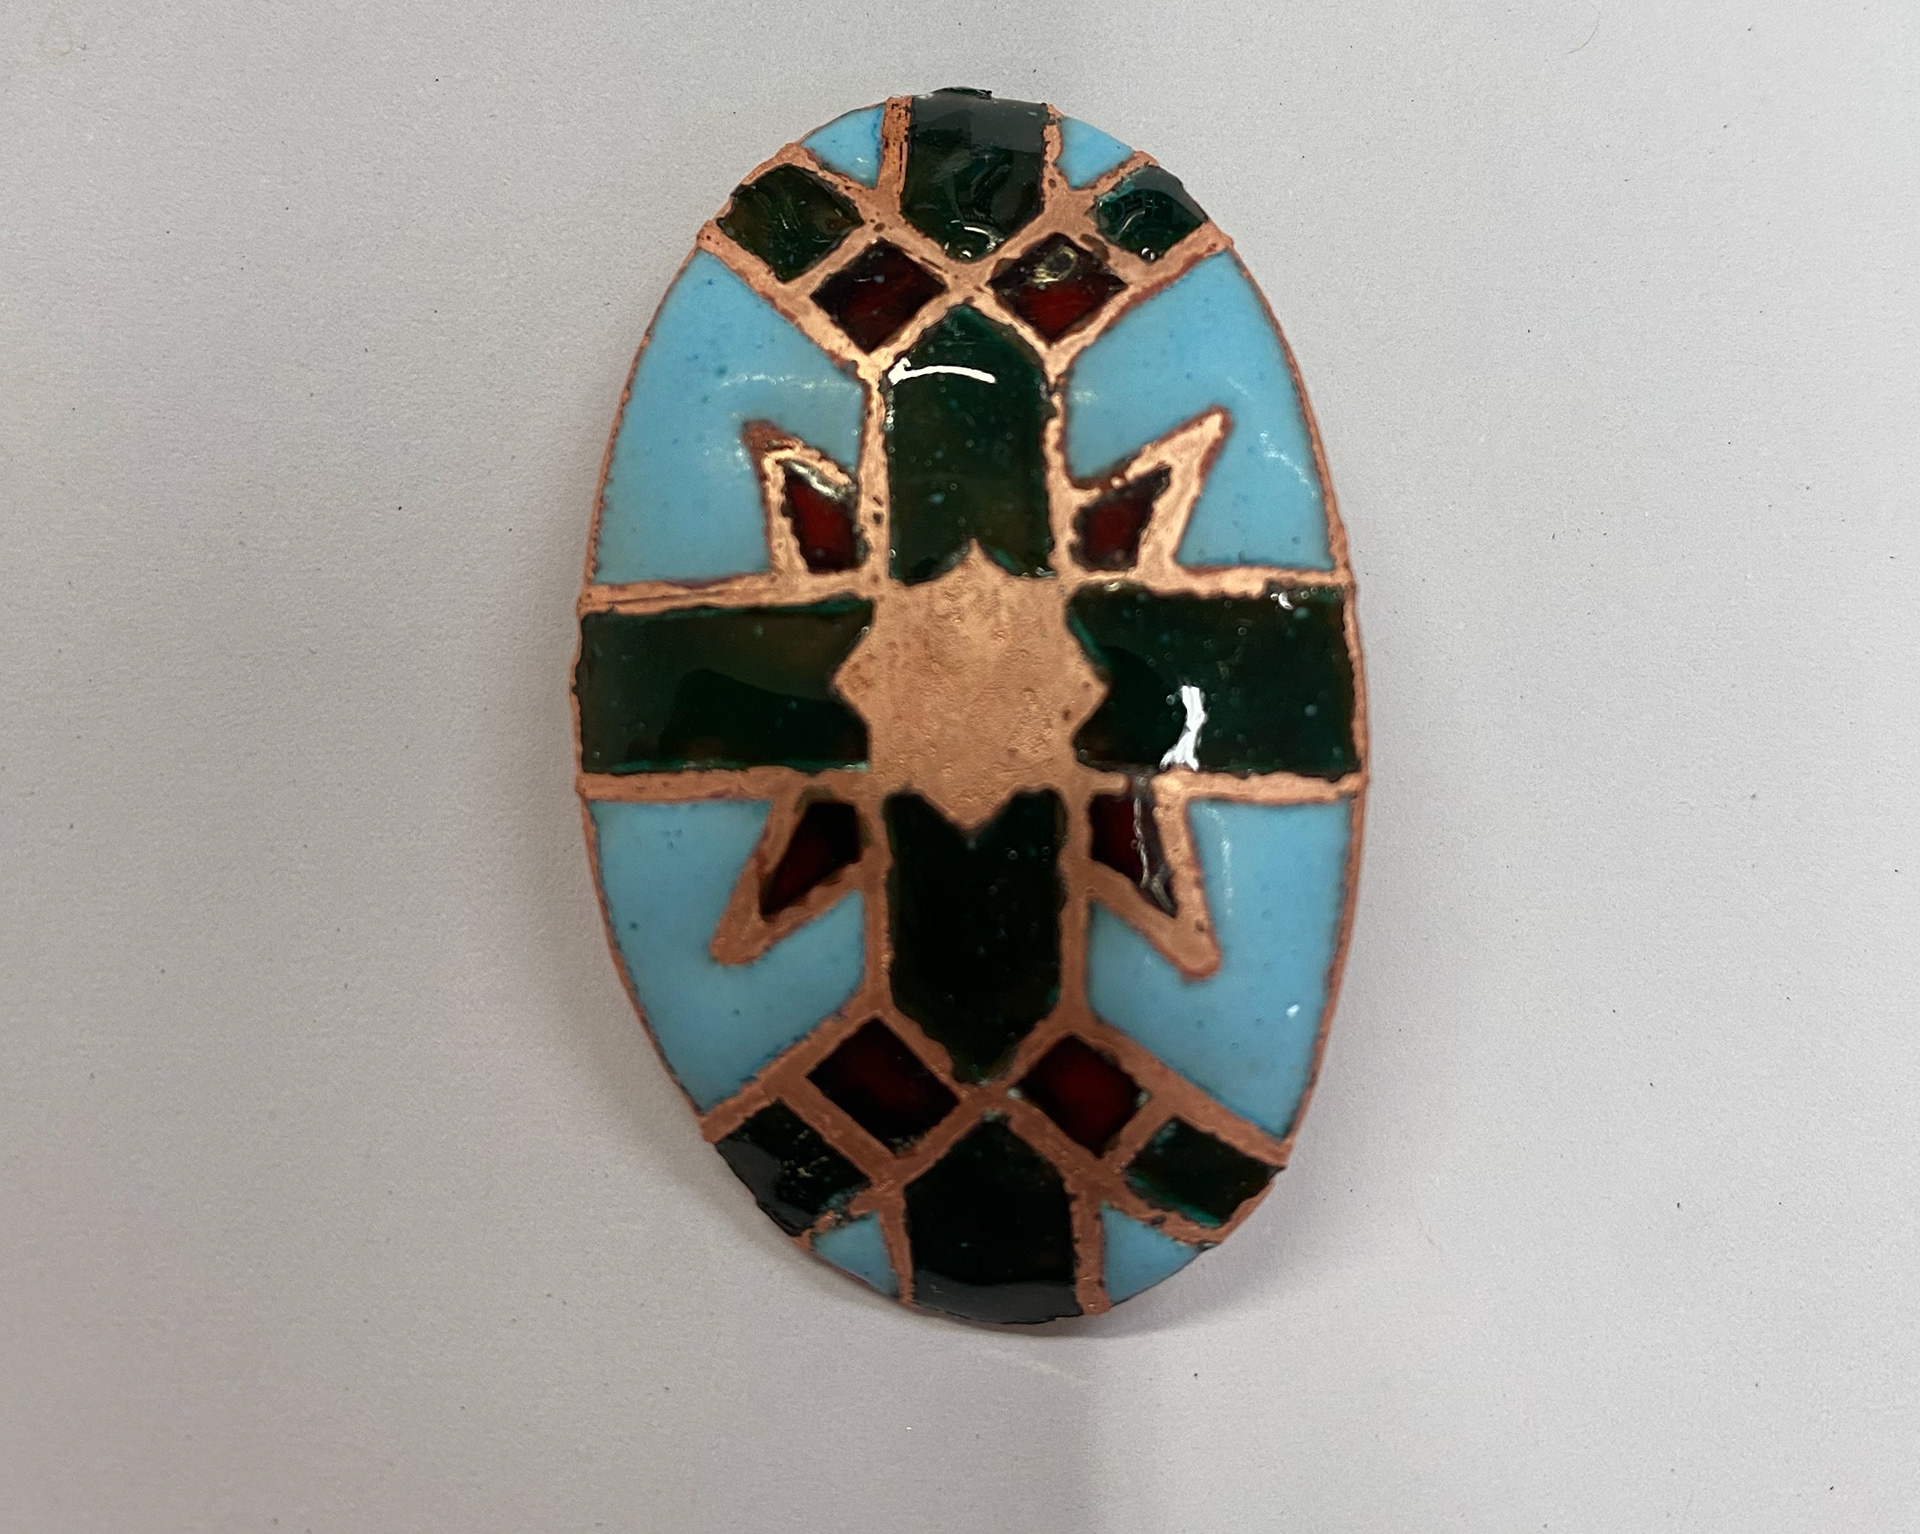
Finished piece after being in the kiln and cleaned
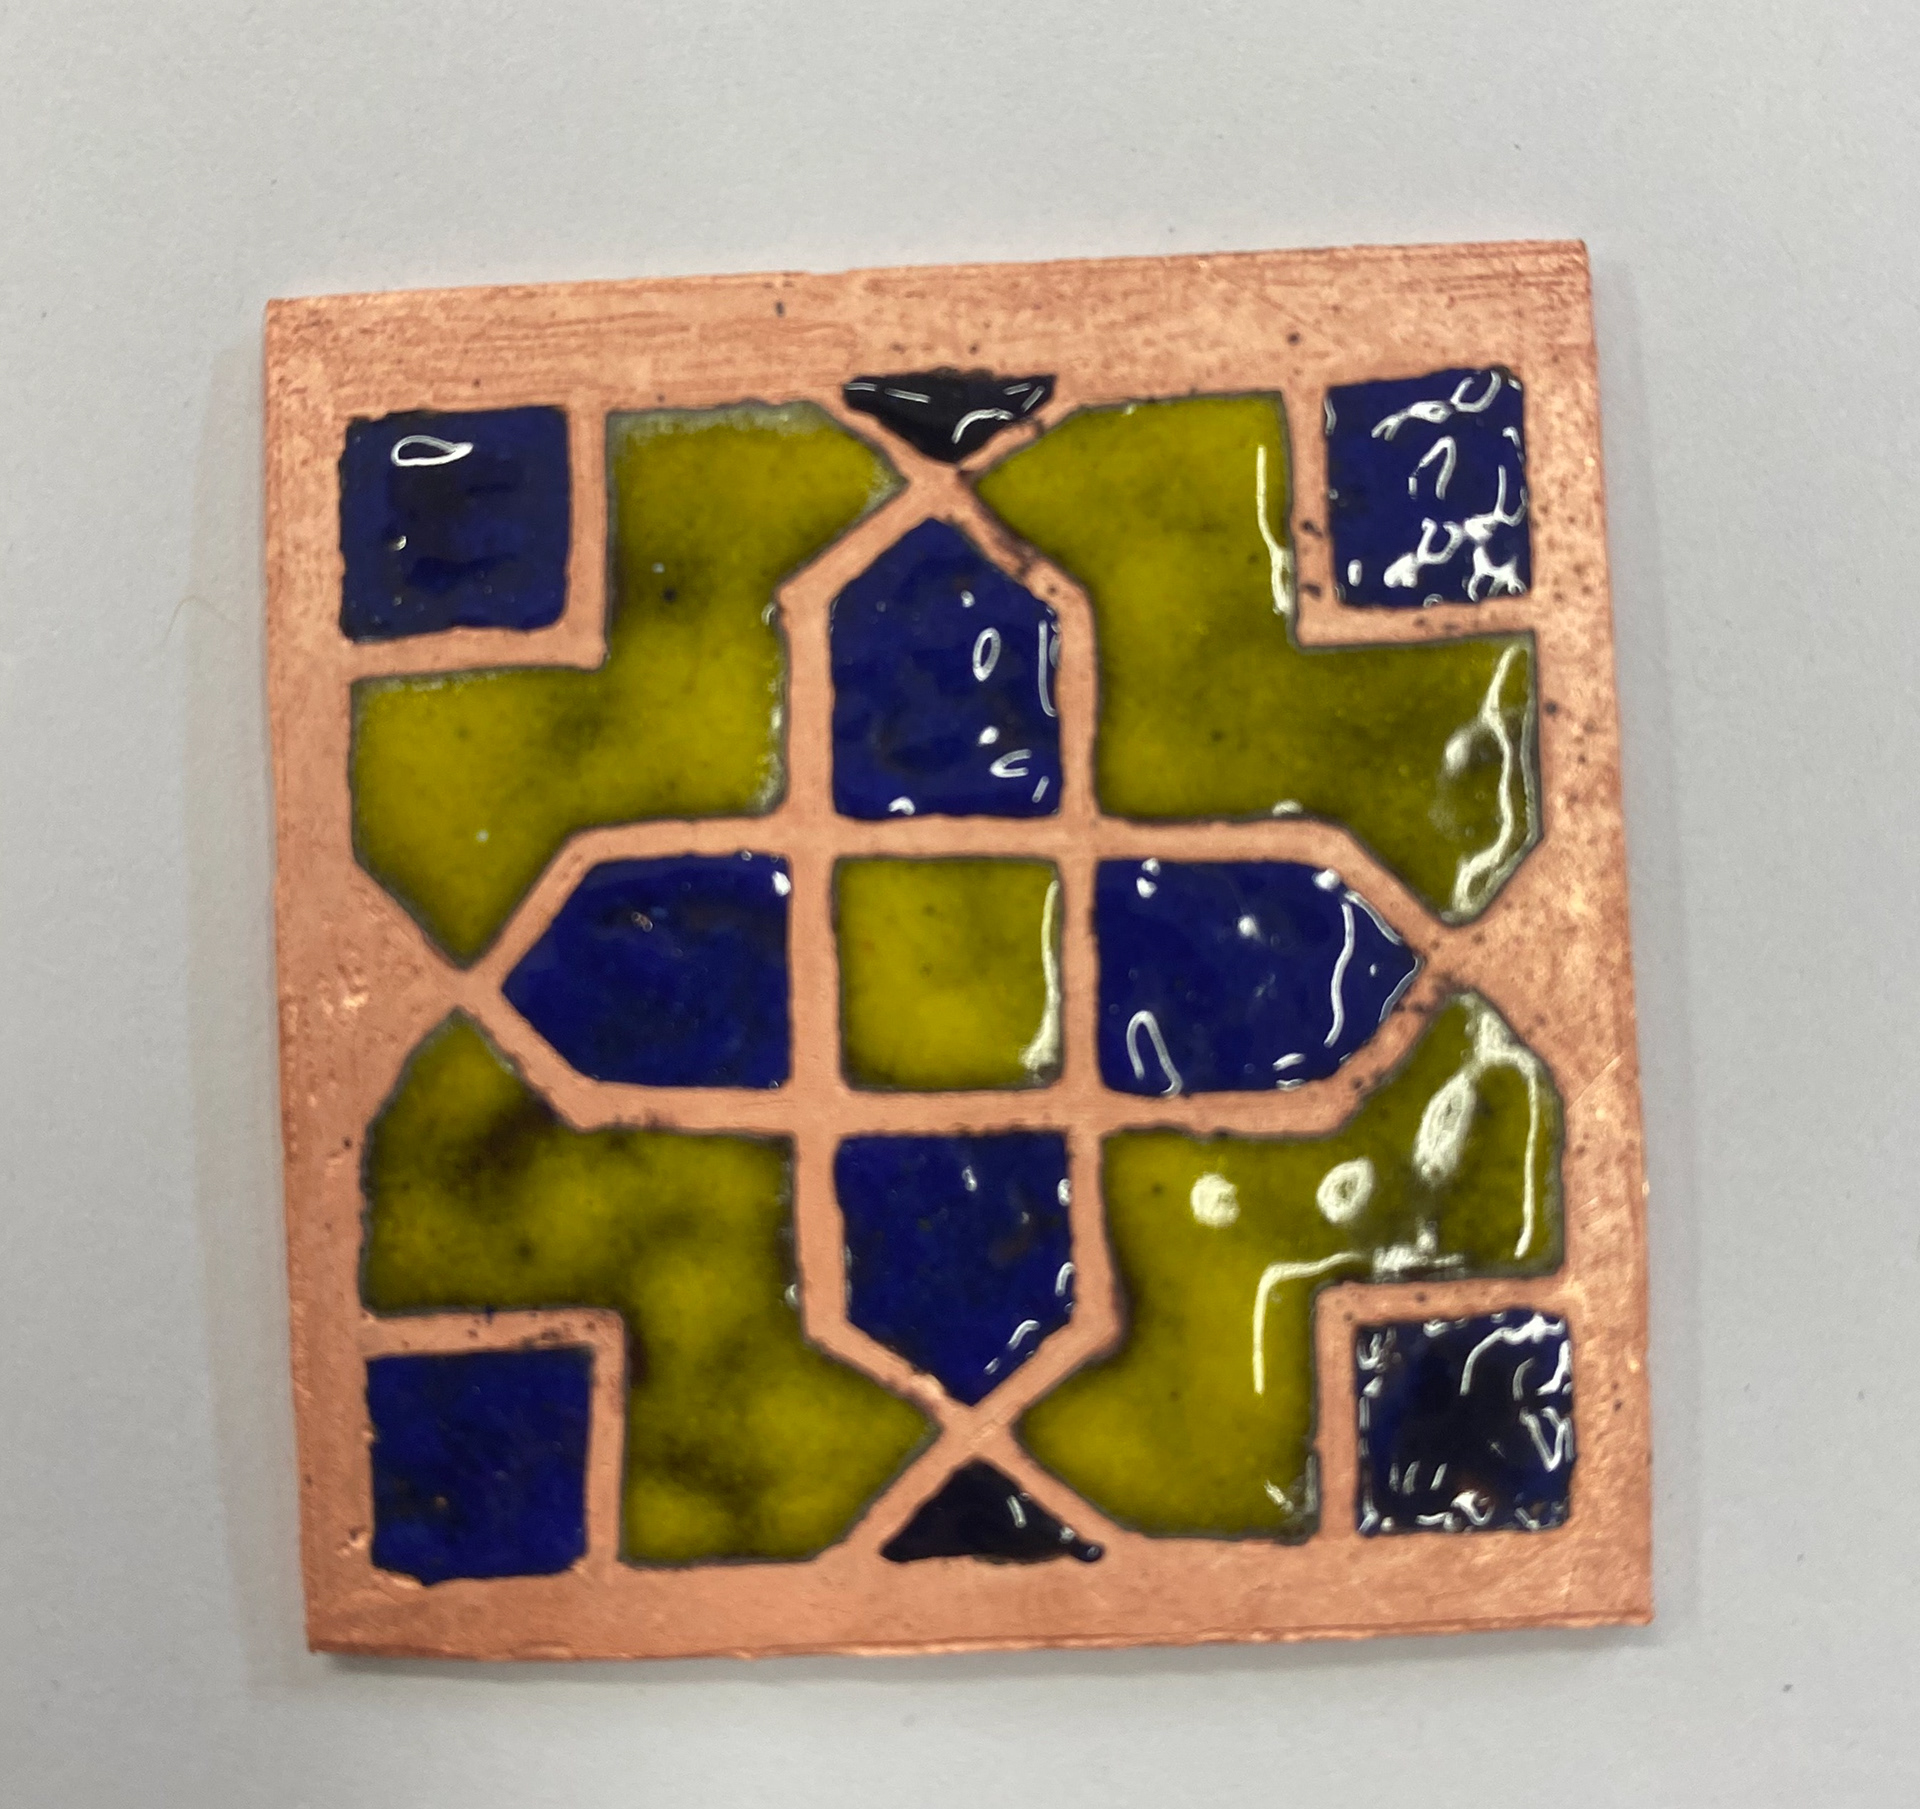
Finished piece after being in the kiln and cleaned
I was quite happy with how these sample pieces turned out. I managed to apply the enamel in a neat and precise way, even with very small sections which all kept its shape after being fired. I did this by using a fine paint brush. However, upon reflection in places the Enamel has gone darker. I believe this could be from either firing it for to long or the layer of Enamel being to thin. To try prevent this from happening next time I will watch the piece more carefully when it is in the kiln, but also apply the Enamel a little bit thicker.
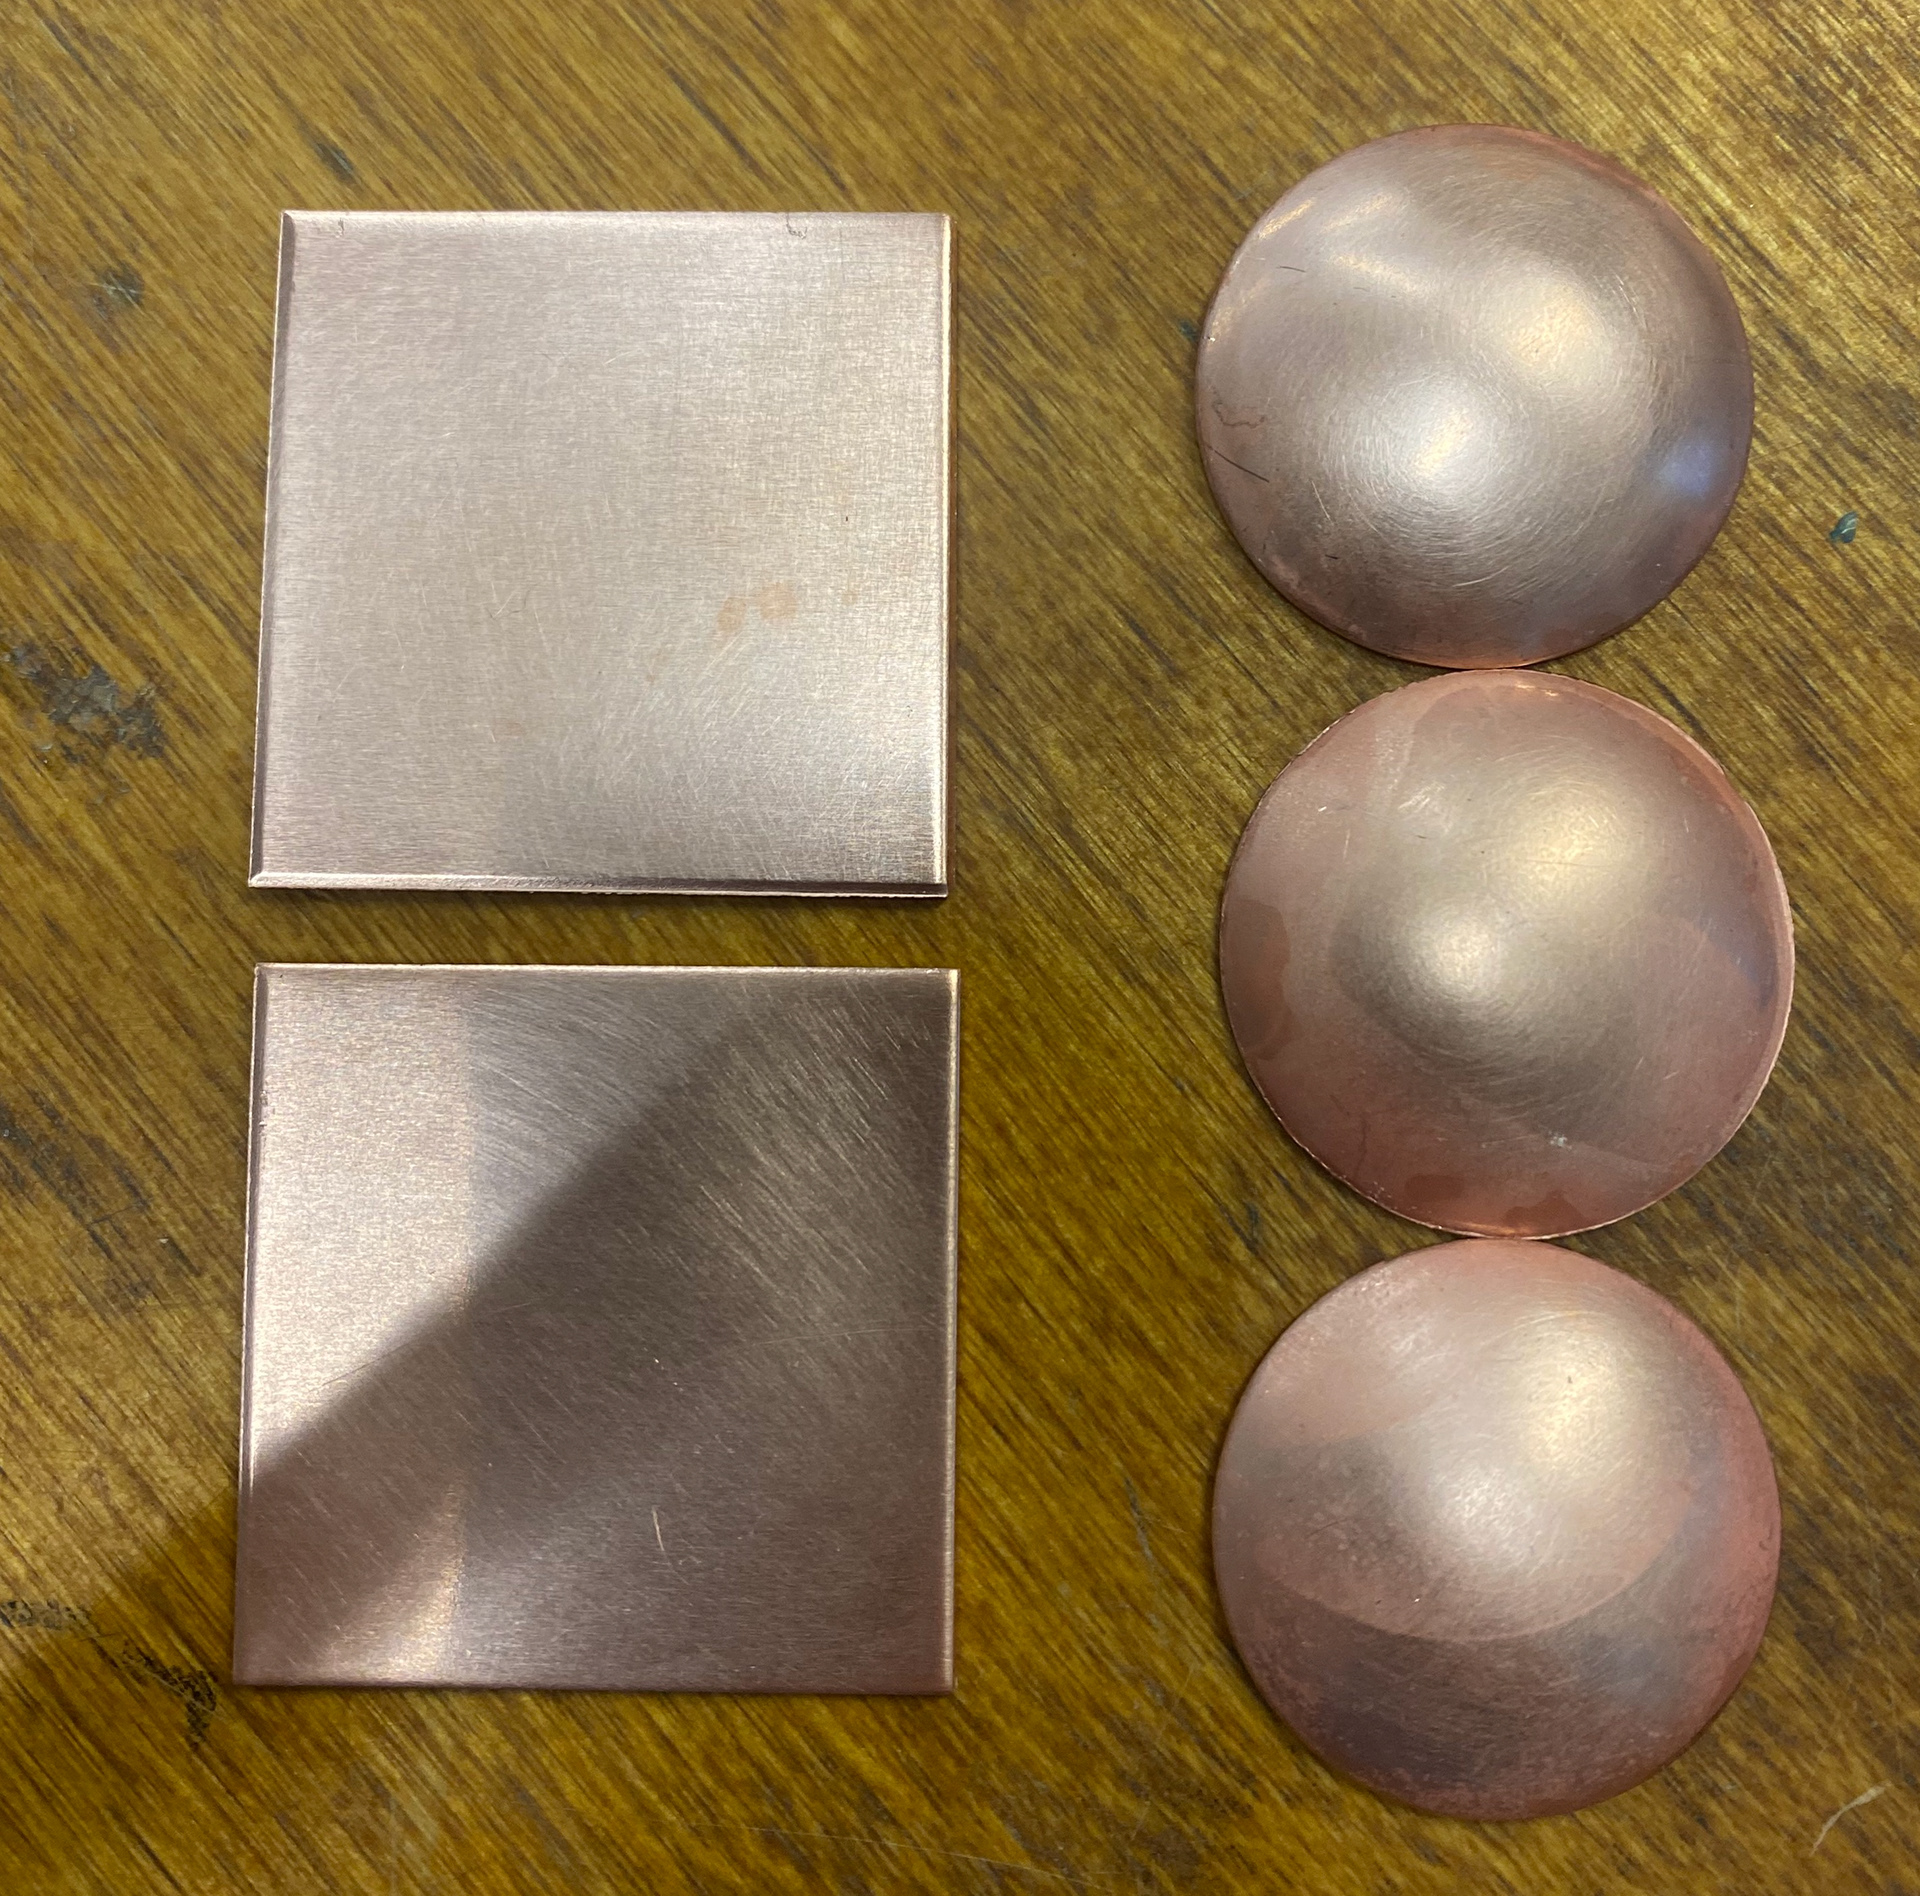
In the next part of my sampling stage, I wanted to see the difference in what would happen if I etched a piece of Copper before and after hammering it in a wooden doming block, to create a curved shape. I wanted to test this because I wasn't sure if when hammering the copper the raised parts of the metal from etching would get flattened or not. At this stage in my process, I wasn't sure what I wanted to make as a final piece. However a curved form was a thought so I decided to test this to see the results.
The pattern I wanted to etch onto both pieces of Copper
Curved form after being etched
Flat form after being etched
Copper in doming block
Both pieces after being etched and domed
As you can see from the results of my testing, both pieces turned out very similar regardless of shaping the metal before and after etching. There are tiny differences in parts, where the raised metal is slightly flatter but I don't think its enough to have a big affect when it comes to enamelling. From testing this I learnt that if I did want to have a form that was curved, as well as wanting to etch it, I could do this before or after doming it. Therefor it was a successful test.
After this I then went on to enamel both pieces. Maisie informed me about using Anti Scale when enamelling onto Copper to prevent speckles of scale going onto the enamelled work. You apply this using a brush to the parts you are not enamelling. This is also useful if you want to enamel on both sides of your metal as it protects it from scaling making it a easier and cleaner process with better results.
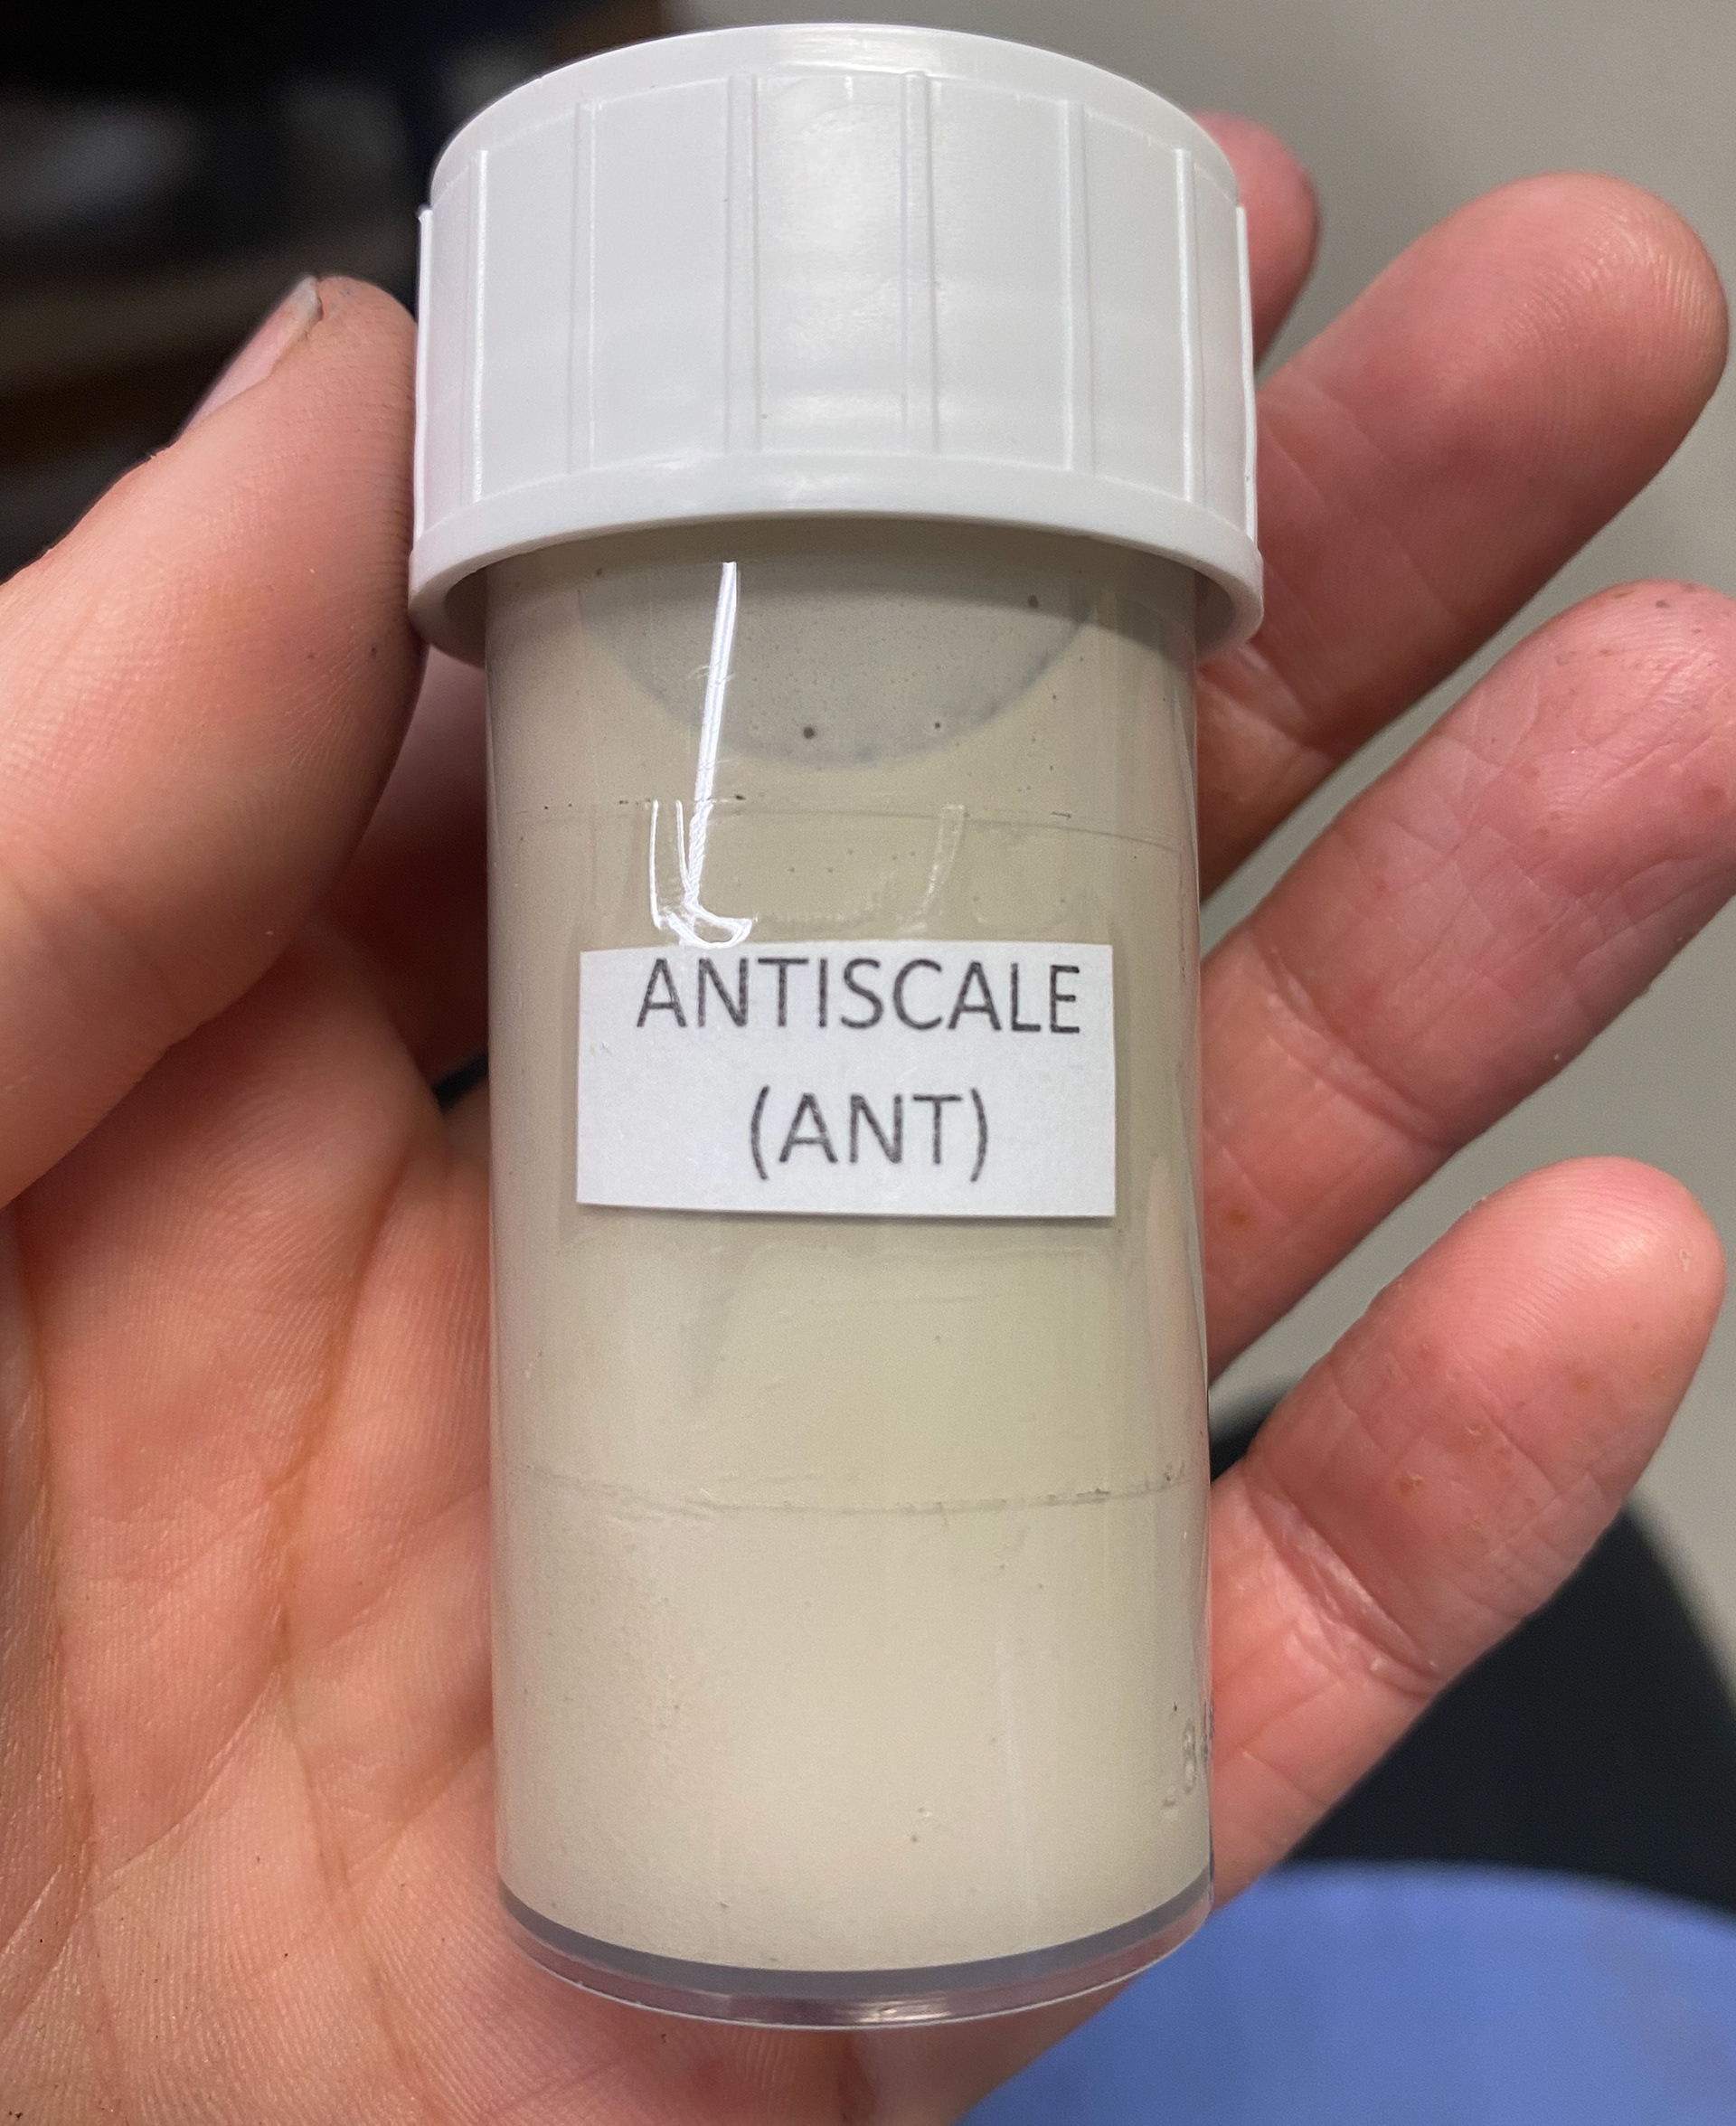
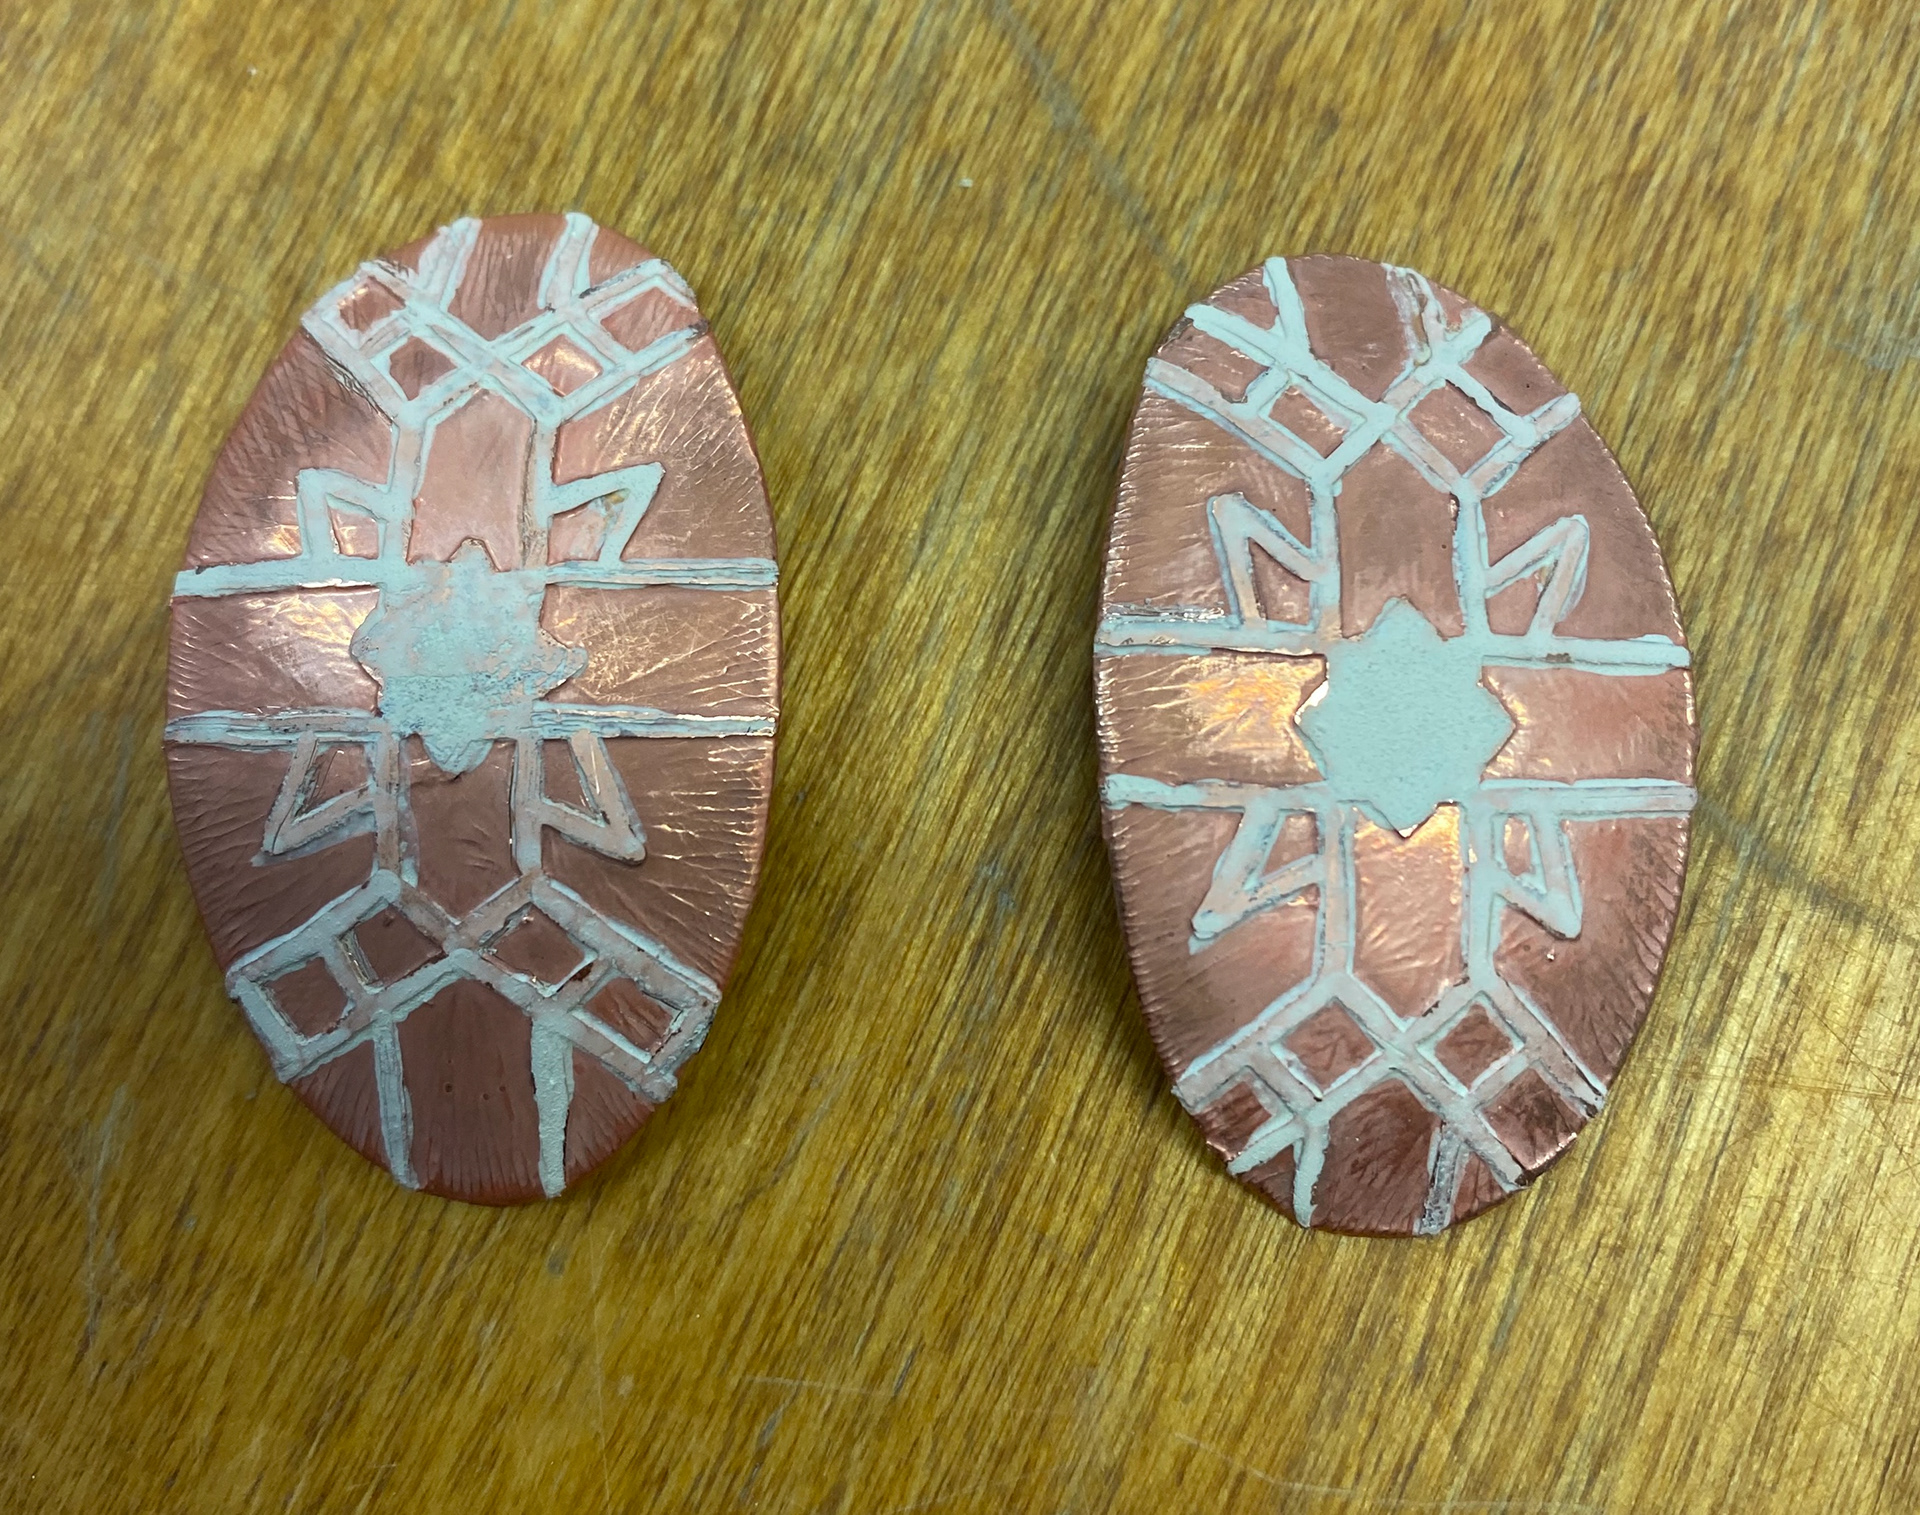
Applied Anti Scale to the Copper before enamelling.
I did find it a little difficult to apply the Anti Scale to the Copper in quite small detailed places because the thickness of the liquid is very thin, which makes it harder to control.
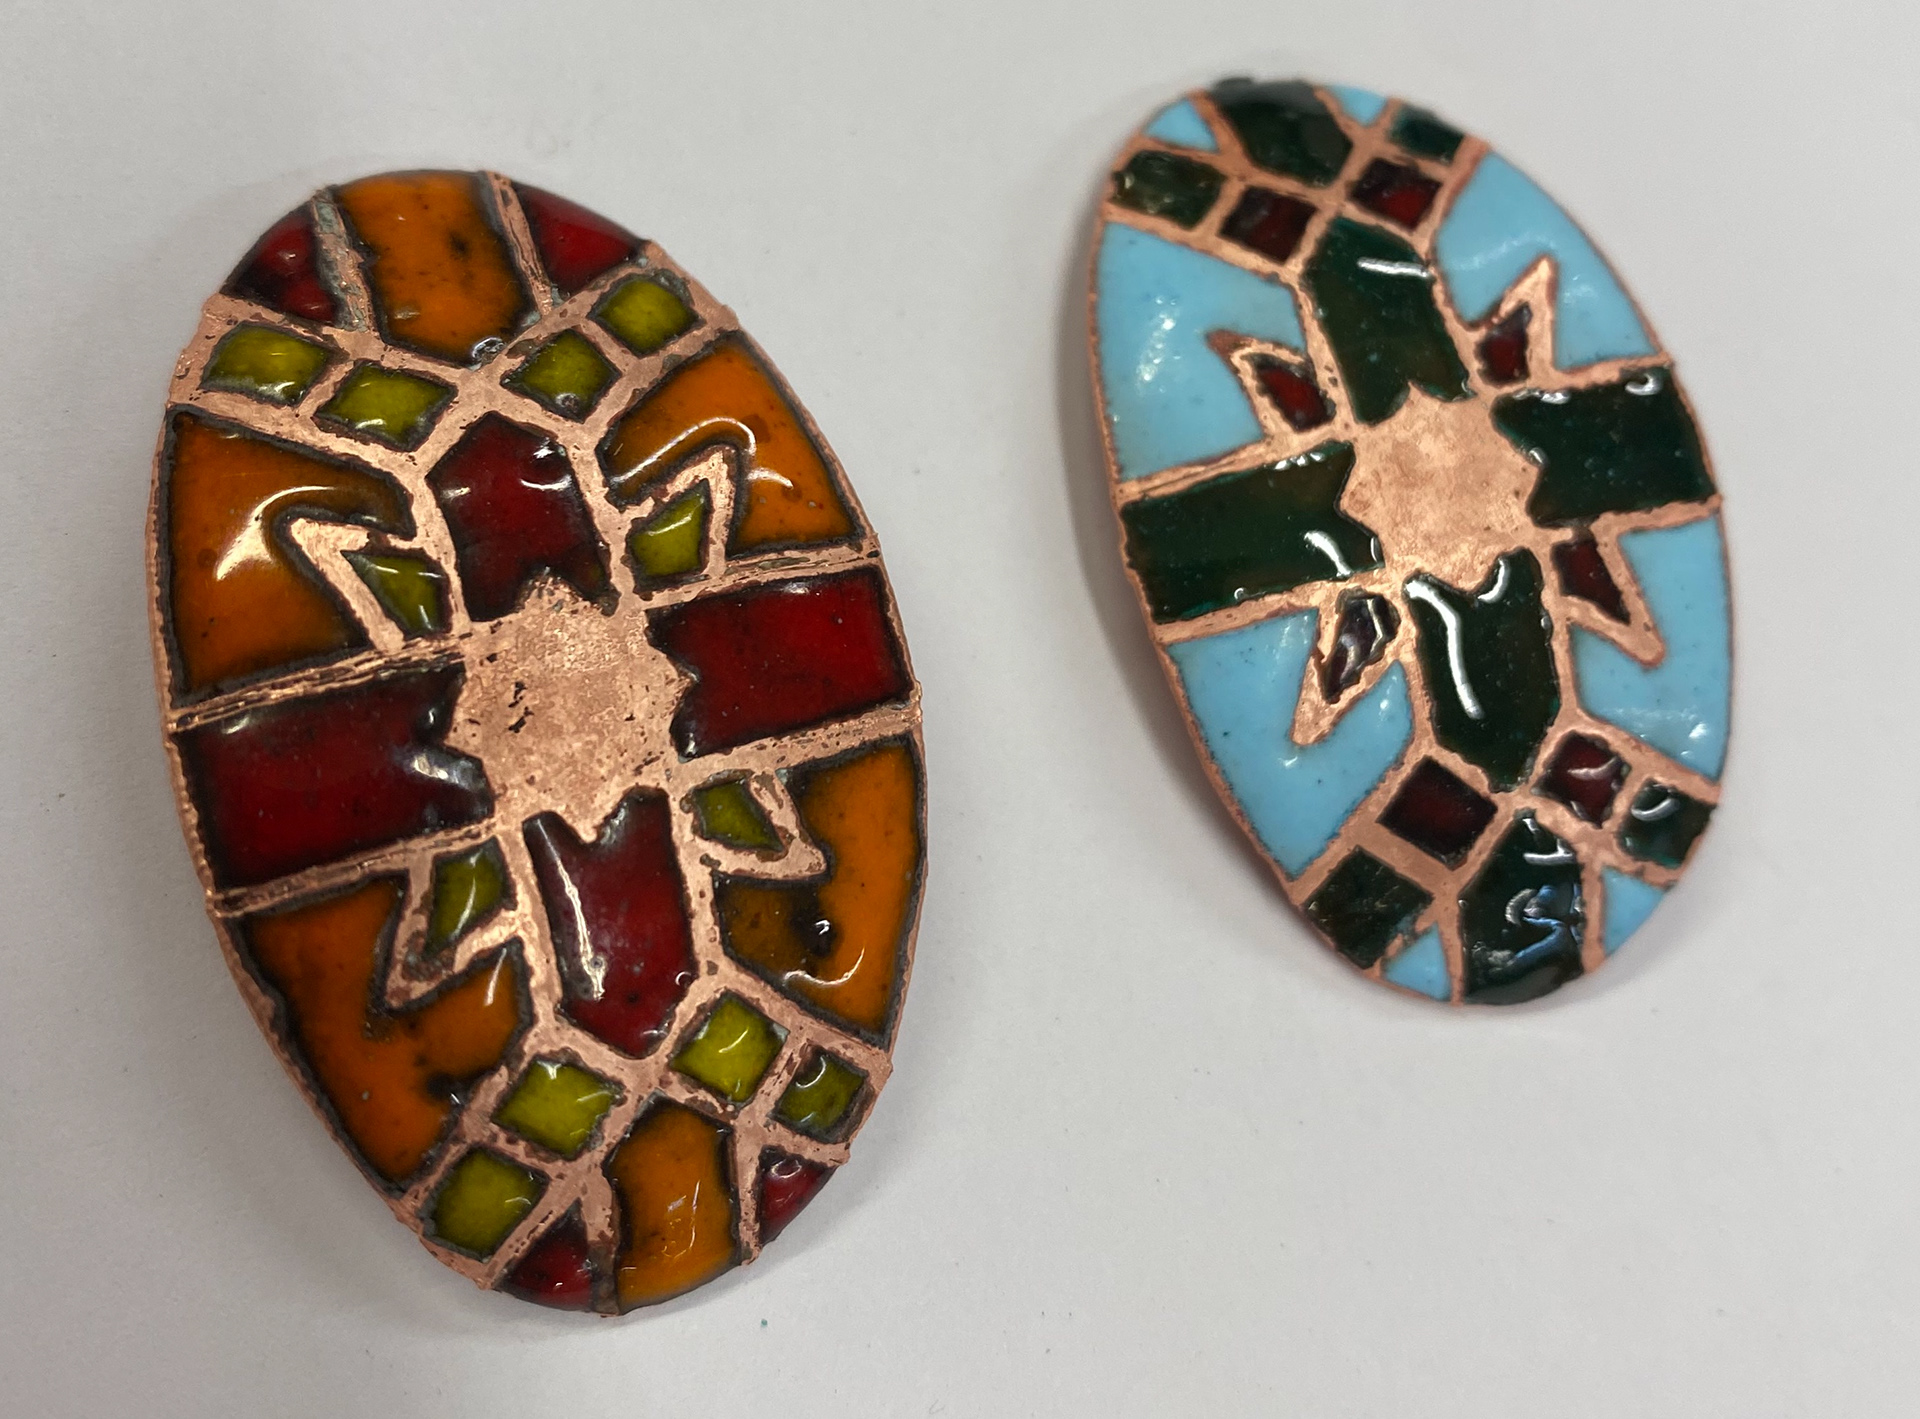
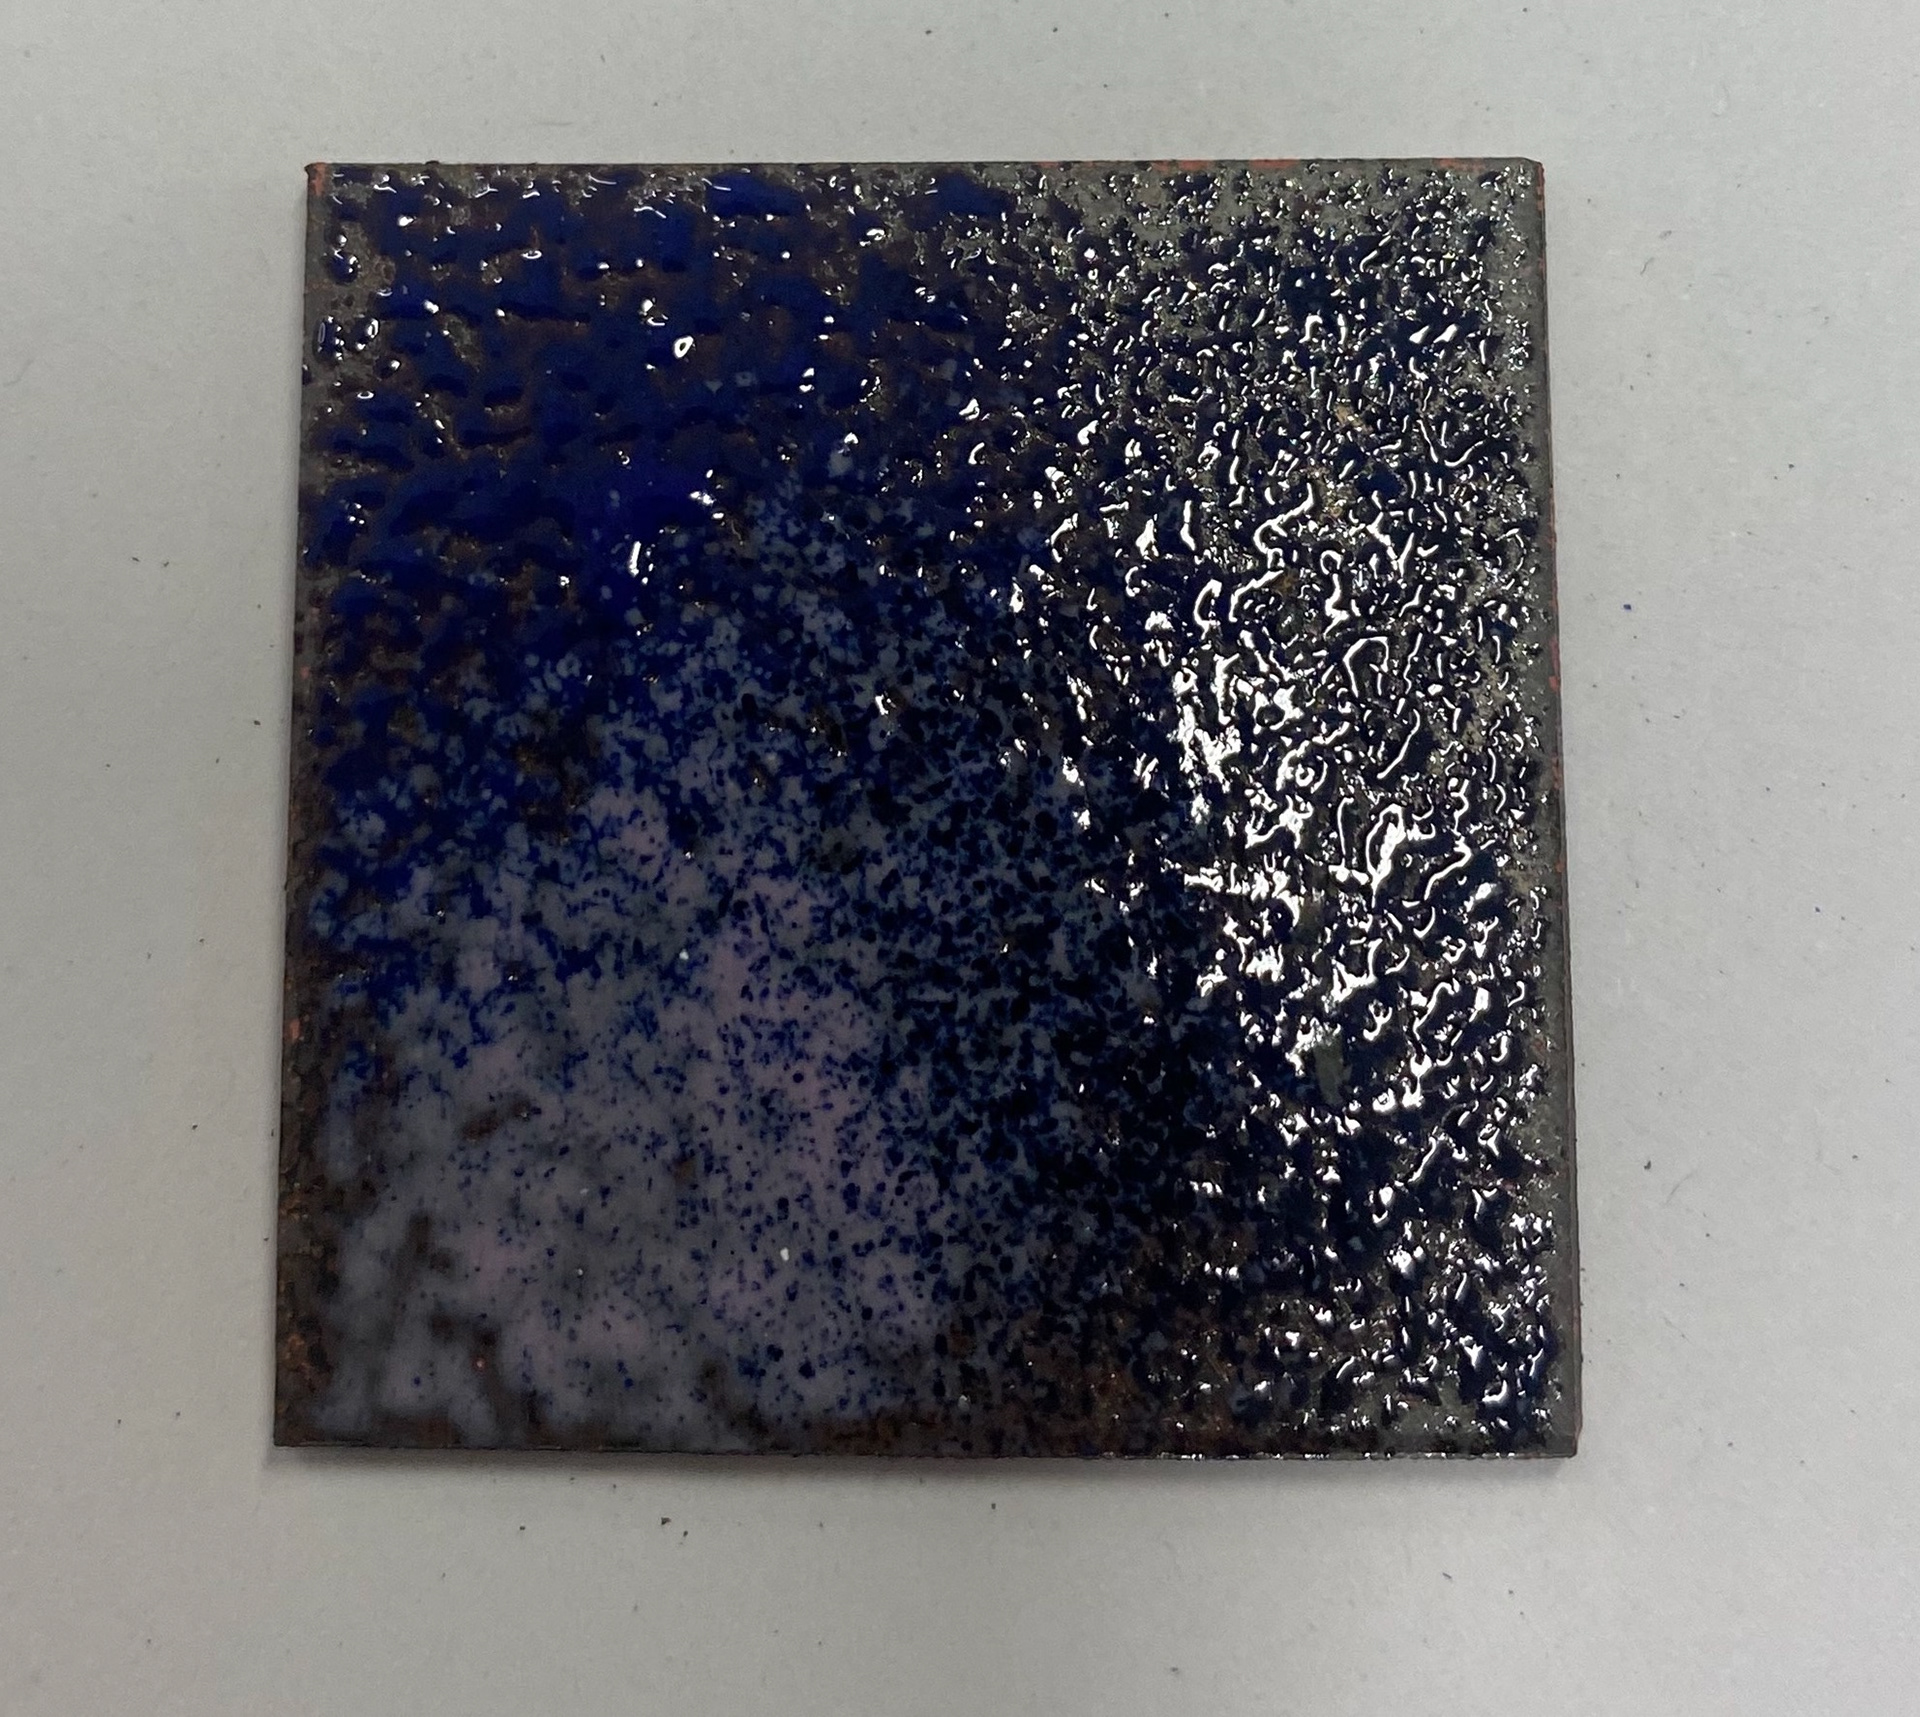
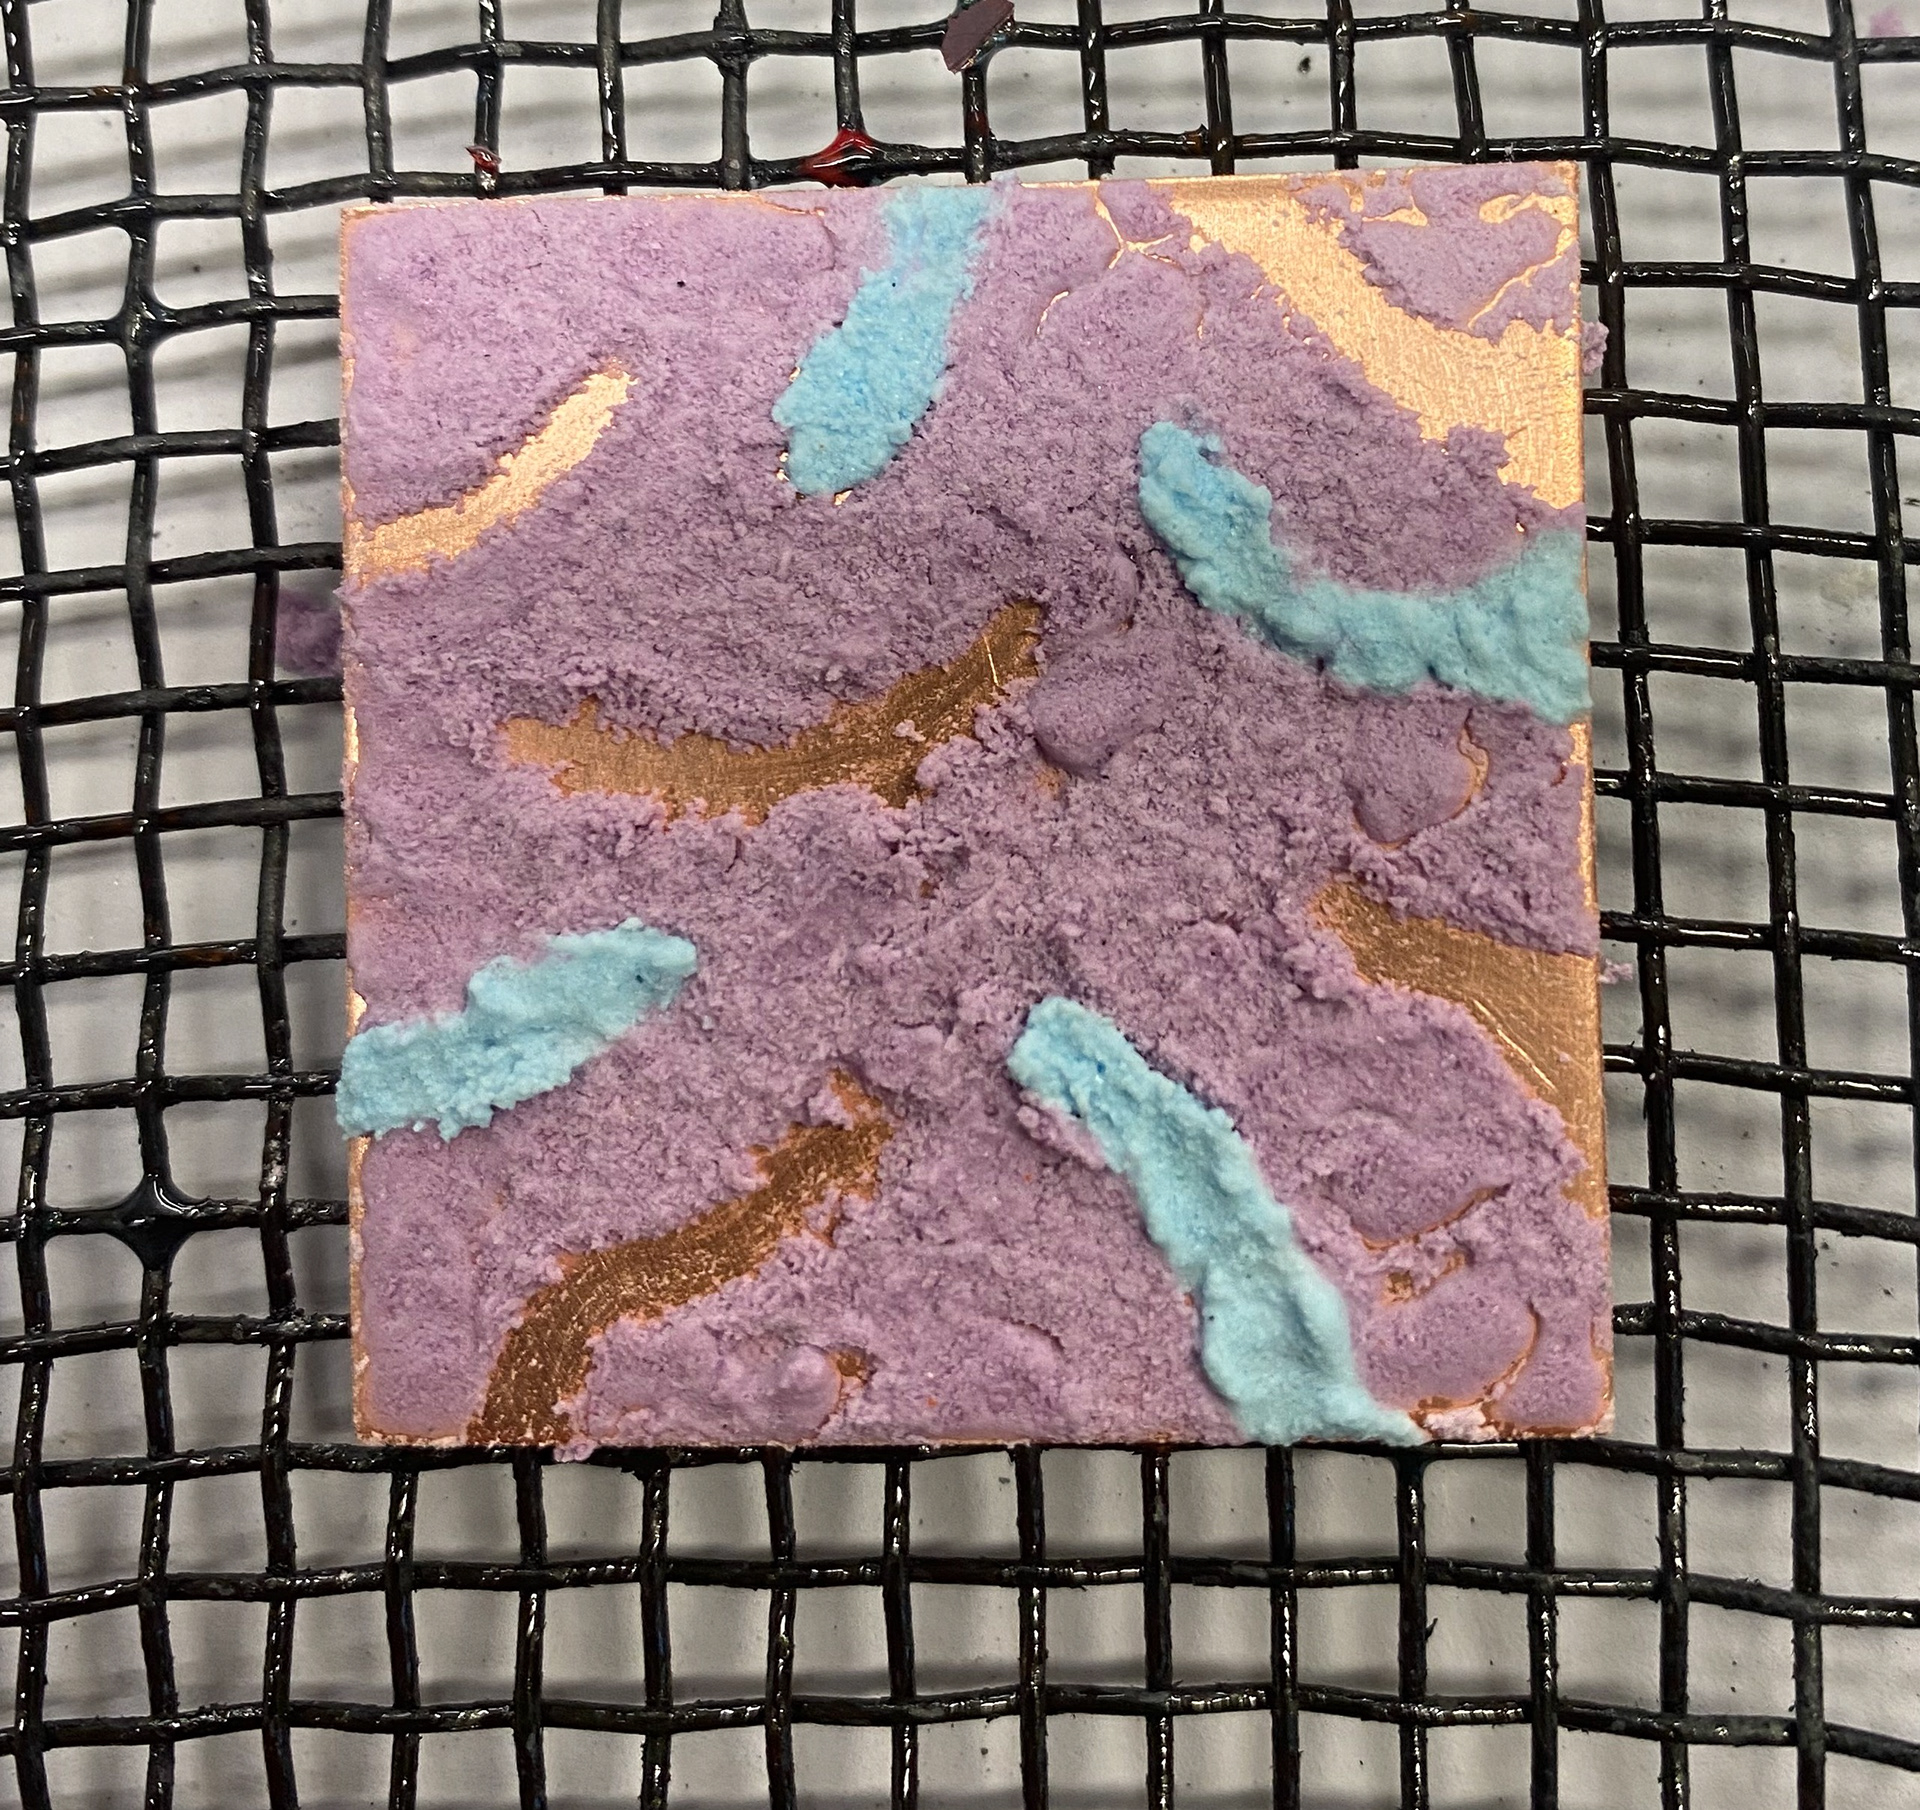
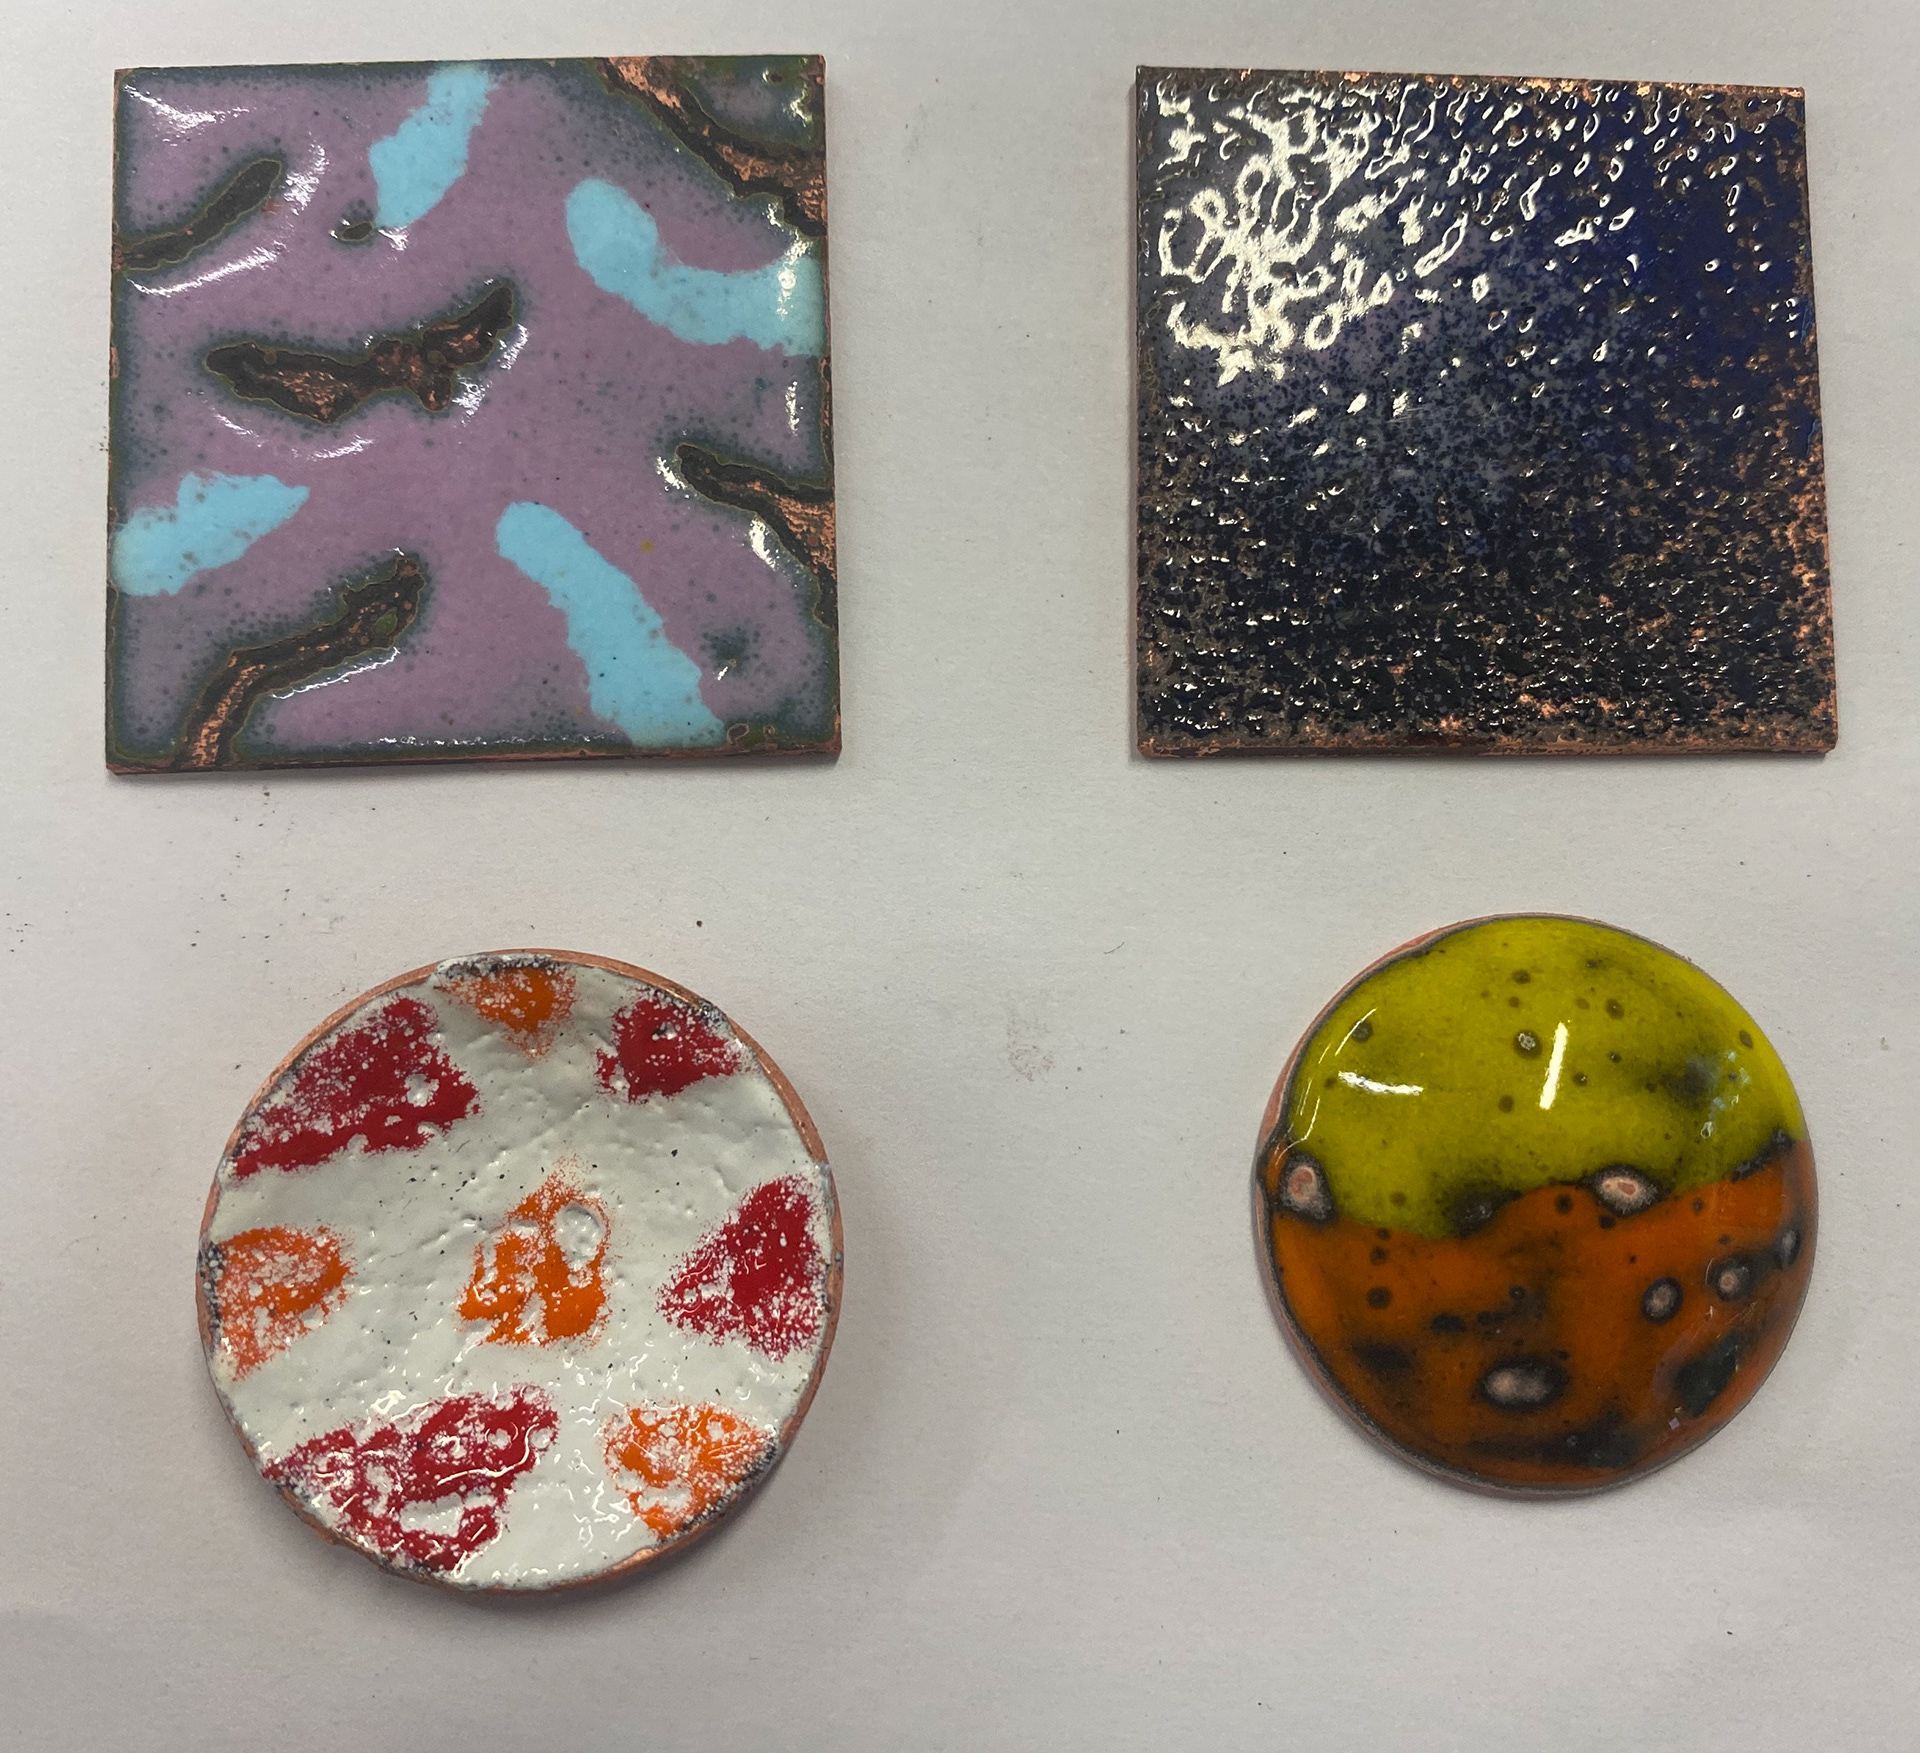
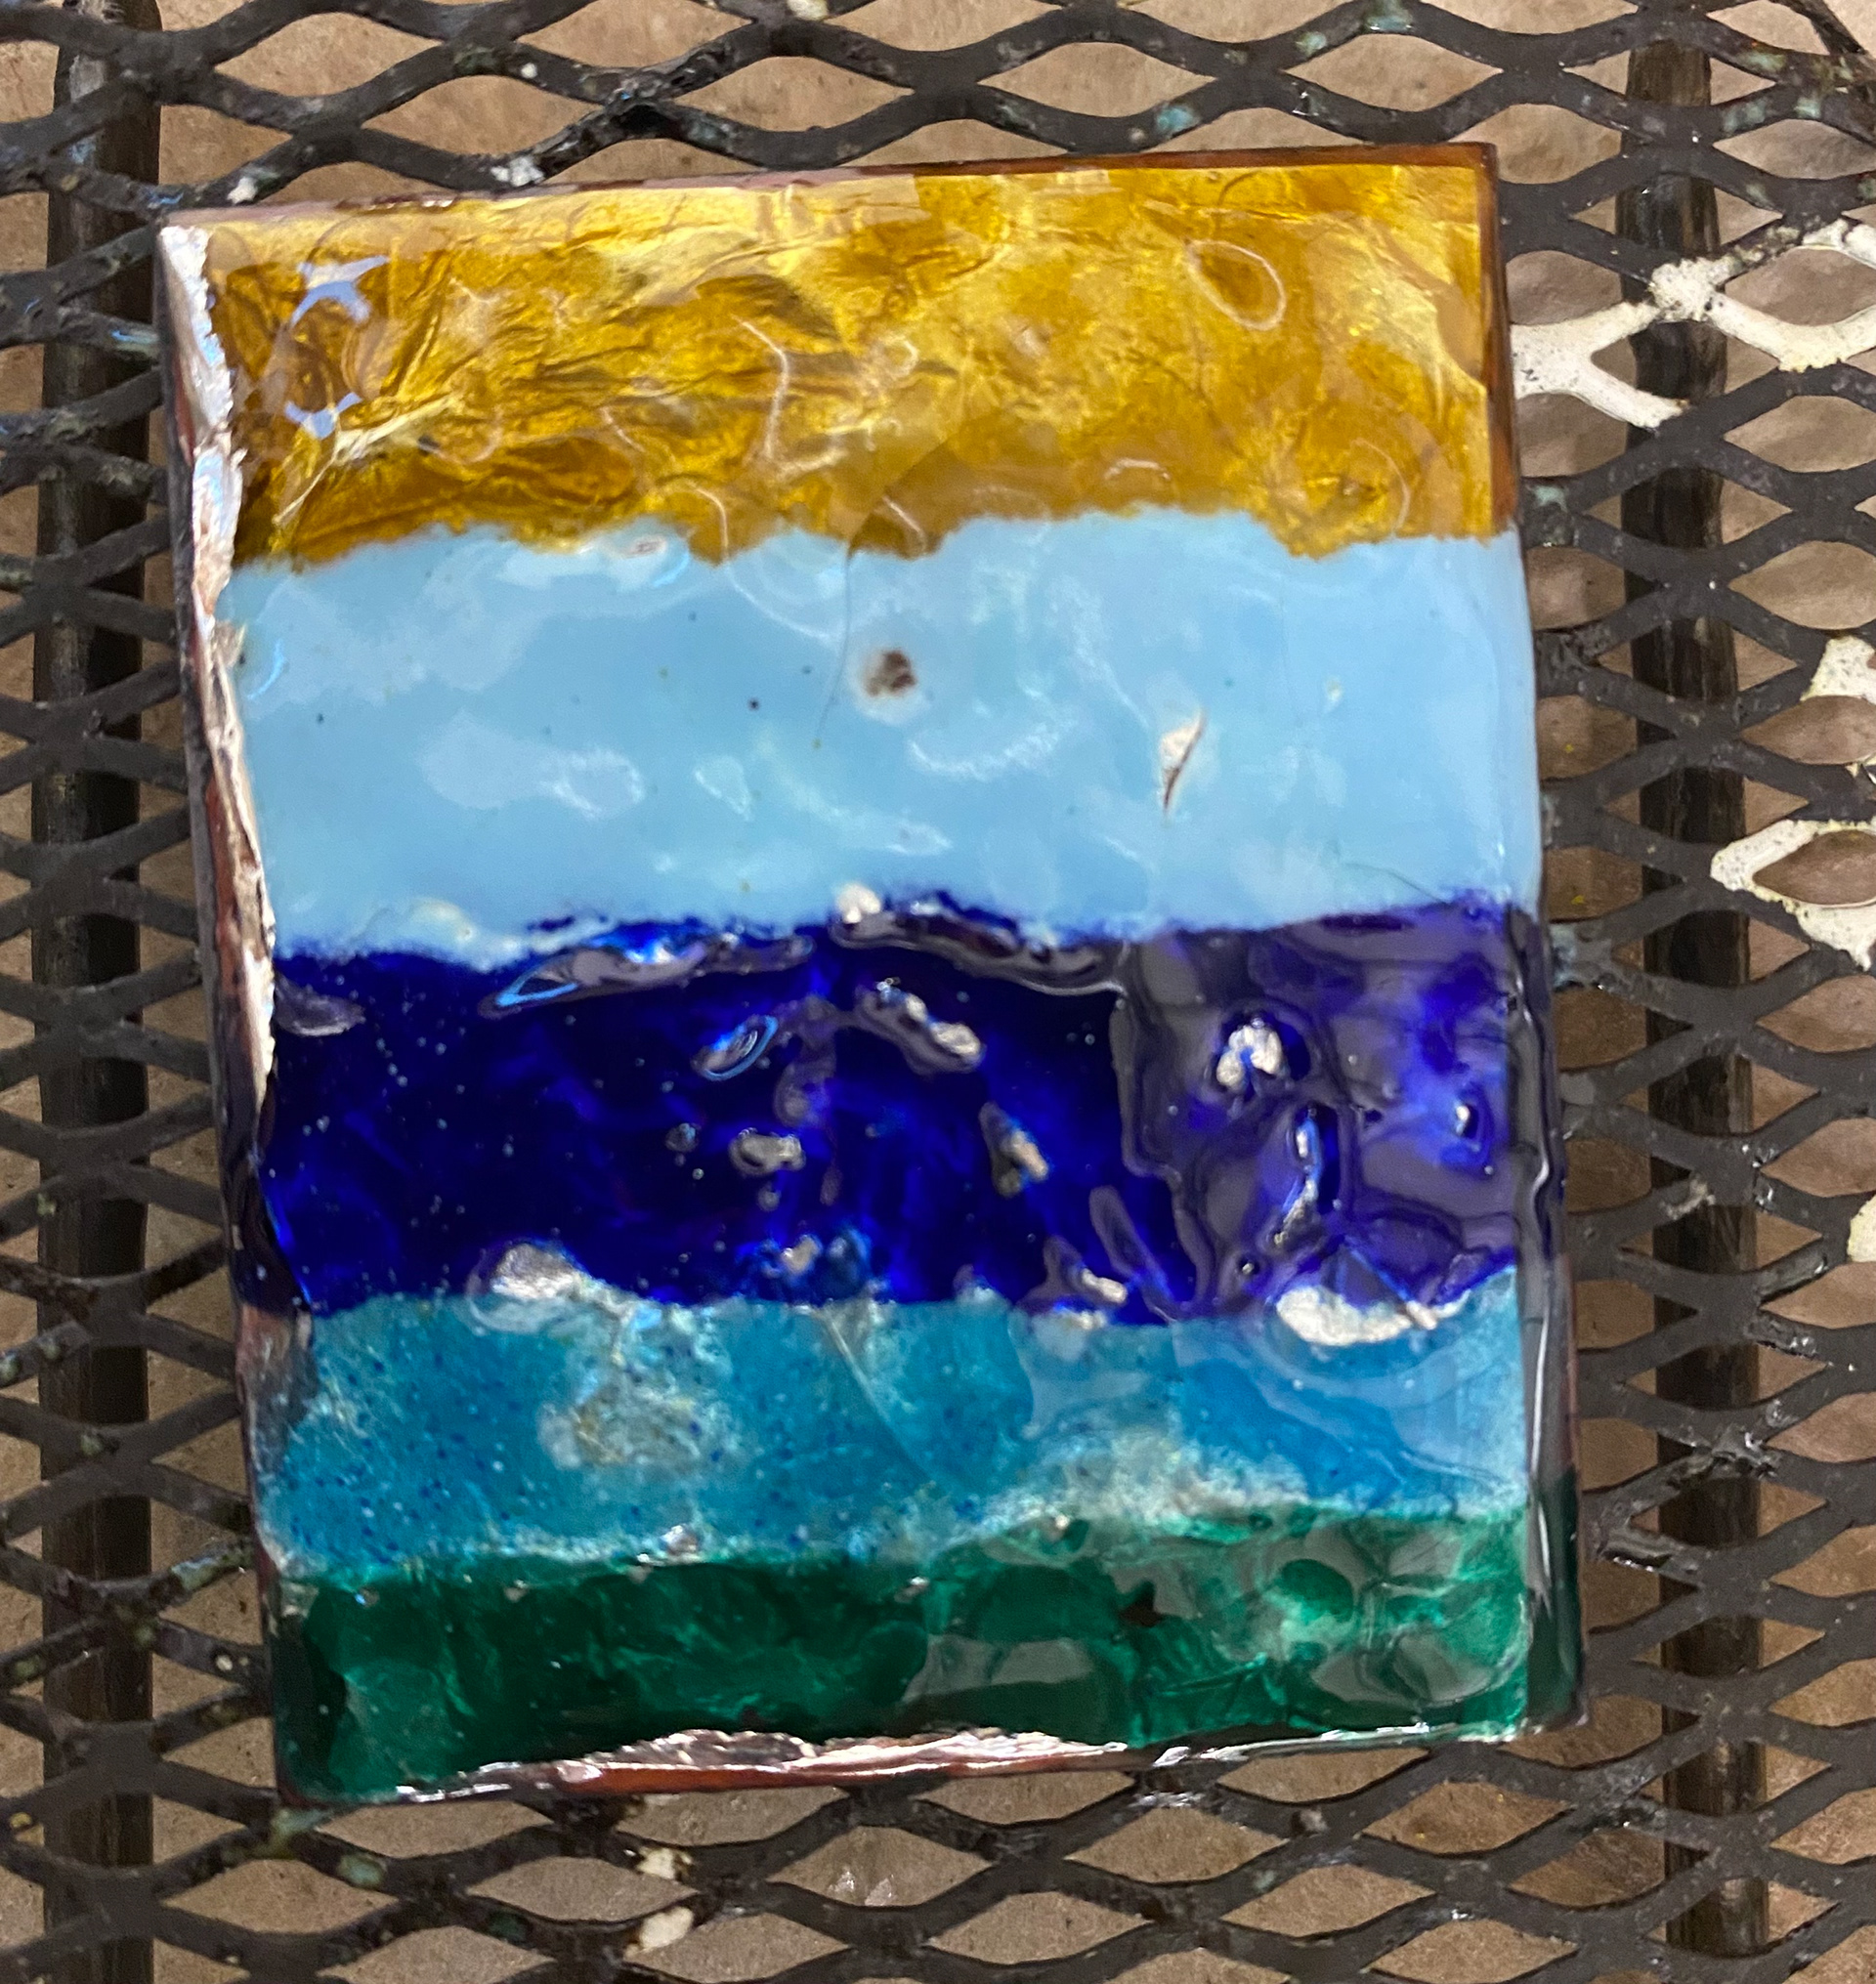
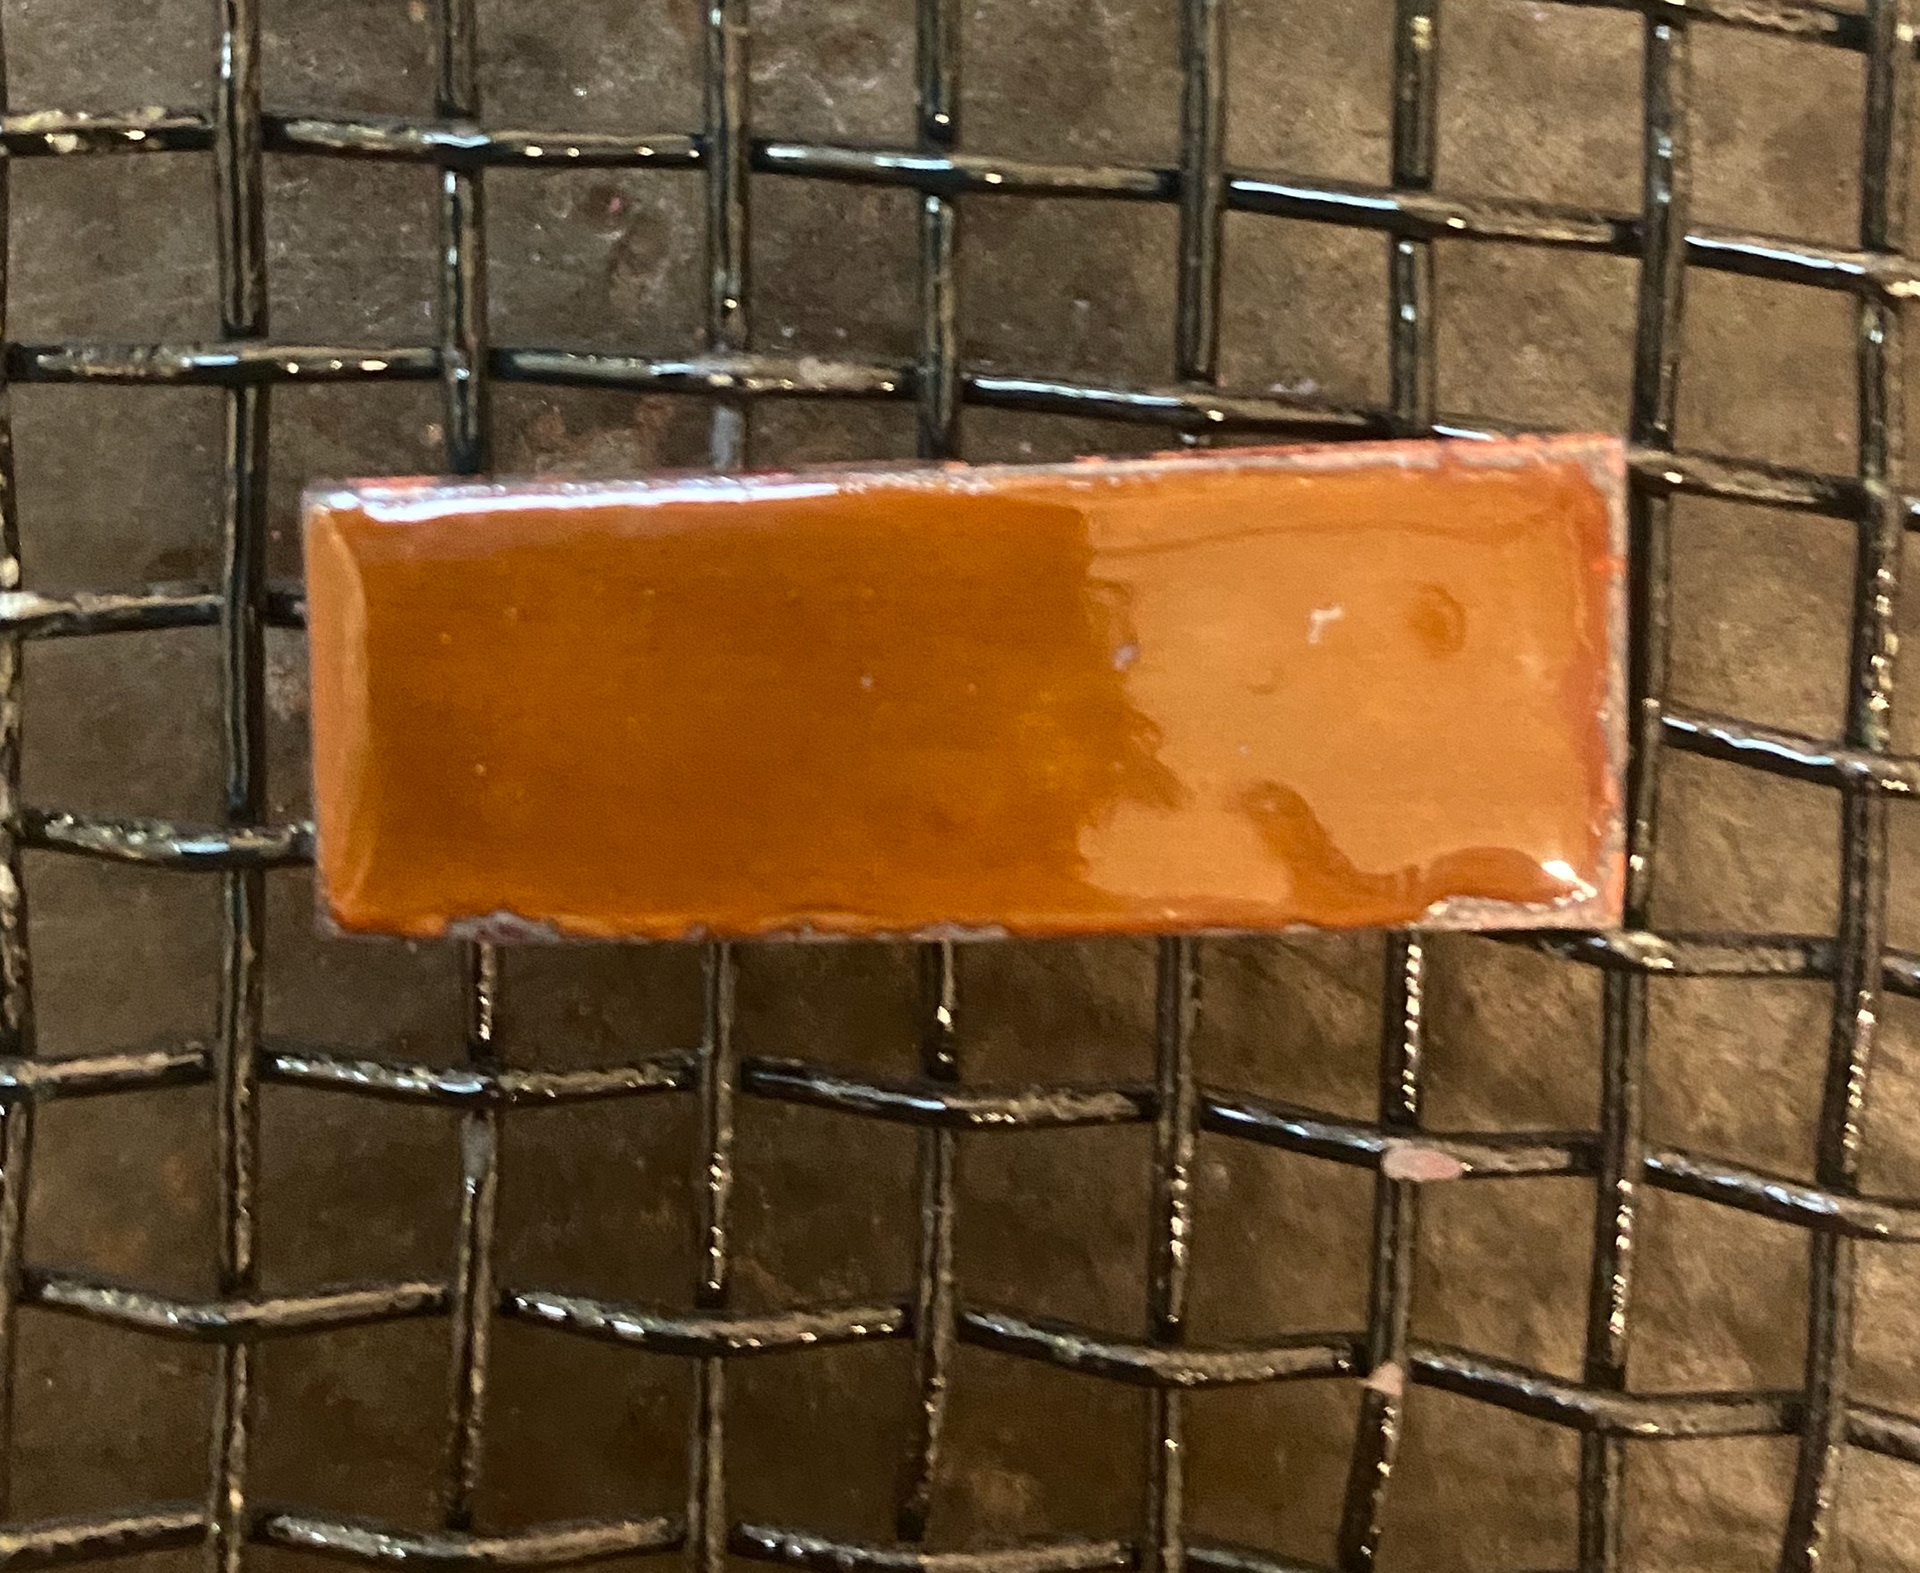
Final enamelled and clean pieces
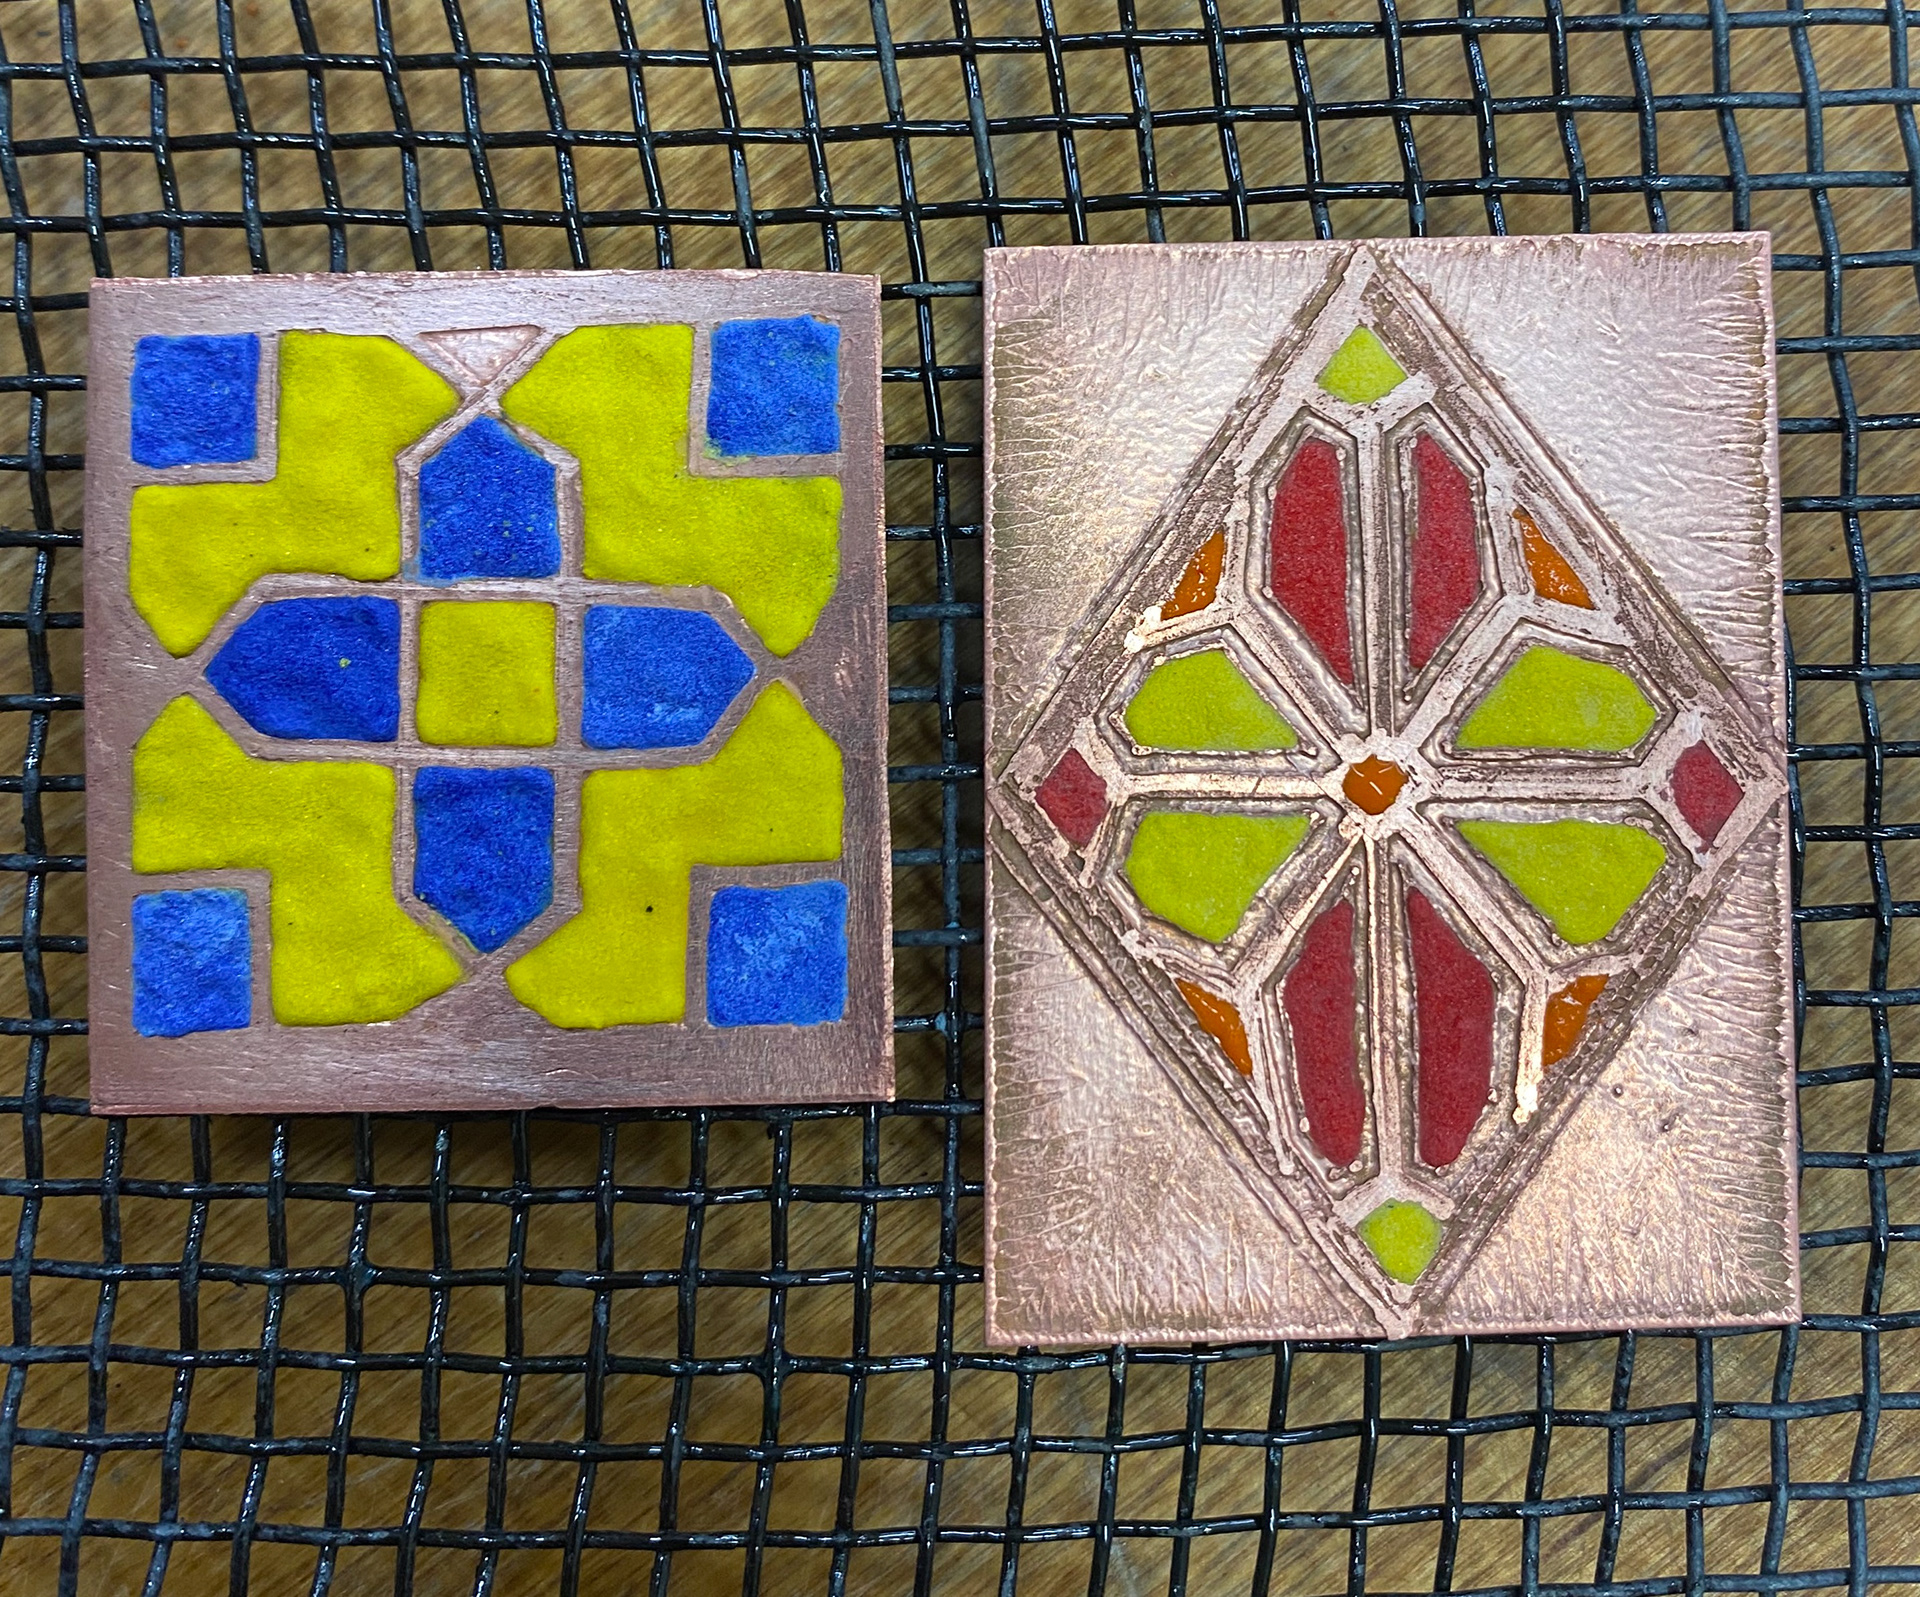
The outcome of these sample pieces was successful. After enamelling the pieces there isn't any difference as to whether the raised etched sections of the copper on both pieces effected the outcome of enamelling after being shaped before or after etching. The results were very similar.
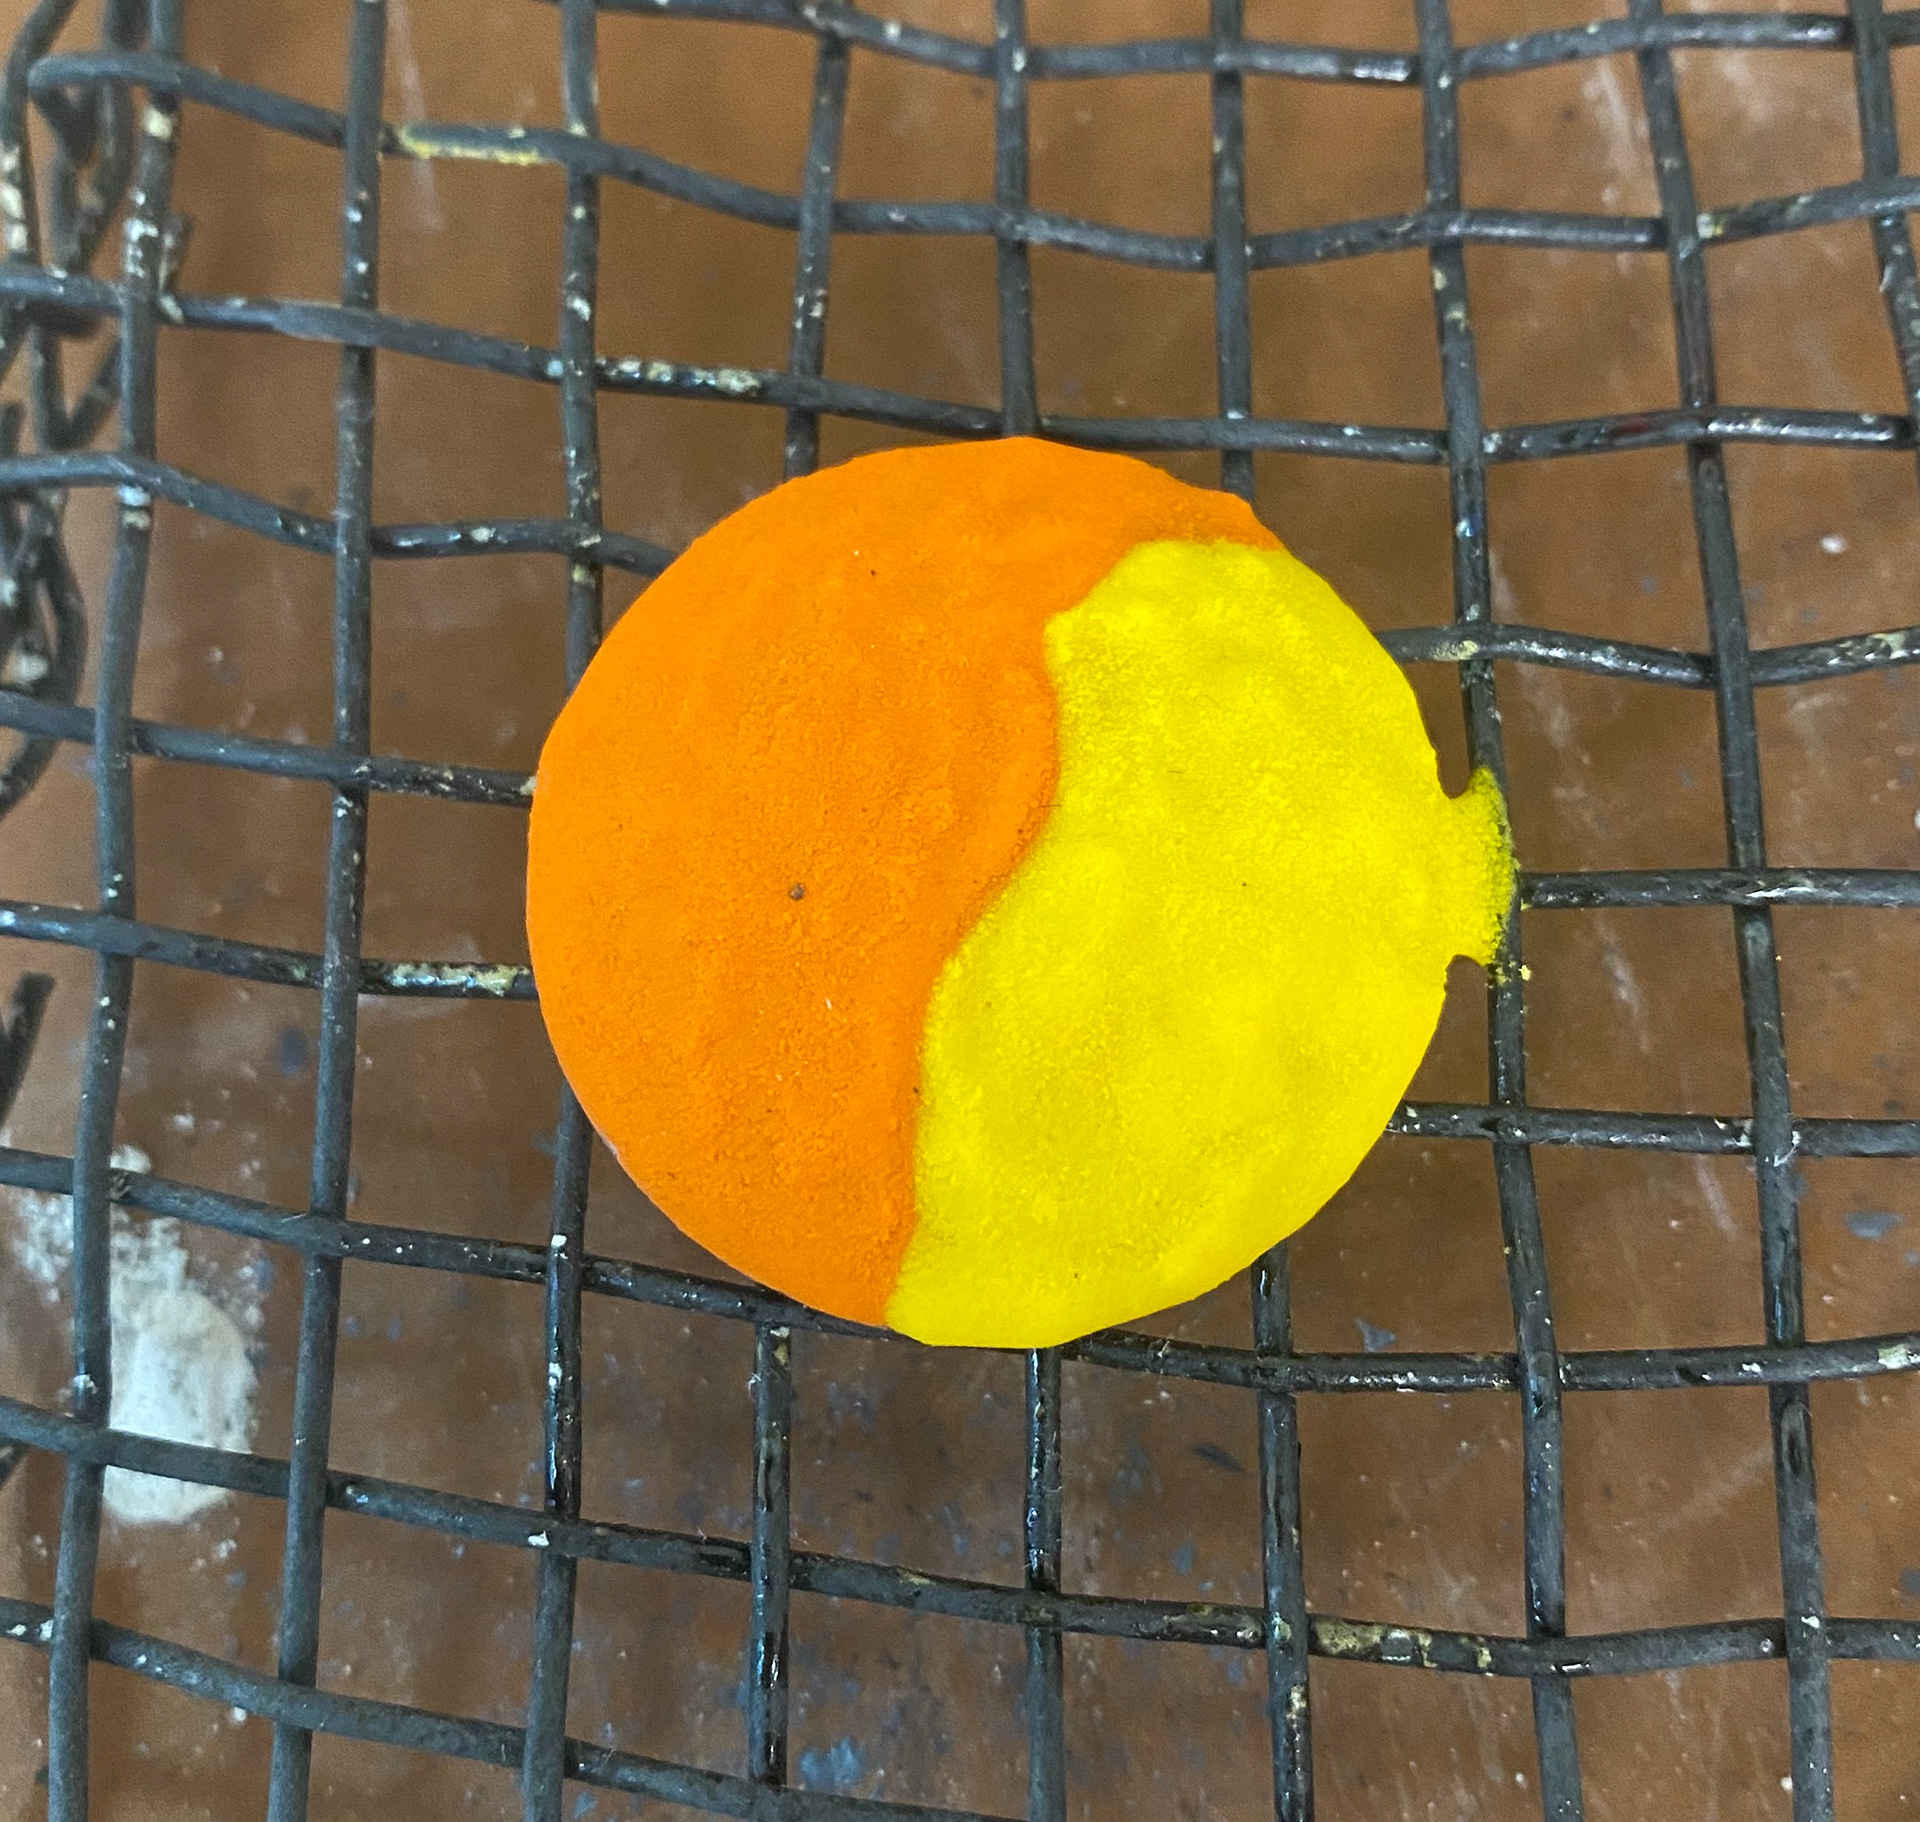
In terms of enamelling for these pieces, although they was both in the kiln for the same amount of time, the piece with orange and red colours on it looks as though it has been in for too long because of the dark areas around the edges of the enamel. After a bit of research I believe red enamel has a lower firing temperature to other colours. To help this I believe you can fire a few layers of the enamel or use a flux base, which I will try in the future if I decide to use these colours again when enamelling.
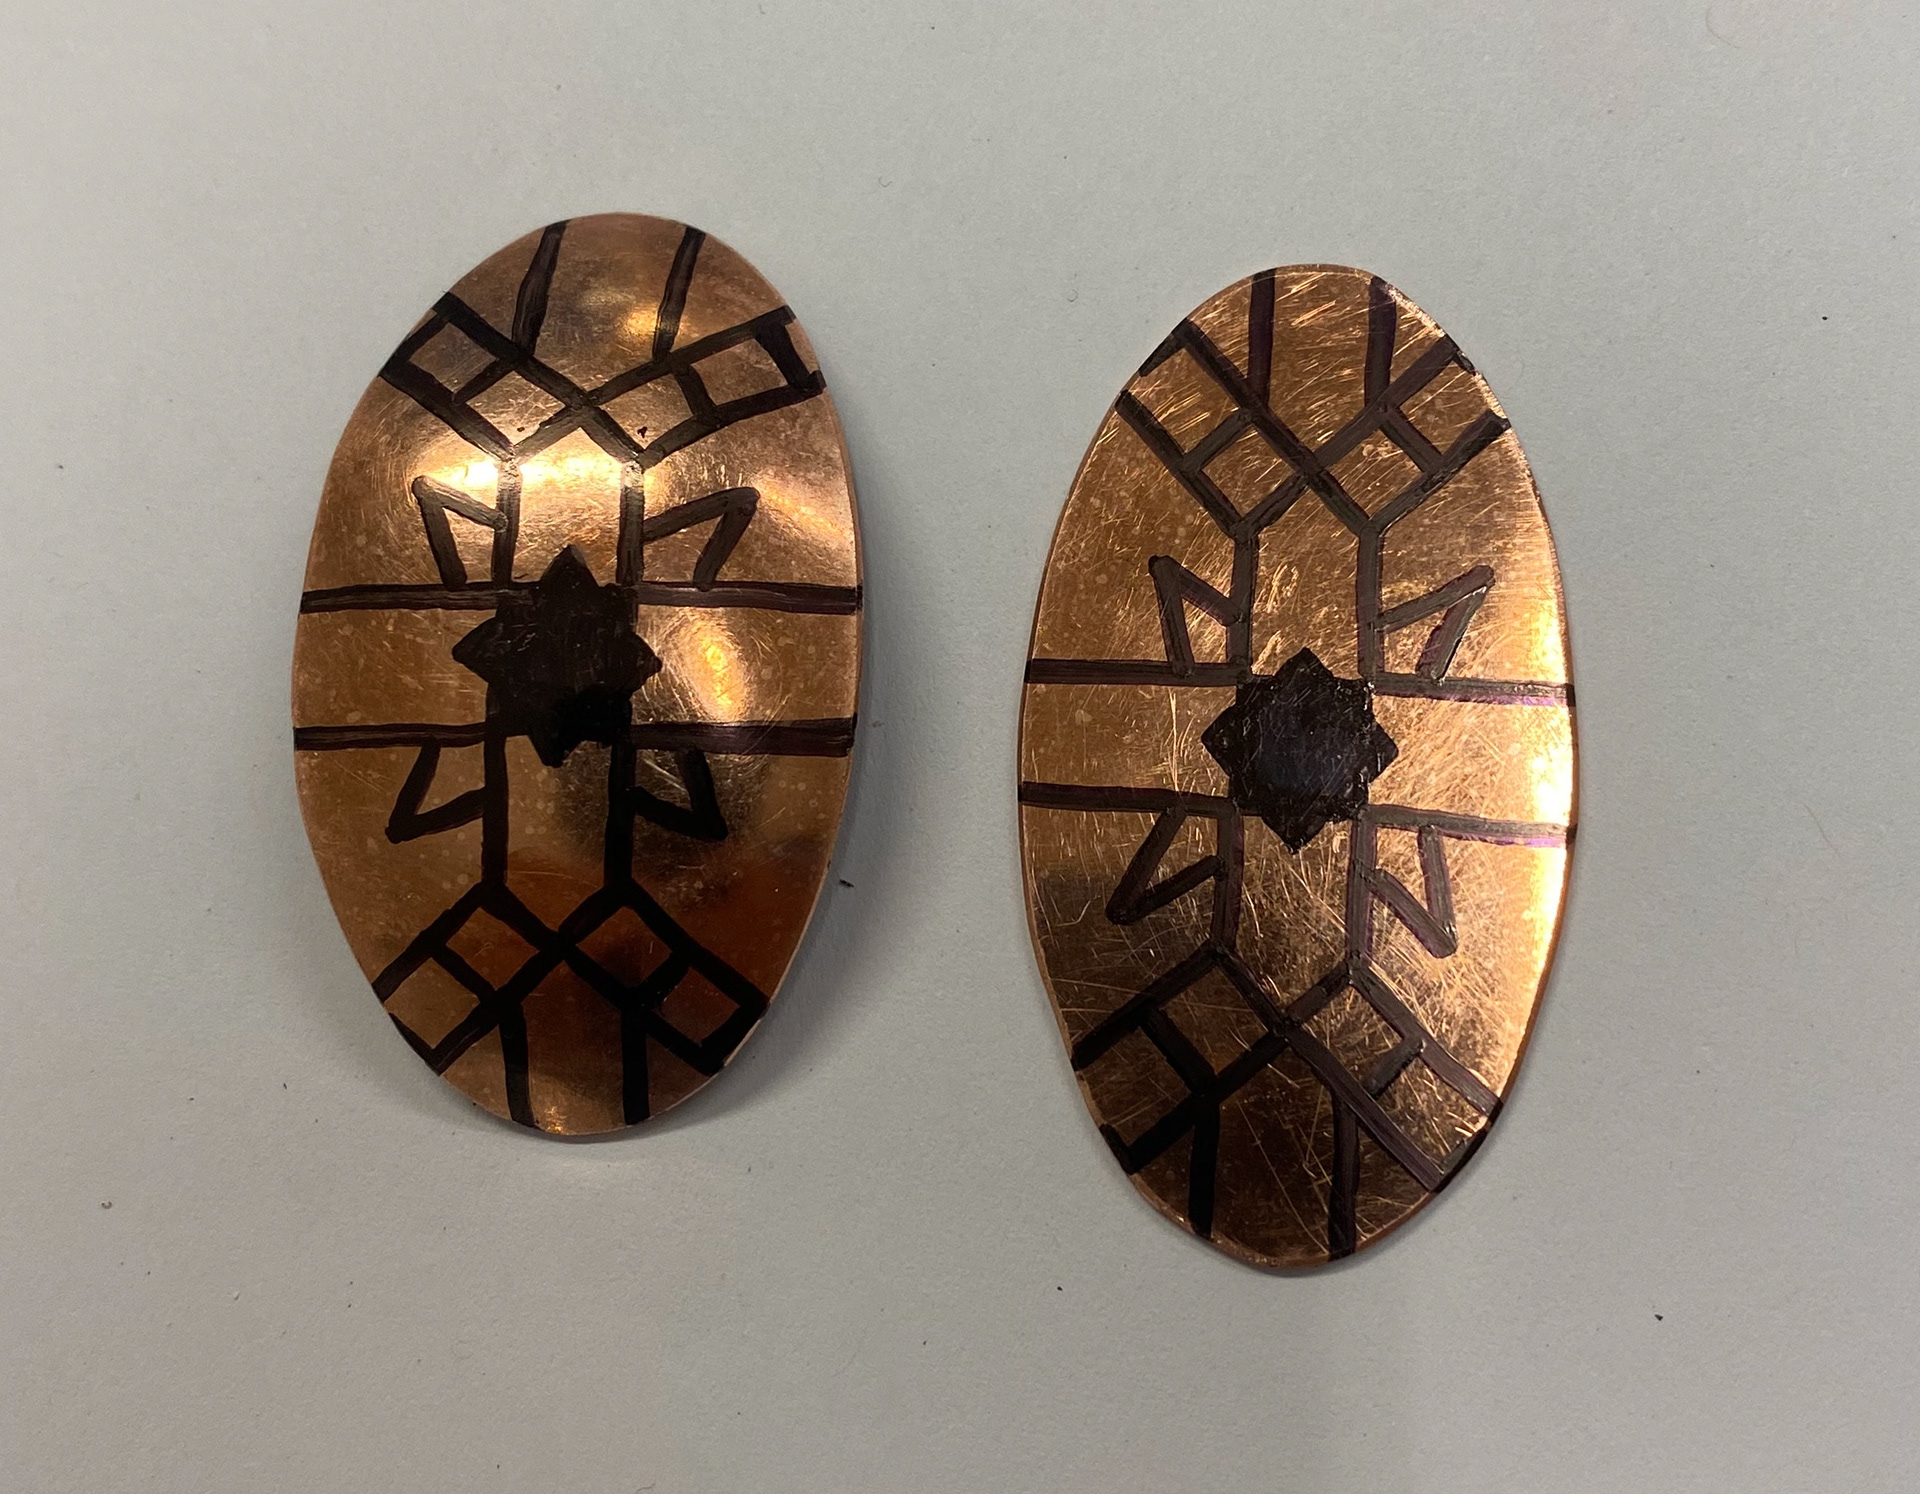
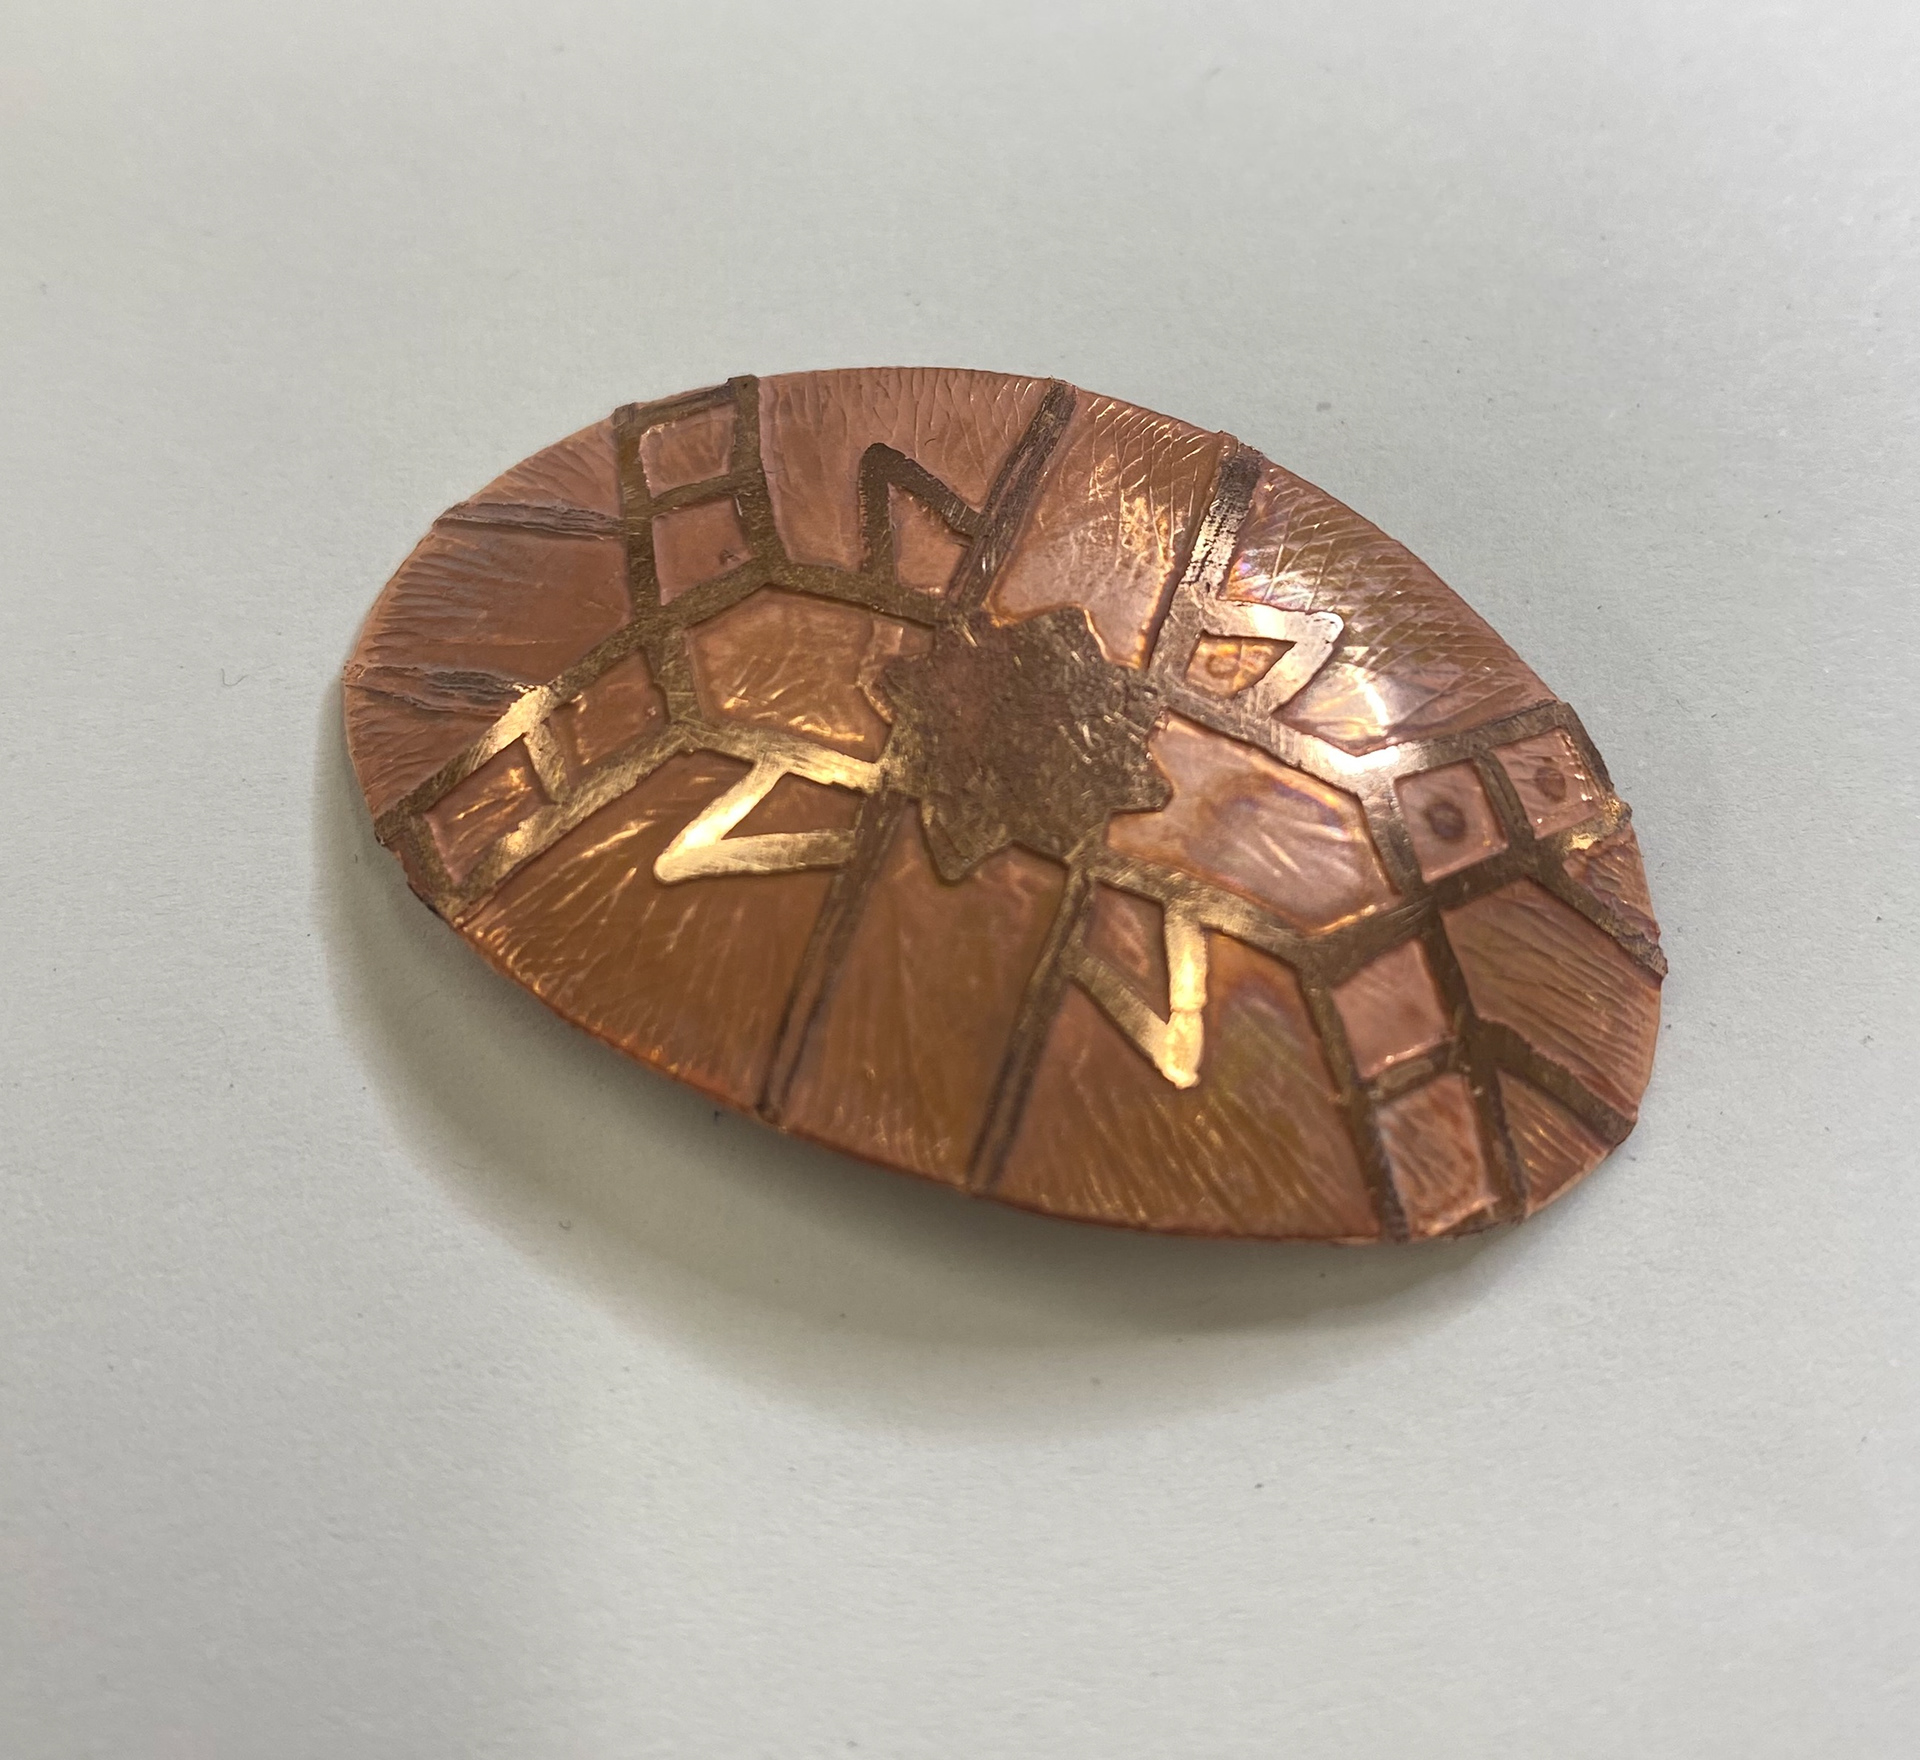
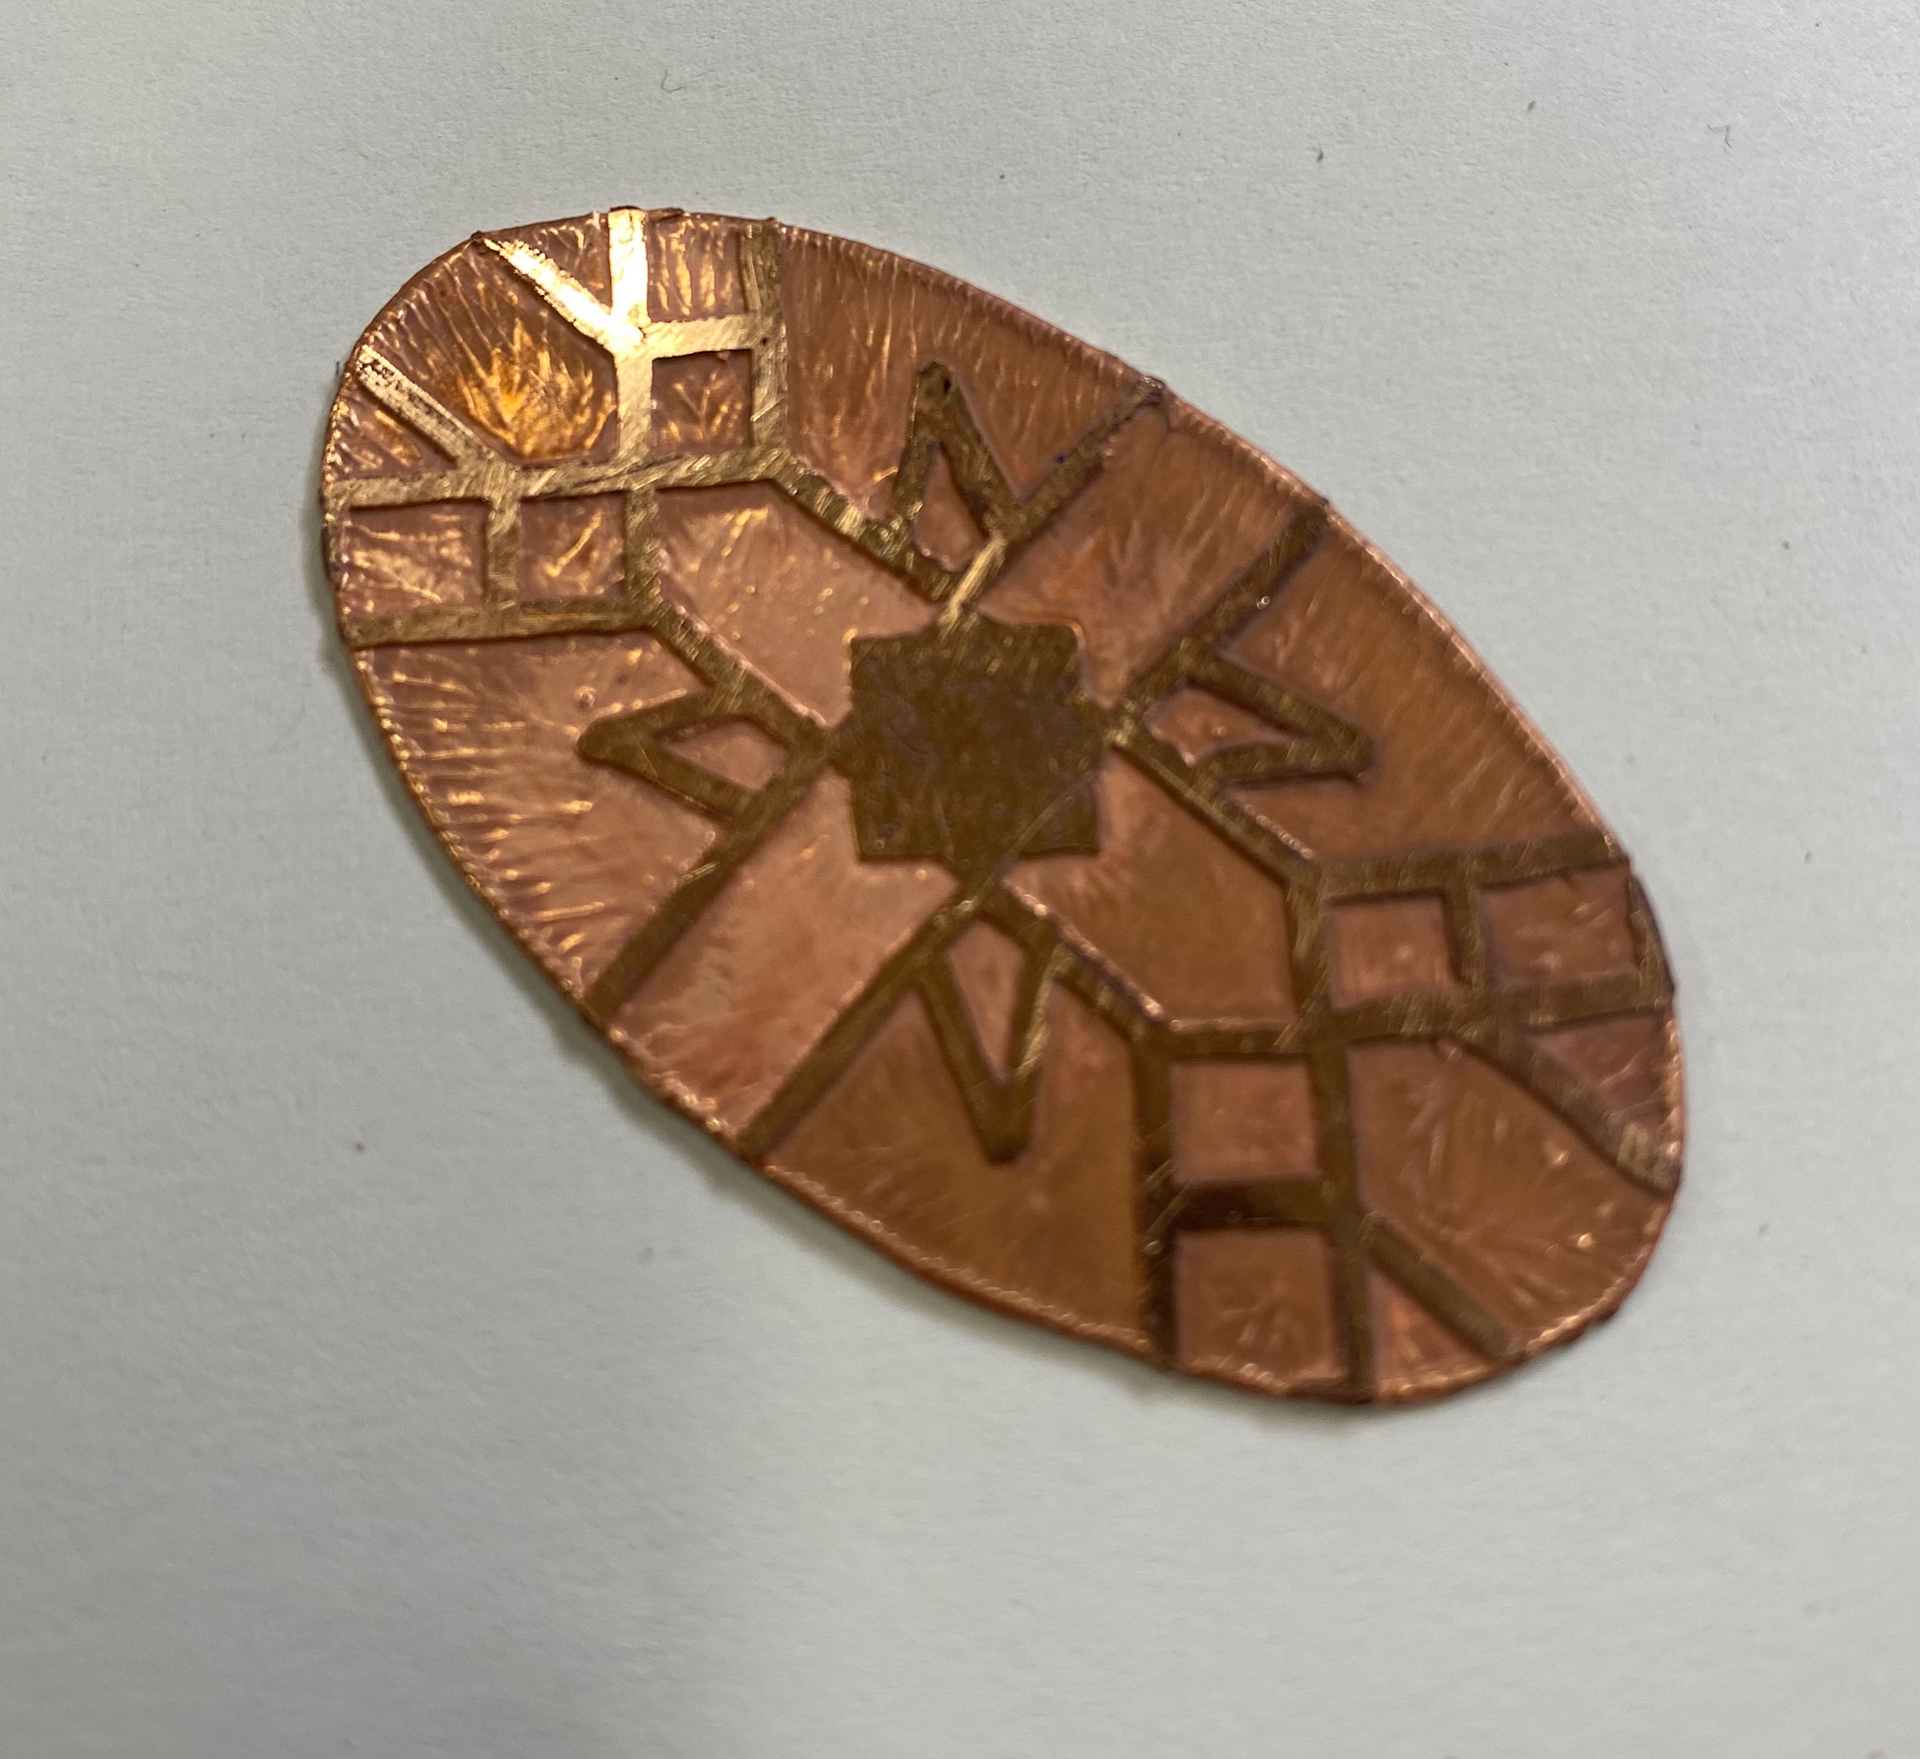
Engraving
Engraving is another traditional technique used in Persian crafts. Because of this I wanted to explore this in my sample pieces. I used the laser cut acrylic geometric pattern as a stencil to draw the pattern onto copper. Then I used a battery powered hand engraver I got gifted to engrave into the metal. This wasn't the best tool as it was very basic but it worked fine for practicing. This sample was my first time engraving. The results are messy however with practice I feel I could get more accurate with it. I found if I move the engraver towards me when engraving rather than away from me, I get neater lines. Also knowing how much pressure to apply to the metal is something I need to consider when experimenting more. As well as this, using different Burrs to create other affects is something I would want to explore.

Pattern drawn onto metal
Engraved pattern
Exploring combining techniques
As well as using the stencilled pattern to engrave, I wanted to explore engraving onto the enamelled samples I made. This mix of decorative techniques is something I am interested in applying into my work. In this sample piece the engraved detail is very subtle as there wasn't much space on the piece to add more. This is something I was going to bear in mind when thinking of ideas for my final piece.
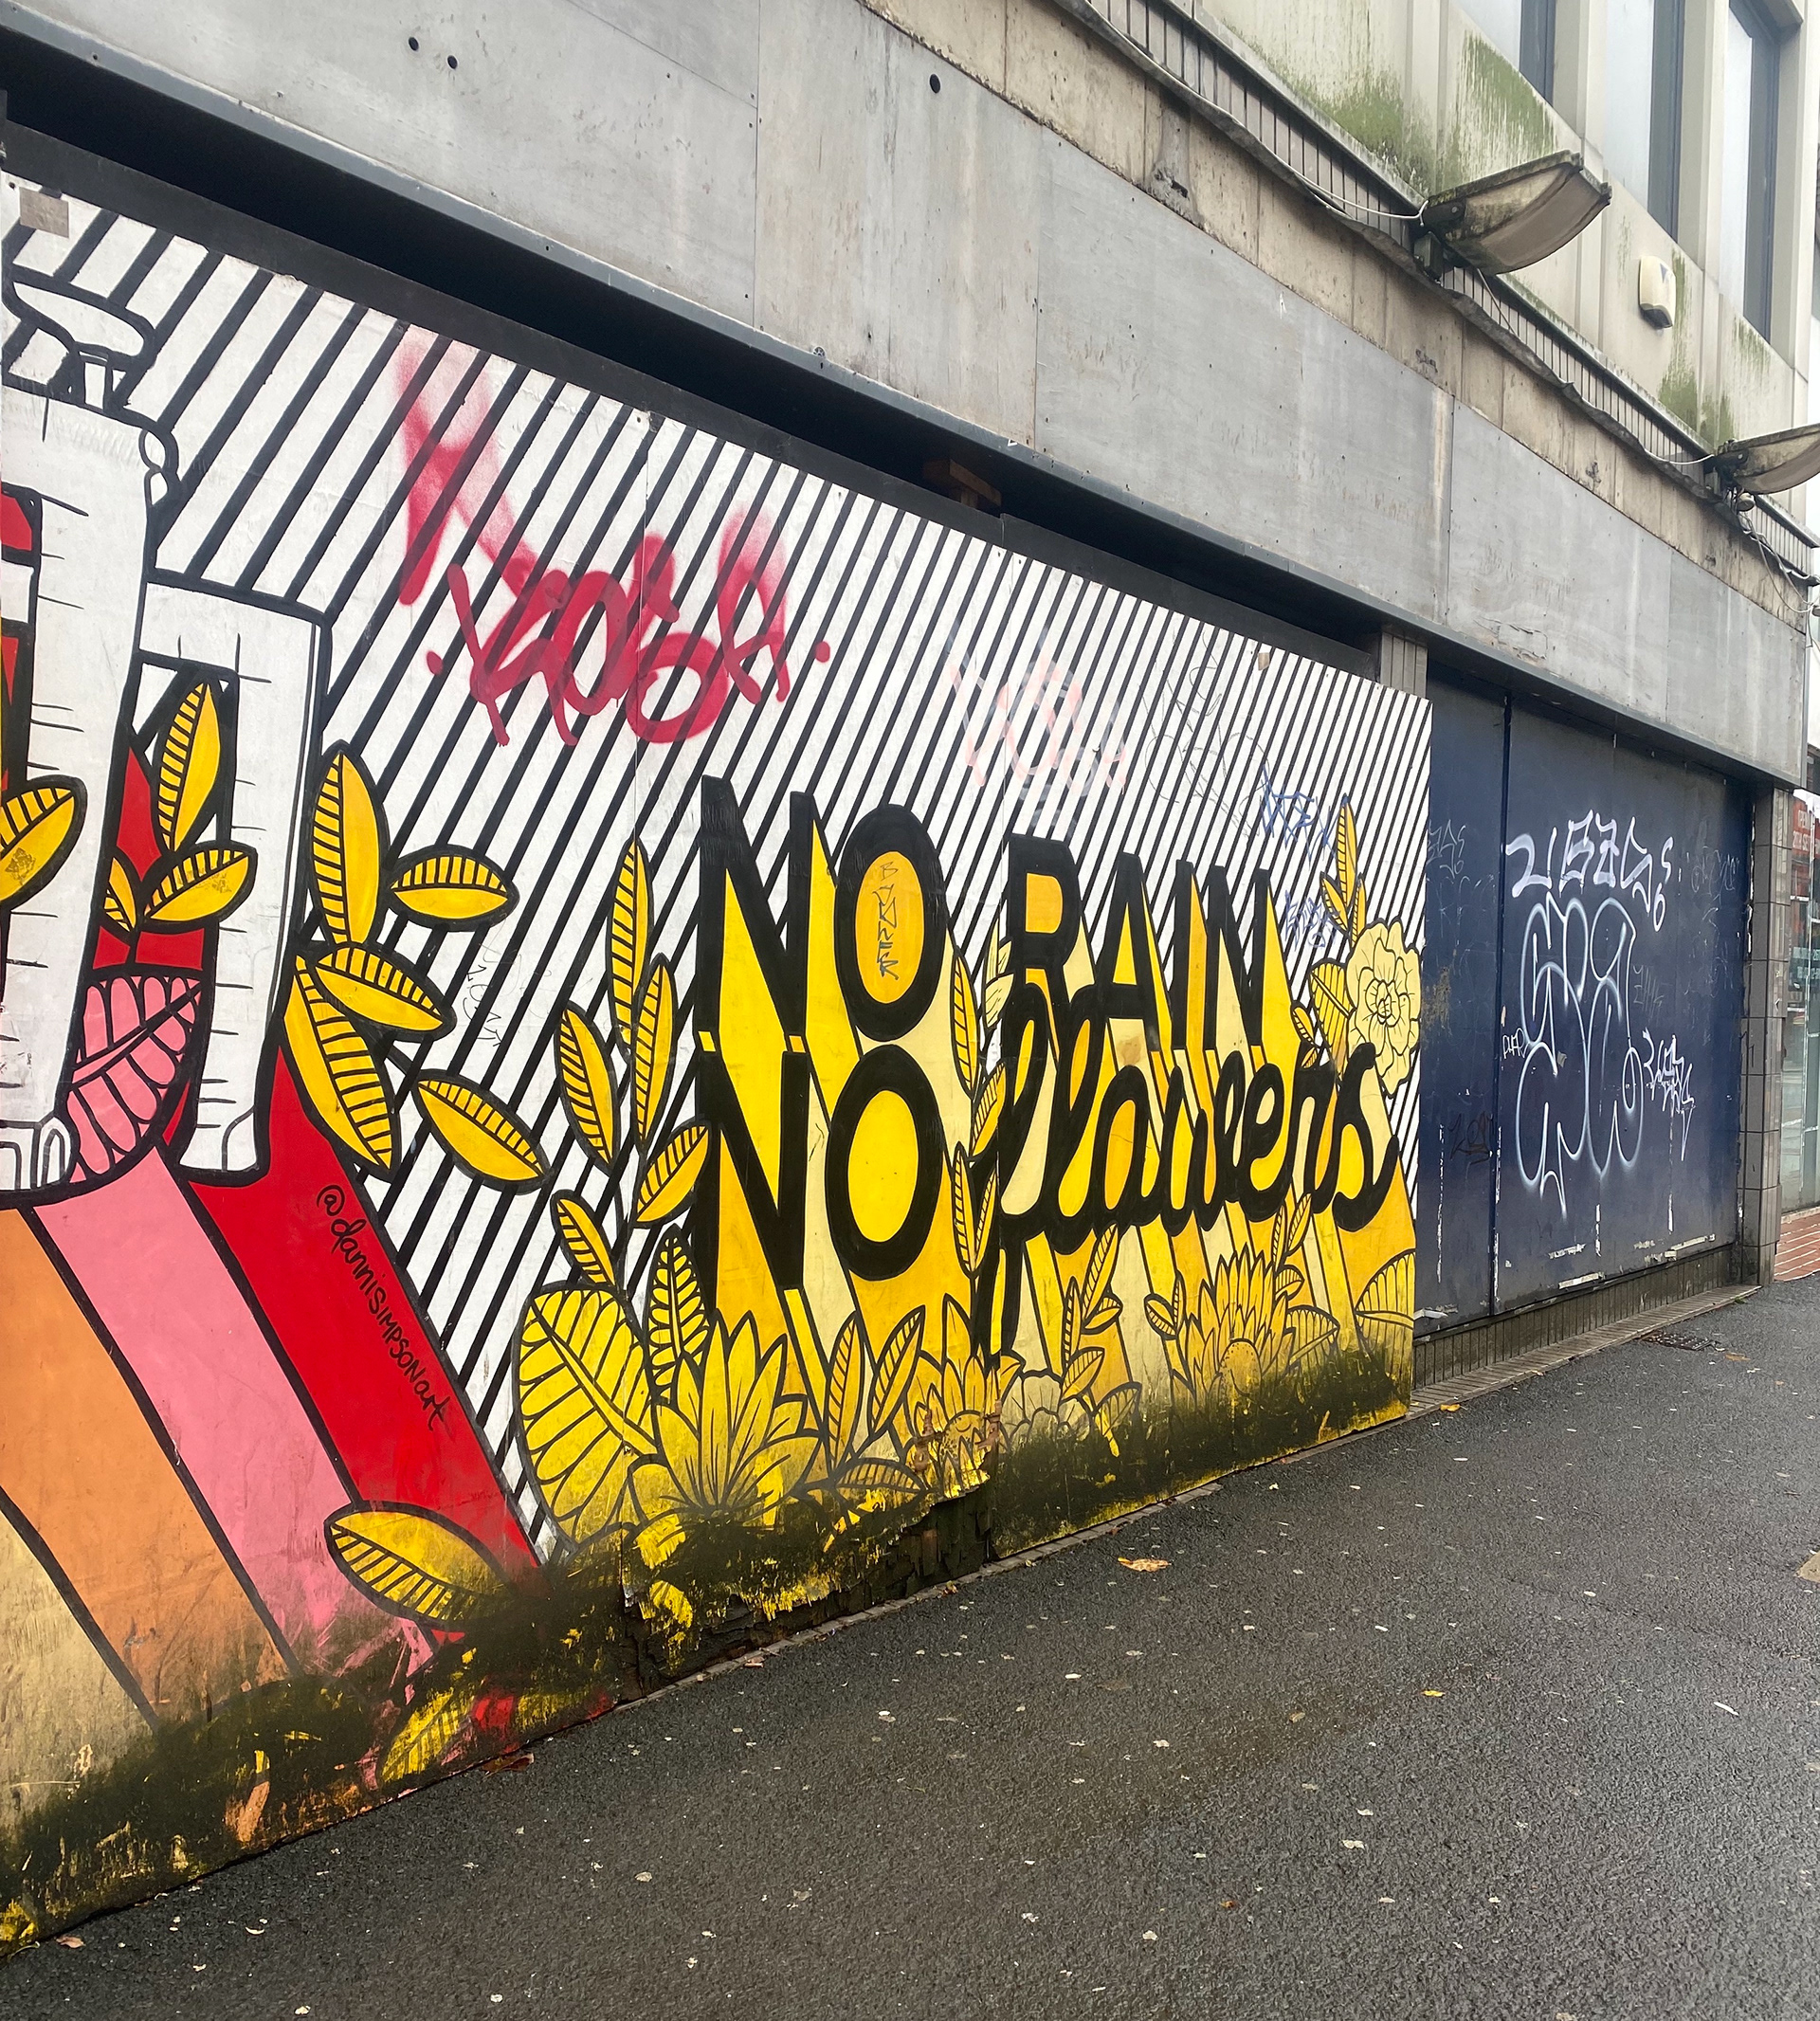
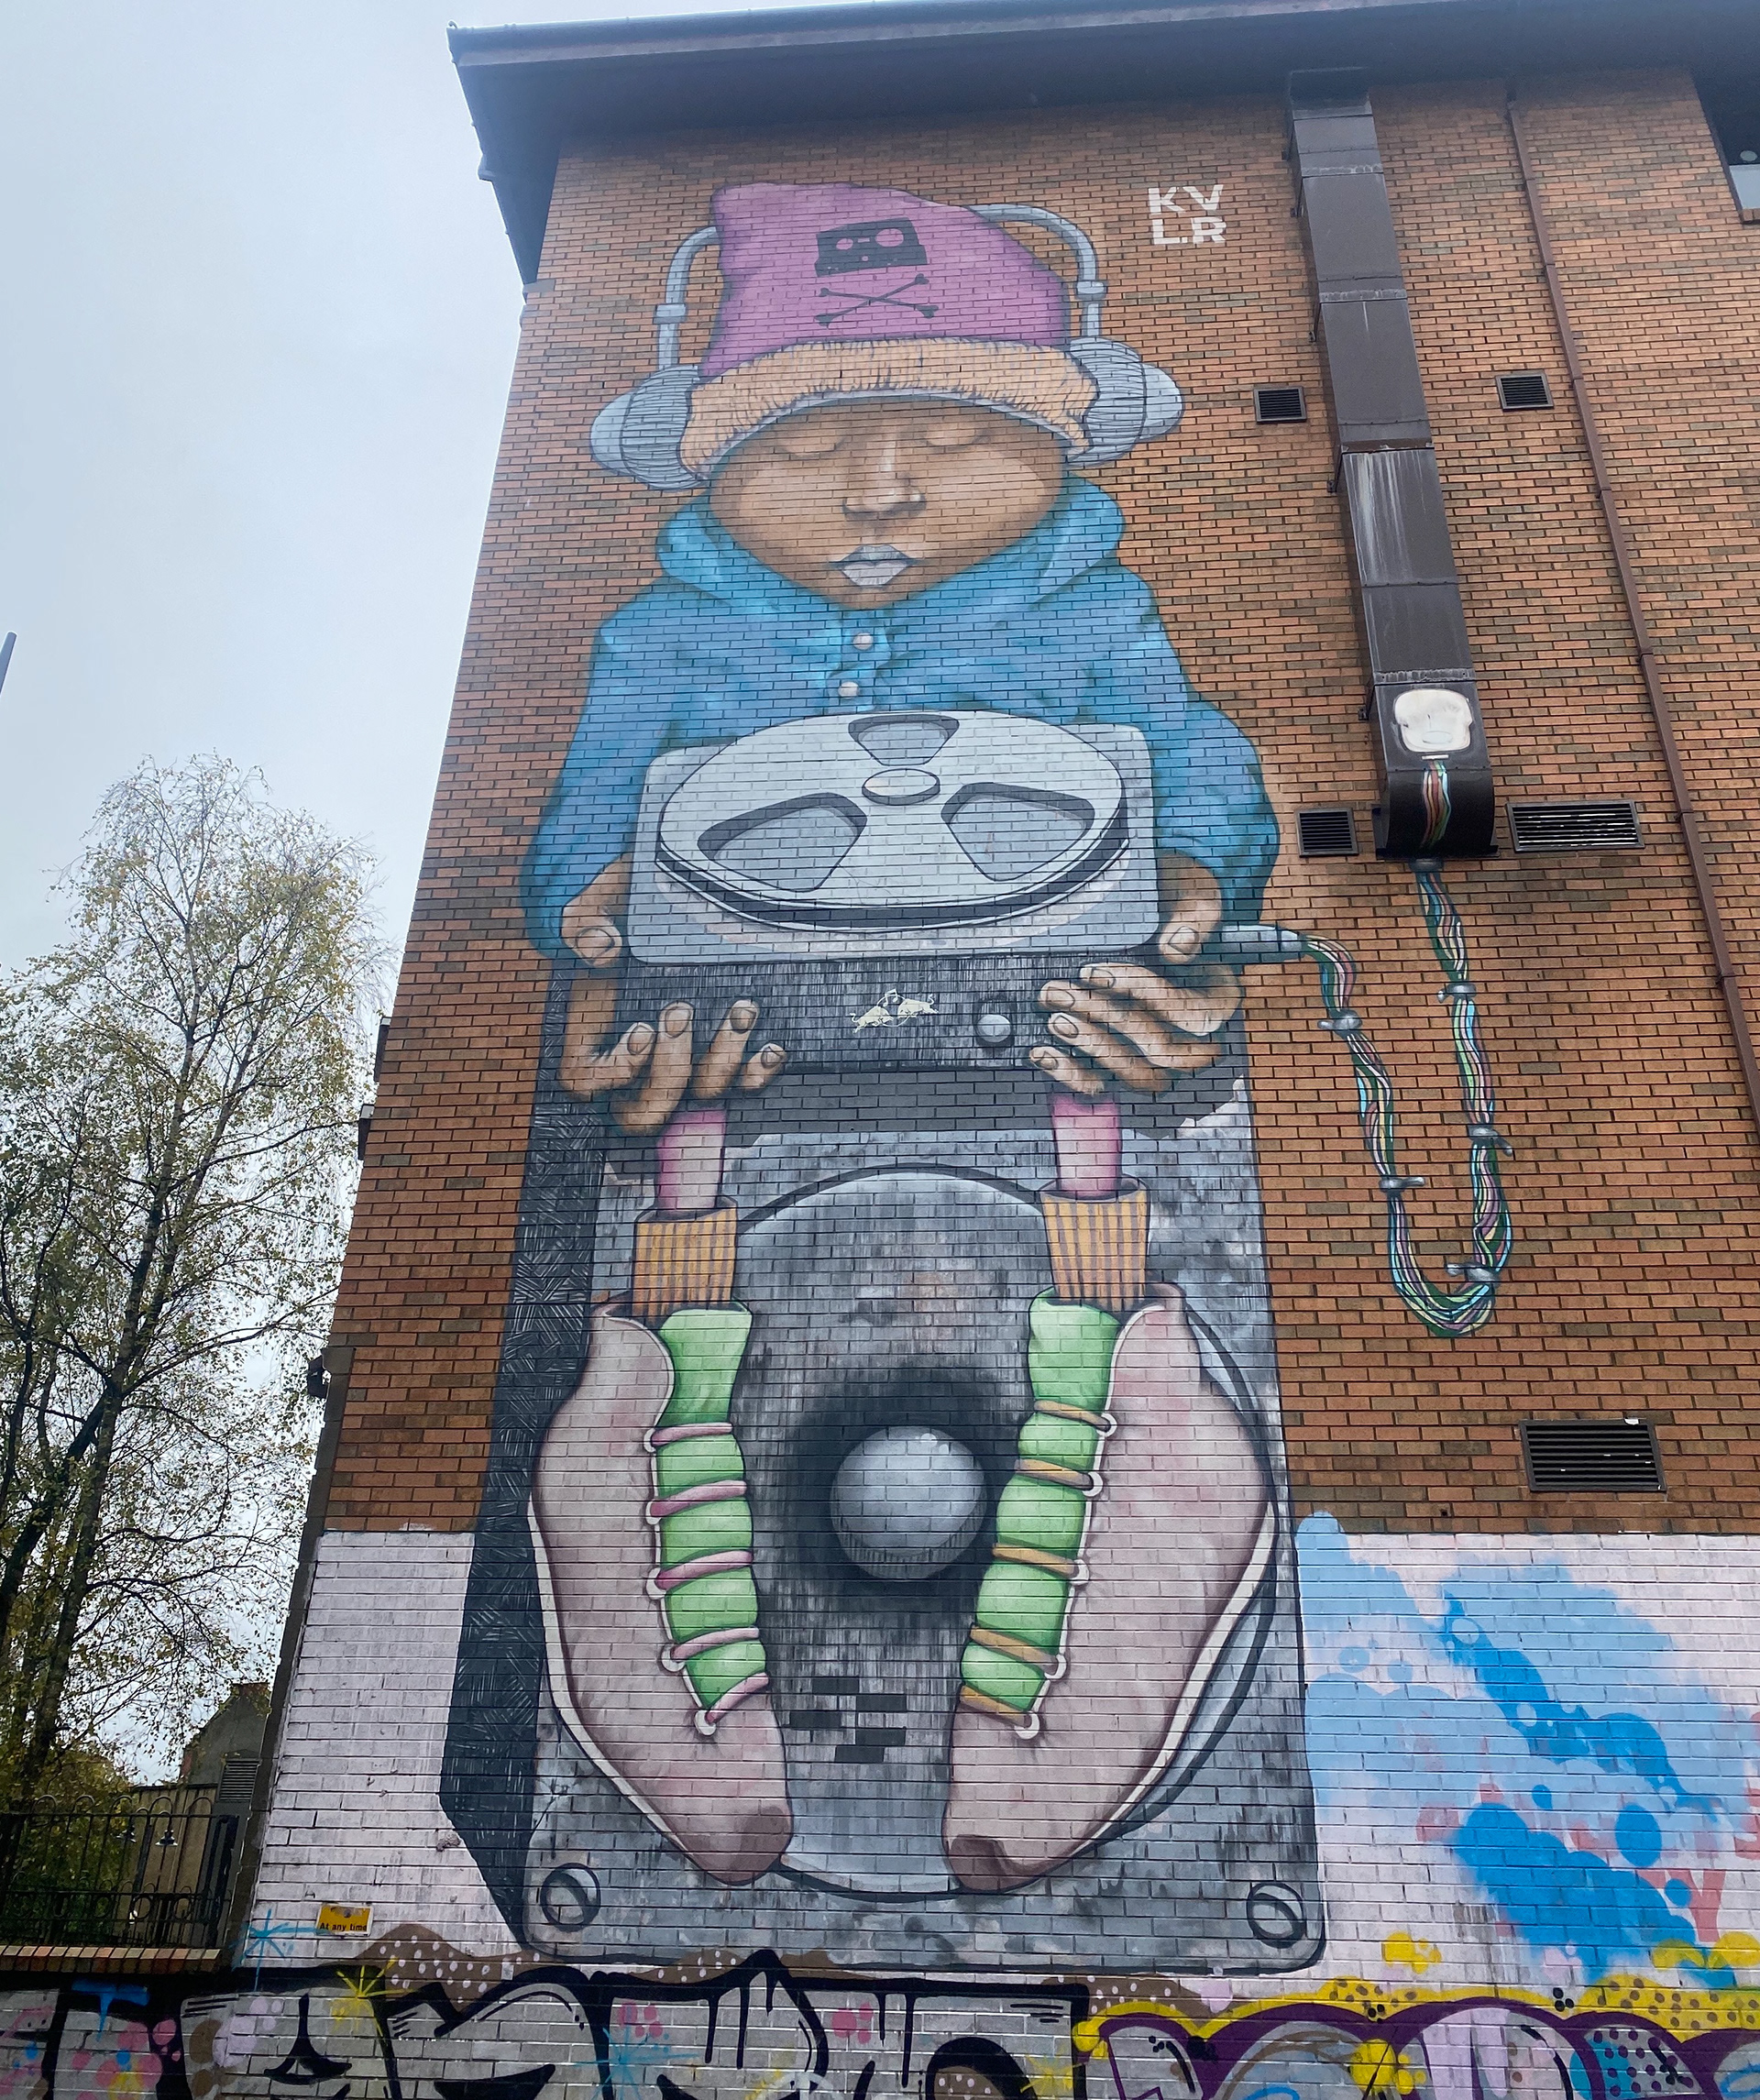
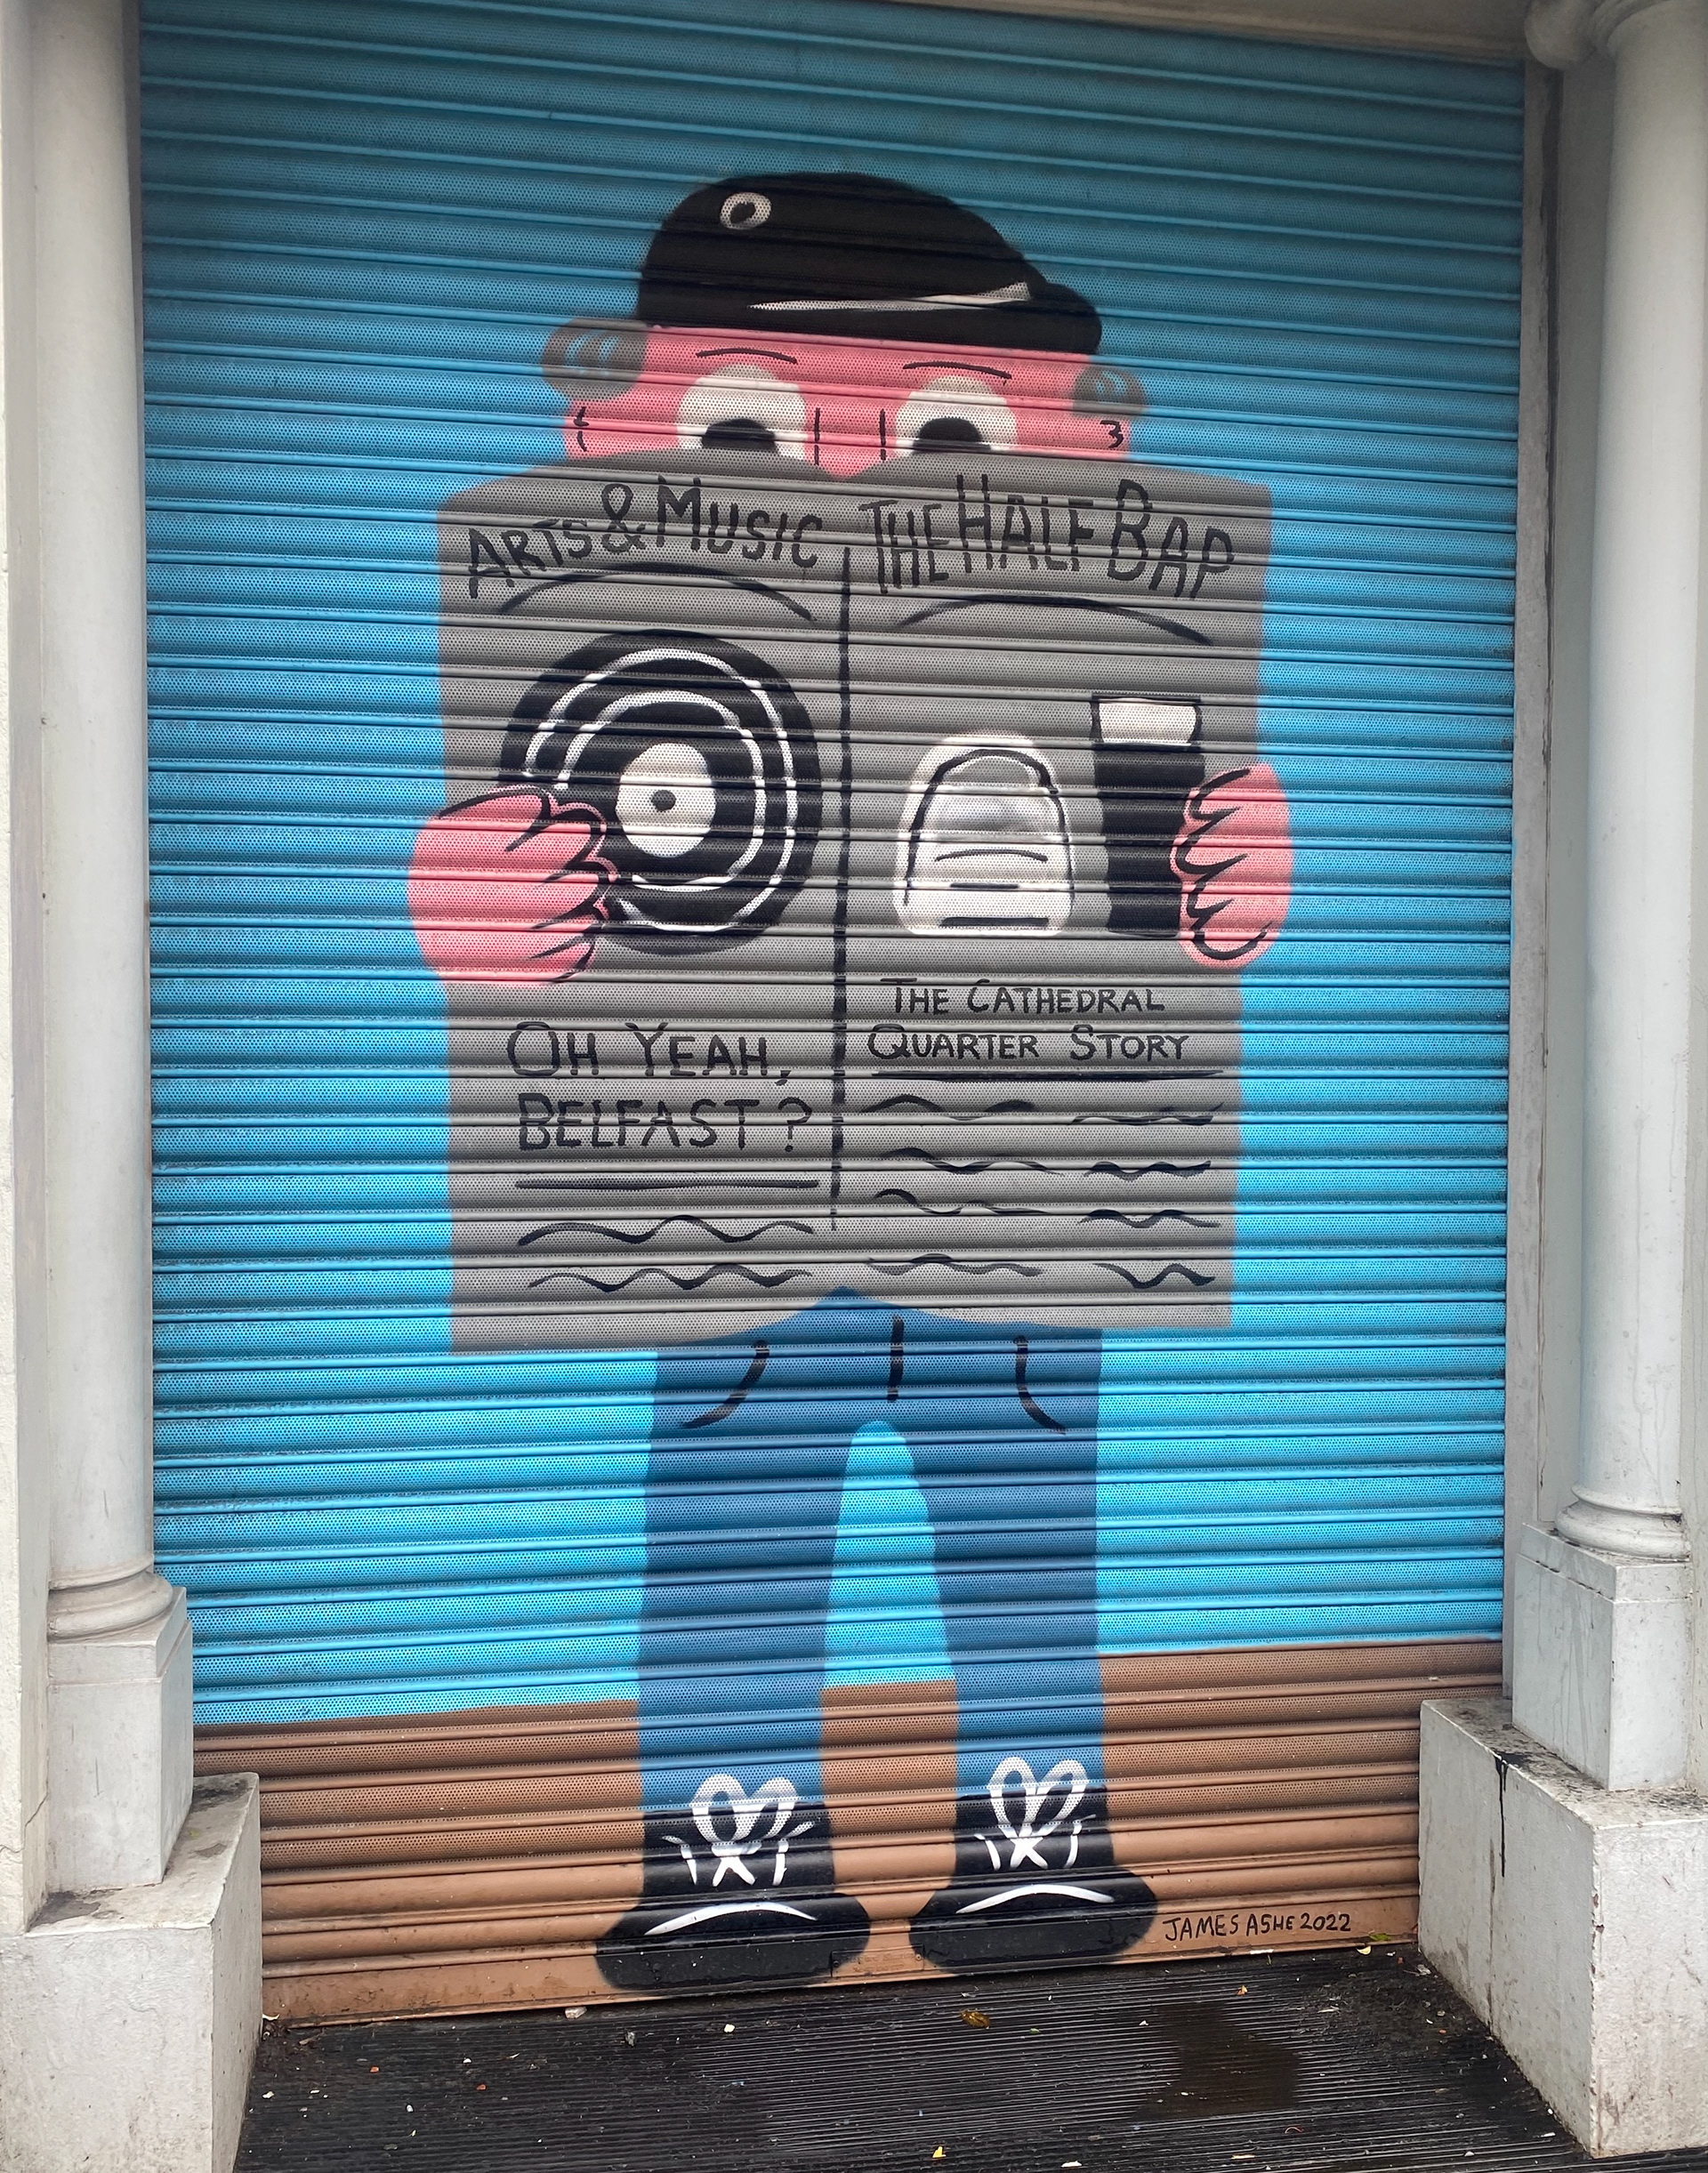
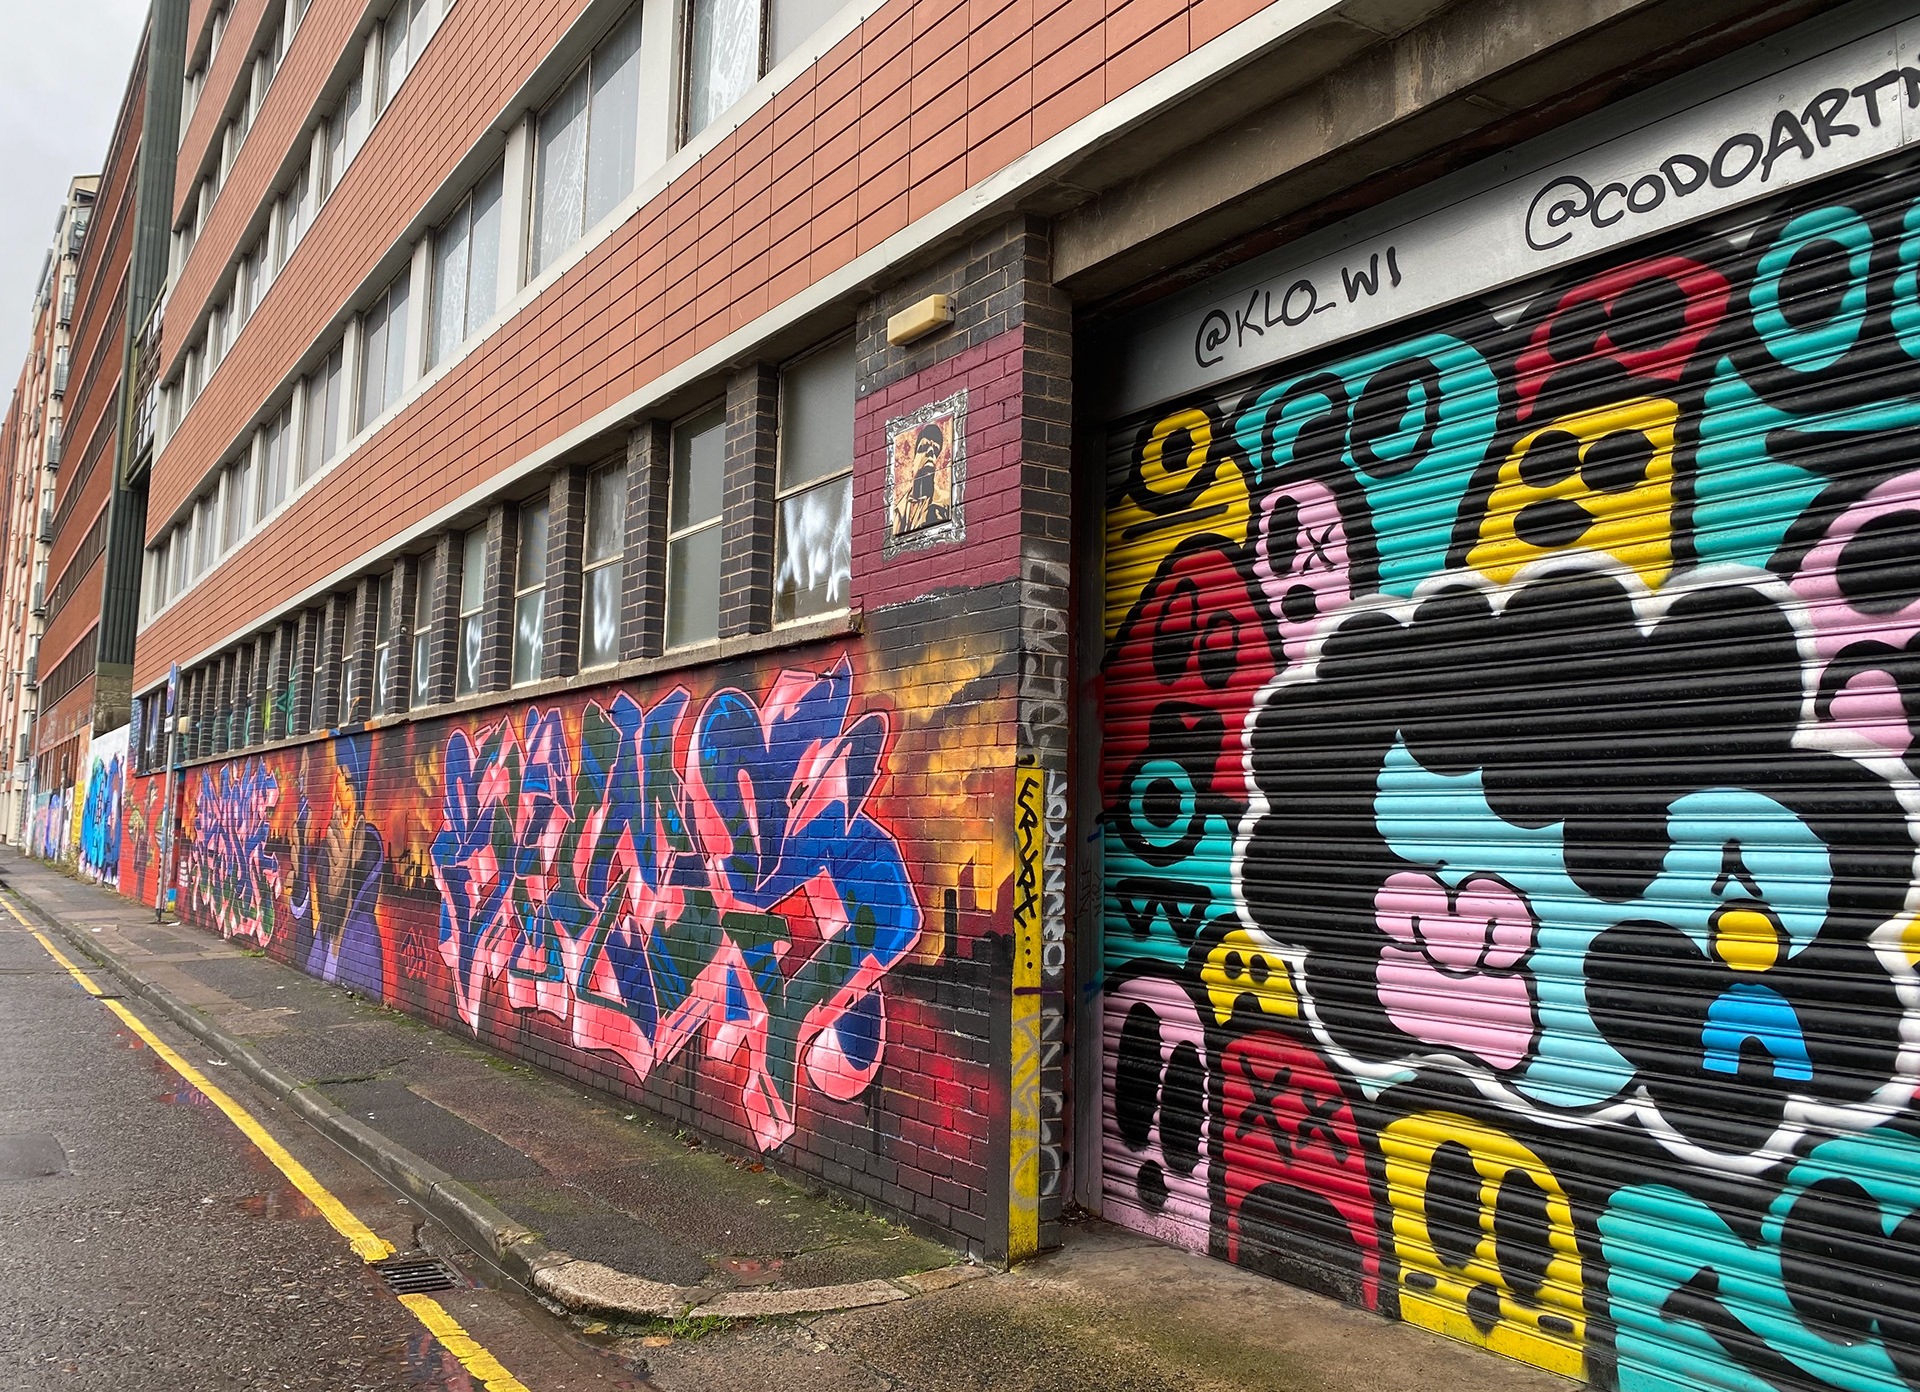
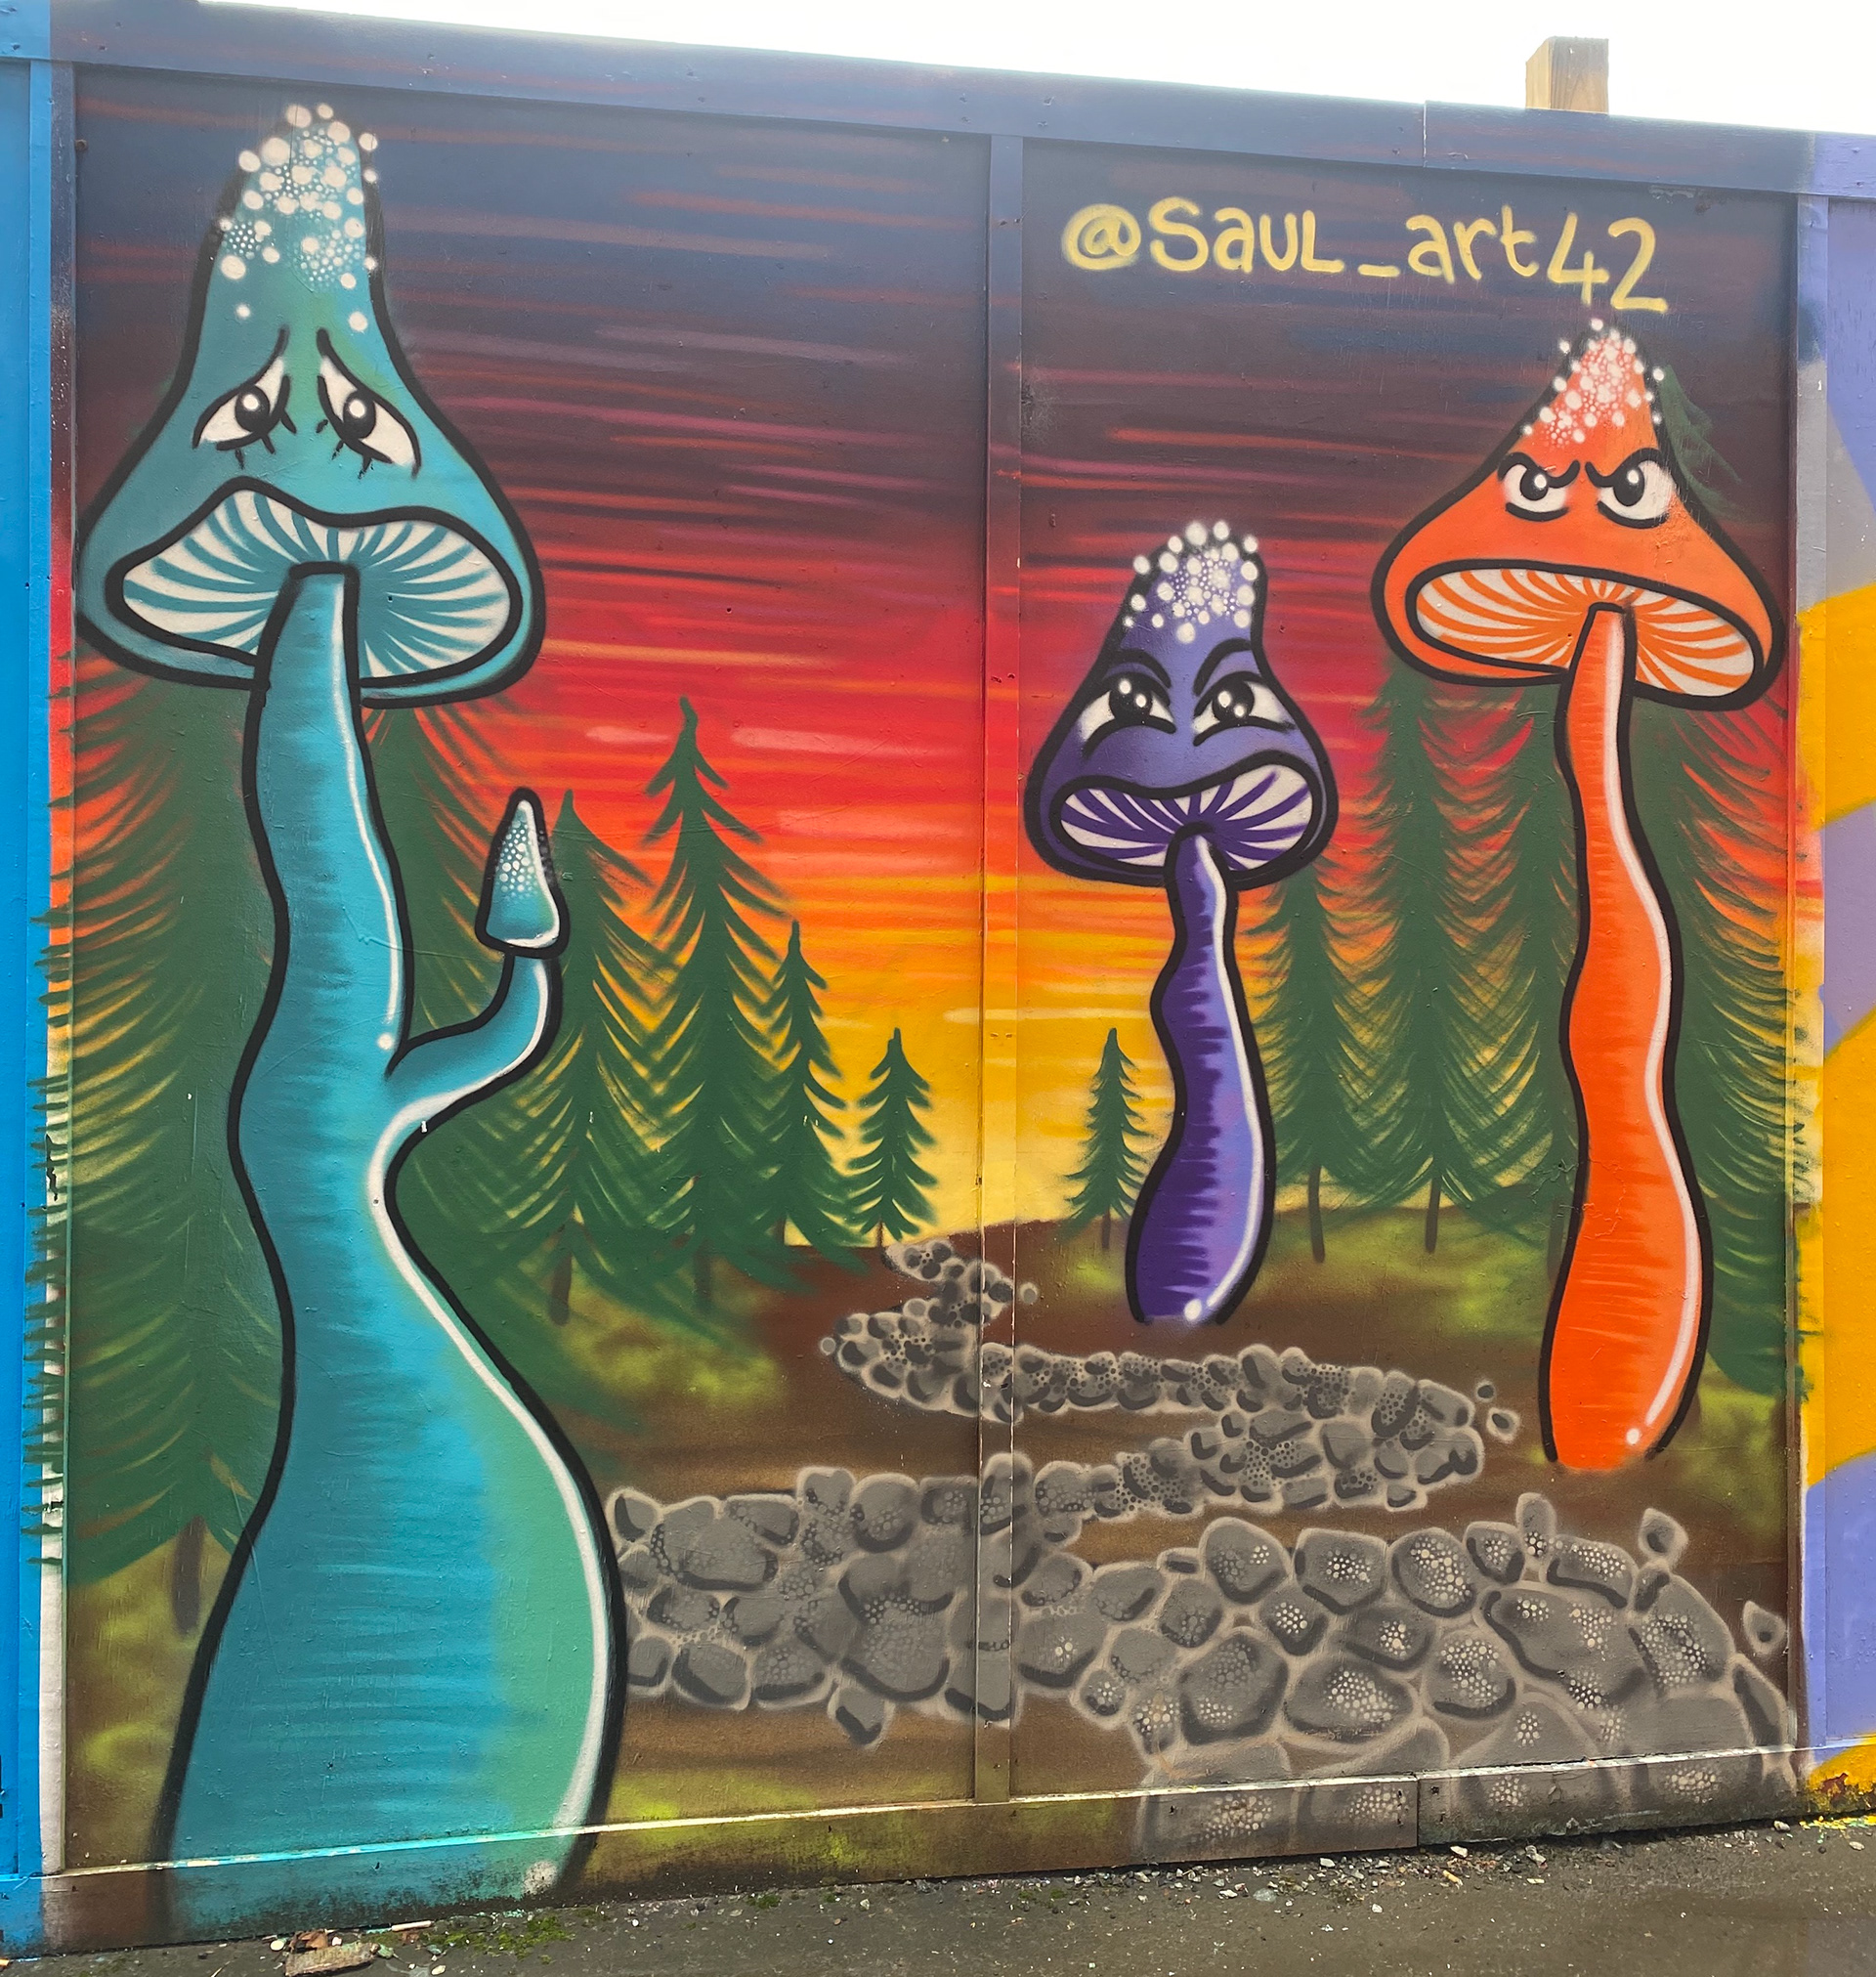
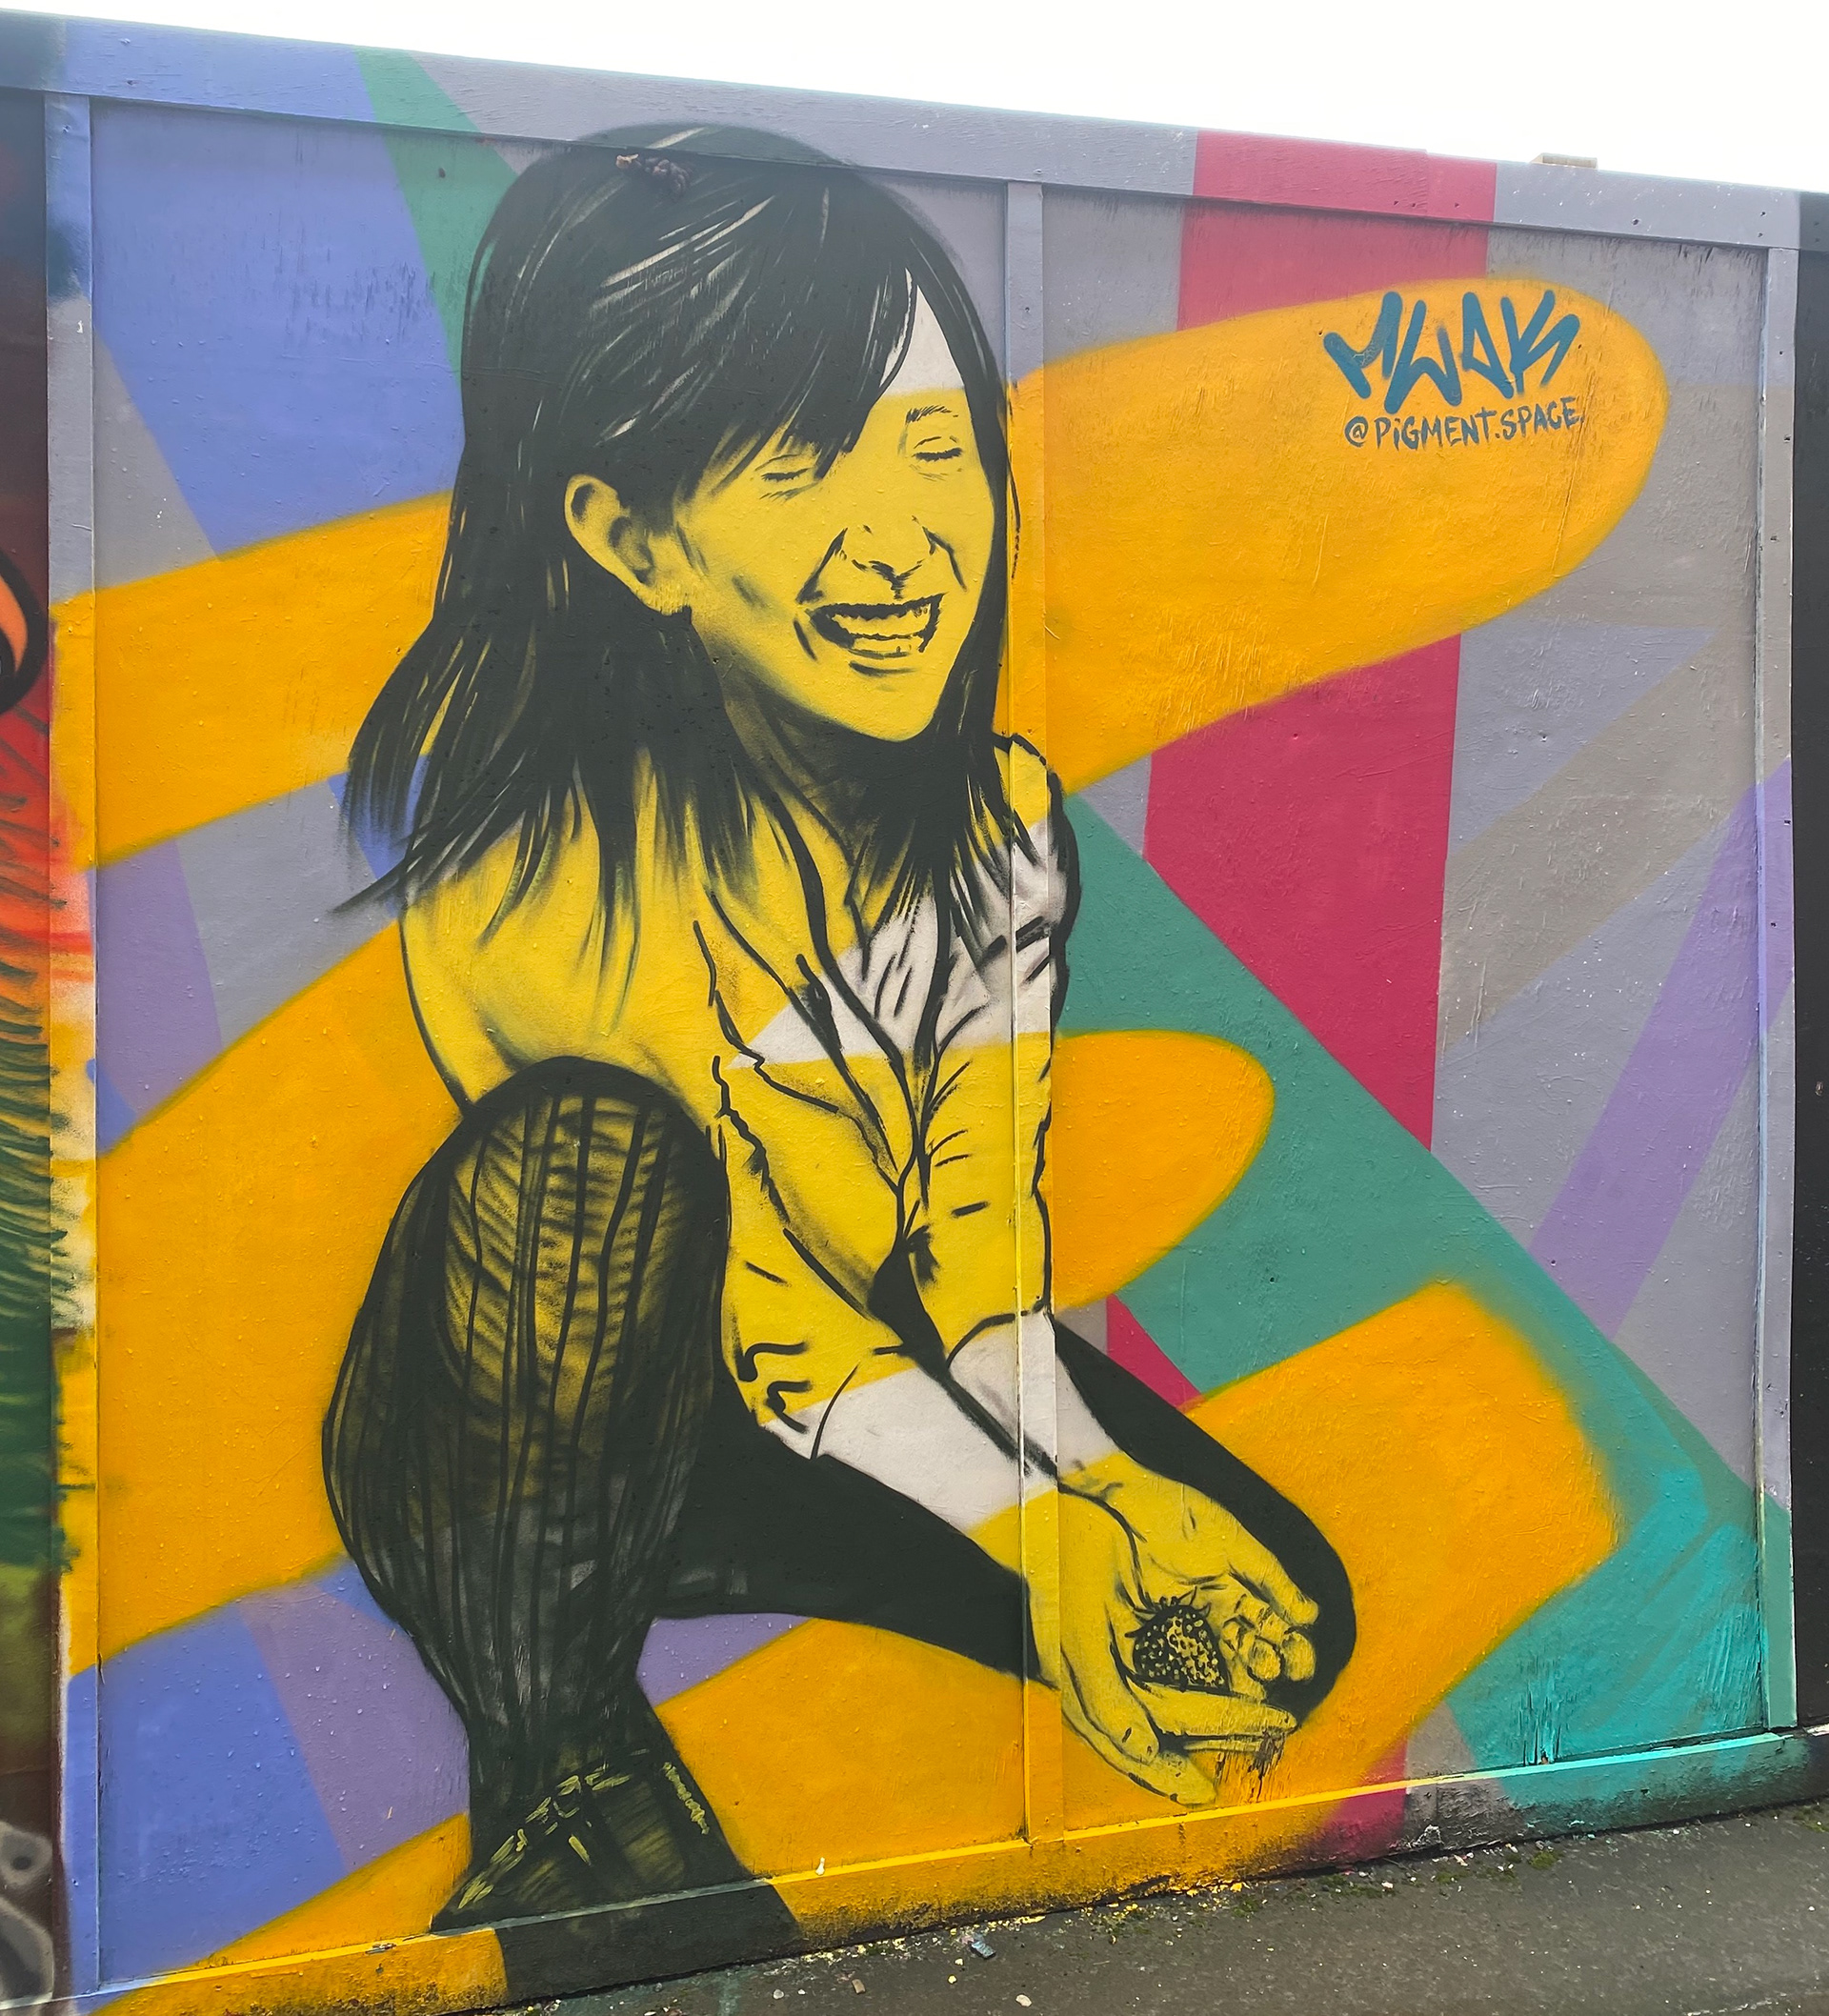
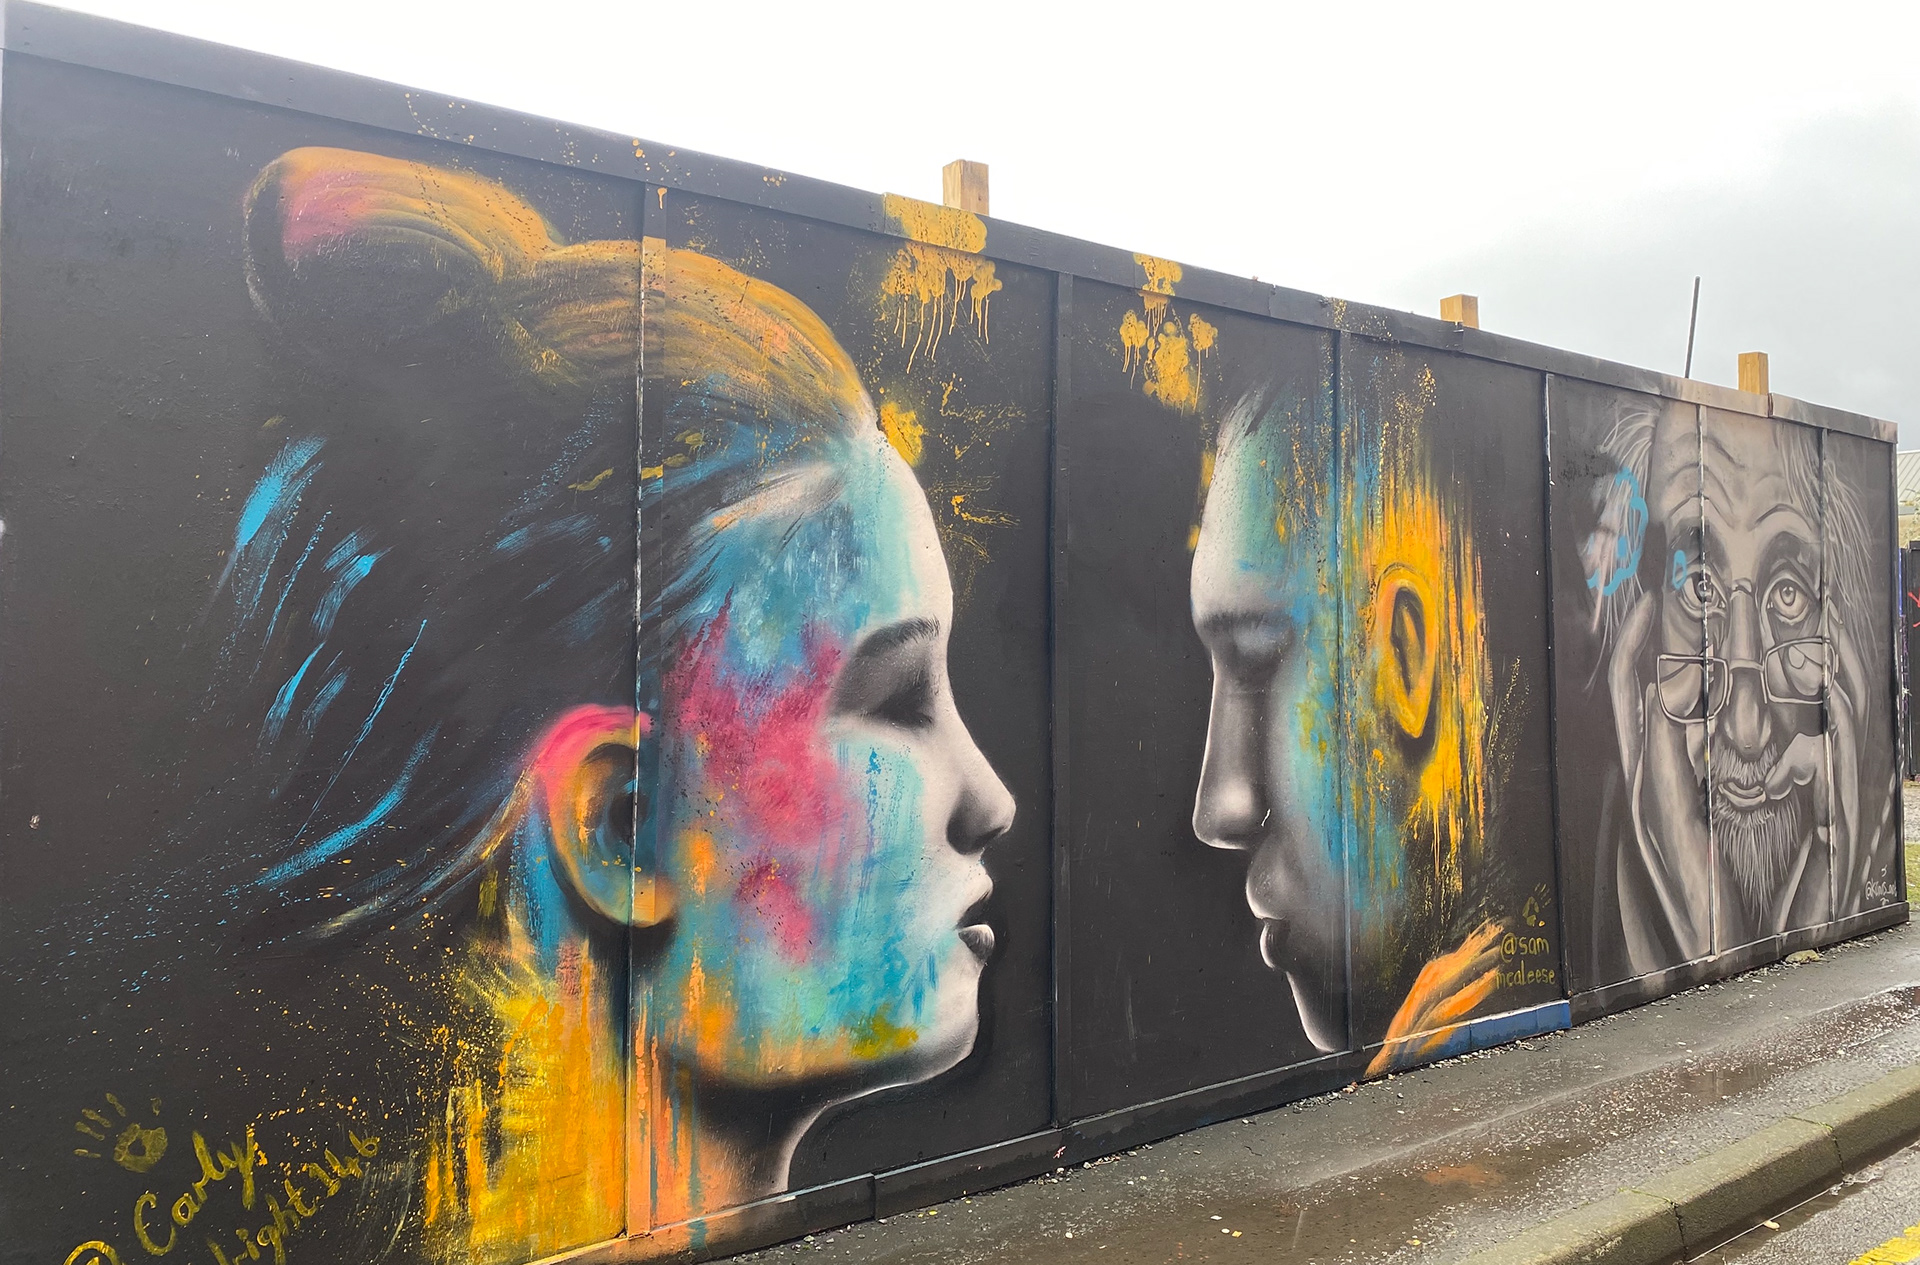
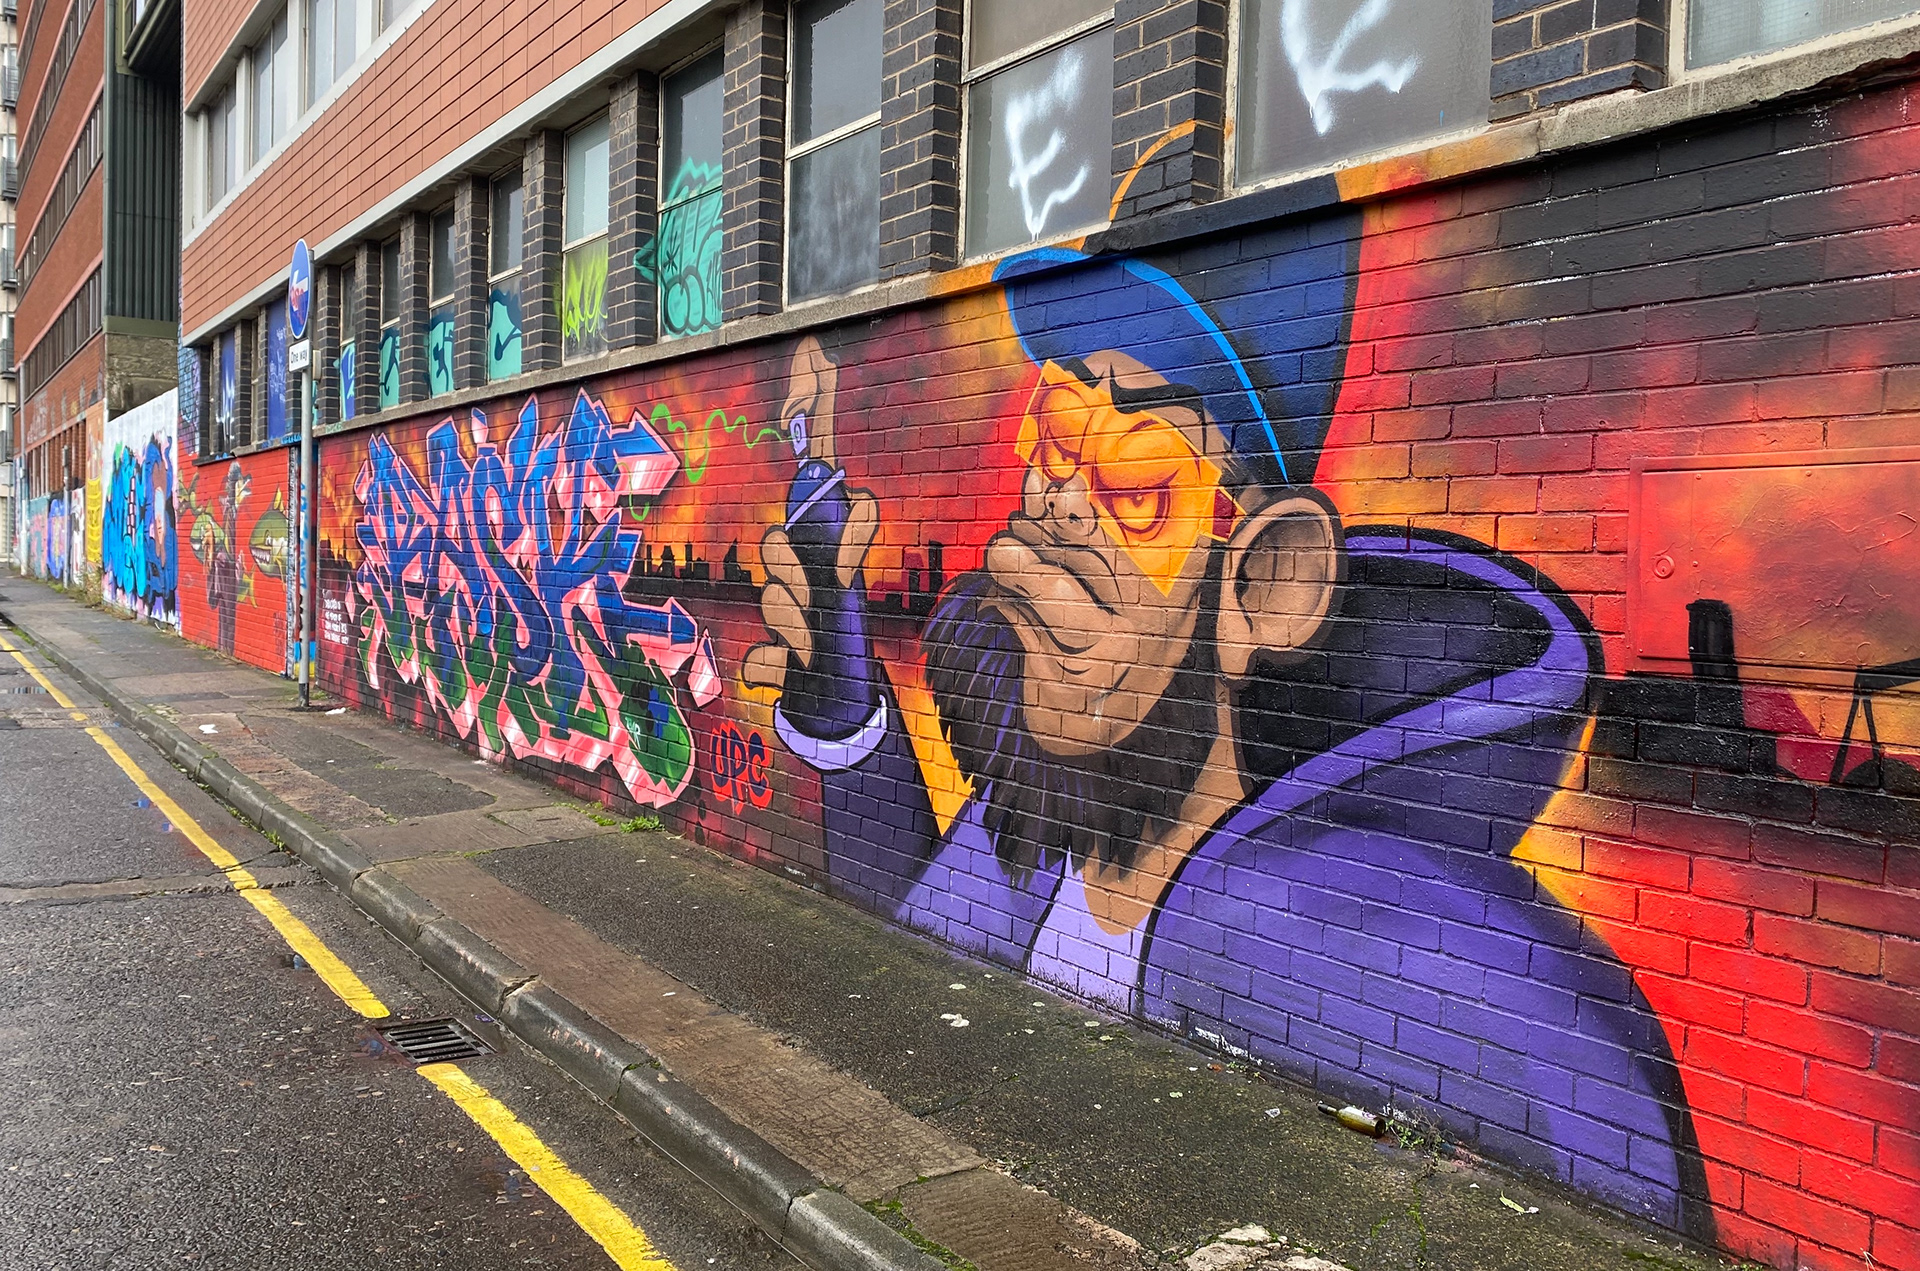
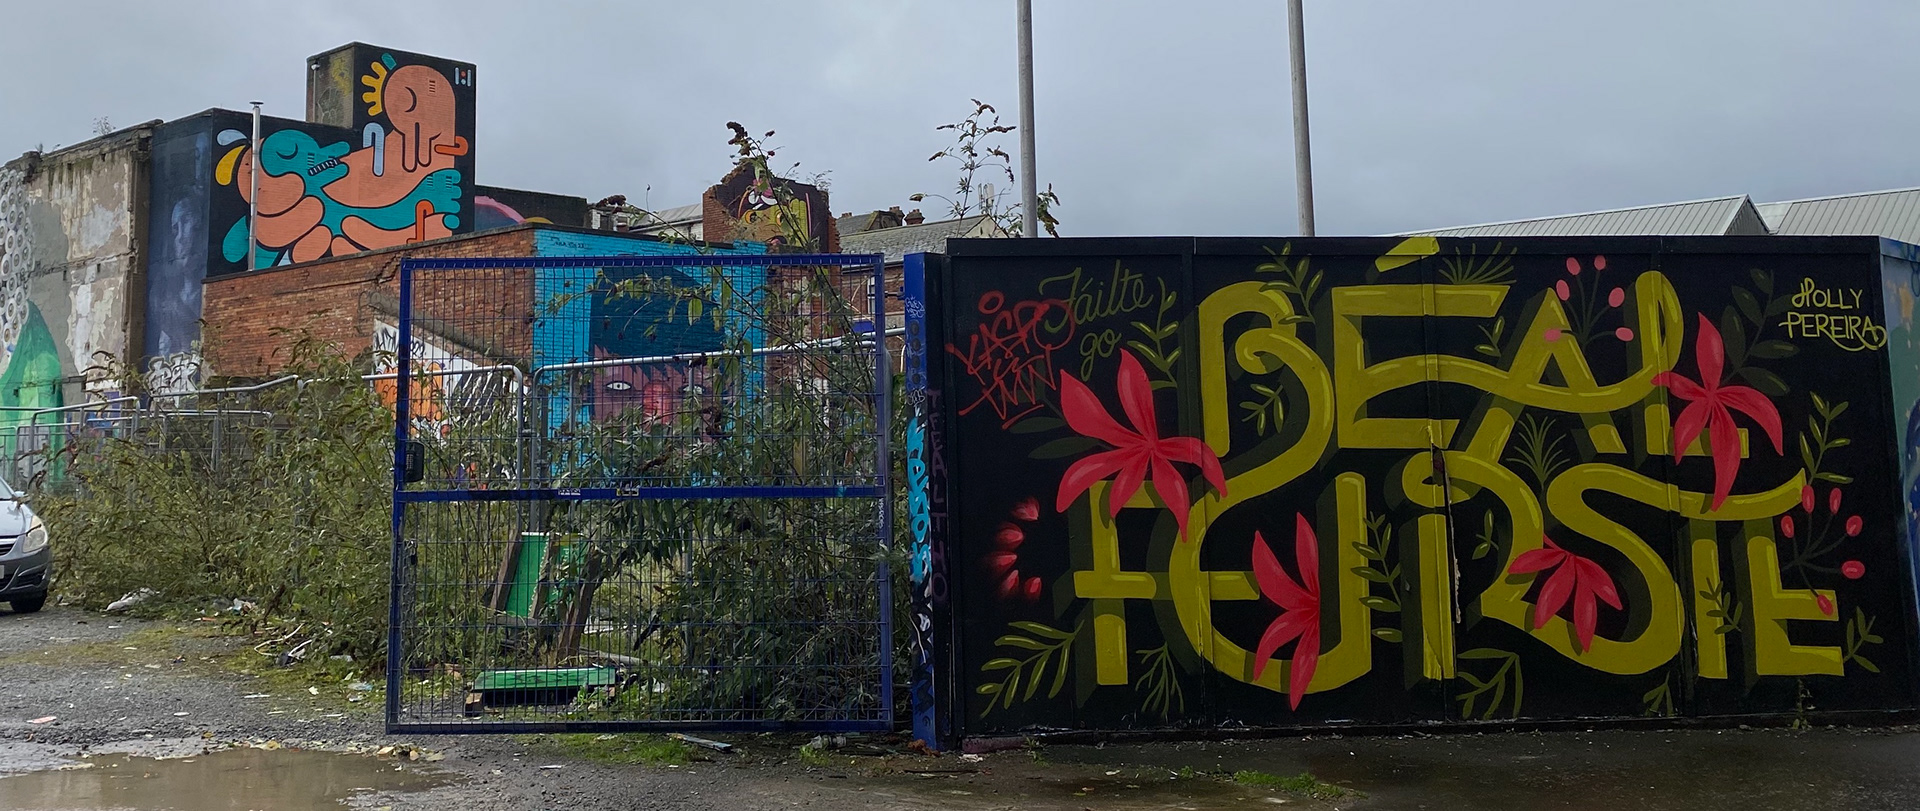
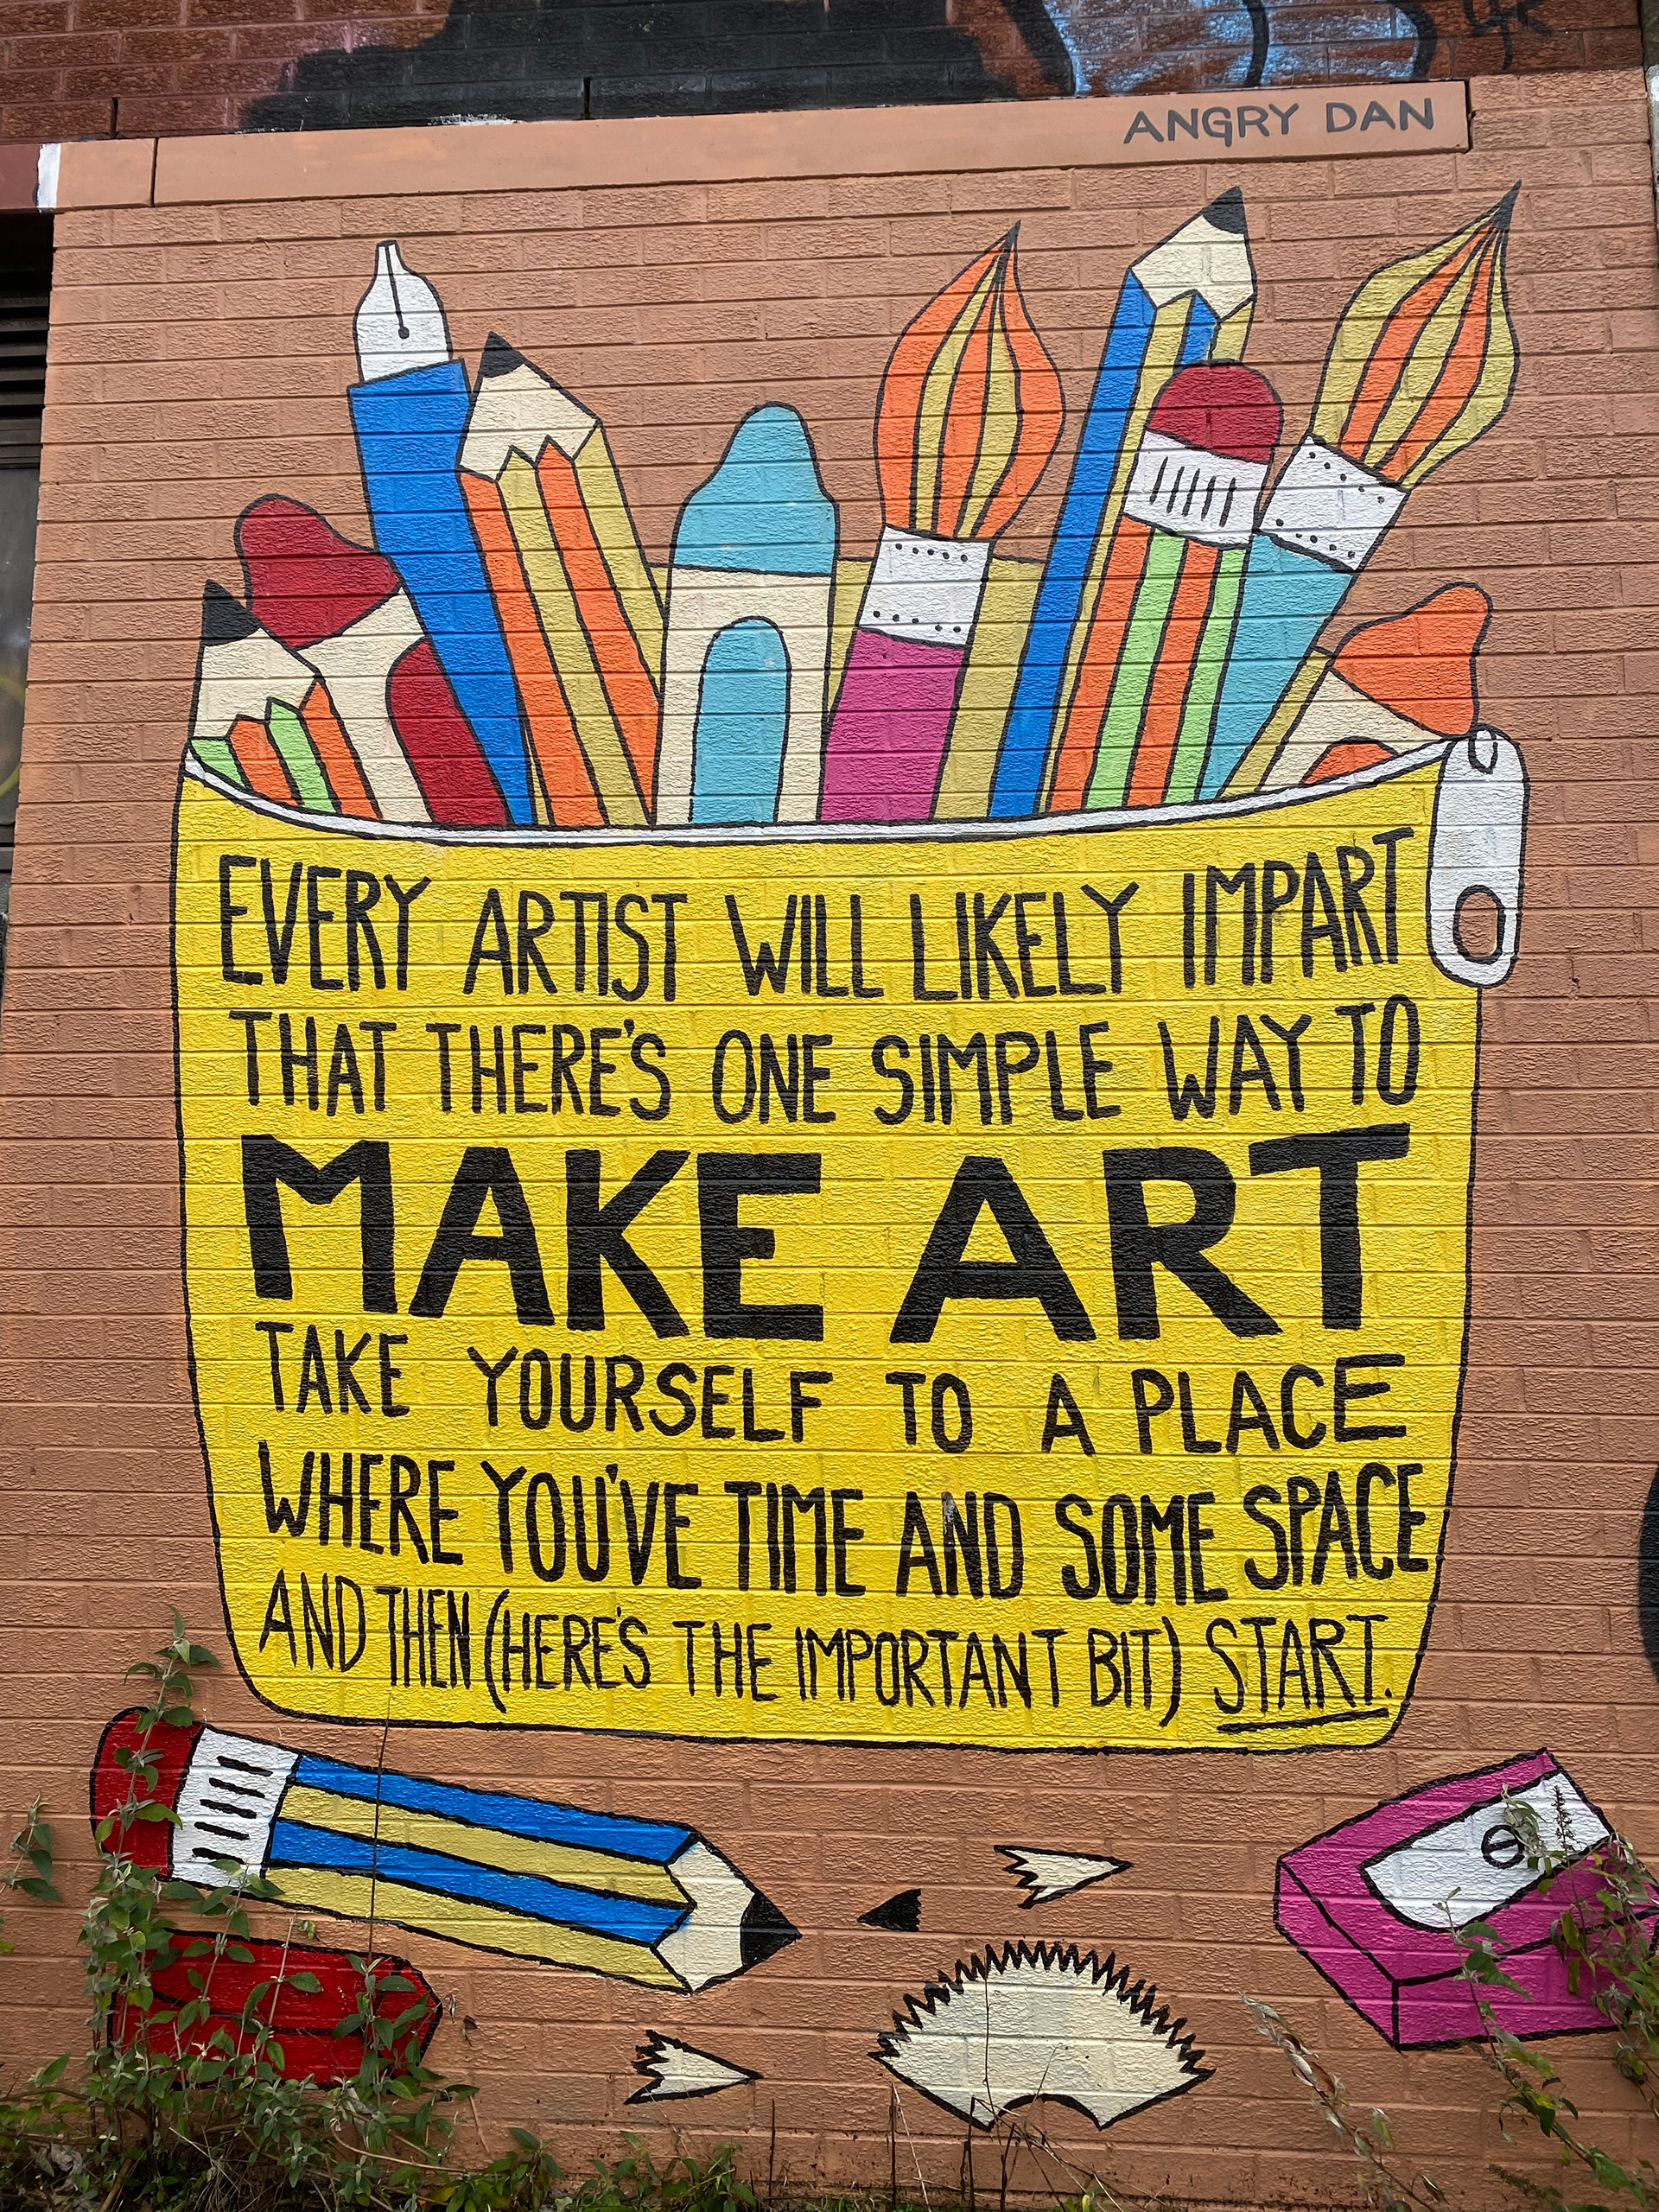
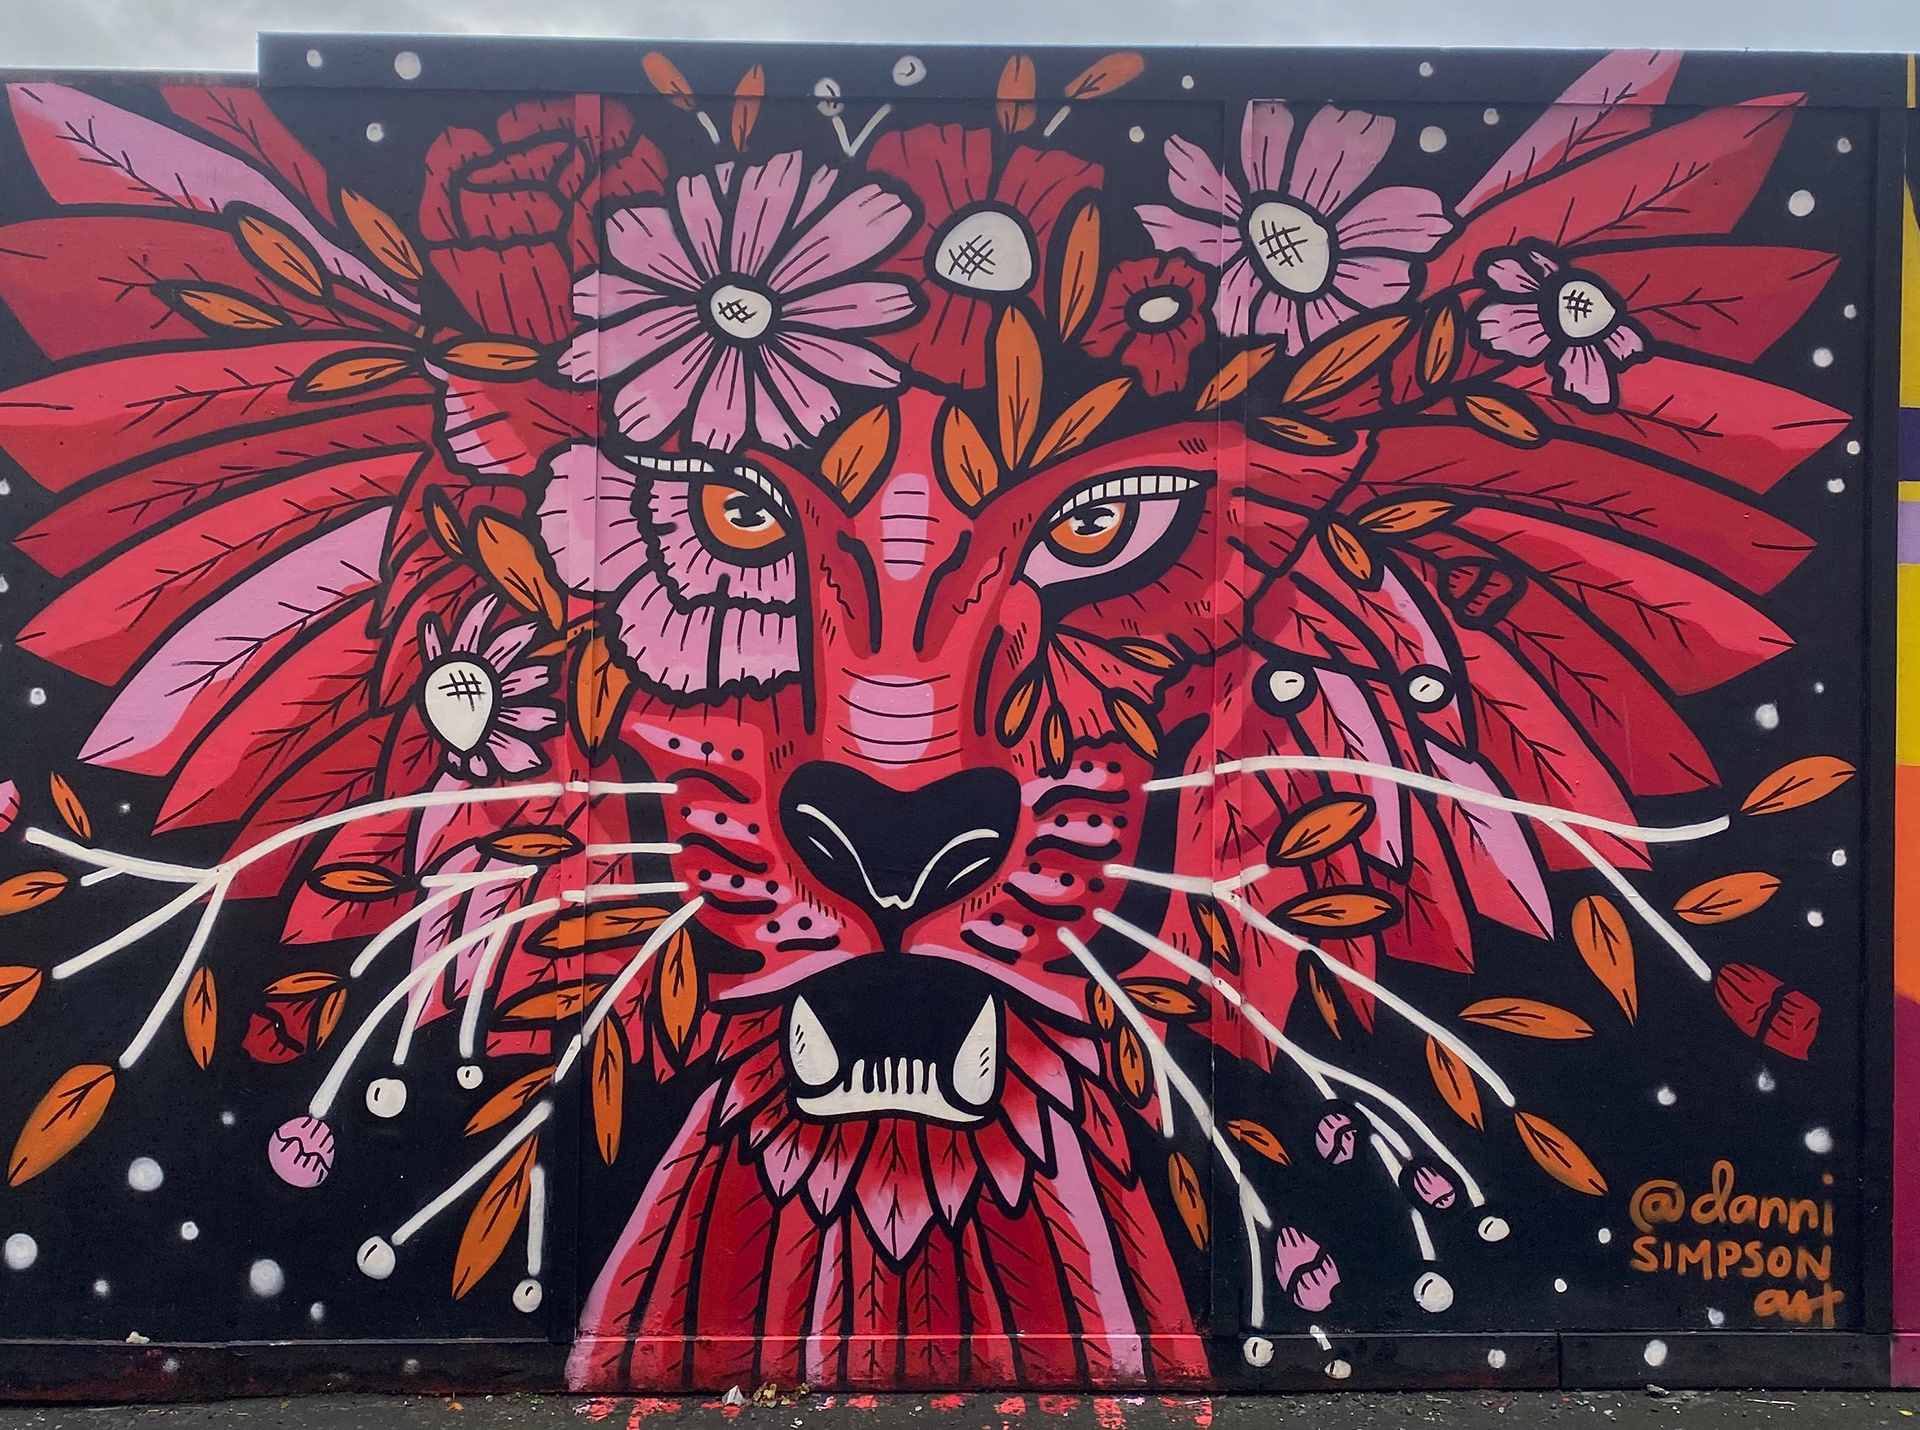
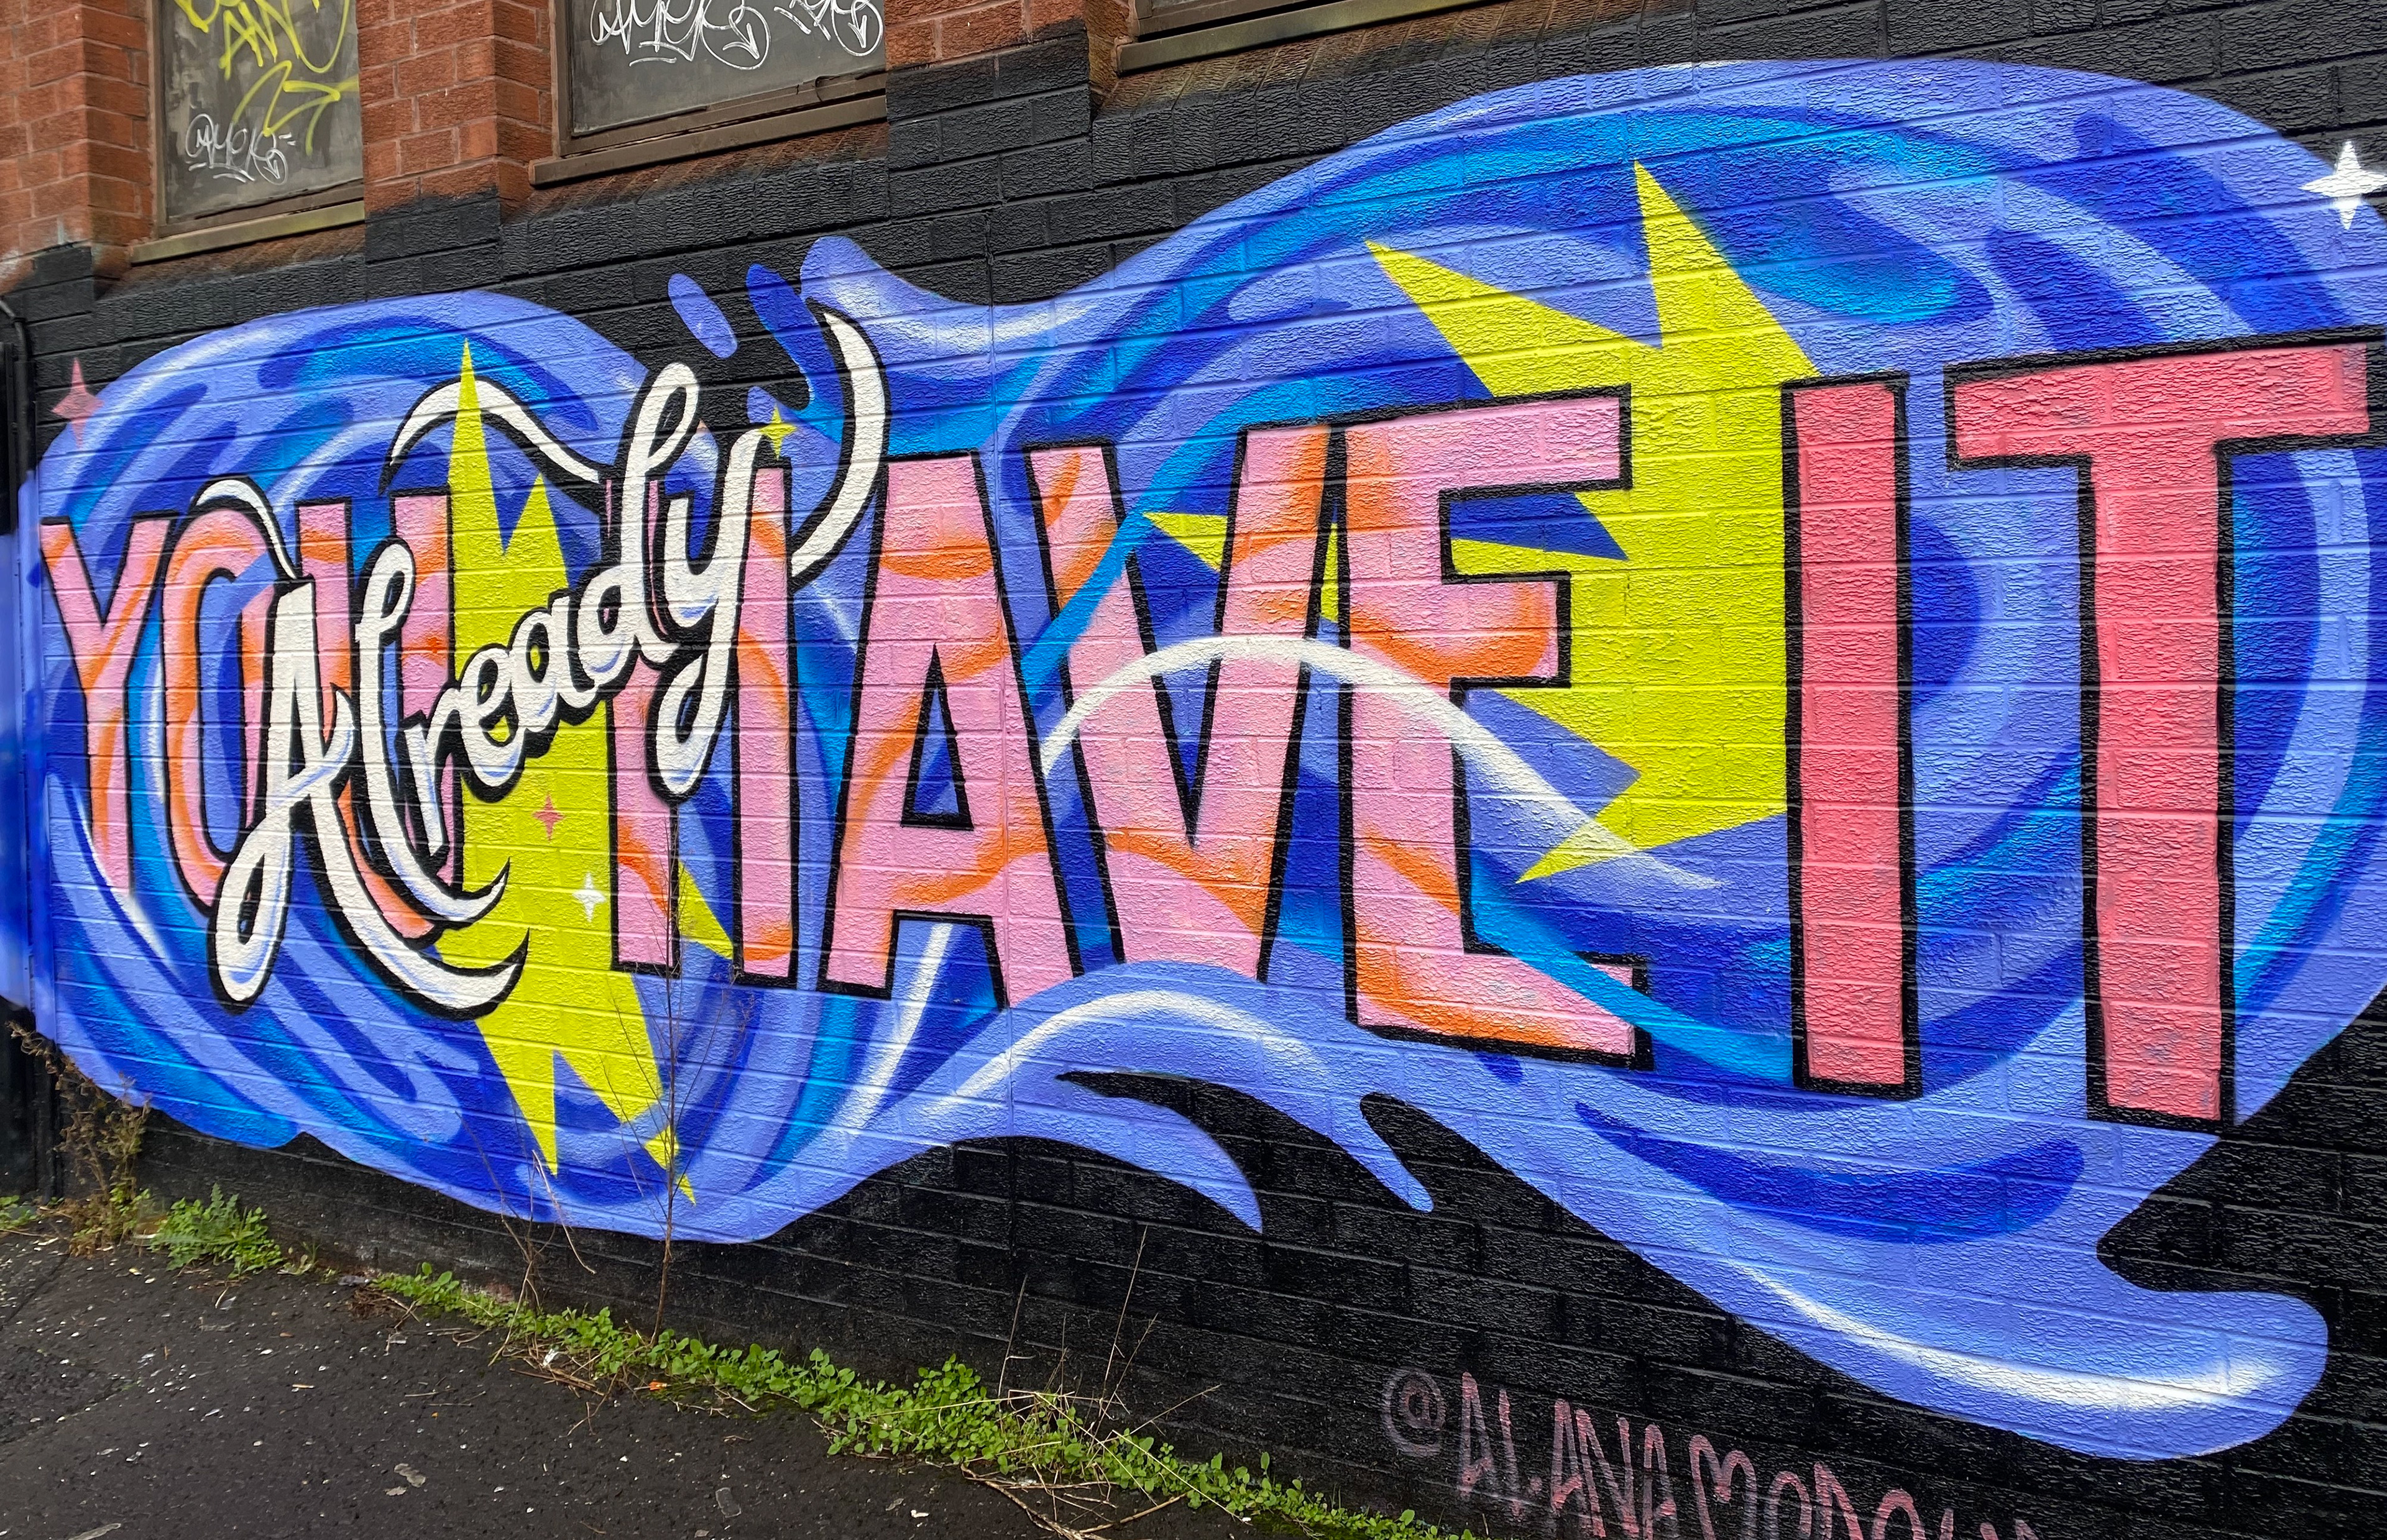
Research in Belfast
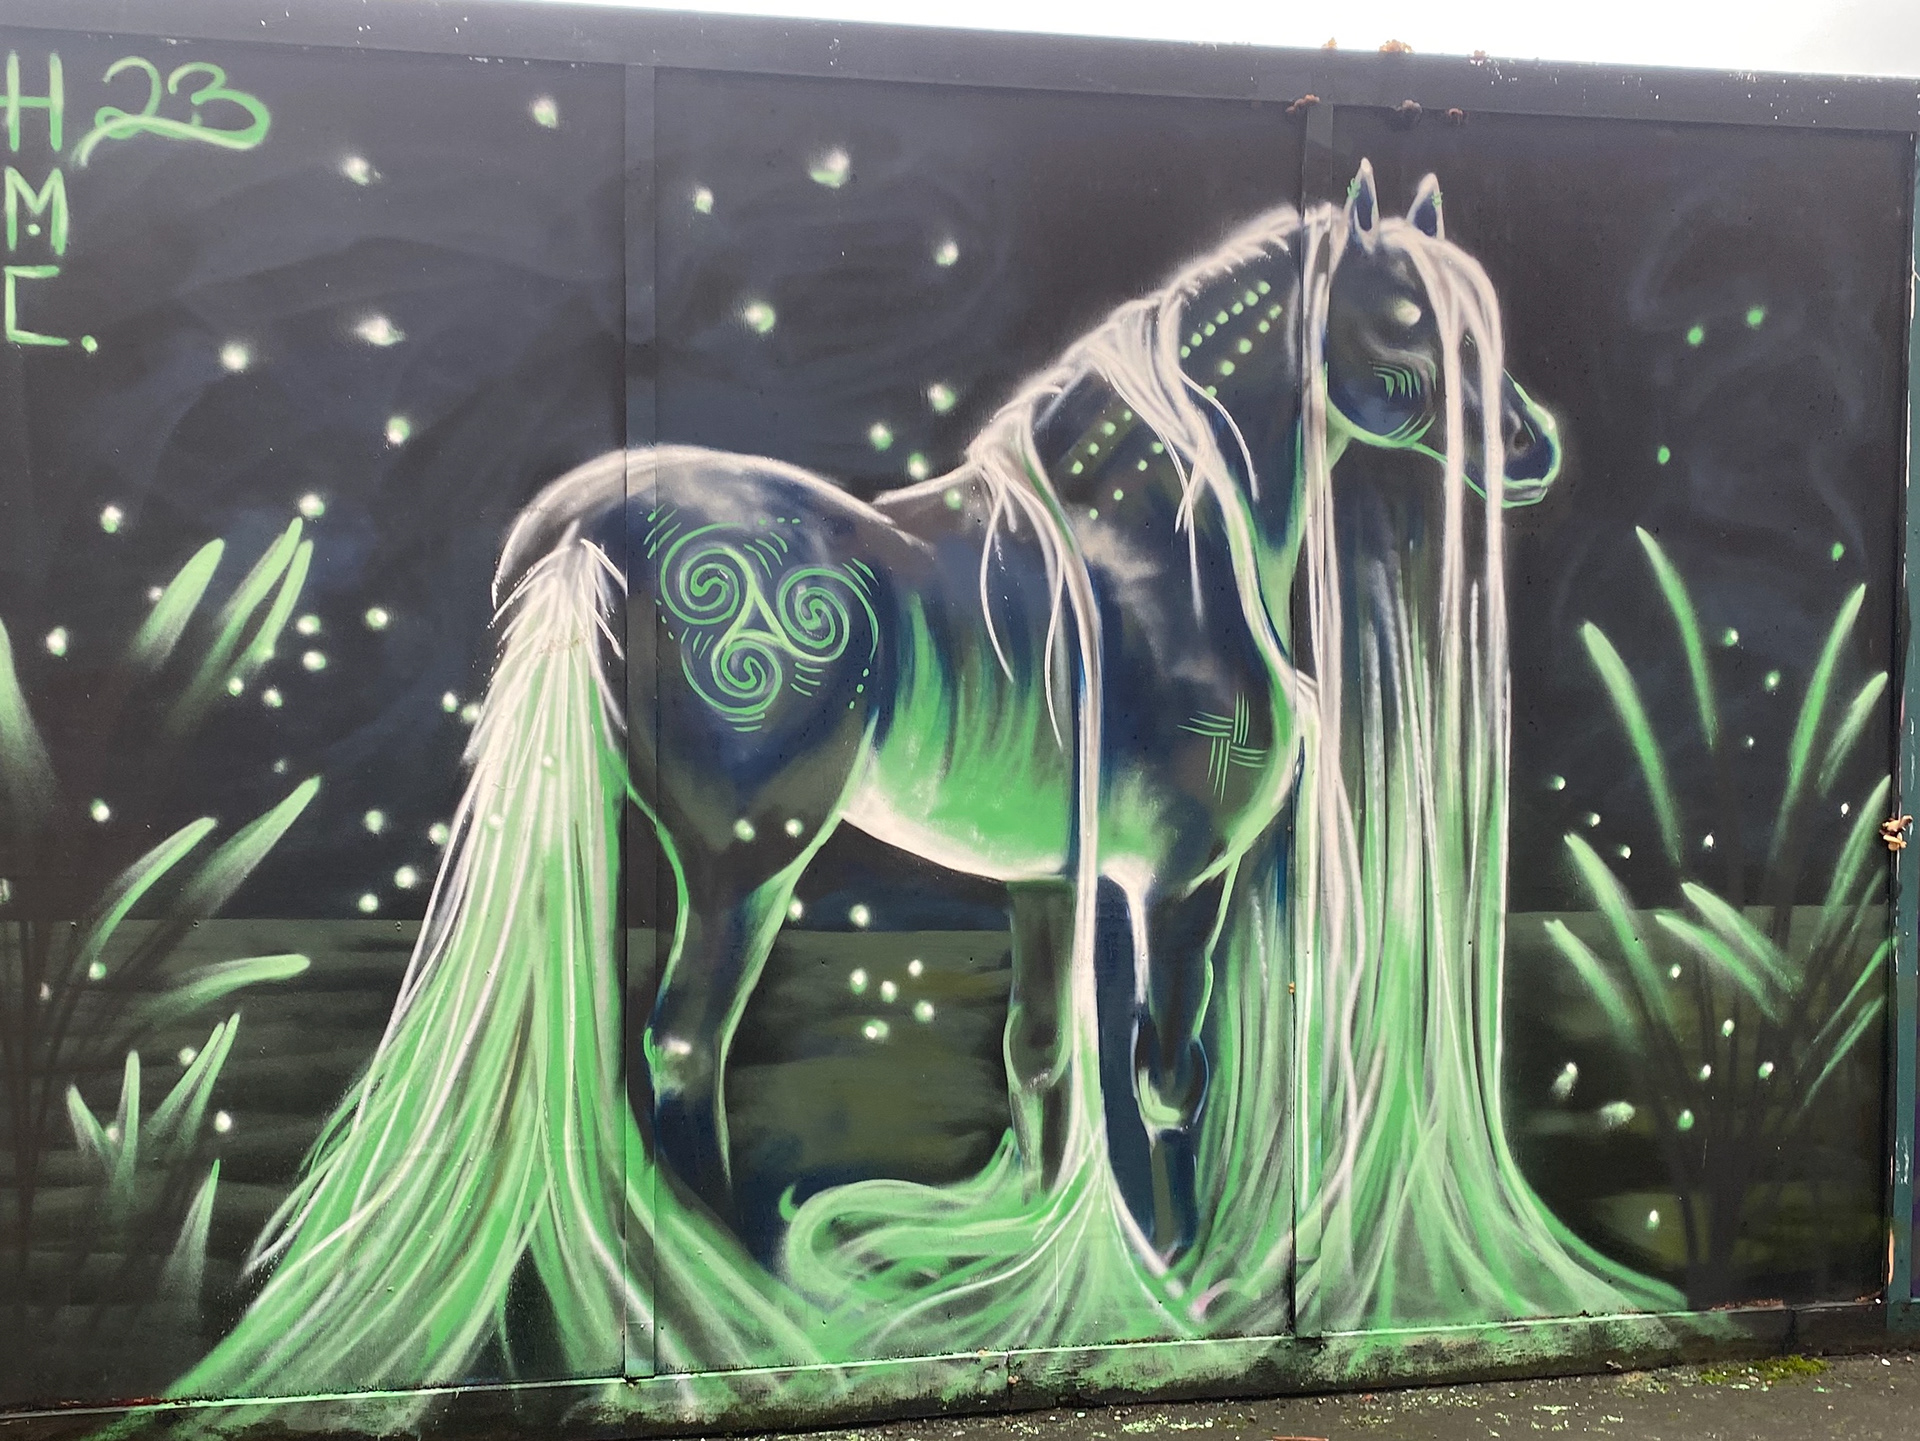
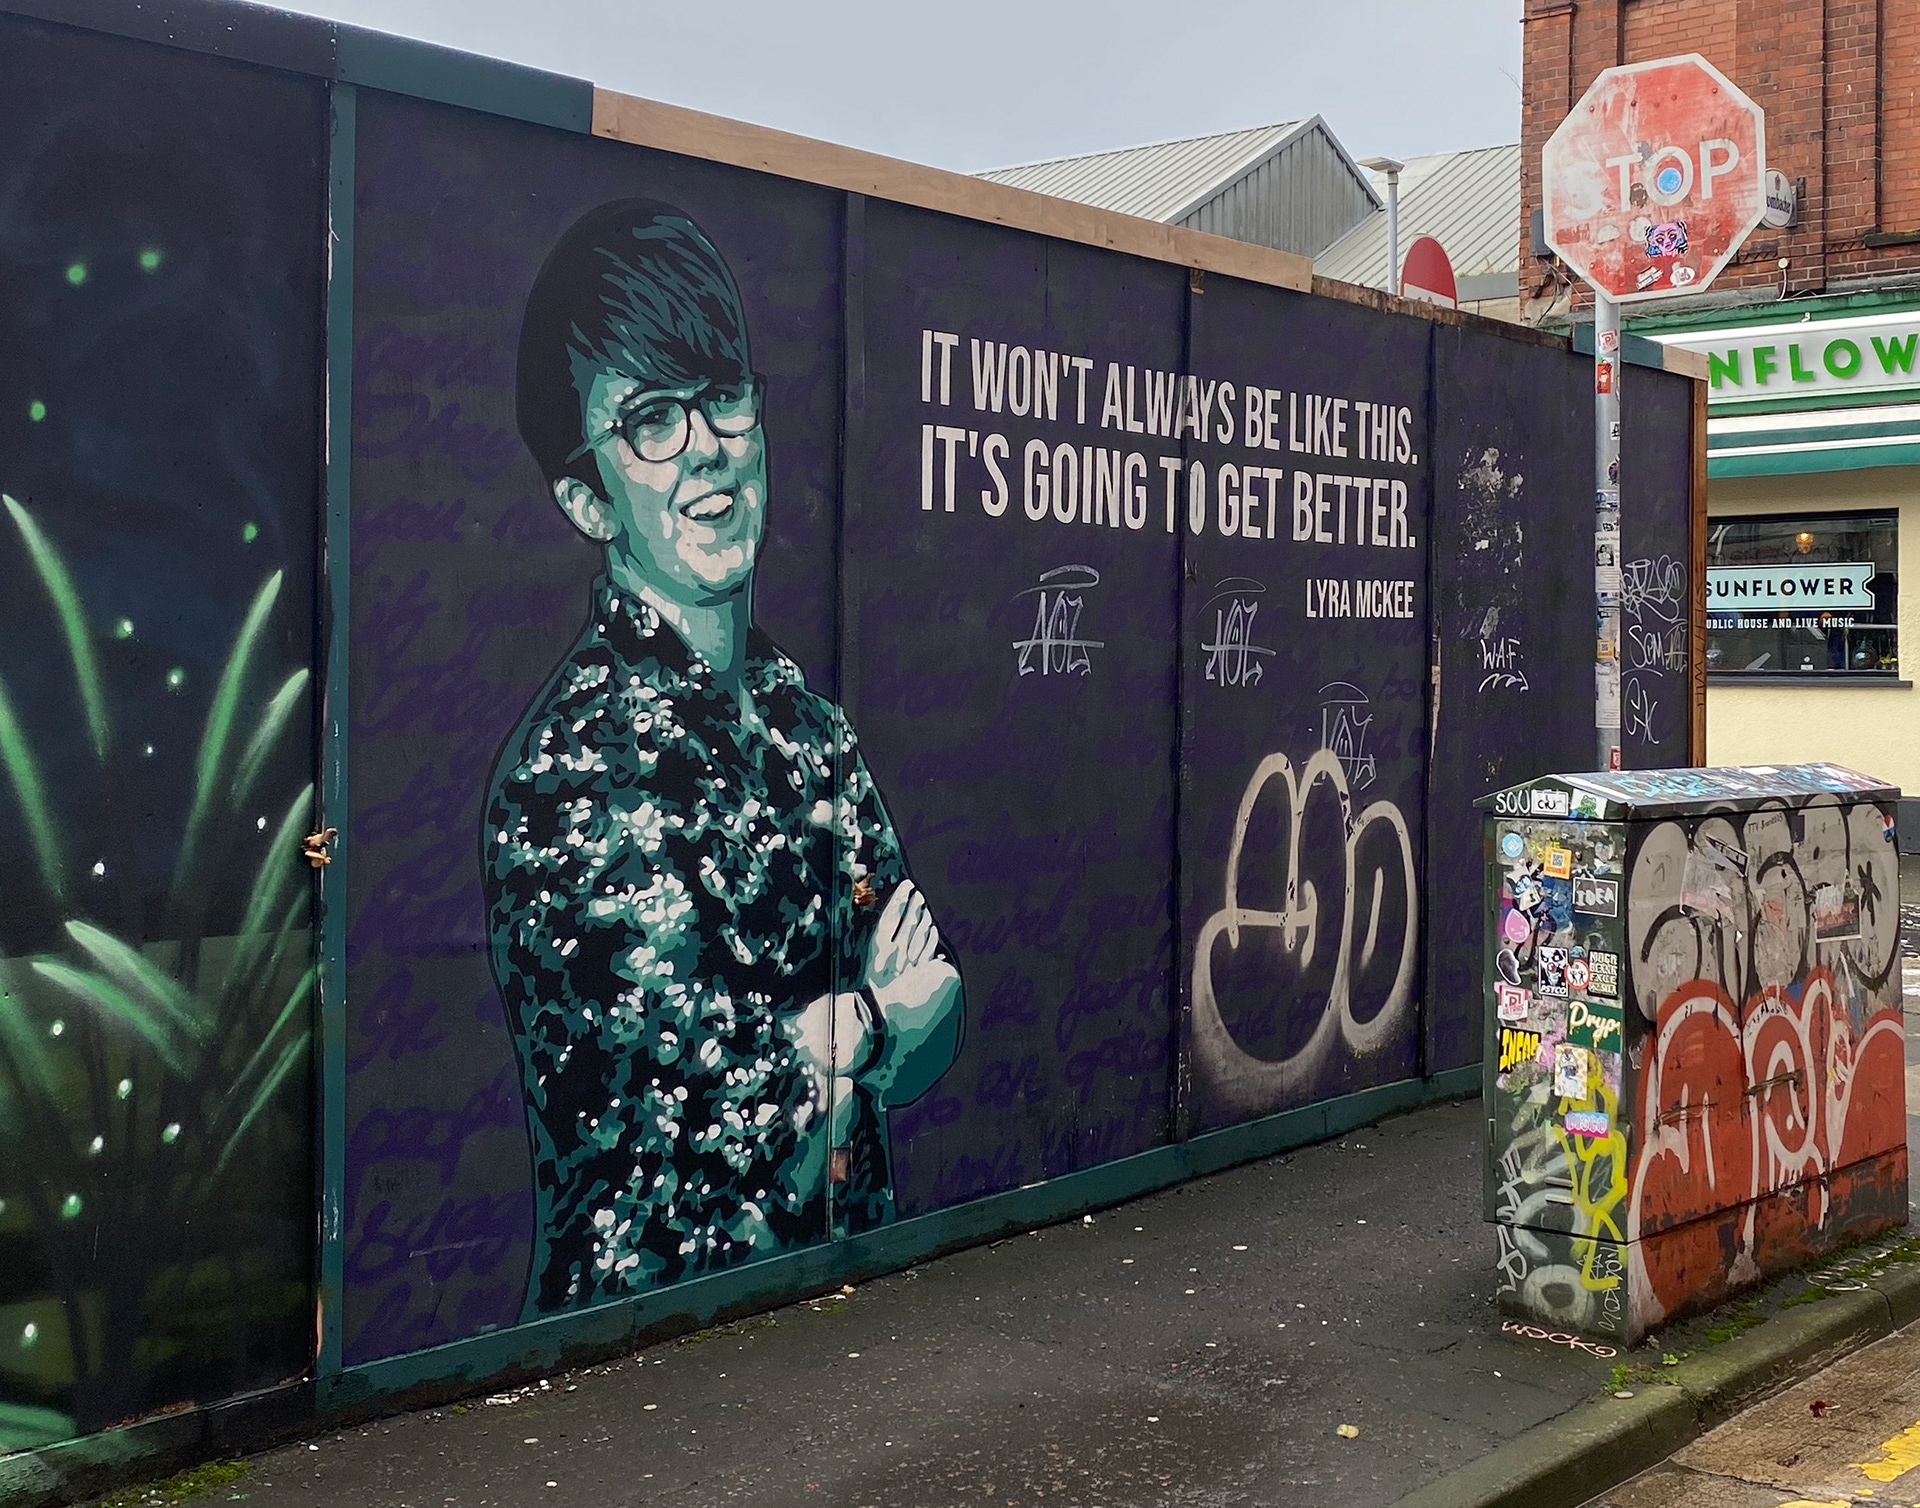
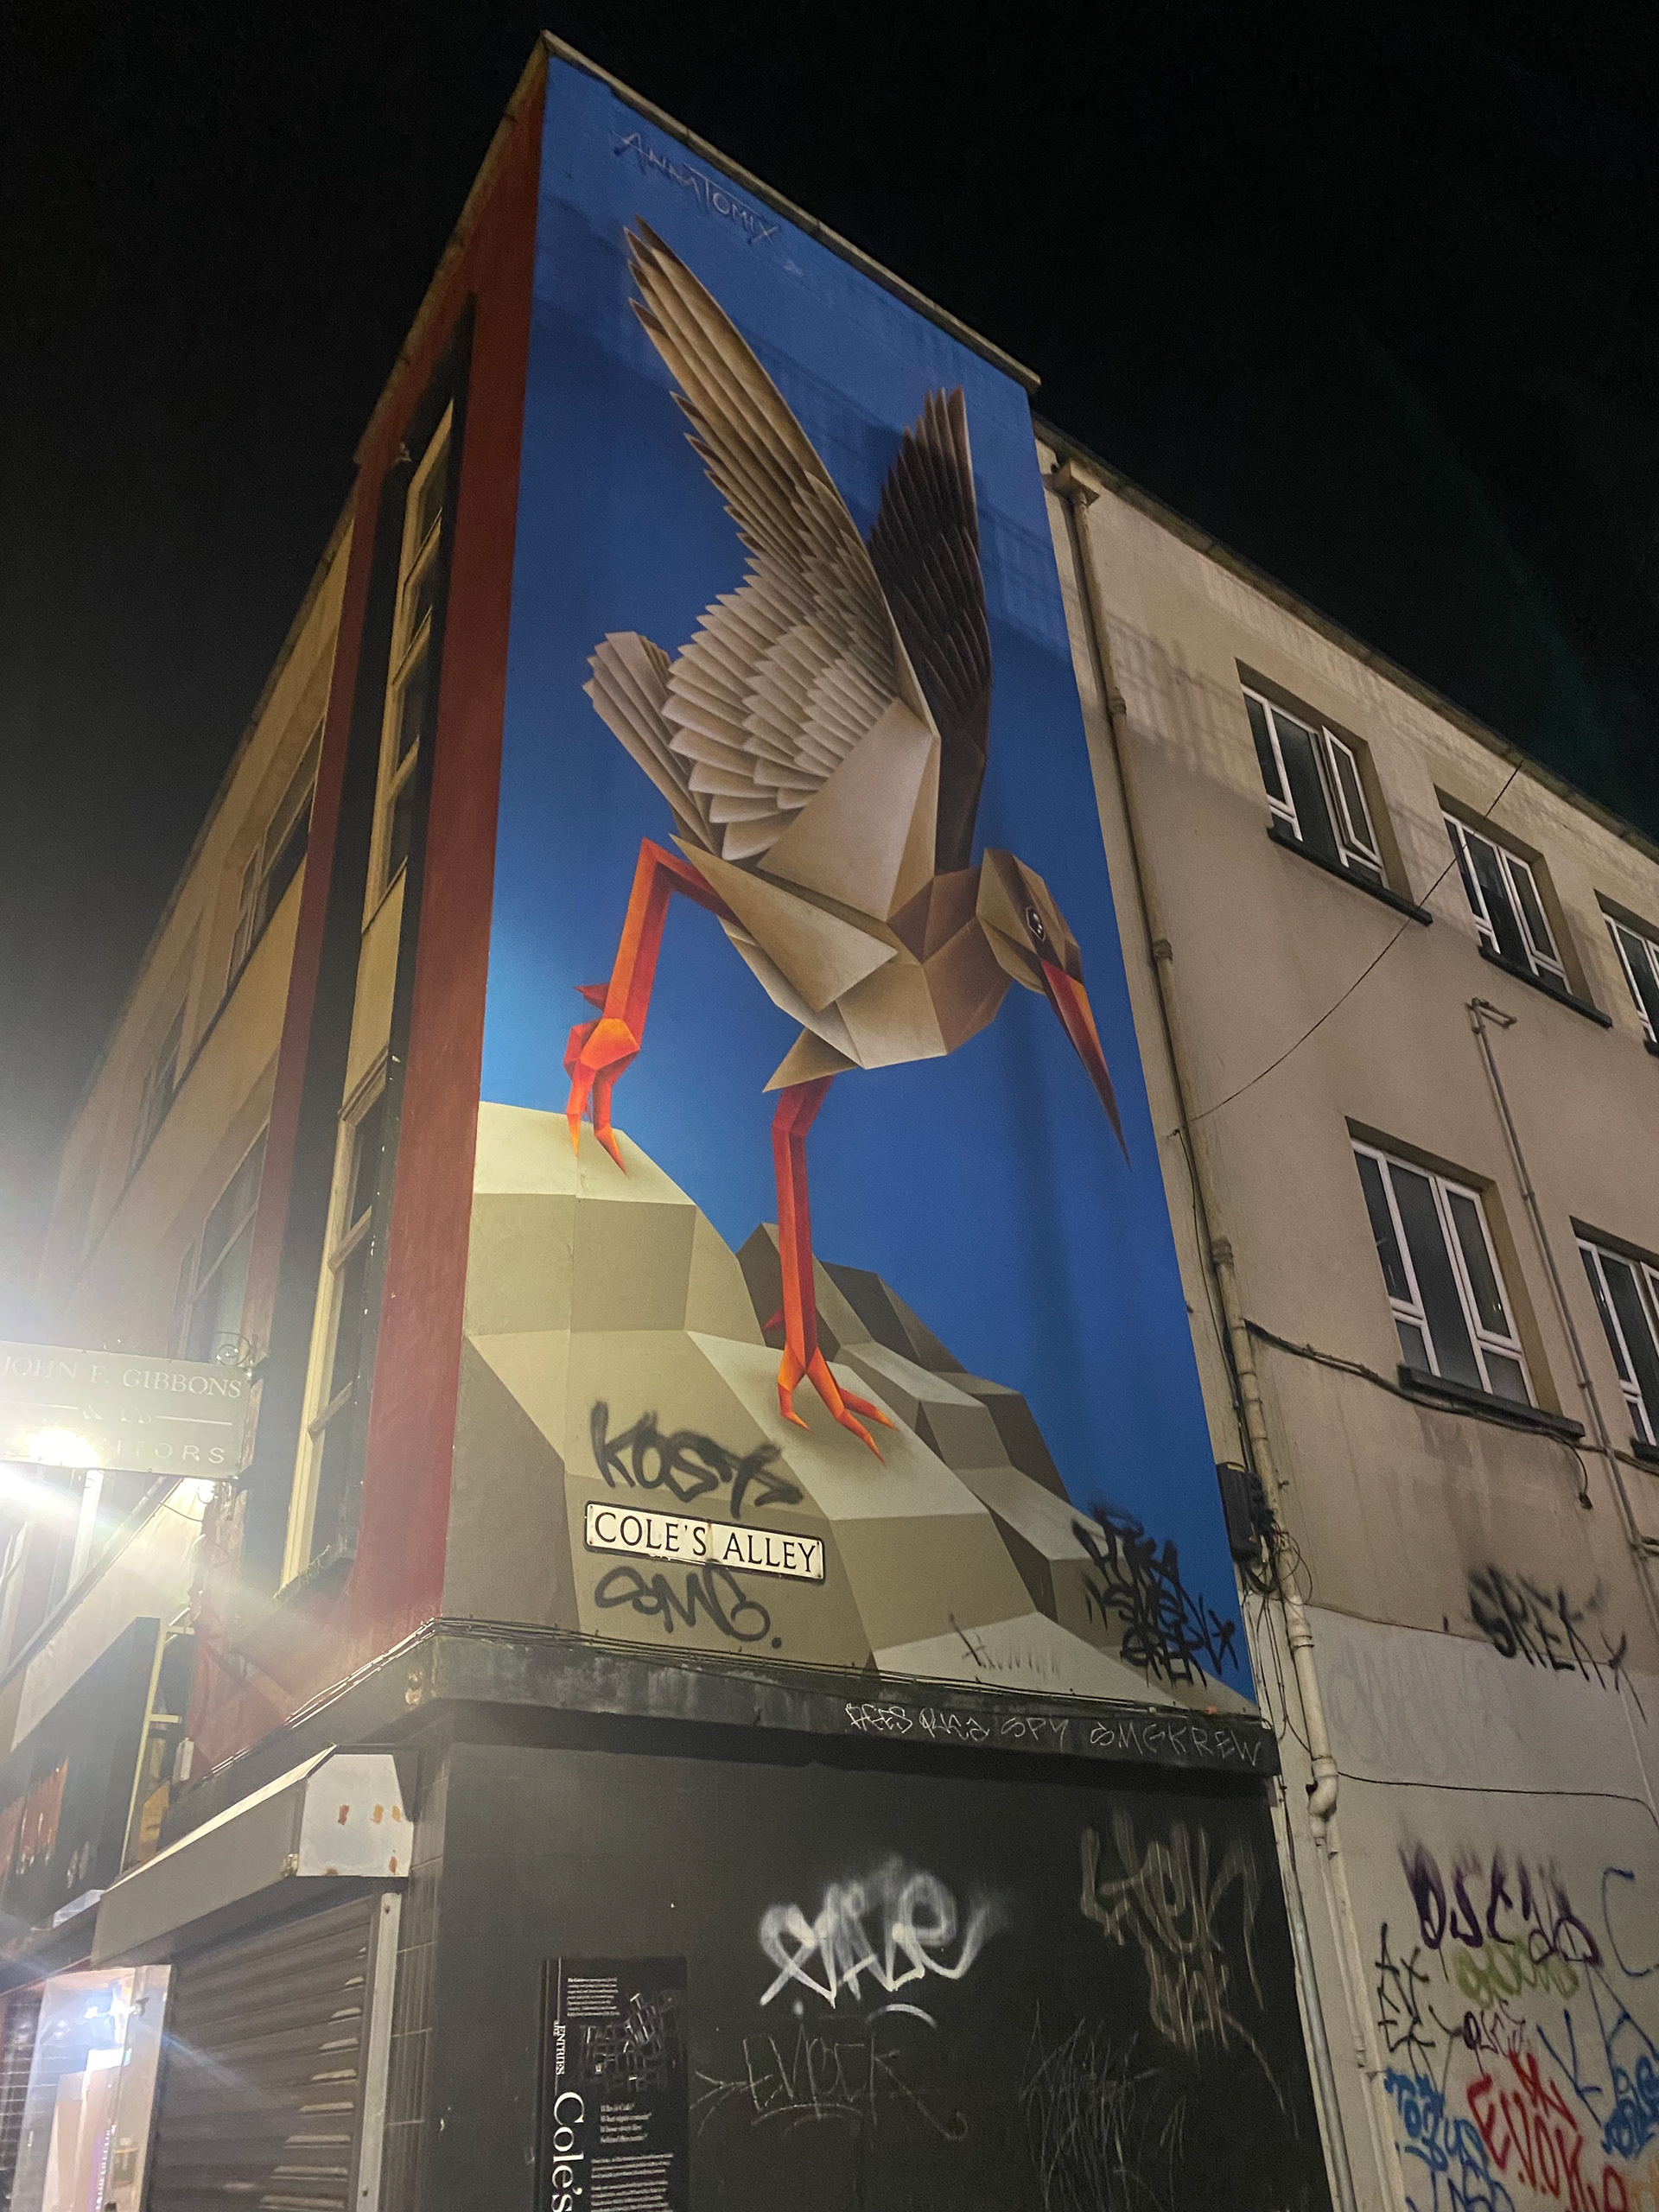
I recently went on a one night trip to Belfast. I have never been to this city before but have heard good things. When I was there I was limited on time but I managed to visit a couple relevant places and have a look at the graffiti and murals around the city. Whilst visiting the galleries I managed to take inspiration from artists work that I had not heard of before. I would like to go back to Belfast and explore more of the artist side to the city.
craft NI Gallery


steensons
Street art


Moving Forward

Feedback notes from group tutorial
At this stage of the unit I felt a bit stuck as to where to go from the sample pieces. I knew what techniques i wanted to use. Such as etching, enamelling and maybe engraving, however I wasn't sure what steps I should take next. I was stuck for ideas for a final piece and or where to even start.
After some feedback in a group tutorial, I took what was said on board and decided to move forward and make a plan from this. I knew at this stage already that I wanted to draw my own geometric pattern, but this seemed to be a common piece of feedback. Doing this was my next step in the process, starting by researching and then attempting to draw my own pattern.
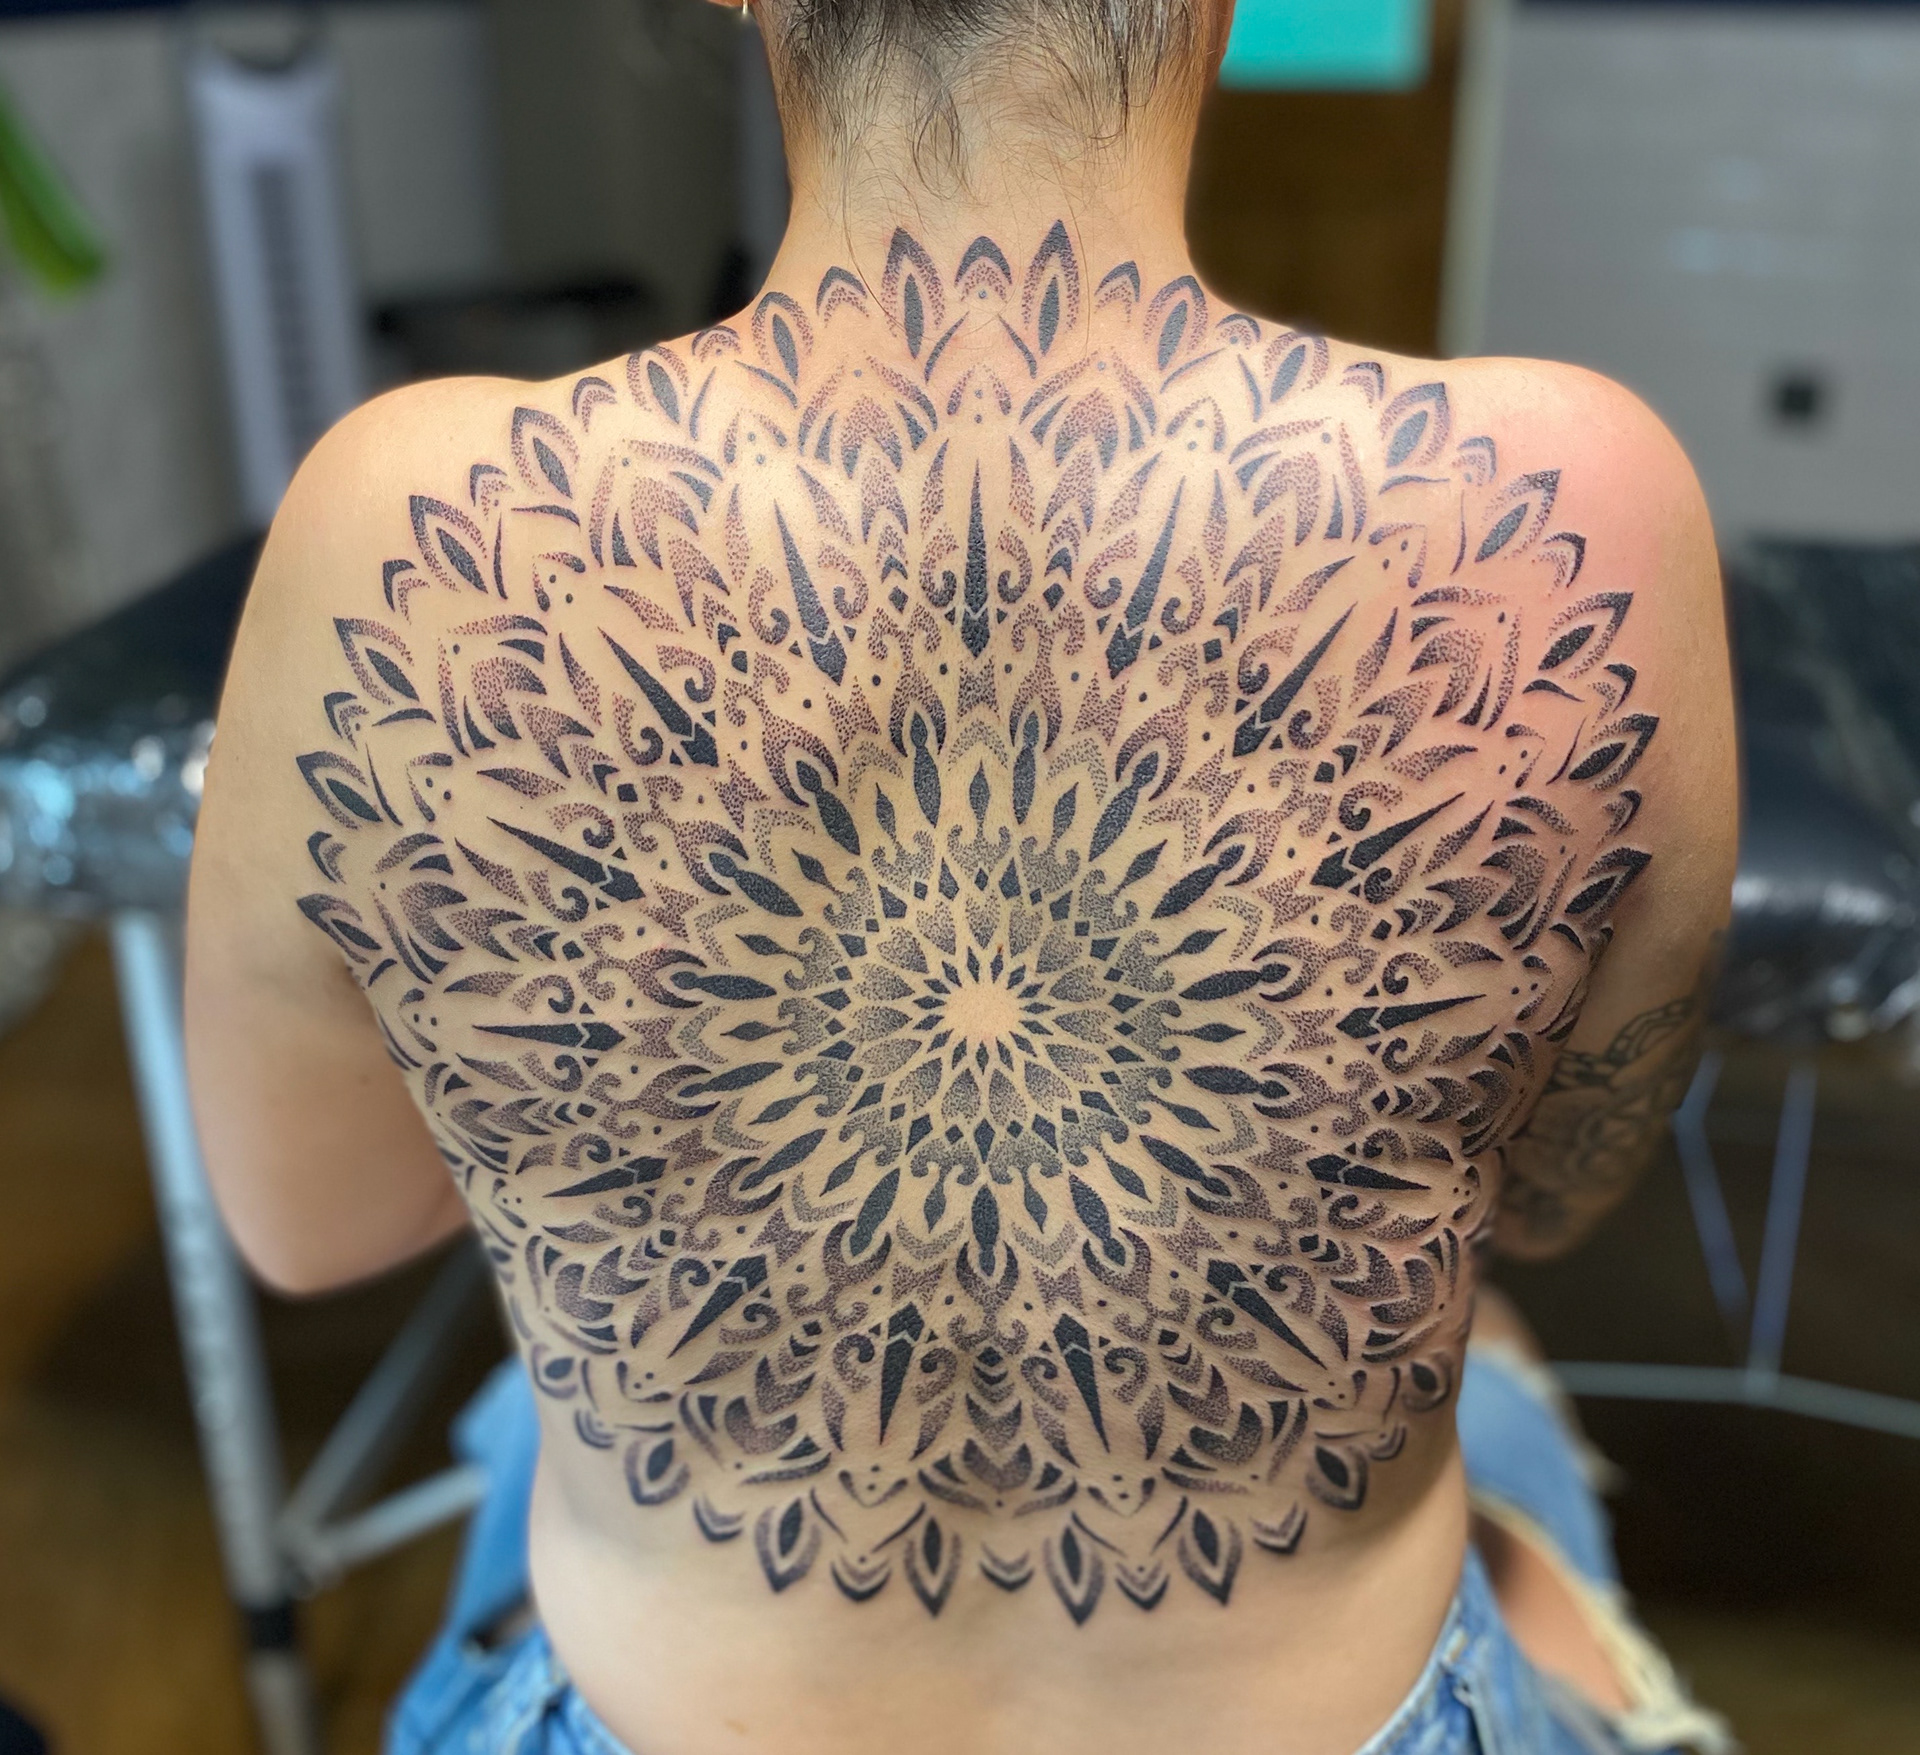
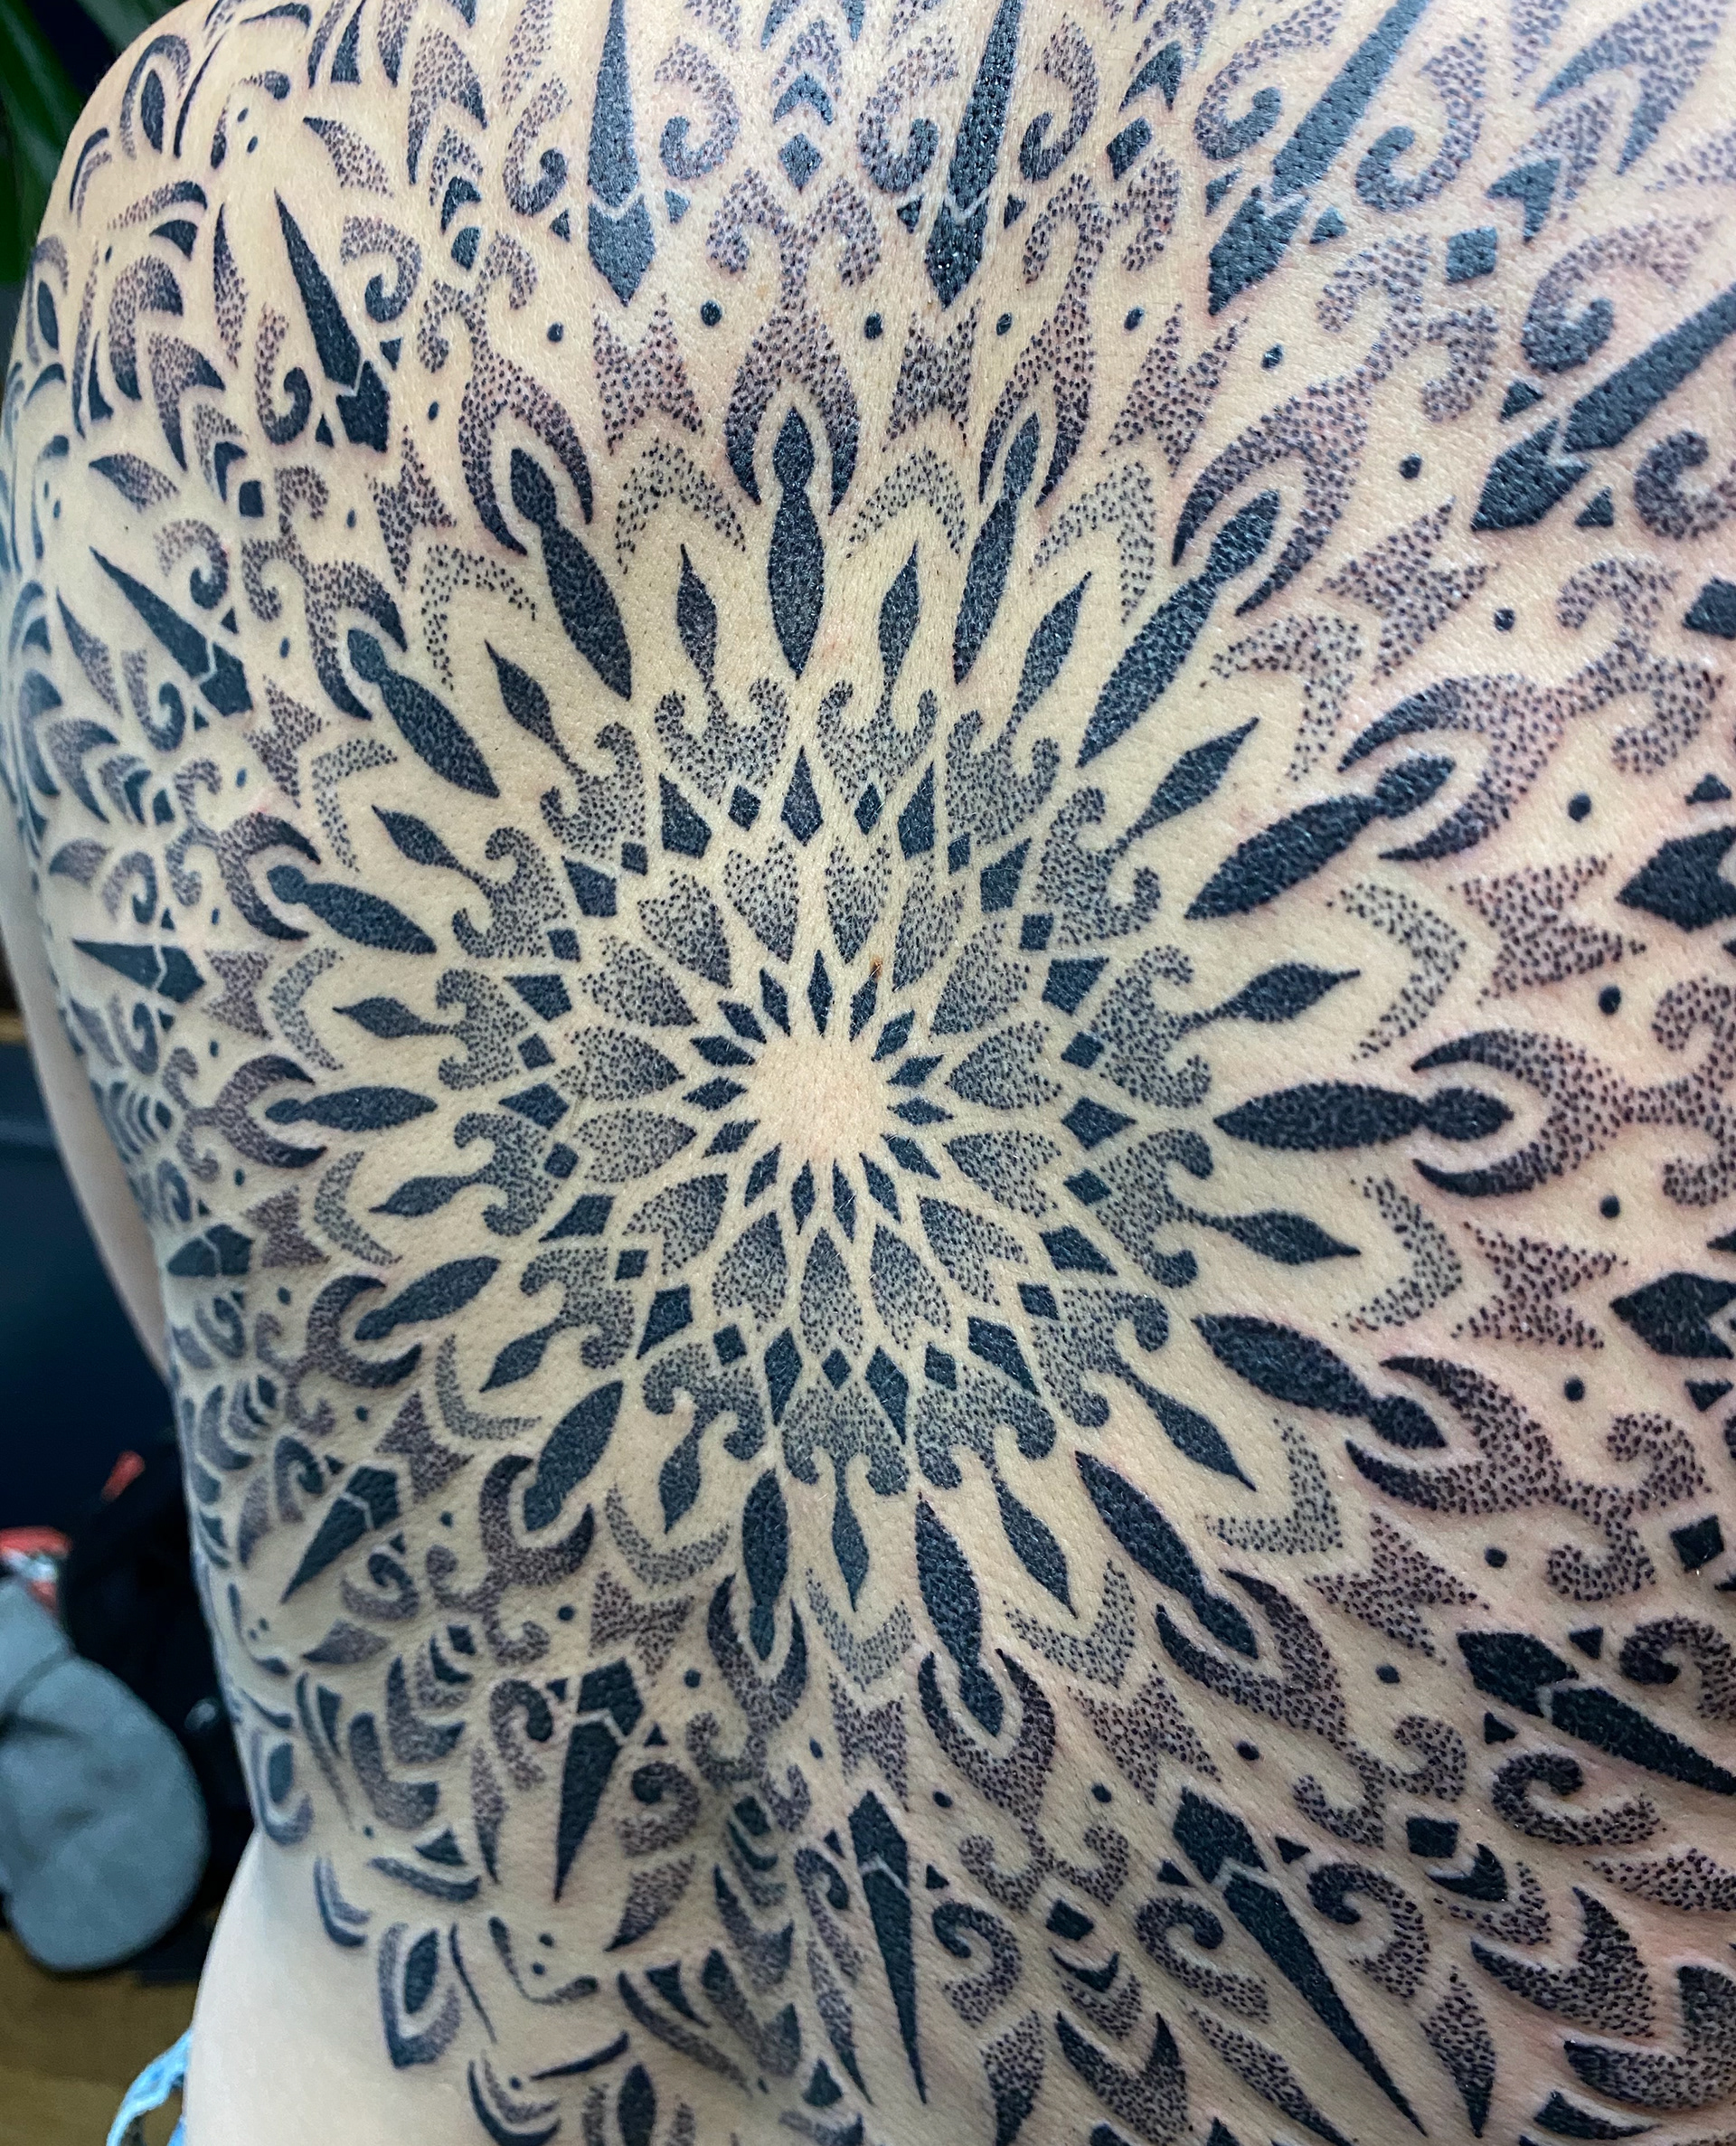
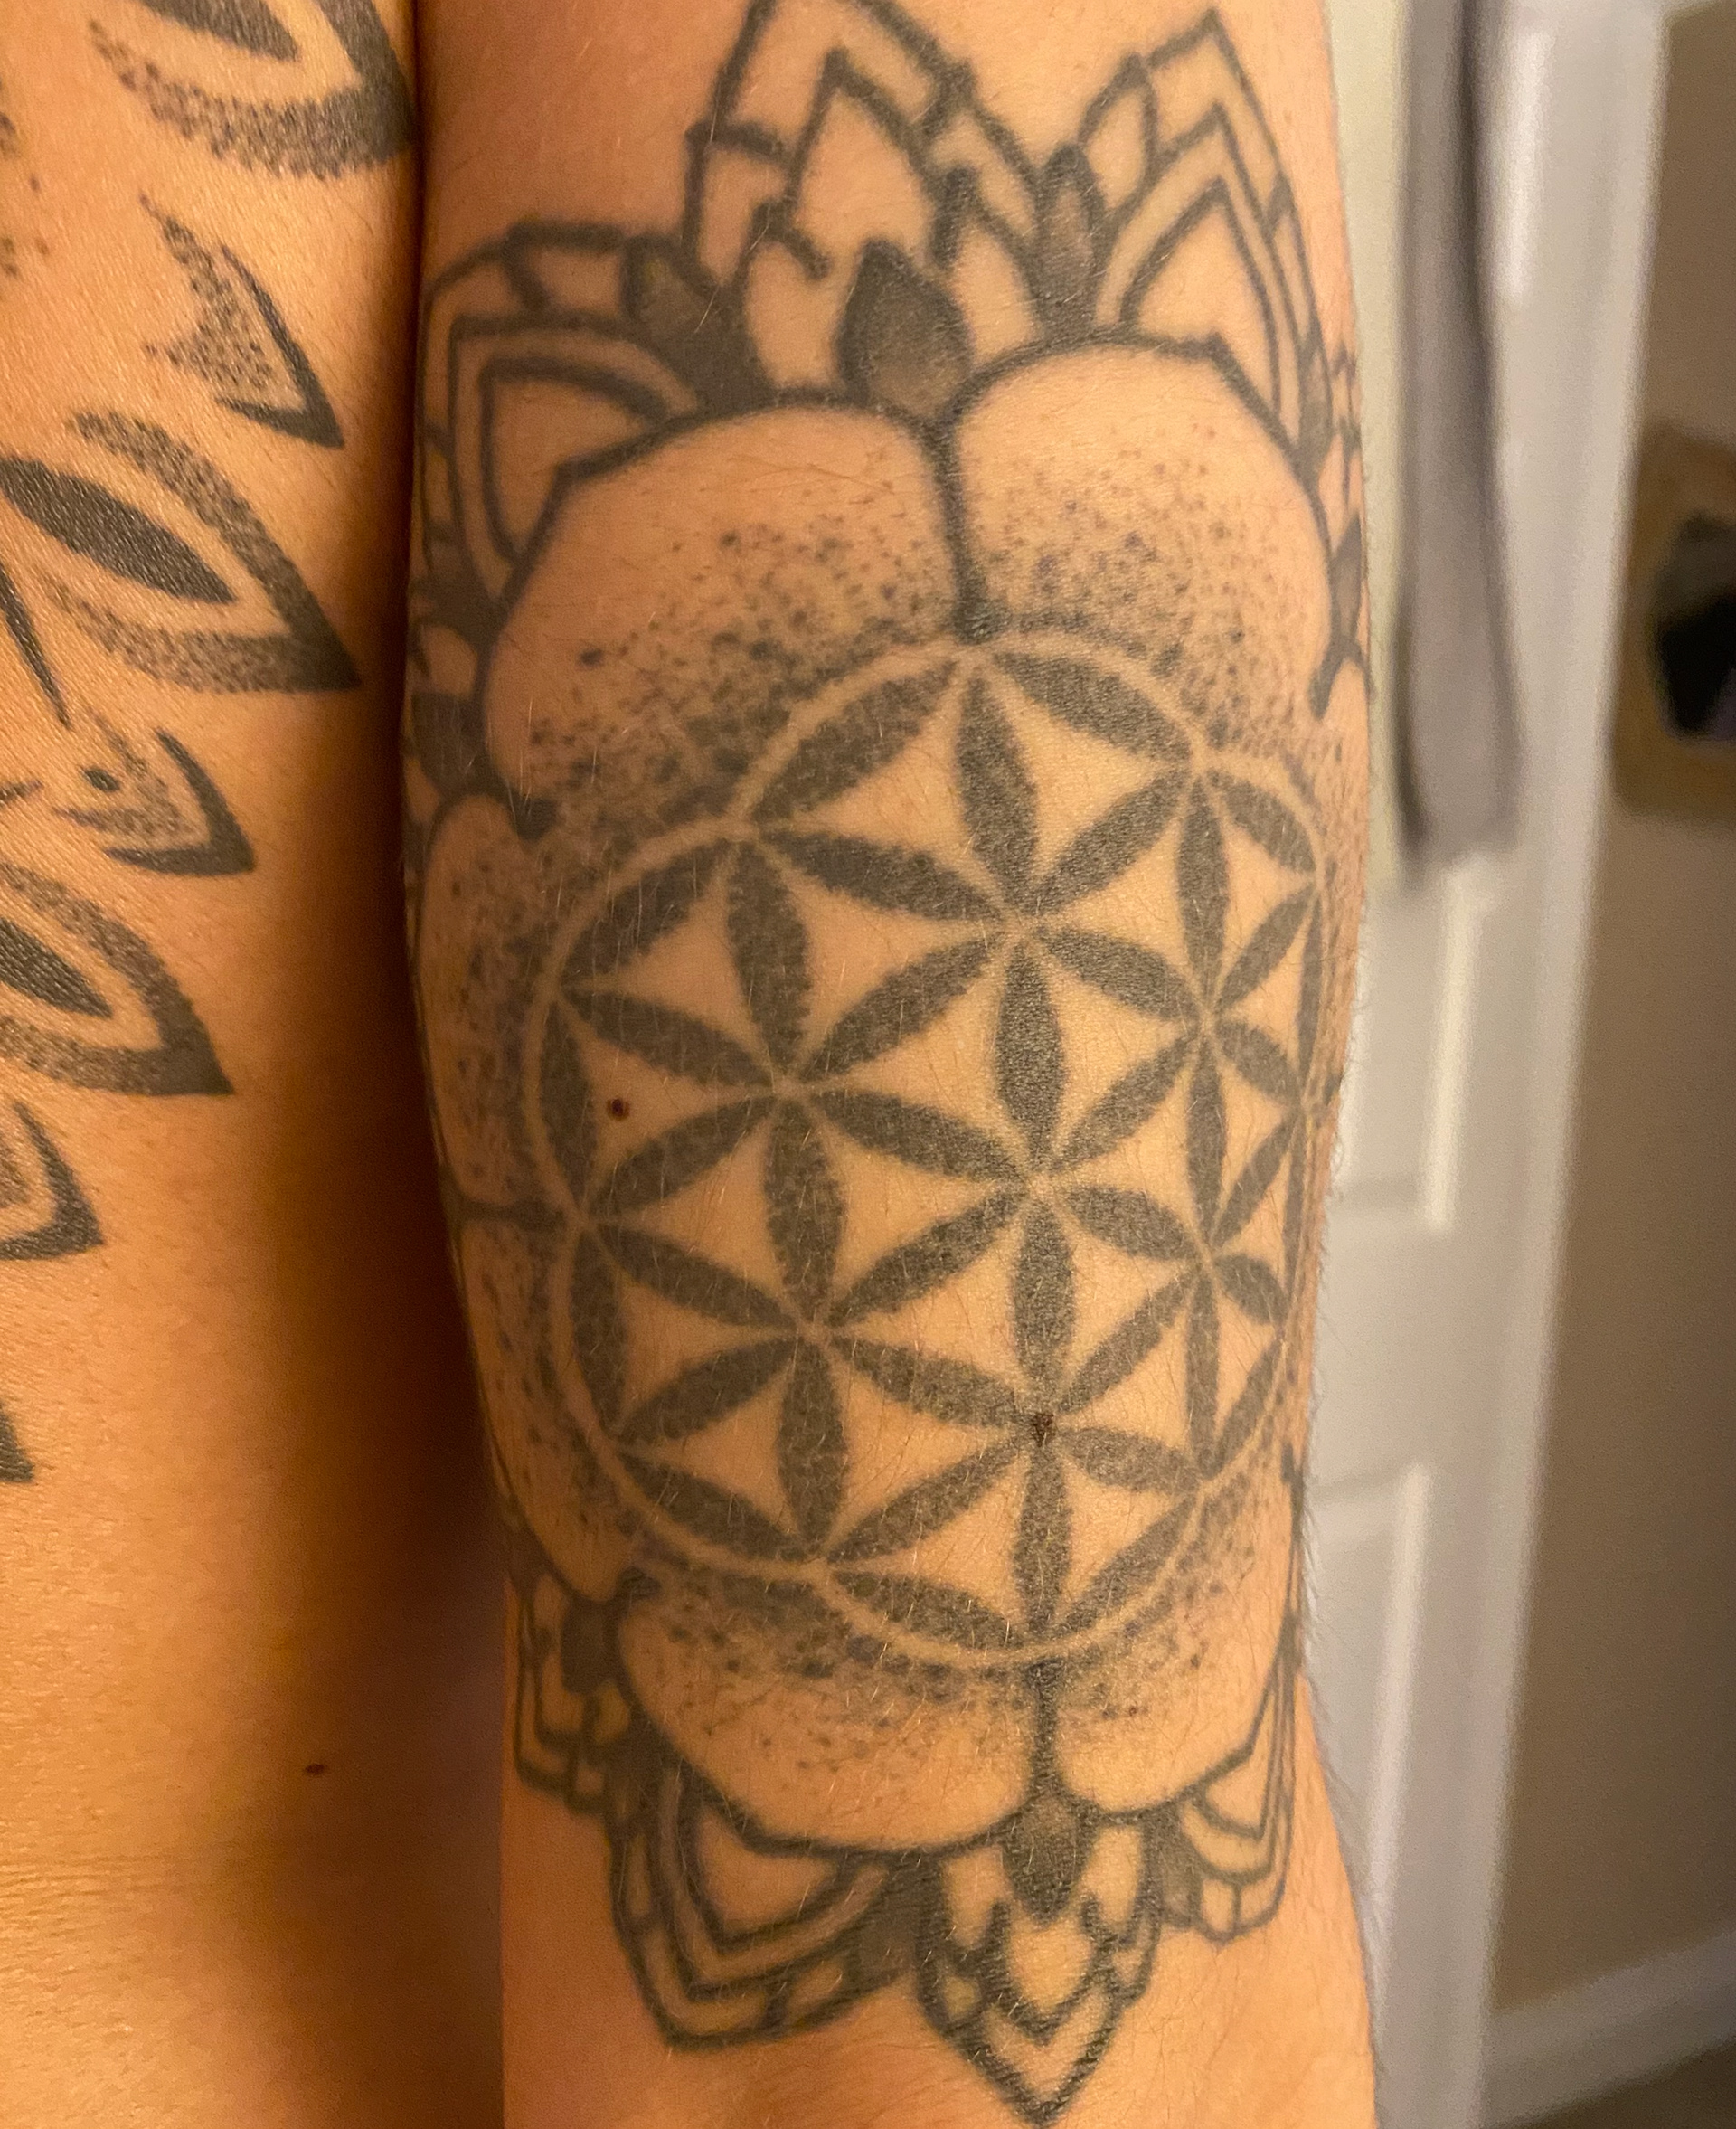
Art on my body
I have always loved tattoos and geometric patterns, because of this I have got a few on my body. These are two of my main ones. Since finding out about my heritage and how much geometric patterns are a huge part in Iranian culture, I find it a good coincidence that I have these tattoos and have always been drawn to these type of patterns. I'm not sure if thats because Iranian culture is half of me or if its just a coincidence but I like it.
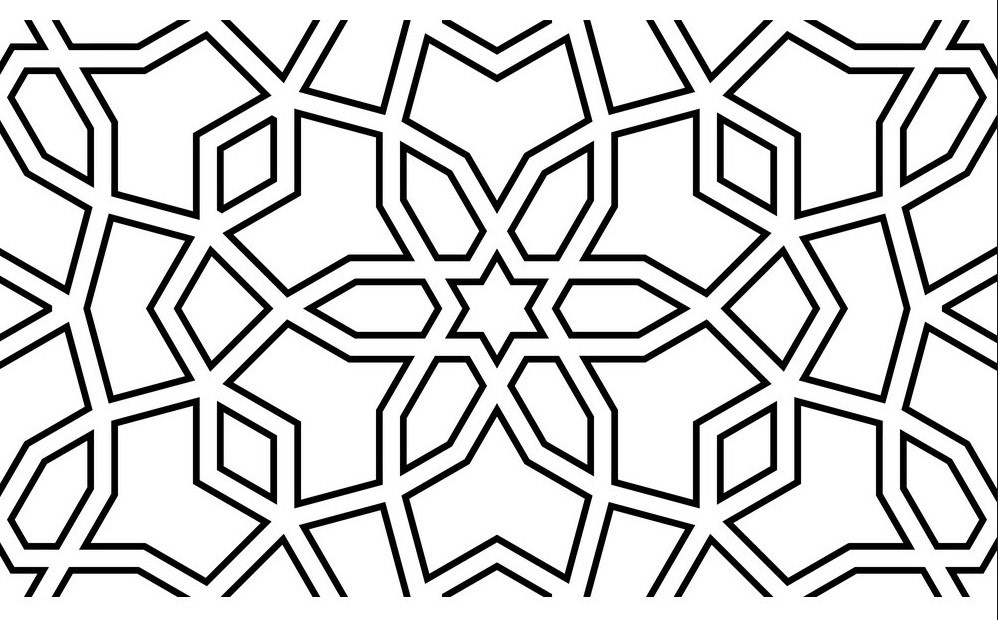
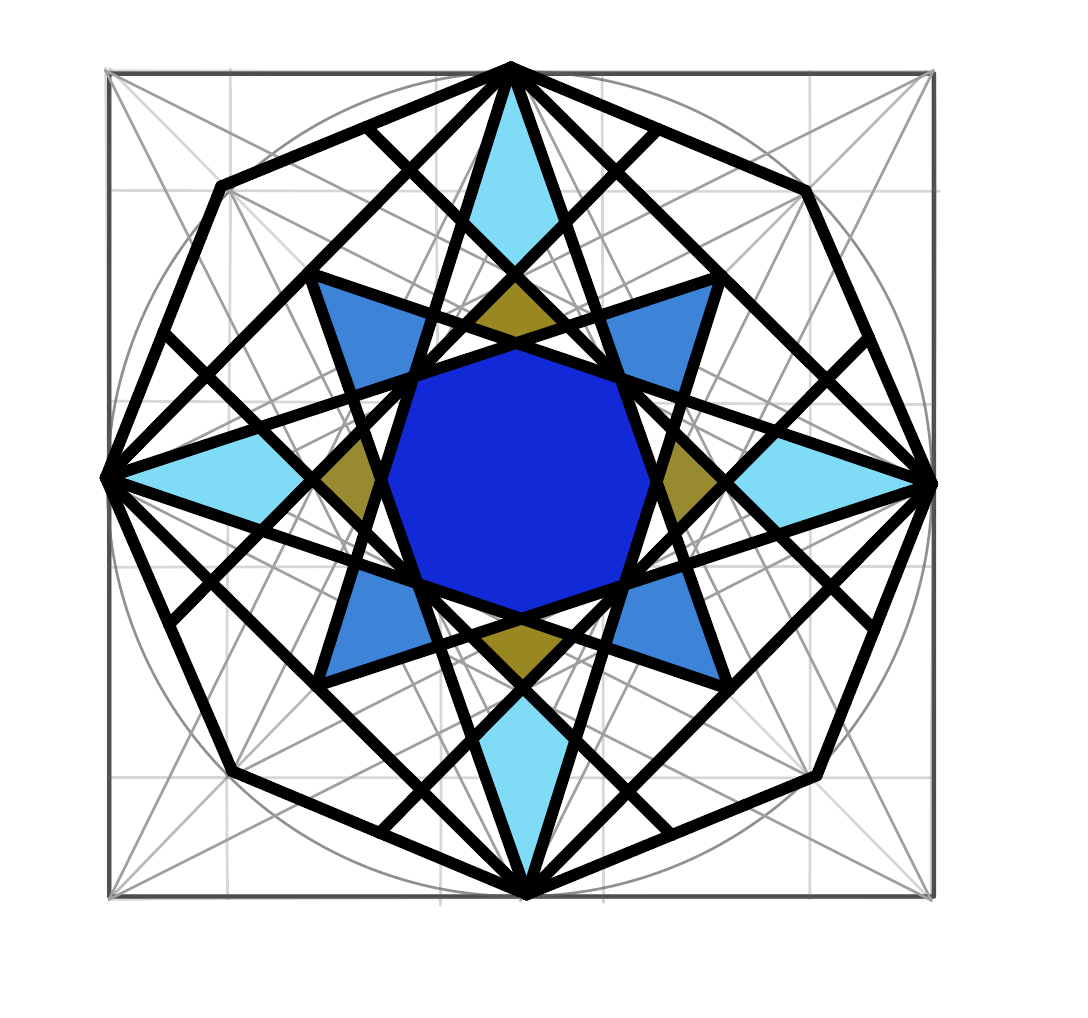
Research on Persian Geometry
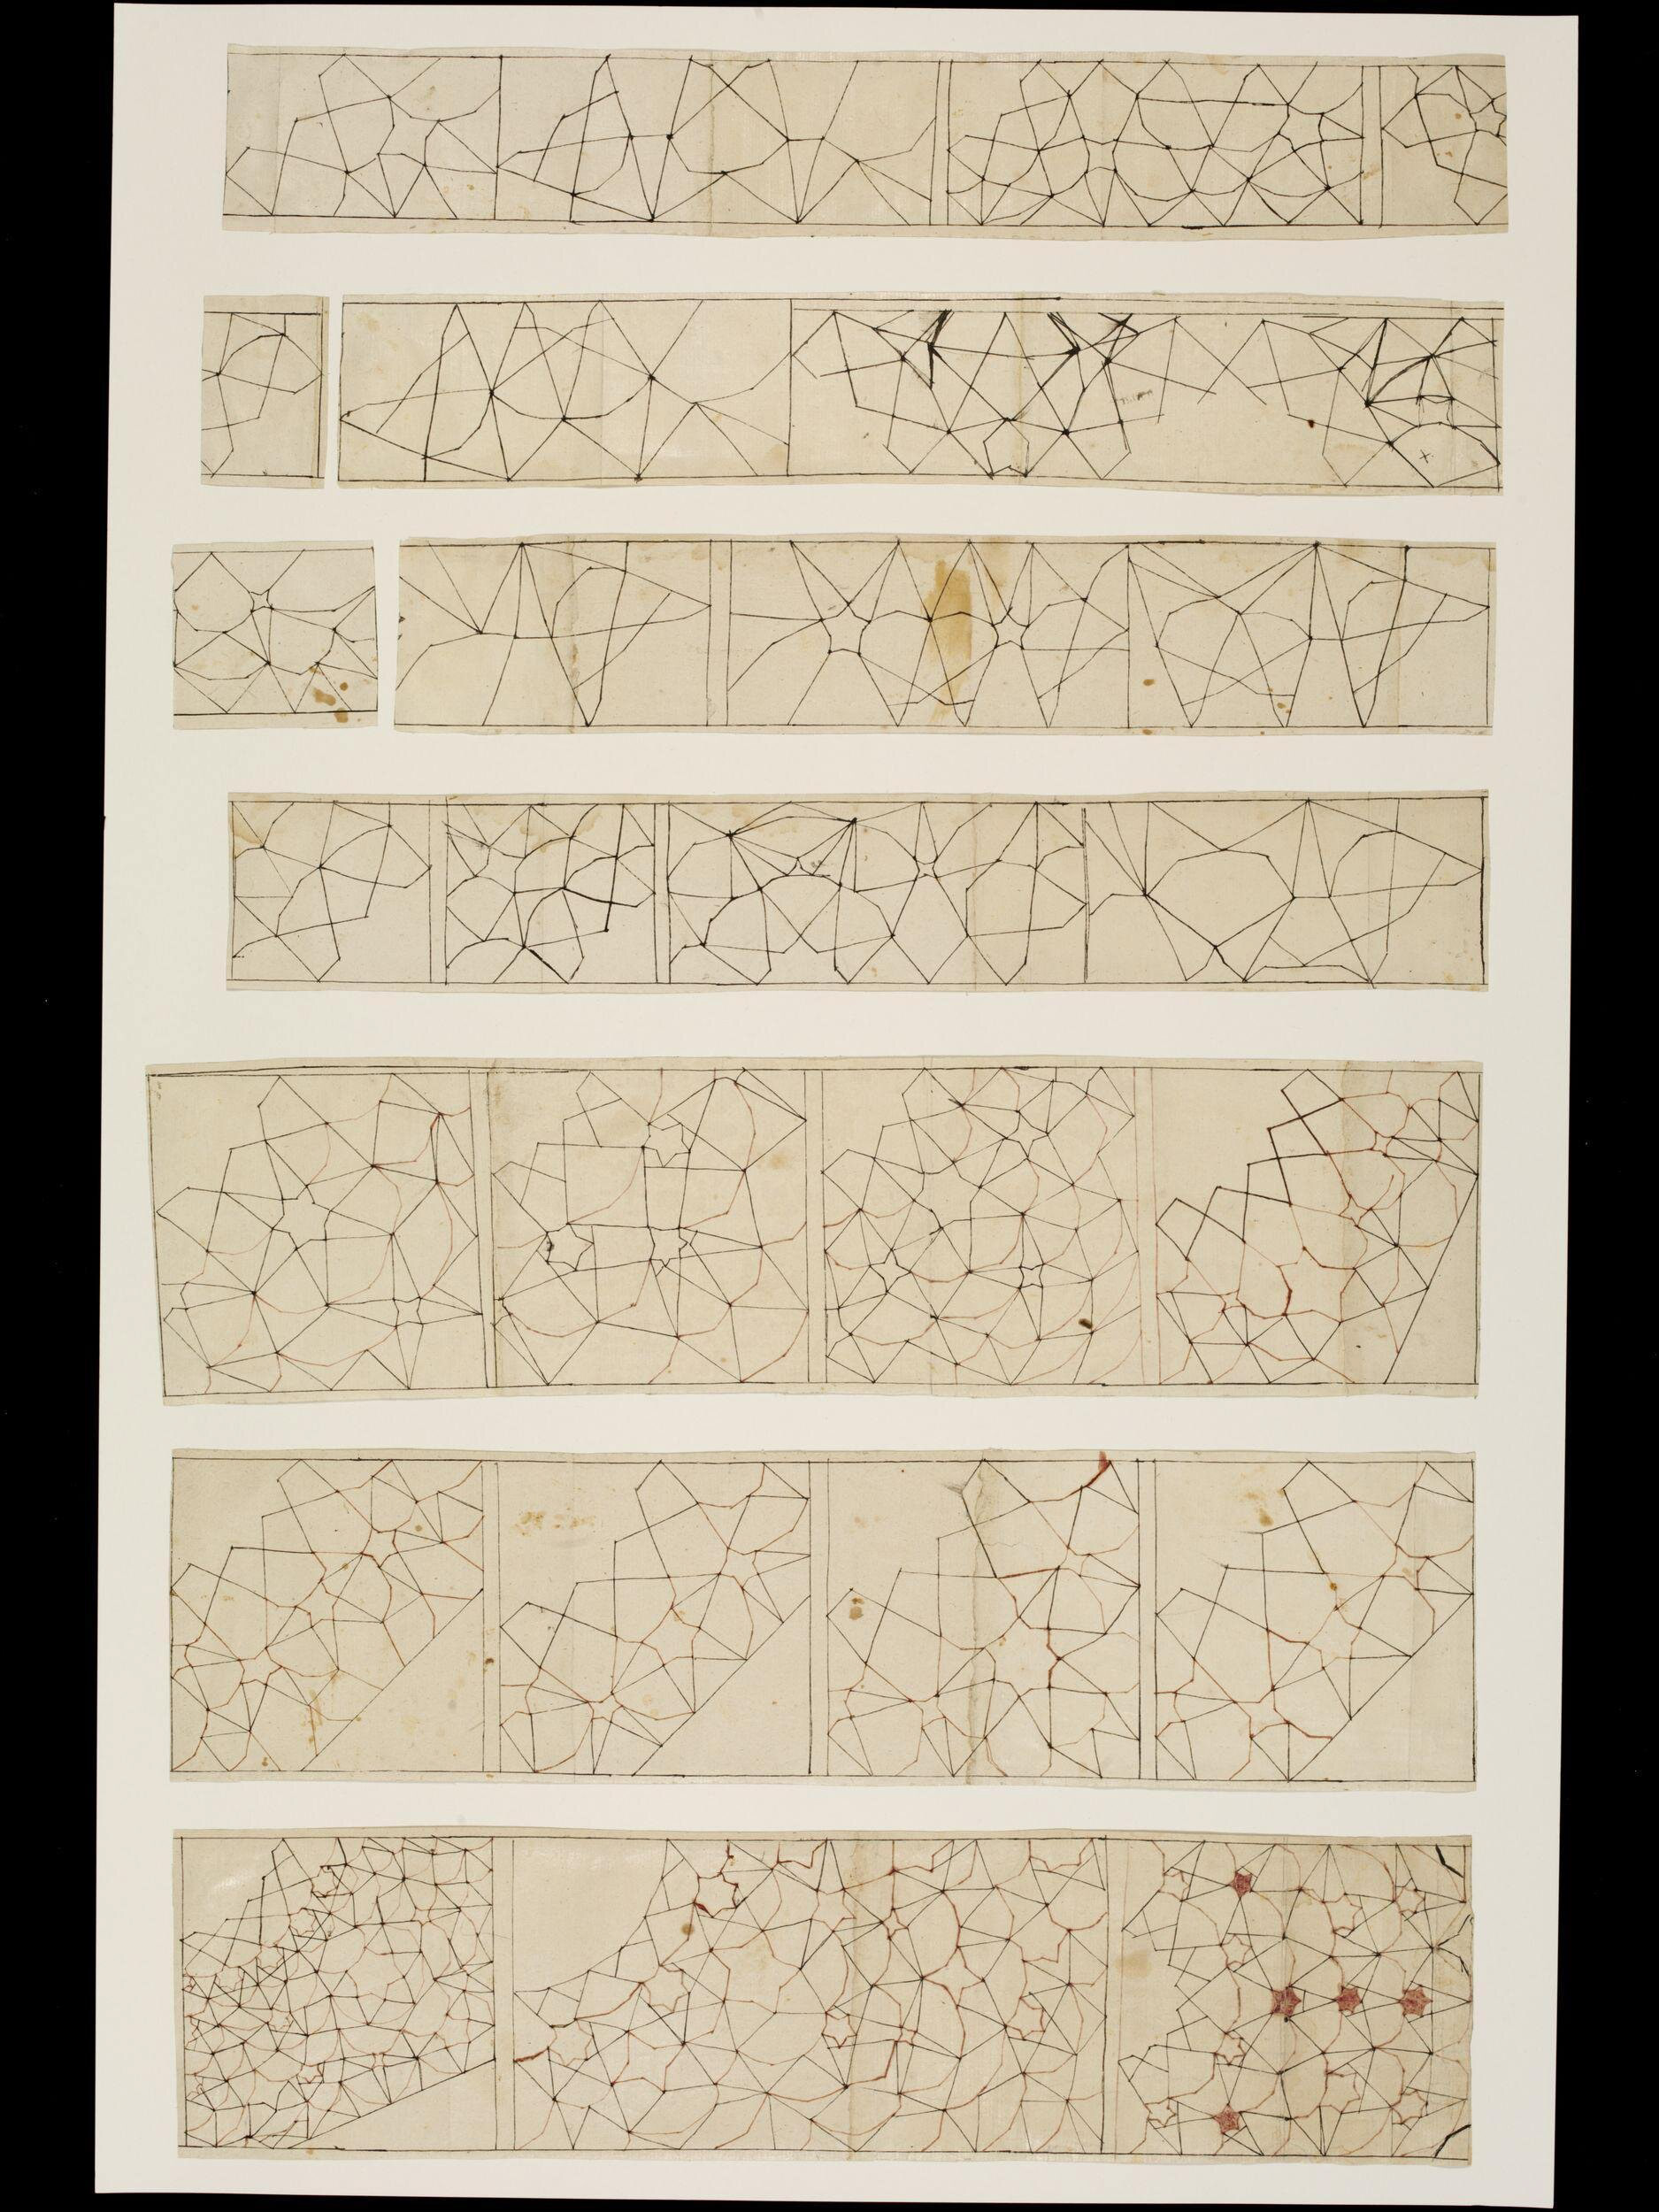
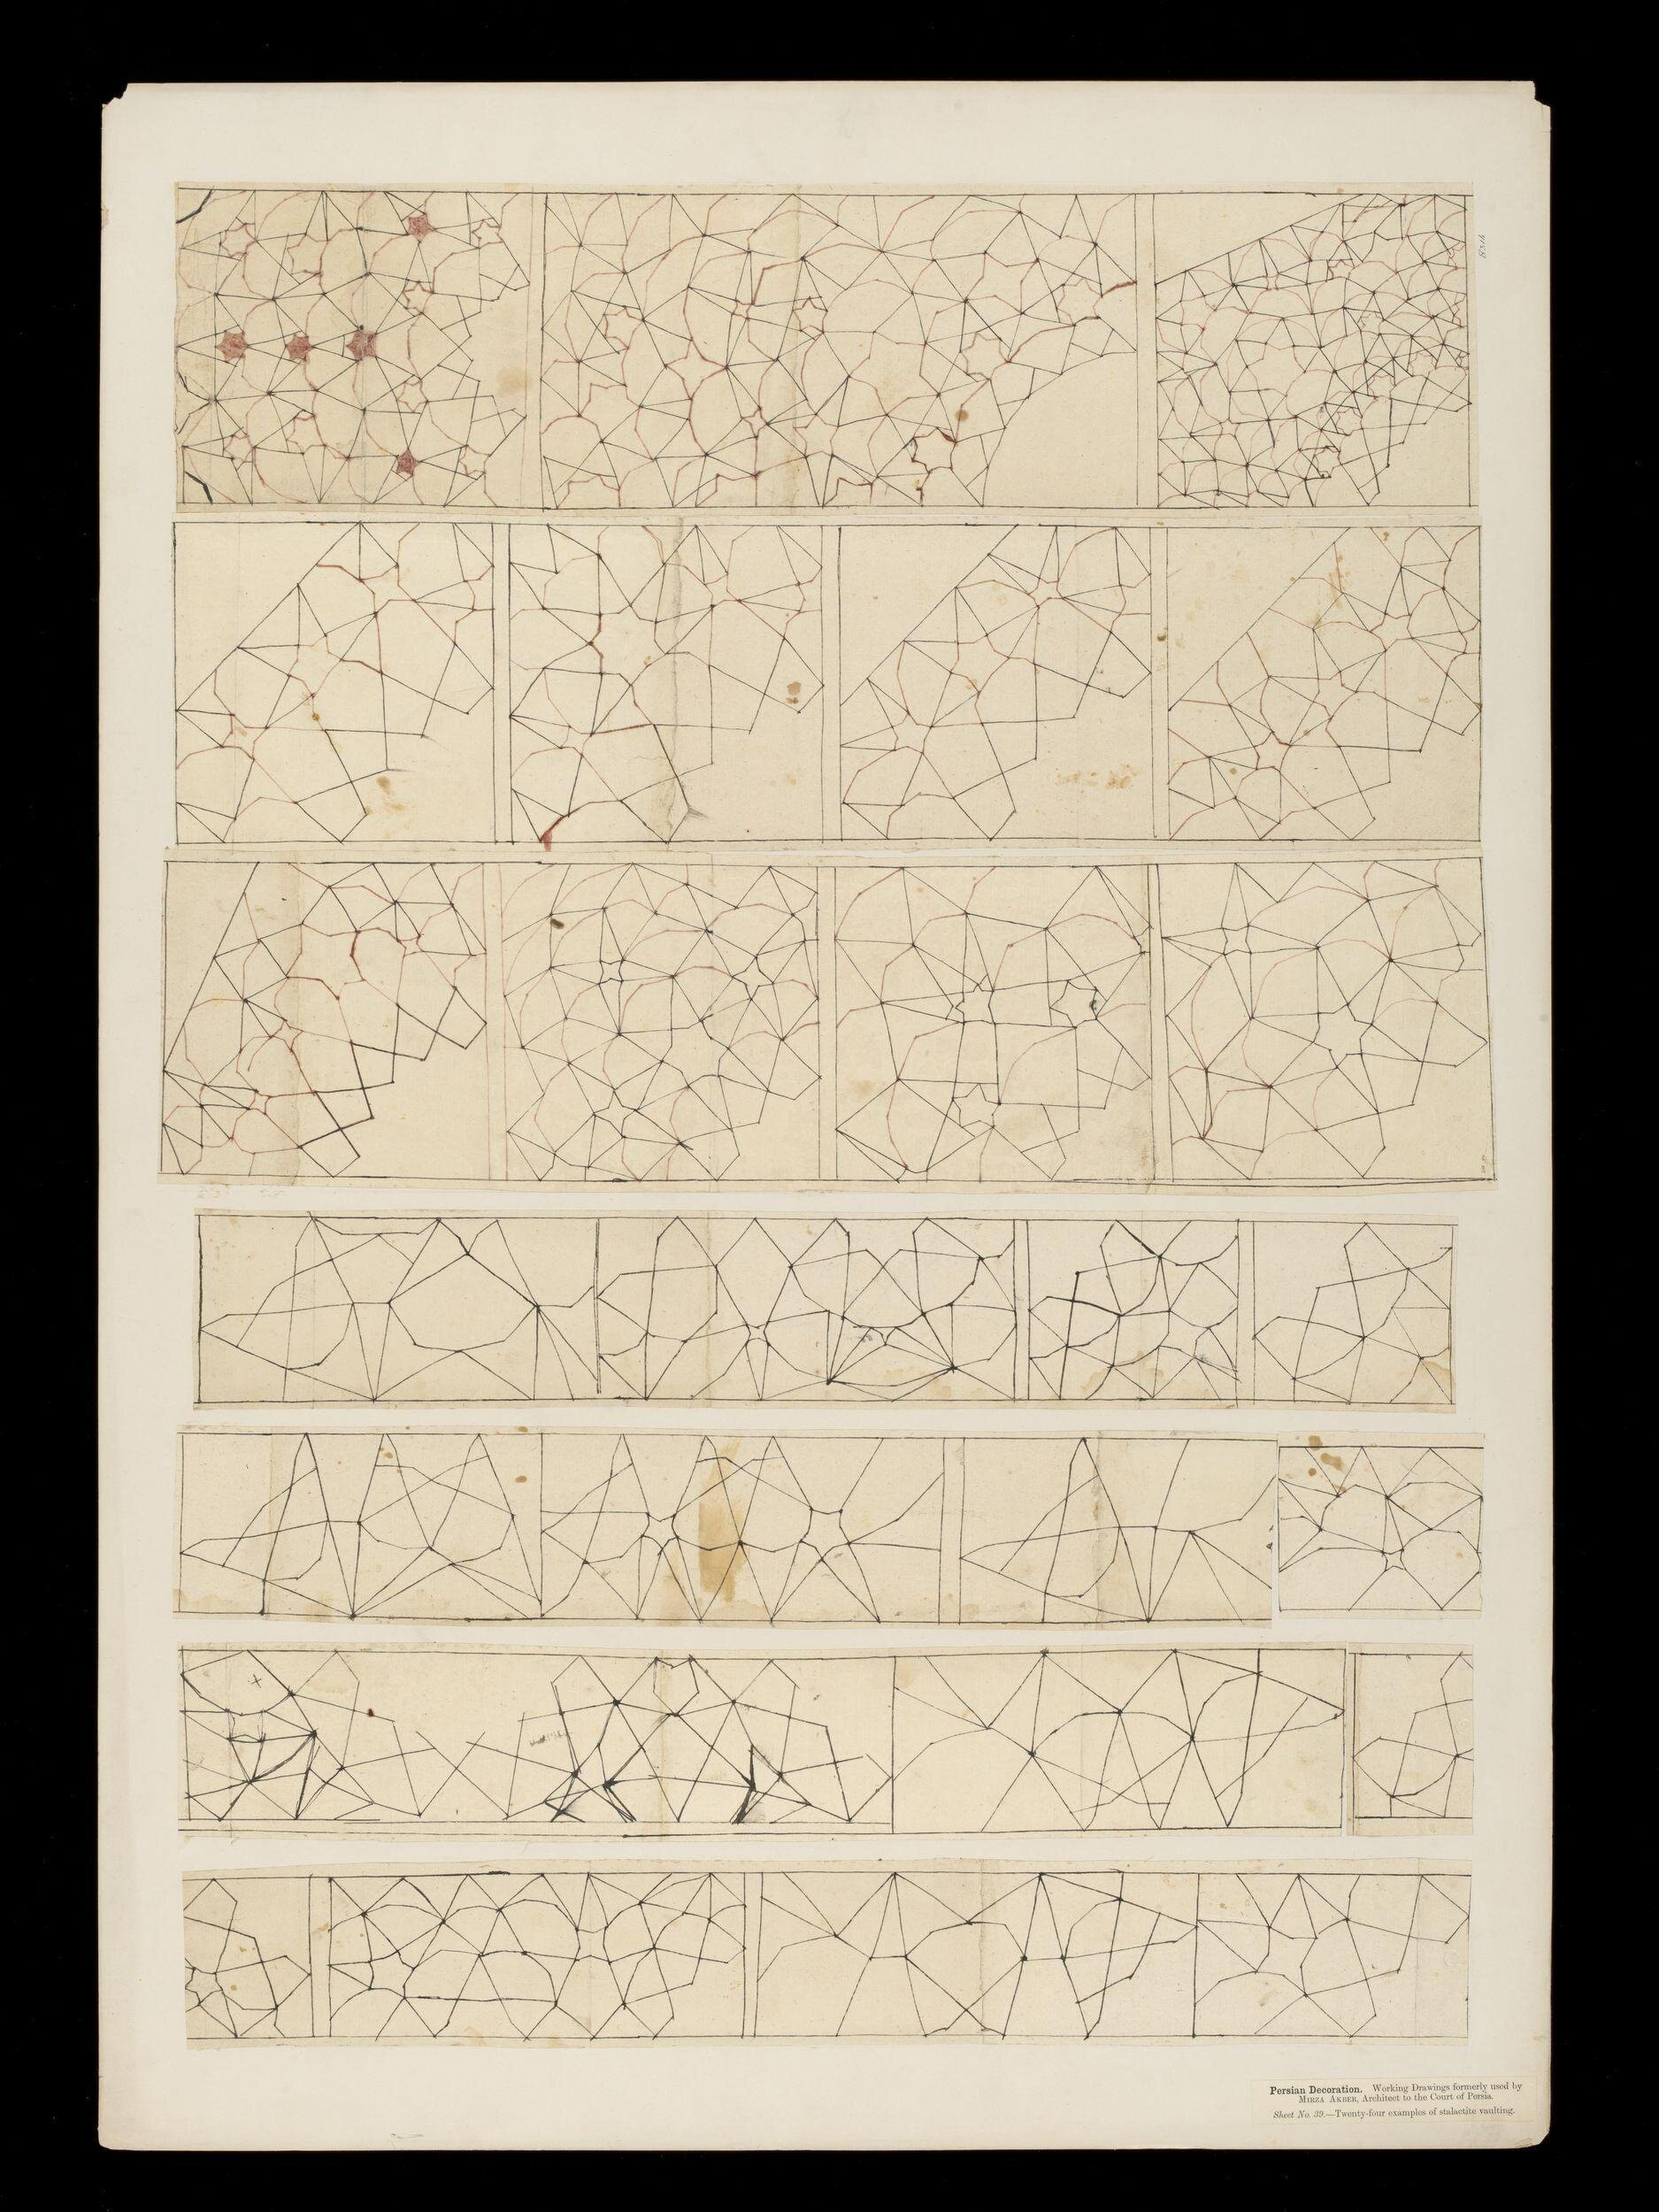
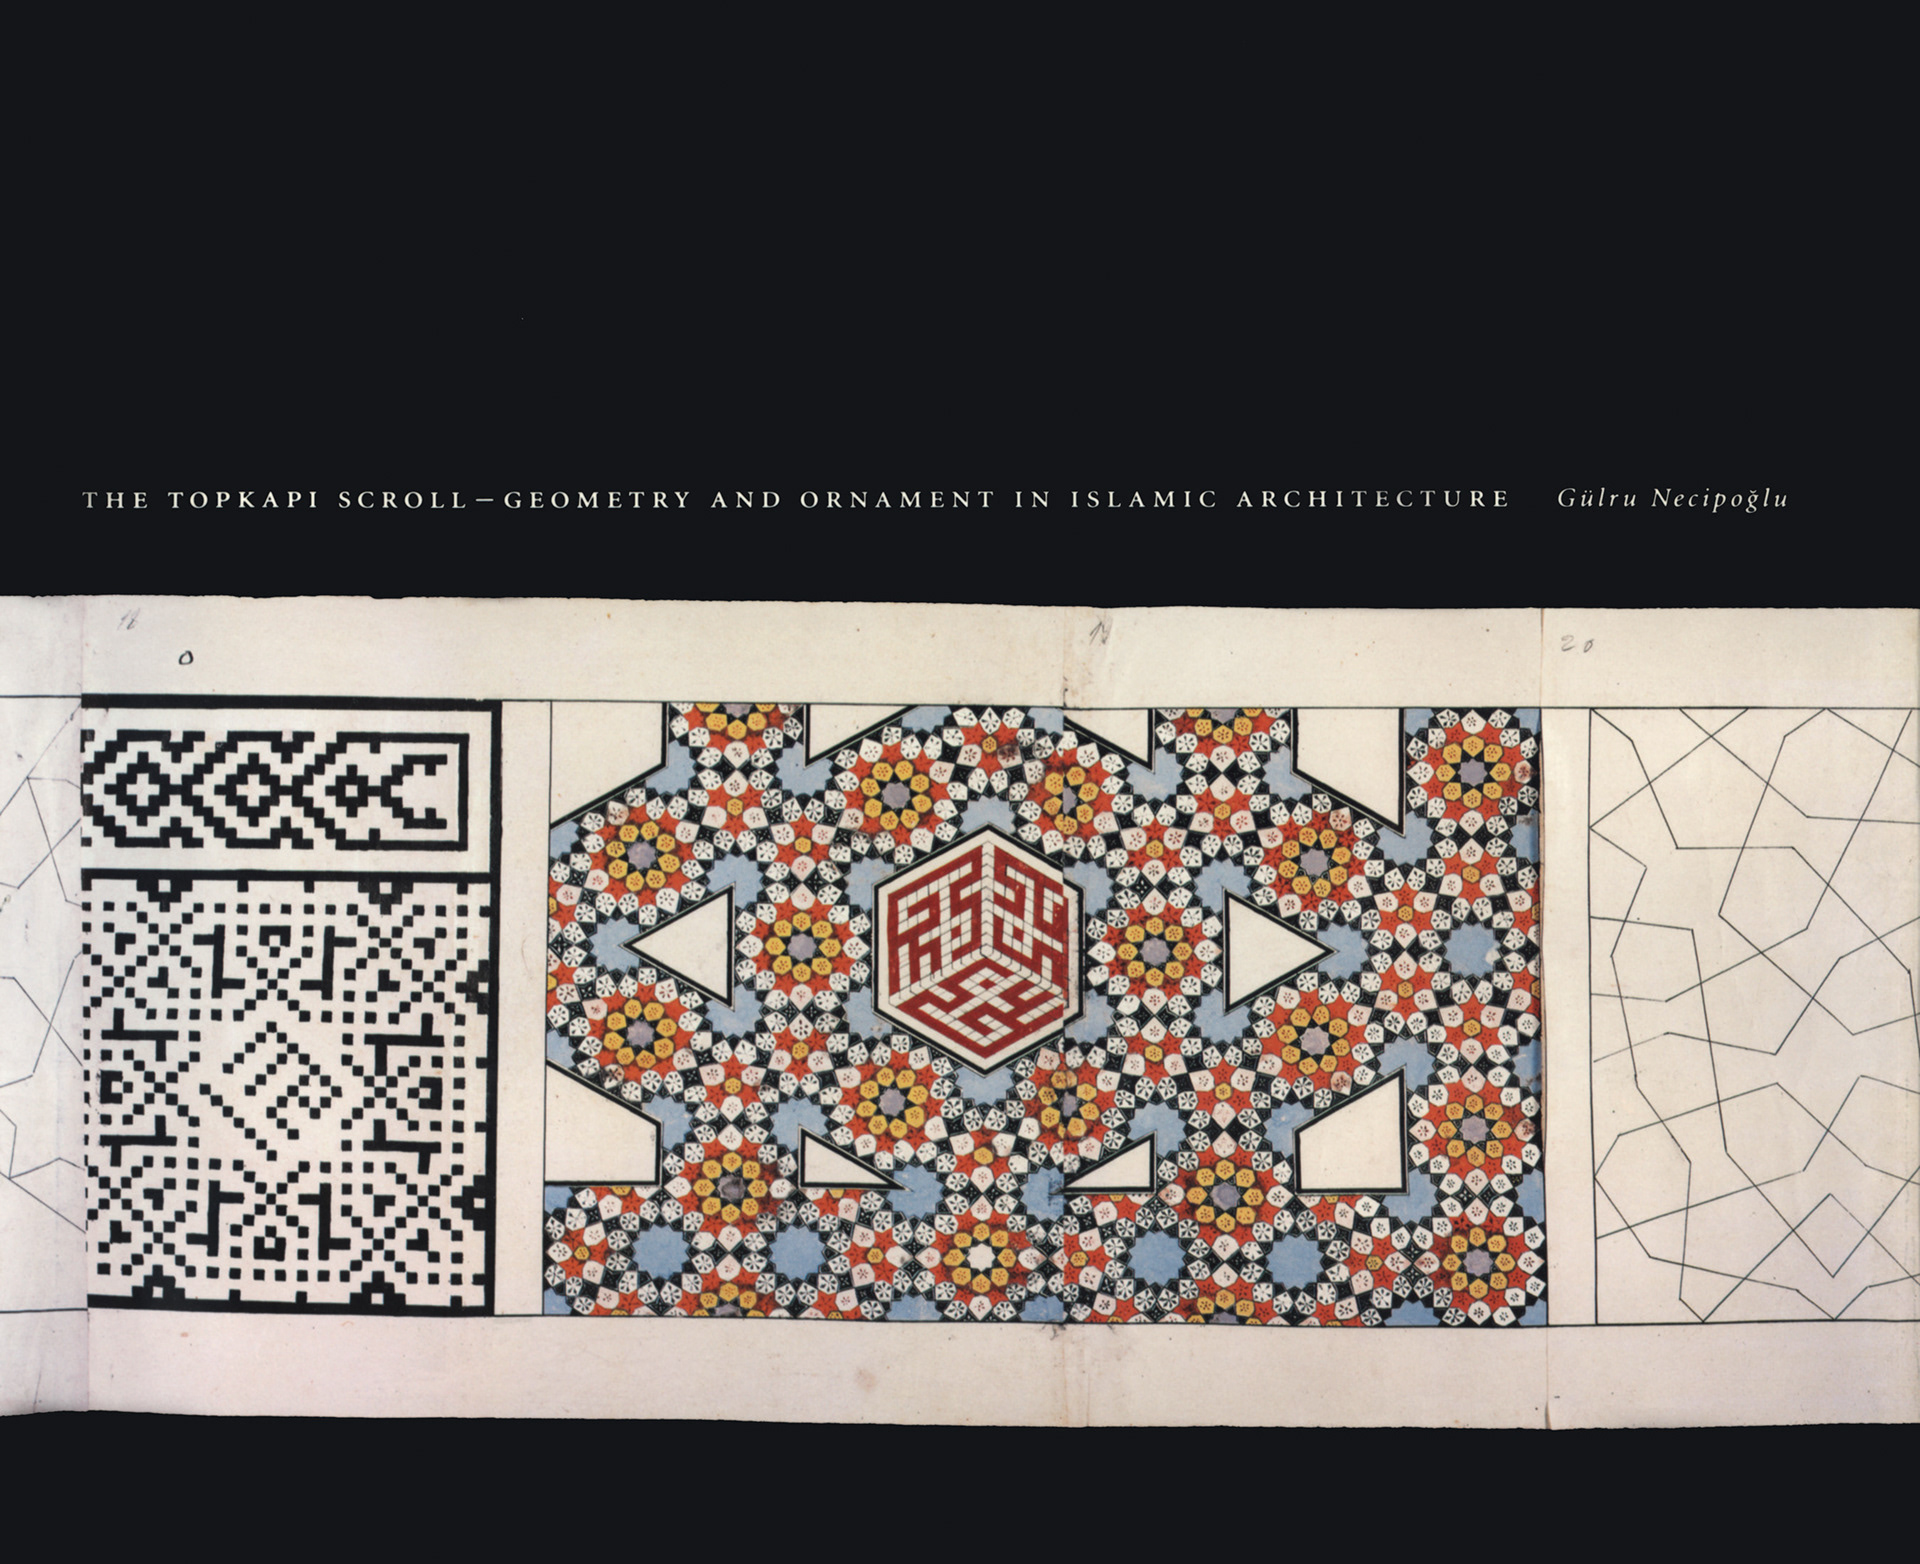
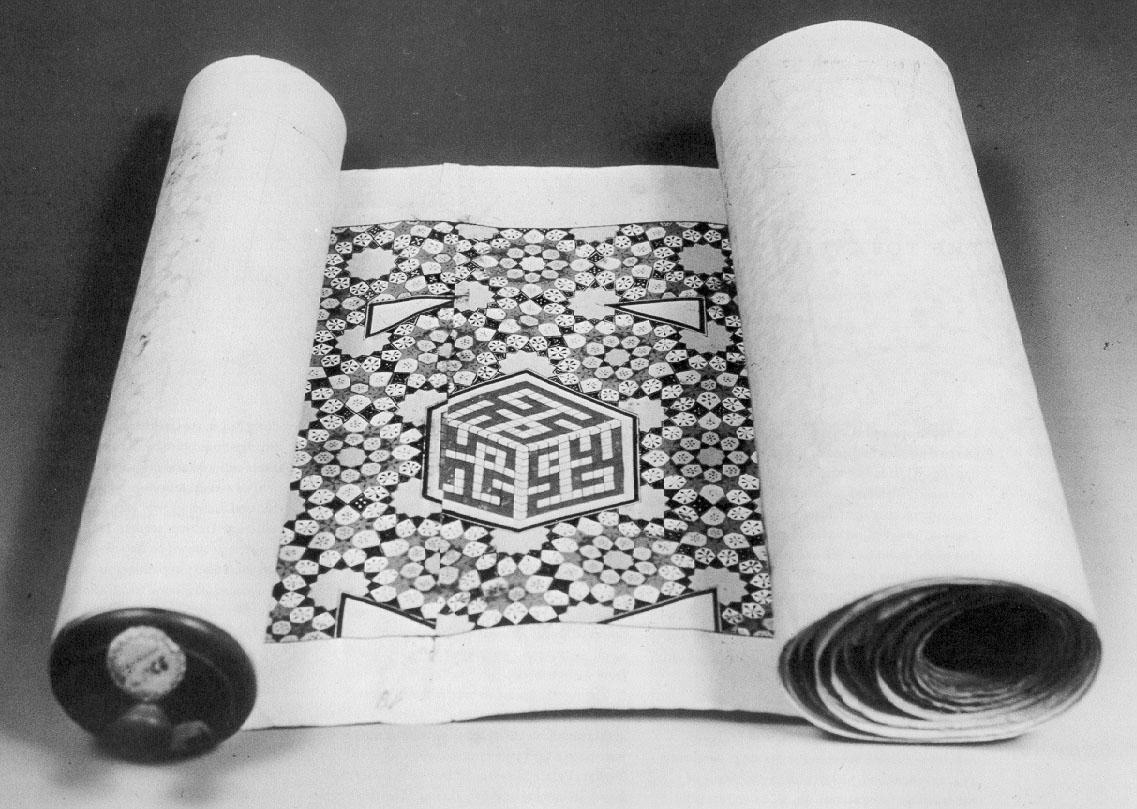
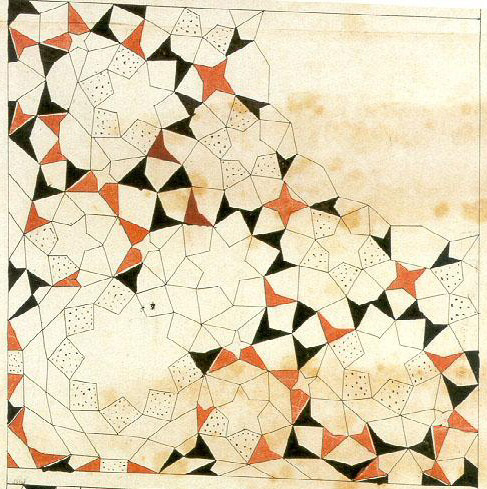
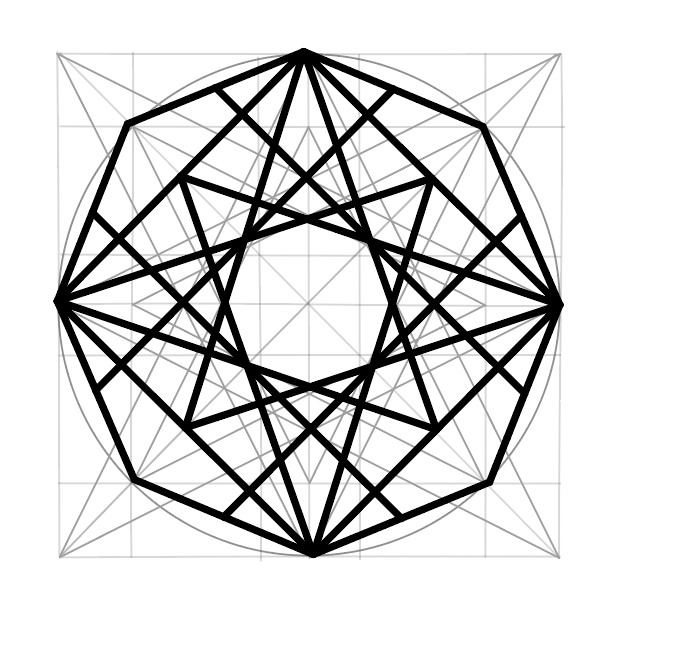
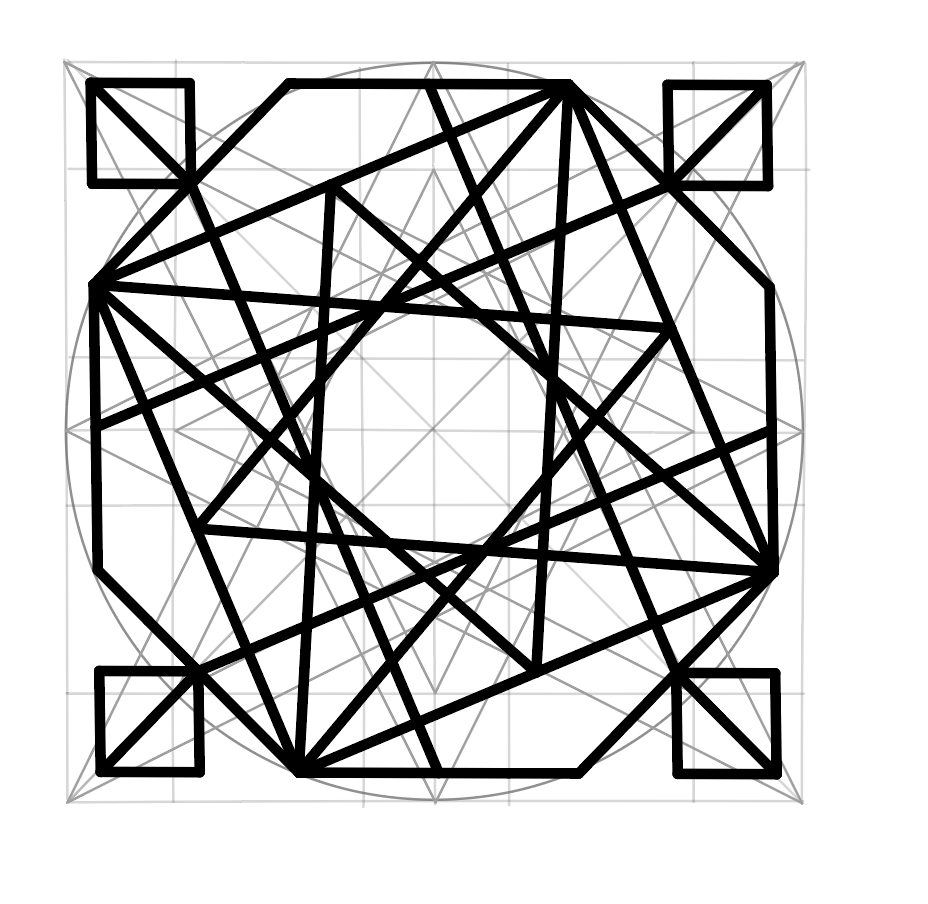
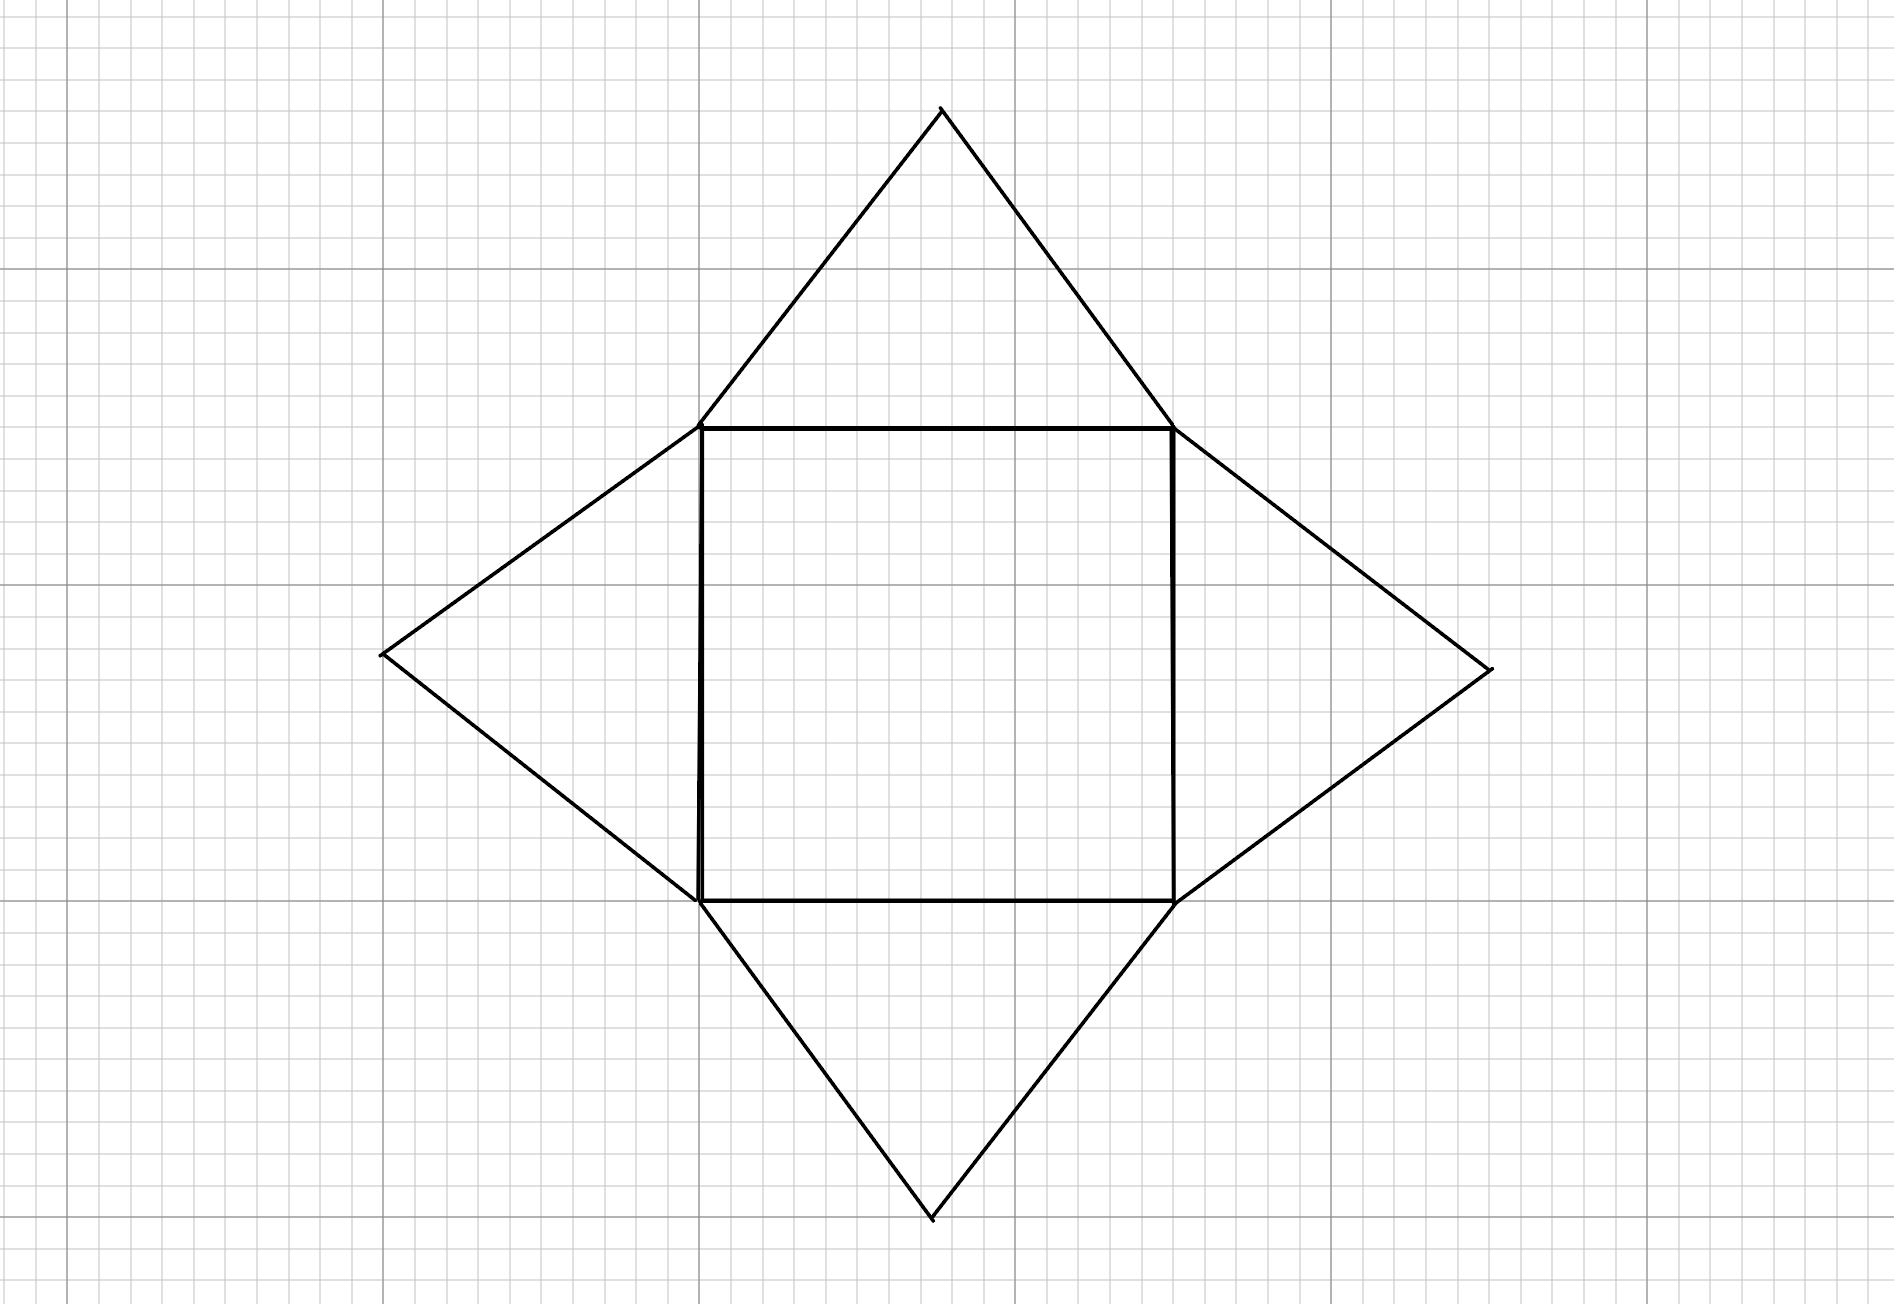
Islamic geometry goes back a very long time. Some of the first information found dates back to the Middle Ages. This is shown through architecture within patterns in mosques, scrolls etc. The most significant scroll is one named the Topkapi scroll. It is believed that this scroll was made during the Safavid dynasty in Iran by a unknown designer or architect. The scroll has 114 patterns on it which are drawn in ink or dye. The length of the roll is 29.5 meters and 33cm wide. There has been other historical scrolls in relevance to Islamic geometry in the Victoria & Albert Museum in previous years.

Photos of the Topaki Scroll and others
Persian Architecture
In my opinion Persian/Iranian architecture is insanely beautiful. A lot of the mosques, palaces and other types of Buildings were built in the Safavid dynasty. This is when Isfahan was the capital or Persia. Some of the early modern architecture from the 1500s to the 1800s feature elements which are unique such as domes, arches and Muqarnas. Various colours are used in the tiling such as, blue, turquoise, gold, white and many more. These are decorated in forms such as geometric patterns, floral designs and Arabic calligraphy quoting from the Quran.
These buildings are still up today. I would love the privilege to go and visit these in person when Iran is a safe country to visit. Seeing them in person would be a incredible experience and extremely inspiring for me, someone who loves geometric patterns and colour, as well as exploring my heritage.
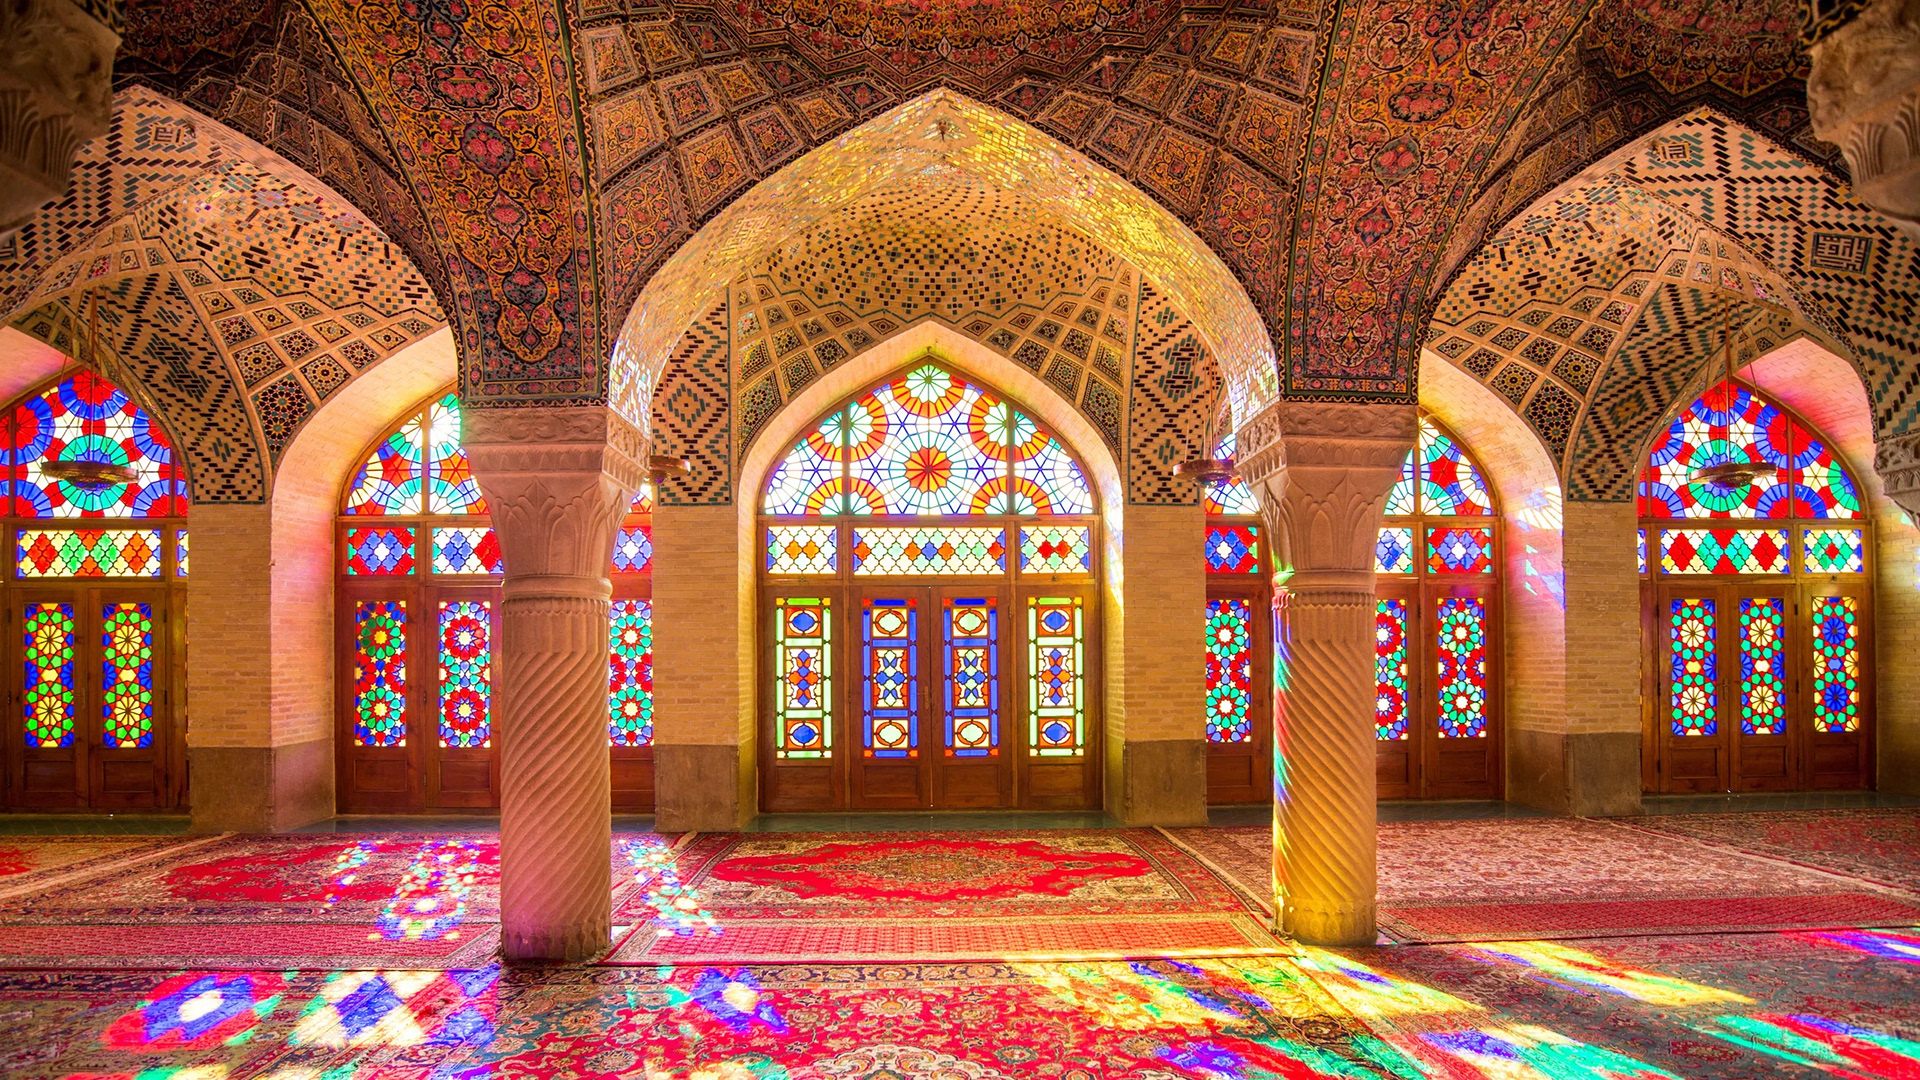
Nasir Al-Mulk Mosque, Shiraz
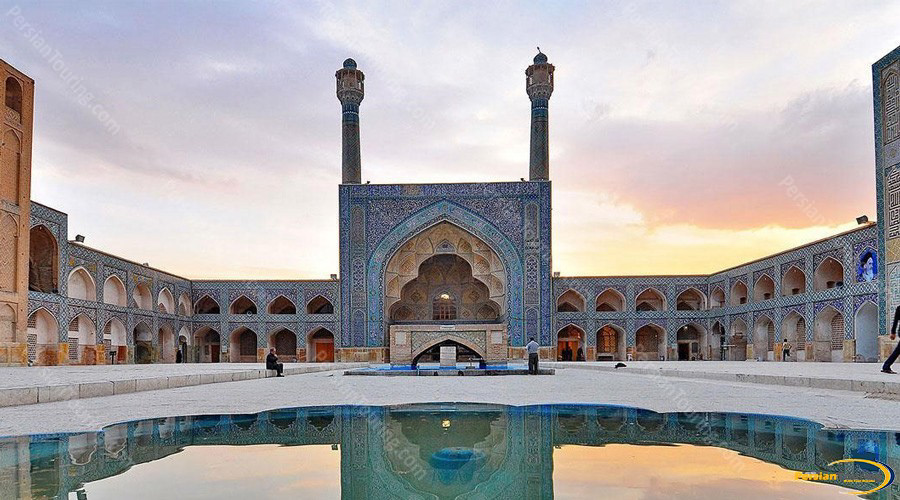
The Great Mosque of Isfahan
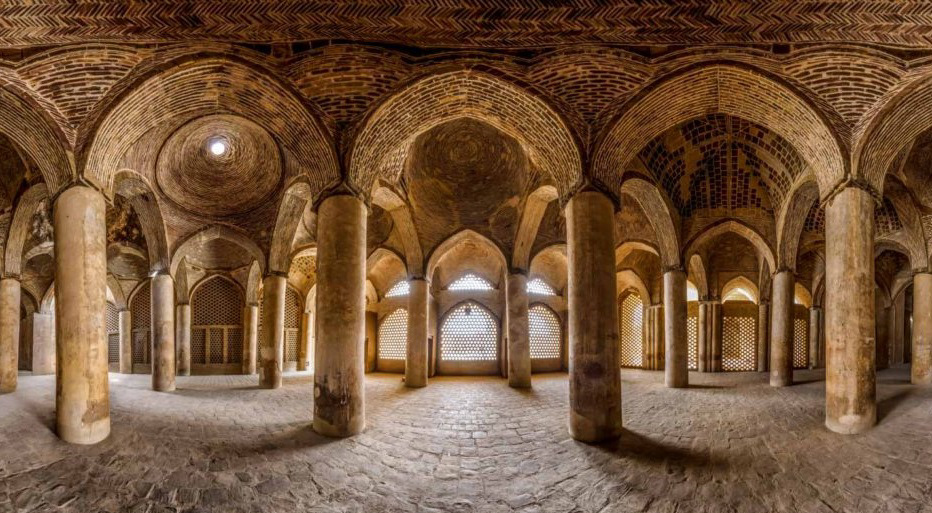
Interior of The Great Mosque of Isfahan
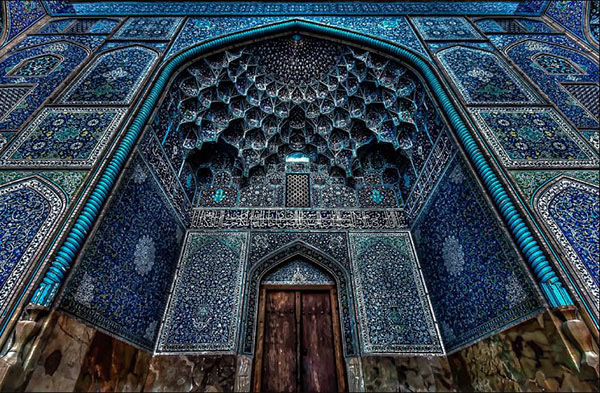
Shah Mosque
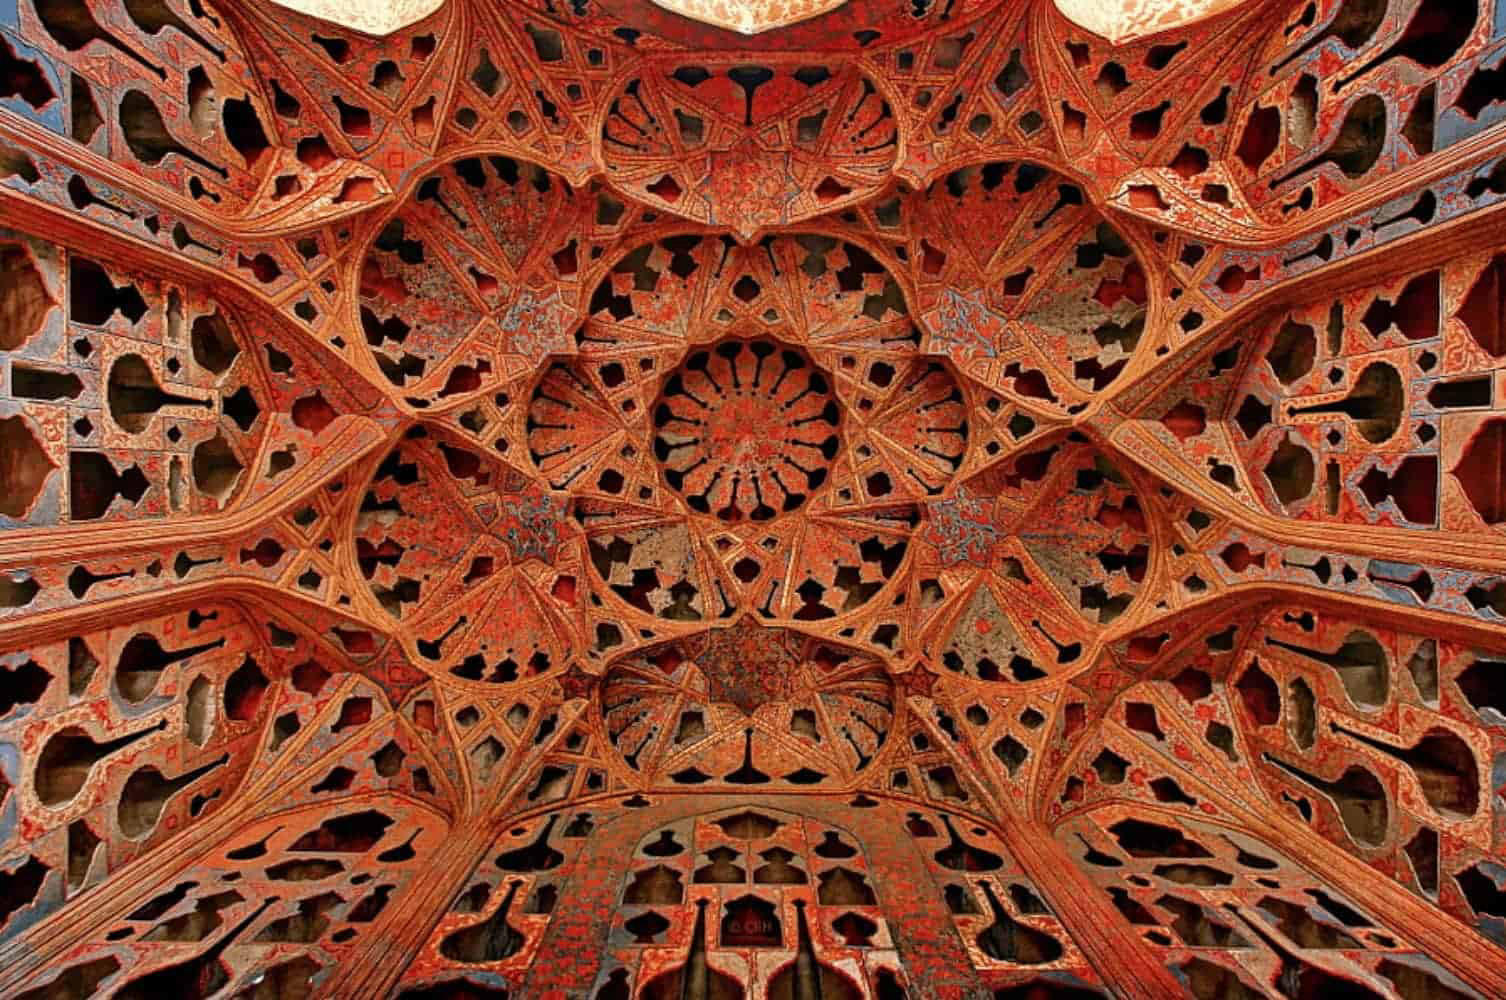
Example of Muqarnas
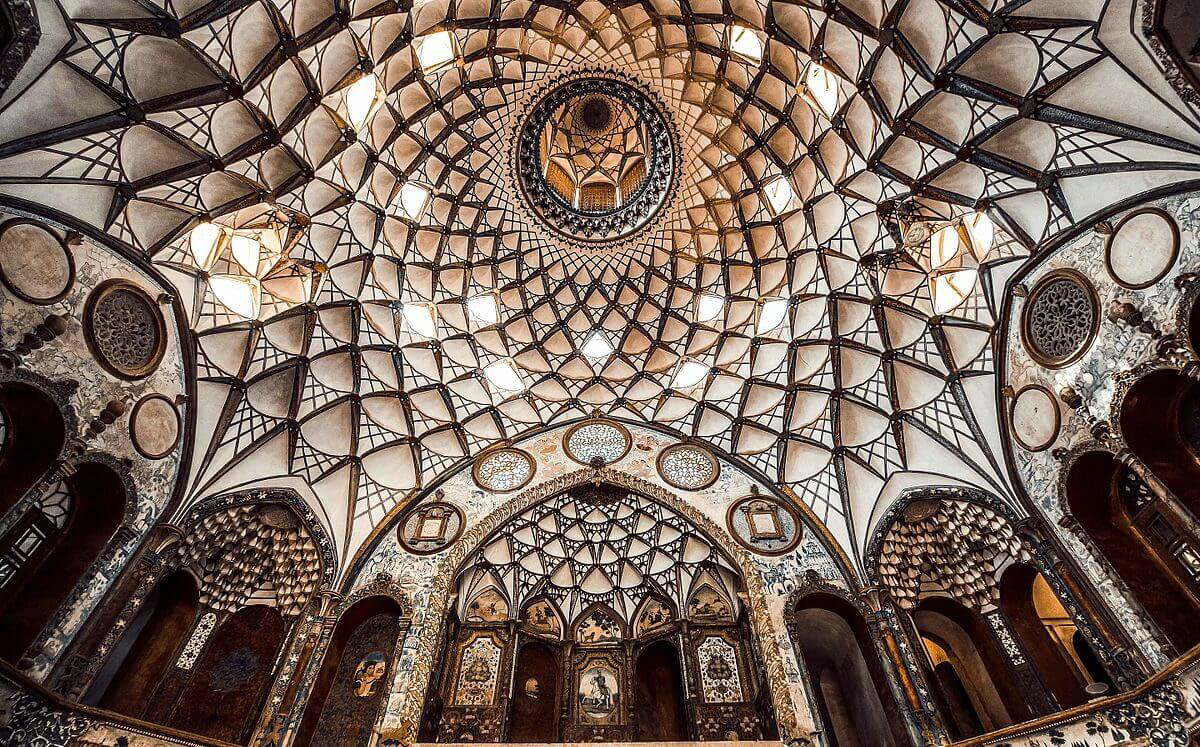
Example of Muqarnas
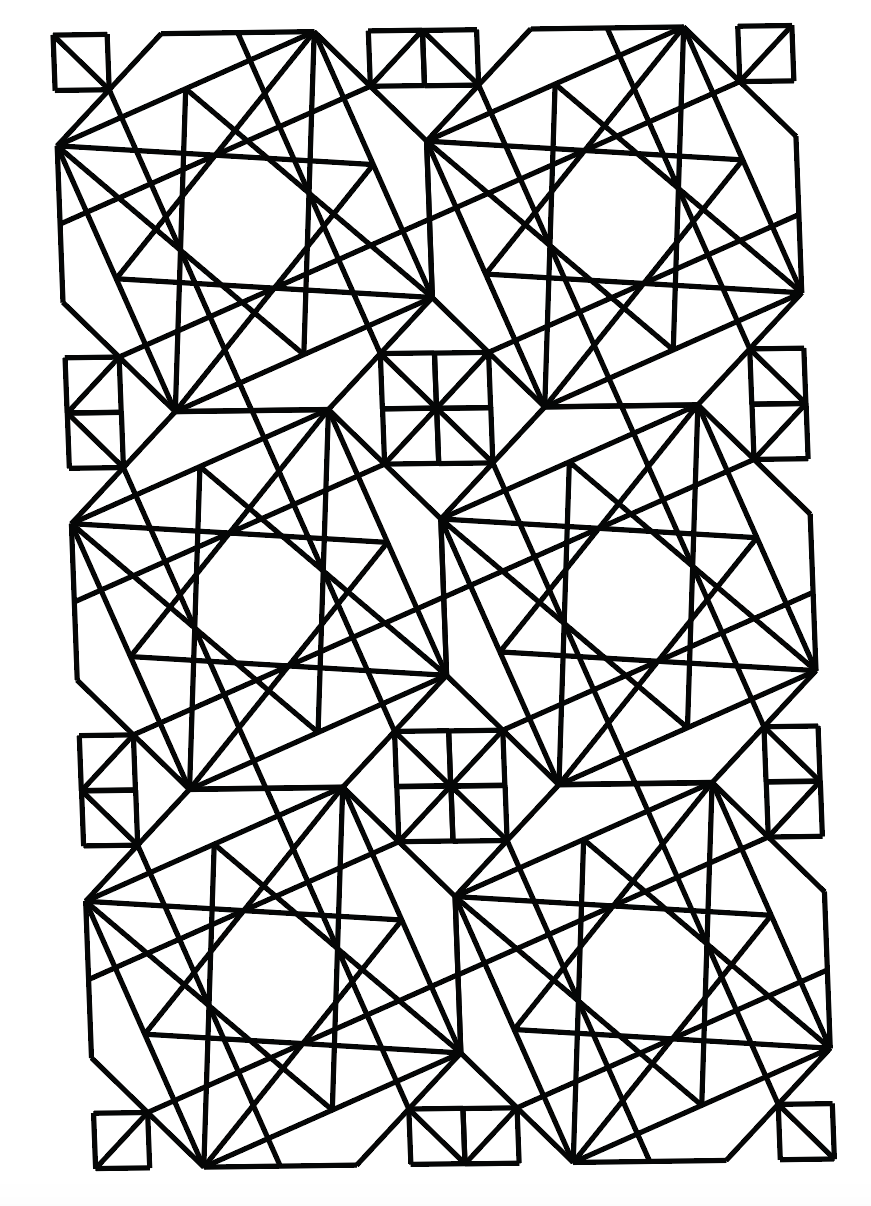
Persian geometric patterns are usually created using three elements collectively called Gereh. These are the construction, the pattern and tessellation of the pattern. However the viewer only gets to see the pattern usually. Each pattern is normally made of different sections which are mirrored to make sure they're symmetrical. From this you can make multiple copies. However one template can be used to create a few patterns that look different.
The Gereh method originates from central Asia. The word Gereh (knot) is an Iranian term. Iranians typically say 'Gereh sazi' which means tying knots and 'Gereh chini' which means the art of making knots. The word 'knot' describes how patterns are created. There are 8 rules of Gereh. Rules 1, 2 and 7 should never be broken but other rules can do with good reason.

Scan taken from book Practical Geometric Pattern Design by Mirostaw Majewski
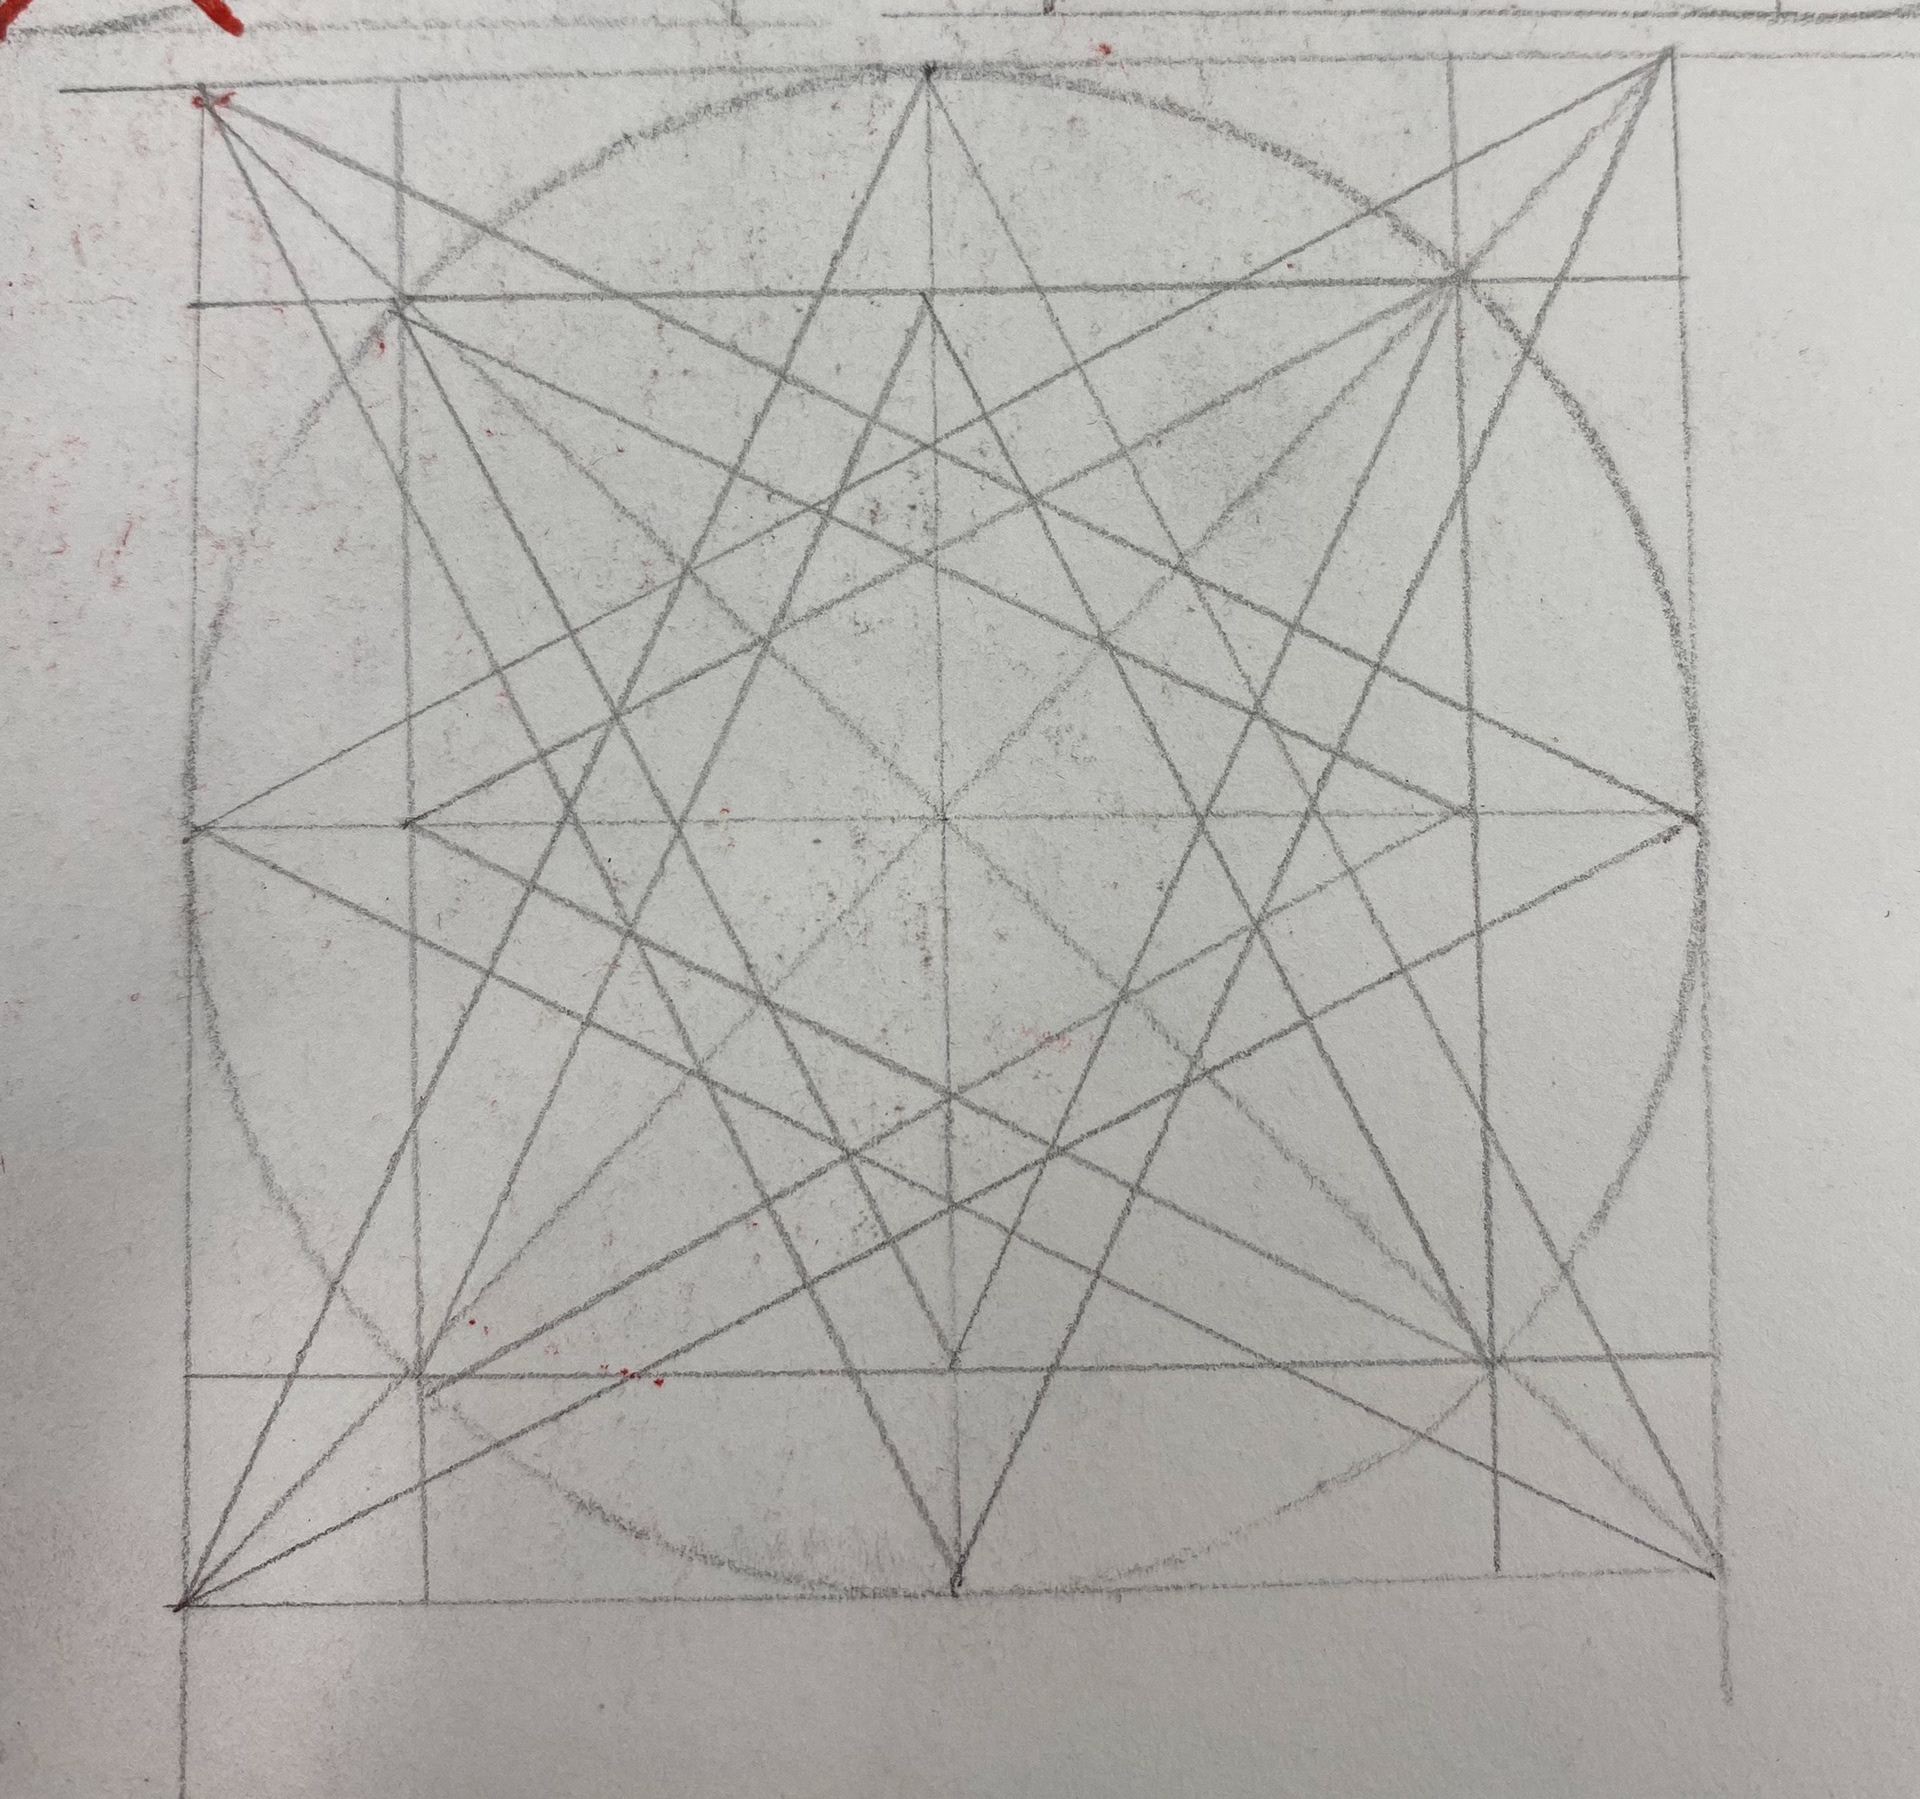
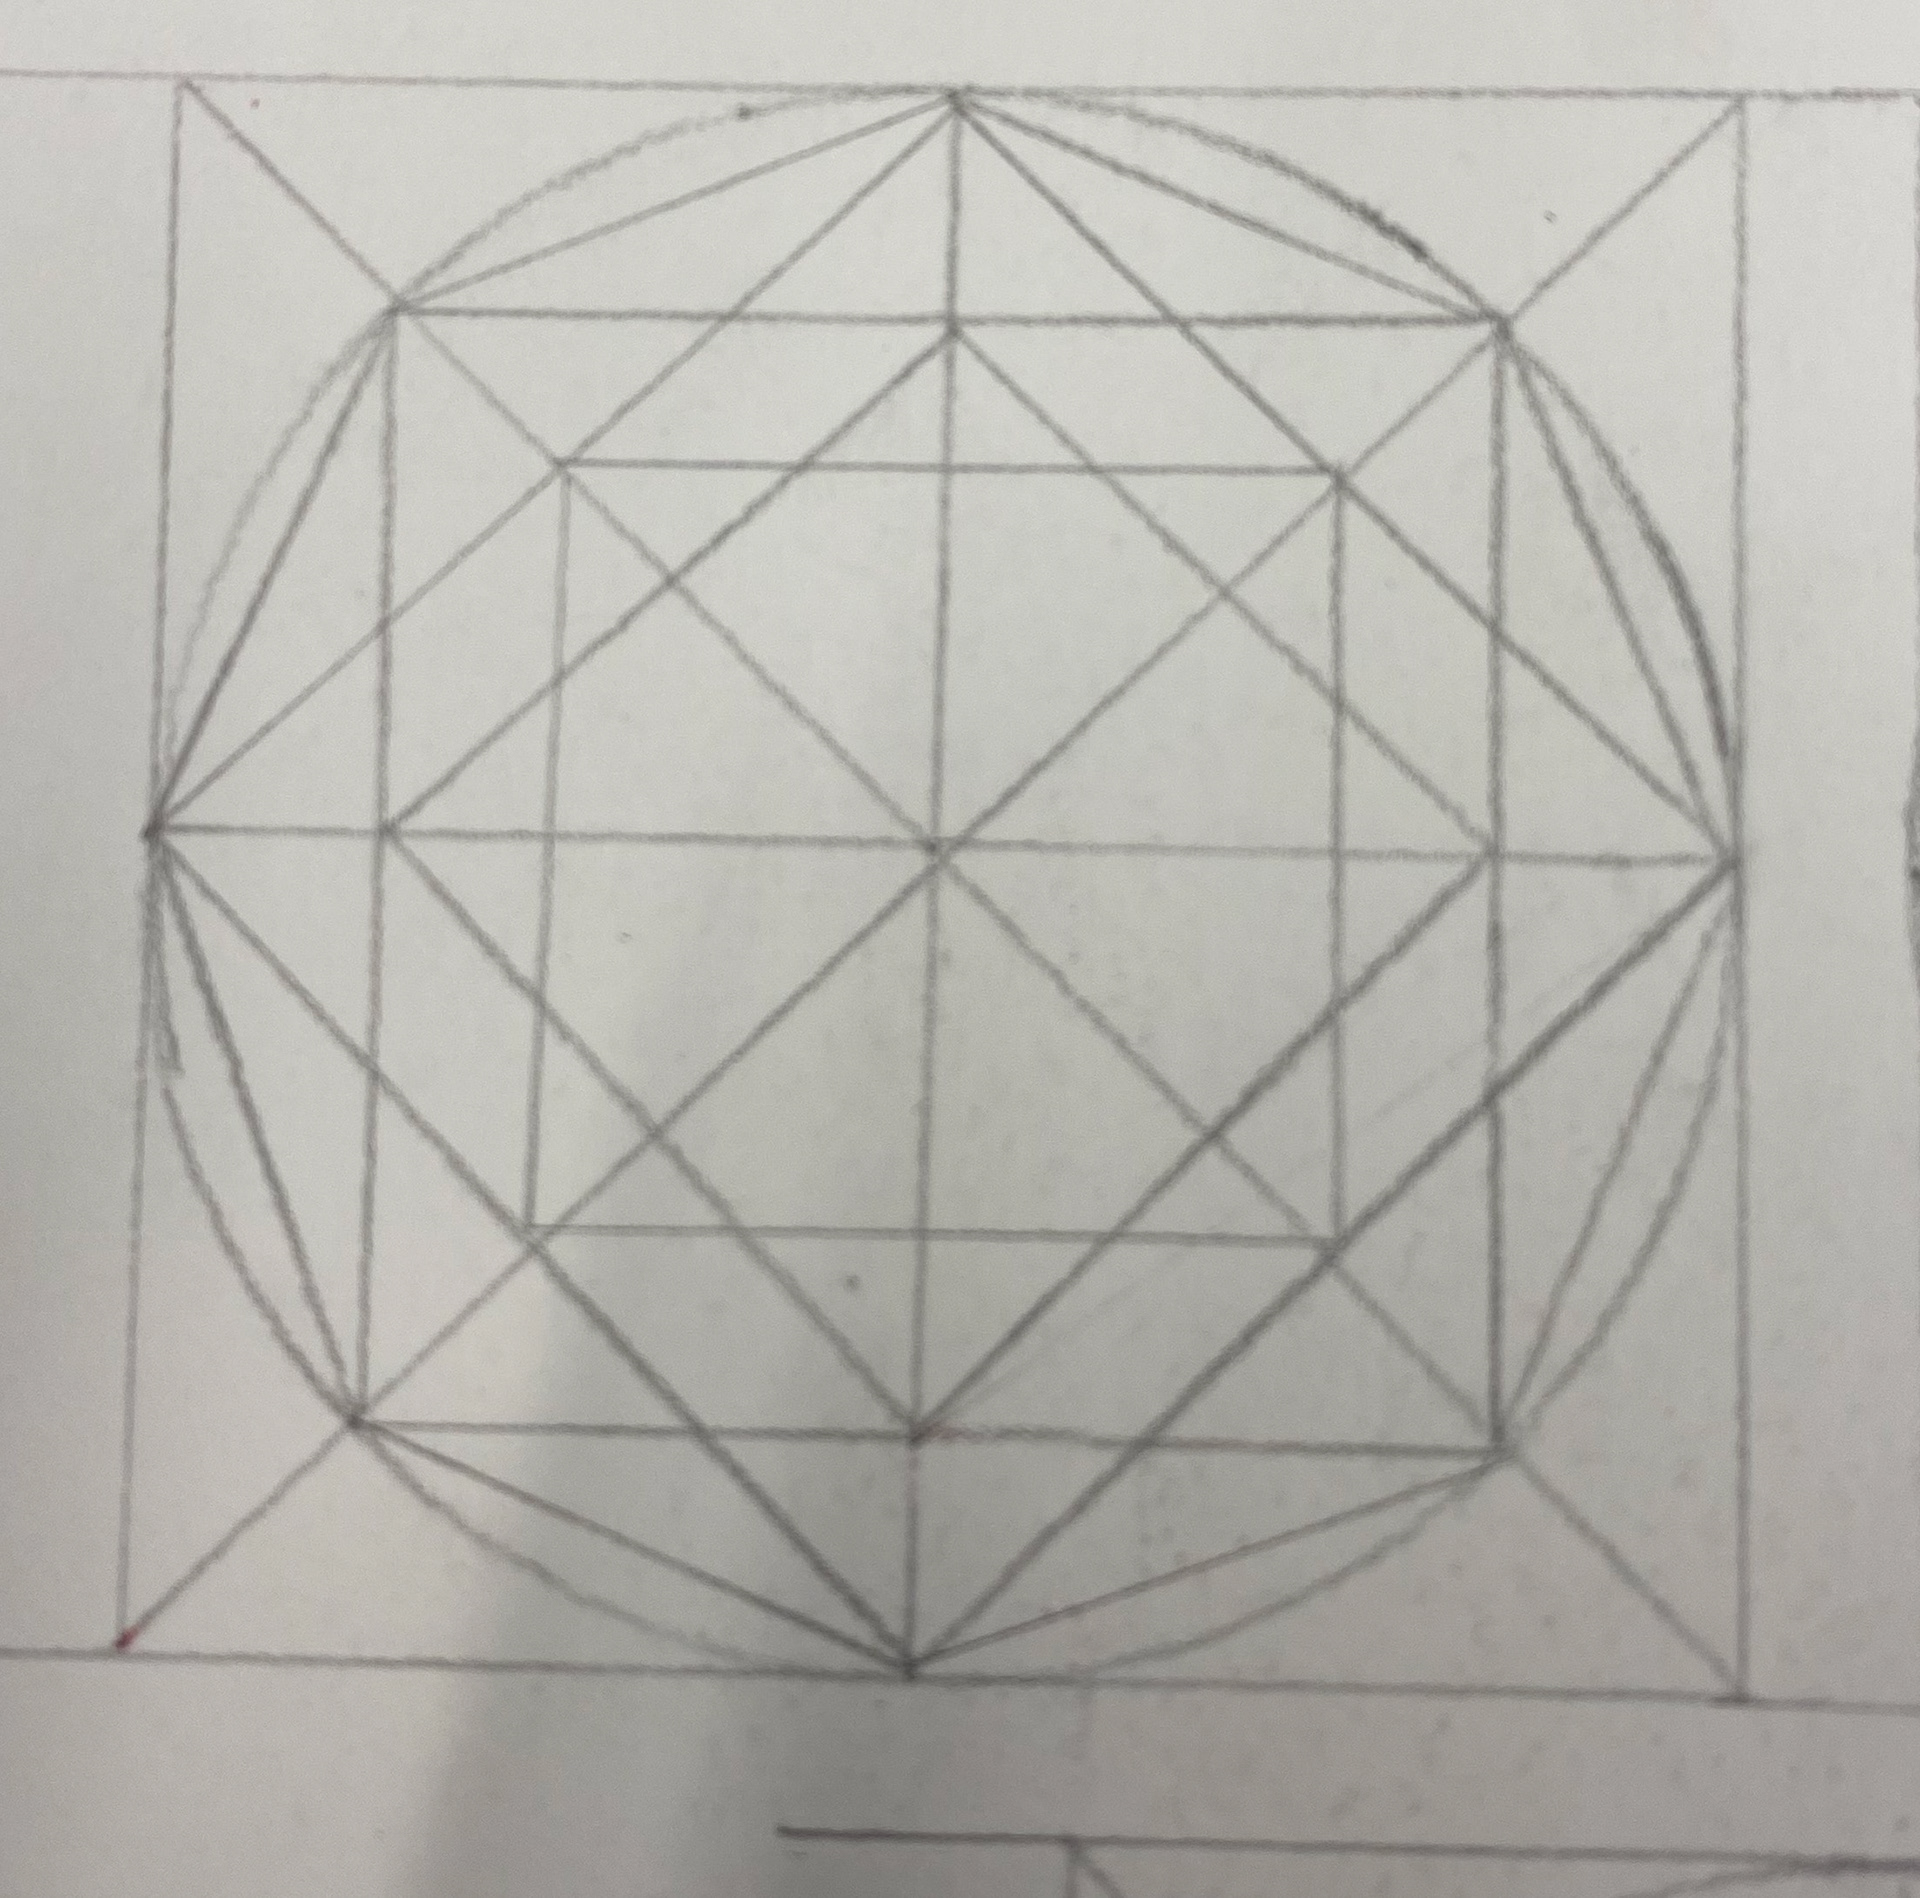
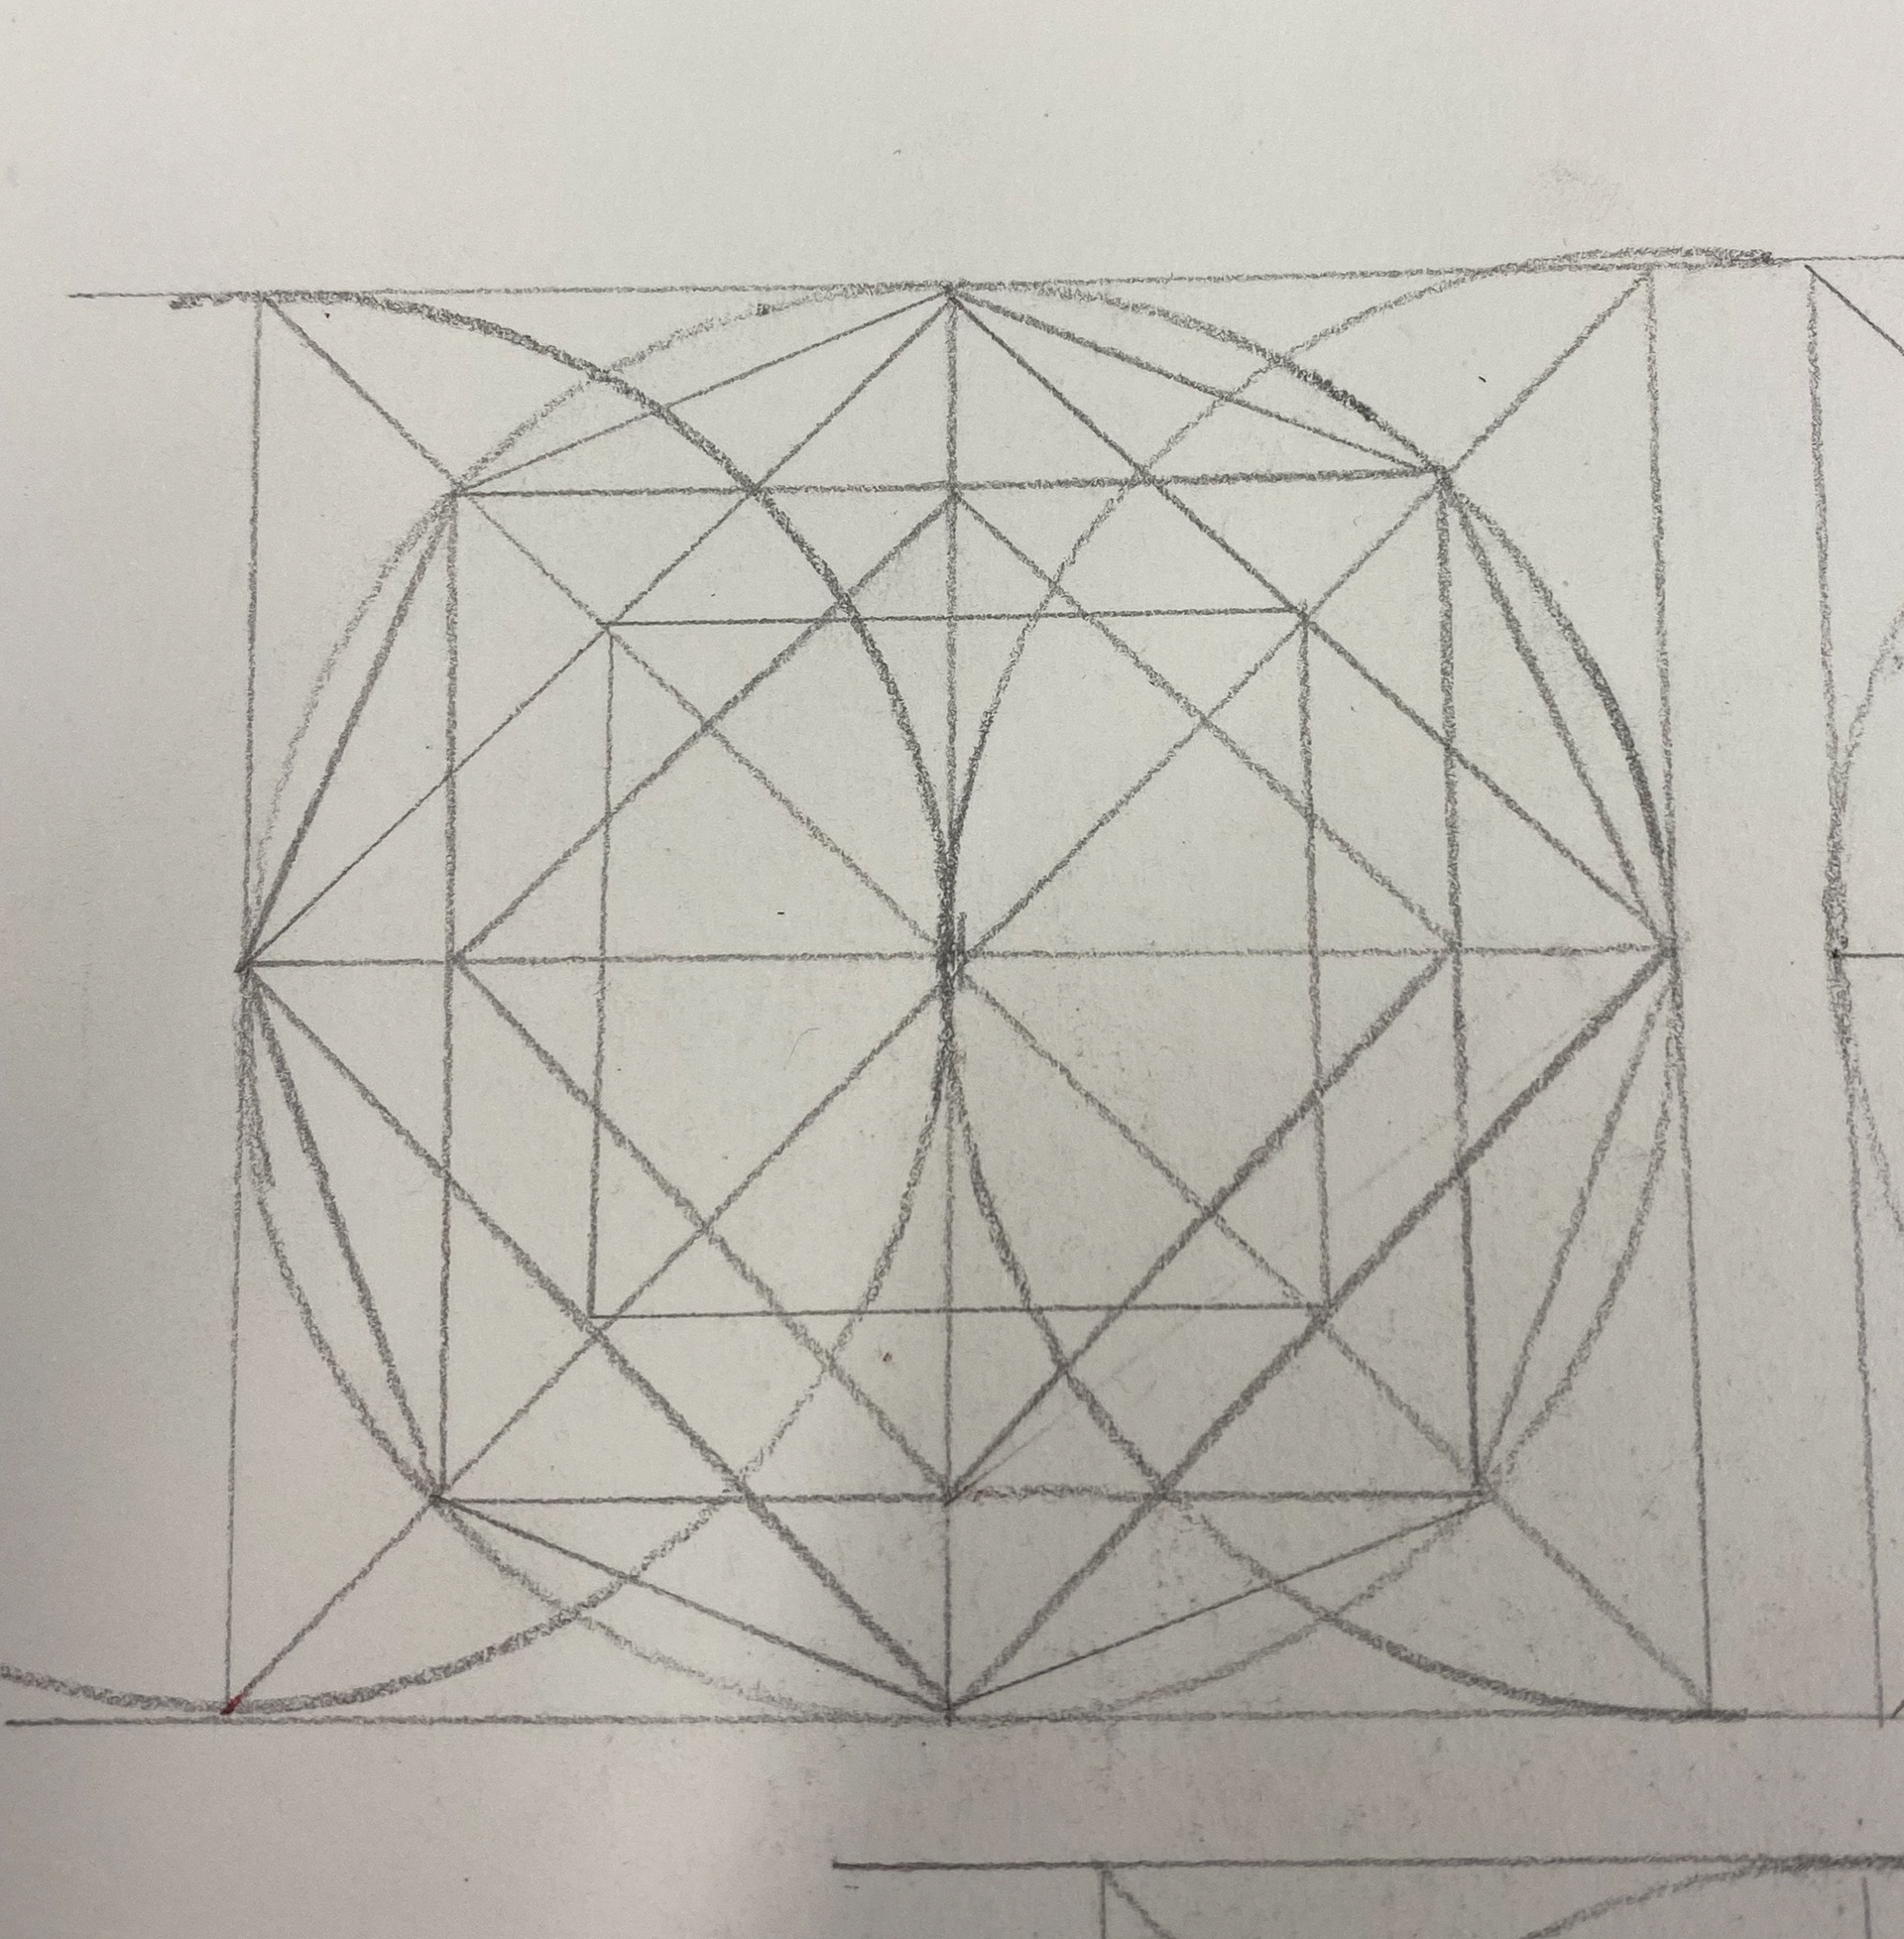
Designing/Drawing my own Persian Geometric Pattern
Throughout my research and trying to educate myself on how Persian geometry works, I realised it is very complex and nothing like I have done before. I tried to get help on Youtube tutorials but I didn't find them helpful which led me nowhere in terms of being closer to drawn a pattern myself.
I looked through and read many books based on Persian geometry. Some of these were useful and I did take information from these, however they used a lot of mathematical language that I didn't understand which made it difficult to understand geometry properly.
One of the main books I used which helped me understand it a little was 'Practical Geometric Pattern Design - Decagonal Patterns in Persian Traditional Art by Mirostaw Majewski'. In this book it recommended to download and use a software called Geometers Sketchpad to draw it digitally. I shied away from this at first as I'm not very confident with using softwares. I decided to give it a go and thought if I use software to learn basics as its easier to delete and change mistakes, and then hand draw my own patterns when I feel more confident using a compass and ruler etc. I attempted this with the little knowledge I had gained and didn't get very far.
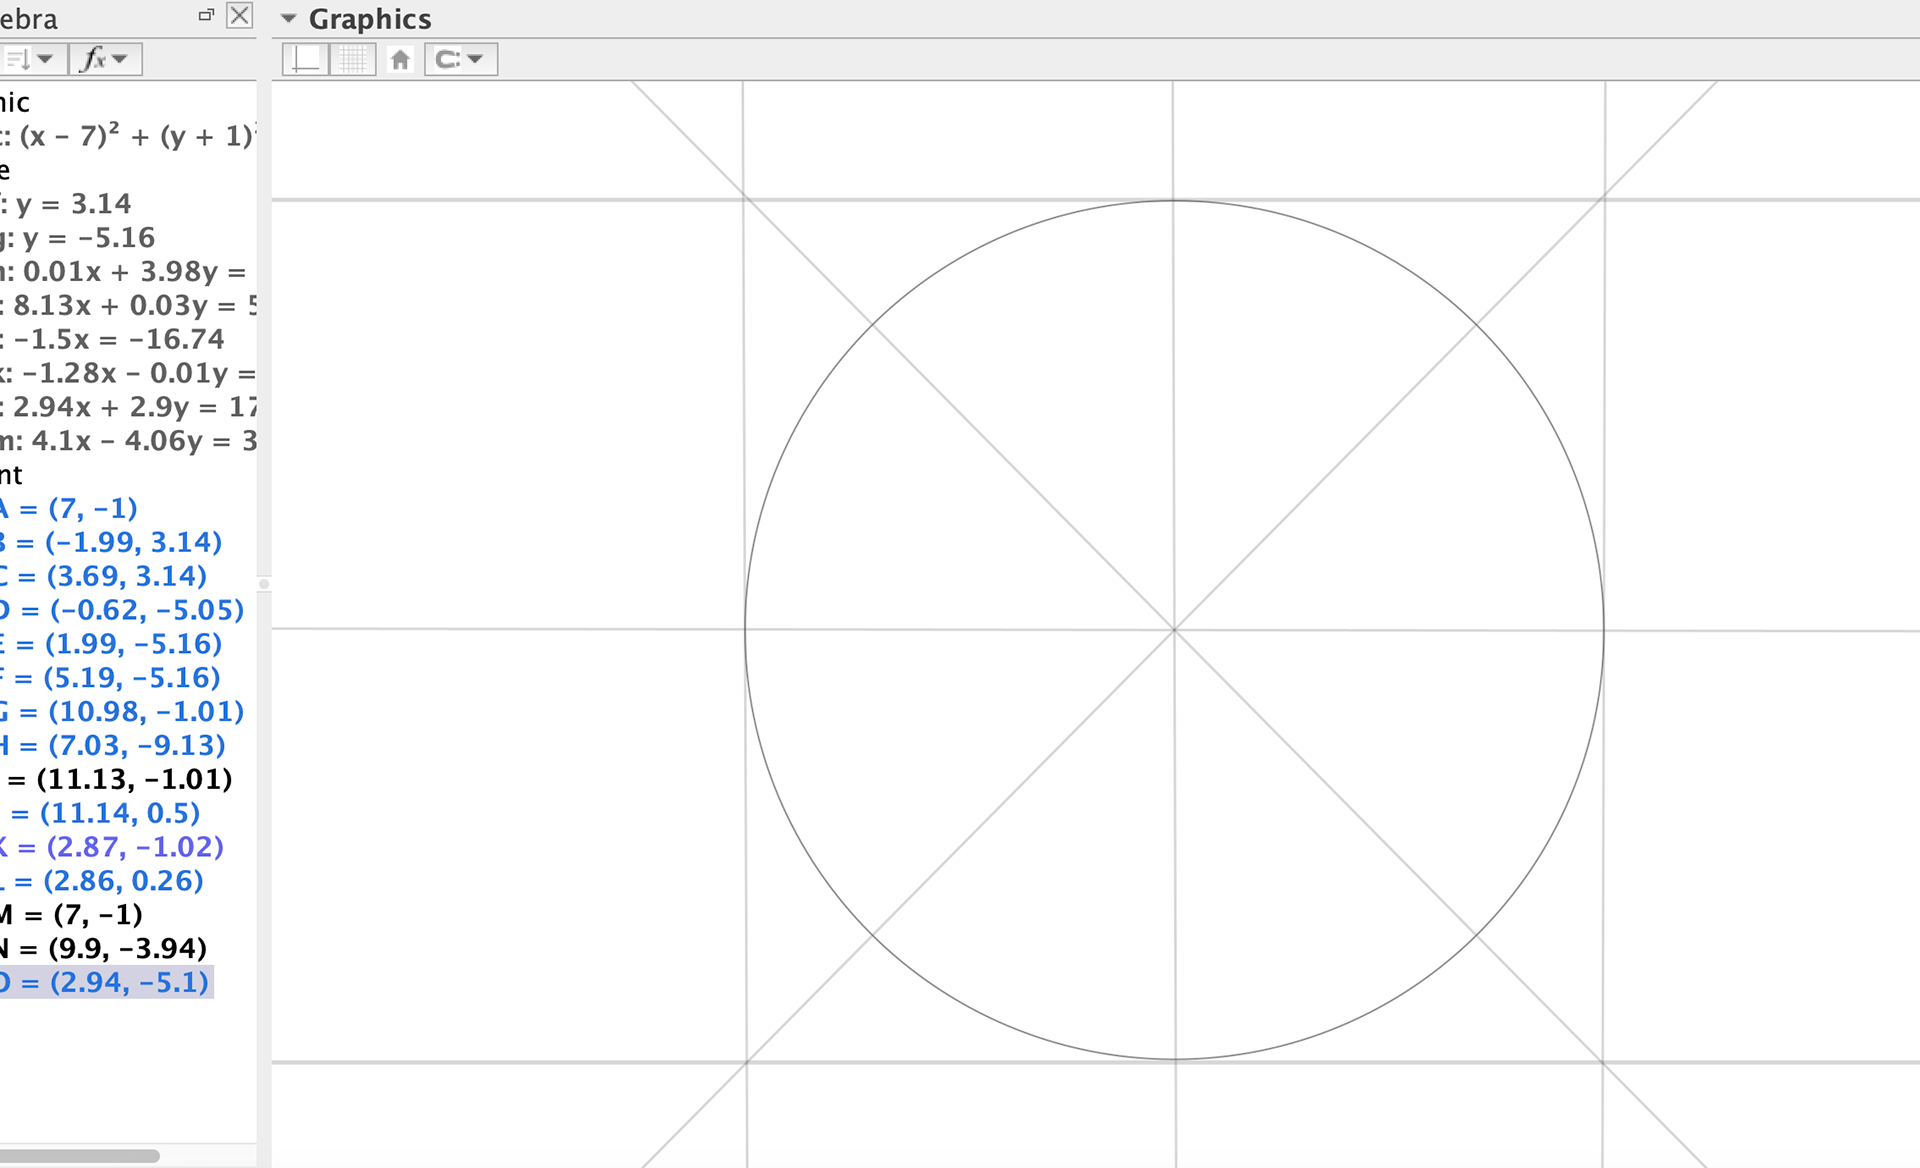
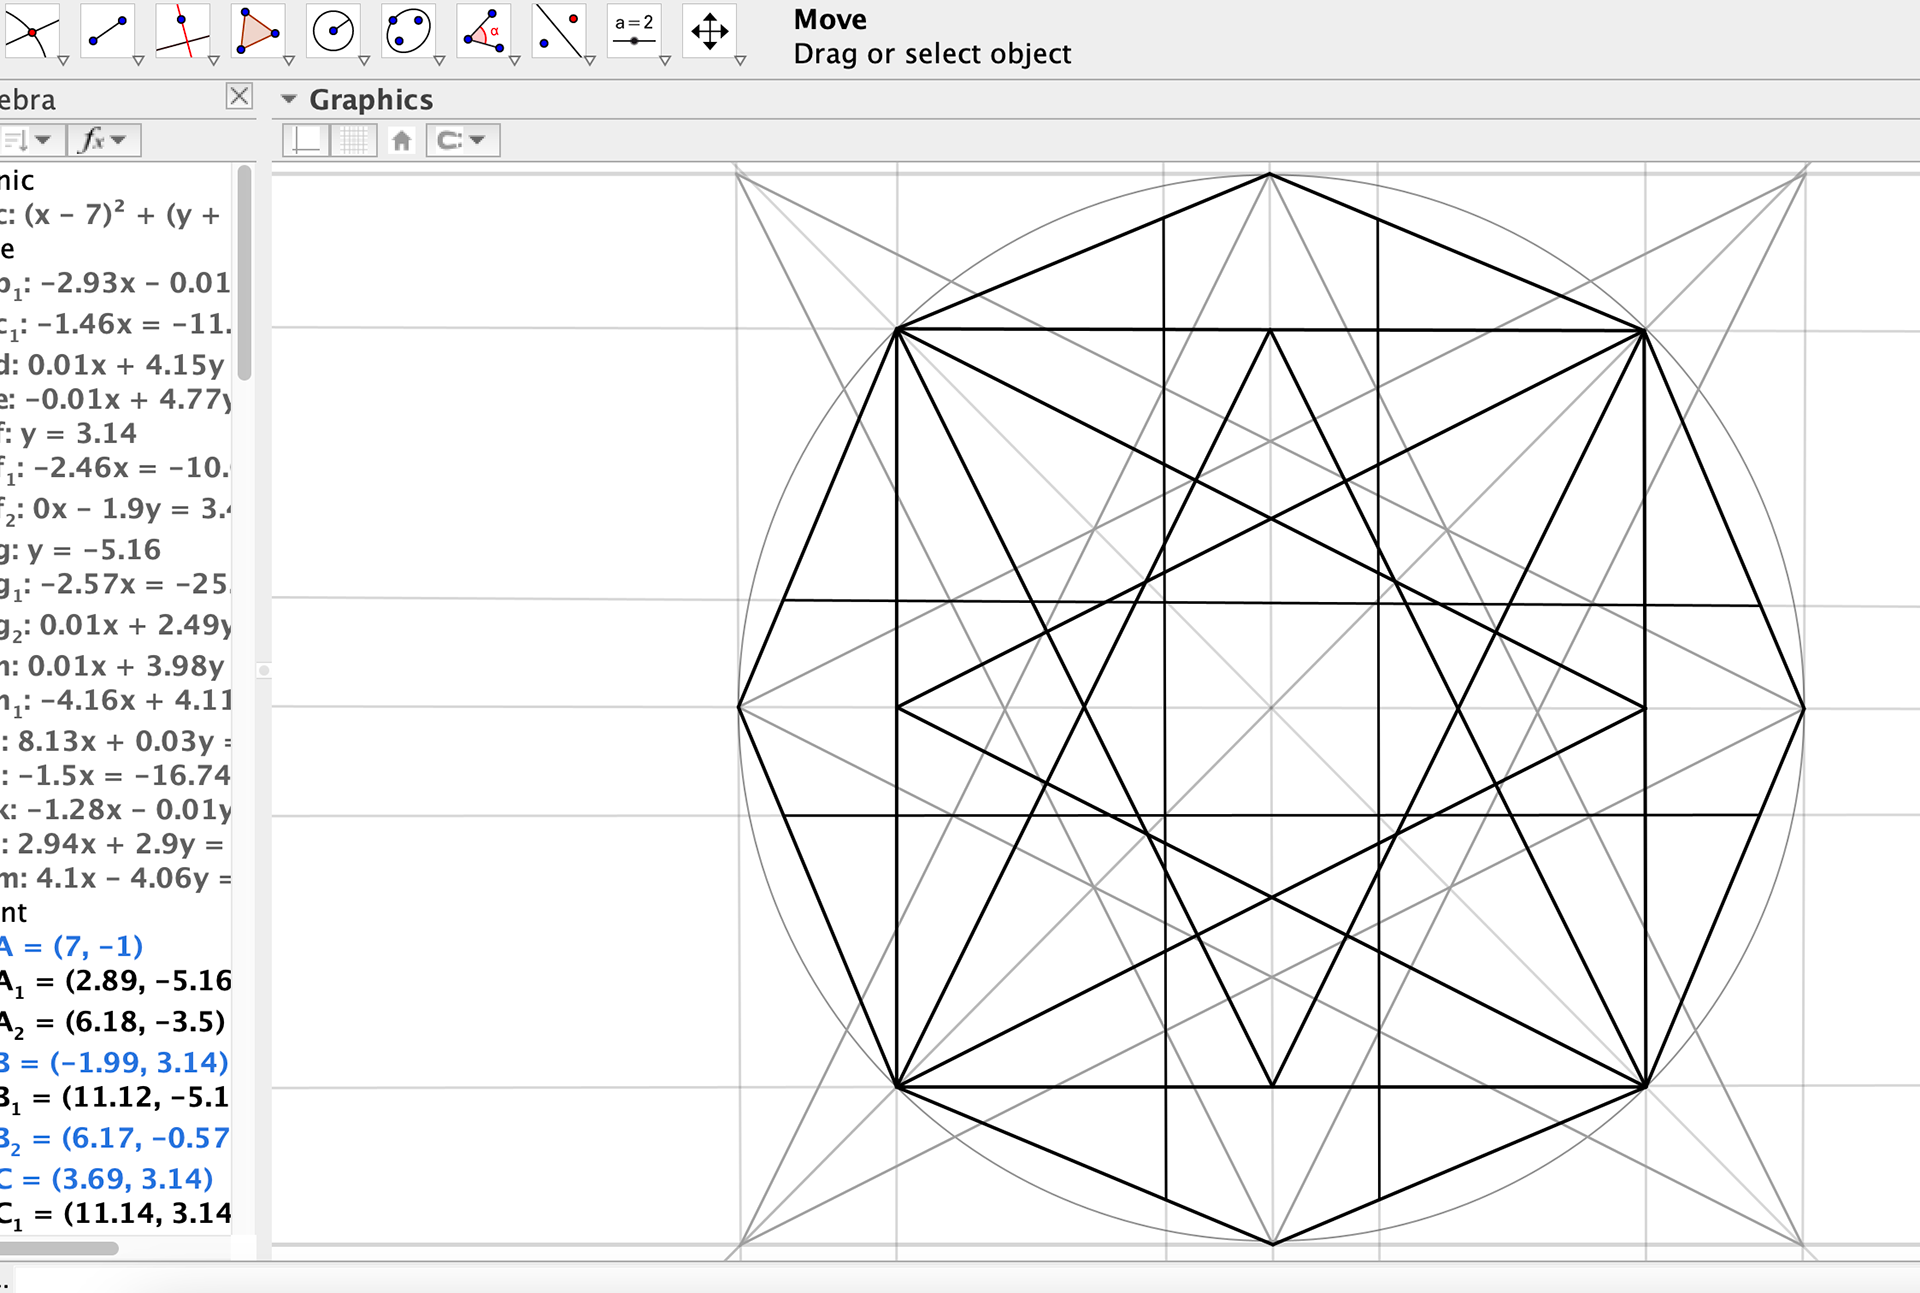
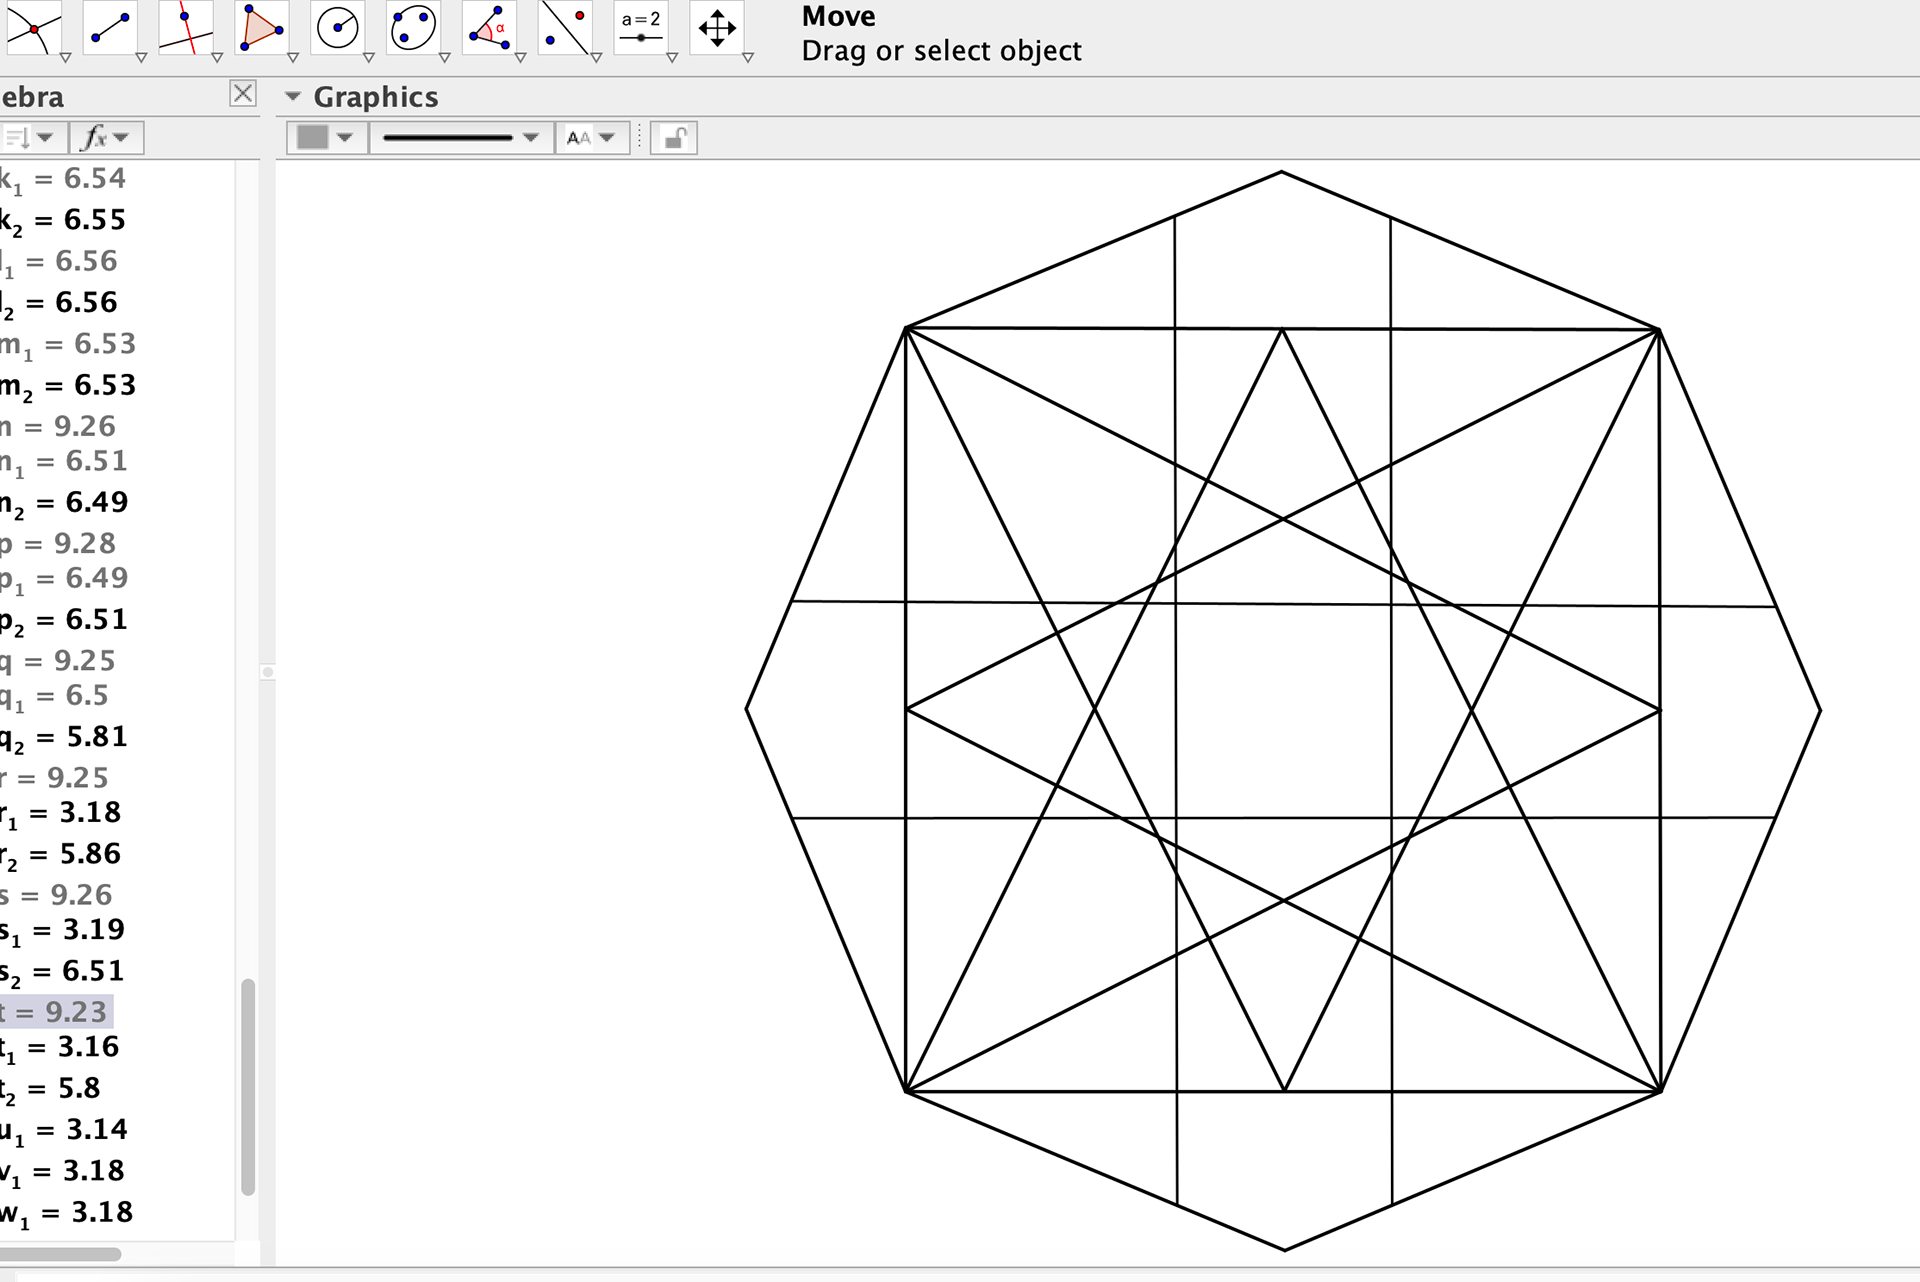
GeoGebra with sandy kurt
Whilst trying to search for YouTube tutorials to help me learn to draw geometric patterns, digitally and by hand, I come across a self taught designer/artist named Sandy Kurt. Specialising in Islamic geometry, she offers online courses of different levels and prices to teach her customers how to draw geometric patterns step by step. This is exactly what I was looking for to be able to draw the patterns, as I was struggling to understand it otherwise. I bought one of the basic short courses as I thought I just need to know the basics to get a idea to draw my own. I would of liked to invest more time and learn to draw the patterns in more depth, however I needed to get my own pattern designed so I could move forward with my project.
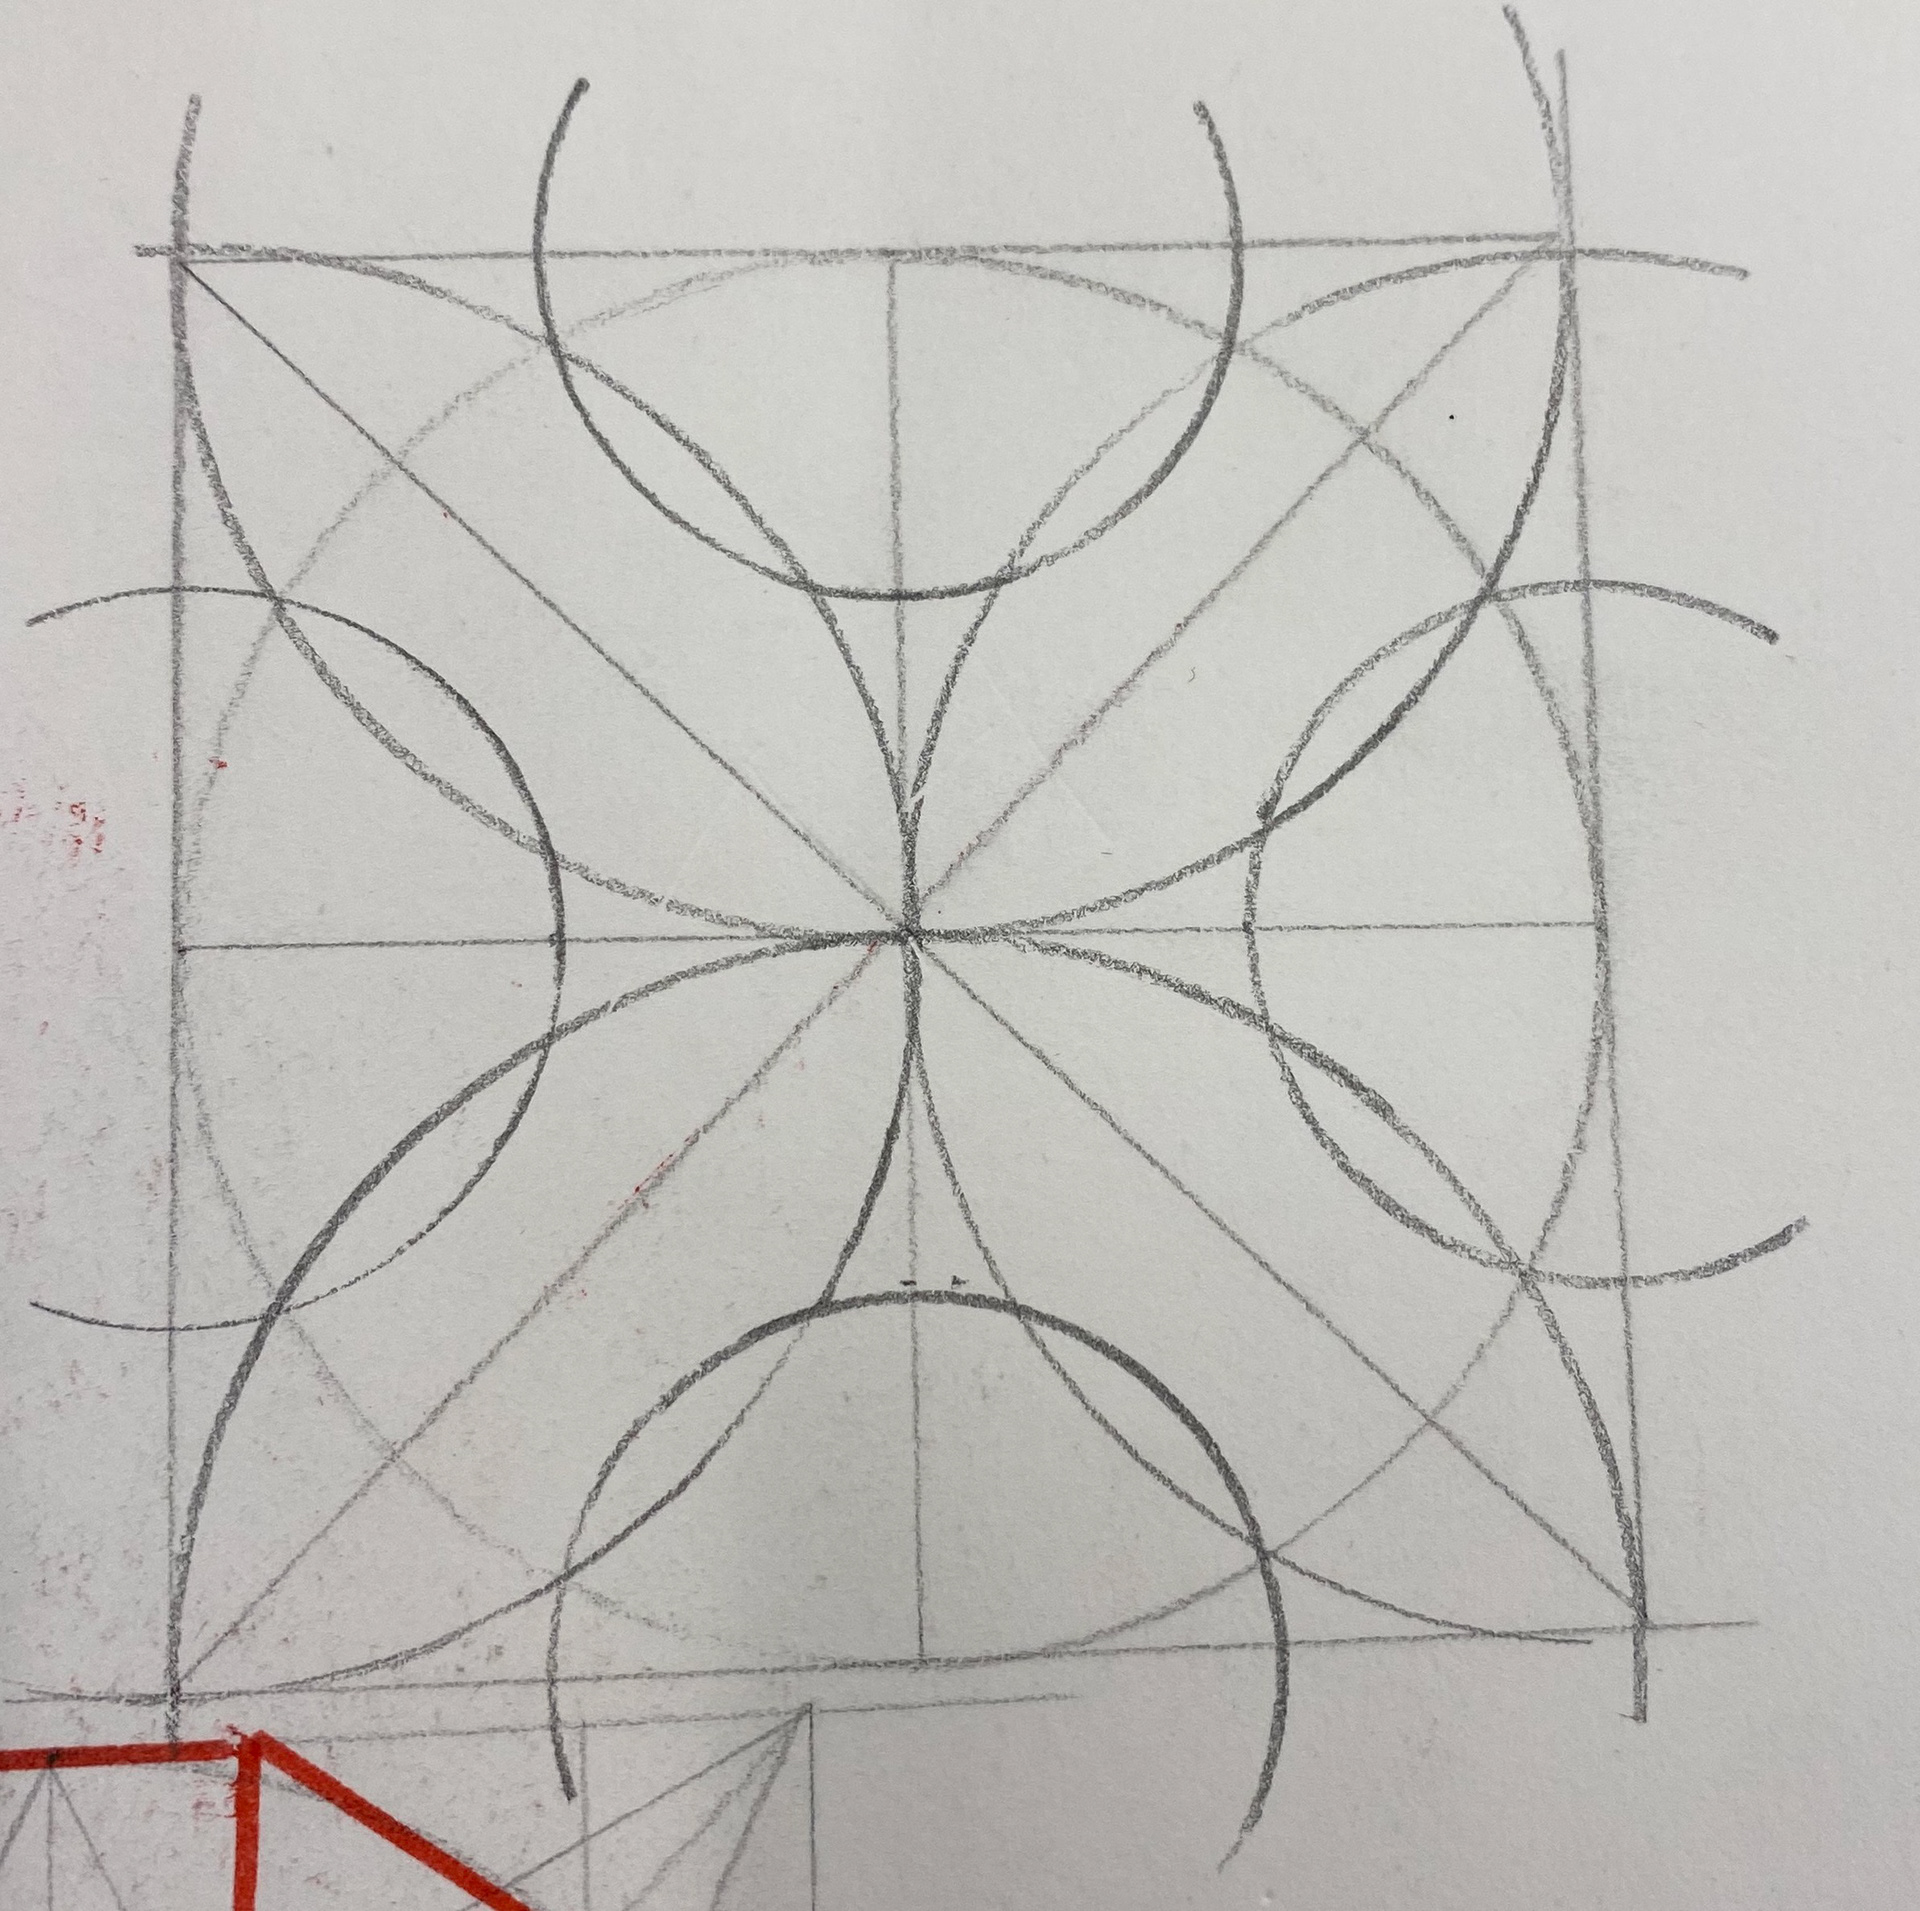
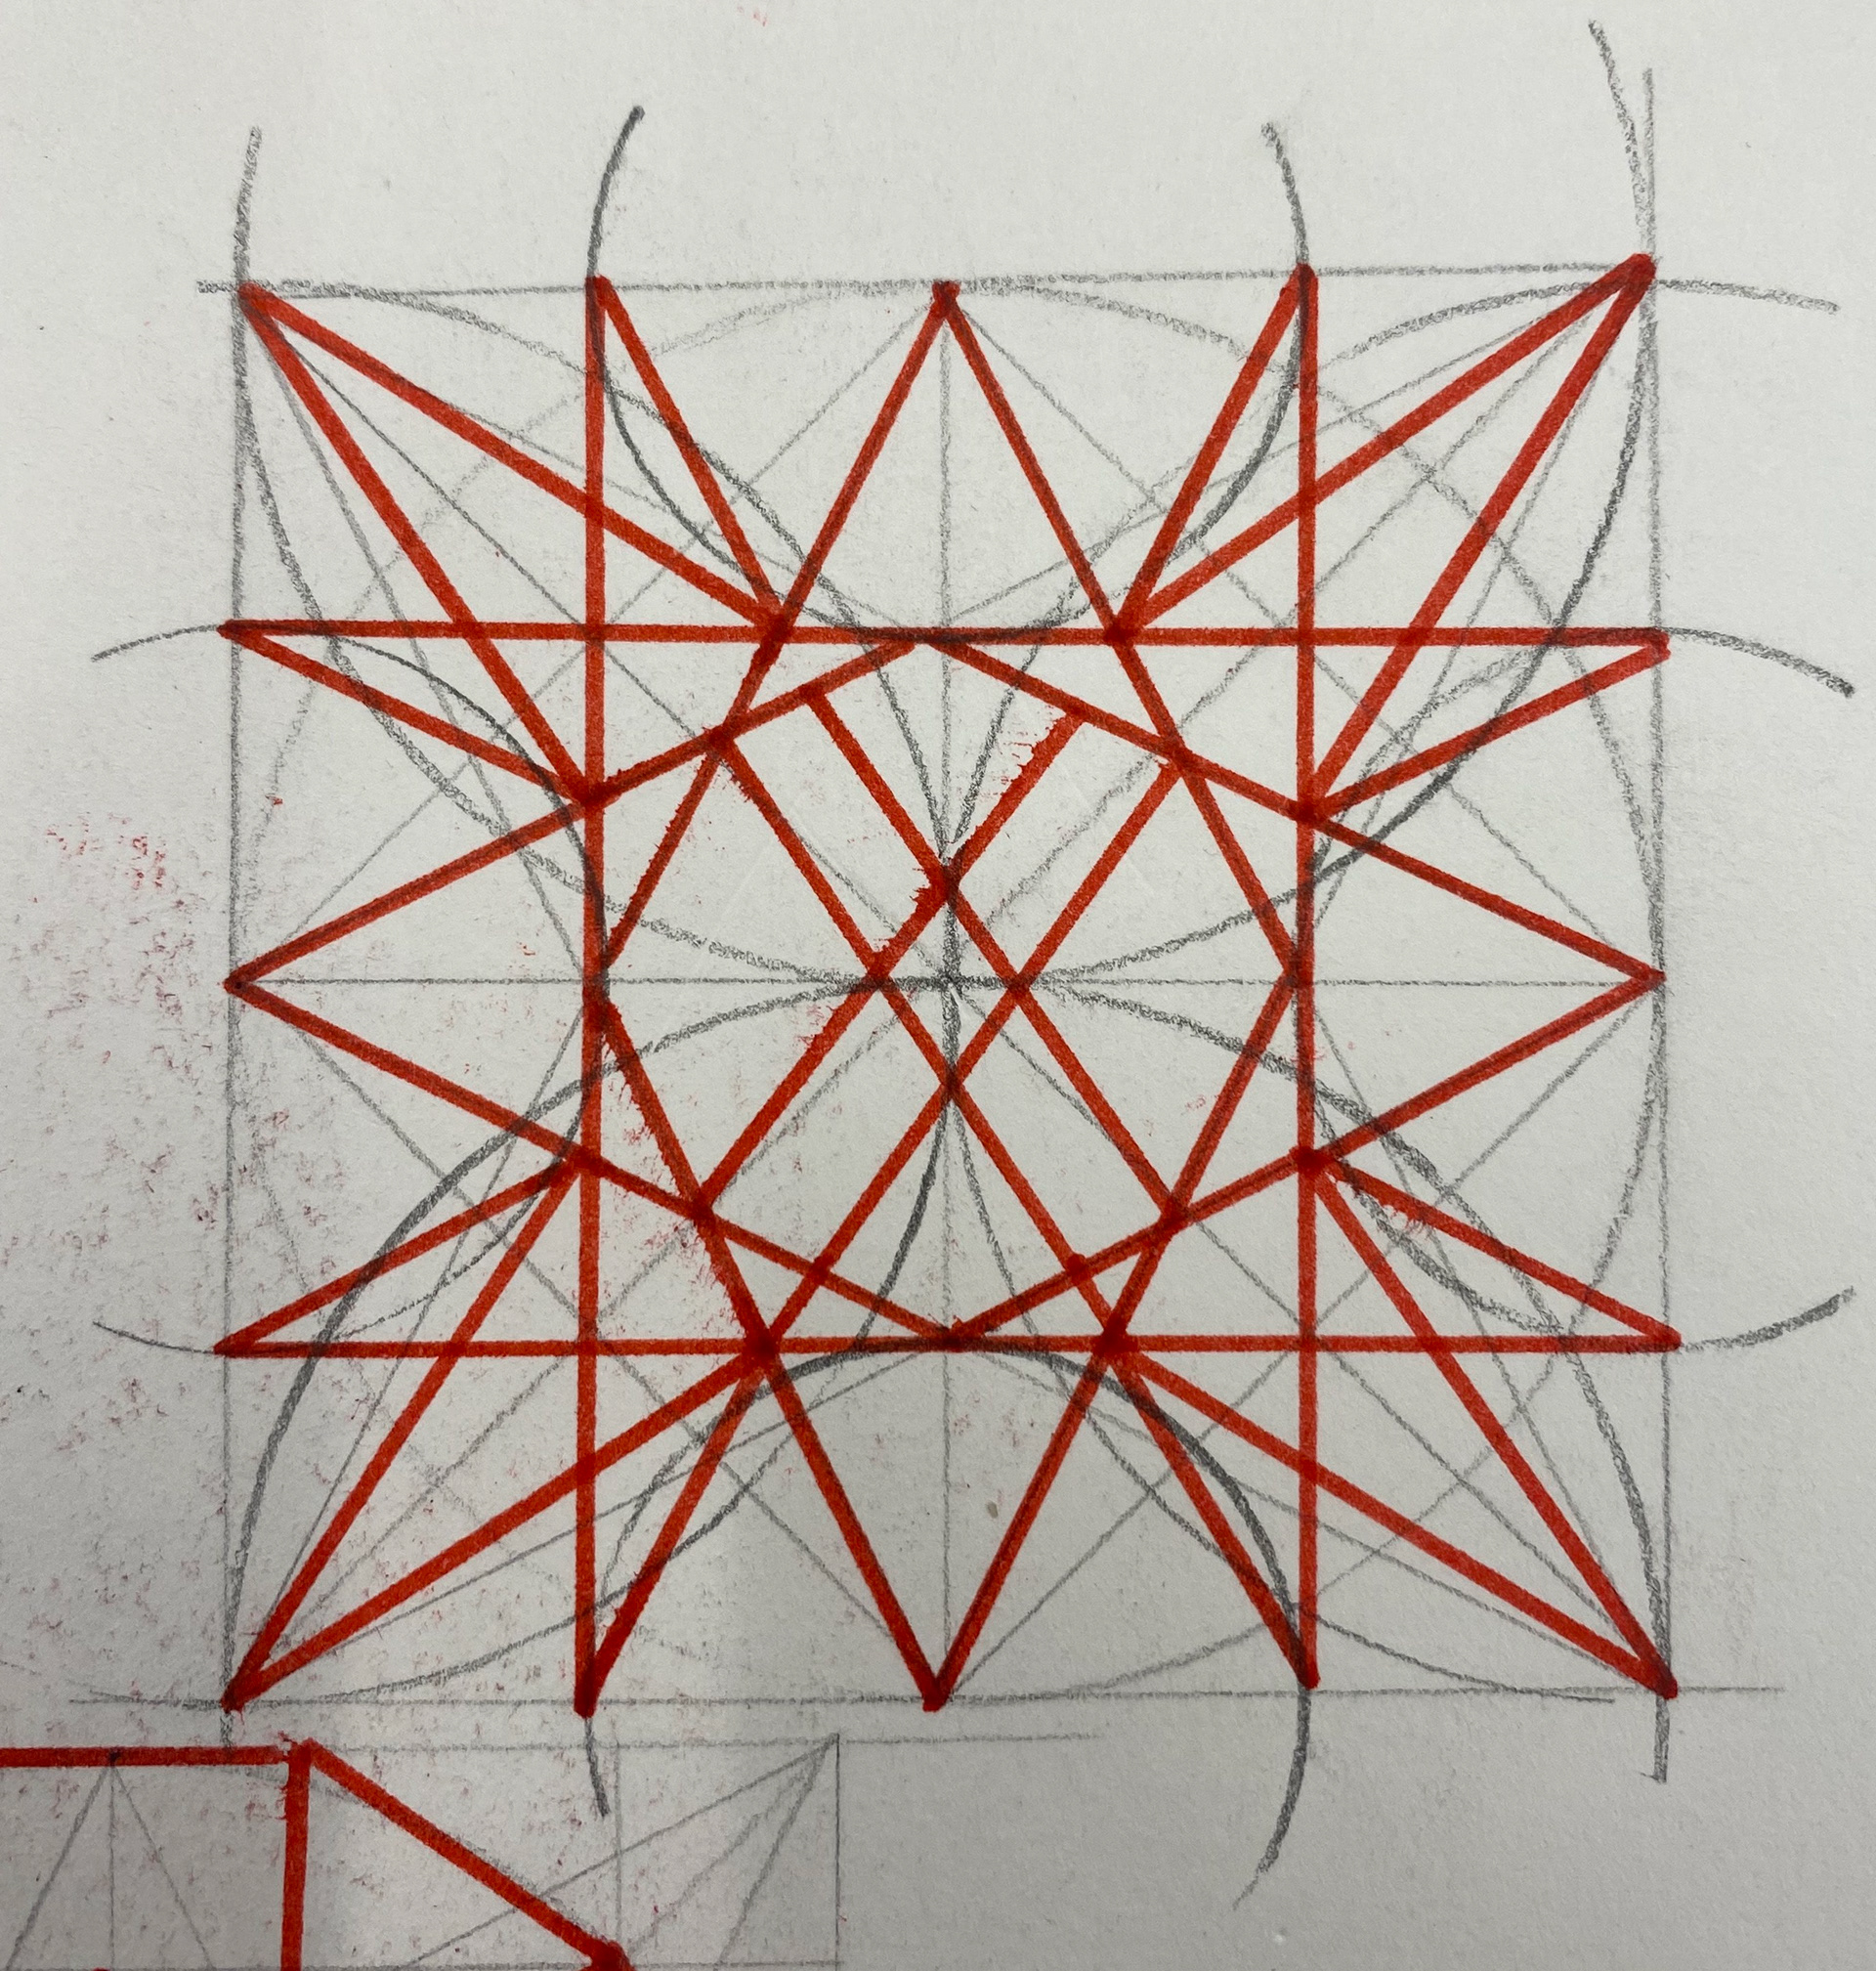
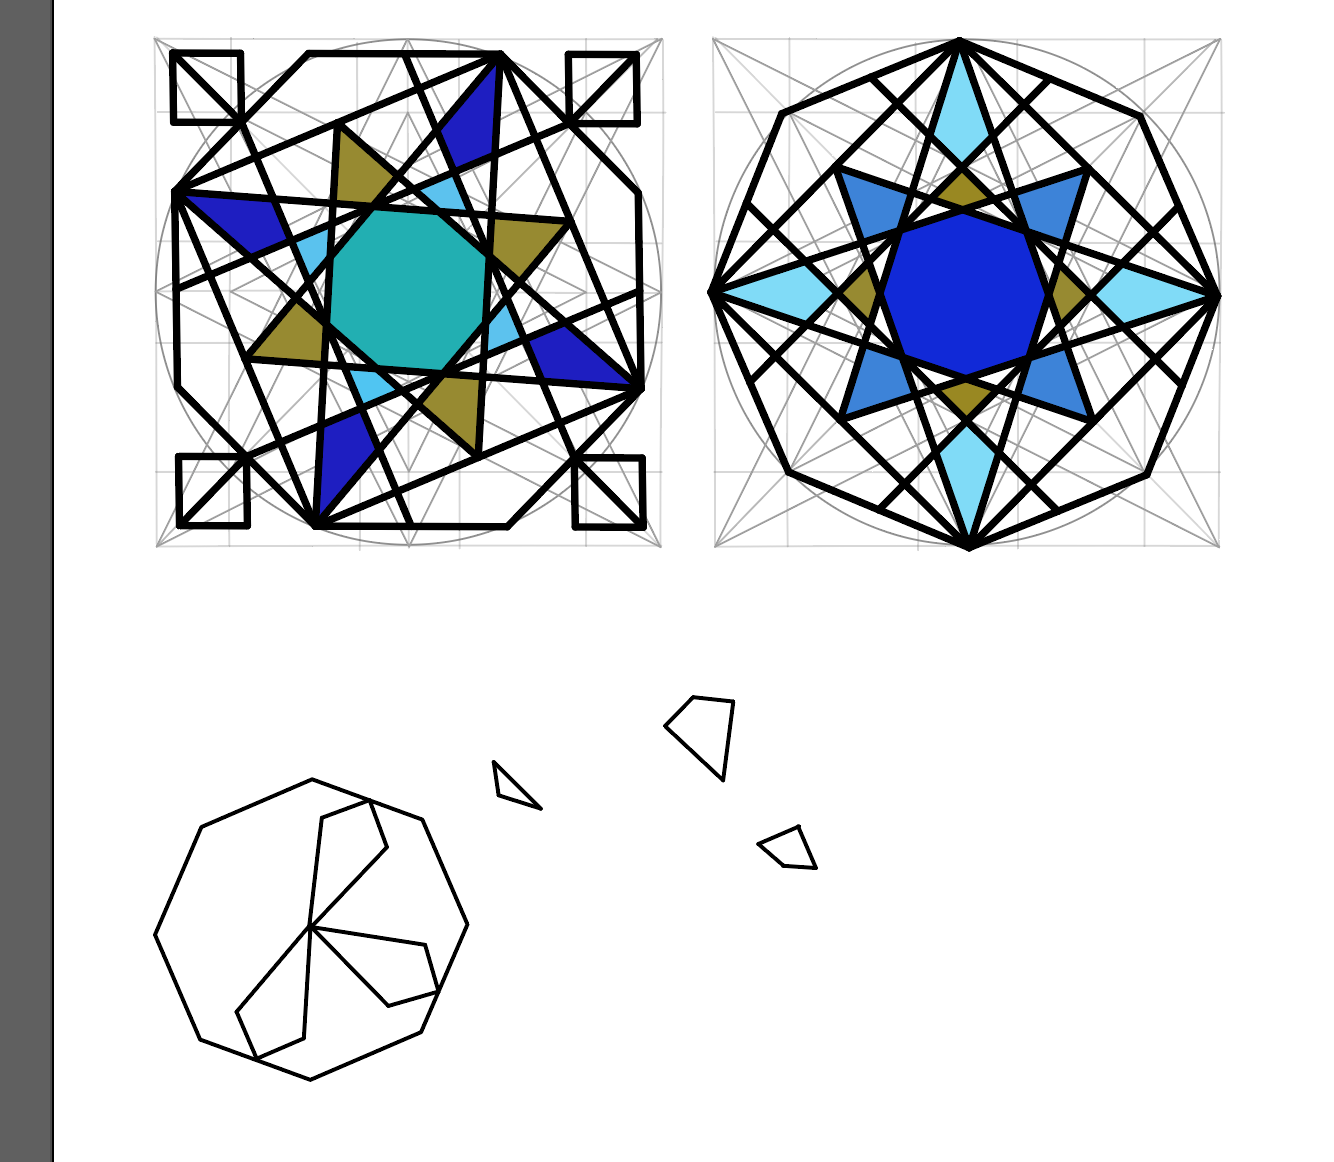
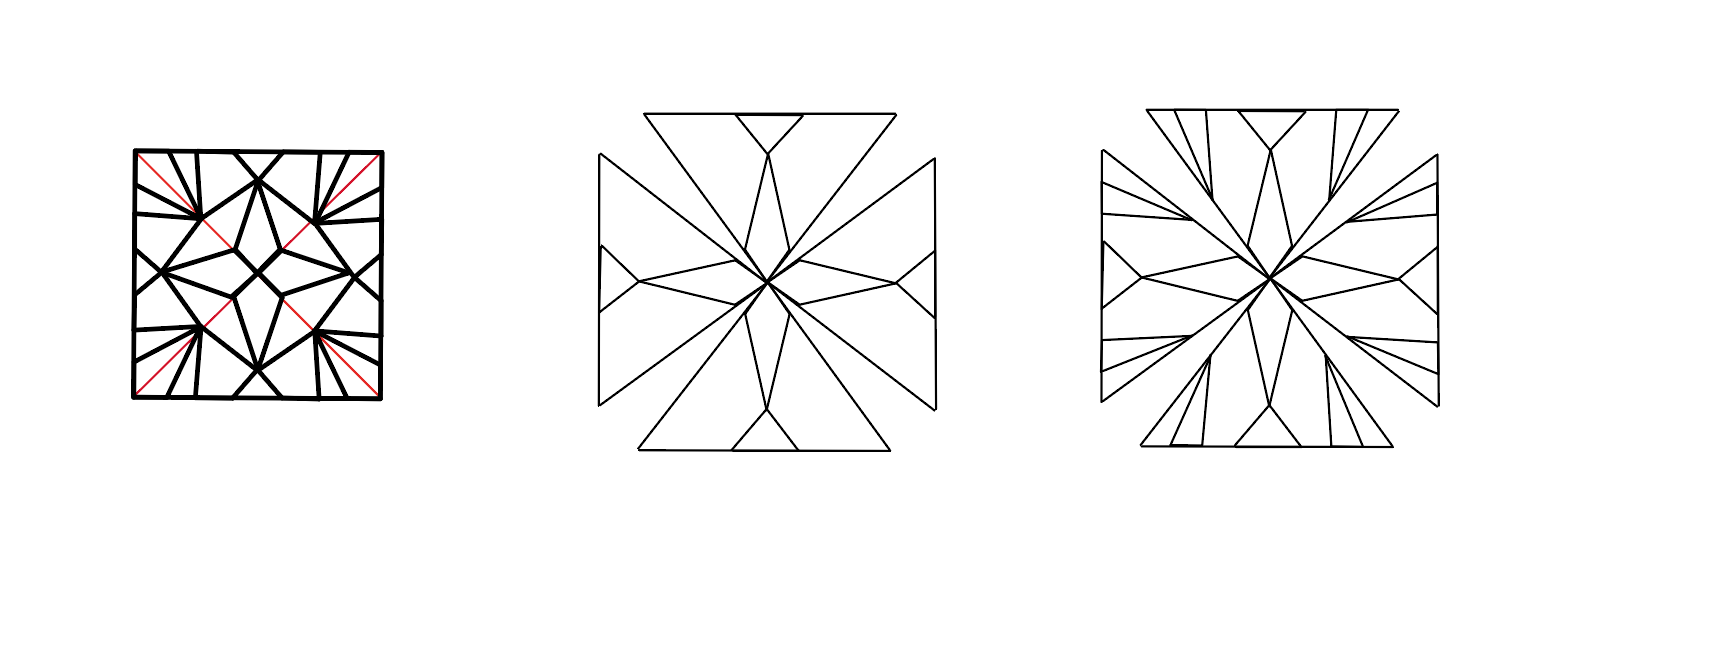
Construction lines for the pattern
The pattern made from the construction lines
The pattern on its own
The above images are screenshots taken from GeoGebra whilst drawing the first section of the pattern.

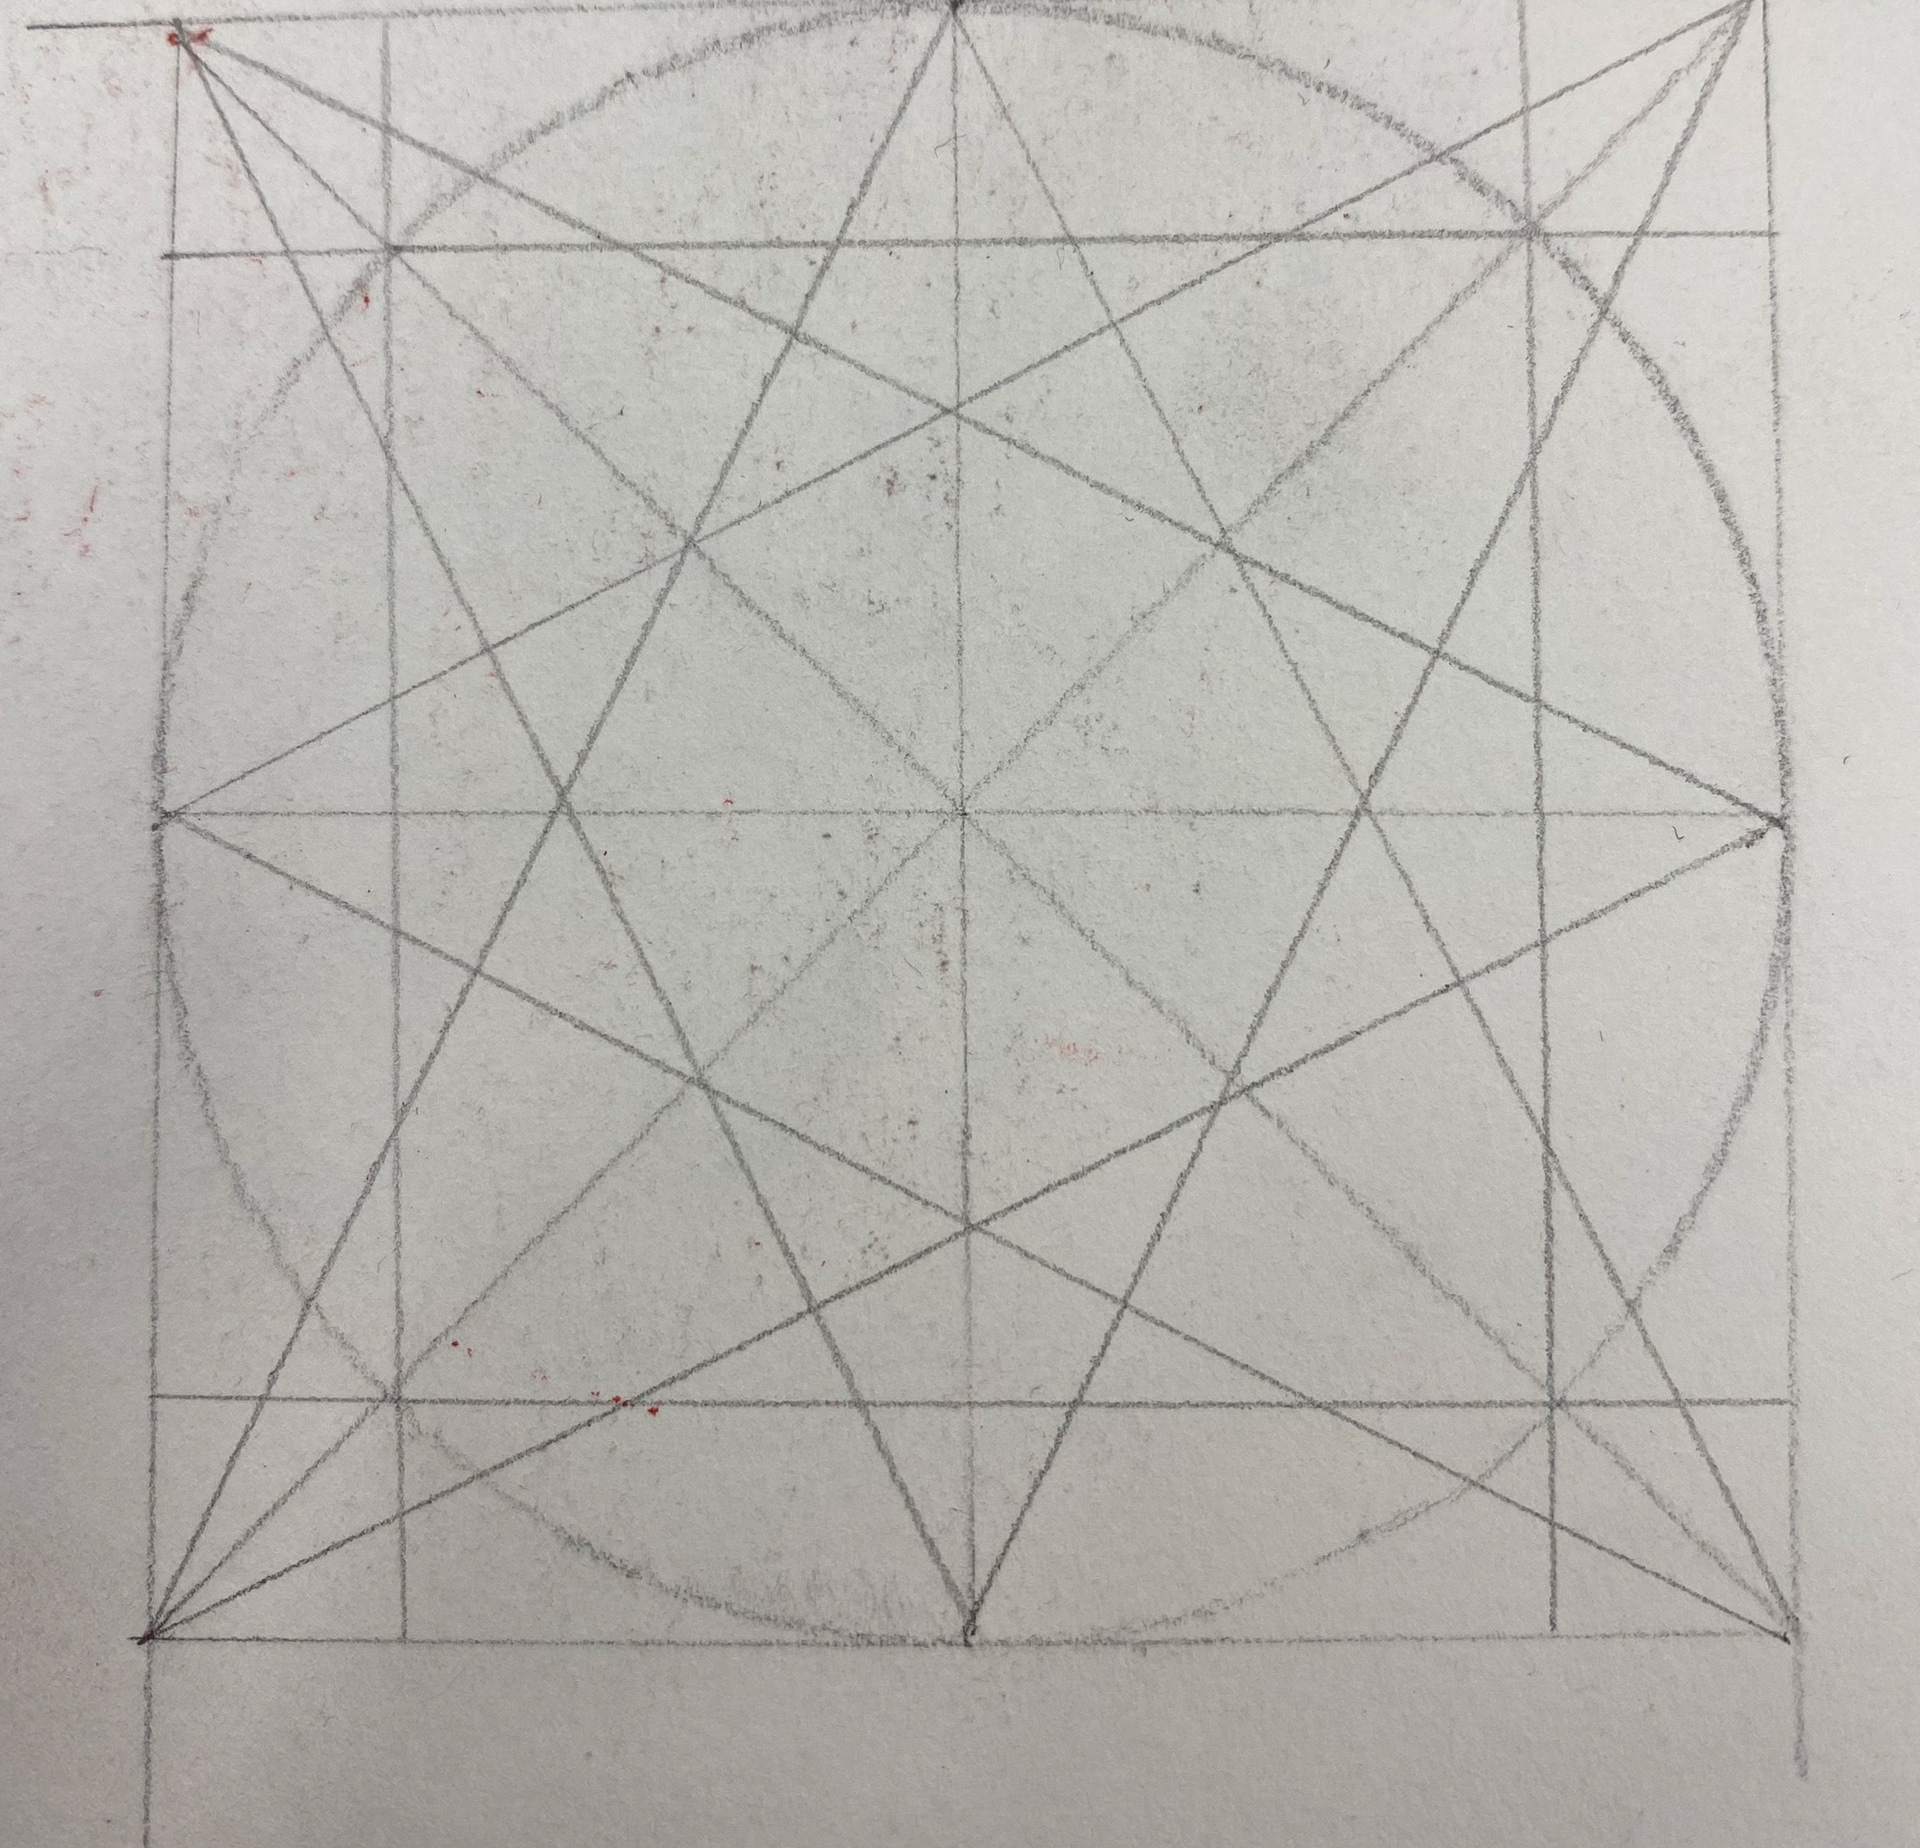
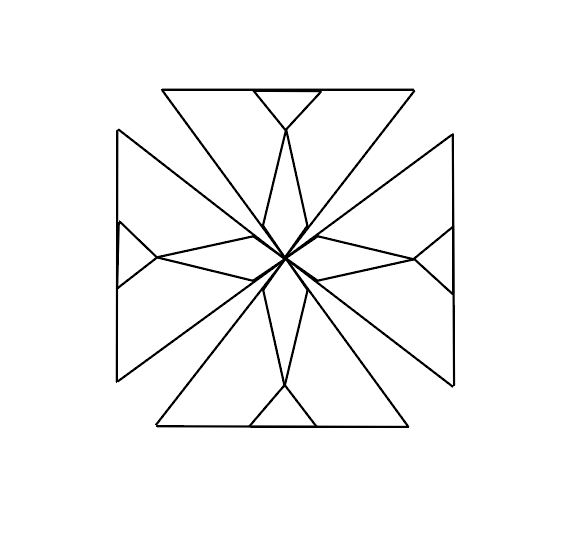
Construction lines for the second section of the pattern
Construction lines and completed pattern
Pattern on its own
Above screenshots are taken in GeoGebra when I was drawing part two of the pattern.
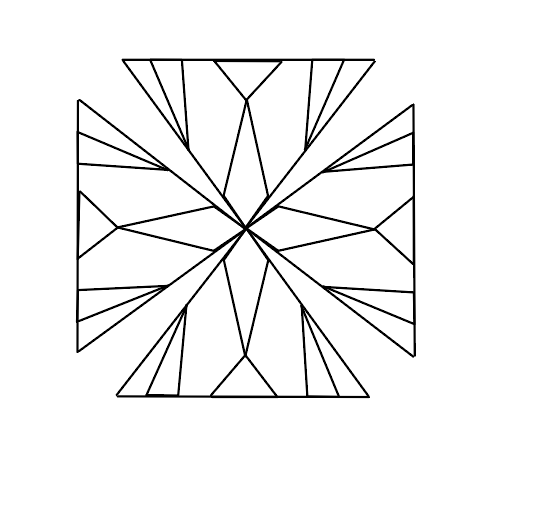
After completing part 1 & 2 of the course, I then exported these to Illustrator and tessellated them to create this final overall pattern.
This course was taught digitally via video tutorials on a software named GeoGebra. I found the step my step method really helpful and the software quite easy to use. I knew I could take what I learnt whilst drawing the construction lines digitally and apply this to drawing my own pattern by hand.
In the future I would like to invest some time and money into doing other courses with Sandy Kurt. I find it intriguing and challenging to draw the patterns, as well as having a natural interest in them. This is to broaden my knowledge and skills on drawing geometric patterns so I can use this in my future designs.
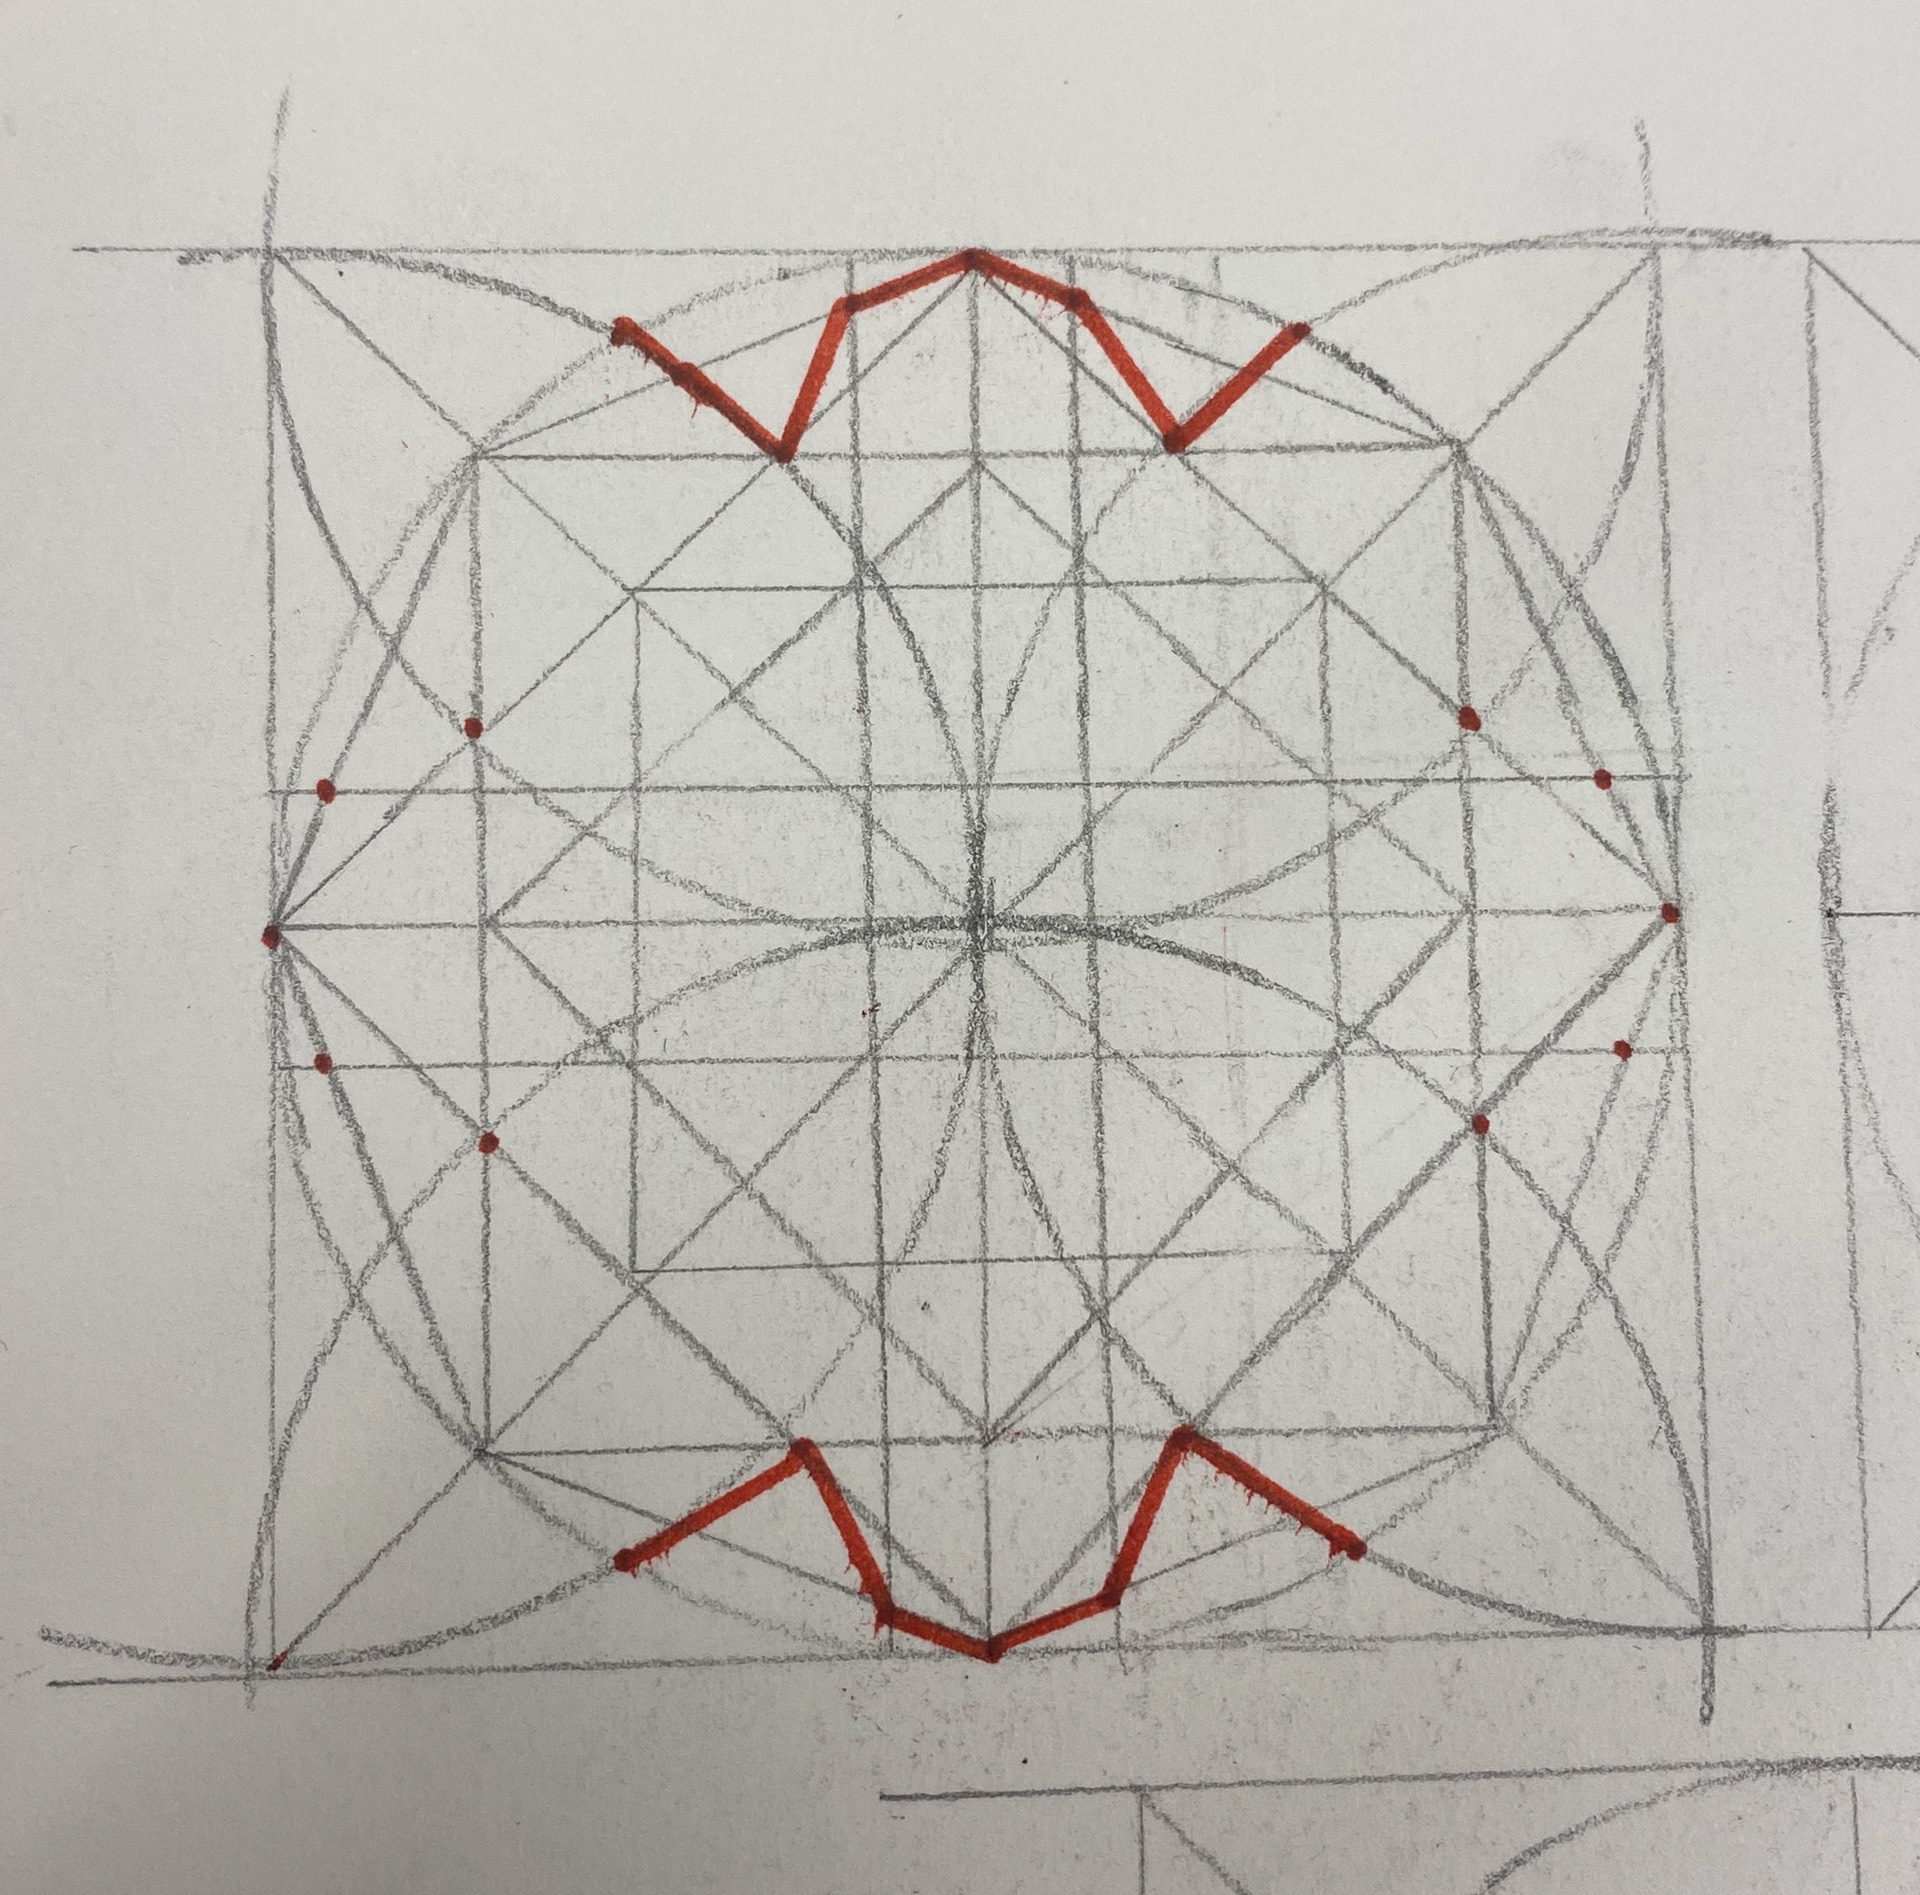
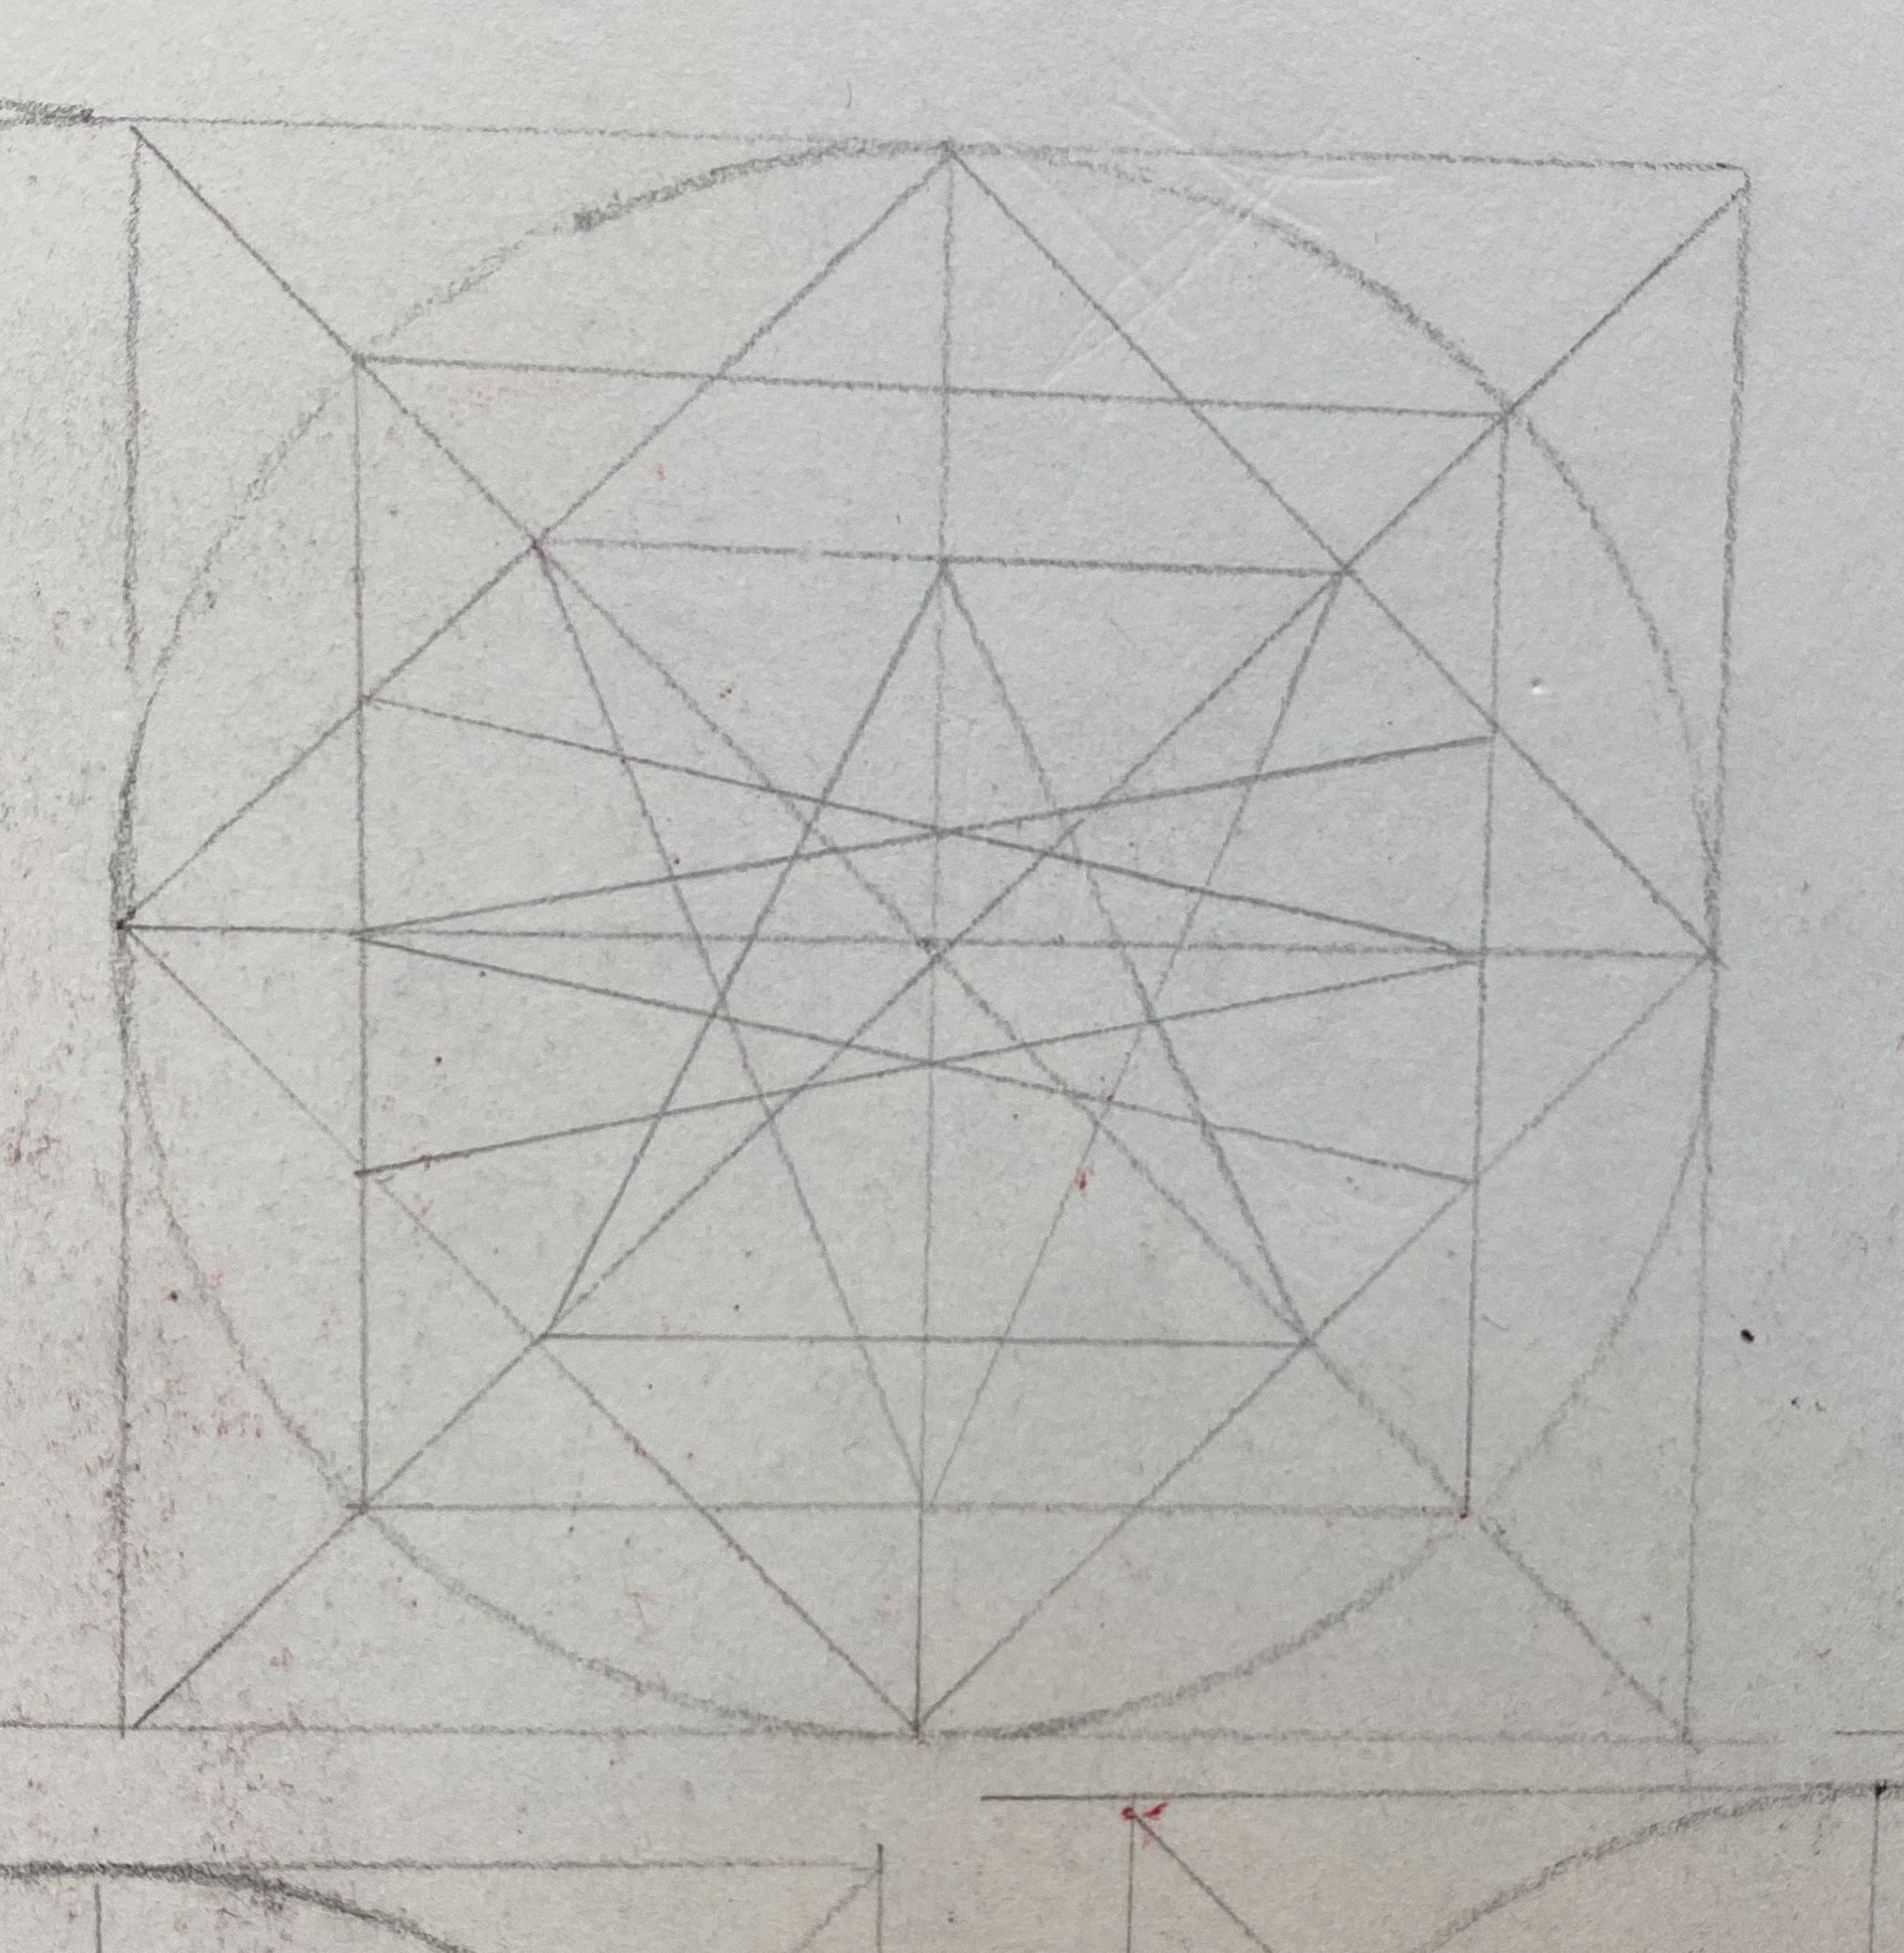
Further Drawings
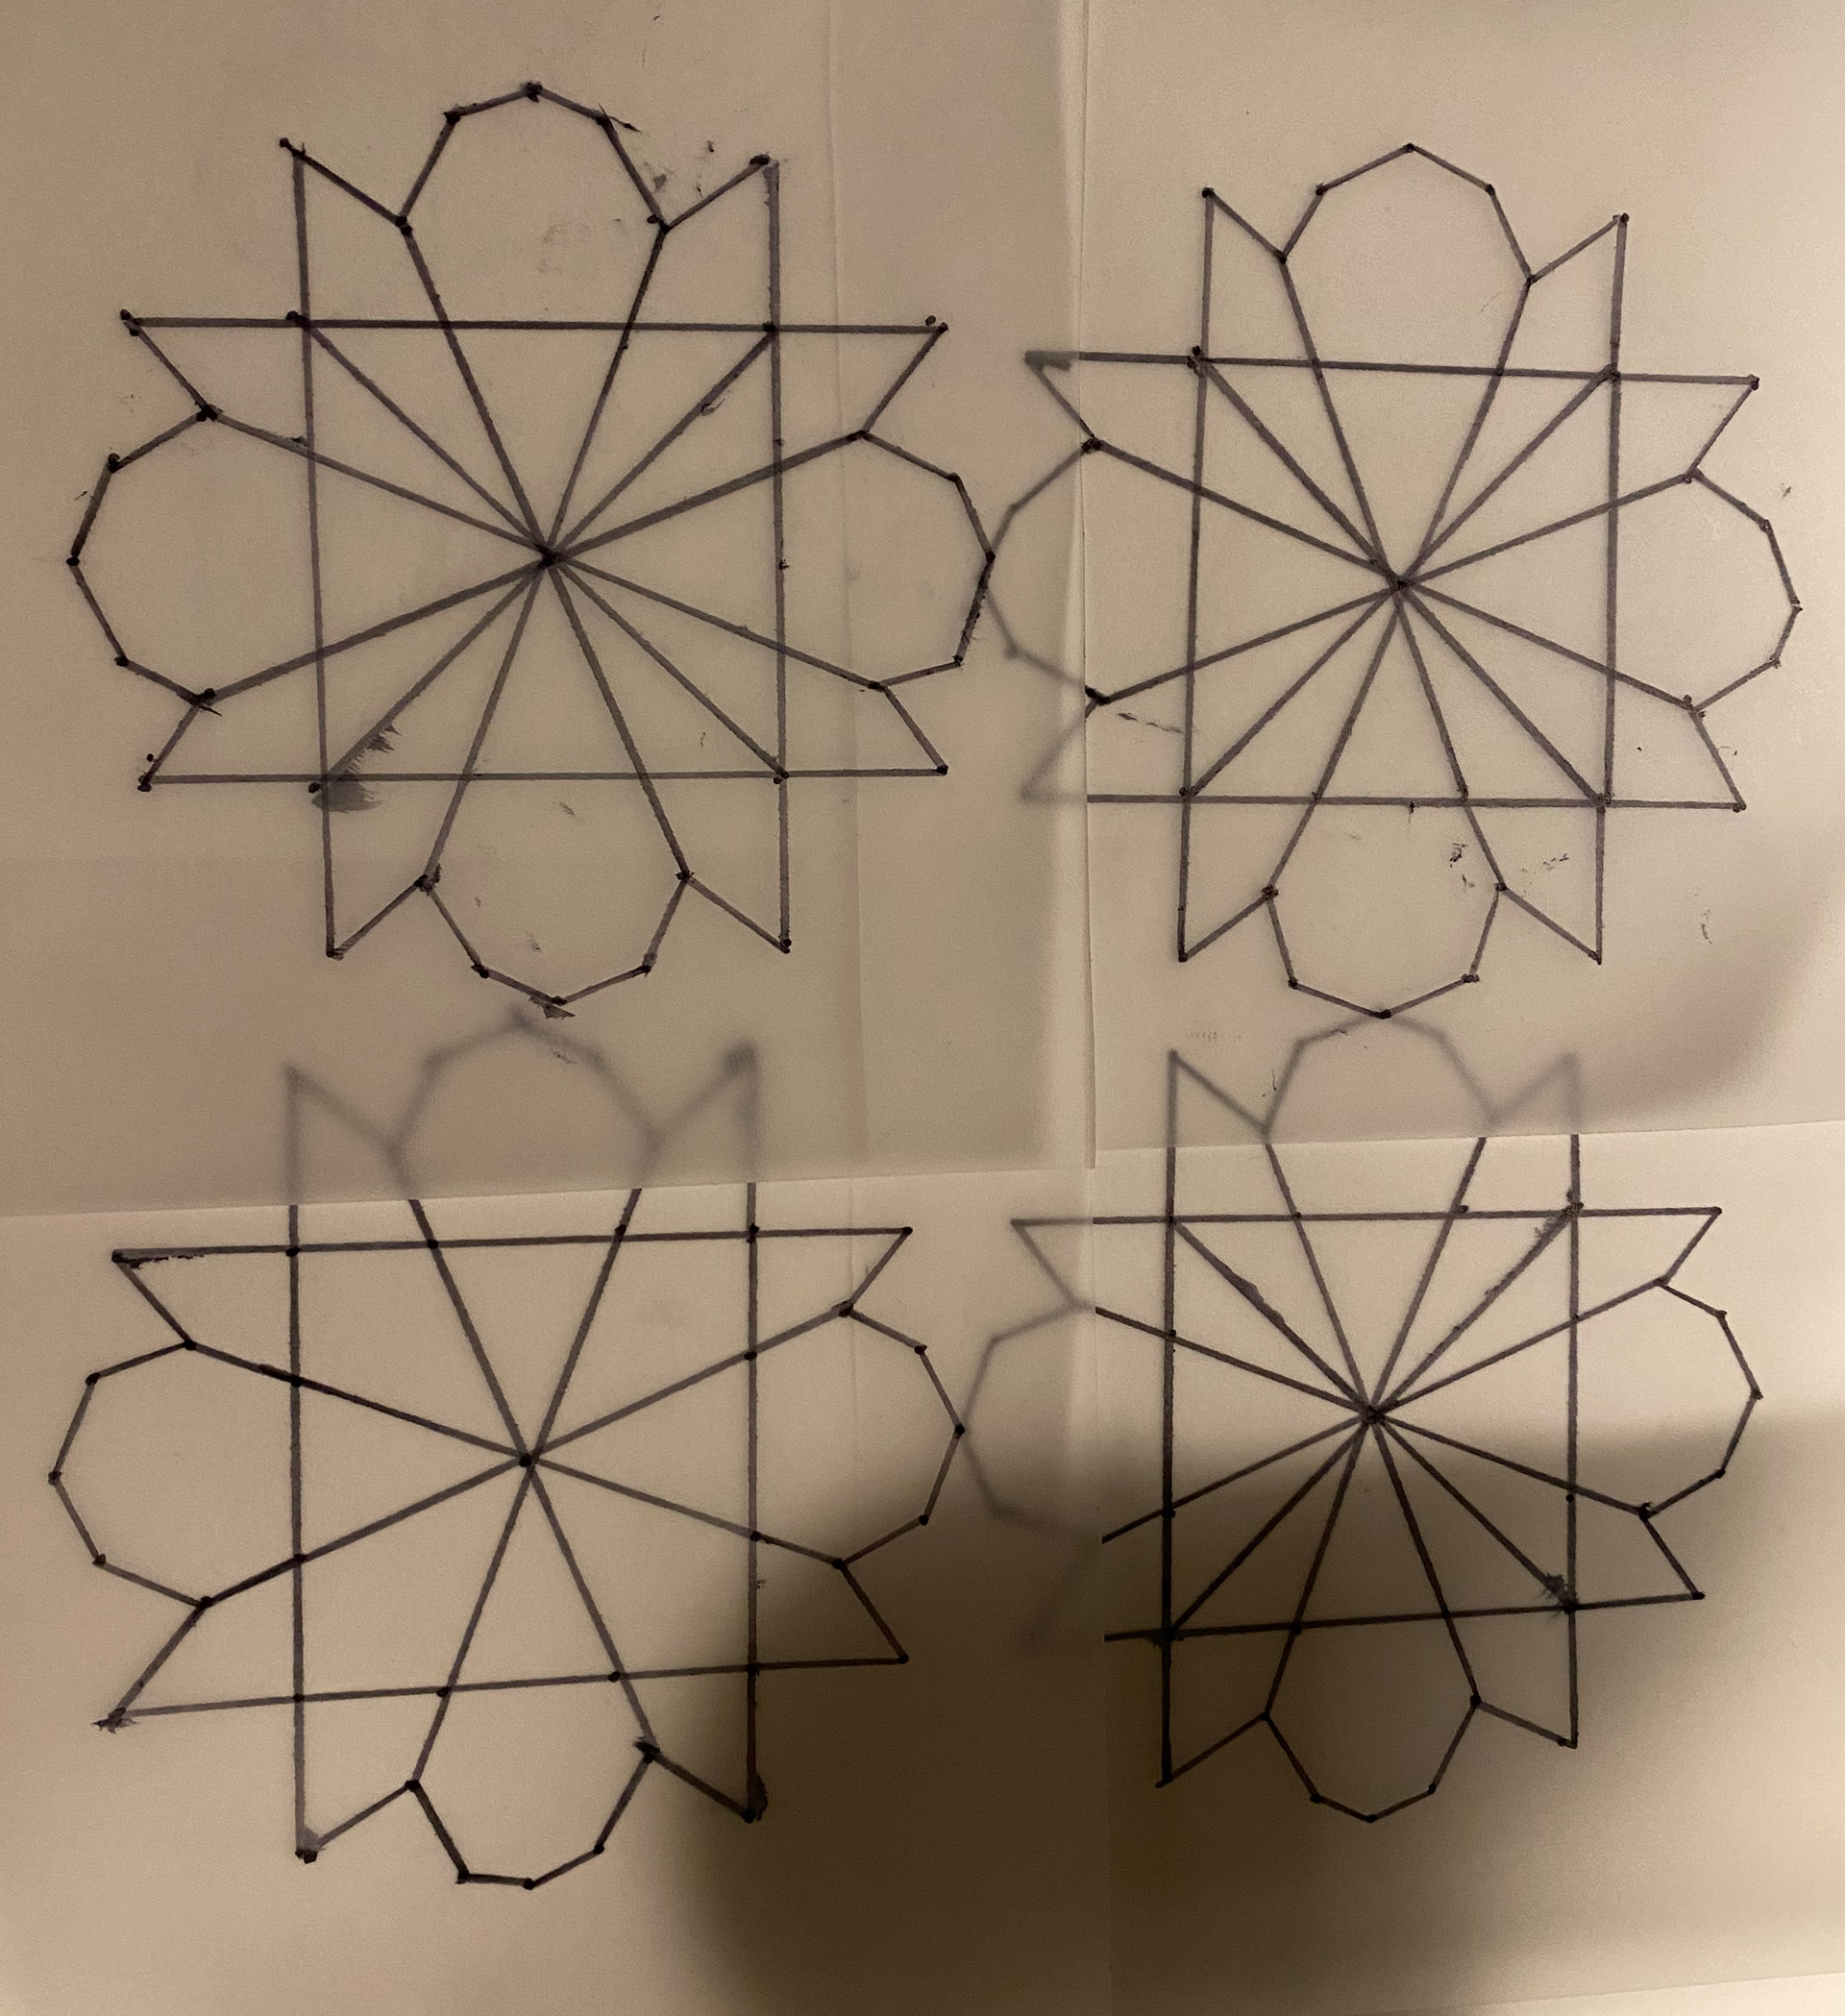
As well as practicing drawing digitally, I wanted to practice drawing by hand before I started my own designs. To do this I followed step by step instructions from the book 'Practical Geometric Pattern Design - Decagonal Patterns in Persian Traditional Art by Mirostaw Majewski' to draw Persian geometric shapes that are found in architecture around Iran. I found this quite useful, it gave me a feel of drawing in this style and practice using a compass and getting into the flow of doing it by hand before I started my own drawings.


Practicing Hand Drawing my own pattern
After completing the course with Sandy Kurt and reading books on how to draw geometric patterns, I felt like I could give it a go to try and draw my own. Although there are different rules and guidelines on how to draw a pattern, at this stage I didn't completely understand them and didn't have time to learn more. Because of this, I decided to take a different approach to try to the draw patterns. I used some of the basic skills I'd learnt but also just experimented with different shapes and lines, and then seeing where this took me.
All the images below are of my drawings, including some photos of different stages of each pattern, the construction lines (in pencil), and the pattern (in red). I drew 5 different patterns like this. Im not sure if they follow the rules of drawing geometric patterns but I liked the outcomes. The photo on the bottom right is where I traced one of the patterns onto tracing paper a few time to then tessellate it to see what it would look like. After tessellating that pattern I decided it didn't really work well and wasn't what I wanted.
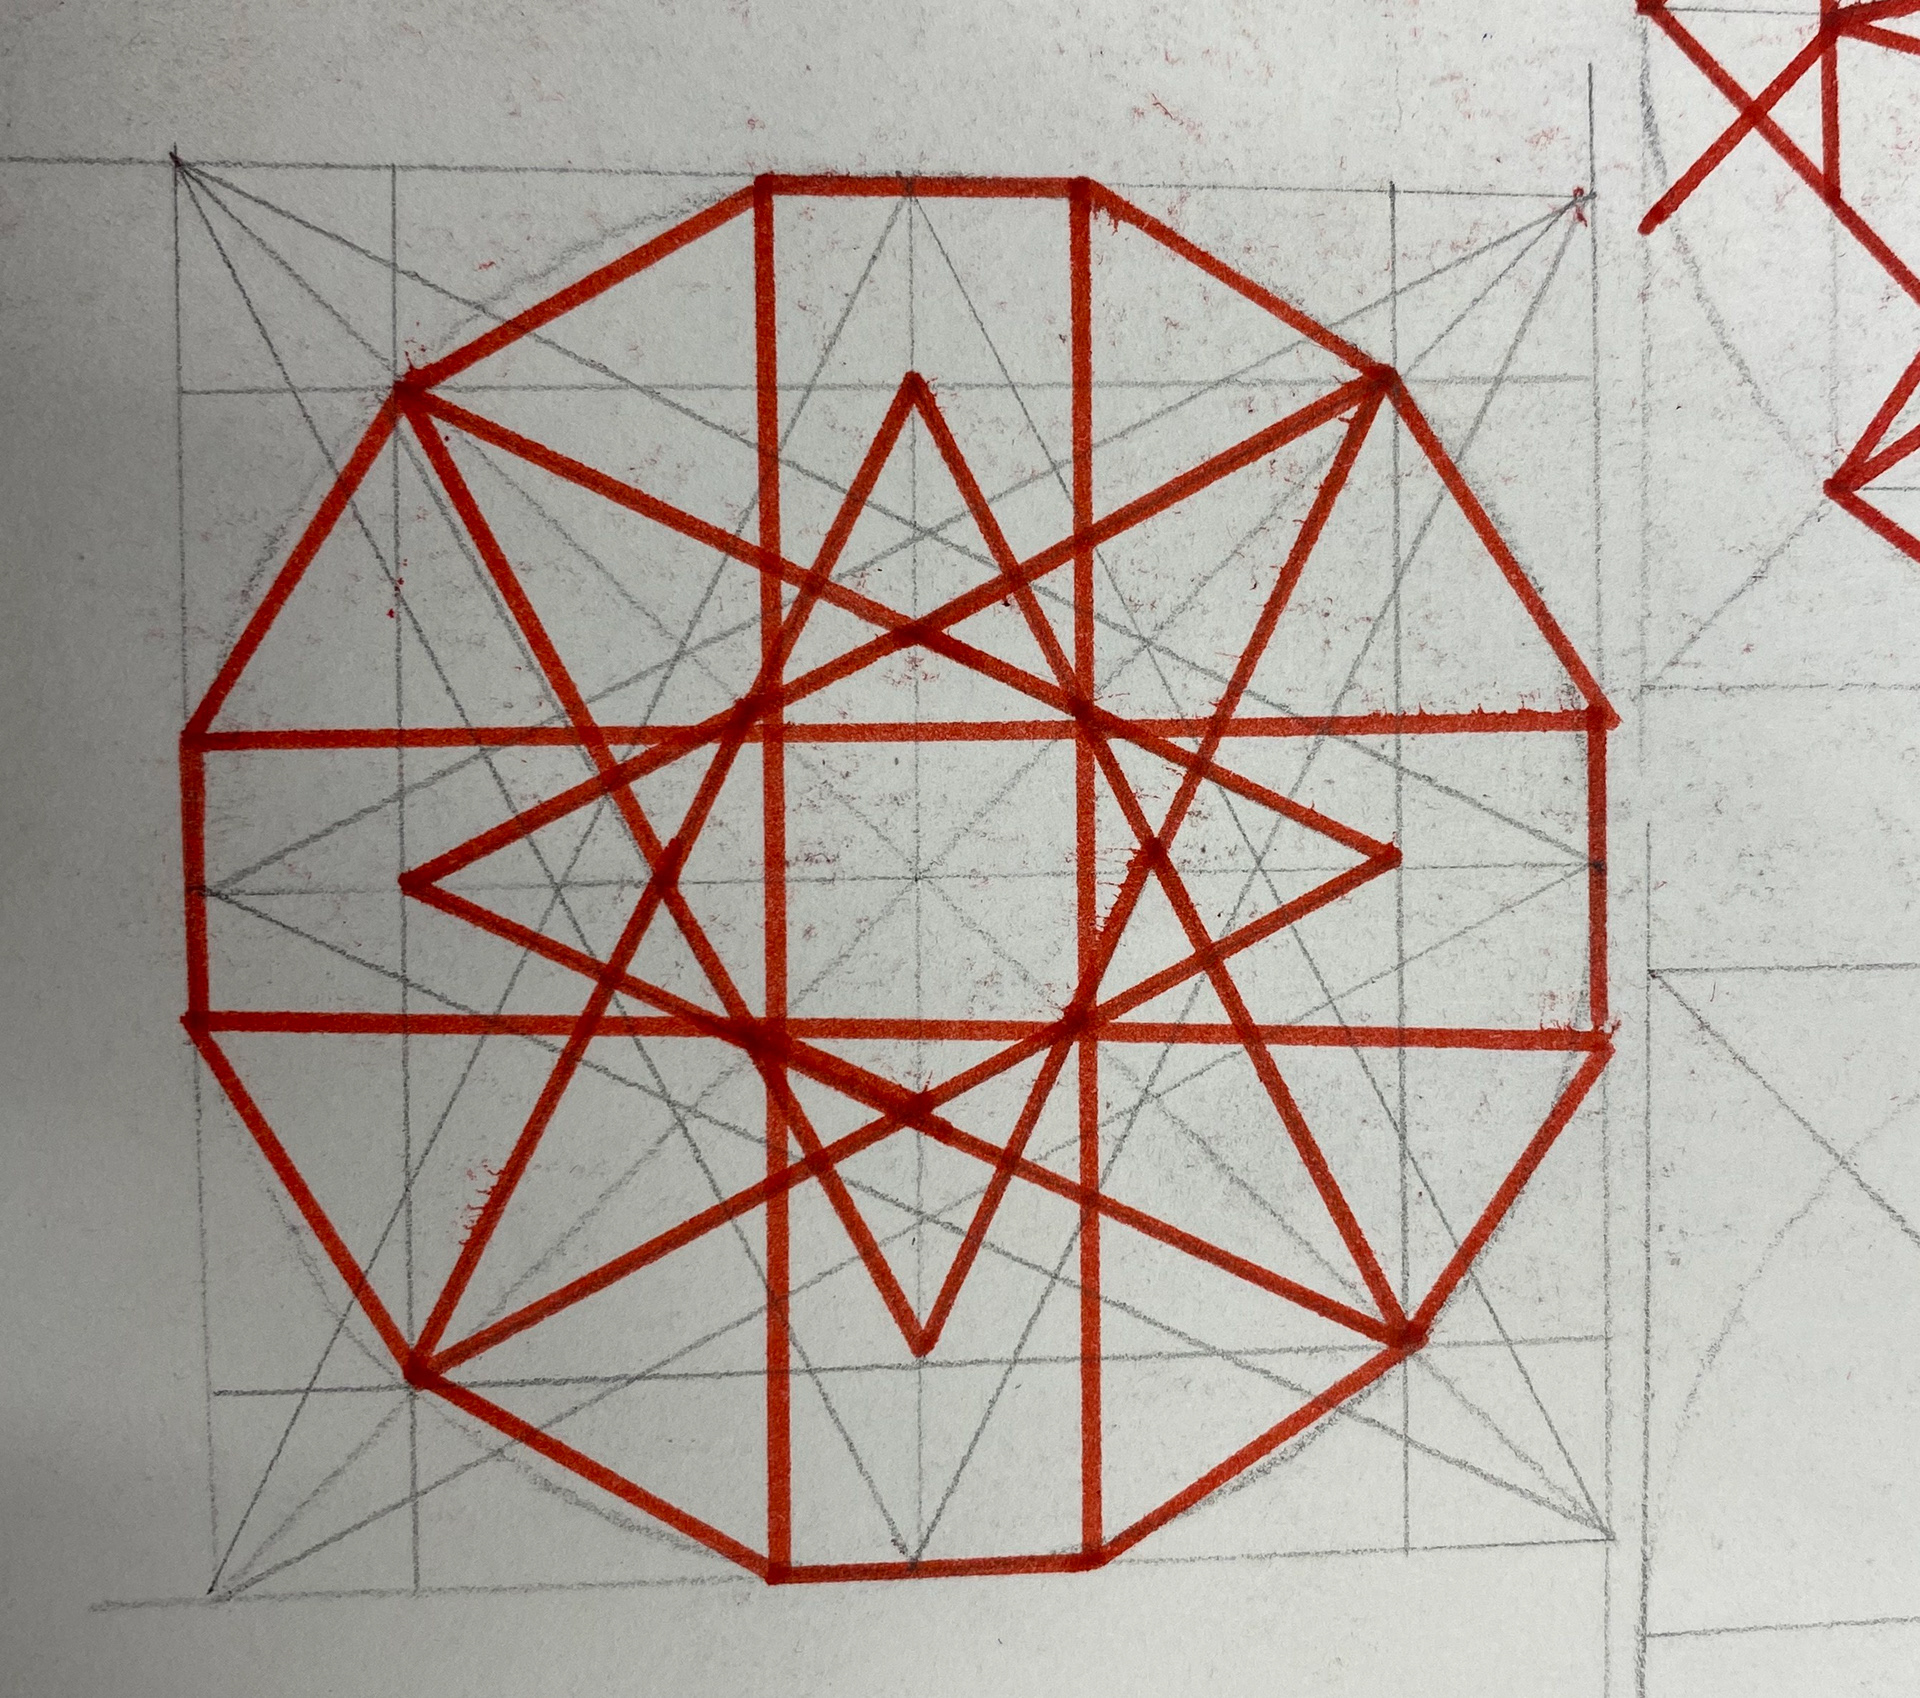

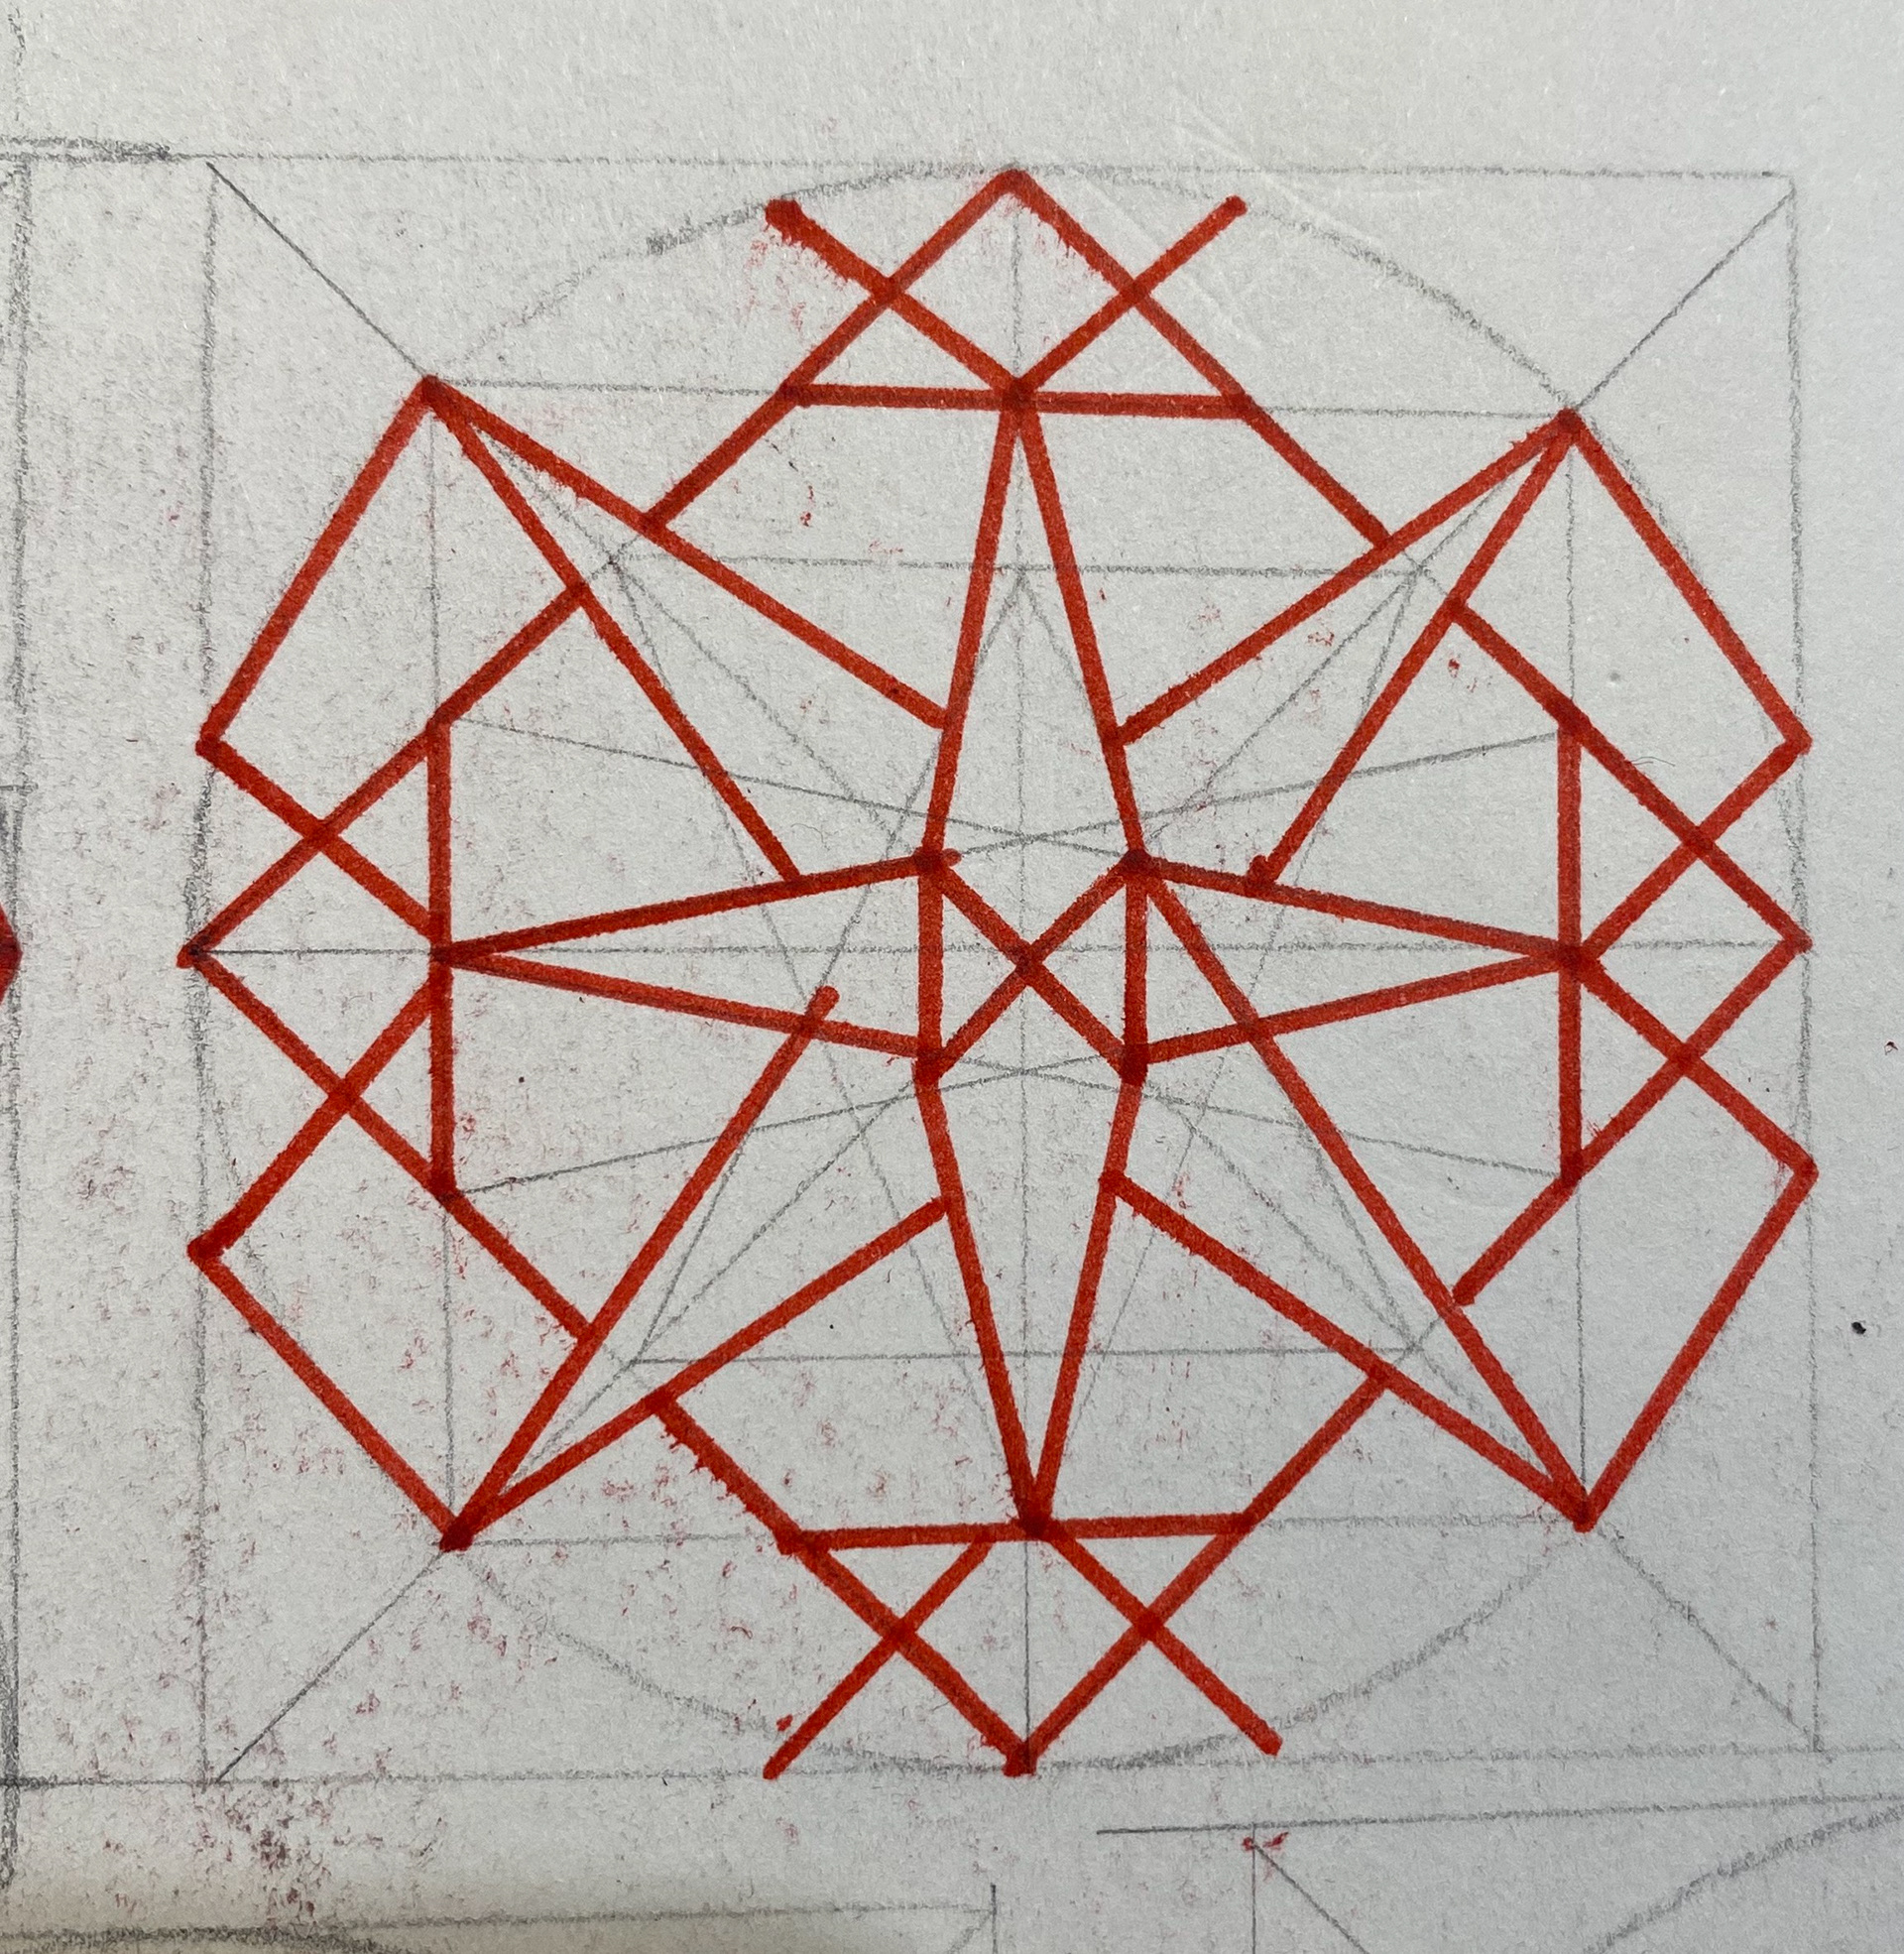

Tessellated pattern on tracing paper

Five final patterns I drew.
I chose to go with the bottom right pattern from the photo above. This was because I liked some of the individual shapes in the pattern and feel it could be easier to repeat. I think if I was to draw them again I would make the designs less caged in. Without a border and simpler. Similar to the patterns I drew by hand following the book as shown previously.
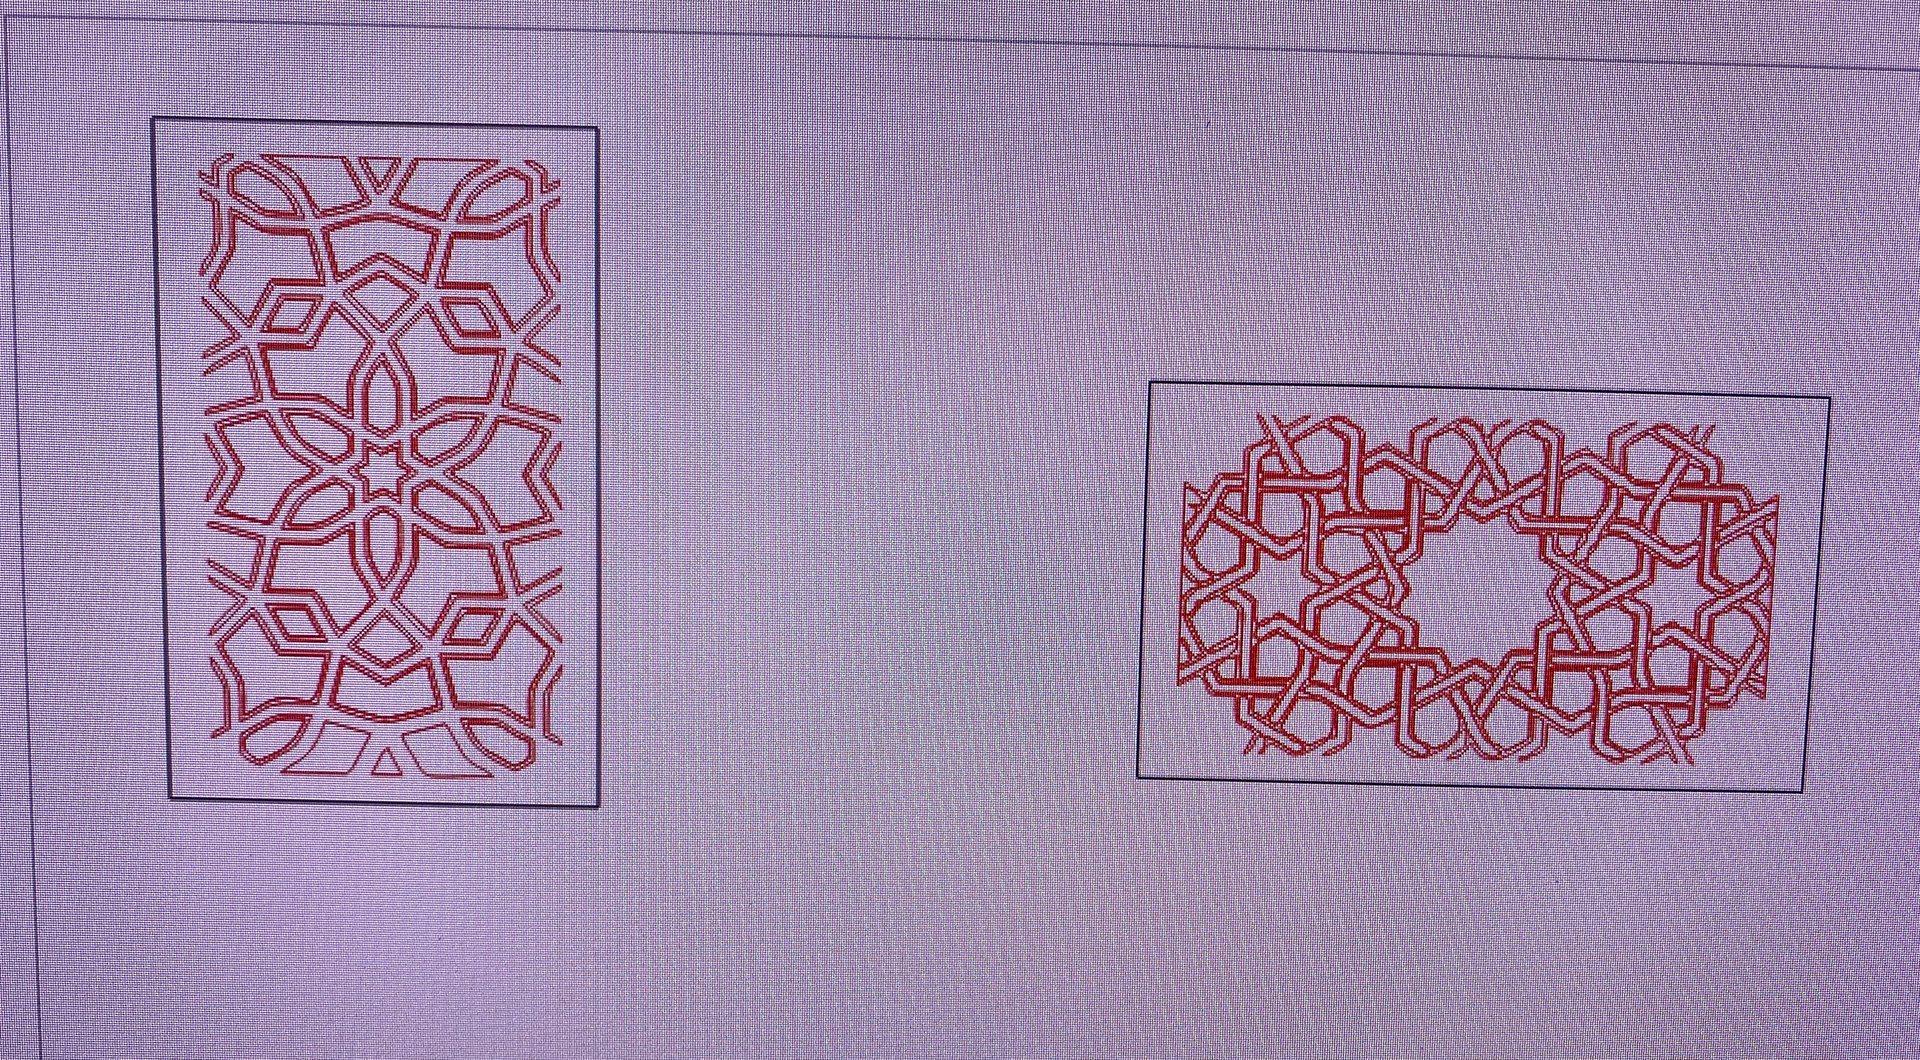
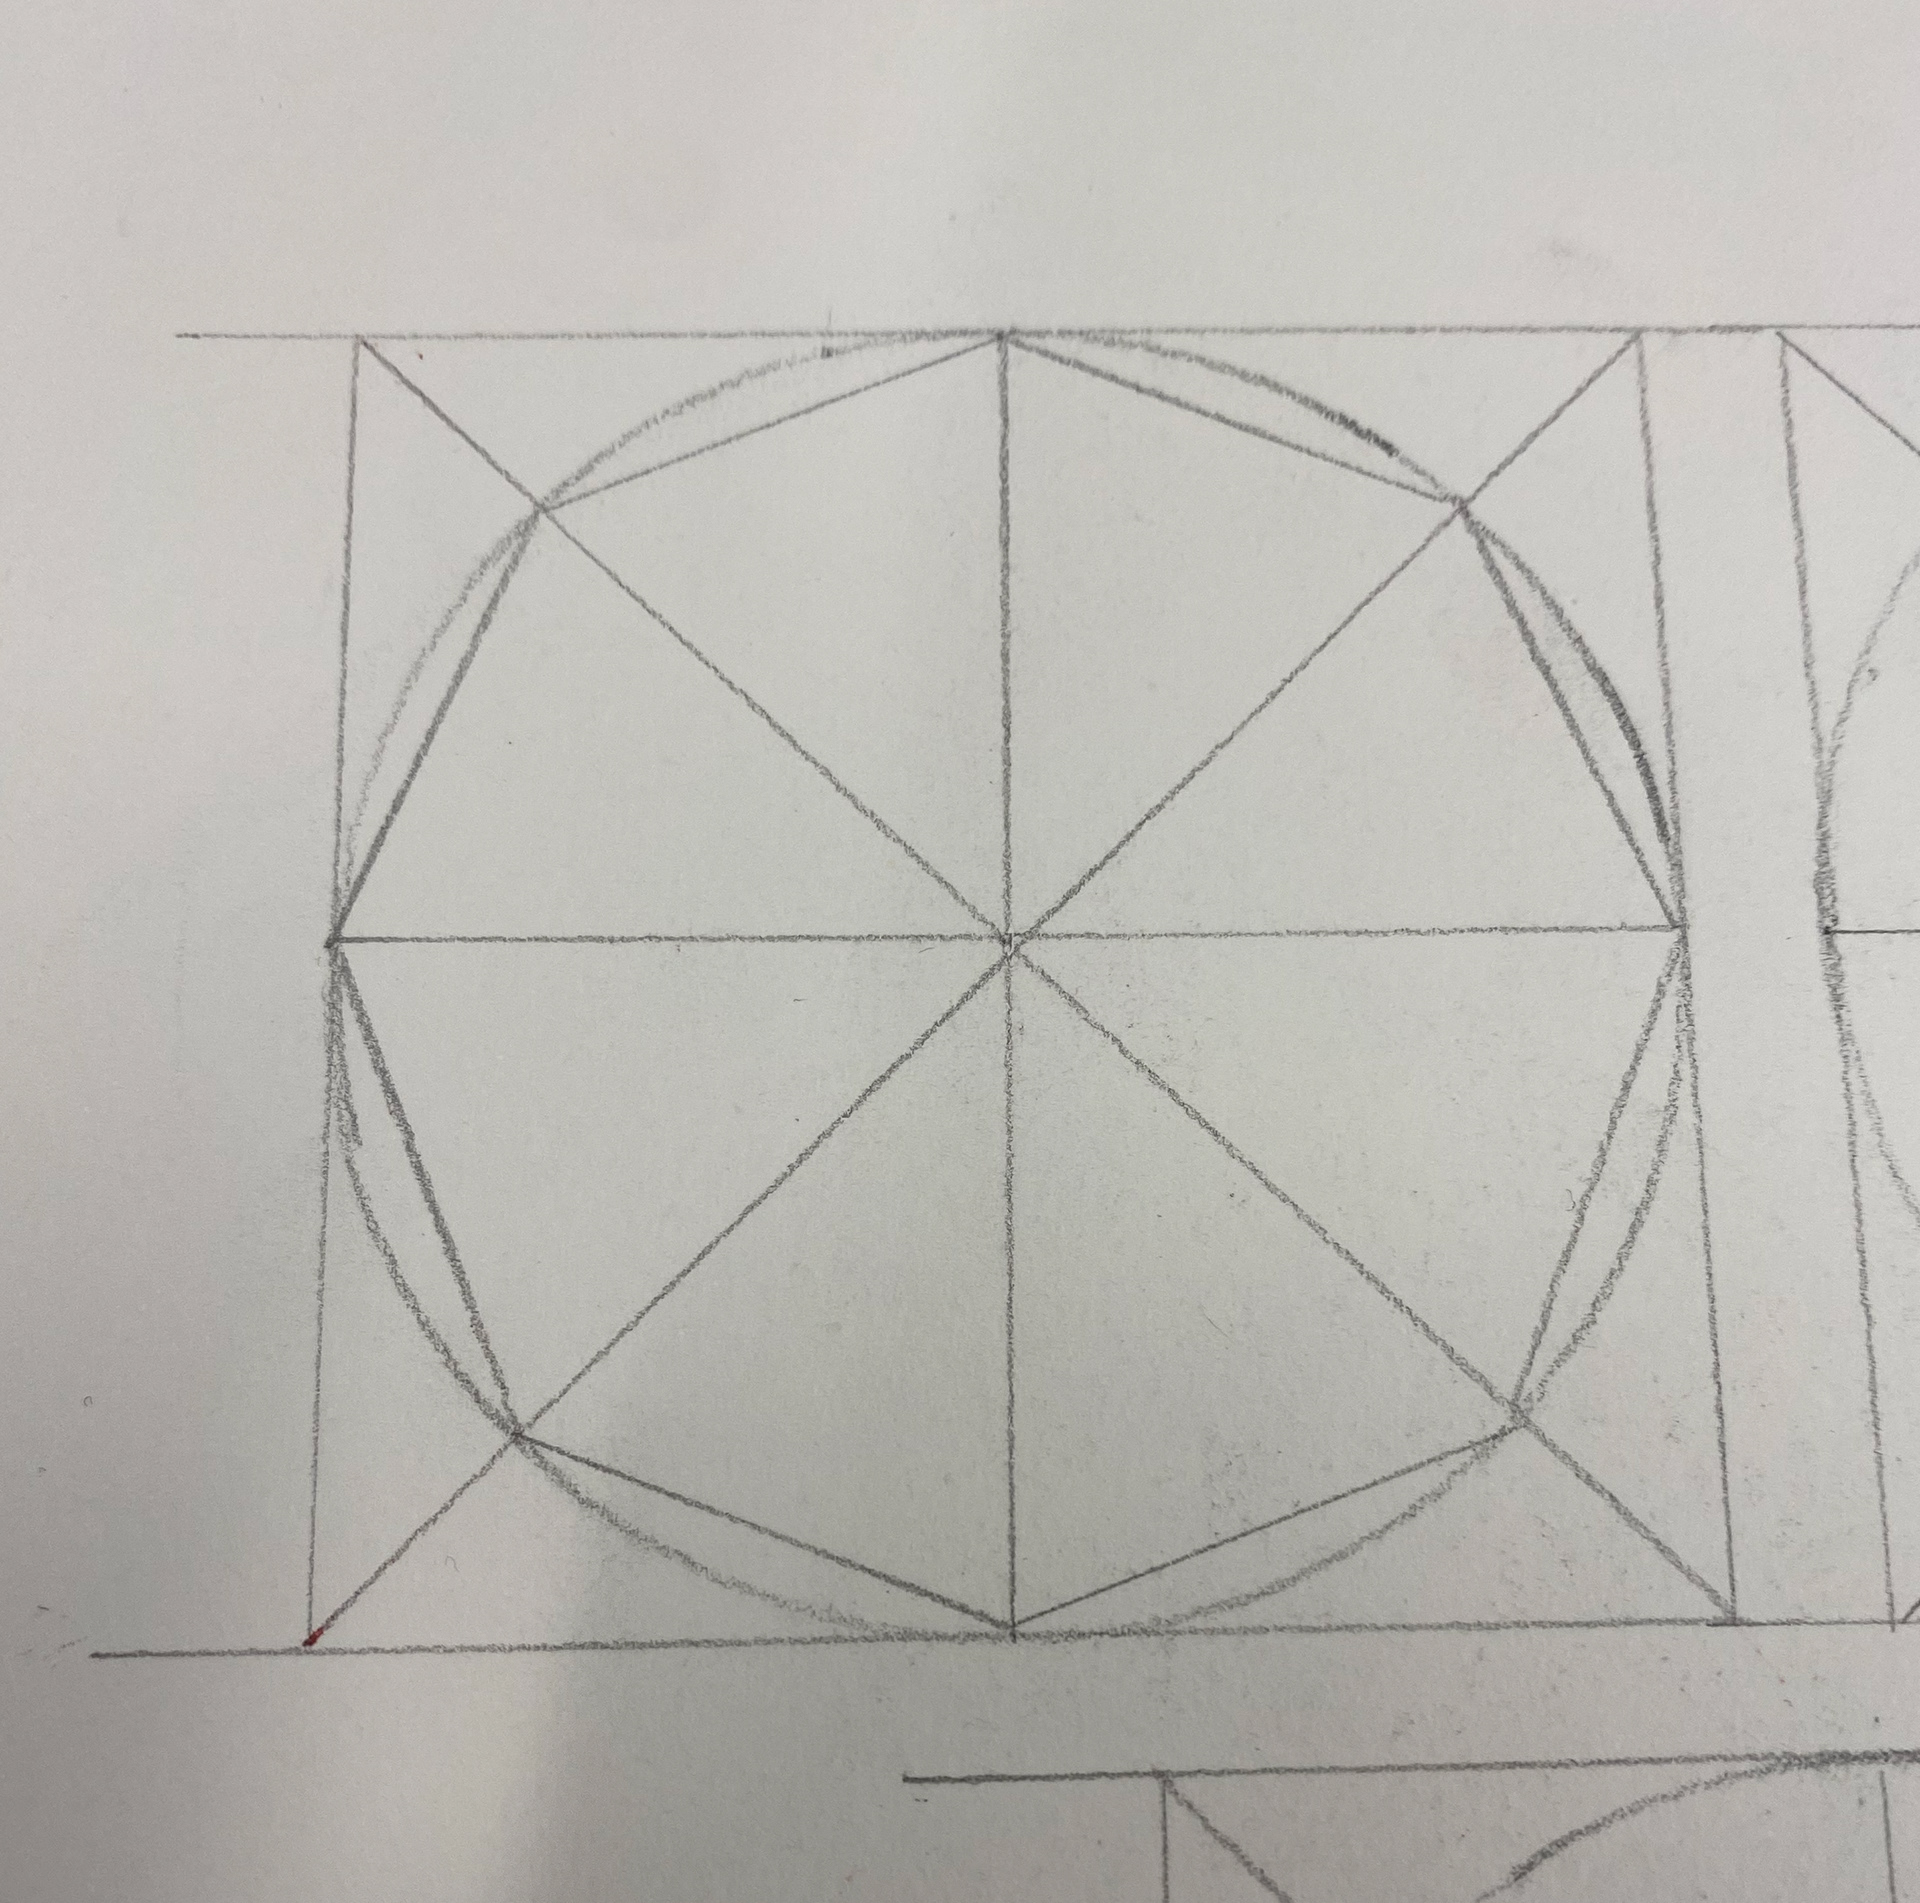
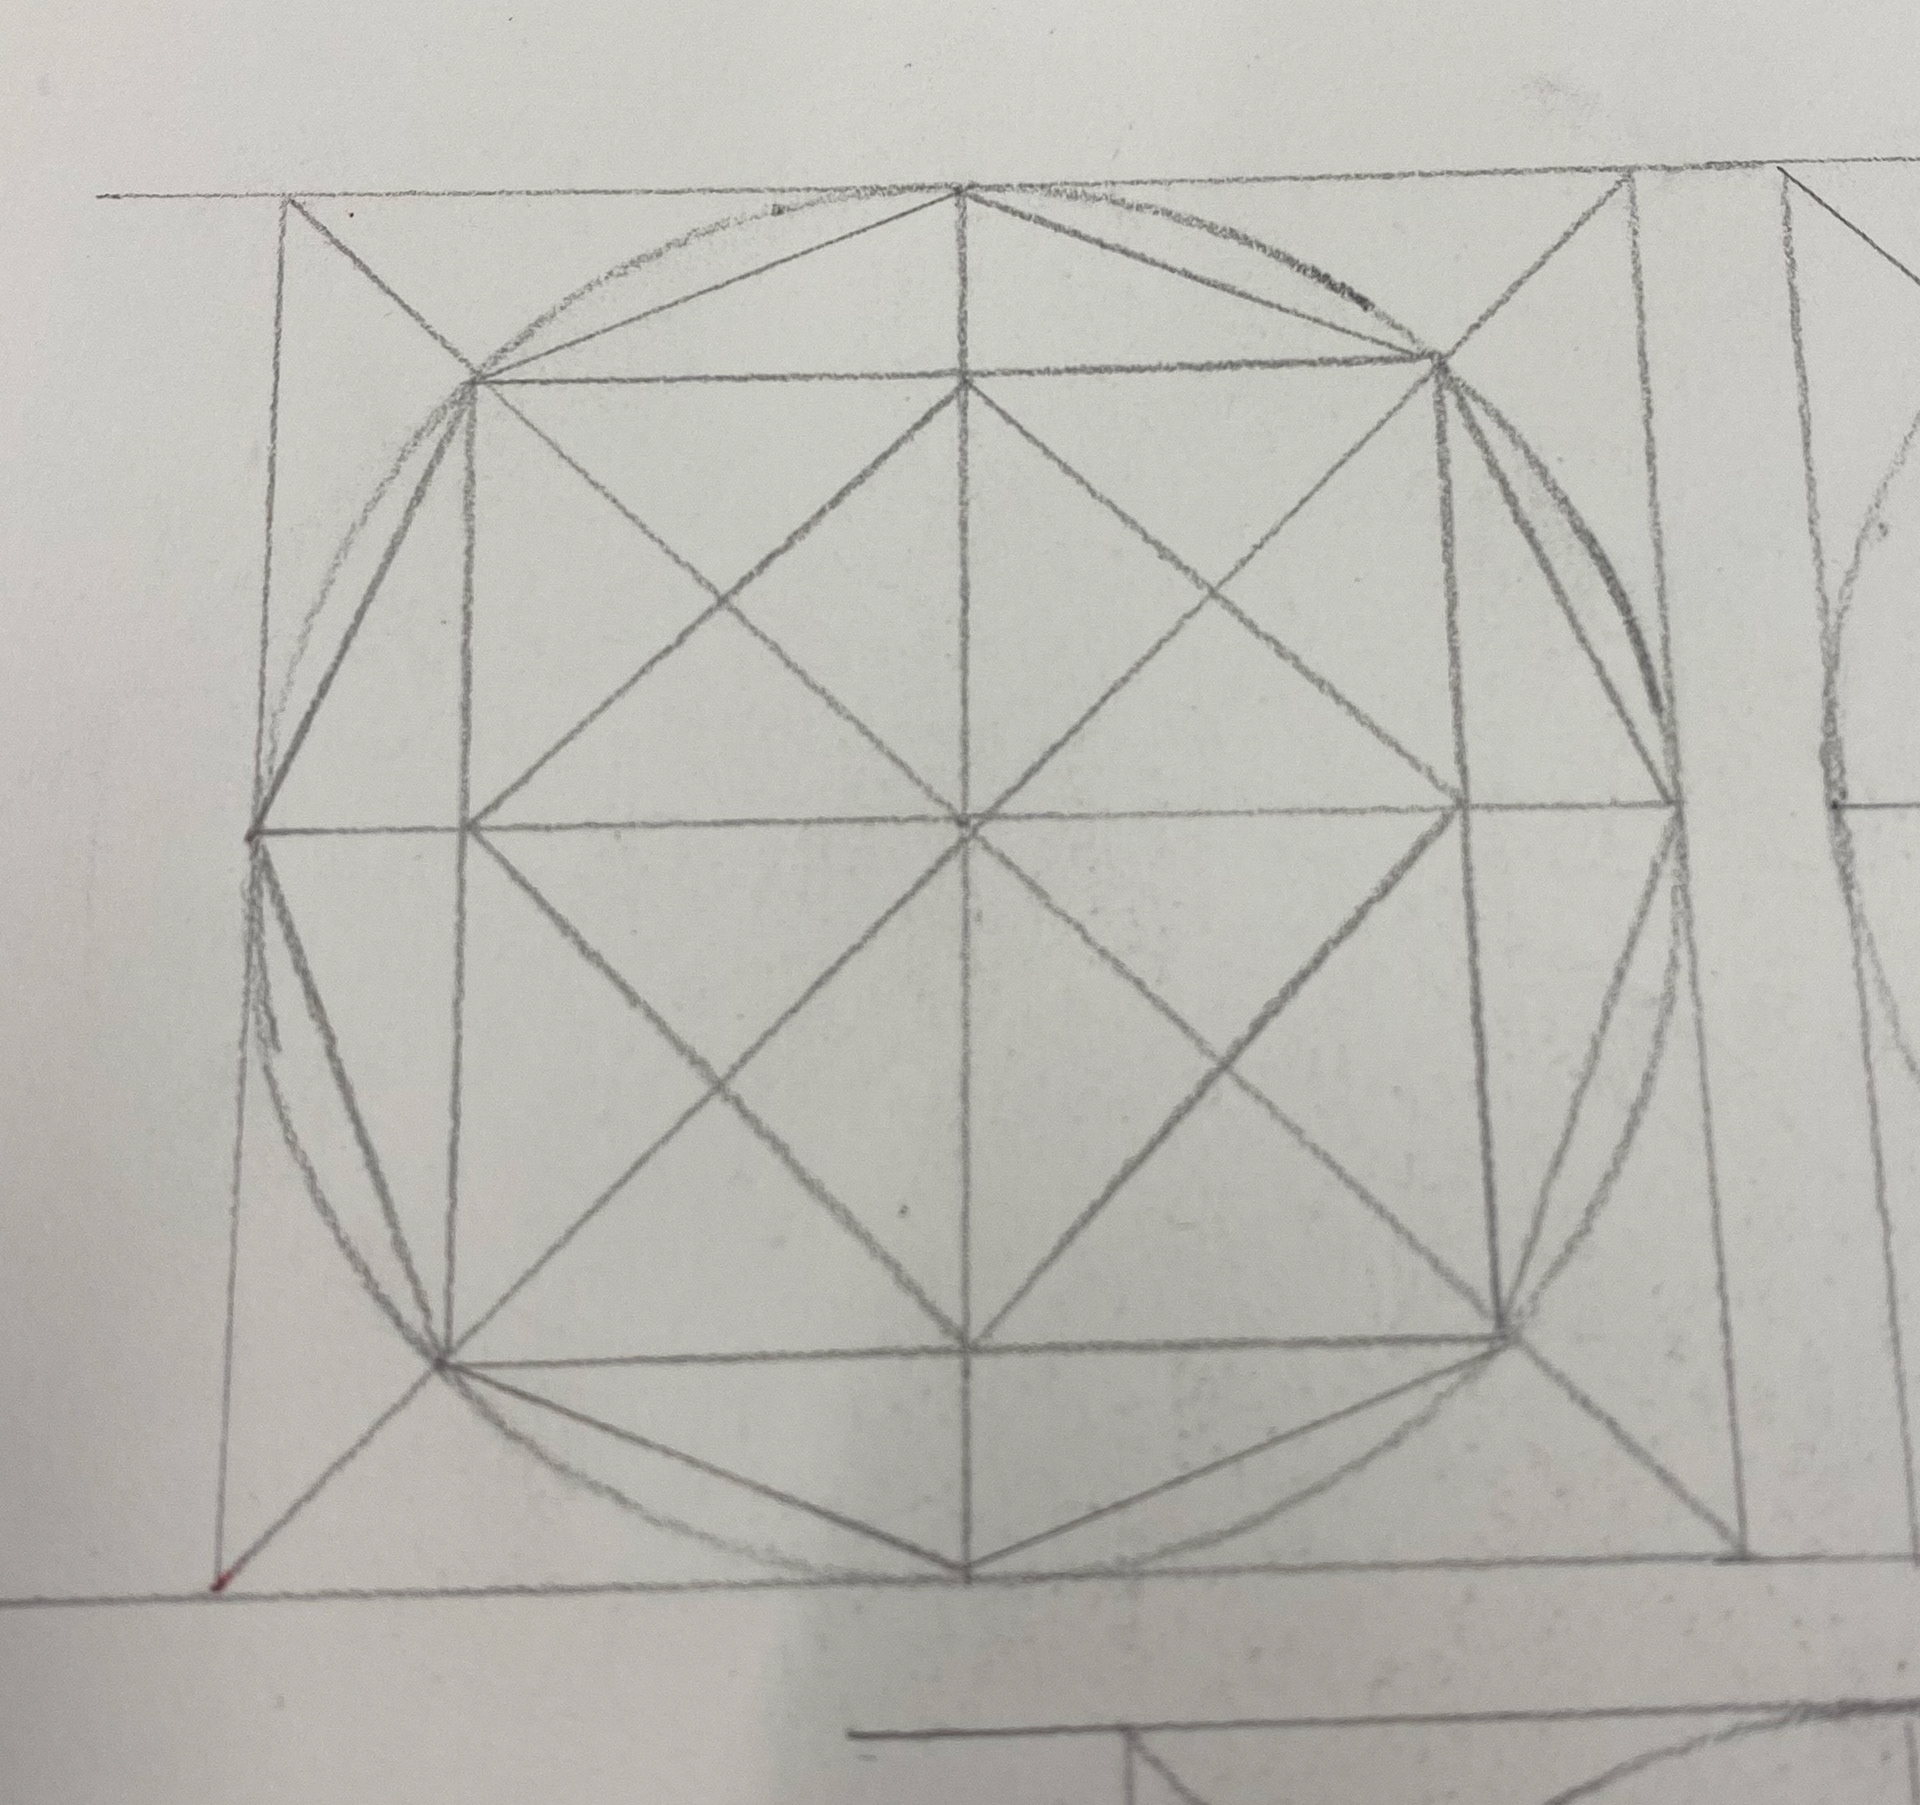
DRAWING MY OWN PATTERN DIGITALLY
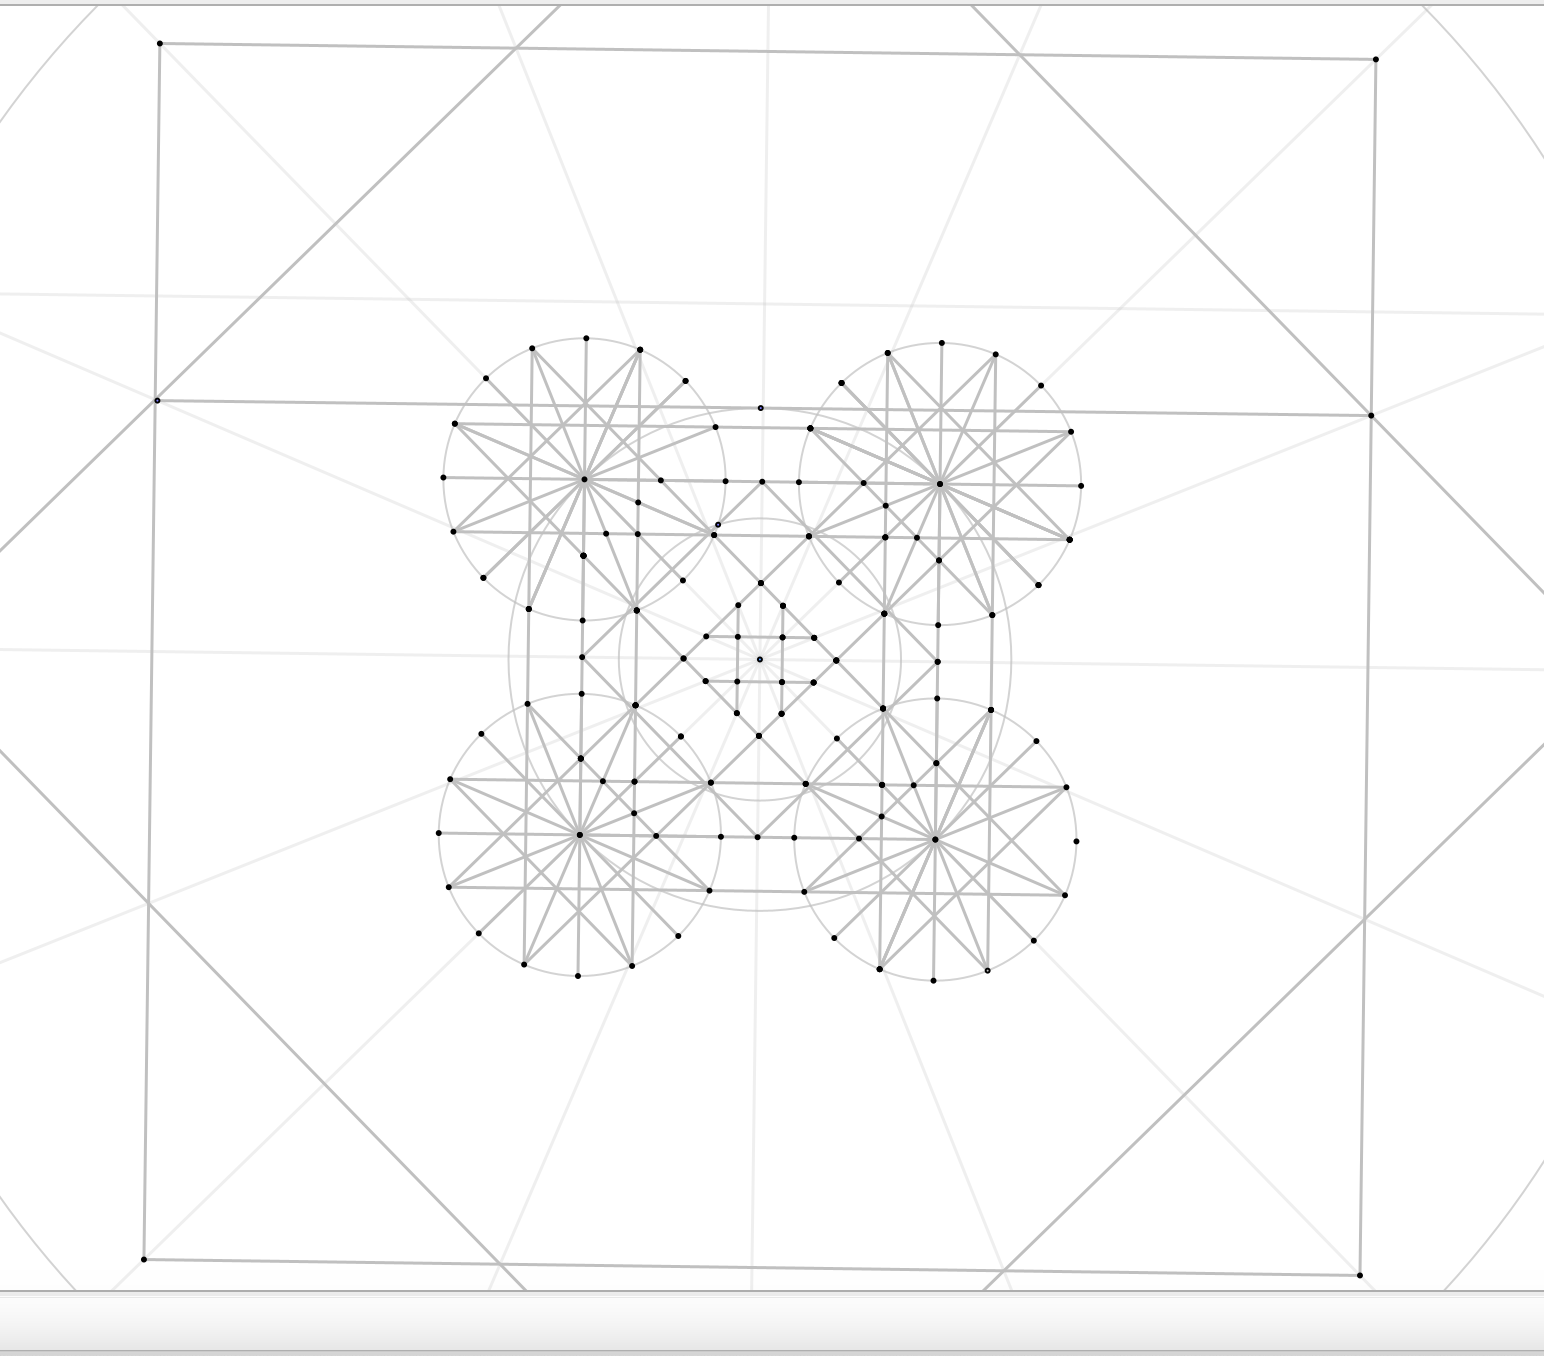
Digital work and softwares are not something I am familiar with. However I needed my pattern to be digital so that I could send it to print to create a screen for me. As well as this I knew being able to use softwares for this would make it easier when drawing patterns. After the short course I did with Sandy Kurt, I was quite comfortable using GeoGebra. Therefore I used this software to draw the construction lines as I did by hand, followed by the pattern.
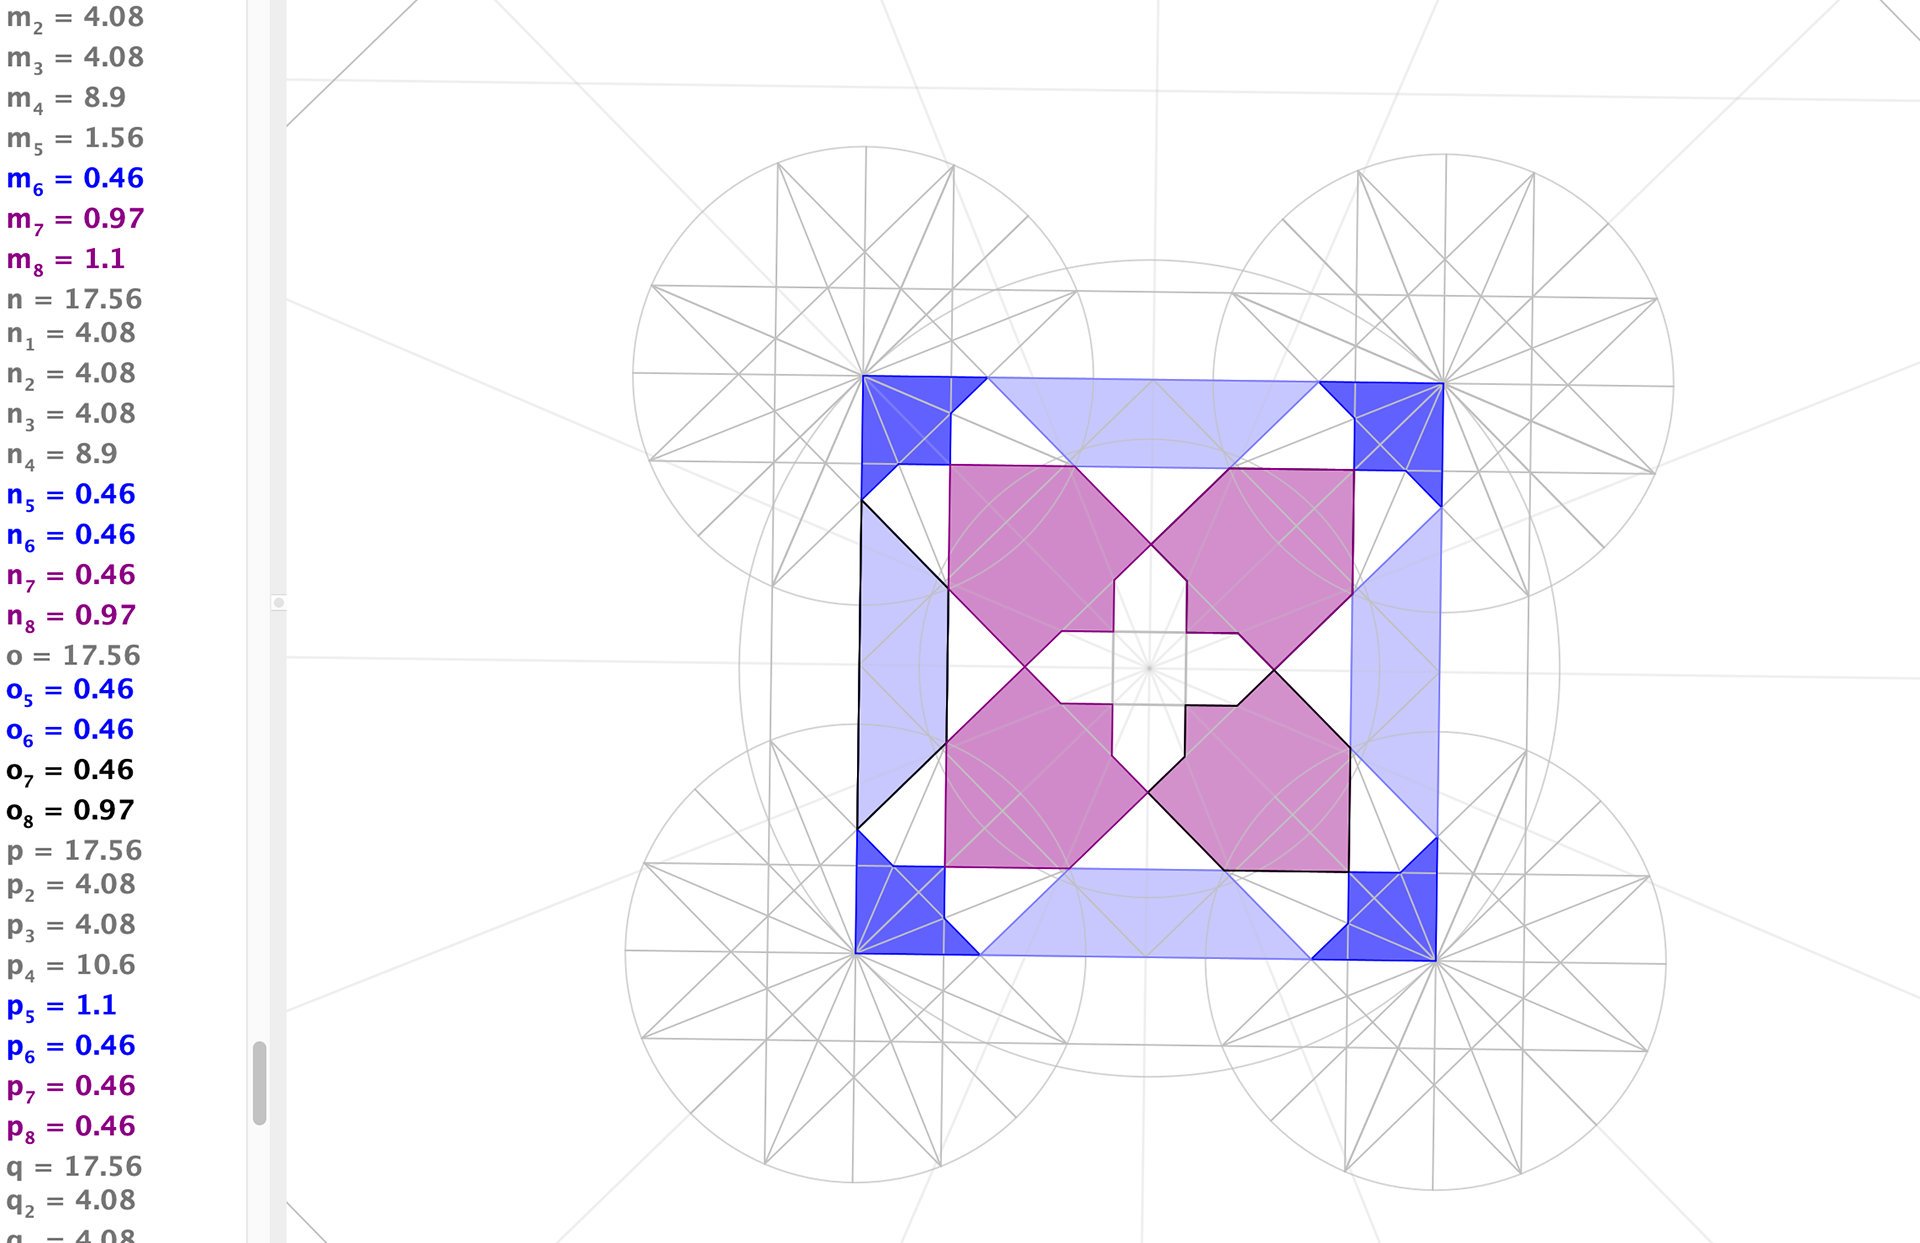
Once I had drawn the pattern I exported it to Illustrator and experimented tessellating it. The outcome of this wasn't what I was hoping for. However I decided to play around with the software and experiment with the pattern.
When joining the pattern together there was a empty square space in the middle where they meet. This meant the pattern didn't flow so I decided to add onto it to fill these empty spaces. This isn't exactly how drawing geometric patterns work but it worked for me and I enjoyed experimenting and breaking the rules a little bit.
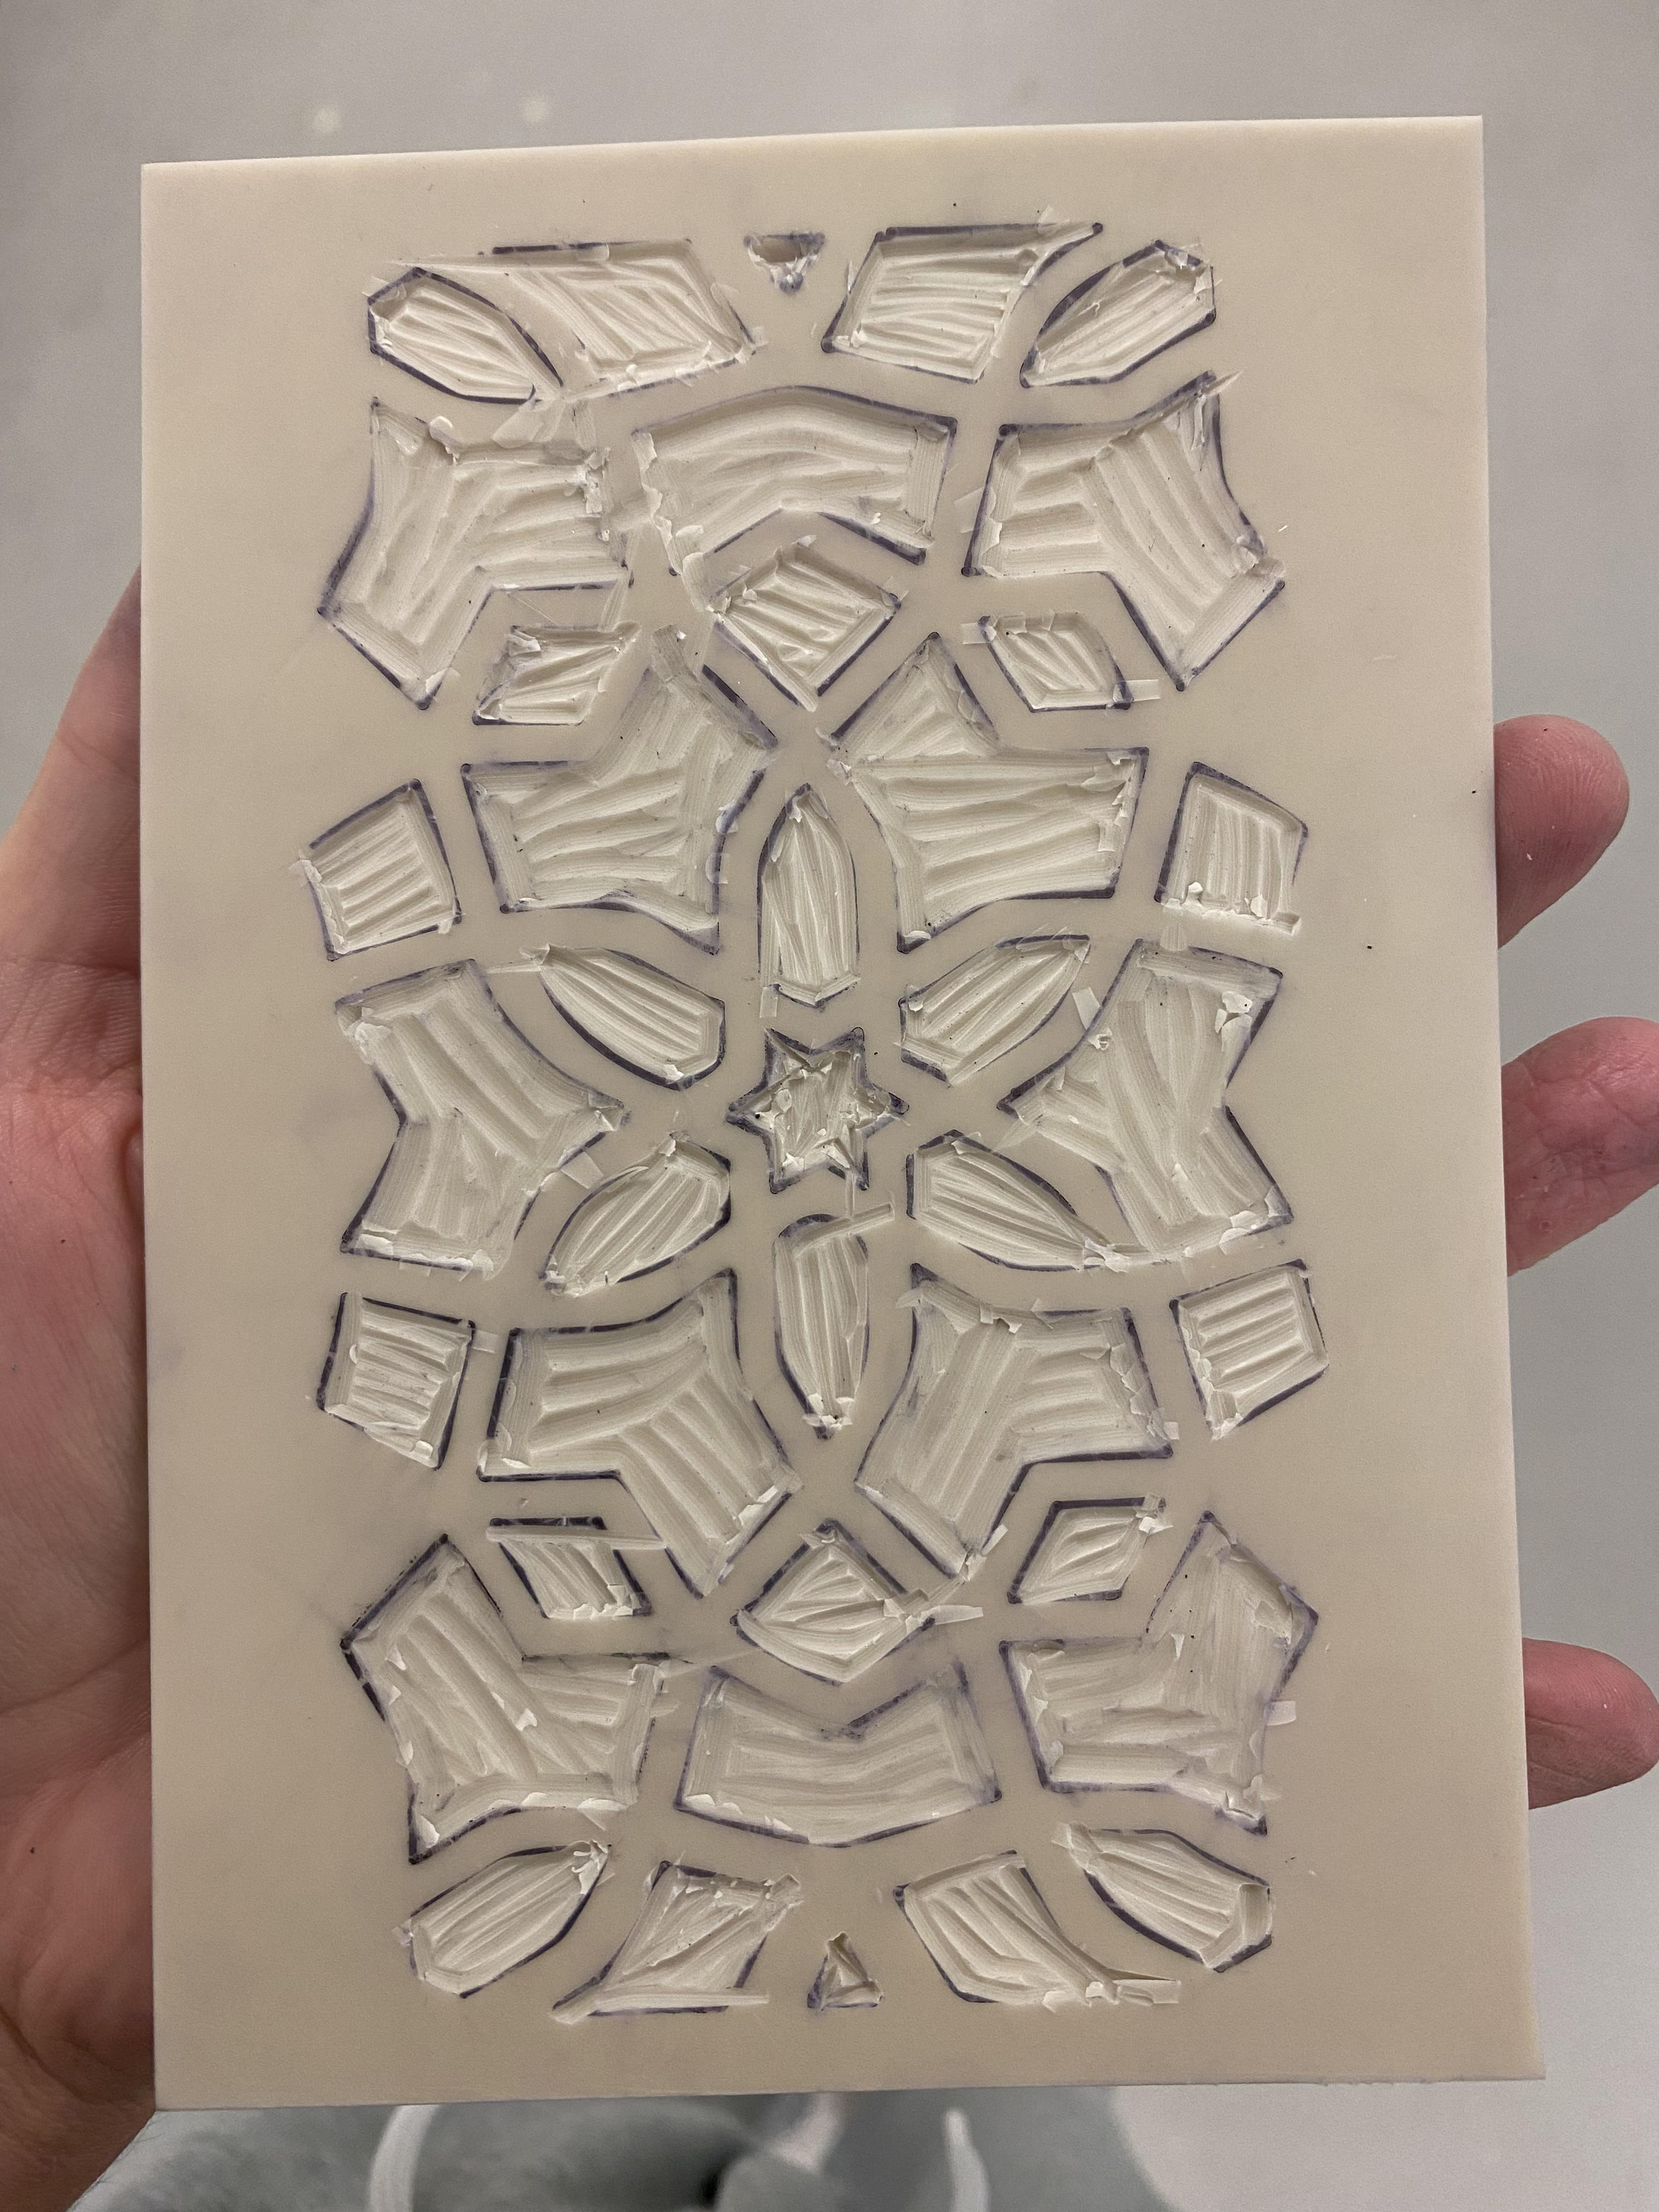
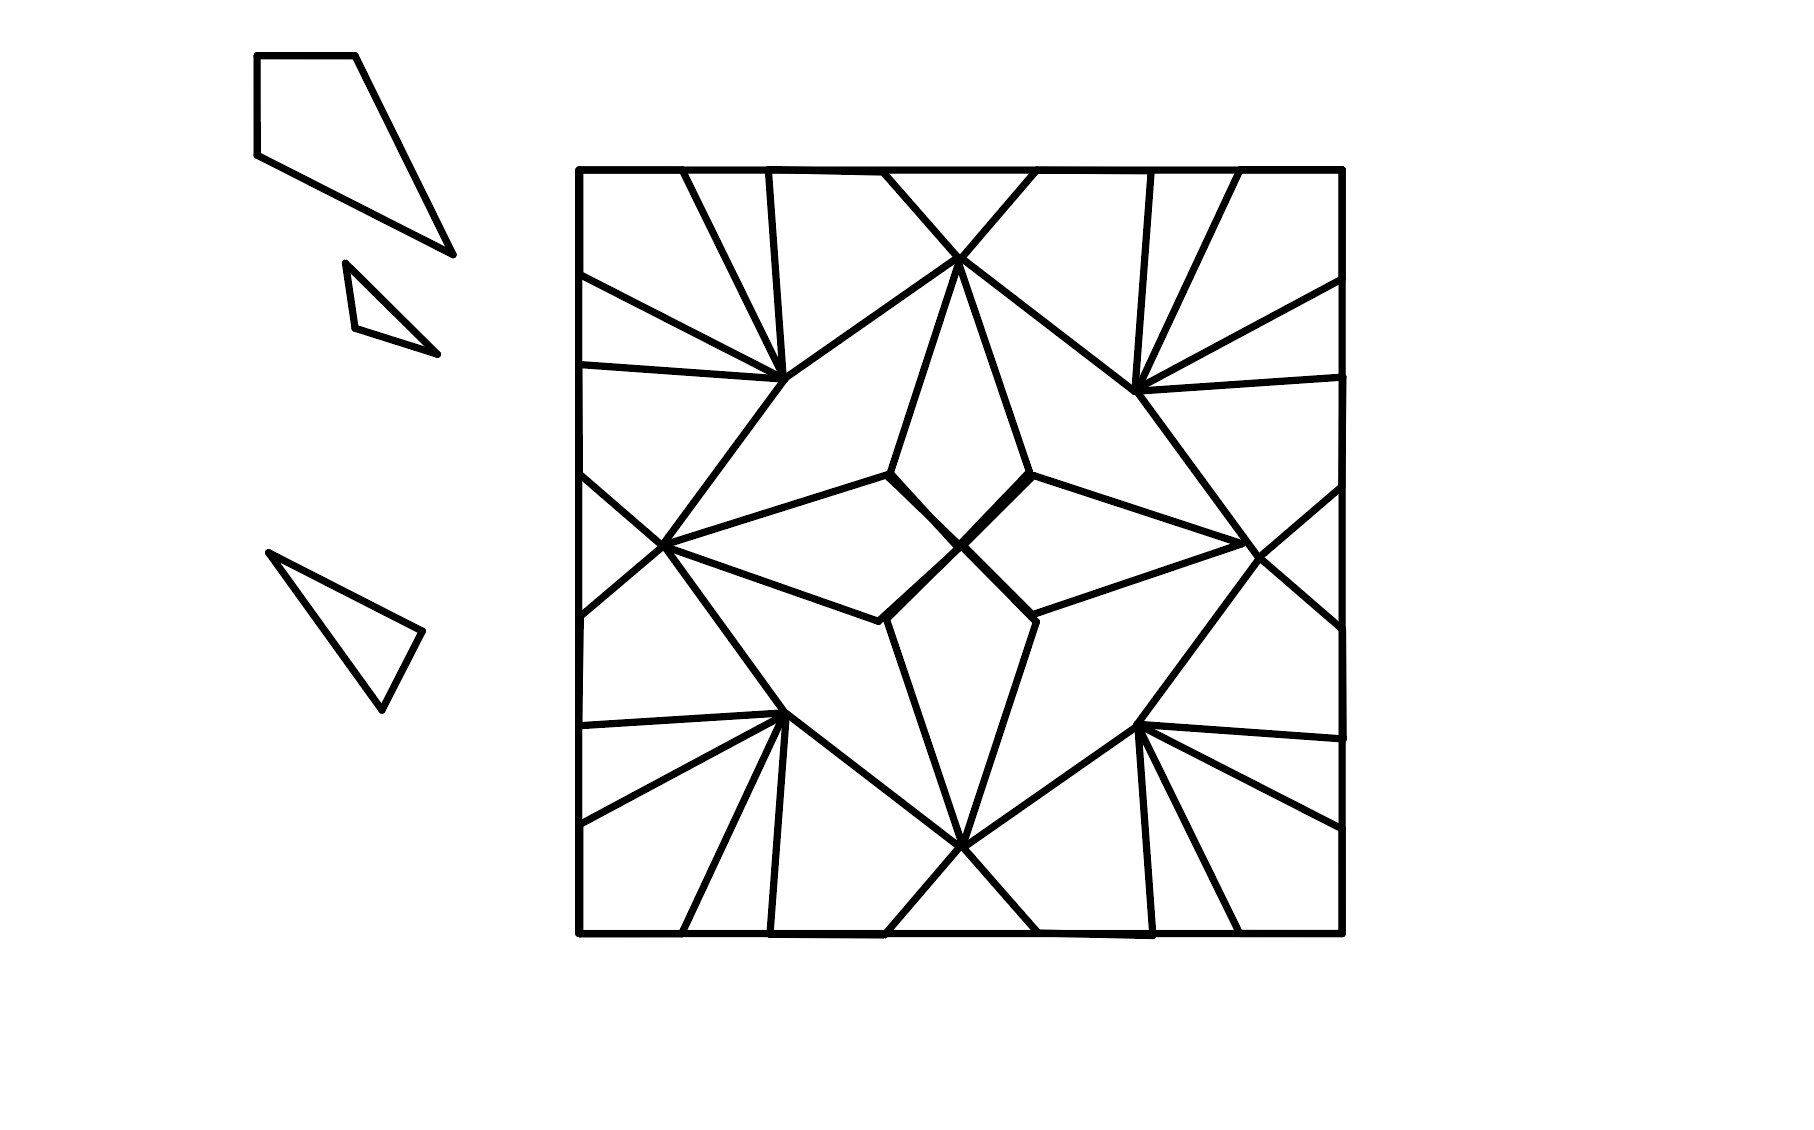
Beginning to draw the construction lines on GeoGebra
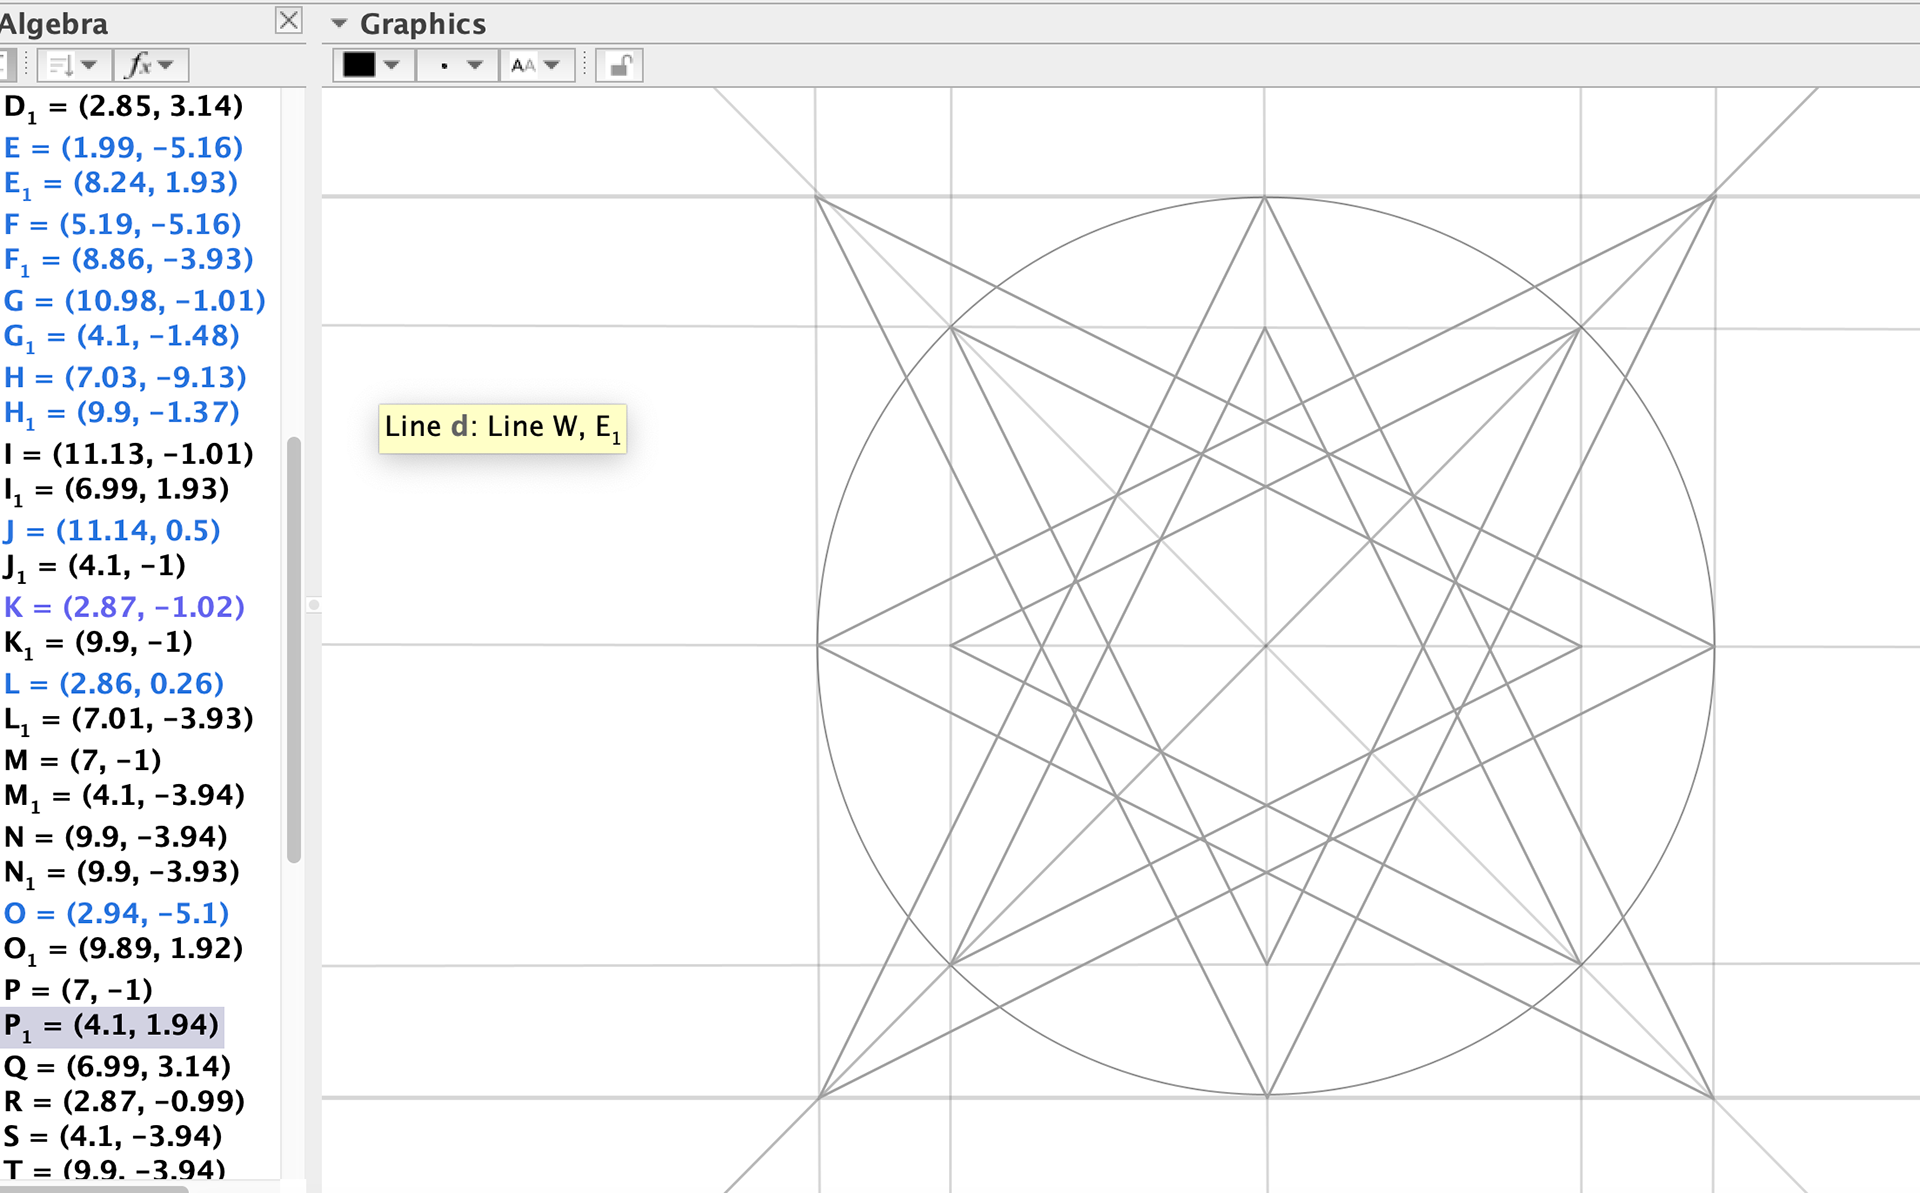
Finished construction lines
Pattern drawn from construction lines
Pattern on its own
Experimenting tessellating in Illustrator
Further experimenting
The pattern after first altered it

Started to tessellate the pattern
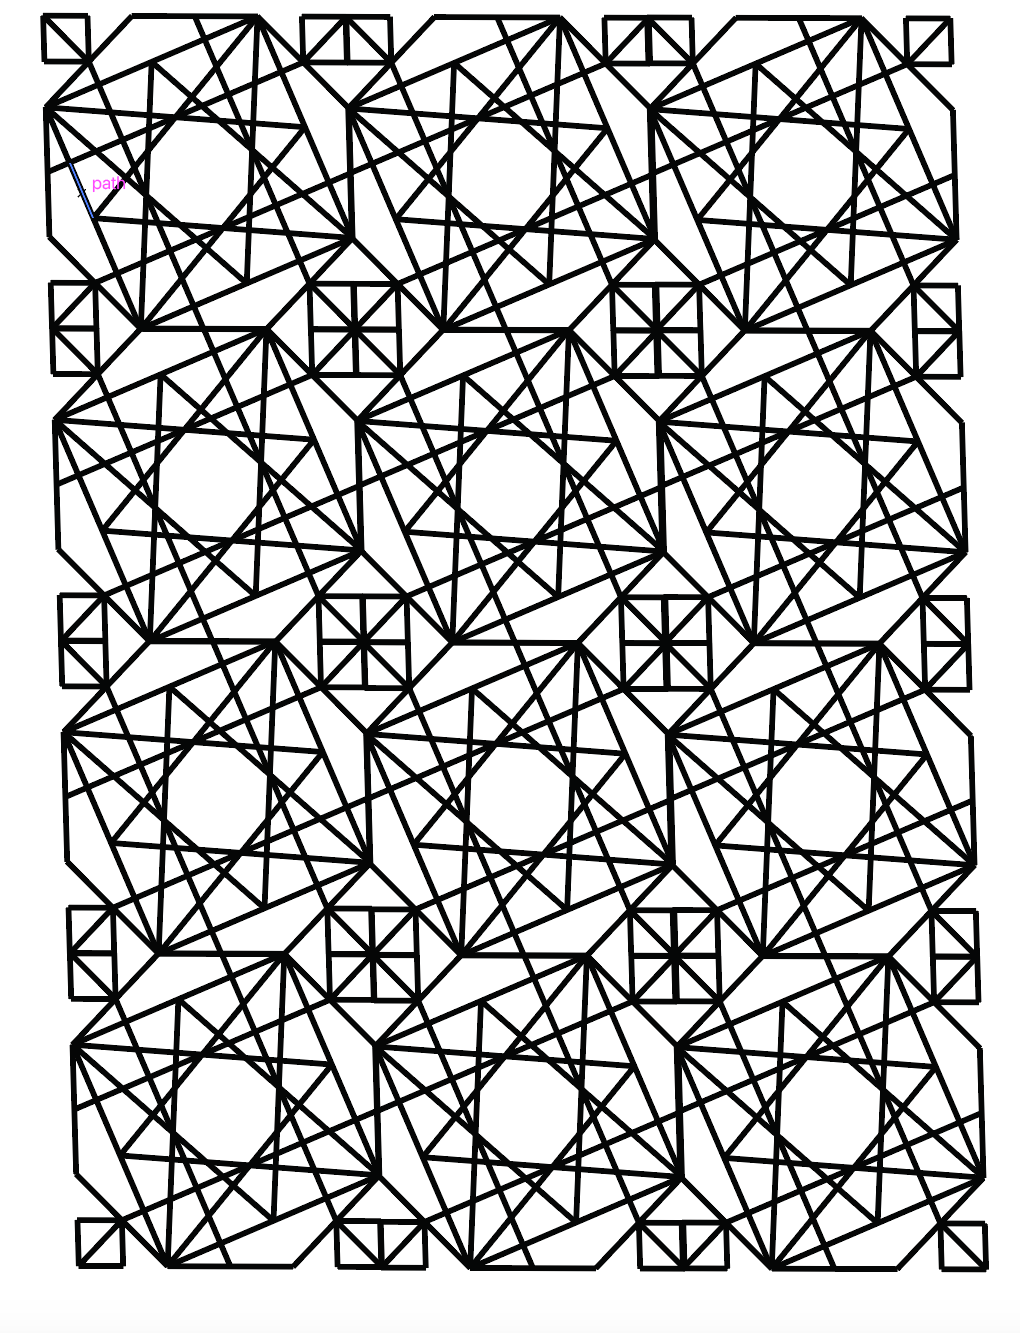
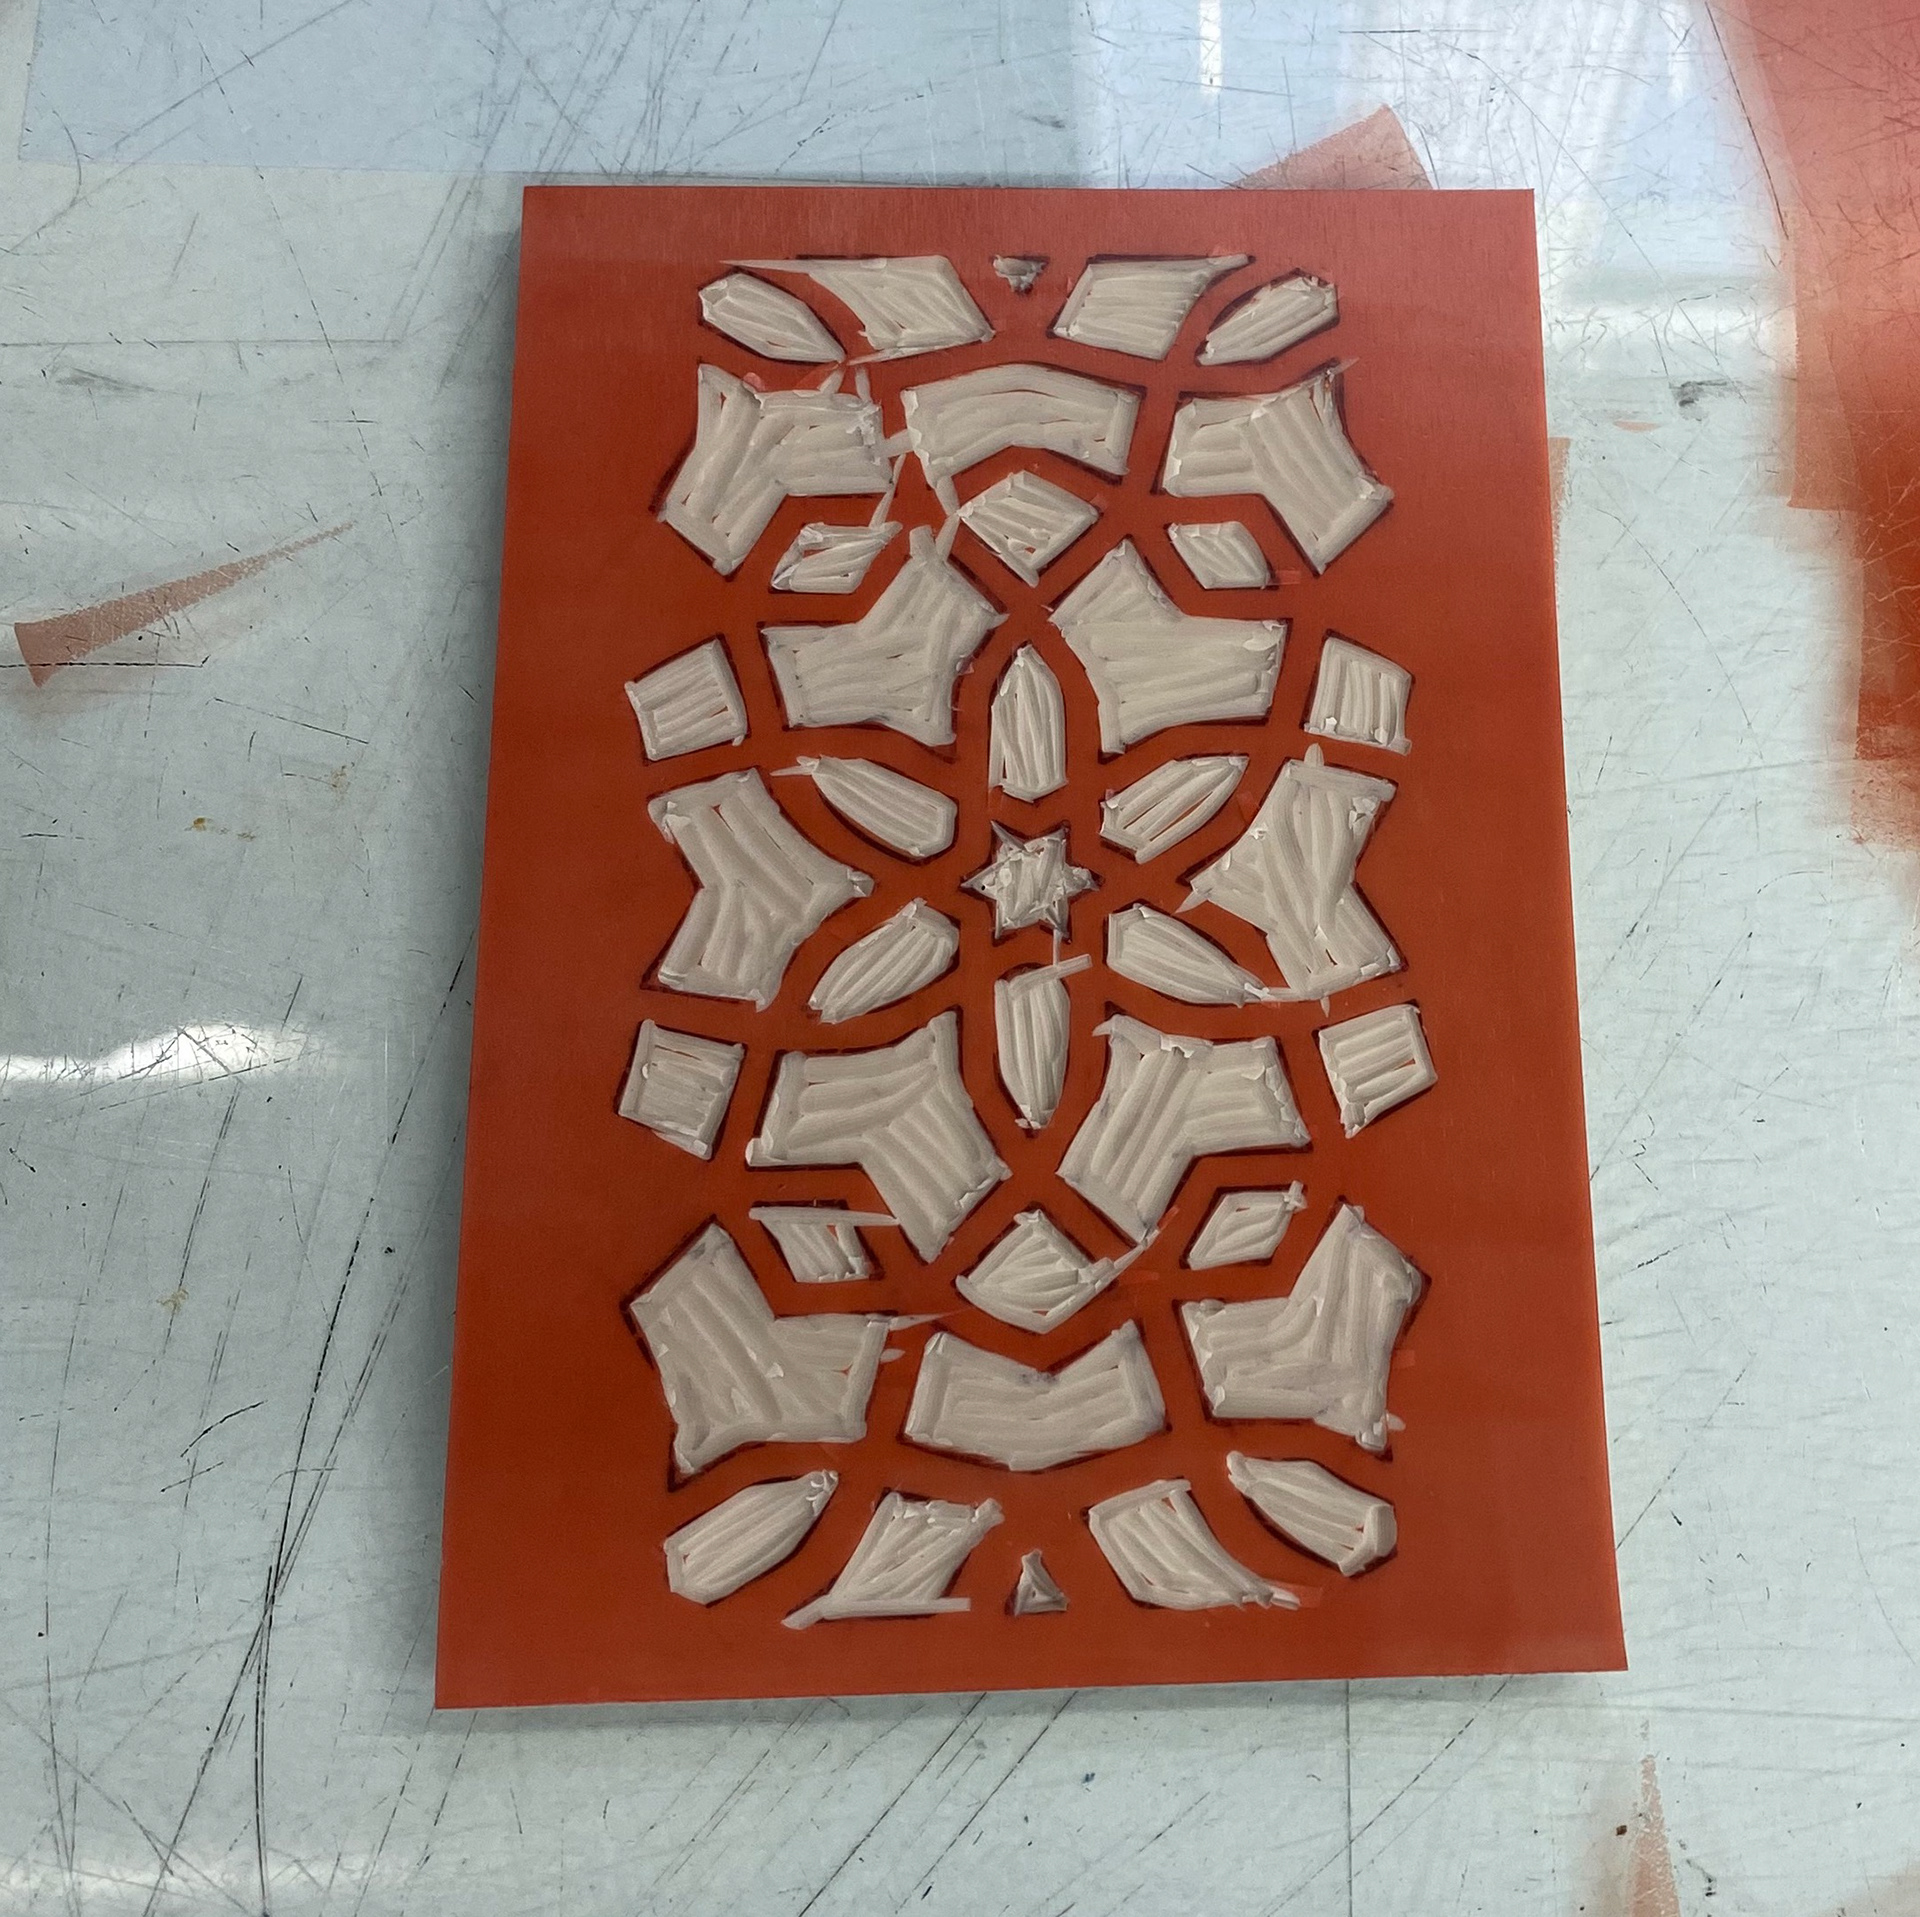
Pattern ready to send to Print workshop
If I was to do this again I would take more time to draw more patterns and experiment with them further. With not much time left for the unit I needed to go with what I had drawn the first time around. I wasn't very happy with the final design, it doesn't flow how I would like it to, but after doing this once I know what I would do to improve next time.
Throughout my research into Persian/Islamic geometry and when drawing the patterns, I did notice that the construction lines are something that gets removed at the end. Despite that, I found something really beautiful in those lines. In my opinion, the pattern just from those alone are aesthetically pleasing. As well as this, I believe they have a more personal meaning to me, I see them as a build up of the different moments in my life, some where I have thought and felt like I am not who I think I am or had ideas that my heritage isn't just English. All these events and moments that have happened and made me how I am today, have also led me to curiosity and wanting to know about my father more and more. Followed by taking a DNA test and finding out my father is Iranian/Persian. The construction of this has built up to the 'pattern', knowing my heritage after 27 years. I see Persian geometry as a metaphor to my life, and wanted to include these construction lines into my work, as well as the finished pattern.
Exploring techniques
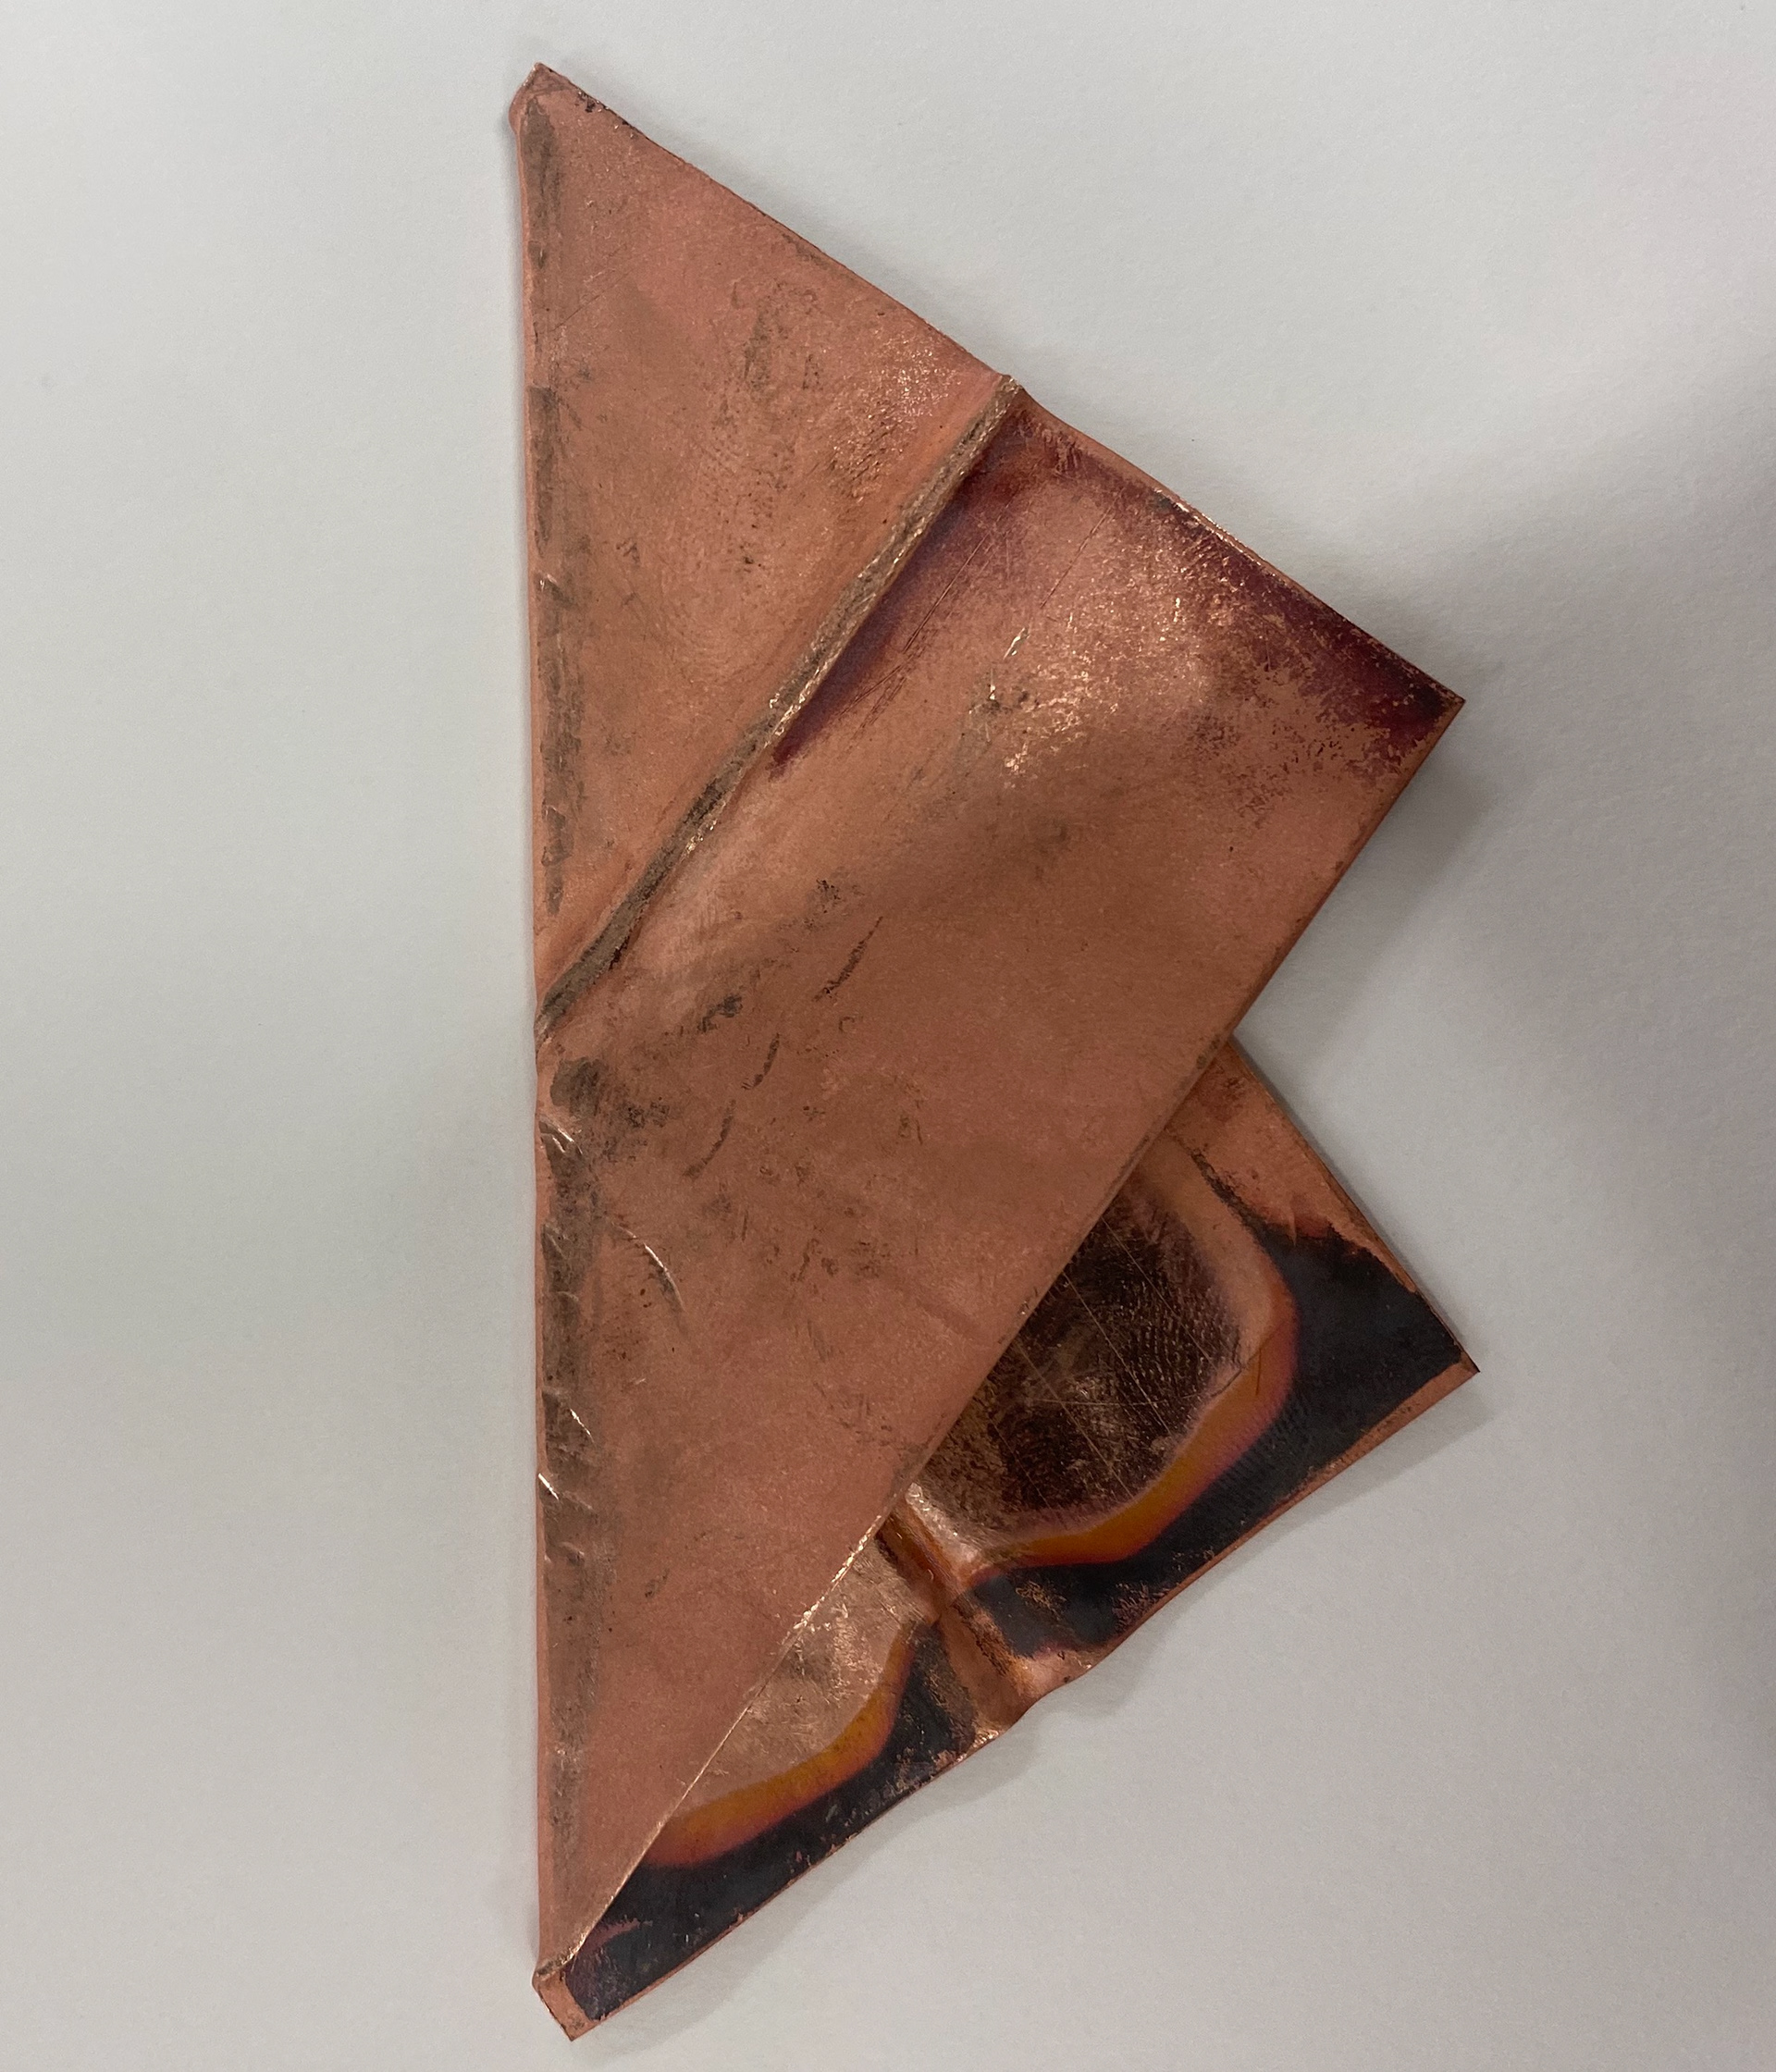
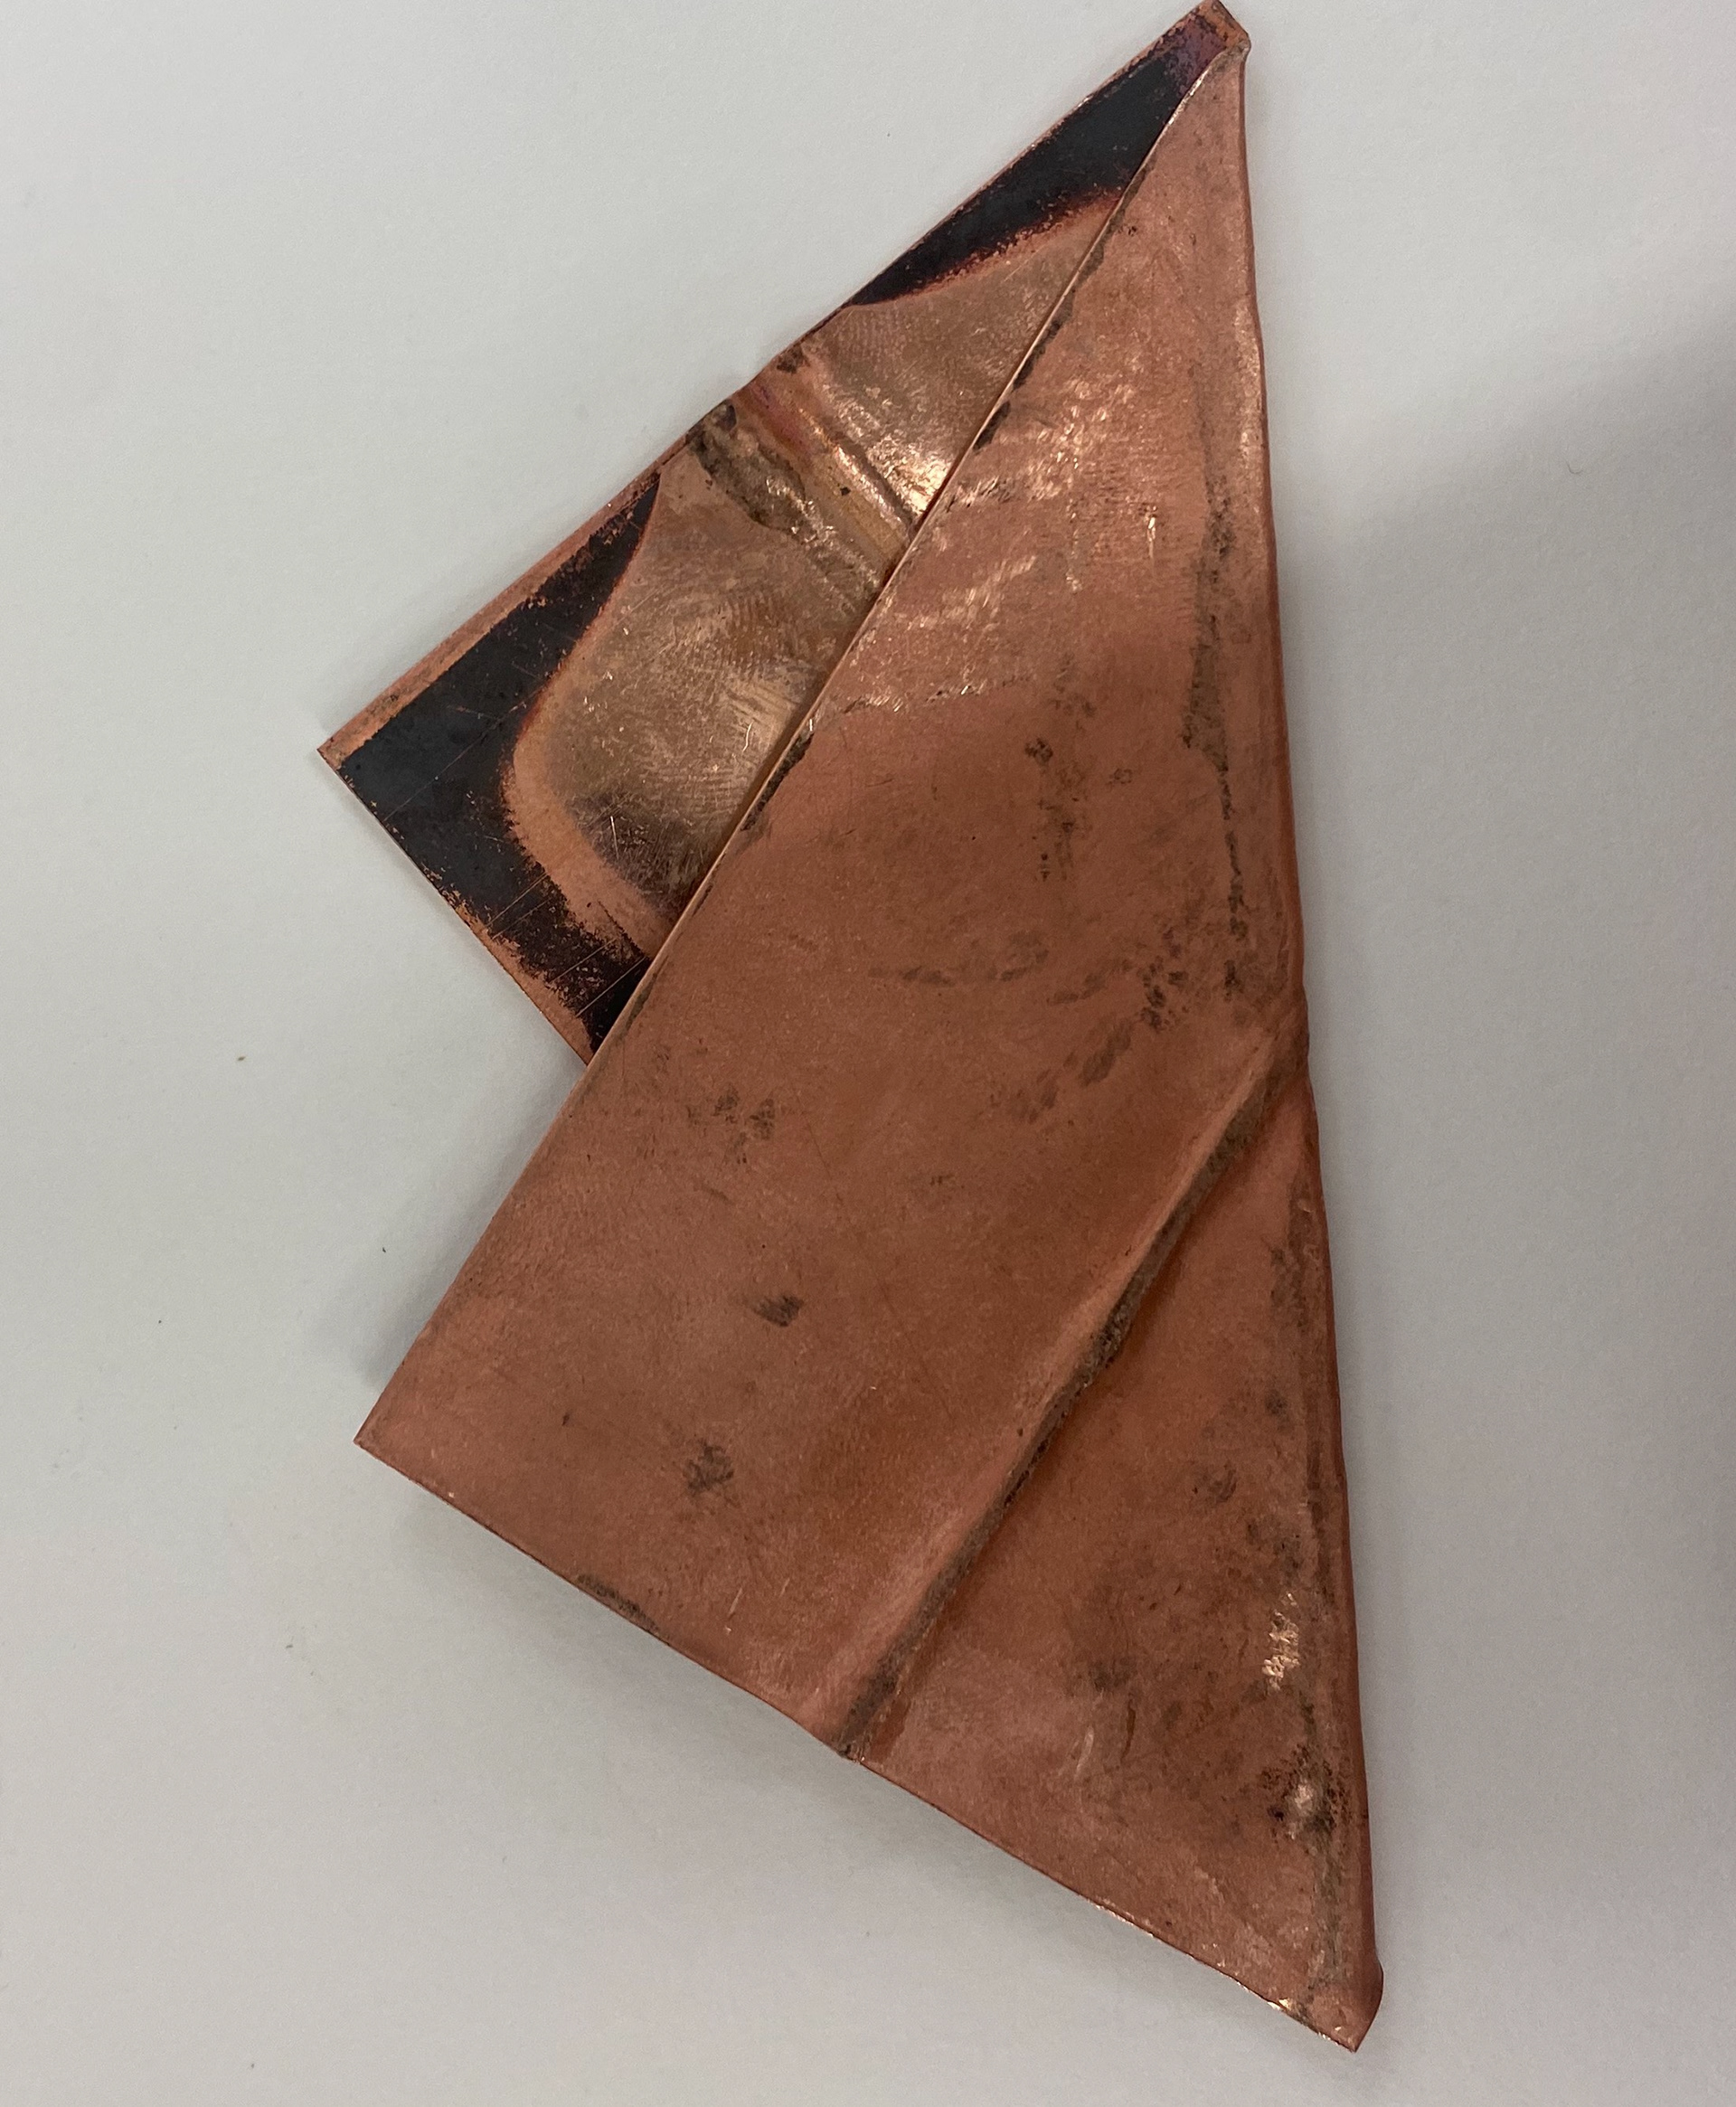
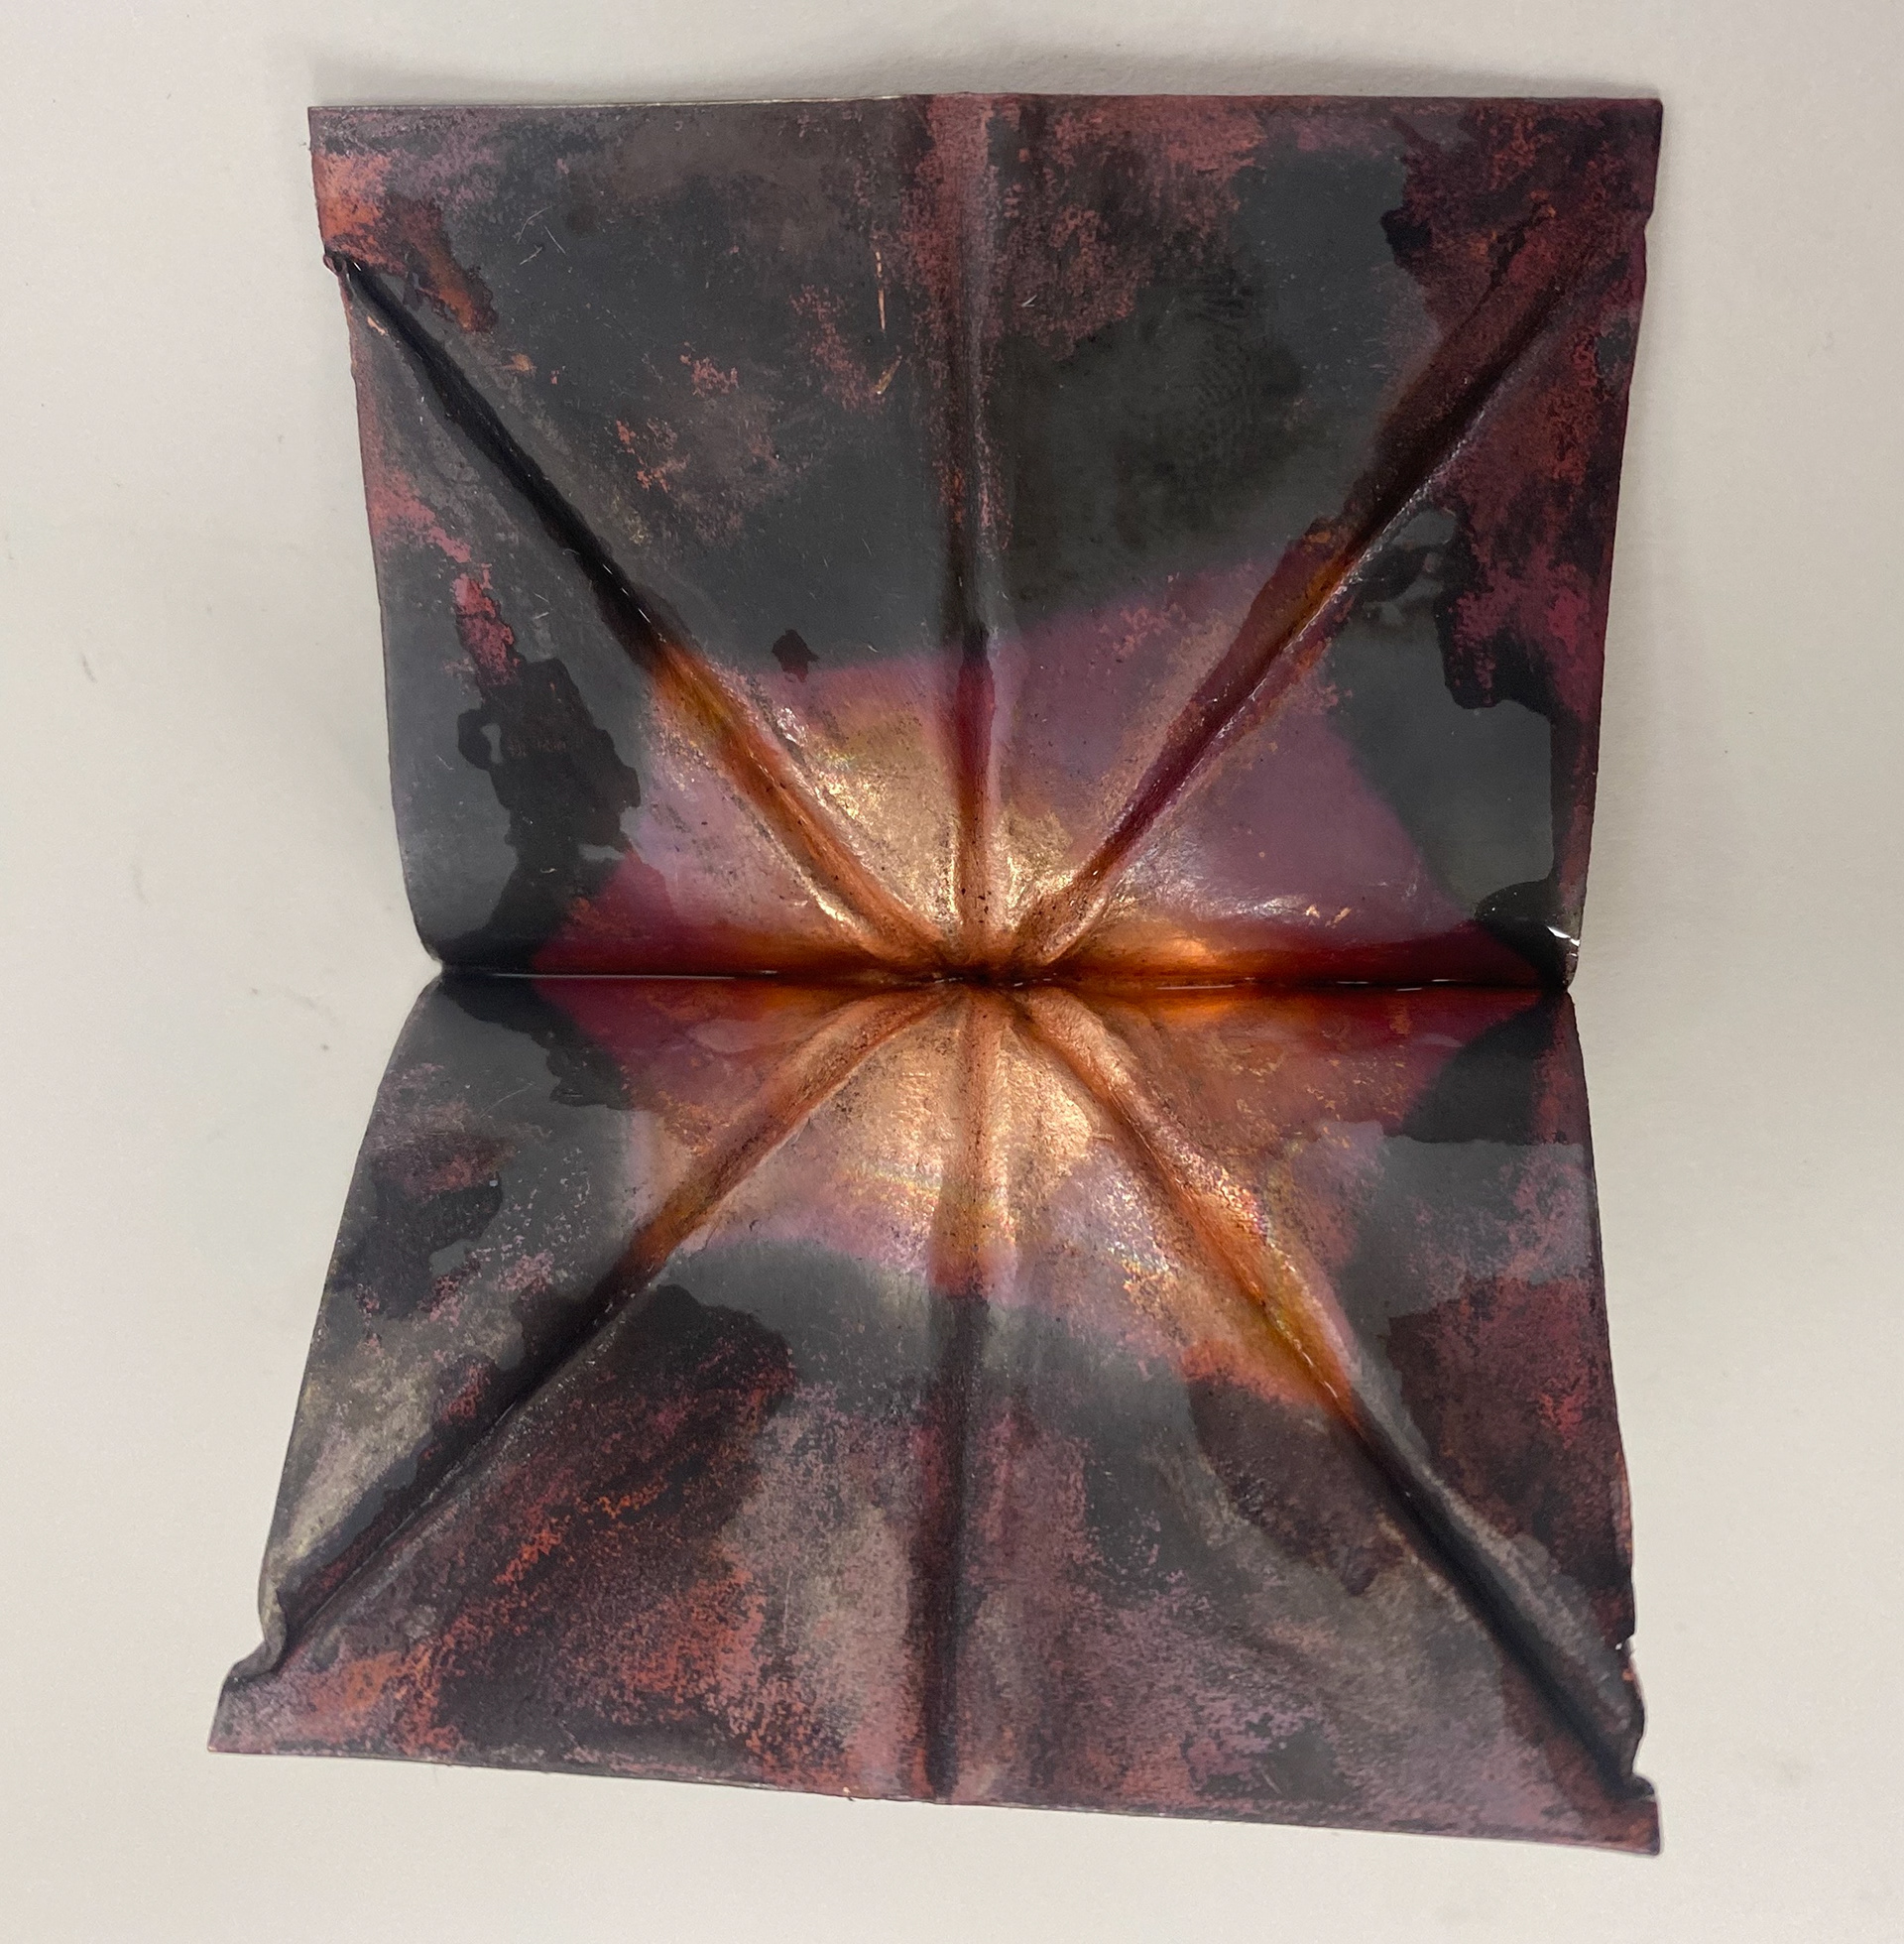
Fold Forming
Fold forming is something I had very briefly come across last year when making samples. This technique wasn't something I was planning to explore in my work. However after a class with Erum teaching us how to fold form, resulting in the Copper leaves below.

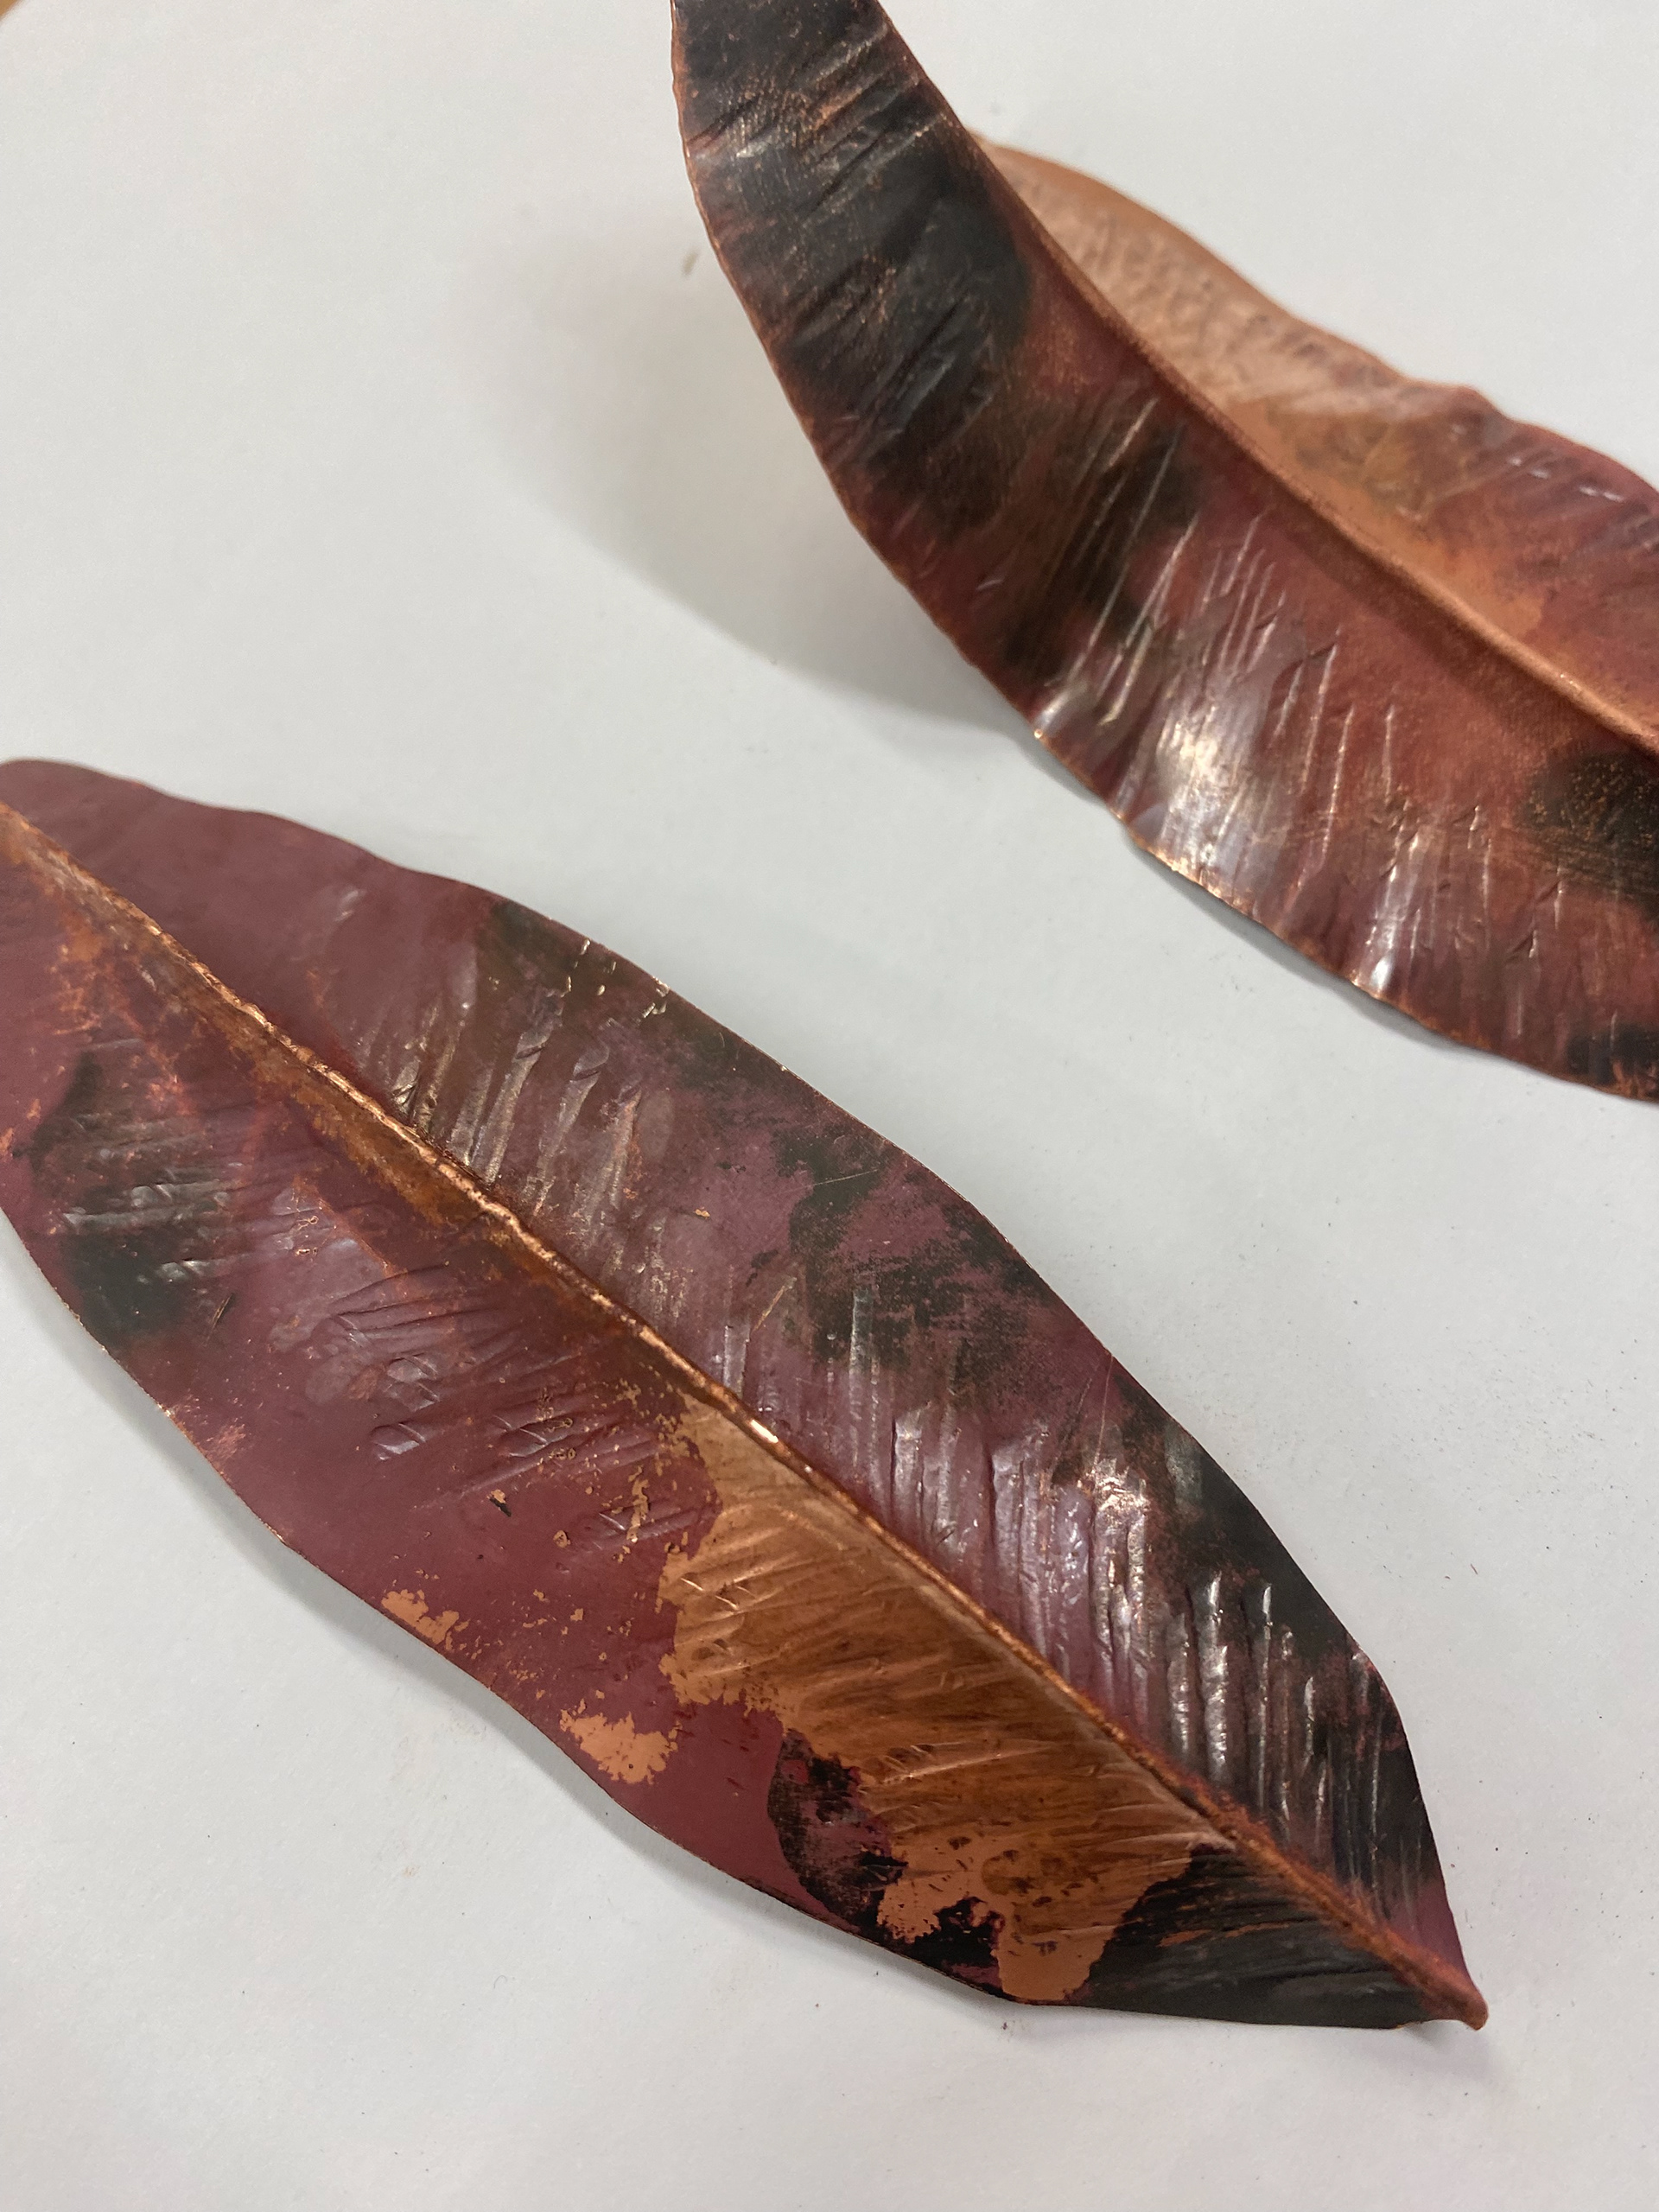
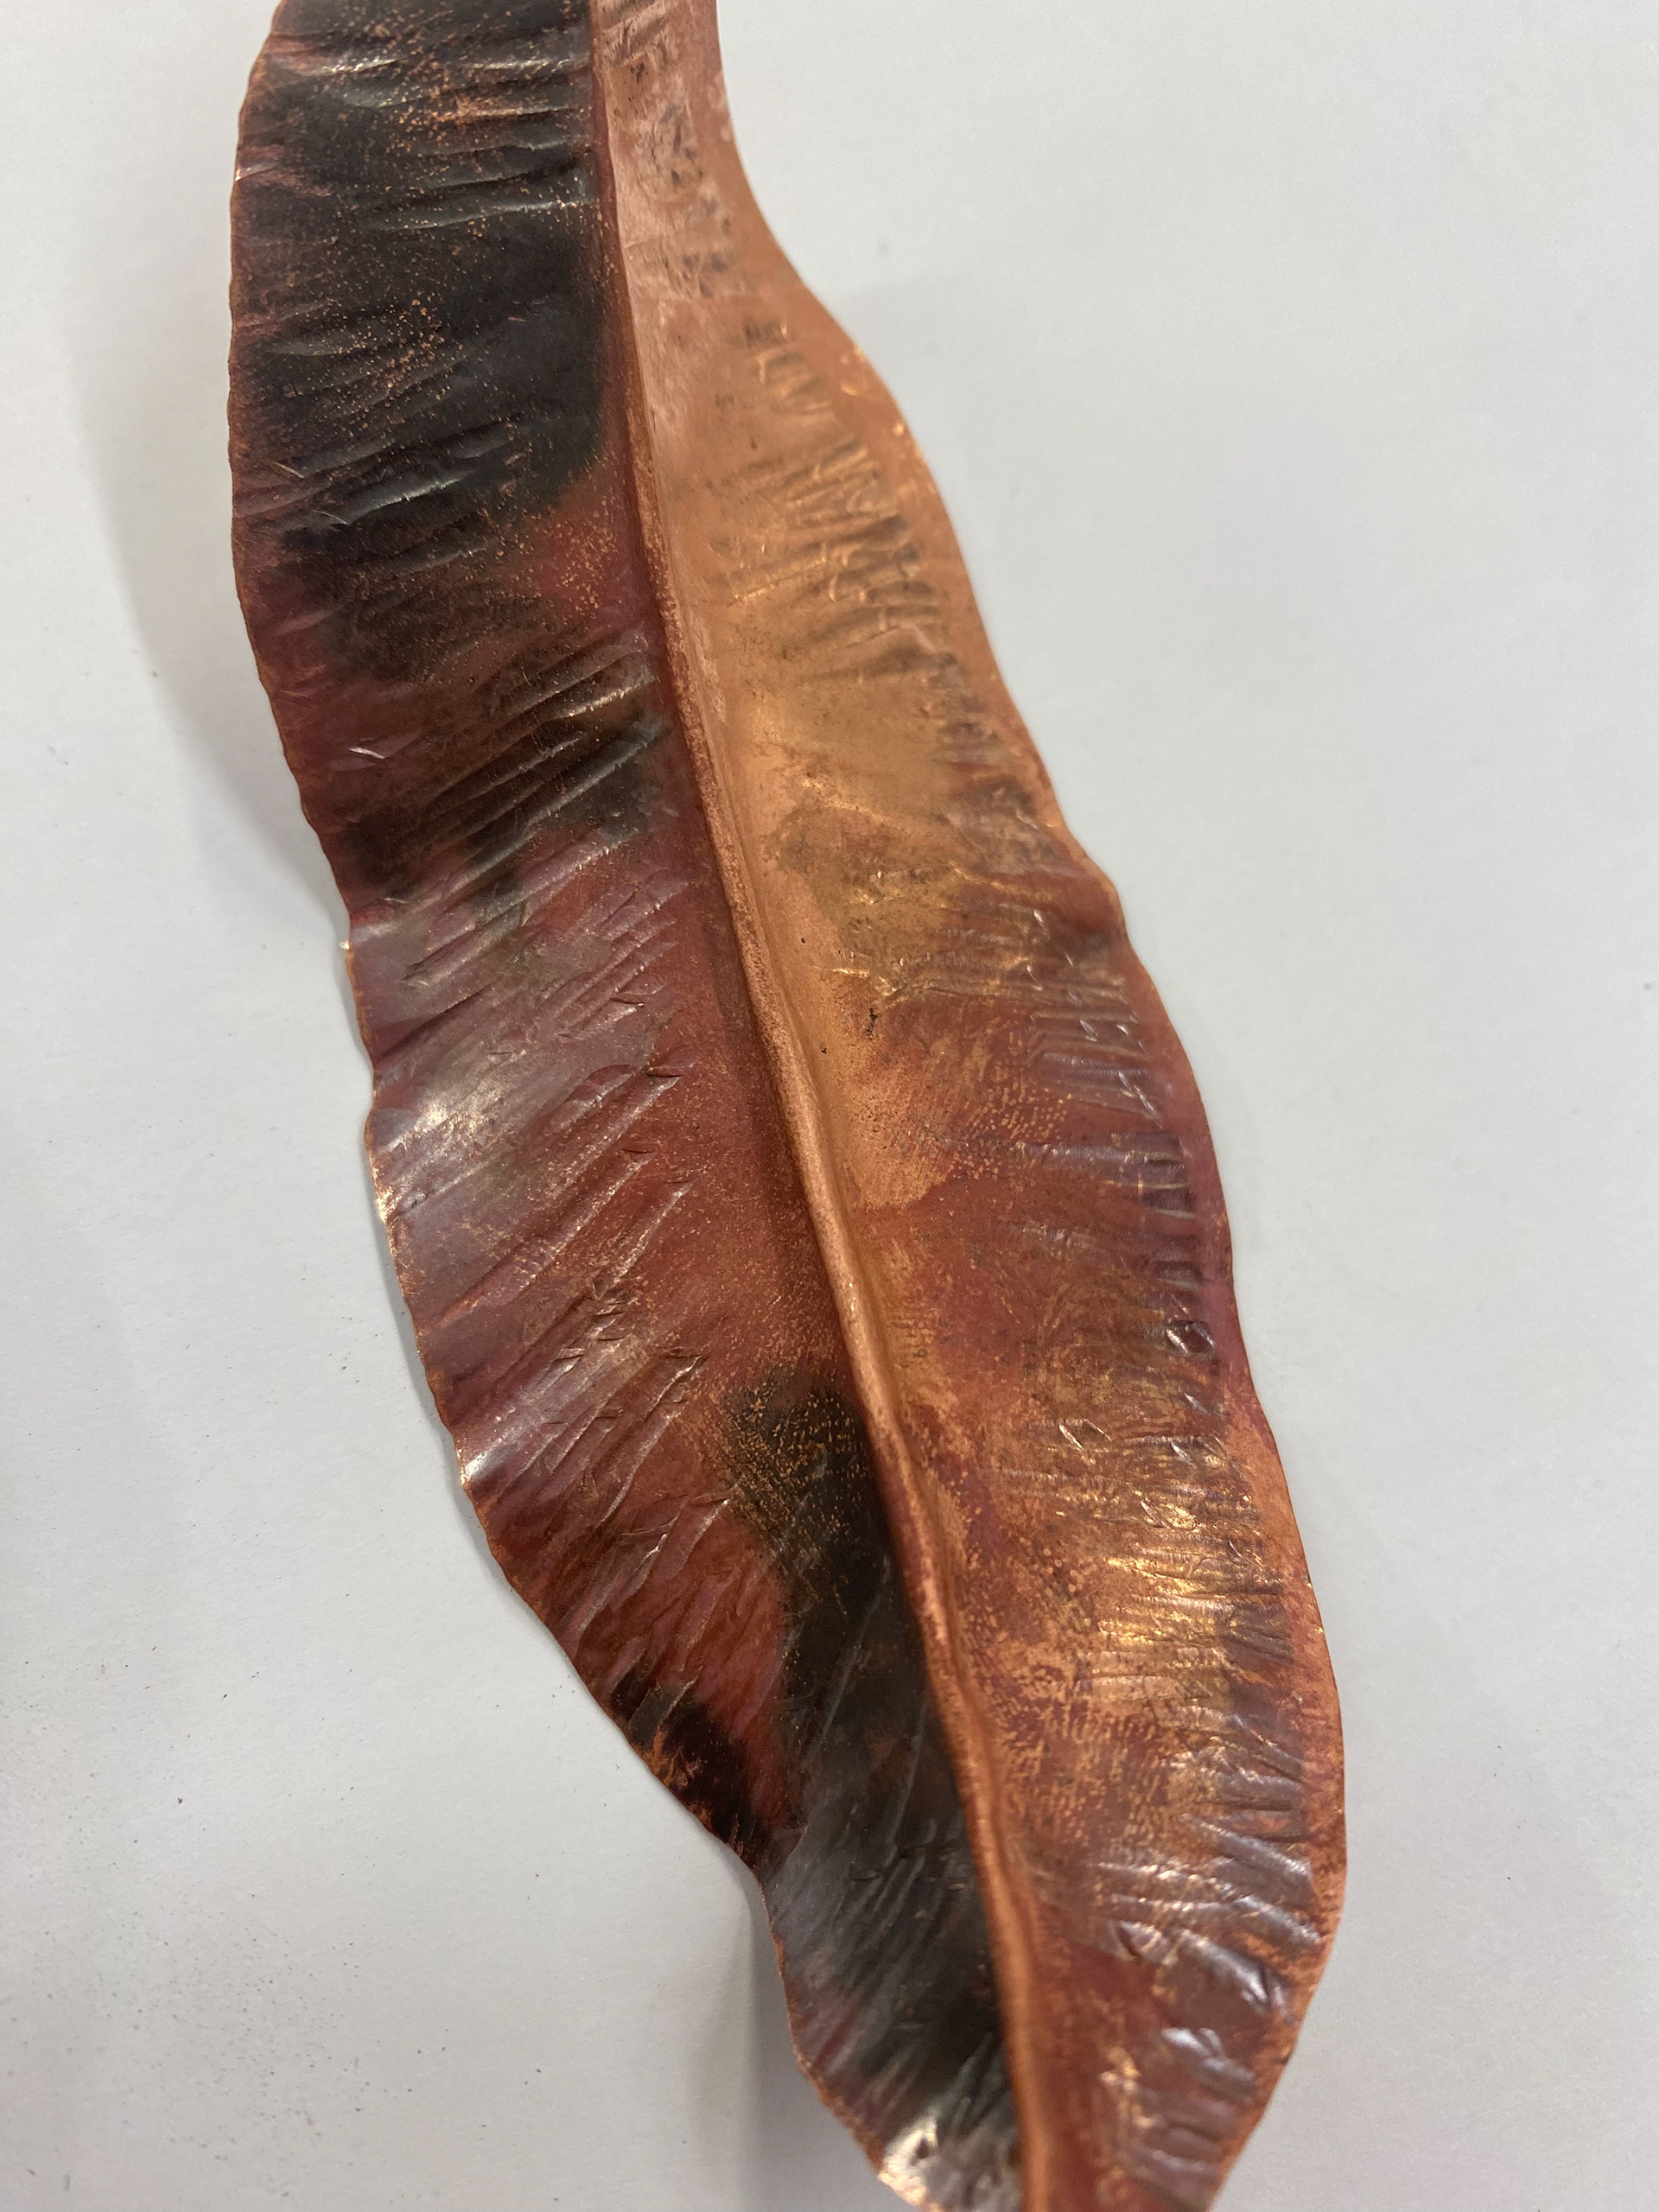
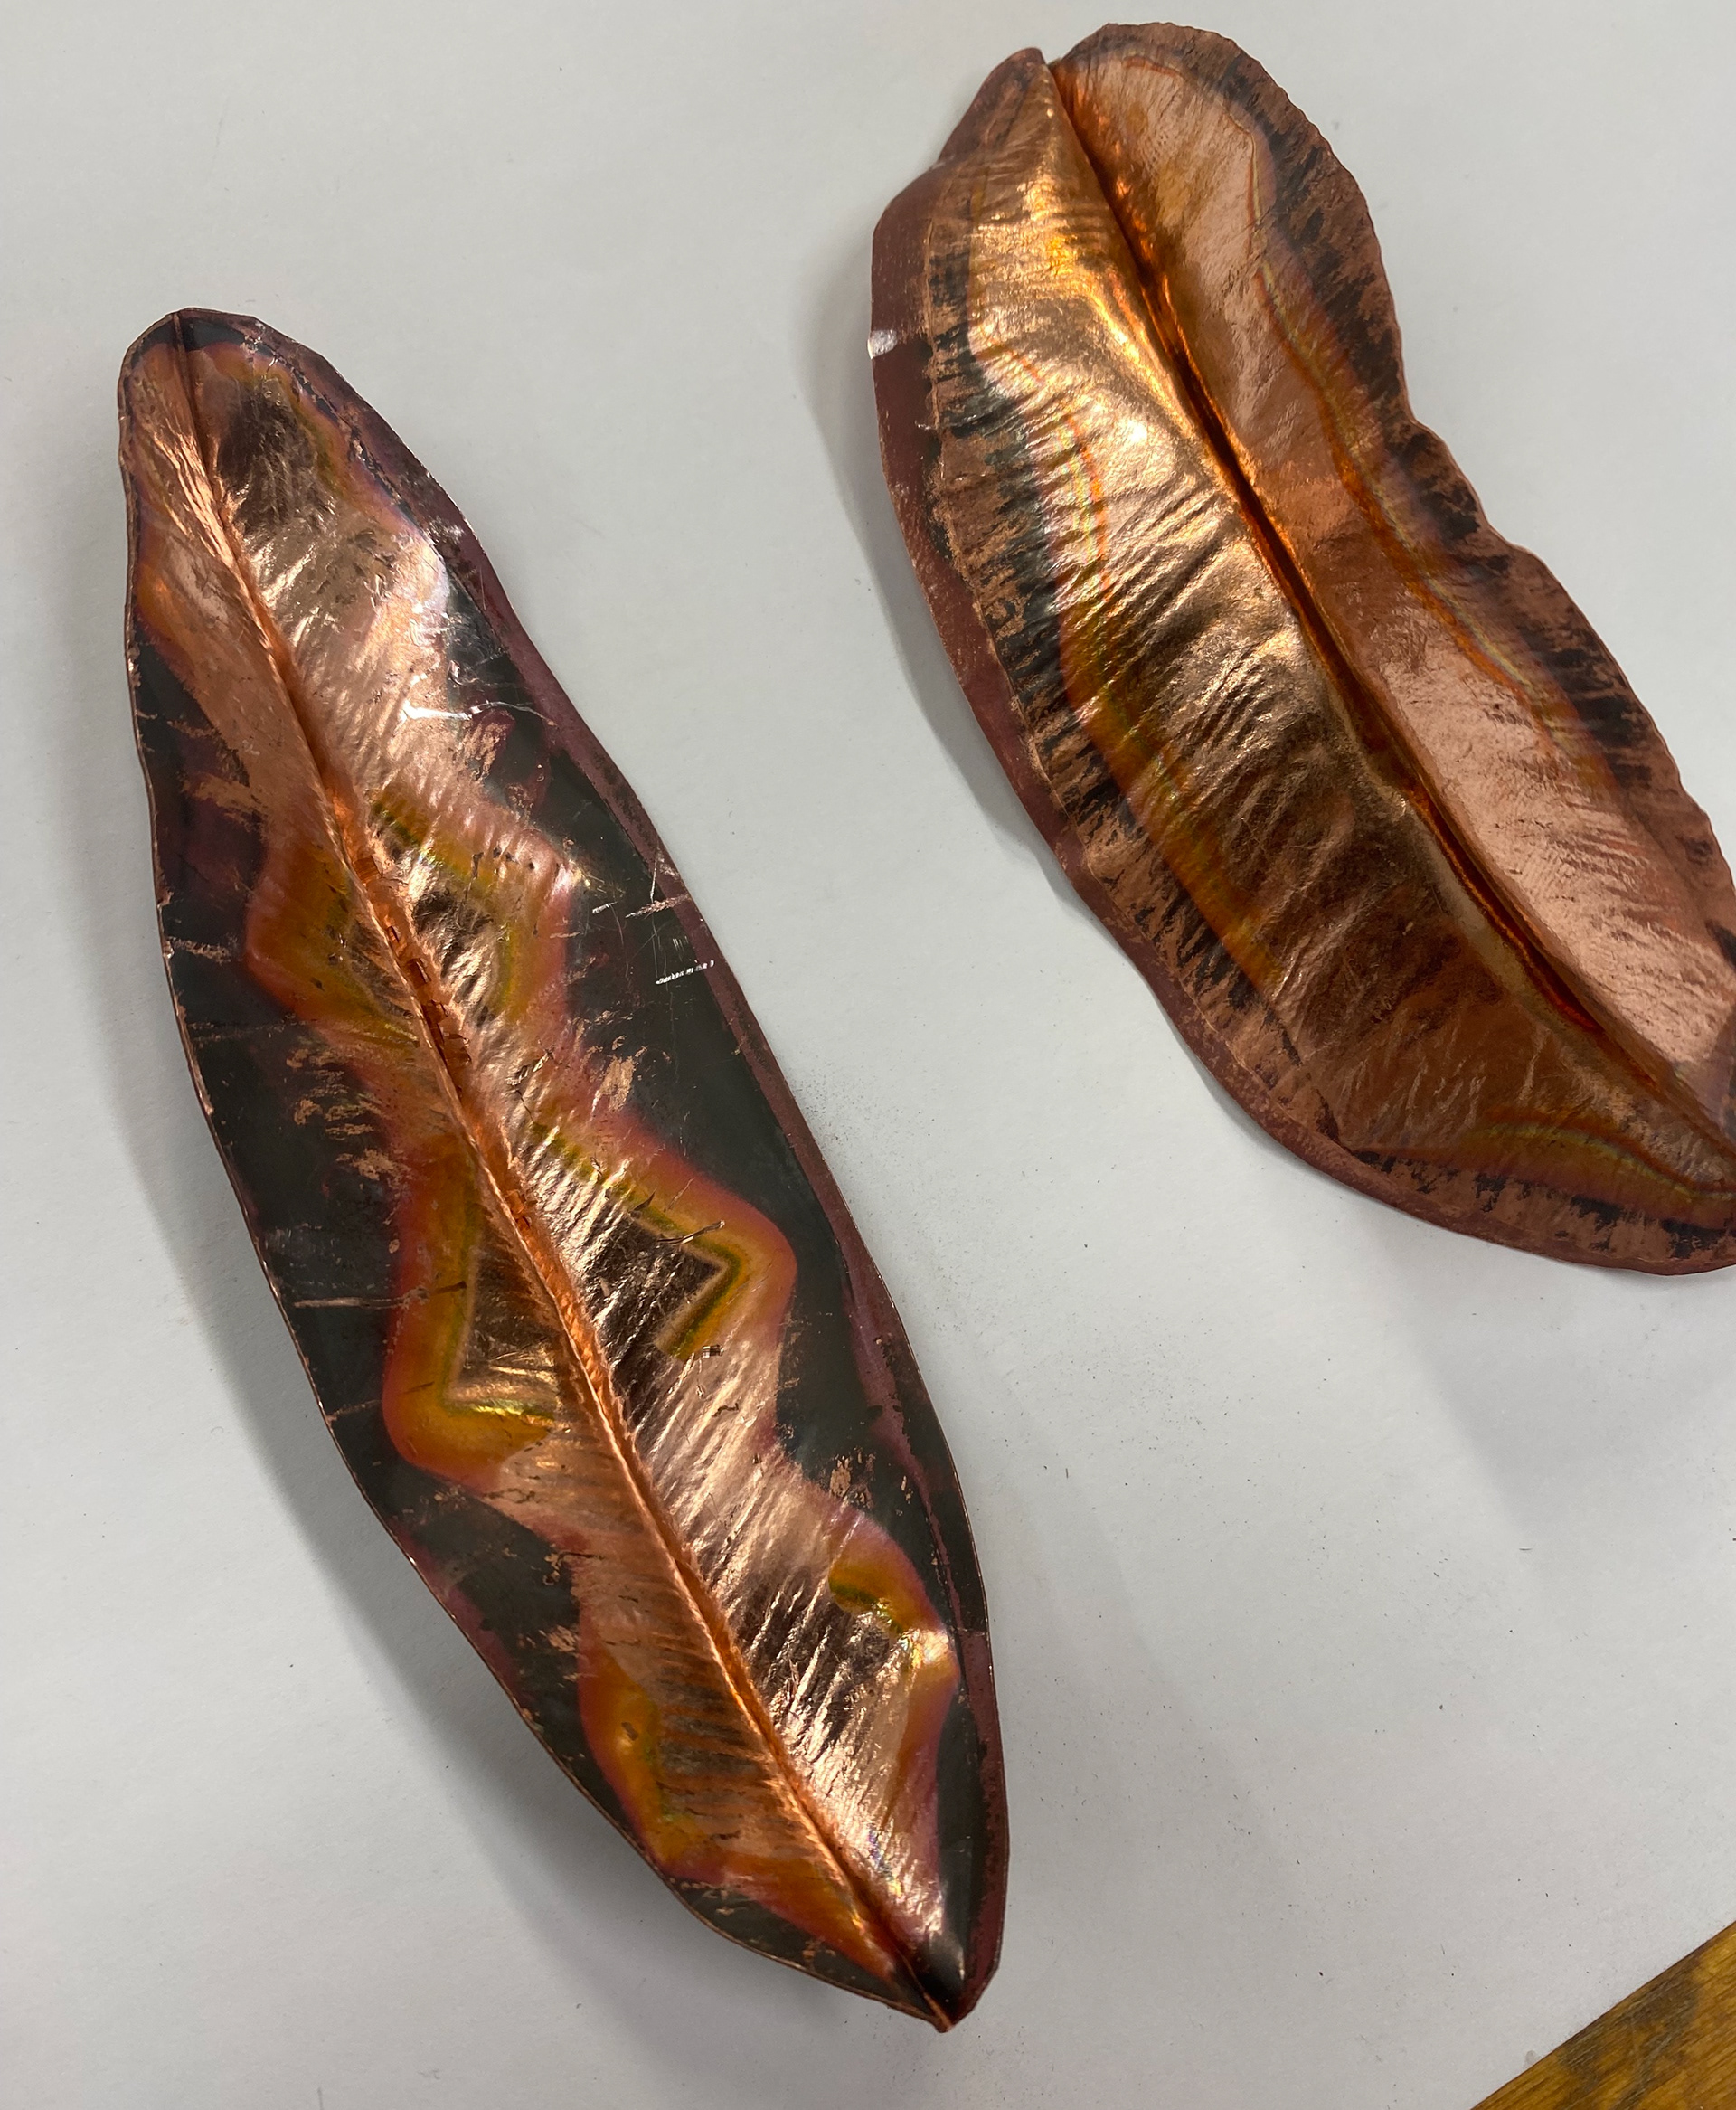
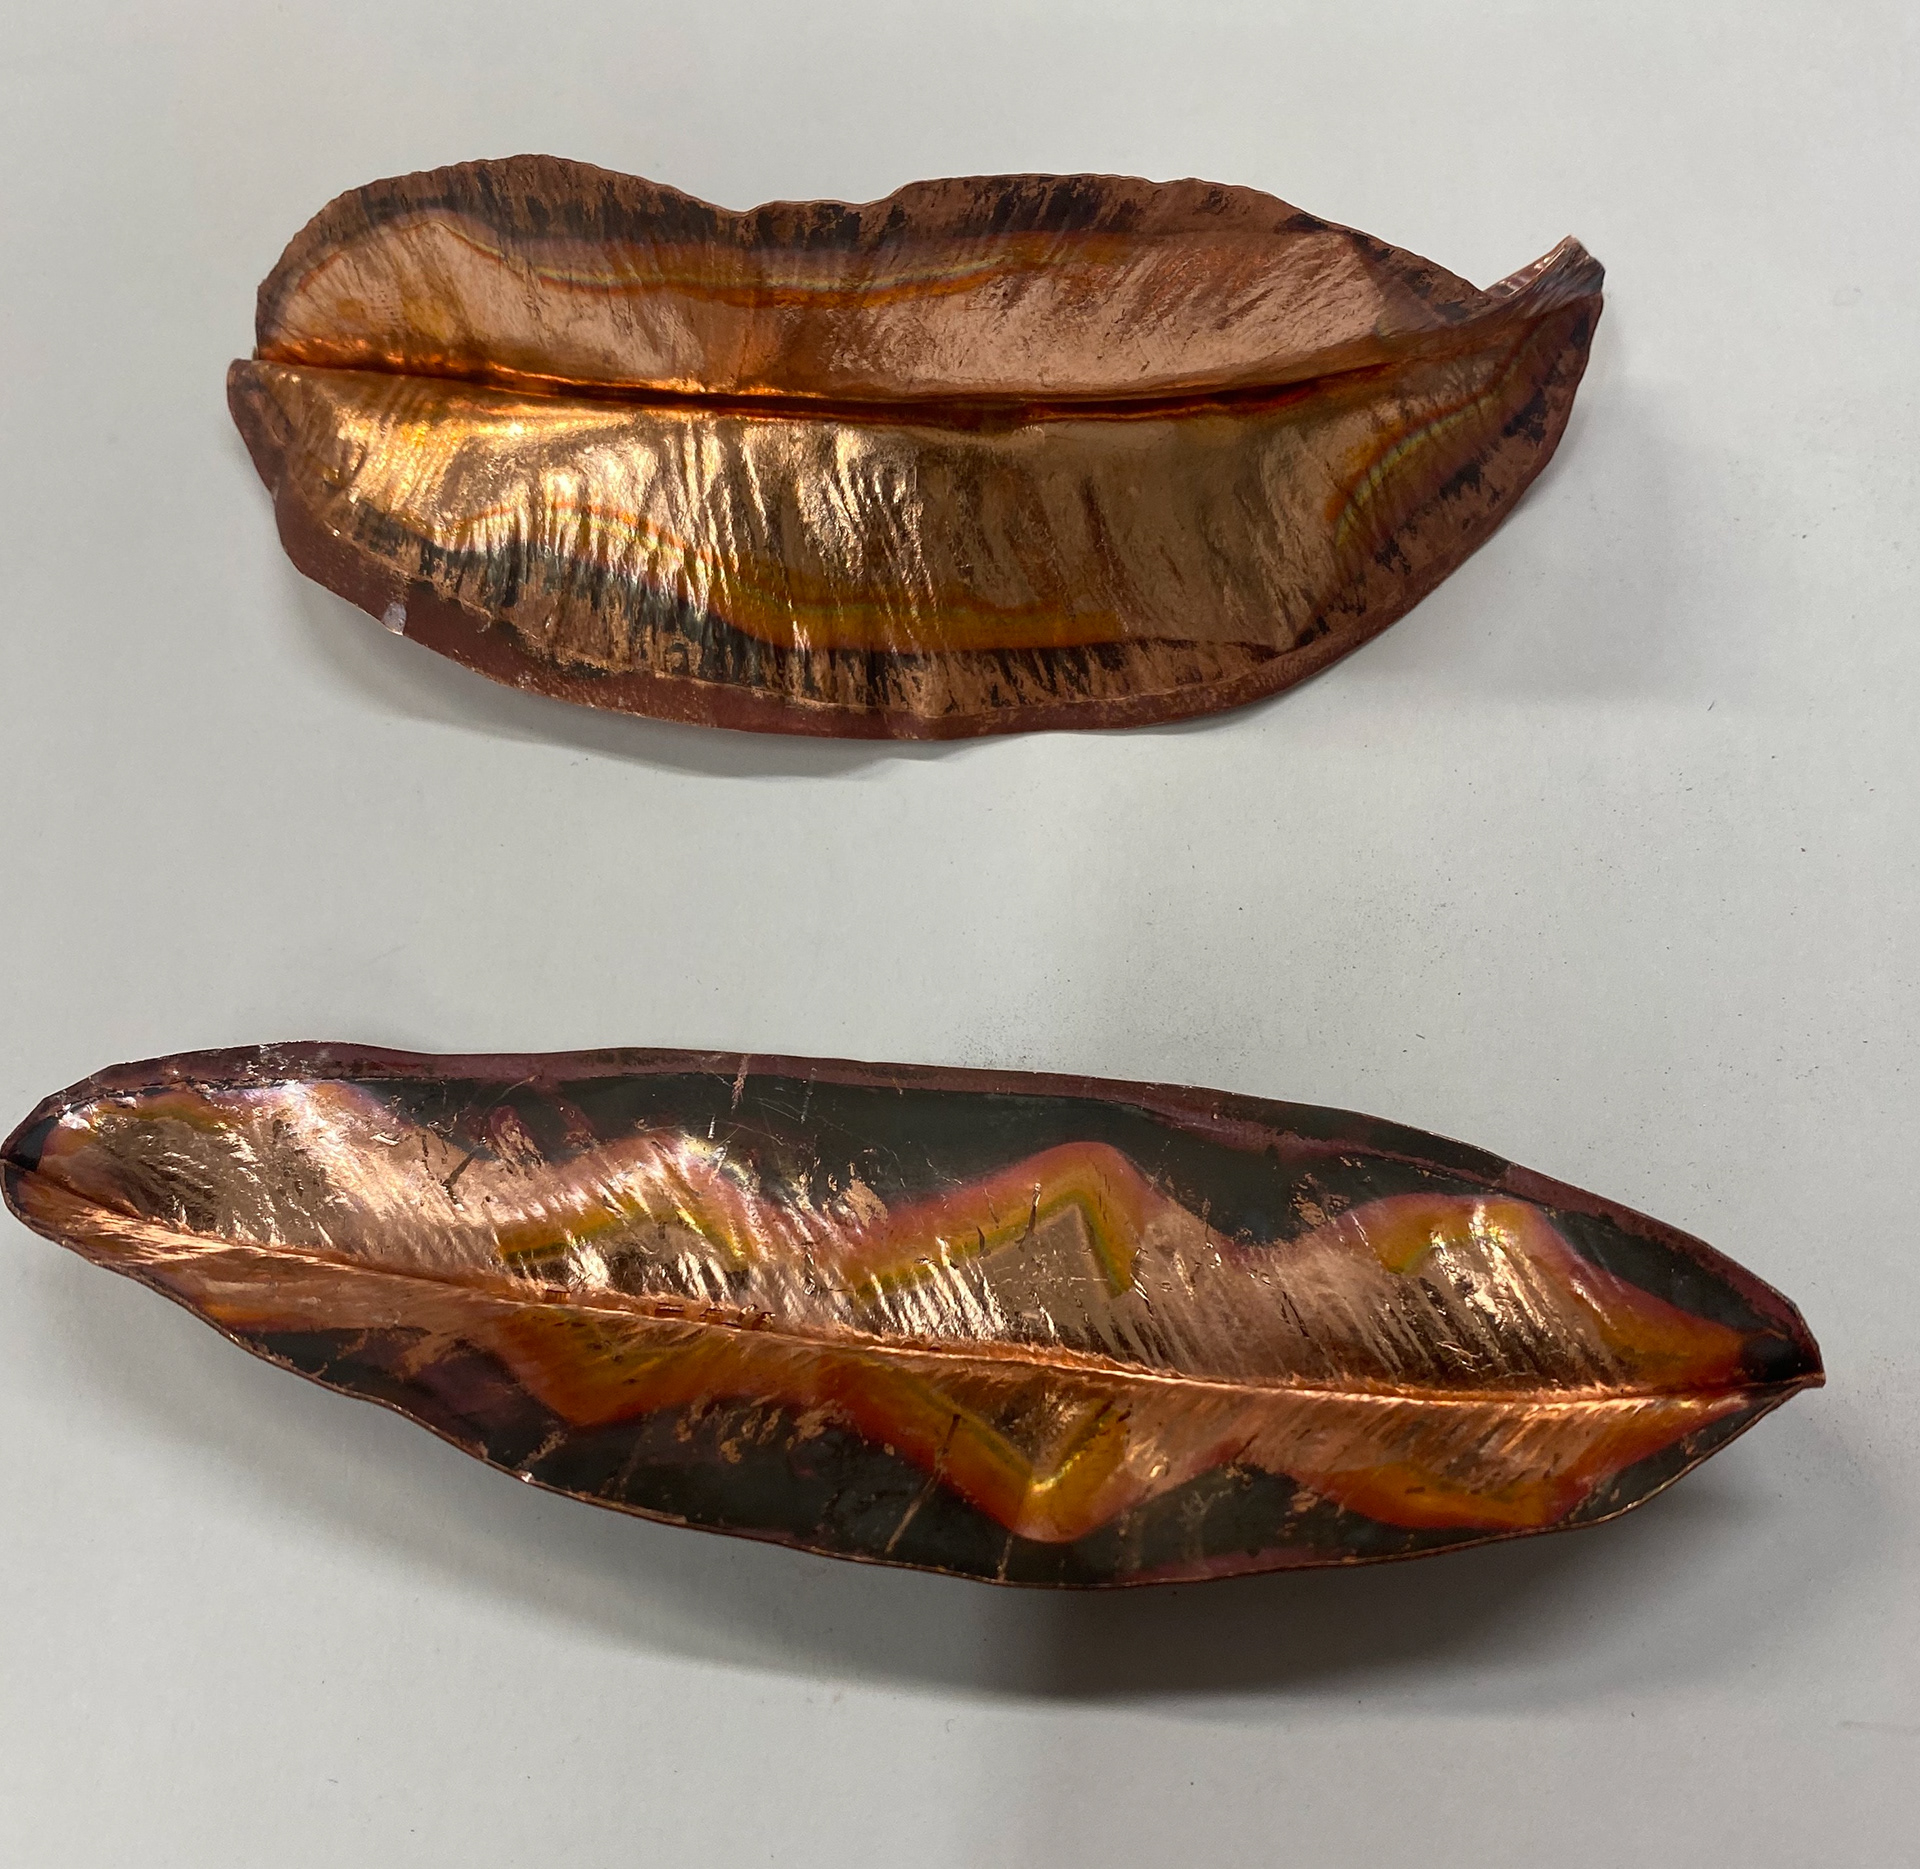
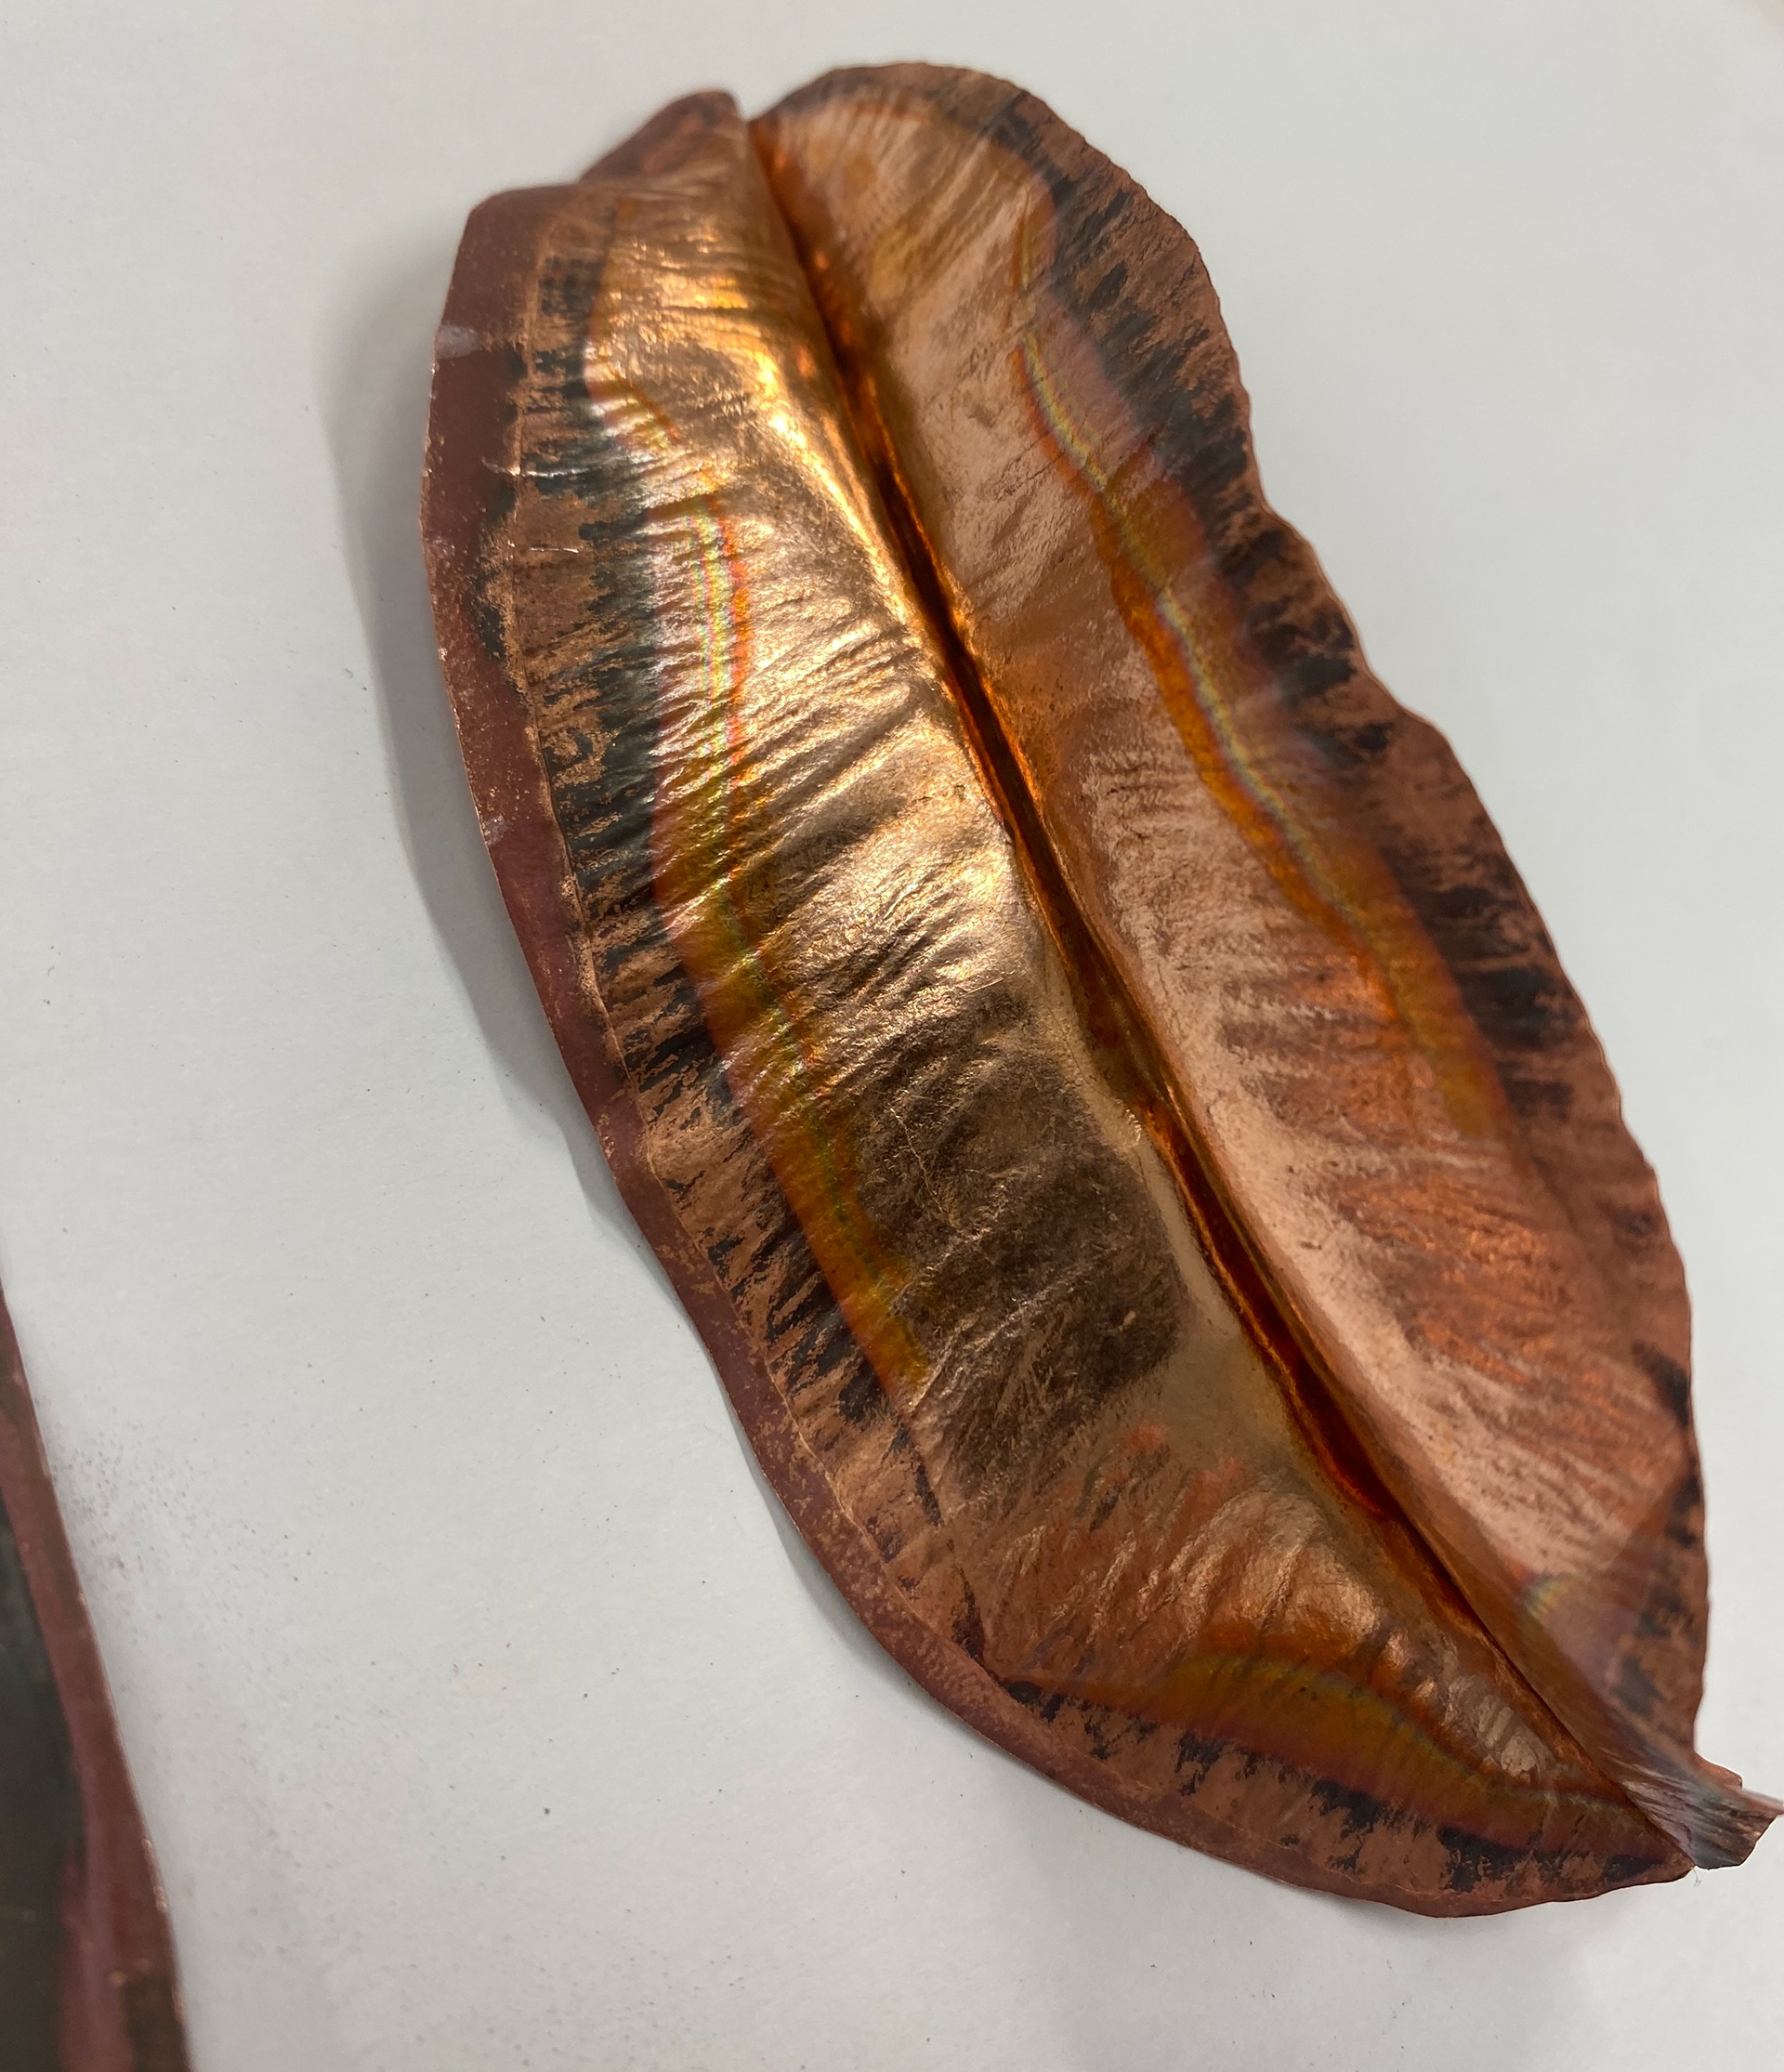
On reflection from the class, I decided I enjoyed fold forming and liked the lines you can create with it. From this I decided to explore and experiment this further relating it to geometry and the construction lines. I drew on some lines onto the Copper that your start with when beginning to draw a pattern. I fold formed these lines and got some interesting results. I made another sample where I took it further and created more of the construction lines with this technique.

Beginning of inital sample
Starting to fold form
Process of the technique
Finished first sample piece

Start of the second example using this technique
Process of this piece
Finished sample
I liked the results of the fold forming but I found I could only get straight lines and not curved ones from this technique. If I was to experiment with his further I'd want to create more refined and neater lines by being more careful and precise when hammering throughout the process.
Engraving
At this point I was still unsure what my final design would be but knew I wanted to involve both the construction lines and finished pattern within it. I decided to explore some other techniques on how to involves both lines. I went back to engraving which I had practiced earlier in the project due to it being a traditional Persian craft technique. I took some copper and drew on the construction lines from my pattern and engraved them. To help I used the setting bowl to secure the metal in place making it easier to engrave onto,
Lines drawn onto the copper
Set into the bowl
Finished sample
I believe there is improvement with the quality of the engraving, however far from what I would like it to be. I do like qualities of this technique such as the more precise and neat lines you can get. They are more elegant and soft unlike the lines I achieved with fold forming, which were a bit harsh.
Screen printing onto Copper
After designing my pattern and attending numerous inductions, I was ready to try to screen print onto copper to be able to etch more samples at once, resulting in enamelling more samples. After speaking with the technicians in the Print workshop, I decided to do a couple practice pieces of this because I hadnt printed onto copper before. We also didnt know how well the inks they had would work as resists for what I wanted.
Screen ready to be used
Copper sheets for printing onto
Covered the pattern apart from two test pieces
First go at printing, left side acrylic, right side speedball
Second attempt at printing onto copper, eft side acrylic, right side speedball
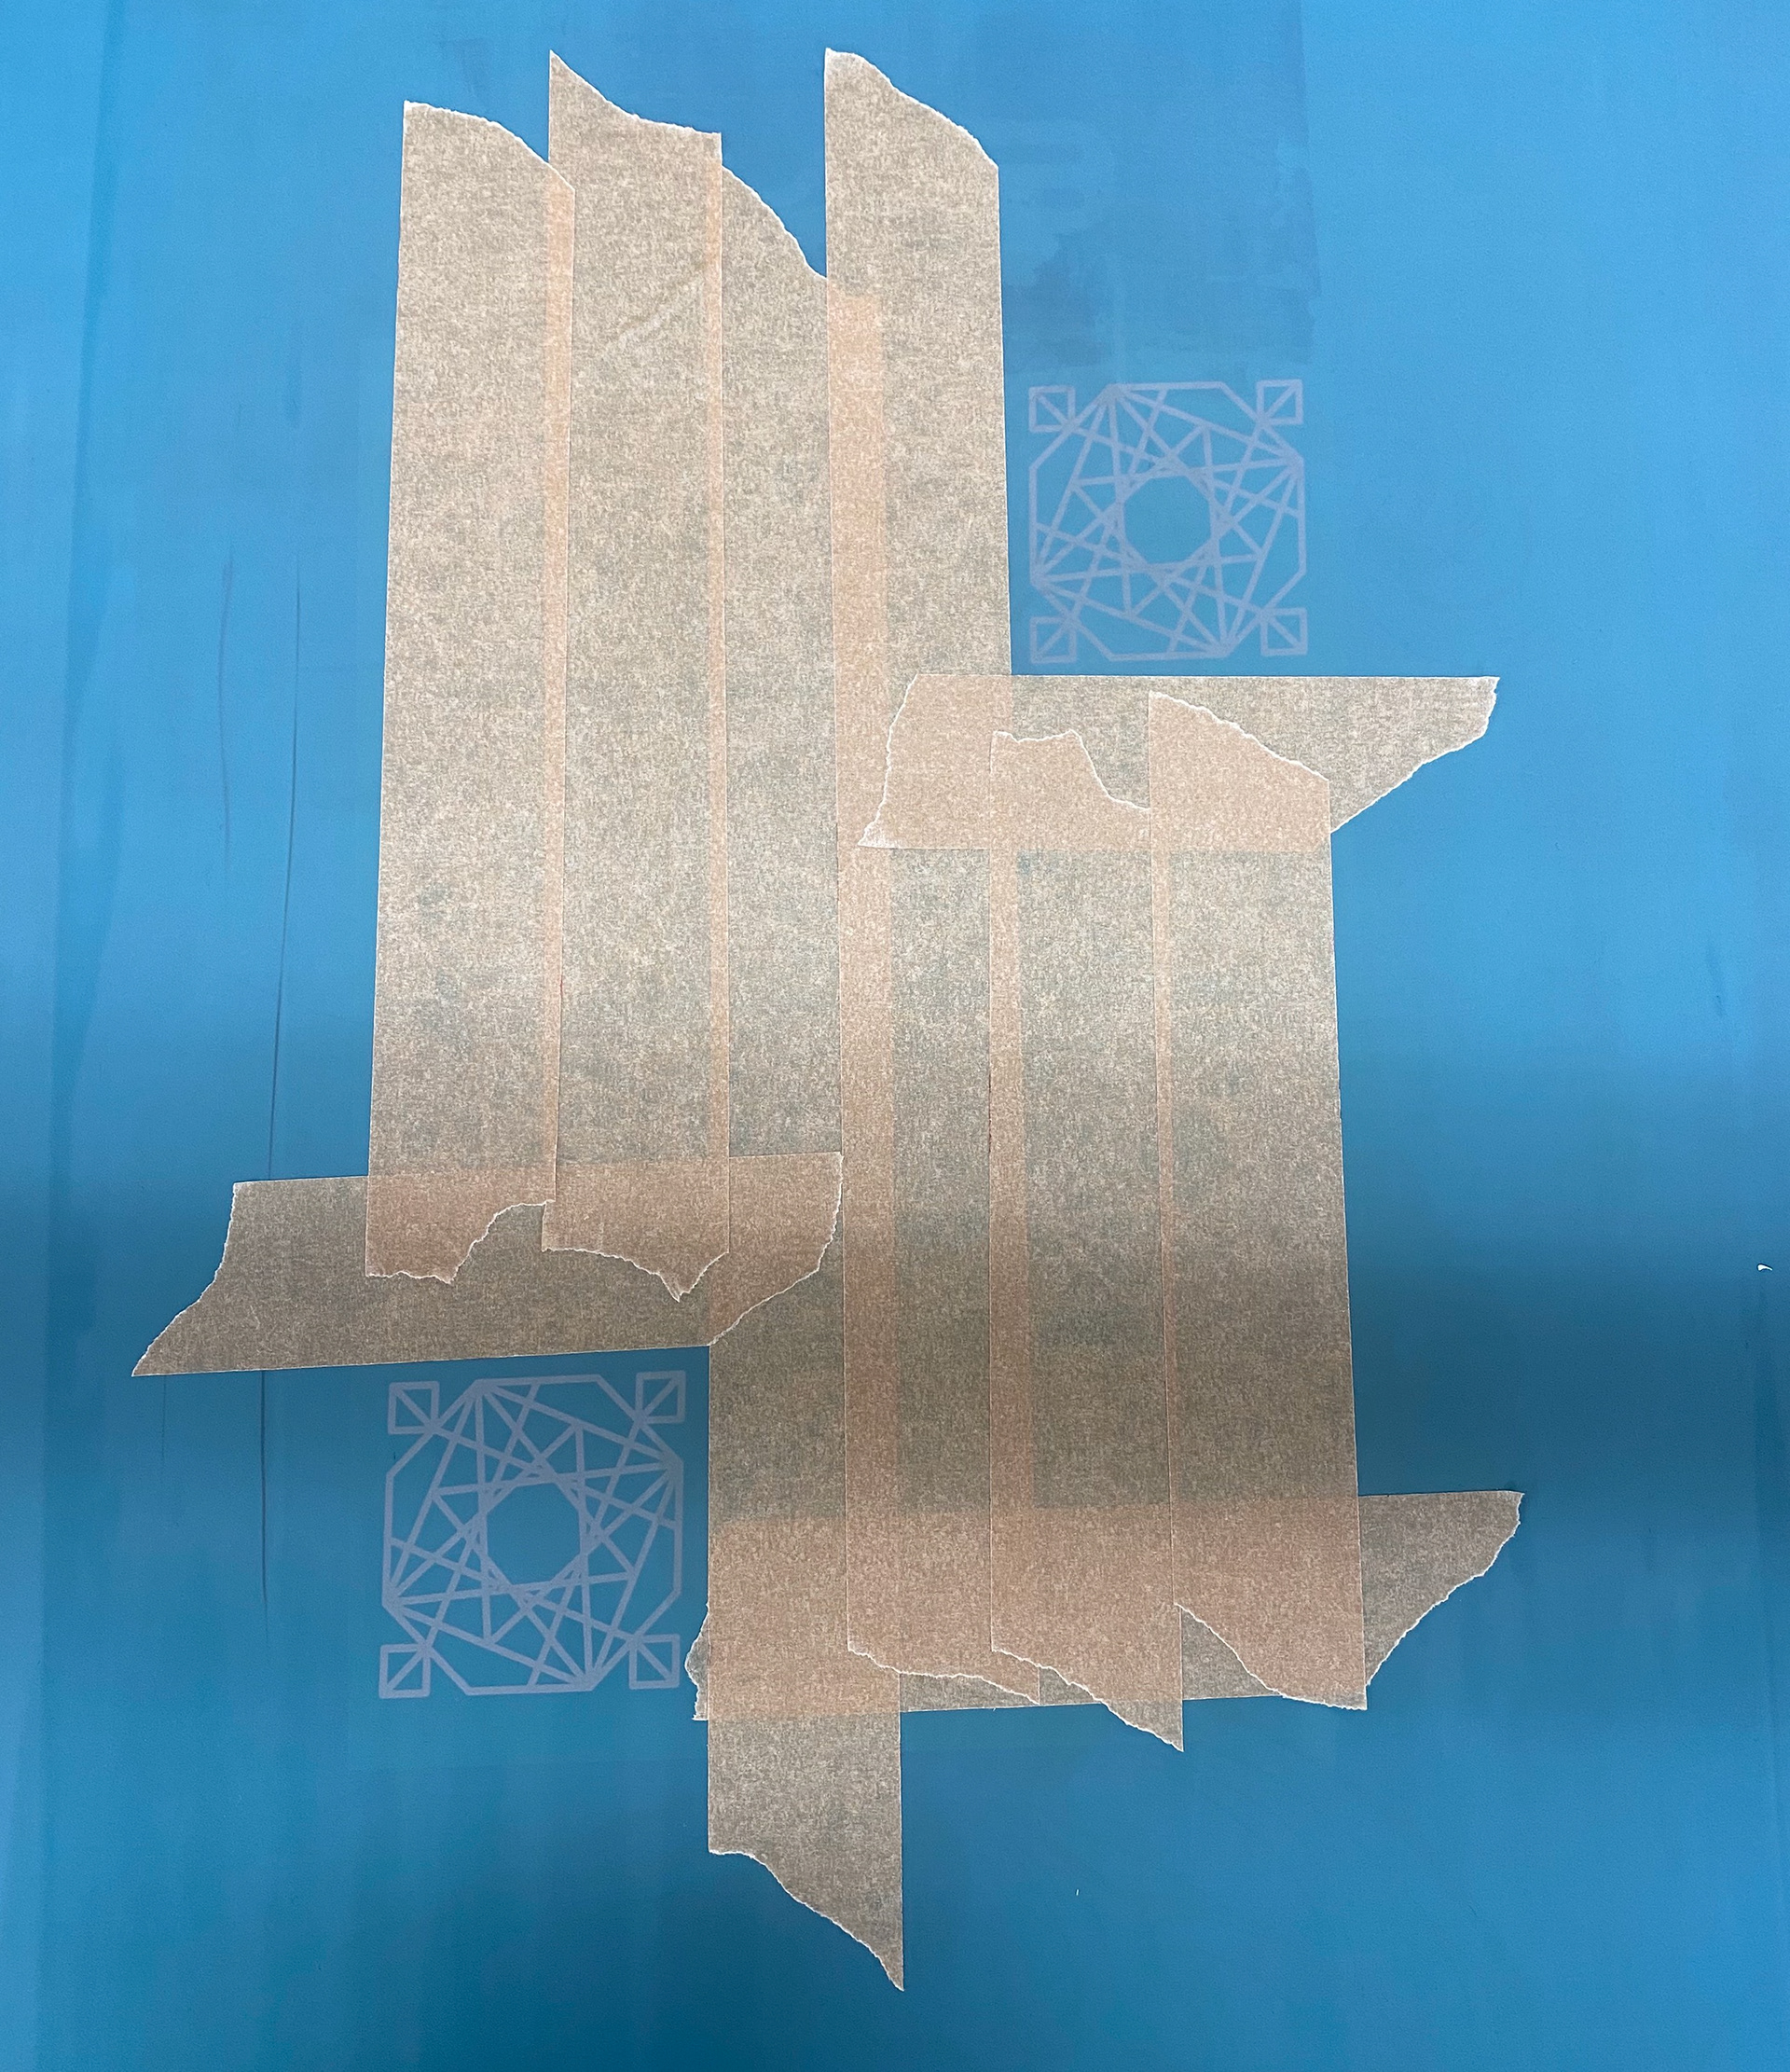
I set up the work bench for screen printing, blocking out most of the screen just to practice on smaller pieces first to see the results before printing onto the A4 sheet. The results of this were pretty terrible and you could barely see the ink. I used two different inks as this is what the technicians recommended. The one on the left being the Acrylic ink which the technicians thought wouldn't print as well, or the Speedball ink which they thought might work better due it is consistency and durability when reacting with acid. The Speedball ink was slightly better but not good enough. I cleaned the equipment and started again. On the second attempt they came out much better, this time I went back over the print for a second time with the squeegee as recommended. This still wasn't what I wanted but I put them in the acid to see if it would work.
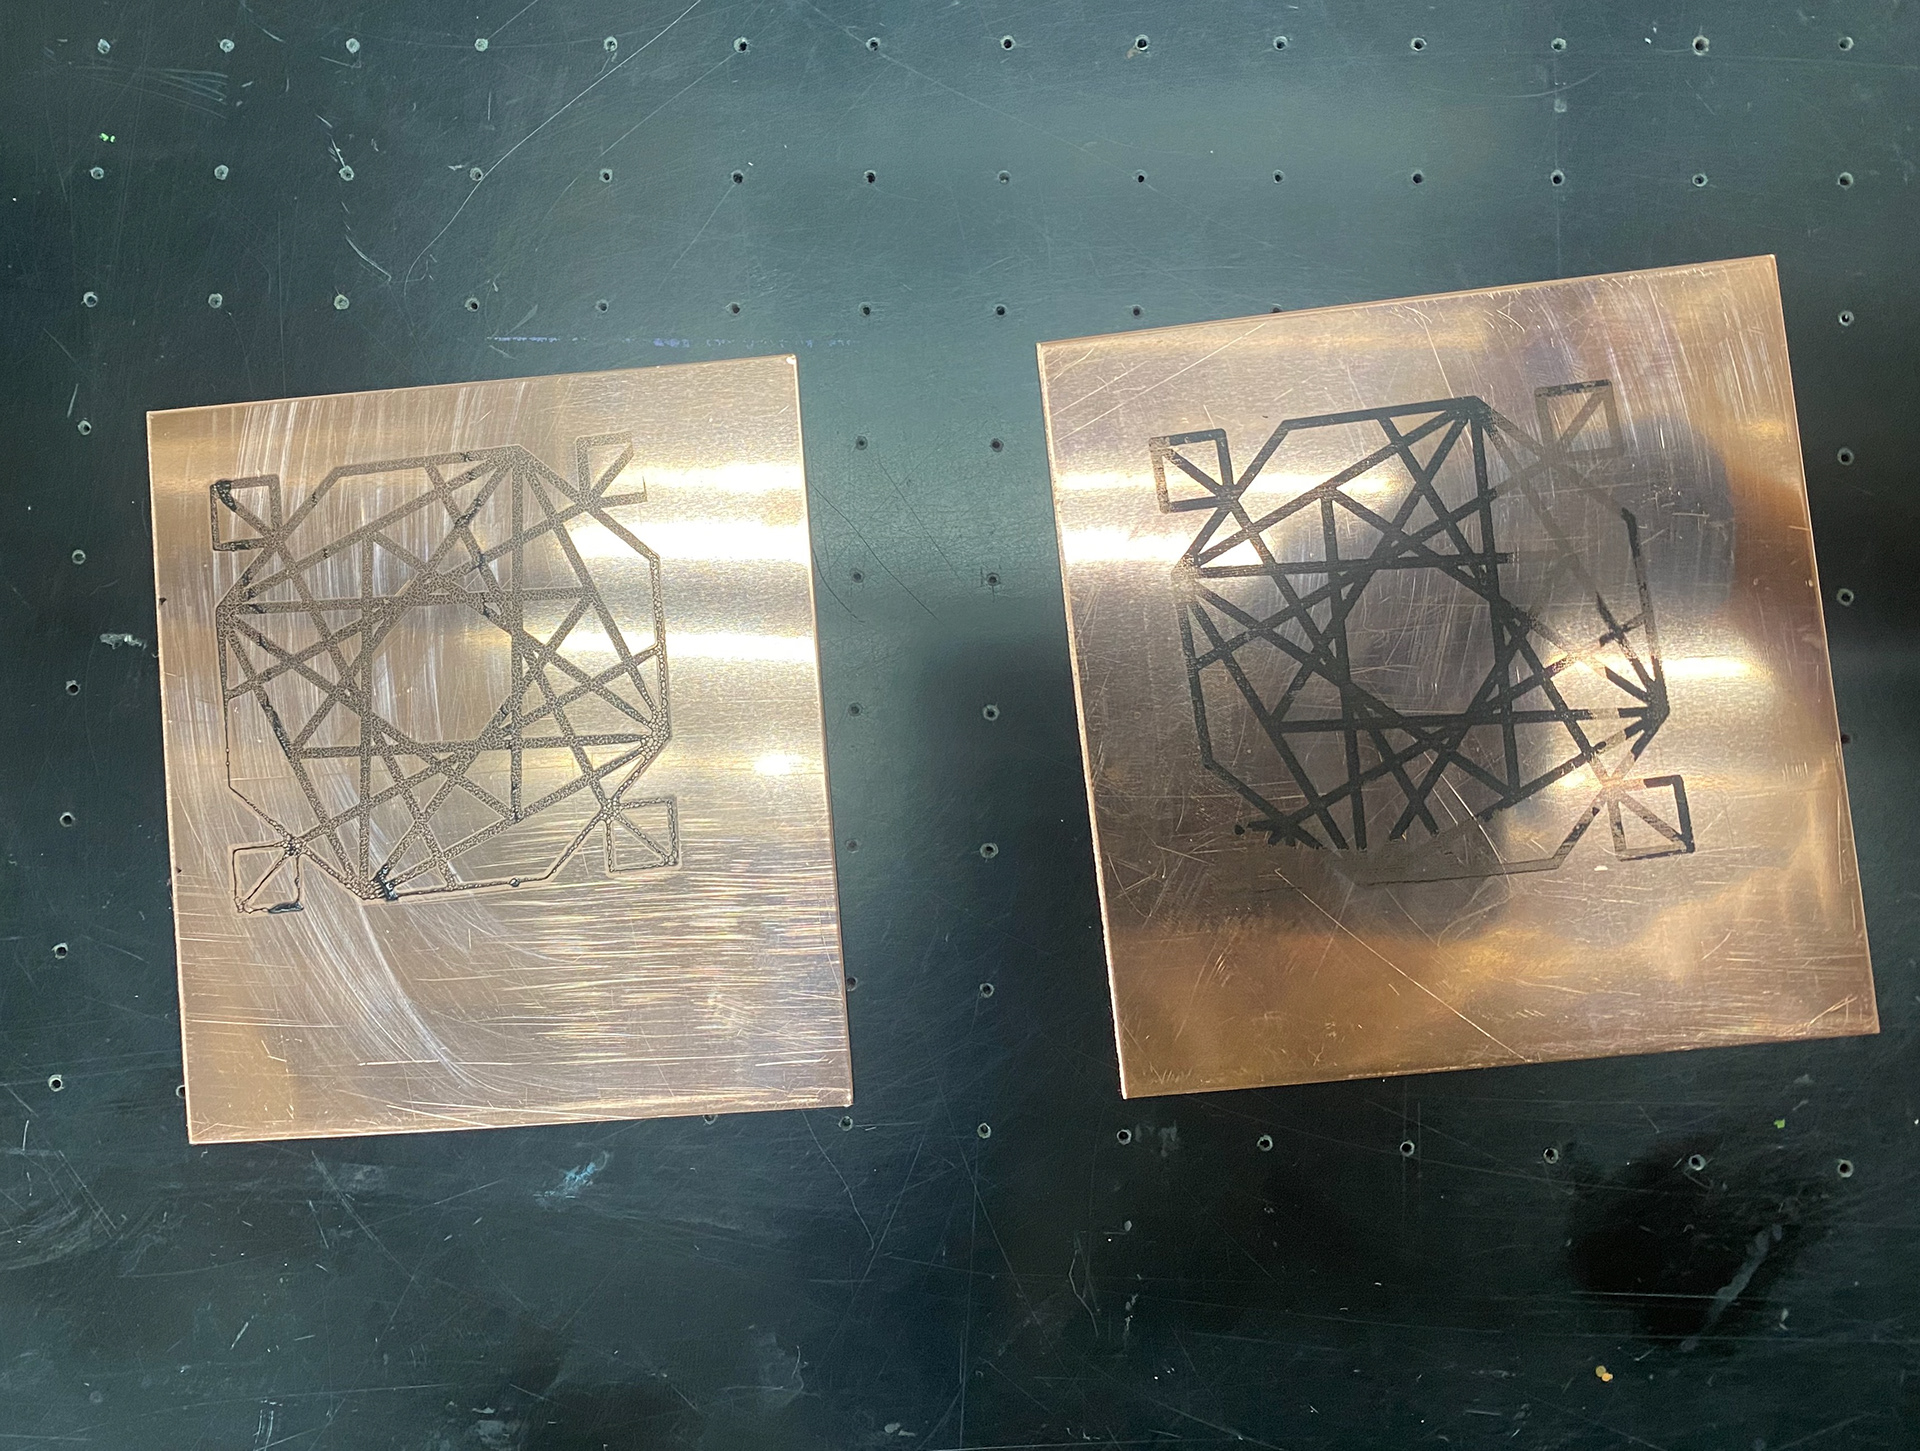
Left Speedball ink. Middle with Sharpie. Right with Acrylic.
When putting the screen printed patterns into the acid, I decided to put in a piece where I had drawn the construction lines on with Sharpie to see the difference between the three. The results for this was really interesting. The sharpie sample had come out the cleanest and the raised metal was still shiny. This was my favourite of the three. The two screen printed pieces turned out better than I was expecting. The Speedball ink which printed better onto the copper came out good but had a cloudy effect at the side of the lines making it less neat. Where as the Acrylic piece didn't have that and was a cleaner result. However both of the screen printed pieces came out with a matt effect to them rather than shiny. Im guessing this is some kind of chemical process which I am not sure about. I decided to not go ahead with printing the A4 sheet because at this point time was limited and I had my final idea so I wanted to focus on making that, which didn't involve etching the pattern in that way.
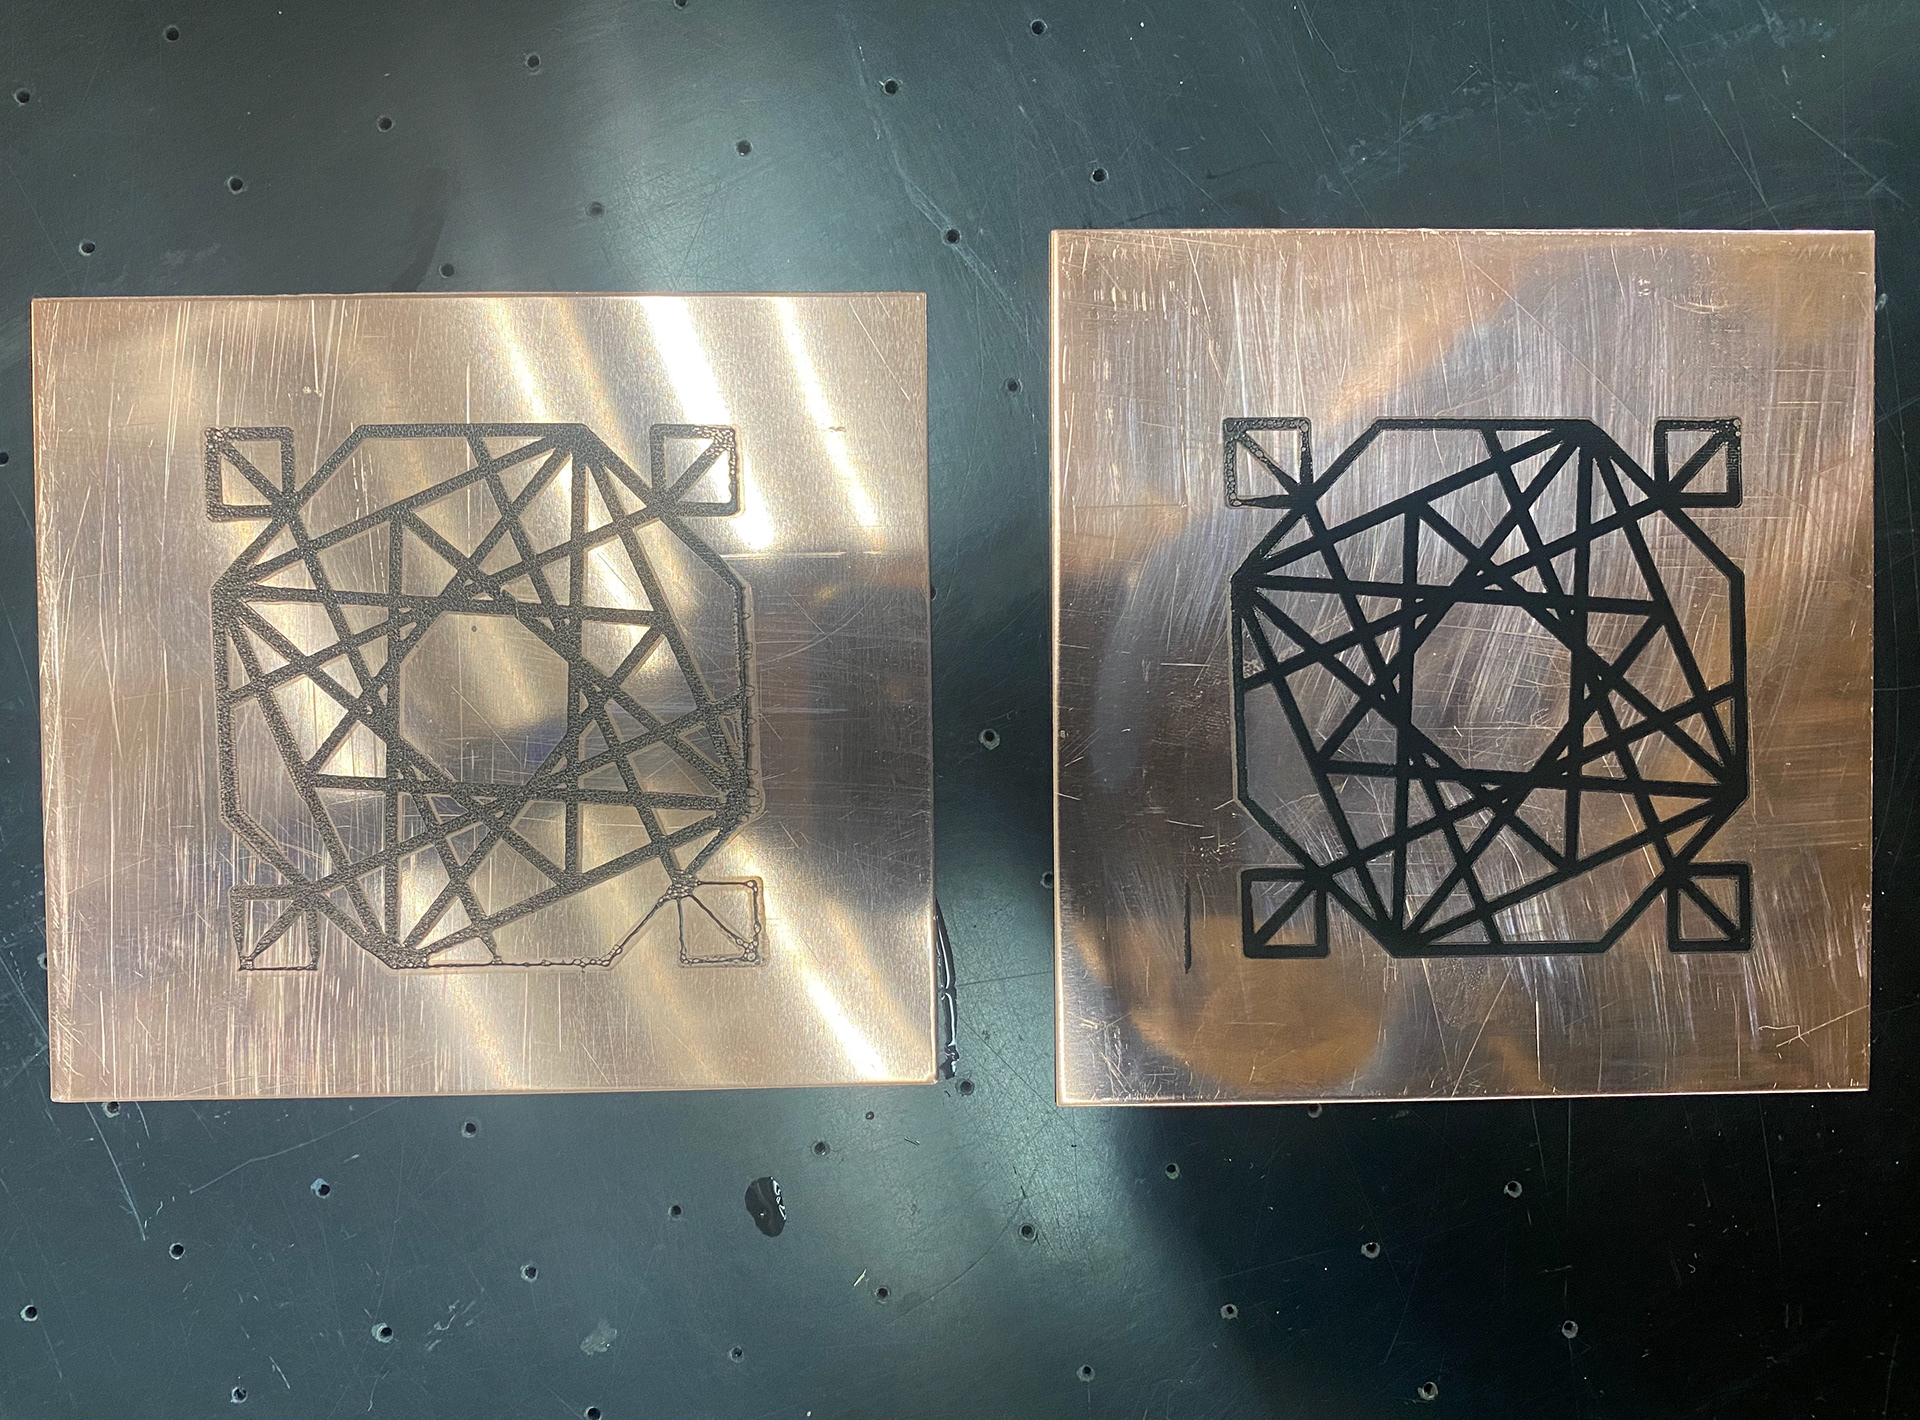
Left, engraved. Middle, fold forming. Right, acid etched.
After experimenting with various techniques, fold forming, engraving and etching to create the construction lines, I like the results from engraving and etching most due to them being more precise and have the potential to be done on a smaller scale. I feel that the fold forming would be more difficult to do that and isn't the look I think id want.
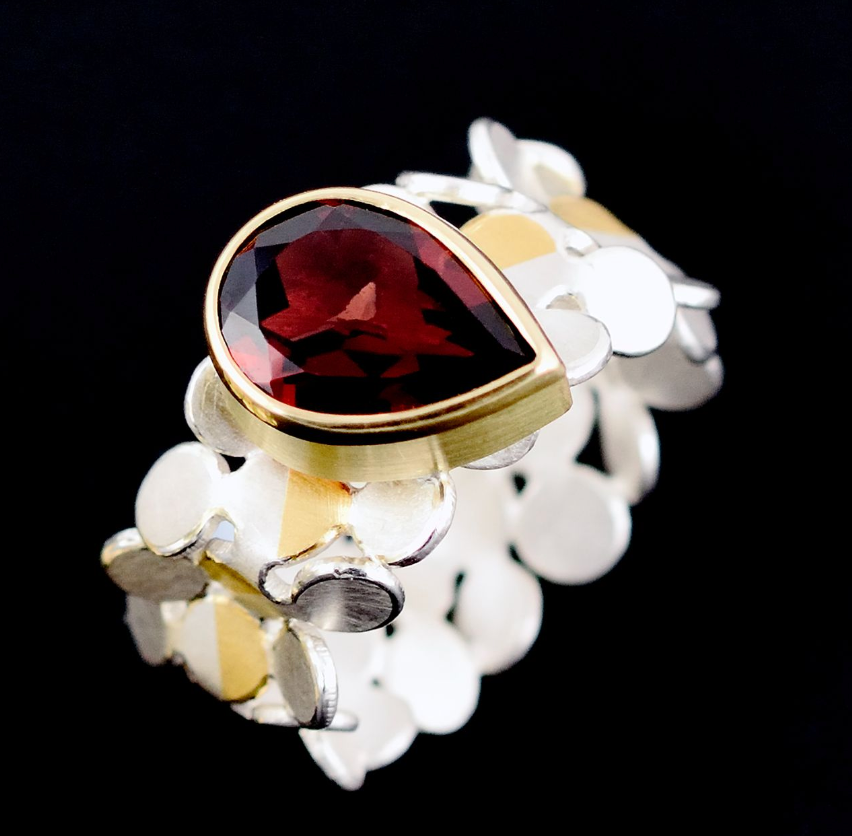
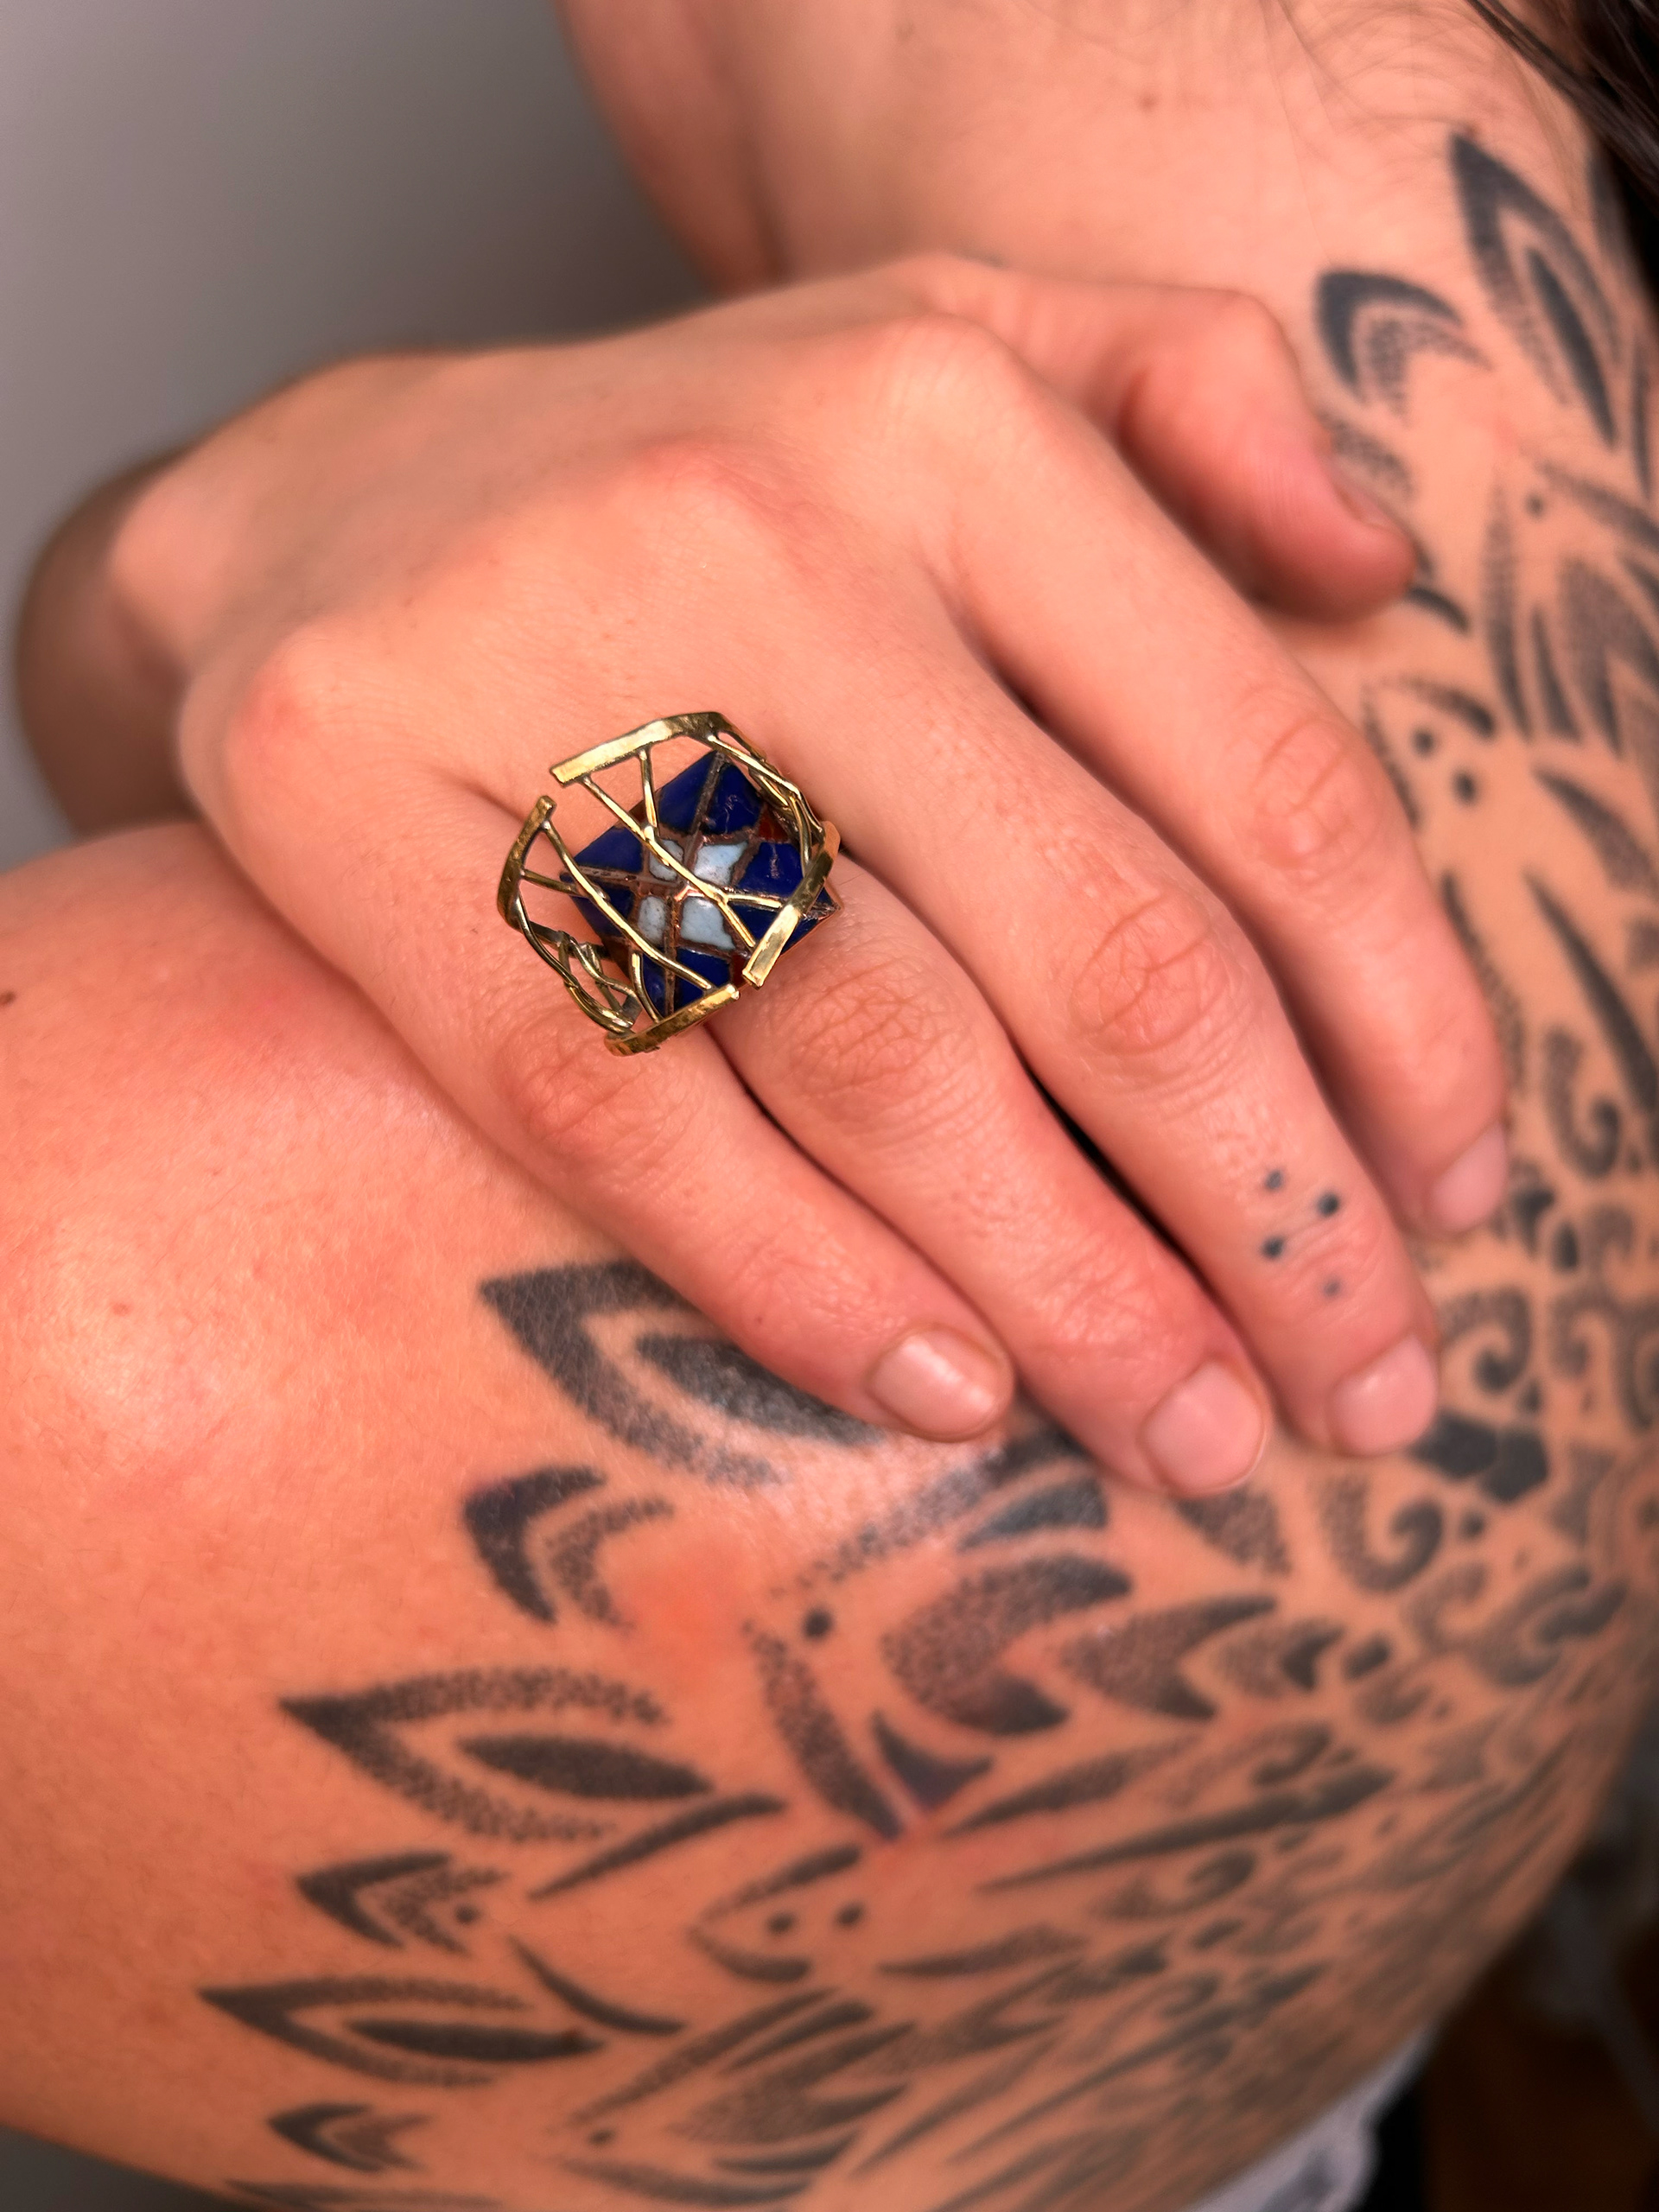
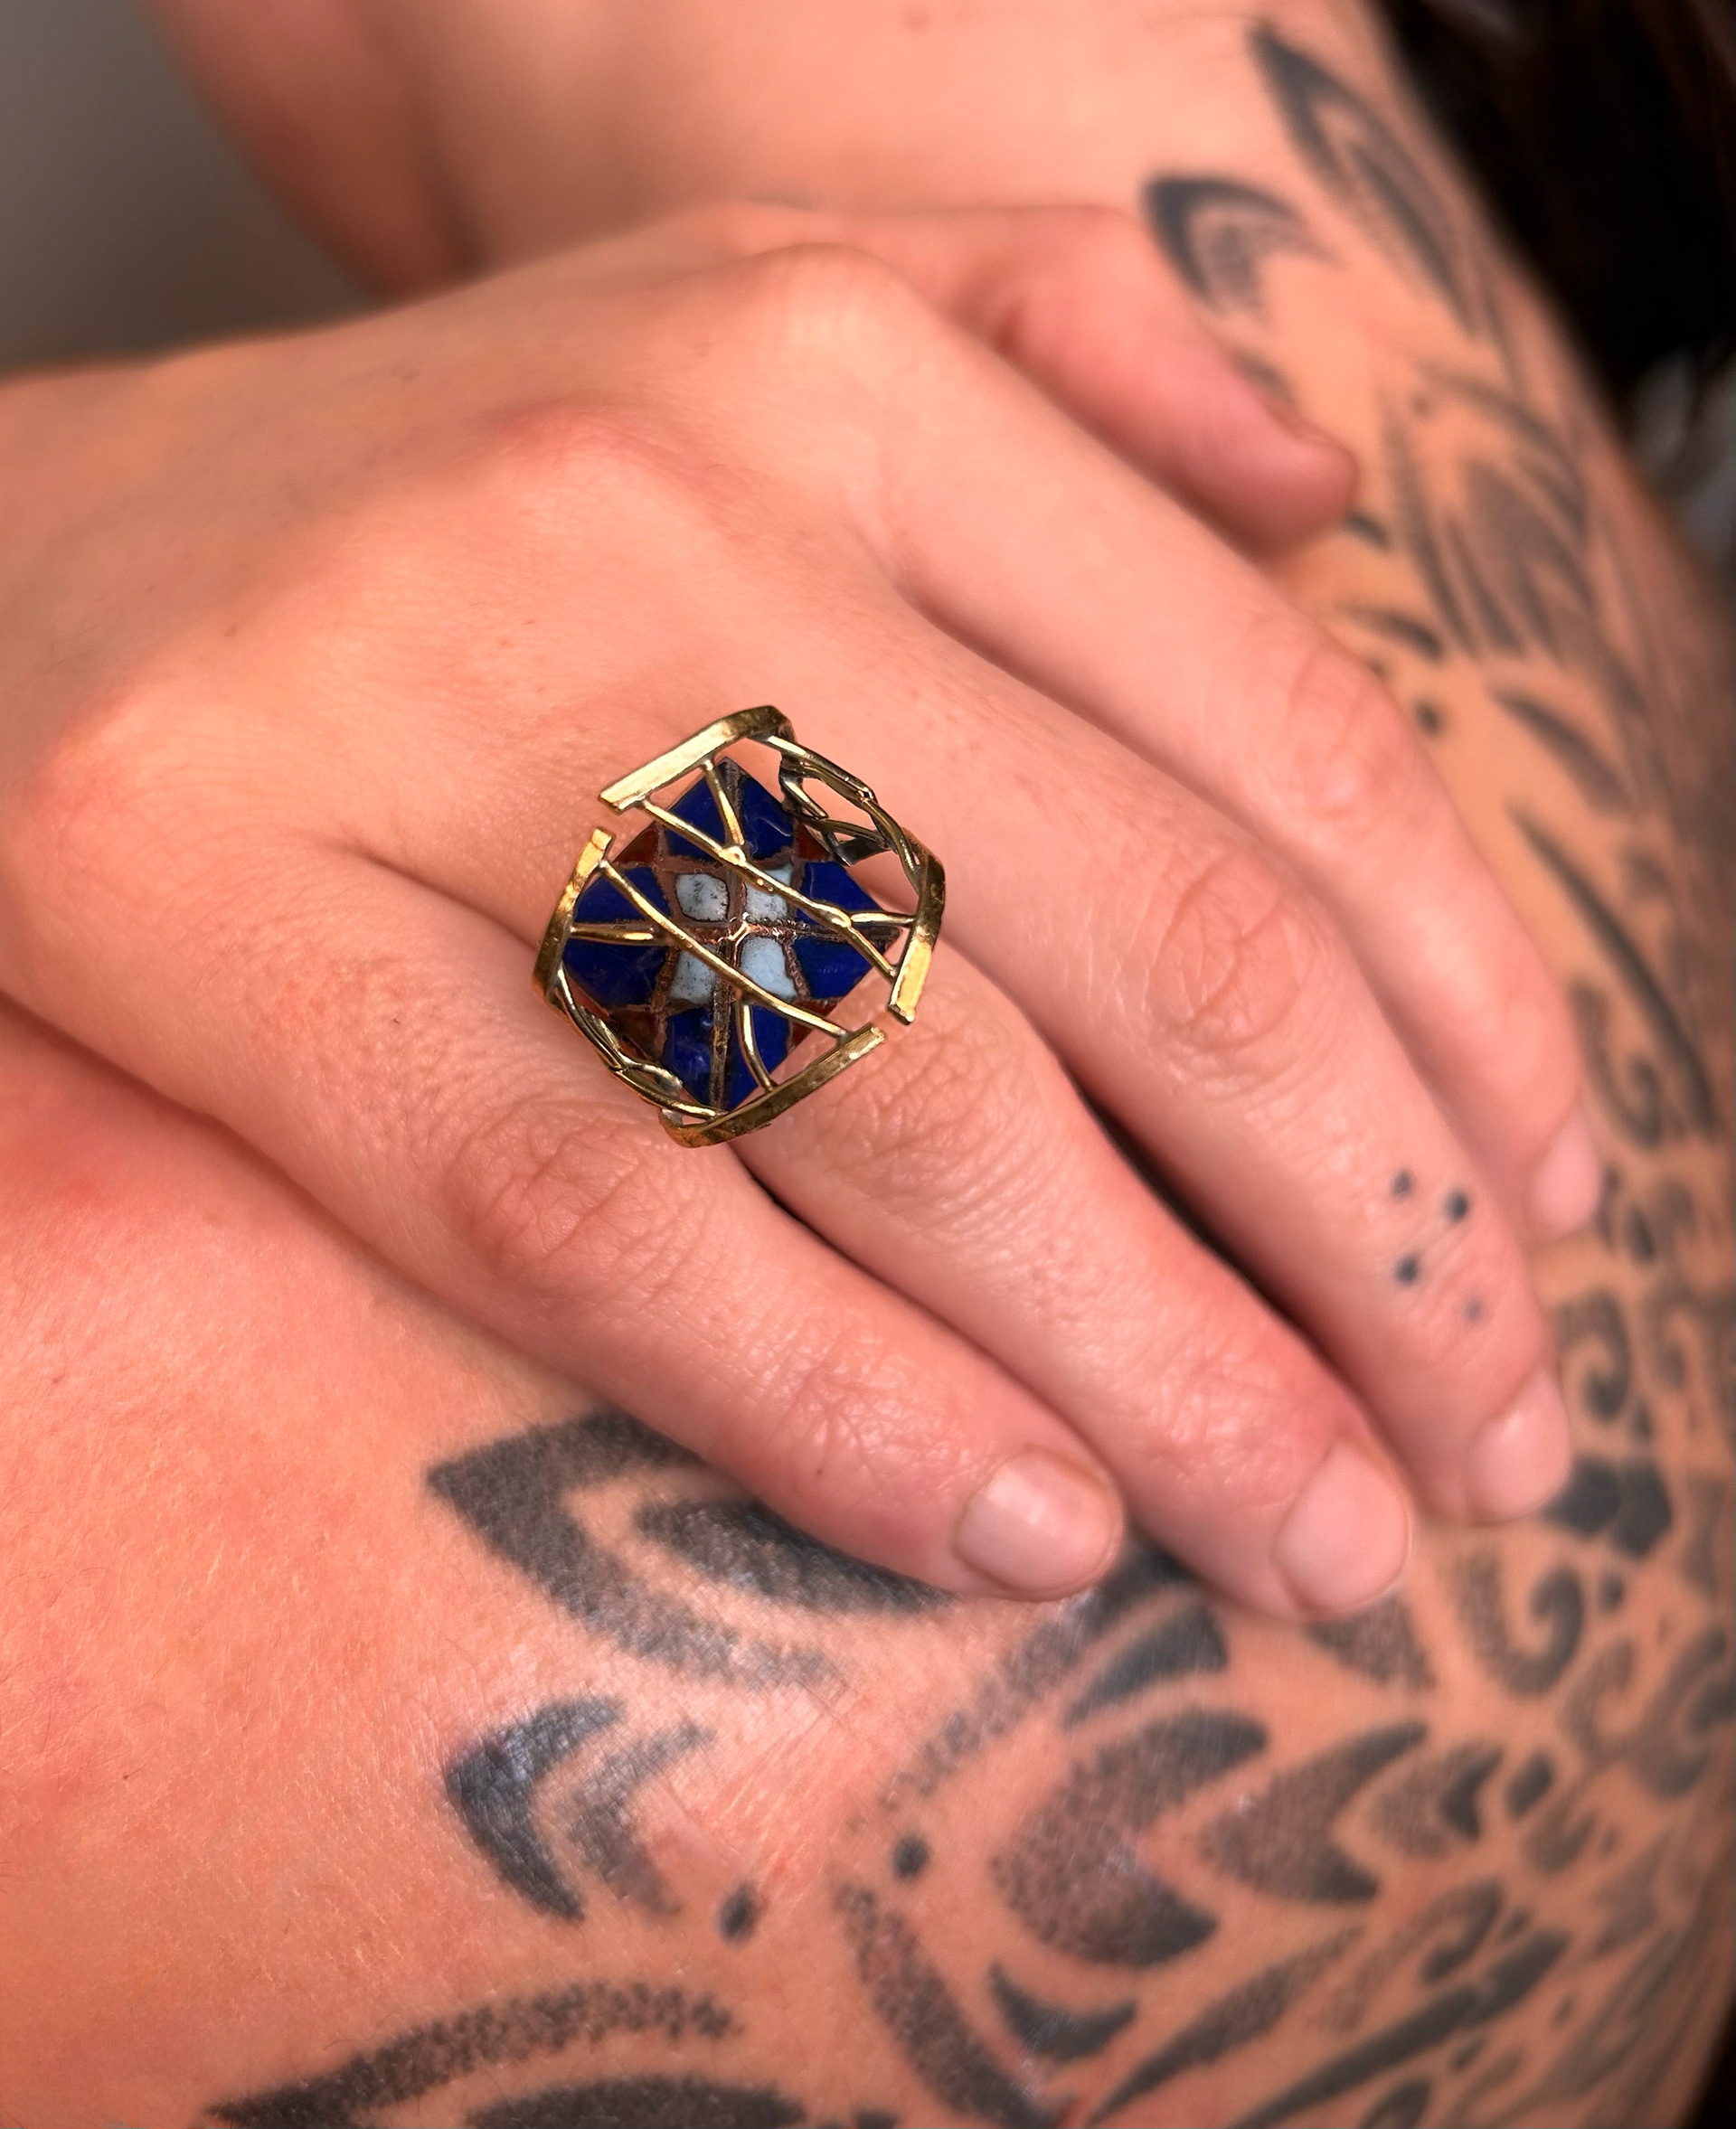
Final piece
Initial sketch
Throughout this unit I never really had any ideas to what I wanted to make as my final piece. I knew what techniques I wanted to explore and what elements to include, such as Persian geometric patterns, both parts of this, the construction lines and pattern but I was never sure what form as a final piece. I believe this could of been down to a few factors, inspiration, time and pressure.
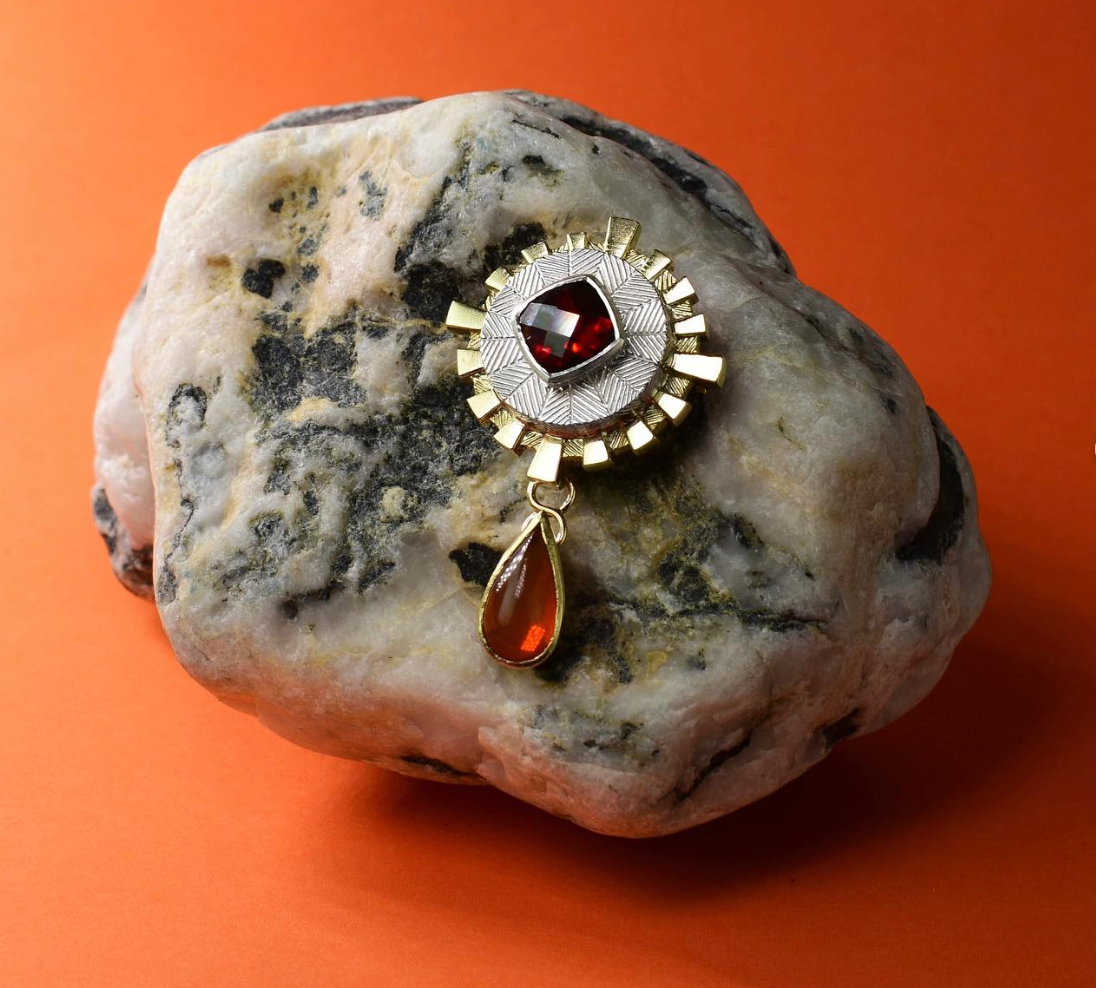
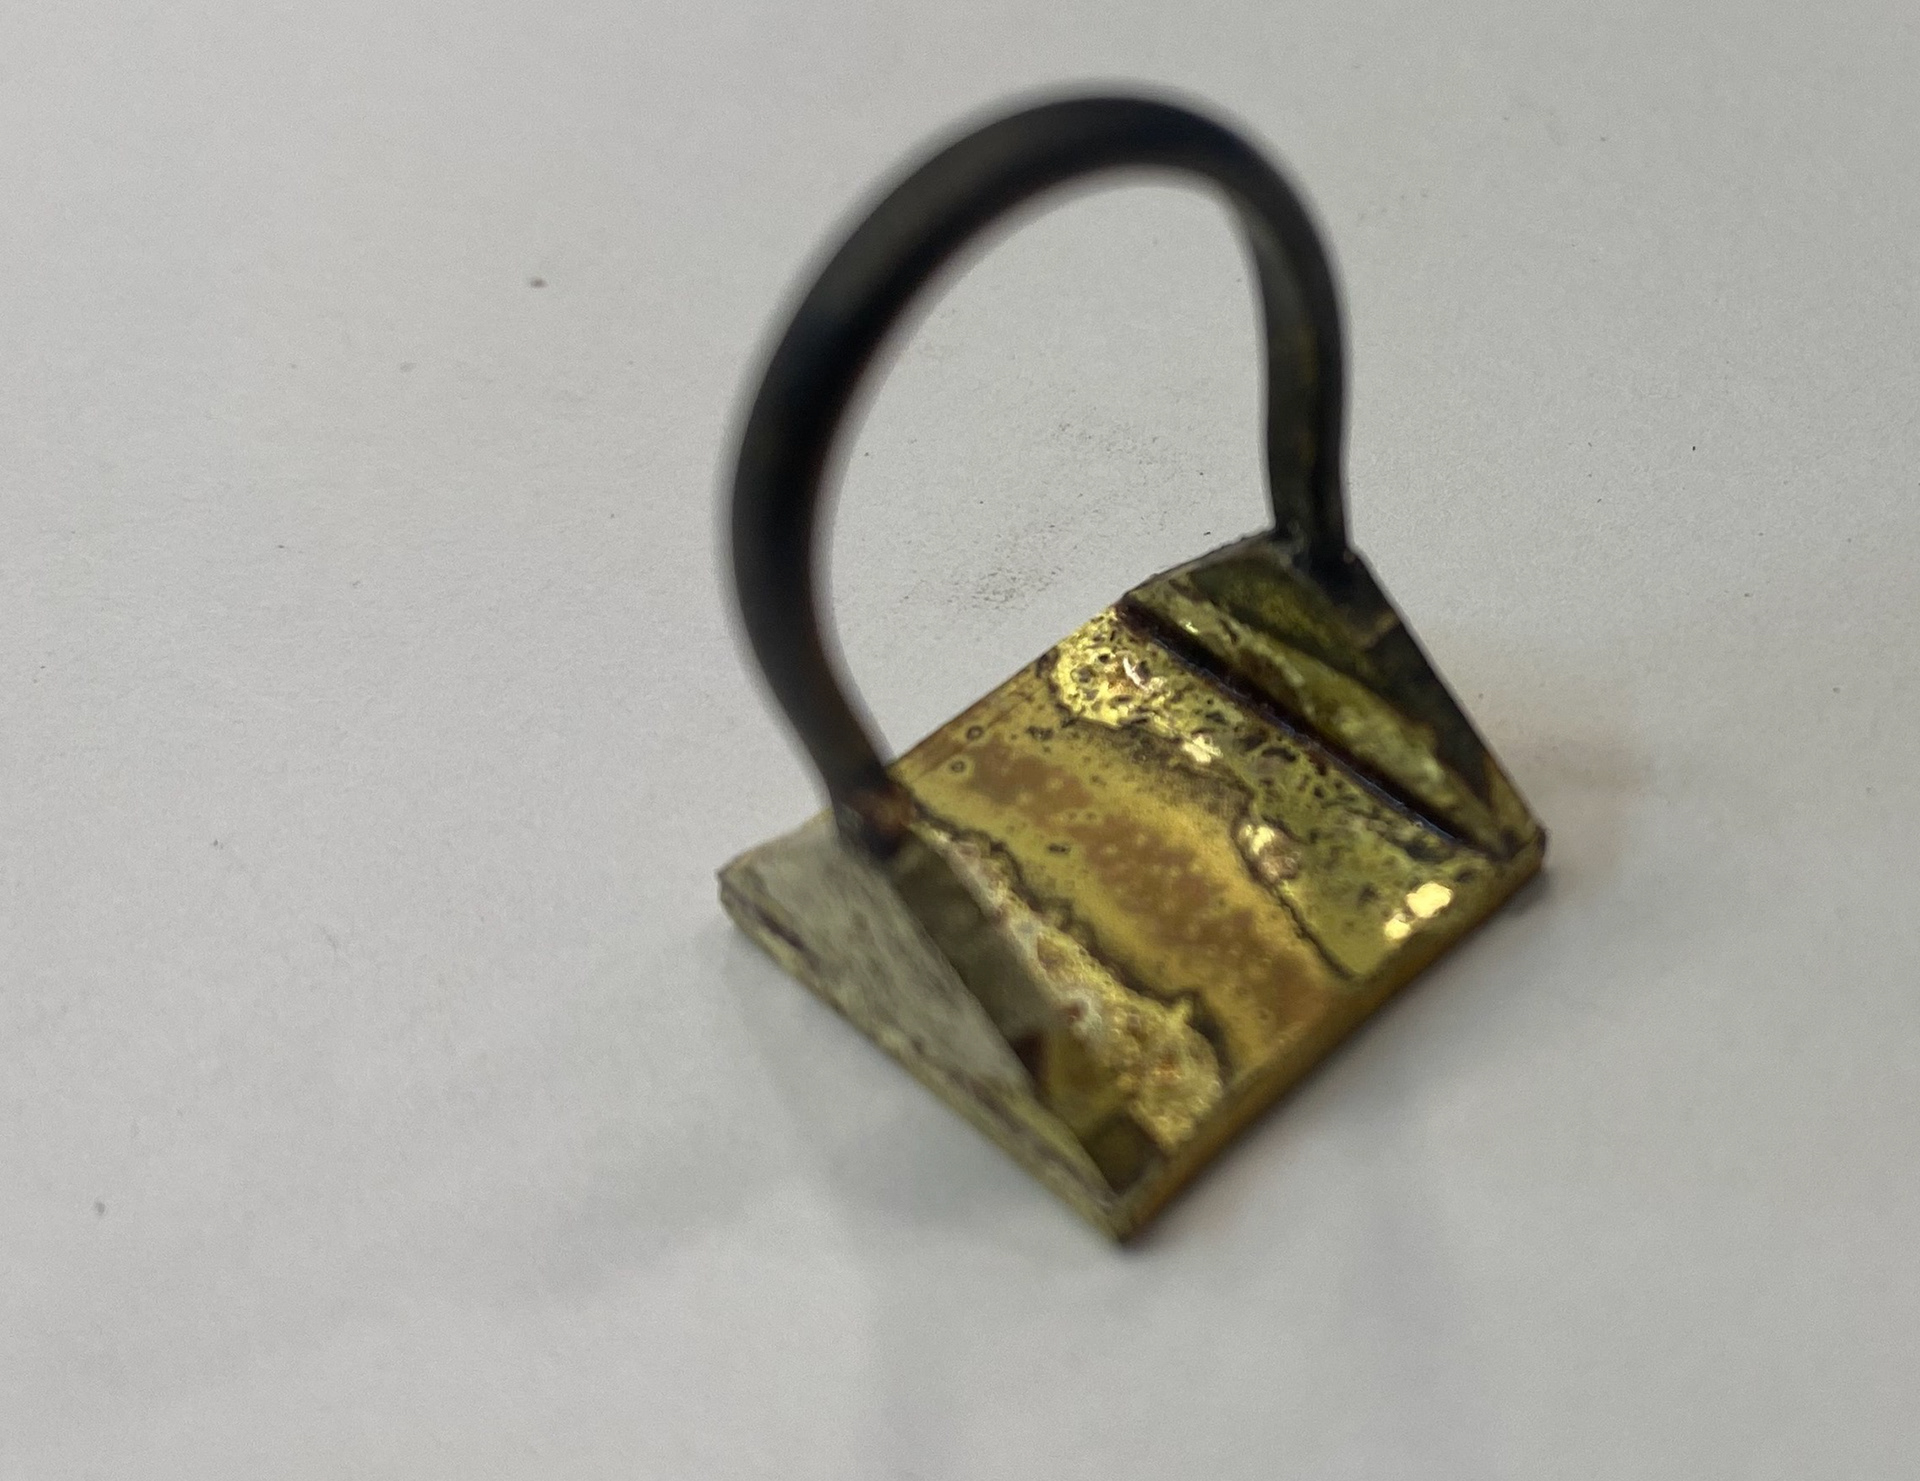
Despite this, time was running short with a couple weeks before the deadline. I was in the gym scrolling on my craft instagram page and come across this ring by Ben Choi. That gave me instant inspiration and ideas. Before this I had thought about making a ring but I wasn't sure. This ring Ben Choi has made is playful and fun. Although that wasn't what I wanted to achieve as such, I liked that the sweet wrapper was open revealing what was inside. I wanted to use this concept. I sketched this idea in the notes on my phone as I didn't have access to a sketchbook at the time.

Ring by Ben Choi at BC Joaillerie

My inital sketches on the notes on my phone
I wanted to create this ring that had a centre 'stone' which was enamelled in blues, as these are traditional Persian colours used in enamelling. I wanted the stone to include my geometric pattern I designed. And then I wanted to create a cage like cover over the stone, influenced by the construction lines. The aim of this was that the stone was shown through the construction lines, revealing the beauty, being my Persian heritage.
Developed Sketches/Designs
I then developed my sketches and thought more about what materials I was going to use and how I would make this ring. Although I knew this was quite complex and technical and a lot smaller scale than what I had been sampling on, I really liked the idea and wanted to challenge myself as this concept is something that meant a lot to me and I feel as though the design of this rings shows the meaning behind it.


making
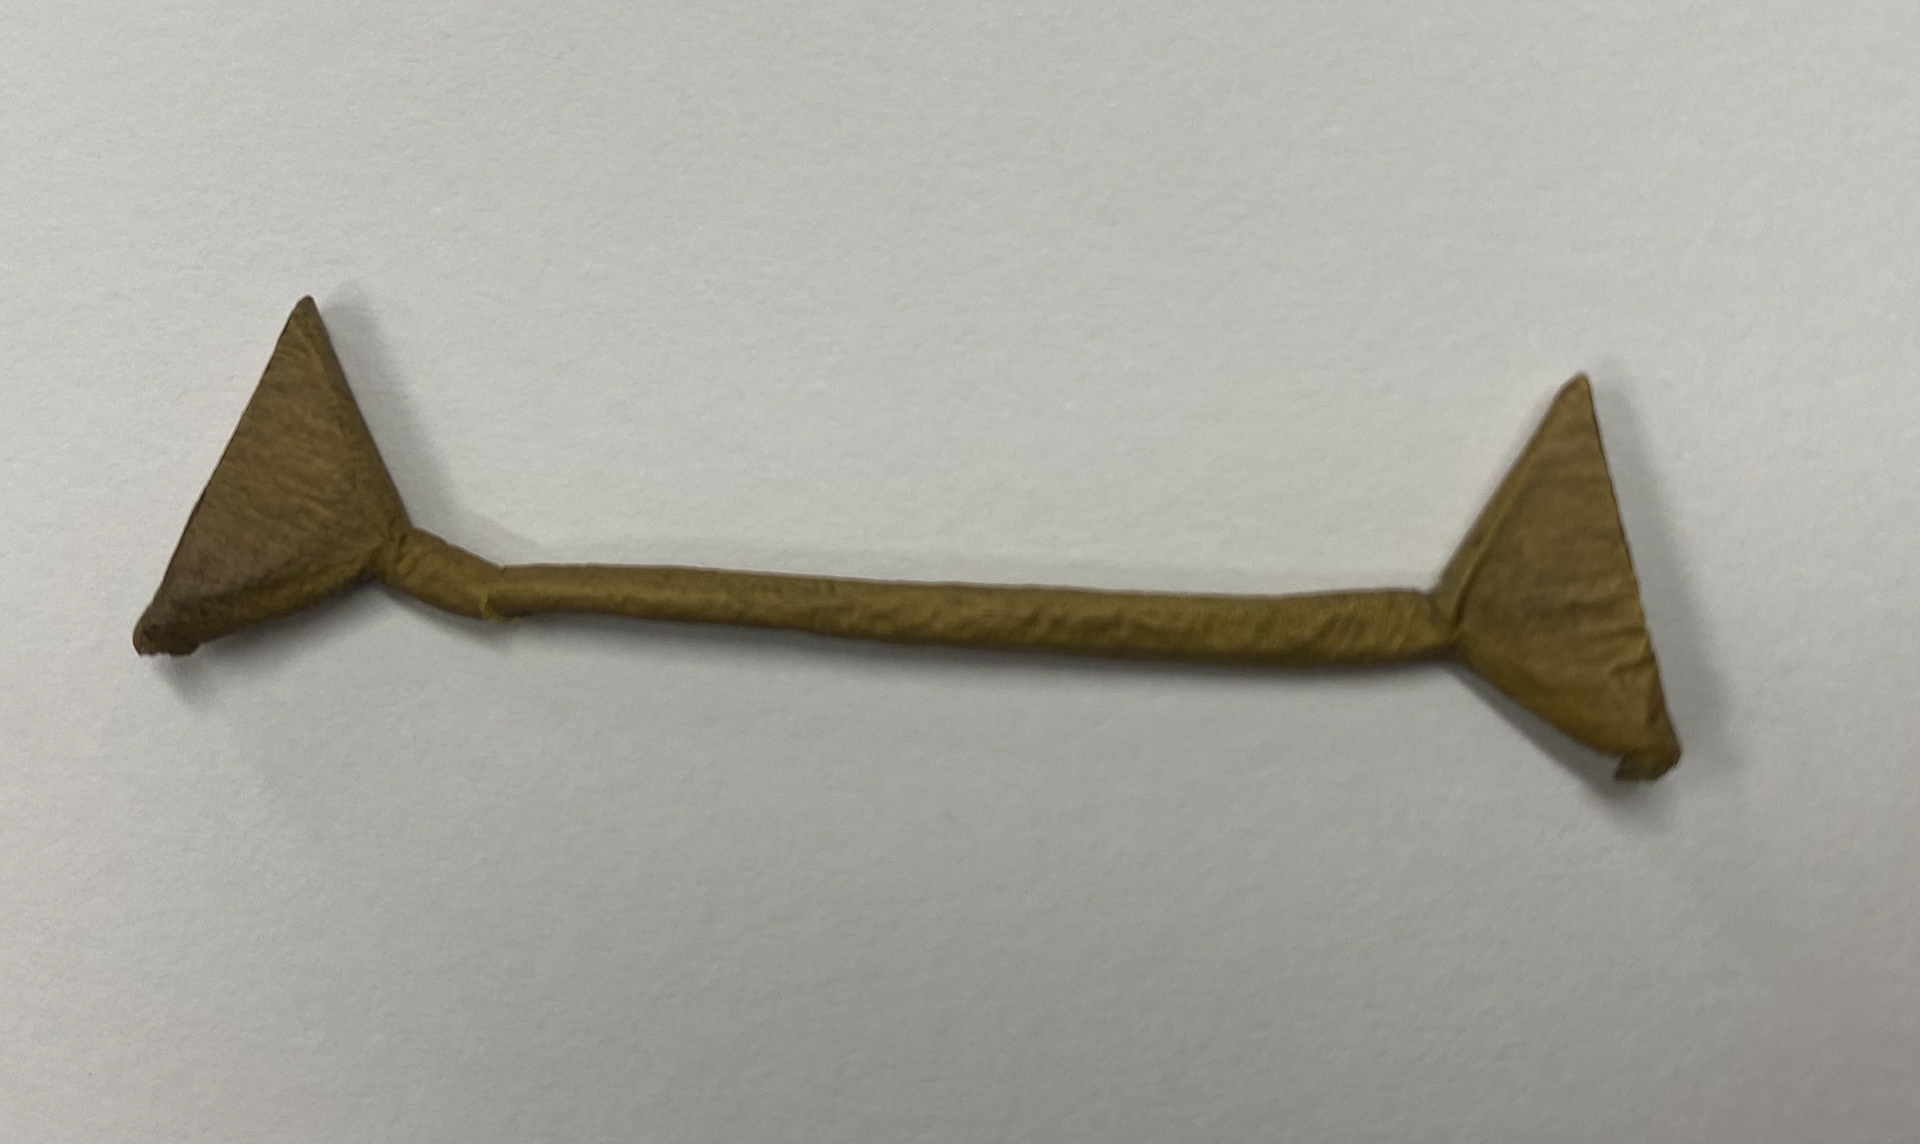
I decided to make the base for the ring out of Brass because Gold is my favourite metal within jewellery but that isn't a option to use so I opted for brass instead. I designed the bas with the triangular shapes on the end so that when I shaped the ring I could solder a square based platform onto it, which is where the 'stone'/pyramid shape would sit. I cut this out using 3mm thick brass and a piercing saw which took a little bit of time. The square platform is 15mm x 15mm. I then filed down the edges and rounded the outer side of the ring off using needle files and wet and dry paper. At this stage I was happy with this and it looked clean and neat. I went to anneal the ring base so that it was then easier to shape. Unfortunately I heated it up to much using the big flame on the hearth, resulting in and the piece collapsing. As seen in the photo below. This was very frustrating as It took a while to get to this stage. I had only annealed Copper previously which I had forgot about when going in to anneal this and hadn't annealed anything of this size.
I had to start again so at first I tried to use the Band saw to cut out the ring but this left quite messy edges which would require a lot of filing. I forgot to take any photos of these but I believe they're in my physical submission. Instead of this I decided to use Brass rod and run this through the wire rolling mill to flatten one side. I then piercing saw the triangles and soldered them on using hard solder. This was successful, although I had to do a couple attempts due to the triangles moving from the pressure of the flame, resulting in them being off centre. I managed to solve this by using pins to hold the pieces in place. I then shaped the ring and soldered the square platform onto the base, also using pins to hold it in place. This time I used enamelling solder as before this I hadn't realised I would be putting this whole ring in the kiln when I enamel.
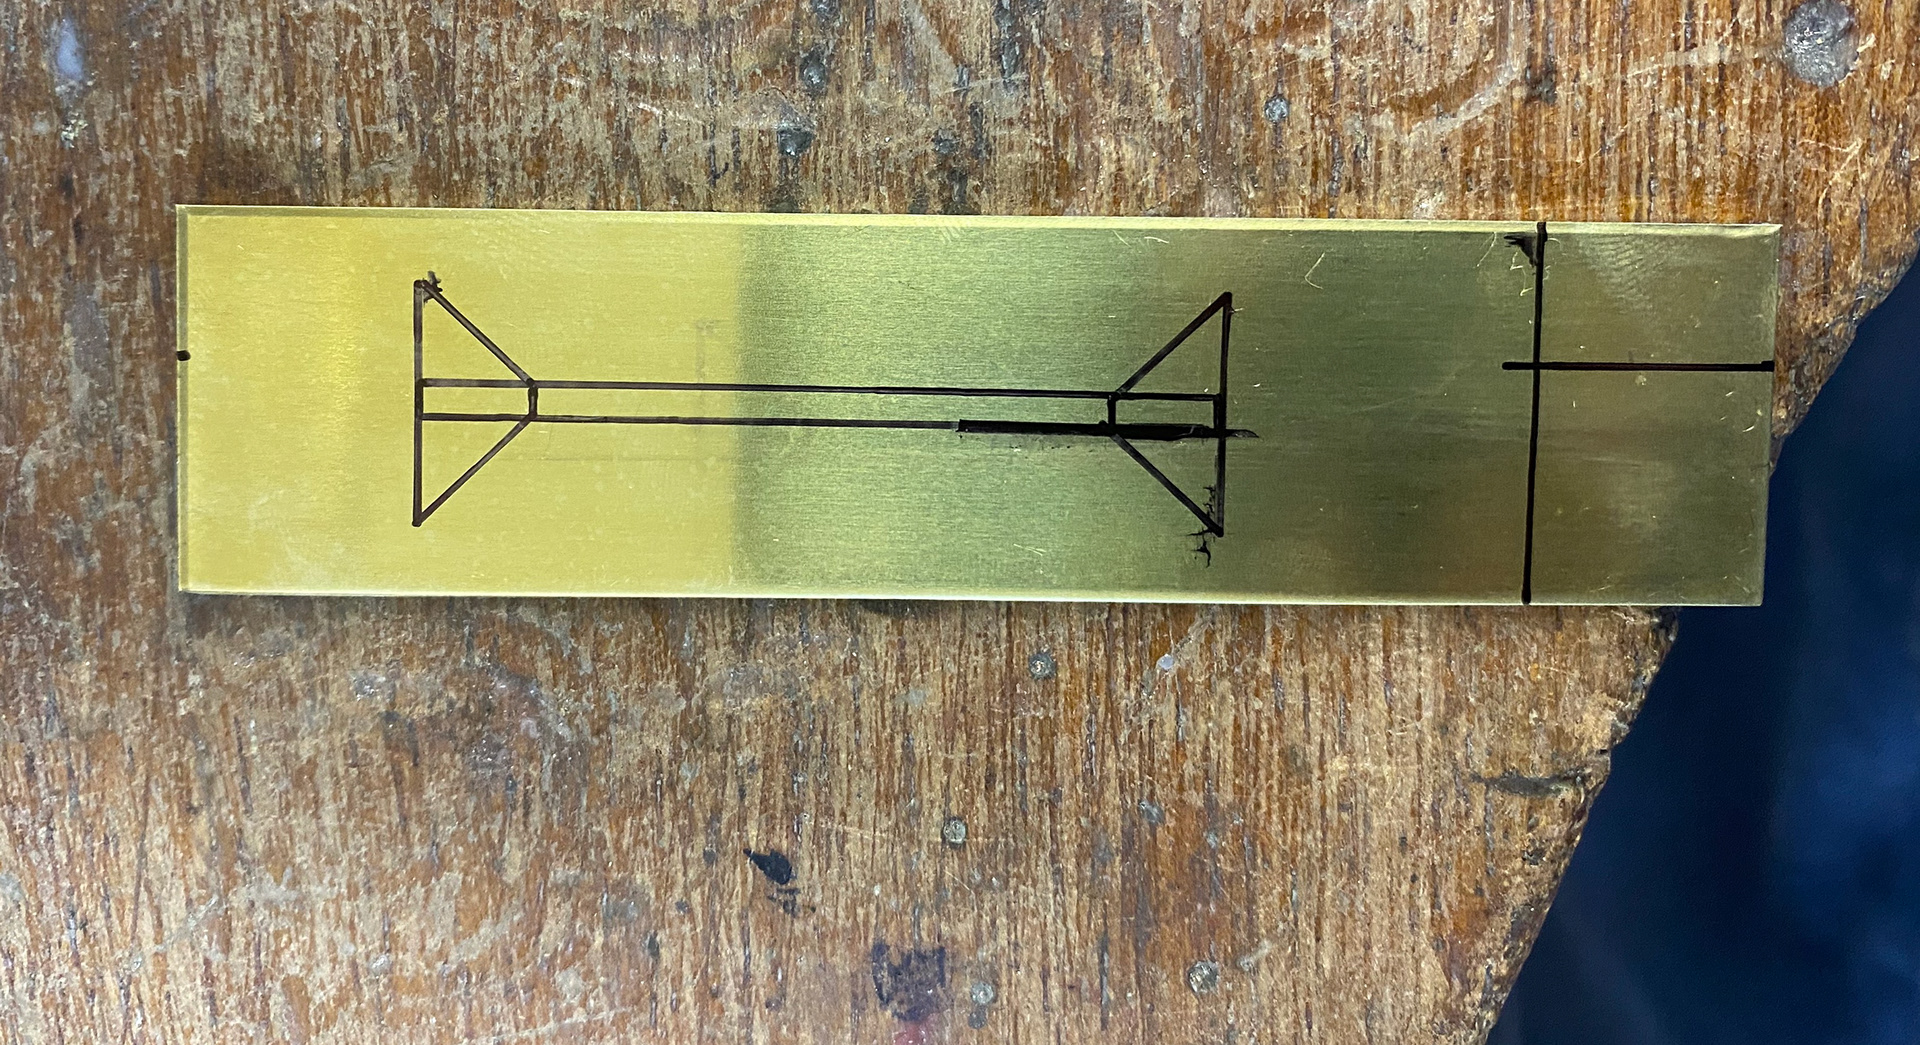
Design draw onto brass ready to cut out.
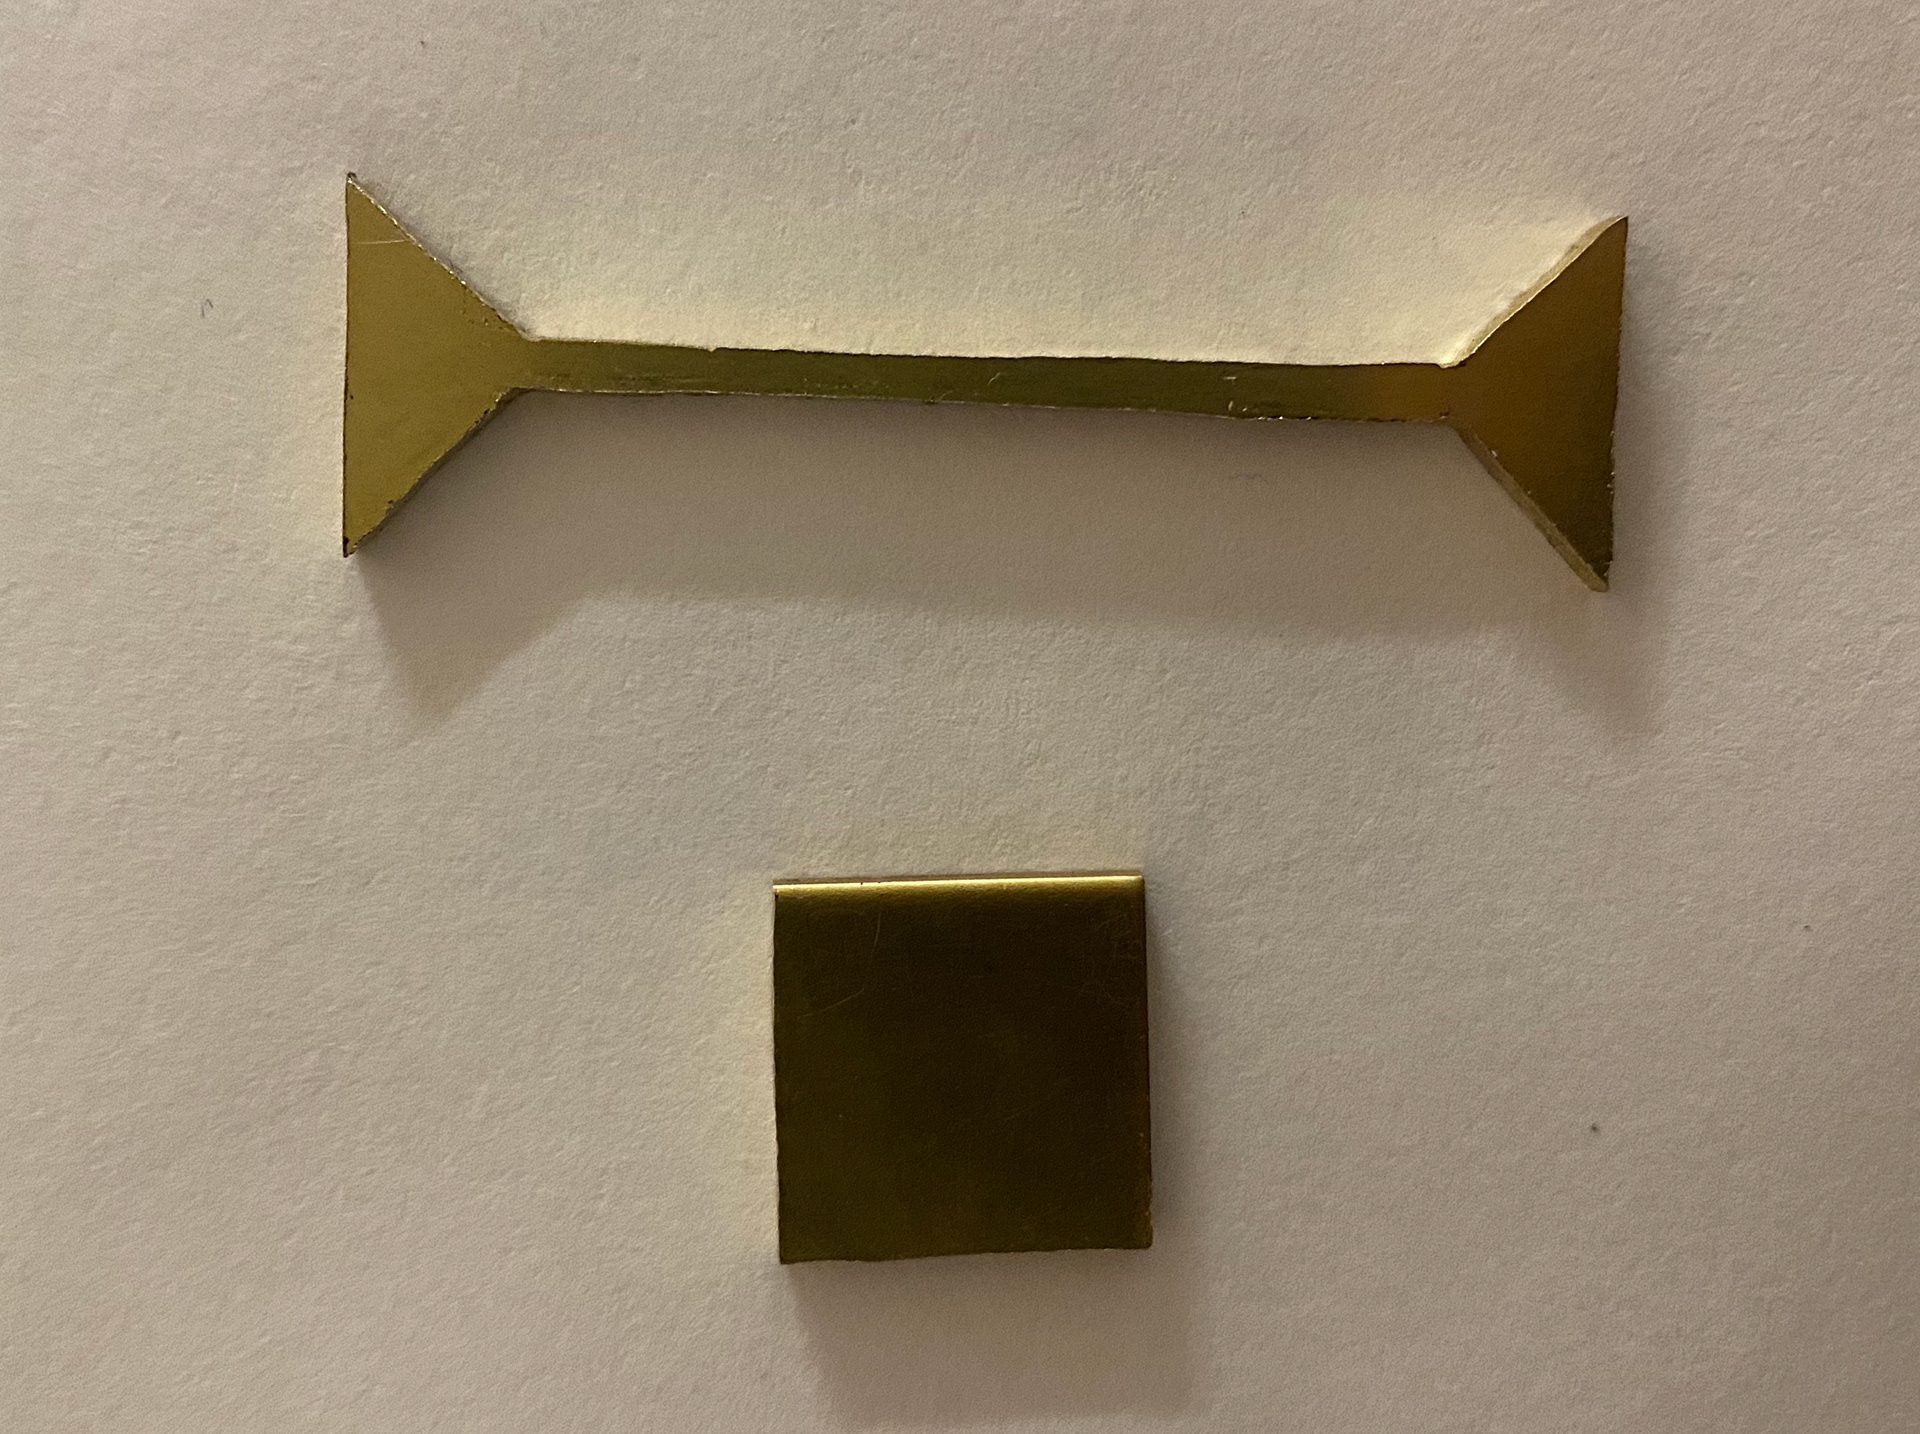
Cut out ring and base
The base after over heating
New ring base in position
Ready to be soldered
Ring and square base in place to be soldered
Both pieces soldered together
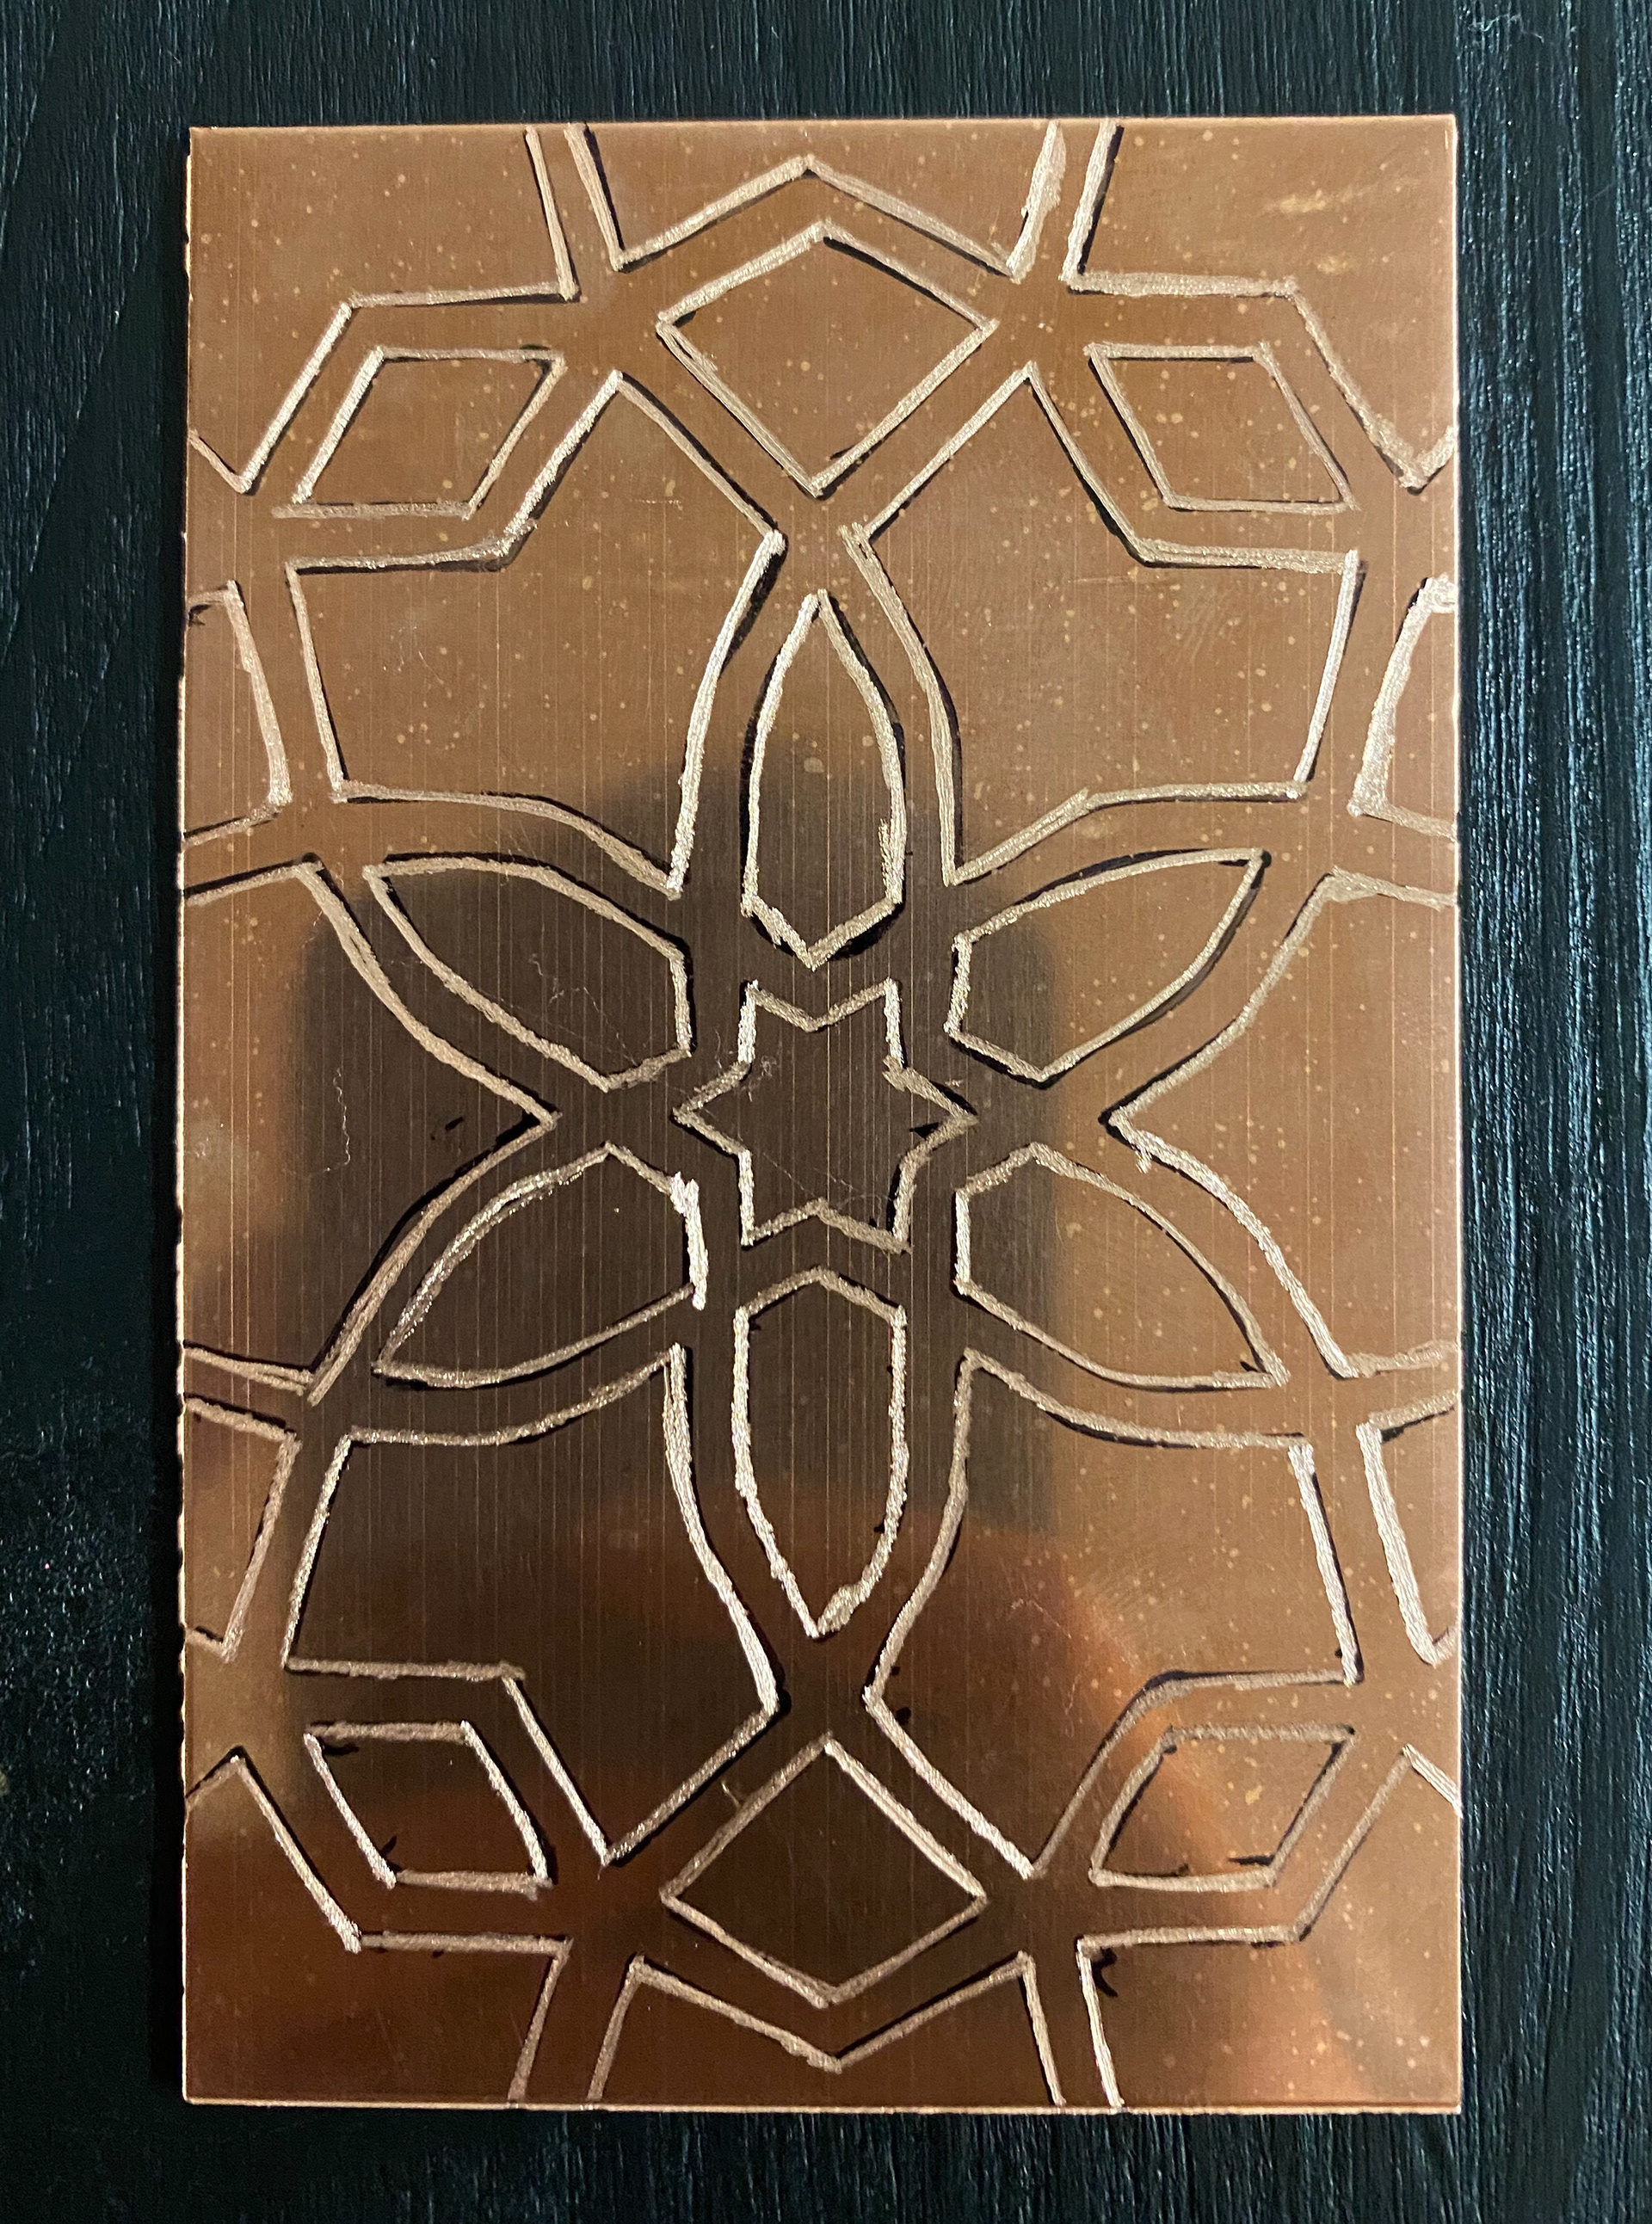
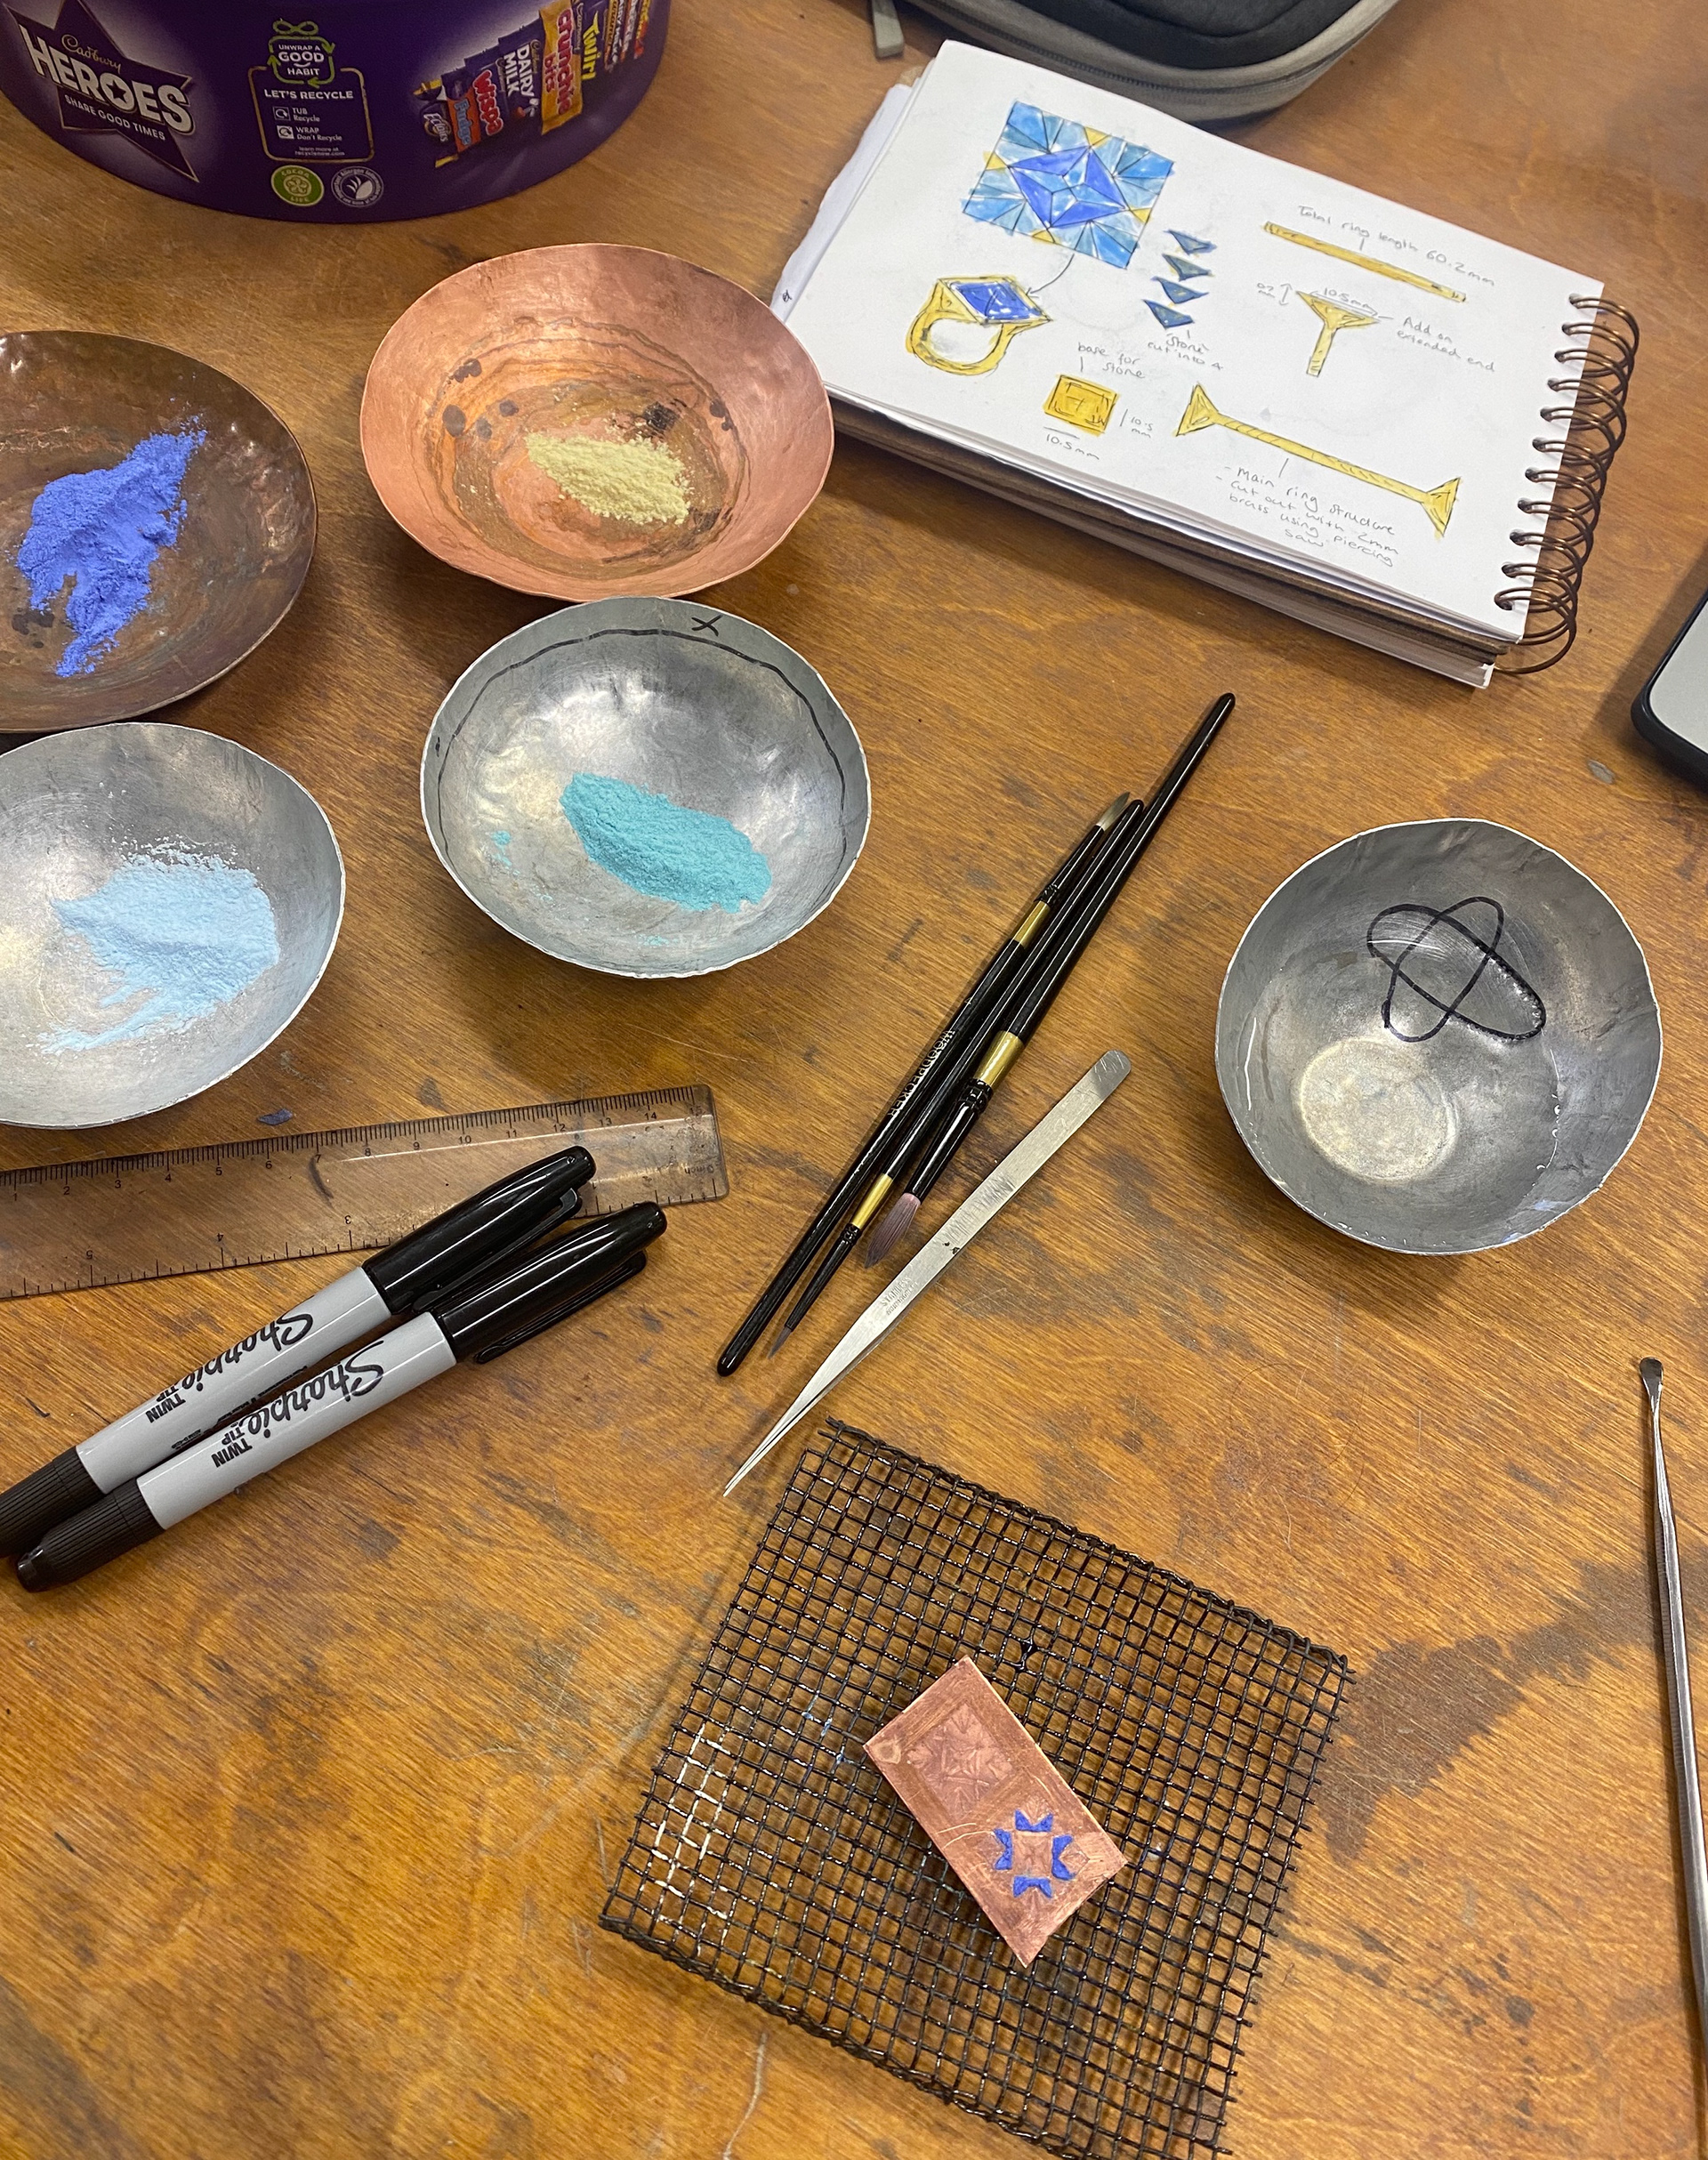
Once the base of the ring was ready the next step was for me to design 'stone'. I knew I couldn't use the whole pattern I had designed as this is far to complex for the scale. I opened the design up in Illustrator and experimented adding colour to the pattern. I then drew a square and used shapes from the original pattern to create a new pattern that would fit into a square. This is the design I come up with. I then realised that drawing this one a scale of a 1.5 cm square would be difficult. I did it and drew it a few times and then etched them.
Experimenting with colour

Using shapes from the pattern to create new pattern
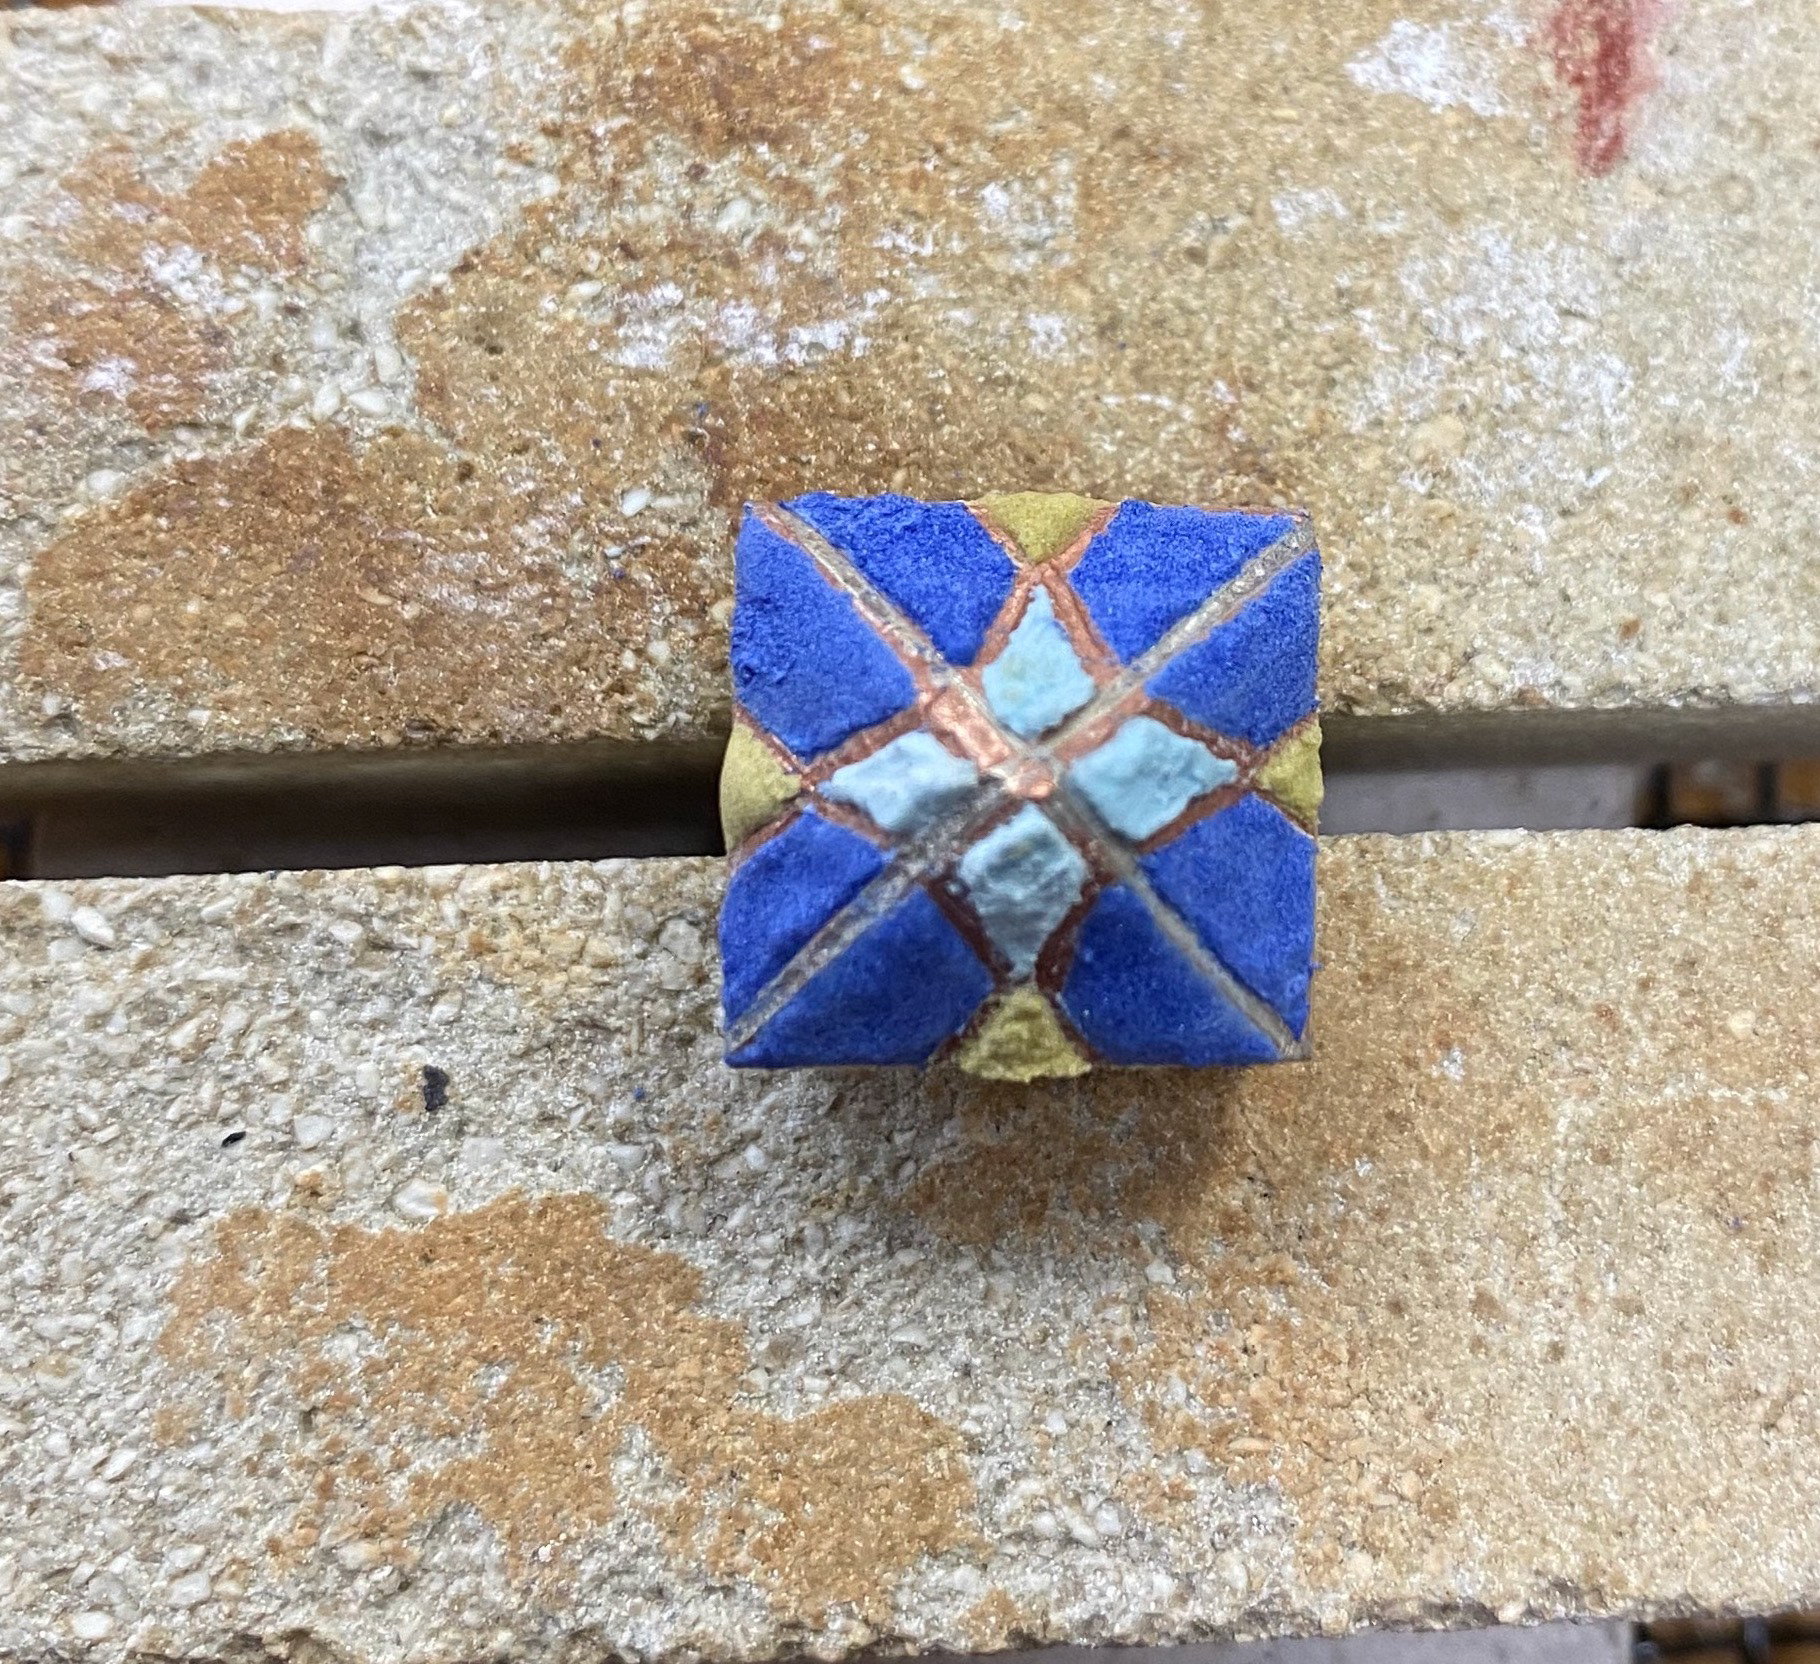
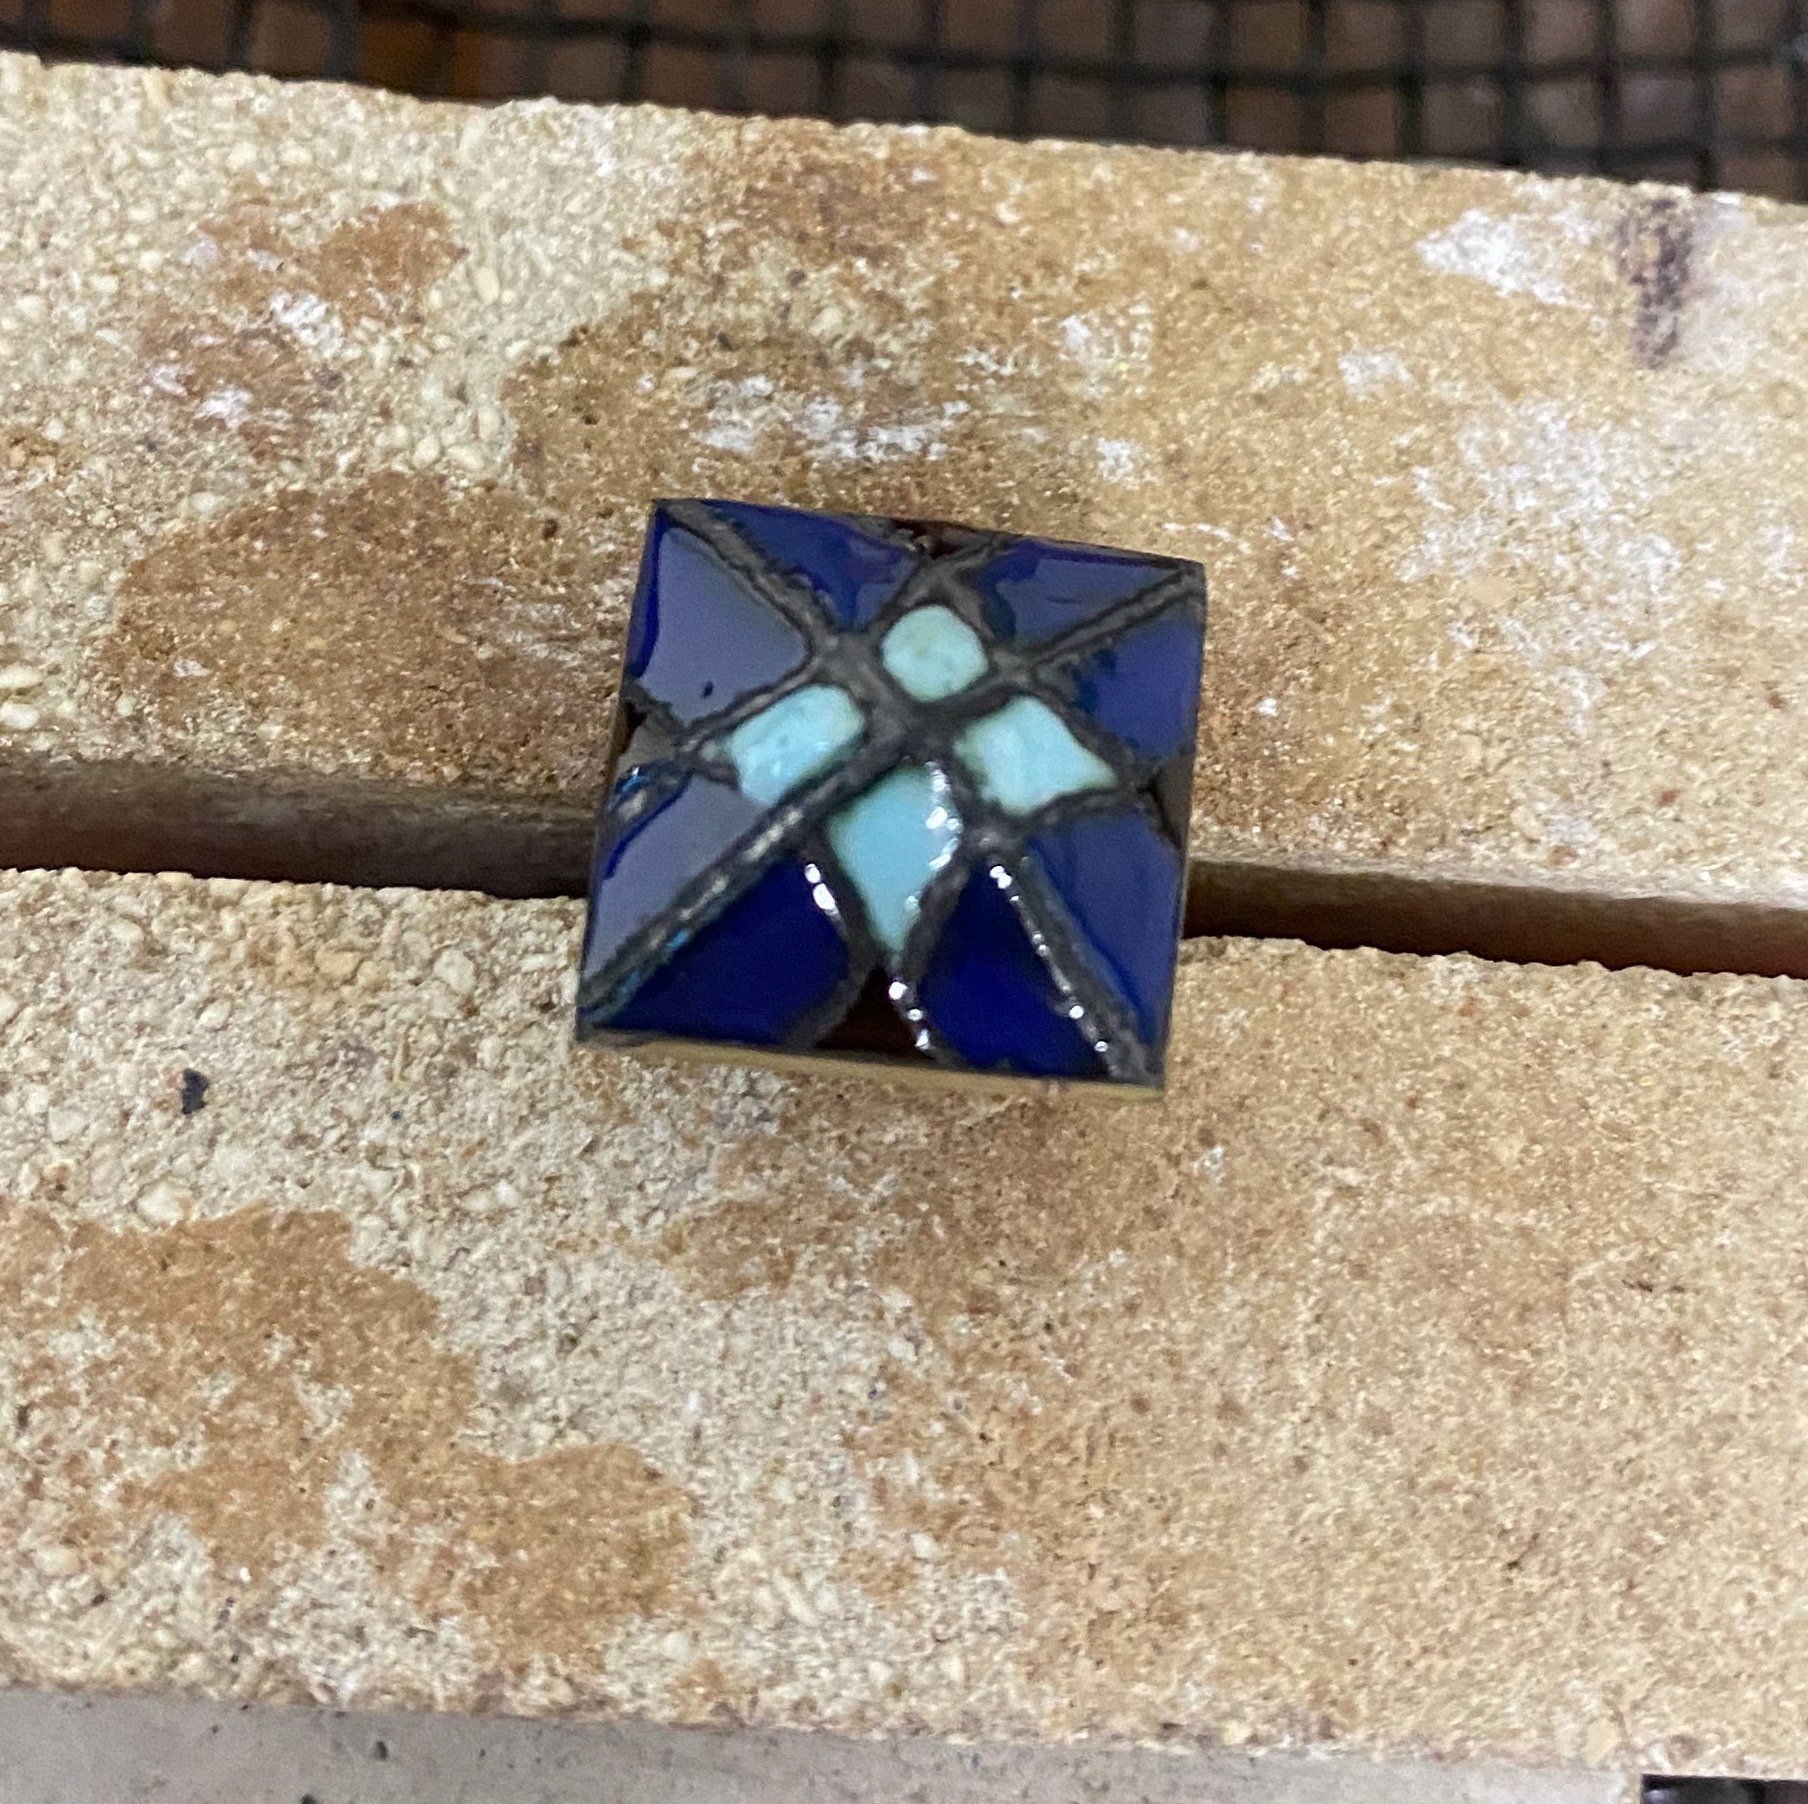
I cut one of these squares into four triangles and then realised that is not how you create a pyramid shape. Maths I had learnt in school come back to me. Despite this, I had a go at enamelling in such small scale and tested out some colours. The small detail to enamel was incredibly difficult, although I have patient this was not do able. With the colours I tested, I had some silver foil which I wanted to use along with the transparent colours to create a shinier more jewelled affect. I did this sample anyway but unfortunately I realised it would be a further challenge and time consuming to do this on the final piece. Because of this I decided to use opaque colours instead. As well as this, the test piece I did below I used transparent colours without applying the foil underneath, they went dark and didn't work.
Design ready to be etched
In the acid
Finished etched pieces
Ready t enamel
Colours I chose
Enamel applied ready to be fired
Colour test pieces
To start to make the pyramid shape I knew I needed to make a net. I did this in paper first. I then drew this digitally and designed a simpler pattern for the scale size. However still using the shapes from my original geometric pattern I designed. I came to a final design of quite a simple pattern but I was happier with this and it was more reasonable to achieve.
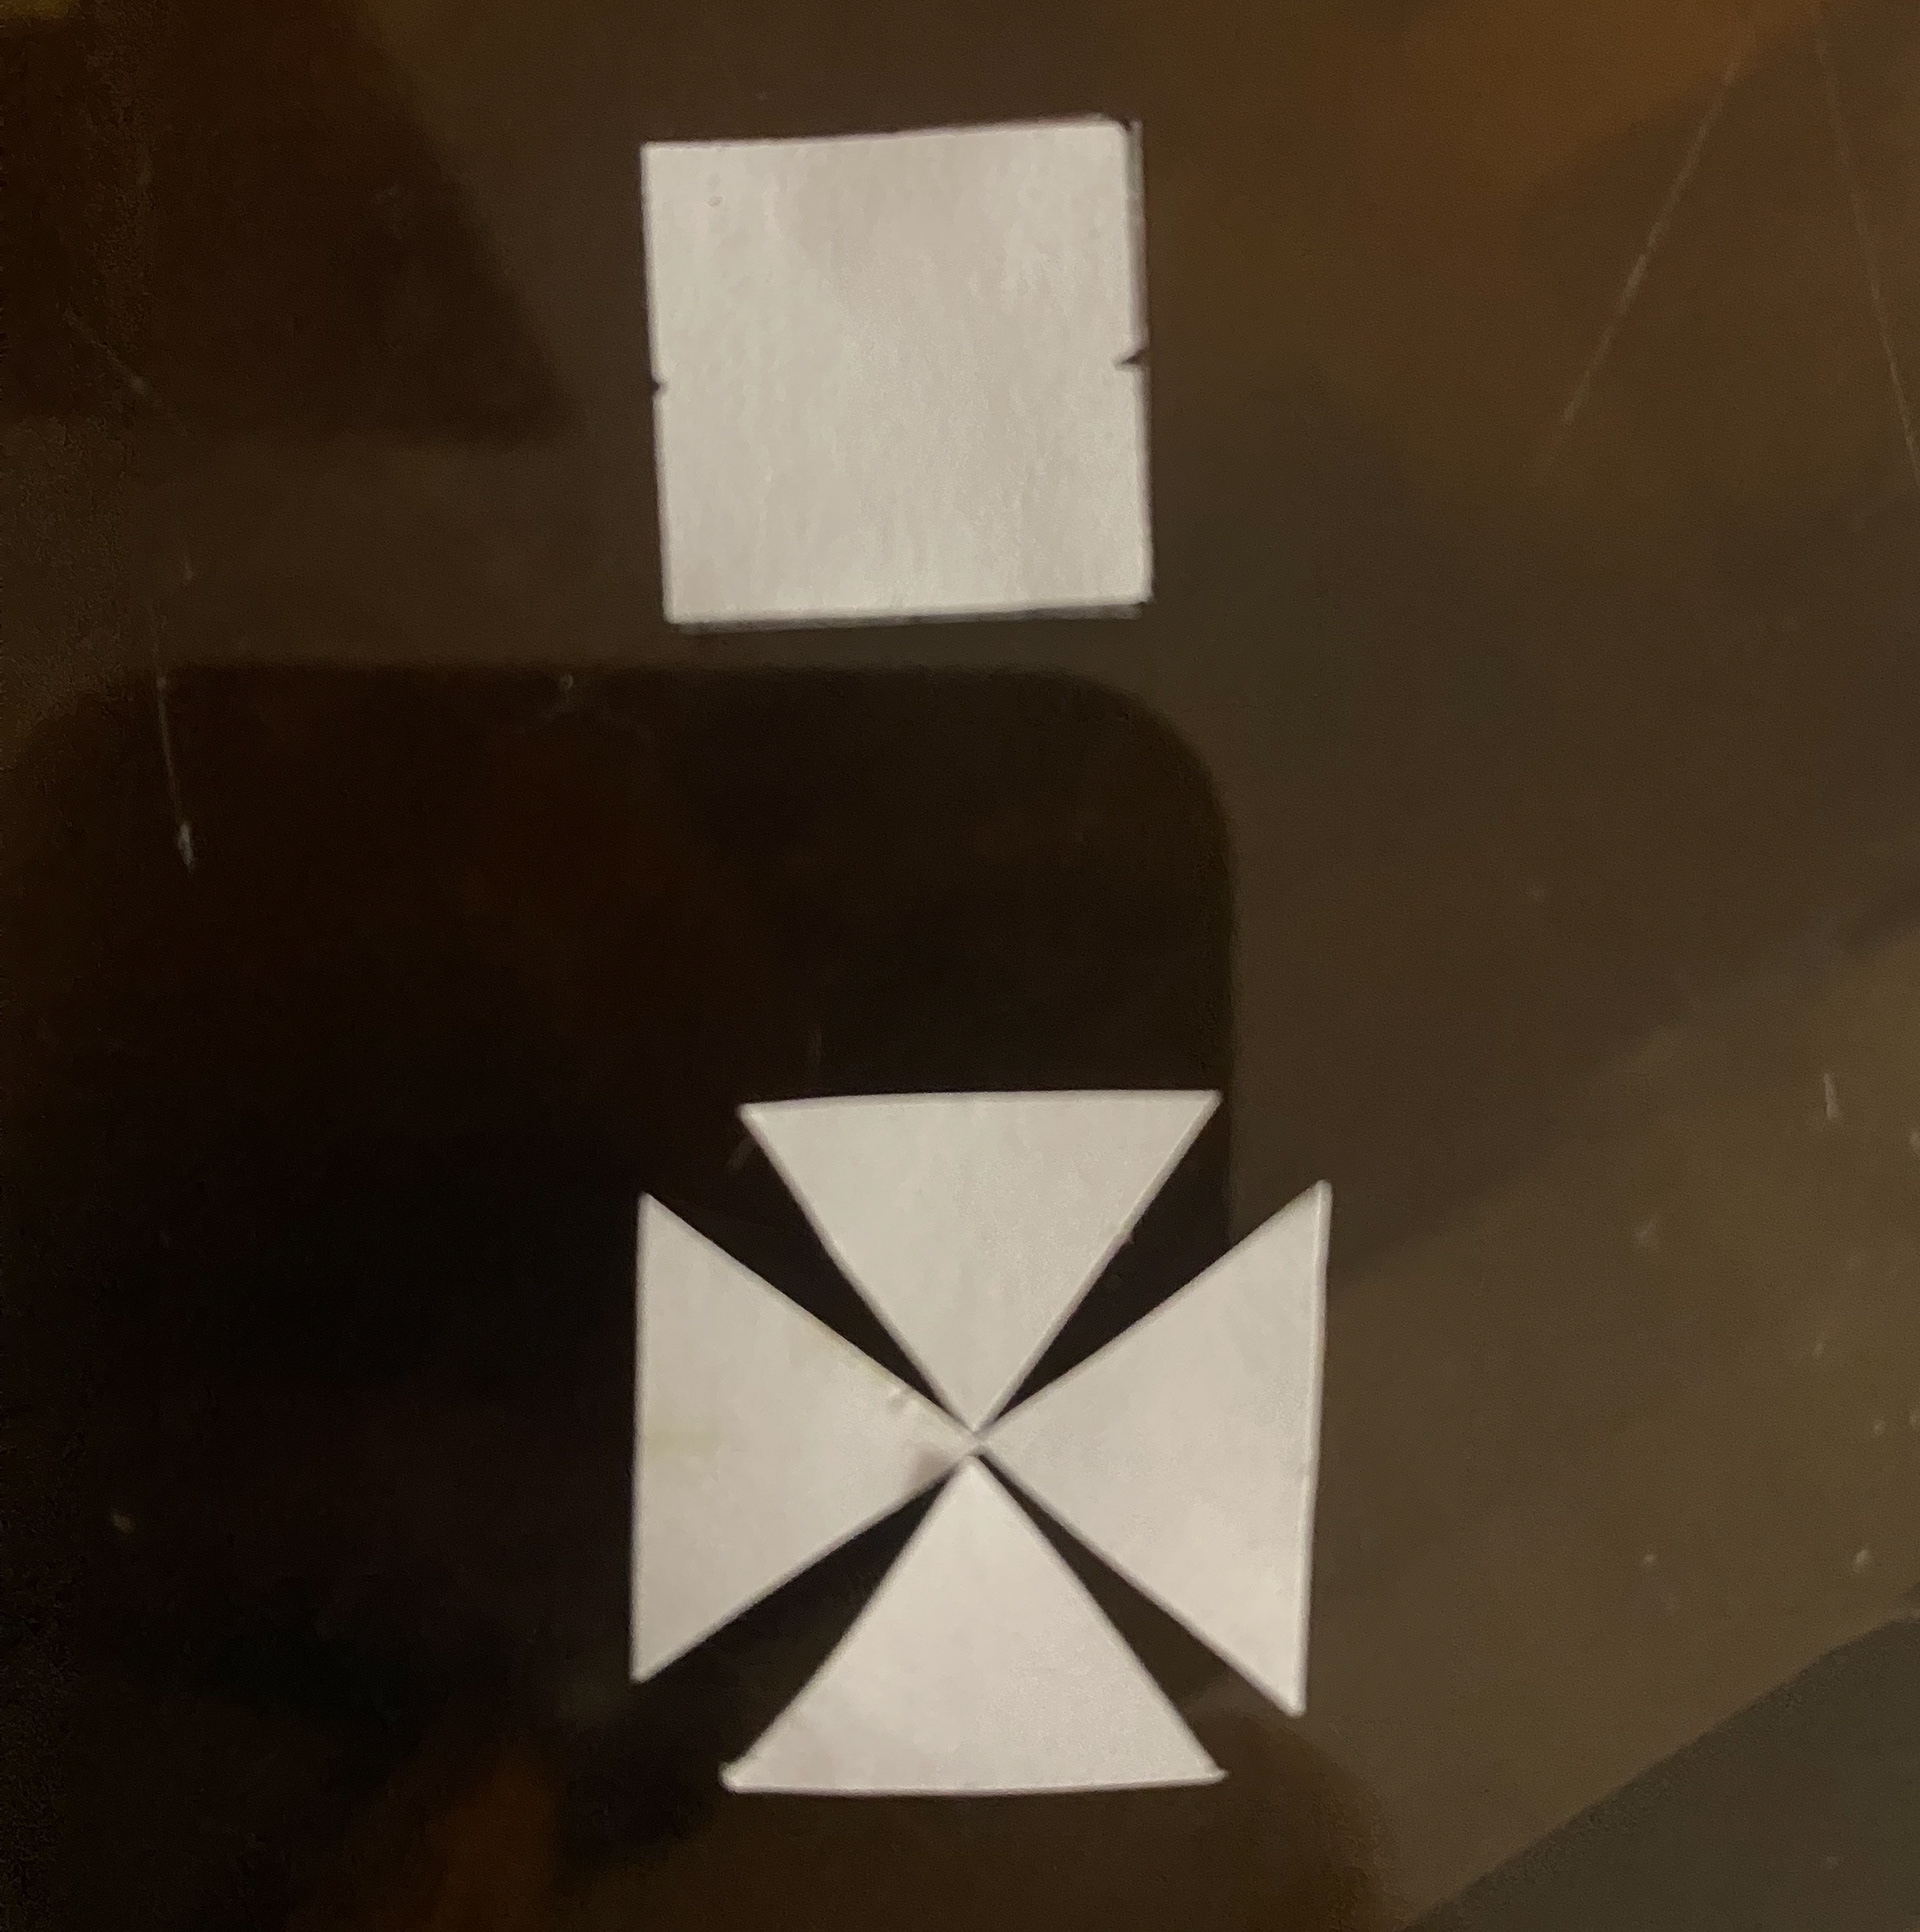
Paper net
Digital net
Stages of design
Final pattern
I had bought a transparent Gold enamel to use however because I wasn't using the foil I didn't think I could use it. But i did a tester to see what it would look like without the silver underneath. It came out quite a nice colour which I didn't expect. So i decided to use this alongside the opaque colours on the final stone.
Gold transparent enamel test piece
Once it had been in the kiln
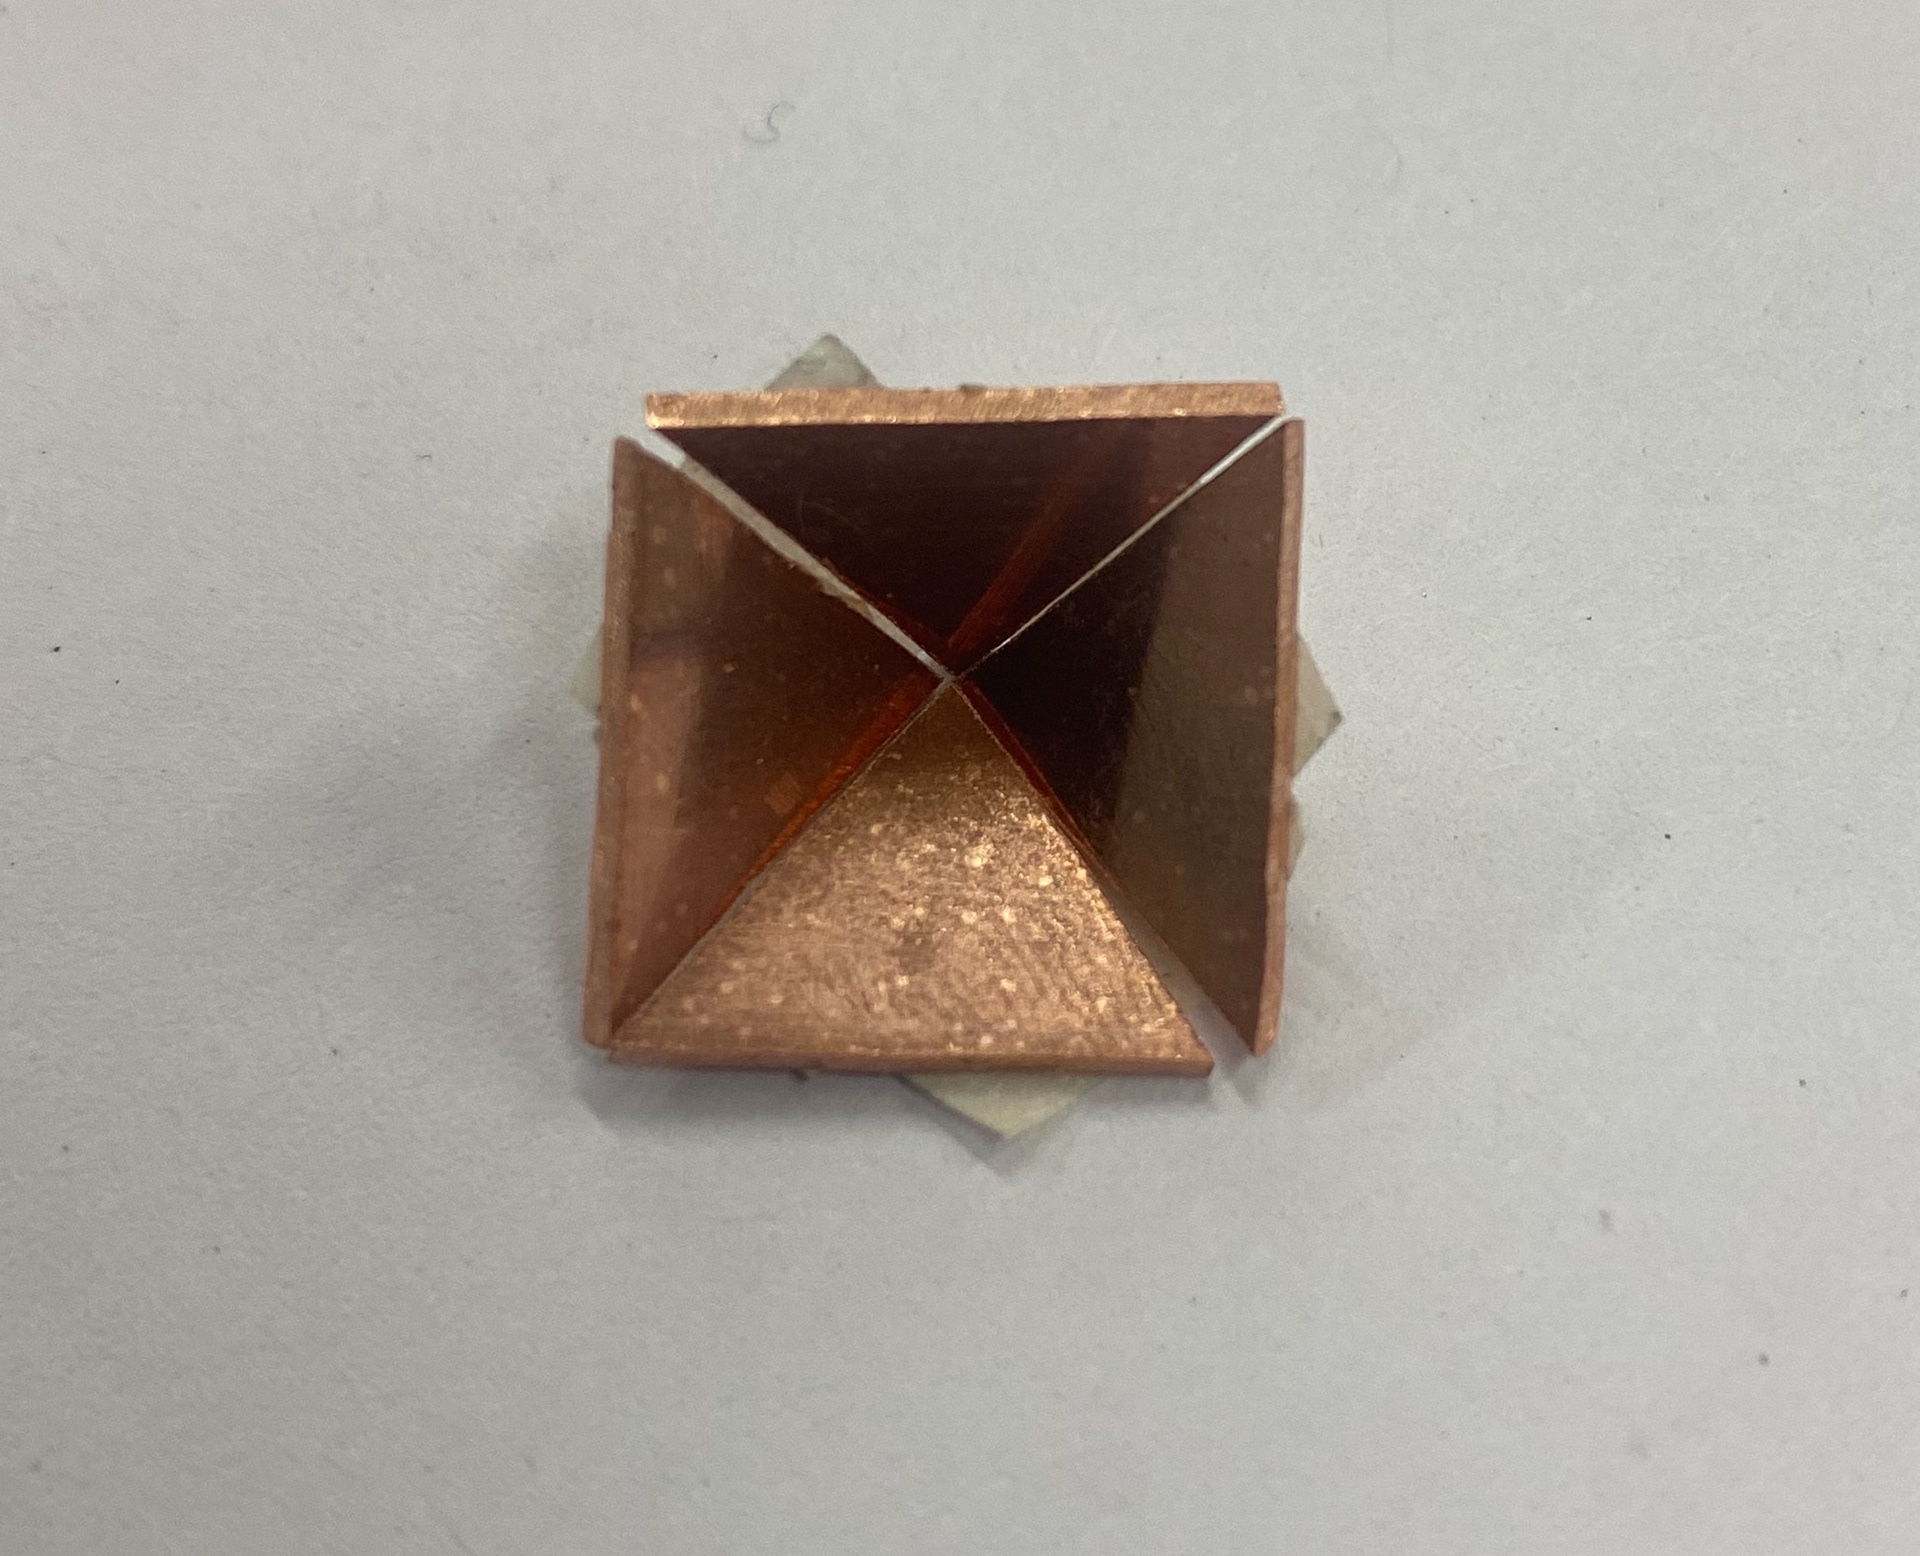
I then went on to making the pyramid shape. I drew the shapes in the copper as if it was the net, but then cut out just the triangles. I did this in paper first to see if they would still align which they did. I then did this in metal and held them in place with masking tape. The next hurdle I had to try resolve was how I was going to solder these together. I kept the tape on even though I knew this would burn, but propped the piece up using pins and honey comb and with support underneath incase it collapsed to try hold it together. I knew this was a risky step to do but I tried it and it surprisingly worked. As you can see the soldering wasn't even and there are gaps in the first attempt. So I decided to try it again and this time it worked a lot better and the soldering lines were even.
I then also tried another way of soldering as I didn't really like being able to see the solder lines. I tried to make the pyramid from the net shape. I do not have a photo of the net I cut out however you can see this pyramid on the photos and the physical submission. This involved scoring the folding point with a hand engraving tool or scribe and then bending it into shape. The metal for this for some reason wasn't going very soft to be able to bend it which made it quite difficult. Im not sure if I over worked the metal but it didn't work so well. the pyramid shape wasn't as crisp and sharp as i wanted. But i did like that there was only one soldering line.
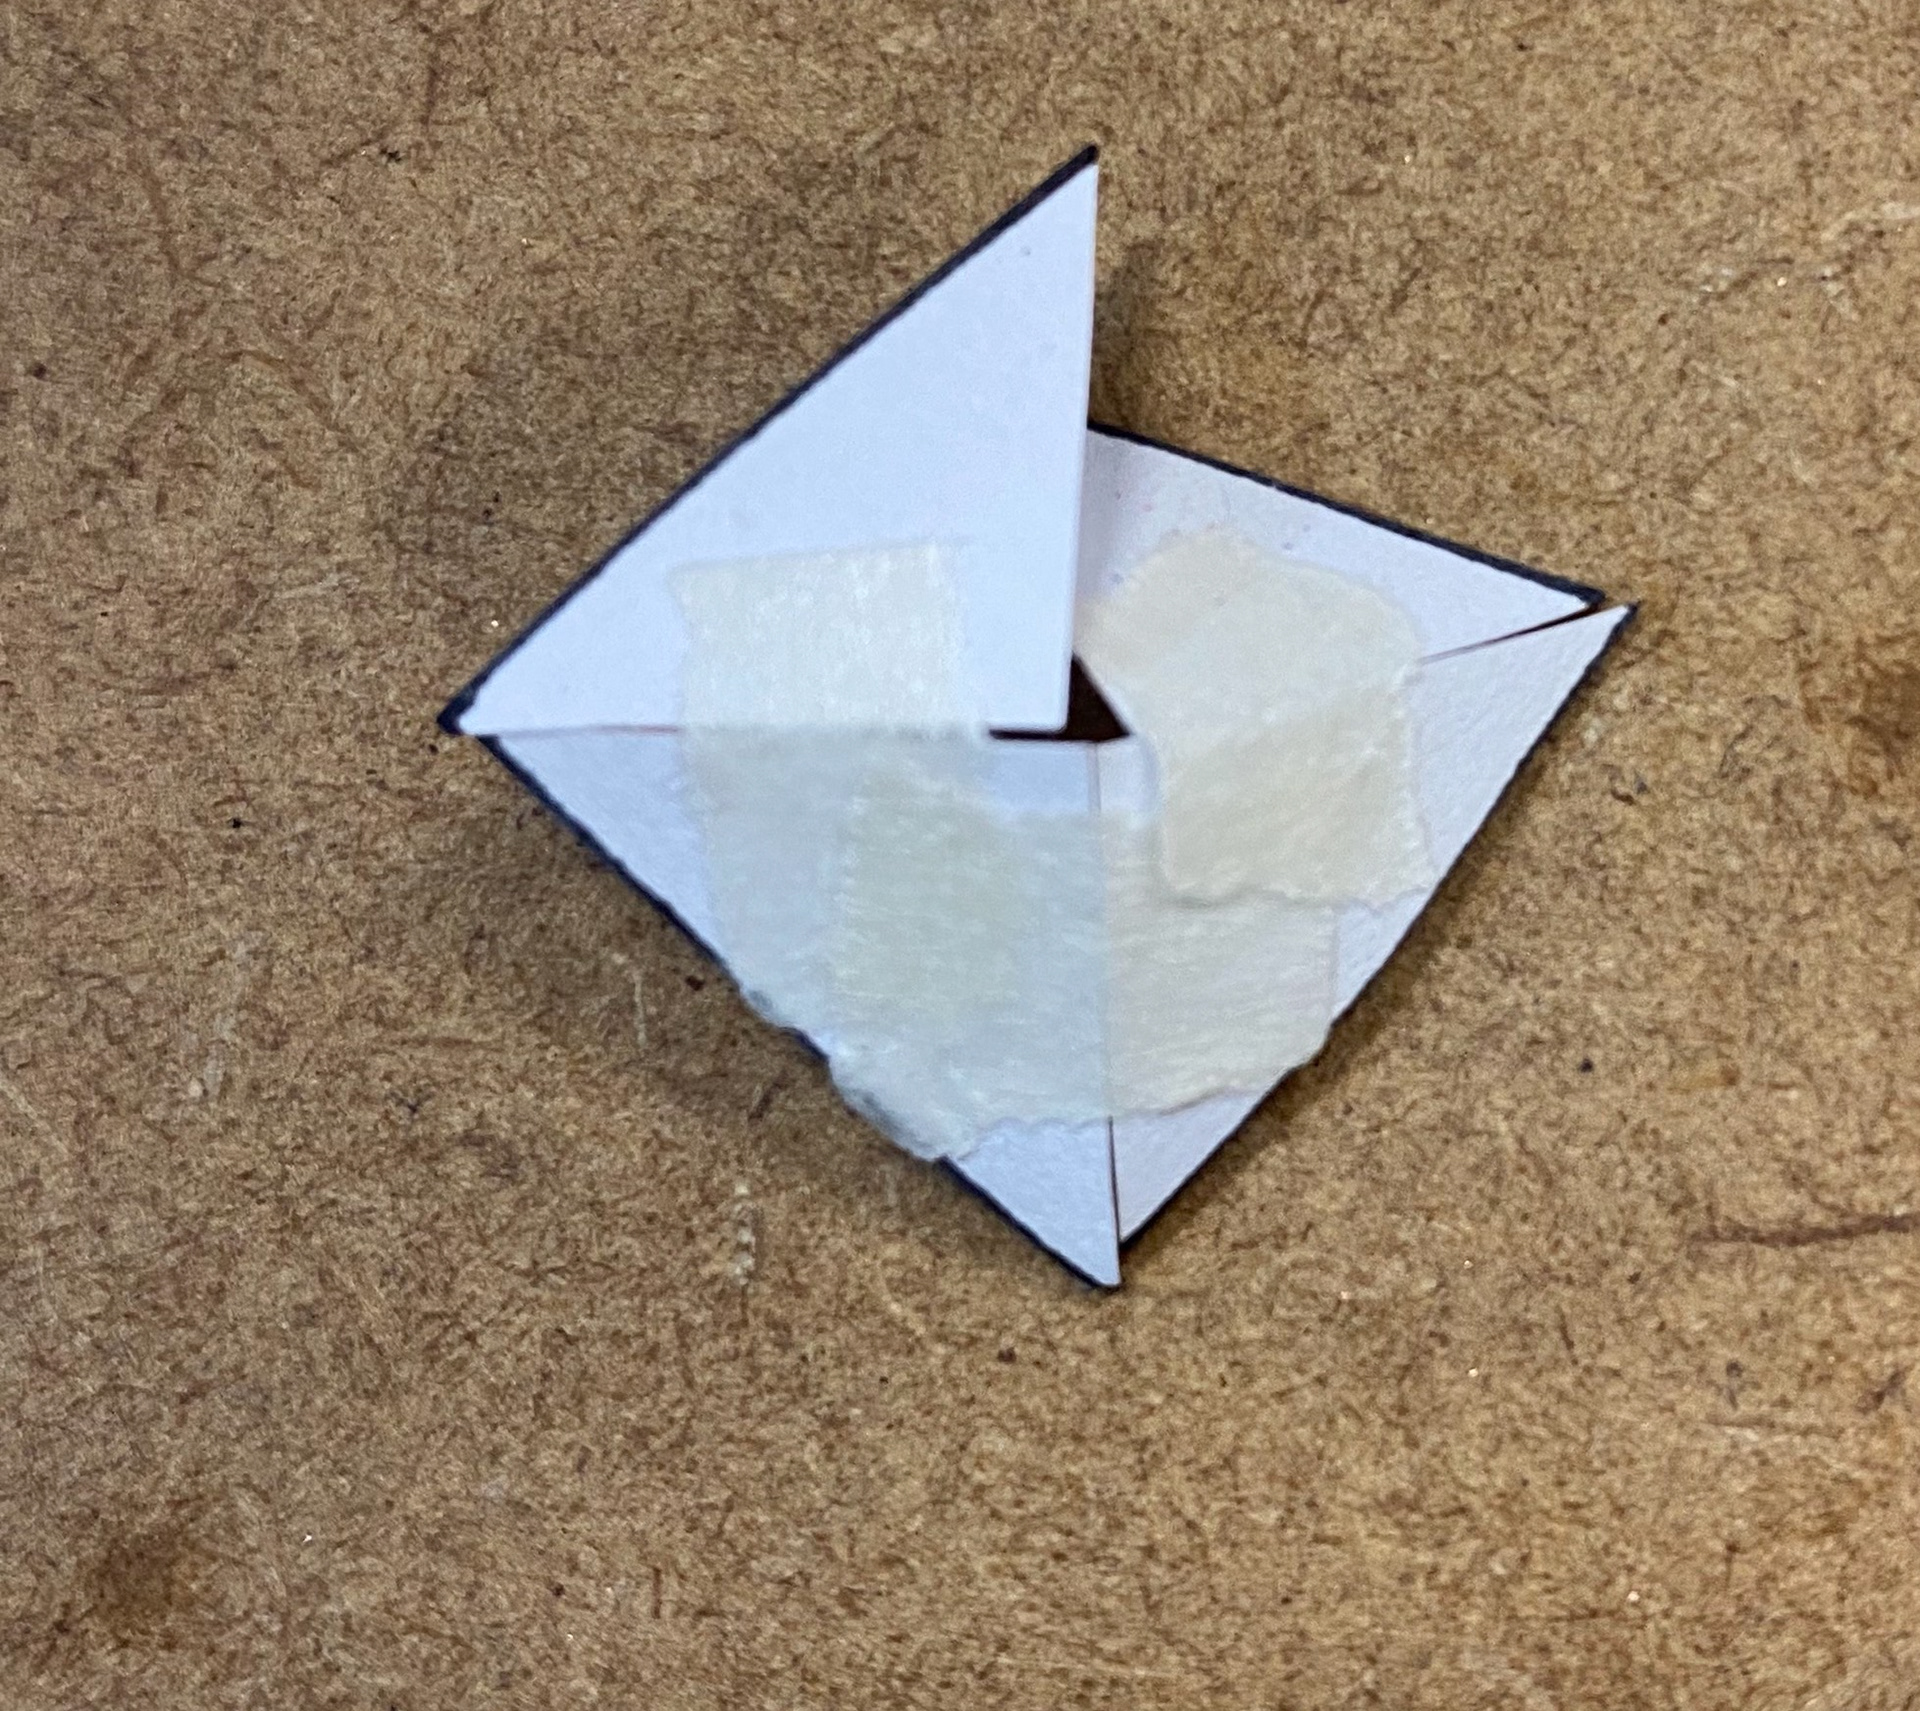
Paper model
Paper model and first metal attempt joined together using masking tape
The inside

After being soldered
Second attempt at soldering the pyramid
Propped up into place ready to be soldered
Second attempt soldered
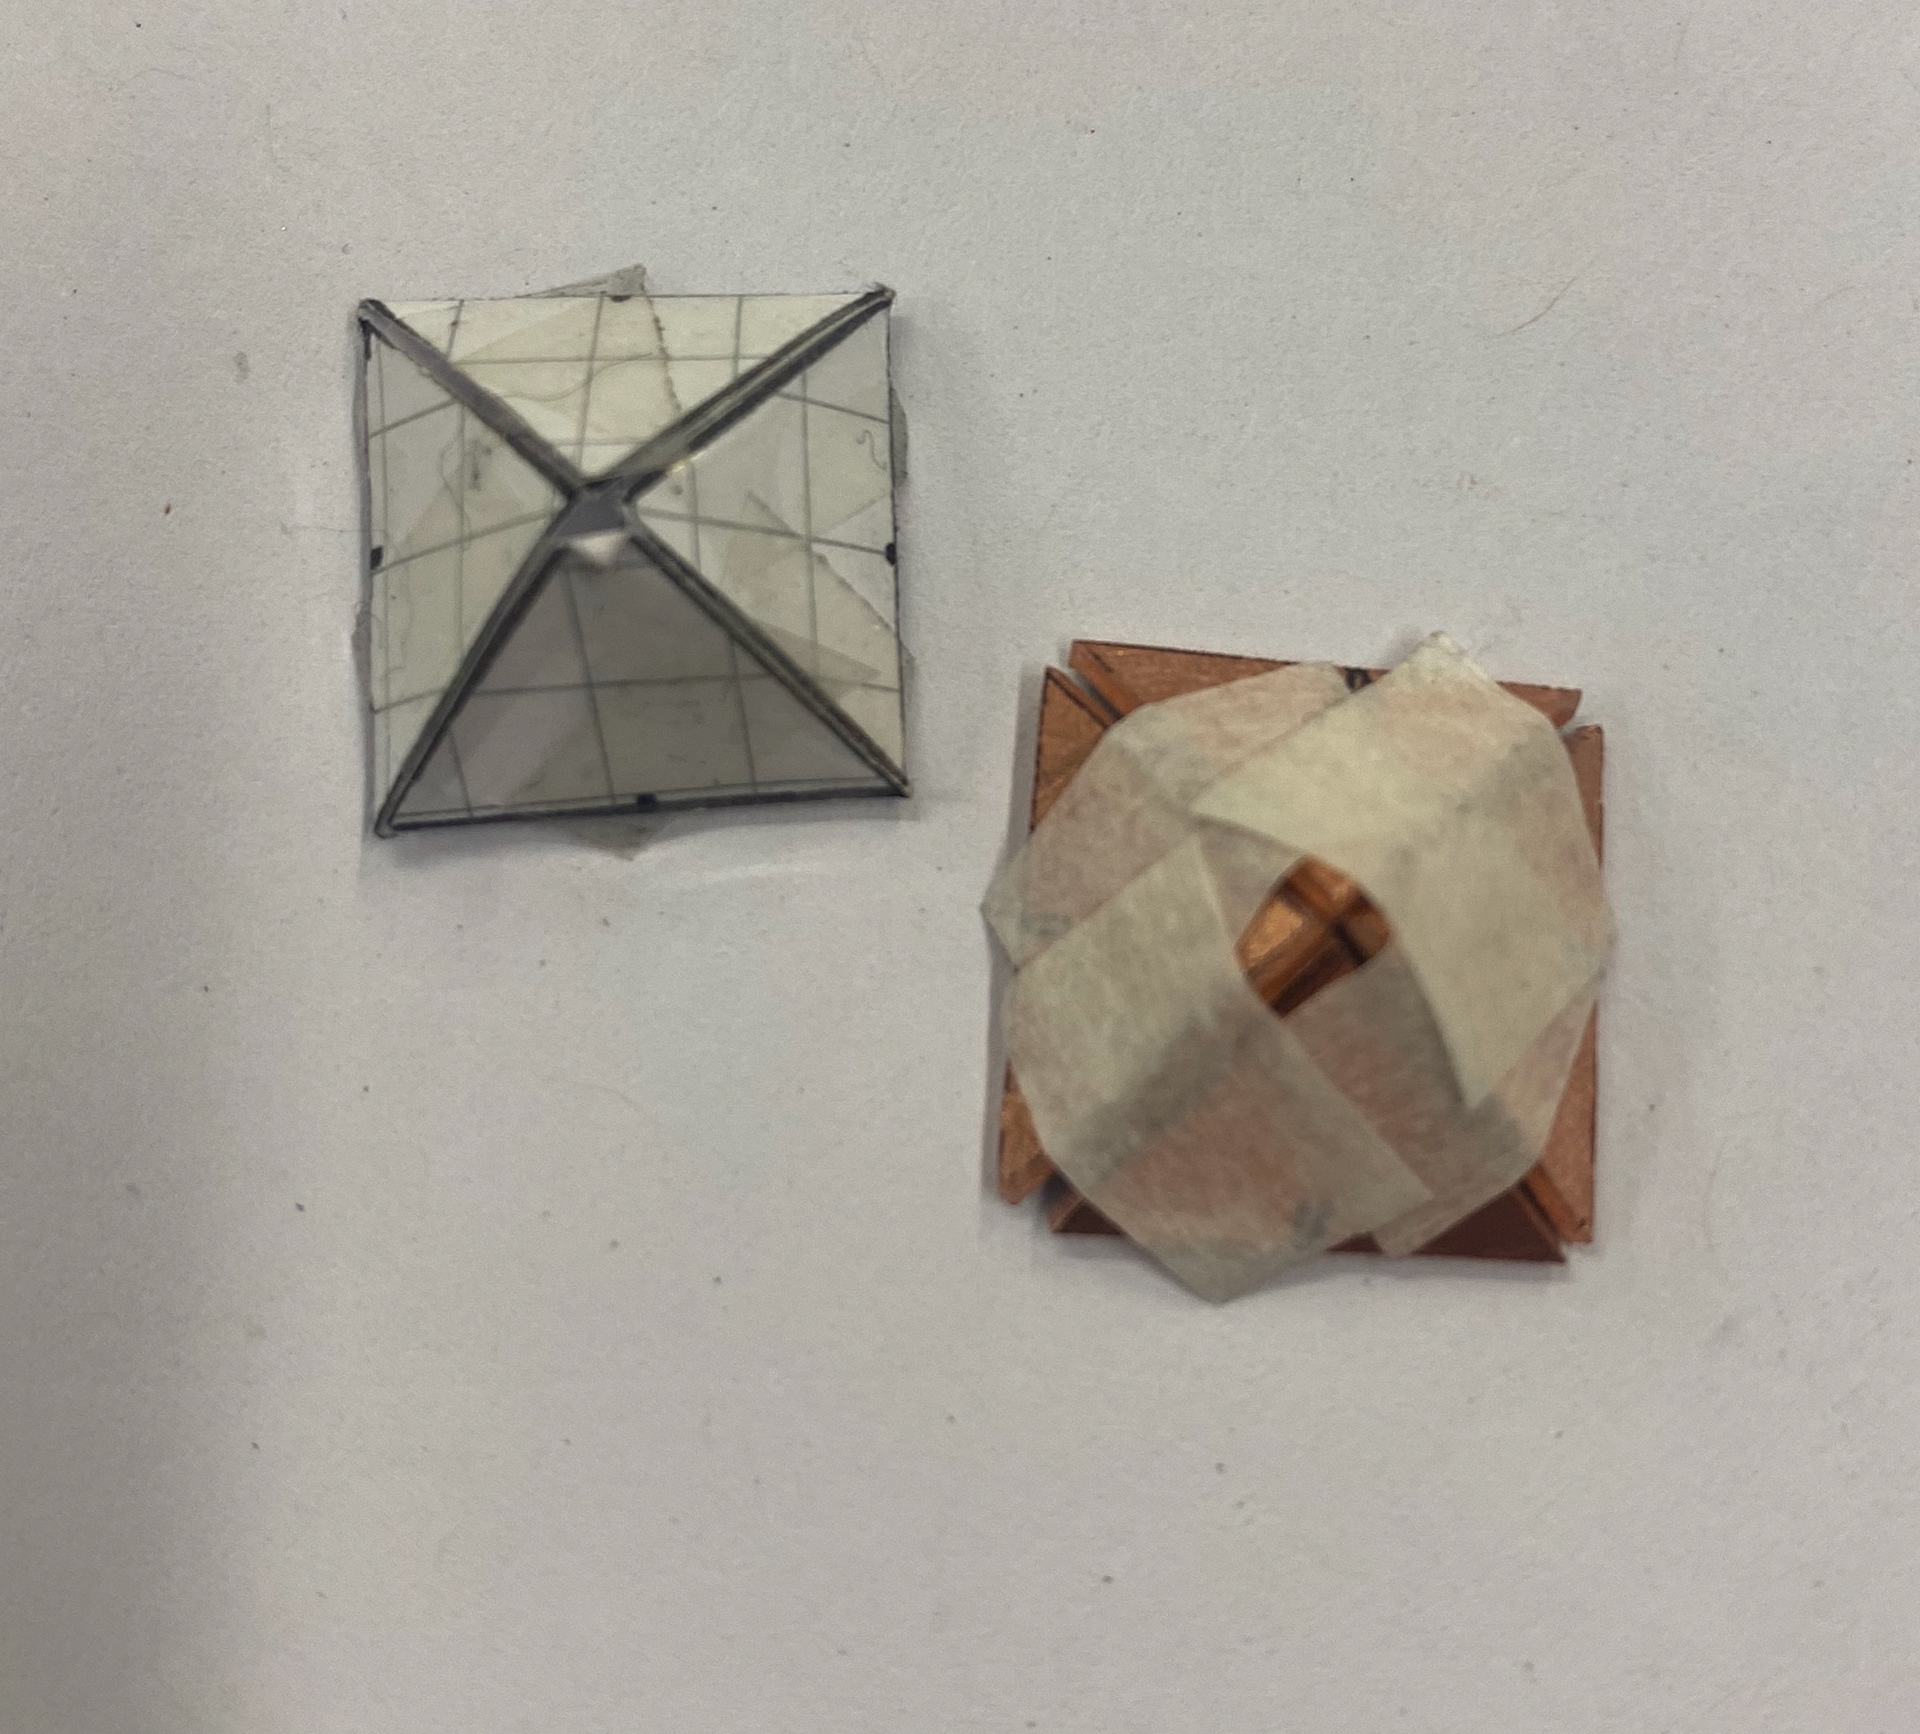
The tops of each test piece. Left, soldered from net shape. Middle, second attempt of original method. Right first attempt.

The underneath of each test piece. Left, soldered from net shape. Middle, second attempt of original method. Right first attempt.
This is something I would consider if I was to this again. I could maybe file the edges of the pyramid where the triangle meets in a way that when I solder you cant see the solder itself as it will only be on the inside of the pyramid. I didn't have time to be experimenting with this unfortunatley so I chose the best one and went with that.
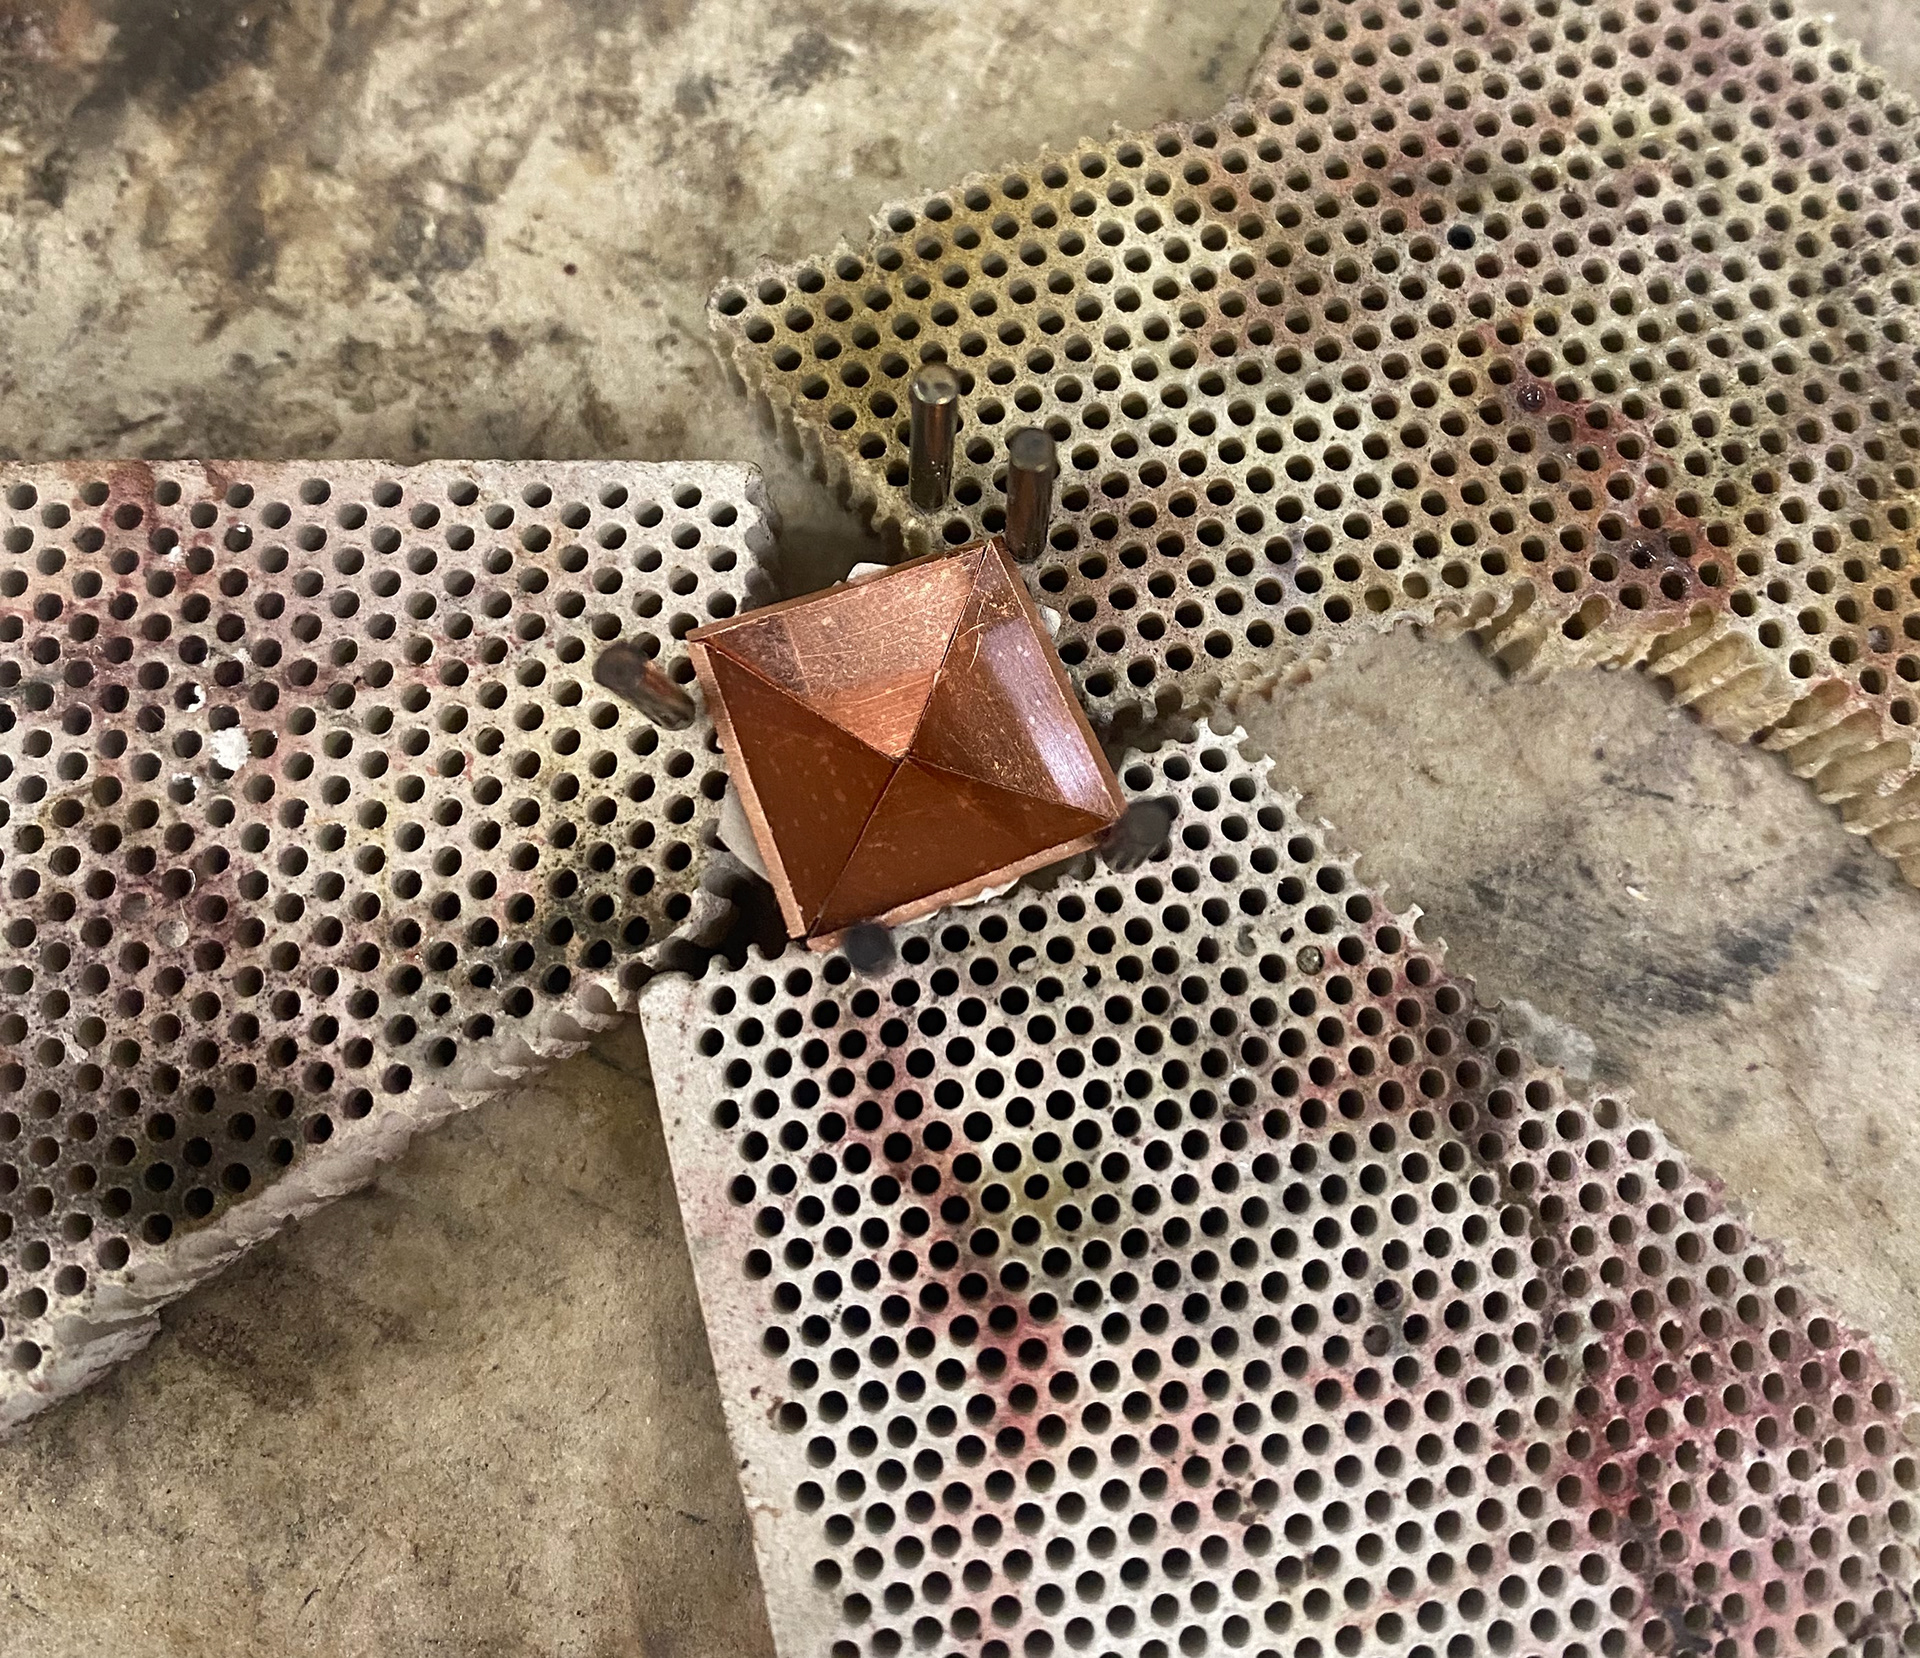
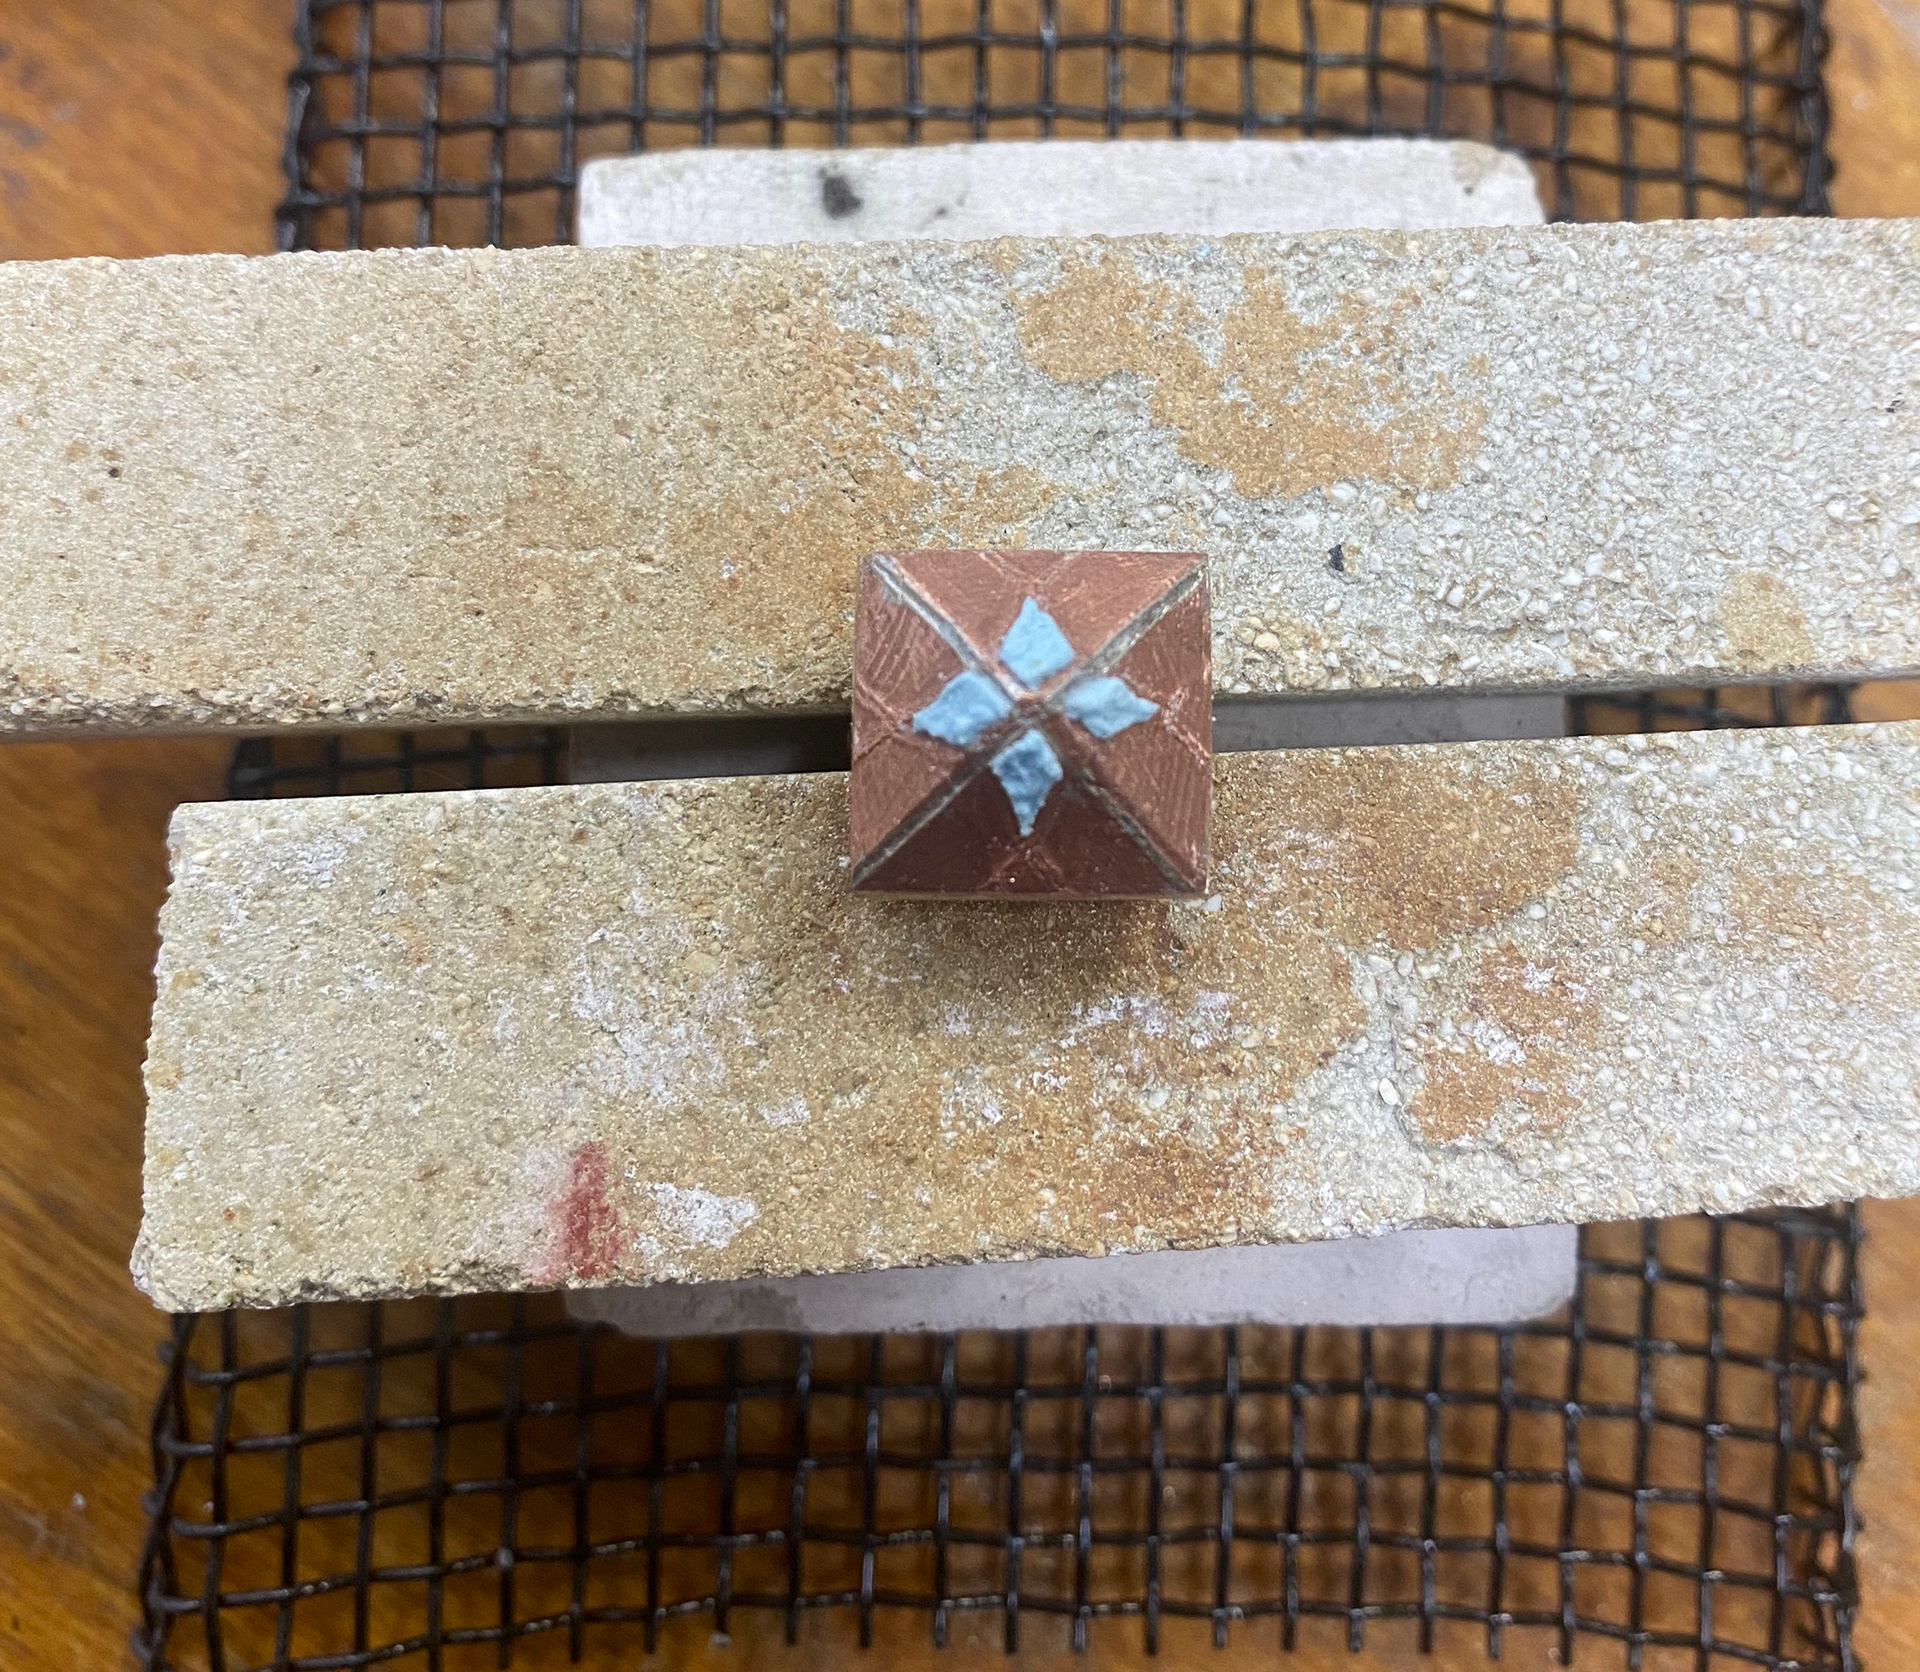
Once I had cleaned up the pyramid piece I drew on the pattern I designed for this. I then etched this in acid. I did think about if the acid etched into the solder but after speaking with Maisie, I don't think Ferric Chloride etches into Silver solder. This etching was successful on most of the piece, however there was some parts that wasn't great that looks a bit messy. Despite this I moved onto the next stage of soldering the pyramid onto the ring base.
This was another challenge to get the ring held in place. As well as this, I had only used hard solder when soldering the triangles onto the brass rod, but from then onwards I was using enamelling solder because I knew I had to put it all through the kiln. Because of this at any stage of heating afterwards, it was a risk and worry that that part could re melt and collapse due to the melting points of different solders. Despite this it went well and it all soldered together.
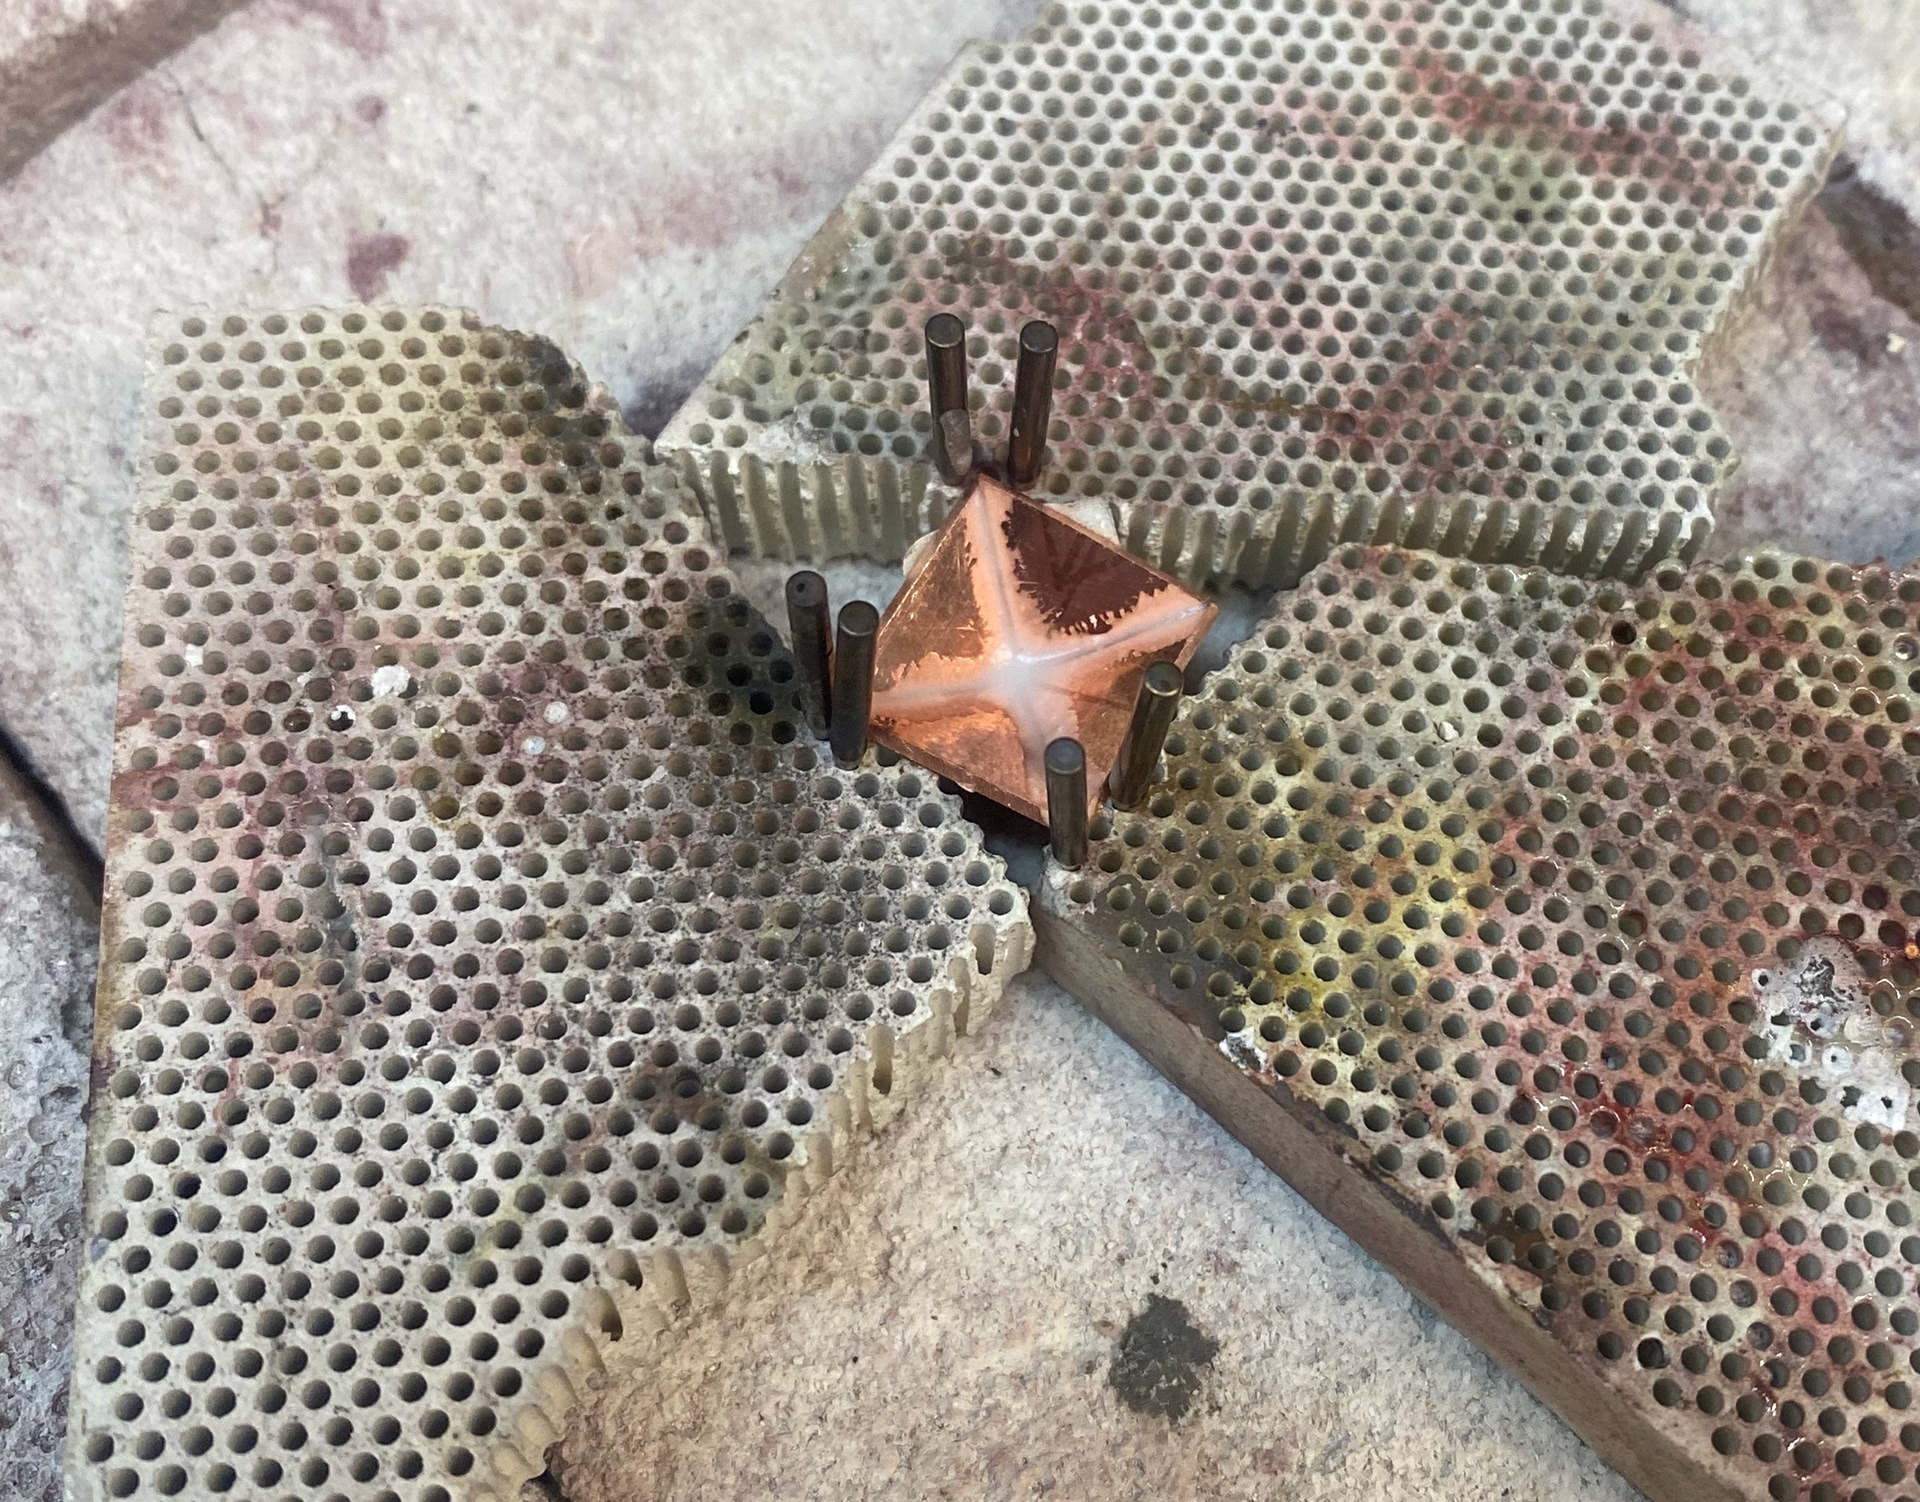
Pattern drawn onto pyramid
Ring held in place to solder
View from above
Soldering melting points
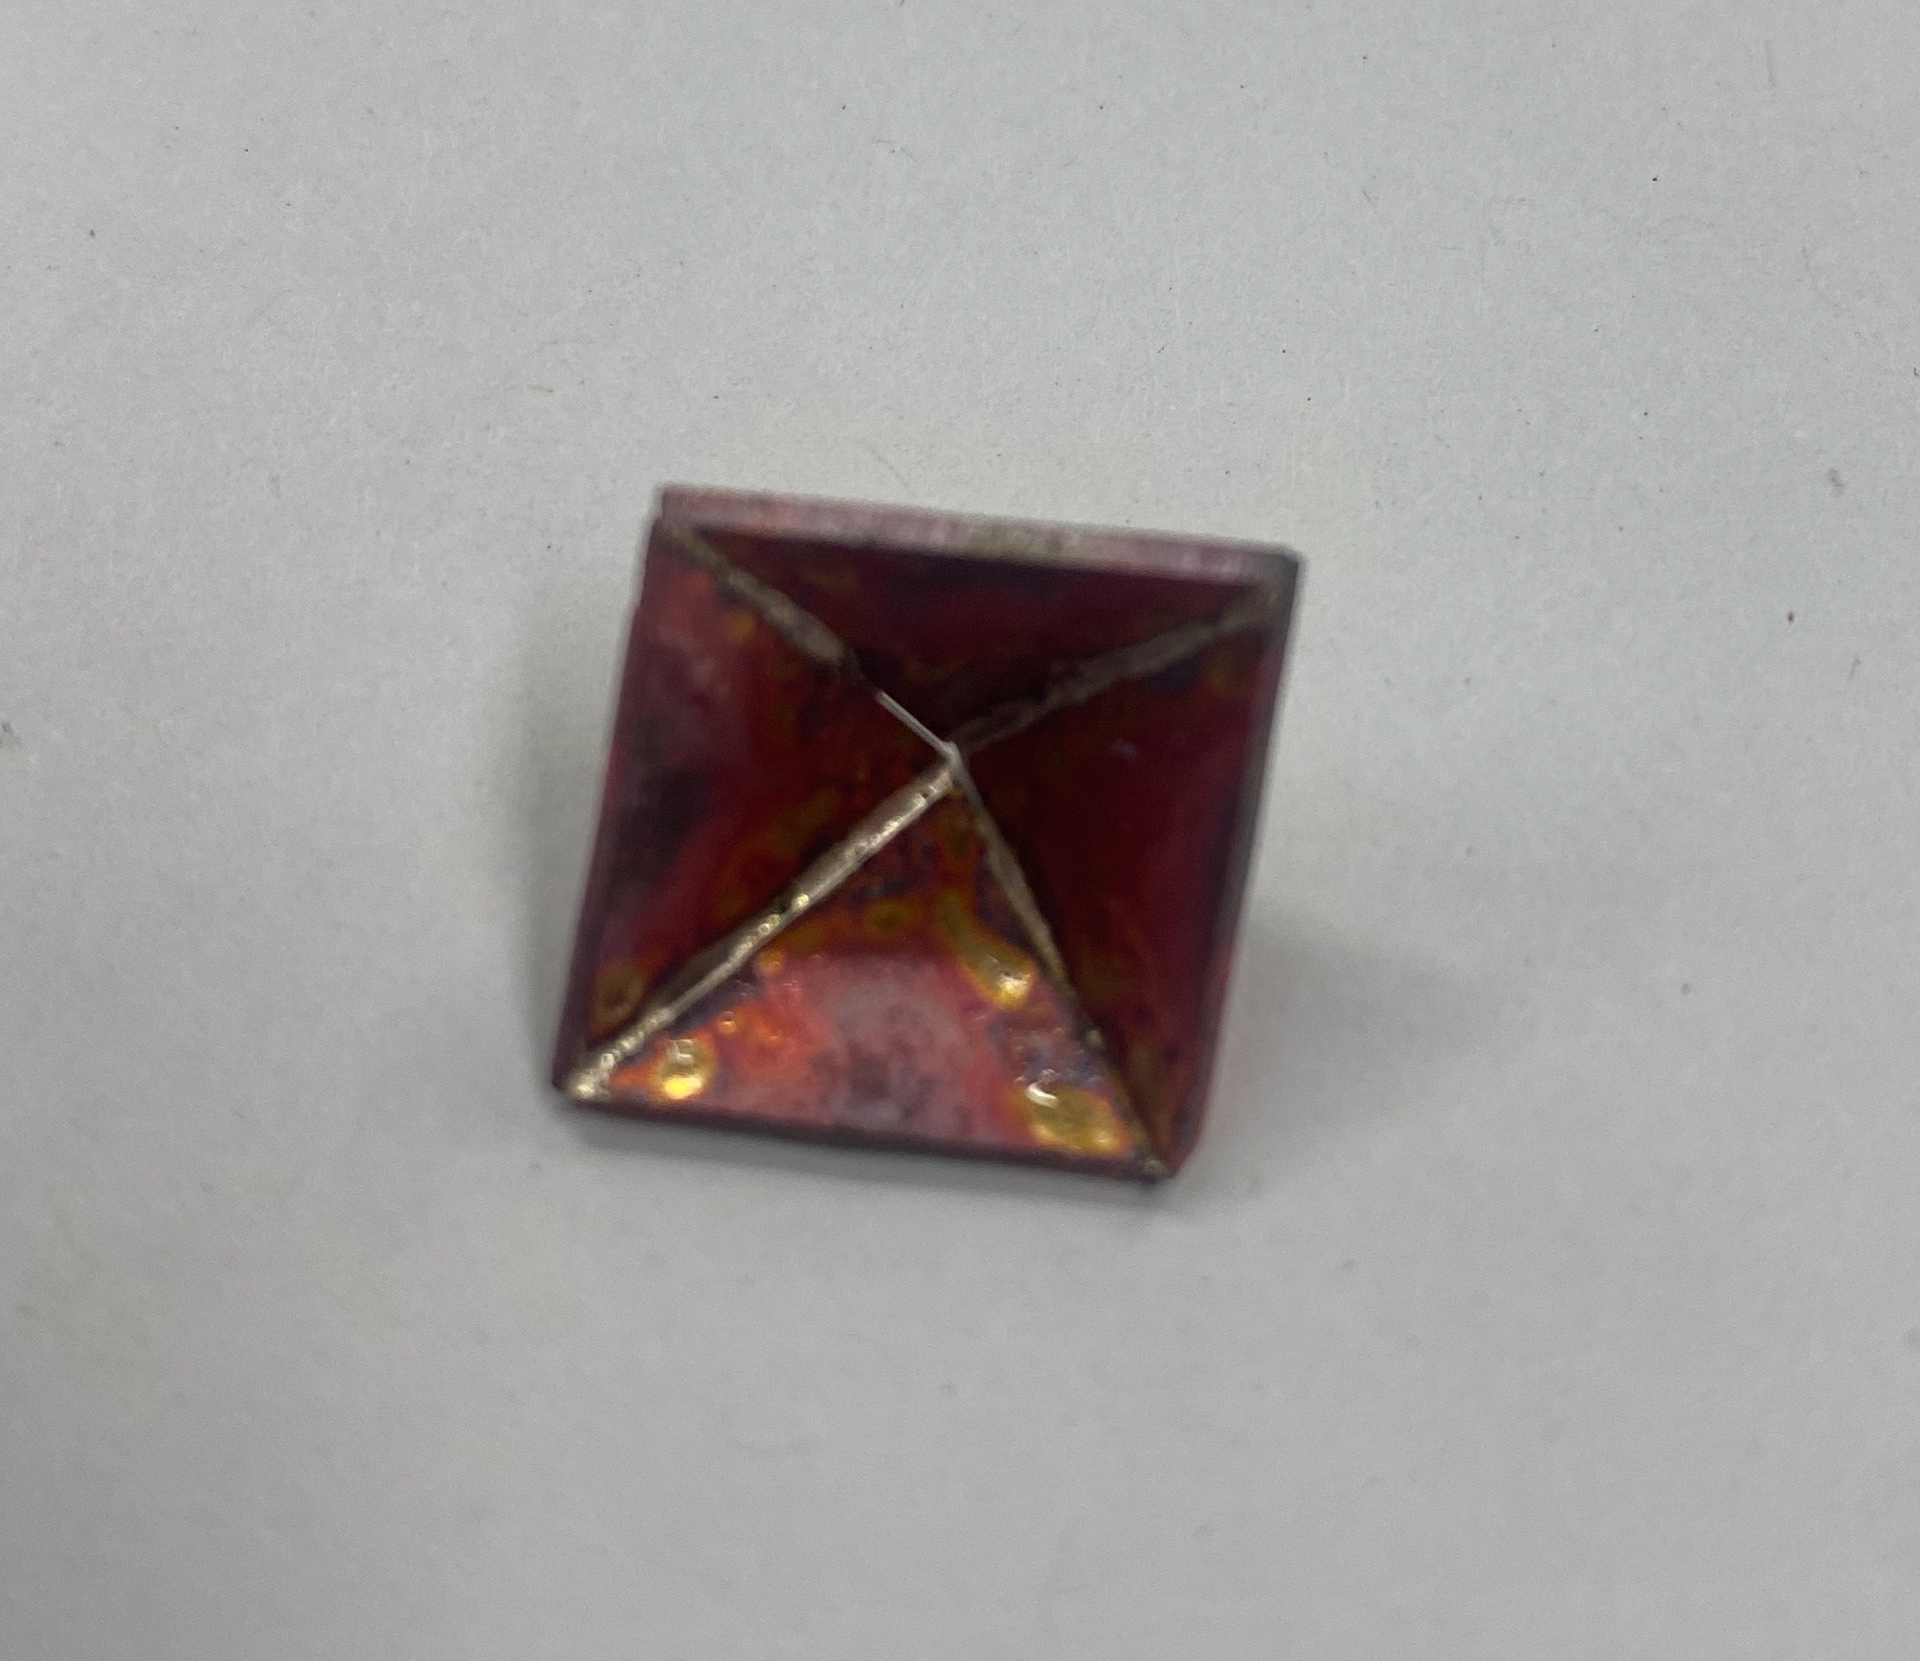
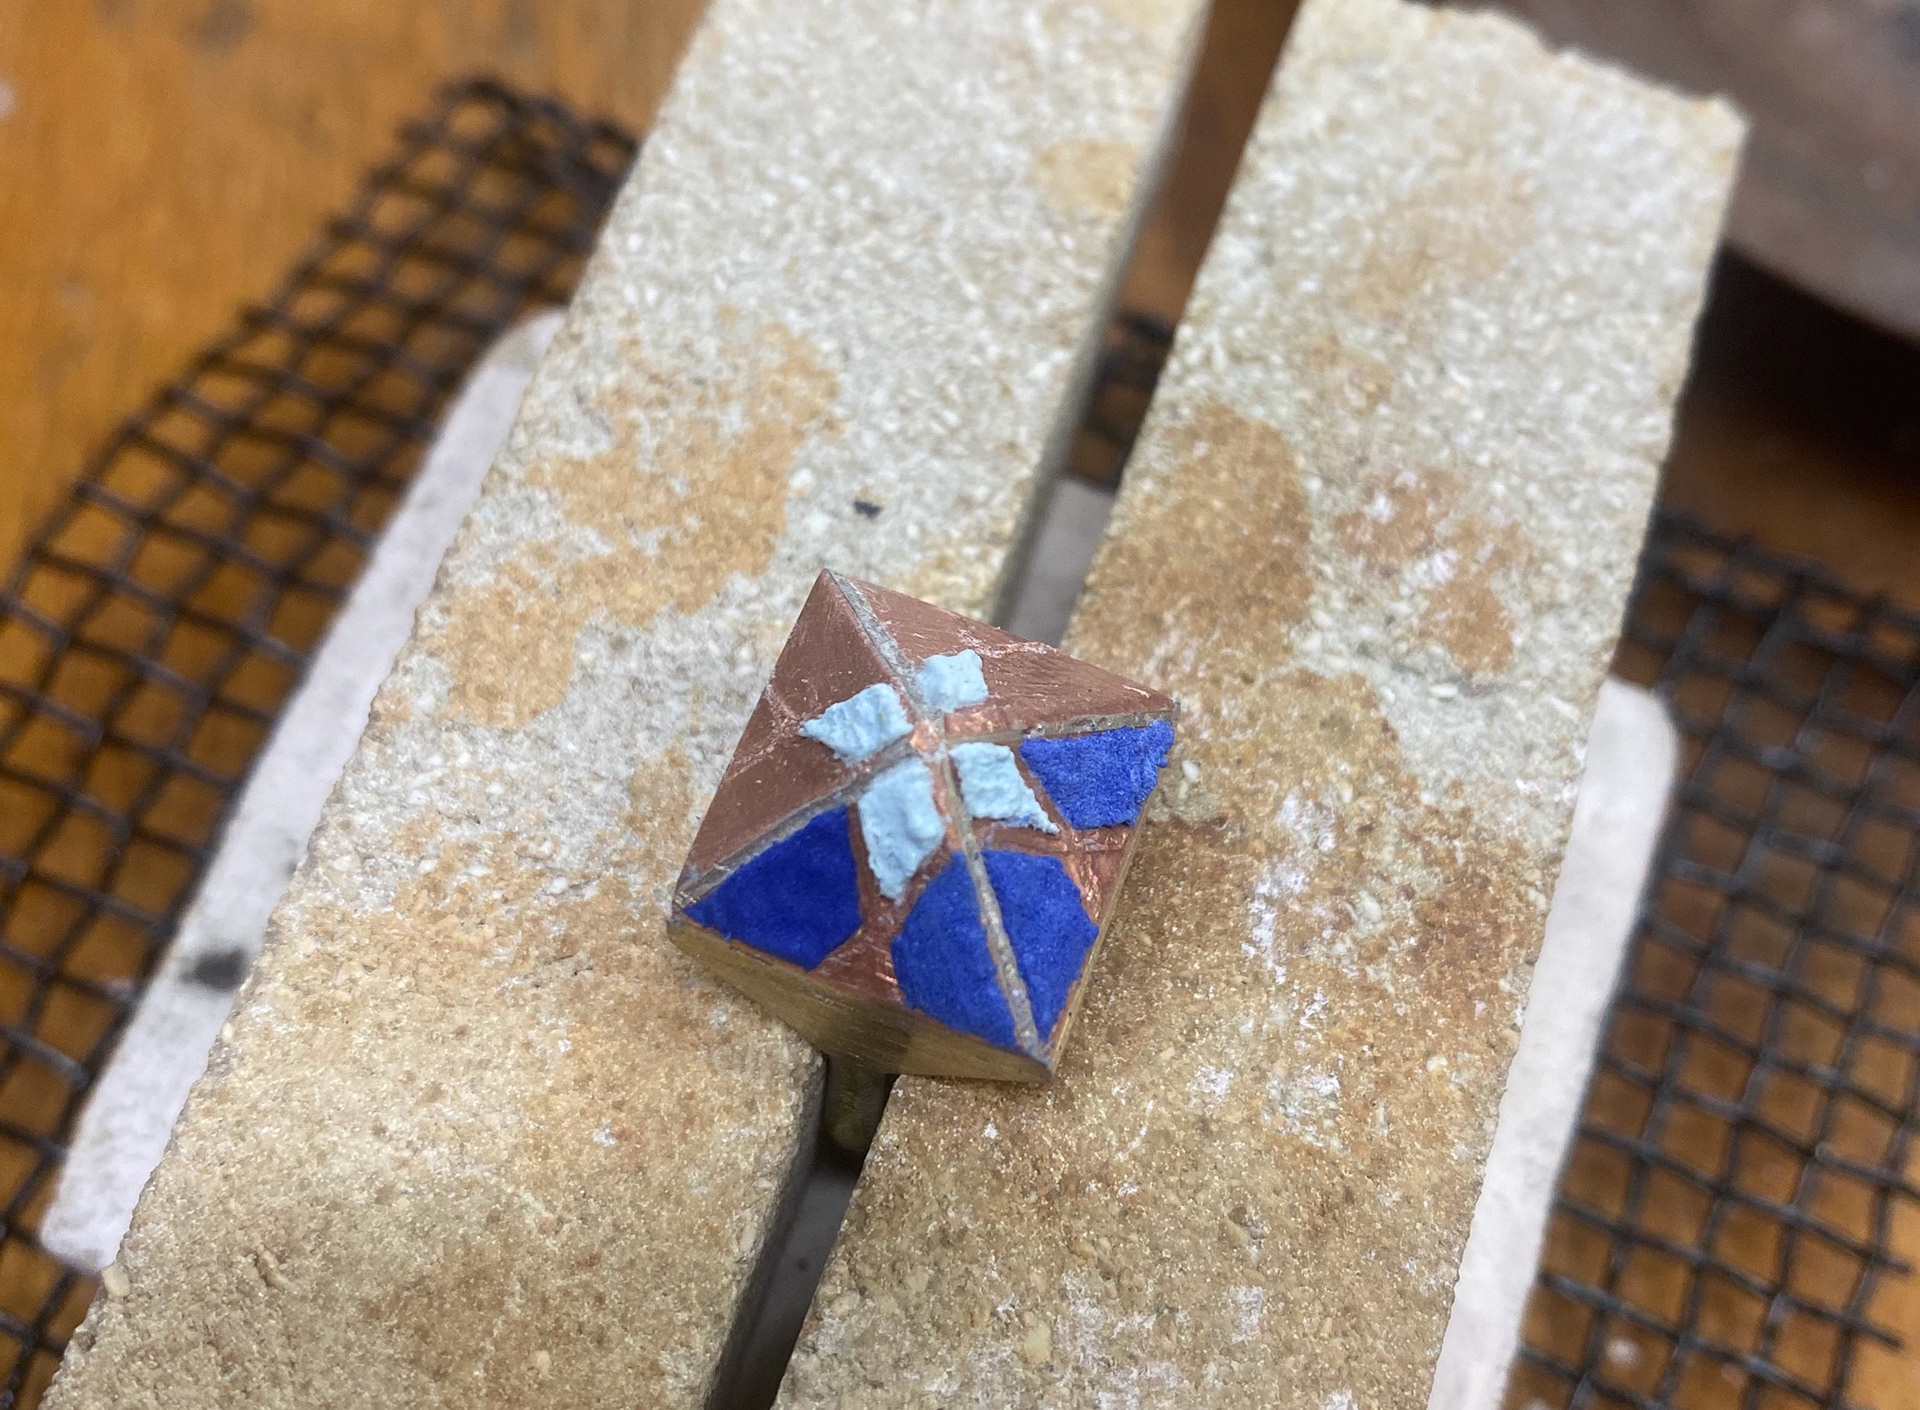
Once the soldering was complete I then went on to enamel the 'stone'. I first ground down the enamelling powder to make it finer so that it was easier to work with in smaller detail. I then used the wet process to paint the enamel onto the piece. This was a lot easier to do with the simplified pattern than when I tried it originally. It was still a challenge, however I like creating detailed work as I believe its a strength I have. The enamelling turned out quite well I was happy with the outcome. The gold colour enamel didn't turn out how it looked on the test piece, it came out darker. I was happy that the ring didn't fall apart when going into the kiln though as I was nervous for this.
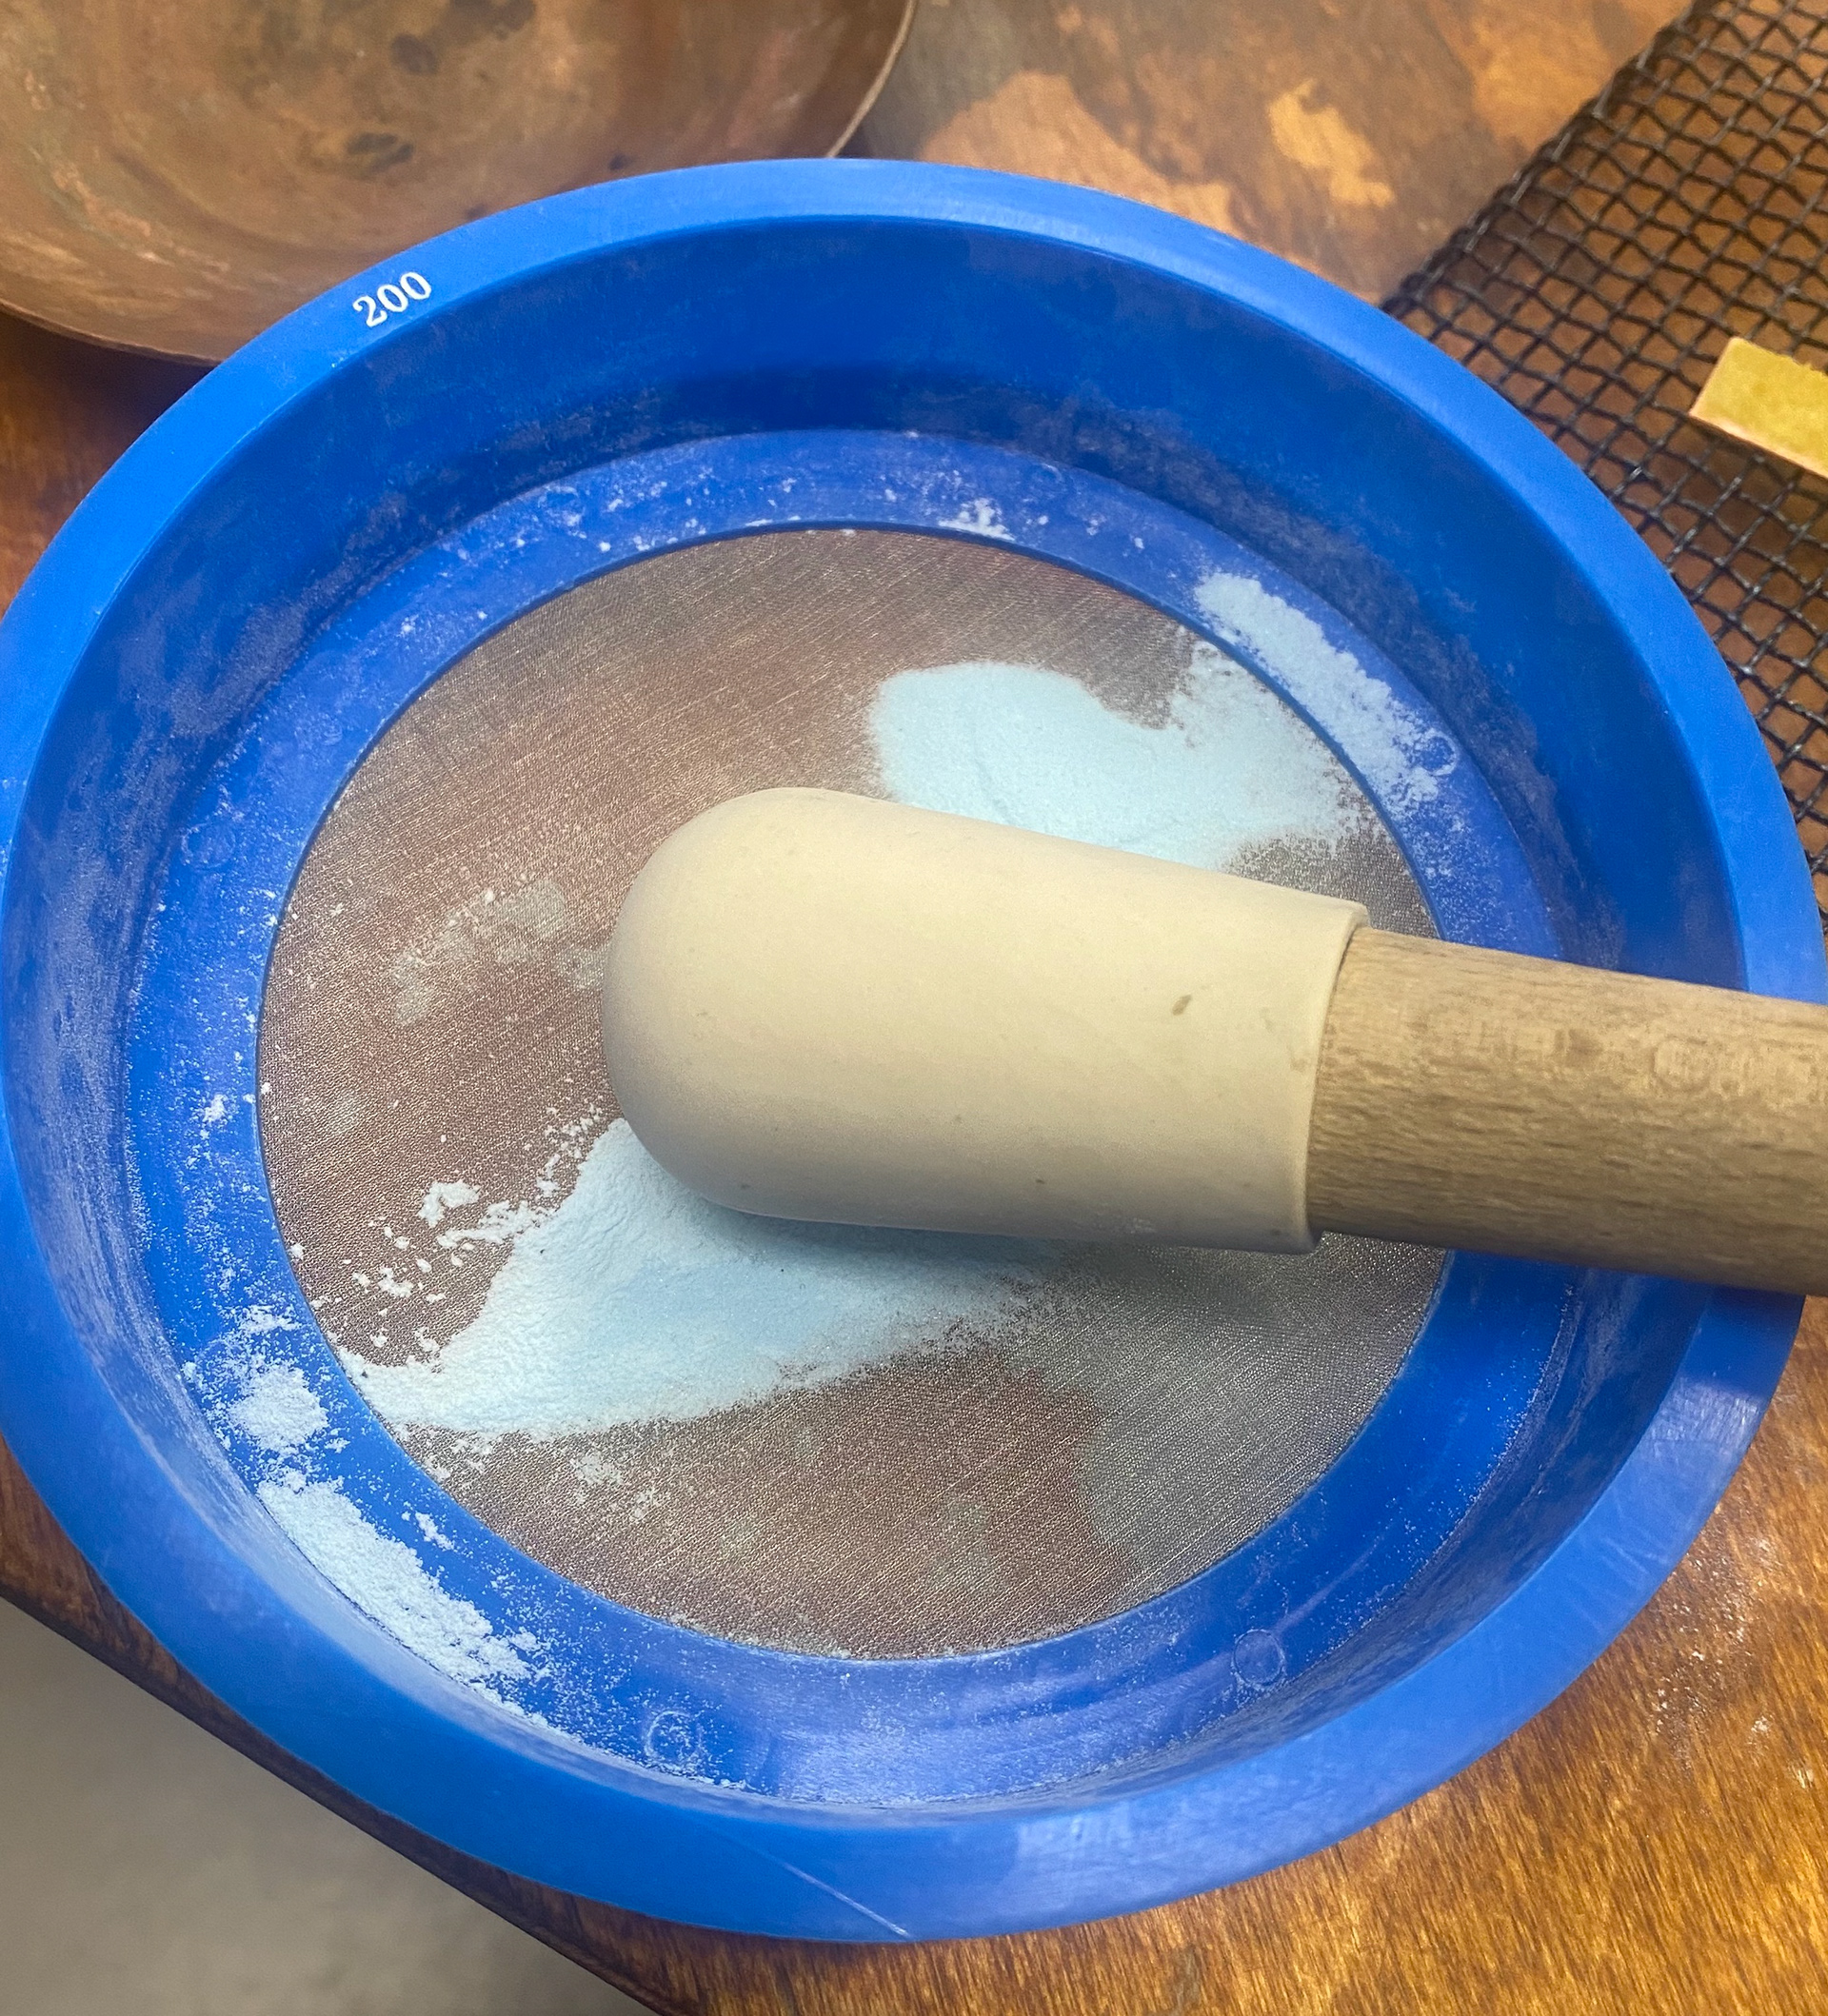
Ground down enamel powder
Painting the enamel on
Finished painting letting it dry out
Once been through the kiln
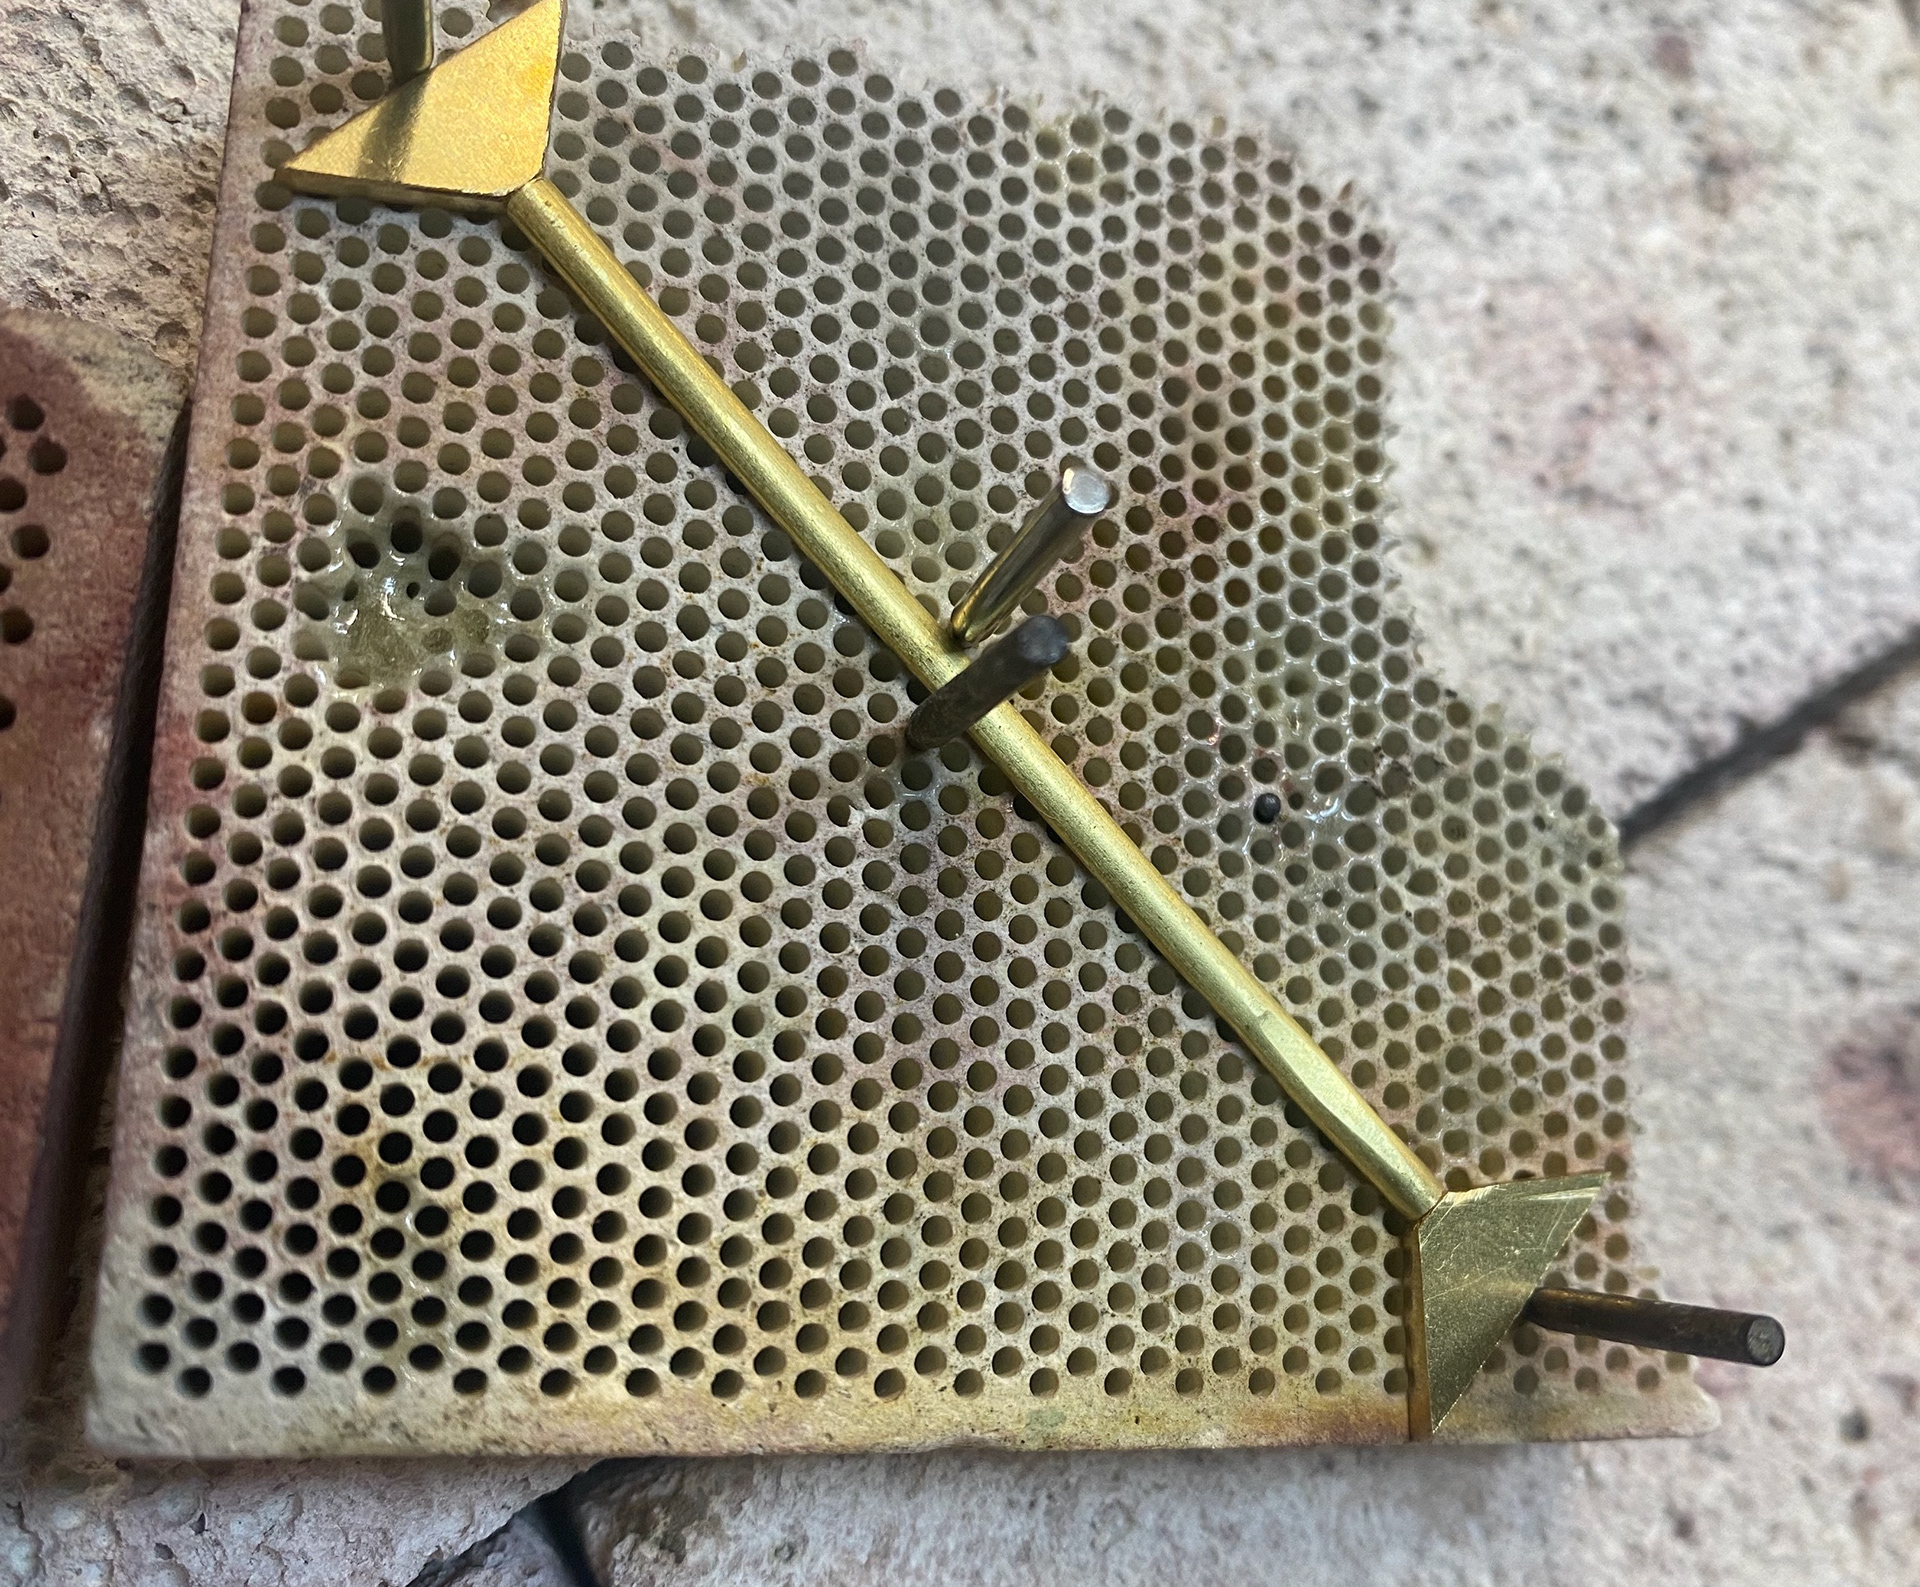
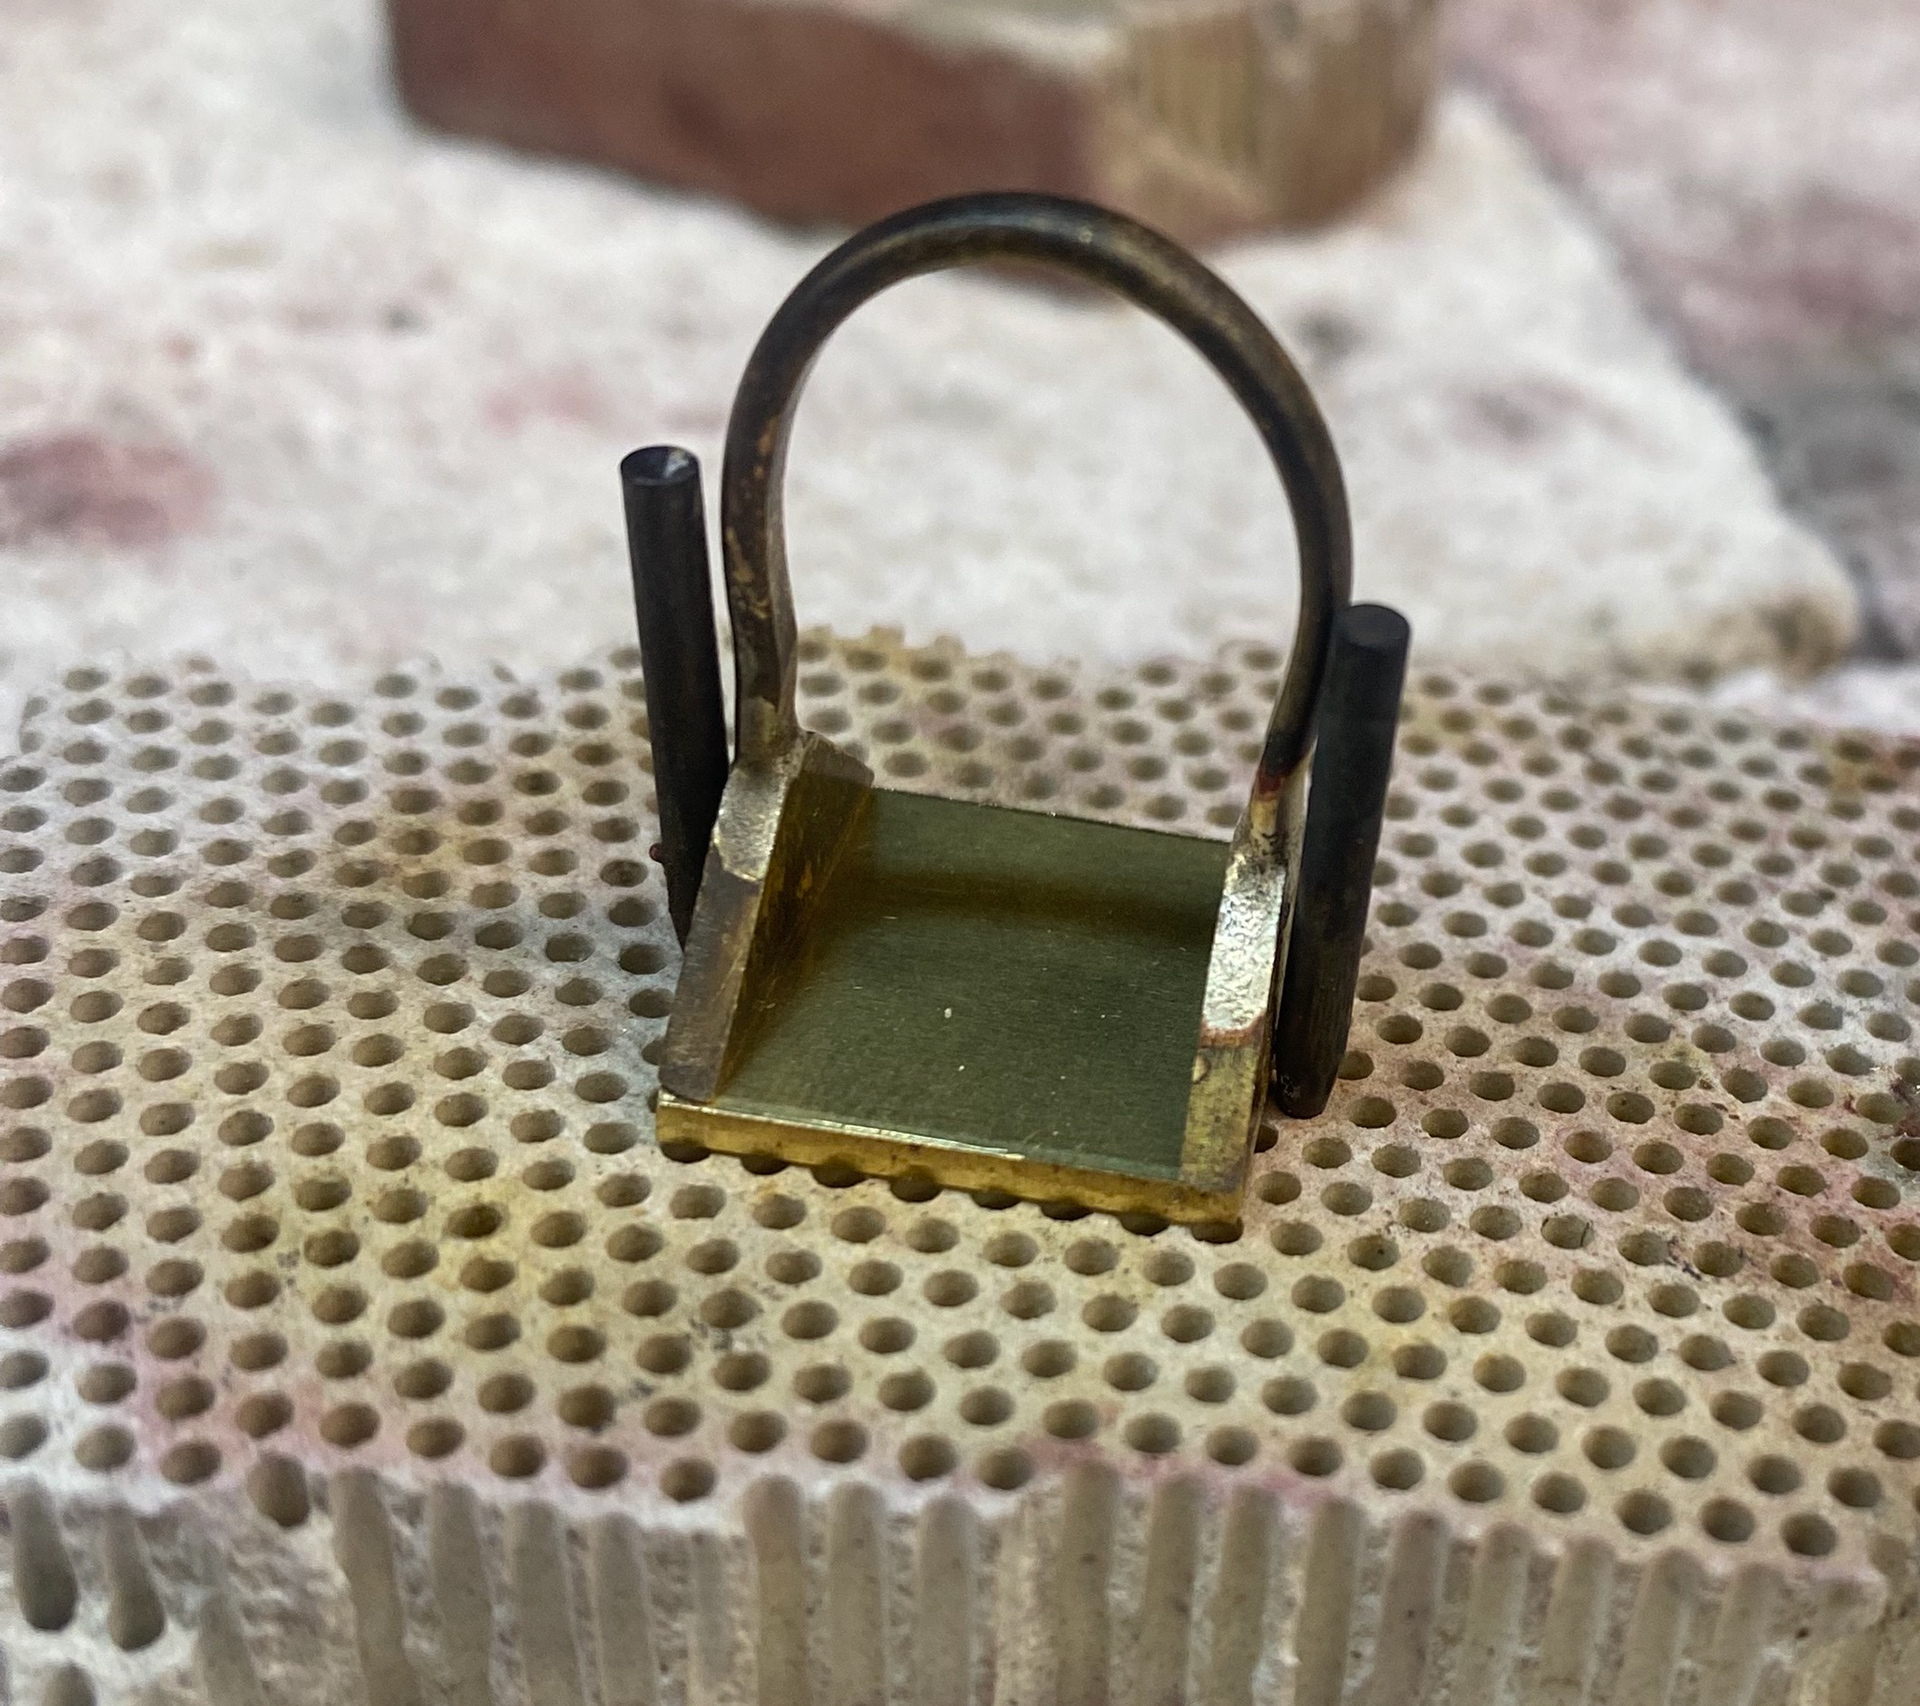
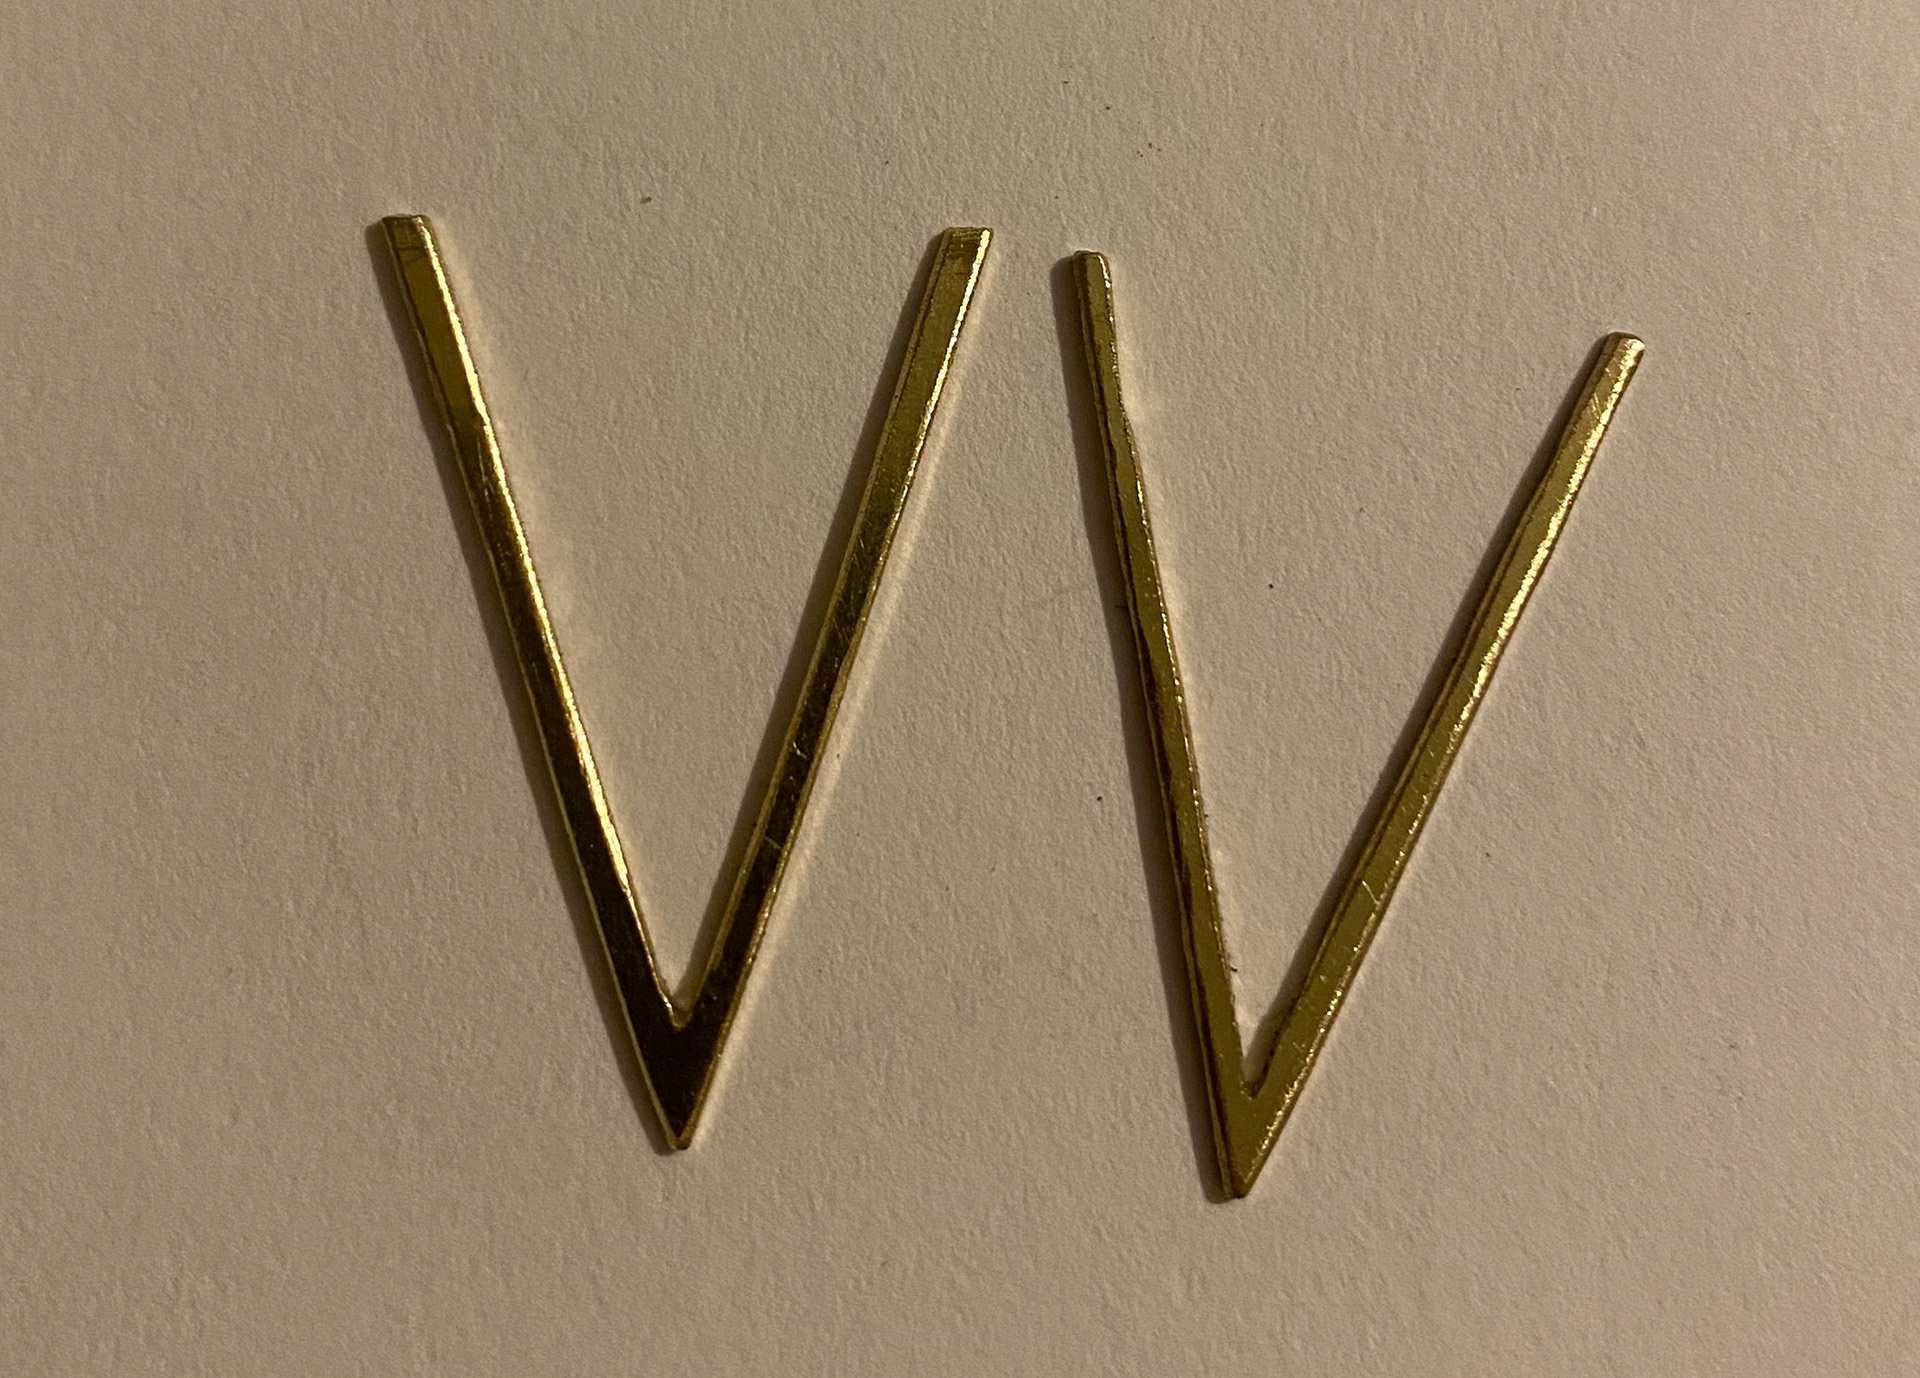
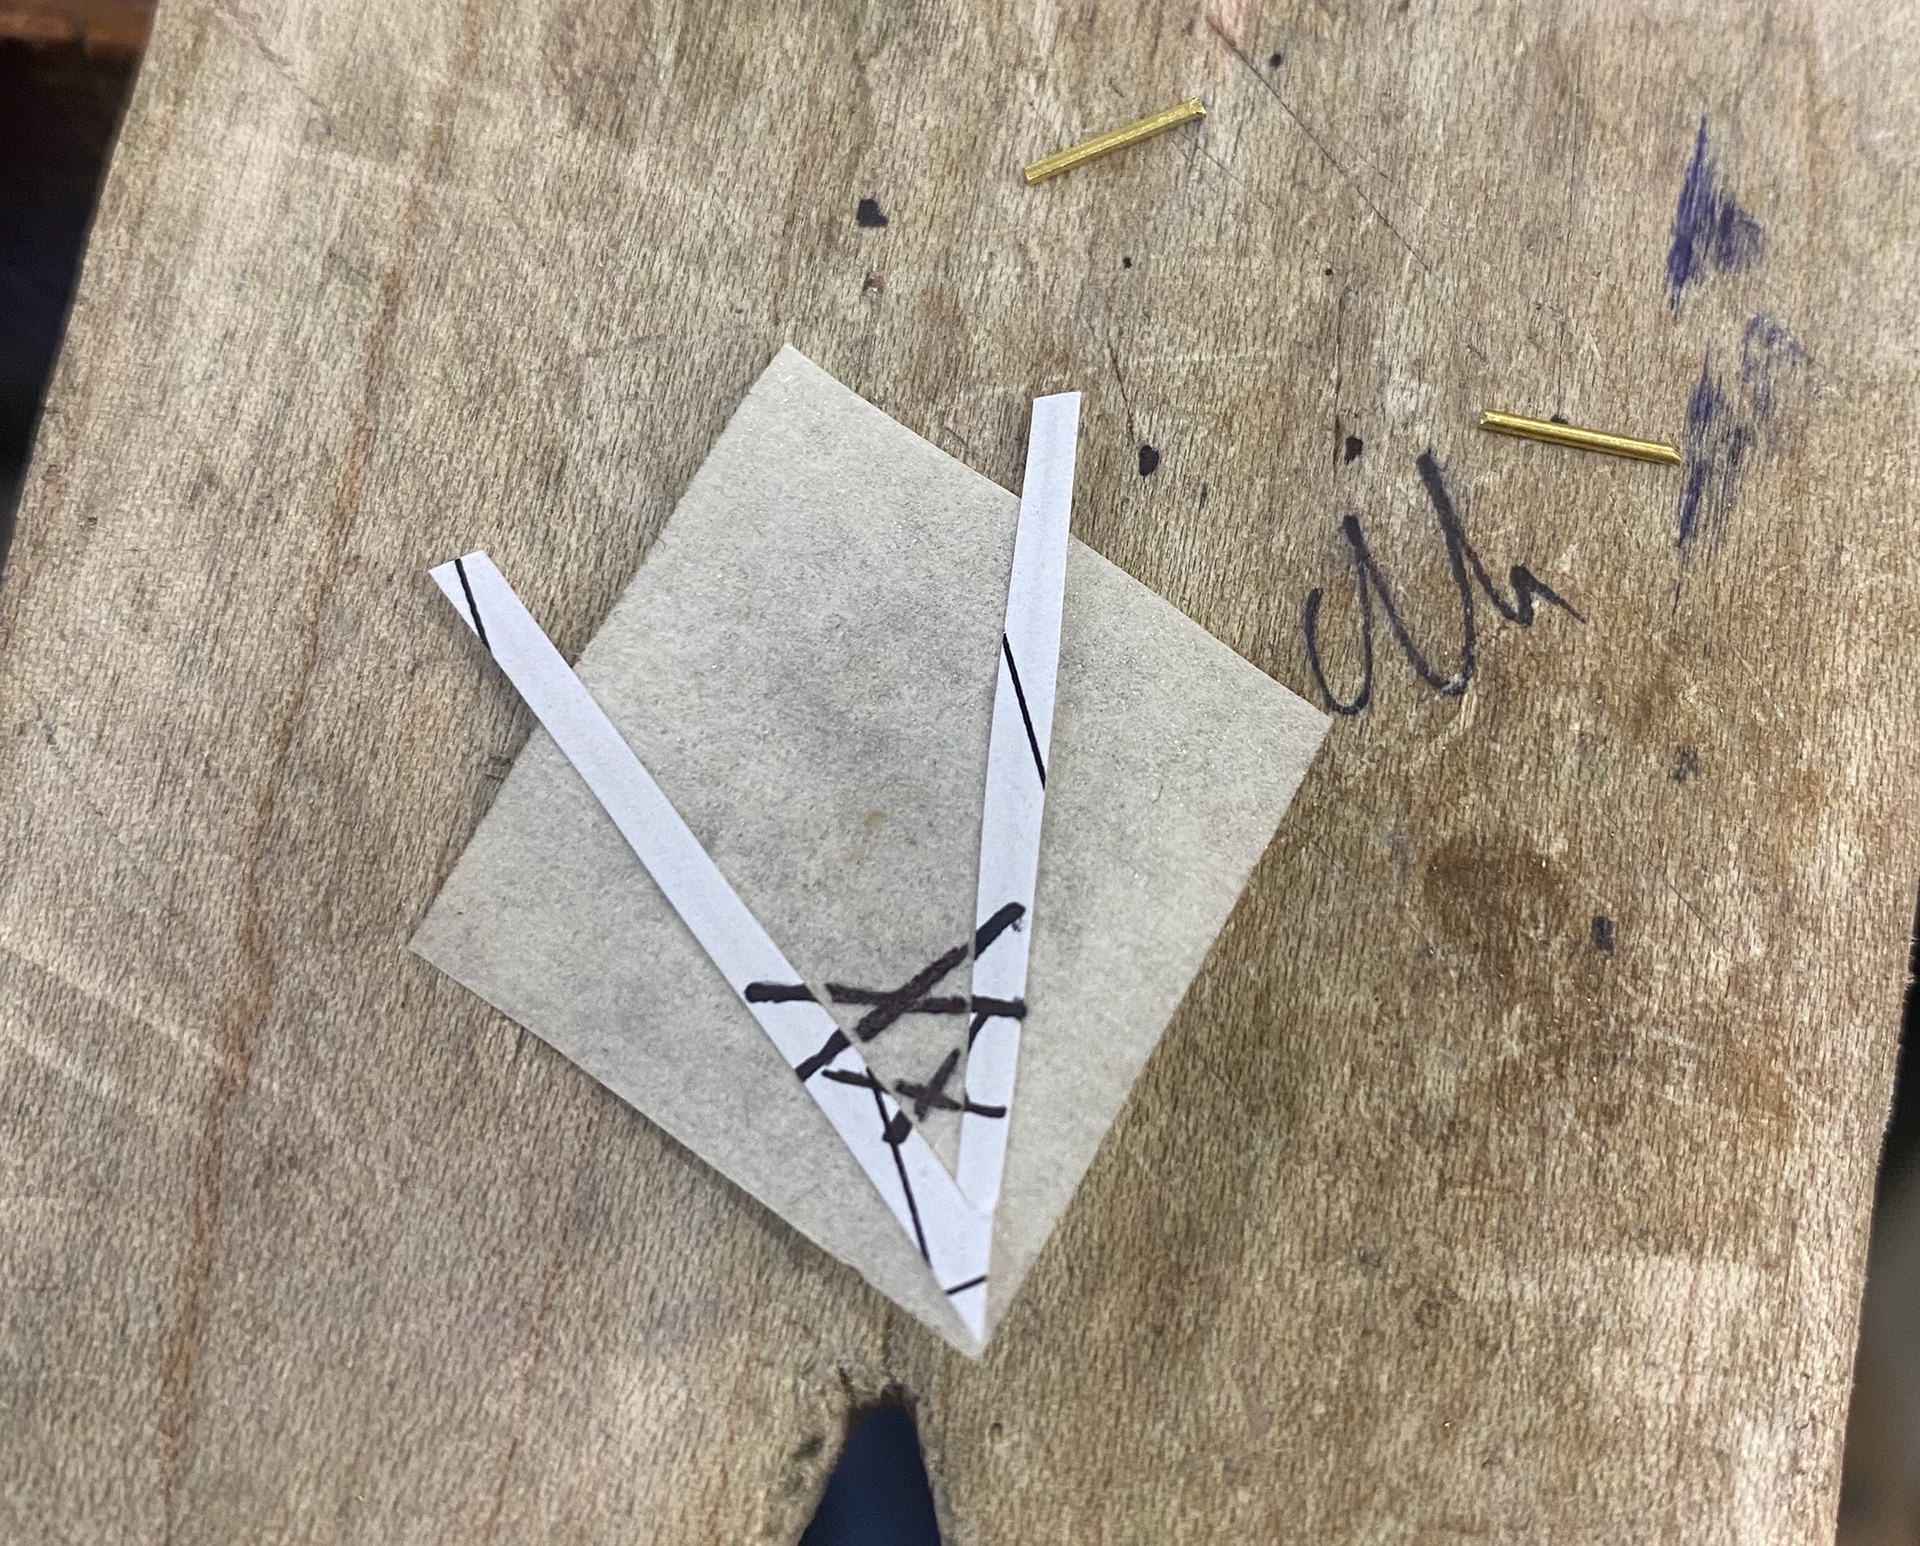
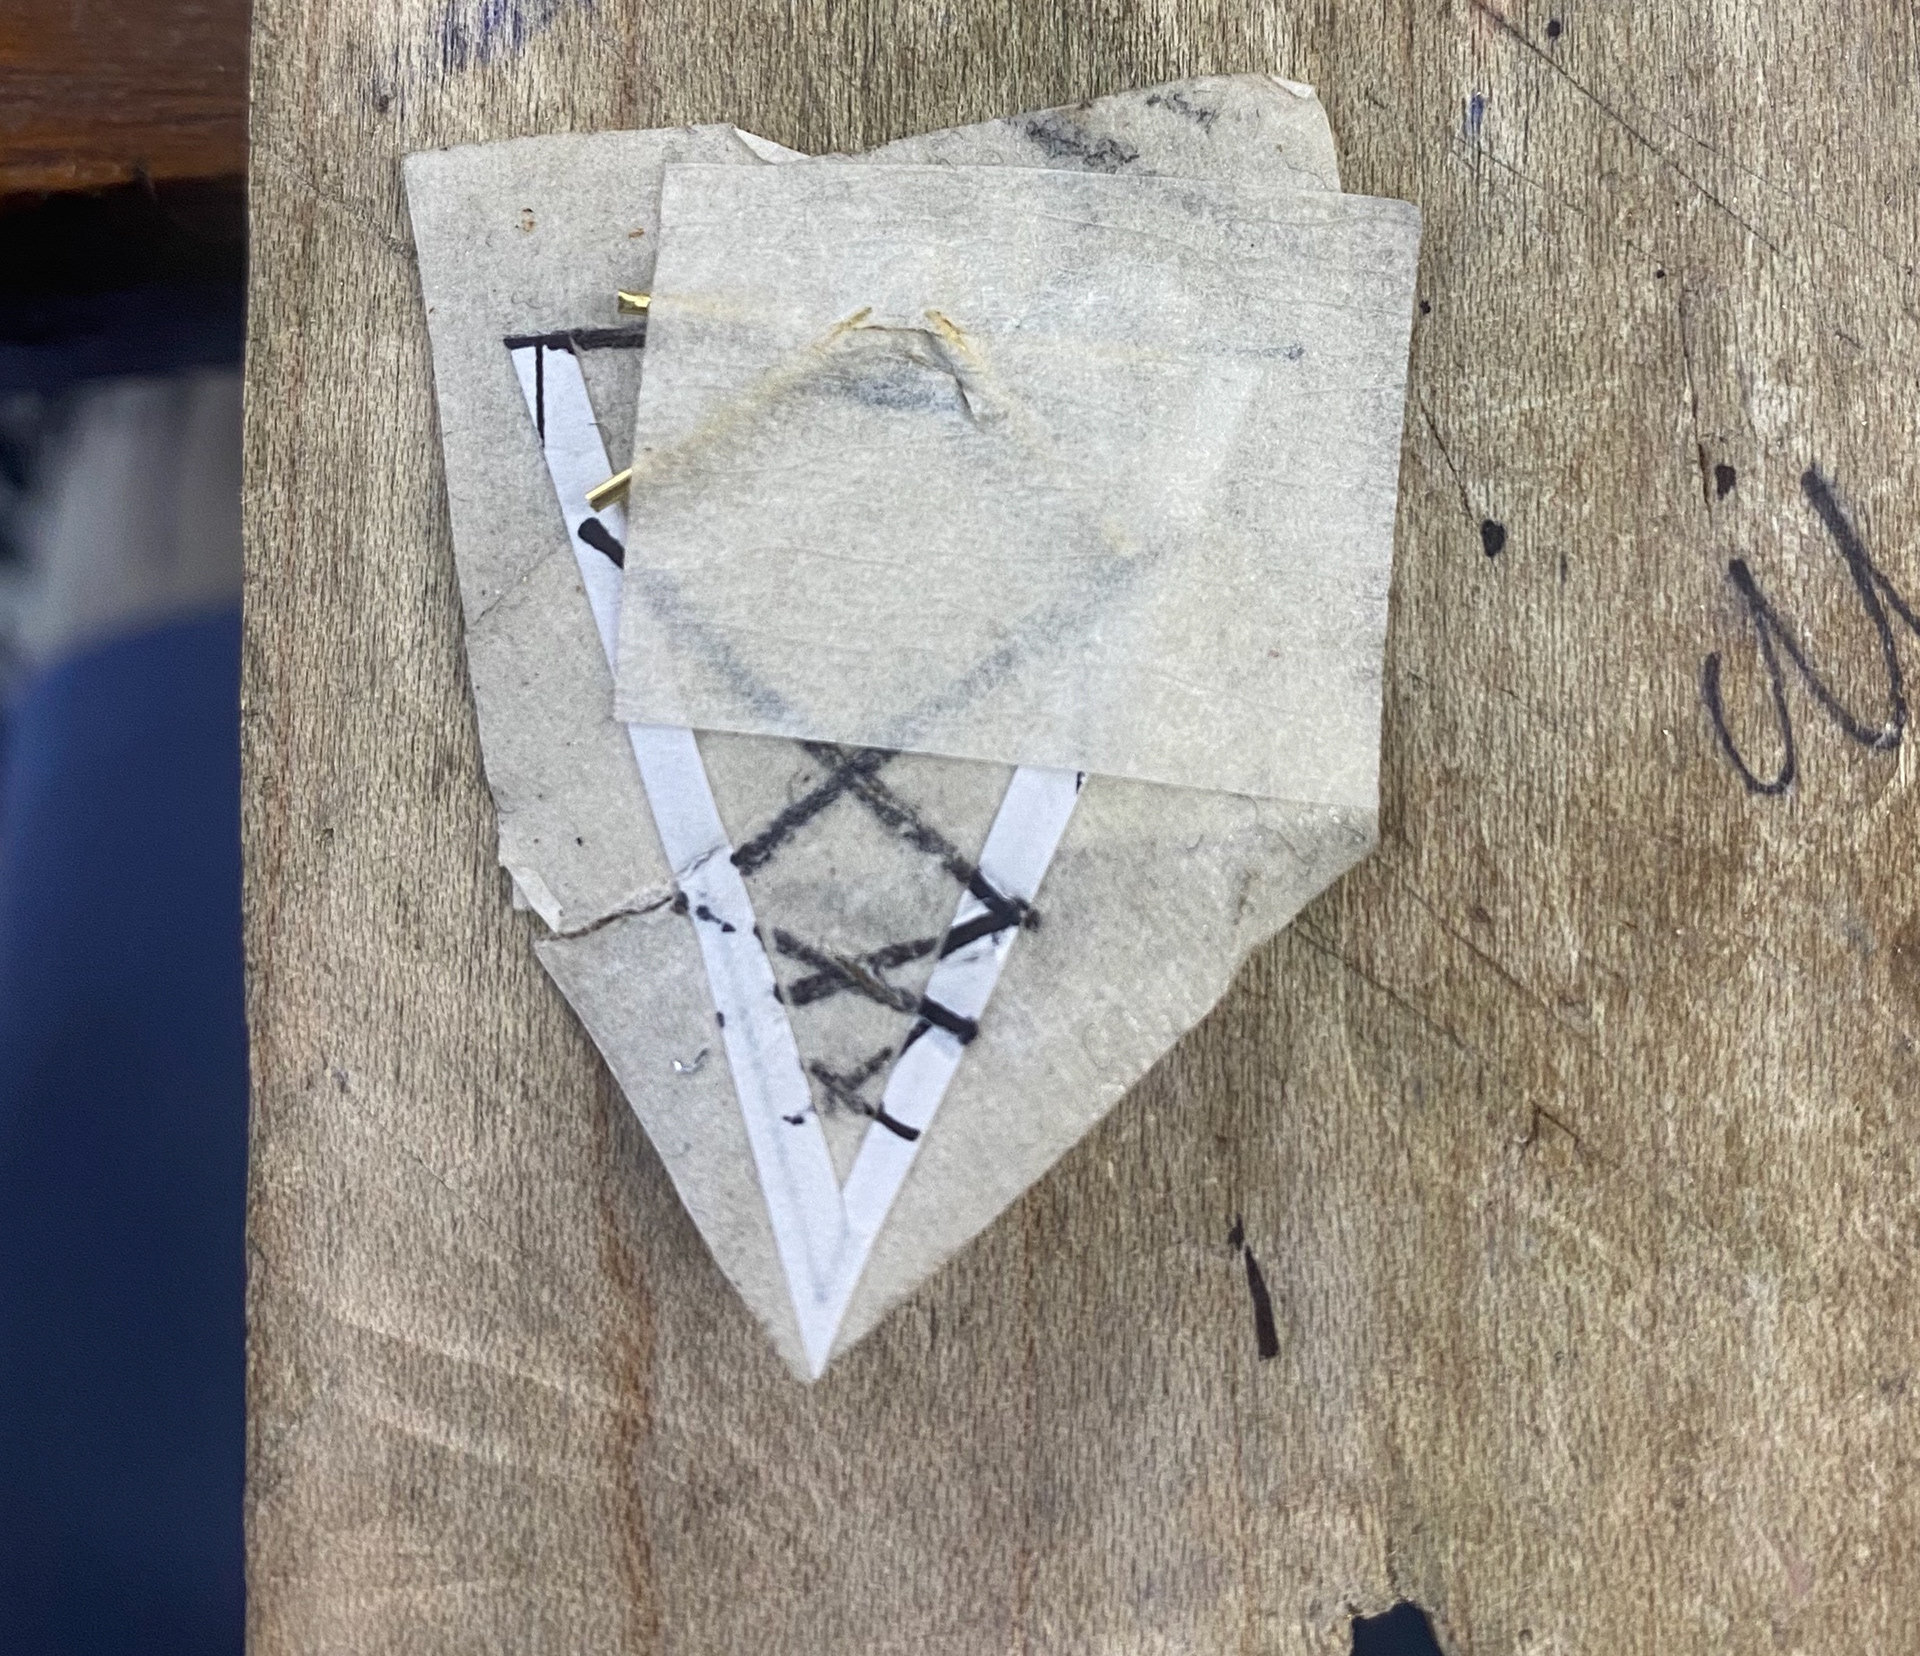
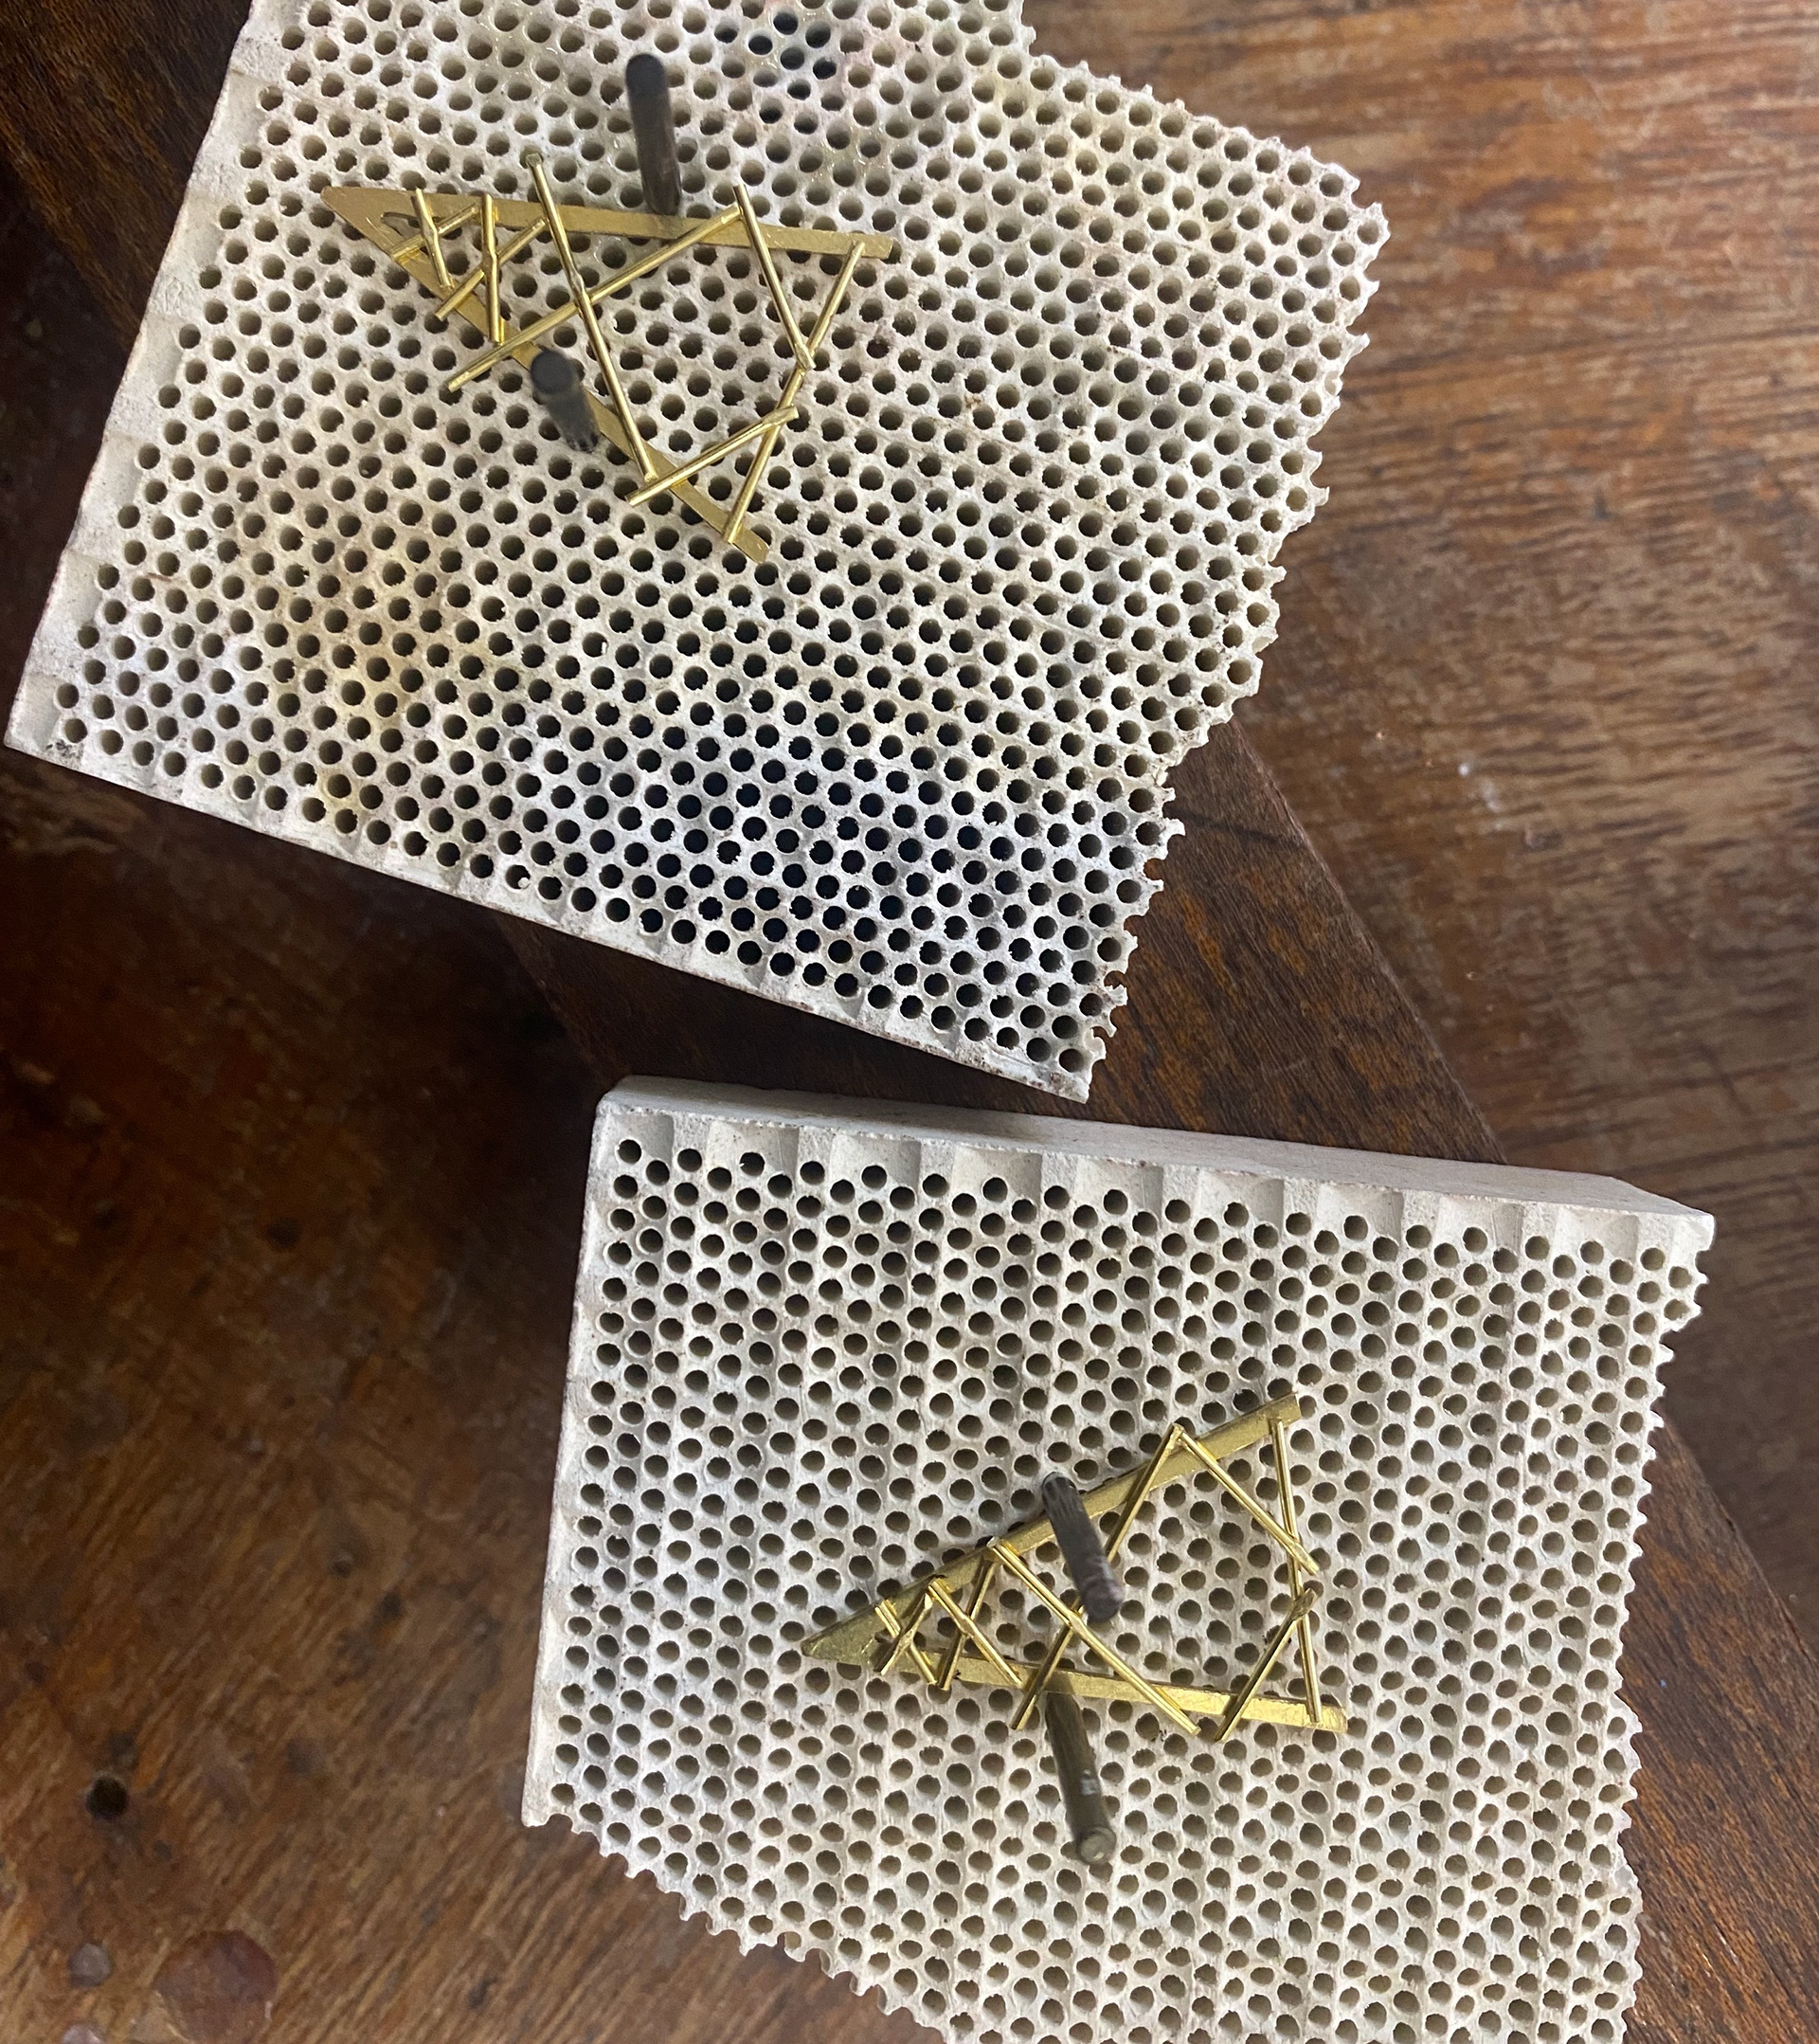
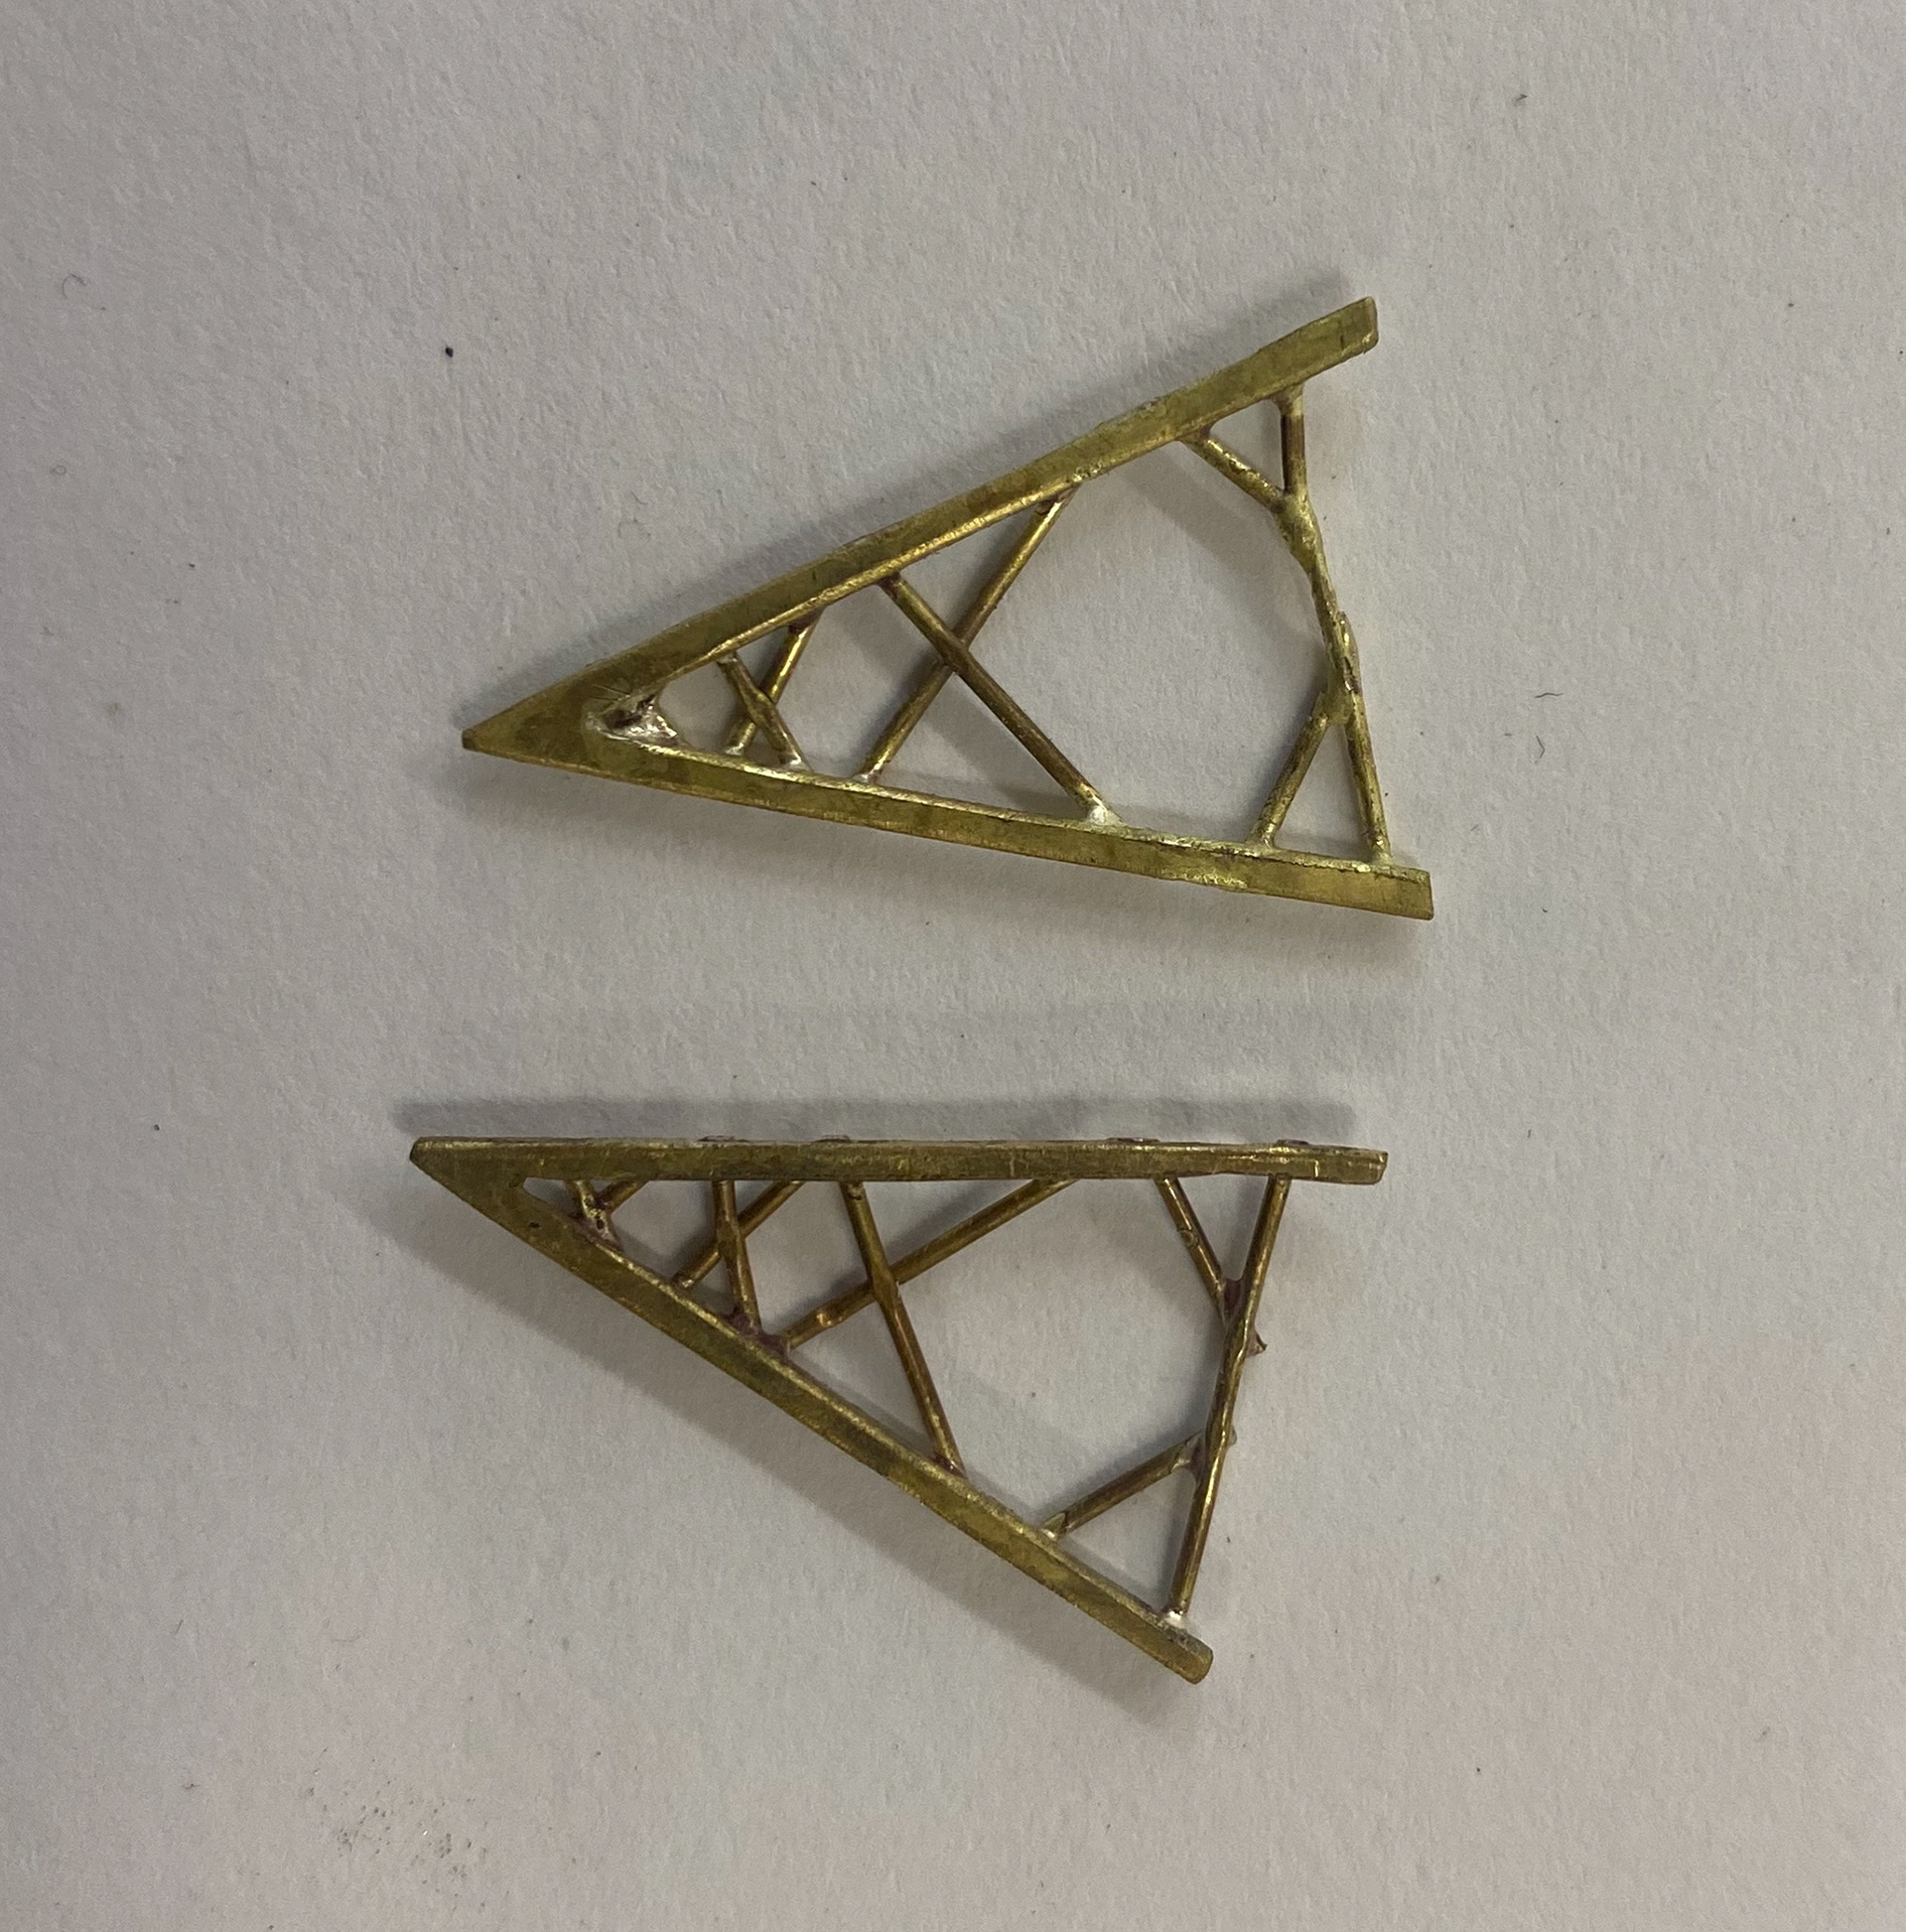
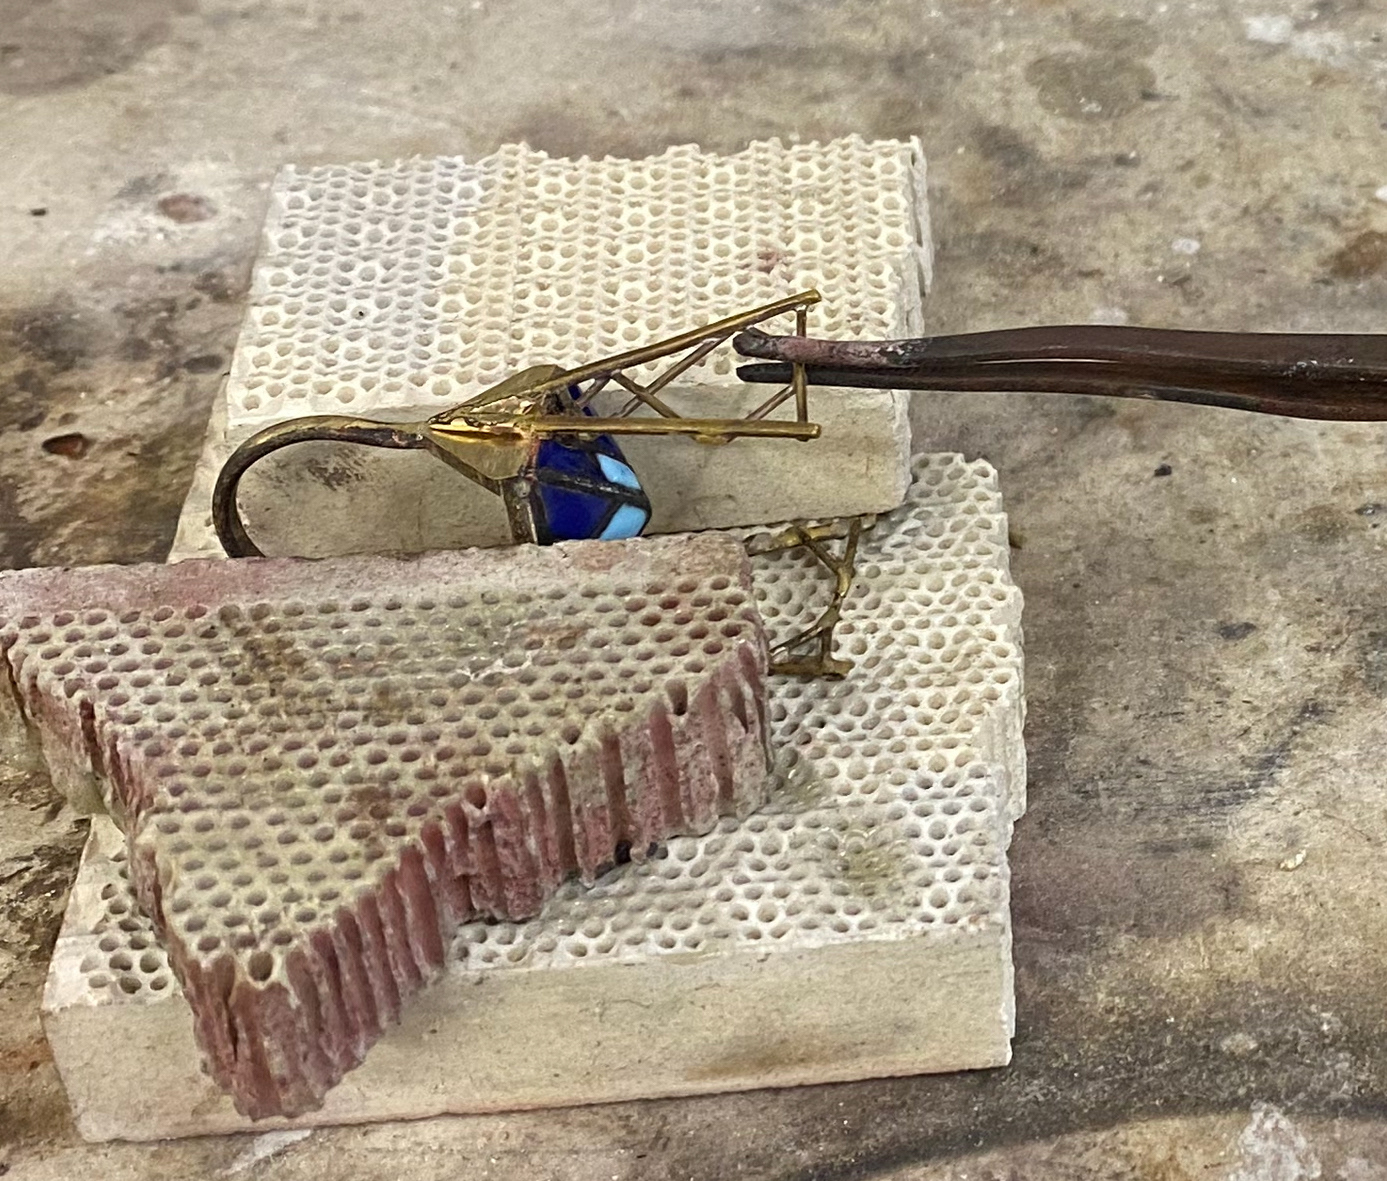
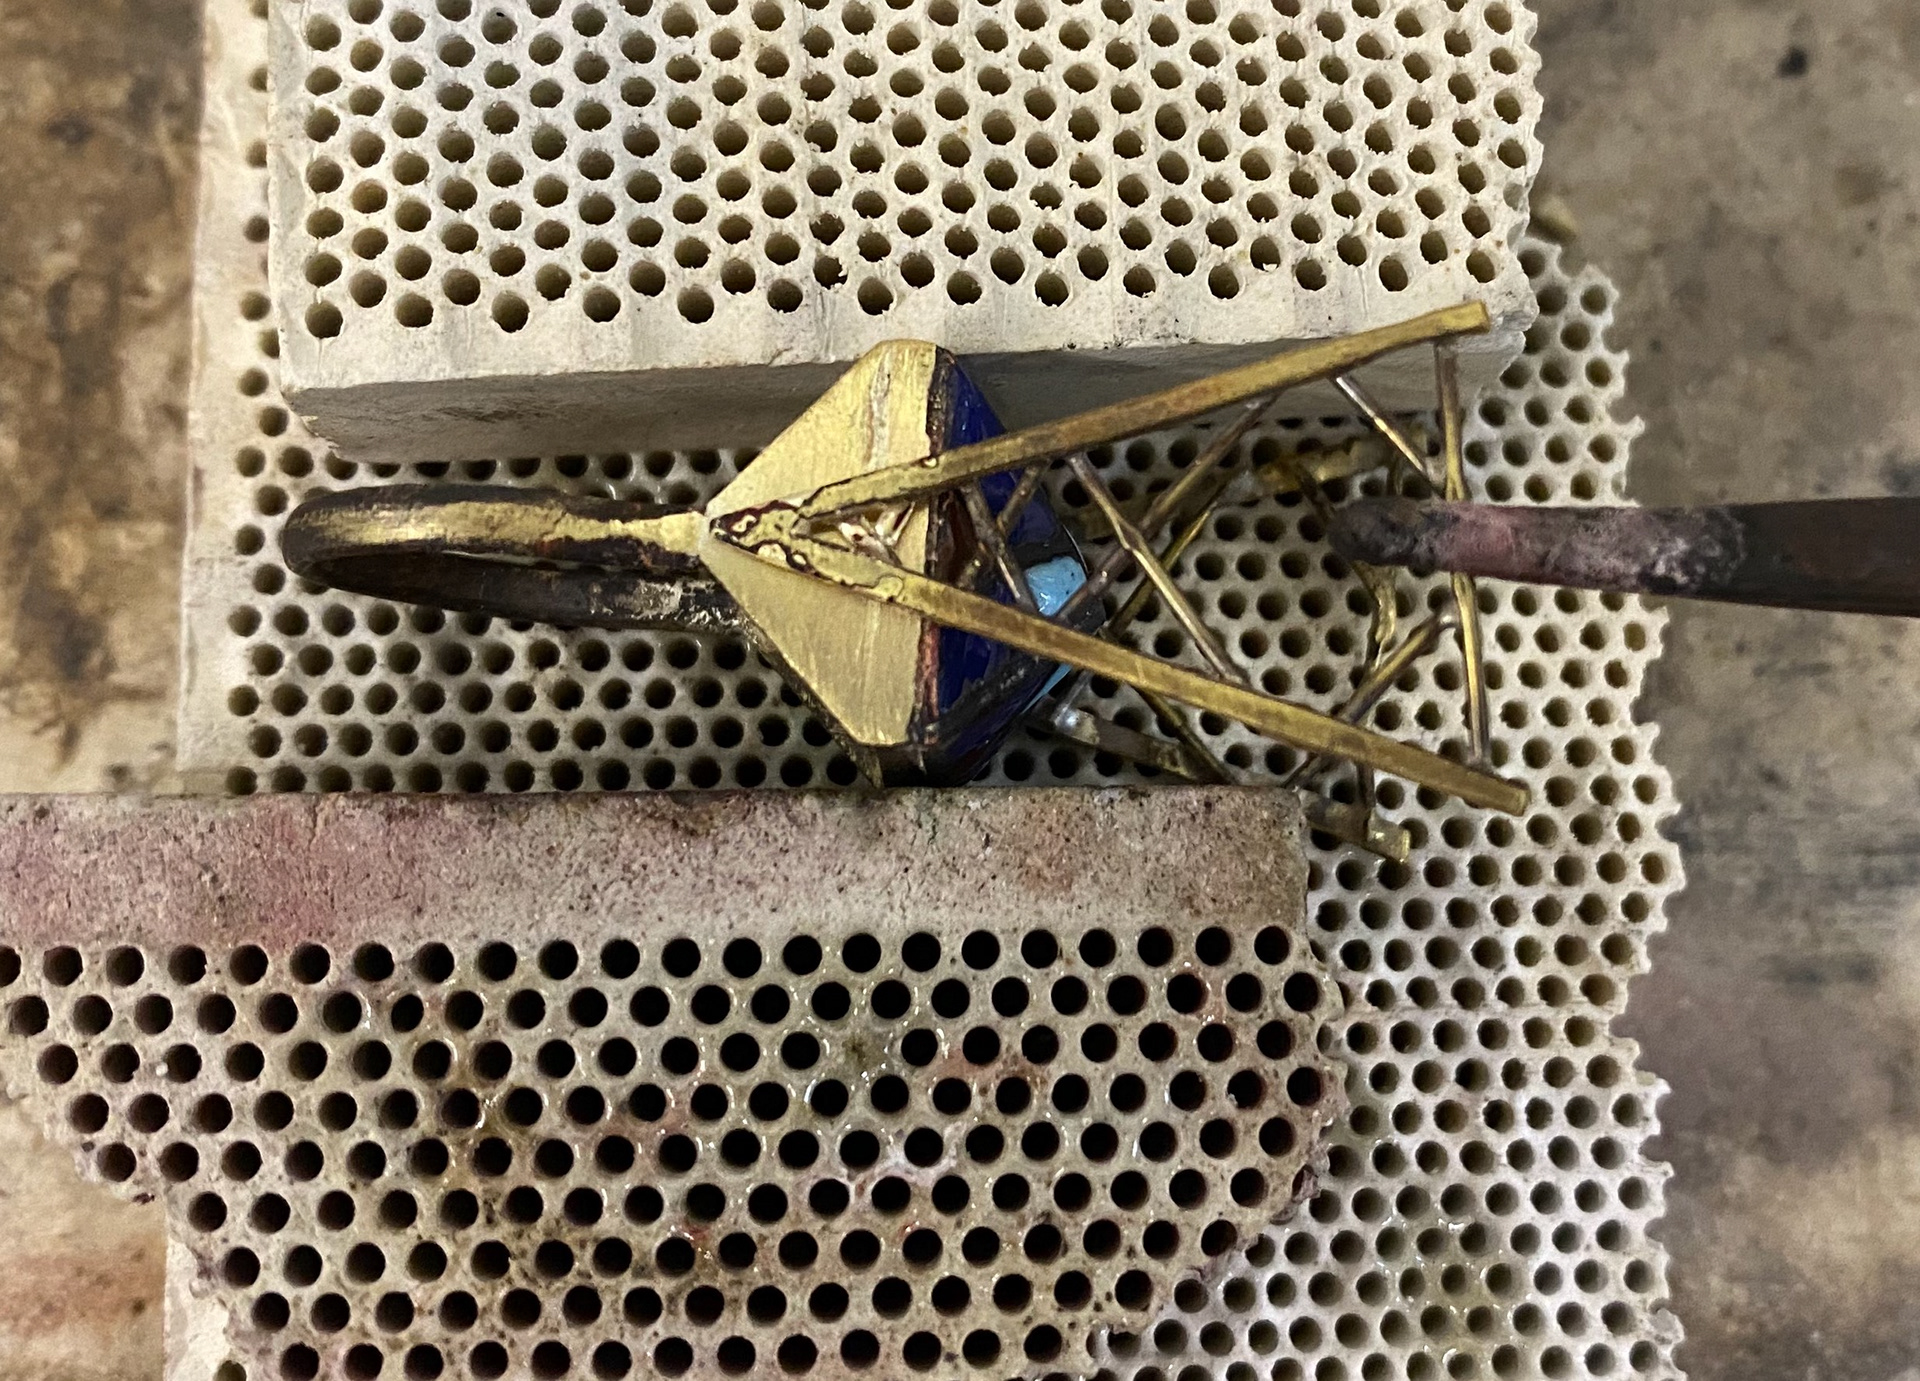
With the main part of the ring complete, I was ready to create the cages part that will fold over the stone. I was originally going to do this either with just wire or just cut it out with a piercing saw. But I decided to cut the main V shapes with a piercing saw so that they was thicker and the wires has something more sturdy to be soldered on to. Once I had cut these out I filed them and cut out the length of wire for each piece. This took me quite a while as it was extremely fiddly. I spoke to Paul the technician about doing this and he said to me I have a very difficult and technical item to make and made me aware pf the risks. However i still wanted to go ahead.
When placing the wires onto base they wasn't sitting flat of course. I thought if i use pliers to push where the wires cross over together, that they will flatten and sit within each other. This worked so I used some masking tape, drew a guide onto it and came up with a way to make sure they was all aligned to the best I could.
V shaped bases
My made up method to align the wires
Pressing the wires together
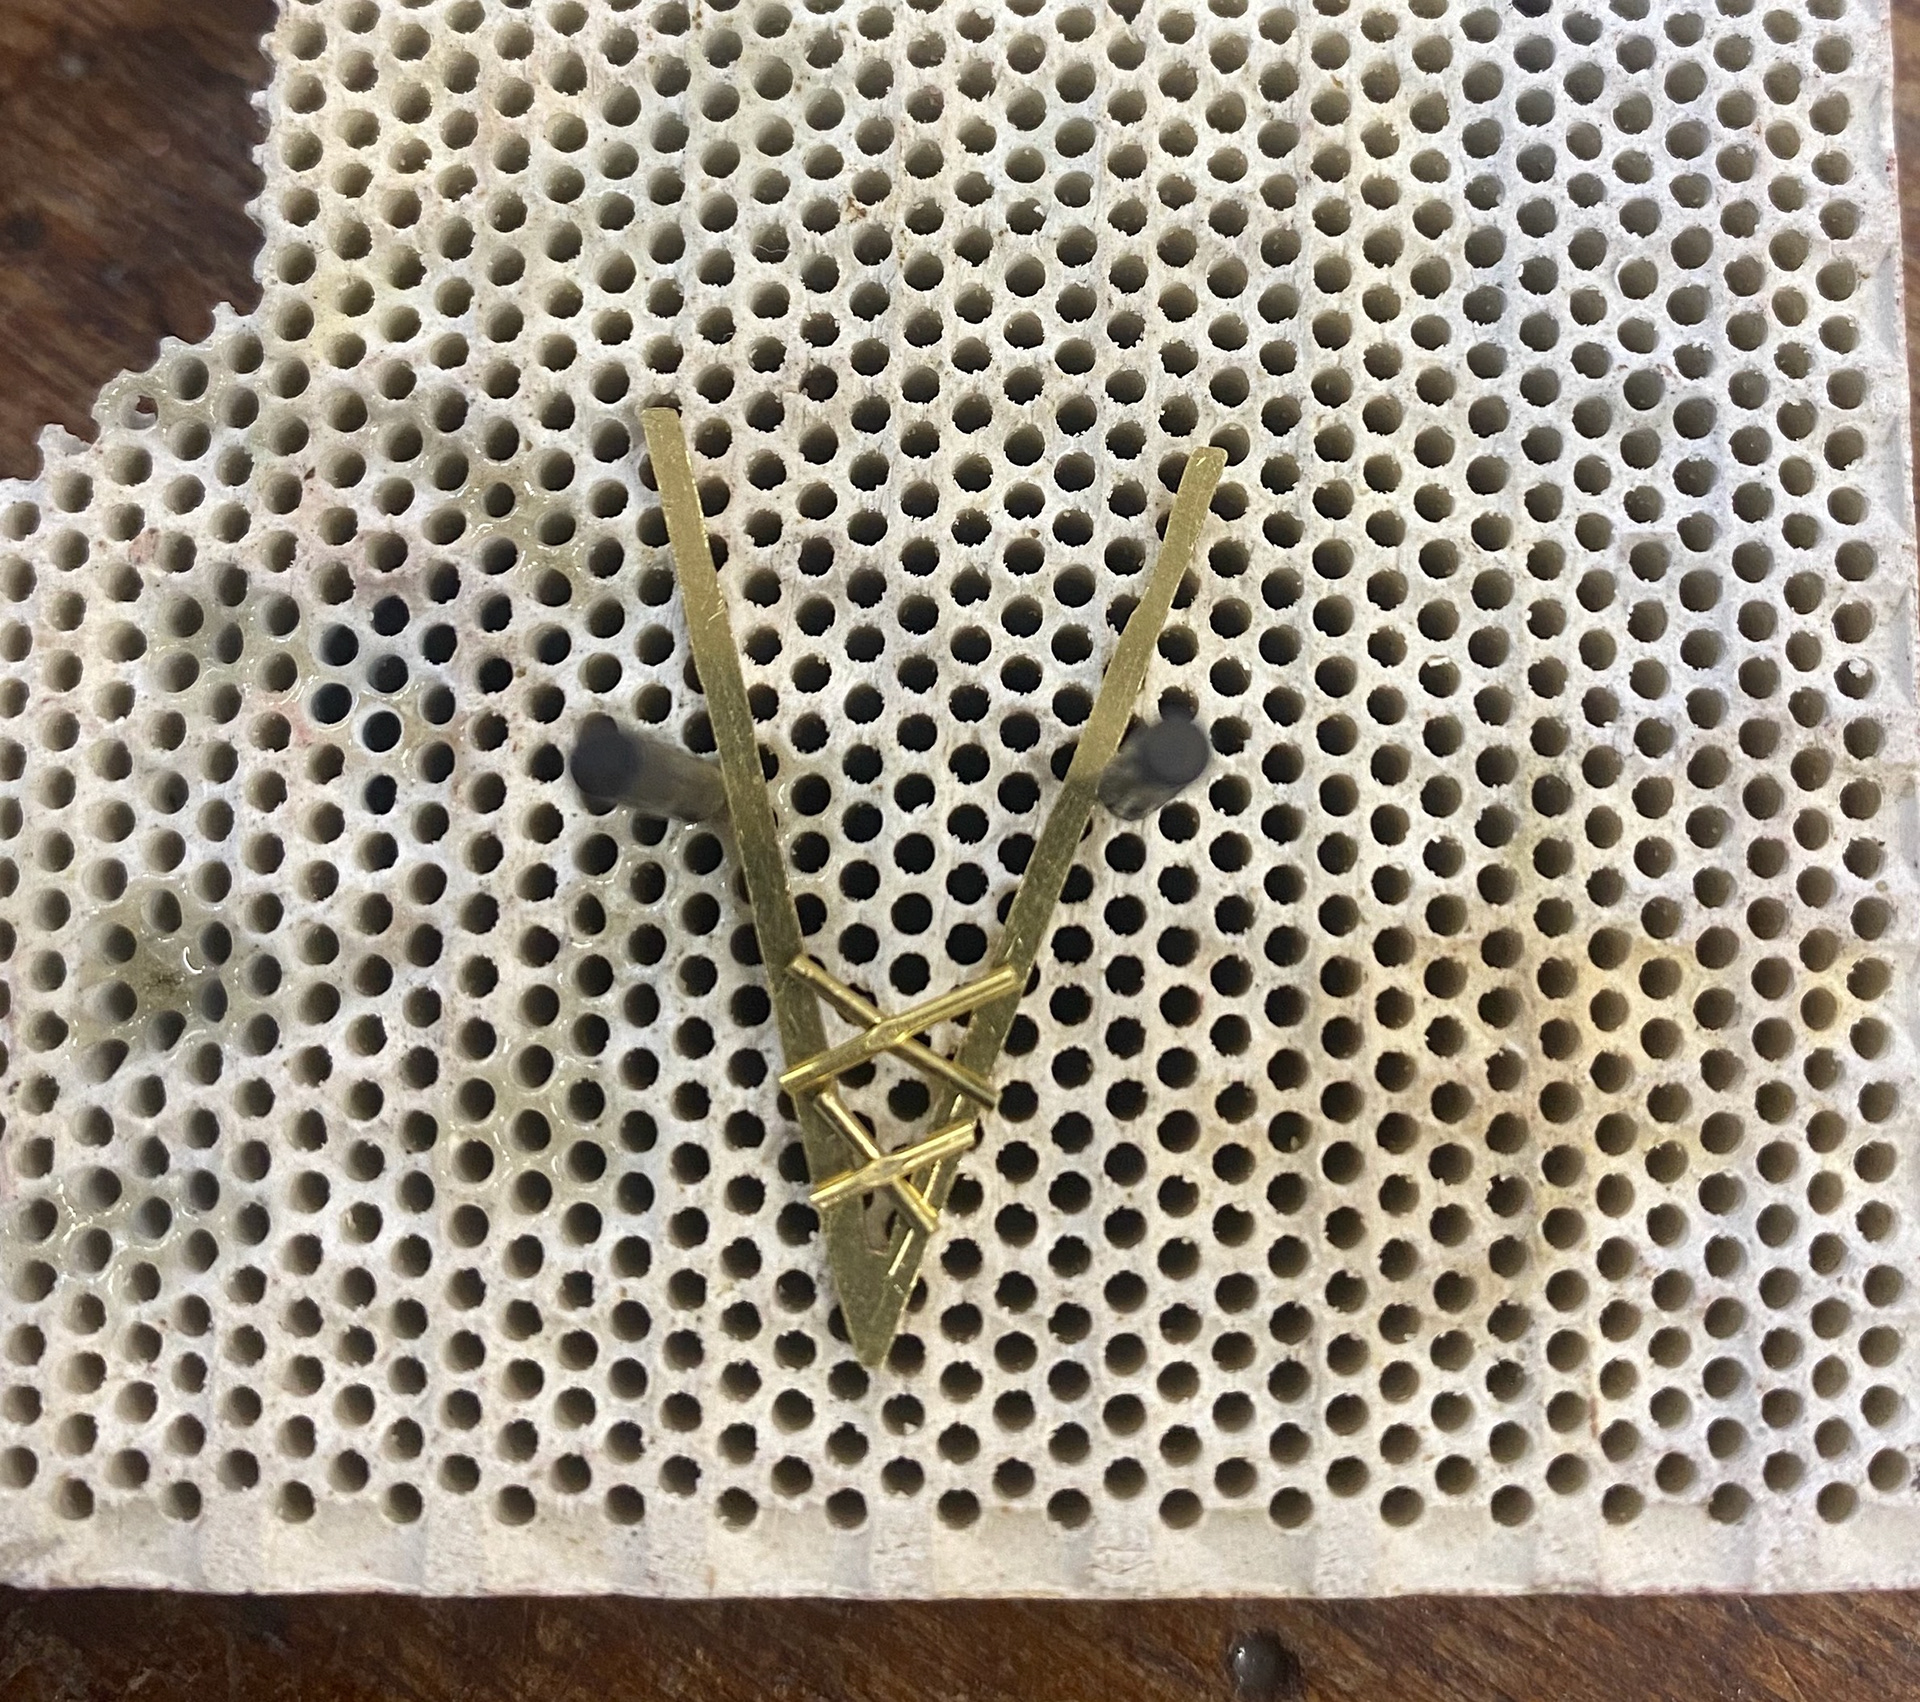
Aligning the wires
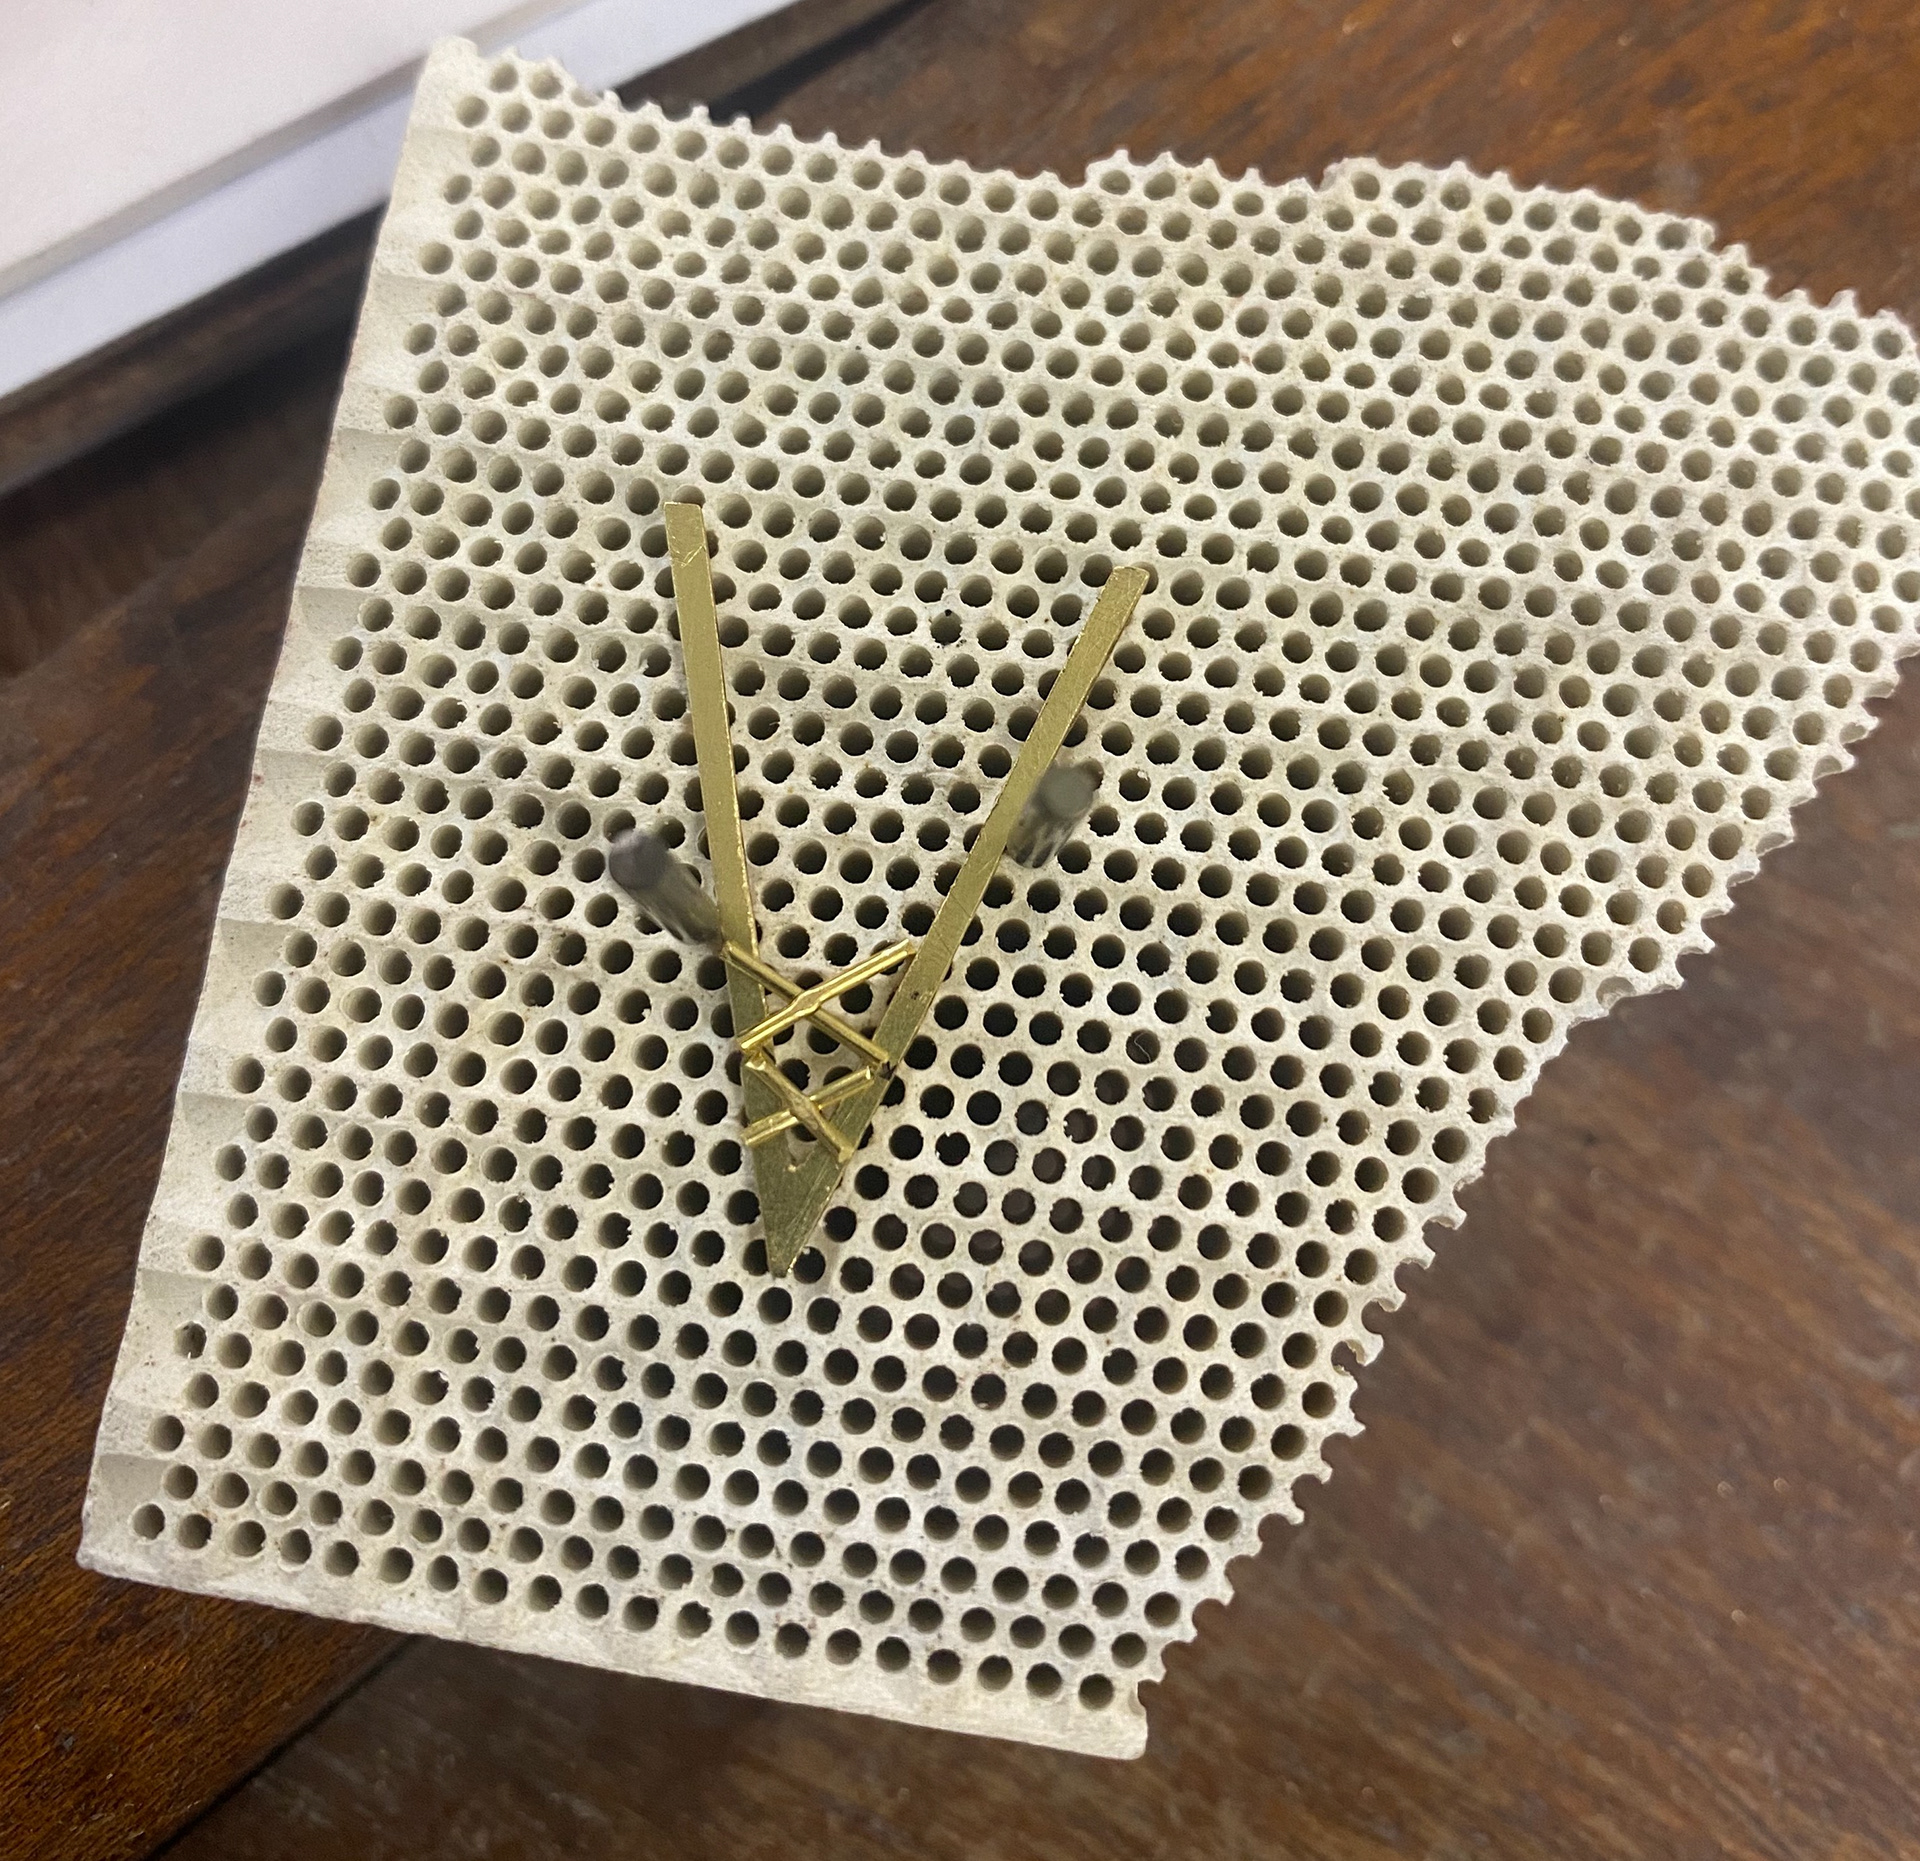

All the wires in place to solder
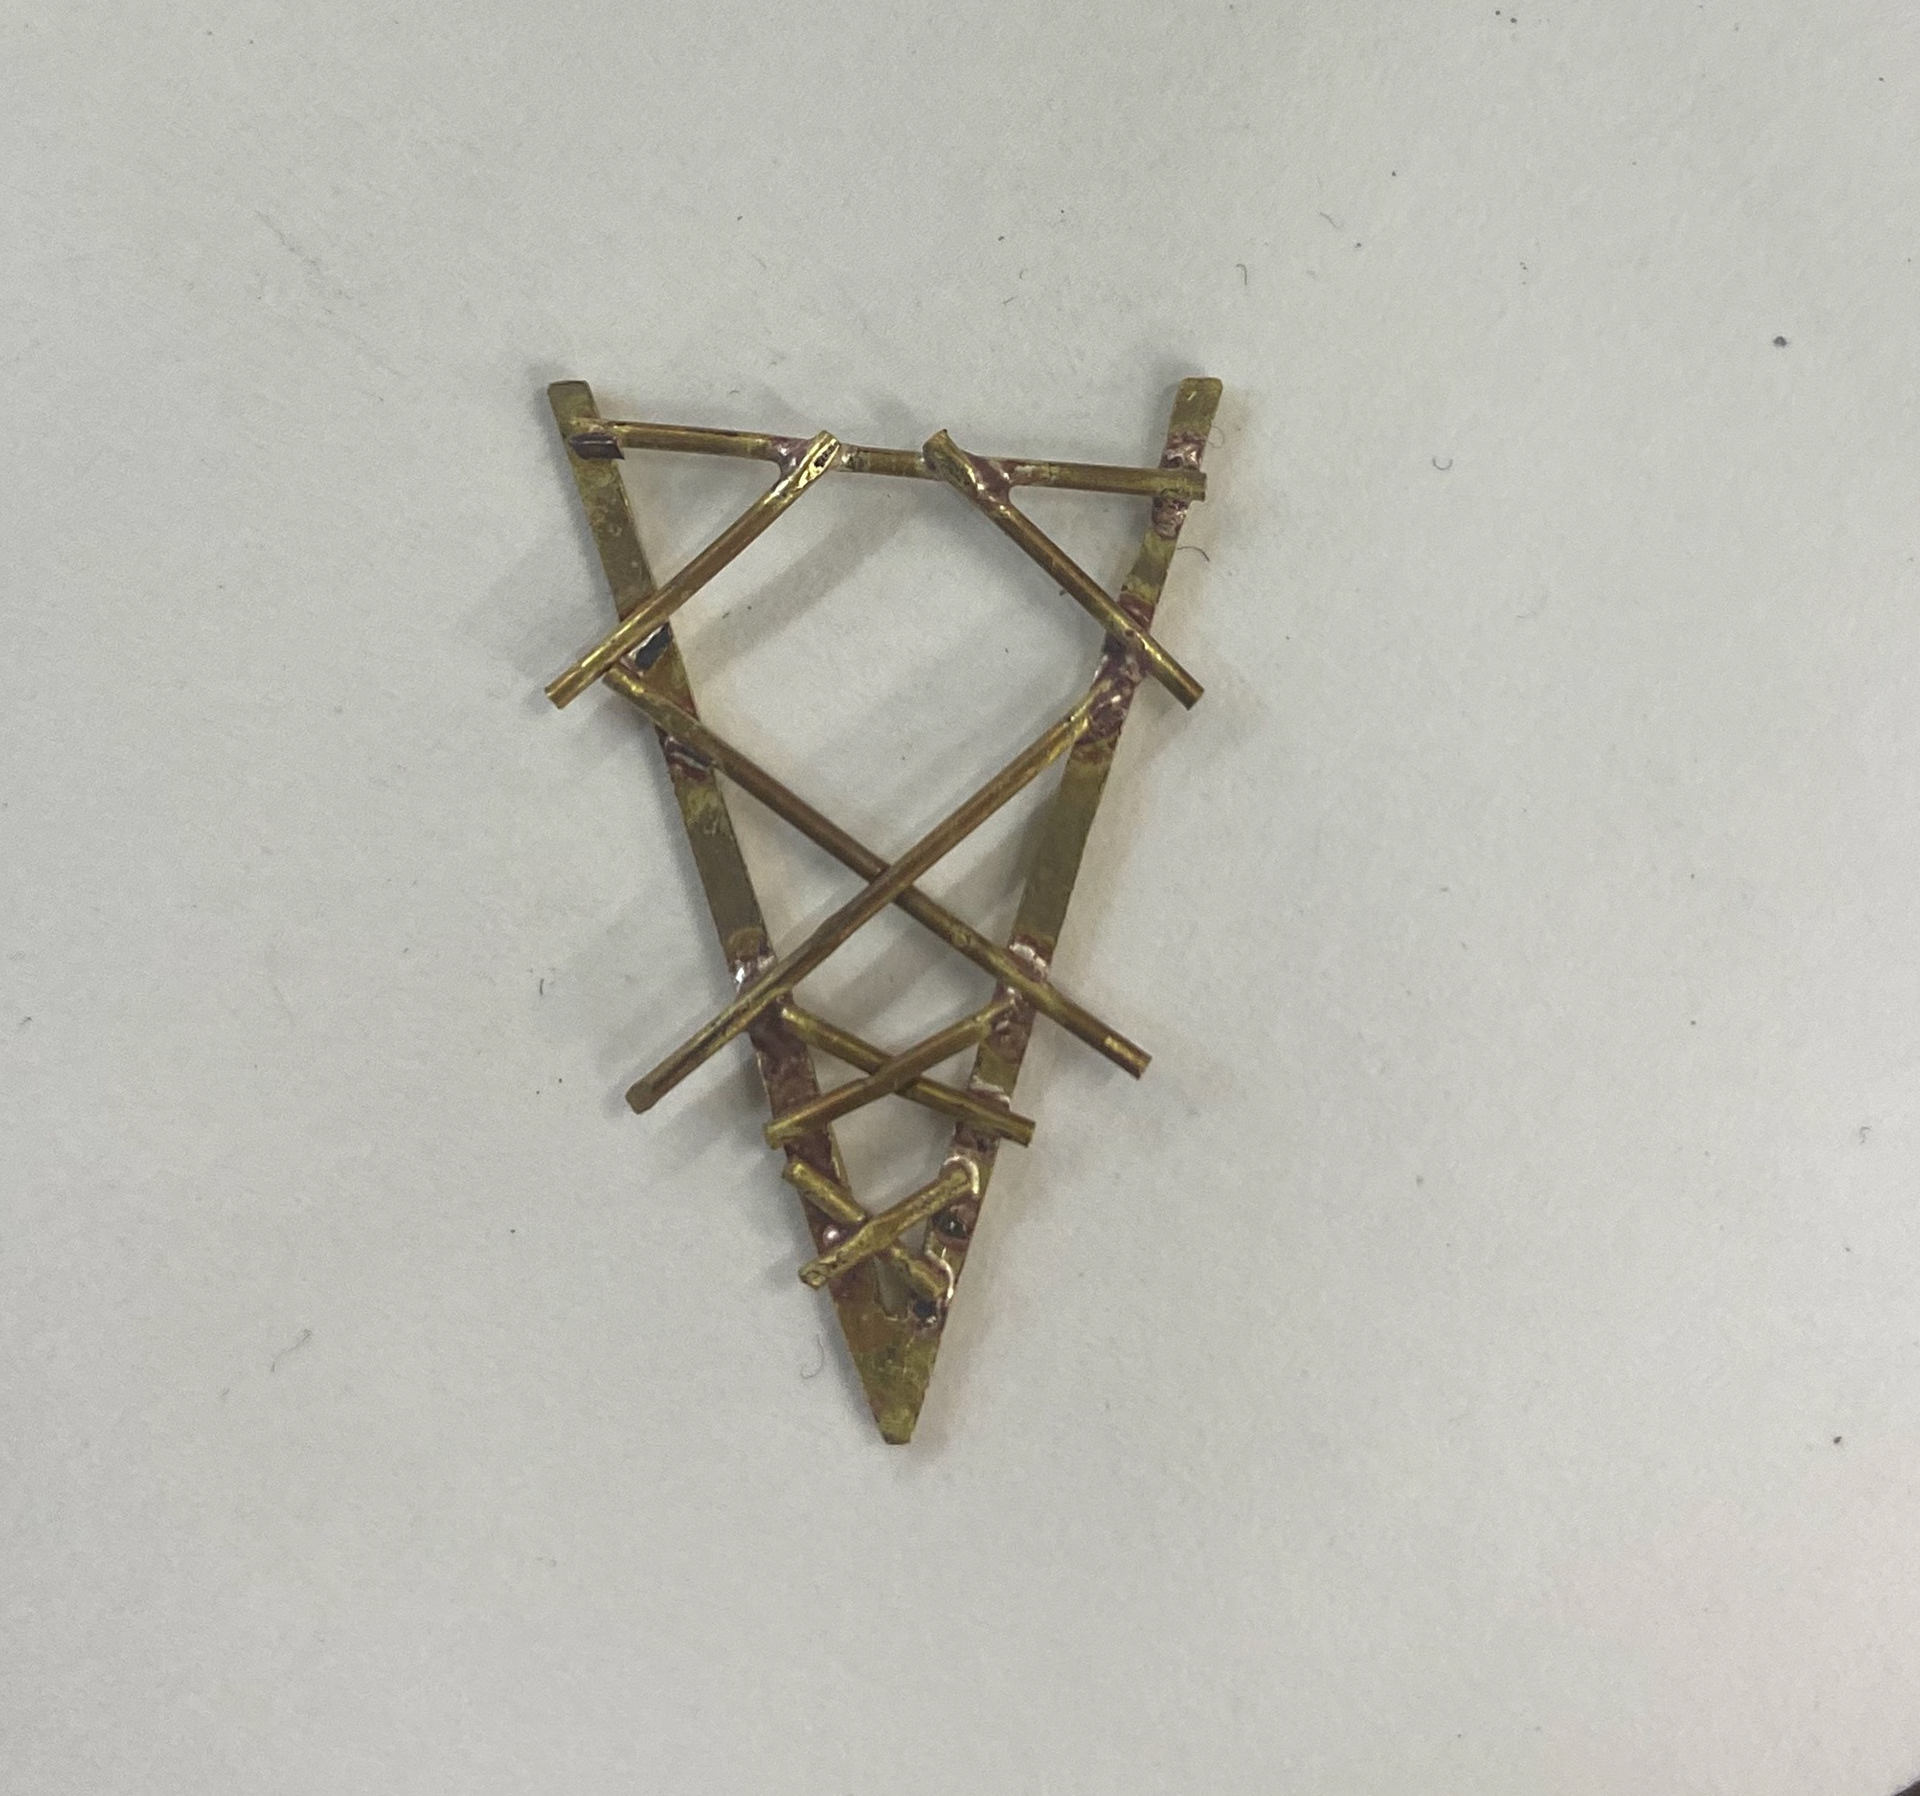
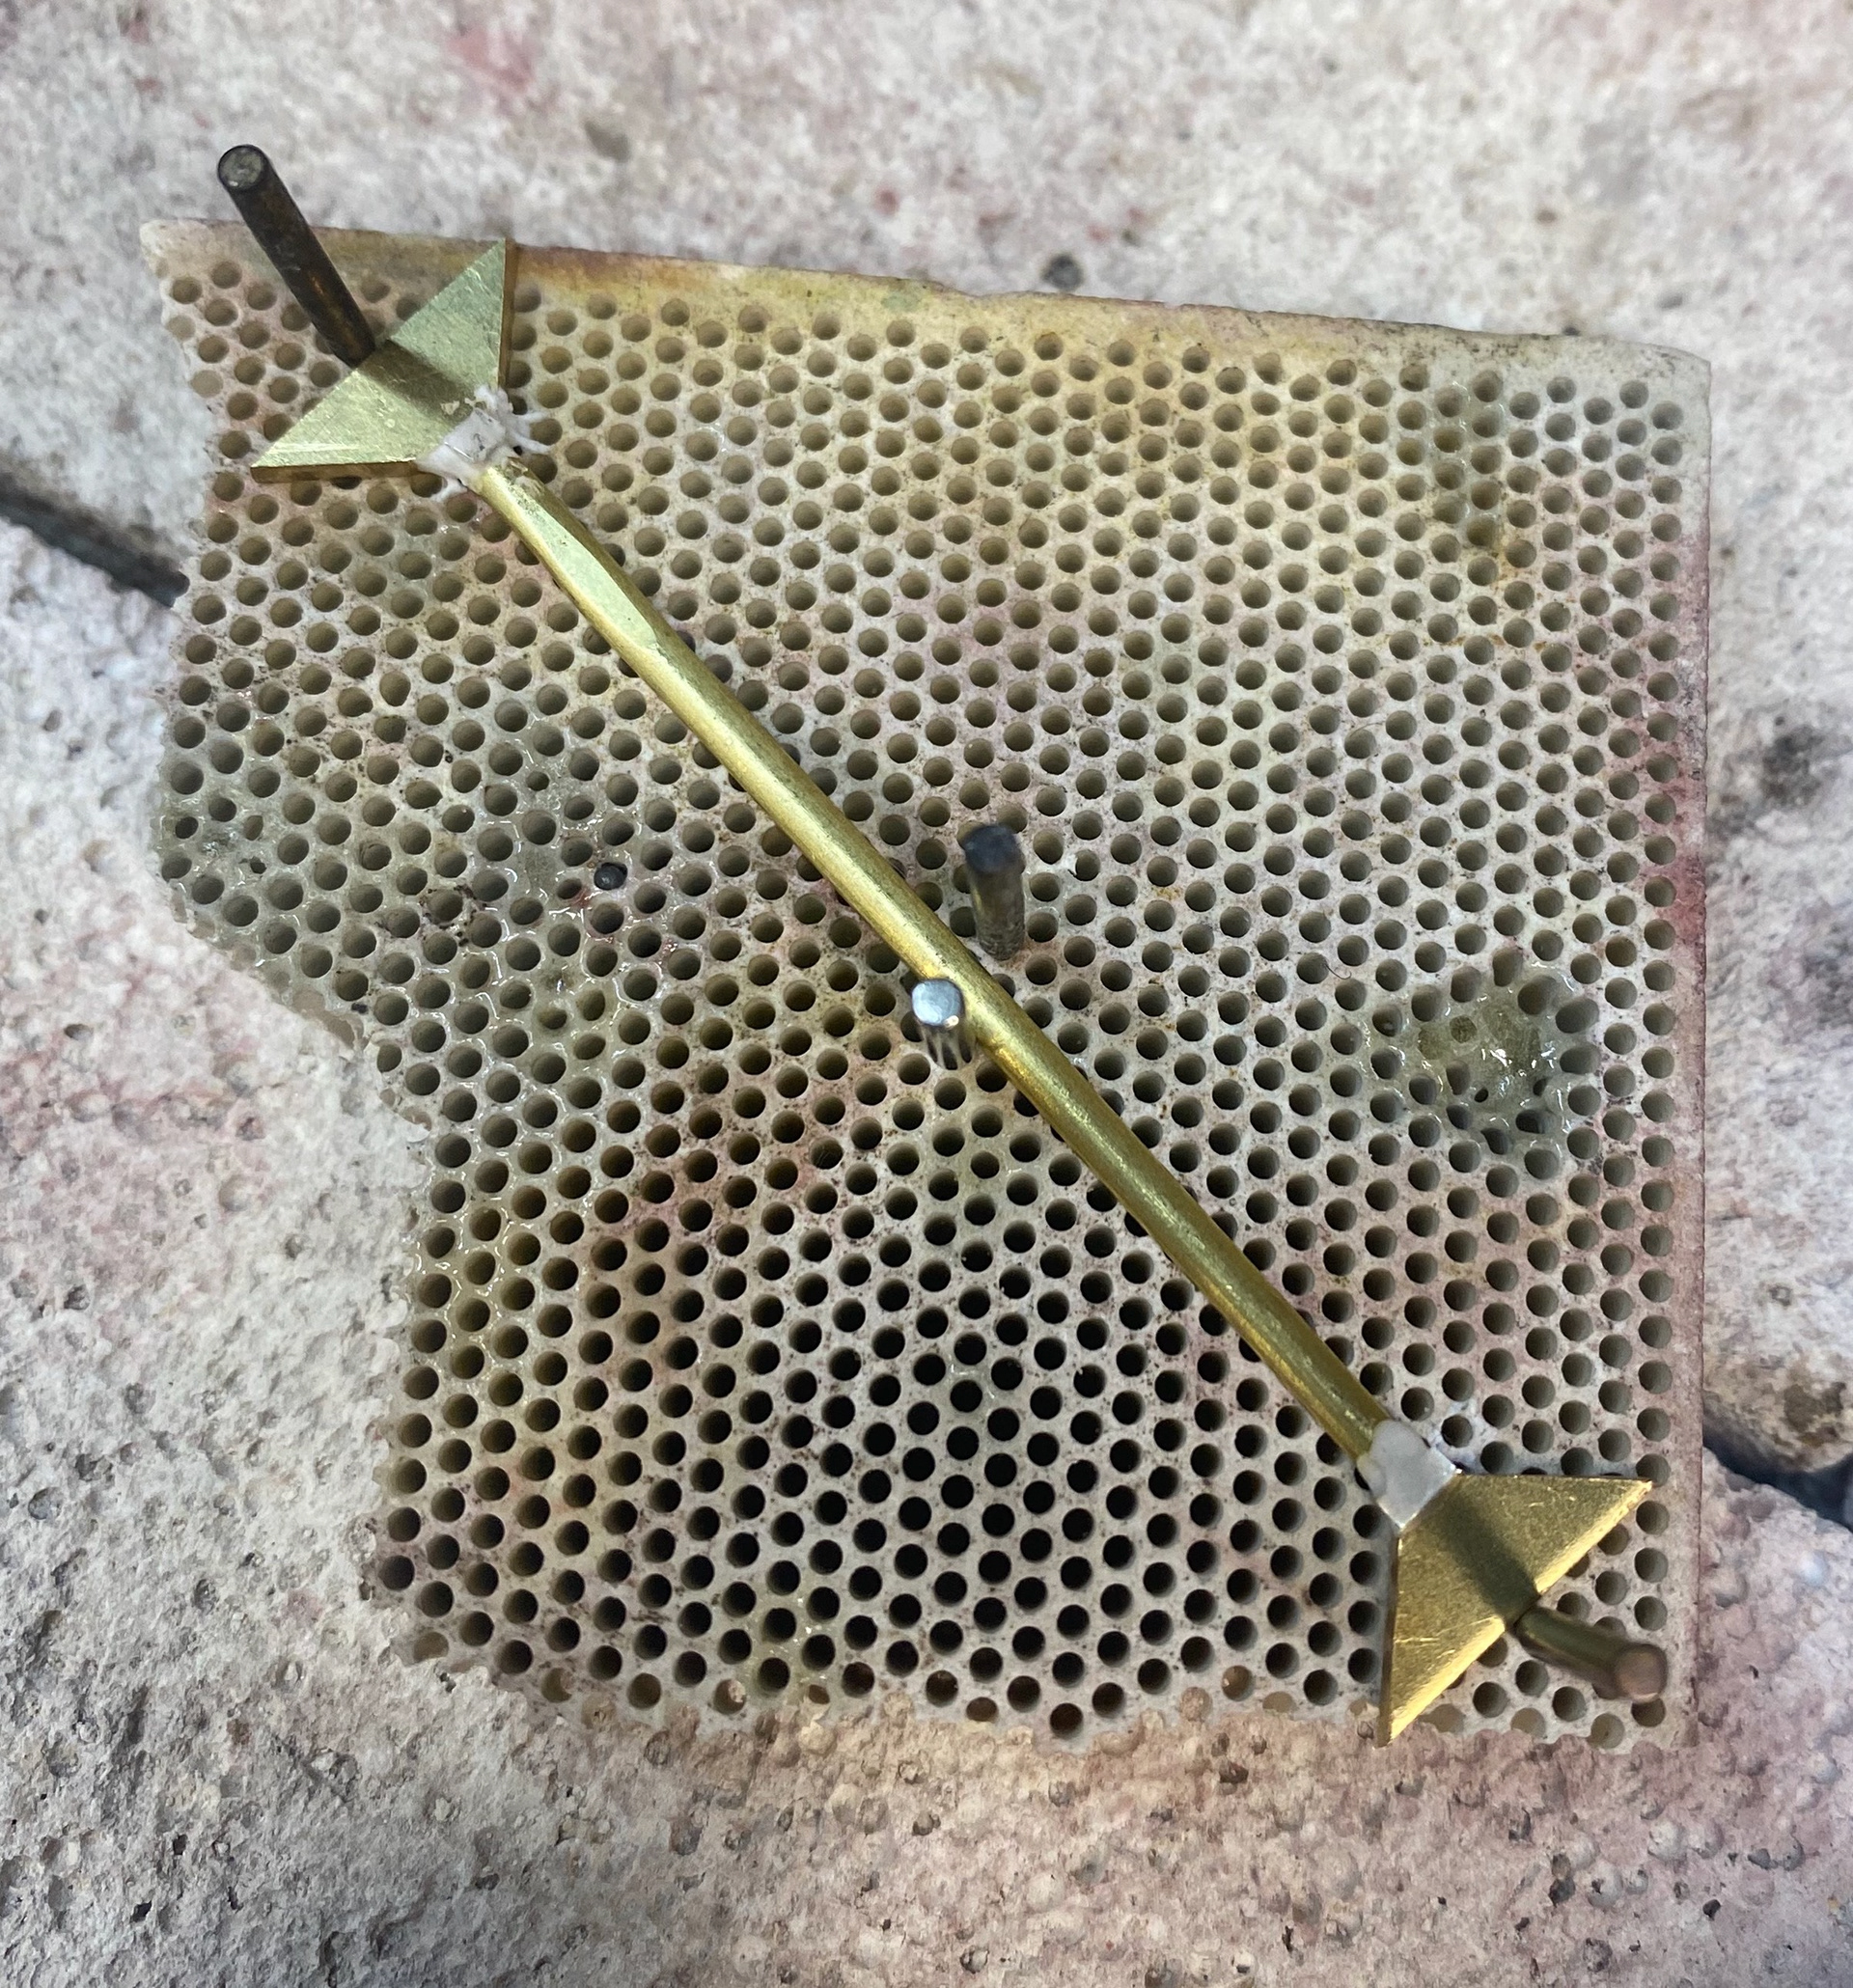
Once it had been soldered

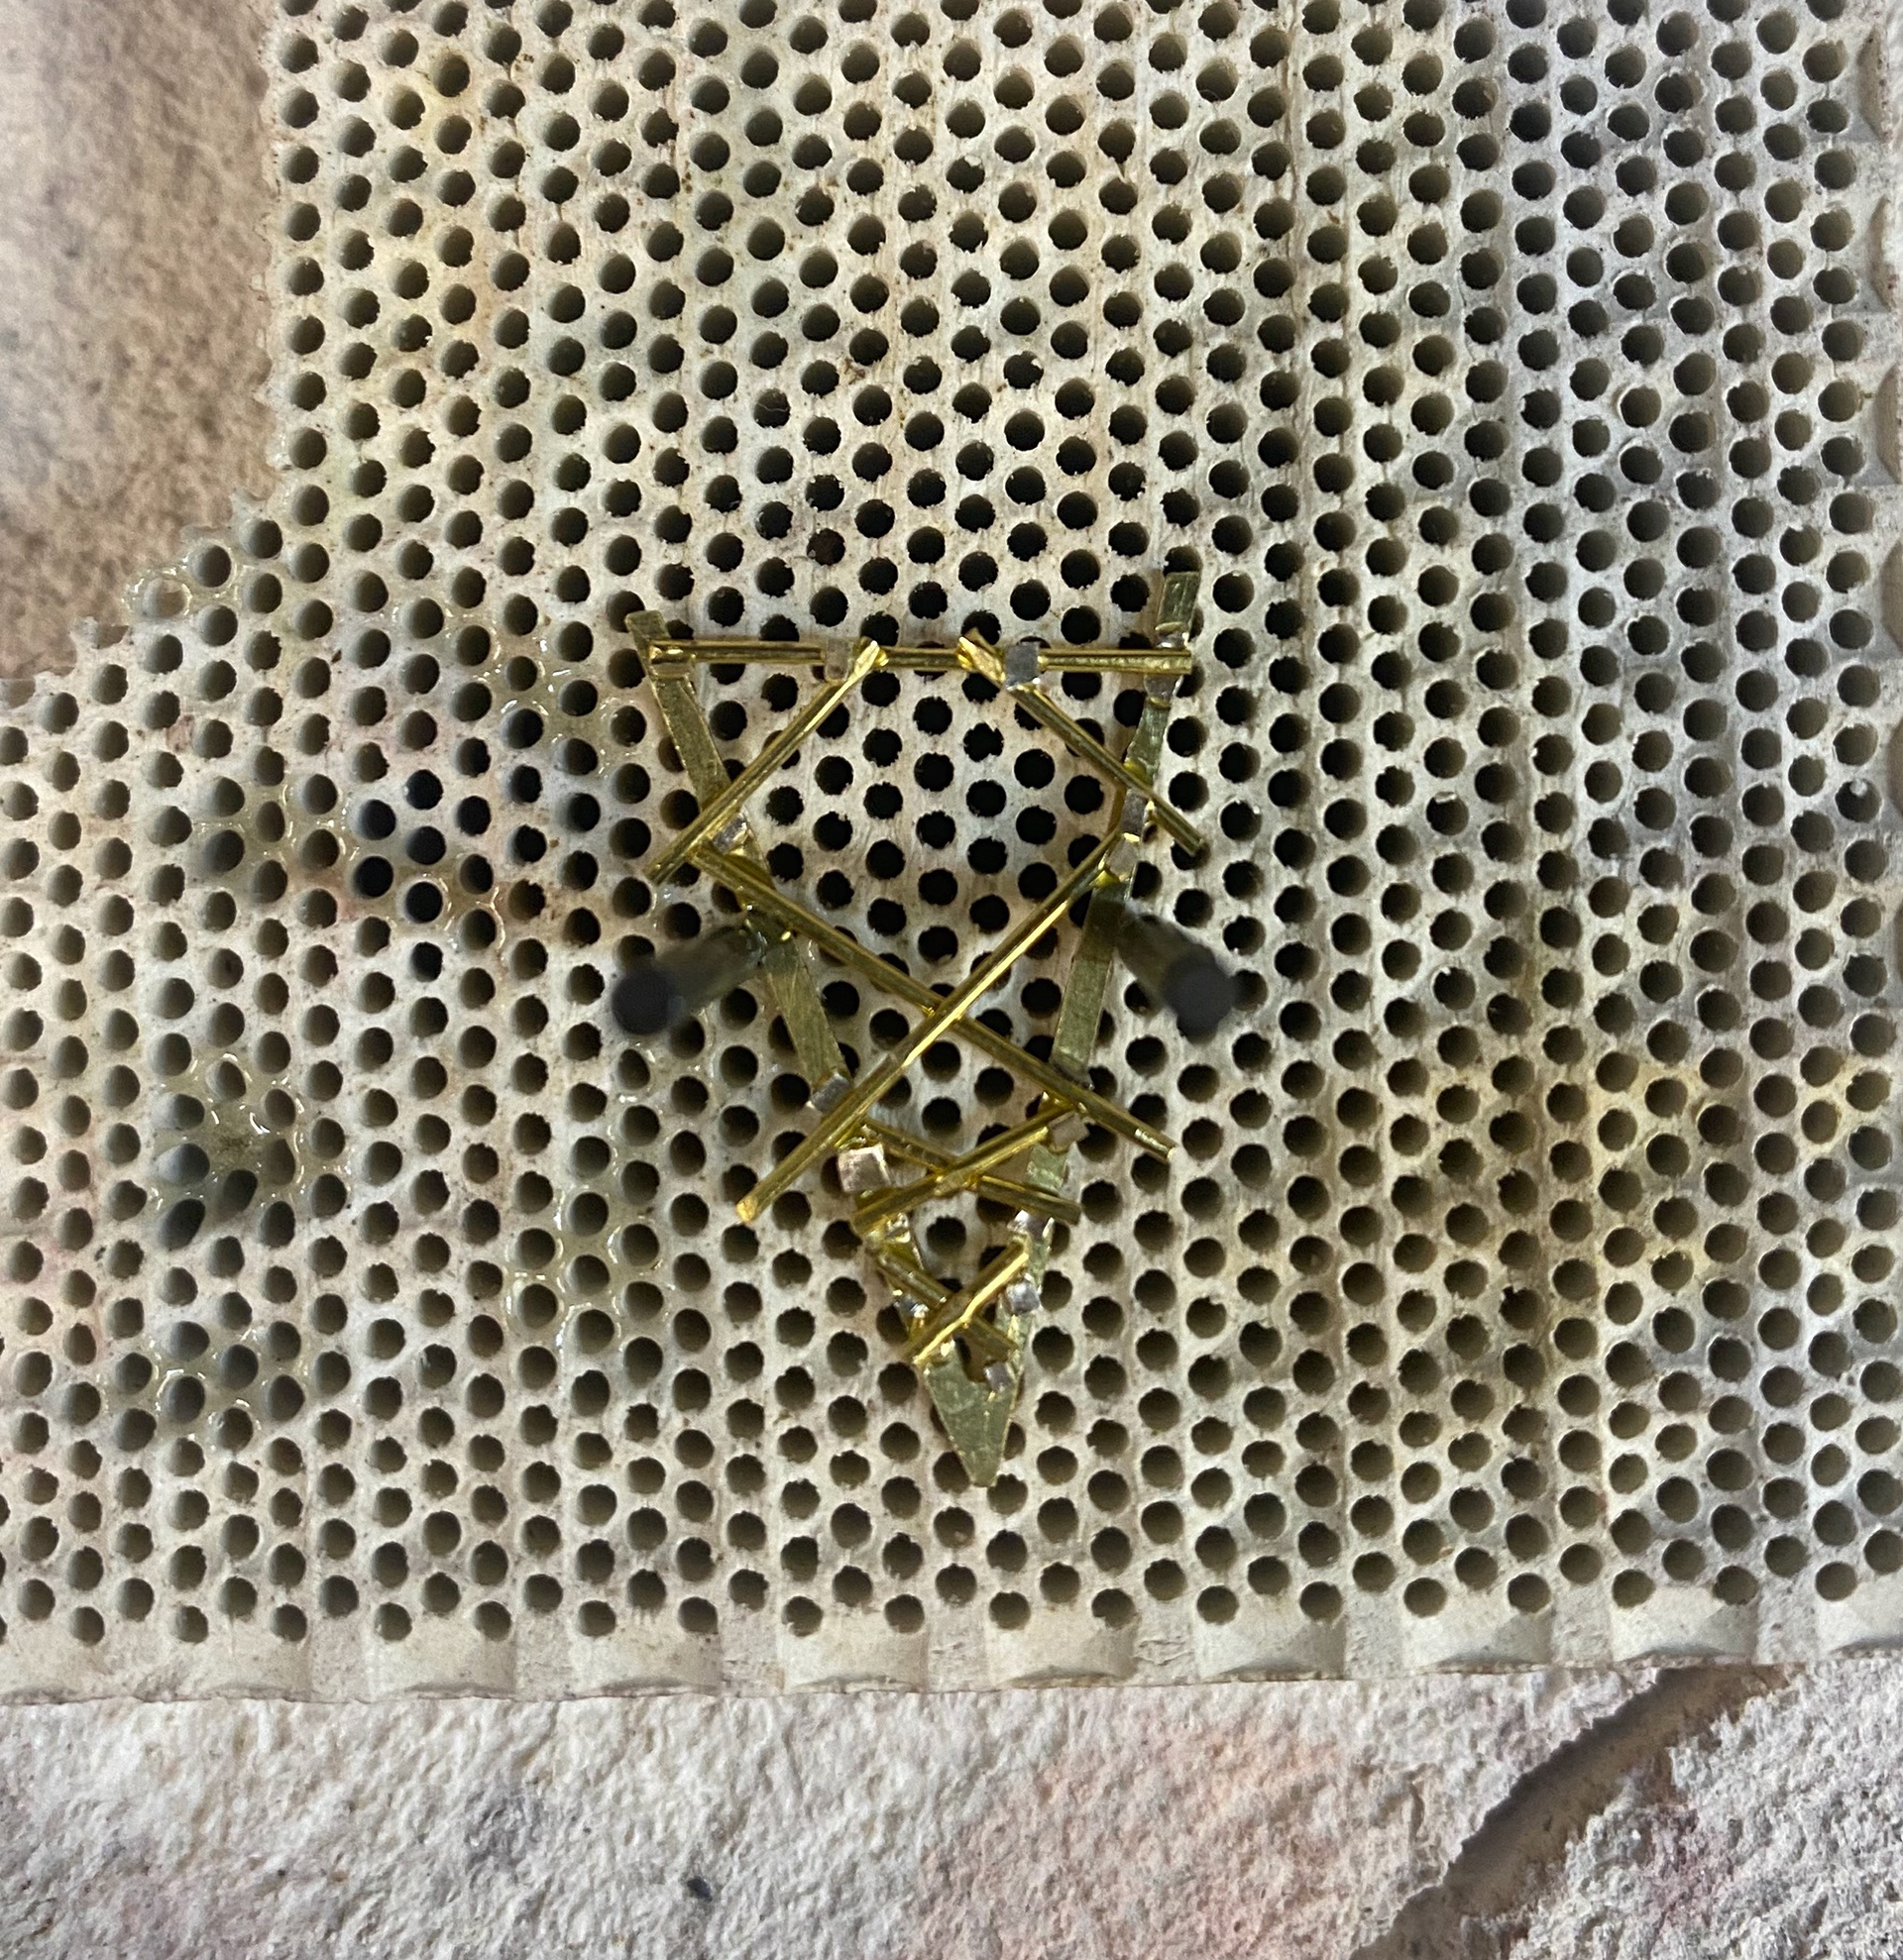
Left piece you can see where the wire nearly melted

Holding the side piece in place to where I want to solder
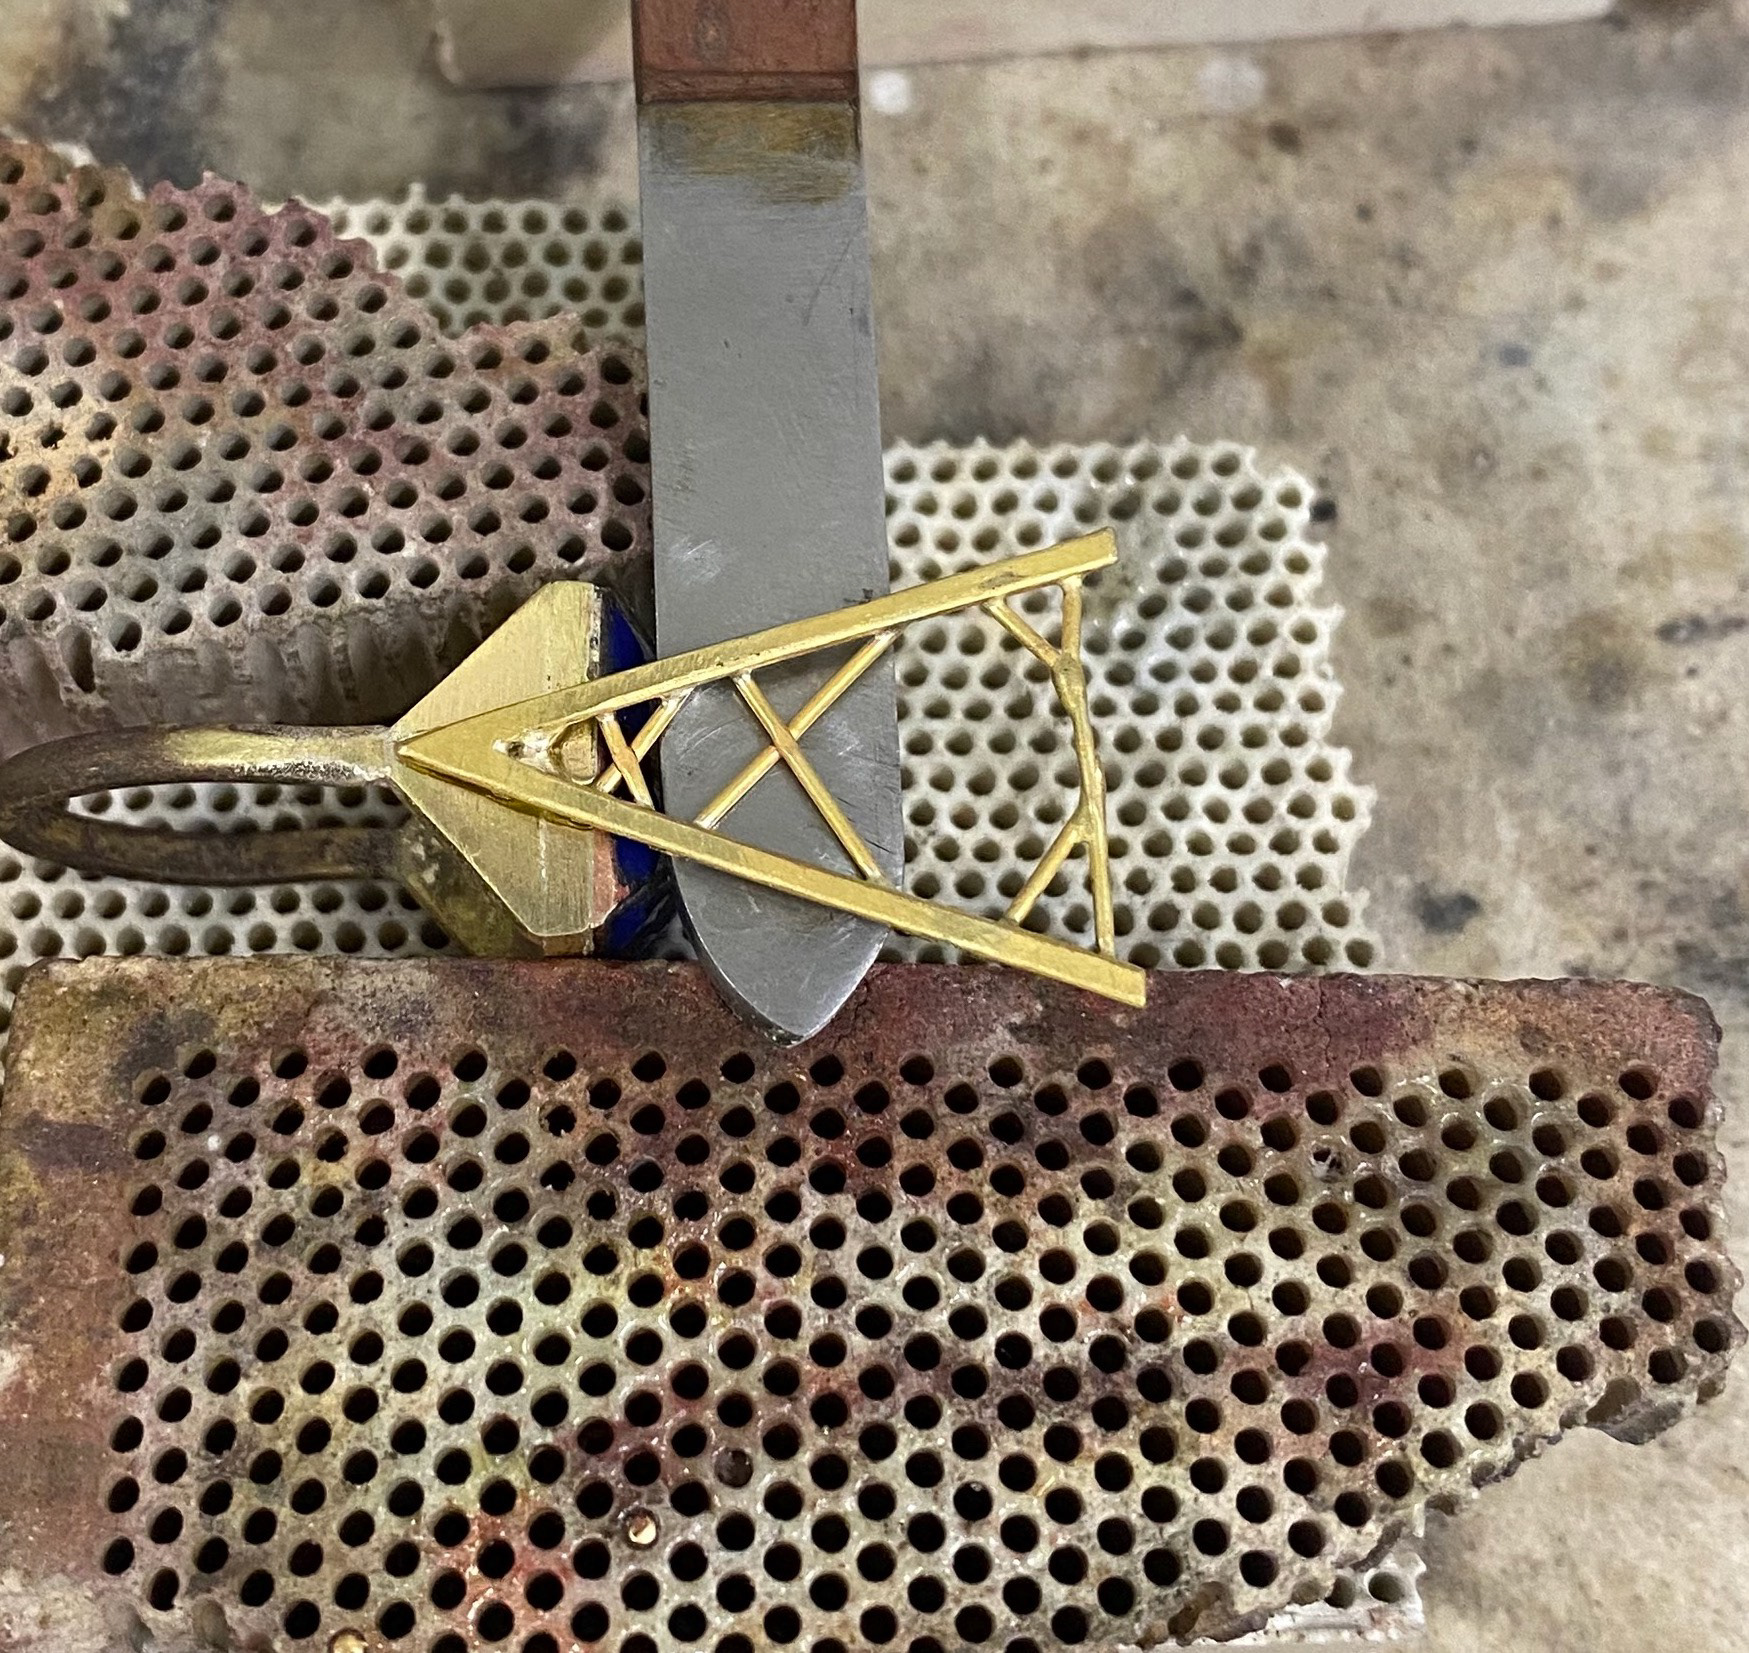
Using tools to hold pieces in place

First soldered side
Second soldered side
I placed these directly onto the honey comb so I didn't have to move them again, and then used flux instead of borax to solder. I did this because I think borax is a bit to thick and chunky for the delicate pieces when applying it. I also used easy solder when soldering the wires because of the lower melting point and the wires being so thin. At one point the wire at the top of the V shape collapsed a little and melted as you can see, but I didn't have time to do this again. I then cut the ends of the wires that was over the edge and filed them down.
Following this the final stage before polishing was to now solder the construction lines cage onto the side of the ring. This was another challenge because I didn't want to over heat the wire or the enamelled piece. I again used easy solder for this. It was hard to balance and hold the ring and side piece into place, after a couple attempts it worked. I let the ring cool naturally rather the quenching it as I didn't want the enamel to crack.
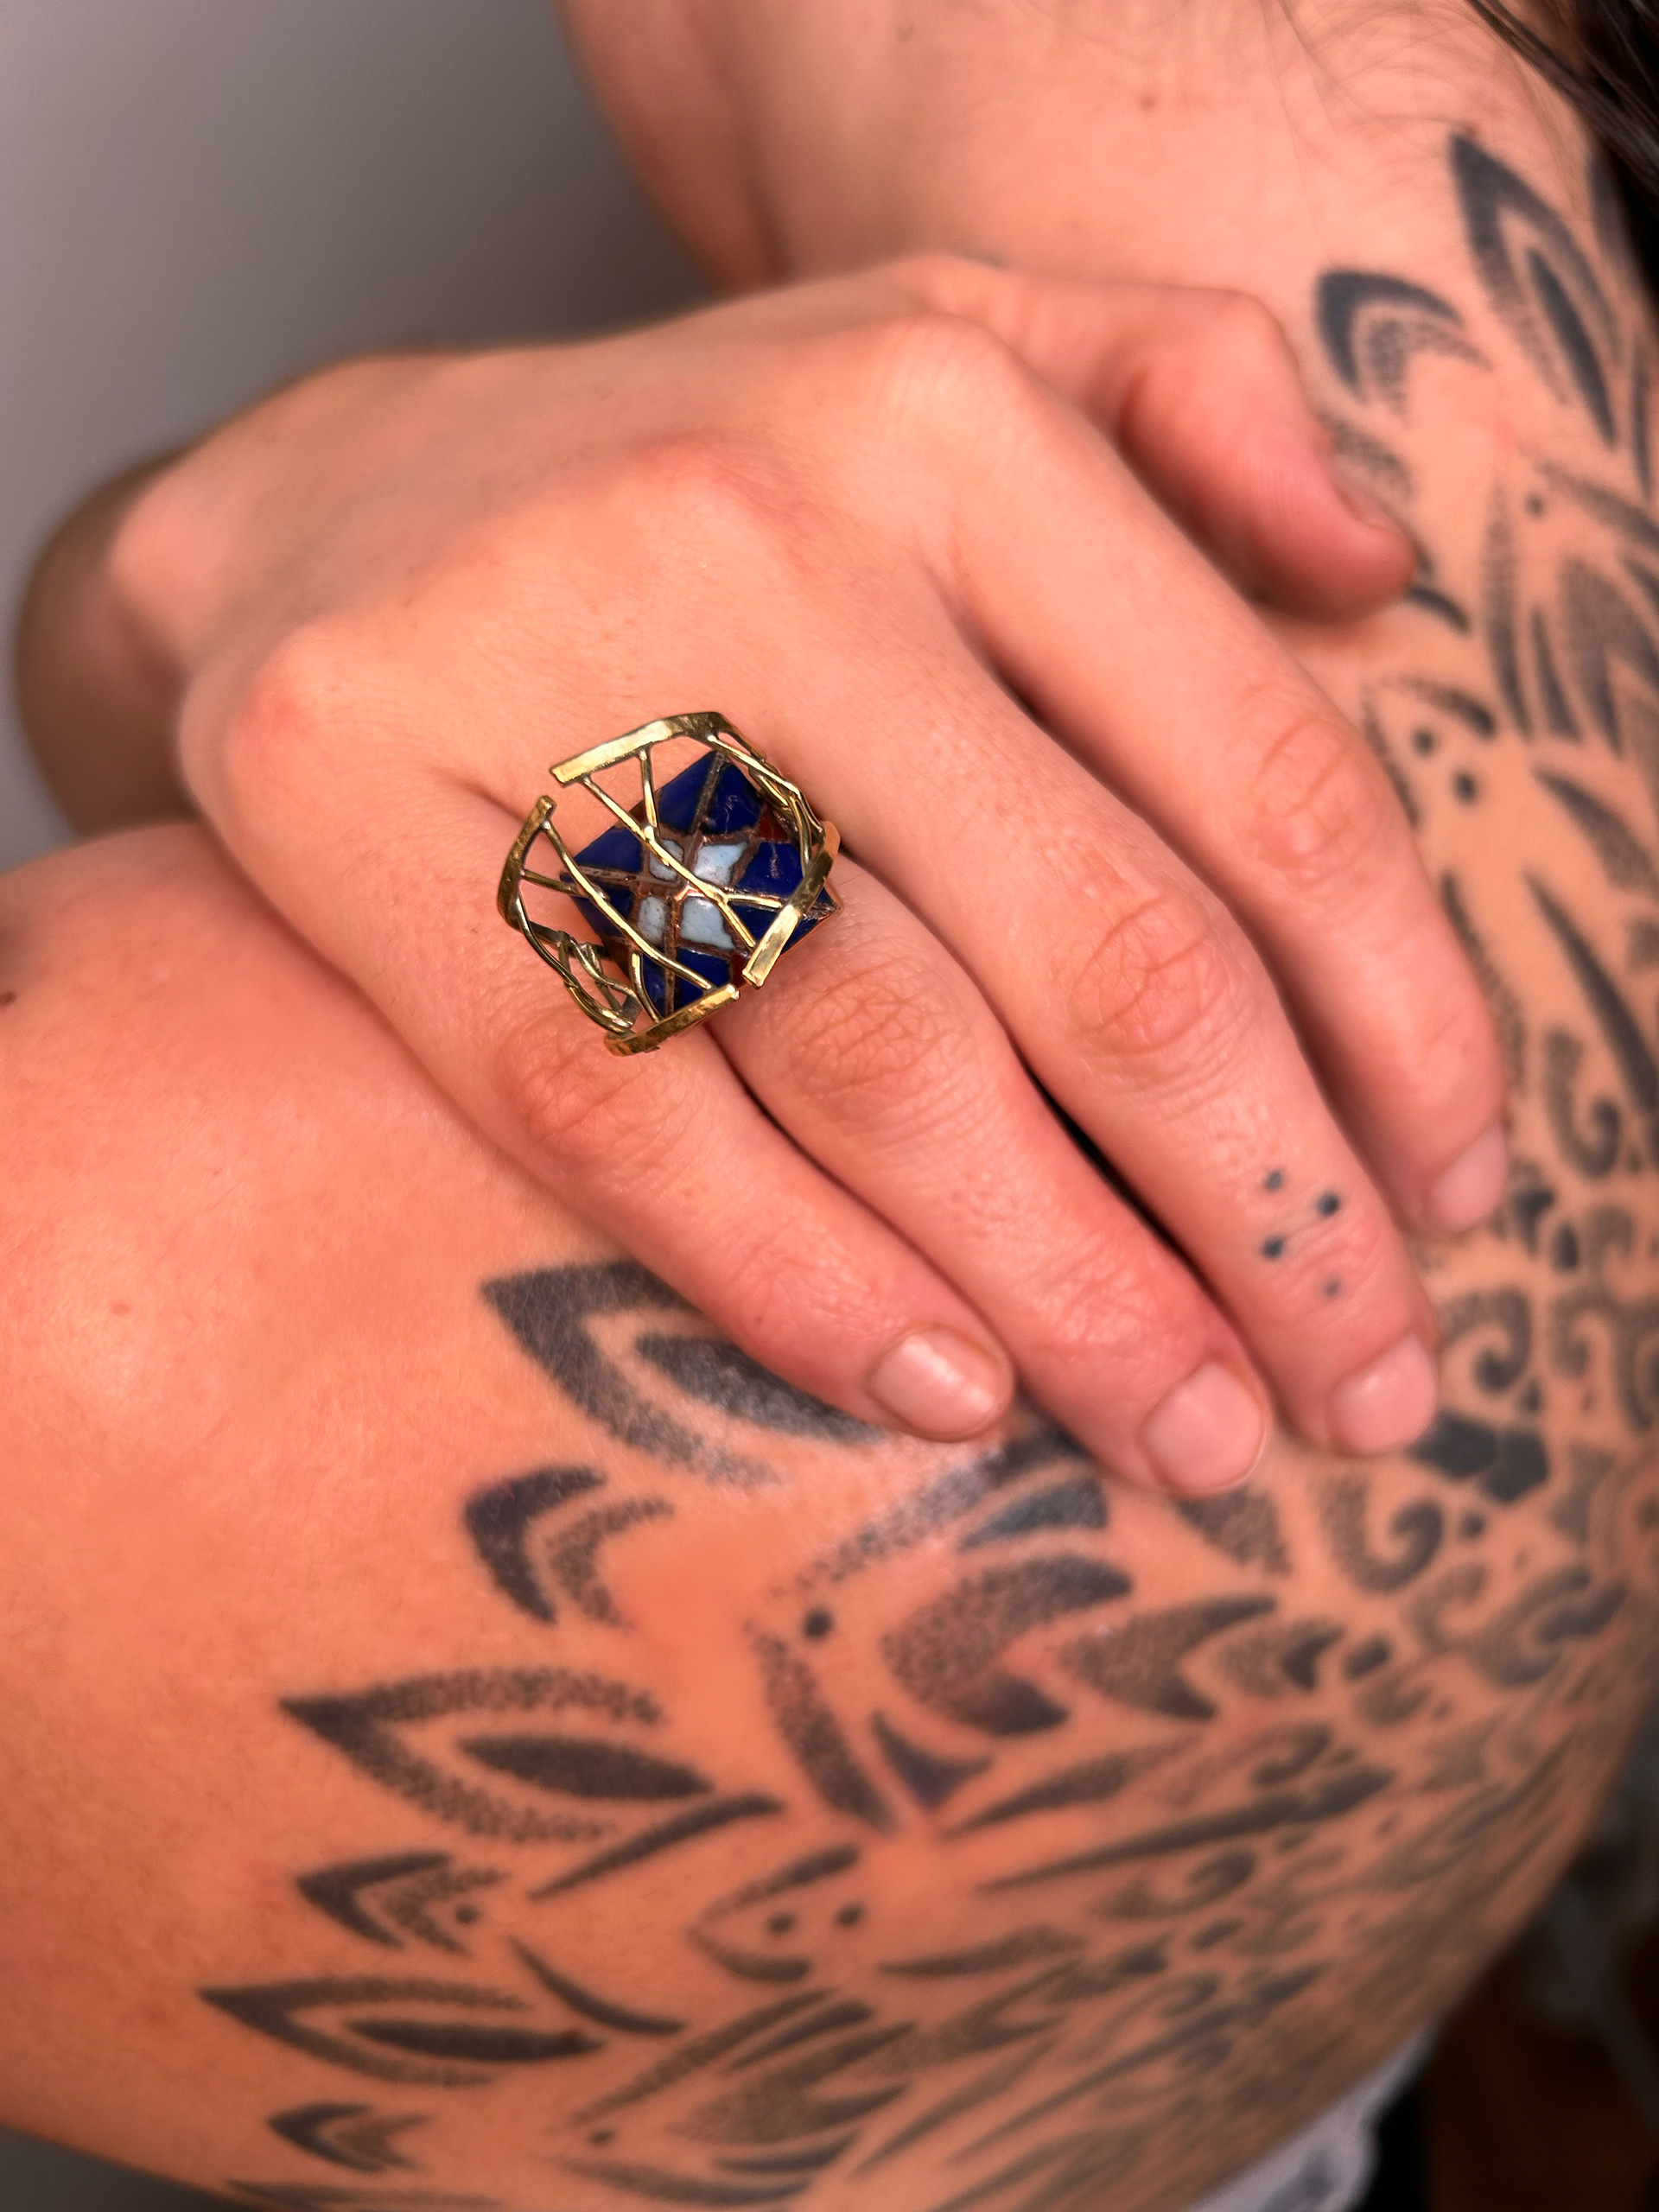
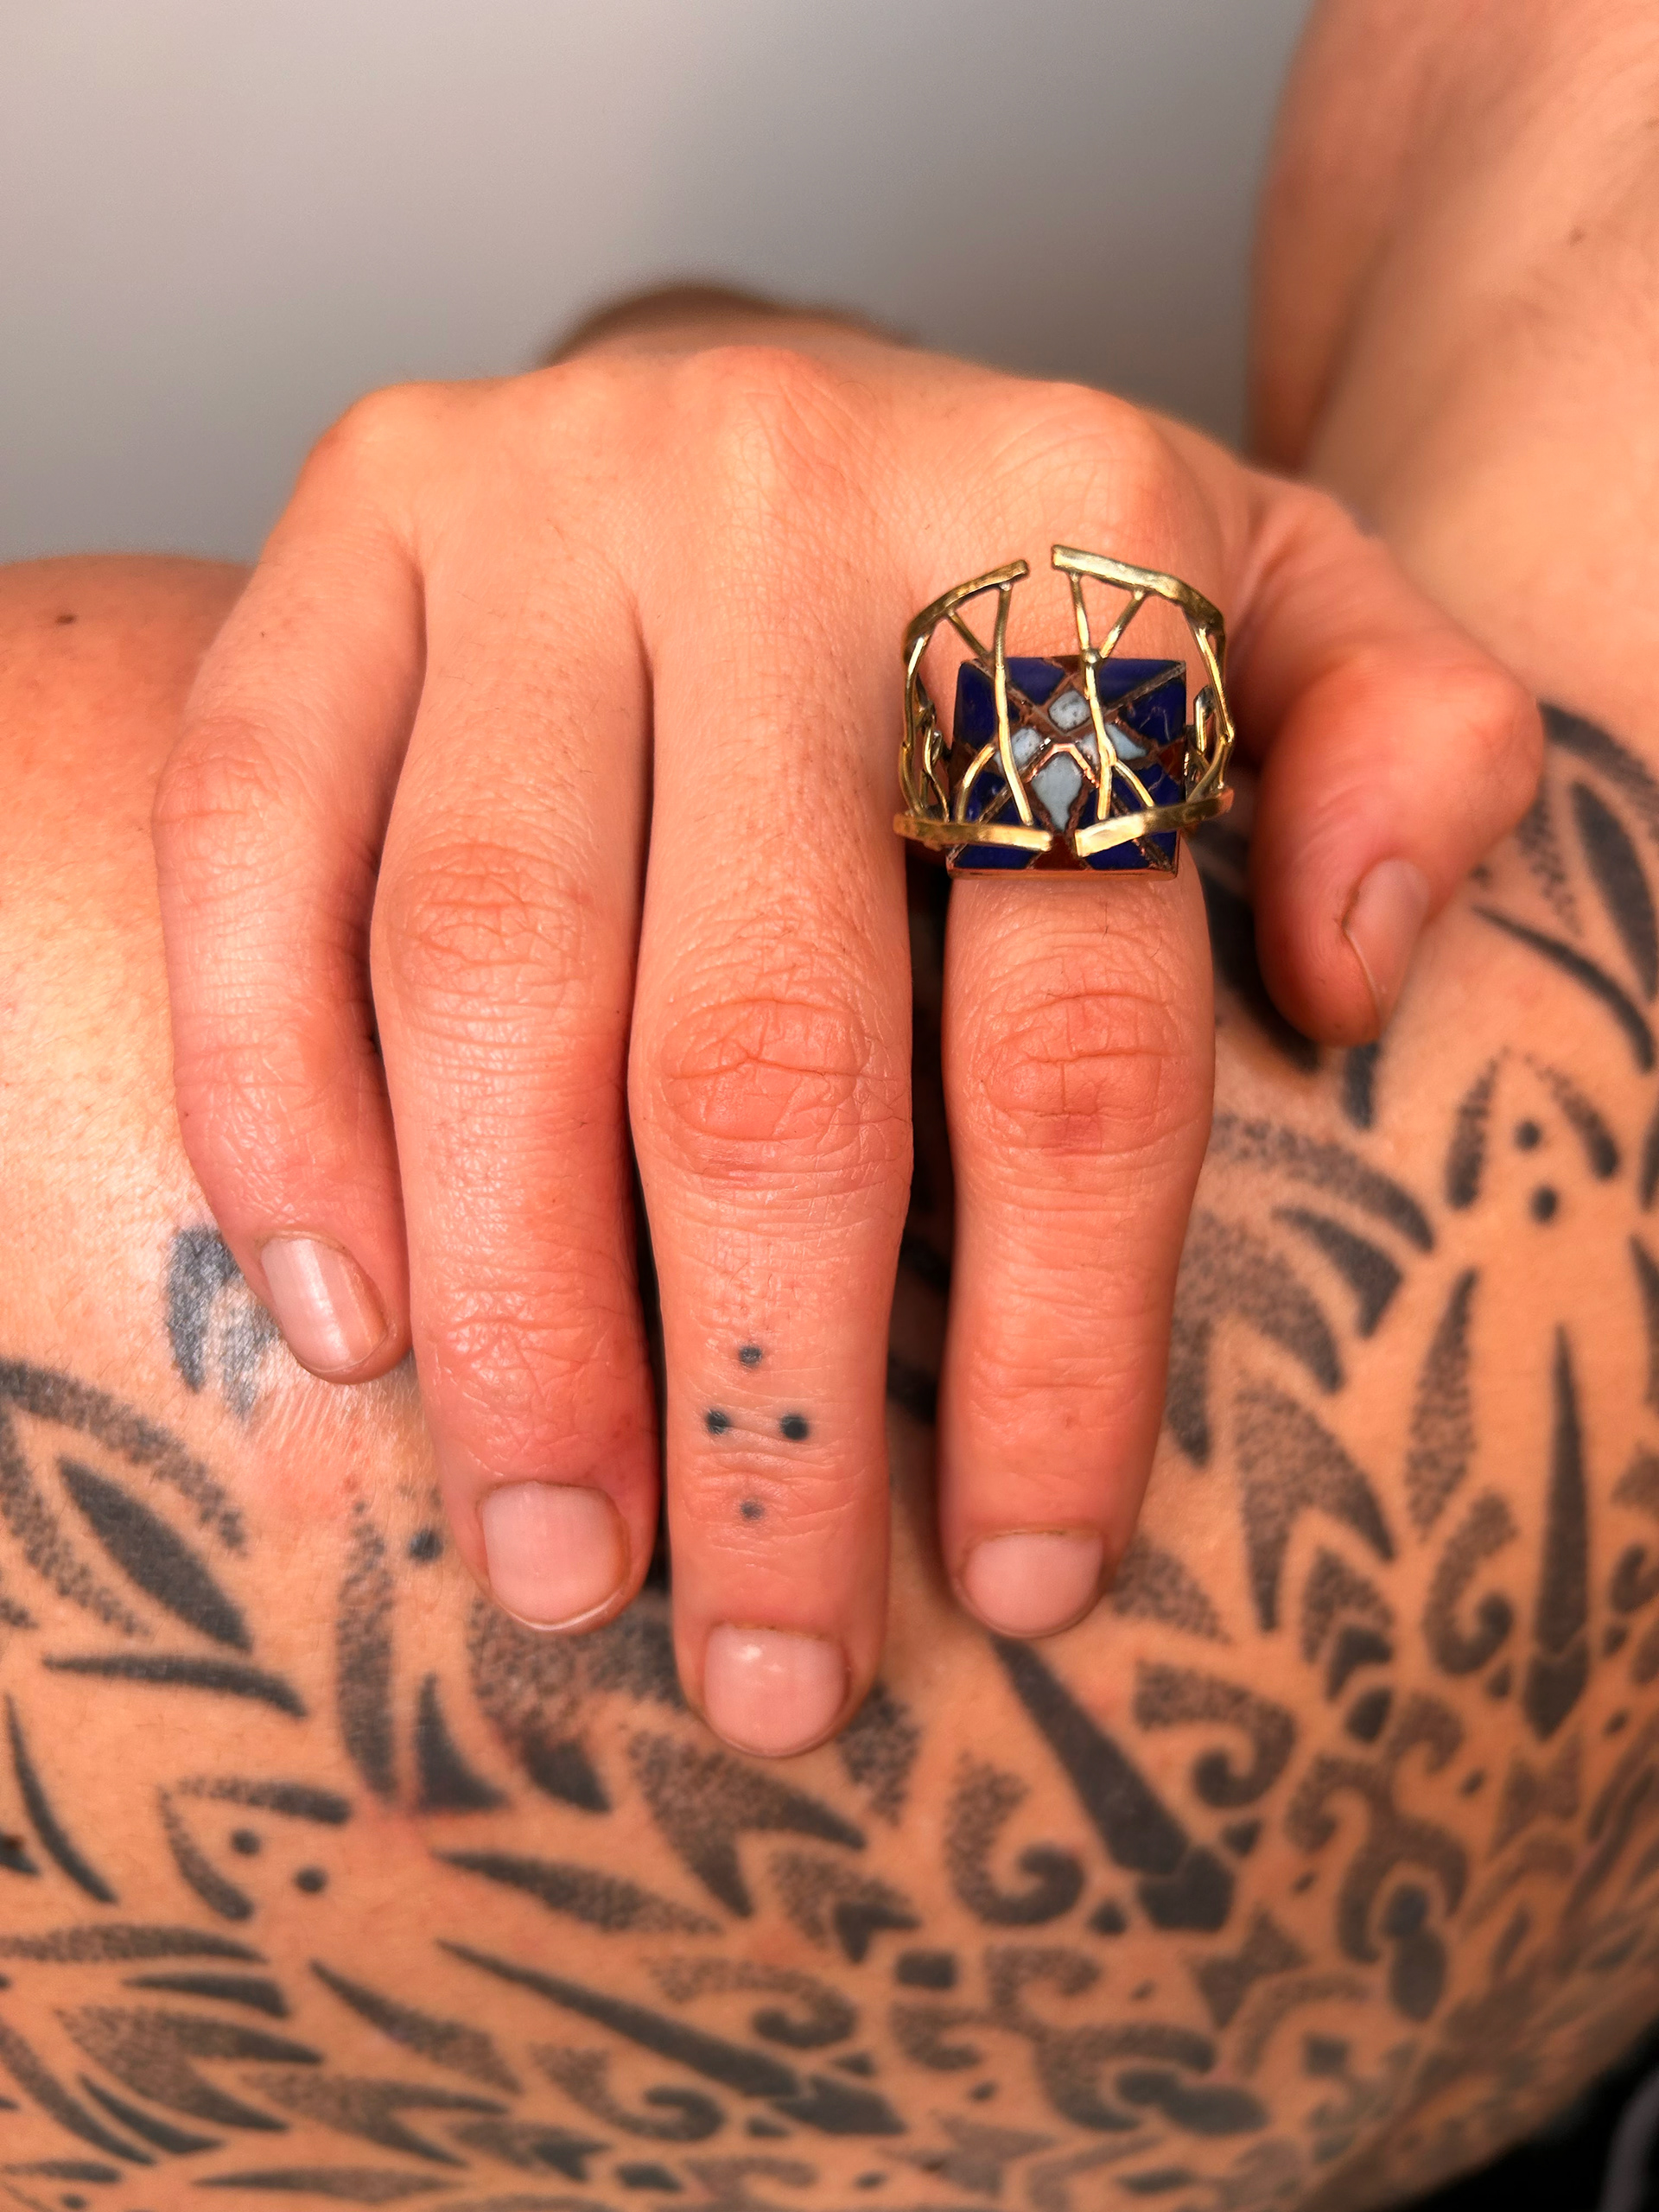
Ring once polished
Polishing
I had never done much polishing before this, however when it come to it I think at first I applied to much Tripoli and it got in all the small spaces and was quite difficult to get out. I used various attachments to the rotary tool, some helped but I was still quite difficult. I didn't have much time at this point to polish and other students in the workshop needed to polish for there pieces so unfortunately I didn't get it to how I wanted.


PHotos in context
I wanted to take these photos on myself. This is because the story behind the ring is based on my life and the discovery of my heritage. The idea of getting my back tattoo in the photos was because as previously mentioned, geometric patterns has always been something I have been drawn to. I got these tattoos before I knew my heritage. Because of this I thought it is a appropriate aspect to involve and it captured showing that the work is about me the maker.
Reflection
Overall with this unit and my final piece I am happy with the outcome and believe I have really challenged my skills and have learnt a lot. The final piece is no where near perfect or anywhere what Id want but with the time frame I had and after never making anything like it before I am quite proud of myself. It has been a massive leap from what I made in first year. If I was to do this again I would ideally have my final design earlier on, which is something I am going to aim for in future units. As well as this being more organised in general. It was a bit of a shock the work load in second year to first and I didn't realise that the first few weeks into this semester which put me behind. Now I know what is expected more I can plan my time more carefully towards this.
In terms of making, I would change the shape of the ring as it only fits if you turn it to the side to get it on. I would change enamelling onto brass, I thought this wasn't possible so i always stuck to copper but I then got told it is so I want to do some research and testing with this. Id do that so that all of the ring is in brass. As well as this when soldering the pyramid i would want to find a way so that the solder wasn't visible or maybe cast this instead. In terms of the enamel, I would have liked to use the transparent enamels with silver foil underneath if I had more time. Alongside this, the side parts that fold over I would change, I change where the wires sit on the V shape base and finally, just the over all precision and tidiness. This unit has made me think about my future and becoming a jeweller and potentially undertaking a Goldsmith course as Gold is a material I would love to work with.
I believe I have took a tradition, Persian metal techniques and innovated them creating a modern twist on Persian style jewellery and geometric patterns. I have enjoyed this unit and I think it has led me to really find what I am about in craft.