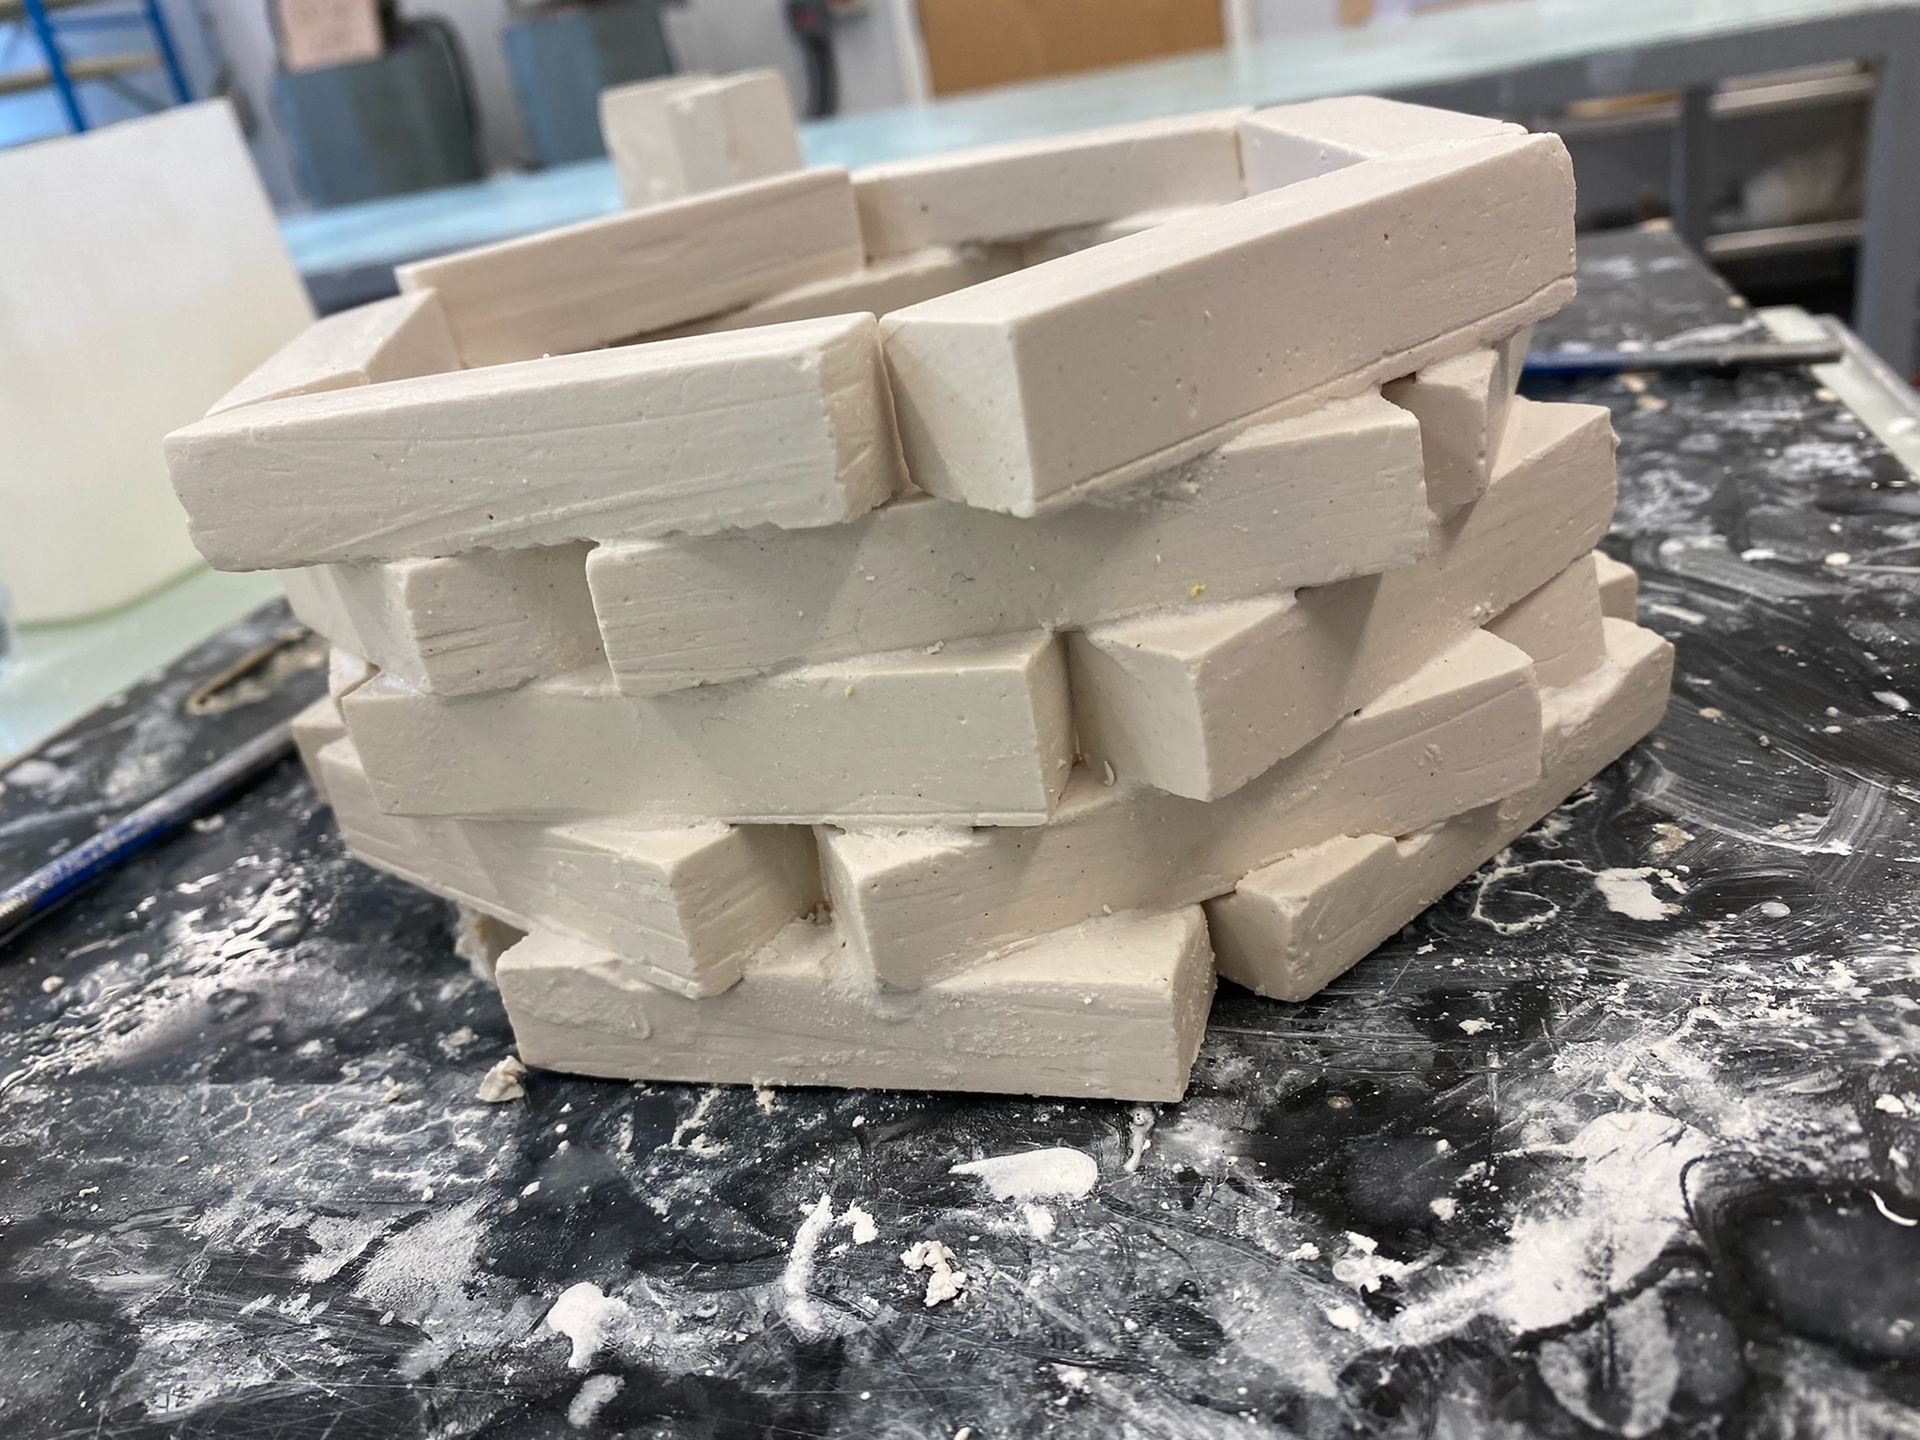
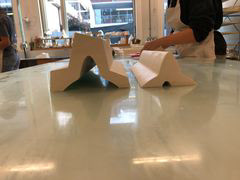
Slab Construction
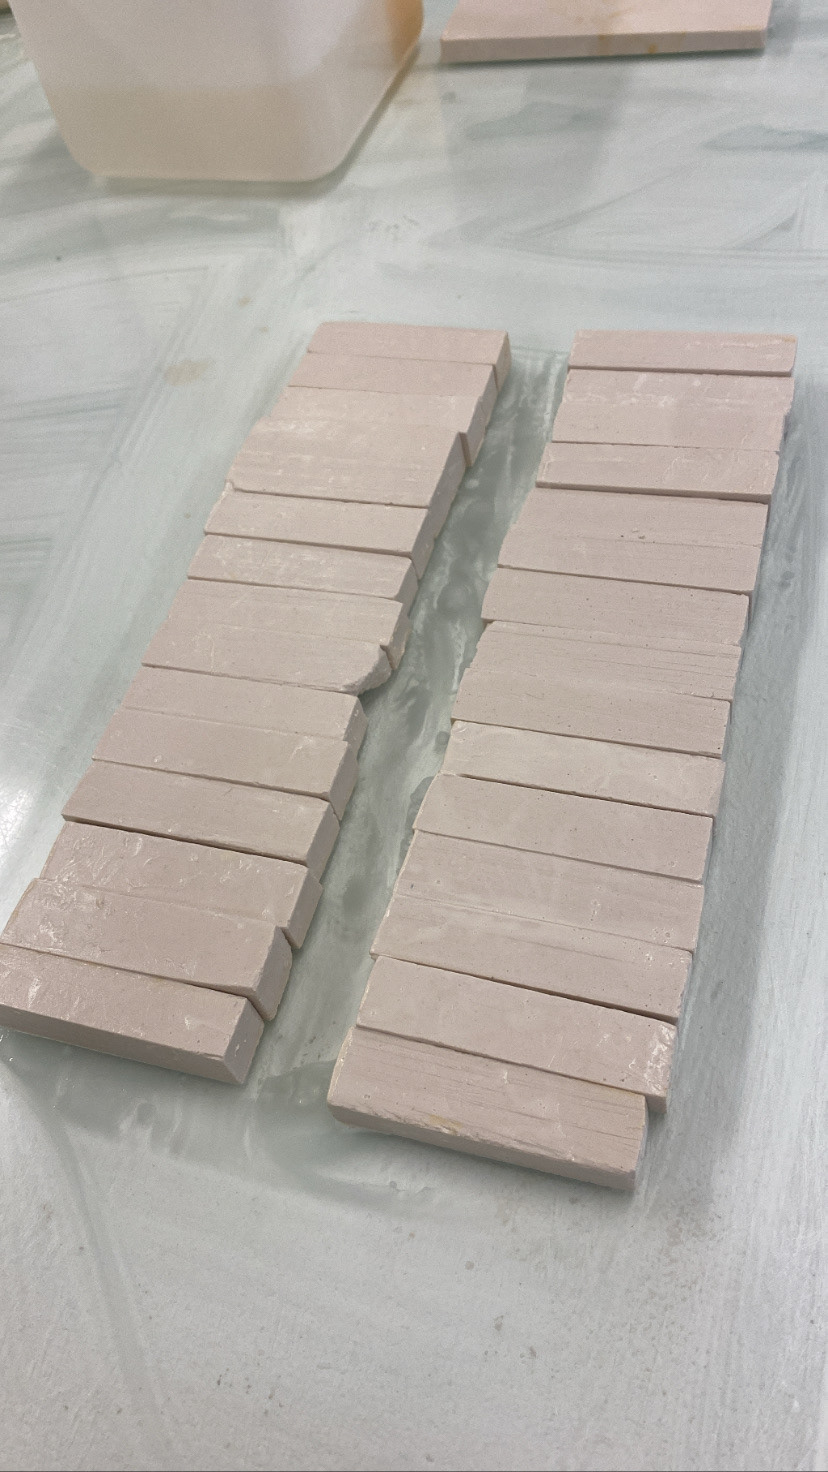
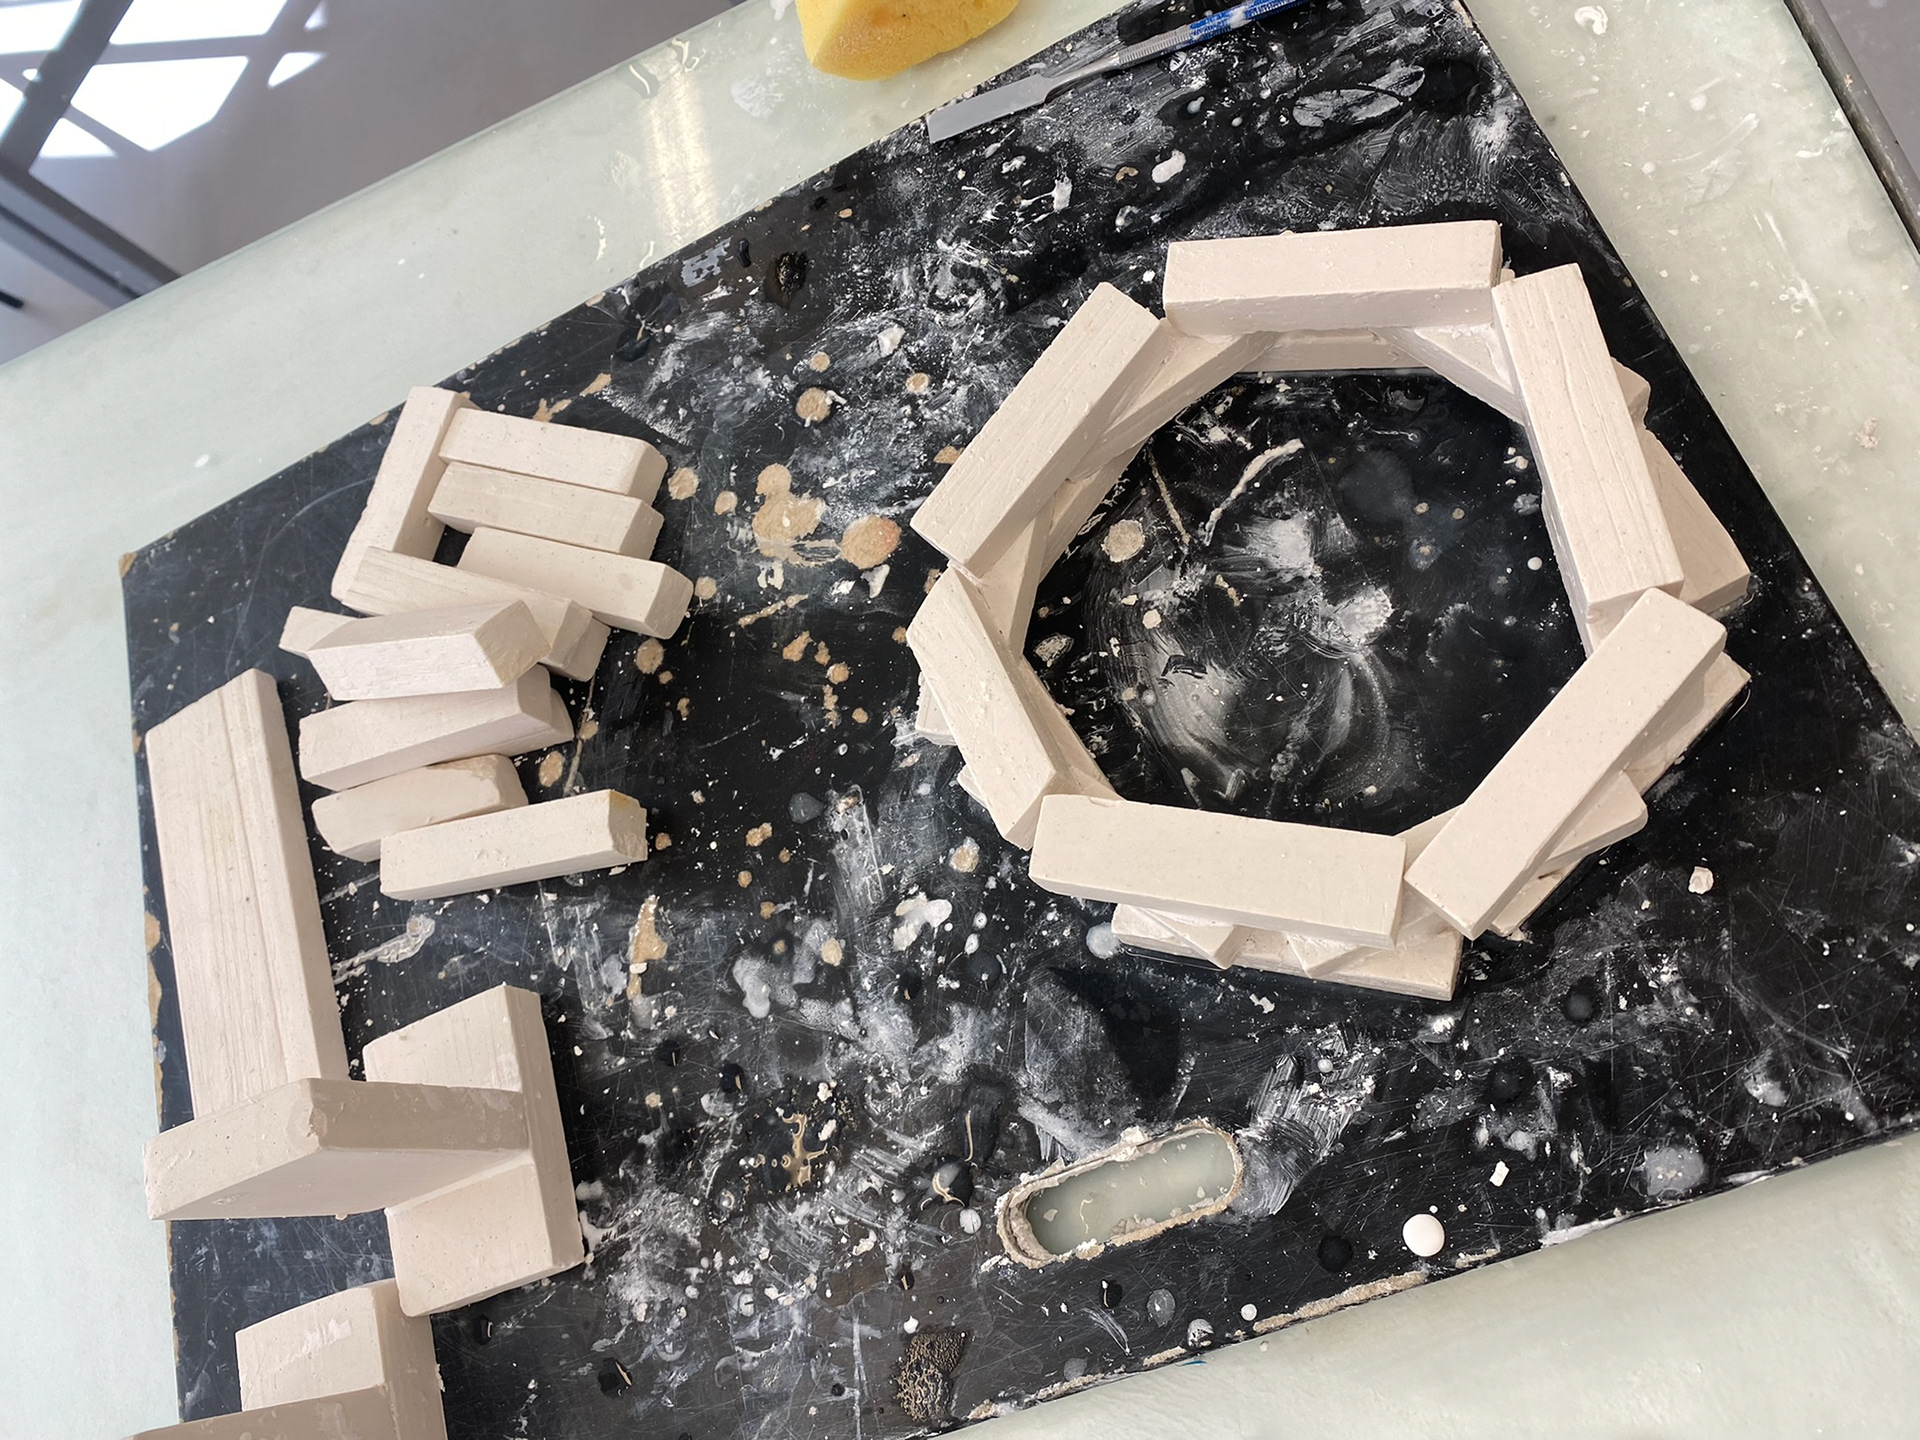
Cut and finished blocks.
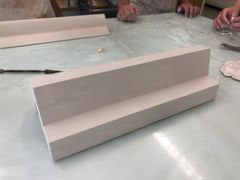
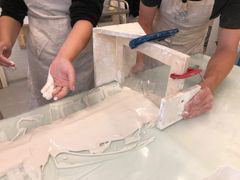
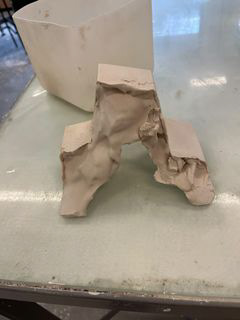
First layers put into position.
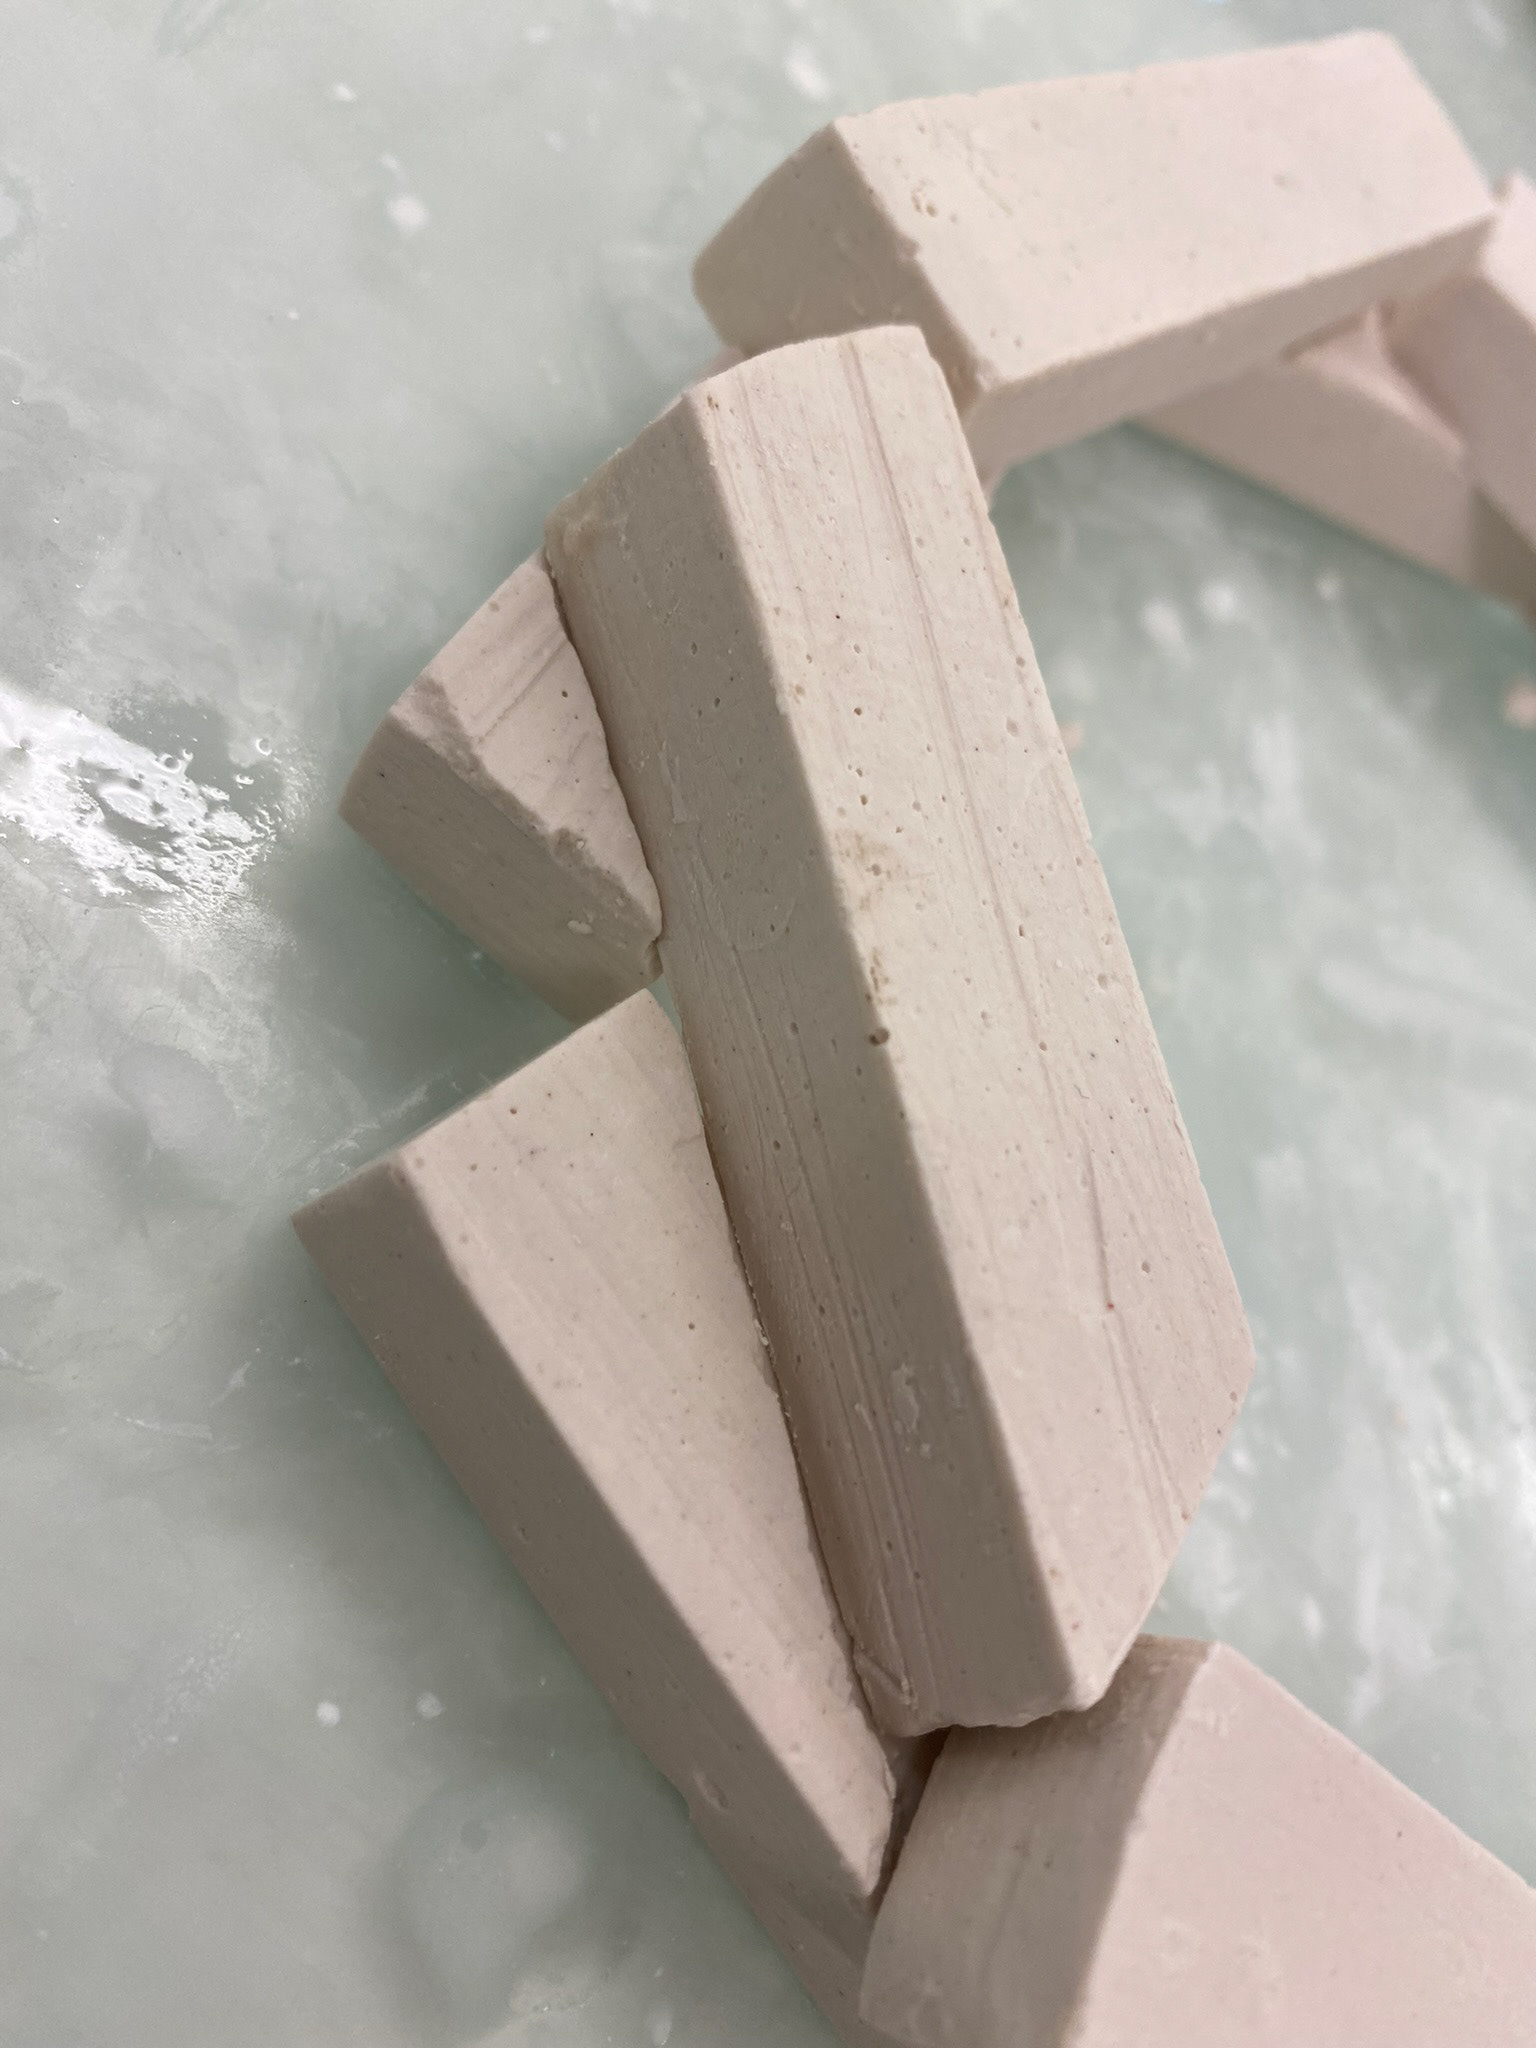
The blocks in place after using a chisel to create a space for the other block to sit.
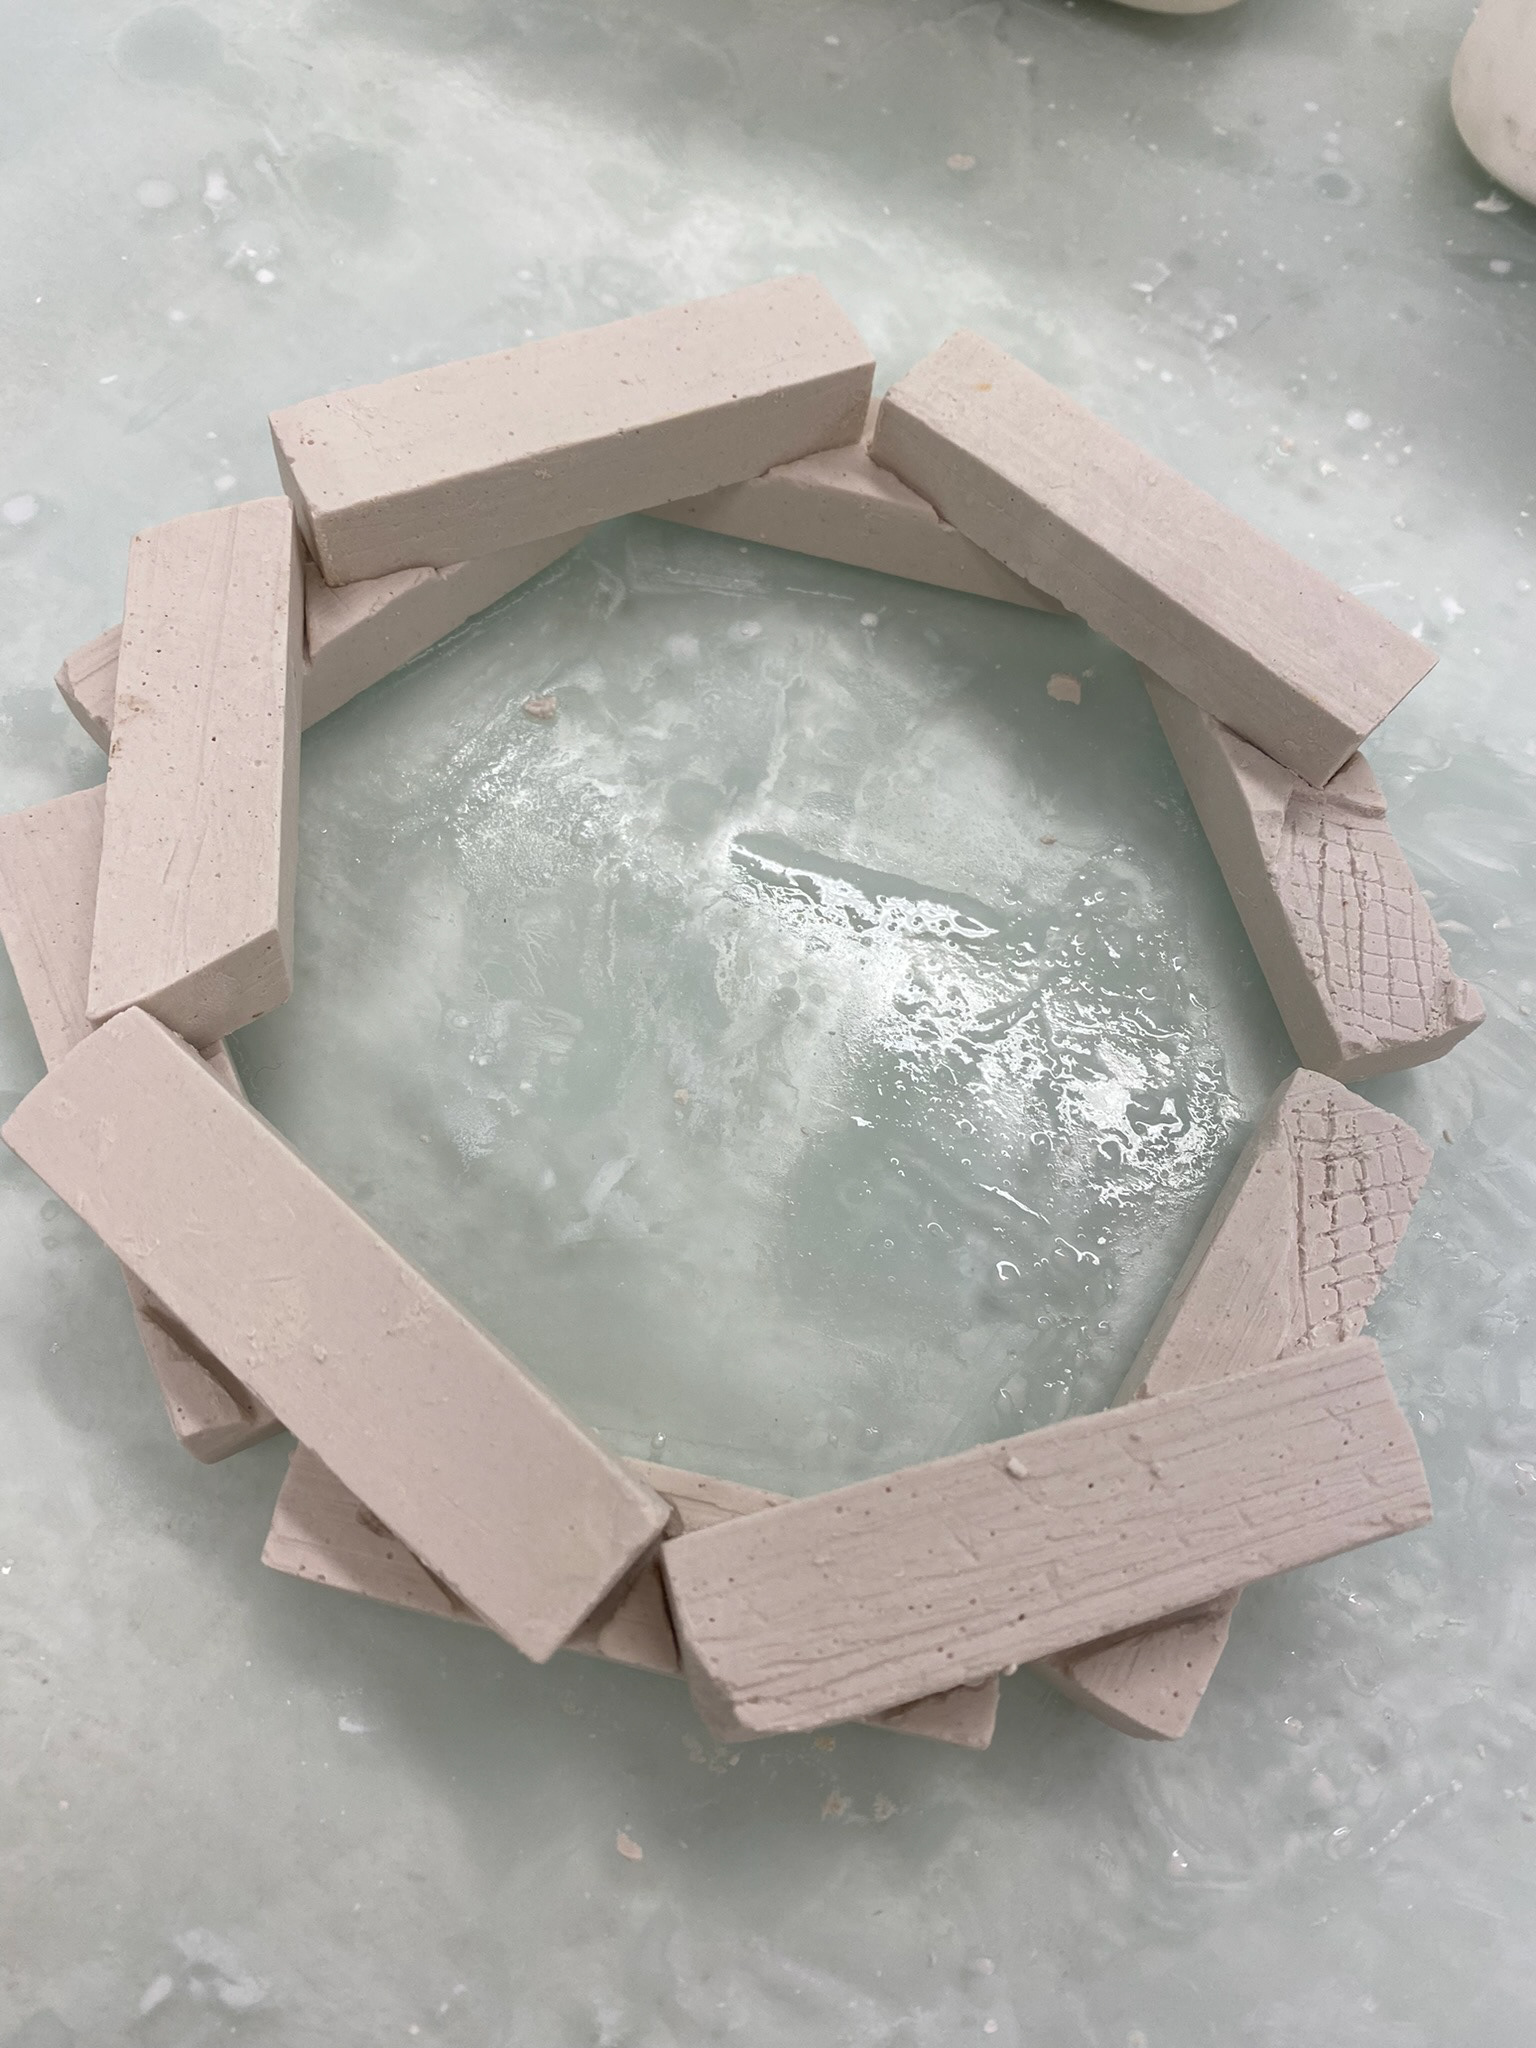
Here I created 1 kilo square blocks of plaster, cut them to size and used different methods to create a smooth texture. I managed to get the blocks similar sizes, however if I was to do this project again, I would make sure they are more uniformed. I cut a few blocks with a angled edge as I misread the task. Although these blocks are different shapes, I managed to incorporate them into my piece and not waste the plaster.
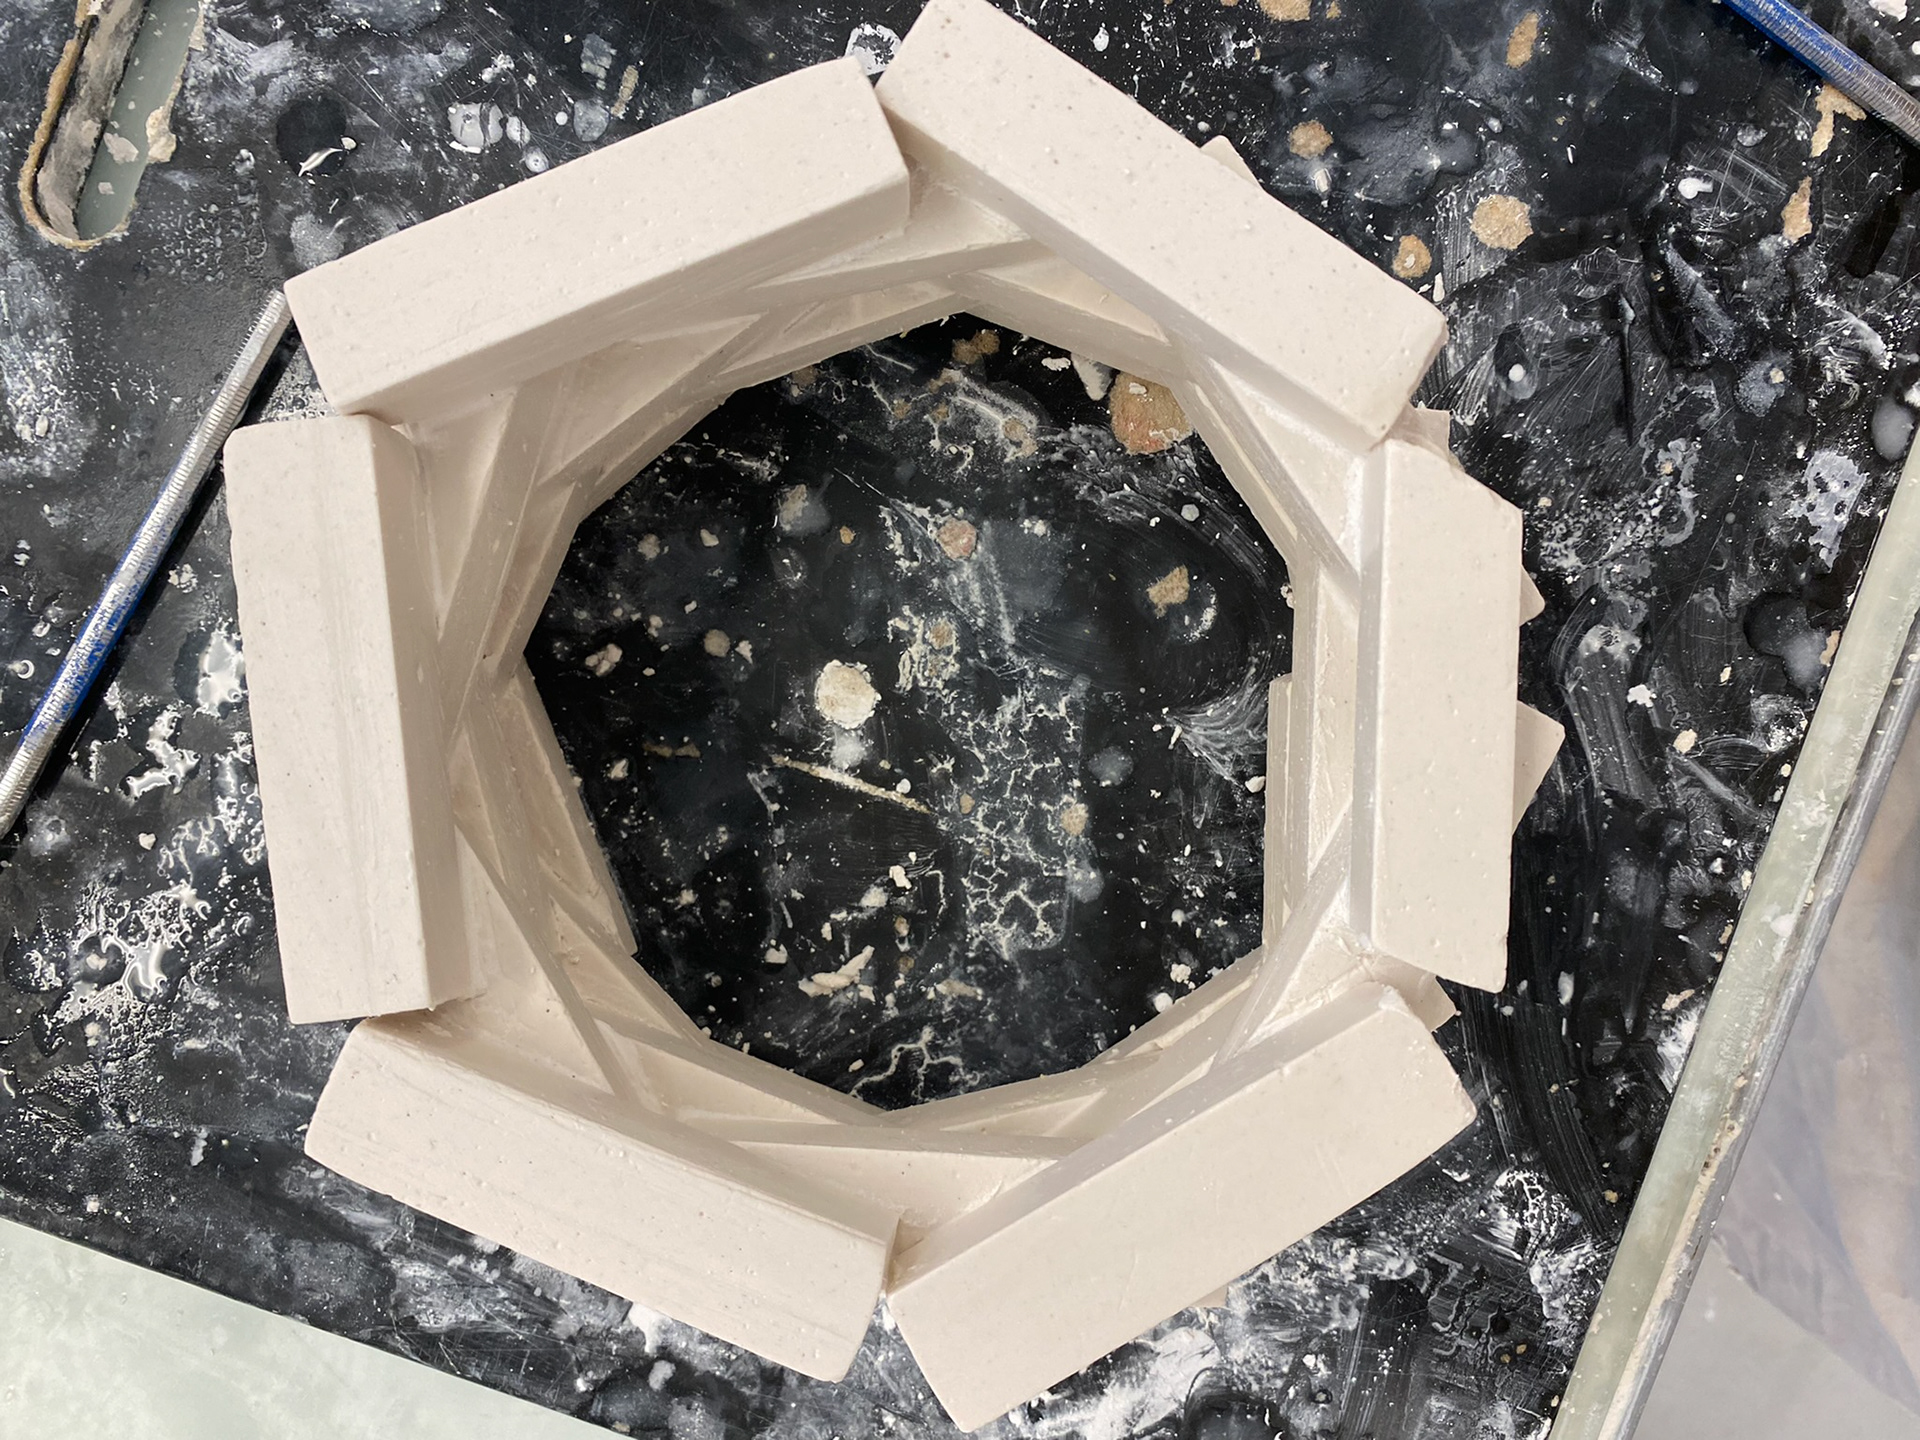
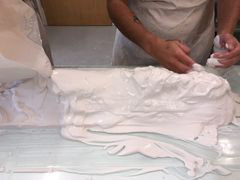
The slab construction from above
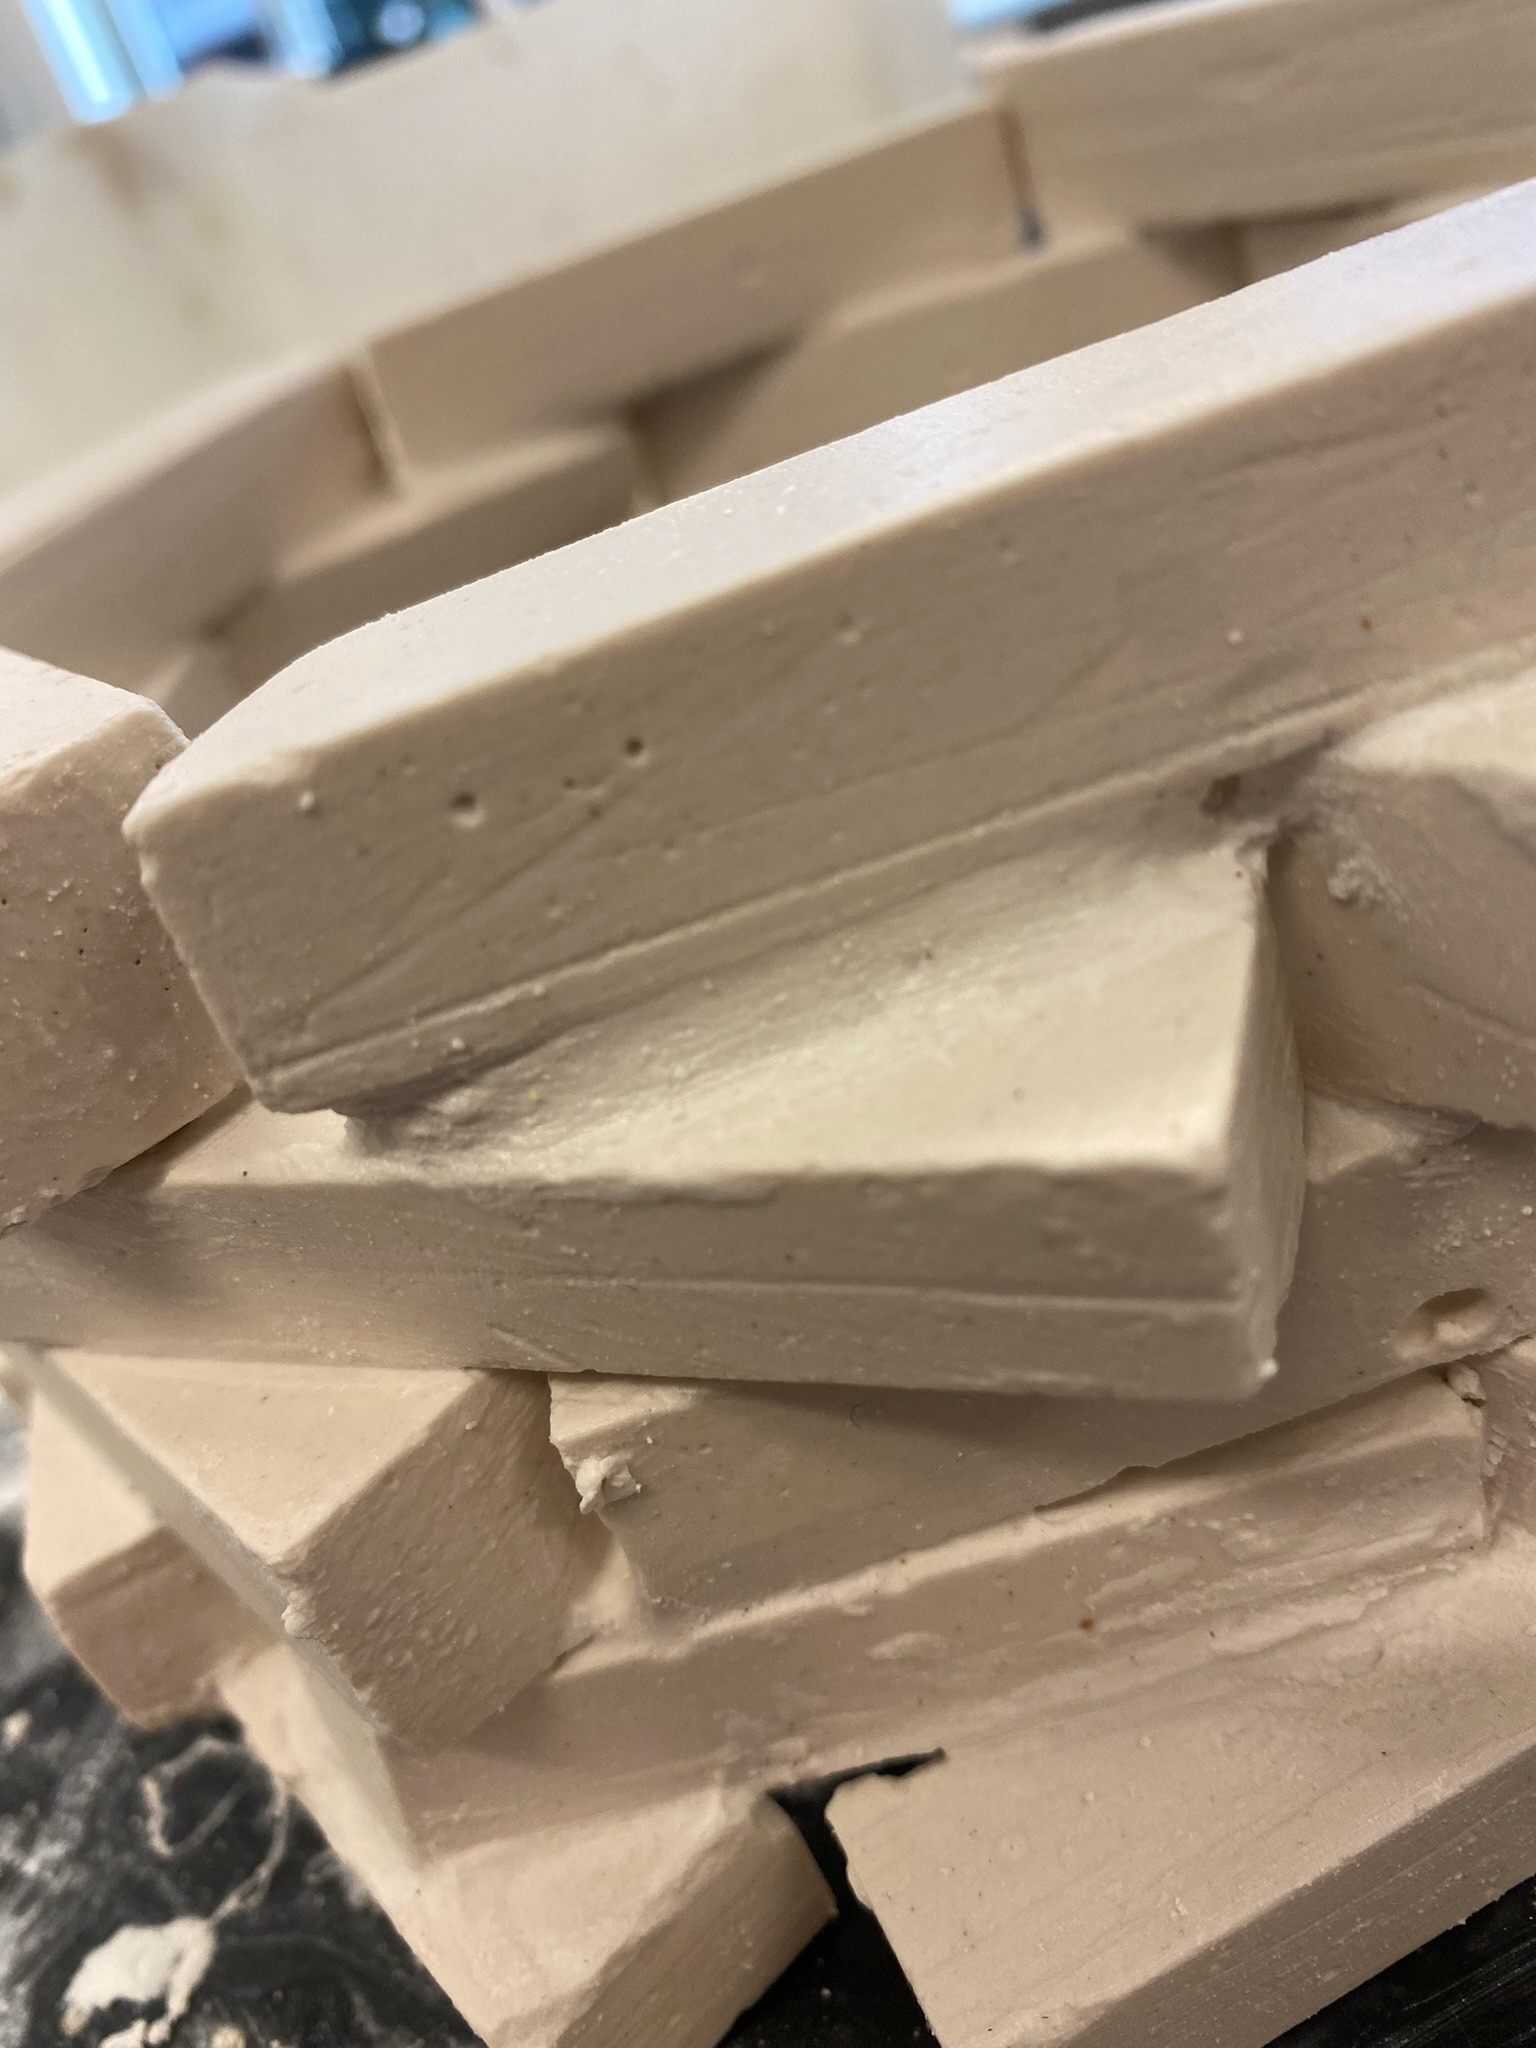
The blocks up close showing unwanted bubbles/marks
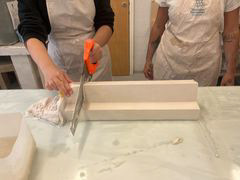
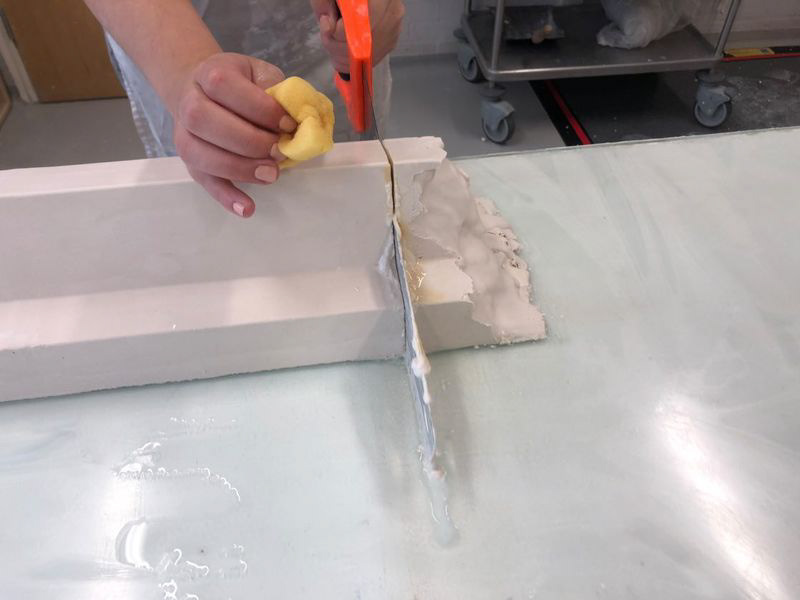
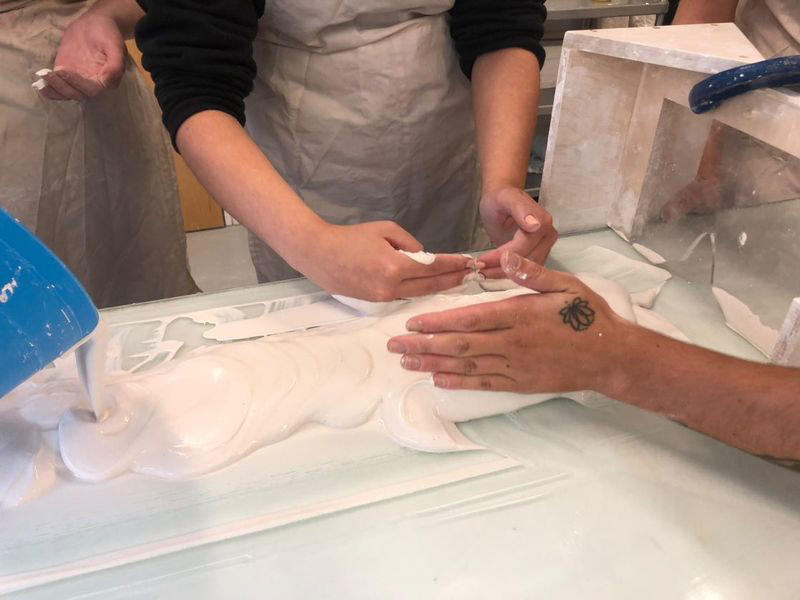
I used two different methods to stick the blocks together, the first method I used, I engraved a cross hatch pattern into the two blocks, then used wet plaster mix as the 'glue'. I found this a quick method but also discovered that the blocks can easily come apart with not much force. The other method included using a chisel to create a deep groove and then placing the second block into it and bonding with additional wet plaster mix. This method was a lot more time consuming and played a risk of chipping/damaging parts of the blocks which are not meant to be touched.
The final piece is relatively neat, although the blocks could be smoother, have zero bubbles and less drip marks from the wet plaster. From this construction task, I learnt a lot about the behaviors of Plaster and potential ideas and methods which I could use in the future.
'Blobmorphic' Forms
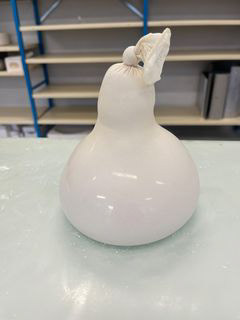
First piece made with the latex condom
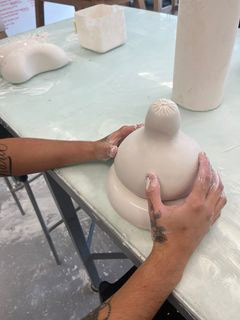
Shaping the second piece using the first.
Here I used latex condoms as a part of the process of forming the shape for this project. By doing this I could manipulate the plaster into any shape I wished as it was setting.
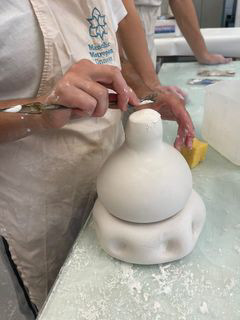
Smoothing off the top where marks were left from the latex.
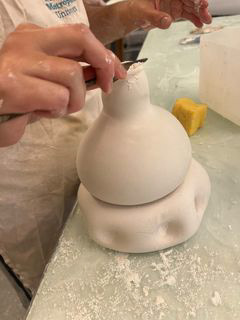
On the base, I used my fingers and pinched around to form small indentations, to create shape, texture and purpose. I then used some small hand tools to smooth over the top, from where some lines were formed where the condom was tied into a knot.
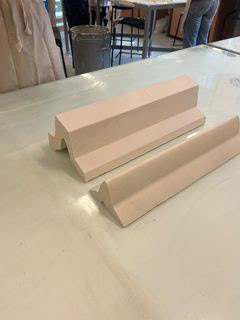
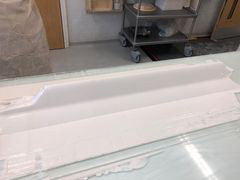
Sledging
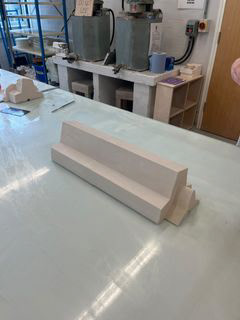
This is the finished product of a task which was set using the sledging technique. Overall myself and the rest of the team were happy with the outcome of this. As the piece is clean and tidy with a even, smooth finish.
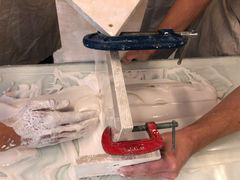
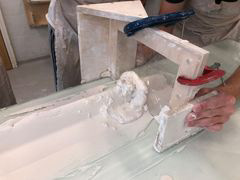
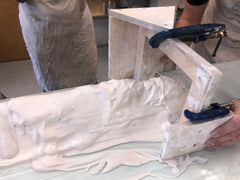
Above we are building up the layers of plaster to fit into the profile.
The final product showing the line, plane and form.
cut offs

Using soap between each profile