Clay Week 1
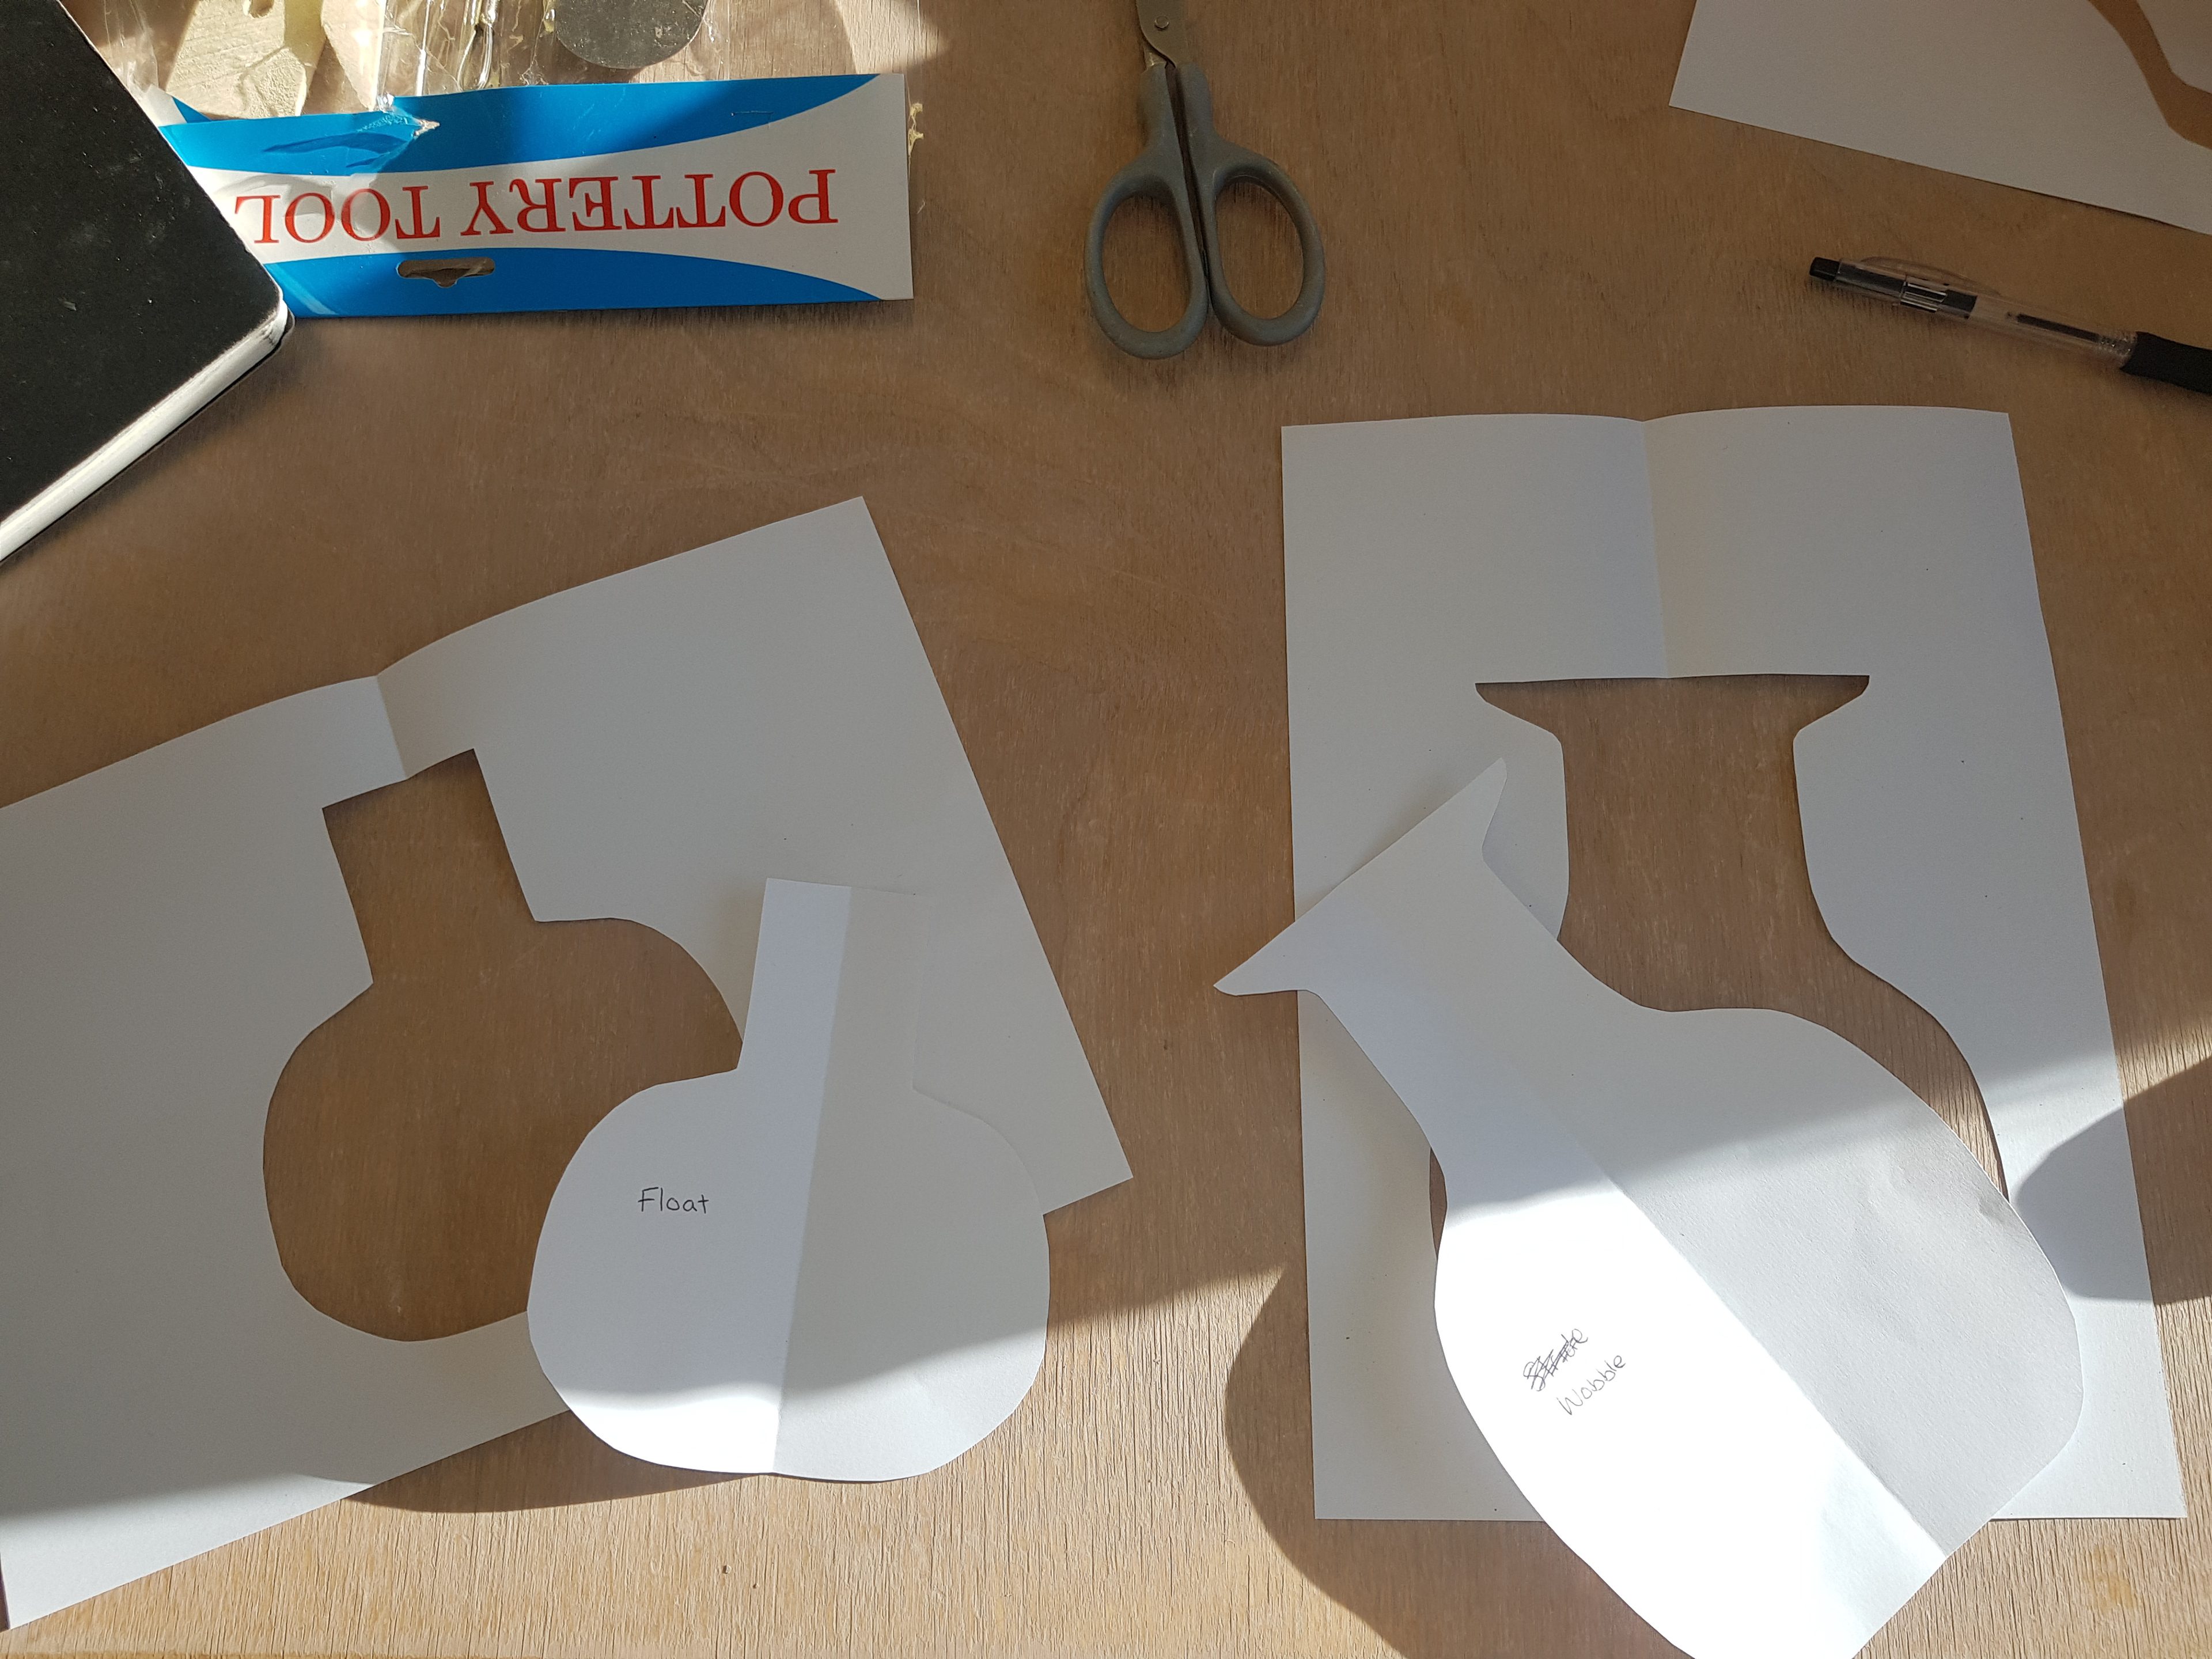
Positives and negatives of vessels
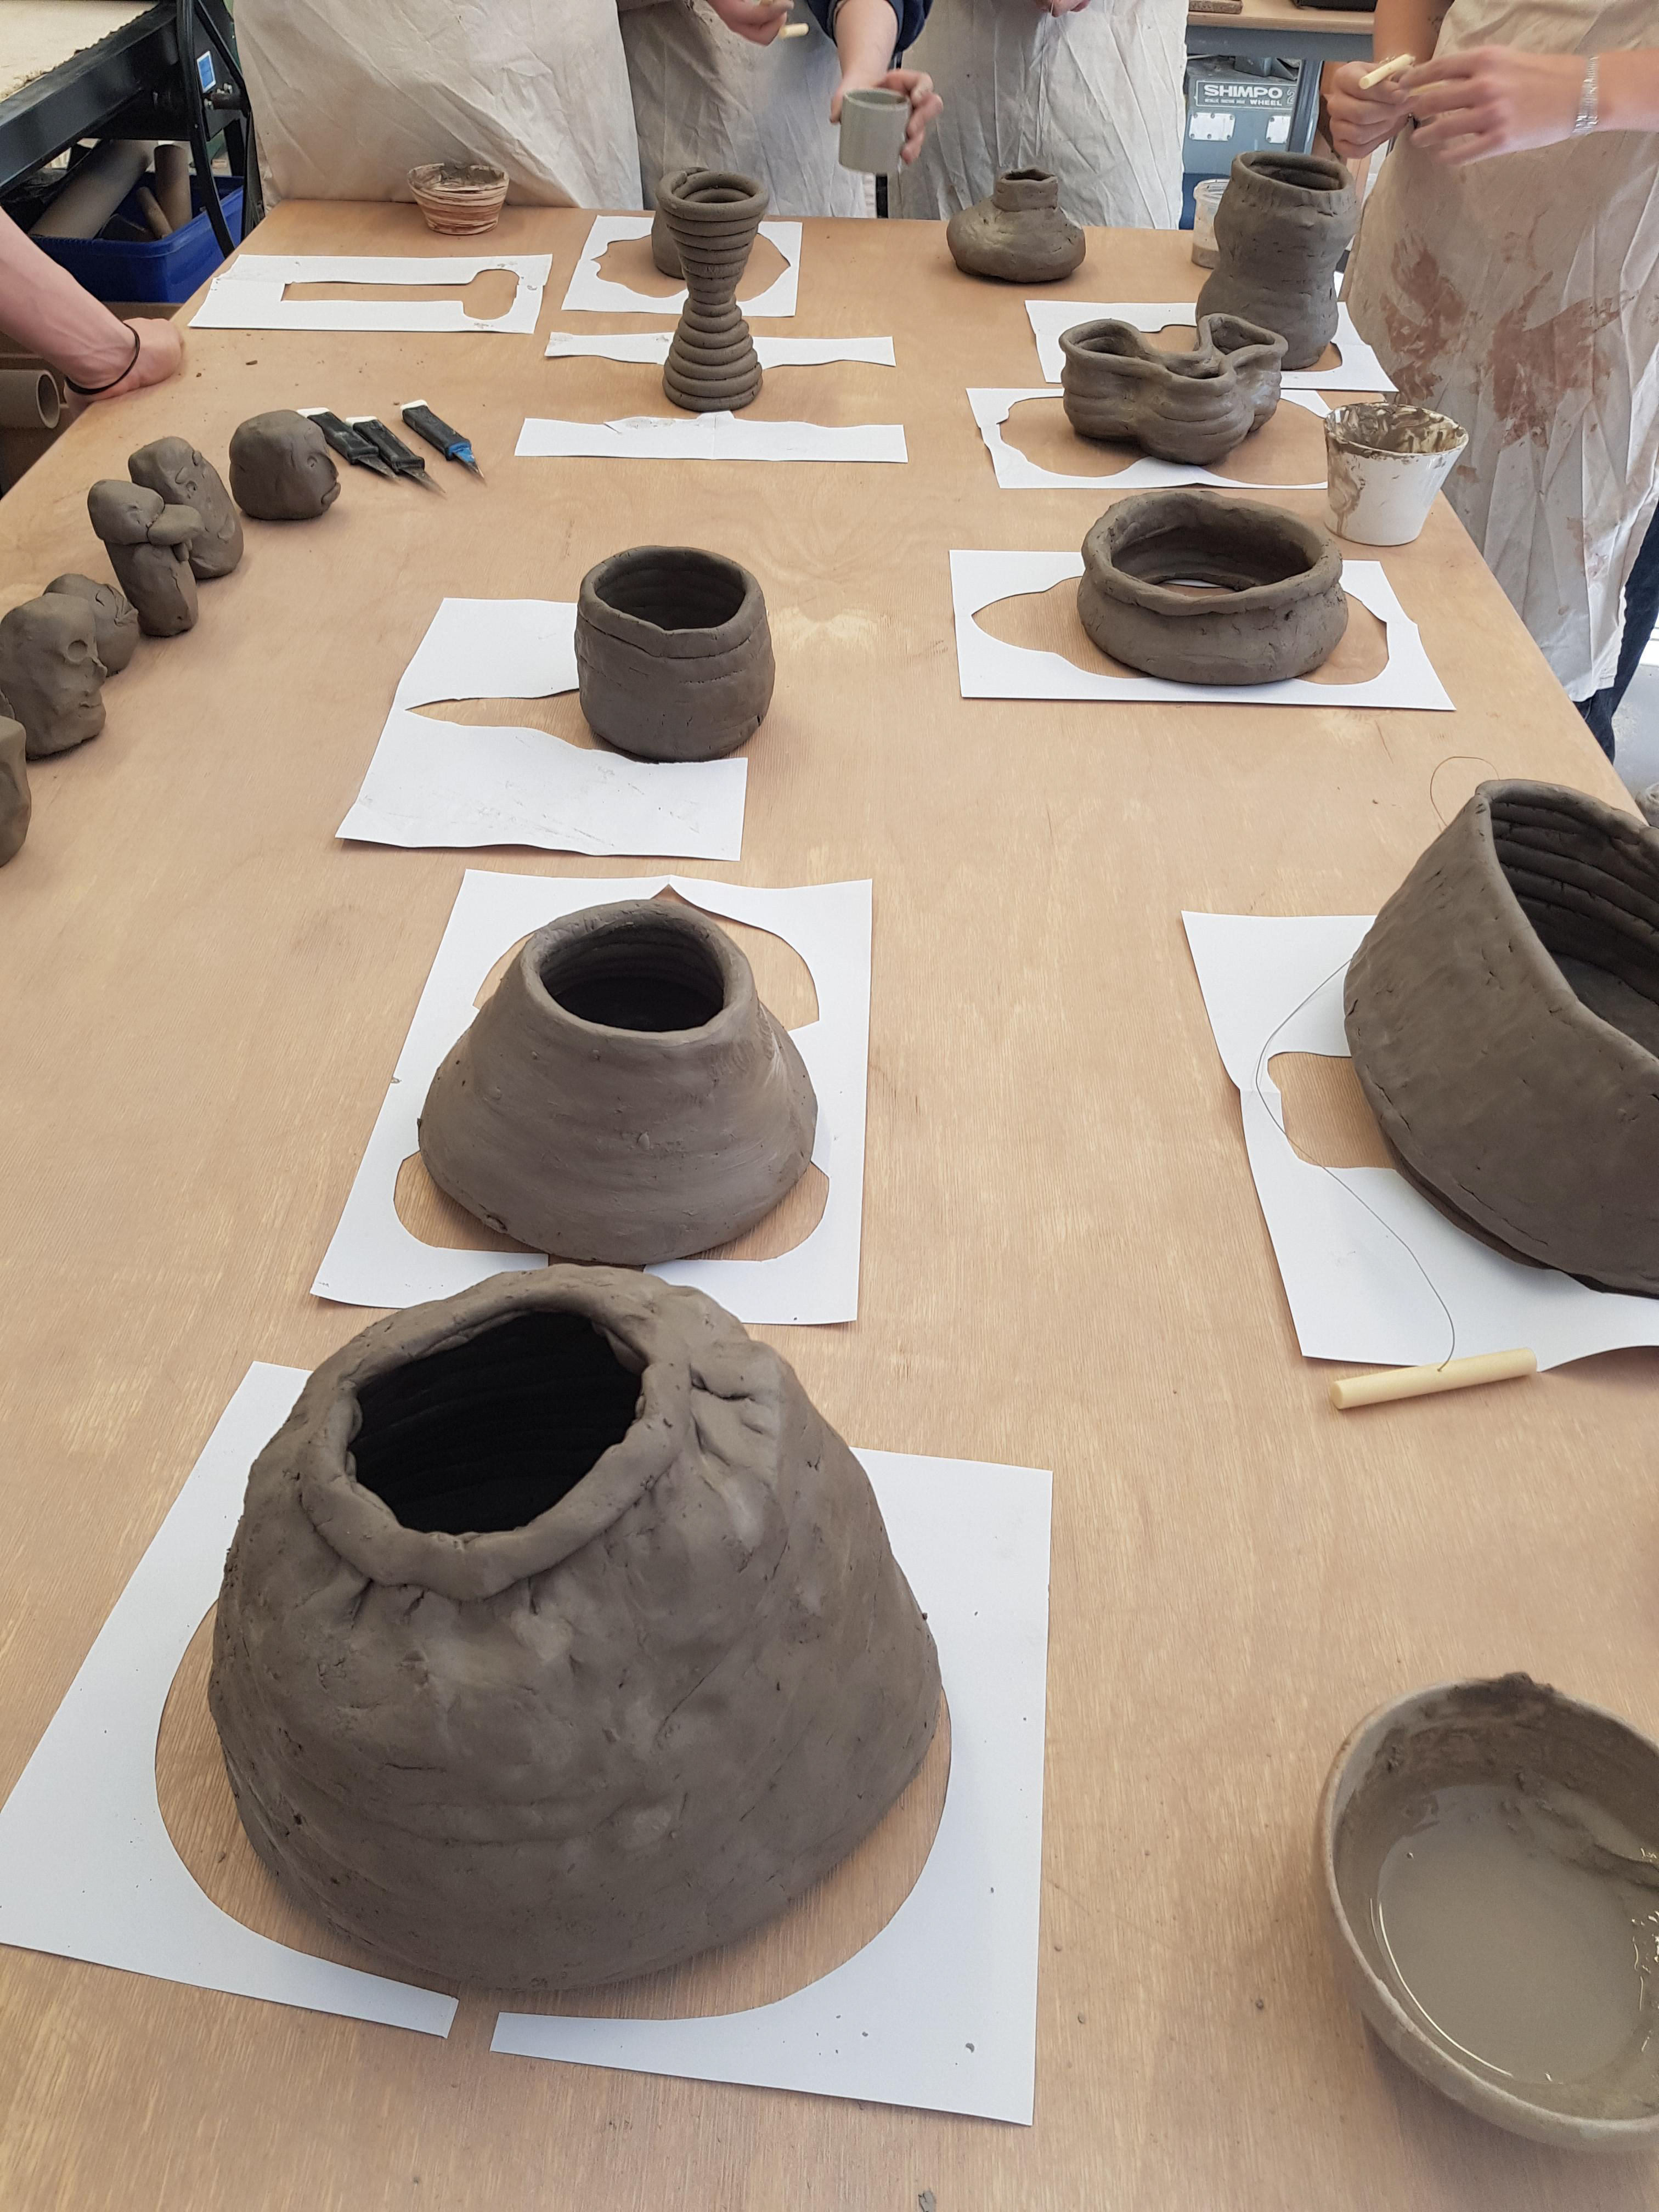
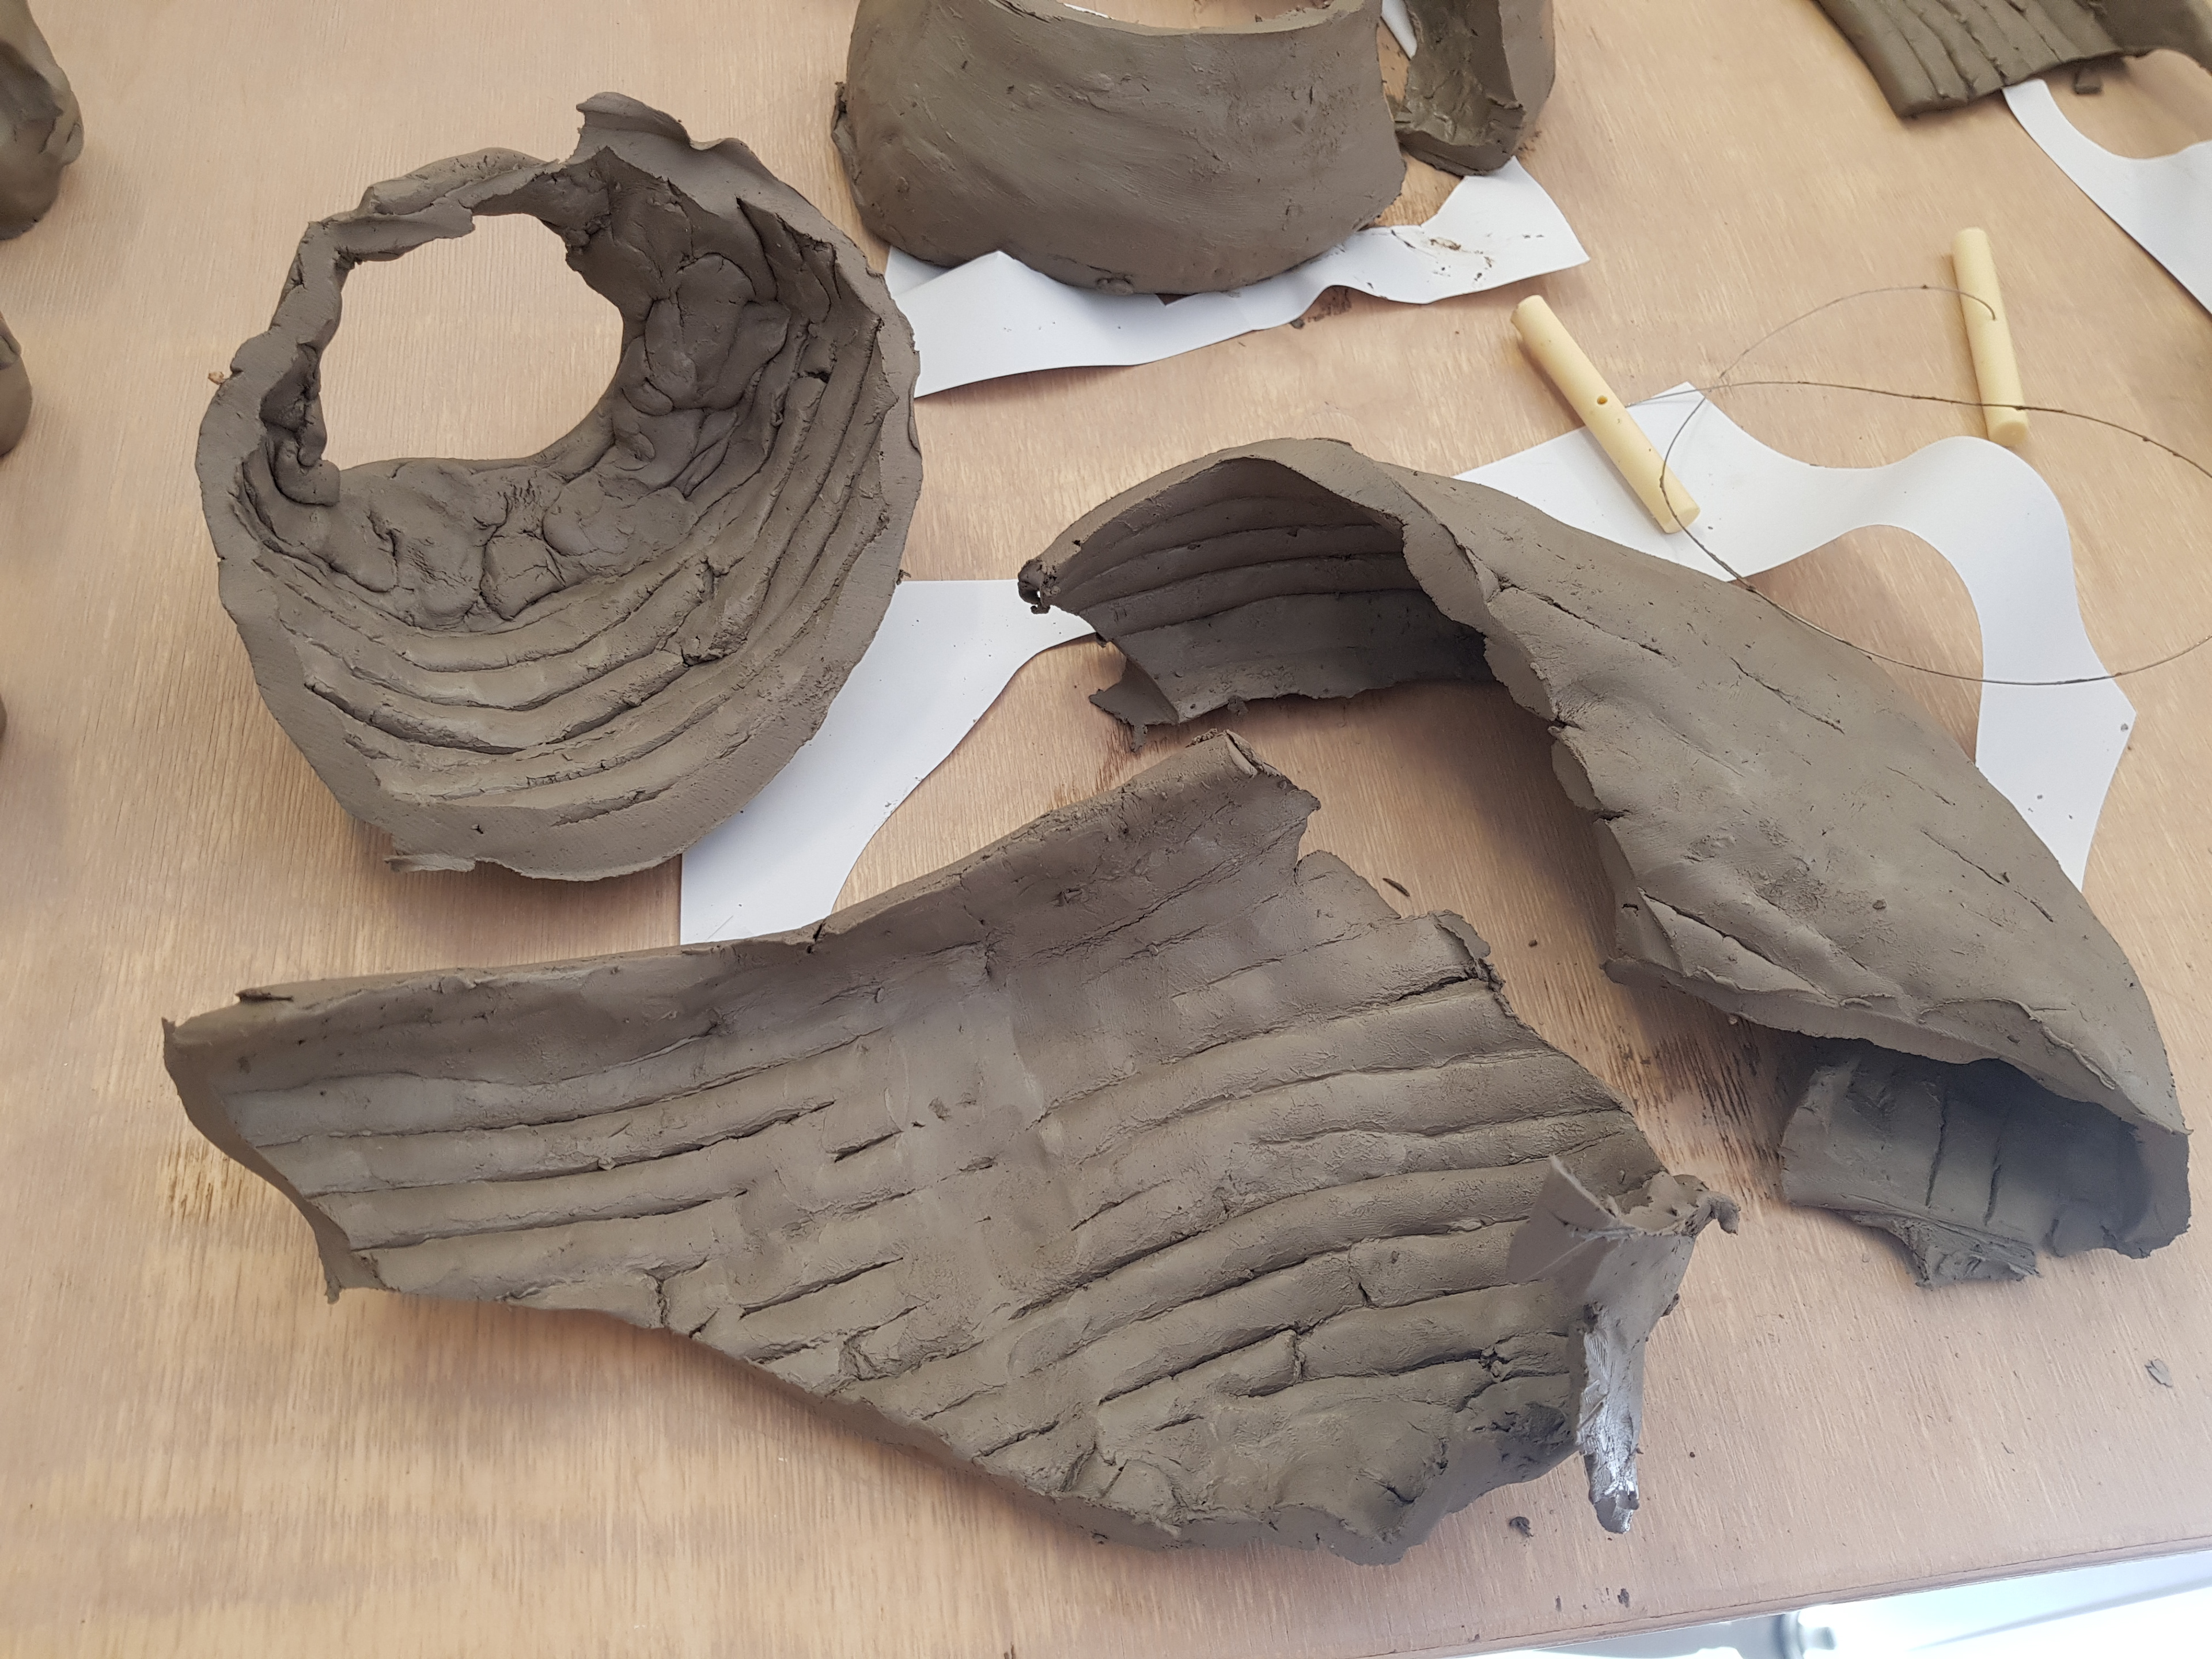
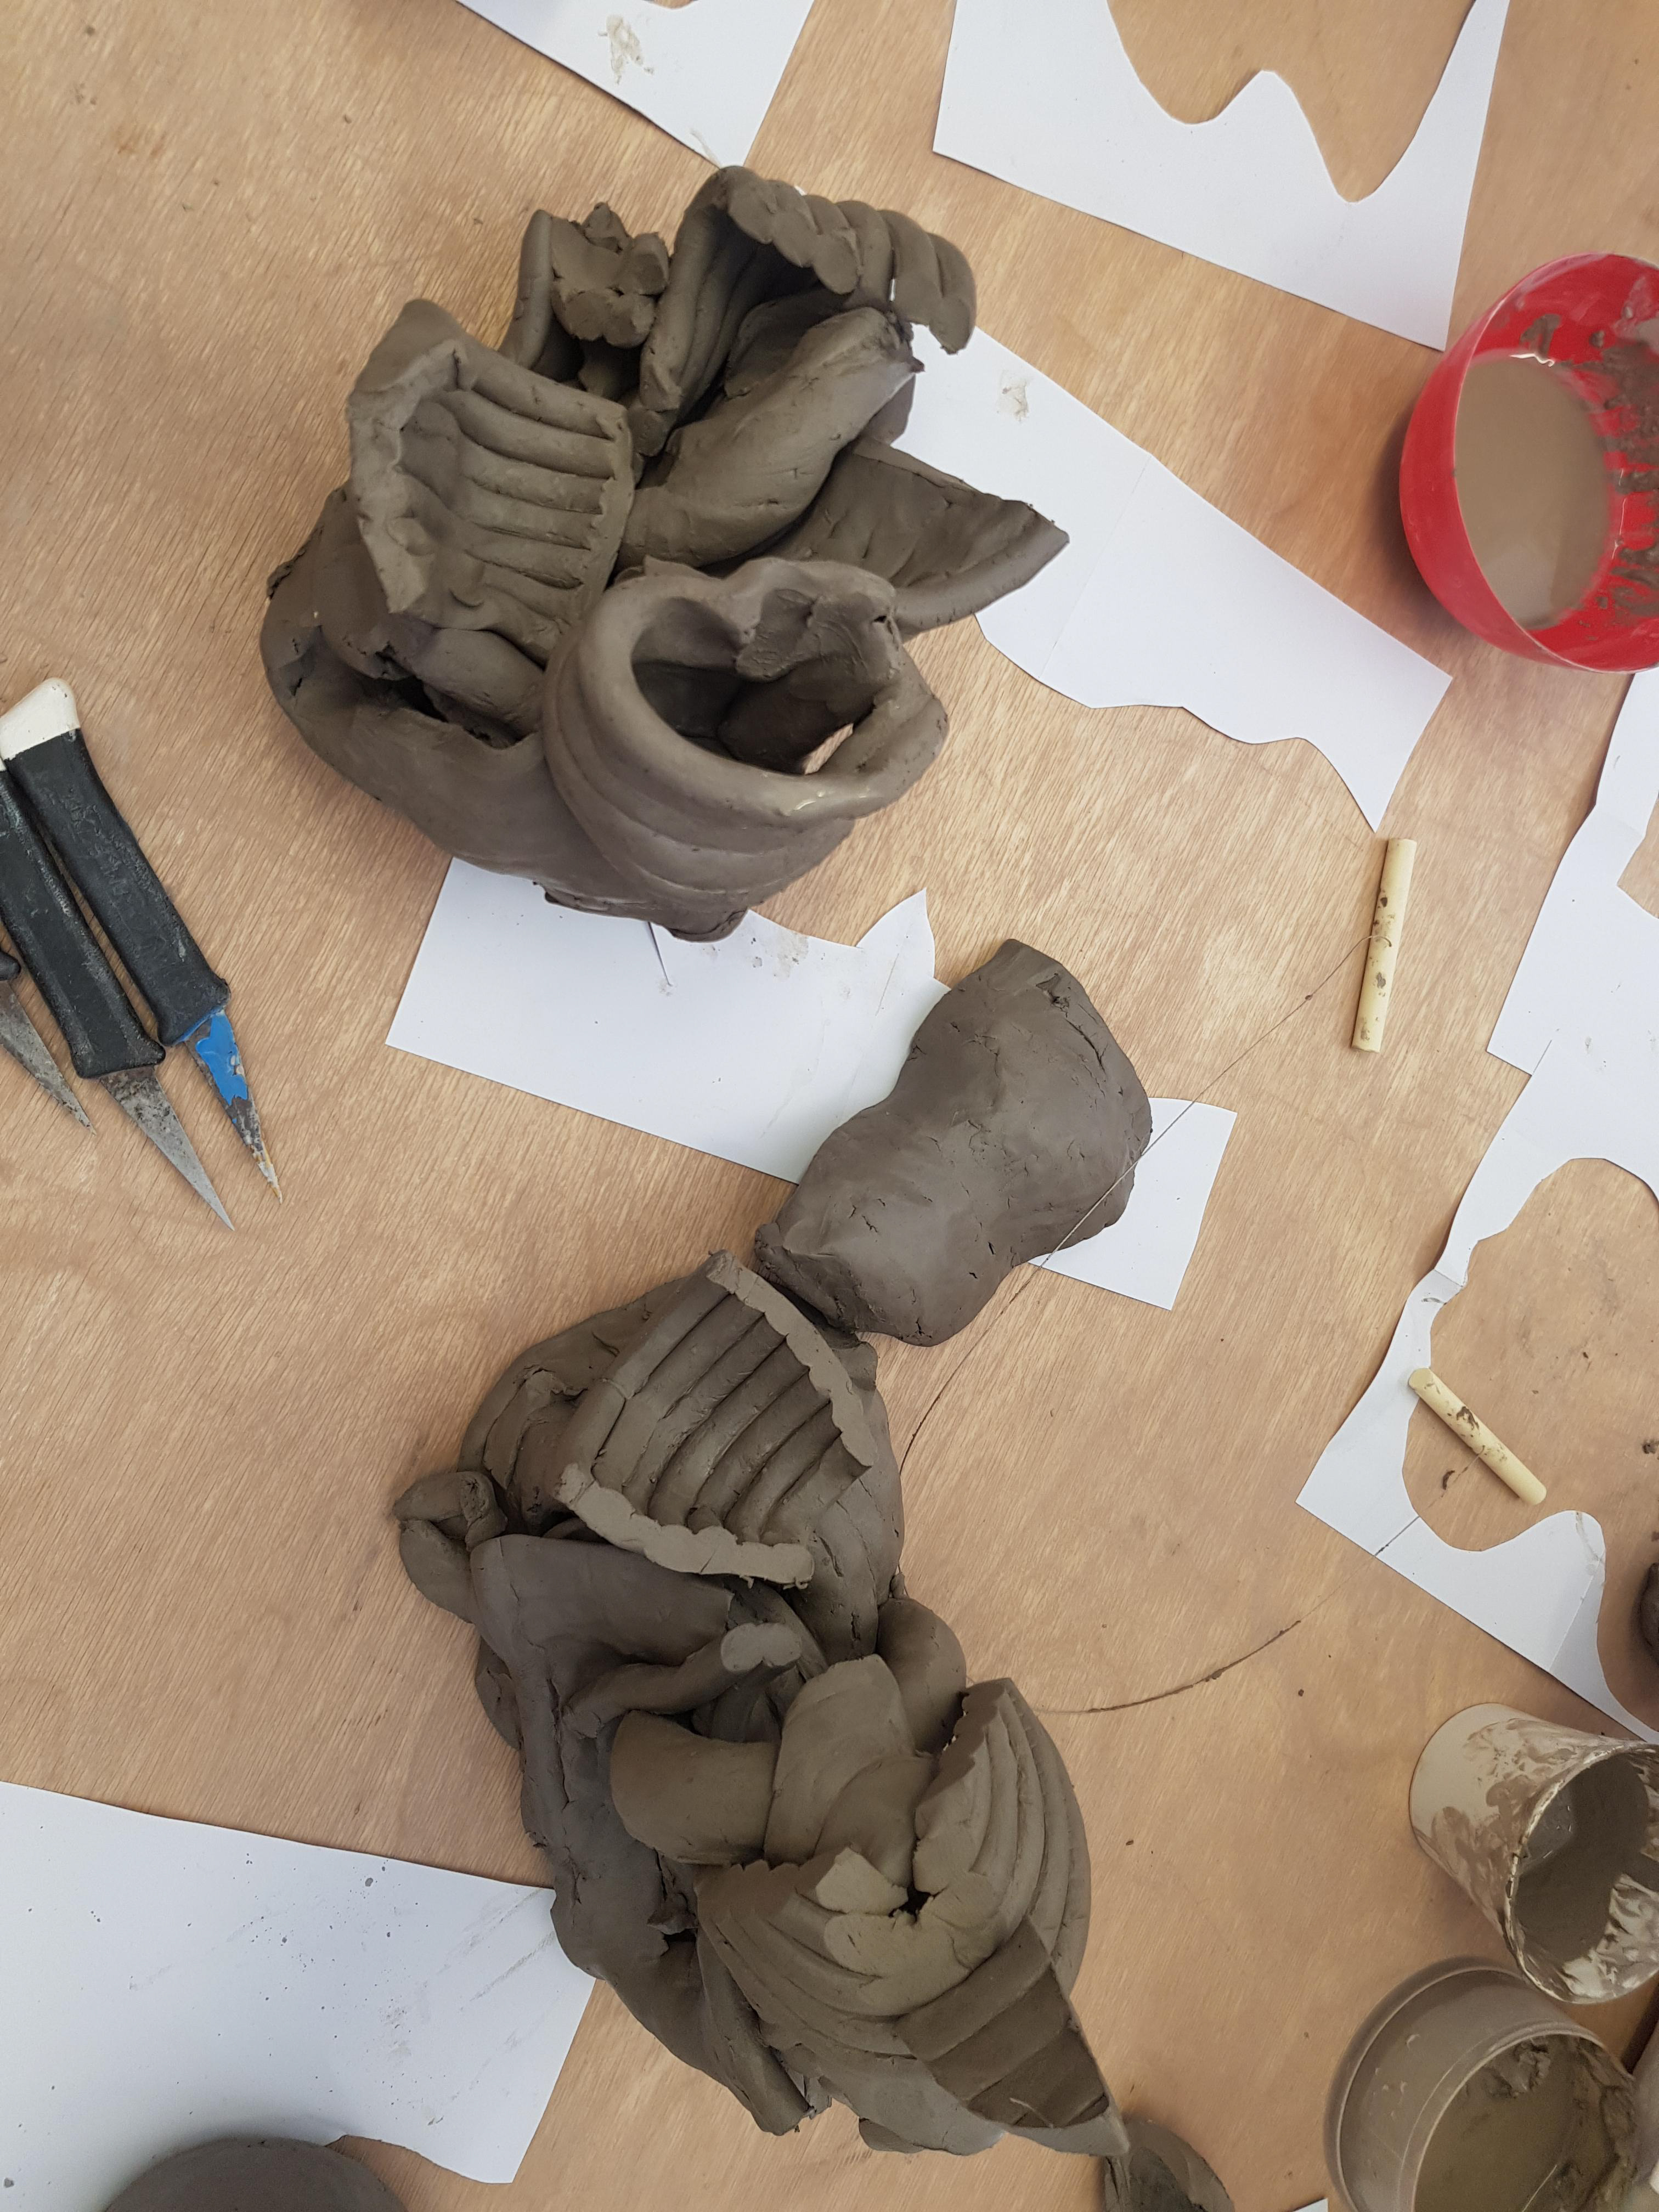
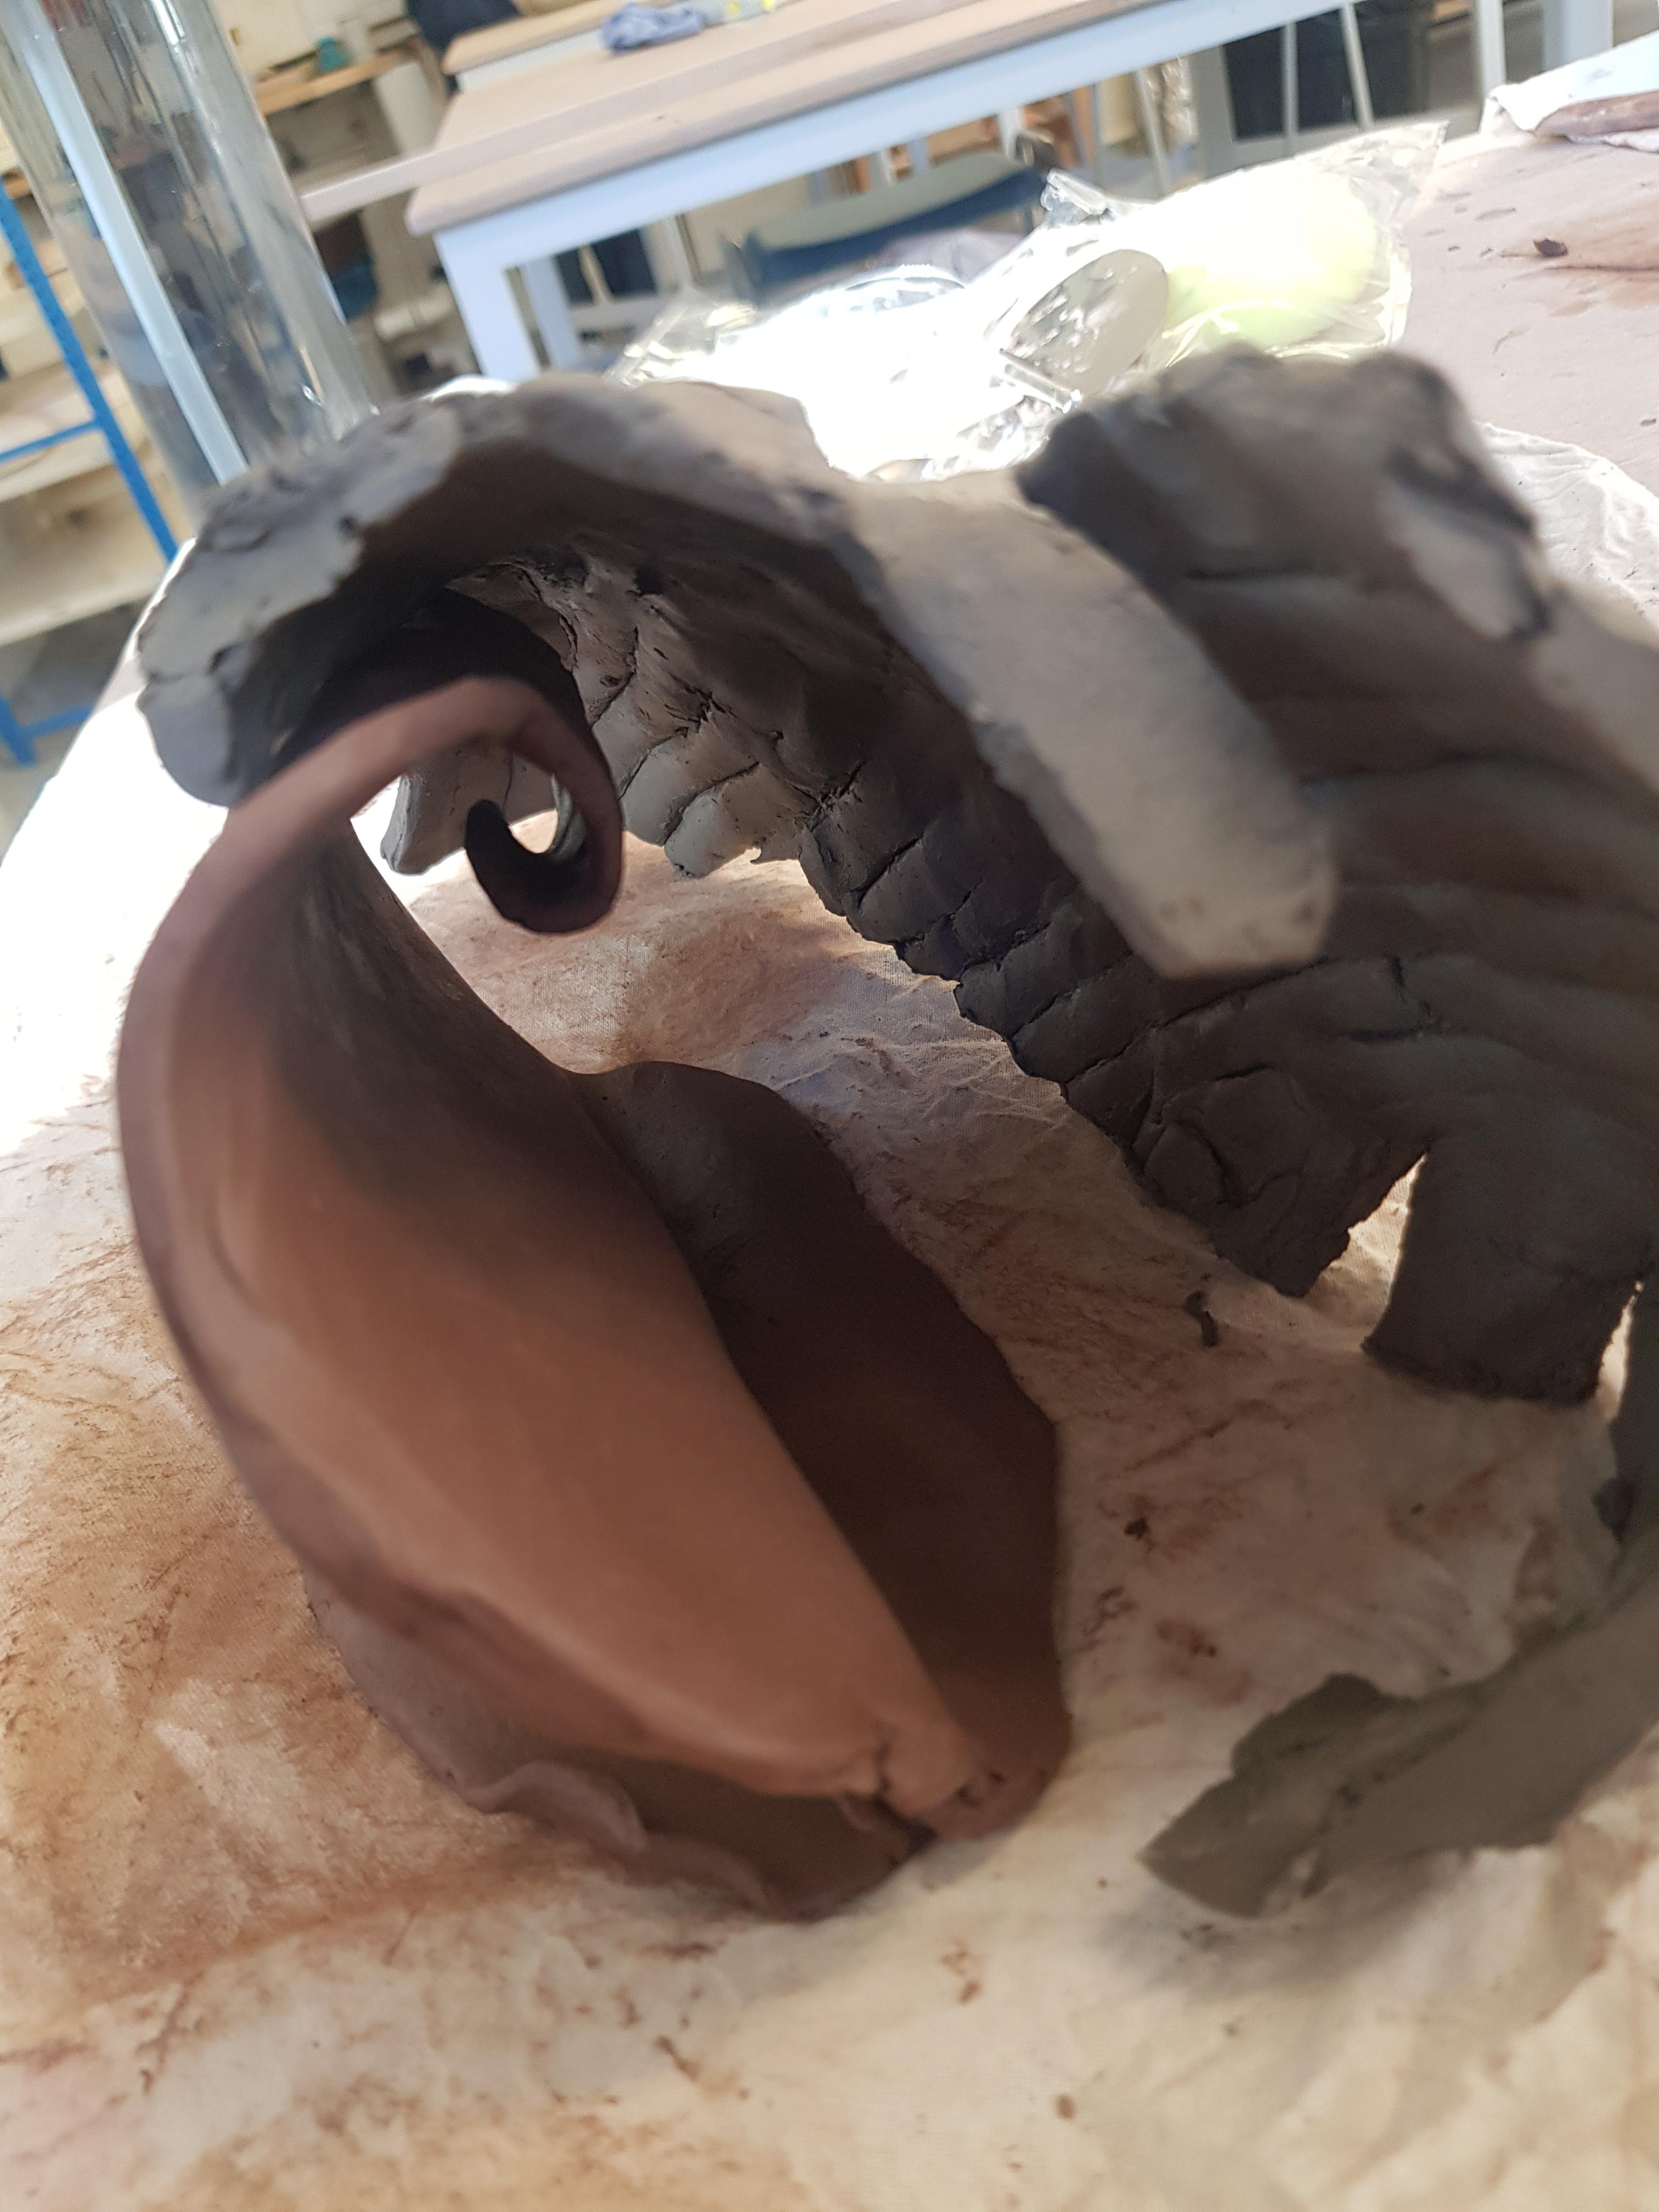
The groups vessels
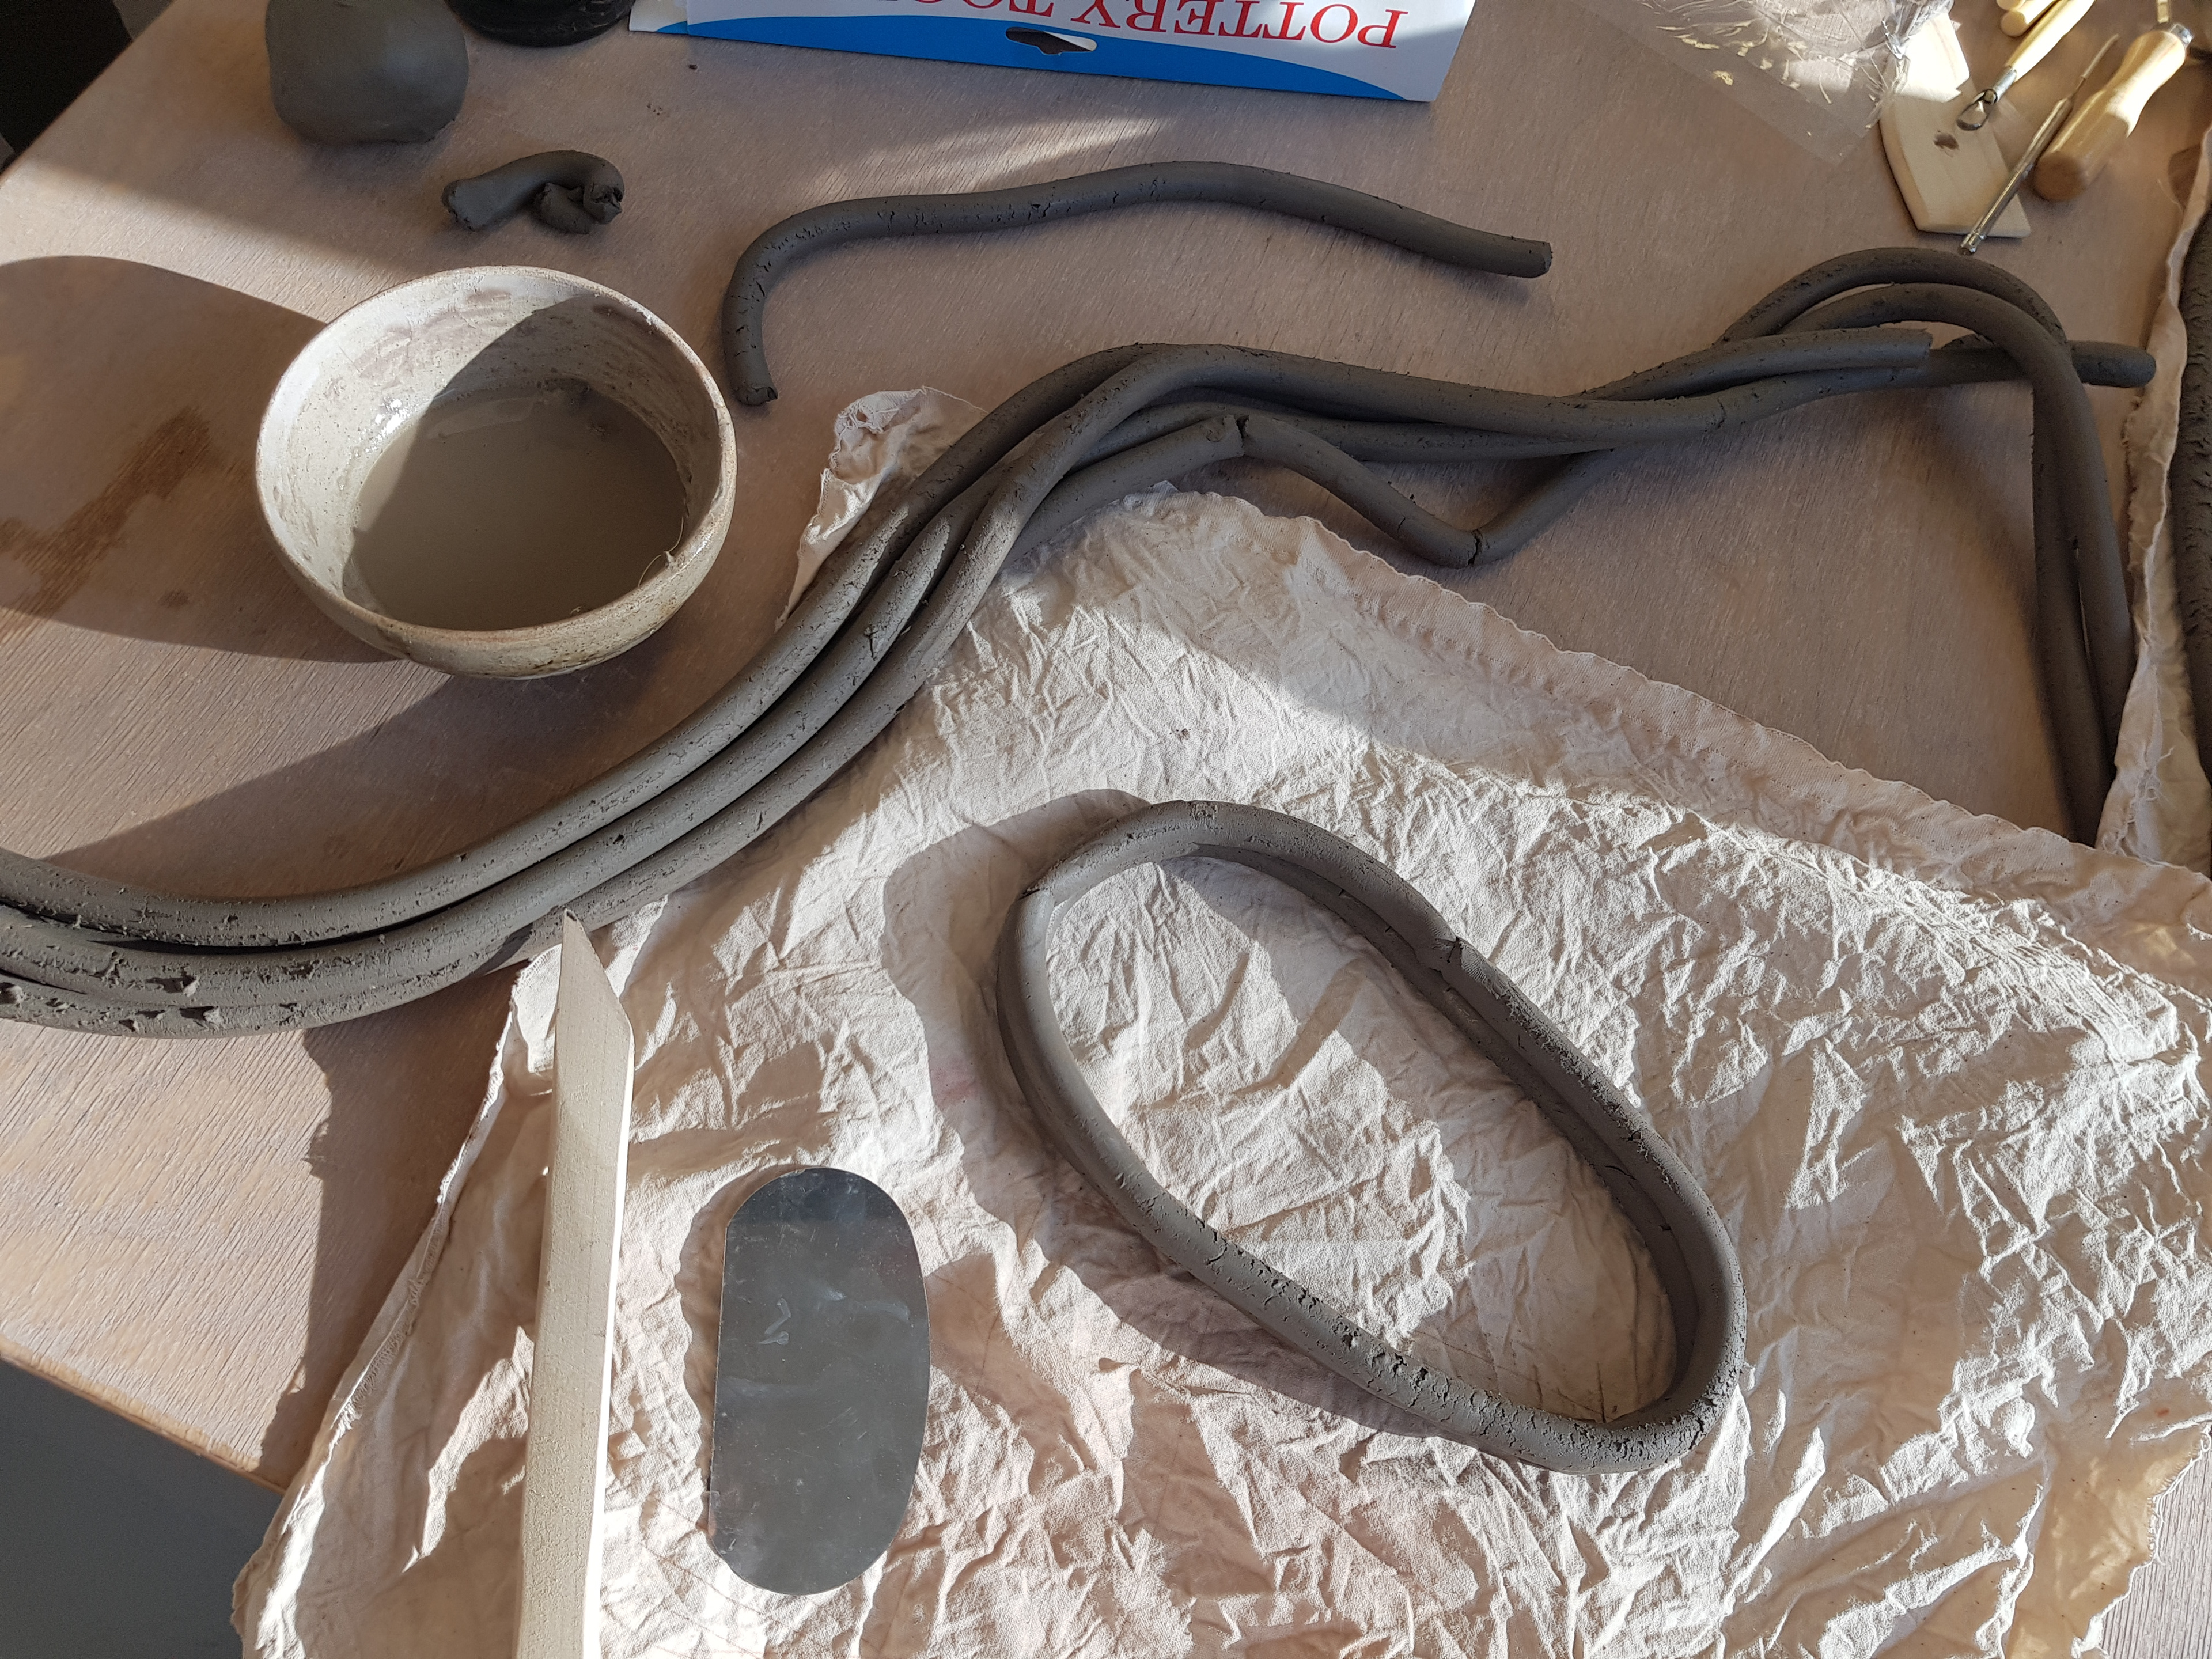
Extruded shapes

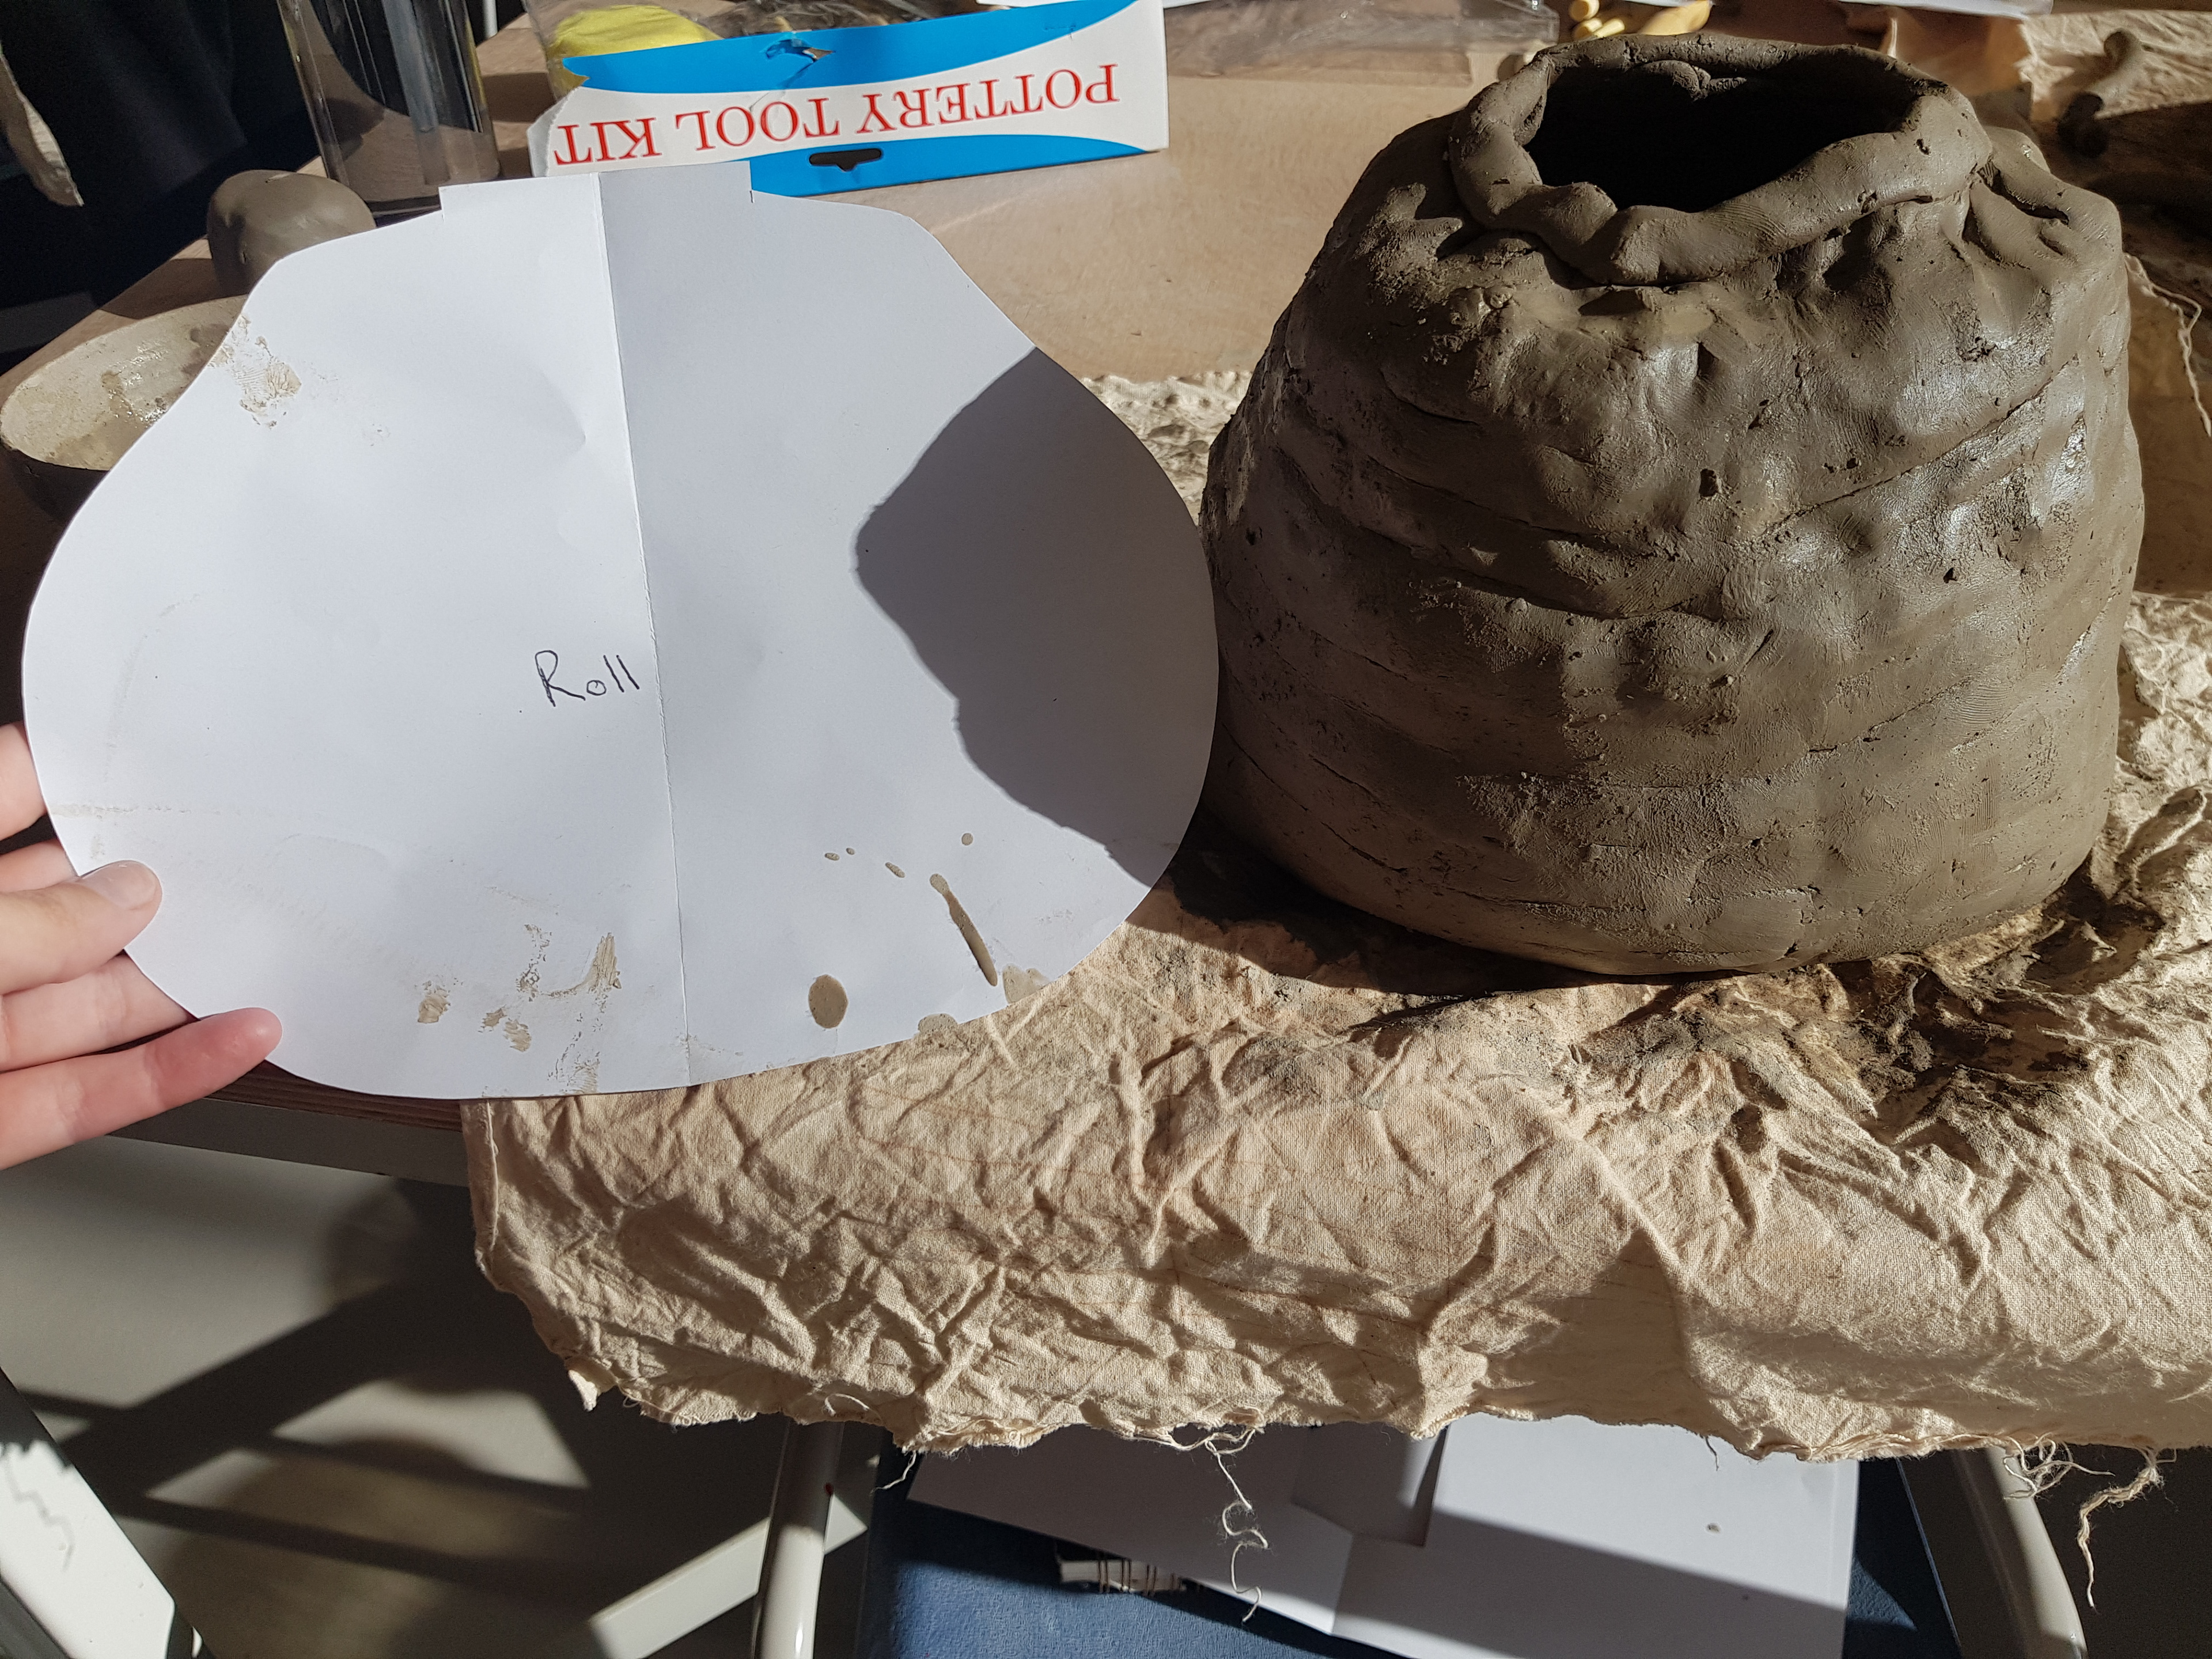
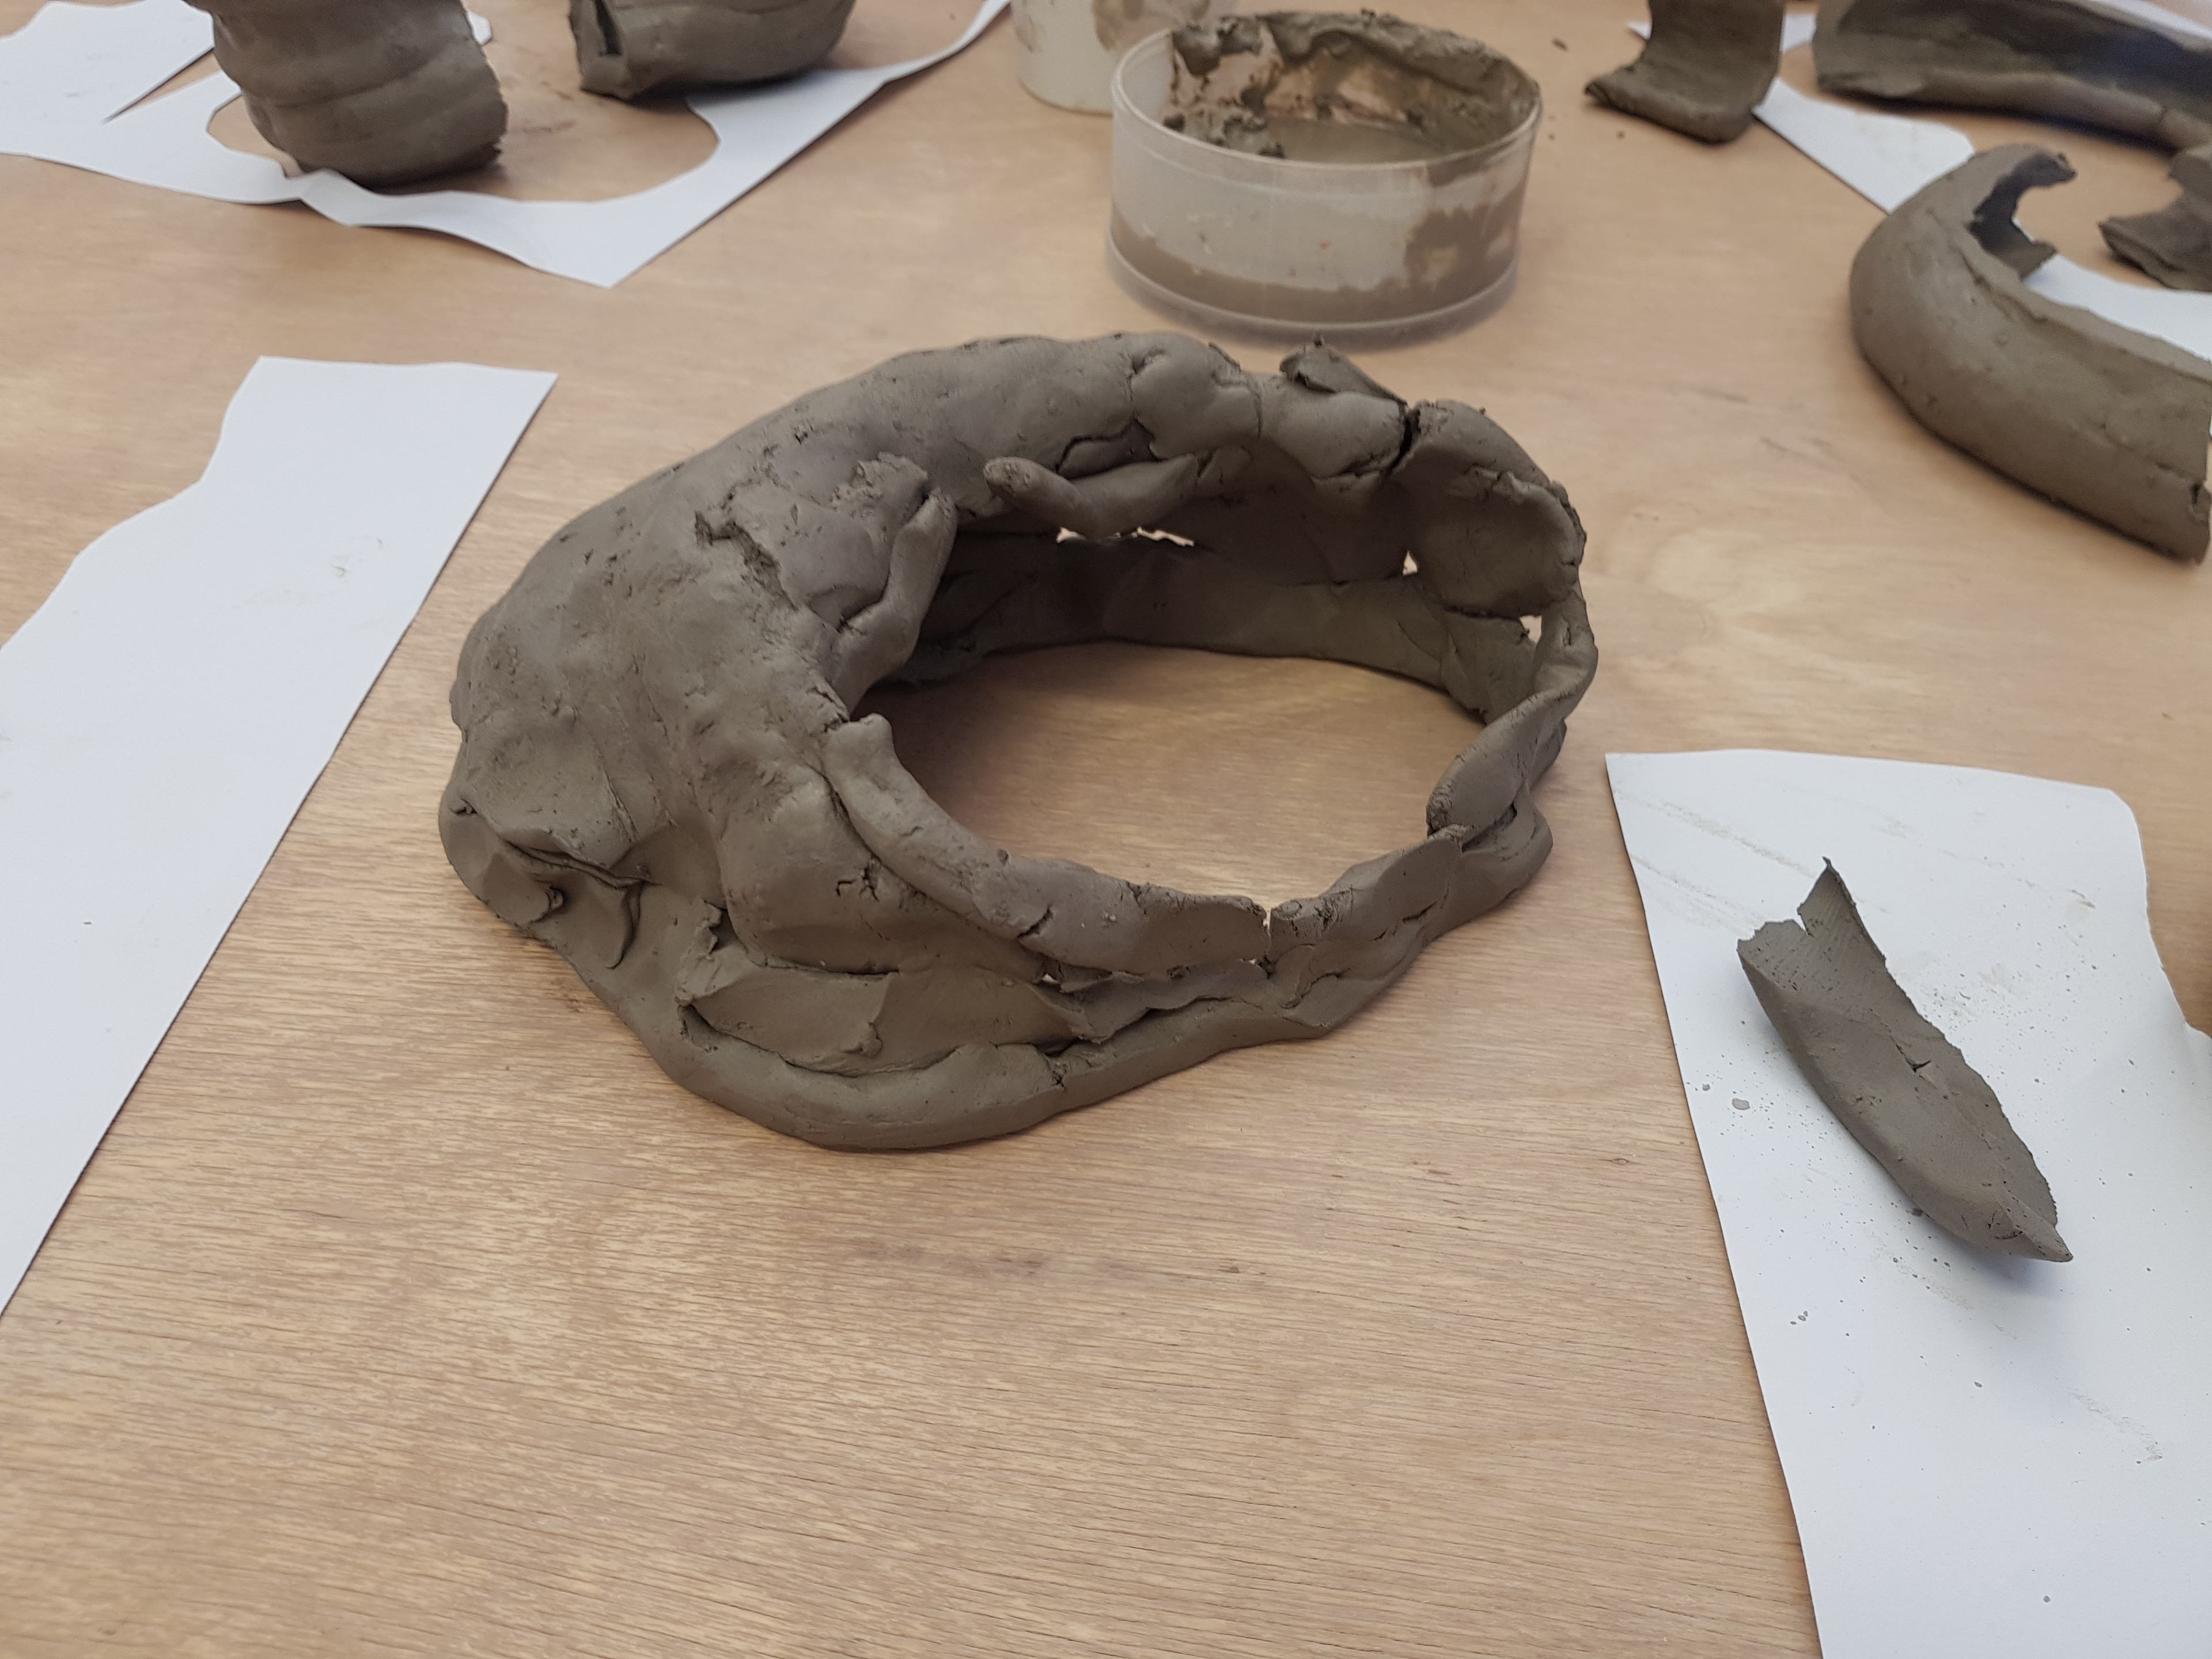
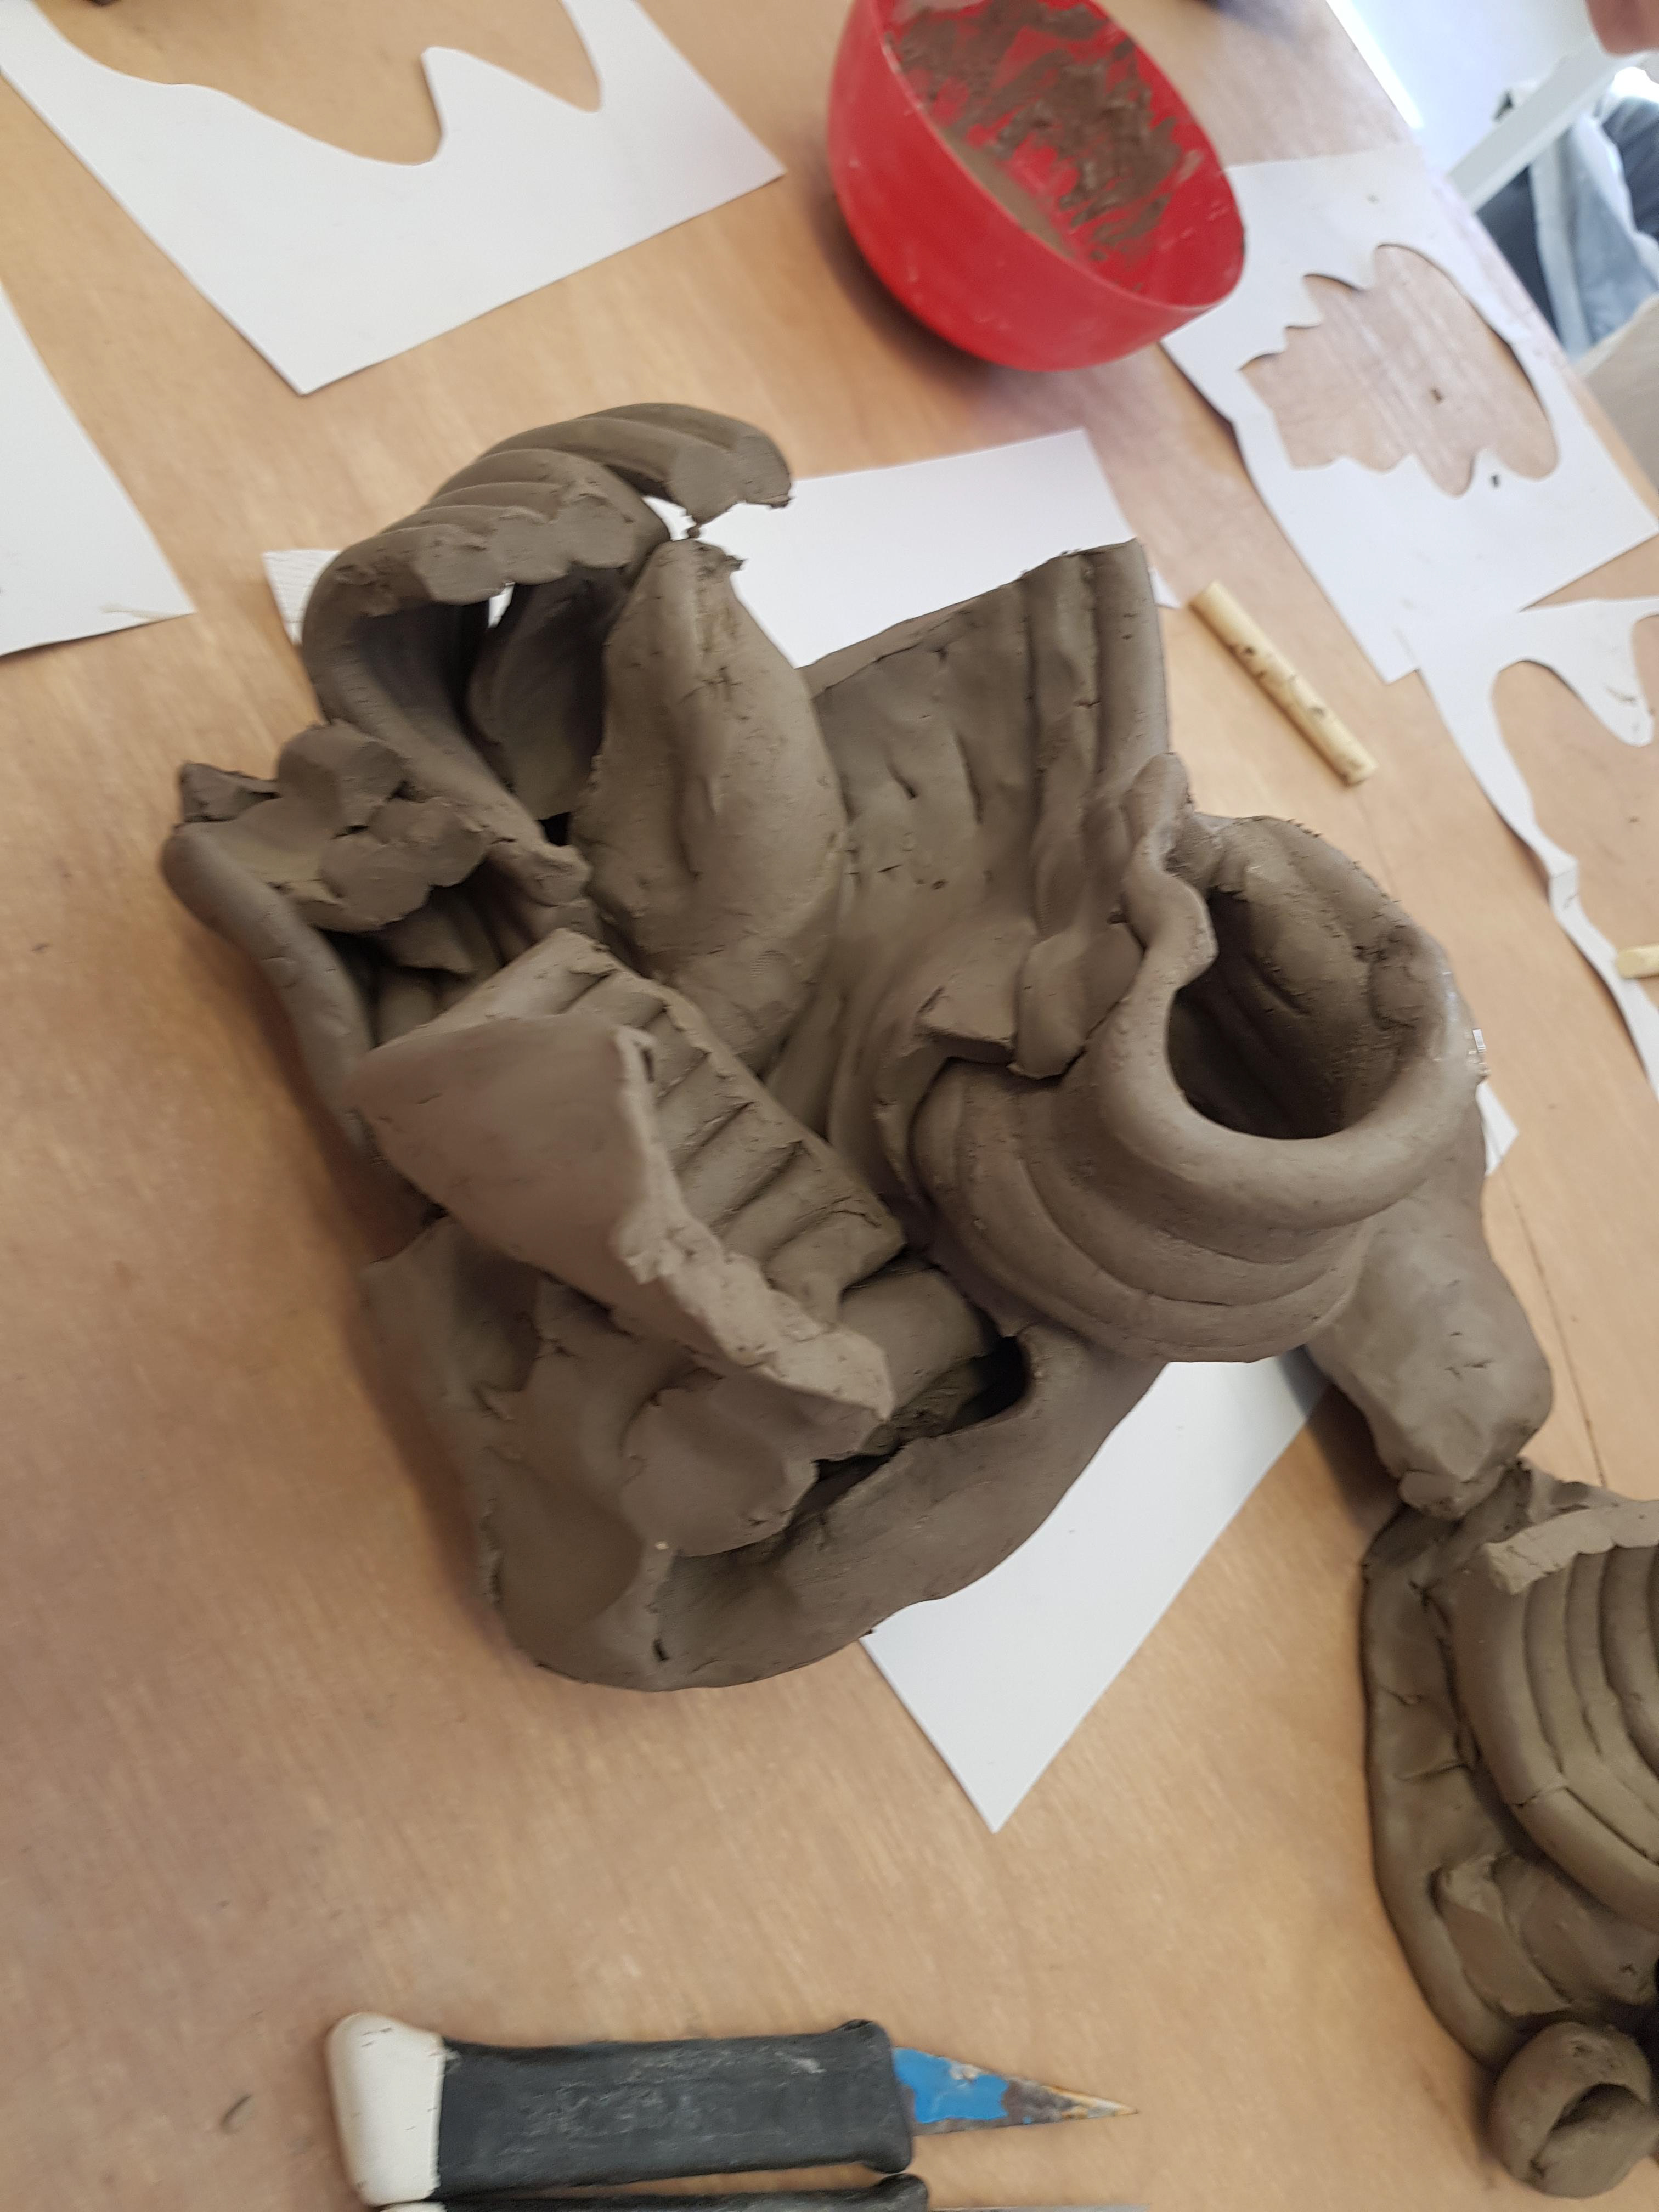
Vessel near the end of task
Completed vessel with the positive image
To create these vessels, we used a method with the clay using the extruder. We got inducted how to use the machine and then went onto to create long tube shaped pieces. With these pieces we layered them up and smoothed them out using my fingers and the kidney tool, then I combined them to try to create the shape of the vessel from the cuttings.
Overall, I wasn't happy with how mine turned out, as it could of been more sturdy and smaller so that it would of been easier to handle at this stage, due to not having experience in this process. I did learn the basics of this method and can take this into potential future projects.
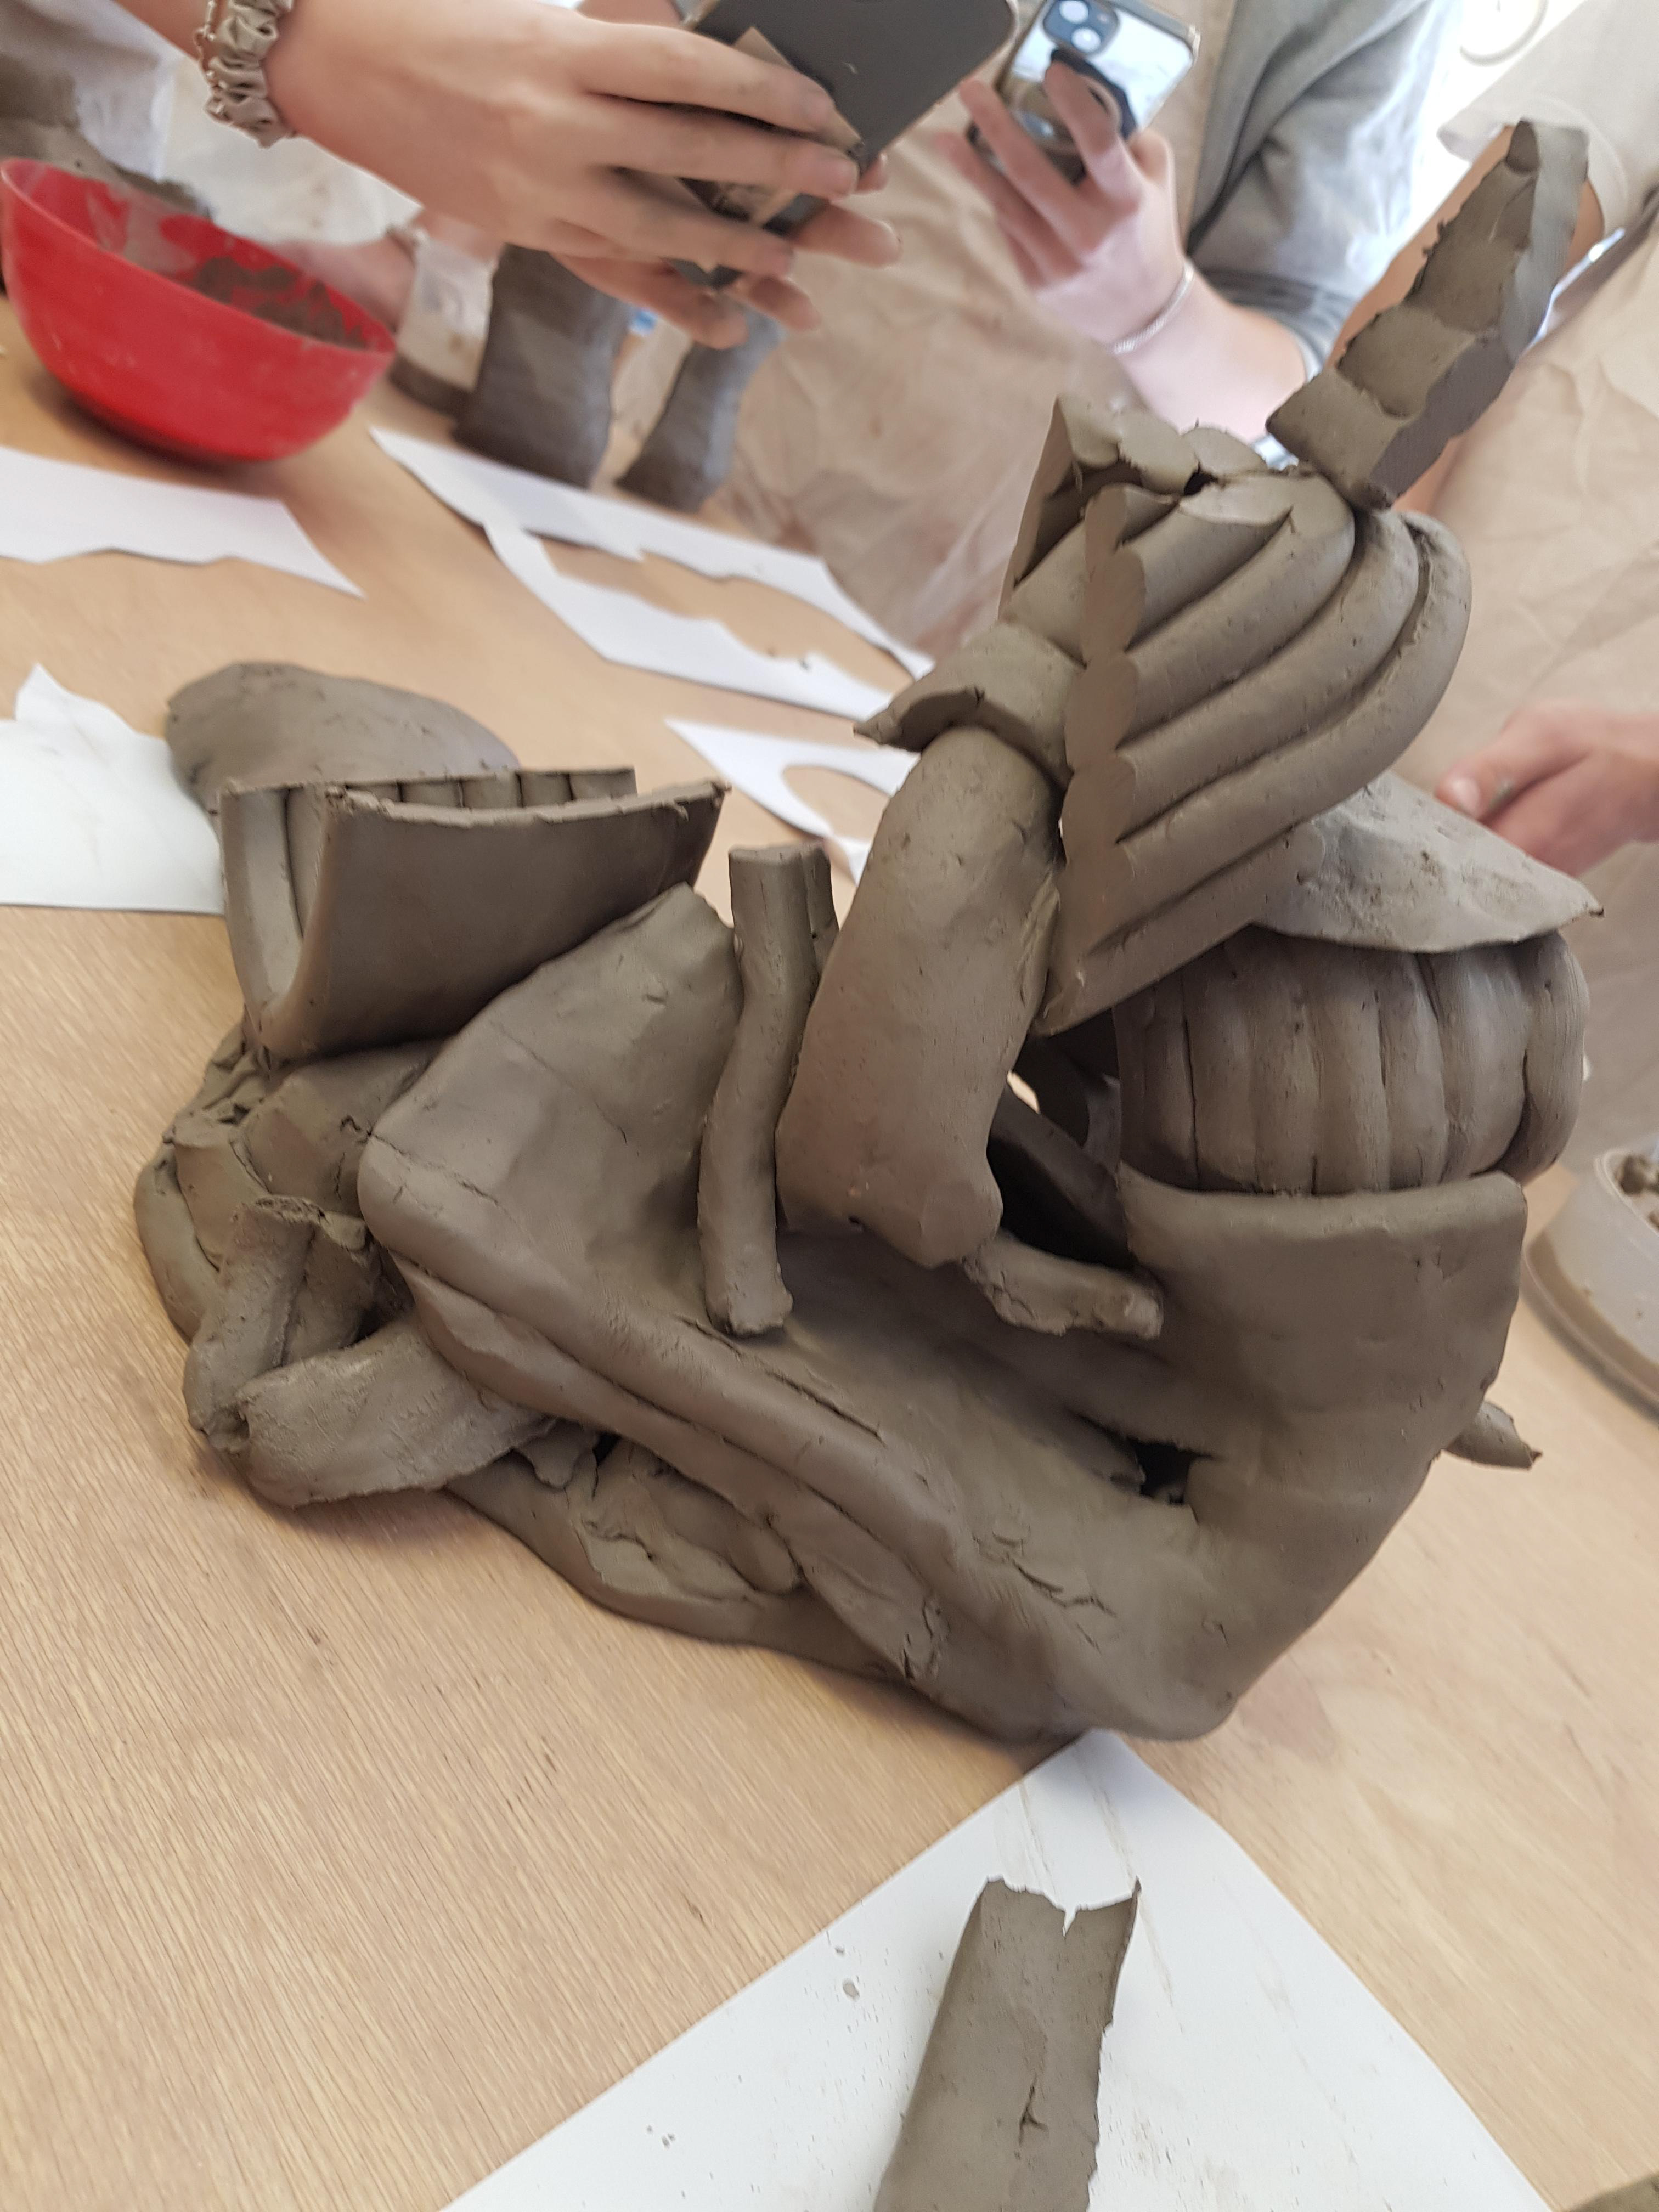
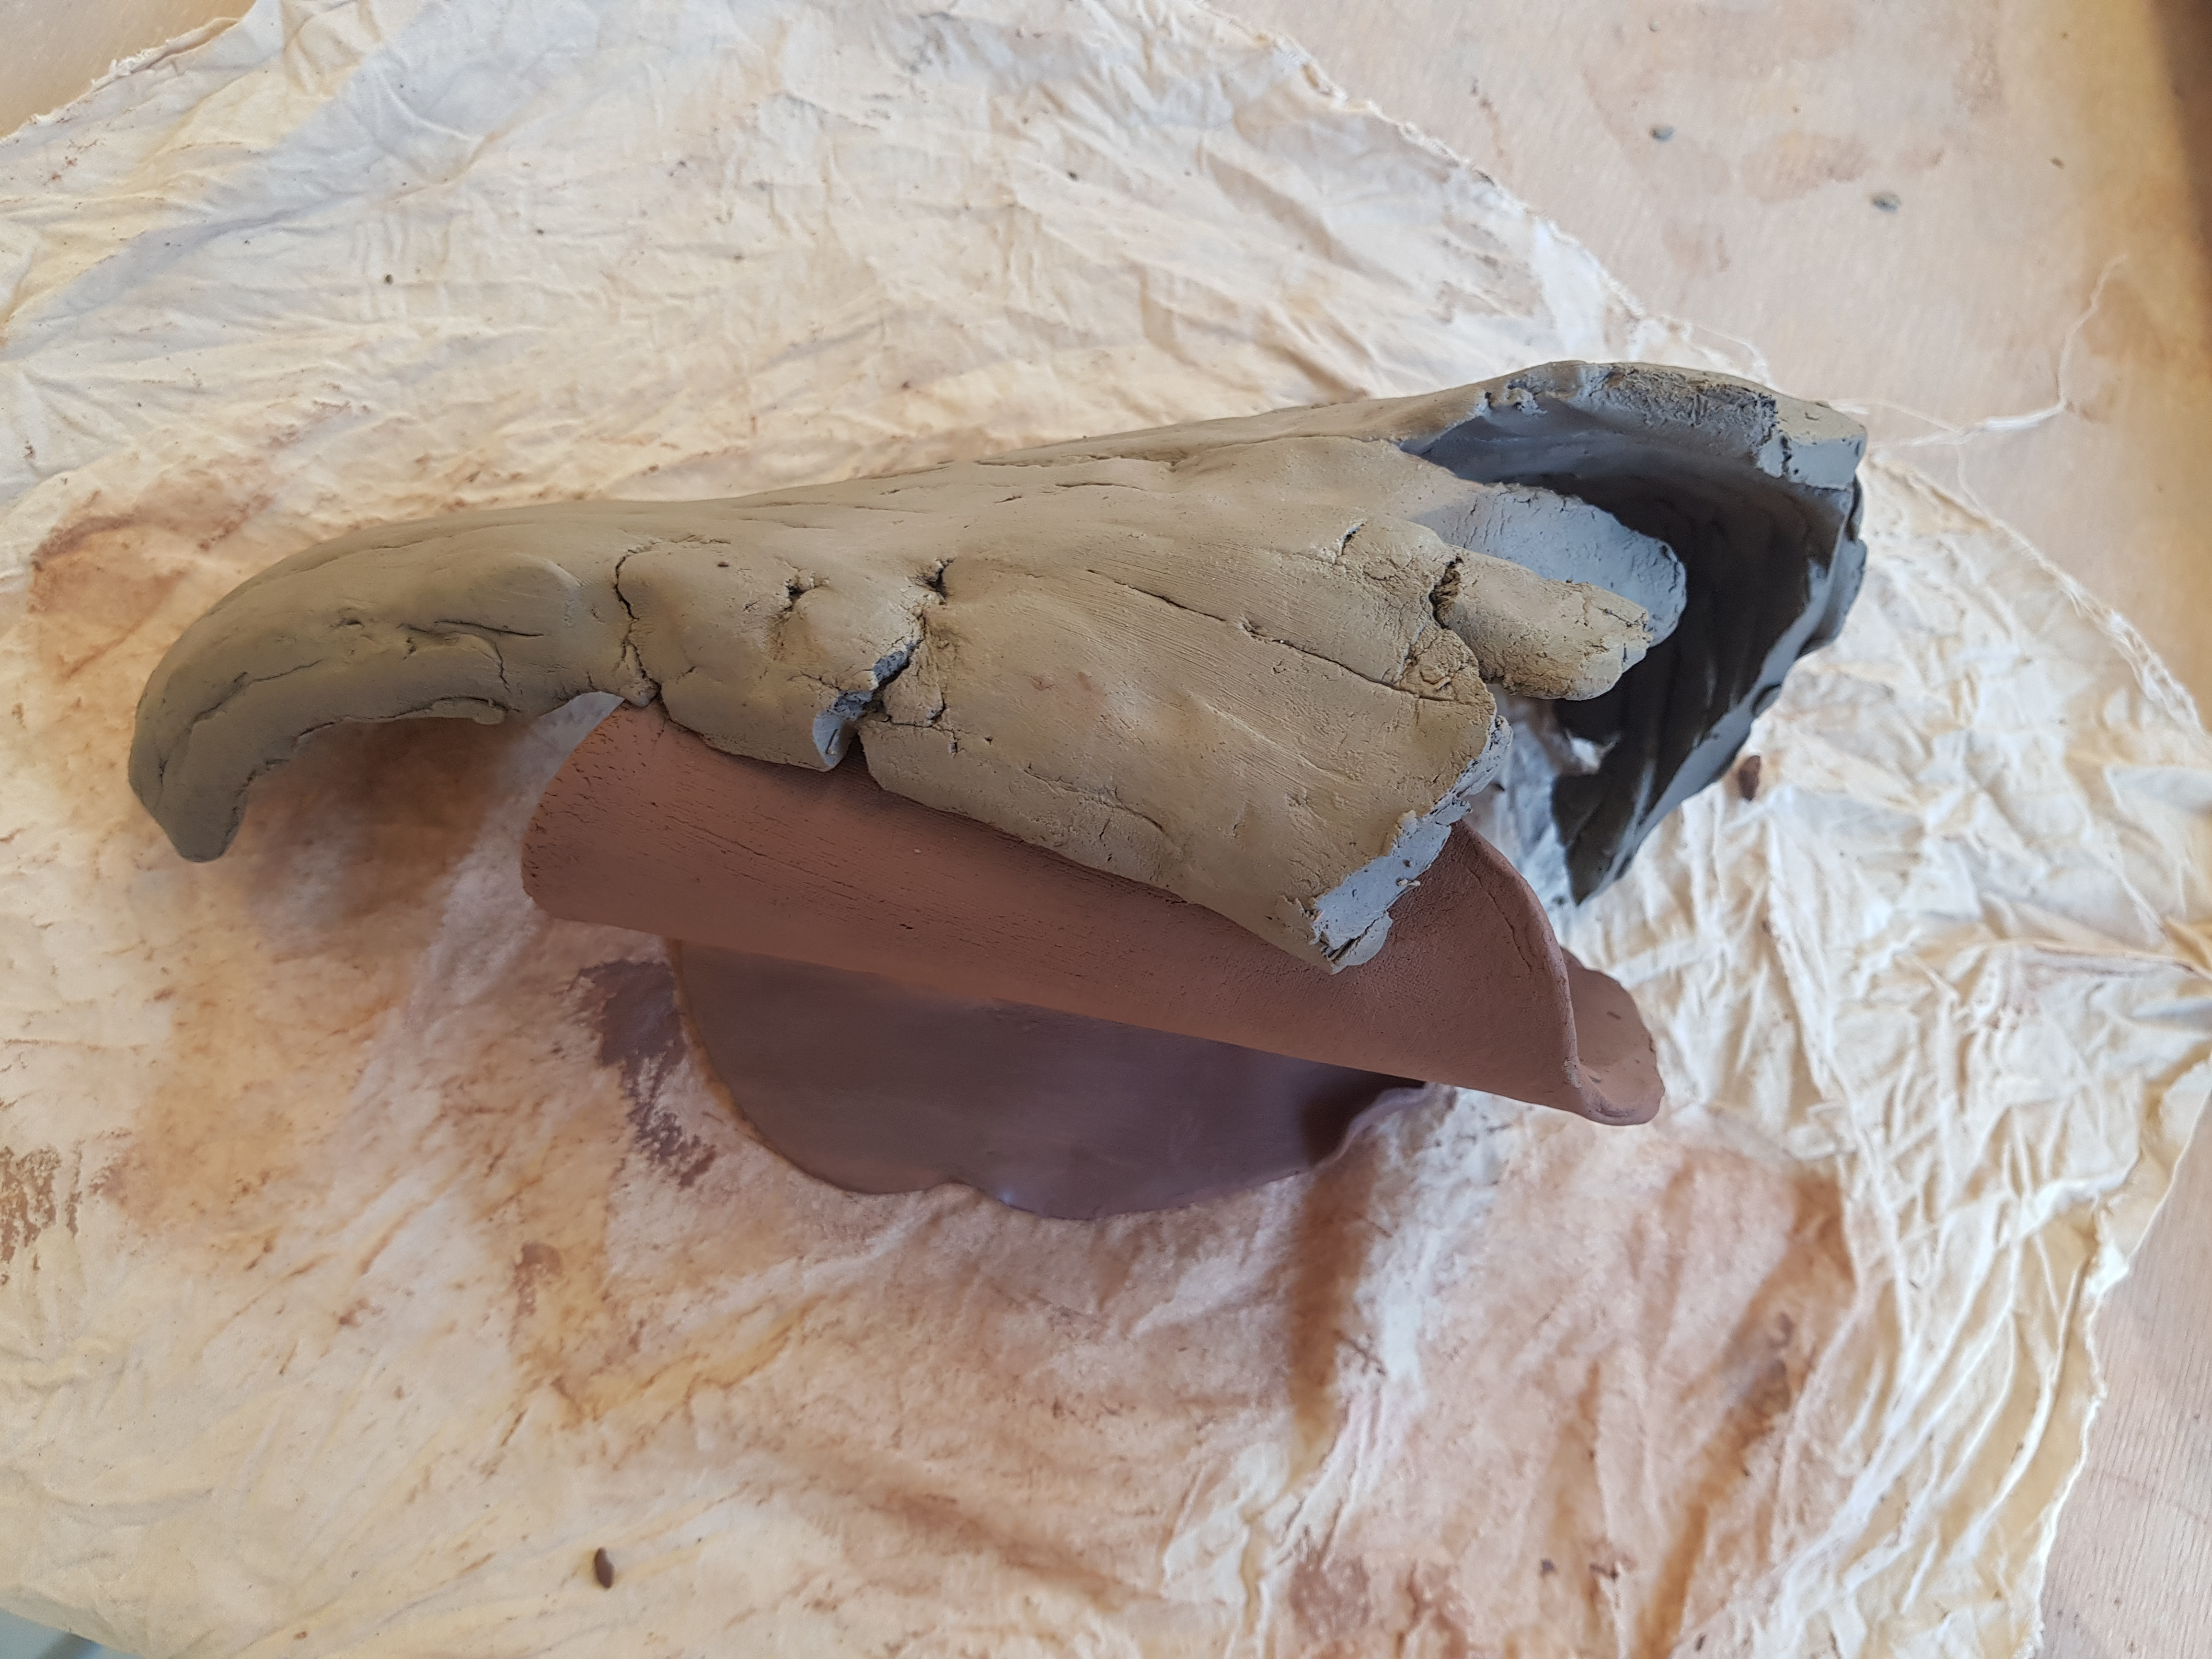
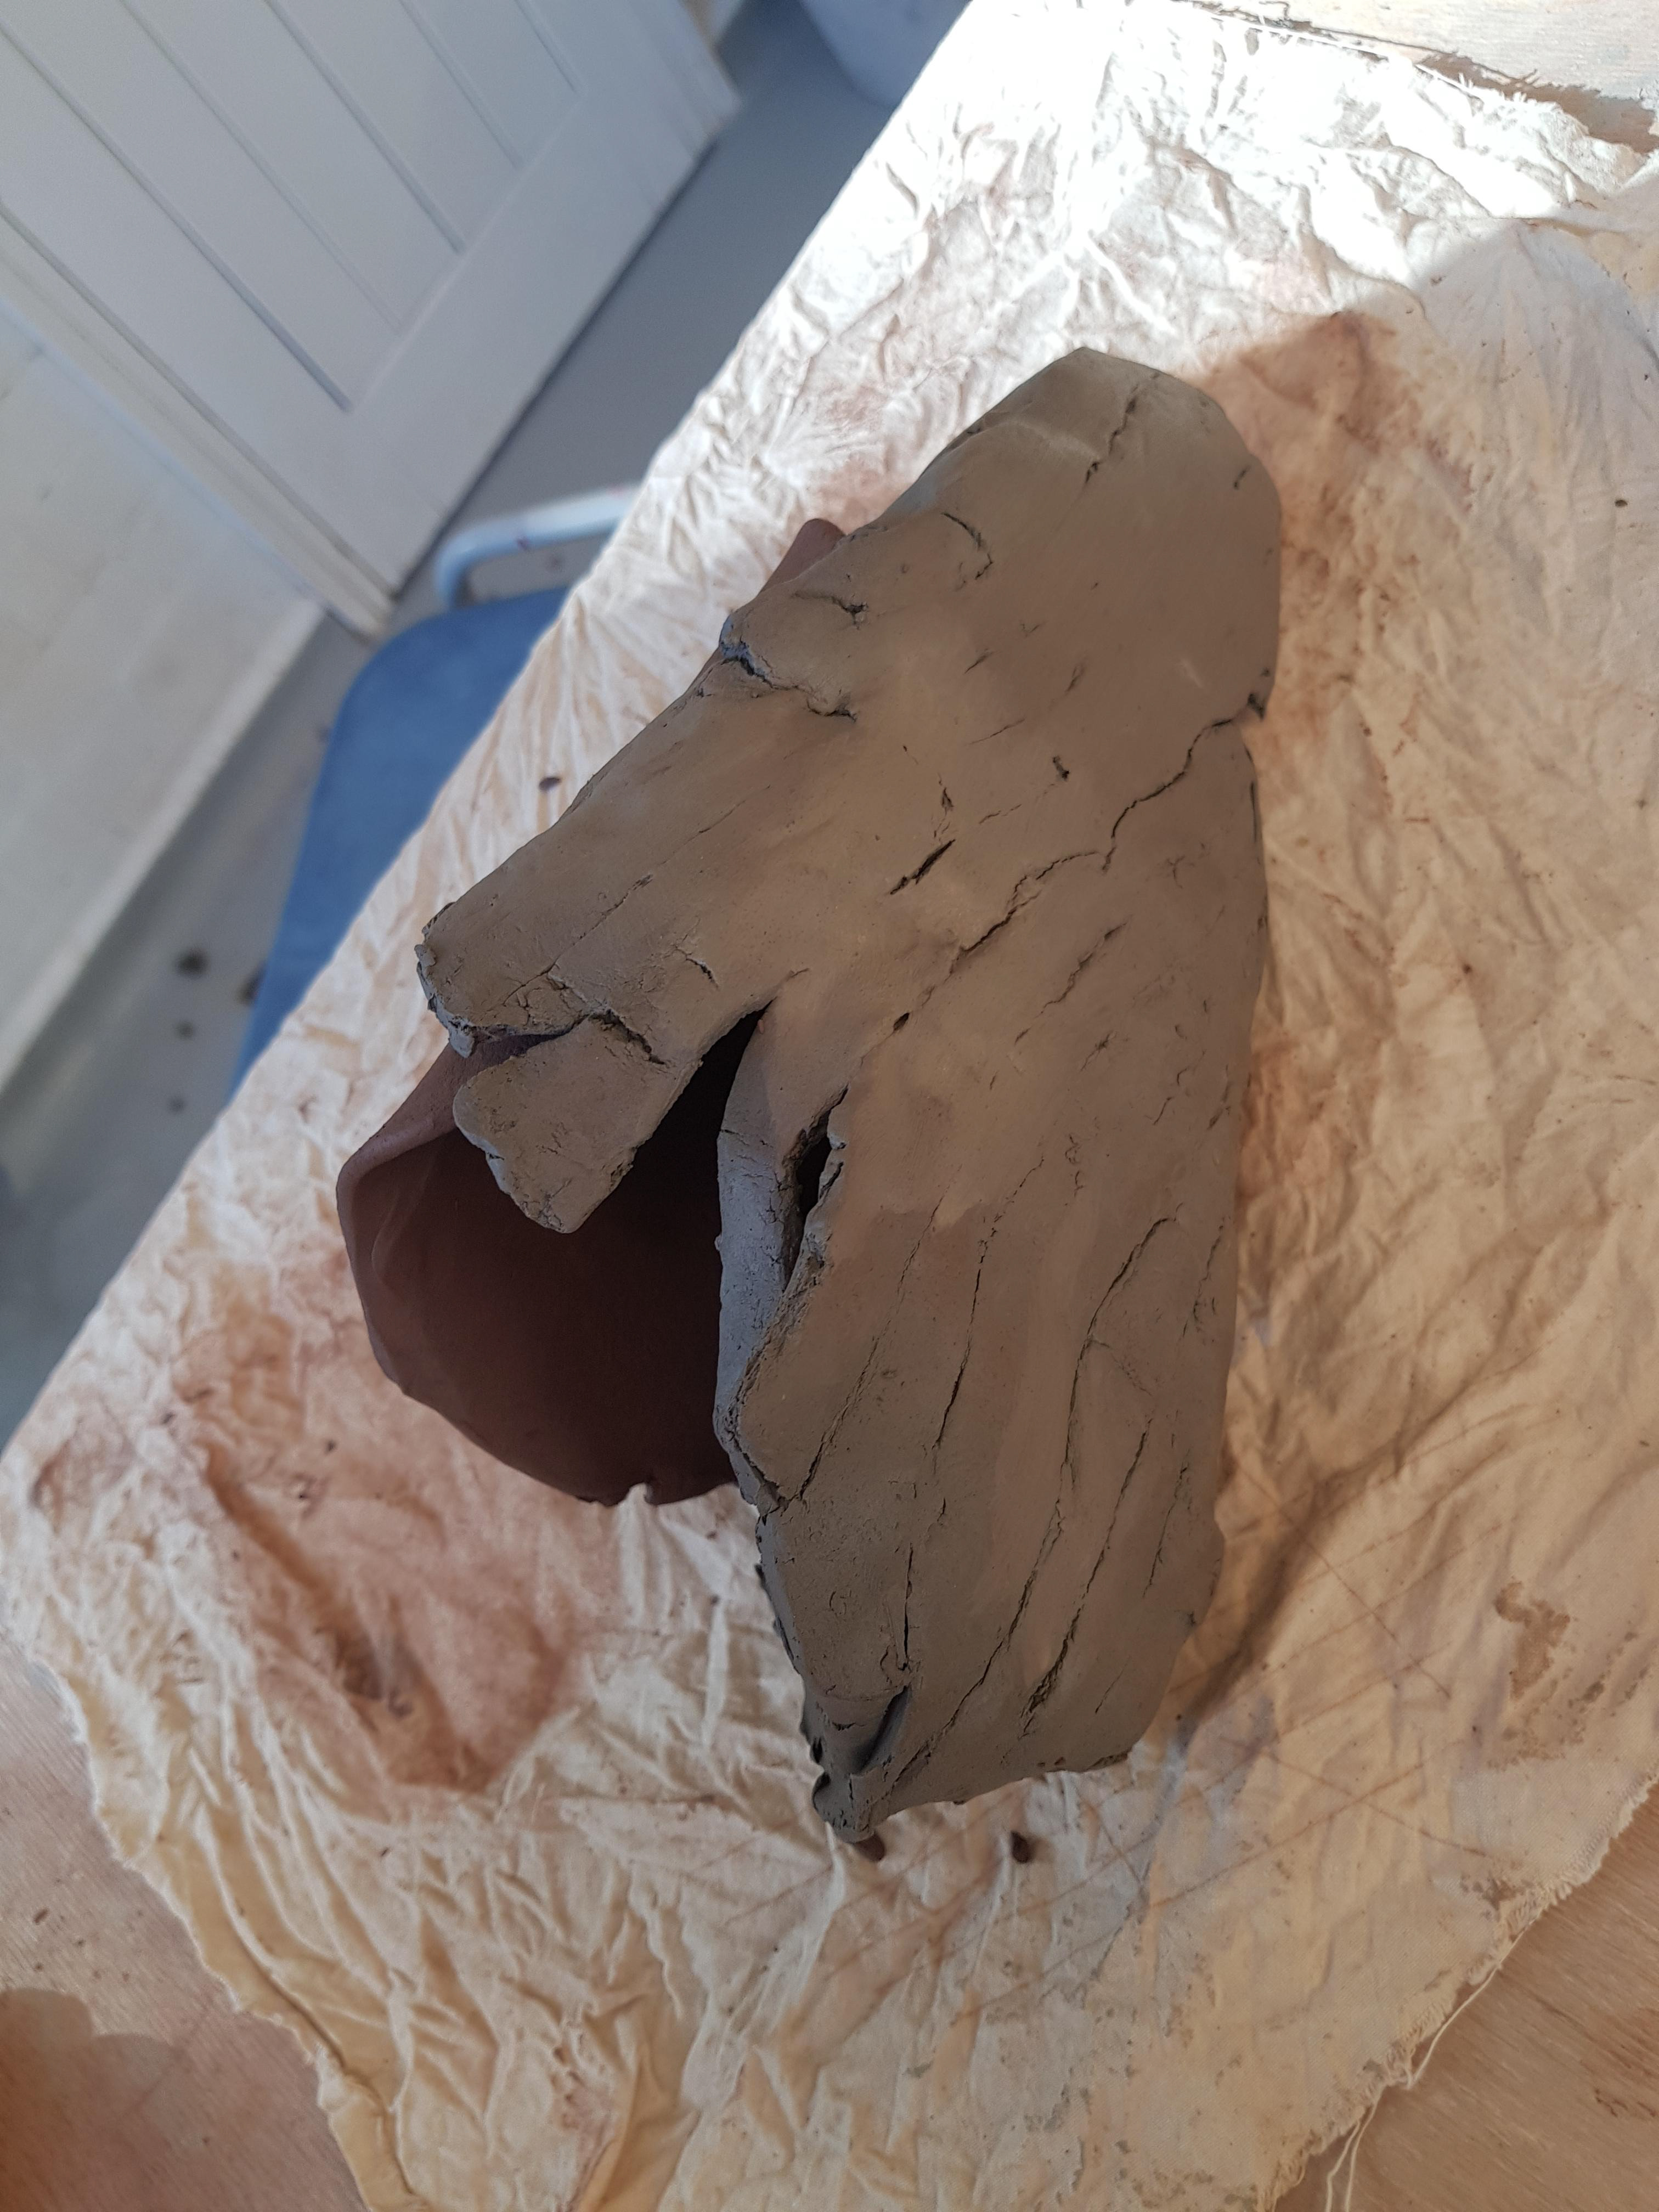
Once the class had finished the vessels. Mark then asked us to cut our vessels into three pieces. As a group we combined them all, keeping our favourite piece from the vessel to the side.
Next, we were set the task of creating a companion piece for the part we had saved. The piece I had chose was quite delicate and unstable. To me, it also slightly resembled a hand, which of course is apart of a human. For my companion piece I created something which would support and hold the 'hand' up. From this, to me, it resembled how in life, having a companion or someone to support you is important and sometimes needed.
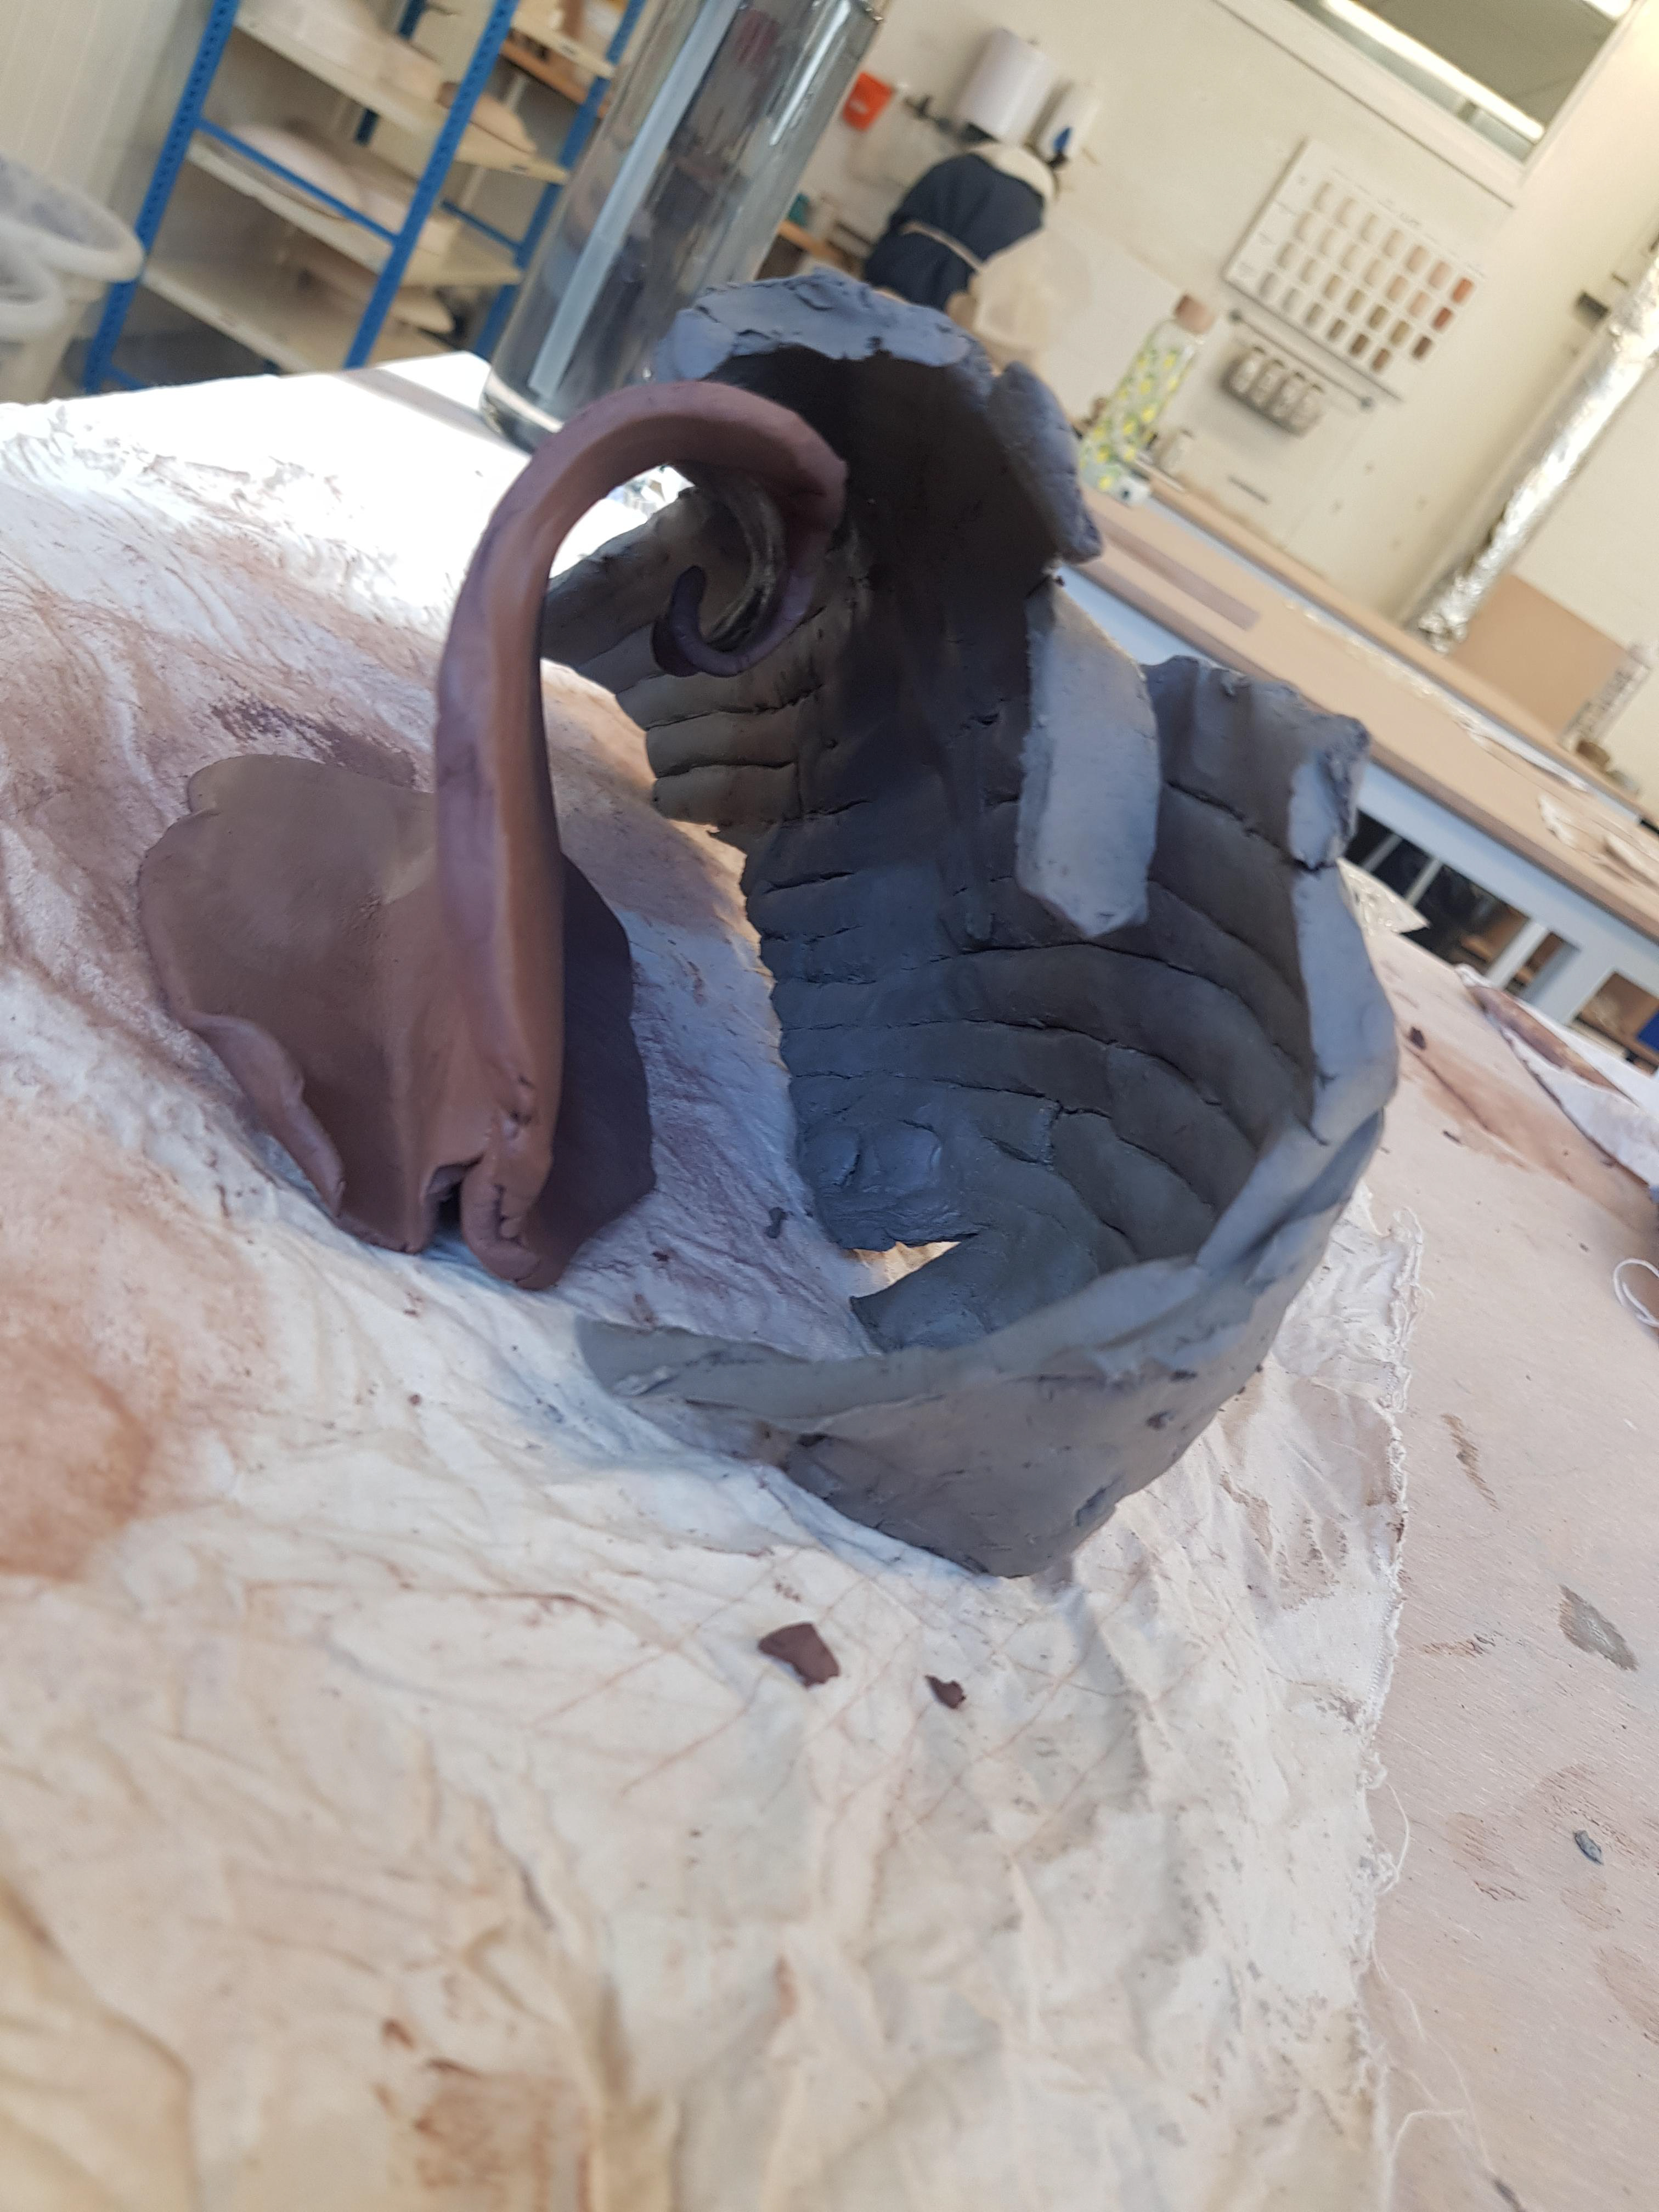
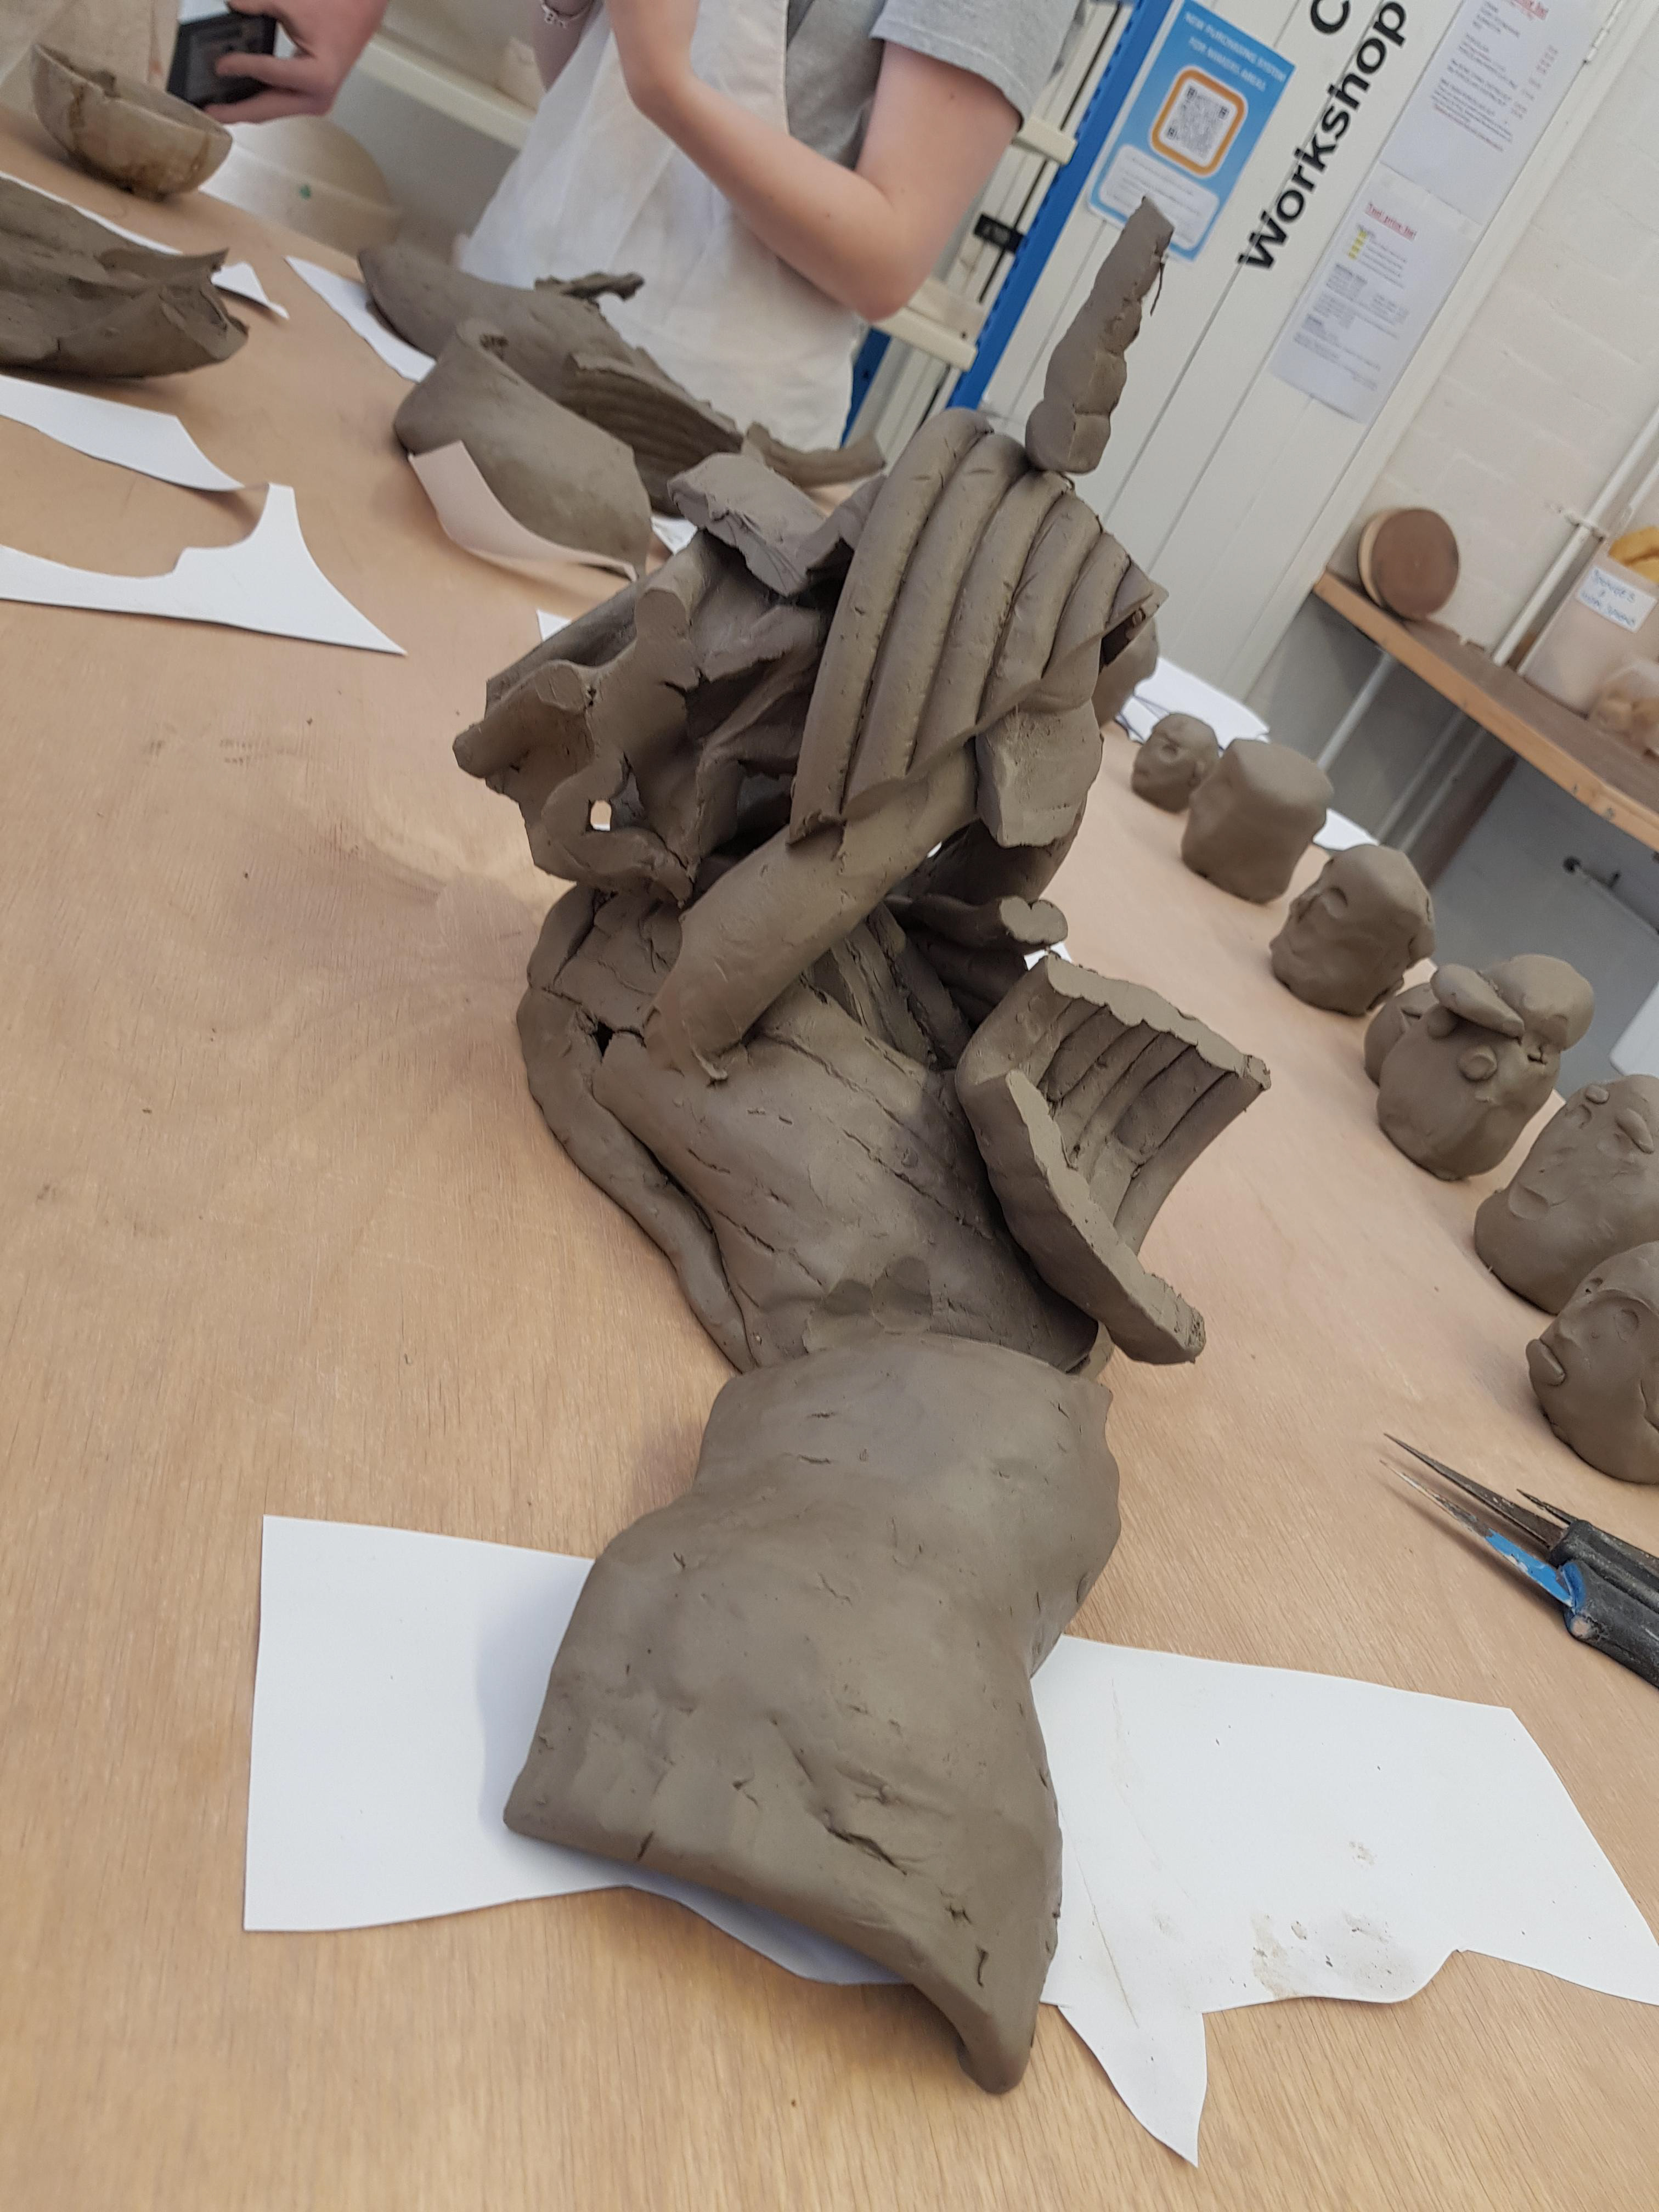
Here you can see the companion supporting the first piece
Clay Week 2
In week 2 in the clay workshop, we got asked to bring in different textured items to use to imprint into clay. We got given some clay at the leather hard stage to do this with. The name of this process is called Intaglio. With some of the objects I brought in I found this successful as this stage of the clay drying process. However with other items I found it not as successful.

Leather hard clay

Textured items


engraved plaster piece

The sun and phases of the moon into the clay
We was also set a task to create our own item which we could use for the Intaglio process, using a piece of plaster. I engraved the plaster using hand tools creating a sun and the phases of the moon so that when it is pressed into the clay you can see the phases. I found this to be quite successful however it could only be done on softer clay and not leather hard clay.


We then experimented using slip to paint and create different textures and techniques to enhance the Intaglio work.

Cut up, experimental piece


In this session we also got inducted on how to use the rolling machine. By learning all these skills I then went on to create the piece above. I first rolled out the clay to create a flat surface. I then lay this on top of a plaster mold which was in the studio which created this plate style shape. I then applied the techniques I had learnt and applied them onto this piece also.
Clay Week 3

Beginning of the chair


Main body of chair

Quick version of slurry

Legs for the chair

Attaching the legs
The next task in week 3 was to choose a sketch from the daily sketches and create it into something 3D. I decided to go with a sketch of a chair I drew using charcoal. I emphasised on the shadows on the chair in the drawing. From this I decided to make a miniature chair from clay but focus on the shadows.


I managed to join the legs for the chair to the main body using slurry. I had to use my eye and guess on the placement and angle of the legs in hope that when dried/fired that it will stand. I also made connecting pieces from each leg to try to help support the weight. Making this is risky as the main body is much heavier and thicker than the legs, which means that the drying times are all different. This means there is a high risk of the legs cracking as it is drying.


Texture on the chair

Chair standing


The next step for me was to work out how to emphasise the shadow onto the piece. I decided to do this using texture. I tried to make it so that the deeper the texture is where the darker shadow is. I also used black slip to paint onto the texture to further show shadows. Once the piece is fired the slip should go black to give a darker colour.